| Bolero
Project |
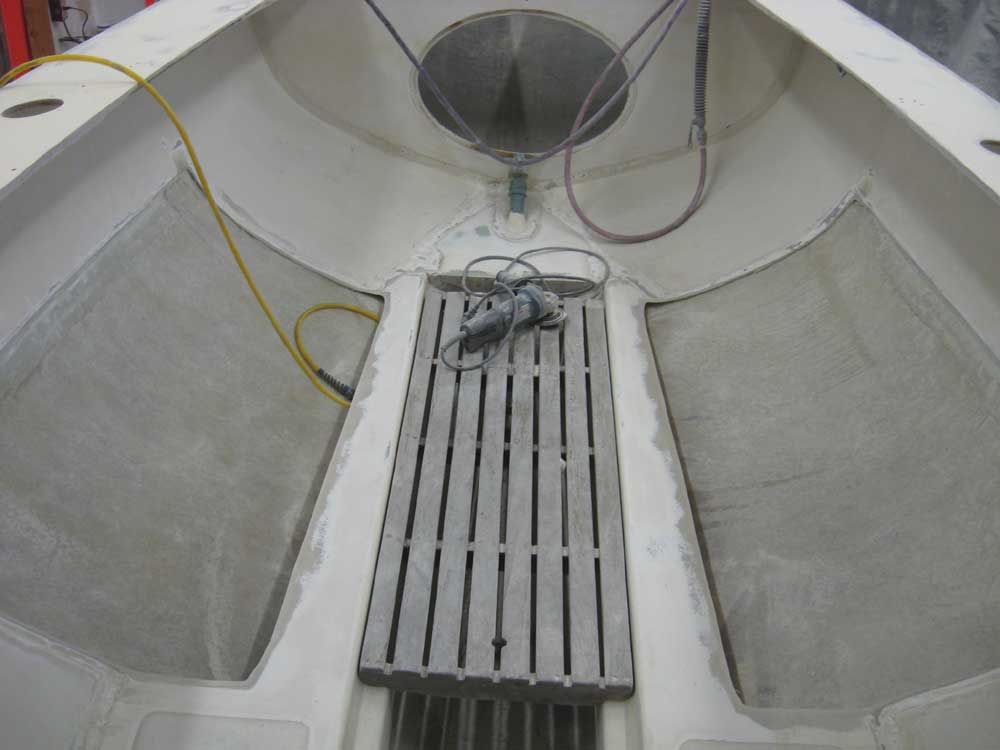
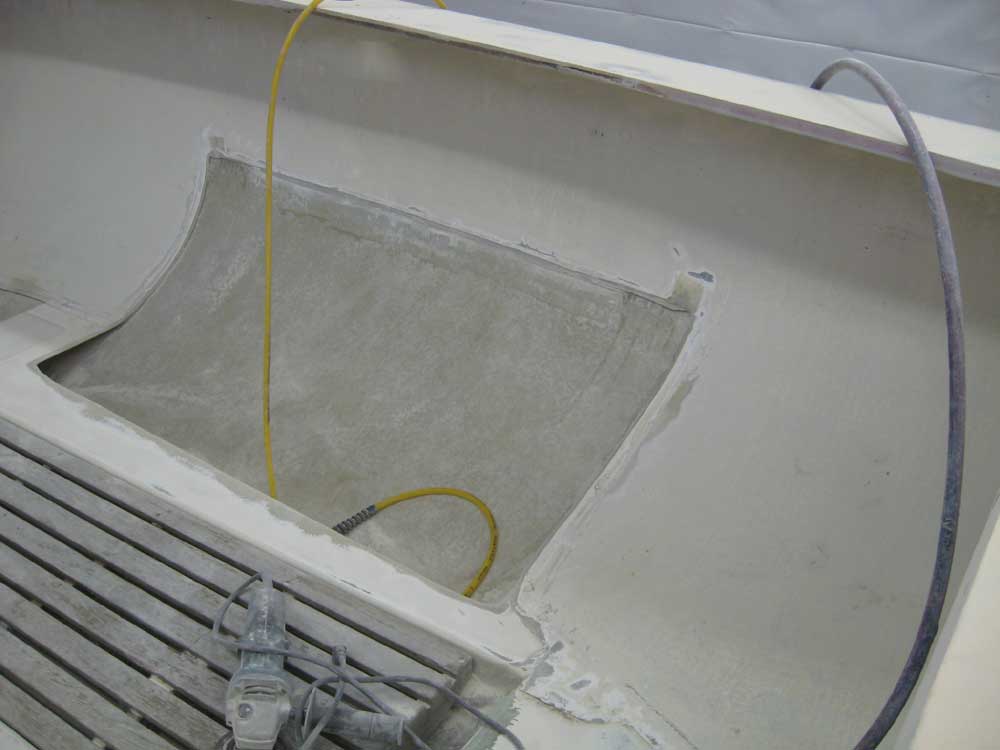
November 28, 2007 I spent the morning sanding the remainder of the hull liner in the cockpit area, and feathering out the raw edges of the openings where the old seat air tanks had been installed. The gritty, soft paint on the liner continued to plague progress, but eventually I found that beginning by scraping the surface with a carbide scraper helped remove some of the grit and made the sanding a bit easier. I don't know what the paint was, but it was very tough, very ugly, and very unpleasant to deal with. I finished up the initial interior sanding by sanding the undersides of the sidedecks and the after bulkhead. |
|
|
|
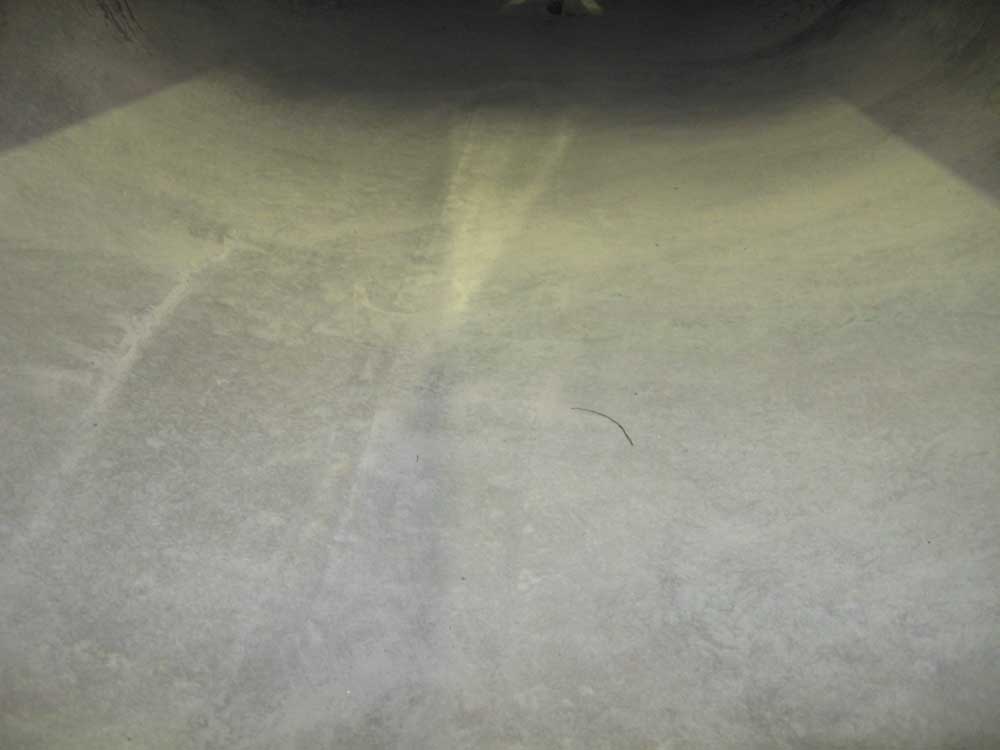
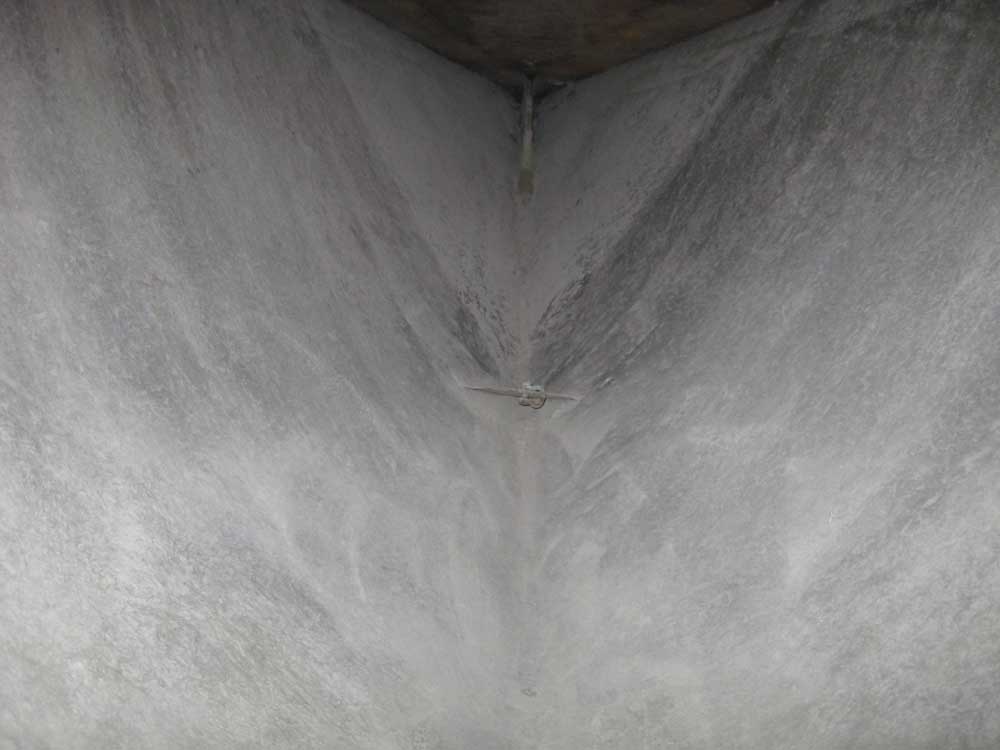
After lunch, I prepared to sand the inside of the hull in the aft and forward compartments, since I planned to paint out these areas a bit later in the process. I sanded what I could reach of the after compartment from the new hatch opening and the existing oval hatch in the bulkhead, but didn't even attempt to crawl into the furthest reaches for sanding, as I knew from my foray to remove the backstay that it would be next to impossible to maneuver when decked out in supplied air respirator, considering the height of the space available was somewhat less than the overall thickness of me. Afterwards, I crawled into the forward compartment and sanded in there as well. With nowhere for the dust to go, visibility quickly became opaque, but fortunately I only had to quickly sand the area. I didn't bother trying to reach the furthest portions of the compartment since there were plans afoot to create an anchor locker with a deck hatch; access would be easier once the new hatch was cut, though the details of this plan remained up in the air as of this writing. |
|
|
|
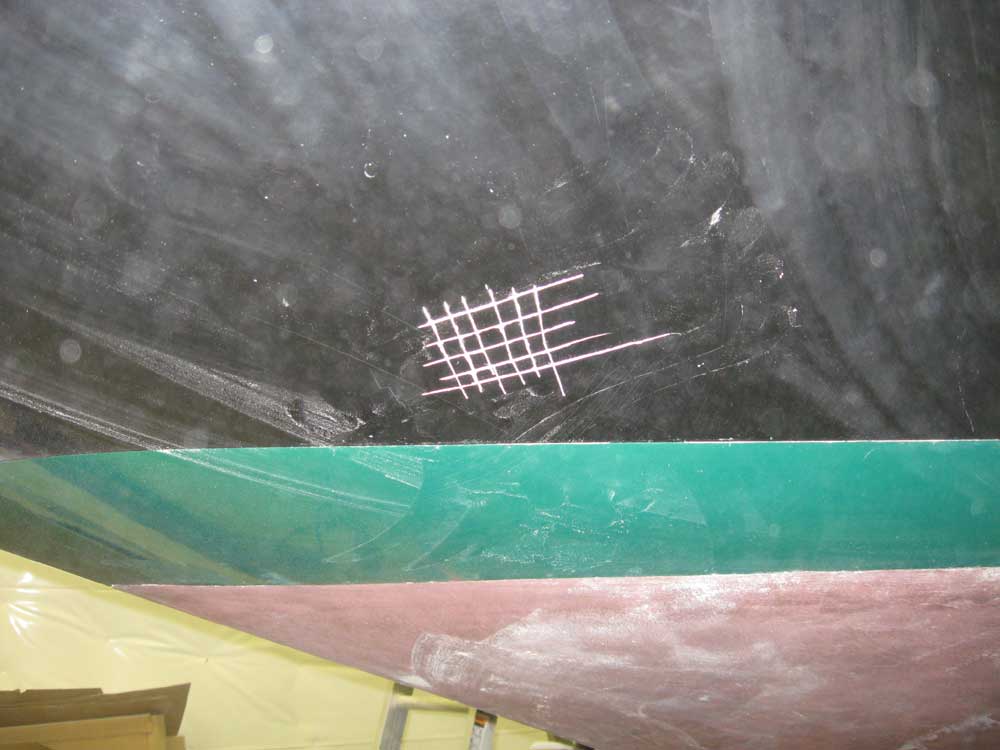
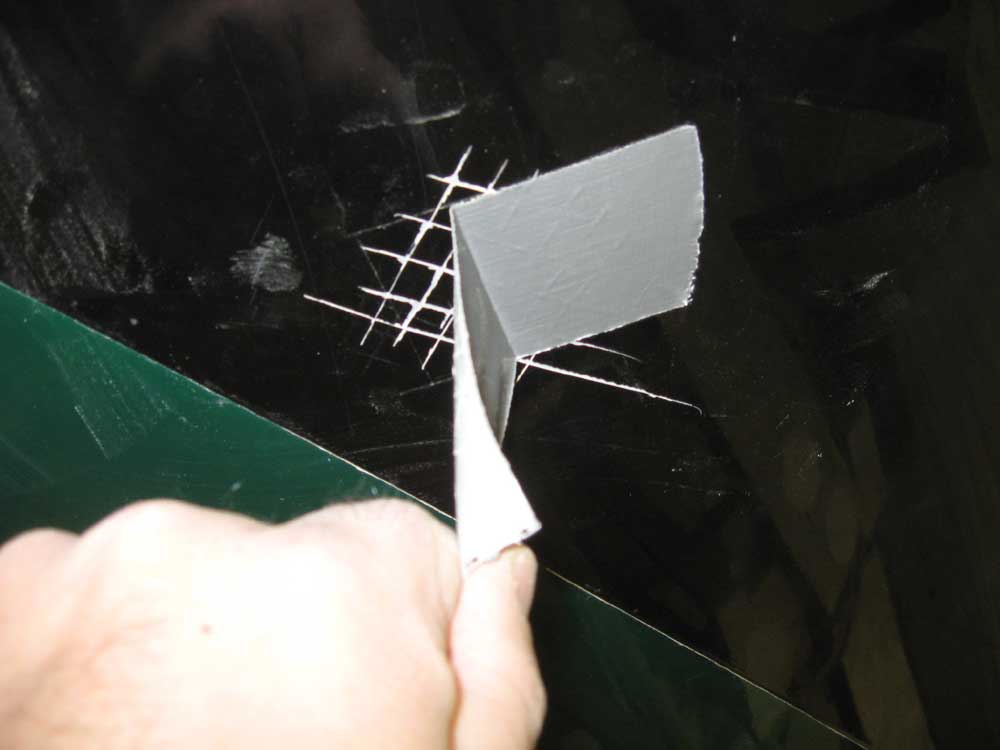
At this point, I had to take some time to clean up the piles of dust inside the boat so that I could continue working. After allowing the dust inside the bow compartment to settle for a few minutes, I swept out the worst of it, and also collected the bulk of the dust and grit from the other interior sanding. Then, I finished up the sanding in the now-accessible bilge areas and swept up the resulting dust. With the worst of the heavy sanding out of the way on the deck and interior areas, I prepared to get the hull sanding underway. First, I washed the hull with acetone as a second precaution against any contamination, and moved the various tools and equipment needed down to the staging so it'd be ready to go in the morning. The hull was in generally good condition, with only minor repairs needed for several dock-related dings and the like, and I wouldn't have to completely strip the old paint (Awlgrip) in order to recoat with Alexseal. Since I hadn't yet had opportunity to apply Alexseal over an existing LPU paint job in good condition, I confirmed with an Alexseal technical representative that application of the Alexseal primers and topcoats was acceptable without removing the old paint. To be sure the old paint was well adhered, however, I prepared a simple cross-hatch test: I scored a crosshatch pattern in the old paint with a sharp knife, and applied duct tape over the cut area, pressing it down very firmly. Then, I pulled it off at a sharp (90°) angle. Had the old paint come off along with the tape, I would have had to remove all the old paint to ensure good overall substrate adhesion; as expected, however, the paint remained intact. I looked forward to sanding the hull in the morning. |
|
|
|
|
|