| Bolero
Project |
November 25, 2007 After a few days of pondering and some discussion on the overall look of the mockup, the owner decided that it was exactly the look he'd been going for, and that the mockup had successfully brought the visual concepts into three dimensional reality. So with the basic execution of the cabin trunk now determined, we turned to other related aspects of the overall project in order to keep the thought process a few steps ahead of the actual execution. One such aspect was the problem of ventilation for the new cabin. During the past days and weeks, we'd discussed a few possible avenues, including some sort of deck hatch, Dorade box vents forward of the cabin trunk, and the possibility of no ventilation at all. But in the end, we came around to what might be the simplest and most straightforward option: opening ports in the forward side of the cabin trunk. Happily, this sort of port seemed to be a relatively common and appropriate feature of the loosely-defined Knockabout sloops that form the basis for the Bolero conversion concept, so their installation would be in keeping with the basic genre. The difficulty, however, would be finding a pre-manufactured and affordable bronze port of small enough size to fit cleanly in the space available. With the height of the forward side of the cabin trunk limited to between 7" and 8" tall at its highest point at the centerline, even the smallest commercially-available ports would be a tight fit, since even a 4" diameter port opening required a good-sized flange about its circumference for mounting and strength. The most likely candidate, at least from the owner's initial search, seemed to be the readily available 4" round port from ABI. This 4" opening port featured an overall flange diameter of 6-7/8", a diameter that would just barely fit in our diminutive space. So while the mockup was still in place, I took the opportunity to see how this port might fit, and how they would look. |
|
|
|
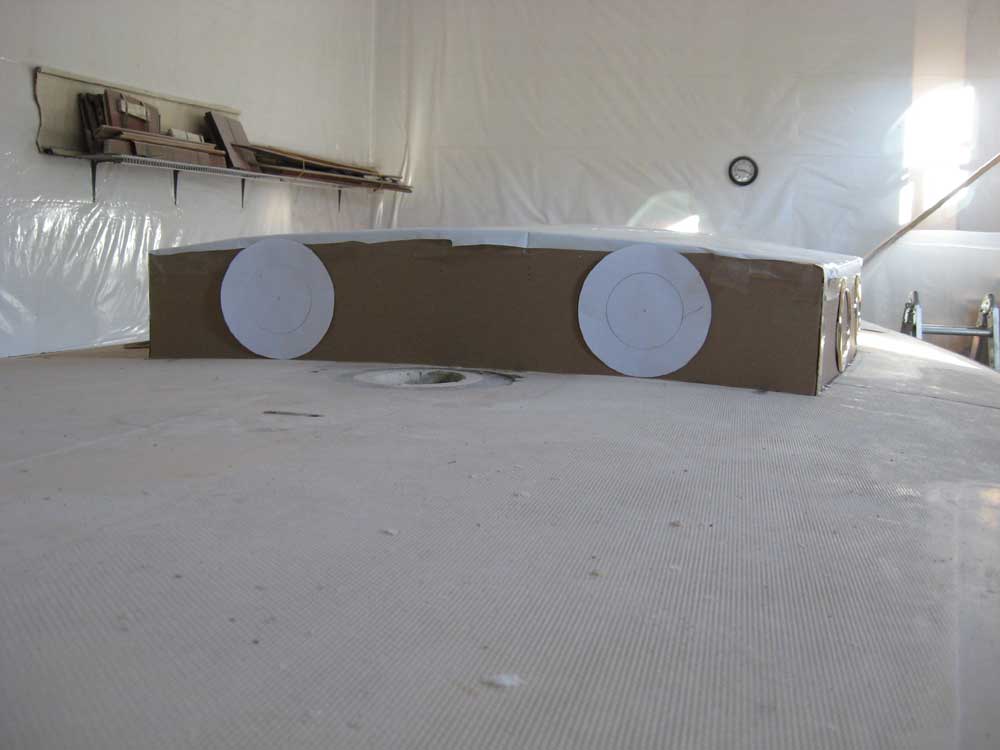
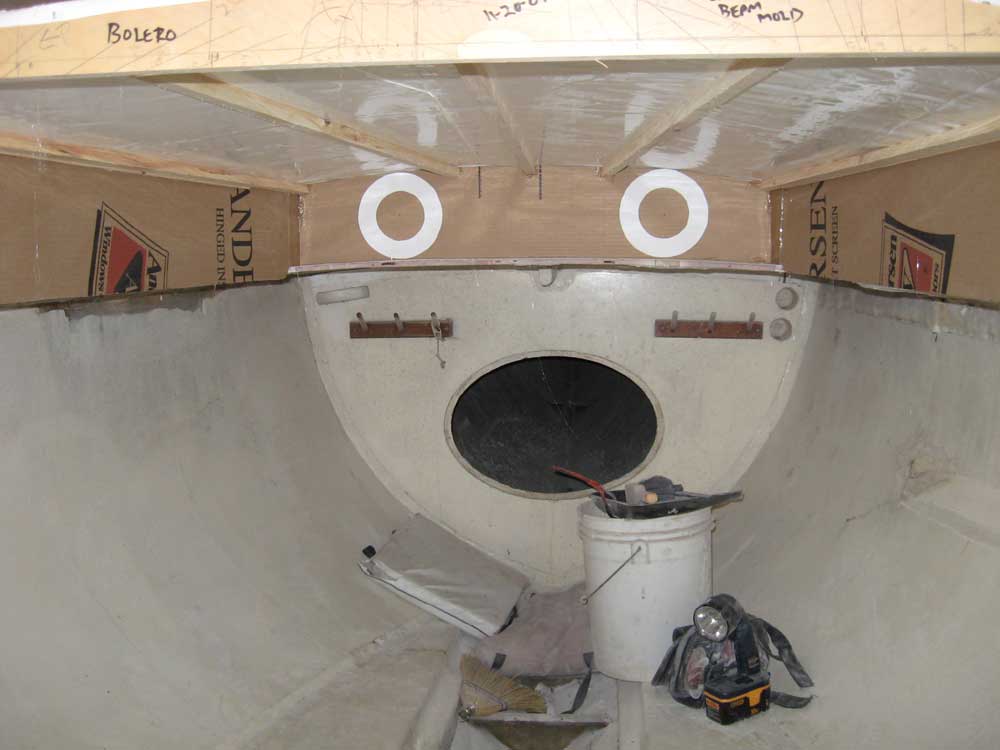
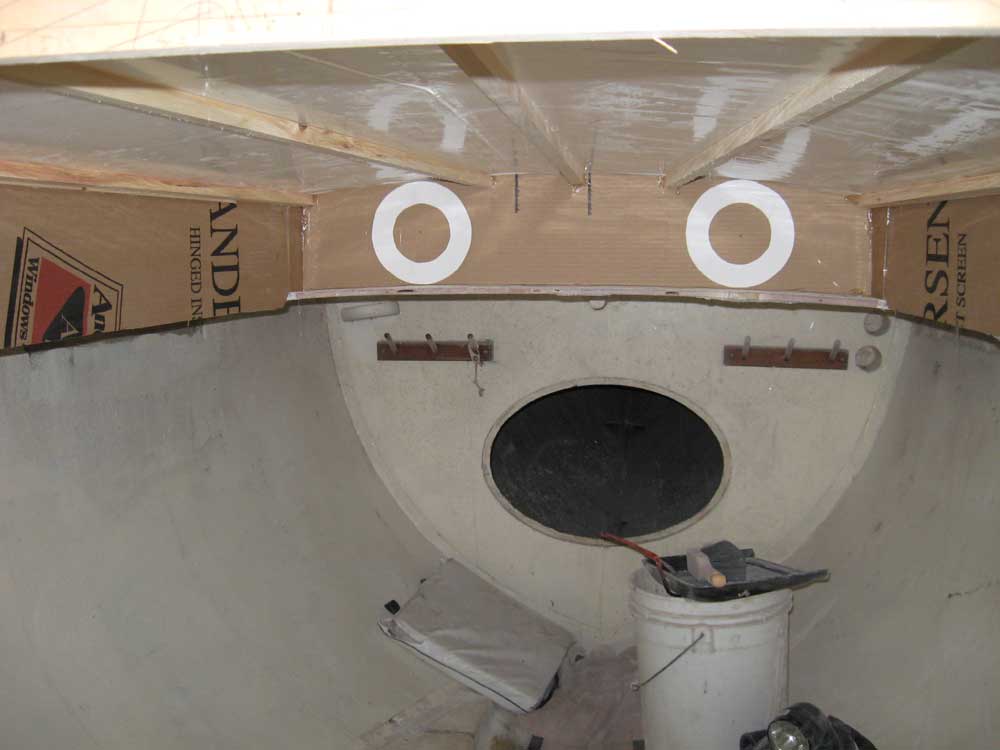
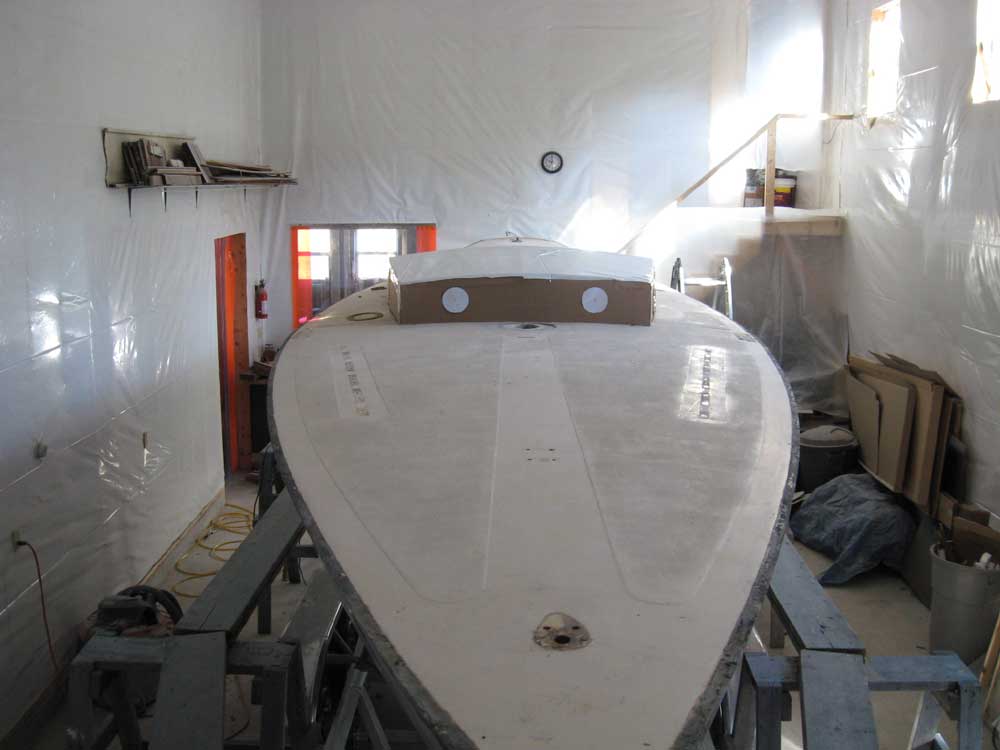
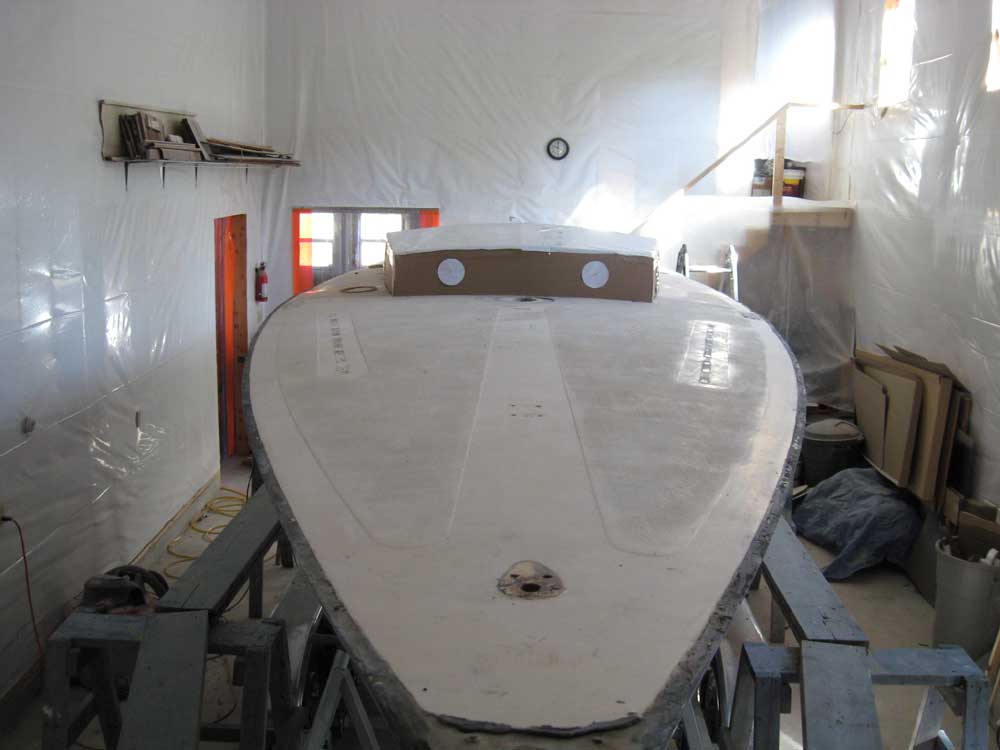
I laid out two 7" diameter circles and then drew a concentric 4" circle within. I first made the mistake of unthinkingly applying these to the outside of the cabin trunk, but realized afterwards that the wide flange would be on the inside, with only the spigot portion (approximately 4-5/16" OD) penetrating through and visible from the outside. That was a good thing, since I thought these huge circles looked too large and bug-eye like, even allowing for the fact that the actual port would look quite different from my paper cutouts. The good news was that the flanges would fit in the space available, and at appropriate locations off center. In these photos, I have the full 7" diameter circles placed roughly as far outboard from center as they can comfortably go given the height of the cabin trunk. |
|
|
|
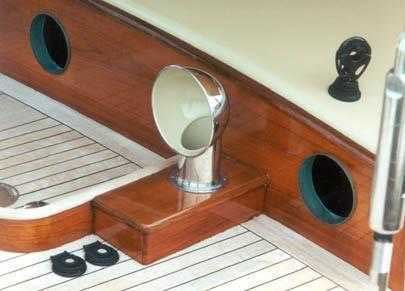
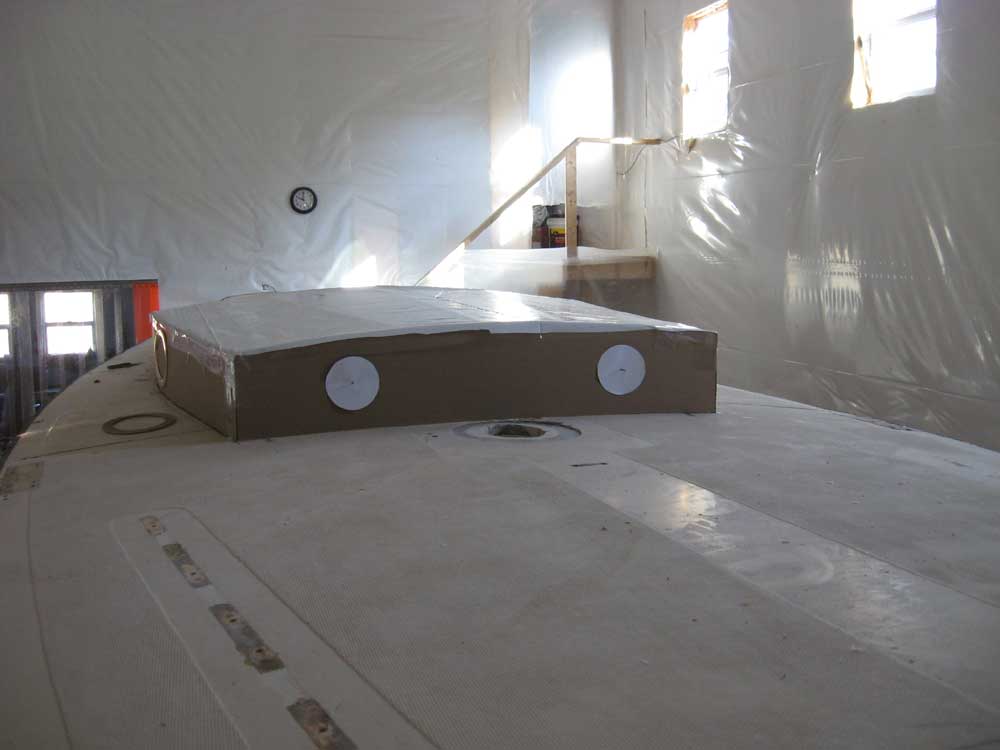
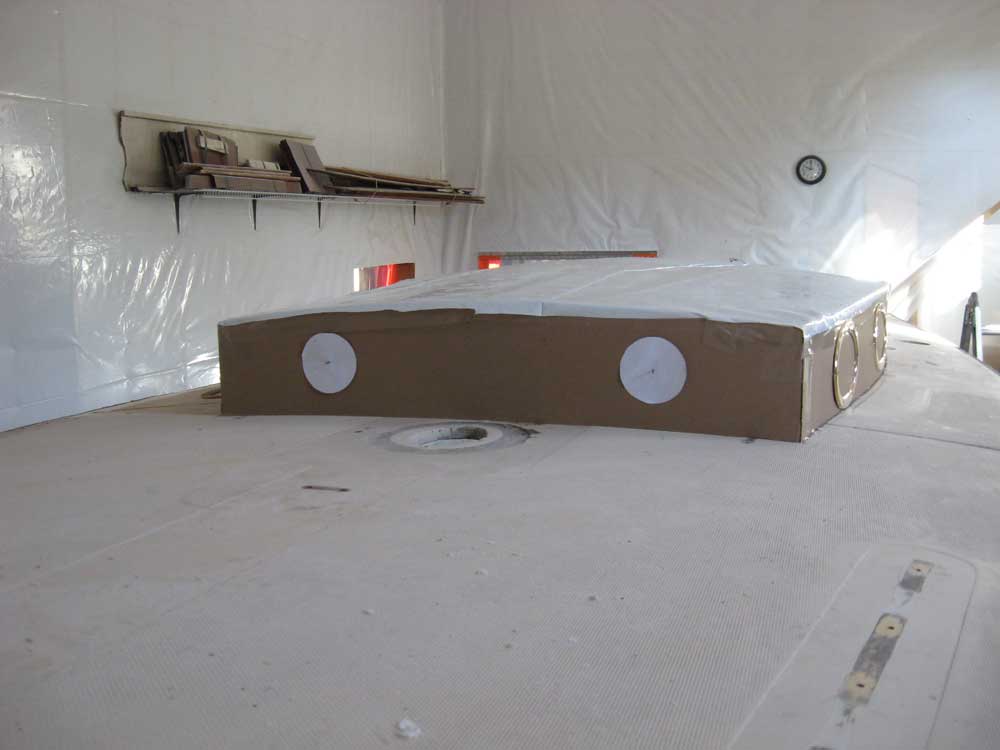
To better simulate the round ports, I cut out the 4" centers and reapplied them to the outside, while installing the now open-centered flange simulations to the inside in roughly the appropriate position. Although I wasn't intimately familiar with the ABI ports under consideration, I--and the owner--hoped that the final exterior appearance would be much like the ones shown in this photo of another boat. |
|
|
|
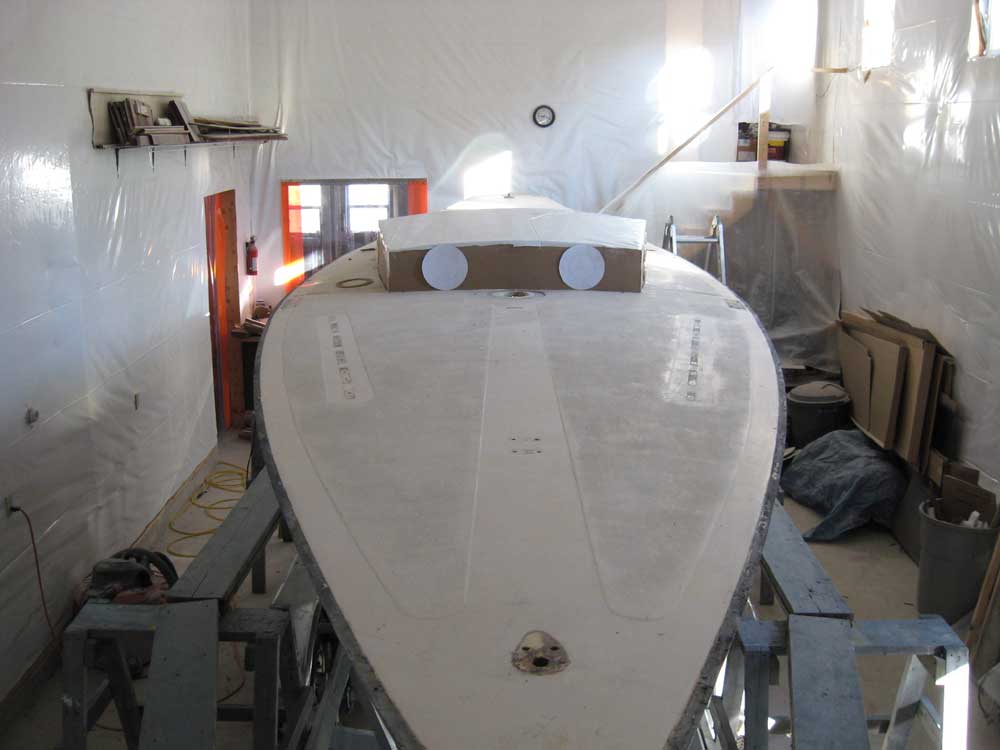
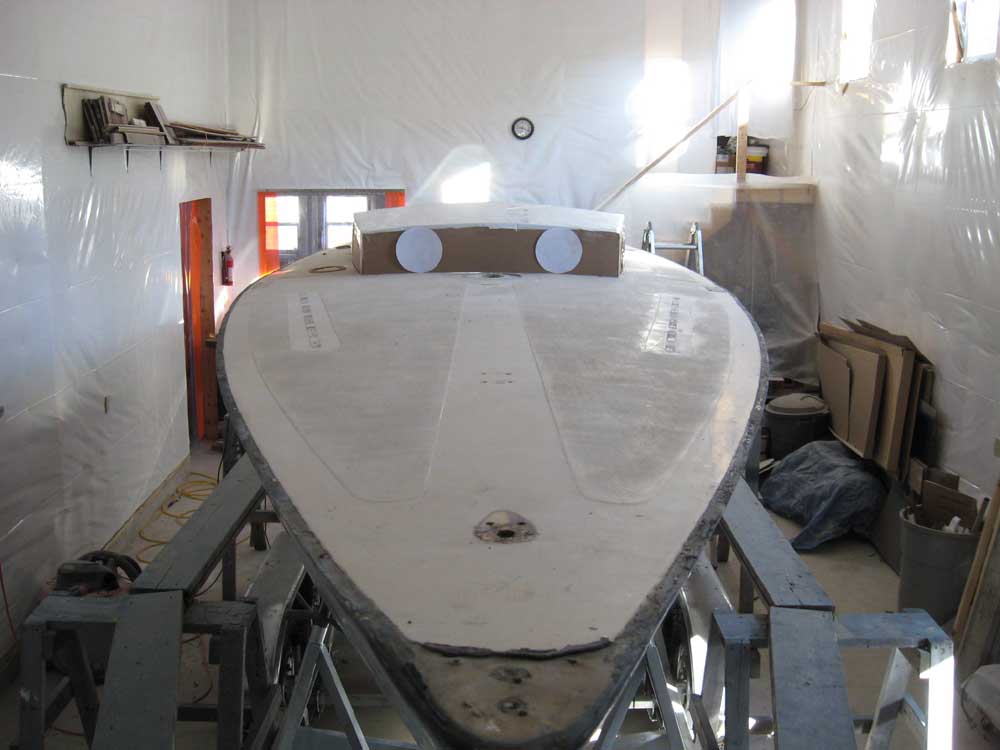
These photos show the revised simulated appearance from inside and outside. Note that the positioning is the same as in the original photos. Squint a little and try to imagine what the actual ports might look like, rather than the reptilian beady-eyed appearance forced by these 30-second paper mockups. |
|
|
|
|
|