| Bolero
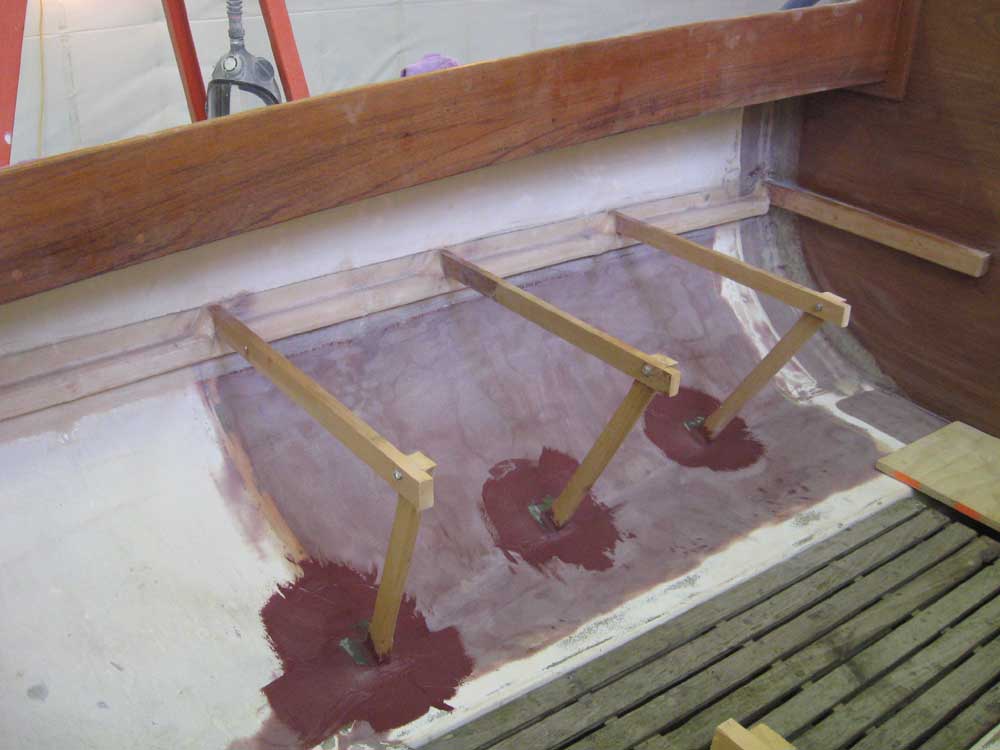
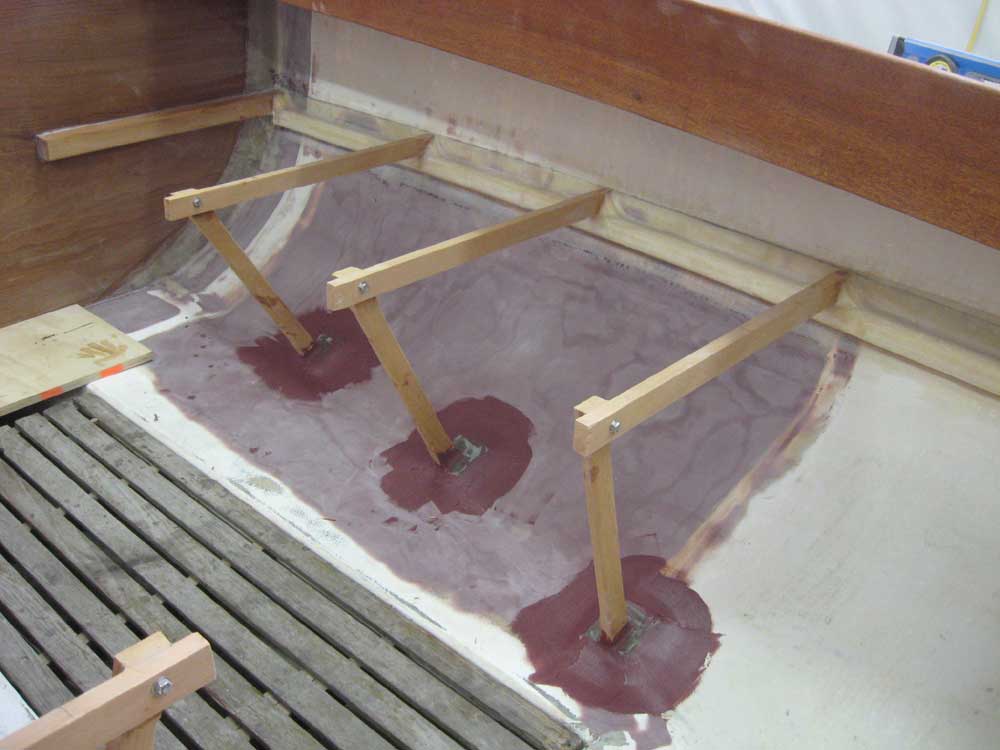
Project Saturday, May 24, 2008 Getting back into the swing of things this morning, I began where I left off: with the fairings on the cockpit seat supports. In my habitual way, I washed the cured epoxy, then sanded the fairing compound to prepare for the second coat. Next, I sawed off the excess cockpit brace length and also cut the horizontal supports to their proper length based on marks I'd made previously. After cleaning up the mess, I first applied a fillet around the bottoms of the angled seat supports, where they conjoined the fiberglass pads; the fillet would not only improve appearance later, but would also provide important strength to the glued joint. Then, I applied a second coat of fairing filler around the fiberglass pads, smoothing it carefully around as well as possible. I left this to cure. |
|
|
|
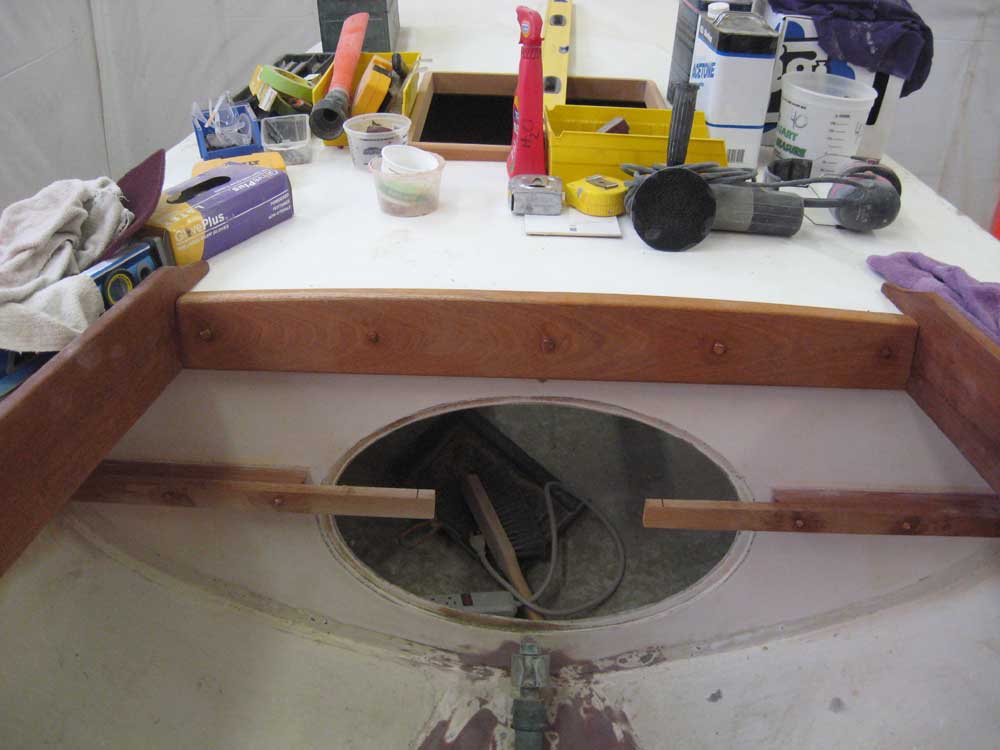
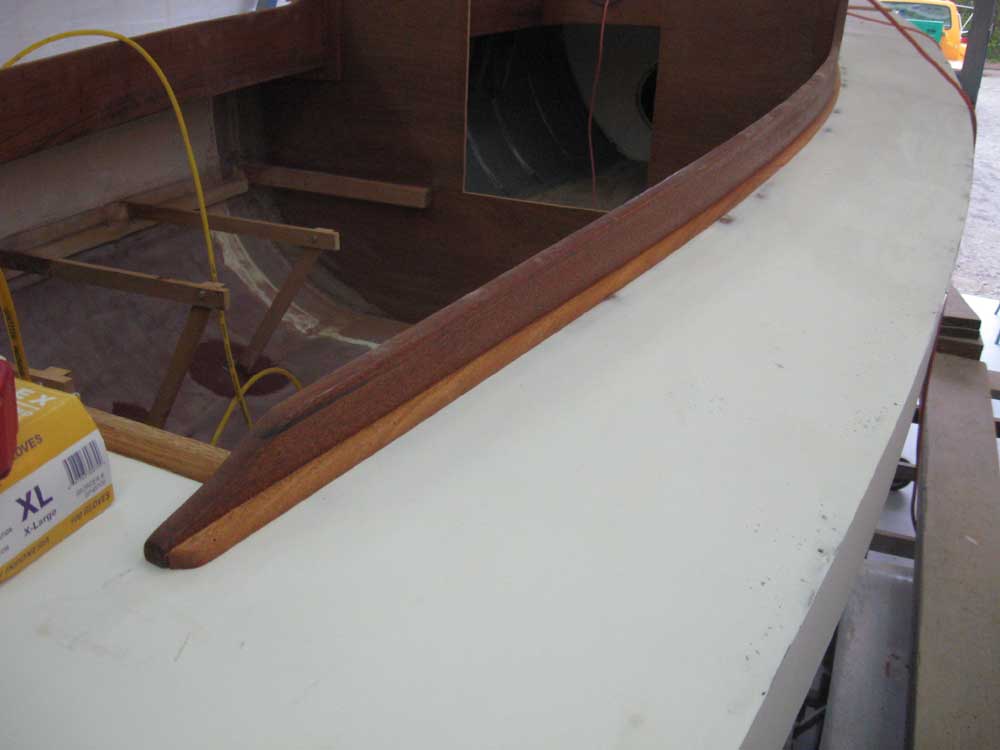
With the need to begin applying multiple build coats of varnish to the exterior wood in the very near future, I installed the after cockpit coaming--trim may be a more apt term--that I'd built earlier. I installed the piece in a bedding of polysulfide sealant to keep water out beneath, and secured it with 5 bronze screws, plugging the holes afterwards. |
|
|
|
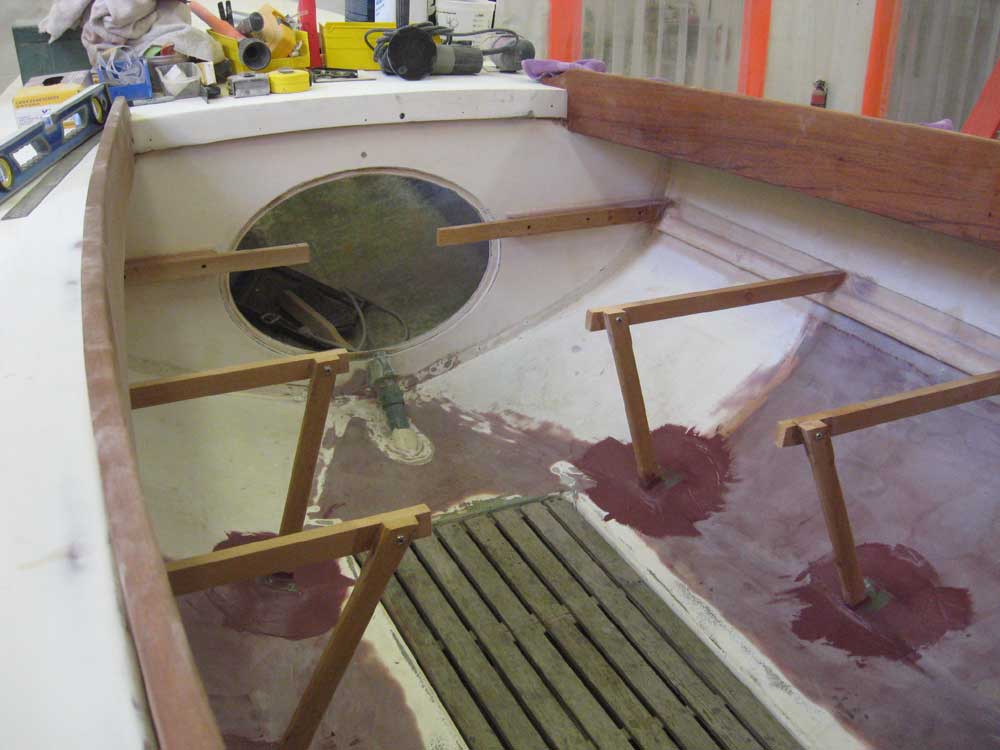
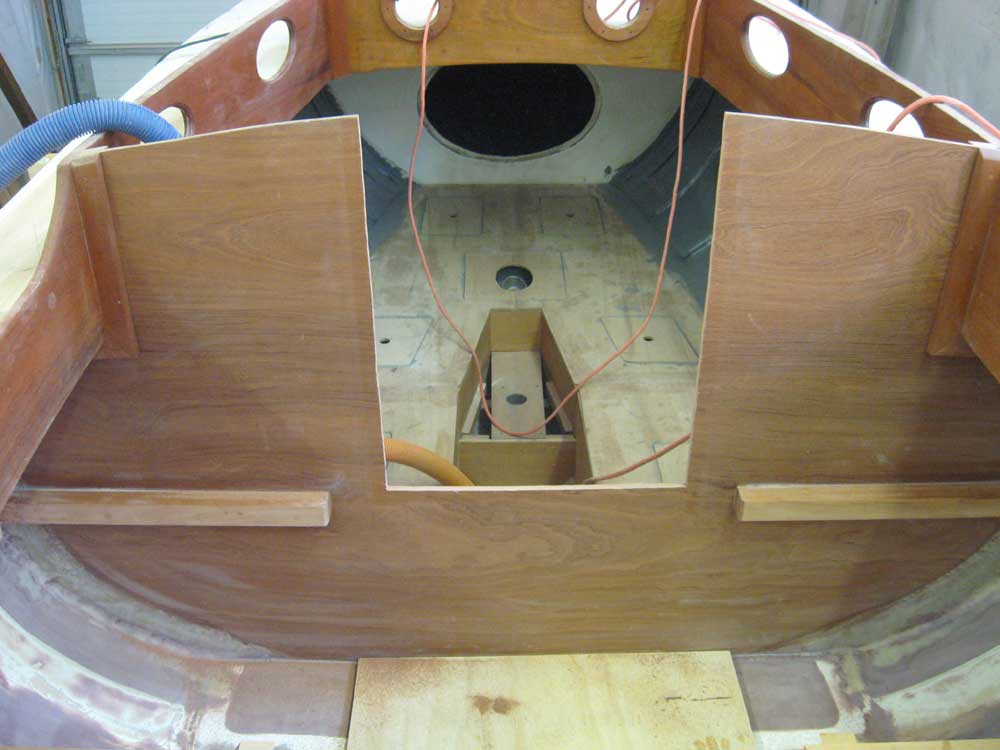
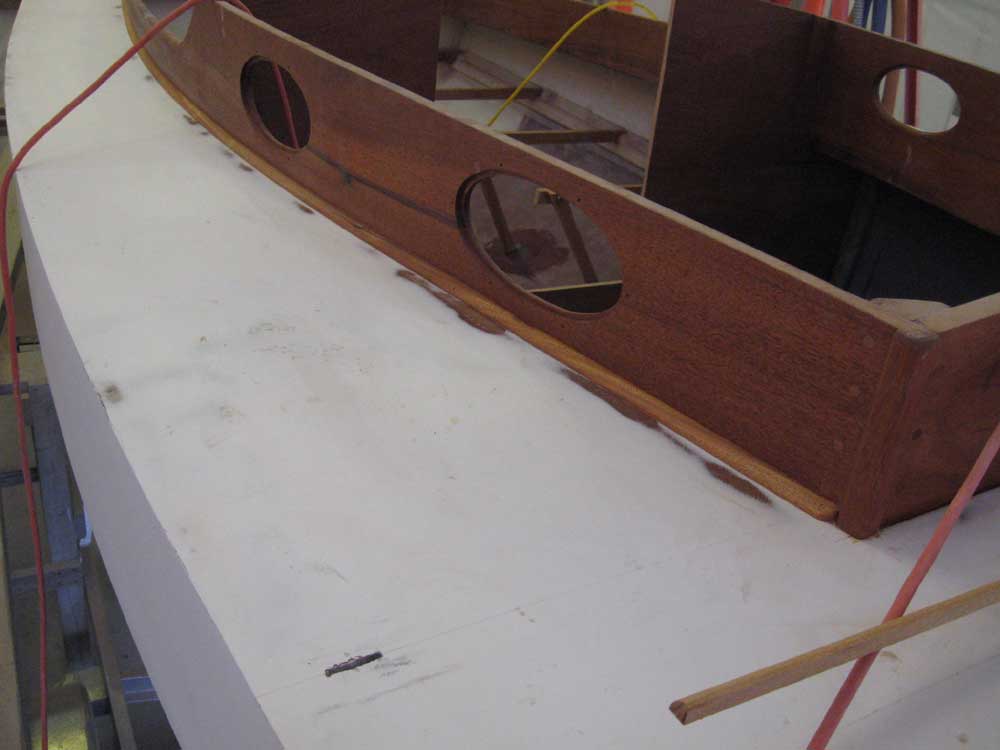
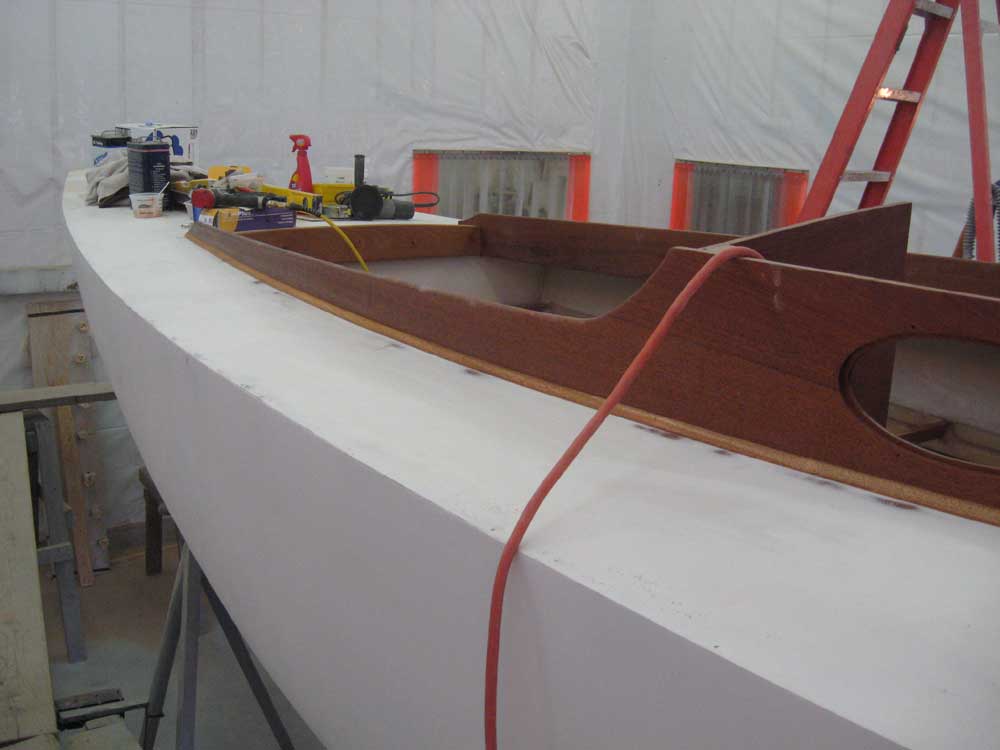
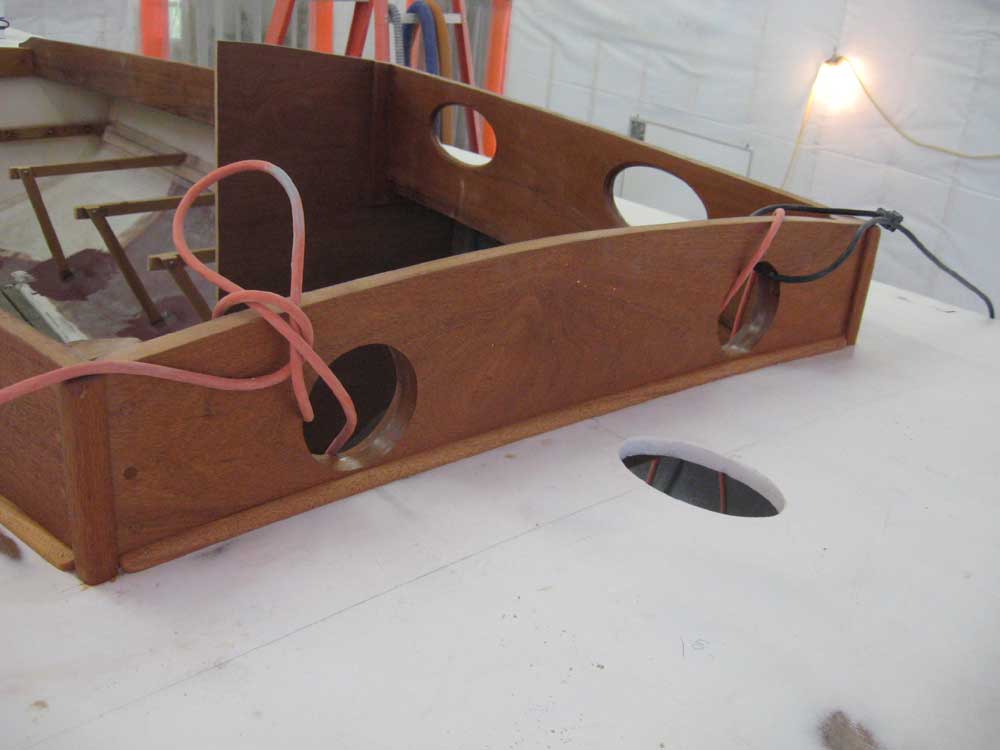
Earlier, we'd determined the final dimensions of the companionway opening. During the initial constsruction, I'd intentionally left the opening a bit smaller, but now it was time to open it up by an inch on either side, and also to bring down the height of the opening to a height where the finihed sill would be level with the tops of the cockpit seats on either side. I laid out the marks and cut the opening with a jigsaw, leaving some final cleanup of the cut for the next time I had the sander in the boat. |
|
|
|
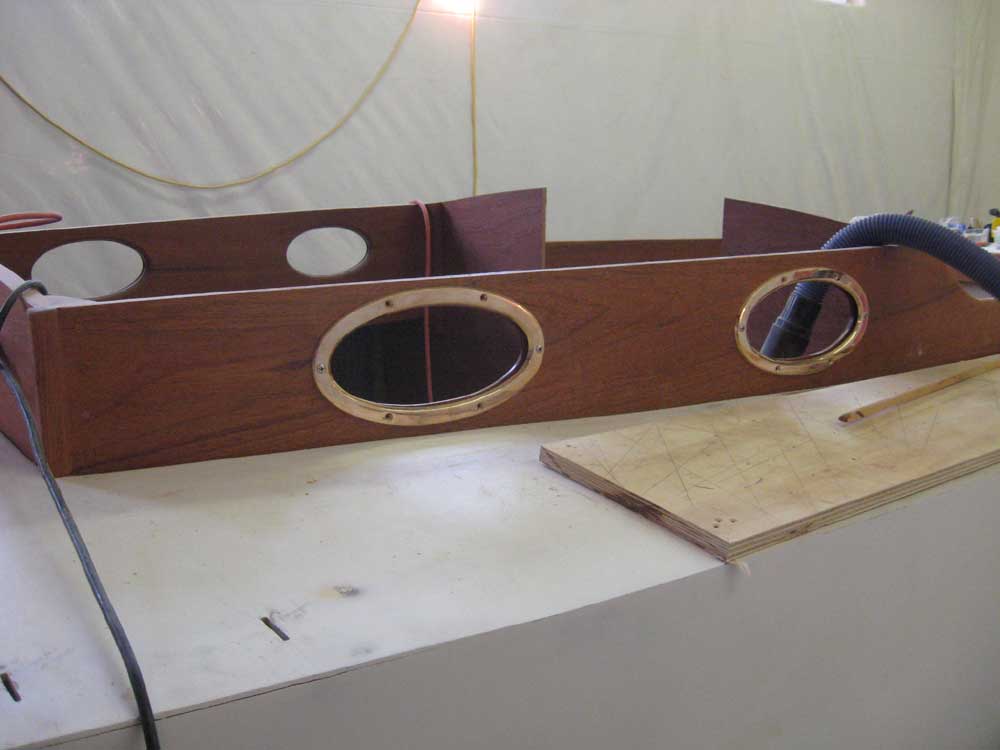
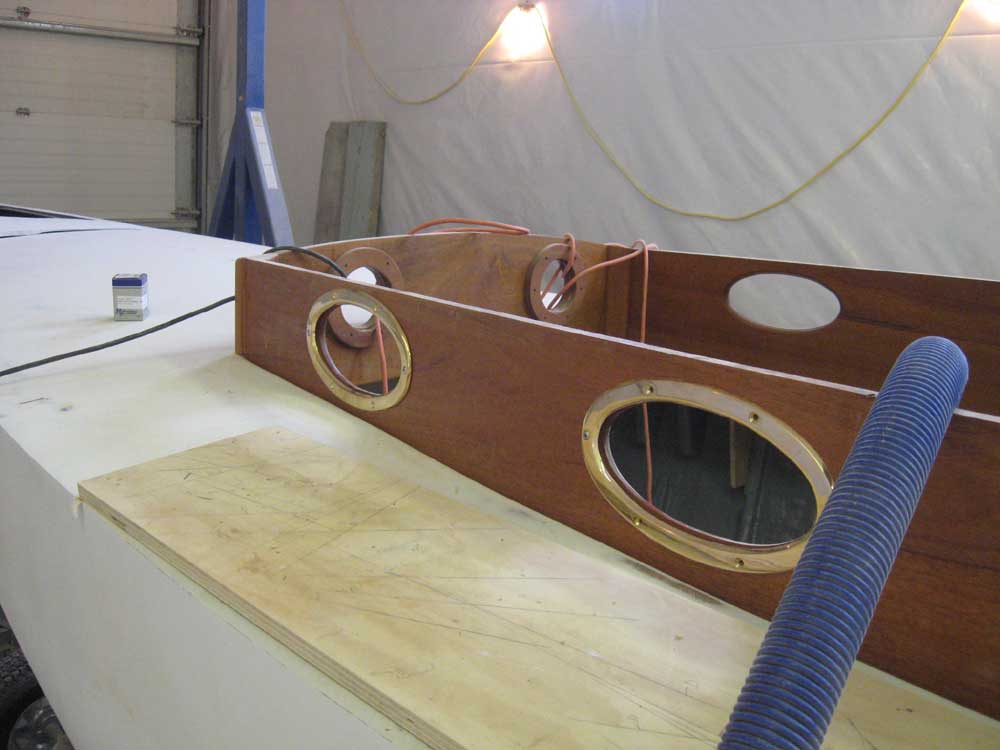
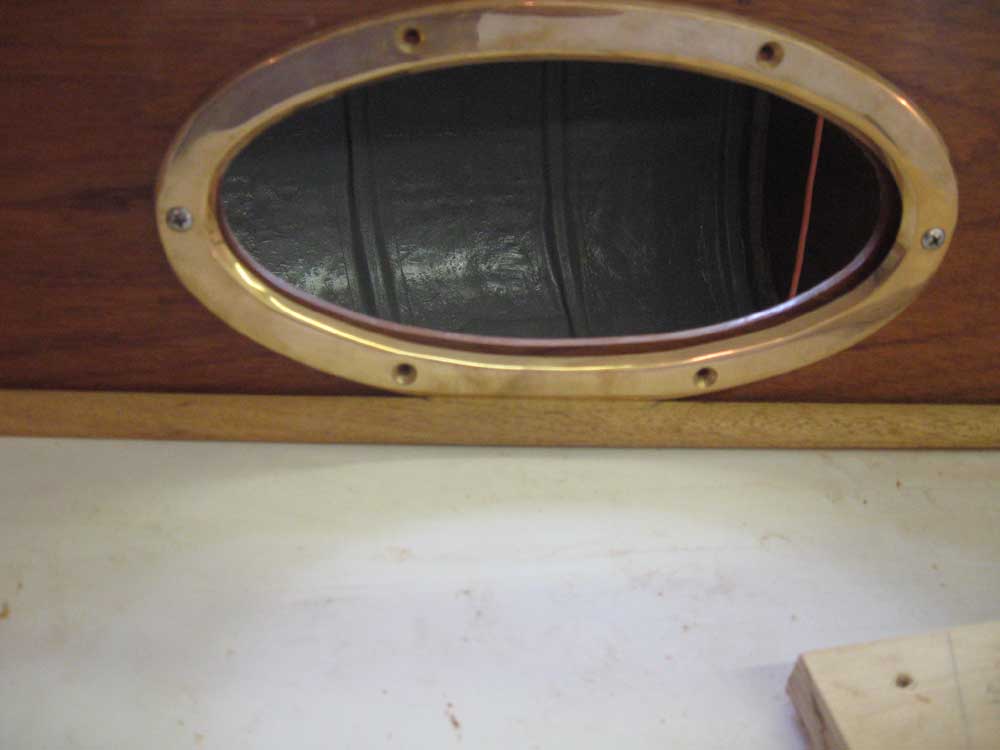
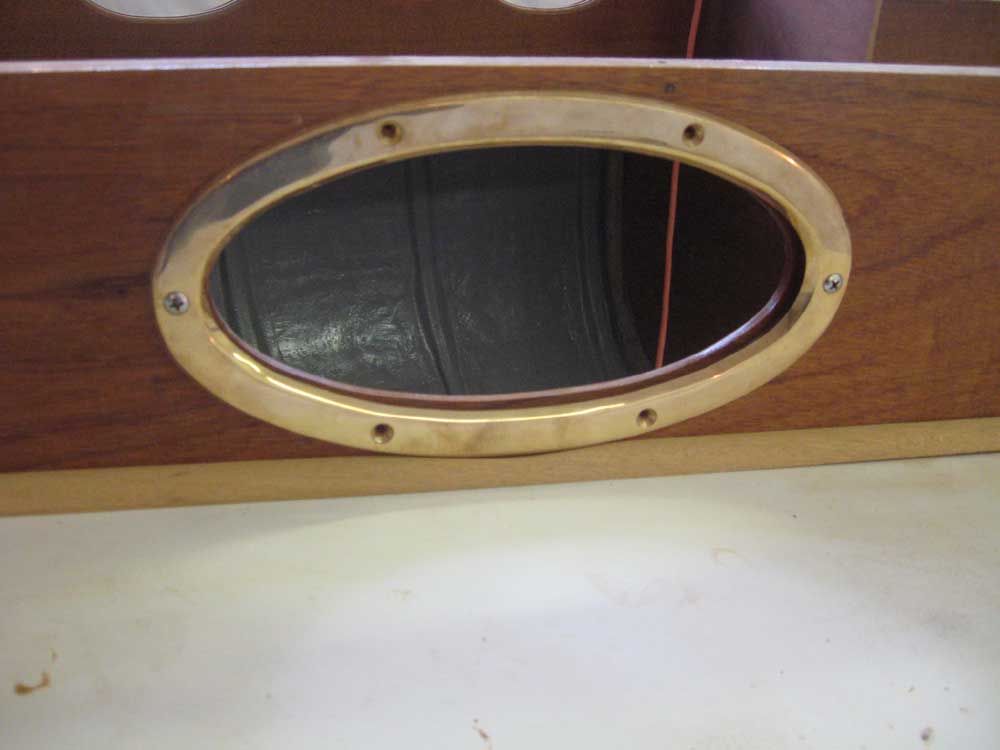
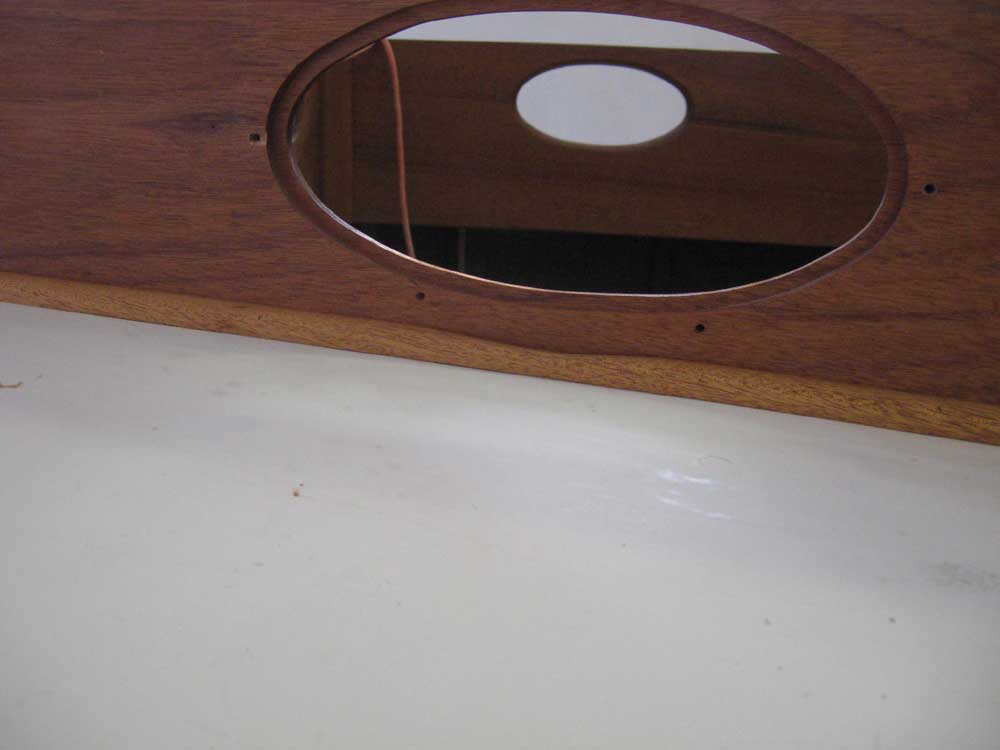
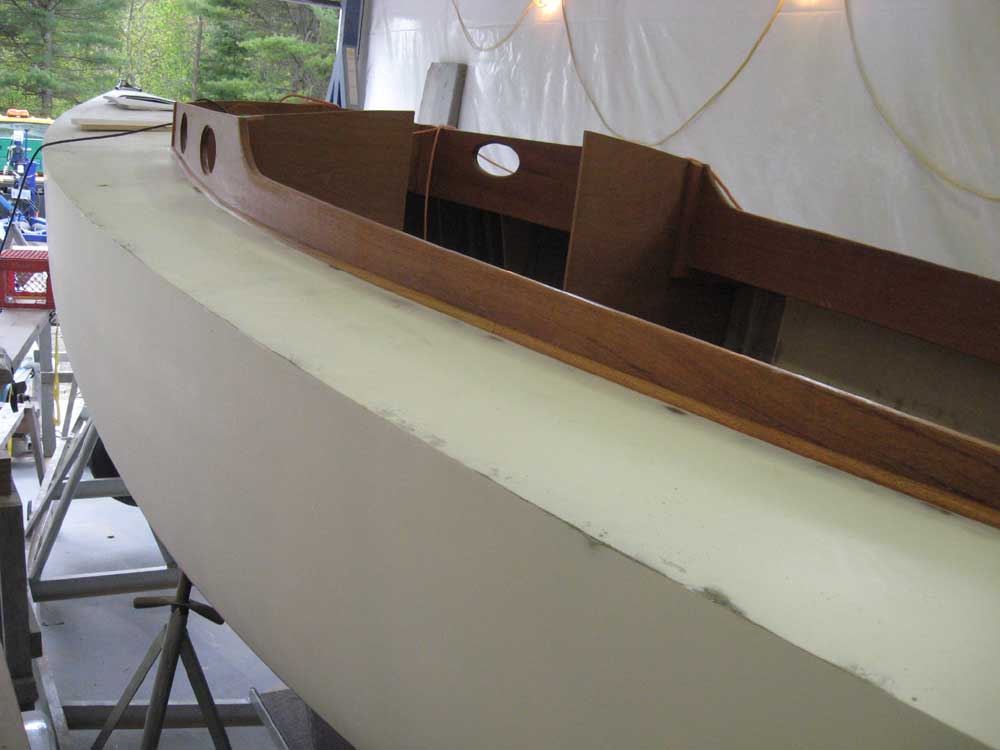
At the junction between the cabin trunk/cockpit coaming and the sidedecks, there was a gap formed by the rounded edge I'd installed in the deck during the initial construction last fall. To cover this seam and also provide an extra layer of watertight protection, I elected to install a traditional quarter round molding. From mahogany boards, I milled enough length of 1/2" radius quarter round to do the job--both sides of the cabin and along the forward edge. My initial test fit revealed that there might be a small clearance issue with the exterior port frames, so I took a moment to temporarily install all four port frames, two per side. The after frames easily cleared the new molding, but the forward frame on each side dipped just below the top of the molding. Therefore, I had to mark and cut out small arcs of the molding to allow it to clear the port frame when installed. In the second row of photos below, the lefthand photo shows the port forward port frame and the interference with the molding; the righthand photo in that row shows the clearance at the after frame. The final photo shows the molding after I cut the curve for clearance. |
|
|
|
With that minor detail out of the way, I removed the port frames and continued with final installation of the moldings. After sanding the moldings with 220 grit paper and cleaning up all the bearing surfaces involved, I secured the moldings to the boat with epoxy adhesive and stainless steel brads to hold the moldings in place while the epoxy cured. I repeated this process on the starboard side of the boat, and then along the forward edge of the cabin trunk as well. Here, the molding remained just beneath the cutouts for the forward-facing ports and required no modification. |
|
|
|
|
|