| Bolero
Project |
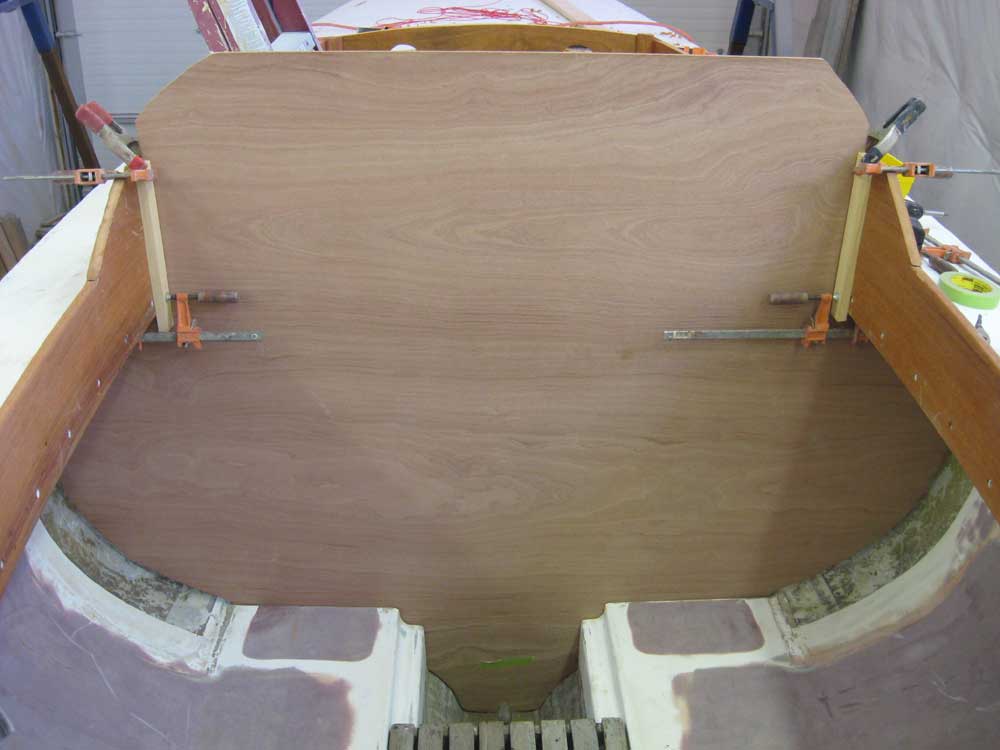
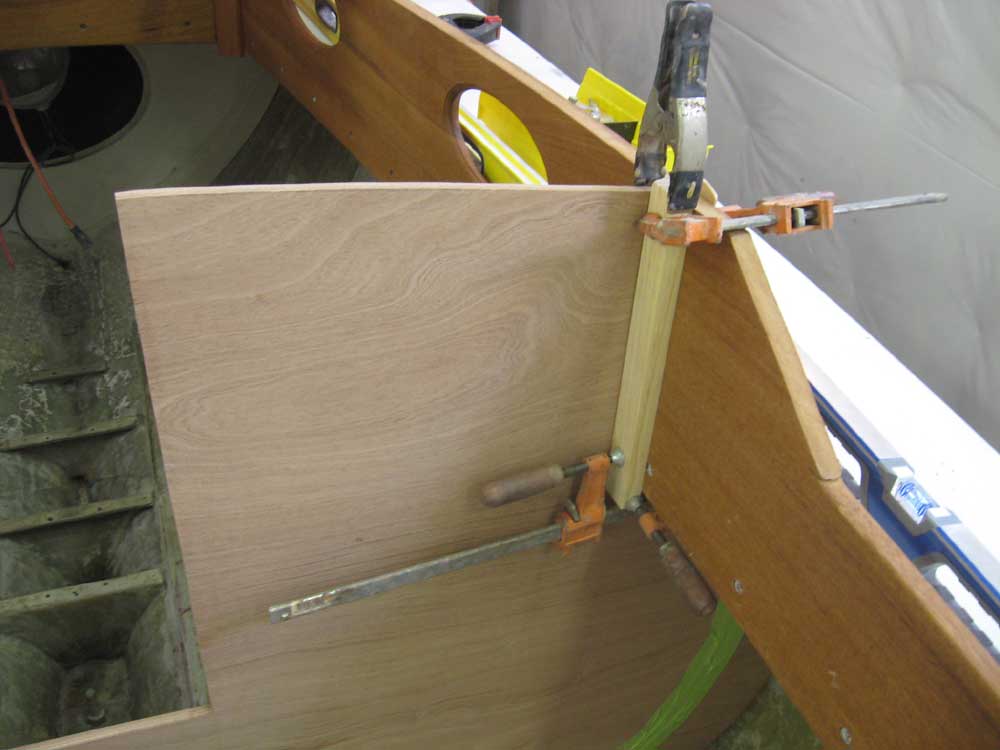
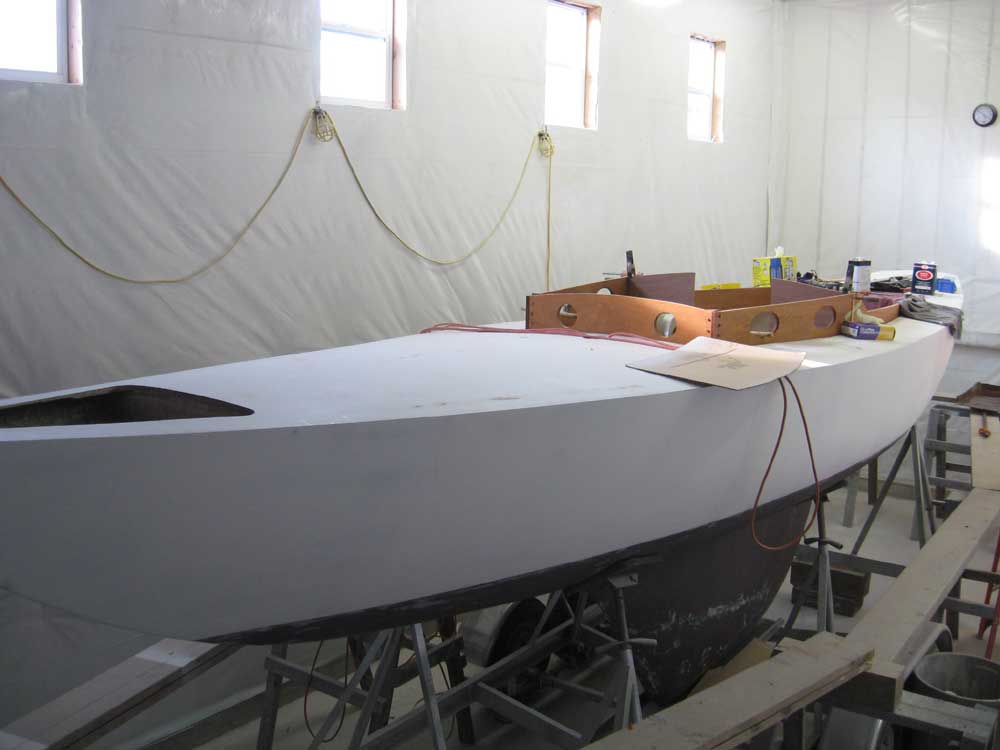
Friday, March 21, 2008 Once more, I fit the bulkhead into position, this time for some final marking and measuring. To help secure the bulkhead, both now and during the final installation, from inside the cabin I drilled eight screw holes into the fiberglass and plywood "mini-bulkheads" that I'd installed previously at the forward end of the cockpit air tanks. With four screws on each side, I'd be able to draw the bulkhead tightly into these areas during installation; for now, I drove a couple screws to pull the bulkhead into place and hold it while I clamped the top edges in their appropriate positions, according to some layout lines and using the level to check for plumb once more. |
|
|
|
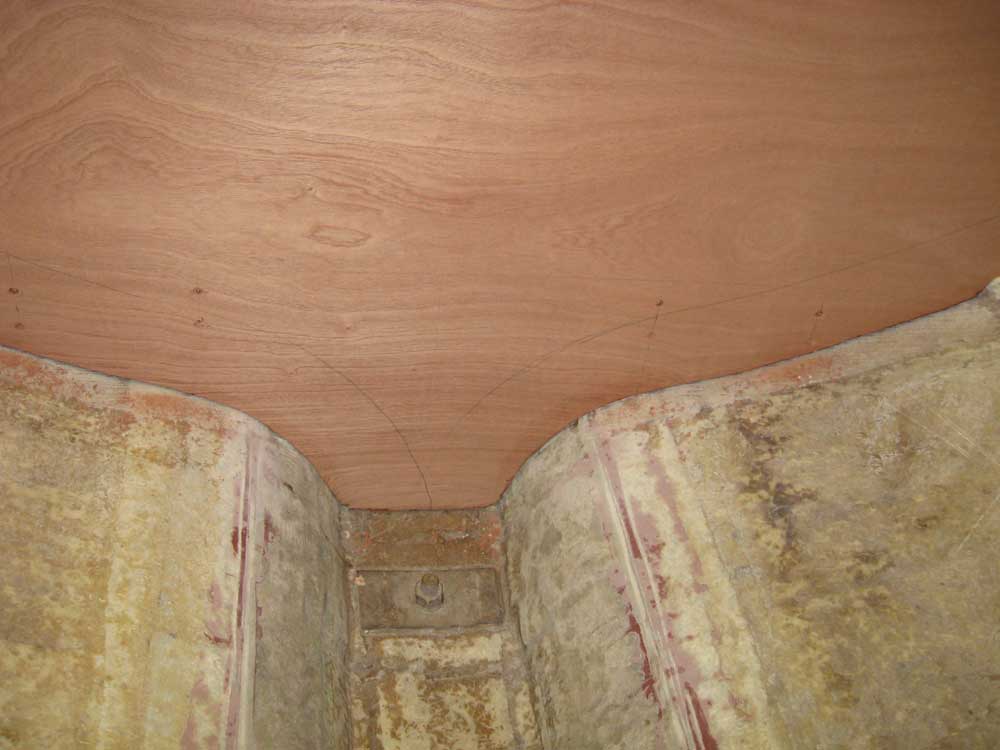
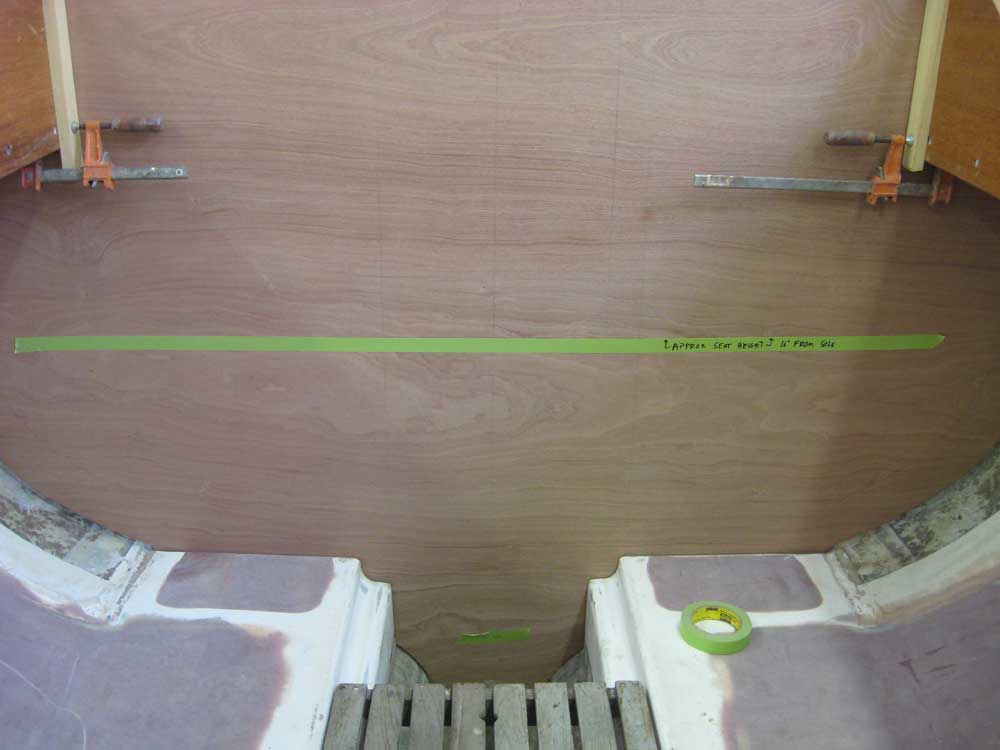
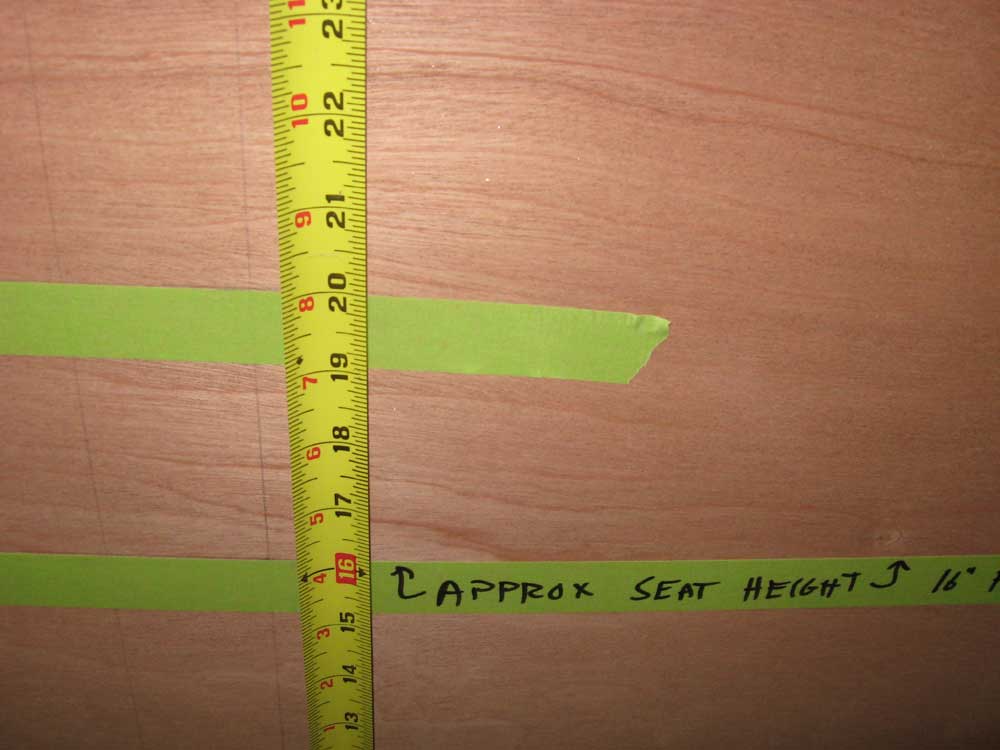
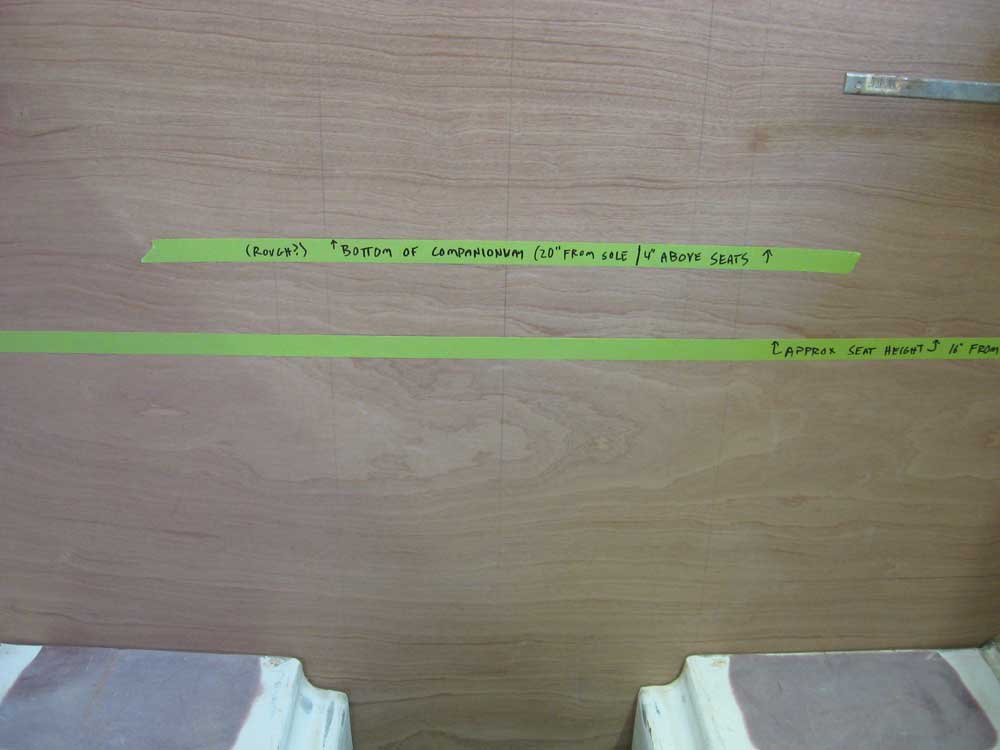
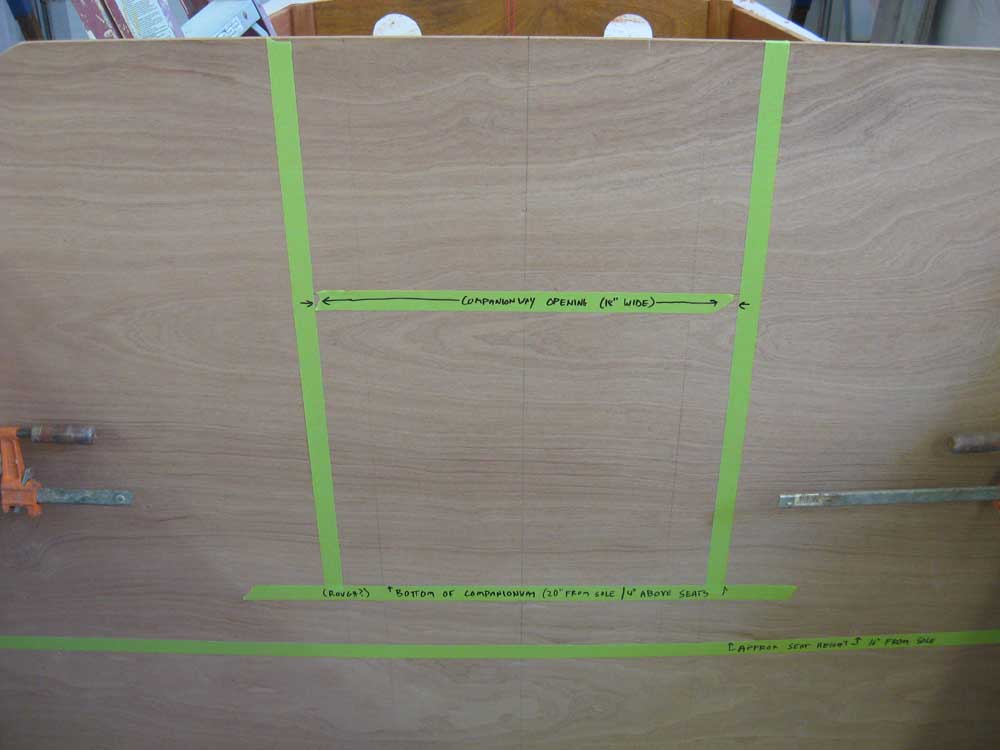
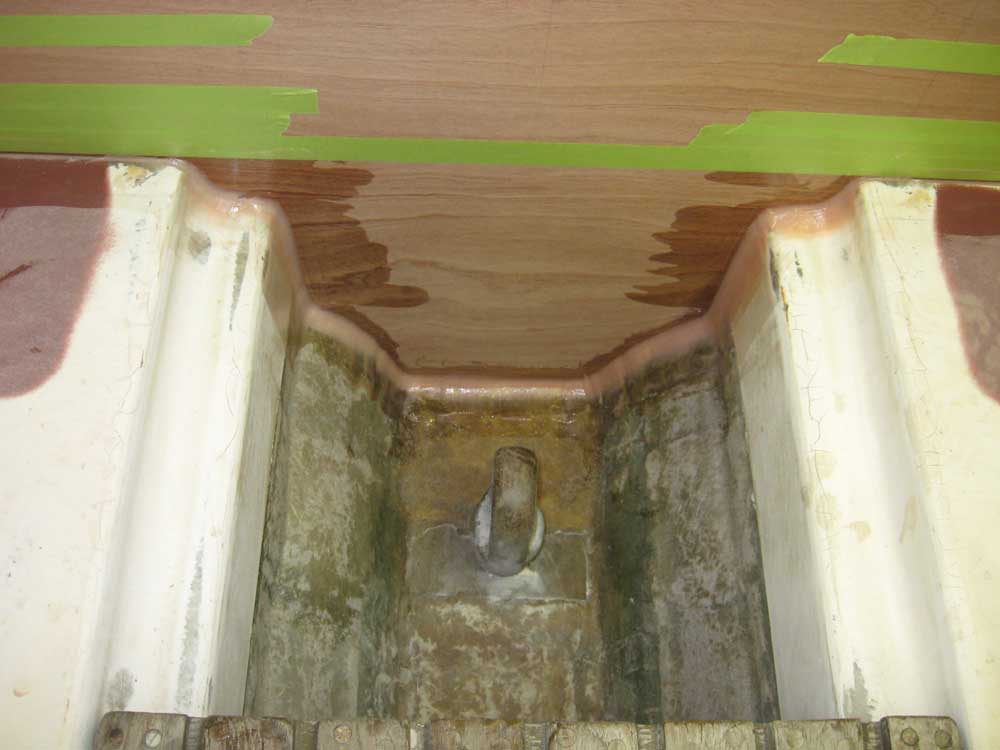
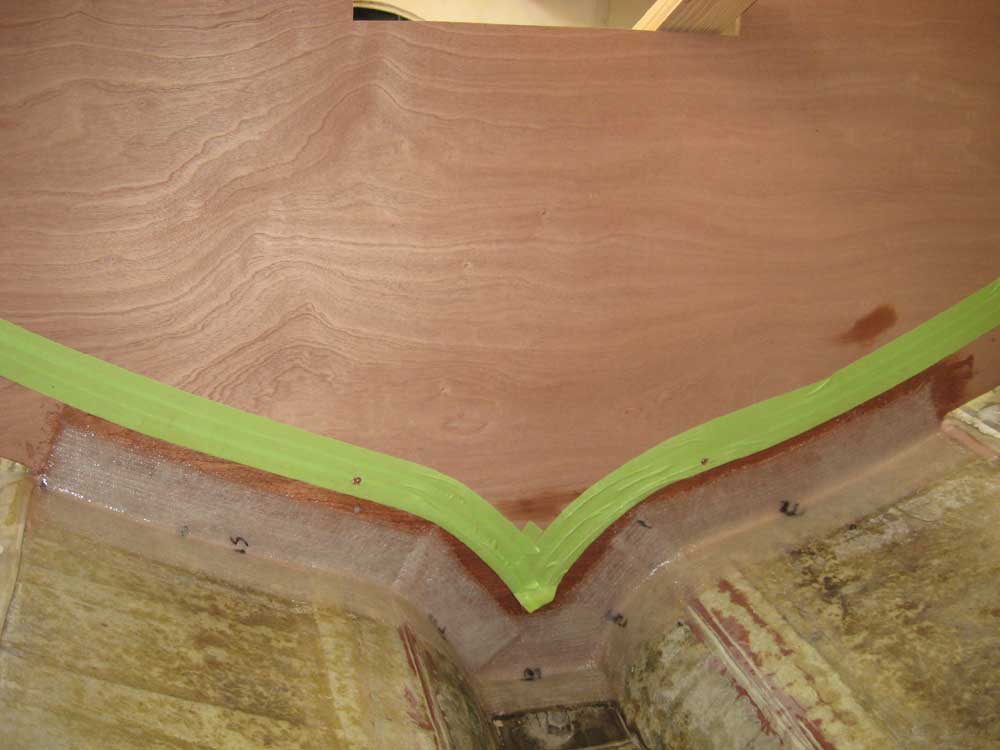
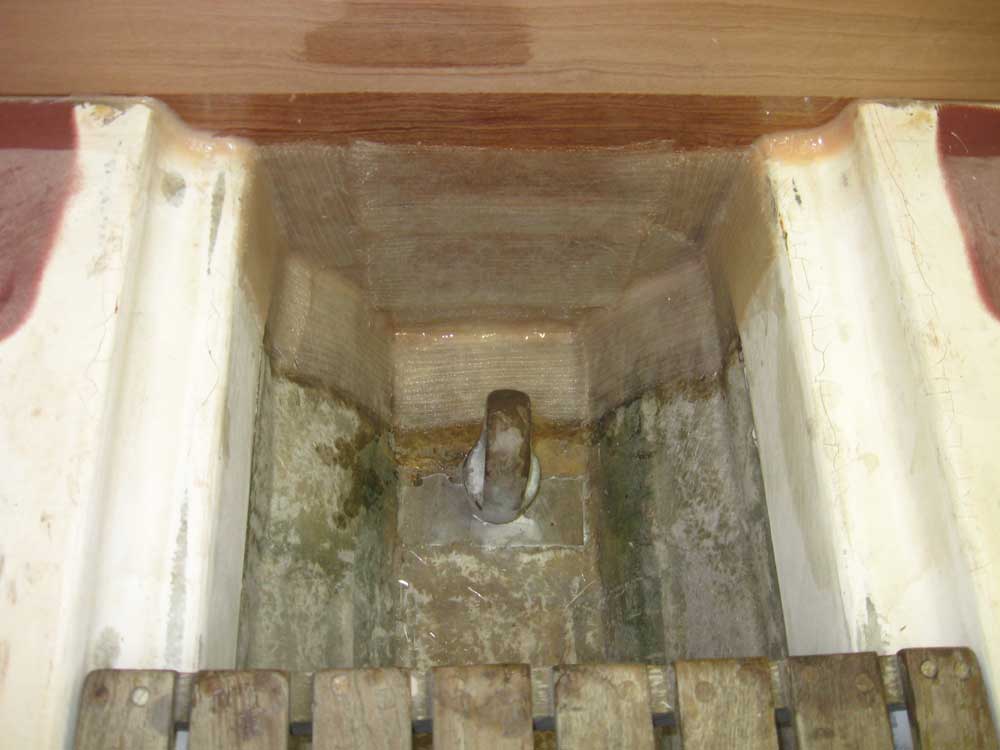
With the bulkhead secured in its final position, I used a scribe set at 4" to trace the outline of the hull onto the bulkhead on both sides, fore and aft--this to provide a mark for masking tape so that any fiberglass and epoxy that I used for tabbing the bulkheads into position later would maintain a clean, consistent line, and to protect the nearby bulkhead from staining or damage. Then, I traced the cockpit sole onto the back side of the bulkhead, again for future taping reference. Next, I worked on some basic layout for a companionway opening. Without an opening, access to the cabin would be difficult, and it'd be easier to cut the opening on the bench in any event. I began by determining a basic cockpit seat height: 16", which seemed to be typical, comfortable, and practicable. I marked this height on the bulkhead and drew a level line across, which I highlighted with tape for ease of display here. |
|
|
|
The specs called for a companionway opening to be raised above cockpit sole level. I thought the final height of the bottom of the opening would probably determine itself at some point down the road as construction progressed, but at most it'd be even with the seat height--and possibly higher. So for the moment, I struck another level line 4" above the seat height, at 20" from the sole, and marked it accordingly. Then, I measured for the centerline of the bulkhead, which I confirmed with the centerline string, and, using this mark as a guide, I laid out an 18" wide opening with plumb sides. |
|
|
|
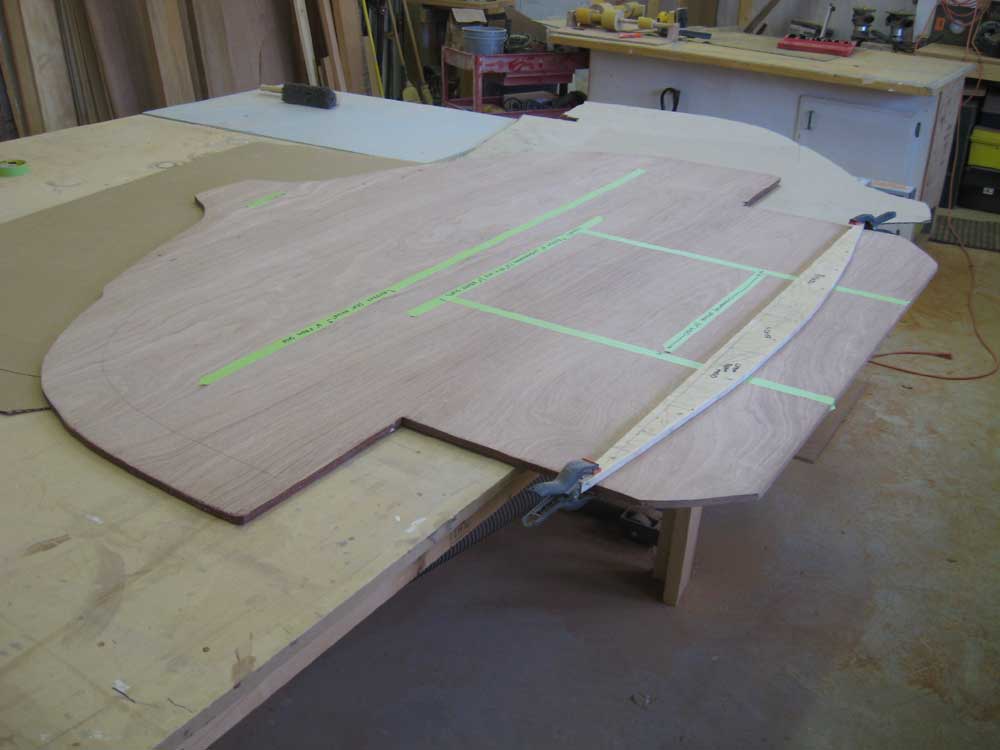
I finished up the pre-final installation marking and measuring by marking the edges of the plywood at the height where they intersected the cabin trunk sides, which would demark the two necessary points for me to lay out the top curve for the coachroof camber. I removed the bulkhead from the boat and, down on the bench, clamped my cabin beam template to the top, aligned with centerline and the two marks I made (though I left it just high of the marks to allow for some final fine-tuning on board), marked it, and cut the line, after running masking tape to protect the plywood. |
|
|
|
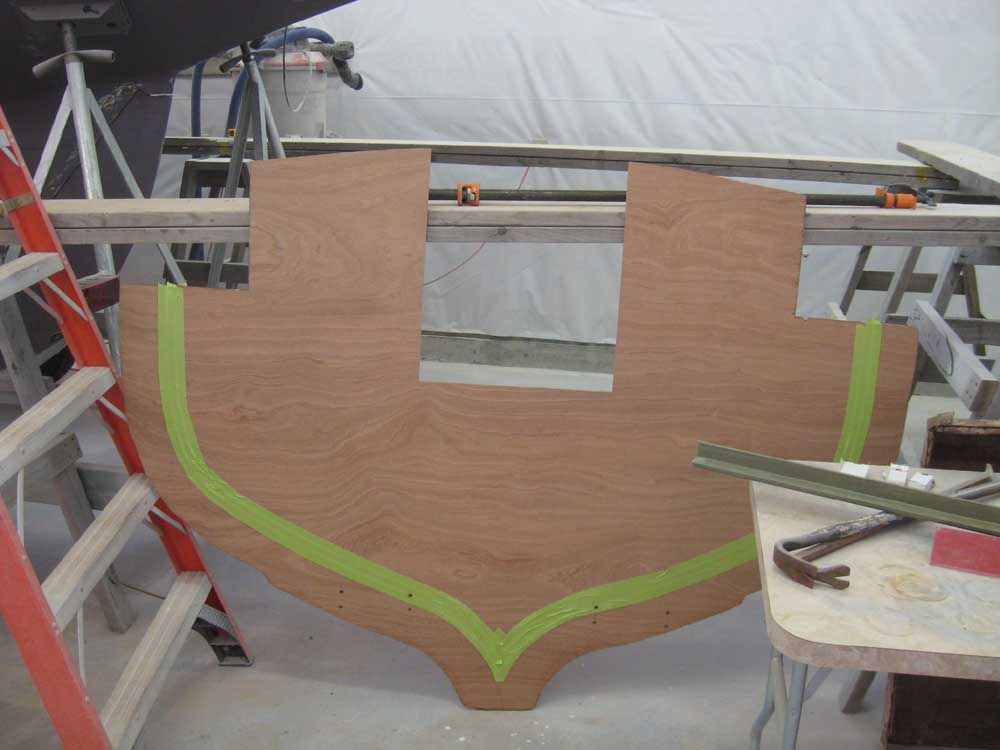
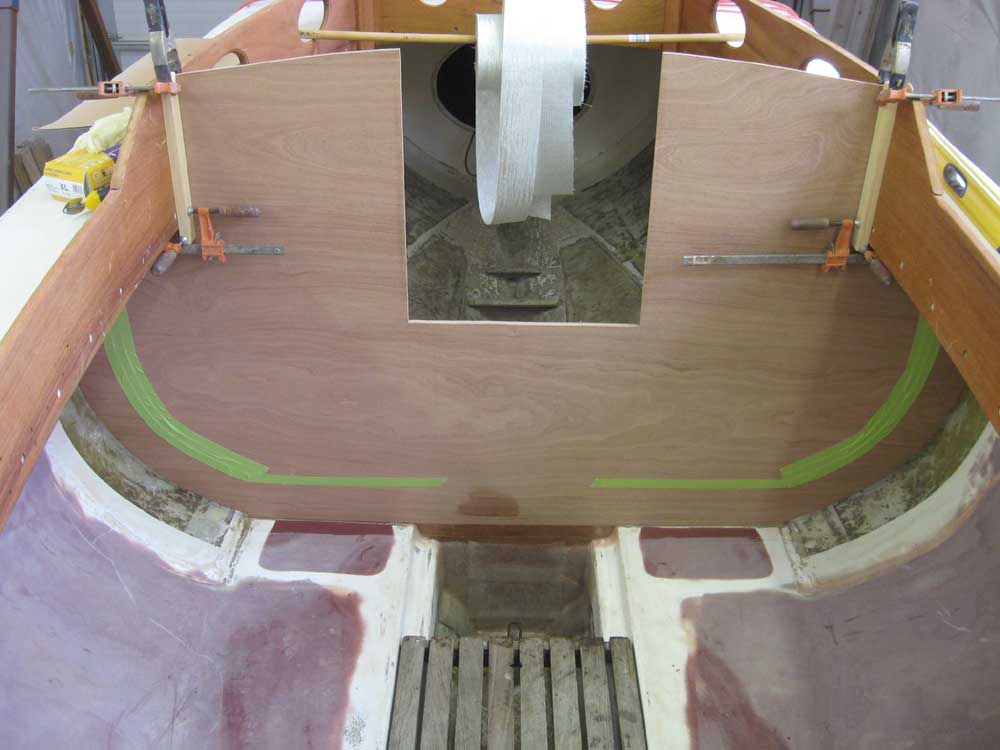
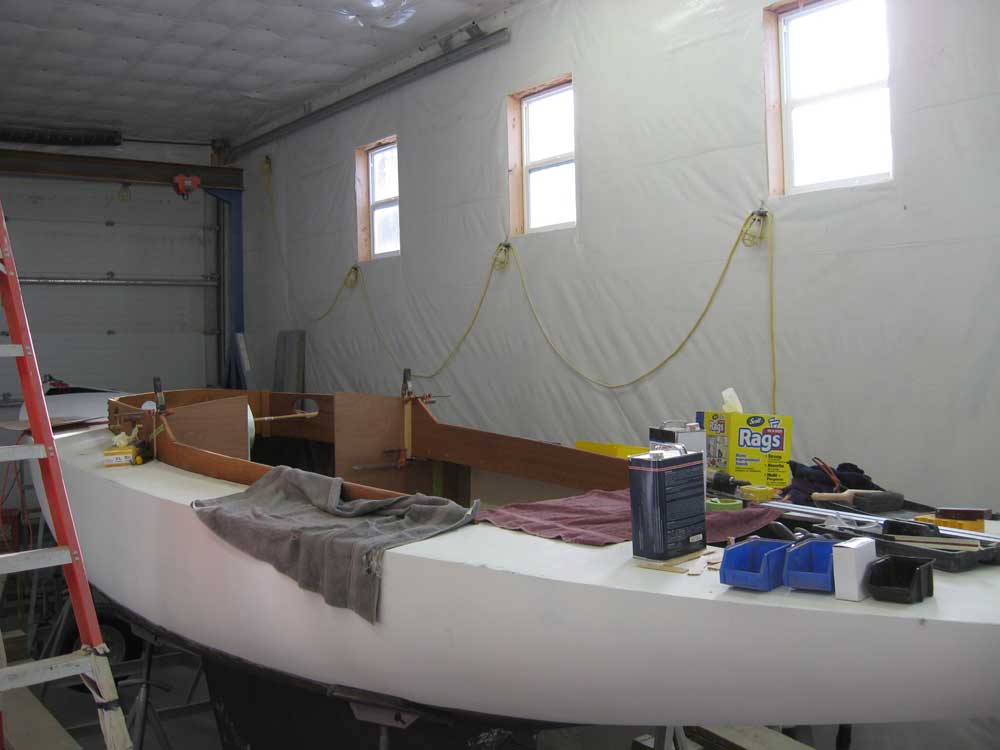
Next, I cut out the companionway opening, following the taped layout lines. Finally, I applied three rows of masking tape along the curved lines at the bulkhead edges, and the bulkhead was ready to go into the boat one final time for installation. |
|
|
|
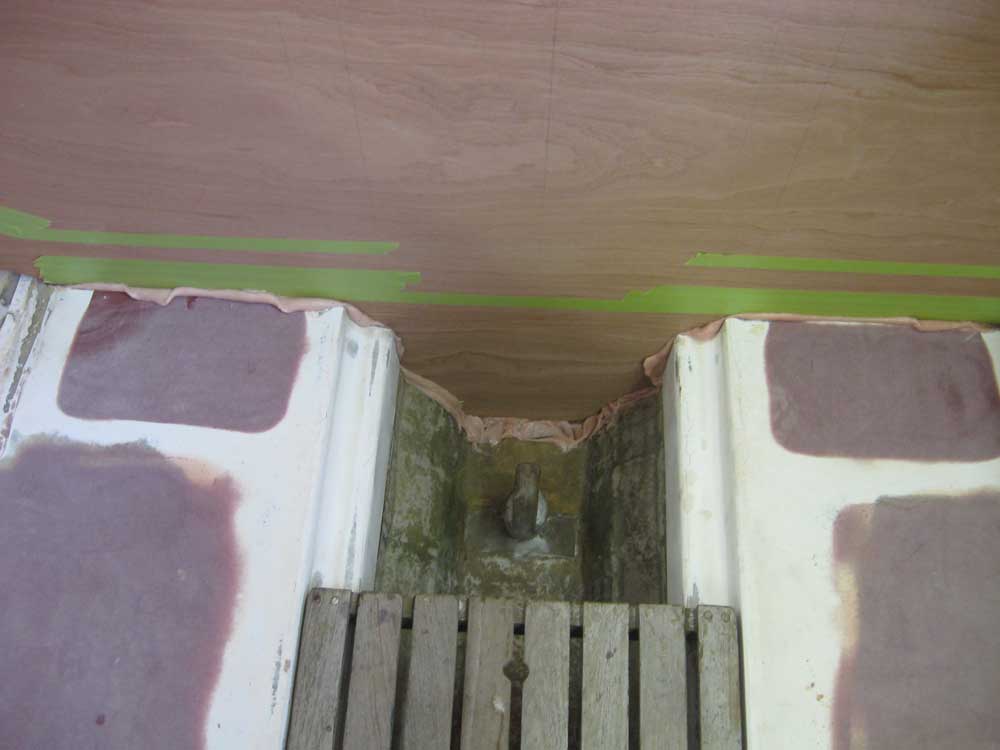
I set the bulkhead in place in the prepared boat (vacuumed and acetone-washed), and then tipped the bottom section forward so that I could access the bearing surfaces against which the bulkhead would sit. I applied thickened epoxy all over the mini-bulkheads and on the hull where the bulkhead would rest, but only up as far as the turn of the bilge, where the 3/8" gap began. For now, I planned to secure only the base of the bulkhead, largely because I didn't think I had enough epoxy resin on hand to complete the entire job today. Later, I'd finish up the top sections, and also mill and secure final blocking to secure the bulkhead to the cabin trunk. But that's for another day. Back to today, I swung the bulkhead back into position and drove eight bronze screws from the cabin side into the mini-bulkhead, pressing the main bulkhead tightly into position and squeezing out the excess epoxy in the process. With the screws in place, I went ahead and clamped the upper portion of the bulkhead into its proper position against the cabin sides. |
|
|
|
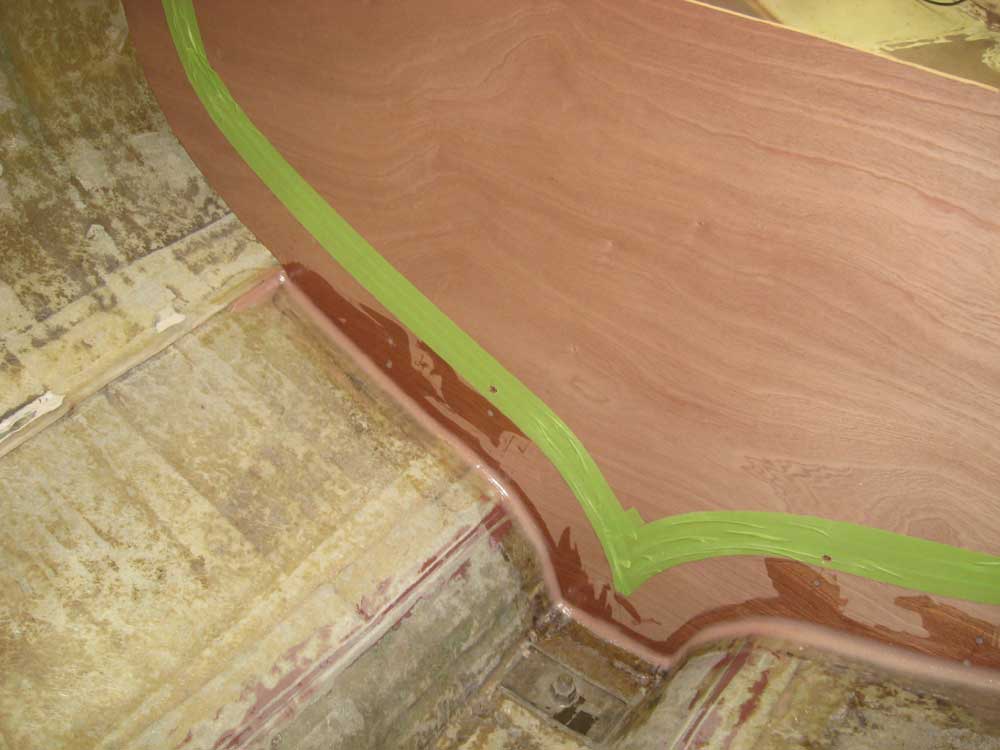
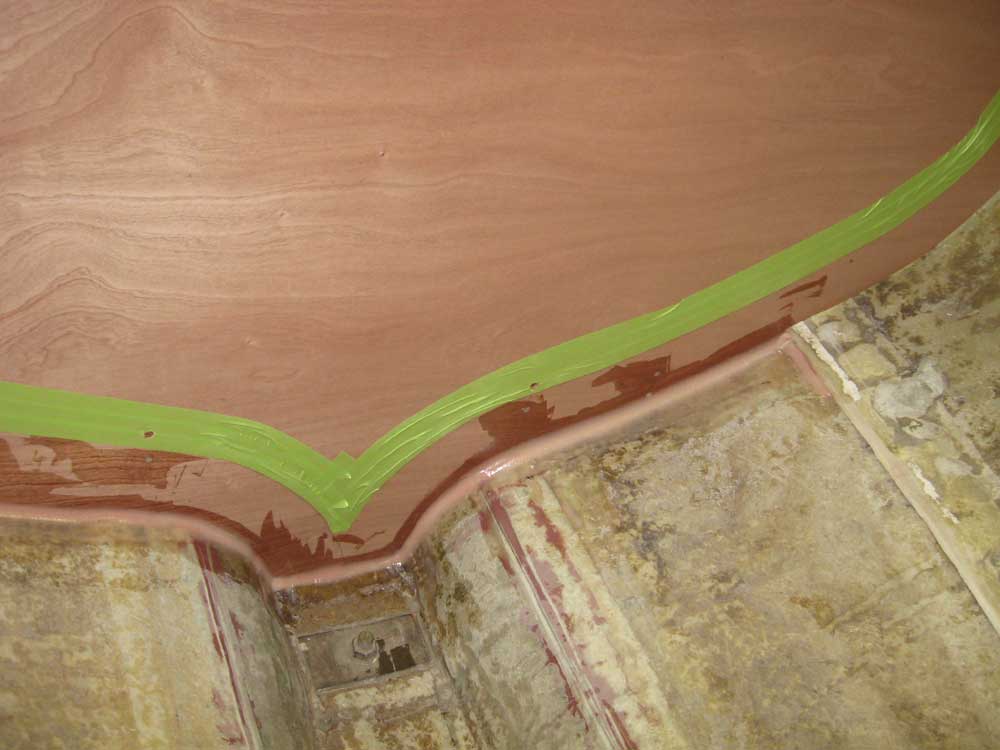
Using a squeegee that I cut into a rounded shape, I formed nice fillets between the bulkhead and the hull, all along the inside edges (but again, only up a few feet to the turn of the bilge) and in the bilge area of the cockpit side. At the cockpit sole, I squeegeed the epoxy flush for now, since this area of the bulkhead would be visible, and I didn't plan to tab these flat, visible areas; later I'd add a cosmetic fillet. |
|
|
|
After allowing the fillets to set up for a little while, I installed layers of 4" and 6" 1708 tabbing to the bulkhead on both sides. In the cockpit bilge, which would be a potentially wet area, I filled in the center portion up nearly to deck level with two strips of fiberglass tape to provide improved water resistance. I left the fiberglass to cure, which wrapped up the day's work on this boat. I should note that the epoxy spread on the bulkhead in some areas provides a tantalizing look ahead to how this piece will look with varnish applied. |
|
|
|
|
|