| Bolero
Project |
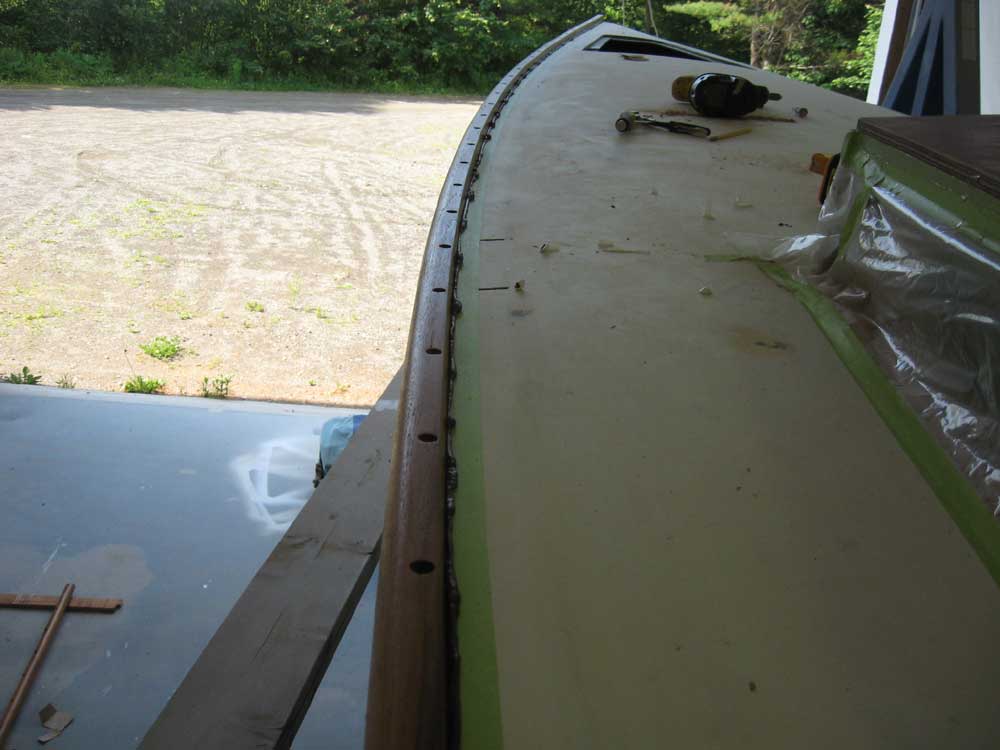
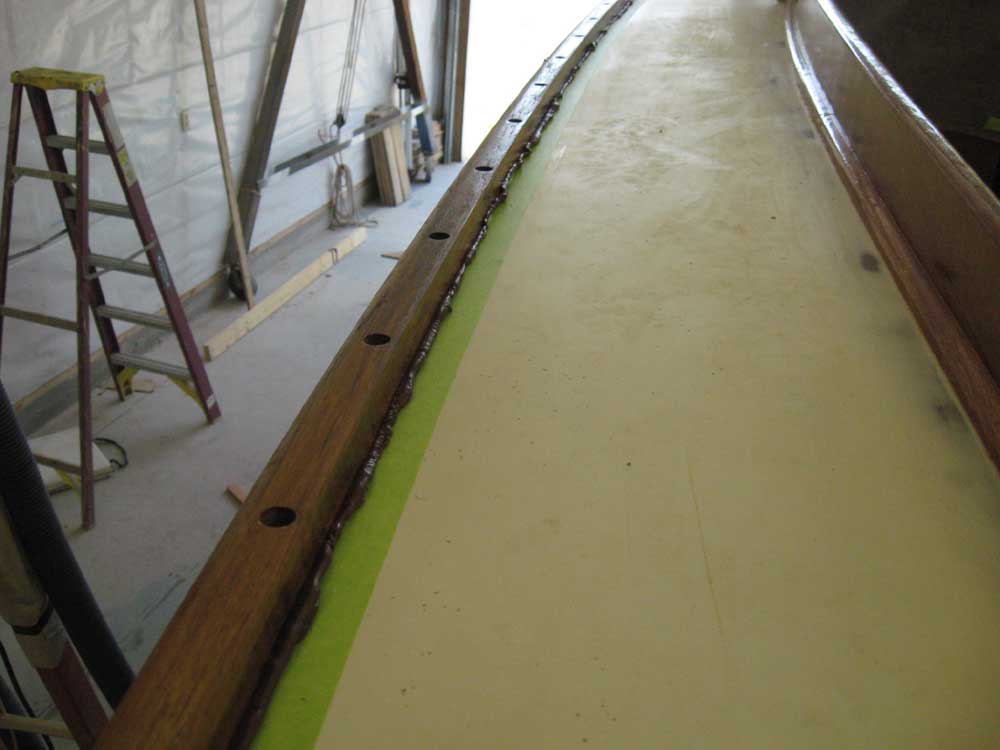
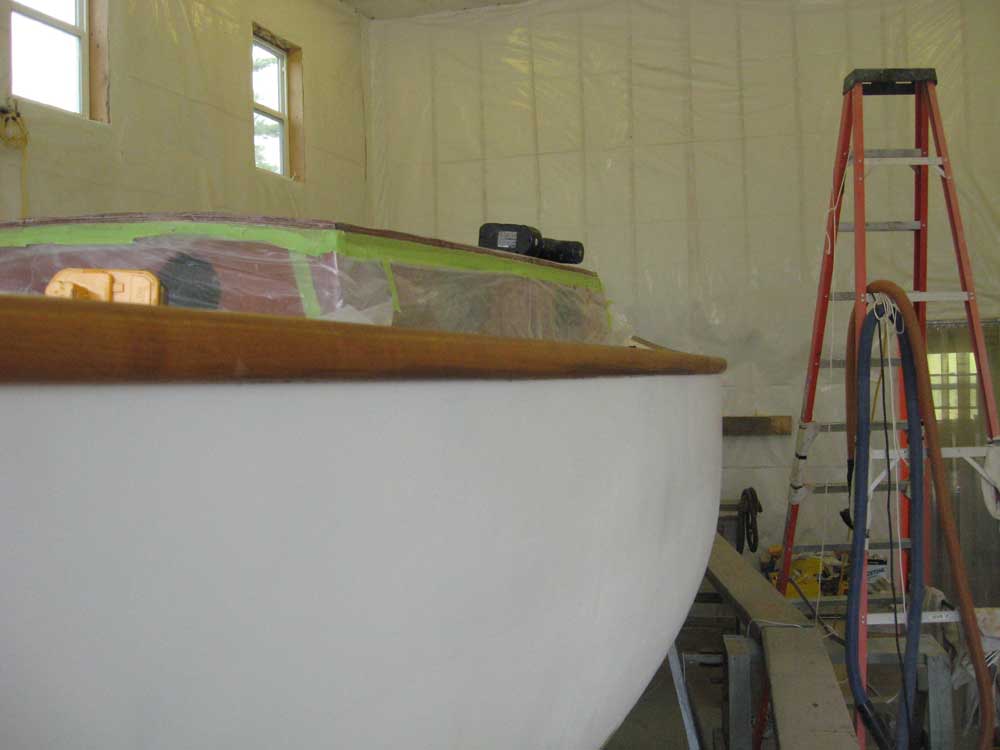
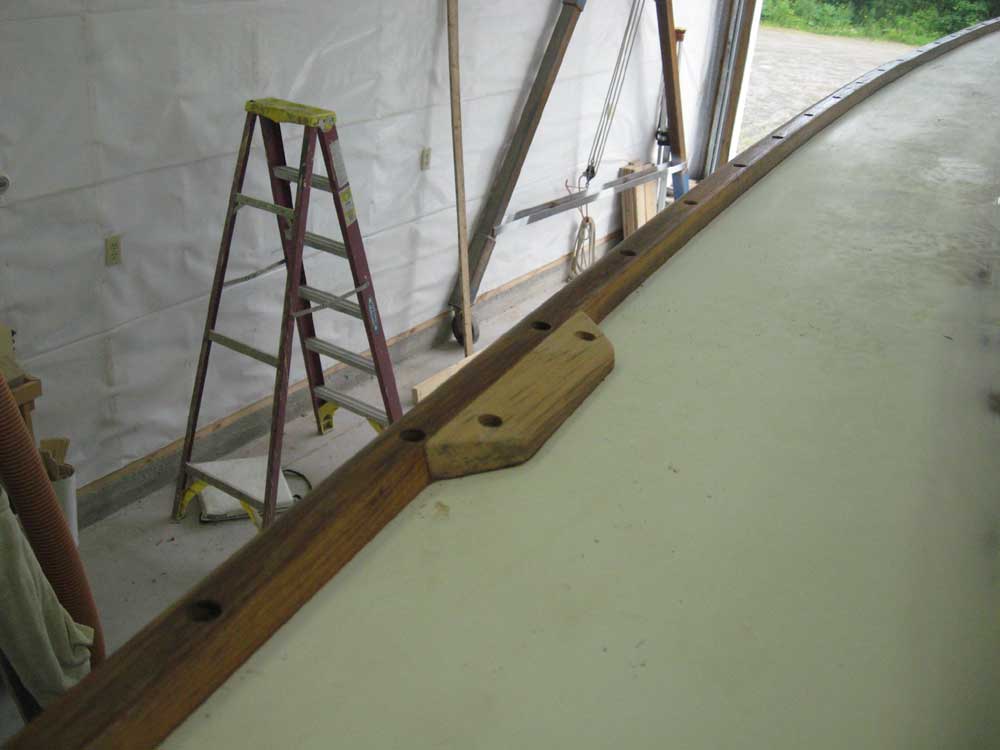
Friday, June 27, 2008 I got started right away with the port toerail: time for final installation. I sorted through the screws to remove any with stripped heads, laid out the necessary tools, and accumulated the caulking gun and tubes of mahogany-colored sealant for the job. I rigged lines here and there to hold the long section of rail, and was ready to go. When I opened the first tube of sealant, I was unable to push any out once I'd put it in the gun. Investigating, I found a small plug of semi-cured sealant at the neck, which I removed easily, and I thought little more of it. Everything was hunky-dory for a while as I began applying beads of sealant along the deck and hull. I ran beads far enough down to allow me to get part of the rail installed; as before, the time it took to install the first few screws was the most tense part of the job, but before long I had secured enough of the rail so that I felt I could breathe again. I began applying more sealant to the deck and hull so I could continue moving aft, and before I'd even reached amidships I realized I couldn't push the material out, though the plunger on the gun wasn't nearly all the way down. That meant only one thing: more cured sealant inside the tube. I opened a second tube, again finding the plug at the top of the tube, but I got enough sealant out to continue. In this manner I continued. All four tubes of sealant that I had on hand for the job were in the same condition. I knew I needed new material, but with half the toerail in place I was committed to finishing this side before I could address the caulk situation properly. Using what I could from all four tubes, I managed to get within two feet of the transom before I couldn't push anymore through the gun. I had to caulk the last bit and finish the rail, so I sliced open one of the tubes, revealing lots of good caulk inside that was unusable through the gun, and used a putty knife to apply it to the last little bit. |
|
|
|
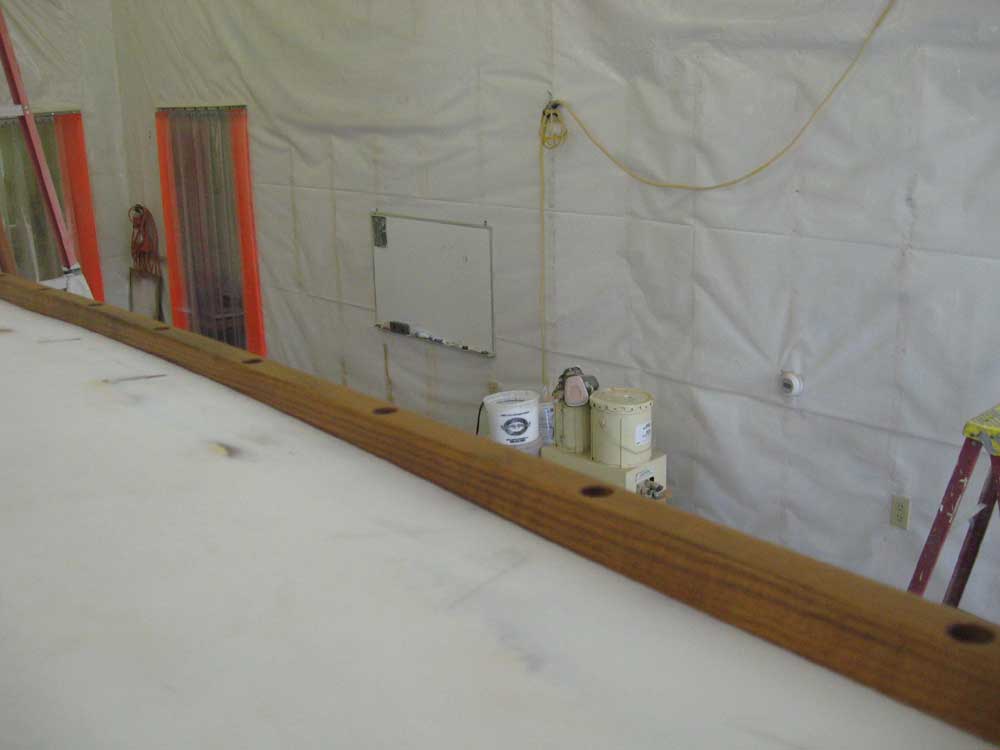
With the port toerail permanently installed, I cleaned up the excess sealant from the edges. I was extraordinarily pleased with how well the fix for the chainplate hump had worked out: from the exterior, all signs of the unfairness had disappeared, and while the deck maintained its misshapenness in that area, the hollowed-out toerail followed the contours nearly perfectly and didn't stand out in the slightest. |
|
|
|
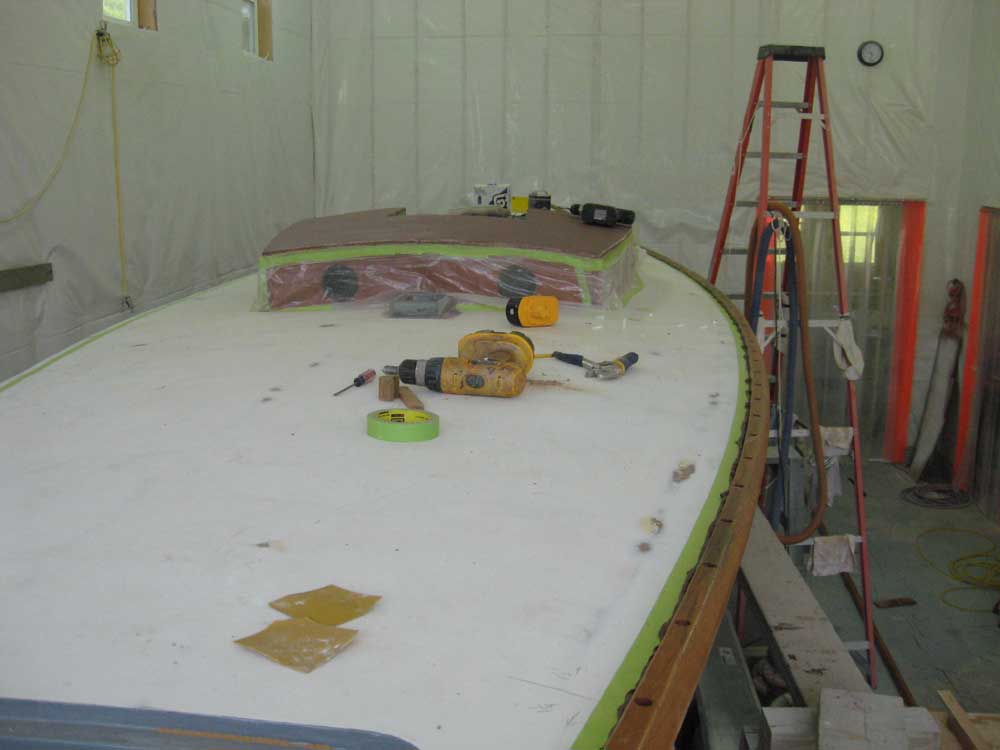
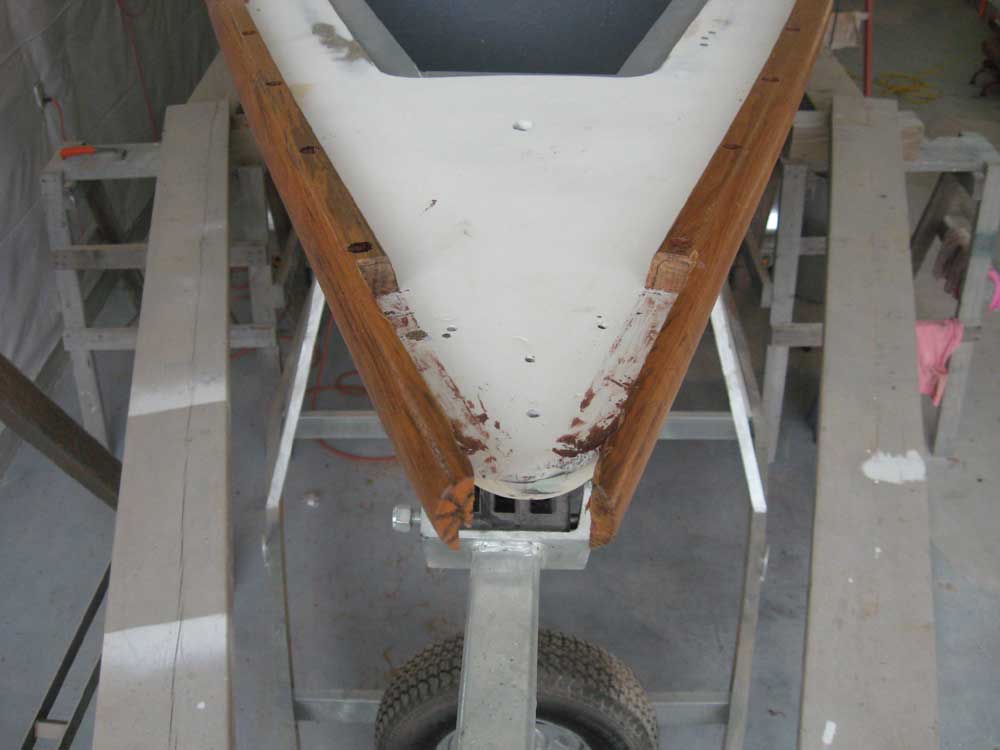
In order to continue with the toerail, which I needed to finish today, I had to endure a frustrating but unavoidable waste of an hour and a half to run out and buy more sealant; if it hadn't been Friday, I would have ordered it for arrival the next day, but with the weekend it would have been Tuesday before my supplier's truck would be here again. Armed with many tubes of new sealant, I completed the starboard toerail installation without further incident. Afterwards, I trimmed off the excess at the stern by holding a slim saw against the transom and cutting along that line. Still ahead lay the taffrail, which would finish off this region. |
|
|
|
While I was in seal-and-screw mode, I installed the oarlock socket blocks. Since these had no varnish on them yet, I covered them in tape to avoid forcing the sealant into the unsealed woodgrain, and installed them in their pre-marked locations with screws and sealant. Later, bolts through the oarlock sockets themselves would add further support. |
|
|
|
I washed and sanded the coachroof again, revealing just a few low spots that required a minor reapplication of fairing material. |
|
|
|
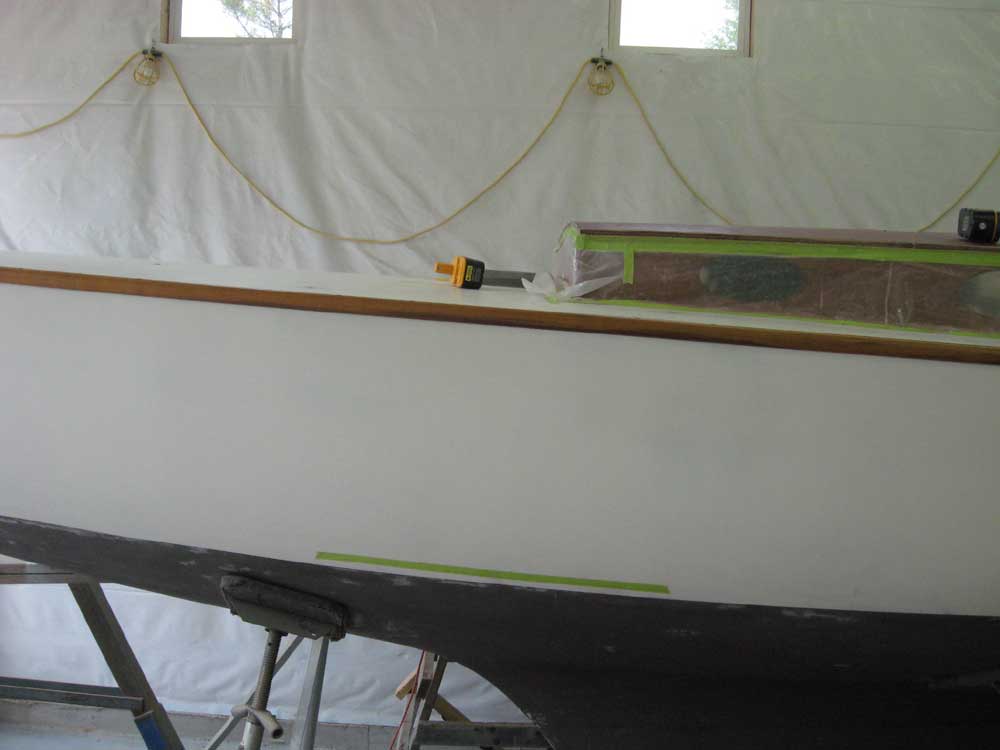
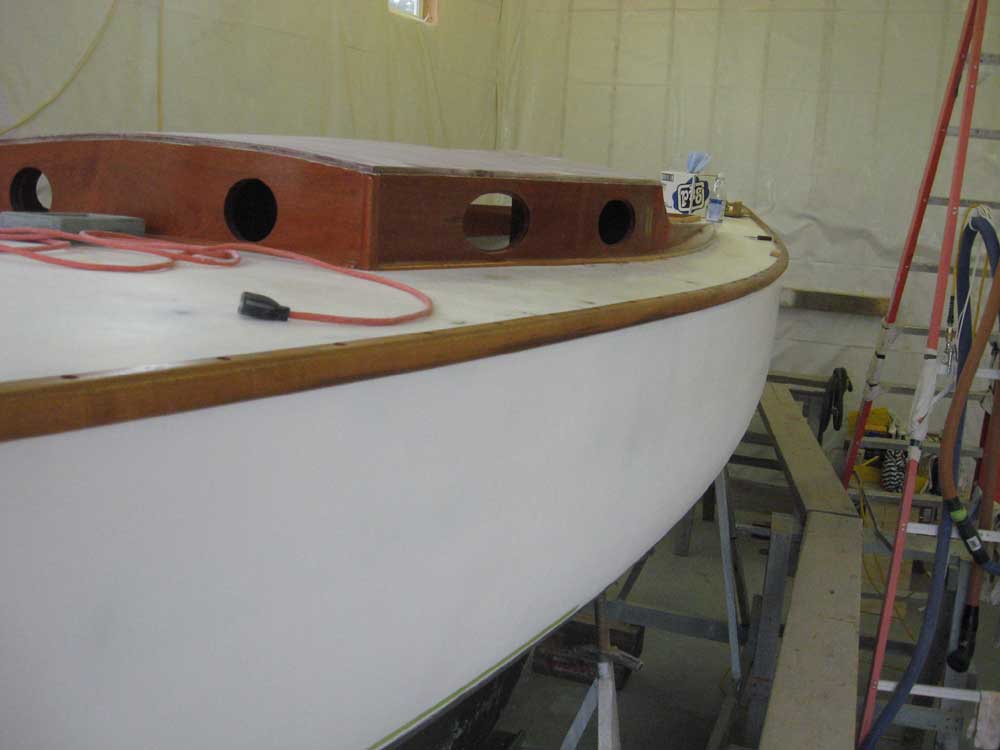
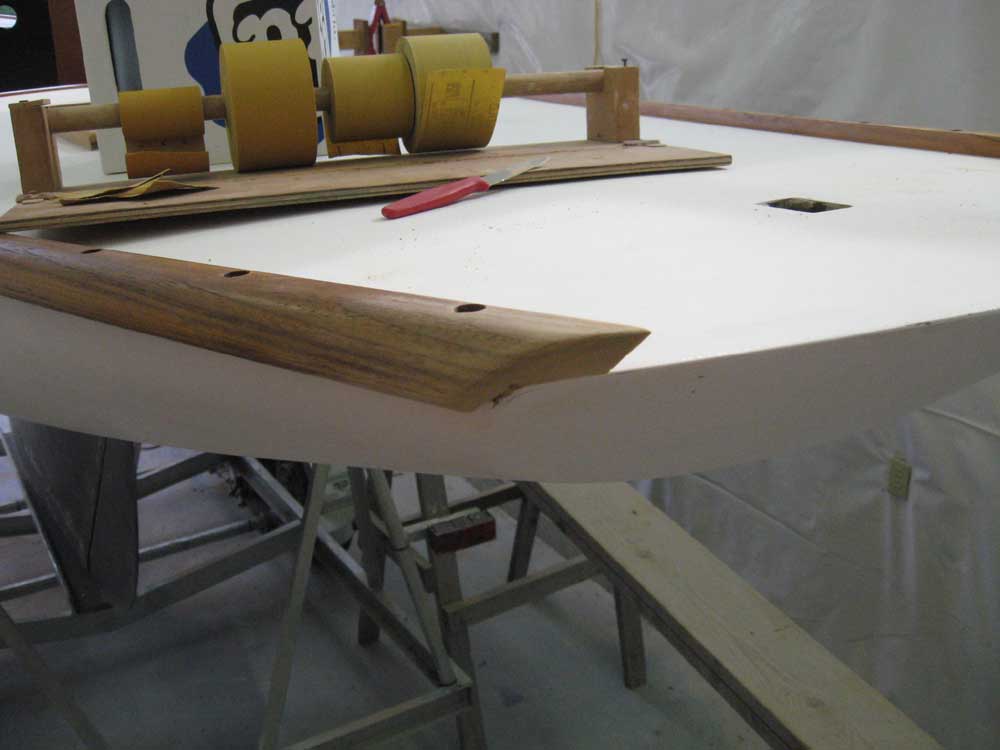
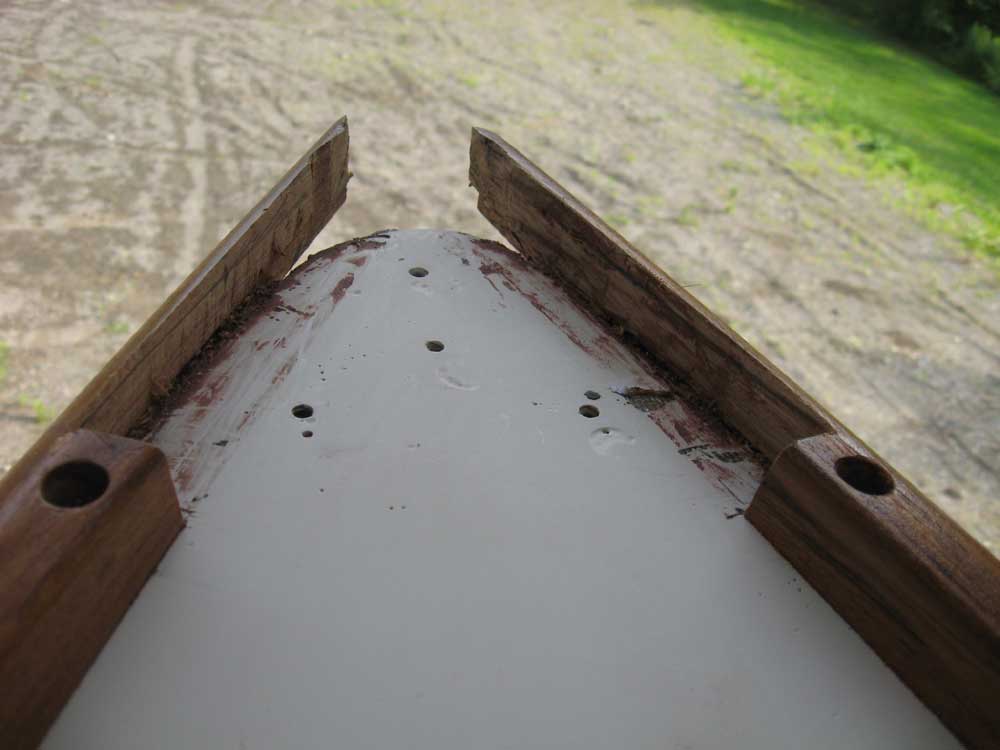
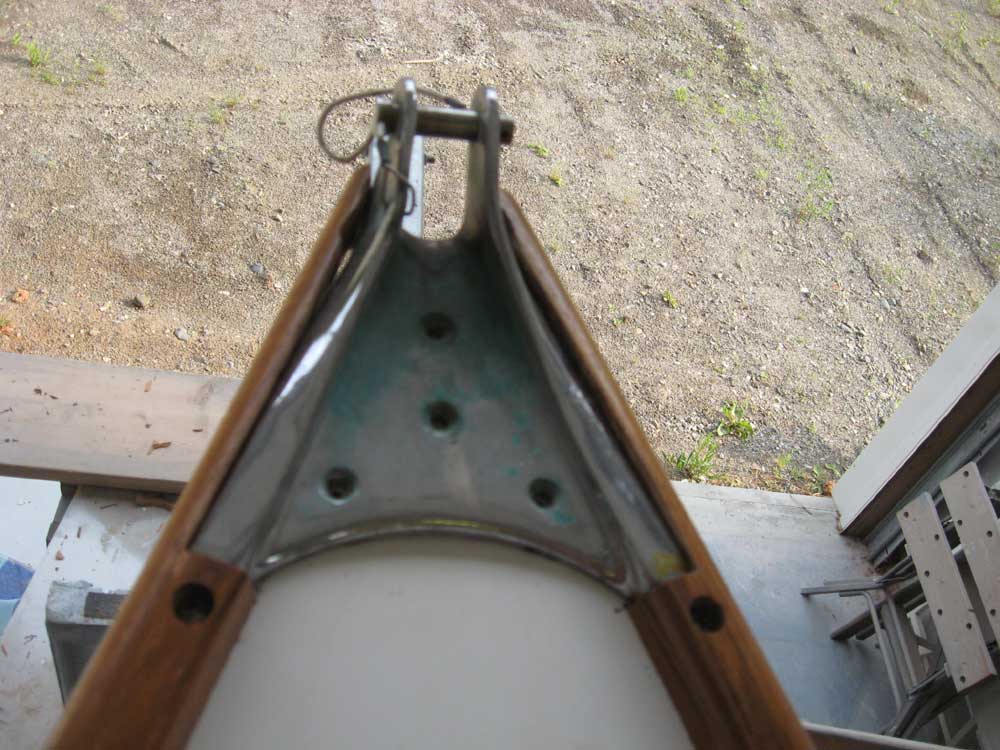
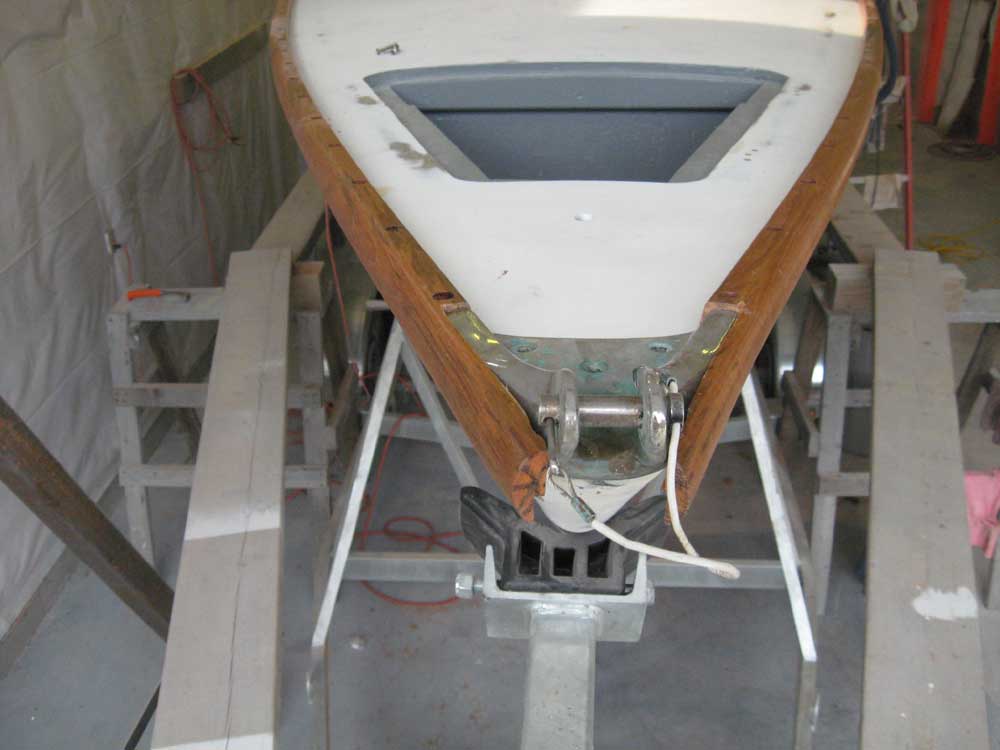
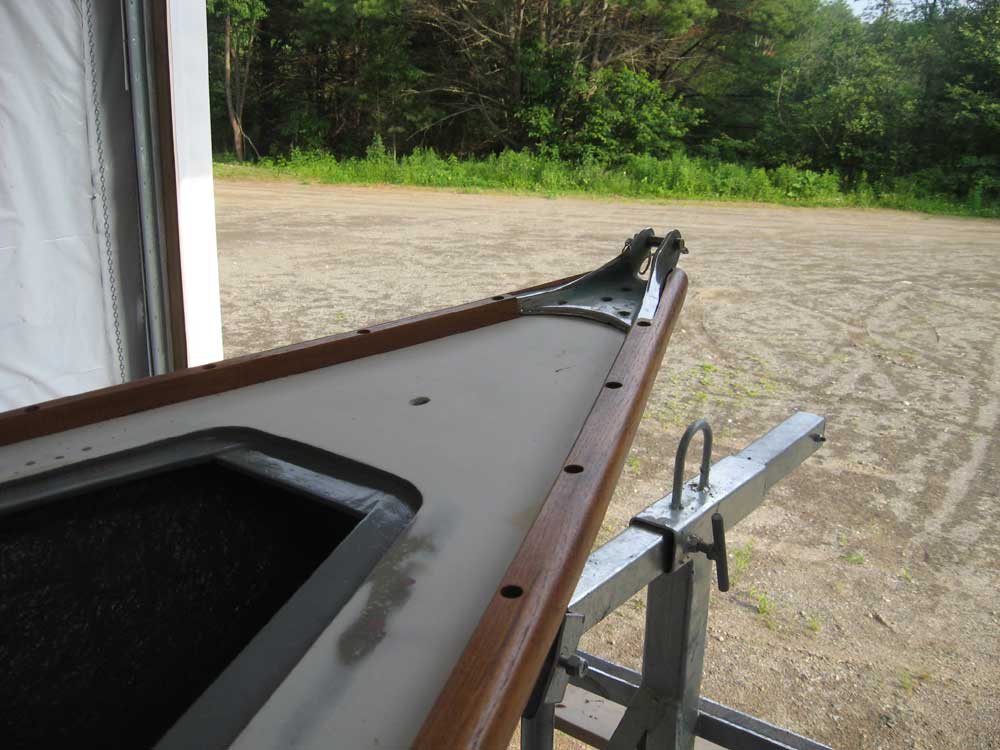
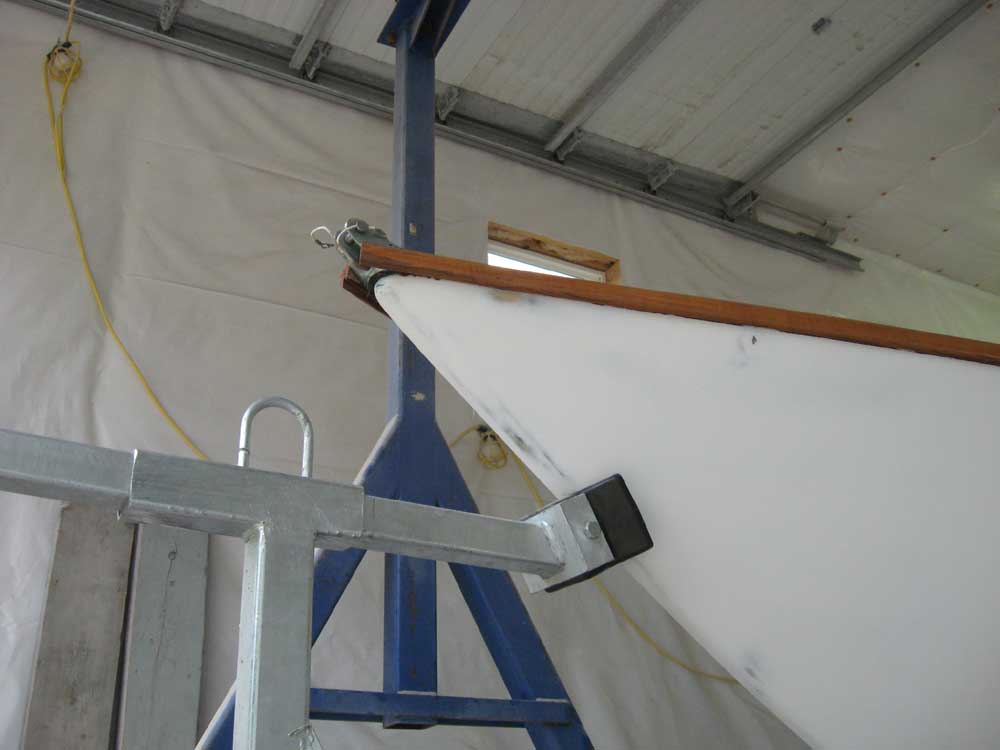
I decided to go ahead and address the toerail and the stem fitting up at the bow. The owner had suggested the possibility of recessing the stem fitting into the toerail, leaving the appearance of a full-height rail from the outside; originally, I'd thought of cutting the toerail flush with the deck in way of the stem fitting. As it happened, there was sufficient toerail material to allow the fitting to be recessed within, so after carefully positioning the fitting and marking its edges, I used a combination of saws and sharp chisels to remove the waste material in way of the fitting, taking a very conservative approach to the paring away of the material so as not to overdo it. This was the result. Some fine-tuning, minor shaping, and a couple more cuts at the forward end to terminate the rail still lay ahead, but overall this appeared to be a successful look. |
|
|
|
All this week's work was intended to lead up to the next big step in the process: finish primer and paint for the hull and deck. With all the major structures in place, if not detailed and complete, it was time. |
|
|
|