| Bolero
Project |
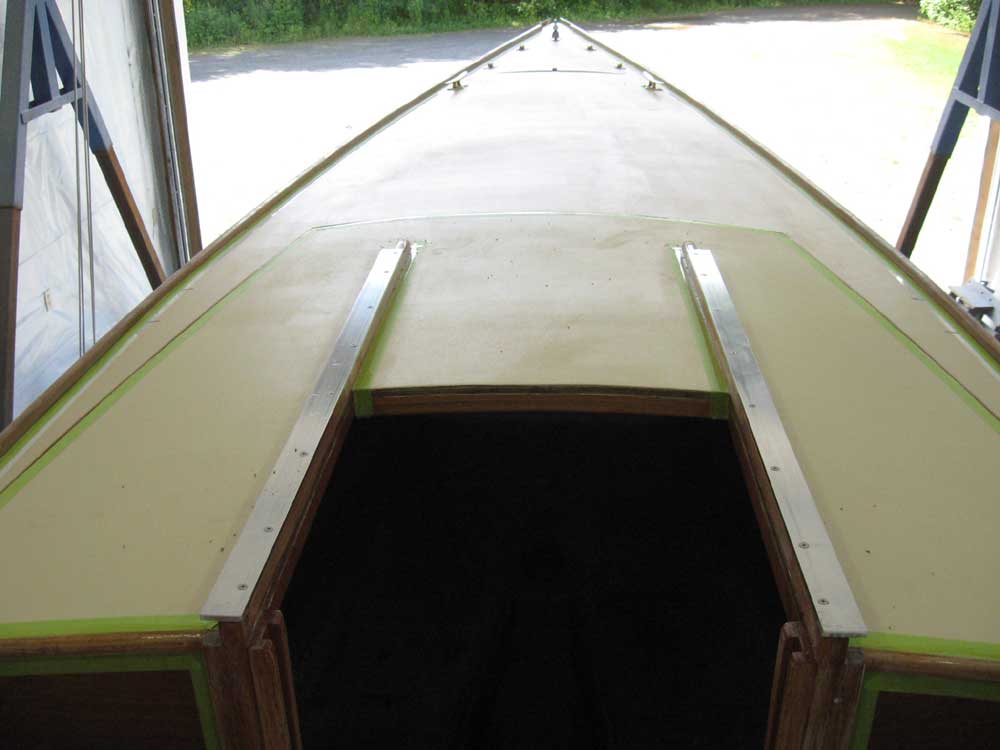
Monday, July 21, 2008 I began the day, as is my wont, by sanding all the brightwork that I planned to varnish at the end of the day: companionway, toerails, and cabin edge trim. The cockpit seats had sufficient varnish and I deemed them complete. Next, I turned to the sliding companionway hatch. To begin, I cut two pieces of 1-1/2" wide, 1/4" thick aluminum stock to the appropriate length for the rails, and after marking the locations of the screws securing the wooden rails, drilled and countersunk holes in the aluminum for screws. Then, I temporarily installed the aluminum, ensuring that the rails remained a consistent distance apart. |
|
|
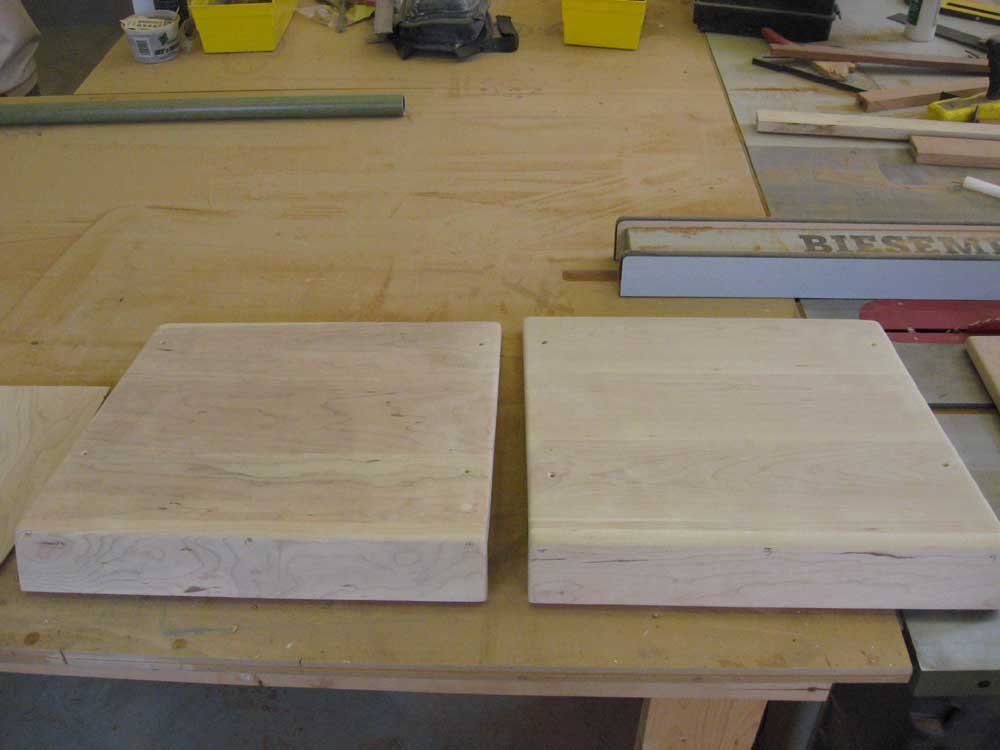
After a few measurements, I made up some blanks to use for the sides of the hatch, which would incorporate the runners to ride on the aluminum rails. I cut 1/2" x 1/2" dadoes in each blank, and inserted 1/2" blanks of UHMW material in the dadoes, securing it with epoxy. Later, I'd mill a smaller dado in the UHMW insert to slip over the 1/4" thick rails, hopefully providing minimal friction for the sliding hatch, but for now I had to leave the pieces for the epoxy to cure. Meanwhile, I sanded the blank I'd made the other day for the top of the hatch, and set it aside till later. |
|
|
From 7/8" mahogany, I made up the companionway swash boards; first, I had to plane the material down to 3/4", and afterwards I sized the pieces as needed and milled edge details on each piece--shiplap joints where each board met the one beneath it, and a 5° bevel on the bottom of the bottom piece where it met the angled stool. I sanded these deceptively simple pieces smooth, and set them aside for the varnish room. My planer knives are quite dull from milling the teak toerails. Actually, all my blades are dull from the teak at this point, so please forgive the occasional burn marks on the stock in its unsanded state. We are aware of the problem and are taking appropriate steps to correct it as soon as possible. |
|
|
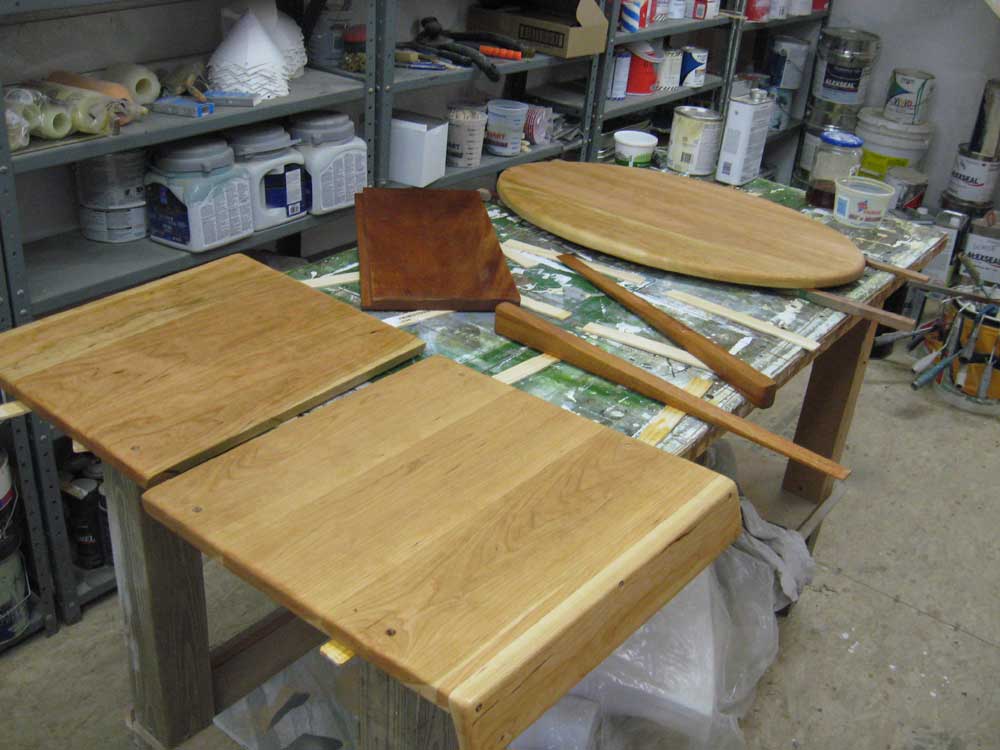
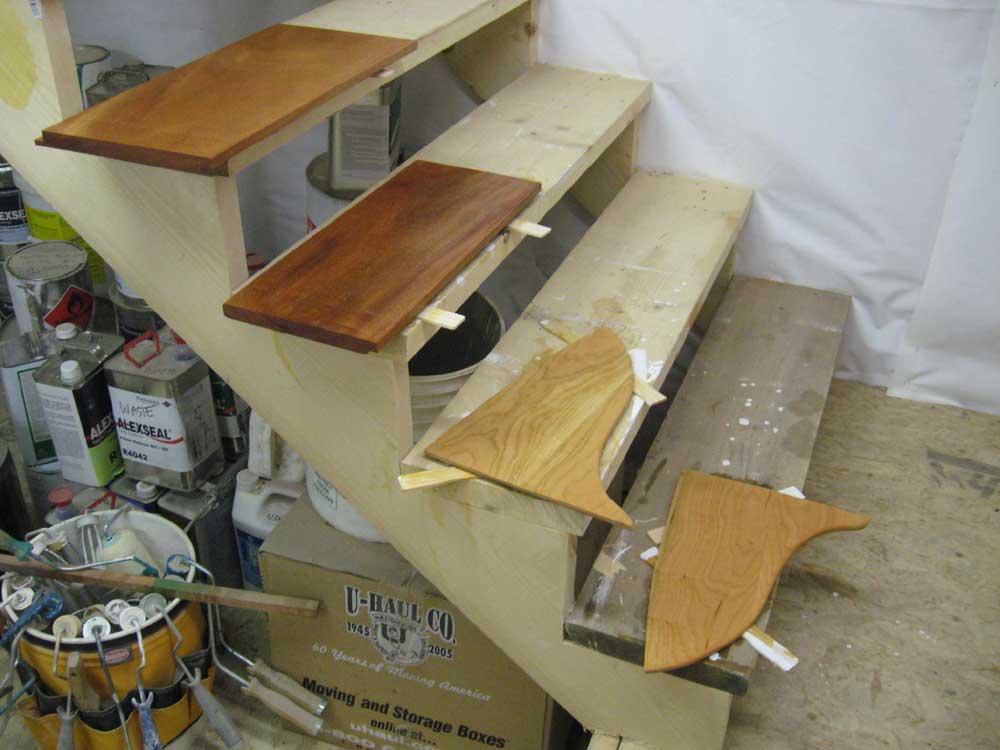
There were several trim details requiring my attention to wrap up the interior work, all of which I'd begun with preliminary steps much earlier. I began with two decorative trim pieces for the forward bulkhead, to cover some molded-in recesses at the upper corners. Earlier, I'd created a cardboard pattern to simulate a sort of hanging knee look, and had even made up some blanks for the pieces before moving on to something more important at the time. Now, I cut the blanks according to the patterns, and, after test-fitting and minor modifications, sanded them smooth to prepare for varnish. |
|
|
Similarly, I wrapped up the work on the chainplate box covers, which I'd also been working on sporadically in the past. Today, I completed the sizing of the panels--I'd already marked for the final cuts during an earlier stage--and added short bottom returns to run from the panel back to the hull, closing off the bottom portion of the chainplate boxes. This process was surprisingly labor-intensive, as each step required temporary installation of the panels for accurate marking, then removal, then reinstallation for fitting, and so forth. Eventually, I glued and screwed the pieces together as needed, and then later sanded them smooth for varnish. These trim pieces would be easily removable for chainplate inspection, with only four screws holding them in place. |
|
|
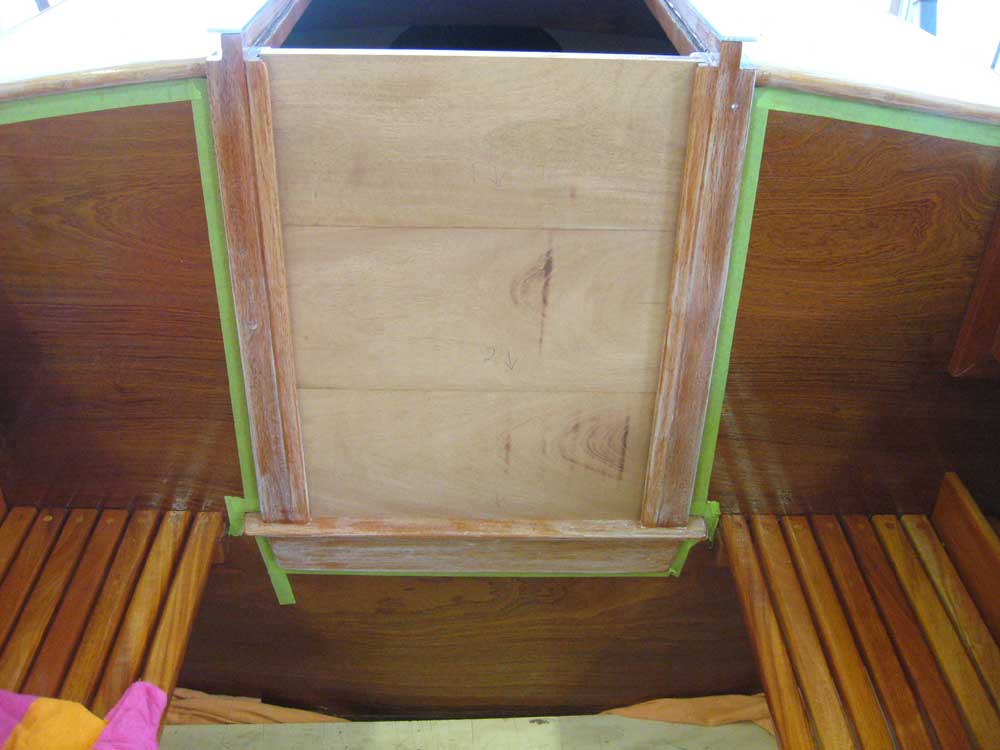
The glued-up panel for the new cherry forward bulkhead hatch (now also planned as a dual-purpose cockpit table) had languished, though neither forgotten nor unloved, in a corner of the shop for some time. Now, I used the old fiberglass hatch as a template, and laid out the new hatch 1" larger all around to allow it to cover the old opening completely. I cut out the shape, milled a pleasing rounded edge on the top surface, and sanded it smooth. I used the edges of the panel to mark a template shape for some smaller blocks that I'd need later to install hinges and latching hardware, since the new door would stand proud of the bulkhead surface and thereby require spacer blocks for the hinges. |
|
|
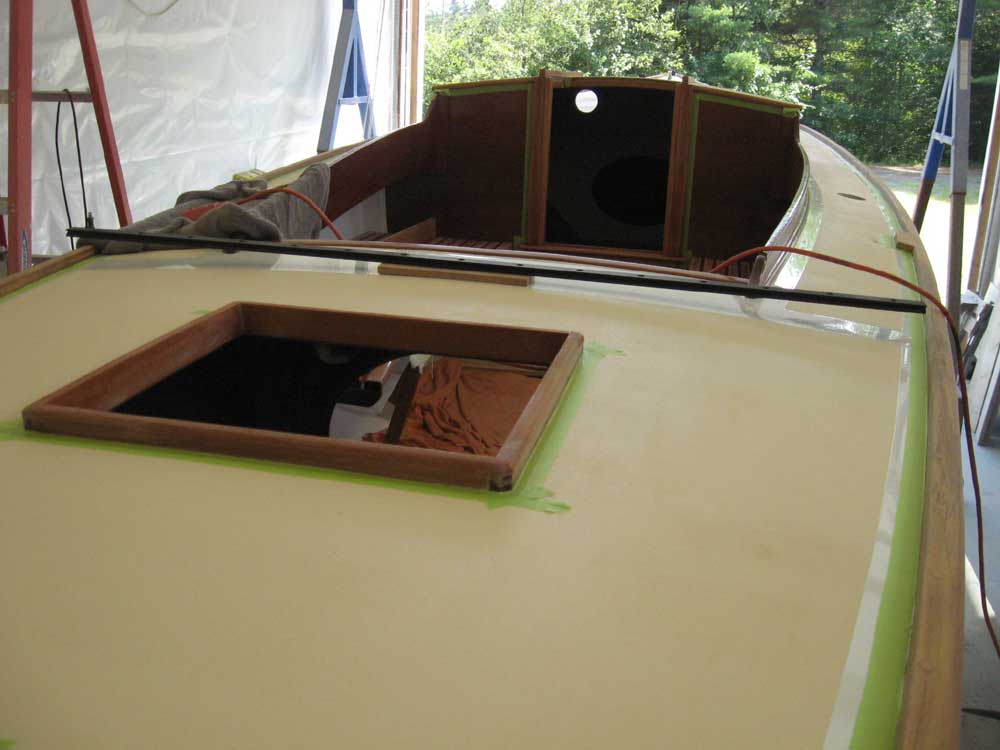
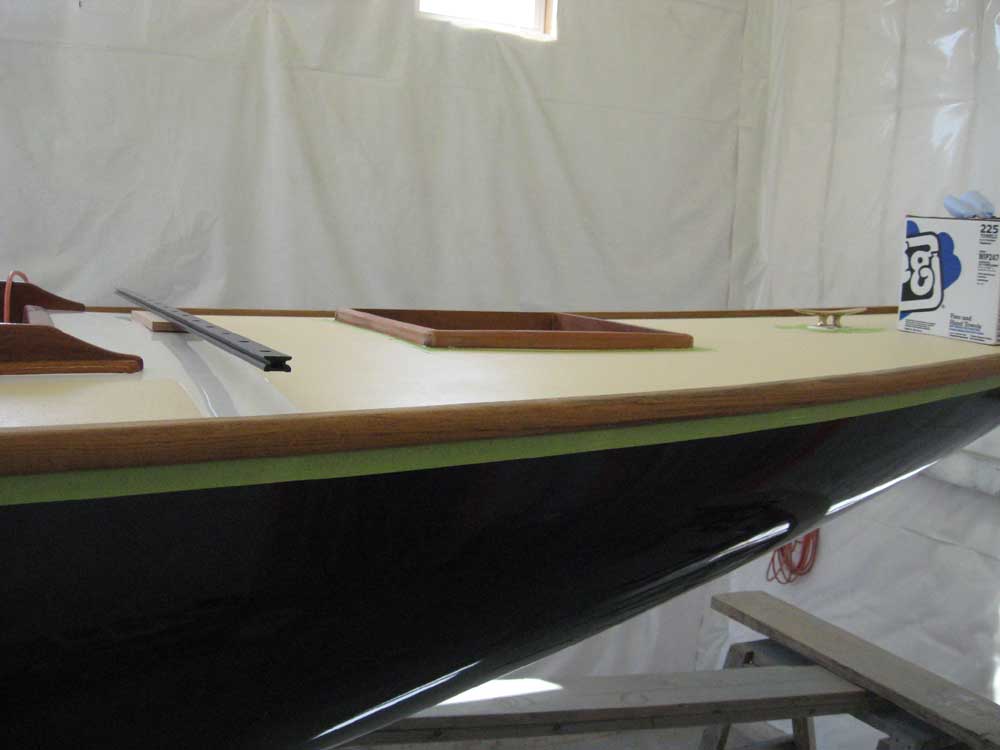
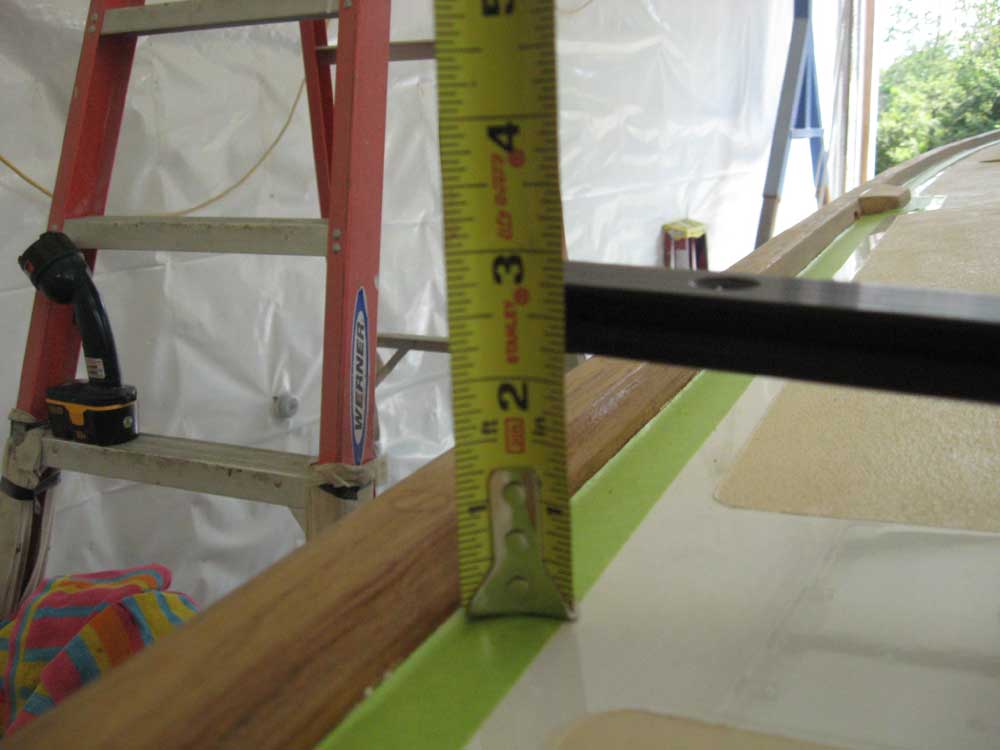
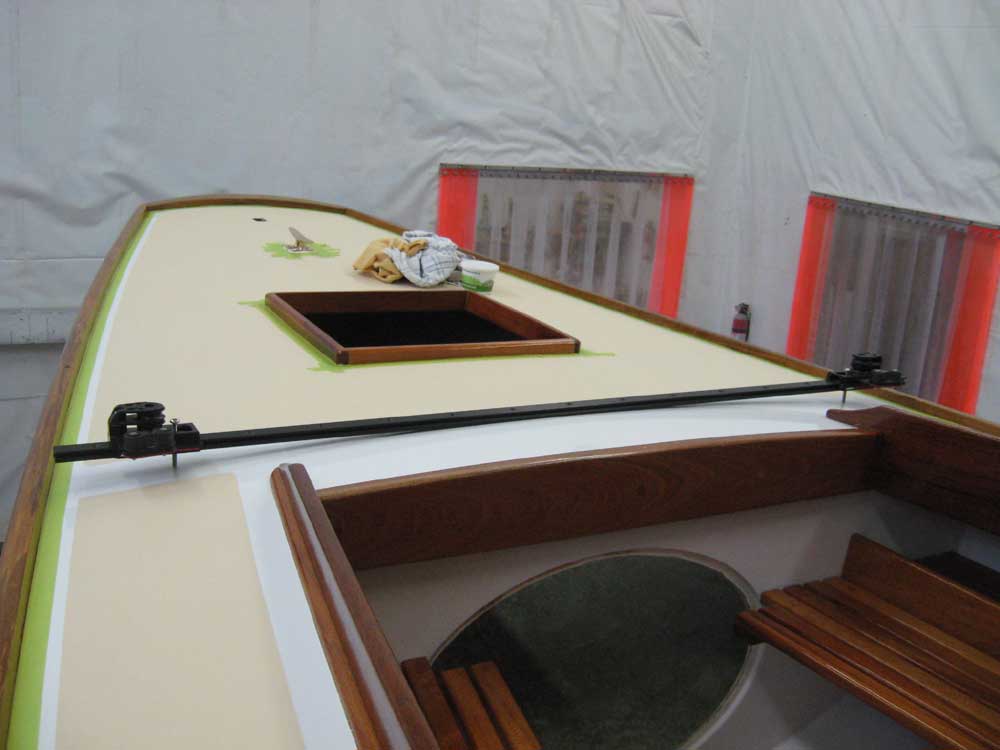
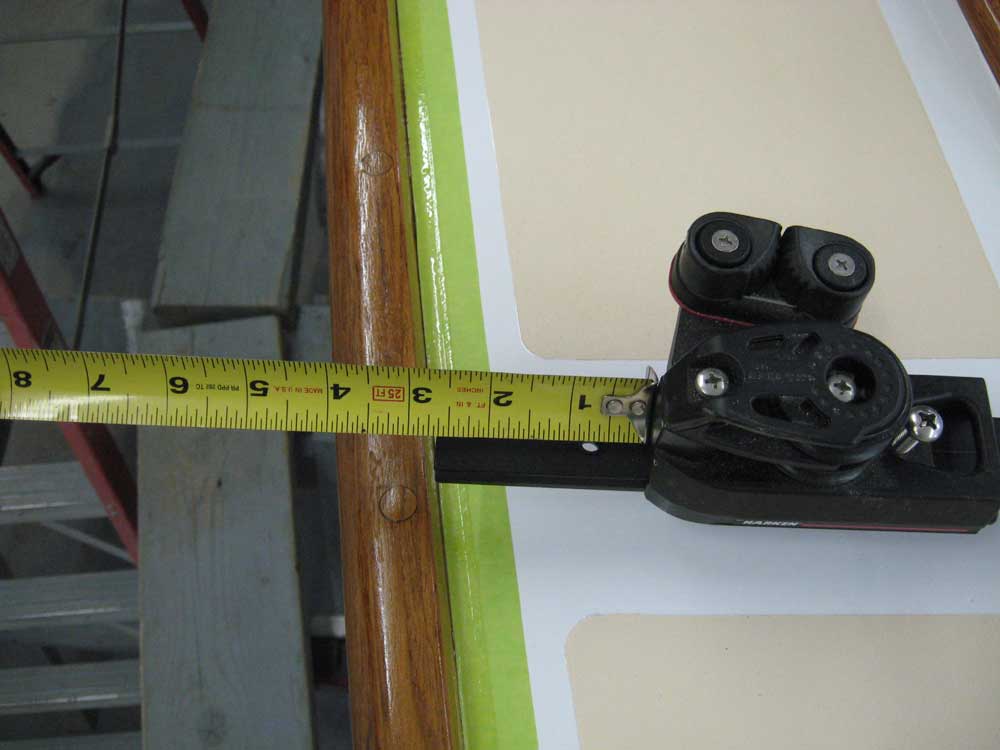
One of the only remaining bits of exterior woodwork that I hadn't yet started was a riser/spacer for the traveler track at the aft end of the cockpit. To begin the process, I mocked up the track on the deck, at first using a 1/2" spacer amidships to simulate the minimum height of the riser I planned. As usual, nothing is ever as simple as it originally seems. Clearly, the traveler ended up too high in this scenario; the ends were nearly 2-1/2" above the deck because of the significant camber. Additionally, the track was too long, and extended almost to the toerails on each side. |
|
|
|
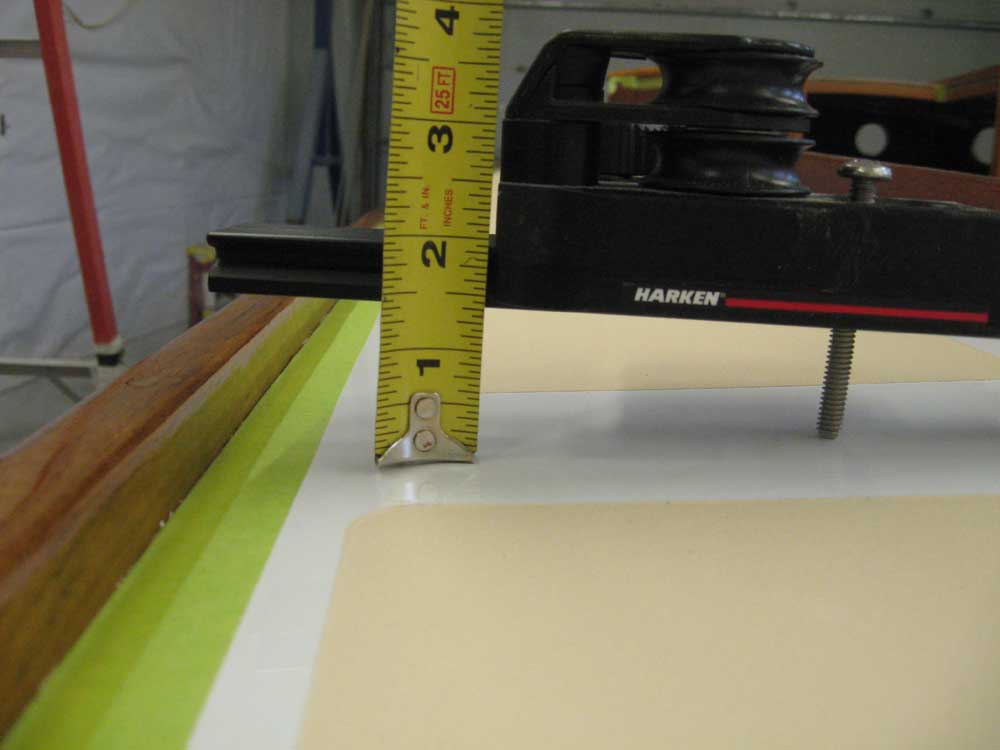
My next step was to temporarily install the two end pieces on the traveler; bolt hole locations on the traveler determined where these would end up (though I could have drilled a new hole had it been necessary), and as it happened the location ended up just far enough inboard to allow about 2-3" of the track to be taken off at each end--just right. So I trimmed the track as needed. I also eliminated the 1/2" spacer, intending instead to have the track sit directly on the deck amidships, and to have the spacer taper out to nothing as it approached centerline--this so that I could reduce the overall height of the traveler at the ends, an important consideration. In the new scenario, the maximum height of the riser ended up closer to 1-1/4"--much more tolerable. |
|
|
|
I cut a piece of mahogany 1" wide (the same as the track) and 1-3/4" tall, intentionally over-height. I considered making the riser 2" wide, to leave a border on either side of the track, but this would have been very odd with the riser tapering off to nothing at centerline; it would have had to be continuous for the wide look to work. I trimmed the length at 54-1/2", a bit longer than the track itself. Then, I balanced the blank on the deck at centerline, and scribed the profile on the bottom edge. I trimmed the height of the blank tangent to the highest point of the arc I'd struck, then cut the curve as required, resulting in two pieces, one for each side. I sanded them smooth as needed to prepare them for varnish. After I took these photos, I trimmed the ends of the blank flush with the end of the traveler track, rather than having it stick out 1/2" as shown. |
|
|
|
Finally, I cleaned up, vacuumed, solvent-washed, and tacked off the various brightwork slated for varnish, and applied the varnish as needed. |
|
|
|
|
|