| Bolero
Project |
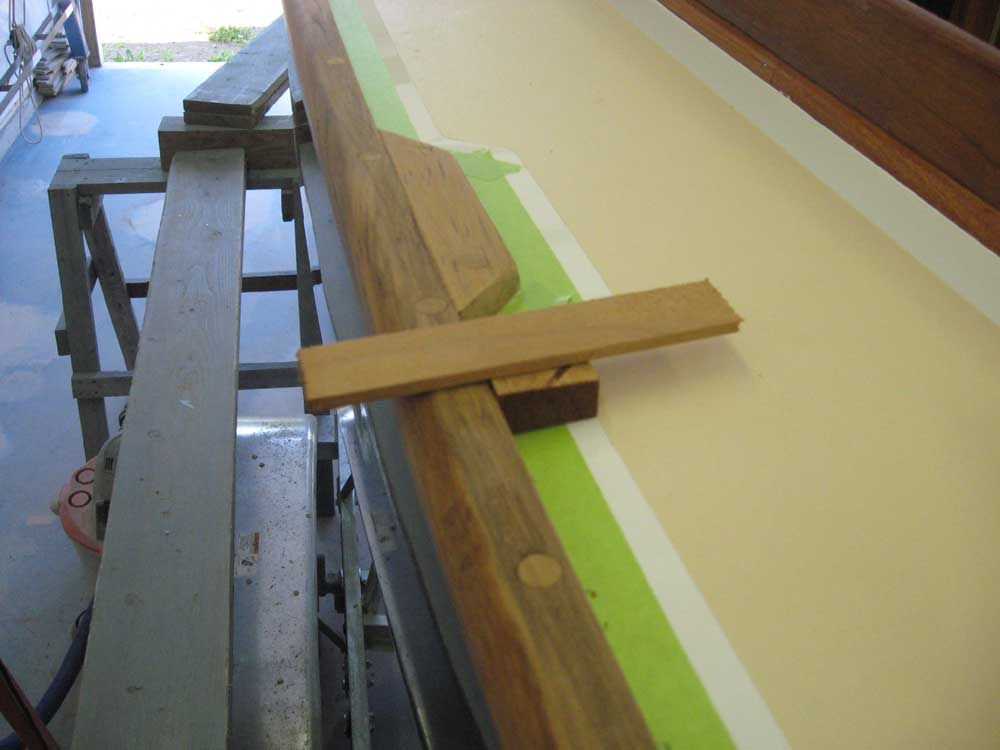
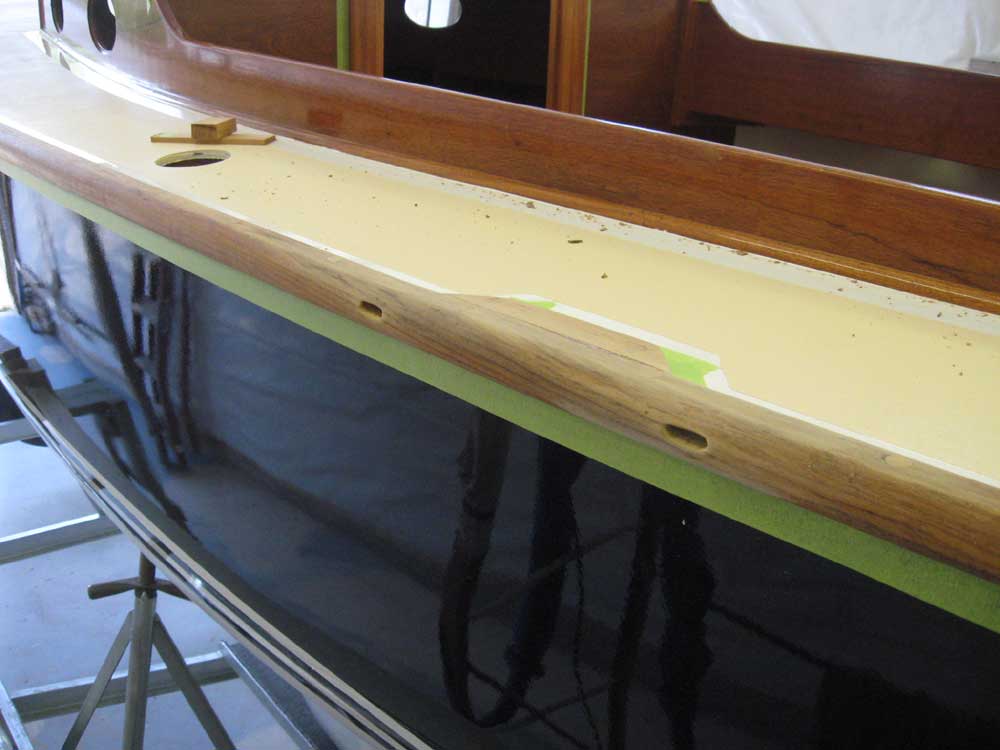
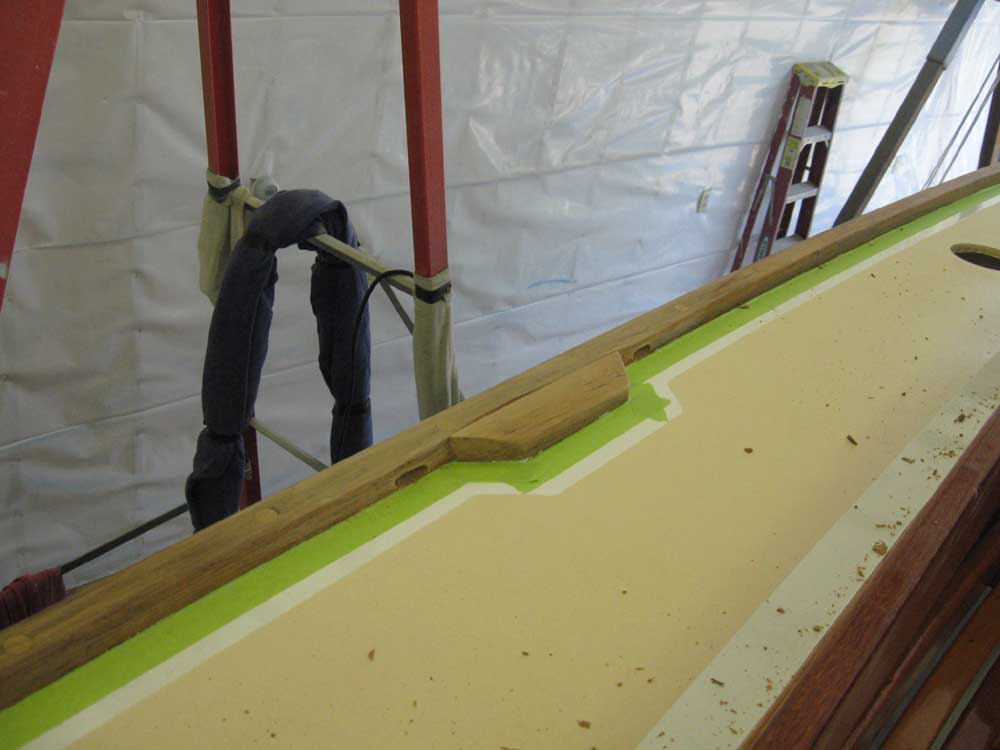
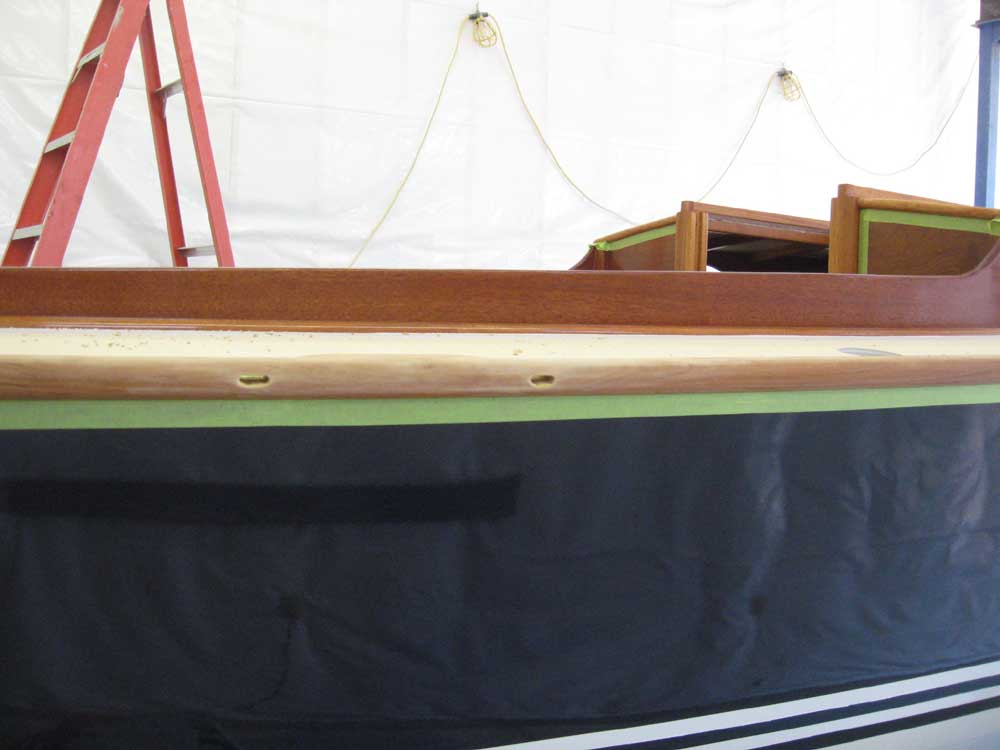
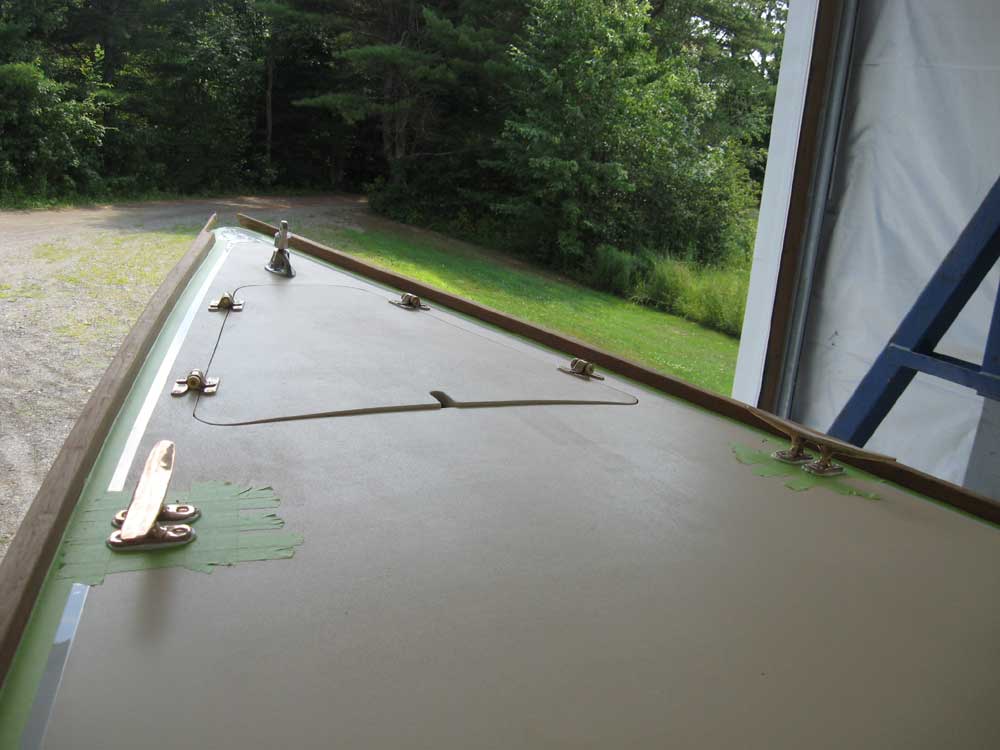
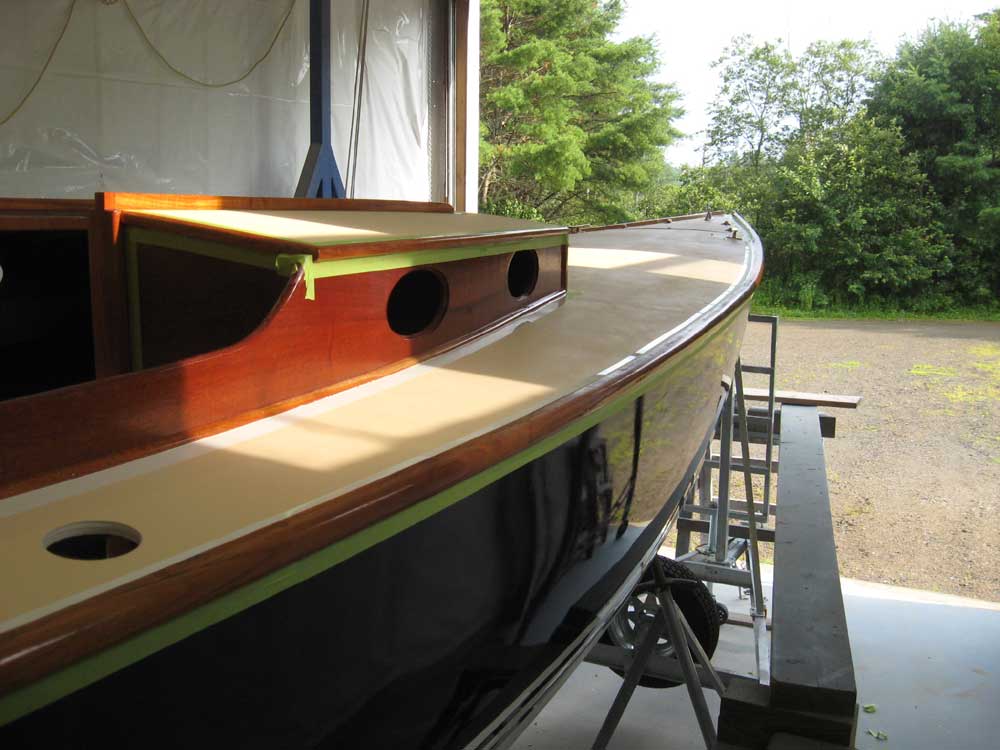
Saturday, July 19, 2008 There are few better ways to start out a day than by drilling holes indiscriminately in expensive teak toerails. OK, the holes weren't exactly indiscriminant: they were carefully planned and executed, but nonetheless it would be hard to term this a "favorite" task. Today, I milled four openings through the toerails to allow deck water to drain overboard. After studying various photos of the boat to get a sense of the low point in the sheerline, I determined that the best placement for the scuppers would be on either side of the oarlock mounting blocks, which happened to be located at the sheer's low point, more or less. In any event, scuppers on either side of these natural dams would serve well to funnel the water overboard. I measured forward and aft of the blocks 2", then laid out for 1" wide scuppers, transferring these end lines across to the outside of the toerail. In order to cut the openings, I'd have to work from outside the boat; therefore, I needed to transfer the deck height accurately to the outside profile of the toerail. I made up a rudimentary guide block using a block cut to the exact height of the toerail above deck, with a little batten on top to sit flat on the top surface of the rail. With this, I could easily transfer the deck mark accurately to the other side of the toerail. |
|
|
|
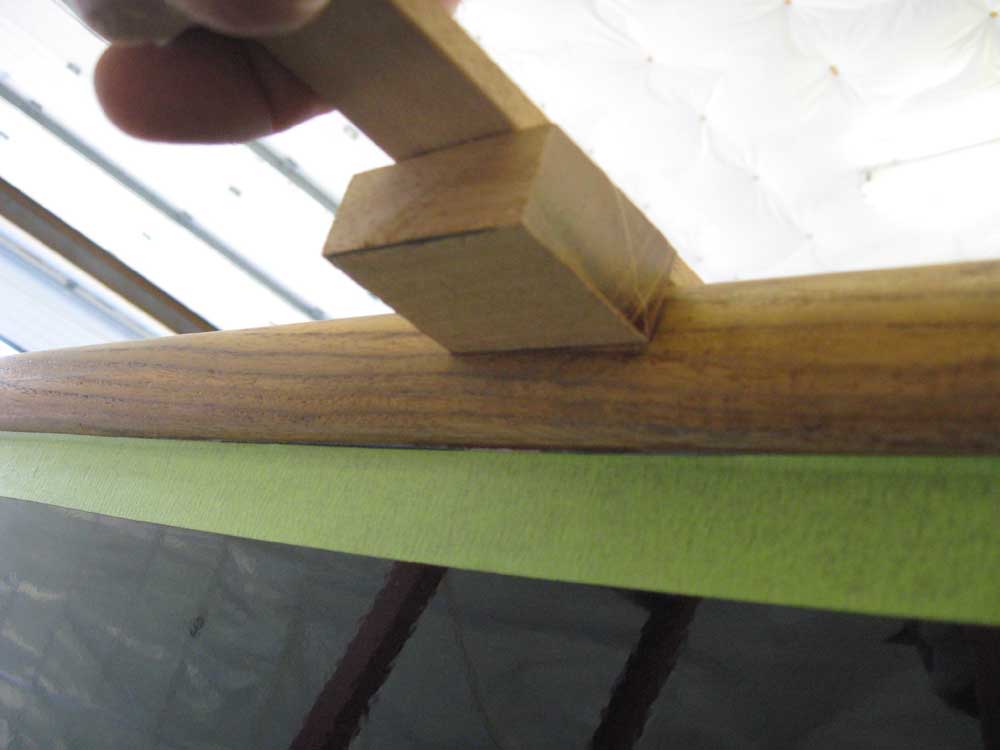
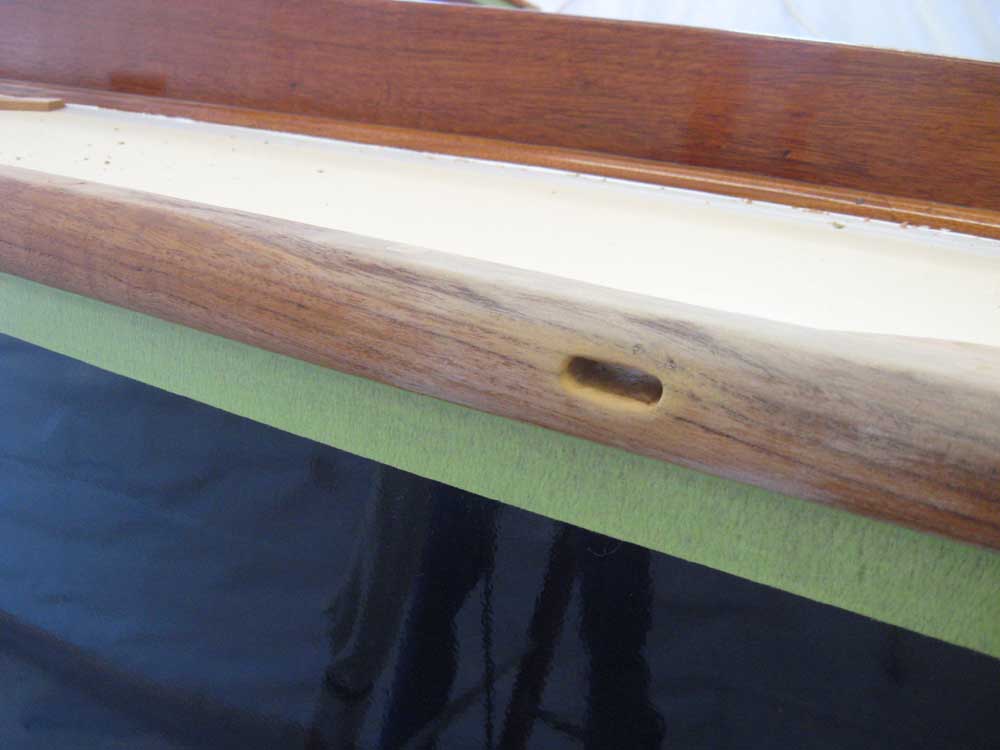
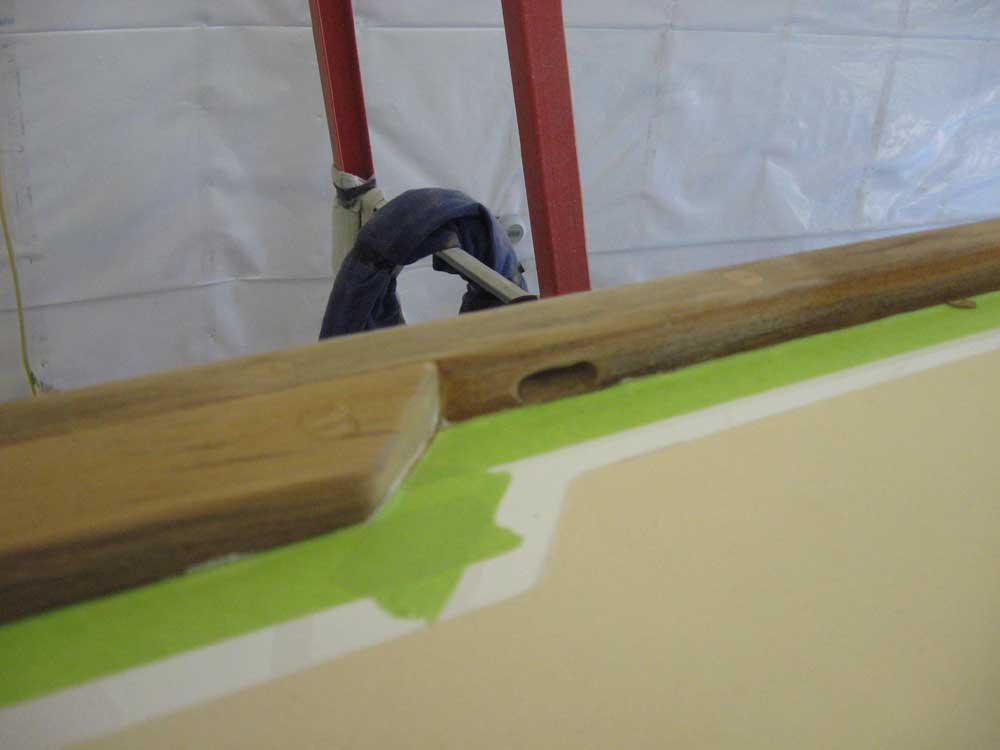
With the deck height marked outside, I made a new mark 1/4" above and drew a line; the scuppers would be 1/4" tall. Now I had all four sides of the opening marked, so I carefully drilled a small pilothole at the lower extent of the proposed opening to ensure that it exited in the right place inside the boat: it did. So I drilled 1/4" holes at the two ends, beginning with a Forstner bit since it leaves a nice, clean hole, but switching to a standard bit once I'd drilled in a bit. Carefully, I drilled through till the bit came out on the inside, just slightly above the deck level. I drilled two more holes in the center portion of the openings, and reamed out the space with the drill bit. Finally, I finished up each new scupper with some chisel and sandpaper work to remove rough edges within and create a pleasing contour on the outsides of the openings. I repeated this process for the other scuppers. It really wasn't bad at all. |
|
|
|
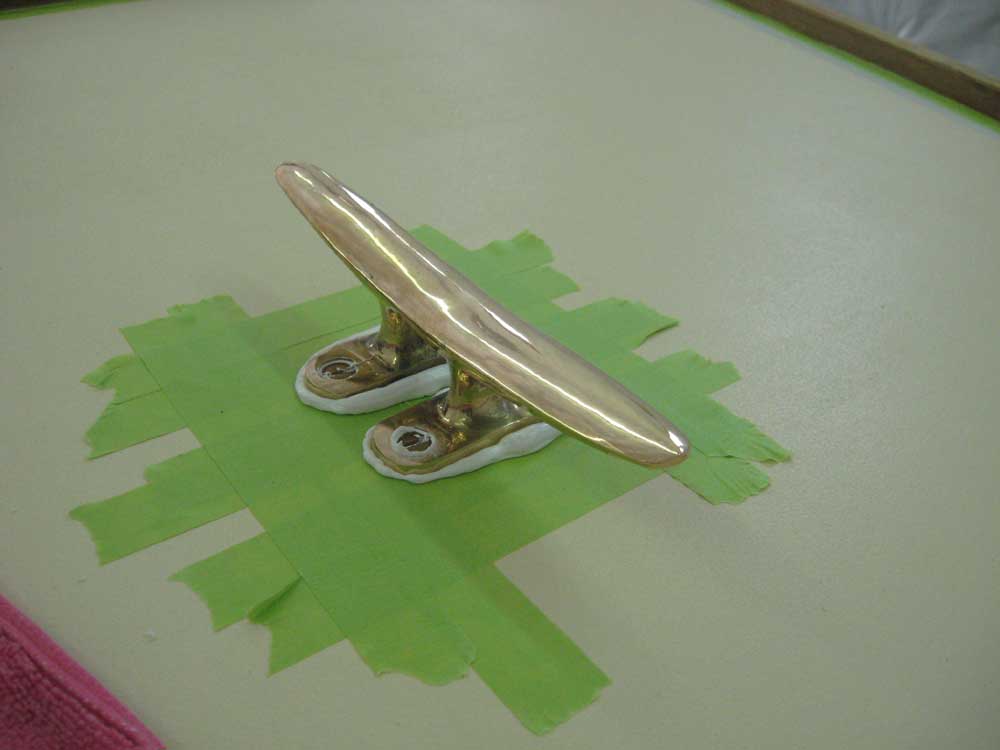
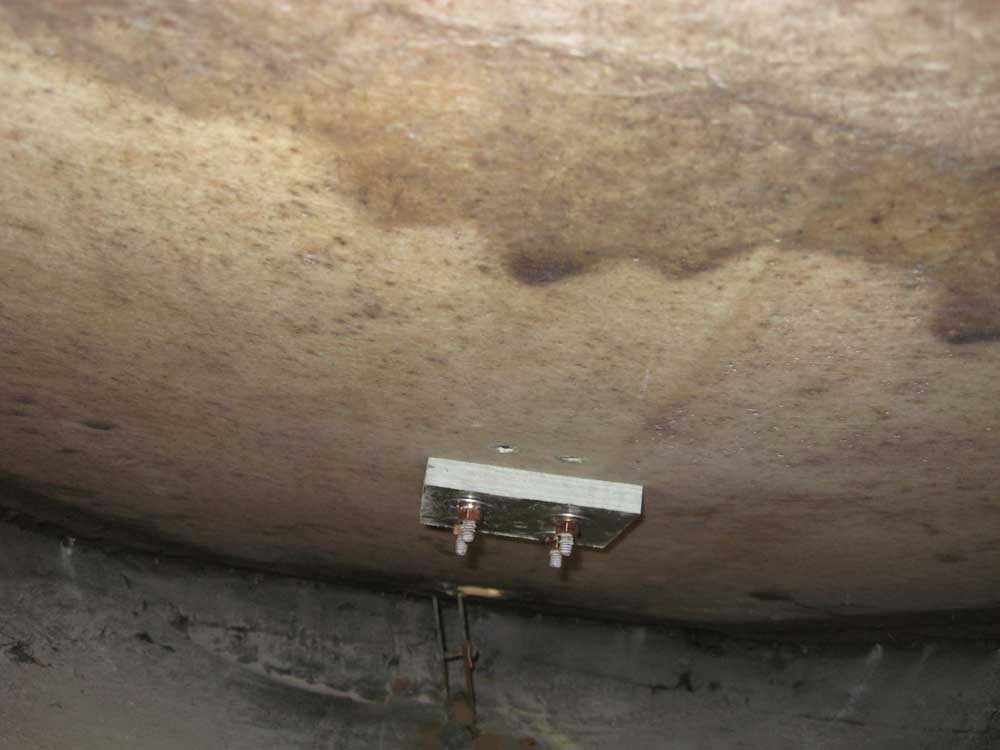
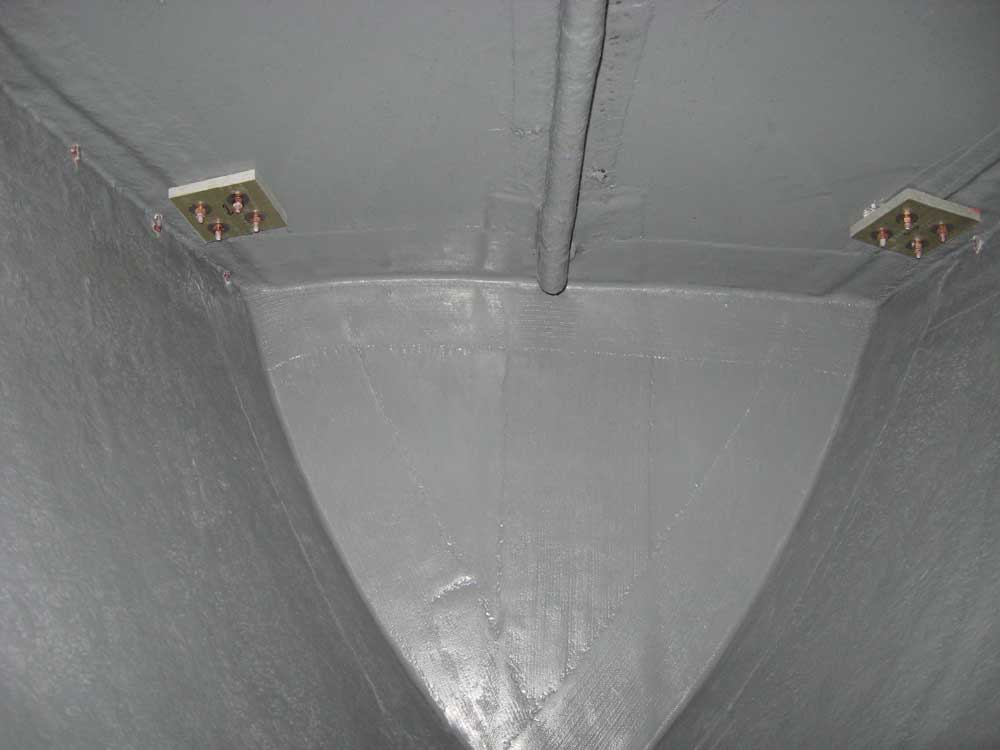
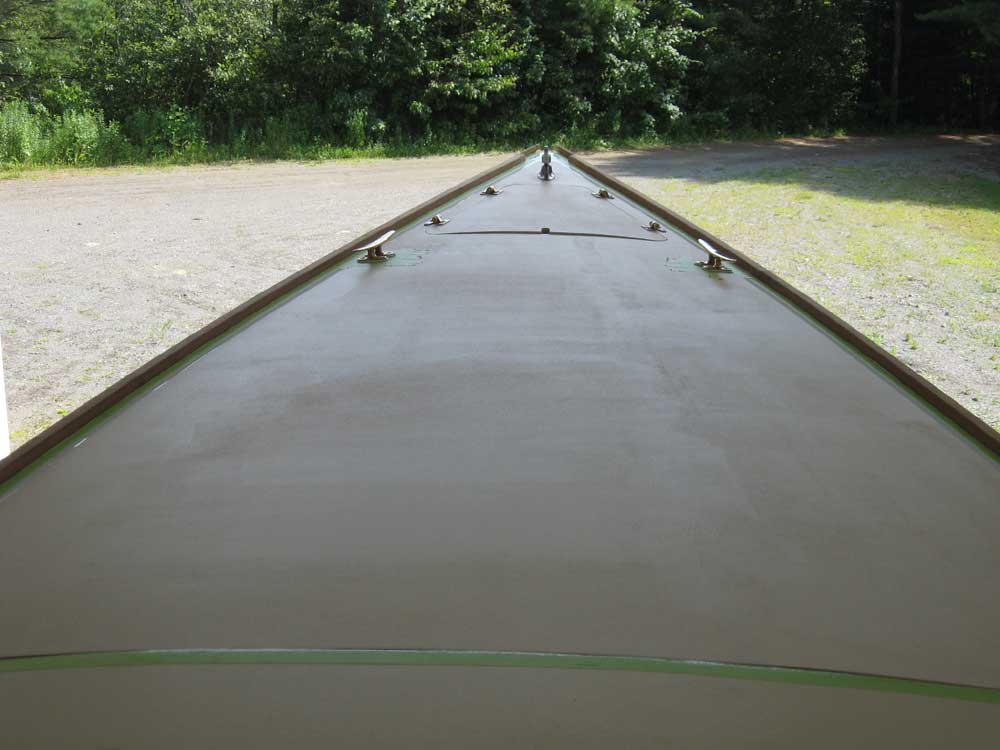
Next, I turned to some deck hardware installation. I began with the three bronze mooring cleats--one at the stern, and two forward. Since Bolero's deck was unconventionally cored with solid resin mixed with microballoons (quite an anomaly), I was able to save a step in the hardware installation, as there was no need to remove core material around the fastener locations. At each cleat, I drilled and tapped for 1/4" bronze fasteners, taped off the area, and secured the cleats permanently with sealant and 1/2" fiberglass backing plates. |
|
|
|
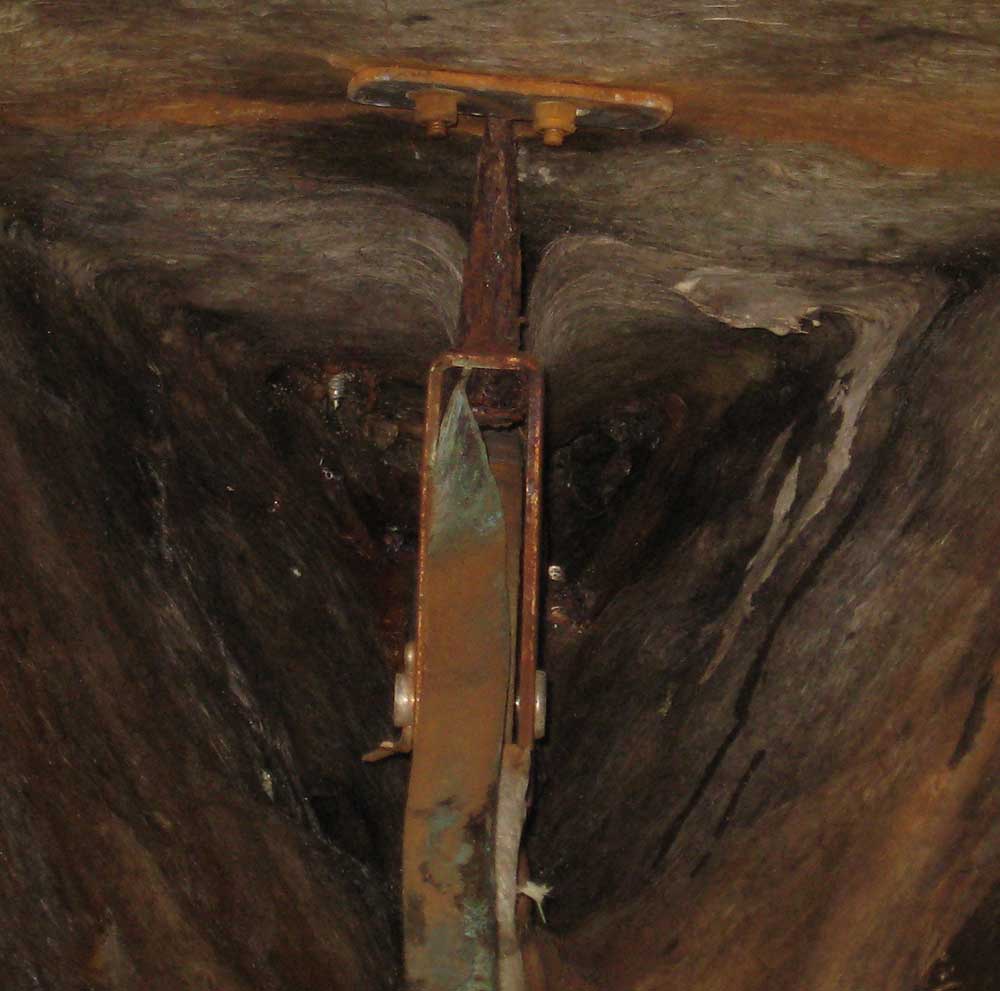
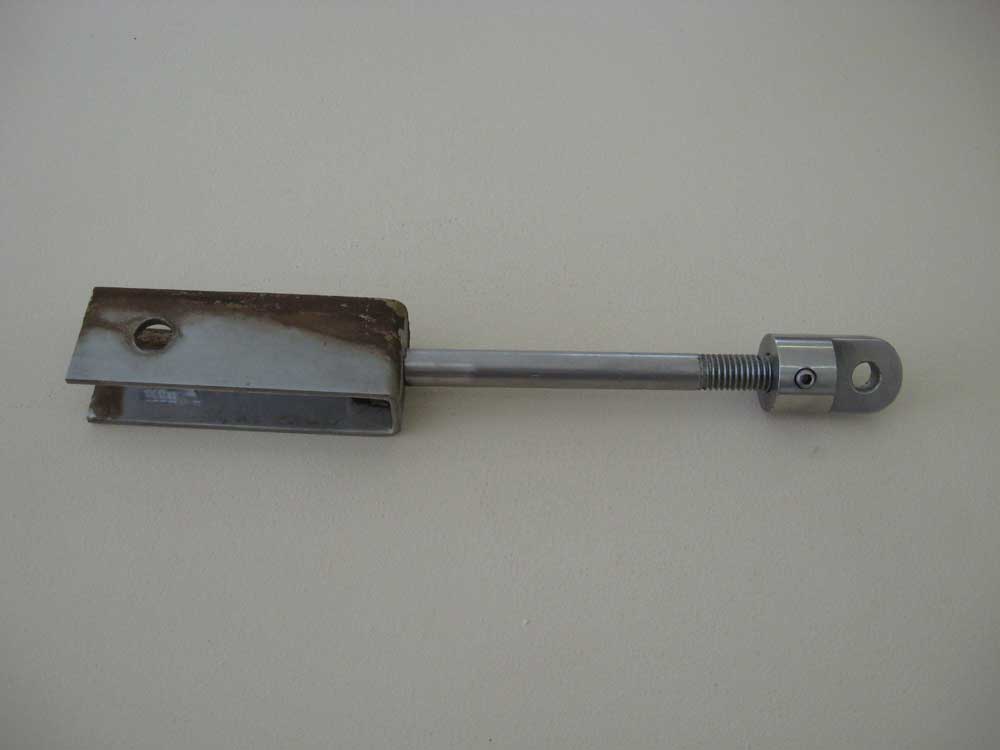
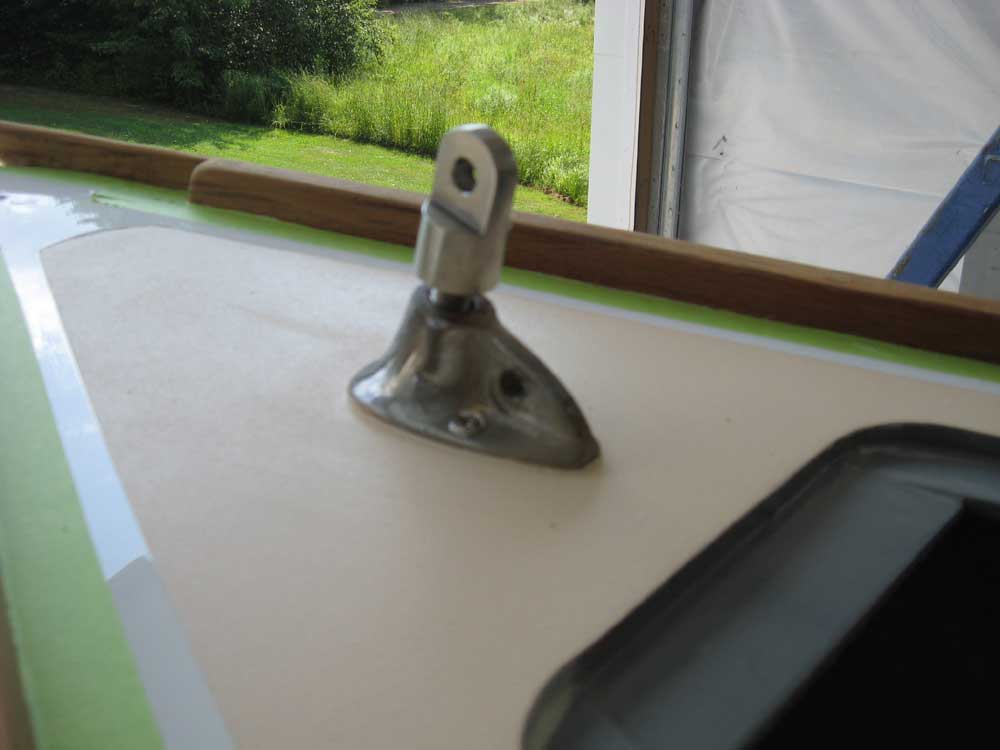
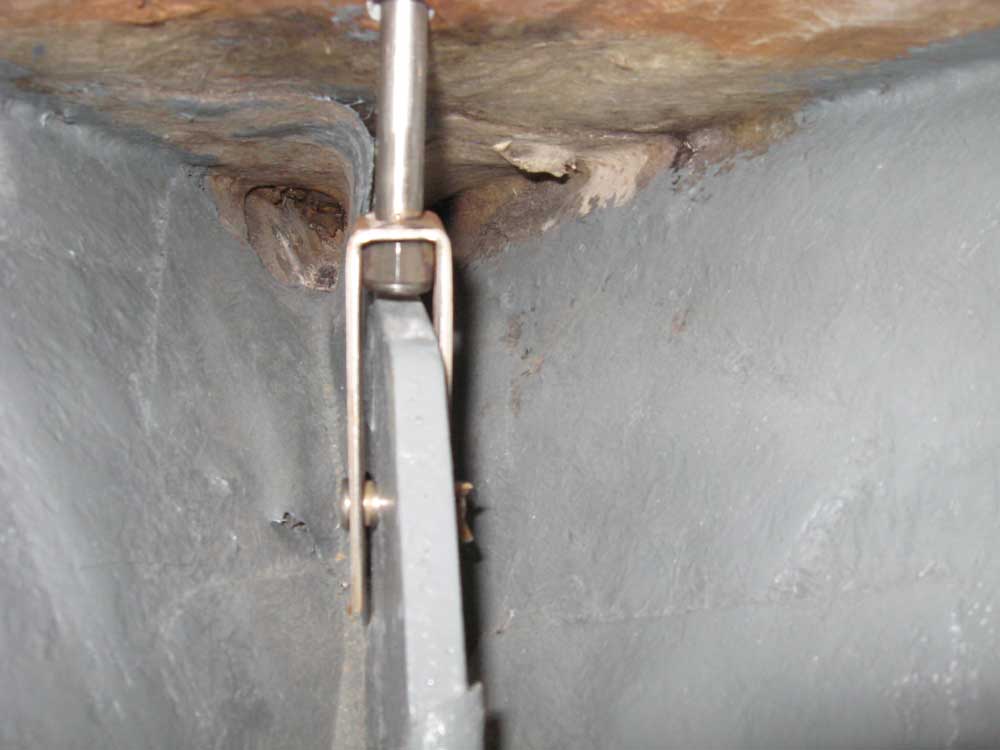
I continued in this vein and installed the anchor hatch hinges and the infamous Shields headstay chainplate, featuring the world's most expensive threaded rod and end fitting. Faithful readers might remember the travesty of rusted weakness that passed for Bolero's original headstay attachment; rather than re-engineer the whole setup, we decided to replace in kind, though with an ostensibly much higher quality, actually-stainless steel bolt to replace the original, which had rusted away to 1/4" or less in diameter over the years. (The original diameter was 1/2".) |
|
|
|
In the event, installation was a snap: I cut off the remaining rusted stud from the fork terminal (it was completely corroded in place), replaced it with the precious threaded rod, and installed the fitting through the deck, capping it off with the unique Shields deck fitting and the eye terminal fitting that threaded on top of the rod. I installed sealant between the fitting and the deck, of course. |
|
|
|
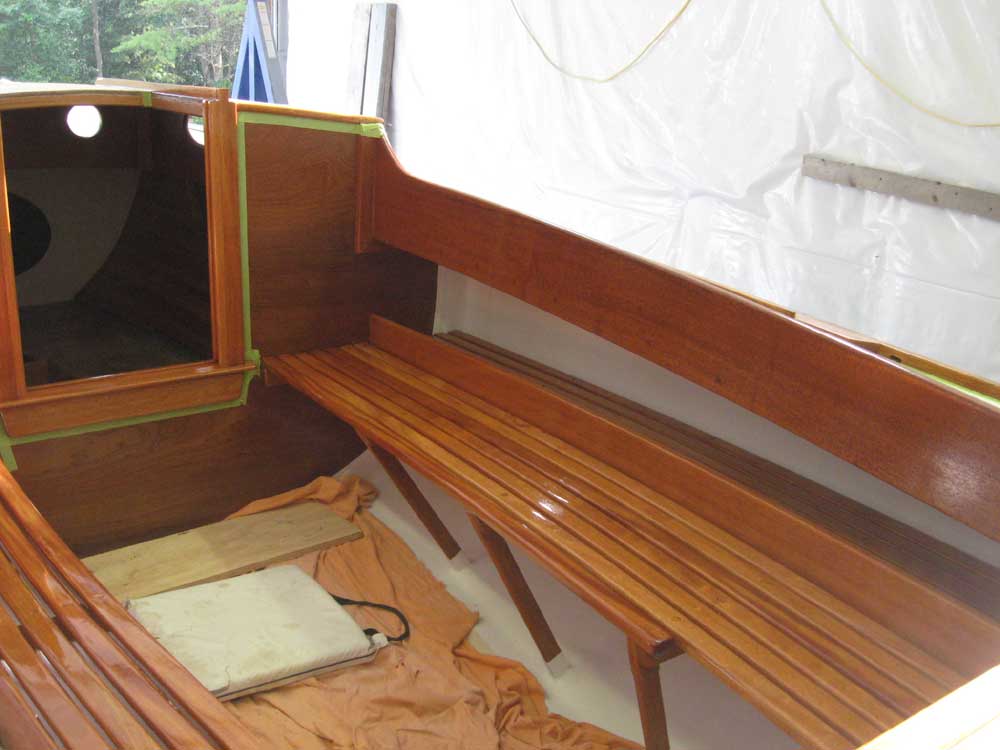
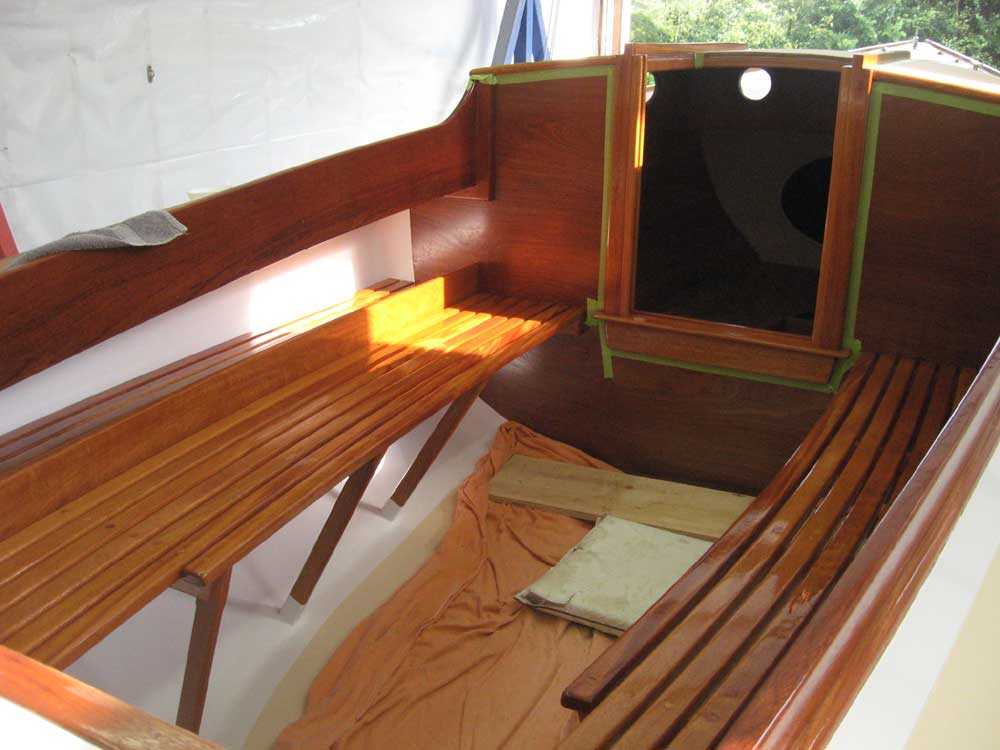
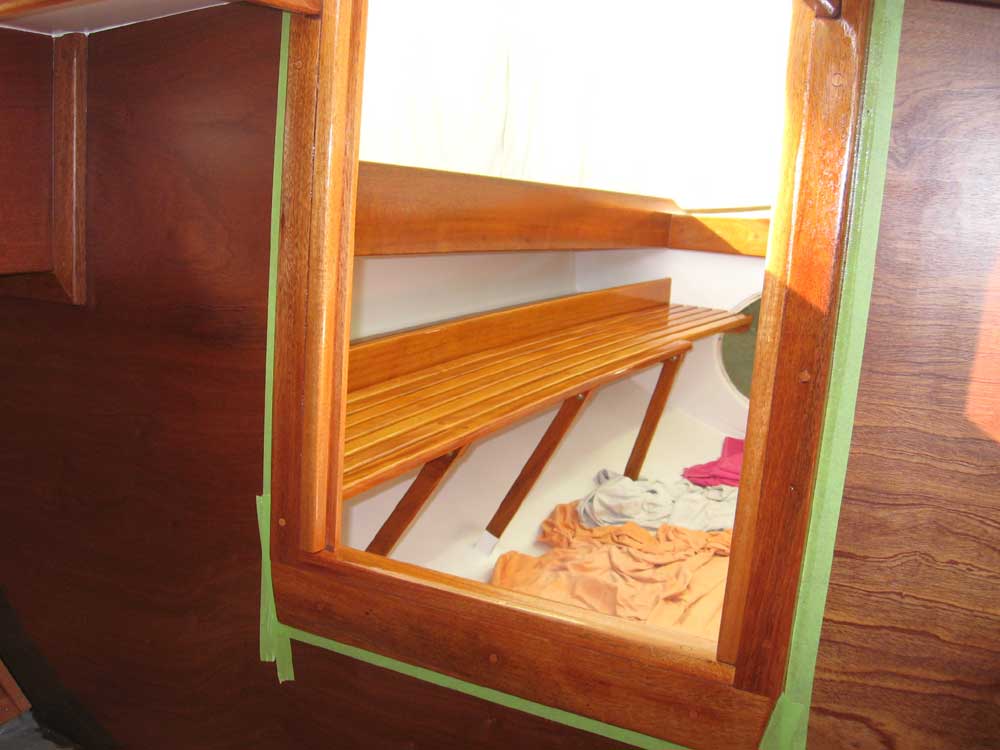
I sanded all the applicable brightwork--companionway trim, cockpit seats, aft hatch surround, cabin edge trim, and toerail (actually, I'd sanded the toerail yesterday)--and cleaned up to prepare for varnish. Then, I applied a coat of varnish to all these areas. |
|
|
|
Before leaving for the day, I quickly glued up a wide blank that I'd use to build the companionway sliding hatch in the near future. |
|
|
|
|
|