| Bolero
Project |
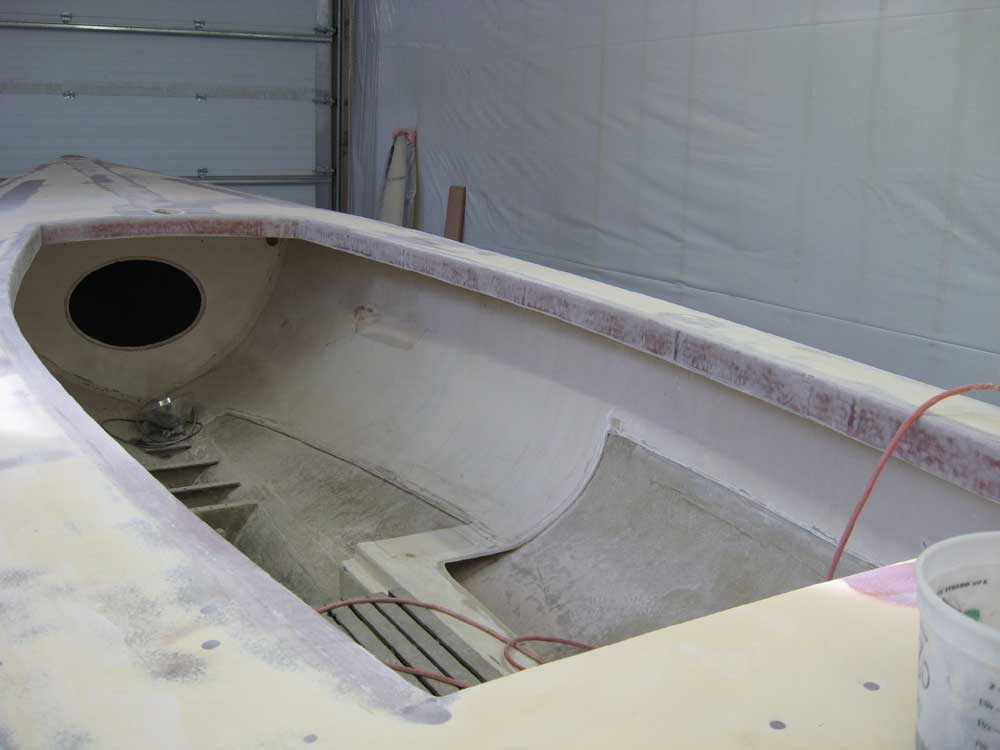
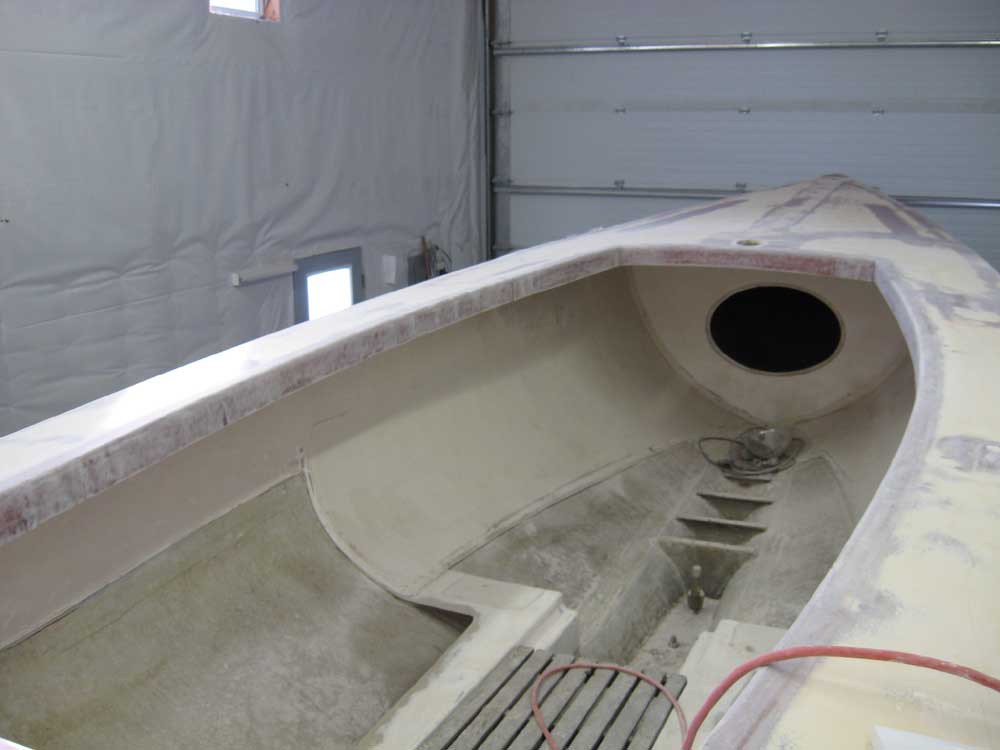
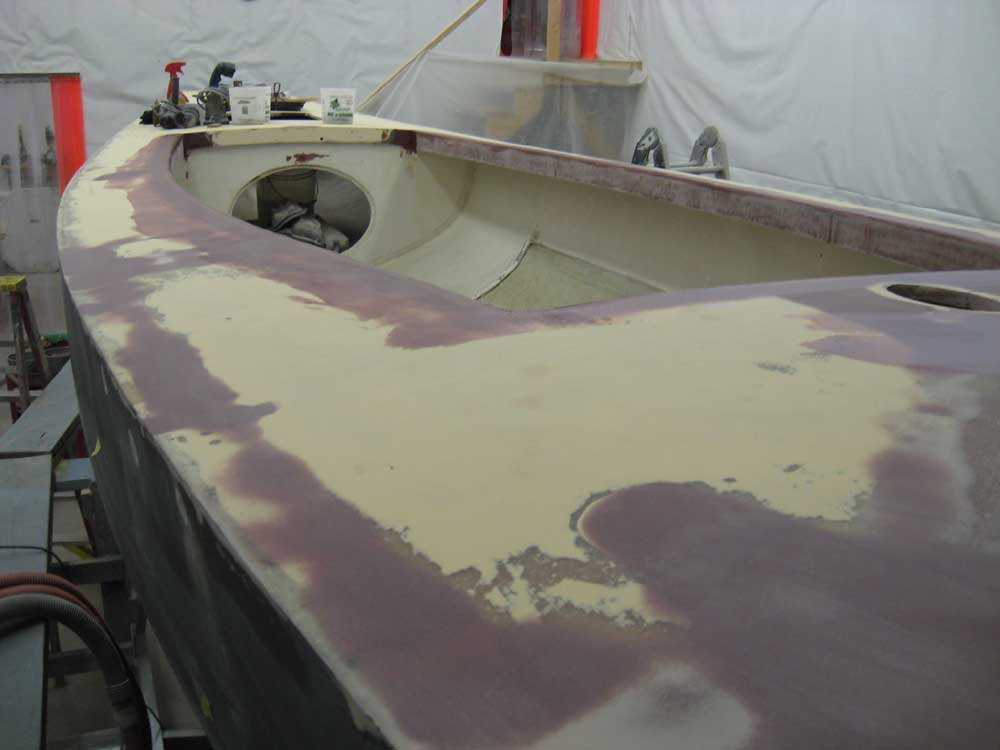
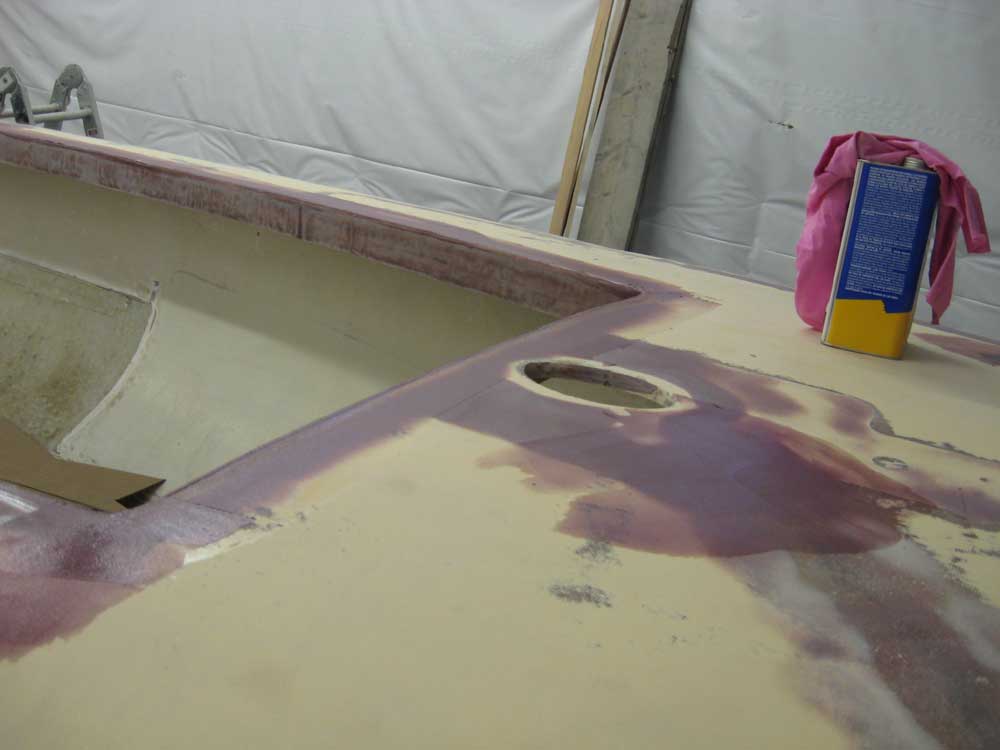
December 7, 2007 After washing the amine blush (if formed) from the new fiberglass cockpit edge, I sanded the material to begin feathering it into the surrounding deck as necessary. I also lightly sanded the inside edge to smooth it, though this edge would be invisible in the finished boat. Afterwards, I cleaned up the sanding dust. |
|
|
|
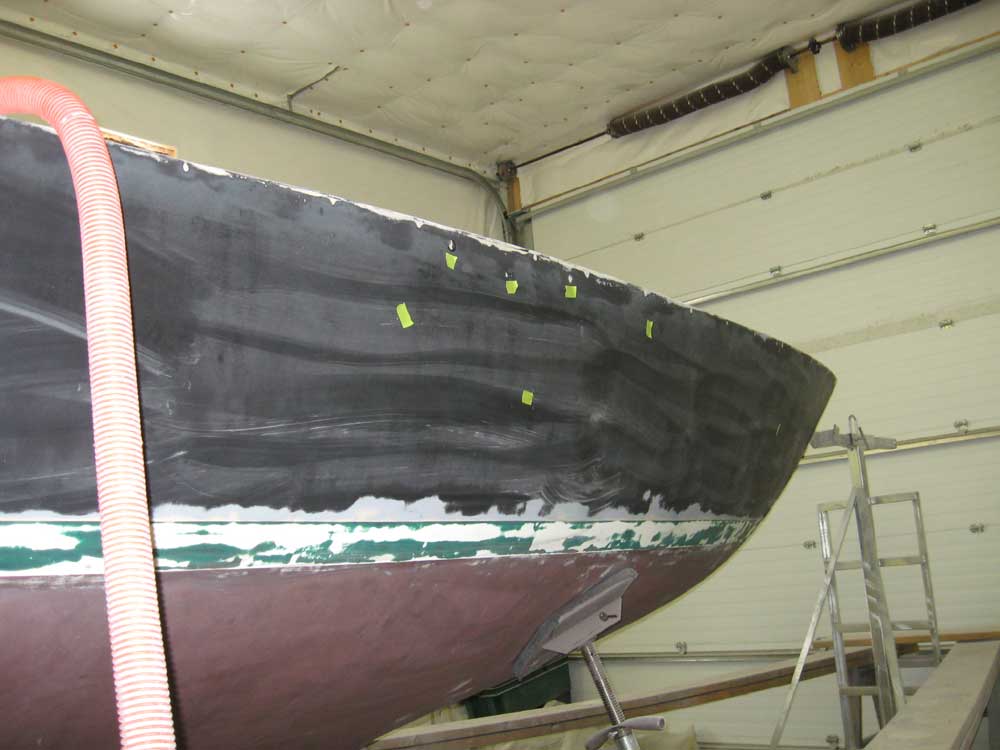
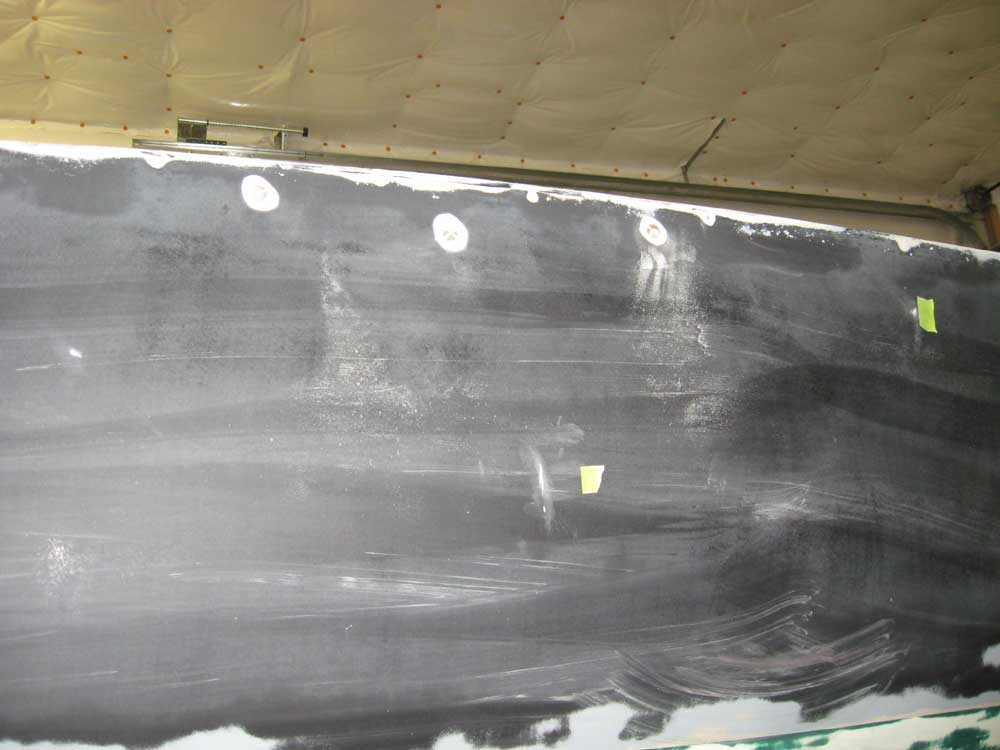
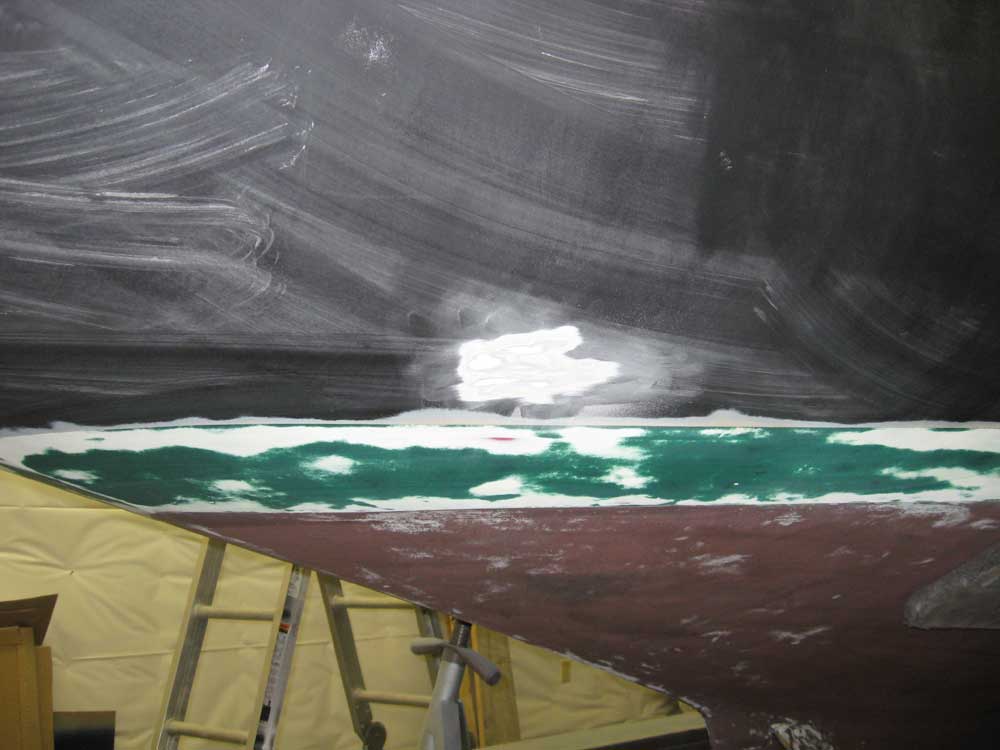
The hull was in generally good condition with no major work required, but the light sanding from last week had revealed a few areas that required fill. Since pencil marks didn't show up on the black hull, I marked the spots with some masking tape, and then ground out the worst dings with a drill and Roloc discs, including the area I crosshatched to test the paint adhesion. Most of the dings were so small that I simply opened them up slightly with some hand sandpaper. |
|
|
|
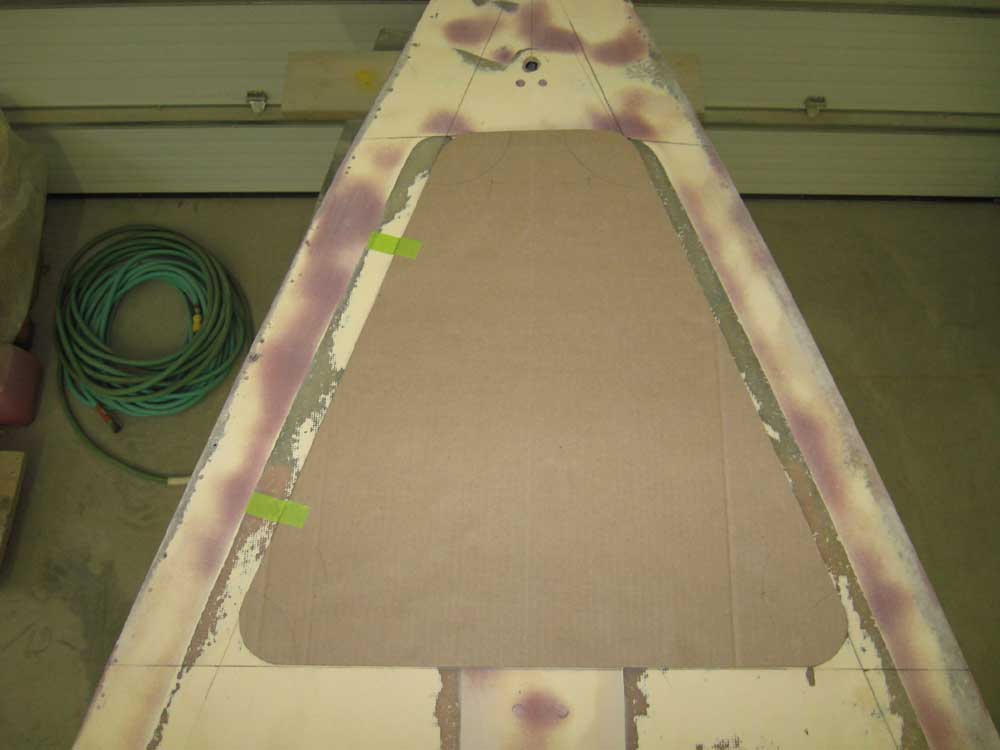
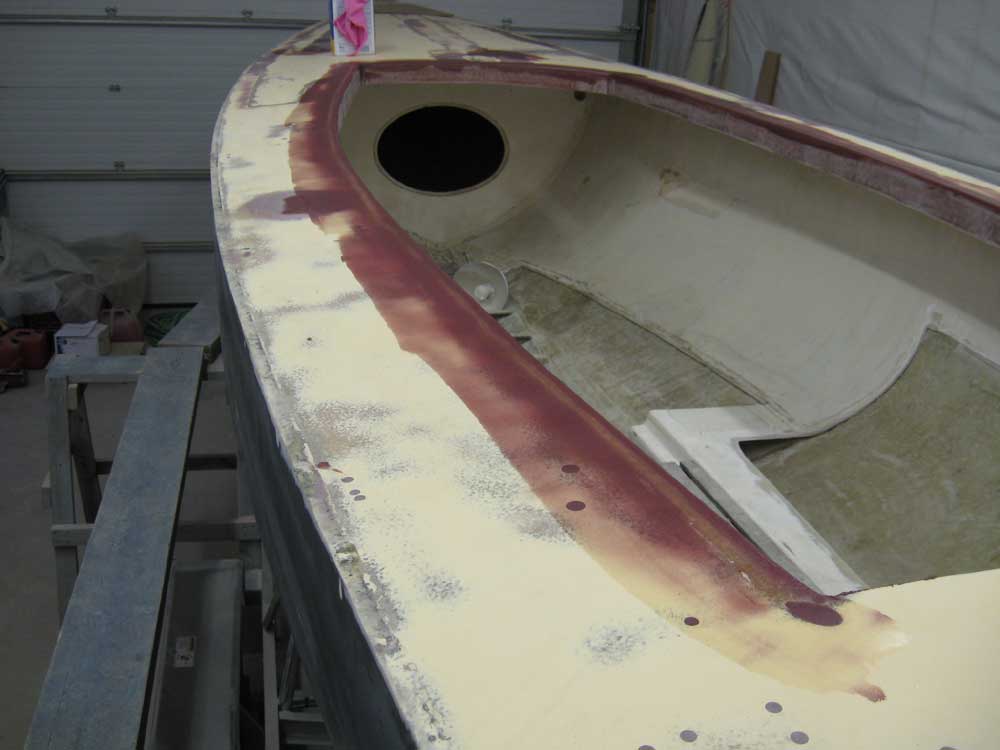
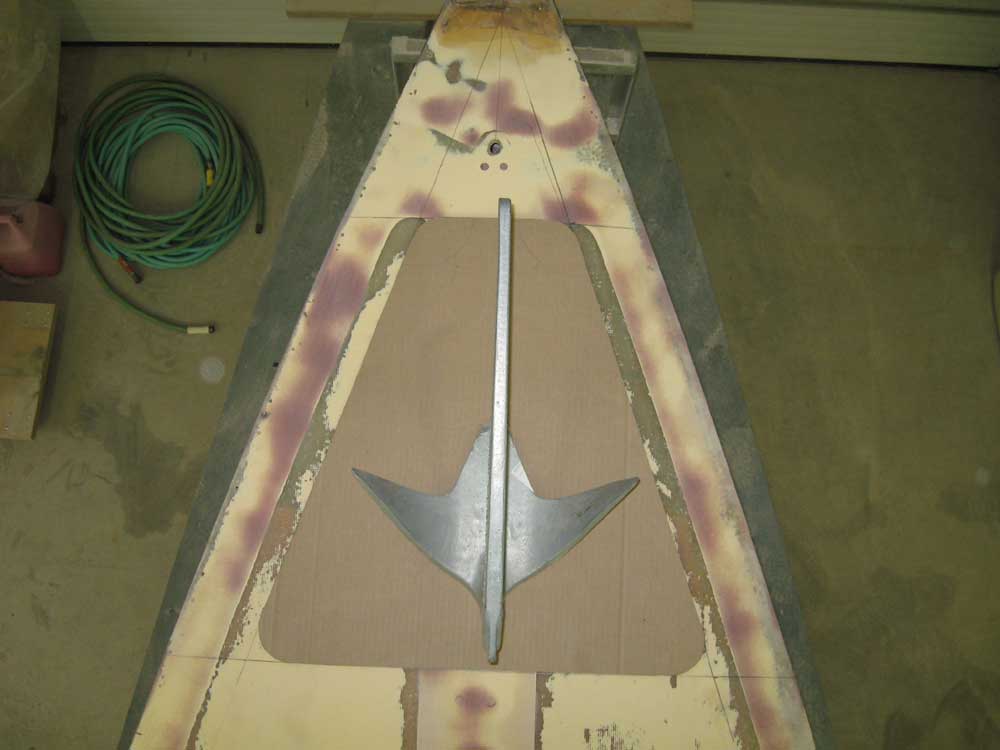
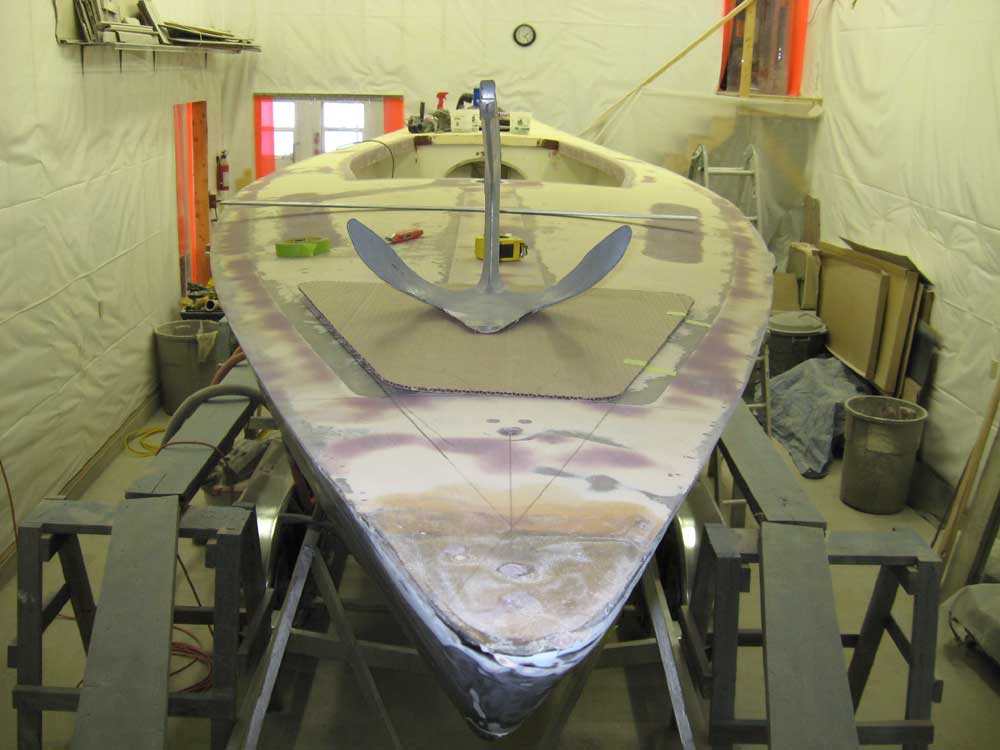
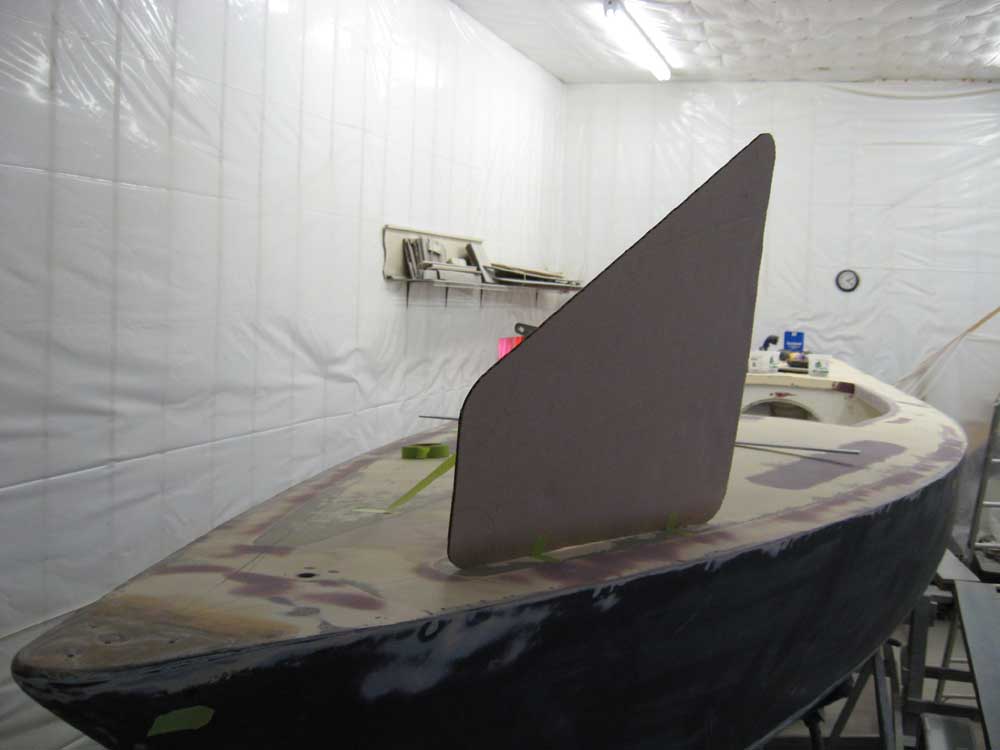
Since it was the end of the week, and the rest of my day's plans were "clean" with no more grinding or similar work scheduled, I took the opportunity just before lunch to clean up the shop a bit, giving the air some time to settle and clear before I returned to work after lunch. It was finally time to make some serious inroads into the new anchor locker construction, which had been under discussion for some time. I spent some time figuring and mocking up, and ended up with a proposed anchor locker hatch shape and location, seen here. |
|
|
|
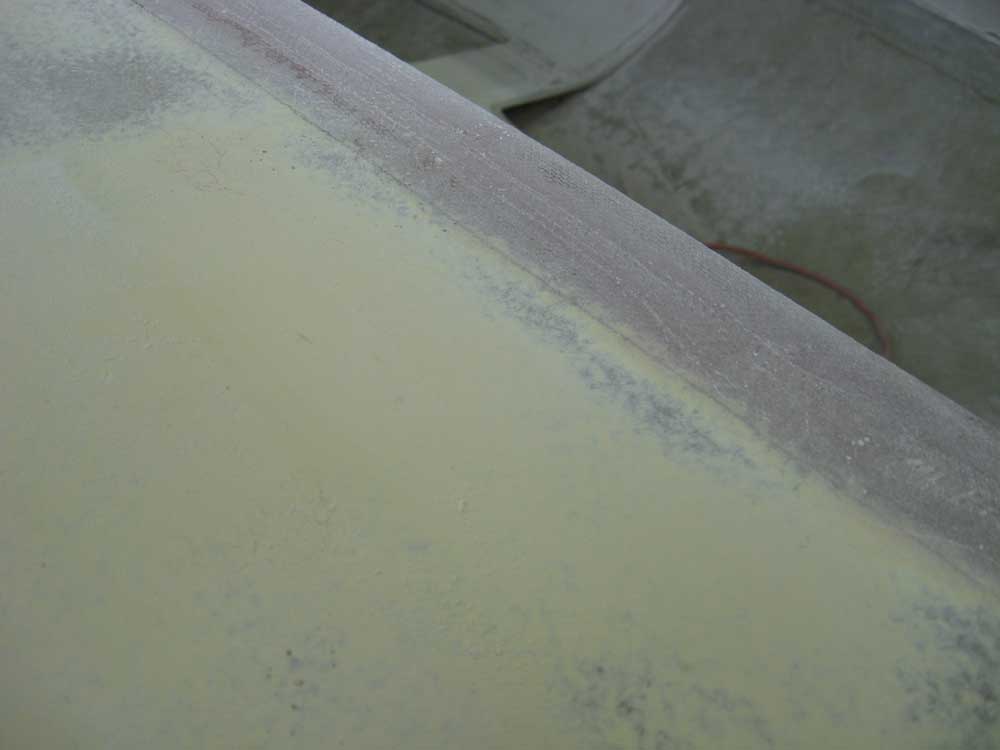
For specific detail on the shape, size, and position of this mockup, and the reasoning and concerns raised by the proposal, please see below, where I've gone into substantial detail for the owner's benefit. This information will not likely be of interest to most readers. Having gone as far as I could at the moment with the anchor locker, I acetone washed the decks and cockpit edges, and applied a coat of fairing filler to the edges, using a 6" knife to fair the edge smoothly into the adjacent deck. I applied compound to the rounded edge, but not to the vertical edges, since these would not be visible in the finished boat and therefore had no need to be completely smooth and faired. I left this to cure overnight. |
|
|
|
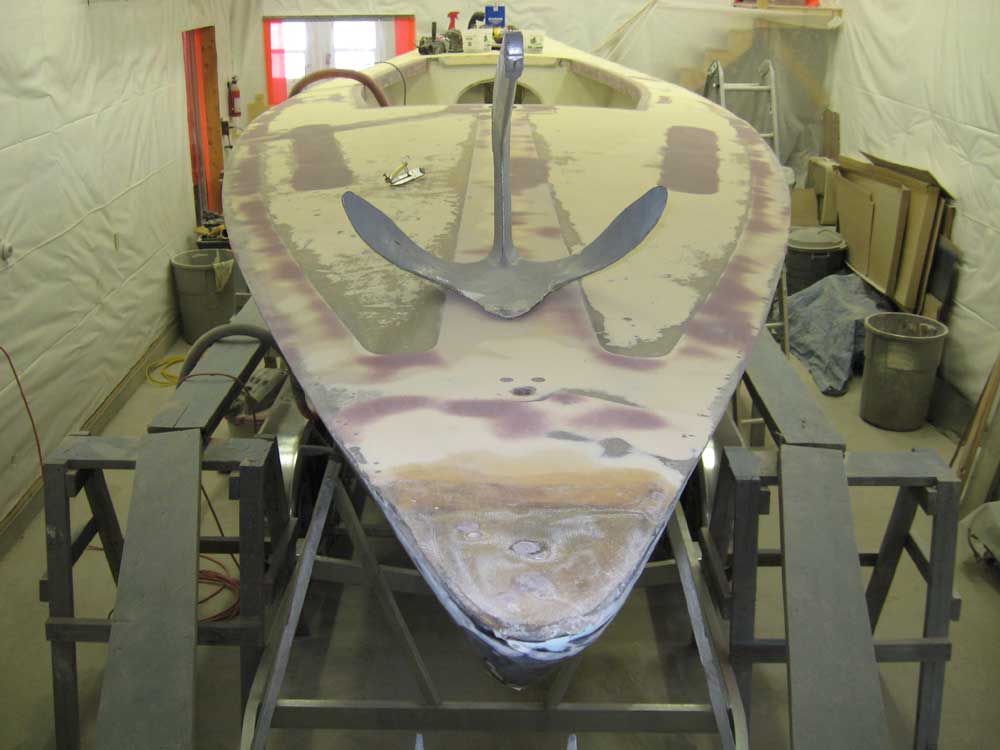
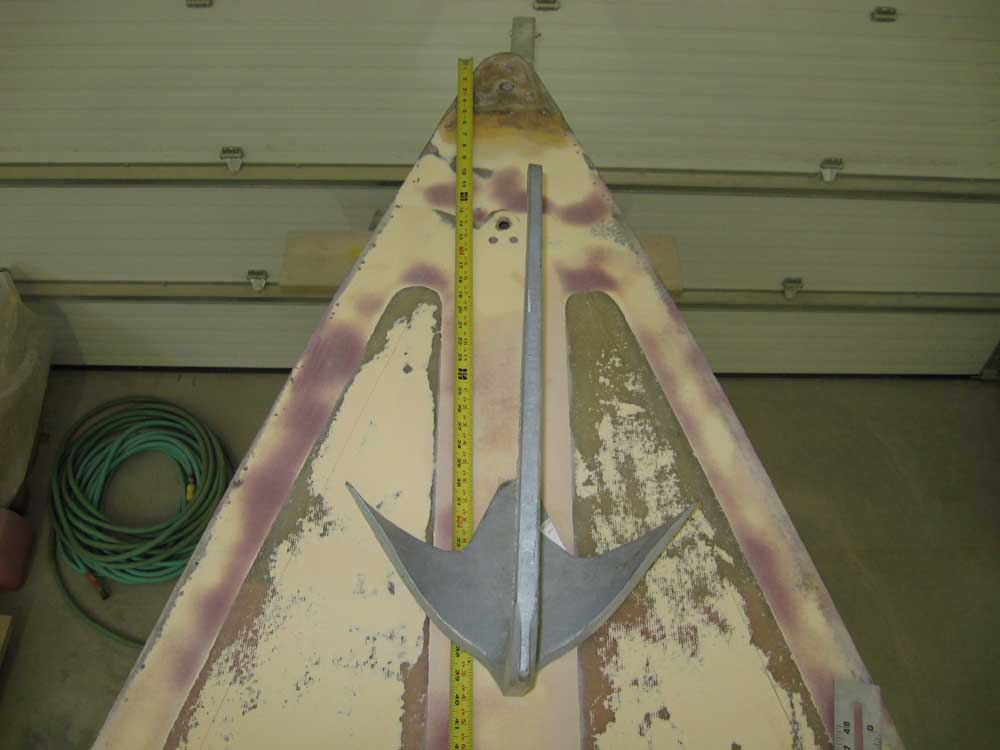
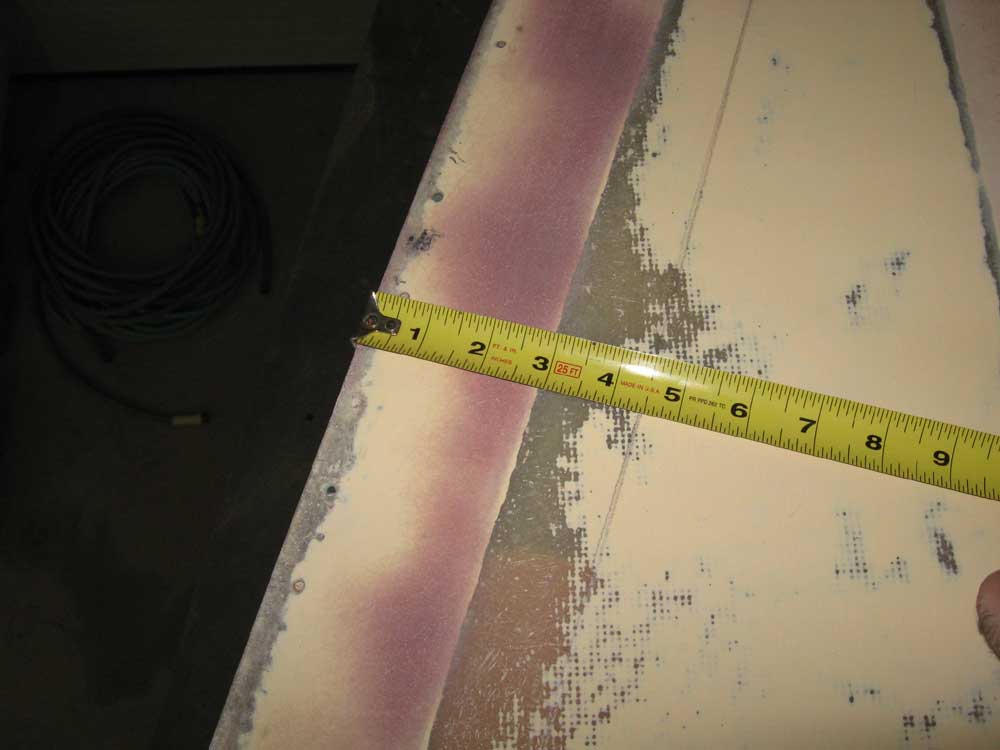
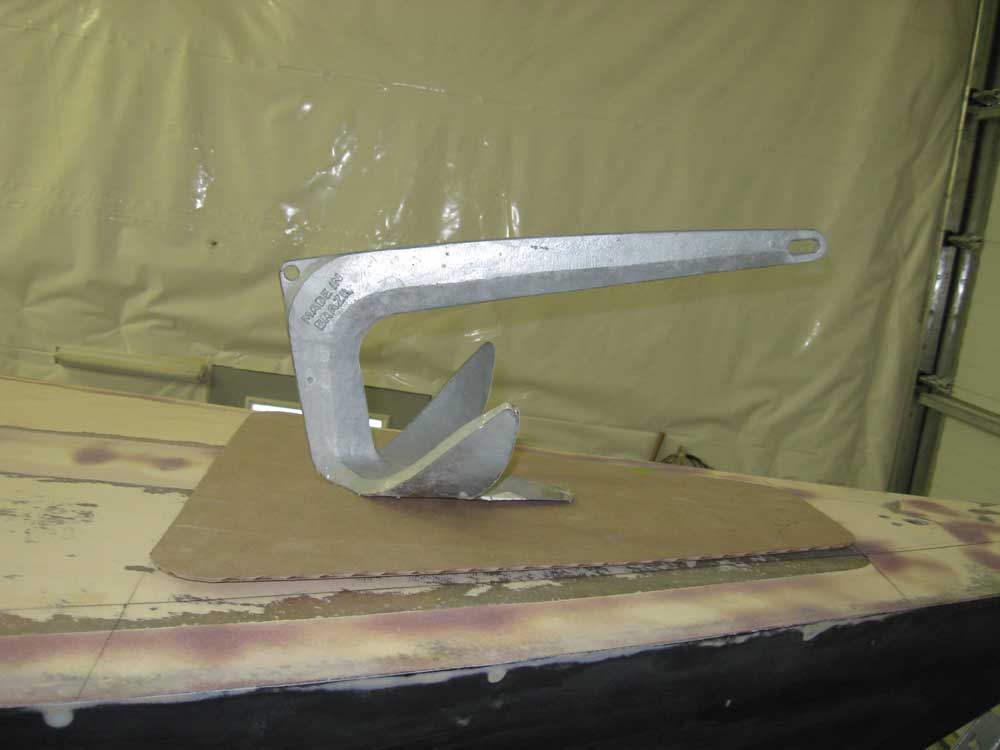
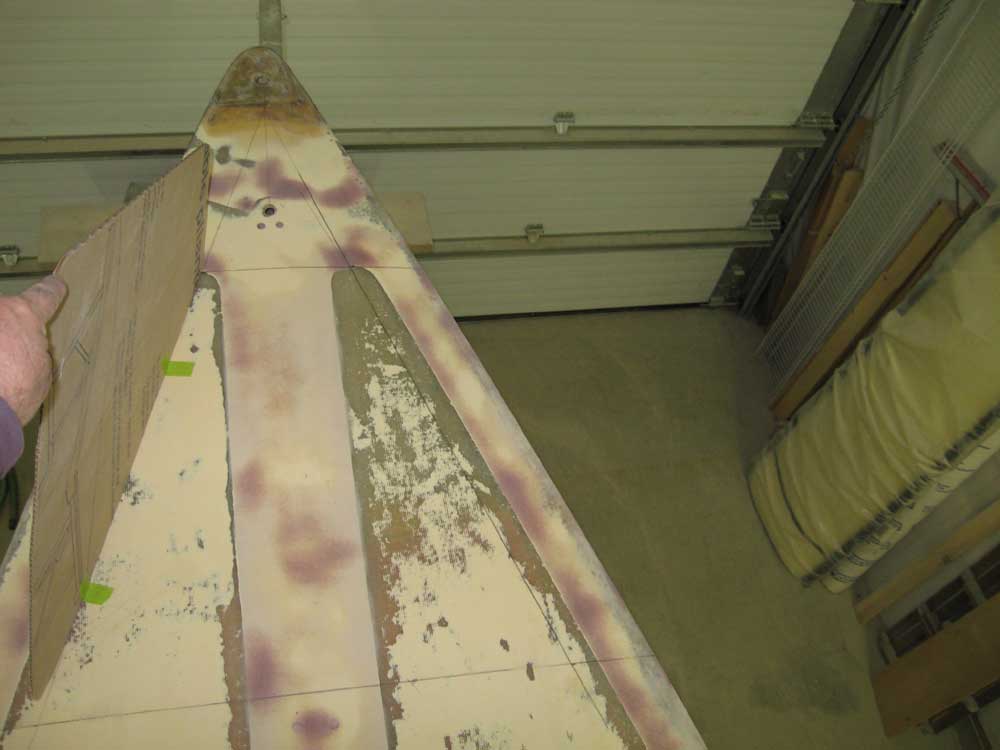
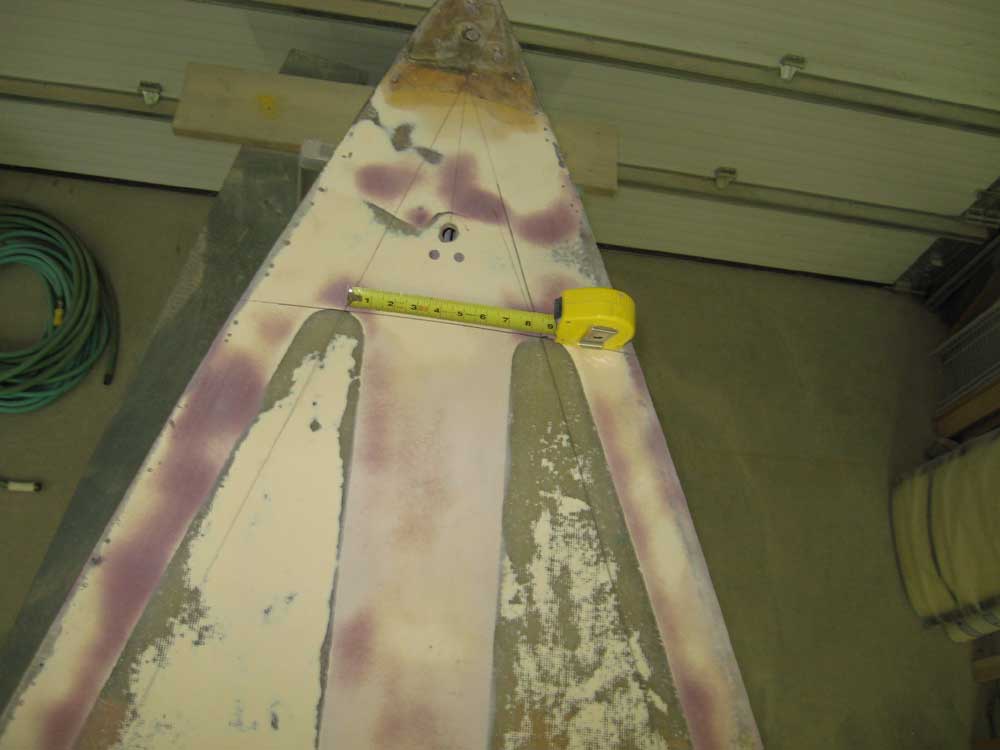
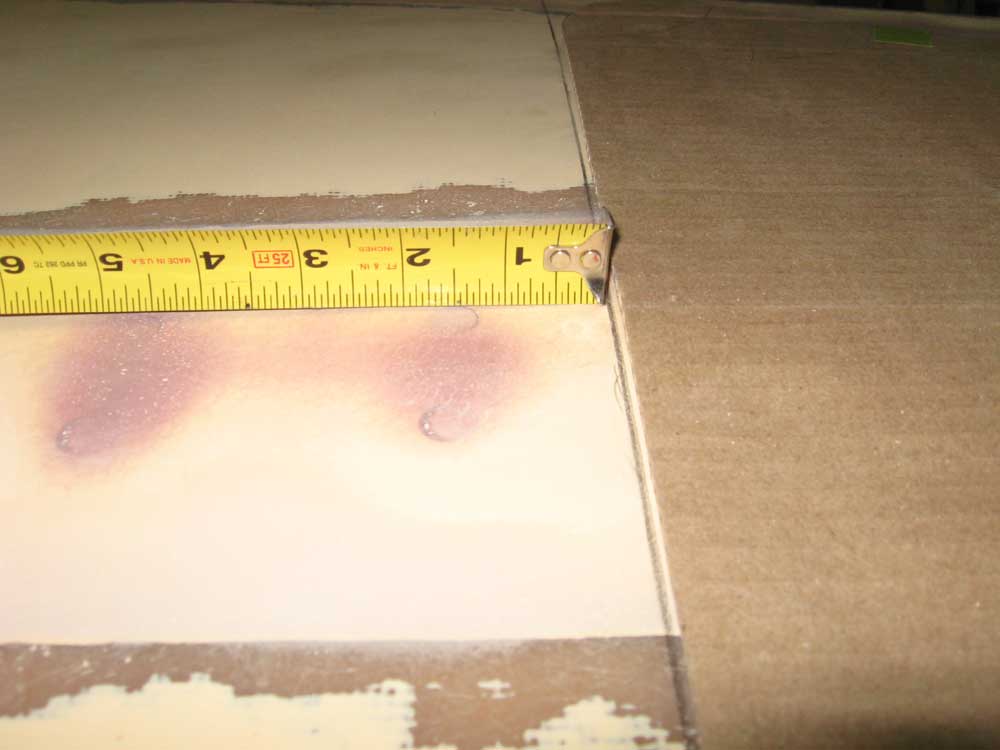
Anchor Locker Specifics (Probably boring to all but the owner and me) With the 16.5kg Bruce on the foredeck, I began to lay out a possible hatch shape and location for the anchor locker. I had made some measurements over the past week or two, all from inside the boat, and with these at hand I placed the anchor on the deck in roughly the orientation as bounded by these measurements. Based on the anchor's size and shape, I drew a line 4-1/2" in from the deck edge on each side, and parallel with the deck. This demarked the outer edge of the anchor locker opening. |
|
|
|
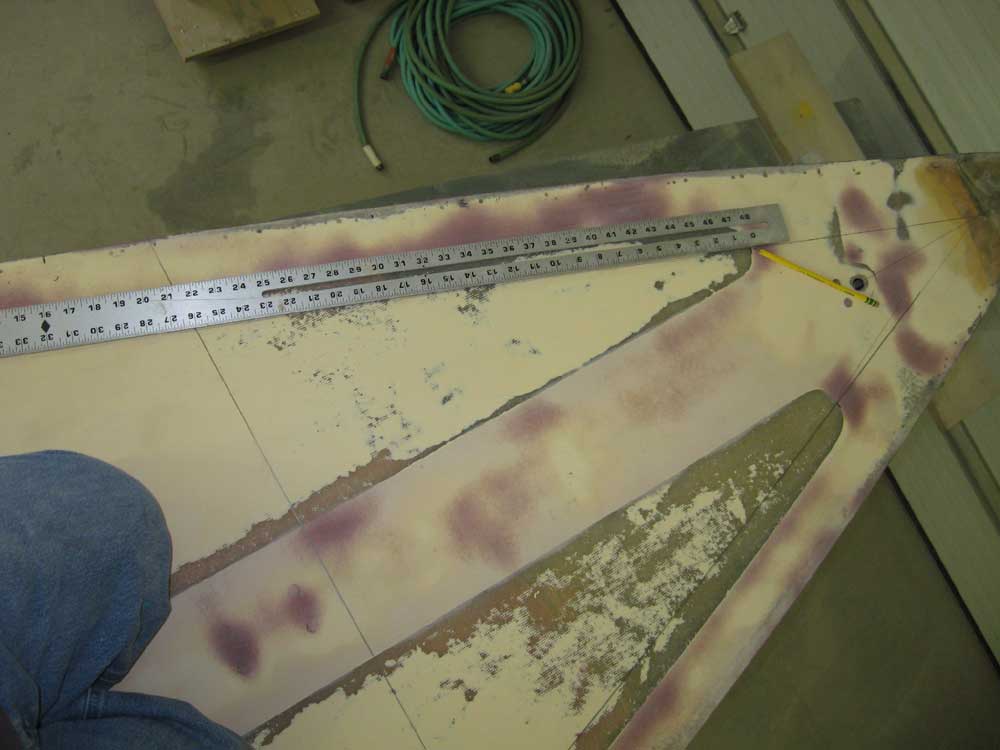
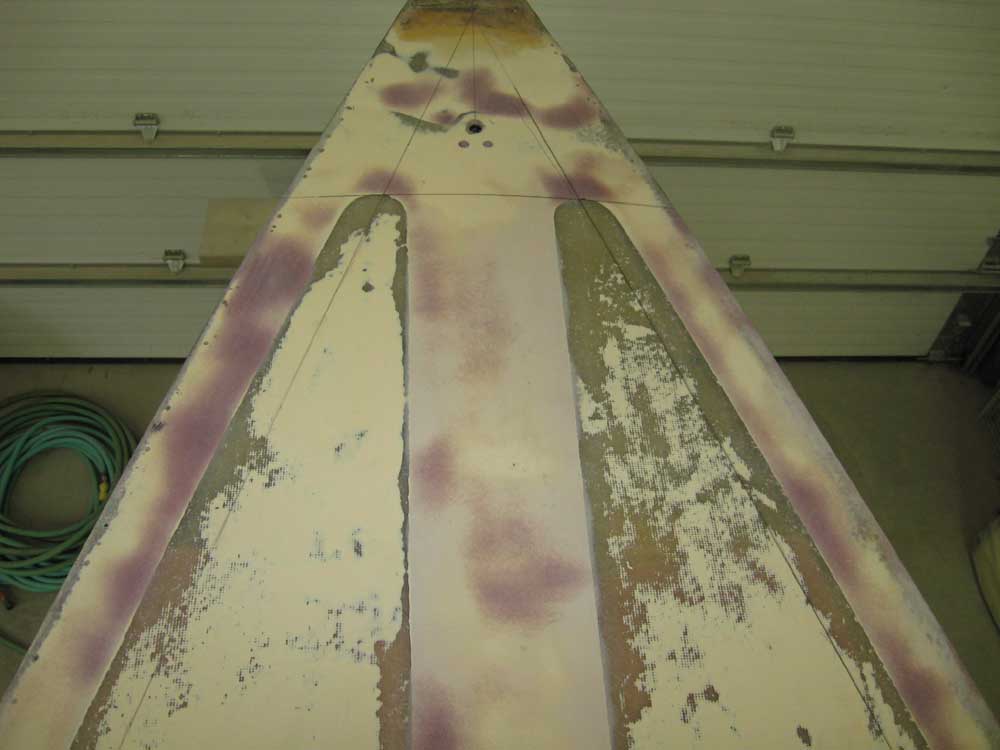
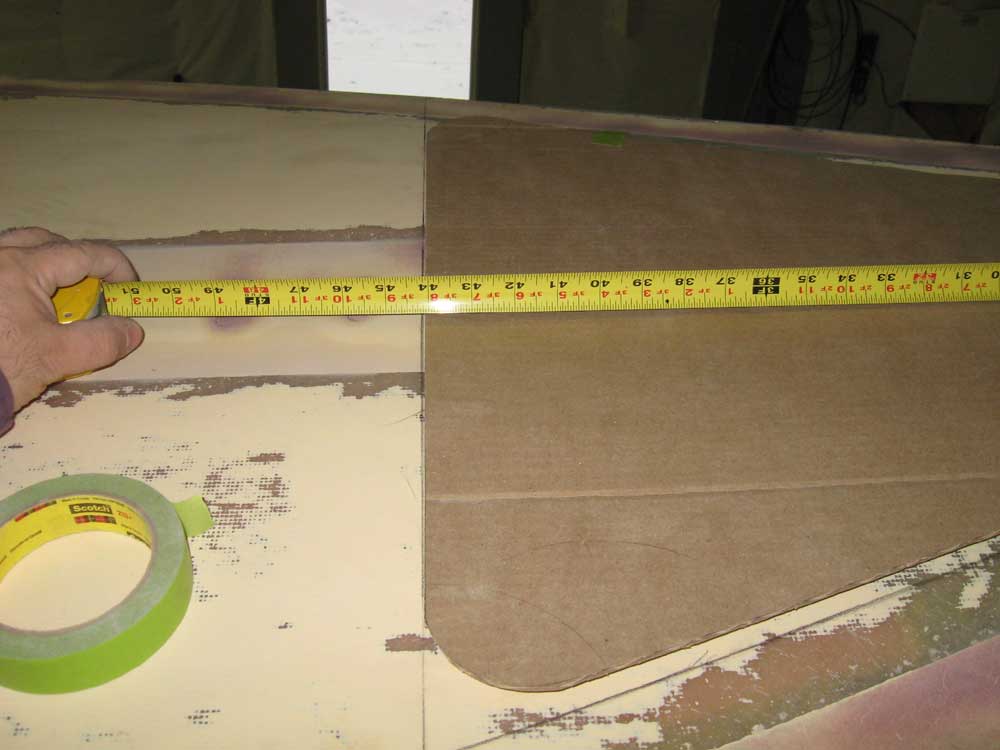
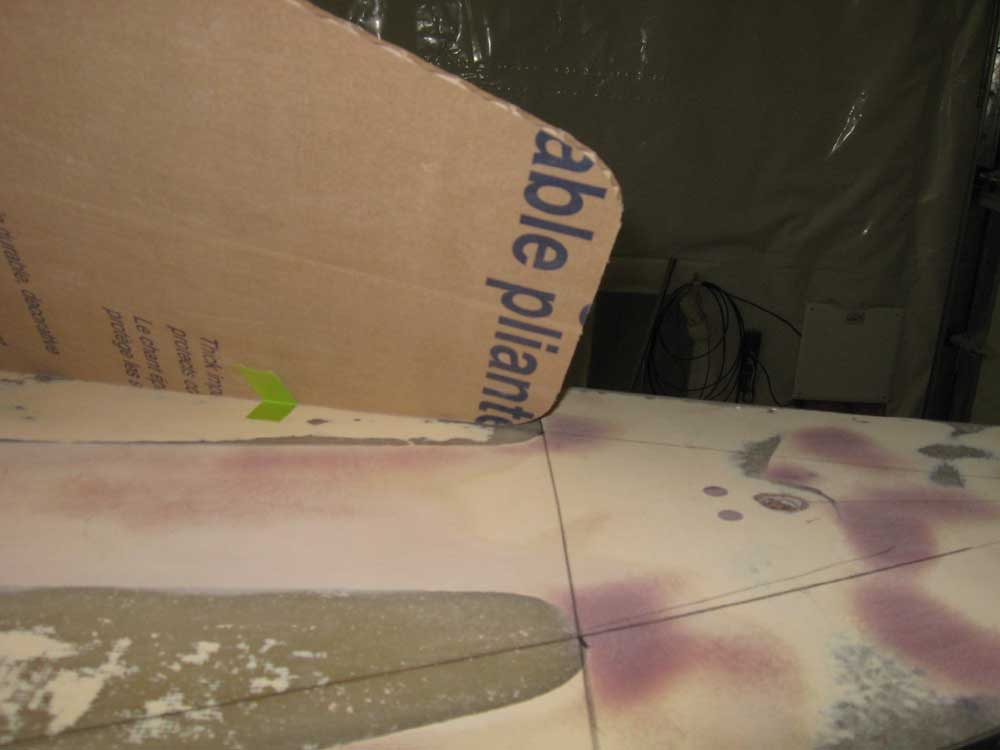
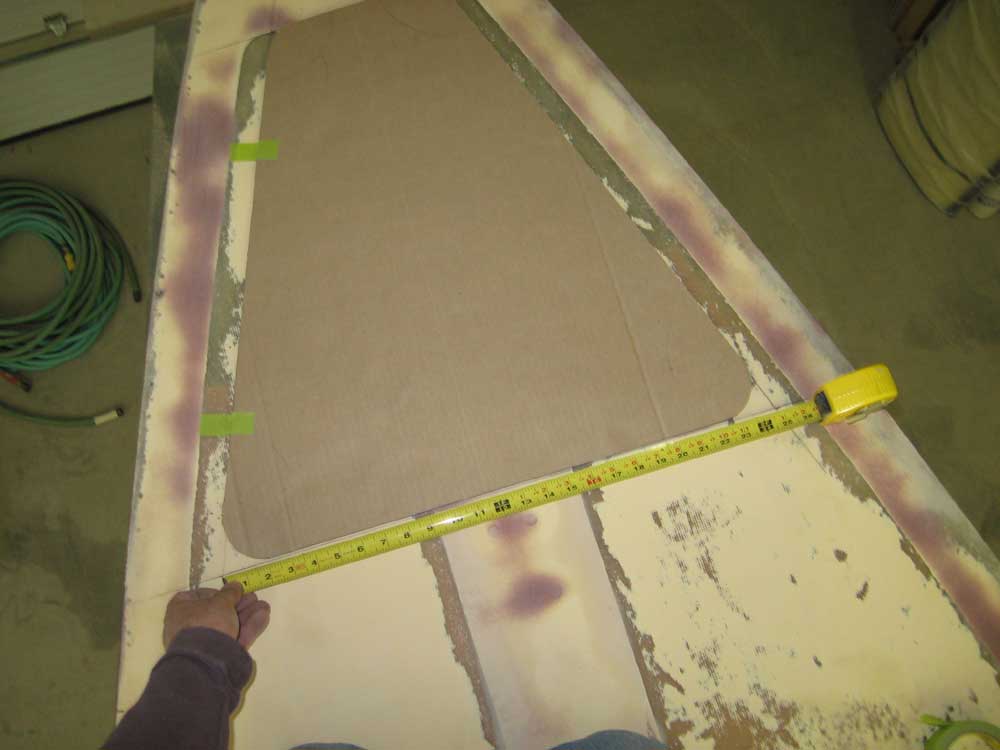
Since the whole point of the anchor locker was to provide quick, convenient, and easy access to the anchor for occasional or emergency use, I immediately noted a problem with the initial location. In order for the locker to be large enough to make moving the anchor in and out easy, the hatch opening would have to extend too far forward, so as to allow the full length of the anchor to be lifted out horizontally. The way I had mocked the anchor up inside the boat earlier (see log from 11/30/07) had the shank extending forward nearly to the headstay attachment point, but from deck level it was clear that this was too far forward, and that the hatch would interfere with the headstay. Because the locker was to drain overboard, we were bound somewhat by the need for the drain to remain above the waterline, and preferably as high as possible. So simply moving things aft, while possible, brought up the drain location issue once more, since I knew from earlier measurements that we didn't have a lot of wiggle room here. But I had also determined that there was no reason I couldn't build a "floor" in the anchor locker to keep the effective drainage point higher than it would be if I allowed the anchor to simply follow the shape of the hull. Therefore, I decided to move things aft by a few inches. I ended up with the forward end of the locker 4" aft of the headstay point on the deck, or about 19-1/2" aft of the actual stem. Again using the anchor itself as the determining factor, I located the after edge of the locker 44" aft of the stem. With the basic shape and size determined, I decided it'd be better to cut a cardboard template to the correct shape. So I did, adding large 1-1/2" radius corners. Then, I secured the new hatch to the deck with some masking tape hinges. |
|
|
|
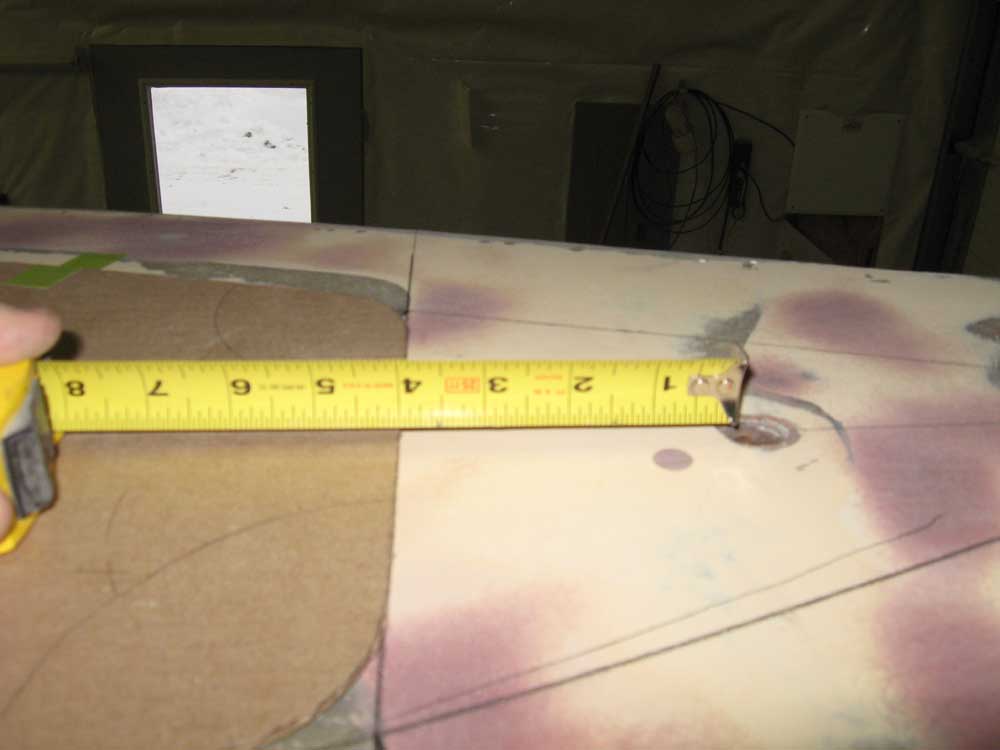
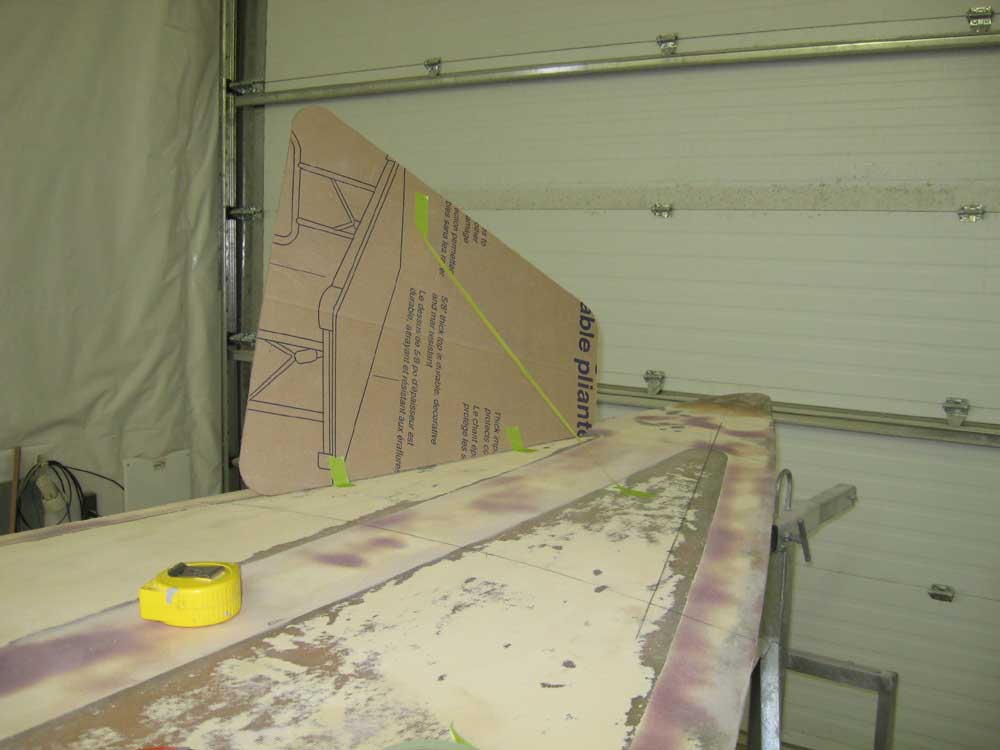
Clearance of the locker door with the headstay was another concern that had led me to move the locker further aft. With a hinged template, I could estimate the height of the door during its opening arc; 7" height straight up from the leading edge seemed to be about the maximum, and the curved corner would help with the ultimate clearance as well. It looked offhand as if this might work, but I didn't know exactly the angle of the headstay. |
|
|
|
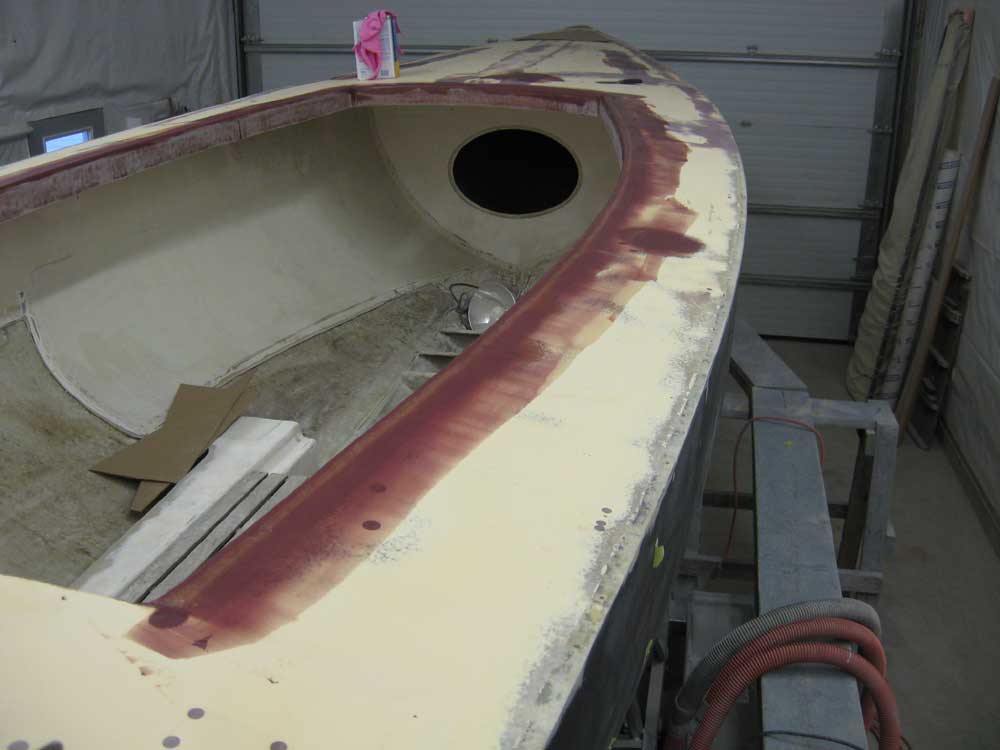
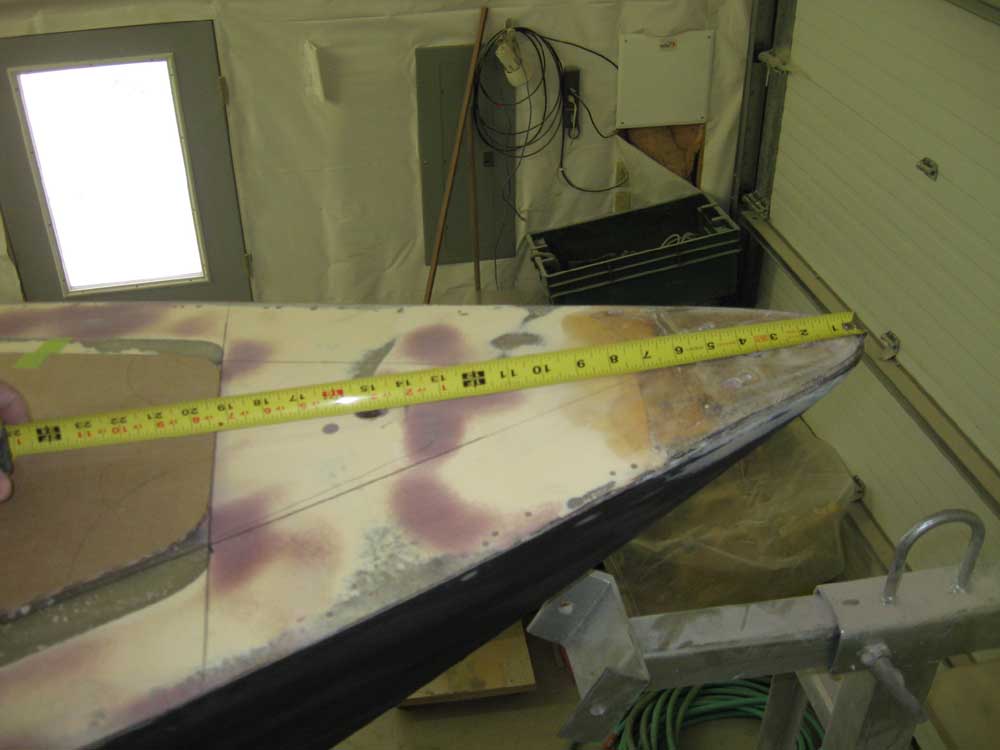
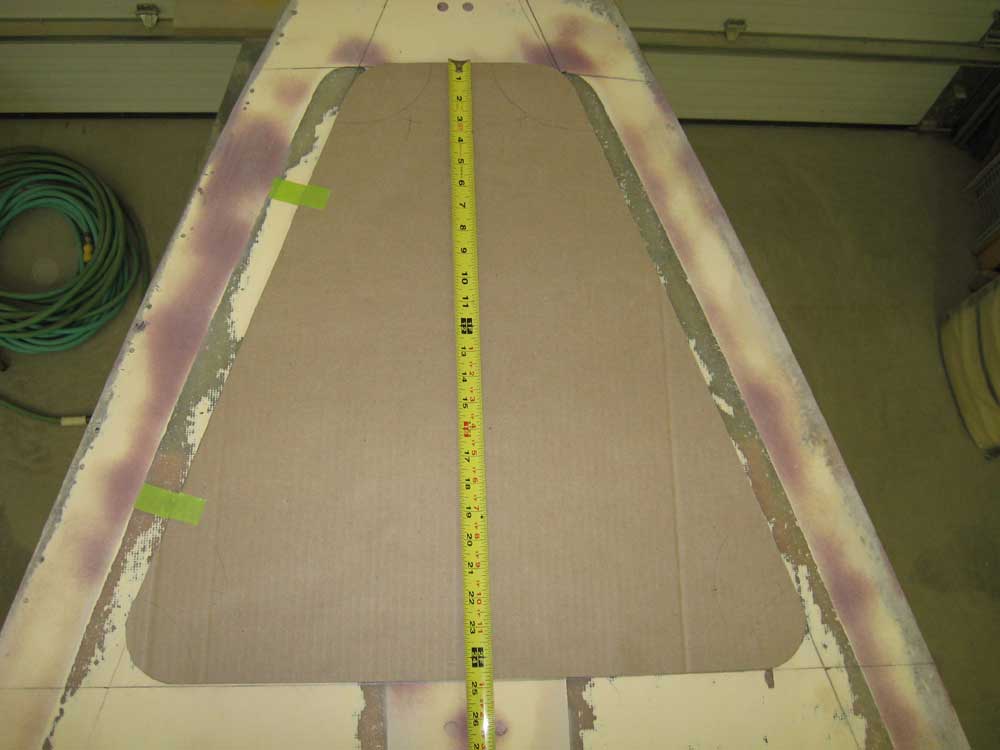
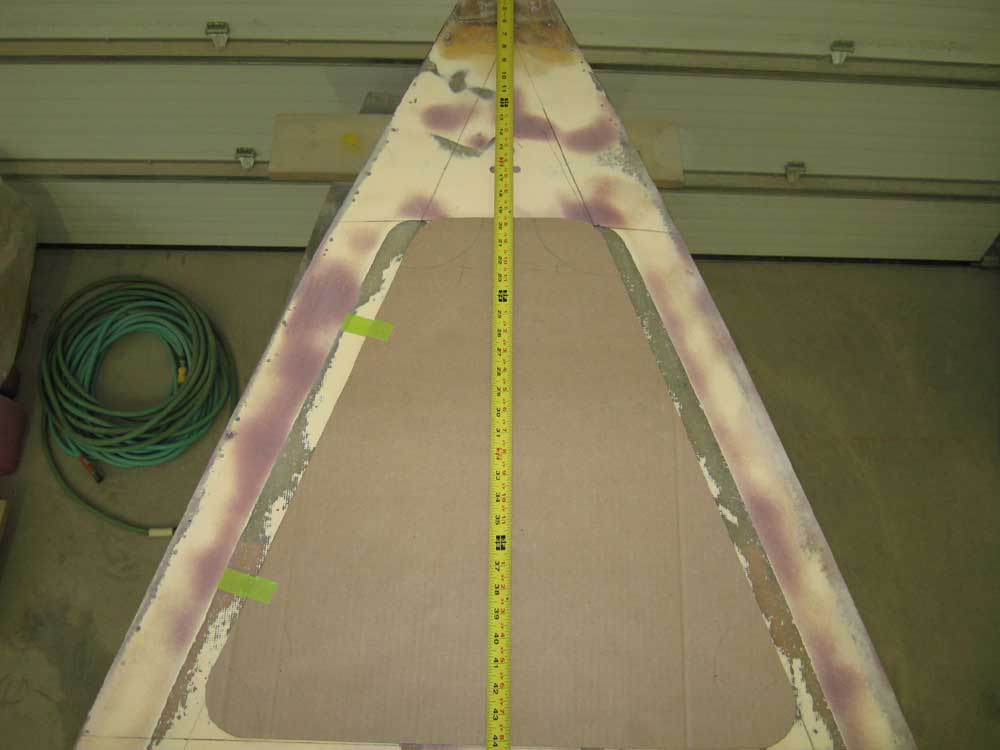
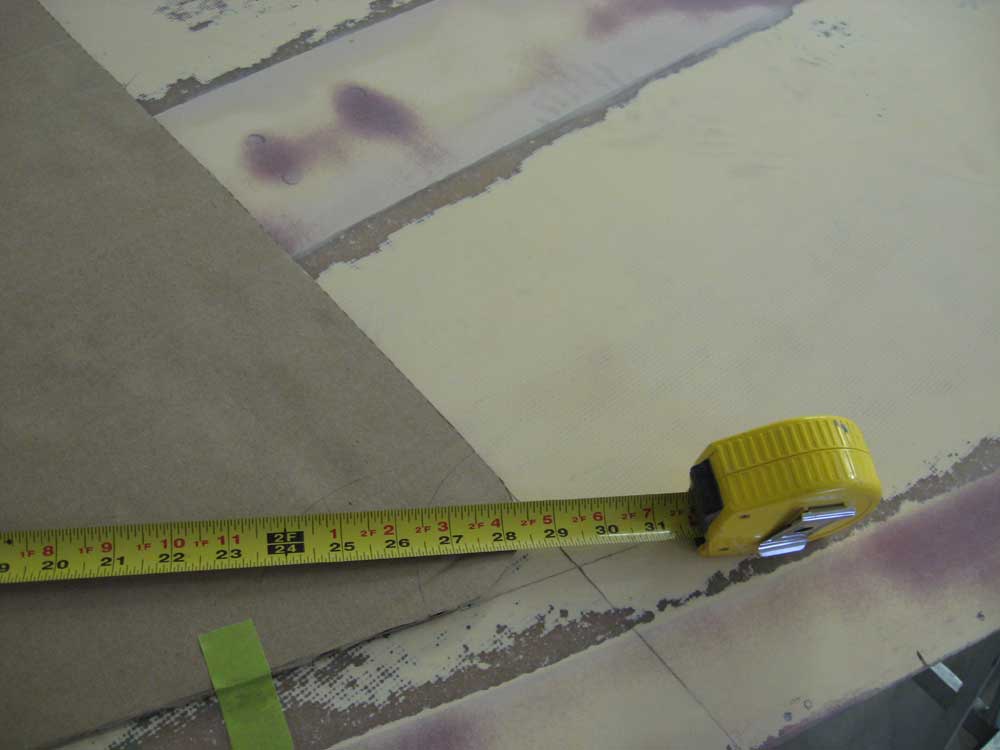
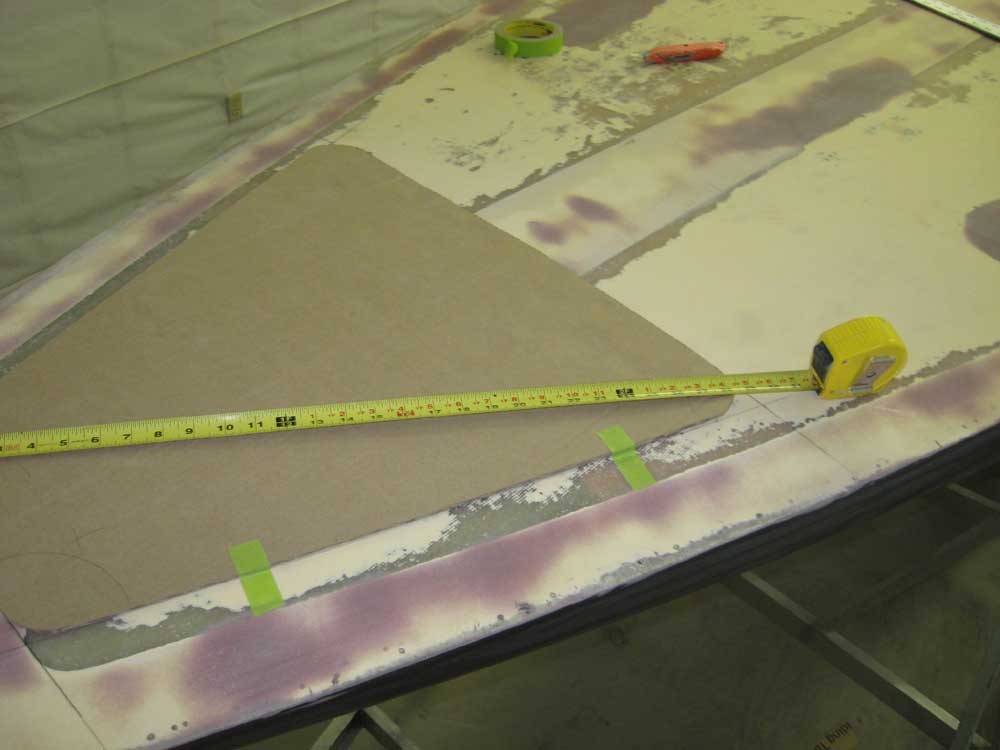
Here is a series of photos of the proposed locker door, showing all angles and with a number of measurements included. |
|
|
|
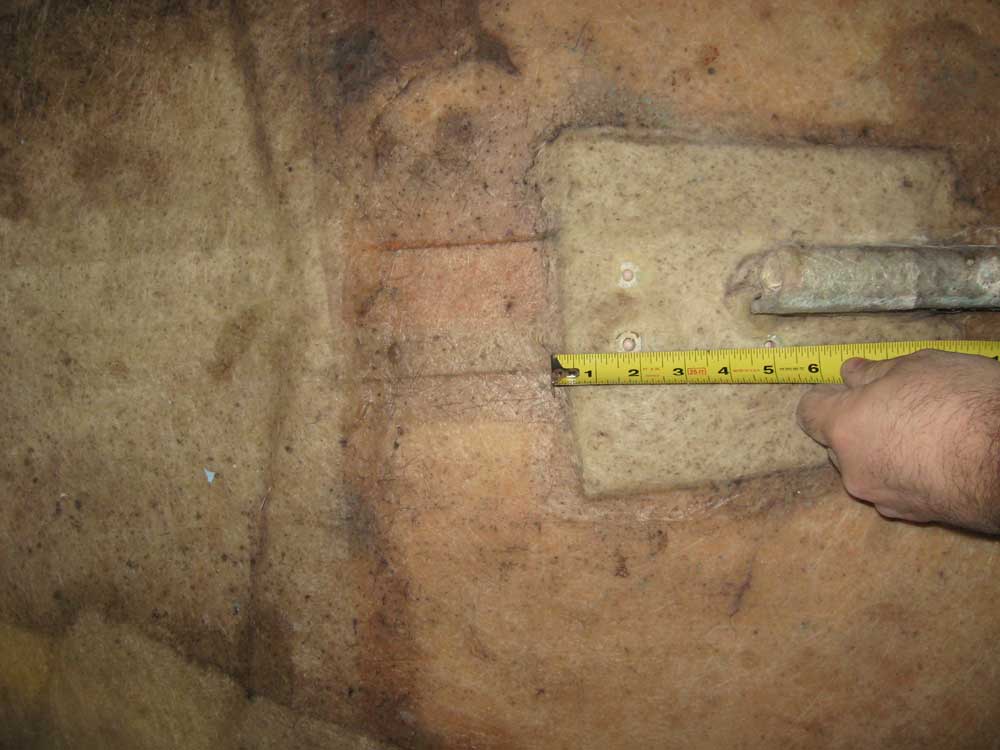
Next, I moved down below to confirm some of the new location factors at hand. With some old cleat fastener holes still visible on deck, it was easy enough to measure off them to gain a reference point that would also work below: the aft edge of the hatch was 1-1/2" forward of the holes. Down below, I checked this measurement, and roughly estimated where the bulkhead would land on the hull beneath: several inches further aft of the original roughed-in location, but OK. Later, I could determine the need for a floor to raise the drainage point as required. |
|
|
|
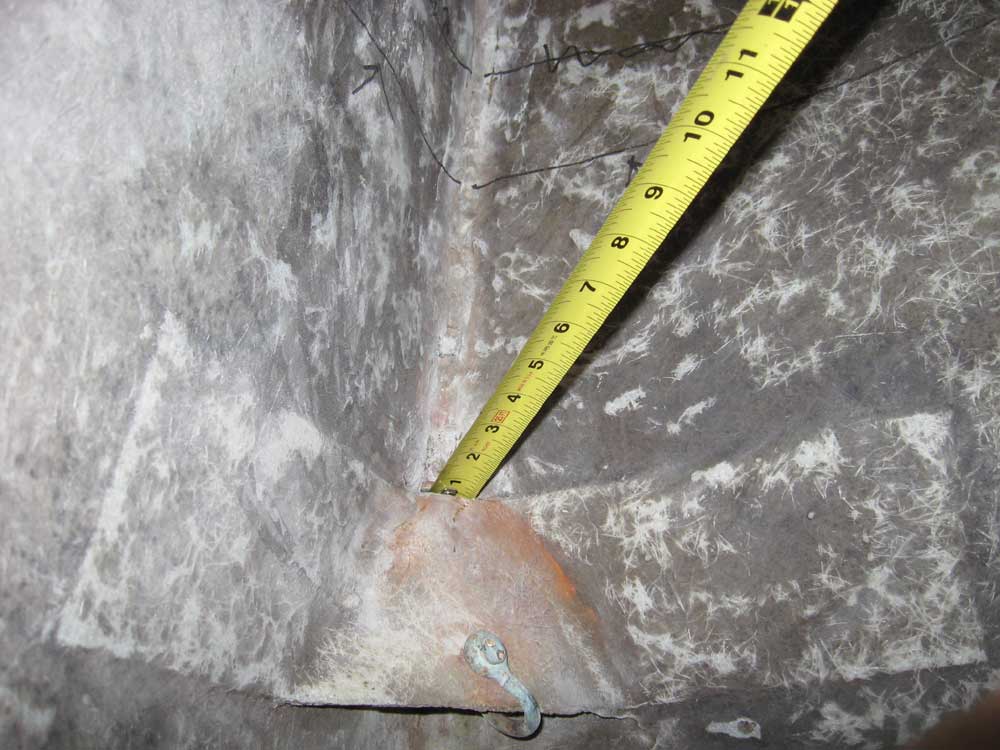
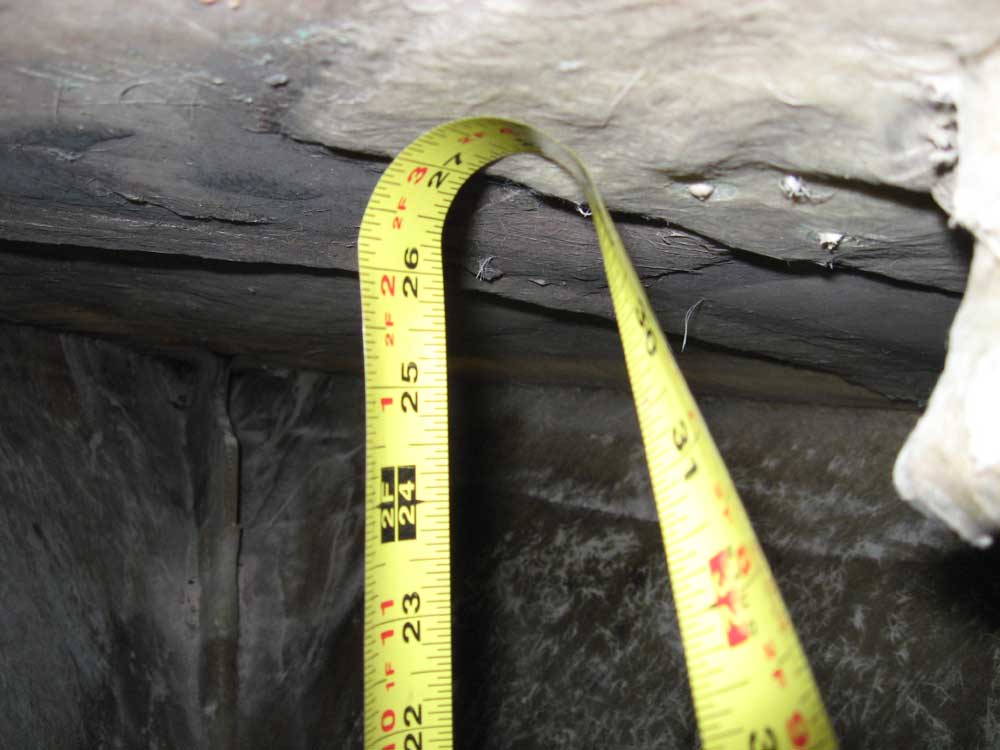
The maximum width of the new bulkhead, at the top (deck) edge, would be roughly 34", and the maximum height at centerline would be roughly 27". This was seemingly good news, since the diagonal measurement of the anchor hatch itself was a maximum of 28", which meant that it might be possible to fit a full-size bulkhead through the deck hatch (once cut), since certainly no bulkheads were going to fit through the smallish oval hatch in the main structural bulkhead aft. This is where things stood at the end of the day. |
|
|
|