| Bolero
Project |
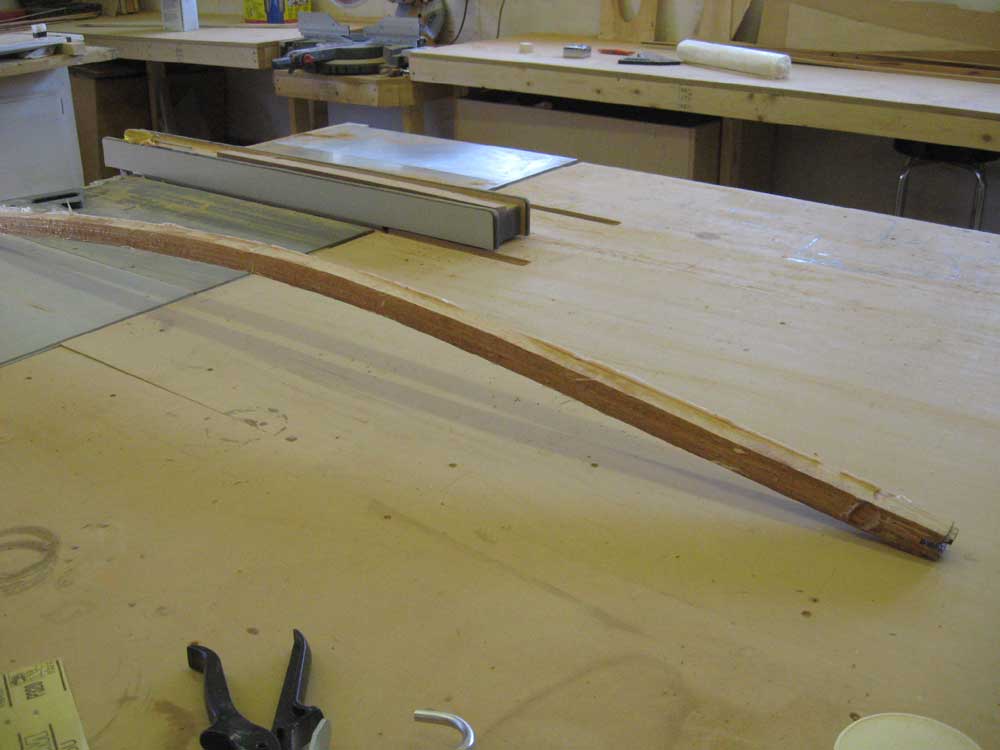
Tuesday, April 22, 2008 First thing, I unclamped the first laminated beam from the mold and glued up the second. |
|
|
|
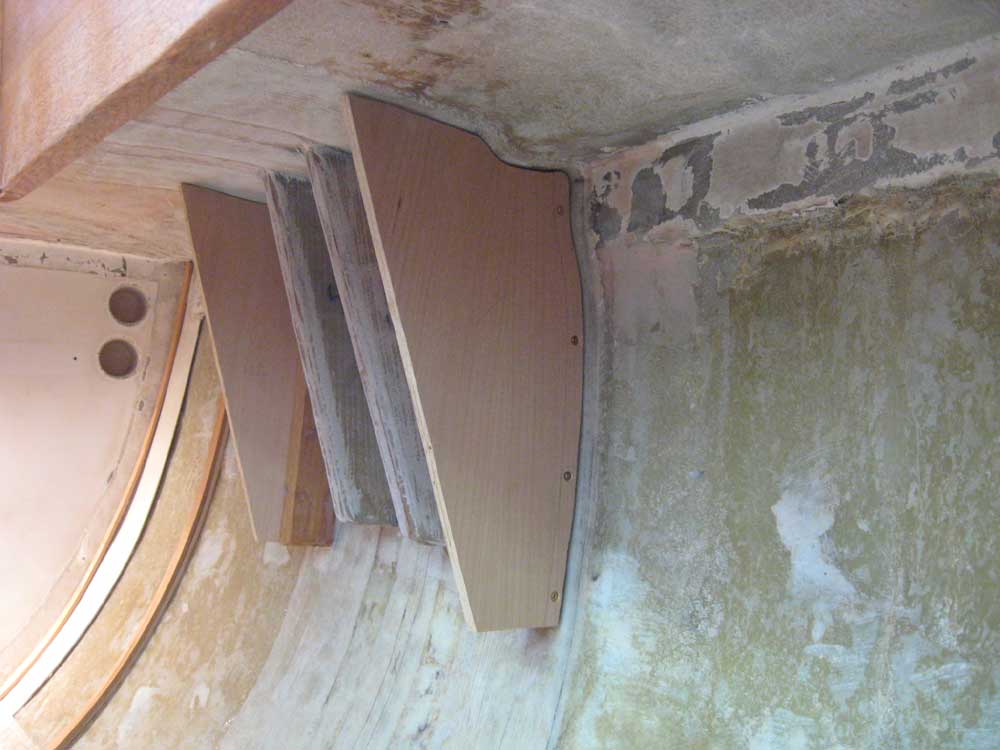
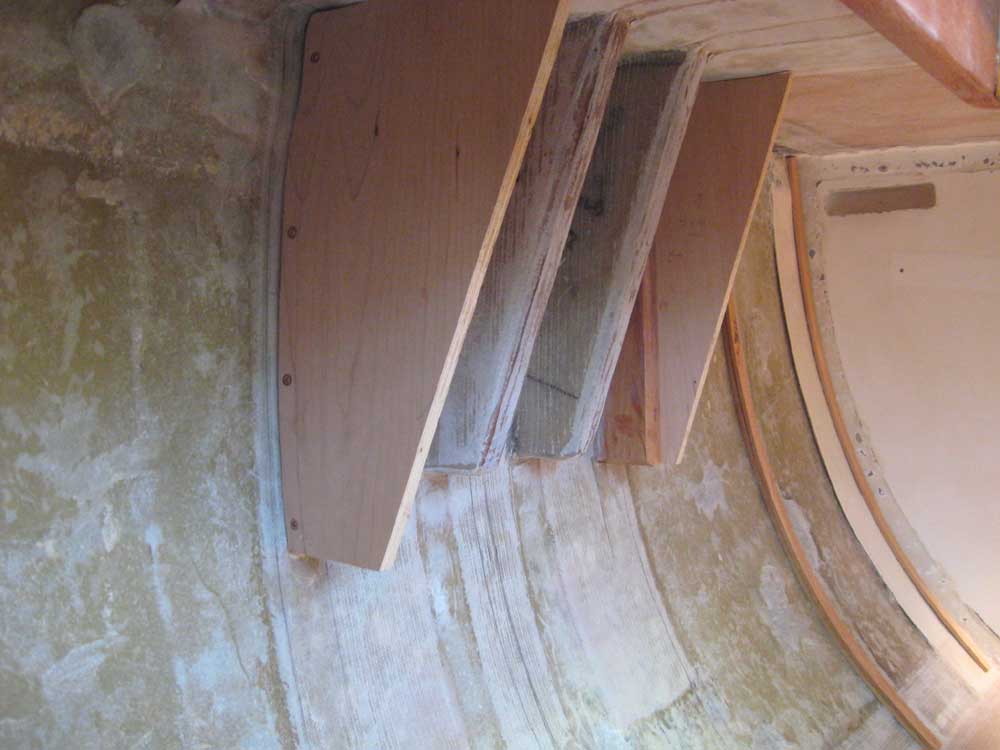
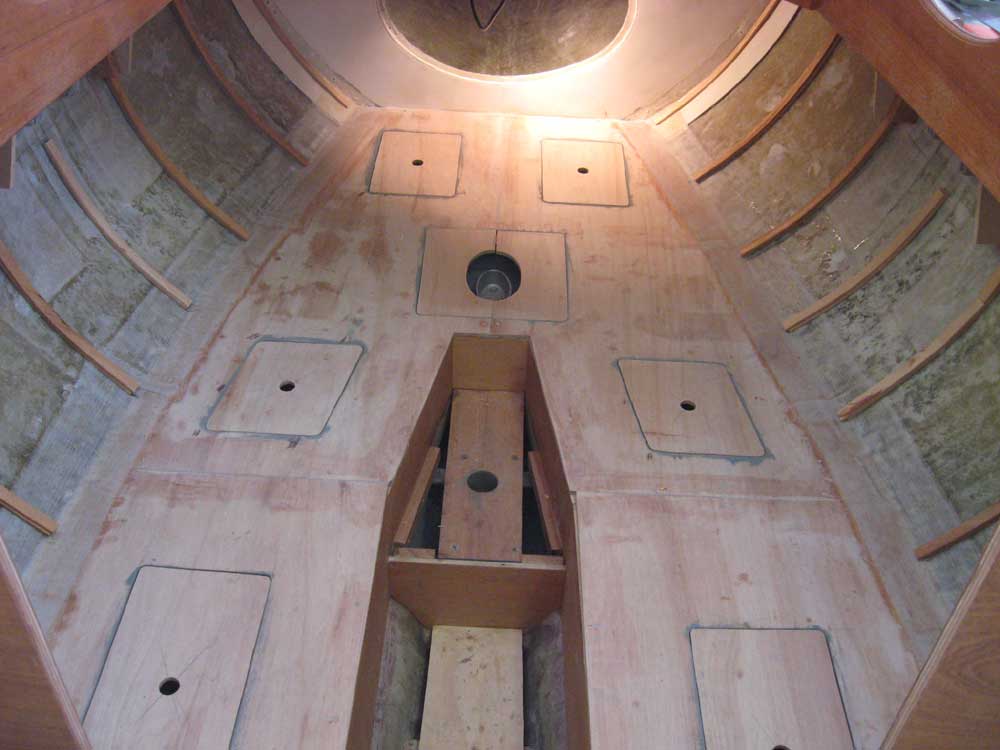
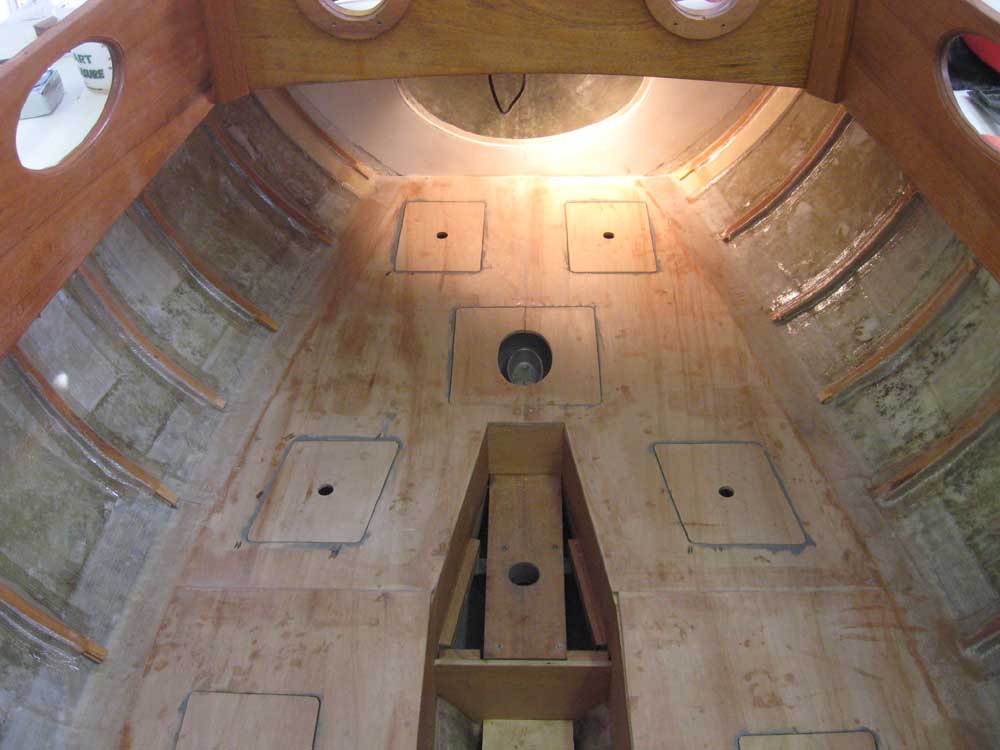
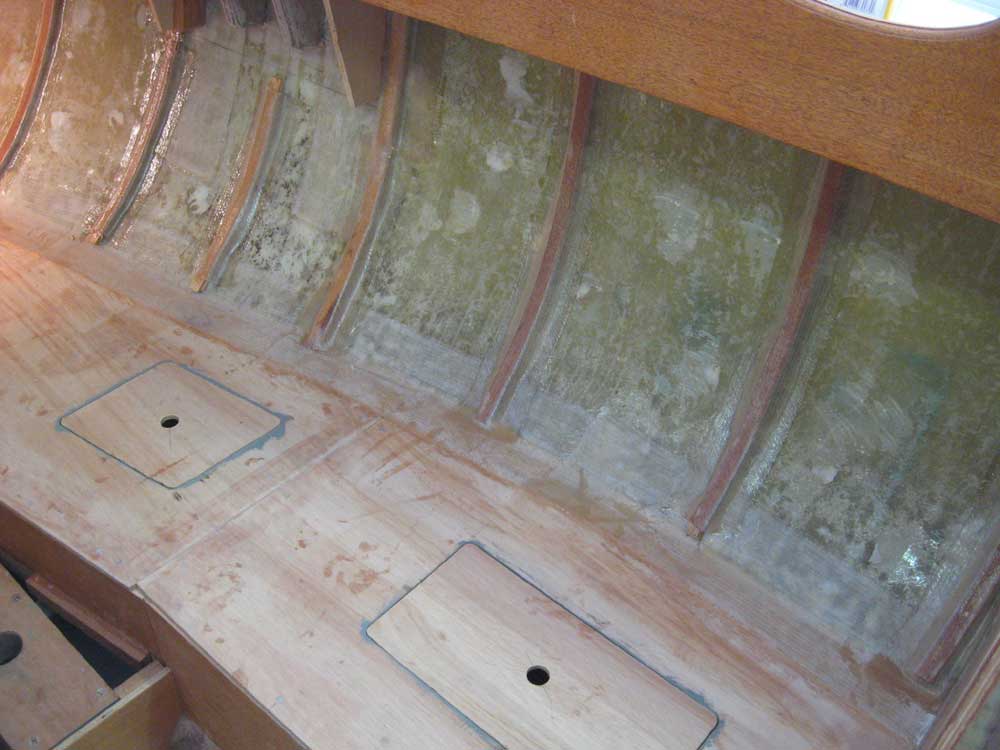
I continued work on the cabinet to enclose the chainplates, now that the cleats I installed yesterday were fully cured in place. I spent quite a bit of time scribing, cutting, and fitting four pieces of cherry plywood--one for each side of the box on both sides of the boat--to fit closely against the hull and deck, and then, once I had the curved cuts honed acceptably, cut the inboard edges to the appropriate shape, which mimicked the basic shape of the chainplate knees, though the boxes would extend further by an inch or so. I secured the plywood in place on the cleats with glue and screws; the screw heads would later be covered up by the hull ceiling. For now, this was all I needed to do for the chainplate boxes, as I'd finish the front and bottom later on. I needed the sides in place, however, so that I could continue work on the ceiling support strips against the hull and, eventually, the ceiling itself. |
|
|
|
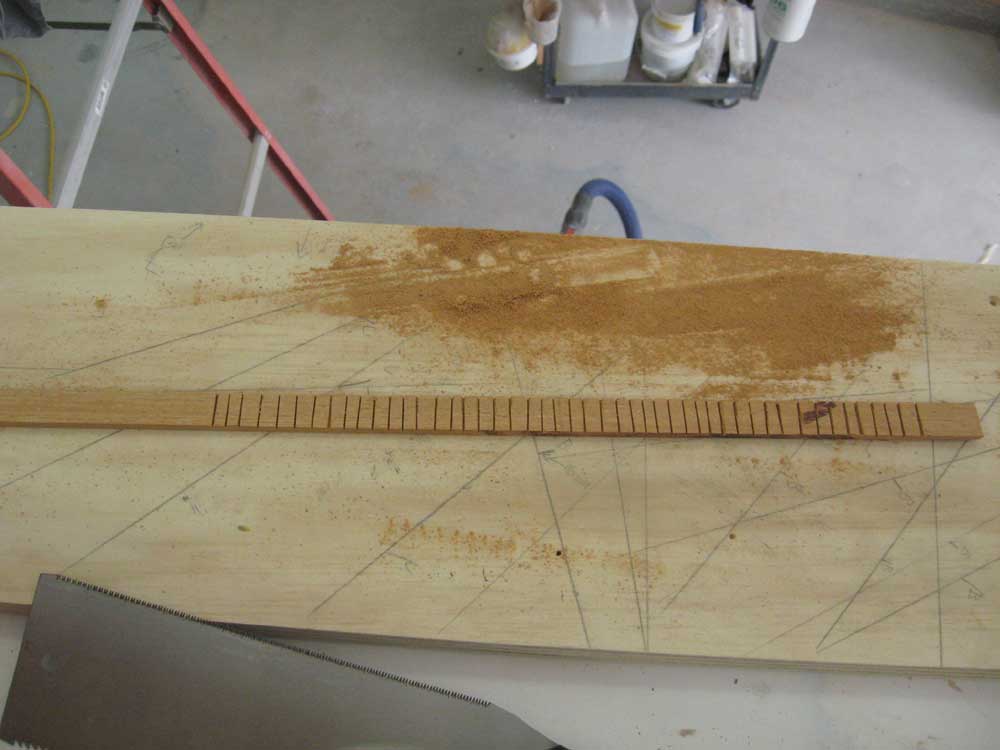
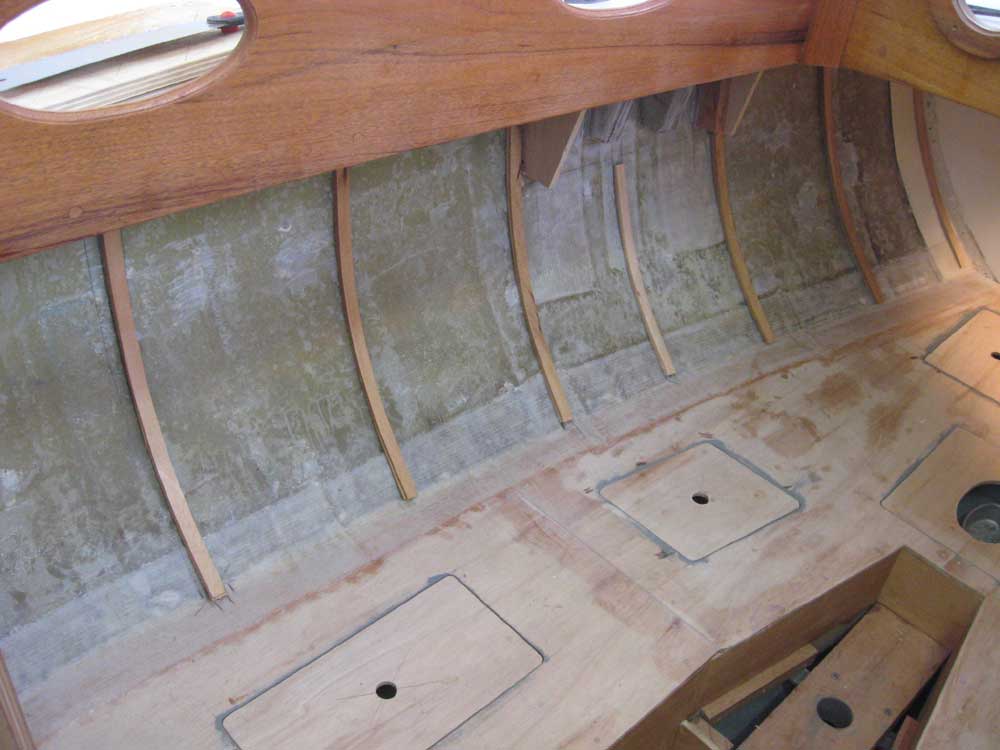
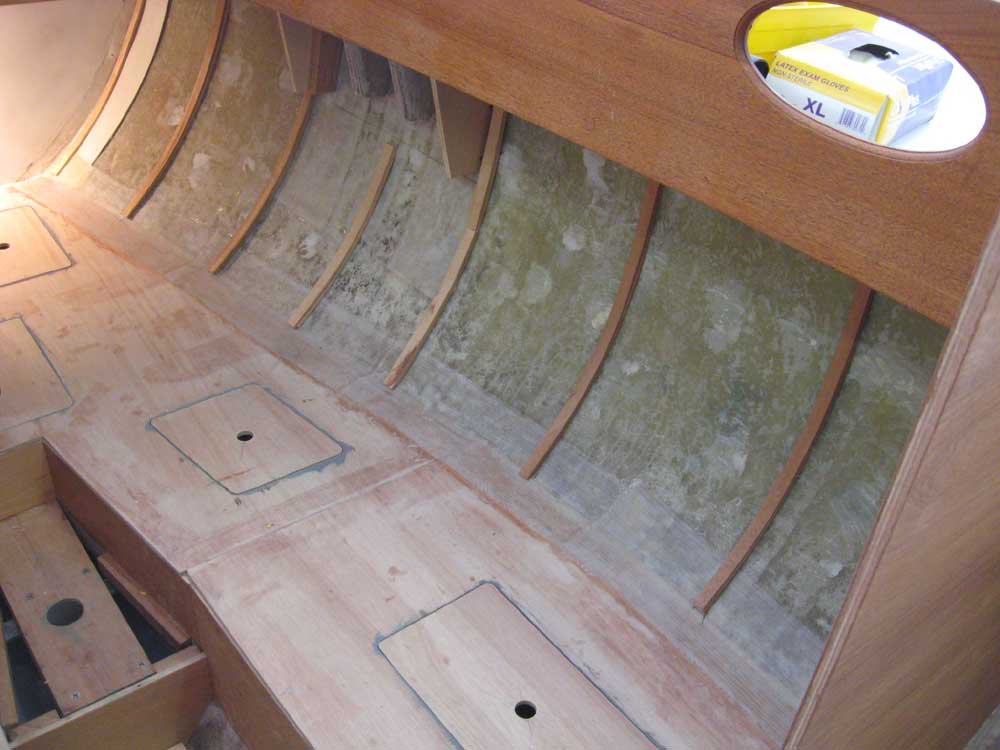
Next, I cut and fit all the remaining strips for the ceiling supports. I found that the curvature at the after end of the cabin was too extreme to allow the strips to bend in without breaking, so I had to cut saw kerfs on the back side of the strips to allow them to better bend into the shape of the hull. |
|
|
|
It took several hours to complete the strips' installation. |
|
|
|
Afterwards, I installed a layer of 15 oz. biax tabbing over the strips. For this task, I used the West System Episize tape, which, since it had no mat backing, I'd found previously to be more flexible than the usual mat-backed tape that I normally use. I debated for a while whether to install any fillets or do other prepwork before glassing over the wood strips; for any structural purpose, of course, there would have been no debate. But the only purpose of the fiberglass in this instance was to hold the strips in place; certainly I'd not rely on the hot glue that I used to press them into the hull for that. Given this limited requirement, and the fact that the strips needed to only support ceiling strips, I elected to omit any additional work and material; installing fillets and so forth would have made the end result prettier, but for the purpose at hand it would have been a waste of time and resources. Instead, I glassed over the wood and onto the hull, and didn't worry about the inevitable gapping between the square wood strips and the hull. There was plenty of tabbing to secure to the hull and the top of the strip, and this would admirably perform the required task. And these strips would never be seen again once I installed the ceiling, unless someone decided to dismantle the boat for some reason someday. |
|
|
|
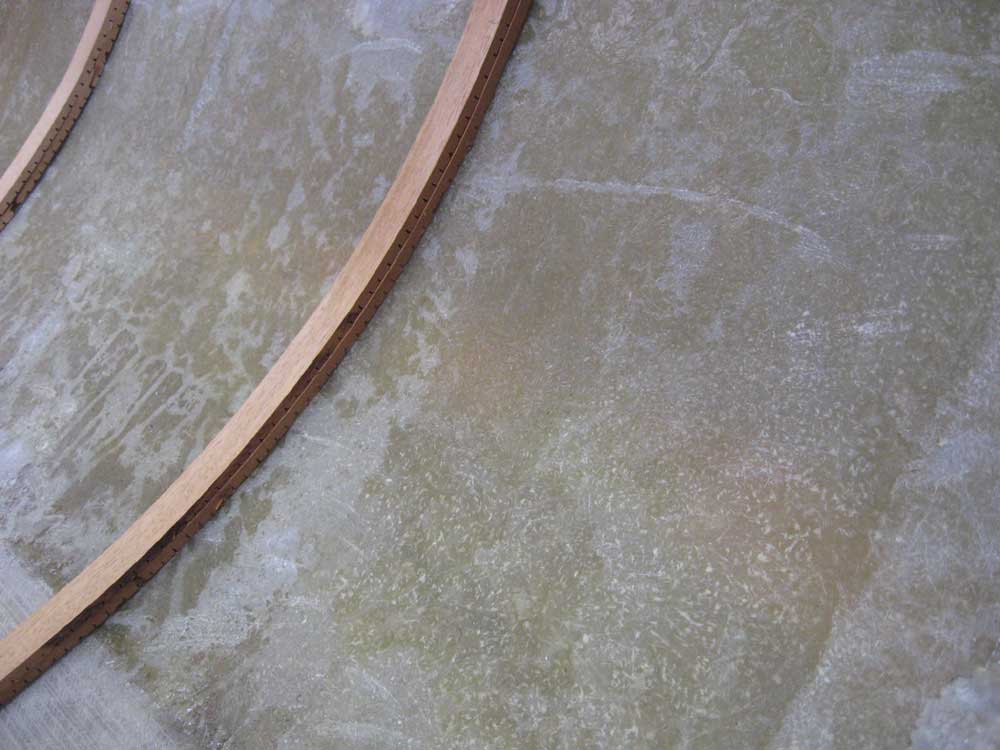
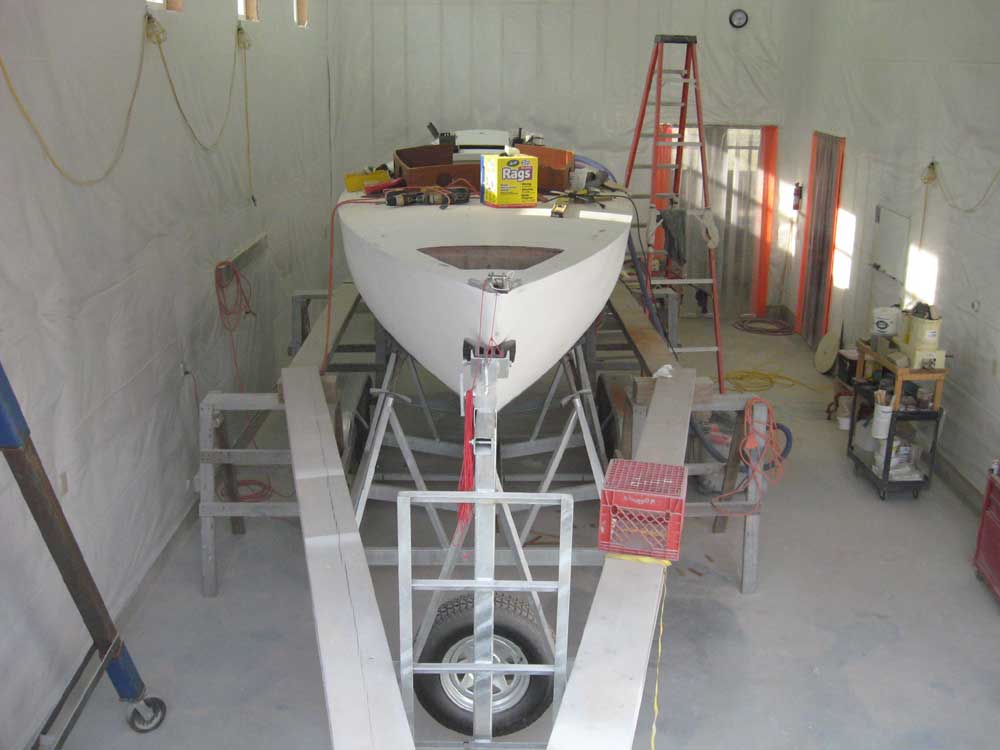
I finished up the day by filling some old bolt holes in the cabin overhead left over from old deck hardware, so that the surface would be ready for painting soon. The photo below bears no relevance to the work of the day, but I just thought it was a nice view. |
|
|
|
|
|