
110 Cookson Lane | Whitefield, ME 04353 | 207-232-7600 | tim@lackeysailing.com
Blue Teal | Saturday, June 29, 2013
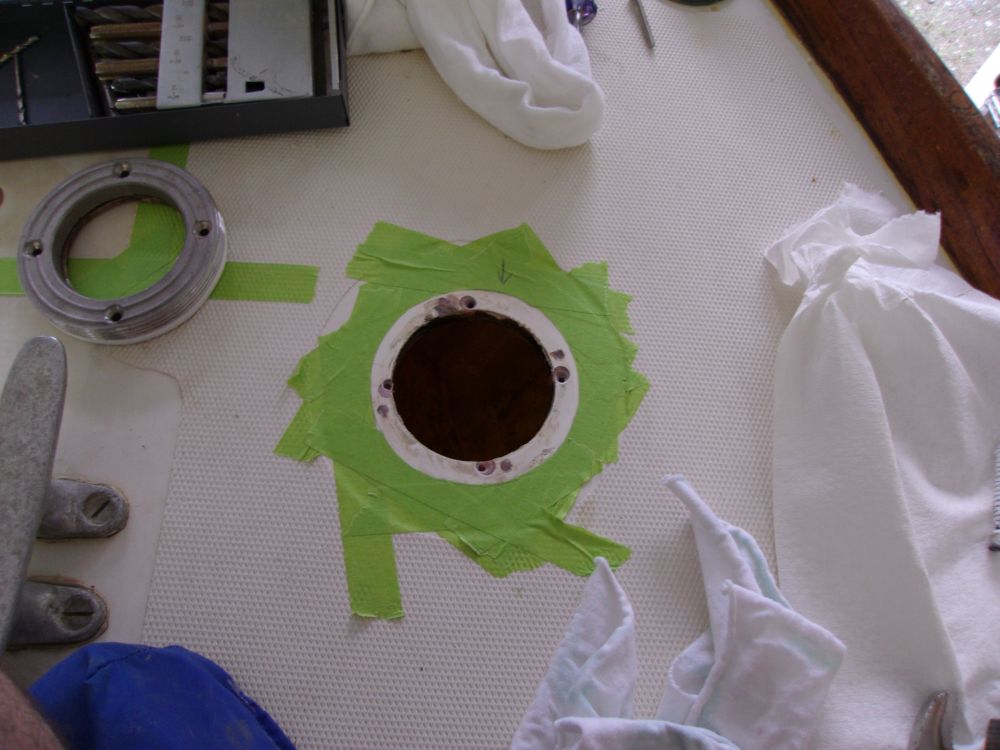
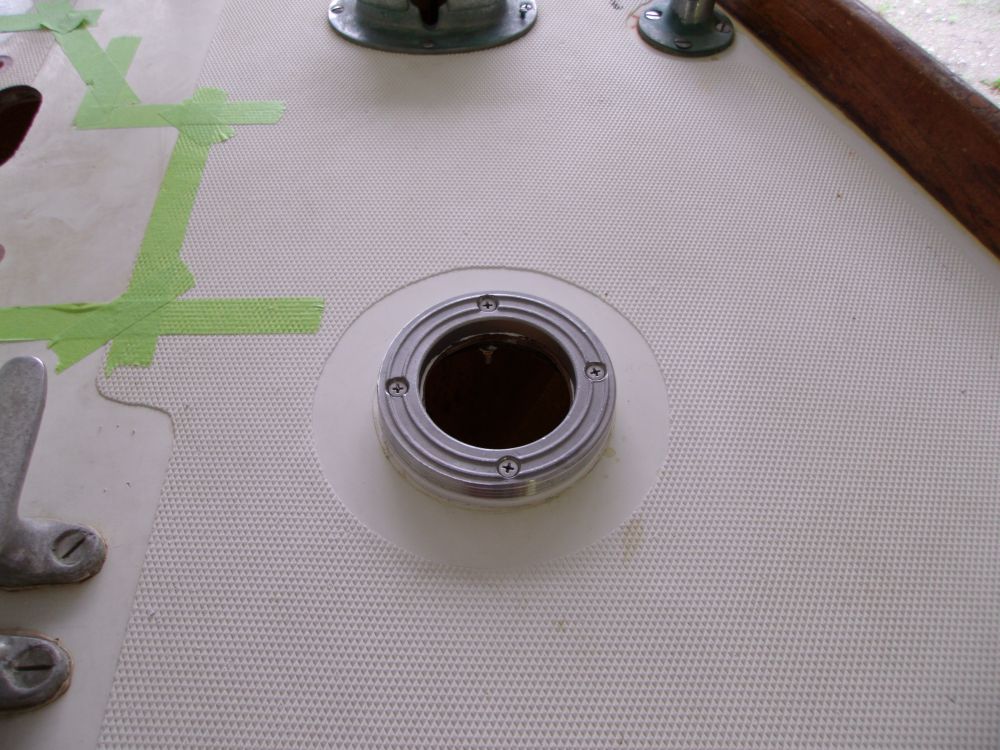
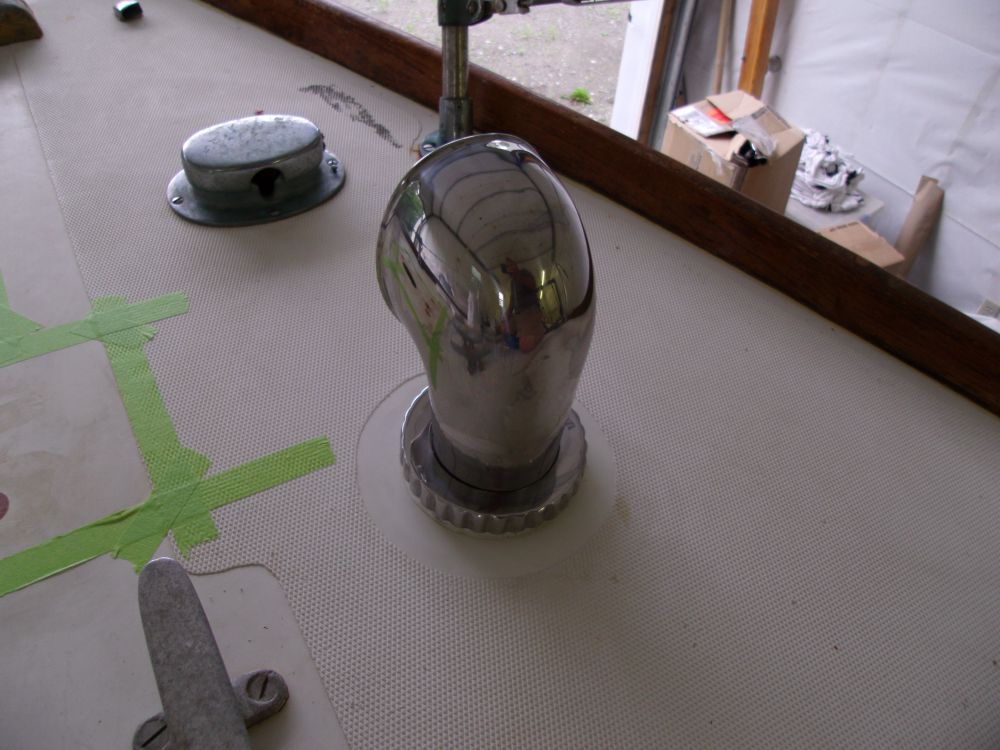
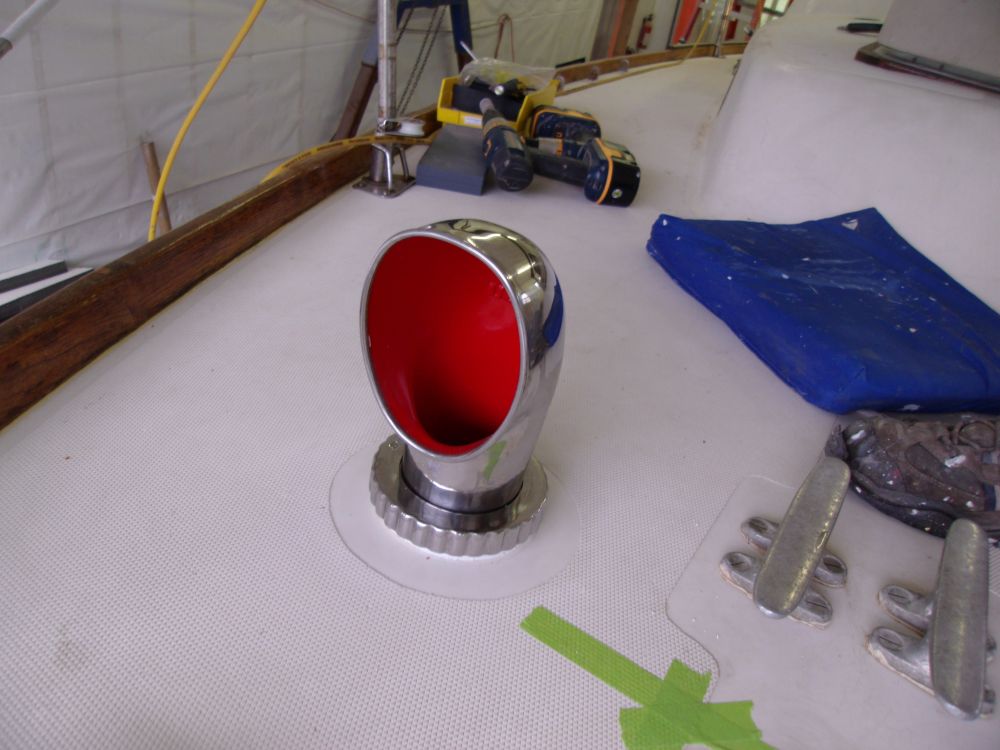
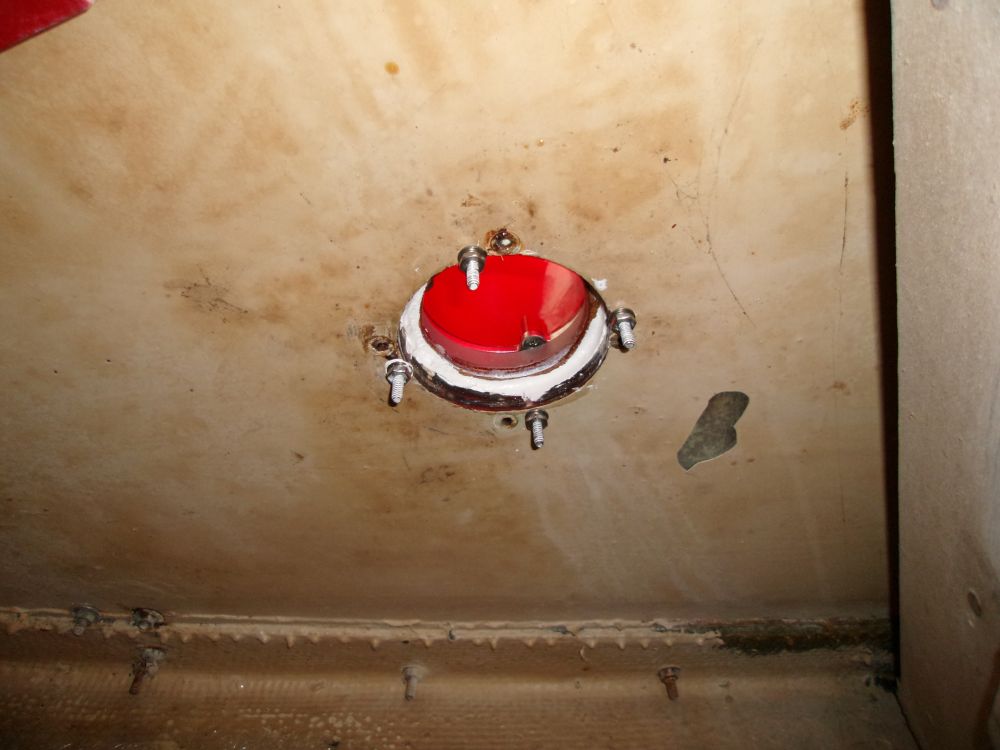
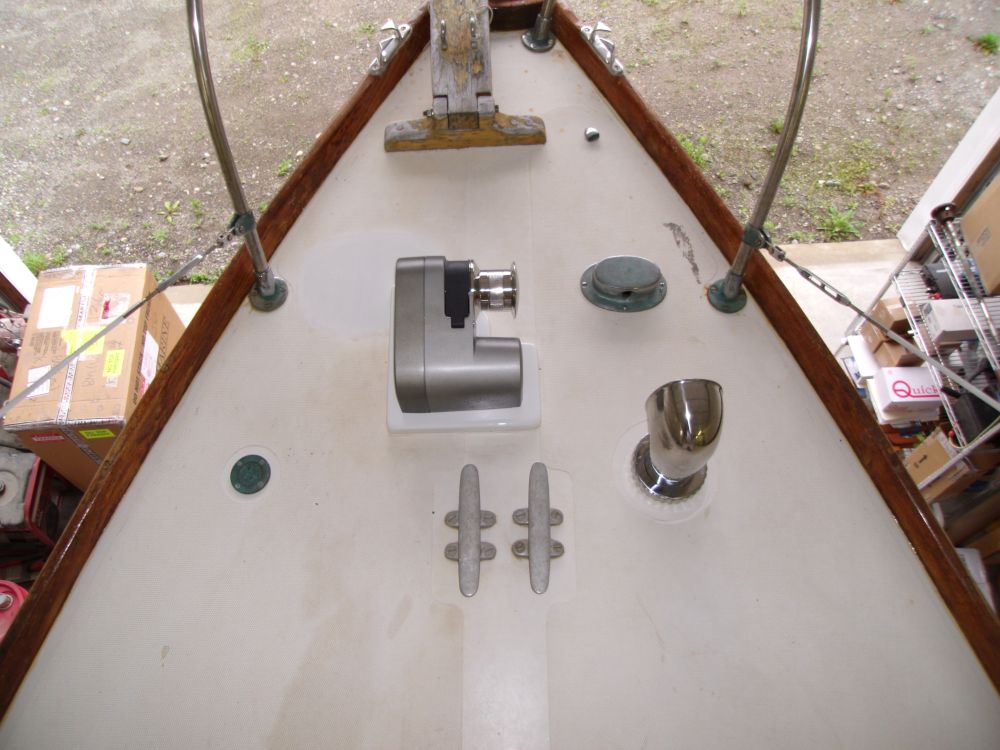
I eased into the day with a nice simple job: installing the foredeck cowl vent. In the usual way, I drilled and tapped the epoxy-filled holes in the deck, then installed the base plate of the vent along with a plywood riser the owner had built, and secured it with sealant, machine screws, and nuts.
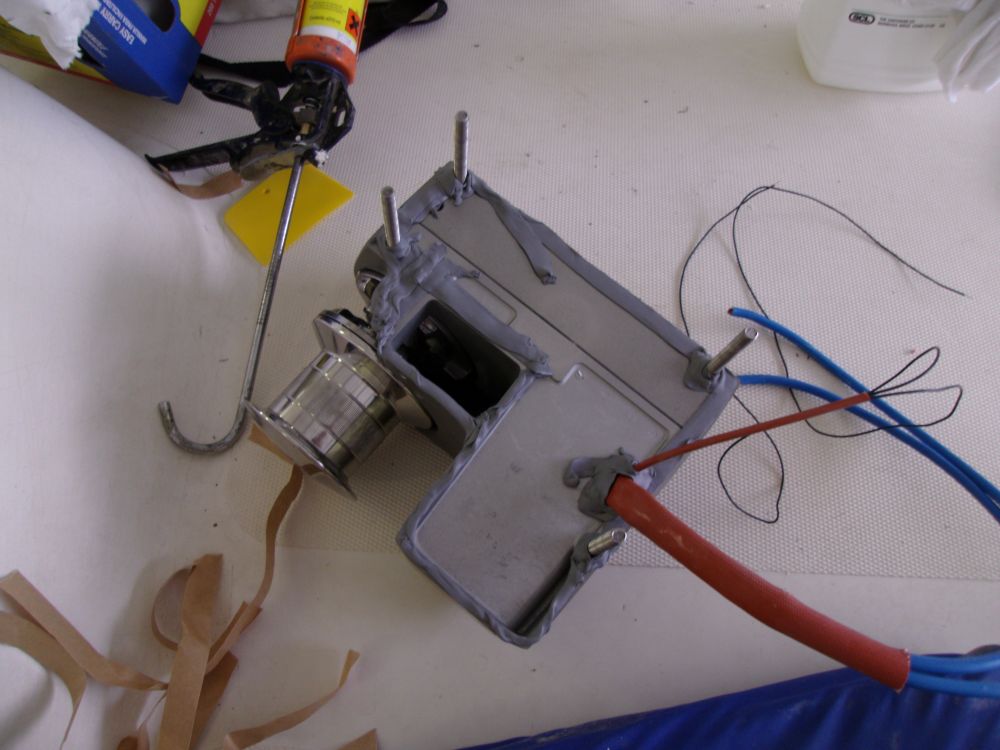
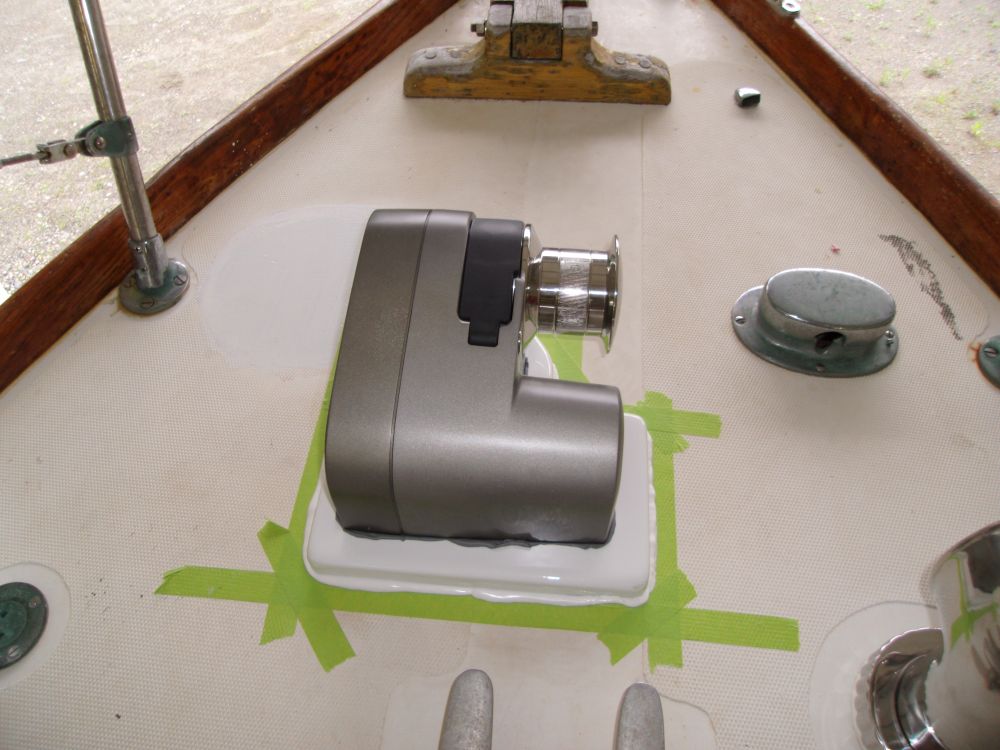
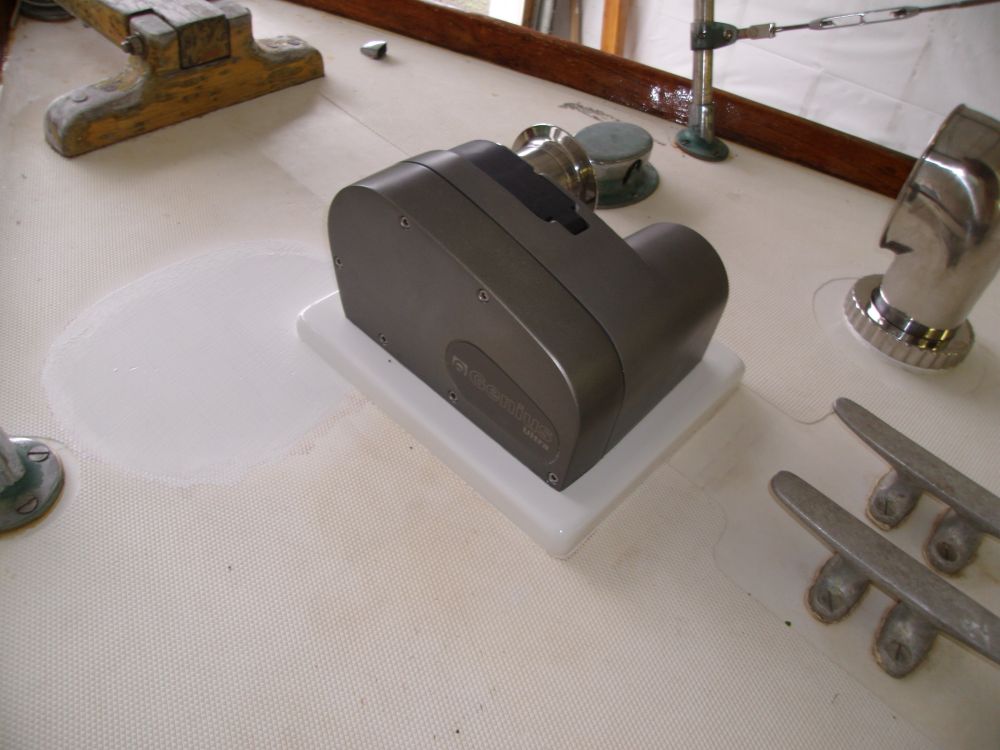
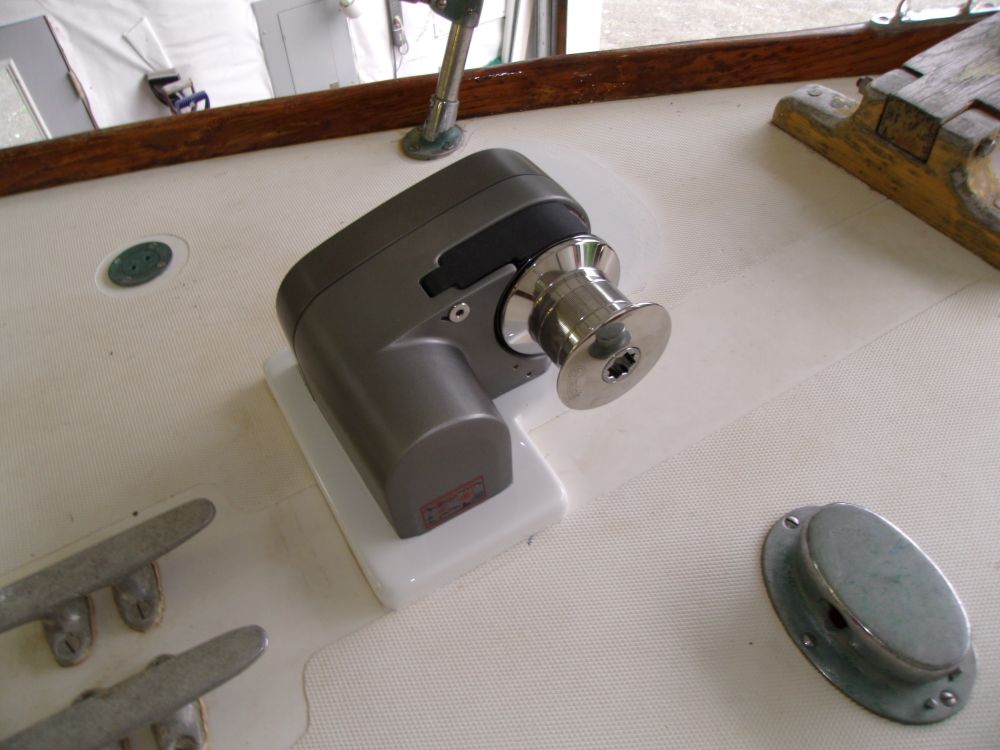
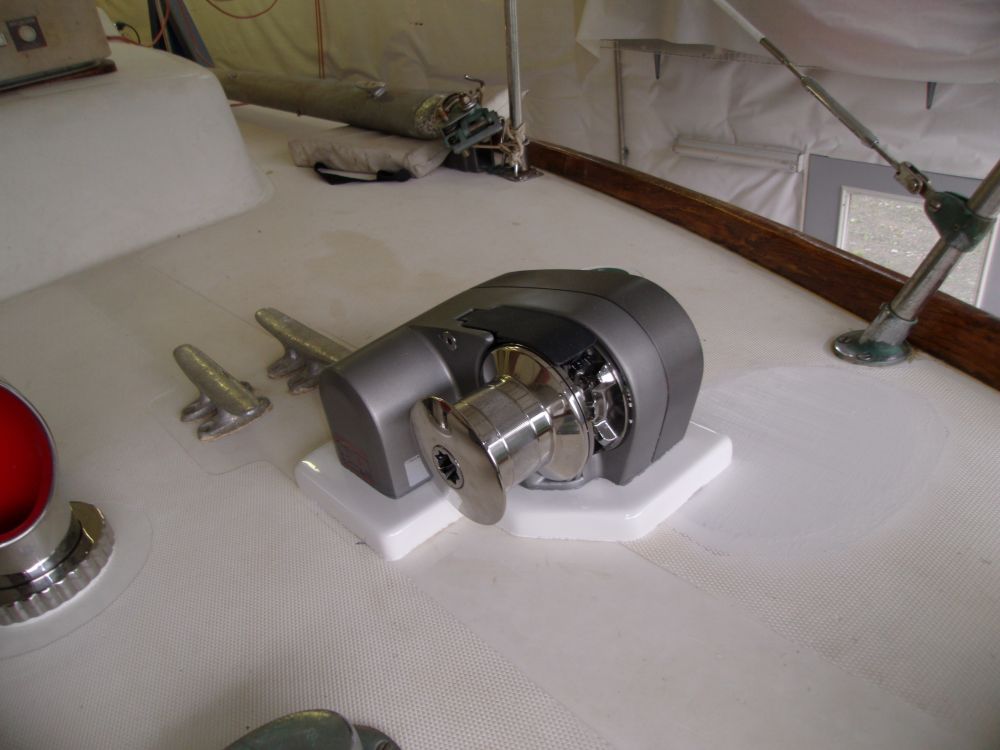
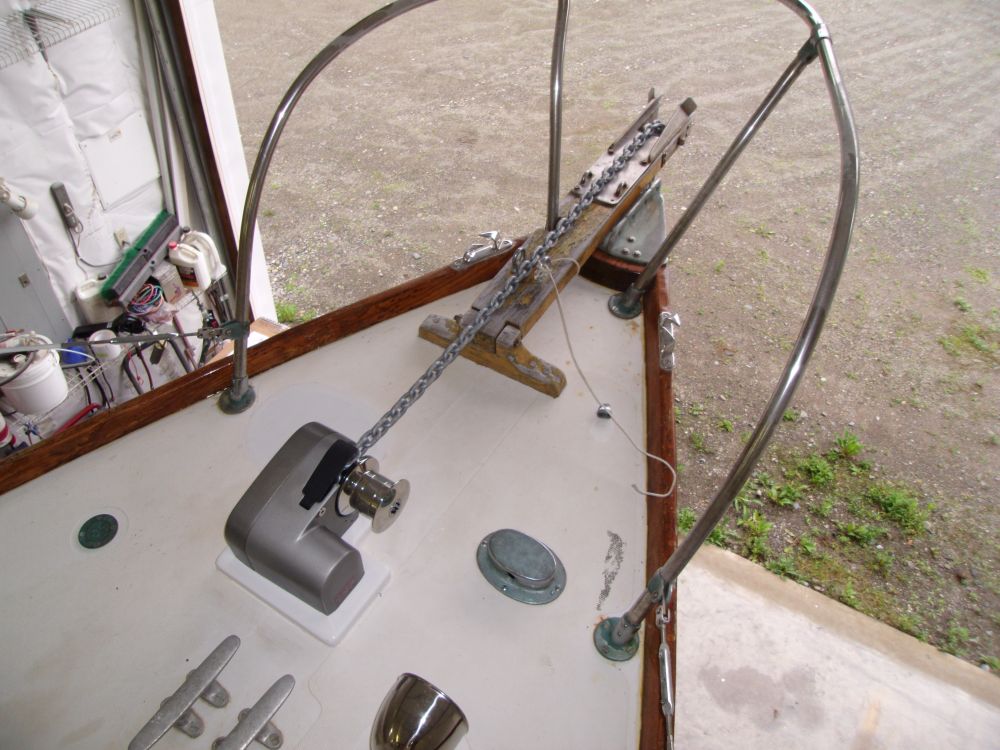
Next, I prepared the windlass for its final installation. I secured the mounting studs in the housing with a bit of Loctite, which I allowed to cure, then applied butyl tape sealant to the base of the windlass and around the studs and wiring, eschewing the gasket that came with the windlass. I selected butyl tape for this portion of the installation because it would be easy and effective to wrap the studs and wiring exit, without creating undue mess, while also allowing for ease of removal should it become necessary.
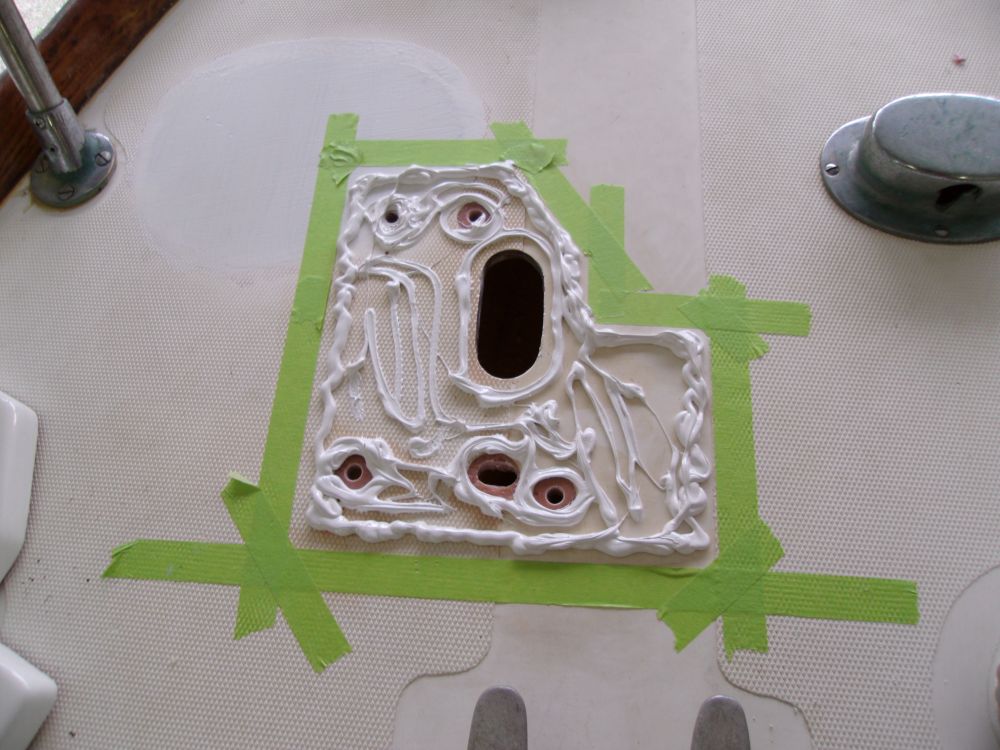
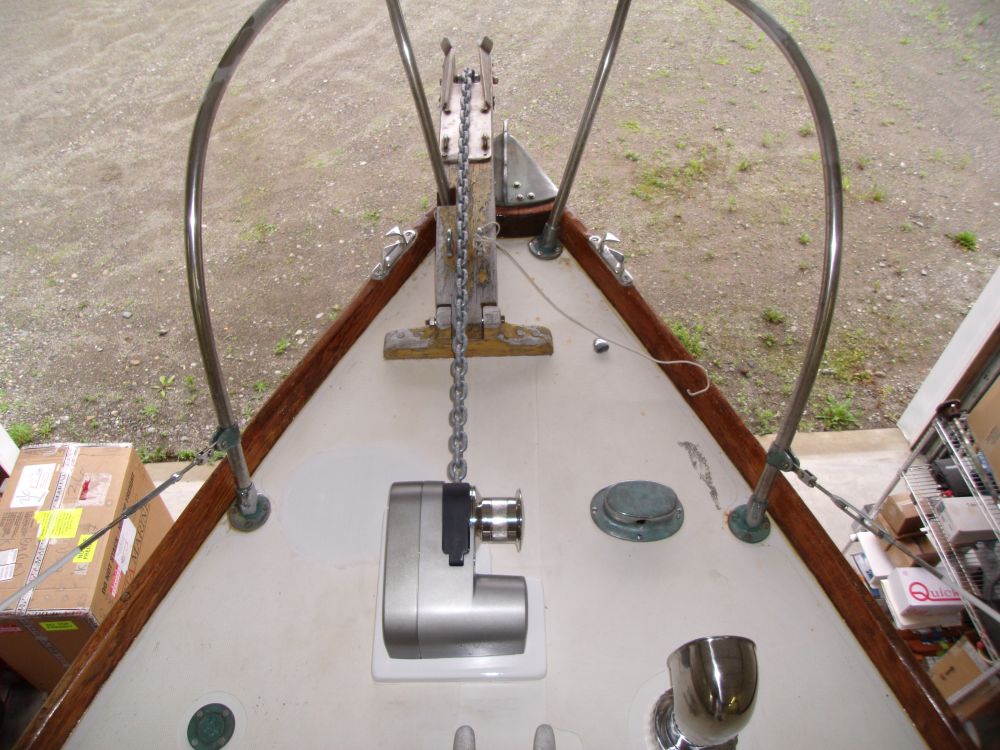
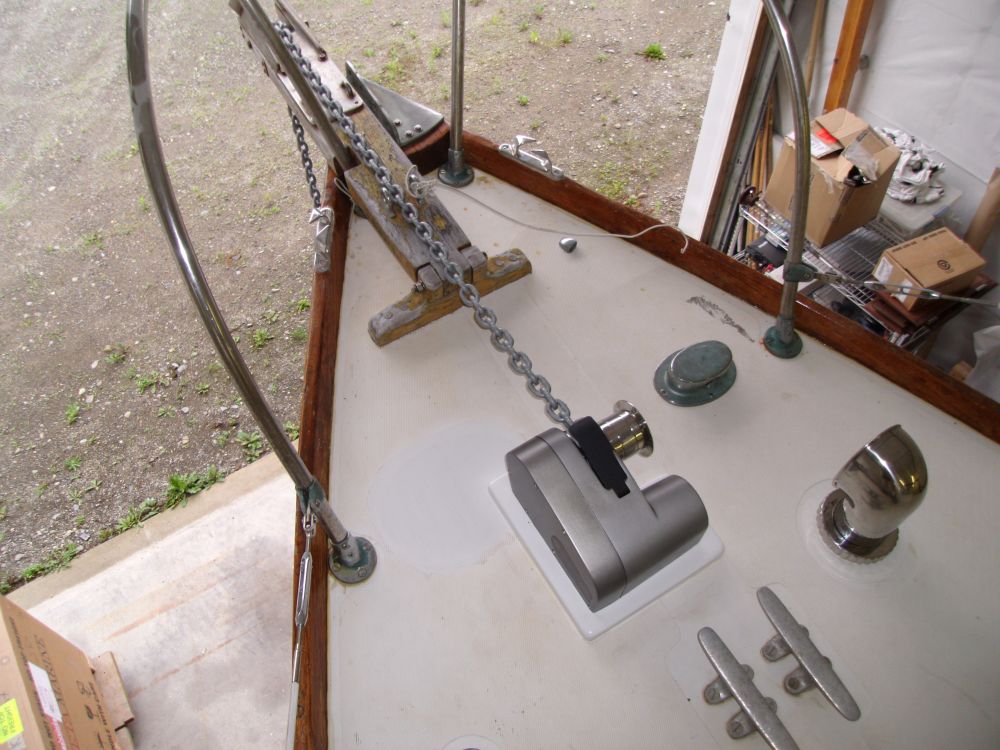
Beneath the riser plate, I applied Life-Calk sealant to the deck and around the various through-holes, then pressed it into place before installing the windlass over the top. Belowdecks, I installed my fiberglass backing plate, fender washers, and nuts; earlier I'd beveled the exposed edge of the chain hole to provide a clean edge by which the chain would pass.
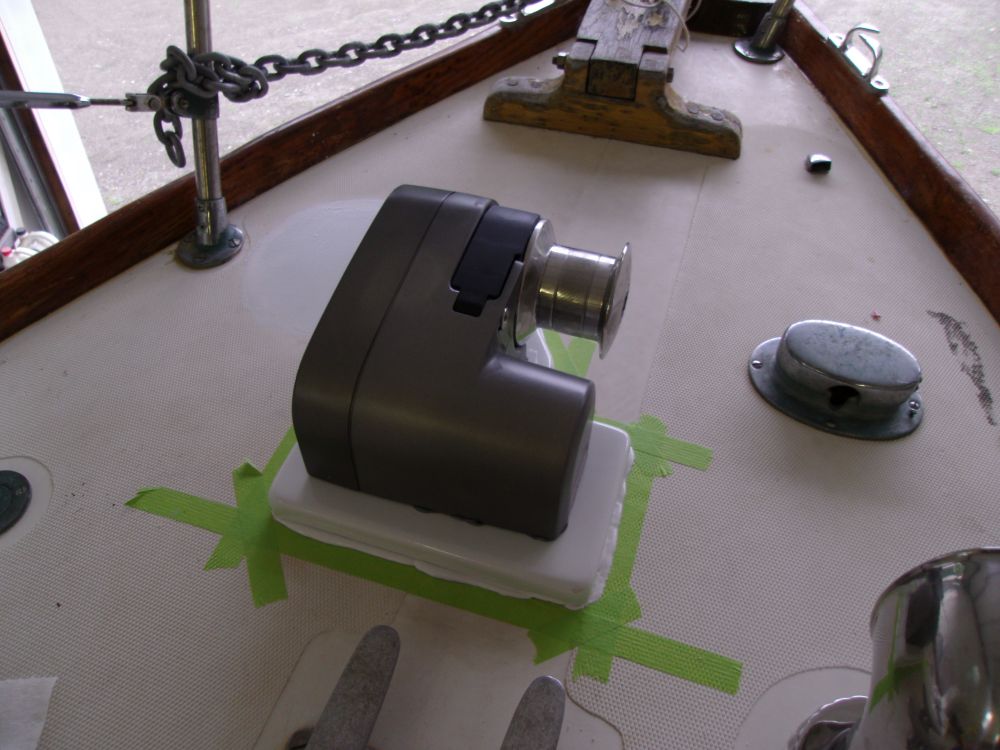
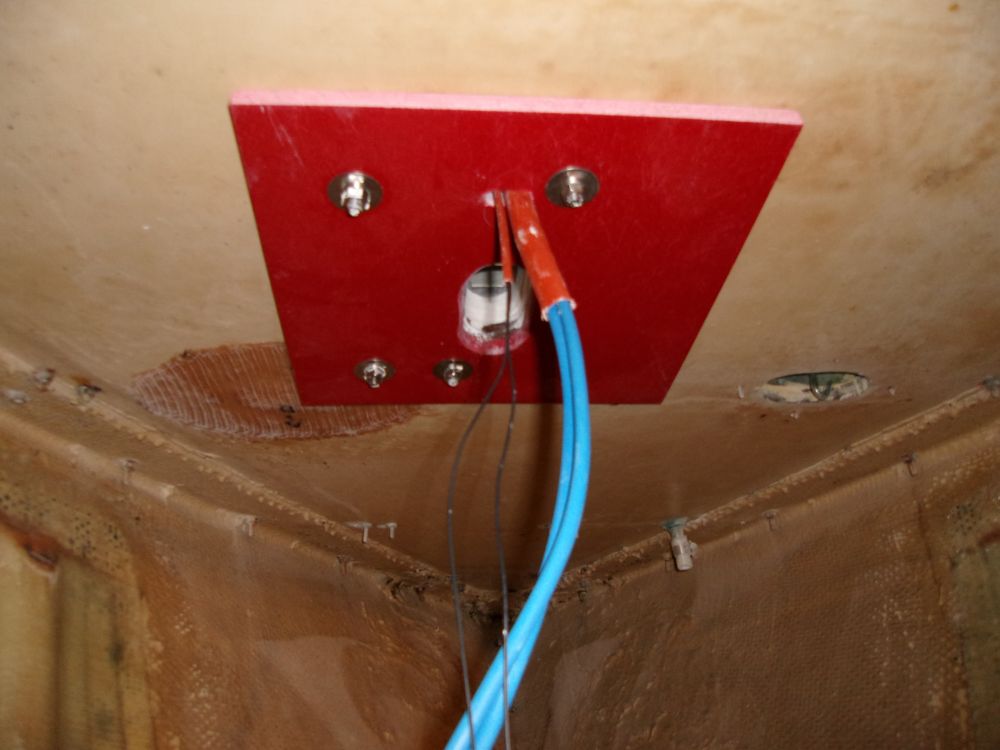
After cranking down the nuts, I cleaned up the excess sealant from around the base and windlass.
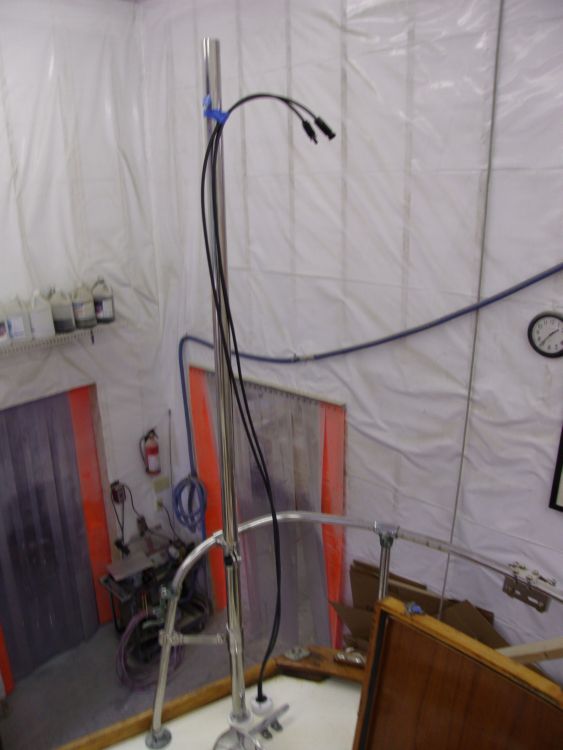
Back at the stern, I re-led the wires for the solar panel so that both ends extended above deck to the pole as required, and secured the remains along their run forward to the engine room for later connection to the controller.

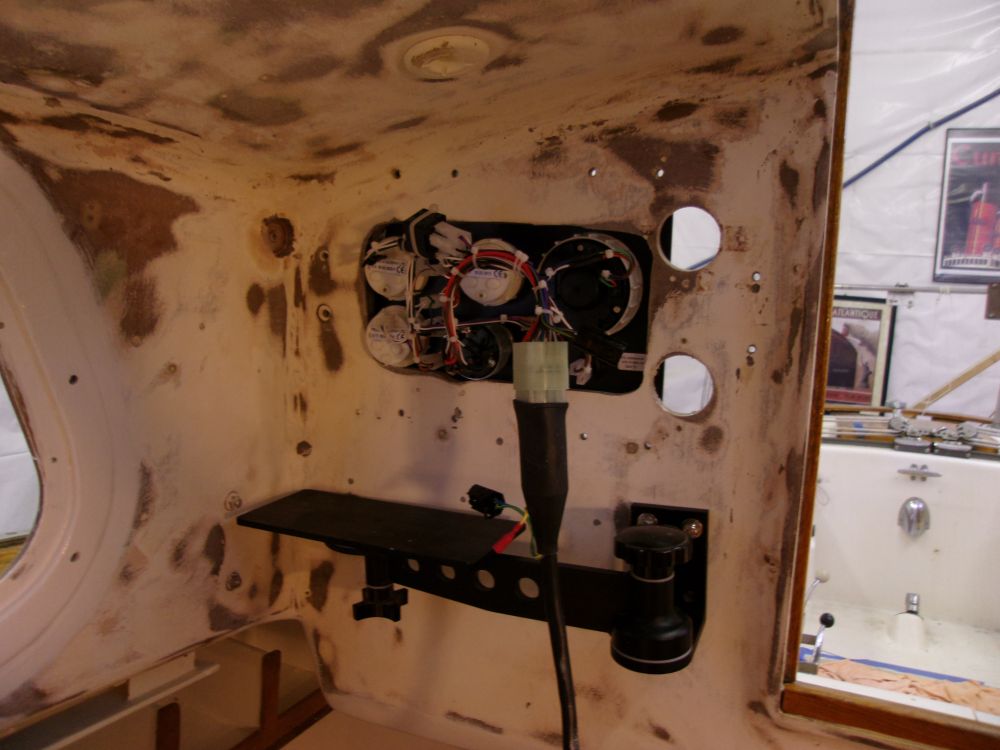
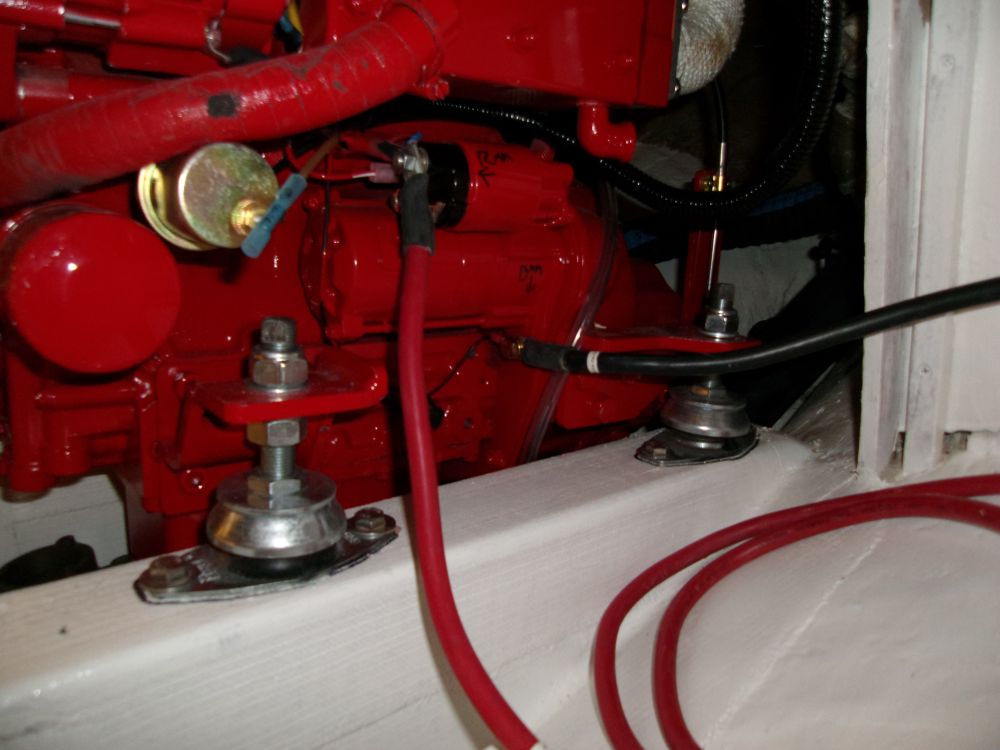
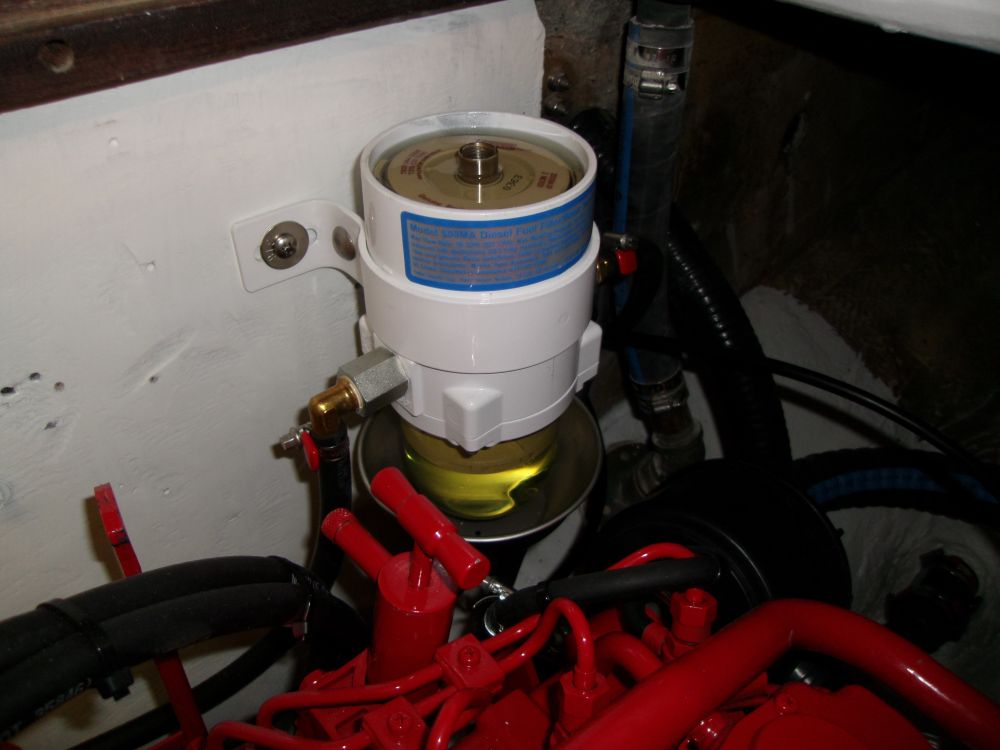
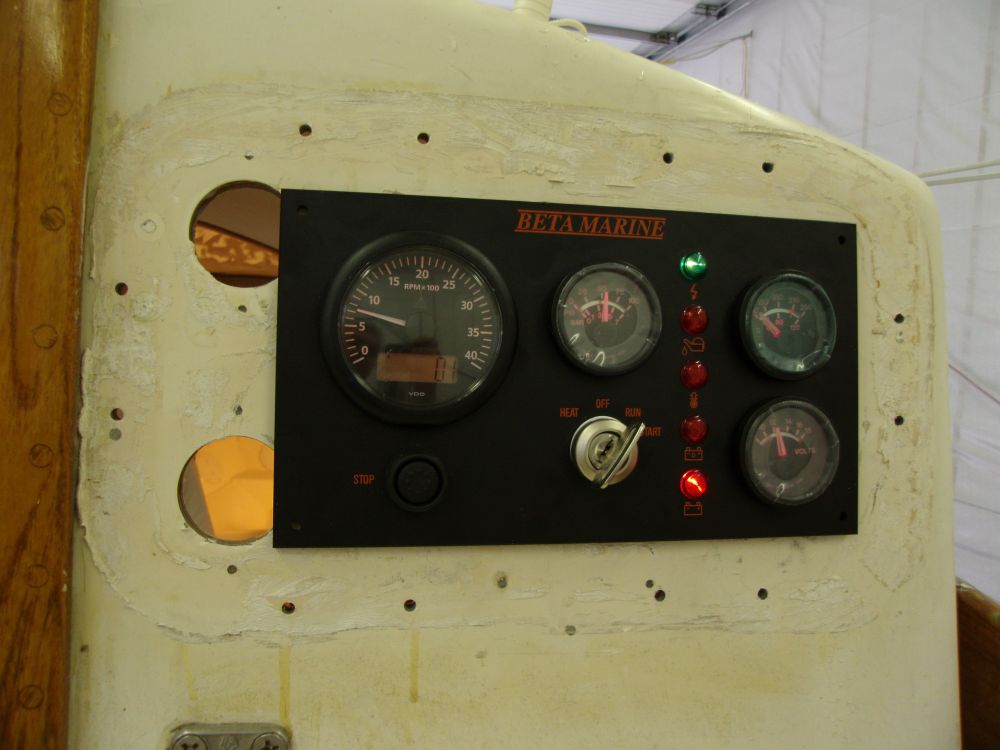
During the afternoon, the owner came by to witness the first test-operation of the new engine. I prepared for the event by temporarily connecting the engine control panel, wiring harness, and starting battery as needed. I filled the new Racor filter with fuel, and performed a token bleeding, though other than ensuring there was clear fuel at the secondary, engine-mounted filter, there was little need for this step thanks to these engines' remarkable capability to self-bleed.
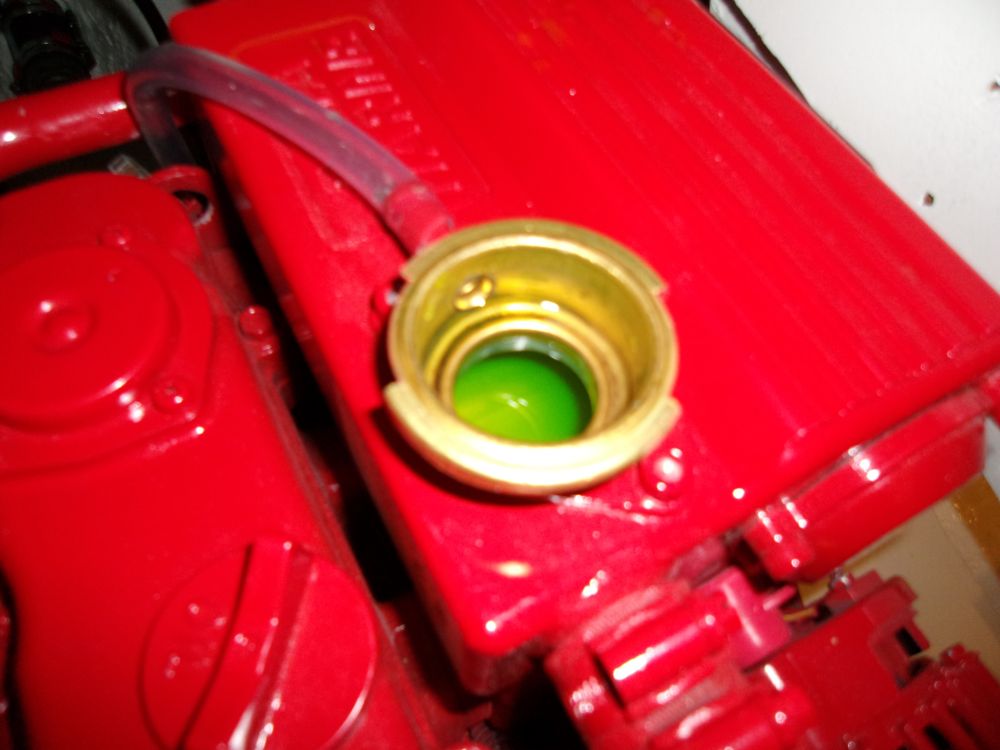
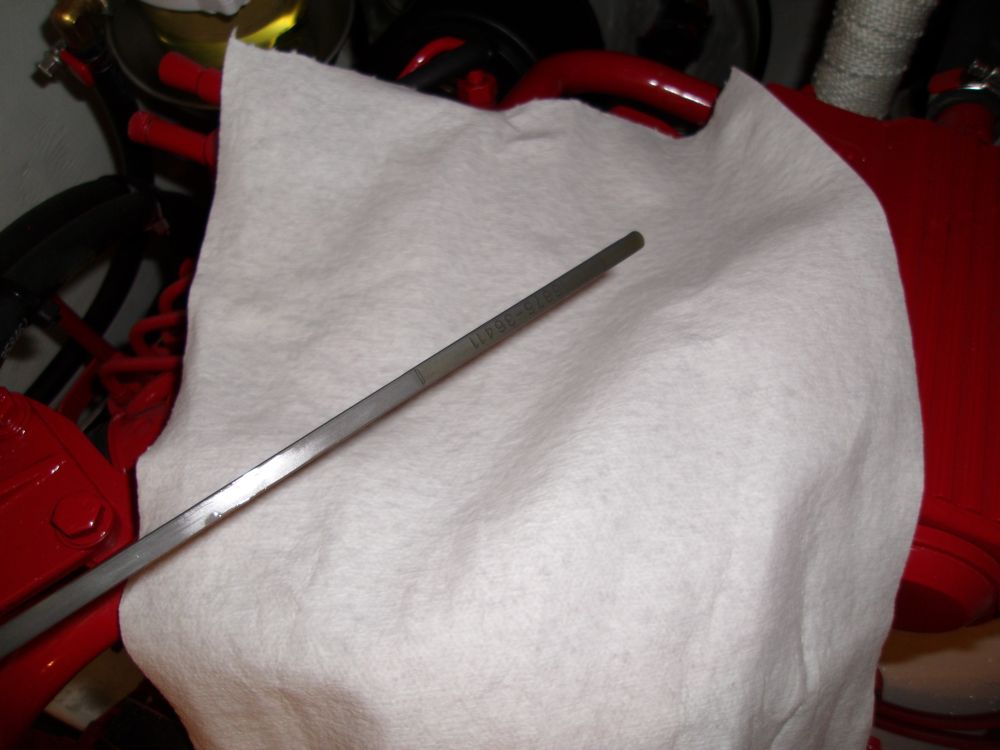
I filled the heat exchange with an antifreeze mixture, and filled the oil sump with the correct oil.
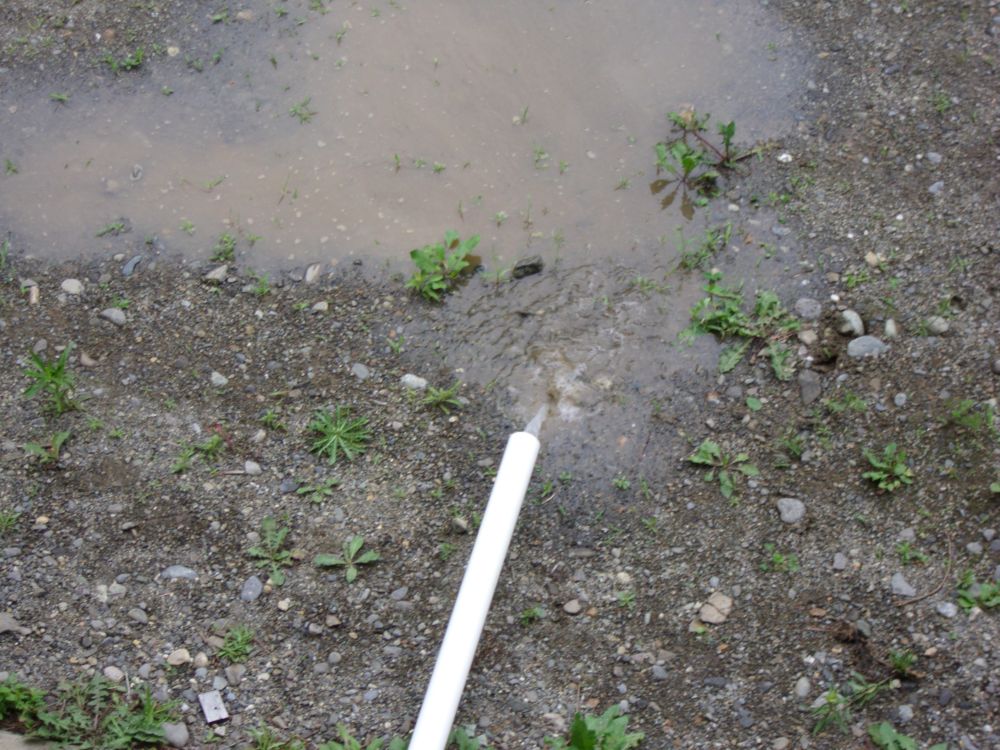
Meanwhile, the owner rigged up some piping to run the exhaust out of the shop safely. The bronze exhaust outlet, with its extended flange, provided the perfect location to clamp on some ordinary plumbing collars and piping.
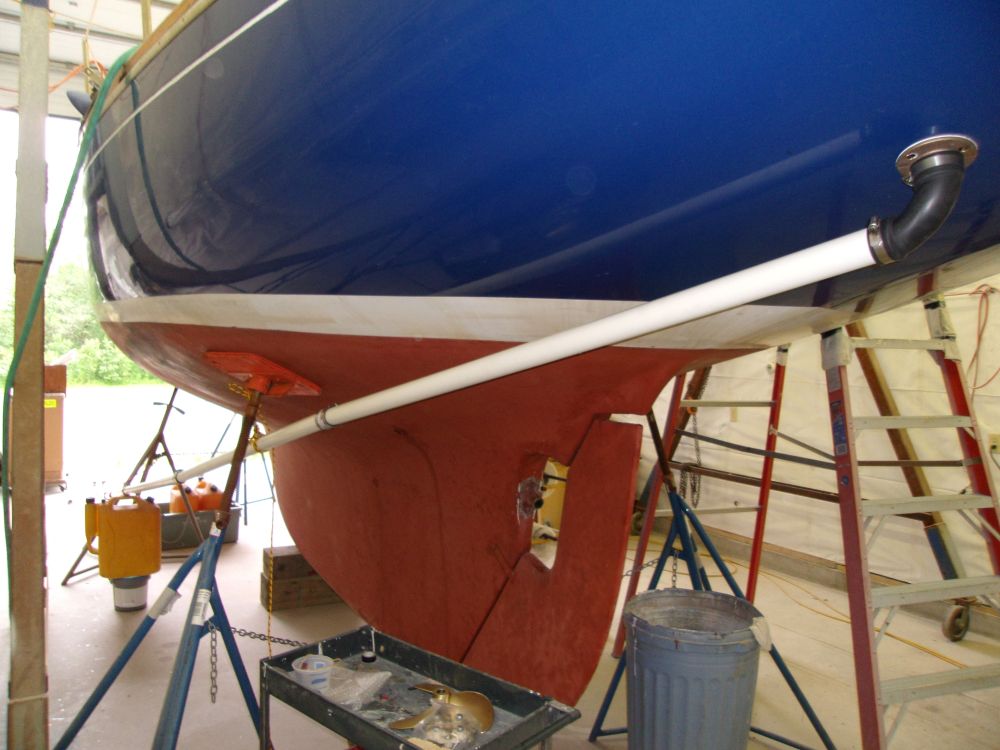
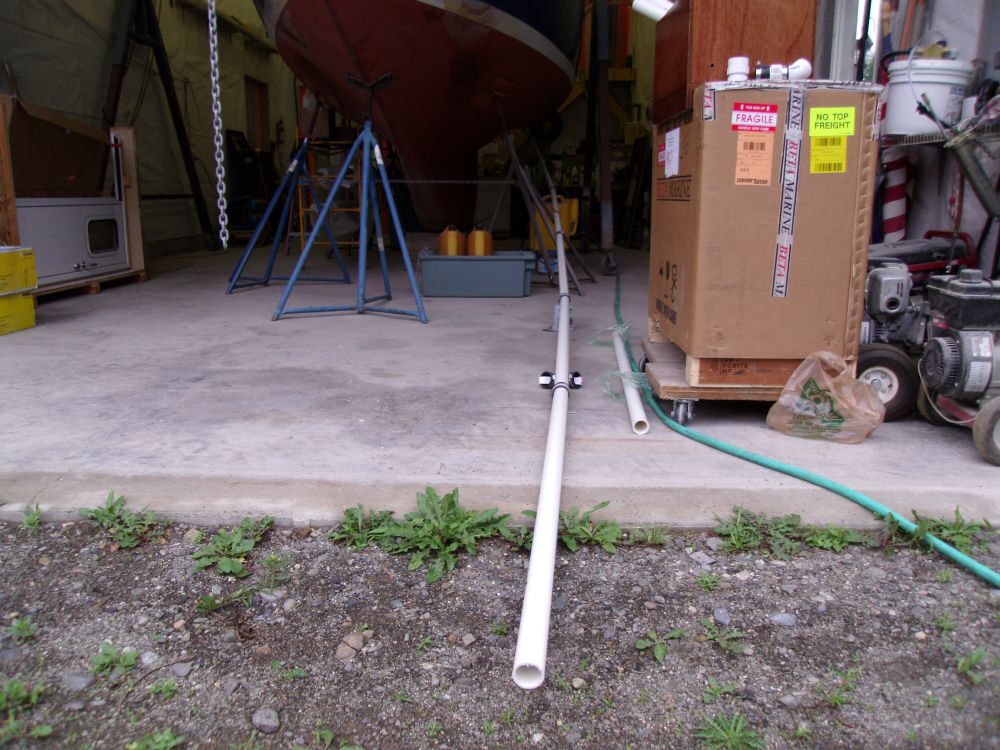
With a hose and bucket of water, and a temporary hose leading from the bucket to the raw water pump, we were ready to go, and I cranked the engine over. It started just about immediately, with no fuel or air issues, just like these engines always do. I ran the engine for several minutes before shutting down temporarily to add coolant and oil, which by then had had a chance to circulate through their respective systems. The exhaust piping to the front of the shop worked well.
After topping of the fluids, I ran the engine again for a time. The warning light (and the buzzer you can't hear) were lit on the panel because the alternator's external regulator was not powered up for this test. The owner shot some video that could later become available here.
During my routine check of all the various hose connections and so forth, I discovered that there was water dripping into the port cockpit locker, coming from the vented loop system. At first I suspected the air vent itself, but soon found that one of the new hoses had a split in its casing, which was the source of the leak. I'd replace the hose later. Otherwise, the engine sounded terrific, and I would have run it longer but didn't want the water leakage to continue; I didn't have any more of the required hose on hand, so couldn't replace it immediately.
Total Time on This Job Today: 5 hours
