
110 Cookson Lane | Whitefield, ME 04353 | 207-232-7600 | tim@lackeysailing.com
Blue Teal | Thursday, June 27, 2013
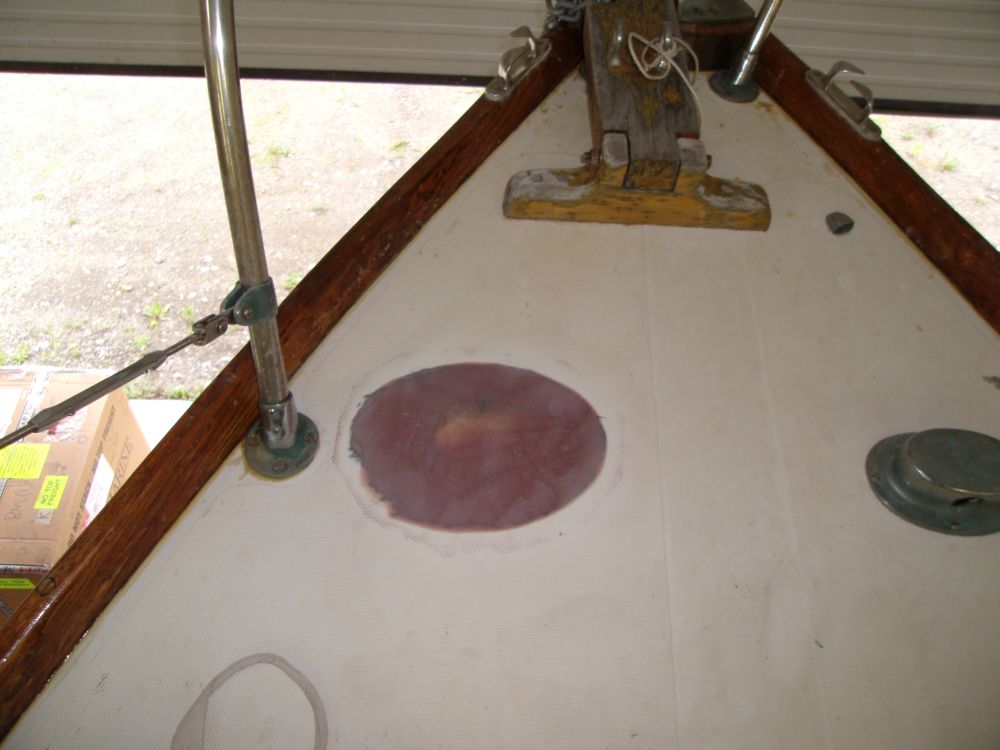
The chainpipe patch was complete after a light sanding, so I moved on with the windlass installation preparations. I'd apply a coat of primer to the patch for protection later, which would by my last step in this process.
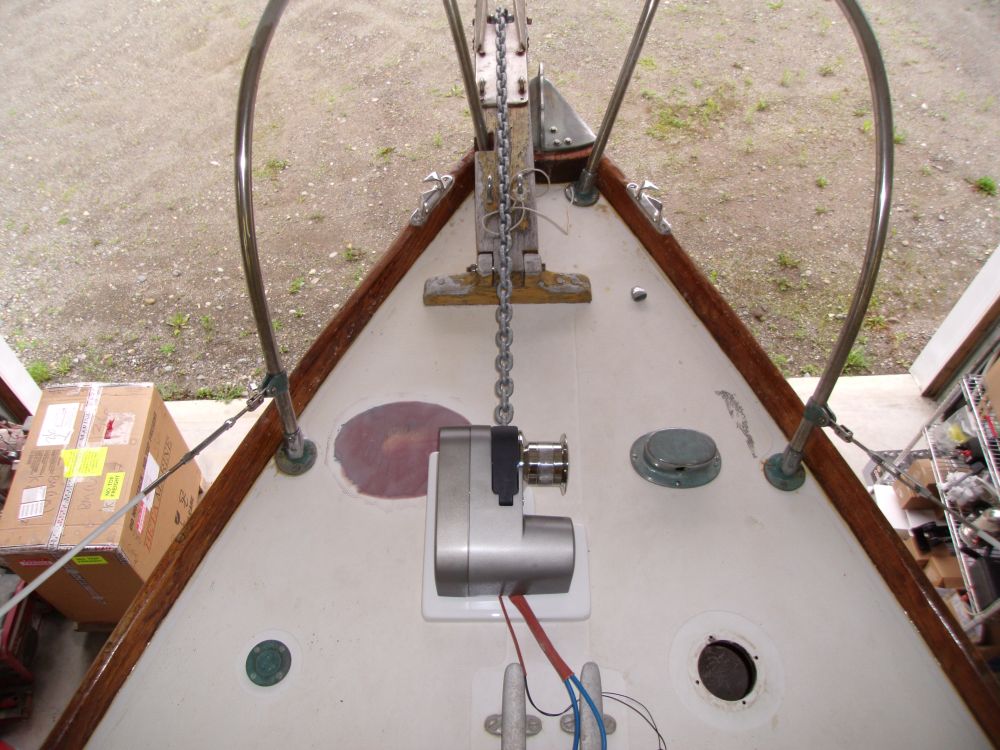
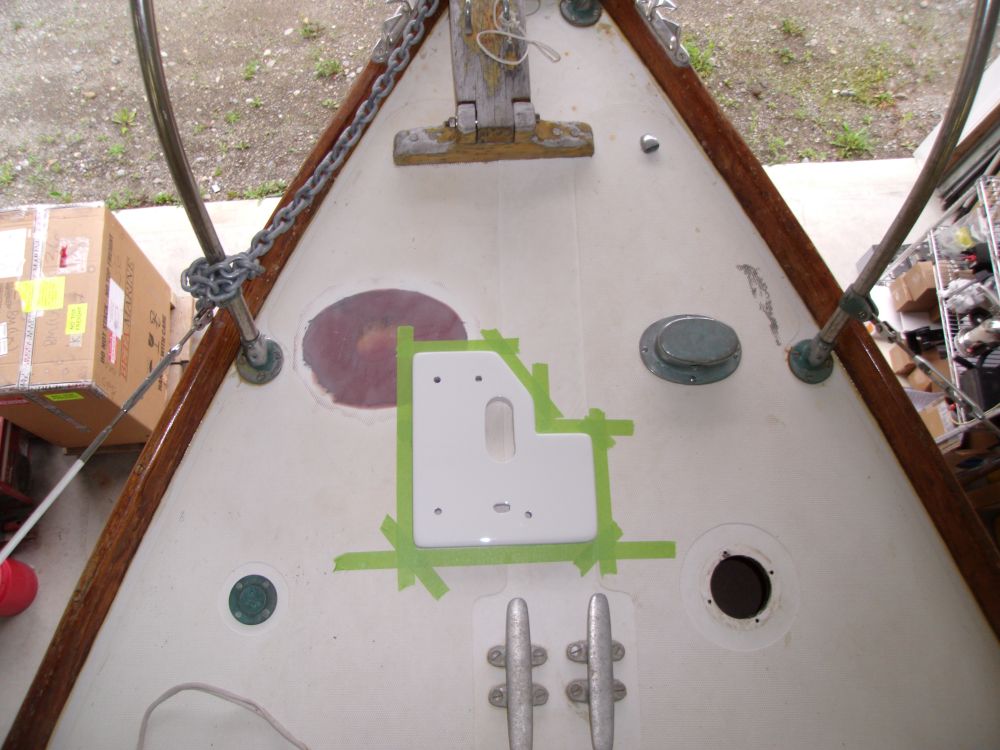
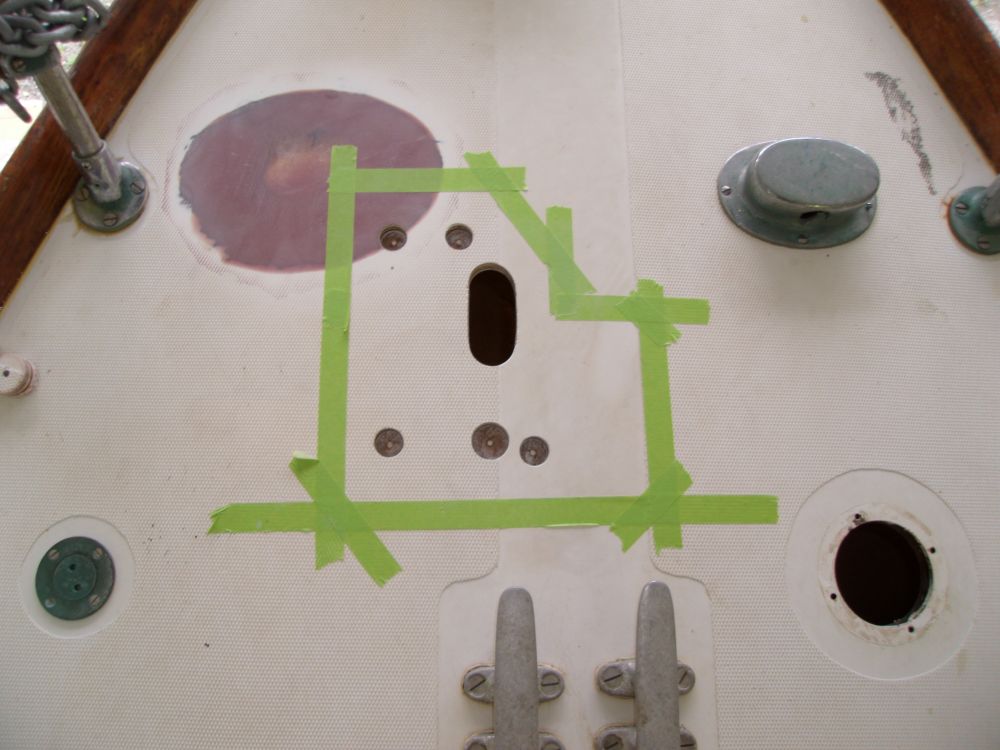
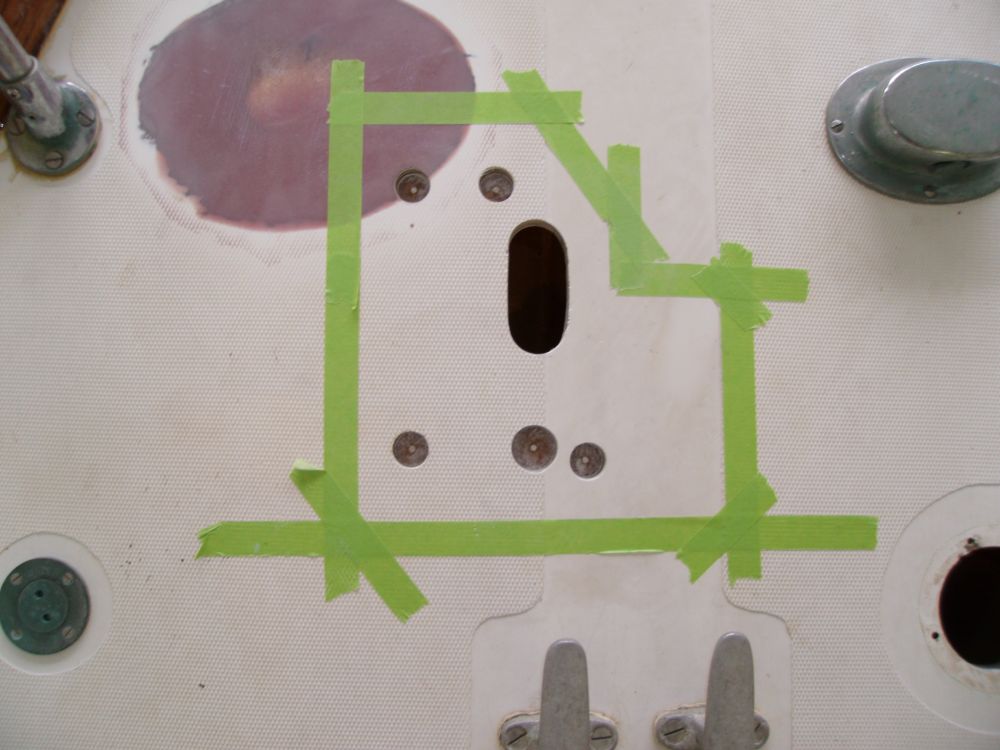
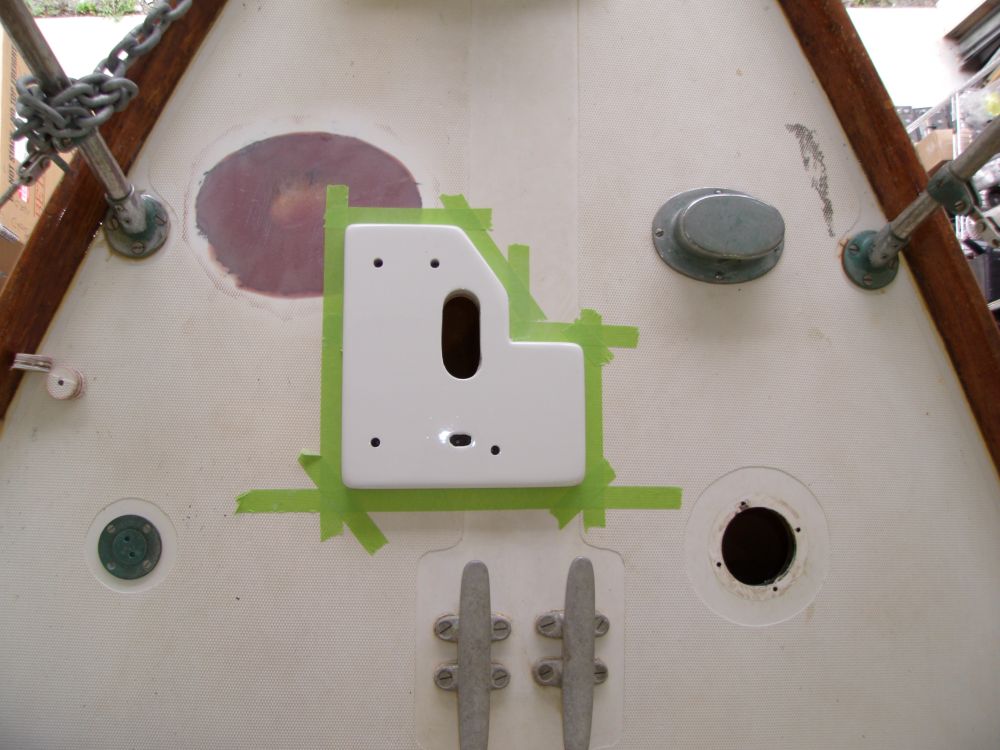
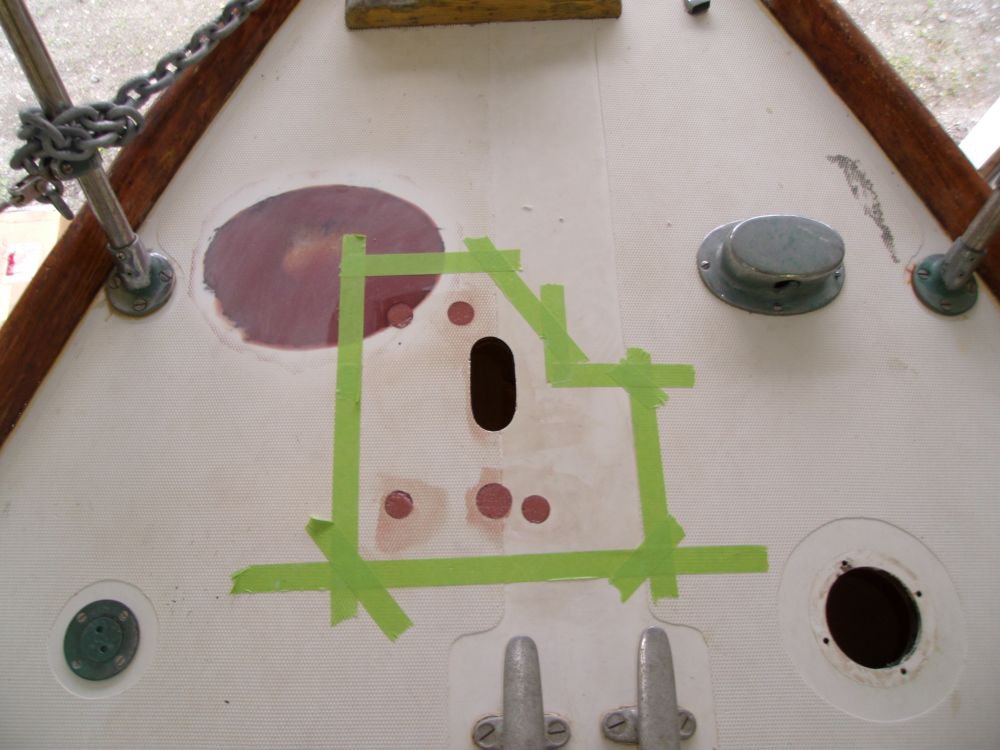
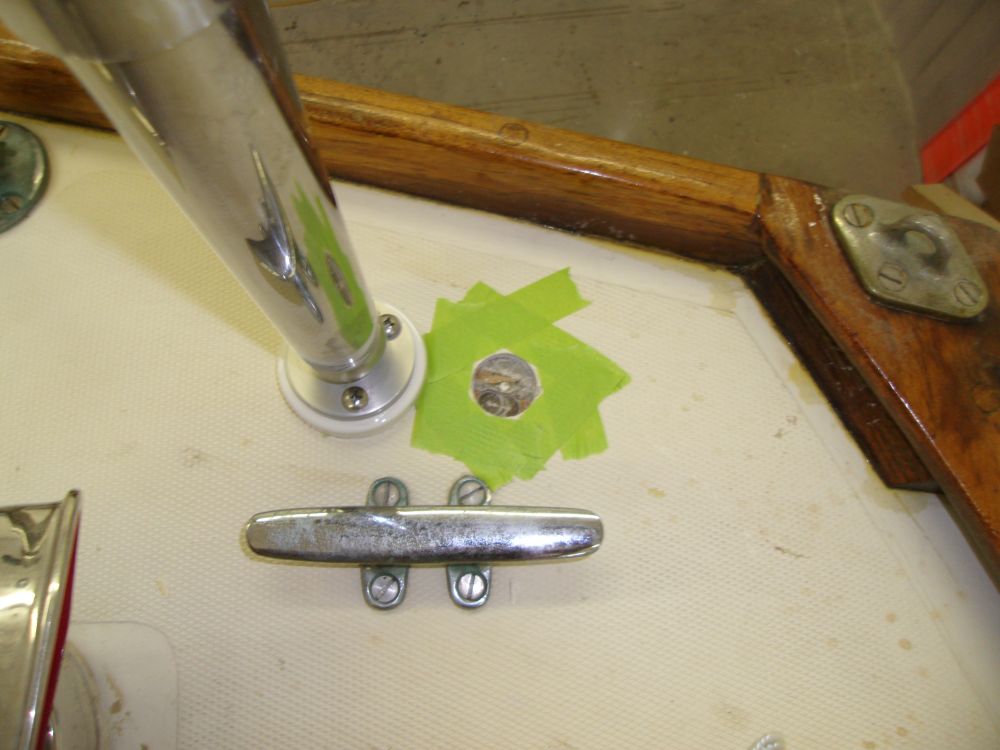
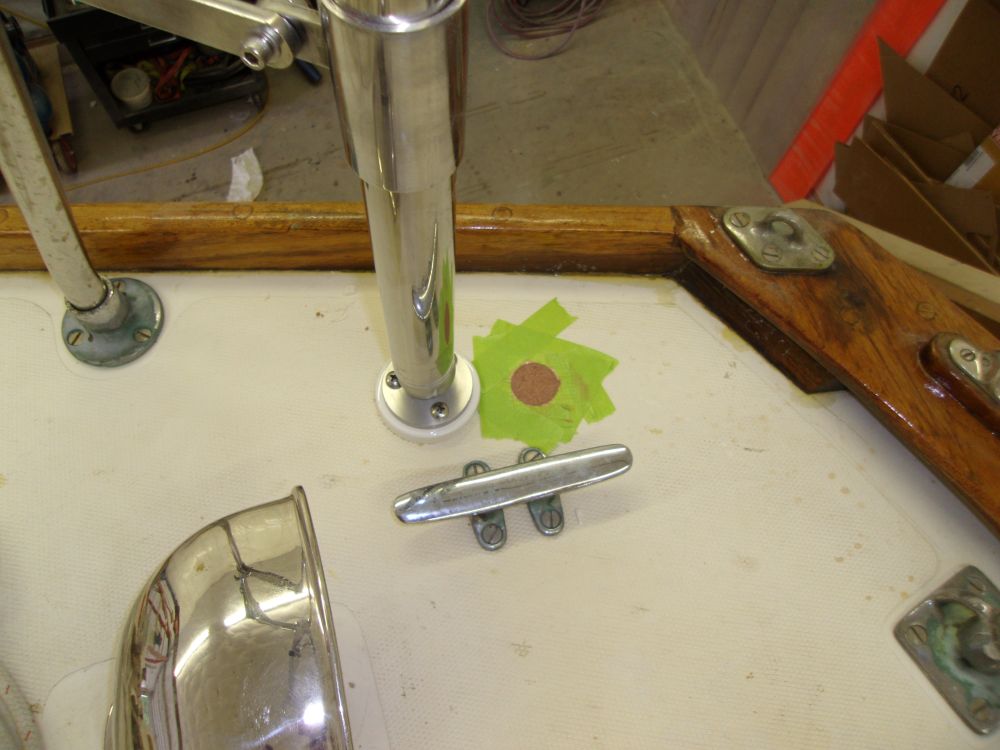
I repositioned the windlass and riser plate on the foredeck, no longer bound by the nearby chainpipe, and after determining the location I marked around the base plate with tape, and removed the windlass. Then, I marked all the fastener and wiring holes, along with the chain hole, and, with a large bit, drilled holes through the deck and core in way of these fasteners, and cut out the chain opening with a hole saw and jigsaw. Finally, I filled the voids with a thickened epoxy mixture.
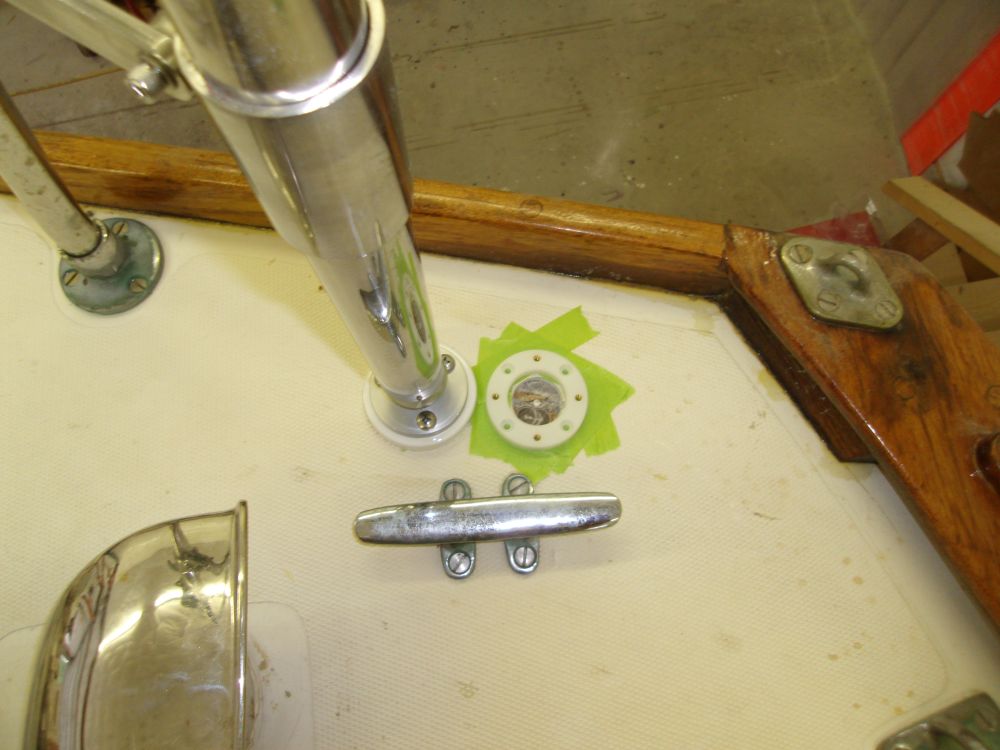
At the same time, I prepared the poop deck for the solar panel cable fitting, and overbored a large hole through which the cable would later pass, sealed with a Cable Clam. I filled this void with epoxy as well.
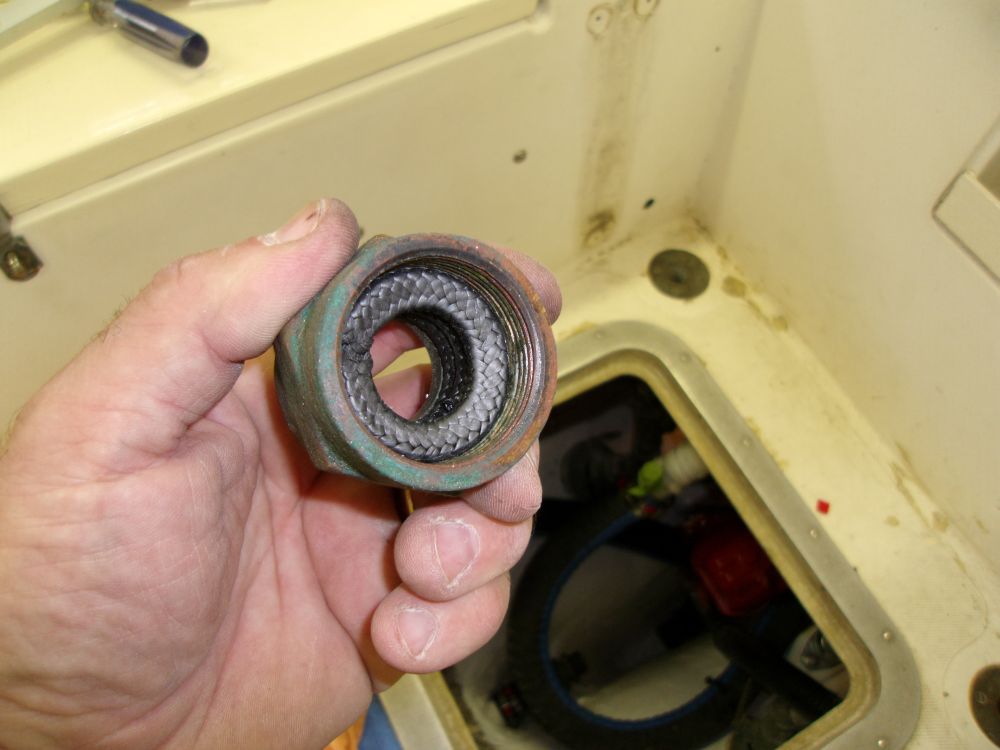
Using new Duramax graphite packing, I repacked the stuffing box and installed it with a new hose and new clamps.
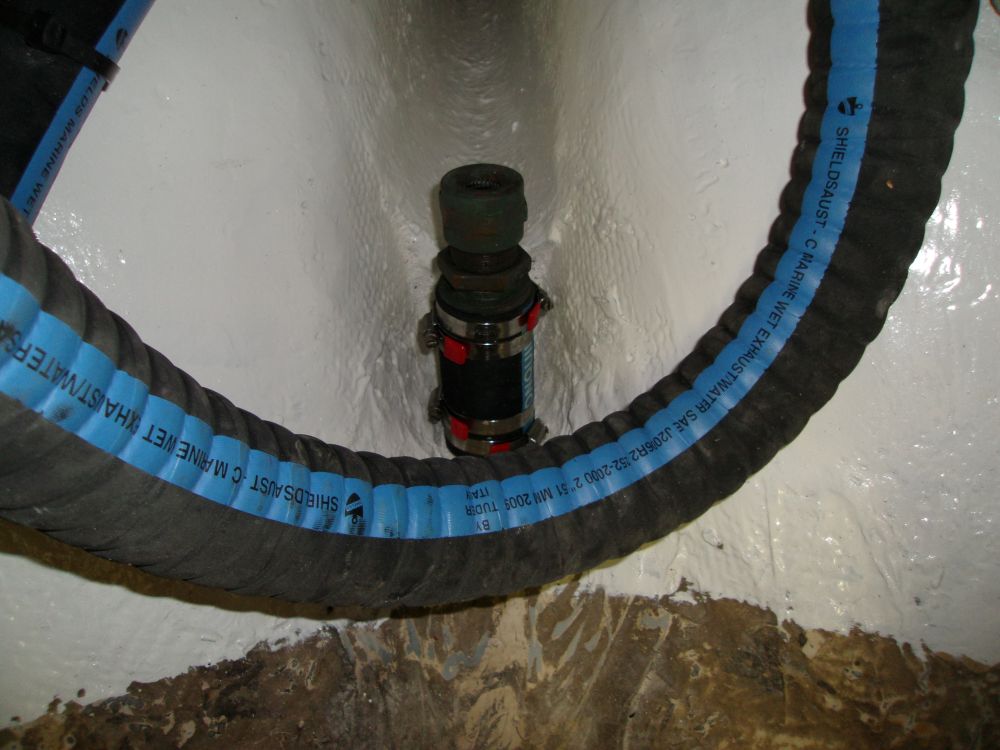
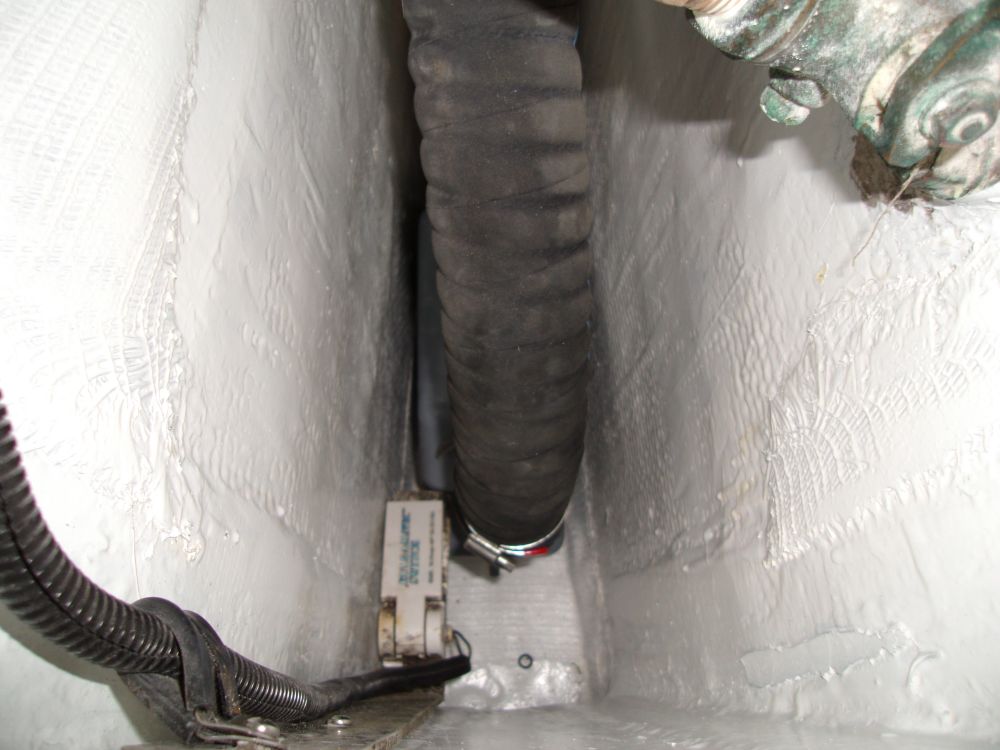
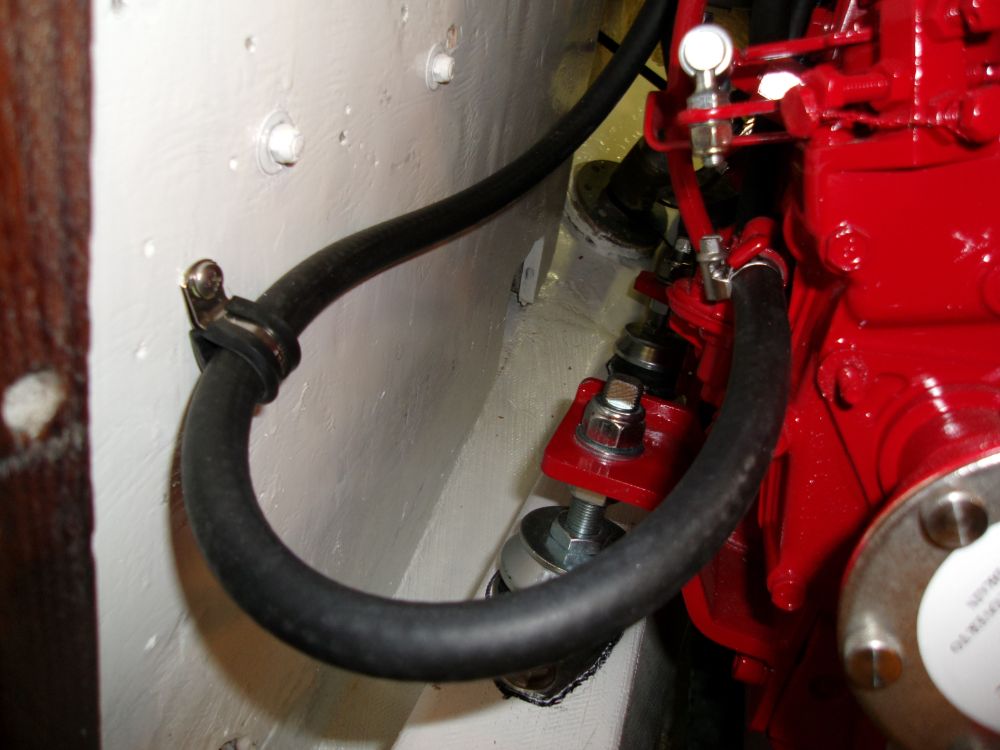
Using 2" corrugated exhaust hose for its flexibility, I connected the engine riser with the muffler beneath the engine, securing the hose out of the way of the shaft and coupling.
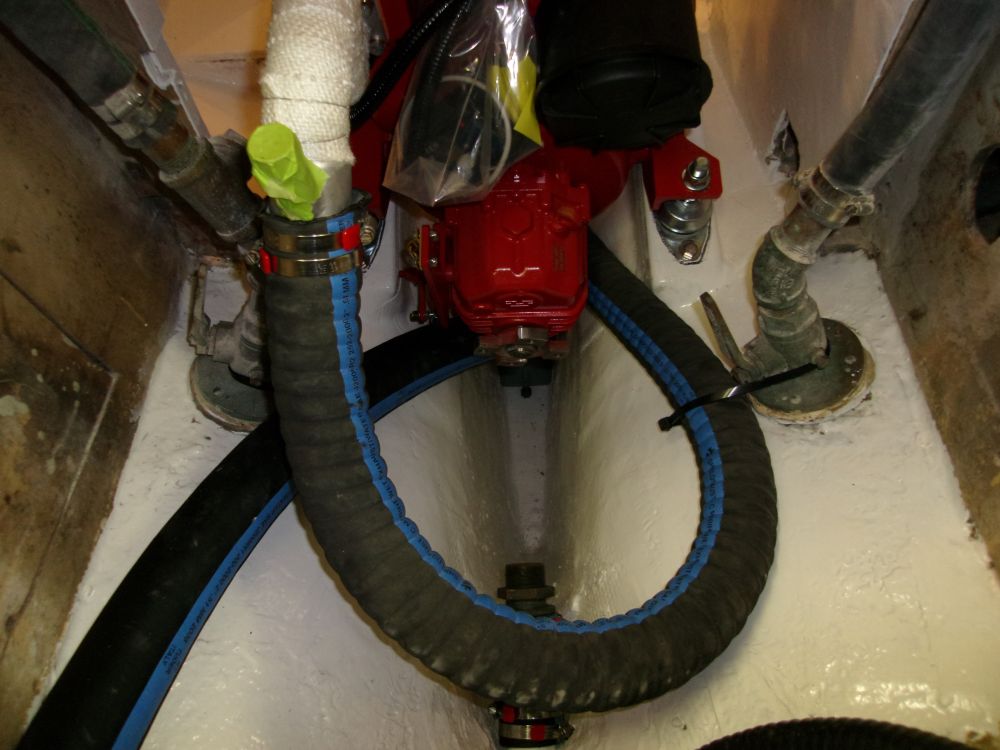
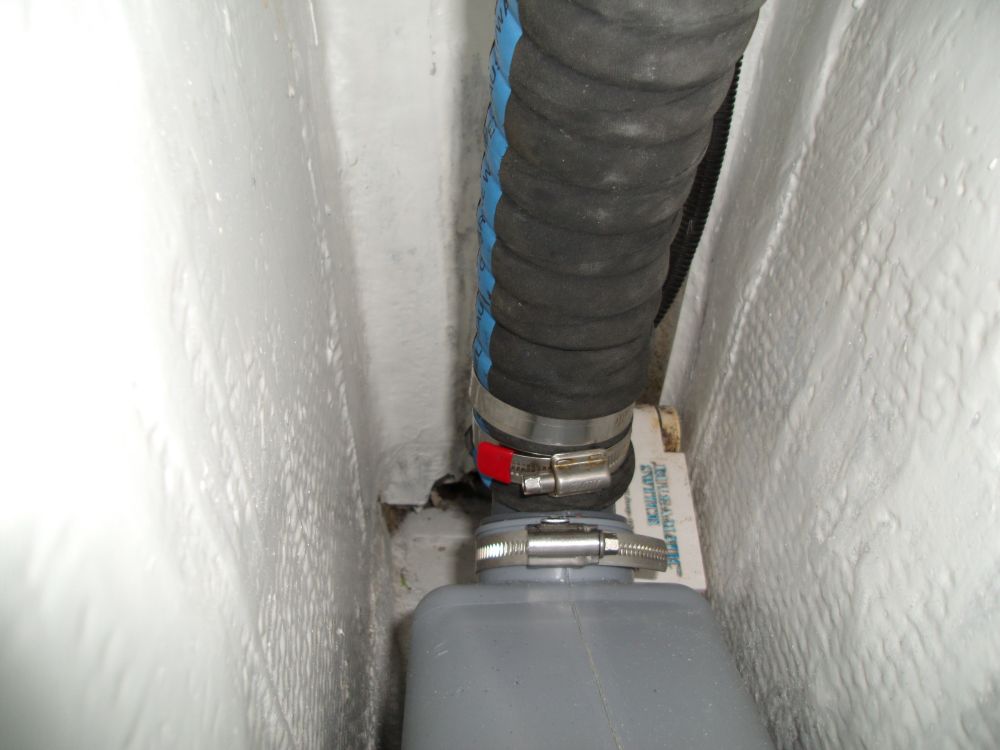
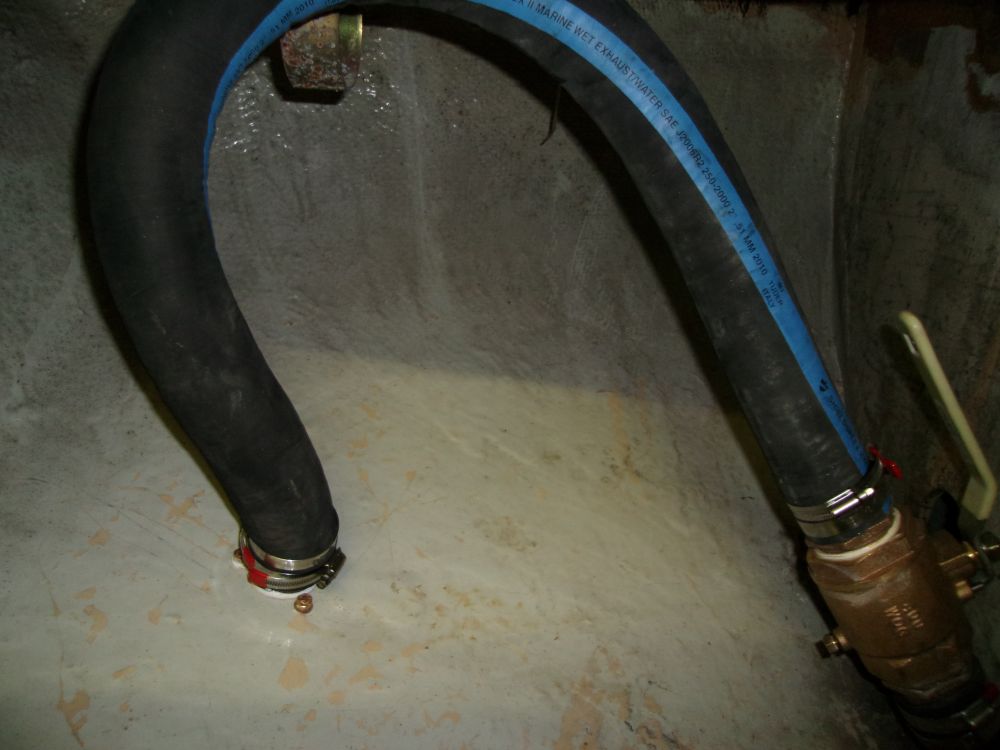
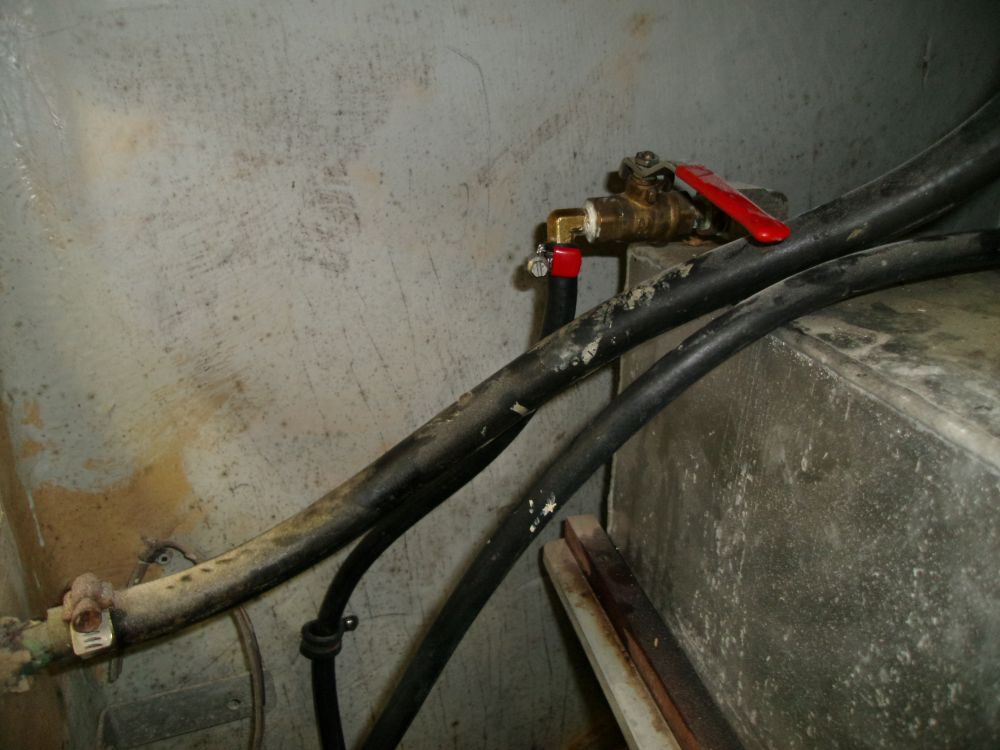
To complete the exhaust, I connected a final length of hose from the shutoff valve to the transom outlet, forming a high loop within the lazarette.
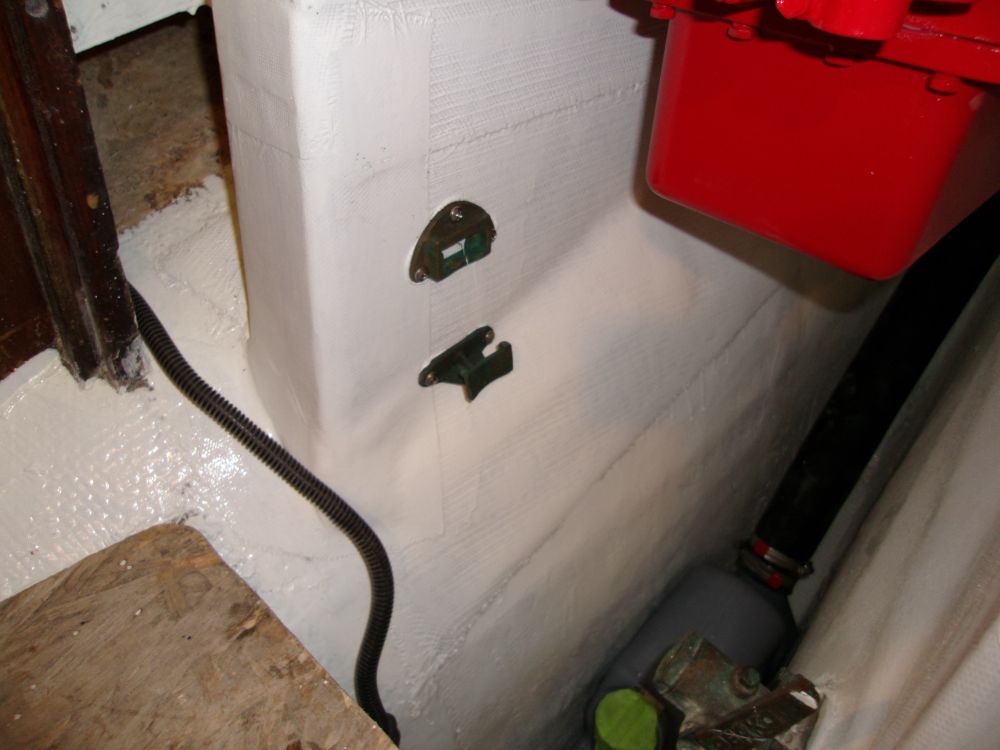
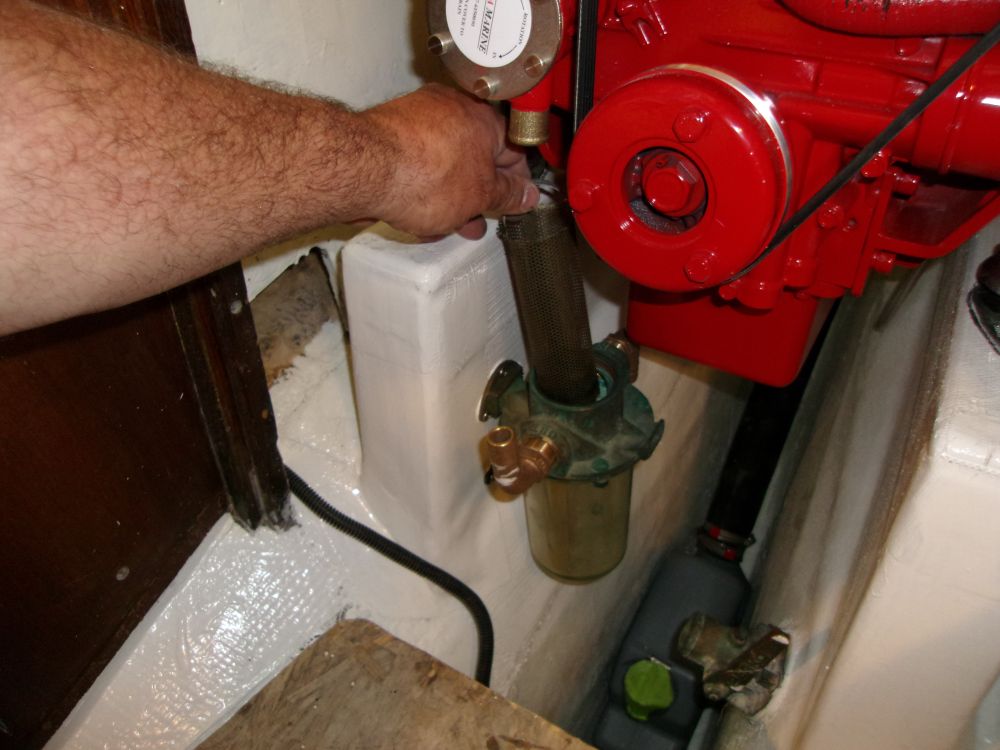
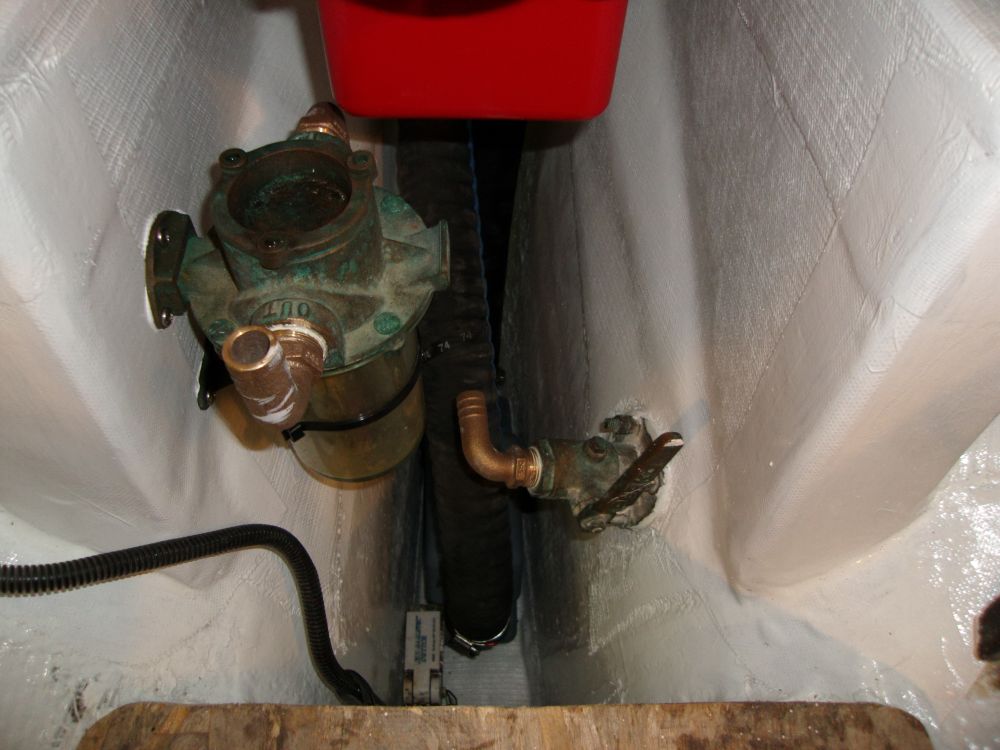
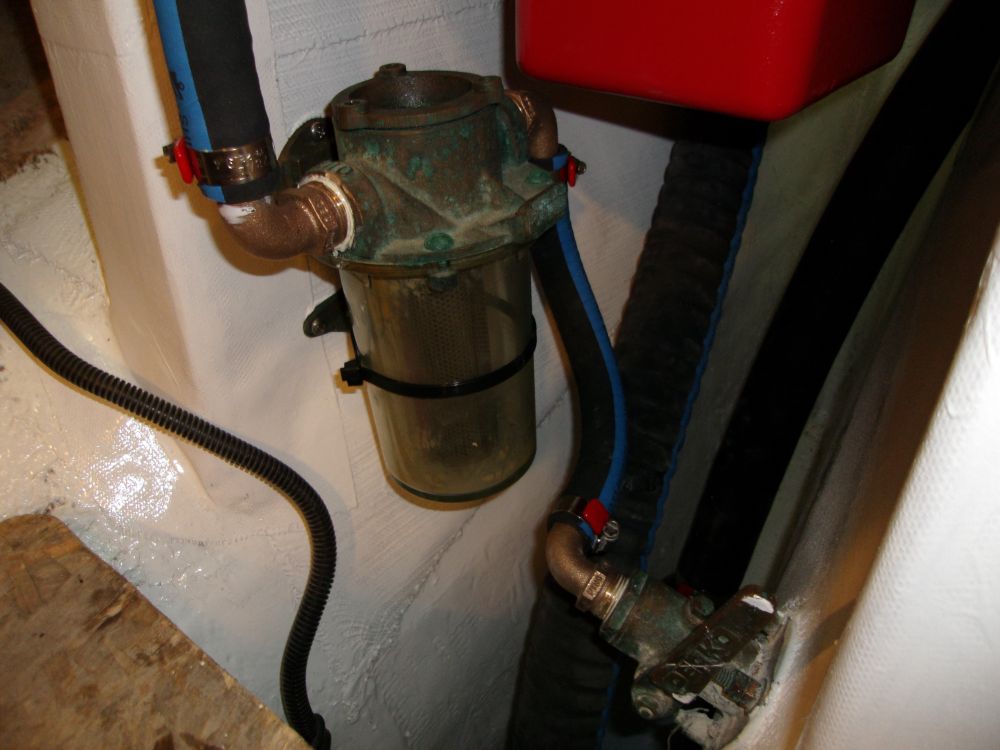
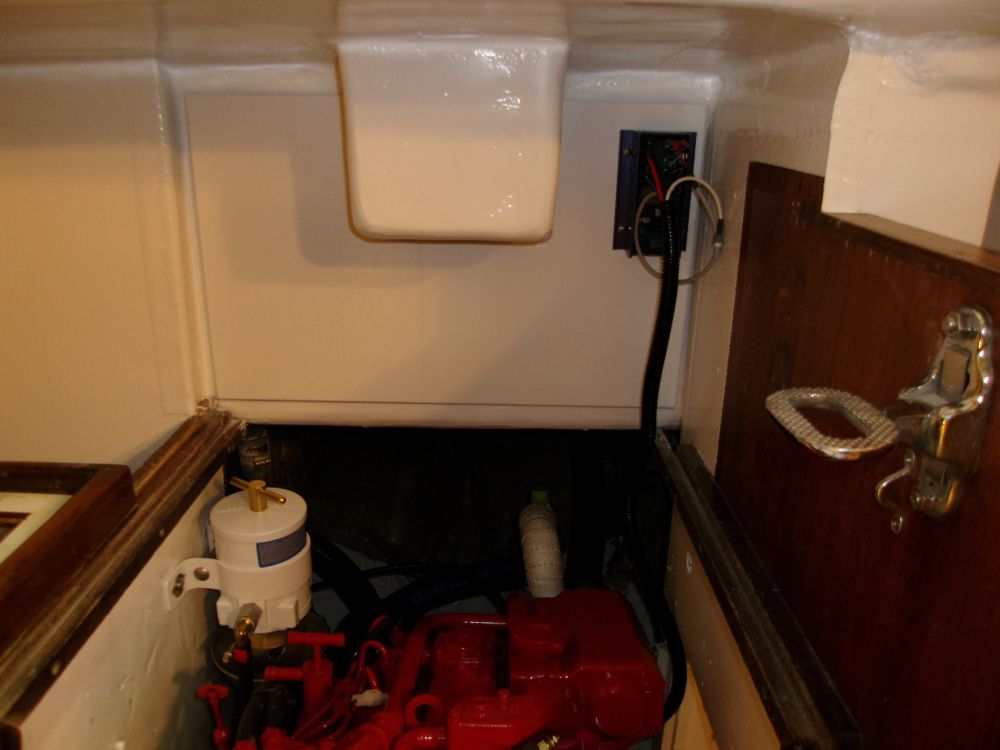
After a dry fit to ensure it would work in the space, I reinstalled the bronze raw water strainer I removed from the old installation, securing its mounts to the foundations with screws and sealant. I installed new bronze hose nipples to the strainer and seacock, and led new 3/4" hose as needed to complete the system.

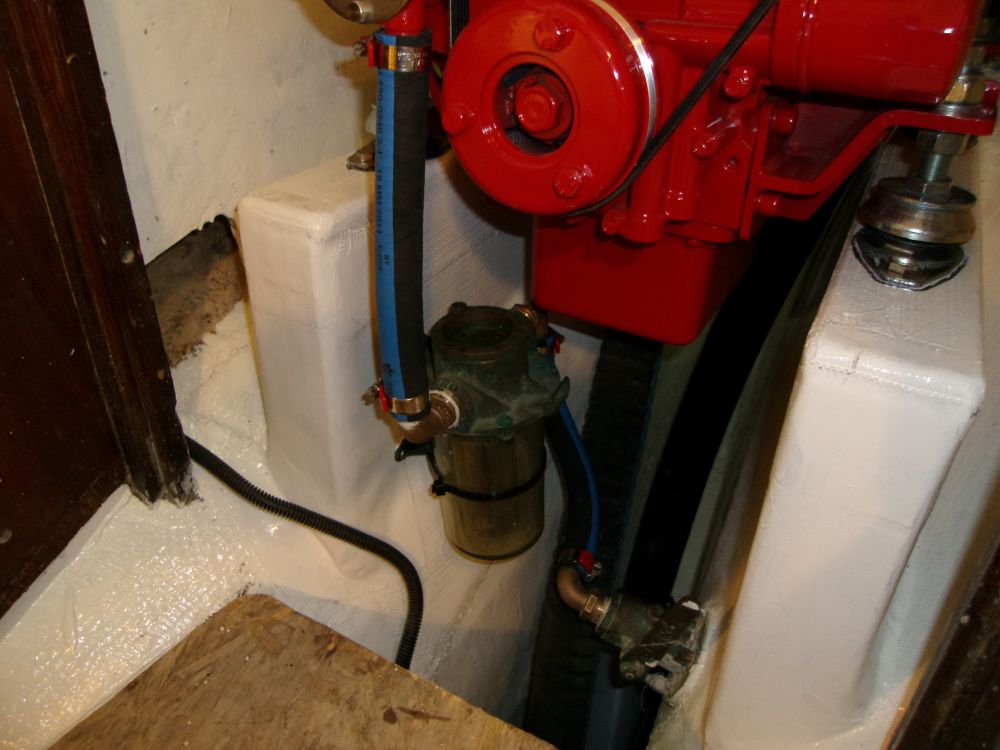
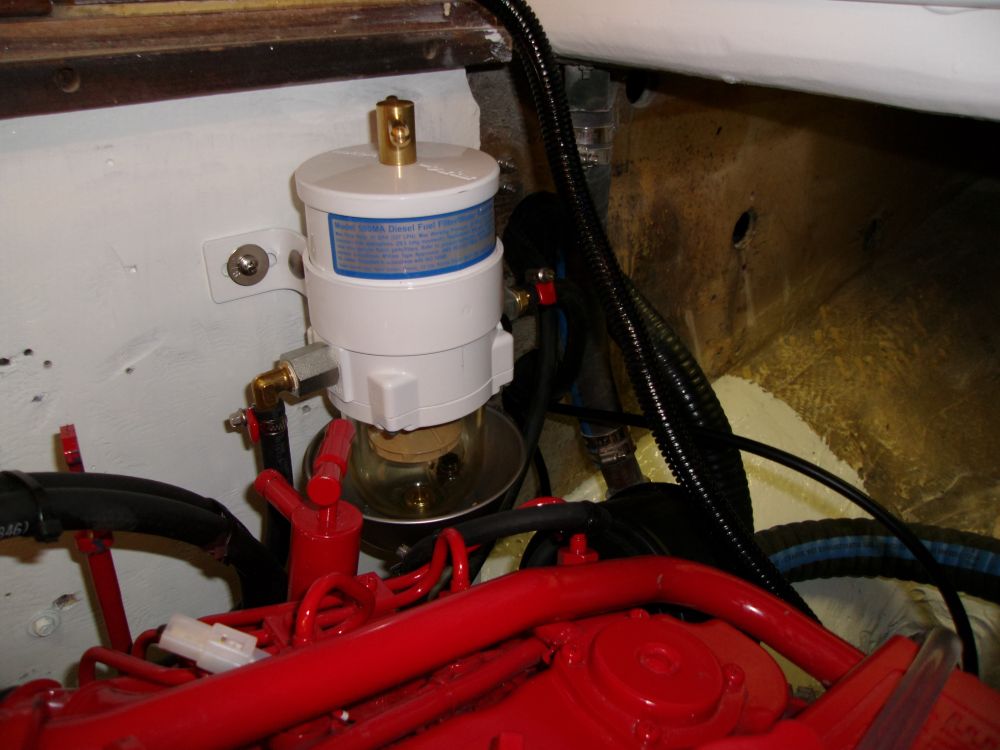
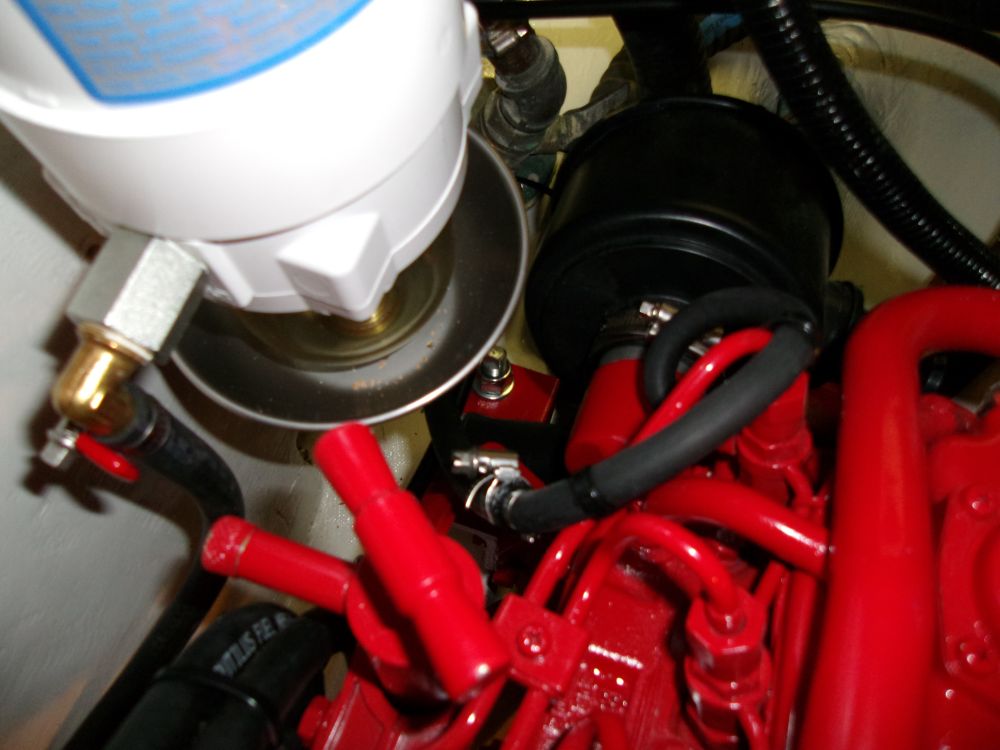
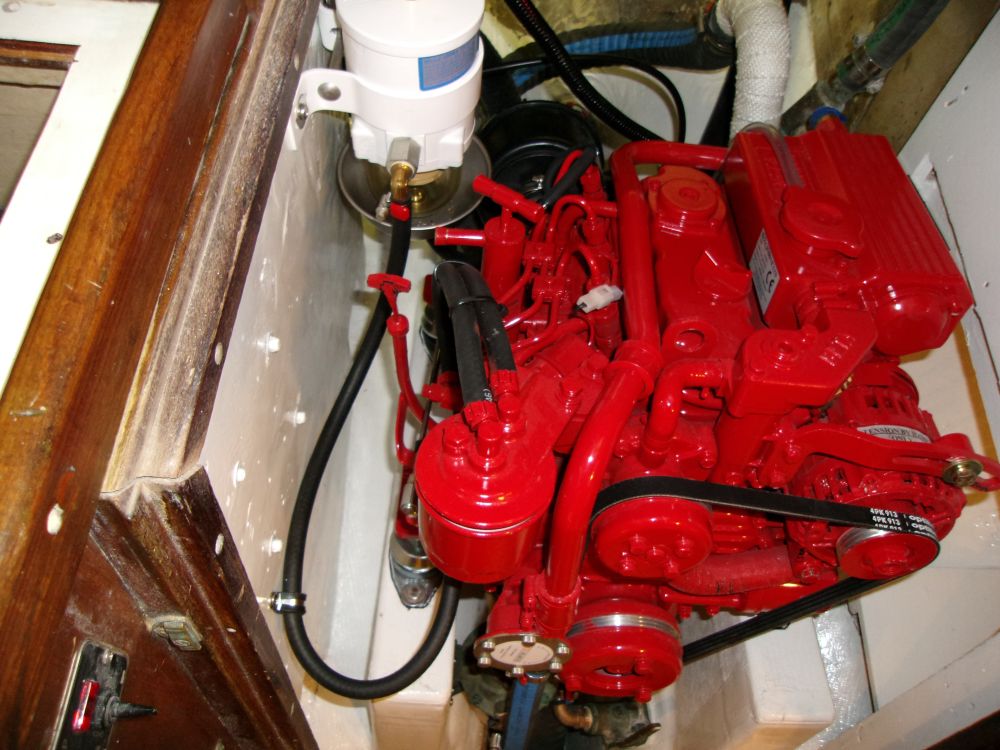
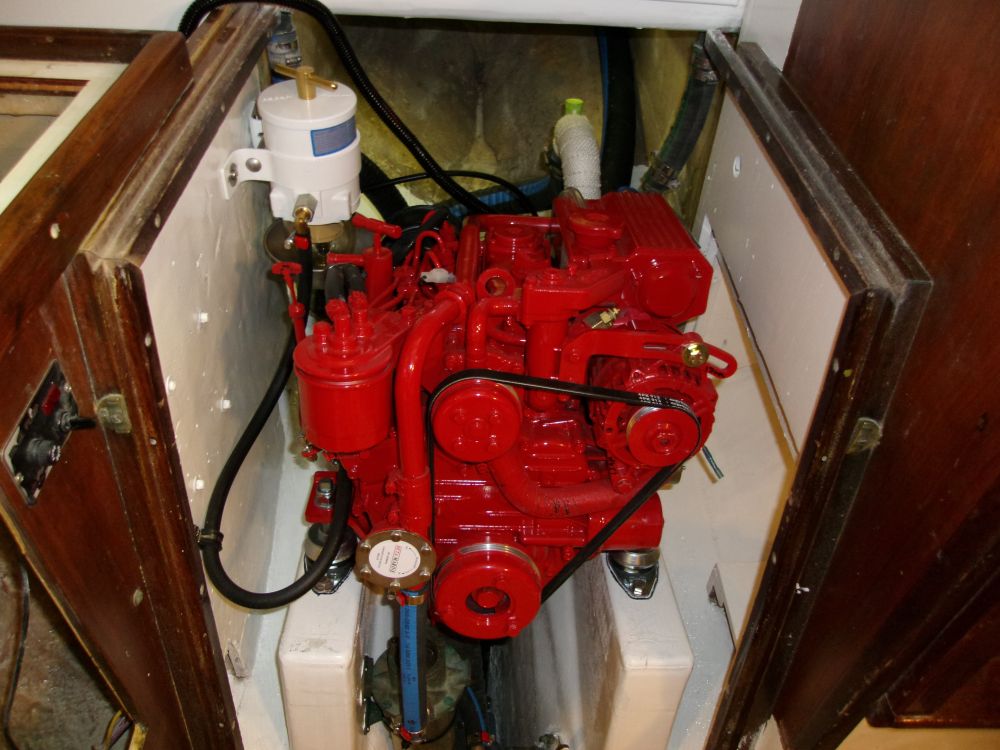
I found space for the new Racor fuel filter on the aft end of the starboard engine room, and installed it there, then made up the hose runs to and from the filter, along with the fuel return line.
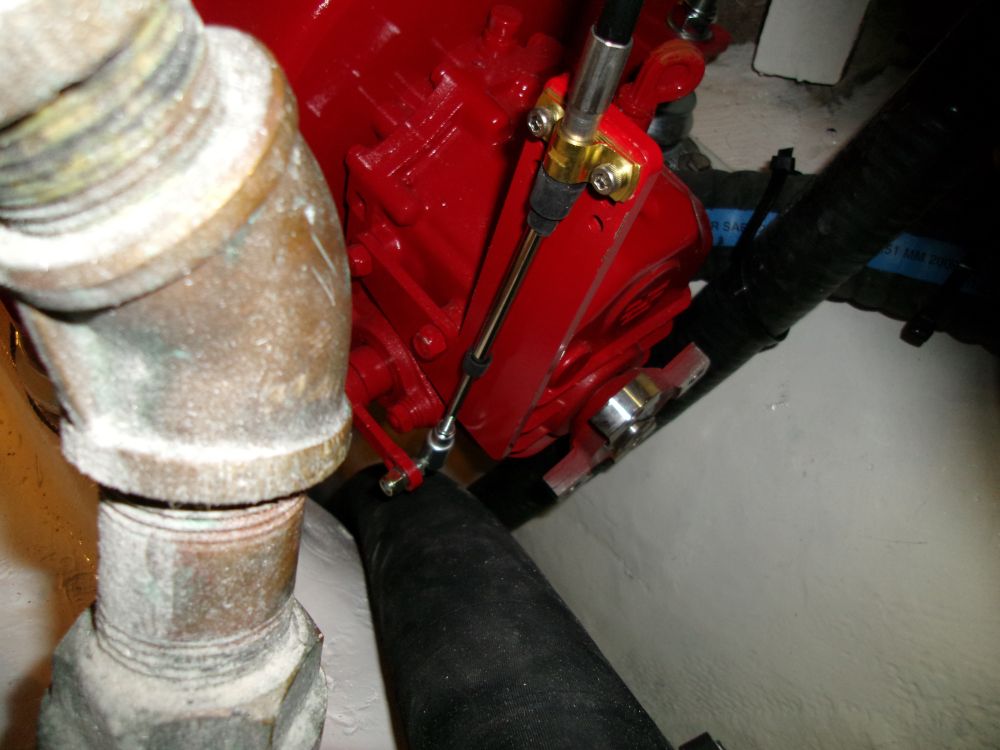
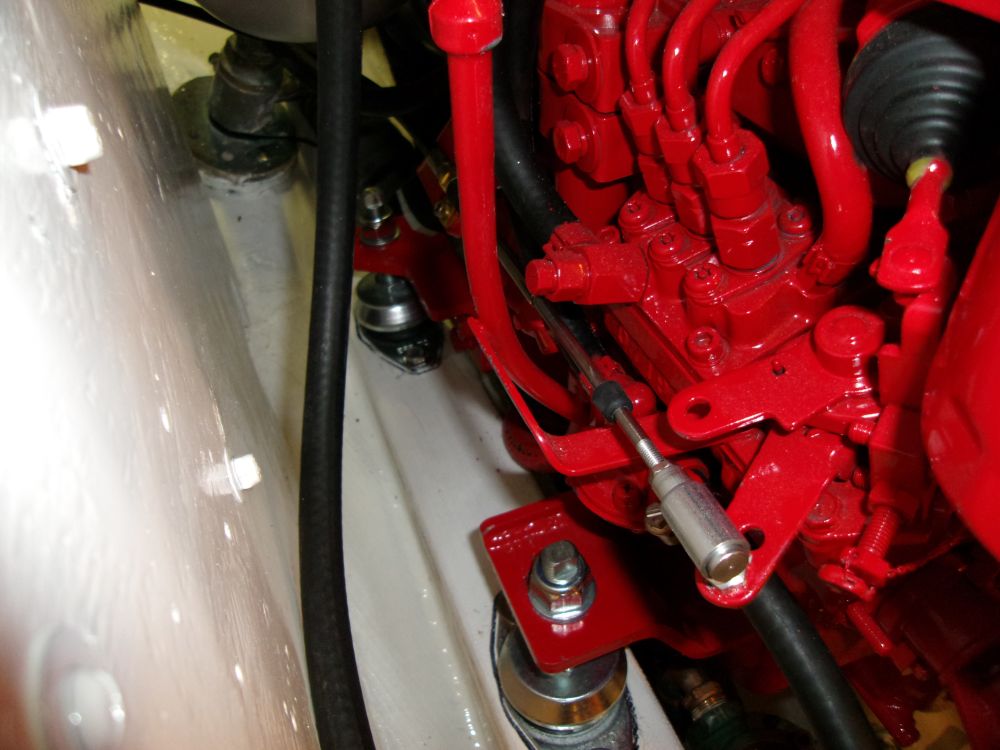
Next, I connected the throttle and gear control cables to their respective points on the engine, and the far end of the throttle cable to the lever in the cockpit. I didn't have the clevis I needed on hand to connect the transmission cable to the lever; I'd saved the original, but it turned out it was for a group 40 cable, rather than group 30, so I ordered the one I needed and would make the final connection soon.
Meanwhile, I cleared out some excess hose clutter from the starboard cockpit locker, part of a reconfiguration of the bilge pump runs (manual and electric). Despite planning and ordering ahead, I found that several hose and fitting diameters were different than I thought, and had to order different parts in order to complete the re-hosing.
Finally, as much to get it out of the way for now as anything, I installed the new alternator regulator, which had previously been connected to the alternator, on the plywood panel above the engine room. I'd lead and clean up the wiring run later, along with other wiring that would be leading to this space.
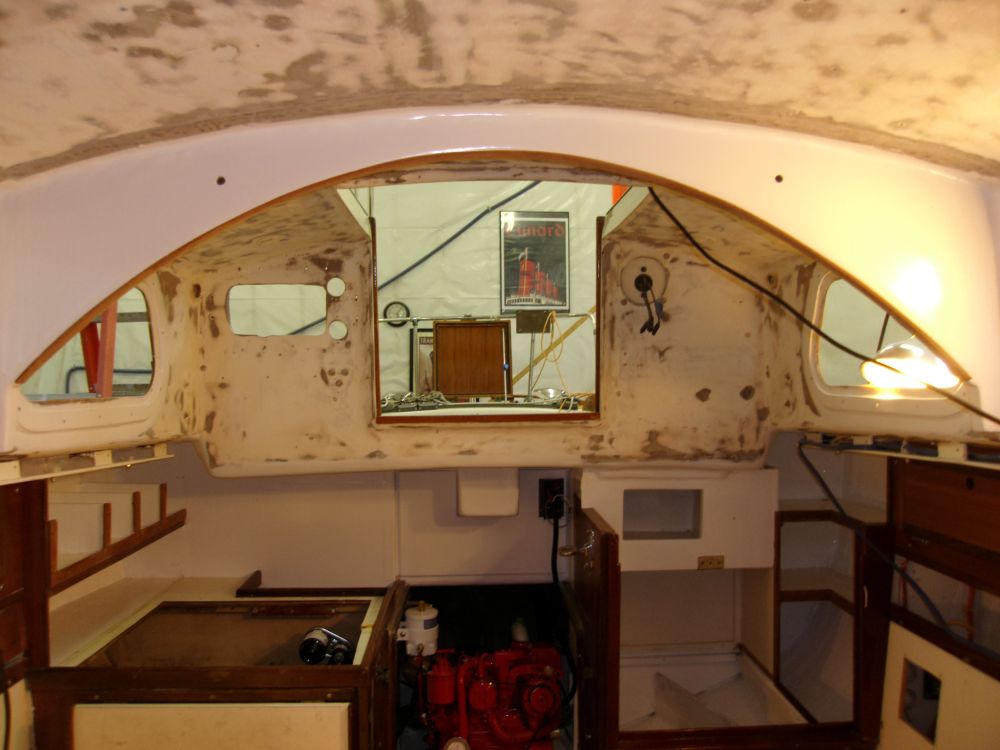
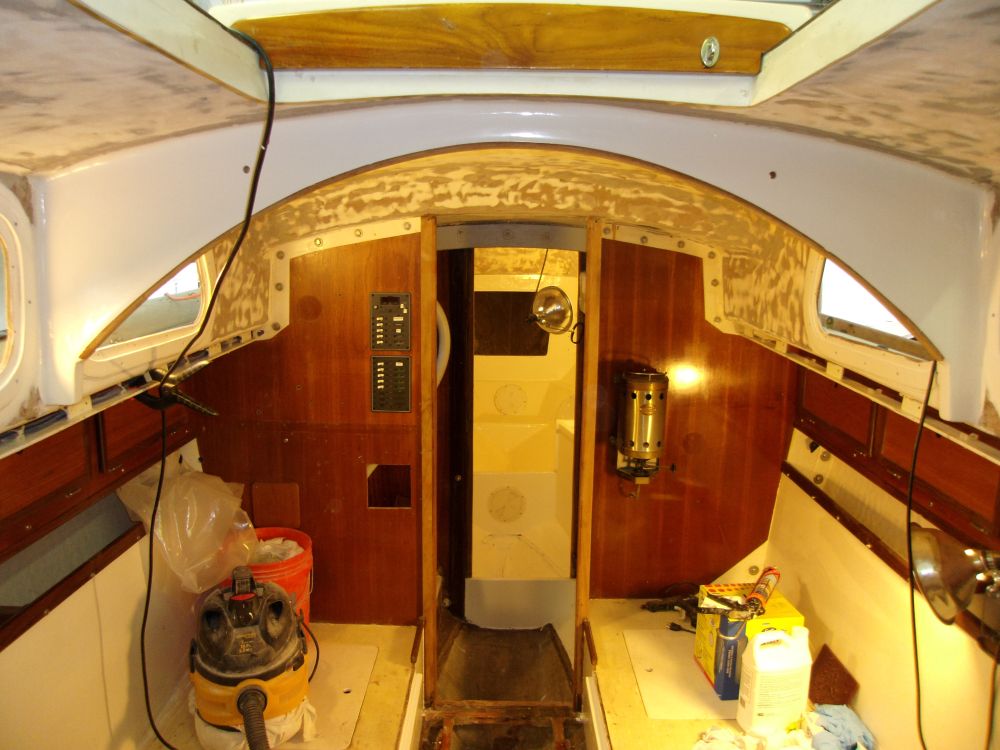
The interior paint was complete, and I removed masking tape as needed. I'd left some slim mahogany trim at the base of the cabin arch unfinished, and this would provide a nice accent once varnished. Cork tiles for the overhead and cabin sides were now on hand, and with the painting complete I looked forward to trying my hand at their installation soon.
Total Time on This Job Today: 8.5 hours
