110 Cookson Lane | Whitefield, ME 04353 | 207-232-7600 | tim@lackeysailing.com
Blue Teal | Tuesday, July 23, 2013
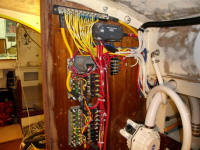
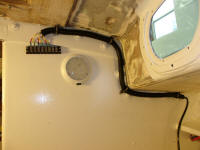
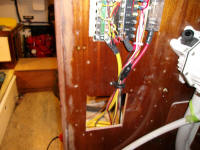
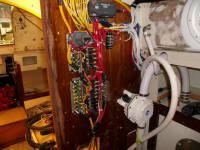
I continued work on the wiring, making up the remaining cabin light connections at the panel before running the final conductors for the mast wiring to a terminal block located near the wire chase in the overhead, then back to the circuit breaker panels and buss bars for final conection.
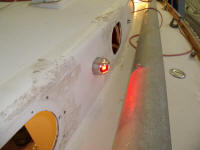
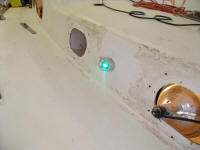
Meanwhile, I installed new LED running lamps that the owner had purchased, securing them over the existing holes from the old lights. I led the wiring through nearby wire chases as needed and made the final connections.
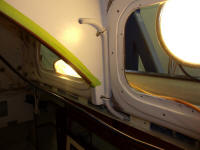
In the forward cabin, I installed two LED lights, one on each side. The lights featured both white and red colors. I led the wiring through split loom into the main wire chase above.
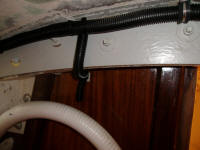
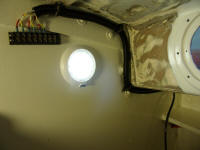
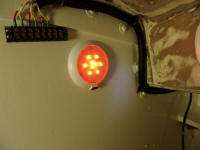
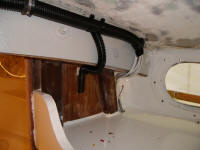
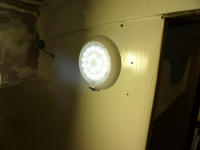
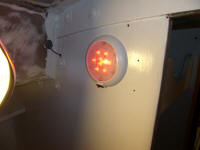
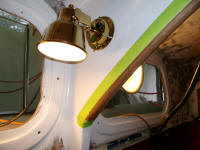
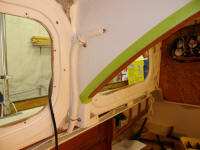
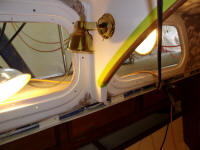
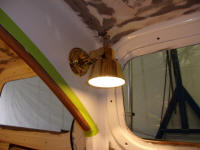
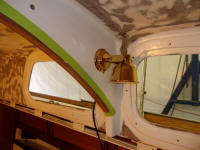
In the main cabin, I installed three additional Alpenglow LED lights: one on the starboard forward bulkhead, and two on the mid-cabin arch. There were two additional lights planned for the aft end of the cabin, but I wouldn't install those till the cork was in place a little later.
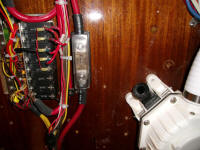
The planned 1000W inverter required heavy cable from the positive distribution buss located just above the nearby electrical panels. As directed, I installed a fuse in the line for additional protection. I connected the negative cable to the nearby panels' bussbar, which was already connected to the main negative distribution buss above. I left these cables long for now, since I didn't know exactly where the inverter was going to end up; I'd make up the remaining lug connections later.
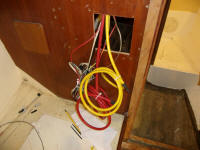
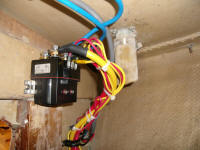
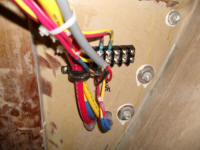
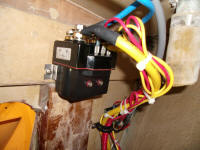
The windlass required a few more connections before becoming operational. While I'd already run all the main conductors and heavy cables, I had to interconnect the small terminal strip--which already contained the wires from the cockpit switch--to the windlass control box itself, a relatively straightforward task.
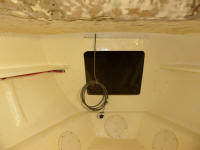
The owner also selected a hand-held remote control for use on the foredeck. At the moment, I wasn't sure exactly where the connector would be installed--though it would be in the forward cabin--and I wouldn't make the final wire run till the overhead was complete, but I wanted to test the control in the meantime. With a length of three-conductor cable, I lengthened the wiring harness that came with the remote's deck plug, and connected the wires to the control terminal block (and a third wire for power, which I'd run earlier) inside the chain locker, and made temporary connections to the plug so I could test the controller. Both the cockpit switch and remote tested operational. I left the extra cable dangling pending final installation later.
Total Time on This Job Today: 8.75 hours
