110 Cookson Lane | Whitefield, ME 04353 | 207-232-7600 | tim@lackeysailing.com
Ashantee | Thursday, January 15, 2015
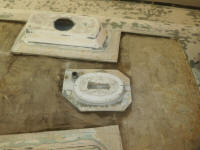
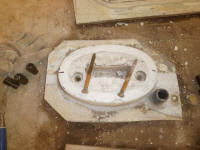
First thing, I quickly determined that the mast step was not sitting on any sort of real structure, and was simply secured through the deck and core. I determined this in the simplest way possible: I pushed a long probe through the space beneath the step, indicating that it was just rotten core beneath. So the step needed to be removed.
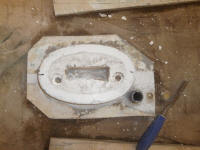
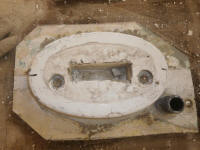
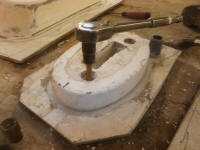
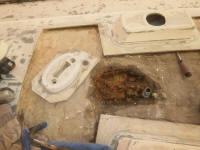
Chiseling away some cosmetic filler on the top of the step itself, I revealed the hex heads of two lag screws that secured it through the deck and into the support bulkhead beneath. These were easy to remove, after which I could pull the step--with its small bit of deck still attached--away from the lower skin.
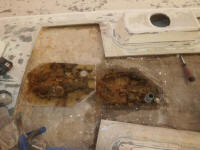
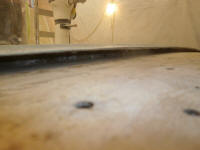
The things that I originally thought were countersunk bolts, just aft of the step and the wire chase, turned out instead to be lumps of resin, purpose unknown. Possibly they were failed attempts at locating the wire chase when it was installed? In any event, I chiseled away the resin, along with the remnants of old core on the deck.
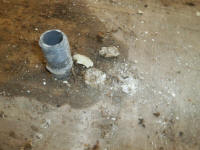
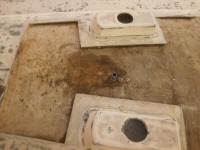
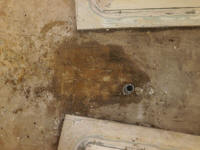
Before continuing with my day's plans, I went over the remaining deck areas with a sounding hammer once more, looking for any suspect areas that I'd missed initially. Nothing new turned up.
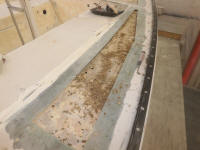
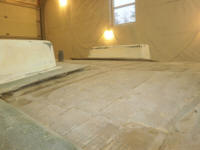
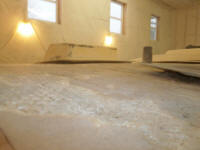
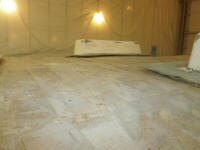
Now I turned to perhaps the dirtiest task of the whole job: preparing the deck edges around the areas under repair. At each location, I ground away remaining paint and gelcoat, and created tapered bonding surfaces all around, which would allow the new deck laminate to tie in flush with the existing. This took the bulk of the morning, to complete, and part of the afternoon to clean up the detritus. At the same time, I also sanded the exposed deck skin and beneath the edge flanges as much as possible (my sanding disc pad fit within in many areas), the purpose of which was to remove any remaining core and even out the surface as much as possible.
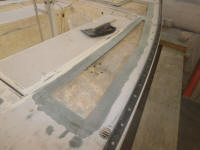
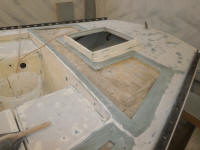
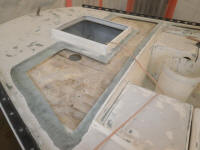
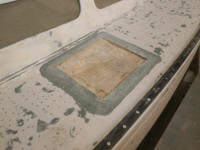
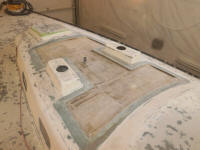
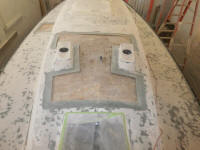
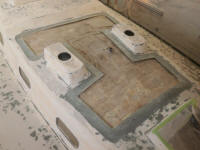
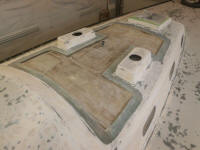
Later, I wrapped up work beneath the flanges, using sandpaper, my reaming tool, and a wire brush to clean out any bits of core that remained in these spaces, as well as cleaning up some of the corners of the inner skin that the sander couldn't reach earlier. With compressed air, I blew out these areas, and performed one final cleanup, leaving things ready to start laying out the new core.
Total Time Billed on This Job Today: 6.75
Hours
