| Triton #680 |
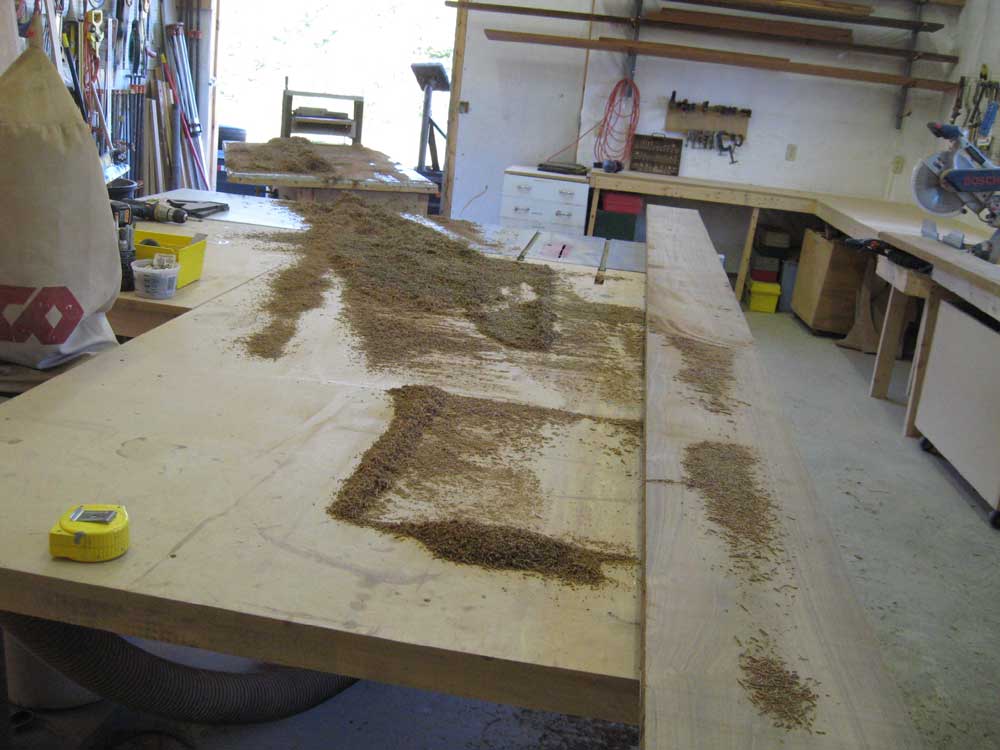
Tuesday, September 23, 2008 Today, the owner and I worked to mill the various pieces required for the new toerail and rubrail. The owner selected teak, which he picked up on his way to the shop. The 6/4 teak boards, each 10" wide and just over 15' in length, were in rough, unplaned form, so after I replaced the blades in my planer we got to work surfacing the two boards to a point from which we could work further--that is, smooth on both sides, but not planed any thinner than necessary. |
|
|
Afterwards, I straightened one edge of each board, and then we spent some time determining the general size and shape of the future toerail. With a set bottom width of 1-1/4" as determined by some cutouts in an existing teak breasthook on the boat, we further determined the top width to be 3/4", with an overall height of 2" from the deck. The inner edge would be square, while the outer edge would feature an angled cut running from the 3/4" top edge down to a point 1/4" above the base of the toerail on the outer side--this to allow a flat area upon which the rubrail could rest later. The angle formed through these two points ended up being 15°. Next, we worked out the design for the rubrail, which would cover the gap between the toerail and the hull for a finished appearance, as well as providing the usual protective functions of a rubrail. Using a scrap left over from another job as a guideline, I worked up a trapezoidal shape that incorporated a 1/2" flat outer surface to accept a 3/8" brass rubstrip, and an asymmetrical profile with bevel cuts above and below the flat area--45° beneath, 35° above--with 1/8" wide flats at each horizontal edge. |
|
|
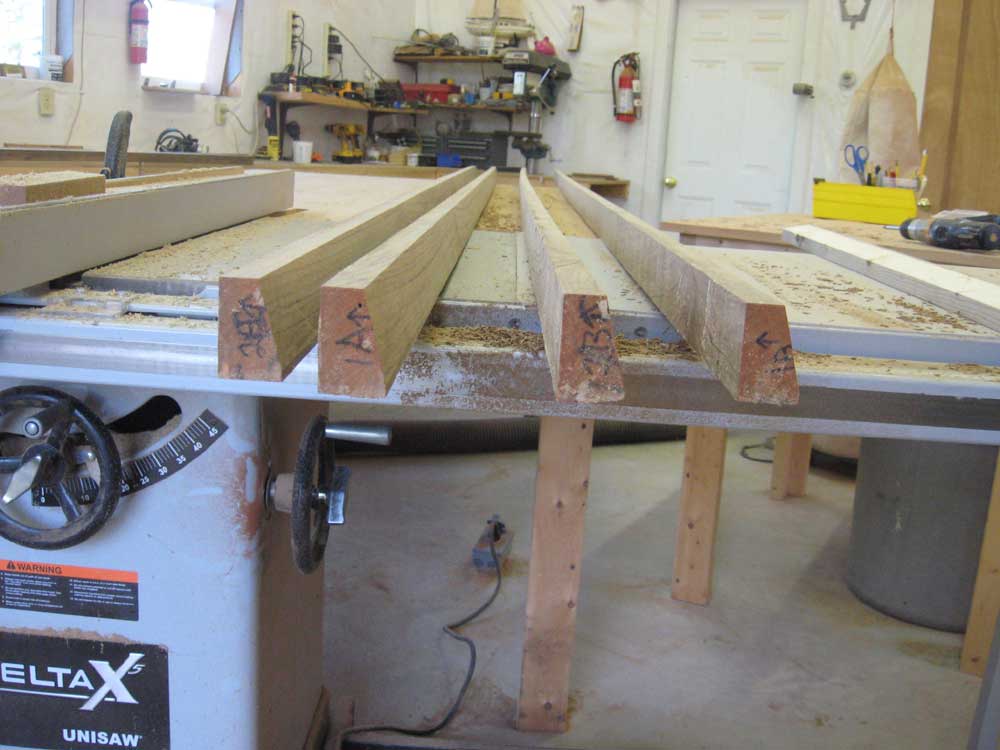
With the basic design complete, and after a couple scrapwood mockups to ensure the appearance of the final product, I ran the pieces through the table saw to create four blanks of appropriate size: 2" tall by 1-1/4" wide. Similarly, I cut four additional blanks for the rubrail, each 1-3/8" tall and 3/4" wide. |
|
|
With all the blanks cut, we continued by making all the final cuts on each piece. Each toerail blank required the single angle cut on the outer edge, which went quickly after the initial setup, while the rubrail blanks required a pair of cuts to form the final profile. |
|
|
|
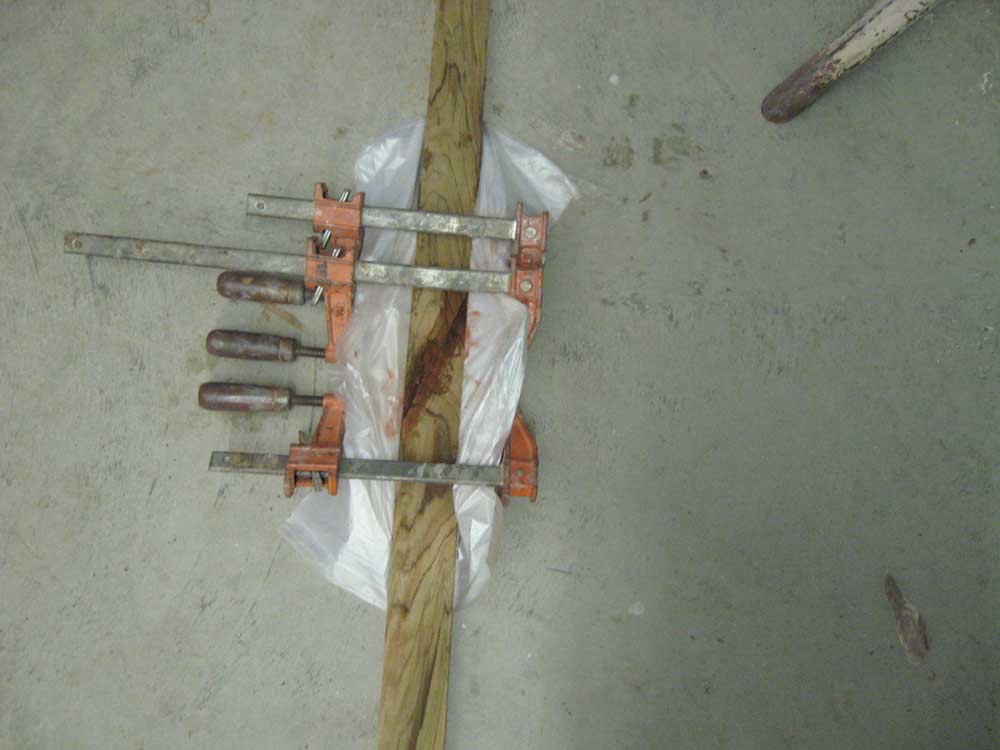
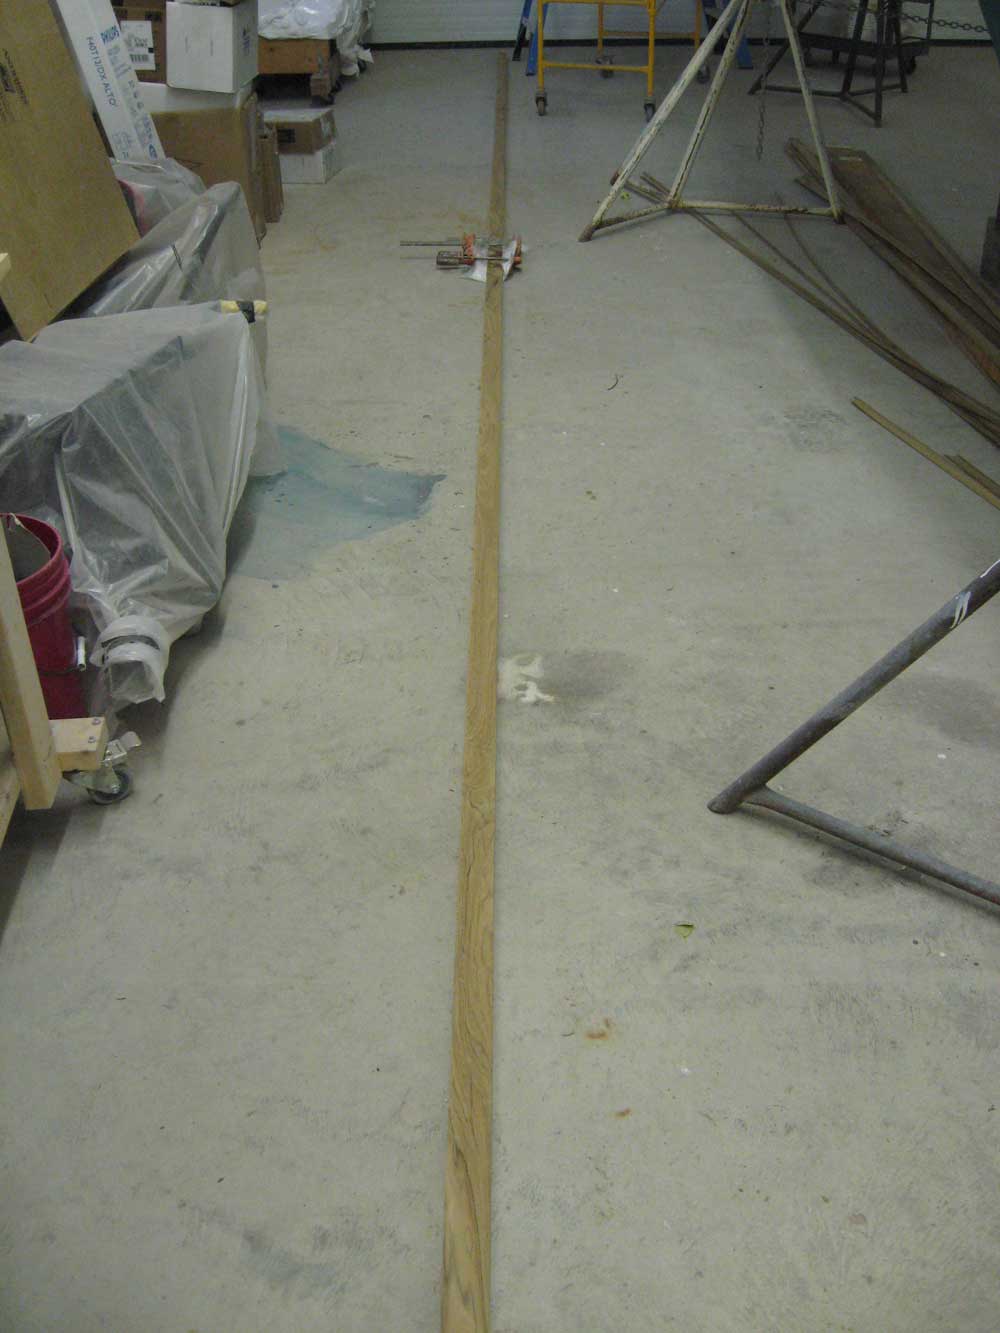
Next, the owner cut the scarf joints required to conjoin each 2-piece section of toerail, using a simple shop-made jig to hold the wood and guide the saw. Afterwards, he spent some time cleaning up the joints with hand tools and sandpaper before arriving at a clean, tight fit suitable for gluing. With the rail sections laid out on the shop floor next to the boat, we epoxied them together after thoroughly cleaning with acetone, clamping them securely with backing blocks on either side of the joint to prevent slippage and to provide a place for the clamps to bear. We planned to leave the rail blanks in the clamps throughout the entire next day before contemplating unclamping and proceeding with the dry fit of the rail on board. |
|
|
|
|
|