March 26, 2020
August West 12
Thursday
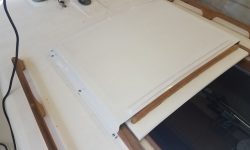
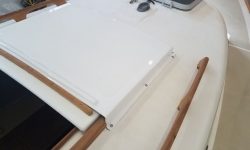
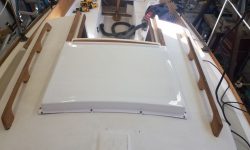
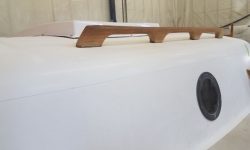
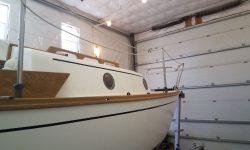
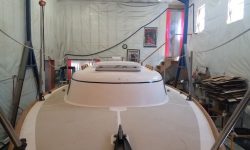
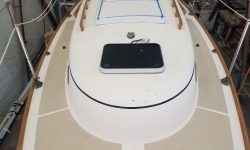
Now that the paint on the sea hood had had sufficient cure time since the final coat, I prepared for the final installation. With the hood mocked up on deck, I drilled and tapped the decks at each fastener location to accept #10 machine screws, which would secure the assembly in place. During an earlier stage of the project, I’d already drilled out the core from any of these locations and replaced it with a solid epoxy mixture.
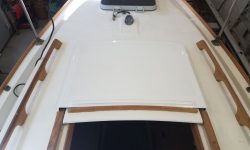
I chose butyl tape sealant for the sea hood to allow for relatively easy removal. After applying the sealant to the deck in way of the mounting flange, I secured the sea hood in place with machine screws and washers. I chose not to through-bolt it since I didn’t feel it was necessary in this application, and also did not want to have to drill through and cosmetically deal with the fiberglass interior liner. I still needed to apply the nonskid paint to the field area of the new sea hood, but I’d held off on that till after installation in the interests of efficiency; I planned to apply that later in the day.
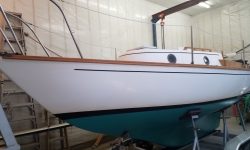
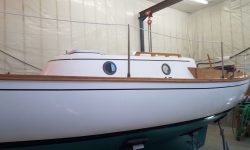
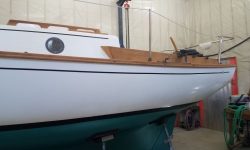
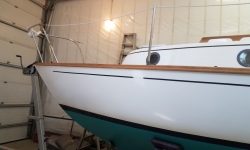
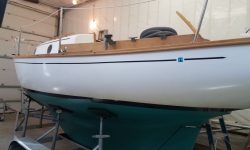
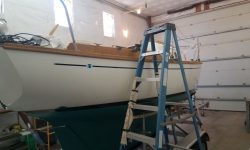
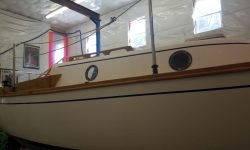
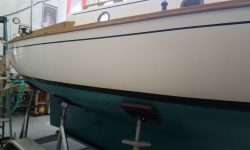
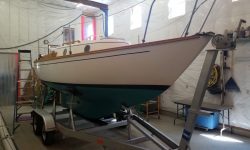
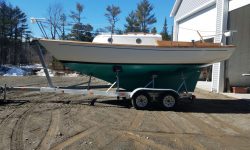
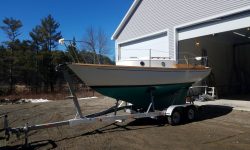
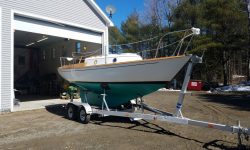
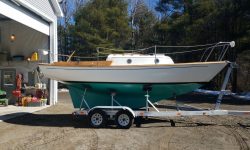
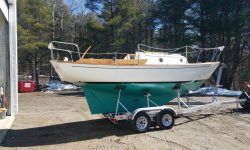
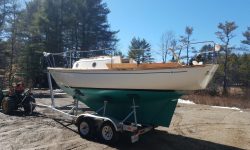
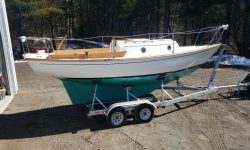
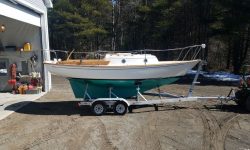
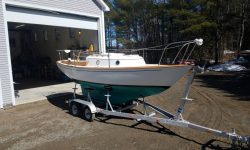
After a follow-up conference with the owner, he decided to go ahead with both the new cove stripe and the vinyl eyebrow trim. So with those decisions made, I got started on the installations. With the ghost of the original cove stripe still visible, it was a straightforward matter to install the new striping in the same location with only minor changes to the ends of the striping from original. While I often suggested classic gold leaf for cove stripes, something about this boat and the overall appearance seemed to demand black striping to match the new boottop.
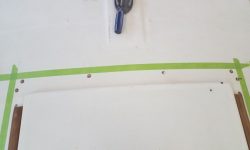
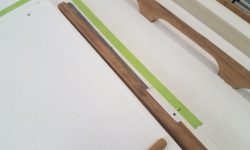
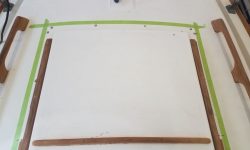
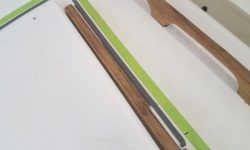
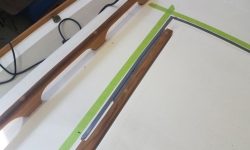
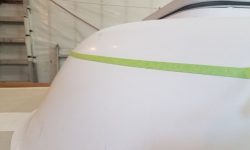
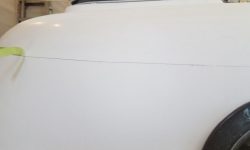
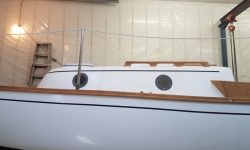
For the eyebrow, I began by lightly tracing a pencil line at the bottom edge of the masking tape mockup before removing the tape, leaving the line behind as a reference. Then I could install the new vinyl–also black–along this line. The light green mockup stripe had been difficult to see clearly, and I was pleased with how the final version came out with the bold striping. While a “real” eyebrow made from wood would have been the best choice, the curved shape of this cabin trunk would have made that installation challenging at best, and maybe impossible around the forward curves, so the striping ultimately had the same overall effect on the boat’s appearance, and could easily flow right around the curved forward part of the cabin trunk.
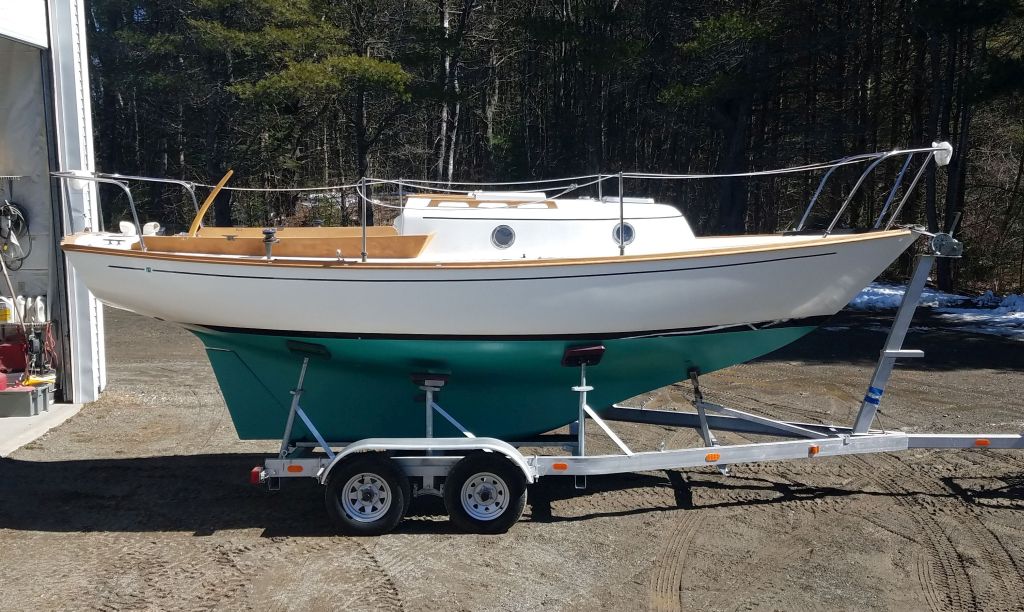
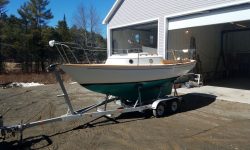
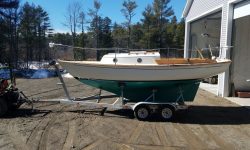
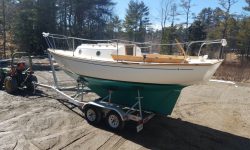
A little later, I pulled the boat outside again for some better and more distant views of the finished striping.
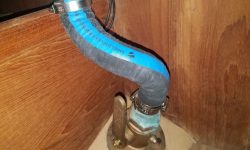
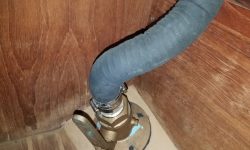
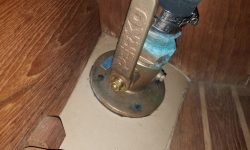
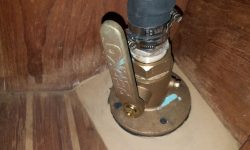
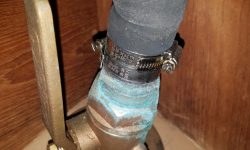
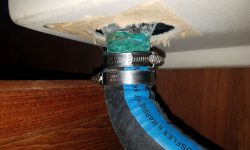
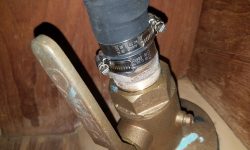
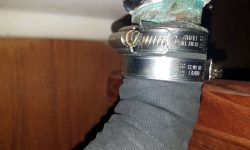
The owner asked me to service the two seacocks on board, for the cockpit scuppers. When I went to inspect them, however, I discovered that they were newer than original (originals on this boat would have been tapered-plug types, which types can and are designed to be disassembled and serviced), and were in fact bronze ball valves. These particular valves featured bronze housings with PTFE balls within, and they were outwardly in good condition; both operated normally when tested, though cycling the valves a few times a season would help keep them from getting too stiff from inaction. Similarly, the hoses and clamps (quality solid-banded type) were in good condition and needed no attention at this time. The hoses were manufactured in 2011, which would be the absolute earliest they could have been installed in the boat, though it’s routine to find new hose direct from the chandler with manufacture dates up to a couple years earlier. In any event, the overall appearance and substance of the installations matched the available dating data.
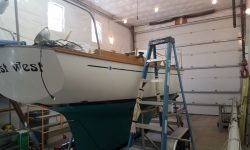
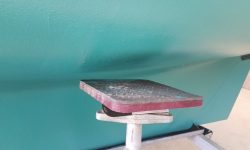
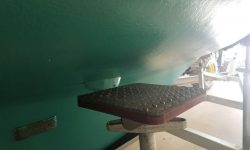
Meanwhile, I took care of the unpainted bottom patches beneath the center set of jackstands, which I lowered for access after retightening the other four that I’d released during the initial painting earlier.
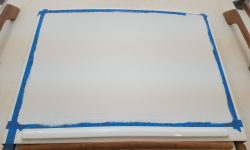
Finally, I masked off the sea hood as needed for the nonskid, and applied a coat of white nonskid paint to match the rest of the coachroof.
Total time billed on this job today: 6 hours
0600 Weather Observation: 22°, clear. Forecast for the day: Mostly sunny, 44°


