
110 Cookson Lane | Whitefield, ME 04353 | 207-232-7600 | tim@lackeysailing.com
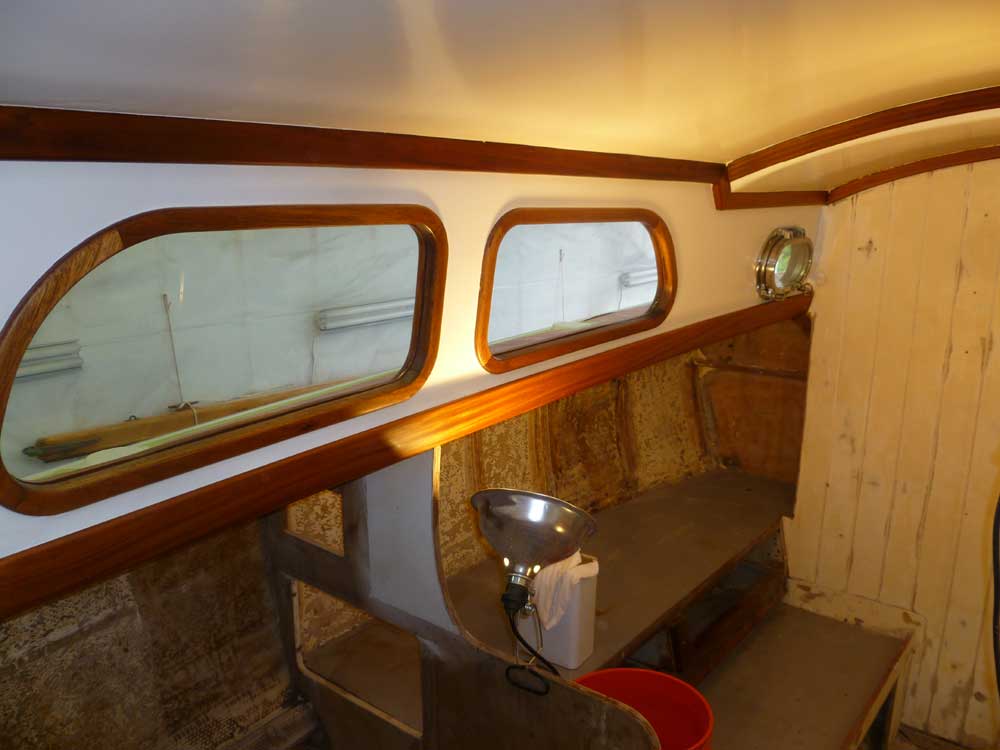
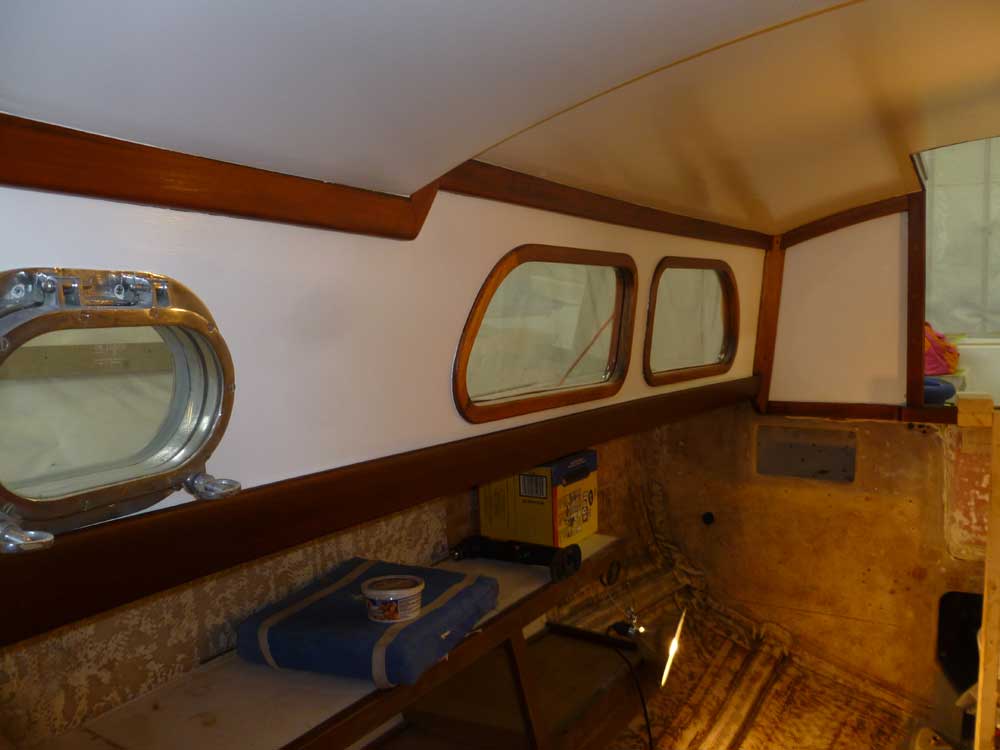
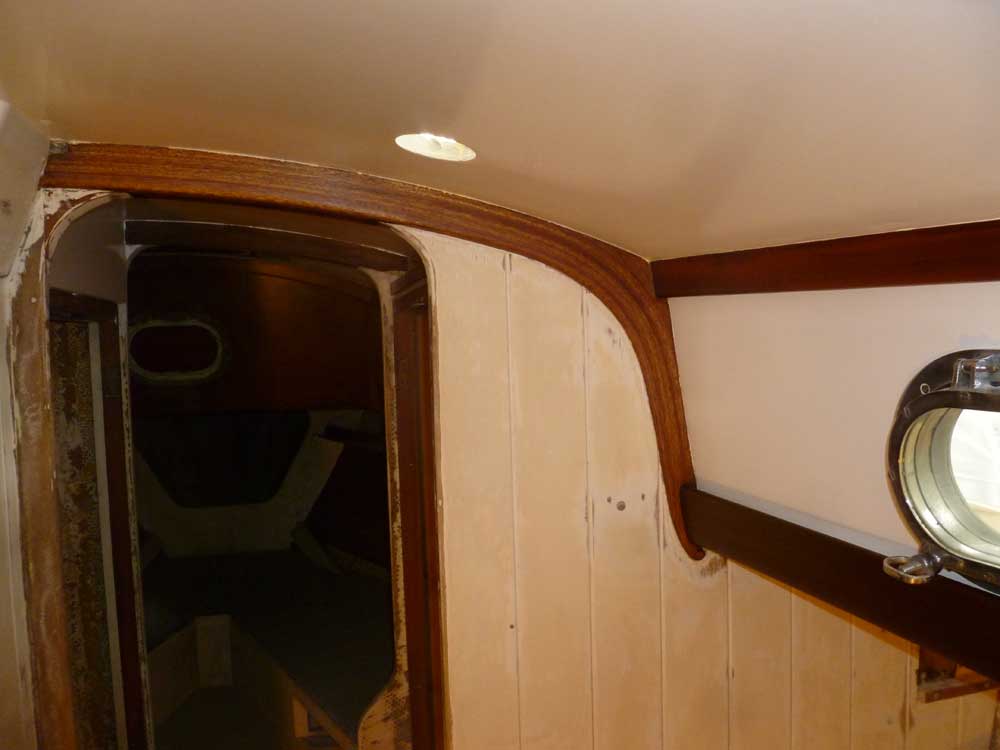
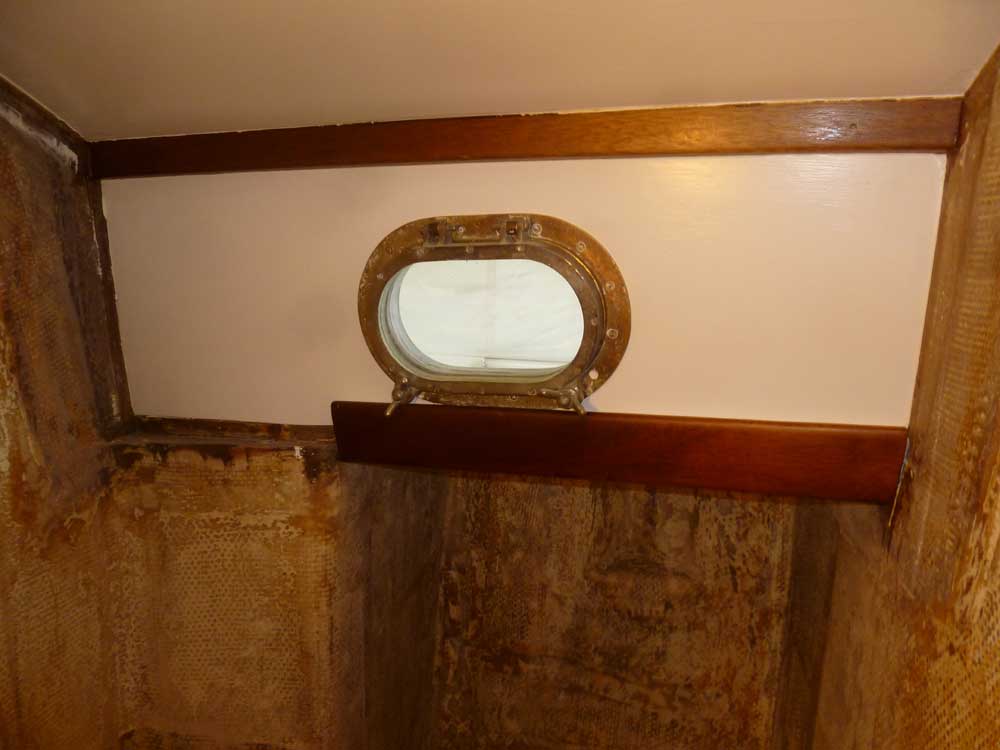
The interior brightwork looked good, so with that portion of the job complete, I removed the masking tape.


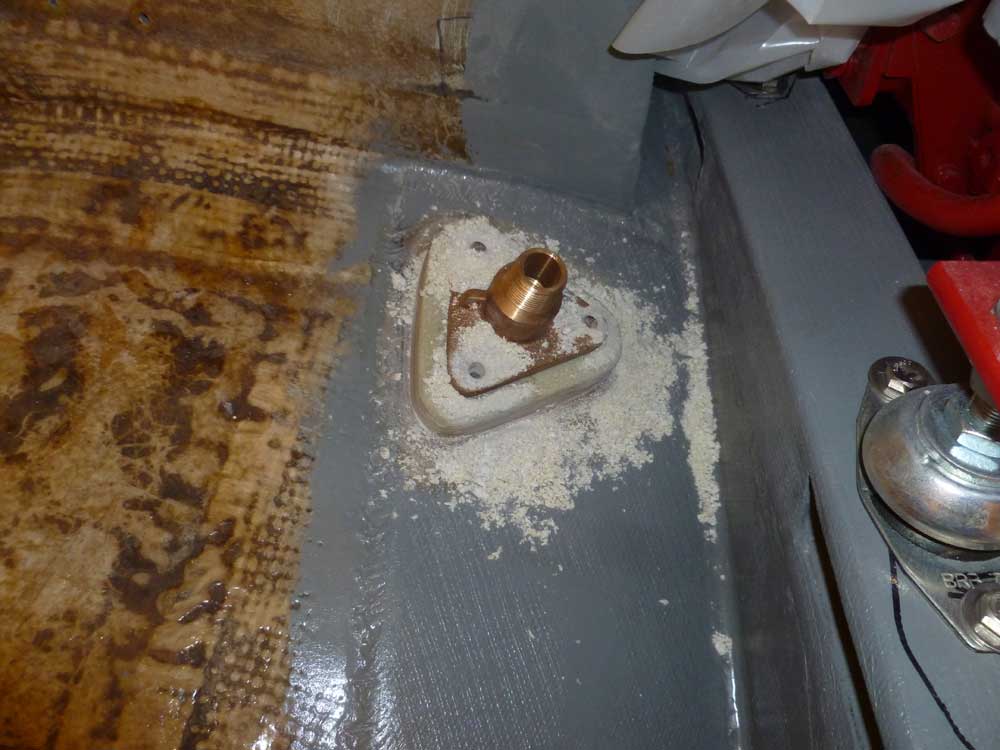
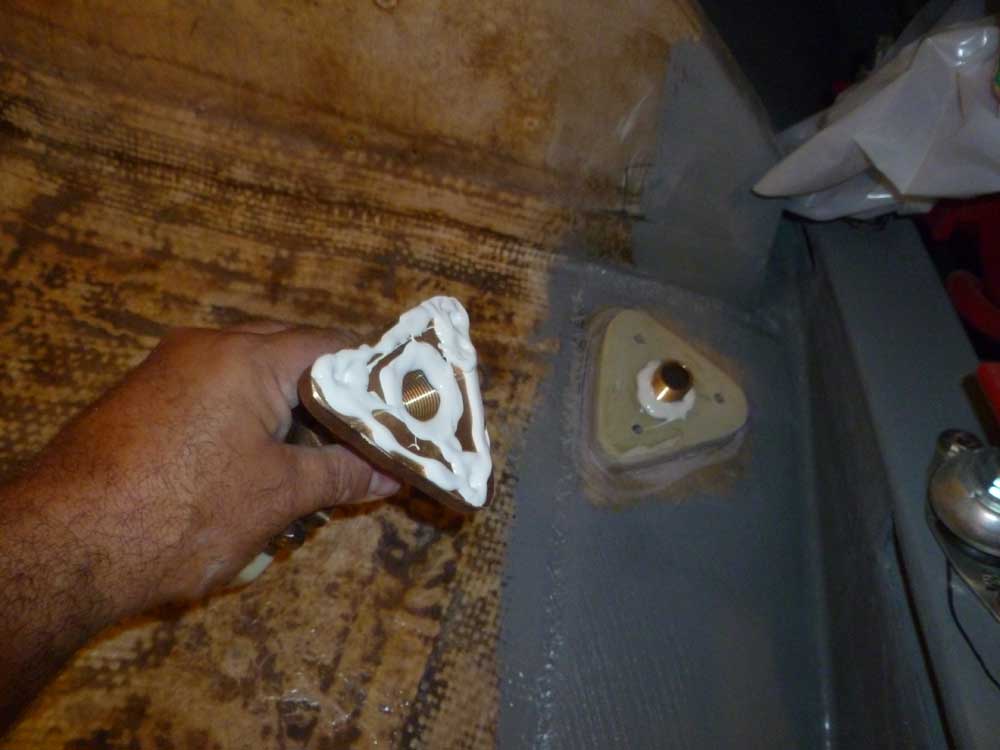
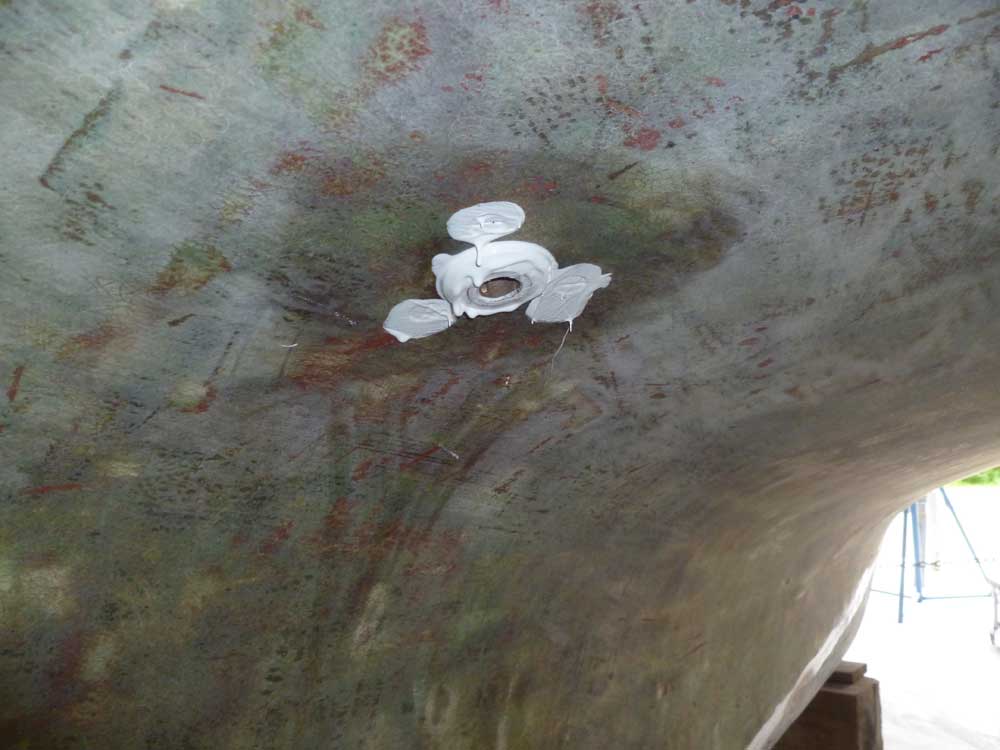
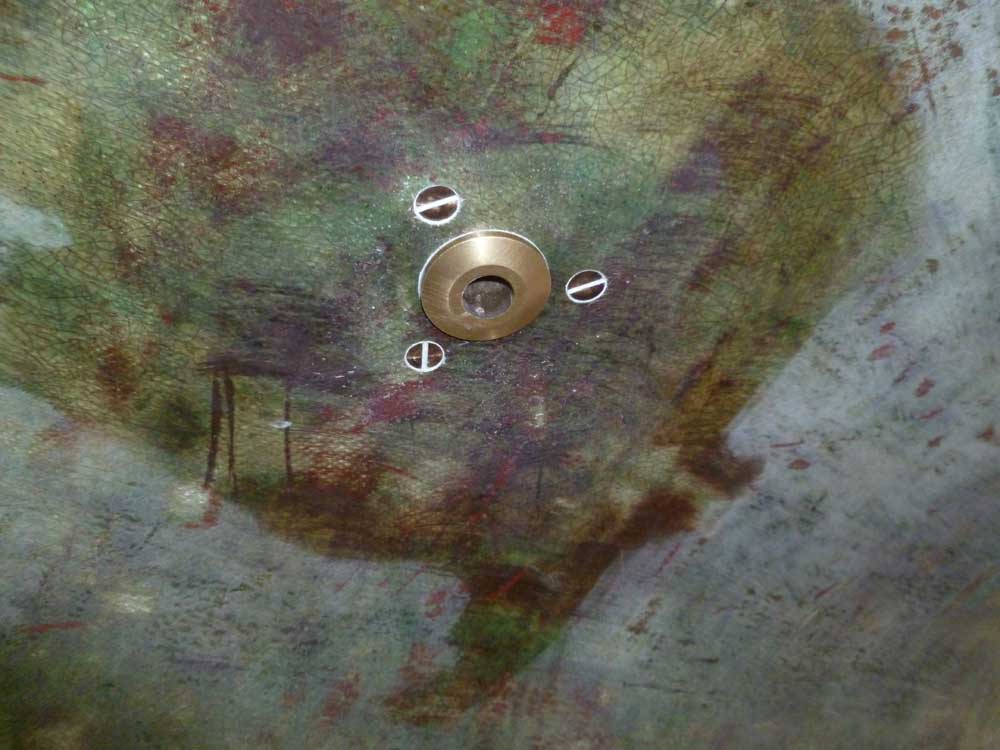
I briefly cleaned up the new backing plate for the engine intake seacock, lightly sanding the inside of the hole and around the edges as needed, then dry-fit the through hull and flange adapter to see how they fit, to ensure that I could fully thread the through hull into the adapter without bottoming out, and to align the flange base so I could drill for the mounting bolts.
With everything in position, I drilled three 5/16" holes for the bolts.
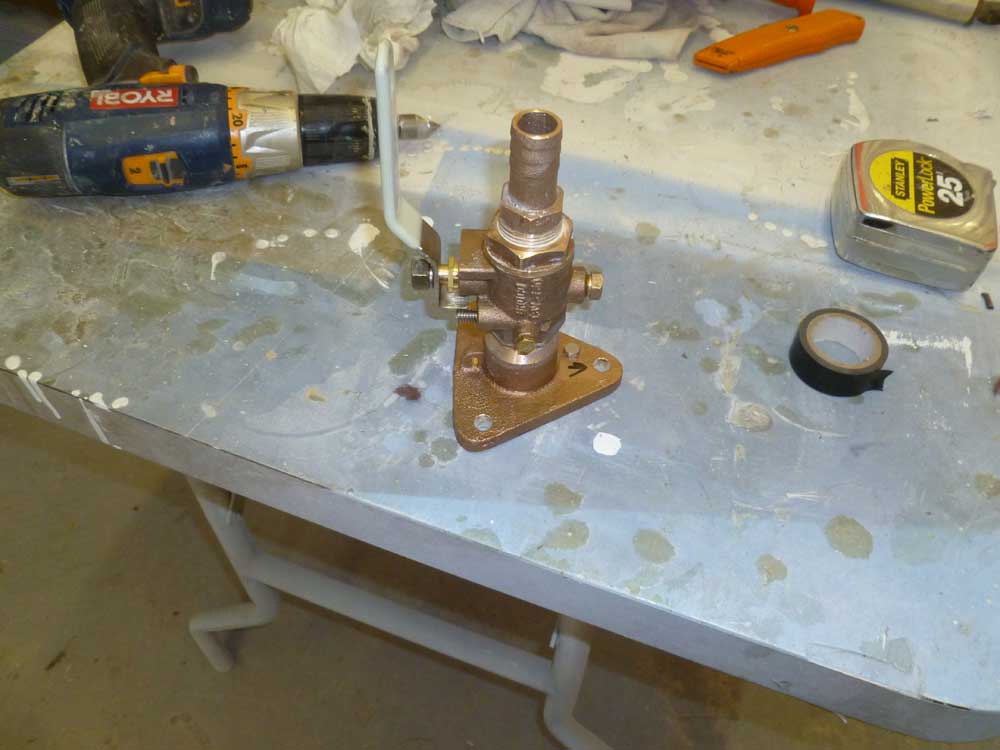
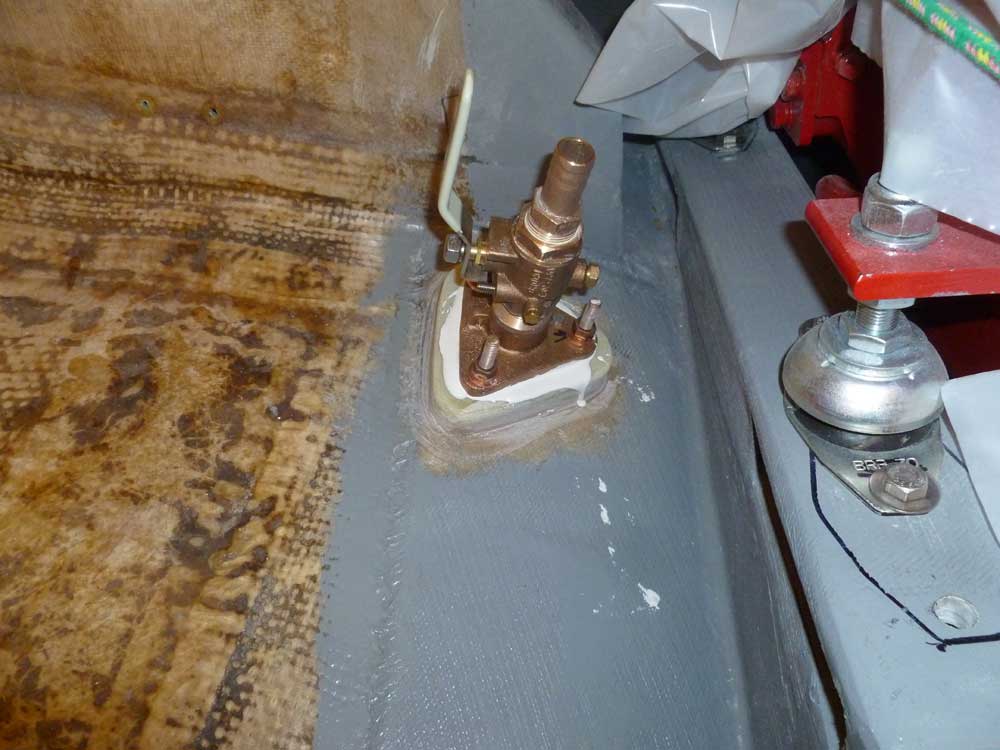
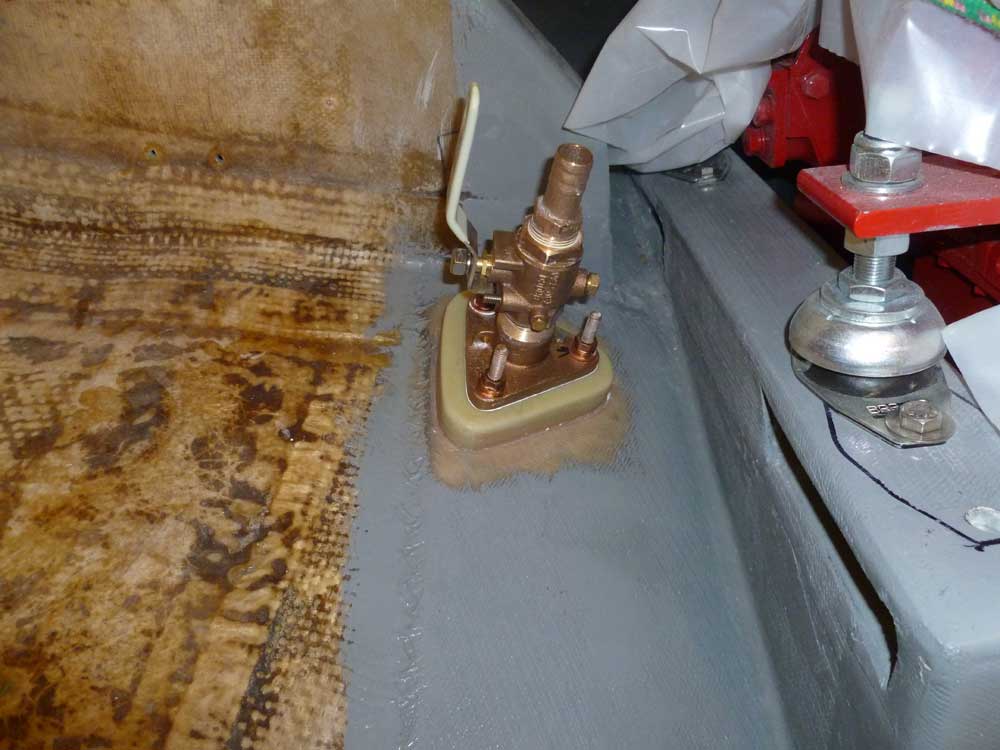
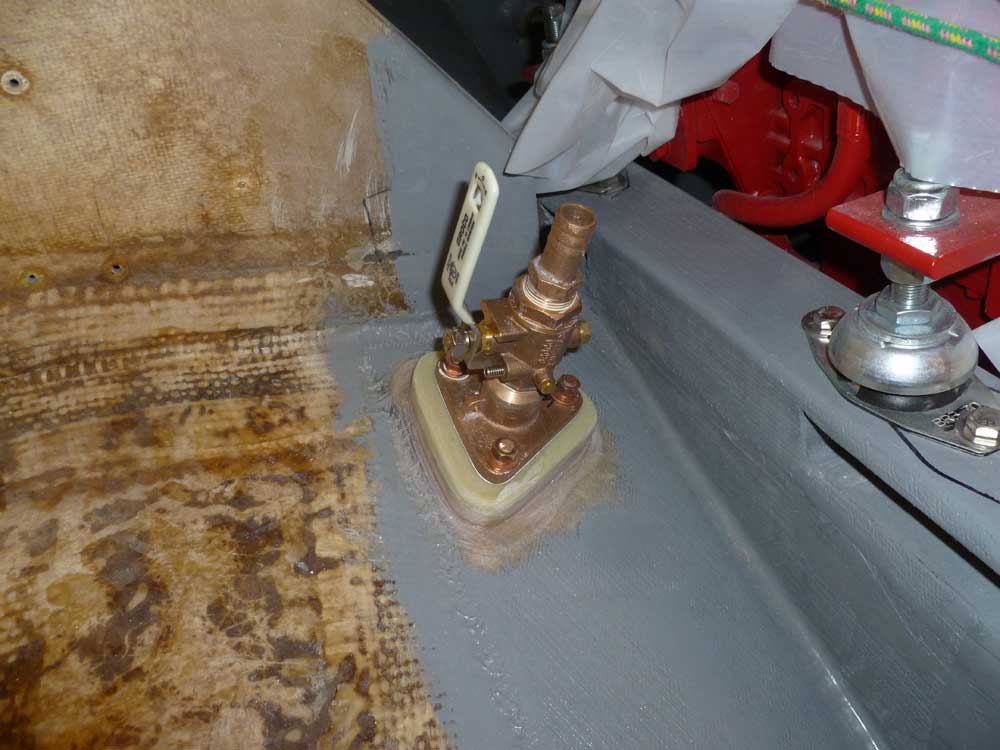
After removing the dry-fit components and cleaning the area once more to remove drill spoils, I assembled the ball valve and tailpiece onto the flange, using pipe-thread compound on the threads. Meanwhile, outside the boat, I bored countersinks at each bolt location so I could recess the flat heads of the bolts.
I coated the through hull fitting in plenty of polyurethane sealant, then pressed it into place, holding it with tape as needed. Inside, I threaded on the valve/flange assembly after installing additional sealant, and temporarily aligned the bolt holes with bolts pushed in from the inside. Back outside, I gooped up the actual bolts, then inserted them, pushing out the temporary place-holders in the process, and held the bolts with tape while I threaded the through hull tightly with a special tool.

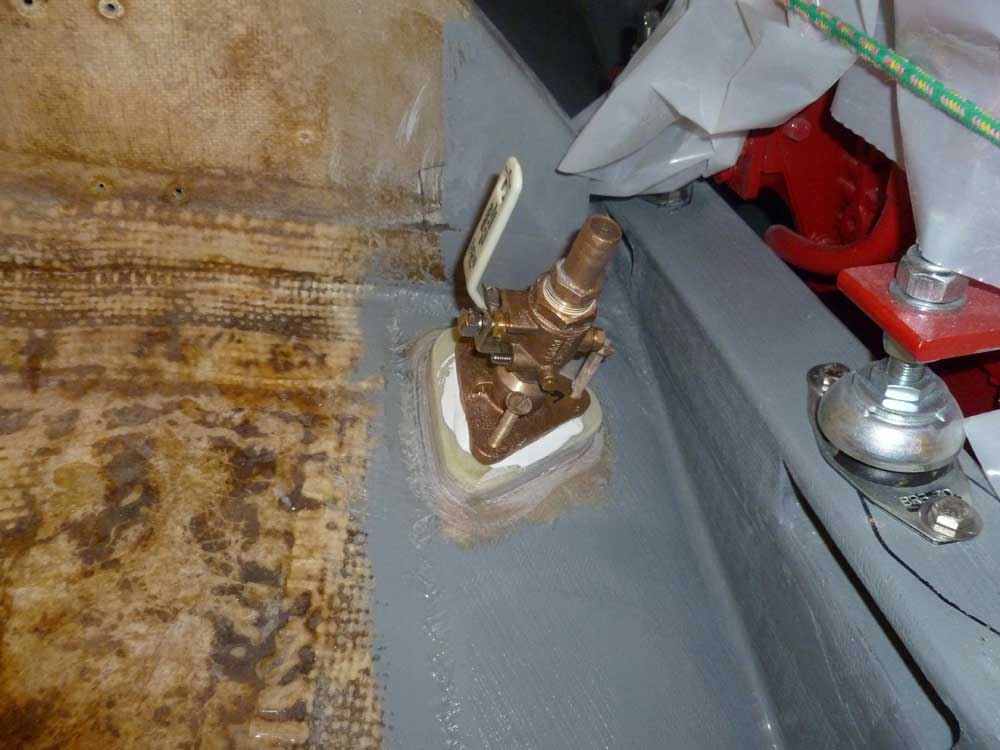

Finally, I installed nuts and washers on the bolts from inside, tightening them all securely, and cleaned up the excess sealant inside and out. Later, I cut off the excess bolt length.
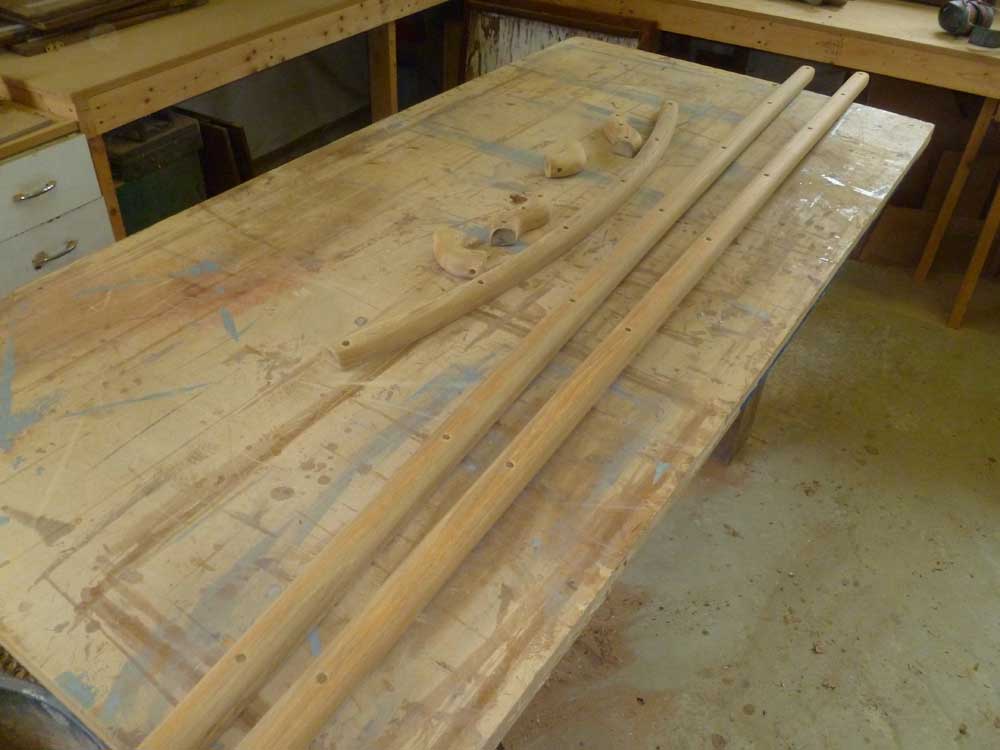
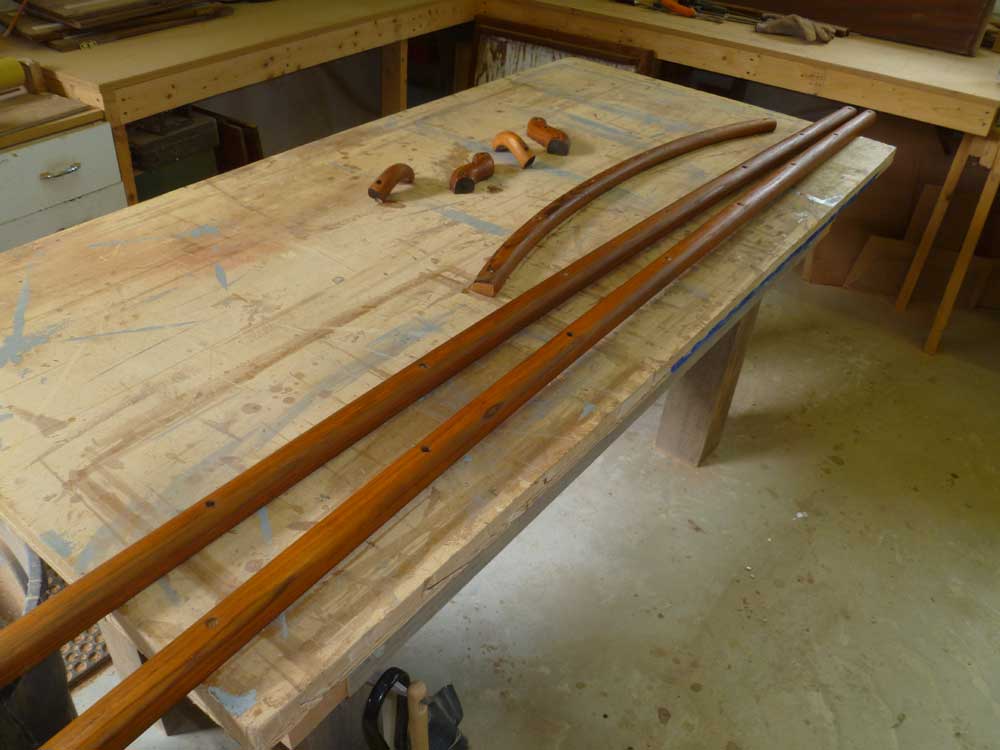
I turned to the eyebrow, and, over the course of a couple hours, scraped the debris from the remaining few pieces, then sanded all the pieces clean and smooth through 220 grit. Later in the day, I applied a sealer coat of varnish.
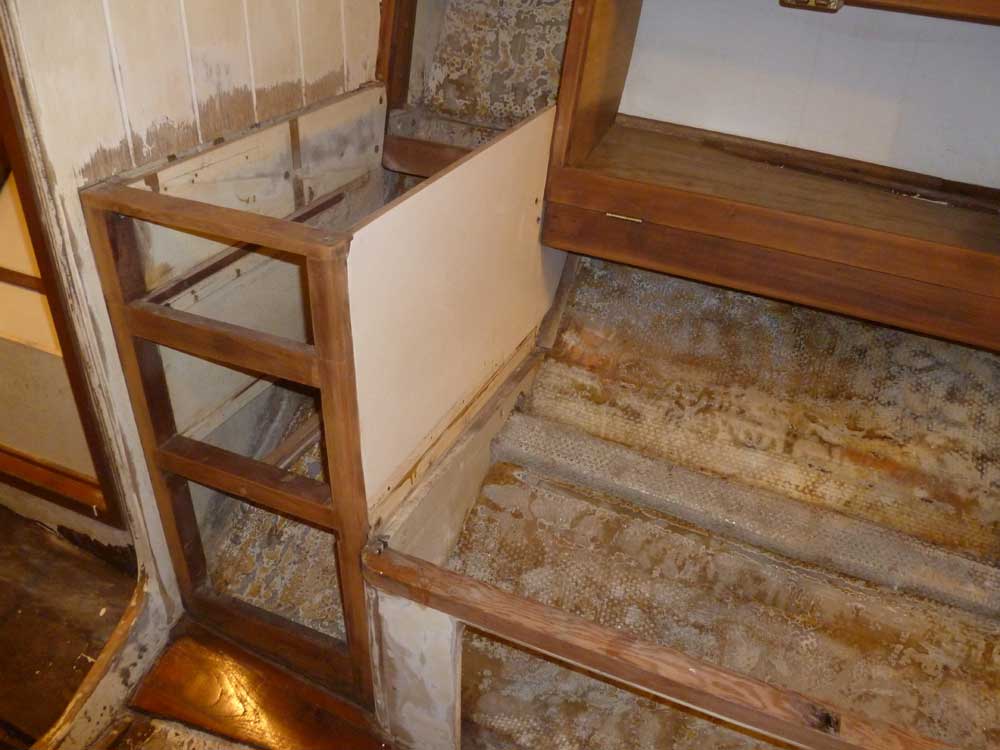
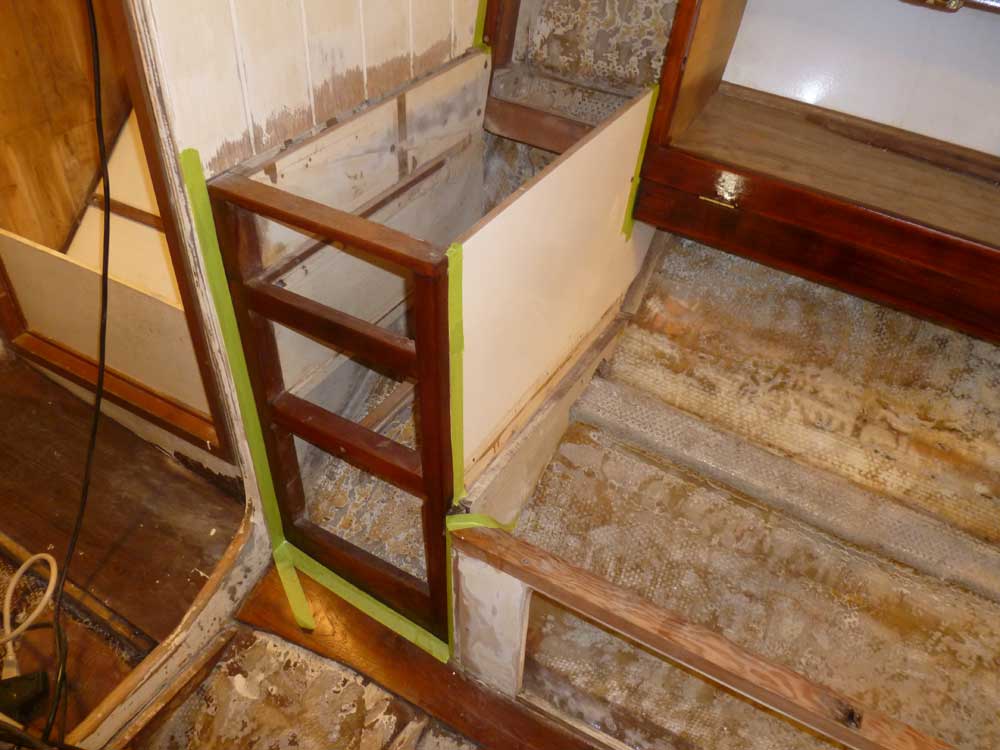
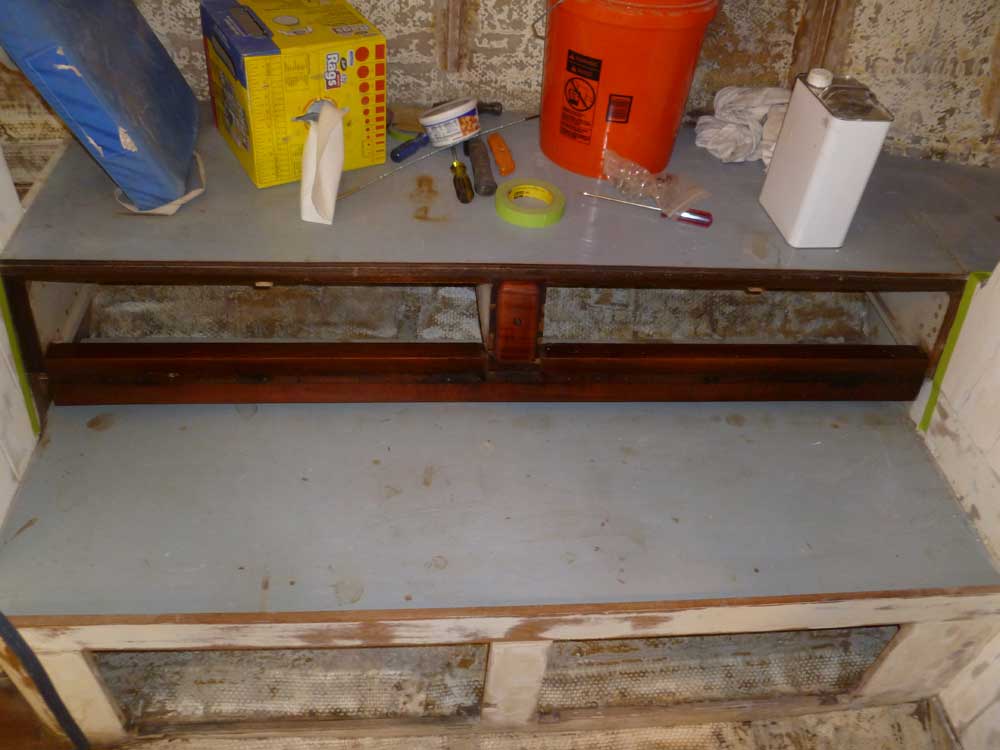
Back inside the boat, I stripped the old varnish from the remaining cabinetry in the saloon--some backrest cabinets to starboard, along with a small drawer frame, and portions of a frame on the port side. The port side cabinets, as currently seen, would mostly be hidden by other portions of the cabinetry--drawers and hinged sections--that I'd removed long ago, so there was little to do here, though I cleaned up all visible surfaces anyway.
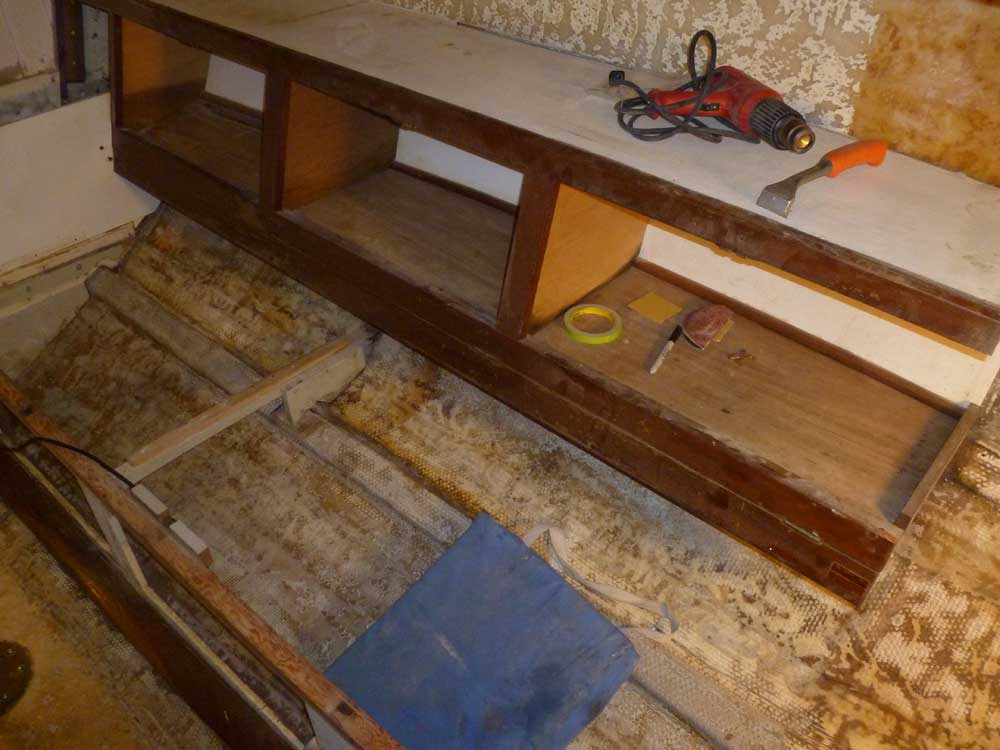

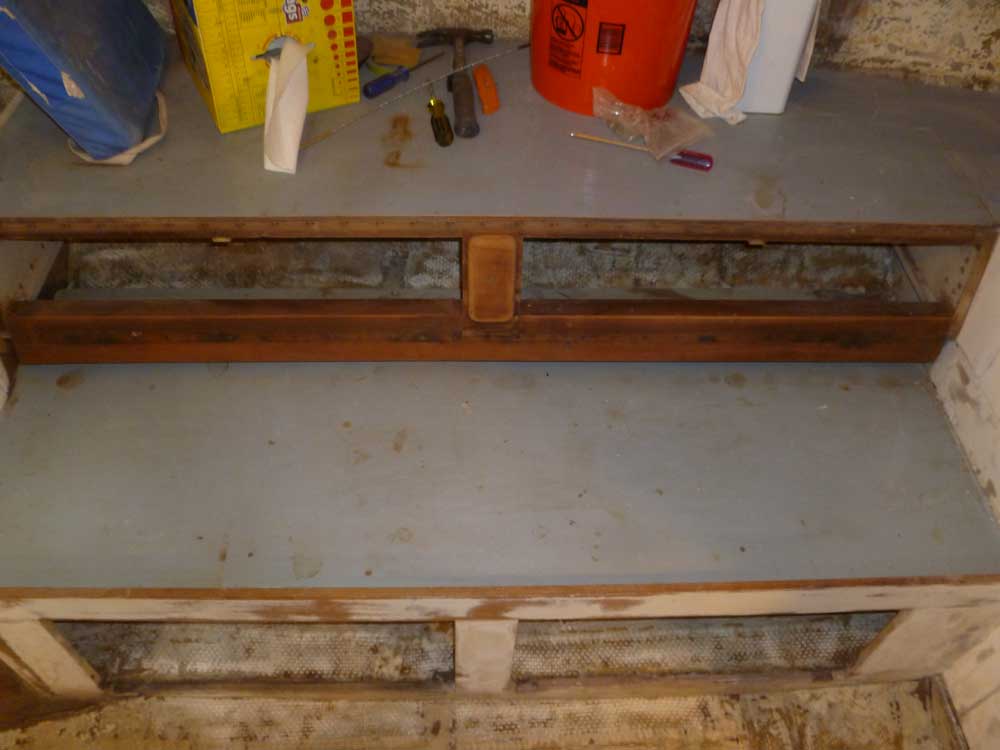
After stripping, I sanded all the areas through 220 grit, then applied a sealer coat of varnish.

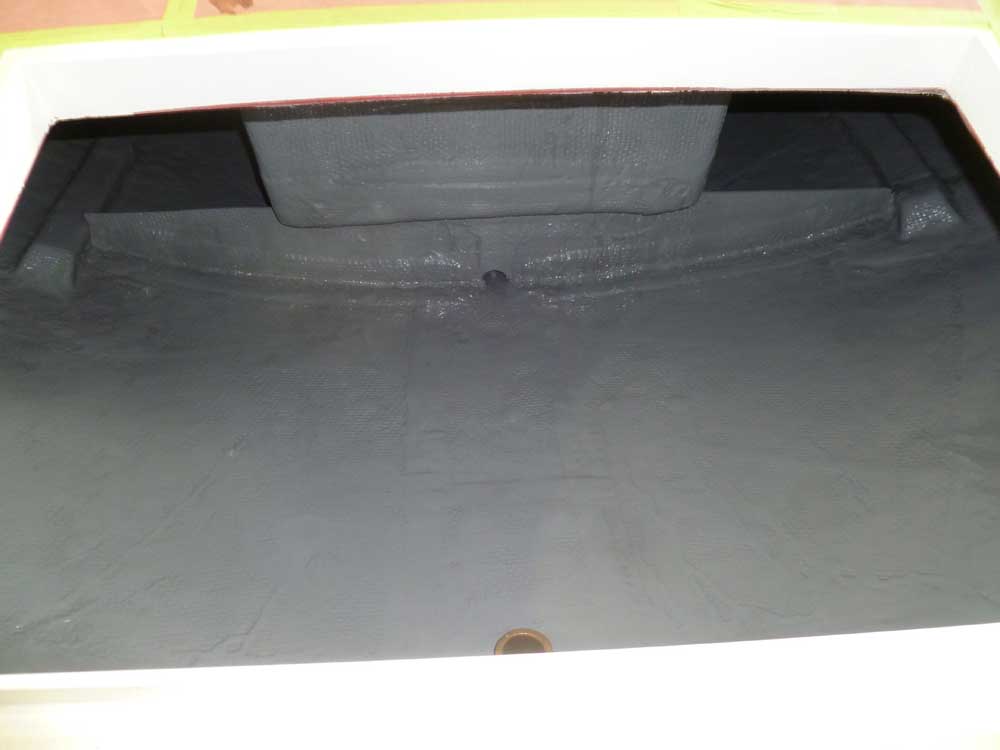
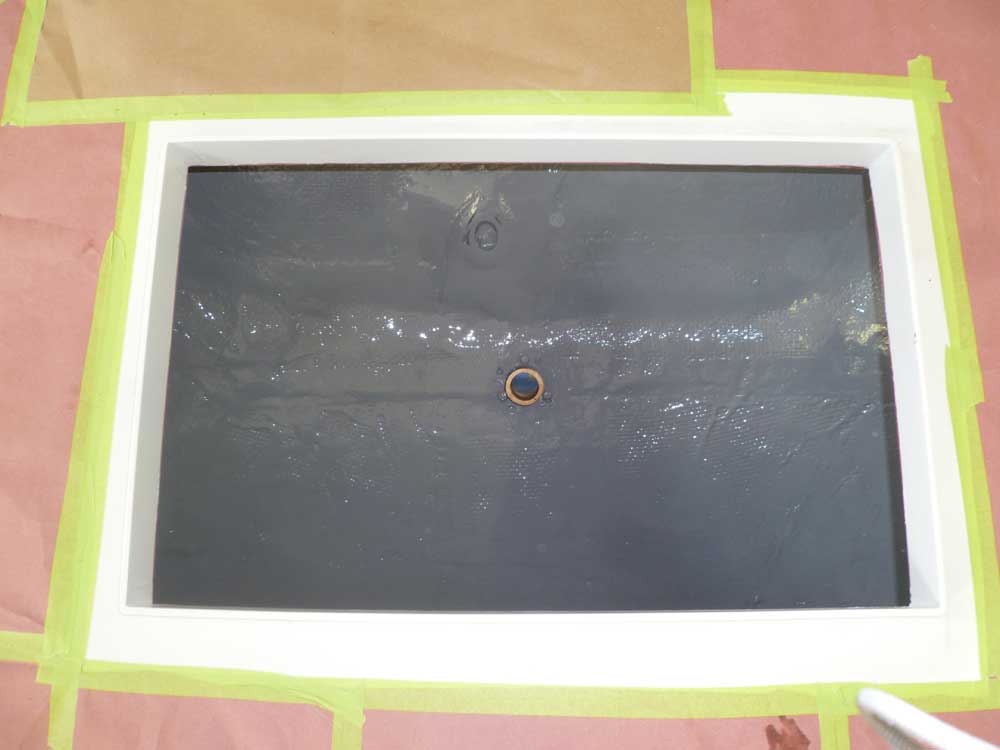
To end the day, I cleaned and painted the inside of the lazarette locker.
<Previous | Next>
