
110 Cookson Lane | Whitefield, ME 04353 | 207-232-7600 | tim@lackeysailing.com
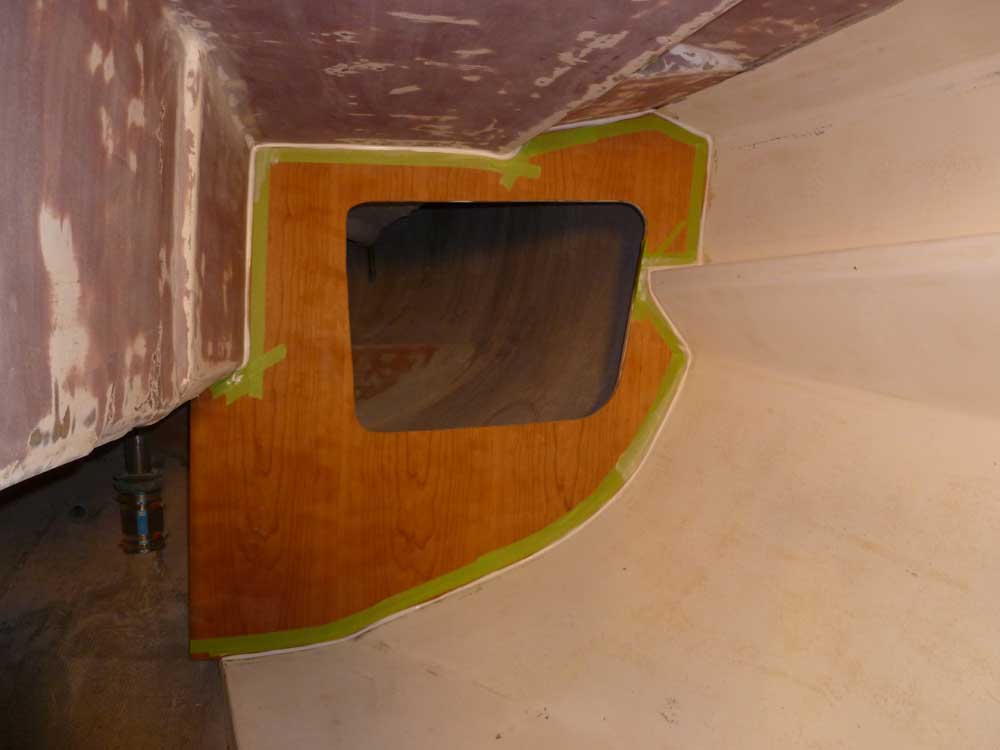
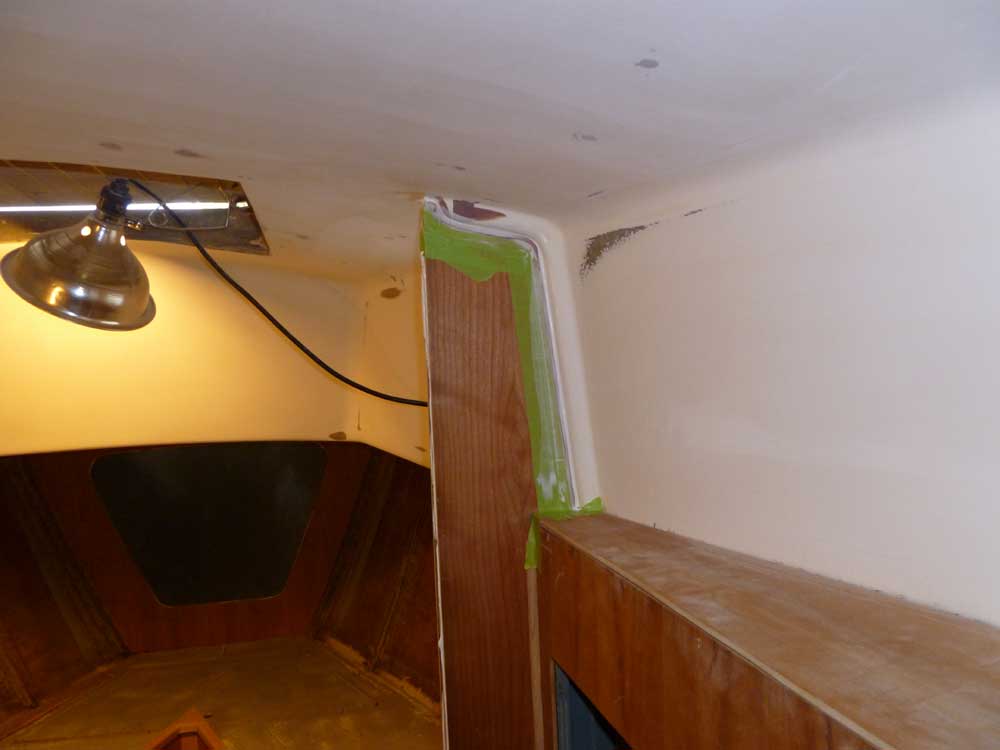
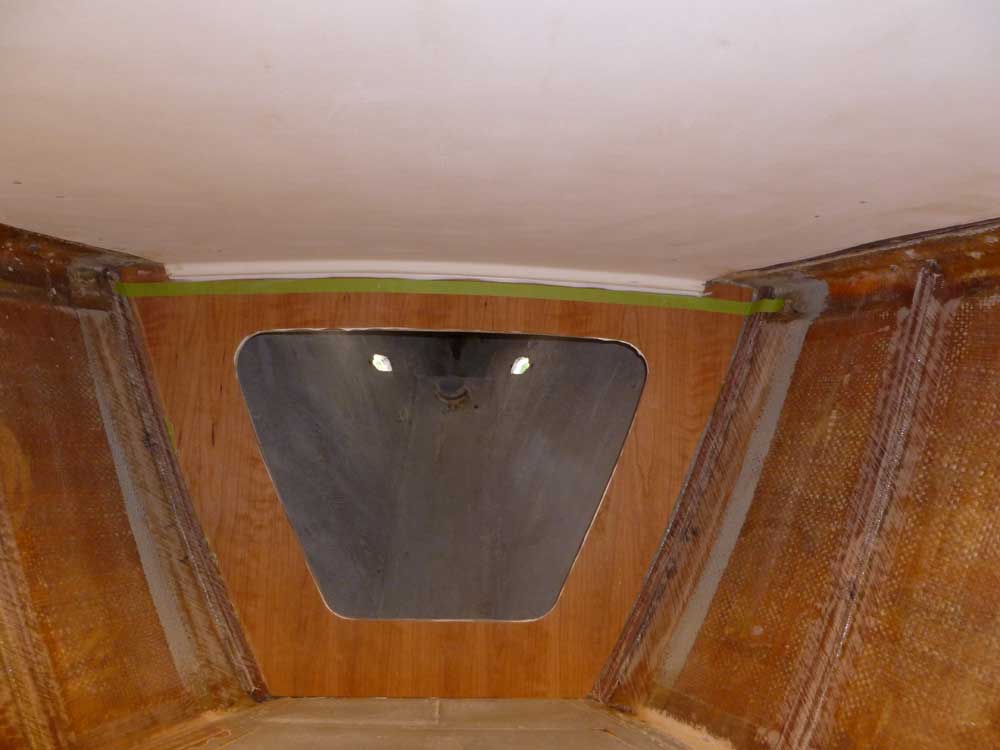
I began with several odd and ends in the cabin. Because of the design of the overhead liner in the forward part of the cabin (and also in the quarterberth), there was a need for a smooth transition between the cherry paneling and the liner, something that could not be accomplished realistically with wood trim. To handle this area, I marked off a consistent border at the edge, about 1/4", and masked outside the line. Then, I applied a bead of cosmetic polyurethane sealant (Sikaflex) to the edge, forming a smooth fillet. Later, once the sealant was fully cured, I'd prime and paint up to the tape line, creating a clean border and transition.

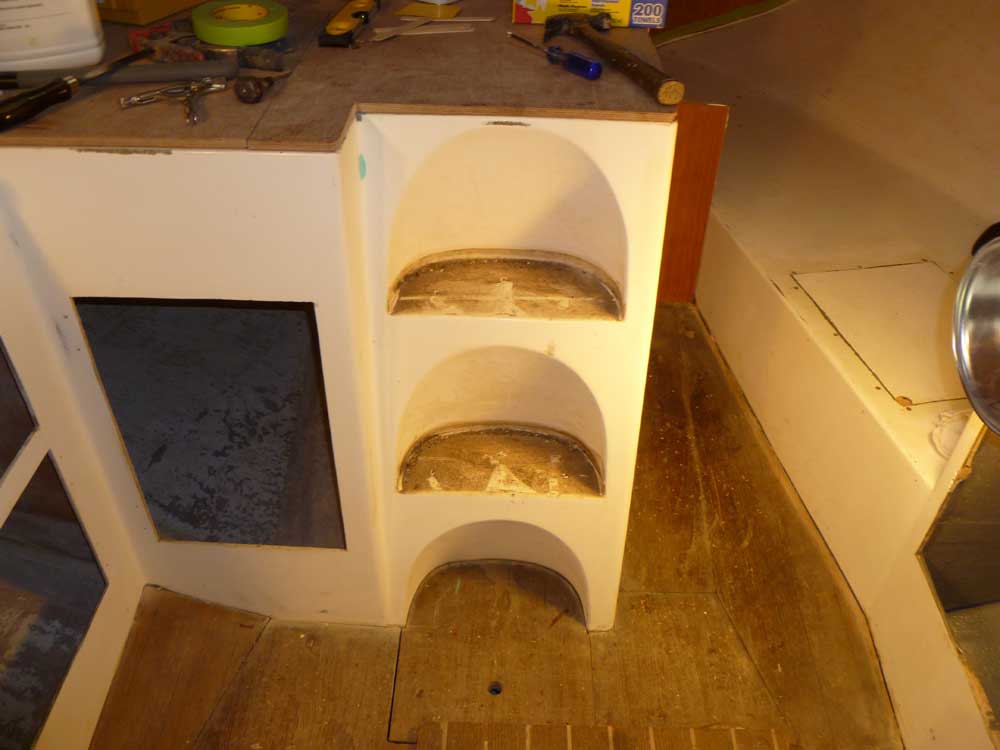
I removed the two remaining teak treads from the companionway ladder, for refurbishment or replacement, then cleaned up the fiberglass molding to prepare for primer and paint.

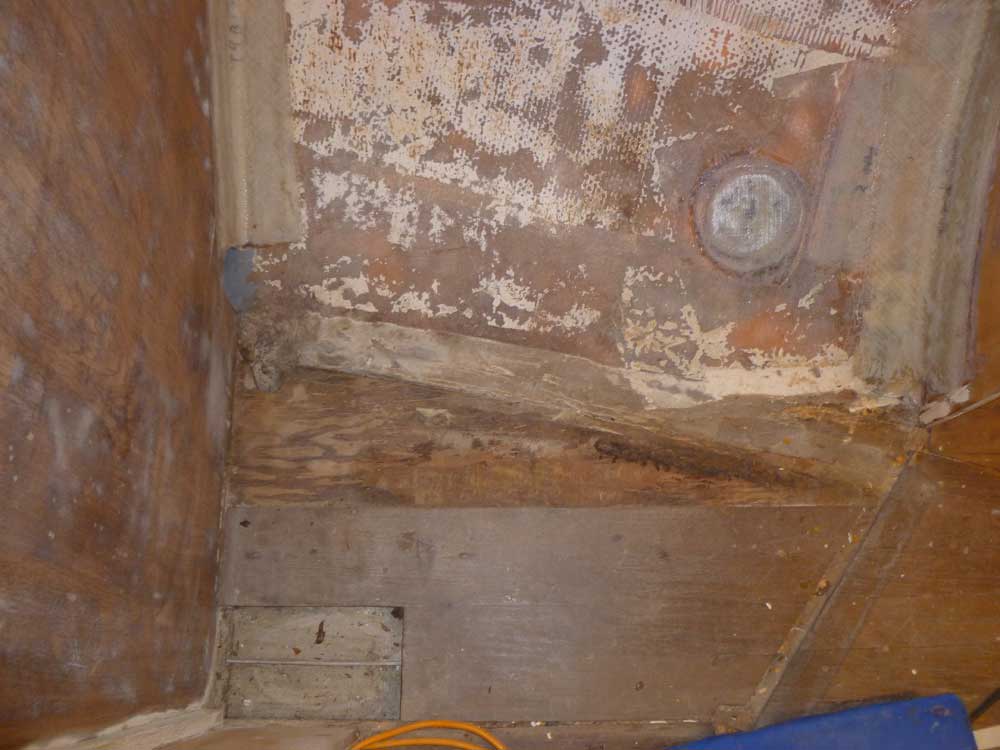
A section of the old cosmetic layer of the head sole was loose and damaged, so I removed it to prepare for a new substrate as needed.
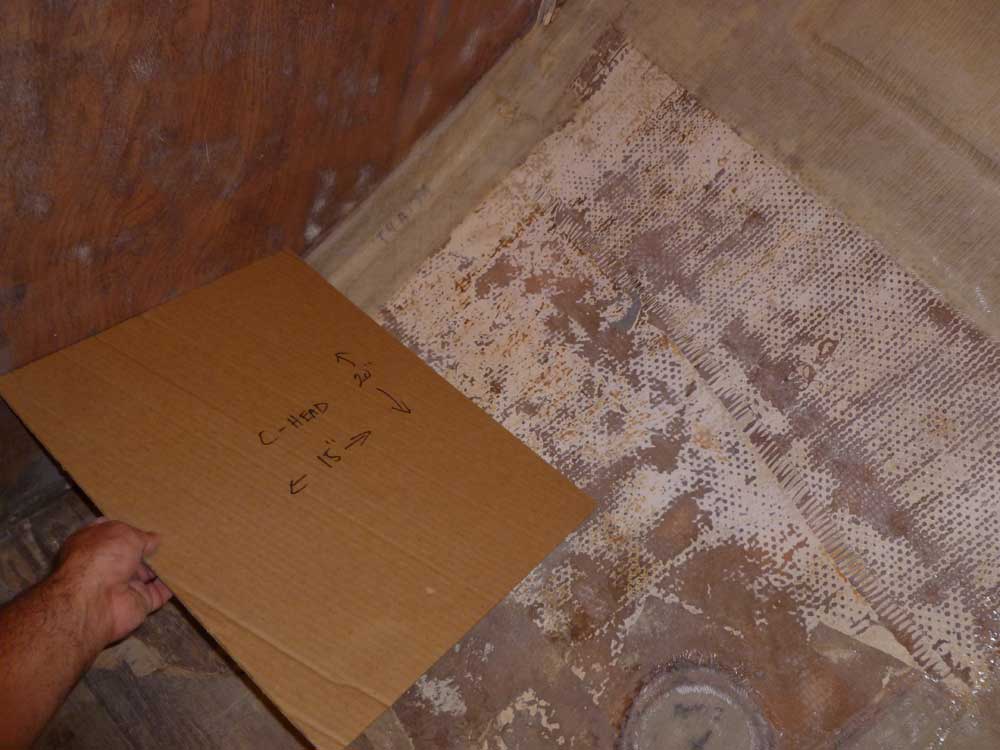
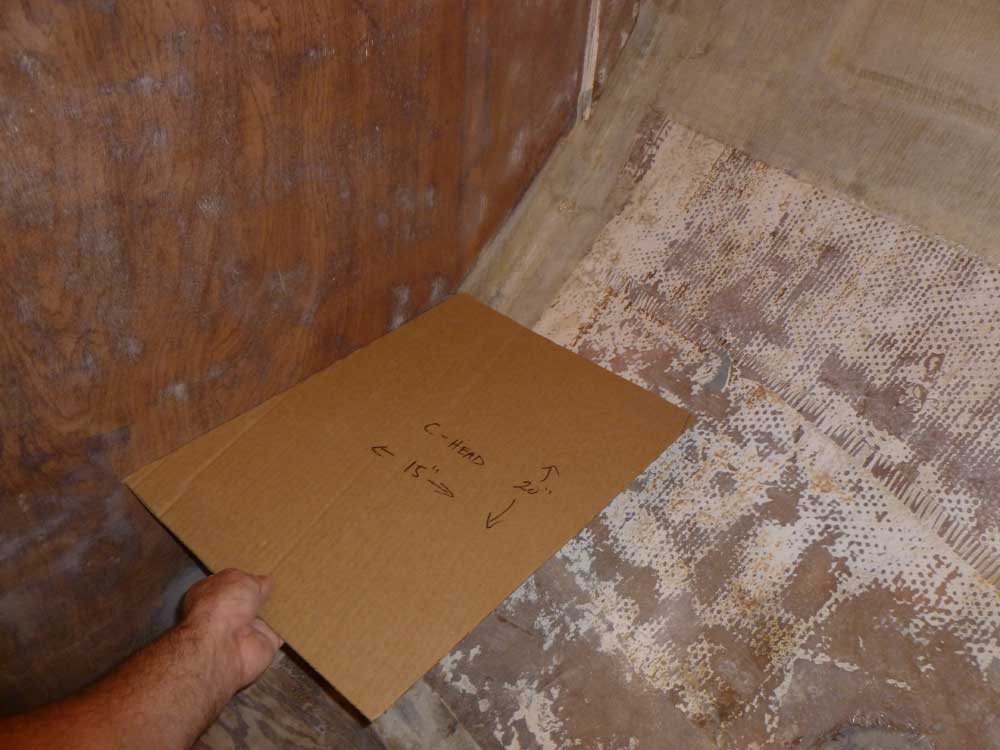
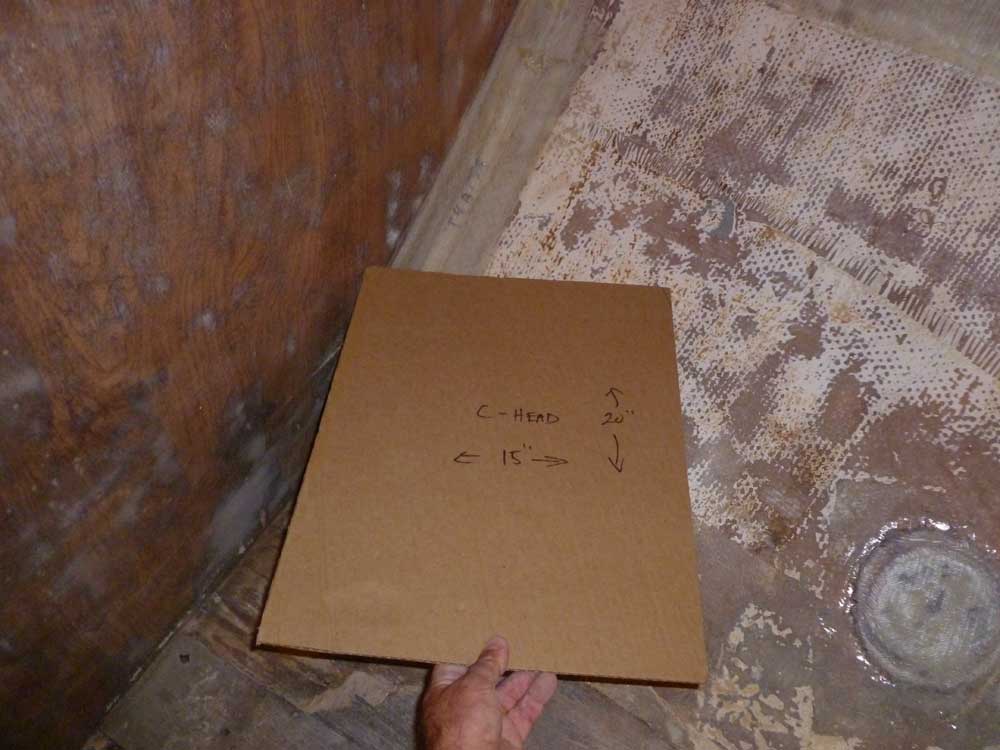
The owner selected a C-Head composting toilet for the project, and to determine how it would fit in the space I used a cardboard cutout of the largest overall dimensions from the unit to mock up three possible locations: fore-and-aft next to the mast; athwartships; and at an angle between the two. All three positions would work, each with its ups and downs, but all would require a new platform to provide clearance against the curvature of the hull.
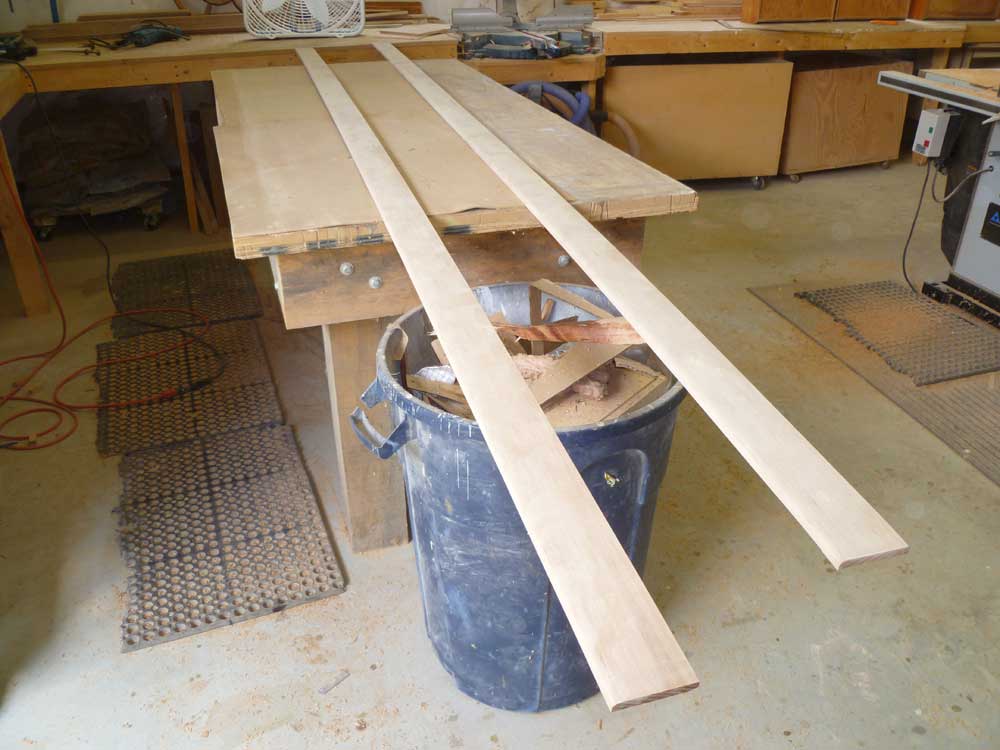
Preparing to trim out the cabin sides in the main cabin--the bottom edges and the fore-and-aft corners--I resawed two thinner sections of trim stock from a thicker piece, originally intending the trim for one purpose, but presently retasking it for a different approach to the trim when I abandoned the first idea. For now, I set these pieces aside, as first I needed to complete some corner trim.
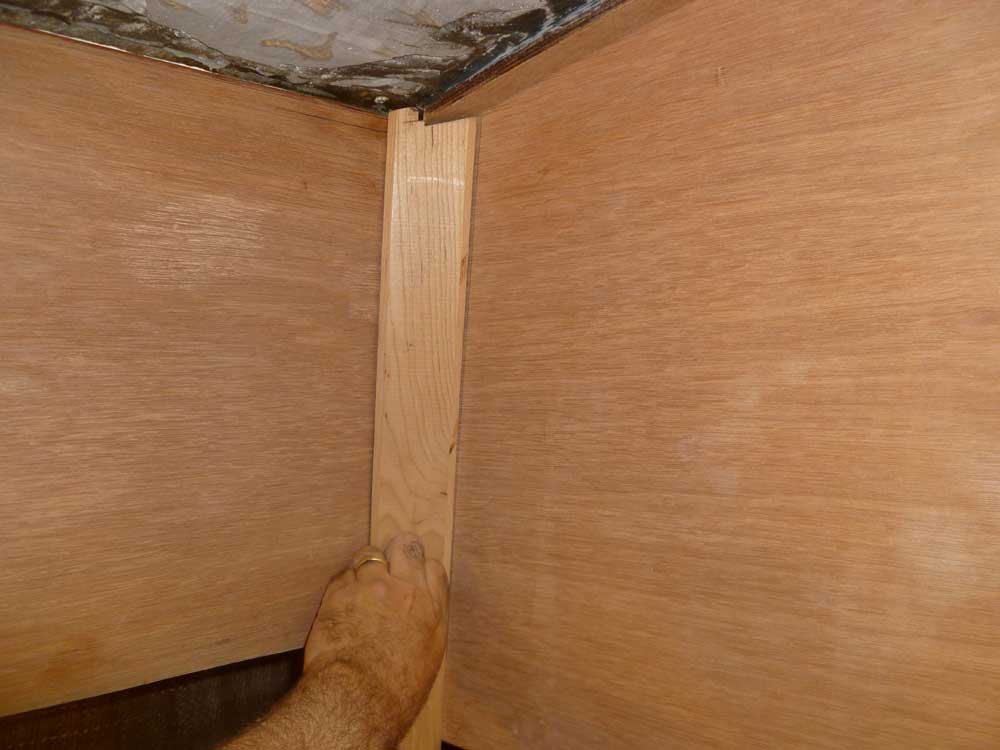
Three corners of the cabin trunk required trim; the fourth edge, demarking the seam between the wooden paneling in the main cabin and the fiberglass liner forward, would be something different. Over a series of cuts, I milled a simple, traditional profile for the corner trim out of cherry stock, with an angled face and returns that met the vertical paneling with 90° angles. This design left a natural wire chase in the corner behind the trim, and I planned to pre-install lengths of wire to be used for some of the overhead lighting.
Once I had the trim blanks milled, it took a bit of back planing and fine-tuning to make the edges fit cleanly, as there was slight curvature and angle variations in the two aft corners of the cabin. In addition, I relieved the top edge to pass by the overhead support cleats, to ensure that the overhead paneling would hide the top edge of the trim later. I let the corner trim run long at the bottom for now; I'd trim it flush with the yet-to-be-installed lower edge trim later on.
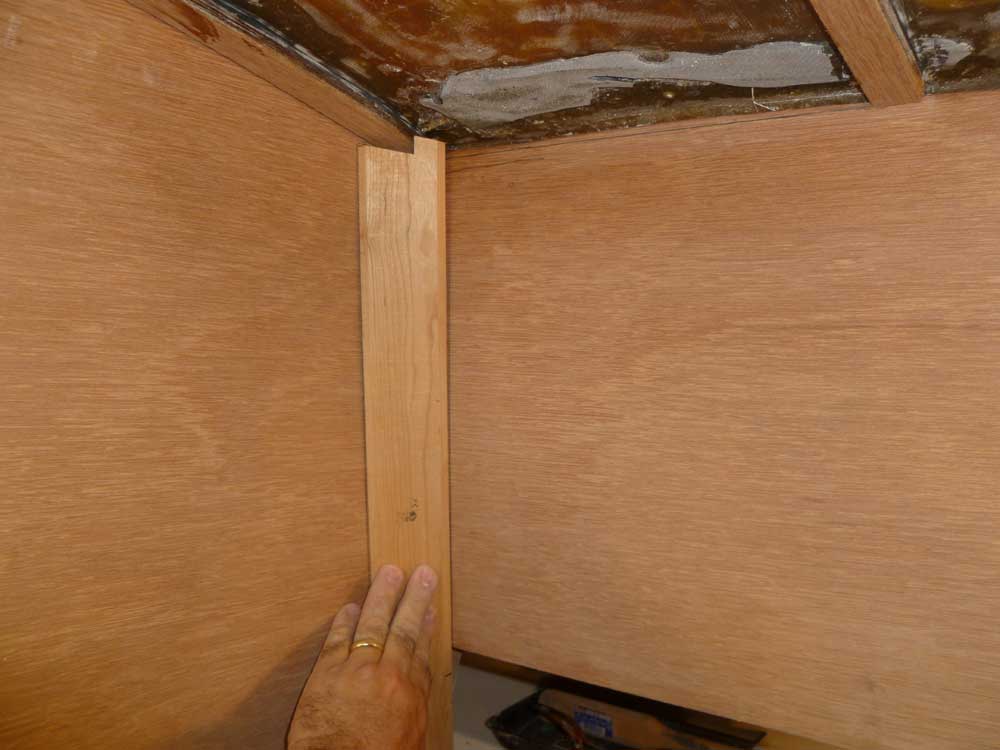
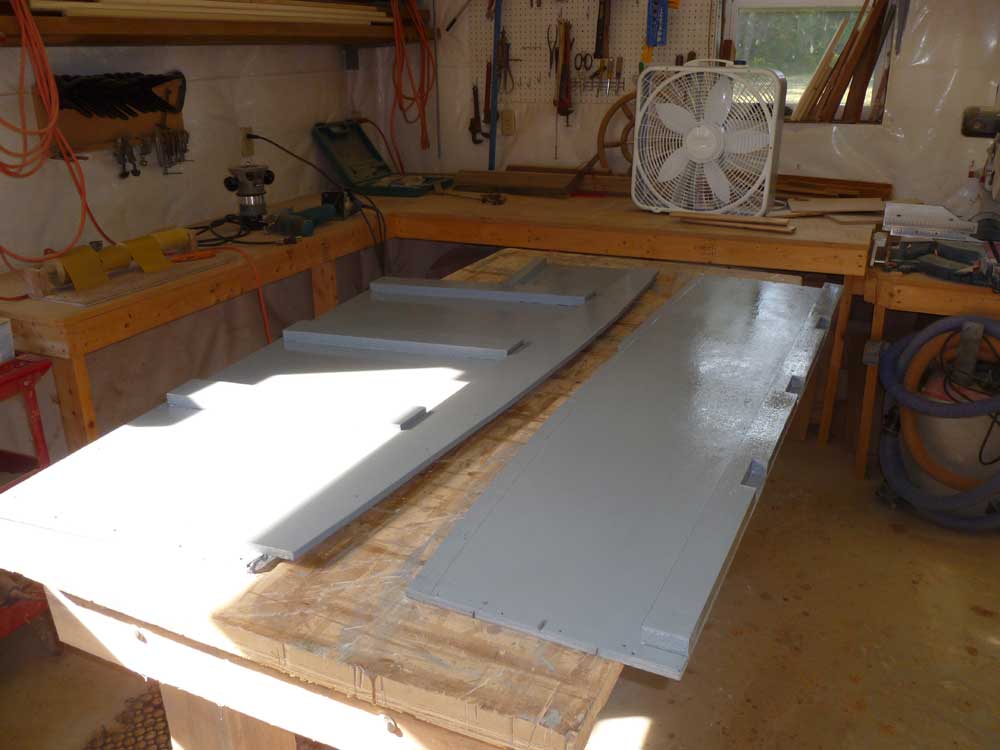
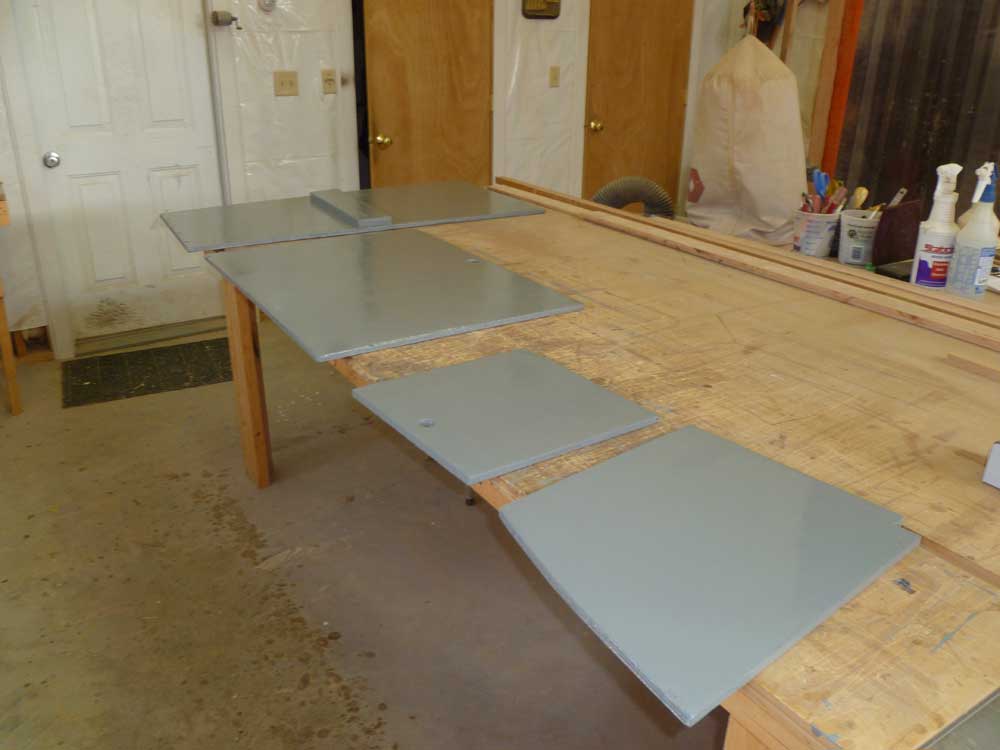
I reserved a third piece of this trim profile for the port forward corner, which I'd cut and fit in the near future, but I was running out of time in the day and wanted to apply a second coat of paint to the various plywood settee panels, which had soaked up the first coat and left some starved areas that needed another coat.
Total Time on This Job Today: 7.75 hours
