| Circe
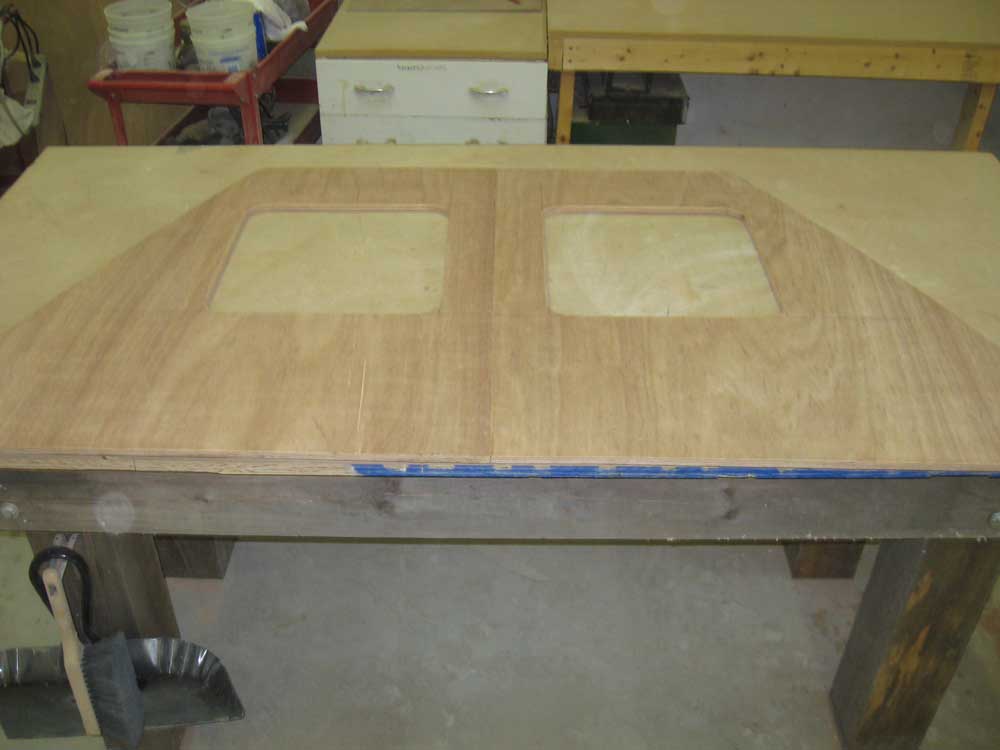
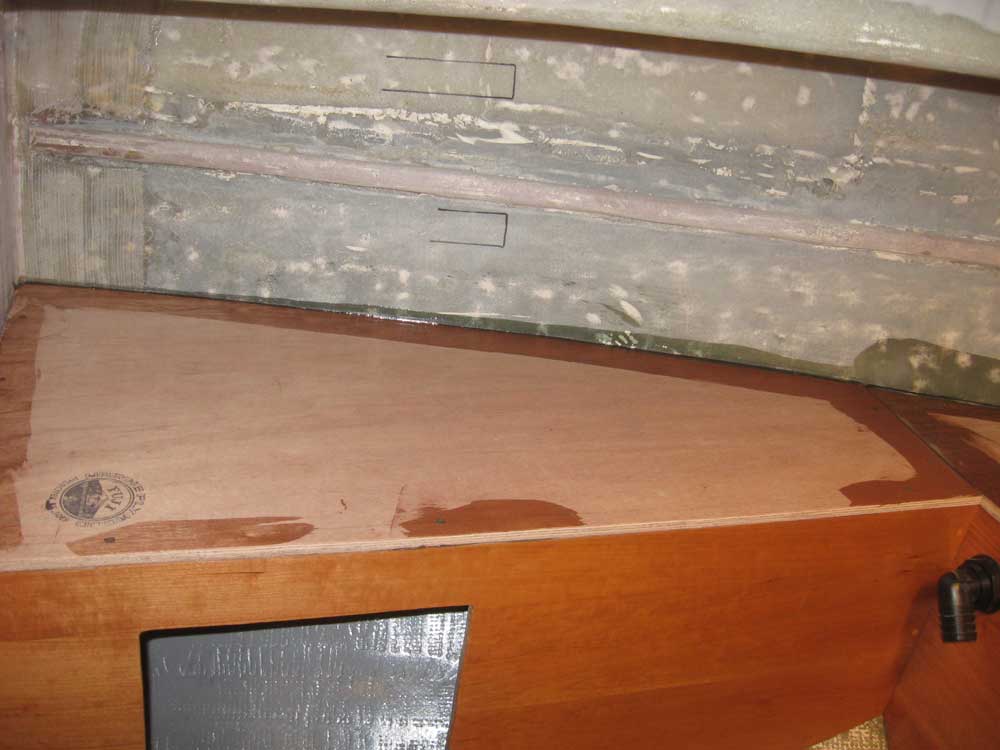
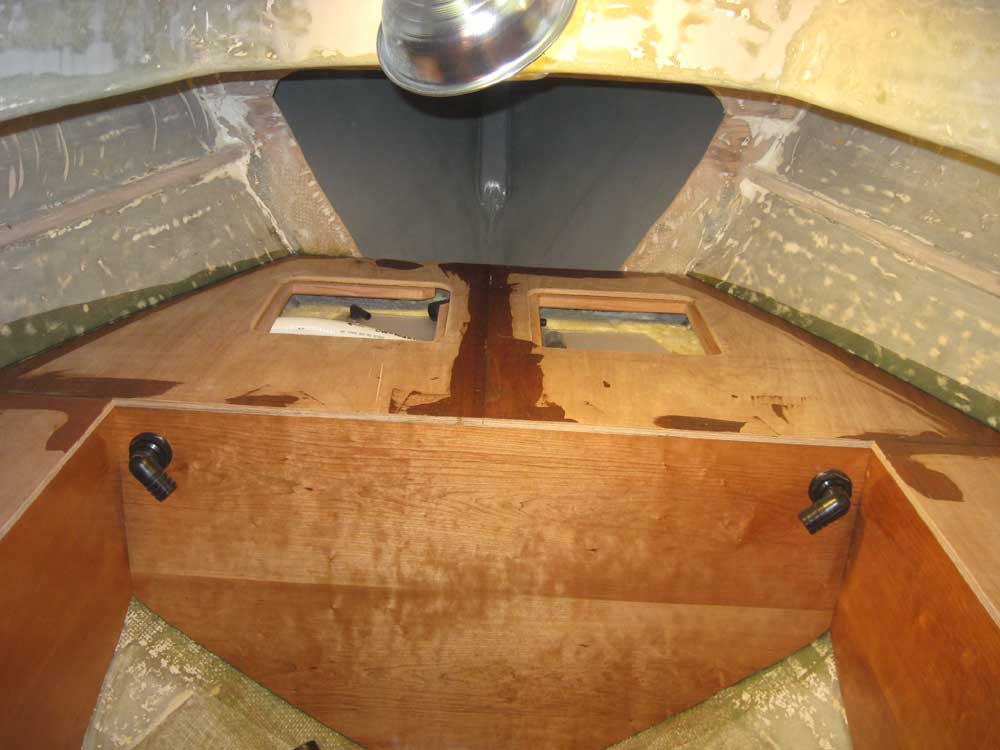
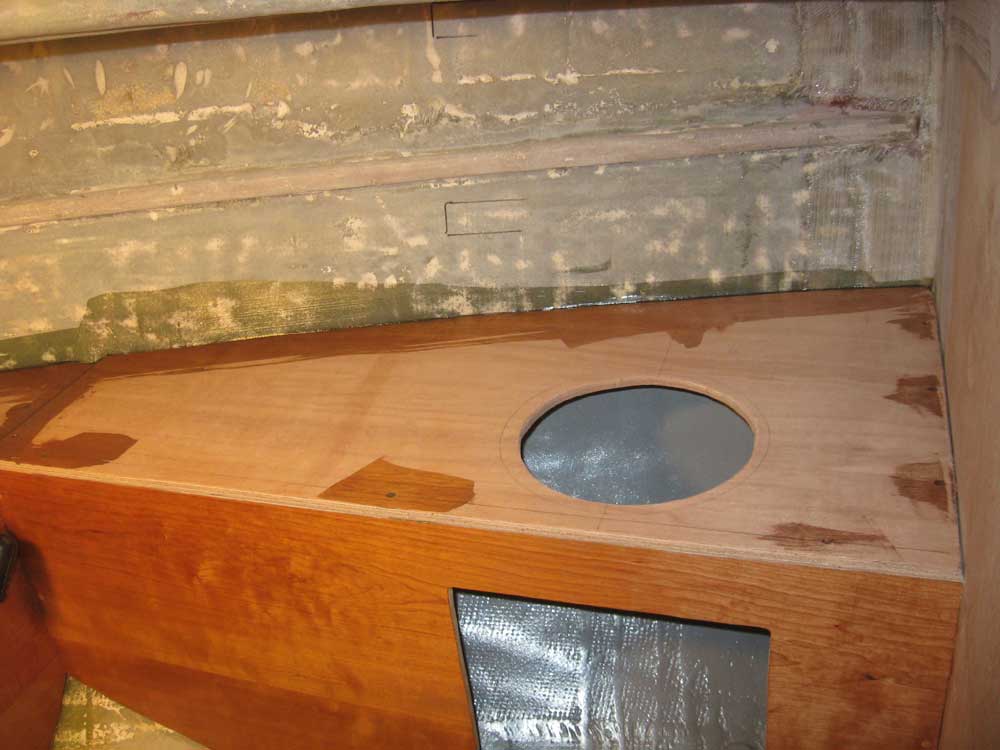
| Monday, November 30, 2009 Over the long weekend, I removed the clamped-in mast beam, releasing it from the epoxy filler against the underside of the deck. This left a thin band of epoxy that filled the gap between the beam and the deck for best fit and support. My focus this day was on the head and its countertops: I wanted to install them so that I could continue the construction of additional cabinetry required in the space. On the large platform above the tankage, I made some reference marks, and then laid out and cut large hatches so that the hose connections and inspection ports could be accessed as needed in the future. Then, I installed cleats to support the hatches; I left a gap in the cleats in one area on the port side where the water tank fill nipple interfered with the opening. |
|
|
|
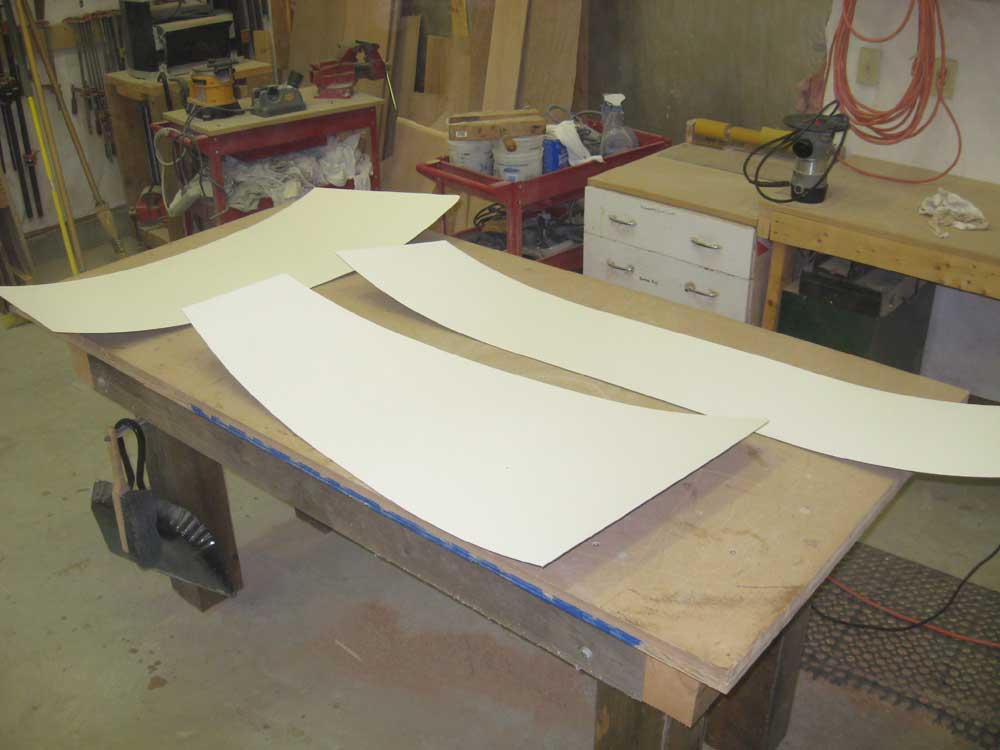
After double-checking the fit of all the plywood sections of the countertop, I pre-cut Dover White Formica as needed. The design plan for the forward cabinet called for a narrow section of countertop across the forward part of the head, so I cut a strip that would cover this area. I'd install all the Formica only after the countertops were installed, however. |
 |
|
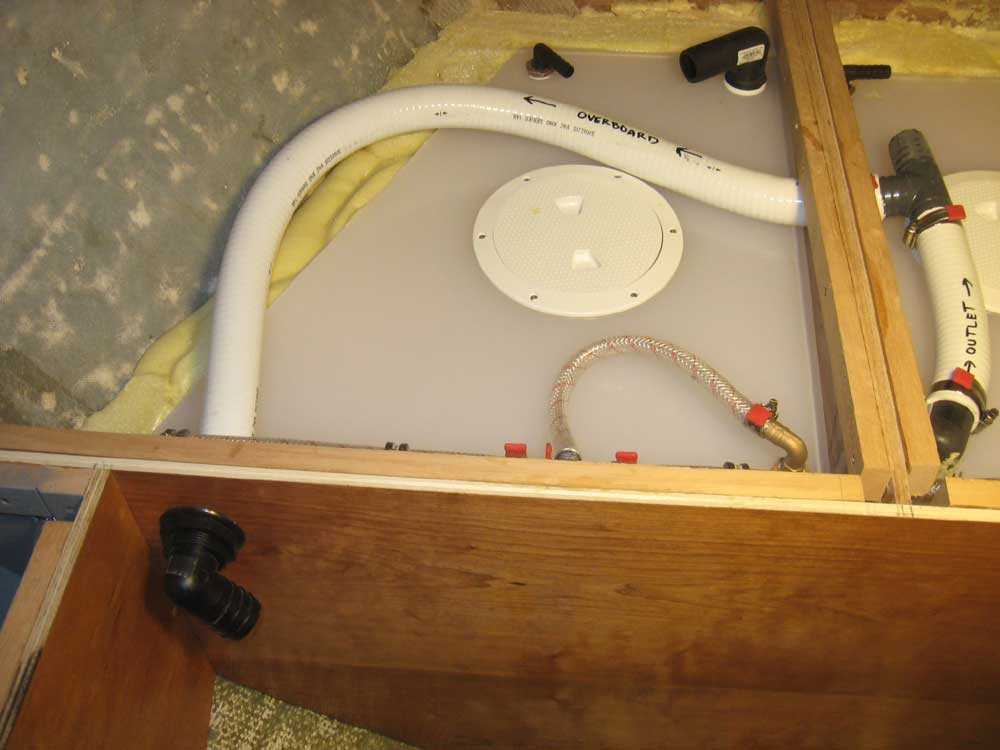
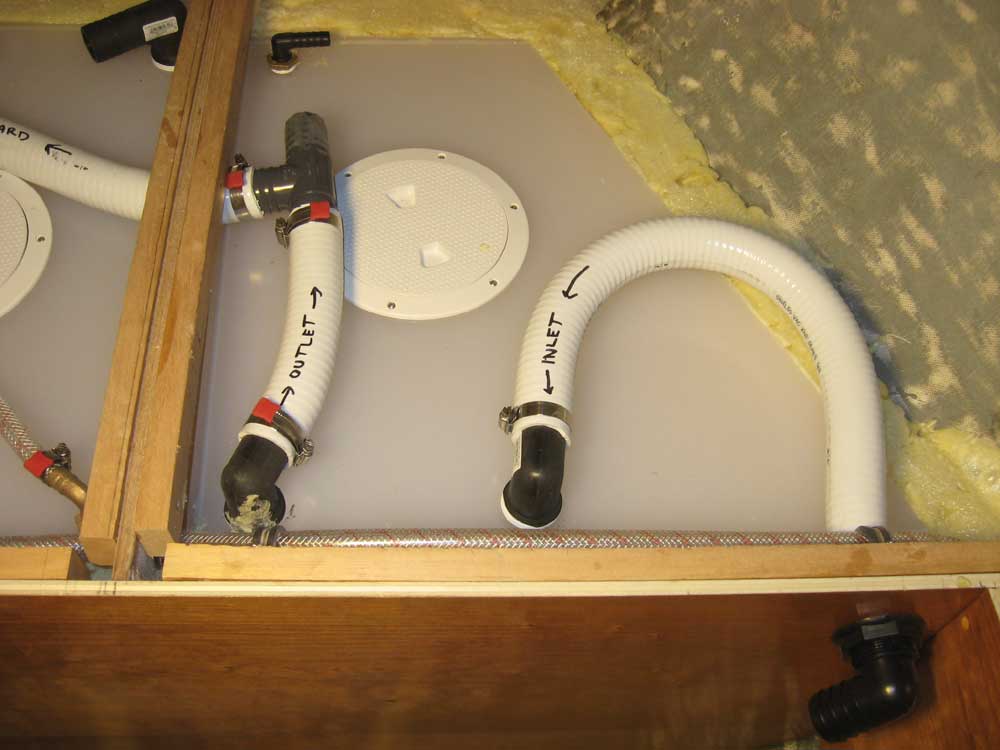
Although all hose connections would be serviceable and accessible once the countertops were in place, it was easier to install as many hoses now as possible. So I cut and installed the various sanitation hoses required, including the through-bulkhead fittings even though I wasn't done with the varnishing yet; I'd simply varnish around them, but couldn't wait any longer to continue some of the interior construction. The holding tank was designed to allow no direct overboard discharge from the toilet: the discharge would go into the tank first for storage, after which it could be pumped overboard where legal, or pumped shoreside through a deck fitting. I realized as I viewed these photos that in my zeal to finish up the plumbing and install the countertops, I'd completely forgotten to incorporate the overboard manual diaphragm pump into the system--even though it was sitting right down on the shelf awaiting installation, so I'd have to install that later. That was dumb. |
 |
|
Next, I installed the countertop substrates with epoxy adhesive and bronze screws, and filled the screw holes. |
 |
|
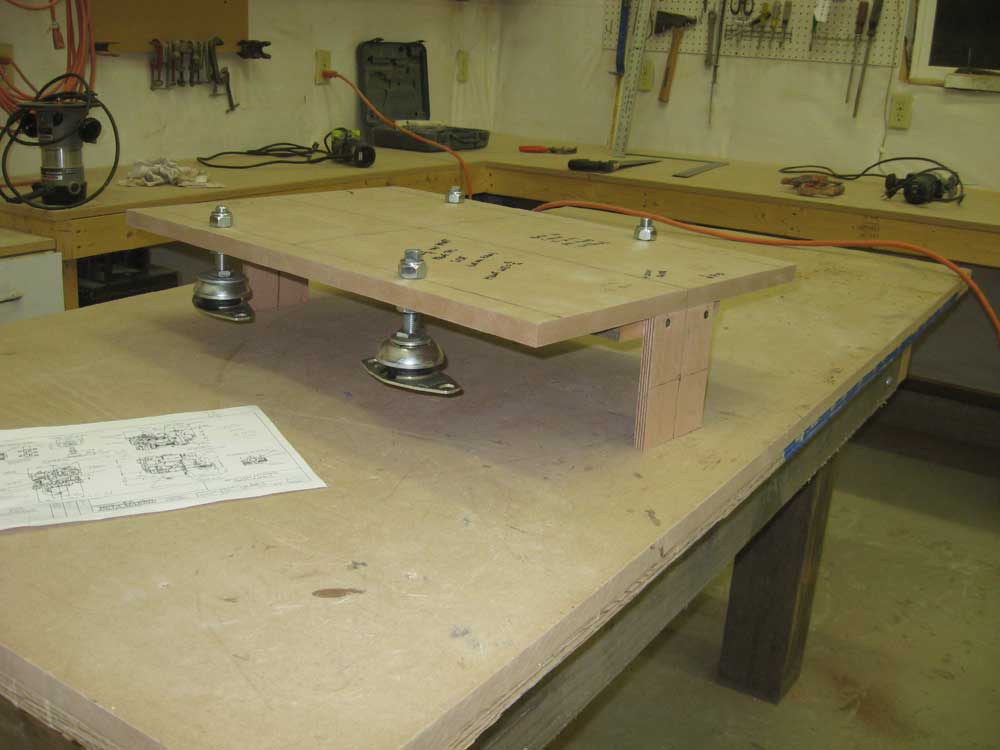
I spent the remainder of the day building an engine installation template according to the measured drawing of the Beta 20 engine, after double-checking the drawing against the engine itself. I built the template to match the maximum length and width dimensions of the engine, with the mounting centers' locations accurately marked and drilled to accept, temporarily, the flexible mounts from the engine. To align the engine with the shaft, I installed representations of the shaft centerline the appropriate/measured distance below the basic platform. |
 |
|
|
|