| Circe
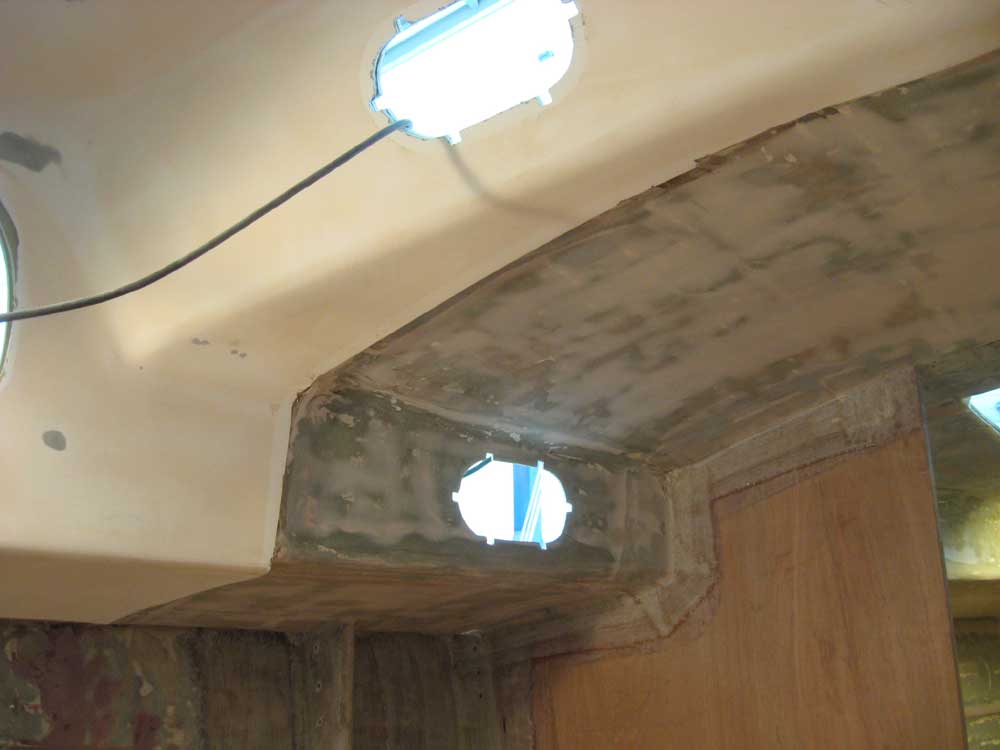
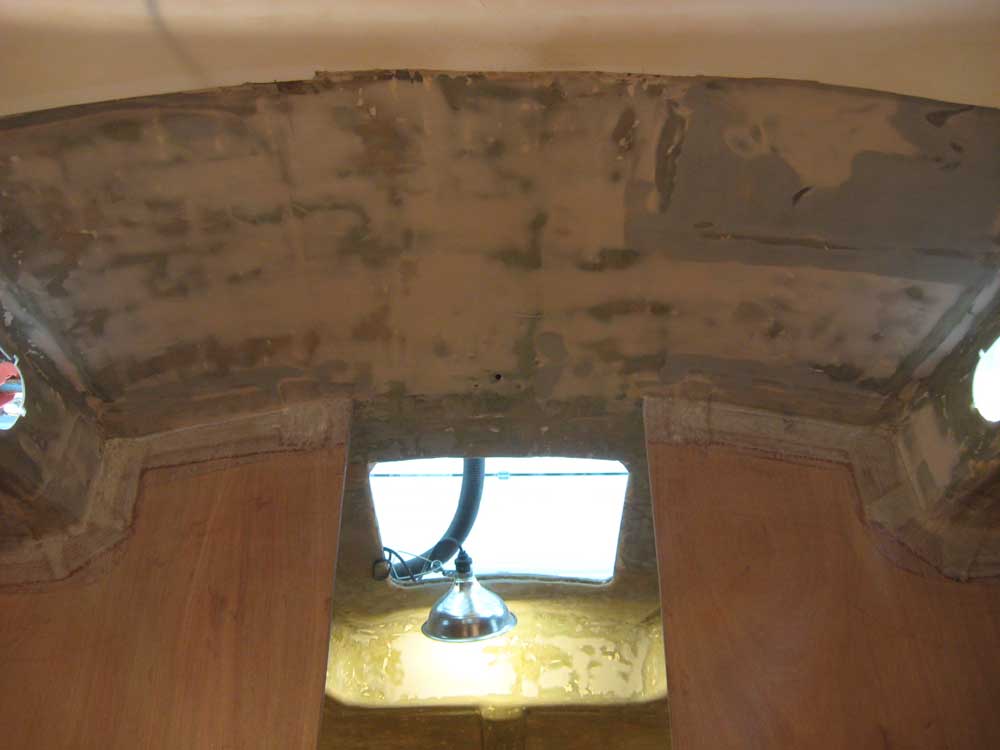
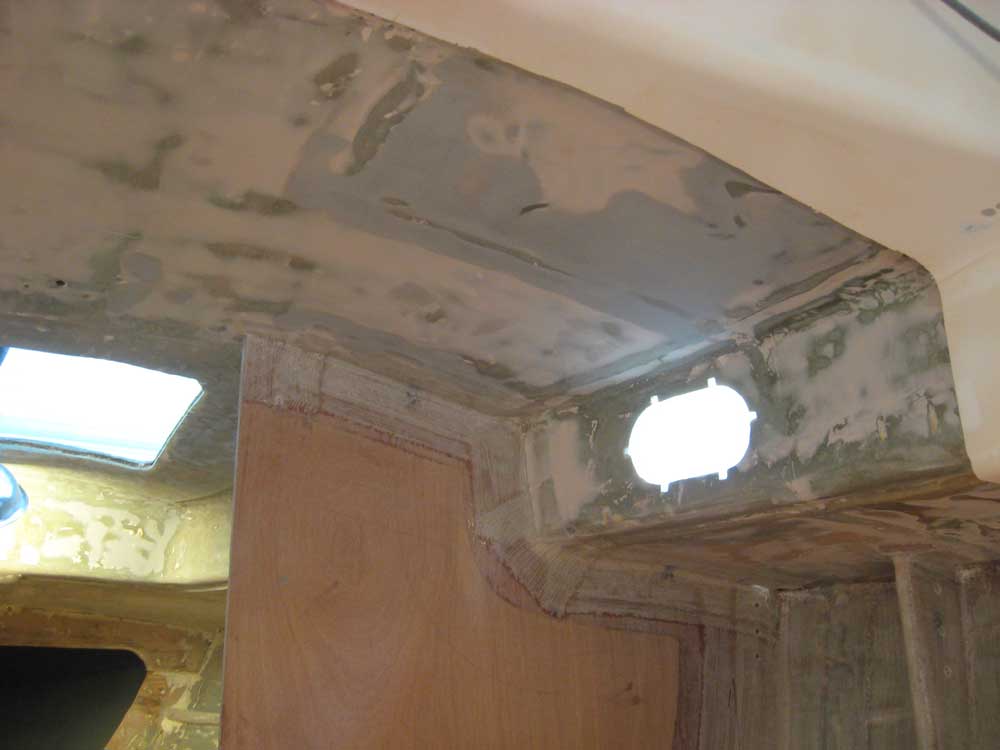
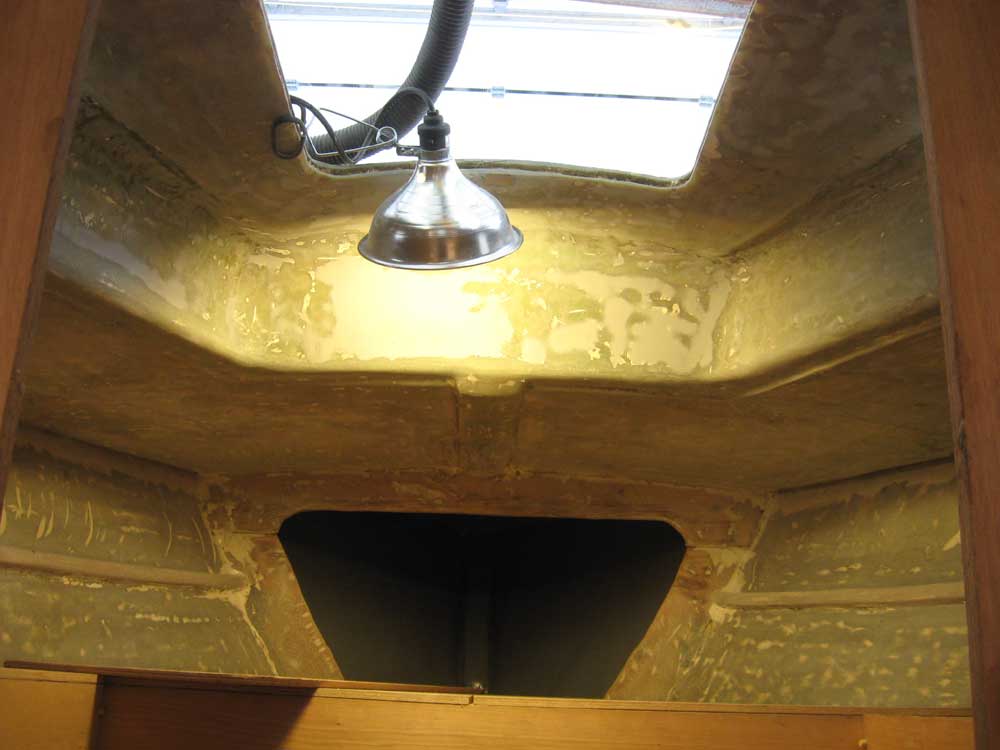
| Tuesday, November 10, 2009 I once more sanded the overhead in the forward part of the main cabin, and also in the head compartment, where I'd applied fairing compound yesterday. The end result was a reasonable compromise between the original condition of these surfaces and perfection, given the relatively minimal time investment. I was going for general smoothness, not perfect fairness, particularly in the main cabin. The smoothed surfaces would accept paint well. |
|
|
|
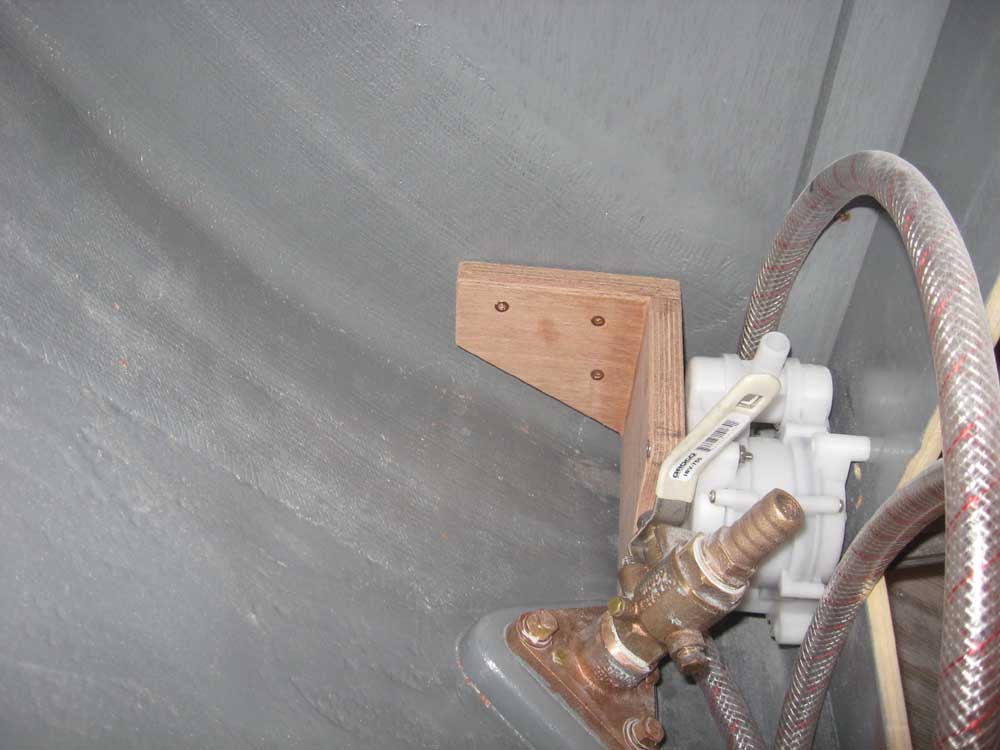
I built a small bracket, using 18mm plywood, glue, and screws, to finish securing the head sink water pump. I bolted the bracket to the top corner of the pump housing, using the molded screw holes on the back side of the pump to hold the bolt, and screwed the other side of the bracket to the nearby bulkhead, all of which tightly secured the pump to the vanity, in addition to the two regular screws that I could install. |
 |
|
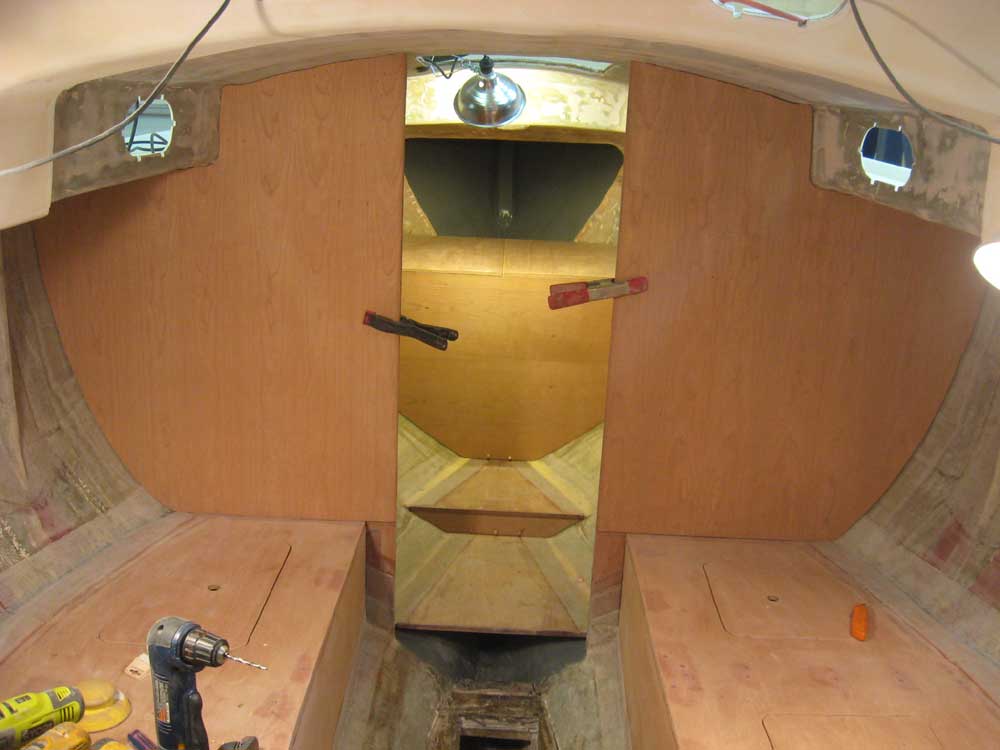
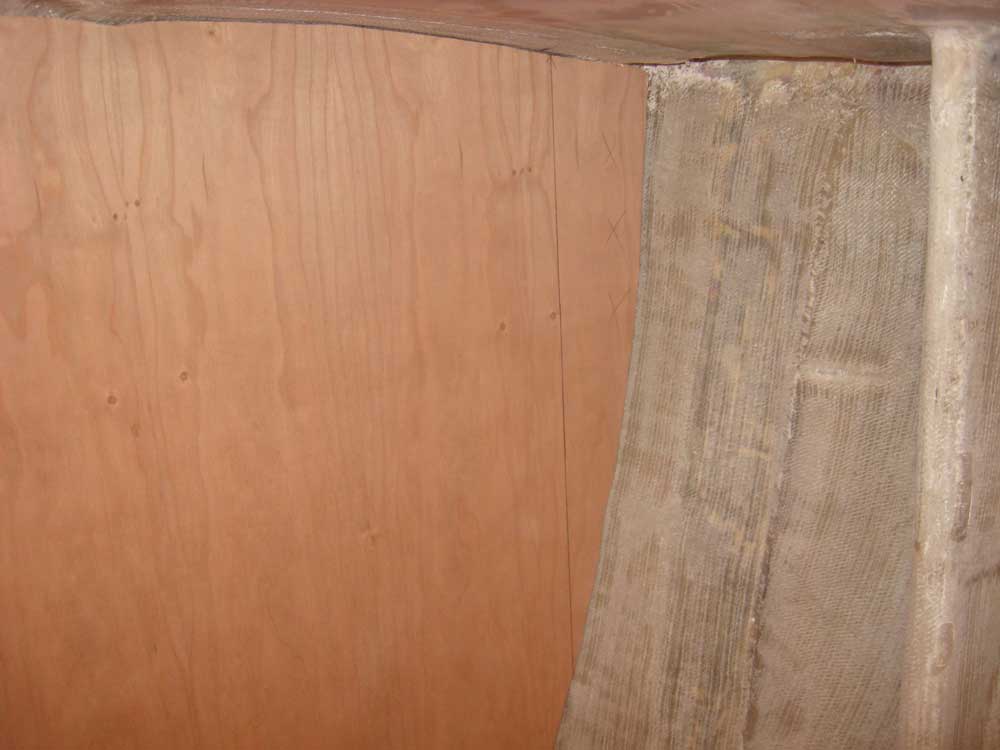
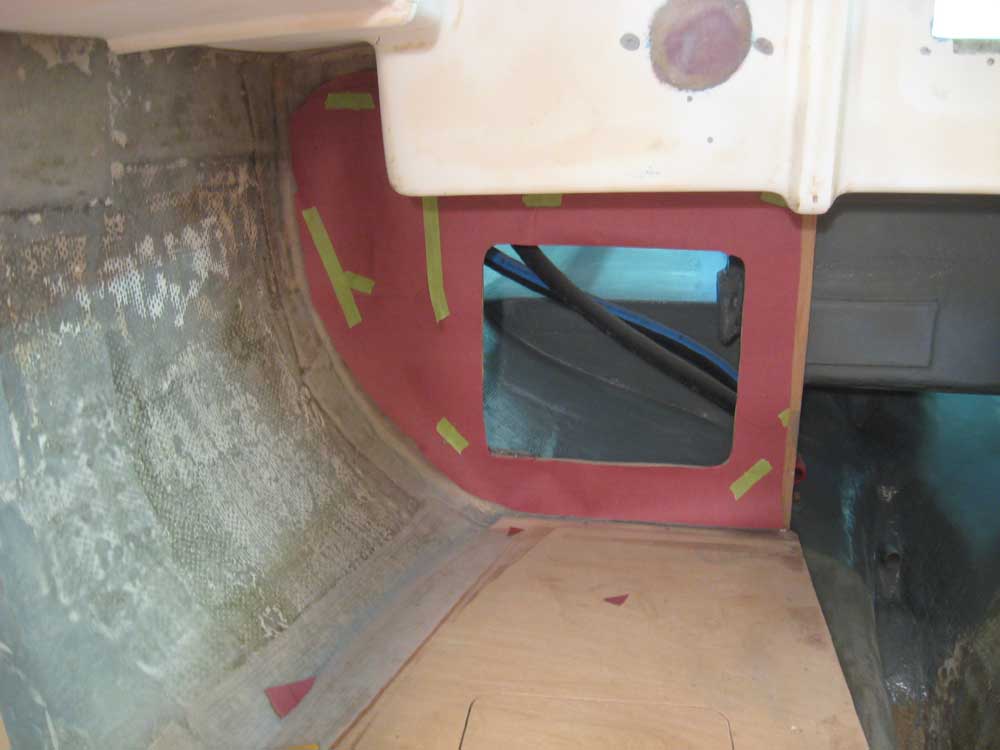
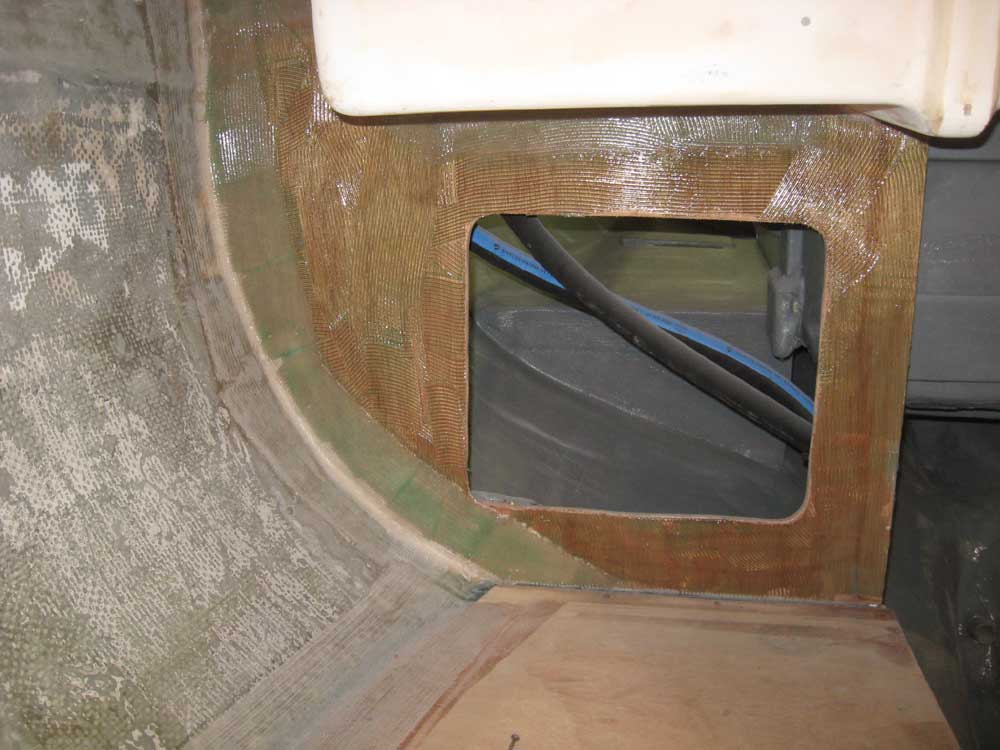
Using the patterns I made up last week, I cut sections of 1/4" cherry plywood to fit the contours of the main bulkhead. After a few test fits and minor adjustments, the new panels fit well. I cut the veneer panels so they extended all the way to the hull, but made some plumb reference marks just inboard of the chainplates' location so I could cut away the plywood in those areas, which would prohibit water damage to the plywood should the chainplate slots ever leak in the future. The area between the bulkhead and the after chainplate knees would later be covered with a panel to hide these structures anyway. For the moment, though, I refrained from making the cuts in the cherry till I was sure of how everything would lay out. |
 |
|
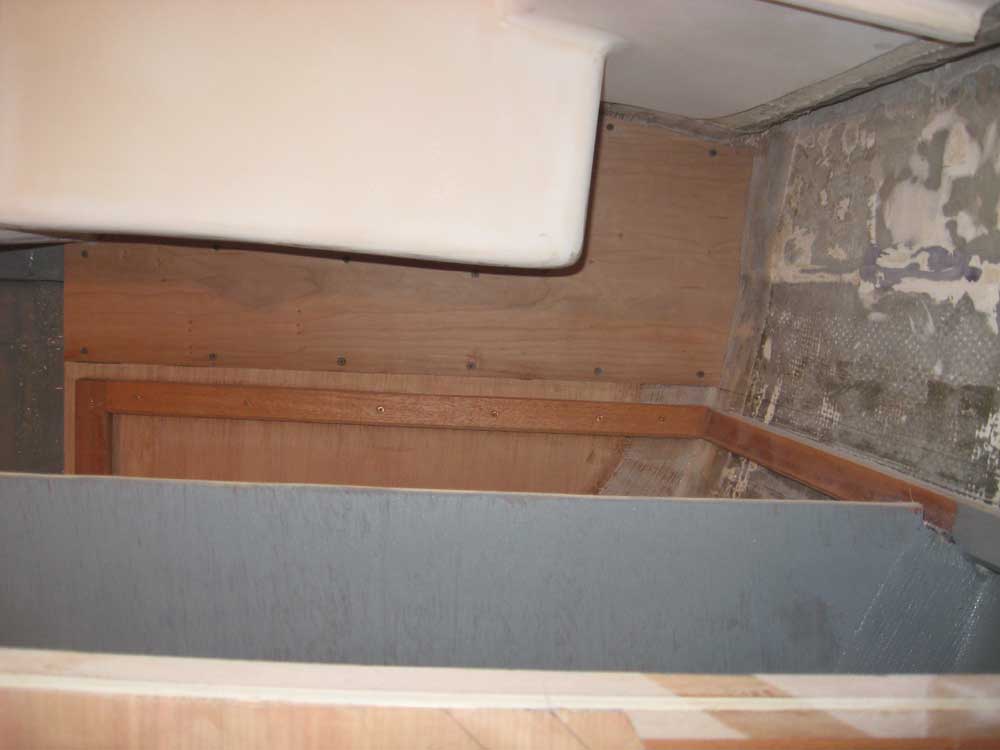
I planned to install the cherry panels with adhesive and screws, but in order to naturally hide as many of (or all) the screws as possible, particularly in the large field of the panel (where I knew I'd need some fasteners in order to hold the panel tightly into the adhesive while it cured), I wanted to line them up behind the compression posts that I'd be installing beneath the new arched mast support beam. Since I didn't yet know exactly where these were going, I didn't permanently install the cherry panels yet, but made plans for later in the day to begin the mast beam construction so that I could complete the bulkhead soon. Using a previously-made pattern, I cut a small section of cherry veneer for the little section of the port aft bulkhead that would be exposed above the countertop. I wanted to finish work in this corner, as it'd be much easier to work here before I finished installing the galley cabinet and countertop. Once I was satisfied with the fit of the cosmetic panel, I installed it with epoxy adhesive and temporary screws to hold it while the glue set; once the glue was set, I'd pull out the screws and install bungs in the screw holes to hide them. The 1/4" plywood I was using was not thick enough to allow for a real bunged fastener. |
 |
|
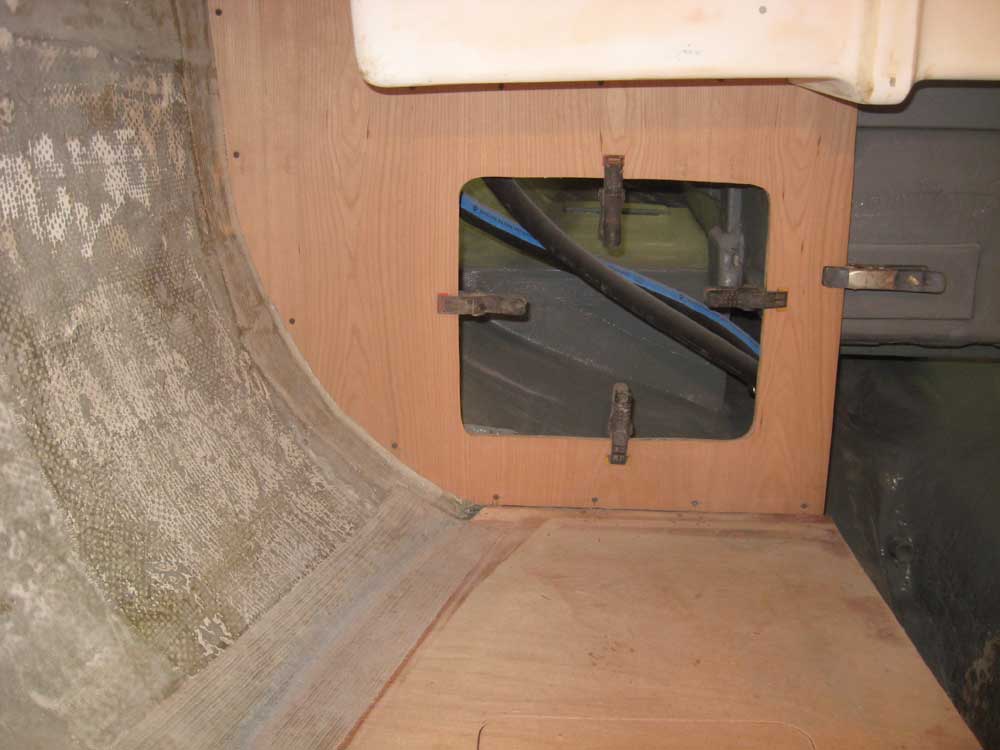
I repeated the process on the starboard aft bulkhead, beginning with a rosin paper pattern. A few test-fits and adjustments later, and I was satisfied with the fit of this panel, and permanently installed it with epoxy adhesive and more temporary screws, along with some clamps around the locker door opening. |
 |
|
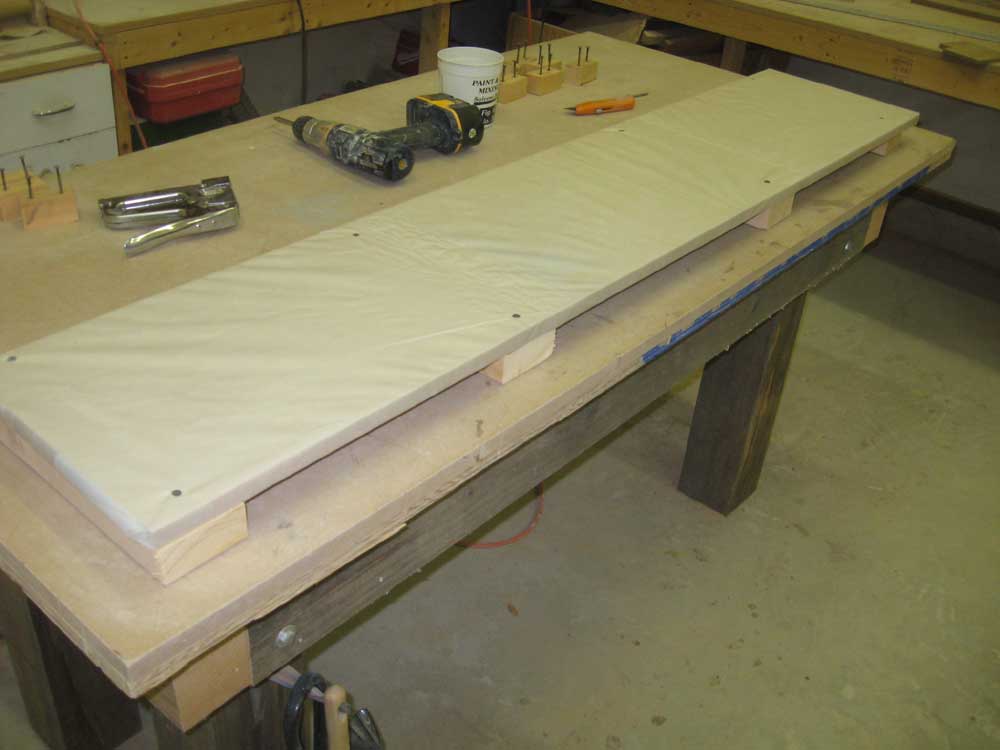
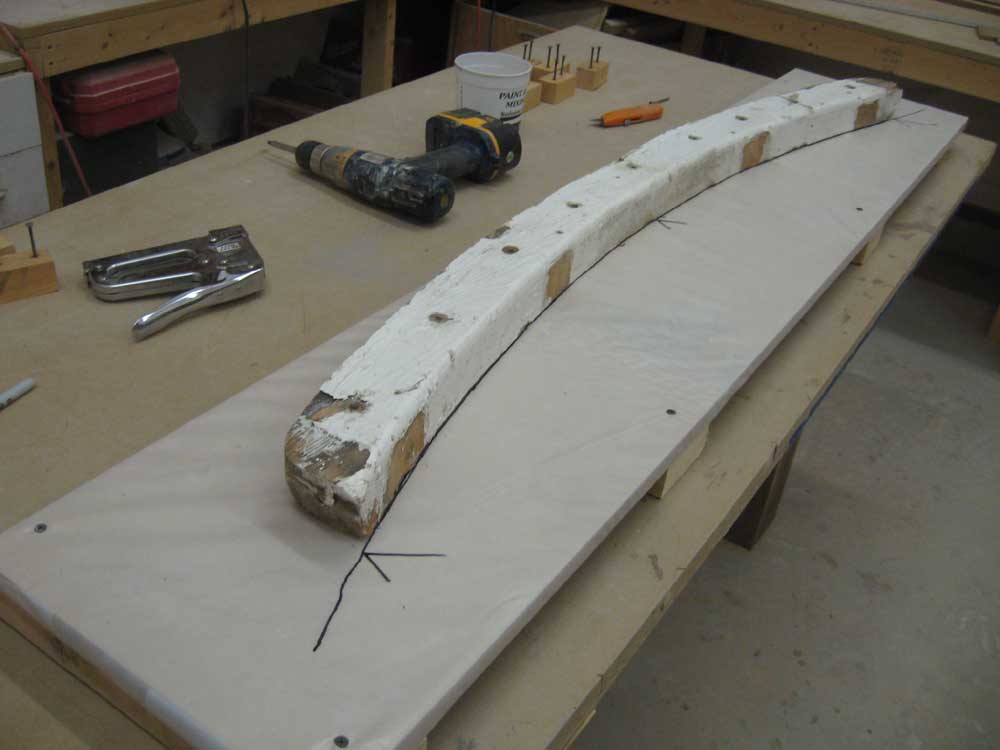
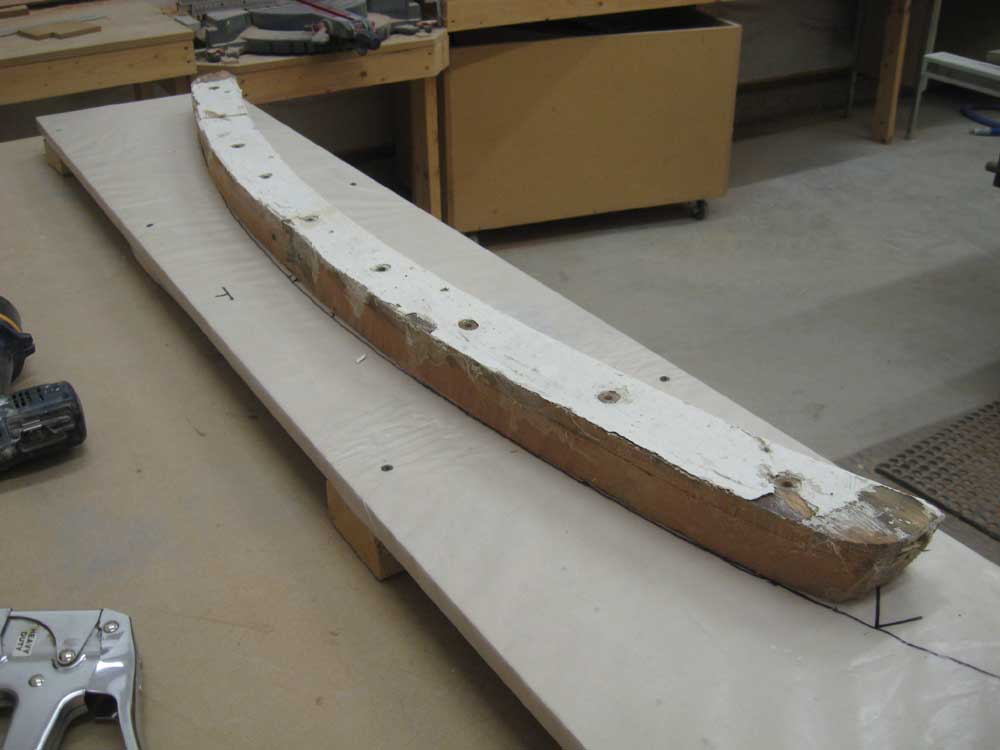
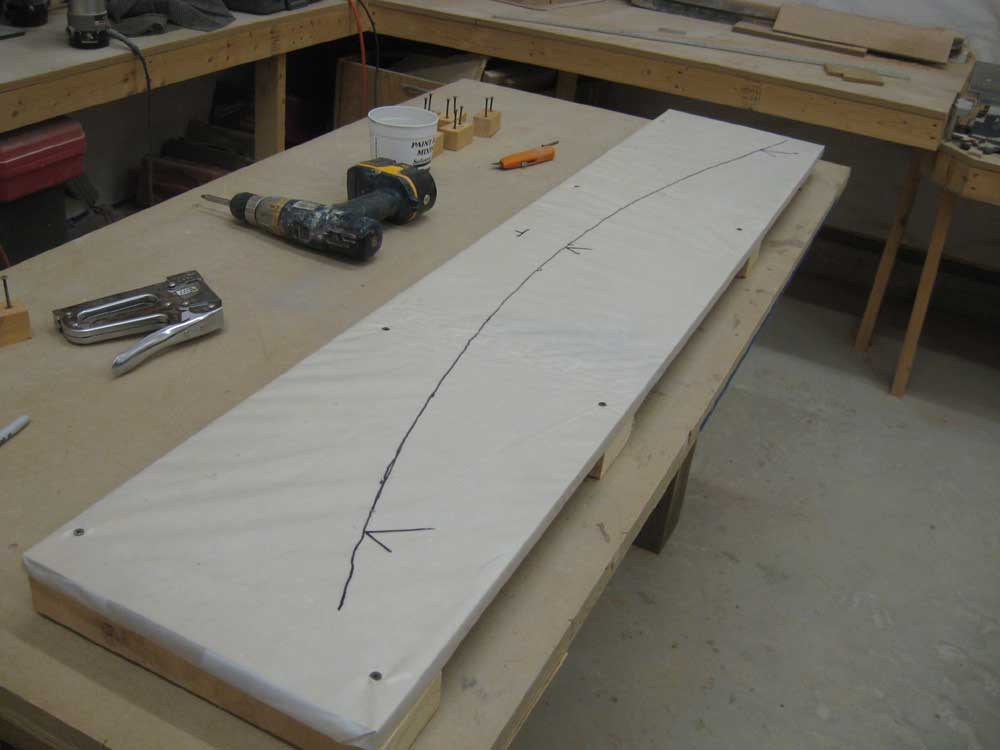
I used up the time that remained in the day by working on a jig for a laminated mast beam. Using a flat, basic jig that I'd built for another mast beam on another job, I removed the old epoxy-covered plastic and clamping blocks and recovered the MDF backing board with fresh plastic. Then, I used the old mast beam from the boat to mark the shape of the beam on the plastic. Because the top of the old beam had been shaved down to accommodate various undulations in the shape of the overhead against which it rested, I used the bottom edge of the beam to scribe my new line, as I preferred to make my own modifications to the top of the new beam later, rather than attempt to mold the new beam to fit the odd shape of the top of the old one. This brought me to the end of the day; I'd finish up the jig and glue up a new beam tomorrow, most likely. |
  |
|
|
|