| Circe
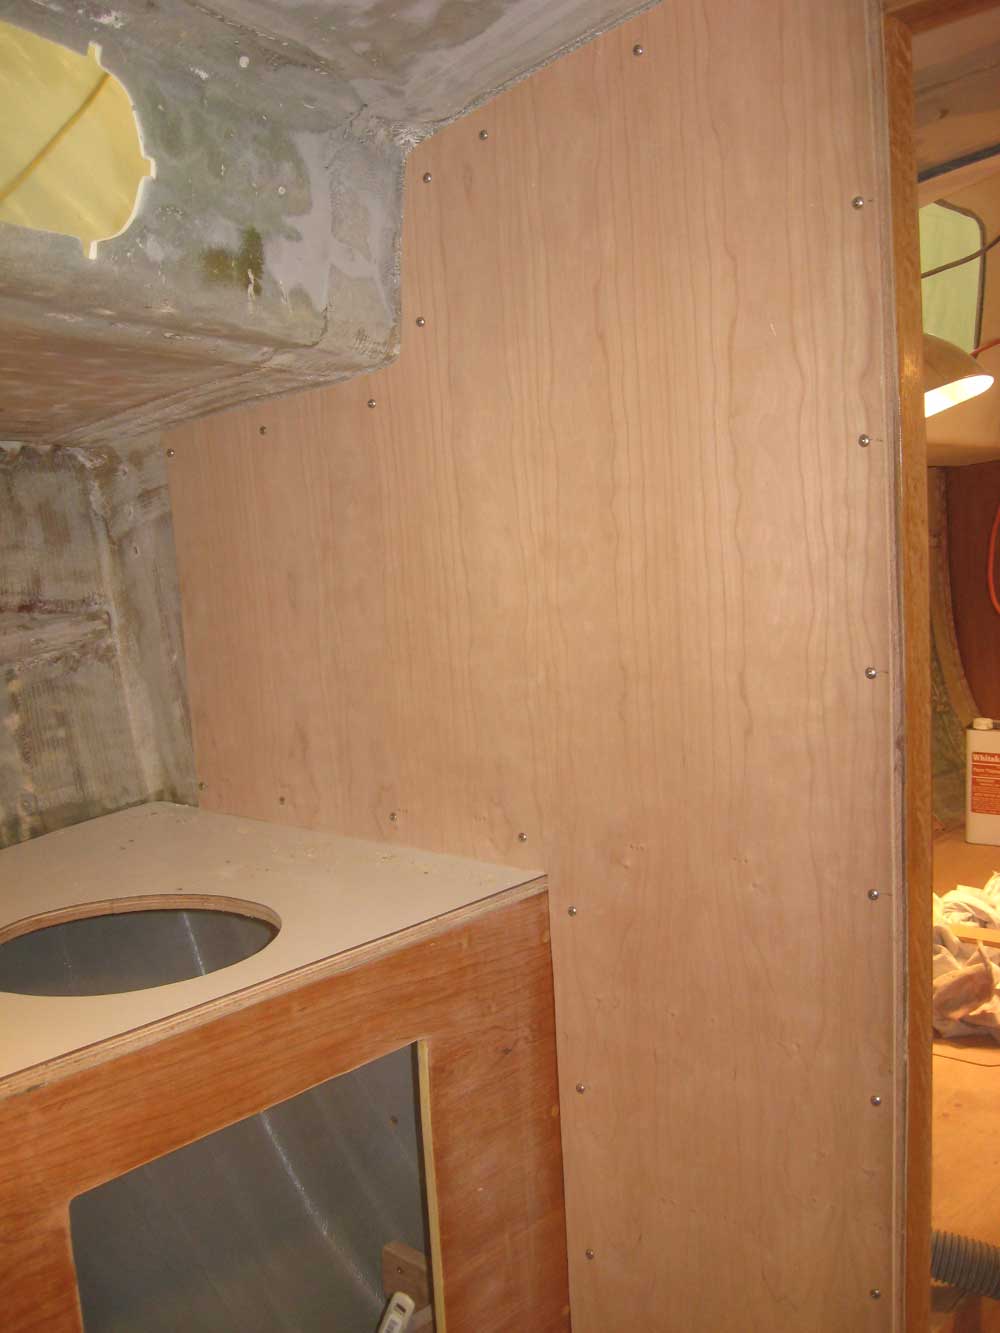
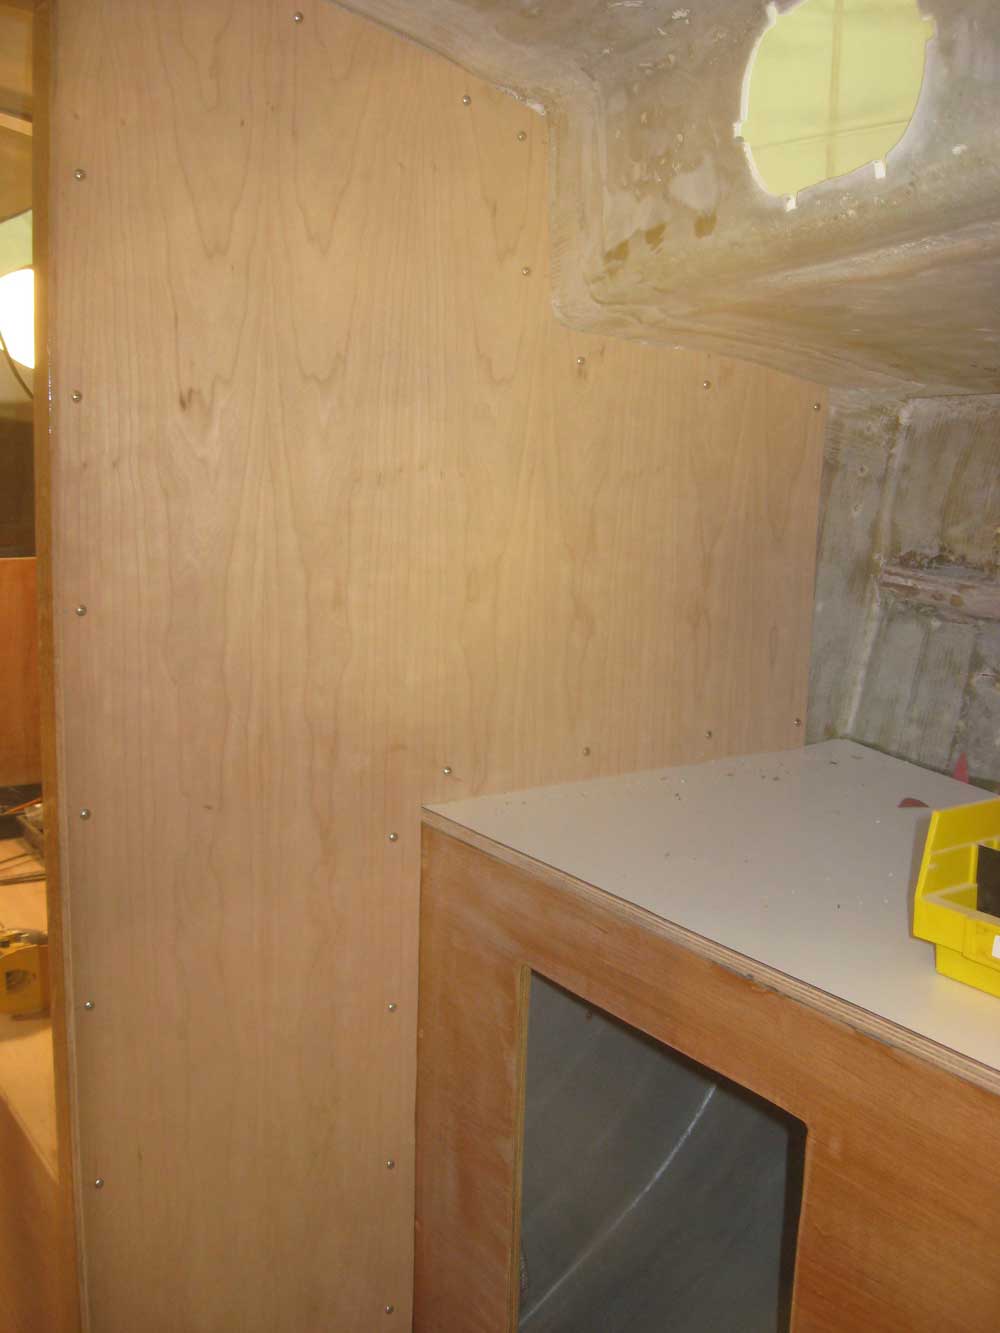
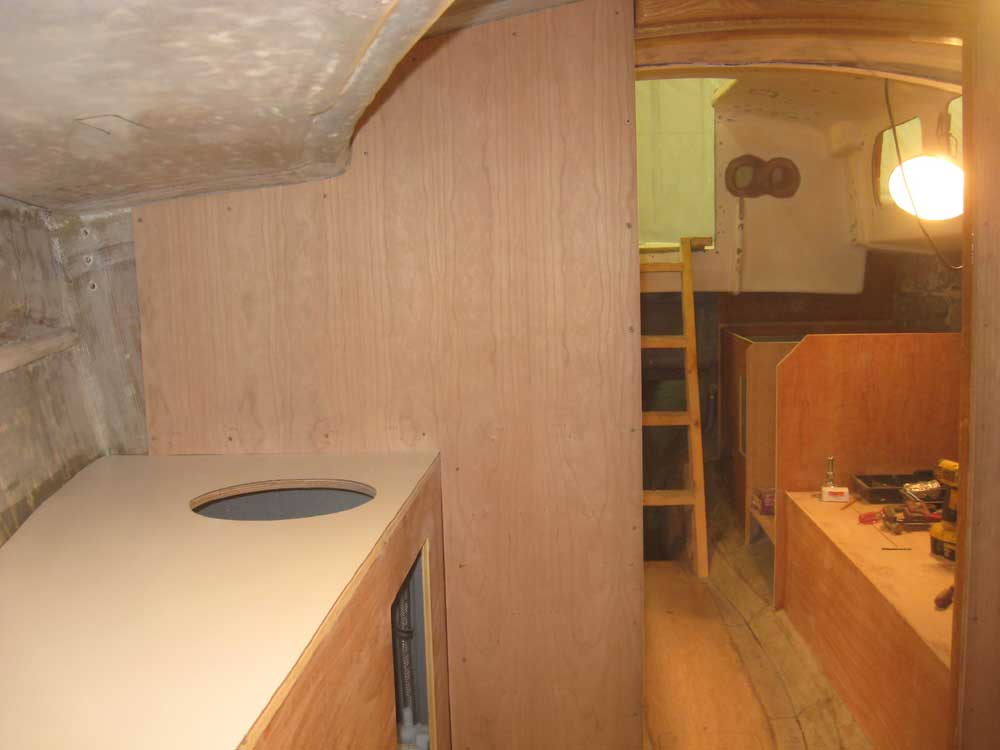
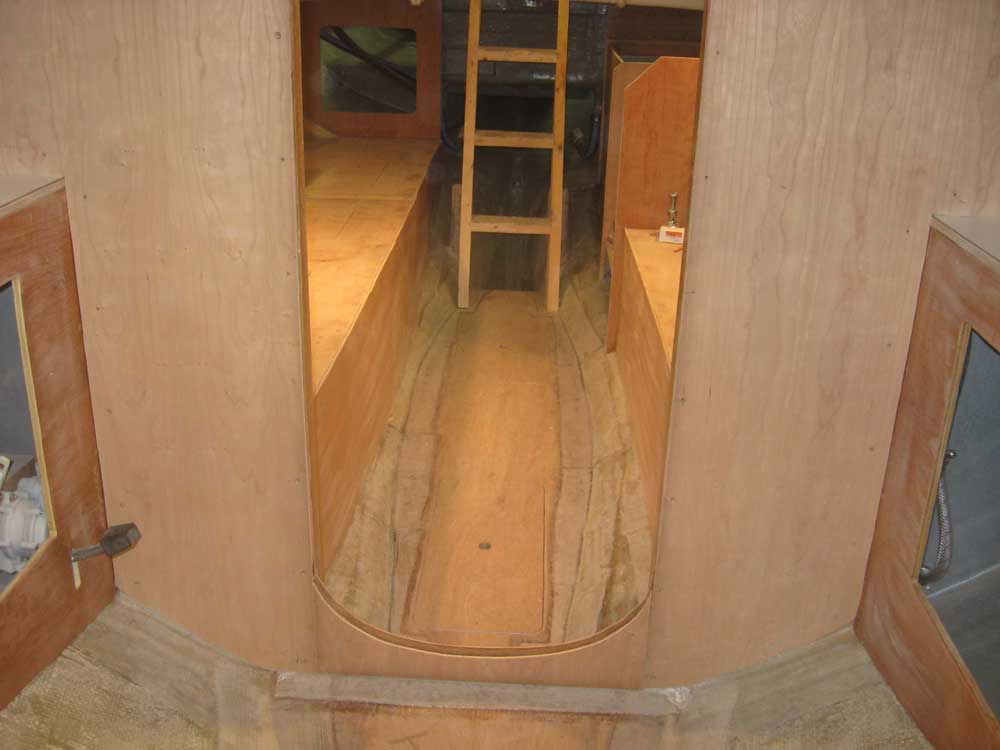
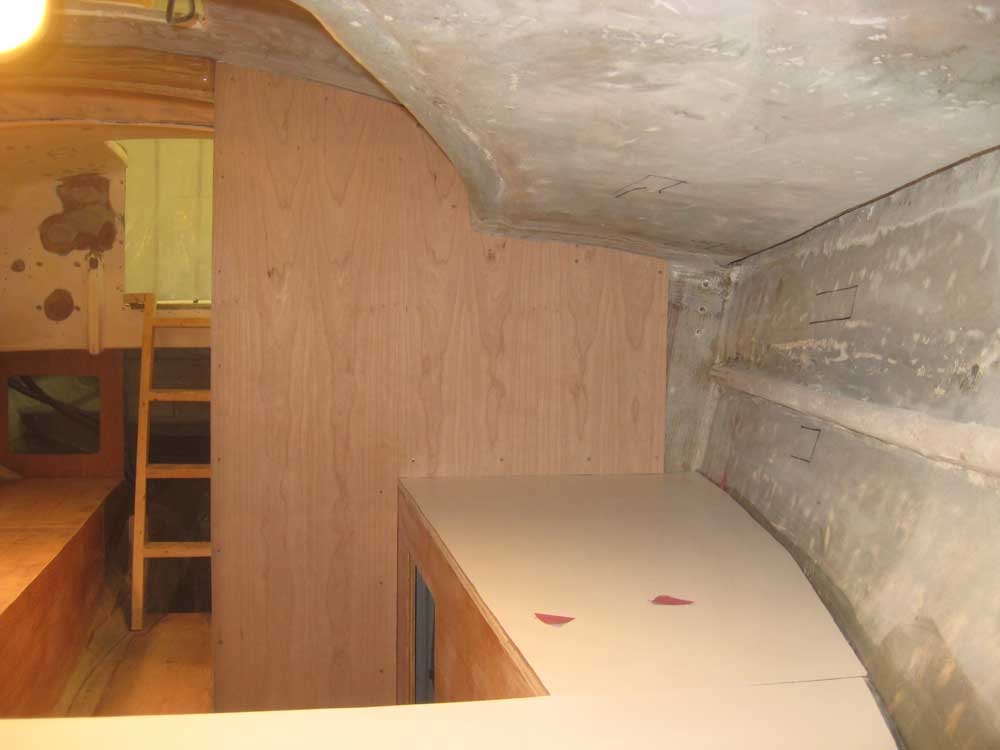
| Tuesday, December 15, 2009 With many of the more time-critical jobs underway and in various stages of completion, I focused once more on the head compartment. In order to begin work on the upper cabinets, I first needed to install the cherry plywood veneer over the face of the exposed structural bulkhead. To that end, I created a rosin paper pattern of the port side, transferred it to a sheet of 1/4" cherry plywood, and cut out the shape. It fit well, and I was able to use the port sheet as a template for the starboard side with only minor modifications. I ended the veneer short of the chainplate location, as on the opposite side; later, there'd be upper cabinets to hide this area. Once I had both veneers cut, sanded, and cleaned, I secured them to the bulkhead with epoxy adhesive and temporary screws around the edges, which I'd later remove and bung the holes, as on the saloon side of the bulkhead. I also installed veneer on the center portion beneath the passageway; the seams between the panels would later be covered by door trim. Late in the day, the adhesive had cured and I removed all the temporary screws and clamps. |
|
|
|
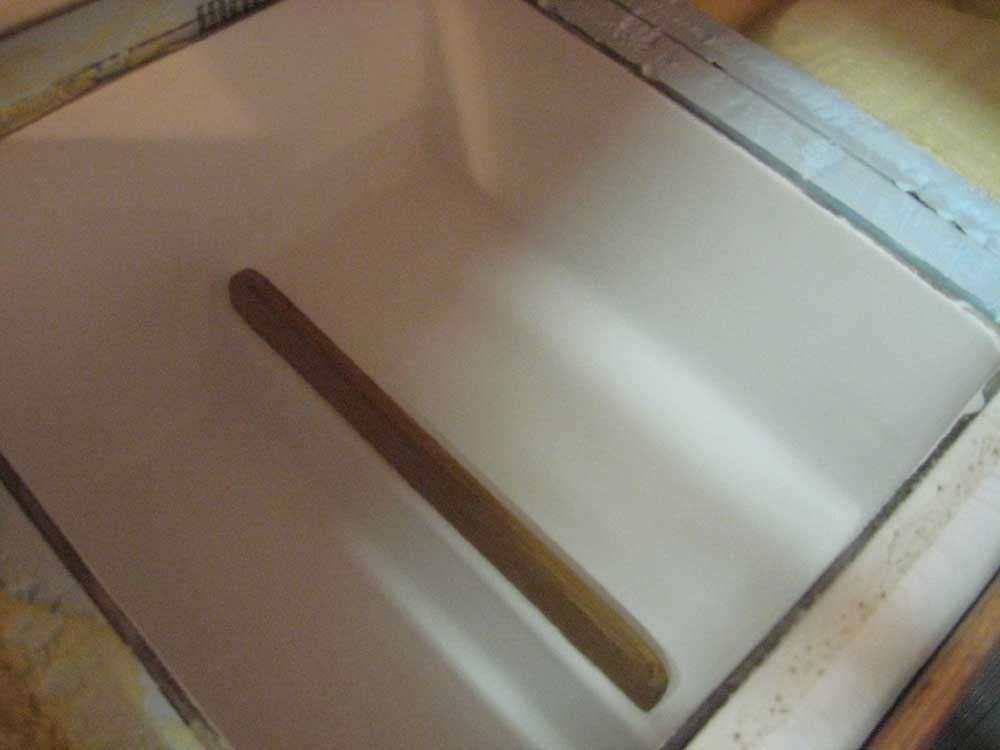
While I had the adhesive out, I installed the new teak cleat in the icebox. I applied masking tape around the cleat and then sanded the paint on the icebox's bearing surface, then cleaned the area and secured the cleat with epoxy adhesive, weighting it down to secure it while the epoxy cured. |
 |
|
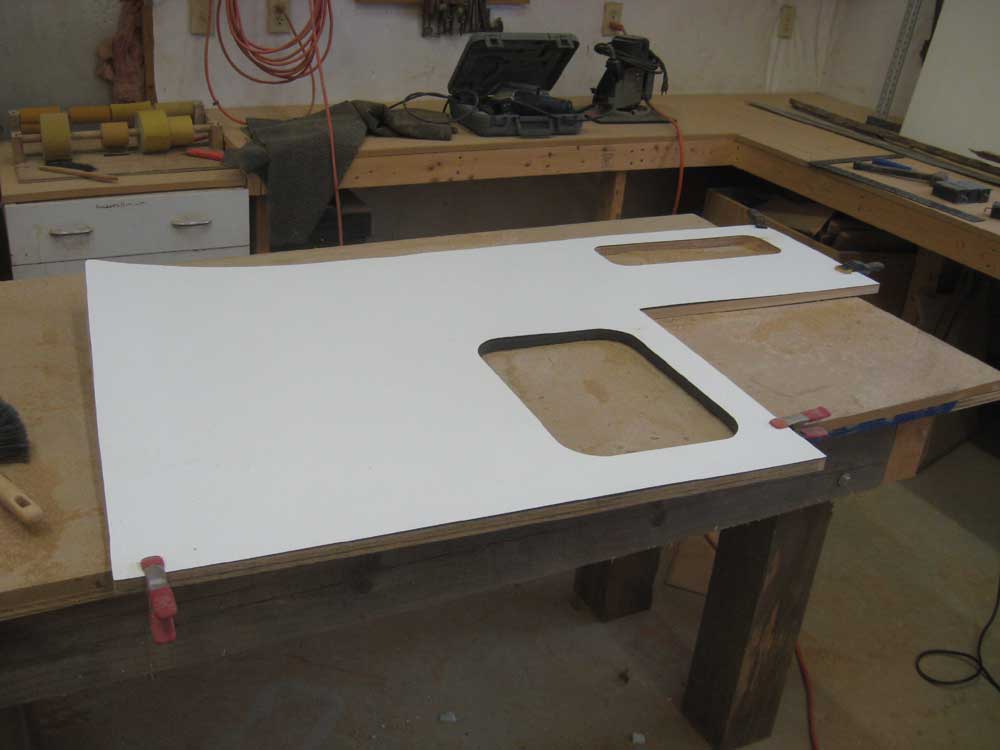
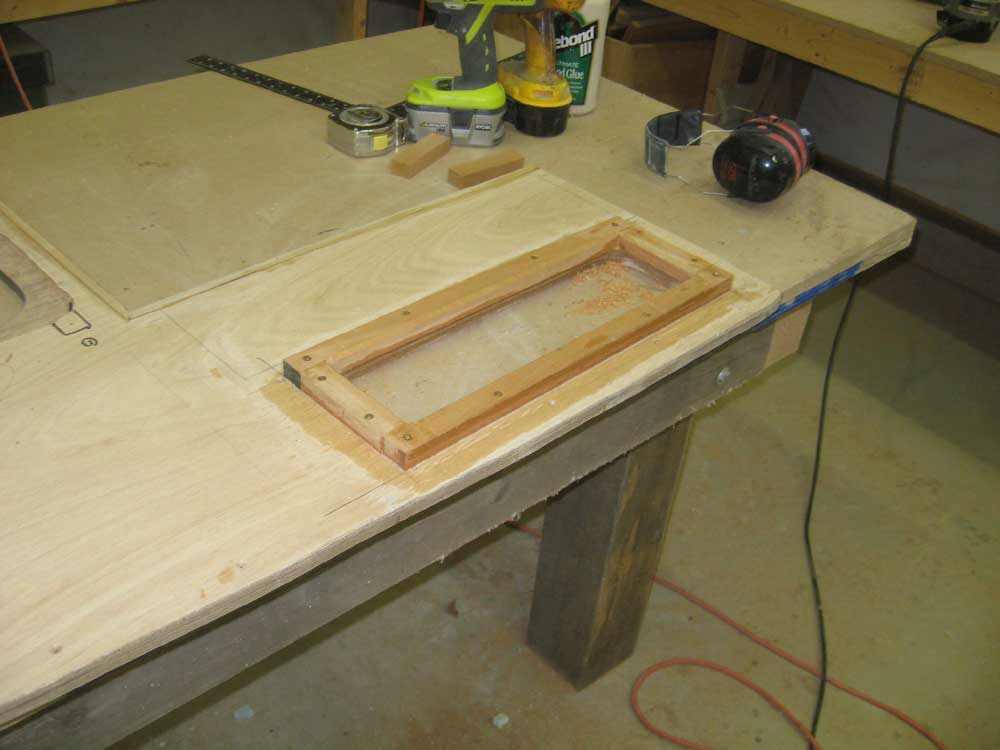
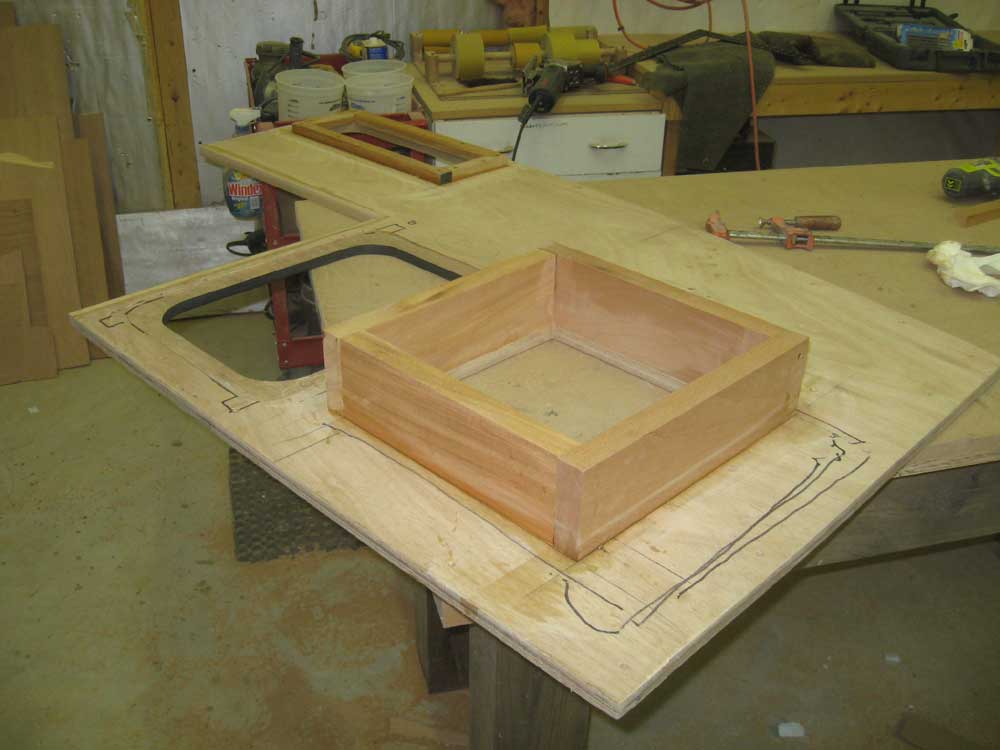
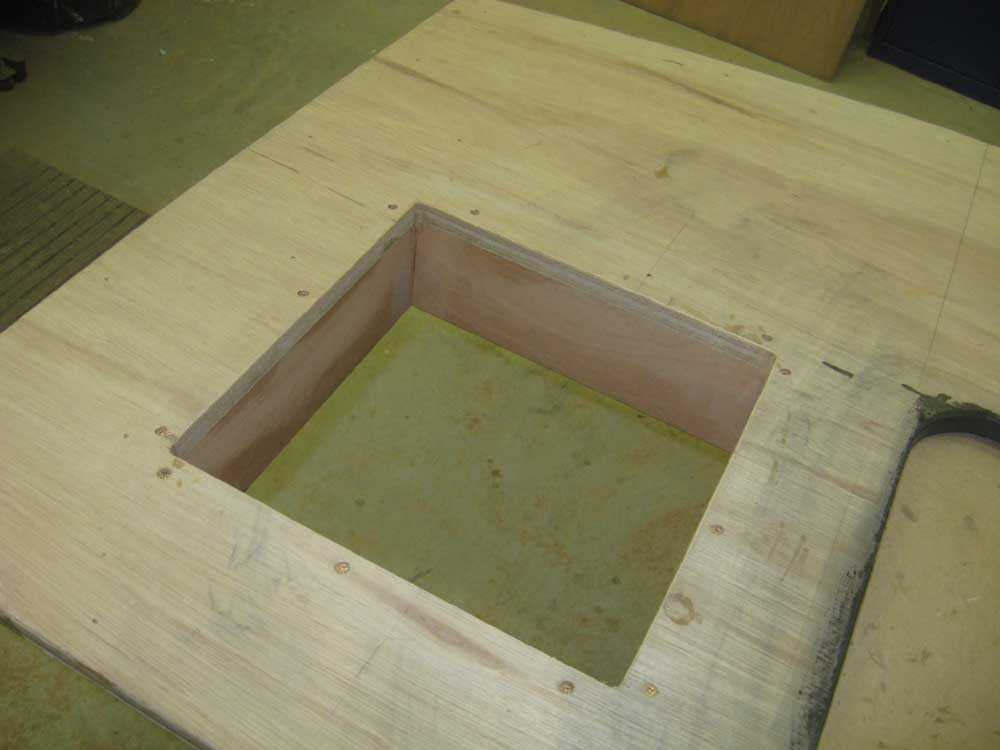
I continued work on the galley countertop as I made the final preparations for its installation soon. I pre-cut a piece of Dover white Formica to fit, though I'd install the Formica only after the countertop was permanently installed, as in the head. Then, I installed cleats around the small locker opening in the countertop behind the stove, and cut a hatch to fit, since I'd apparently discarded the original cutout. |
 |
|
Earlier, before the galley cabinet front was installed, I'd test-fit the countertop and marked edges of the icebox liner on the underside of the countertop, along with a line above demarking the edge of the overhanging bridgedeck structure. From these marks, I determined the location and size of the icebox hatch, laid it out, and cut the opening in the countertop. Then, I test-fit the countertop again, not only to double-check the hatch's location, but also to measure the clearance between the countertop and the top of the icebox and existing foam so I could install the appropriate thickness of foam beneath the countertop (3-1/2"). With the depth determined, I cut and installed deep cleats around the edges of the icebox hatch opening, to contain and protect the foam insulation that I'd install later. |
 |
|
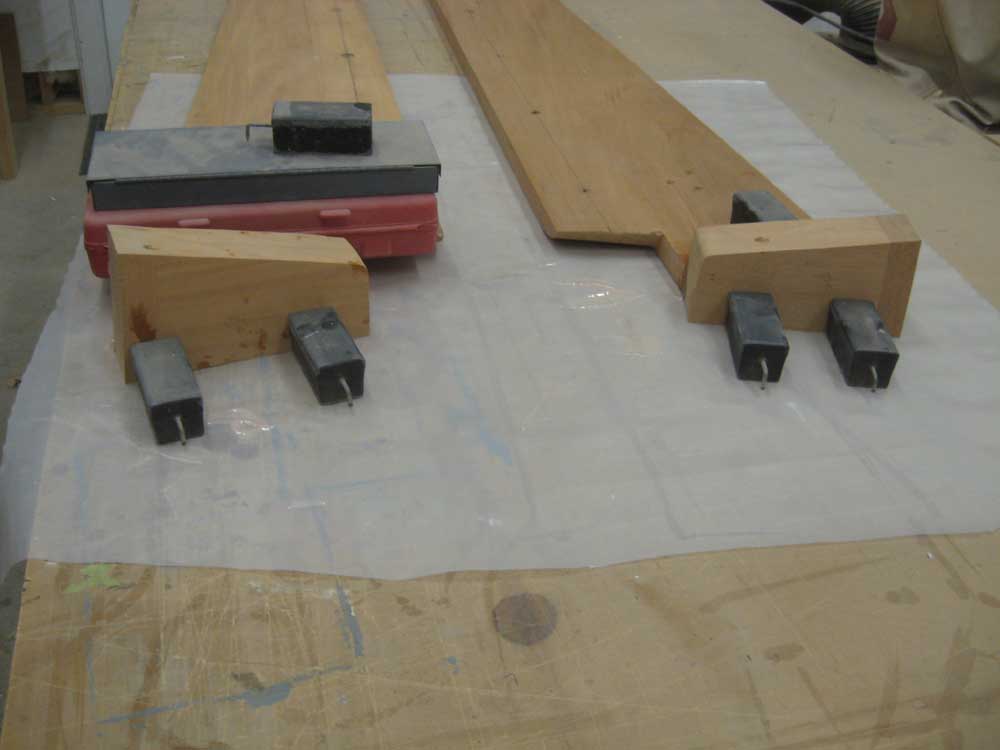
As it was nearing the end of the day, I removed the cockpit coamings from their temporary installation so that I could glue the coaming return blocks in place overnight. I secured the blocks with epoxy and, as there was no practical way to clamp the pieces, used various weights to press and hold the blocks in place while the adhesive cured. |
 |
|
Finally, I applied another coat of varnish to the sea hood, inside and out (4), and the companionway runners (2). |
|
|
|