| Circe
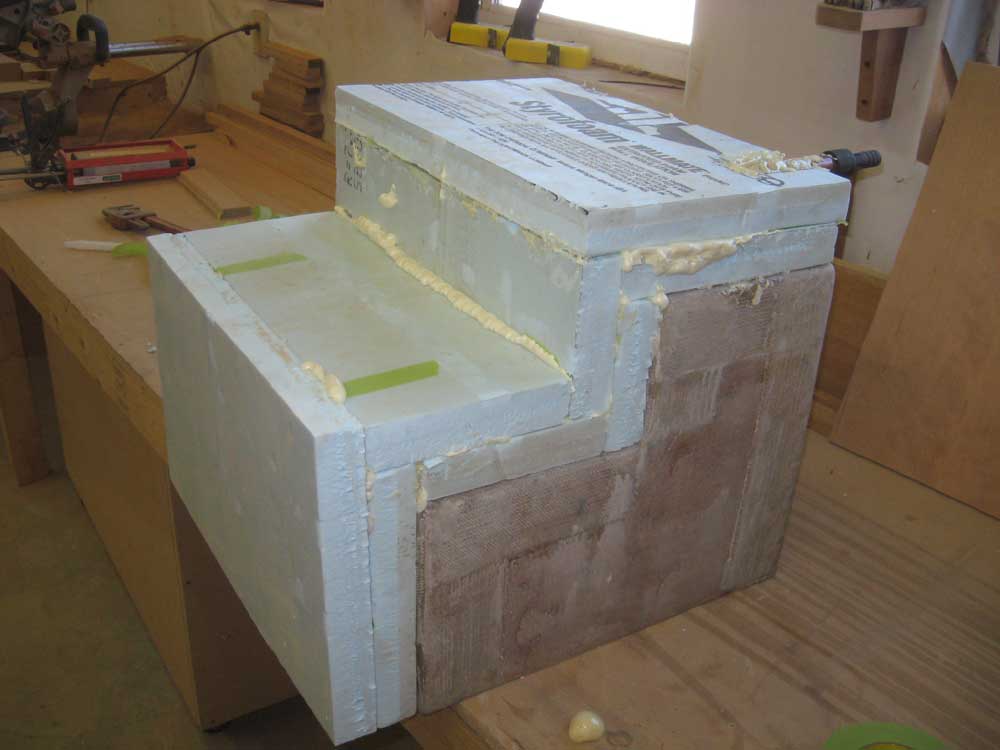
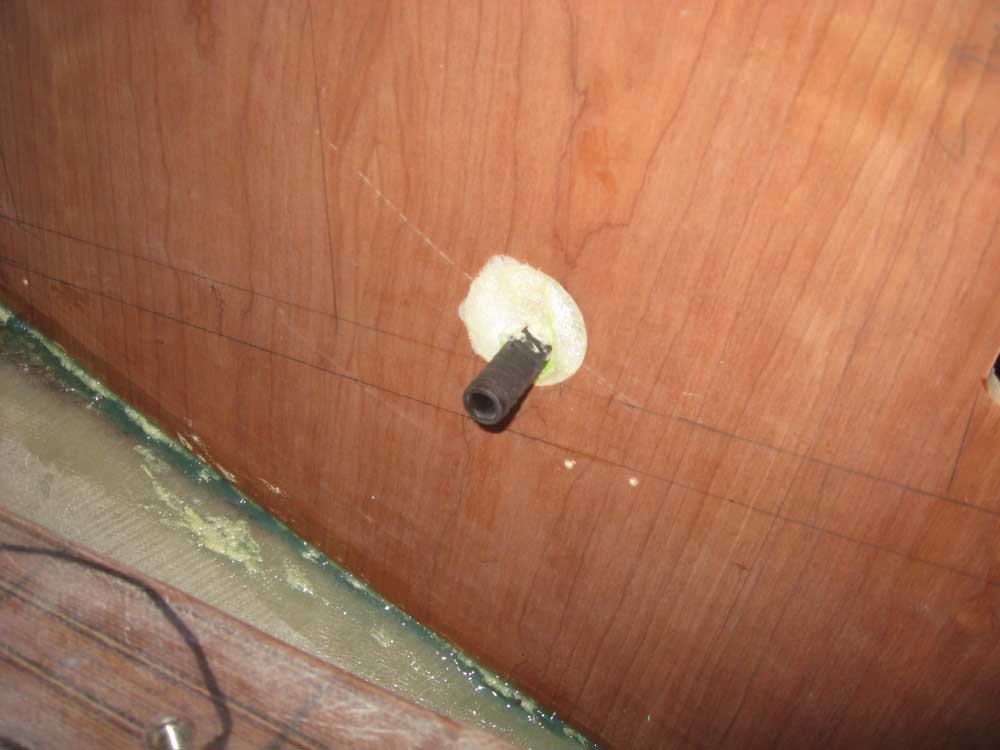
| Monday, December 14, 2009 I focused the day's efforts largely on the galley and installing the icebox, intermingled with several smaller jobs throughout the day. After installing a bronze elbow, 5" pipe nipple, and a Marelon pipe-hose adapter for the icebox drain (which would extend the drain out into the engine room, where a hose could be connected), my first step was to install insulation on the bottom and back sides of the icebox liner, working down on the bench. I planned to install the insulation panels for the front and sides of the box on the bulkheads in the boat, with the box fitting tightly between these panels, but the bottom and back would be inaccessible once installed, so these areas required a pre-installation. I cut and secured two layers of blue foam insulation, overlapping the seams and using canned spray foam to "glue" the foam to the icebox liner, as well as to fill the seams between pieces as I went. Since the whole icebox would be encased in pourable 2-part expanding foam once in the boat, this would provide most of the ultimate security to the foam panels. |
|
|
|
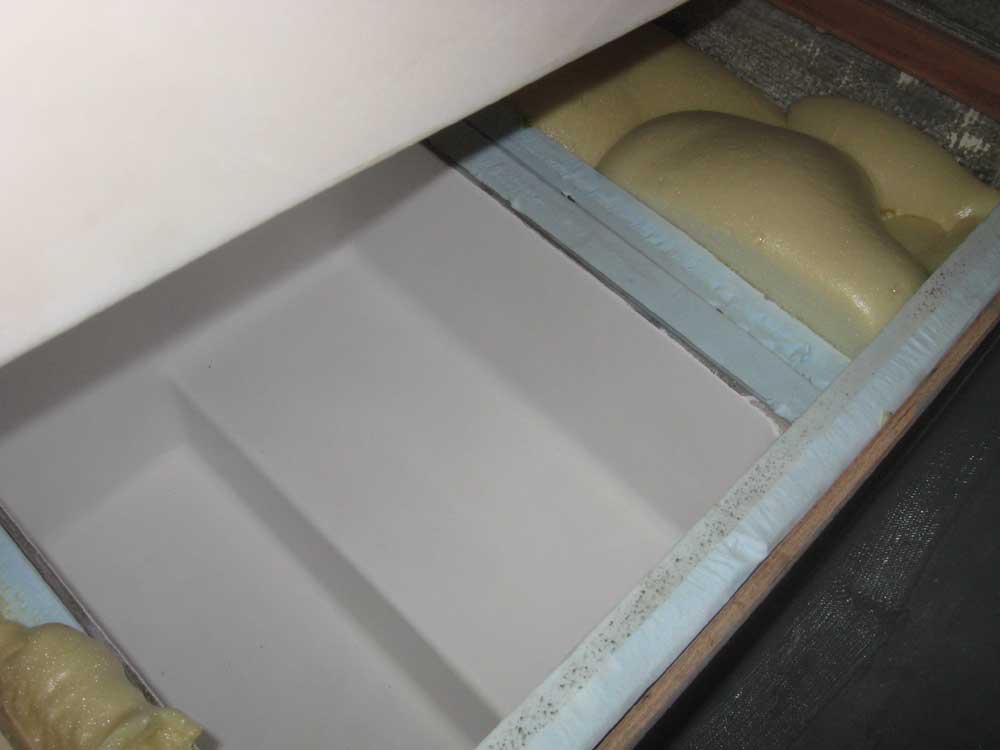
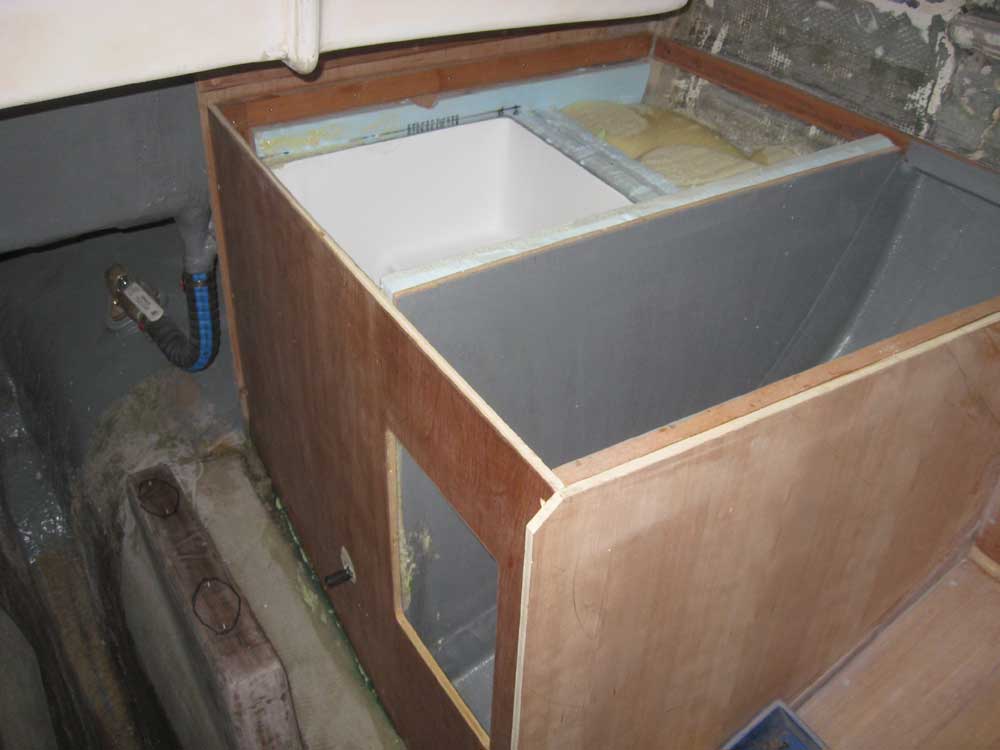
I cut and installed more of the foam on the two bulkheads surrounding the icebox locker in the boat--the after open portion of the space beneath the galley. Then, I installed the insulated box between these bulkheads, in a very tight friction fit. The after outboard corner of the box rested on the hull's curve, as designed, but this left an open space beneath the remainder of the box, as well as a large open space between the hull and the outboard (back) edge of the box itself. Before I could install the expanding foam to lock the icebox in place, I installed the front panel of the galley, along with additional sheet insulation at the front of the box. I marked and drilled a hole for the icebox drain, and then I secured the panel with epoxy adhesive and screws, and let the adhesive cure for a bit before I began to pour the foam, so that I wouldn't have any blowouts at the bottom of the panel where it met the hull. Meanwhile, I taped over a small gap at the juncture of the front panel and the athwartships bulkhead beneath the galley--again, to contain the expanding foam--and taped around the icebox drain opening in the front panel. Then, in a series of carefully-controlled pours, I installed expanding foam beneath and behind the icebox, as well as in other small gaps here and there. Later, I'd add insulation beneath the galley countertop and create the icebox hatch, which would complete the icebox installation once and for all. This would occur in the near future, in and amongst other preparations for the galley countertop. |
 |
|
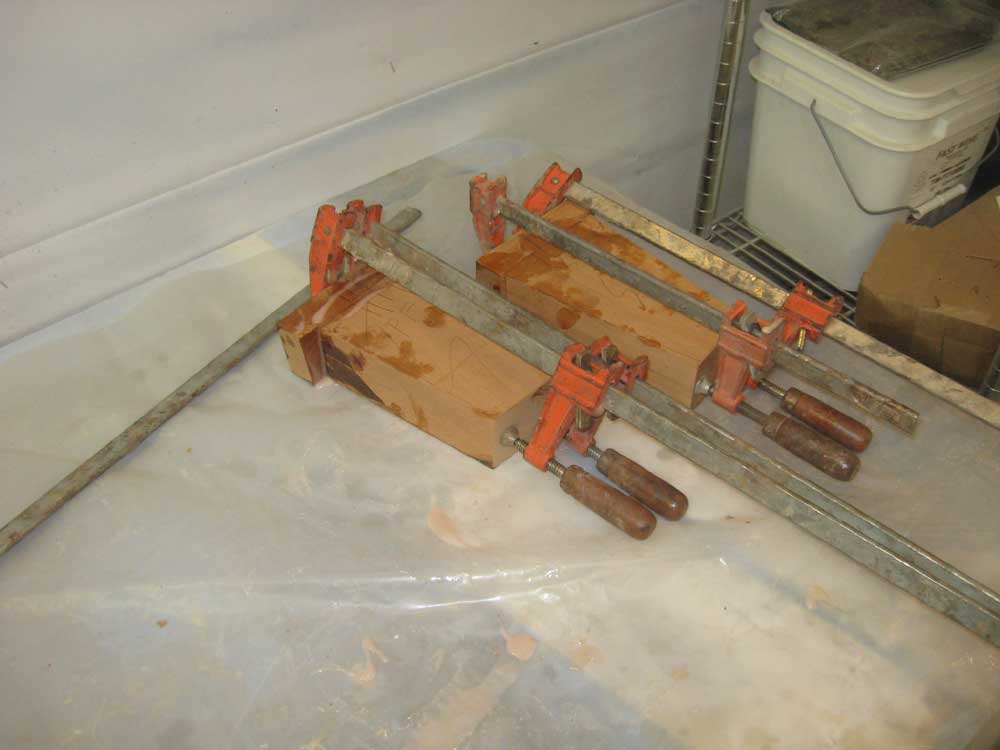
The glued-up blanks for the coaming return blocks had had the weekend to cure, so I unclamped them and made a series of cuts to bring them to just a hair over finished size, to allow for final fitting. To cover the end grain at the top of the returns, I removed additional material and cut 1" thick sections from a board to glue over the end grain; I clamped these in place and set the returns aside. |
 |
|
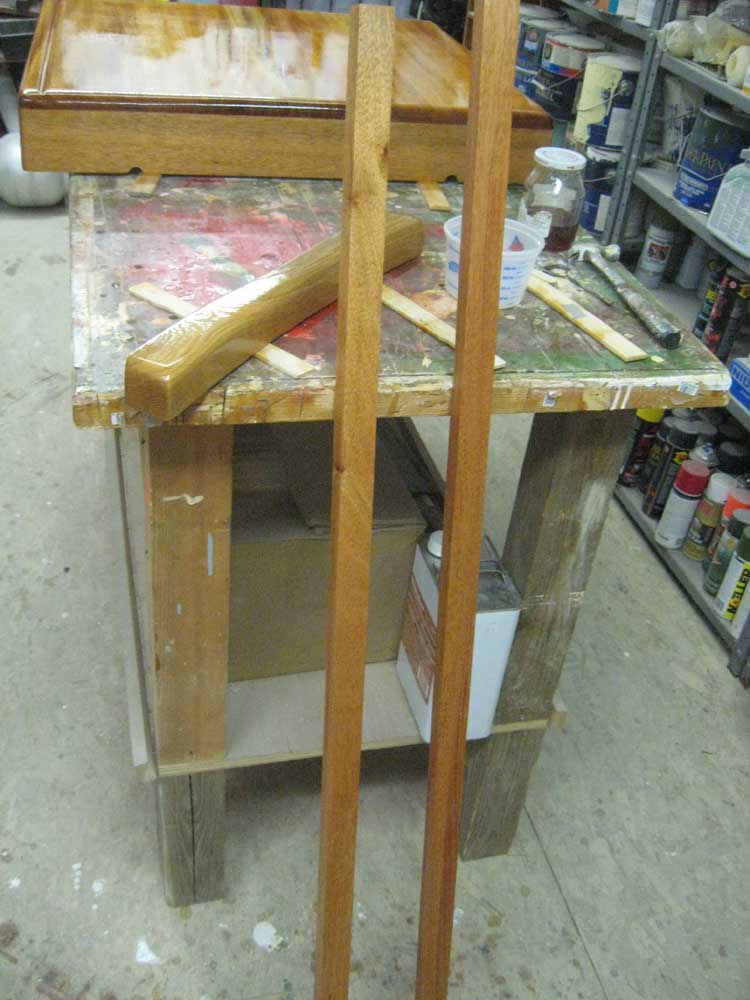
One of the more uninteresting portions of exterior woodwork is the wooden risers upon which the tracks for the companionway hatch would run: simple 1-1/2" x 3/4" lengths of Honduras mahogany with a 9° bevel cut on their bottom sides to match the angle of the coachroof. Since I'd need these sooner than later in order to install the companionway hatch, I used one of the old, badly-damaged ones to recreate a pair of new ones, which I then sanded and varnished. I also created a small teak cleat that I planned to install on the shelf of the icebox to act as a fiddle; I chose teak so that I could leave the piece unfinished for ease of maintenance and moisture-resistance in the icebox. |
 |
|
To wrap up the day, I sanded and revarnished the sea hood (3) and one or two other small trim pieces that I had ongoing. |
 |
|
|
|