| Bolero
Project |
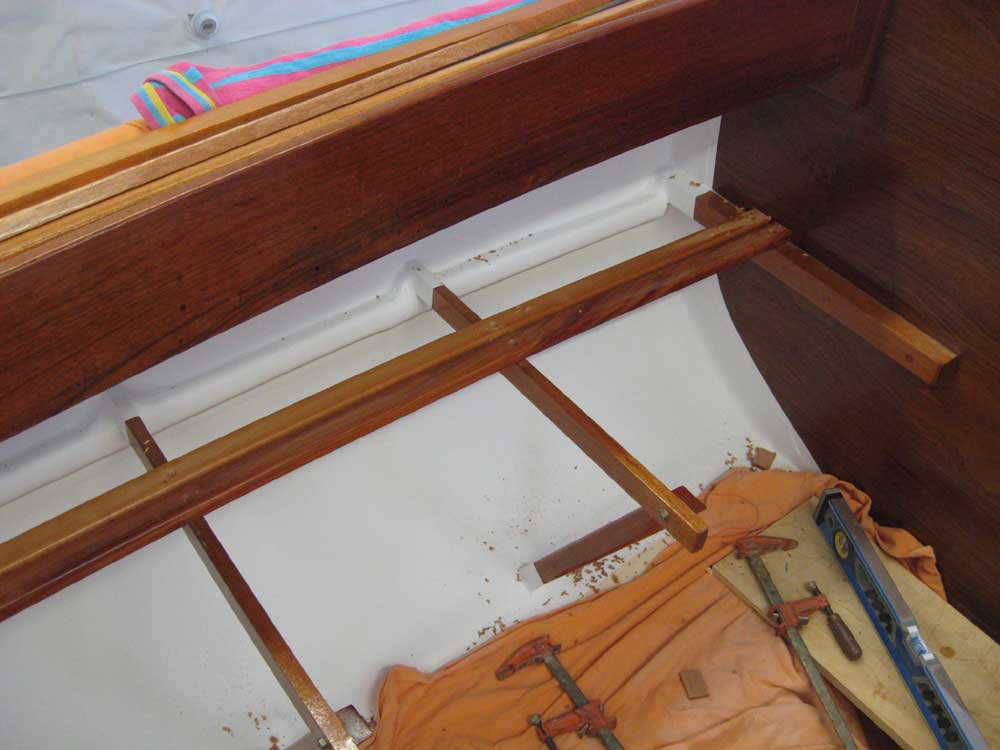
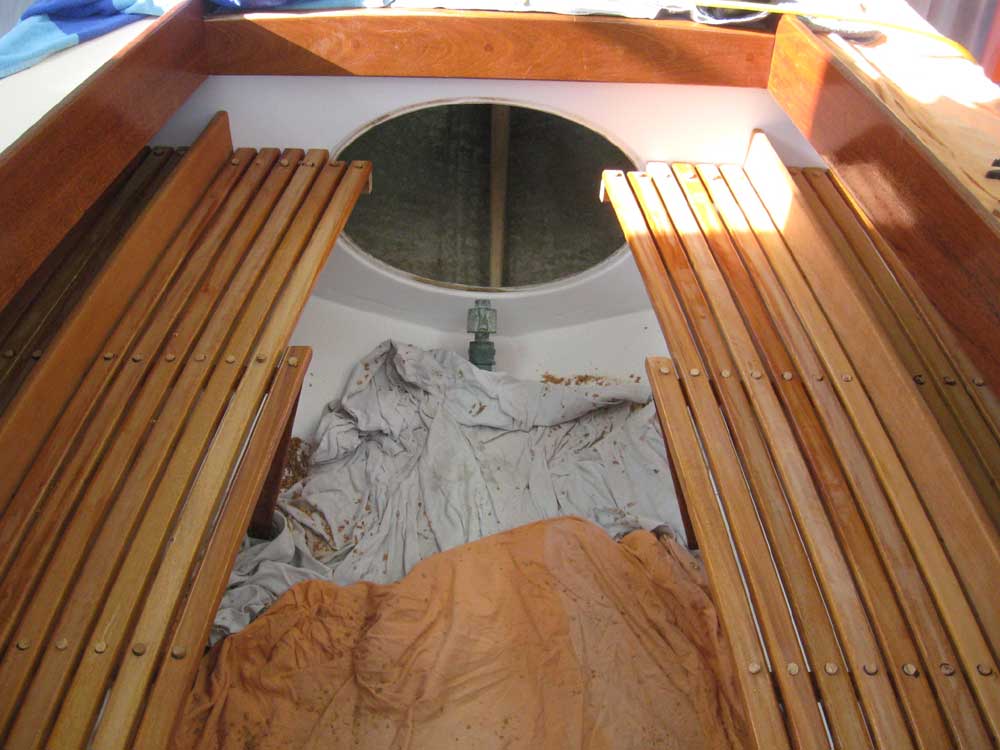
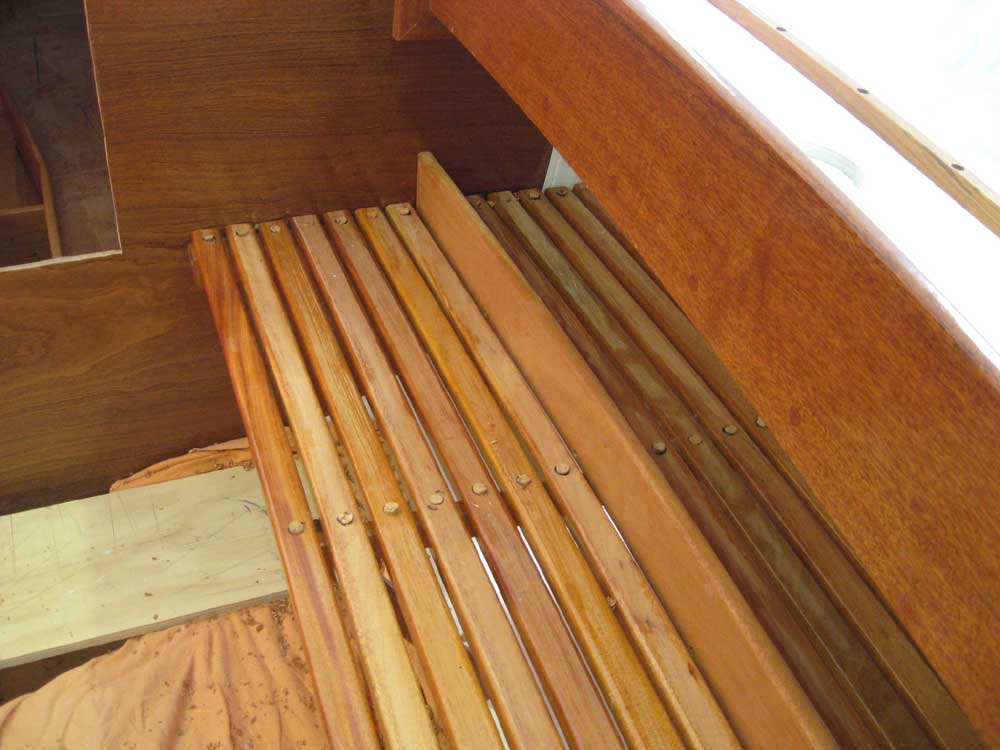
Monday, July 14, 2008 Today, I installed the cockpit seats. After getting organized and set up--tools, protective cloths, and material--I began by transferring the line of the coamings down to the seat supports, since the seat slats and storage area fiddle were to follow this line; the line itself represented the outside face of a 3" tall fiddle that would divide the seats into an outboard storage area and the seat itself. Next, I made a new mark 3/4" out (beneath the sidedeck) from the first mark; this denoted the inside edge (towards center) of the first slat of the storage area, to which the fiddle would eventually be secured. I made a measurement and cut a slat to length; it fit, so I clamped it in place along the marks and counterbored/predrilled/screwed it in place with bronze screws directly into the various seat supports and cleats. |
|
|
|
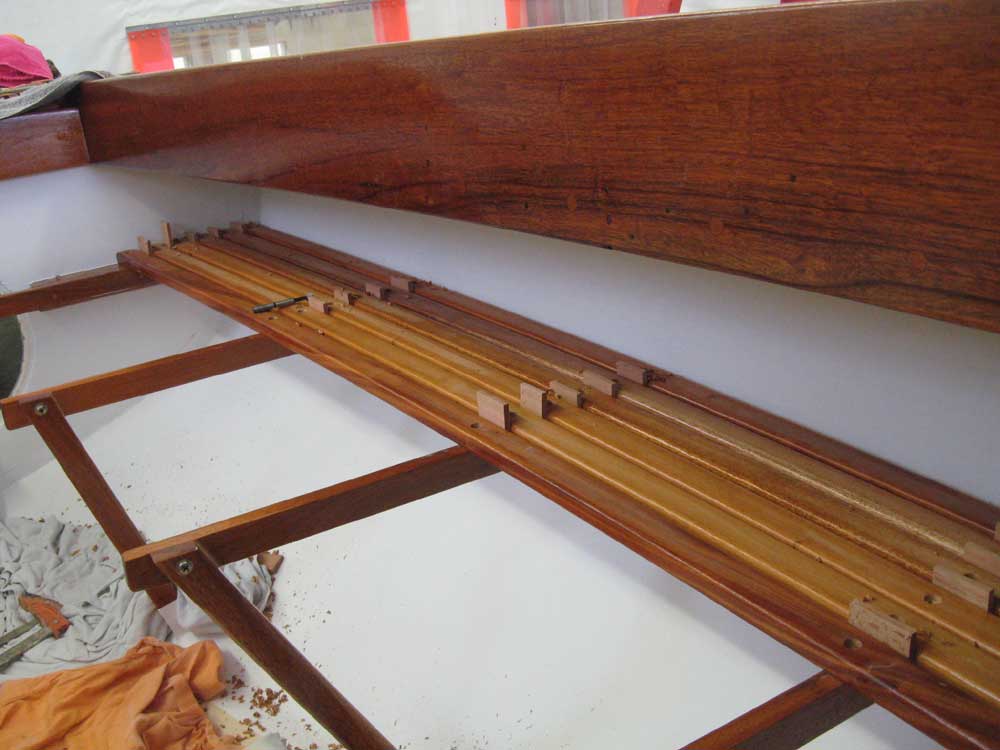
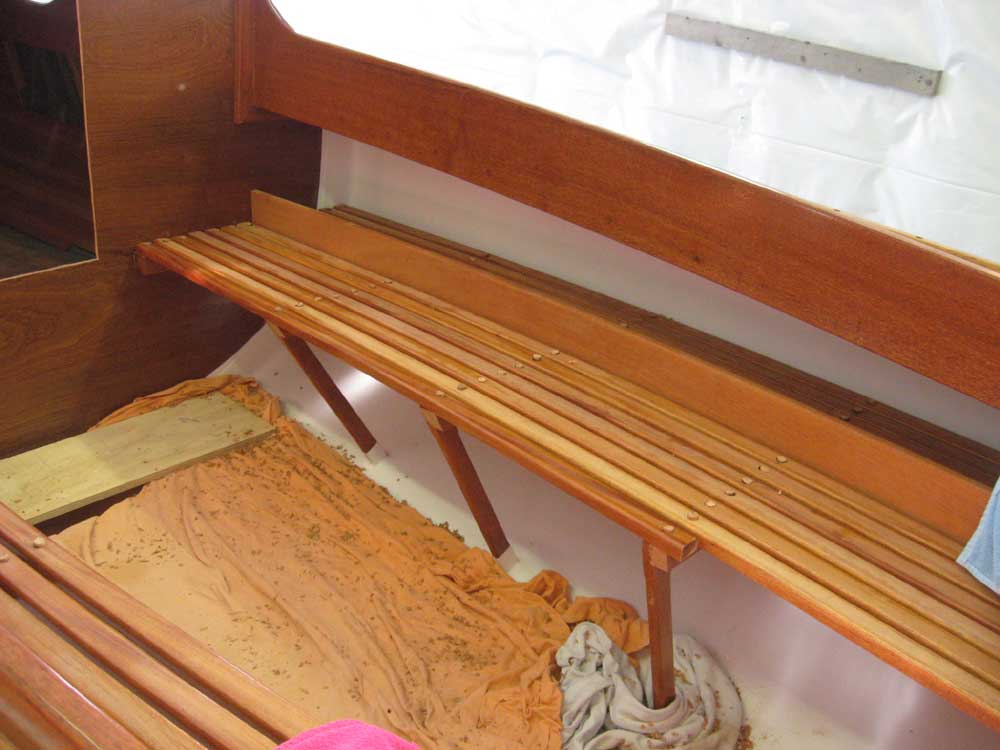
I repeated this process with five additional slats running out to the hull, using 1/4" spacers to hold them the appropriate amount apart for drainage. Pleasingly, the final slat ended up the right distance from the hull at each end, requiring no cutting or spiling. Then, I cut the fiddle to length and screwed it directly to the first slat with bronze screws. |
|
|
|
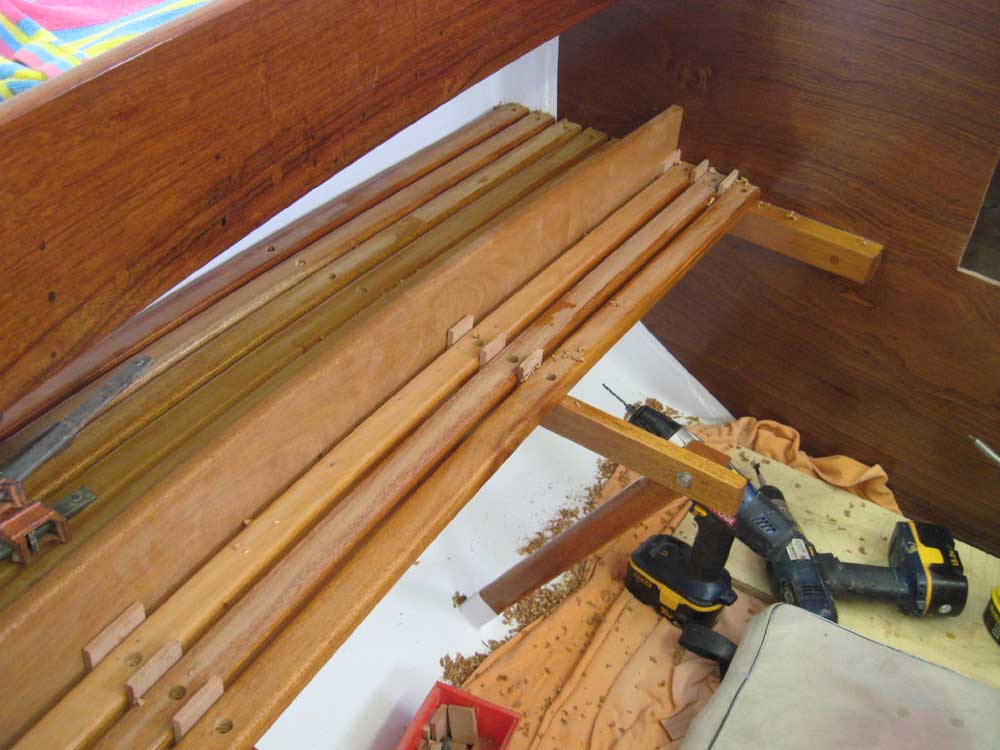
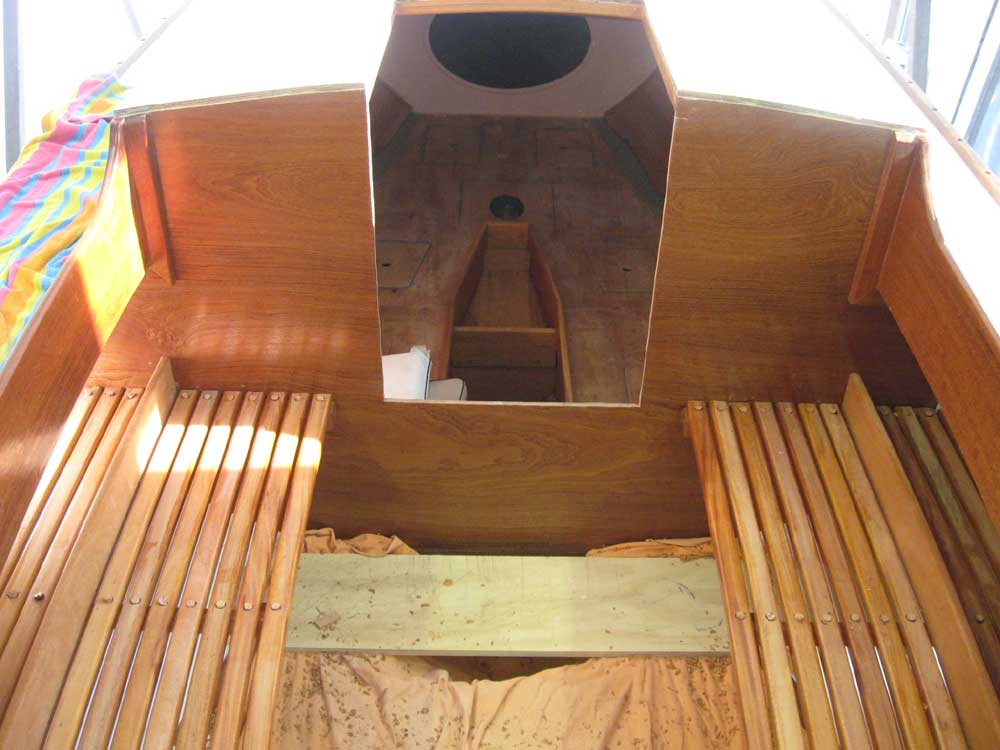
I continued inboard towards centerline with seven slats, each spaced 1/4" from the previous; after I installed several slats, I reached the area in way of the elliptical bulkhead hatch, and cut the slats a bit shorter so they could end on the cleat extension that I'd installed earlier, leaving room for the hatch to be removed or replaced as needed. As I neared centerline, I had to take the swing of the tiller into account and avoid clearance issues with the seats. Although I'd had visions of severe clearance issues in mind, along with a variety of complicated solutions for the after portion of the seats, I was pleasantly surprised to find that all I really had to do was shorten the innermost (seventh) slat and end it just aft of the final seat support, though it took a fair bit of tiller swinging and mockups to determine that this was the case. Raising the tiller, which was required for sharper turns anyway because of clearance issues with the cockpit coamings and the tip of the tiller, allowed a full range of motion with only this minor elimination of the aftermost seat's width, and within the other fixed confines of the cockpit and with the shape of the existing tiller. The simplest solution is often the best solution. I cut off the excess aft cleat flush with the edge of the 6th slat (since the final slat didn't extend that far aft); later, I'd clean up and bevel the cut edges for a more finished appearance. Several factors conspired to lead me to eliminate a planned trim piece along the inside edges of the seat: tiller clearance and simplicity issues; the actual width of the seats when installed, versus their theoretical width that I'd determined during the planning and layout stages some weeks before; and the fact that visually, I didn't see much of a need for an additional trim piece, as I thought the simple appearance of the seats fit the space quite nicely. |
|
|
|
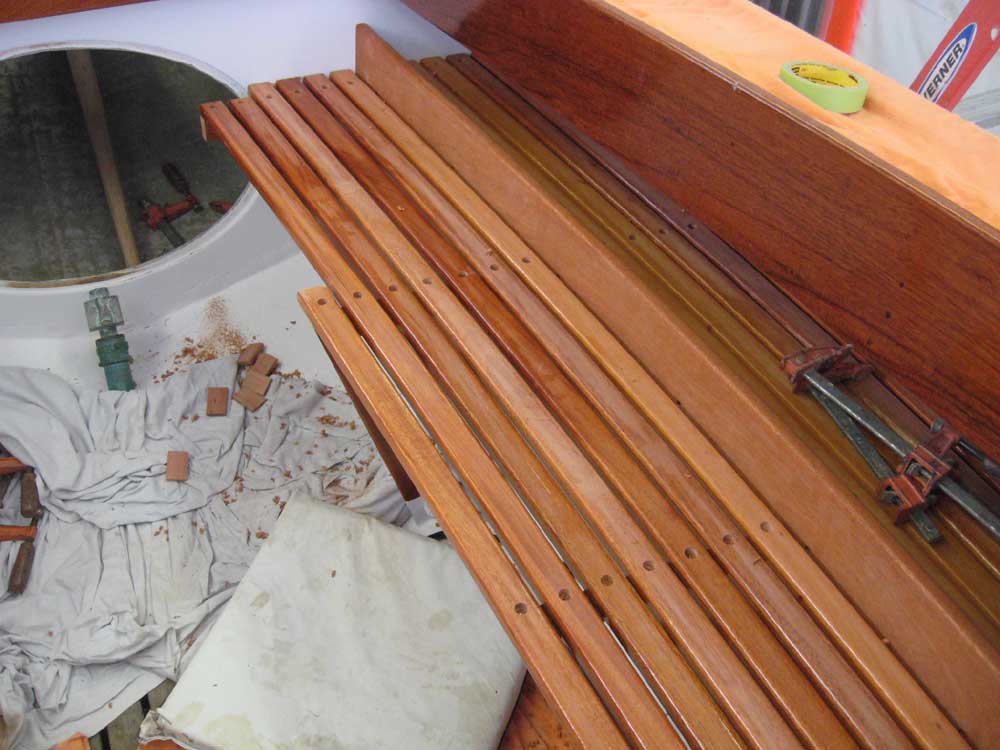
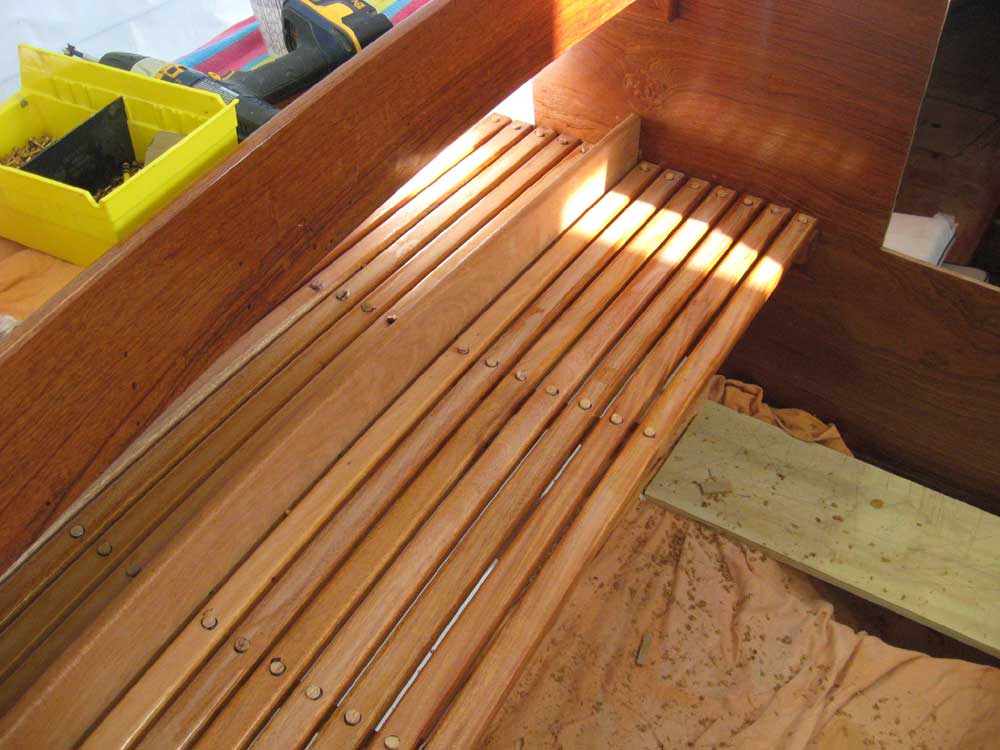
With the port side complete, I repeated the process to starboard, moving more quickly since I knew what I was doing and how things would turn out as I proceeded. Still, cutting and installing both sides took most of the day, leaving just enough time to cut 150 or so mahogany plugs and install most of them in the counterbored screw holes in the seats before it was time to call it a day. Next: trim the plugs, sand the seats, and begin the final varnish buildup on the tops of the slats. |
|
|
|
|
|