
110 Cookson Lane | Whitefield, ME 04353 | 207-232-7600 | tim@lackeysailing.com
Ashantee | Friday, March 27, 2015
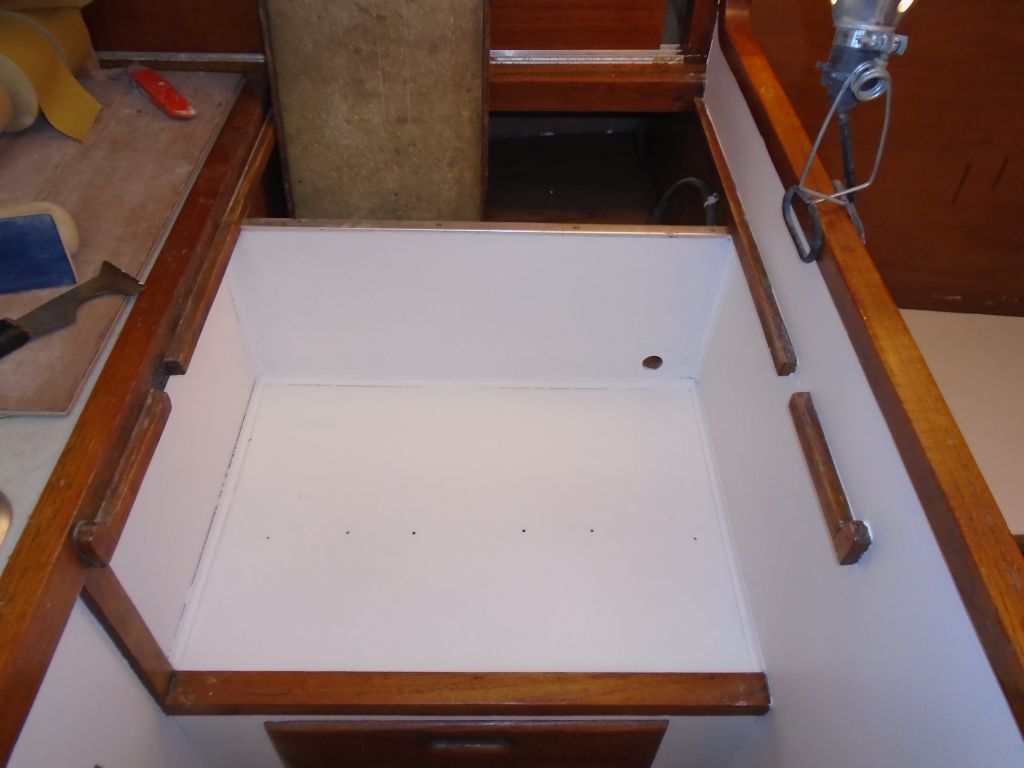
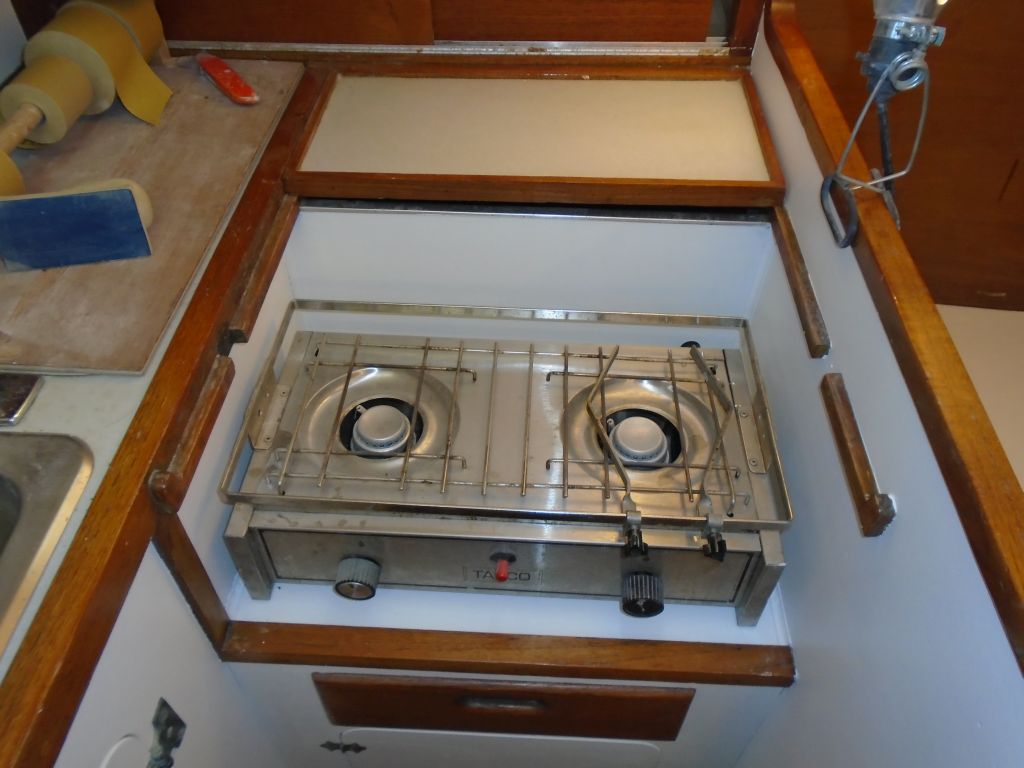
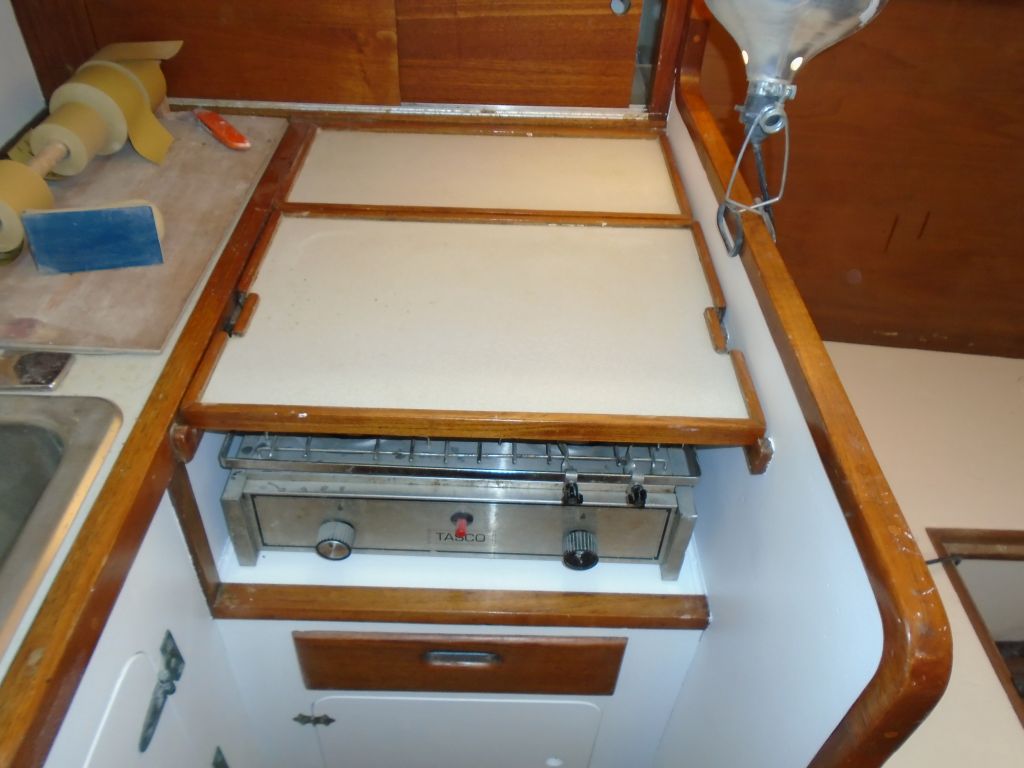
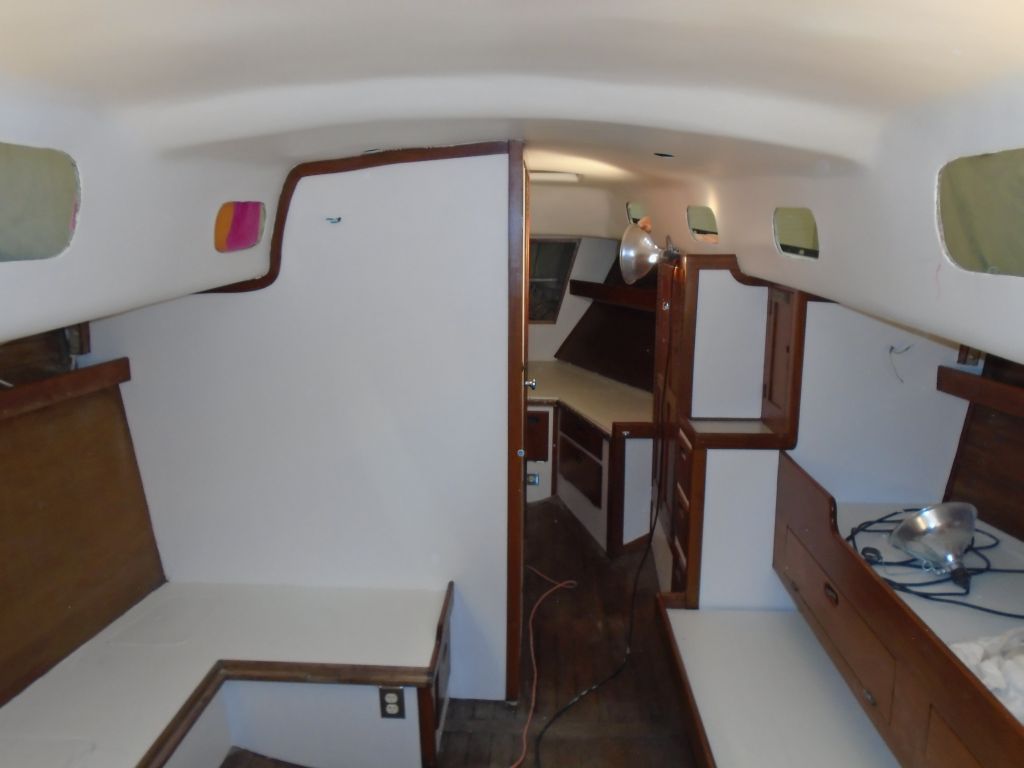
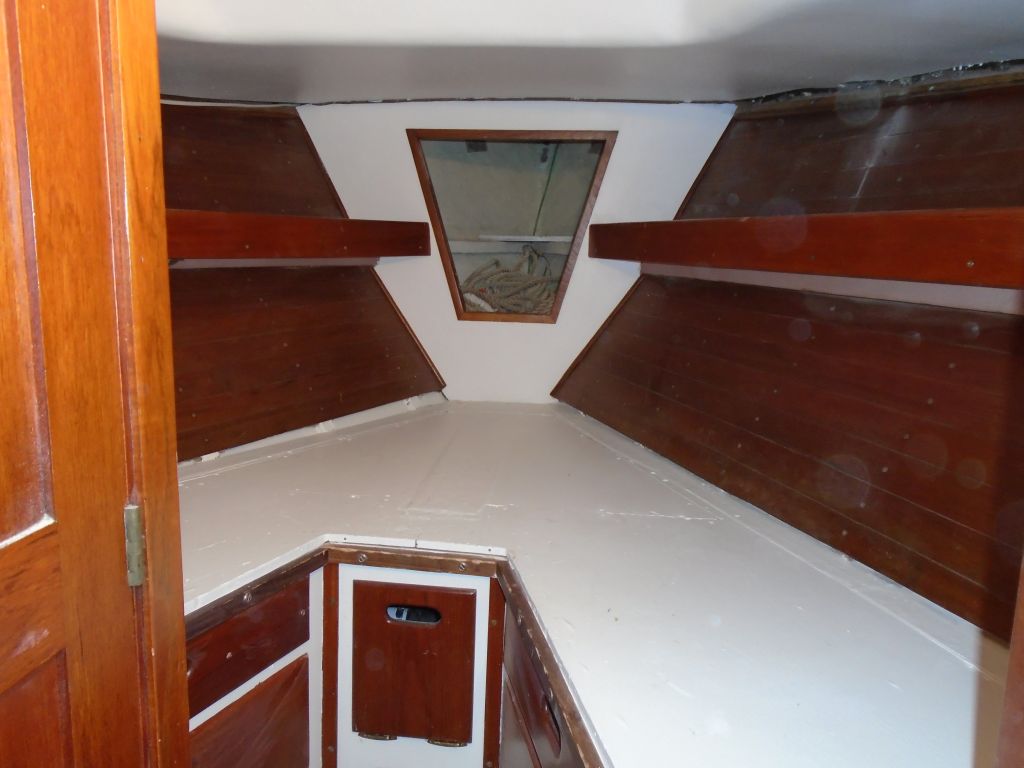
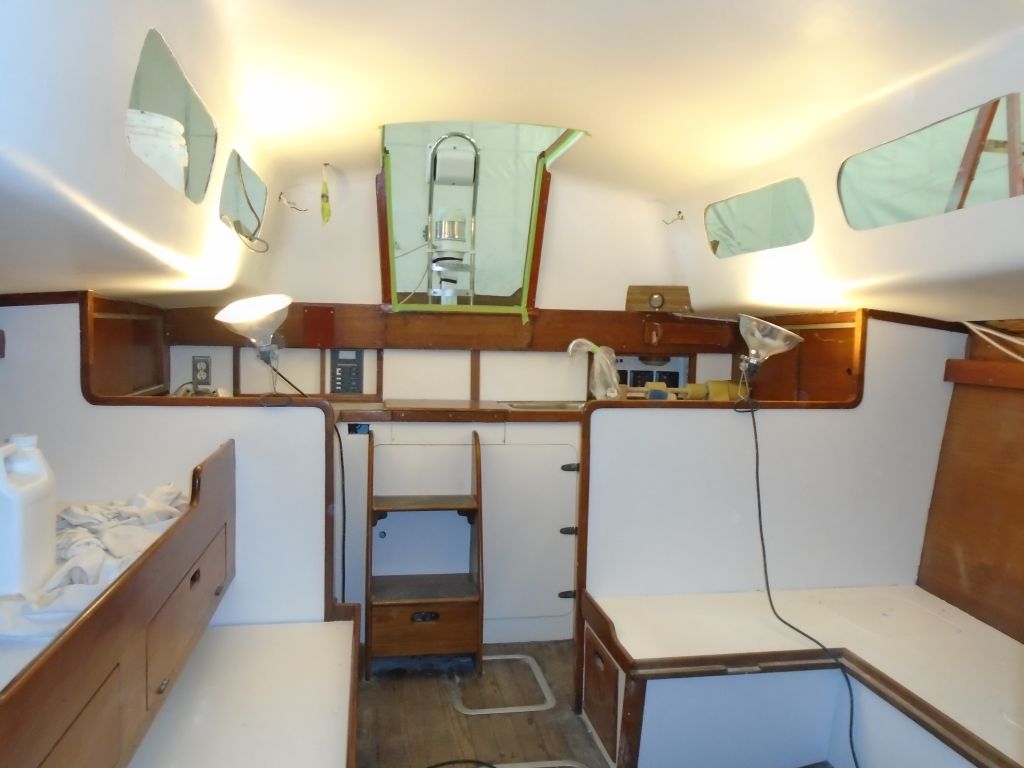
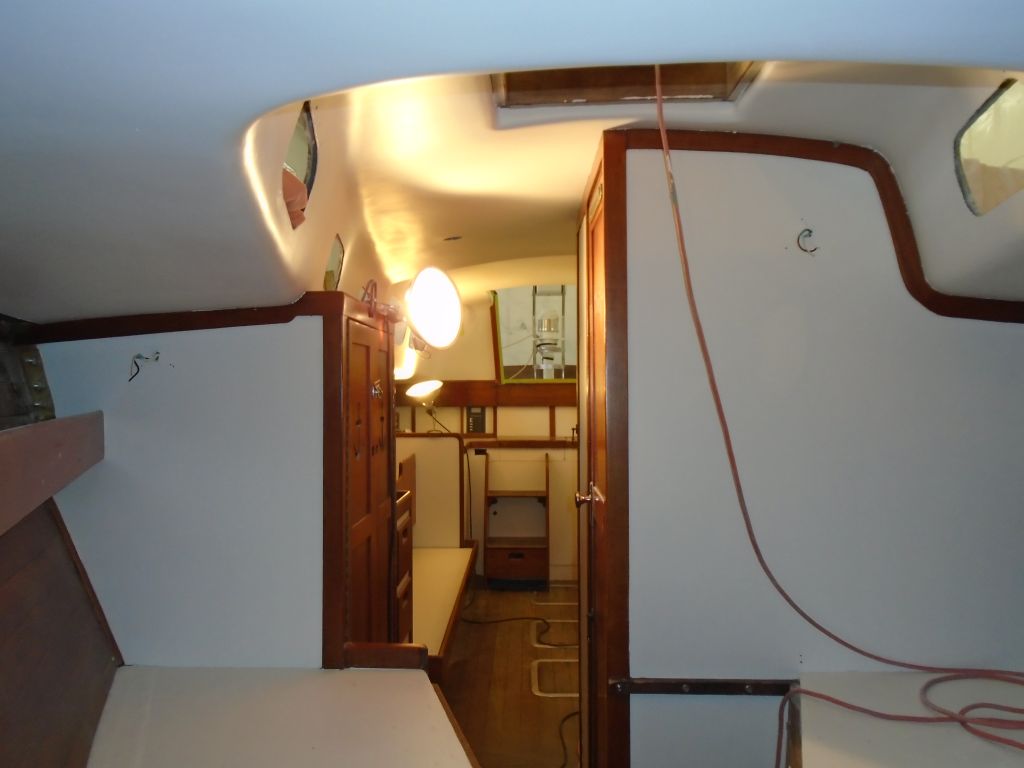
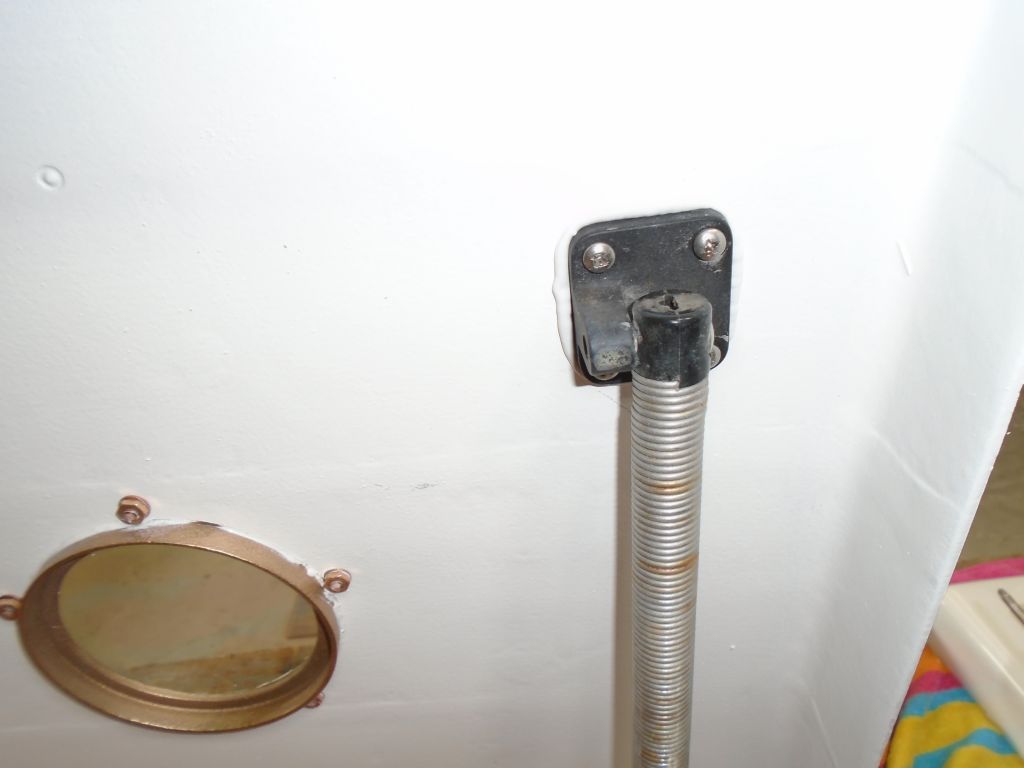
With the current round of interior painting complete, I removed the masking tape from all areas, and reinstalled the stove in the galley.
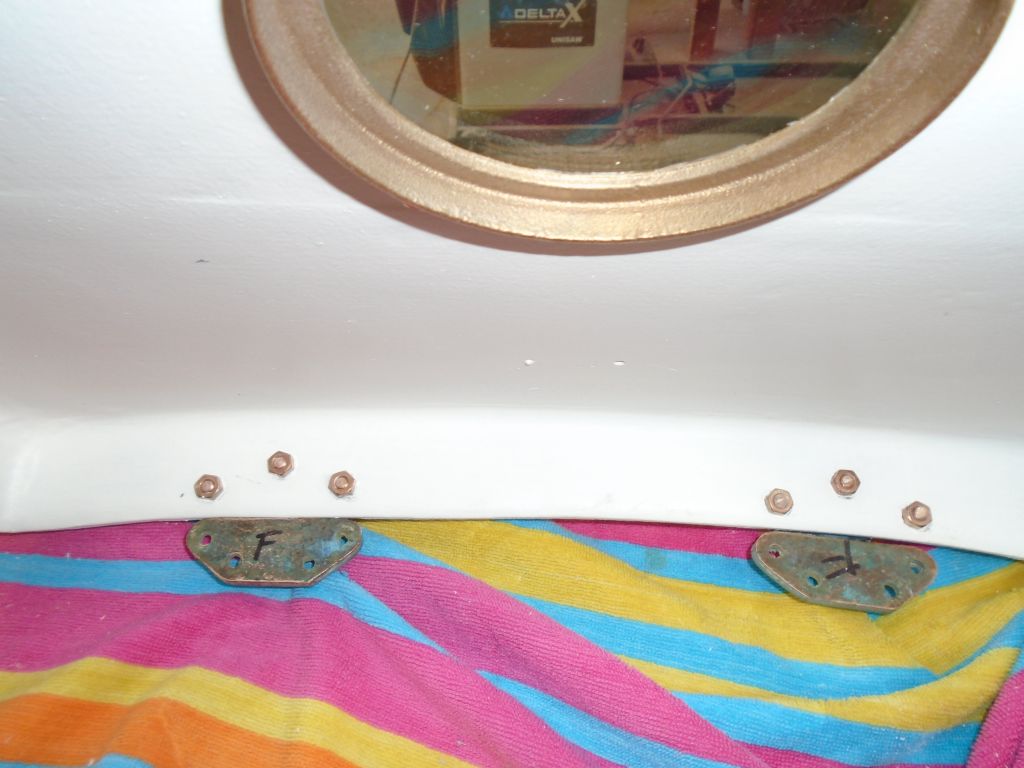
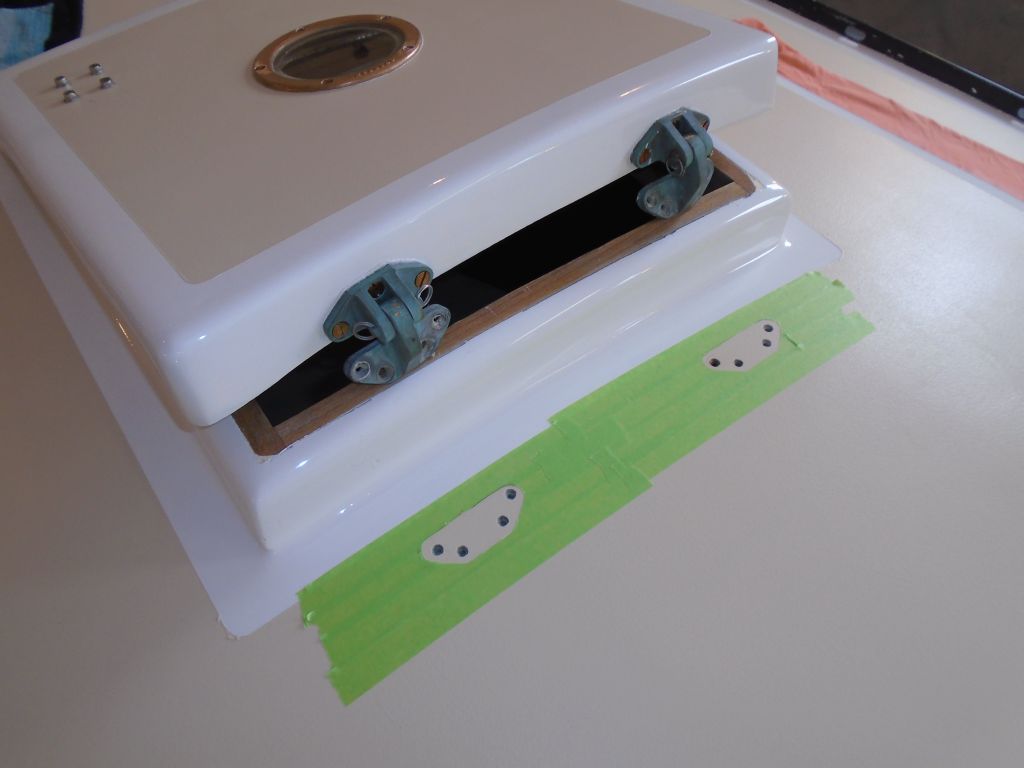
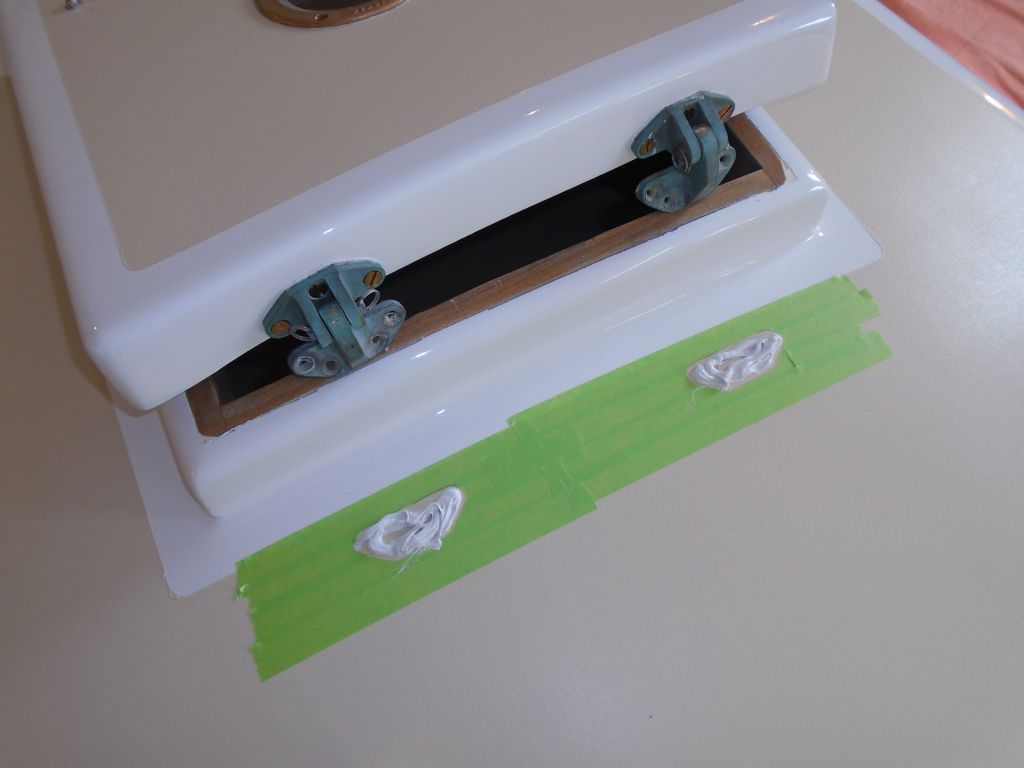
Back at the Dorade boxes, I trimmed the new fiberglass "patches" as needed to allow the deck rings to fit properly, then finished preparing the fastener holes for the fixing screws before installing the deck rings in a bed of sealant, using new bronze machine screws, nuts, and washers.

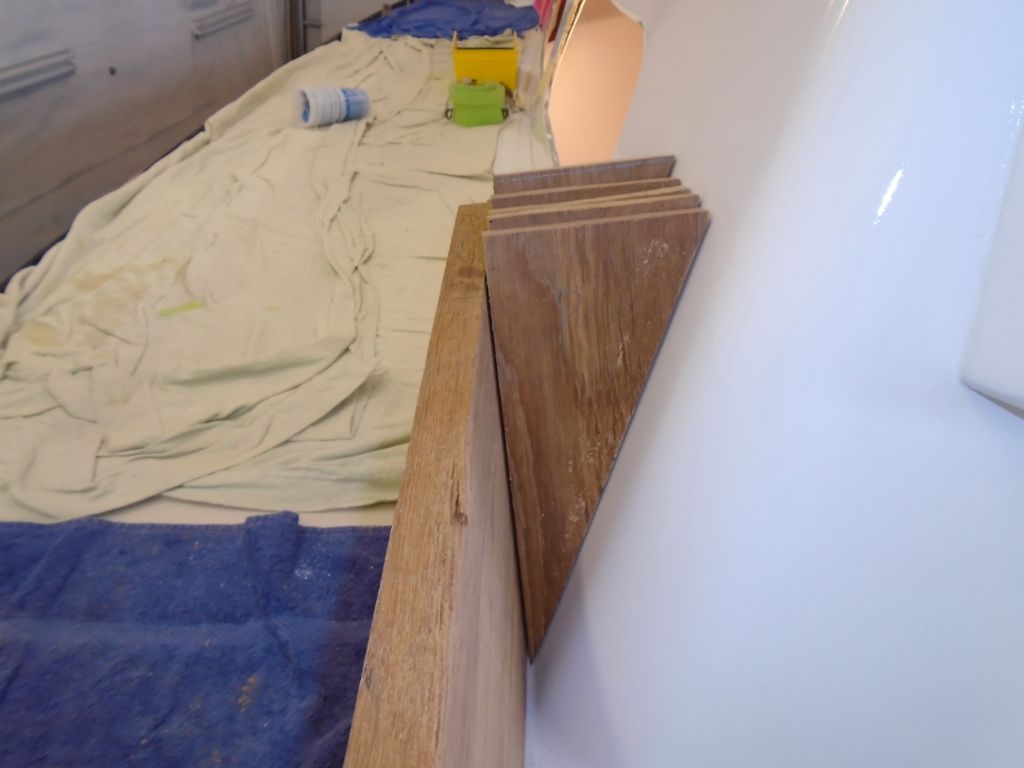
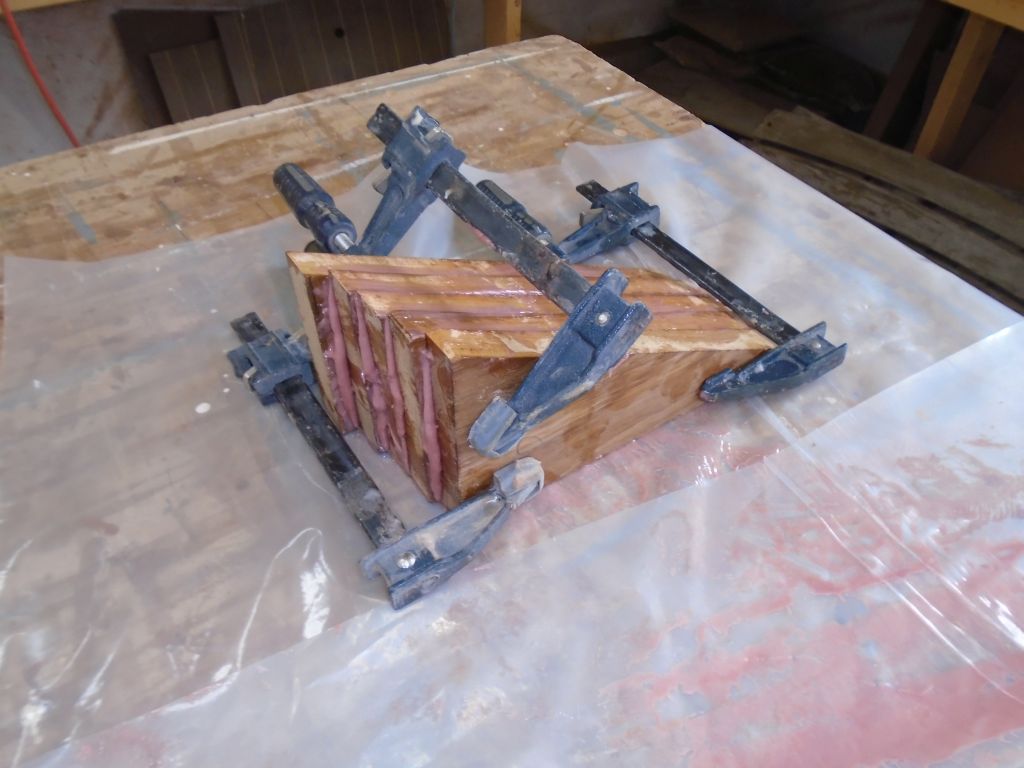
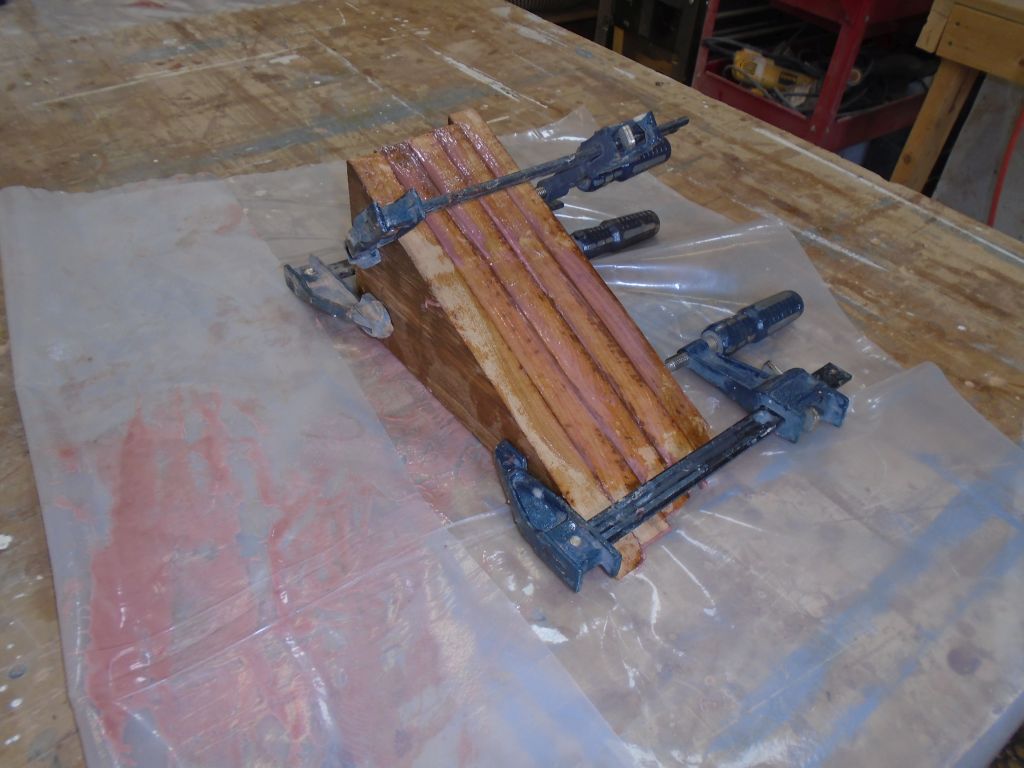
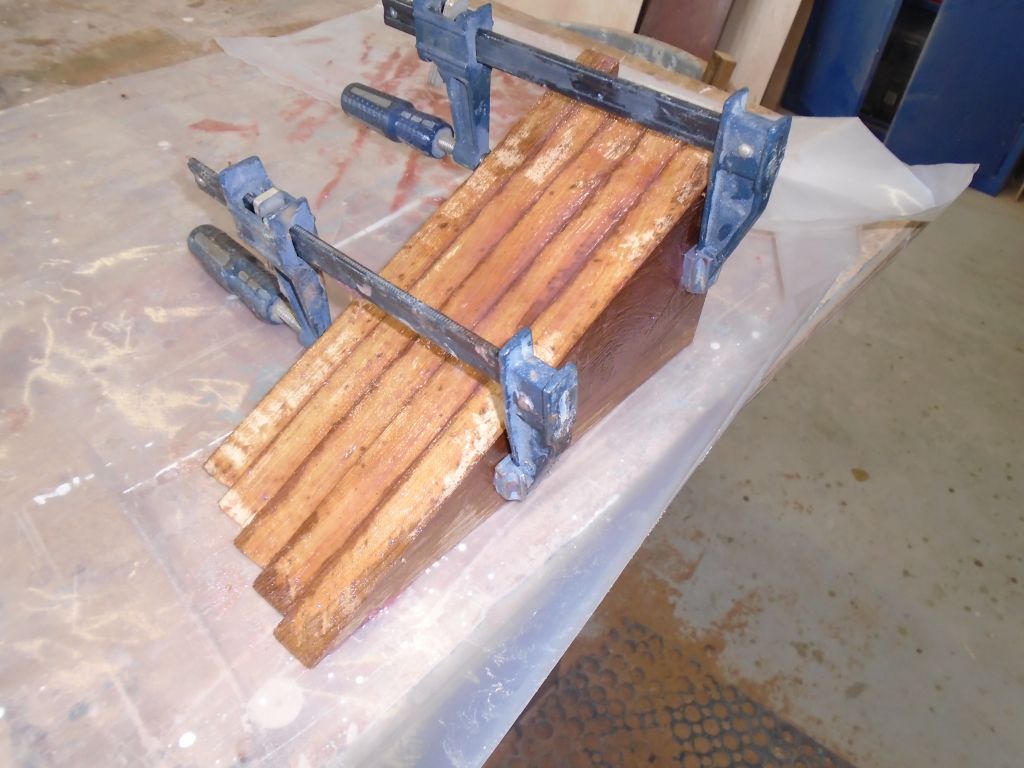
Using the cardboard templates I'd made for the coaming return blocks, I prepared for each side five triangular pieces of teak that I cut from the coaming board leftovers. The five pieces, each just under 1" thick, provided the requisite final dimension for the return blocks in order to allow the screws from inside the cabin to land within the blocks. I intentionally left the raw pieces oversized for later trimming.
Up on the boat, I test-fit the pieces on each side, numbering each piece and making a reference mark where they crossed the top of the coaming for alignment during glueing.
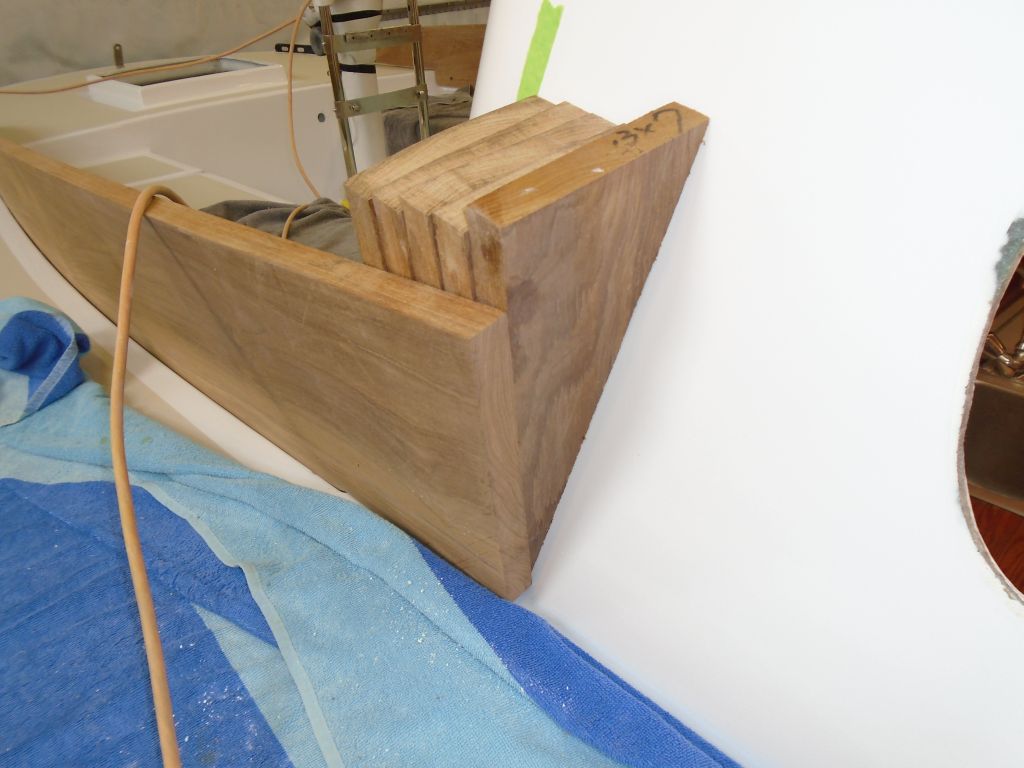
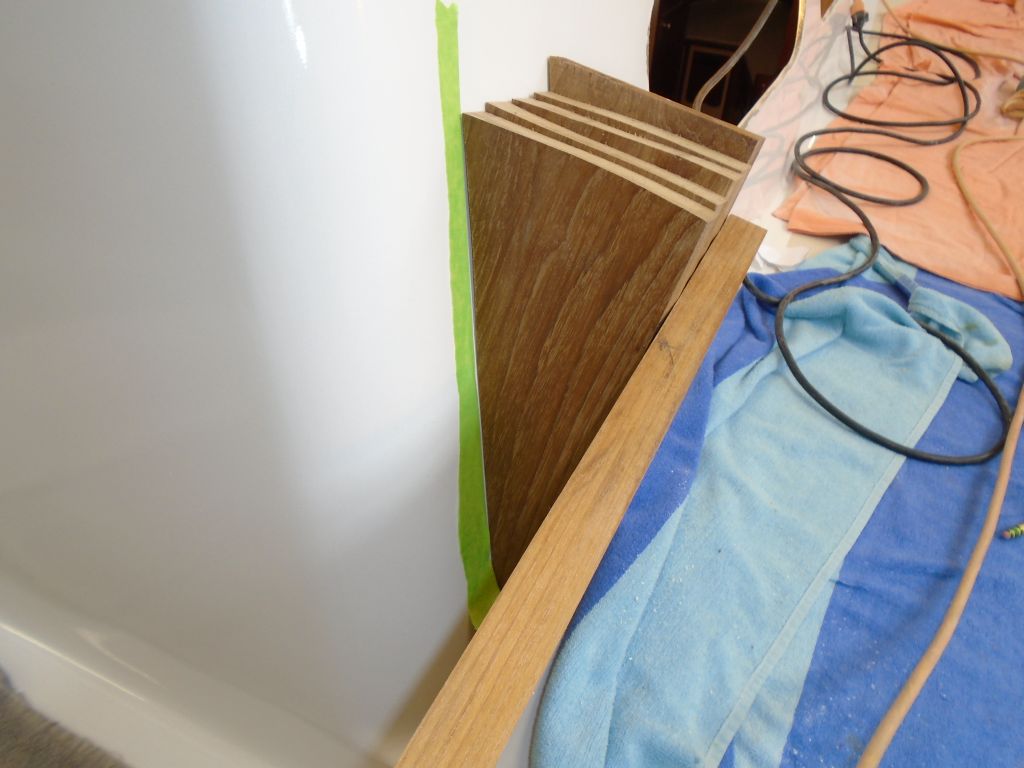
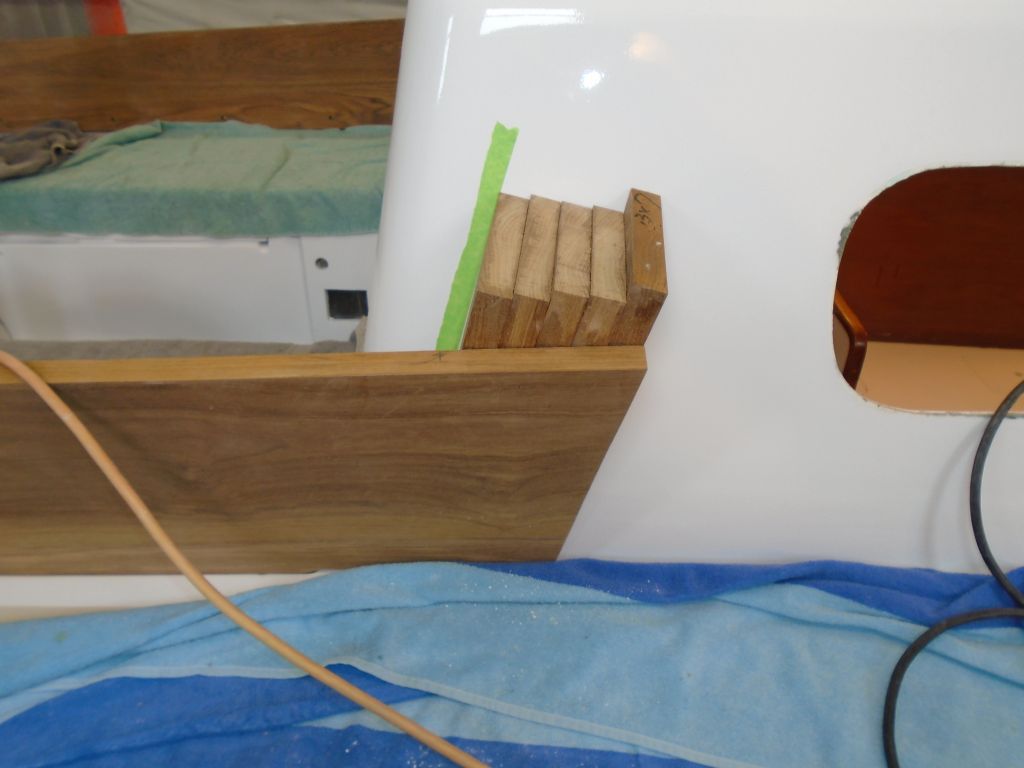
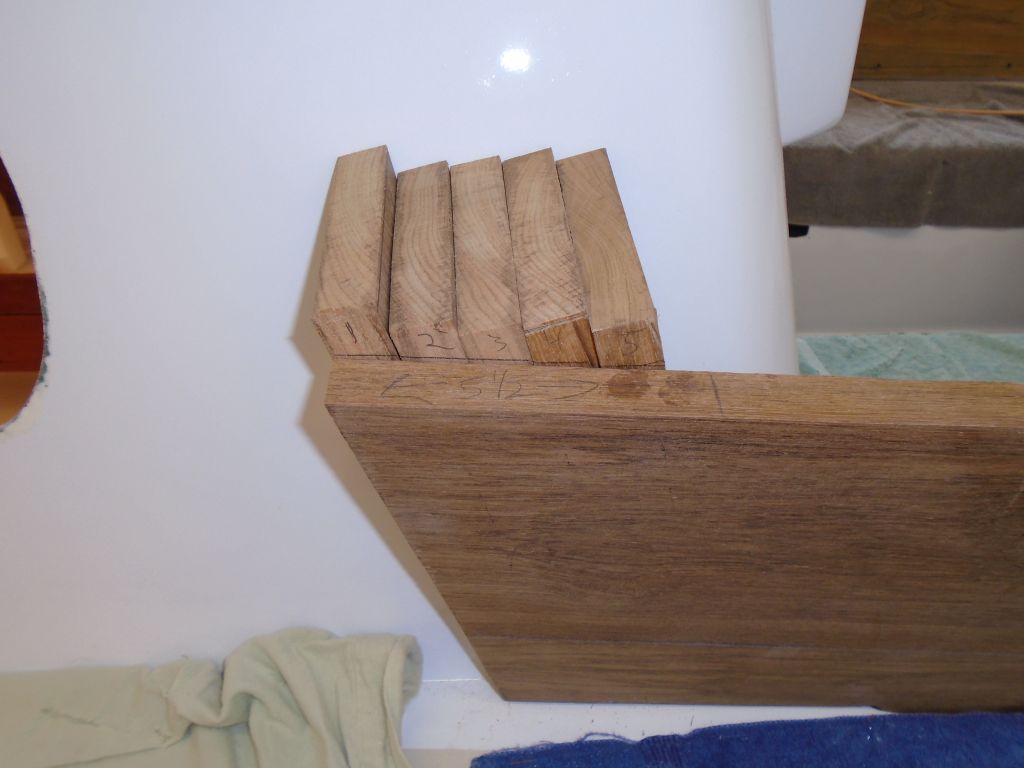
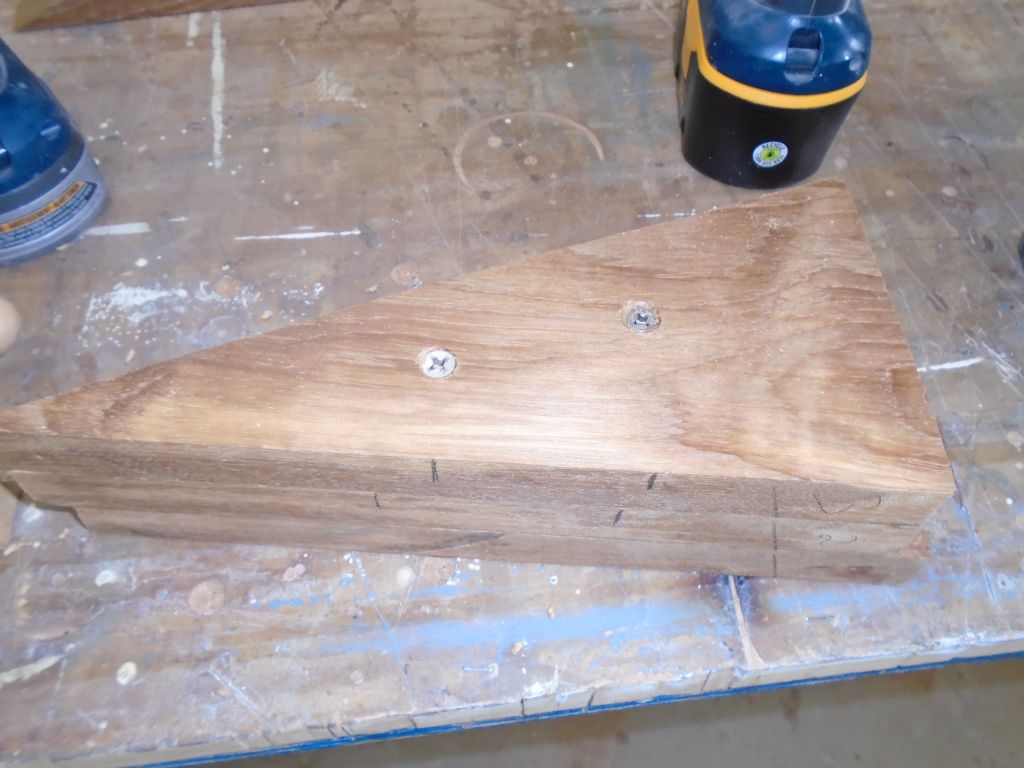
I'd never be able to properly clamp and align five laminations of angled teak covered in slippery epoxy, so to help out the process I used pairs of screws--all of which would be hidden within the finished lamination--to help secure four of the five layers together, as much to maintain alignment as anything. Then, with epoxy thickened as necessary for the job, I glued each blank together. On the first one, I found a need to add one more screw, in the waste area at the top of the final piece so it'd not be visible in the finished product, as even the one loose piece wanted to slip and slide out of alignment otherwise. I set the blanks aside to cure.

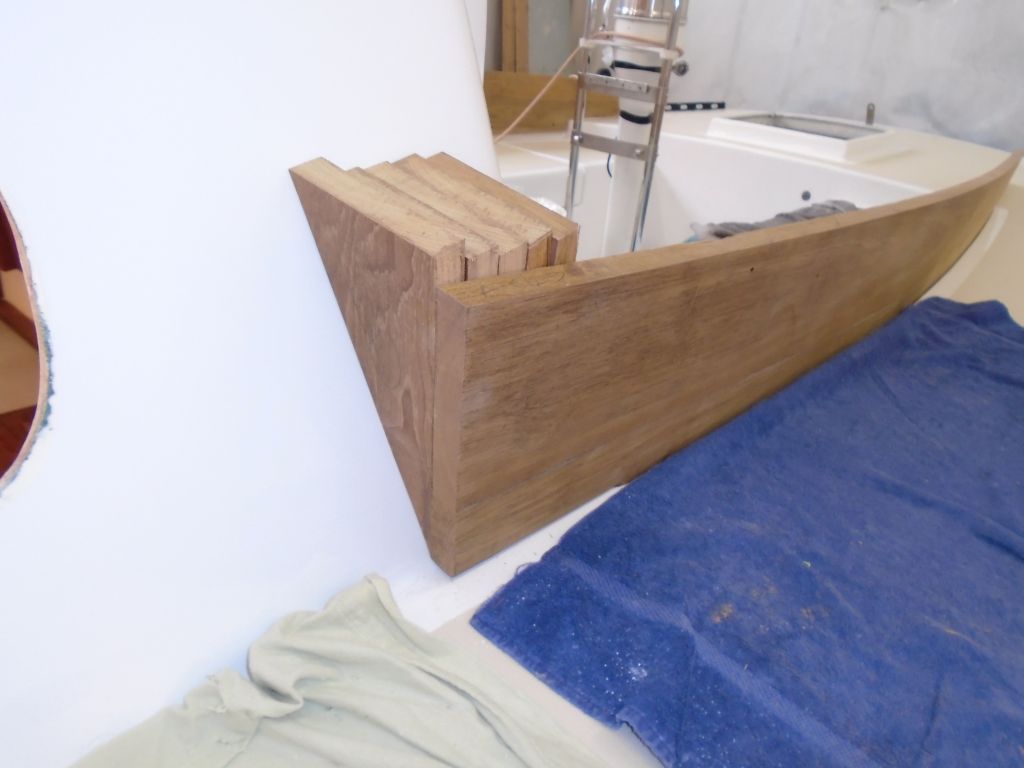
From a teak board the same width as the original after coaming, I cut a new coaming blank, using the old as a guide for the compound angles at the end. I intentionally started with a blank that was too long, and snuck up on the final length with several trips back and forth to the boat to check, and incremental cuts each time, till it fit properly in the space. Once I had the final length cut, I used the old coaming to lay out the profile of the top edge, and made that cut with a jigsaw. I'd clean up, sand, and edge-mill the aft coaming later, at the same time as the side coamings.
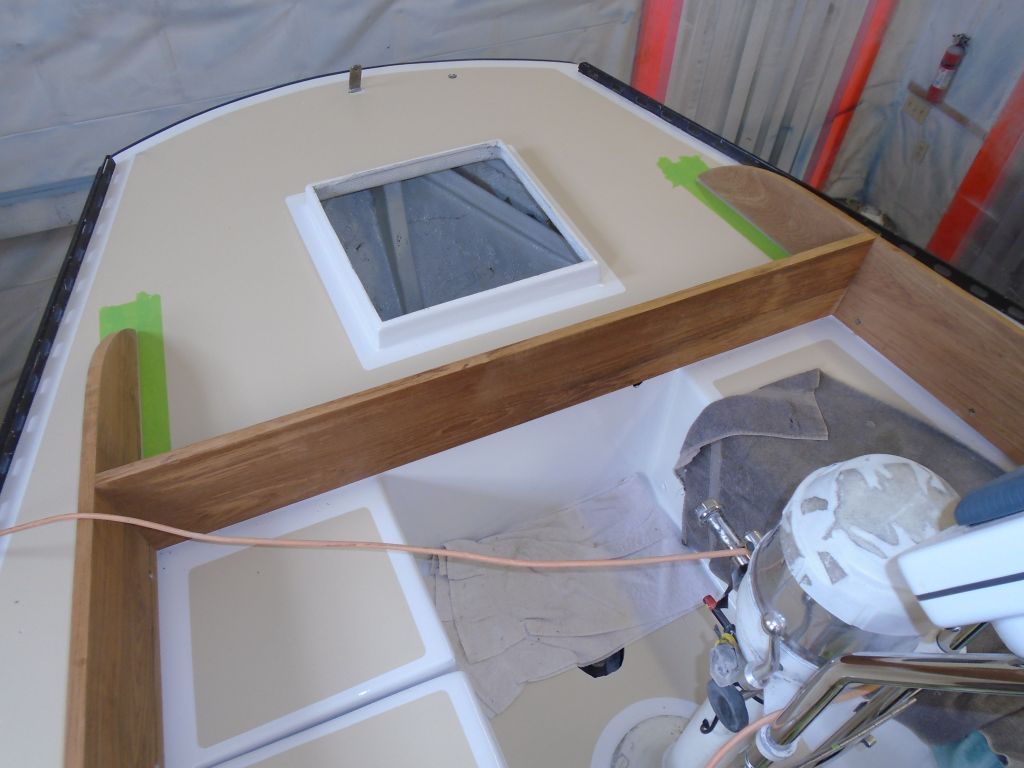
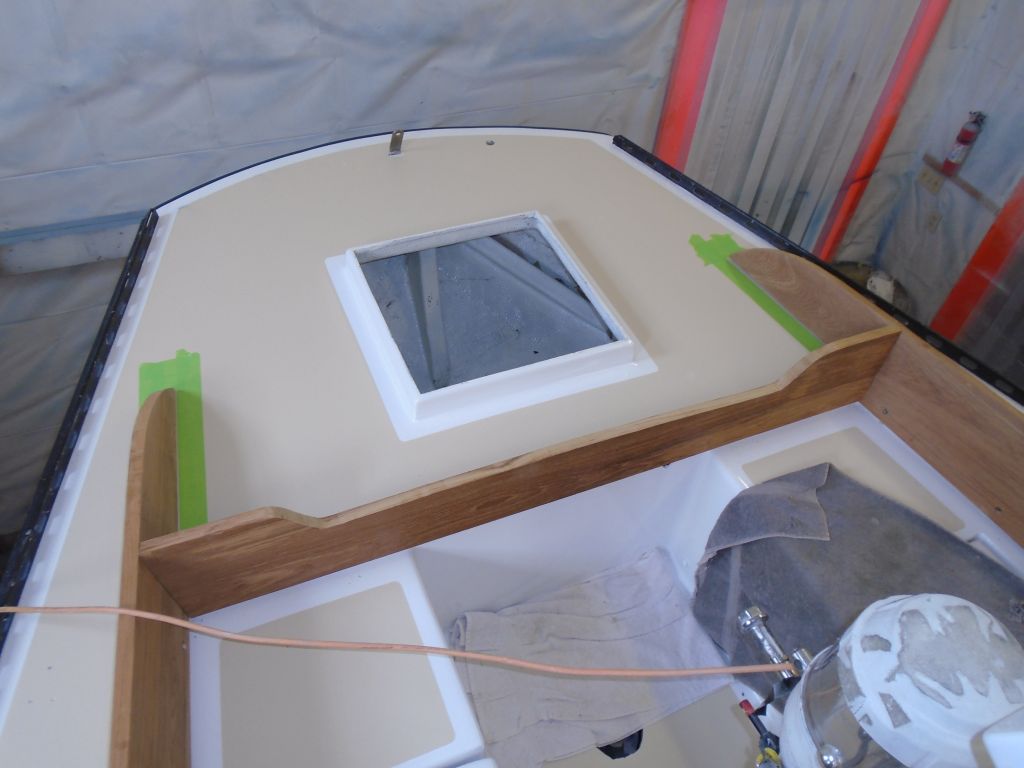
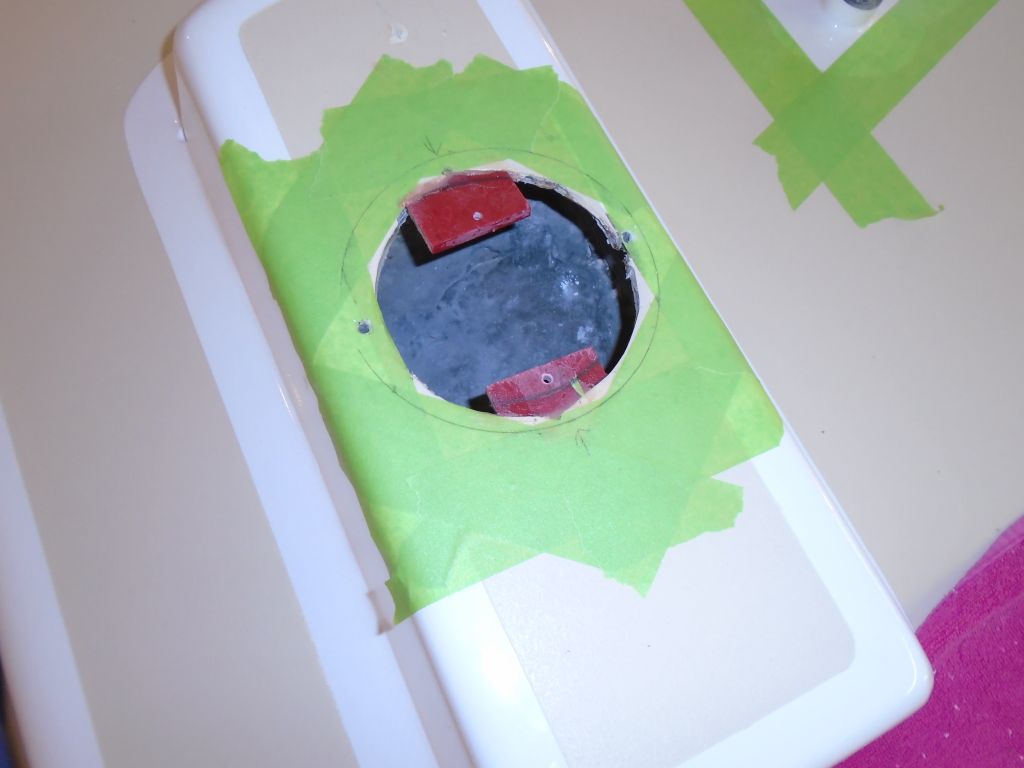
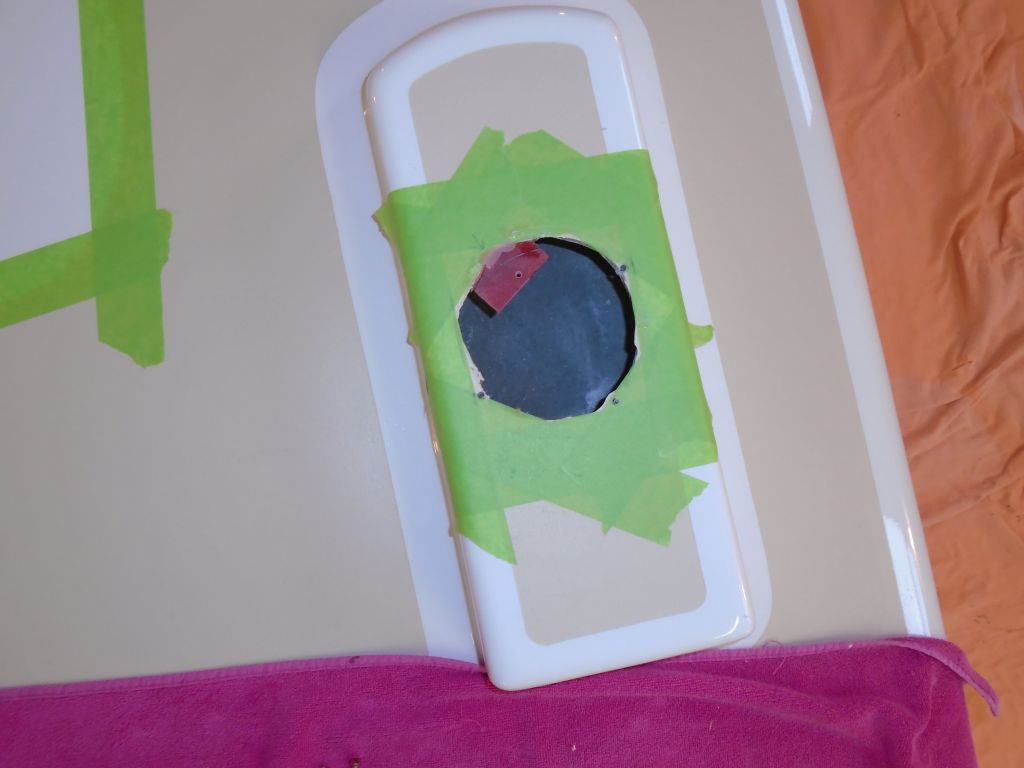
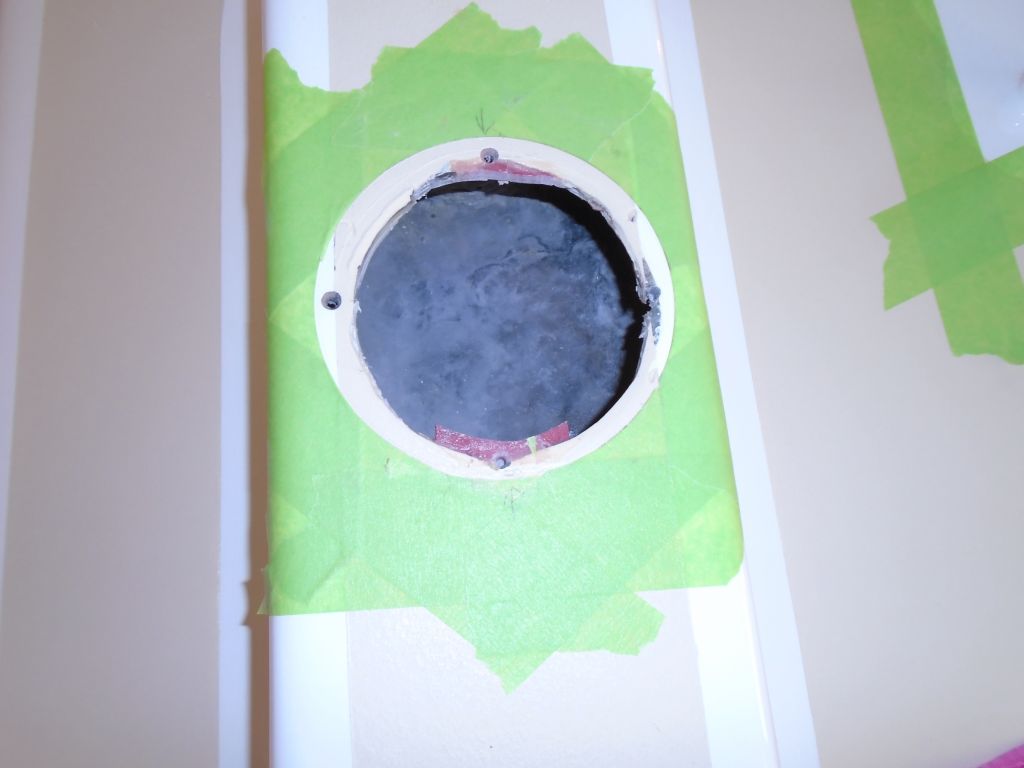
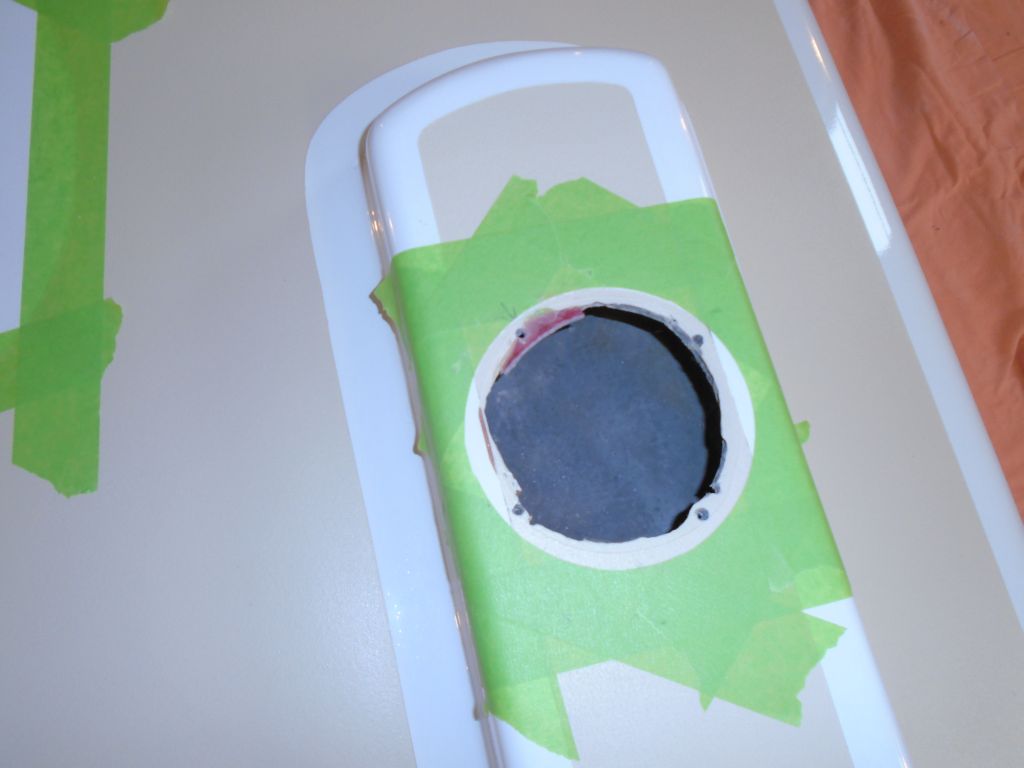
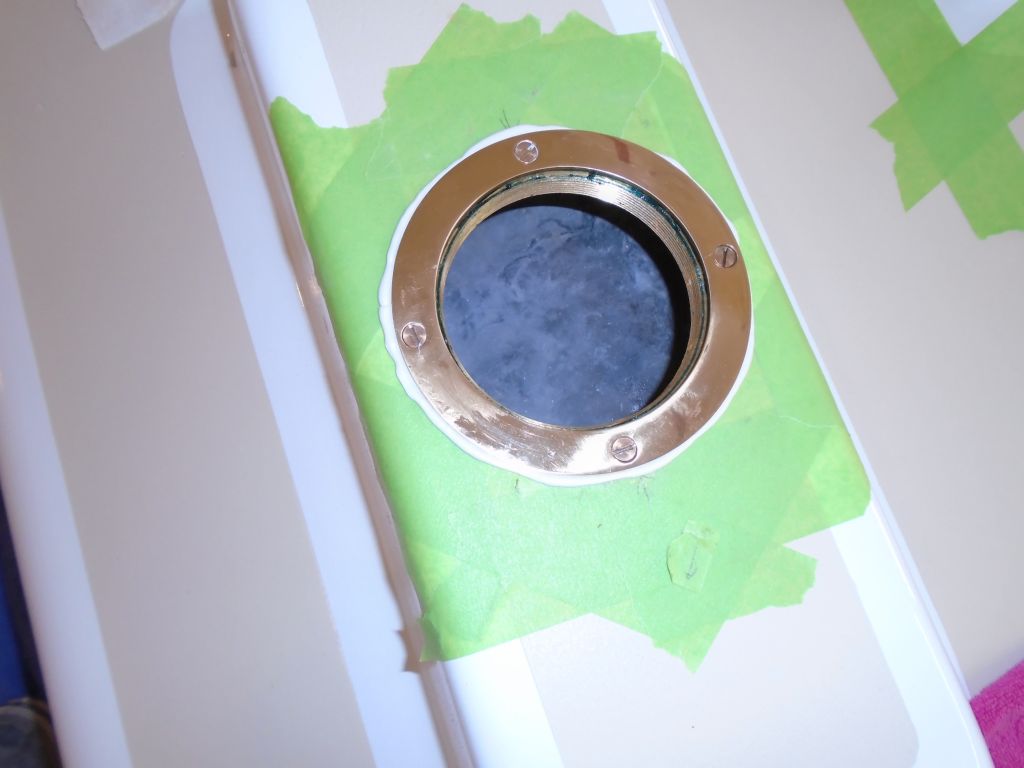
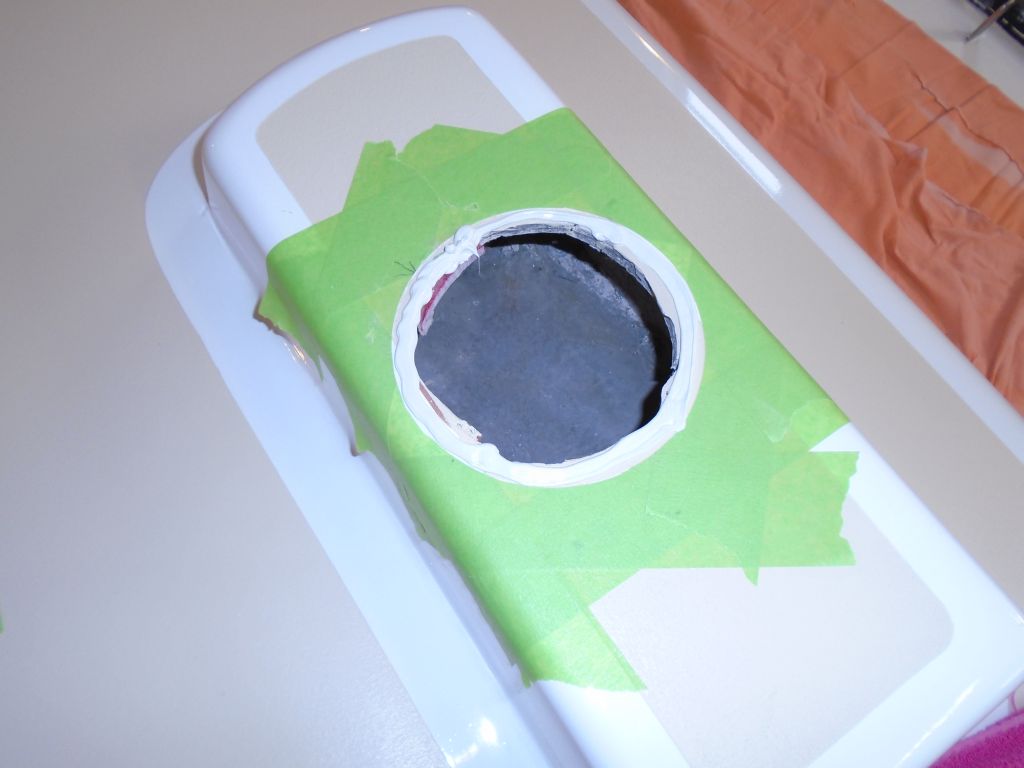
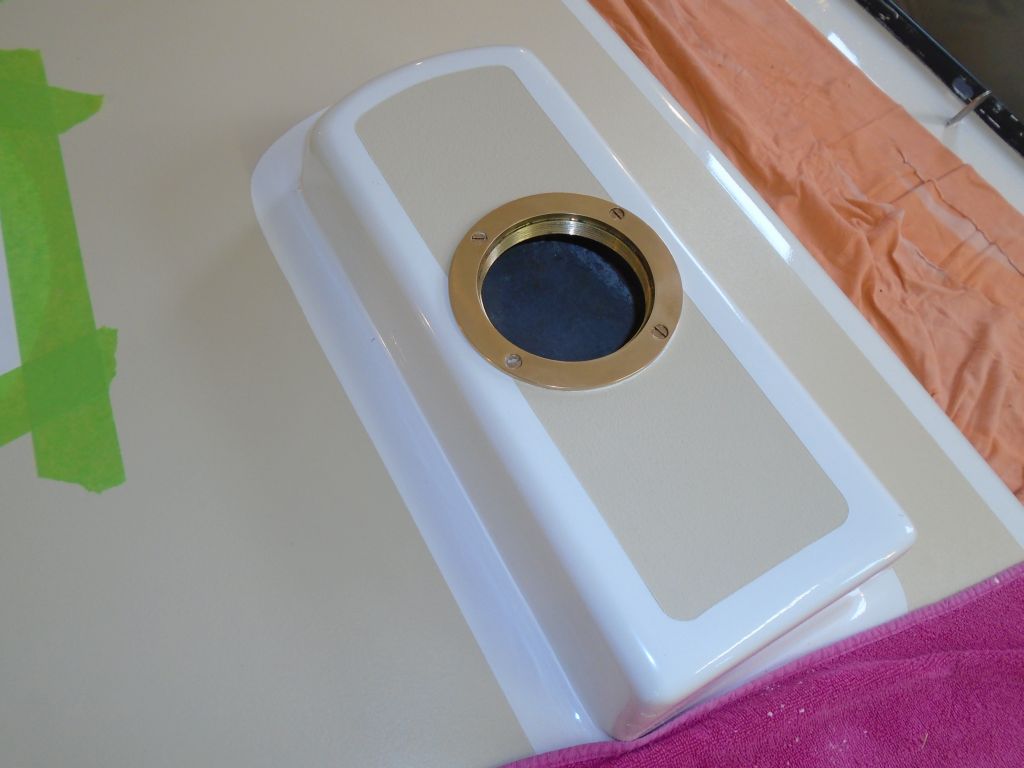
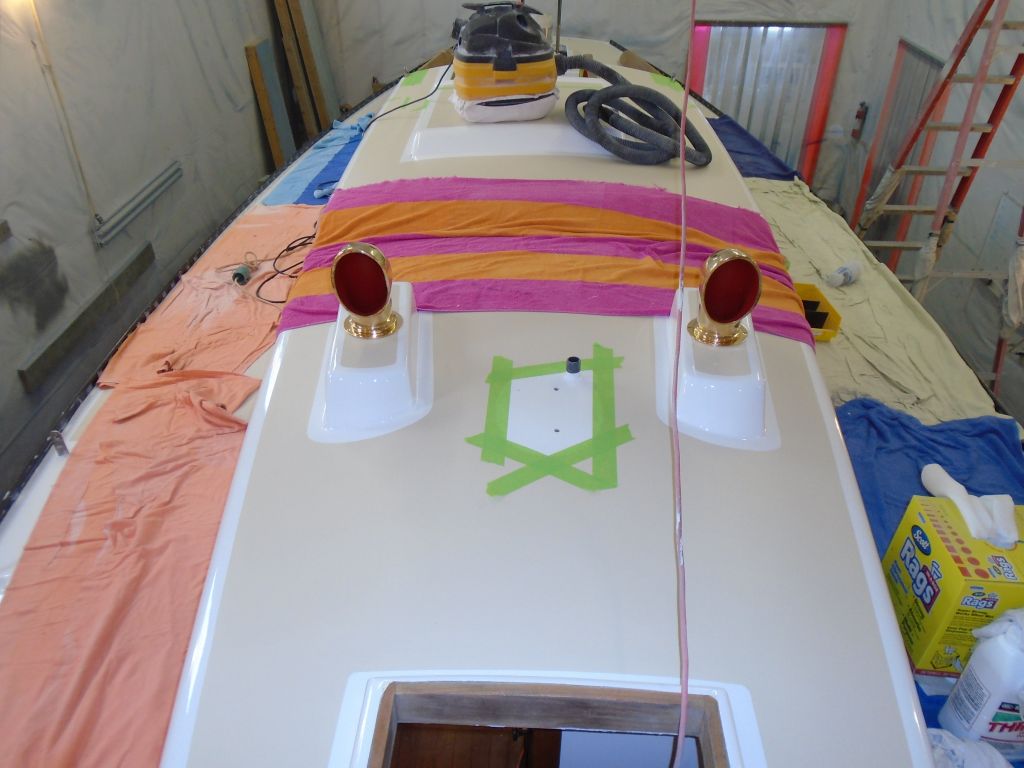
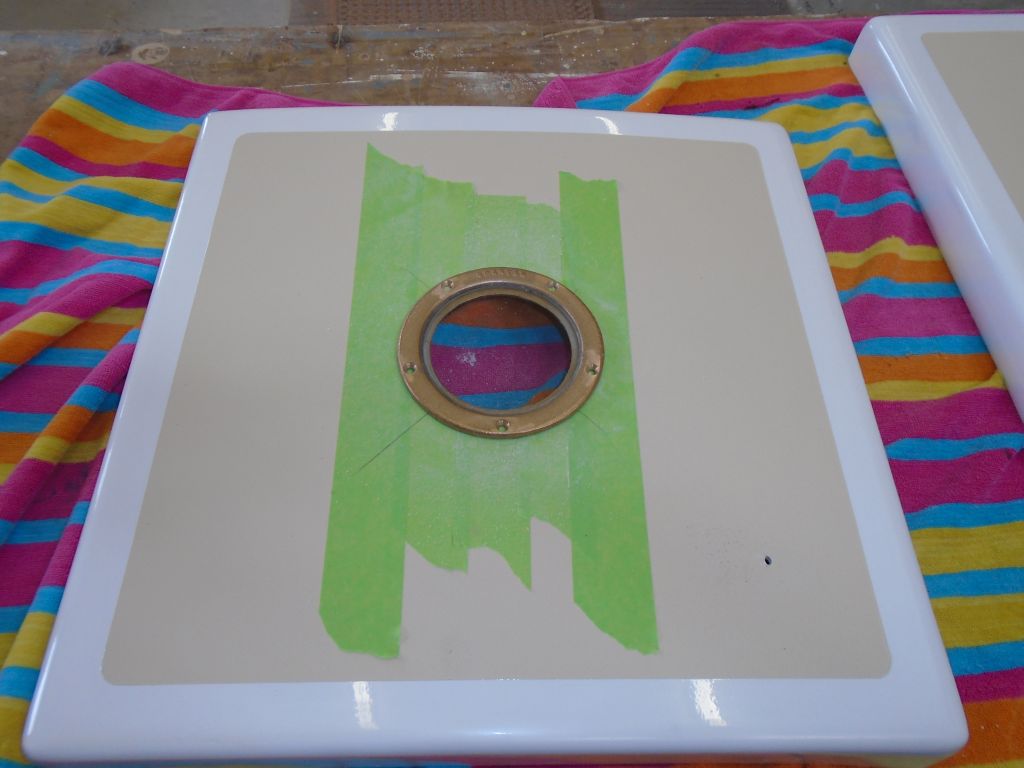
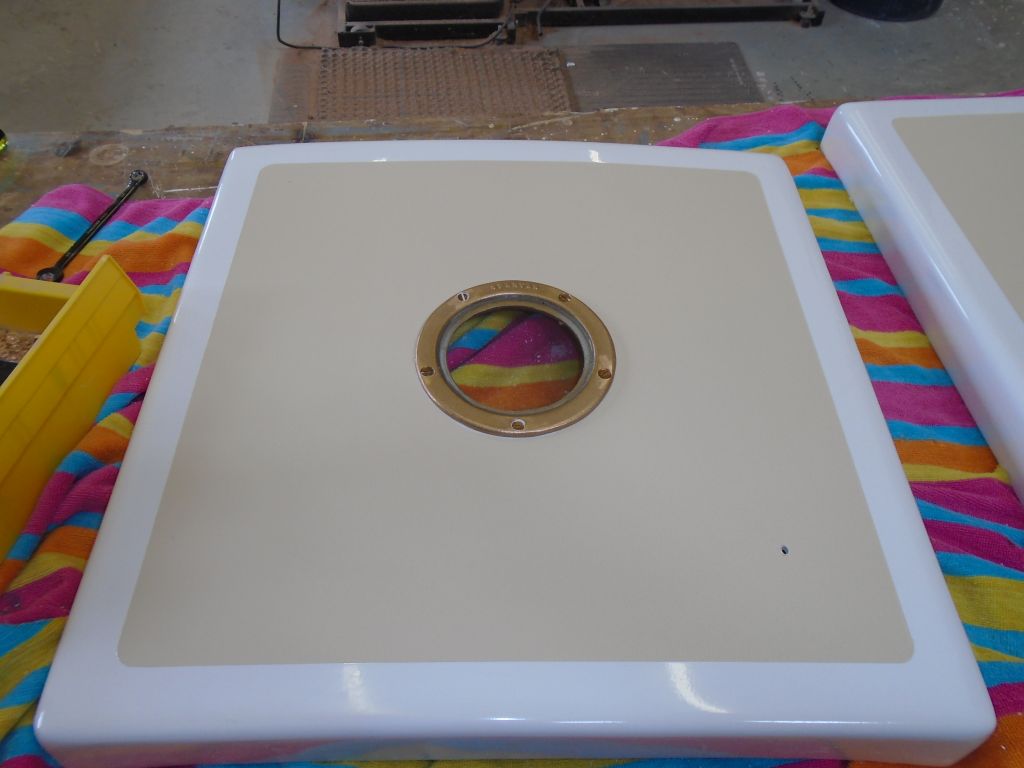
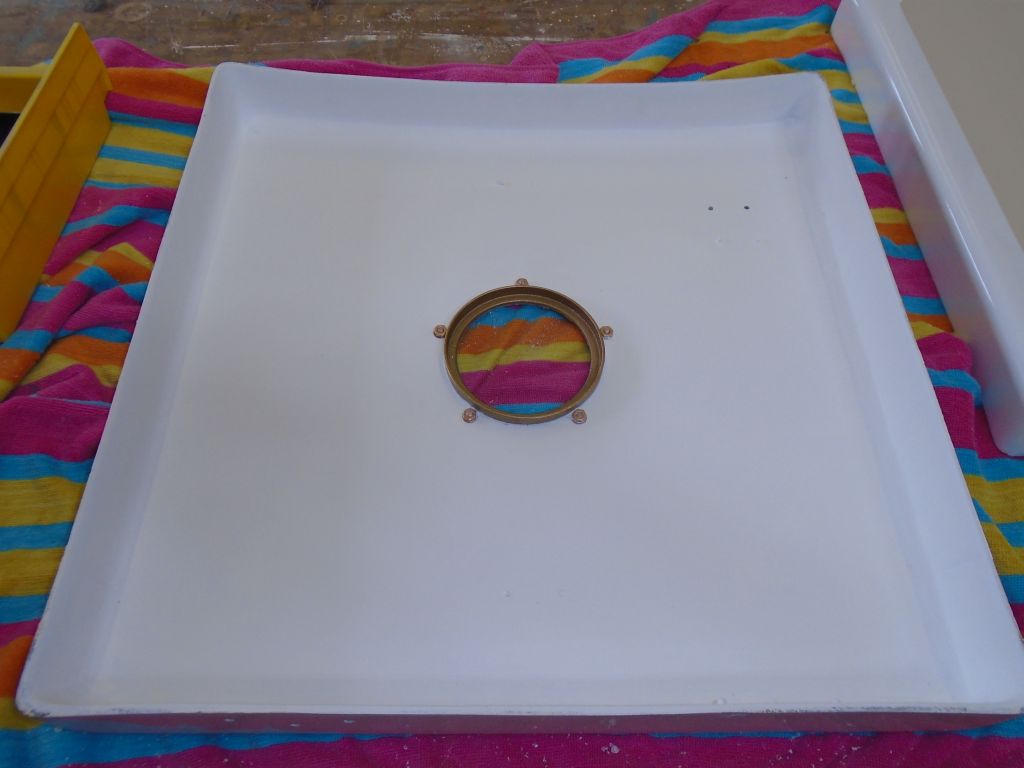
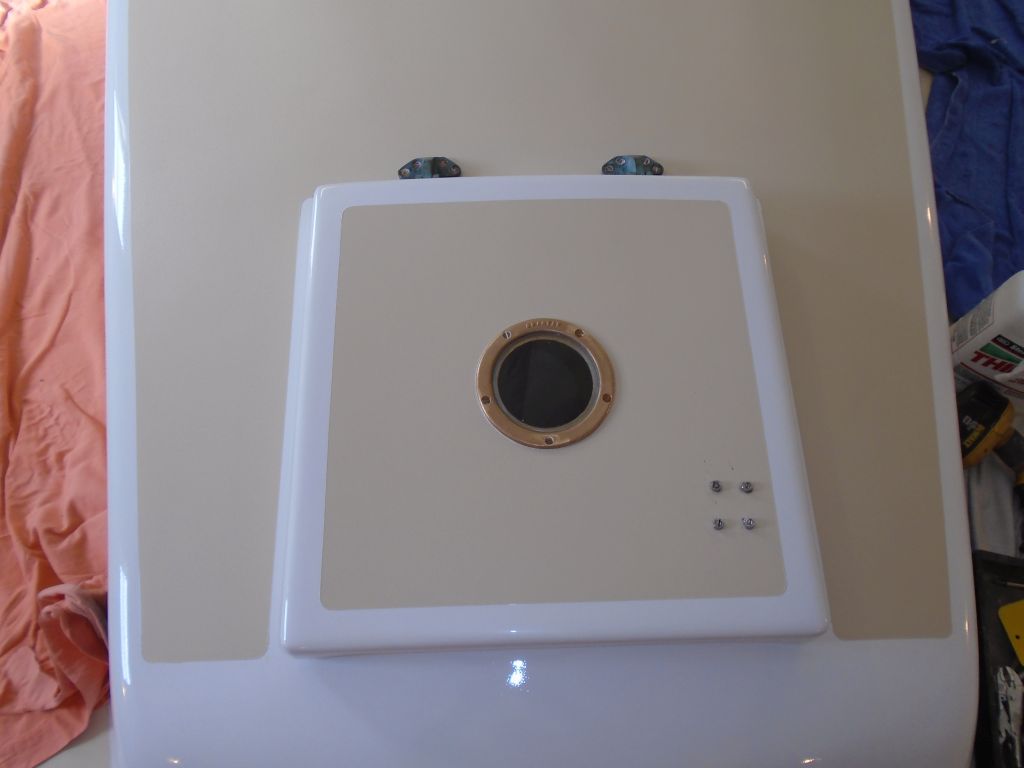
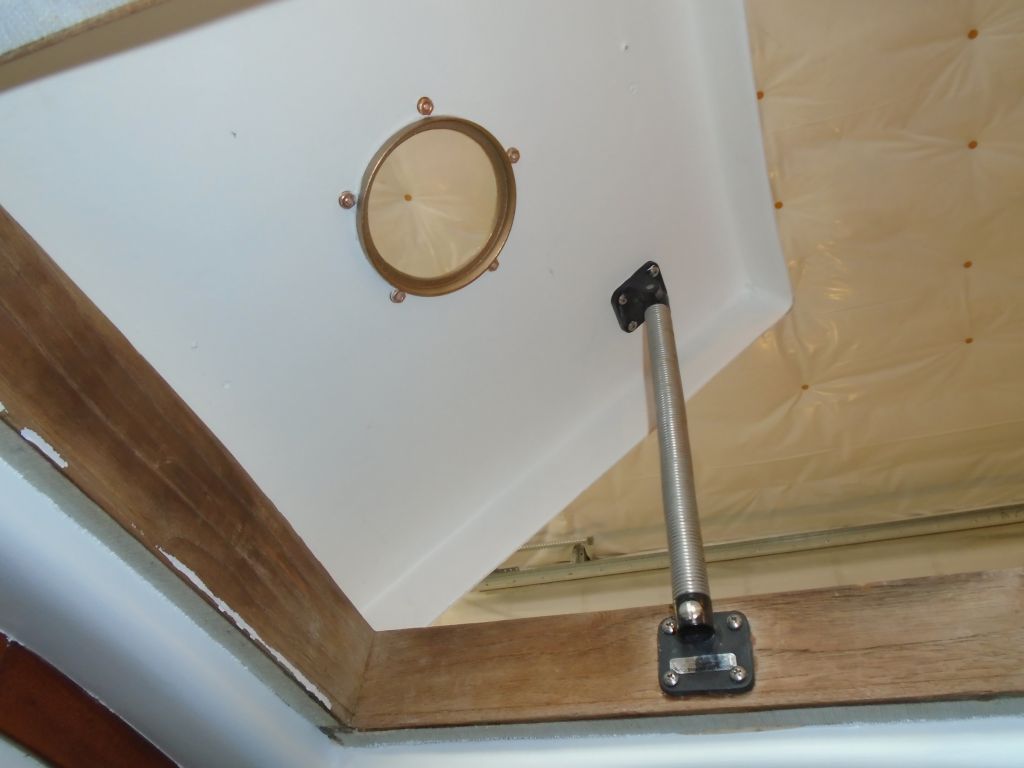
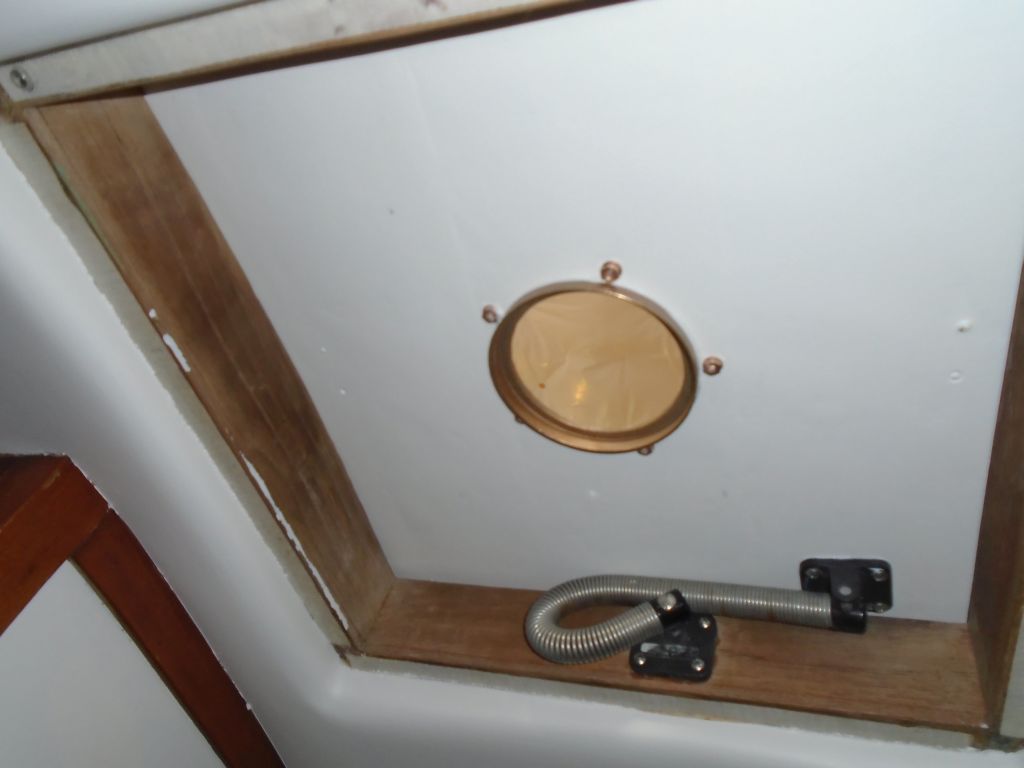
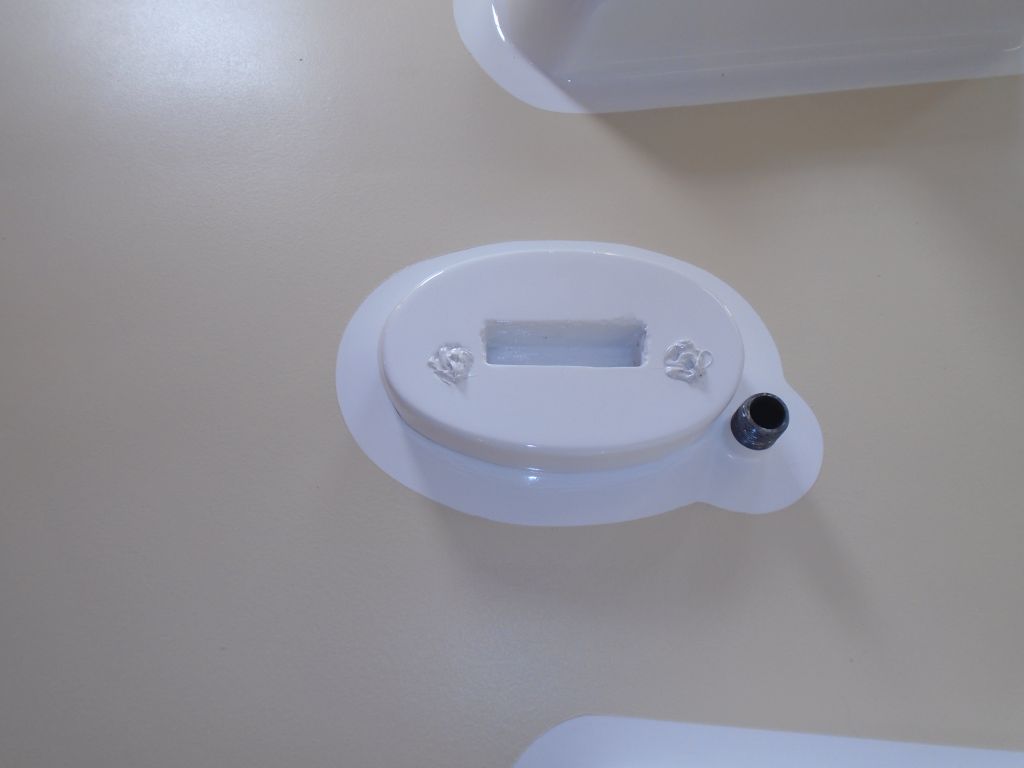
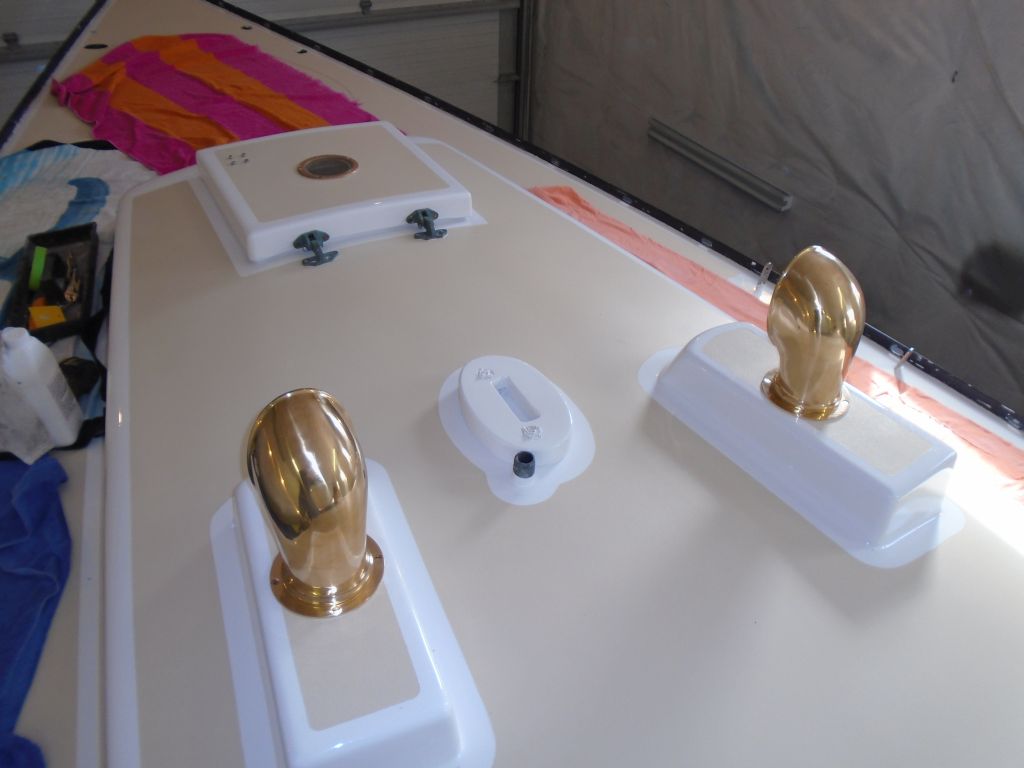
The newly-painted forward hatch looked a lot better than its original raw fiberglass self, but without the translucence provided by the unfinished fiberglass it would tend to make the forward cabin overly dark. To bring in some real light to the space, I installed a round bronze deadlight in the center of the hatch, which looked attractive and likely would provide more light than the original configuration despite its small size.
To install the deadlight, after marking the center of the hatch and masking off, I bored a 4.75" hole with a hole saw, which fit the deadlight perfectly. Then, I installed the fitting with sealant and bronze machine screws/nuts/washers.
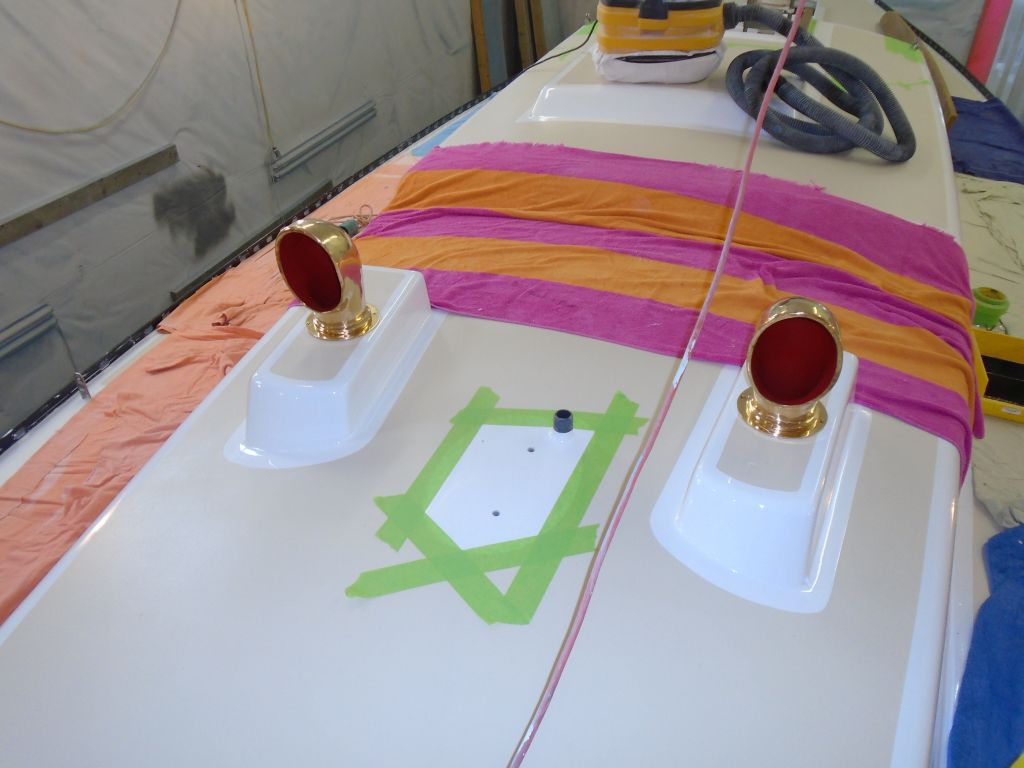
Next, I reinstalled the bronze hatch hinges with new bronze fasteners, along with the spring that would hold the hatch in the open position.
With the hatch positioned properly over its opening on the boat, I masked off and marked the locations for the hinge fasteners in the deck. With no access to this area from beneath, these would be blind fasteners, so I drilled and tapped the holes for machine screw threads, along with my habitual little countersink at the top to provide an area for extra sealant right at the fastener penetration. During the recore and related work, I'd addressed these and most other fastener locations on deck, preparing them in advance for core isolation, so there was no need for these additional steps now.
Thusly prepared, I installed the hinges with sealant and new bronze fasteners.
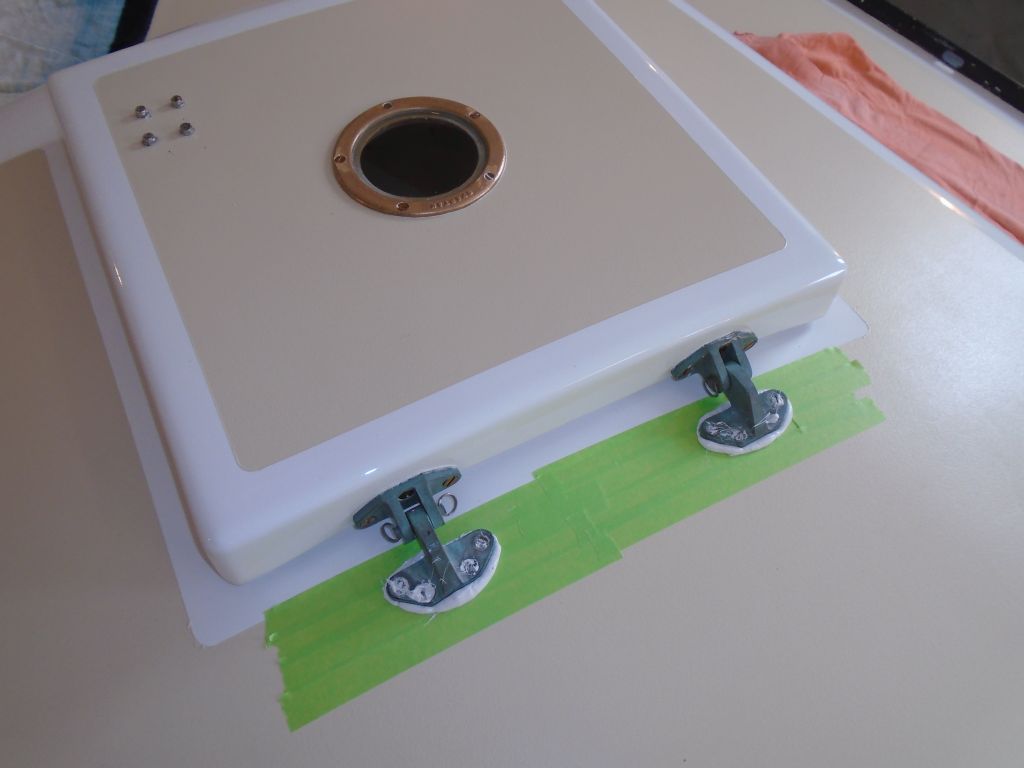
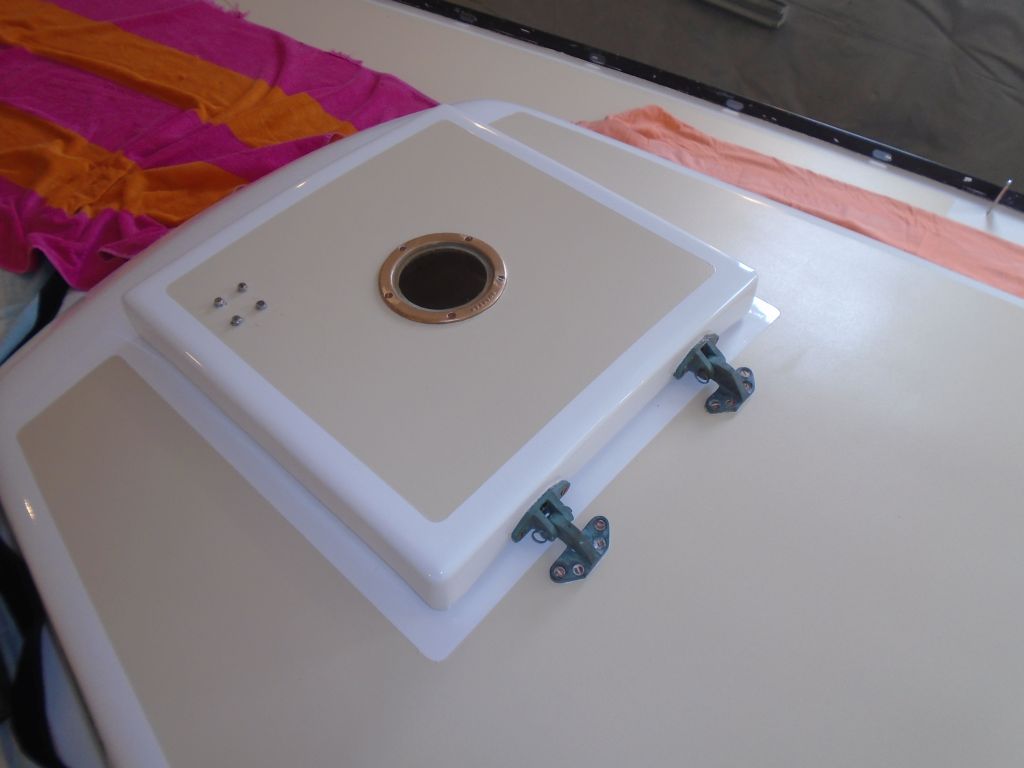
Afterwards, I installed the bottom fitting for the spring back in its original location. Later, I'd add some latching hardware from within to secure the hatch properly, but first I had to find the right thing.

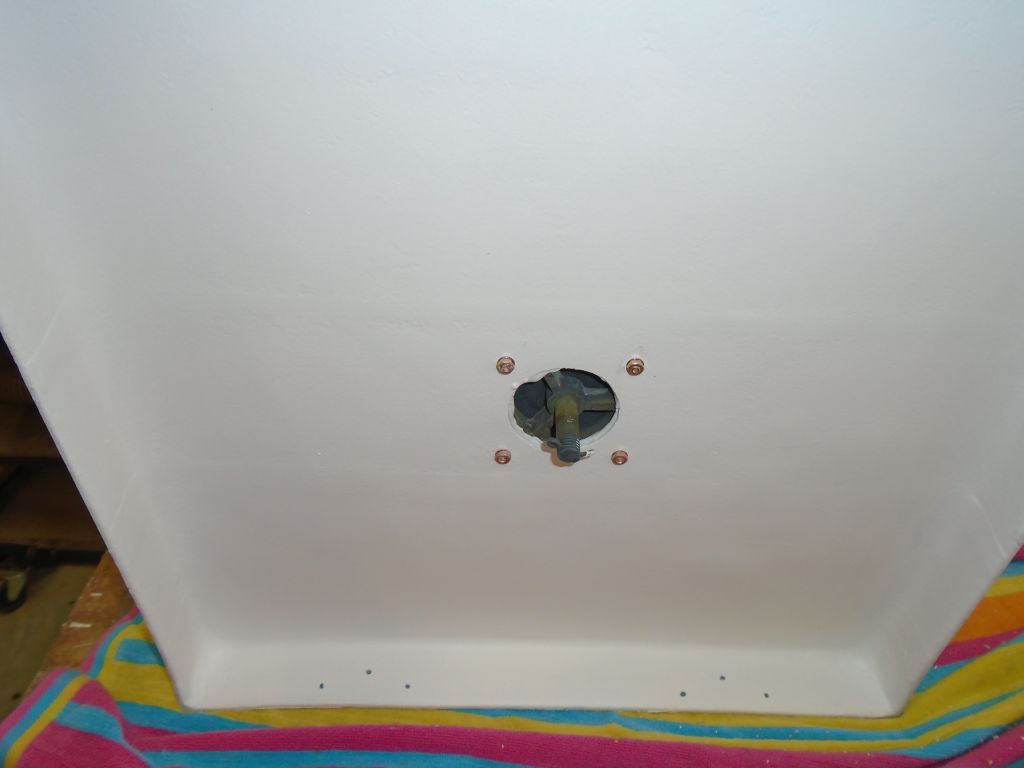
Next, I installed the mast step with new stainless lags and plenty of sealant. Once I'd cleaned up, I filled the recesses over the lags with more sealant, leaving it proud of the surface for now for later trimming once the sealant cured.
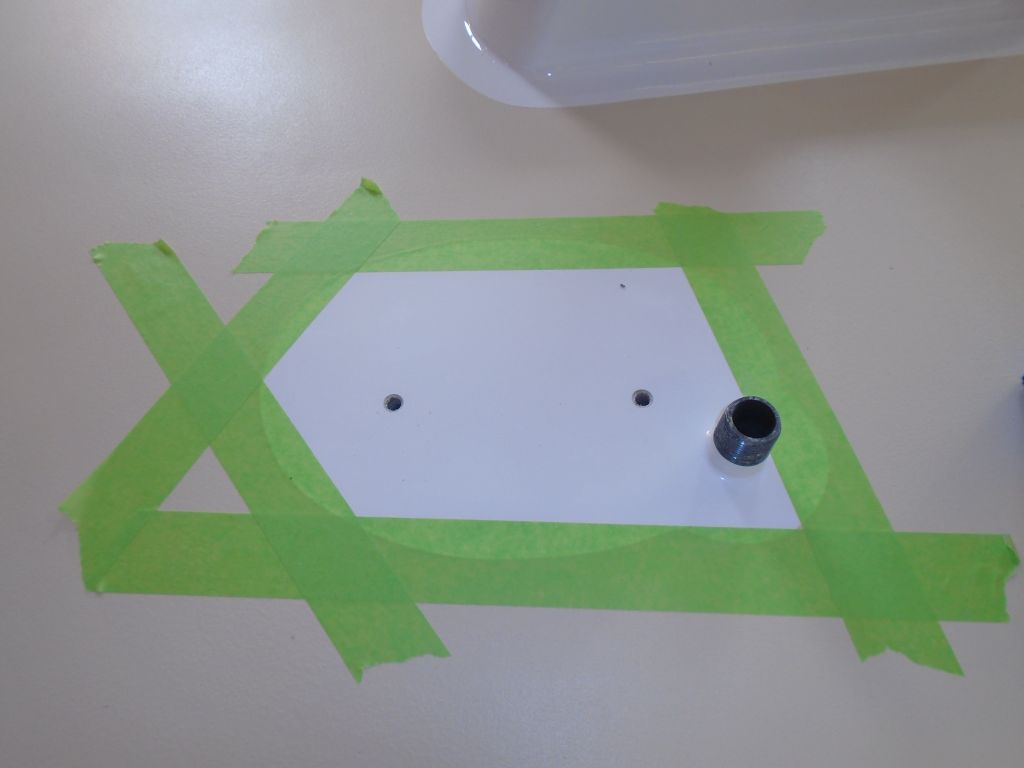
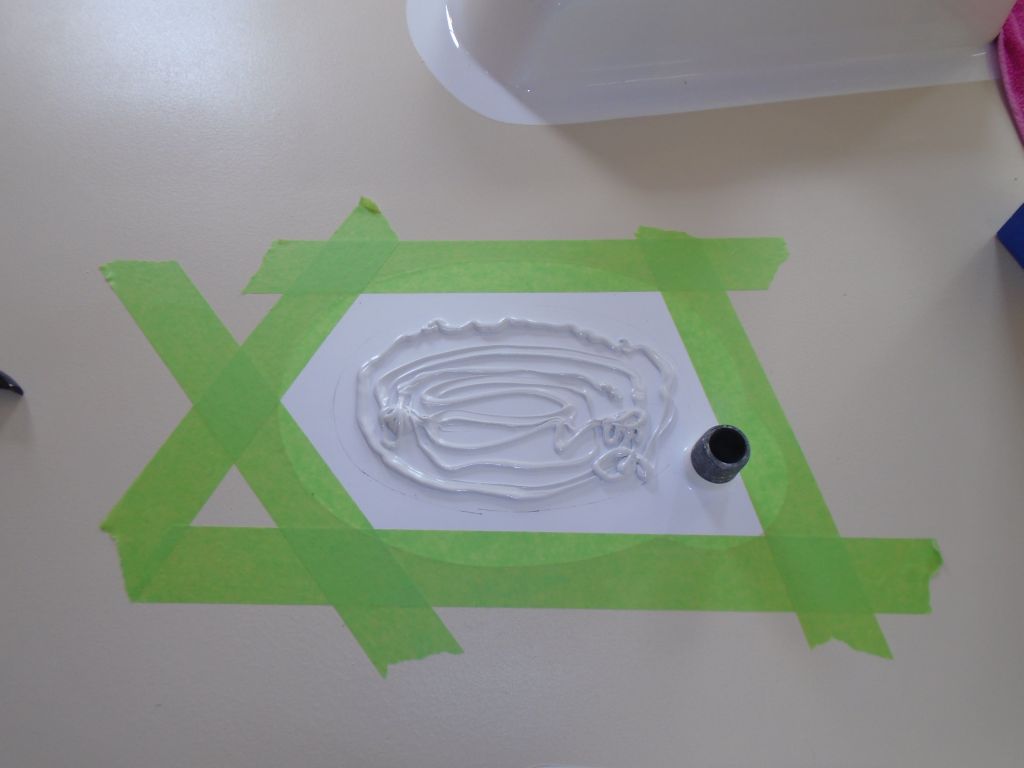
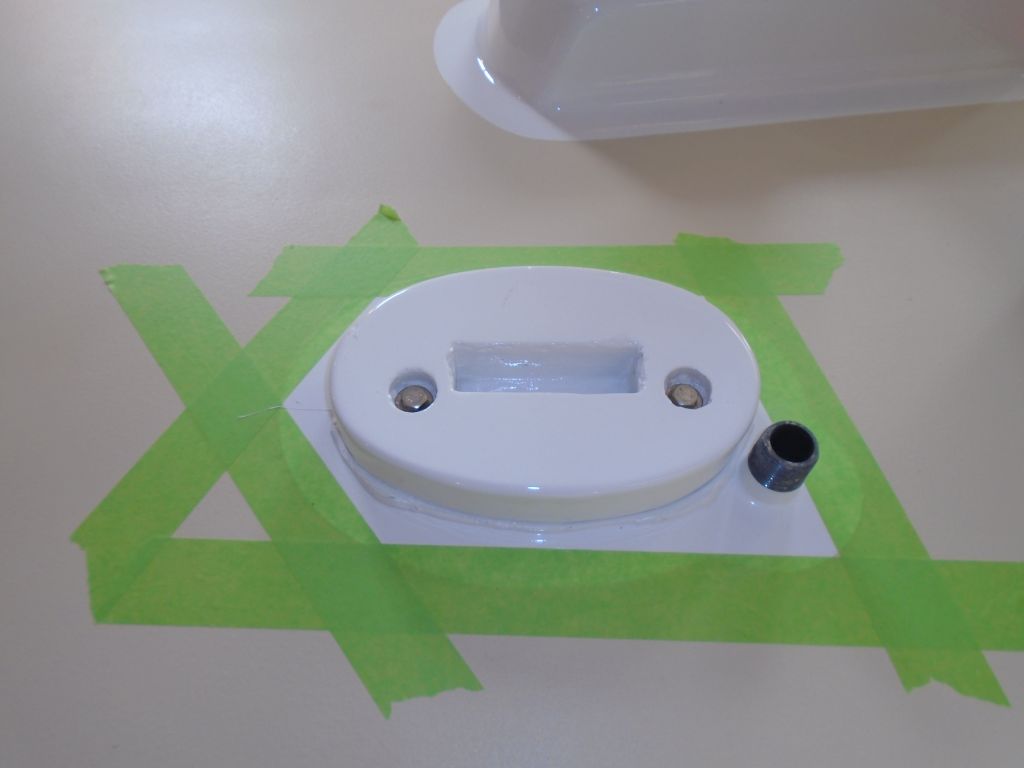
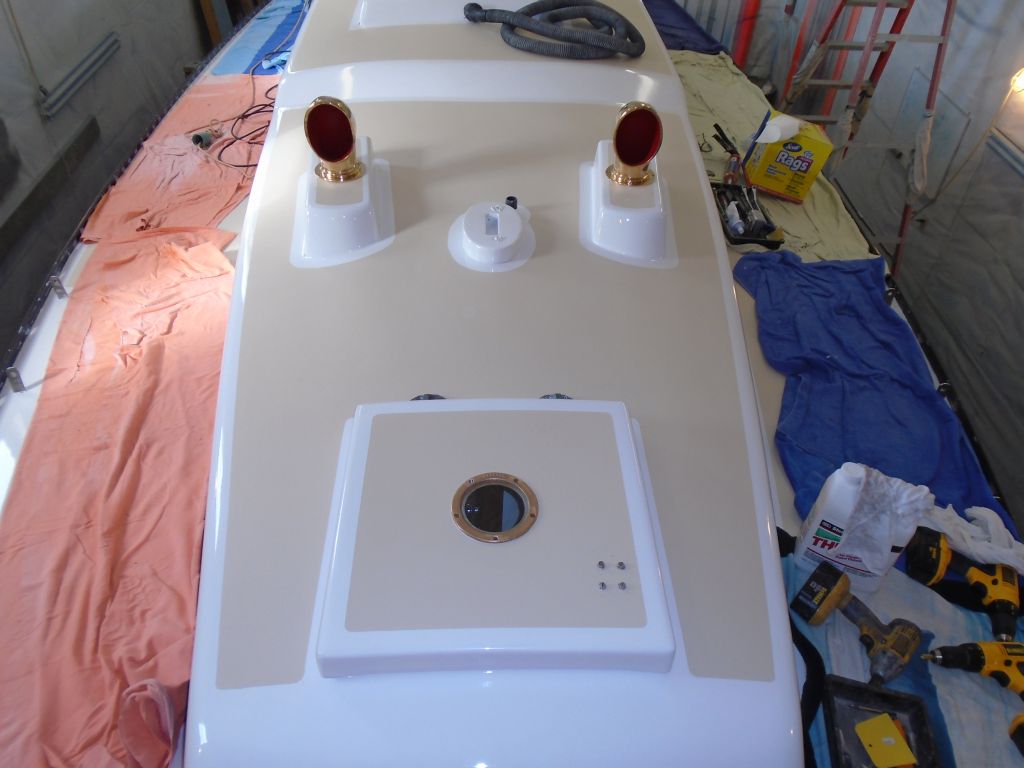
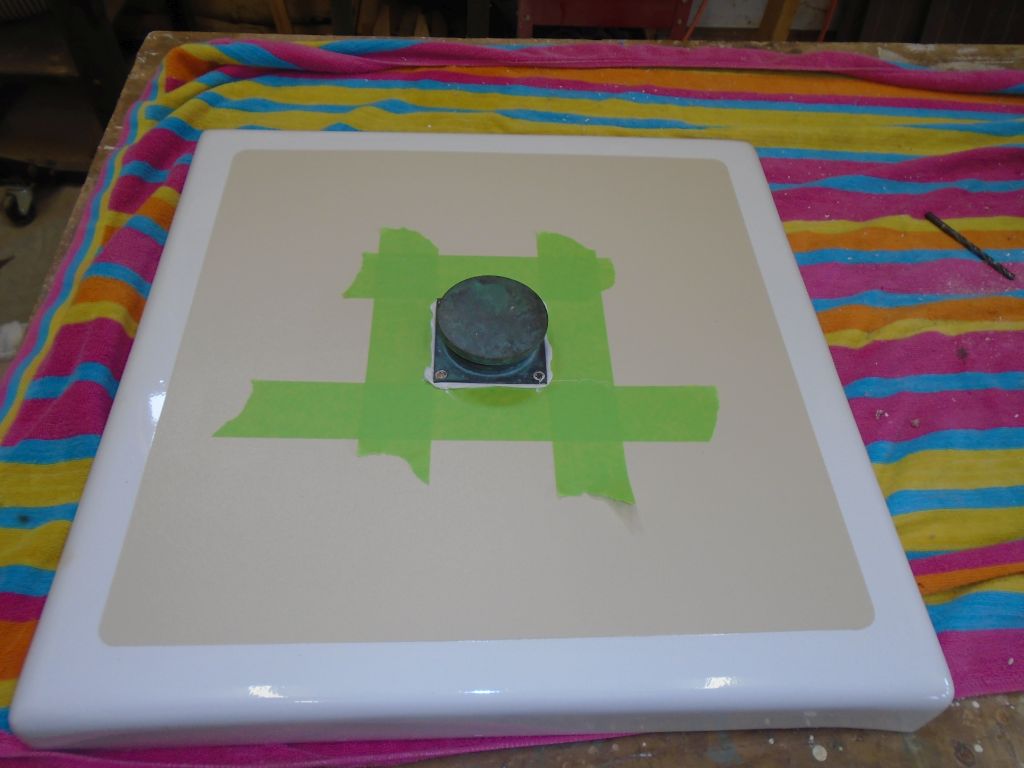
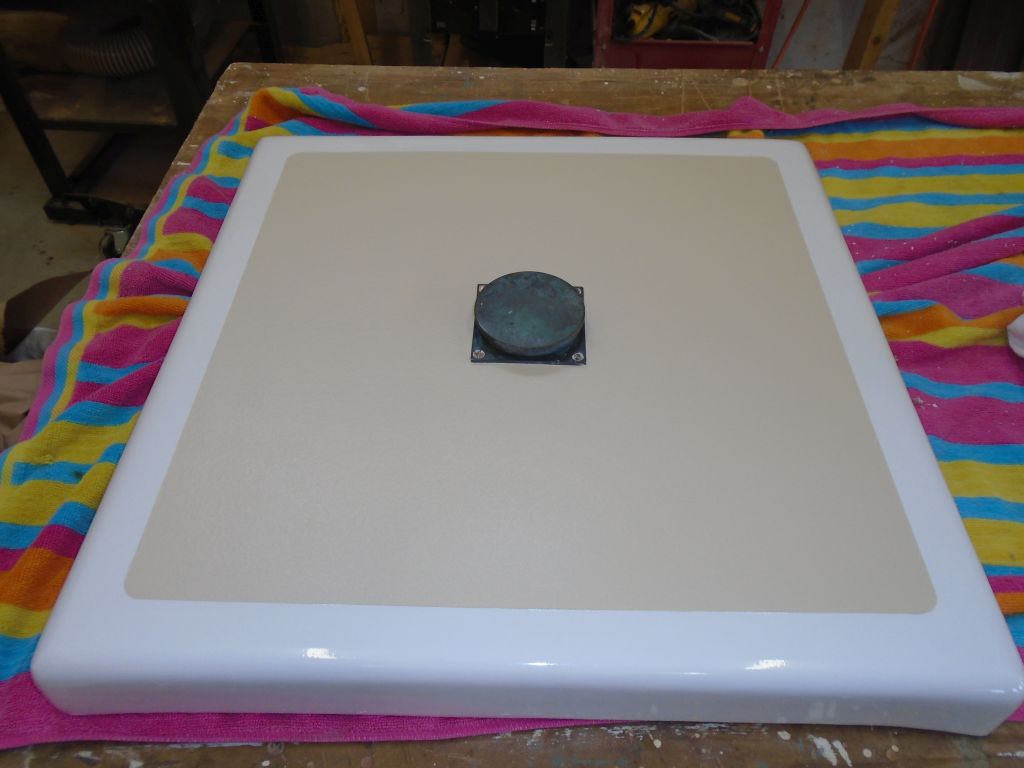
Finally, using up just a bit of time left in the day, I turned to the lazarette hatch, and reinstalled (with new sealant and fasteners) the original bronze screw-vent in the center of the hatch.
Total Time Billed on This Job Today: 8
Hours
0600 Weather Report:
Cloudy, 32°. Forecast for the day: clouds, showers, high upper 40s
