
110 Cookson Lane | Whitefield, ME 04353 | 207-232-7600 | tim@lackeysailing.com
Ashantee | Thursday, March 26, 2015
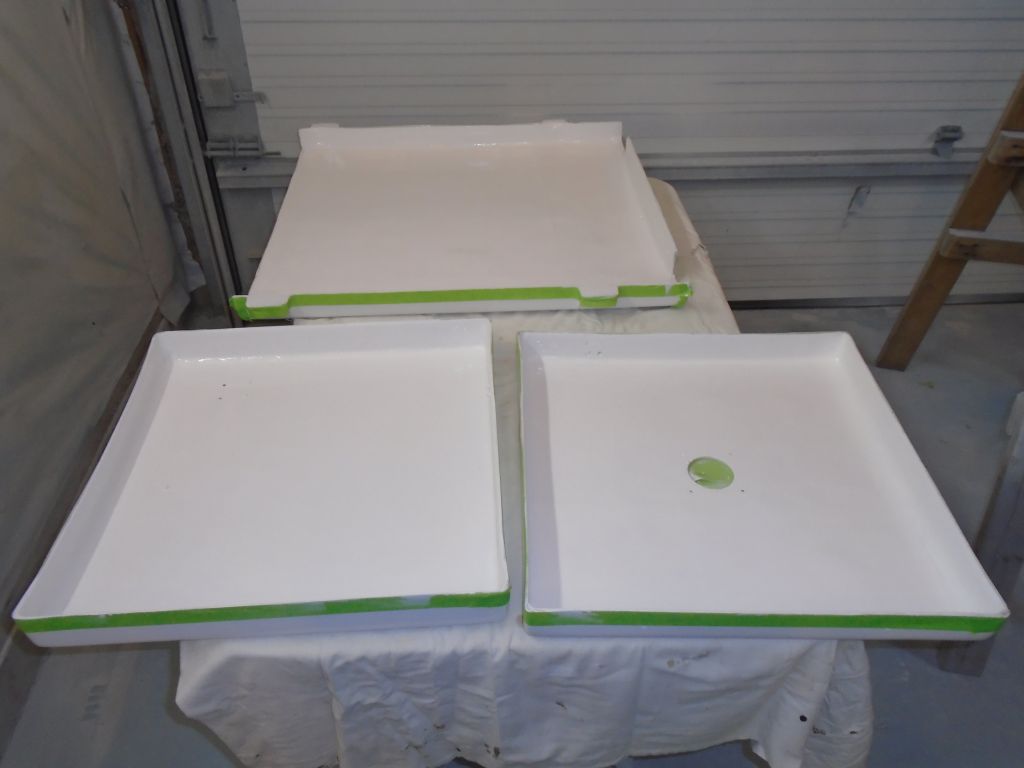
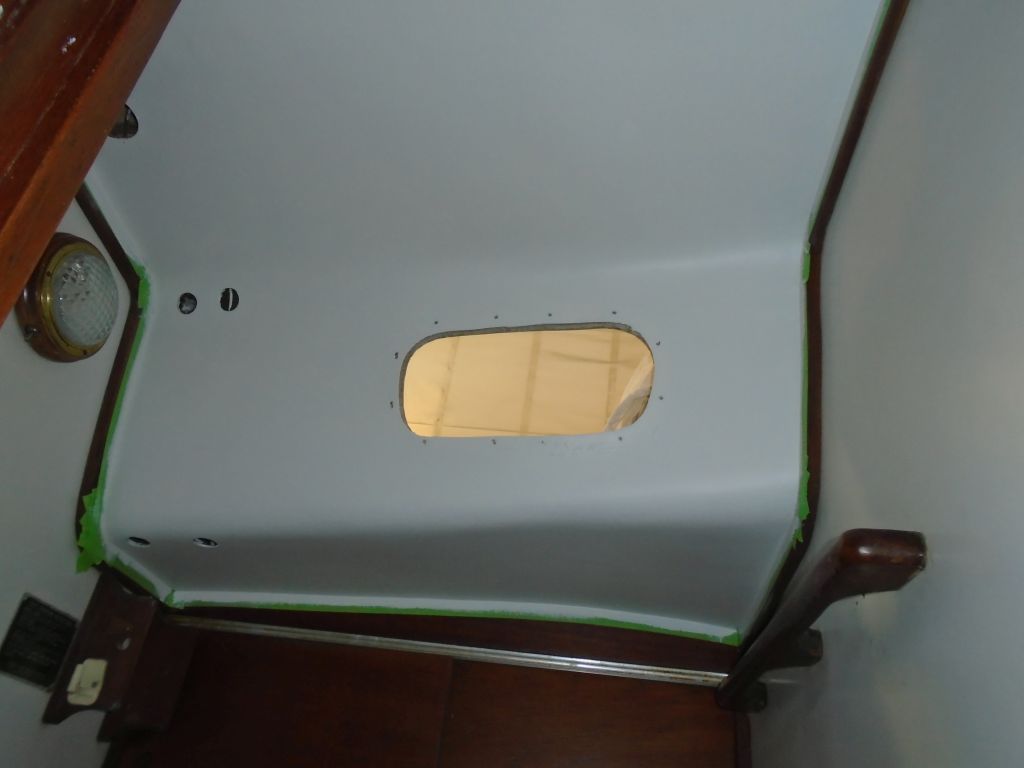
Getting started, I applied another coat of paint in the head, galley (oops, no picture), and to the deck hatches.
Next, Jason, my upholstery and canvas contractor, arrived to begin the preliminary steps required to pattern a new dodger. In order to properly pattern the piece, we had to begin with determining the location of the deck track that would secure the front edge of the dodger.
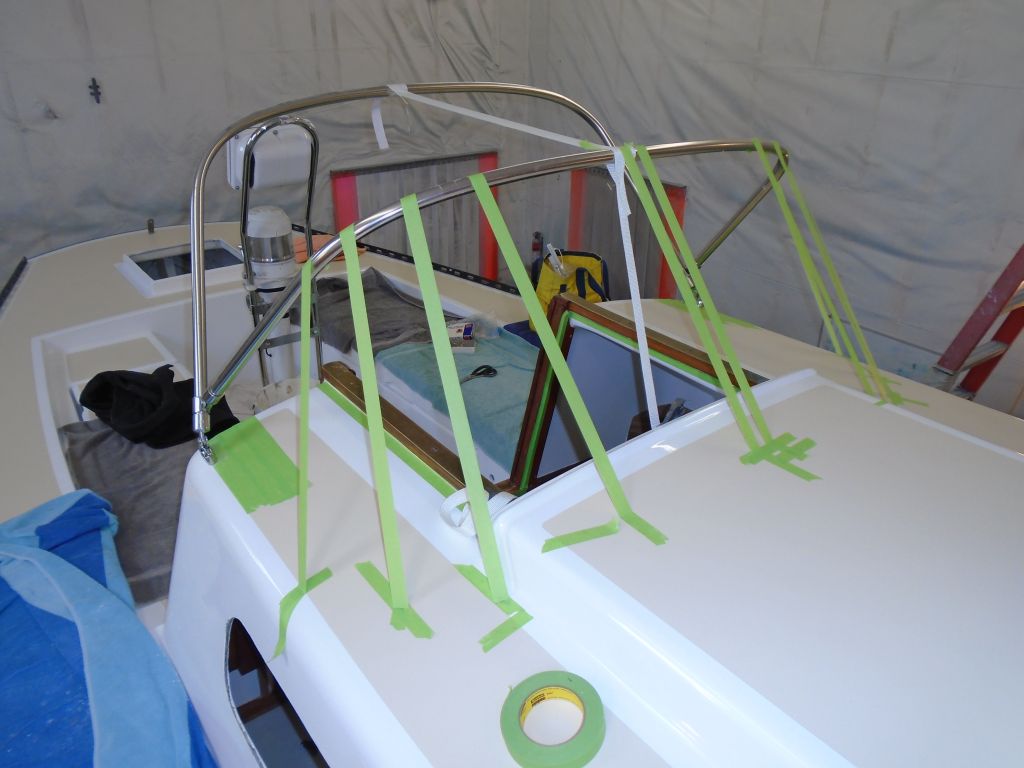
Reusing the existing dodger frame, which was in good condition and nicely shaped, the first step was to locate and temporarily install the deck bases and frame.
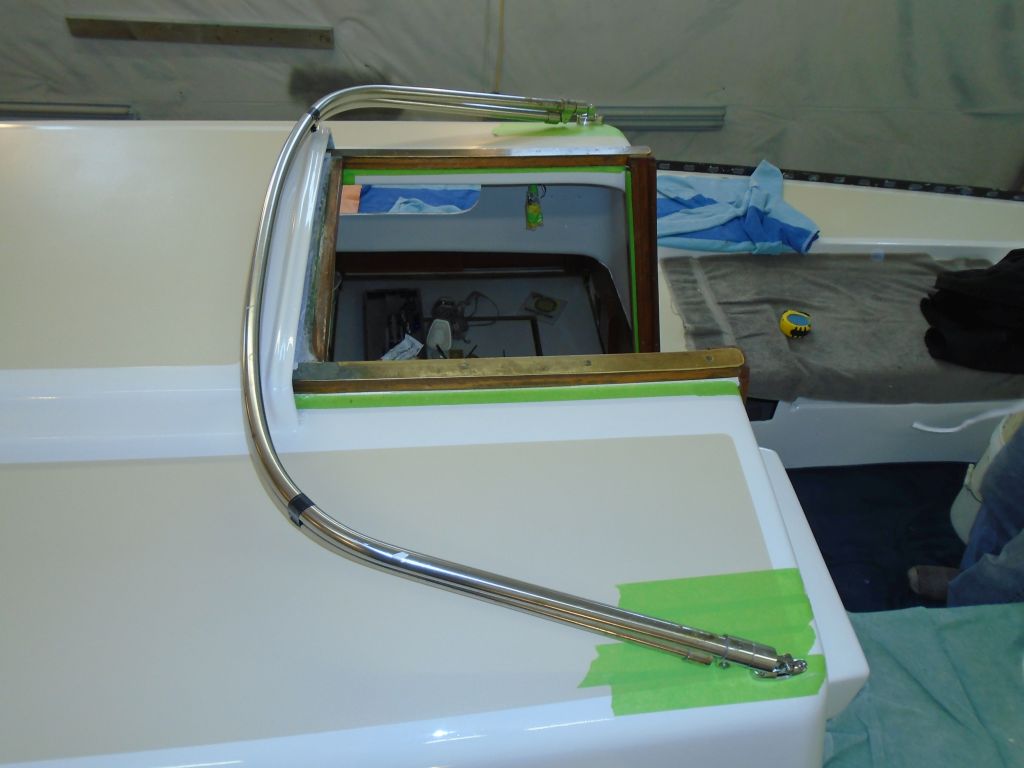
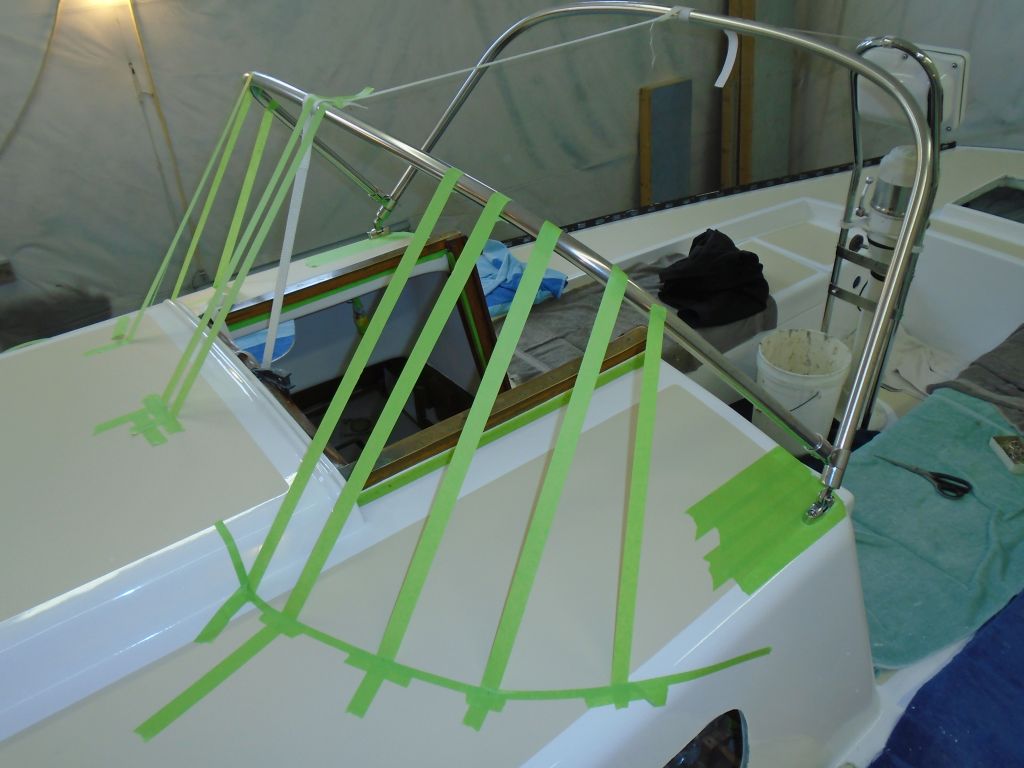
Using some basic measurement information from the old dodger to spread the two frame bows, along with final adjustment by eye, we set up the frame in its finished position to serve as the basis for producing the front panel angles and curves, which would thus determine the track position on the deck and sea hood.
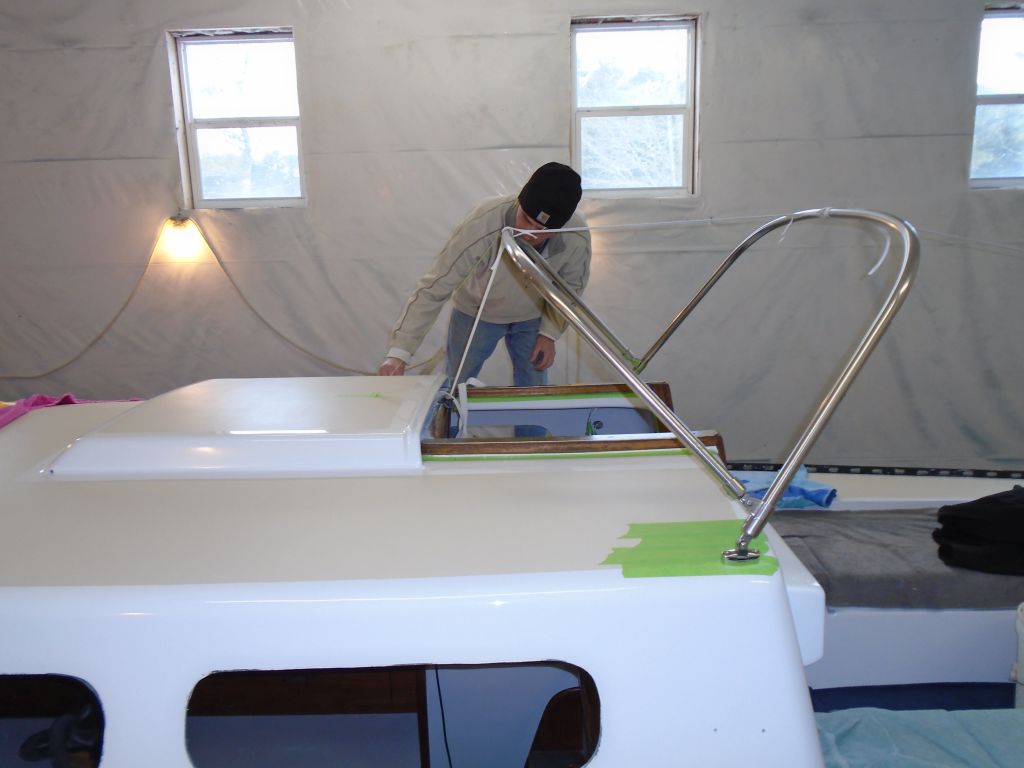
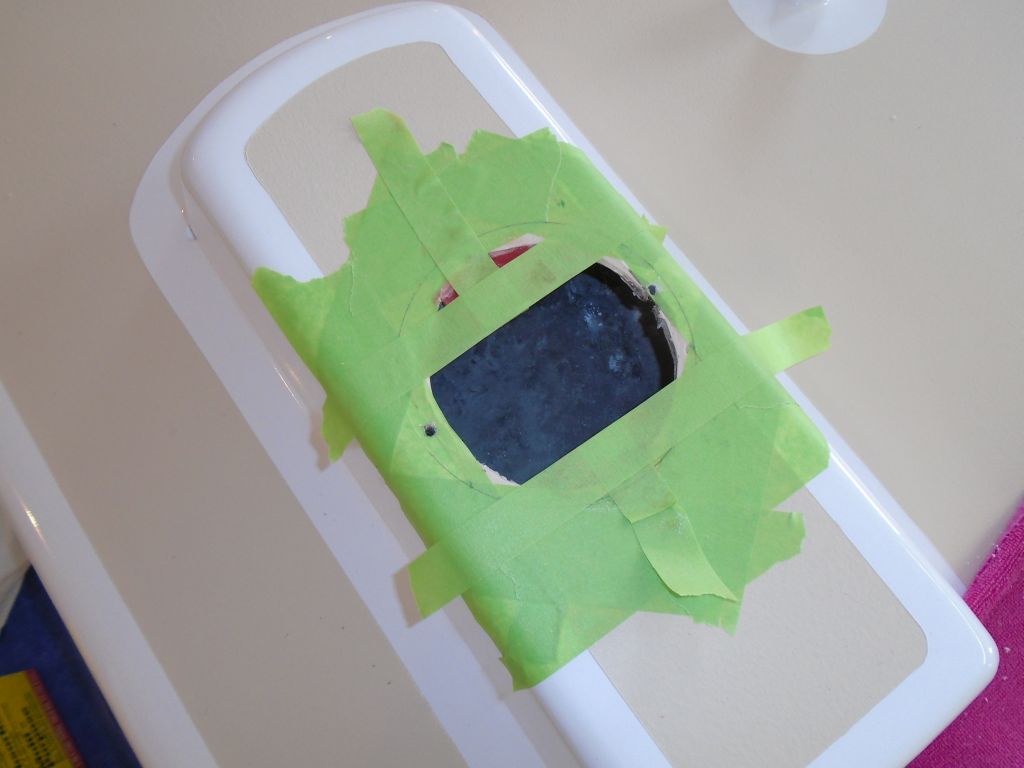
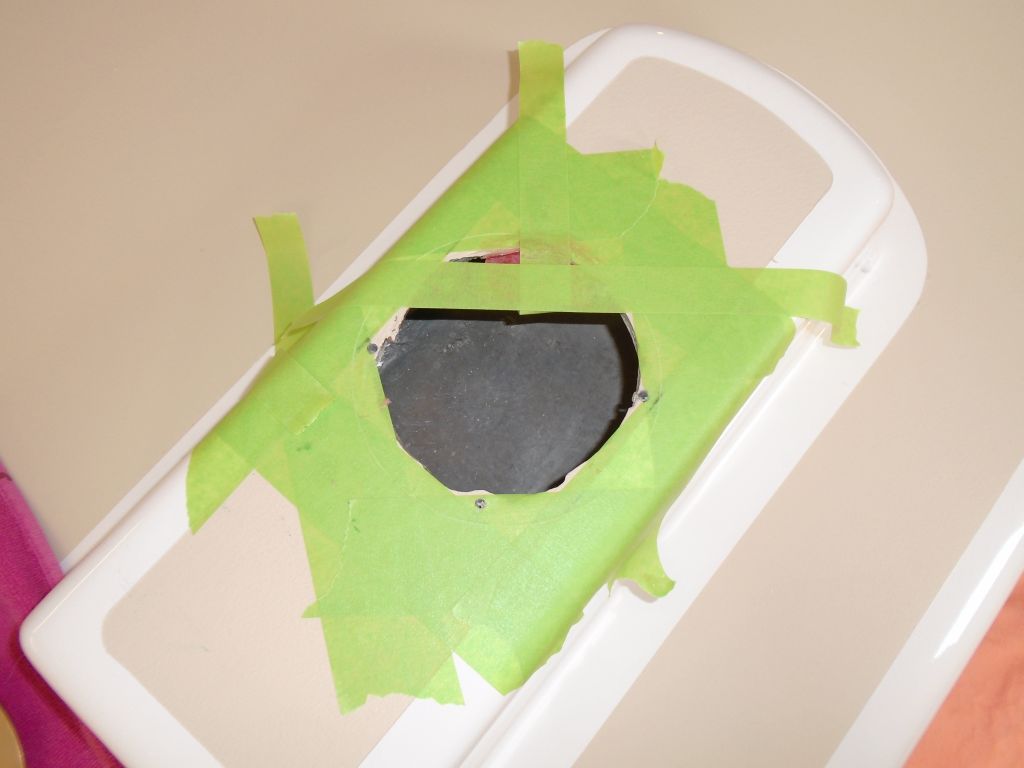
Working mostly by eye and over an hour or so, we worked to strike various tape lines from the forward bow to the deck, eventually creating what would be a pleasing shape--both by angle and curvature--and determining the placement and curvature of the three sections of track required to secure the dodger.
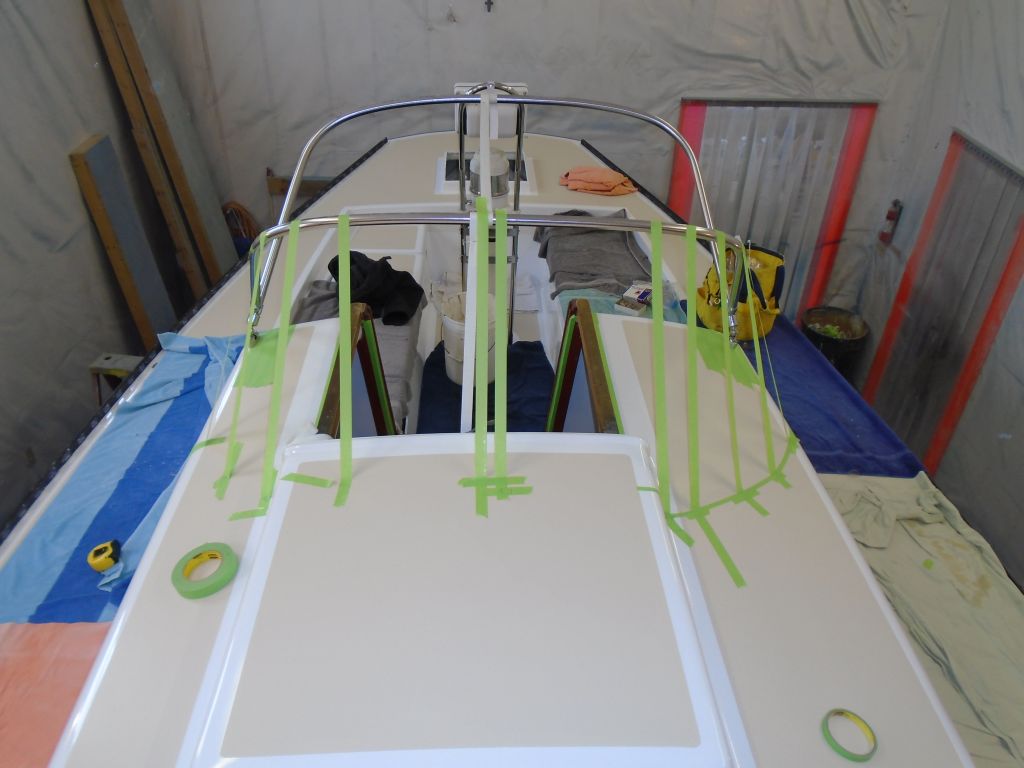
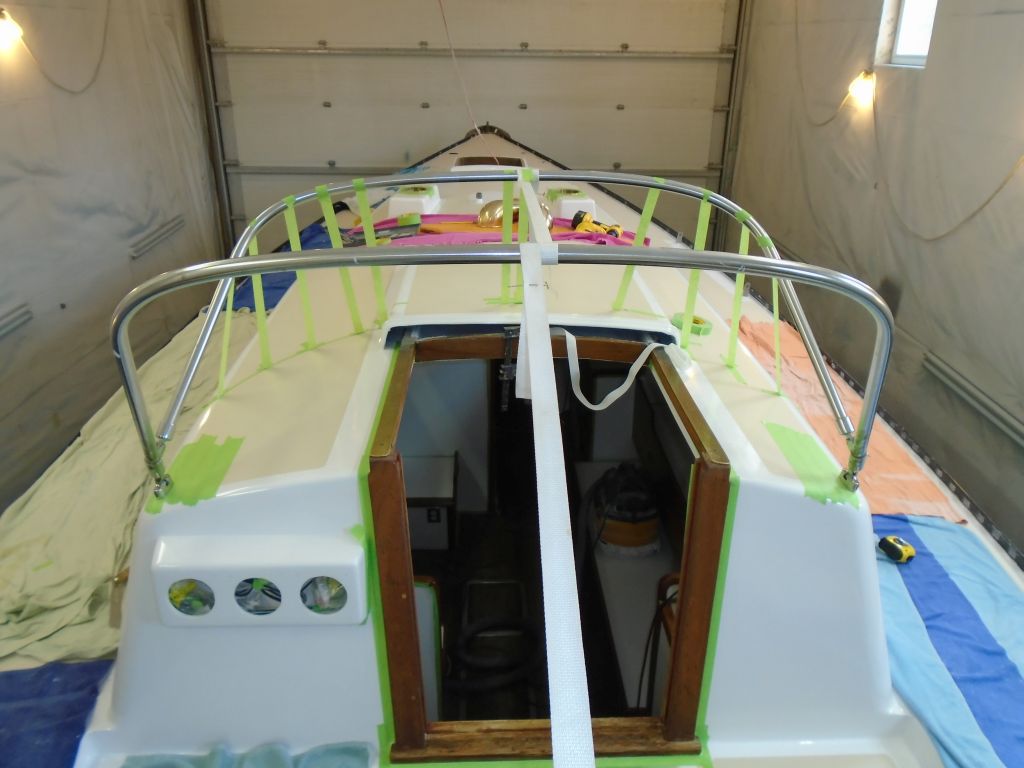
Finally for the stage of the construction, Jason patterned the shape we'd determined on deck, so he could bend the plastic track to shape back at his shop. Once that was done, in a few days' time, we'd install the track and pattern the actual dodger. For the moment, we removed the frame, leaving some of the tape marks on deck for future reference.
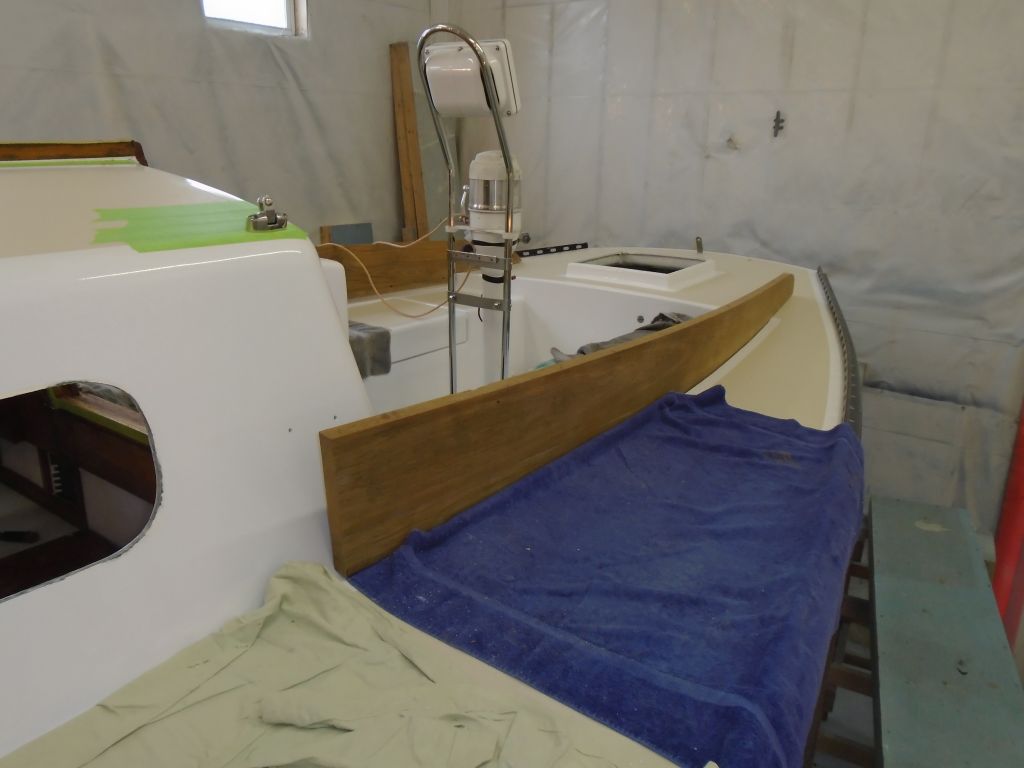
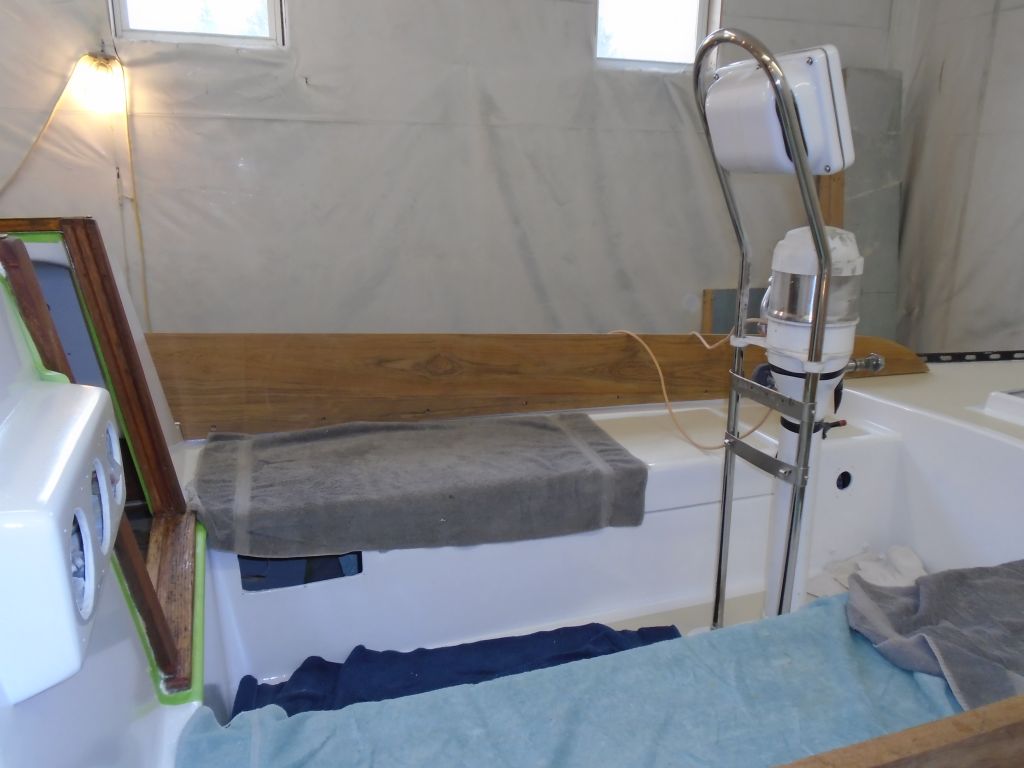
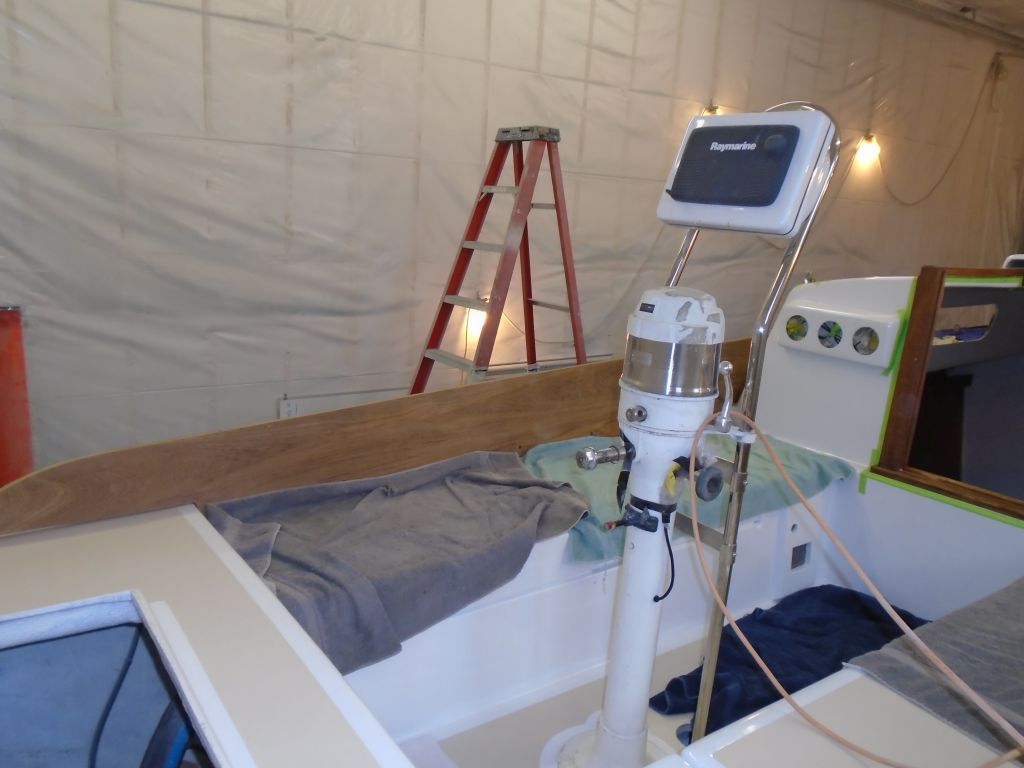
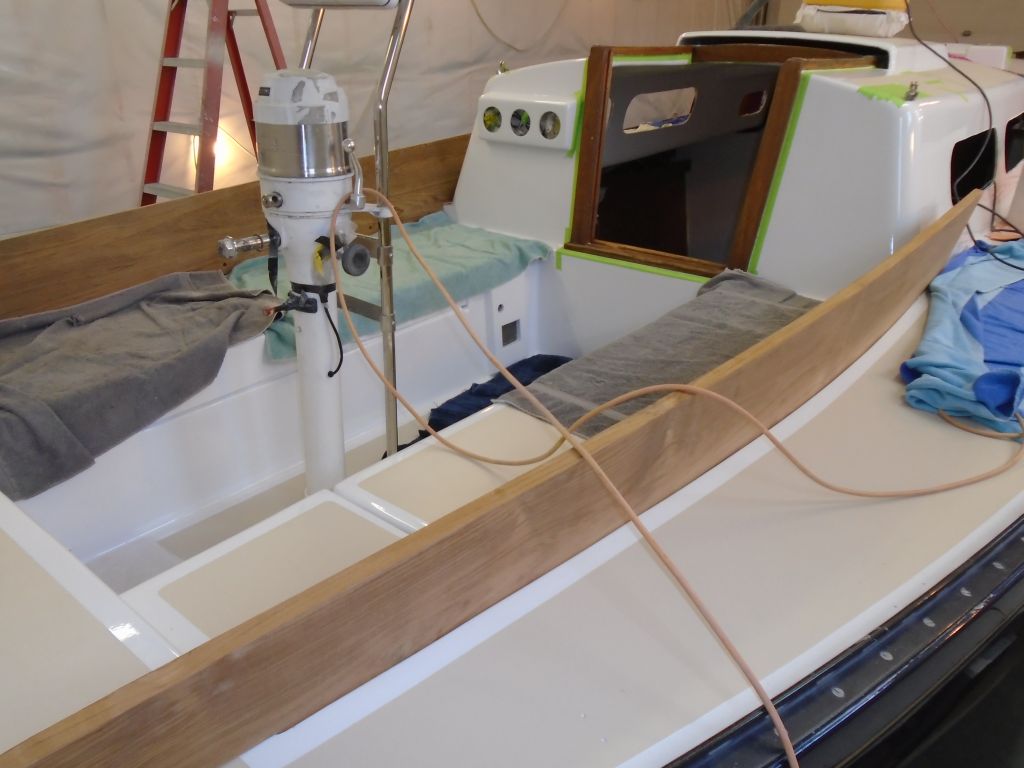
On my list before the next dodger patterning stage was to temporarily install the cockpit coamings, as their forward ends would be key to the final shape of the dodger. To begin, I measured off and marked for fastener holes in the new coamings, then drilled 1/2" counterbores to recess the fastener heads for later bunging. Then, up in the boat, I installed the coamings one at a time, using my rickety crank system.
At each fastener location, I drilled and tapped the fiberglass for 1/4-20 machine screws, and pulled the coamings into place. This held things securely for now, but when the time came for final installation I'd install nuts and washers from the insides of the cockpit lockers as well.
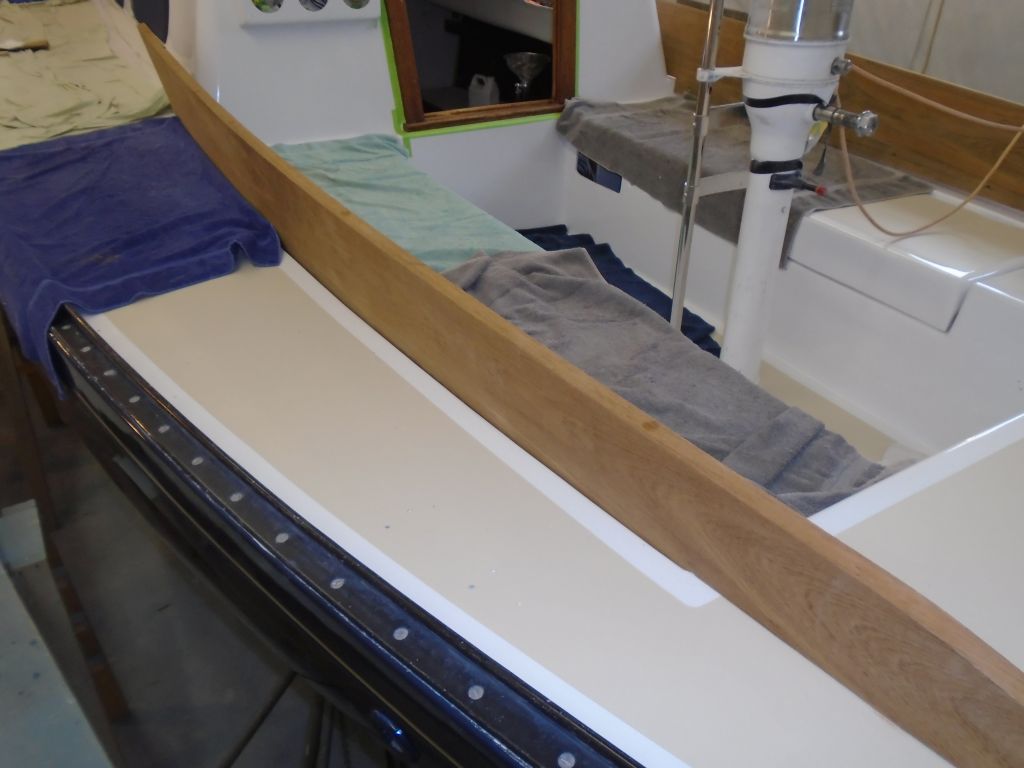
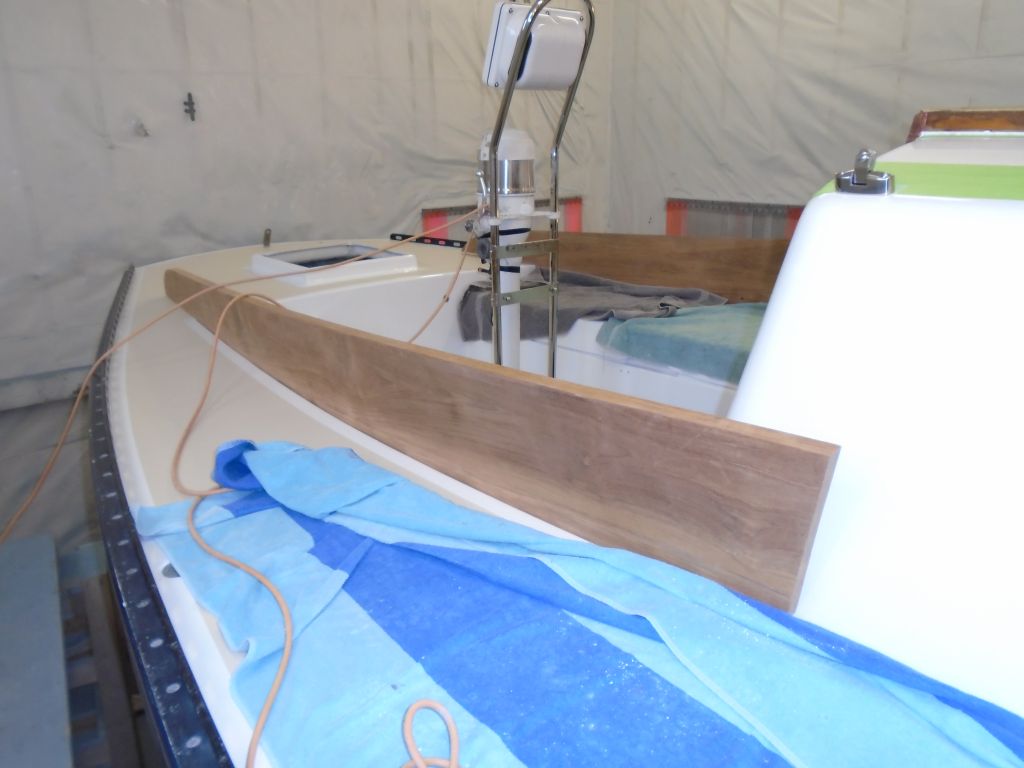
With the coamings fully installed in this way, I found that my cardboard patterns for the coaming return blocks that I'd made earlier didn't fit correctly: they were slightly undersized, probably because pulling all the bolts tight (versus just pressing the coamings dry into the coamings as I'd done during the first test-fitting) created more flare at the forward ends. So I made new patterns for the blocks, and cutting and gluing up those blocks would be my next task.
I took this opportunity to check the fit of the original aft coaming piece so I could judge its worthiness as a pattern for the new one. Because the new coamings were a bit thicker than the old the aft coaming was a bit too long, which meant it'd make a good pattern since I could slowly pare down the new one for a good fit at the ends.
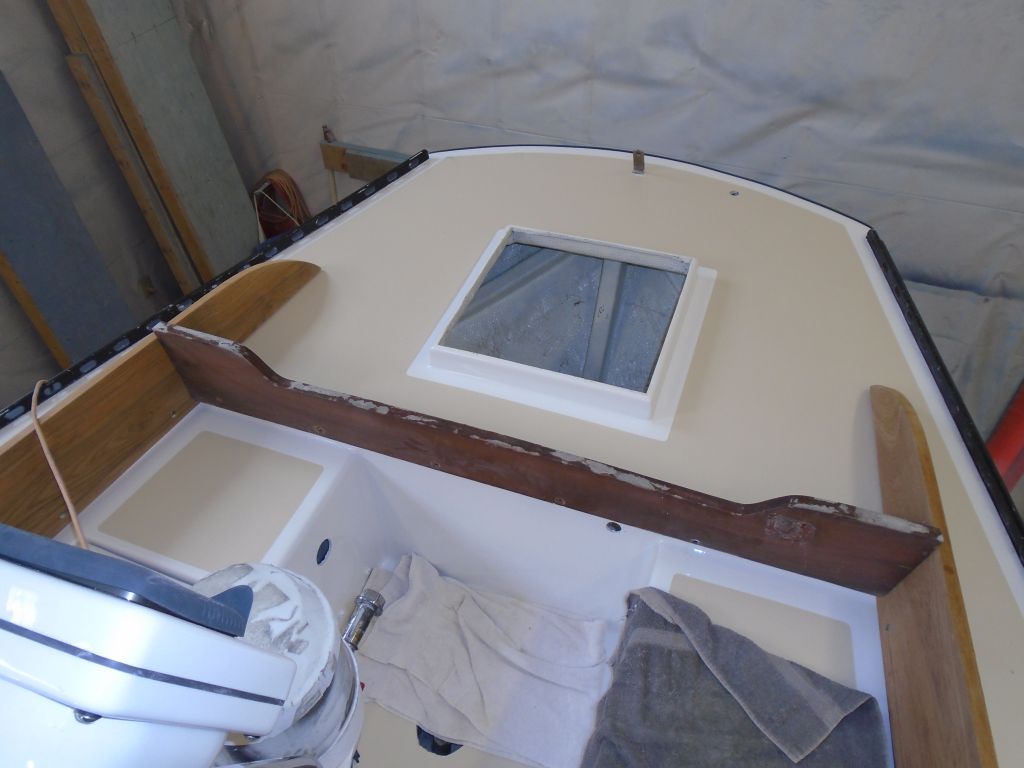
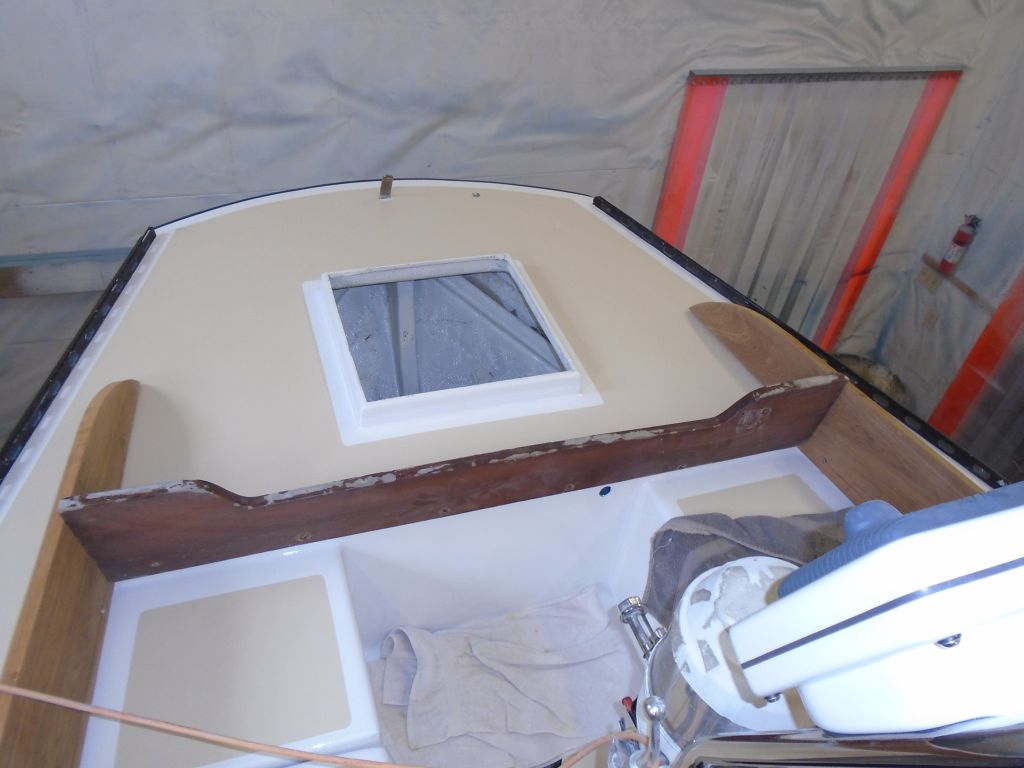
Before the end of the day, I prepared and epoxied into place some 1/4" fiberglass filler pieces inside the Dorade boxes, to provide a place for some of the new vent fasteners to land. For now, I left the filler pieces somewhat oversized for gluing, but later I'd trim them as needed to accommodate the deck rings. I clamped the little bits of fiberglass in place with tape, so they're not too visible in the photos.
Total Time Billed on This Job Today: 6
Hours
0600 Weather Report:
Cloudy, 35°F. Forecast for the day: cloudy, showers then steady rain late, high near 50.
