

The Shower Saga: 2006 – 2022
In late 2006, after spending 6 months working feverishly on the new house to get things ready to move in in late November, I left the master bathroom unfinished in the interest of time: We had another complete bathroom downstairs, so we could be functional.
(First lesson learned: Finish the whole house before moving in. Every bit. All the leftover jobs were killers to get done once we moved in.)
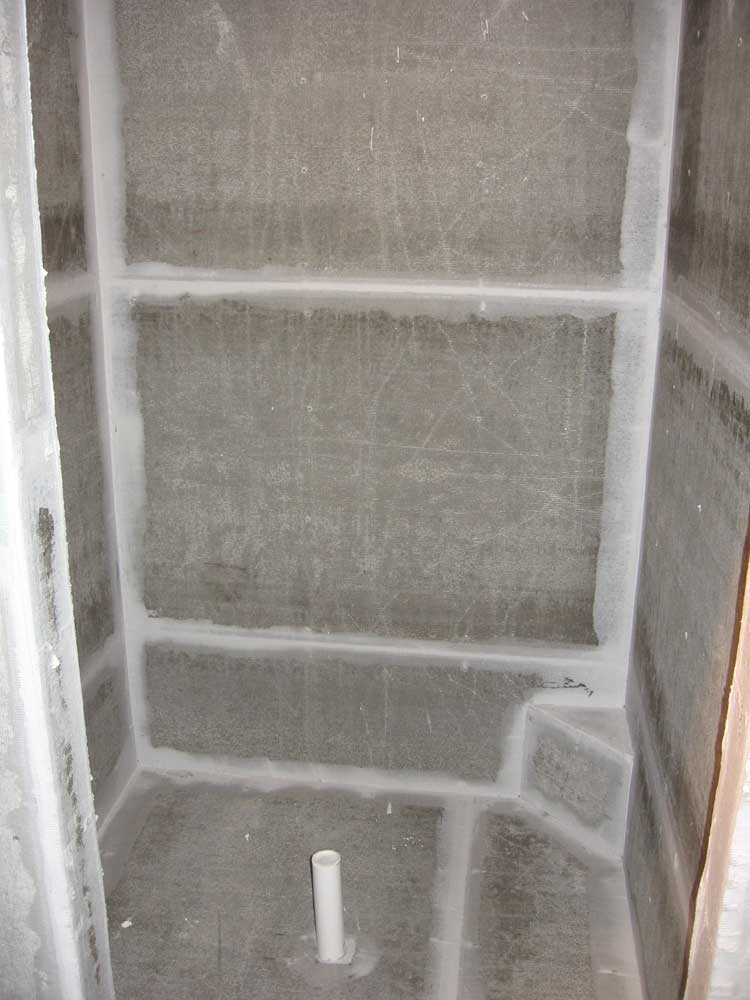
Before moving in, I’d brought the master bath as far as installing all the cement board needed as tile backer: We planned a tile shower; tile around the bathtub; and a half-height tile wall and tile floor. So in December 2006, the bathroom substrates were complete other than tile and other final finishes. The large shower enclosure was completely covered in cement board: Walls and floor. This was a custom shower, with a unique shape and size, and with no stock shower floor pans available I planned a traditional mud bed beneath the tile floor. With a center drain, the mud bed needed to be pitched to the center, higher along the sides.
One morning before work, I decided to attack the mud bed installation. I’d never done this before, but then again, I’d never built a house before, but I’d done that…how hard could be be to trowel in some mortar?
Hard. Very hard.
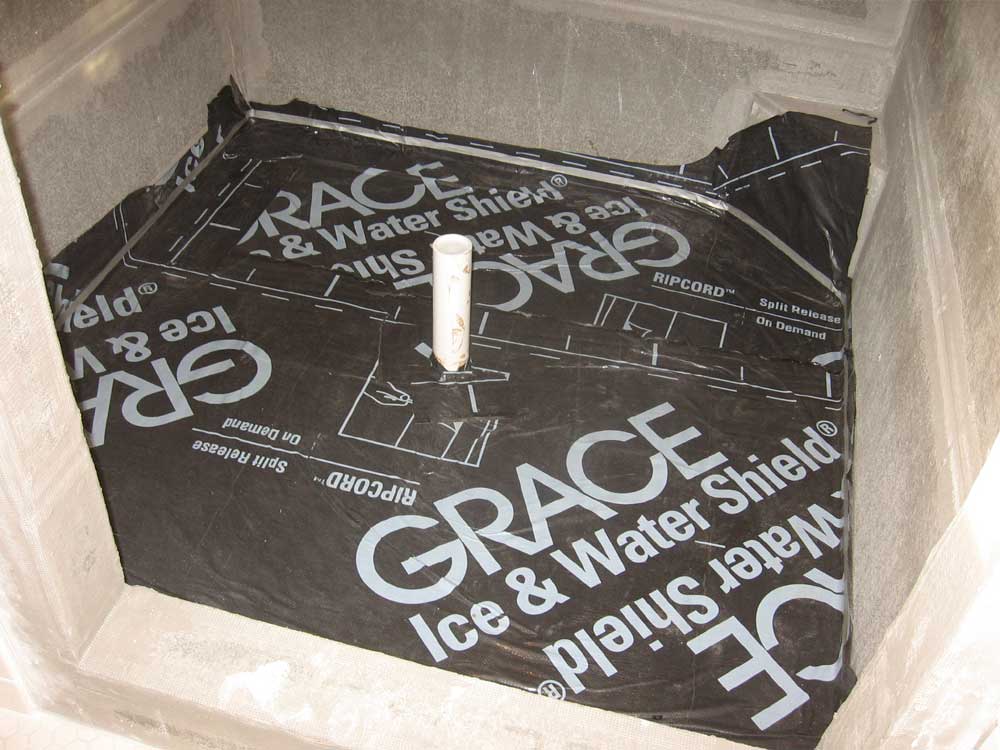
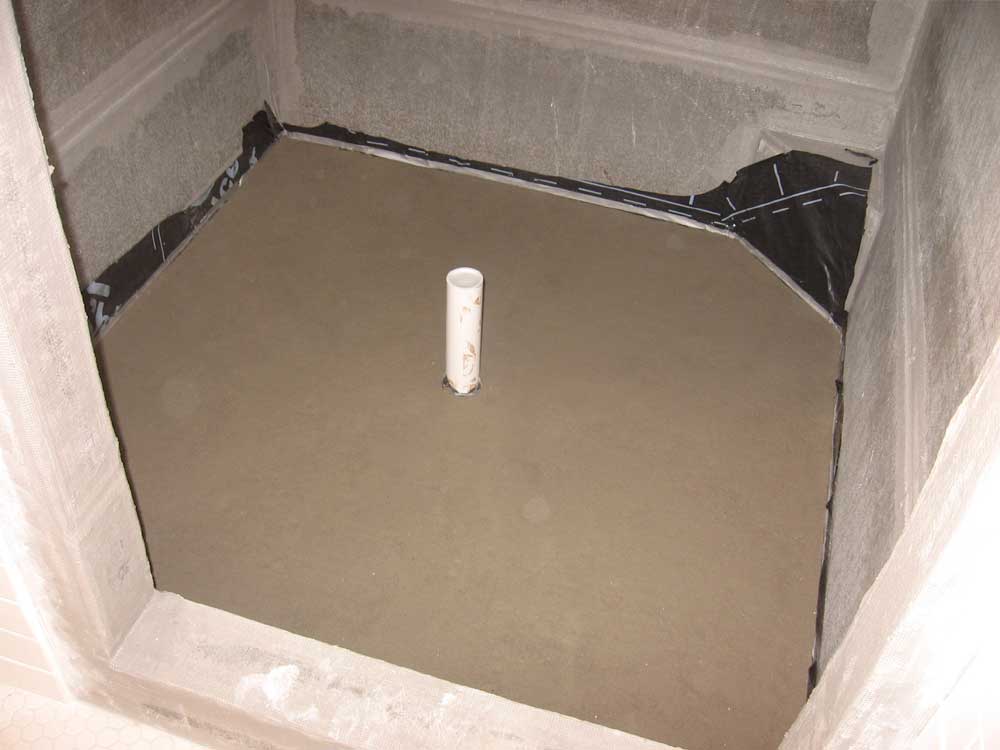
I began by installing a waterproof membrane over the cement board and up the walls a little–some leftover ice and water shield from the roof. I am glad I did this, as we will discover later. Then, I mixed a batch of mortar–far too dry, as it turned out, and it was a misery to work with. But I was committed, and stubborn, and I soldiered on, getting the mud bed installed as well as I could and sort of pitching it to the centerline drain. But this was much, much more difficult than I’d imagined, and the end result was not that great. But I was hardly inclined to remove it and start over, and ultimately I installed the floor tile–an old-fashioned 1″ tile with random colored tiles strewn about–and otherwise completed the shower.
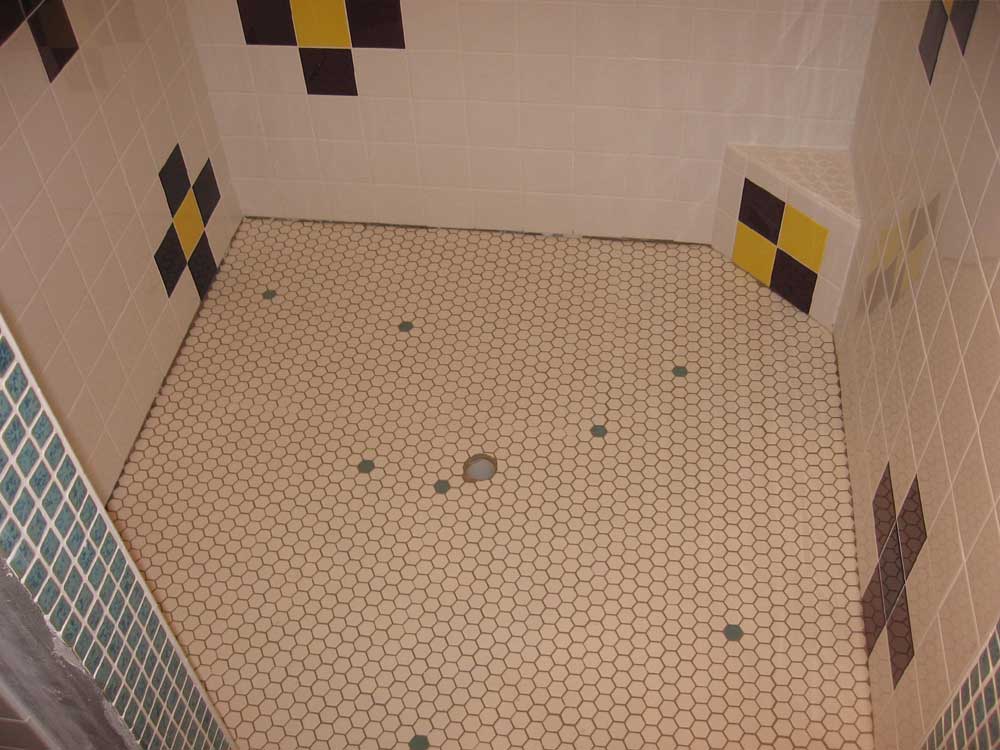
Obviously, this never worked out too well. The shower didn’t drain correctly, which caused pooling in the low spots and made it hard to keep clean, and fairly early on, the tiles and seal right around the drain pipe failed, causing a leak through the ceiling in the hall beneath. I “fixed” this problem with some epoxy around the drain, which pretty much ended the leaking problem, but the tiles never stuck well there and eventually 10 or 12 tiles in the center came up again, and we just left them out because at least this created a low spot around the drain.
And so things remained for 15 years. We used the shower daily, and while we didn’t like how it was, it did function, and I was sorely reluctant to rip up the floor and get into a big project. Plus I wasn’t about to try a mud bed again, and although I tried a few times to find a tile/mortar guy, nothing ever panned out. (I didn’t try that hard, but still.)
Then the covid pandemic hit in March 2020. I think it was around this time that Heidi suggested that, with my fiberglass experience, maybe I should build a fiberglass shower pan. It would be a big job, but thanks to covid and the Canadian border closure, we ended up stuck in Maine for all of 2020 and much of the summer of 2021 as well. This meant I had time on hand for a project, so during the summer of 2020 I conceived and built a custom-molded fiberglass shower pan.
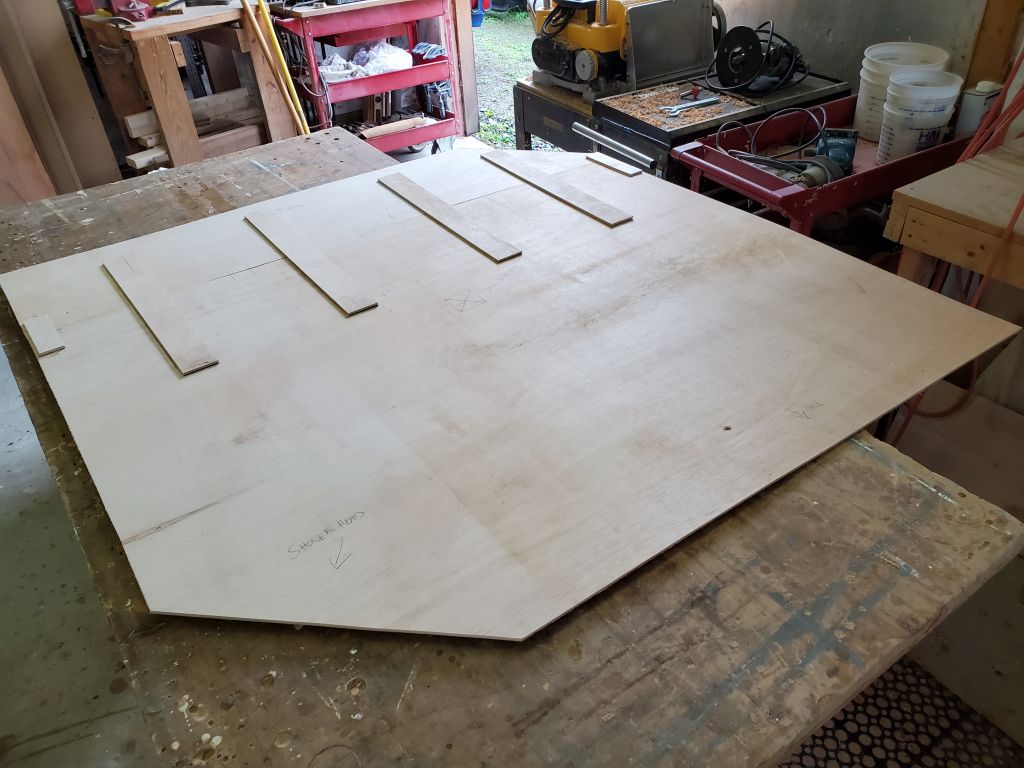
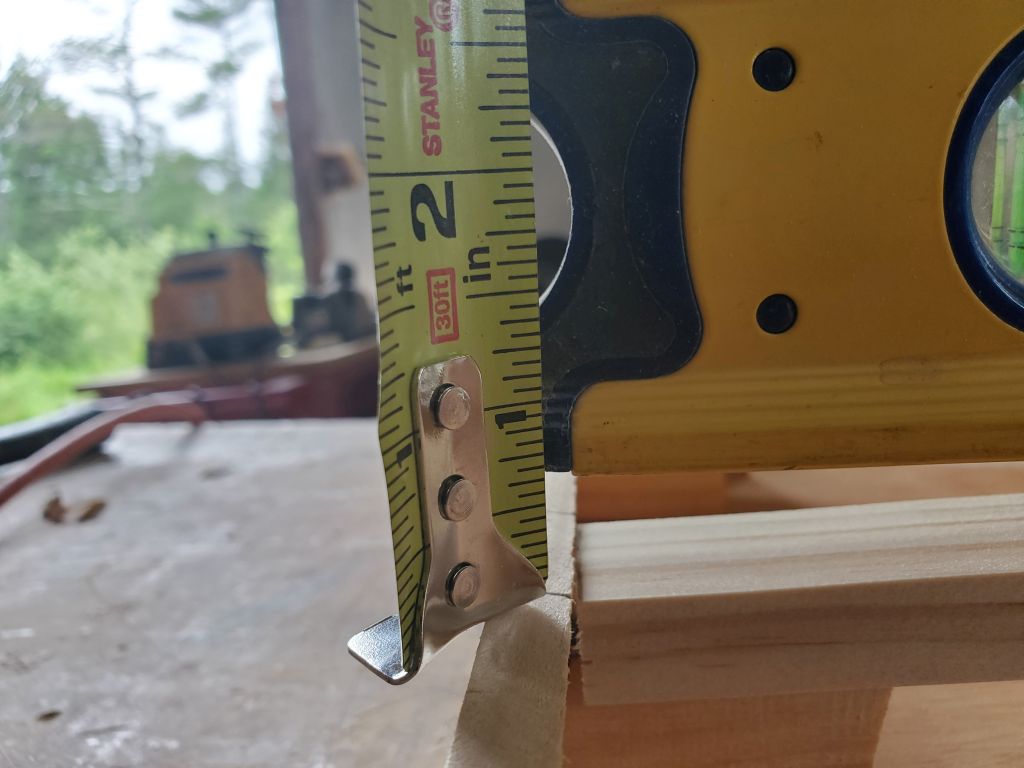
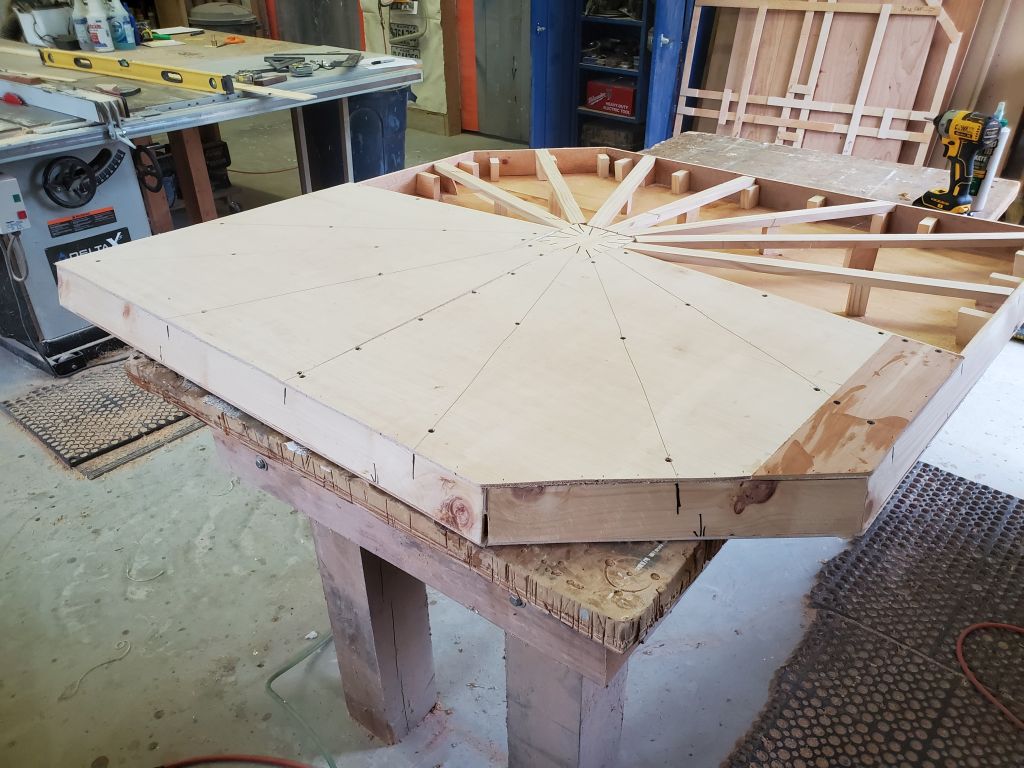
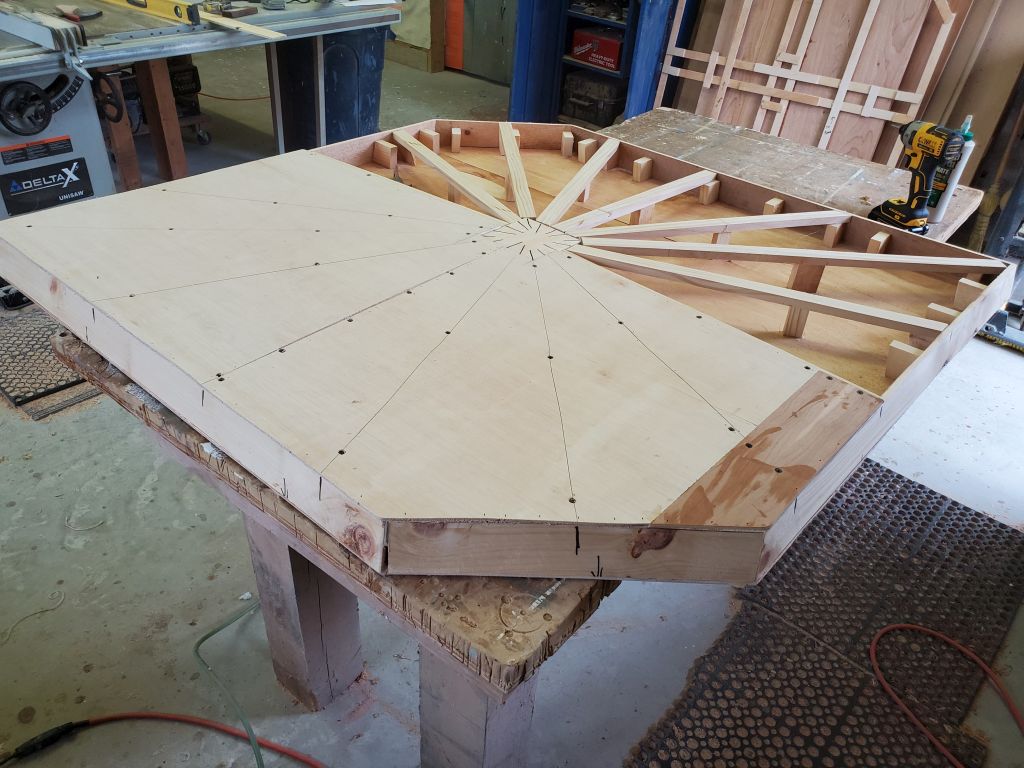
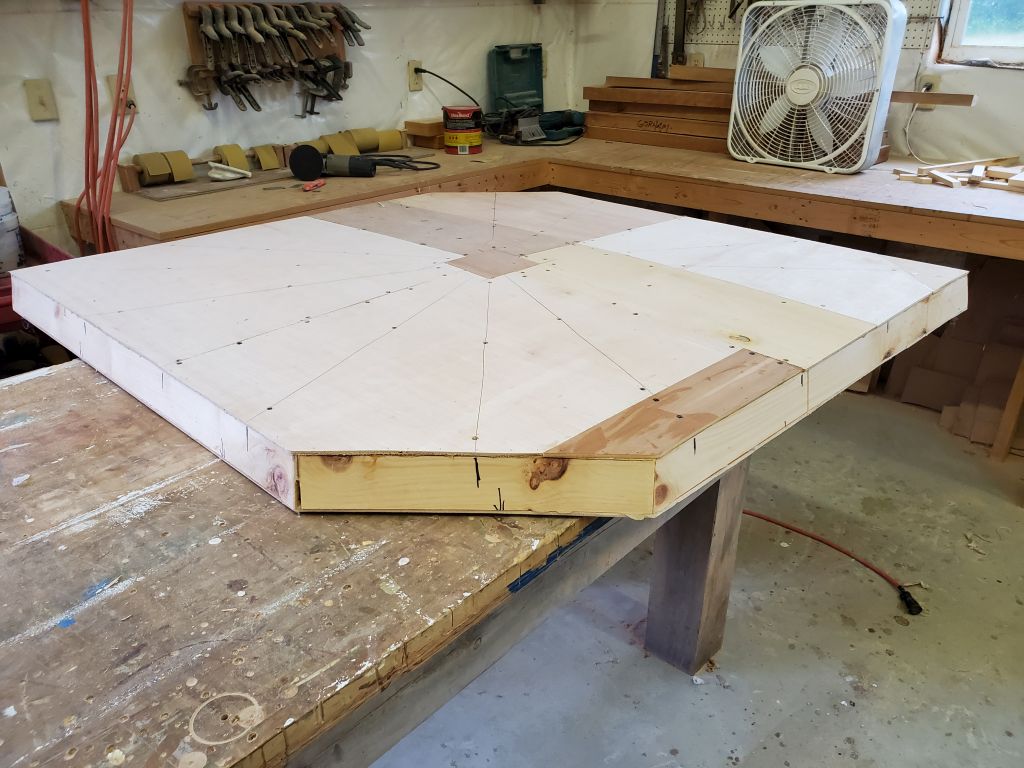
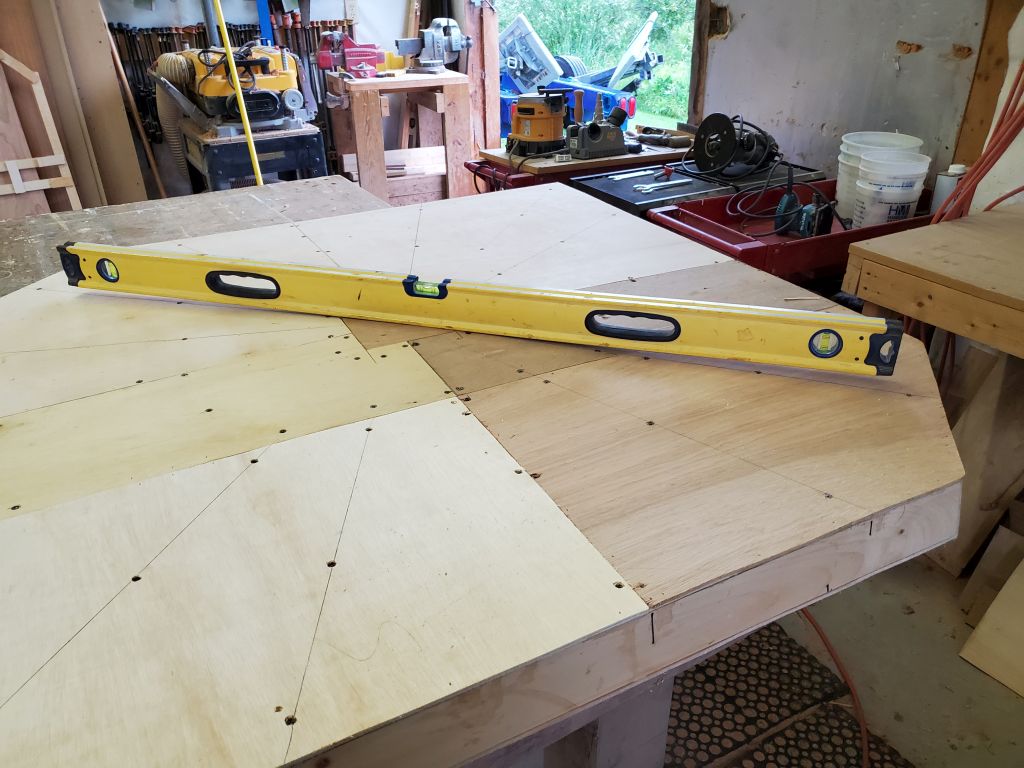
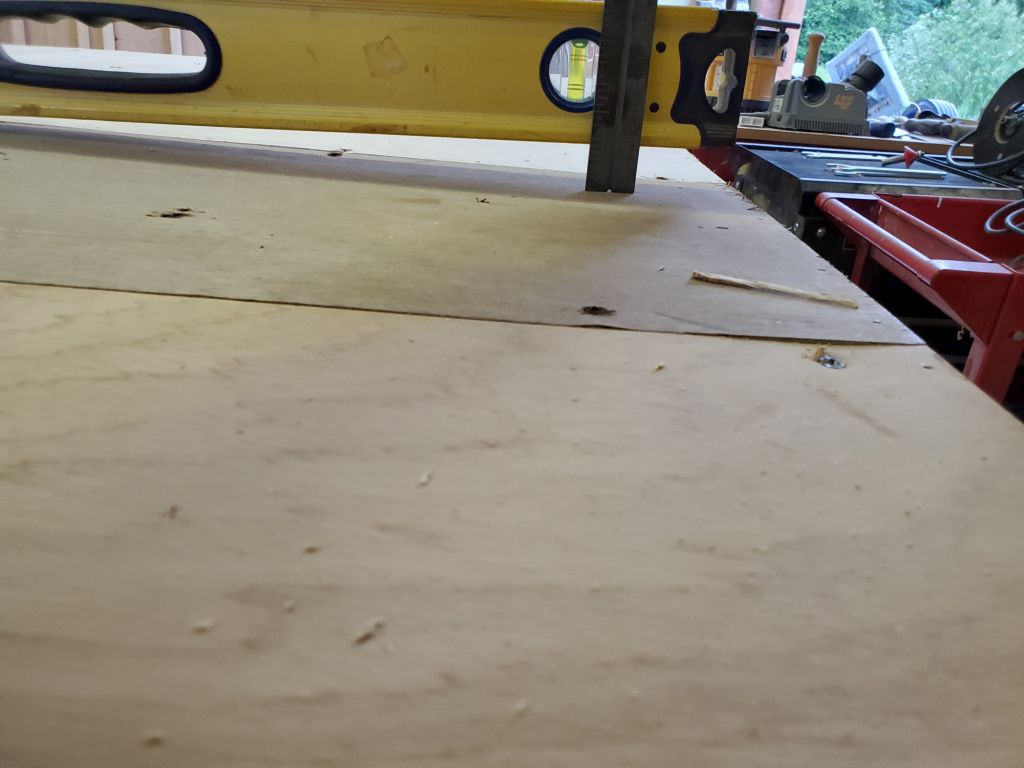
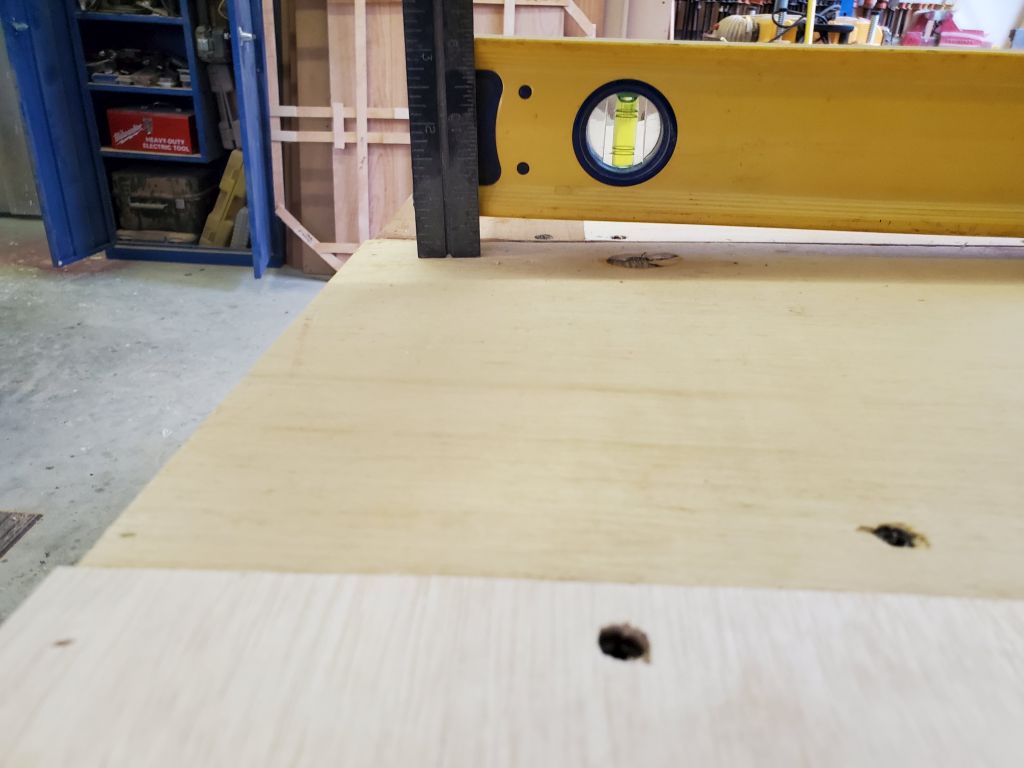
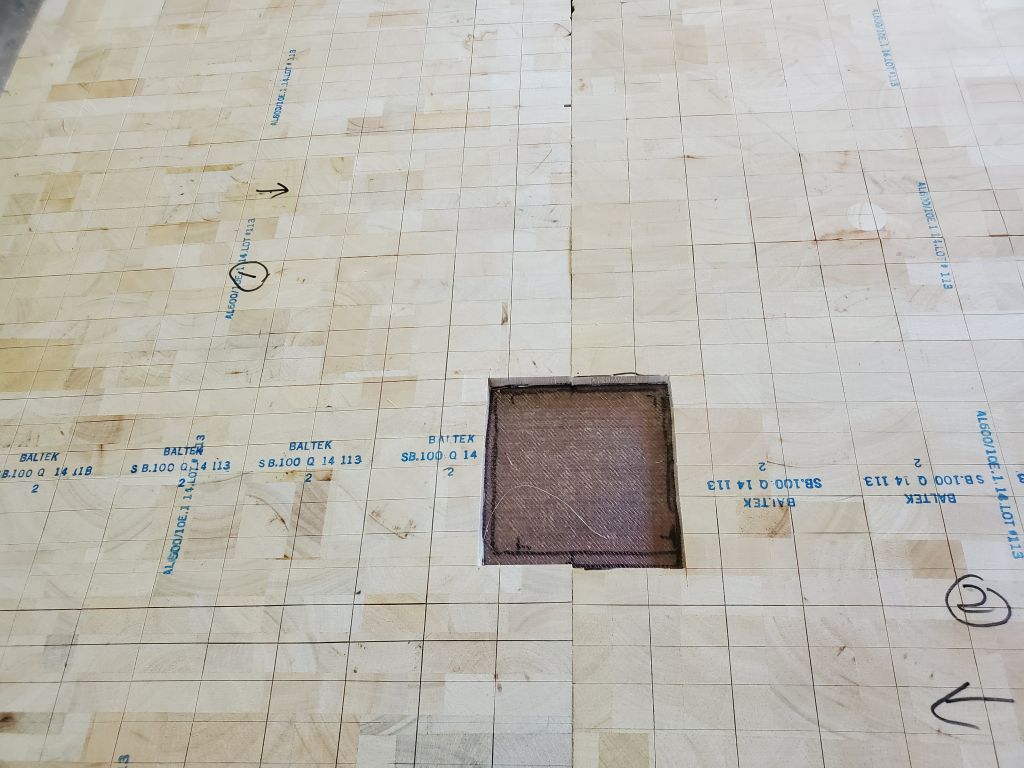
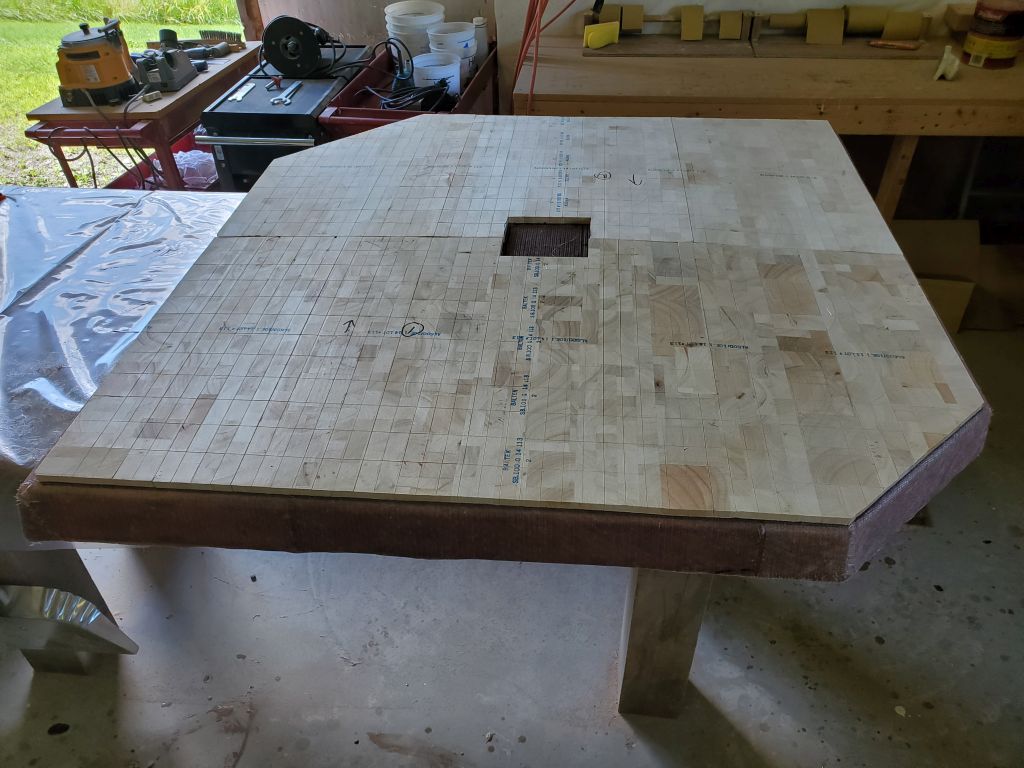
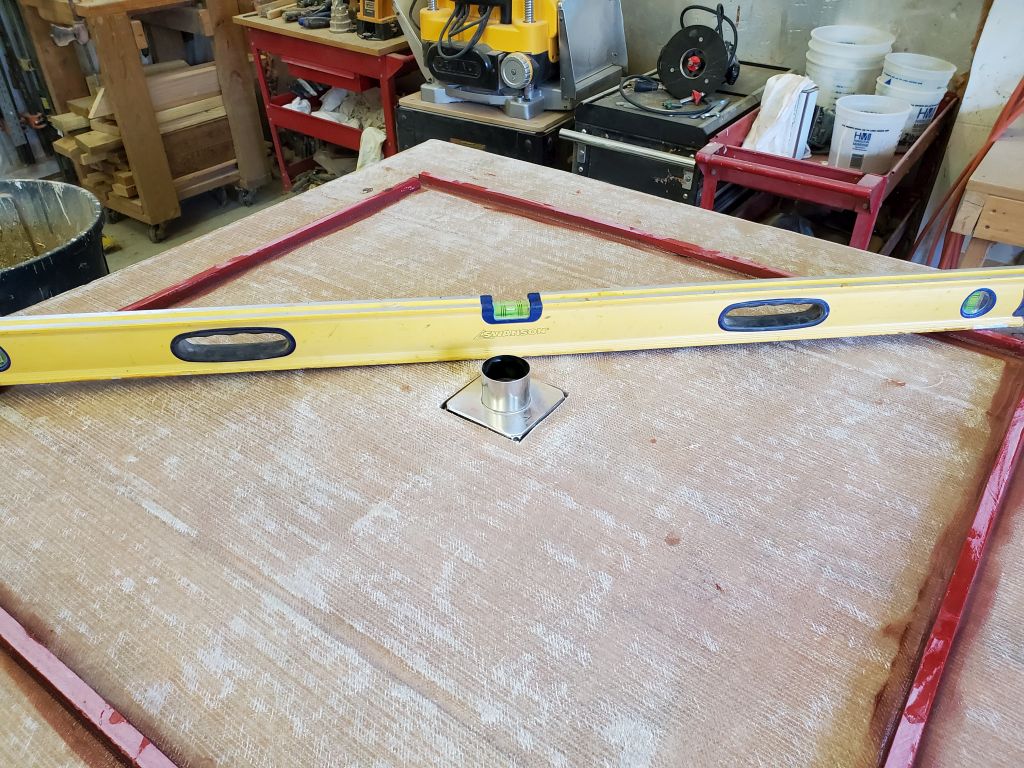
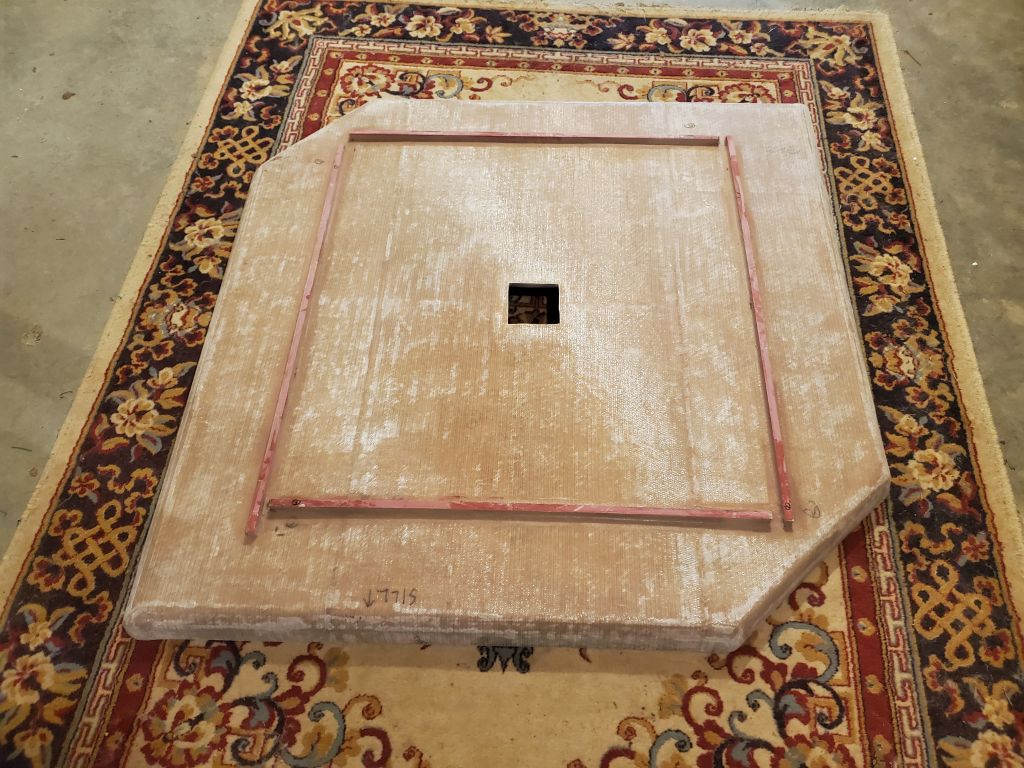
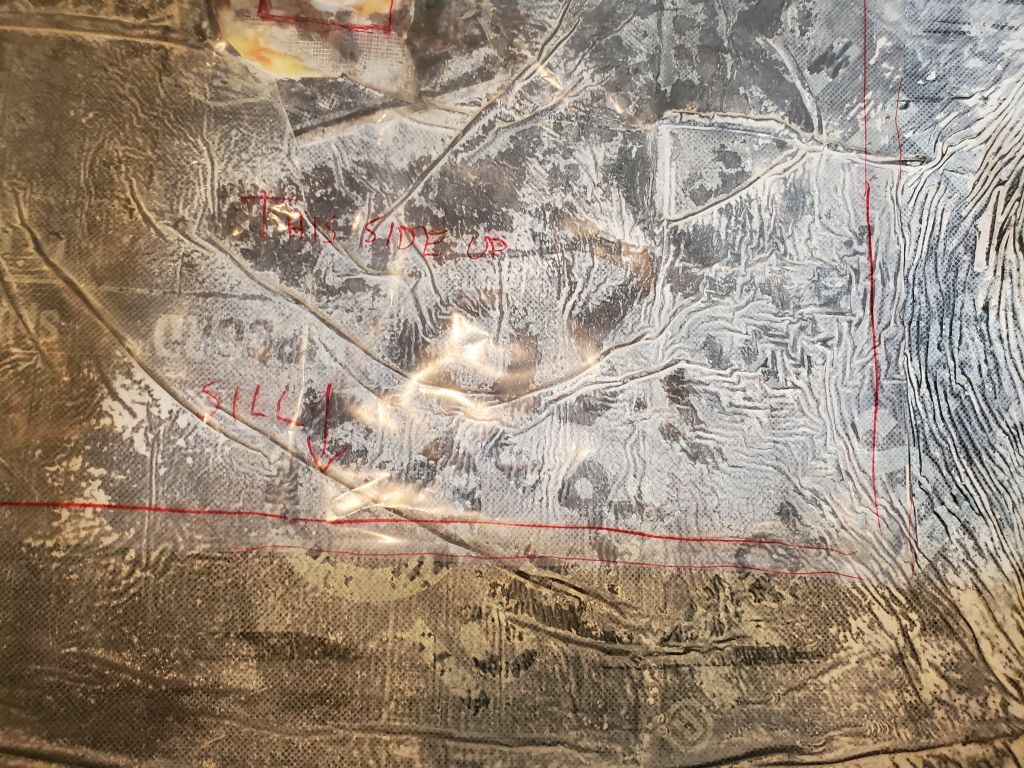
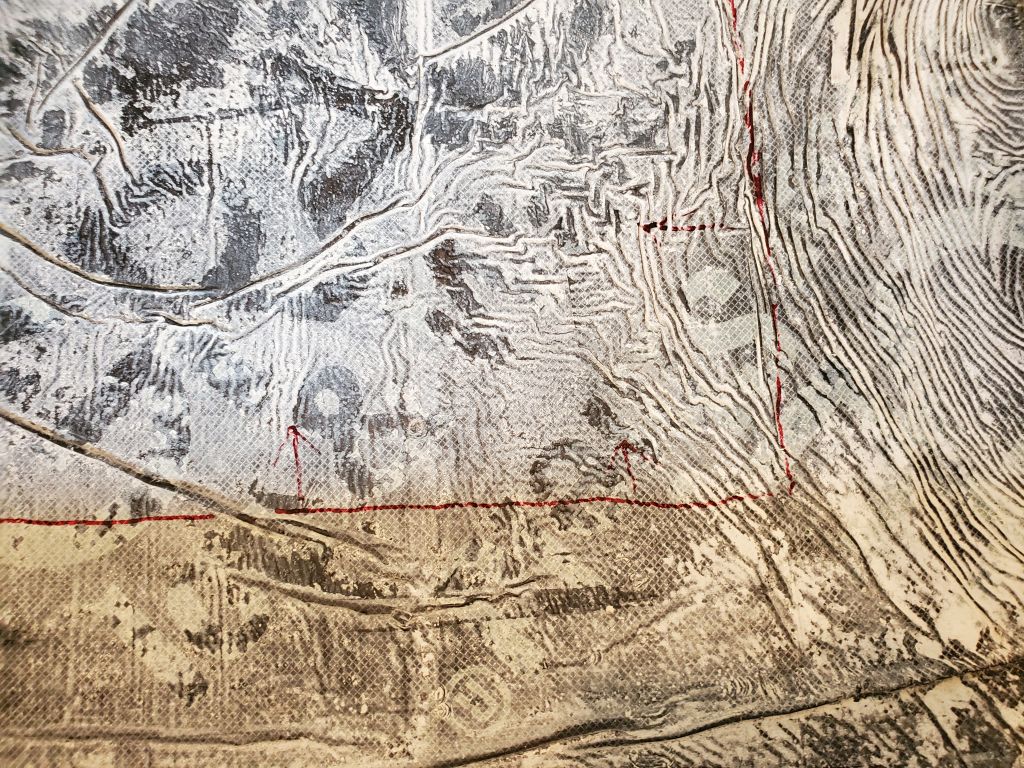
To begin, in June I made a template of the existing floor with strips of 3/16″ plywood and hot glue. The shower has two angled walls–one that holds the shower head, the other forming a little step in the back corner. The new shower pan would have to fit inside this space, so it had to be a little smaller overall than the floor in order to get it into place, so I used 1/2″ spacers all around when I built the template. I patterned the perimeter, added various cross pieces for stiffness, and carefully patterned and located the center drain location, which of course was key to the whole thing. The template represented the largest overall size and shape of the new pan. The floor was basically square, other than the two angled corners.

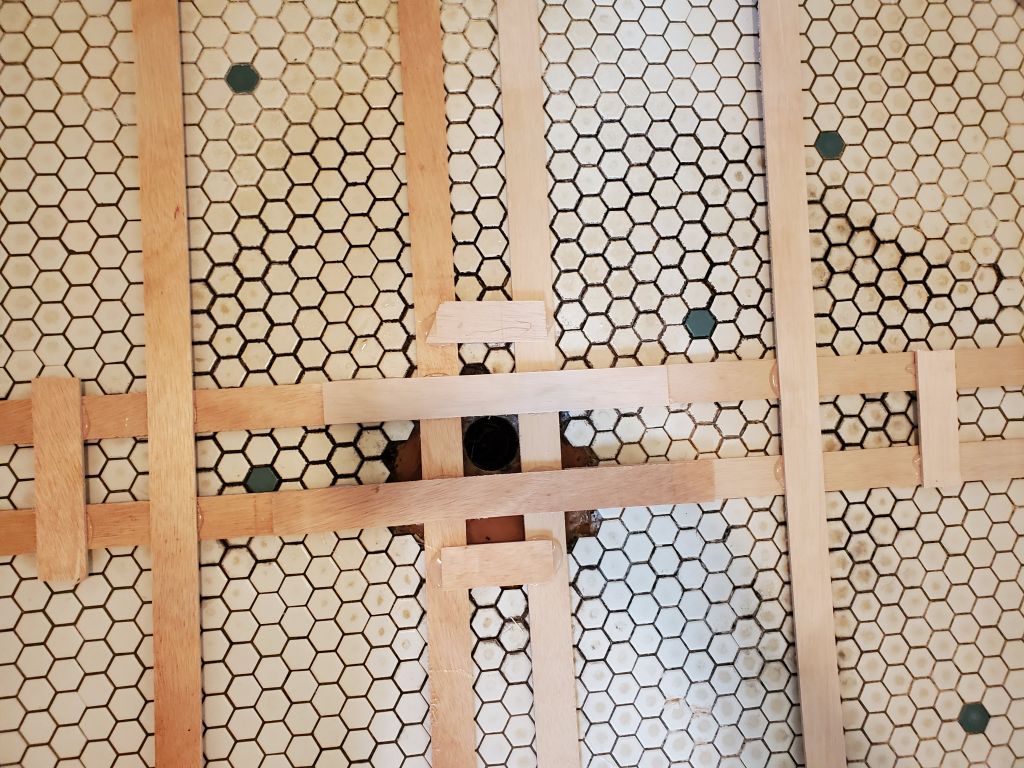

Down in the shop, I began the construction of a single-use plug on which I would mold the new shower pan. I made up a base from cheap plywood; the template was wider than a sheet of plywood, so I tacked on another piece as needed and glued it together with additional plywood strips and hot glue. This base represented the maximum overall size and shape of the new pan, which in this case was the top, or open side; the mold would essentially be upside down. For molding purposes, the plywood was simply the base for the actual mold to be built upon.
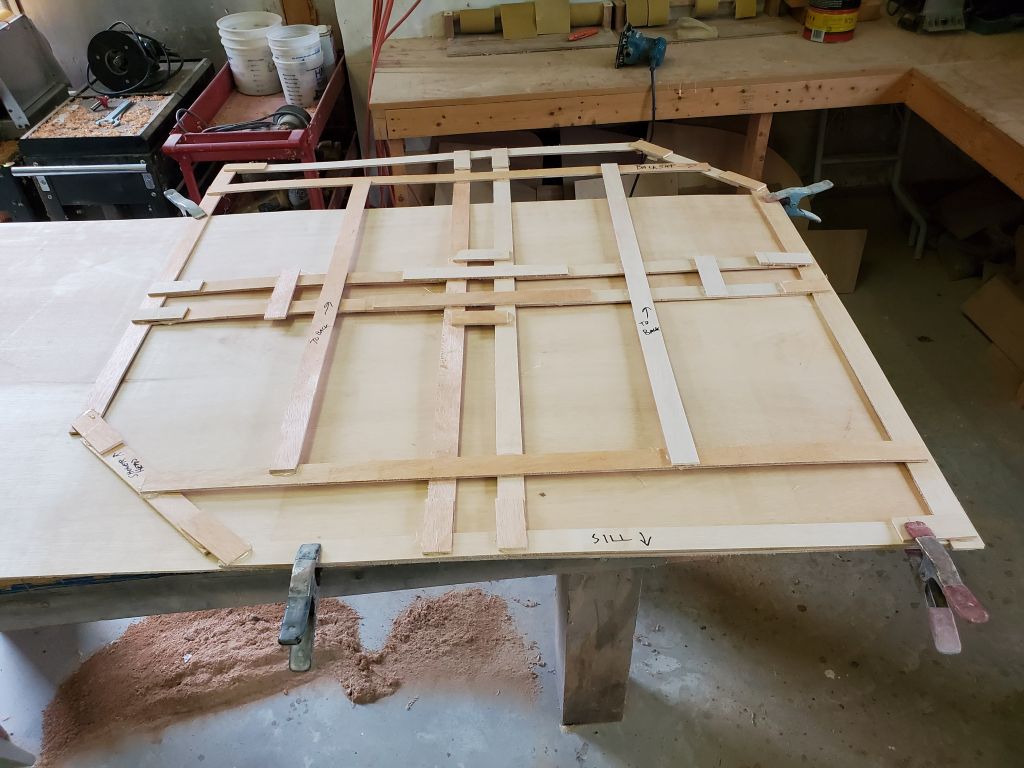

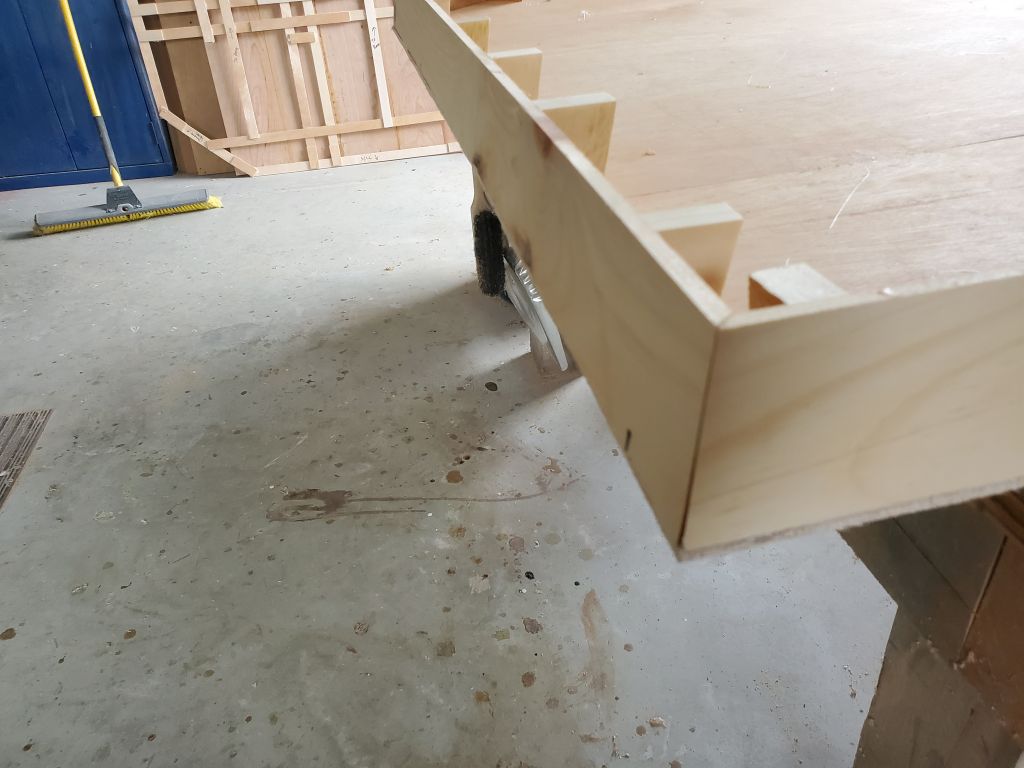
Next, I built the sides from wood, secured to the base with a series of wooden blocks that incorporated an angle of a few degrees on their outer faces. The purpose of the angle was twofold: First, because I thought the shower pan should have slightly angled sides to promote drainage and easier cleaning; and second, to allow the finished part to come off the mold. I assembled all this with hot glue. It’s been a while since the actual construction of the mold, which I built in June 2020–it’s March 2022 as of this writing–but I think I built the sides 2-1/4″ tall, extending the wood 1/4″ above the angled cleats. This was to accommodate the center part of the mold construction, which you’ll see soon.
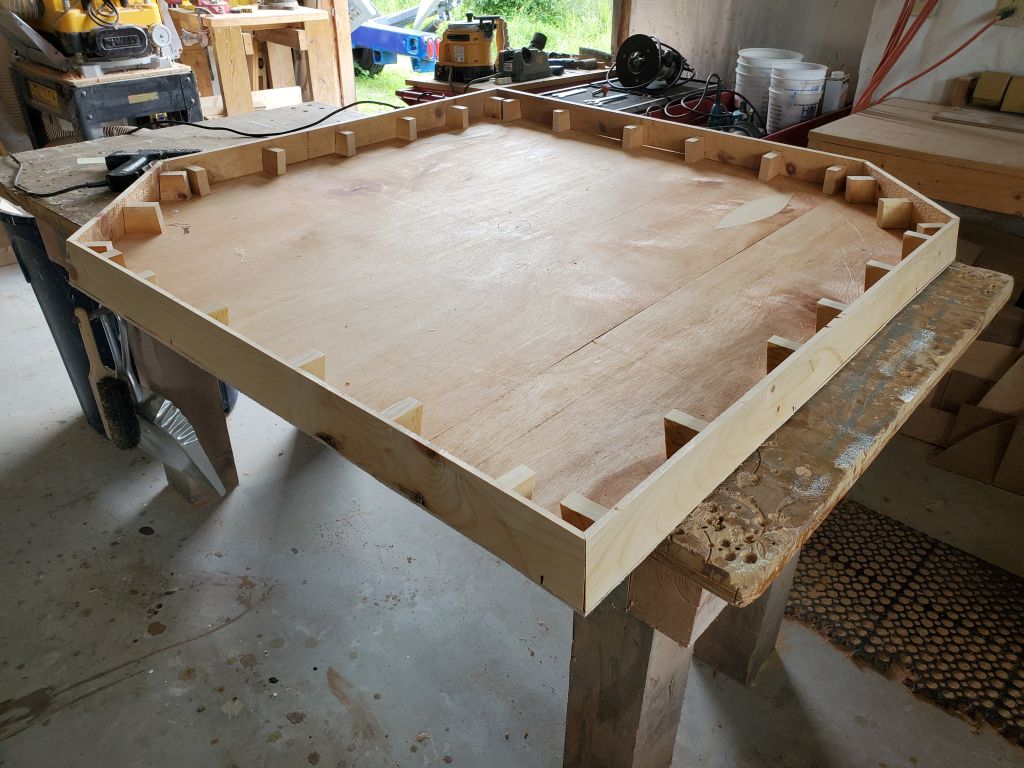


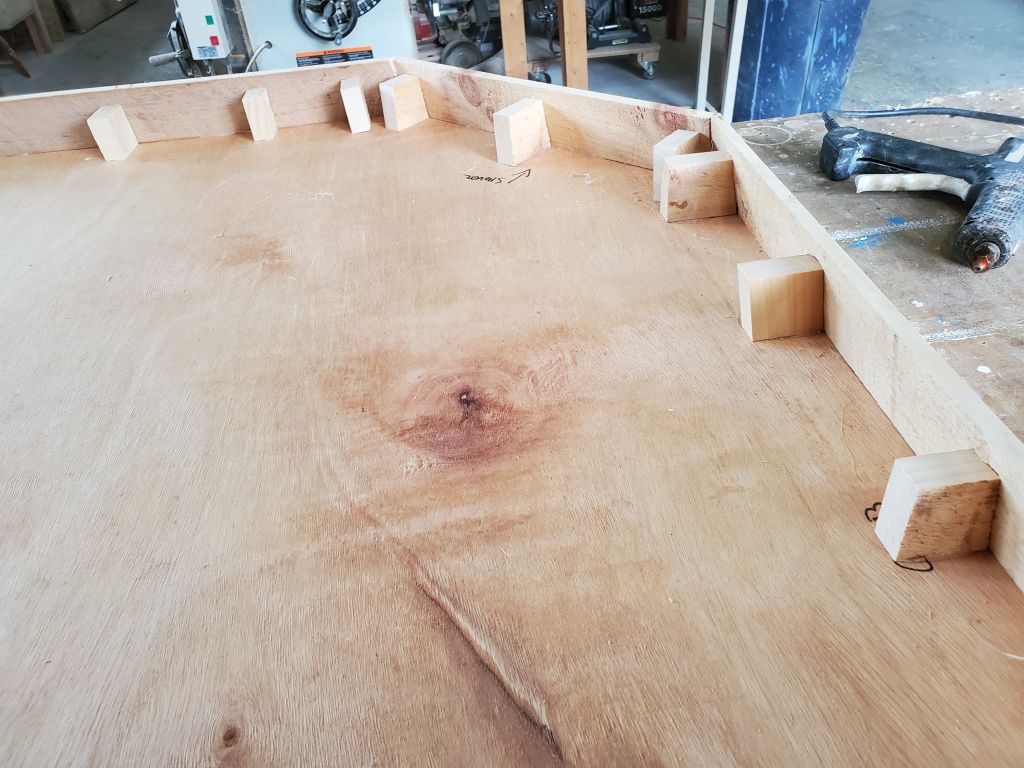
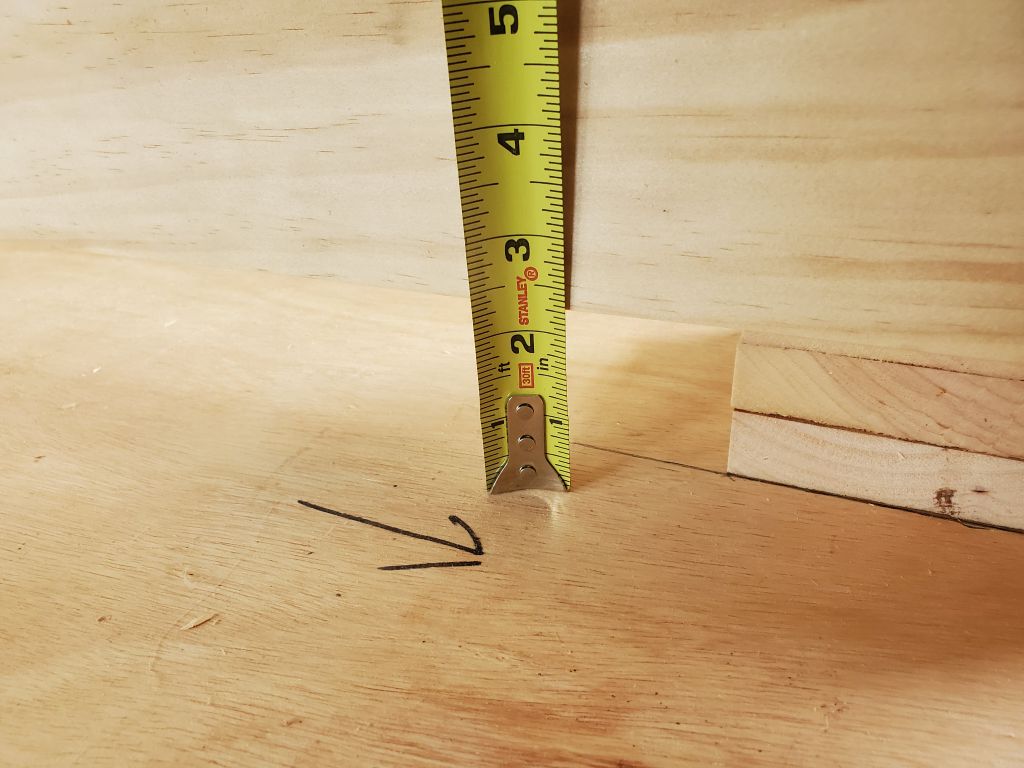
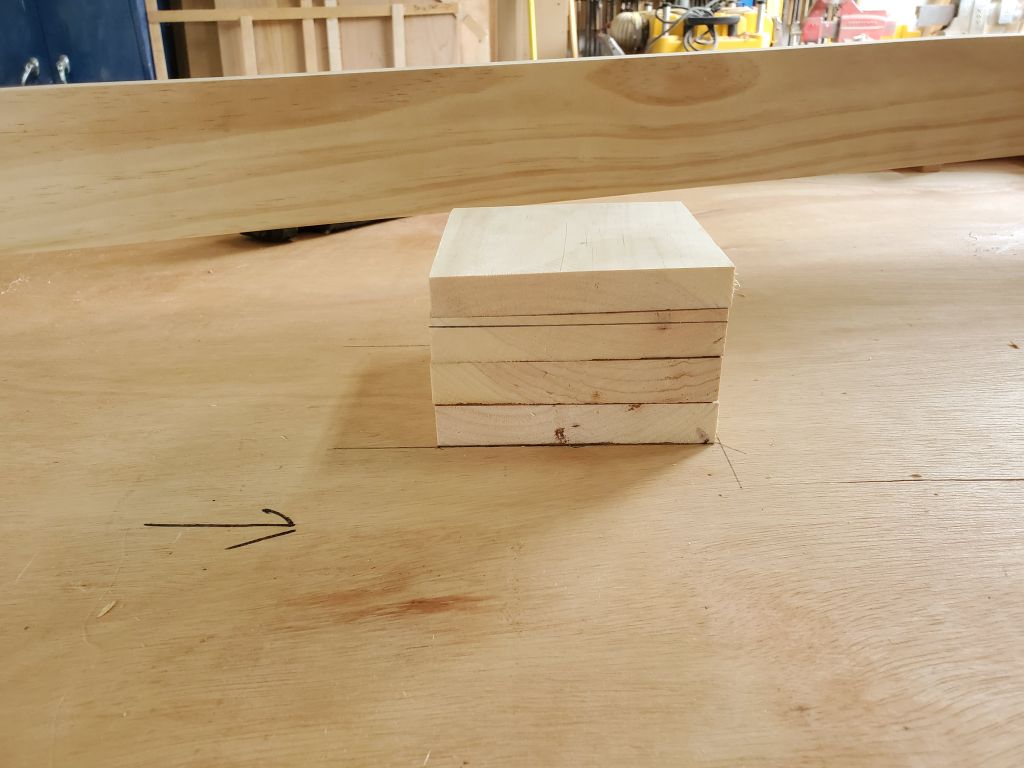
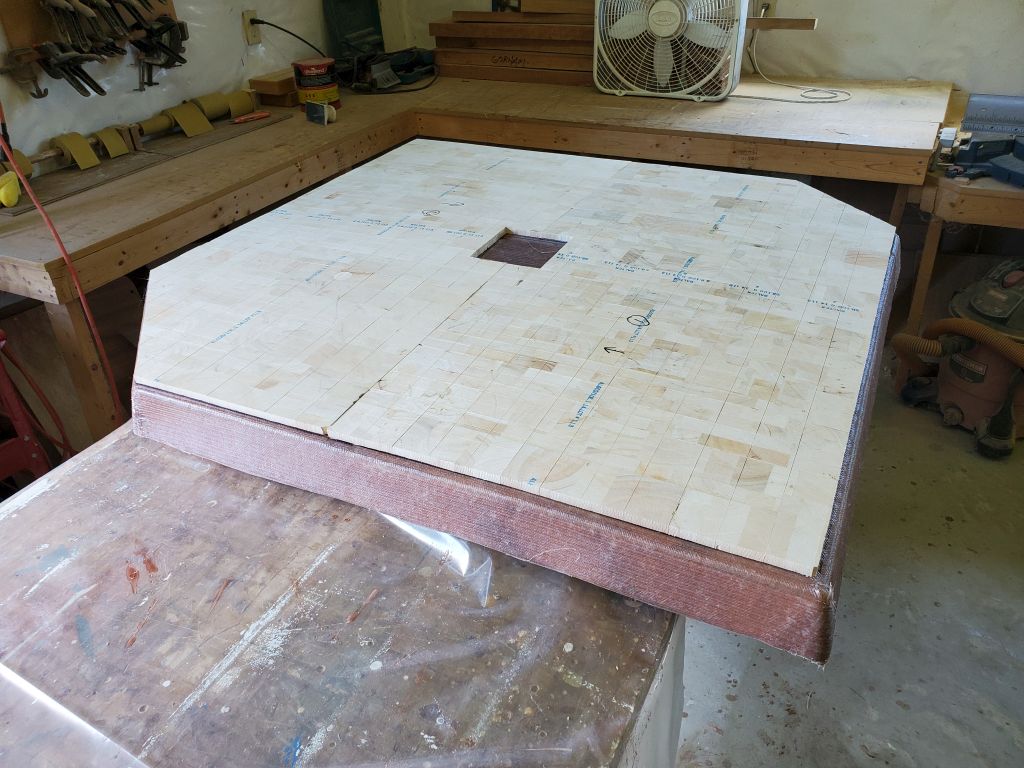
I’d ordered a square drain fitting that was 4″ on a side. Given the overall size of the shower pan, I figured that a slope of 3/4″ on each side (i.e. from each side to the center drain) would be sufficient for drainage. So in the center of the base, I installed a 4″ square of built-up wood to a height of 3-1/4″, or 1″ higher than the sides. The extra 1/4″ would come into play shortly, but ultimately this would provide me with the 3/4″ slope I wanted.


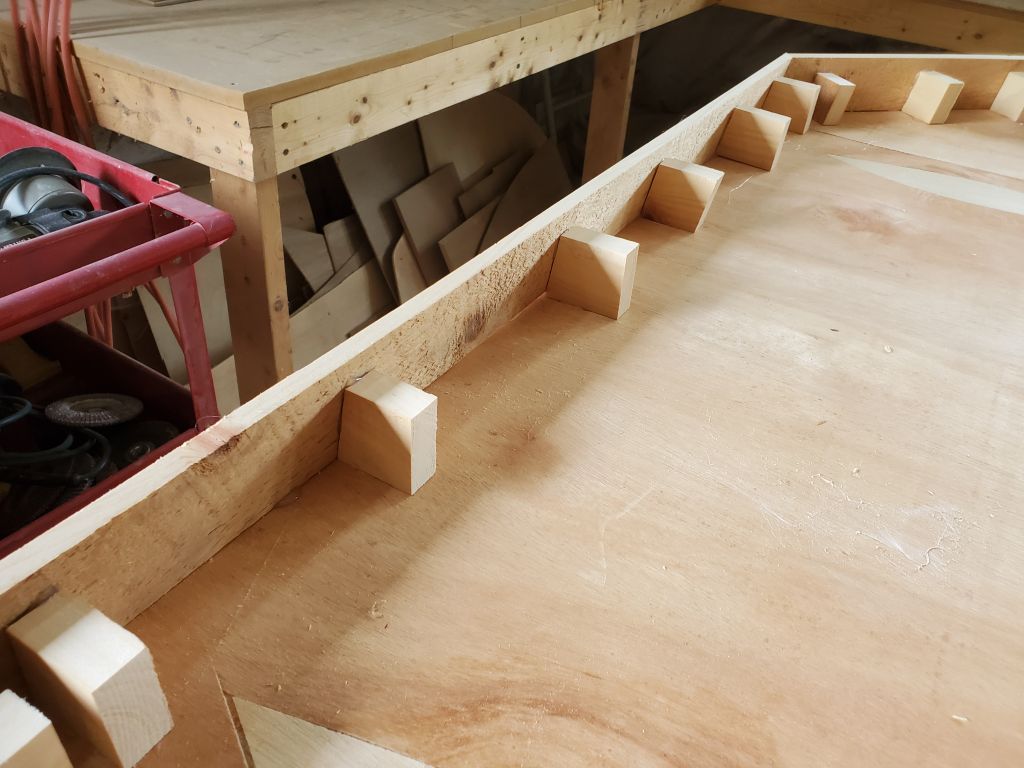
Next, I installed support cleat all around the center square, 1/4″ down from the top.
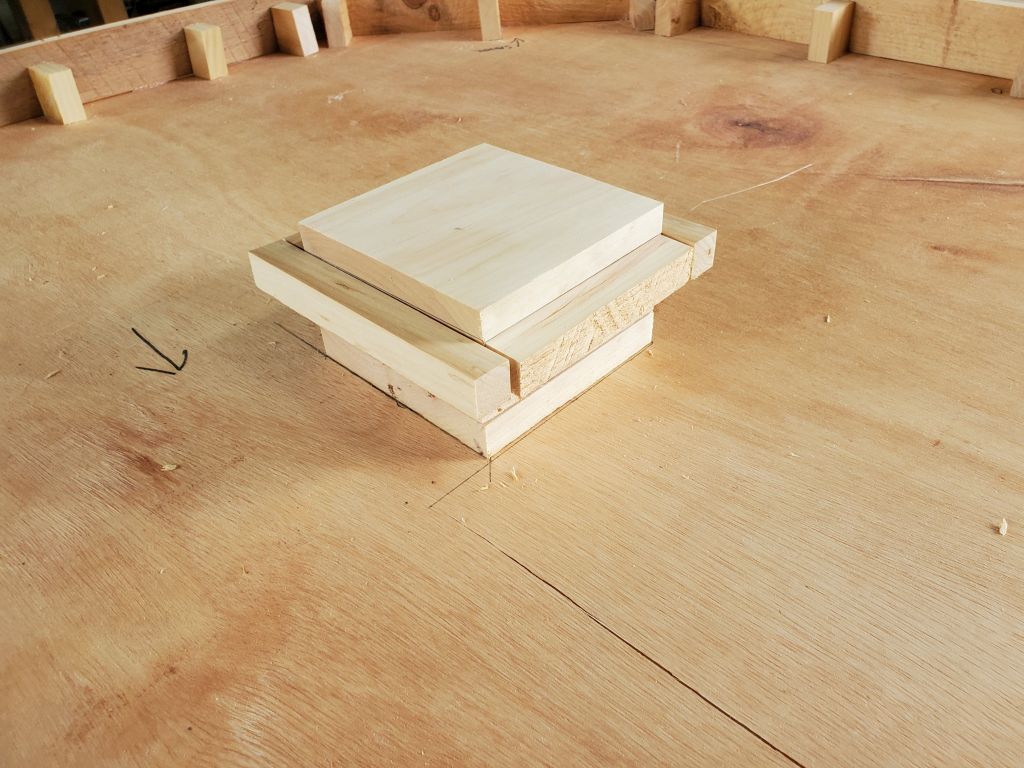

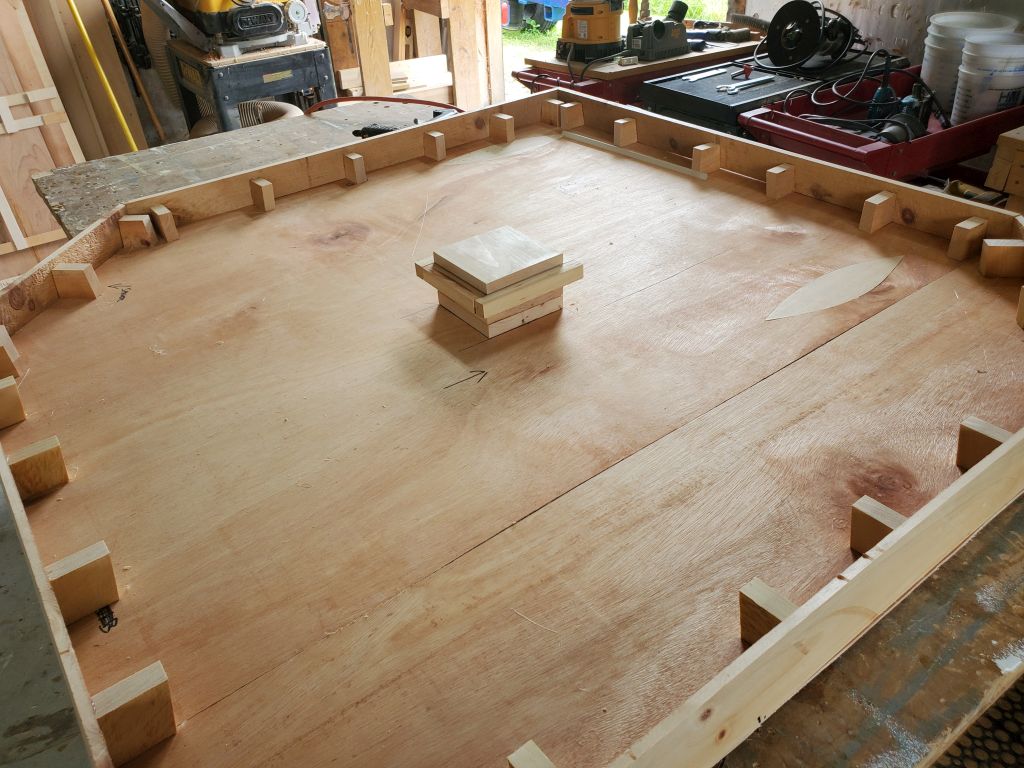
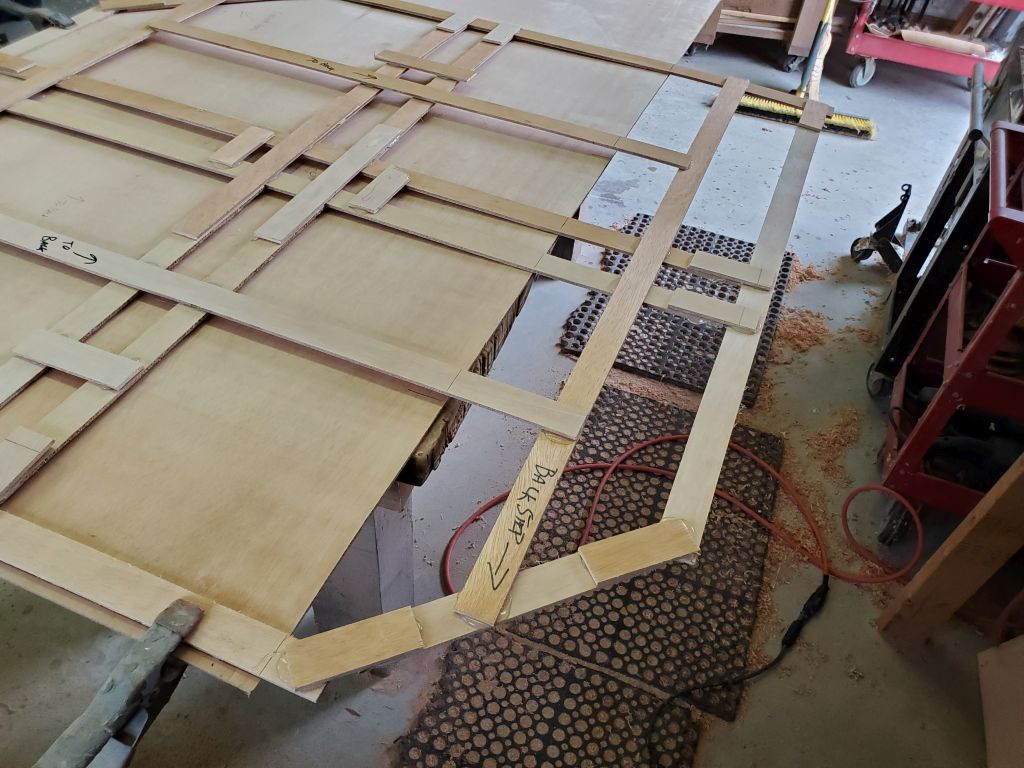
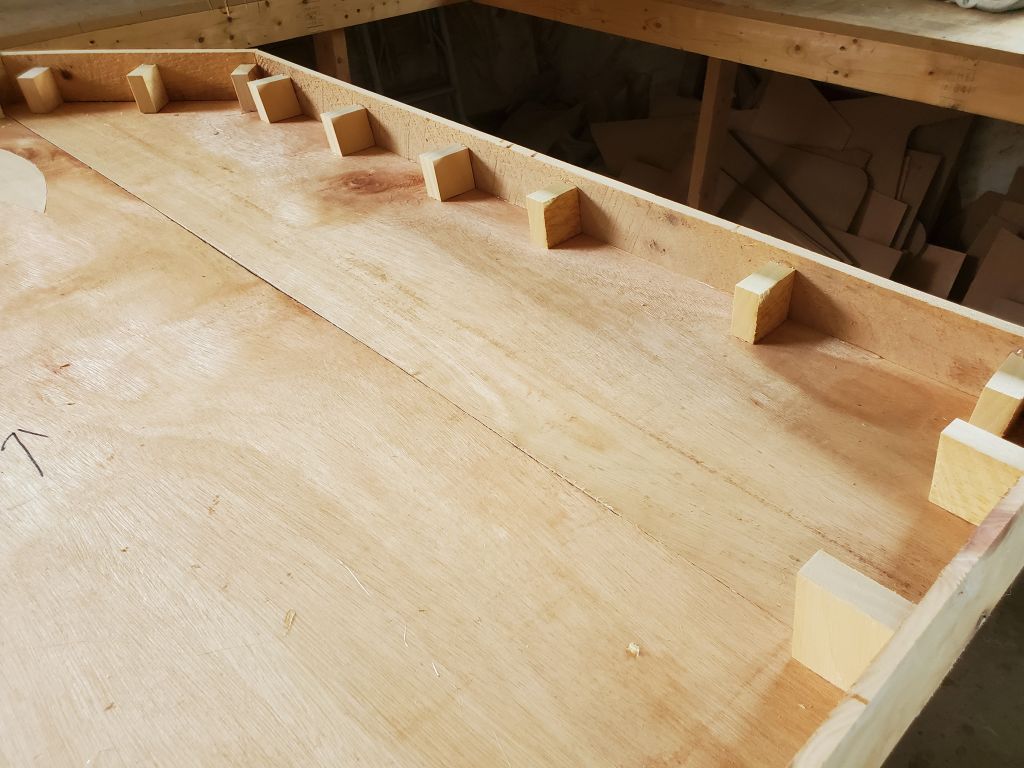
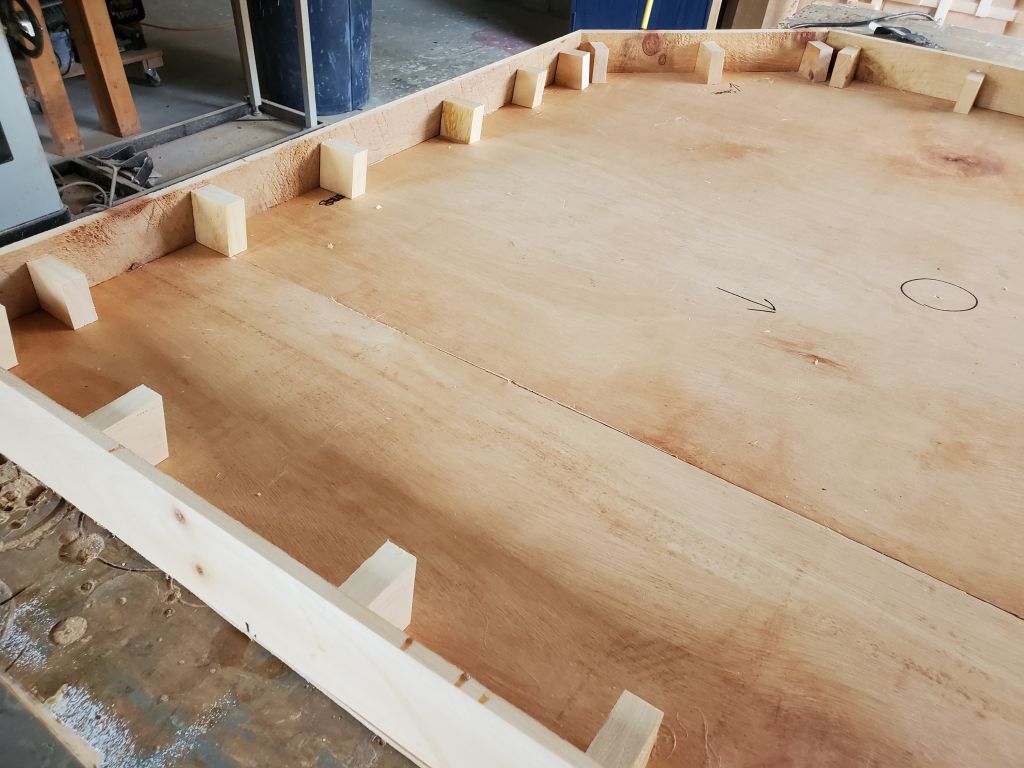
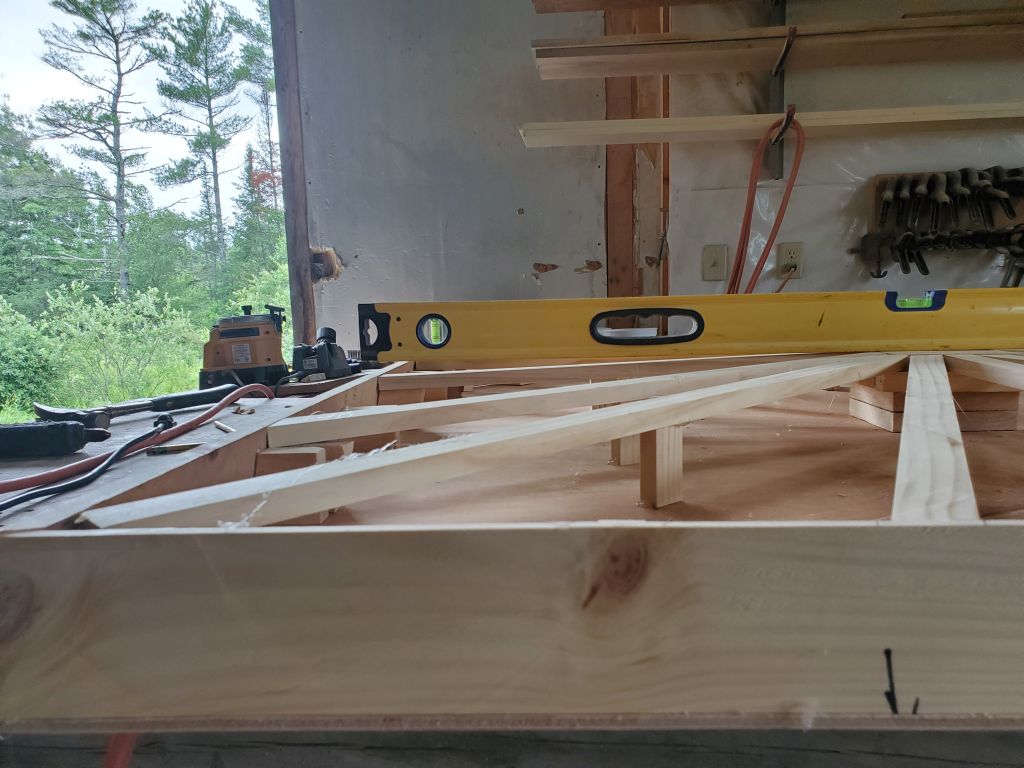
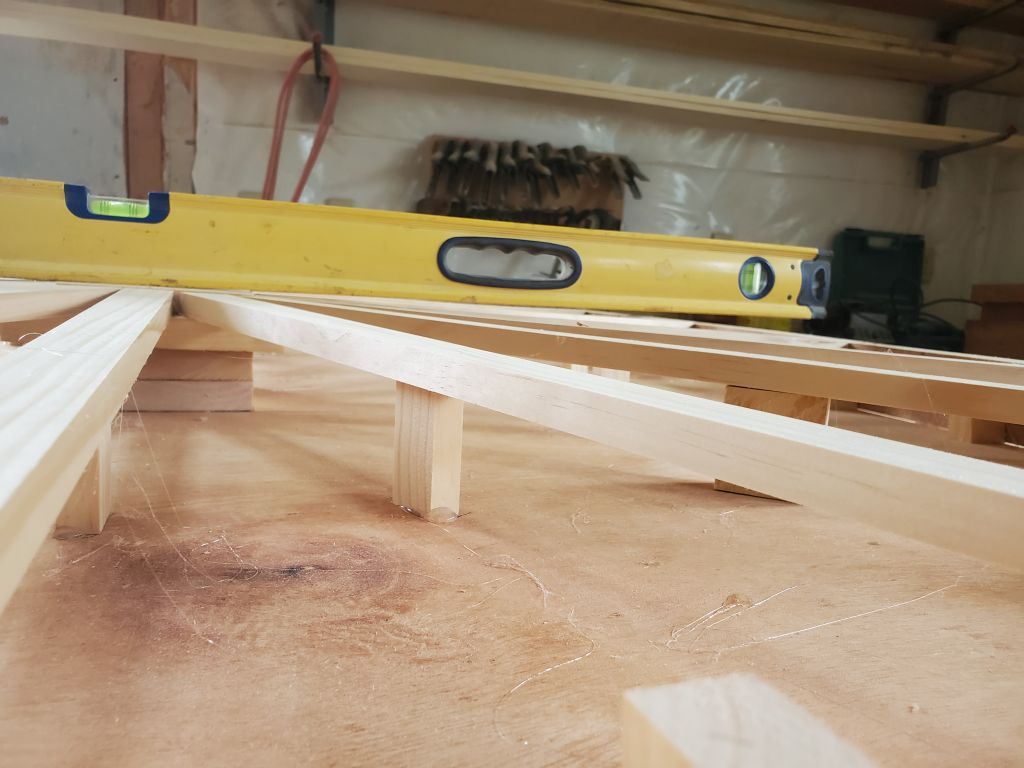
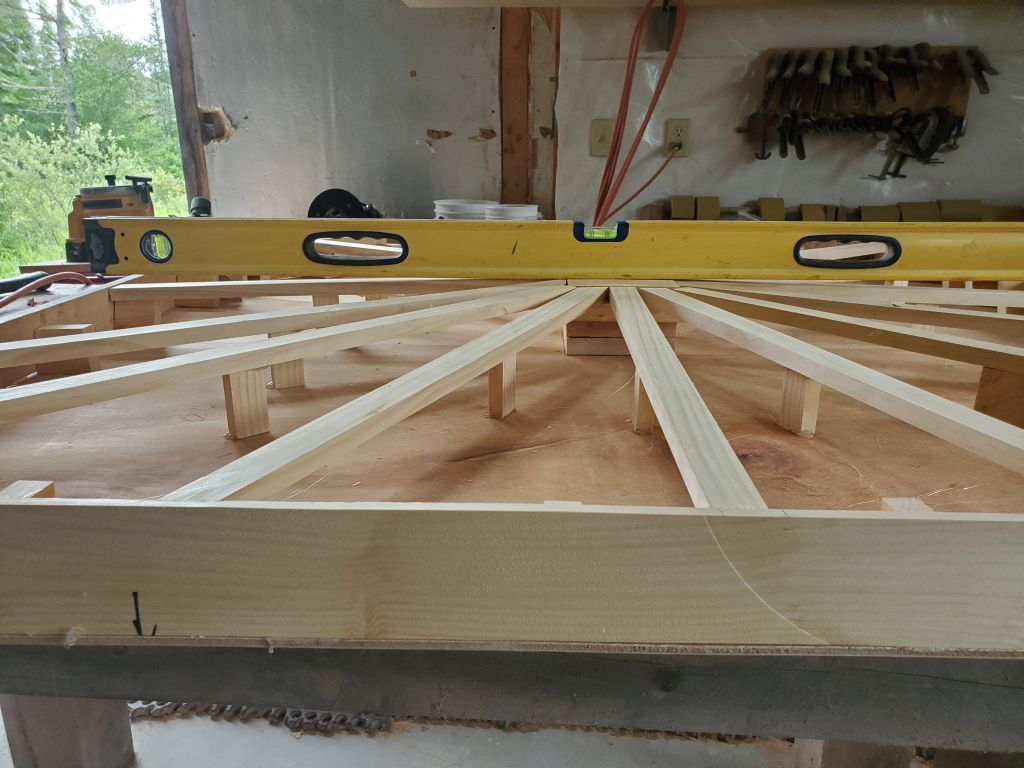
Now I cut strips of 1/4″ wood to run between the sides and the center, beginning with the four “corners” (two of which were actually the angled flat sides of the shower). These four cardinal points gave me the general shape of each sloped quadrant, all running to the center. Then, I filled in between with additional strips, hot gluing in place as needed. The end result of this was a base structure that incorporated the 3/4″ slope I’d designed.
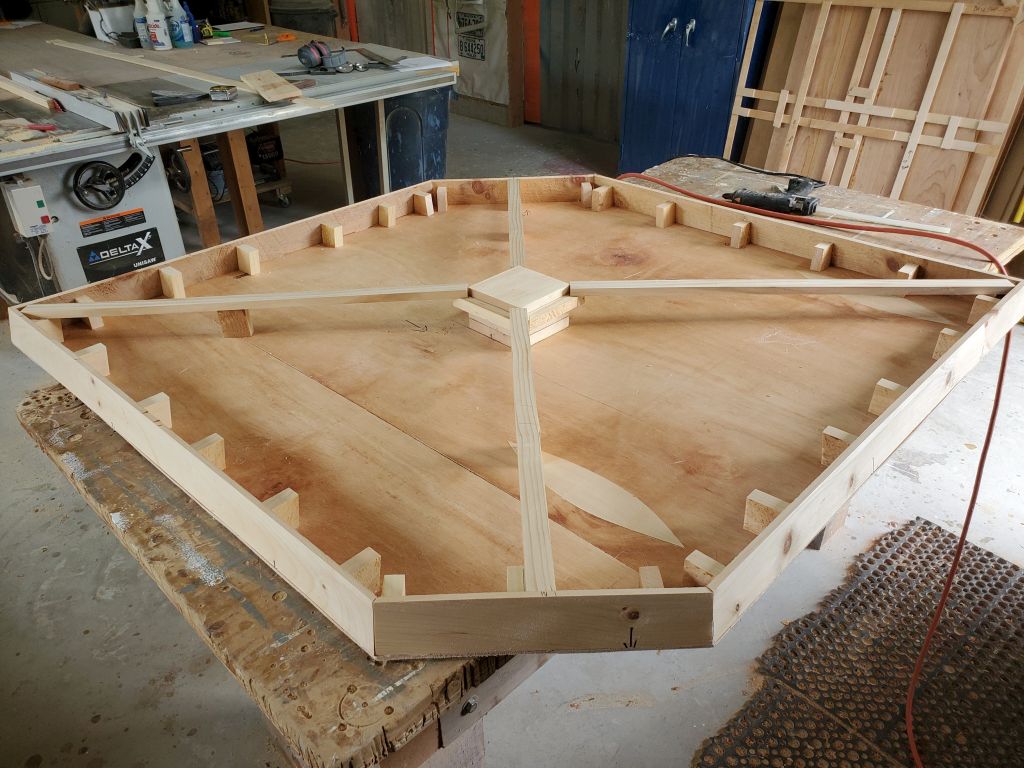
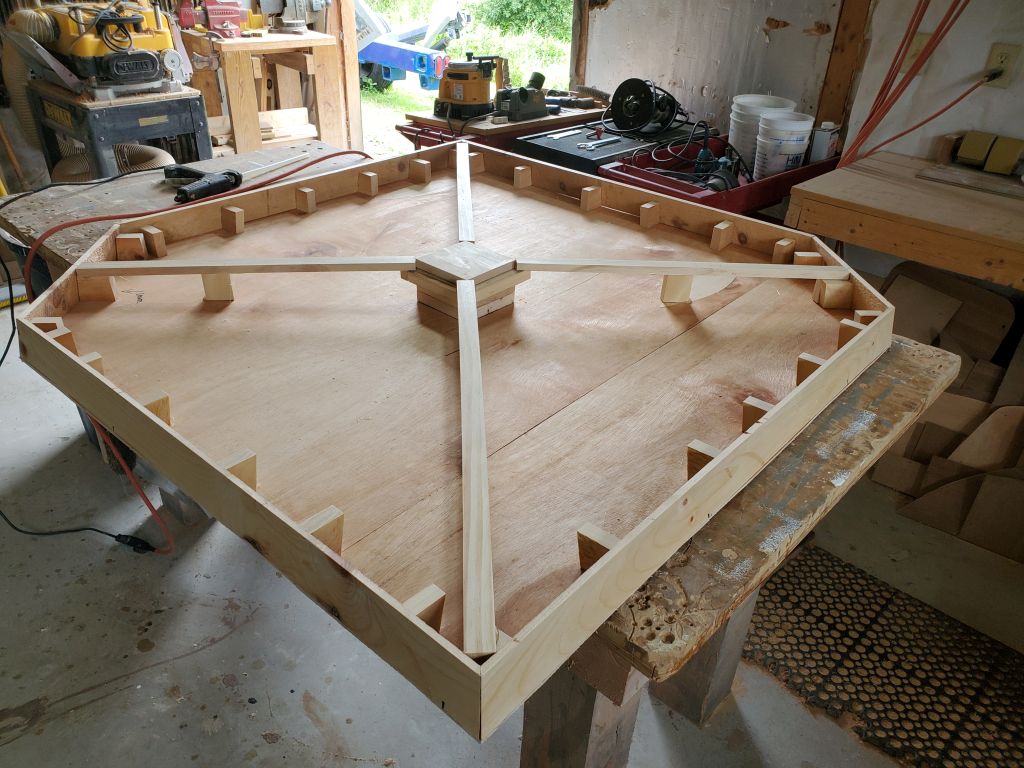
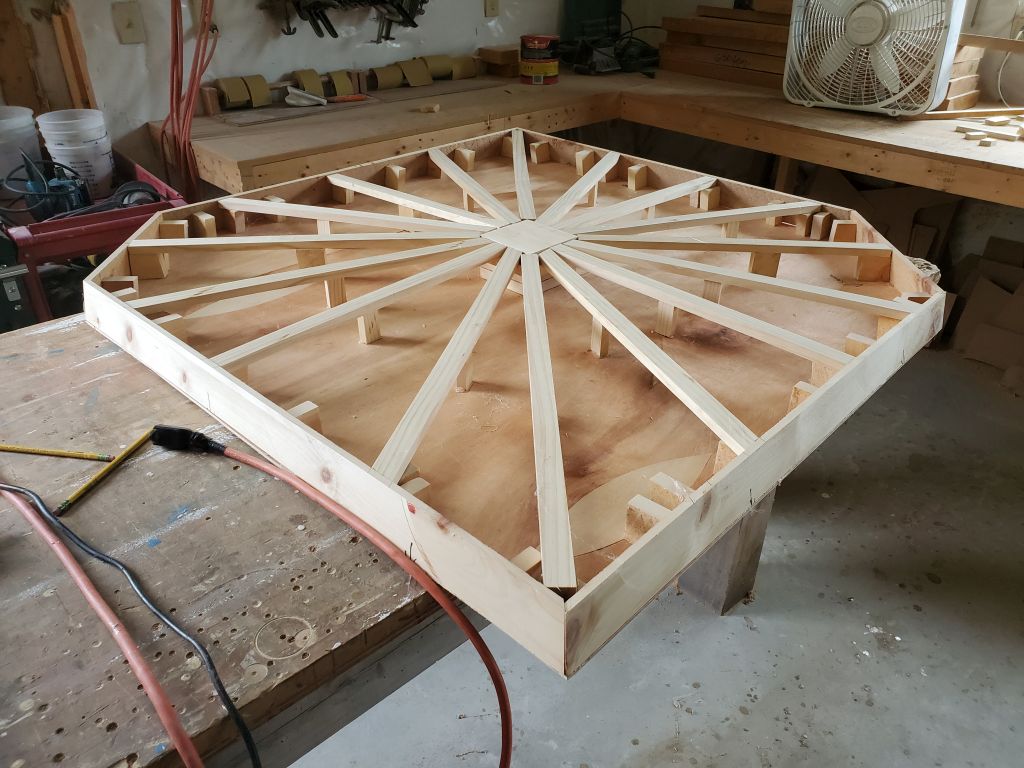
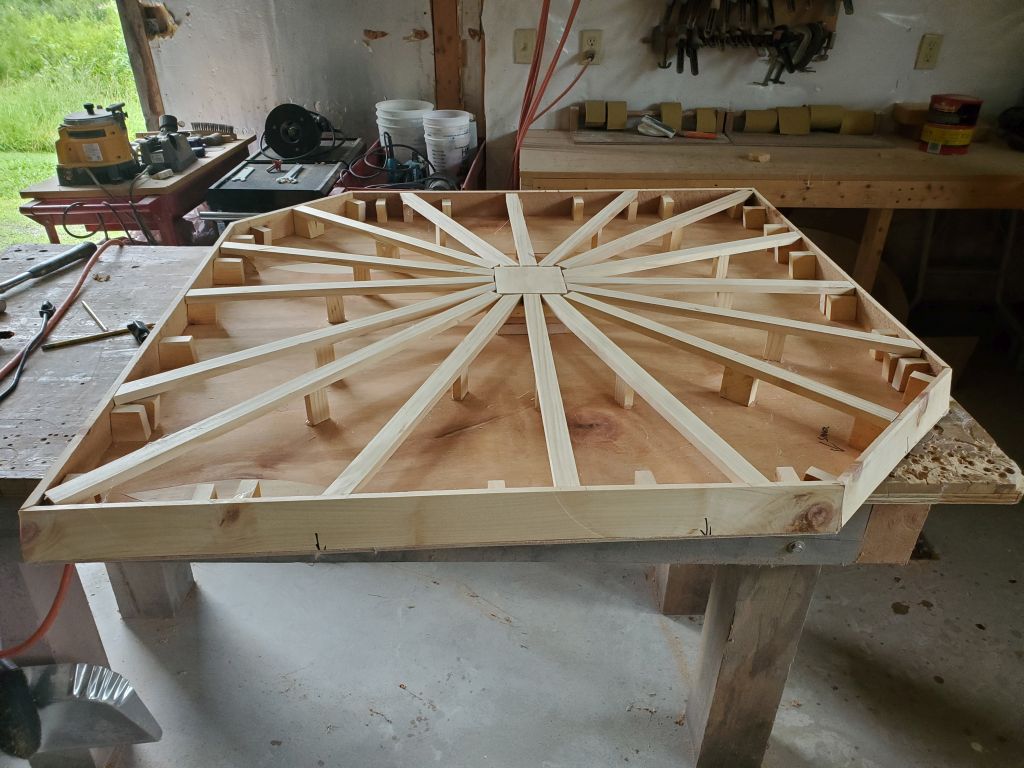
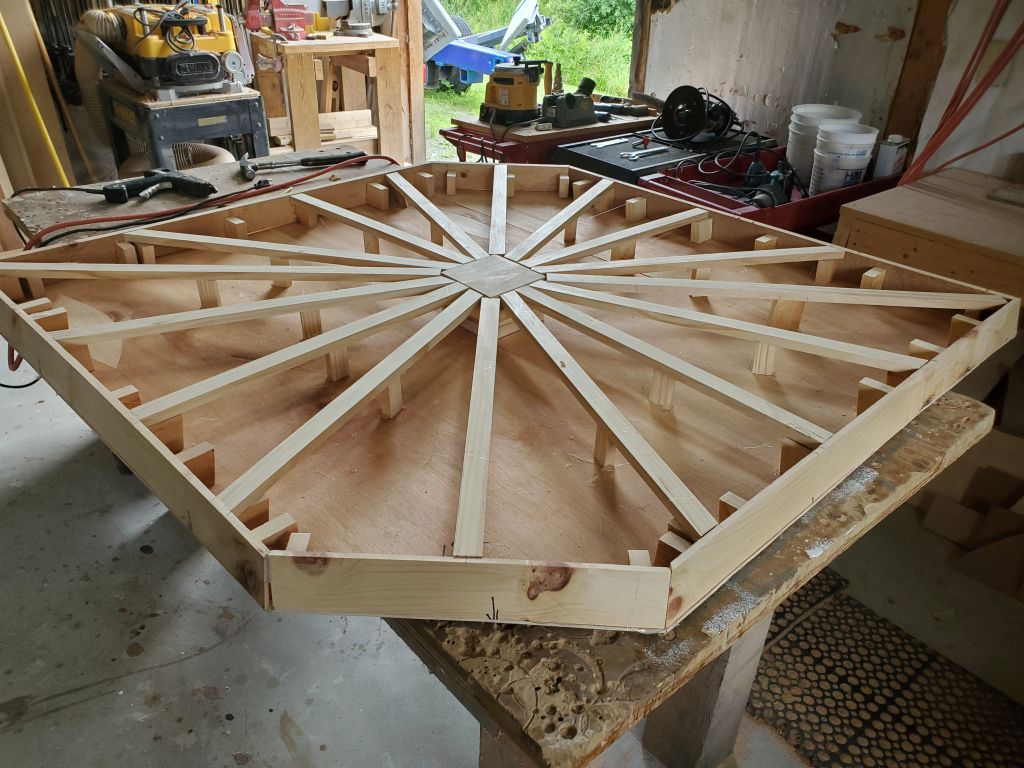
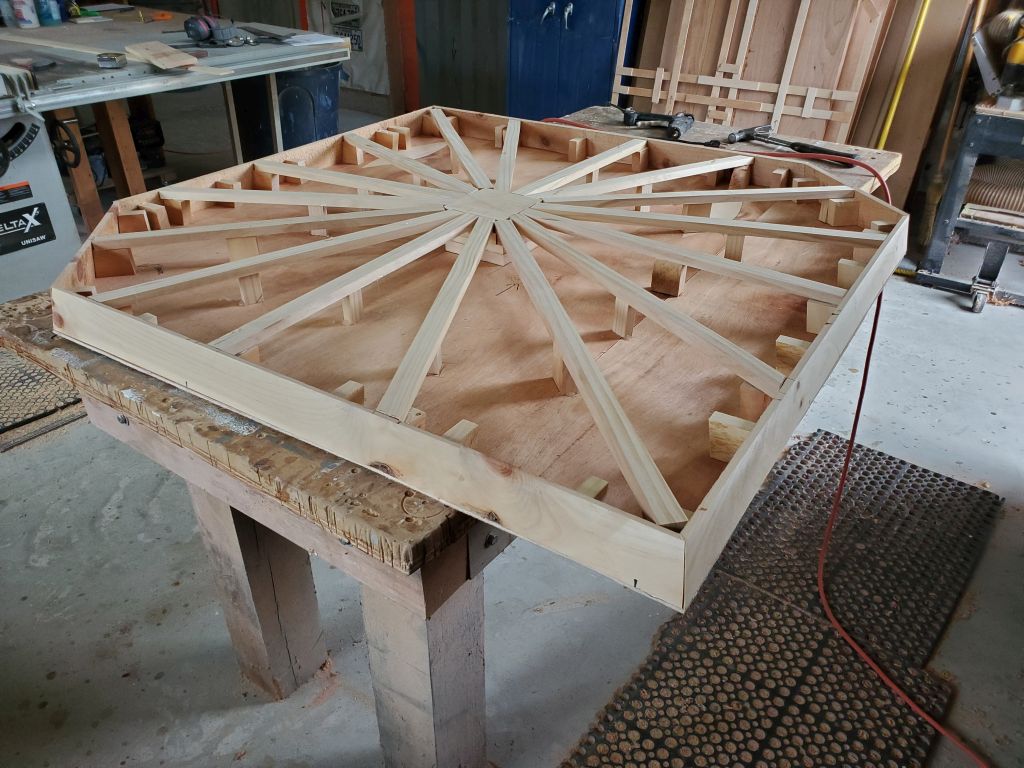

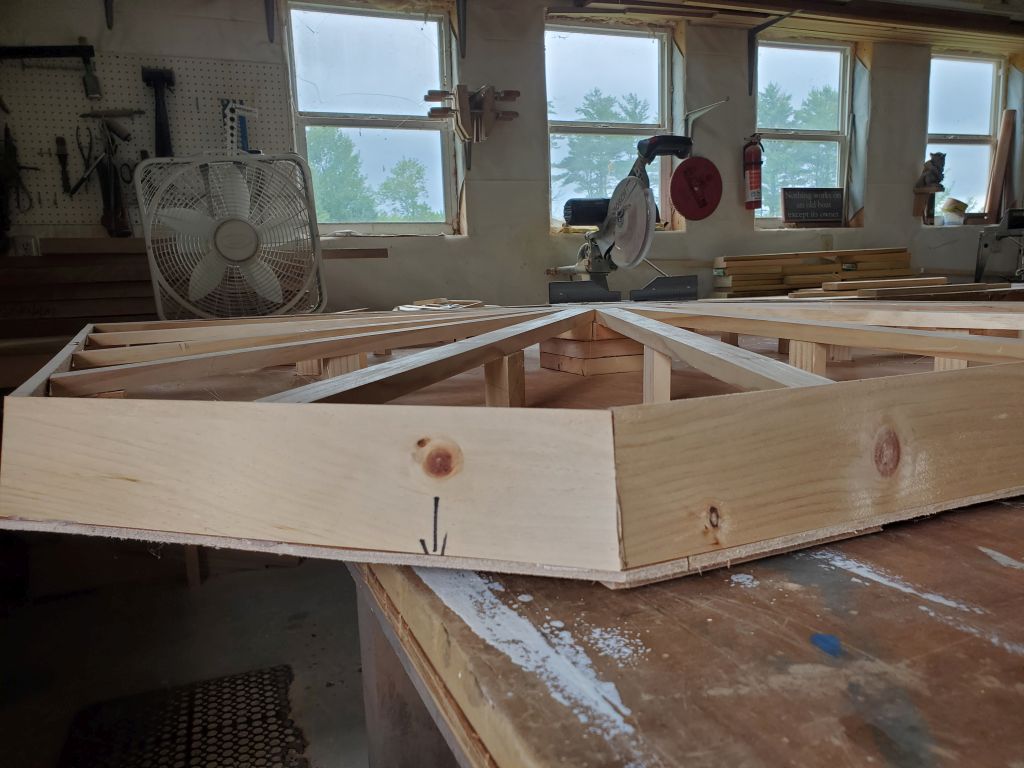
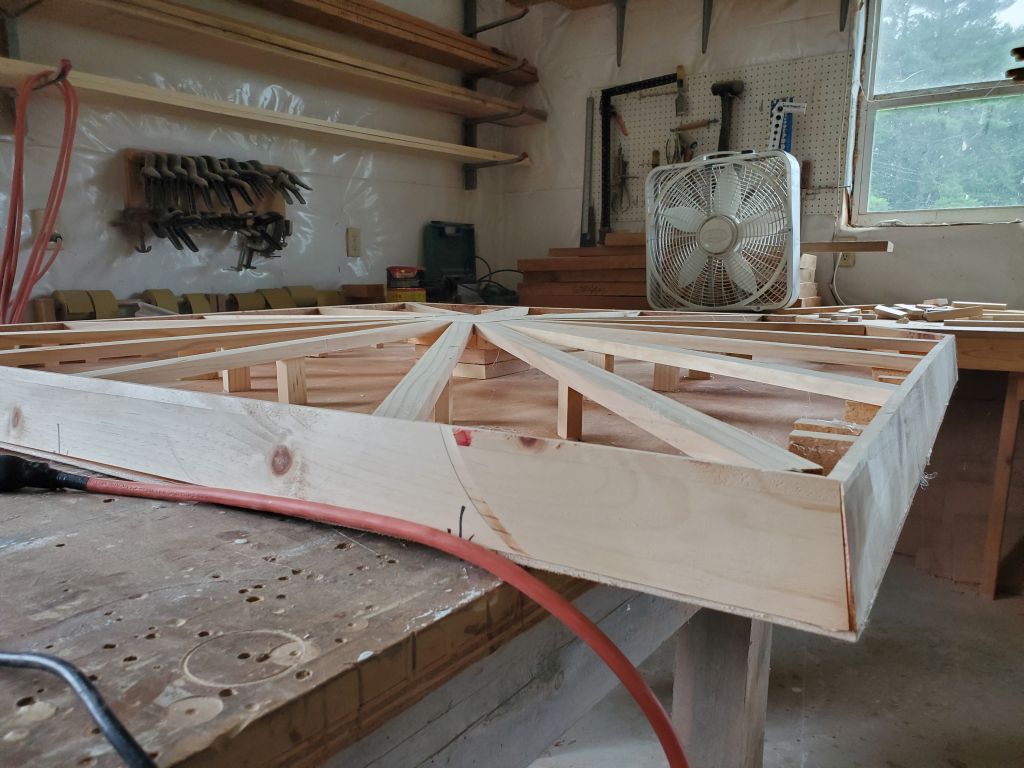
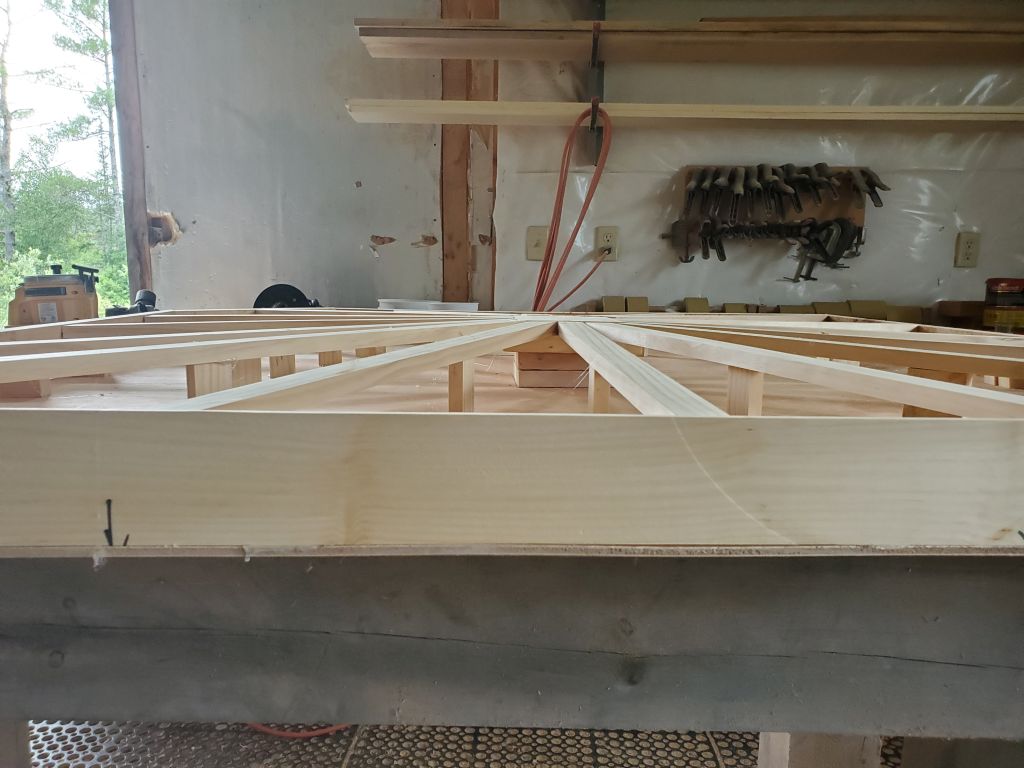


With the basic structure complete, I added a skin of 3/16″ plywood to the top, securing it with glue and screws and piecing in as needed.
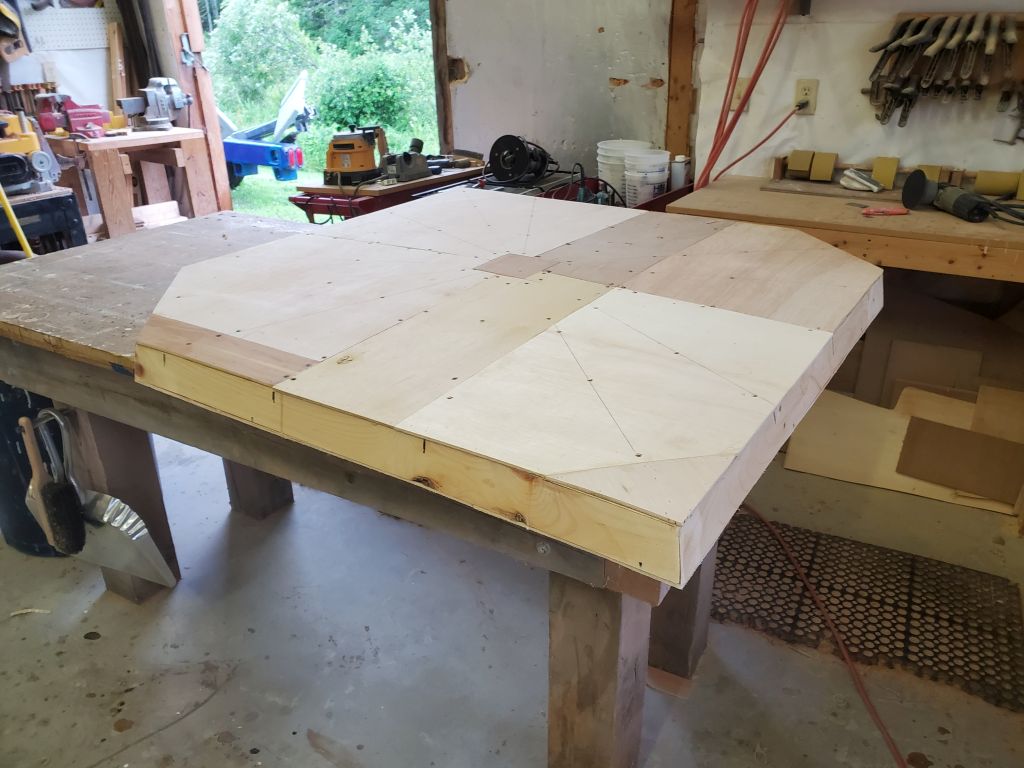

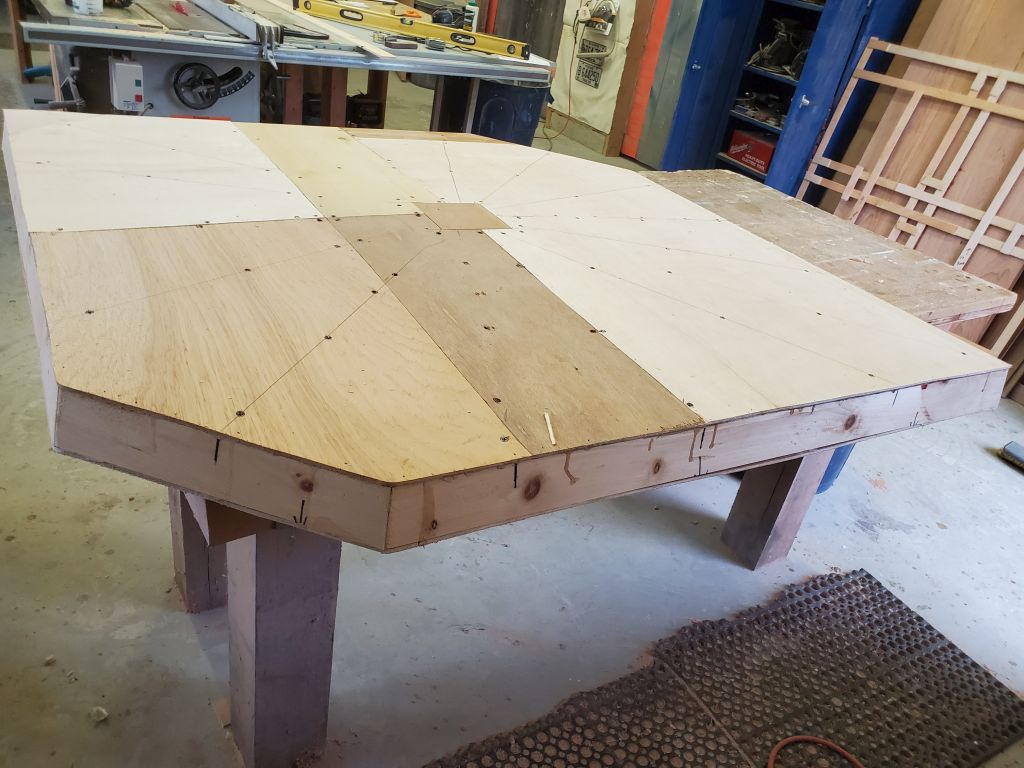
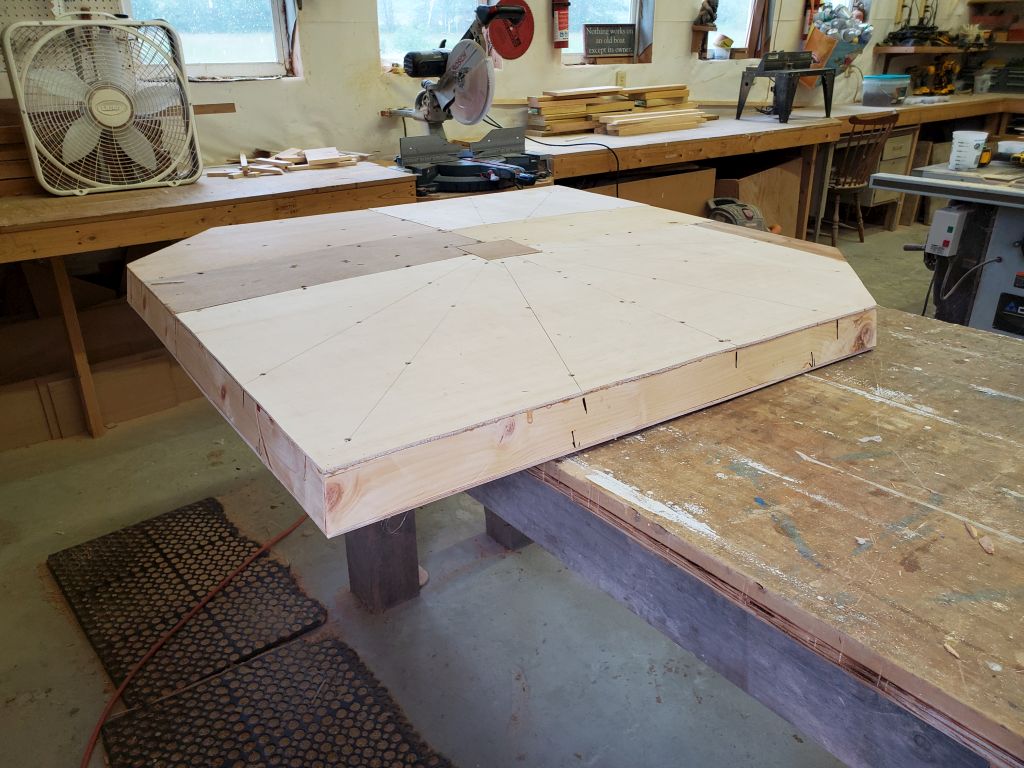
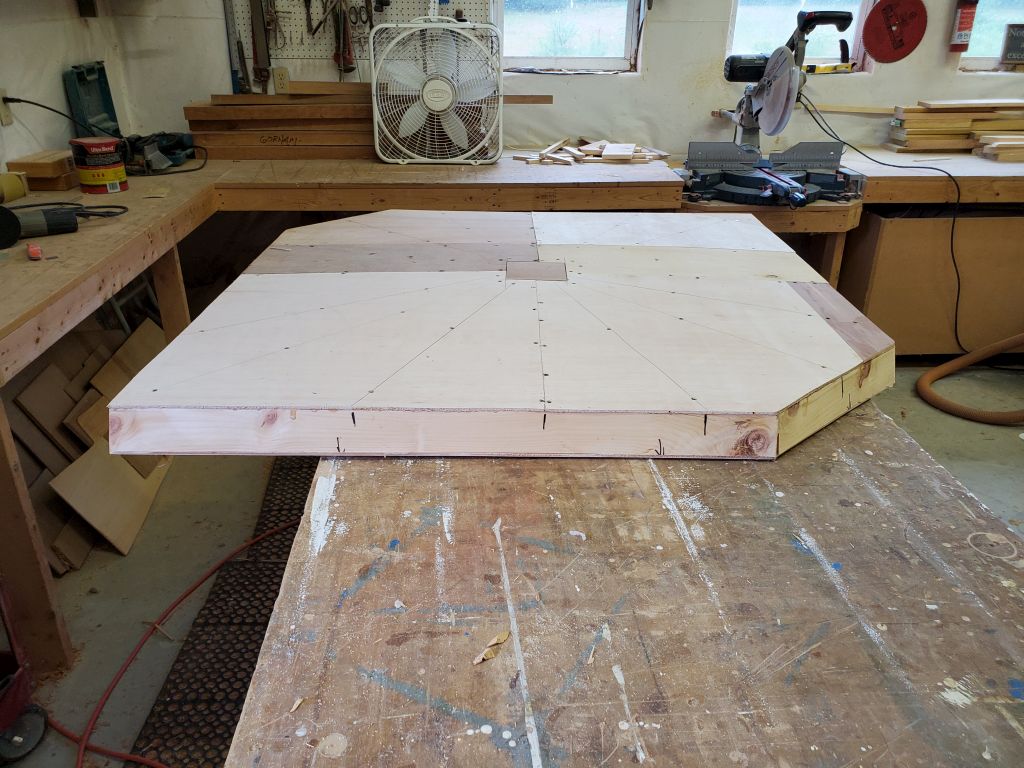


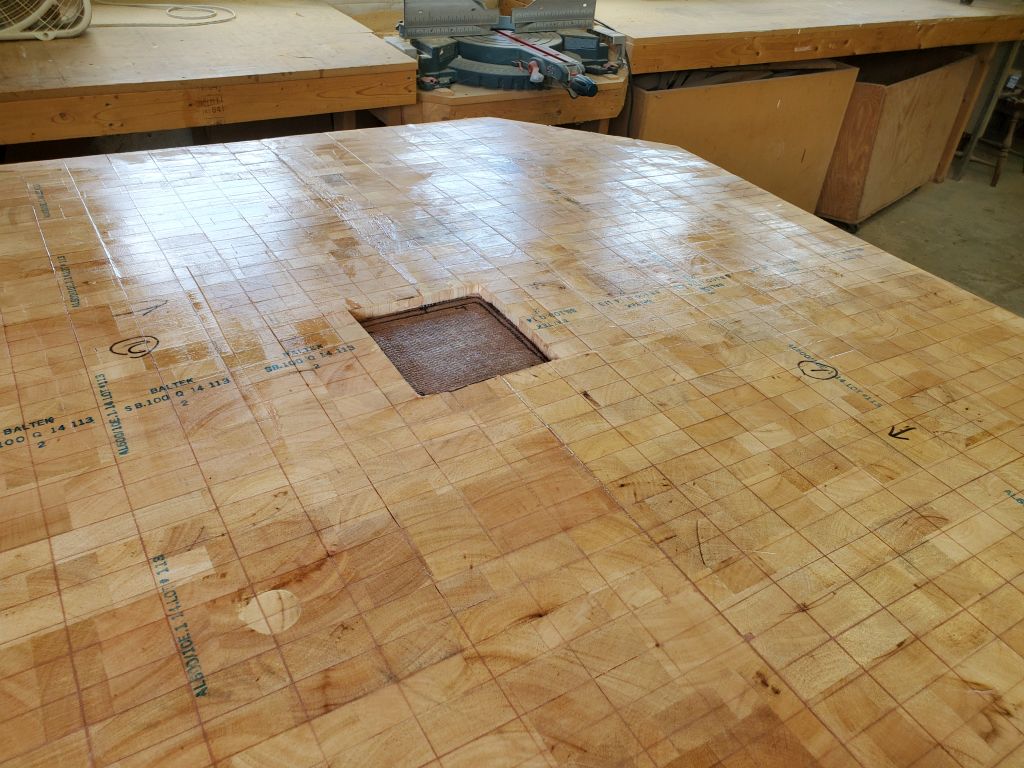
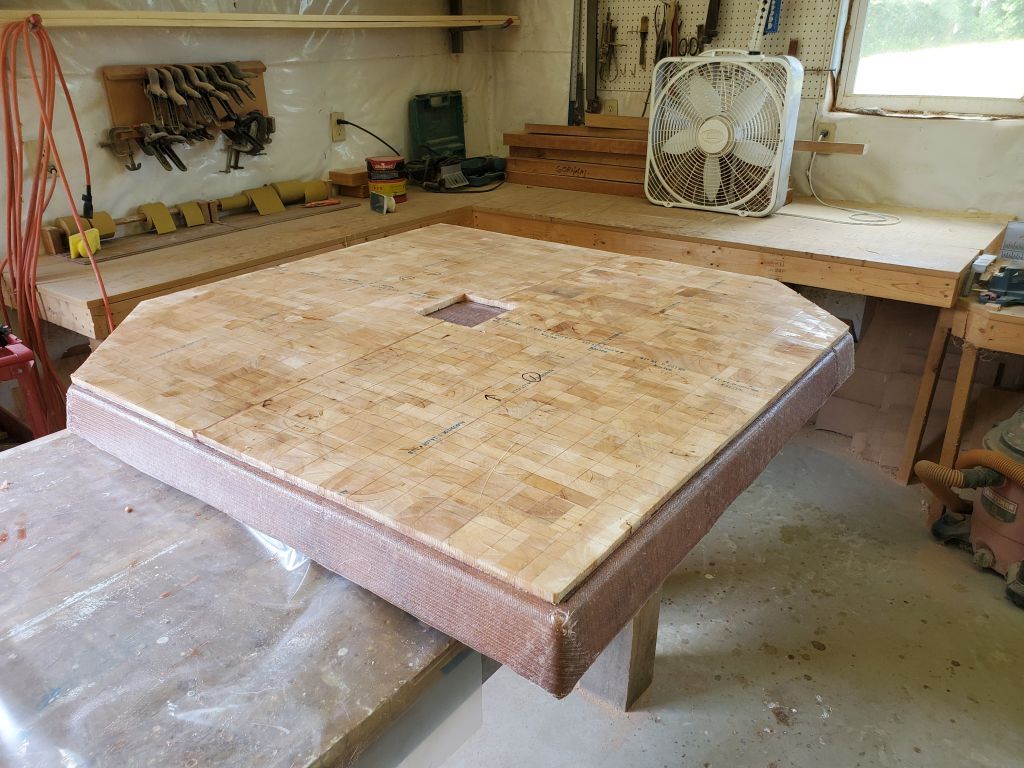
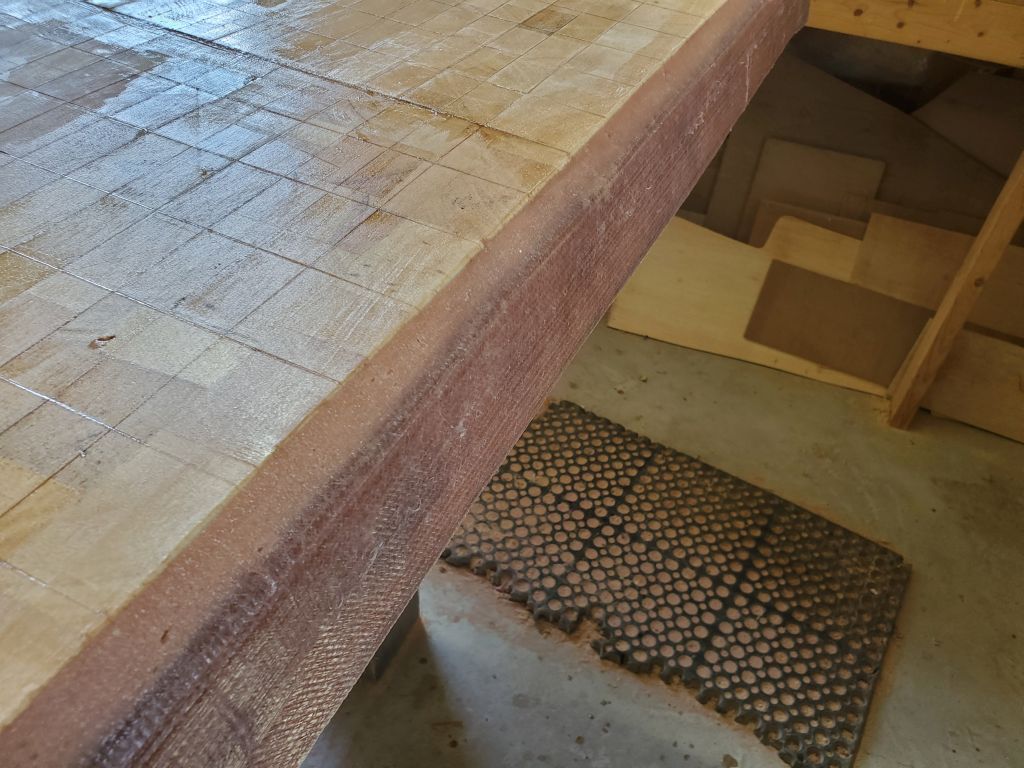
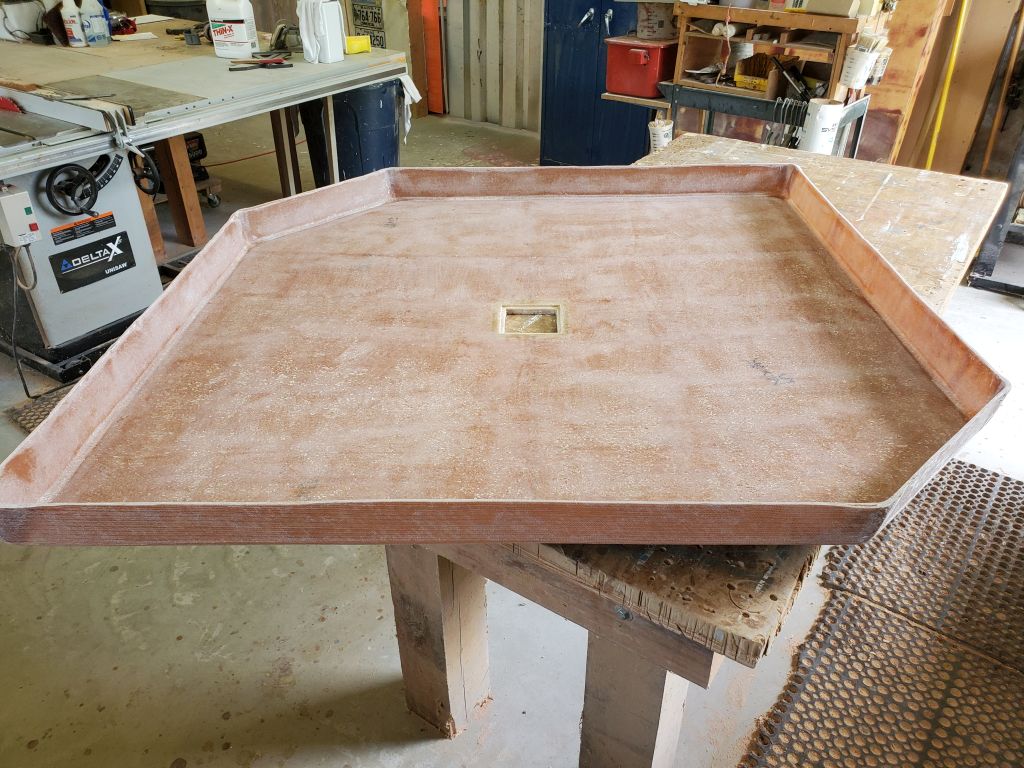
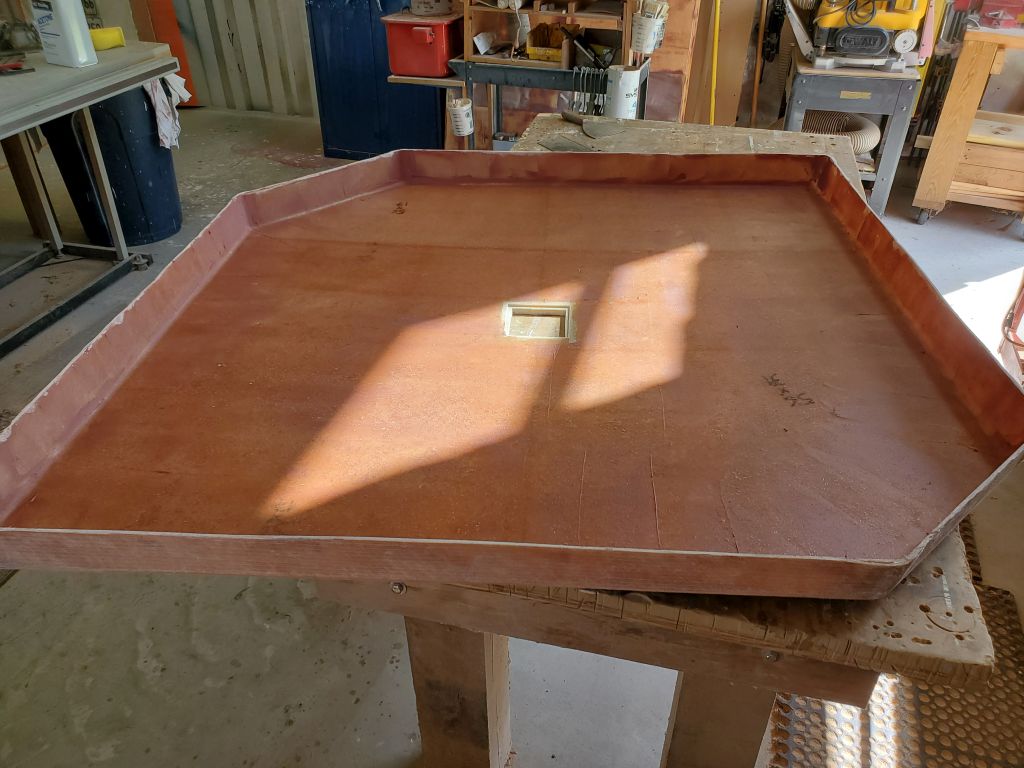
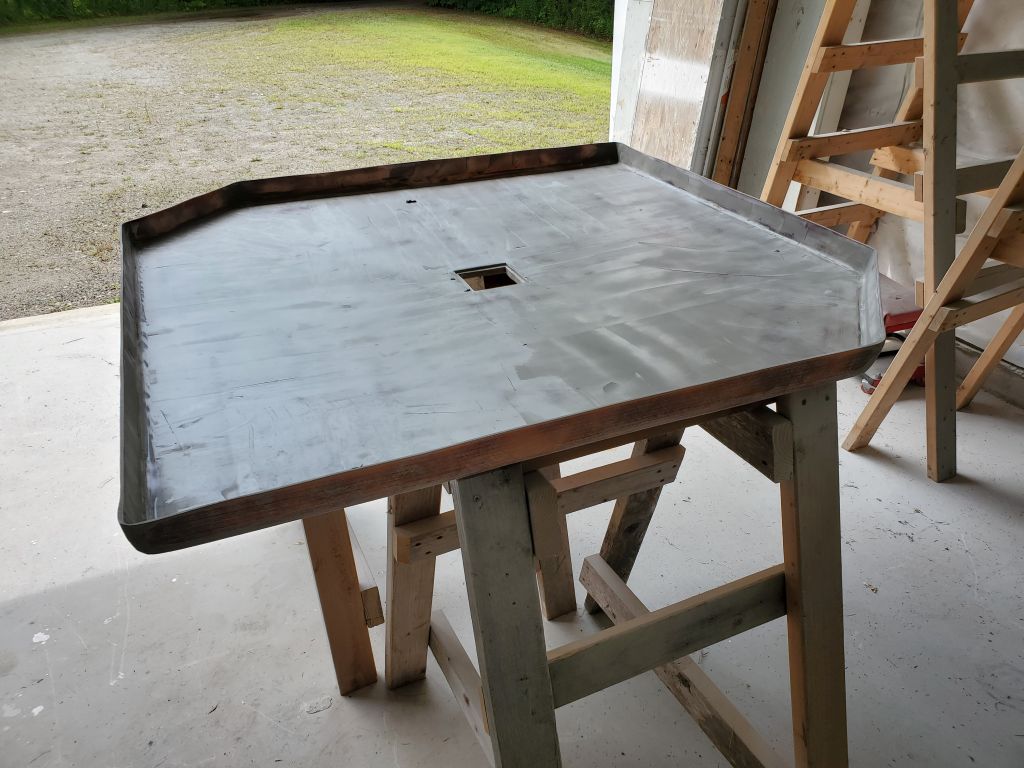
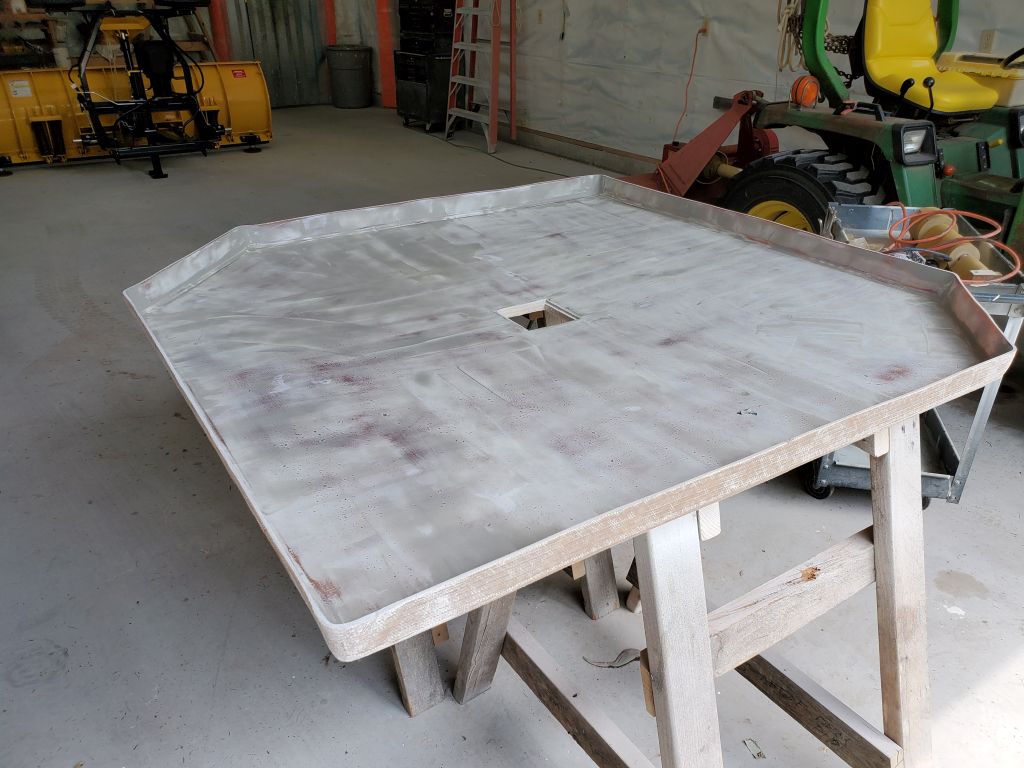
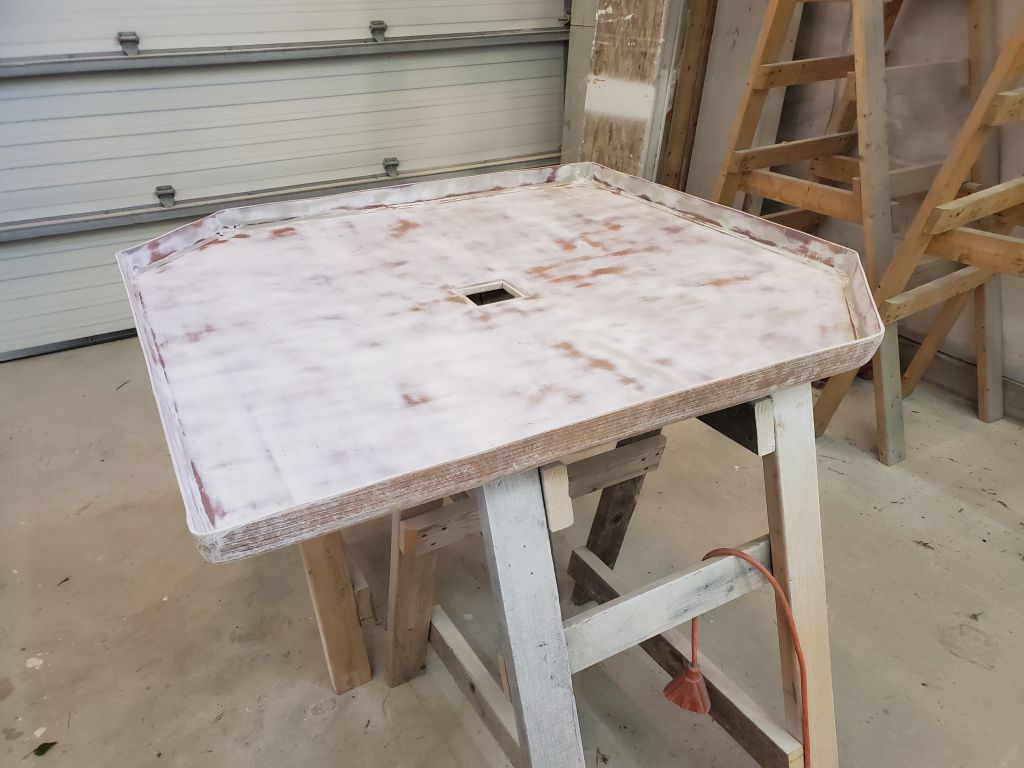
Now I sanded and rounded the edges and corners and cleaned up the plug, then, over several days and several processes, faired and smoothed the plug with epoxy, eventually creating a fair, hard, and smooth mold coated in epoxy and heavily waxed with paste wax. Reviewing these photos nearly 2 years after I built the mold, I think I also sprayed the waxed surface with PVA as an additional mold release (seen in the last couple photos).
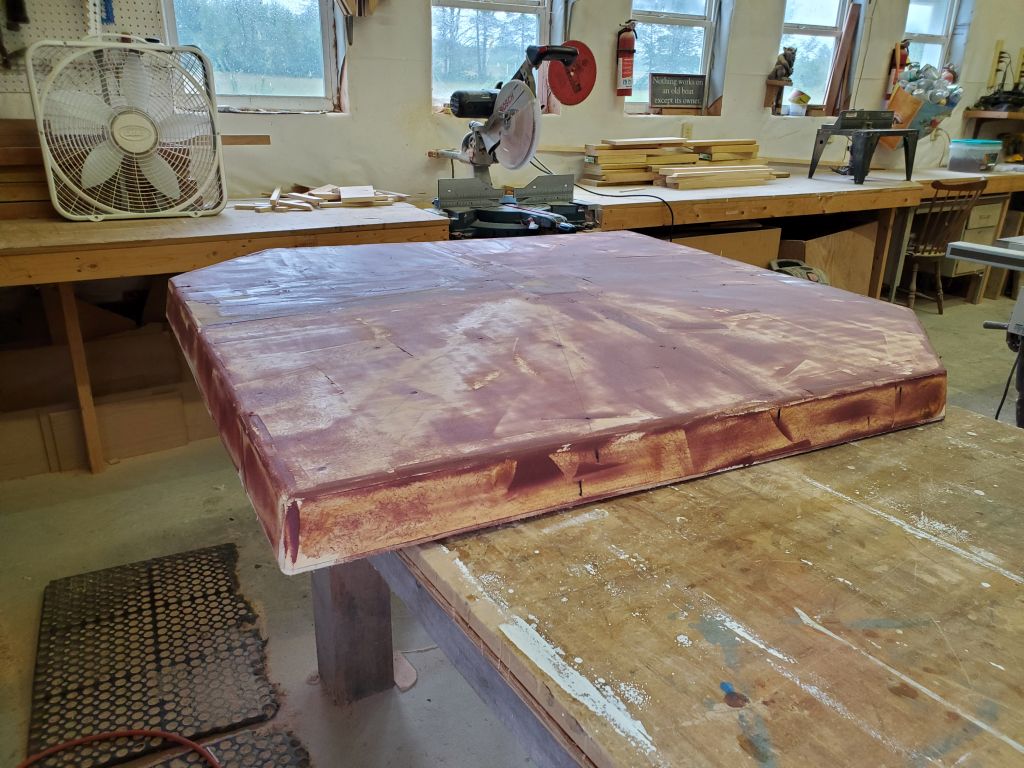

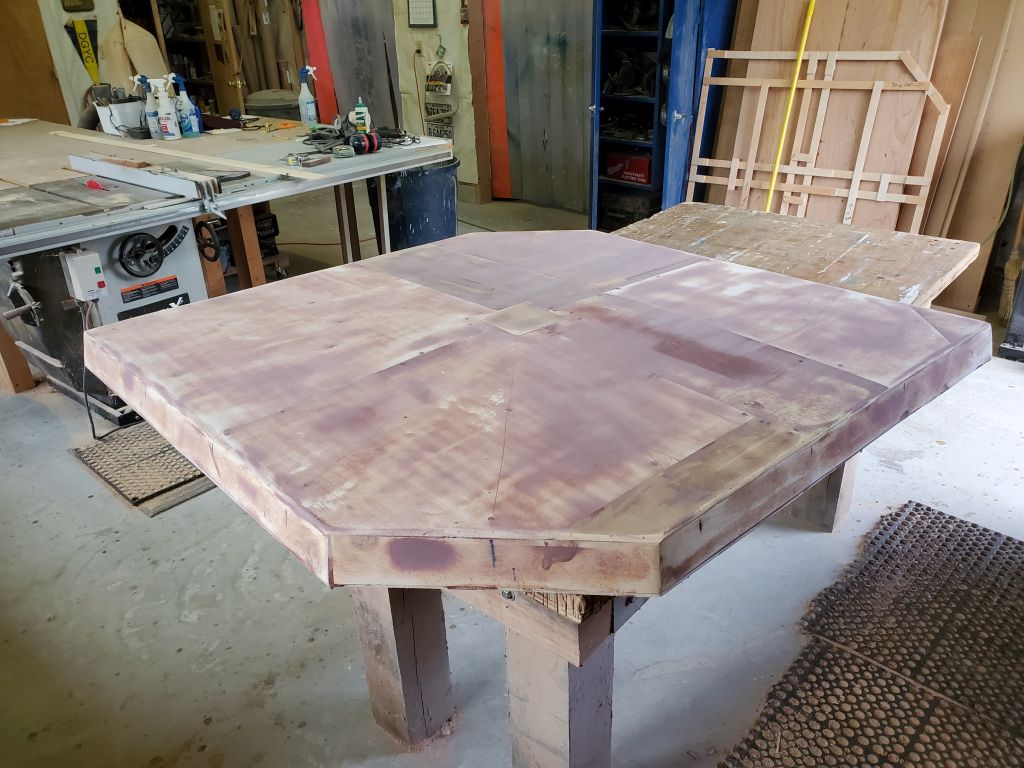
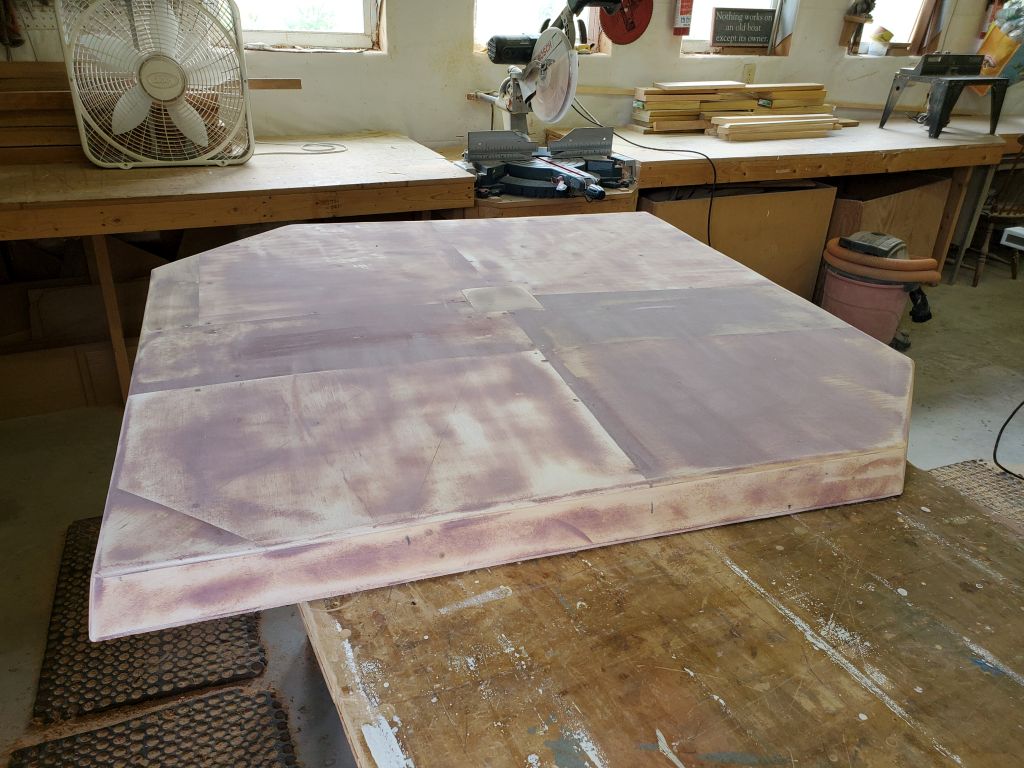
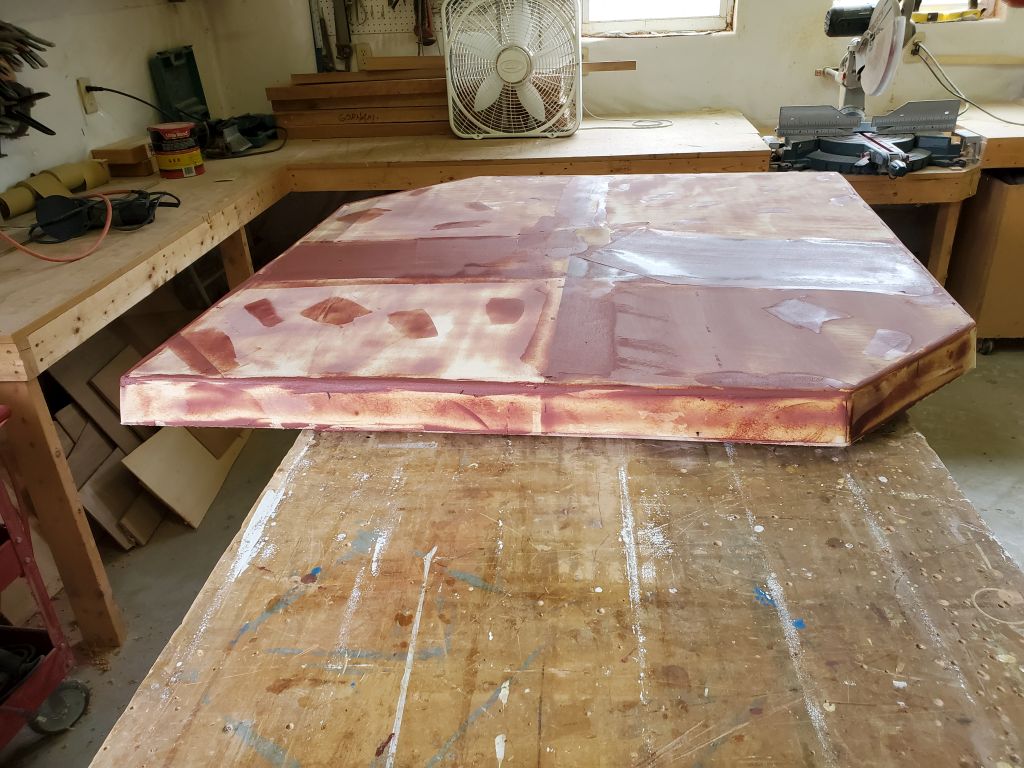
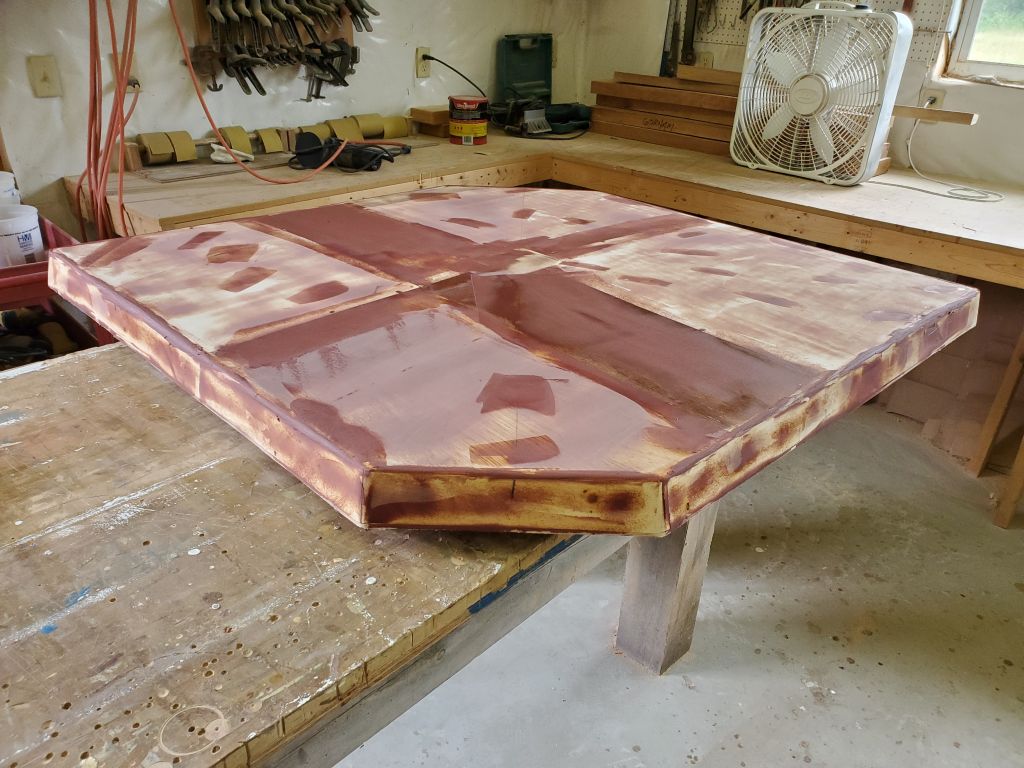
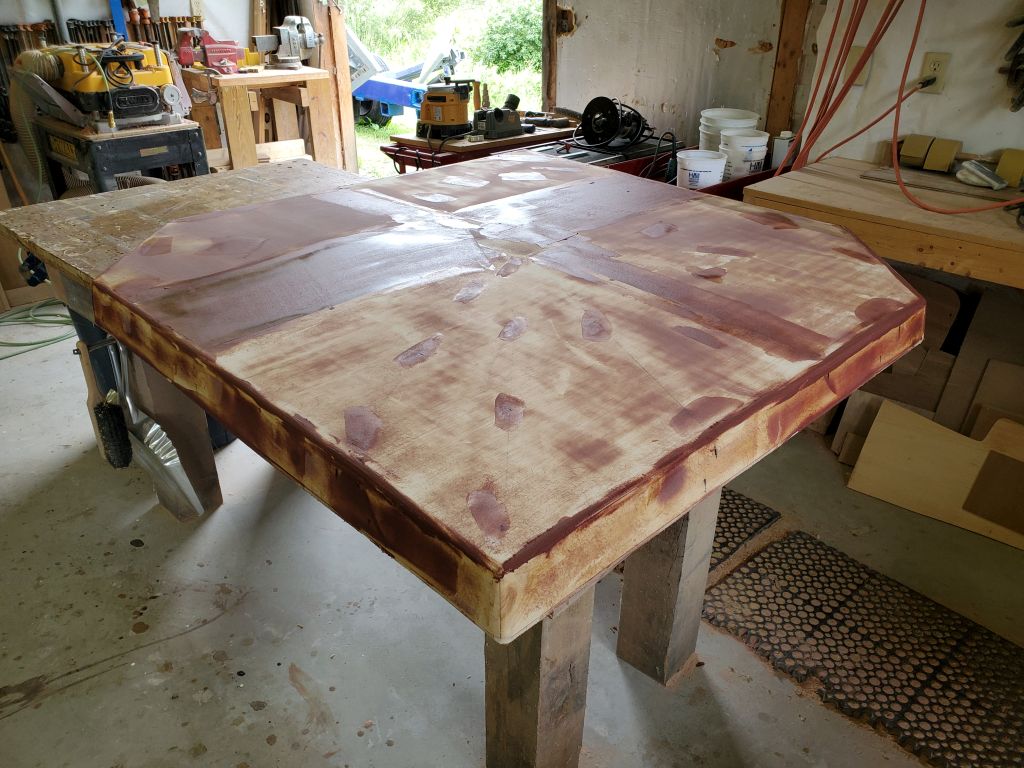


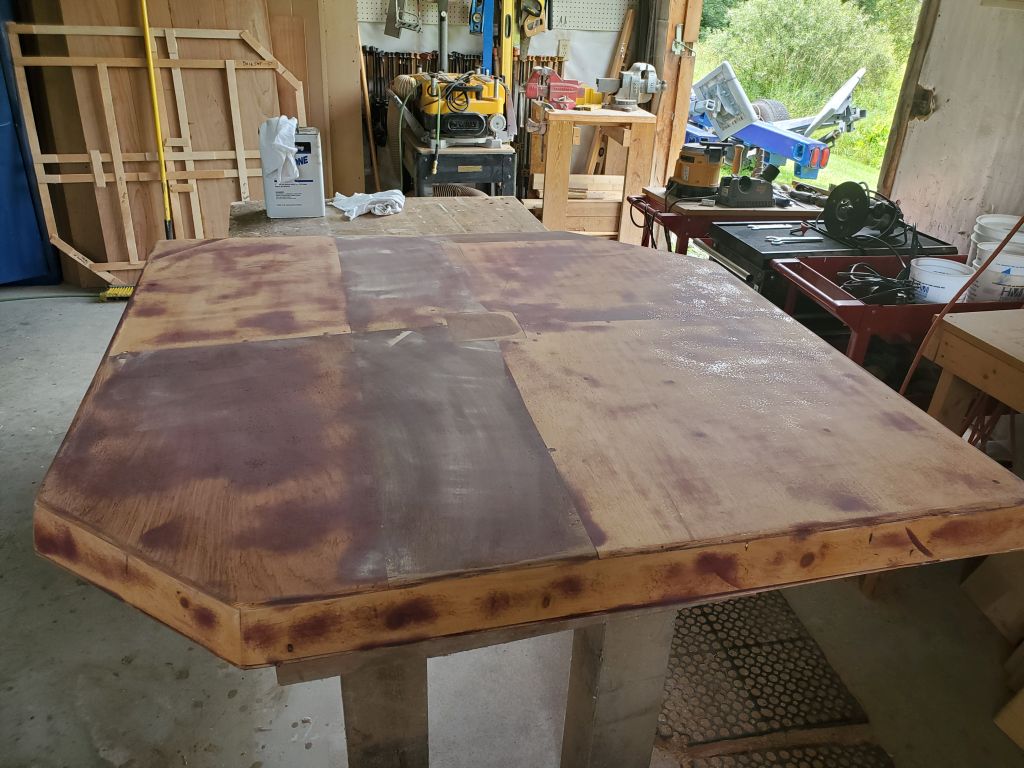


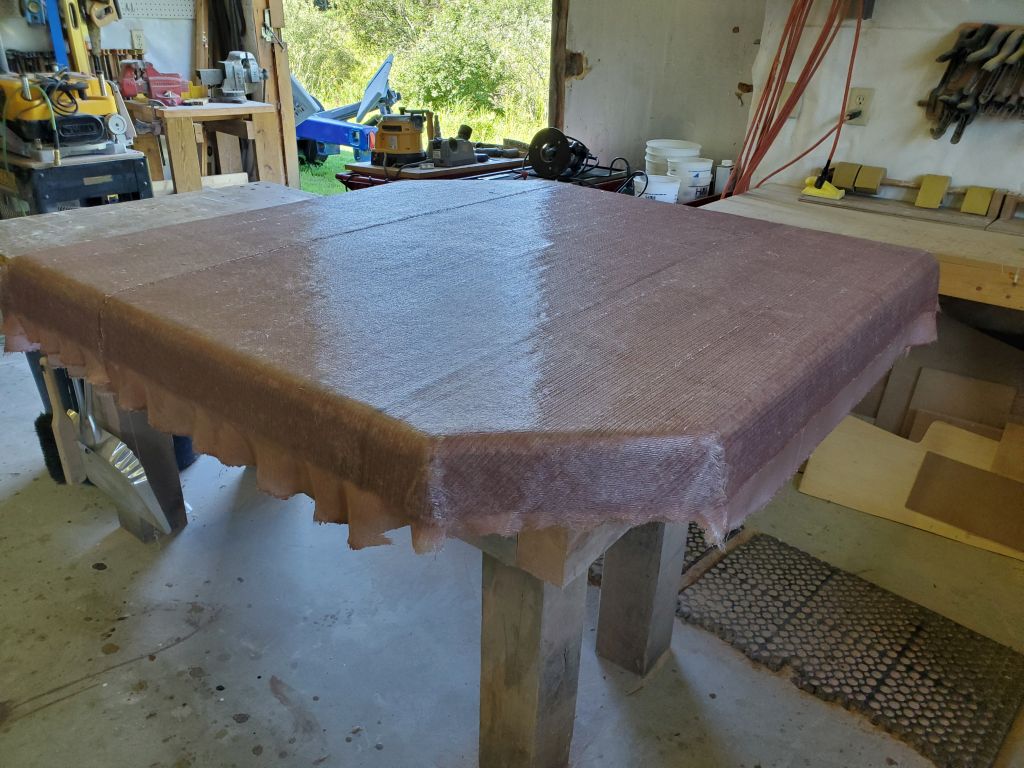
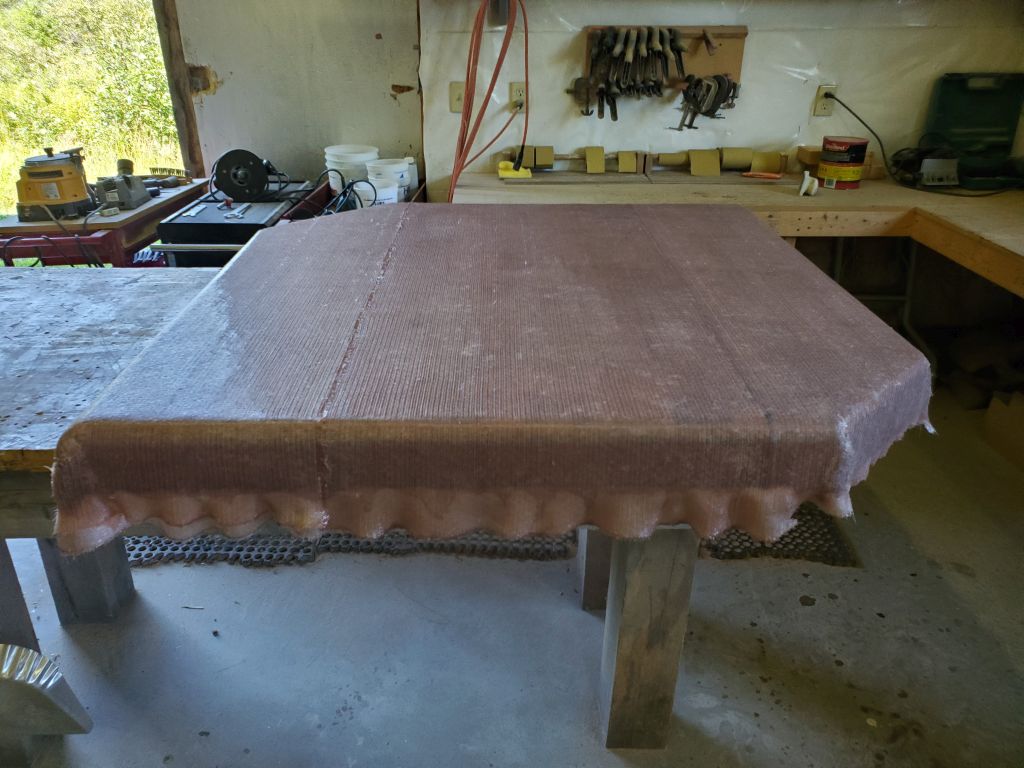
I began construction with a couple layers of 1708 fiberglass over the mold. I allowed the material to drape beyond the edges of the mold; as the glass cured to green stage, I trimmed it with a sharp knife even with the bottom of the mold (actually the top edge of the finished part).


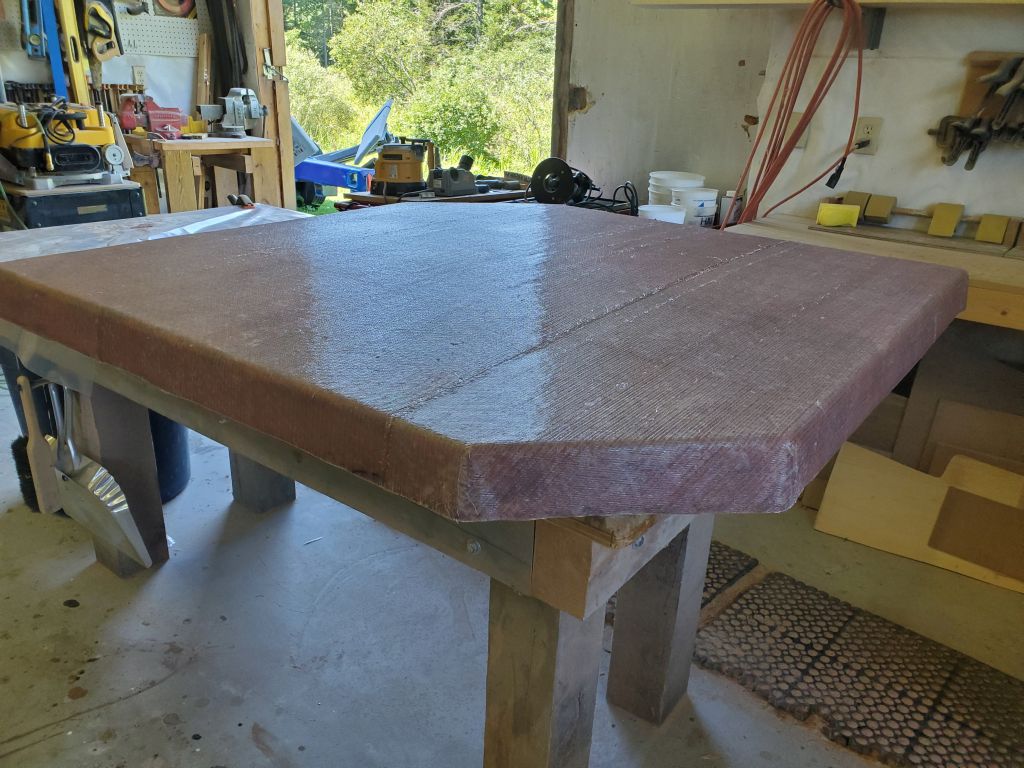
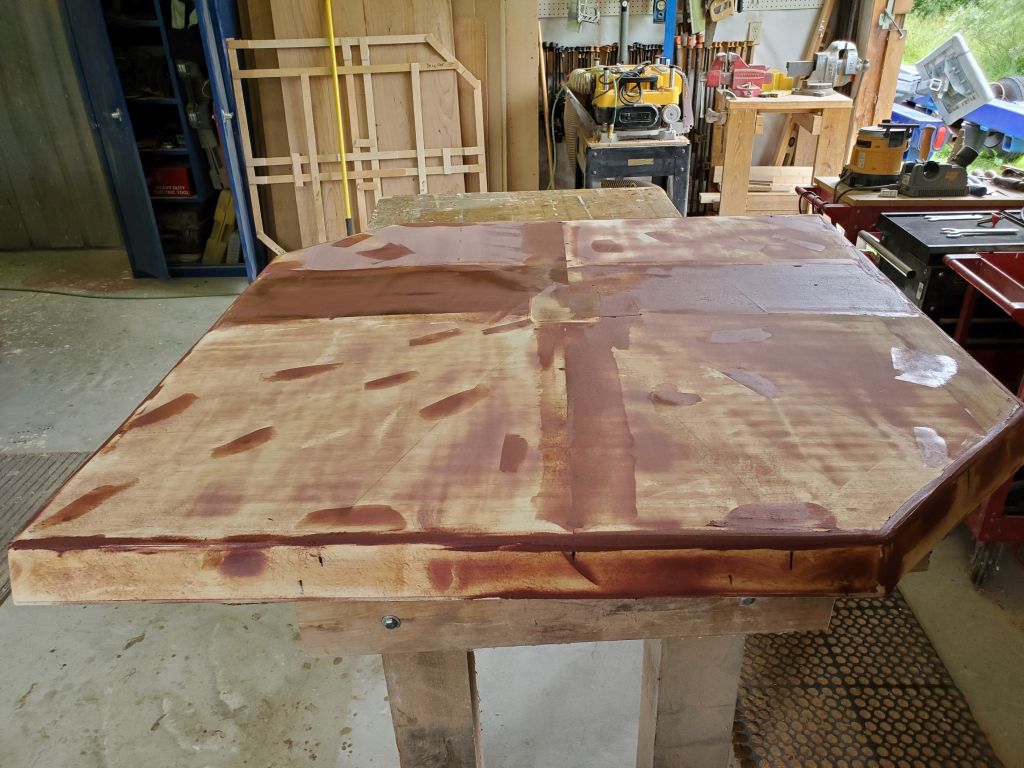
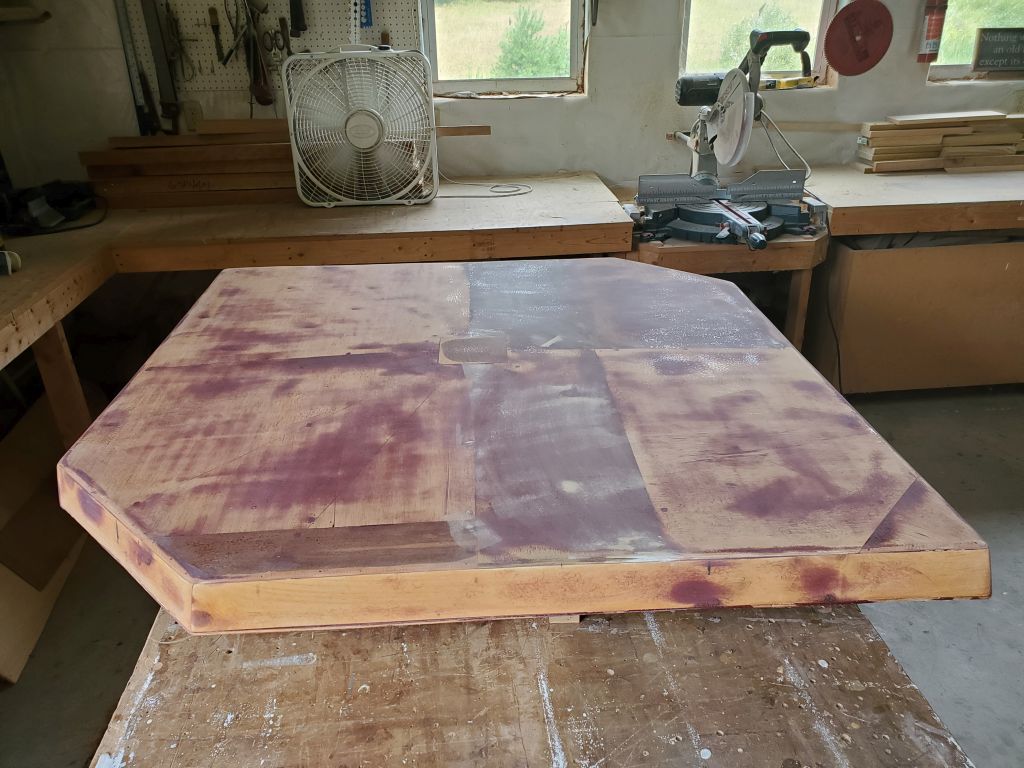
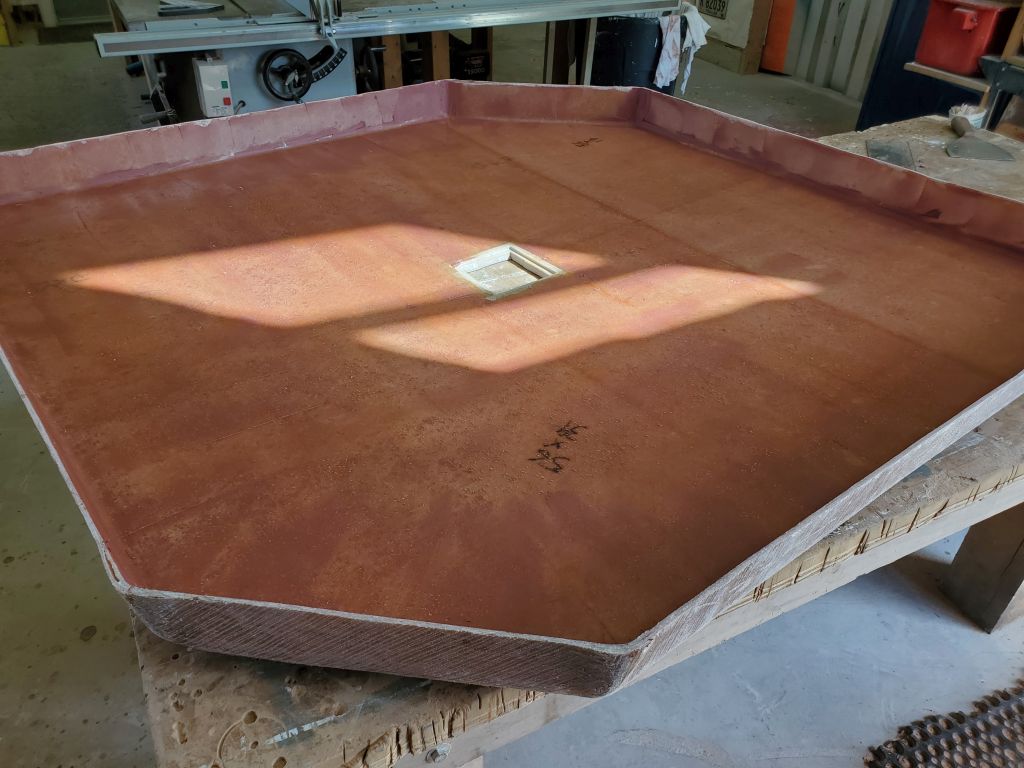
It was mid-summer, and the fiberglass tacked quickly, so later in the same day I cut and fit 1/2″ balsa core over the new glass and installed it in a bed of thickened epoxy. I also troweled and smoothed the edges of the core with more epoxy. I left a large square free of core in the center, where the drain would go, and filled it with solid fiberglass till it was flush with the core. Then I epoxy-filled all the core and kerfs over the entire piece, leaving this assembly to finish curing overnight.


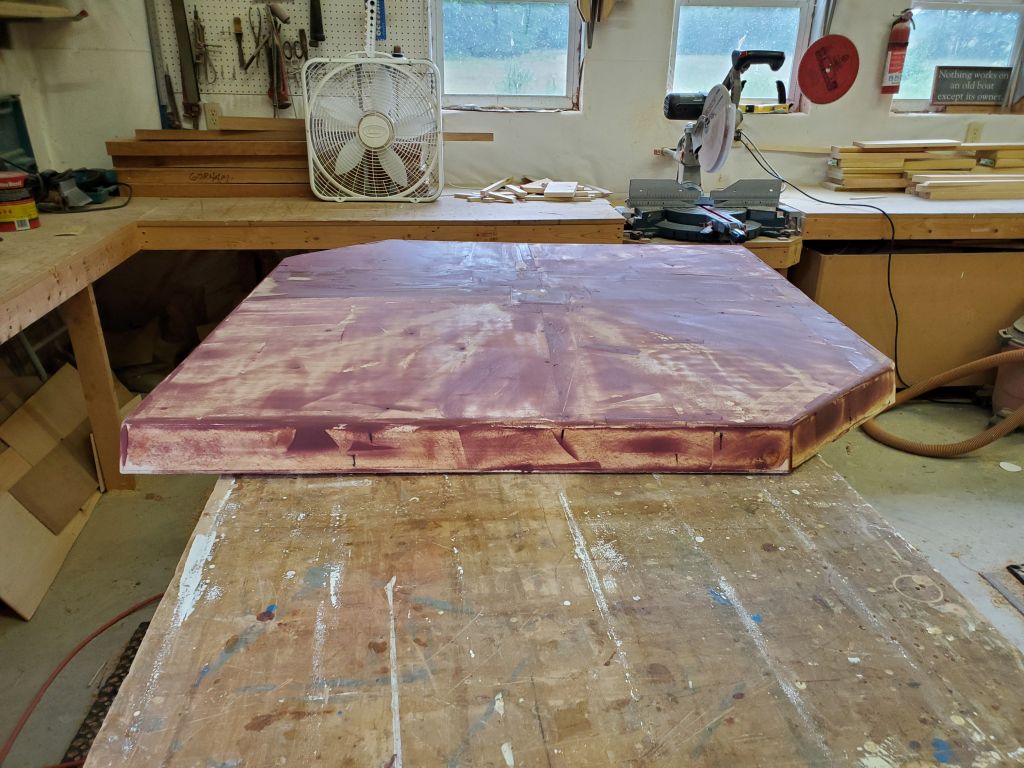
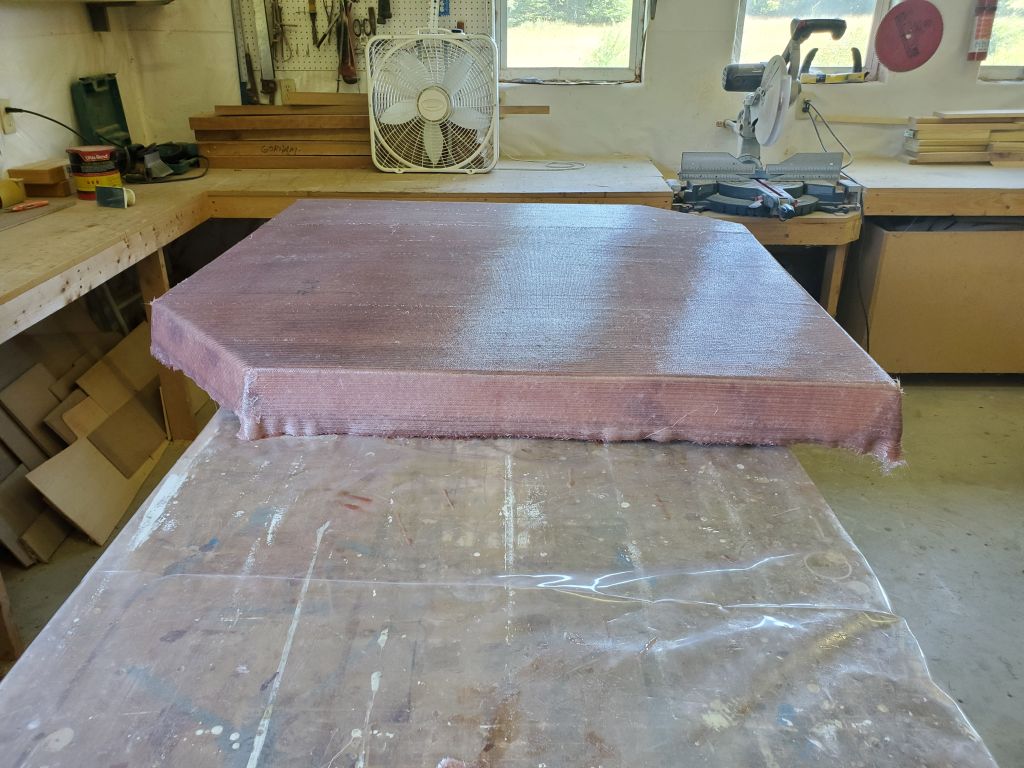
After some light sanding and other prep, I covered the core and sides of the part with two additional layers of 1708 fiberglass. It’s not shown here, but later I trimmed the excess fiberglass flush where it hung past the mold.
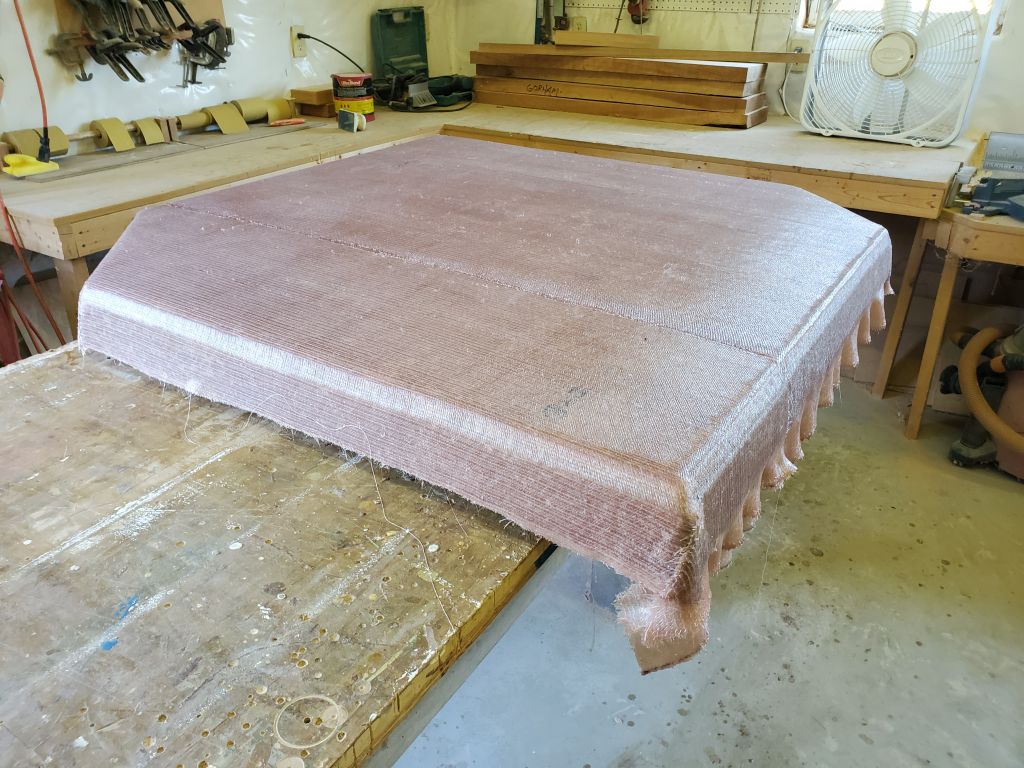


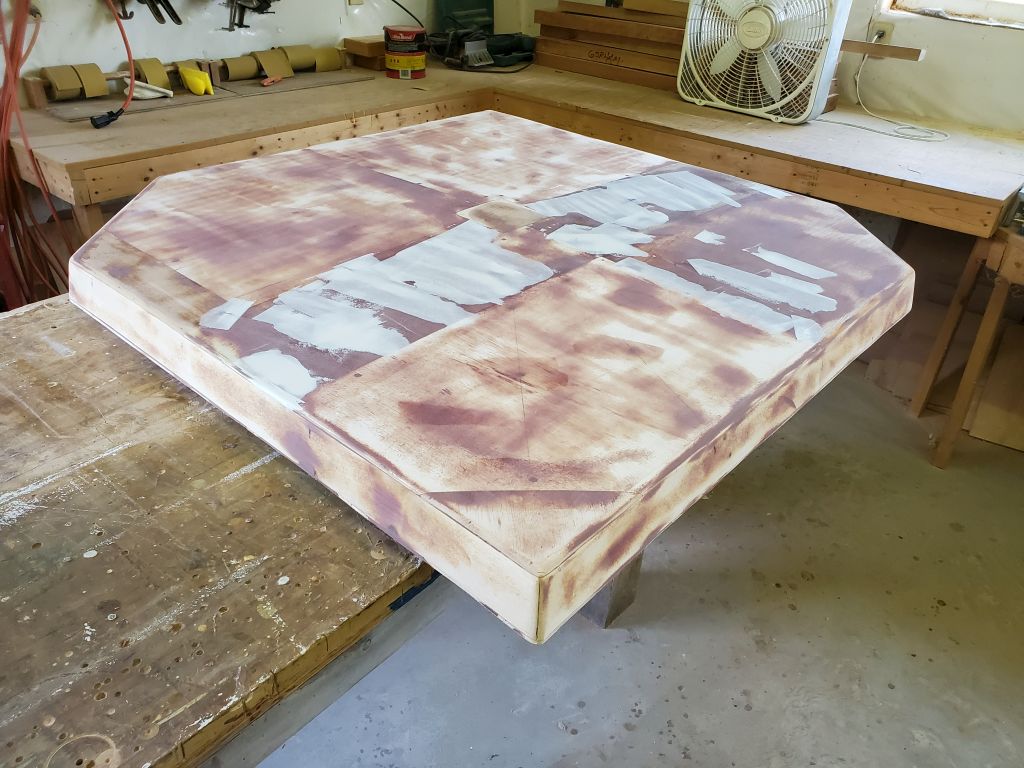
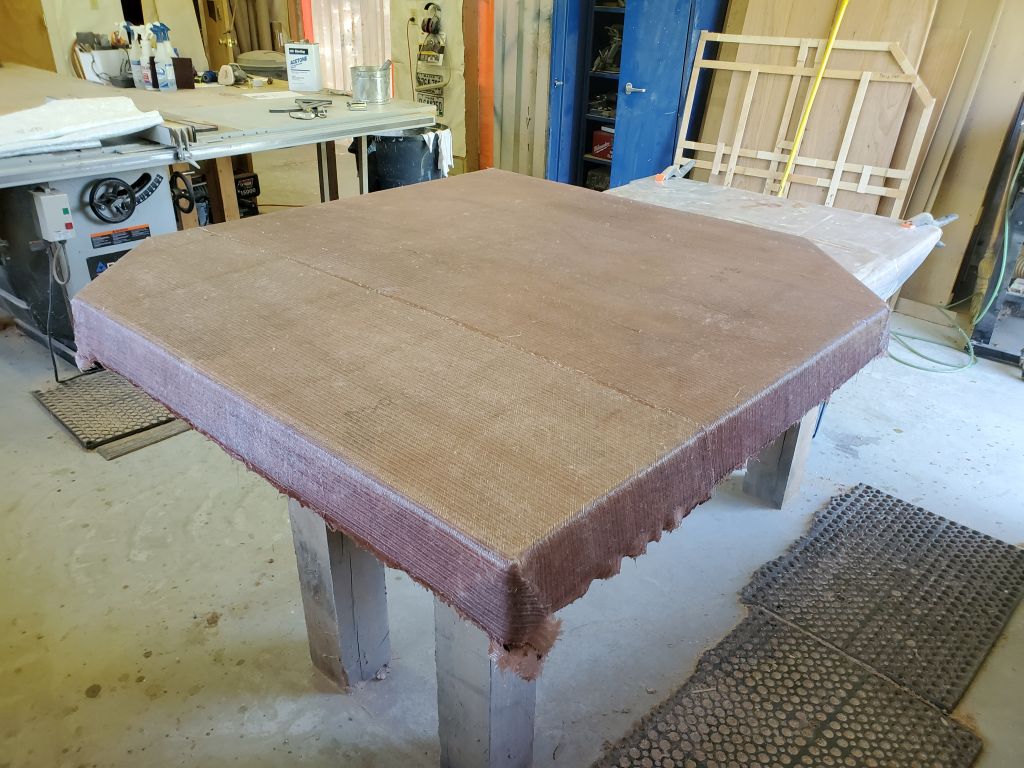
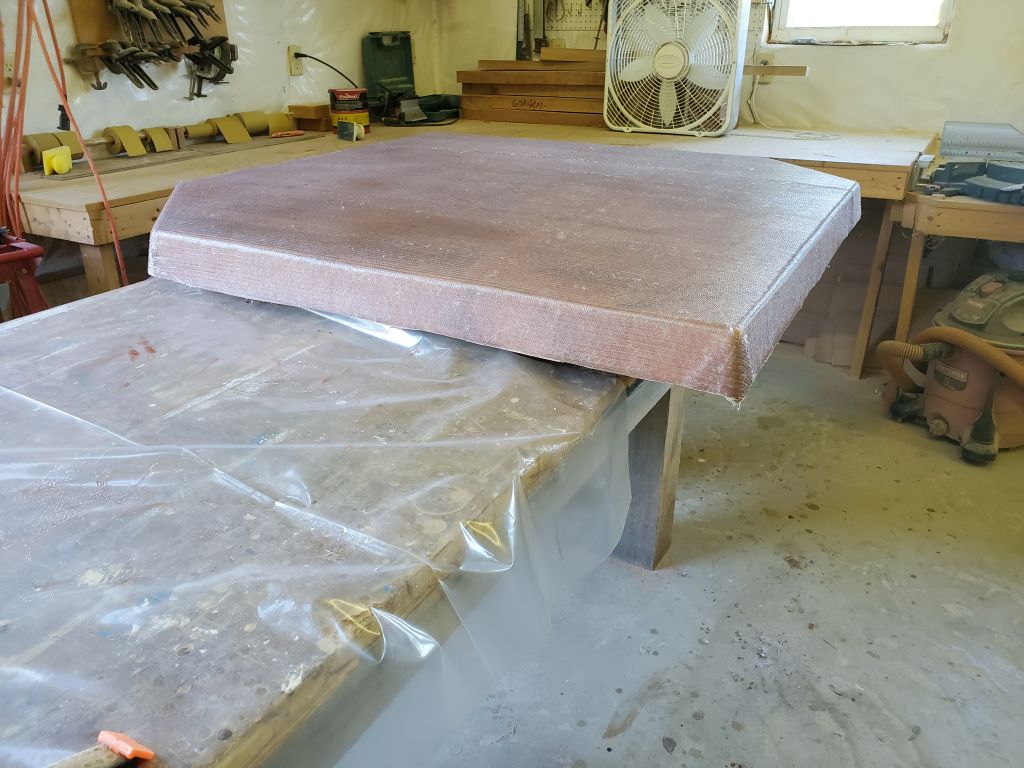
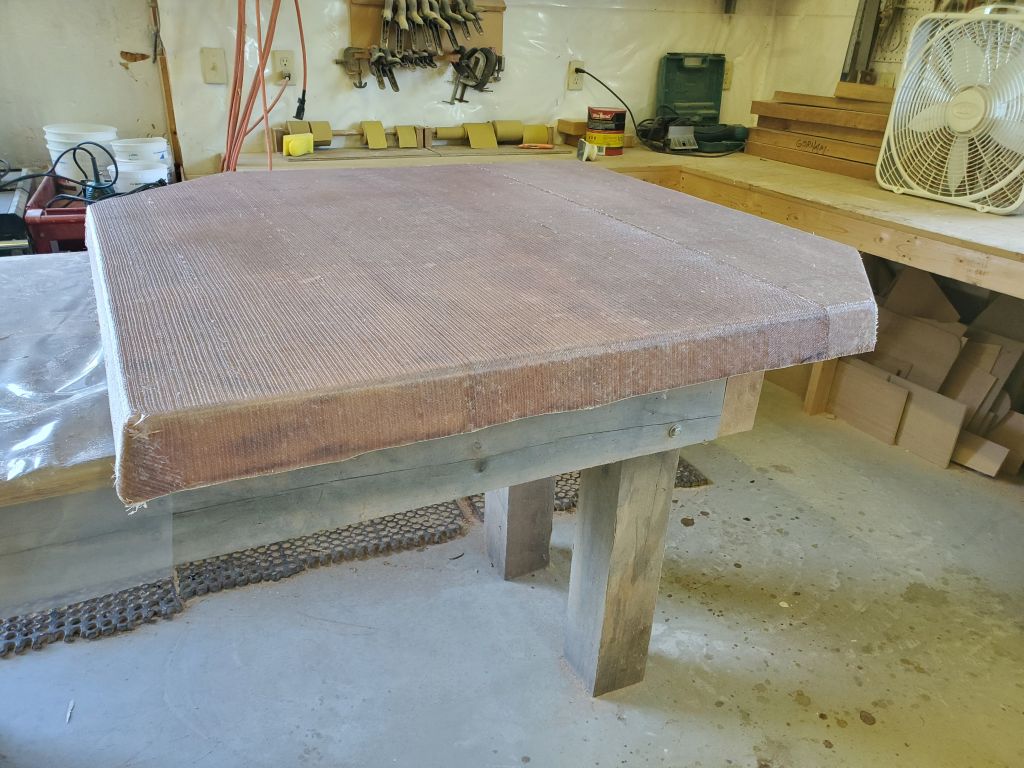
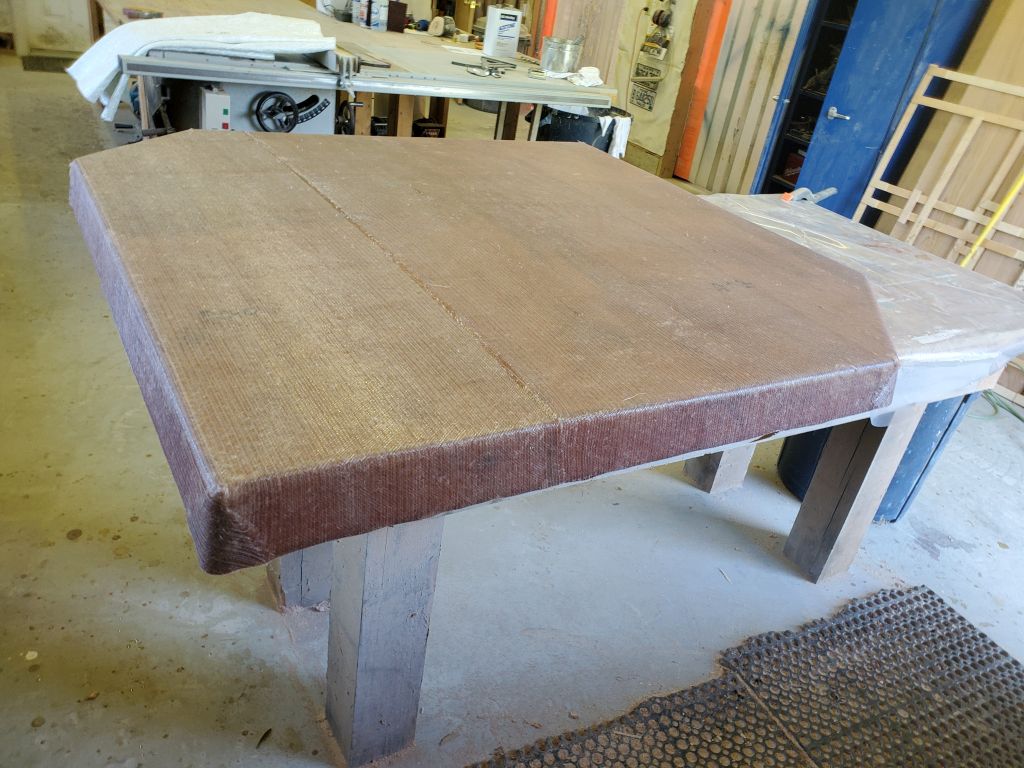
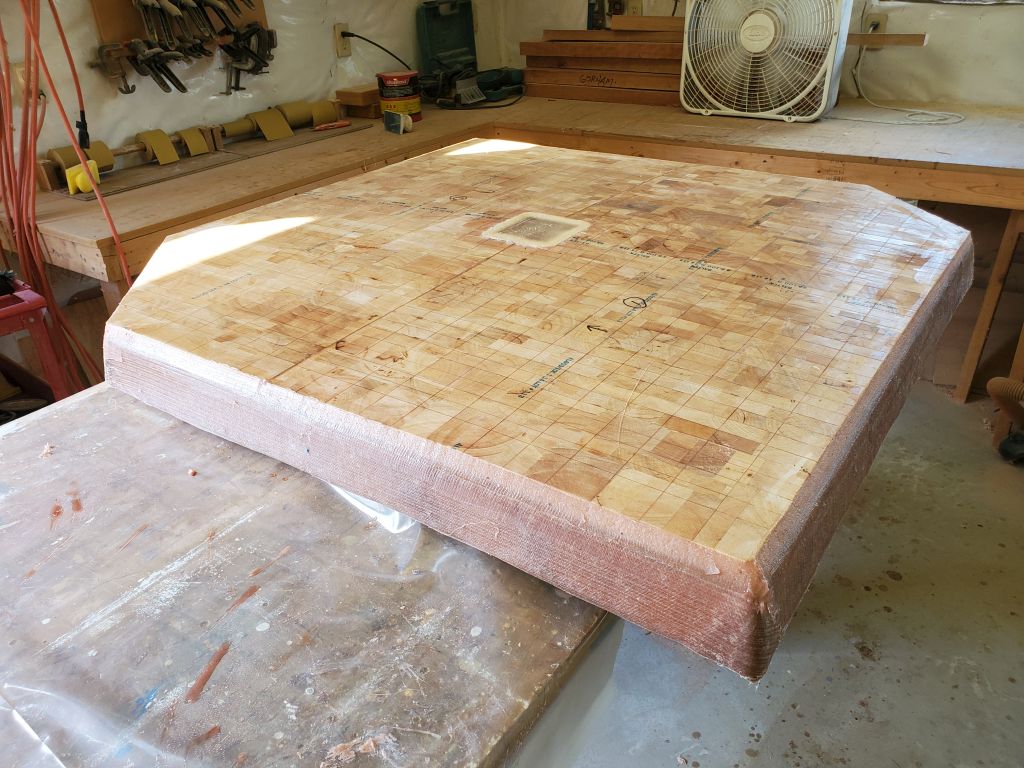
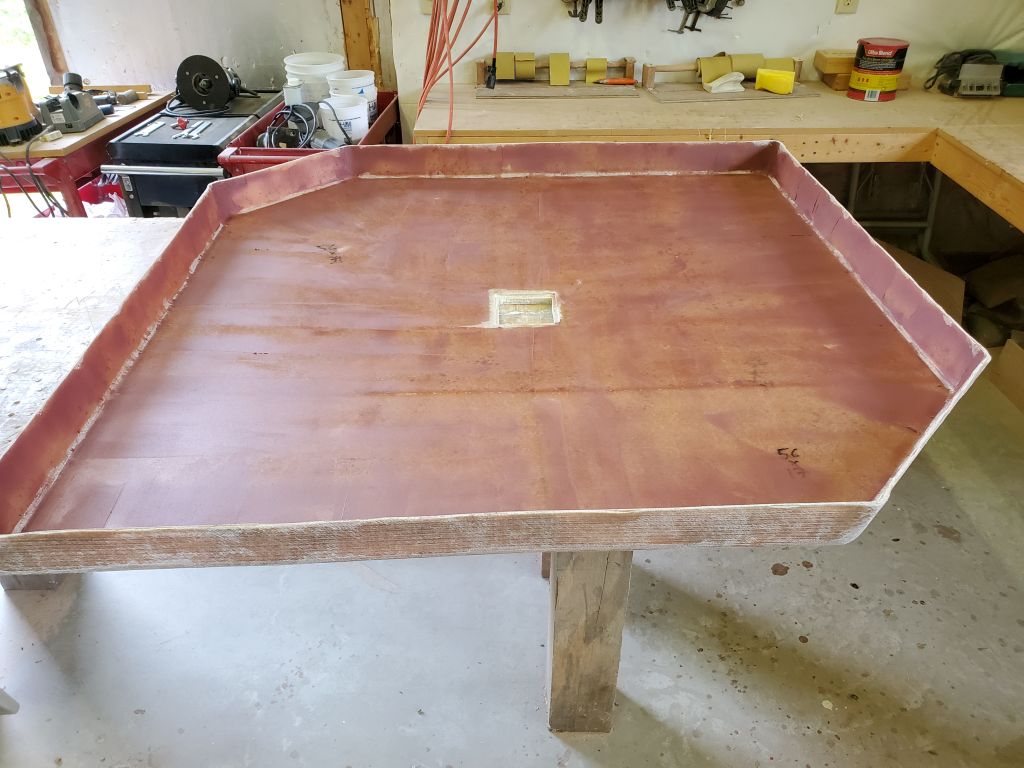
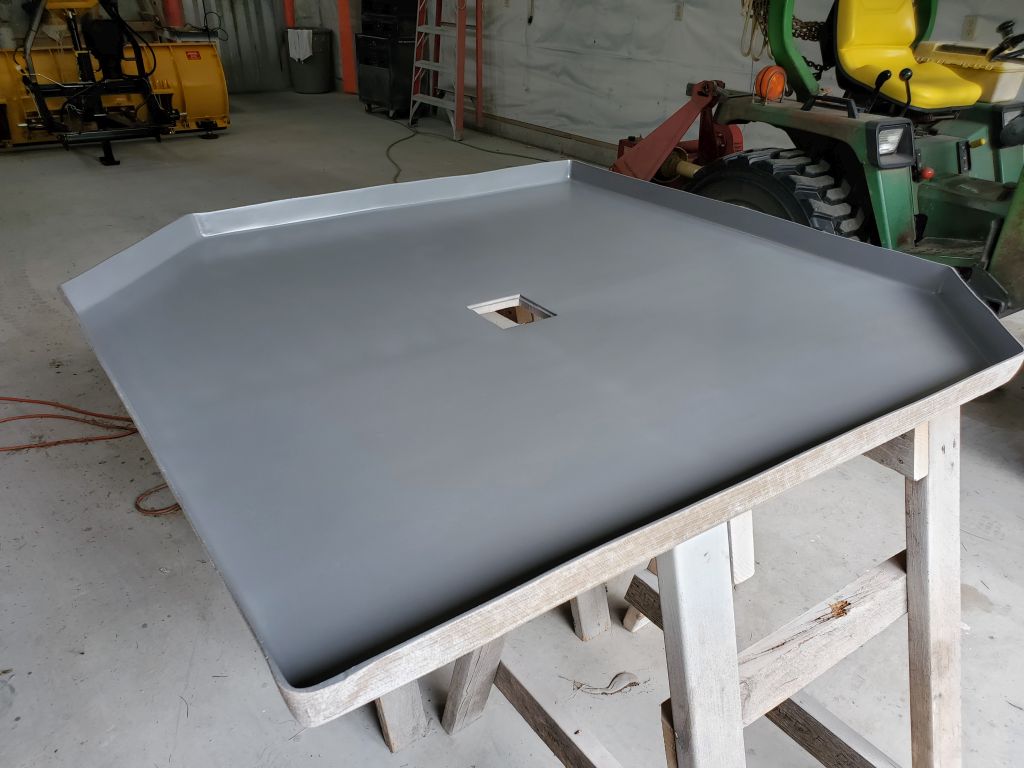
After this cured overnight, I unmolded the finished part and cleaned up the laminate and edges with a sander.
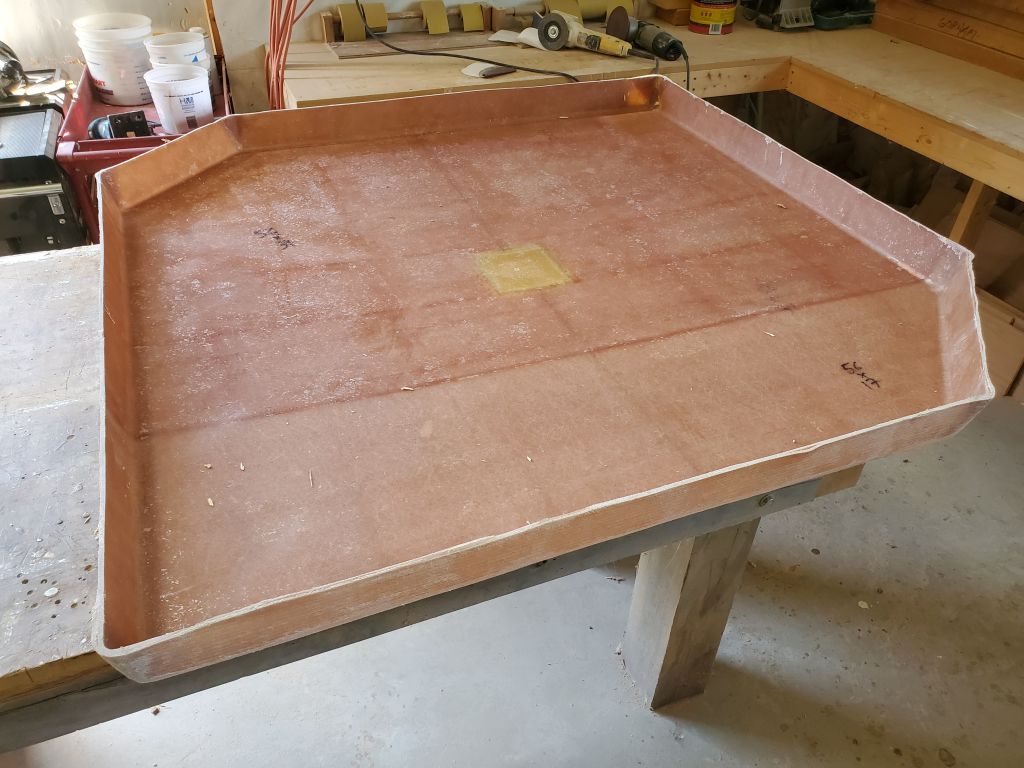
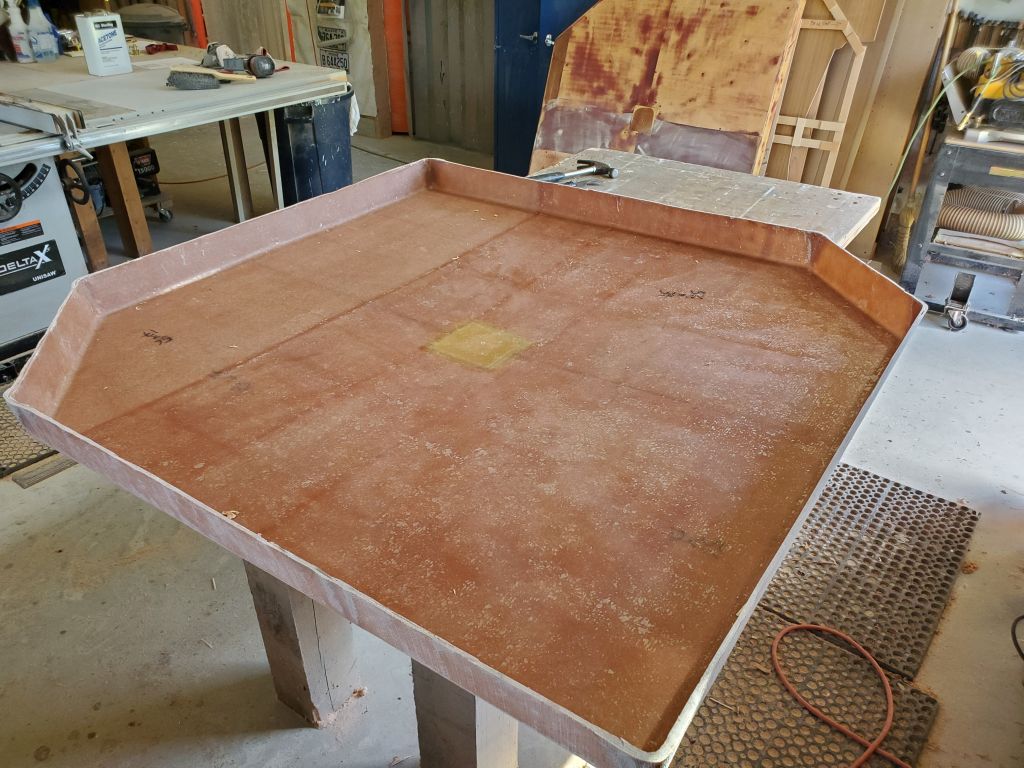
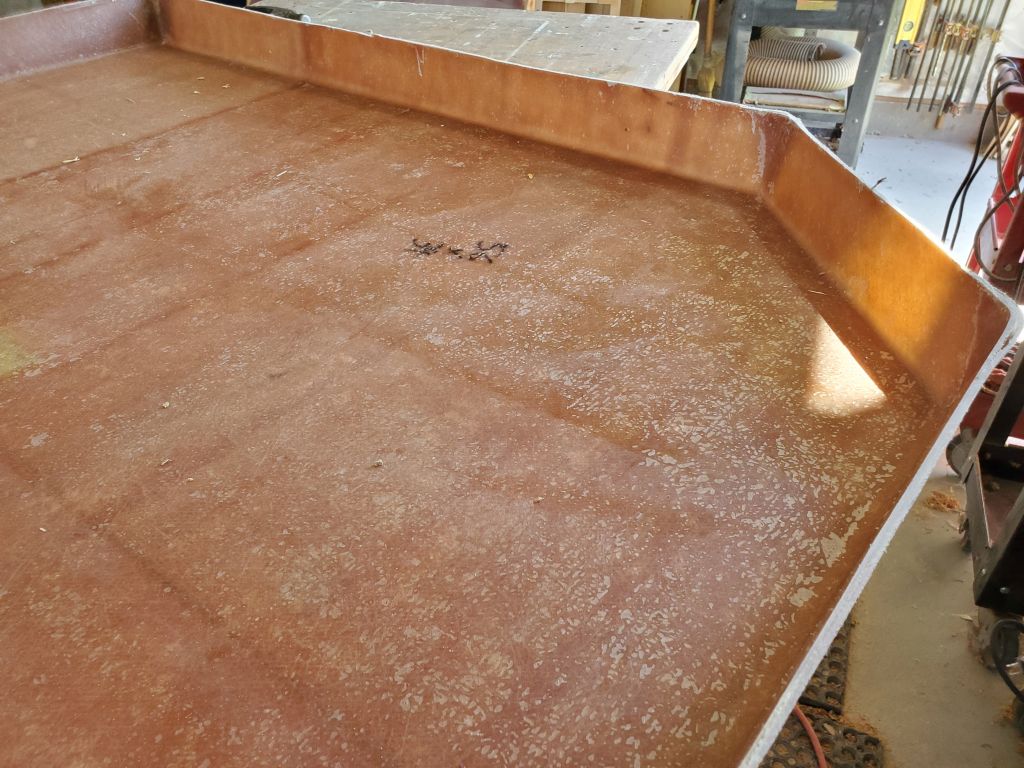
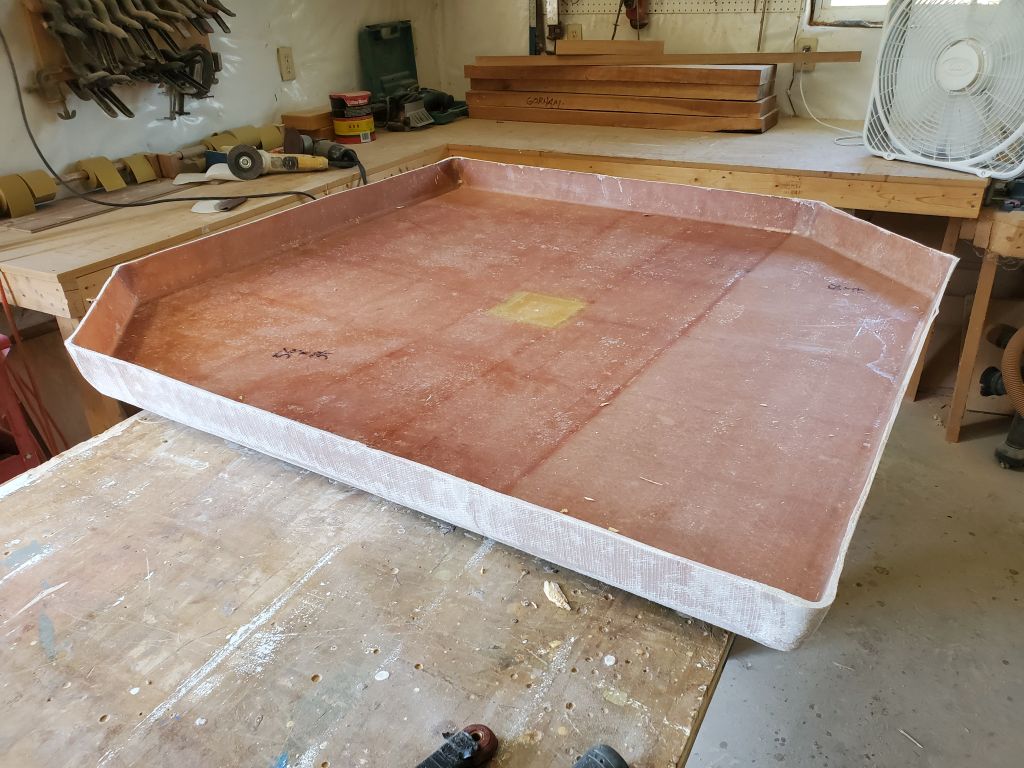
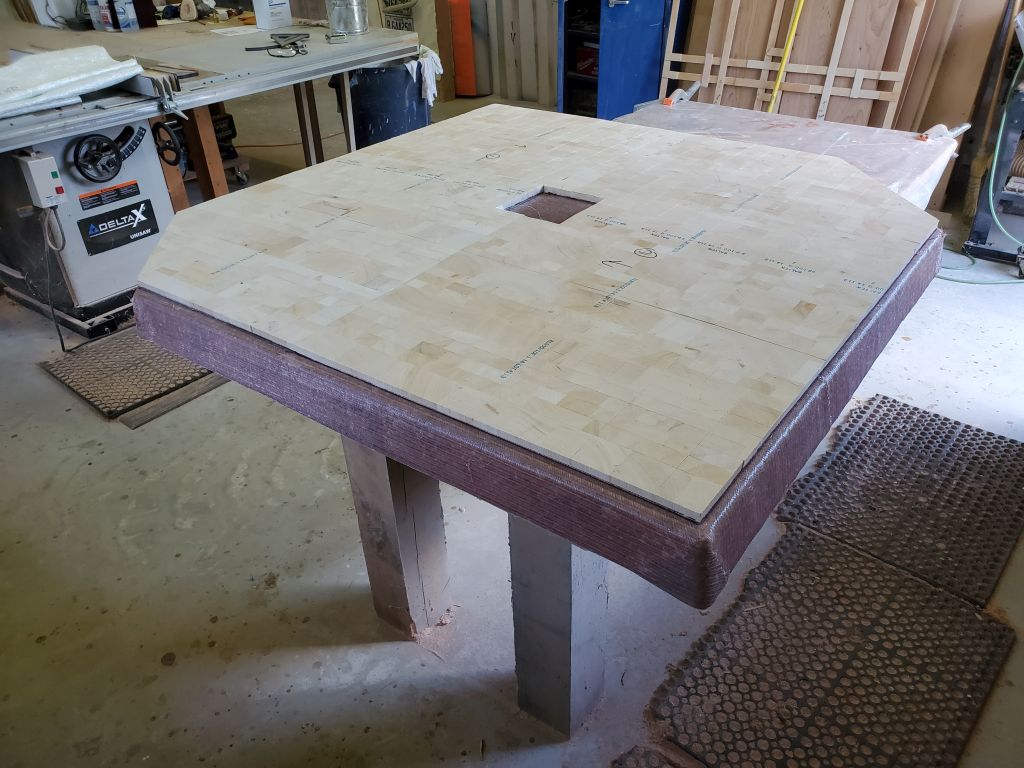
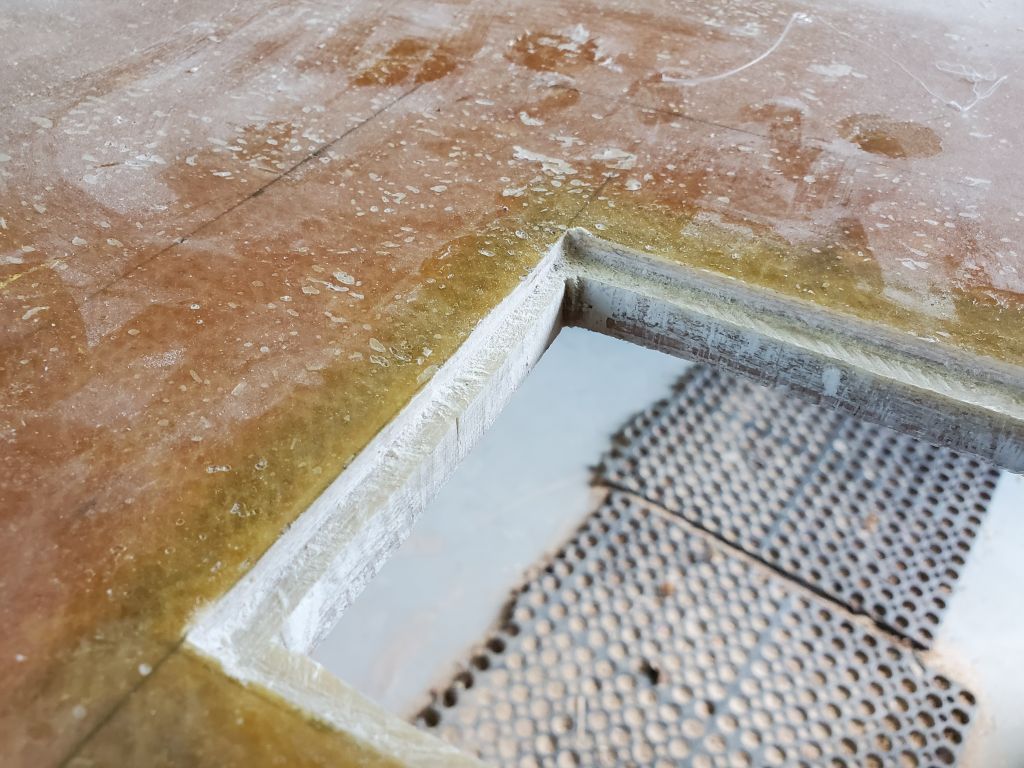
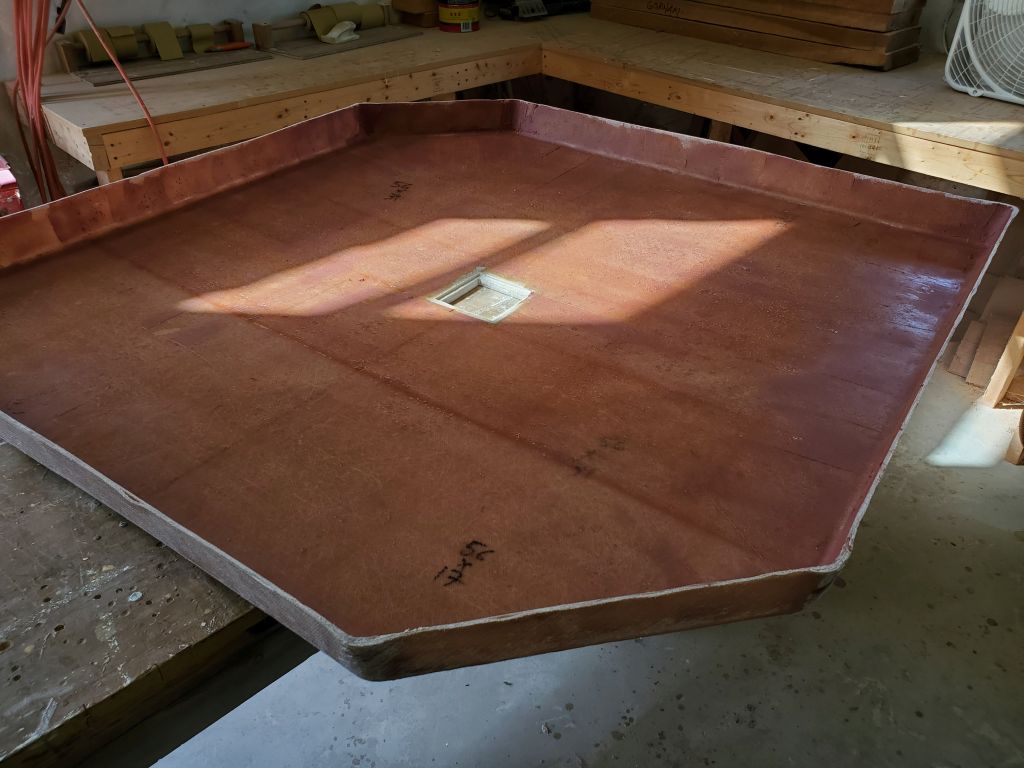
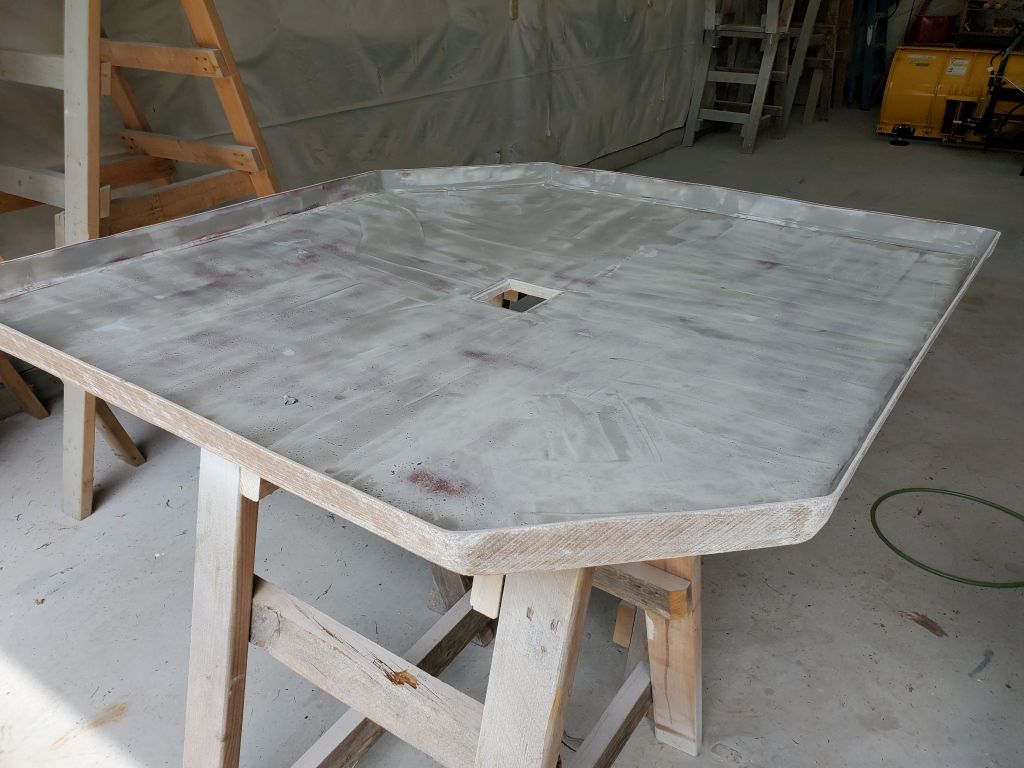
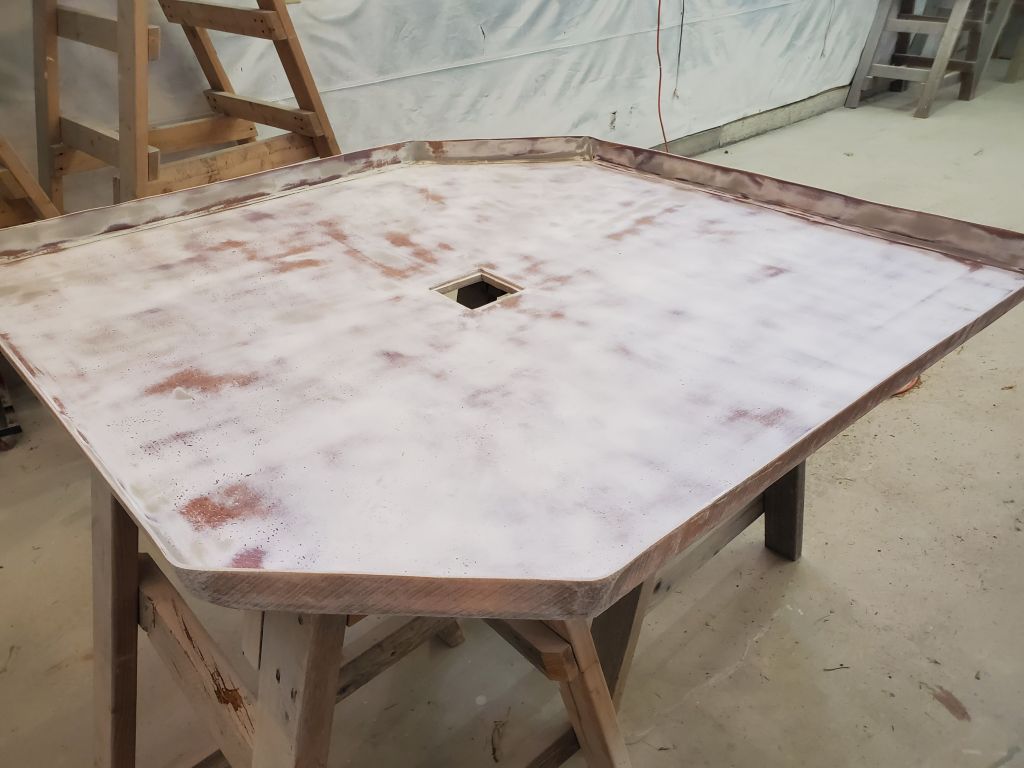
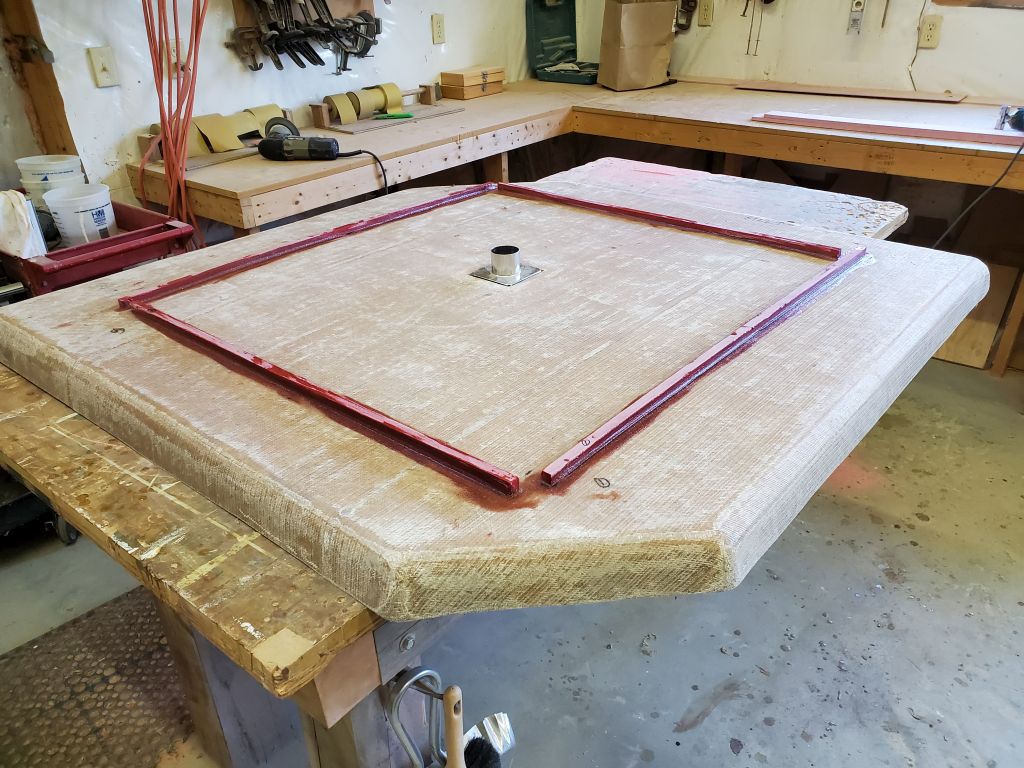
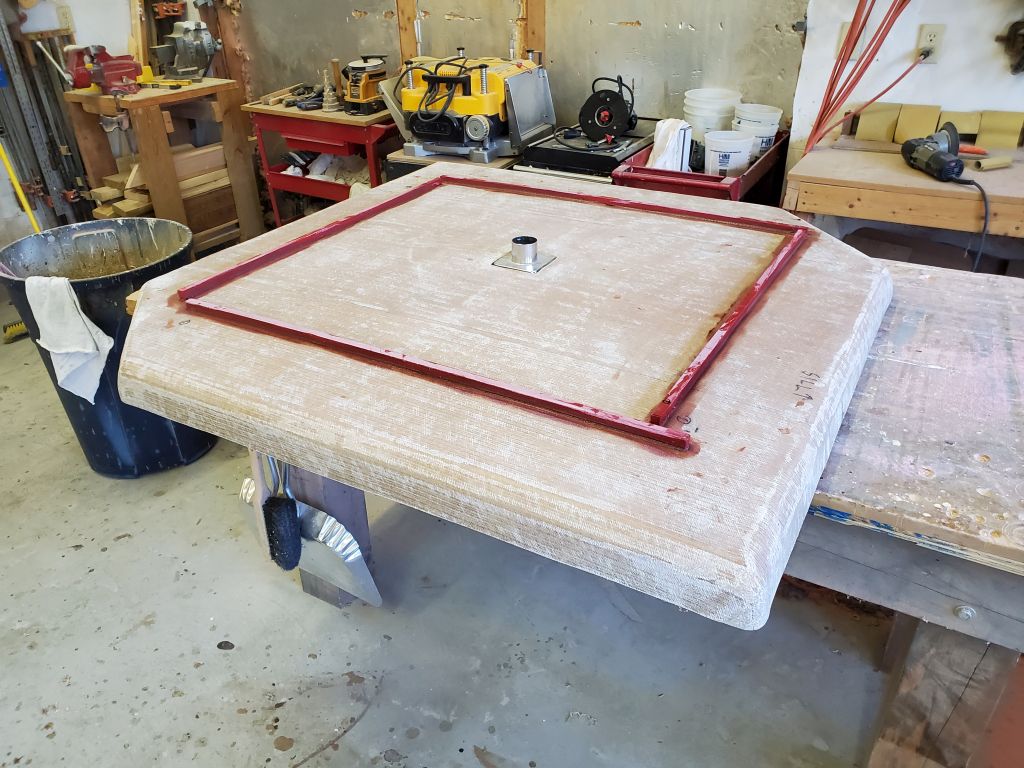
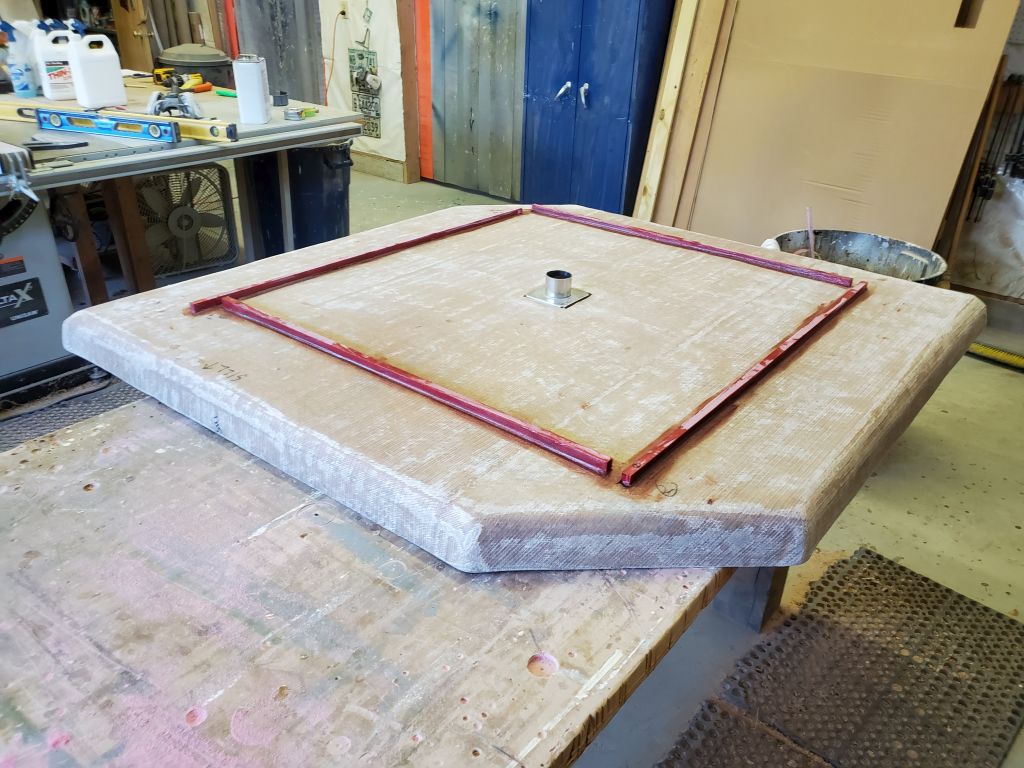
I test-fit the pan in the shower: It fit well, with enough room to get it in there and in place. The gaps around the edges would be covered with an as-yet-determined trim piece–a necessary thing given the retrofit installation. I used my template to recreate the hole for the drain in the center.

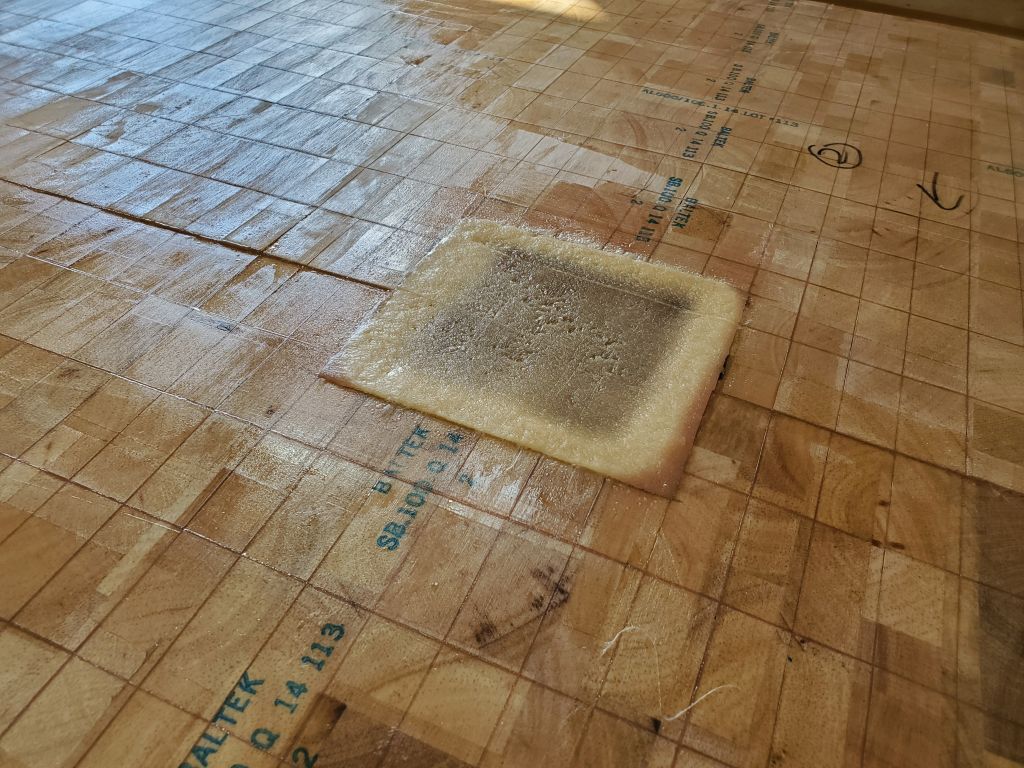
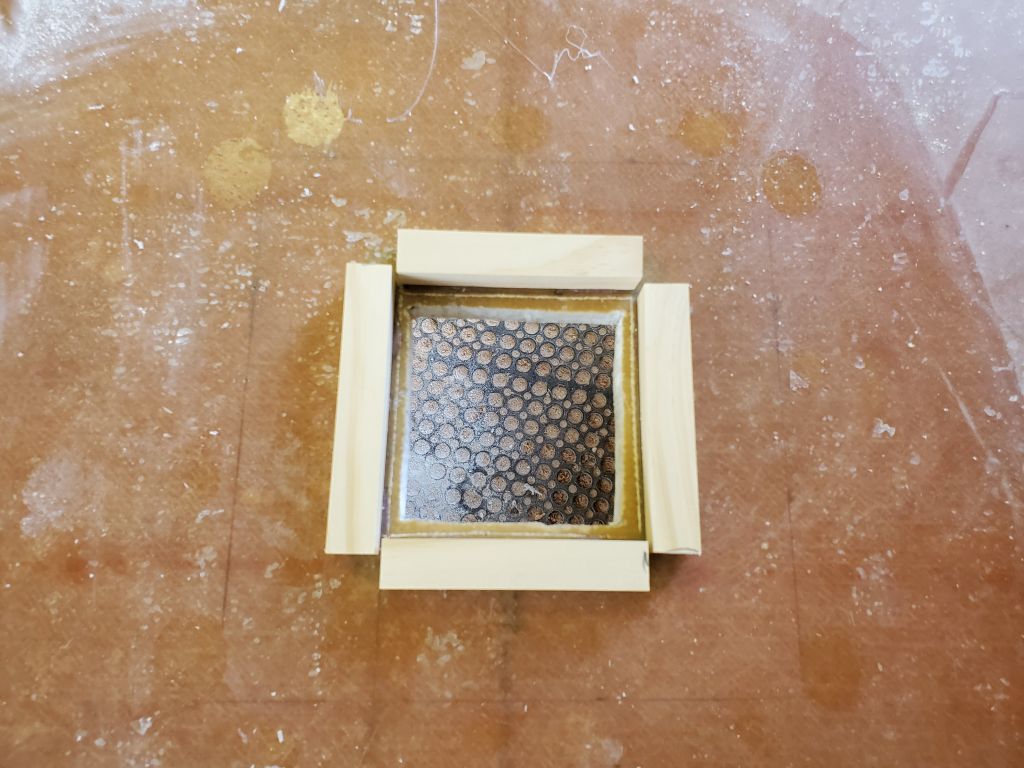
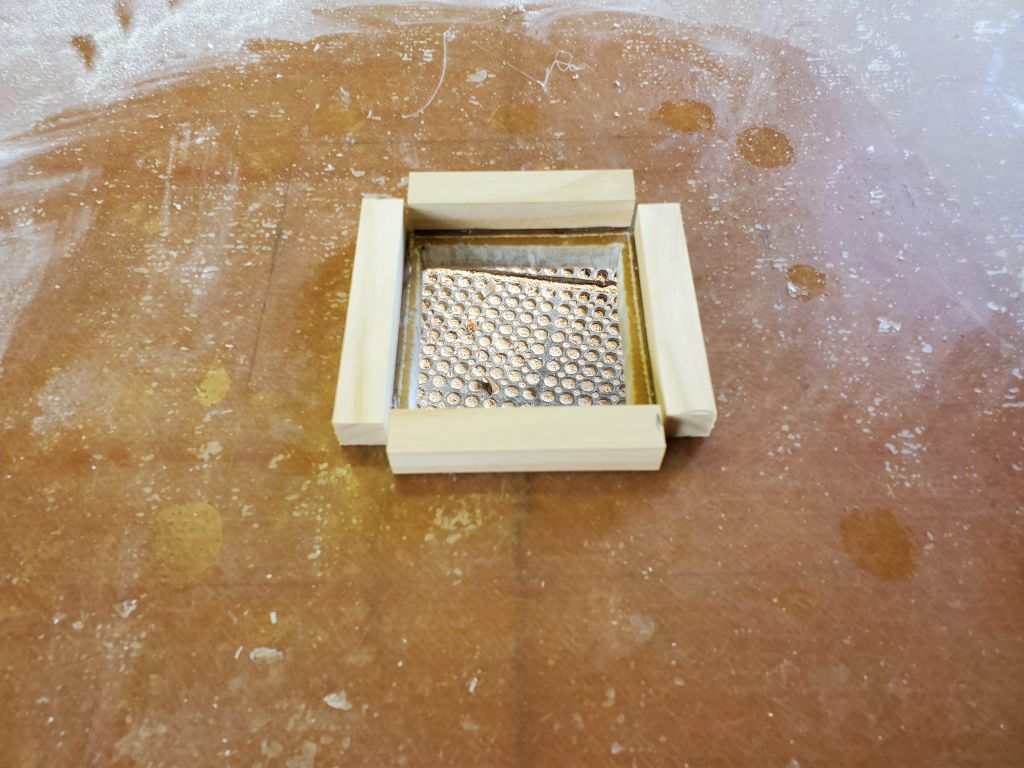
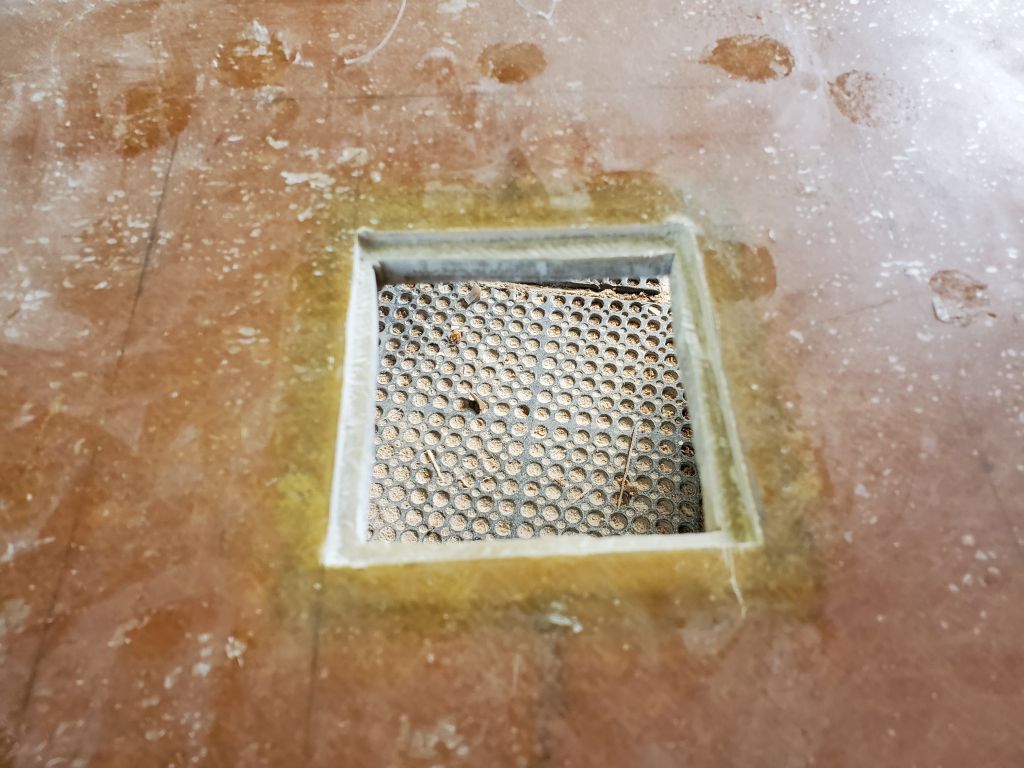
The square drain was a flush-fit, so to begin I cut a square hole through the solid center of the part to match the inner dimensions of the drain fitting. Then, I marked around the flanges of the drain, and after some setup and temporary glue blocks, used a router to remove some of the material as needed to allow the flange to fit flush with the pan.


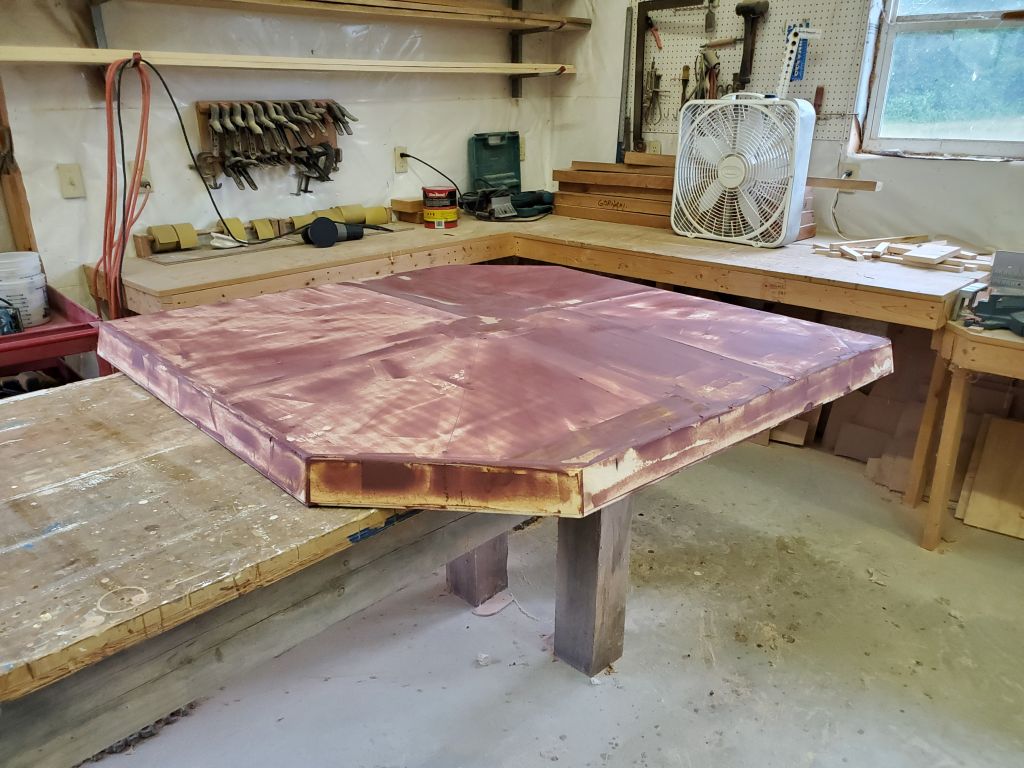
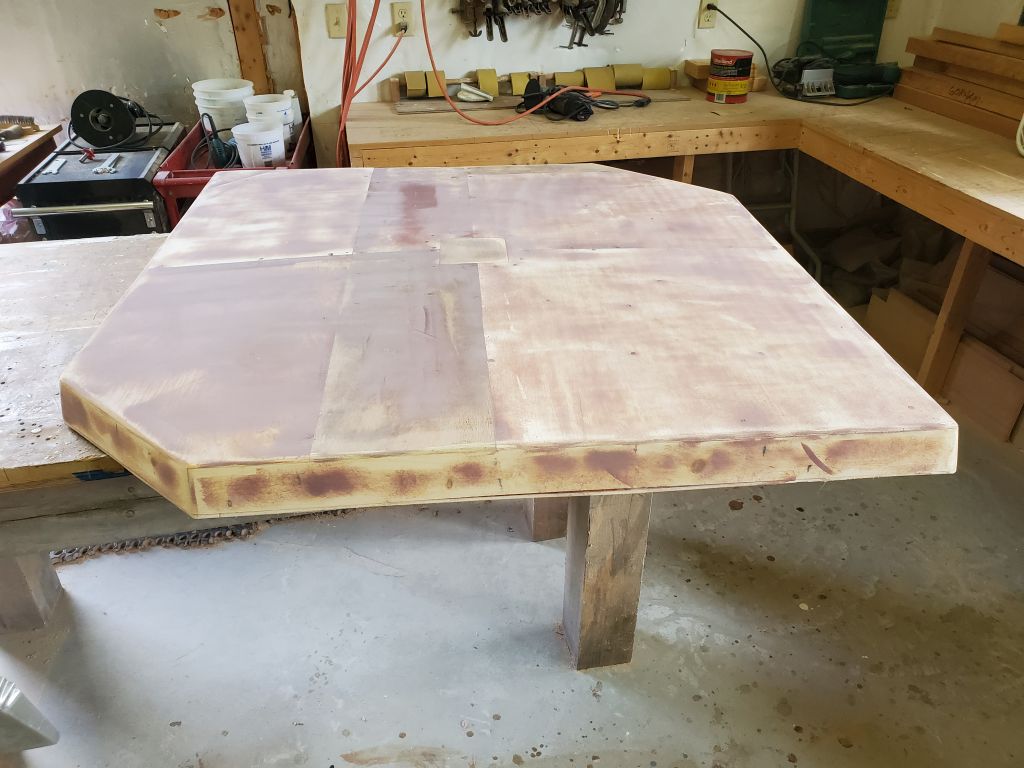
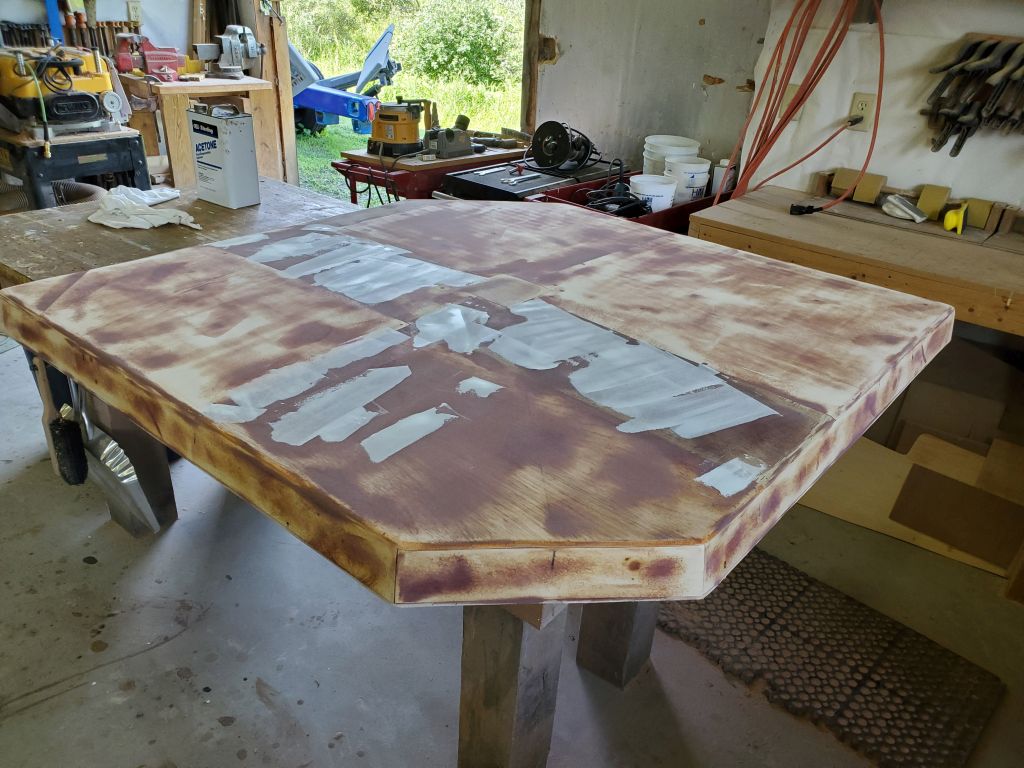
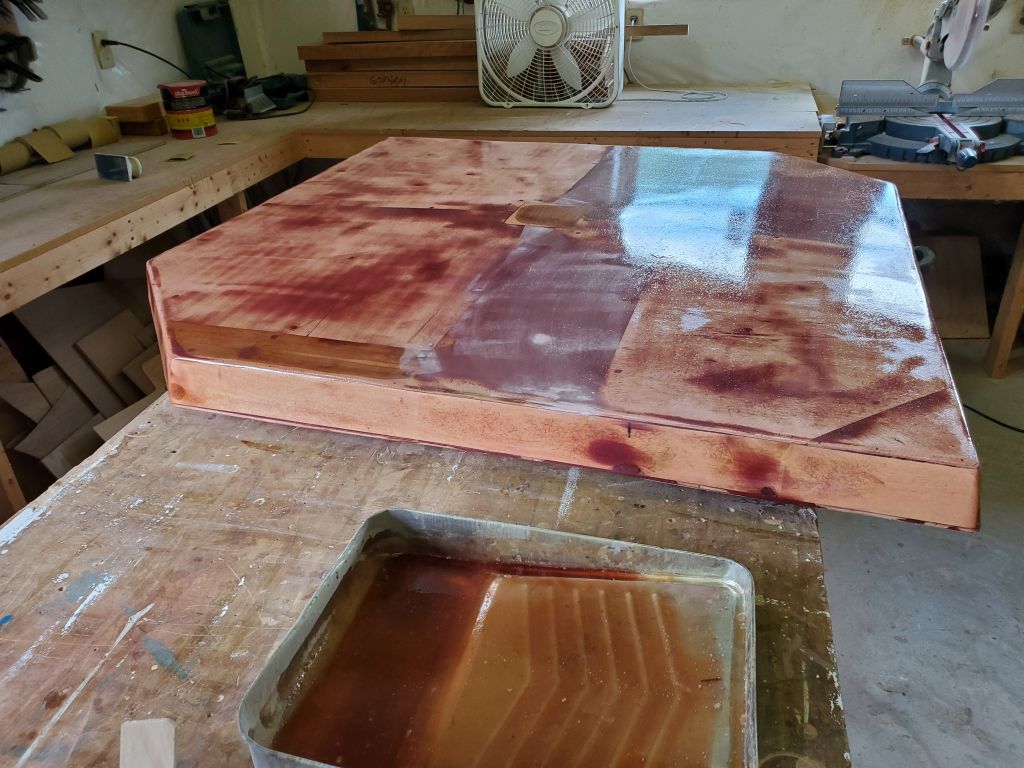
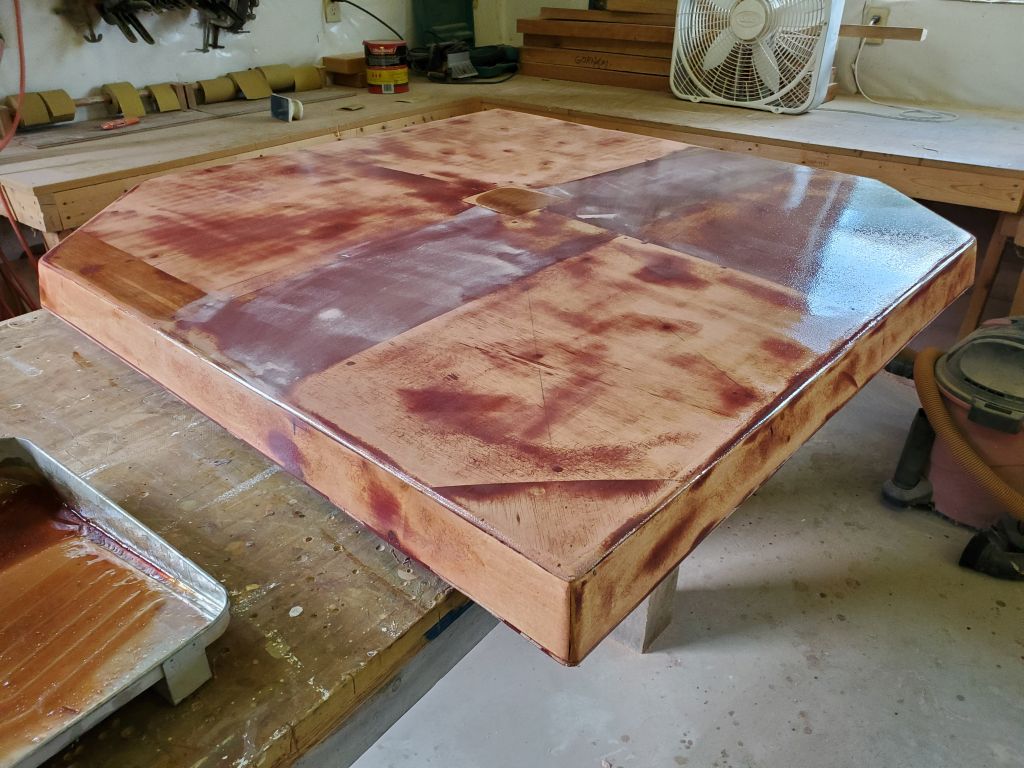
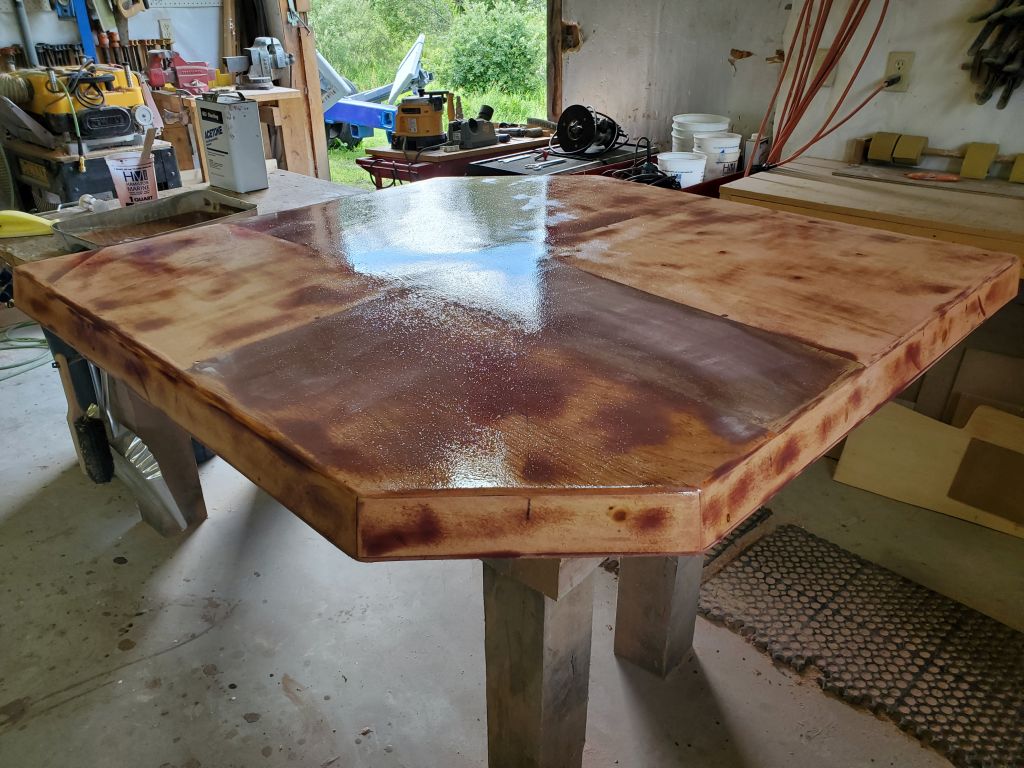
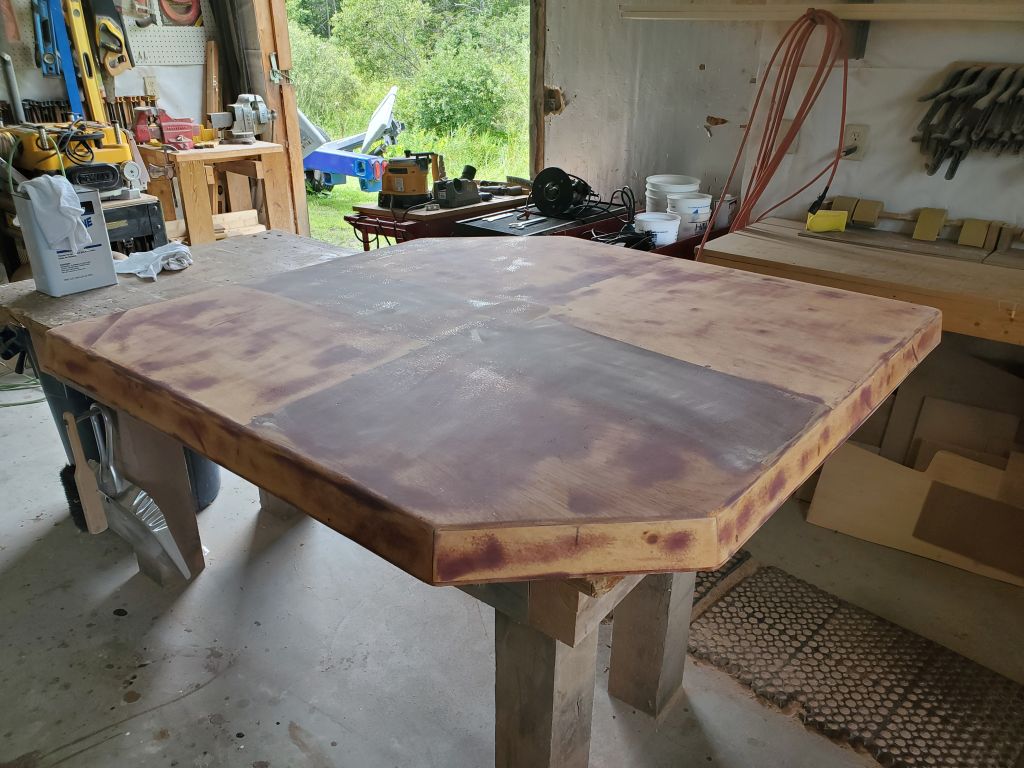
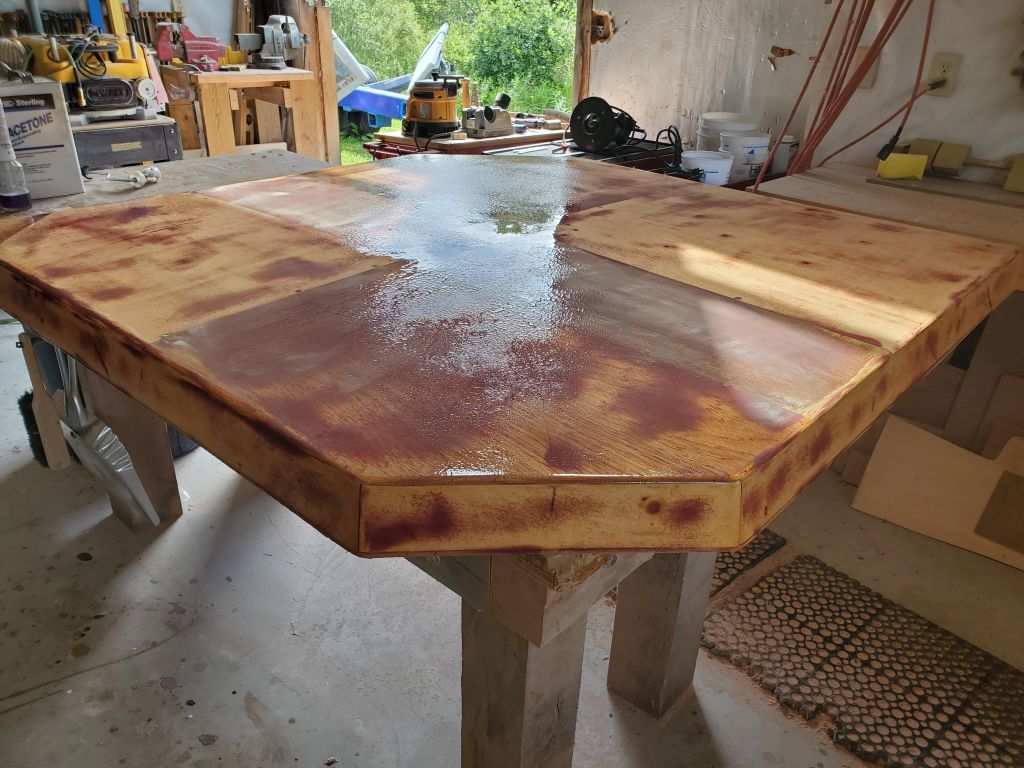
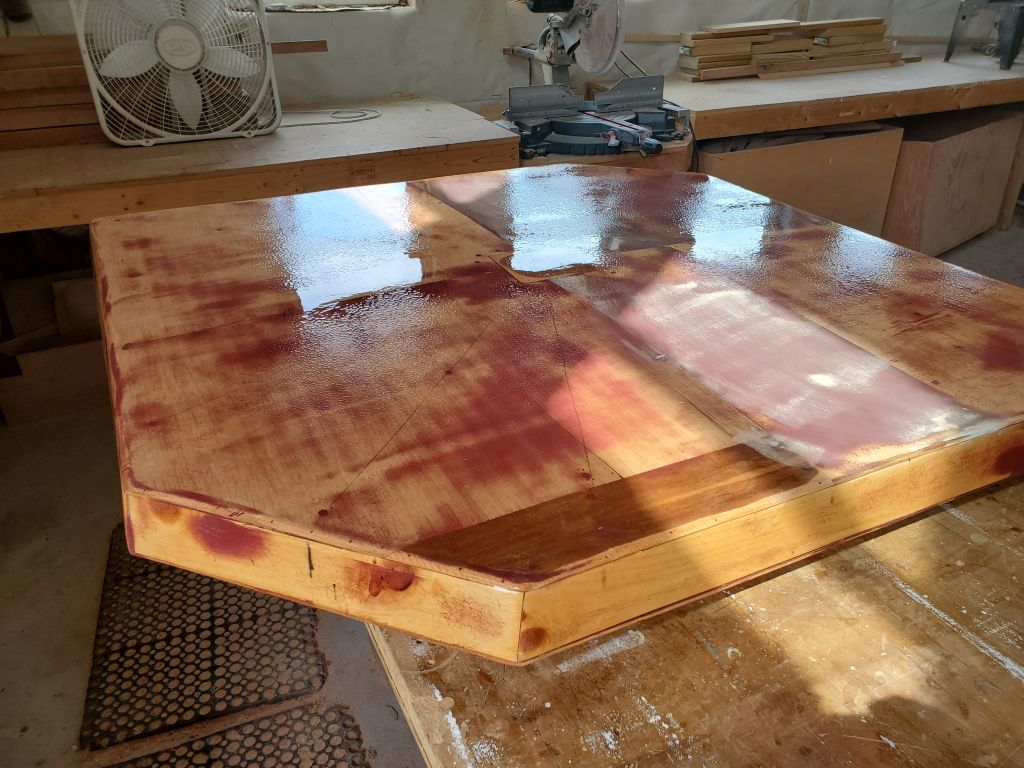
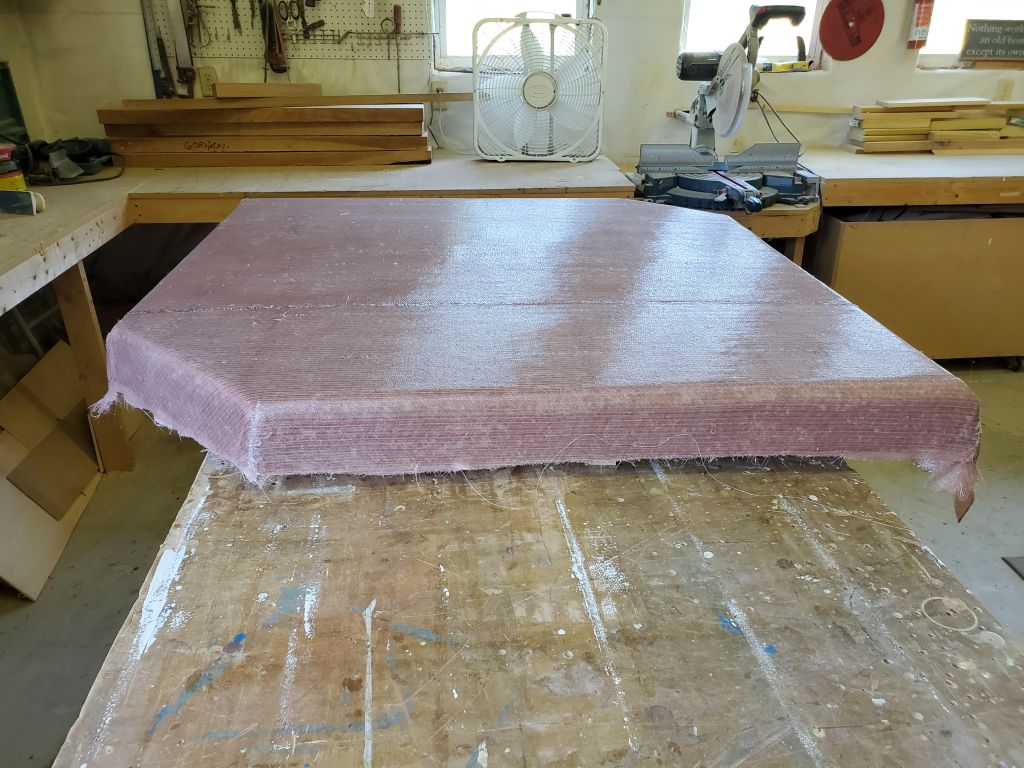
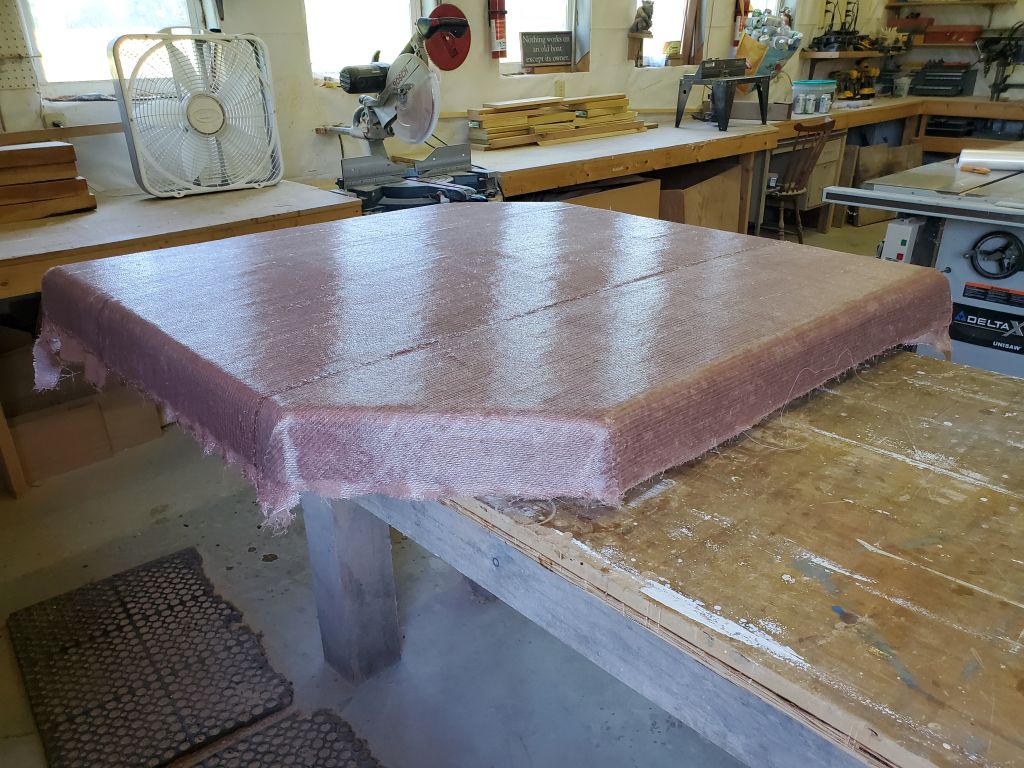
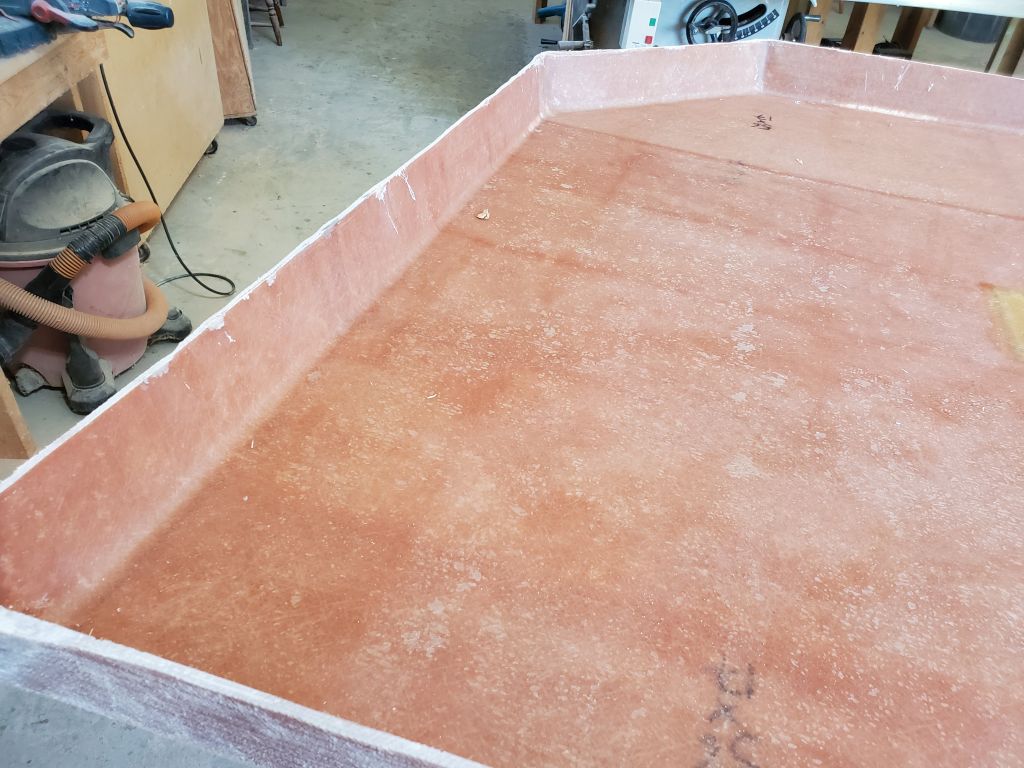
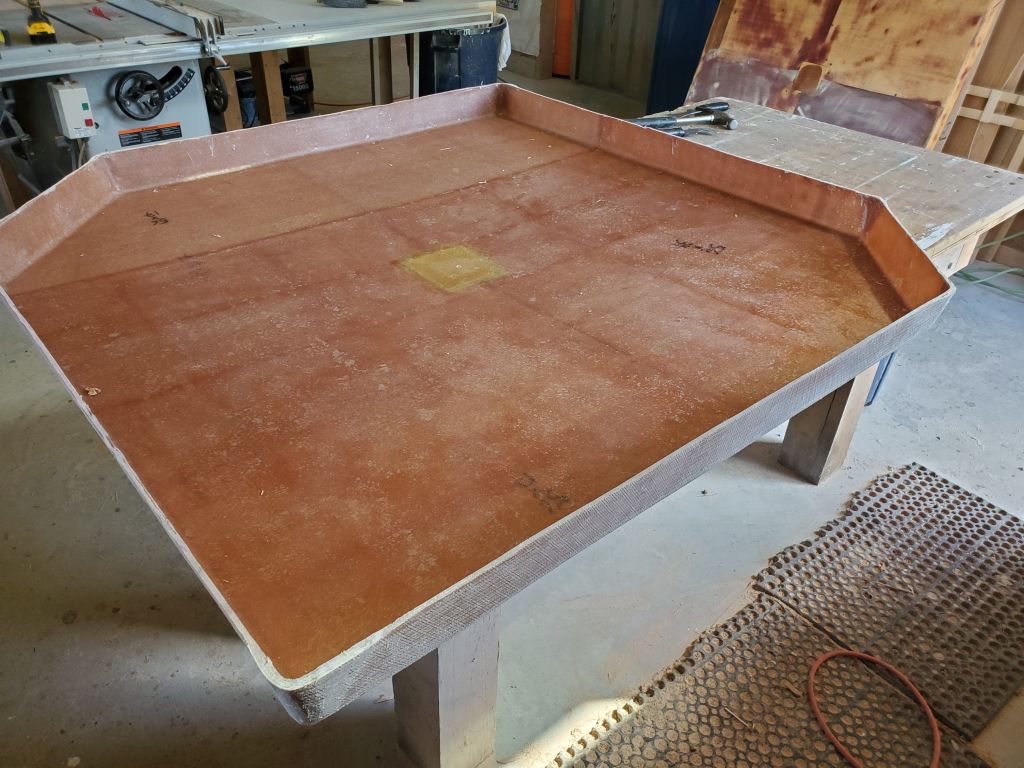
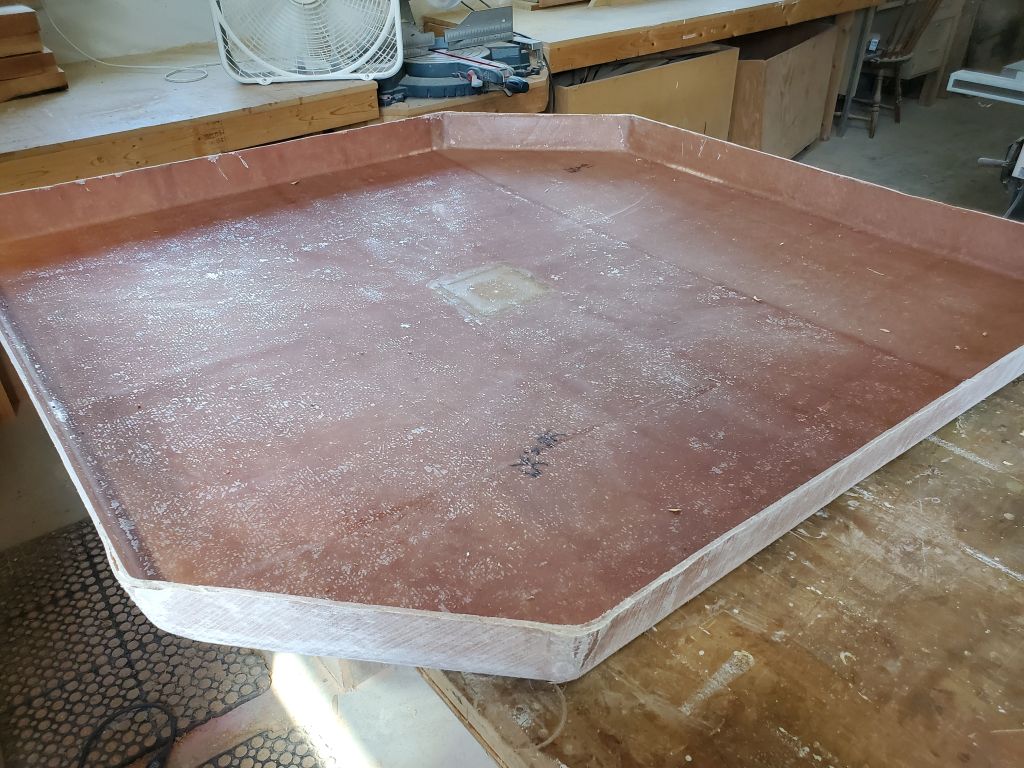
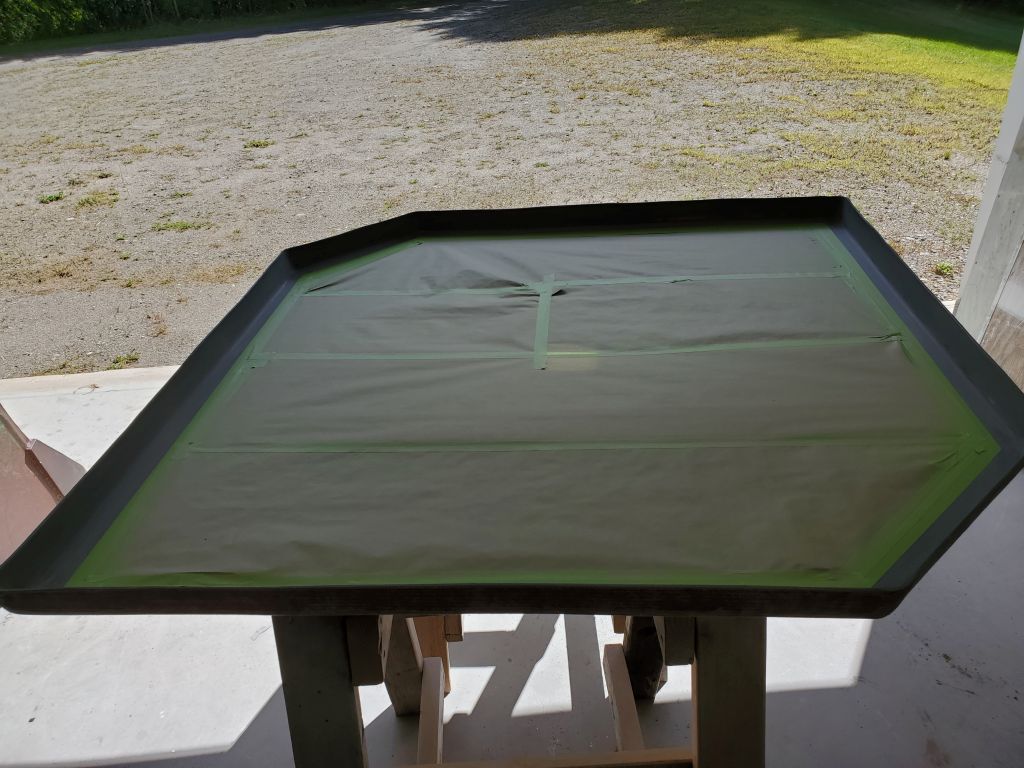
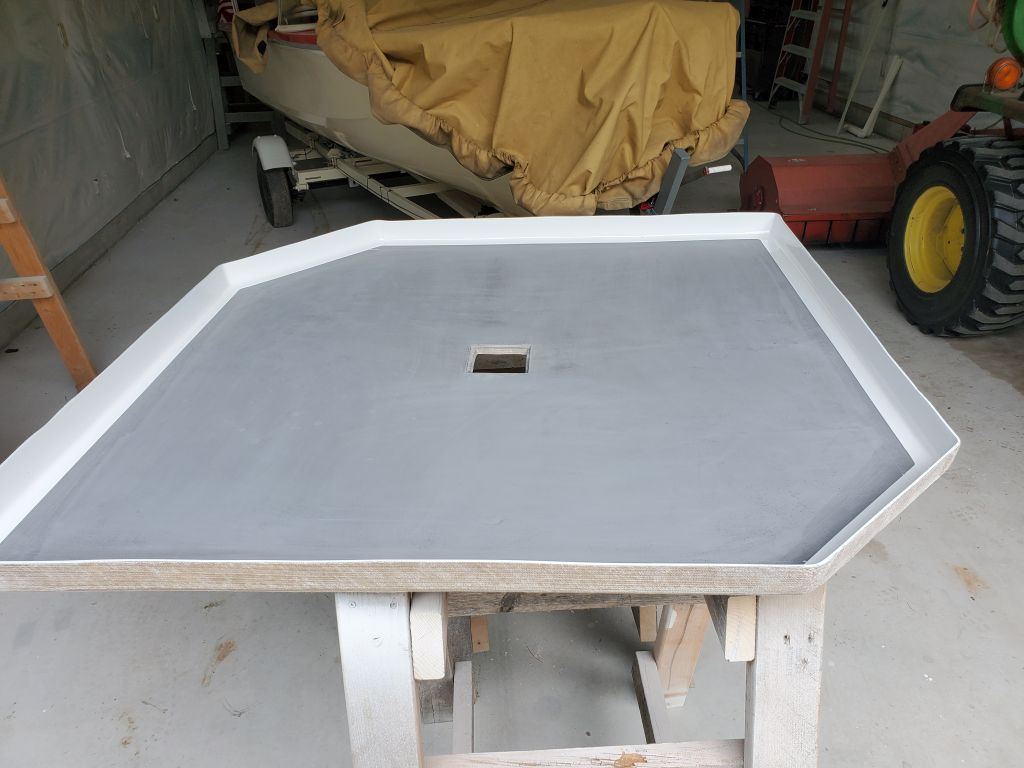
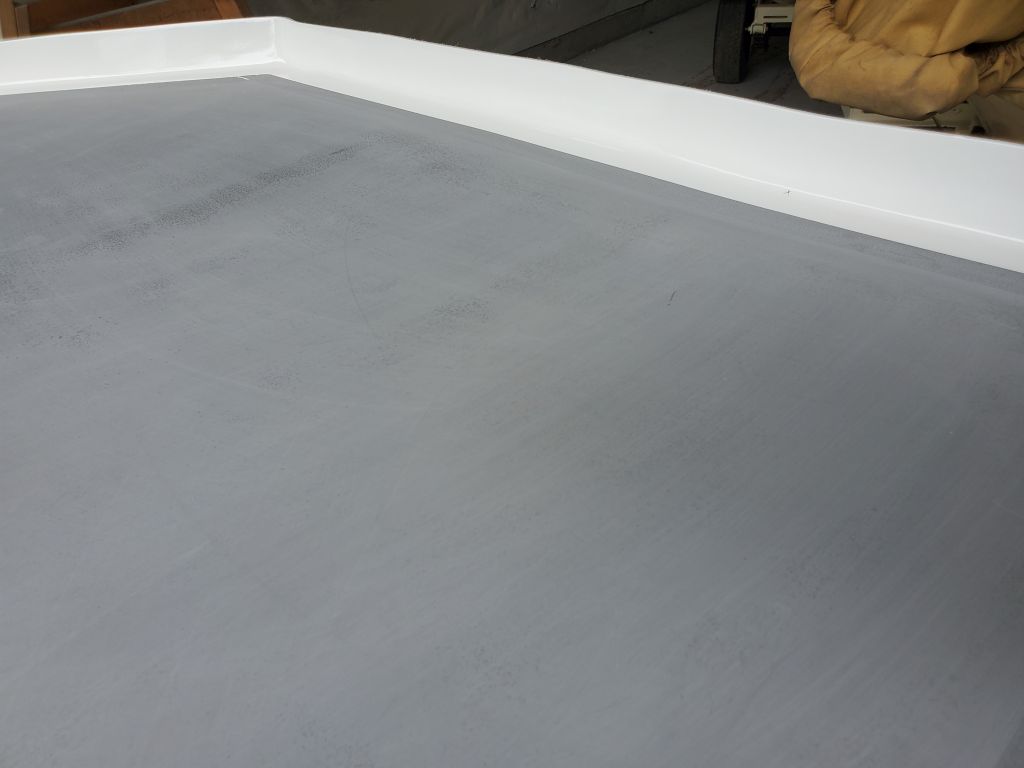
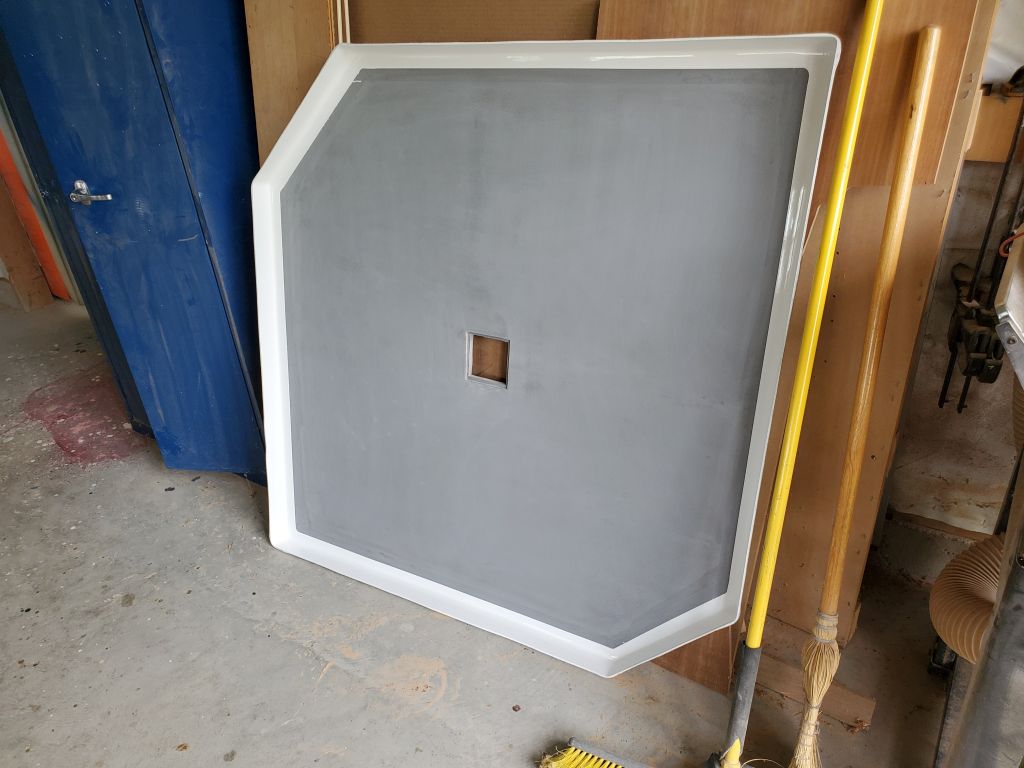
Next, I spent a number of days and different processes to finish off the inside of the shower pan: Several rounds of fairing to smooth the surface, followed by high build primer (white), with more final fairing and finsh sanding thereafter, and finally finish primer (gray).
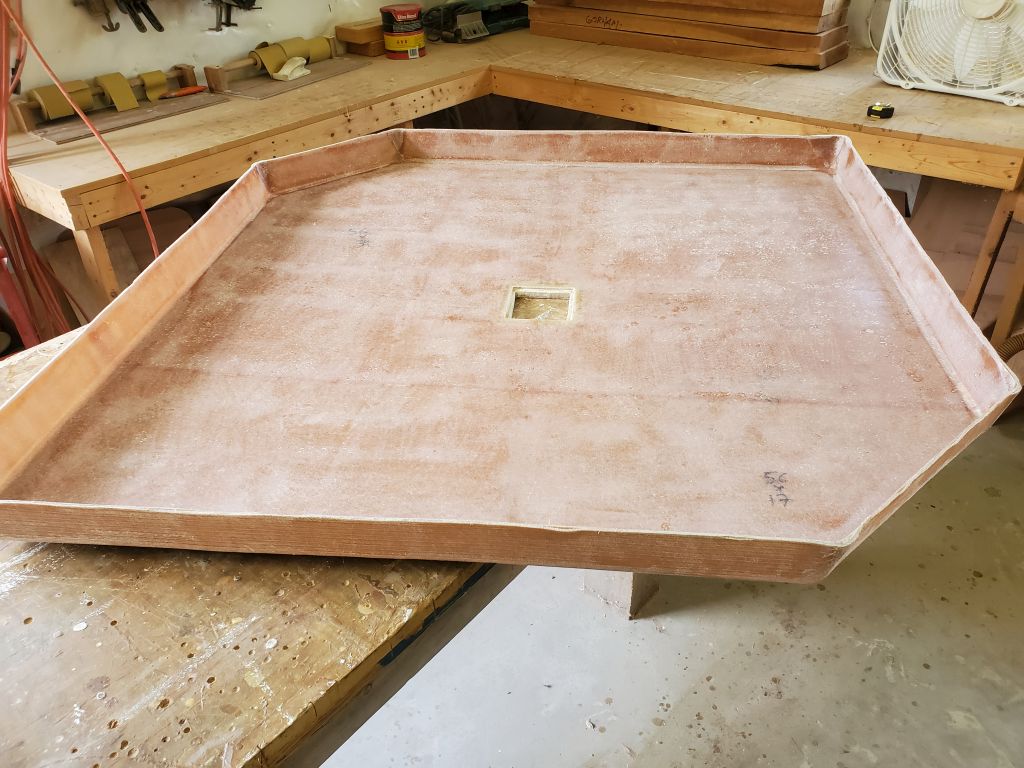
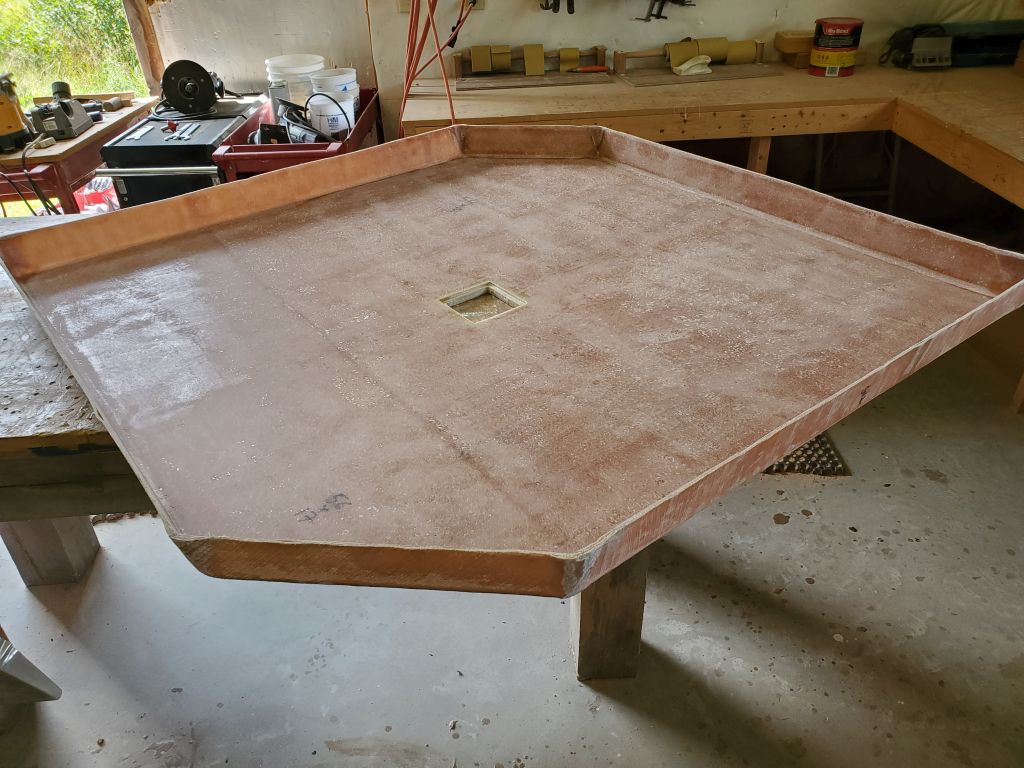
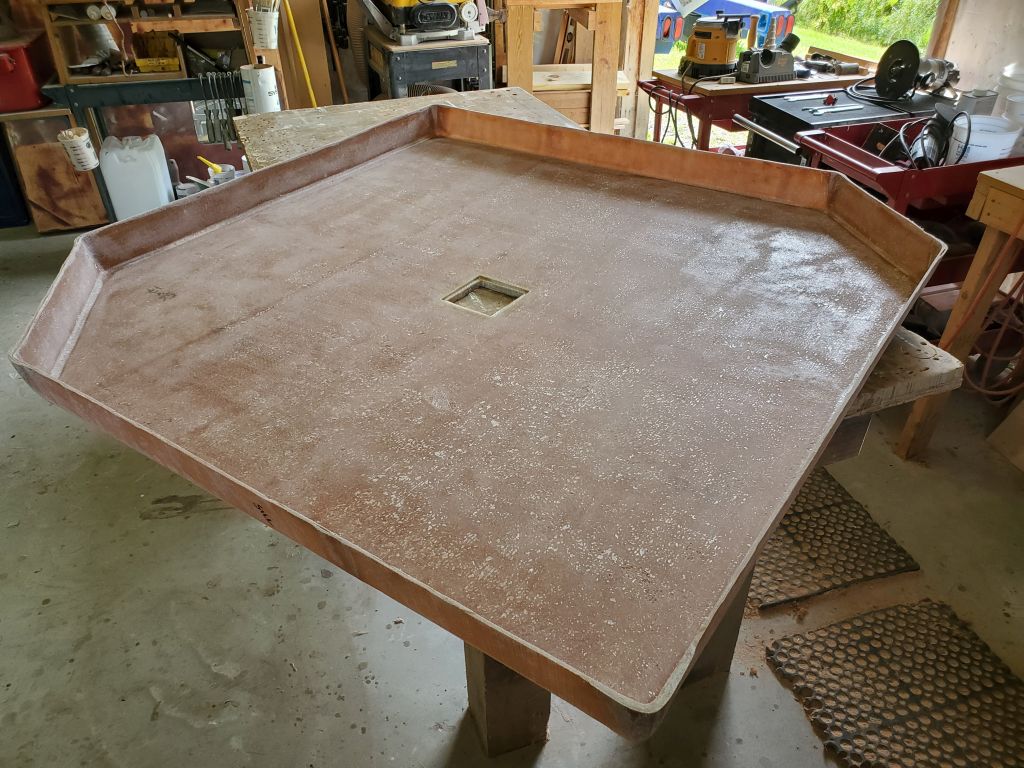
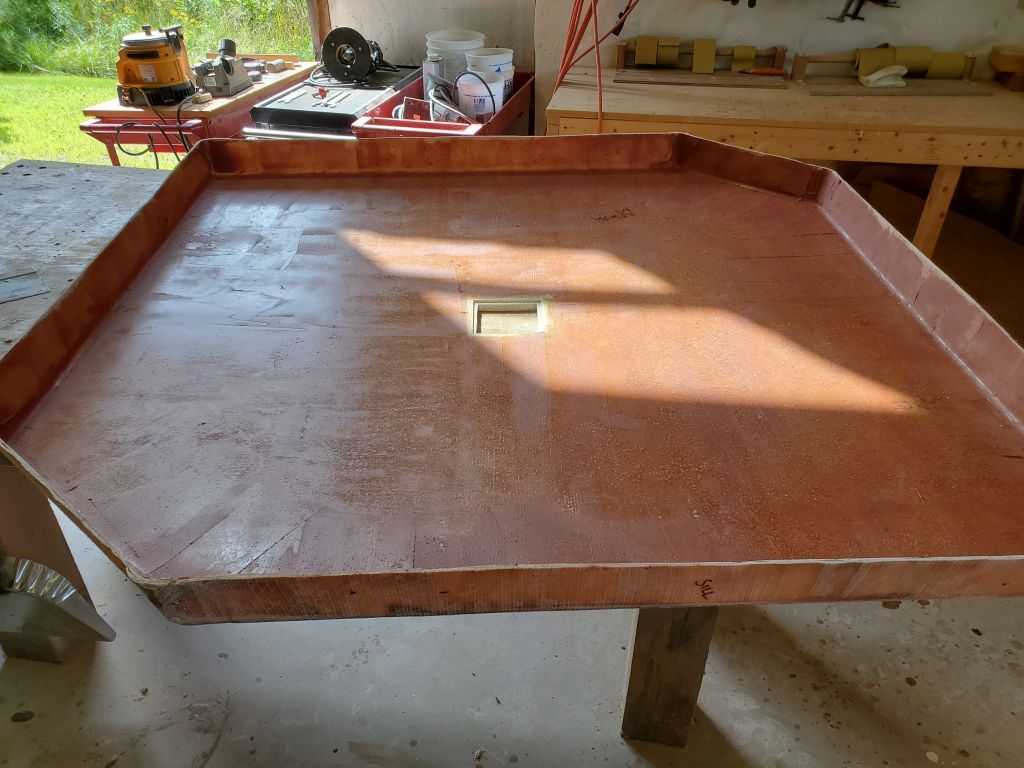
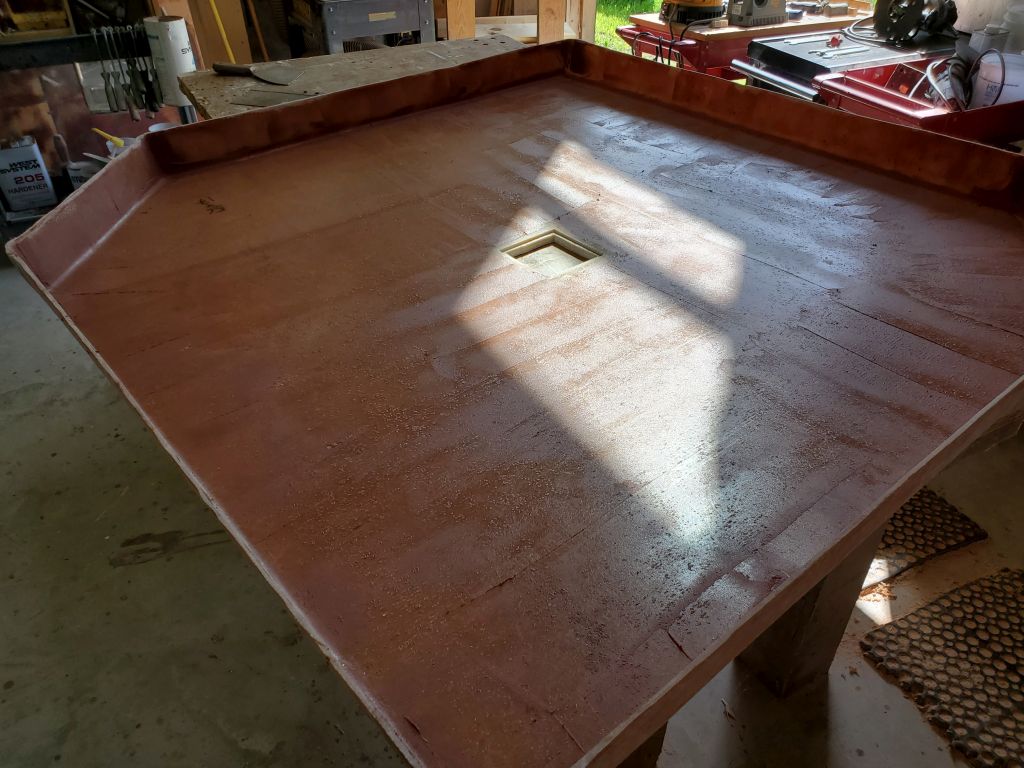
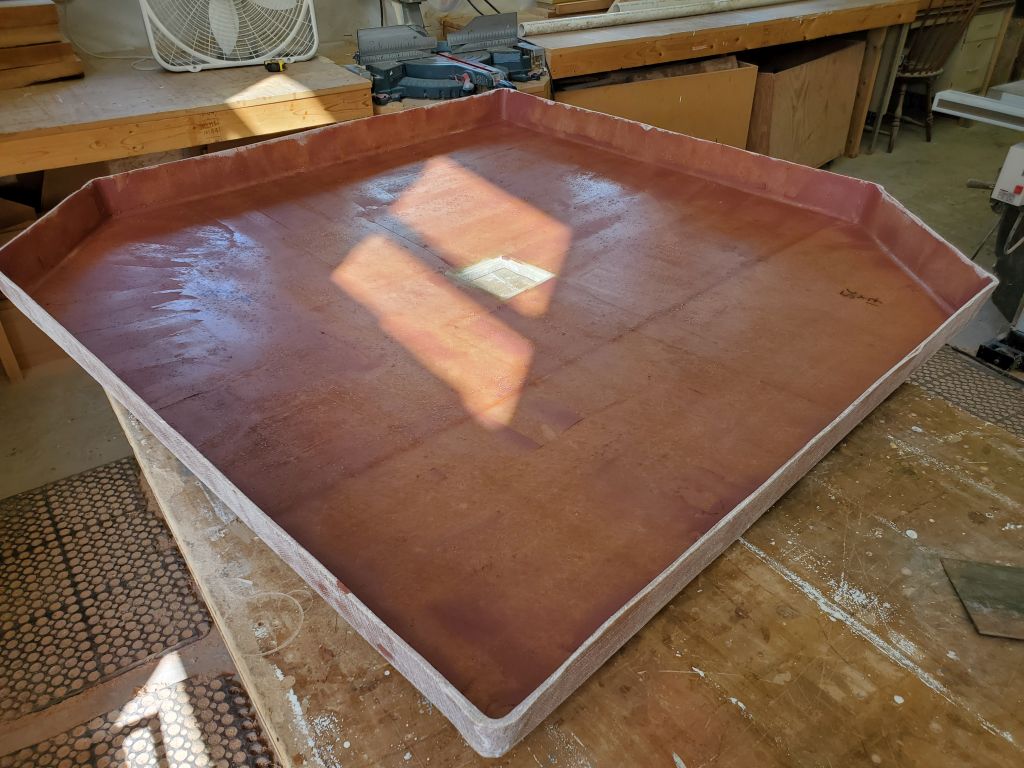


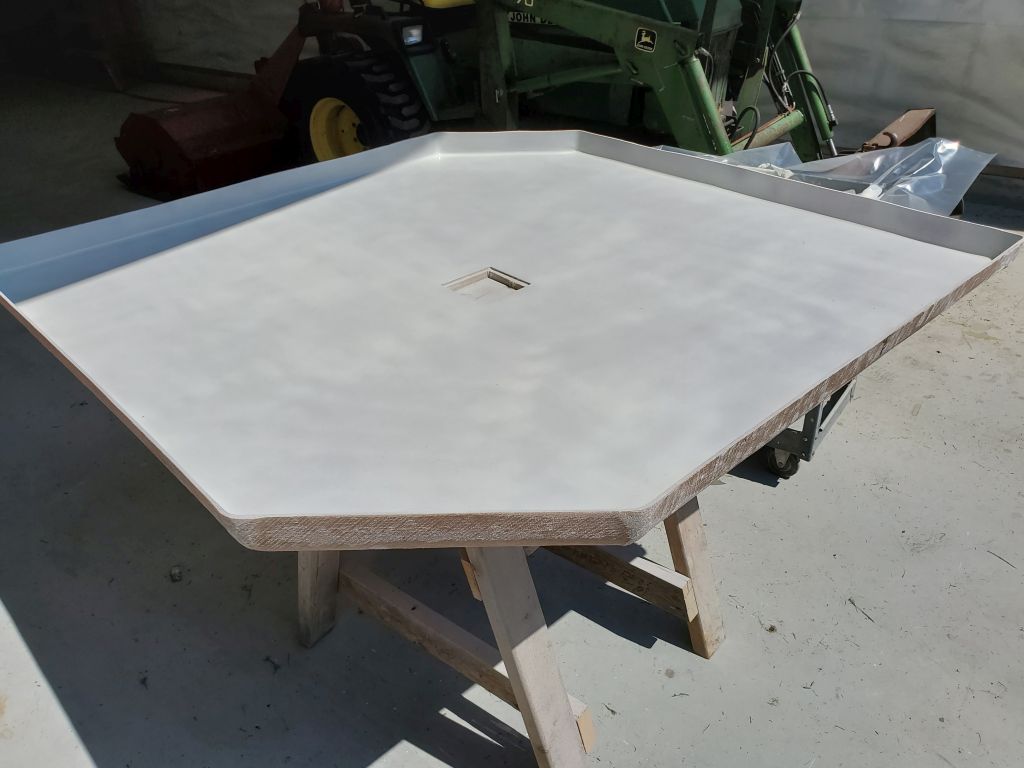

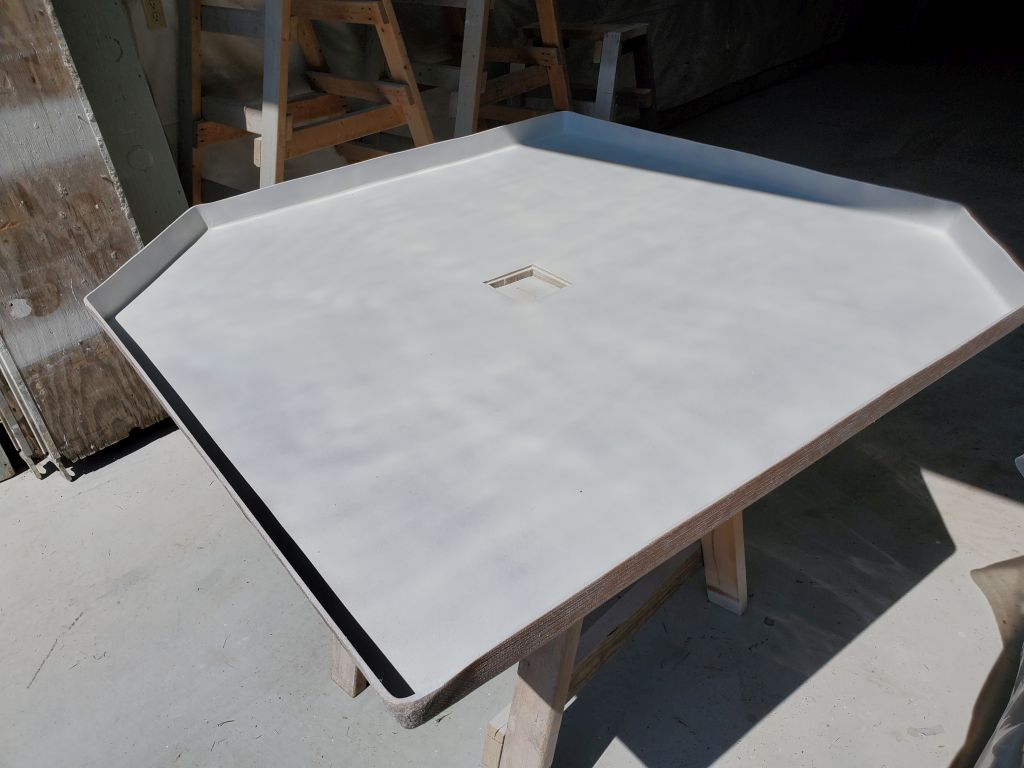


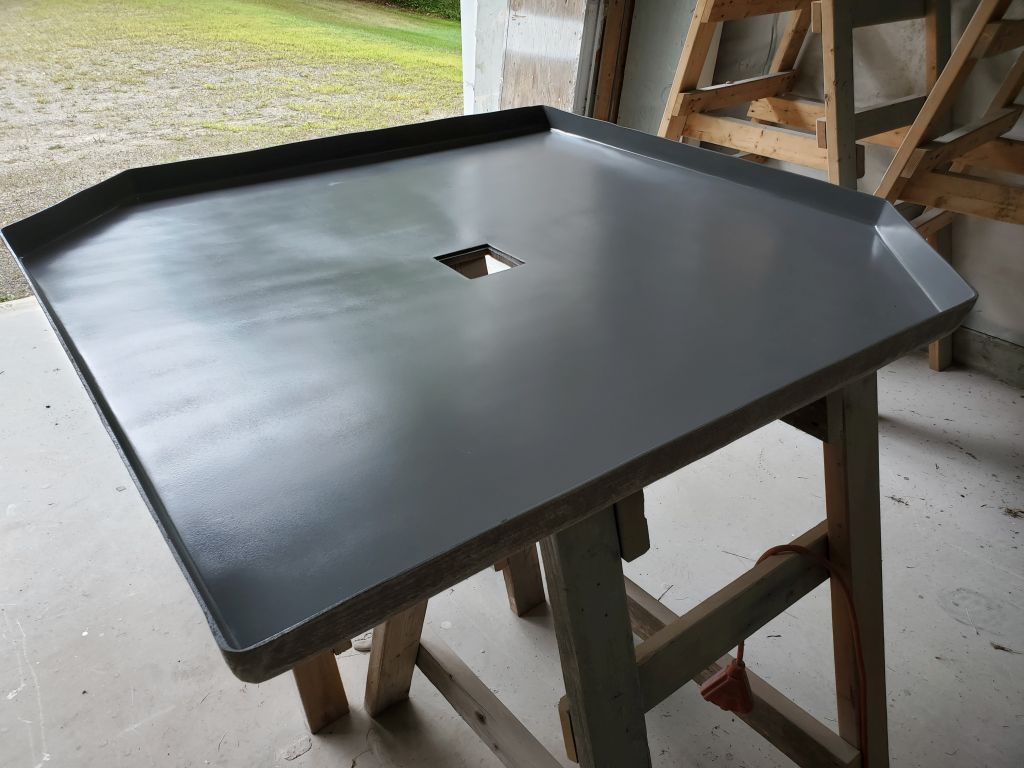
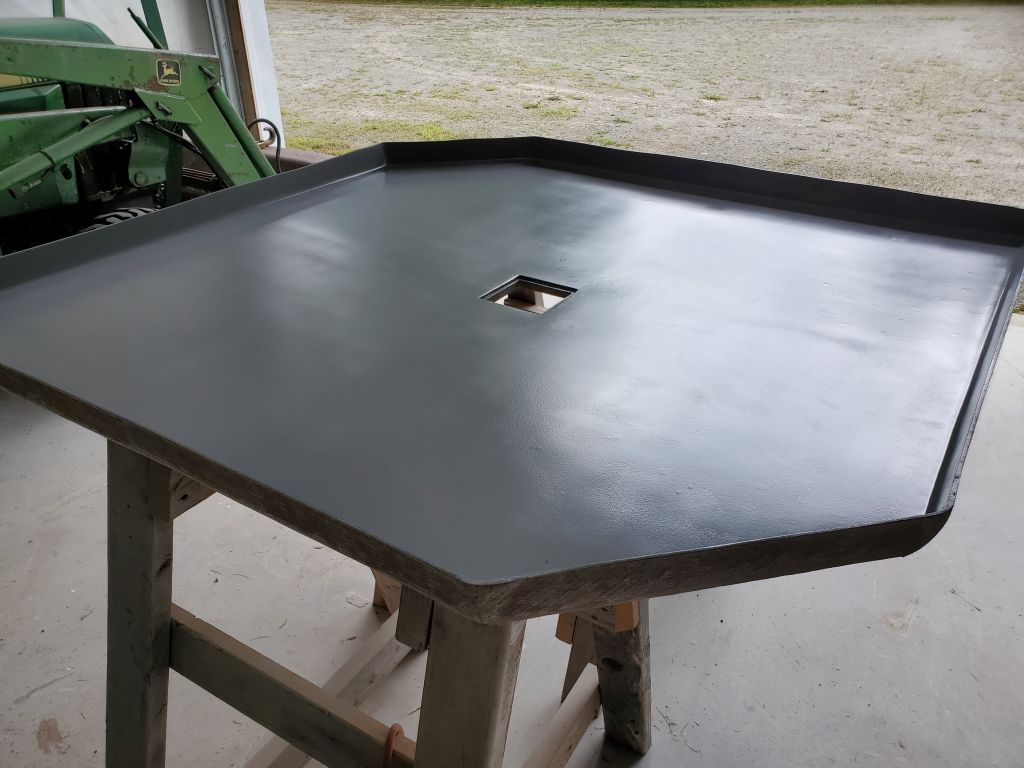
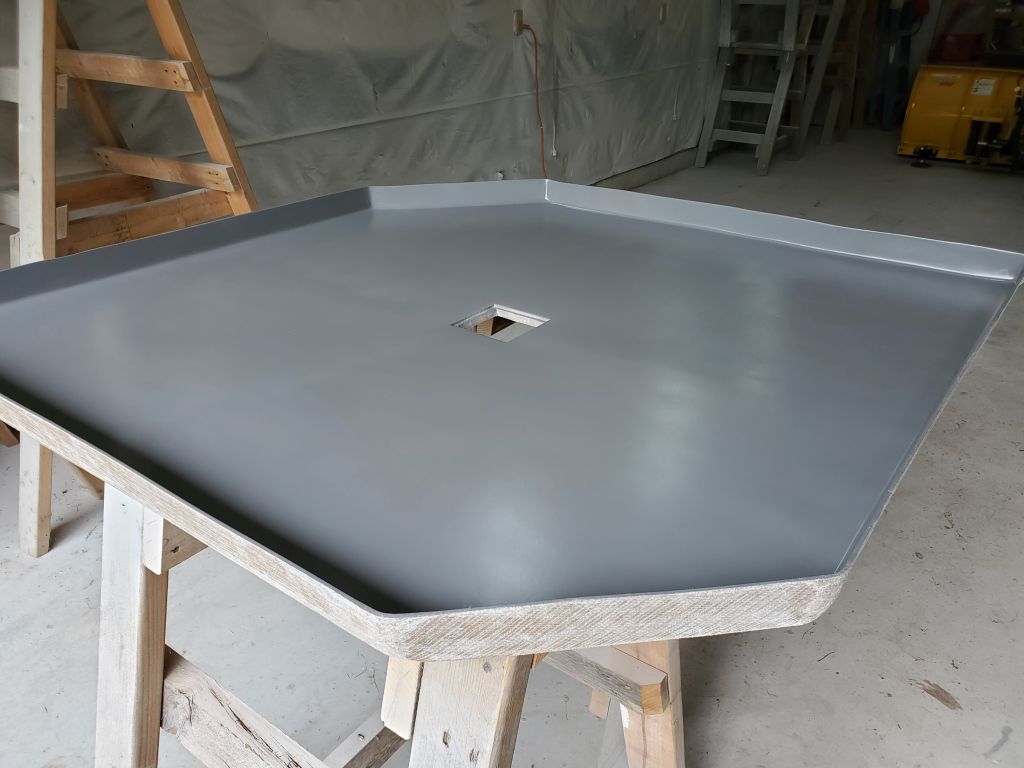
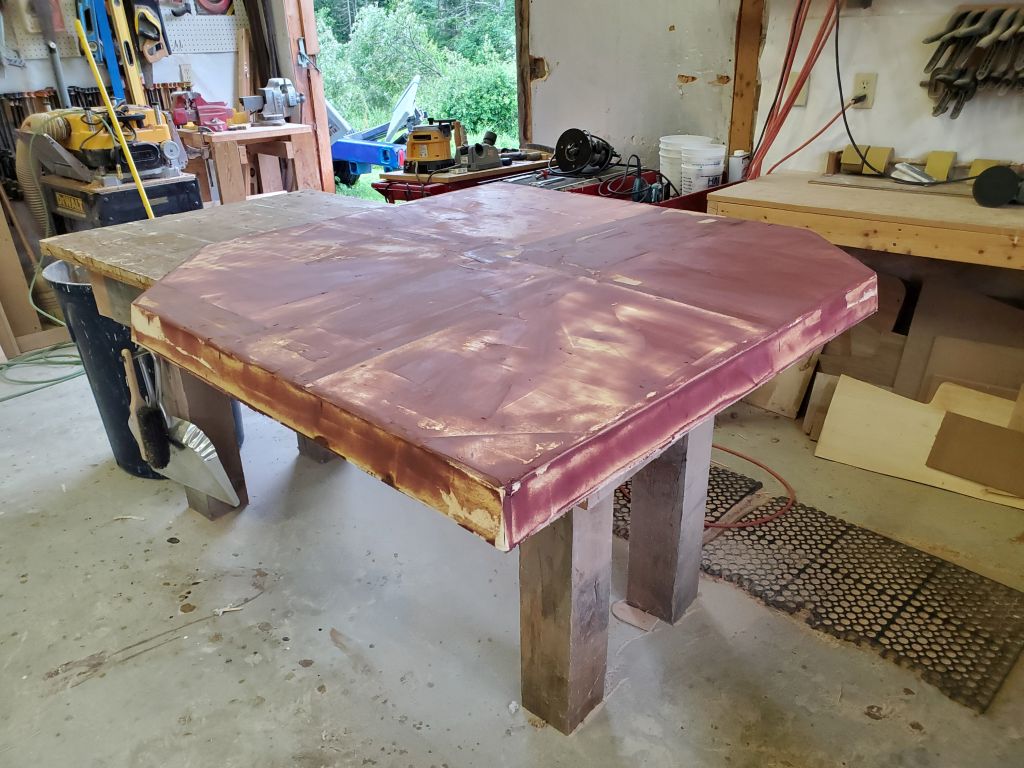
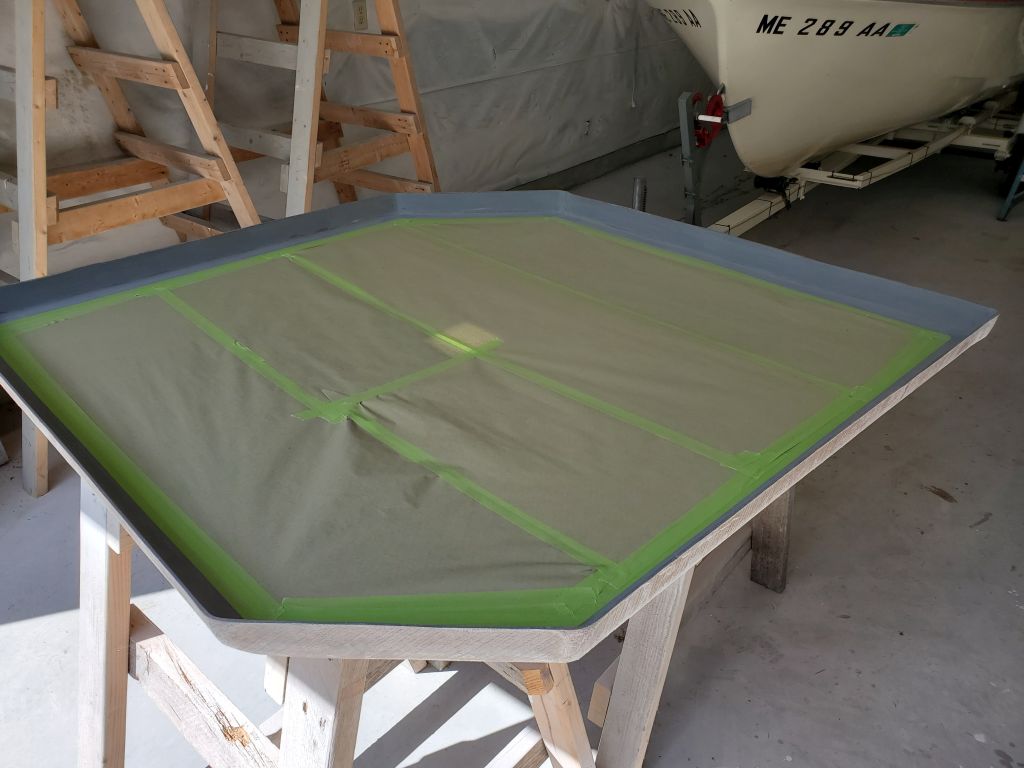
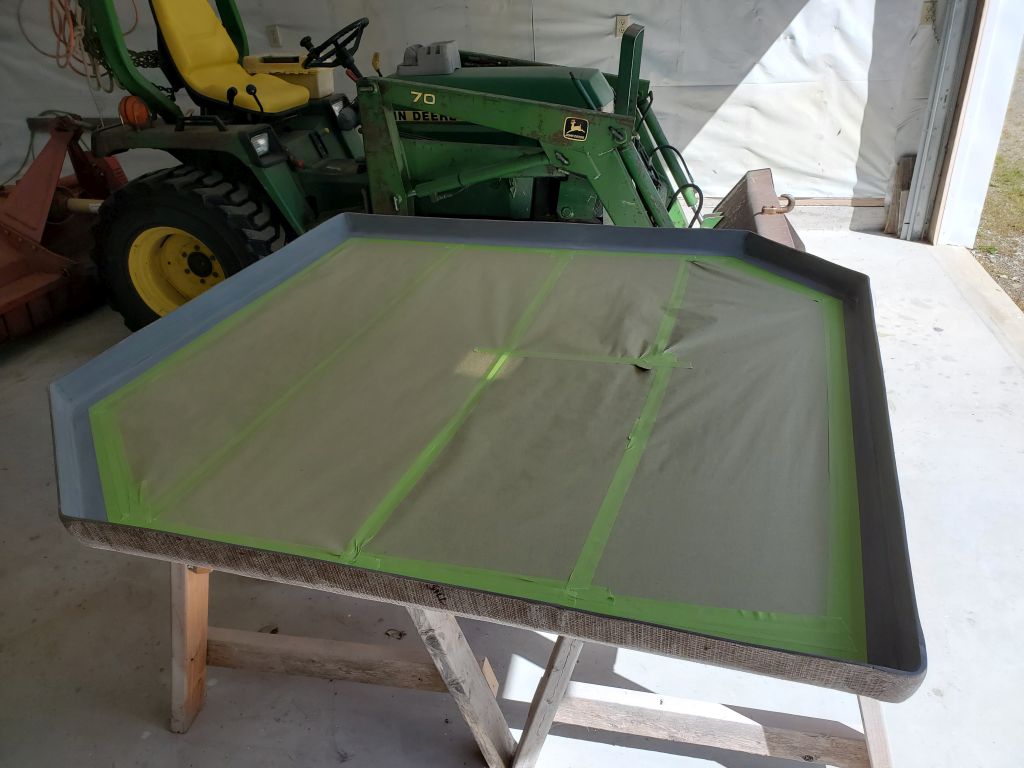
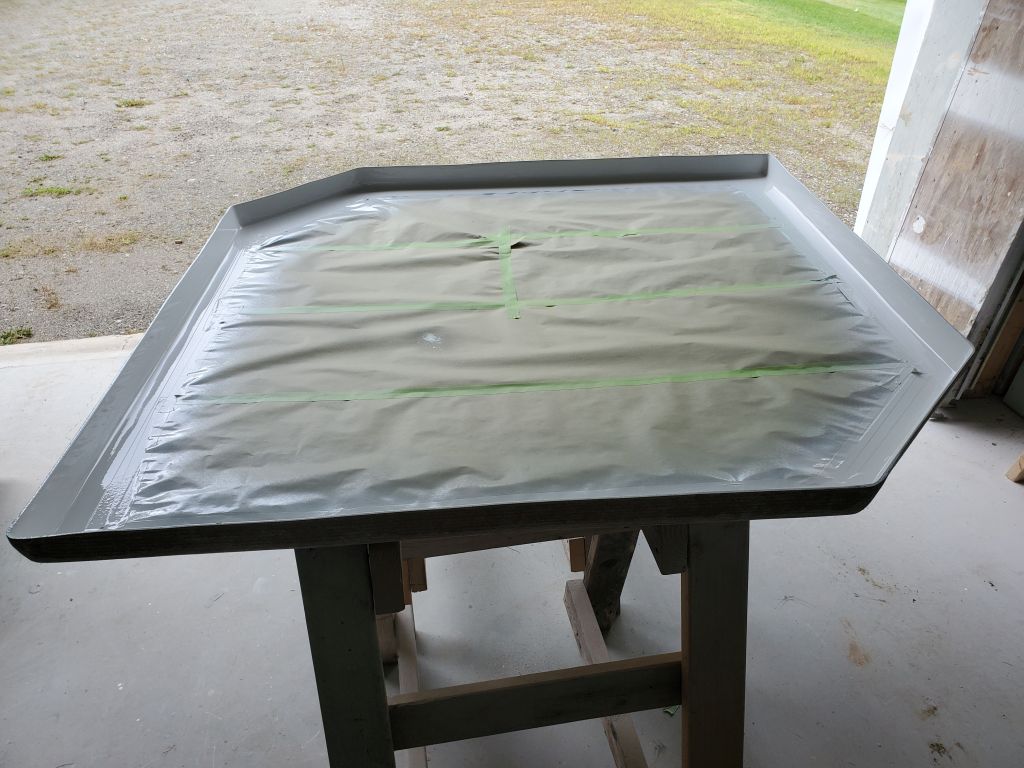
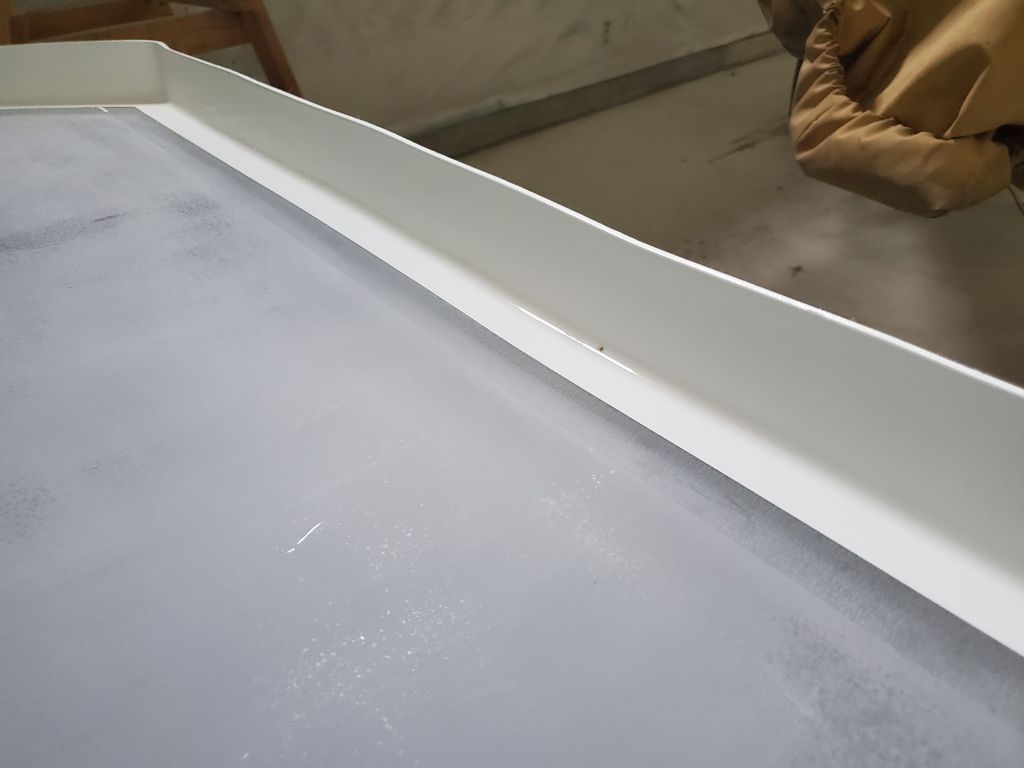
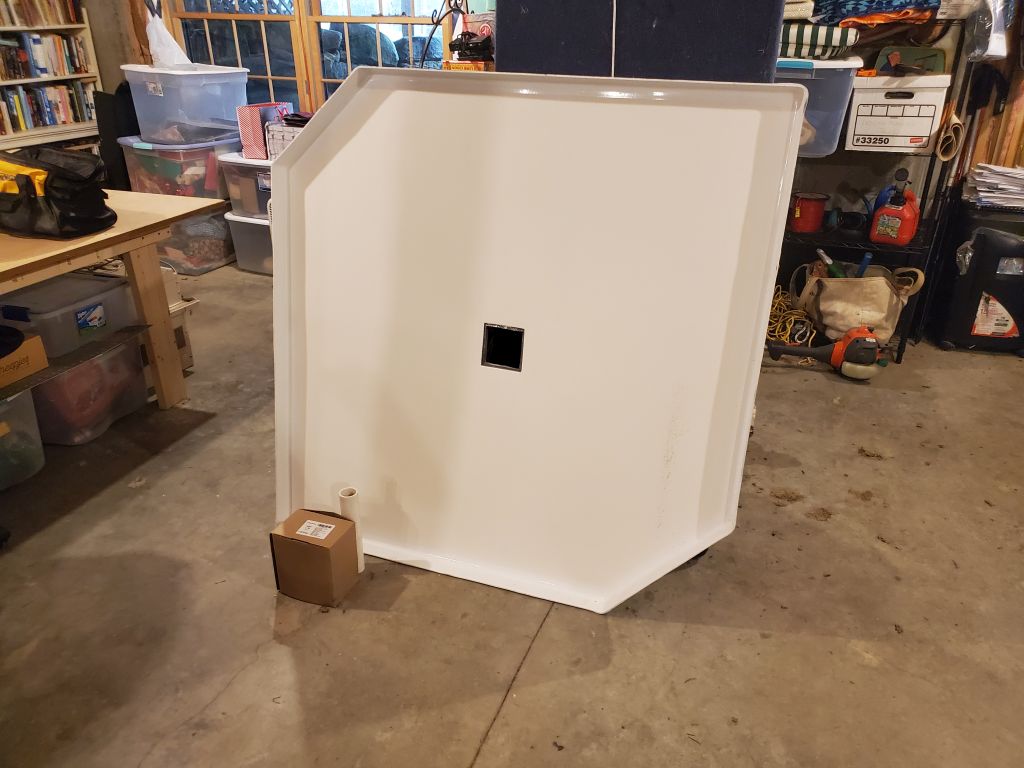
I masked off a border around the edges, and applied several coats of gloss white LPU paint. Sometime later, I finished off the field with nonskid paint, which I may not have documented at the time, but the final photo in this series shows the result.


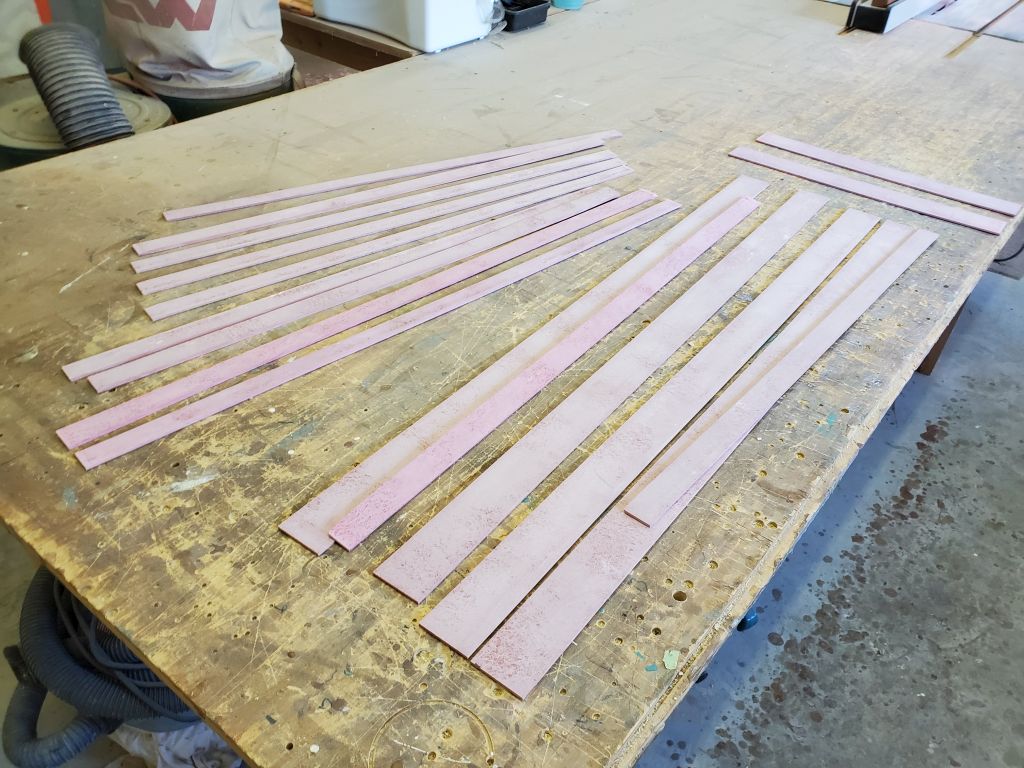
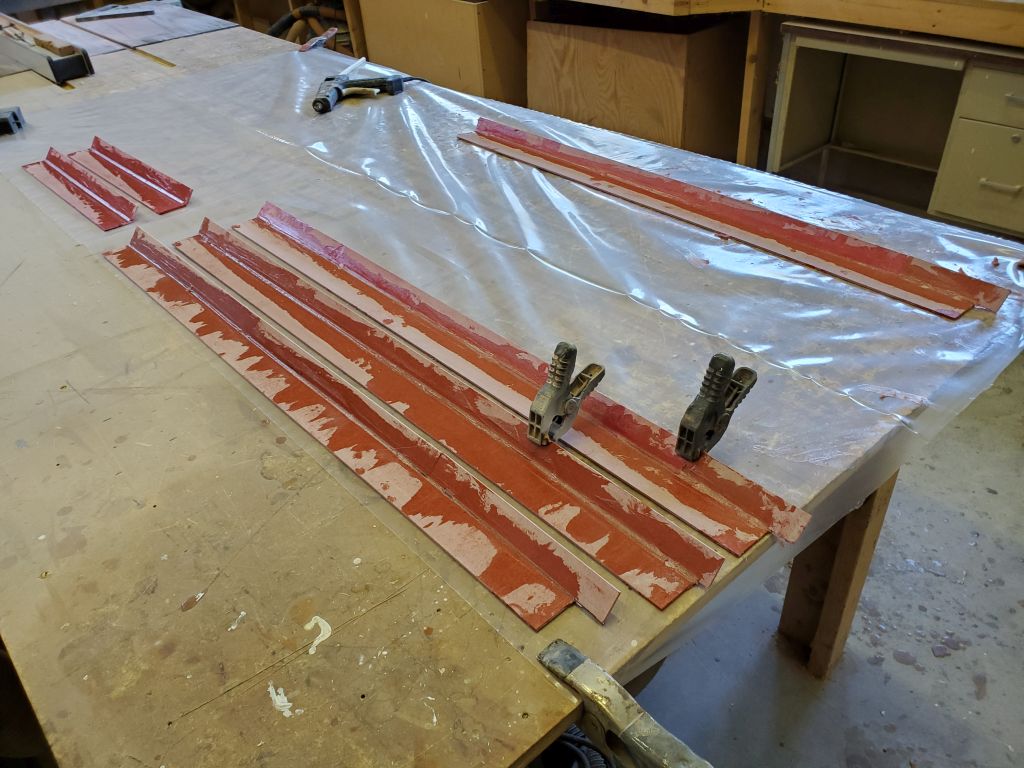
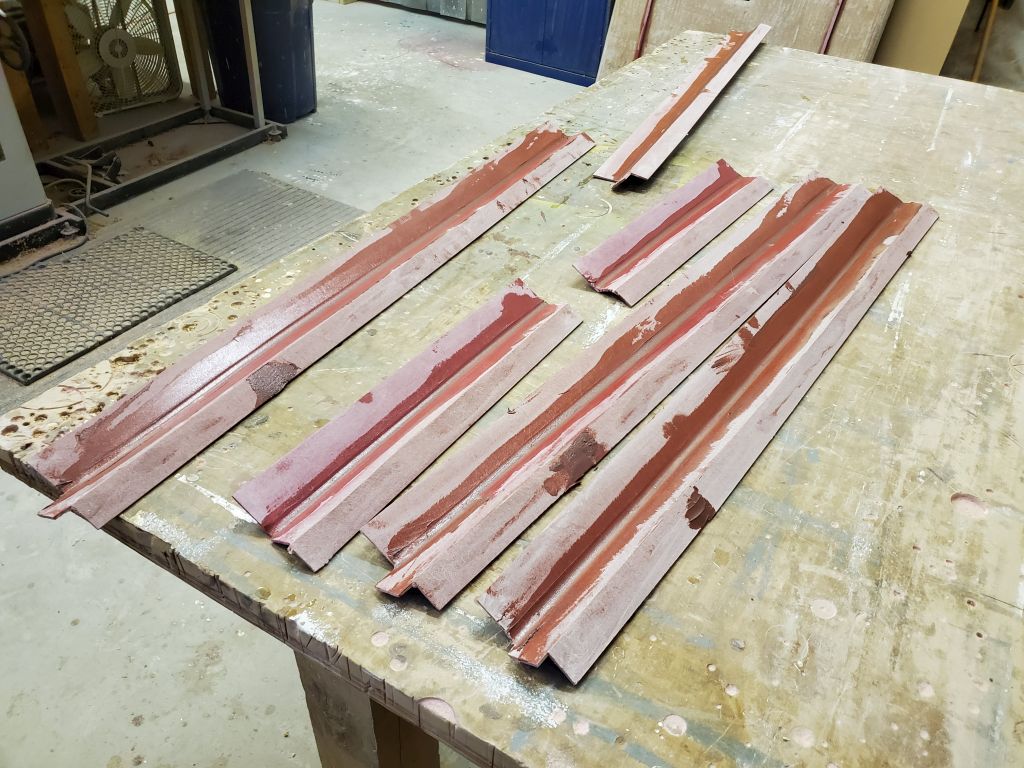
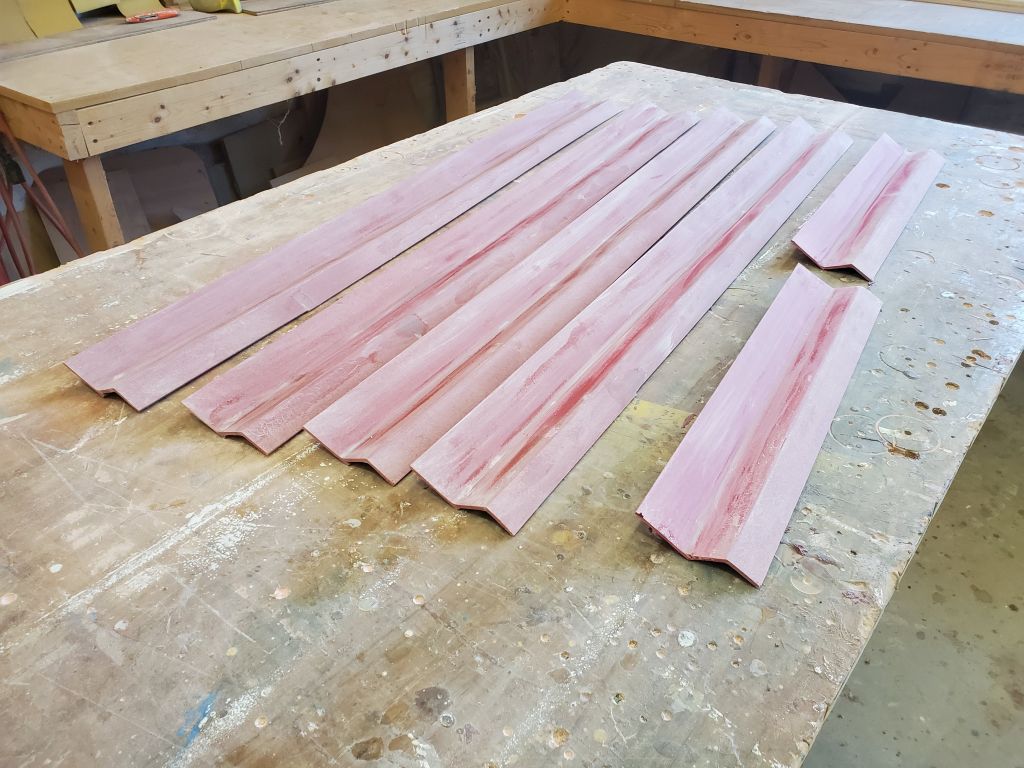
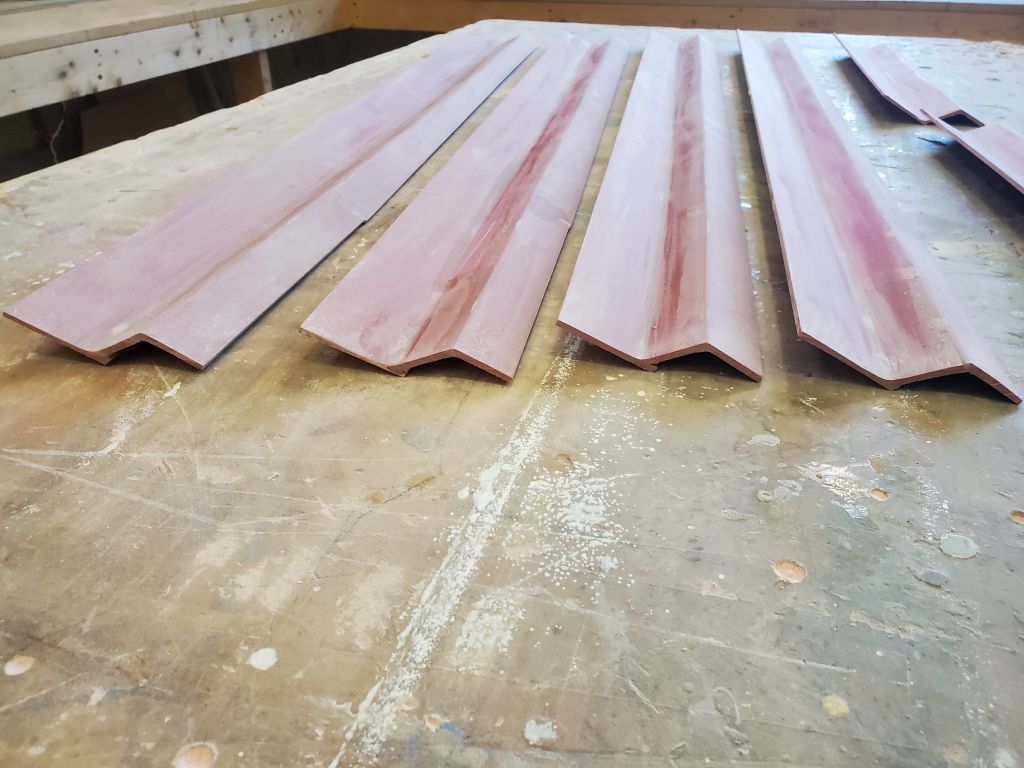
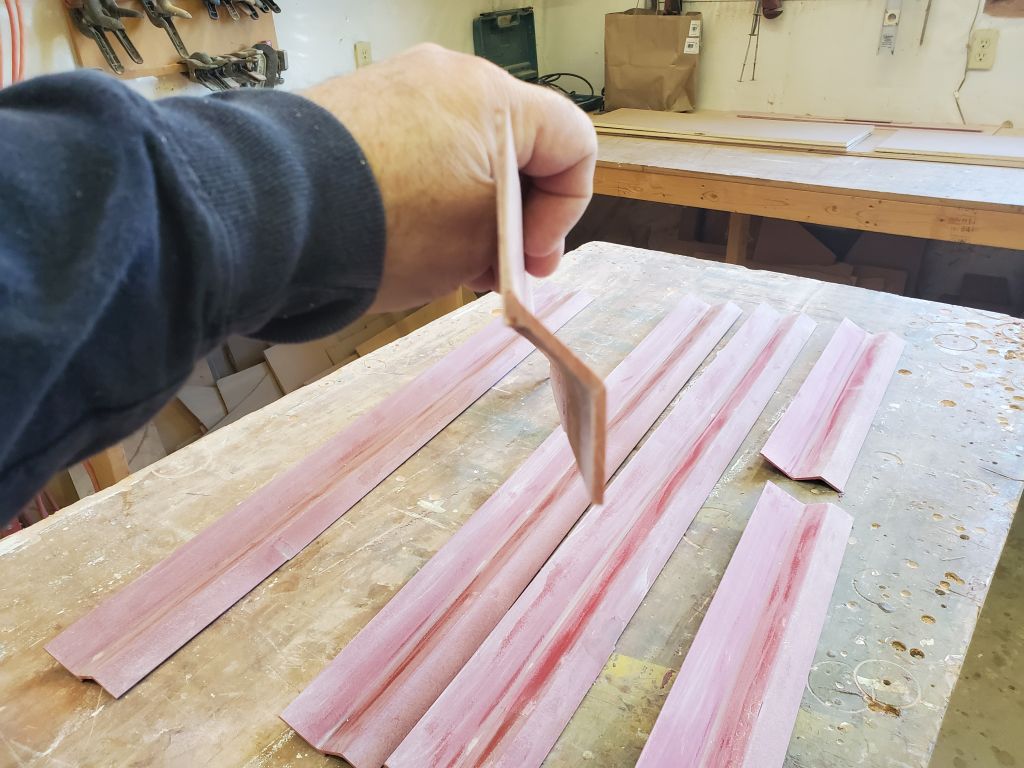
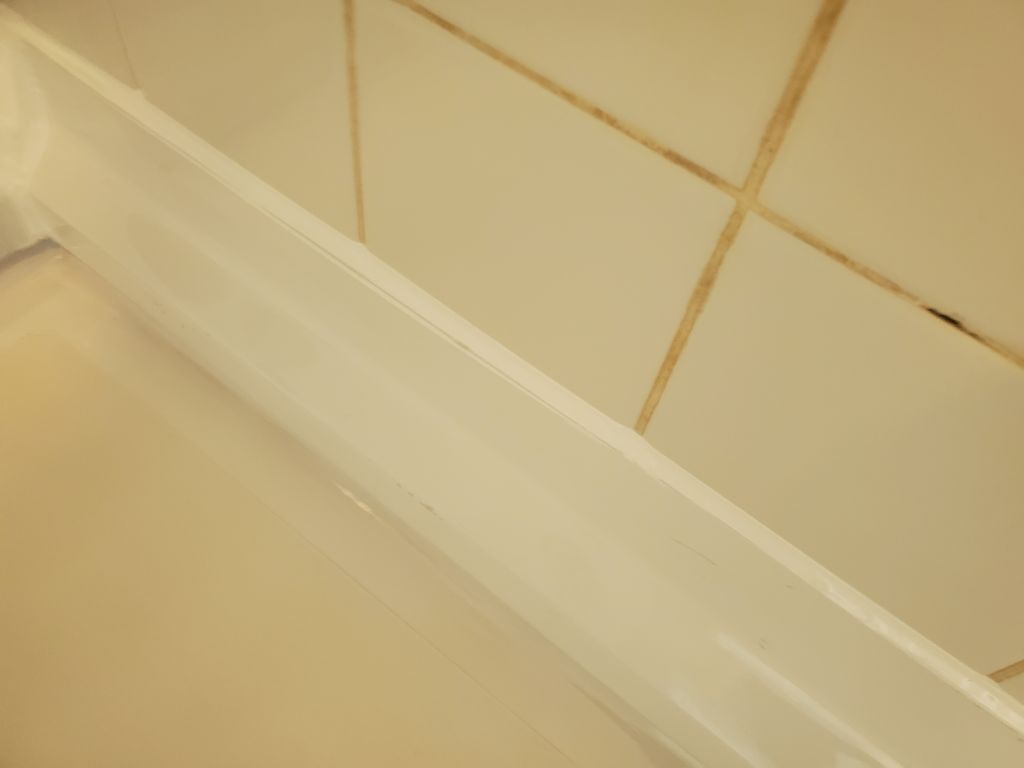
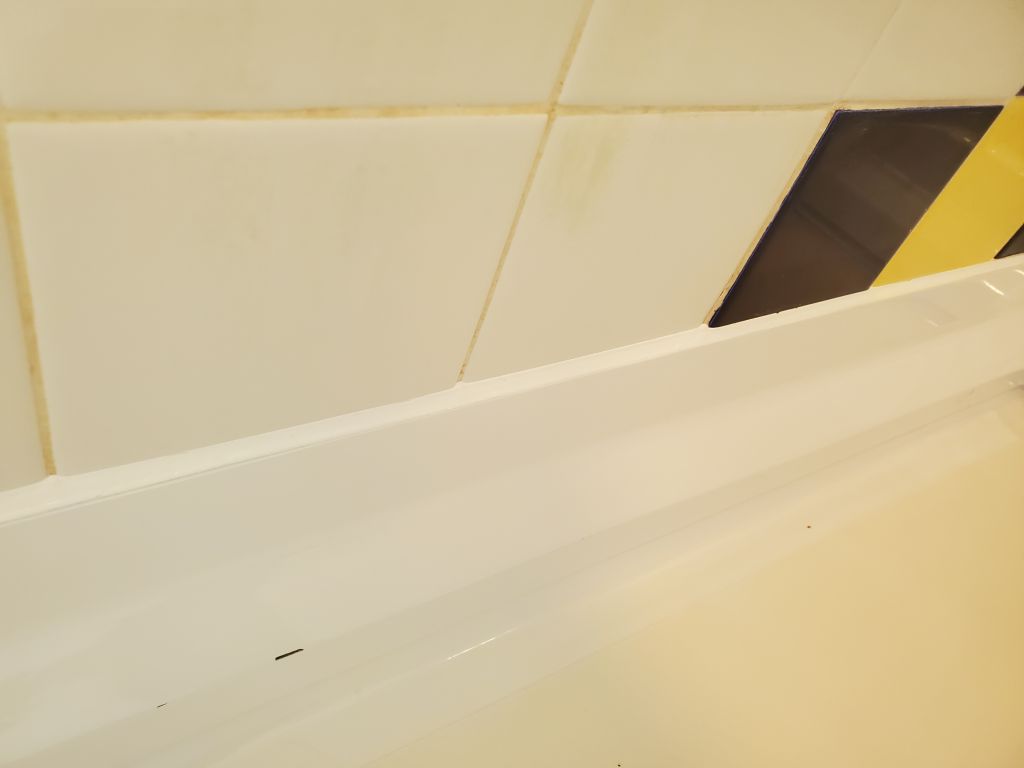
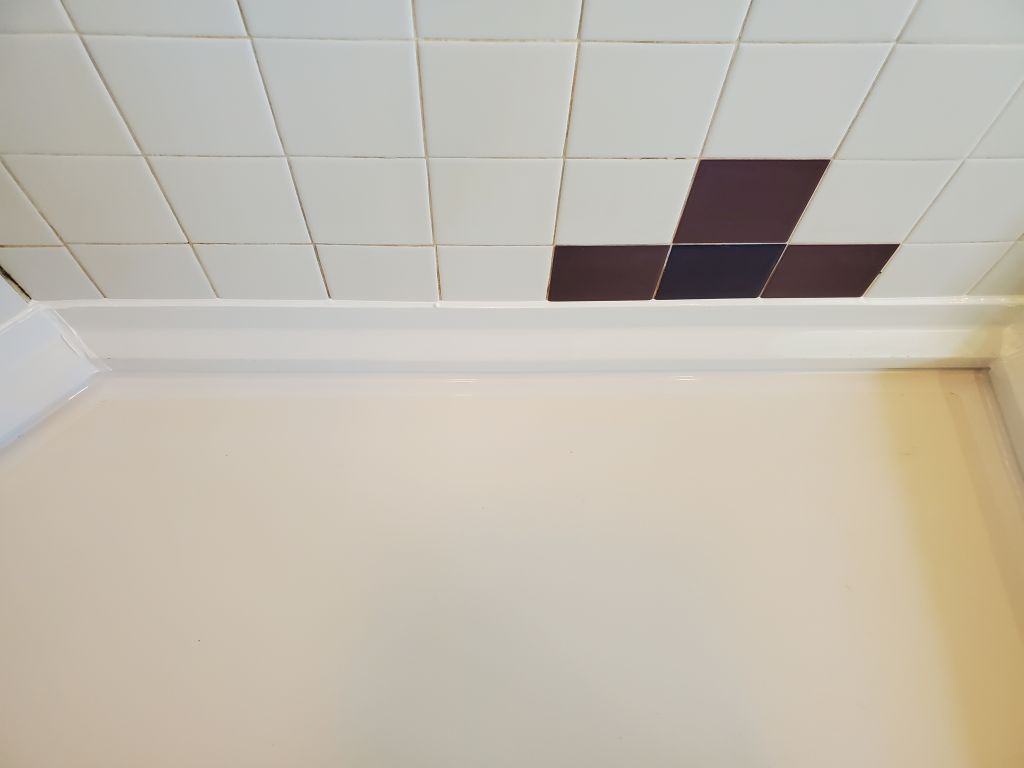
My original plan to cover and waterproof the edges of the retrofit pan was to build, from fiberglass, angled pieces that could be installed beneath a row of the wall tile. This would require removing at least one of the bottom rows of 4″ wall tile. I build these trim pieces from prefabricated sections of 1/8″ thick fiberglass, which I cut and epoxied together into the faceted shape required to attach to the wall and extend over the lip of the shower pan. These photos show the construction and epoxy work, but at some point afterwards I primed and painted these gloss white to match the shower pan and the glazed tile already in the shower. Inthe final photo in this series, the wall would be where my hand is, with the remaining portion of the trim extending out and over the shower pan lip. This will be more clear later on.

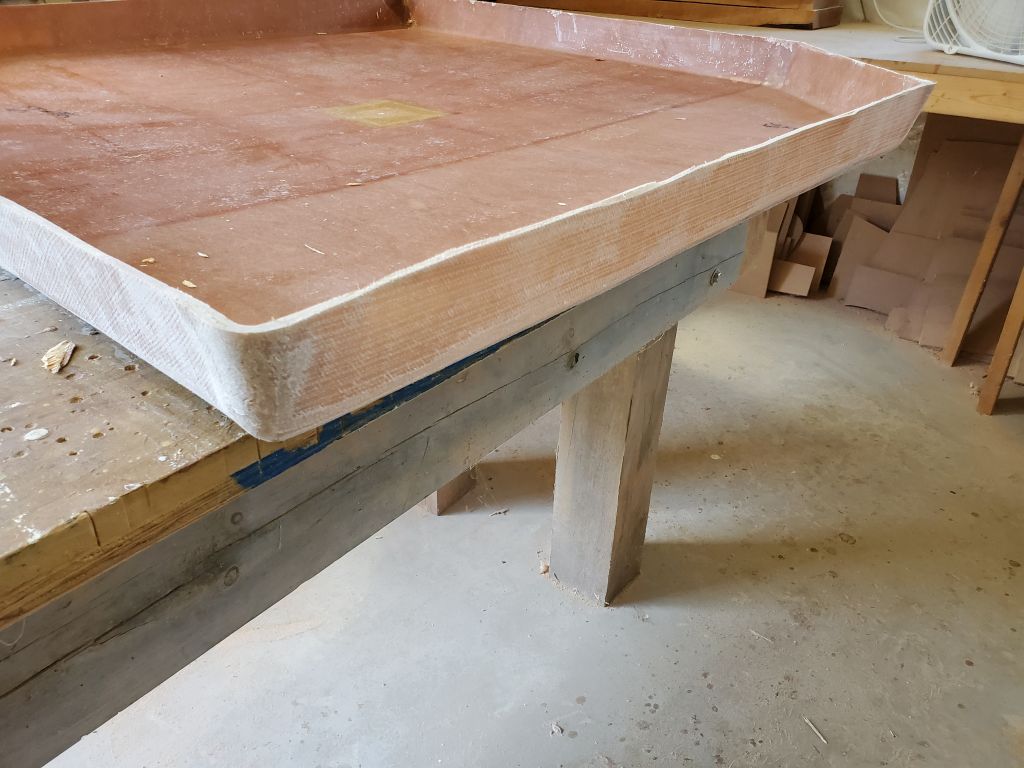
Because the pan had an angled bottom, with a 4″ flat area at the center for the drain, it required additional side-to-side support to sit flat and without rocking. For this, I epoxied 1/2″ thick rectangular pieces of solid fiberglass to the bottom so they were flush with the drain flat and level in all directions.

By the time I finished all the construction and trim pieces, it was well into another work season at the shop, and between a lack of available time and a definite reluctance on my part to get into the installation–mainly because I was worried about the difficulty of removing not only the floor, but especially a row or two of wall tile–the finished shower pan languished well into 2021. At some point–I don’t know when, exactly–I came up with the idea to install my trim pieces on top of the existing wall tile, rather than removing any of the tiles. This seemed workable, far easier, and, while maybe not quite as streamlined, it would be functional and much easier work to complete. I figured I could use 5200, a very strong, permanent polyurethane adhesive, to secure the trims to the tile. This epiphany made the idea of doing the demo work and new installation more palatable, but between work requirements, travel to PEI in the late summer of 2021 when the border finally reopened, various other “convenient” scheduling issues and conflicts, plus a definite reluctance to get into the work, it was early 2022 before we finally got down to brass tacks with the installation.
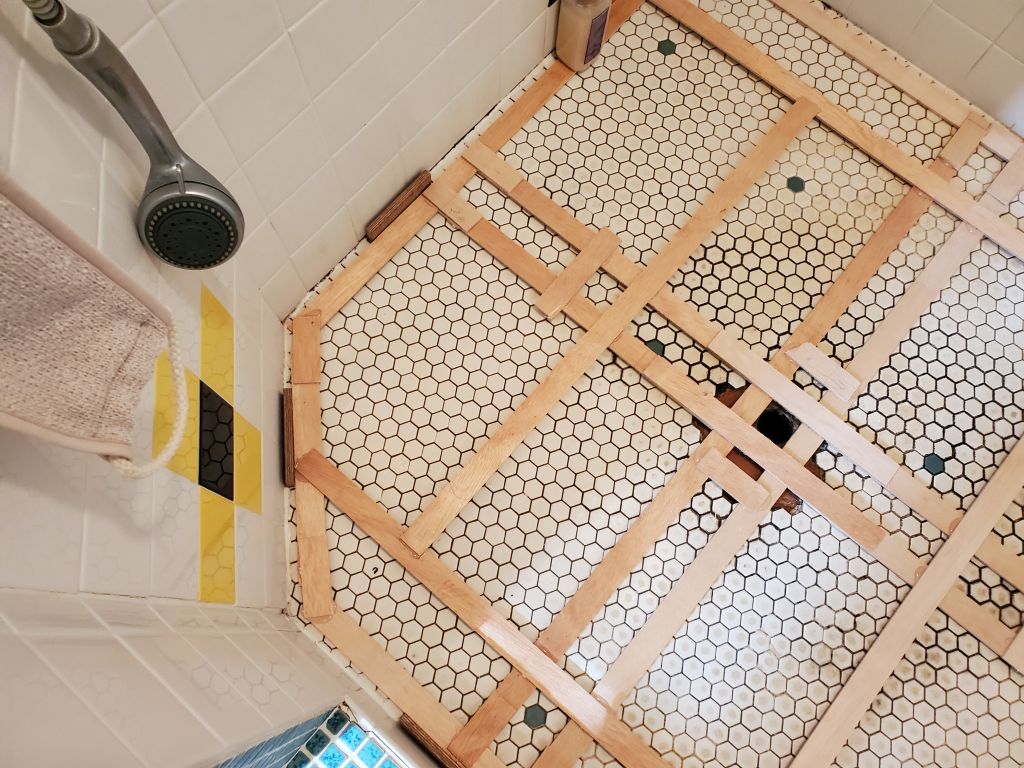
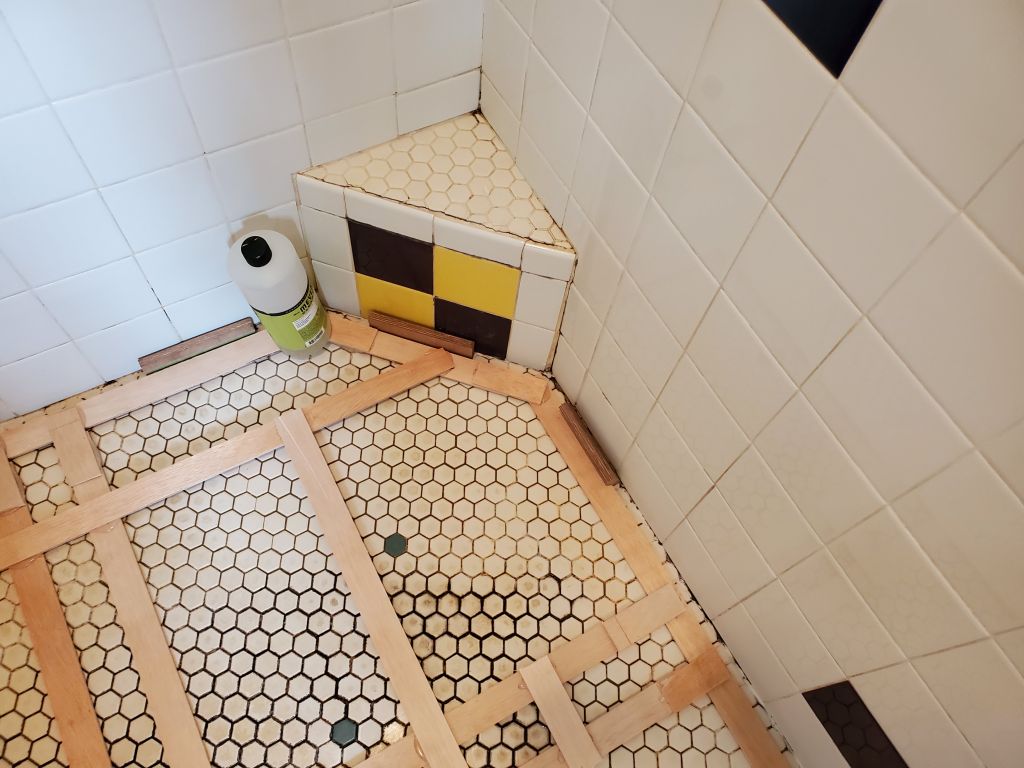
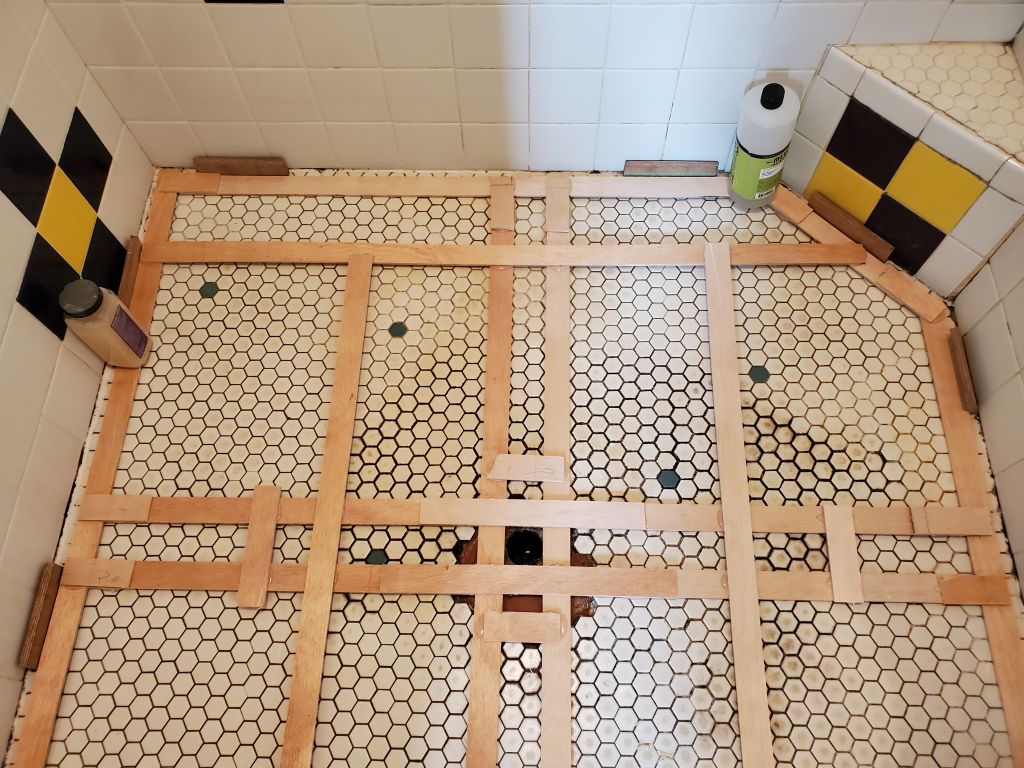
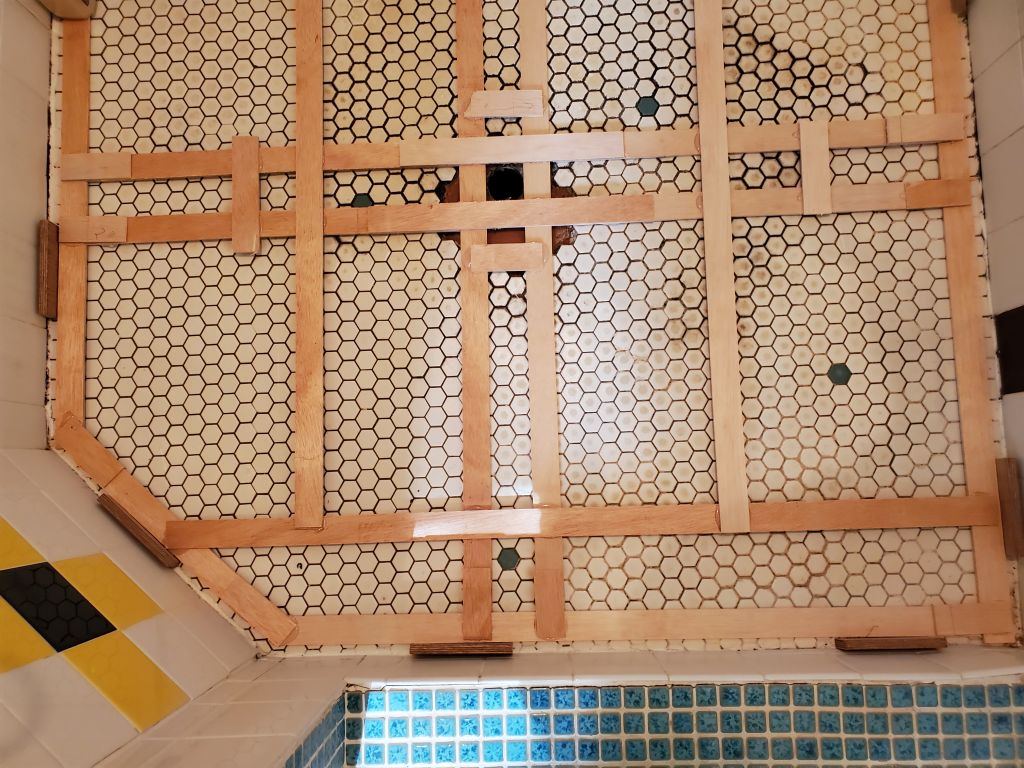
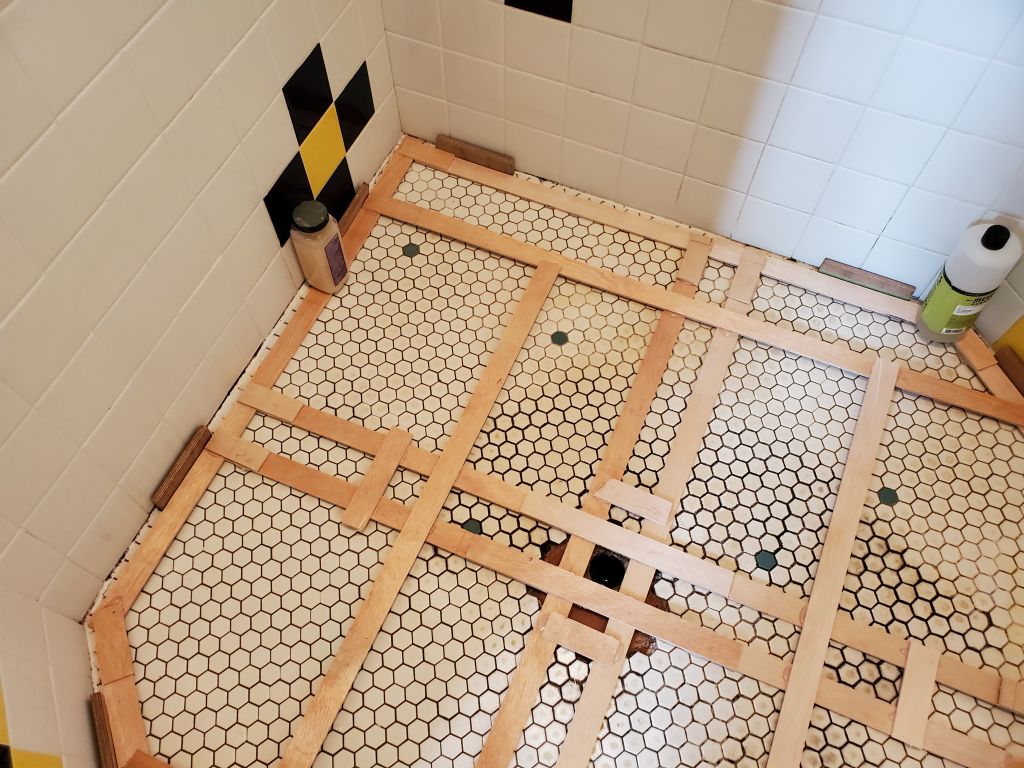
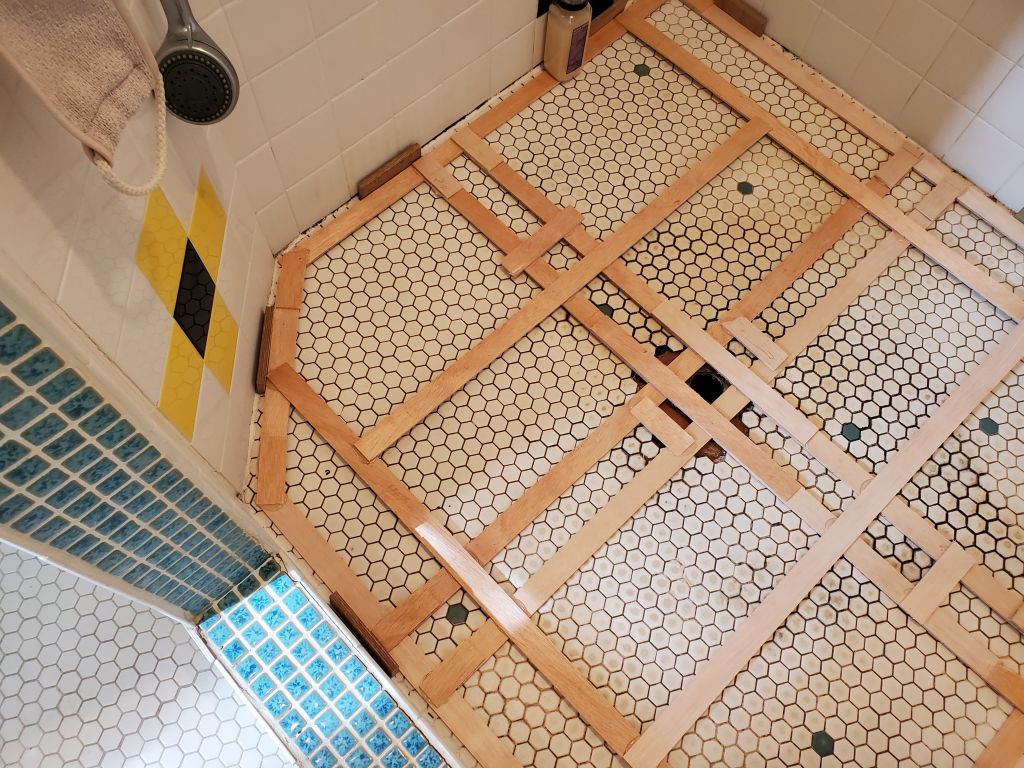
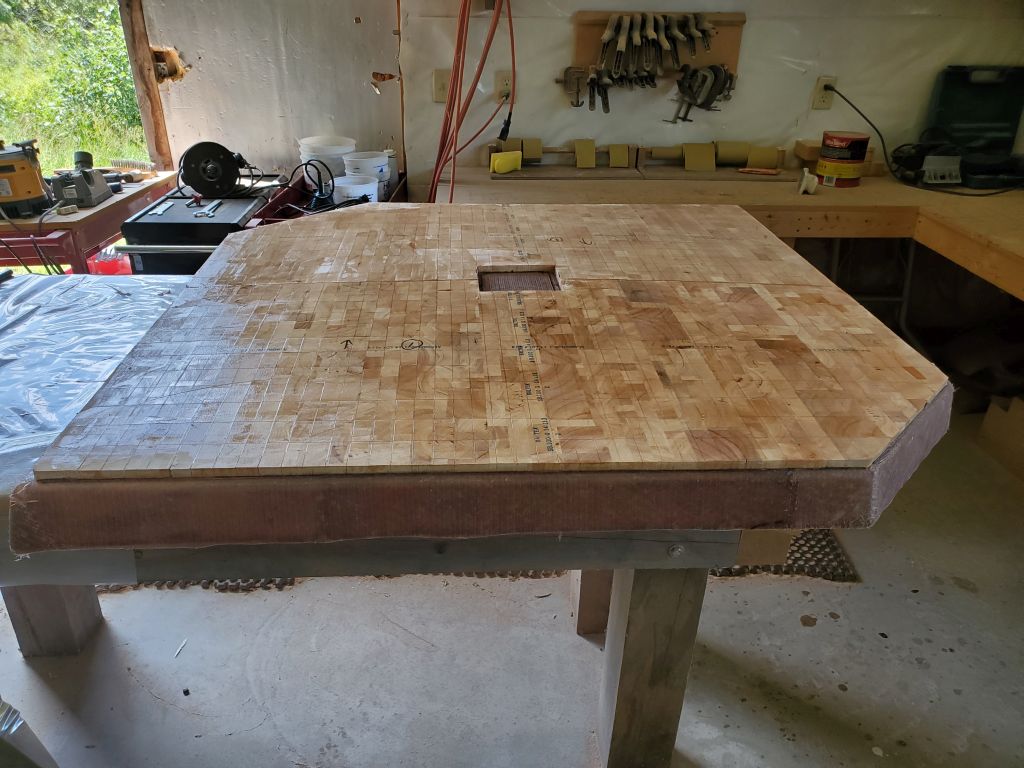
The final plan was to remove the floor tile and see what was going on with the mud bed. Then, assuming it was sound and there wasn’t some horror of water damage we had to deal with, I planned to install the new pan right over what was there, then finish off with the trims over the existing wall tile. Heidi volunteered to remove the floor tile: She likes that sort of thing (I hate fussy work like that). So on Saturday, March 19, 2022, after several more weeks of procrastination and coming up with other excuses (all mine), we finally got to work. I got Heidi started with tools and safety gear and let her go to work on the floor tile.
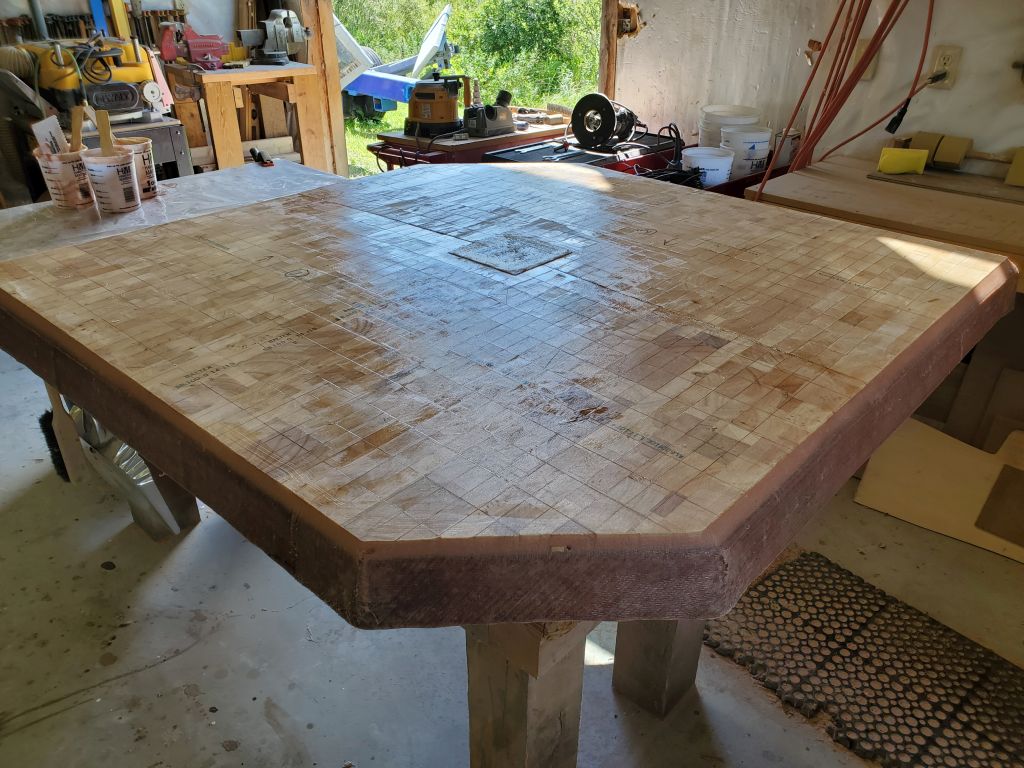
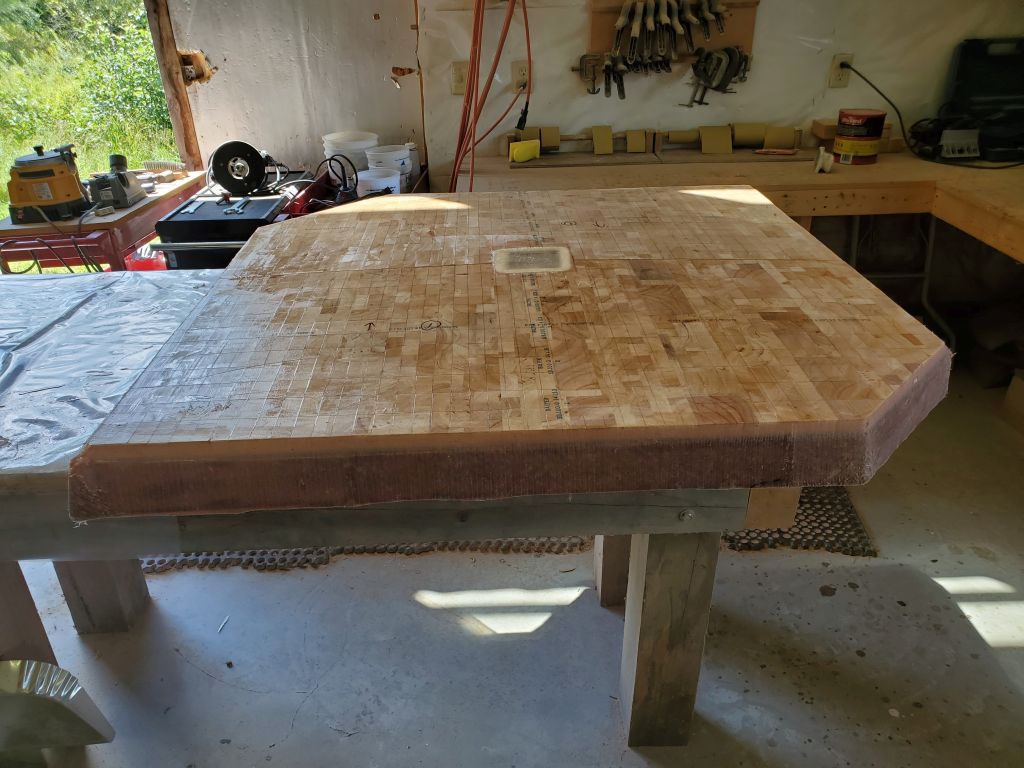
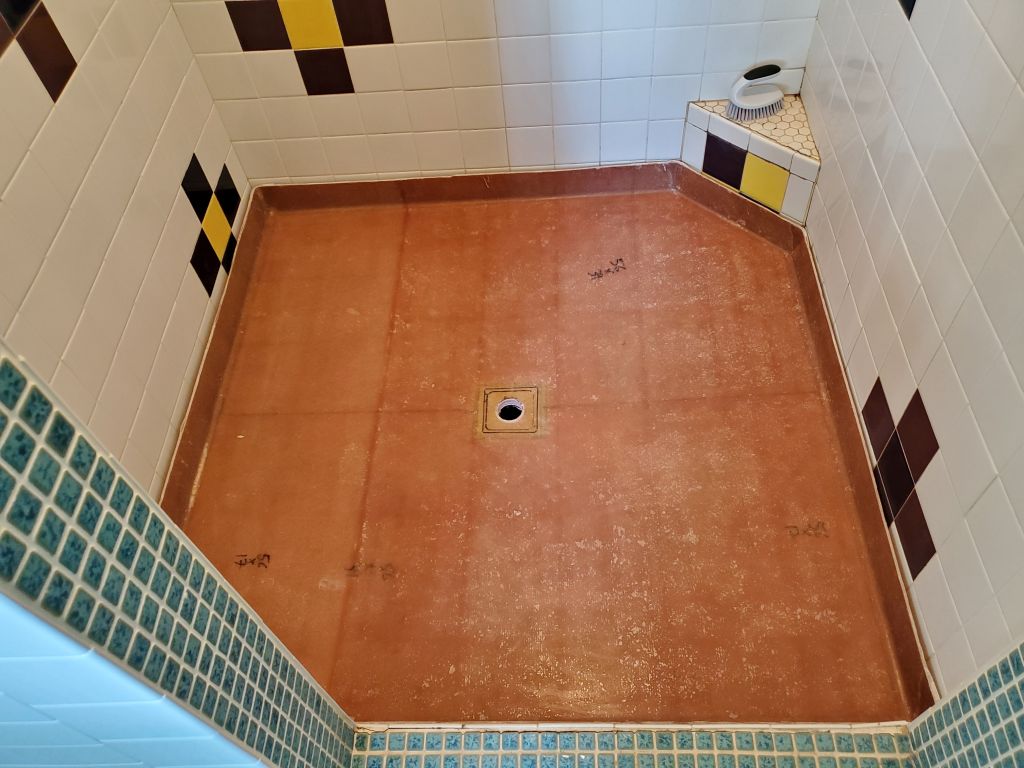
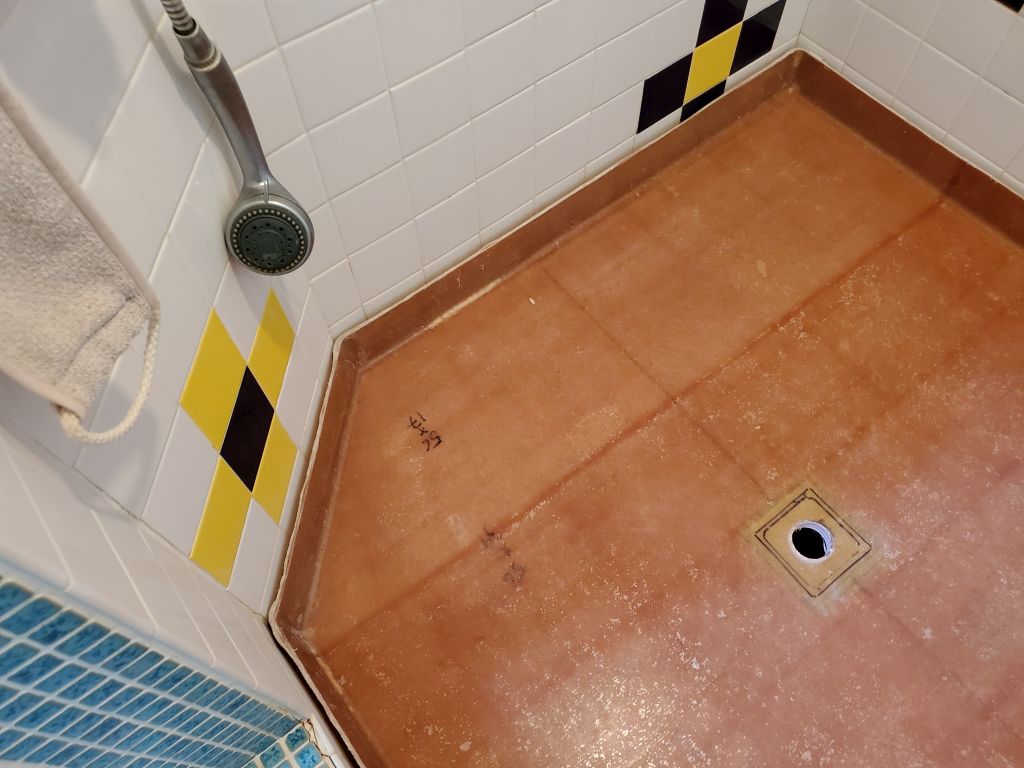
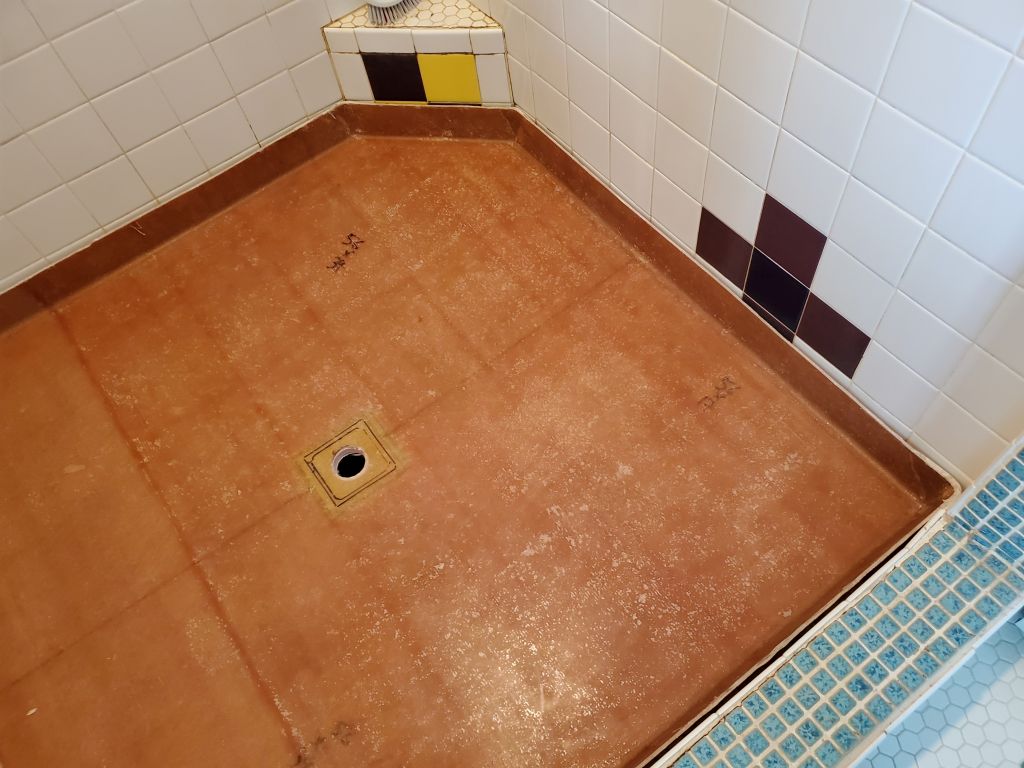
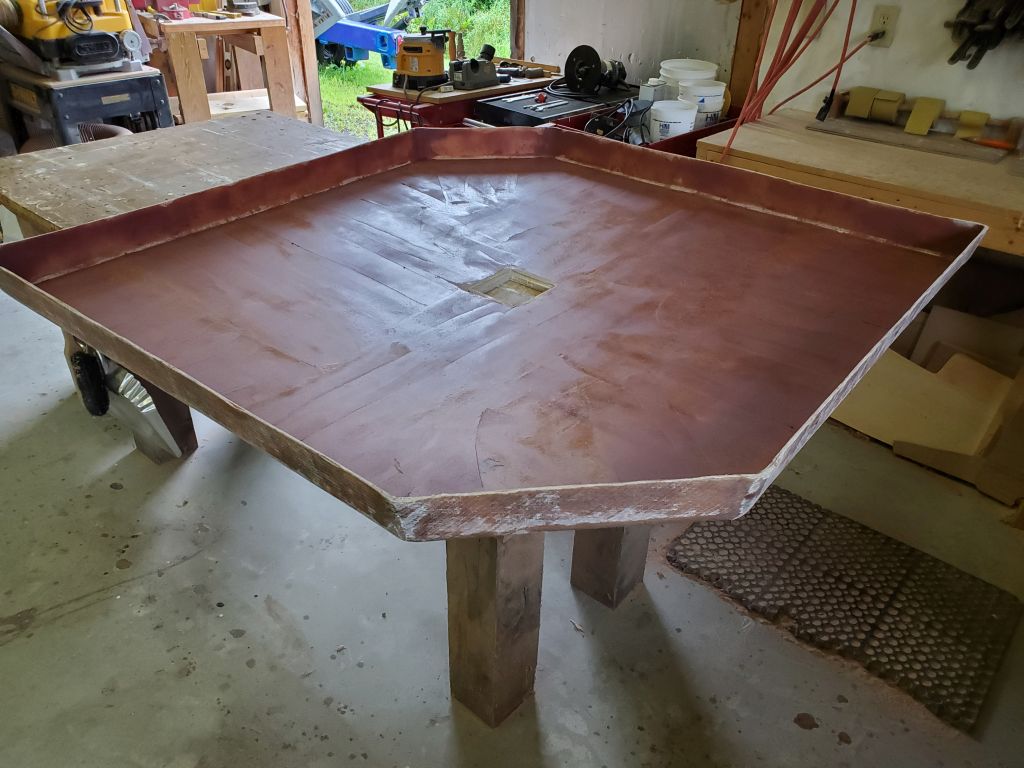
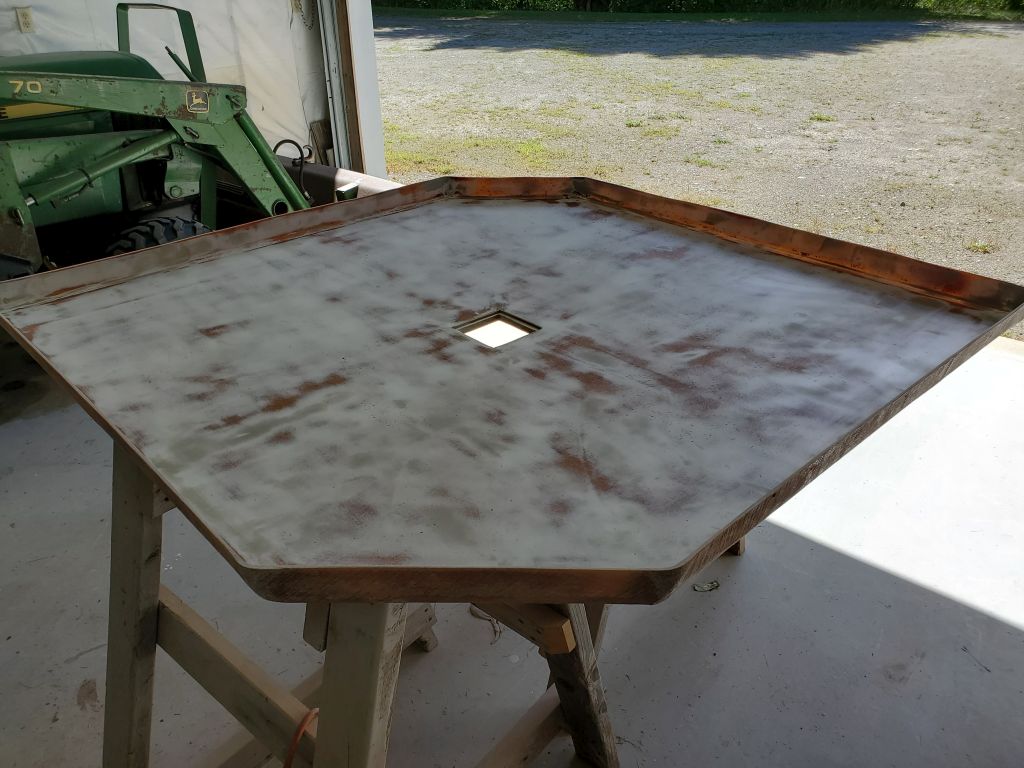
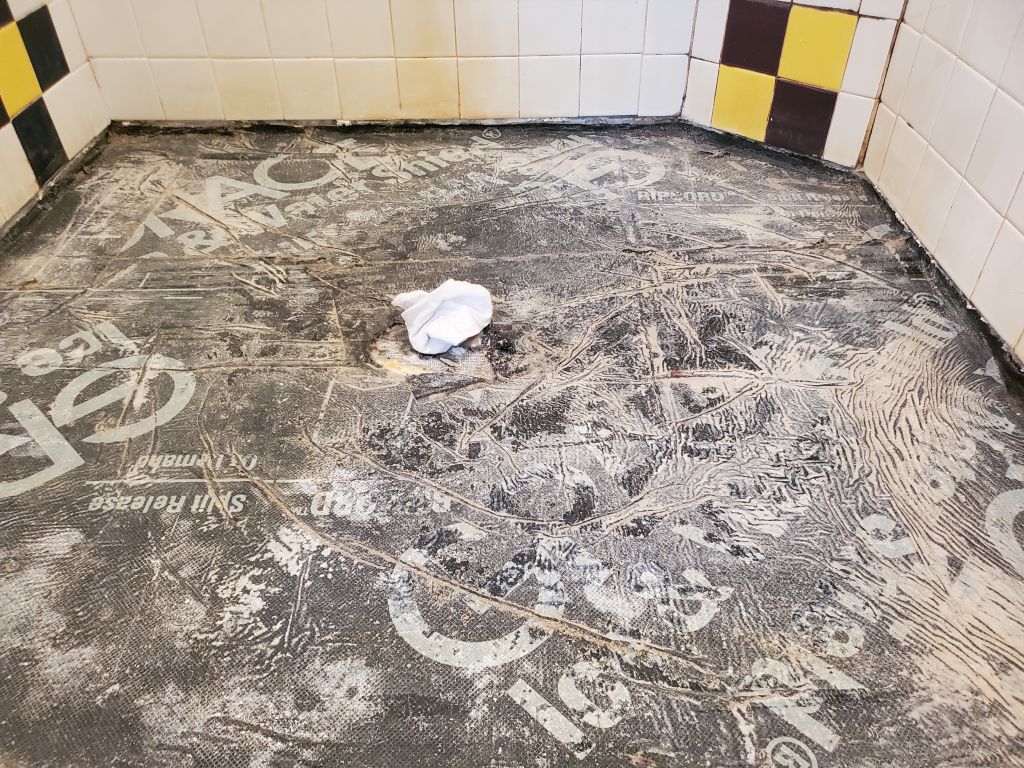
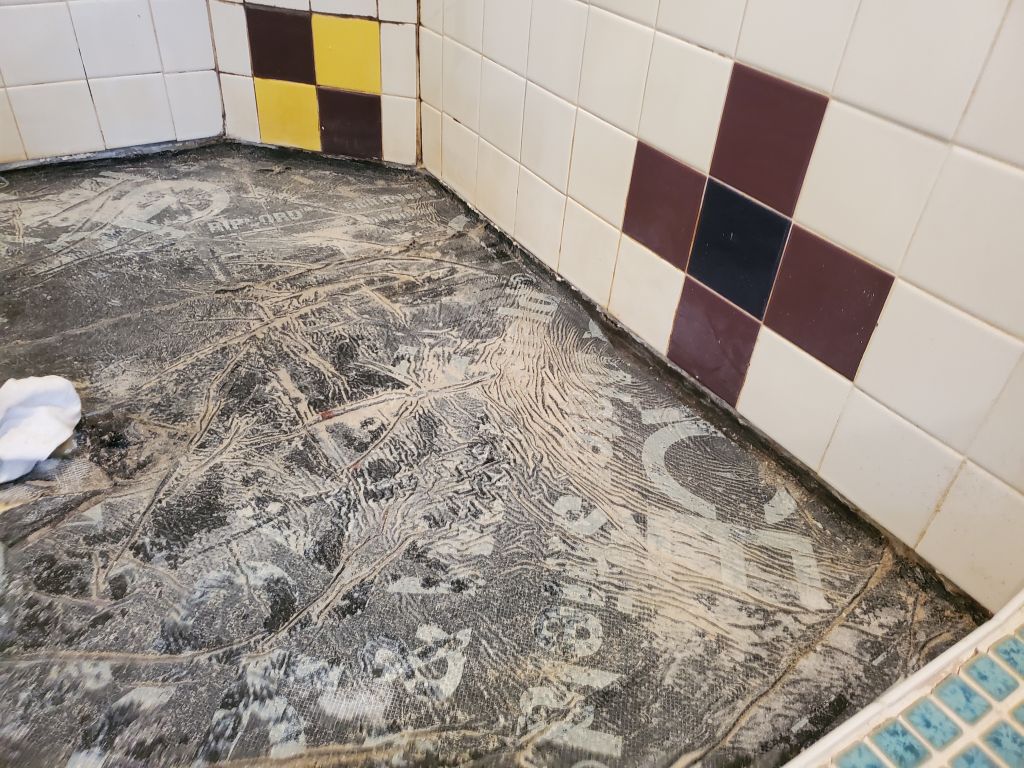
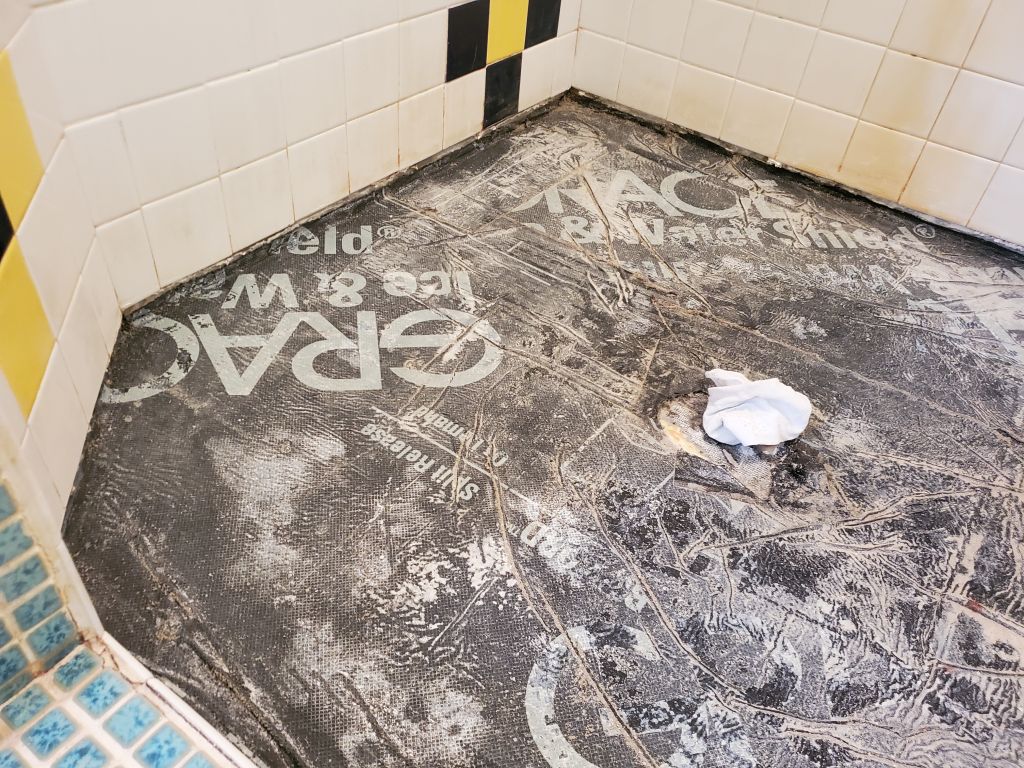
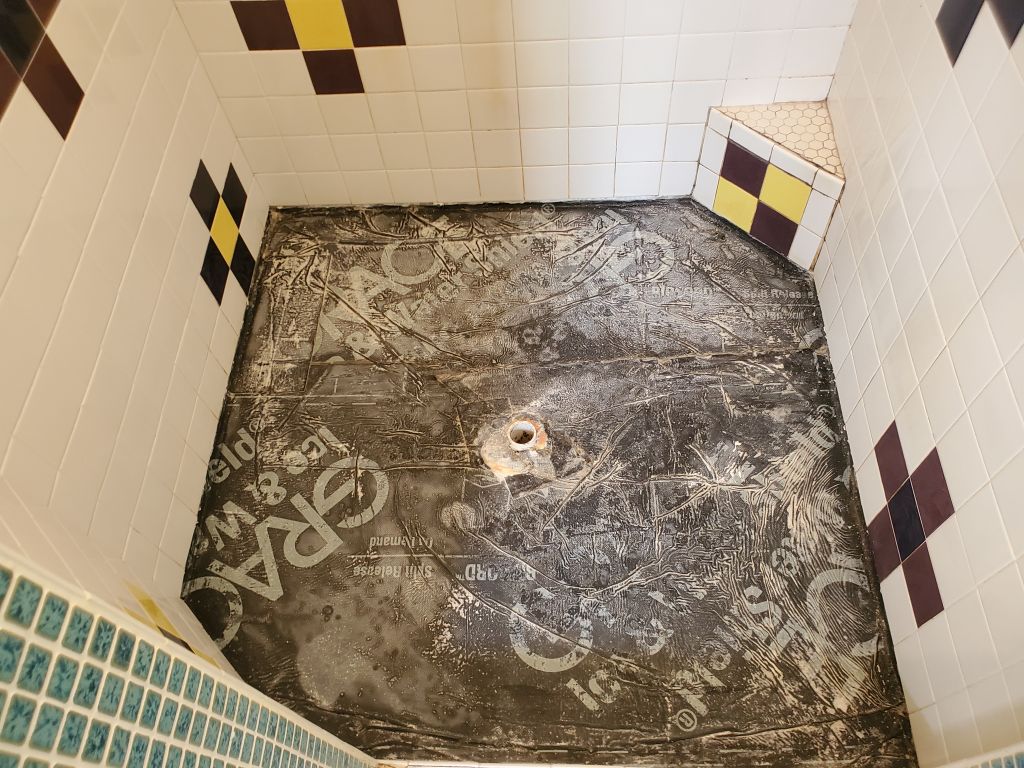
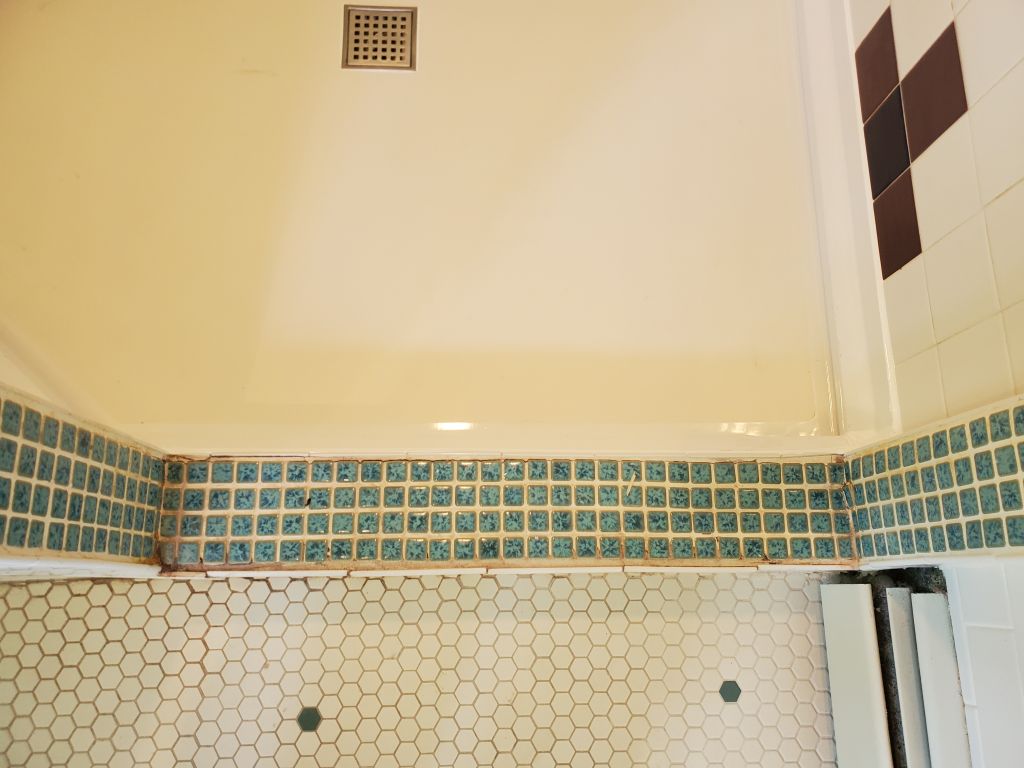
Warning: This existing floor looks pretty gross, and was. But this is how we lived with it for so many years. It did grow progressively more stained because of the lack of proper drainage, and our extremely iron-rich hard water.
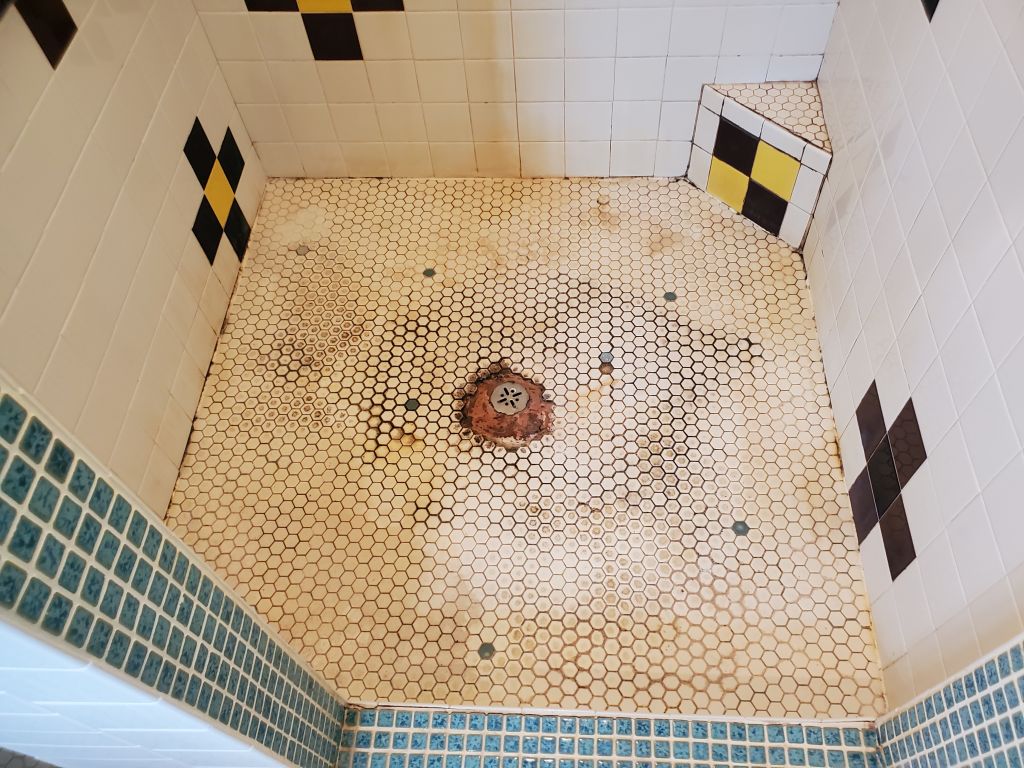
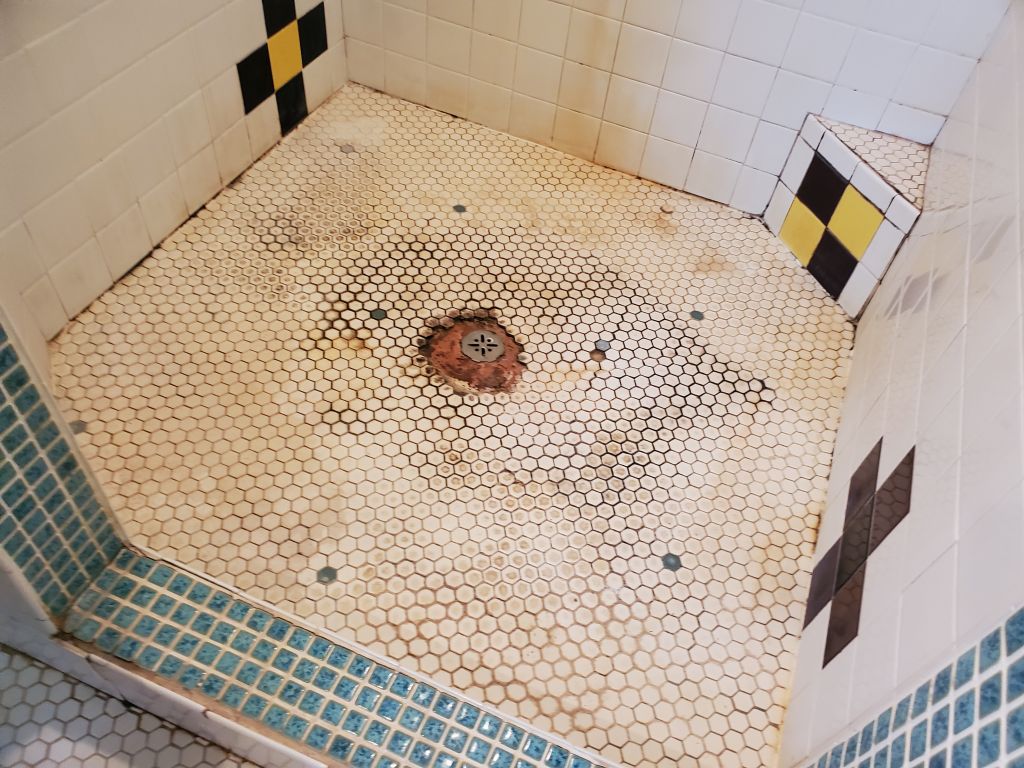
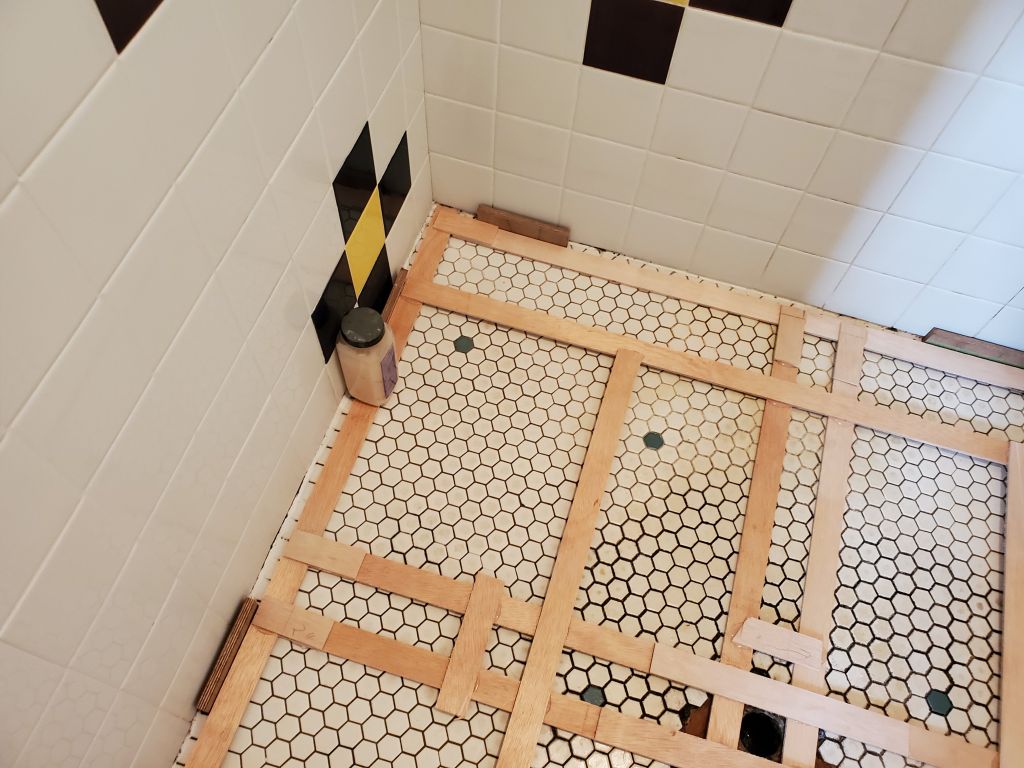
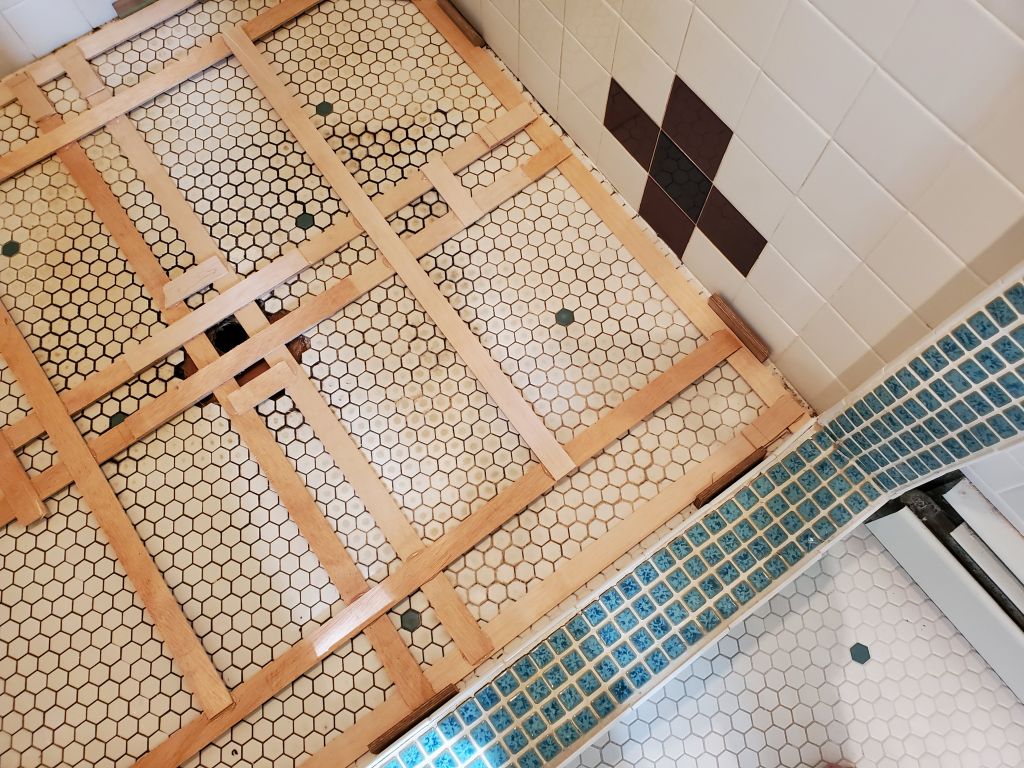
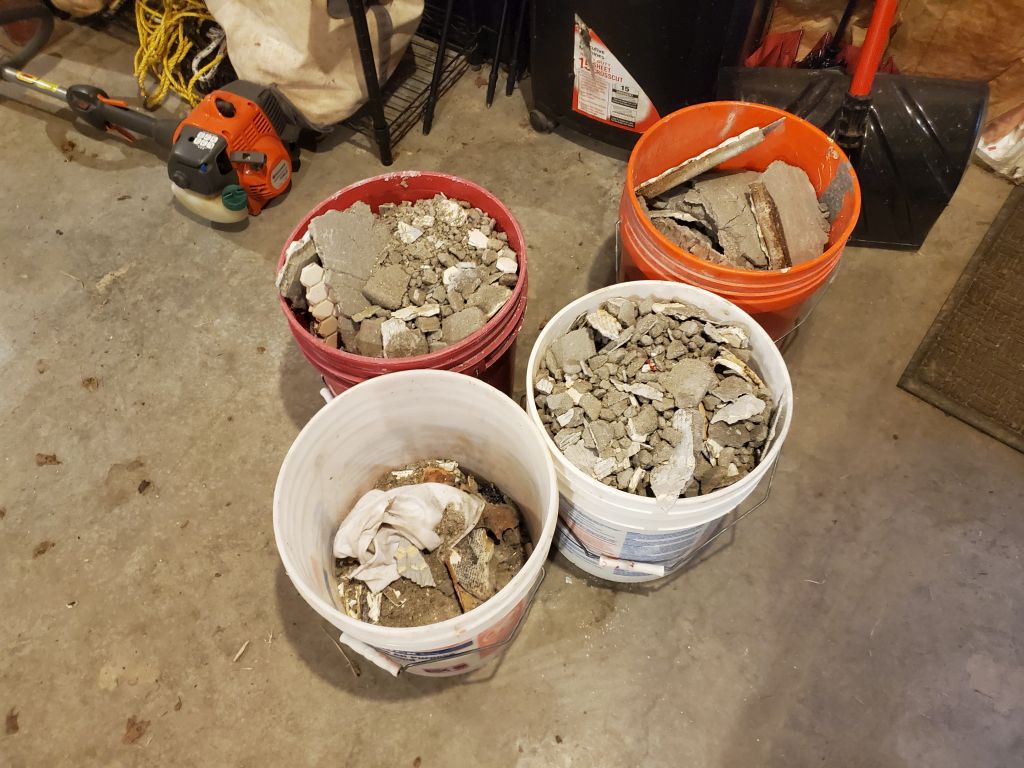
After 2 or 3 hours, Heidi had made some progress, but it was slow going. It was easy enough to chisel off each 1″ tile, but there were a lot of tiles. She didn’t complain, and it wasn’t till much later, when I was checking in again, that she mentioned that the mortar underneath on one area–sort of the 2:00 segment in the photos above, where there had been some tile cracking and a slight bulge forming over time—seemed soft. She was ready for a break, so I got in there with a chisel and checked out the mortar. Well, it was completely soft, like wet sandstone, and I could pry it off the rubberized membrane beneath cleanly and with almost no effort.

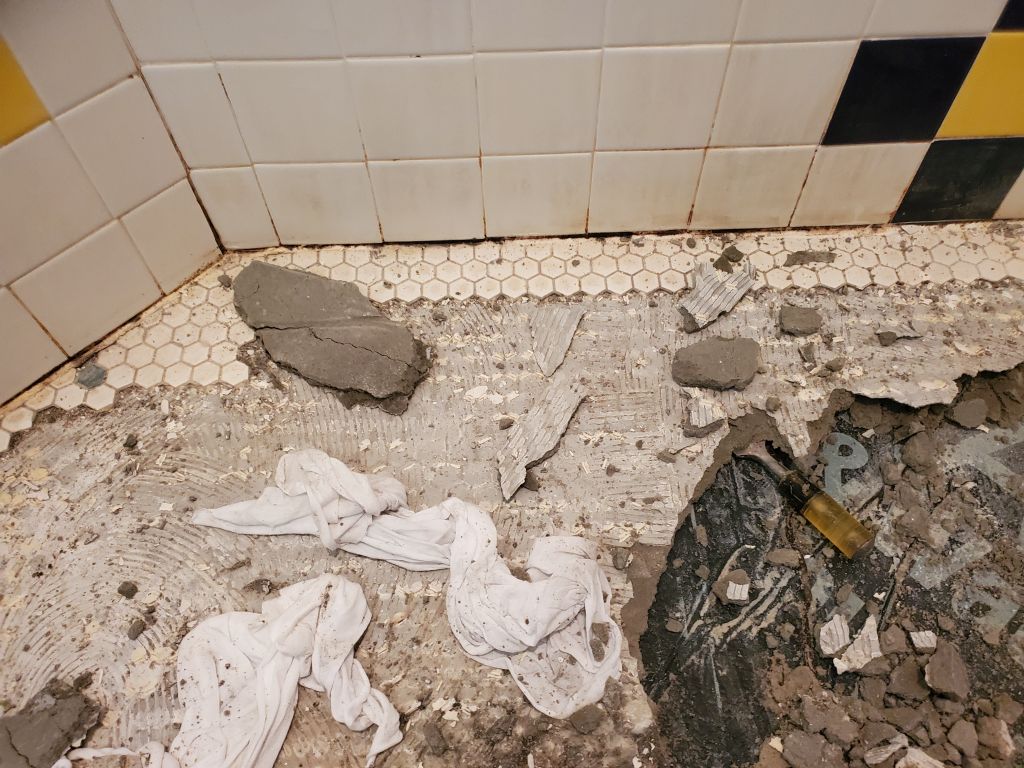
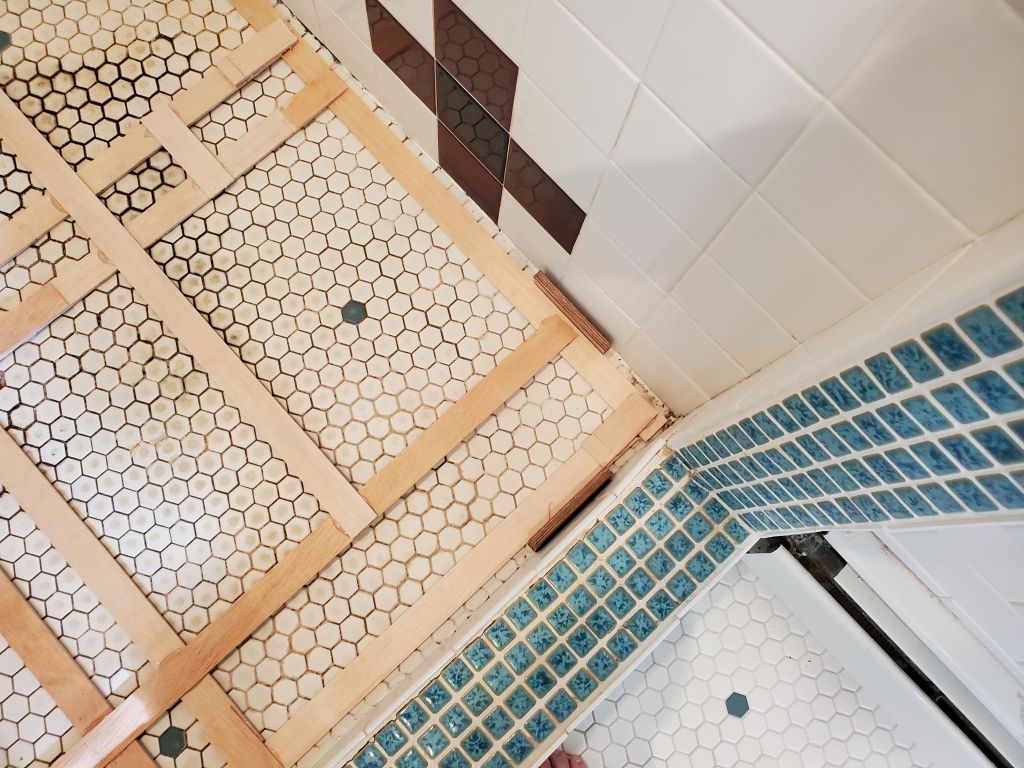
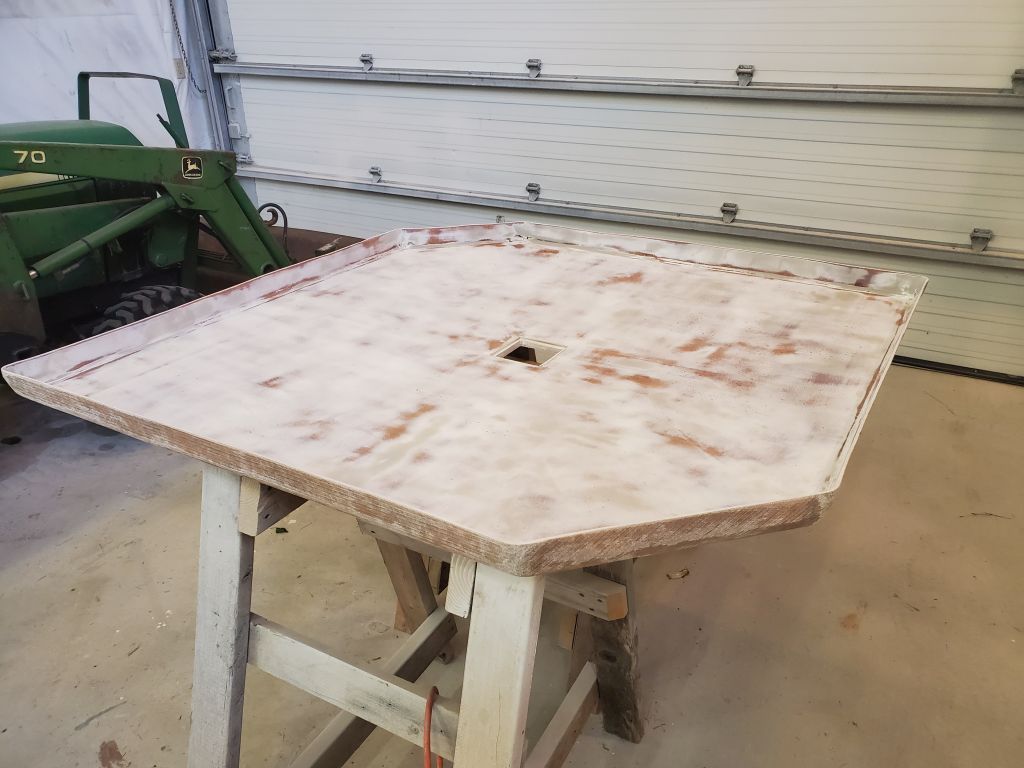
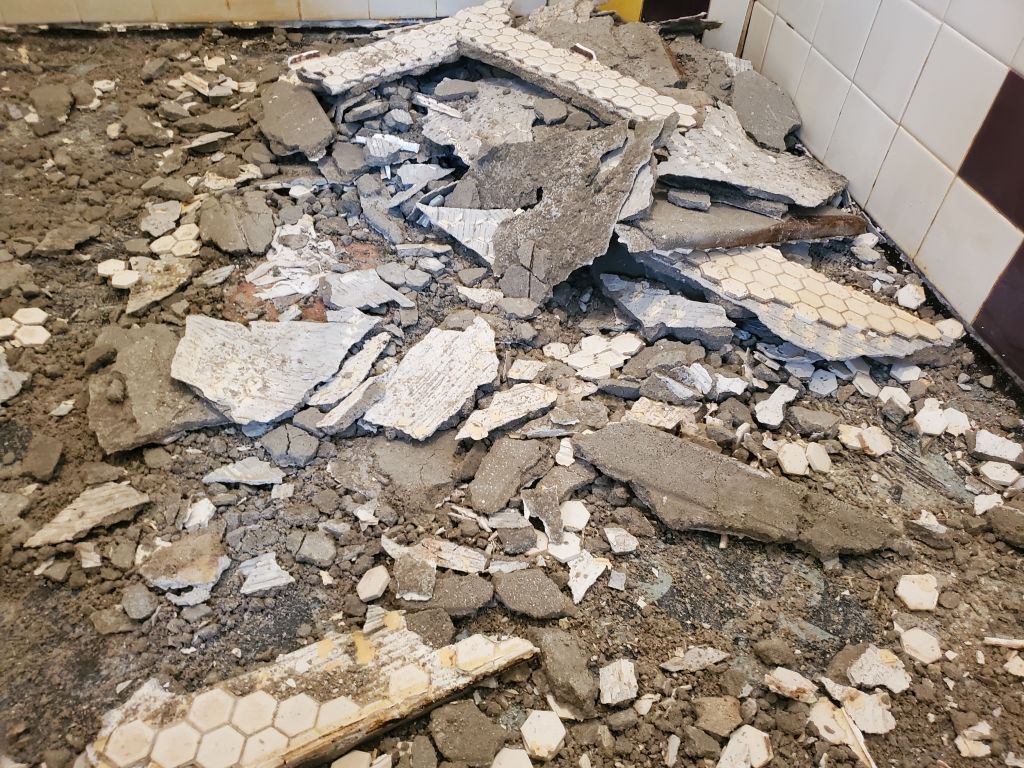
After some careful and tentative forays into the adjacent areas, I determined that the ill-fated mortar bed would all come up in this way, so I continued round the shower and in fairly short order I had all the old mortar broken out and free–some of it came off in 2′ intact chunks along with the remaining tile along the edges. I cleaned out all the broken detritus, then came back to chisel out the reddish-colored epoxy plug near the drain that I’d installed as a “temporary” fix so many years before. The ice and water shield (the black membrane) was well-adhered and in great condition after all this, and frankly probably saved the wooden structures beneath from real damage, as I found dampness seeping between the mortar bed and the membrane as I removed the cement.
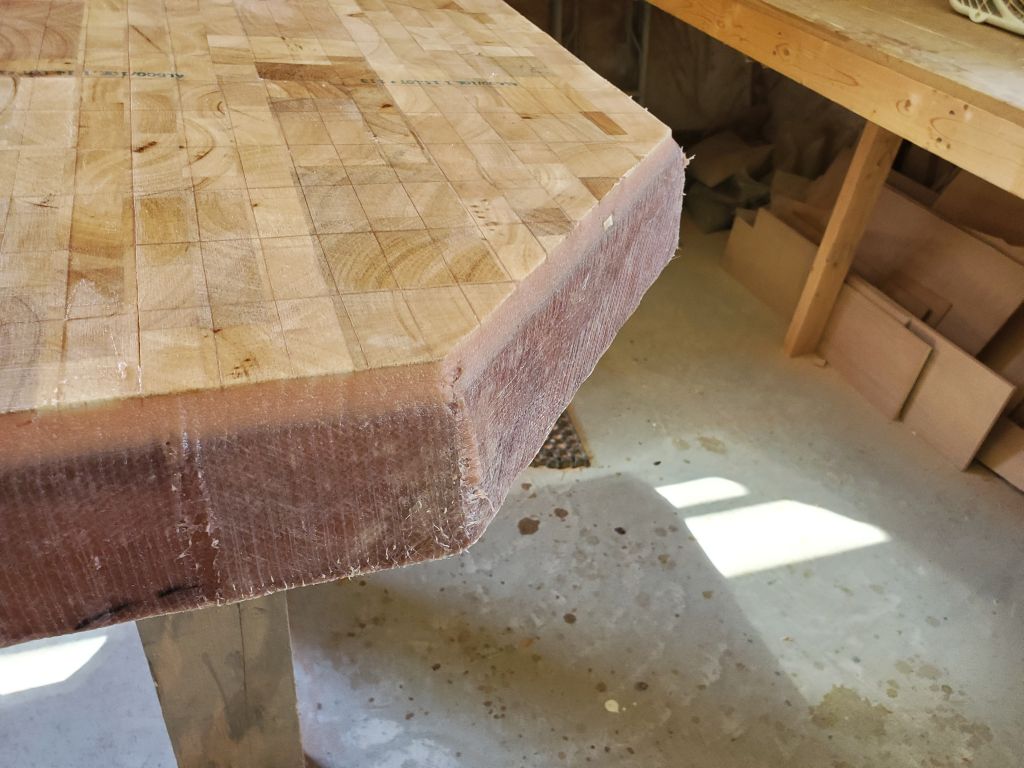
The cement board beneath the membrane was sound and flat, so after cleanup I was left with a solid, sound base on which to mount the shower pan. I swept and vaccuumed it off, and left things to dry completely overnight.


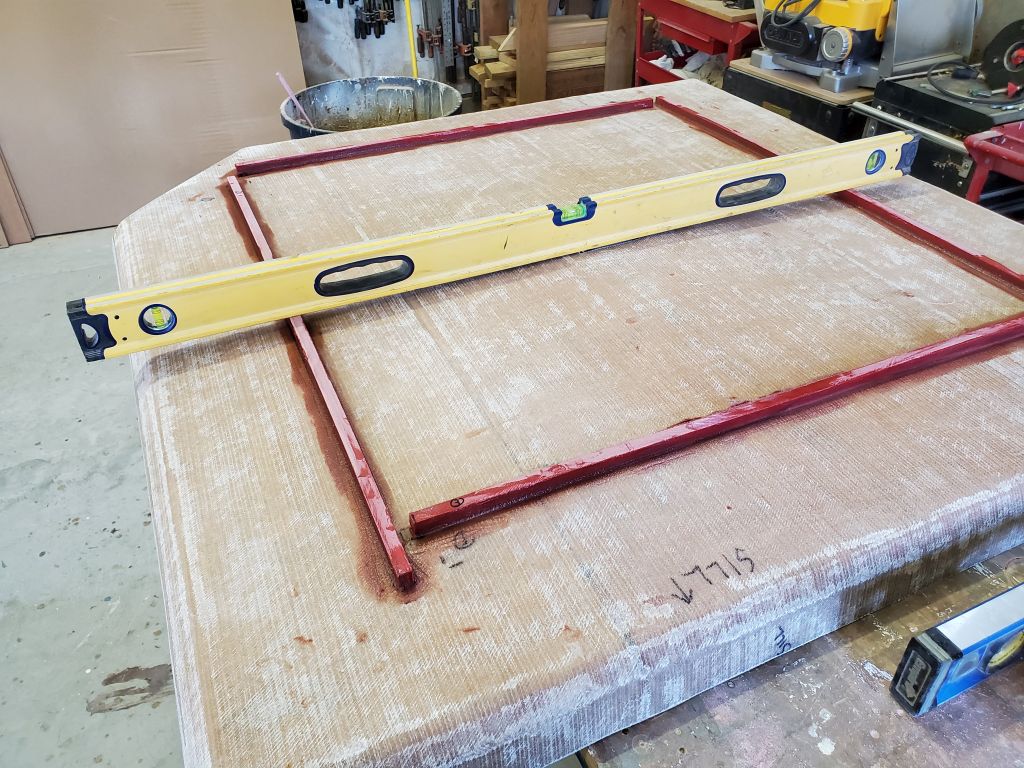
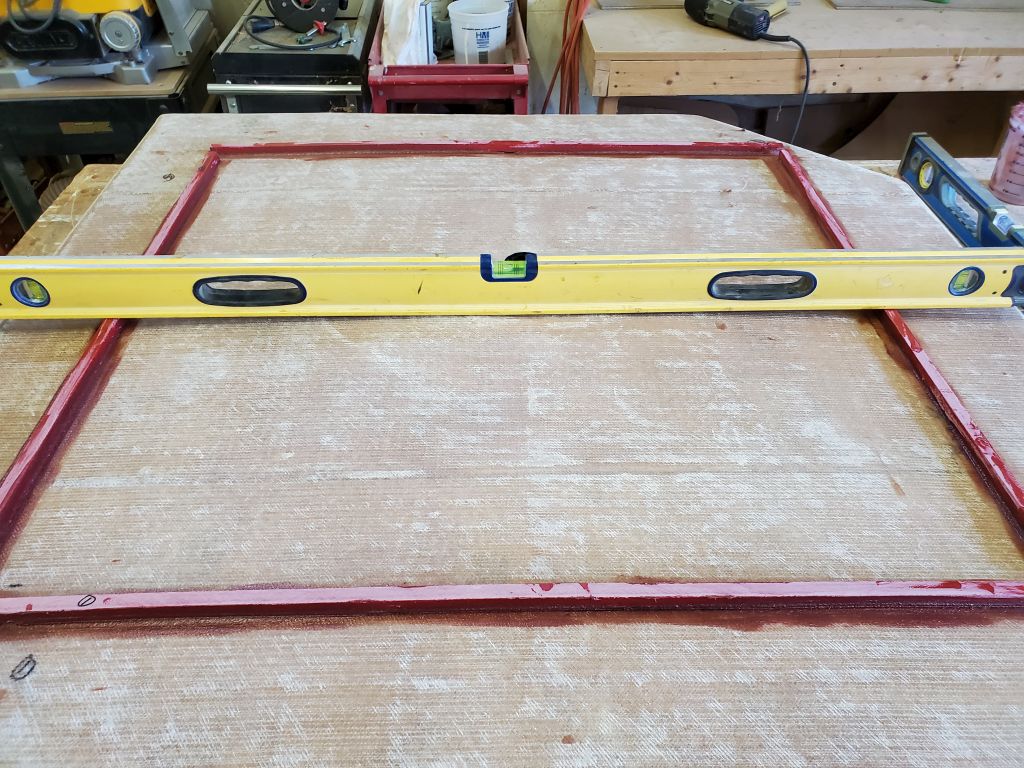
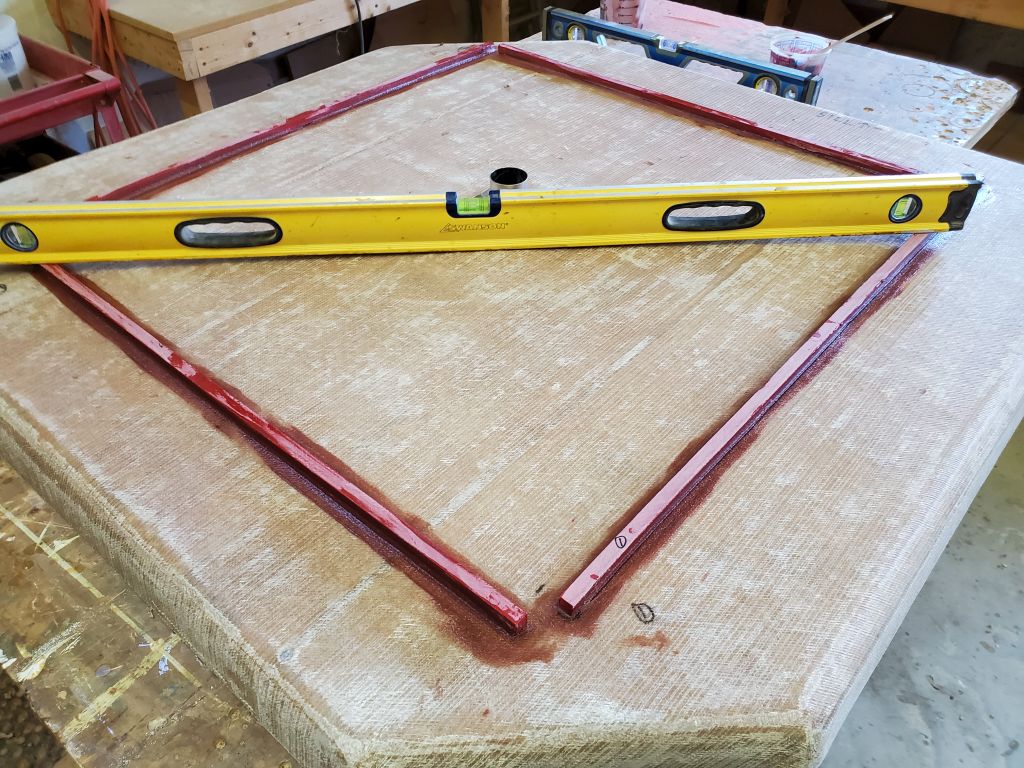
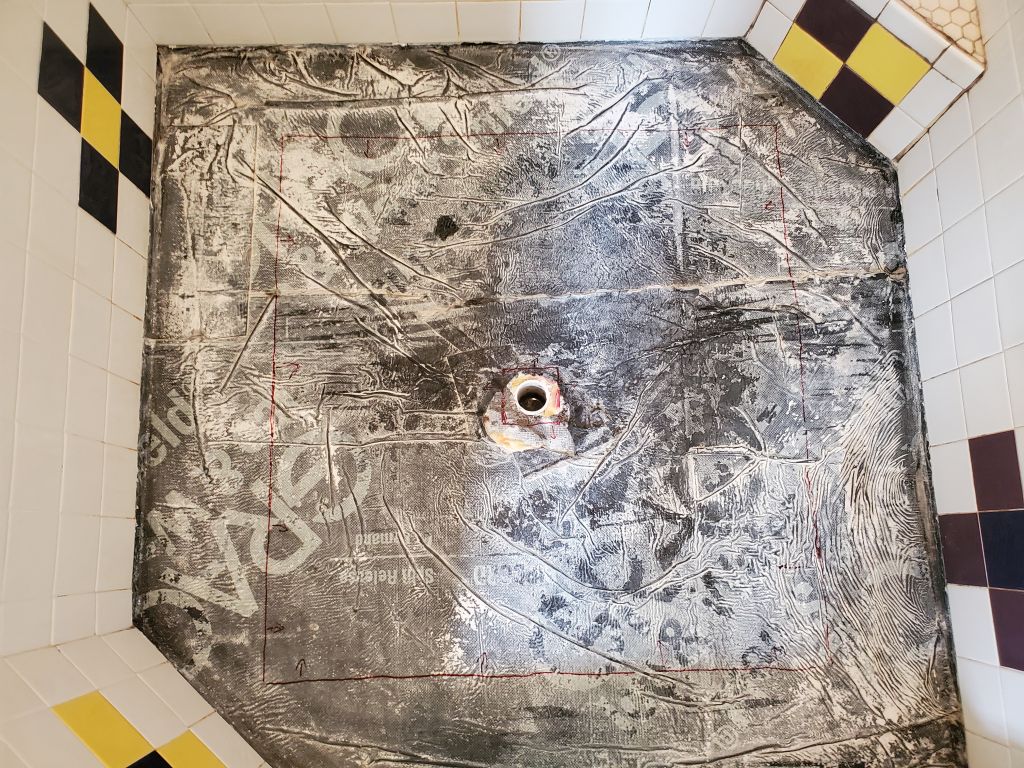
The next day, I continued with the installation. I planned to permanently adhere the shower pan to the substrate with adhesive where the supports bore, so to mark these on the substrate I made a pattern of the bottom of the shower pan, tracing the supports and registering the pattern at the drain opening and with the center of the drain itself. This would allow me to position the pattern properly in the shower.
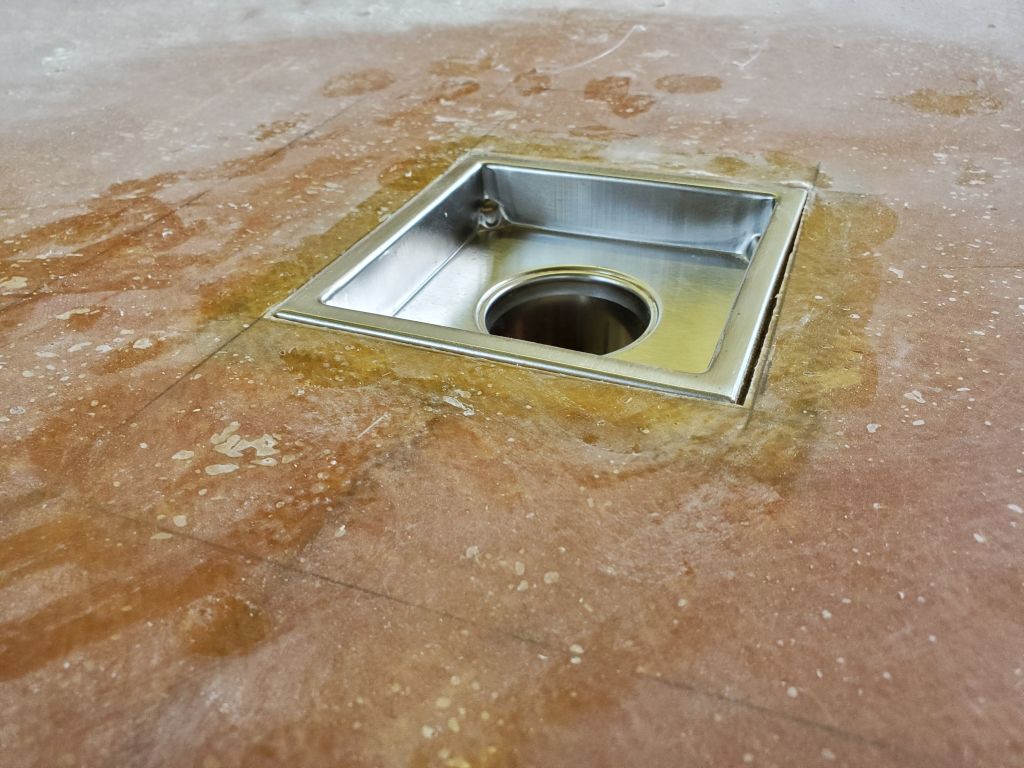
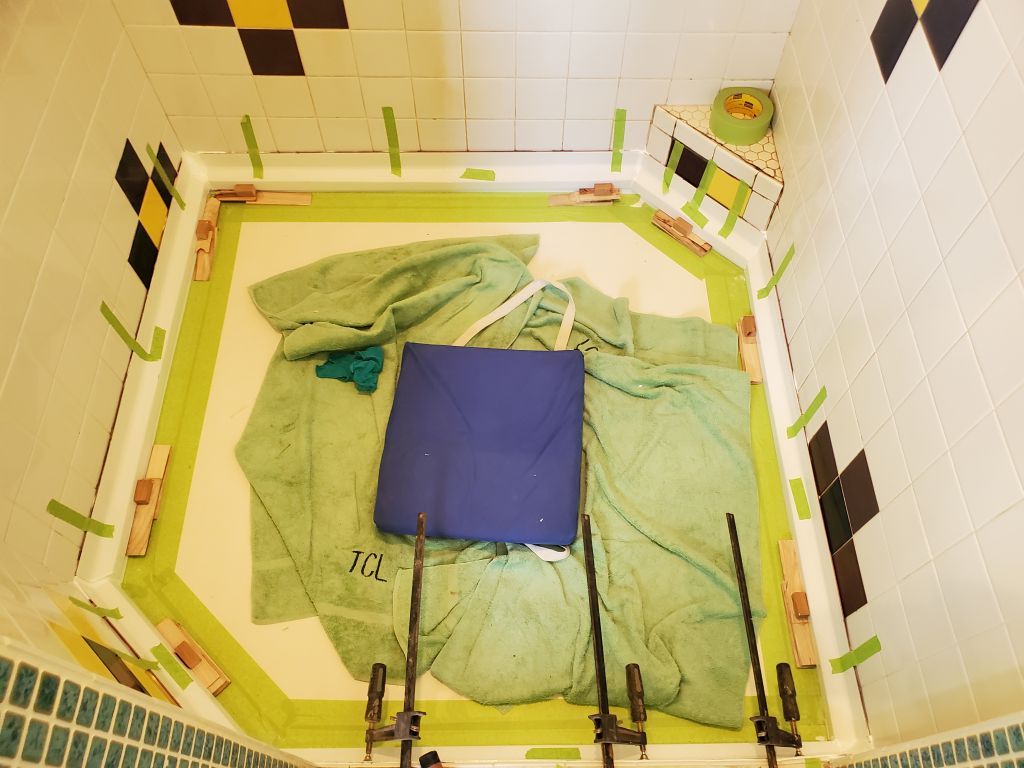
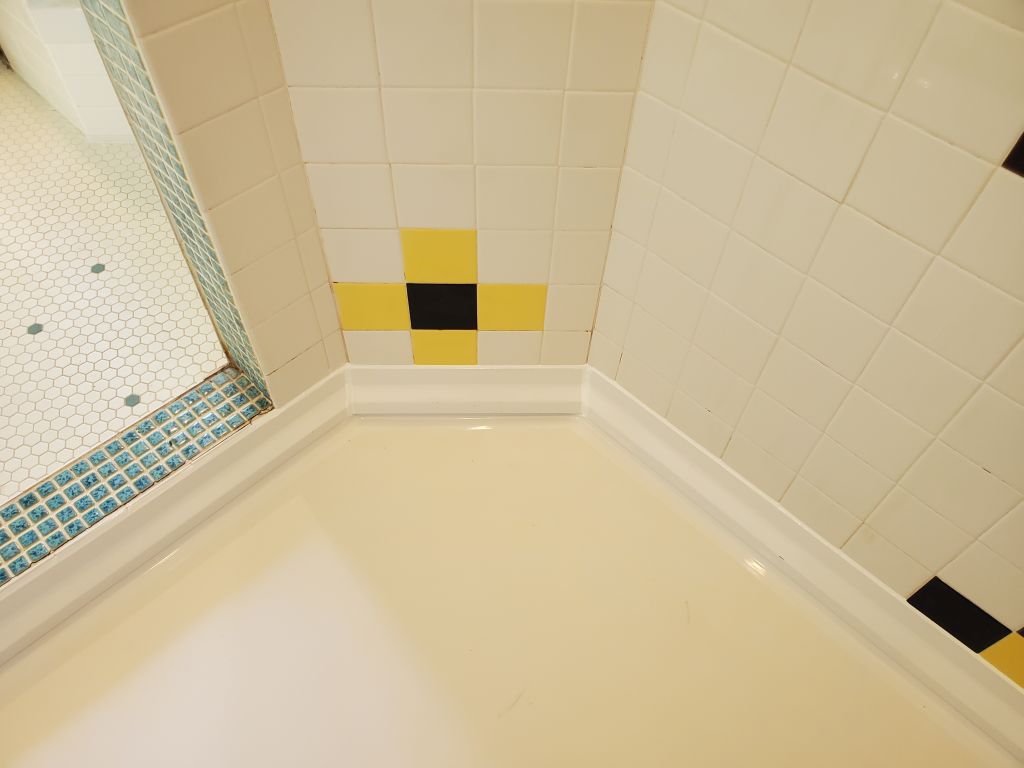
Next, I test-fit the pan again, now that the shower was actually ready for it, and was pleased that it sat flat and true and didn’t rock at all. I registered it with the drain fitting, which simply slipped into the existing drain pipe easily. I removed the drain and traced the inside of the square opening on the substrate, which gave me a reference square to which to position the pattern after I removed the pan once more. Then I marked the substrate along the edges of the pattern, which I’d cut along the outermost of the traced lines. All I needed was this general idea of how the base and supports sat so I could apply adhesive.

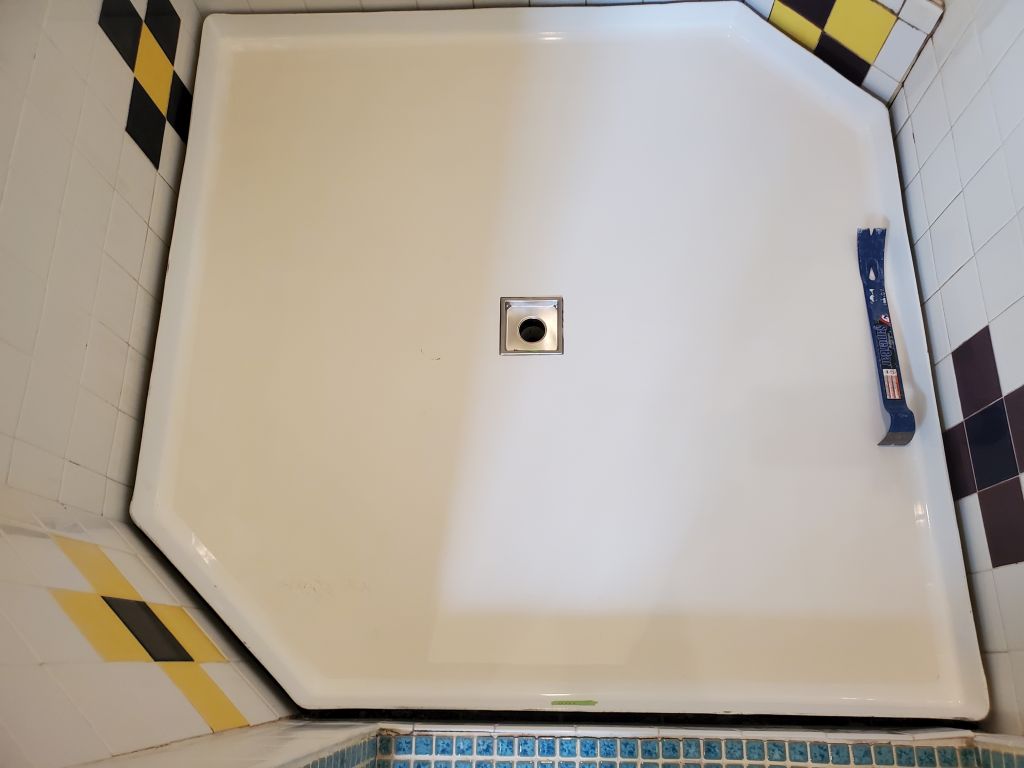


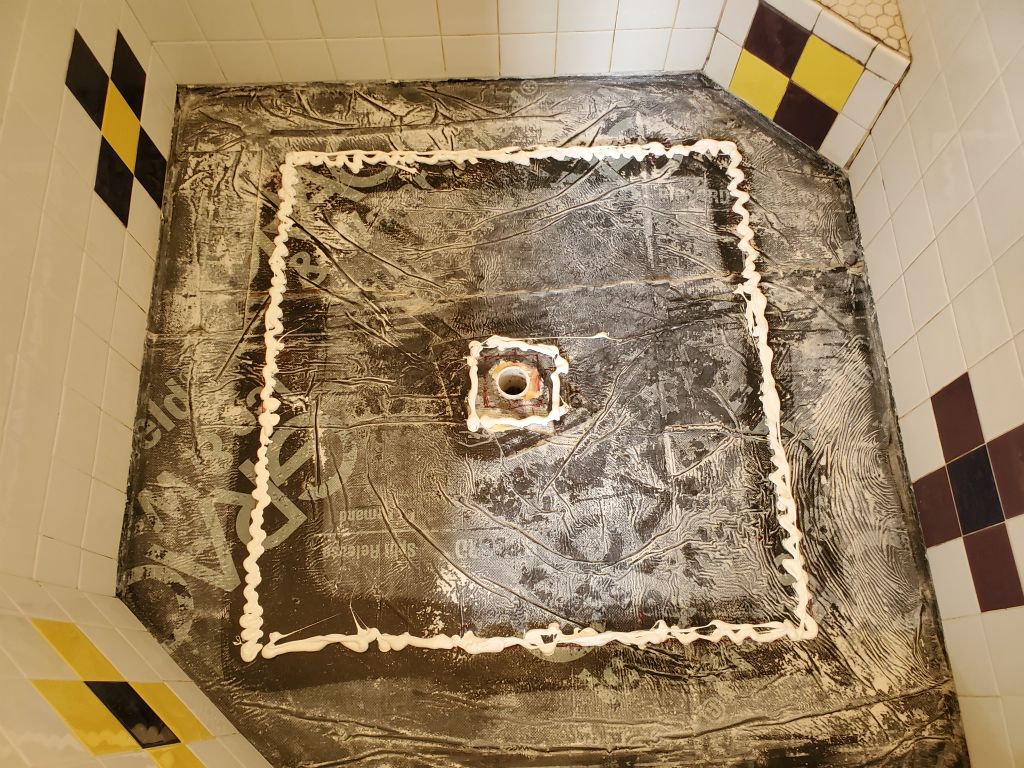
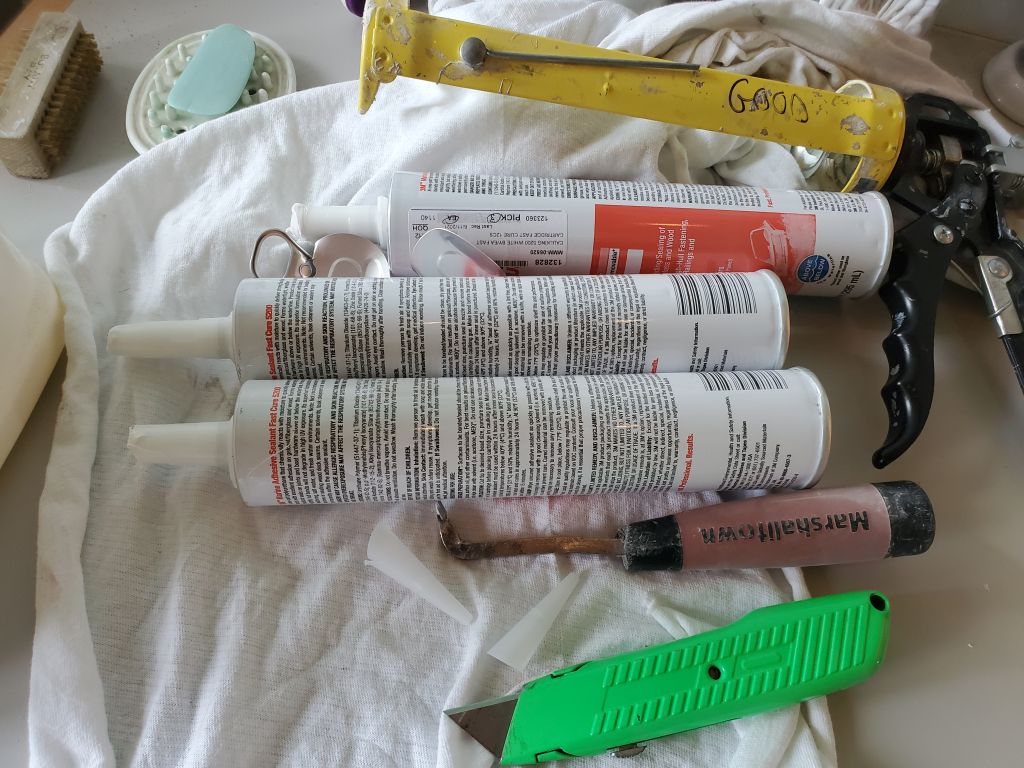
I thoroughly cleaned the remaining dust and debris from the bonding areas, including a solvent wash, then applied a heavy bead of 5200 to the floor in way of the flat center and side supports of the shower pan, before carefully setting the pan in place and pressing it firmly into the adhesive. I left this to cure fully during the rest of Sunday, and all of Monday as I was engaged in other tasks that day anyway. I used almost three full tubes of 5200. I pressed the drain into place dry to register the pan properly and ensure it was in the right place.
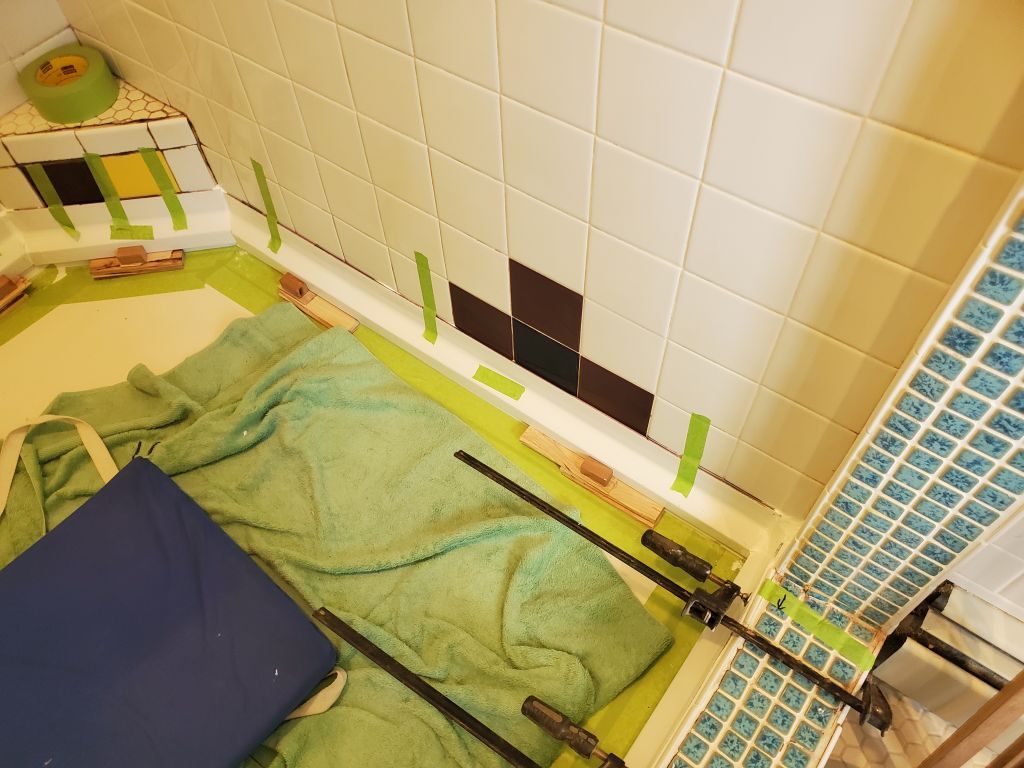
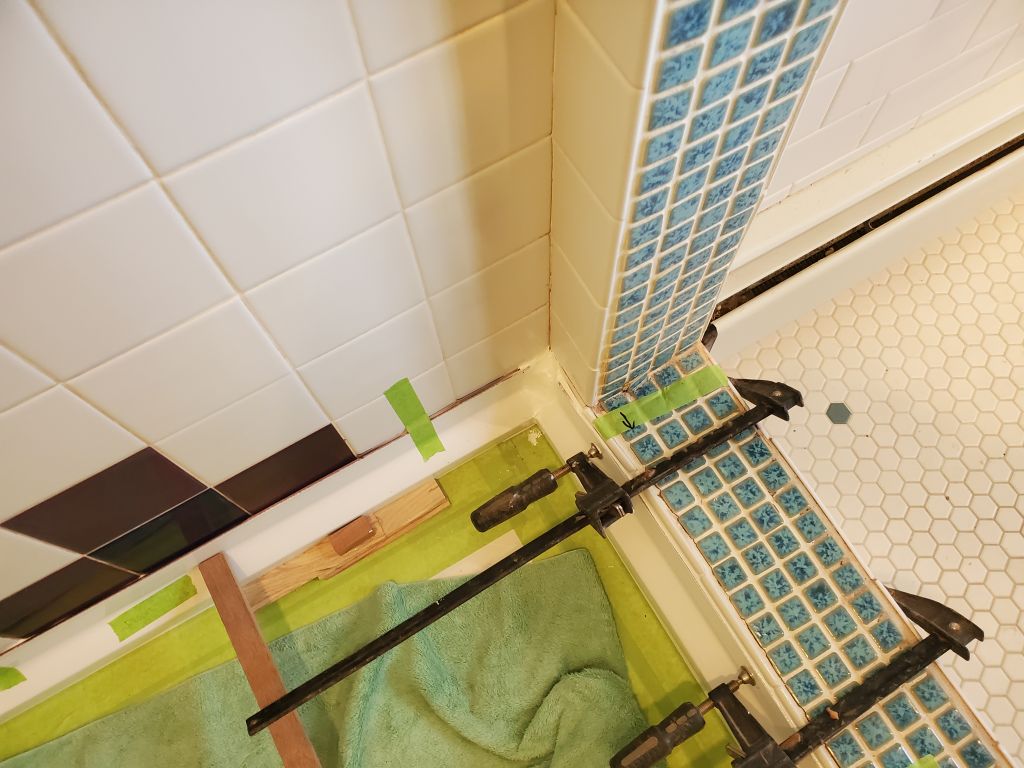
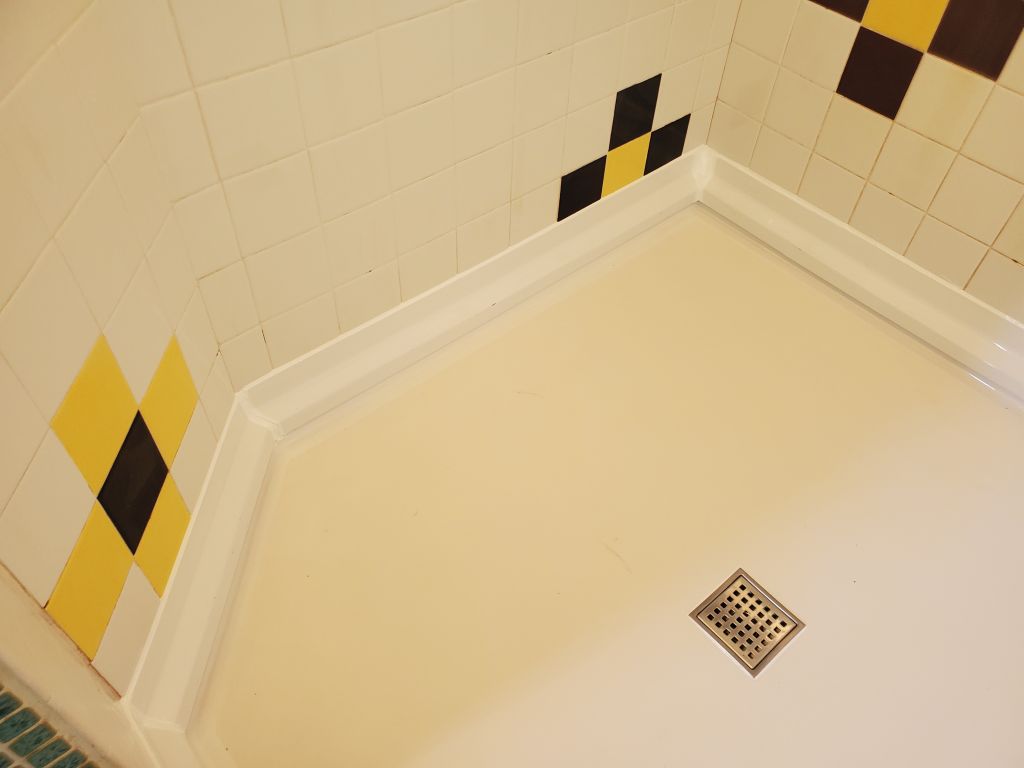
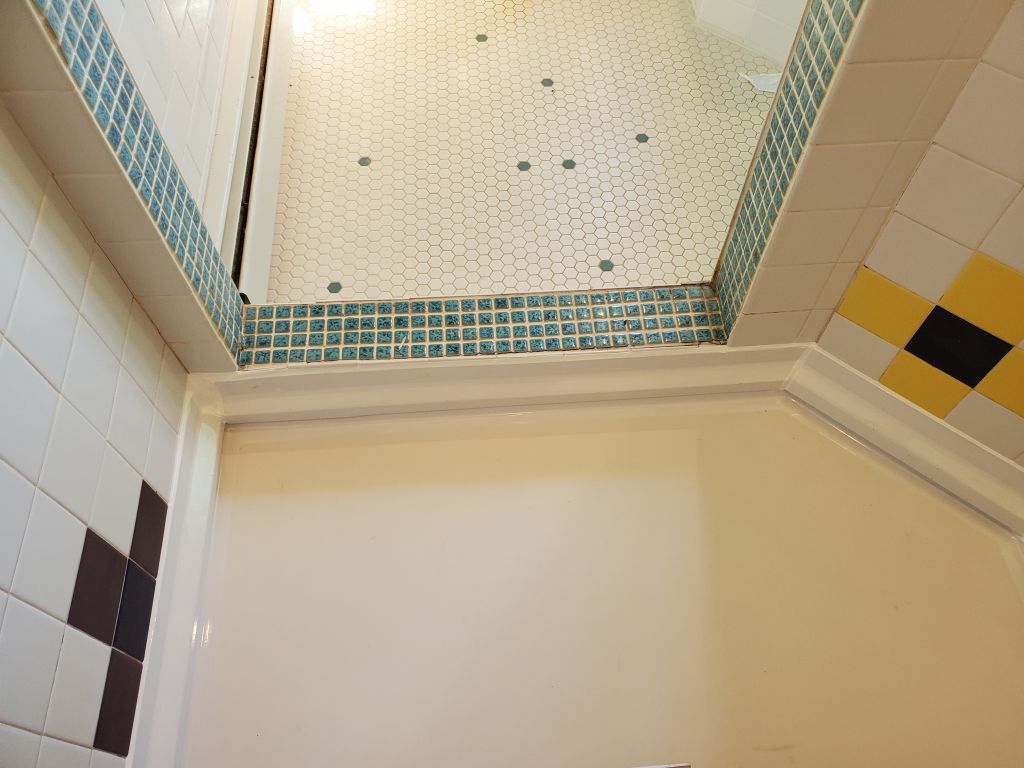
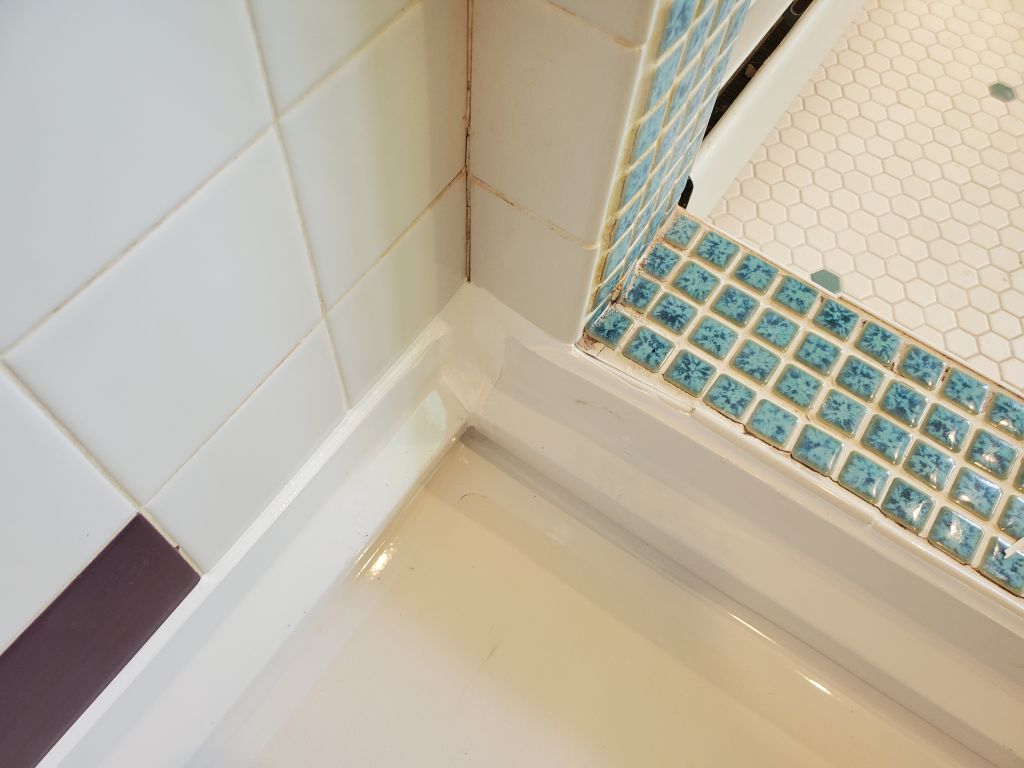
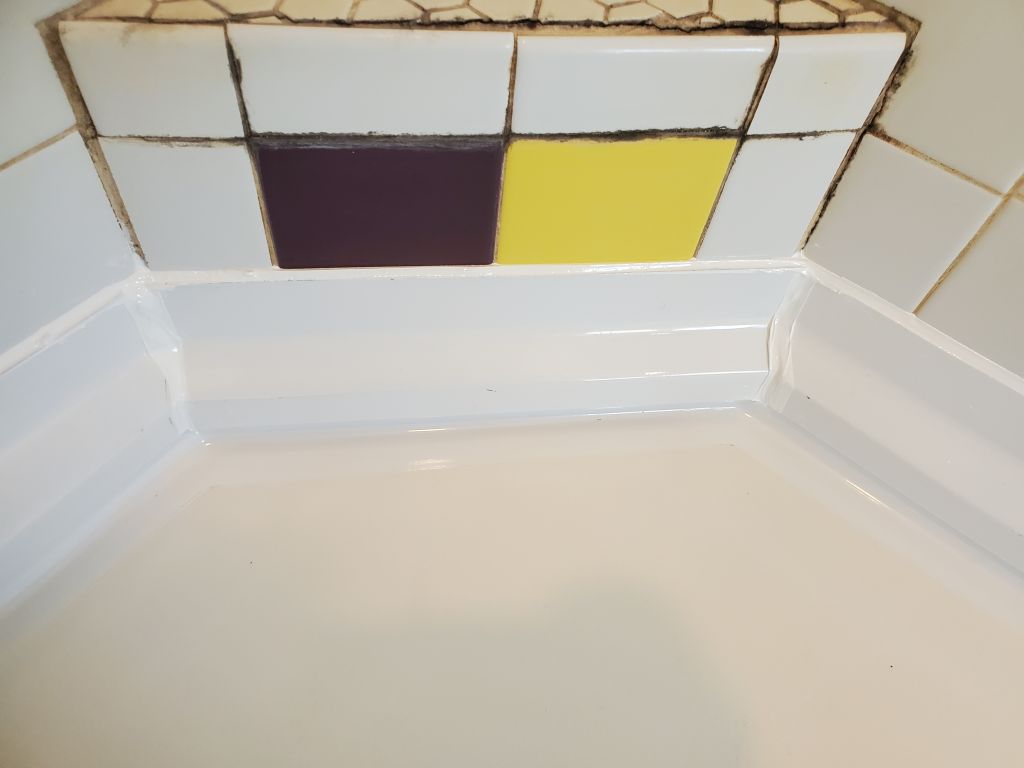
With the shower pan permanently affixed and completely cured by Tuesday, I planned a day (conveniently coinciding with a forced lay day at work) to lay out and install the edge trim pieces. I had planned to join these at all the corners with miter joints for a clean appearance, and to minimize gaps, but I discovered that none of the pieces was long enough to reach completely to the corners. I think what probably happened is that I measured the shower pan down in the shop and made my trims according to that, not allowing enough extra length for the 1″ or so of additional width in the shower itself (since the pan is necessarily smaller than the shower space so it could be retrofitted). The net result of this was that two of the corners ended up with sizeable gaps when I cut and dry-fit all the pieces. as seen below. I was disappointed in this, but forged on since I figured I would just fill these gaps with more of the adhesive; even under perfect circumstances each corner was going to require a bead of adhesive/sealant to waterproof it.

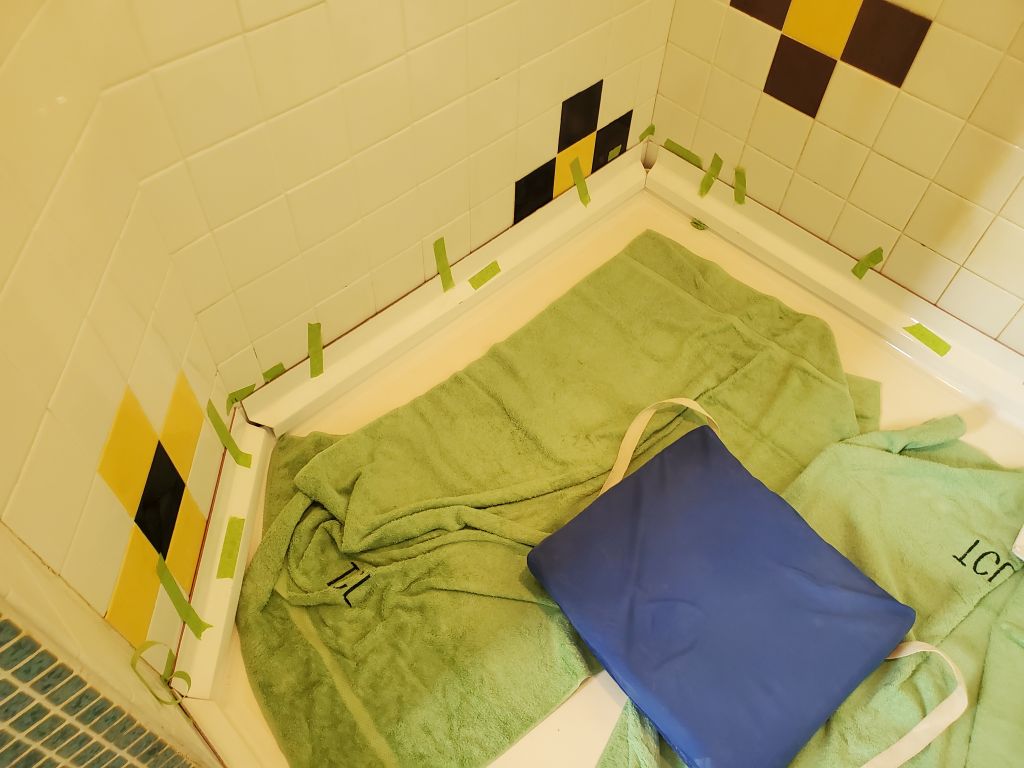
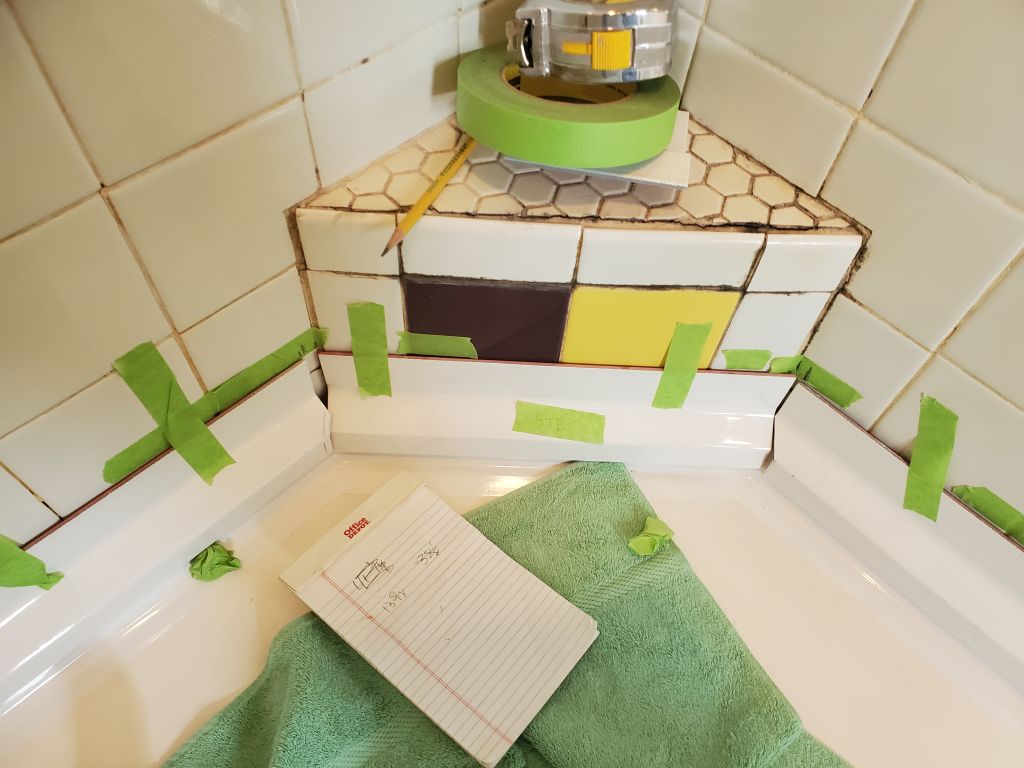
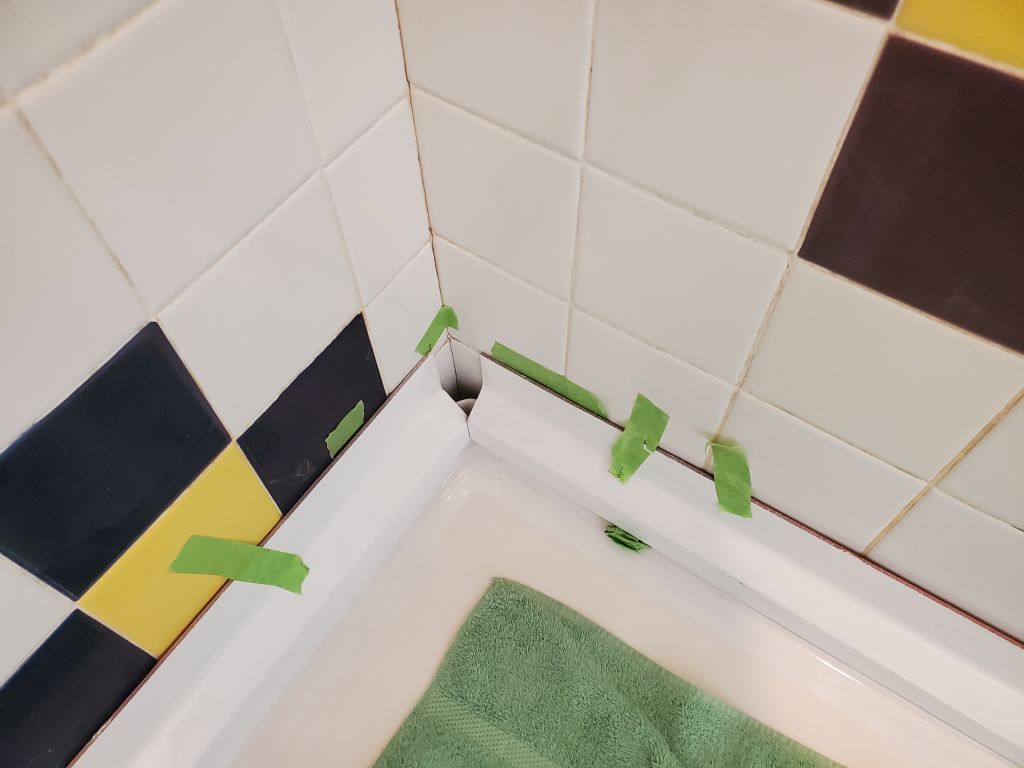
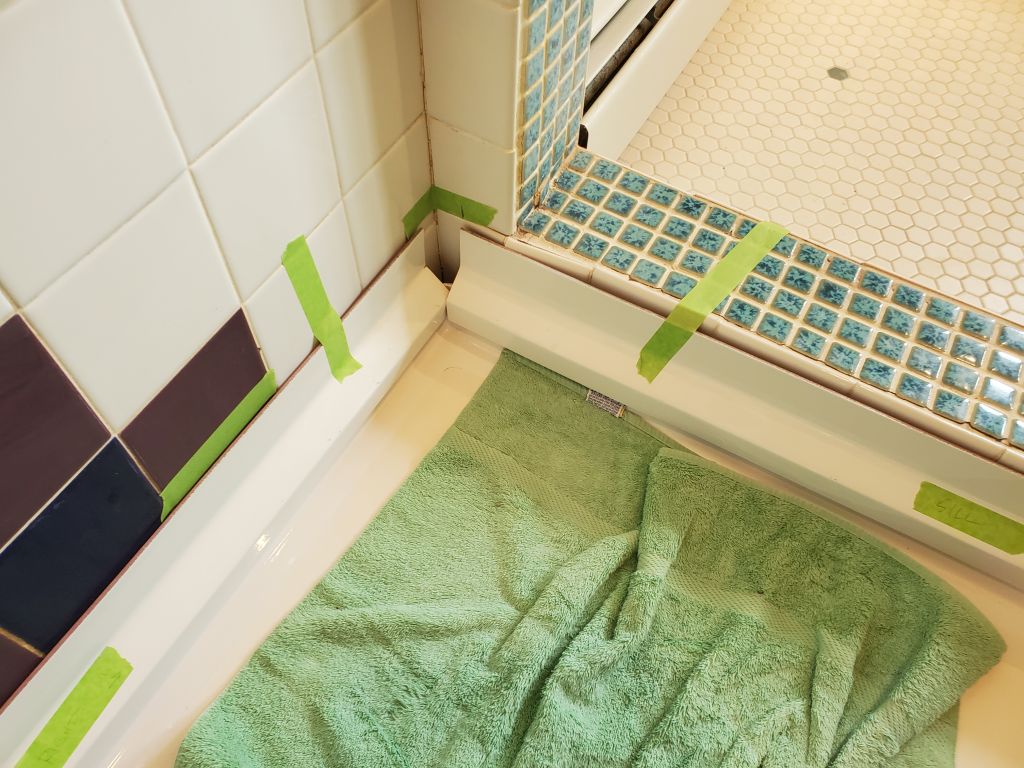
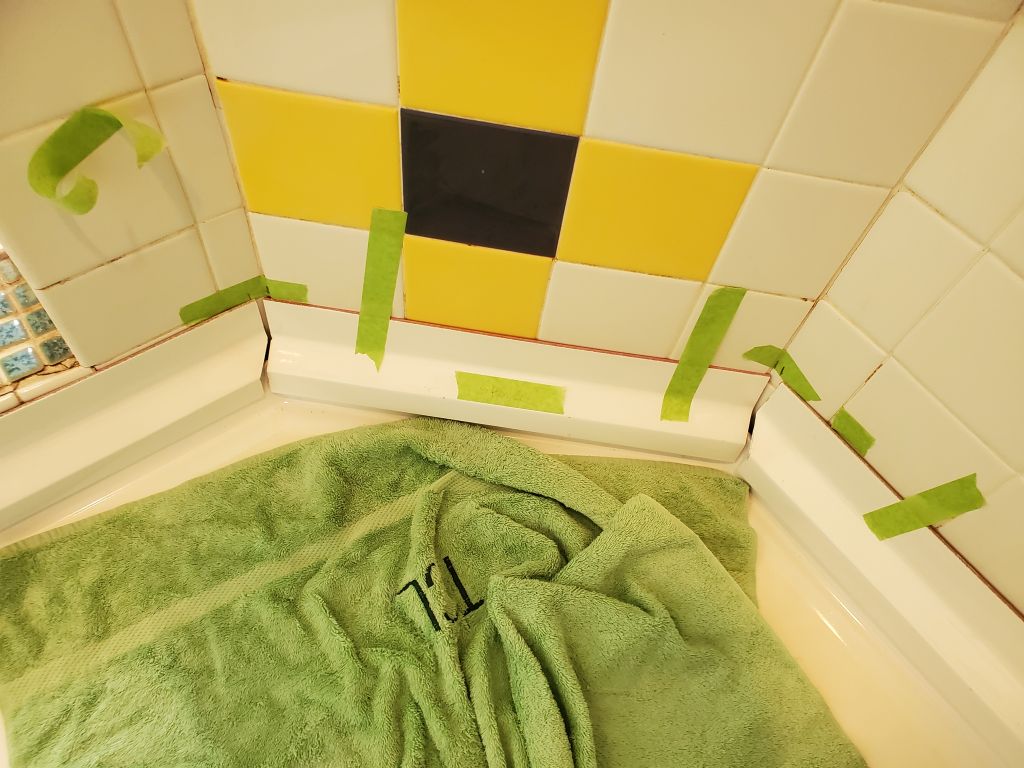
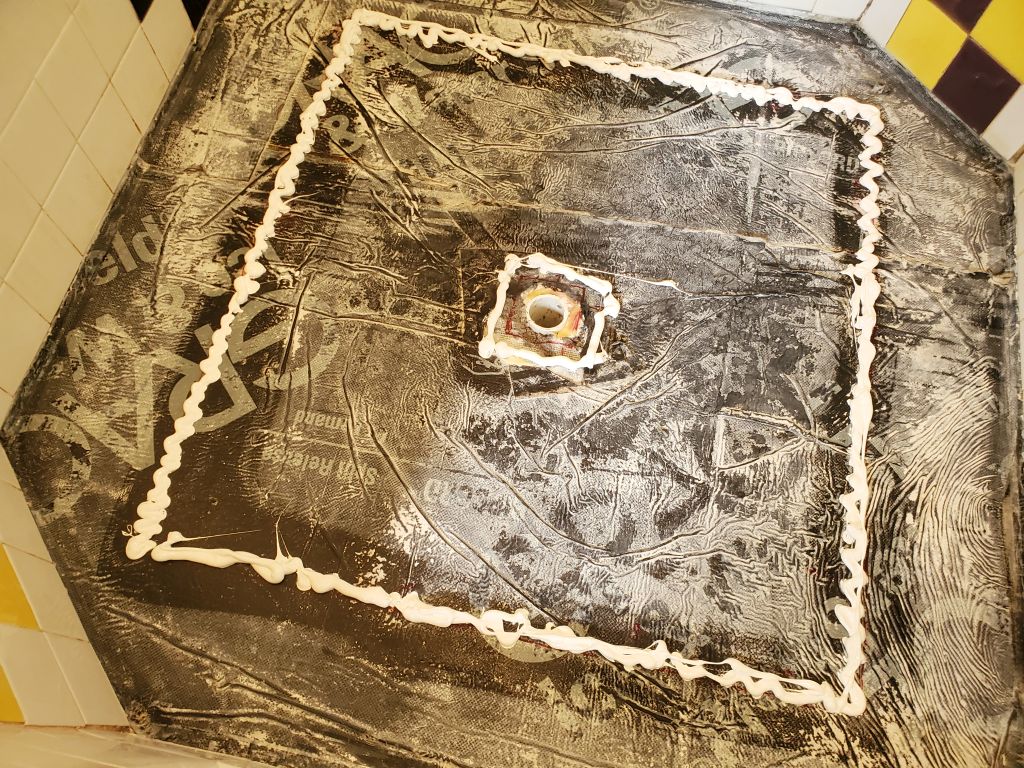
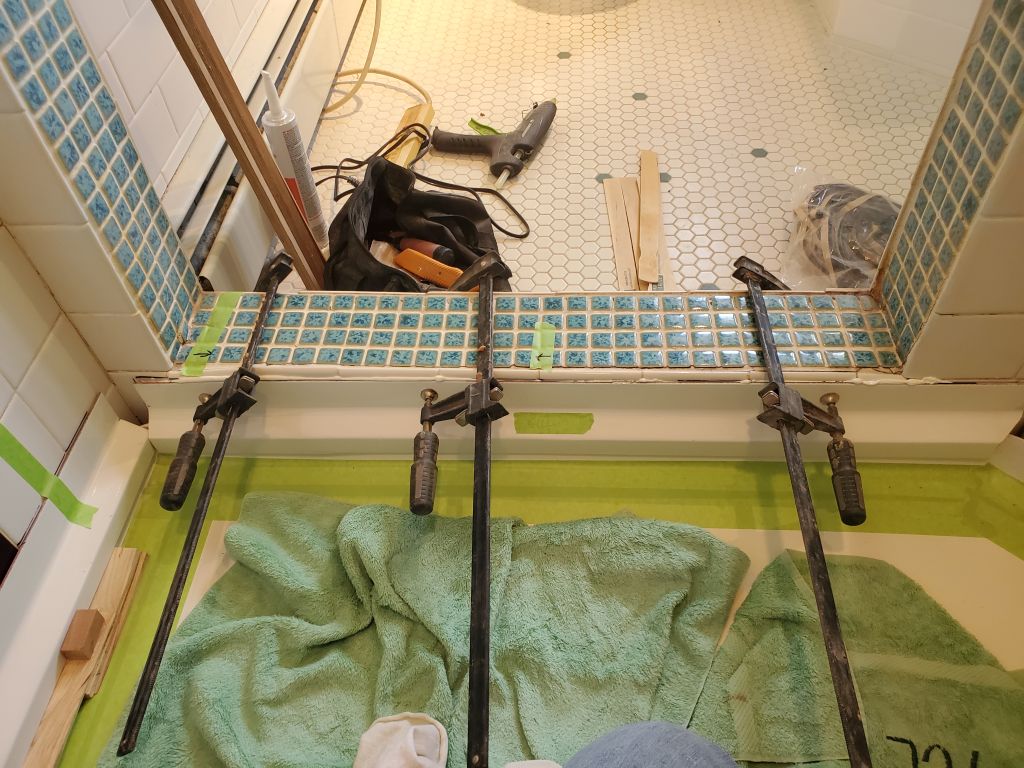
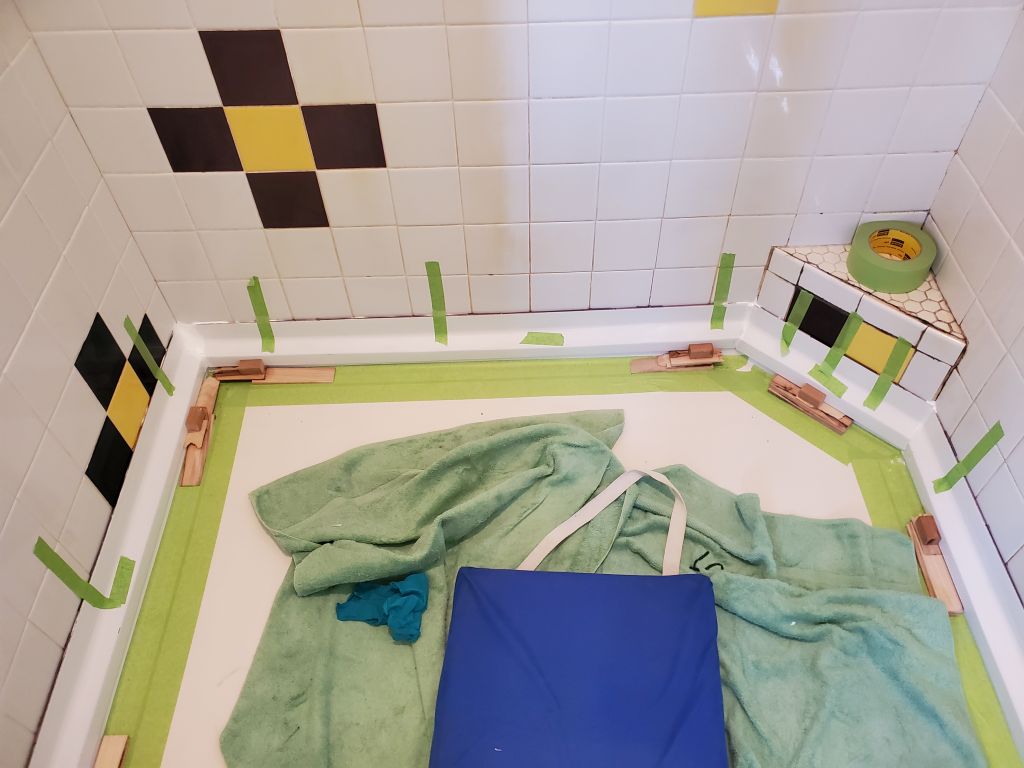
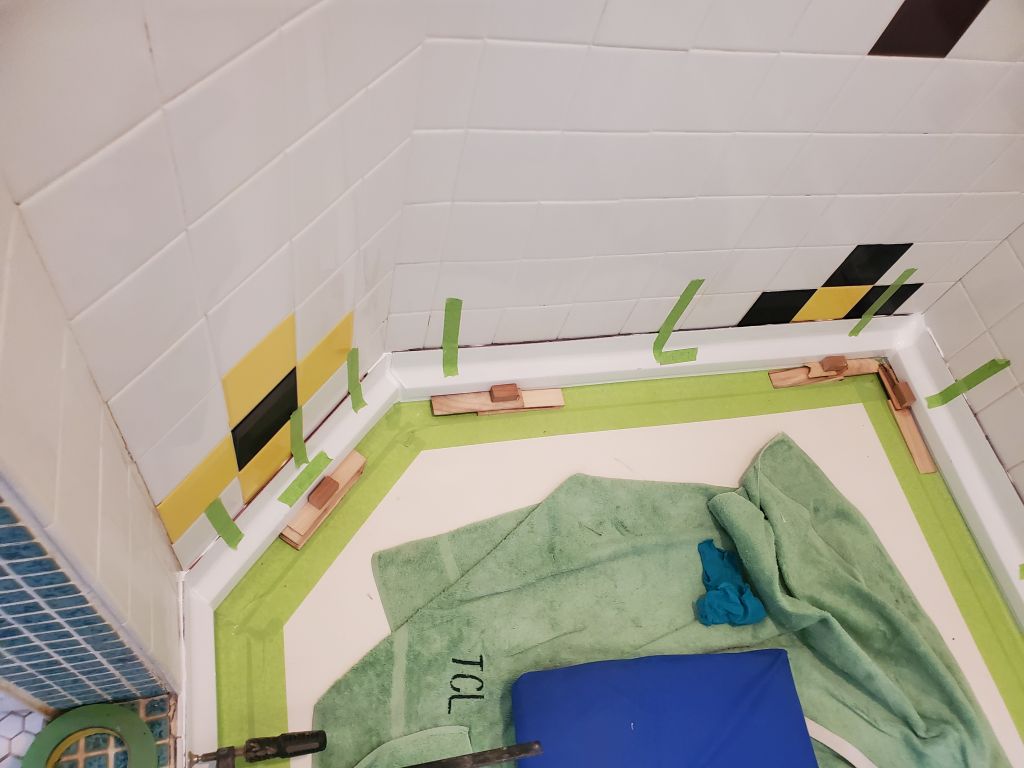
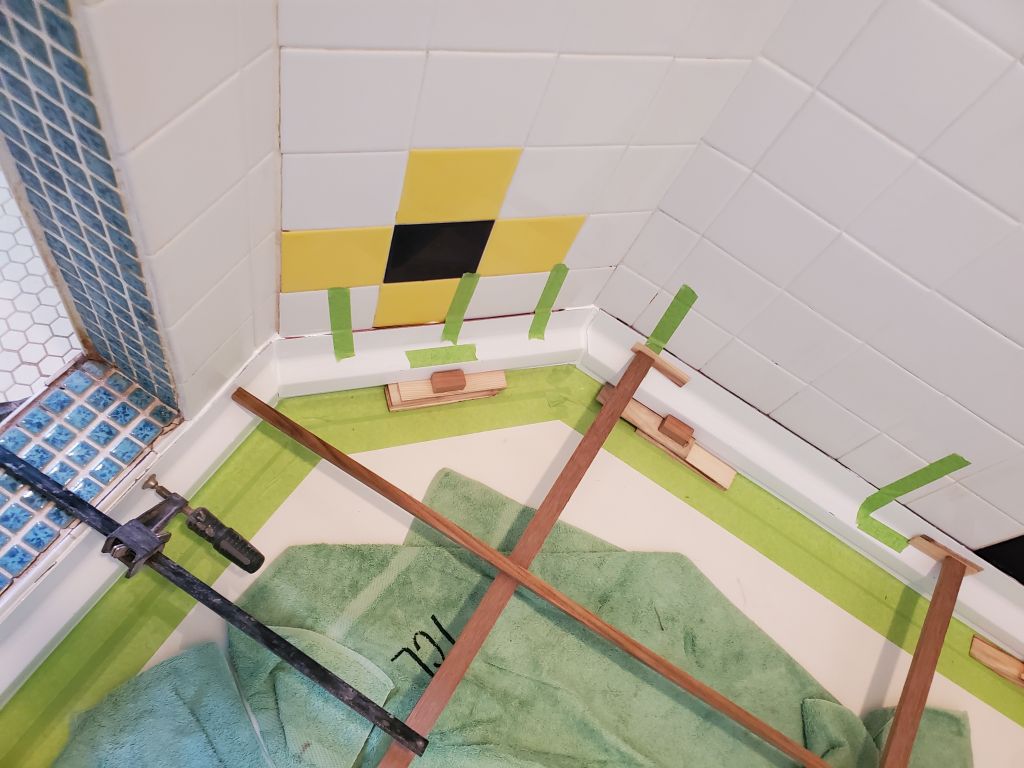
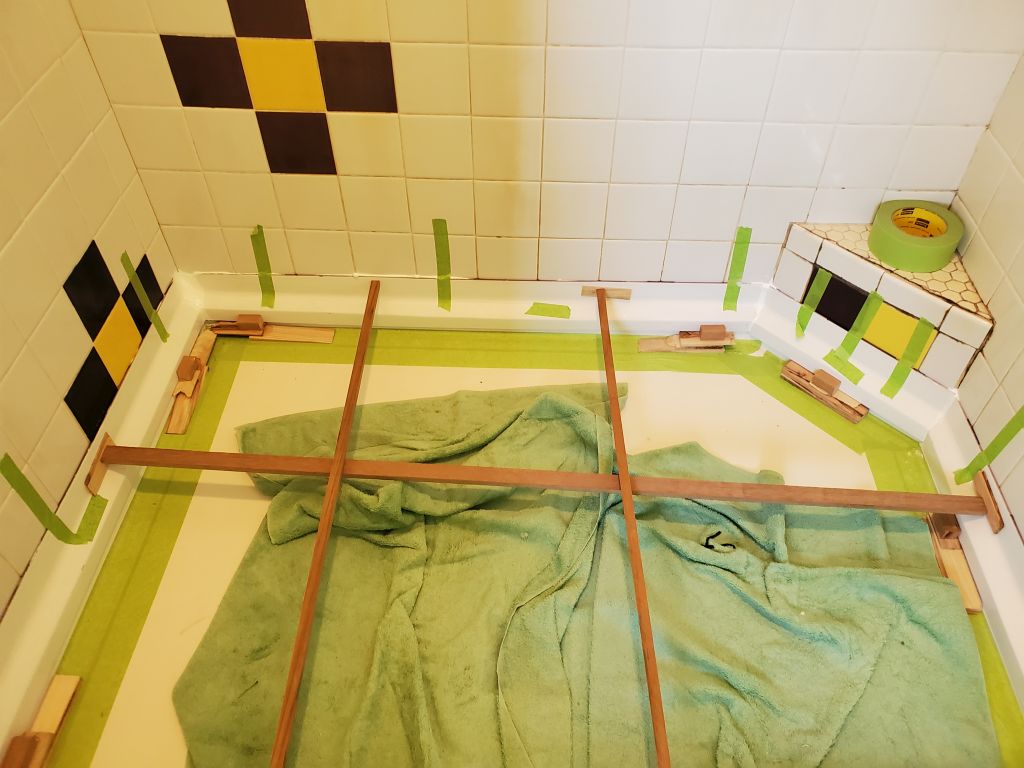
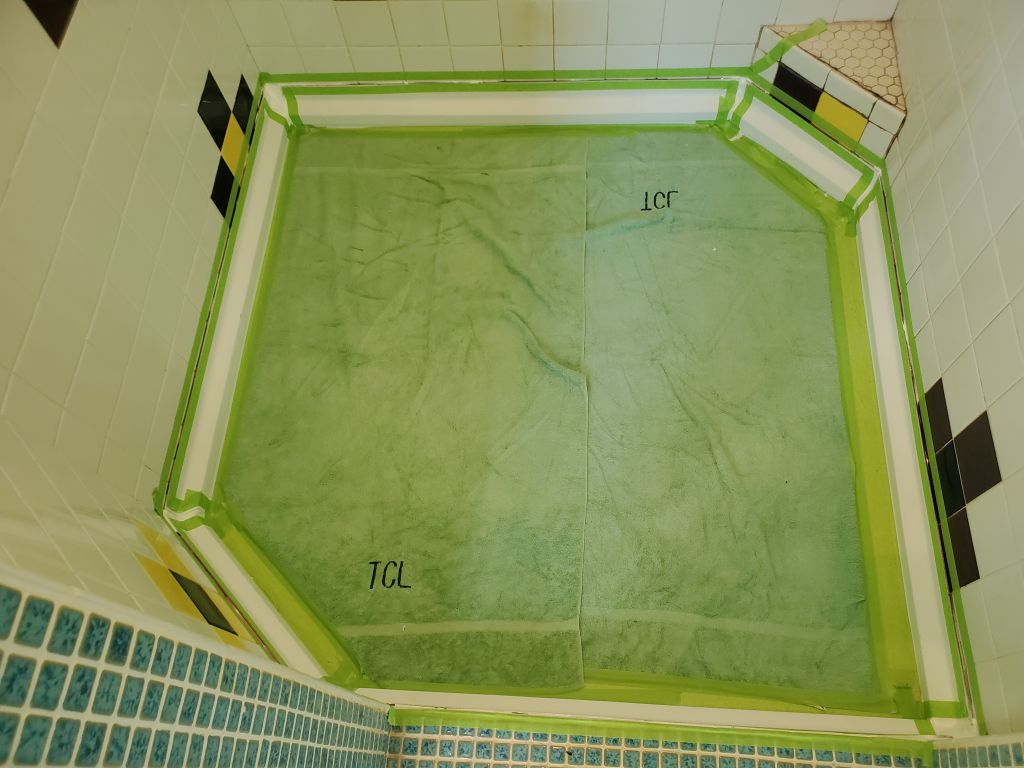
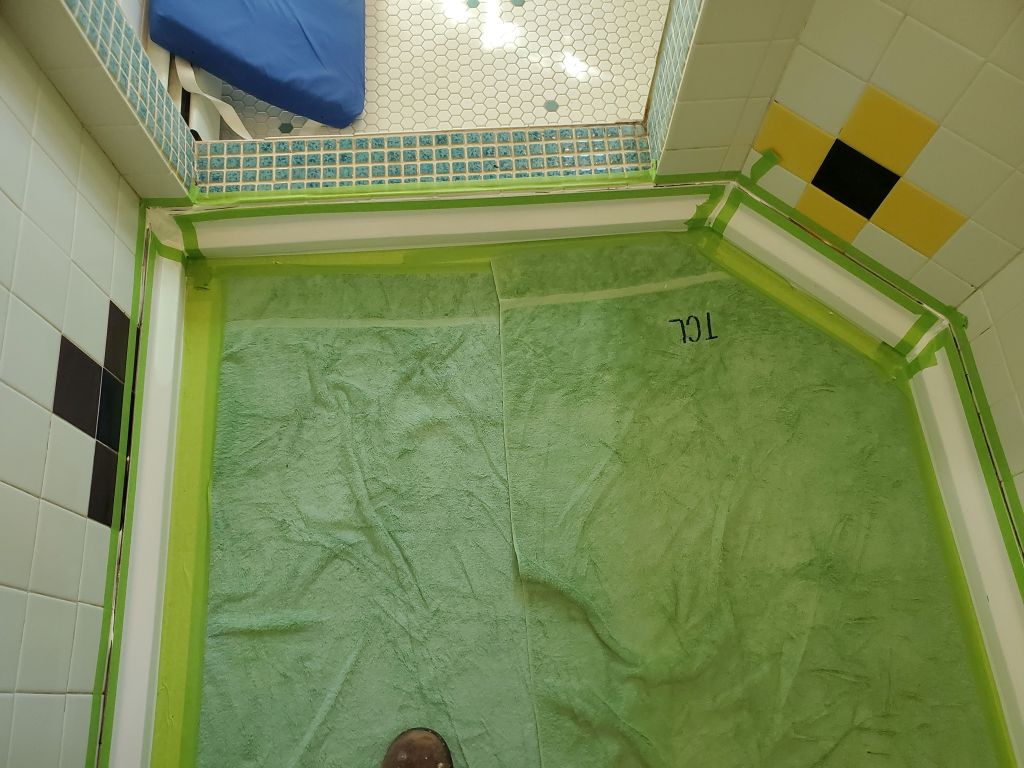
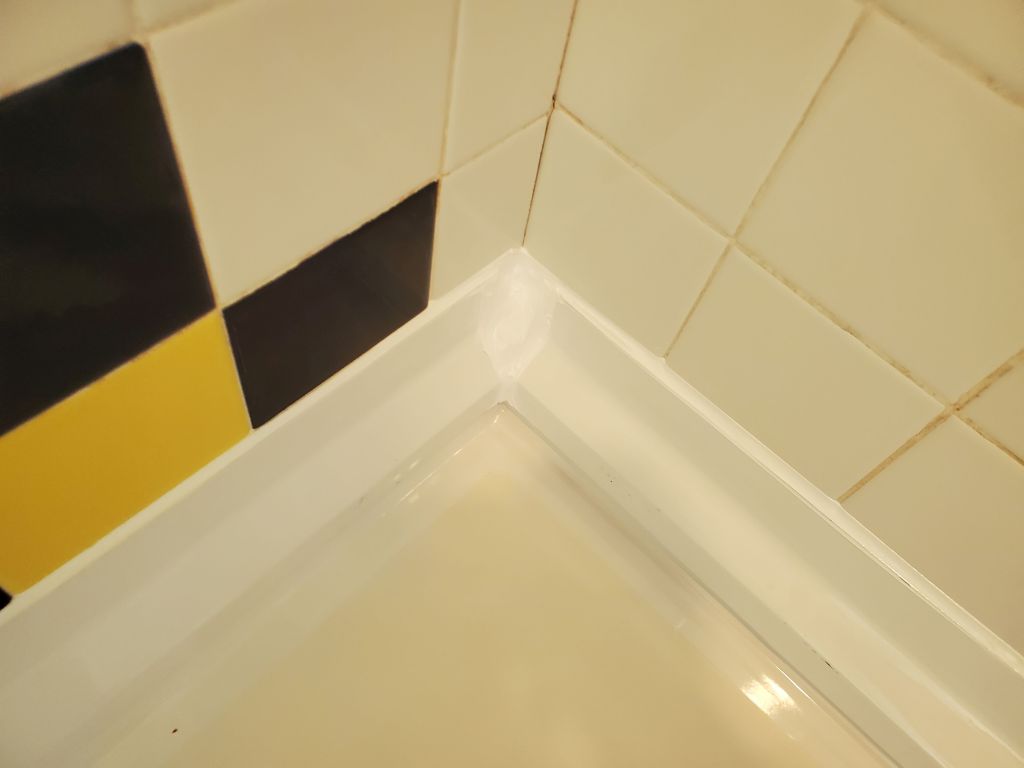
To help hold the trims in their proper position and prevent slipping, I hot-glued shims and blocks beneath the overhanging edges to hold things in place; I protected the shower pan by masking aroud the edges first, and glued directly atop the tape. (This works when there’s not a lot of pressure on the glued item, as in this case.) I drew a line along the top edge of each trim for reference during installation; the marker line would be eventually covered in sealant.
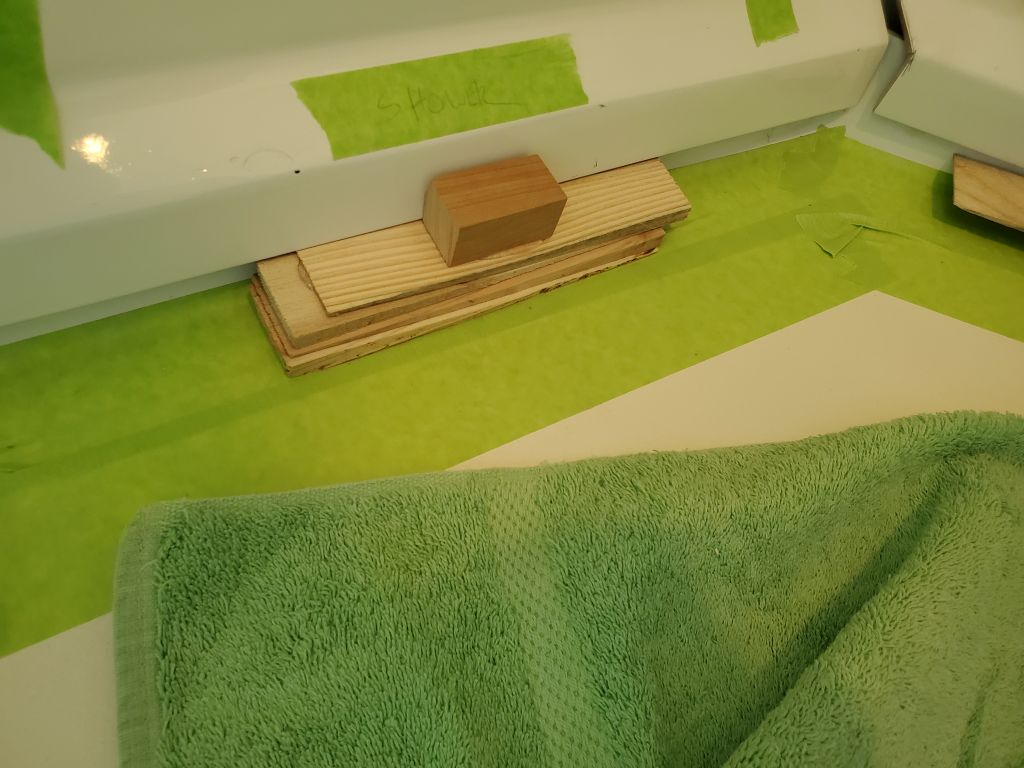
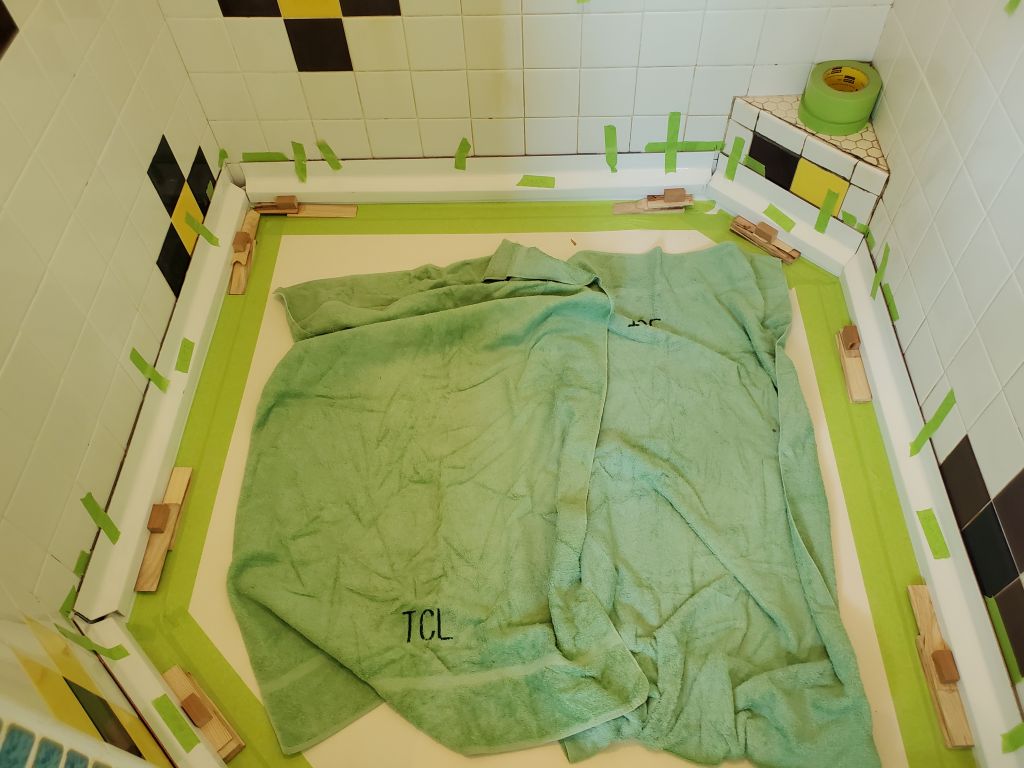
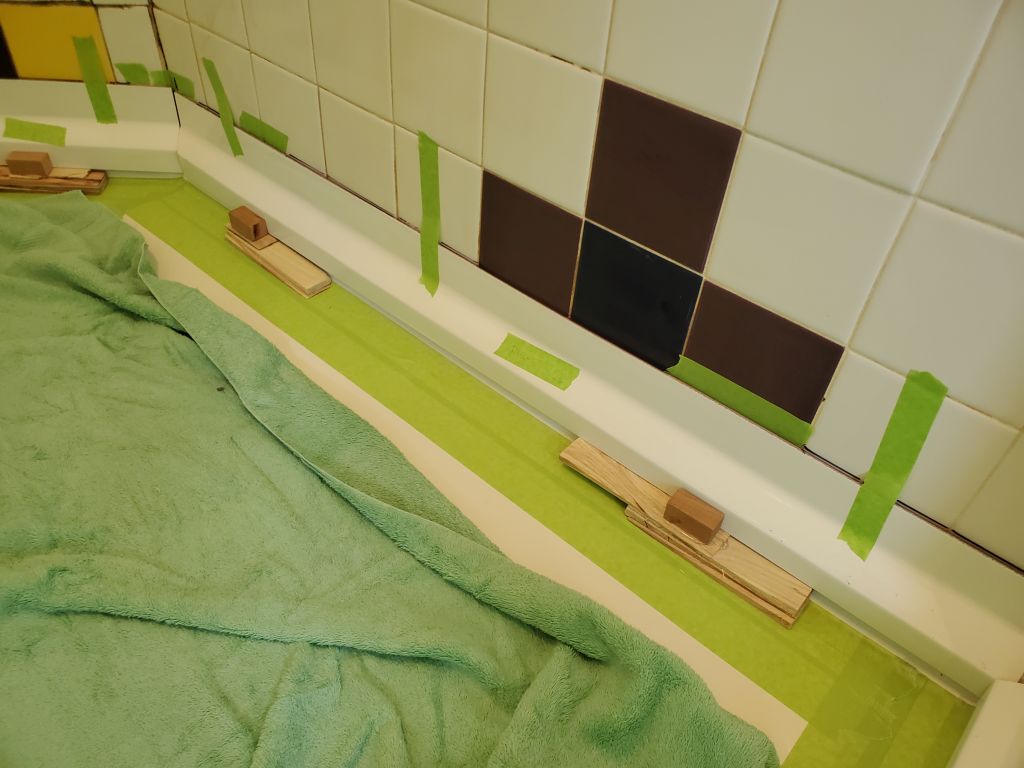
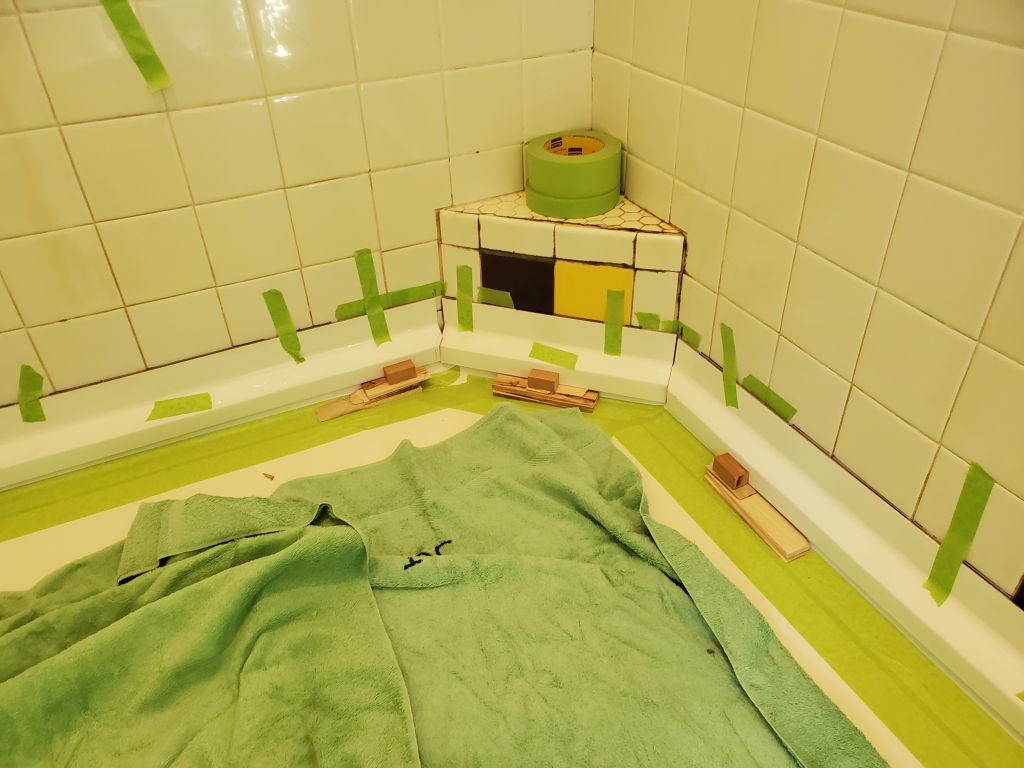
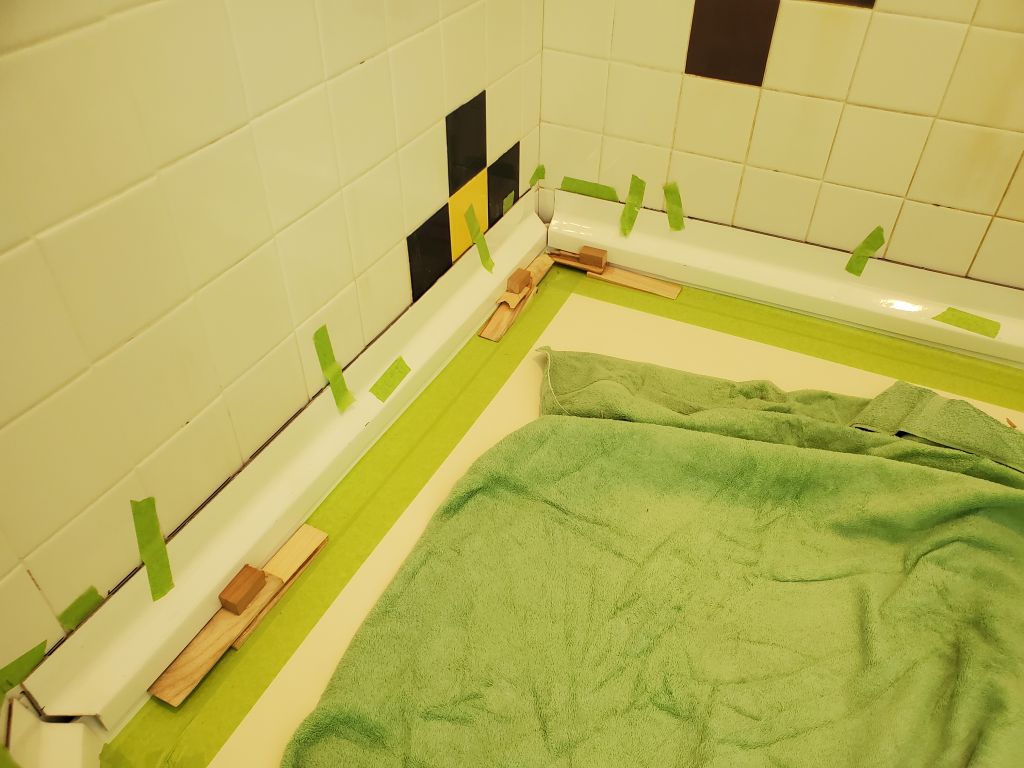
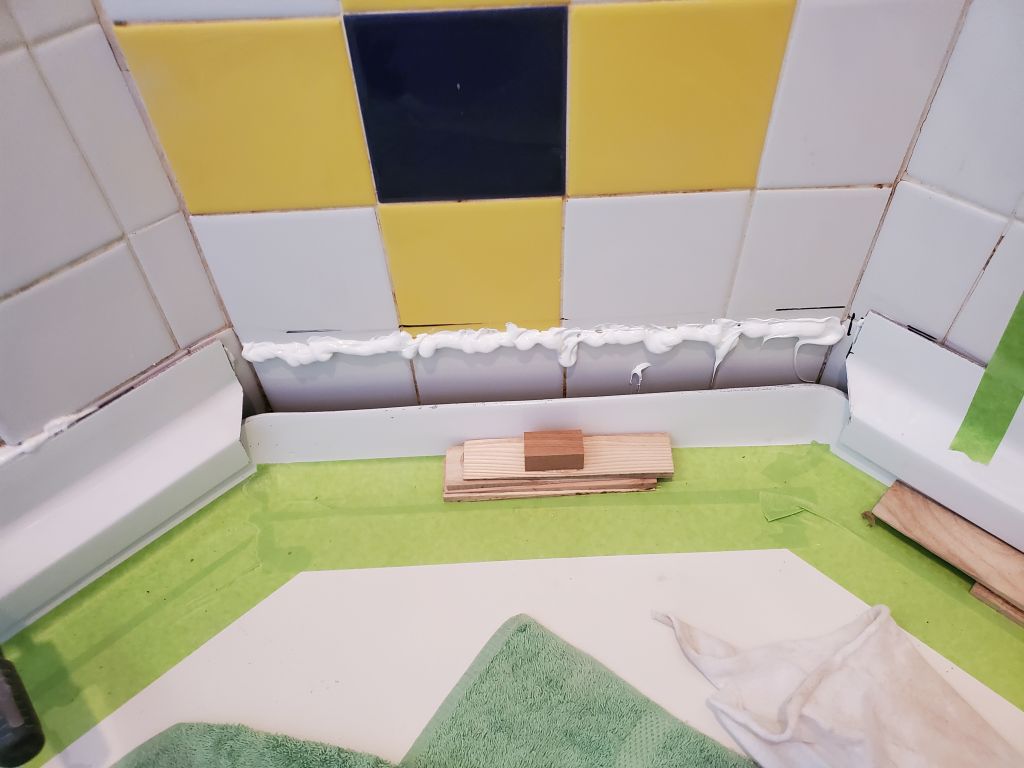
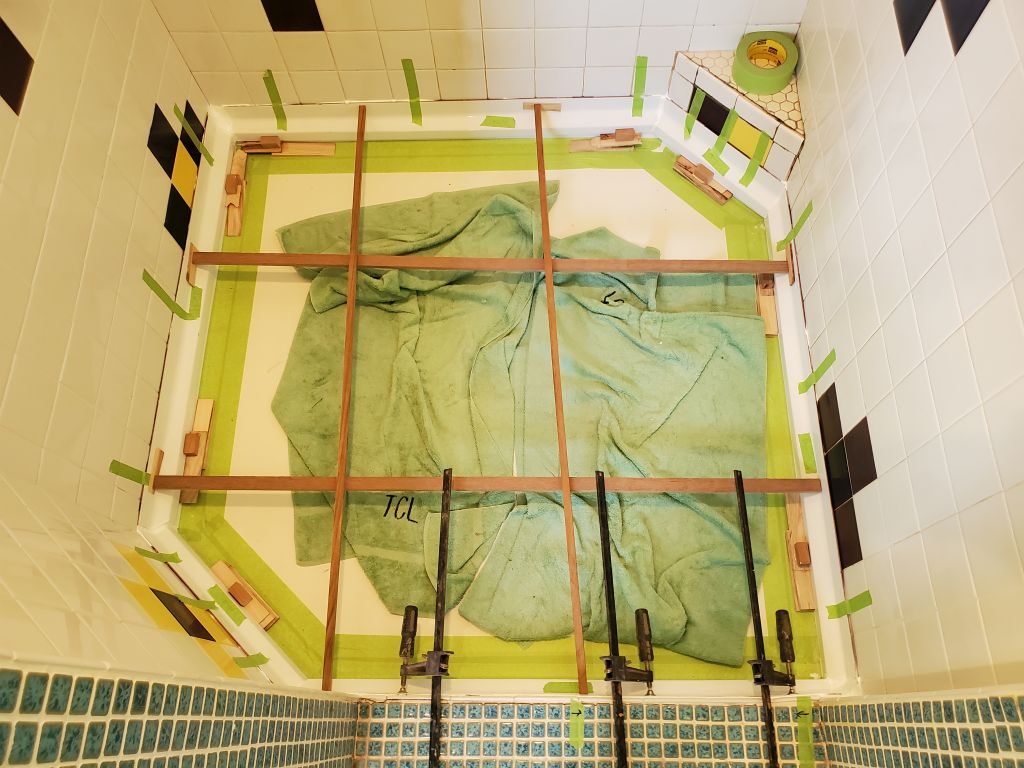
Removing all the trim pieces, which I’d labeled as needed, I did my final preparations, including sanding the tile in the bonding area with coarse paper, and cleaning (I’d previously cleaned the bottom couple rows of tile to remove soap scum, etc.), then installed the trims with 5200, which I applied along the tile–and especially along a conveniently-located grout line, which held the adhesive better and I thought would actually make the adhesive hold better to the wall than on the slick tile. I installed the trim pieces inside their little wooden braces and taped them from above. Once they were all in, I spent some time filling the corners and seams with more adhesive sealant. At the two larger corners, I stuffed some foam down into the voids first to fill them as much as possible first. Afterwards, I added braces and clamps as needed to press the trims in place all around and hold them securely while the adhesive cured overnight. This installation went better than expected and was somewhat less fussy than I’d feared.

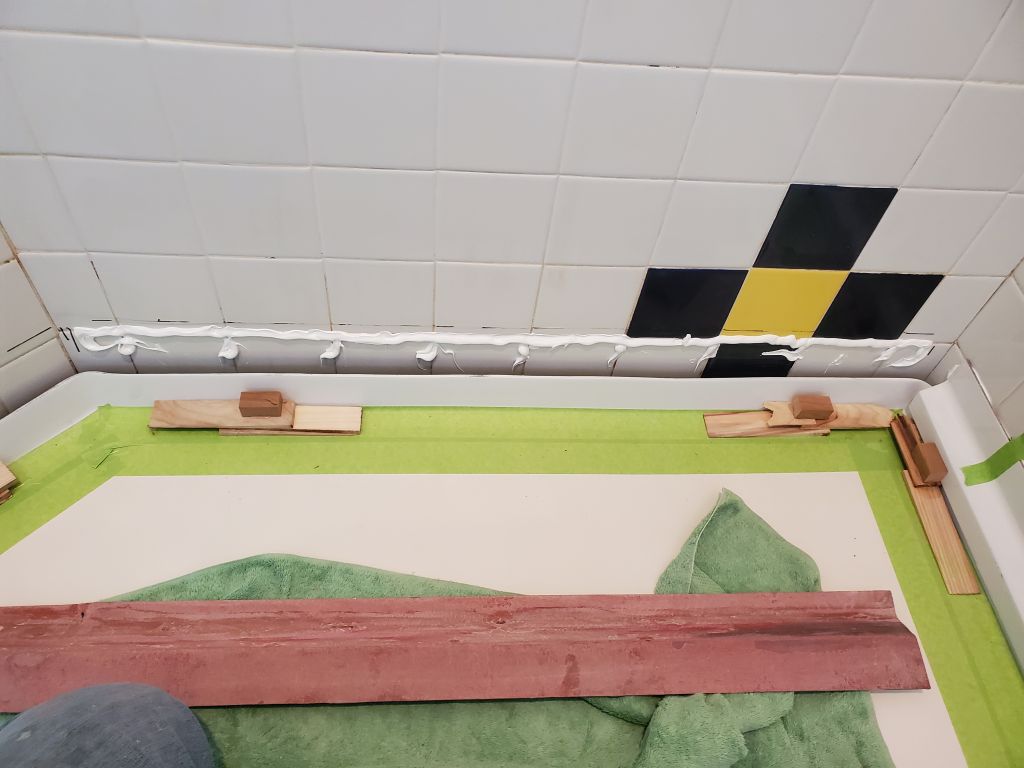

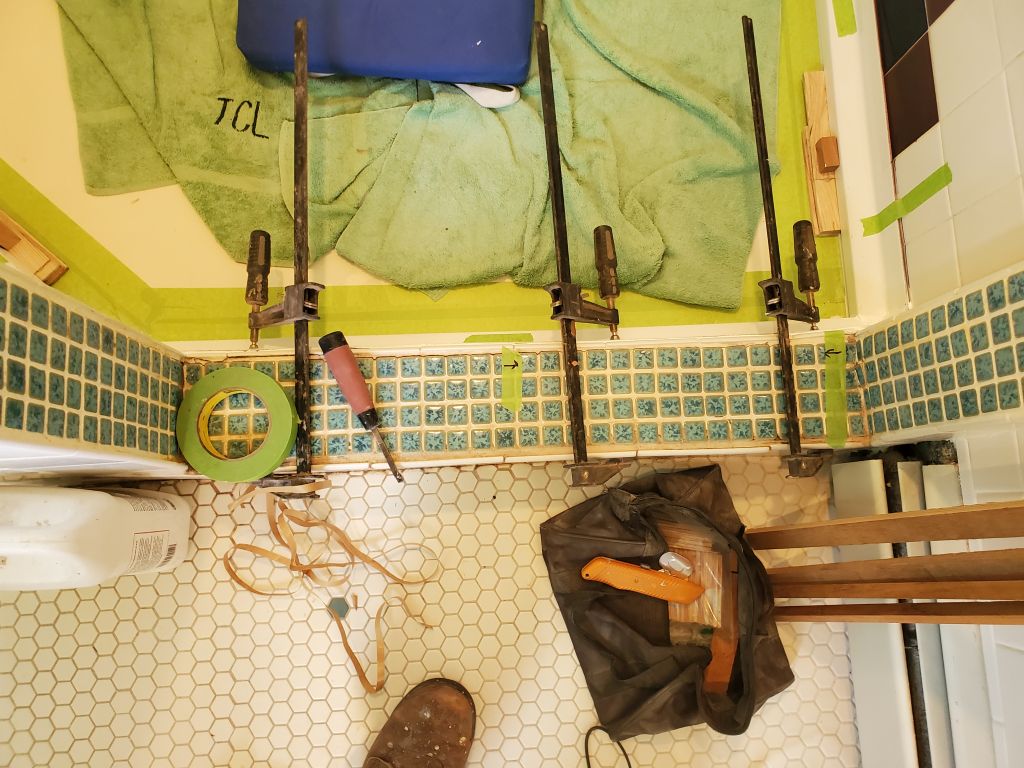


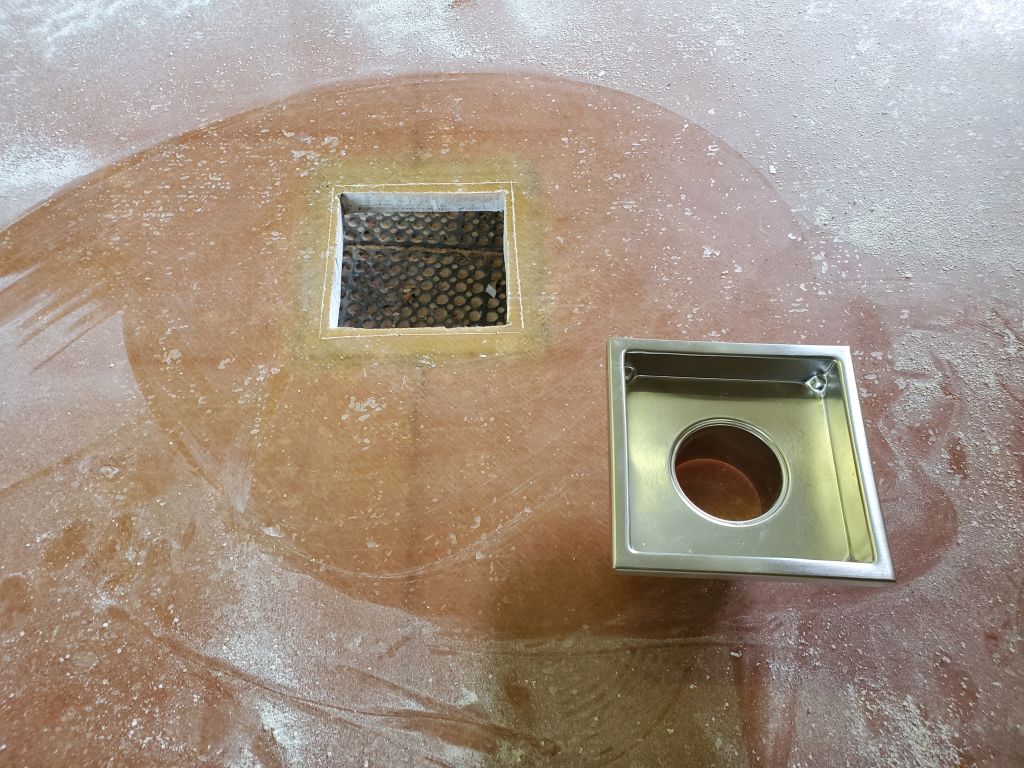
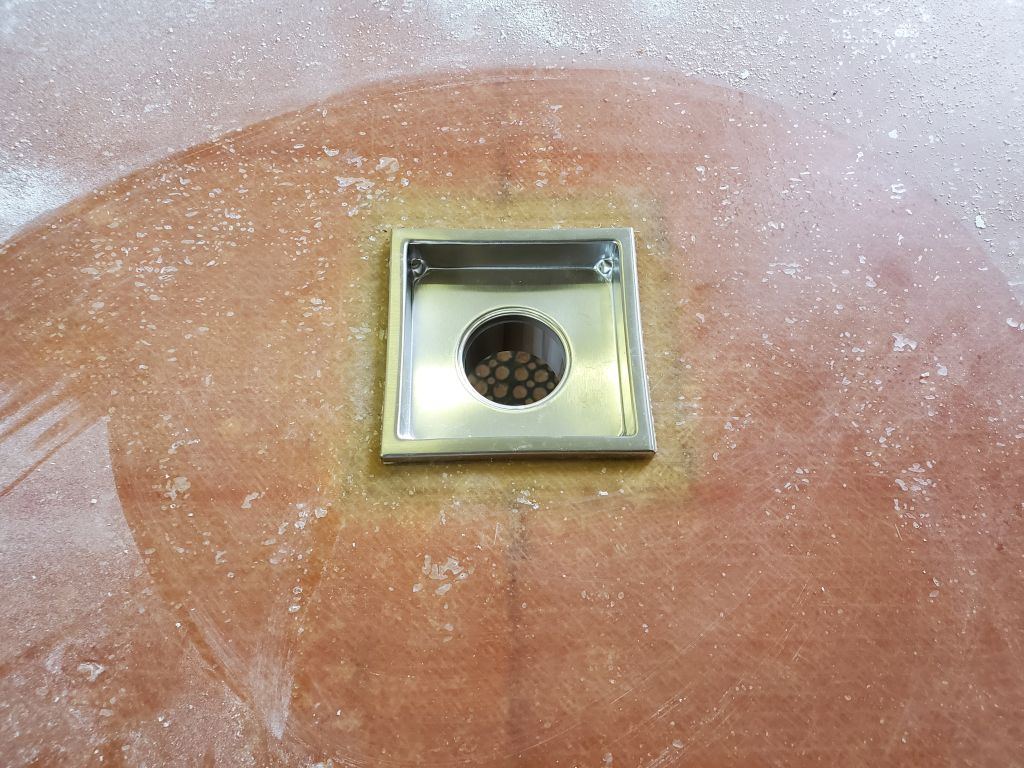
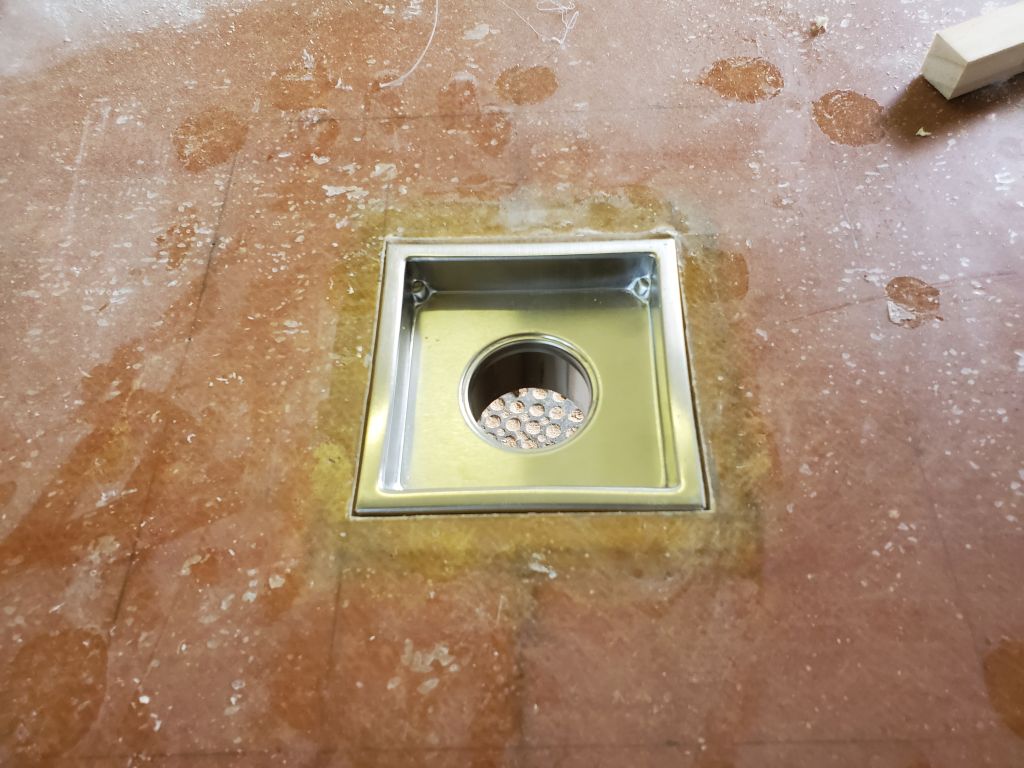
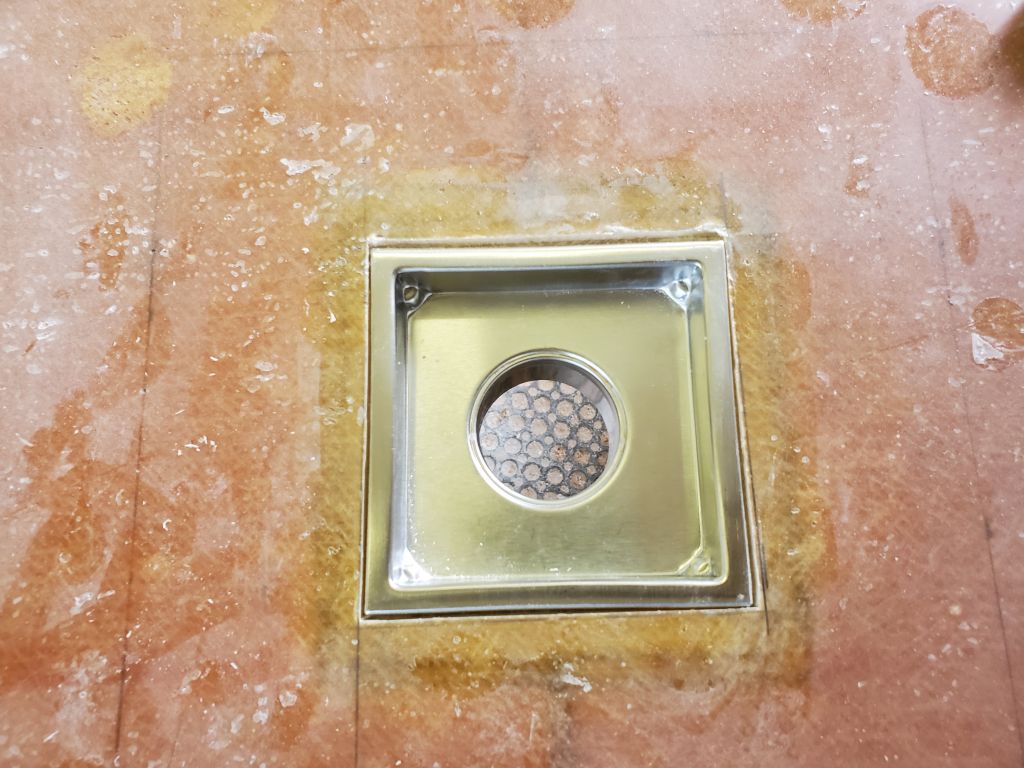
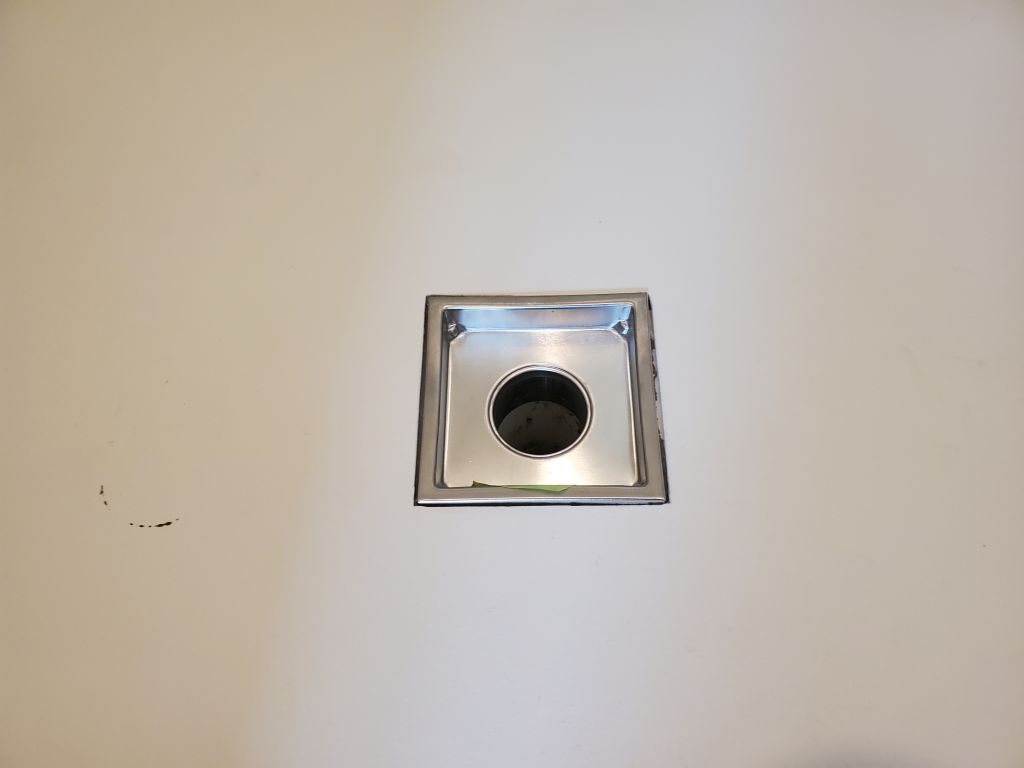
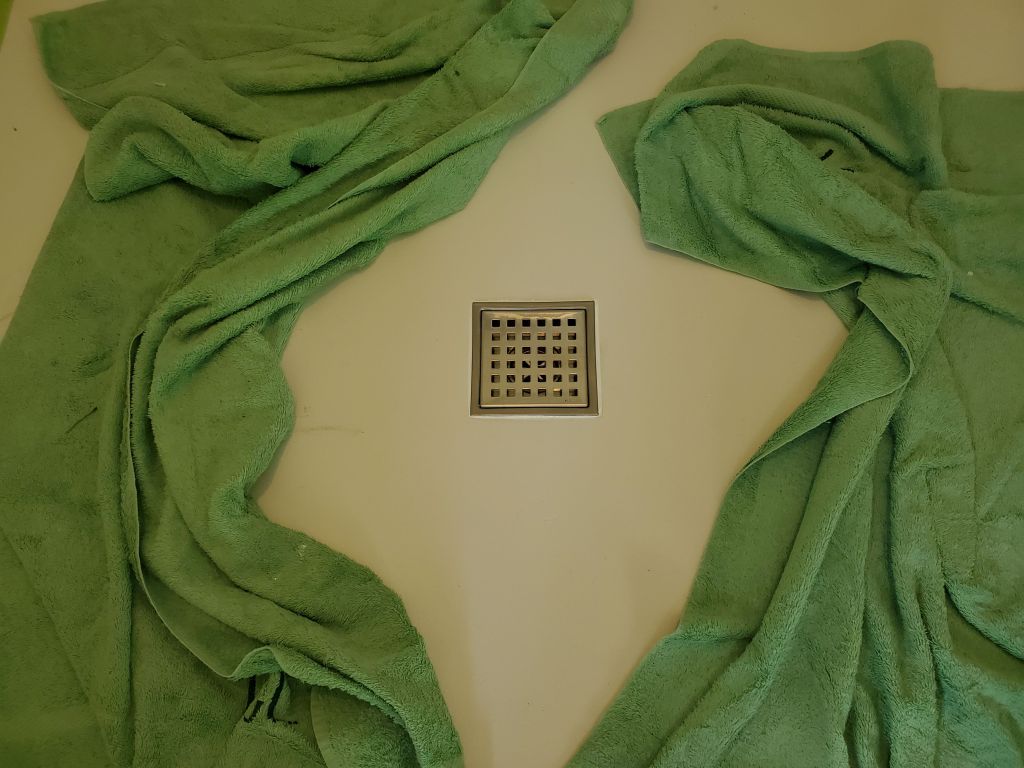
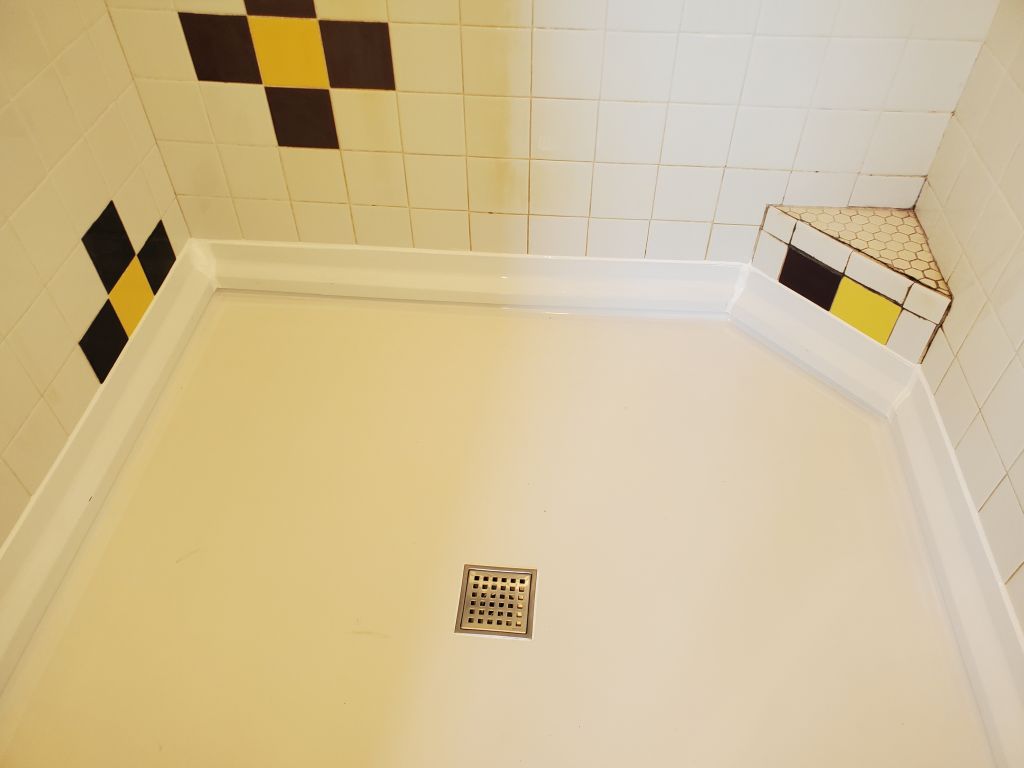
I also permanently installed the drain now, after first masking around the opening, then installing sealant at the bottom of the hole (around the drain pipe where breaking out the epoxy had damaged the cement board), and in the recess where the drain flange rested. The 4th photo, showing the grates in place, was taken the next day, as I only installed the grates once the adhesive had cured.


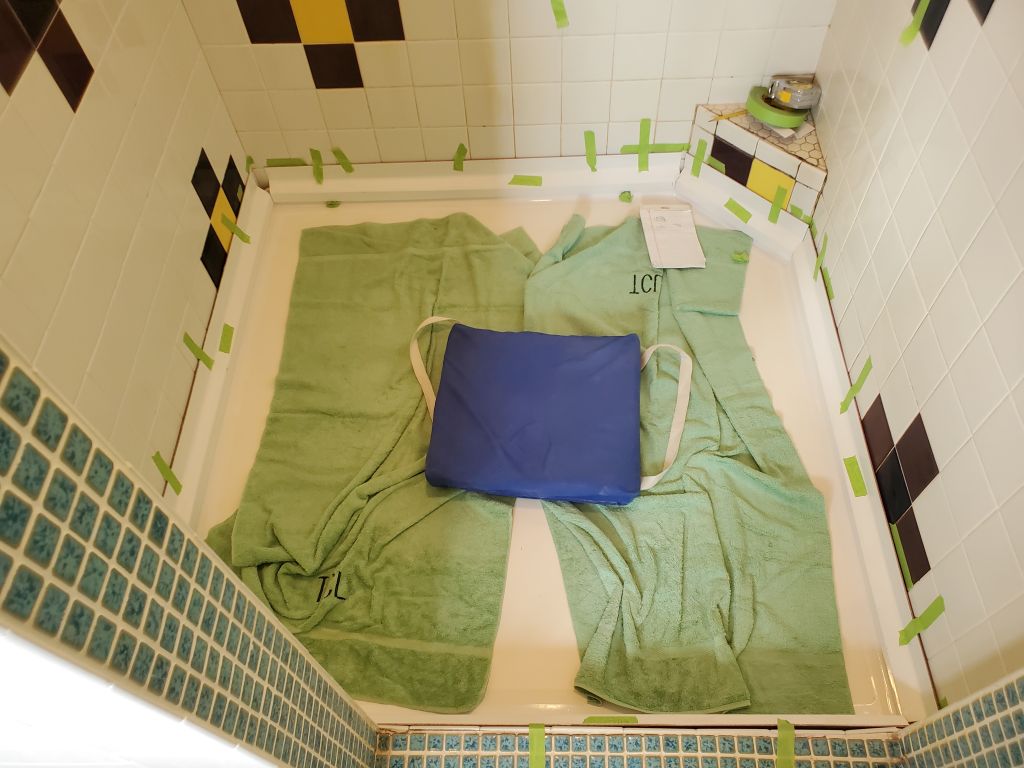
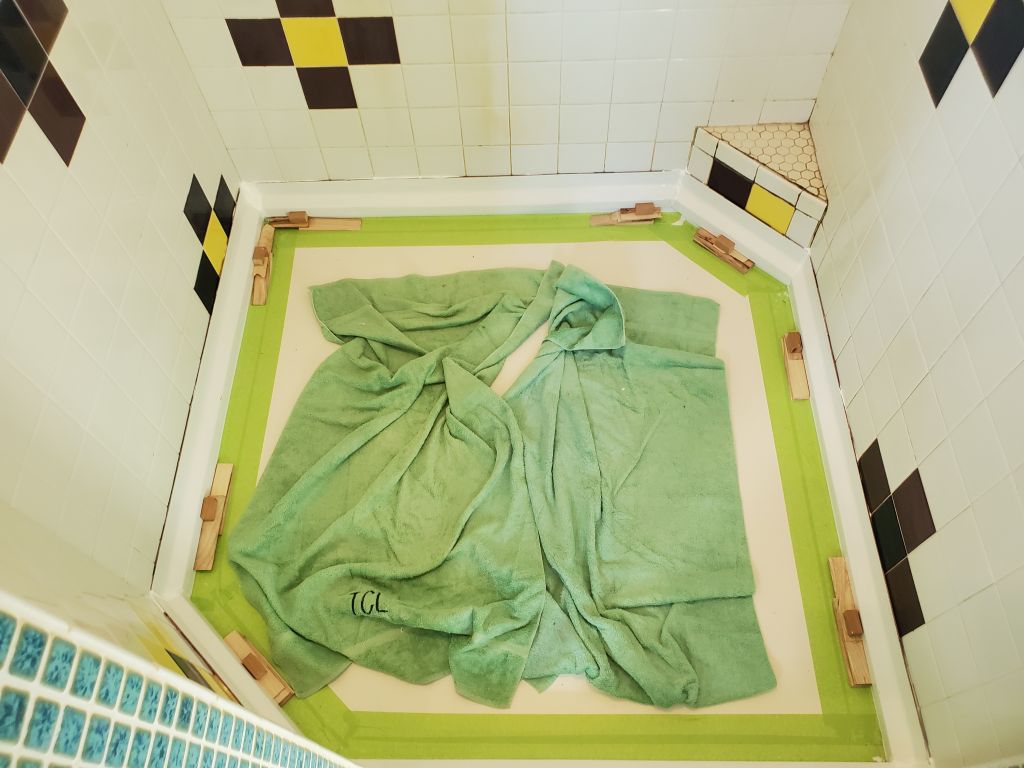
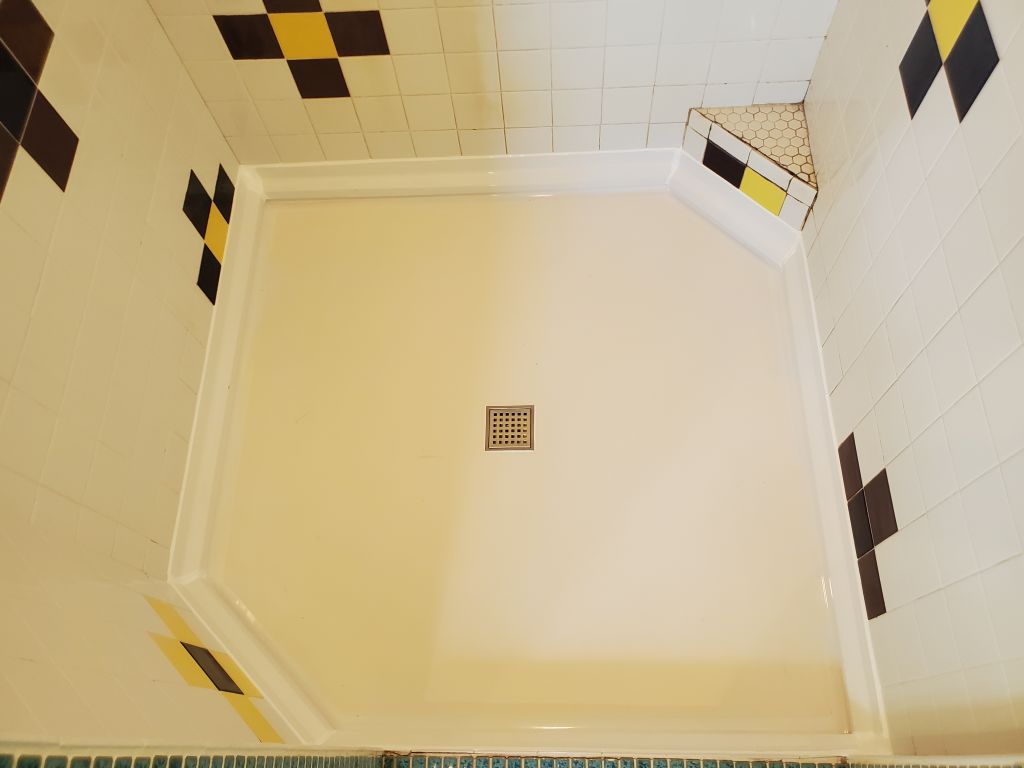
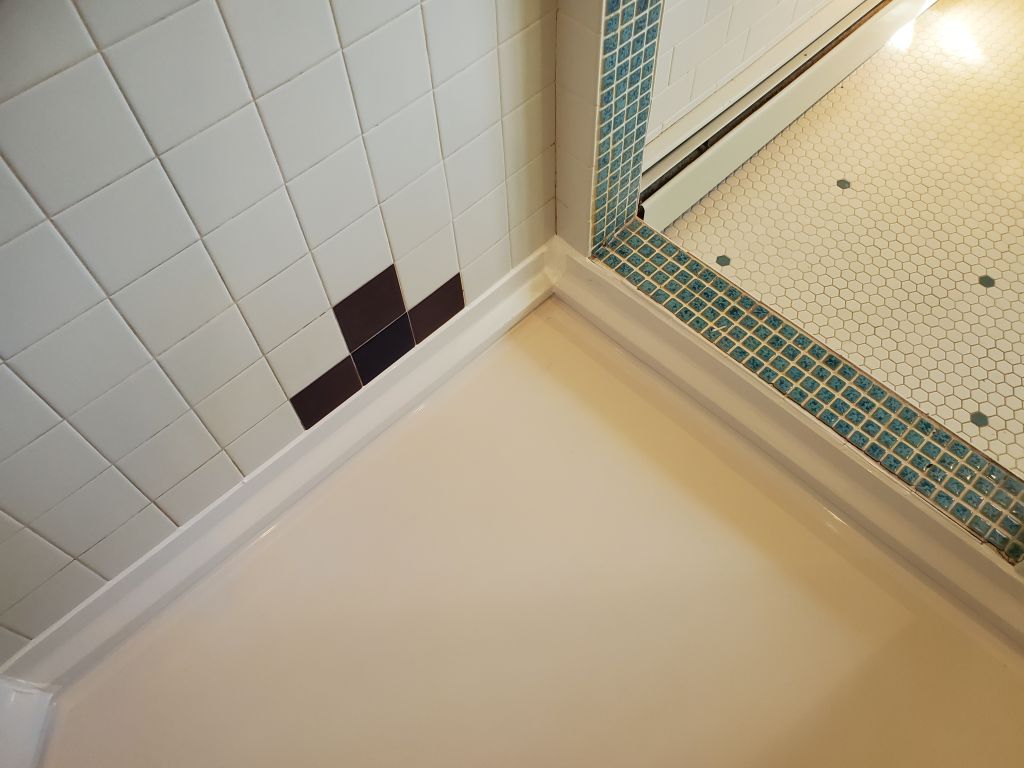
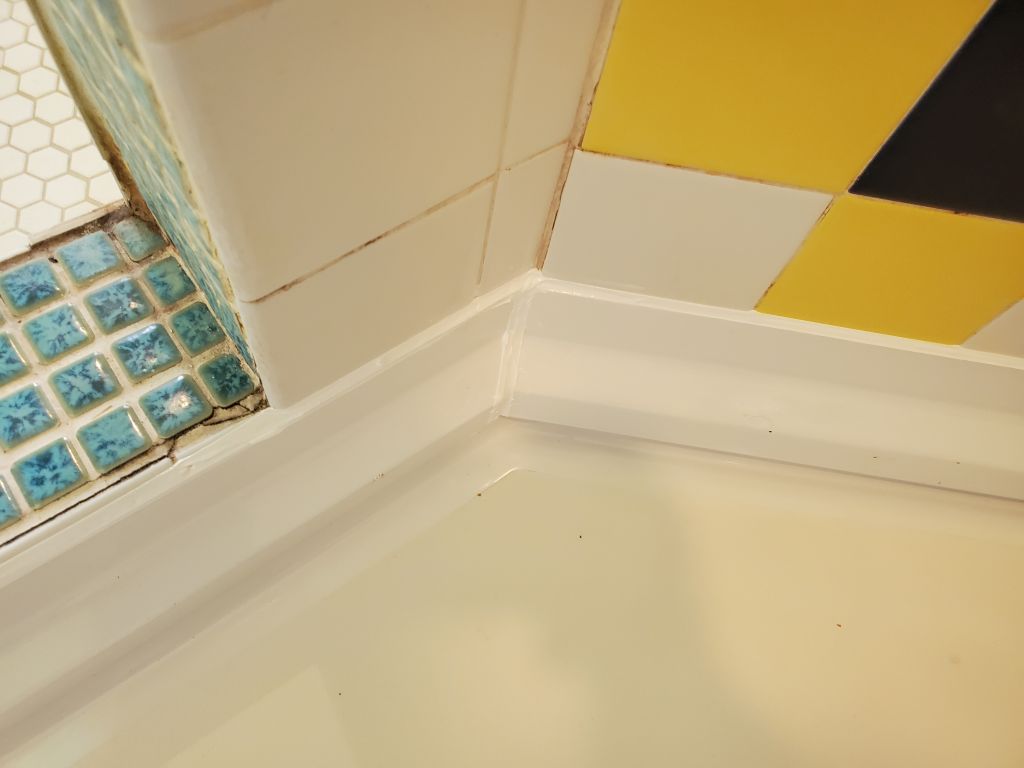
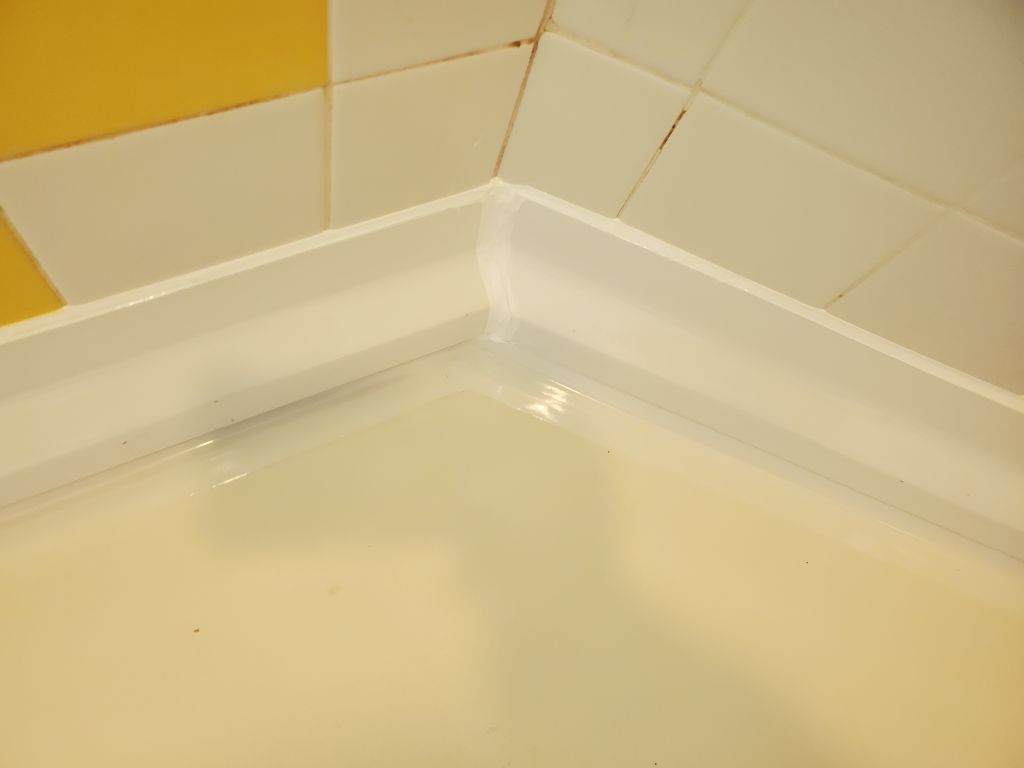
The next day, the adhesive had cured enough for me to remove all the clamps and bracing, after which I masked both sides of the top edge, and along the corners and seams, before applying the final cosmetic beads of sealant to these areas. Removing the masking tape left clean lines, and I left the shower for the final sealant to cure for a day or two before we put the shower back into service.


Other lessons learned for future Tim:
- Hire someone who knows how to install mortar beds. Don’t do projects in a rush. (By the time I got to this shower, I was burned out from a very intensive 7 months building the whole house and finishing it off, and I just needed it to be done.)
- The idea to build a custom shower pan was genius (thanks Heidi), but required a lot of time and, frankly, probably the 15 years’ experience I’d had in the interim between the original construction and now. But I would go that route in the future now should we ever have opportunity to build another odd-sized custom shower. Obviously if I were building a custom pan during original constriction, I could size it properly to fit the whole shower, then bring the wall covering down over the flange on the sides in the usual way to make it waterproof. The semi-complicated edge trim pieces I conceived were required here because there was no other way to integrate and fully-waterproof the retrofit pan.
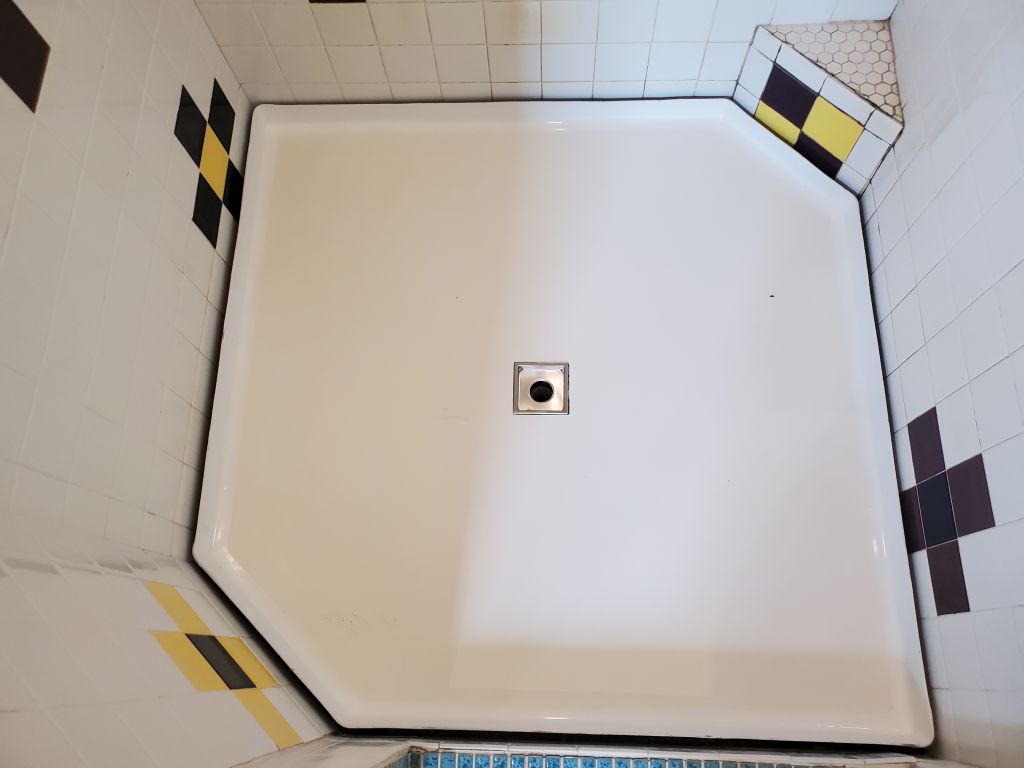
- We love this shower, which has no door or curtain but keeps the bathroom dry thanks to the large size and orientation of the shower head, but it was frustrating and annoying to have the ill-draining floor and all the related problems for so long. No one to blame for that but myself, but there were myriad factors at hand that caused this replacement project to take so long to finally effect.
- No small tiles in showers! If we were to do this again, we’d have large tiles and dark grout.
It works!