


March 20, 2025
Miss Helen 9
Thursday
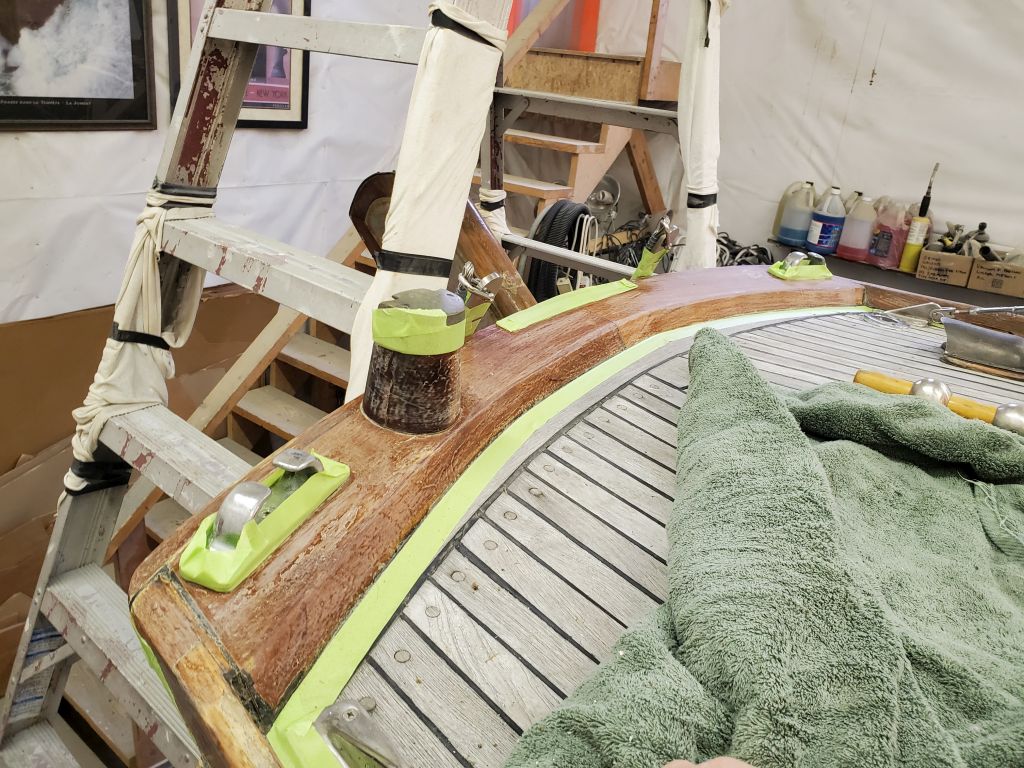
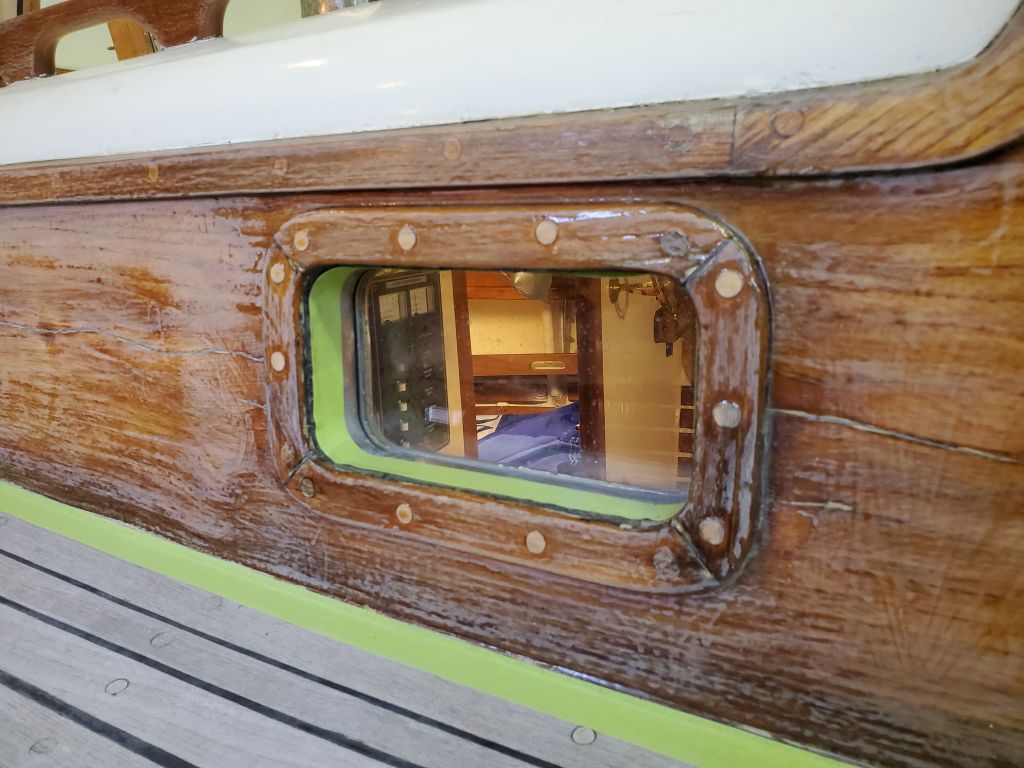
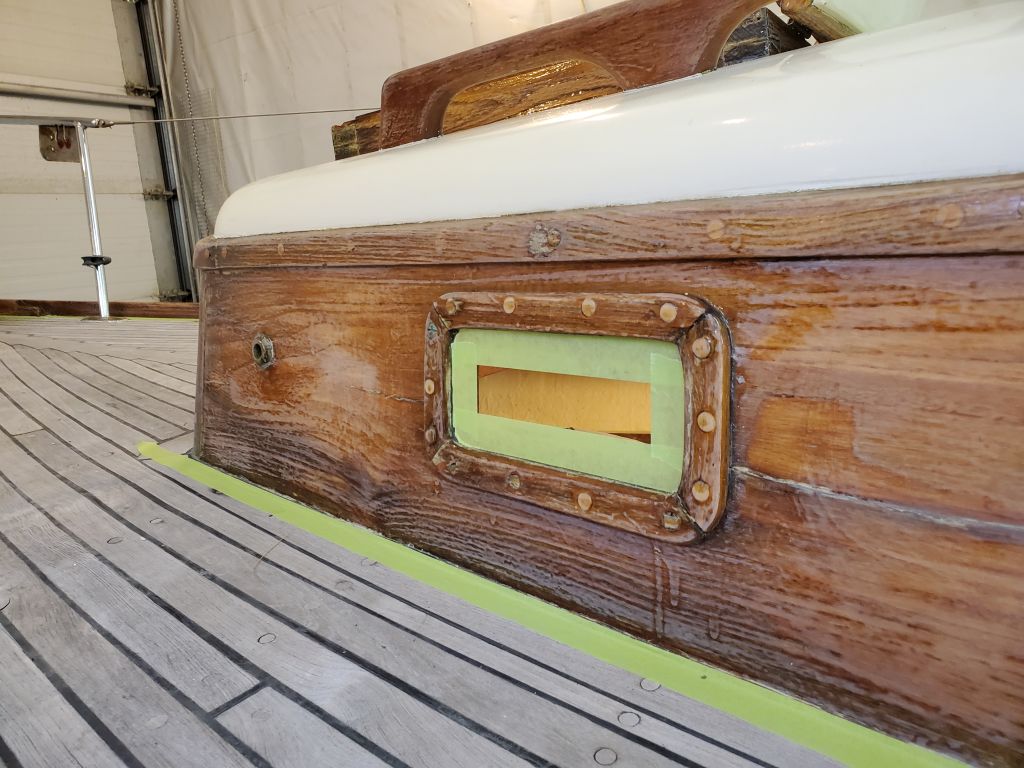
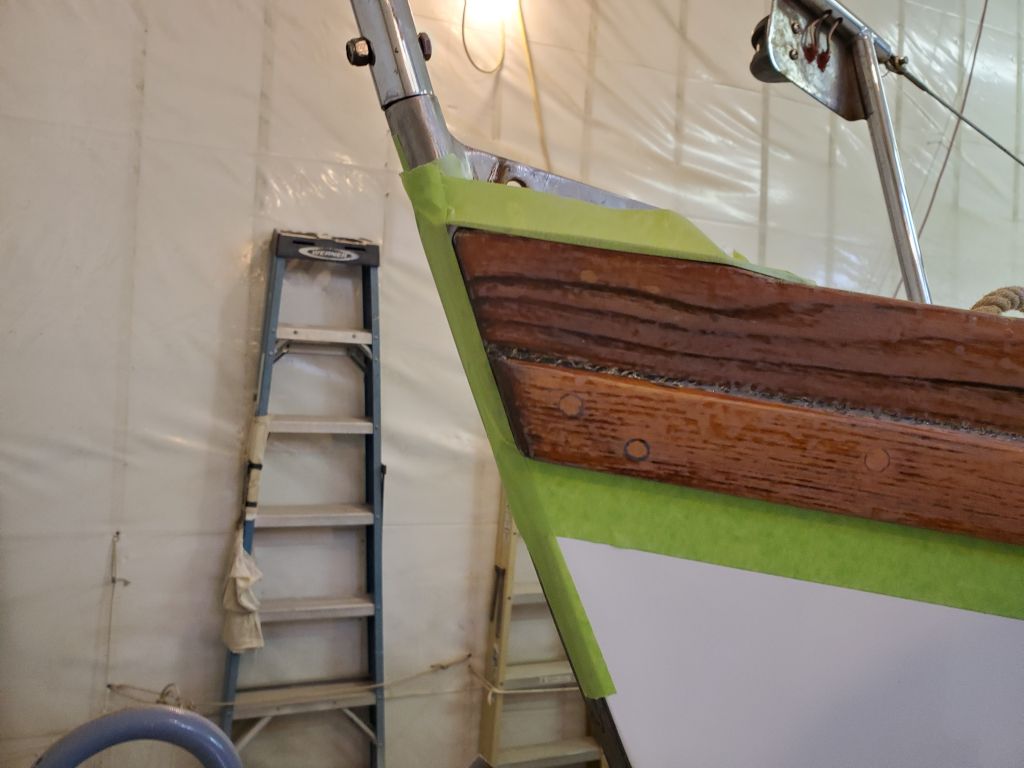
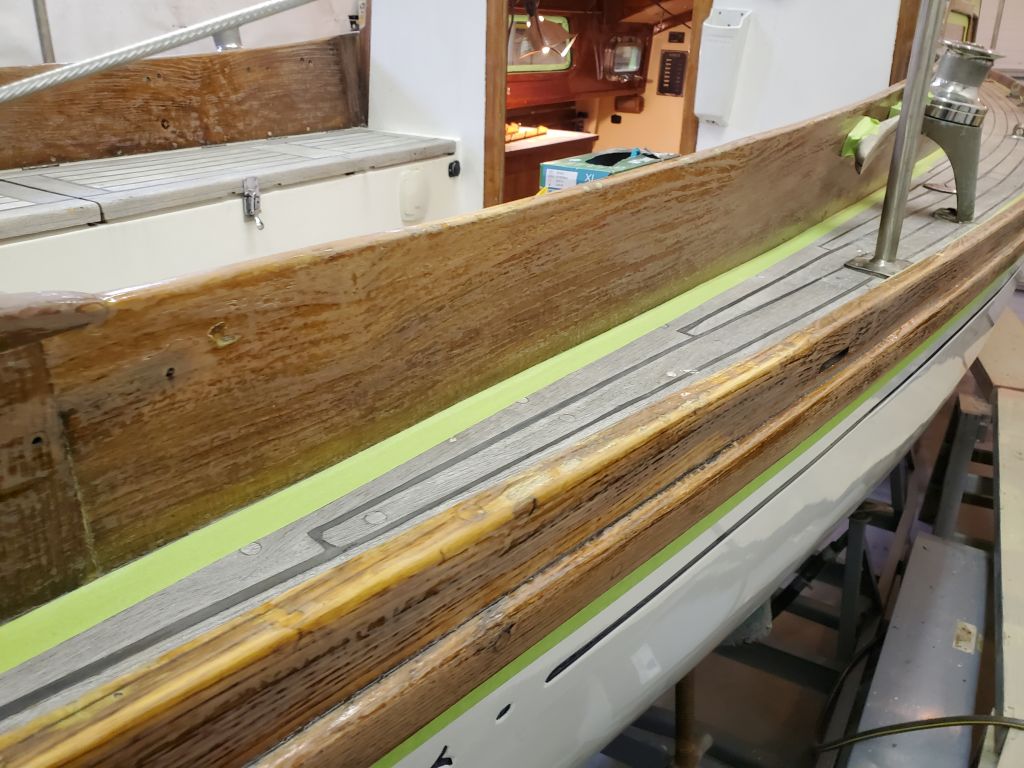
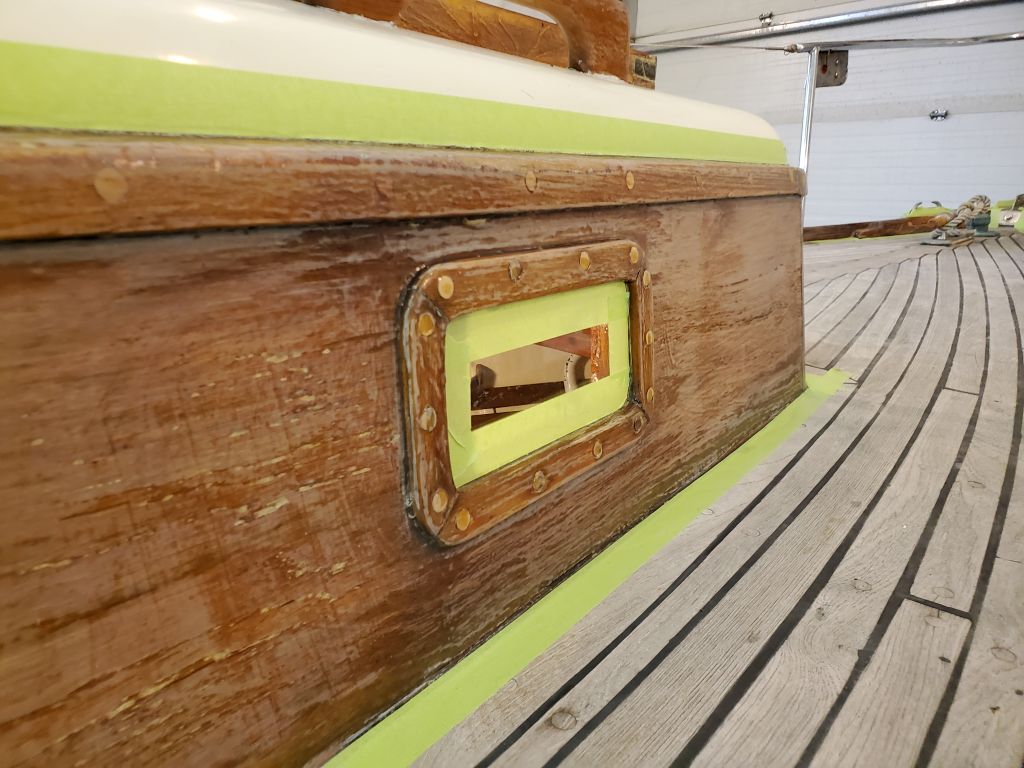
I lightly sanded the new epoxy filling the old deadlight screw holes to flatten it and remove any hard spots.
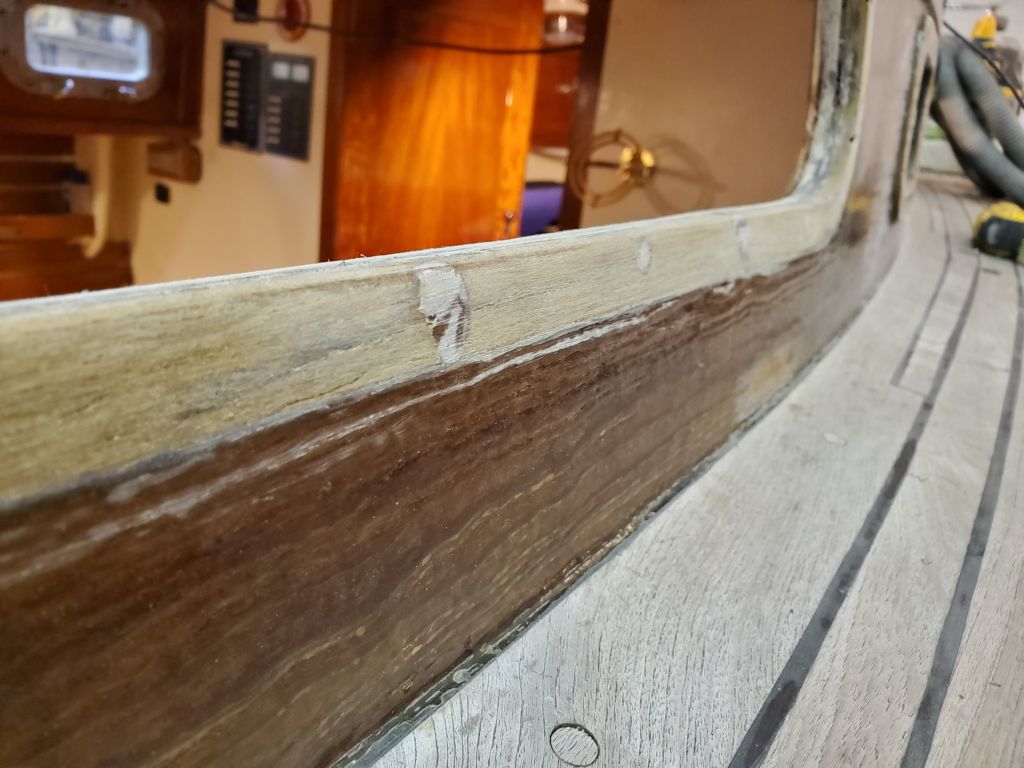
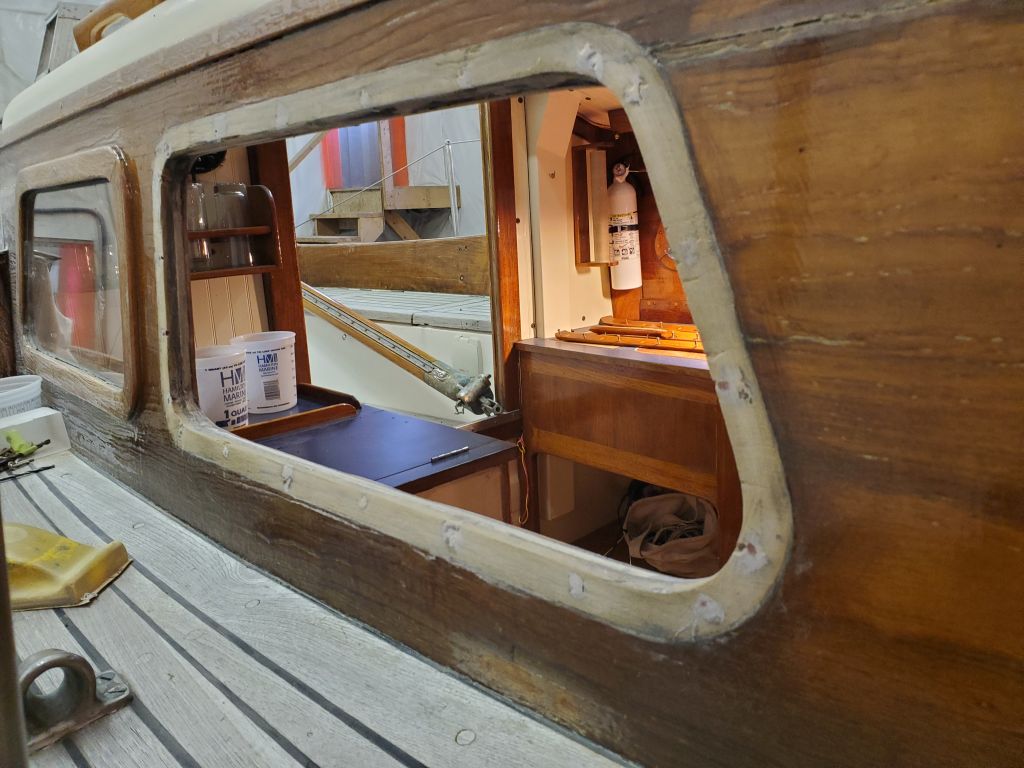

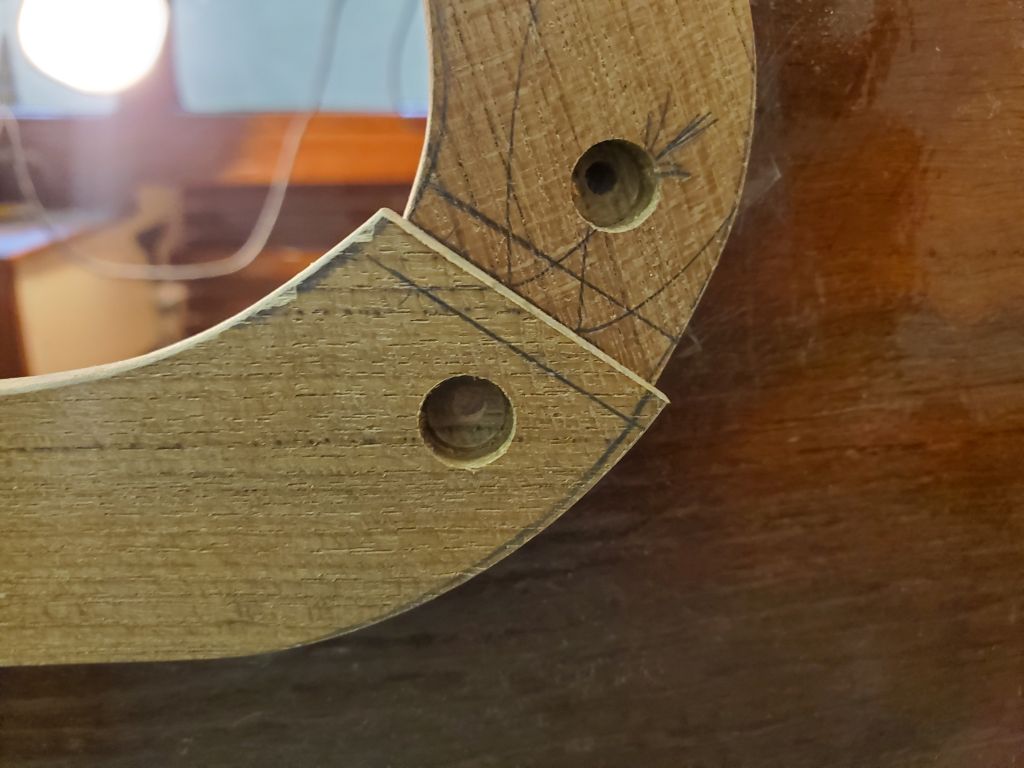
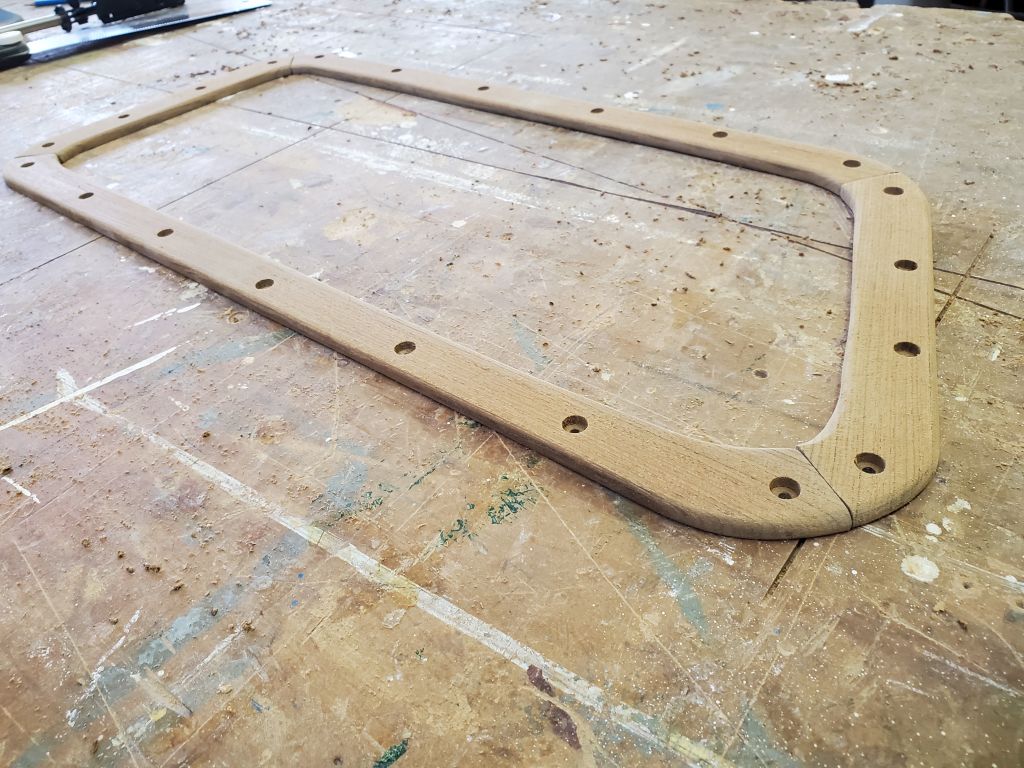
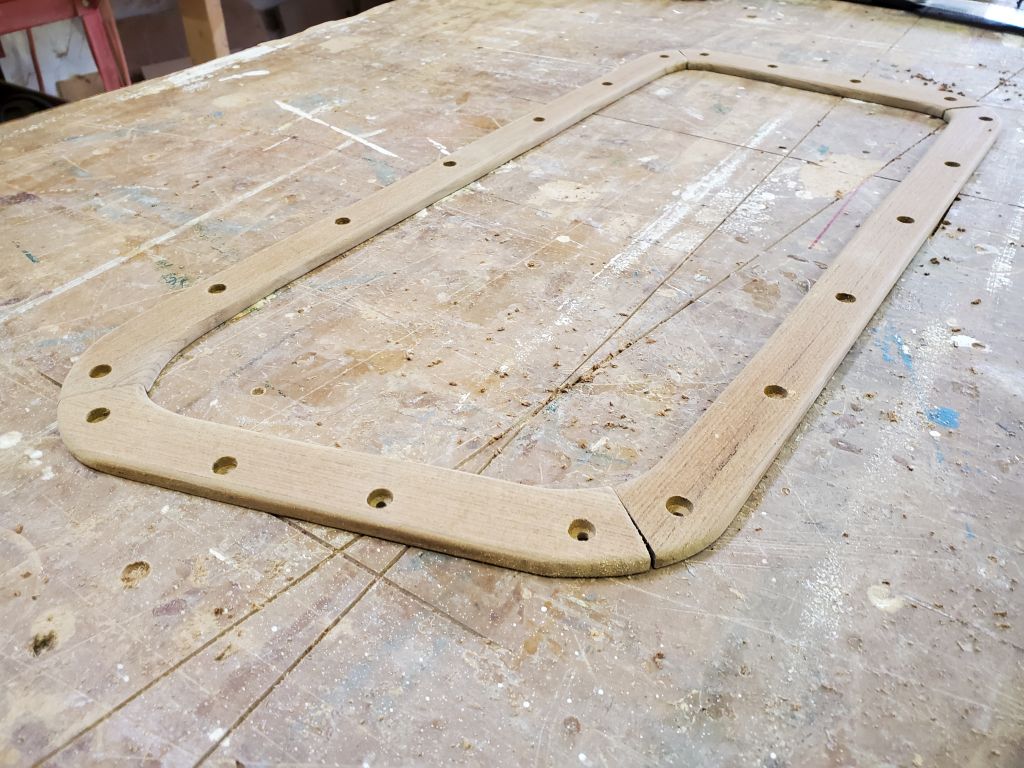
While I had the trim down, and since I’d already drilled small pilot holes at each screw location, I took a moment to drill 3/8″ diameter recesses to accept bungs later. I did this on the drill press to ensure accuracy and consistent depth.
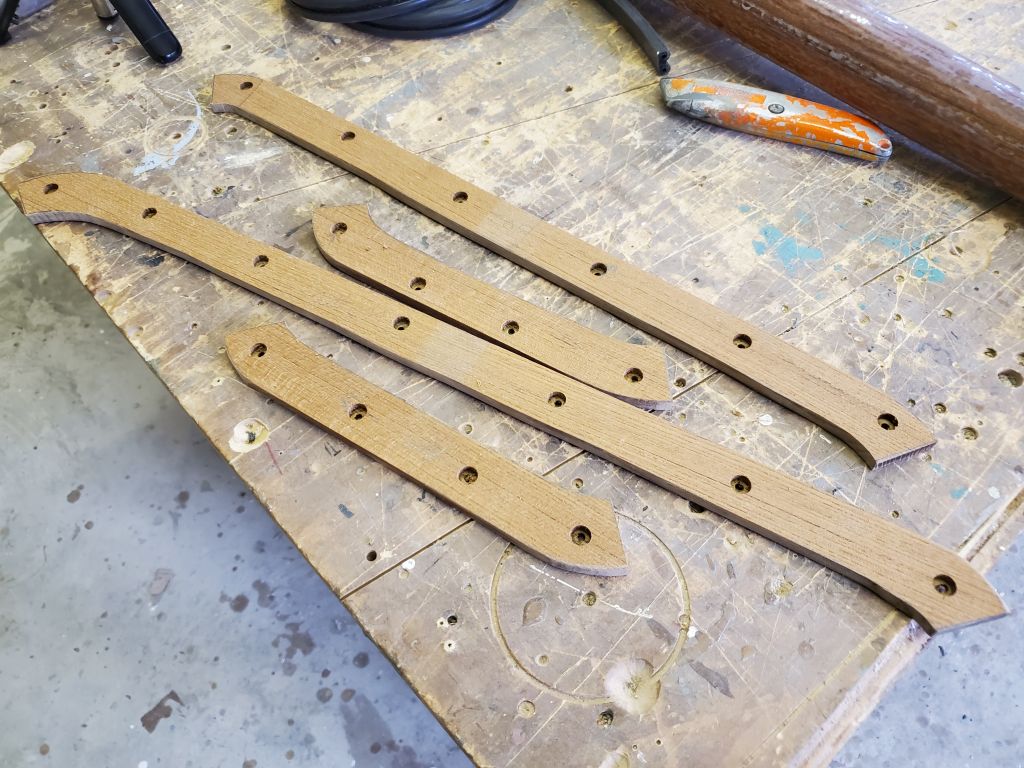
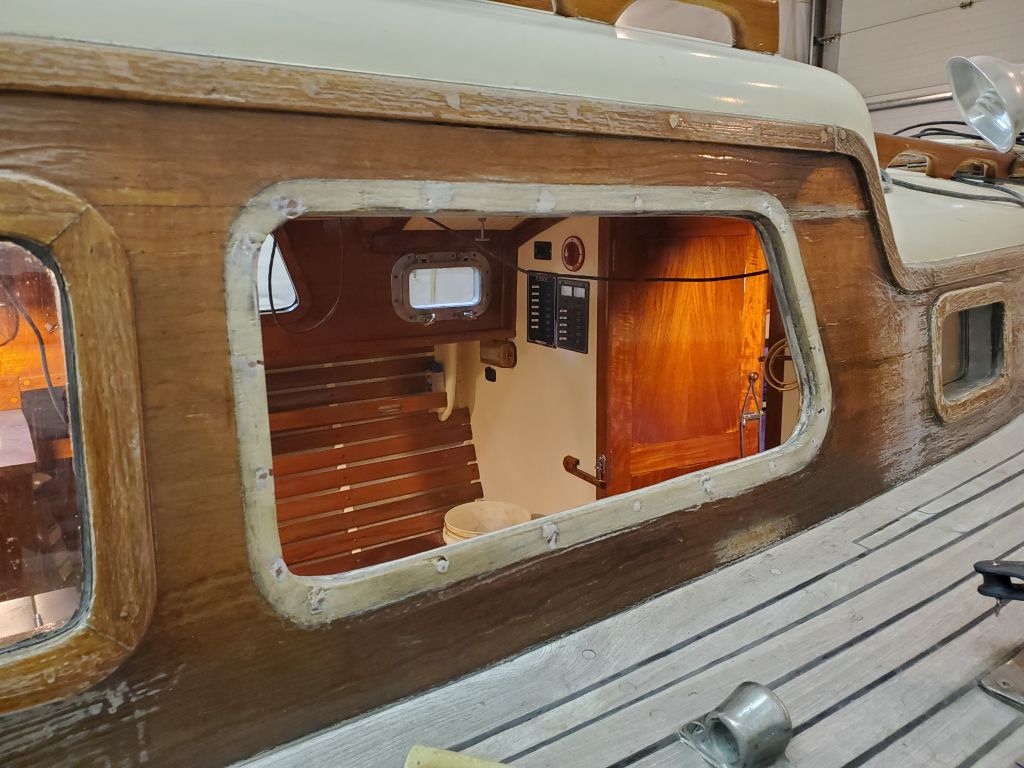
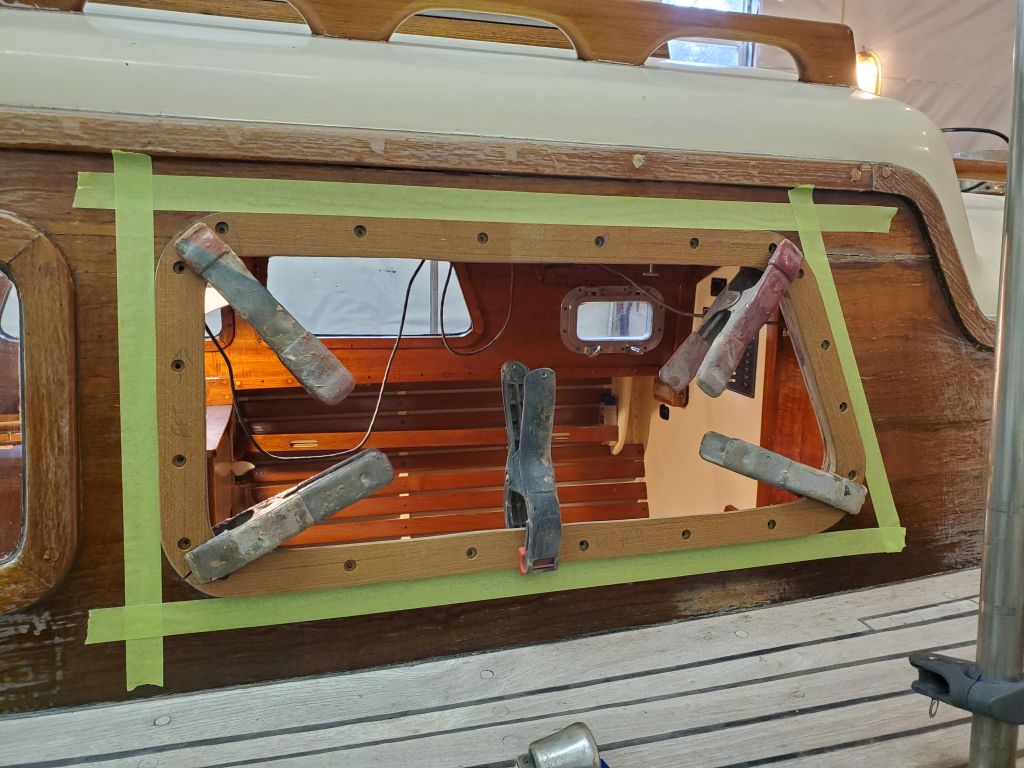
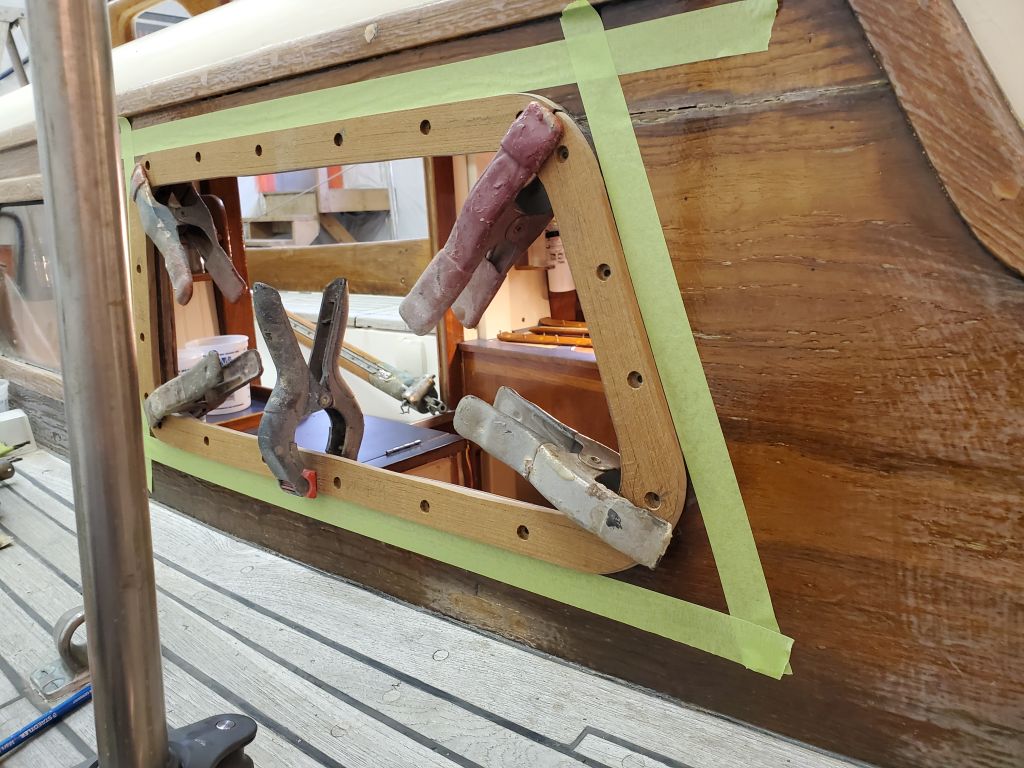
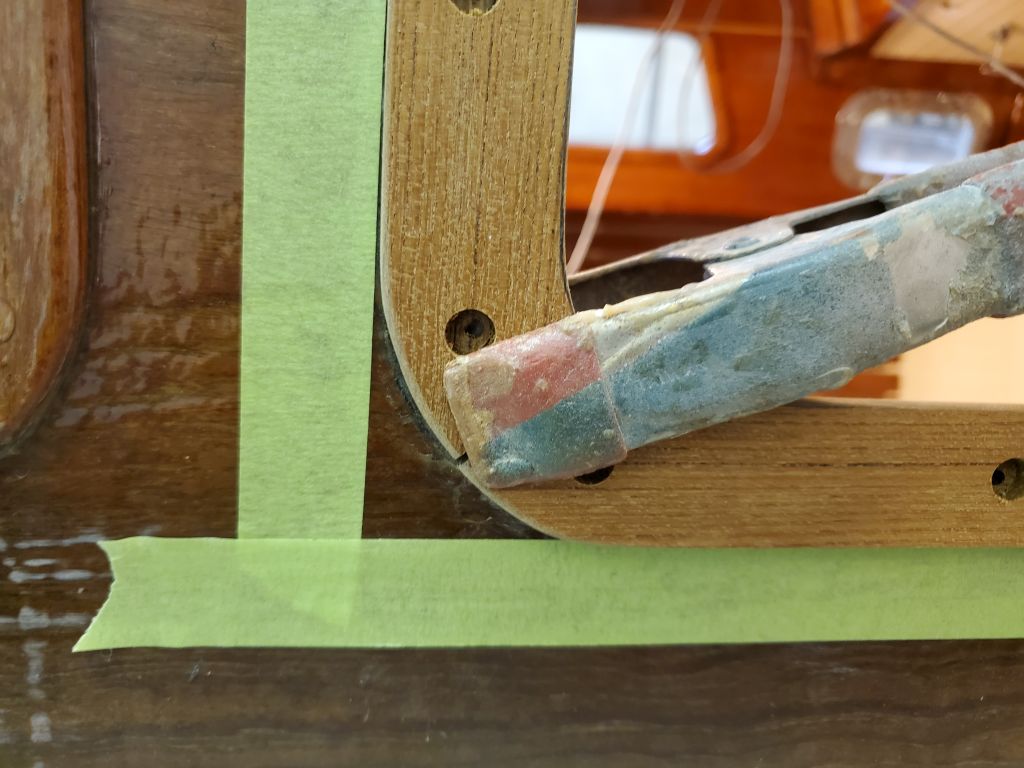
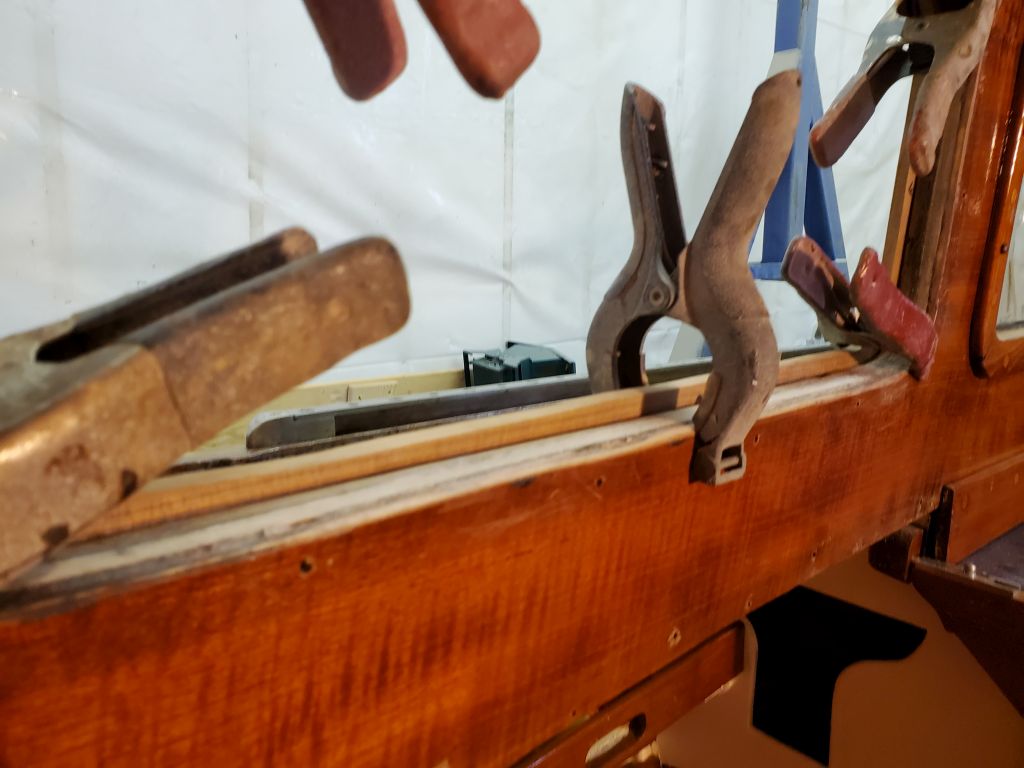
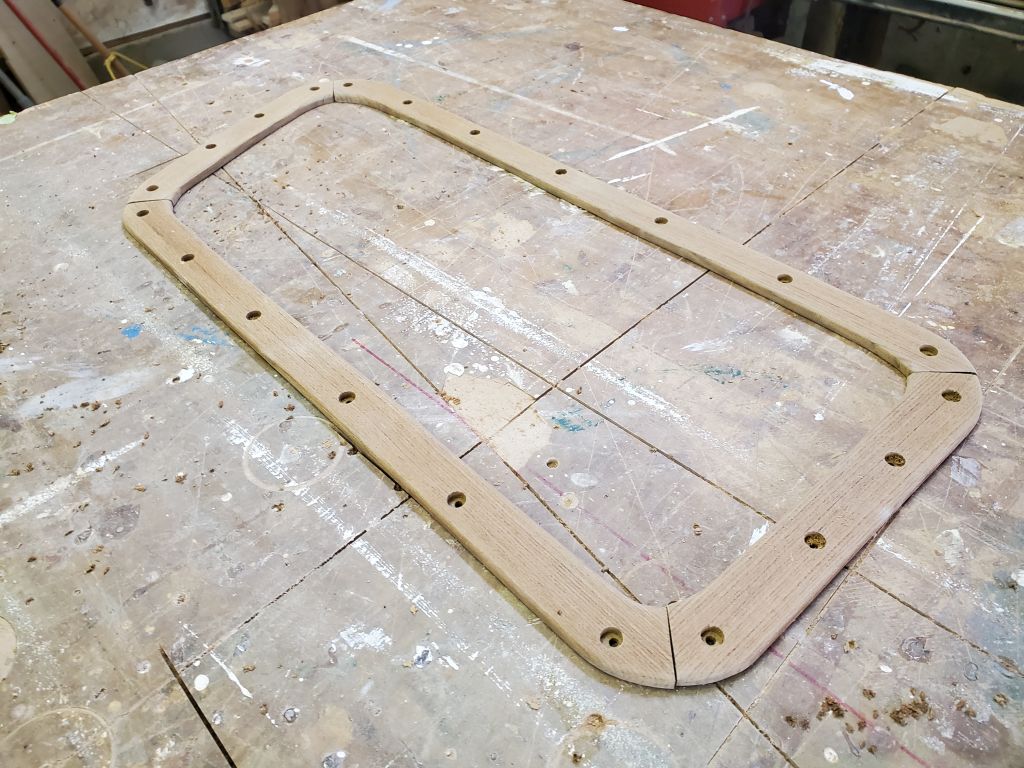
Now I test-fit the trim again. I would have liked to drill and tap for some of the screws to help me hold it, but the fresh epoxy would hold threads better if I gave it come cure time, so for now I relied on clamps. I arranged the trim so it fit in all the corners, and clamped it in place. But checking the reveal inside, I noticed that the lower forward corner was too low, the result of the bottom trim piece being slightly too long. This wasn’t a surprise, since I’d suspected all along that the broken-and-repaired old trim that I’d used as a pattern had “grown” a bit in the process, making it slightly longer than original and therefore skewing the forward joint.
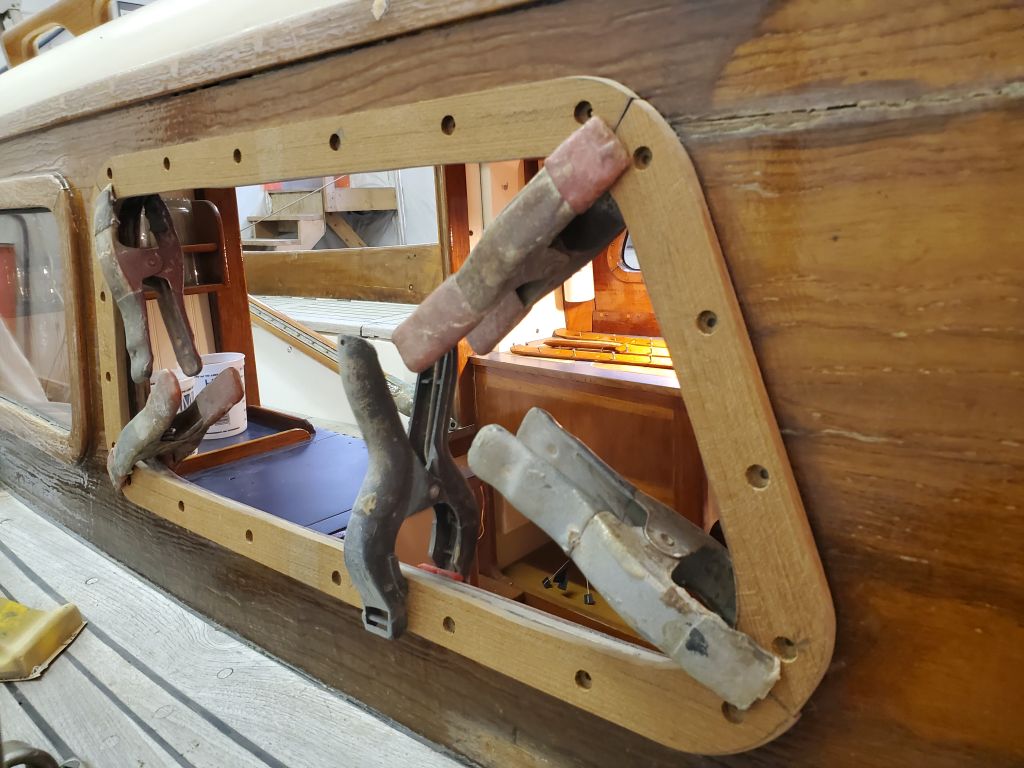
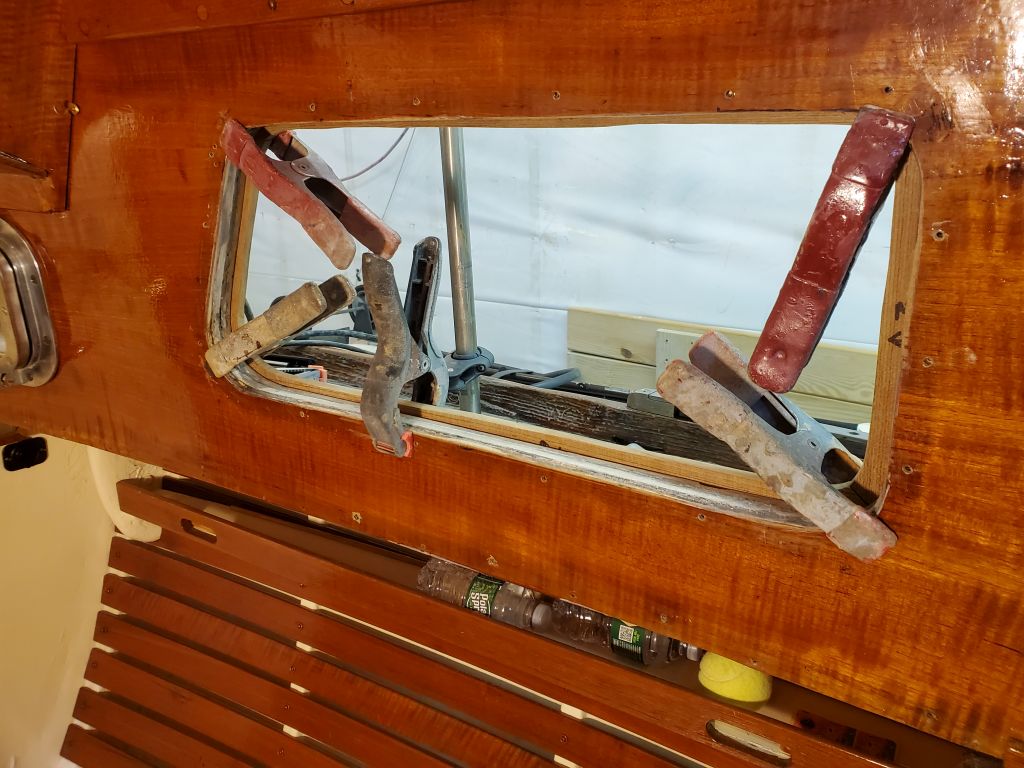
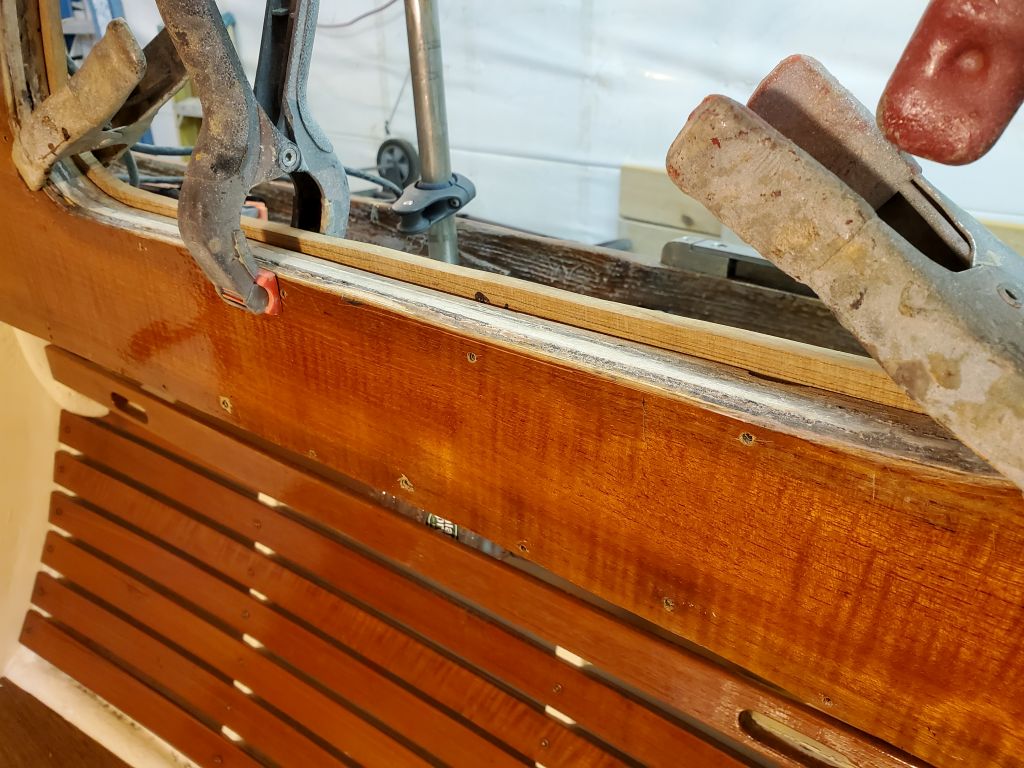
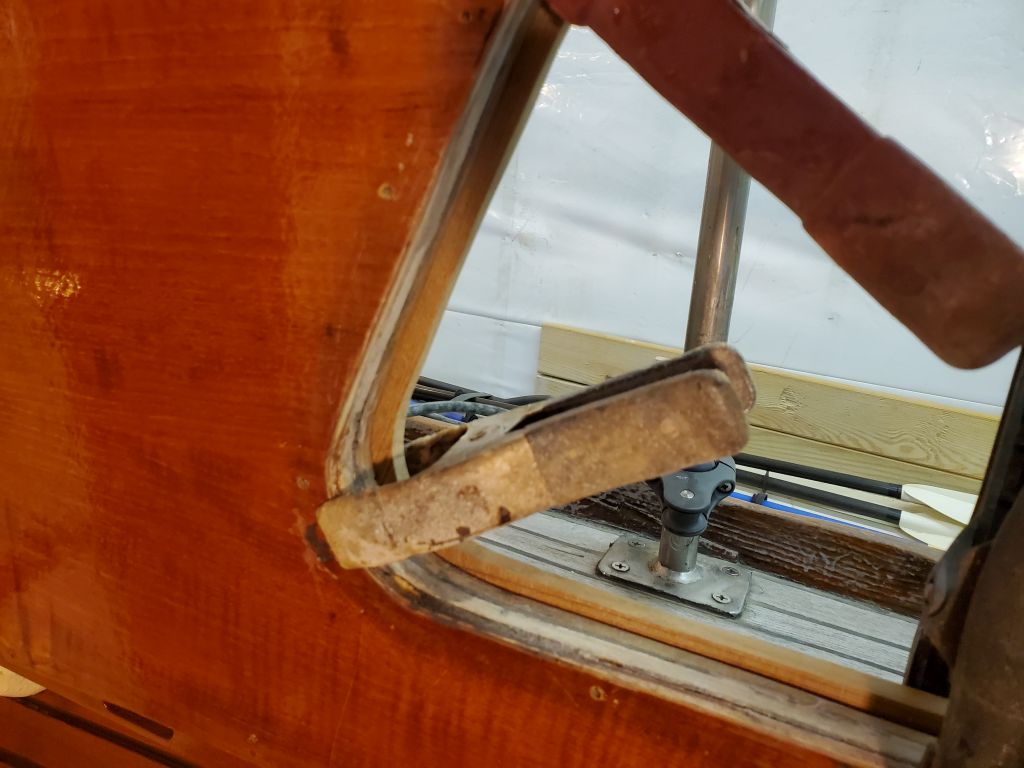
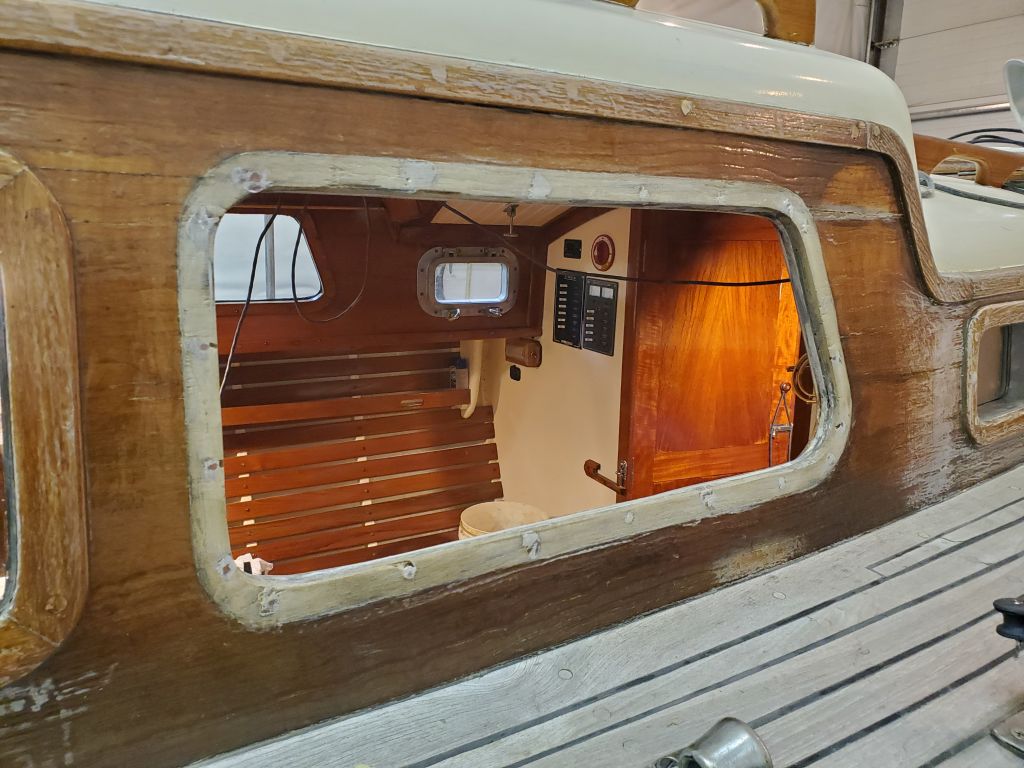
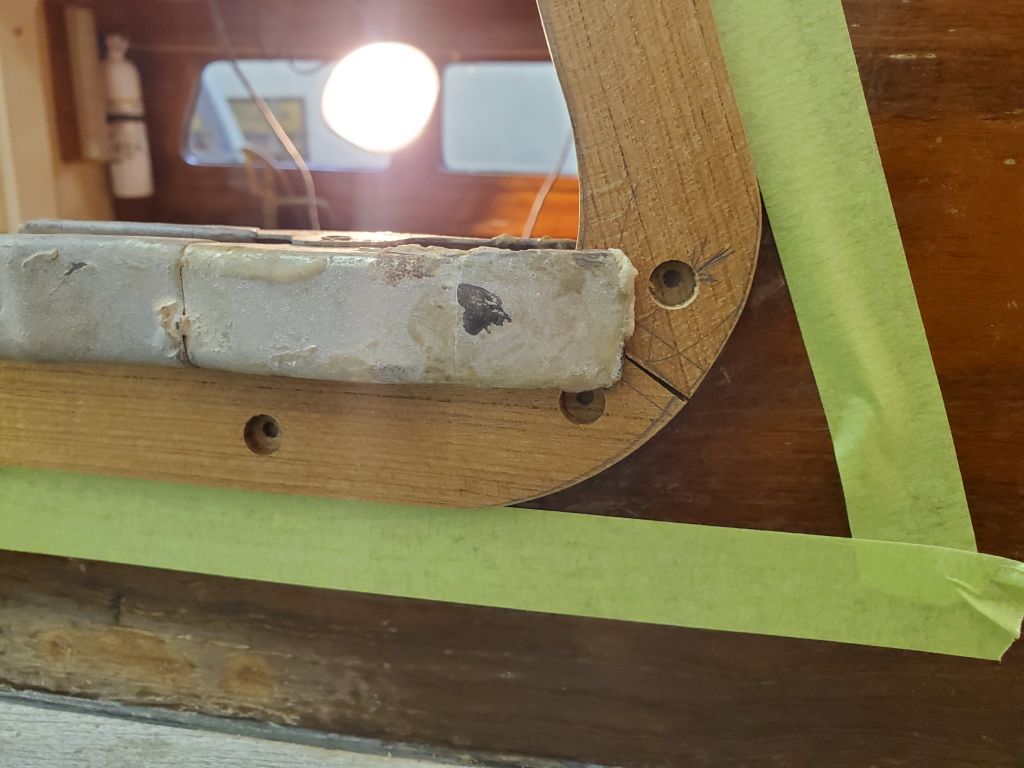
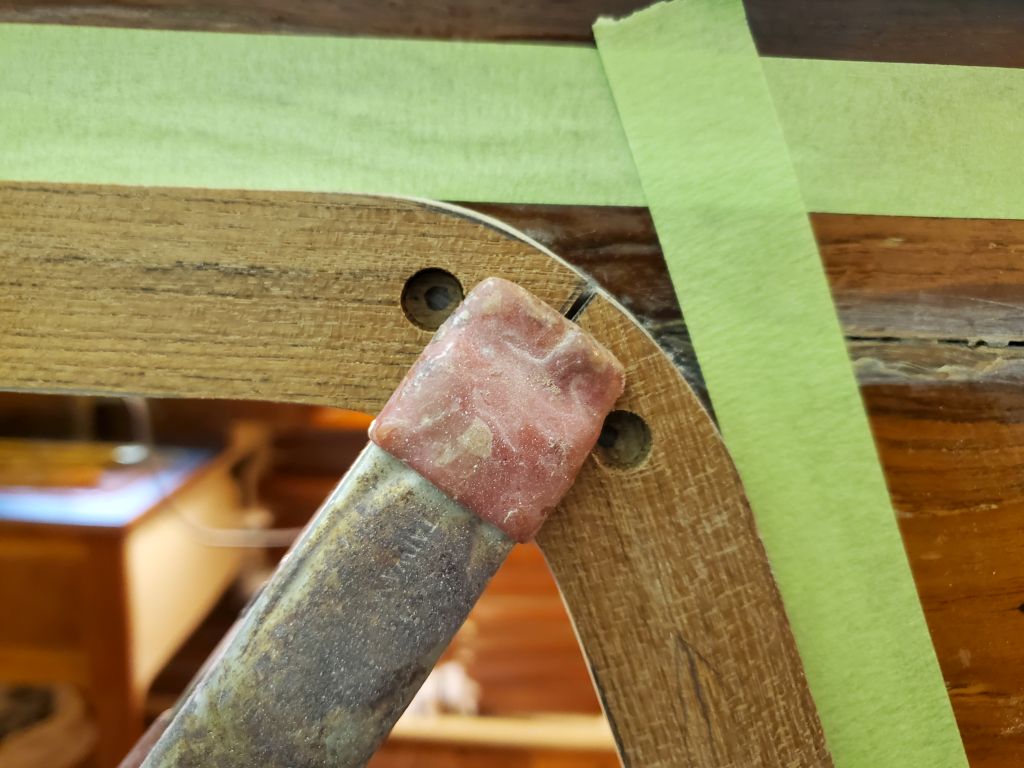
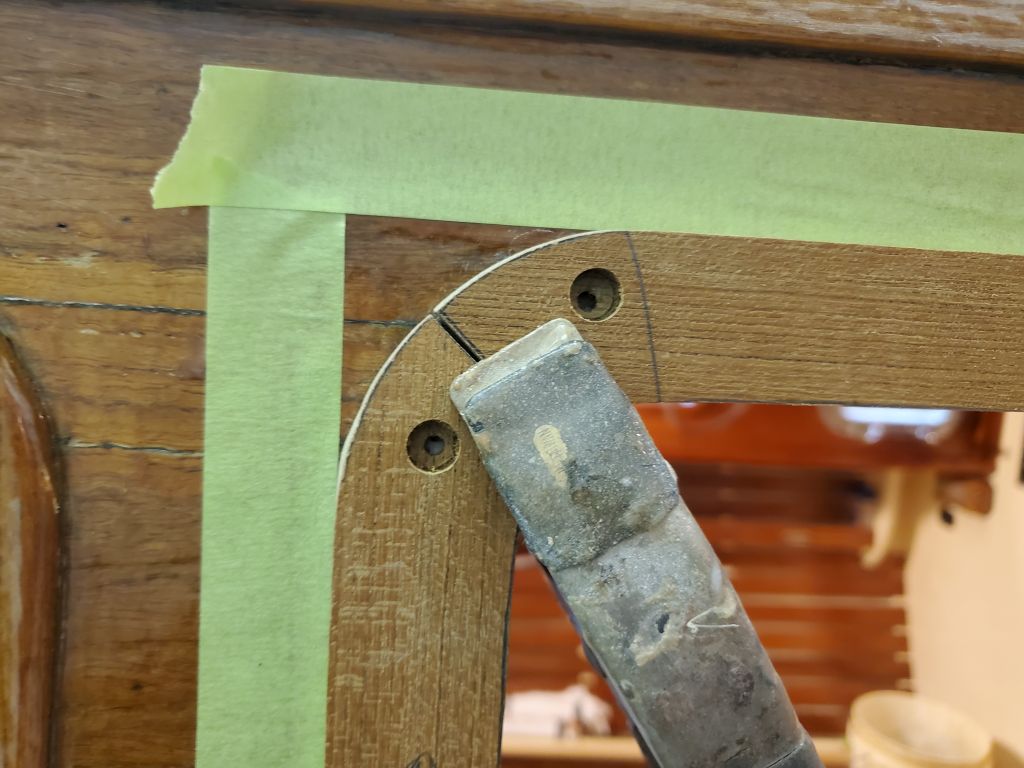
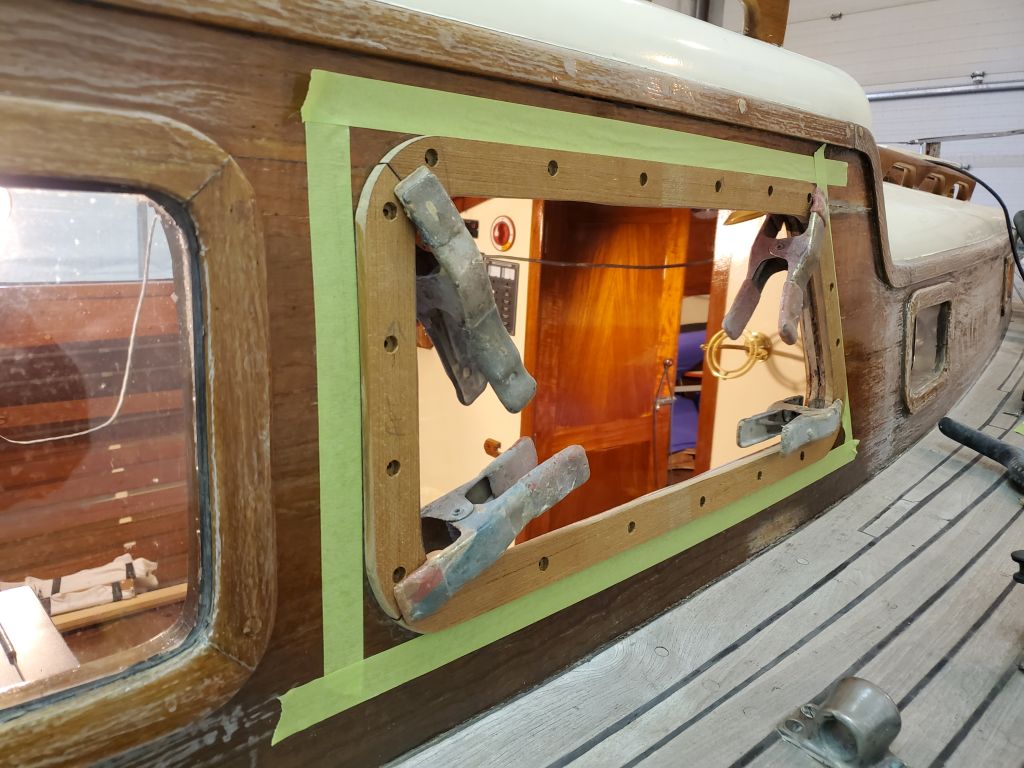
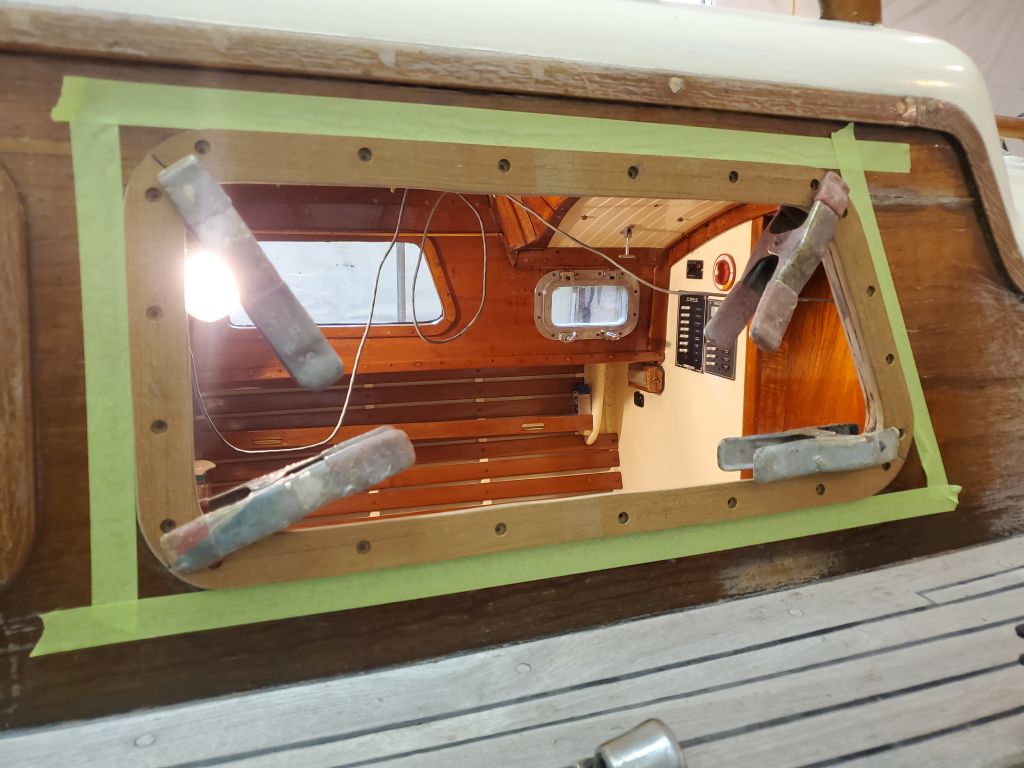
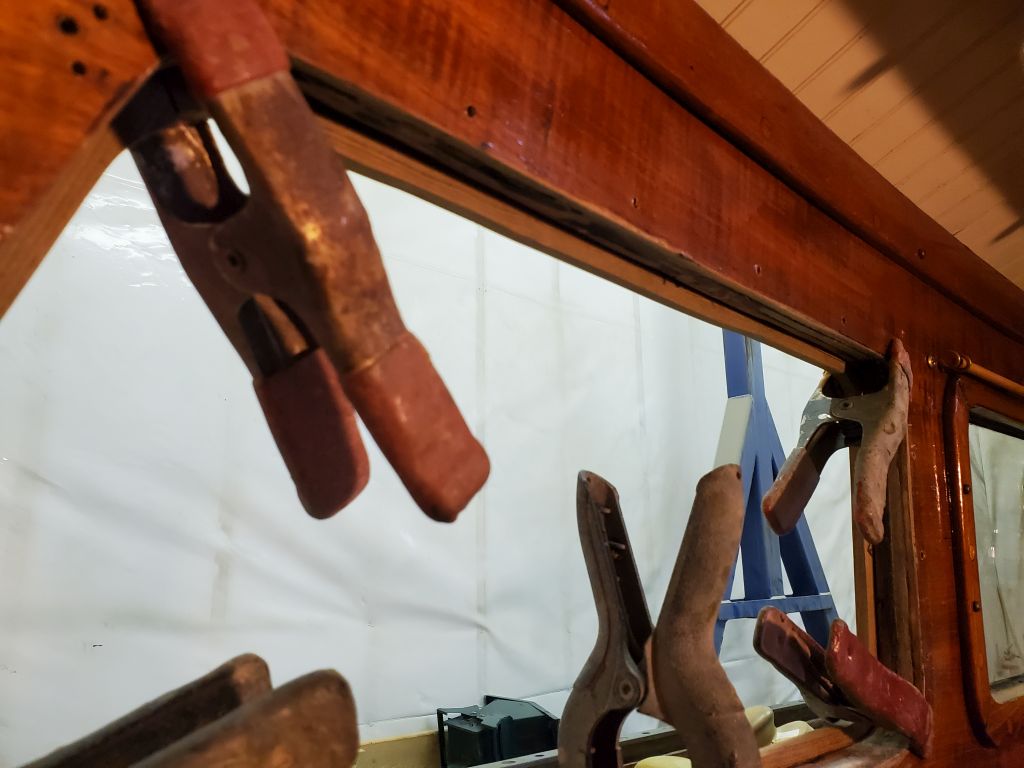
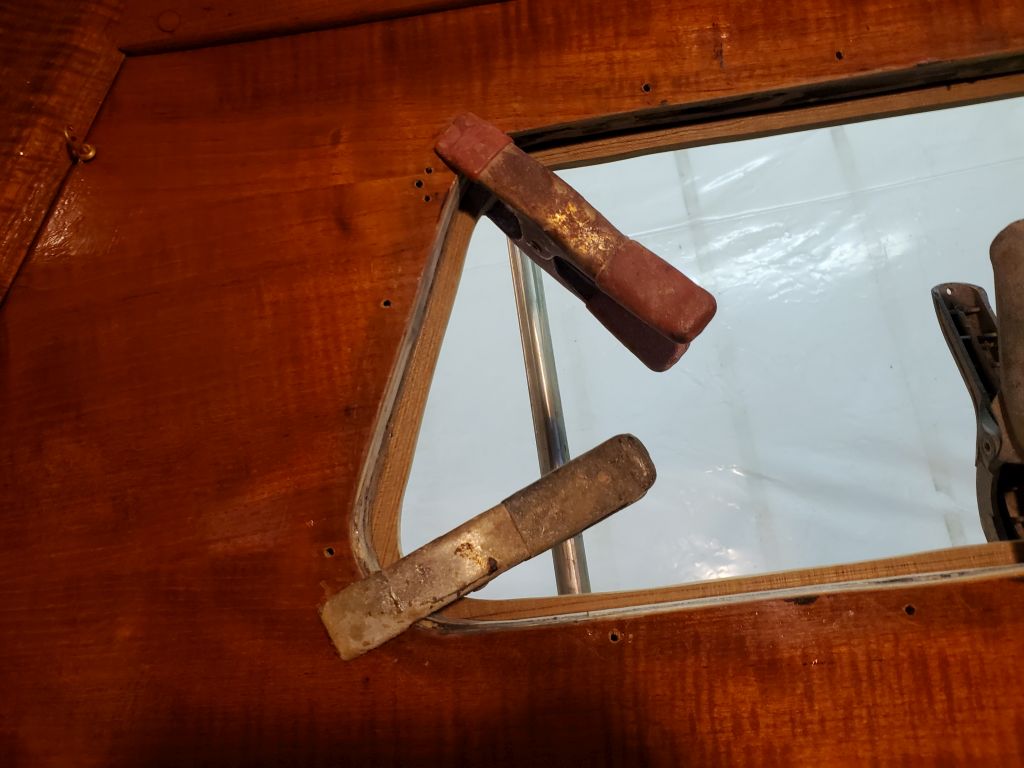
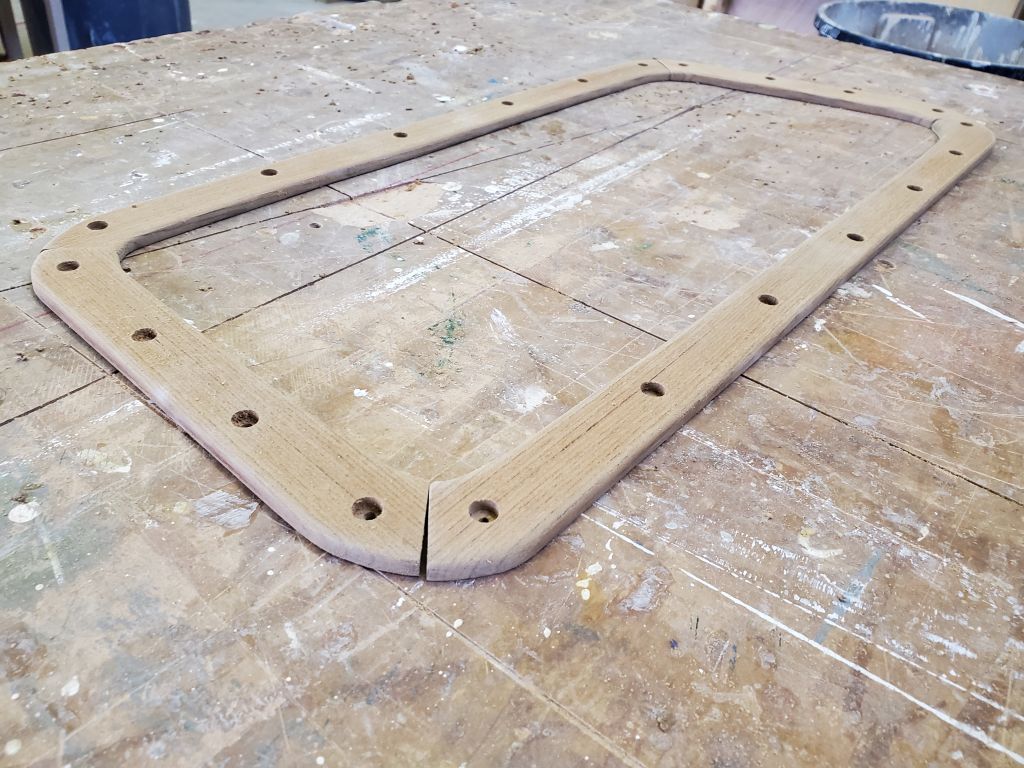
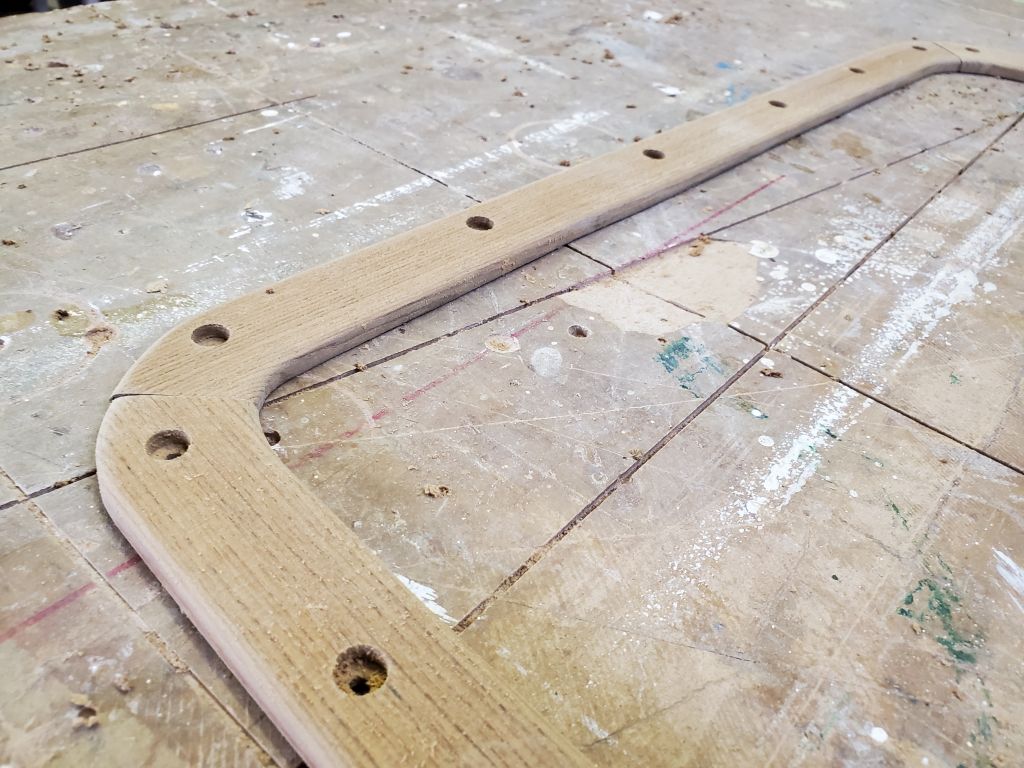
I needed to adjust the joint between the forward end of this lower piece and the forward vertical piece, so from outside I adjusted the lower trim till it was at the correct height, then overlapped the two pieces to make some reference marks for a cut. I started by taking a small amount off each piece of trim, as both required minor shortening, then, on a last test fit, marked the upper trim with a final cut line where the bottom overlapped it. I cut the upper piece because I didn’t want to take more off the lower piece, which might bring the fastener location too close to the edge; there was more room for a cut on the other piece. The line in question in the photos below is marked with two V-shaped pencil marks, or what looks like a W.
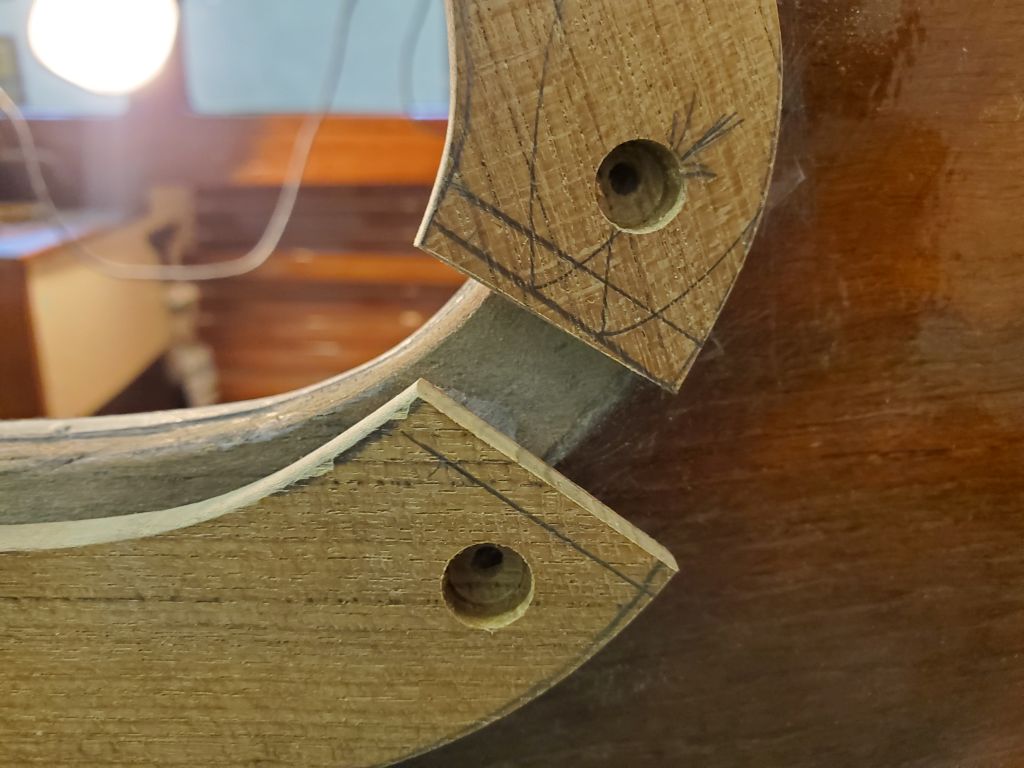
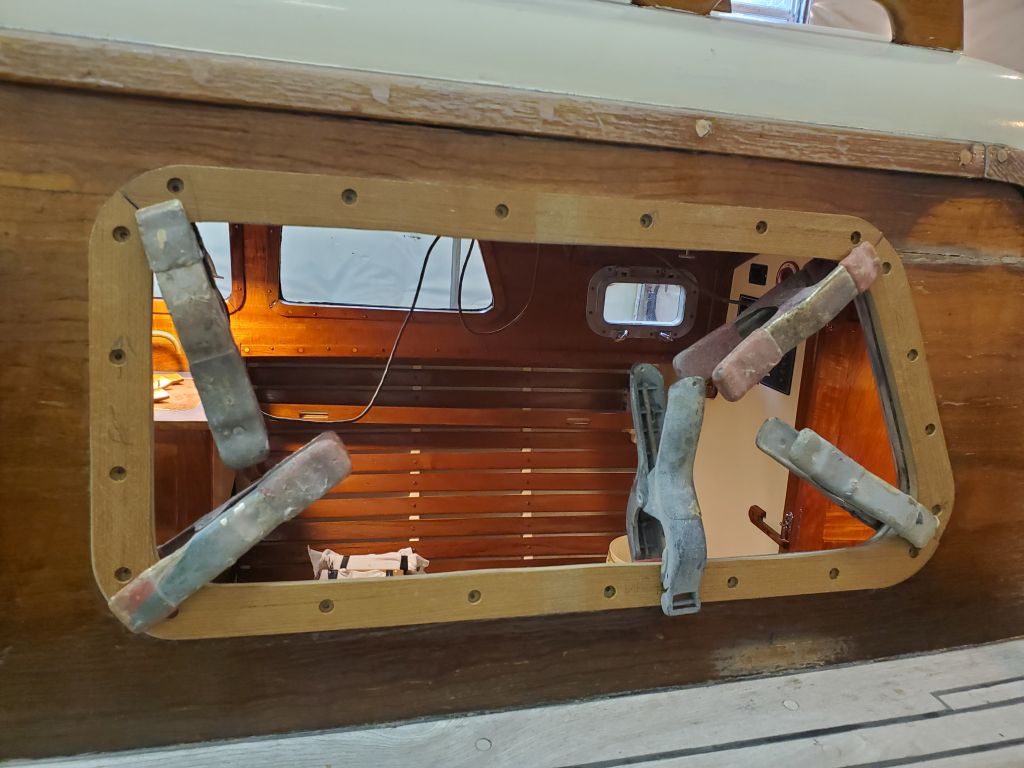
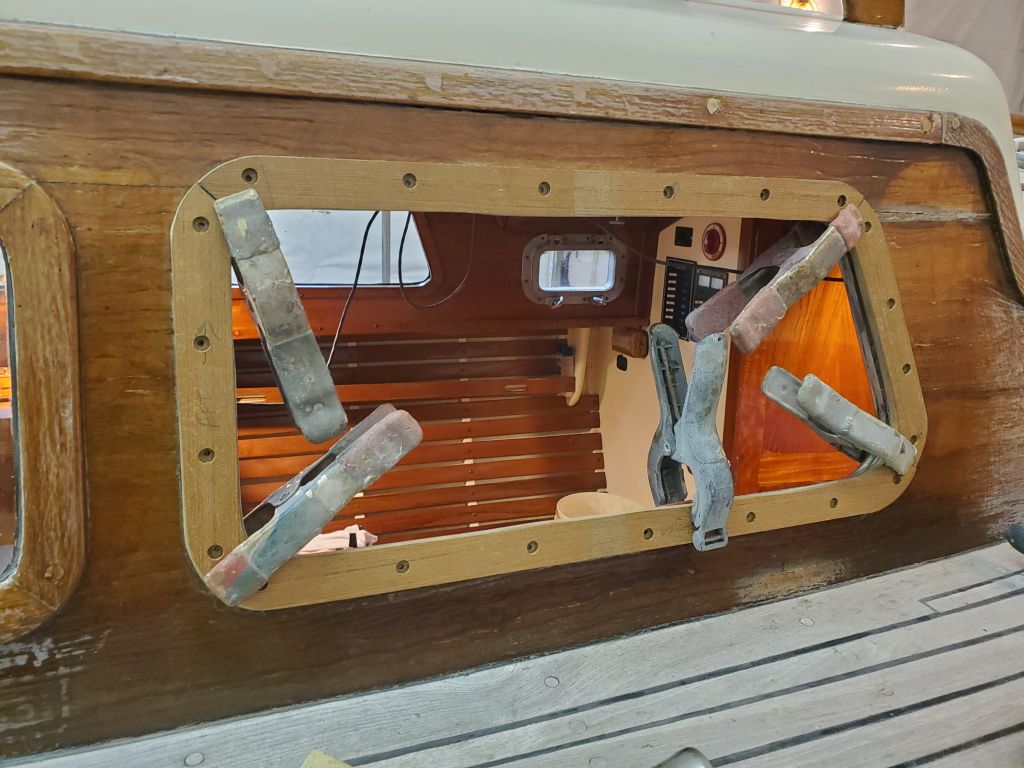
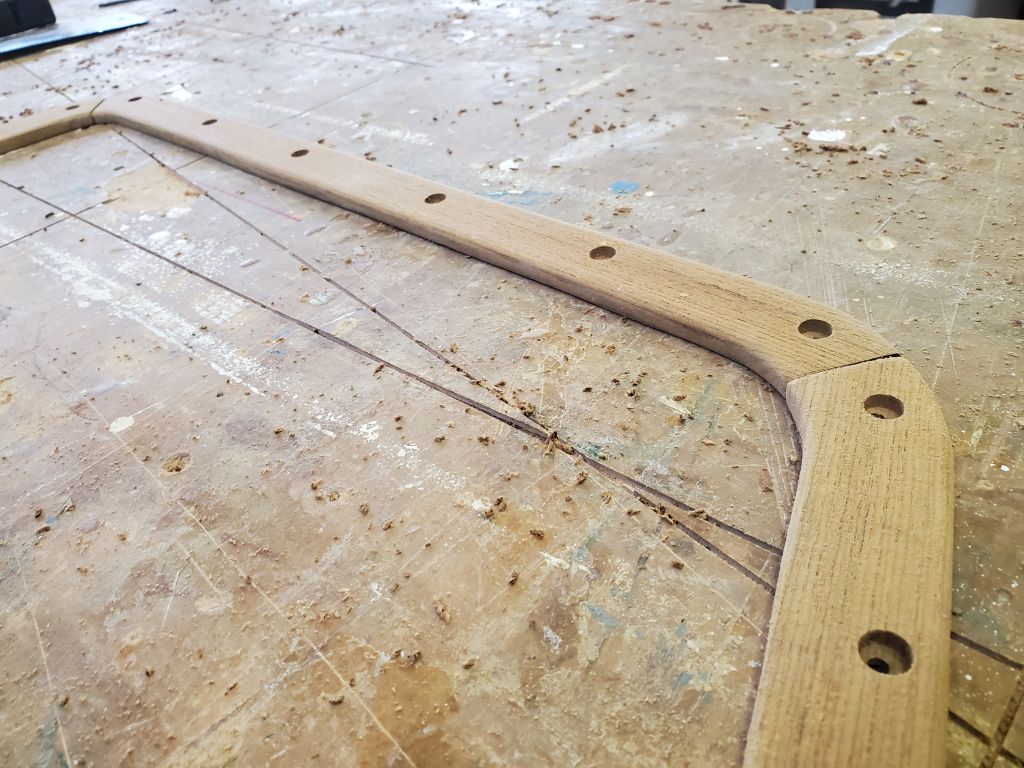
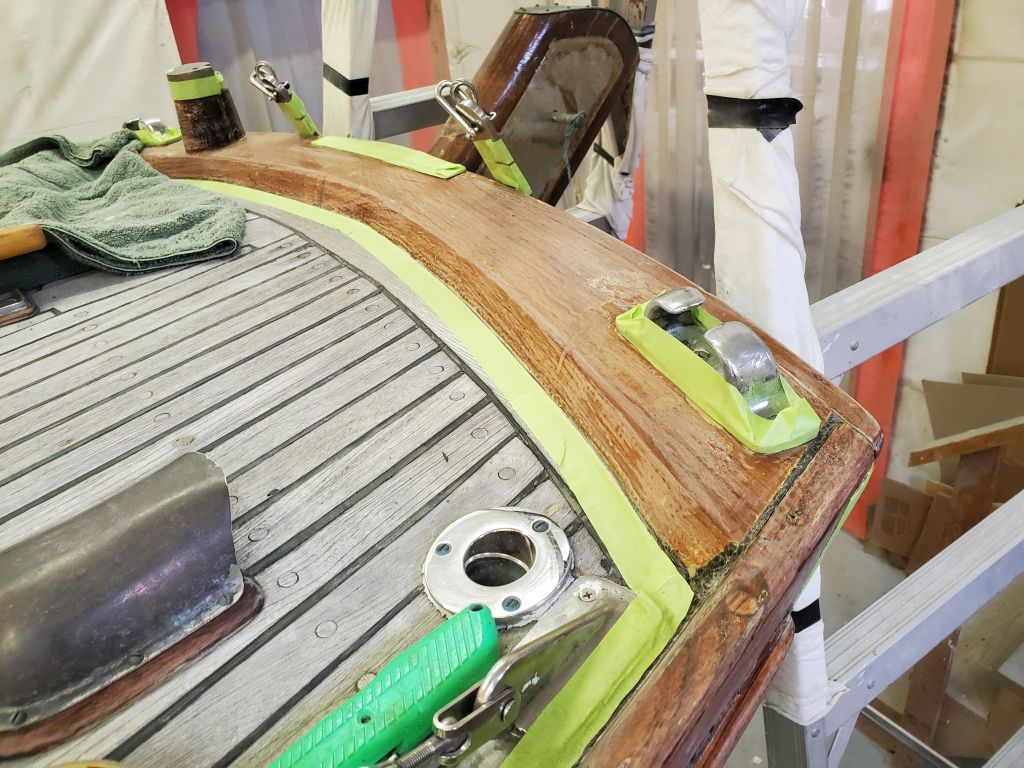
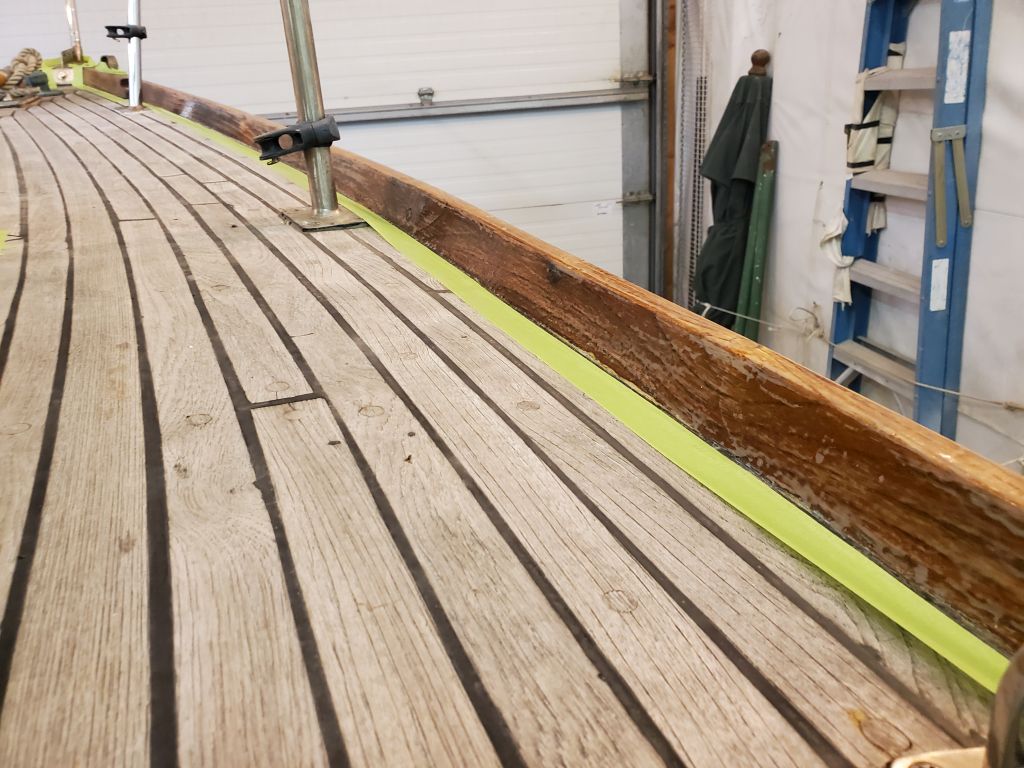
After this final cut, the pieces all fit correctly in the corners and with proper reveal all around. To help mark and later recreate the alignment, I used masking tape along the straight outer edges of all the trim, which would make future placement straightforward.
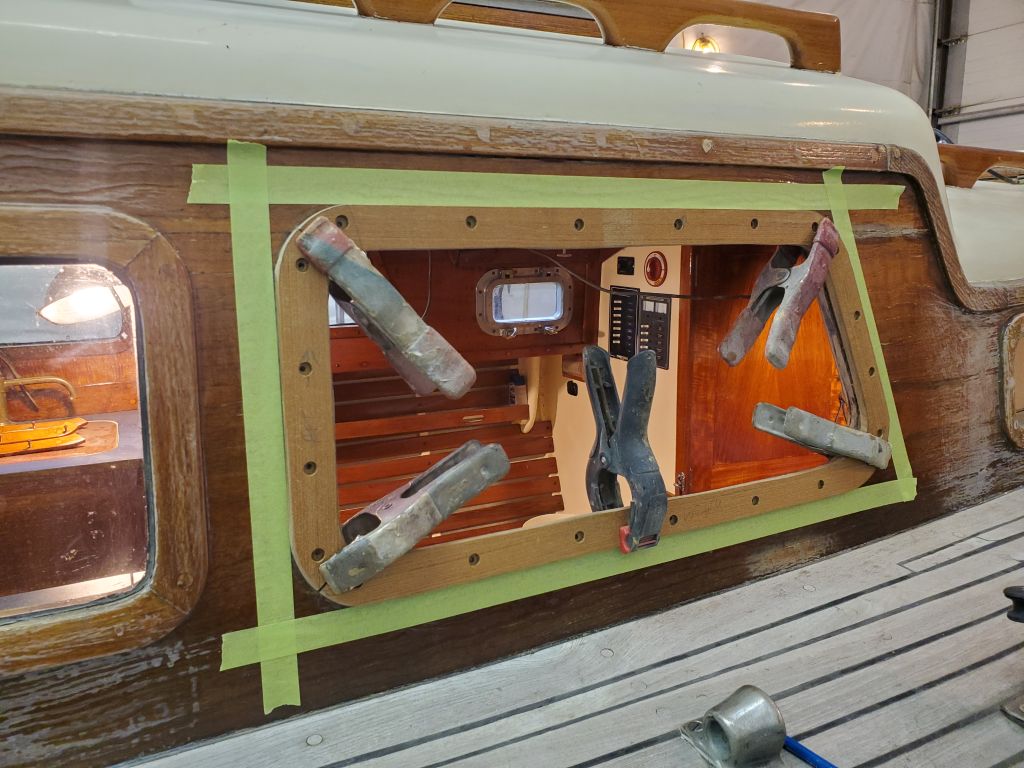

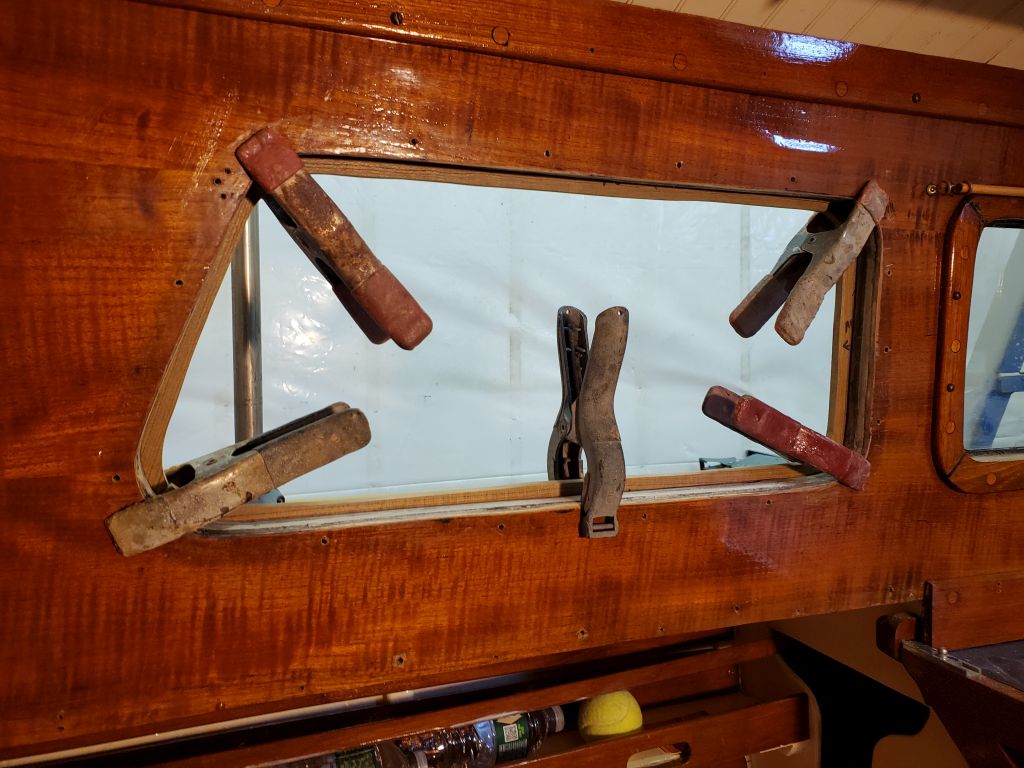

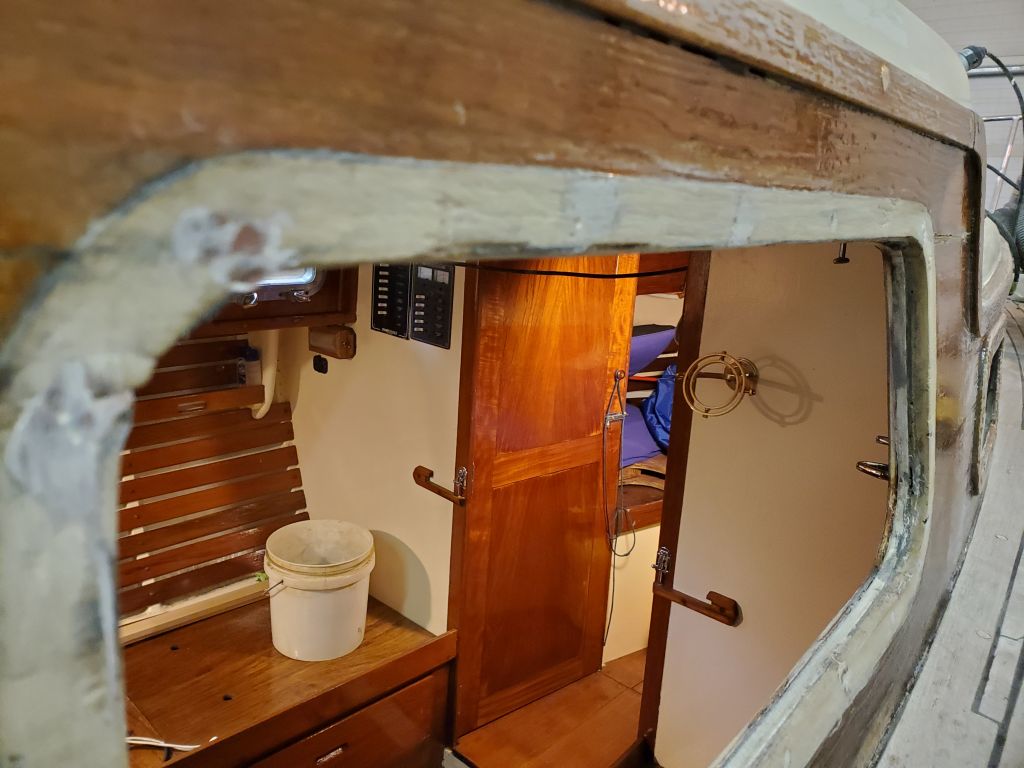
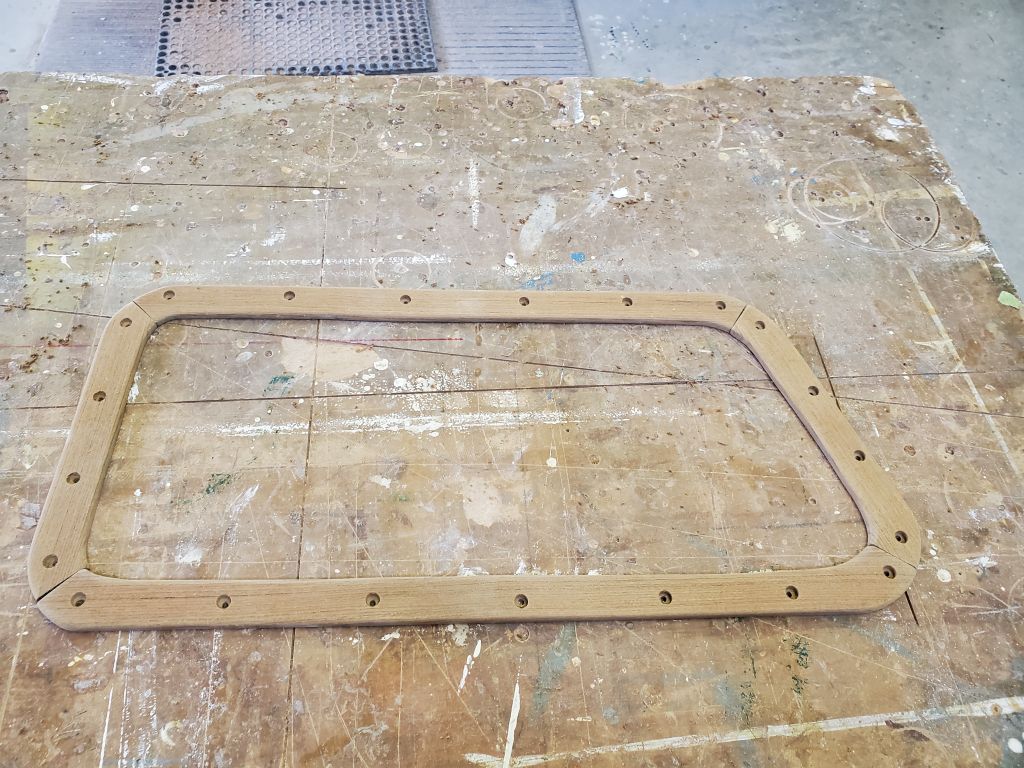
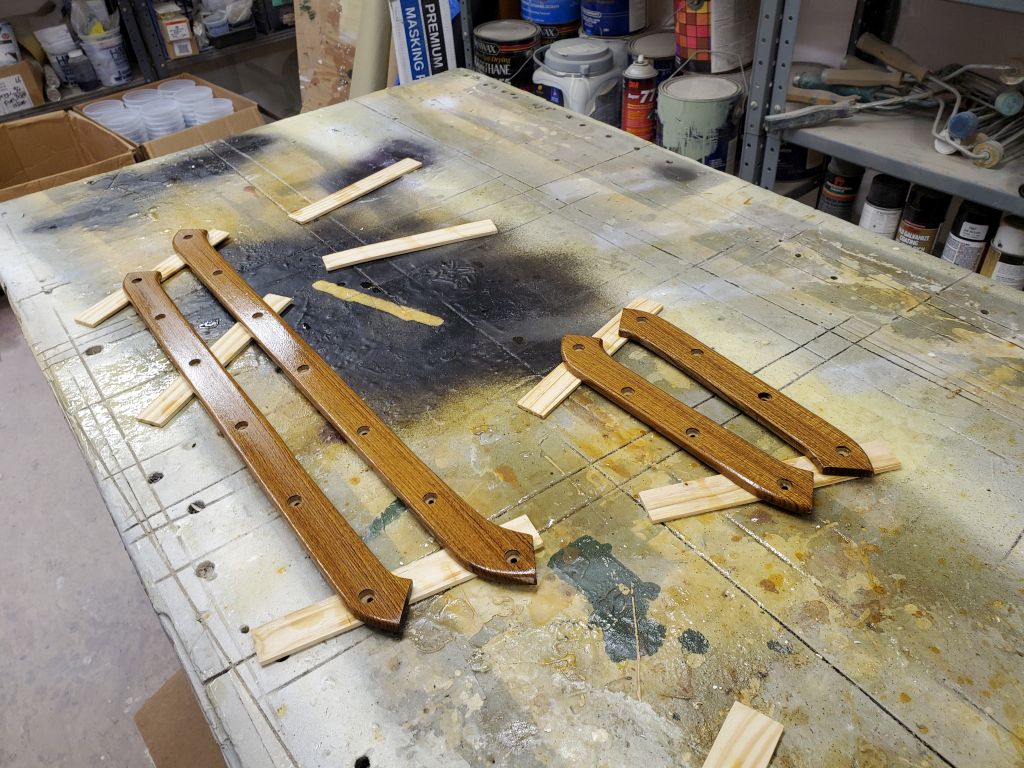
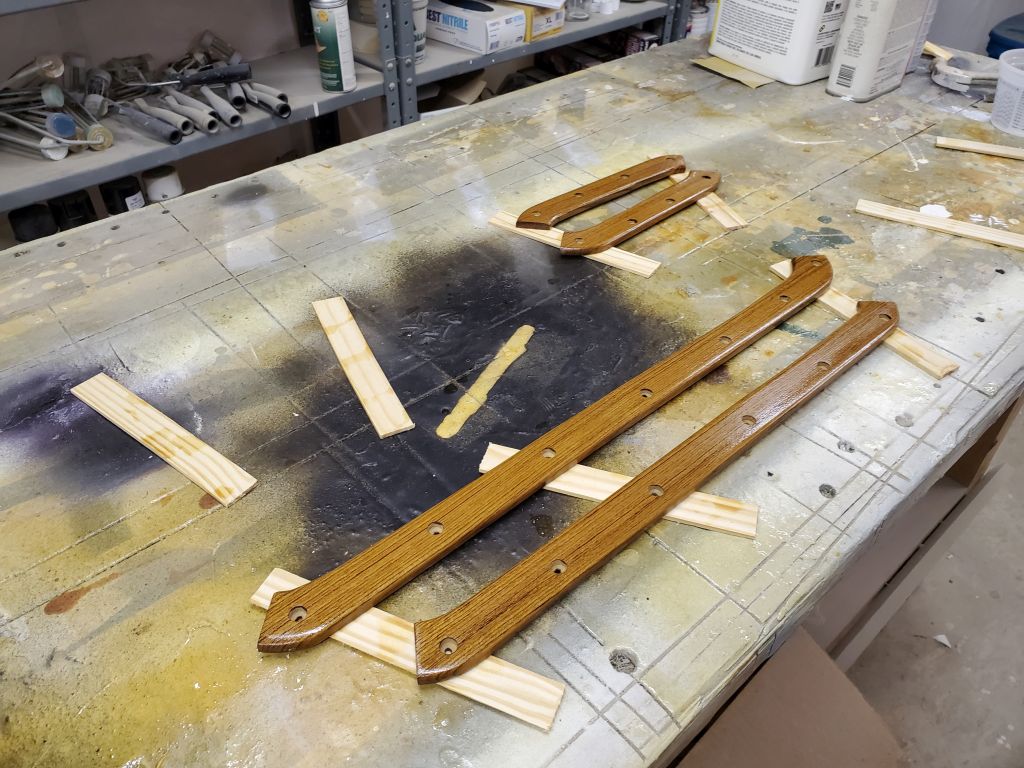
With all the trims fit correctly, and knowing that the outer curves aligned when in place, I removed the trim pieces to the bench where I could clean up the insides of the corner joints as needed and round over the exposed edges, then finally sand the trim clean and smooth. Then, I applied a sealer coat of varnish; since sealer coats largely soak into the wood and dry quickly thanks to the large amount of solvent in the mix, I hoped to do a second coat later in the day.
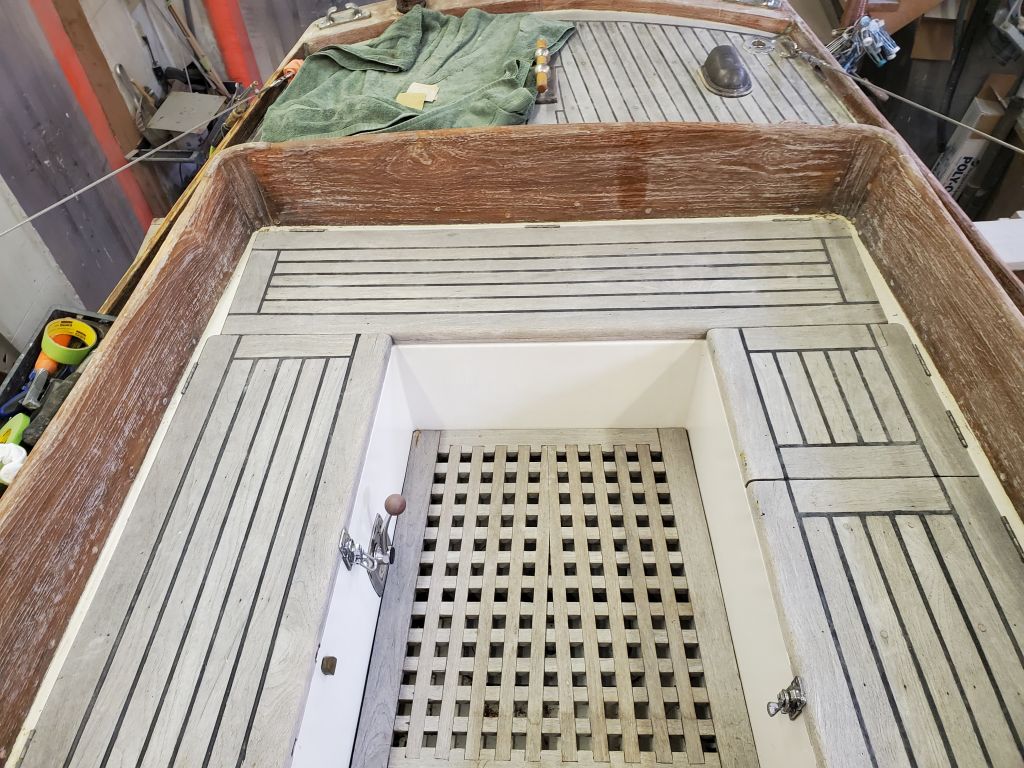
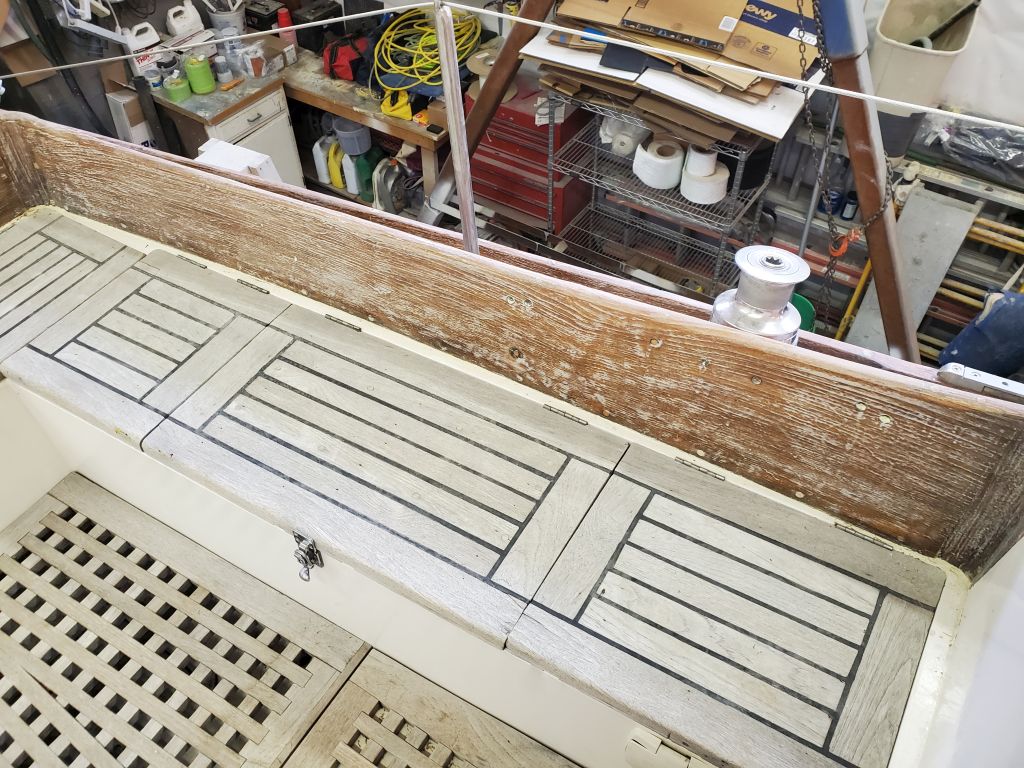
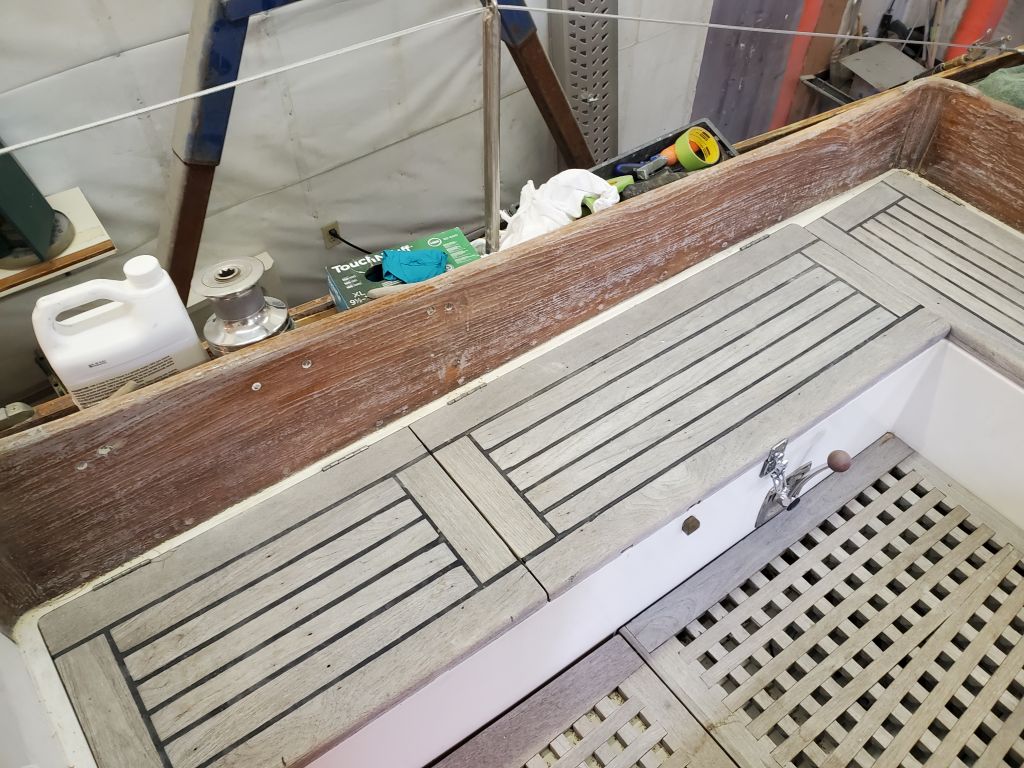
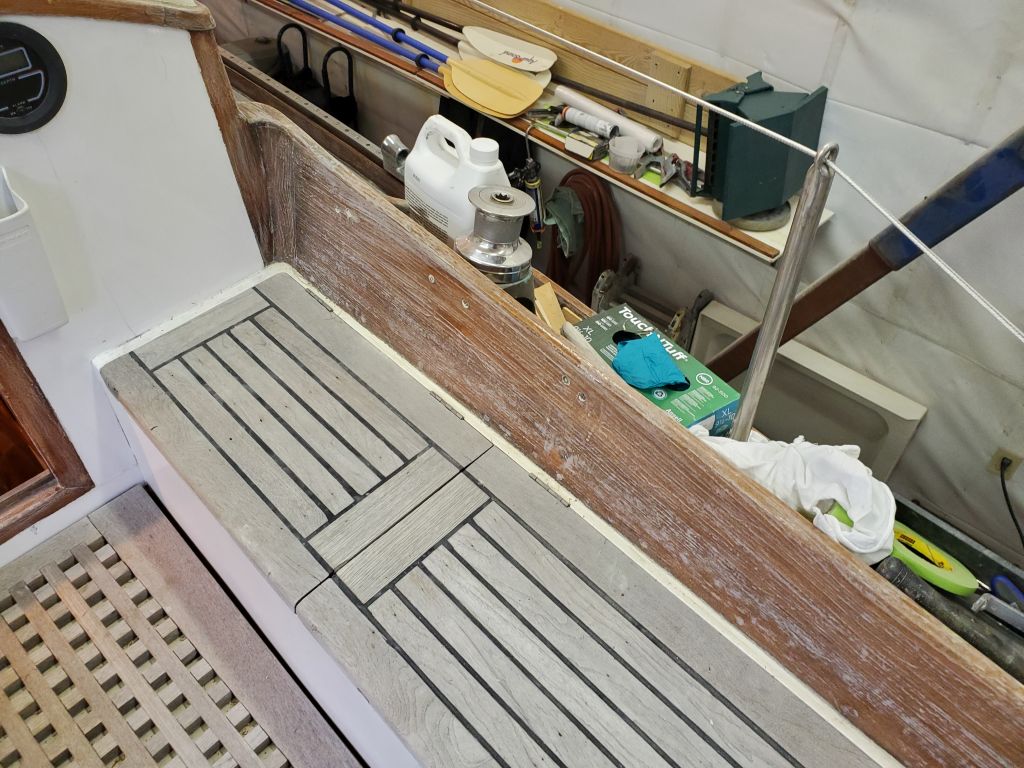
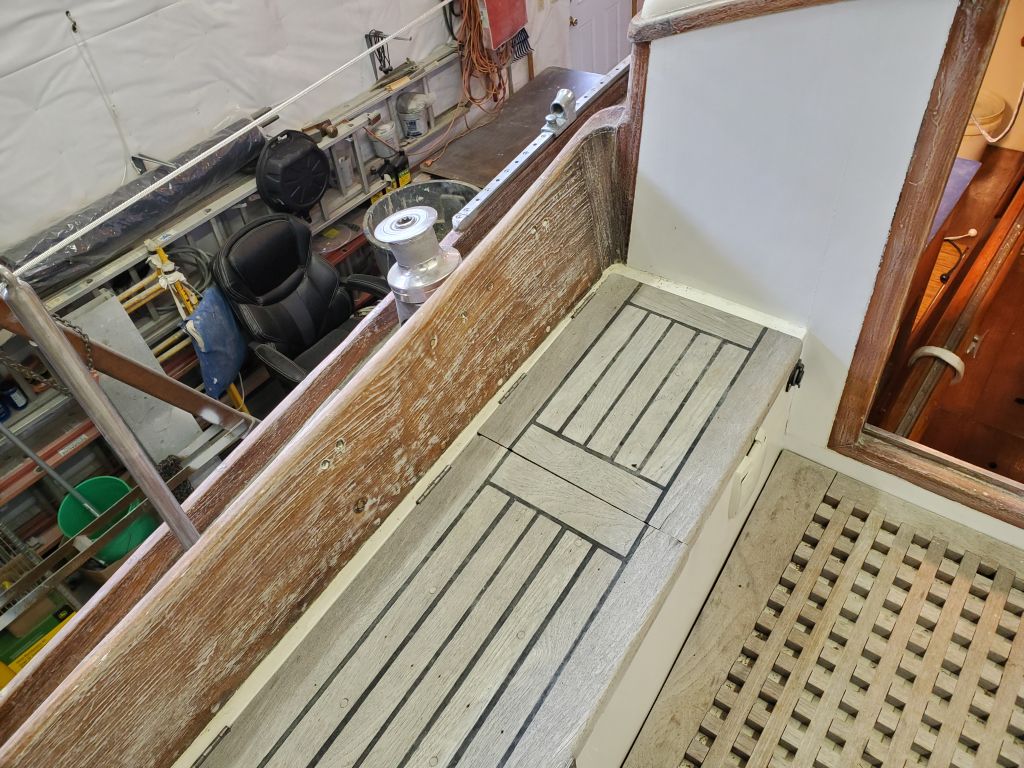
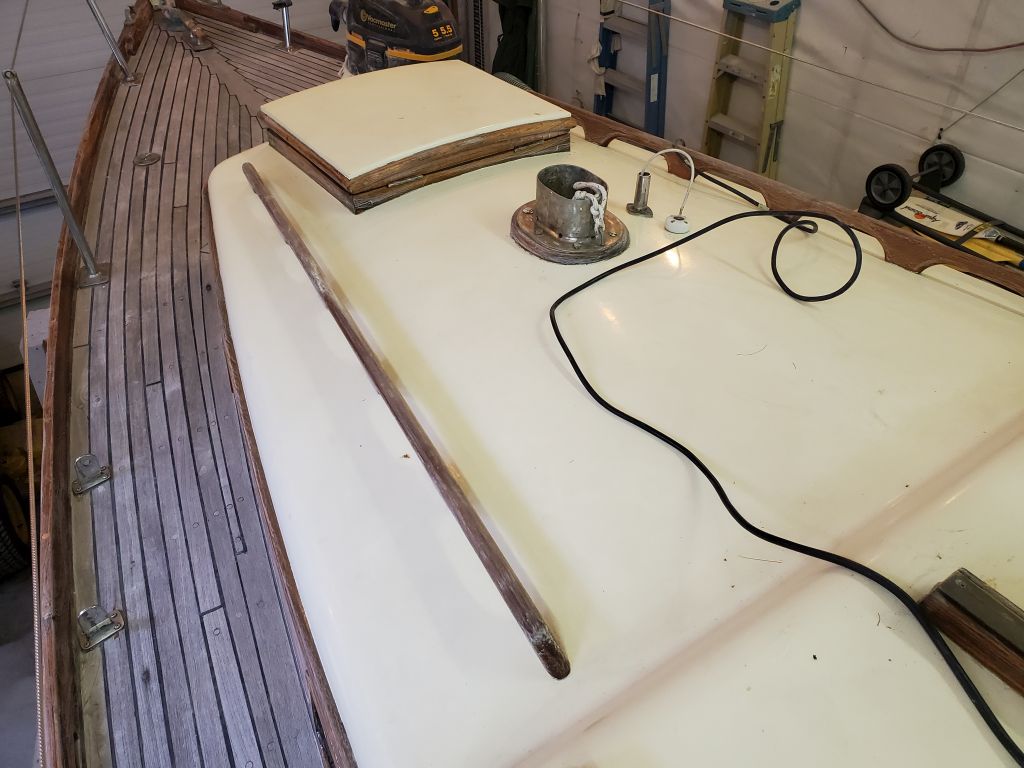
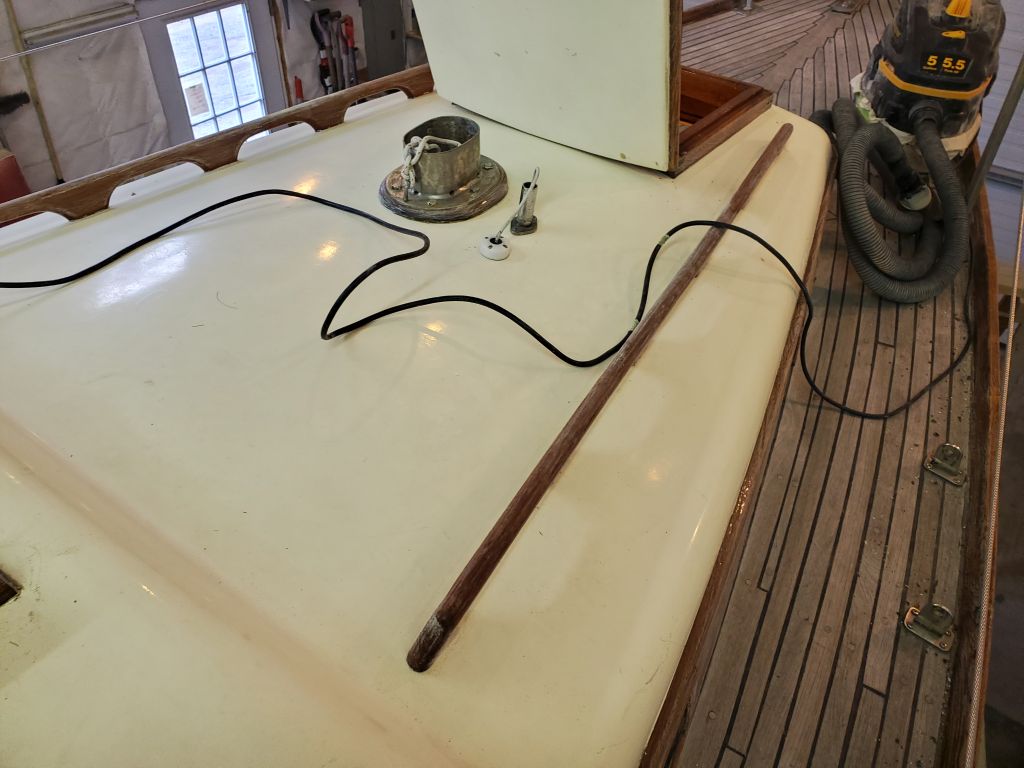
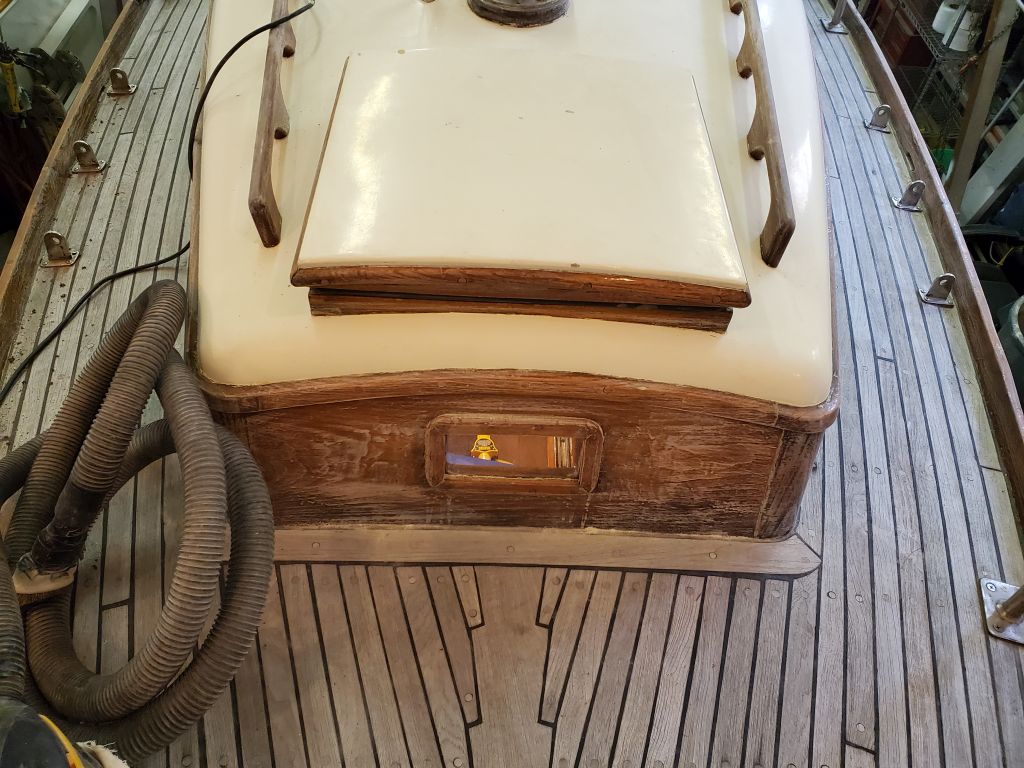
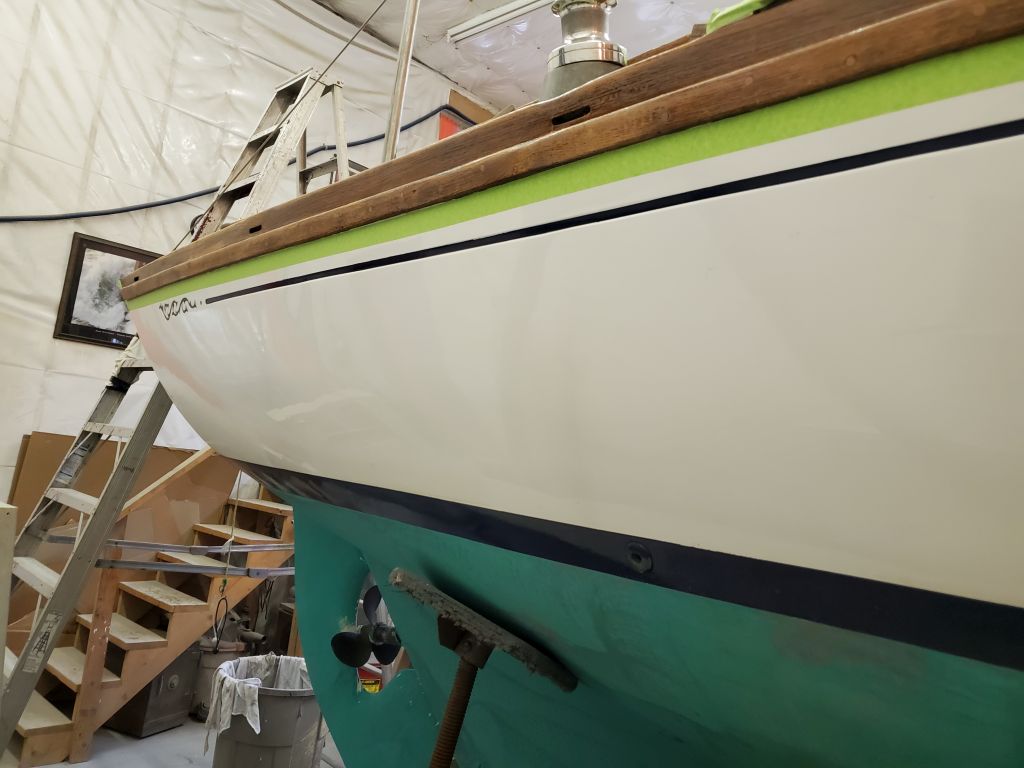
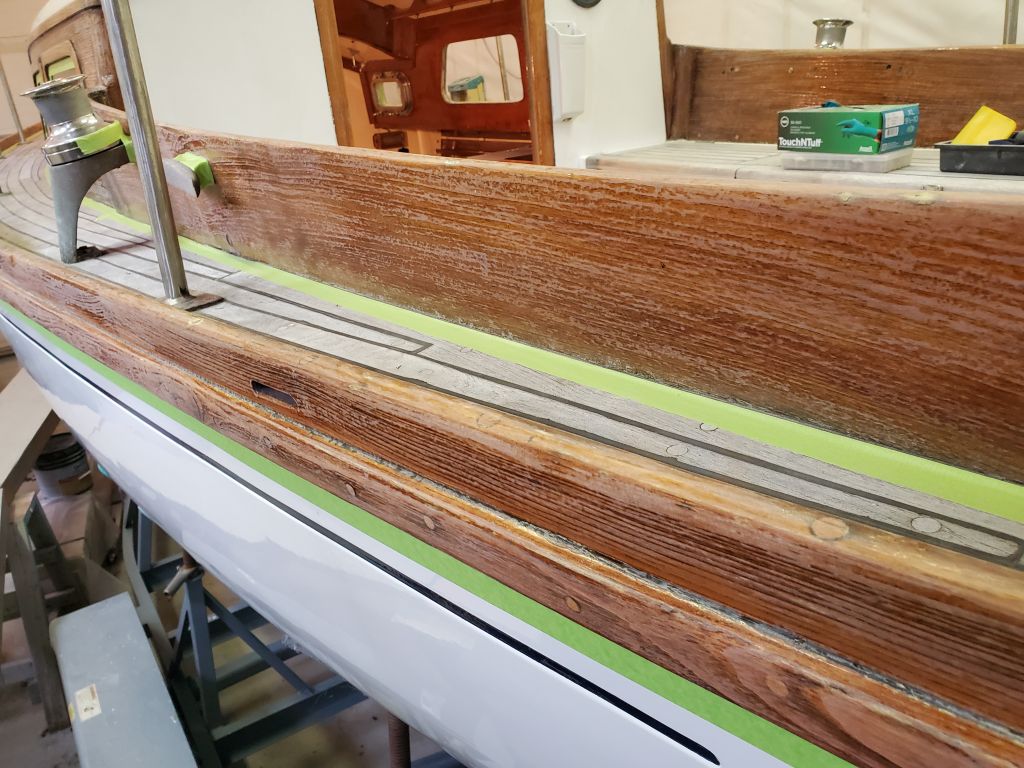
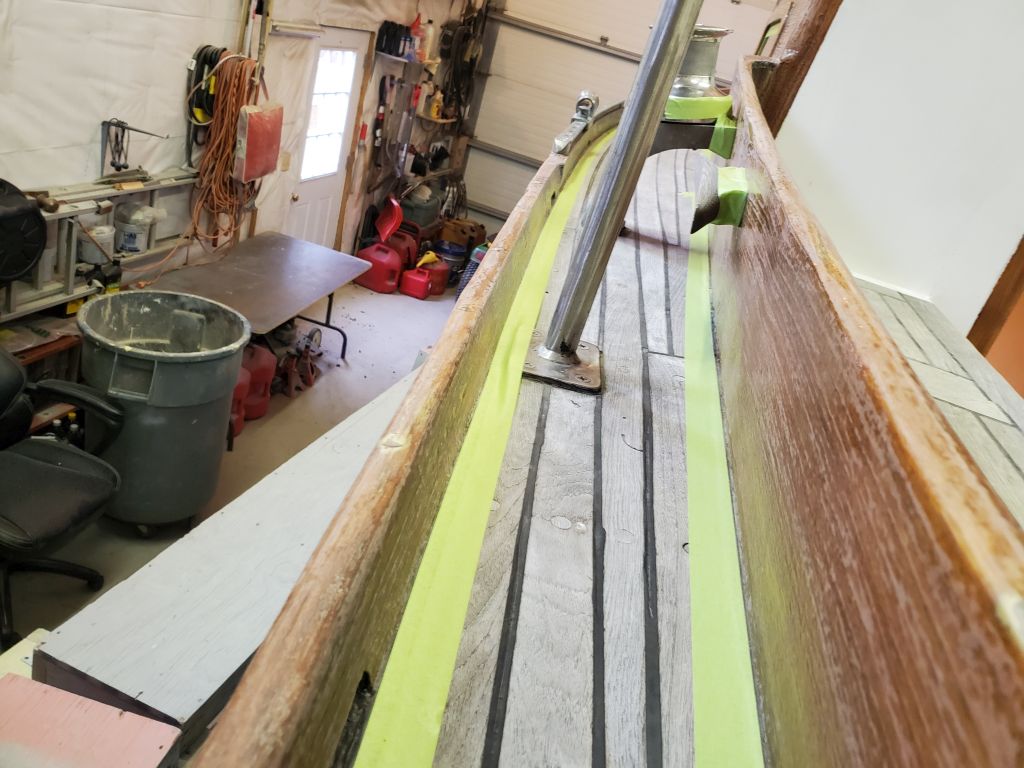
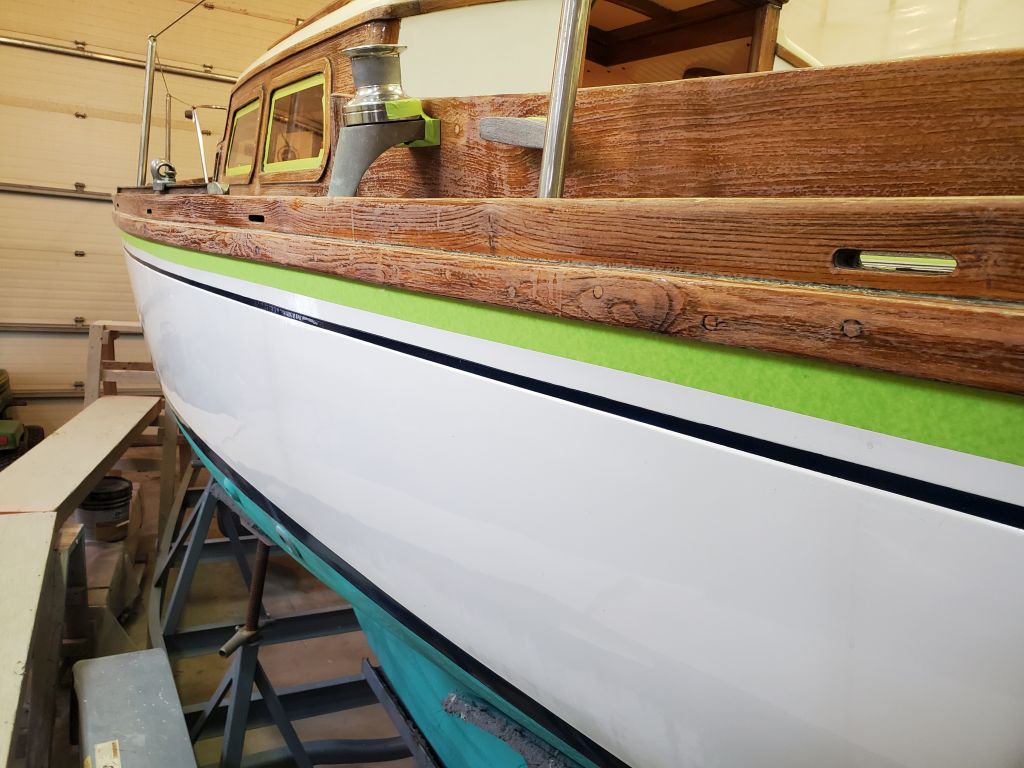
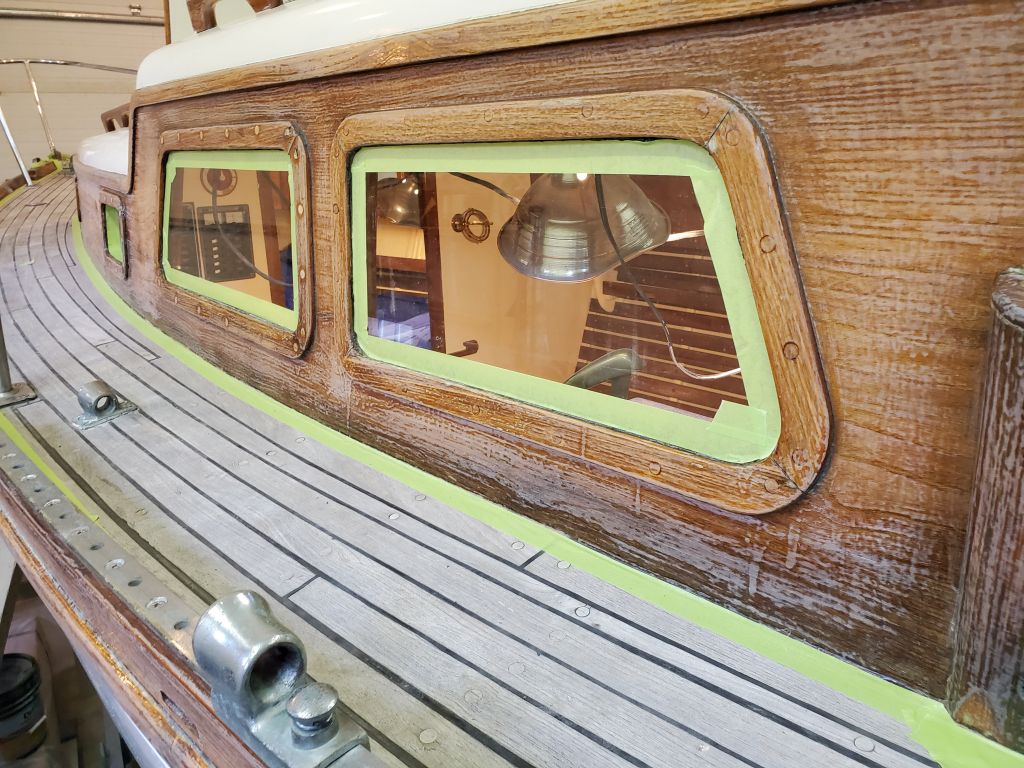
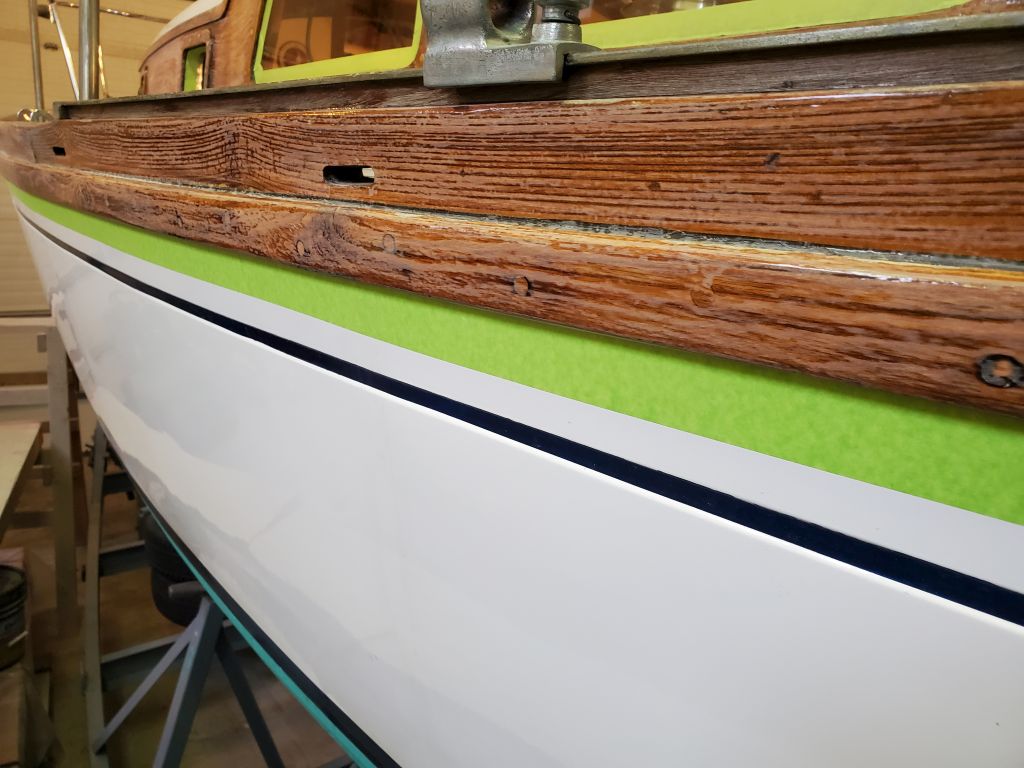
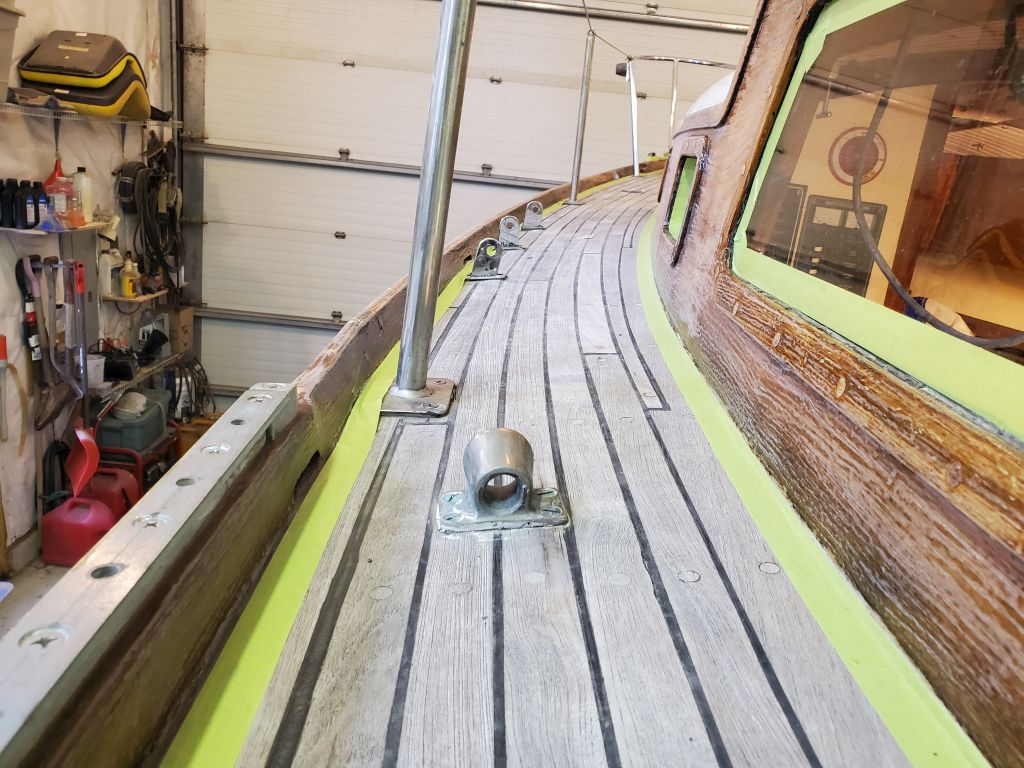
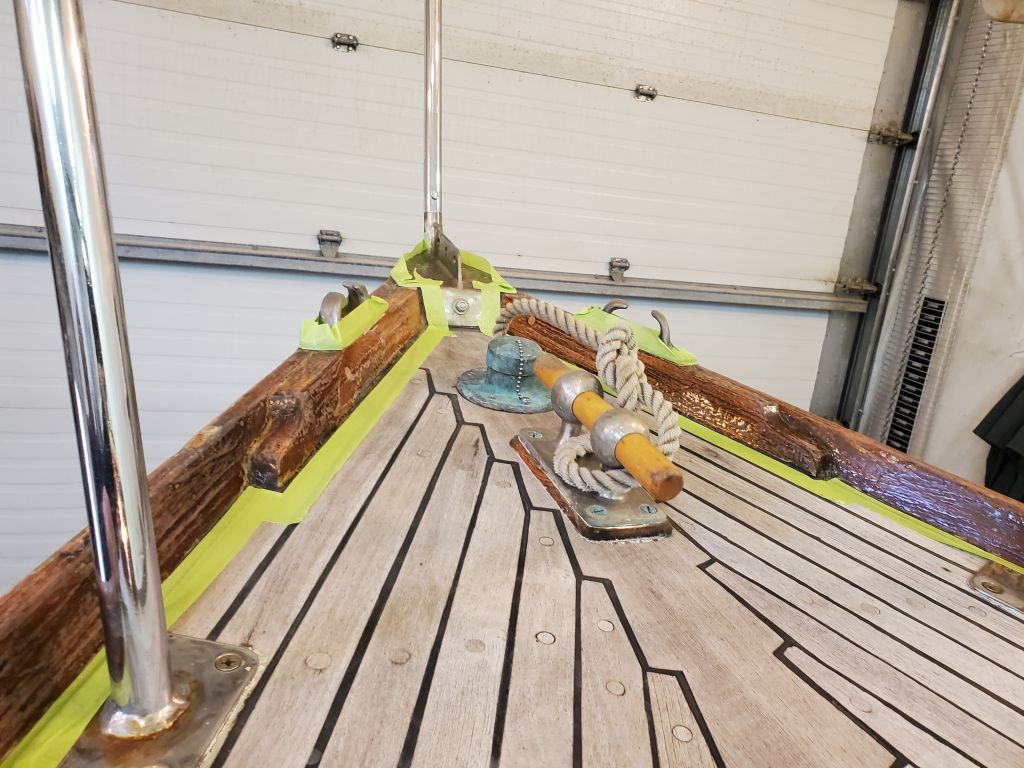
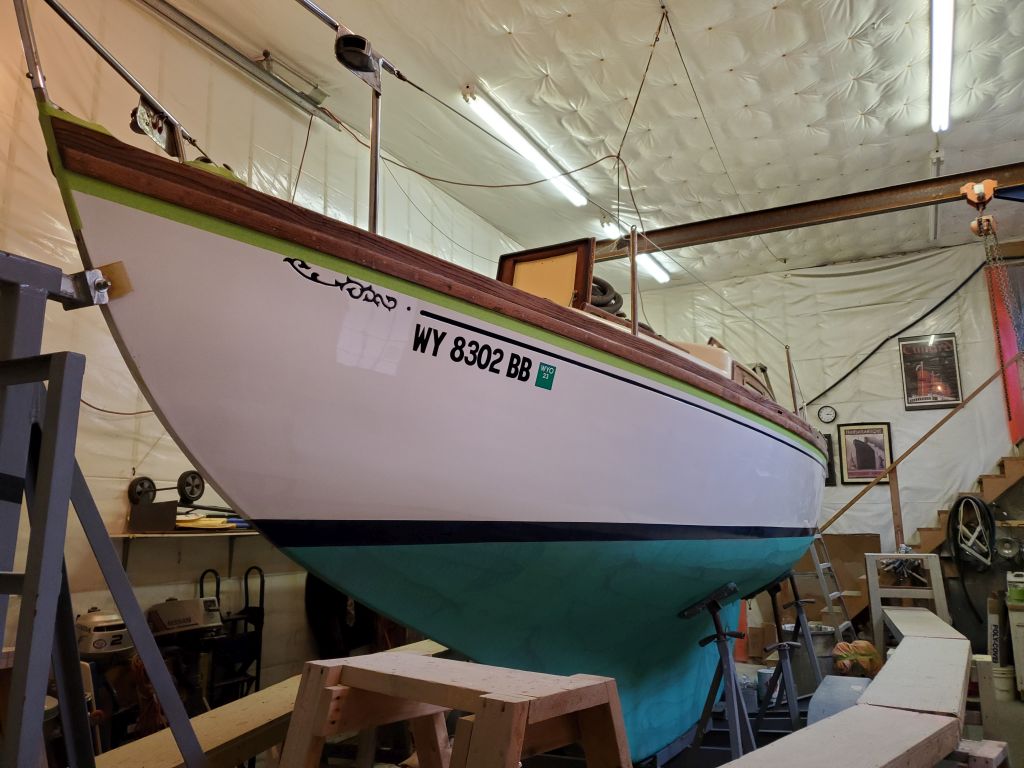
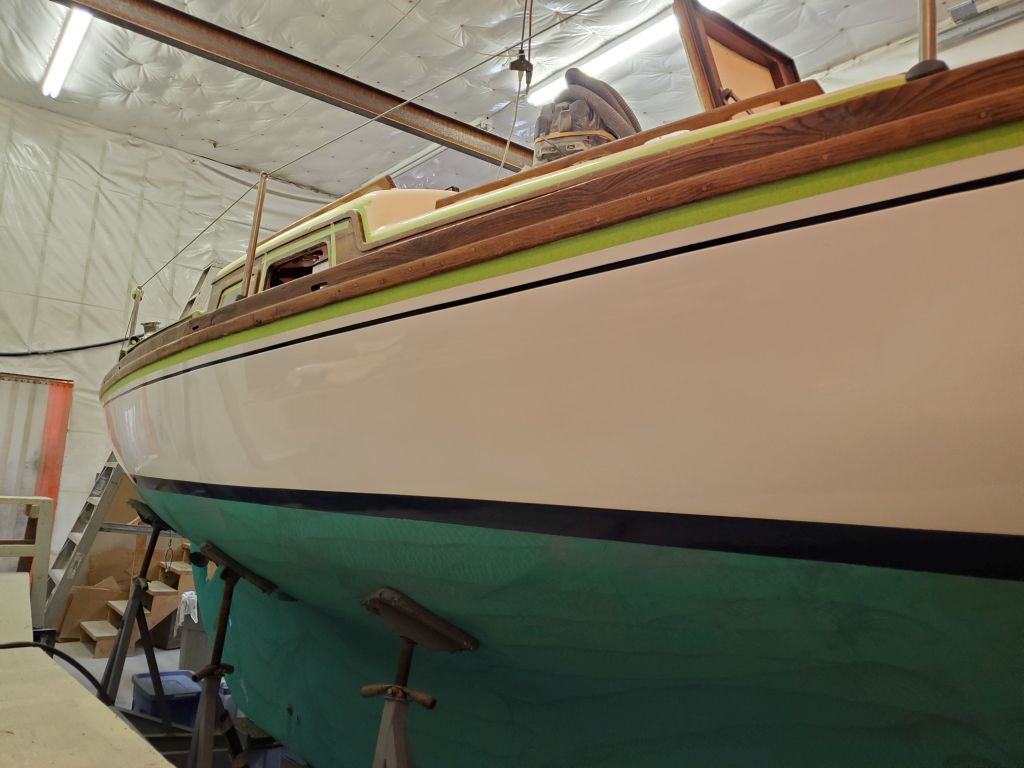
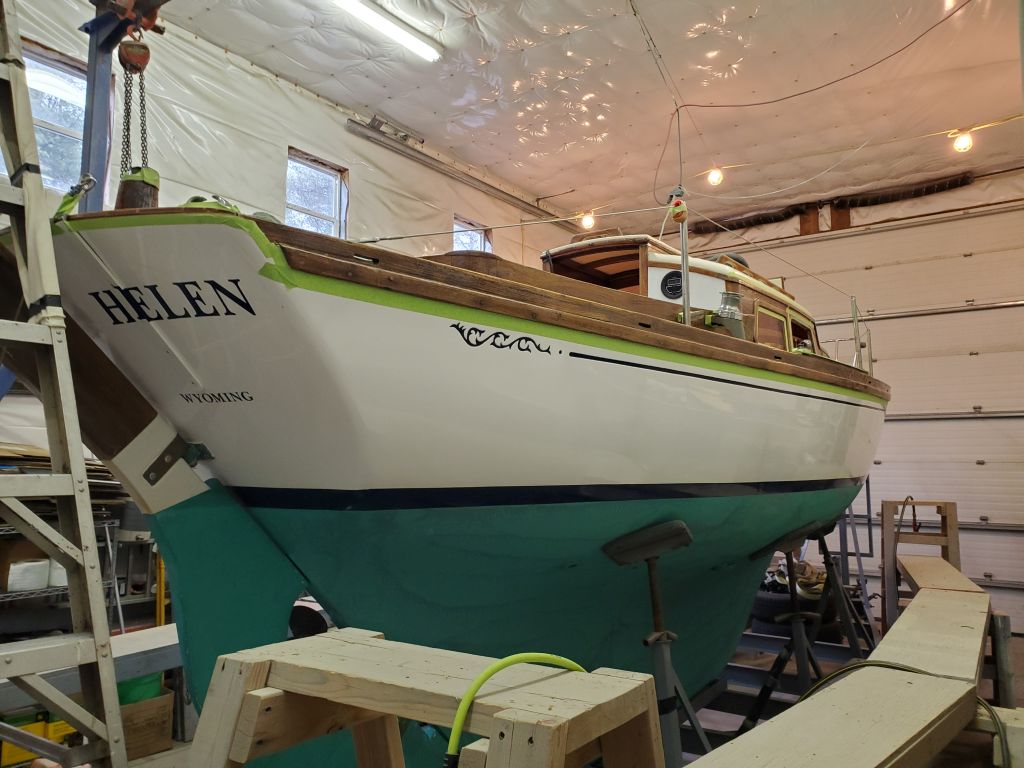
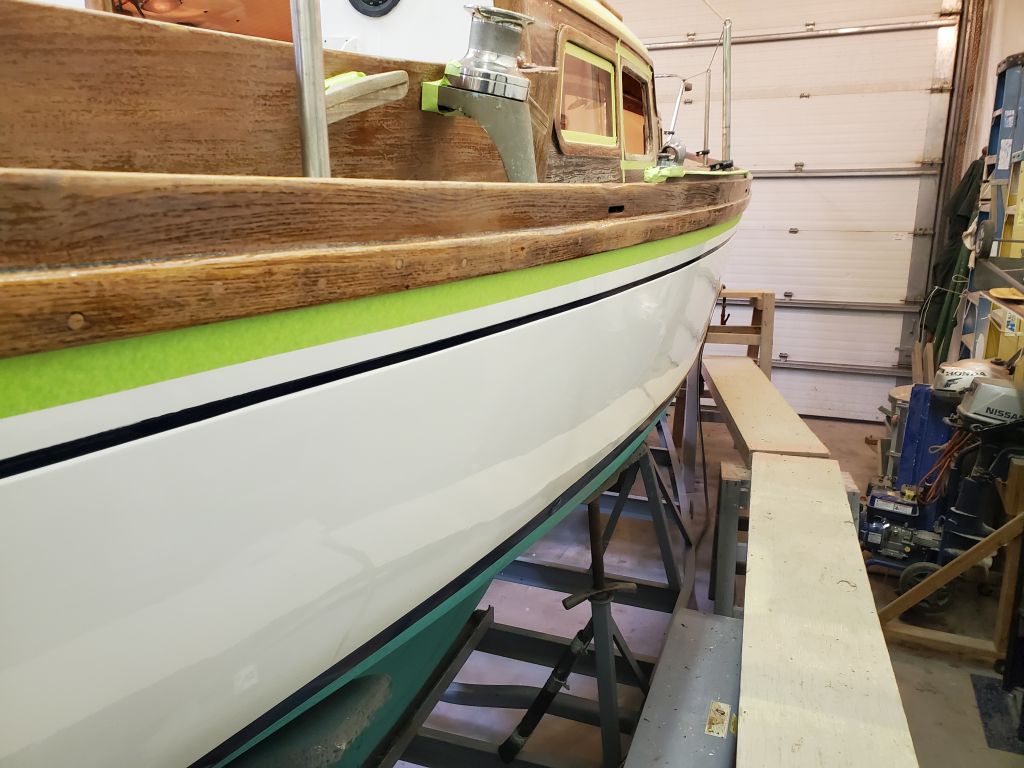
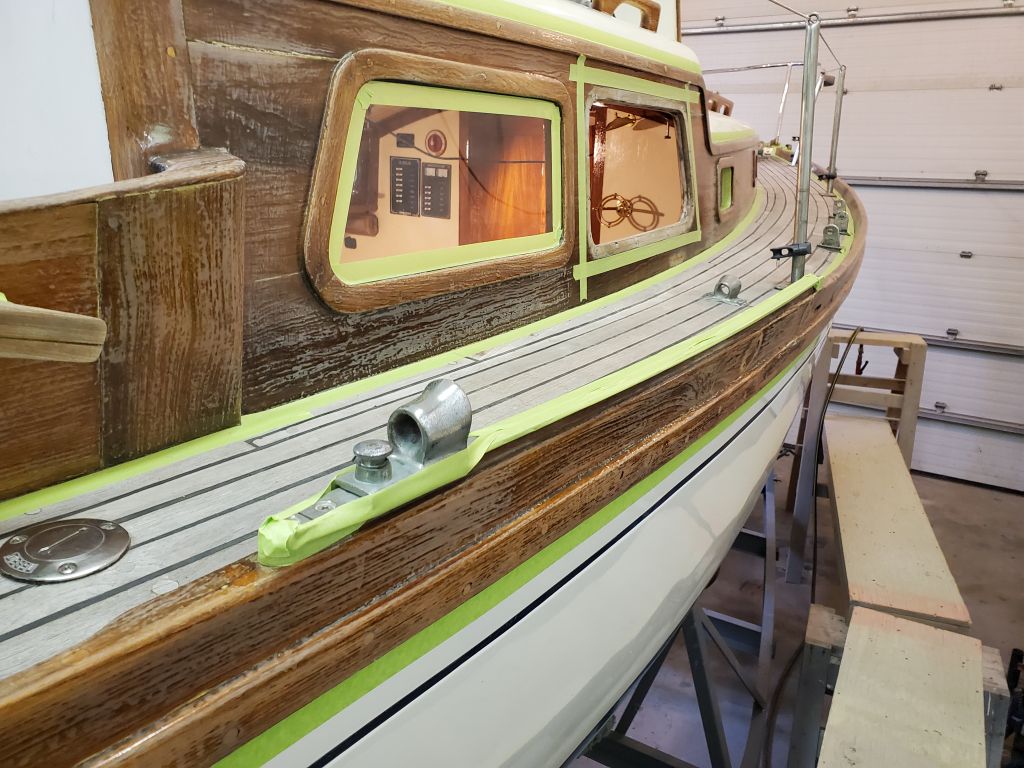
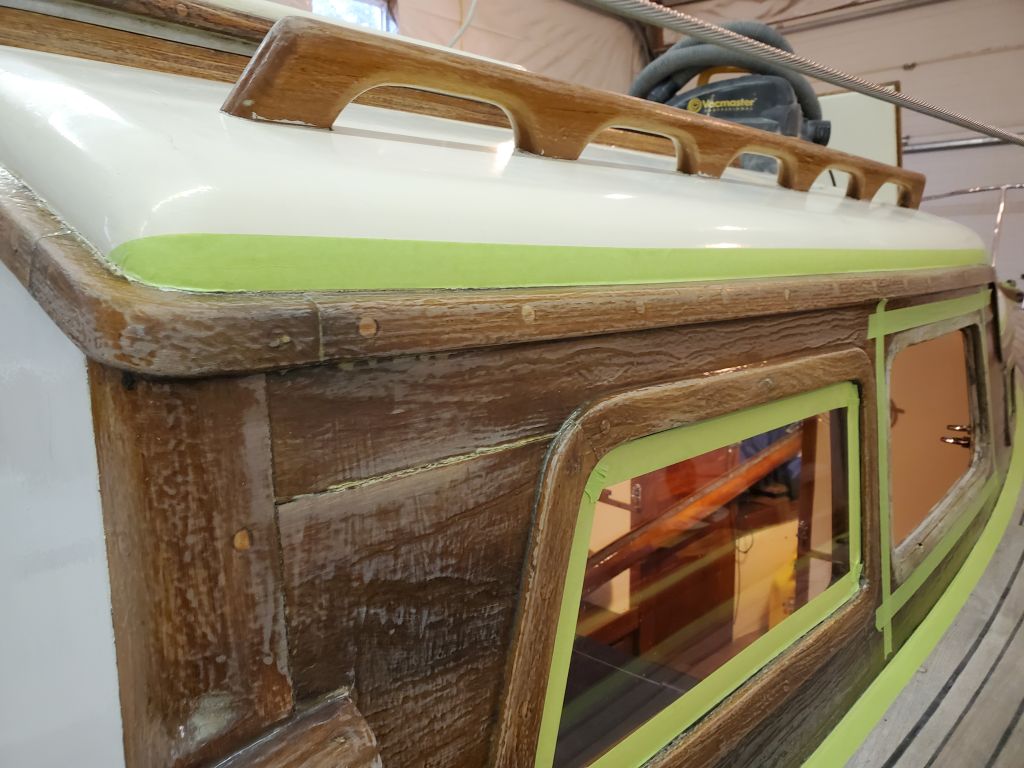
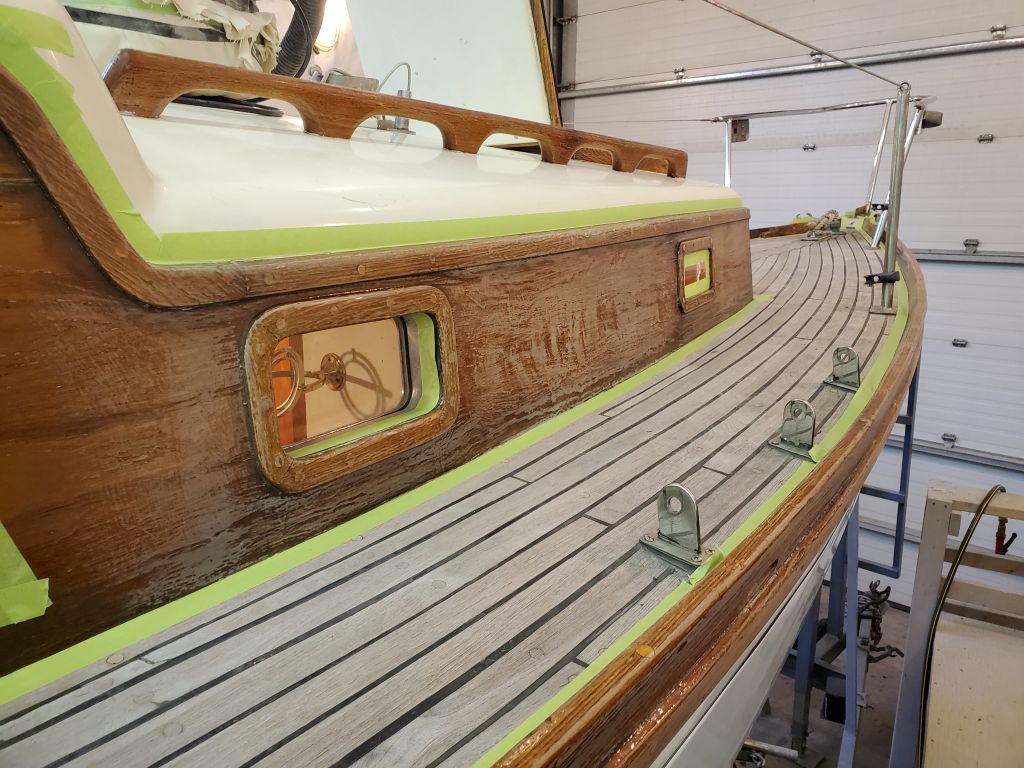
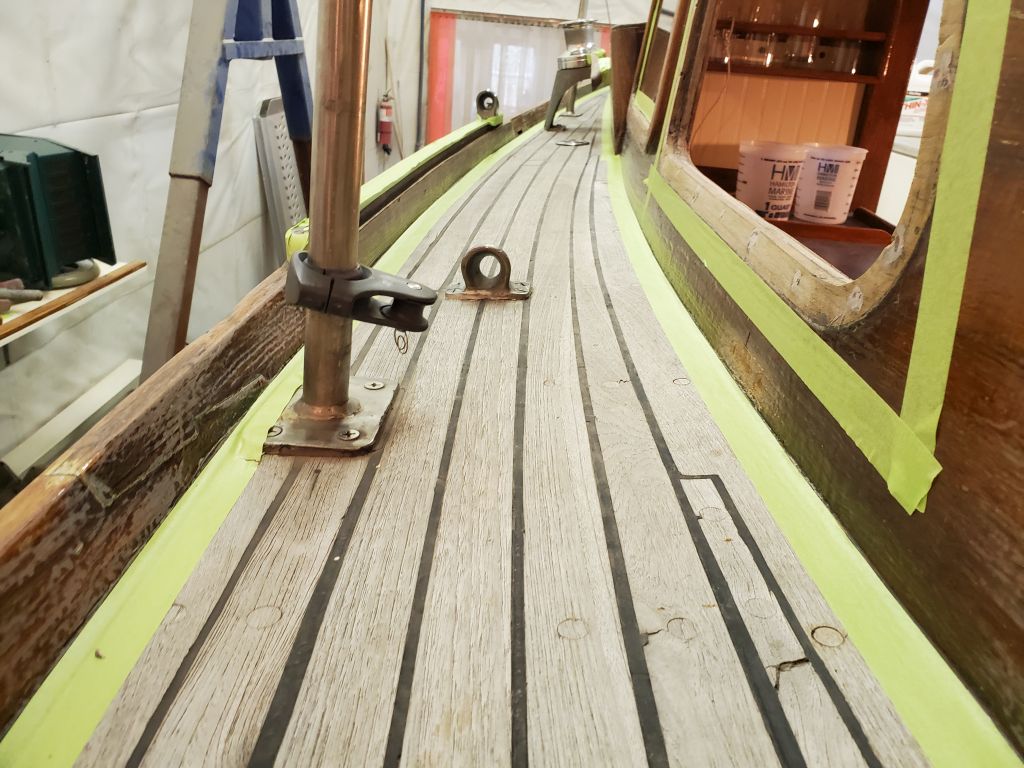
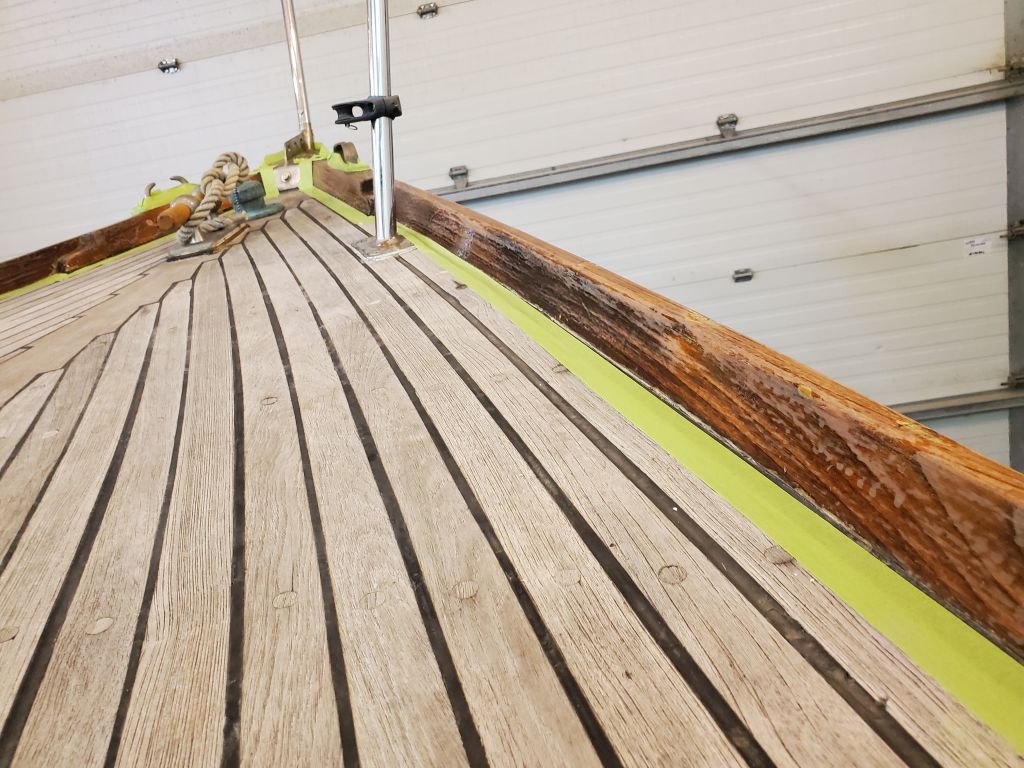
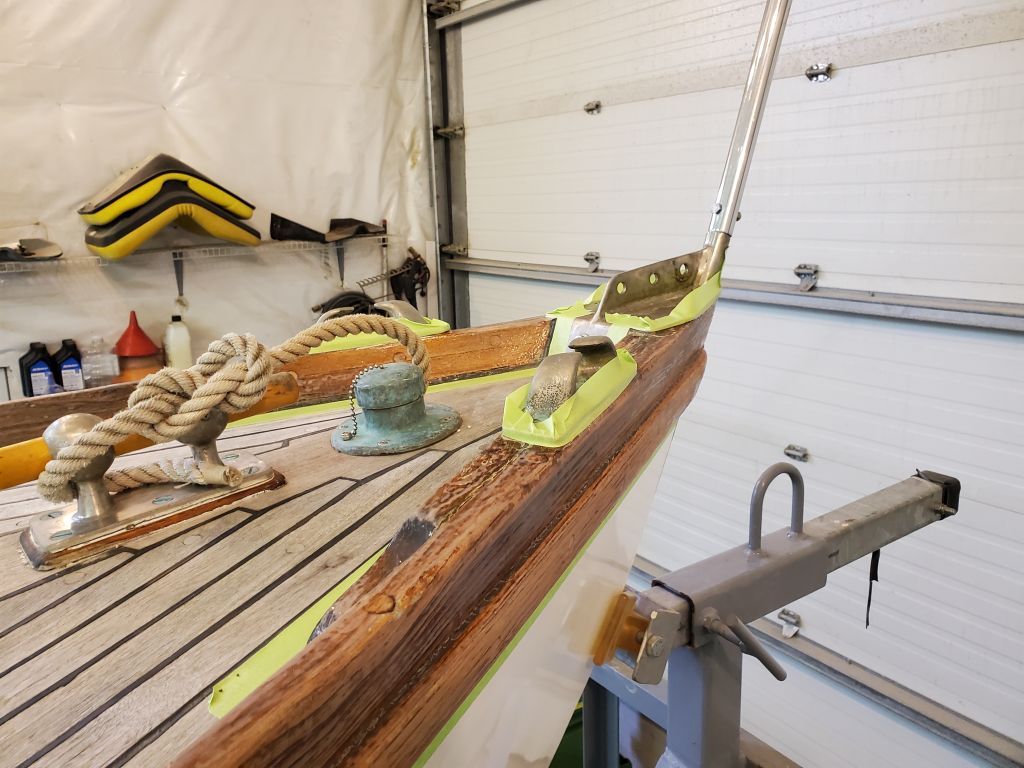
With the work on the deadlight done for now, I turned back to the rest of the brightwork on deck, mainly the interior cockpit coamings, handrails, and some other trim that was not reachable from the staging, and finished up the sanding to prepare for brightwork maintenance. Then, I vacuumed the deck and trim, and solvent-washed everything to prepare for masking.
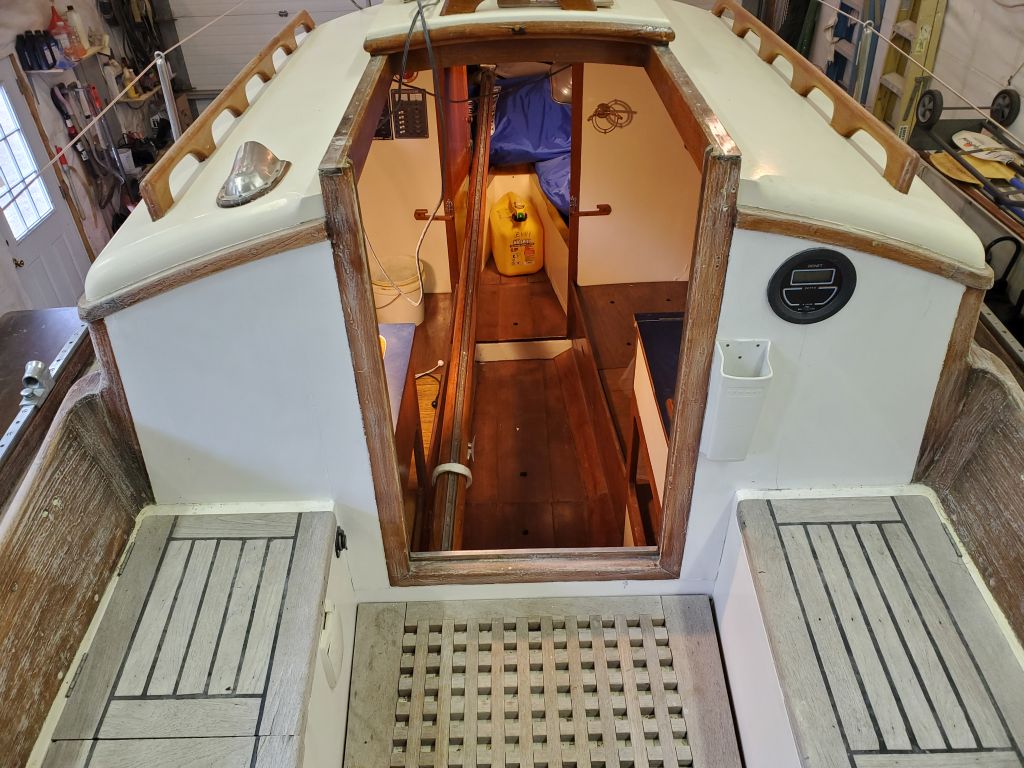
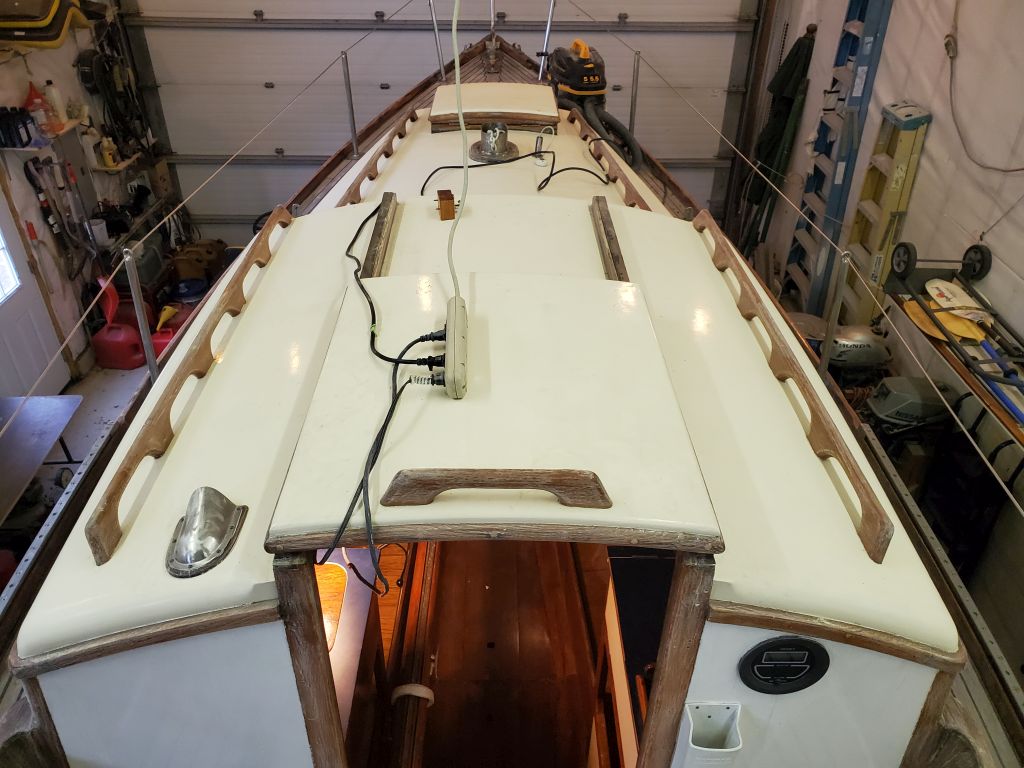
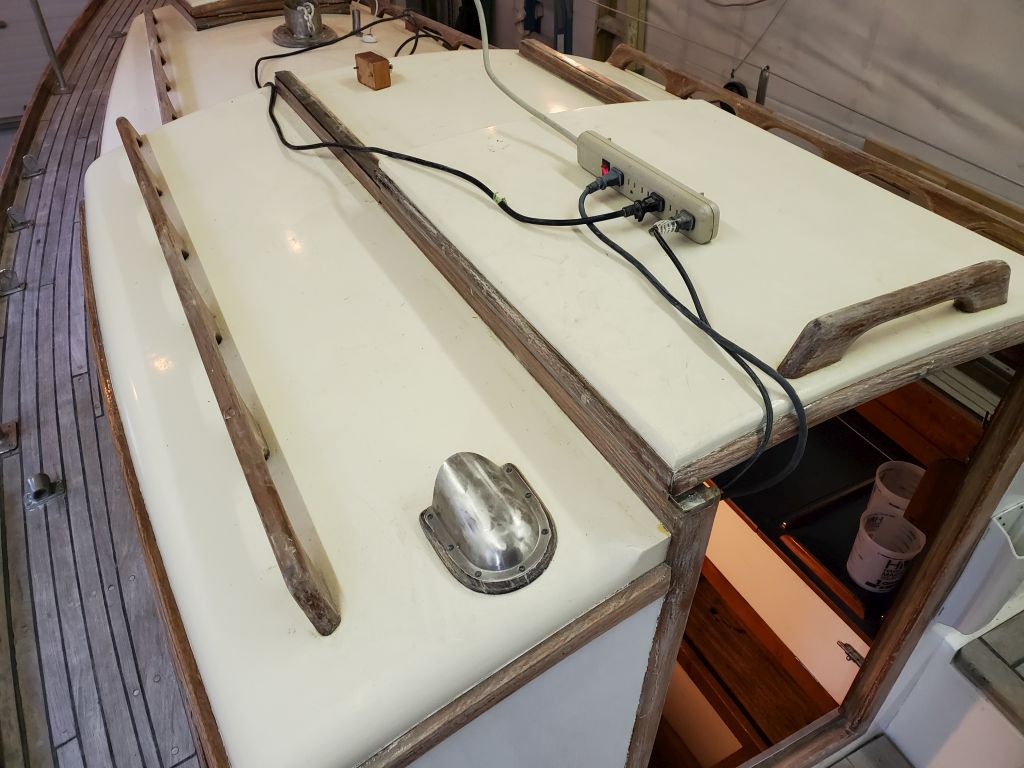
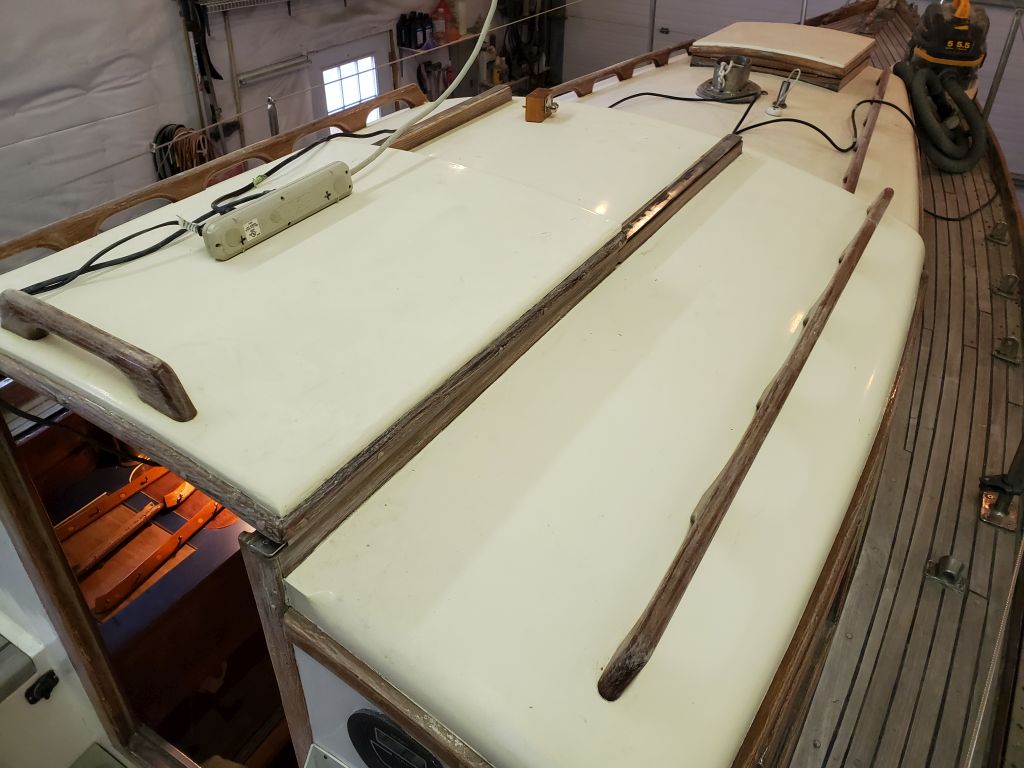
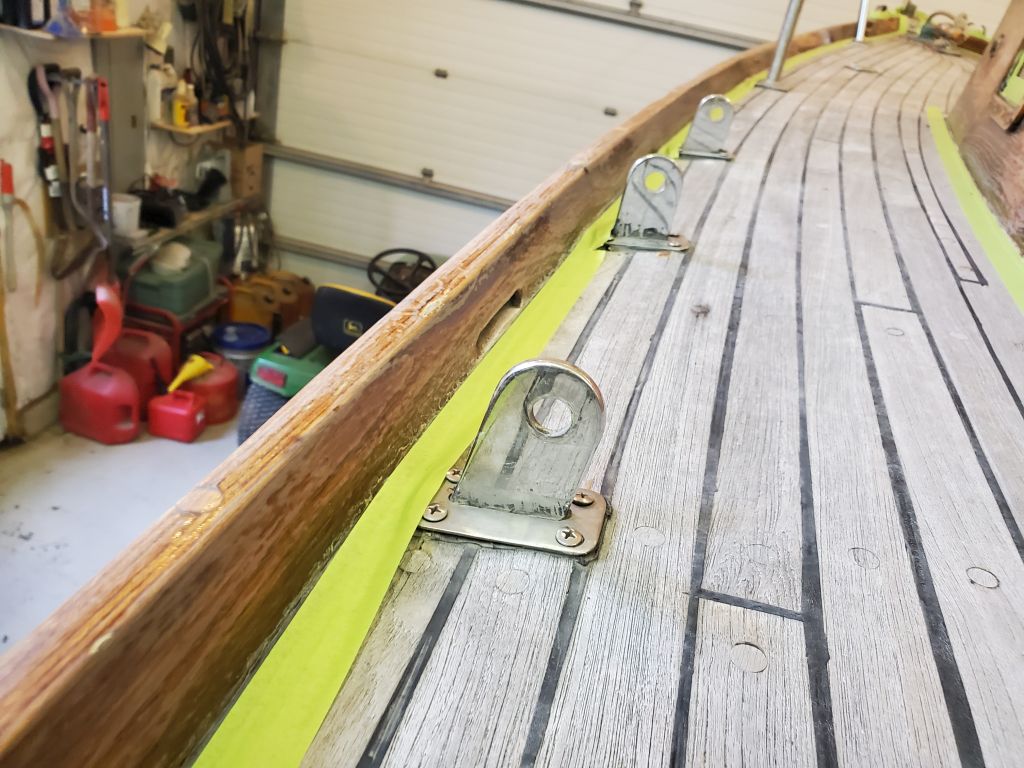
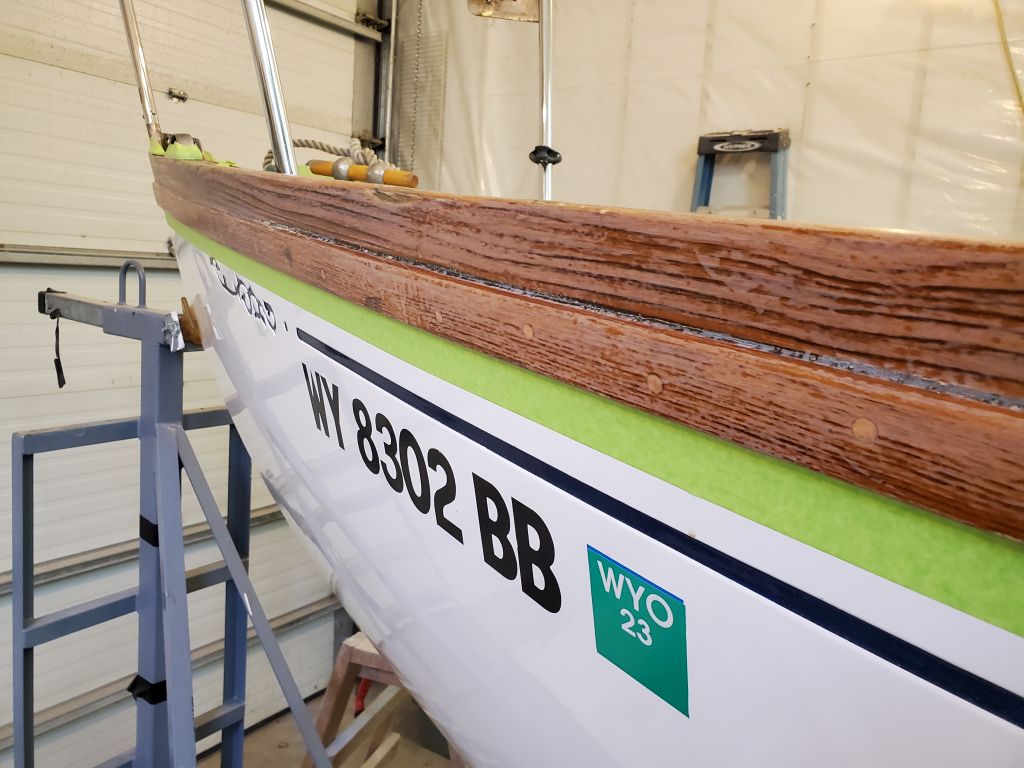
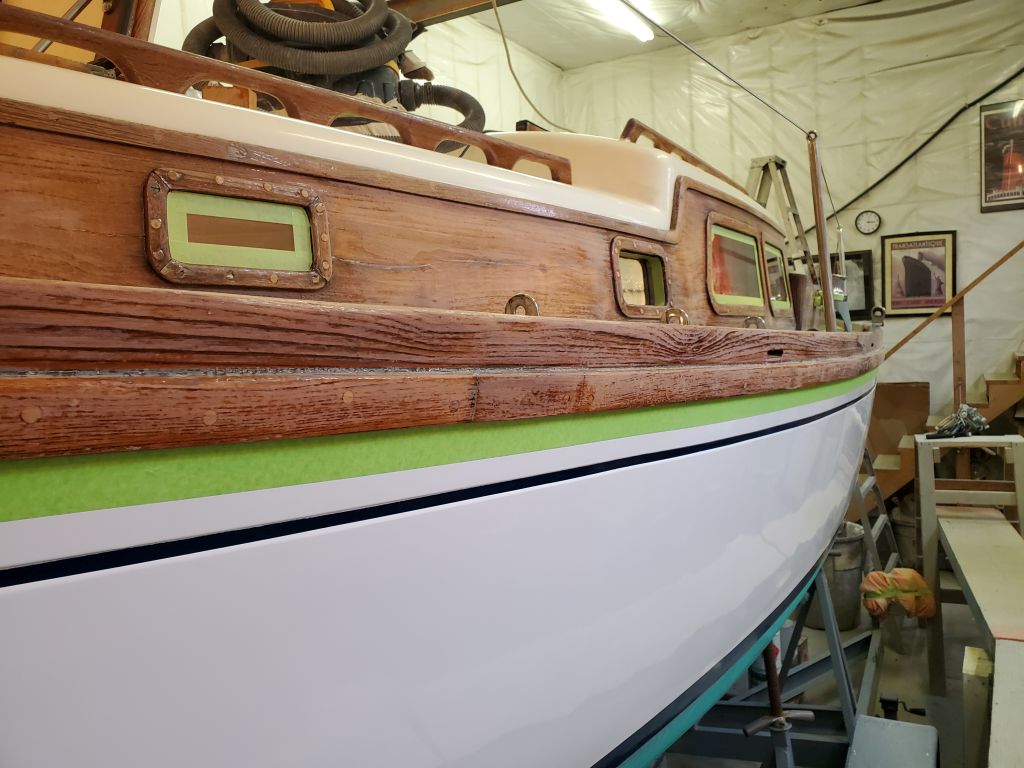
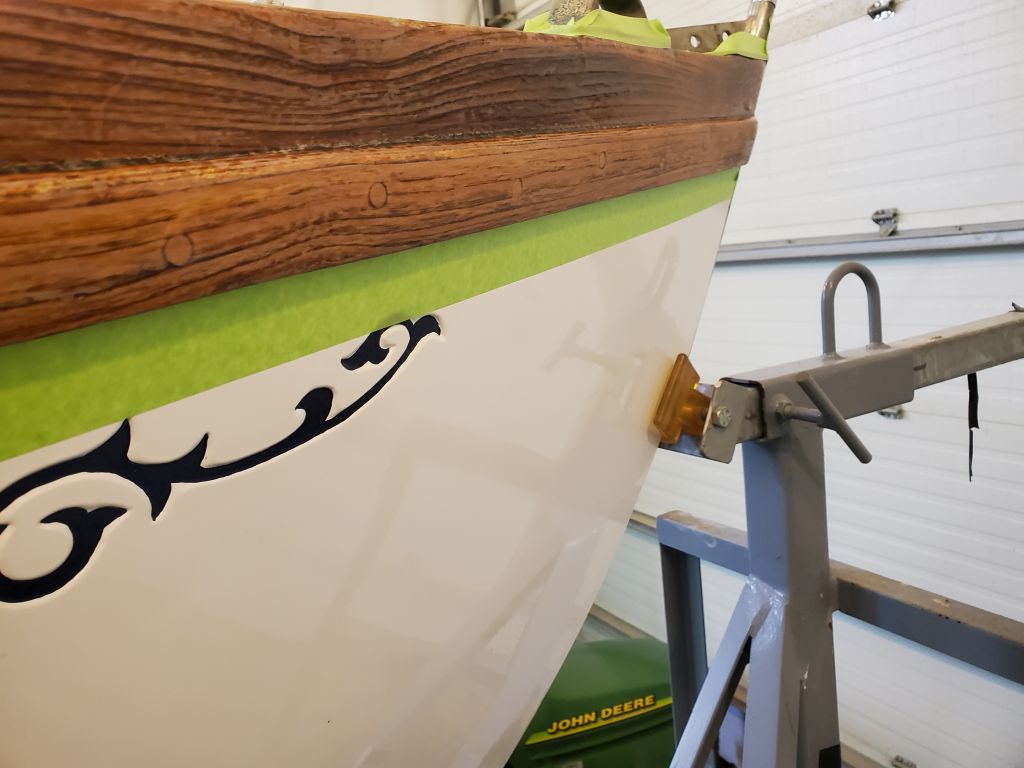
I spent the remainder of the day masking off everything I could reach from the staging: toerail and rubrail; taffrail; outer cockpit coamings; windows and ports; and the edge of the cabin trunk above the eyebrow.


Total time billed on this job today: 6 hours