March 17, 2025
Miss Helen 6
Monday
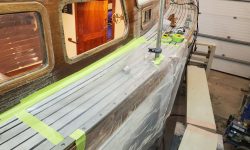
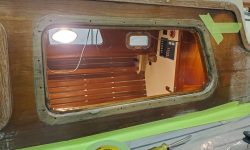
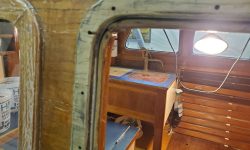
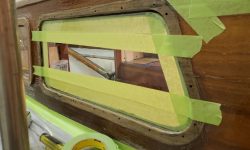
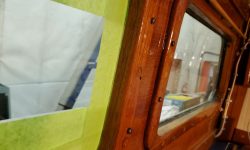
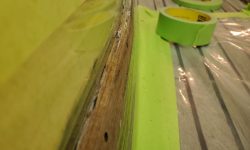
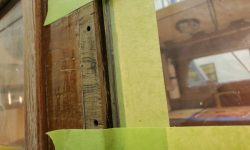
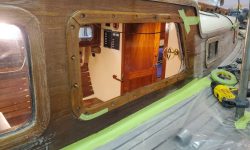
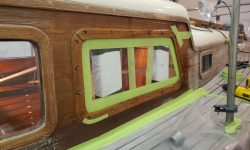
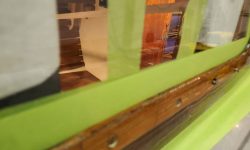
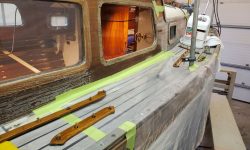
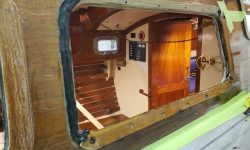
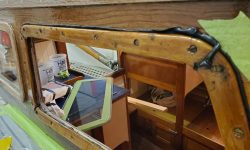
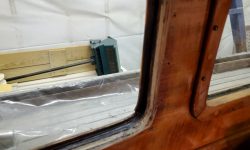
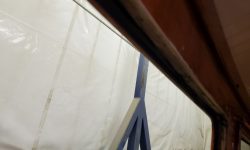
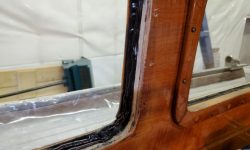
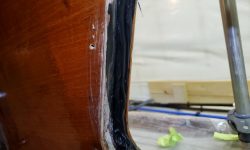
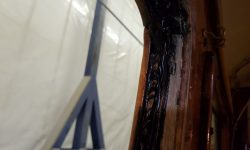
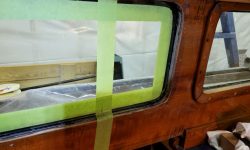
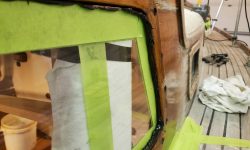
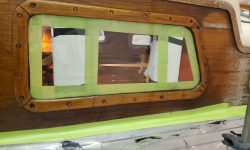
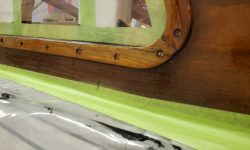
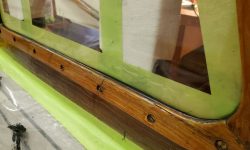
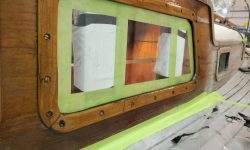
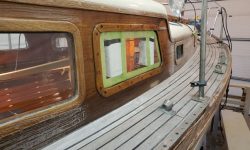
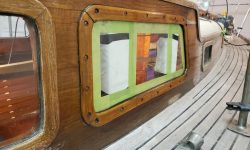
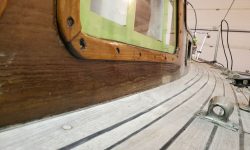
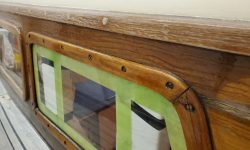
Preparing to install and rebed the deadlight, I started by masking down a sheet of plastic to cover the deck and environs for protection during the work. Then, I installed the interior trim to give the deadlight frame the bearing surface needed for installation.
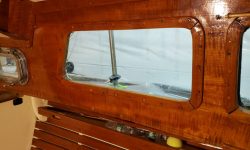
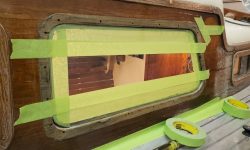
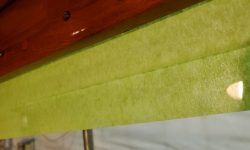
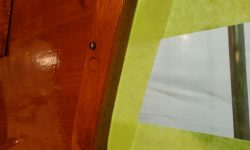
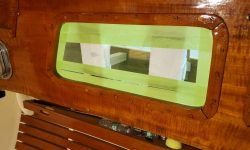
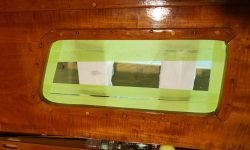
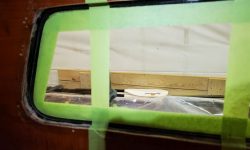
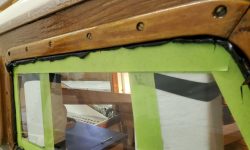
Working from outside, I masked the inside edges of the glass lens, then set it in the opening to check the fit and trim the tape along the edge of the trim on the inside.
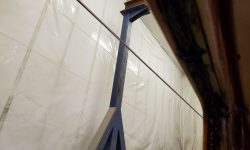
To help hold the glass in place during bedding and installation, I rigged up some blocking to push the glass tightly into the frame from outside.
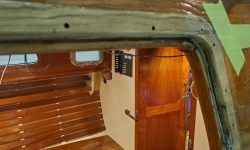
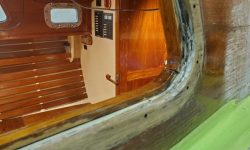
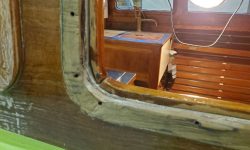
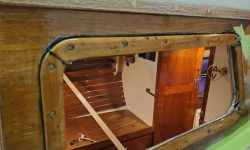
But throughout this, it didn’t look right. Because of the way I’d ultimately disassembled and removed the deadlight, I’d assumed that reinstallation and bedding would occur in roughly reverse order, and from the outside of the boat, since the interior trim featured a lip that extended into the opening behind the glass. But on the outside, this left a wide 1/4″ or greater space between the lens face and the cabin side, and since the exterior trim was flat, this meant that the trim would never bear against the lens and make sealing difficult.
There was just no way the installation was going to work this way, and after looking over the remaining three deadlights, it seemed clear that what I had to do was basically the opposite of what I’d started: I’d need to install the exterior trim first, then bed and install the window from the inside, creating a tight seal where it mattered at the outer edges of the deadlight. The excess thickness and space could be better managed from the inside, and better matched the existing installations.
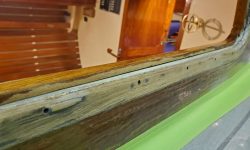
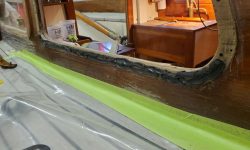
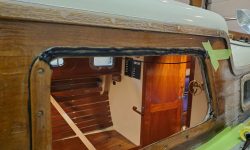
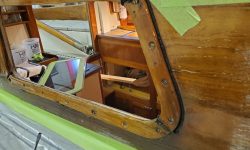
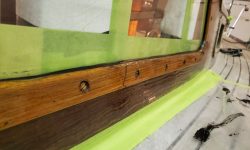
So now I dismantled my setup, and removed the trim from the inside of the opening. Working from outside, I dry-fit the exterior trim, using at least two screws in each piece driven in all the way to hold it for now, but also partially inserting every other screw to ensure that they all fit correctly and would thread in as needed. I had to clean out a couple of the screw holes with a tap.
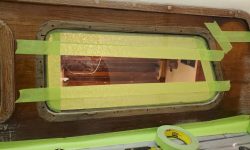
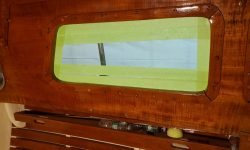
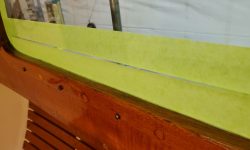
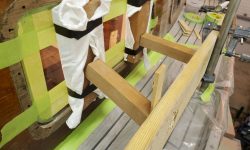
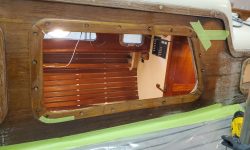
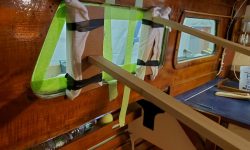
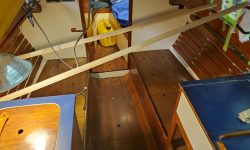
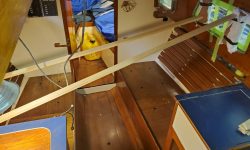
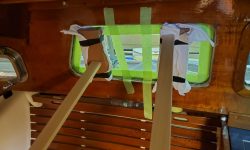
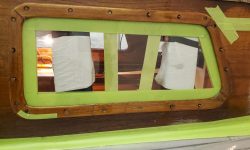
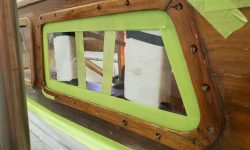
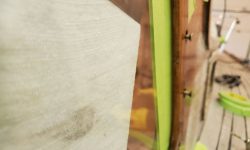
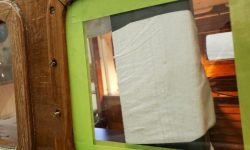
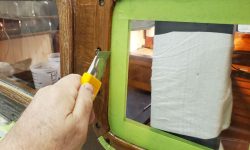
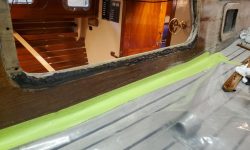
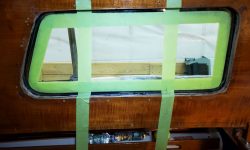
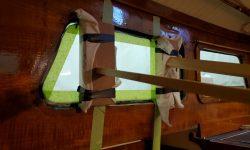
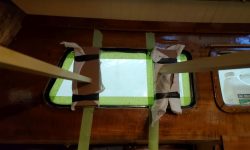
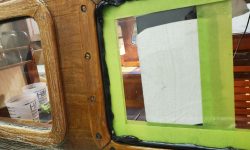
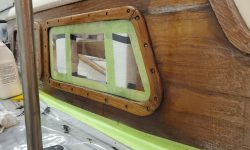
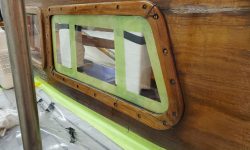
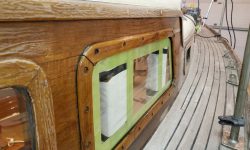
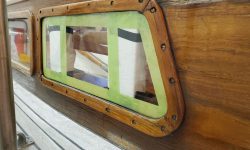
I masked over the edges of the outside face of the lens, then, from inside, placed it in the opening, holding it with some tape and then some braces extending across the cabin to apply light pressure. Then, from outside, I ran a knife around the edge of the trim to score the tape so I could remove the section beneath the trim later.
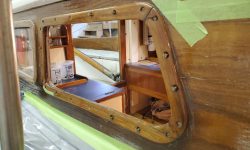
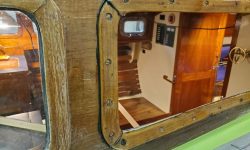
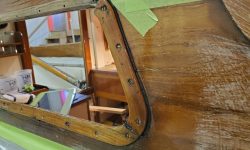
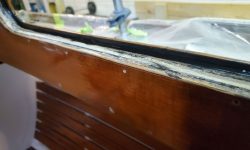
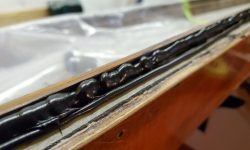
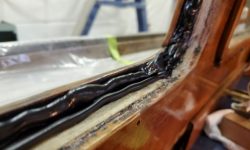
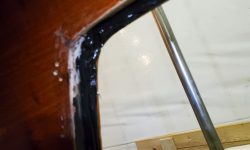
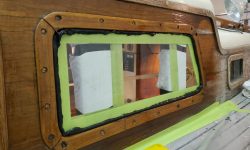
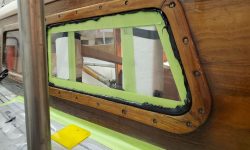
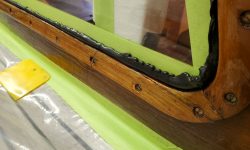
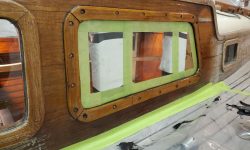
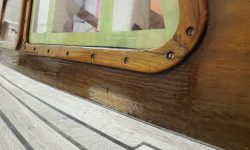
Satisfied with the clamping setup and the overall arrangement, I removed the braces and glass, trimmed the masking tape, and then, from outside, removed the trim to prepare for bedding and final installation. Then, one piece at a time, I applied heavy beads of sealant and fastened the trim down securely all the way around, ensuring good sealant squeeze-out in all areas. I cleaned up the excess sealant around the outside of the trim. I used Sikaflex 295UV sealant.
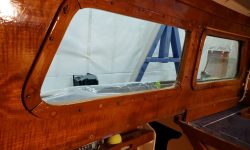
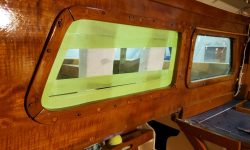
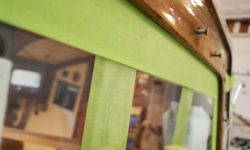
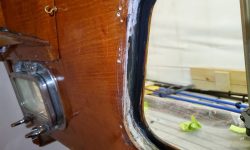
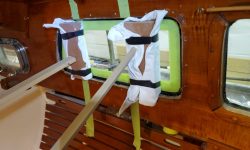
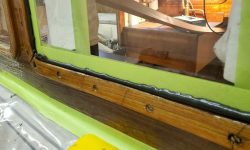
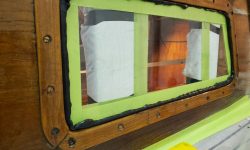
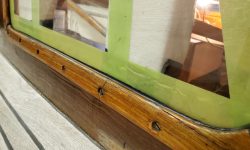
Inside the boat, I applied more heavy beads of sealant to the inside face of the trim and around the opening, then pressed the glass into place, applying hand pressure till I felt that it had evenly pressed into the sealant all around. I installed some masking tape to hold it, then the braces running across the cabin.
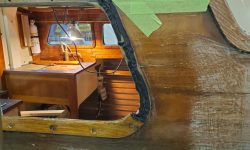
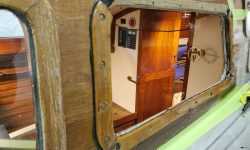
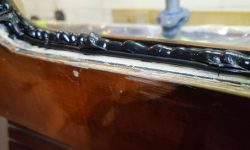
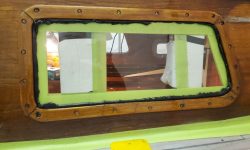
Outside, the squeezeout was excellent all the way around the glass.
To finish up for now, I cleaned up the excess sealant from the glass and pulled the exterior masking tape. I’d leave the interior bracing in place for as long as needed to ensure the sealant cured sufficiently.
In other works, I reinstalled the forward hatch to check the fit of the new seal and to determine if the clamping block needed adjustment. The seal seemed to work well, but when I attempted to engage the hold-down clamp, the screws pulled out of the top of the hatch, apparently unwilling to properly dig into the holes that had worked once, during initial installation, but would not grip the screws again–but not before I determined that the hatch had seemed to pull down correctly with the pressure, as the replacement gasket was a bit taller than the old one. So I planned to glue the block in place to hold it, and make no modifications to the height. This would happen next time.
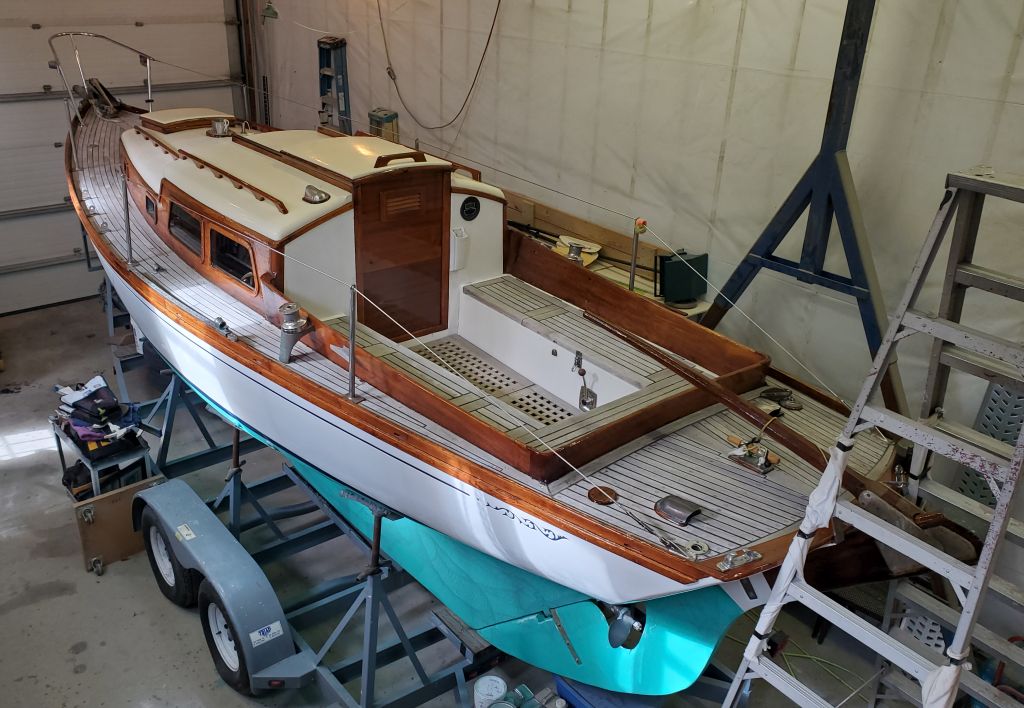
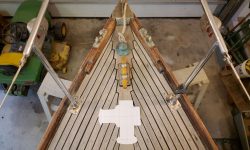
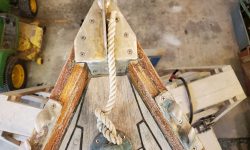
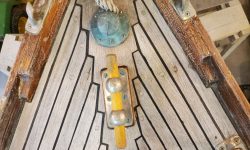
The owner was interested in exploring the possibility of a manual windlass, and I spent a little time making a rough, but accurate-enough, paper template of one likely candidate, the Lofrans Royal, to show the overall footprint. Space on the foredeck was limited, and part of the exercise was to determine how well such an installation would fit. Given the requirement for the chain lead straight out of the chain gypsy on the starboard side of the “windlass”–the center of that rectangular protrusion there–and the need for a roller at the stem in line with that, placement options were limited to centerline, somewhere aft of the mooring cleat roughly as shown. Most rollers are about 3″ wide, depending on anchor type (some are narrower), and such a roller would fit between the center of the stem and the bow chock, but not with much clearance on either side, and such an installation would likely impact the utility of the bow chock on whichever side the roller was mounted. At this stage, I’d not yet determined specifically what sort of roller would be needed here.
Inside the boat, the chain locker, as it were, extended aft to a spot approximately in line with the aft pulpit bases, so in the configuration shown here the windlass chain pipe would be aft of the chain locker.
In short: a windlass installation would be possible, but with numerous complications and likely need to reconfigure certain things while making some tighter access to existing installations on the foredeck, and provide a means for the rode to enter the chainlocker cleanly, assuming a chain rode leading off the gypsy. In addition, the gypsy on this particular windlass was chain only and wouldn’t work with rope rode, though the winch drum on the opposite side would. But that seemed like it would be cumbersome to say the least. Some windlasses have gypsies that work with combination chain/rope, though the chain needs to be spliced to the rope in a specific way for a clean transition.
Total time billed on this job today: 6.75 hours


