


March 13, 2025
Miss Helen 4
Thursday
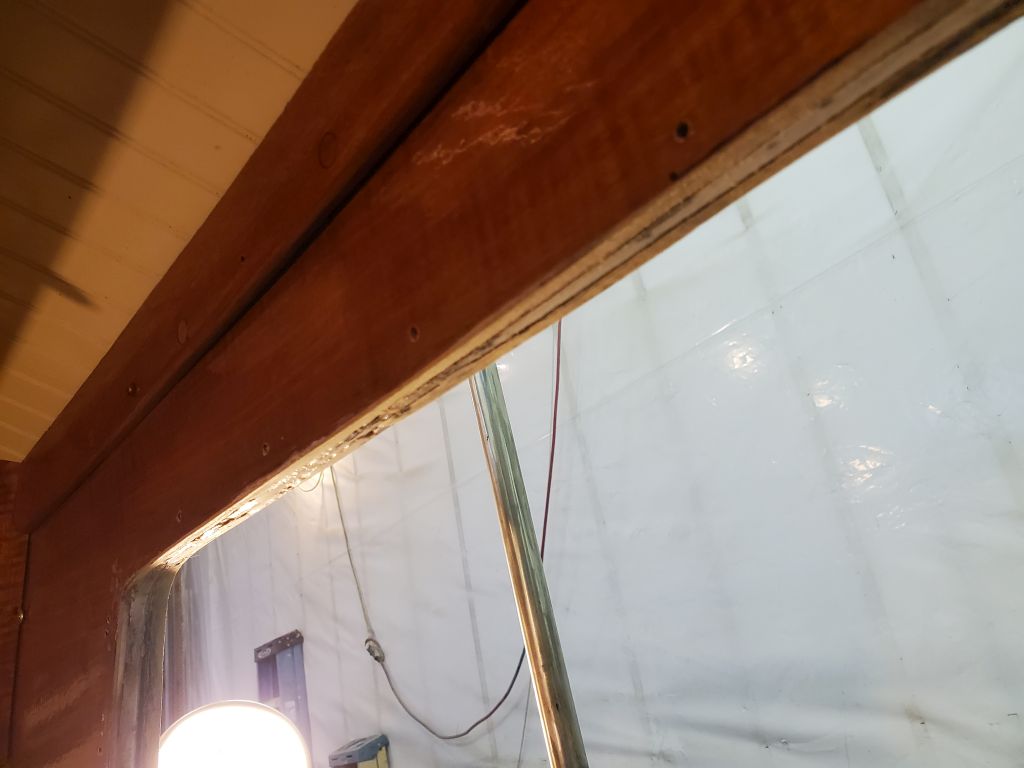
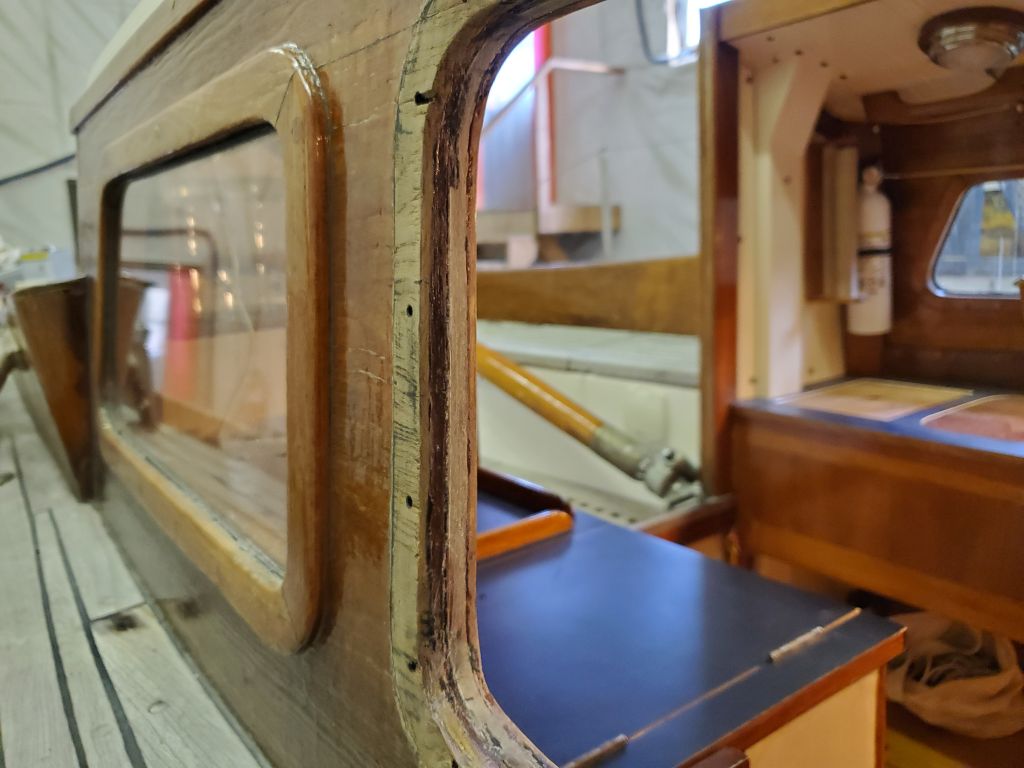
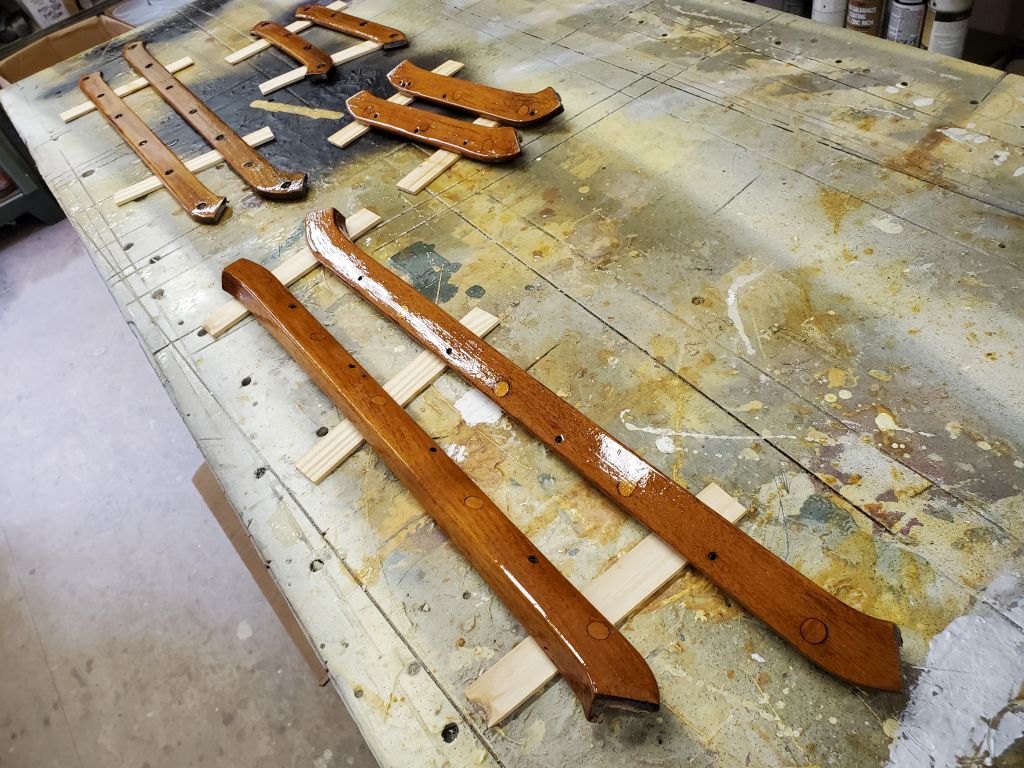
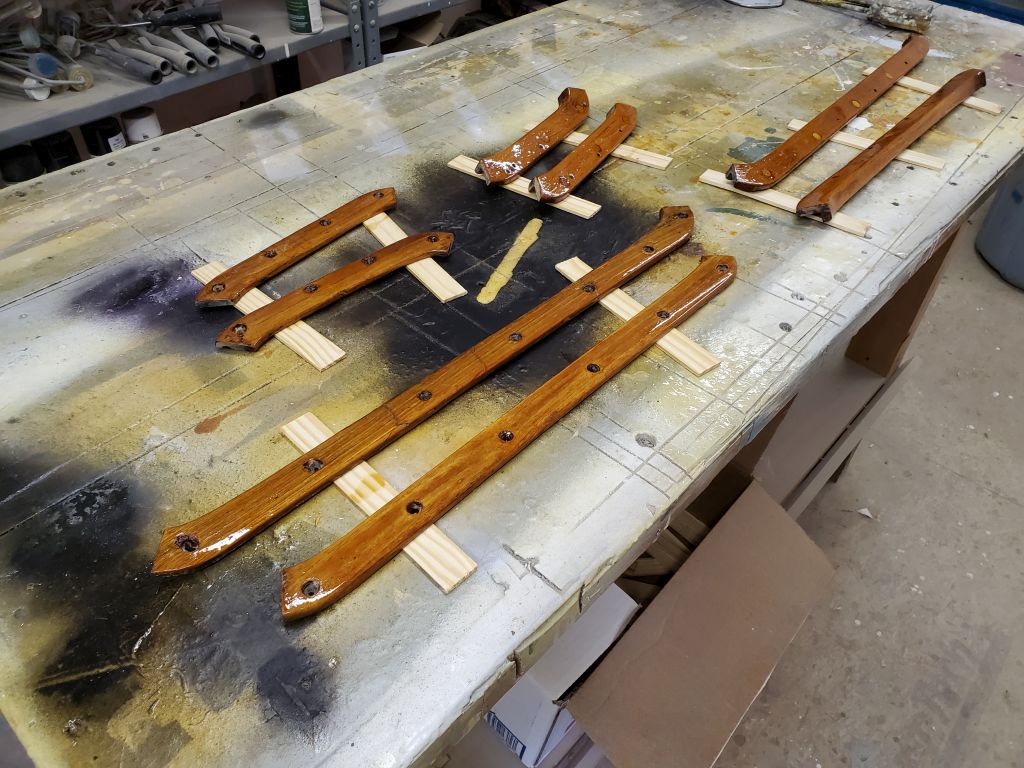
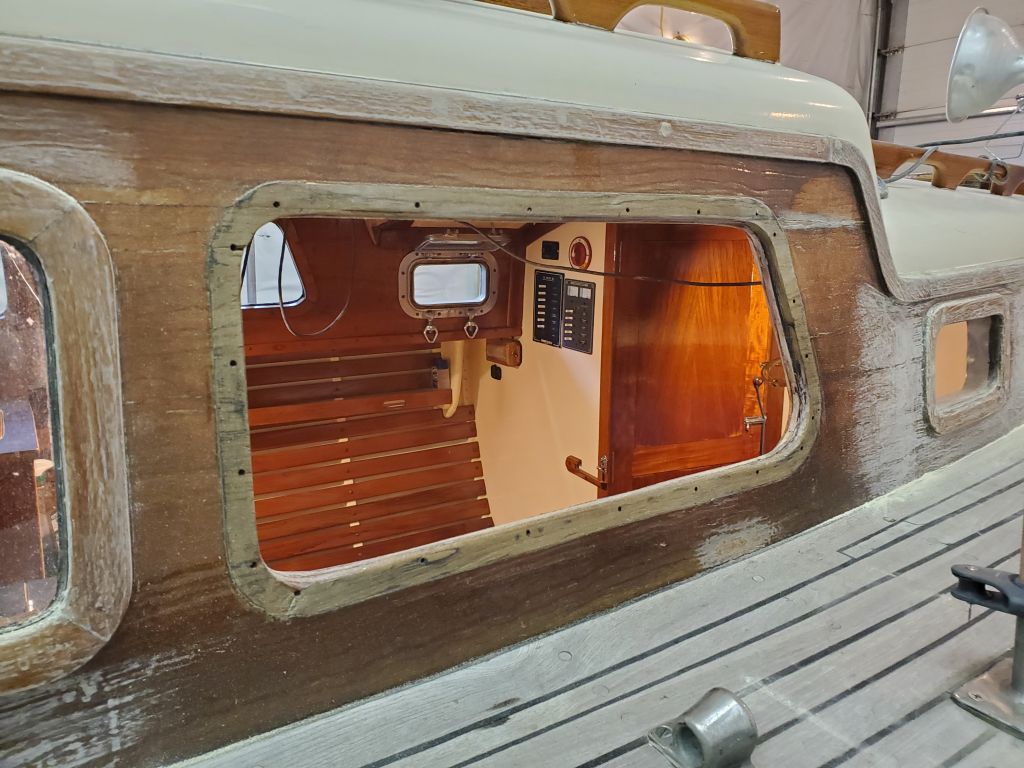
After an appointment away from the shop, I got back to work on the deadlight opening, removing the clamps and lightly sanding as needed to clean up any excess and cured epoxy. The opening was now ready for reinstallation of trim and lens as soon as the remaining parts were ready.
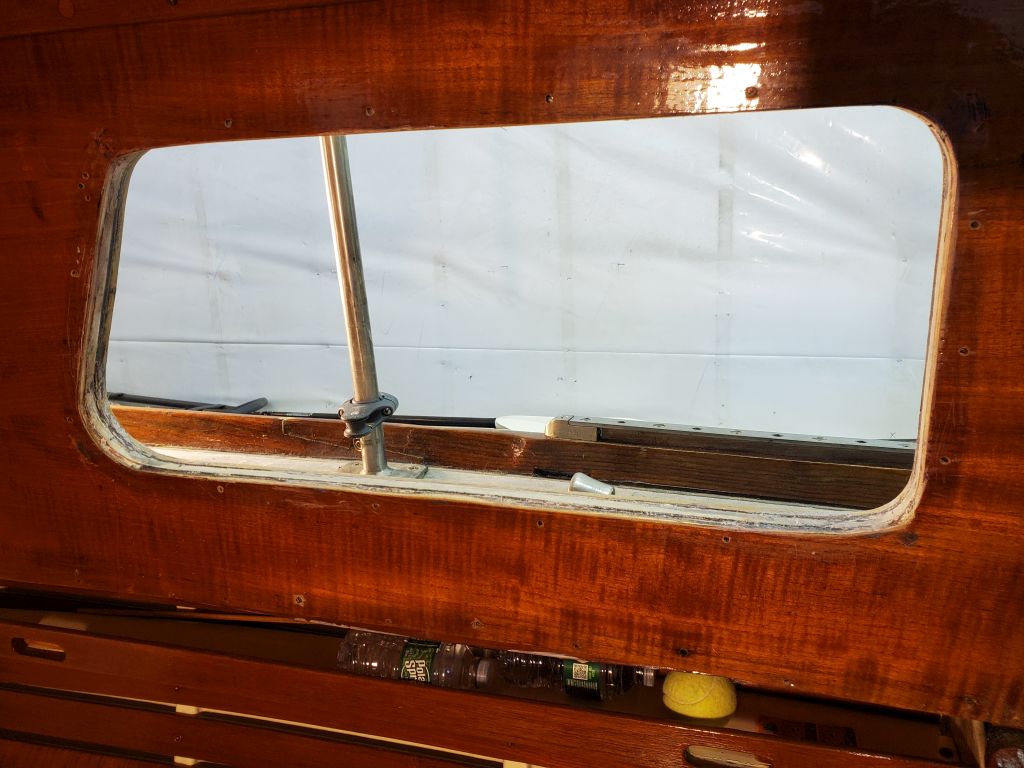
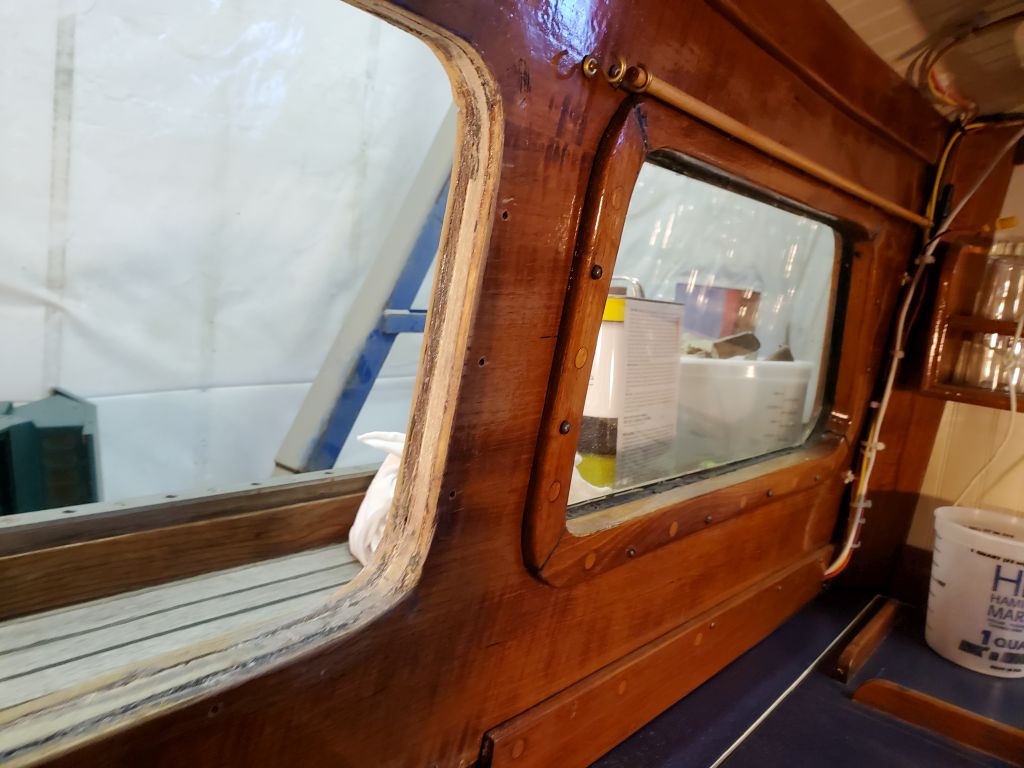
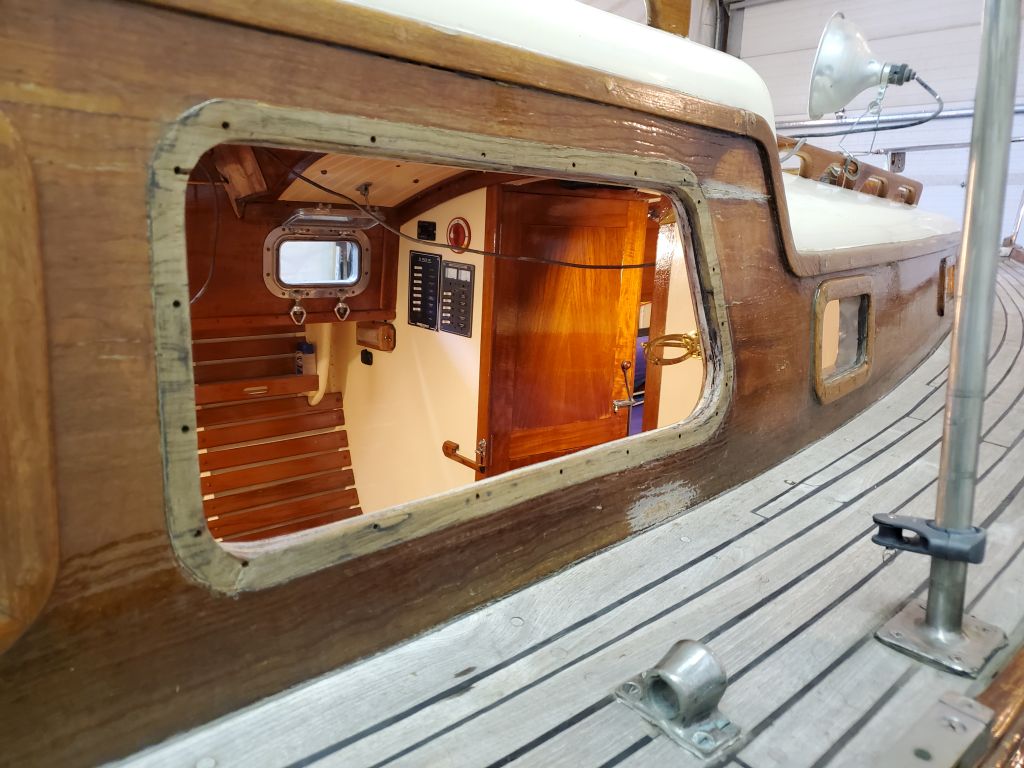
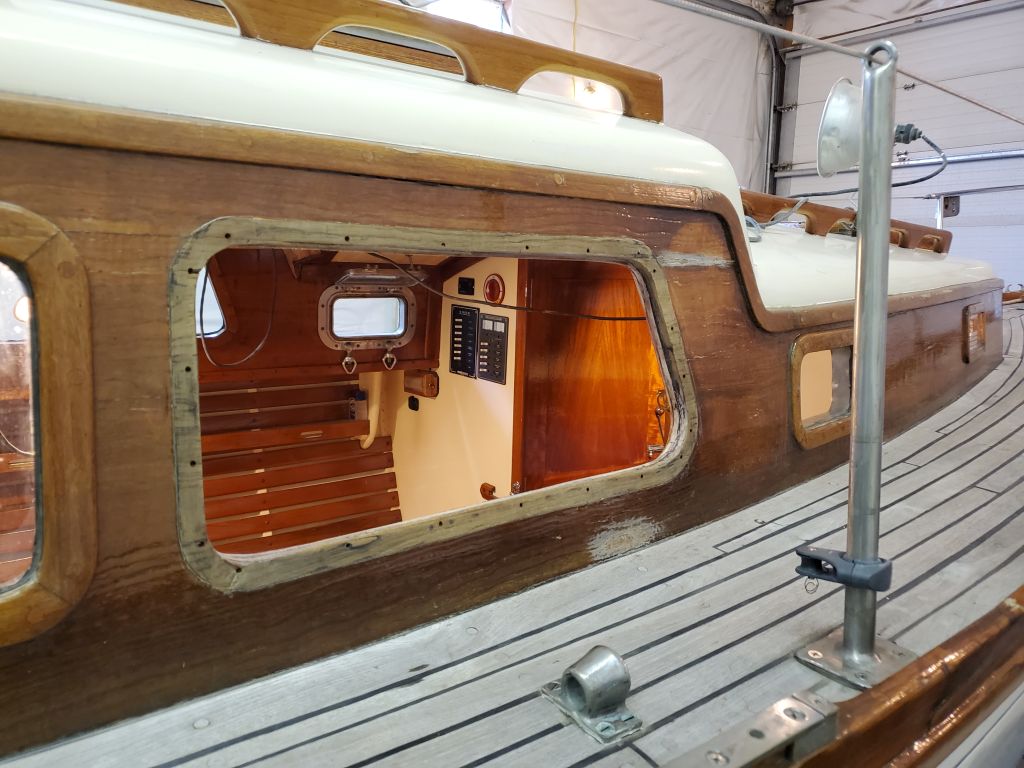
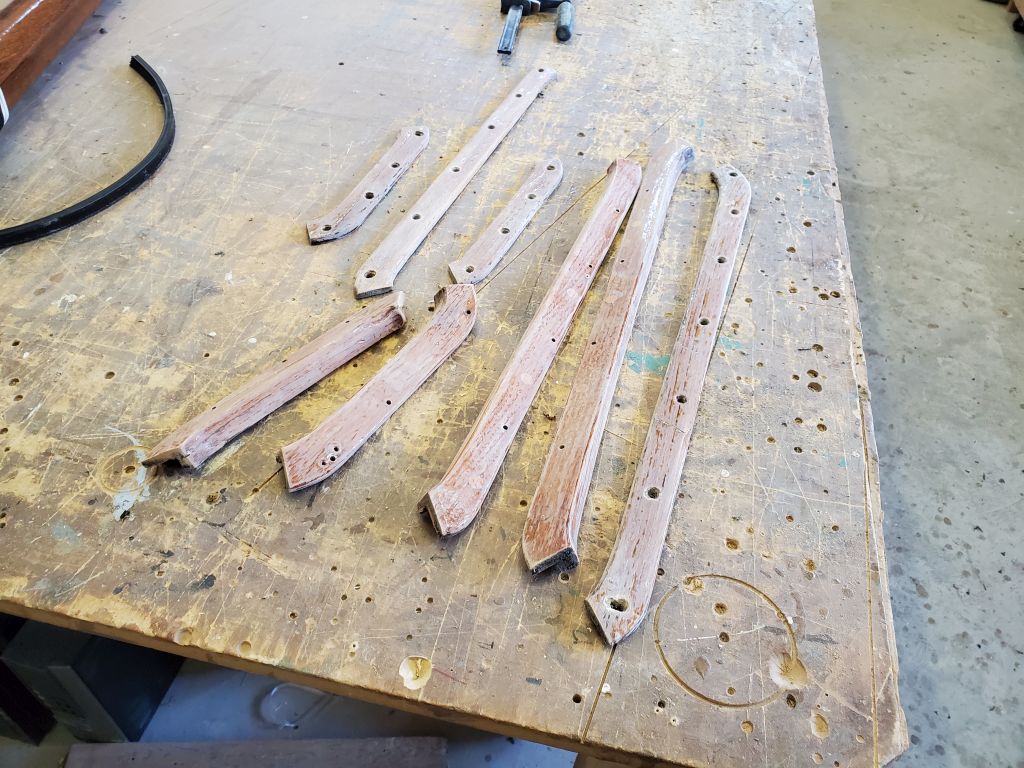
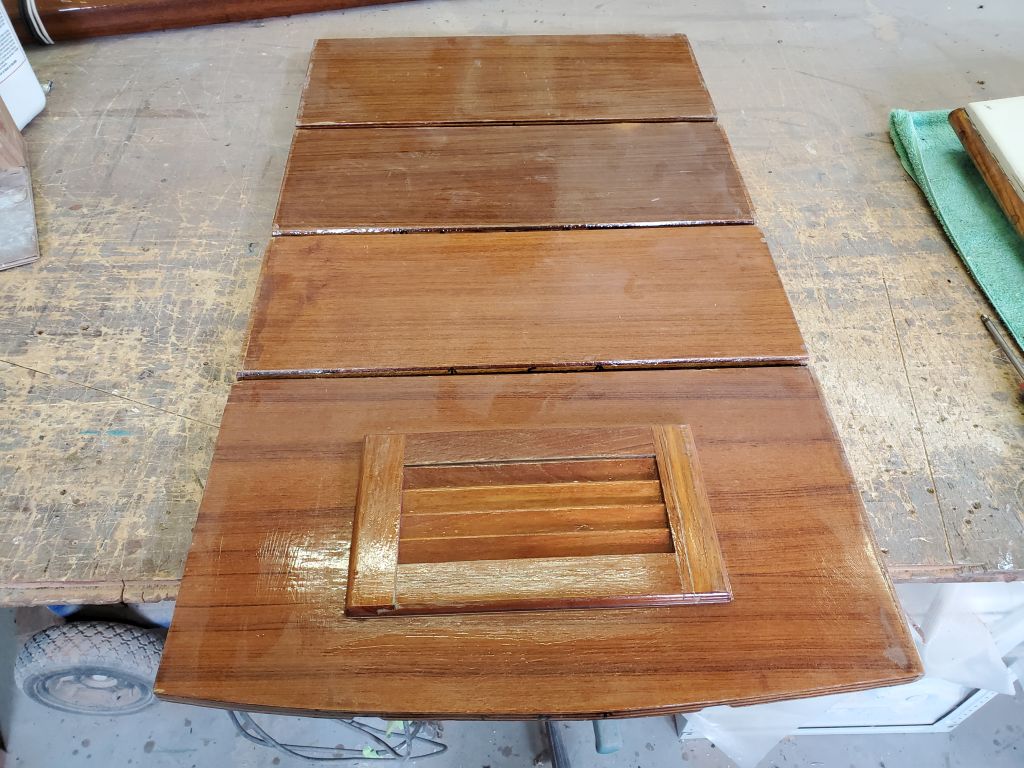
To that end, I finished up prep work on the last two pieces of deadlight trim, which I’d had to lightly glue to fix some splits, then I applied the first of a couple coats of varnish to all the trim pieces. The interior pieces just needed sprucing up before reinstallation, and I wanted a couple good coats on the exterior trim for protection before I installed the deadlight with sealant.
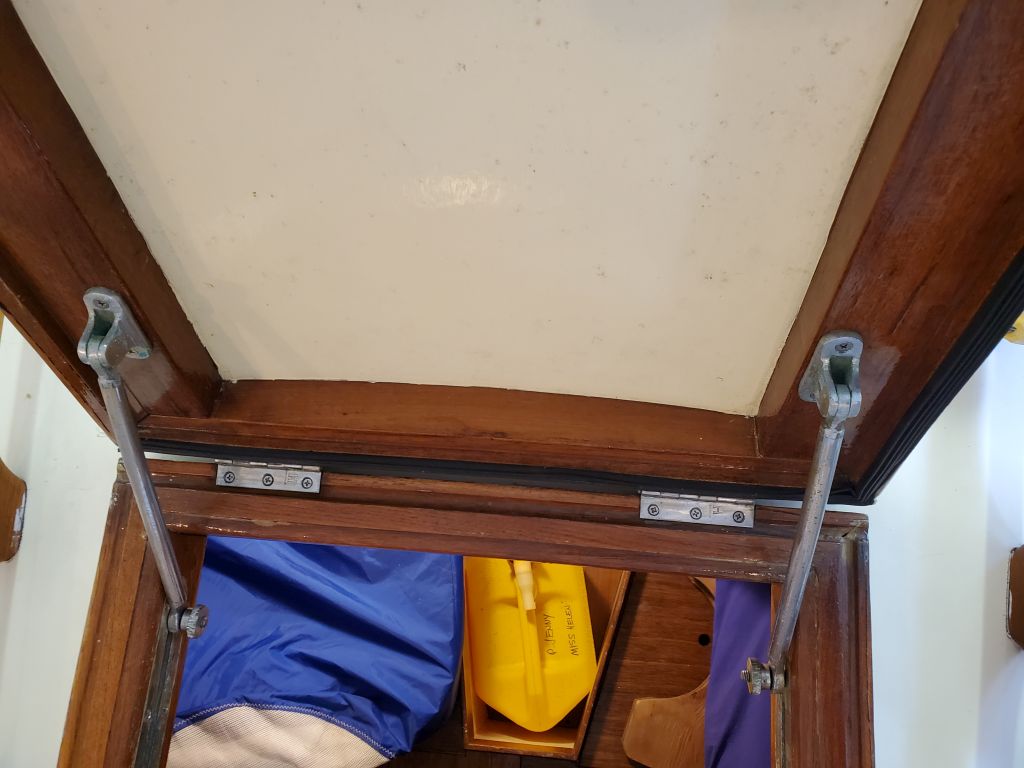
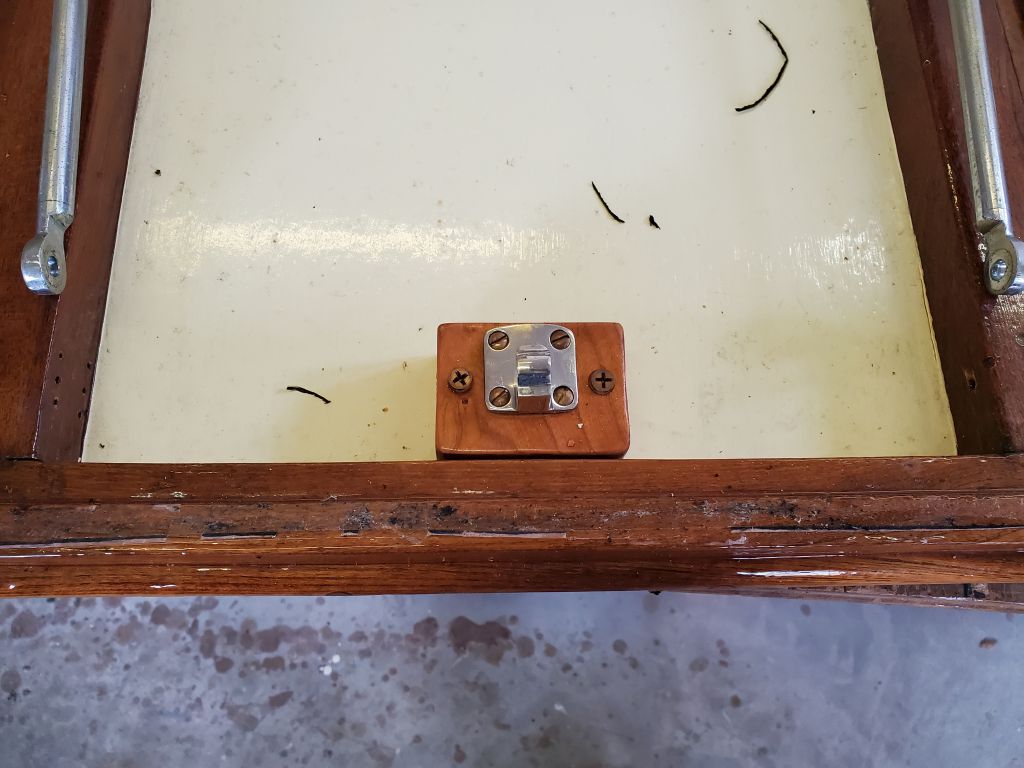
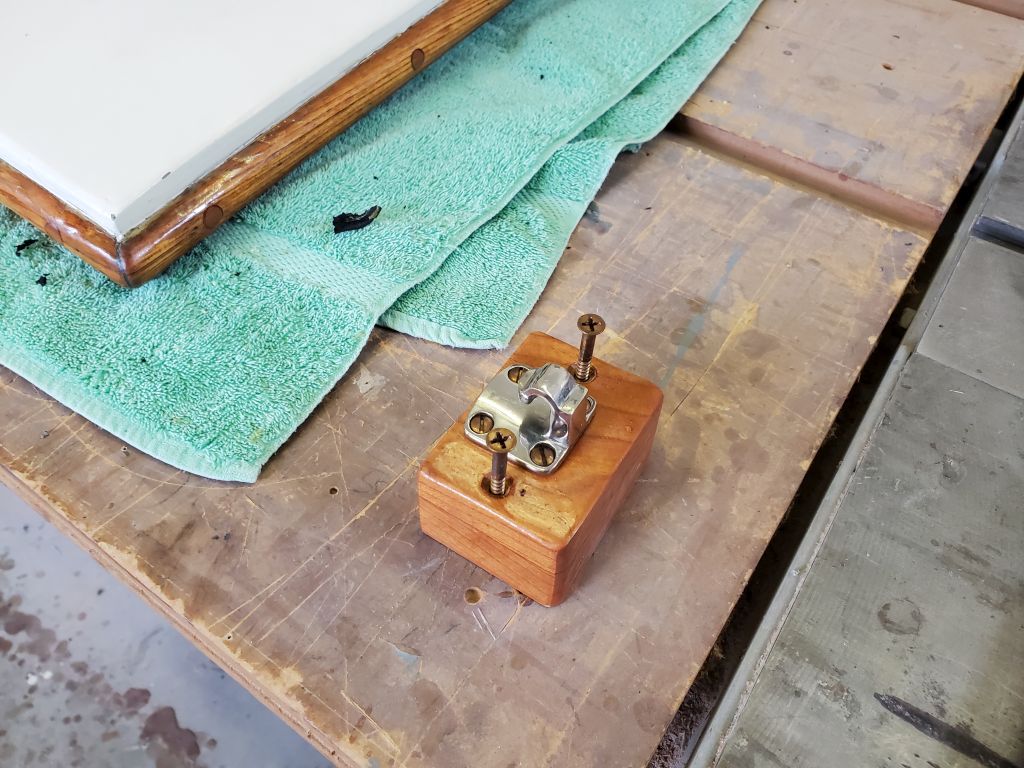
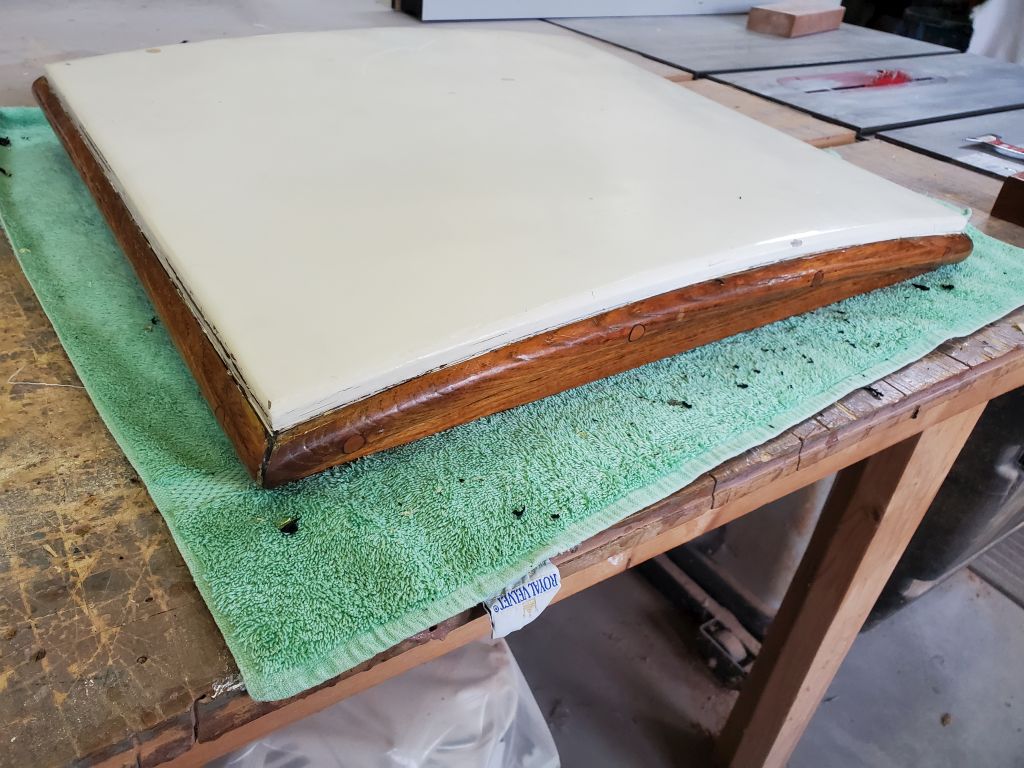
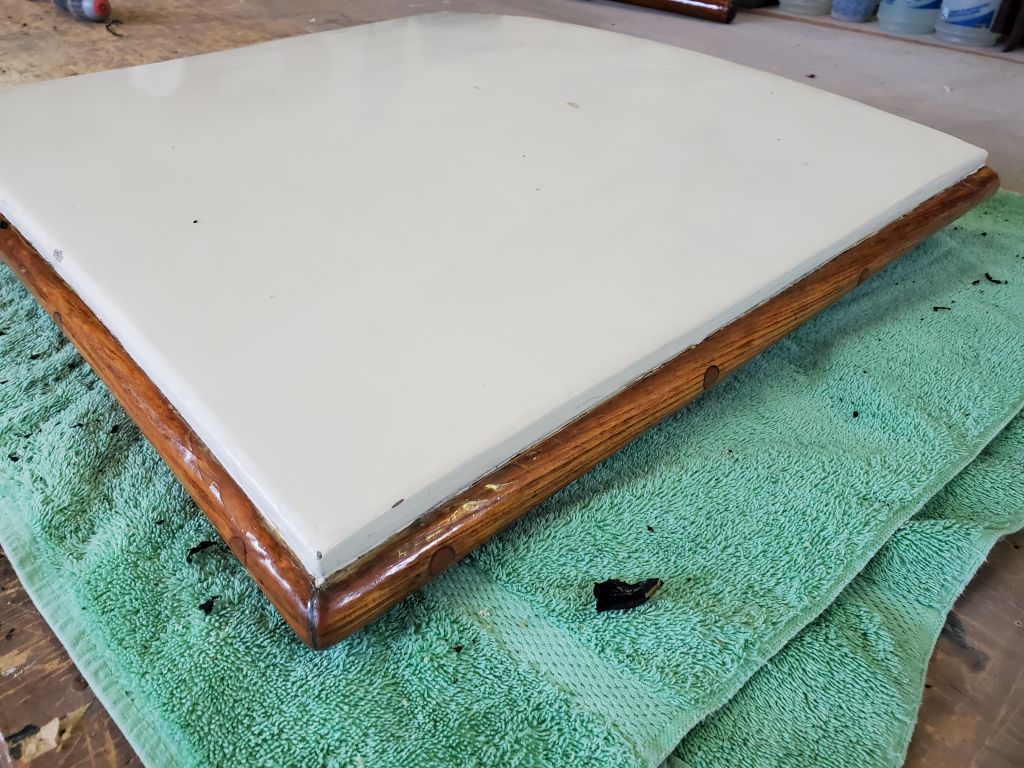
I removed the forward hatch so I could replace the gasket and work on the minor modification to the hasp setup. Removal was a simple matter of removing the hinge screws from the hatch frame. Once on the bench, I removed the old gasket and adhesive to prepare for the new gasket when it arrived. Then, I removed the block securing the hasp latch so I could trim it slightly as needed to ensure a more positive seal around the hatch.
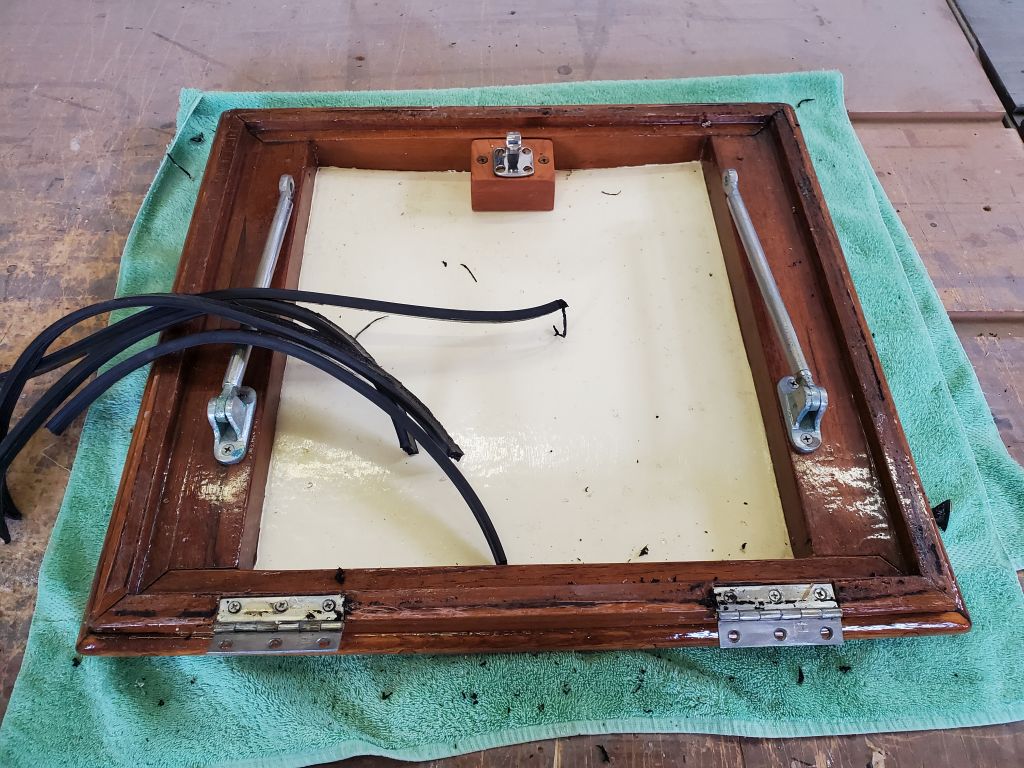
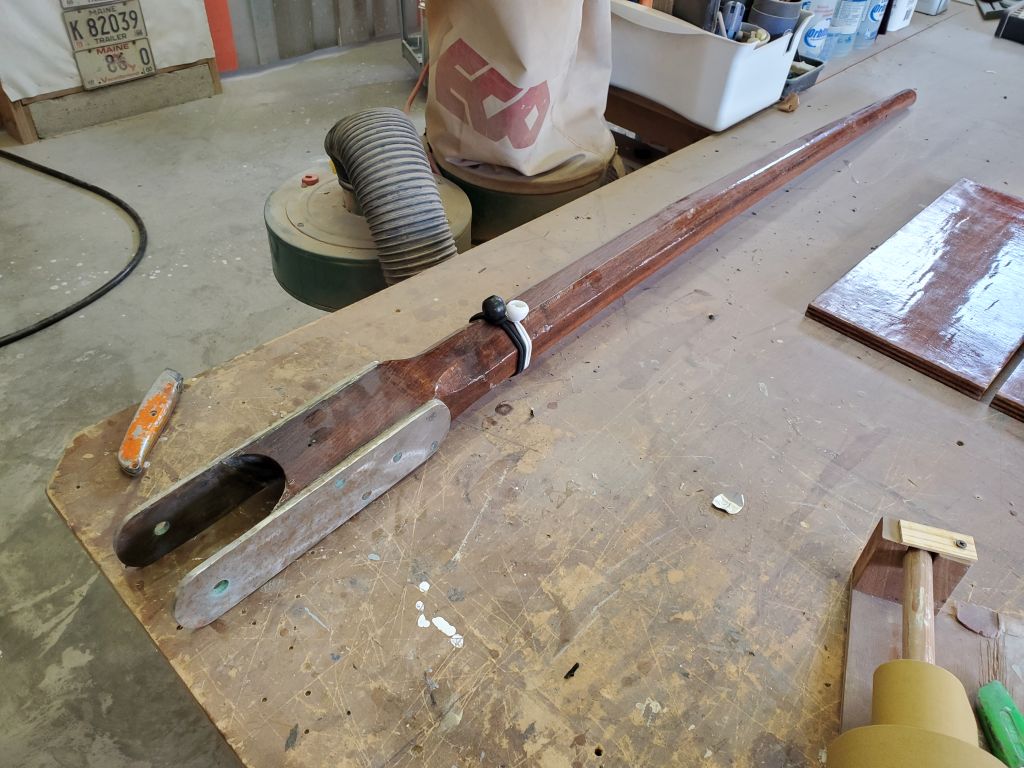
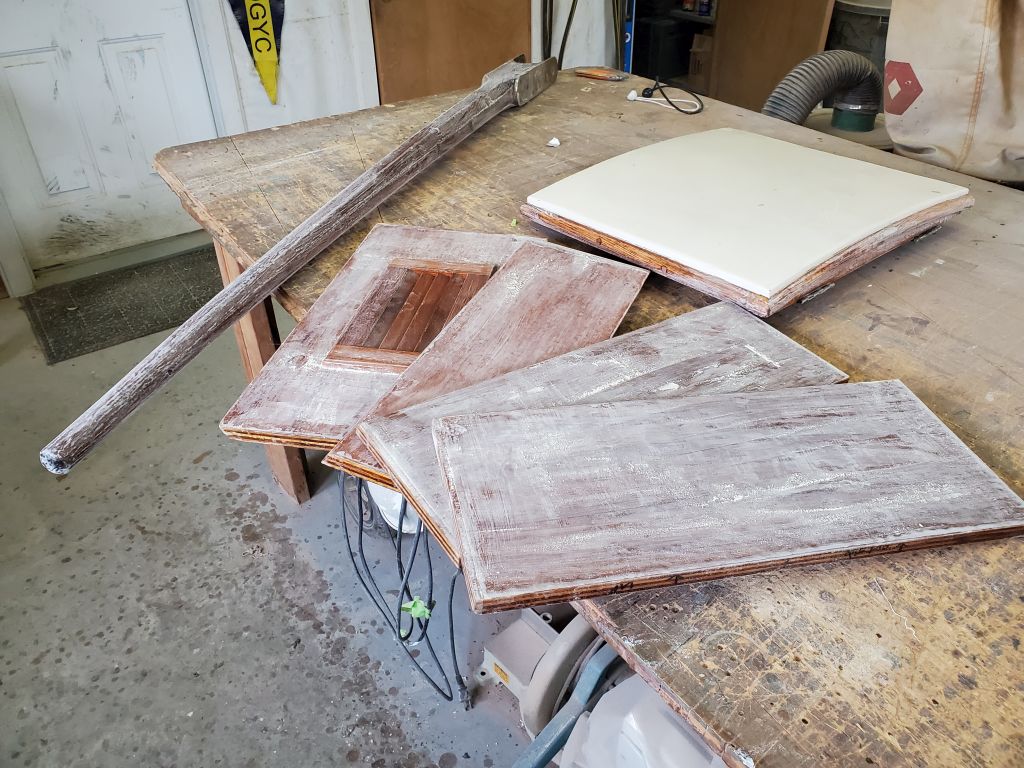
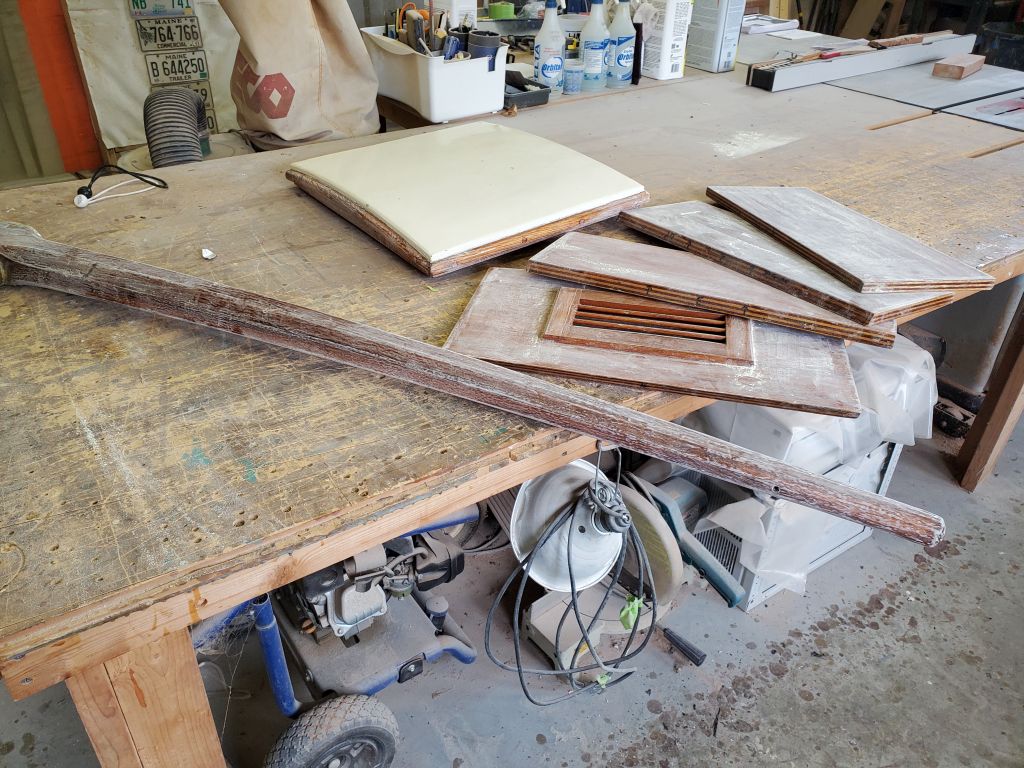
Now I turned to brightwork preparation. I started with various small parts I’d accumulated on the bench, including the forward hatch, companionway boards, and the tiller. I gave these all a sanding with 220 grit to prepare for maintenance coats of varnish.
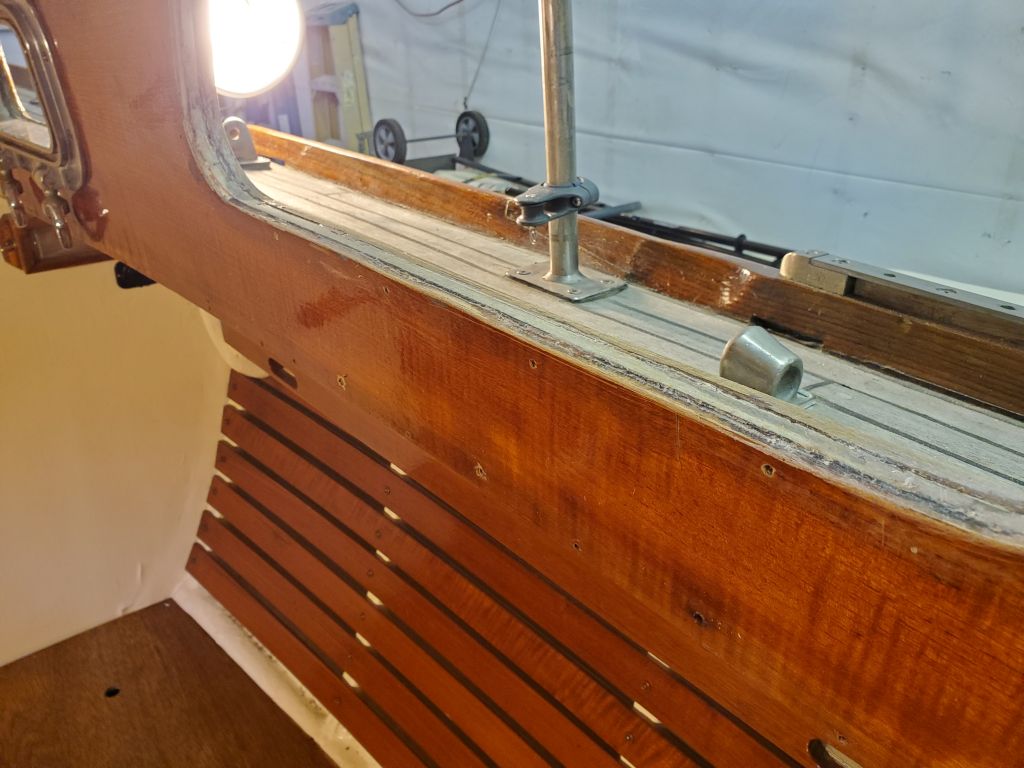
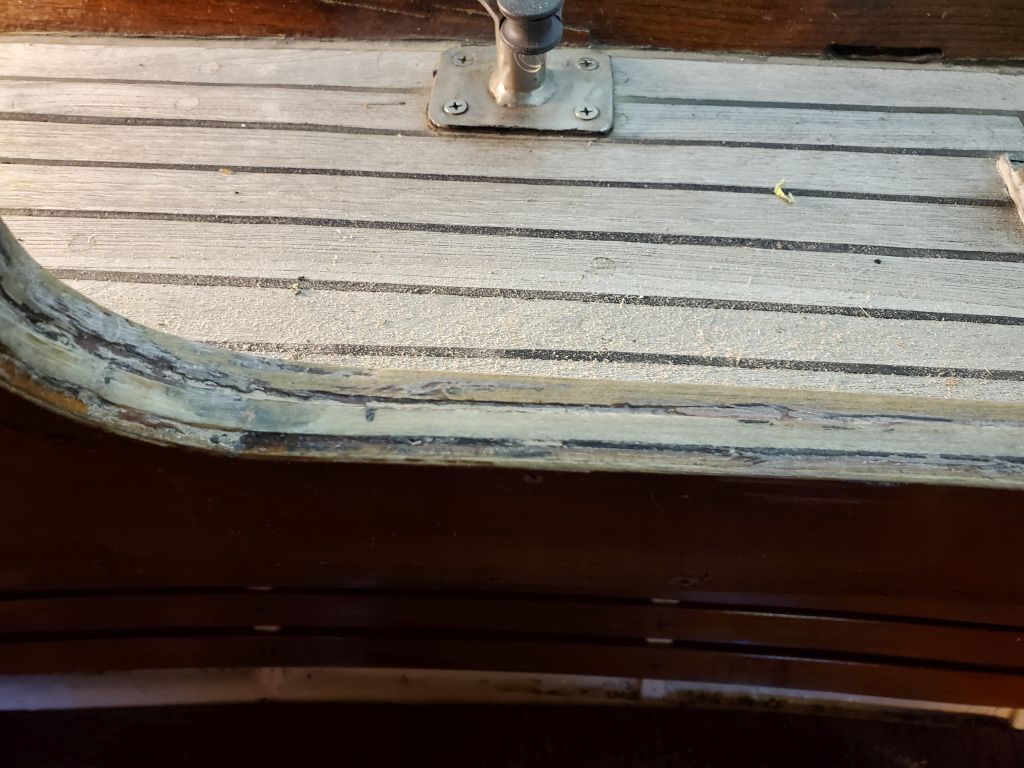
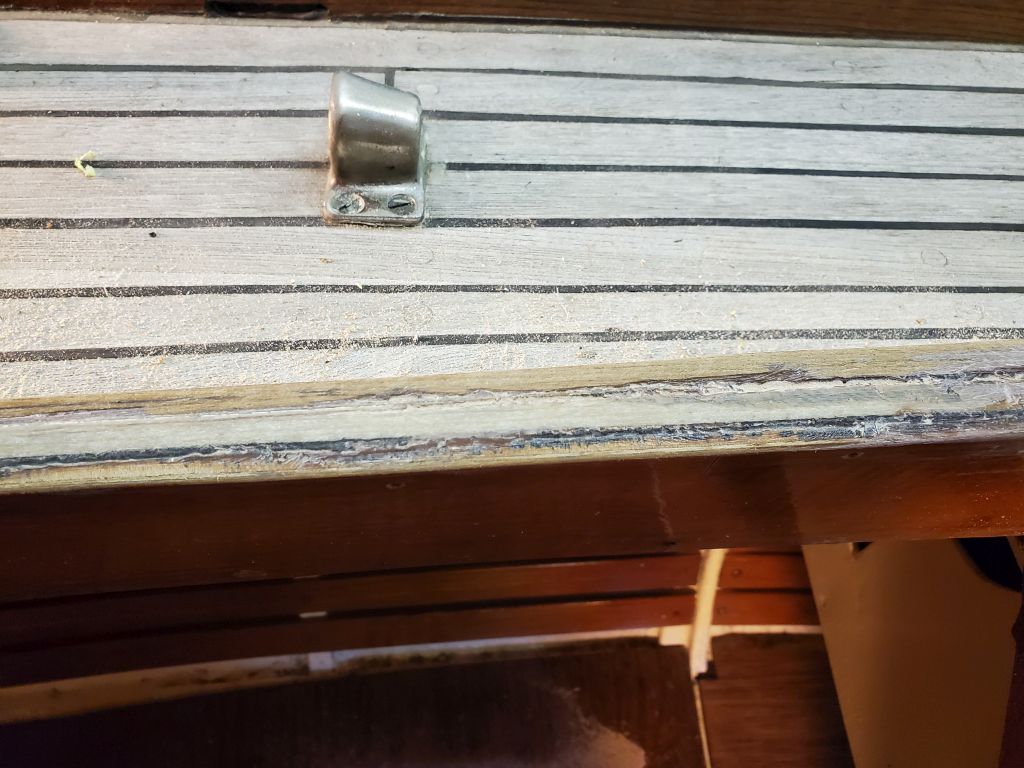
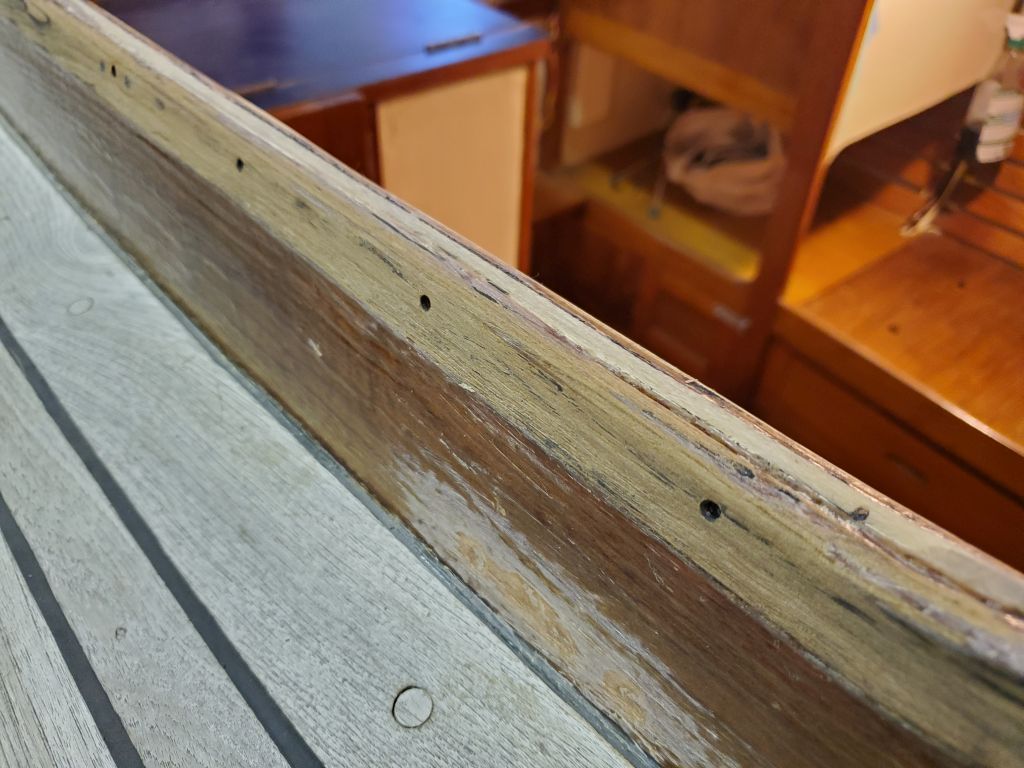
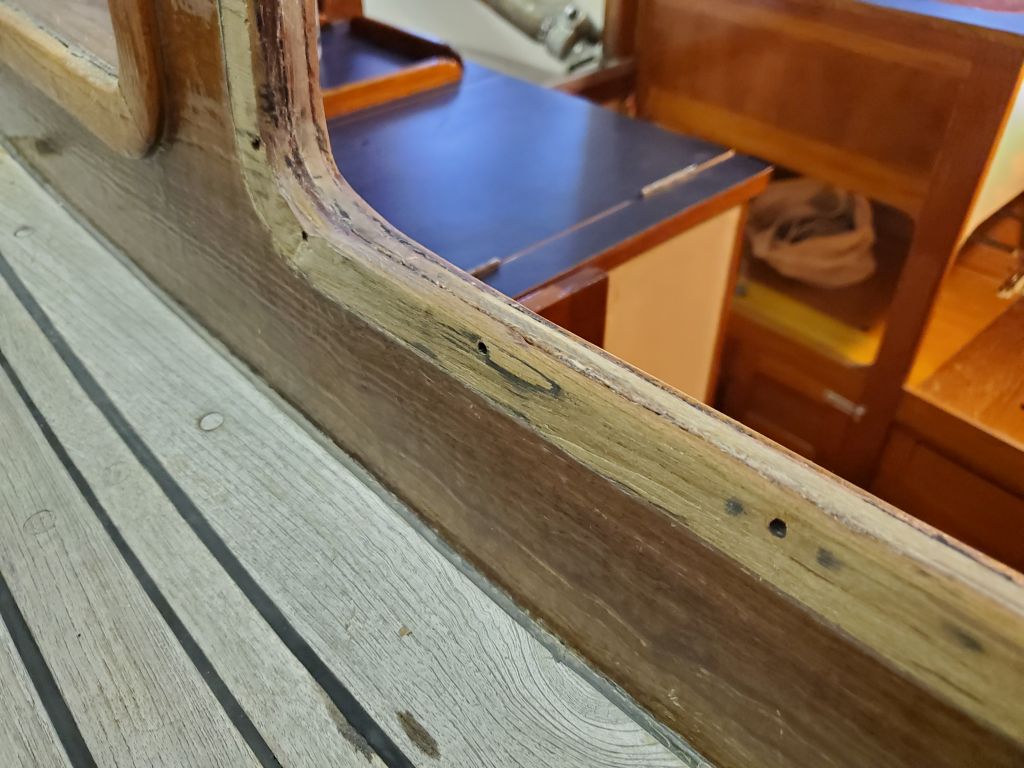
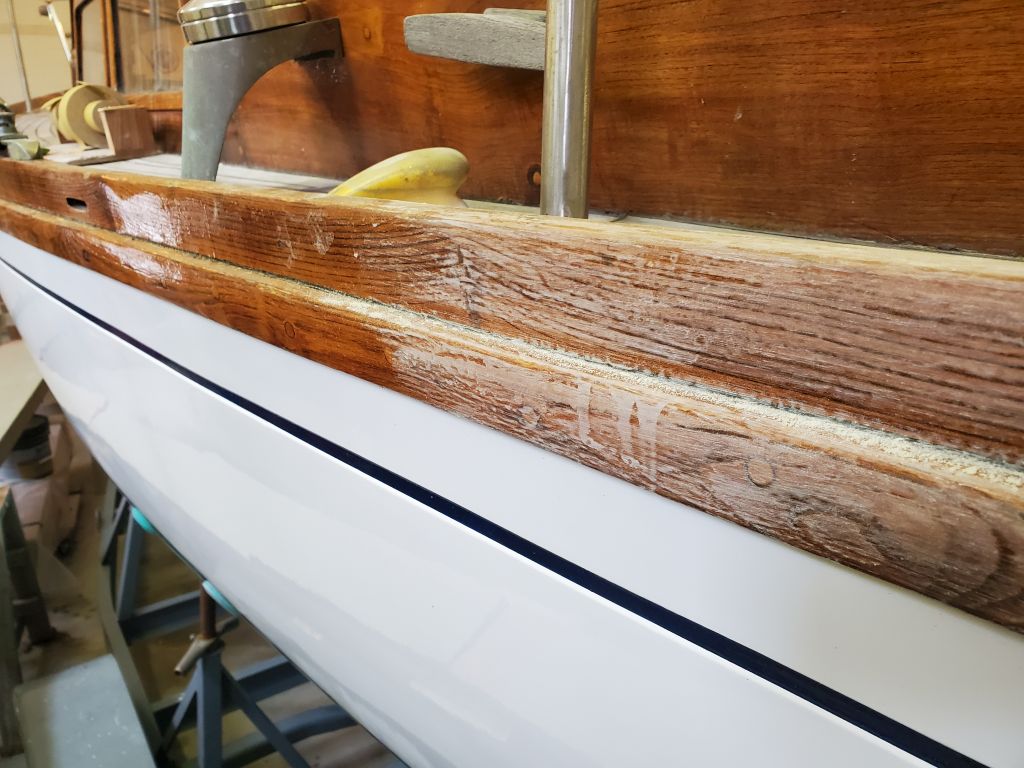
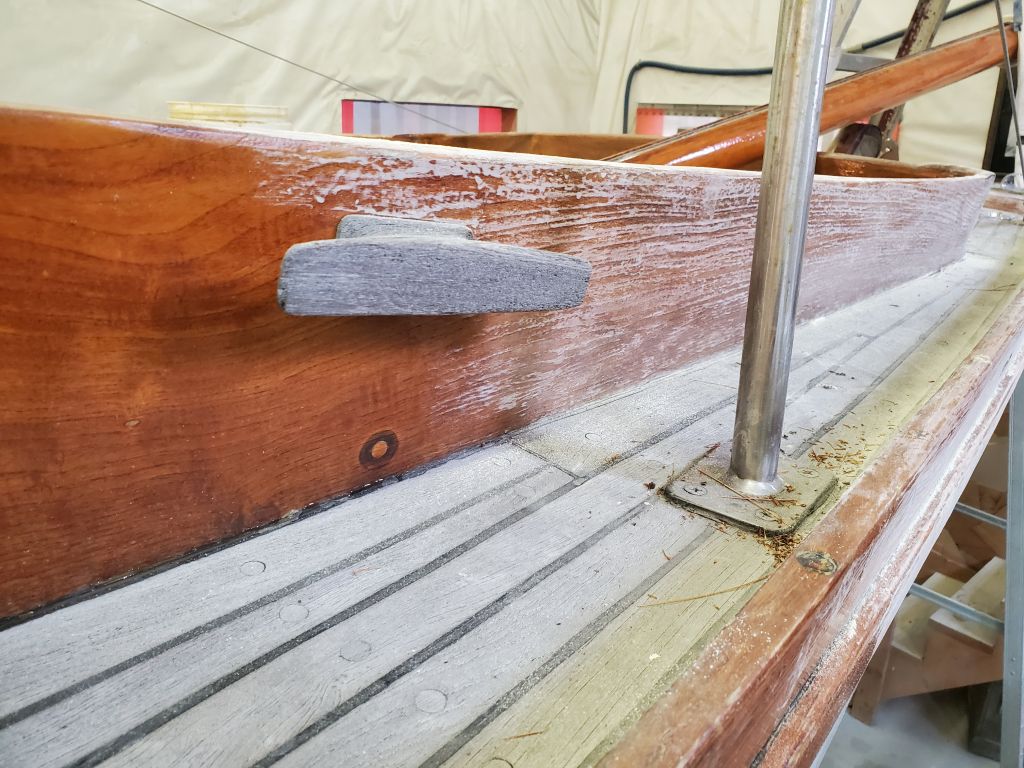
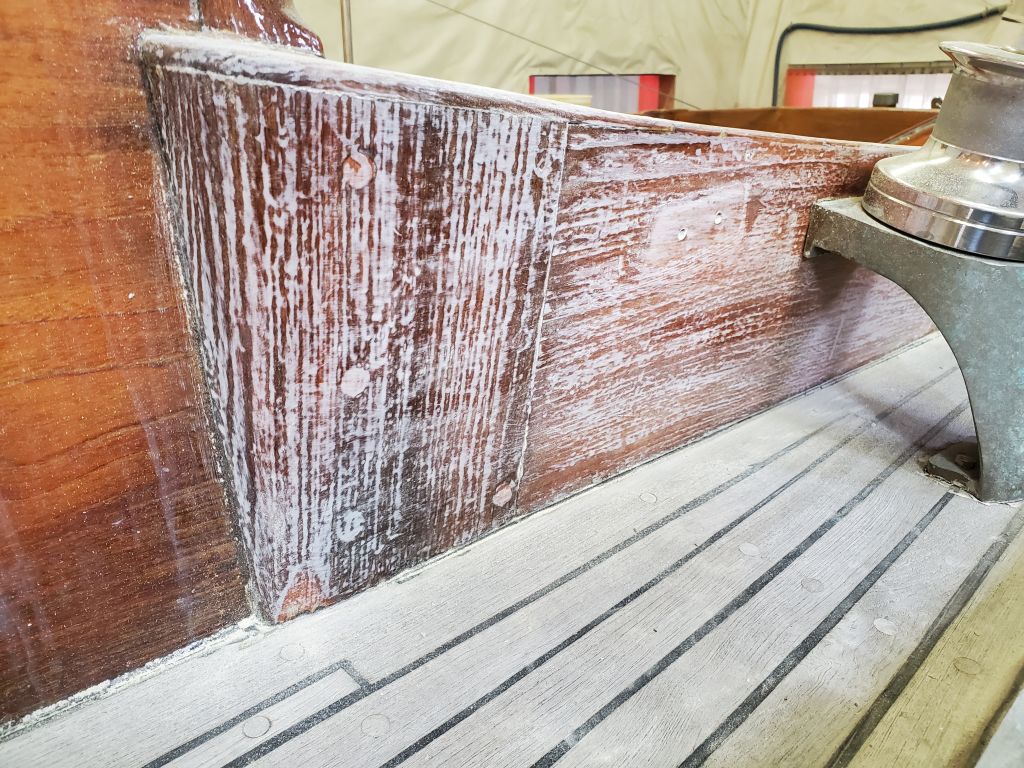
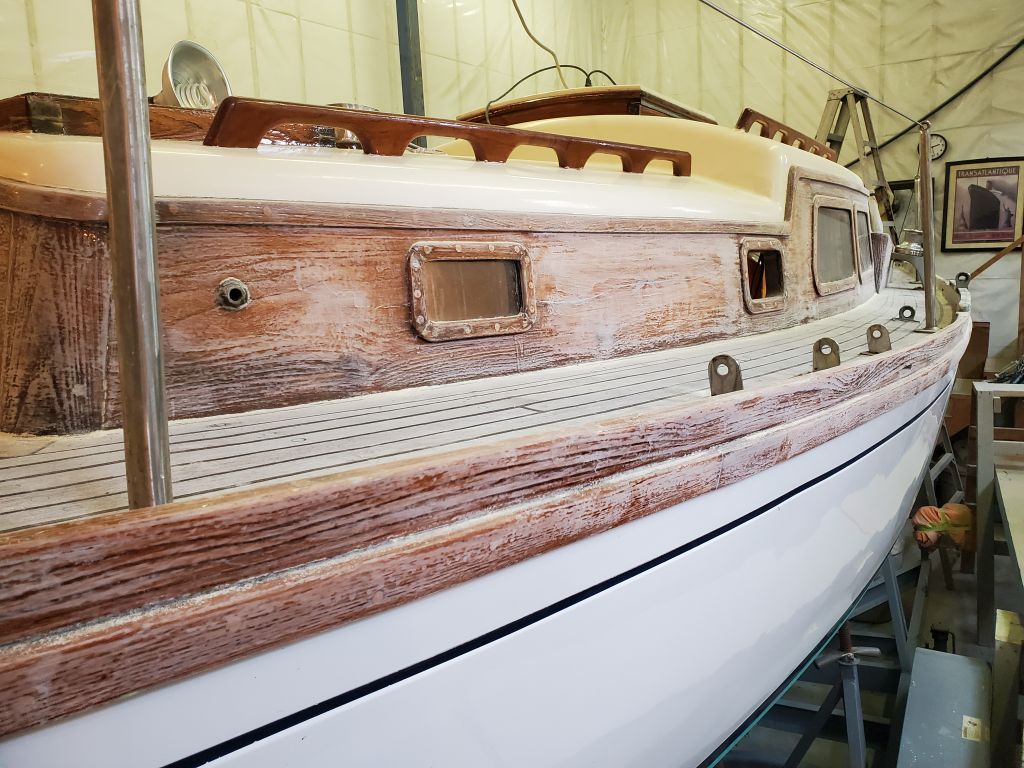
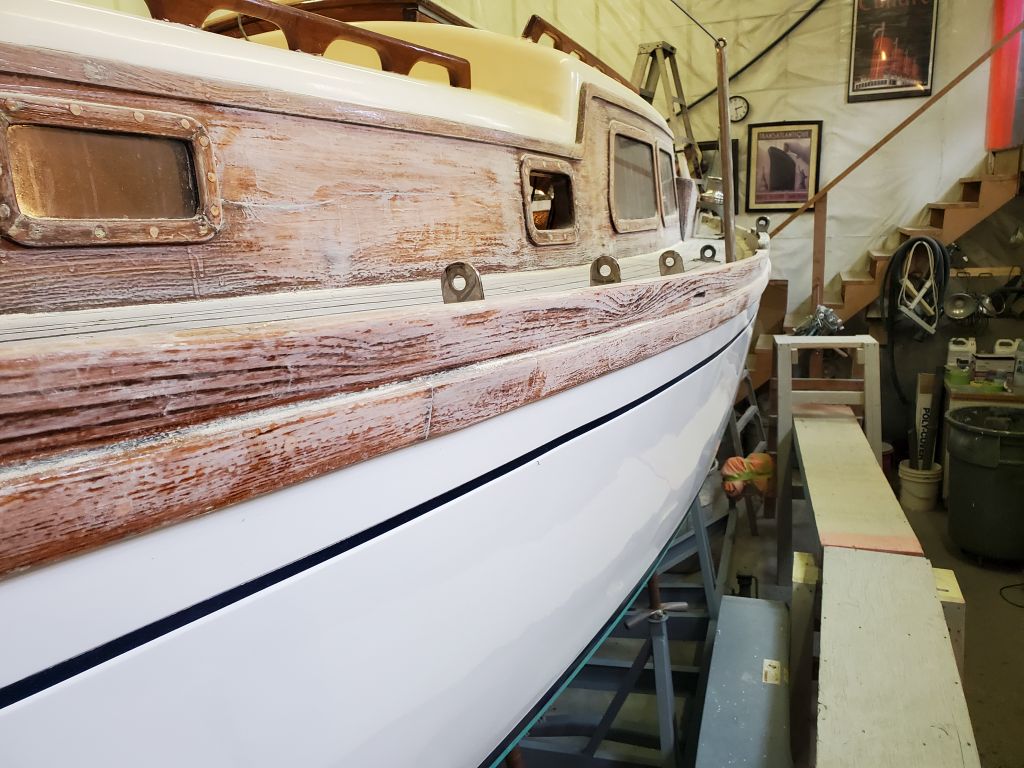
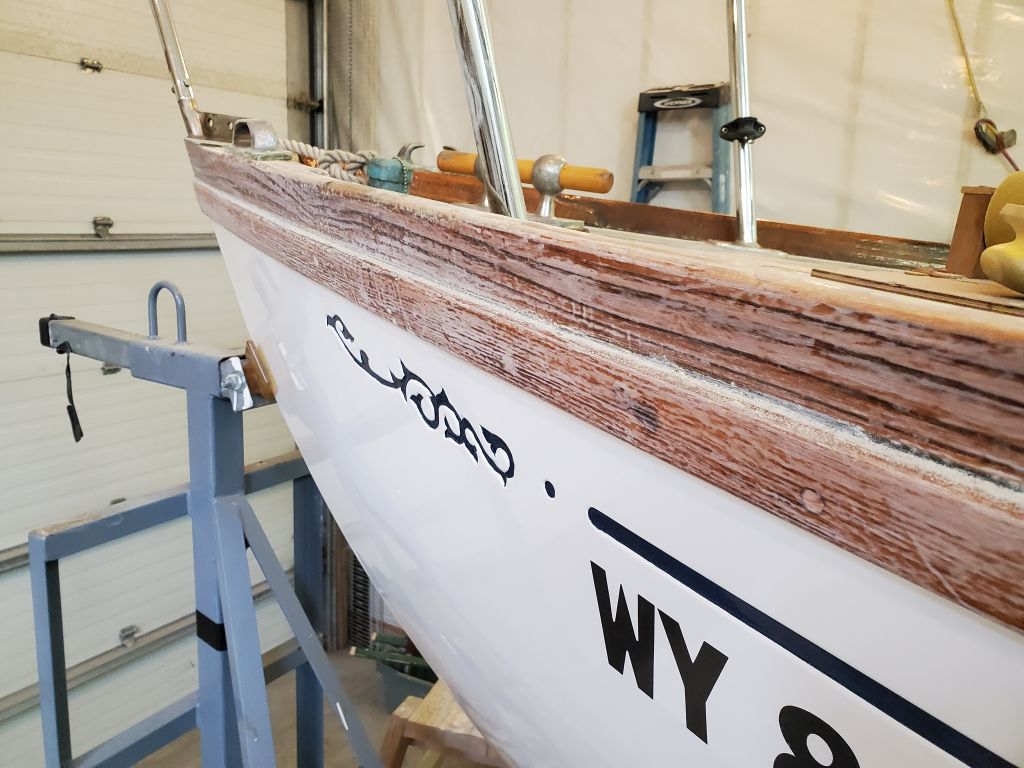
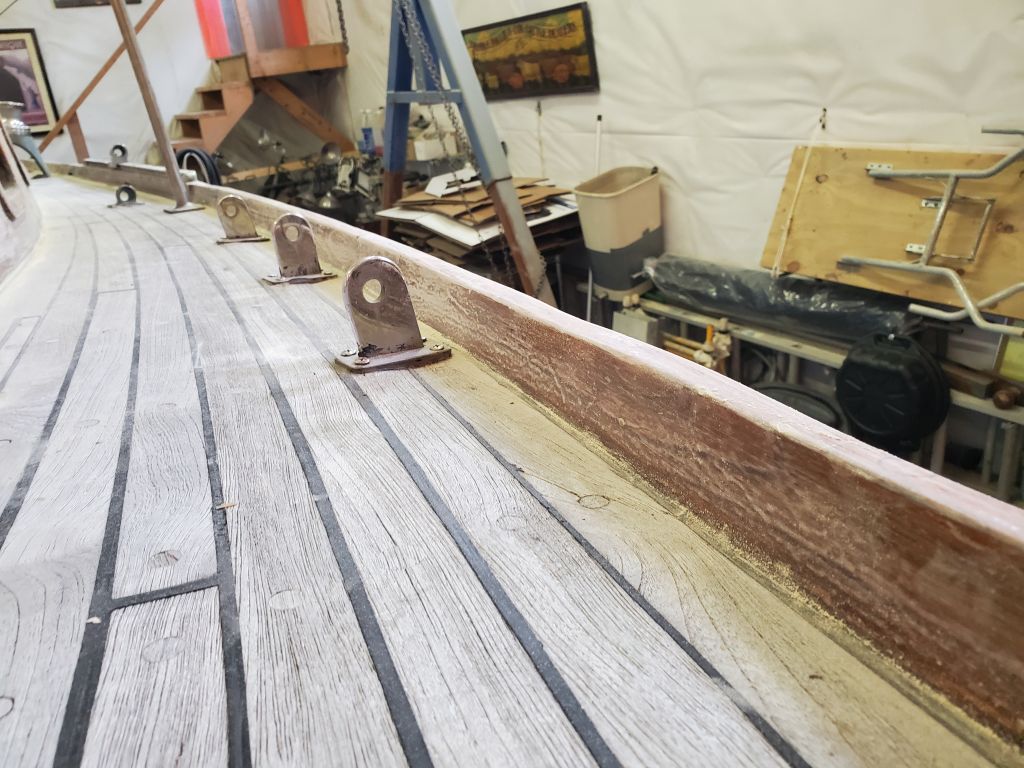
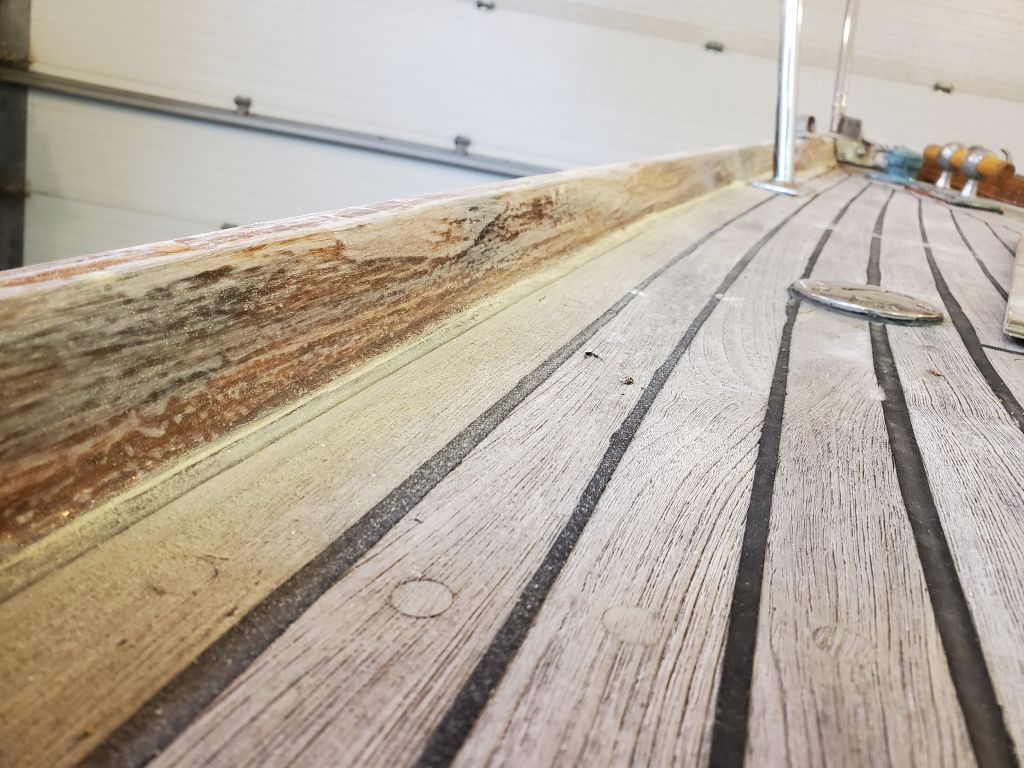
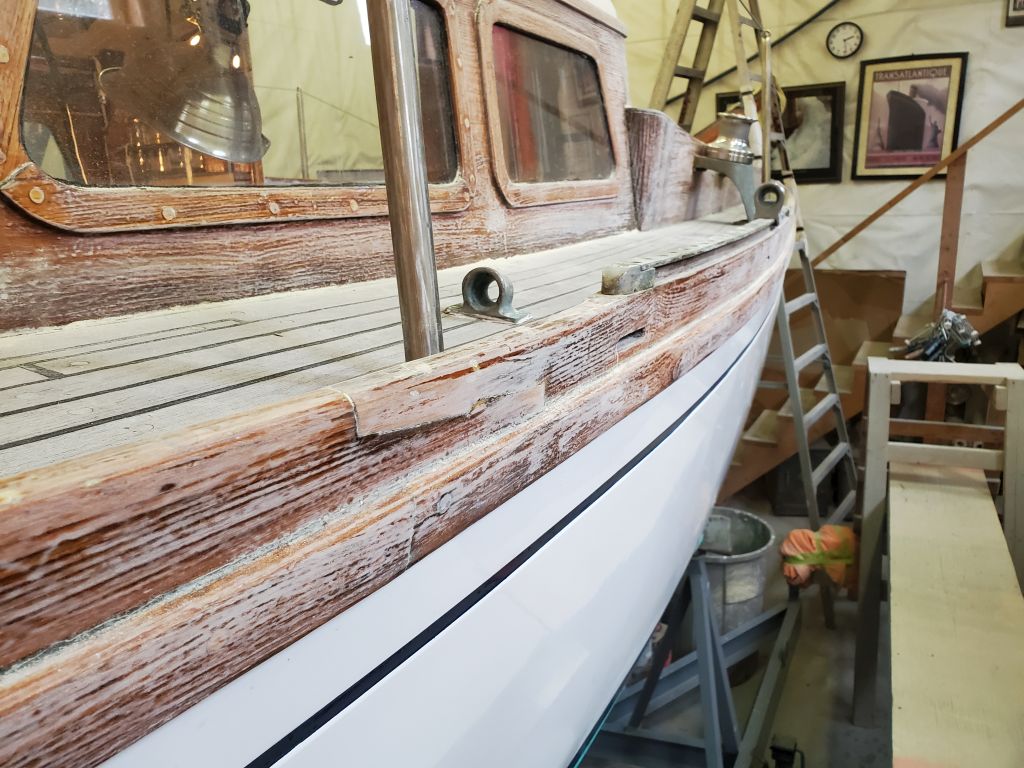
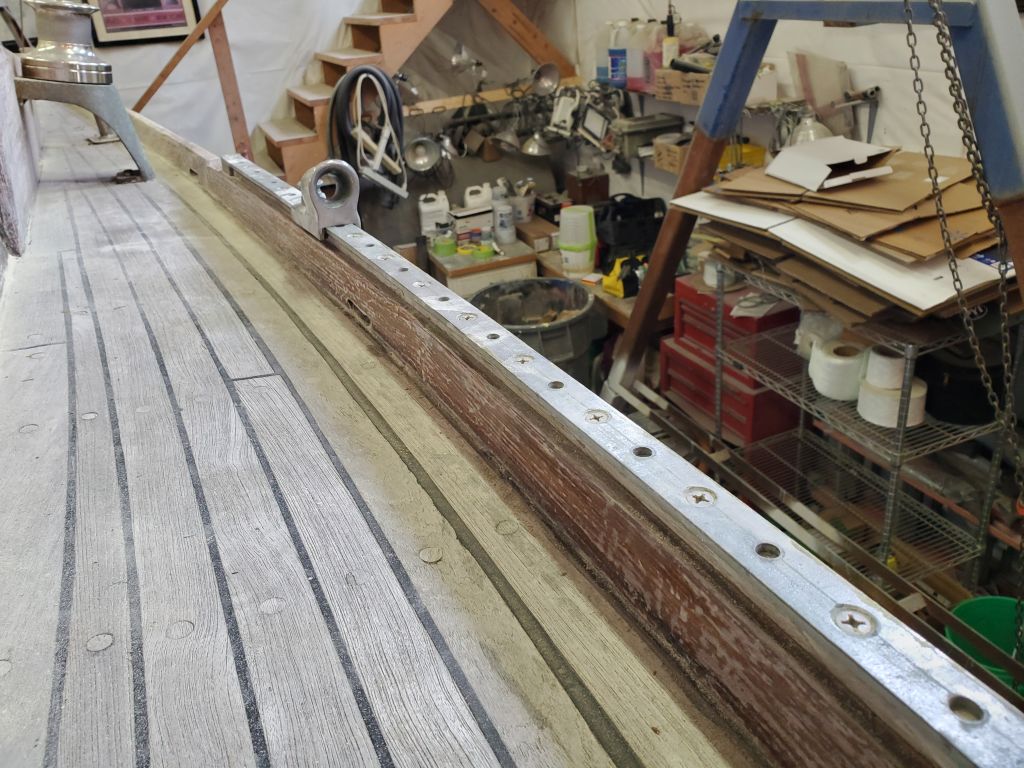
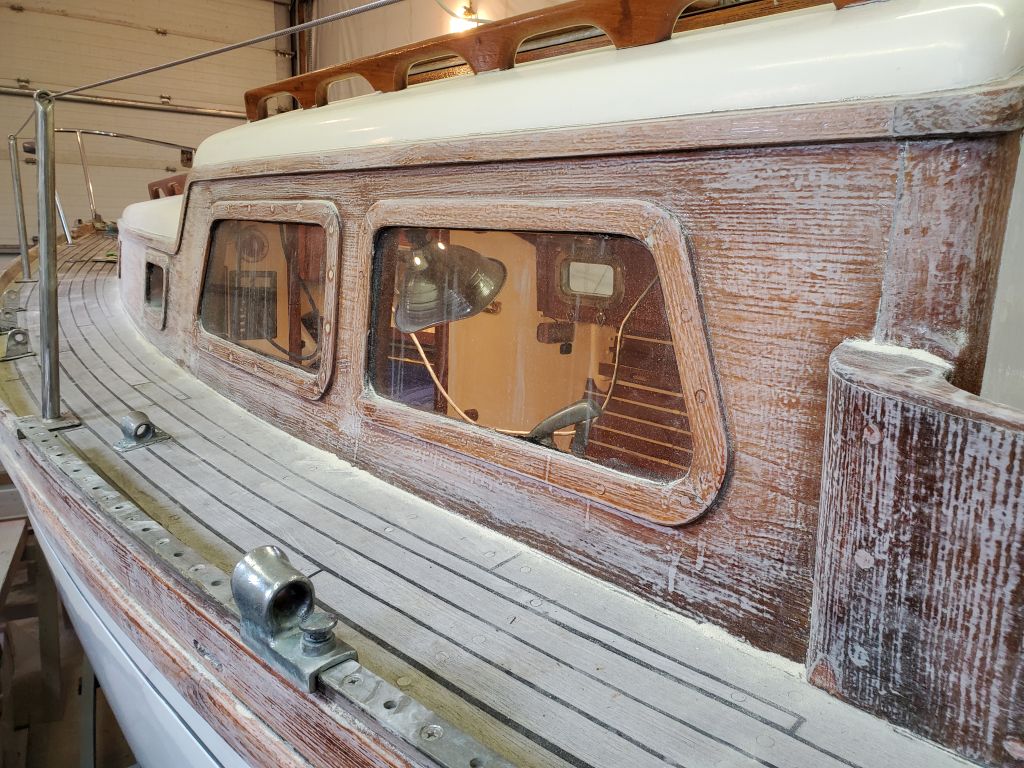
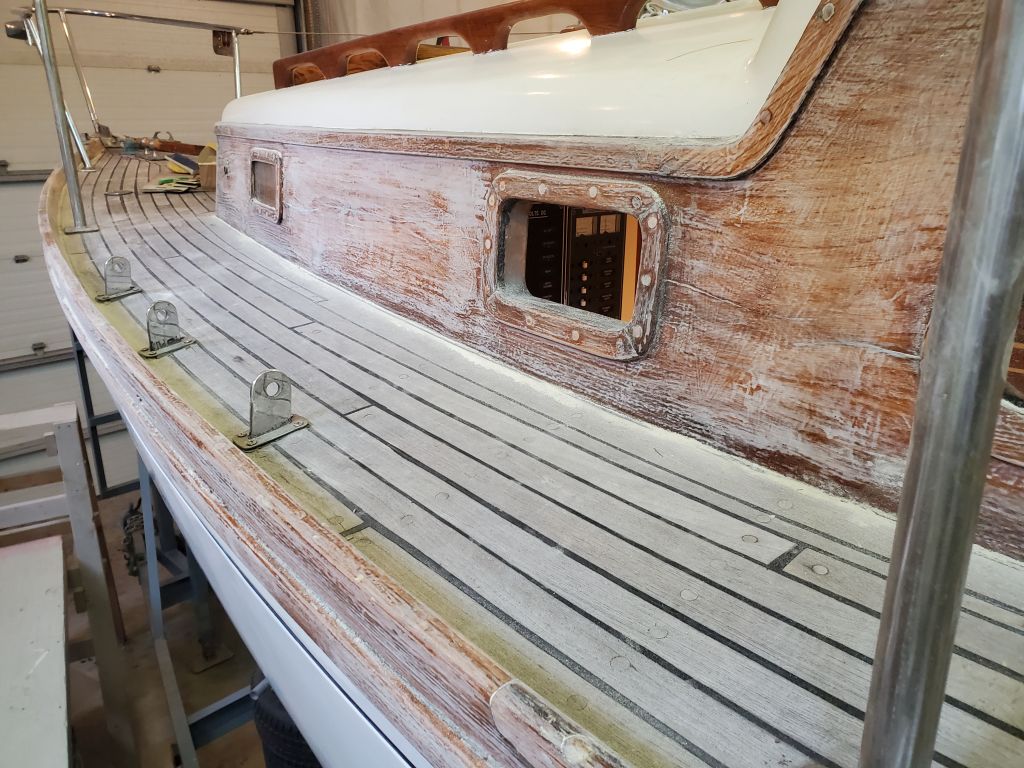
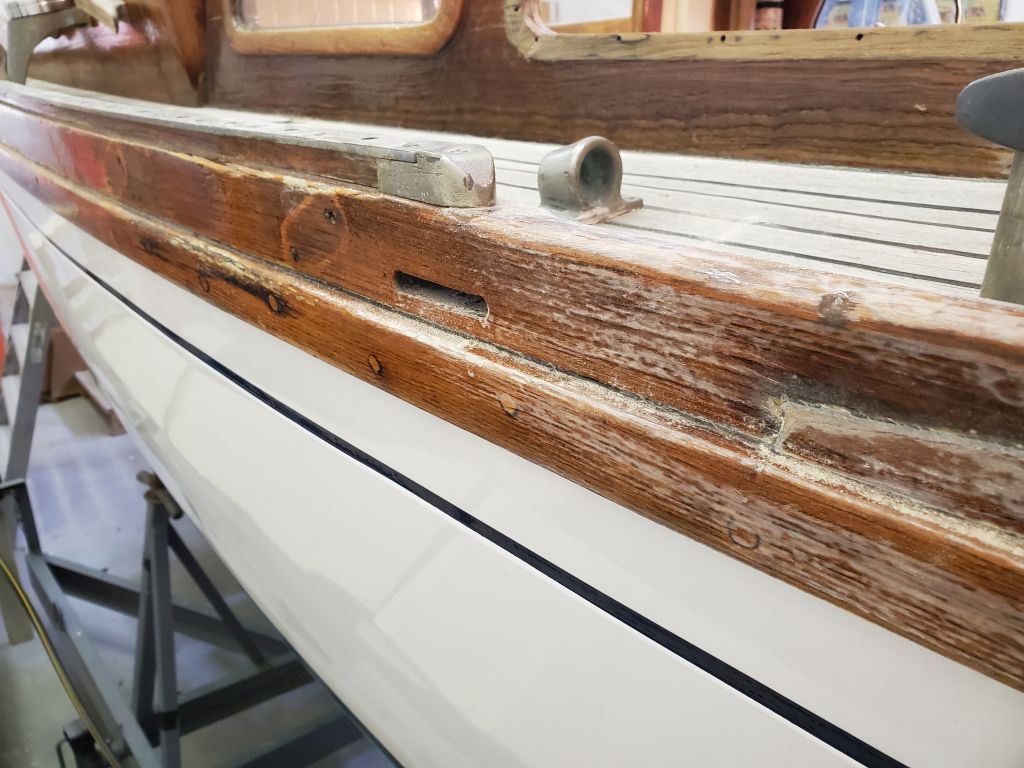
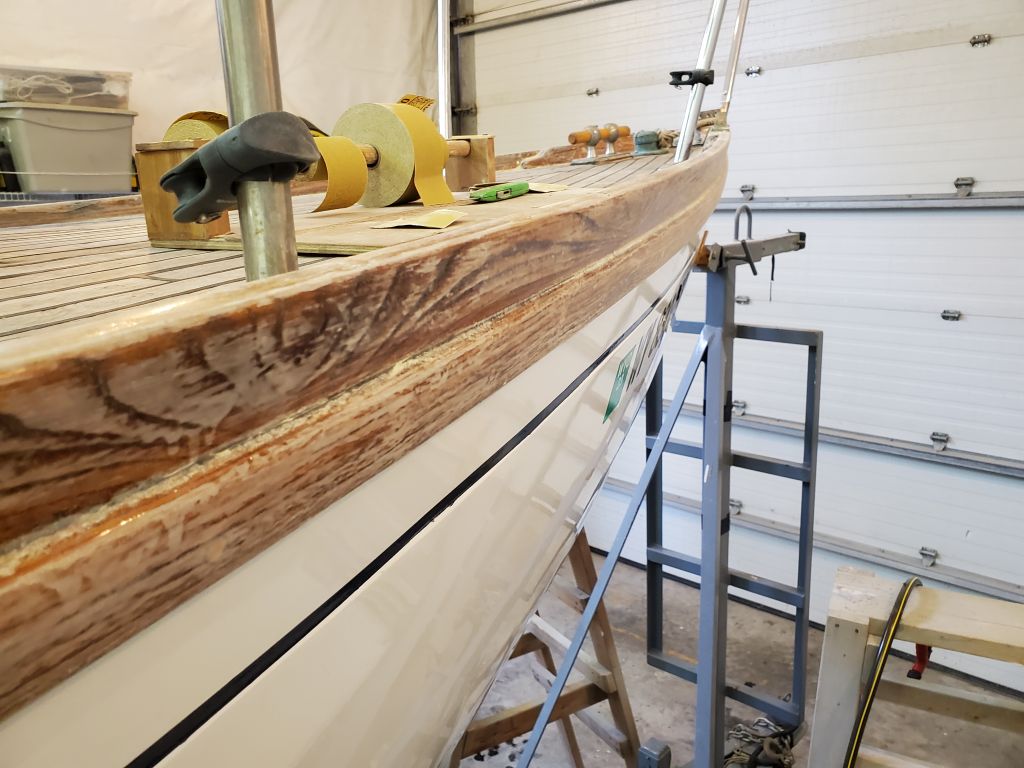
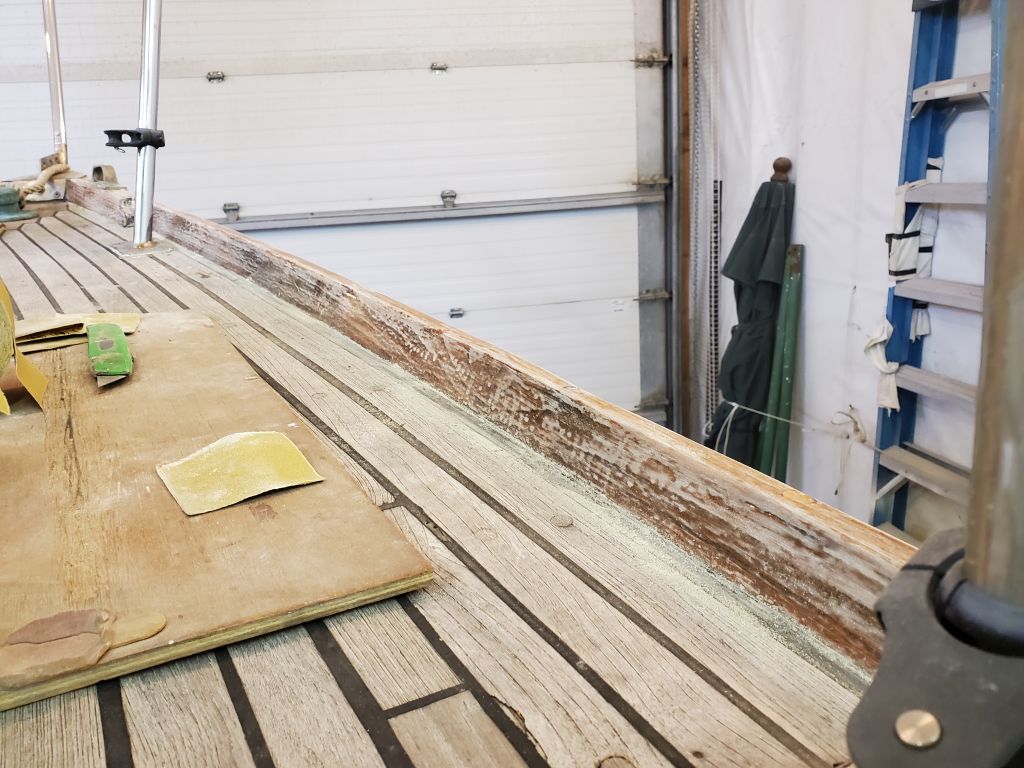
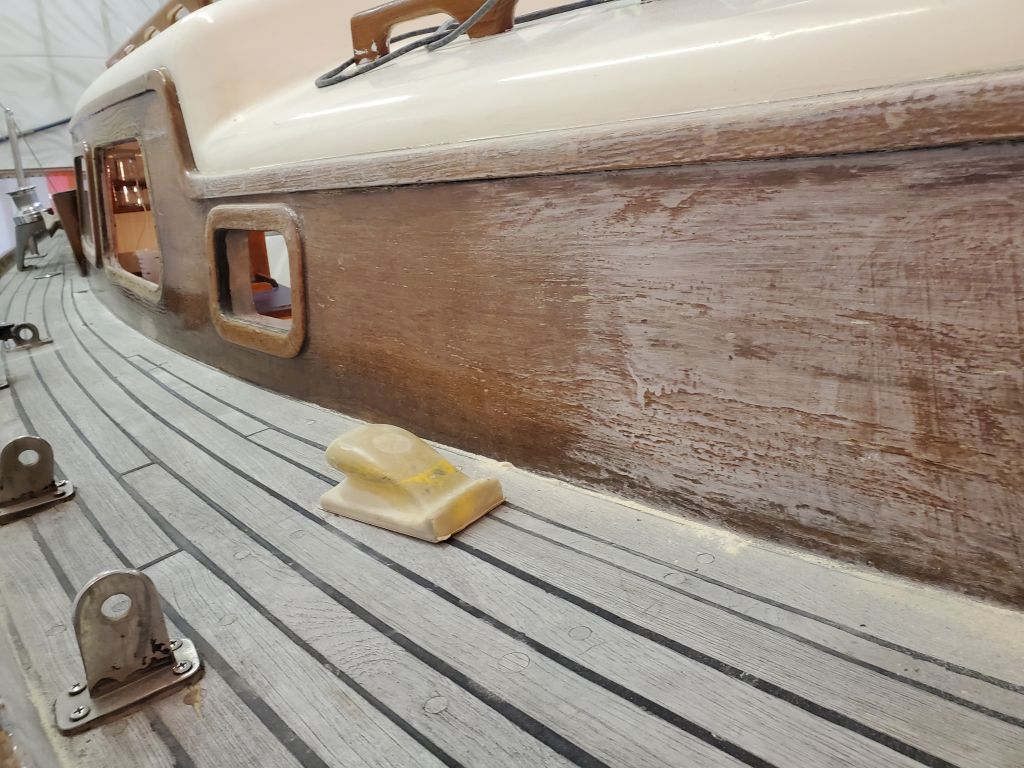
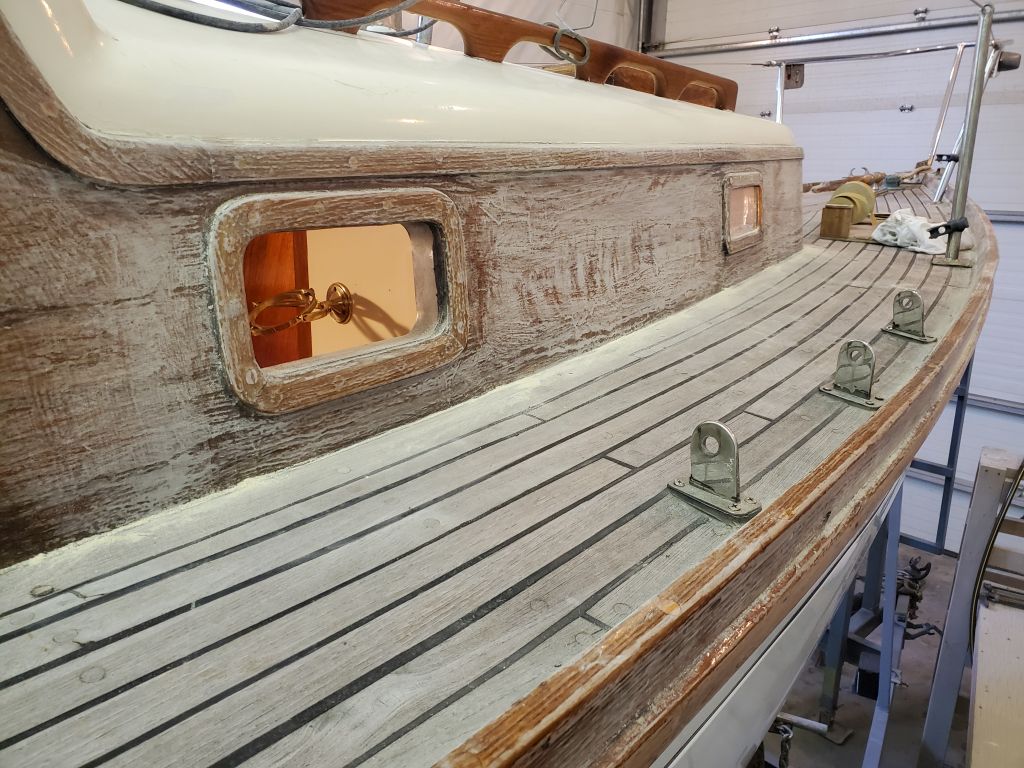
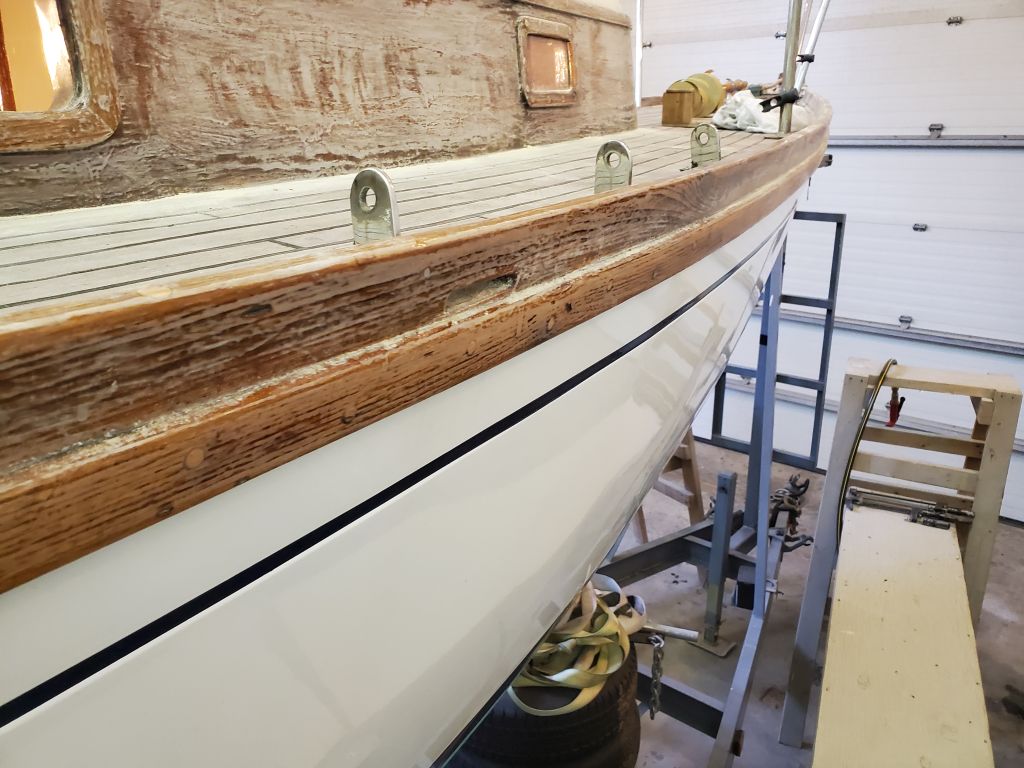
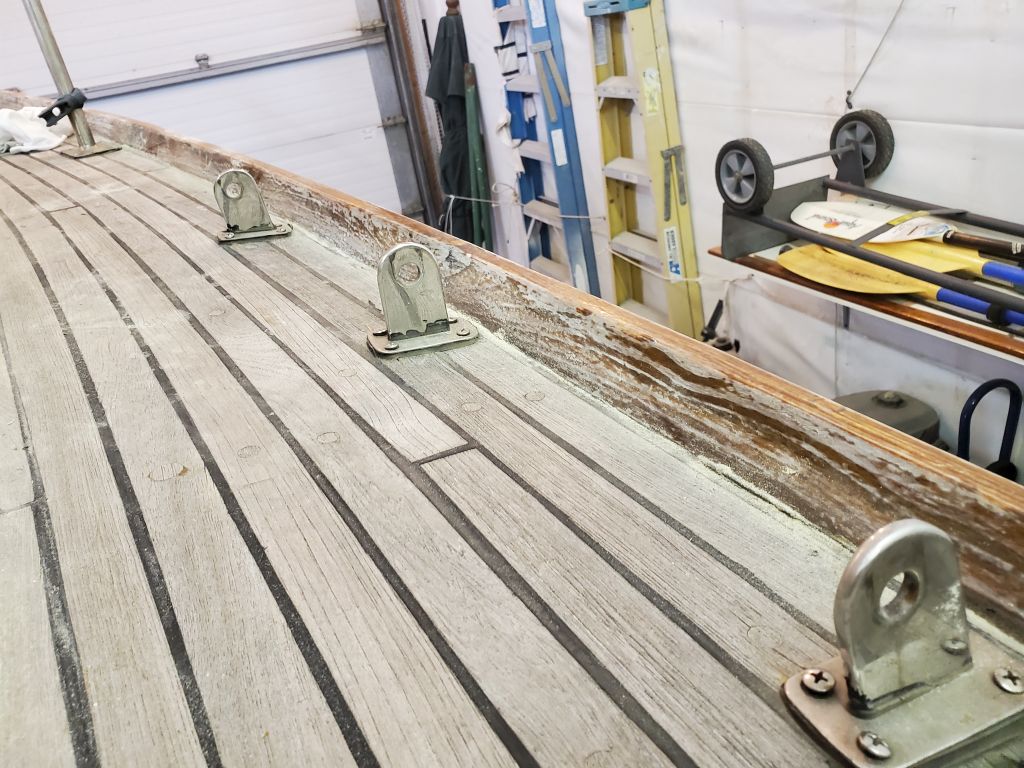
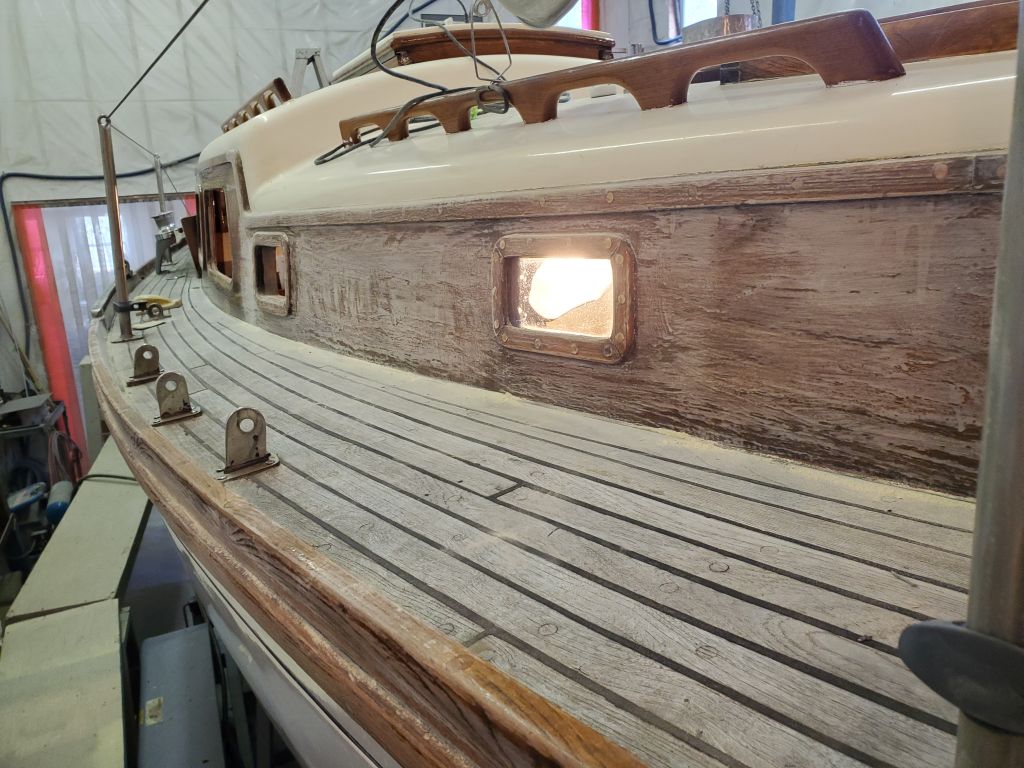
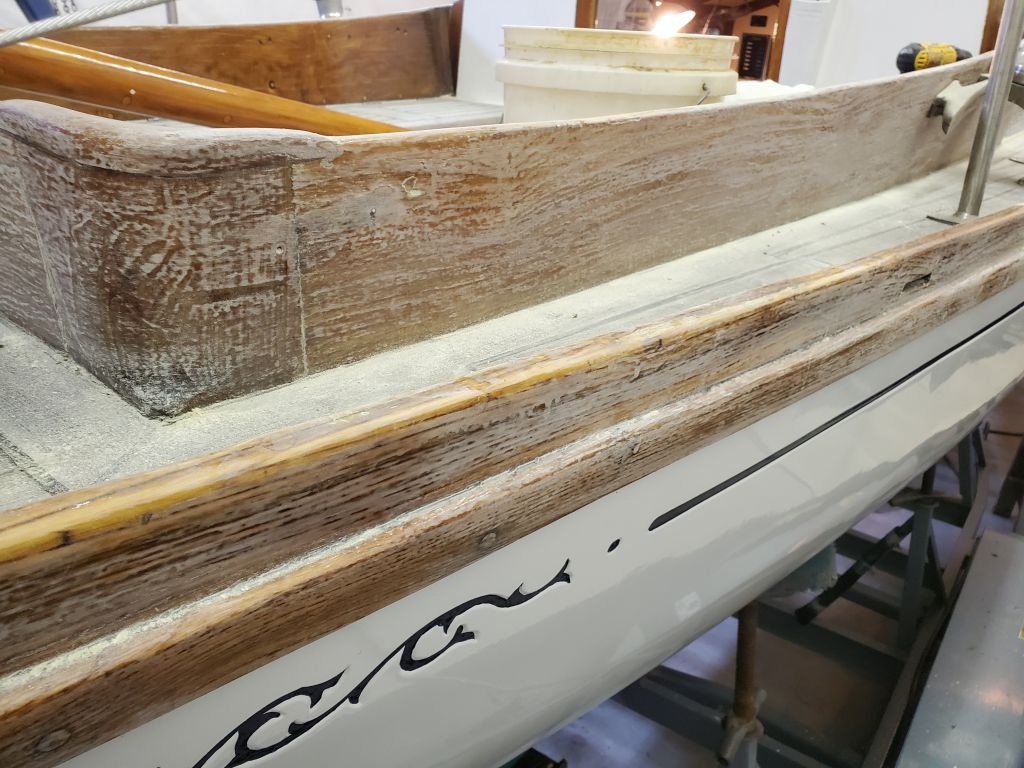
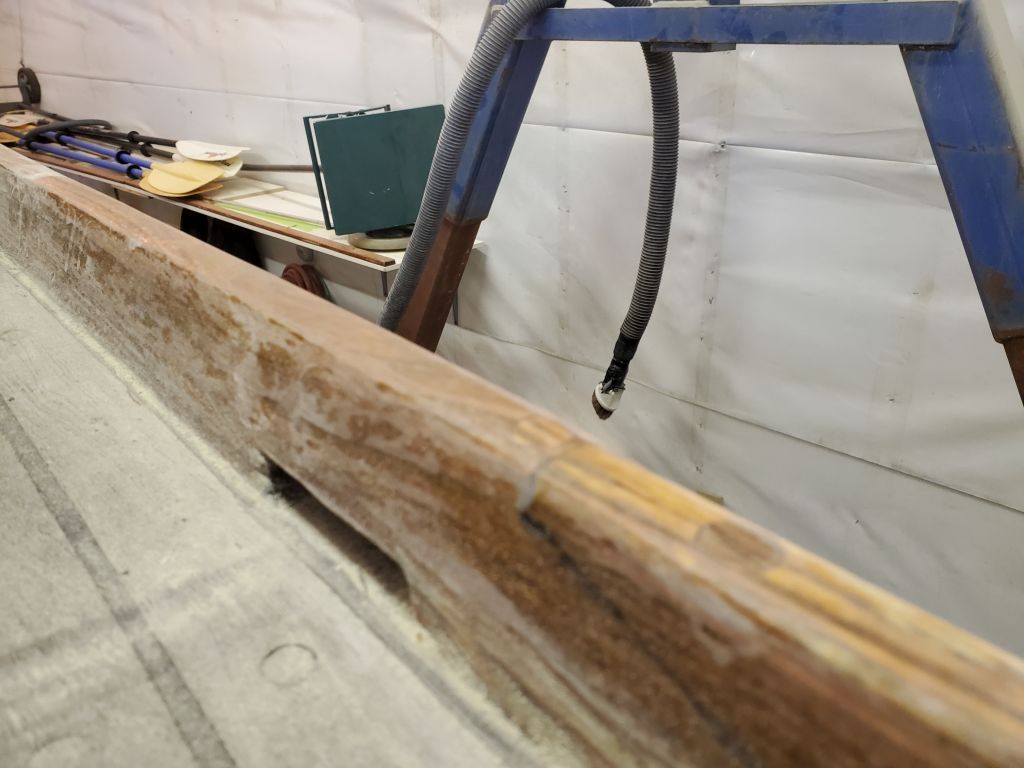
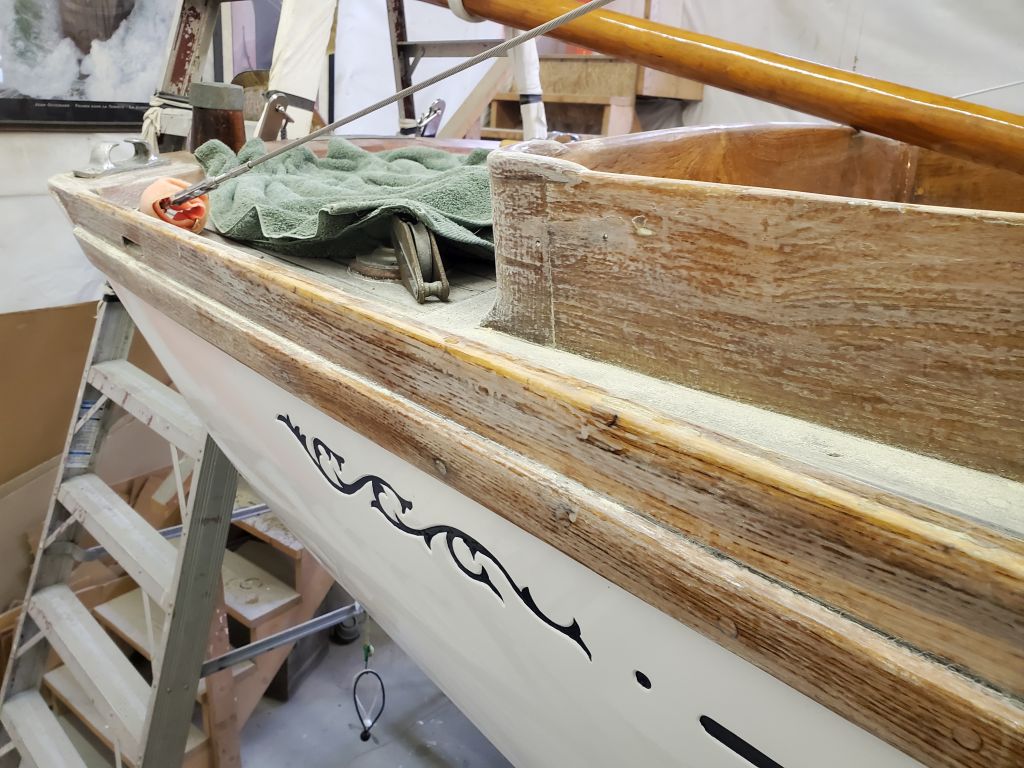
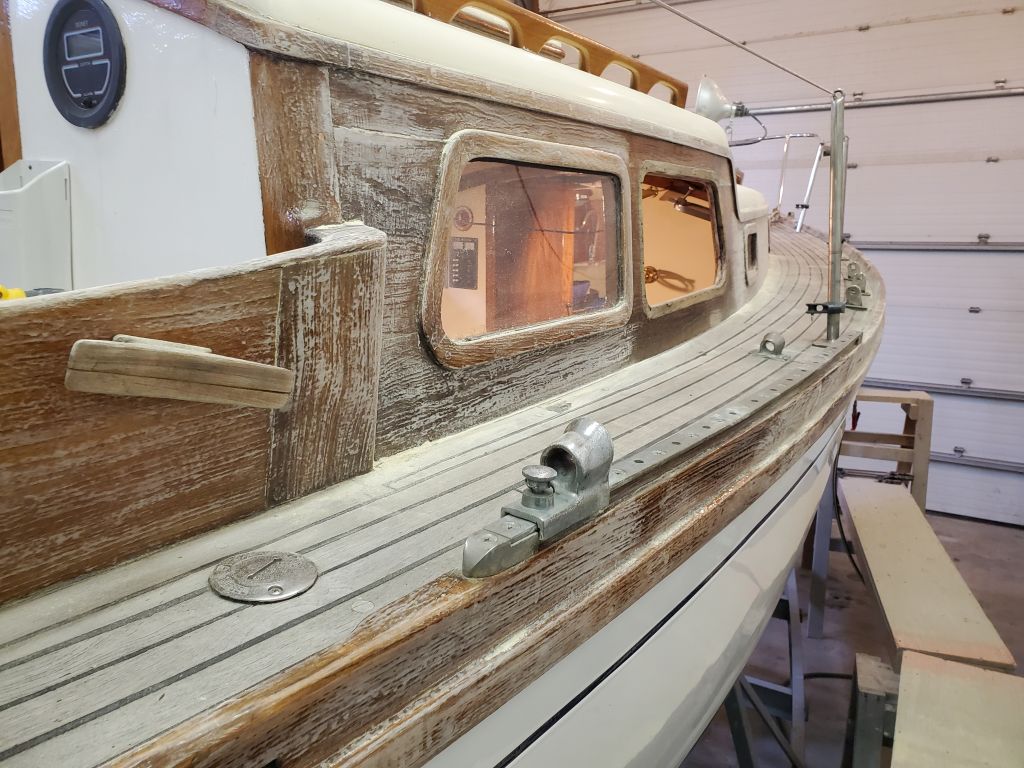
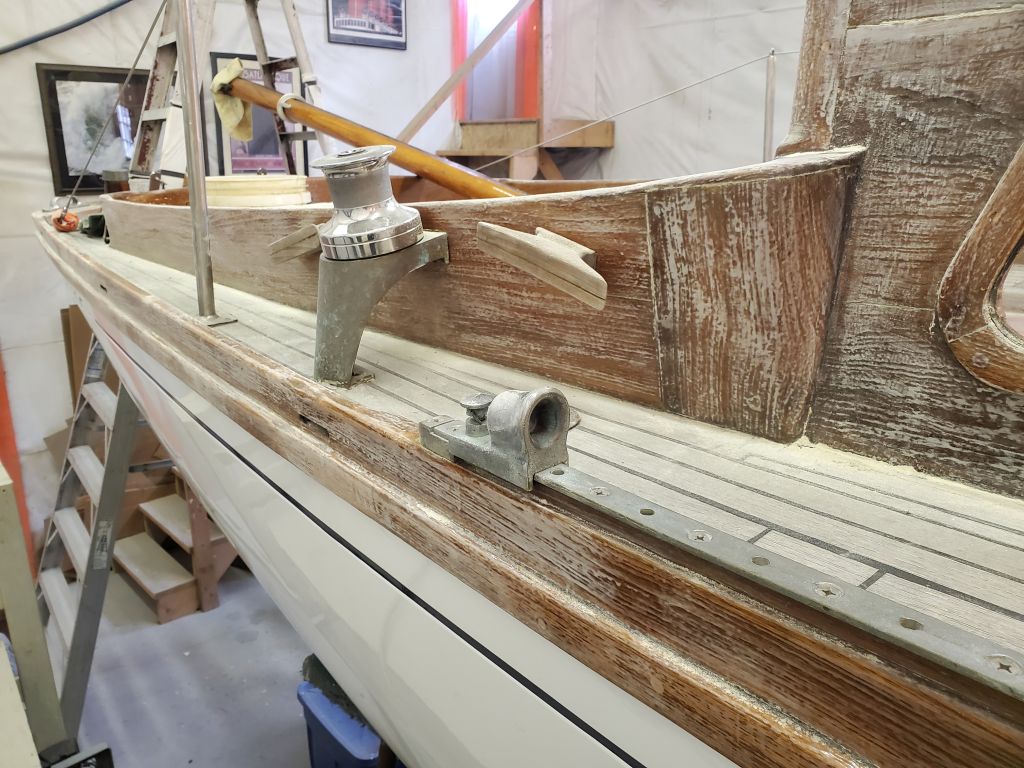
I spent the remainder of the day working on the brightwork on deck, sanding the existing coating with 120 grit with a sanding block and by hand to prepare the surface for probably two or three maintenance coats of fresh varnish; I chose this grit because I thought the old coating needed a more aggressive approach to surface preparation given its condition and the overall situation. The wood beneath the old coating had been heavily weathered and neglected when this owner bought the boat, and there remained plenty of grain texture in most of the wood, so the goal of this sanding session was not to correct that which could not be corrected, but only to prepare the relatively old varnish coating well for maintenance coats over the top. Several areas where there were chips or flakes would require a couple early coats of touch-up varnish before getting to the full coats on all areas. I did my best to sand out existing drips in the old coating, but resisted the urge to take such corrections too far as I didn’t want to sand through the old varnish.
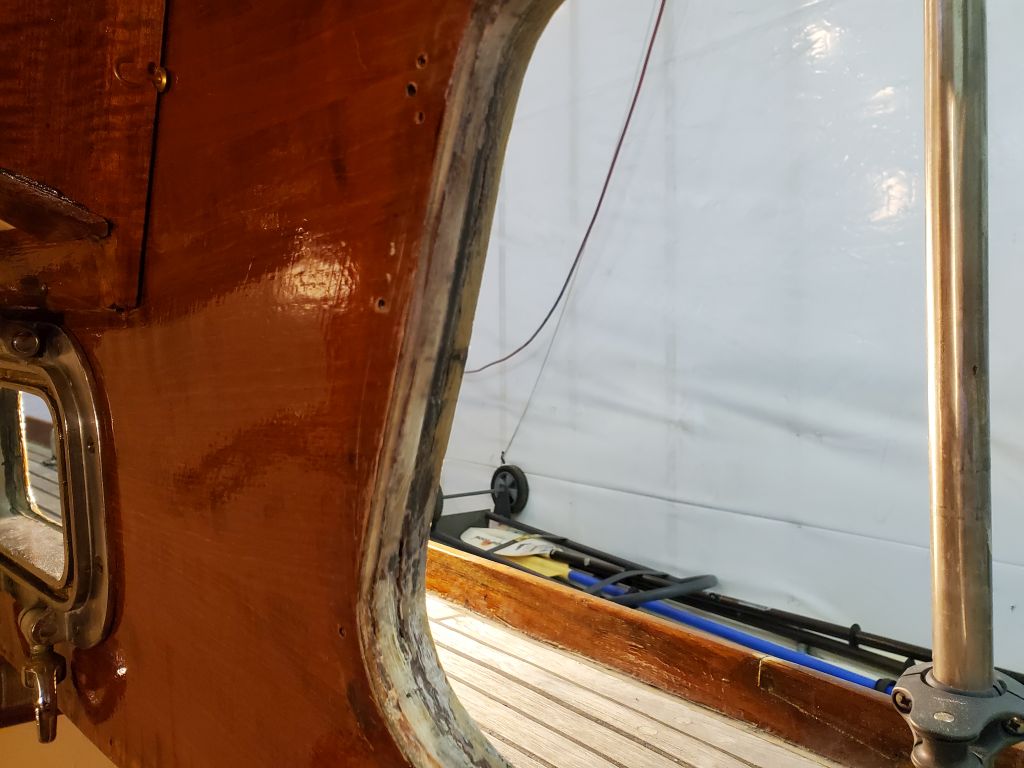
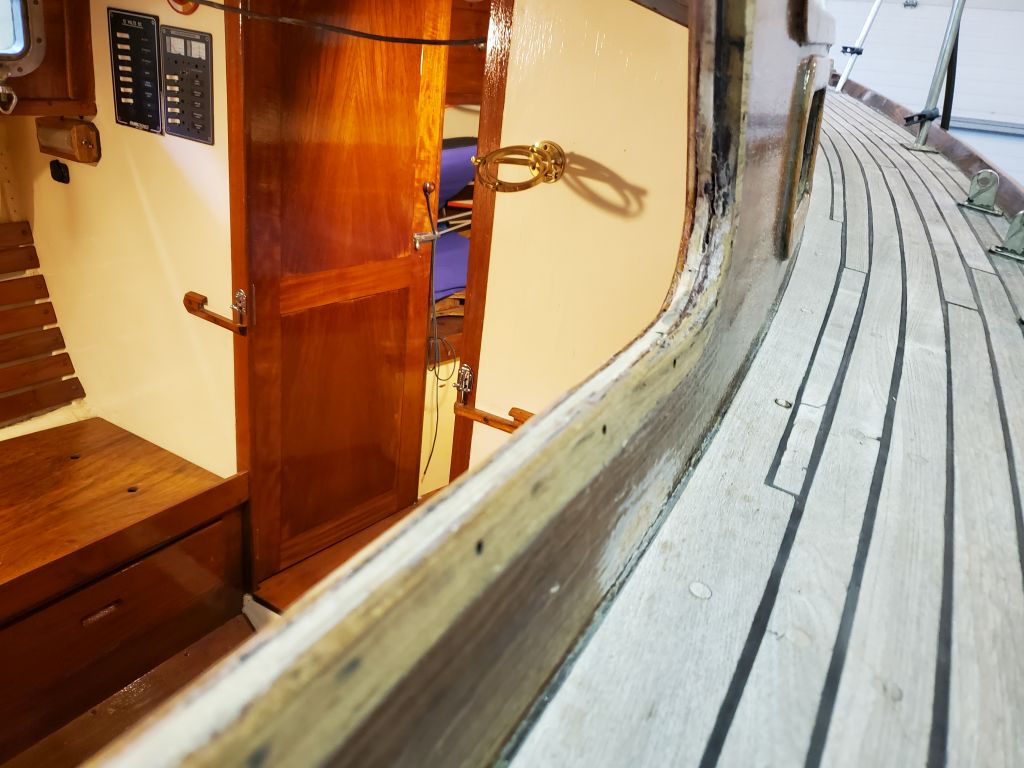
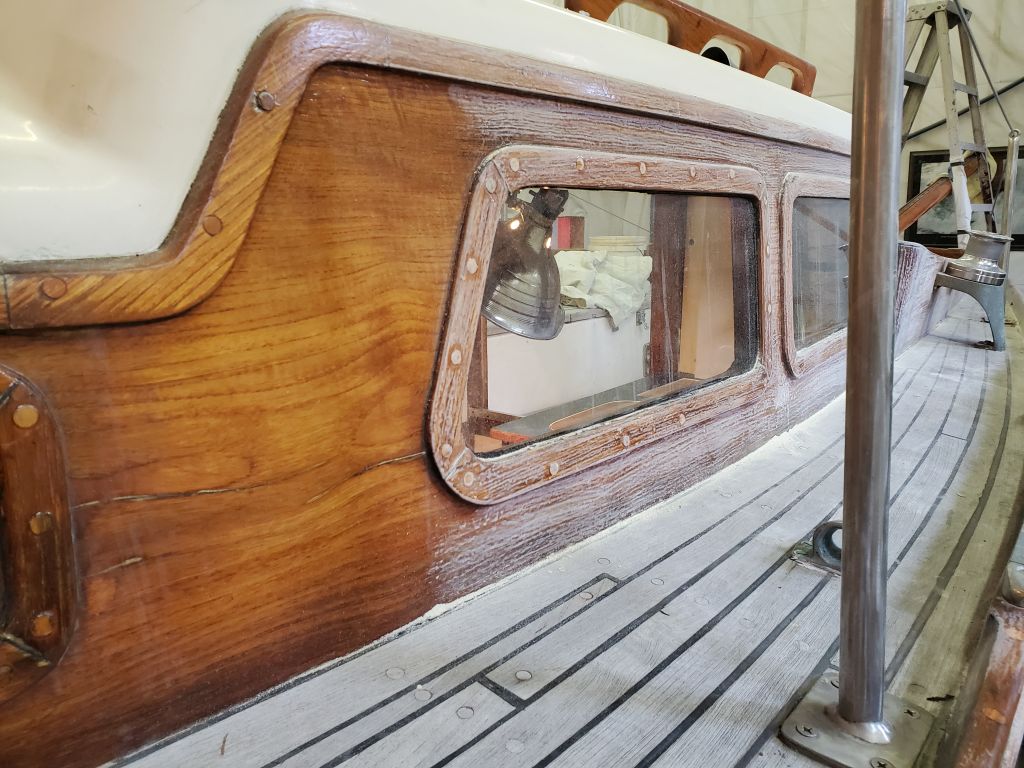
By the end of the day, I’d made it around the boat sanding everything I could reach from the staging, including the toerails, outside coamings, and cabin trunk. I left the cabin trunk immediately around the starboard forward deadlight alone for now, as I wanted the old coating to be intact when I reinstalled and bedded the window and trim soon, but once that was done I’d finish up the sanding there.

Total time billed on this job today: 5 hours