


March 12, 2025
Miss Helen 3
Wednesday
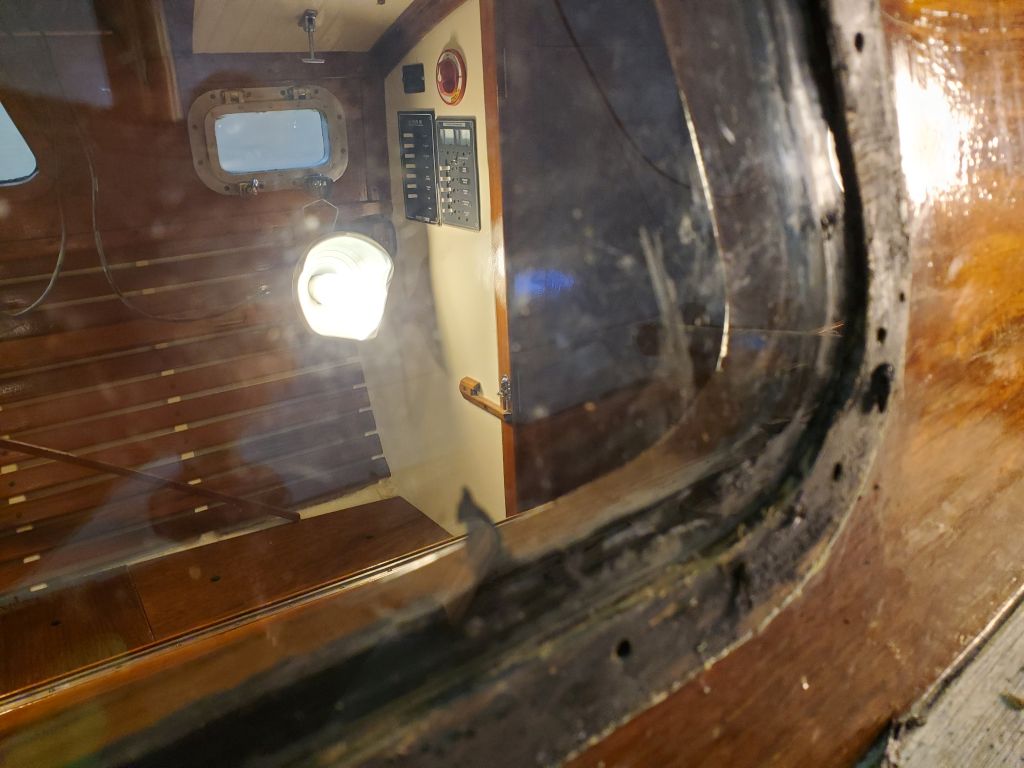
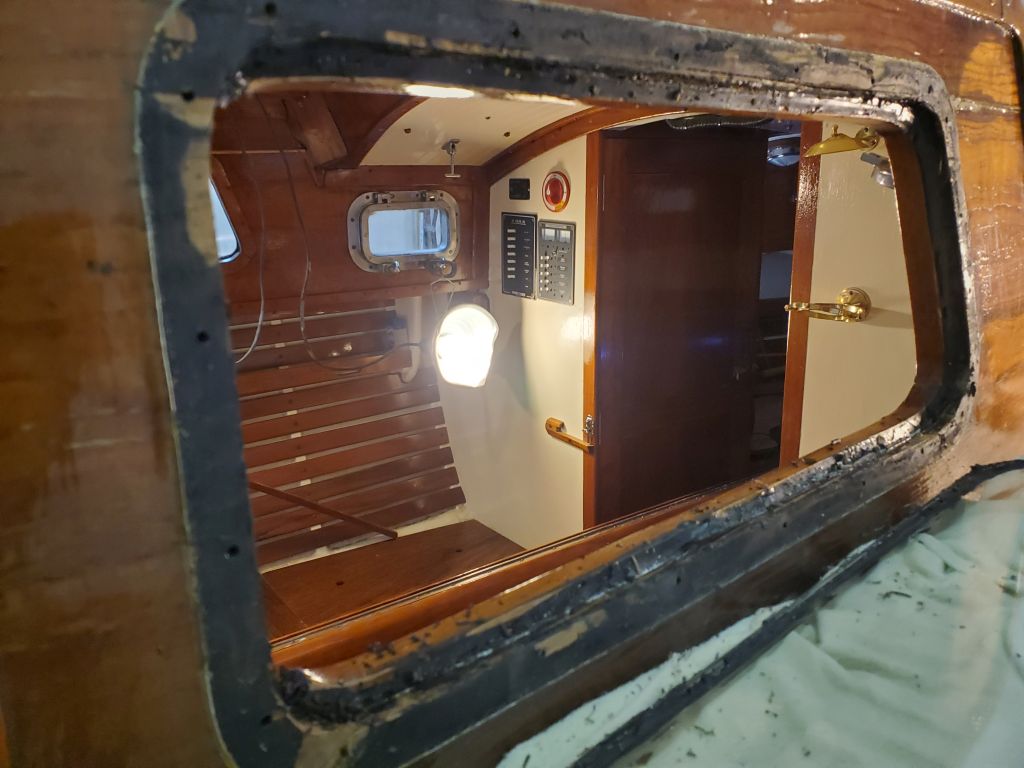
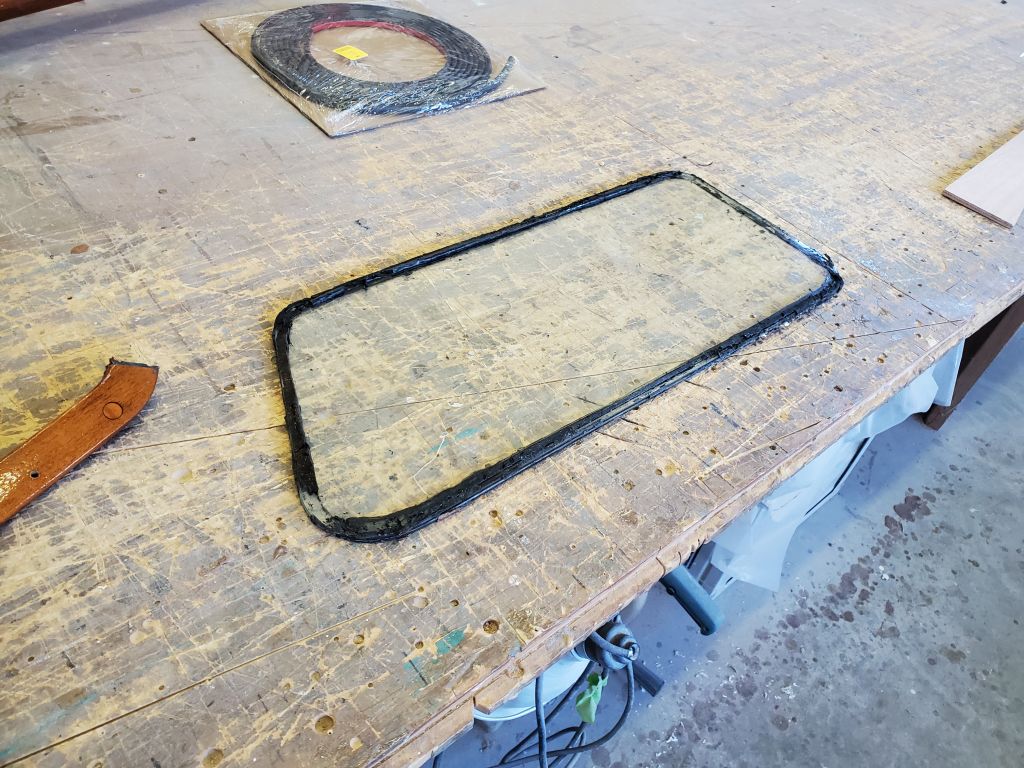
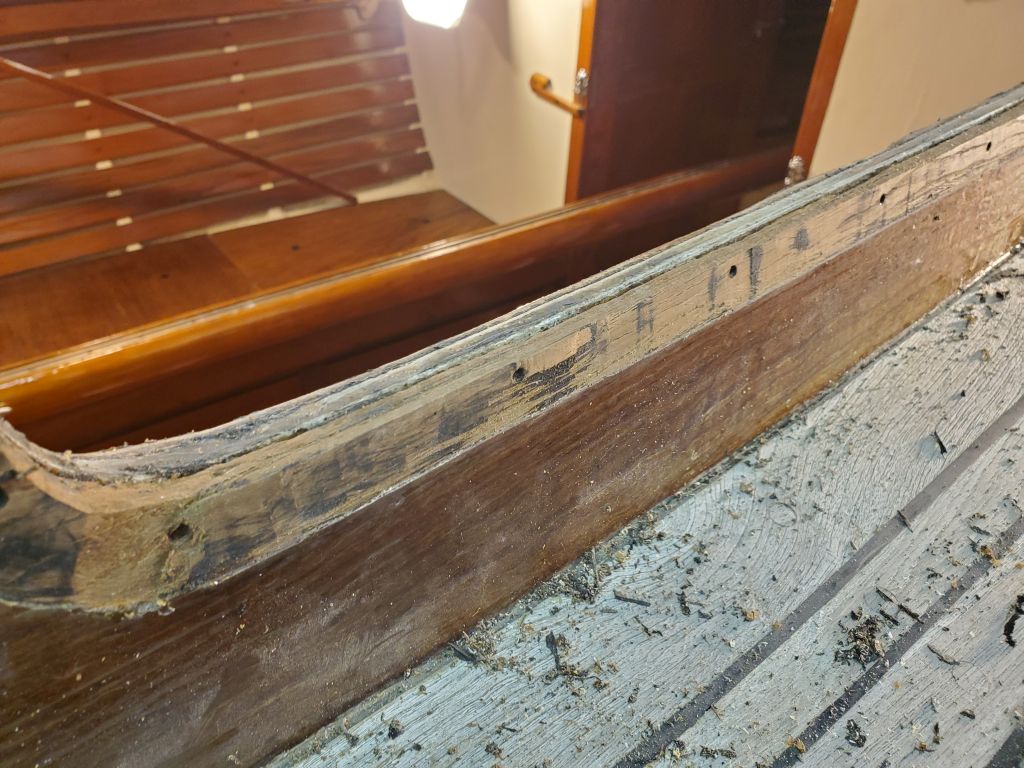
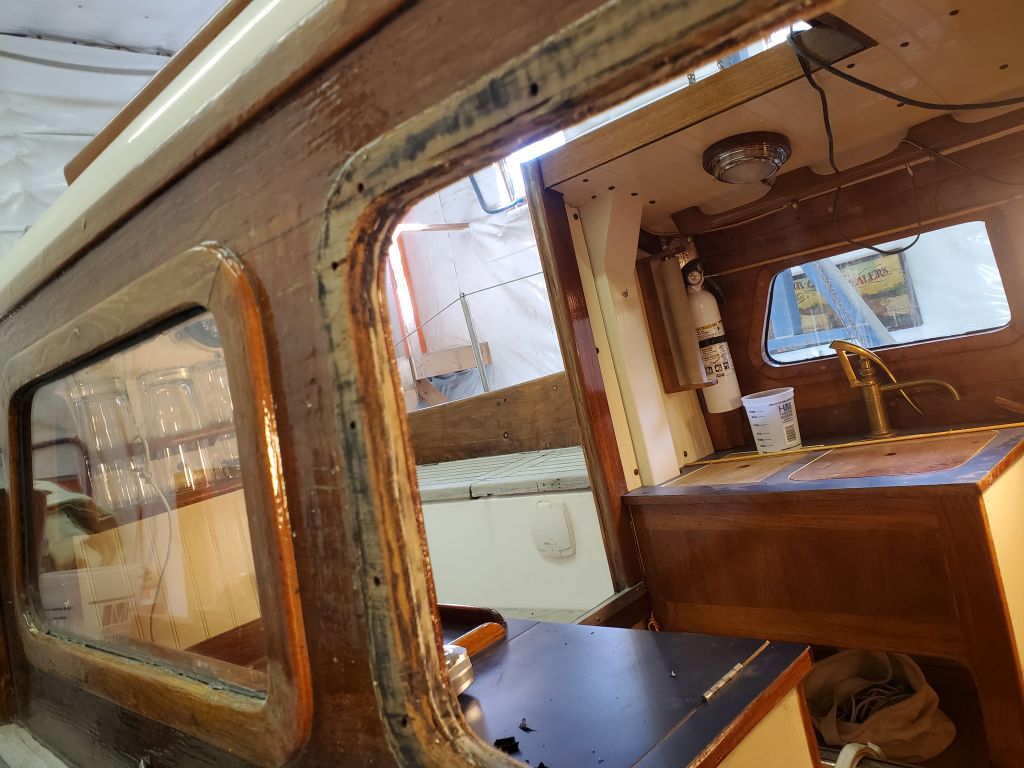
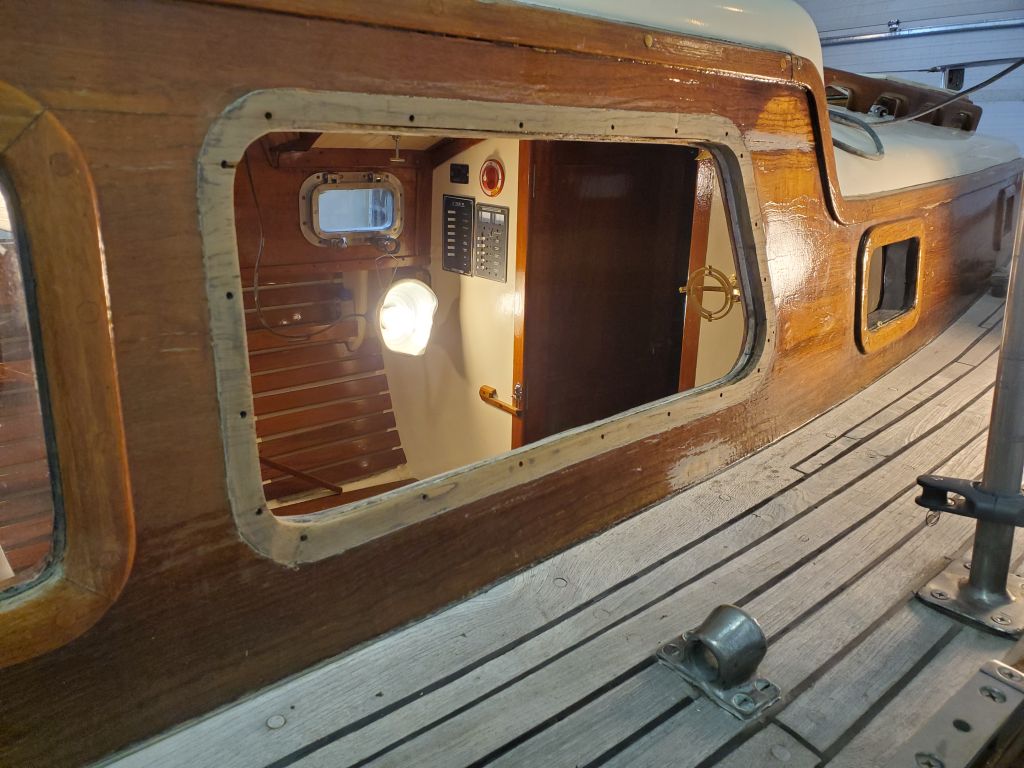
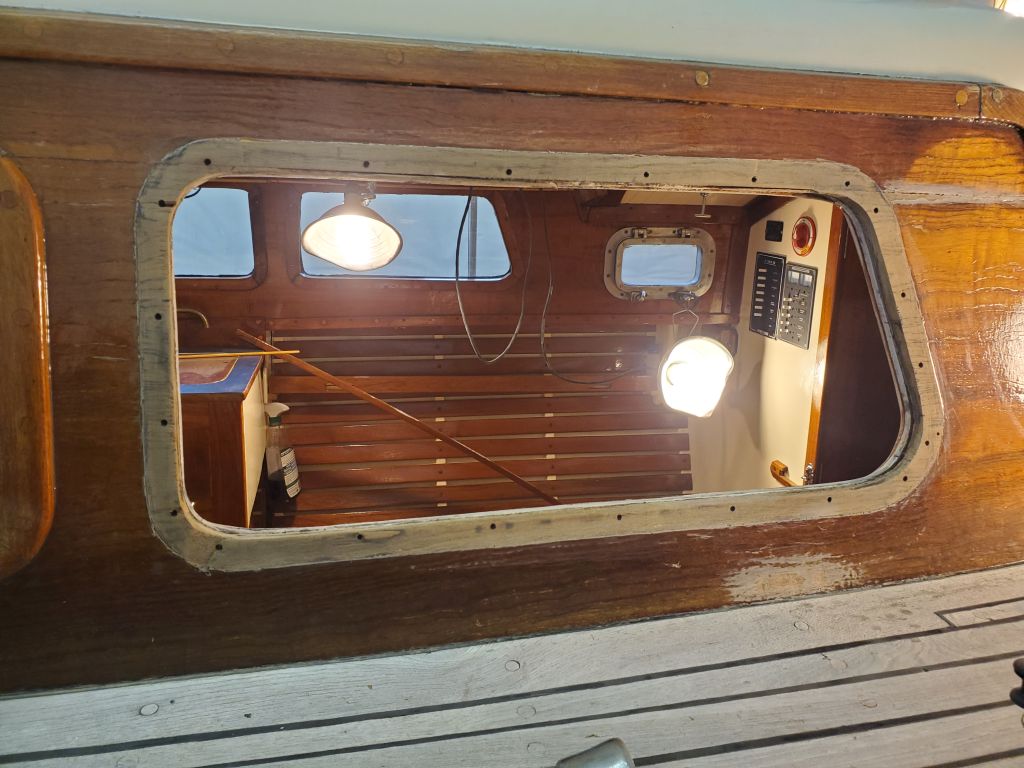
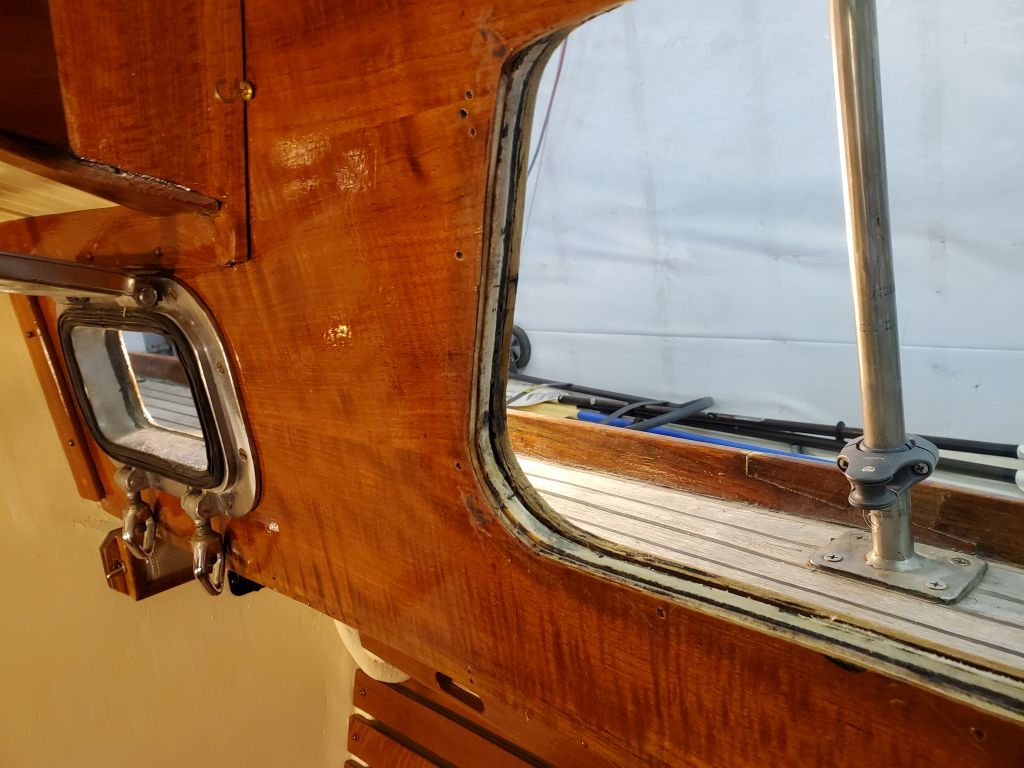
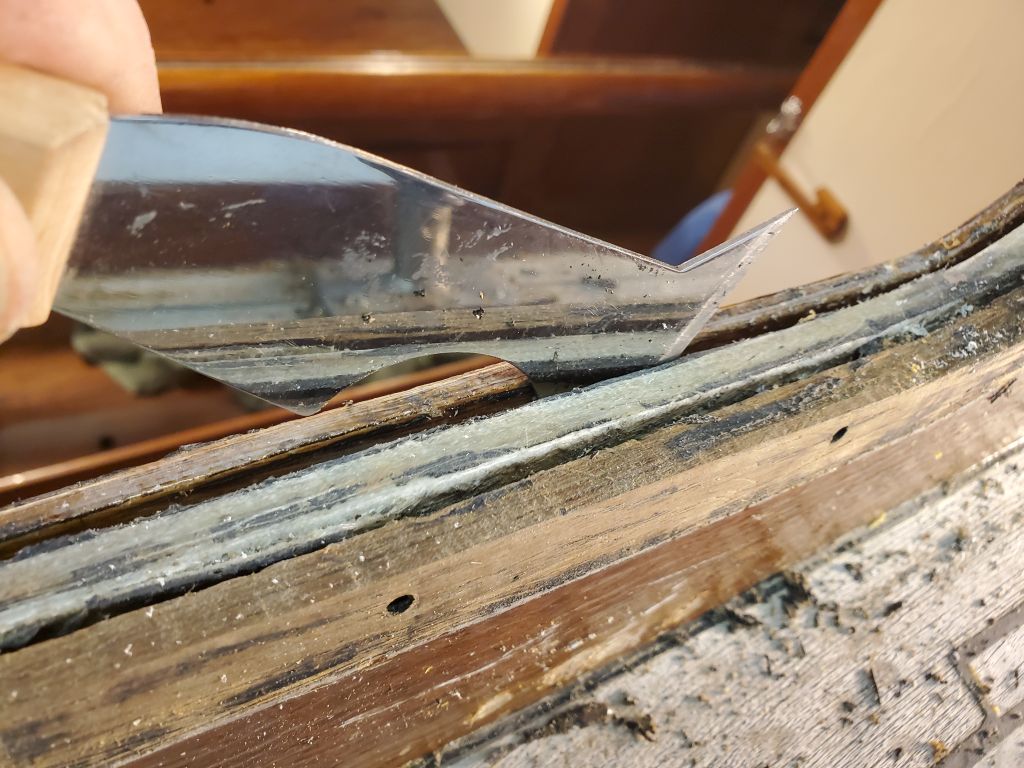
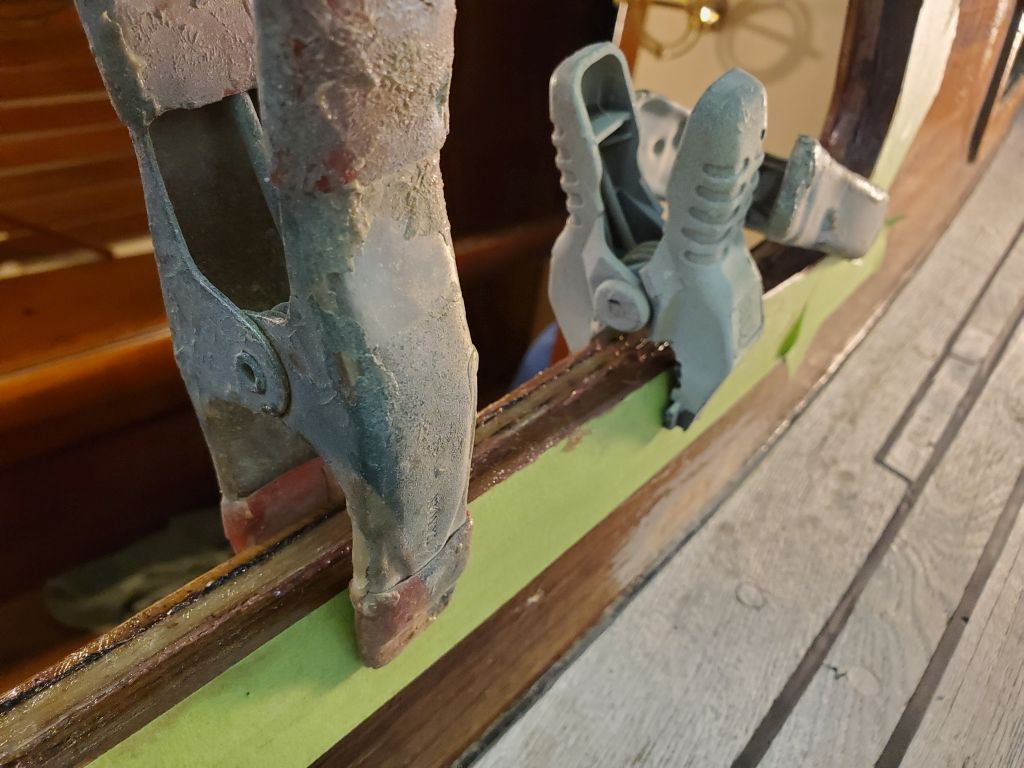
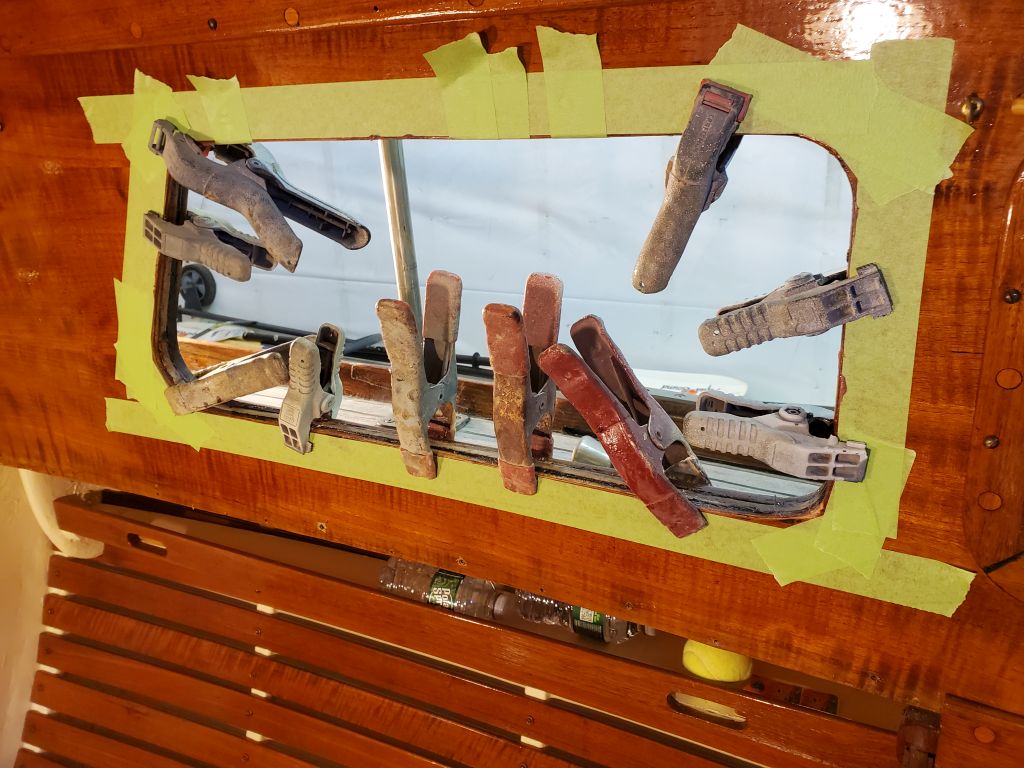
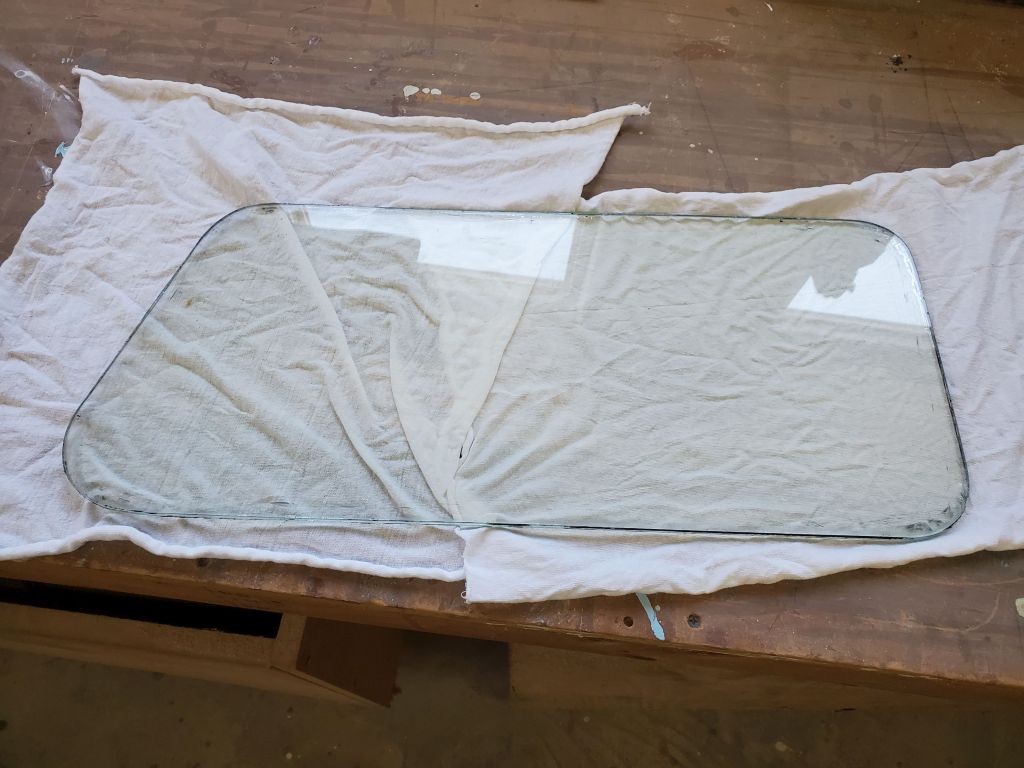
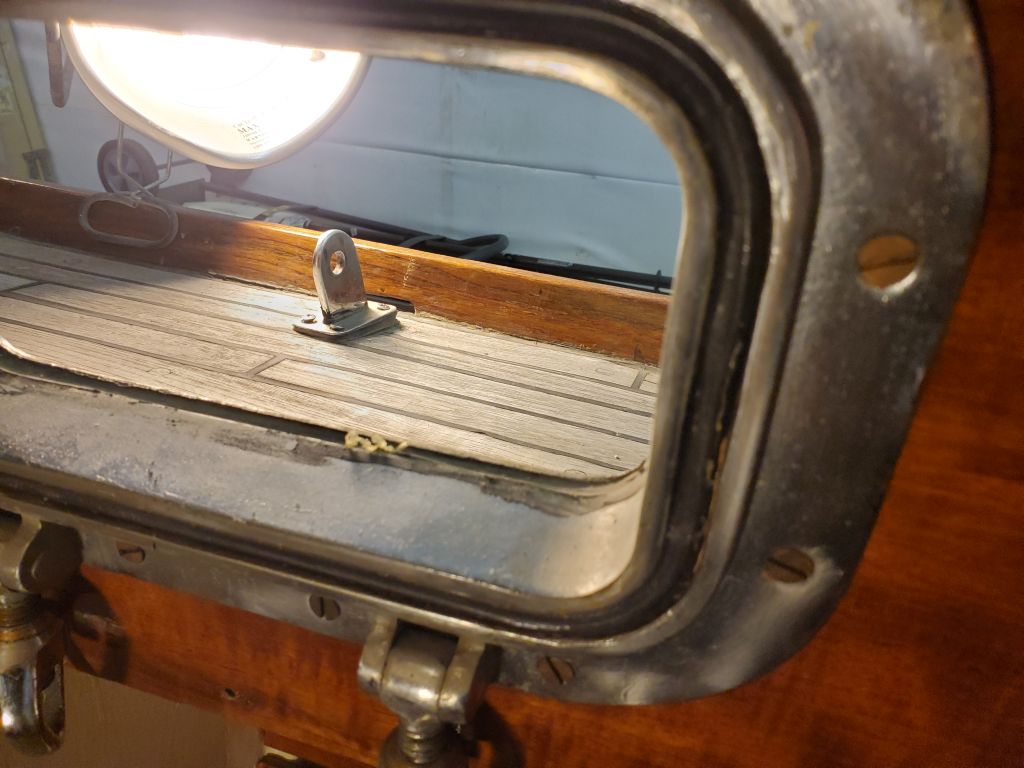
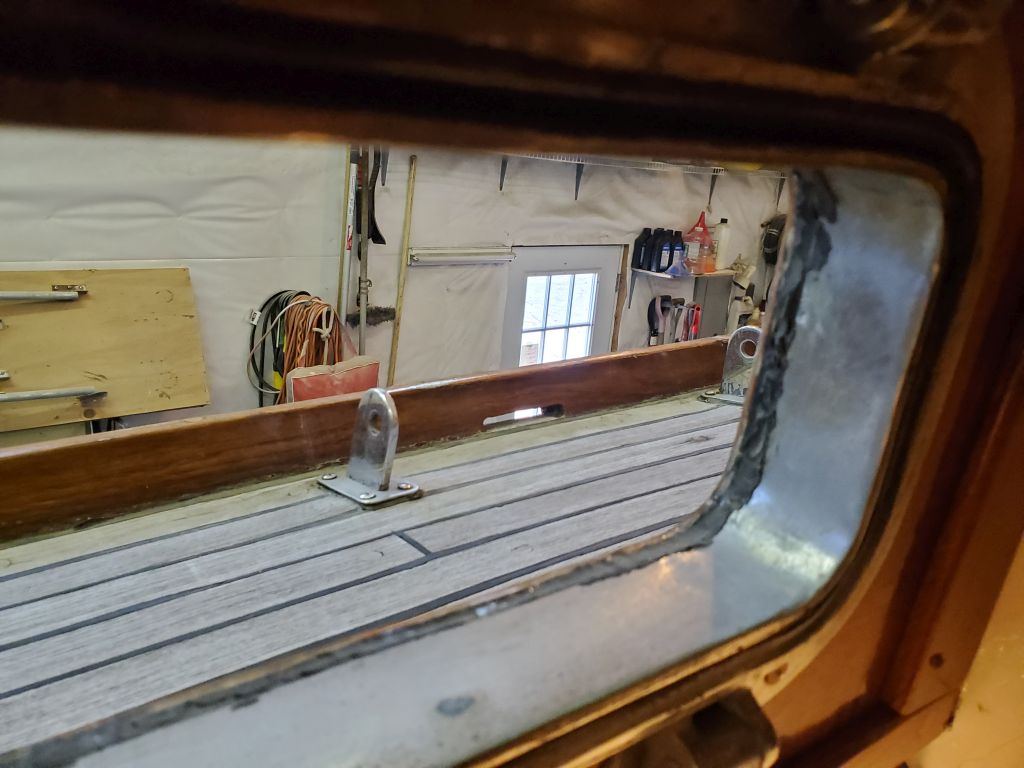
Picking up where I left off, I worked to remove the glass lens from the deadlight frame. The glass was a close fit all the way around, leaving little room to cut away the sealant and begin to pry the lens out, so it took some time to carefully work my way in through the sealant from both sides of the frame, cutting with a knife and using a putty knife to help pull out strips of sealant when possible. Eventually, after several back-and-forth trips between inside and outside, I succeeded in freeing the glass without damage.
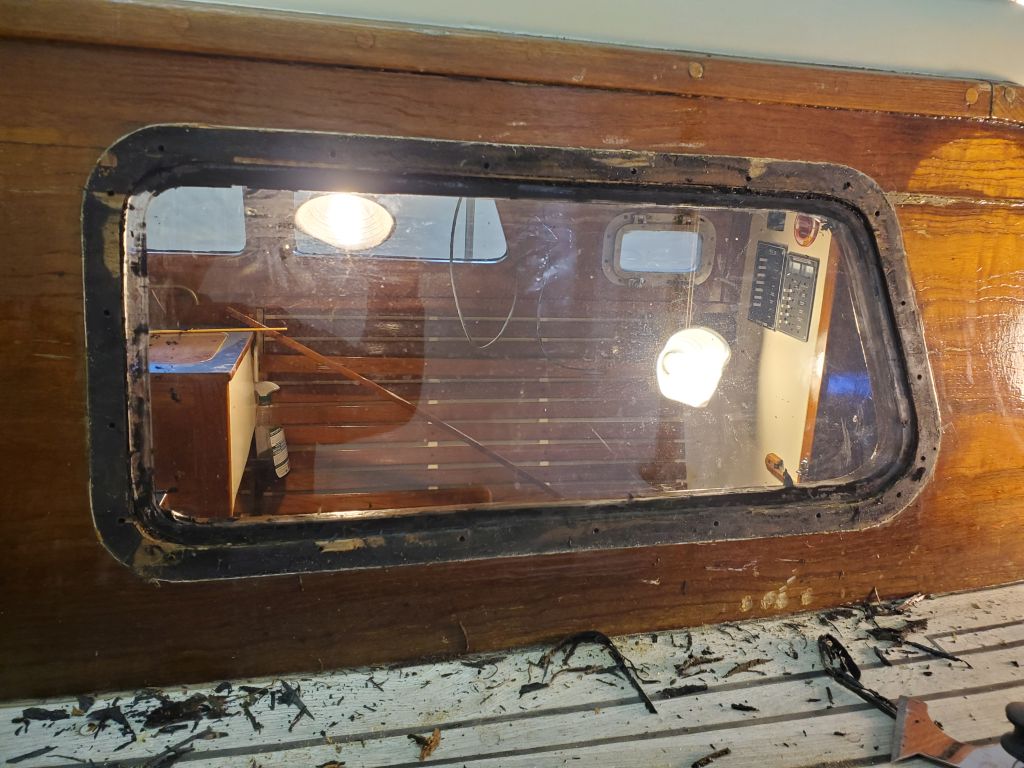
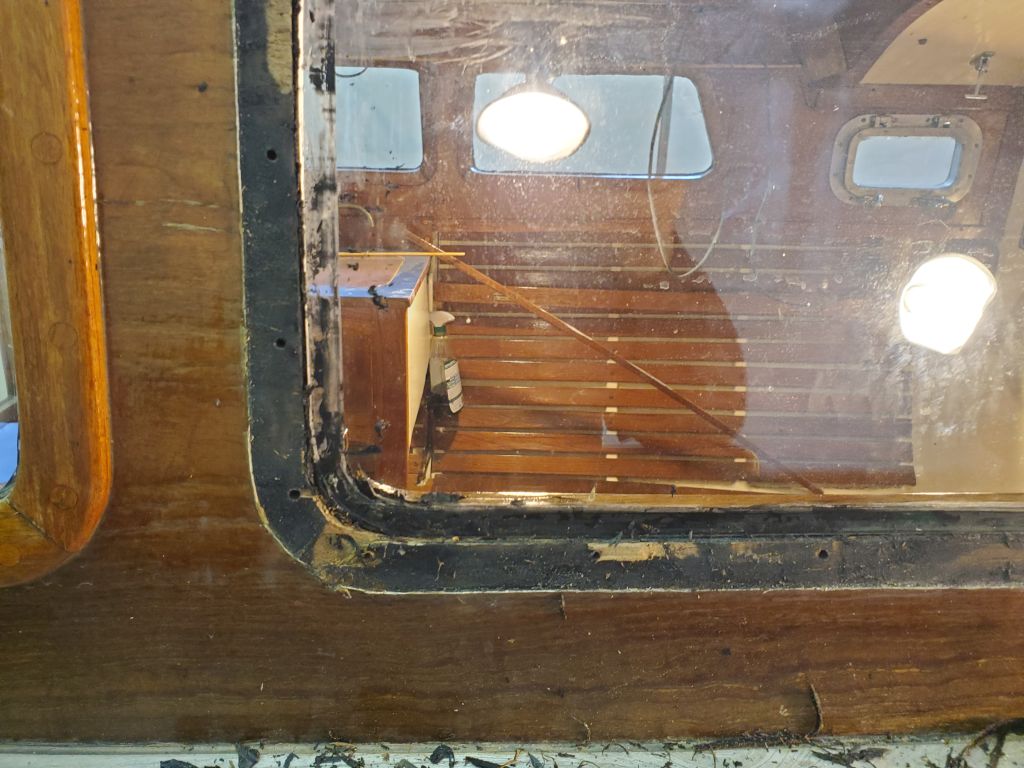

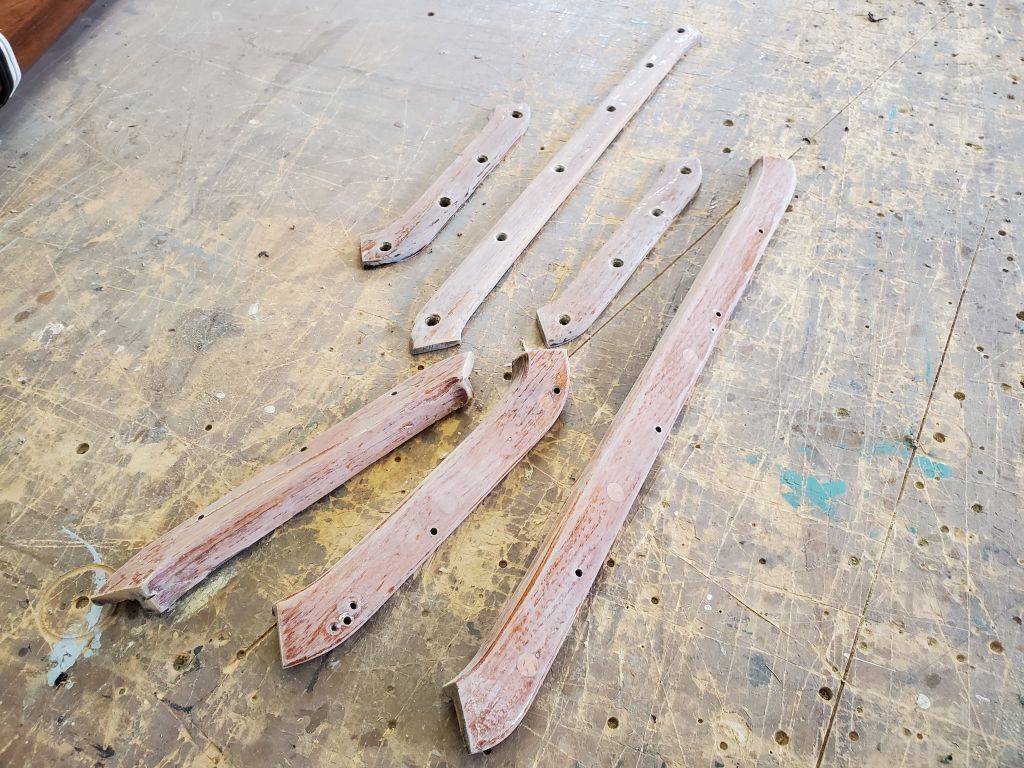
This left the inside trim (minus the vertical aft piece, which I’d removed earlier) in place and with plenty of sealant still holding it. Most of the external sealant had stuck to the glass when I removed it, but there remained a film on the teak cabin side as well.
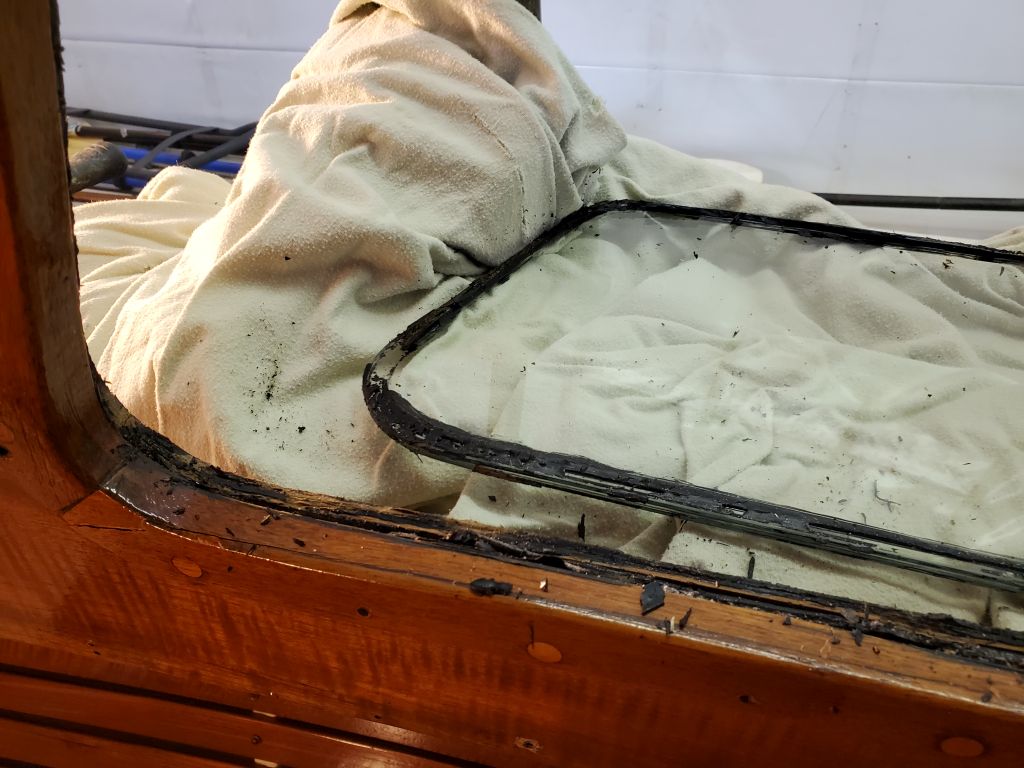
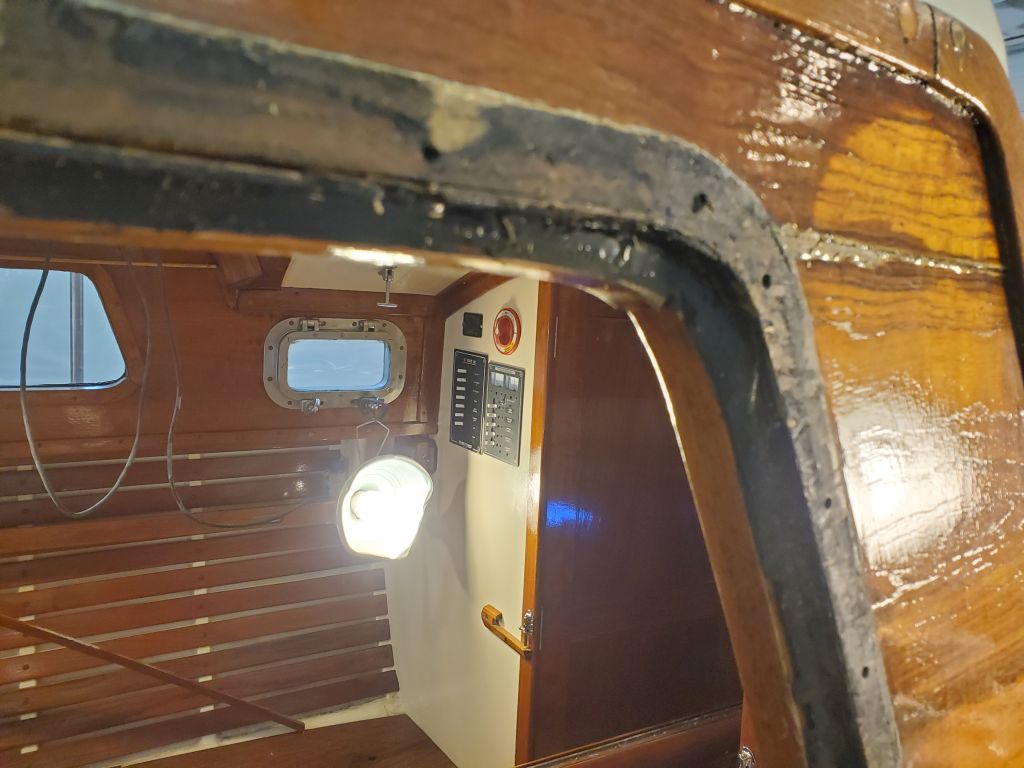
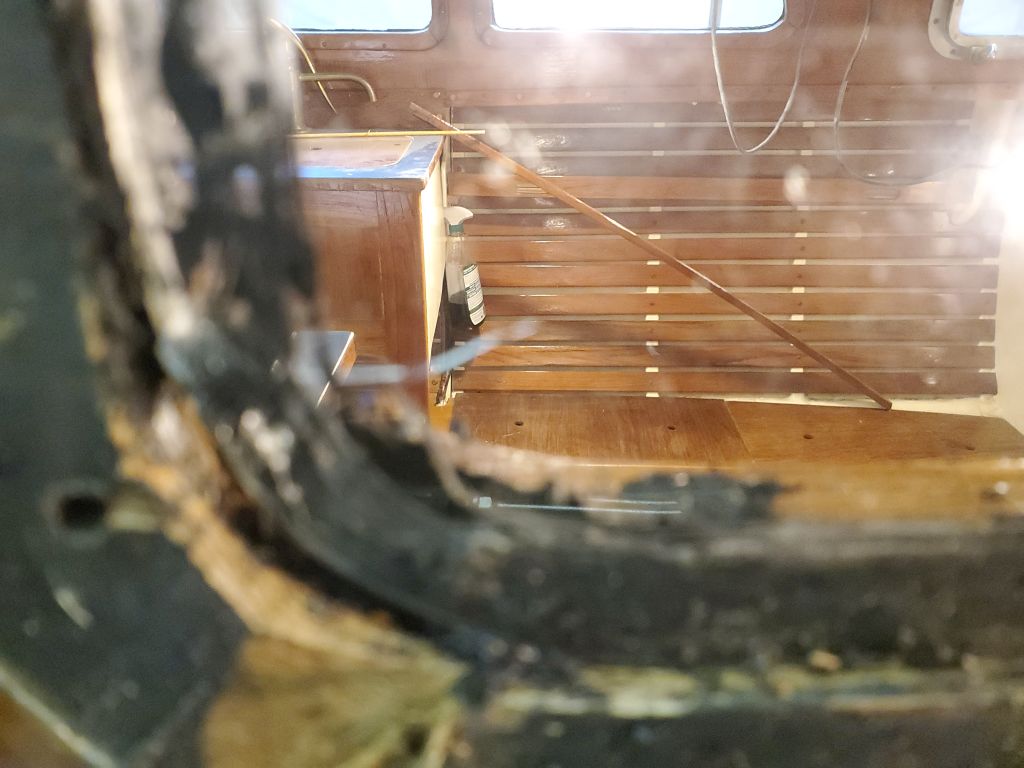
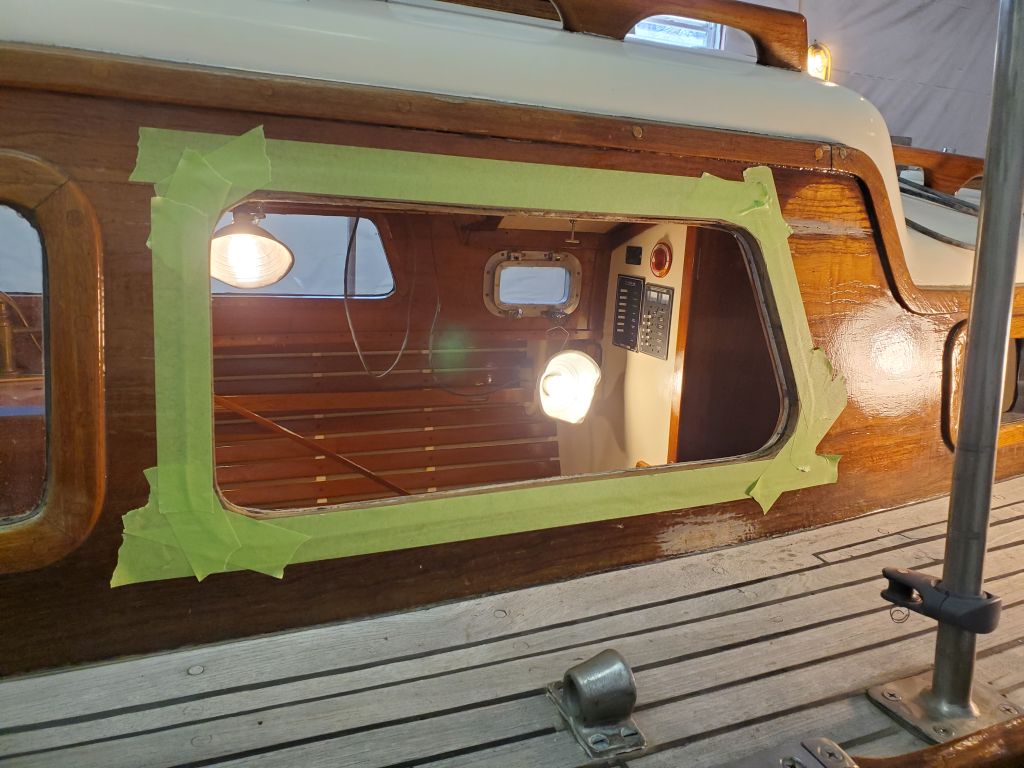
I’d already removed the screws securing the interior trim at the start of the project, so now it just took a bit more cutting and careful prying to remove the rest of the trim.
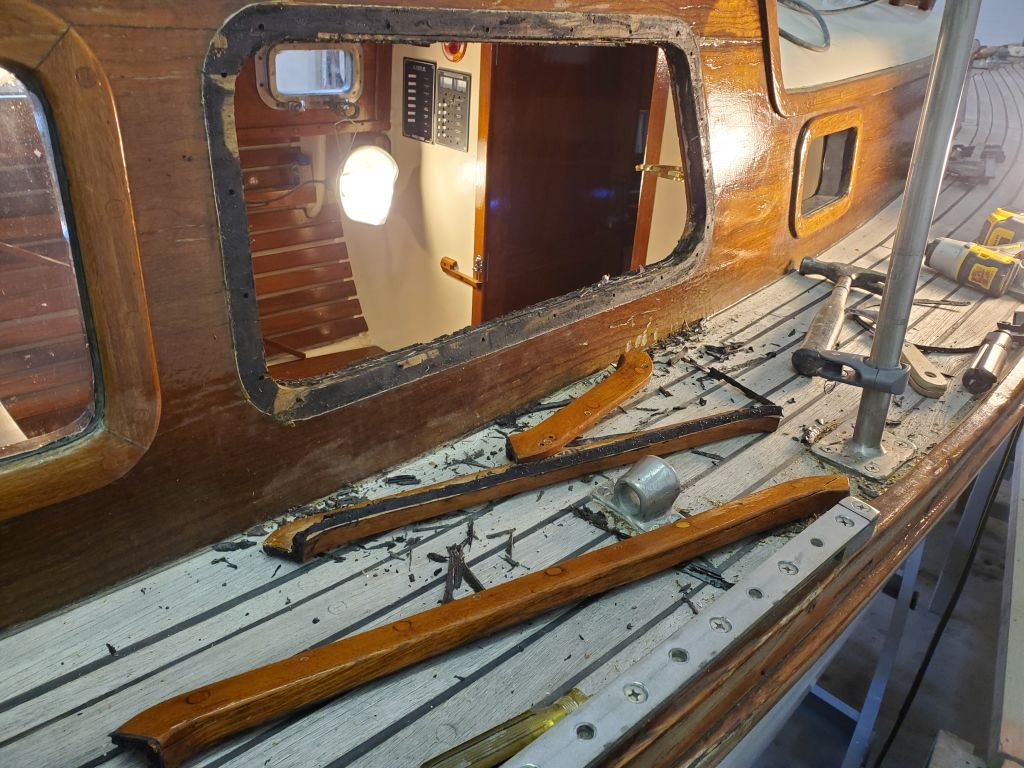
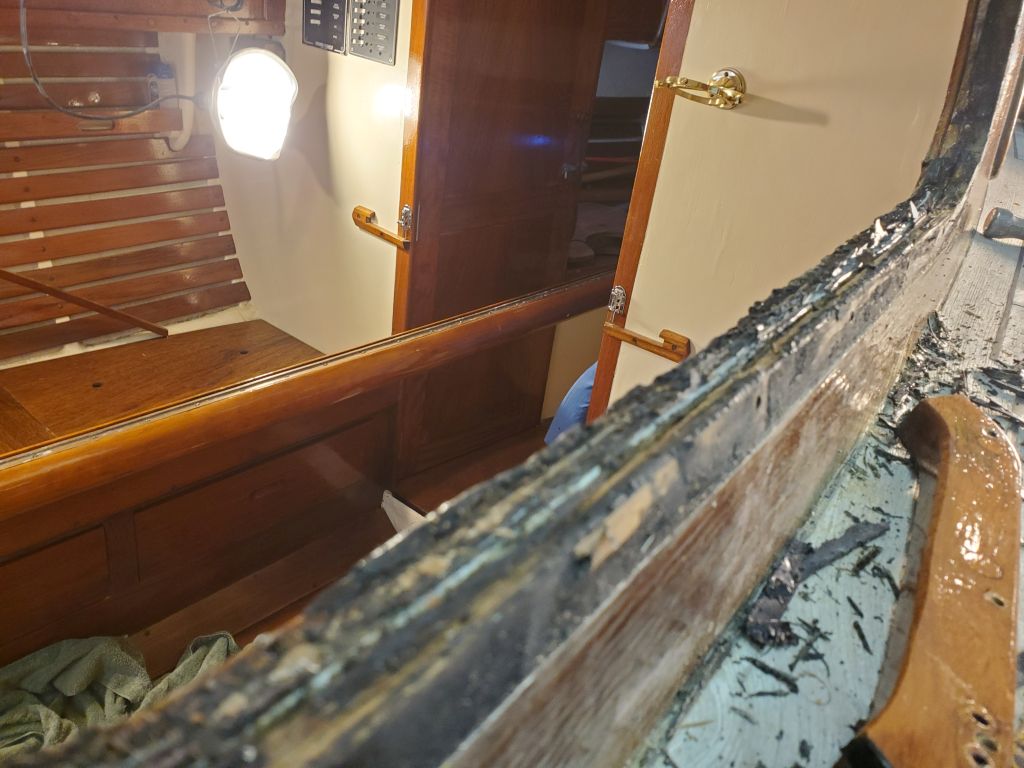

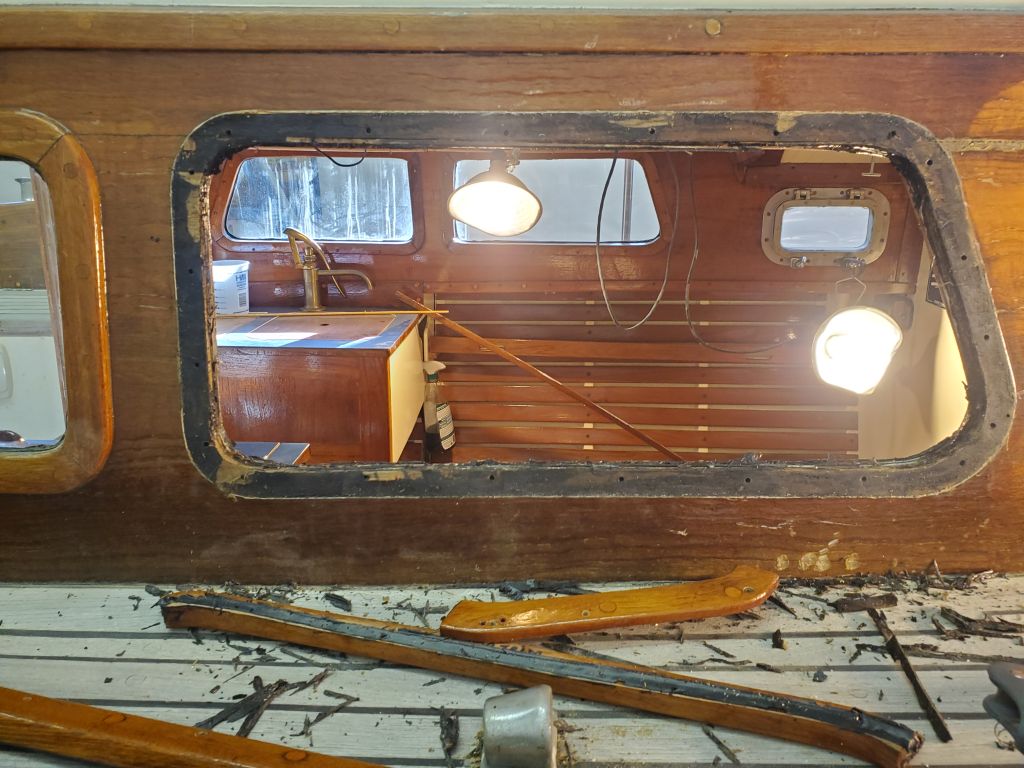
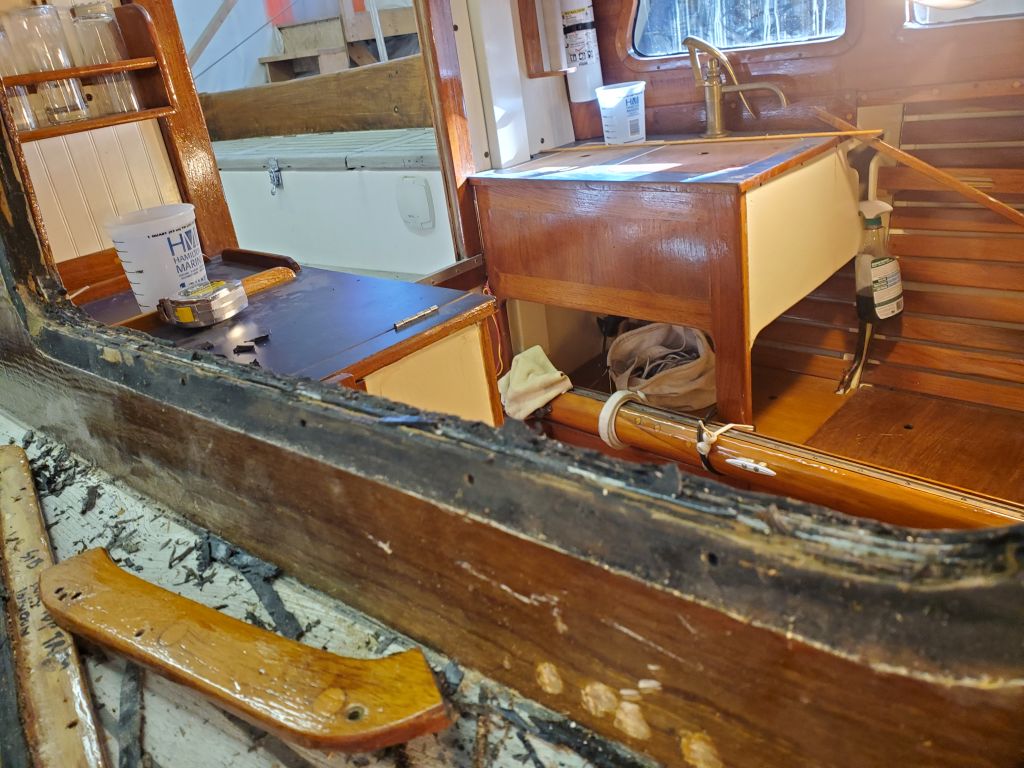
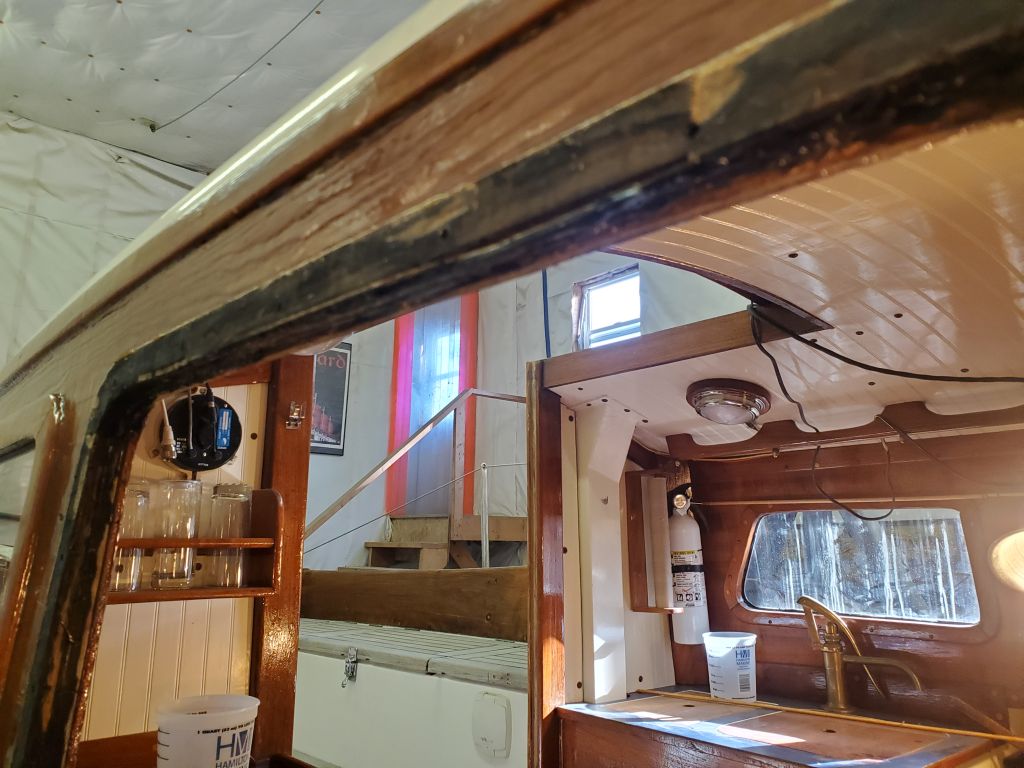
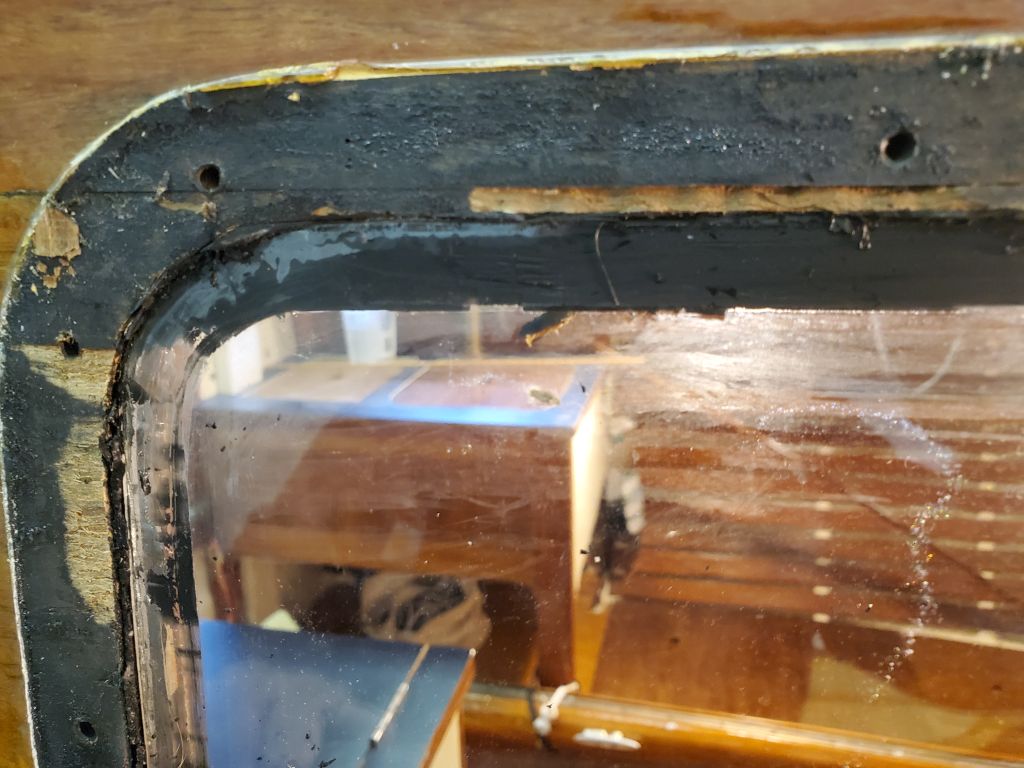
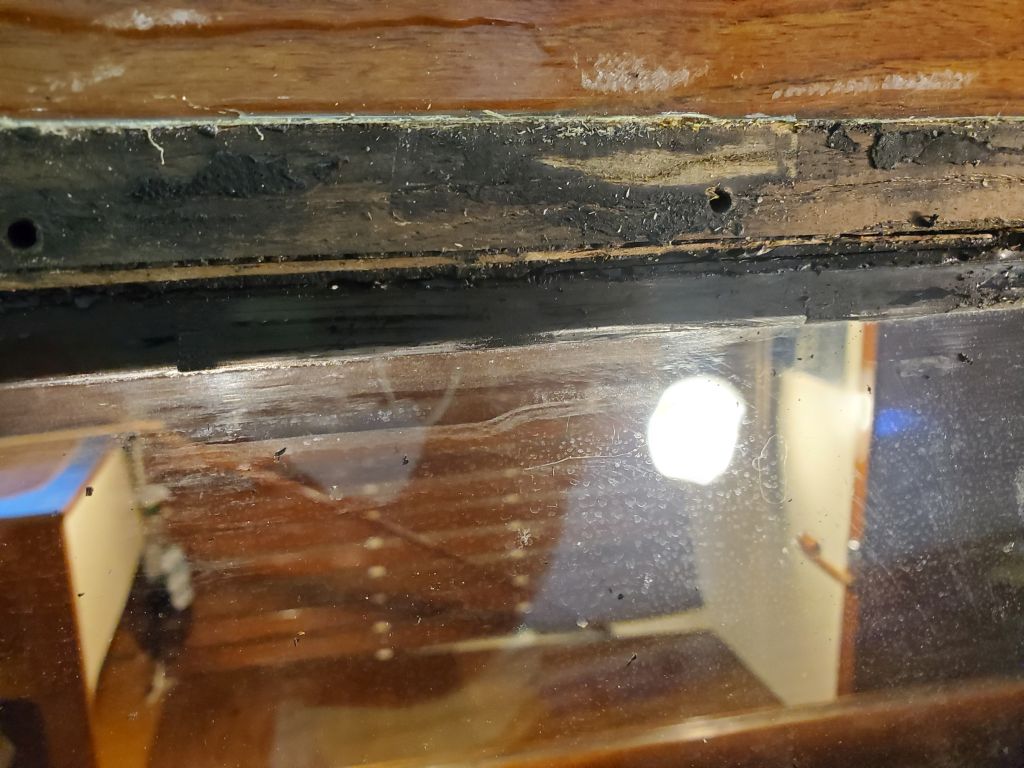
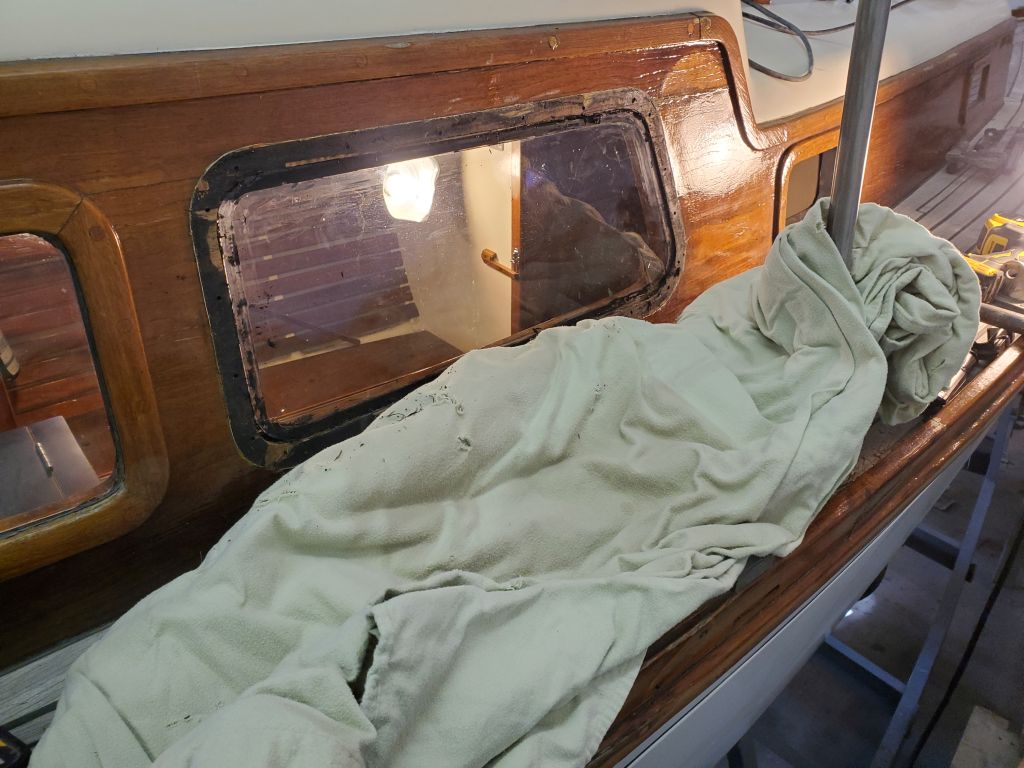
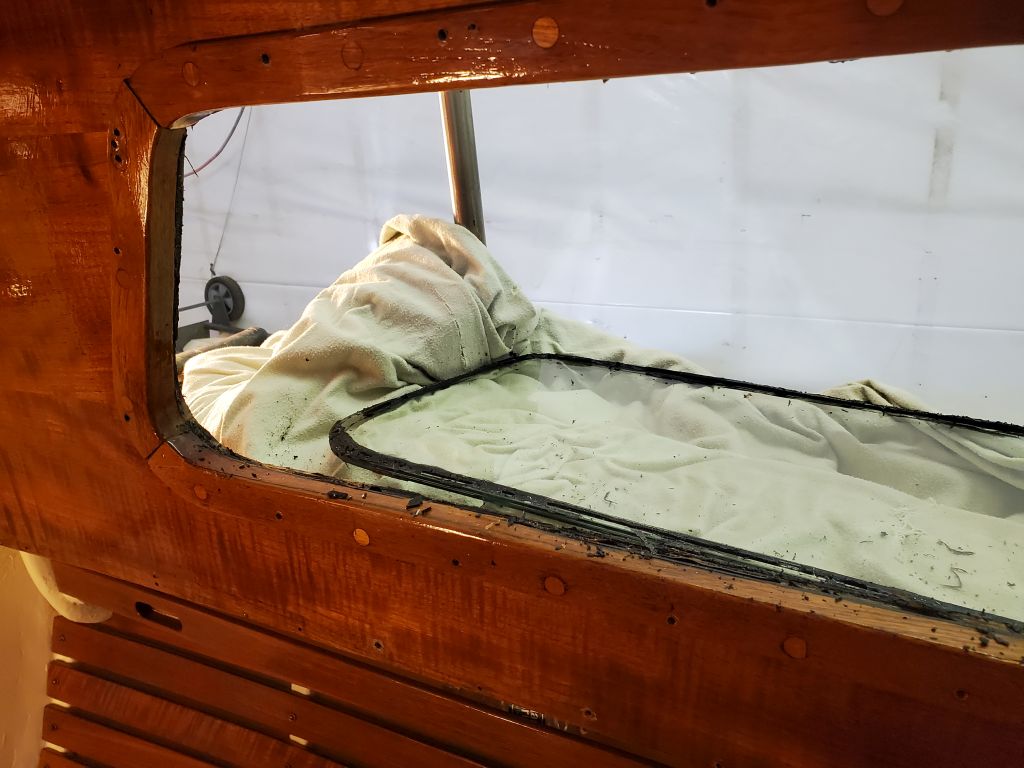
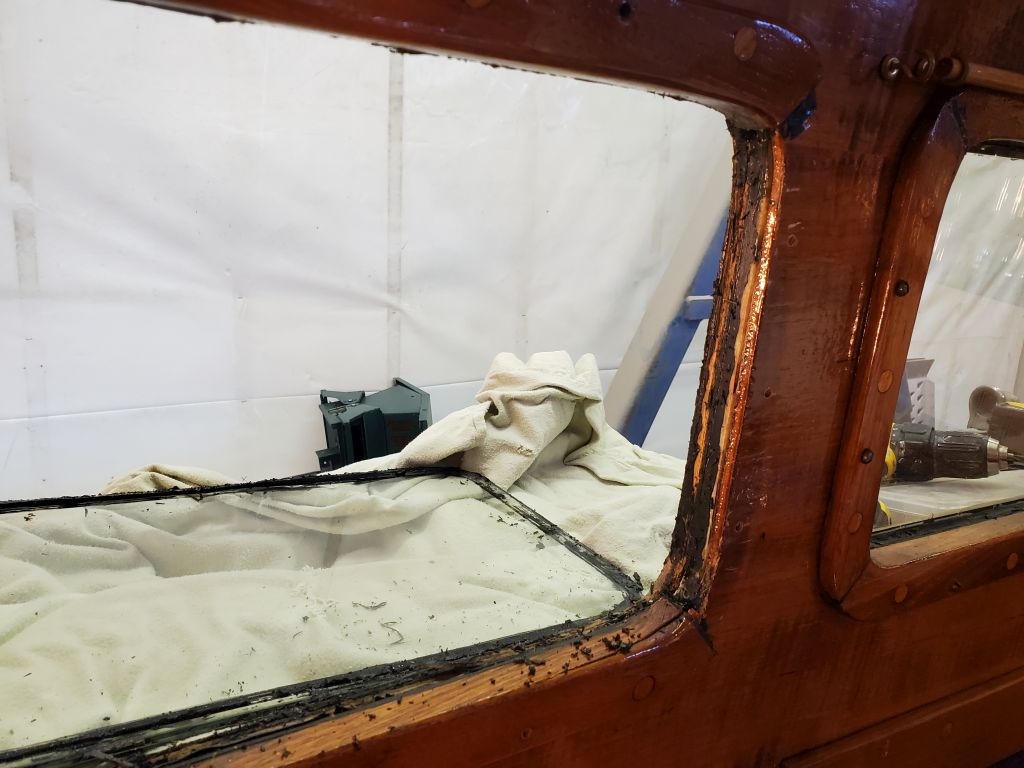
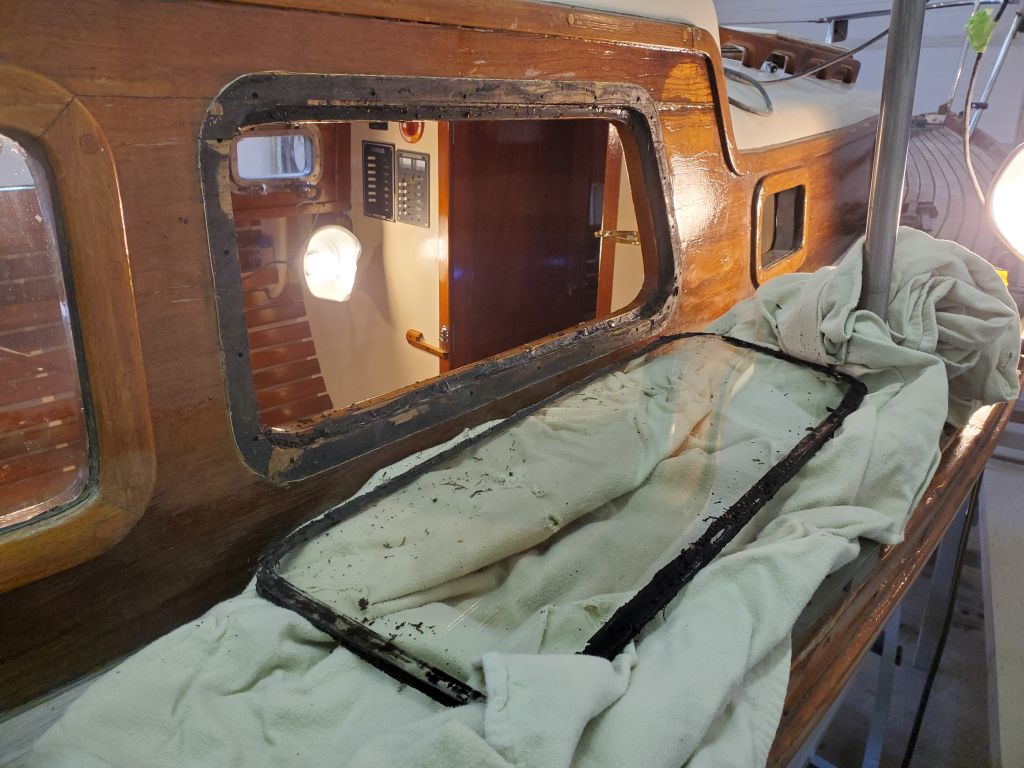
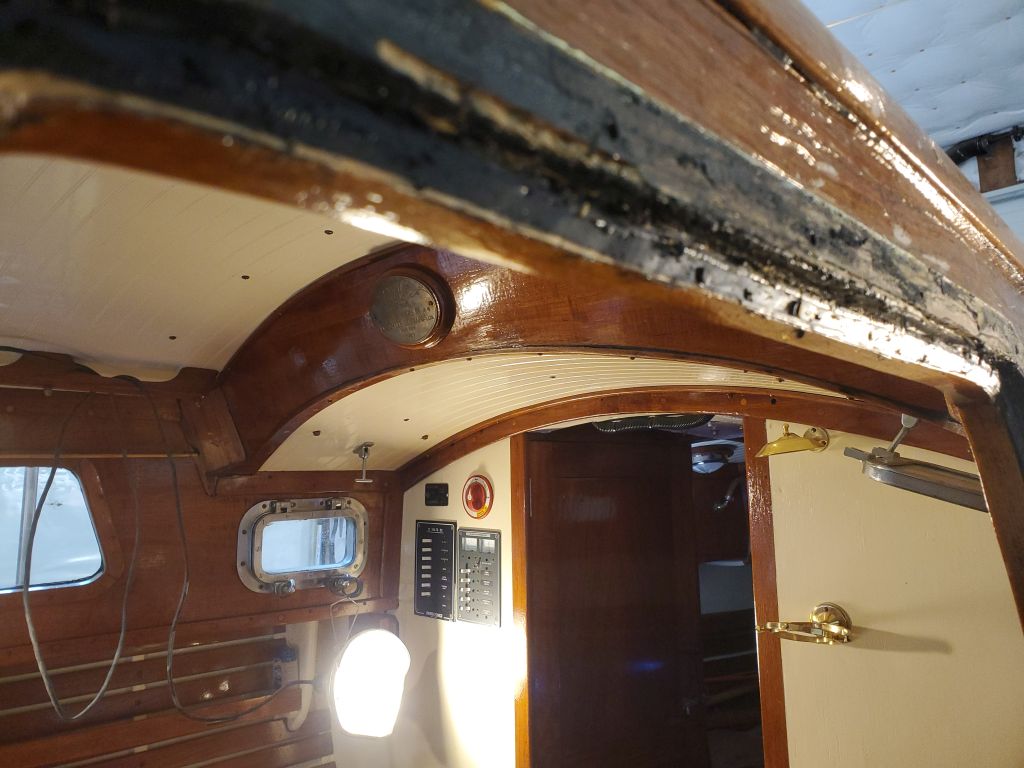
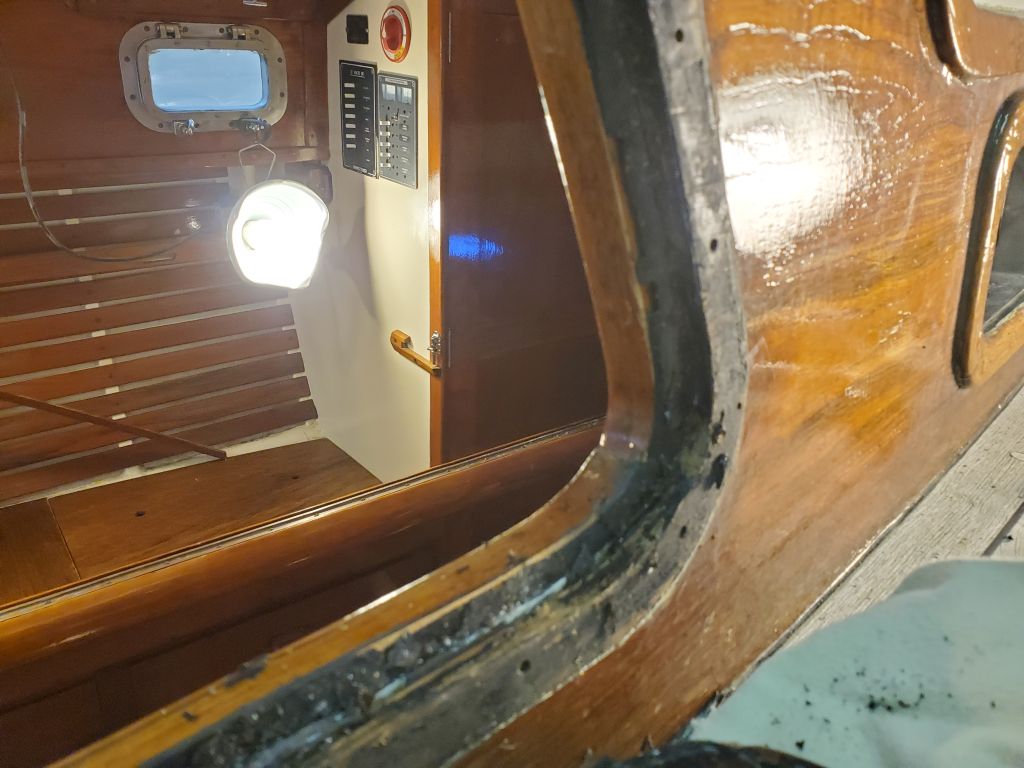
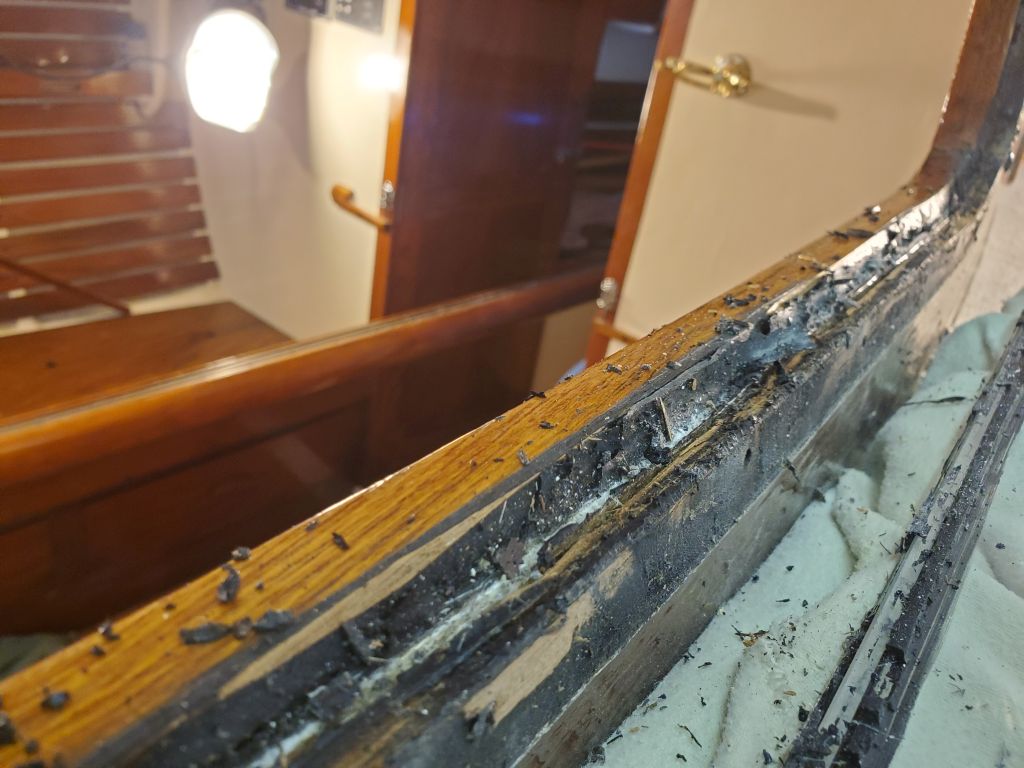
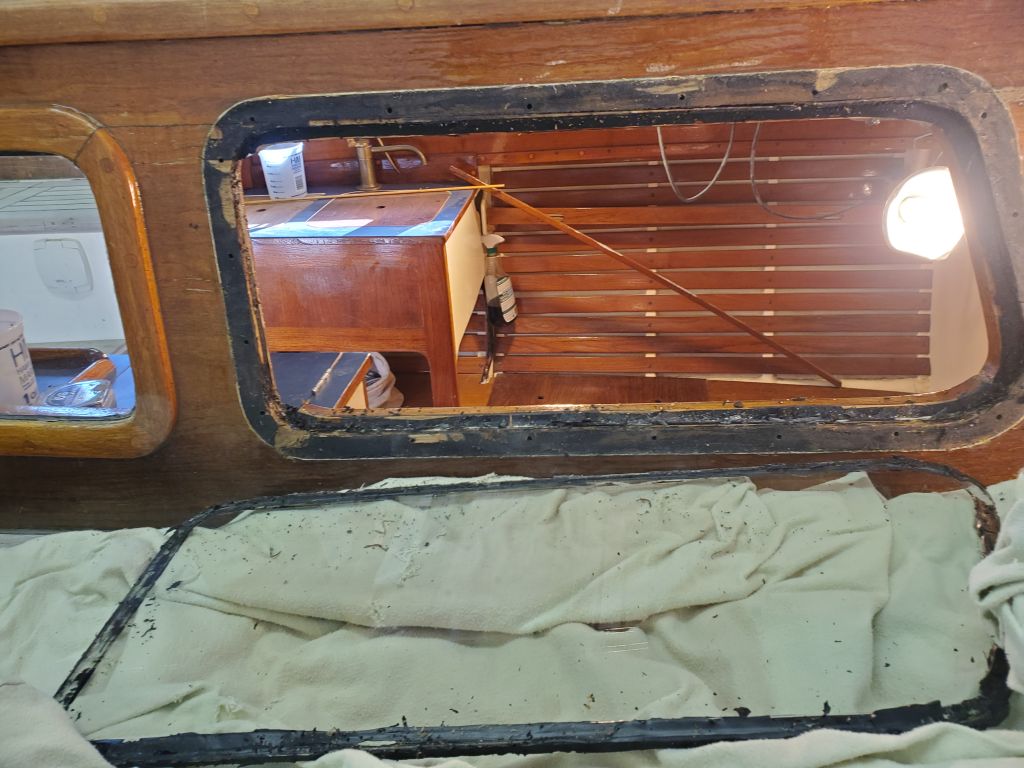
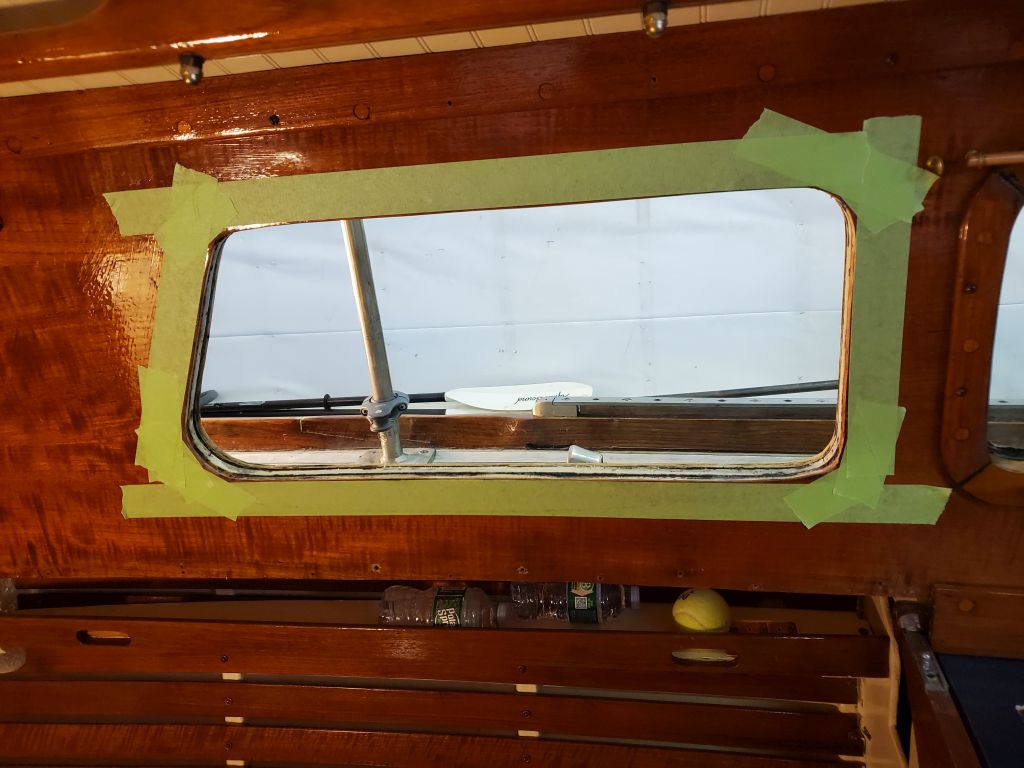
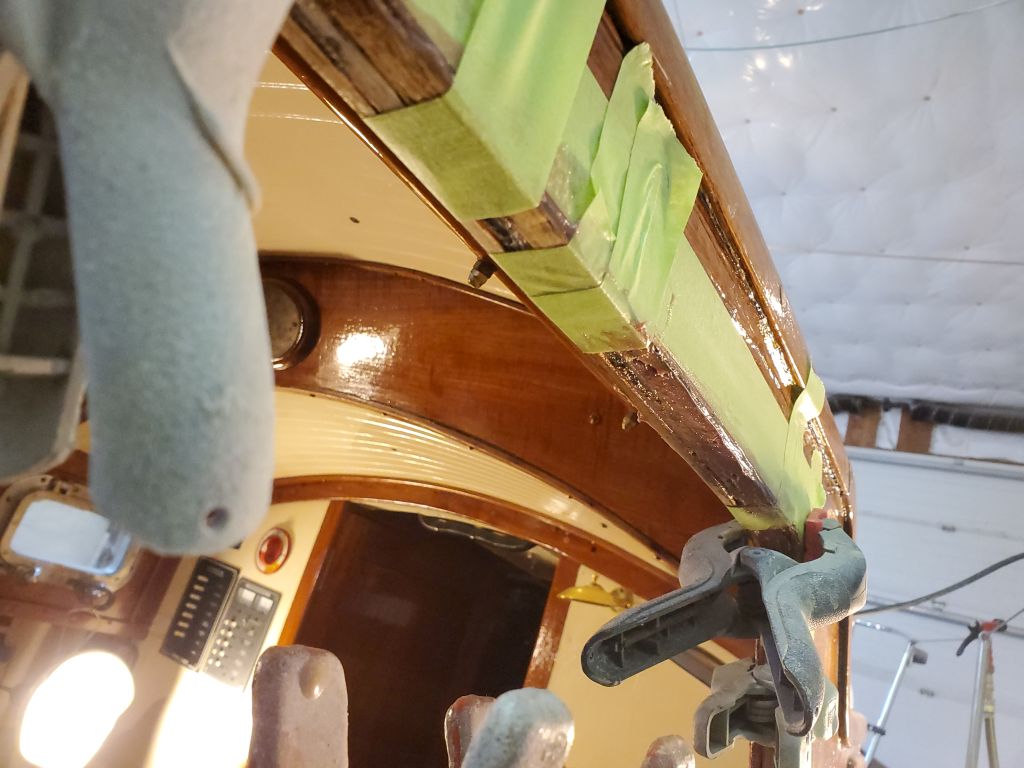
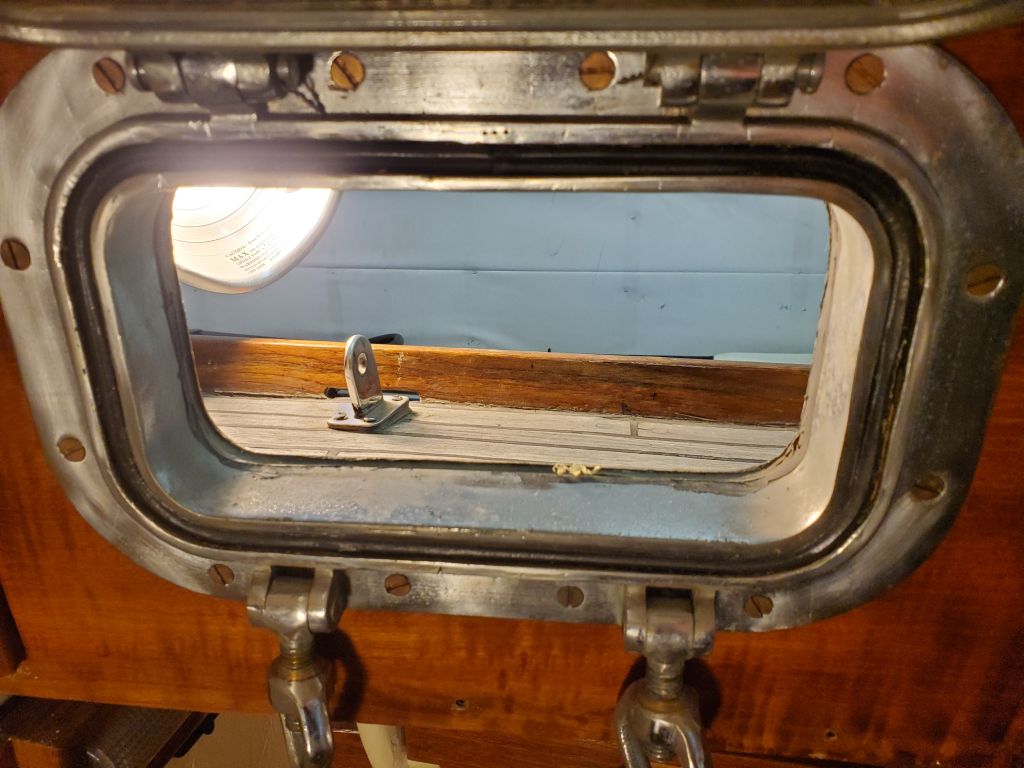
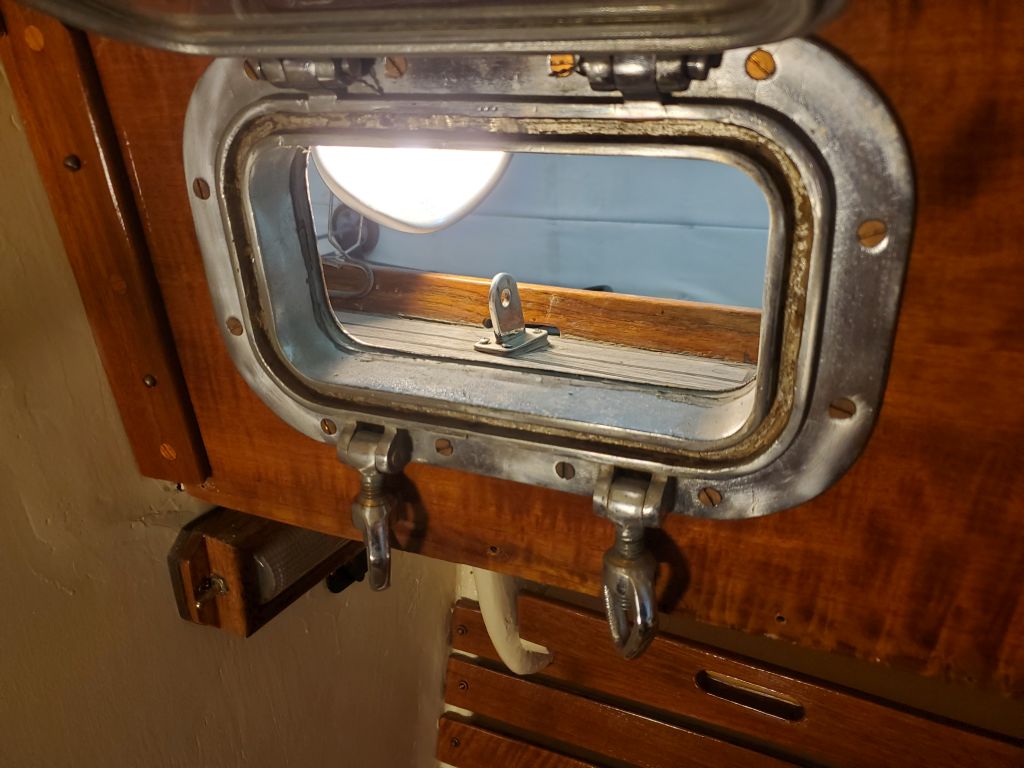
I cleaned up the opening and environs by scraping off the bulk of the old sealant, then sanding off the rest, leaving the rim of the opening clean and ready for new installation when the time came.
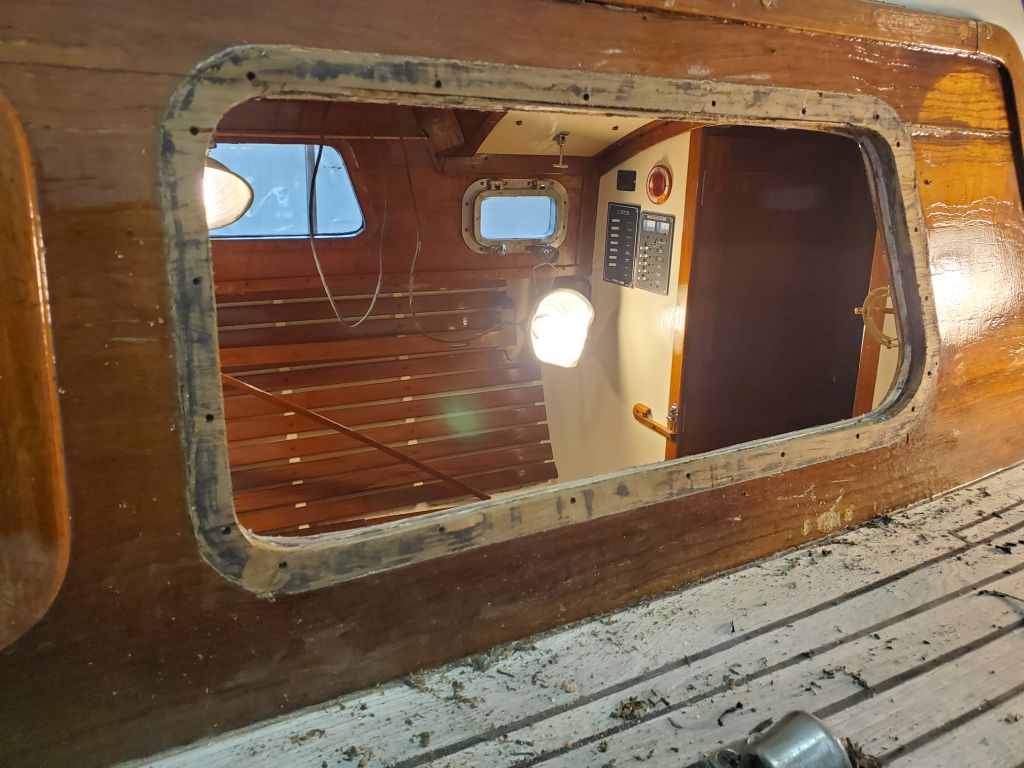
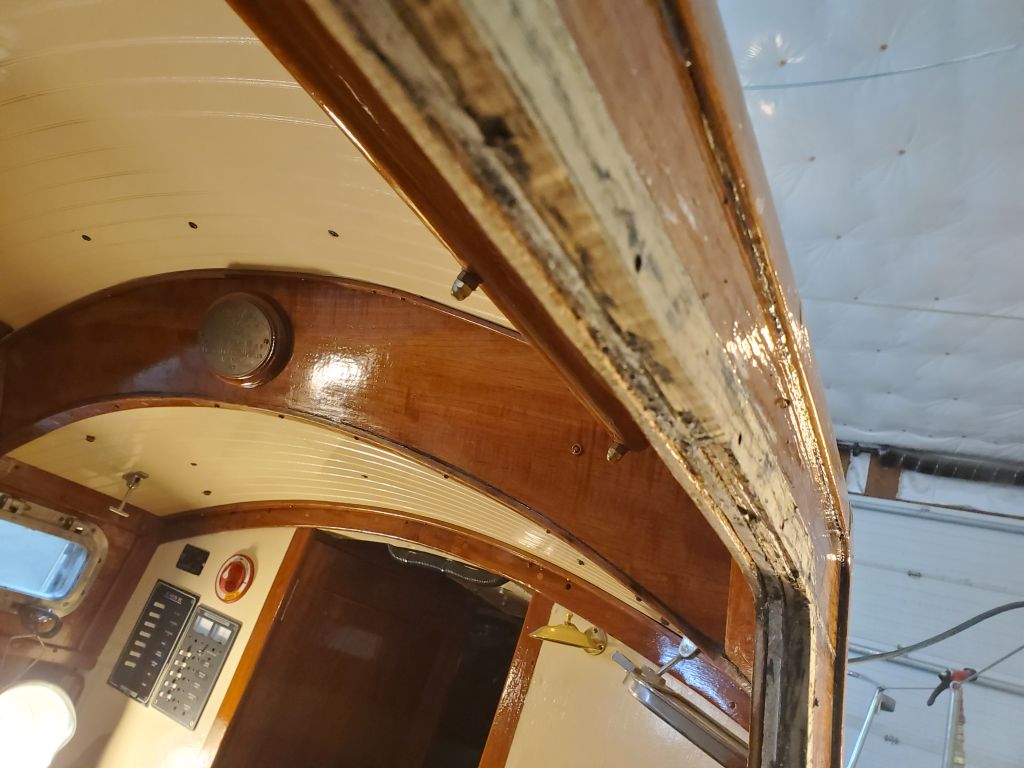
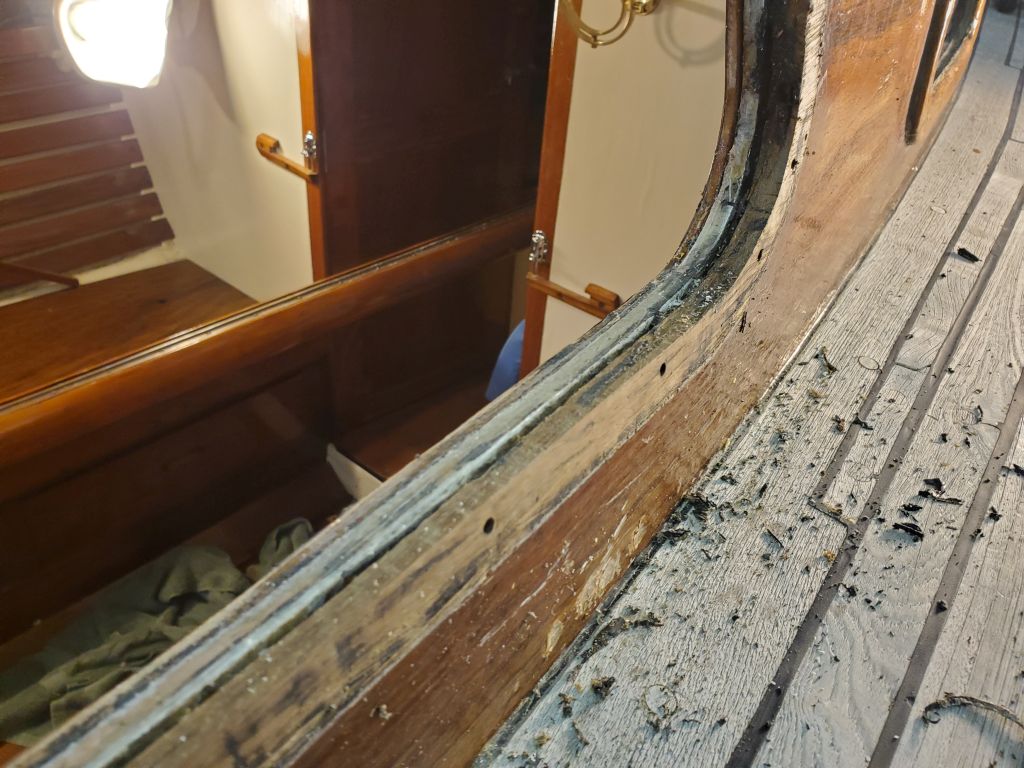
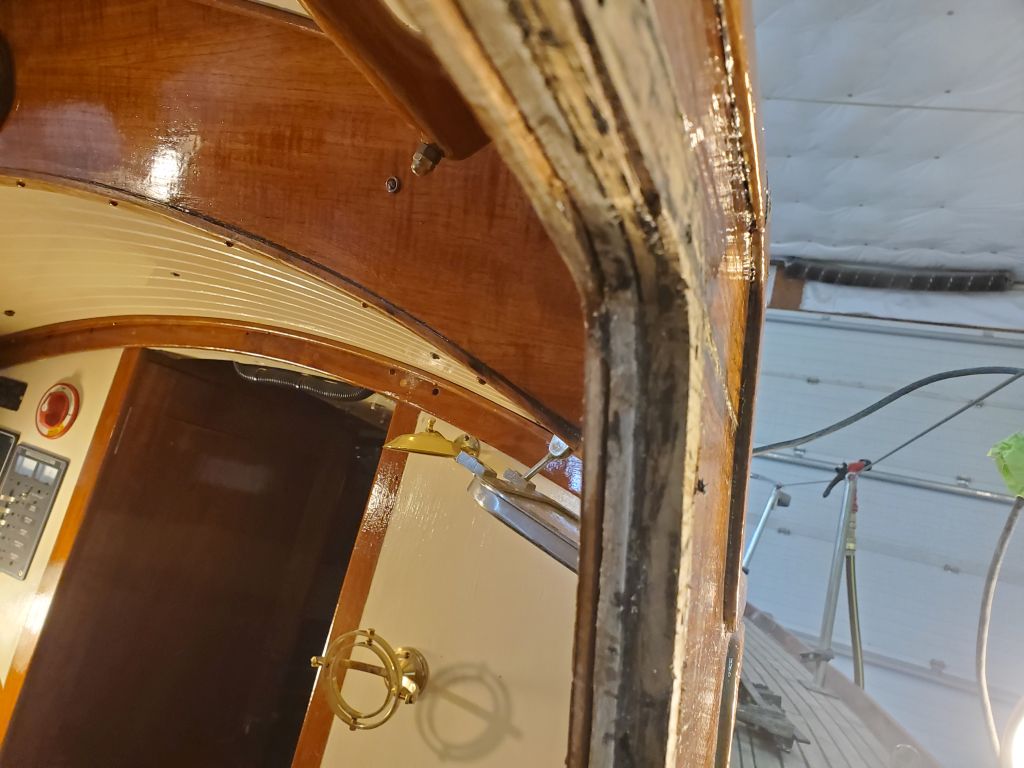
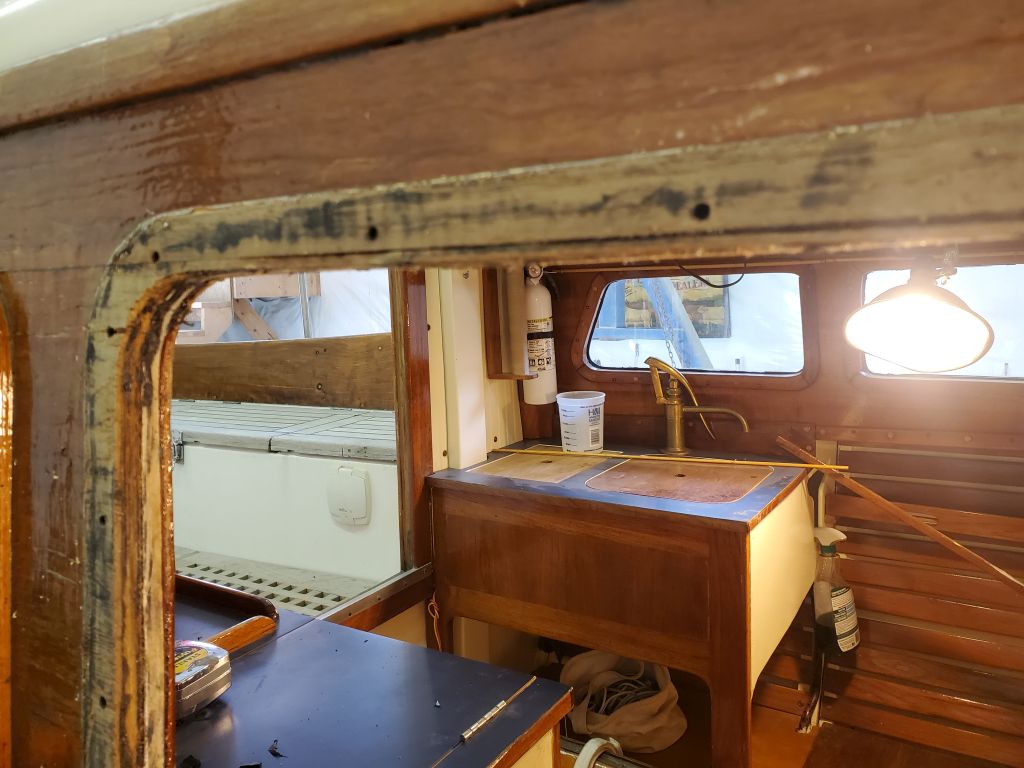
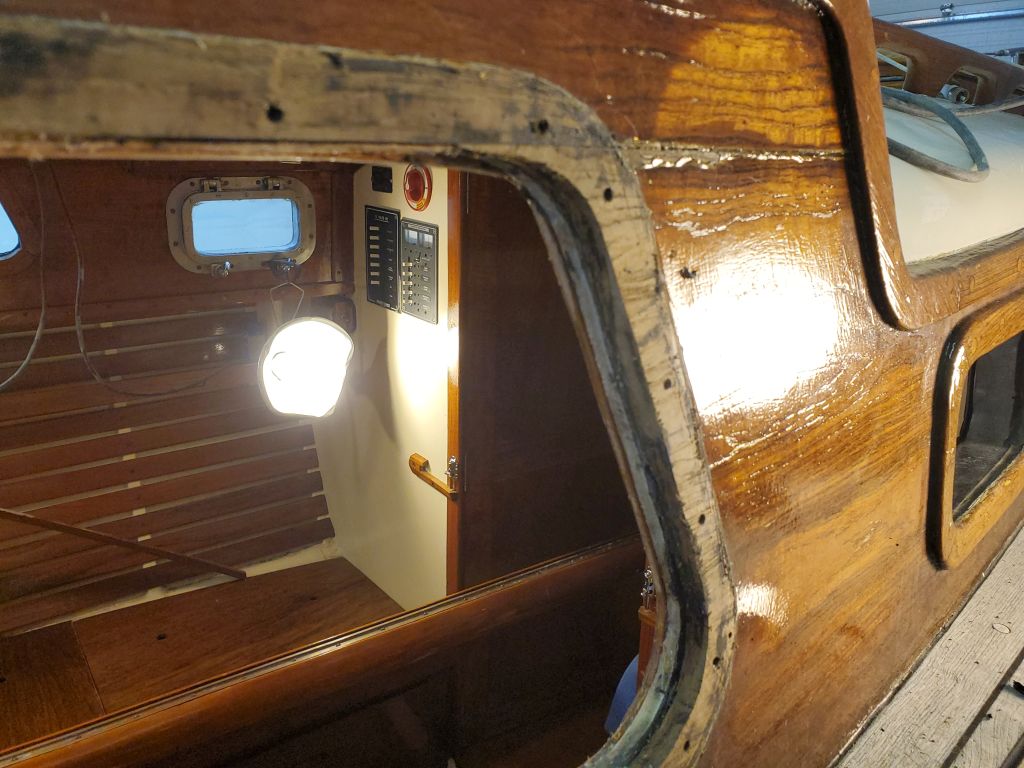
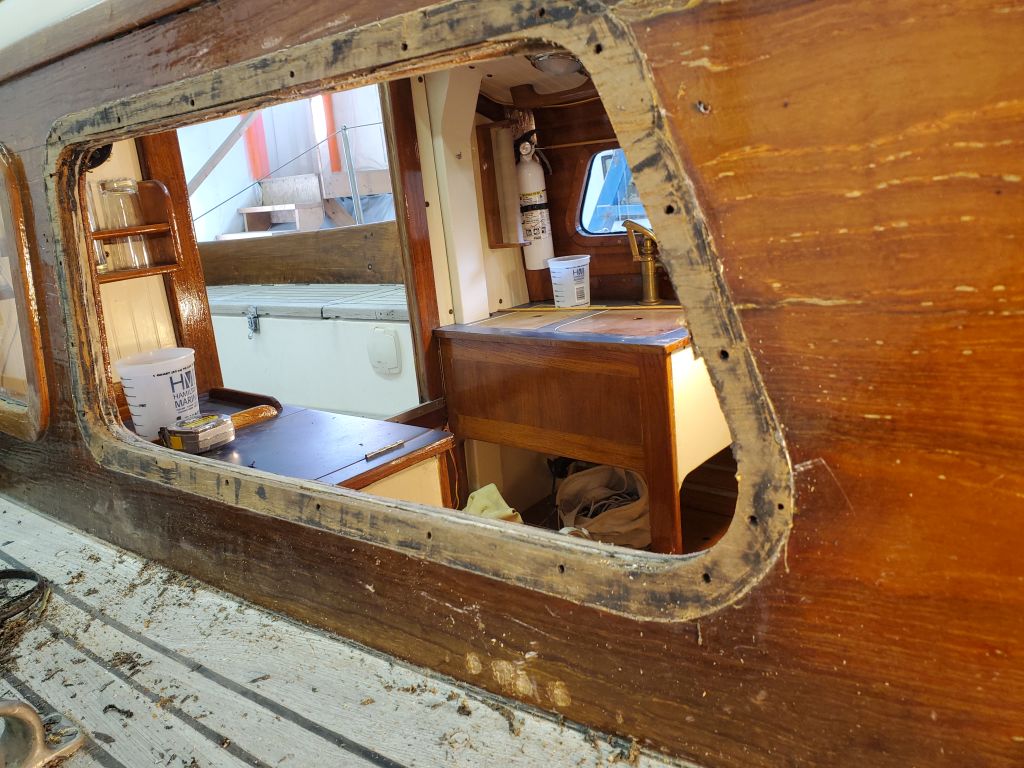
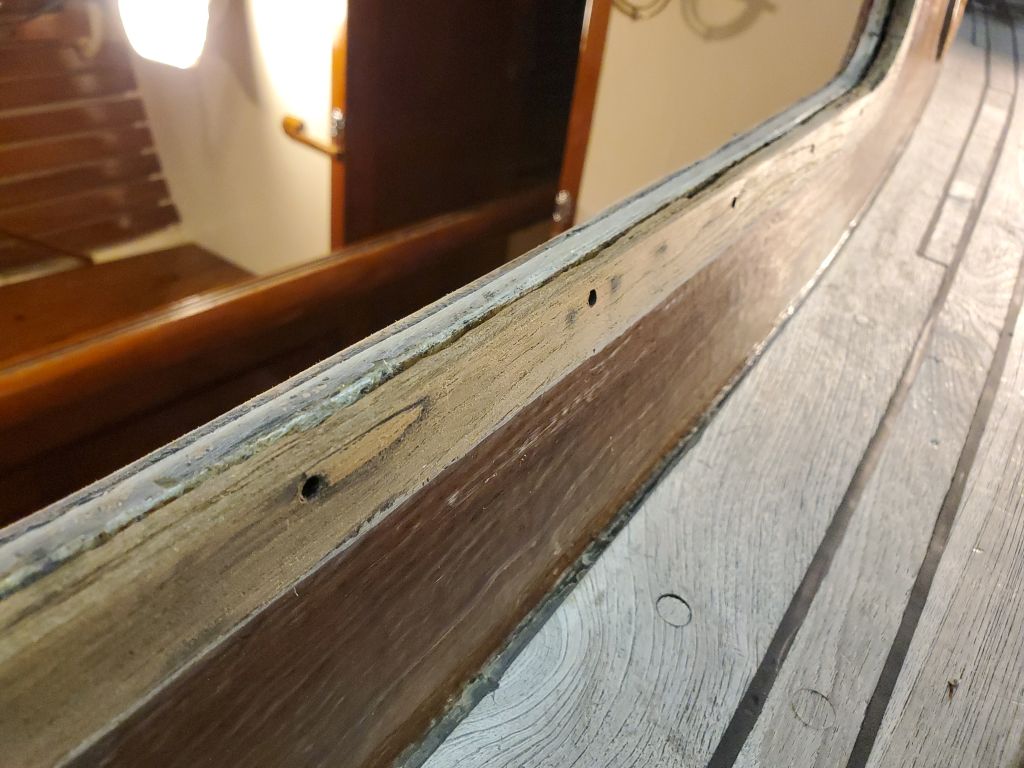

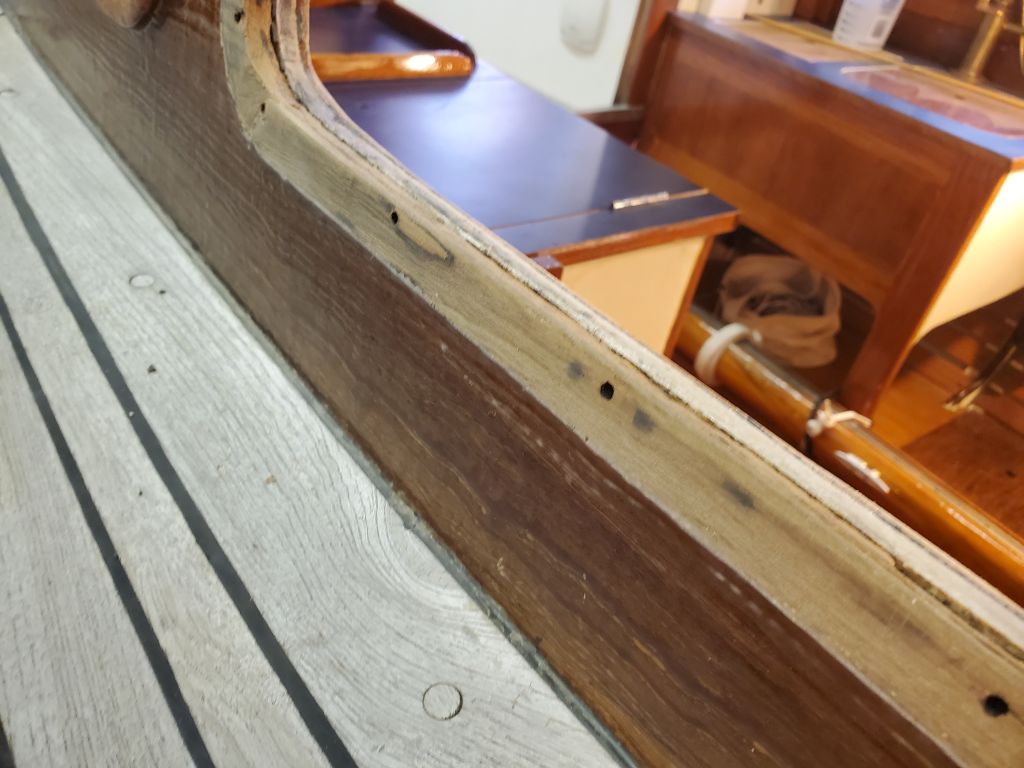
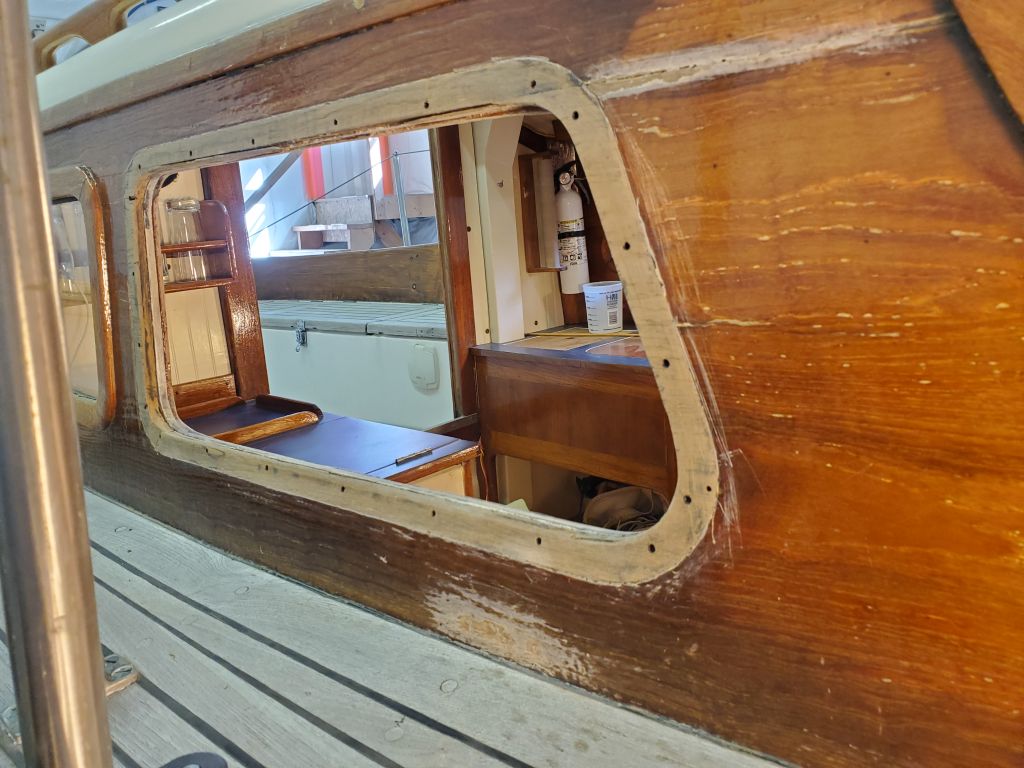
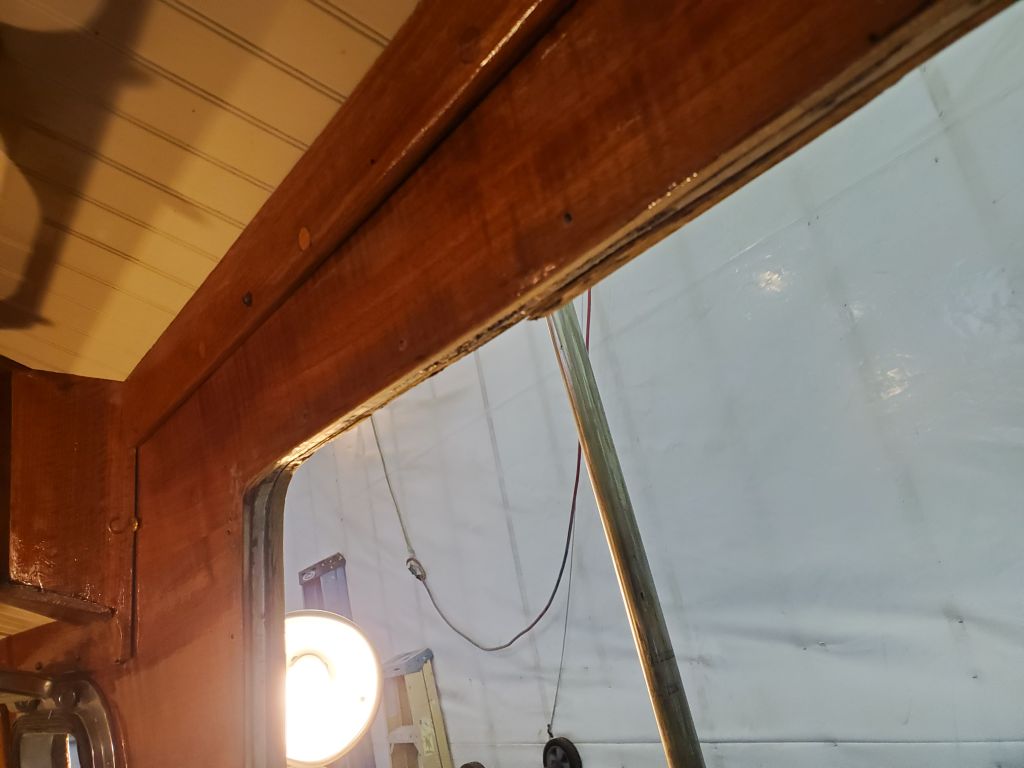
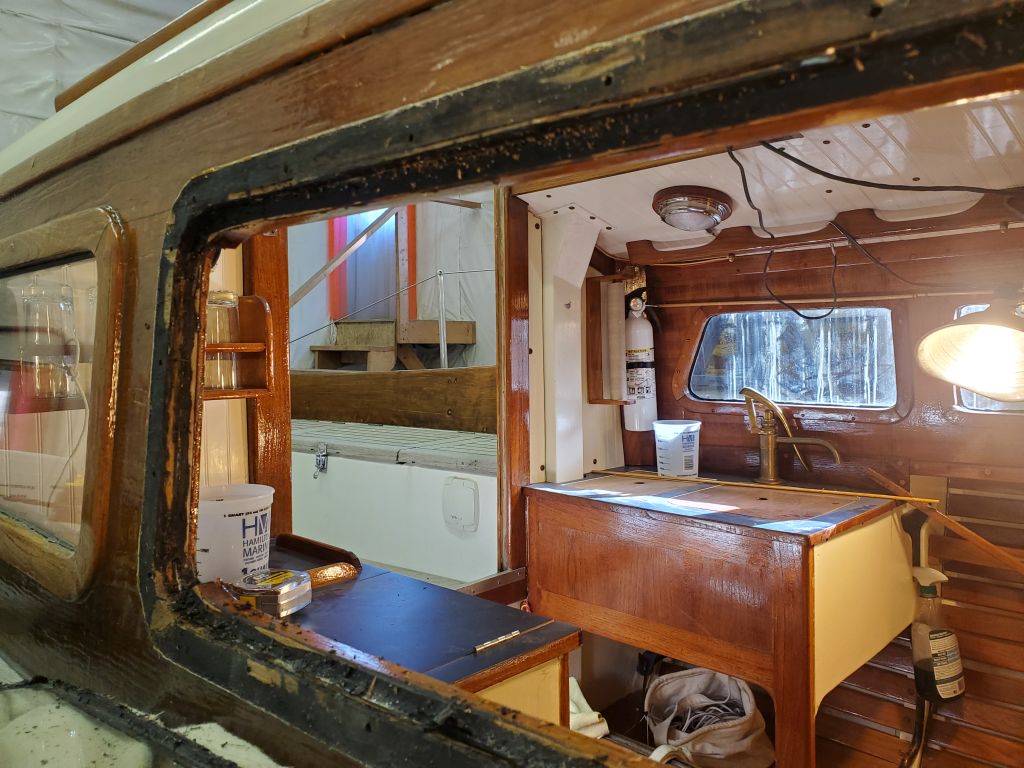
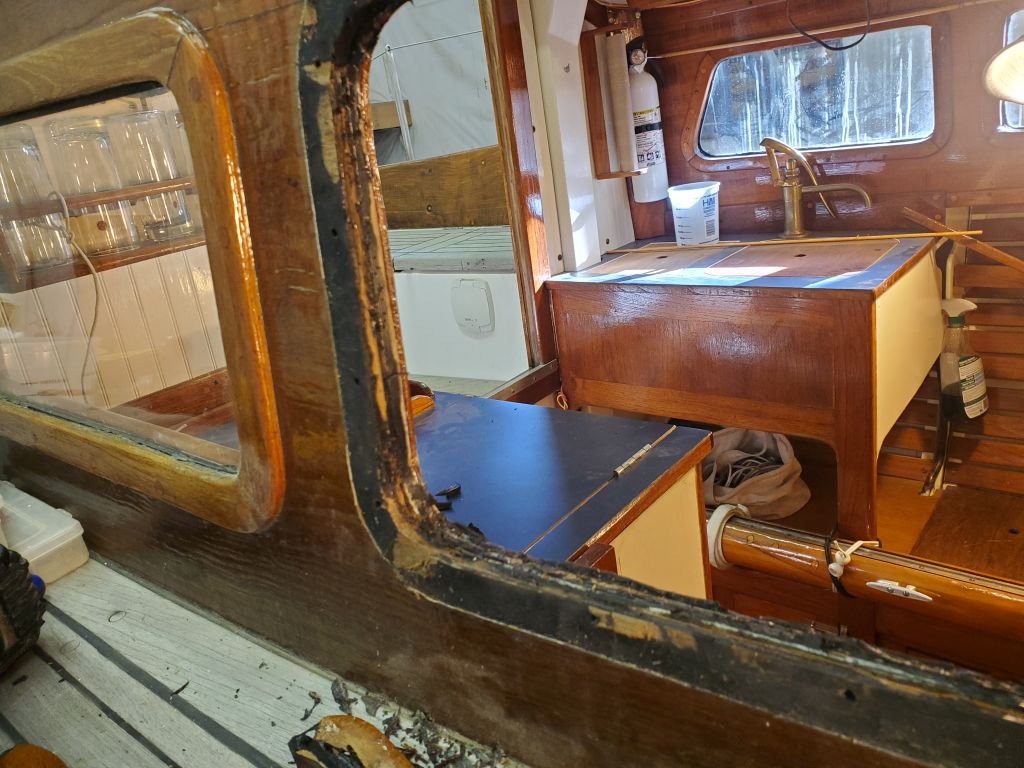
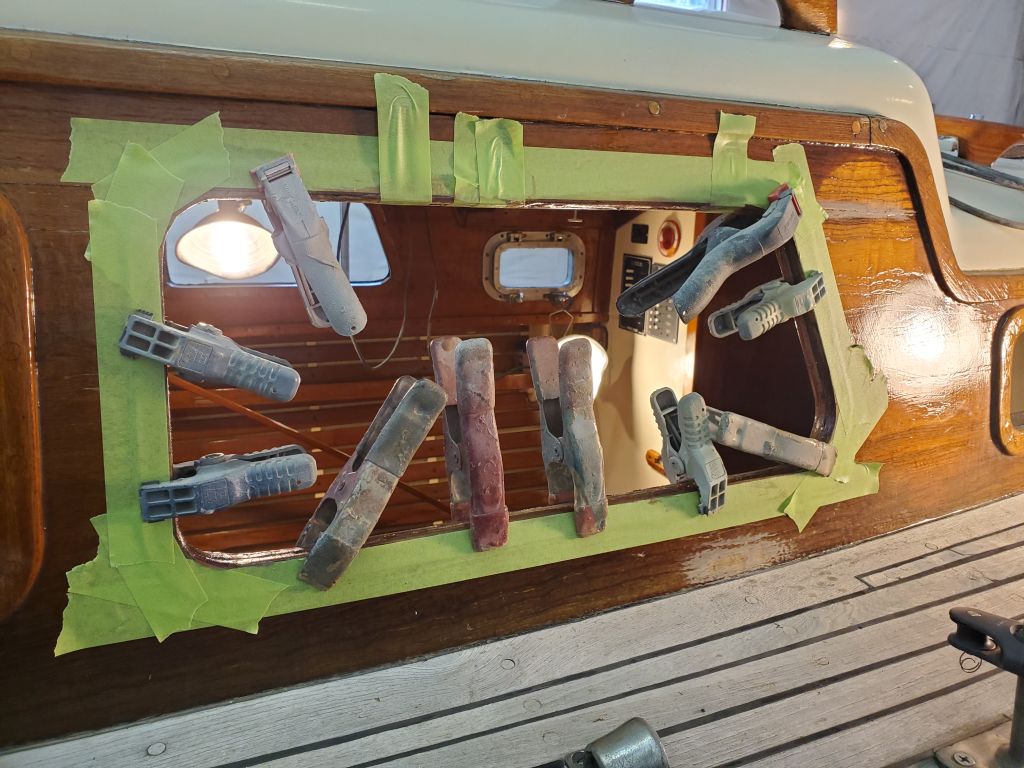
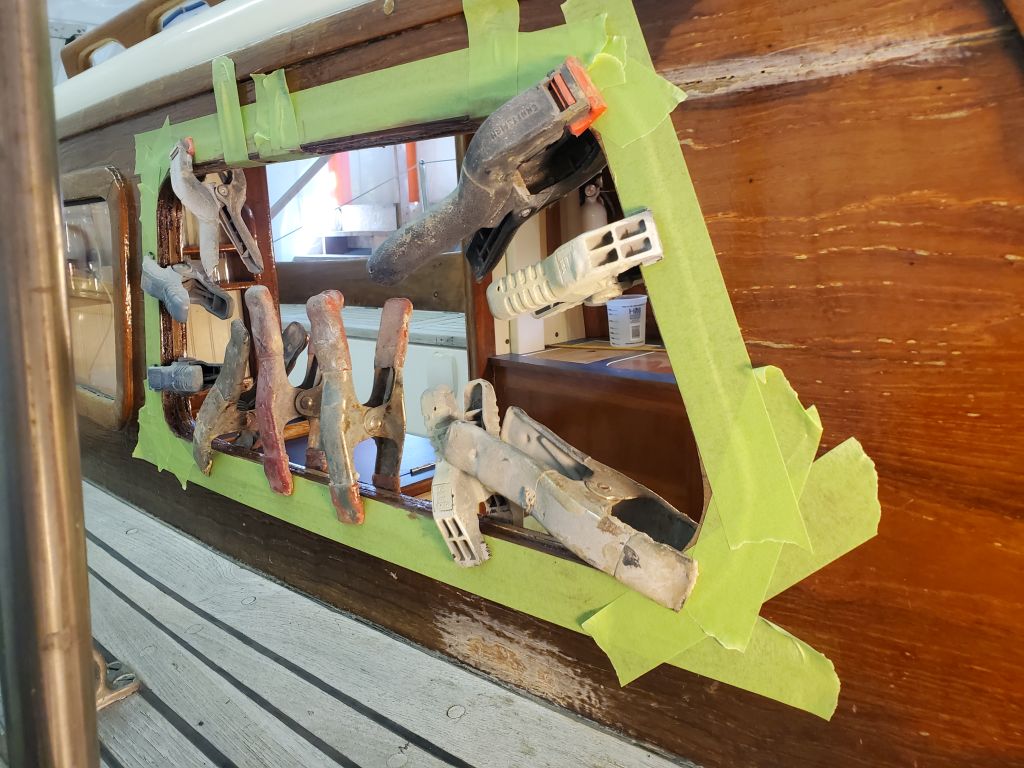
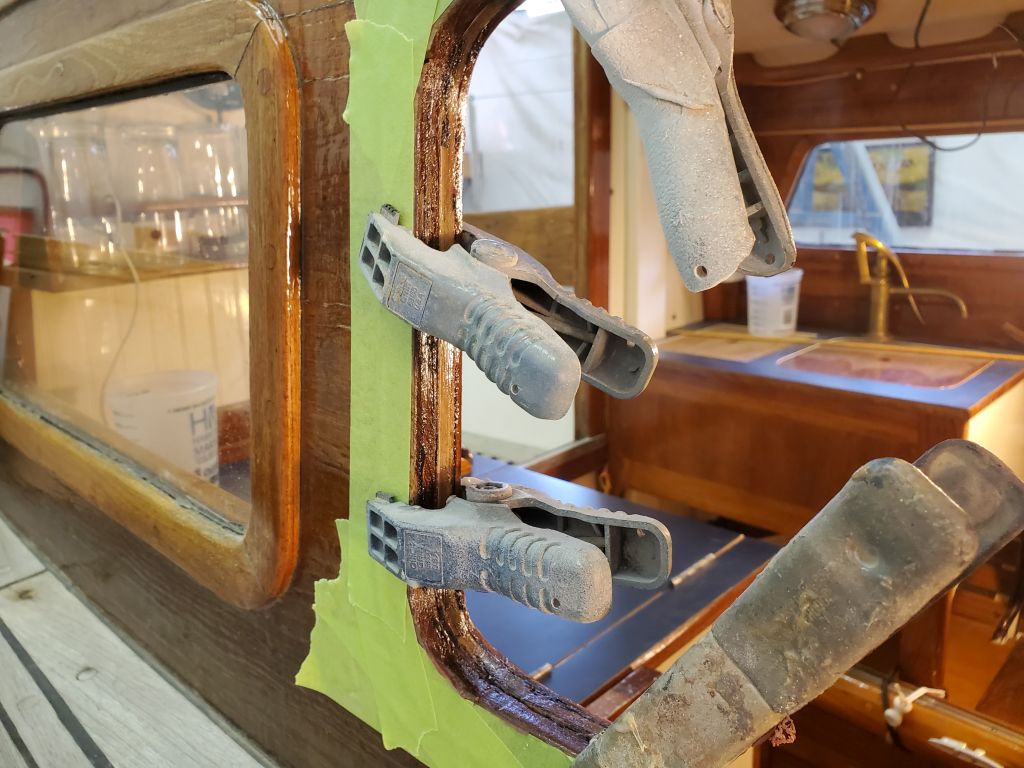
There was some looseness and a gap between the fiberglass cabinside and the interior and exterior teak veneers, and I thought it would help make the new installation watertight if I filled these voids to eliminate that potential passage of water and ensure a good seal otherwise. So after finishing up the cleaning and then solvent washing the area, I masked around the opening on both sides to avoid undue messes, then forced some thickened epoxy adhesive into the gaps all around, and smoothed it over the rim of the area as needed. I clamped the sections all around, and used some tape at the top edge to help resecure a thin strip of the exterior teak cabin side that had come loose during removal efforts.

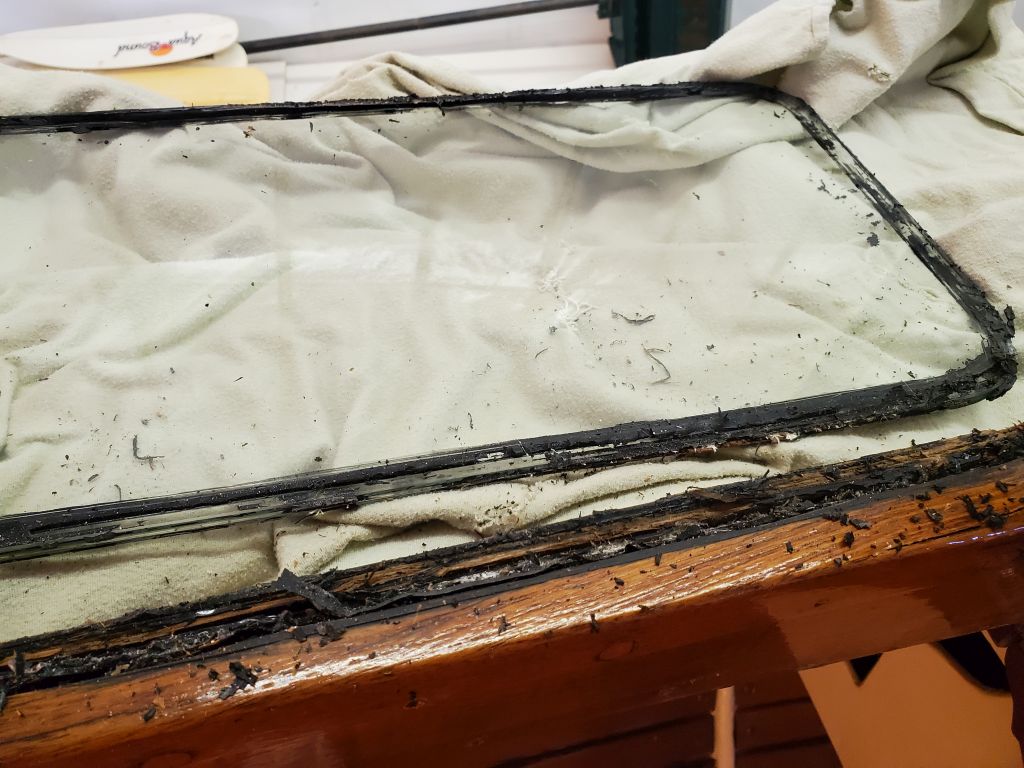
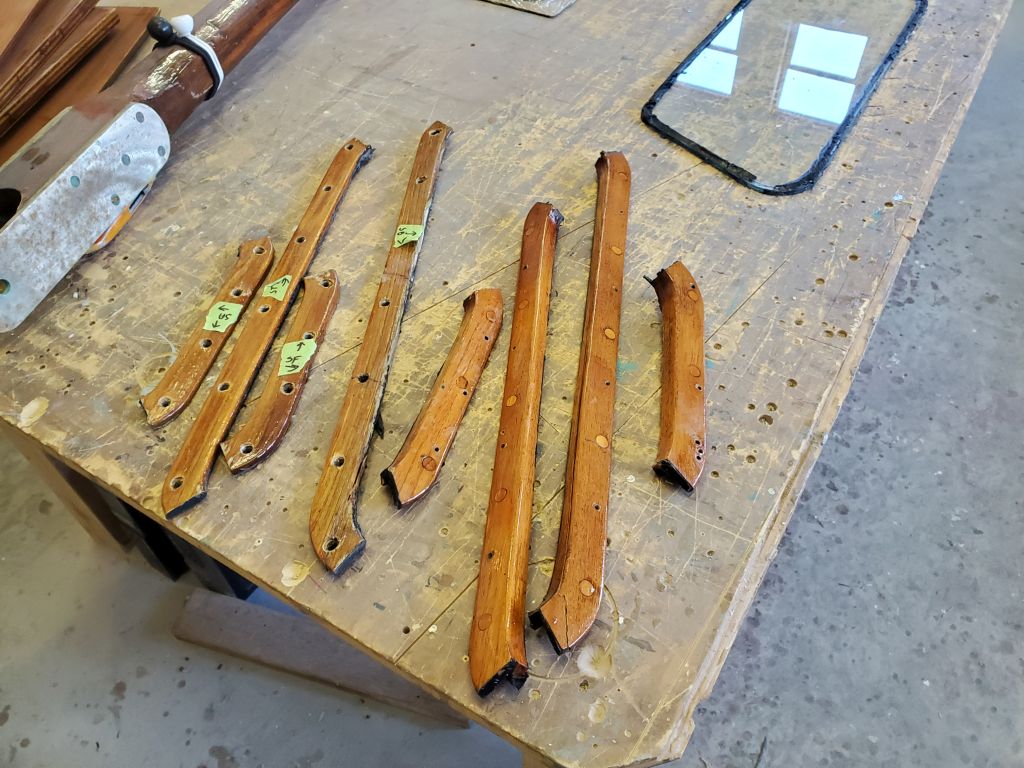
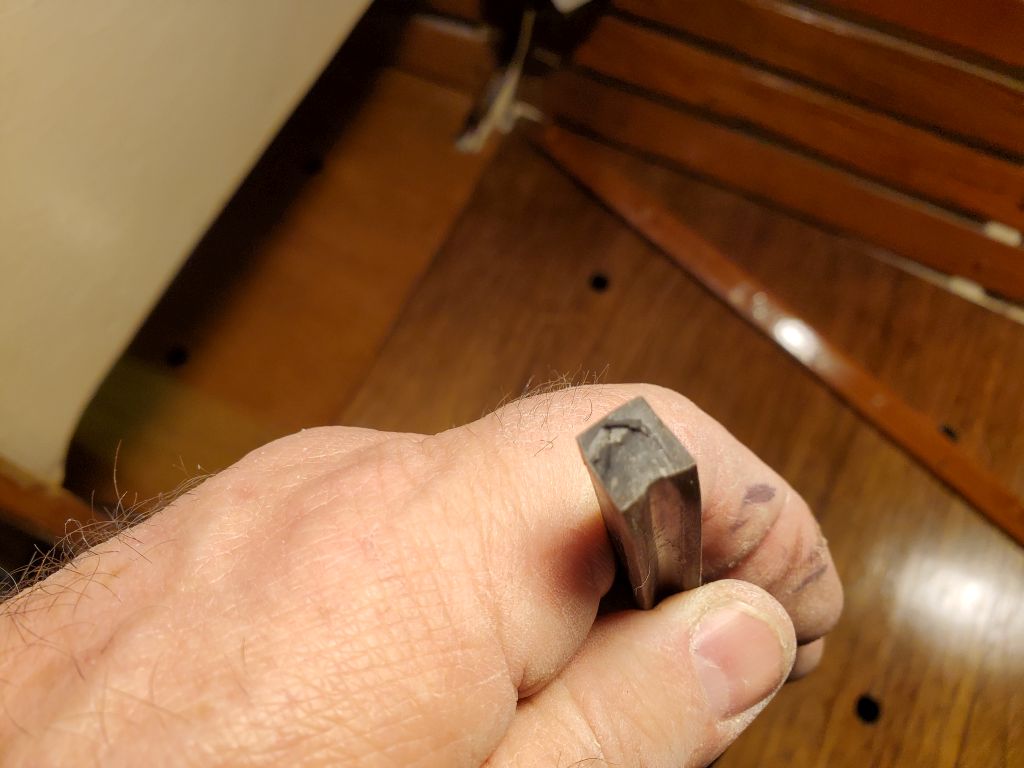
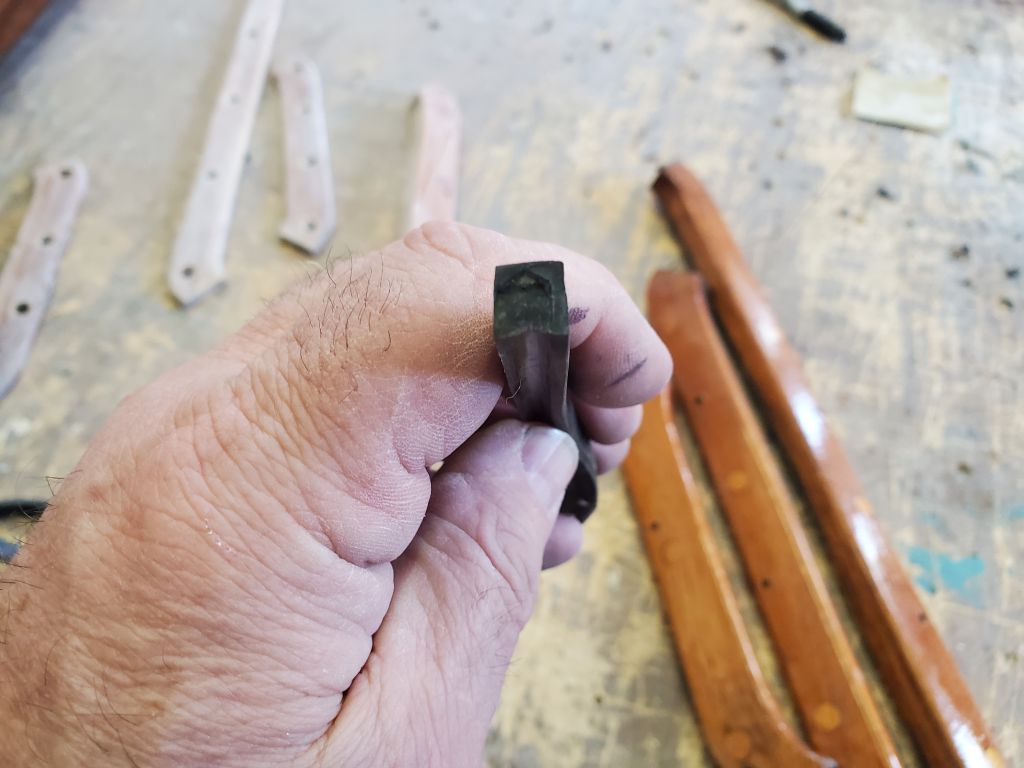
Next, I scraped and cleaned away the sealant remnants from the glass deadlight lens, and the interior and exterior trim pieces, sanding the faying areas clean and lightly sanding the varnished exposed sides to prepare for new varnish before installation. Two of the trim pieces had minor splits and are out of the photo being glued.
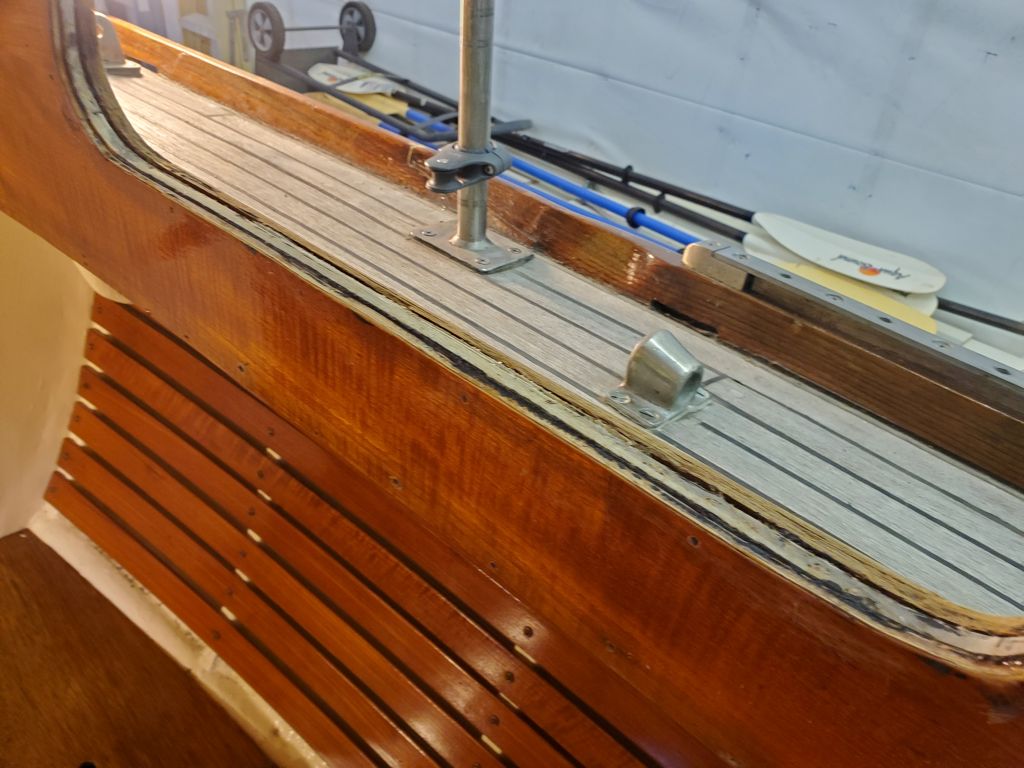
During a phone conference, the owner mentioned additional concerns over past leakage through the forward hatch and on the port side, and this prompted me to prepare for another water test to see if indeed I could find a way to get water to come through the forward hatch; I’d frankly been surprised that it seemed watertight before, though the video evidence of the first test was clear.
Because the two opening ports in the main cabin leaked through the seals when dogged down, with new gasket material now on hand I thought I’d install the new gaskets now, before I water tested the forward hatch, so that I could see if the ports were now leak-free. I’d ordered new gasket based on what was visible around the ports, but when I removed the existing gasket, I was surprised to find another gasket beneath: a more typical square gasket located in a groove in the port body. The gasket that had been visible, and which I thought was the entire seal, was apparently a stopgap measure to enhance a non-performing square gasket. I’d thought the visible gasket had seemed unconventional, having been expecting more of what I eventually uncovered.
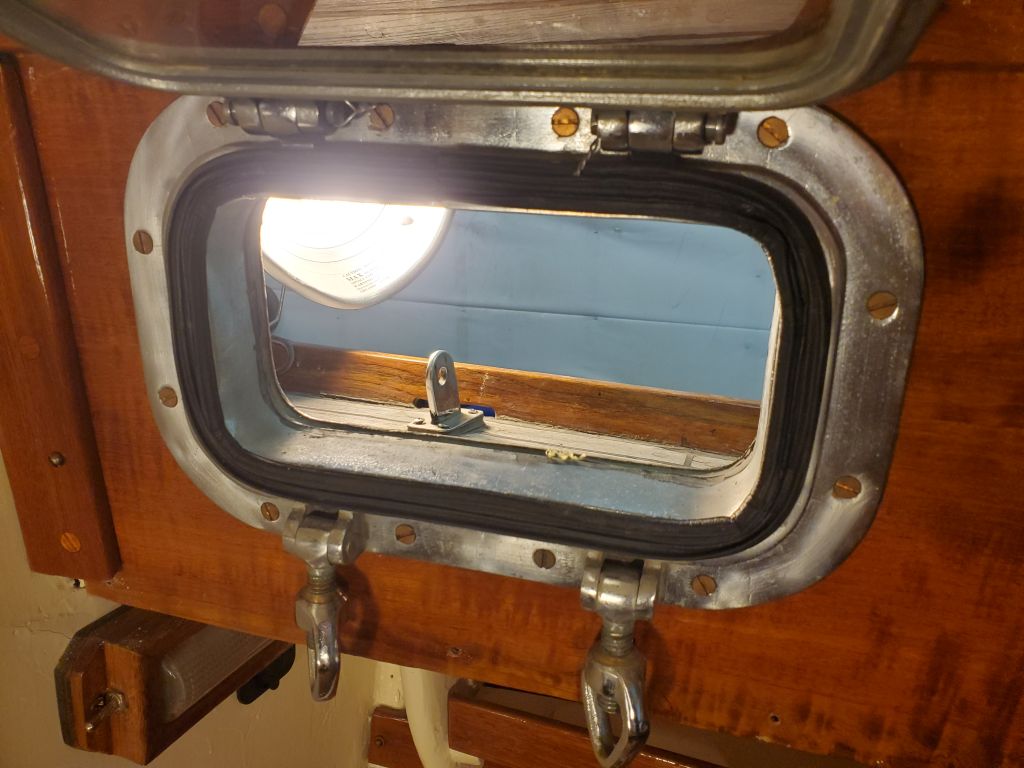
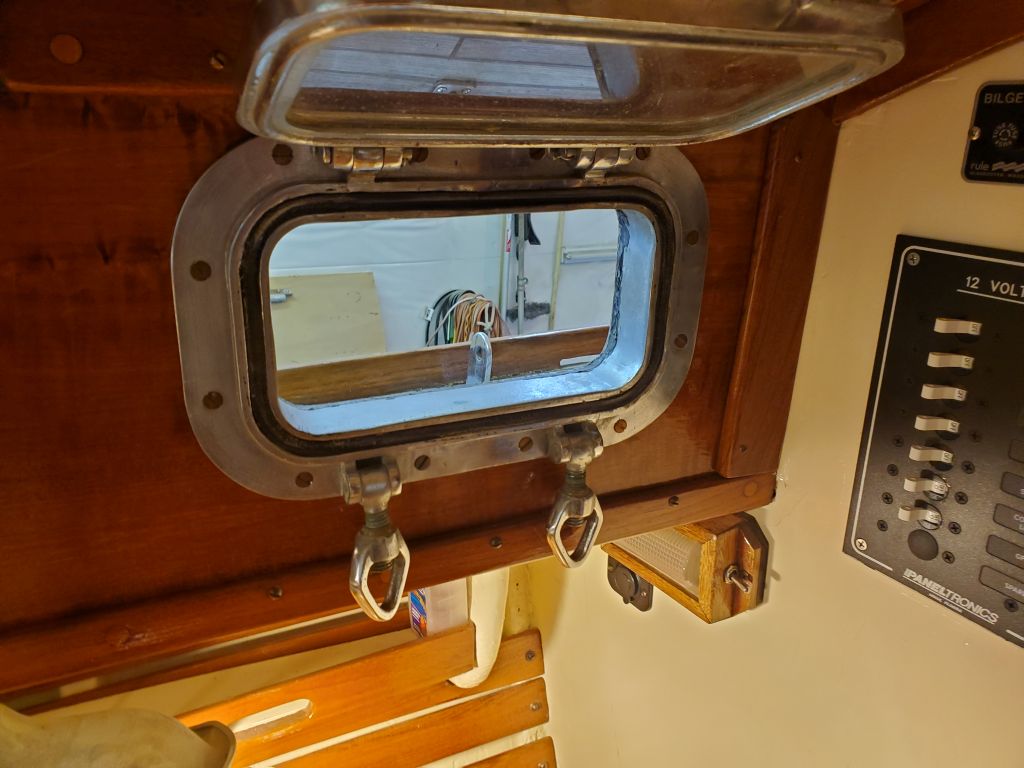
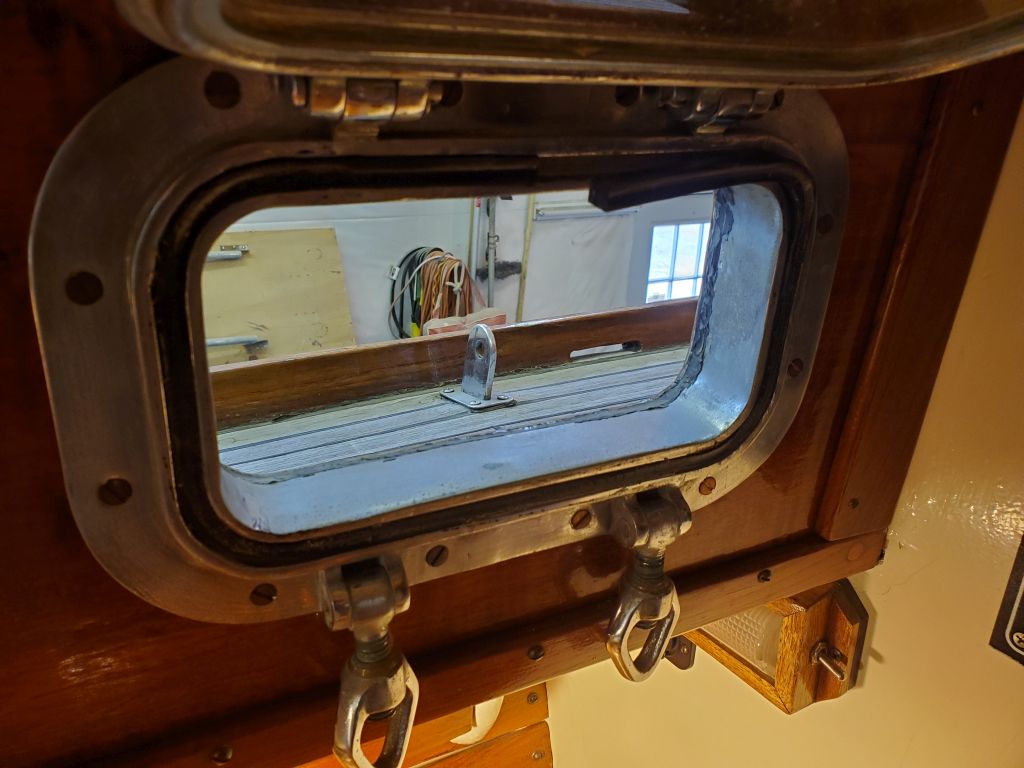
The square gasket installed didn’t seem to offer any resistance to the port when closed, and was quite firm and non-compressible; it was a solid gasket, without a hole through the center to aid compressibility. It was a typical 5/16″ square gasket, the type found in many port bodies. So having determined its existence, I ordered some replacement prospects; the material I really wanted was out of stock with no information on availability, so I located a couple similar products that I hoped would be the ticket.
Now, I turned on my hose again and aggressively sprayed the forward hatch again, this time in a way to force a leak even if it didn’t want to. I also focused the torrent all around the hatch where it met the deck, as the owner had raised this as a leak possibility too. With a camera set up inside, and dry towels to catch and highlight the leakage, this time I found a solid leak on the forward half of the starboard edge of the hatch, right where it had originally seemed not to be sealing tightly during my first inspection. Why it didn’t leak during my first test is a mystery, but it definitely leaked now; the other portions of the hatch, subjected to similar spray, did not leak.
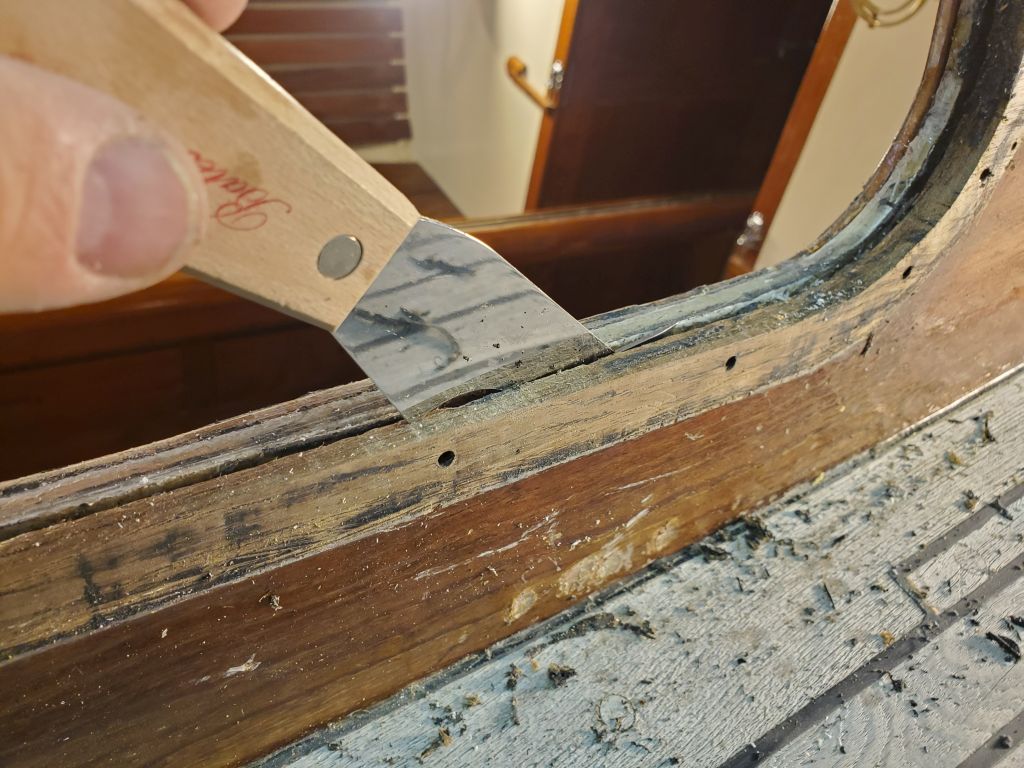
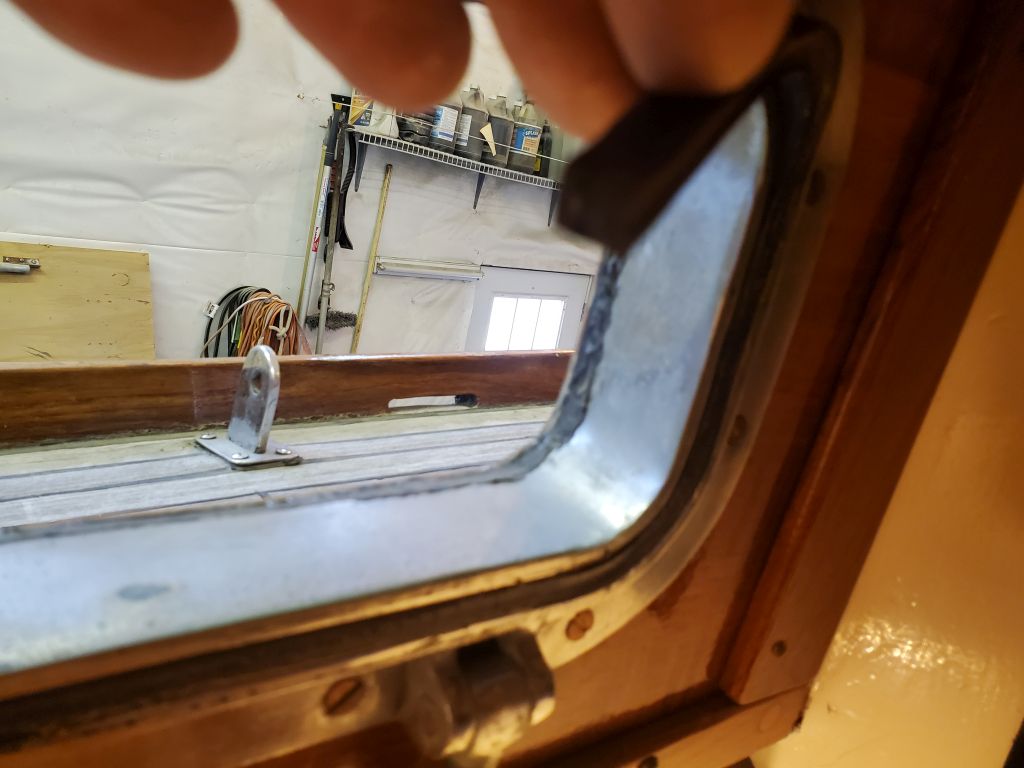
Upon closer inspection now, with the hatch open, I found that the corners–particularly the starboard forward corner–of the gasket were mitered and not continuous where they turned the corners (or, if they had been, they were no longer). So there was a good gap in the gasket at that corner, which certainly could account for the leakage. That, along with the fact that the hold-down clamp wasn’t quite as tight as it could be, and didn’t adequately compress the gasket, certainly would allow leaks.
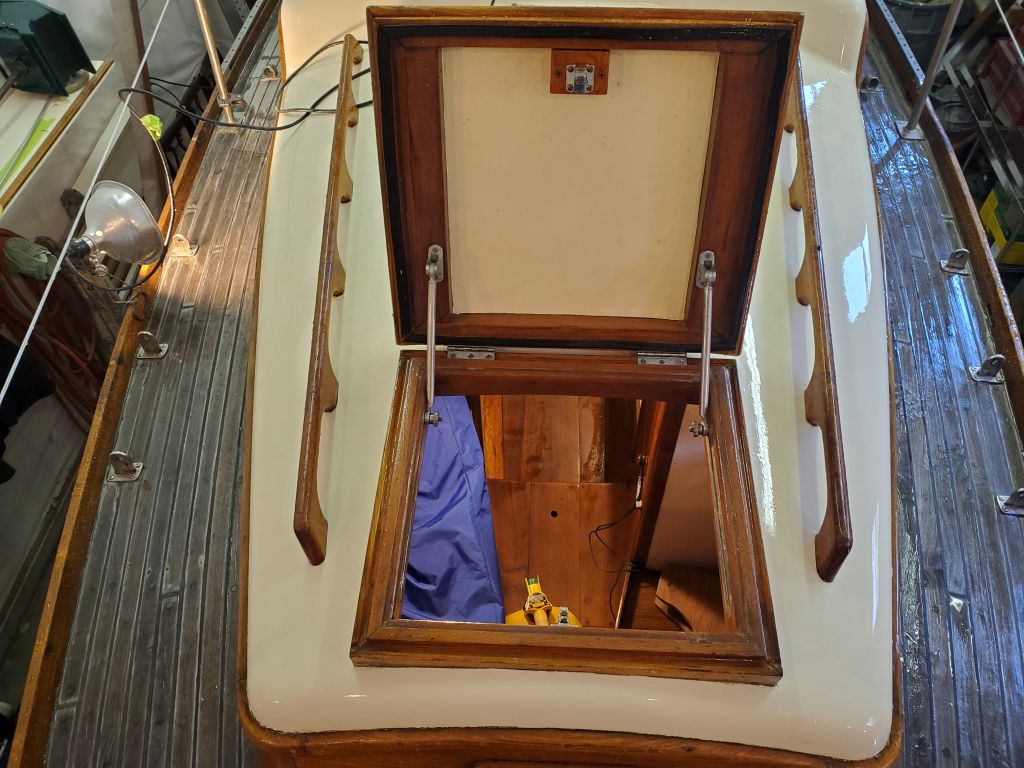
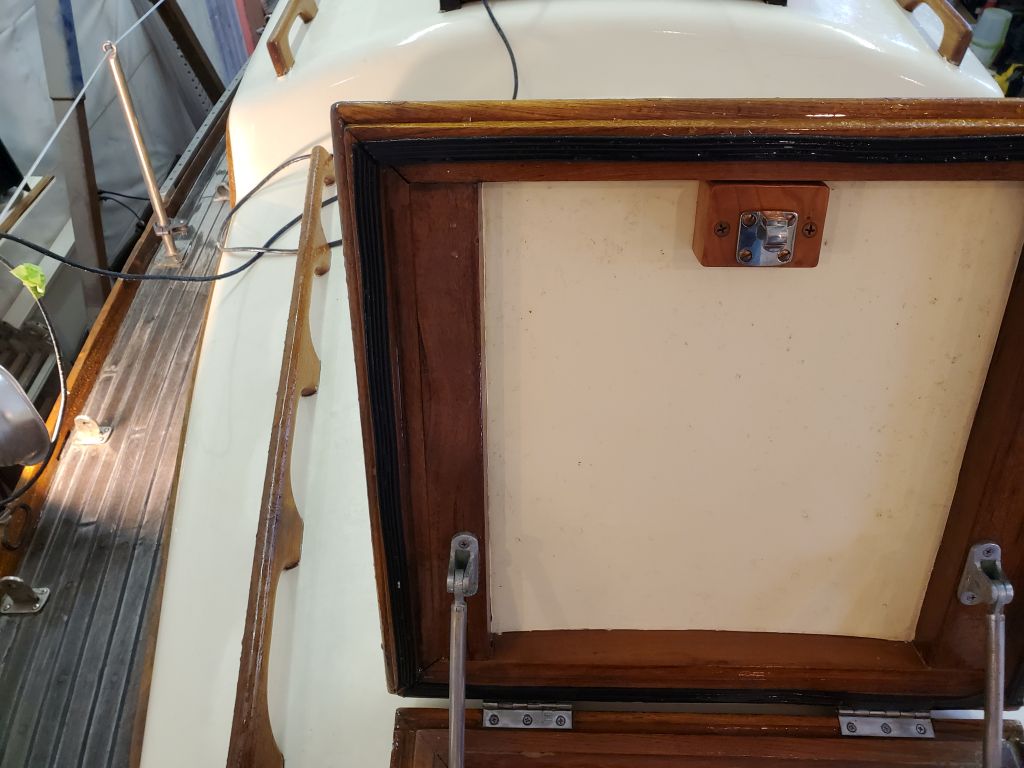
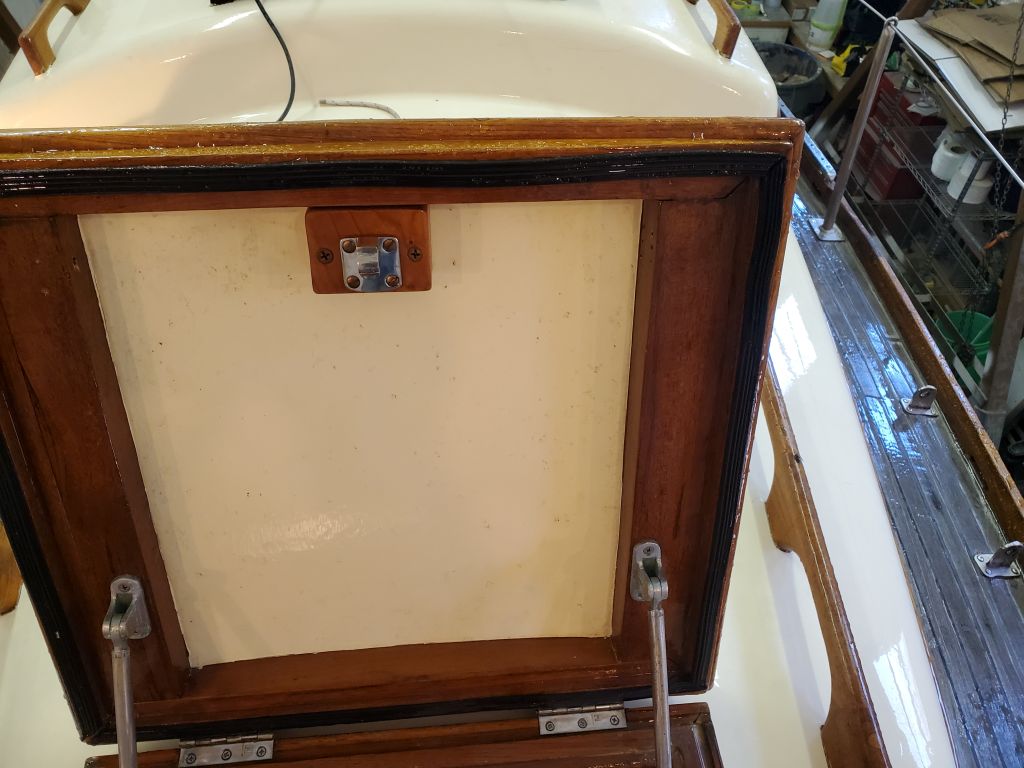
To solve this, I ordered new gasket material to replace the old, and also planned to slightly modify the clamping setup. The fixed portion of the latch, located on the interior of the hatch frame, was mounted as low as it could go, but the corresponding part on the hatch top itself was mounted to a wooden riser block, and I thought if I could slightly trim down the block, I’d be able to increase clamping pressure when the latch was closed. The block appeared to be mounted with screws, so hopefully it would be easy to remove and modify.
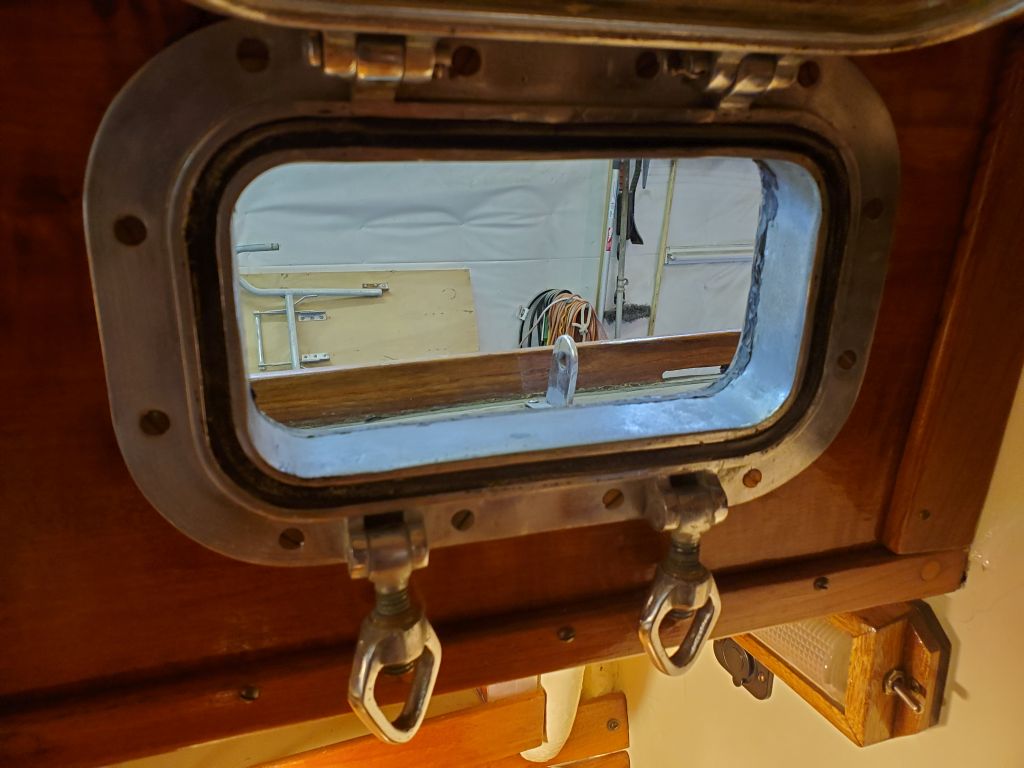
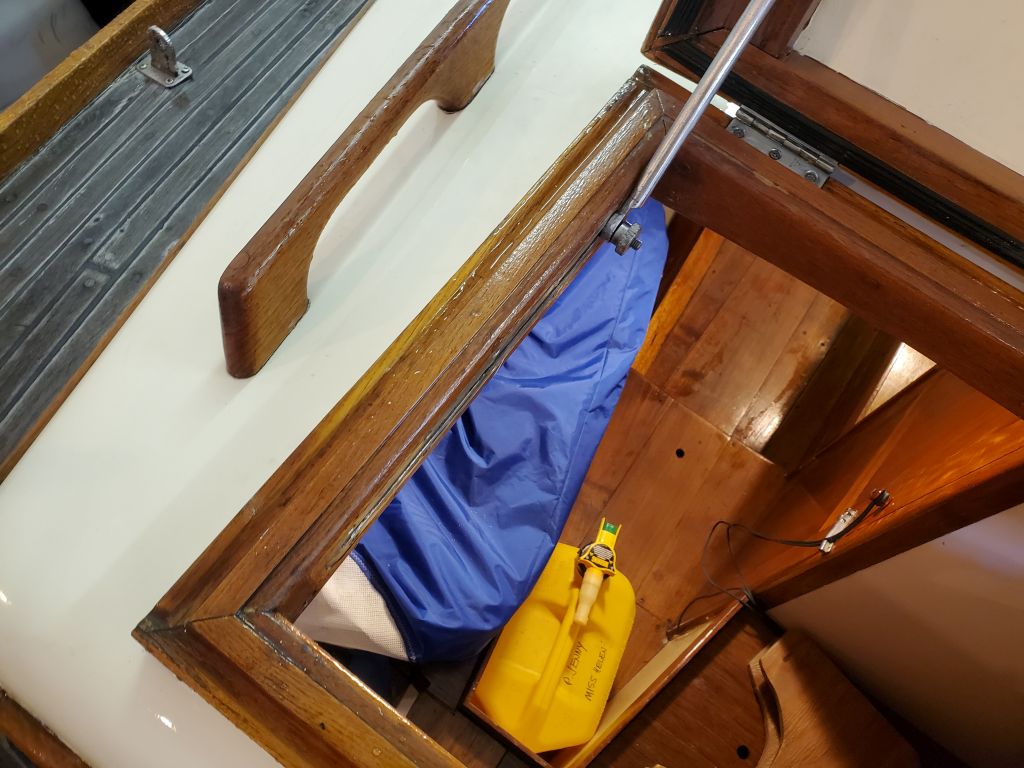
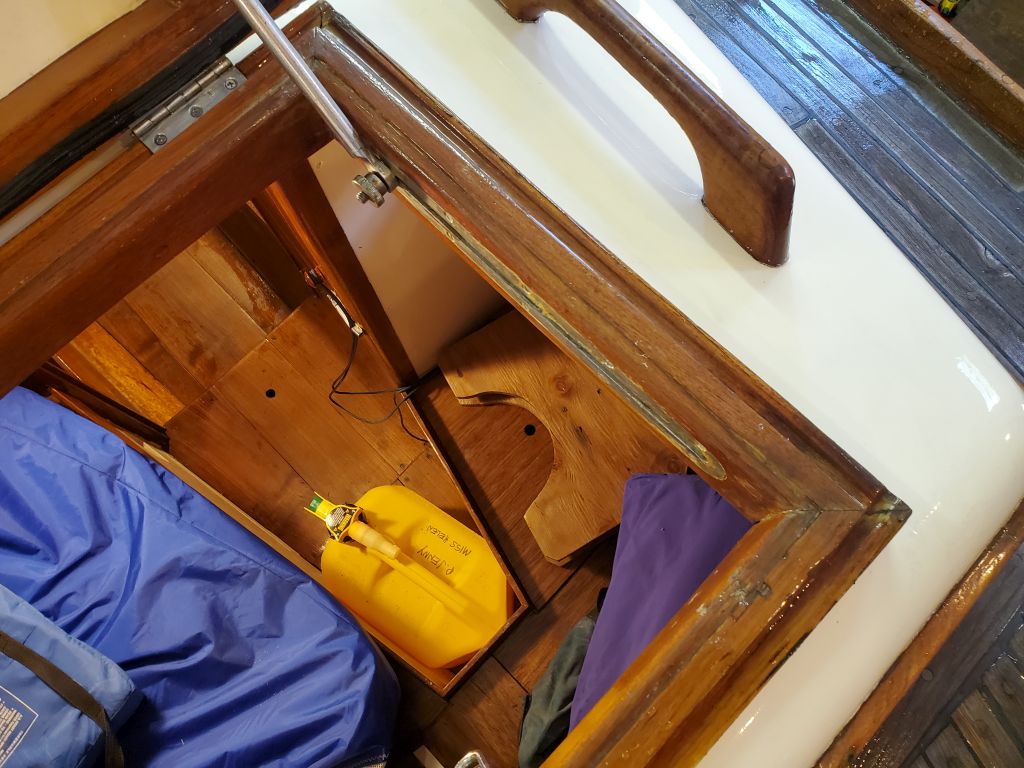
This time, I also water-tested the port deadlights, which I’d not done previously since I’d not been aware that leaks had been happening on the port side; my notes referred only to the starboard side, opening ports, and forward hatch. But the owner had let me know that there had been some water on the port berth as well, and while it may have come from the non-sealing opening port, now I wanted to test the deadlights too and hope that they proved watertight. I did not find evidence of leakage from the deadlights, though water did come in through the now-ungasketed opening port.
Total time billed on this job today: 6.5 hours