


March 11, 2025
Miss Helen 2
Tuesday
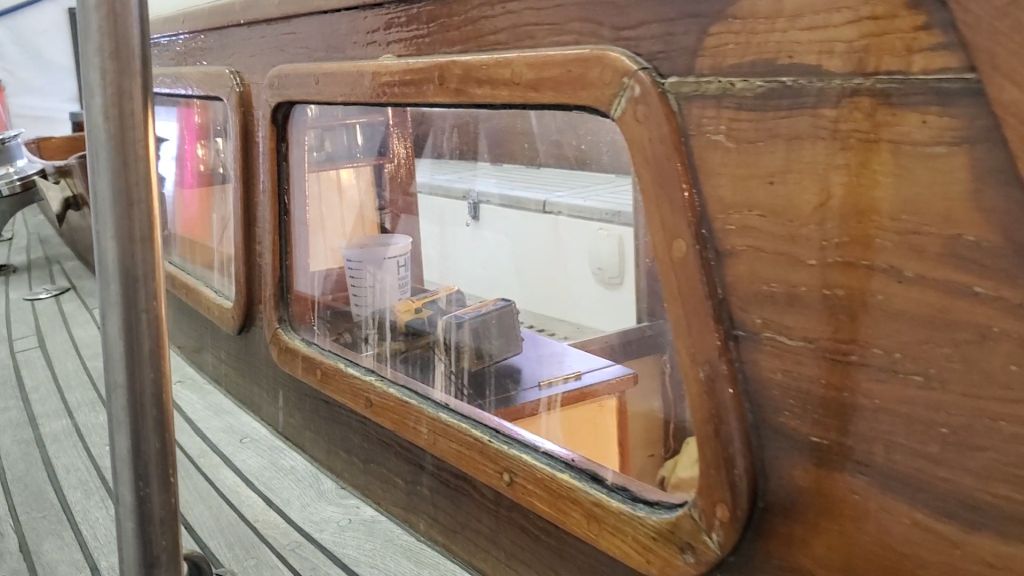
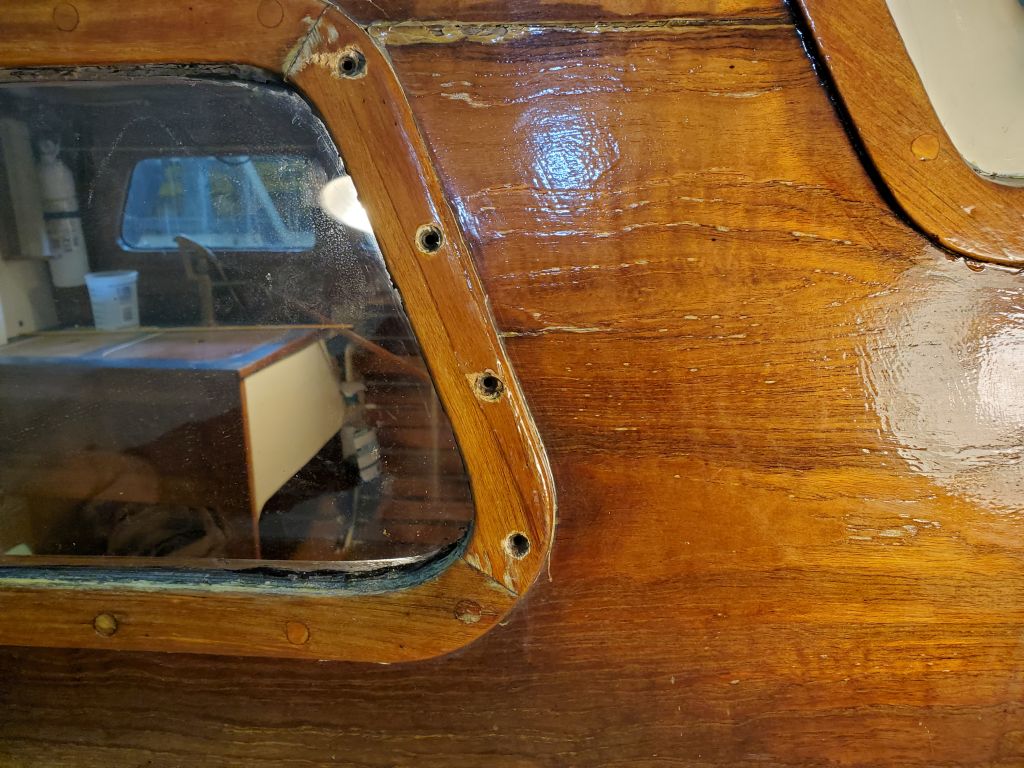
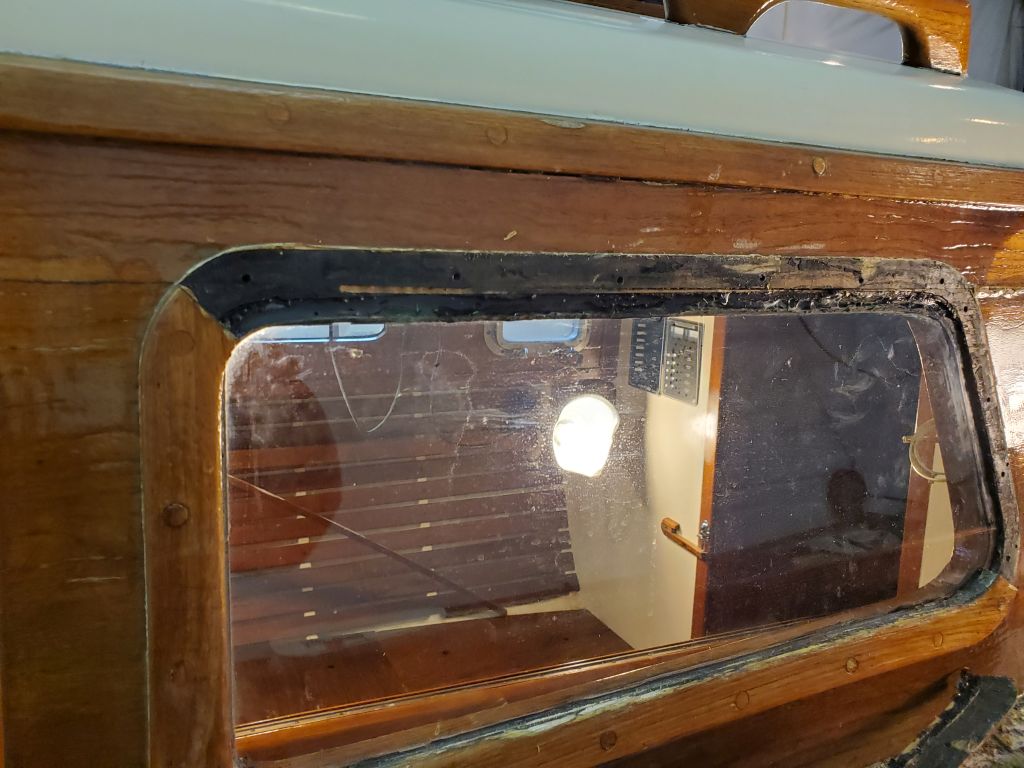
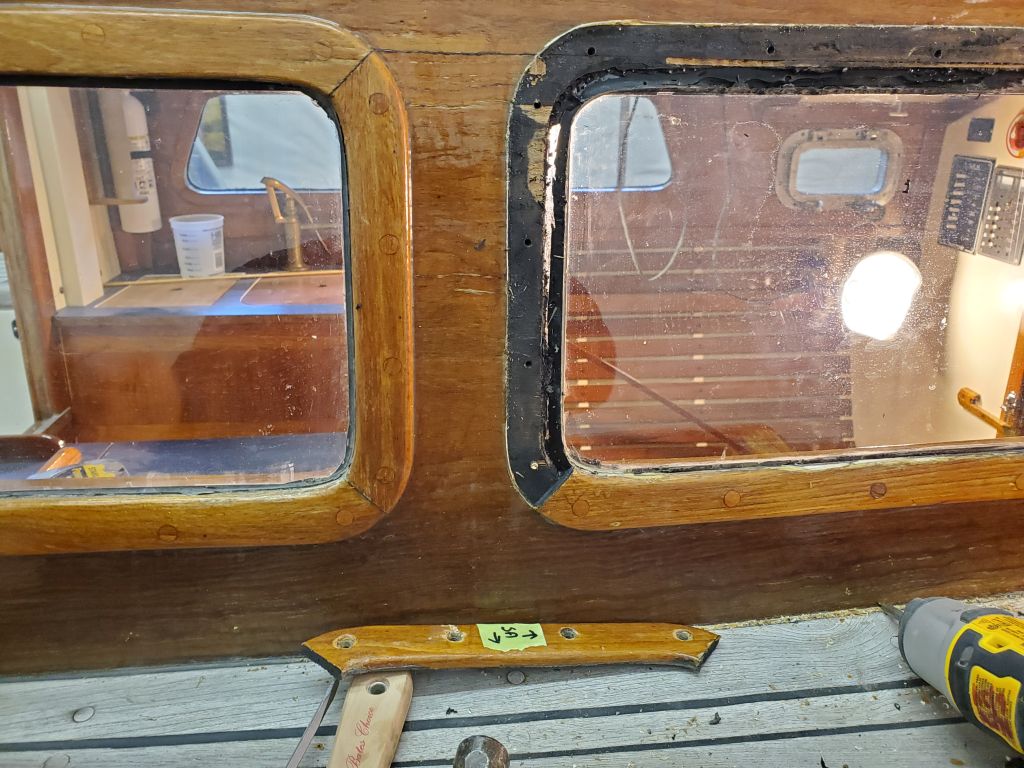
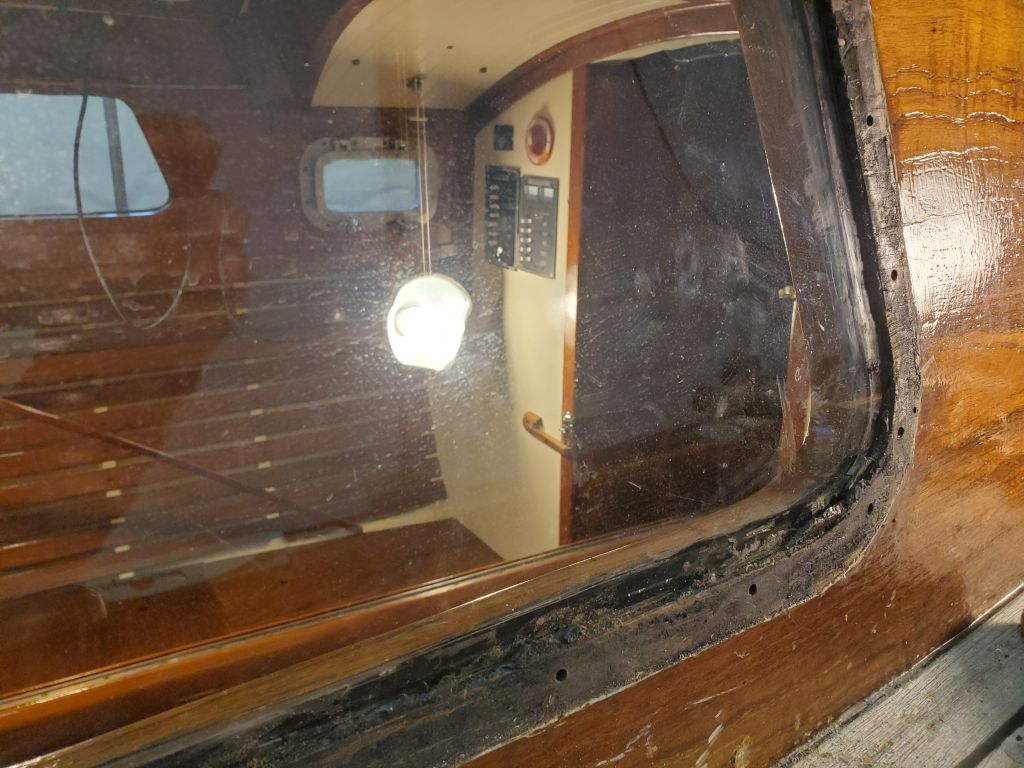
Now that I’d determined the apparent source of the deck leak–the forward deadlight on the starboard side–I moved on with the repair, starting with the exterior deadlight trim. I’d first started taking trim off from the inside, hoping to avoid disturbing the well varnished-in trim on the outside, but the nature of the deadlight’s assembly was such that removal of the trim and glass from outside was required.
The good news was that the owner had removed and reinstalled all these pieces and parts during his restoration, but even that was now many years past and, as with most things, not knowing exactly what I’d find as I dug into it was the hardest part.
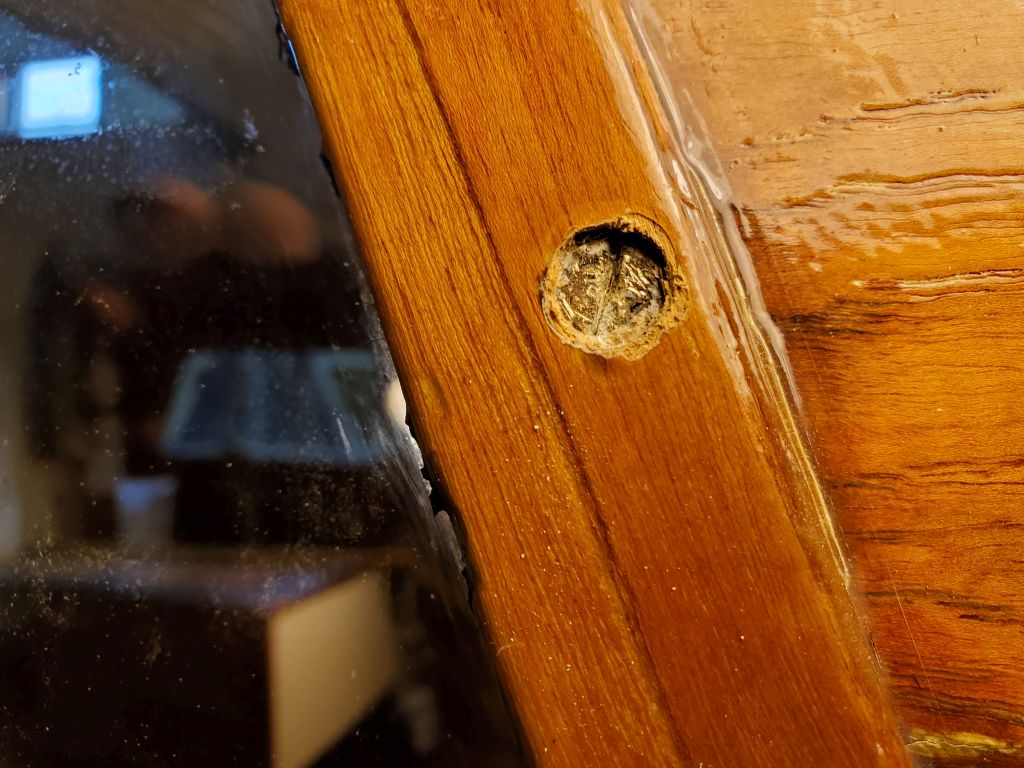
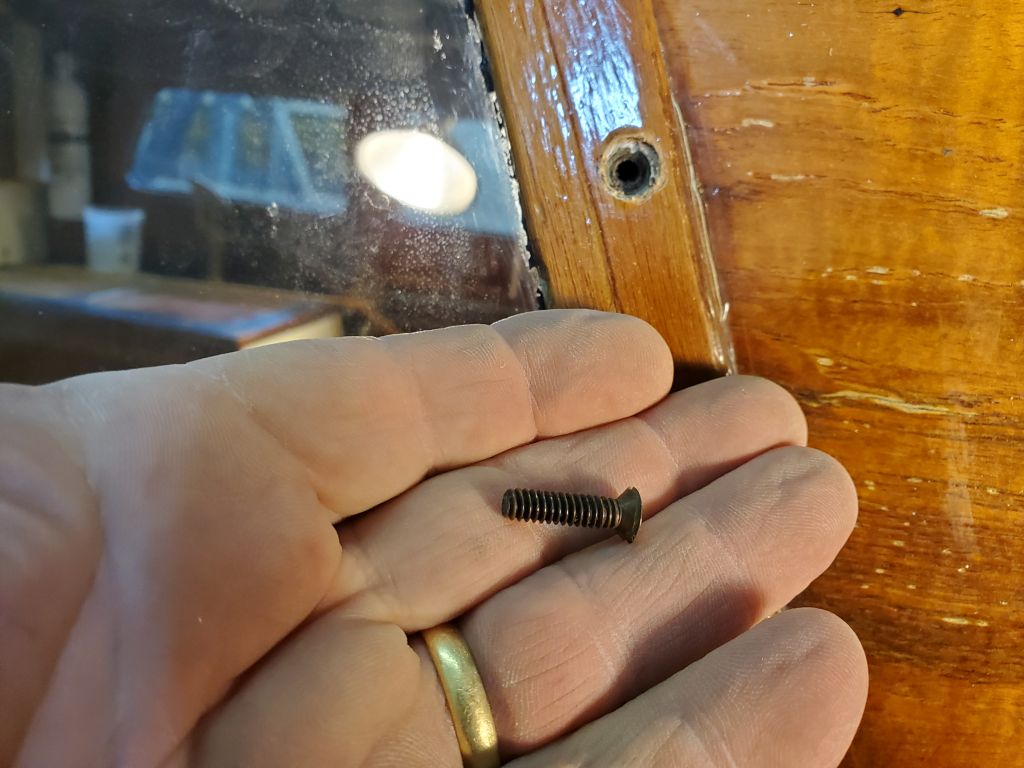
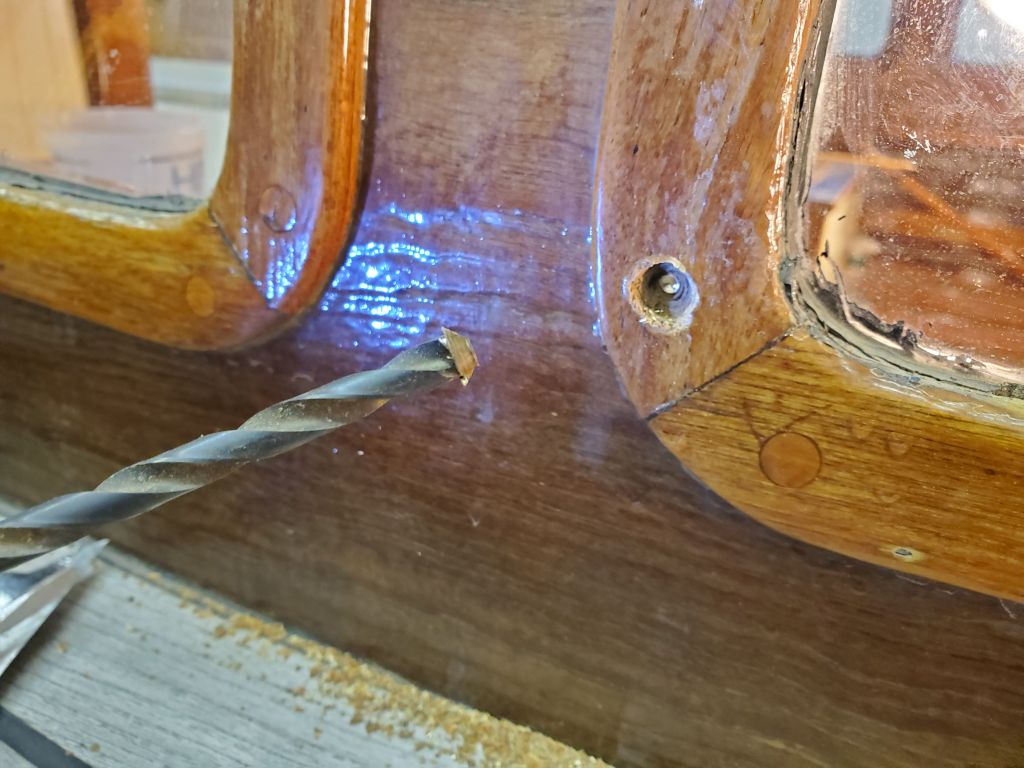
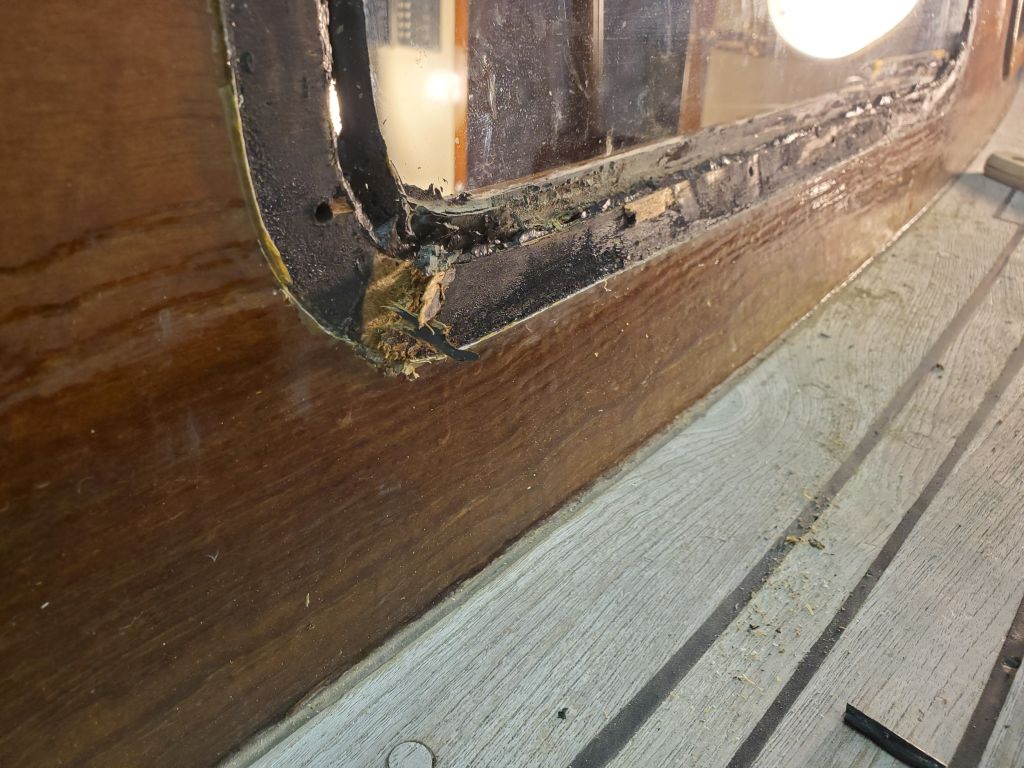
The teak trim over the glass deadlight was bunged in place, presumably with screws beneath the bungs. So I started by carefully drilling out one of the bungs, eventually revealing the screw beneath. It took a while to determine what sort of screw it was–a slotted bronze head–so I could finally clean out the slot and remove the screw. I was surprised to find that the fastener was a 3/4″ machine screw, not a wood screw–apparently because the actual structure of the cabin trunk was fiberglass, not wood, beneath the exterior and interior veneer paneling. It was not easy to remove the screw, but an impact gun set on its lowest level helped break it free and spin it out.
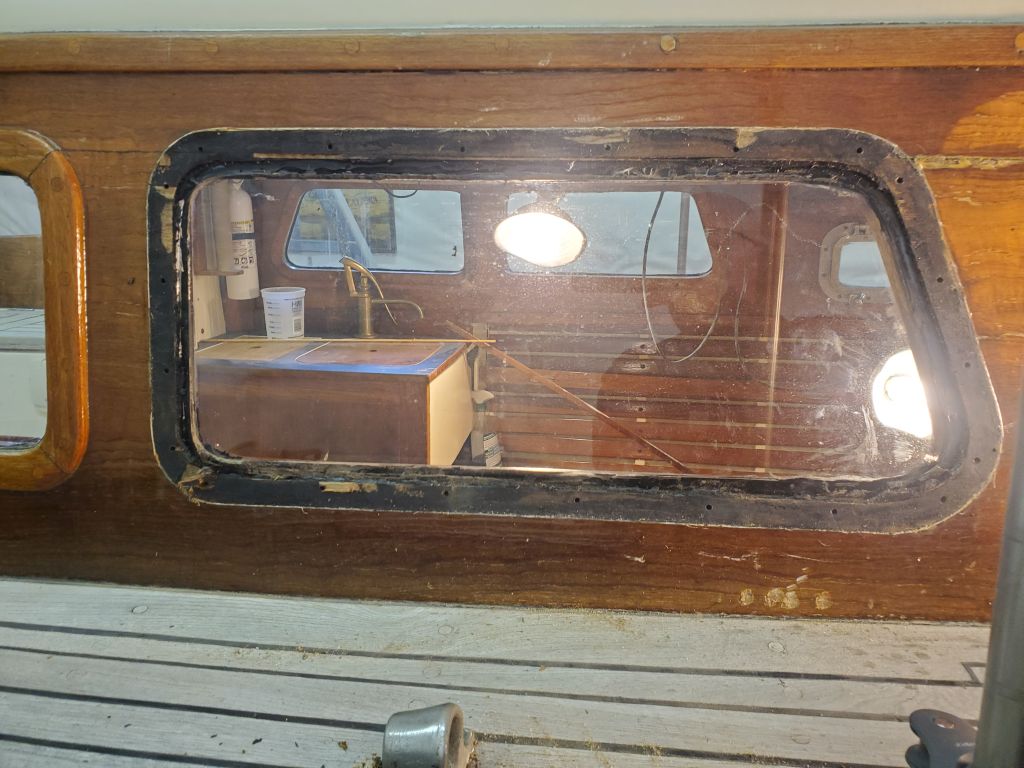
The first screw had taken roughly an hour to remove, all told, and with 16 screws remaining around the deadlight, I feared I might never get to the last one. Fortunately, now that I had a better sense of what was what, the remaining three screws on the forward trim piece came out more quickly, and soon I pried off the trim. This revealed the edge of the glass lens near the forward edge of the opening; however, the lens sat well below the surface of the surrounding wood, meaning that a lot of sealant had been required between the trim–which ostensibly pinned and sealed the lens in place–and the lens itself.
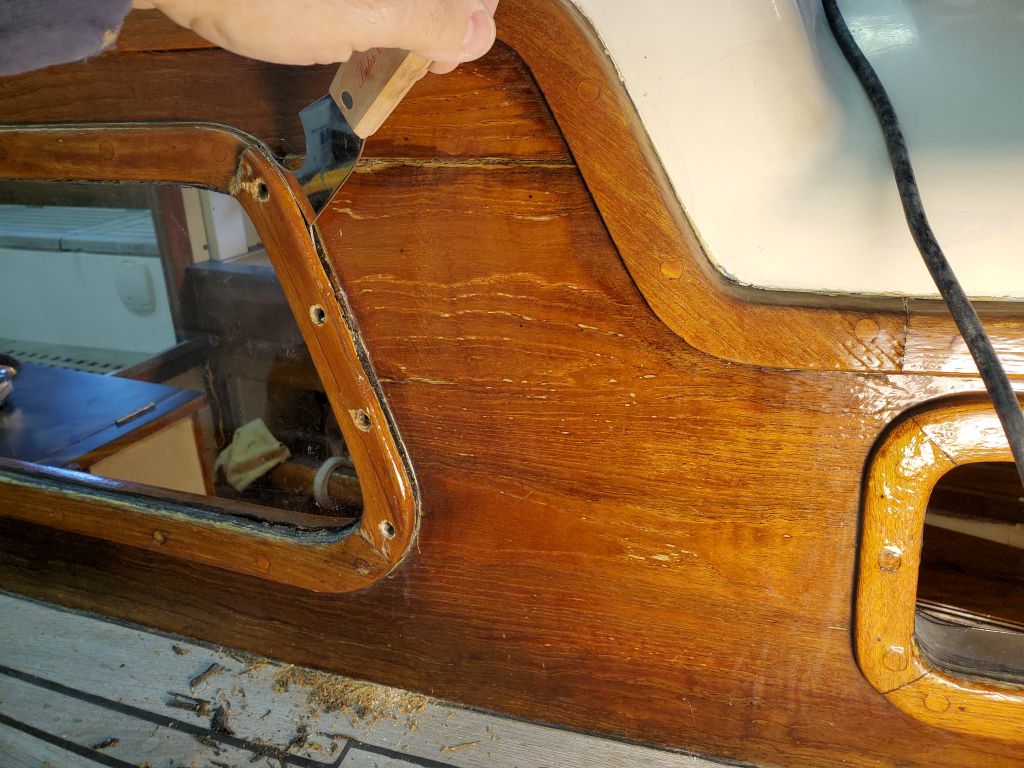
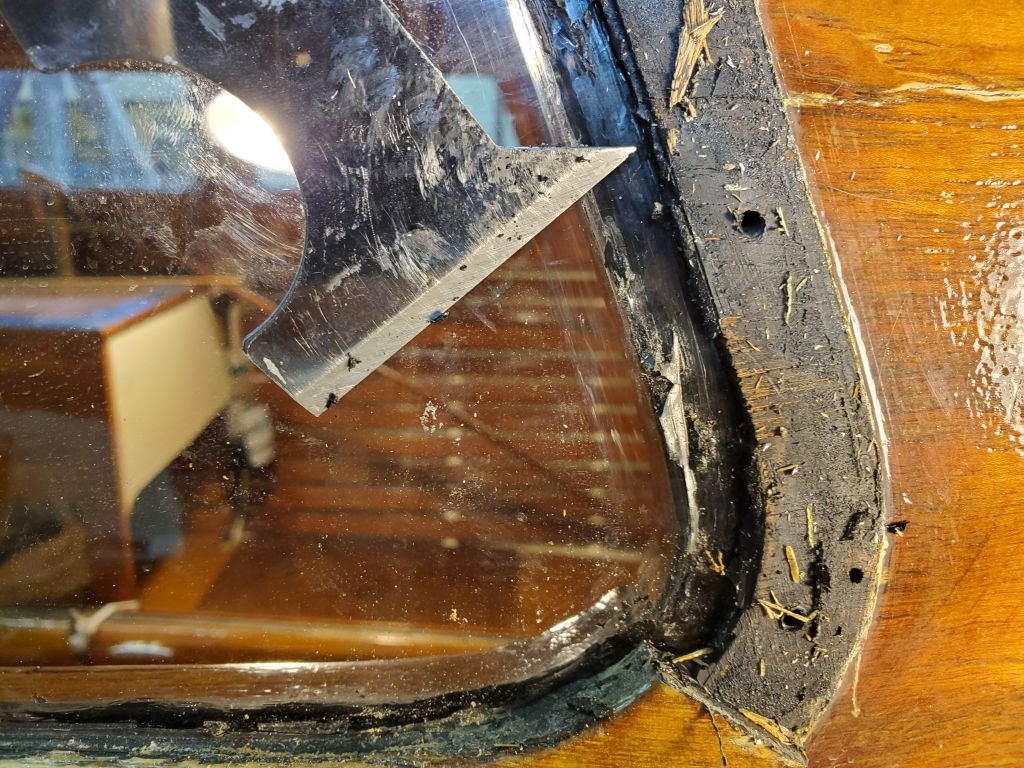
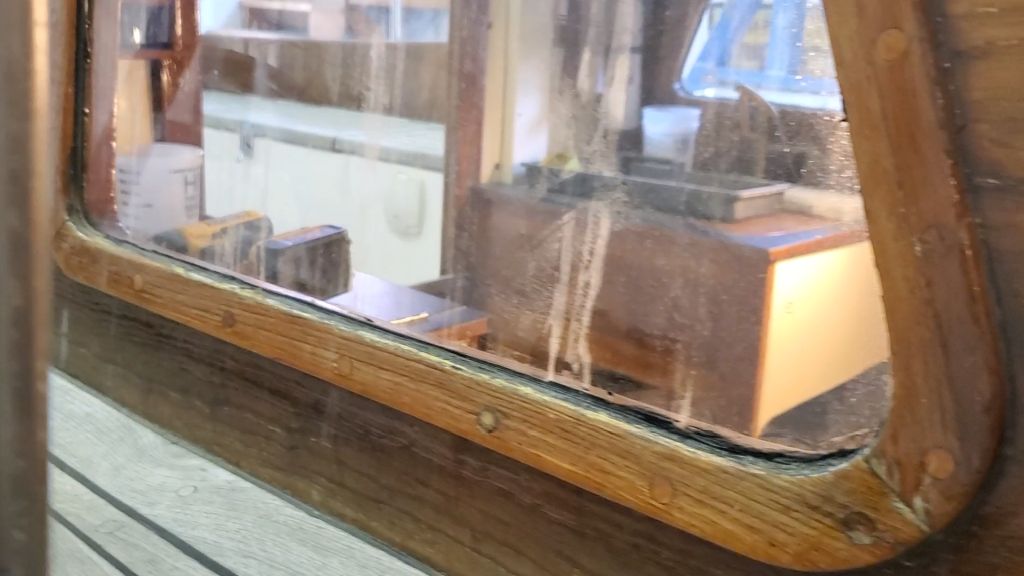
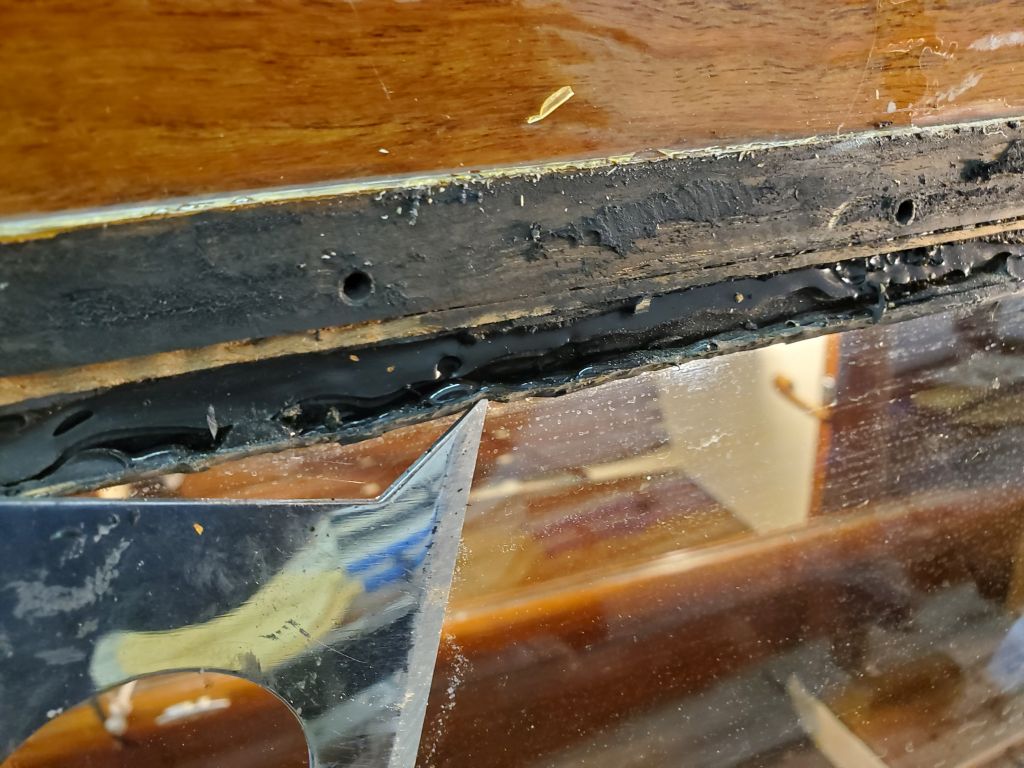
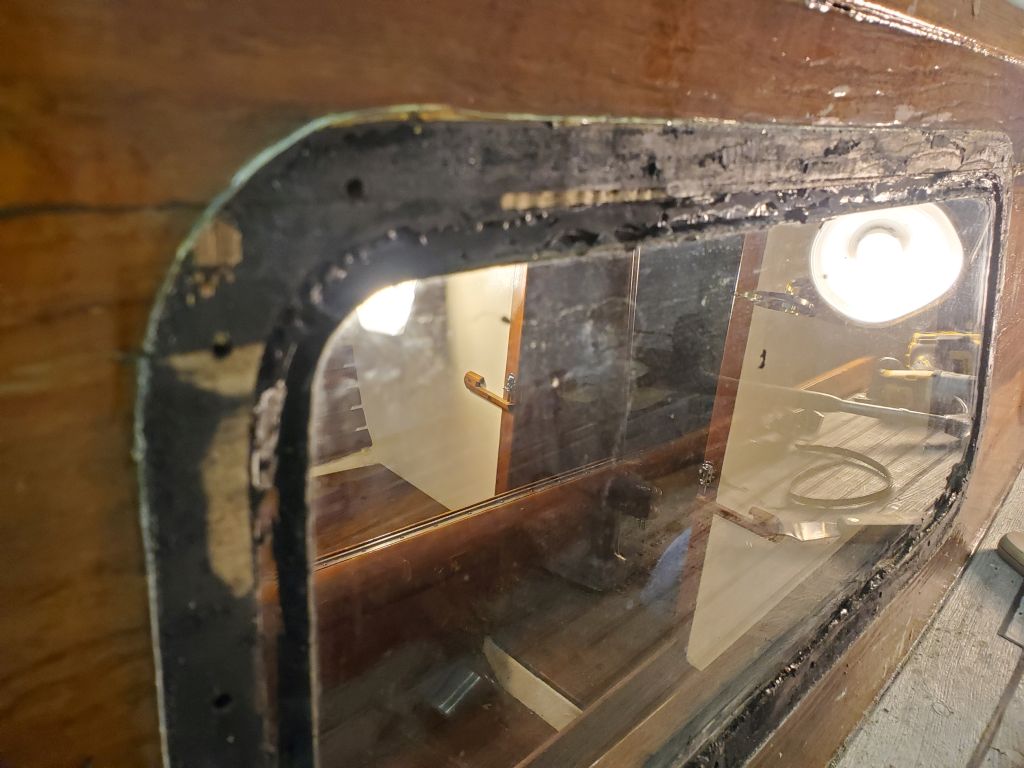
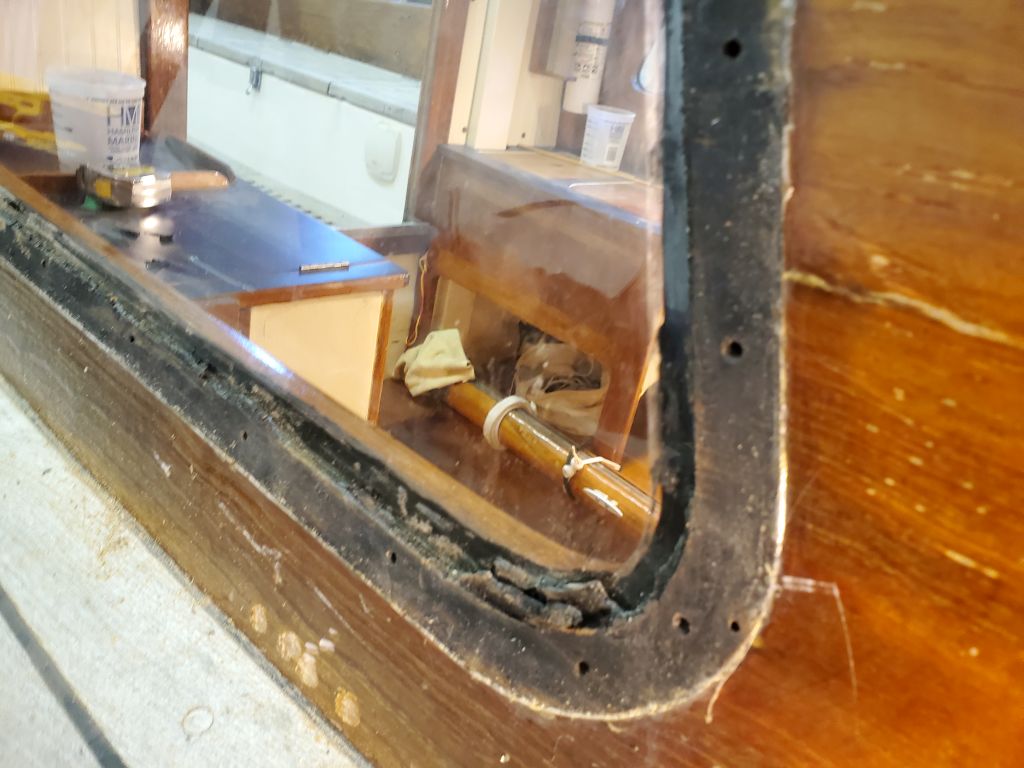
Next, I removed the top section of trim, with no particular issues in removal. Here, I found the glass lens was nearly 1/2″ below the opening in the cabin side, a very large gap, and the sealant had many voids and pockets that may have contributed to the leakage seen, even though the seal here was good enough that none of the water from the leak test entered the boat from the window itself–all the leakage was channeled somehow down around the window to where it finally came out above the berth. Given the state of the sealant here, it made more sense.


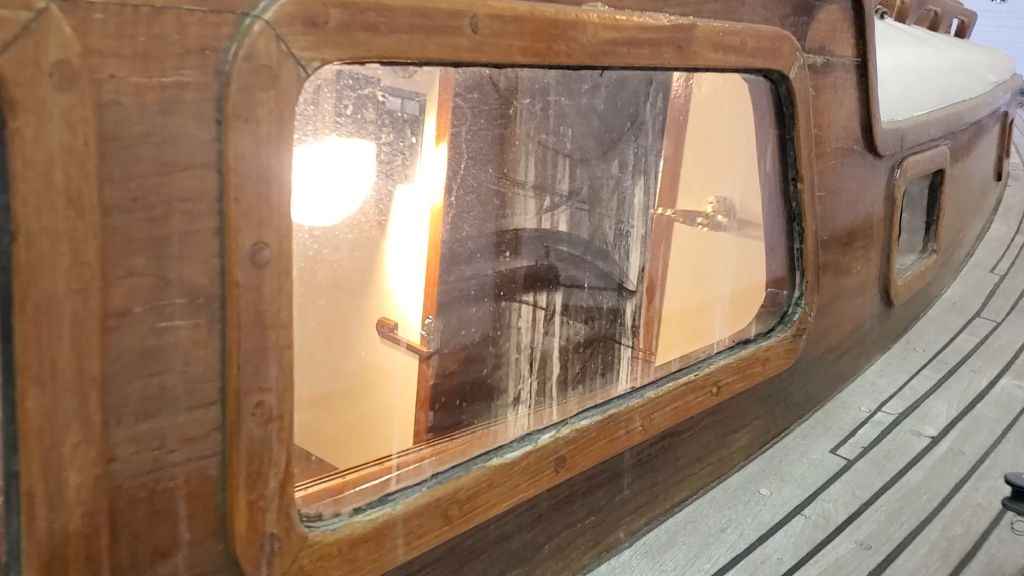
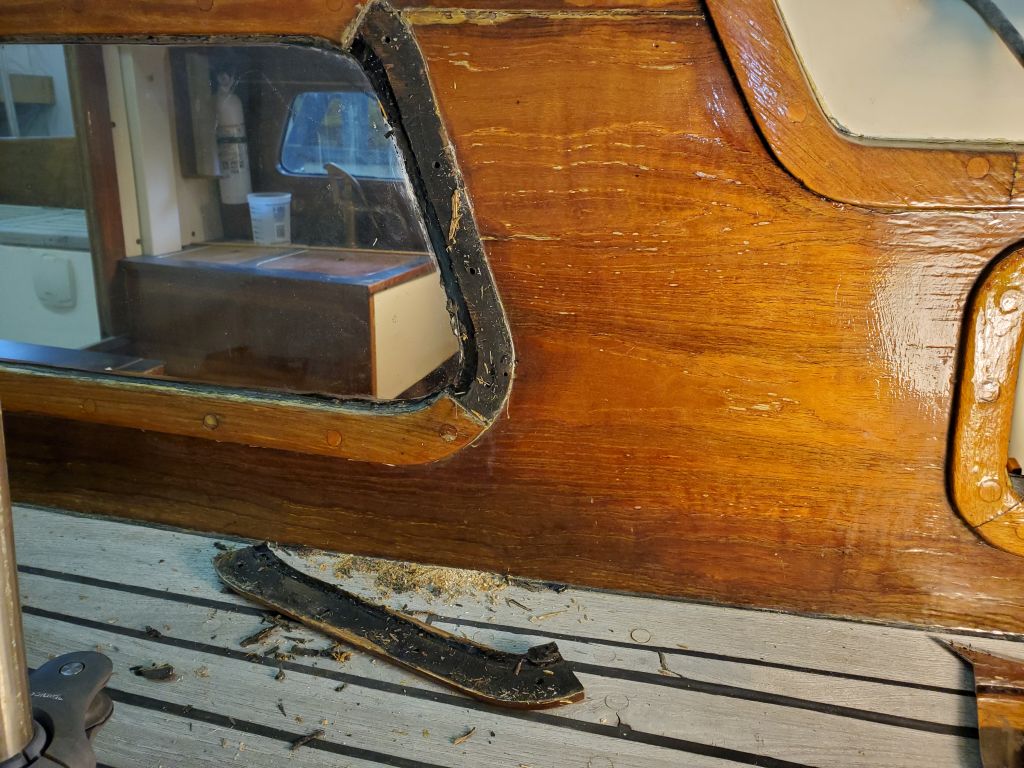
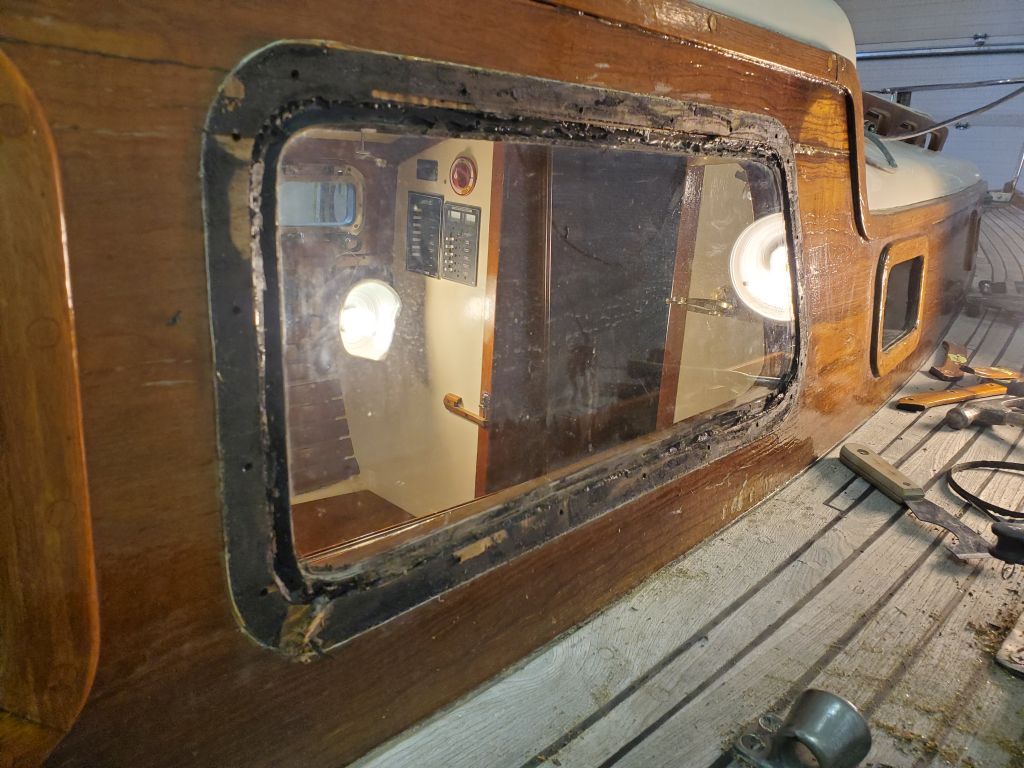
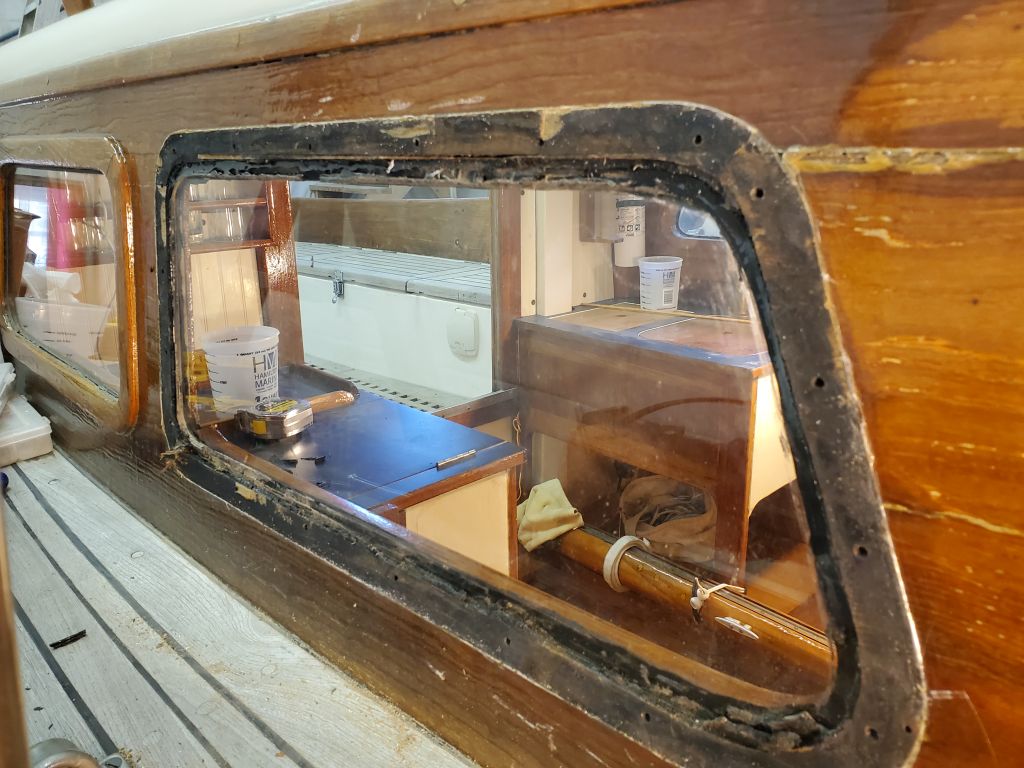
In this manner I continued with the remaining two trim pieces which, along with some unrelated delays from other business, ate up the rest of the afternoon and, as the process drew out with various difficulties, I wasn’t sure if I’d meet my goal of removing all the trim today. Two of the screws at the bottom aft corner fought removal by normal means, forcing me to drill out their heads so I could remove the trim, and then the long bottom piece of trim turned out to be extremely well-adhered, making its removal a tedious and nail-biting battle between careful prying progress and risking damage to the trim. Eventually I prevailed, but by then it was so late in the day, and the process had been so frustrating and tiring, that I elected to leave the glass lens in place for now, not daring to try and remove it till I was fresh again.


Total time billed on this job today: 5.25 hours