


March 31, 2025
Miss Helen 11
Monday
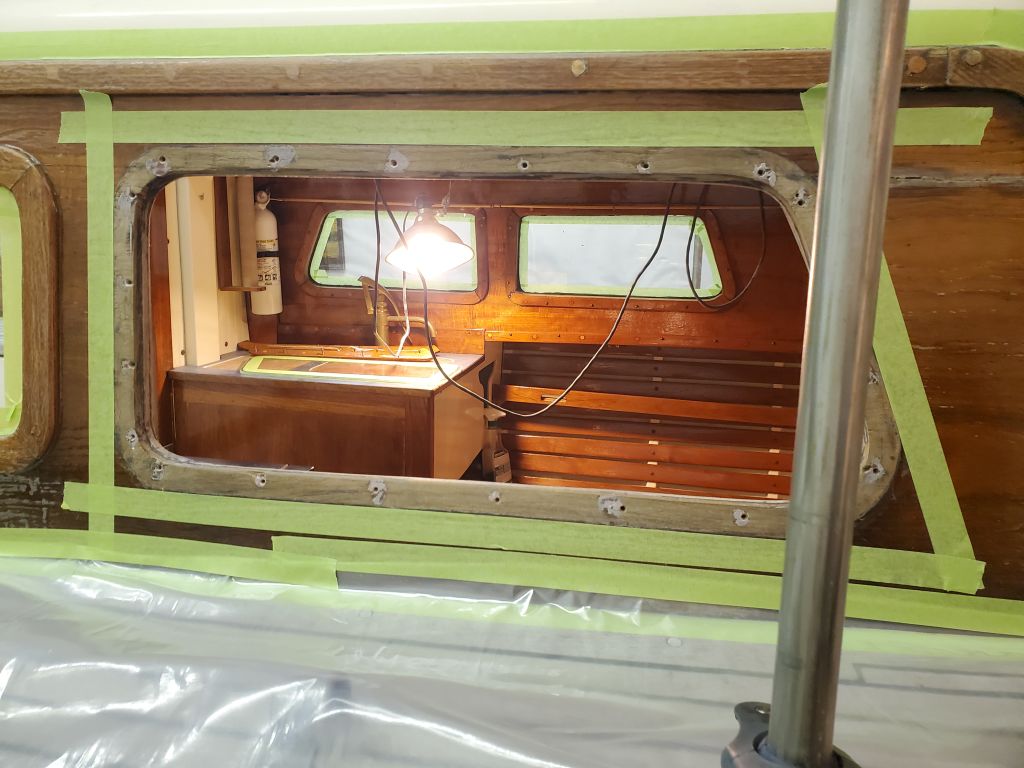
After a few days away from the shop, I was looking forward to finishing up the deadlight installation (again). My time away had given the glass shop time to “almost” finish the new pane of glass–when I called first thing in the morning I was told I could probably pick it up in the afternoon. This gave me time for some unrelated errands, and on my way home I received notice that the glass was done, so I picked up the new pane.
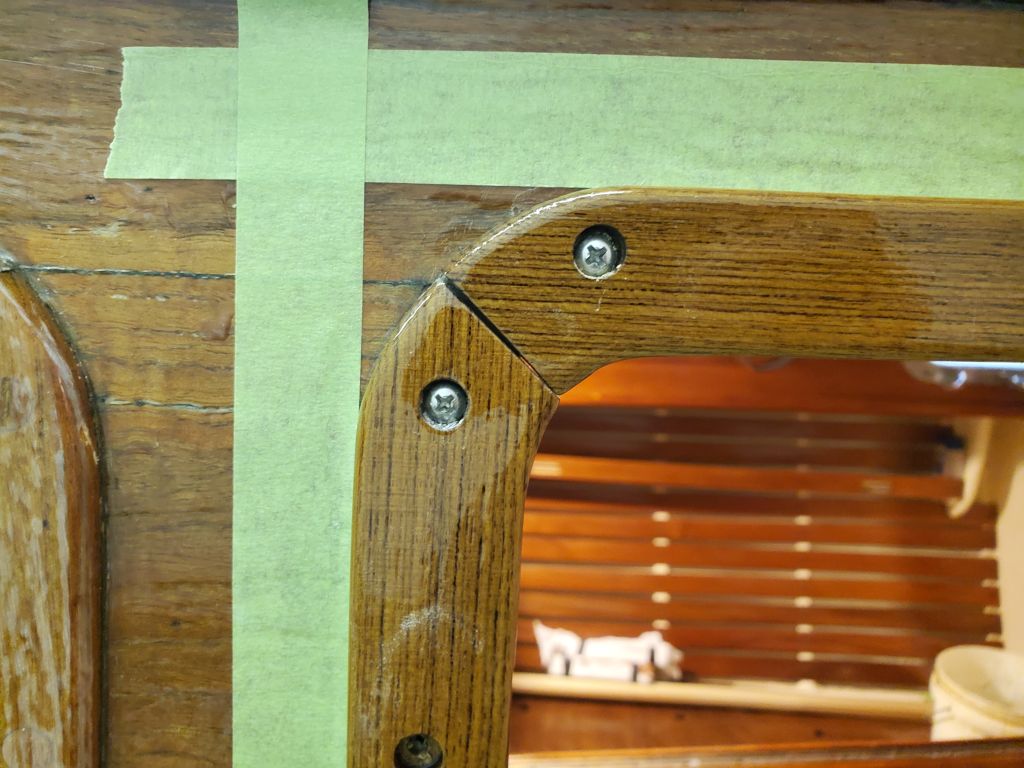
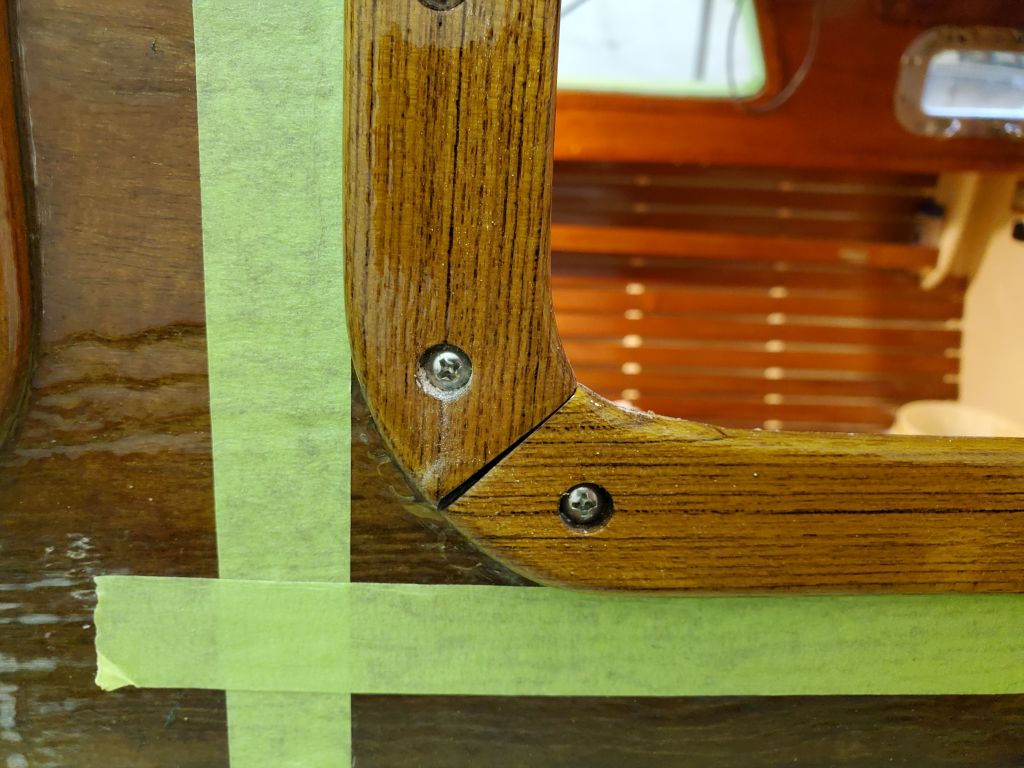
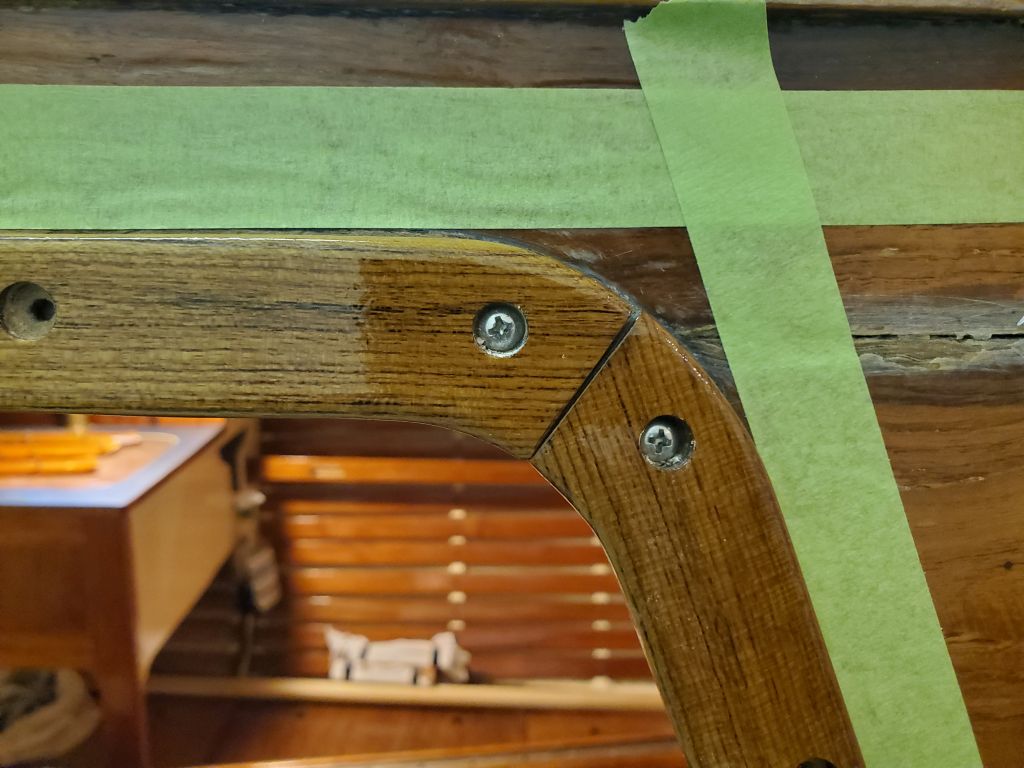
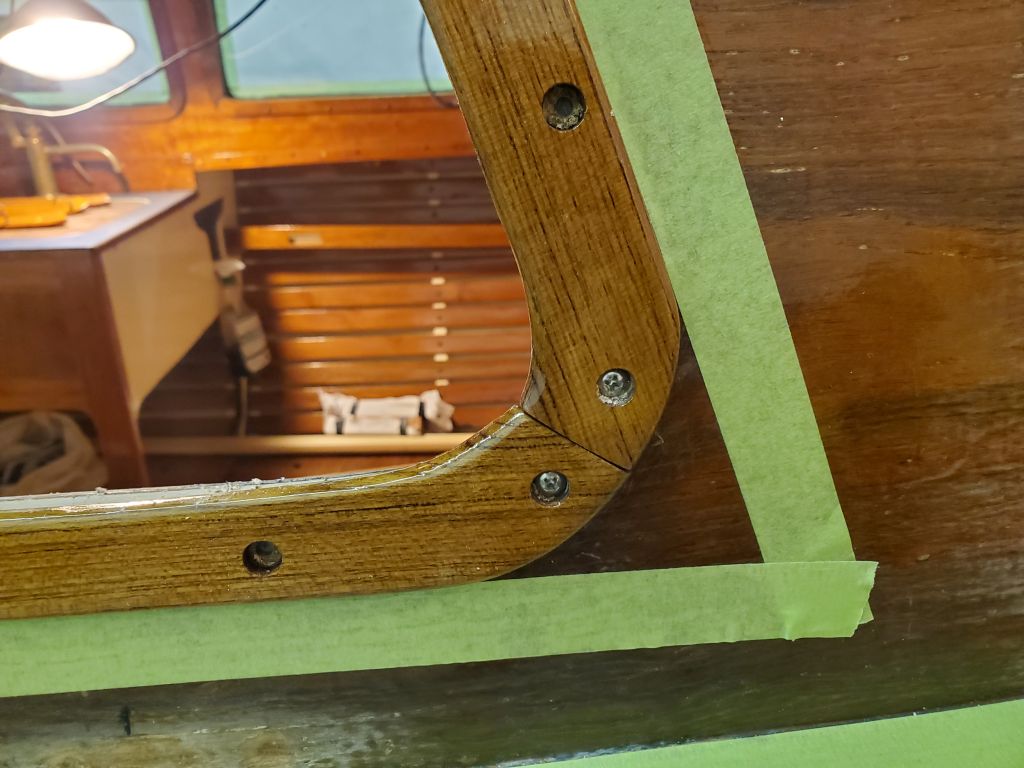
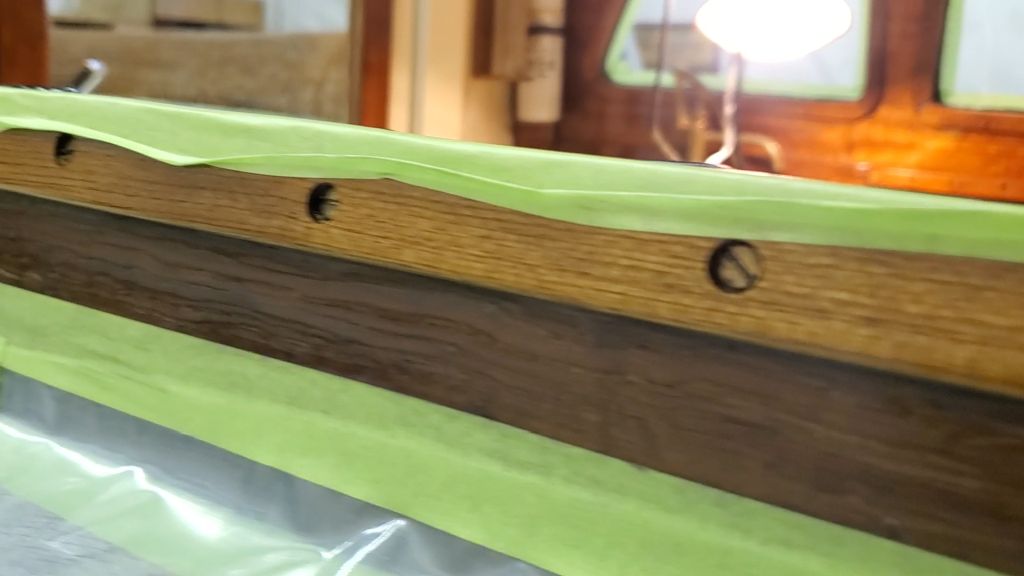
Back at the shop, I started by dry-installing the new window trim, which now had 4 coats of varnish on it. With the trim clamped in place in the proper position, I installed two temporary screws in each piece to hold it, drilling and tapping the cabin sides, with their epoxy-filled holes, for the #8 machine screws. I used temporary stainless steel screws with a Philips pan head because they were easier to manipulate than the “real” slotted bronze screws that I’d use for the final installation.
Inside the boat, I double-checked for proper overhang of the trim to provide a resting place for the glass window.
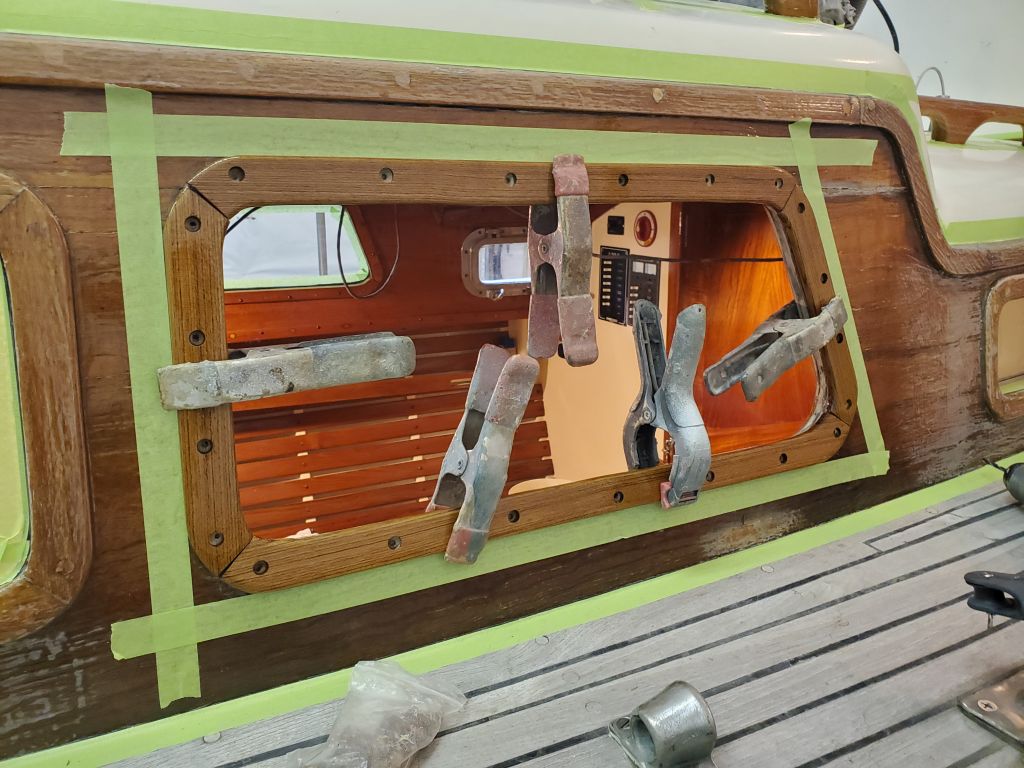
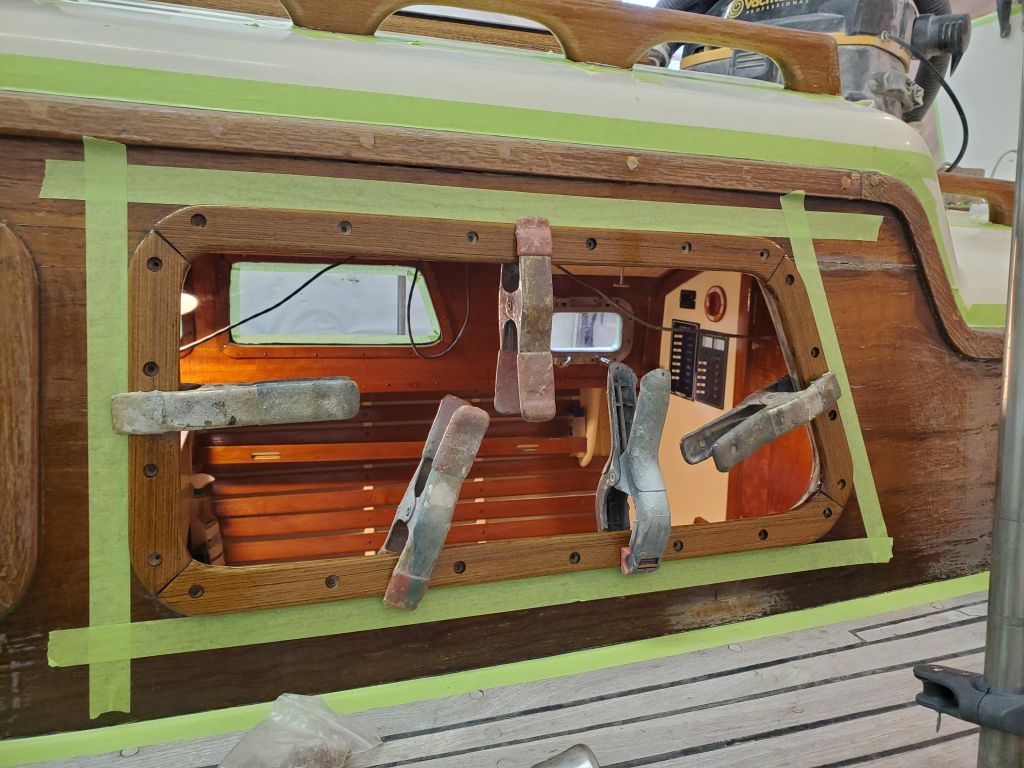

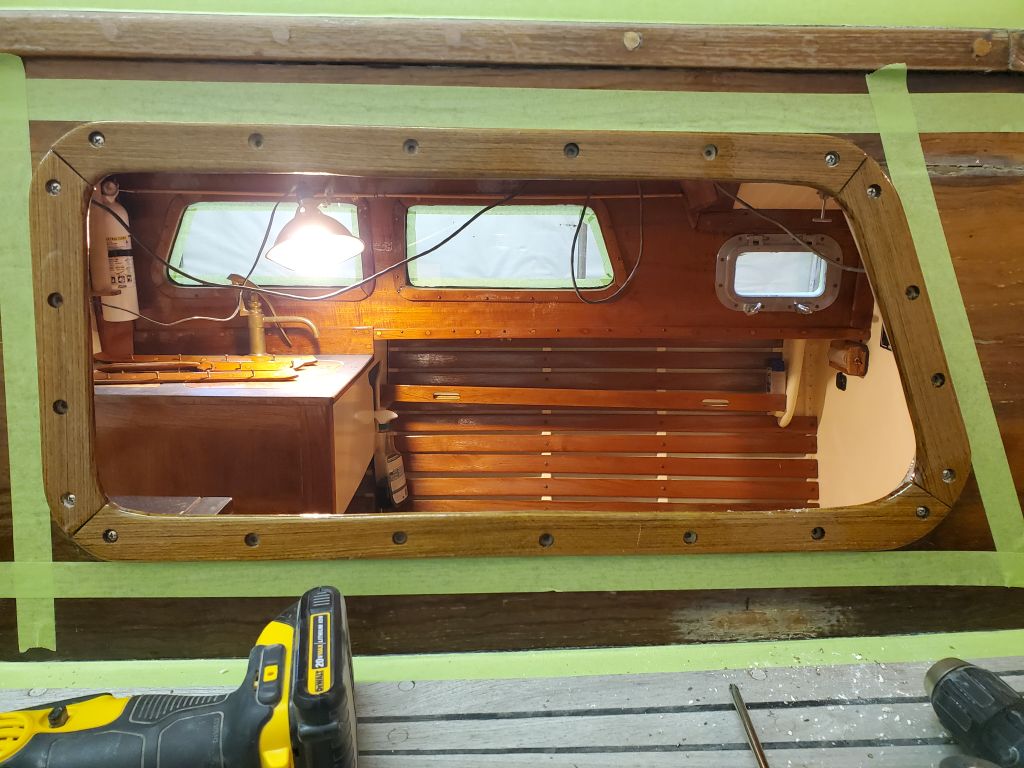

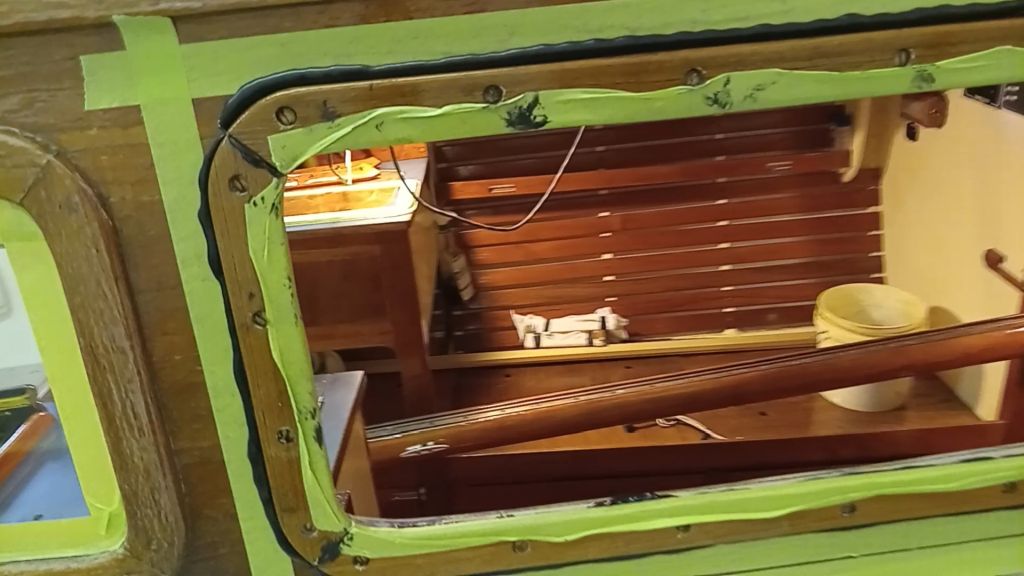
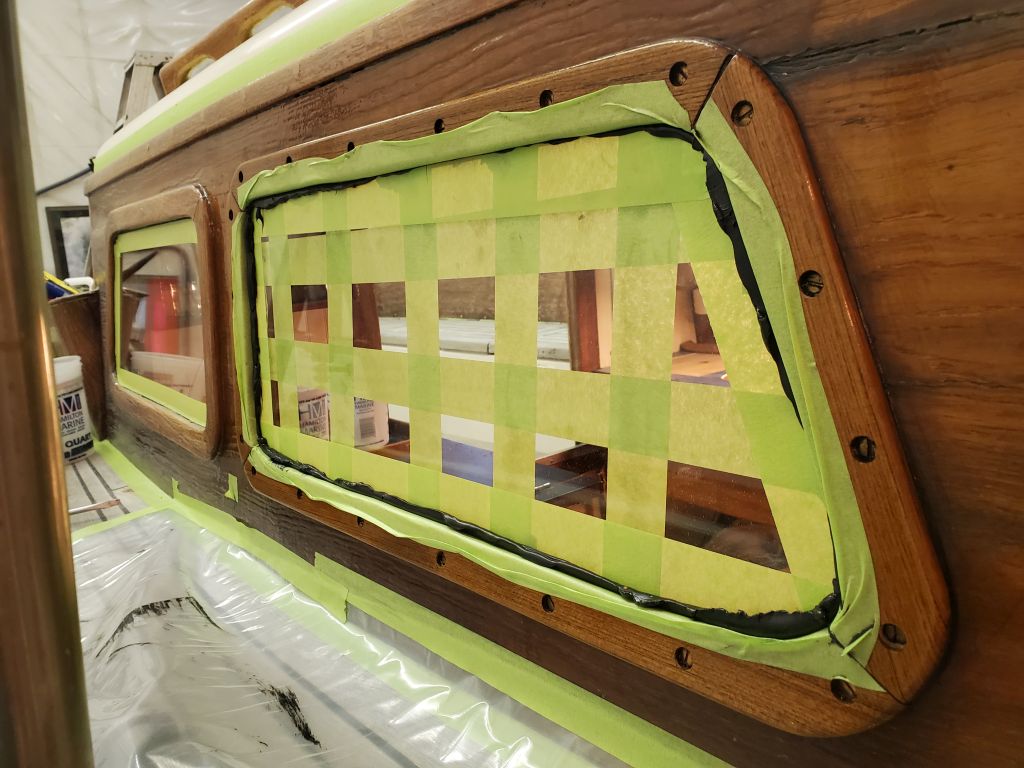
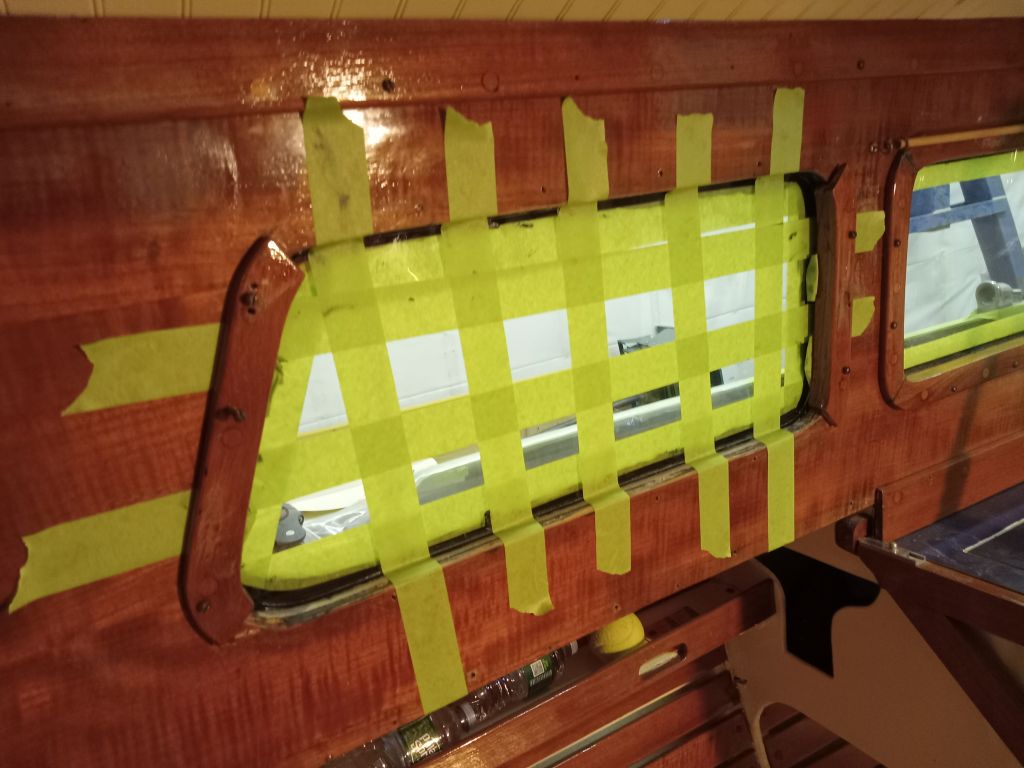
Next, I test-fit the glass to ensure it fit correctly, then, with tape applied to the exterior edges of the pane, taped it thoroughly in place so I could mark and trim the tape where the trim overlapped it.
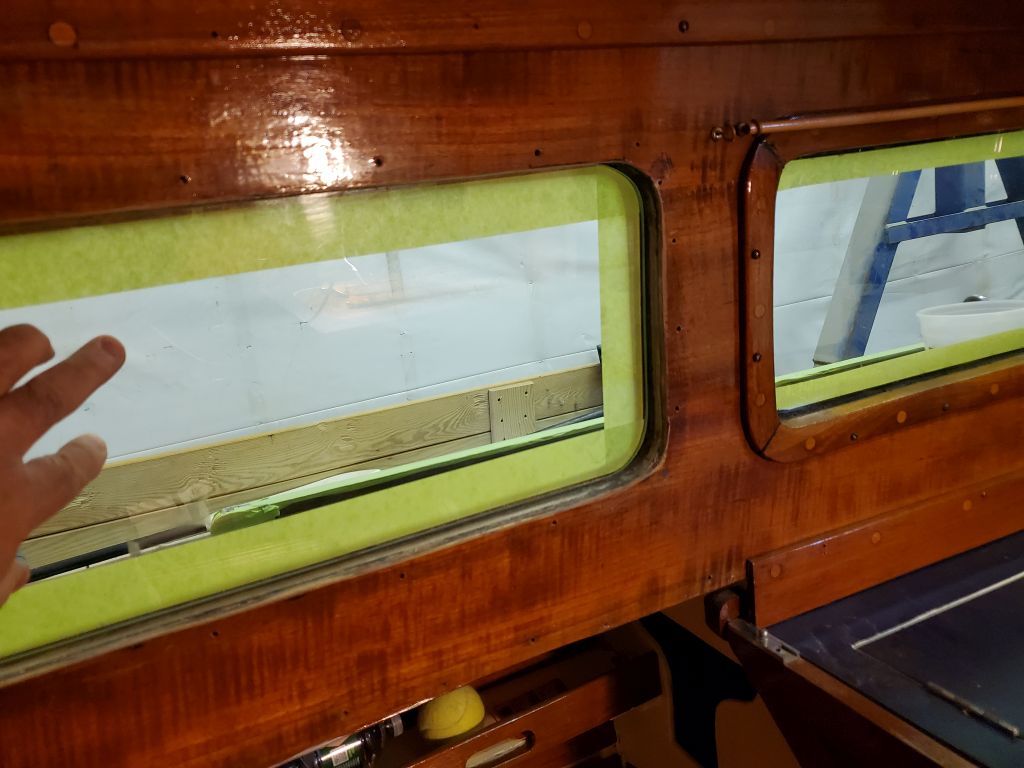
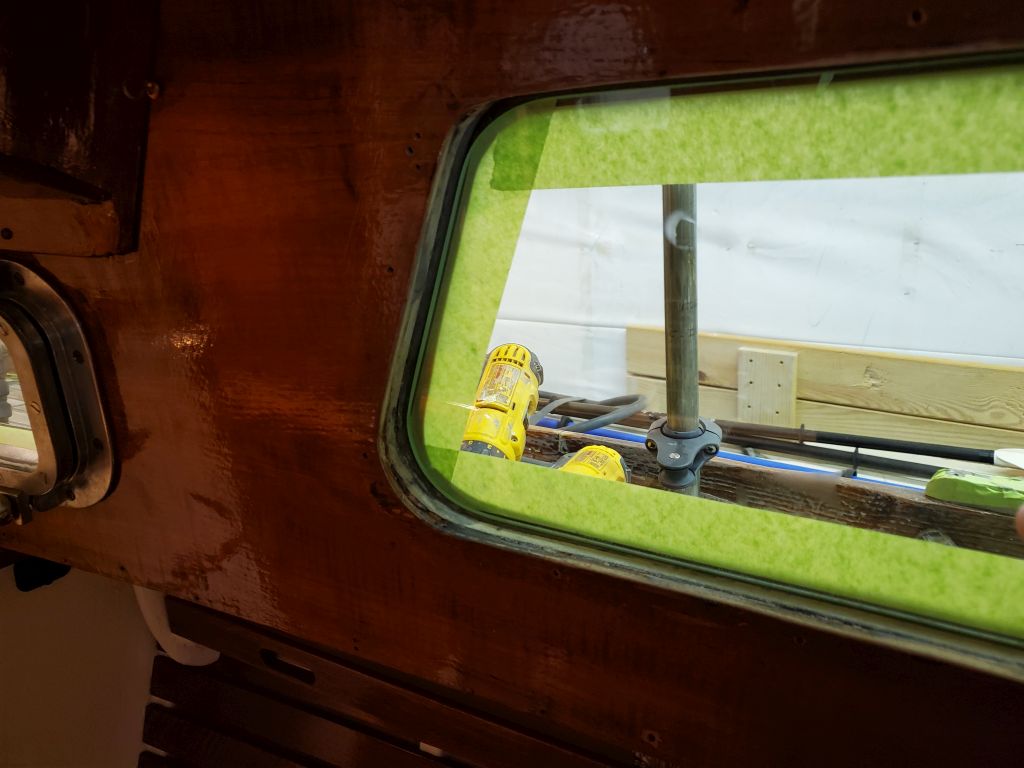

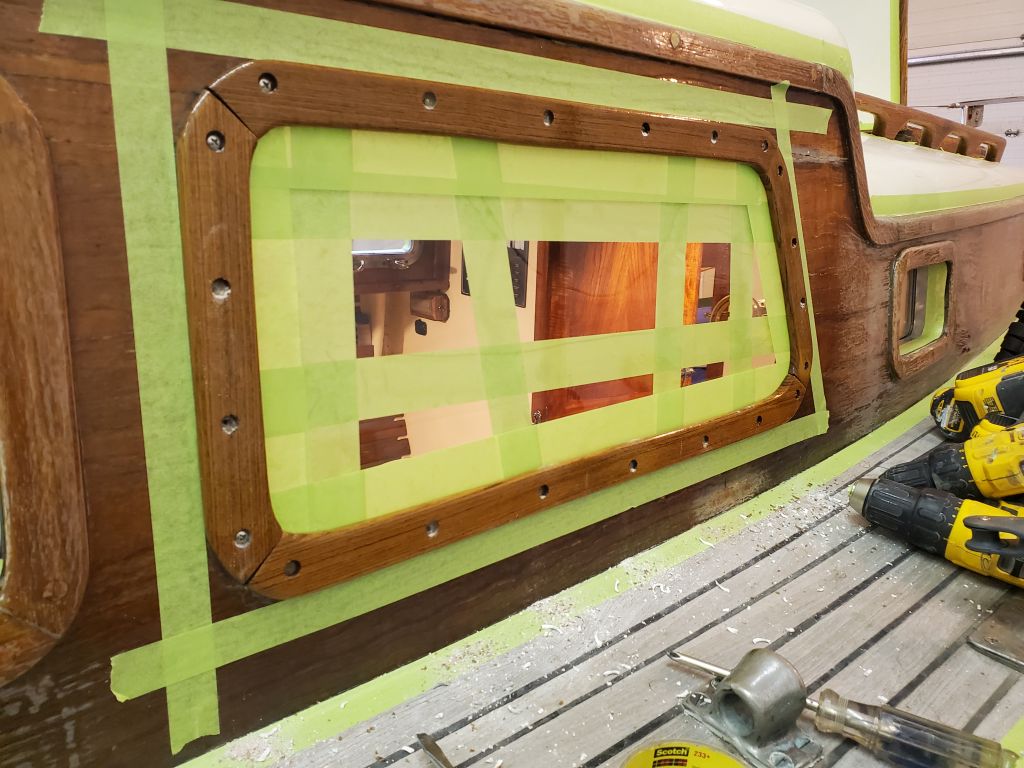
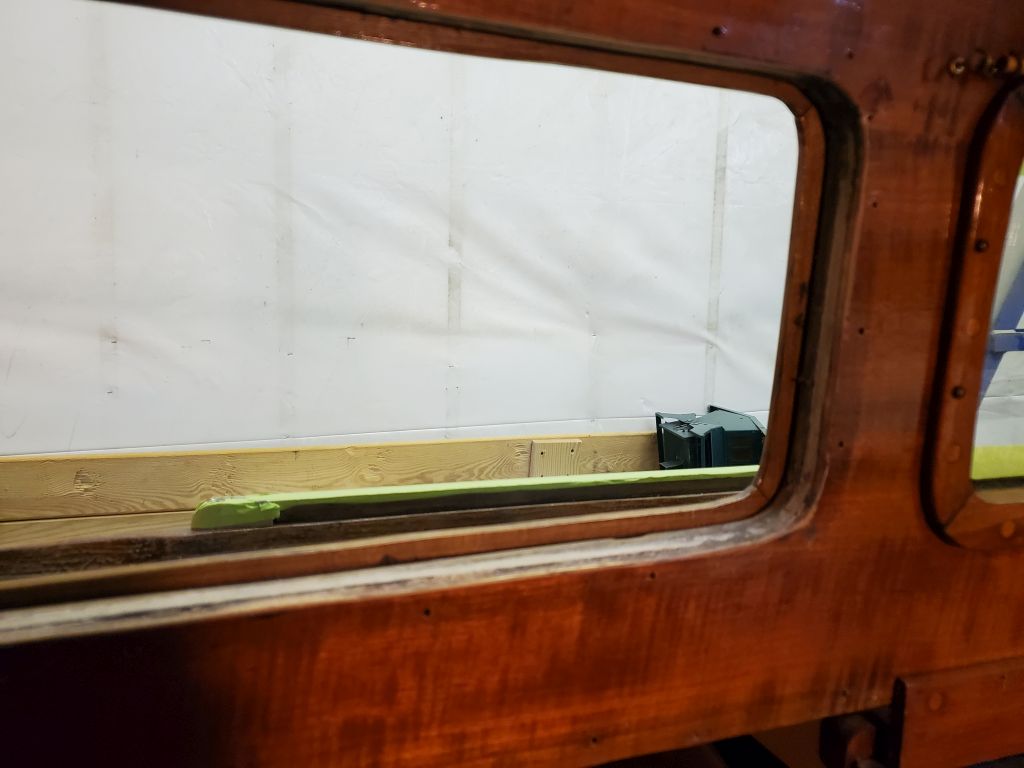
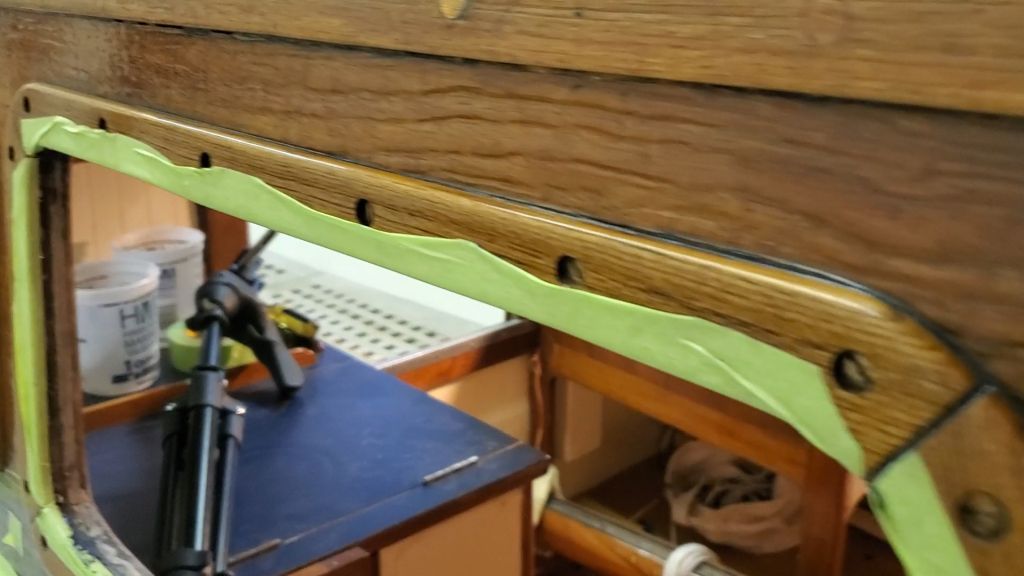
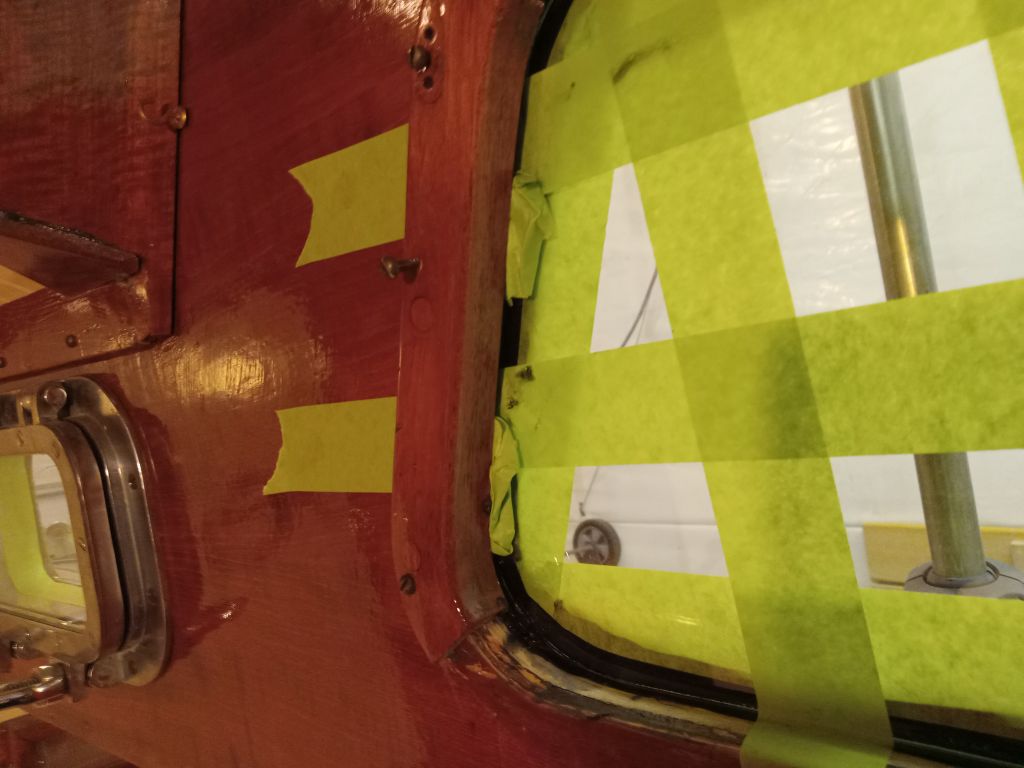
Next, I removed the glass and trimmed the tape where I’d scored it, then used the pilot drill to drill the cabin side for all the remaining screw holes before removing the trim; afterwards I used the 8-32 tap to finish off each hole for the screw threads. Then, I made final preparations for the trim and glass installation, including covering the deck with plastic and masking the inside edge of the trim pieces where they’d meet the glass, since I planned to leave the sealant squeezeout to cure before removing.
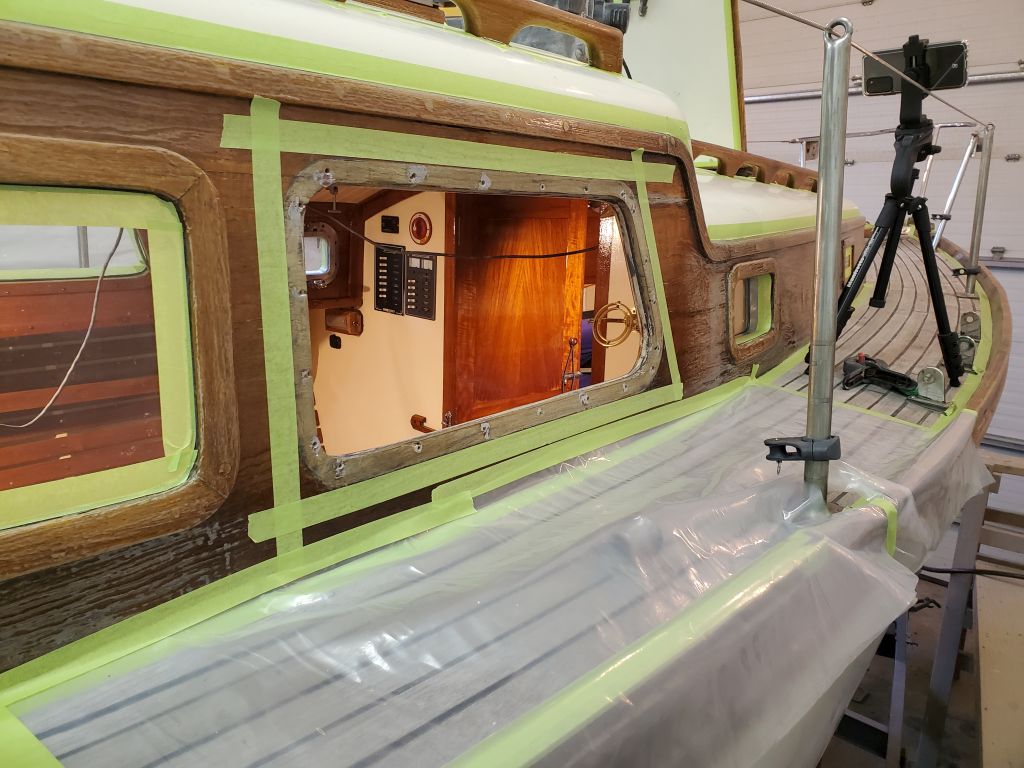
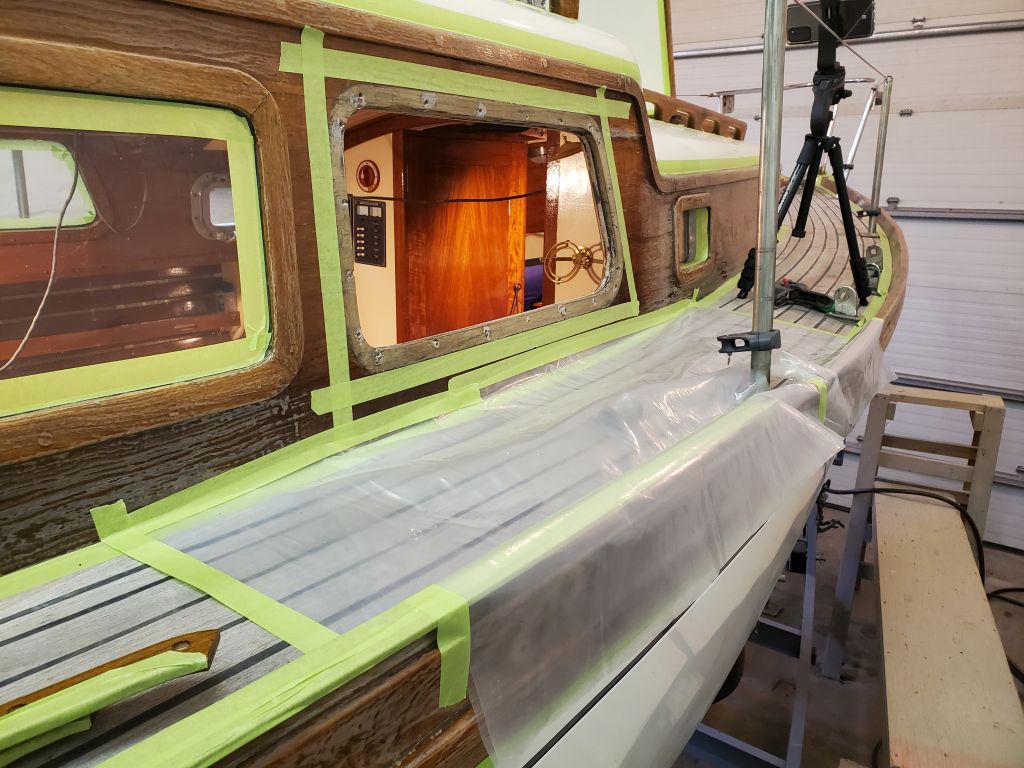
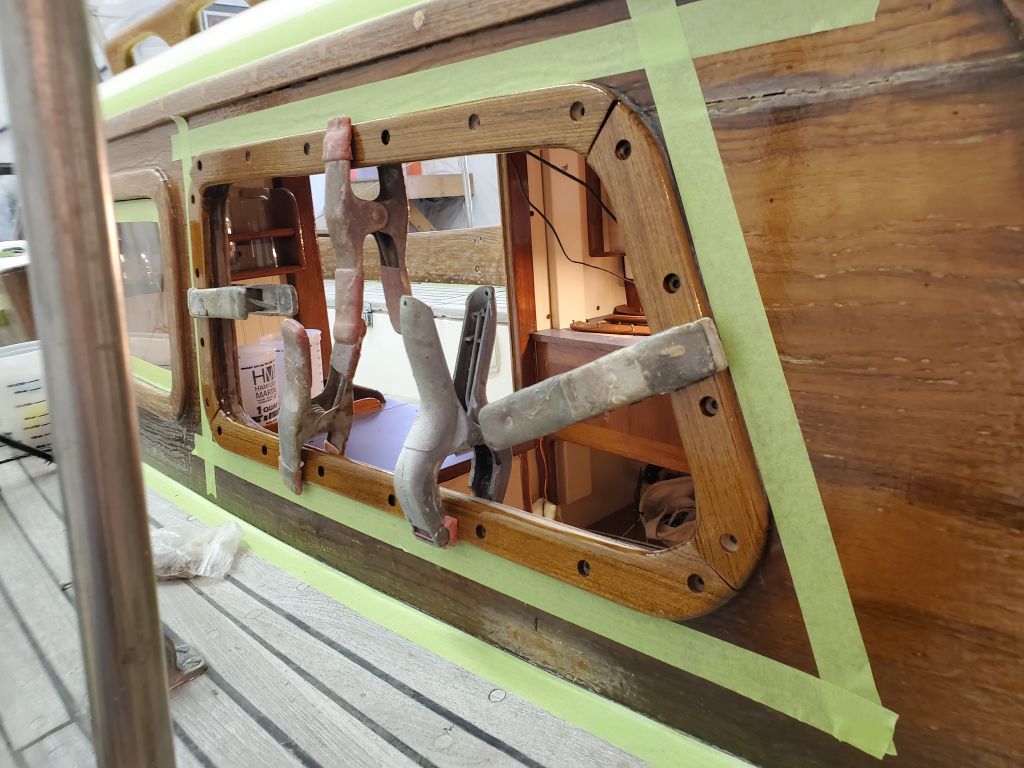
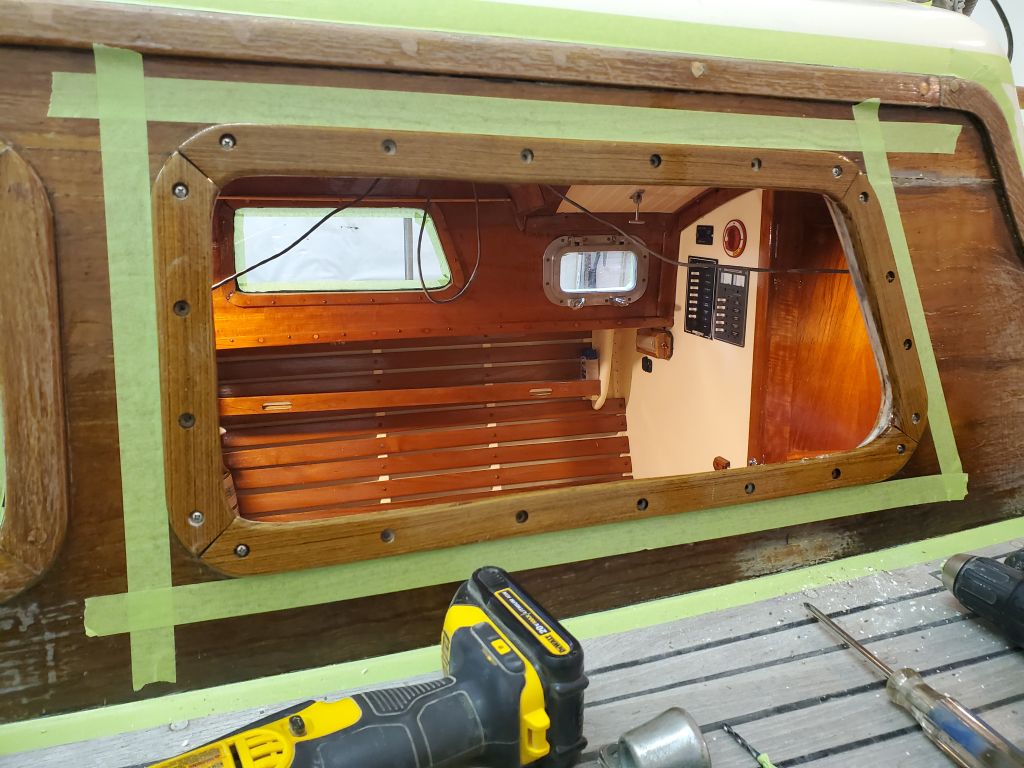
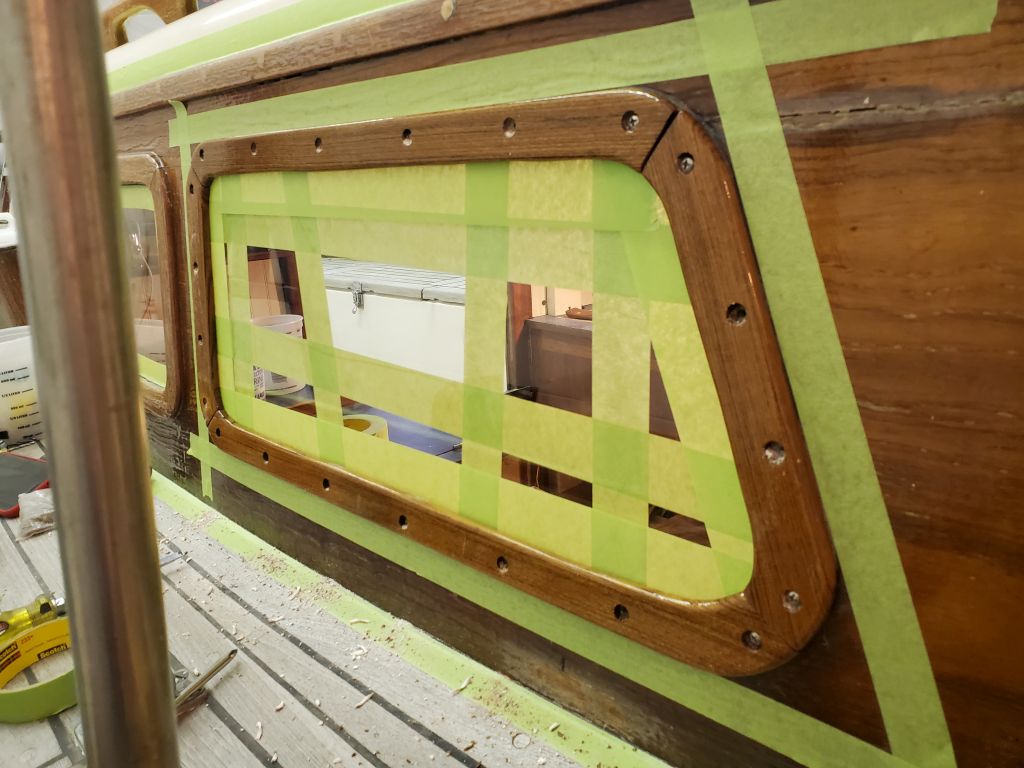
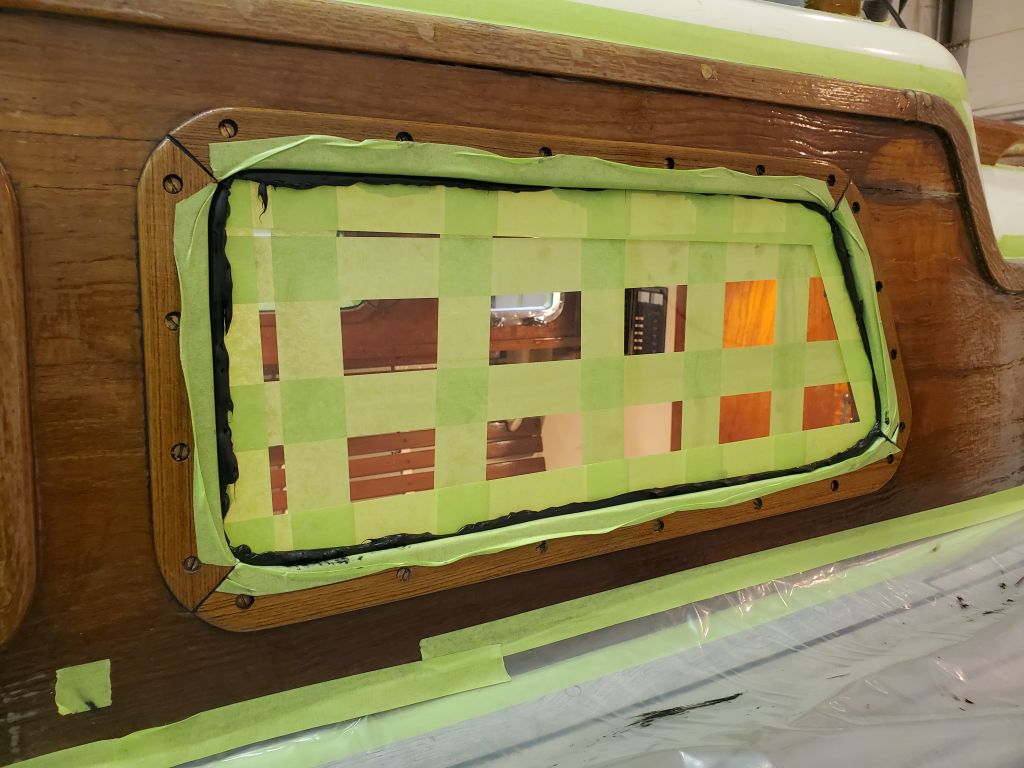
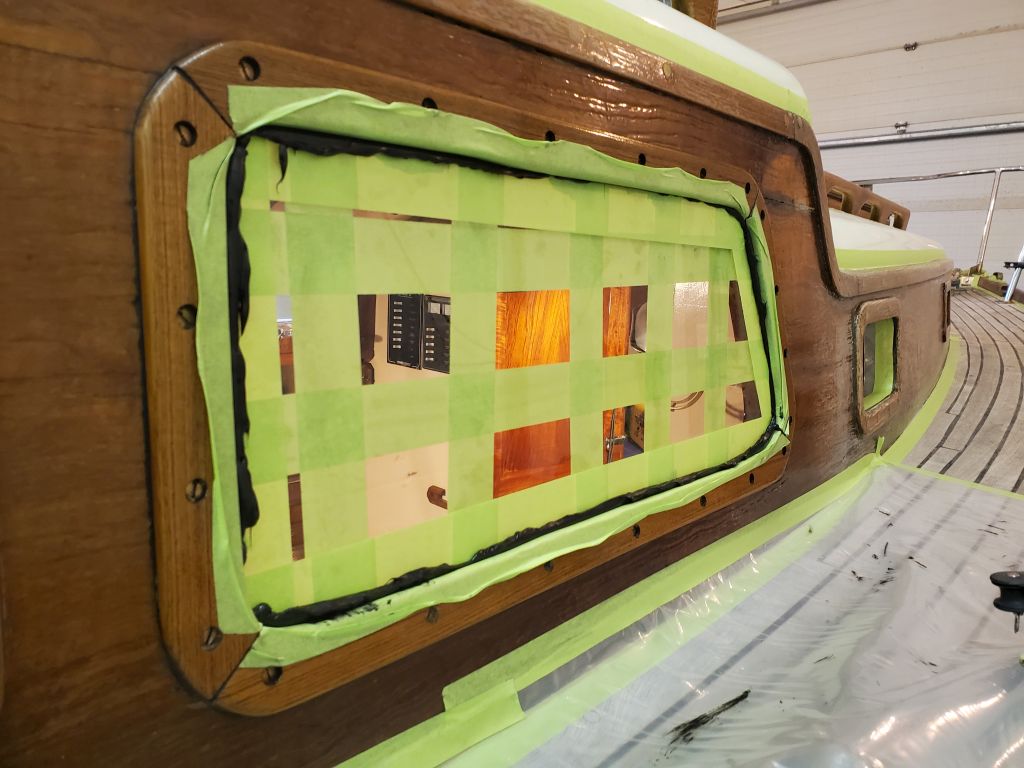
Applying a heavy bead of sealant one trim piece at a time, I installed the trim from outside with bronze screws, then cleaned up the sealant around the outer edges.

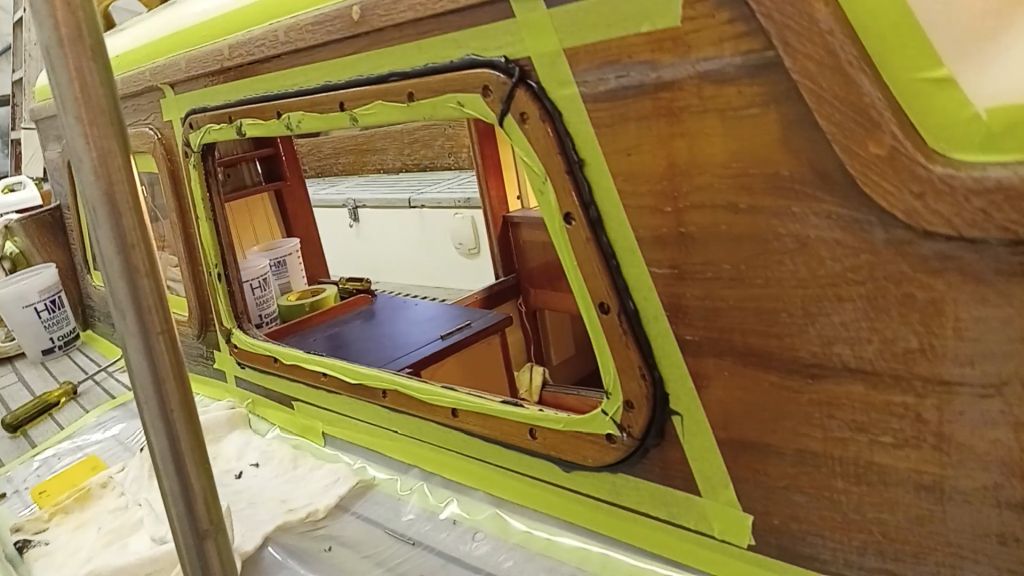
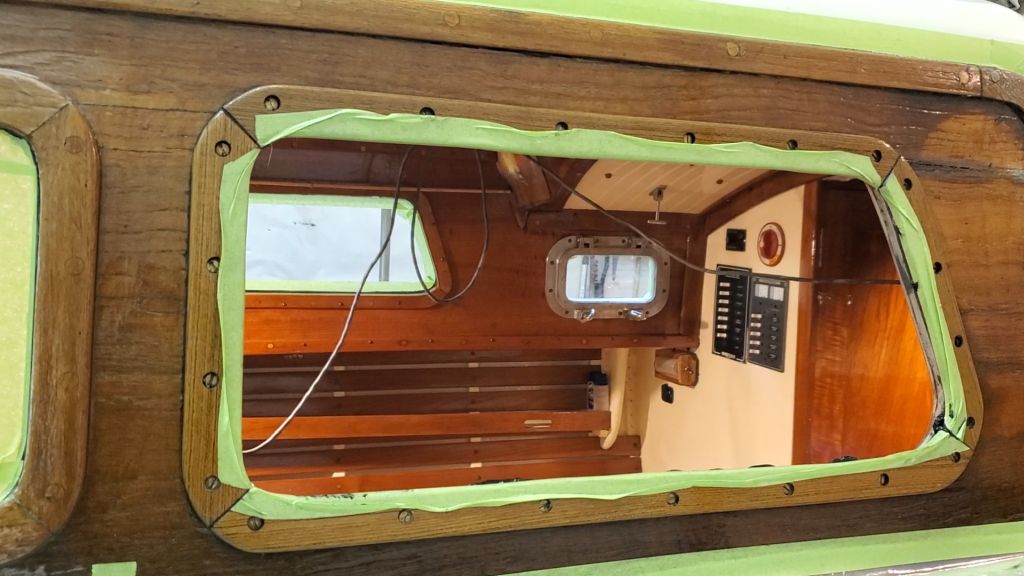
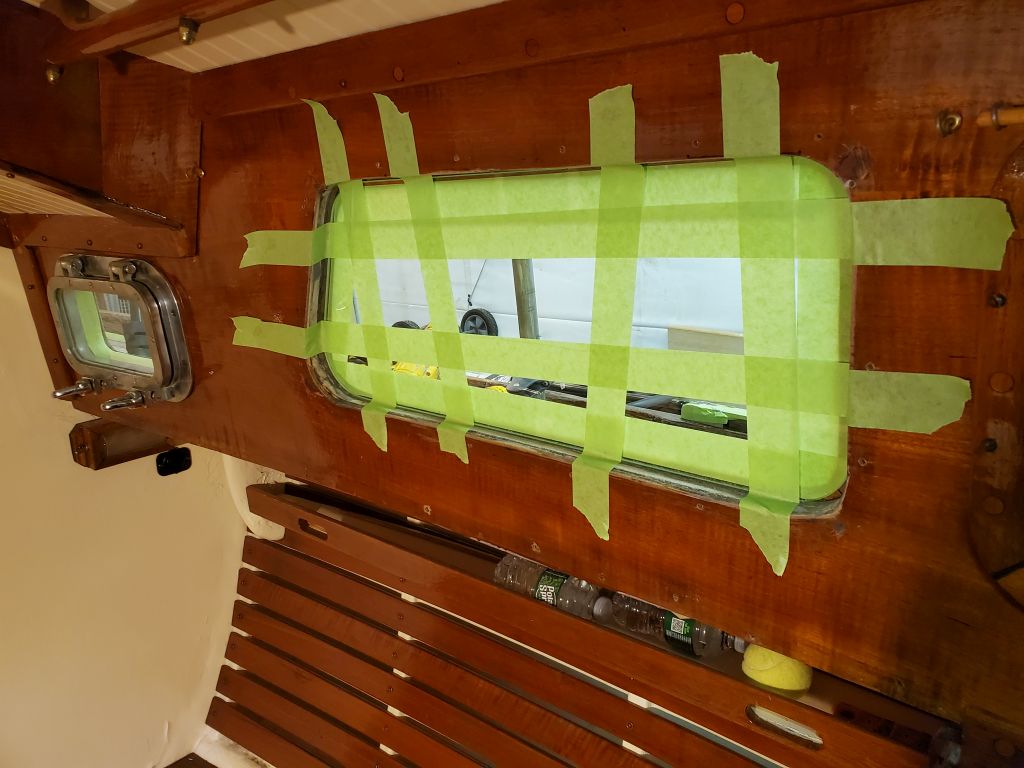
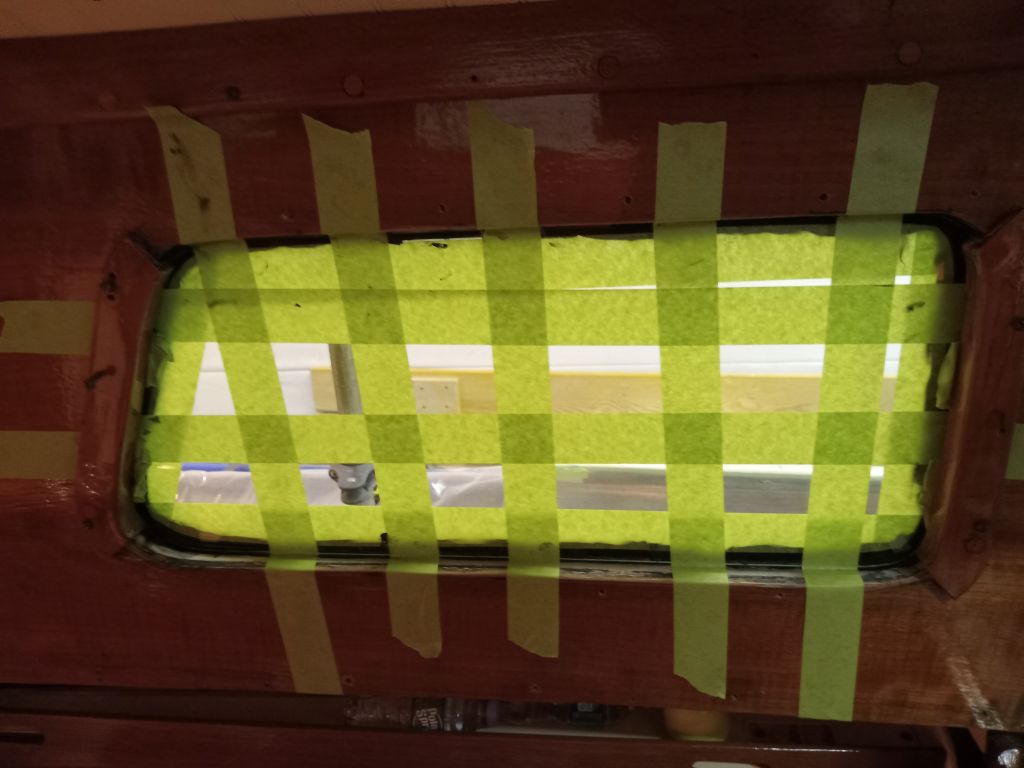
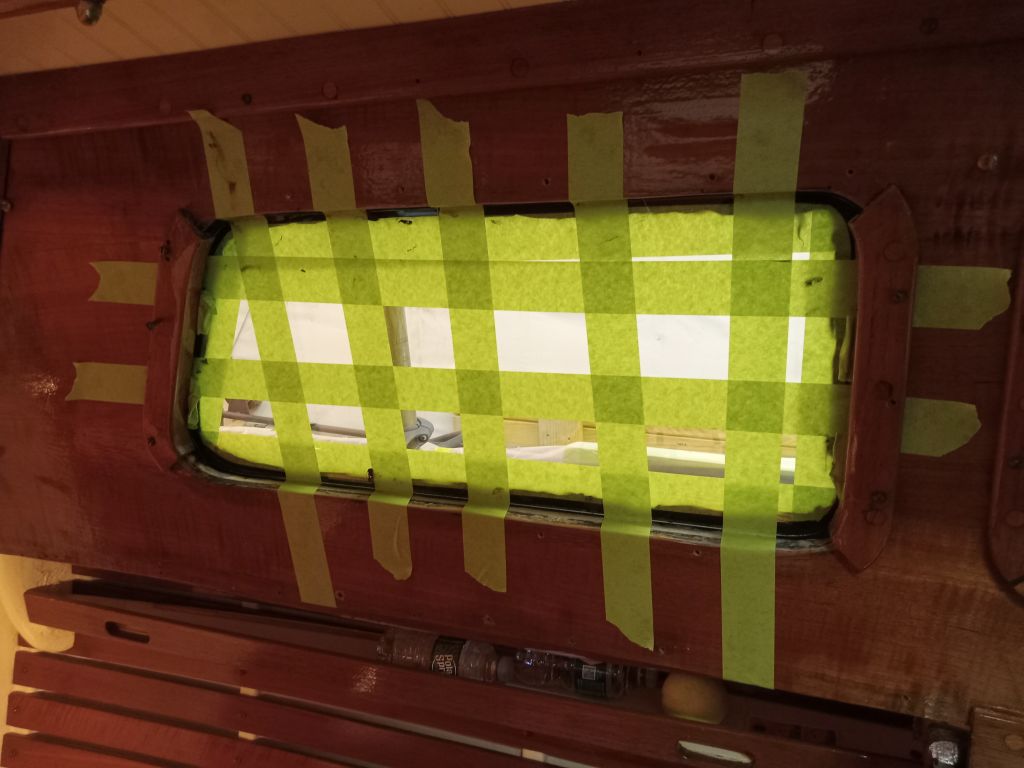
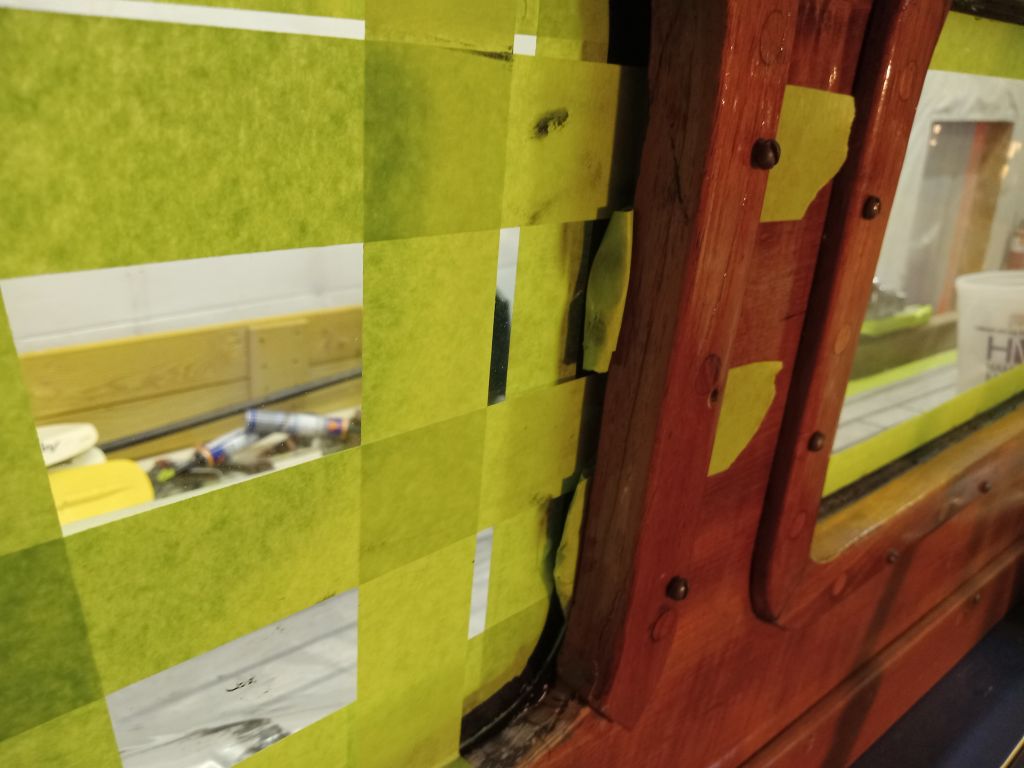
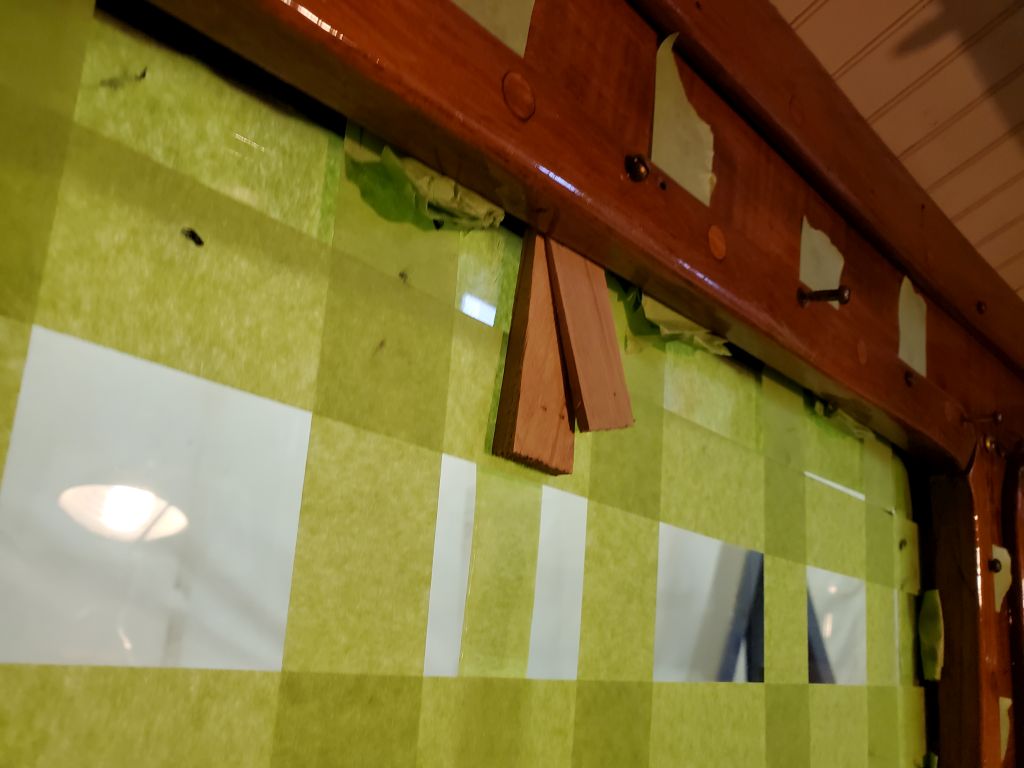
From inside, I added more sealant to the corner between the trim and the cabin sides–there was already a good bead there from the trim itself–and carefully pressed the glass into place, watching the sealant press out evenly from inside the glass to ensure a good seal. Then, I taped the glass in place securely to hold it, and added some of the interior trim as a fail-safe to prevent the glass from falling into the cabin should the worst happen. To help secure the glass further, I rolled up some bundles of tape and used it as wedges between the trim and the glass, and even a couple small and carefully-installed wooden wedges in one area that needed a touch more pressure.
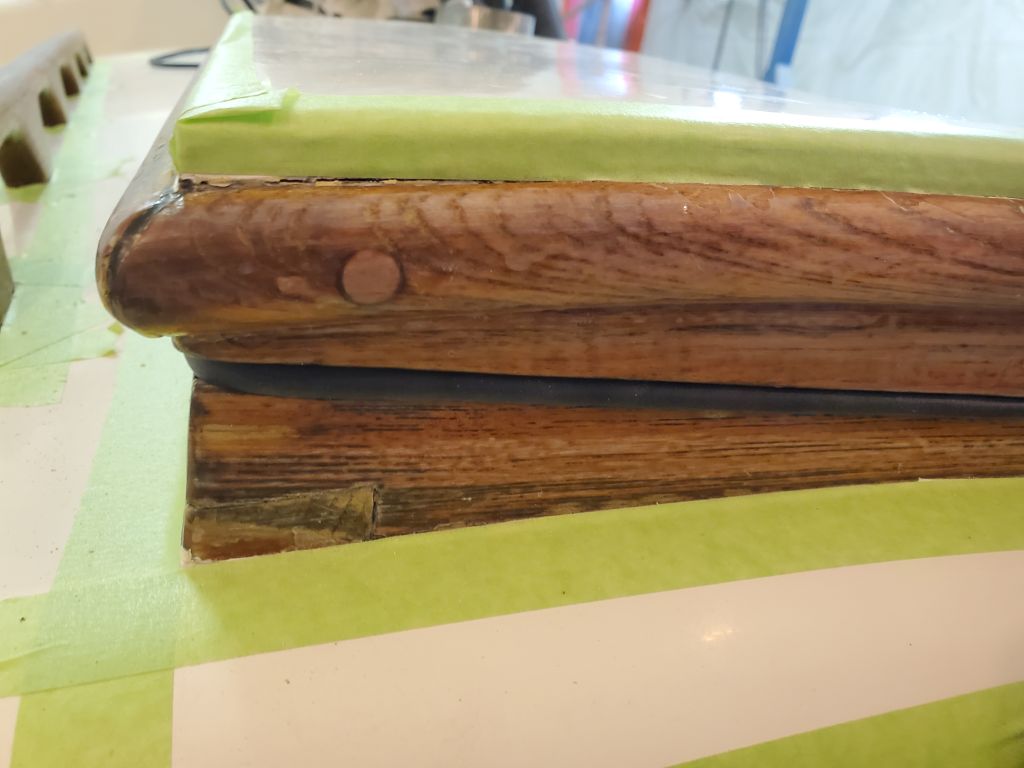
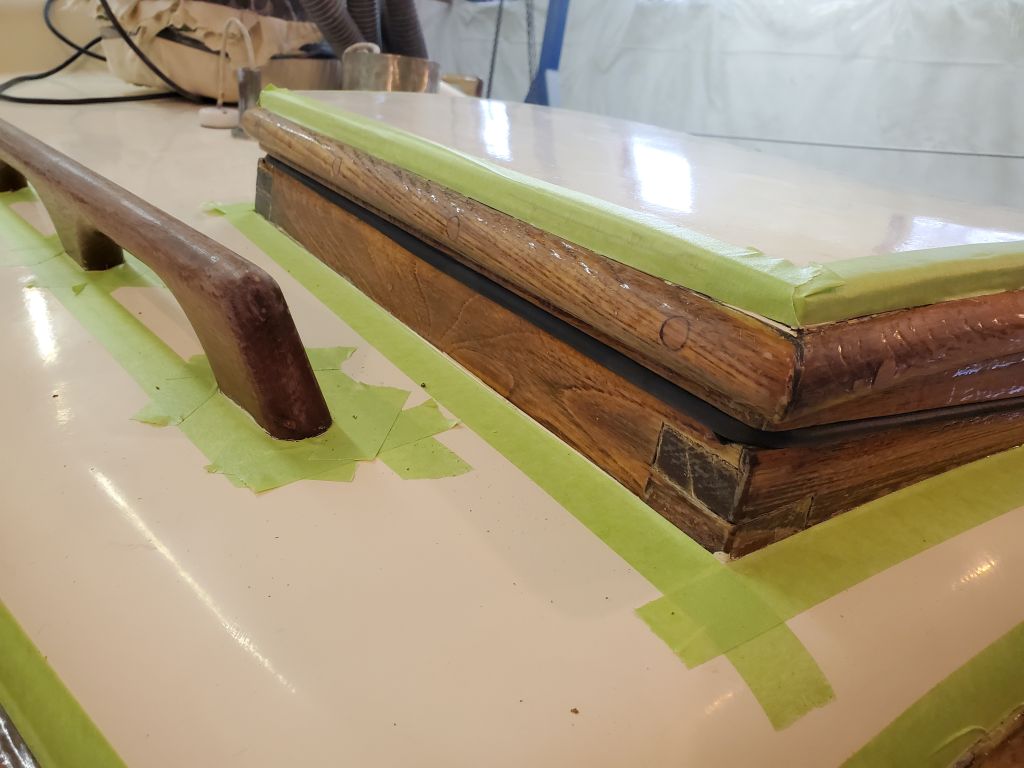
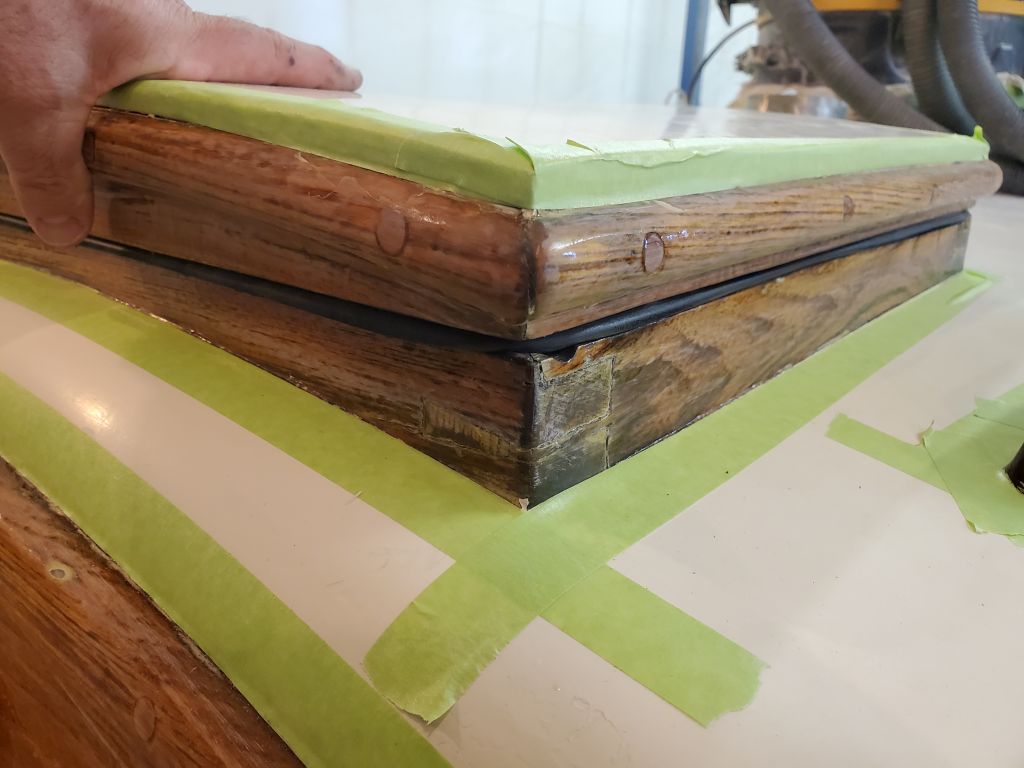
Last time, I’d secured the latch block for the forward hatch to the underside of the lid with epoxy: the screws that had held it before were pulling out of the wood and wouldn’t hold it securely. I thought the existing block, with the new and larger gasket, would allow full closure and gasket compression as is, but it needed a stronger mount. Now, with the epoxy well-cured, I tested the latch and was pleased with the way it compressed the gasket all around.
Total time billed on this job today: 2.75 hours