


March 10, 2025
Miss Helen 1
Monday
I first came to know the boat that became Miss Helen, and her owner, more than 20 years ago. At the time, I was doing some marine surveys, and was hired to look at this 1967 Frisco Flyer, which had been abandoned in a small boatyard out on Vinalhaven Island, ME. I traveled out to the island with the eventual owner to inspect the boat; the boat was generally sound, but had been neglected for many years, and required a major overhaul. The owner’s family had a property on the island, which is how he came to find the boat.
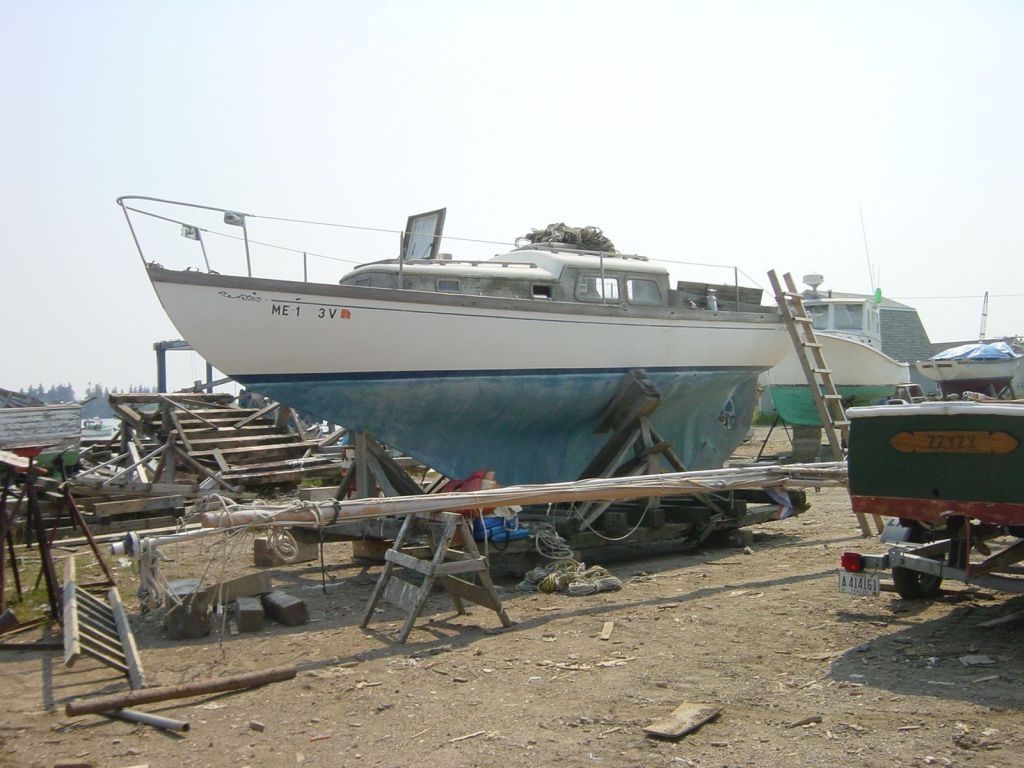
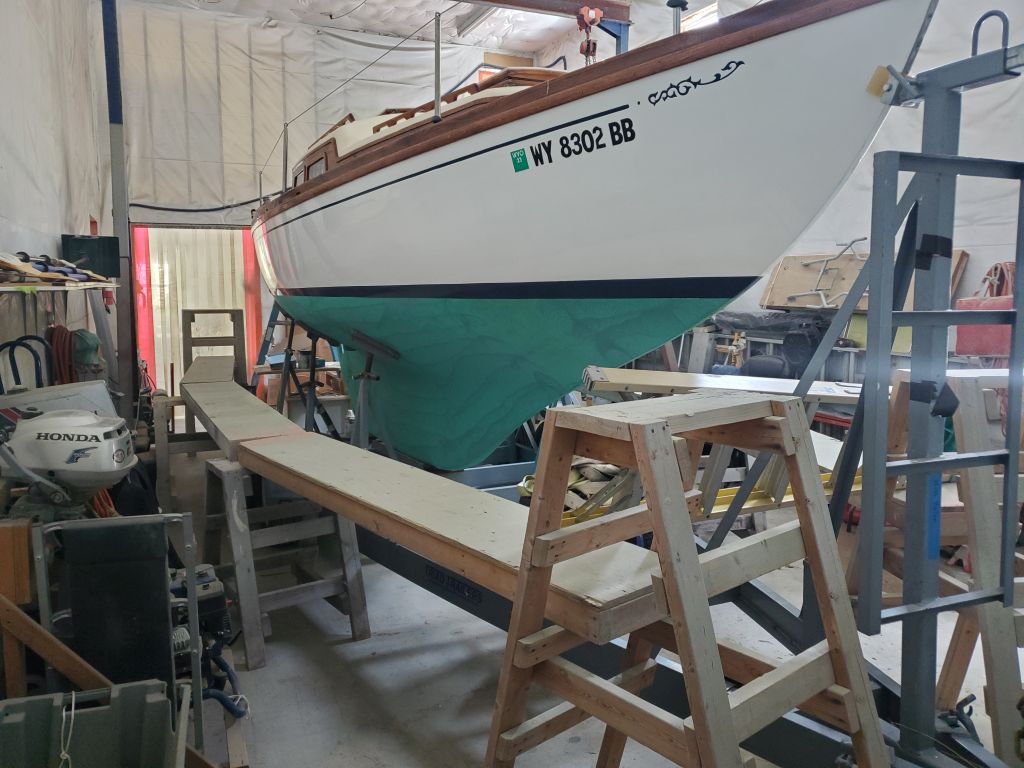
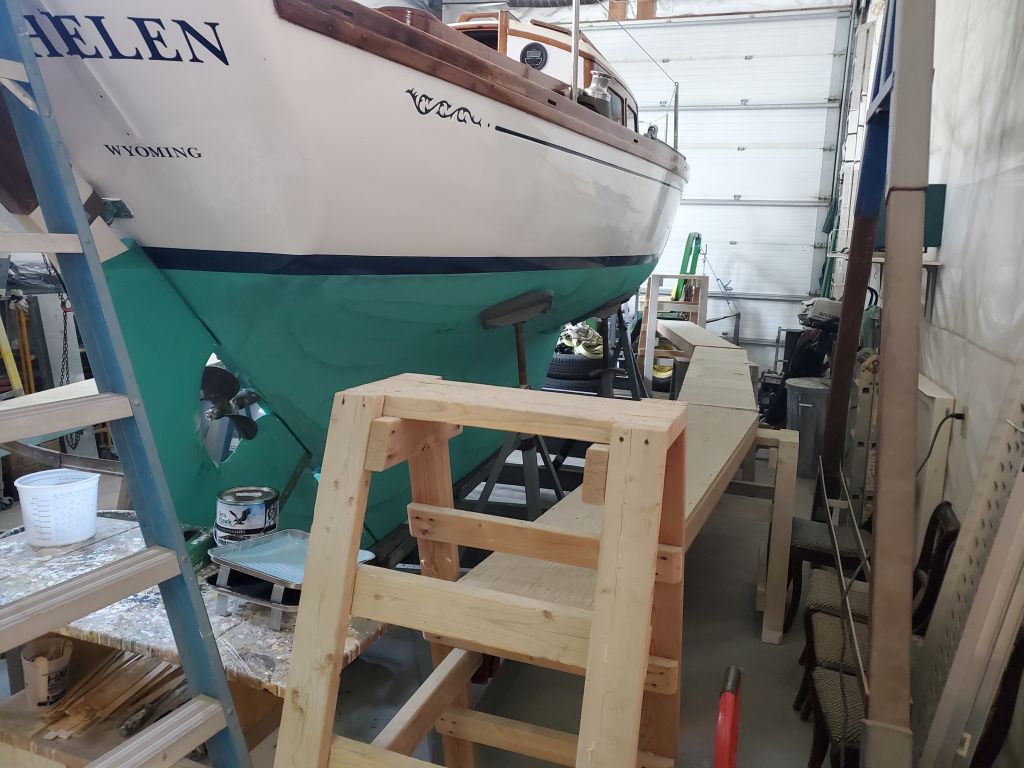
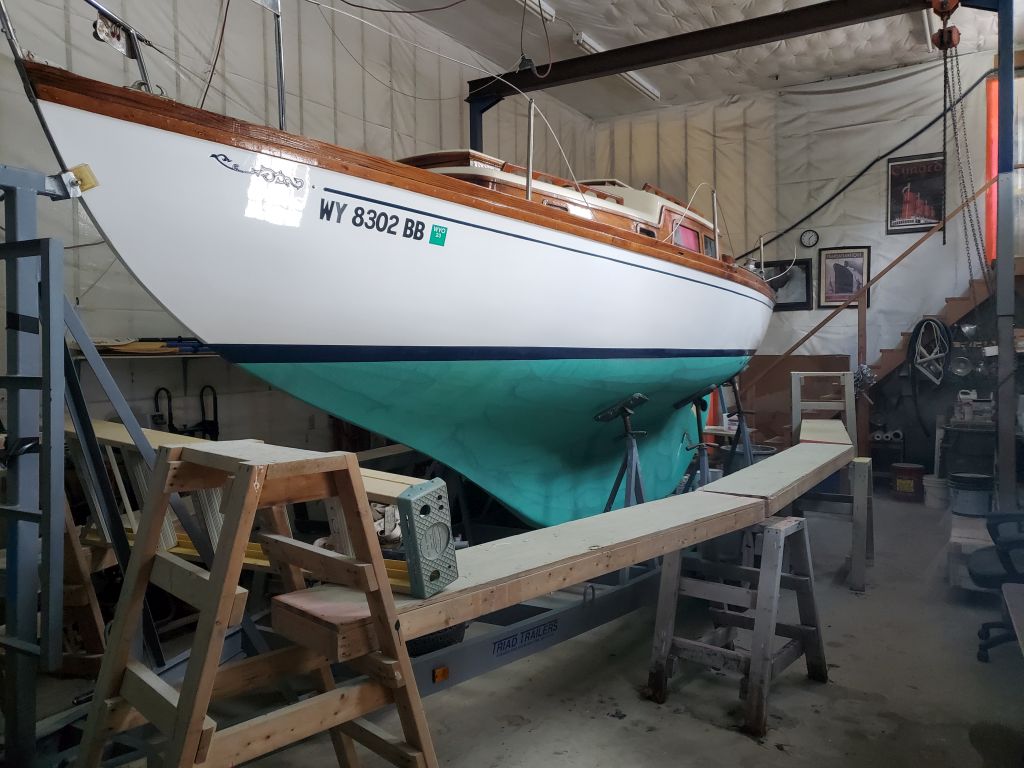
The owner took the boat, now on a new trailer, back to Wyoming, where he lived, and spent 10 or more years restoring her before enjoying sailing her in Montana for several seasons. But recently be brought the boat back to Vinalhaven to sail in the summers, and this year left her with me to look into a nagging deck leak problem, among some other small maintenance chores.
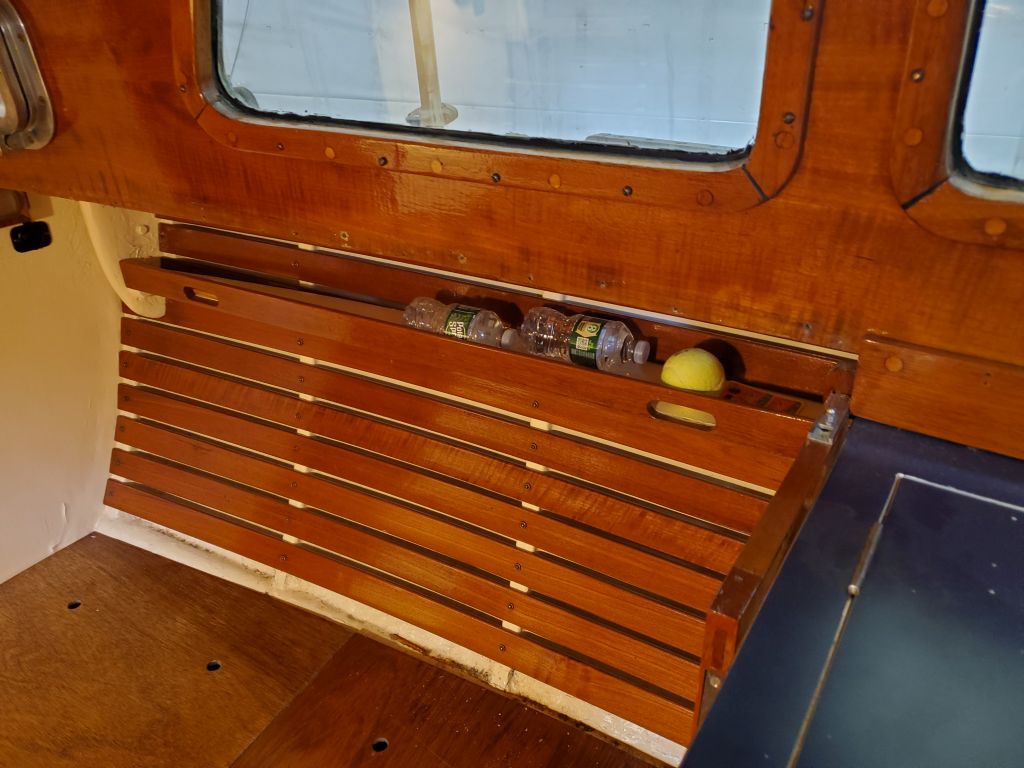
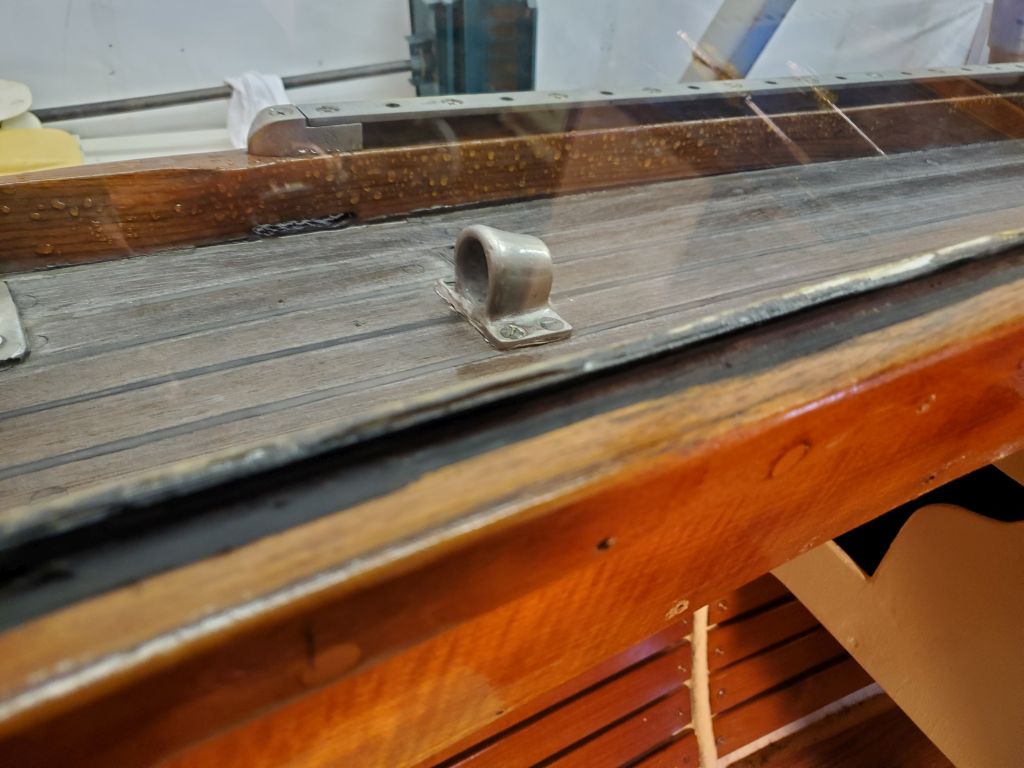
I began the project as usual by repositioning the boat on her trailer more in the center of the shop (I’d had her pressed to one side for storage during most of the winter) and setting up staging to ease deck access.

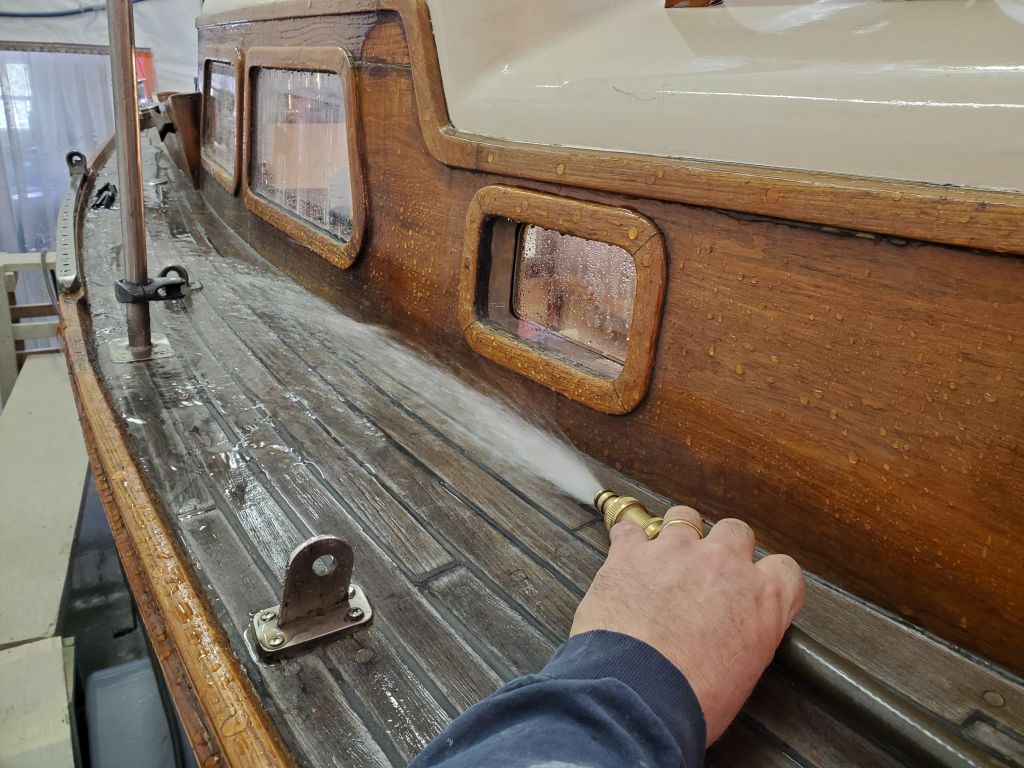
The owner reported that the deck leaked directly over the starboard berth–his wife’s berth, as it happened–but he was not sure from whence it came. So my plan was to flood this area with water to recreate the leak, and then take it from there to figure out the cause. The deadlights were an obvious candidate, but the owner wasn’t sure if some of his deck work might have left an opening for leakage as well, and had mentioned his worries about the seam where the decking met the cabin trunk, as well as some other possibilities.
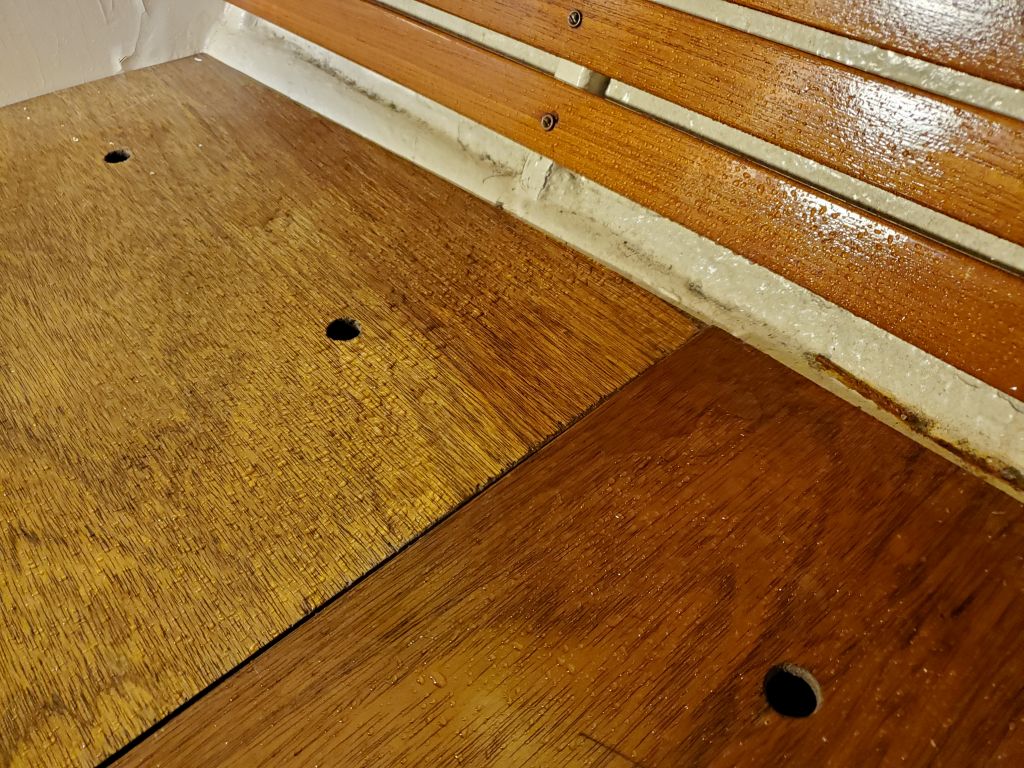
In the cabin, I started by removing a piece of trim at the lower edge of the cabin trunk, removal of which would expose the bottom edge of the wooden veneer and the deck edge. The trim, which had been removed during the owner’s project, was secured now with round-head bronze screws, making removal straightforward.
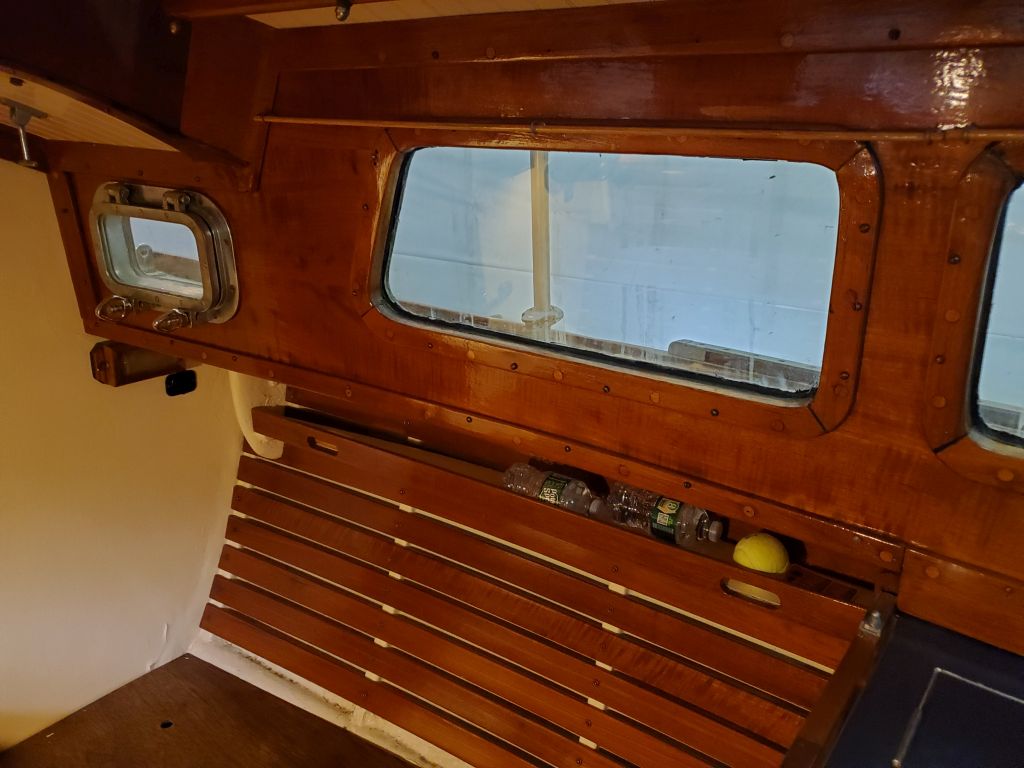
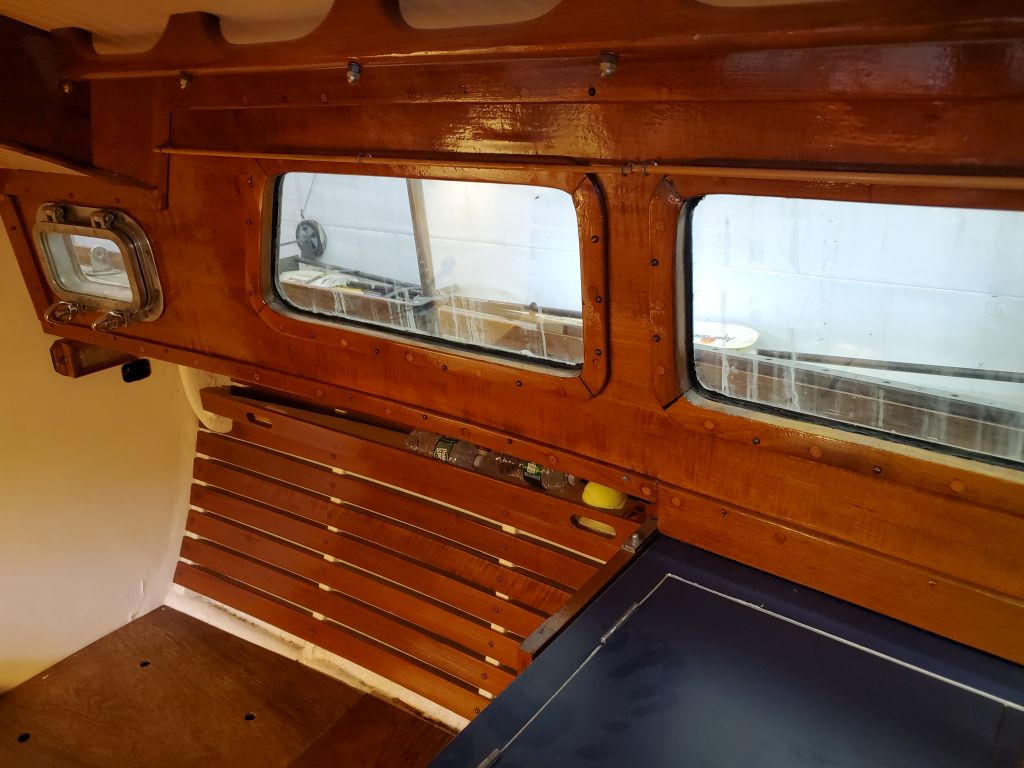
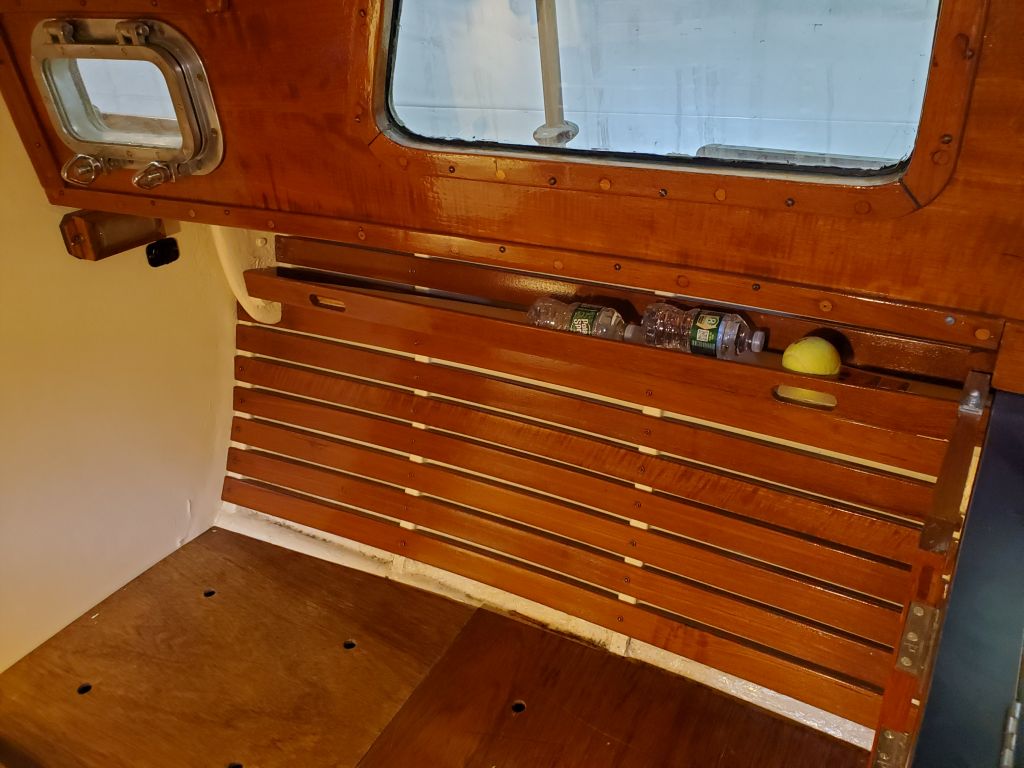
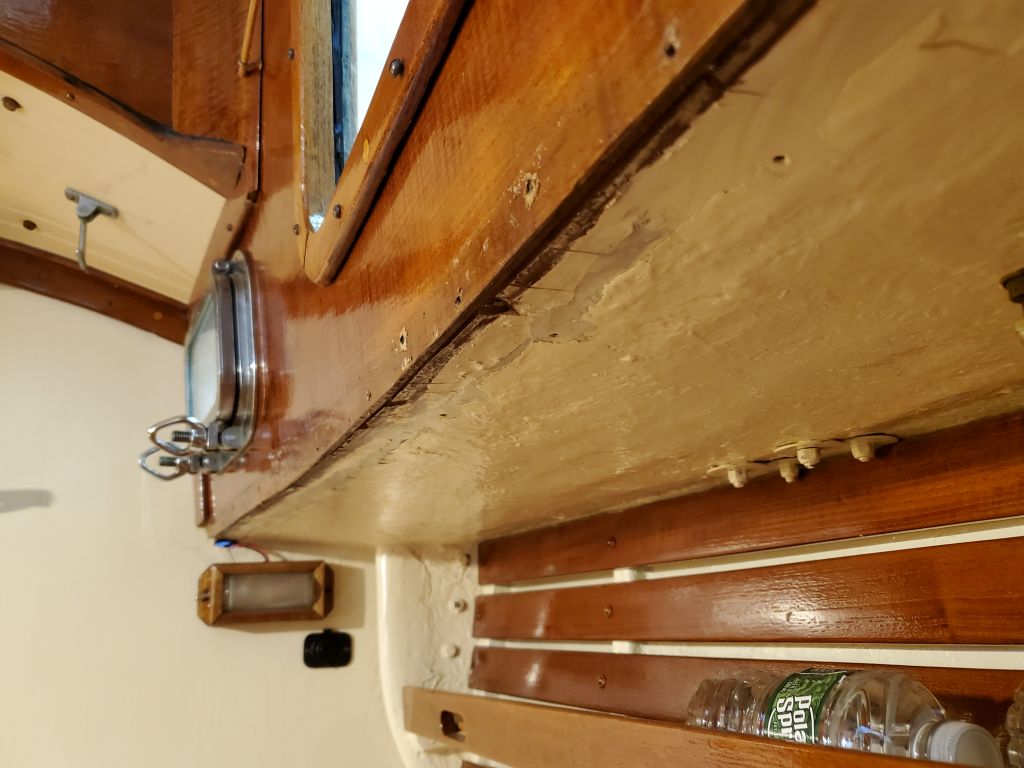
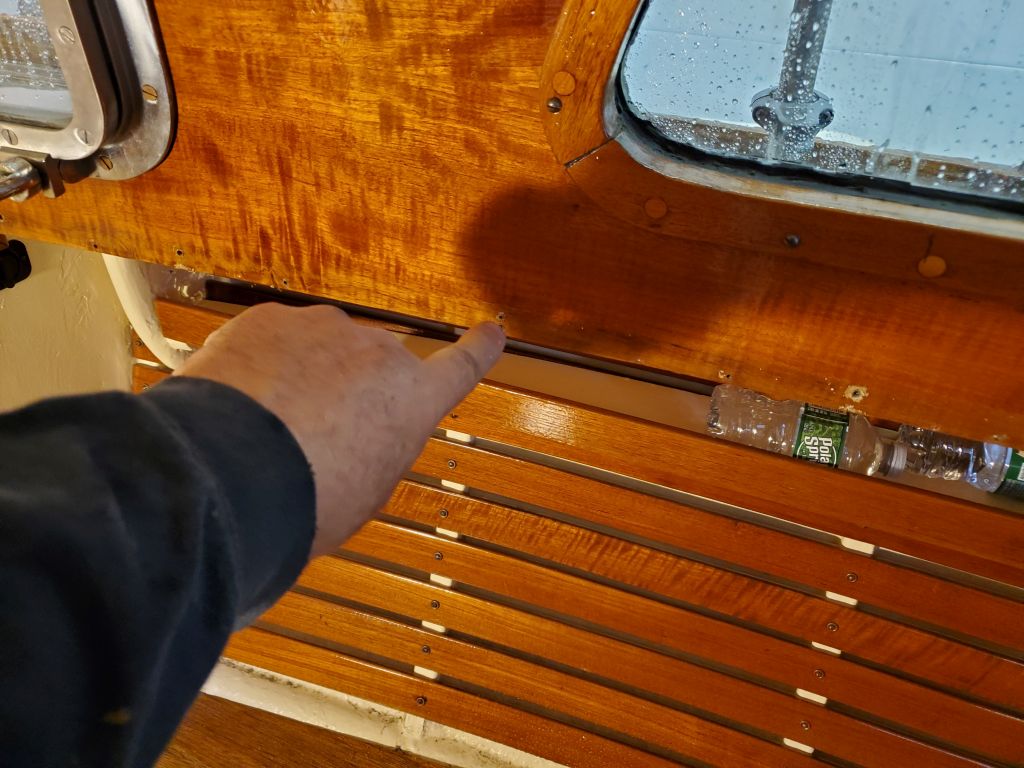
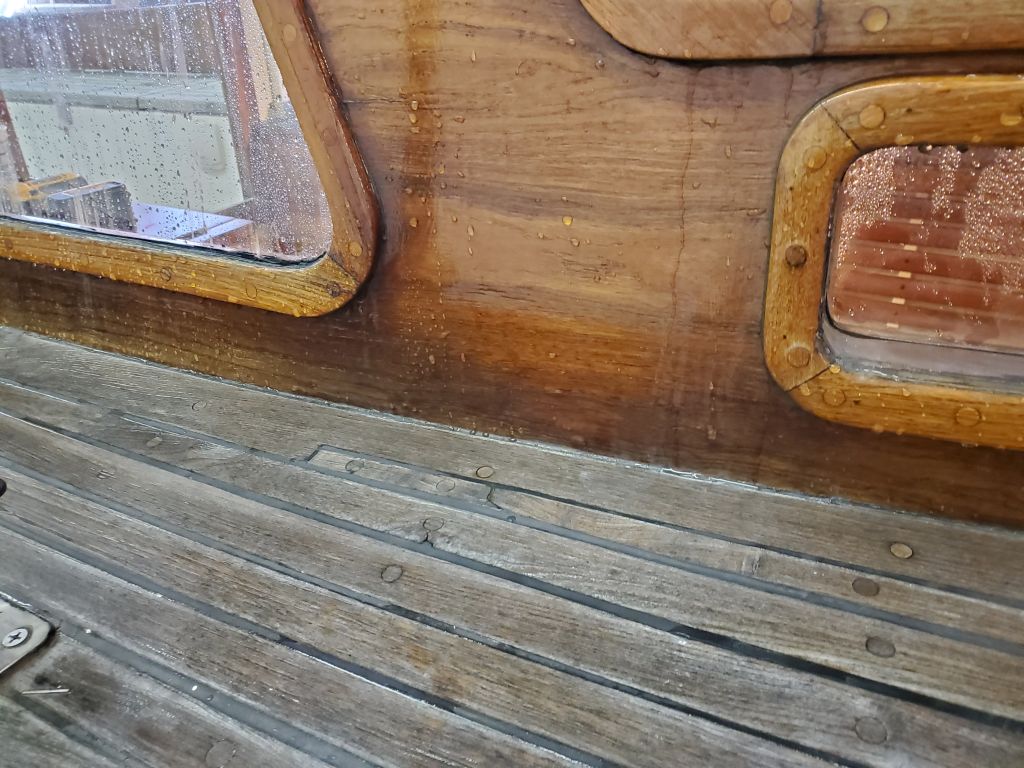
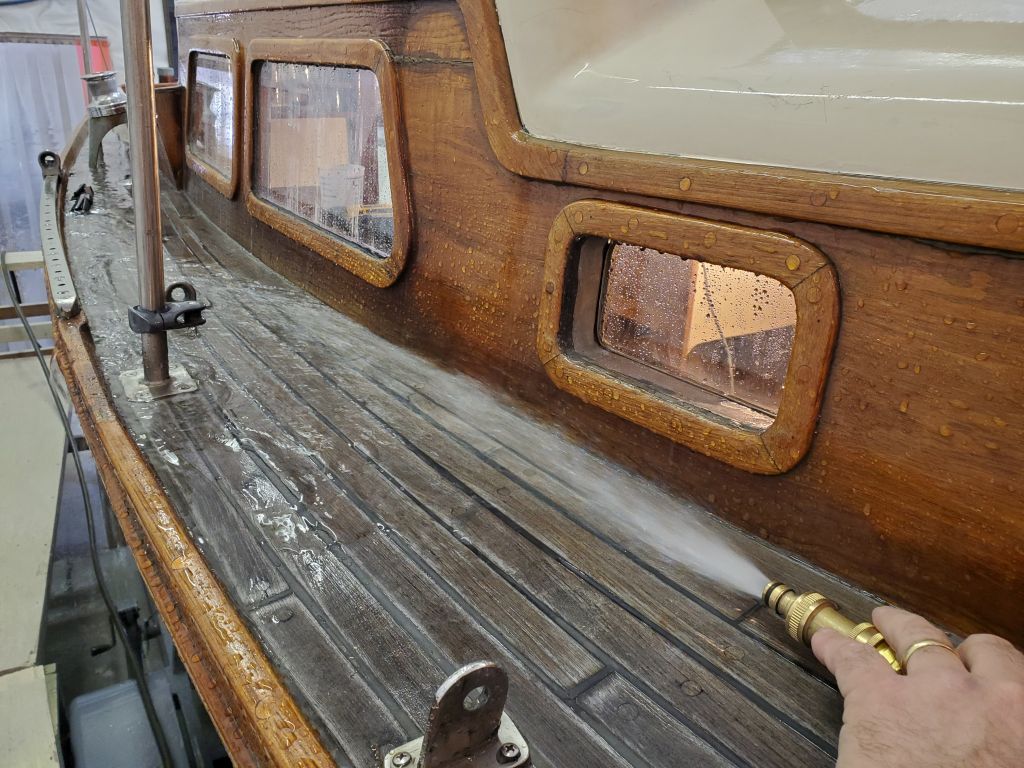
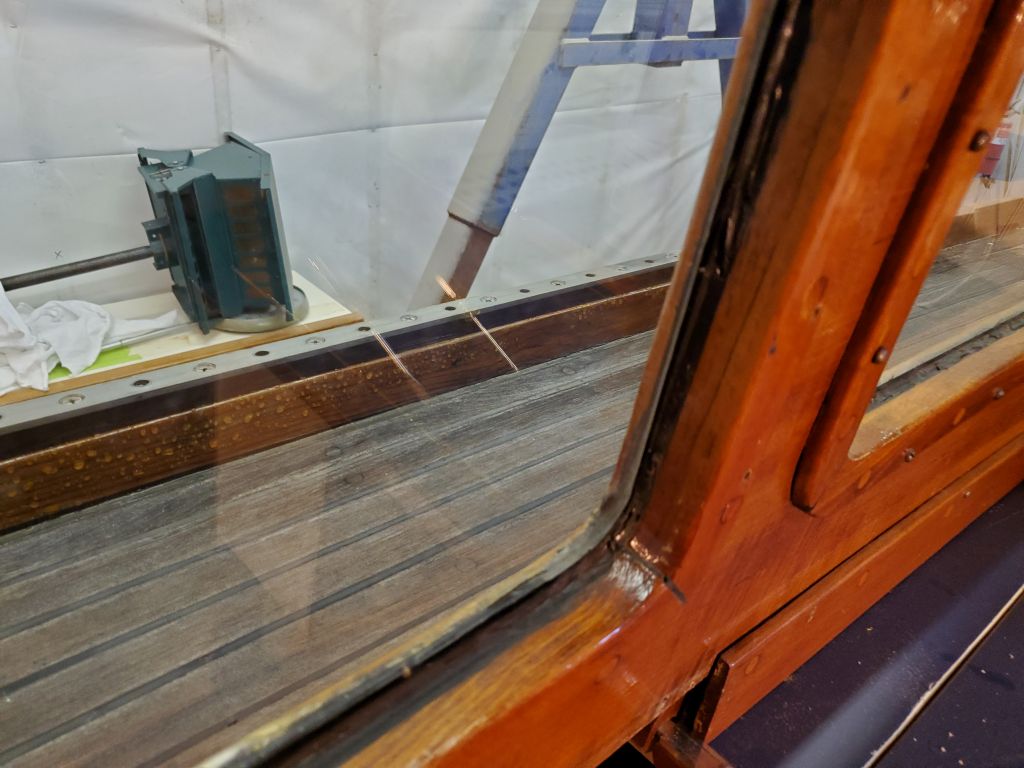
Next, I set up a hose and flooded the area with a heavy shower spray for some time, which definitely succeeded in creating the leak below. The leak dripped from a consistent point just below the forward edge of the forward deadlight.
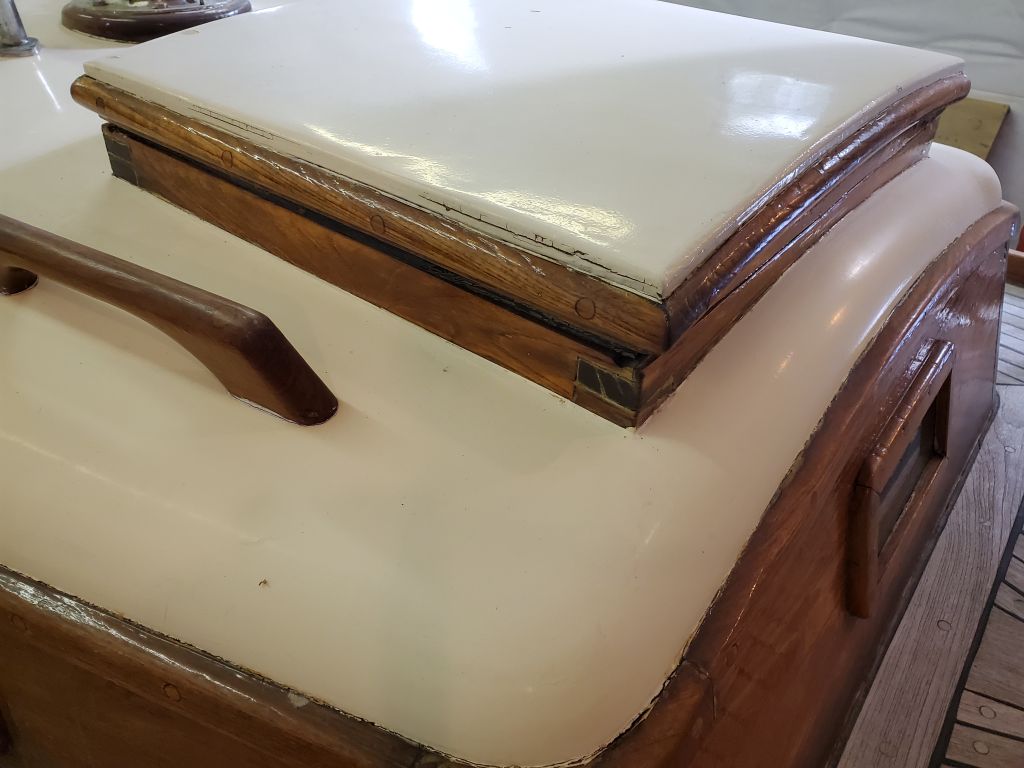
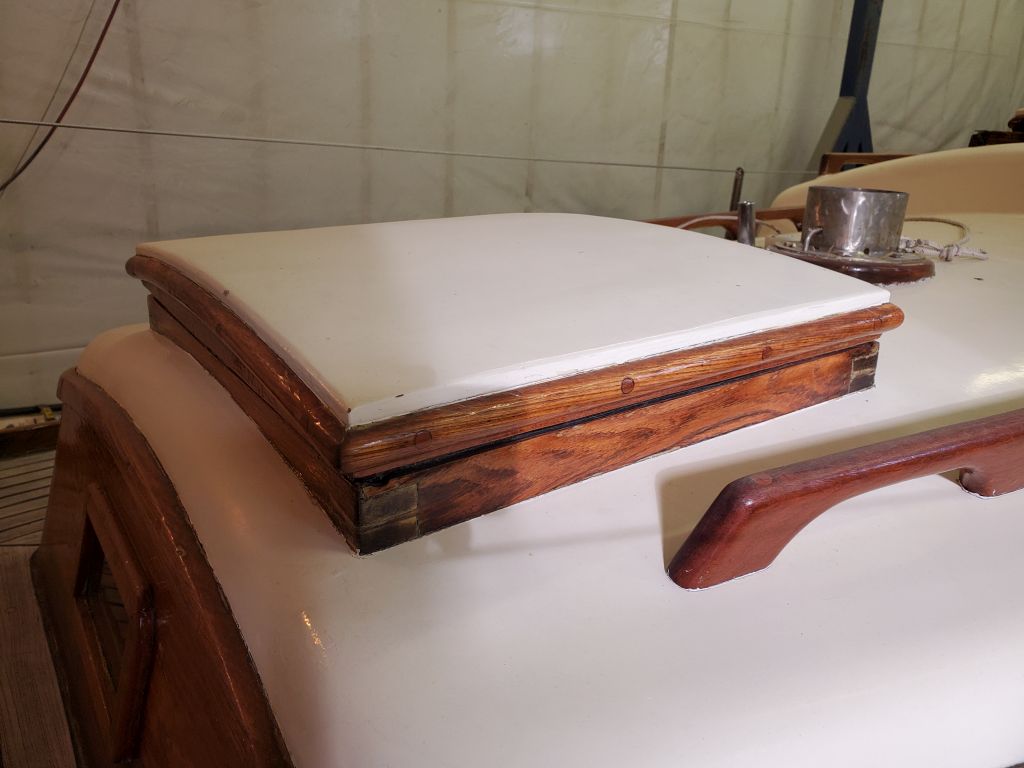
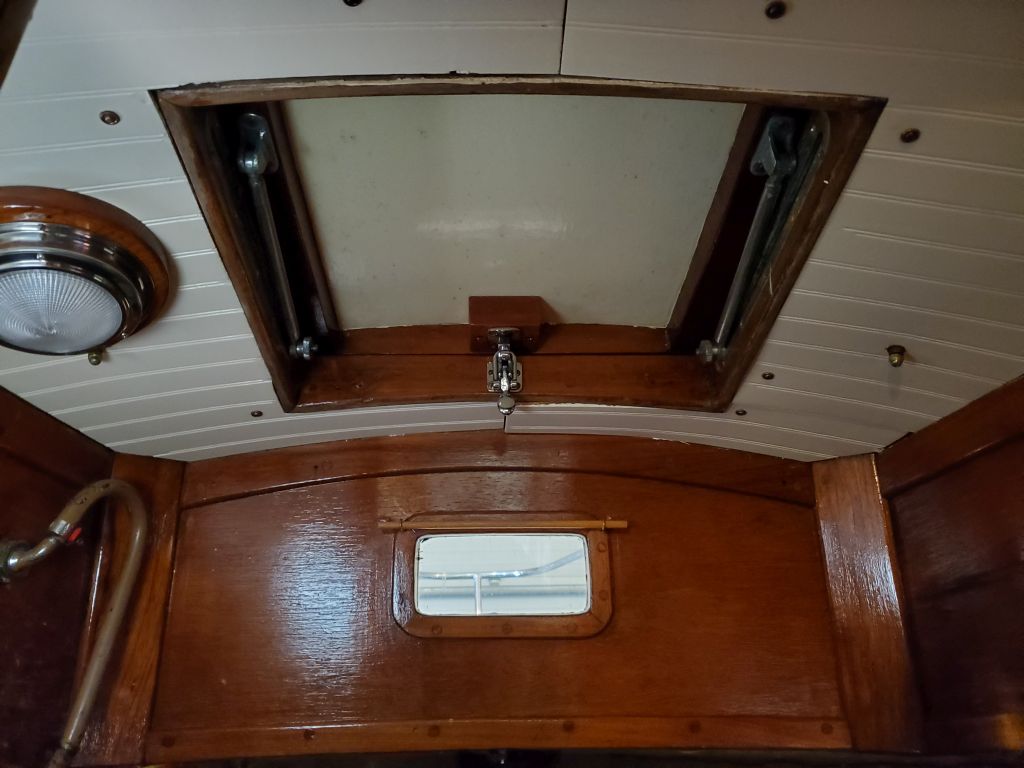
The owner also mentioned concerns about the forward hatch, so I also spent some time flooding this area, but could not create a leak around the hatch. That’s a good outcome.

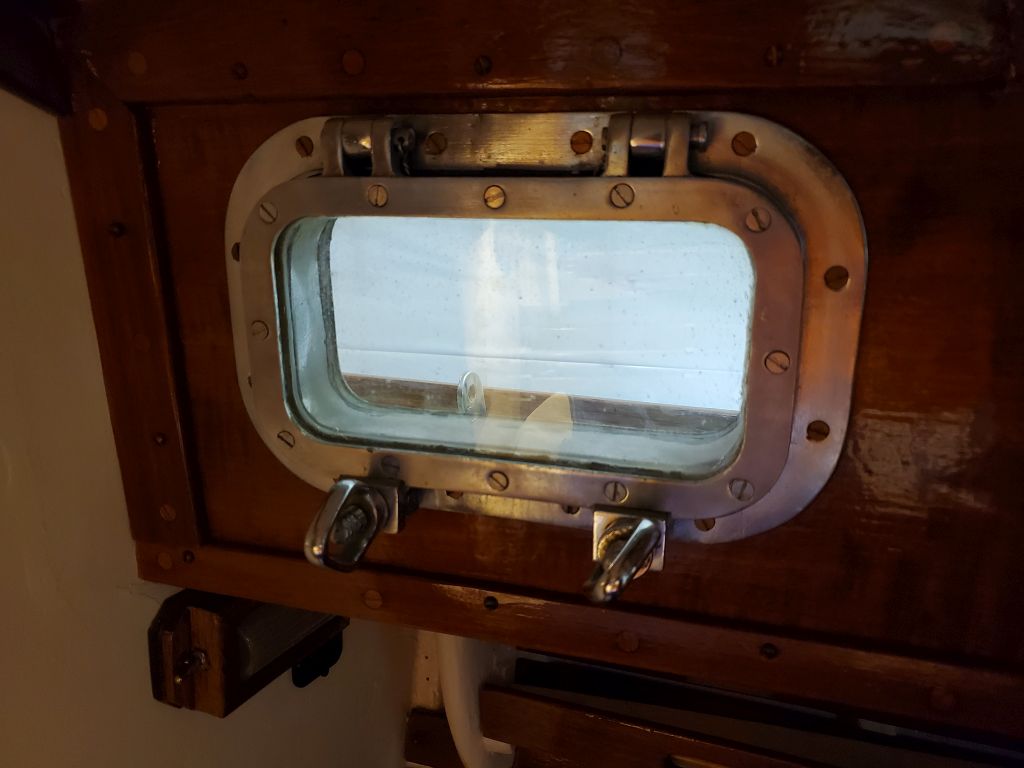
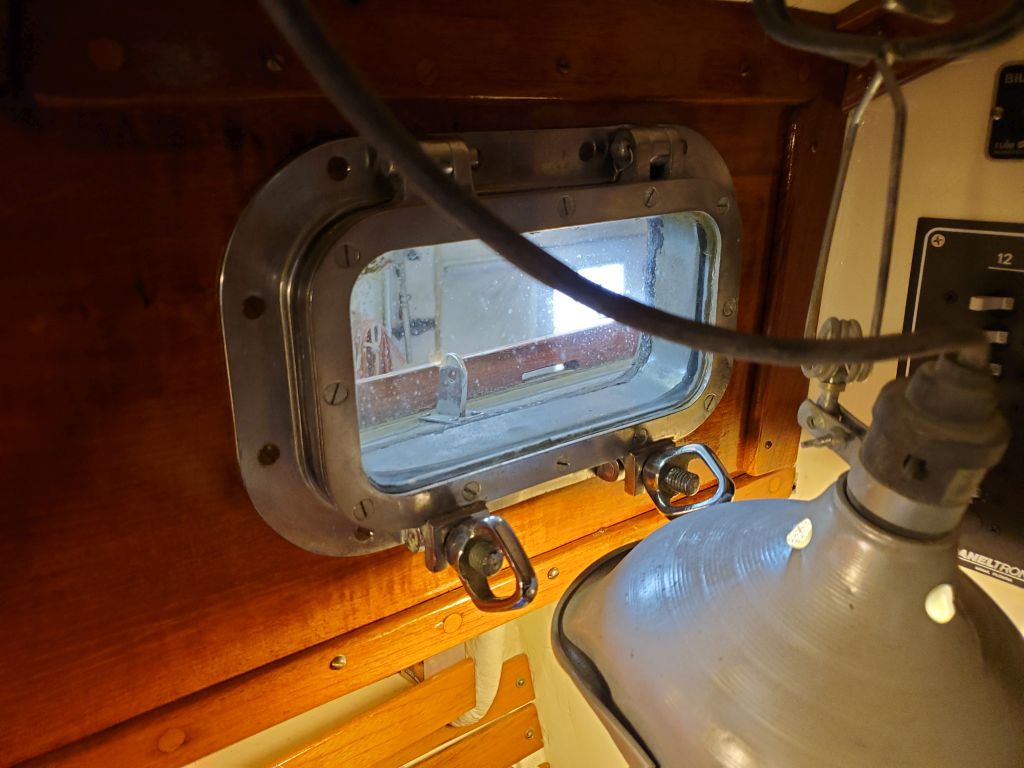
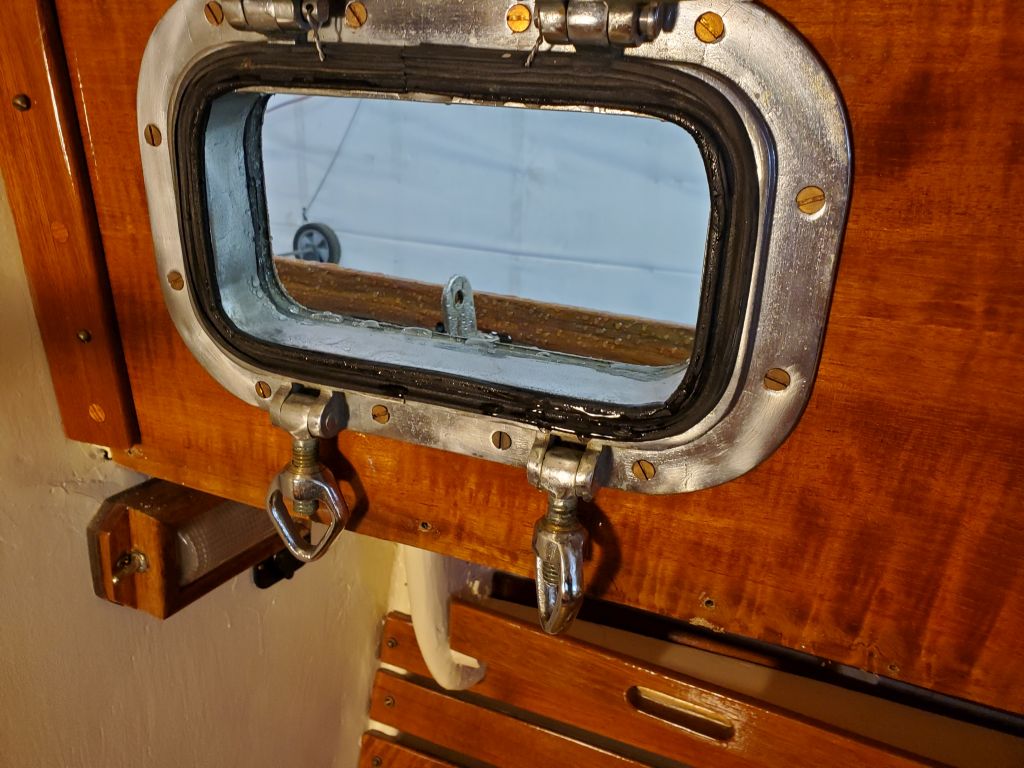
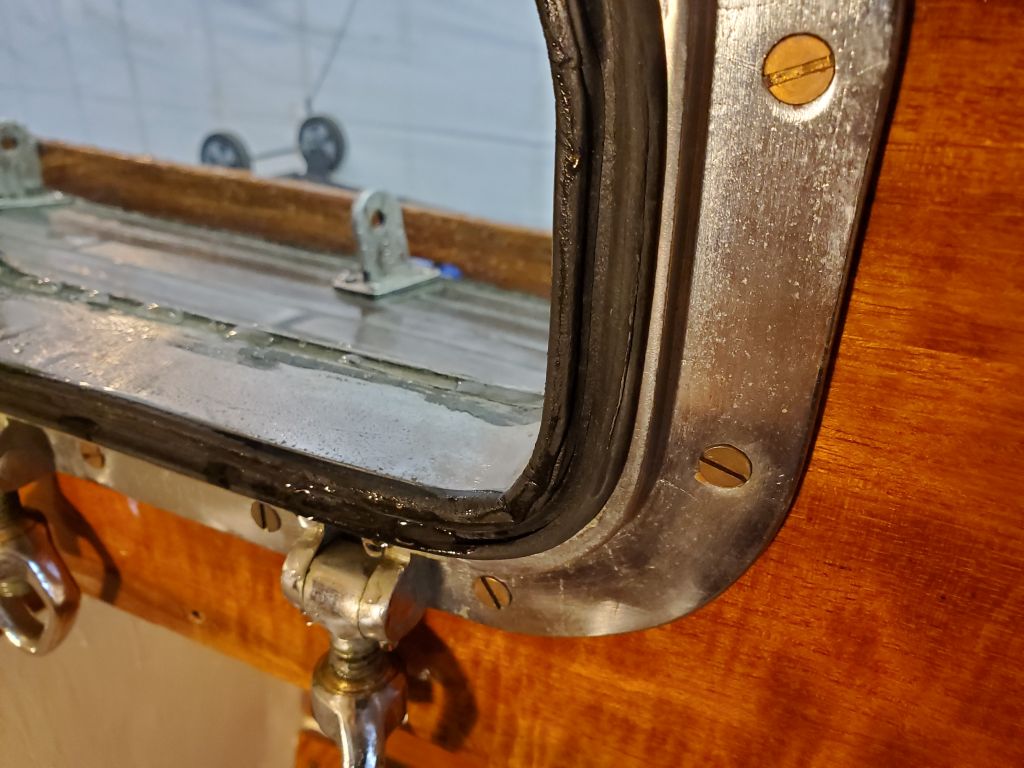
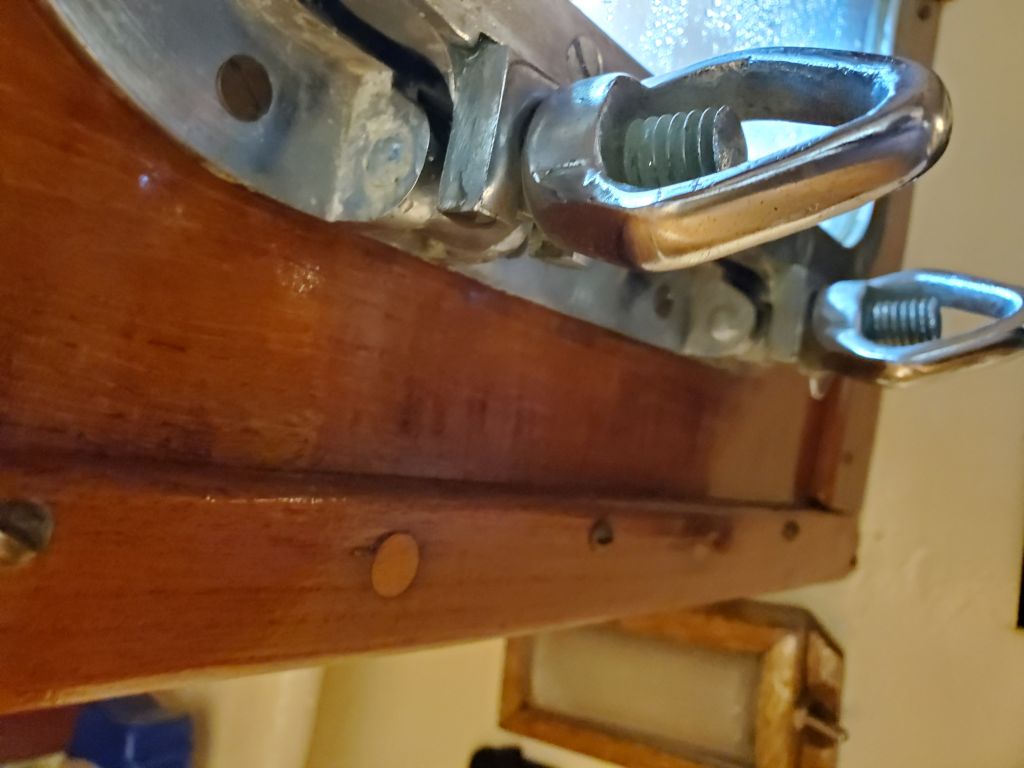
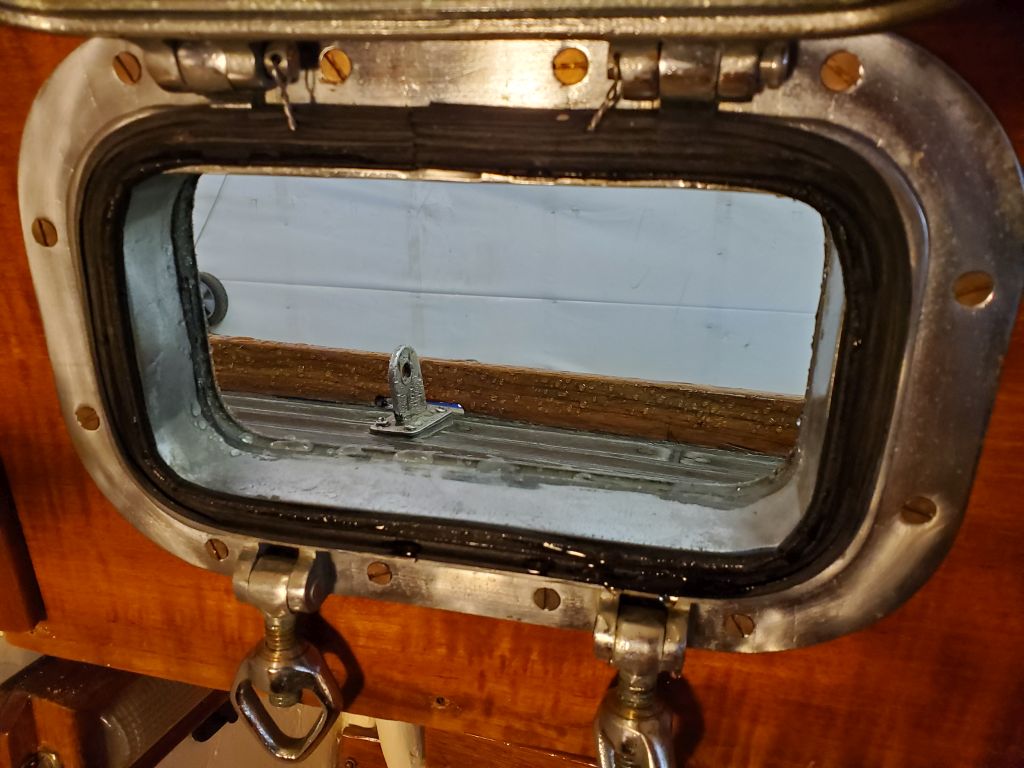
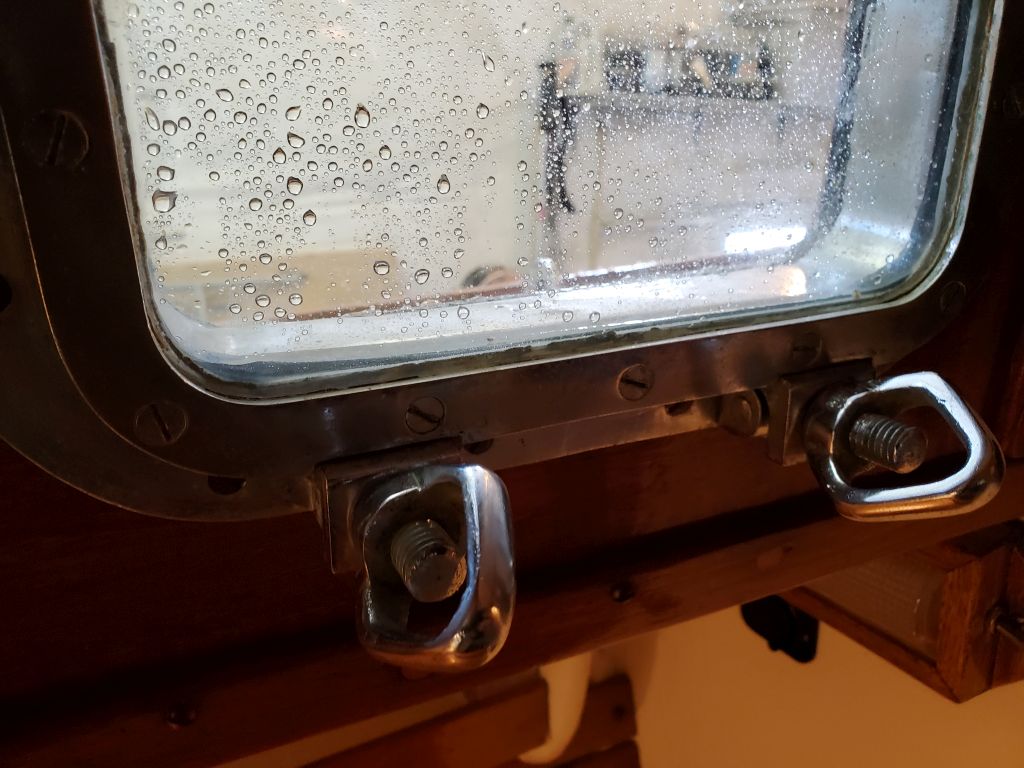
There were two opening ports in the main cabin, and the owner mentioned leakage there as well; indeed, both leaked when flooded, but it turned out the port side had been not dogged down tightly. However, the design of these ports held water in the spigot, against the seal, and the seal installed appeared to have been indelibly compressed by the port frame, causing a minor drip even when the ports were dogged down tightly, as the spigot was angled inwards and could not drain fully. It’s asking a lot of any port seal to stand up to a constant pool of water even under perfect circumstances, but after inspecting the seal I thought I’d try replacing it with something new and see how it performed.

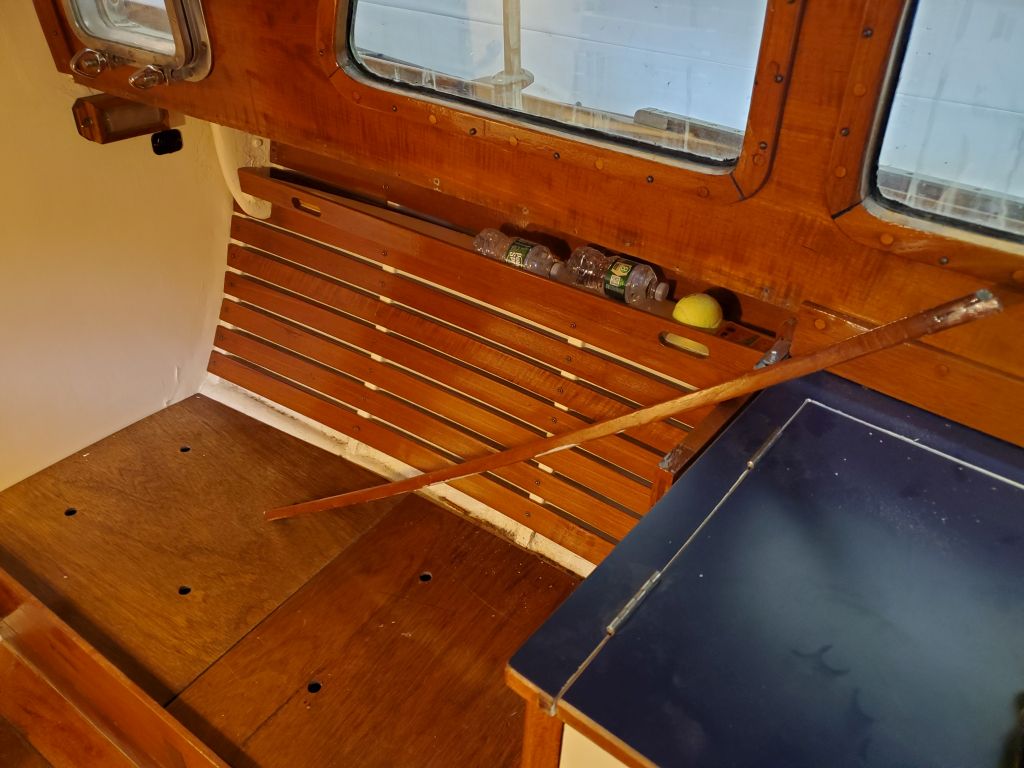
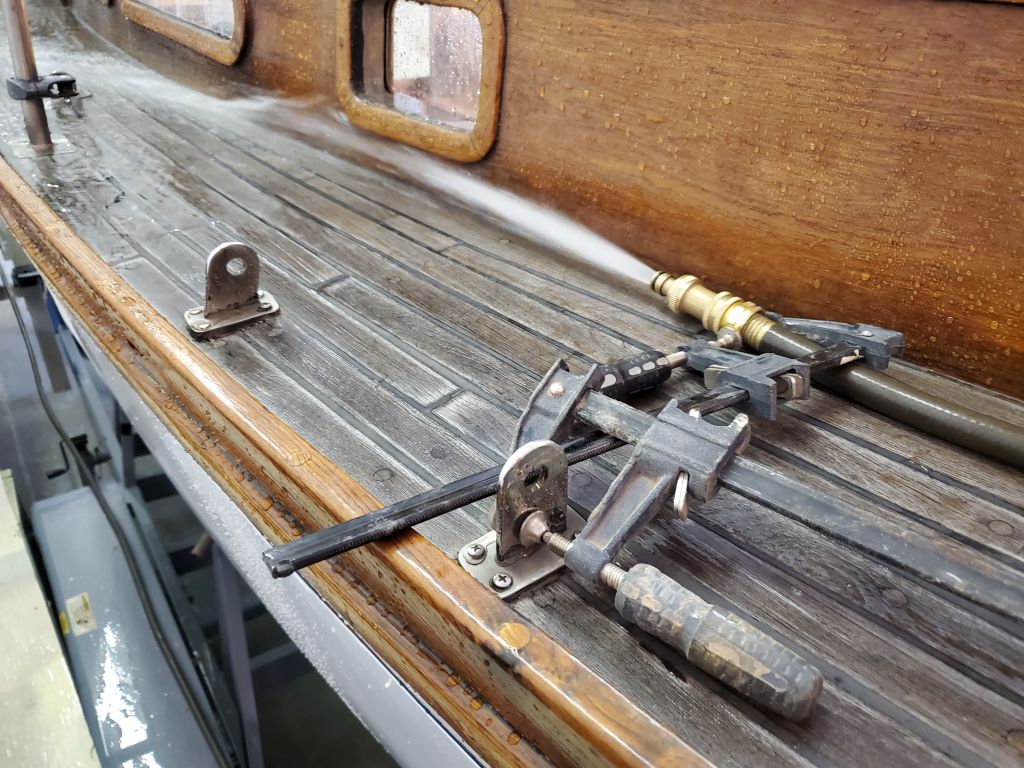
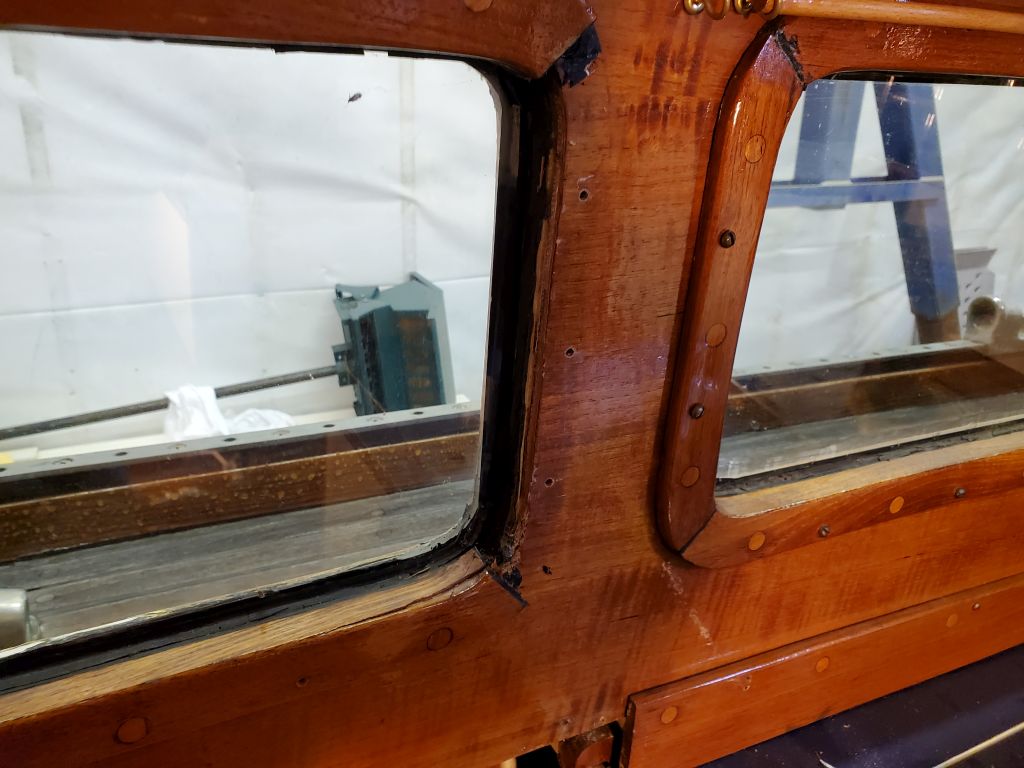
Having now created the leaks, it was time to get more scientific about figuring out where the leak came from. First, I wanted to eliminate the deck itself as a candidate, if possible, so I set up my hose to flood only the deck itself, not the deadlights, to see if the leak continued. Happily, there was no interior leak with this setup, which meant the unsavory task of trying to repair the decks or cabin trunk seam would not be necessary.
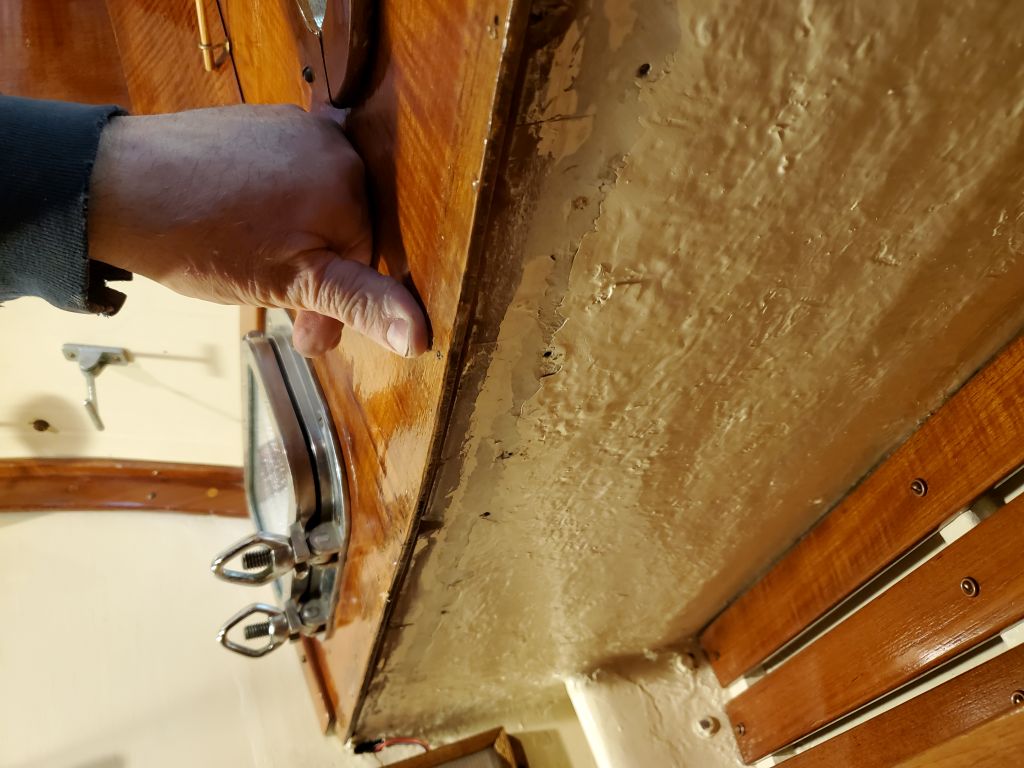
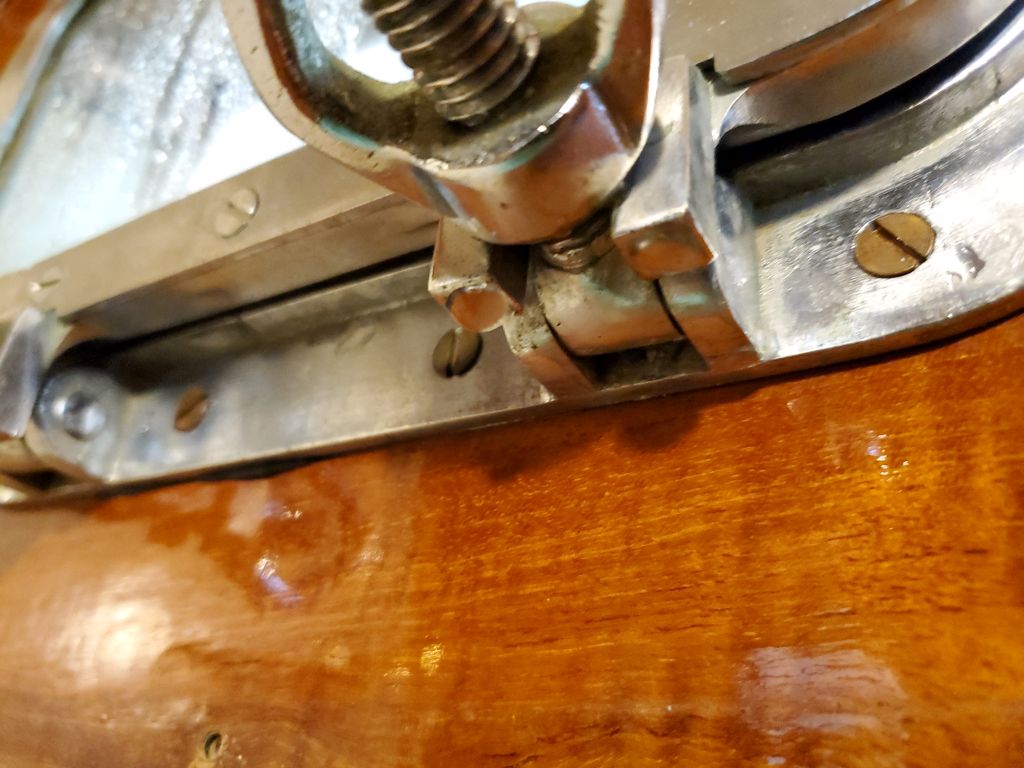
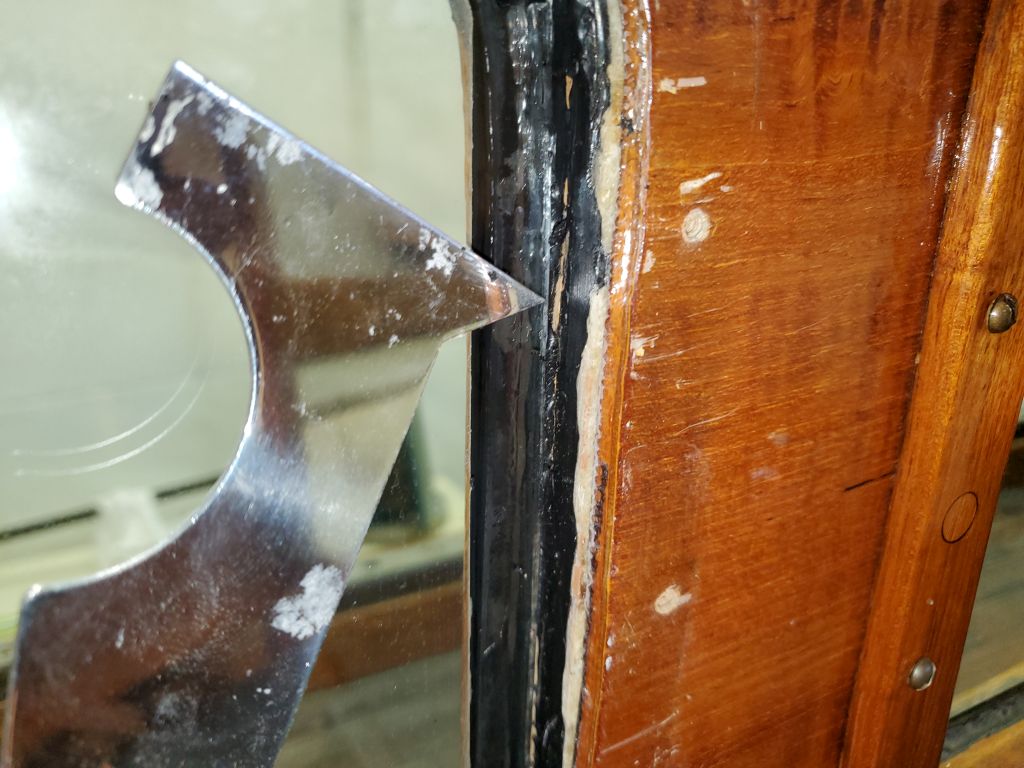
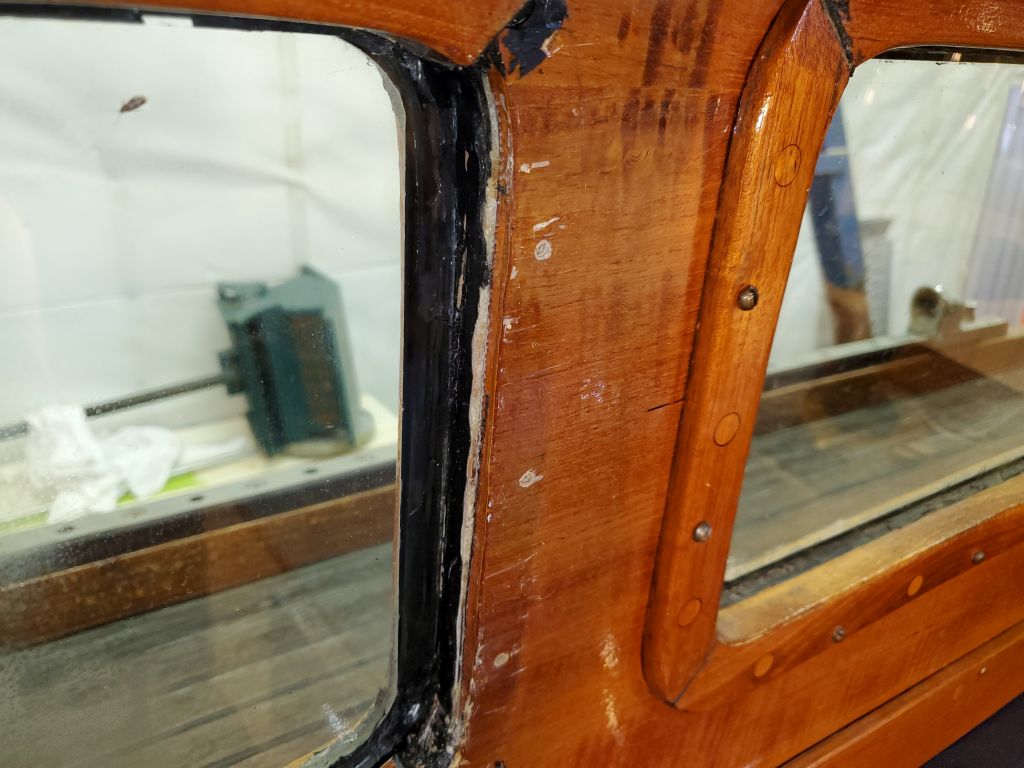
Since the position of the leak inside was consistent, and there didn’t seem to be multiple leaks, it seemed that the forward deadlight was the culprit. Not sure how these were assembled or sealed, and with the exterior trim bunged and heavily varnished into place, I chose to start carefully with the interior trim to see if its removal would allow the deadlight to be disassembled. But after removing the after L-shaped vertical piece of trim with some difficulty, it was immediately clear that the lens of the deadlight was actually secured against the interior trim, as I could see the exposed edge of the glass lens inside the newly-exposed opening (the point of the putty knife is directly on the edge of the glass). So it looked like I’d have to remove the exterior trim in order to free the lens and work towards rebedding the entire deadlight–including the interior trim/frame, but the remaining three pieces would have to await removal of the outer trim and lens.


Total time billed on this job today: 6.5 hours