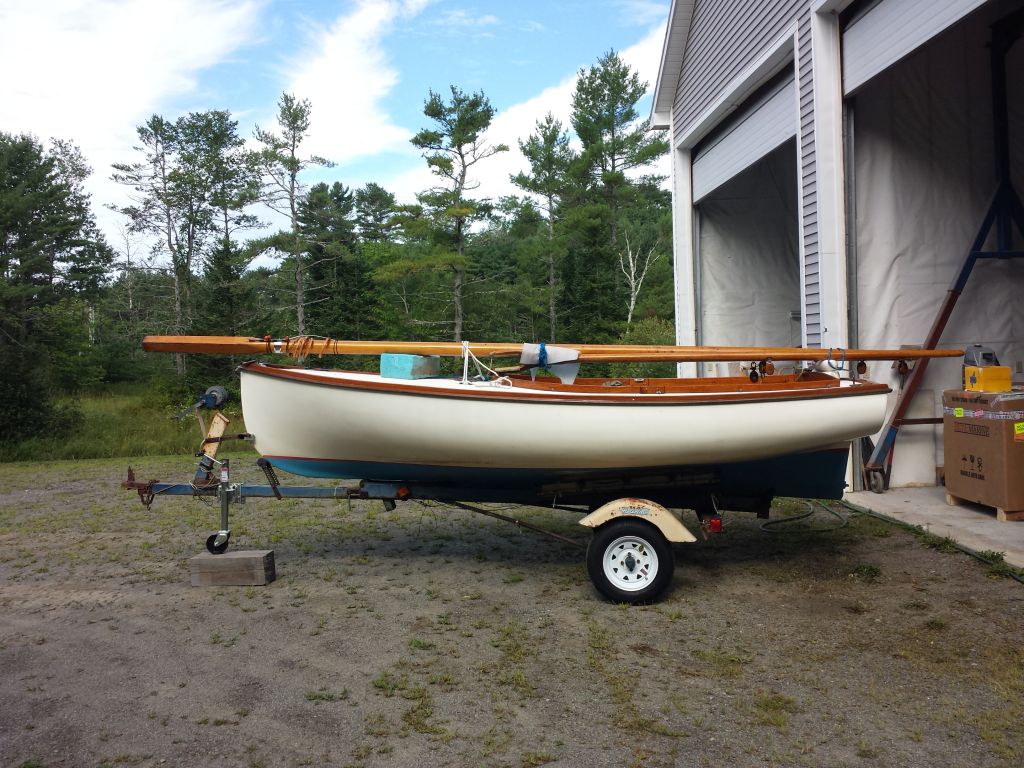
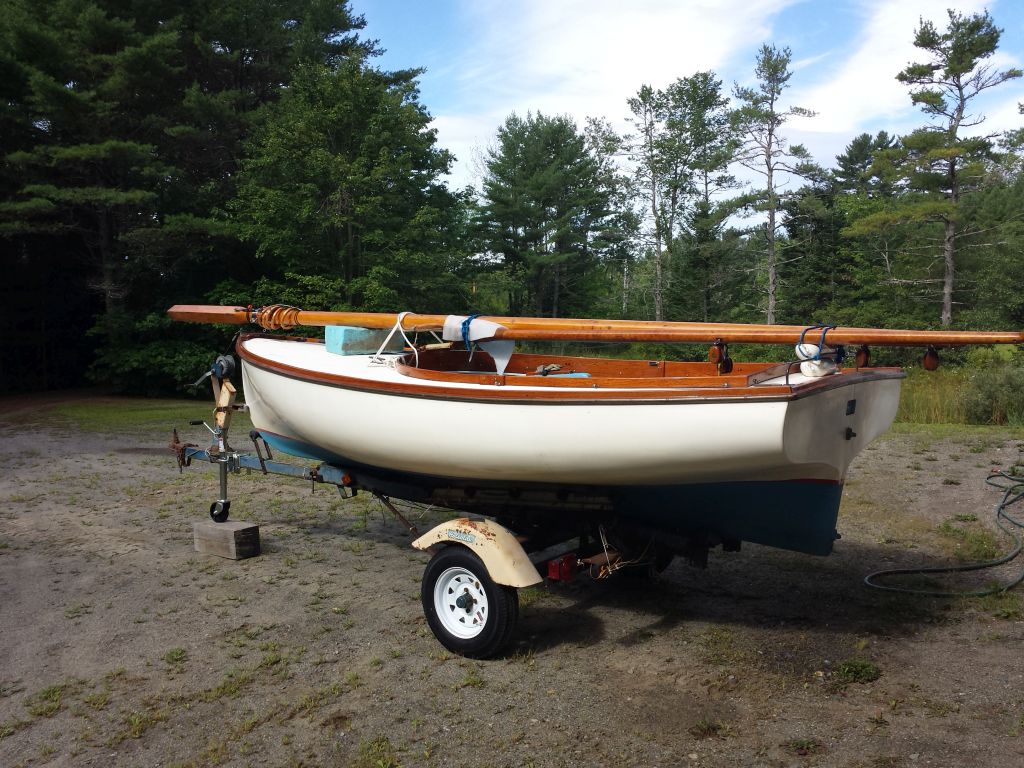
1973 Cape Dory Handy Cat 14′
Initial Photos 8/10/16
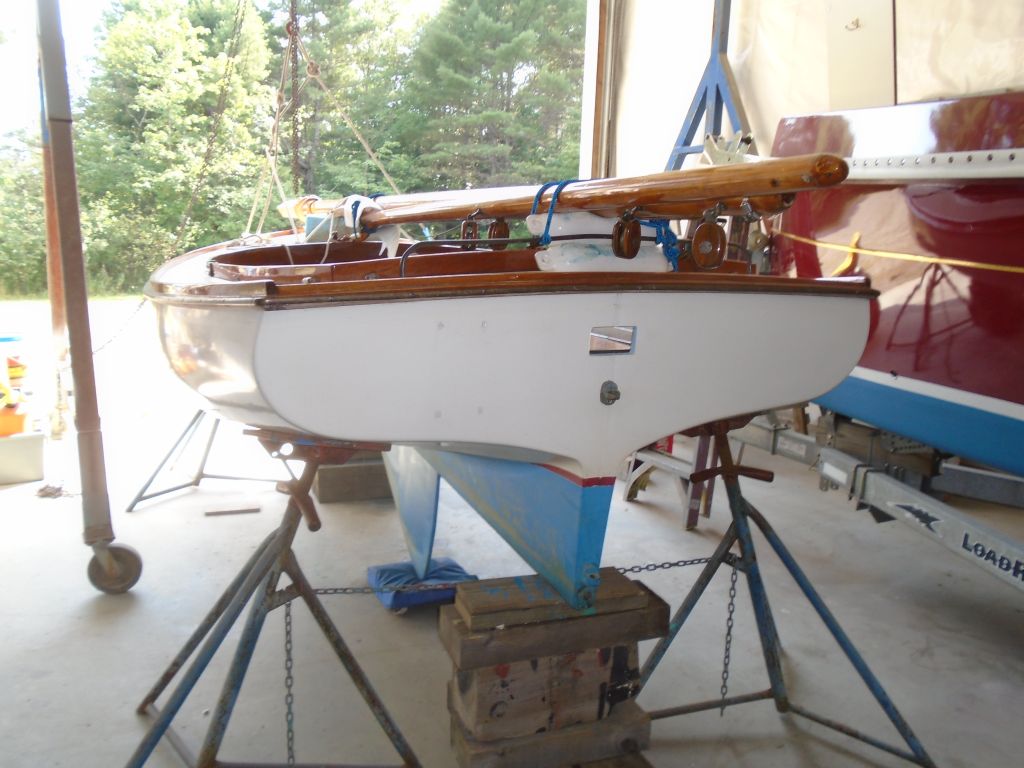
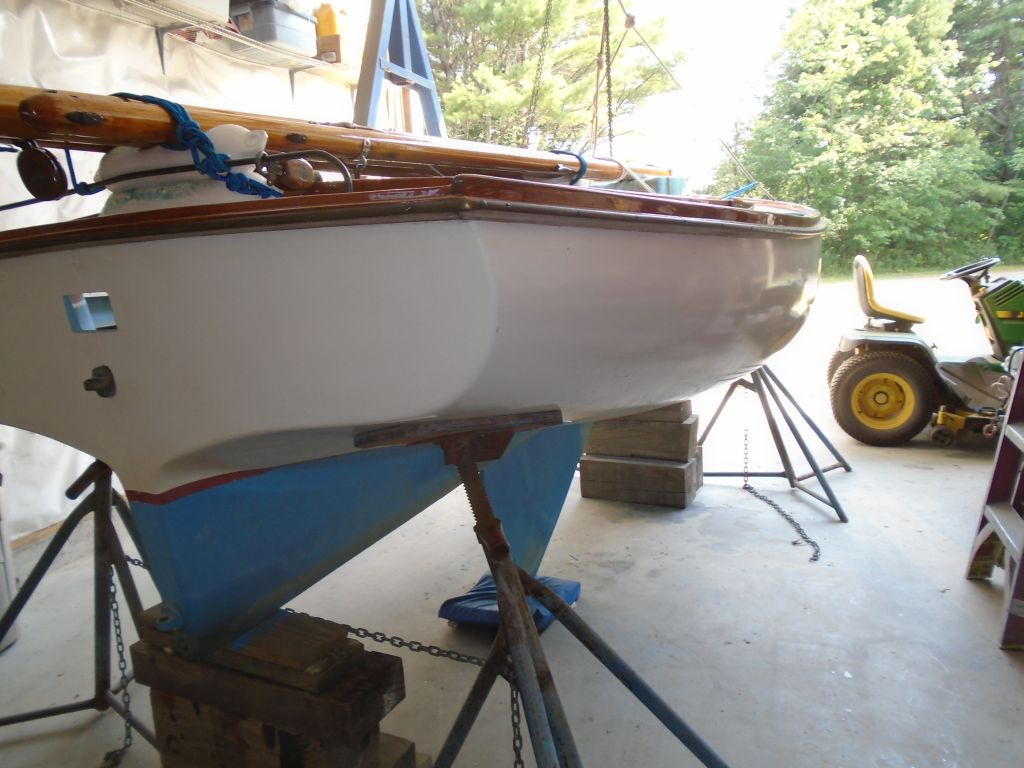
The boat is in very good condition , with professional brightwork. The previous owner, who had the boat only a short time, tragically added a horrendous outboard bracket, besmirching the shapely transom. She is sitting on a 1973 Holsclaw trailer which, despite outward appearance, turned out to be in surprisingly good mechanical/structural condition.
Other flubs: cheesy, shiny, foil-like striping tape beneath the gunwale. Ugly registration numbers (not required for a pure sailboat of this size and only installed because of the addition of the auxiliary).


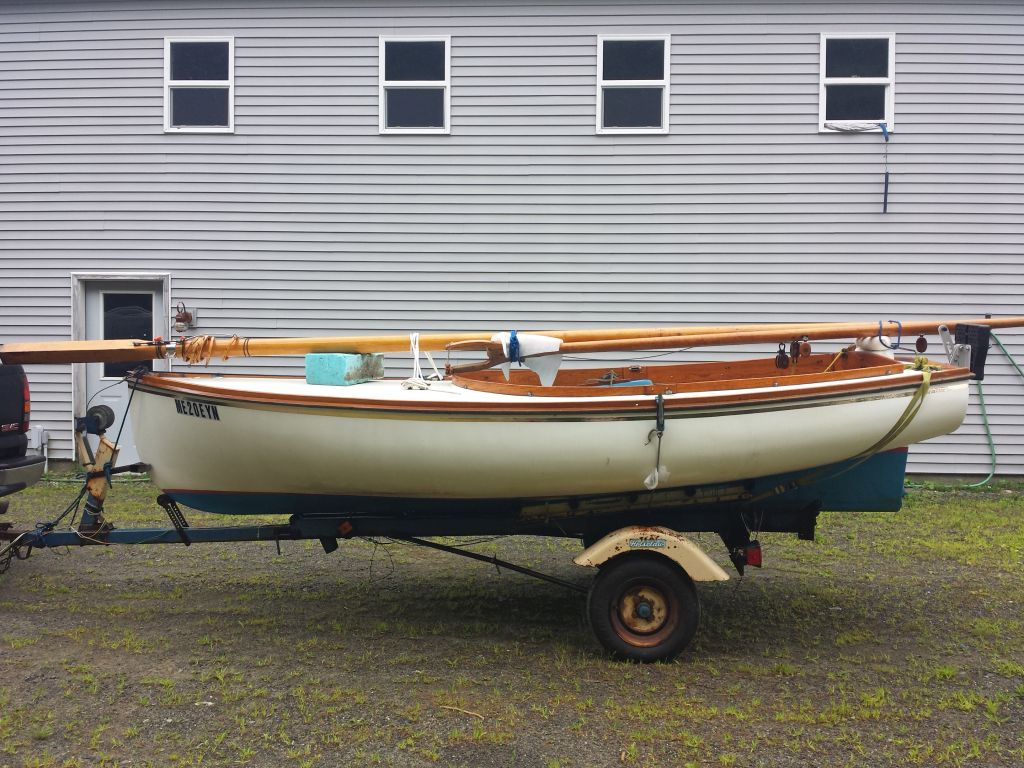
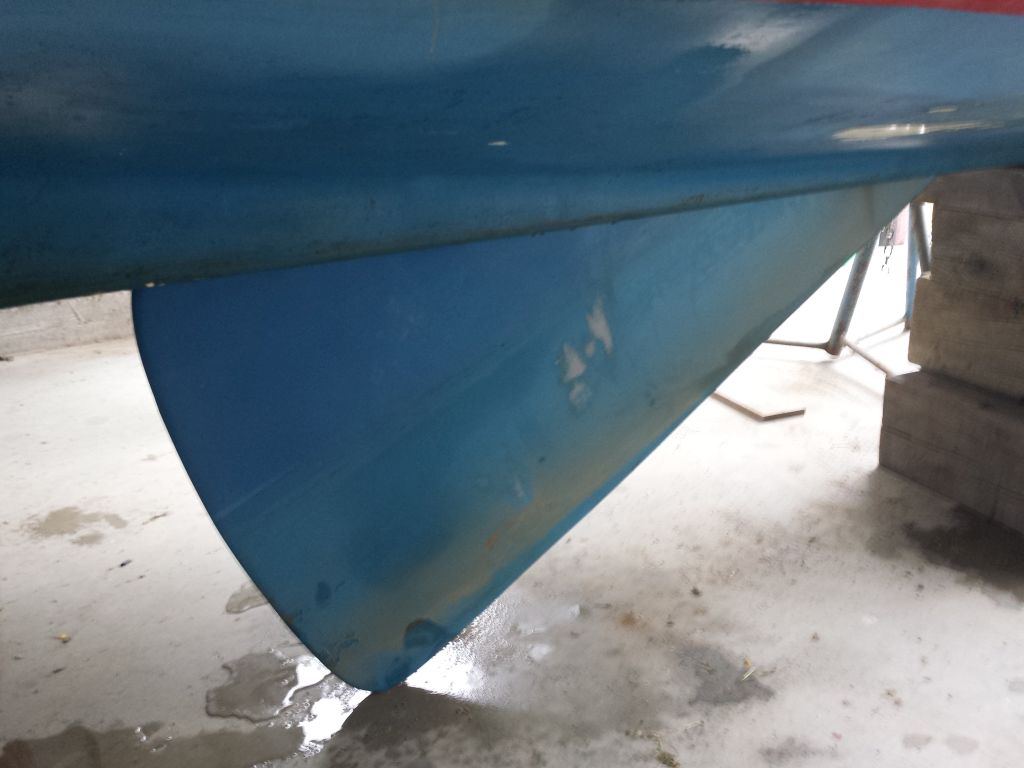
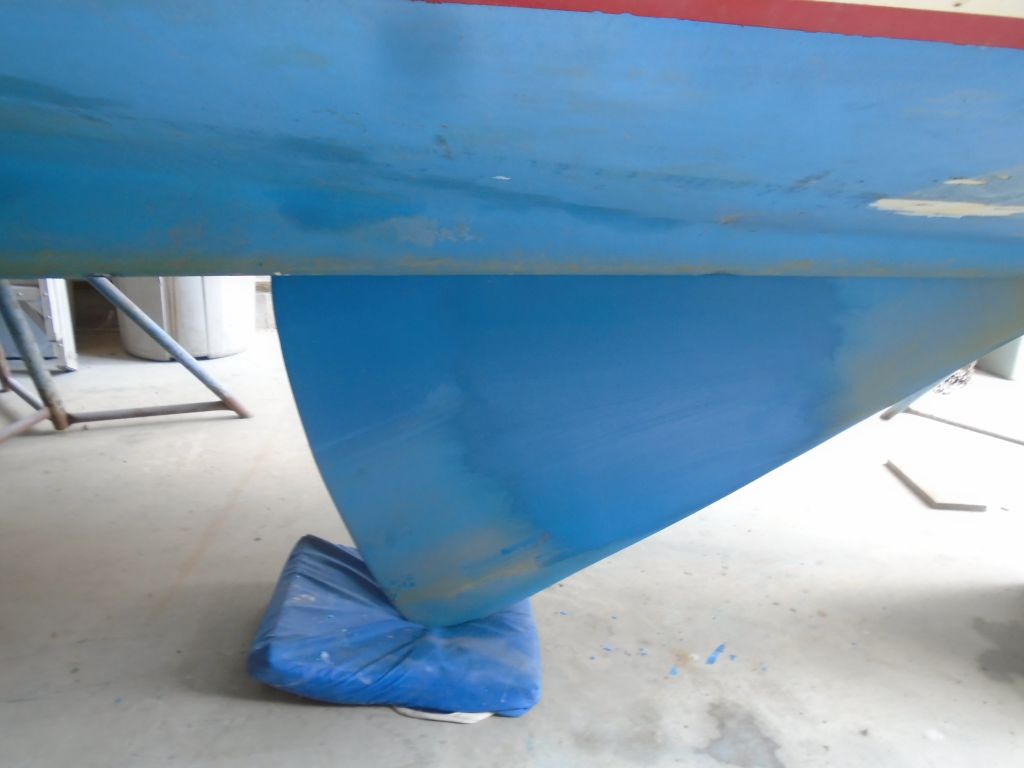
The previous owner found the boat unusable for his purposes because the centerboard apparently didn’t drop correctly, or at all. The current manufacturer of the Handy Cat was unsure of the cause of this, but the board was a new fabrication from a boatyard in Rhode Island. I purchased the boat despite worries about the scope of centerboard repair.
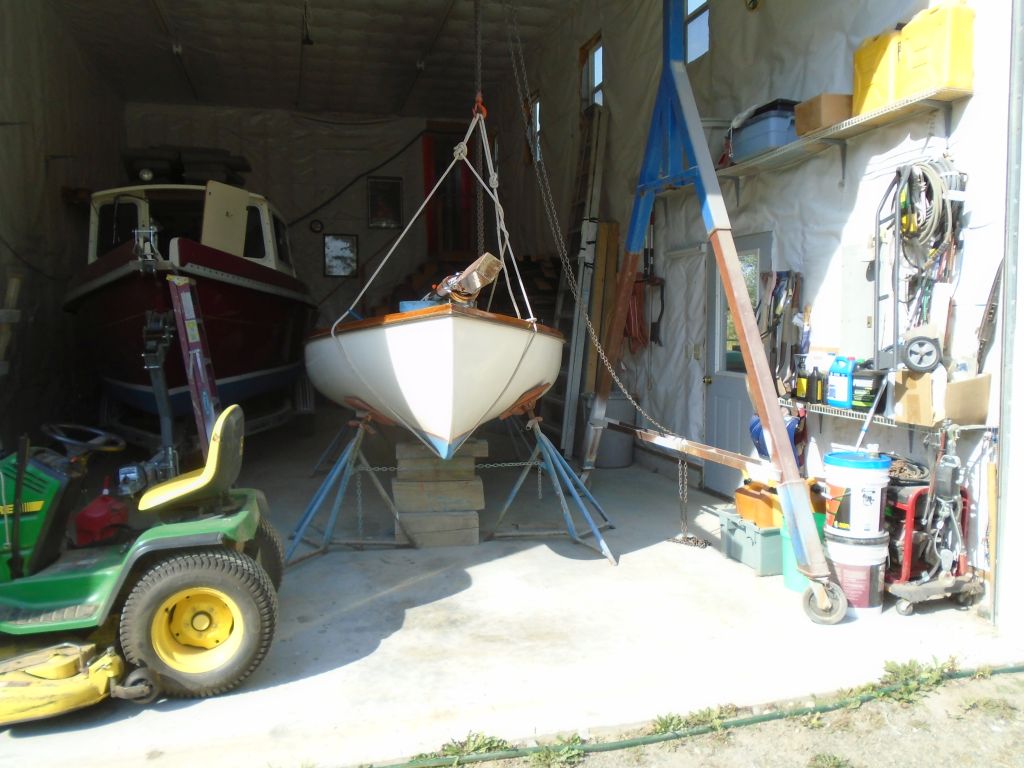
To access the centerboard, I first had to remove the boat from the trailer. This turned out to be fairly straightforward. With the boat in the shop, where I had a gantry crane overhead, I began by lifting the stern off the trailer with jackstands, then blocking the keel accordingly. Then, using the overhead crane and a manual hoist, I lifted the bow as needed with a simple sling. This allowed me to pull the trailer slowly out.
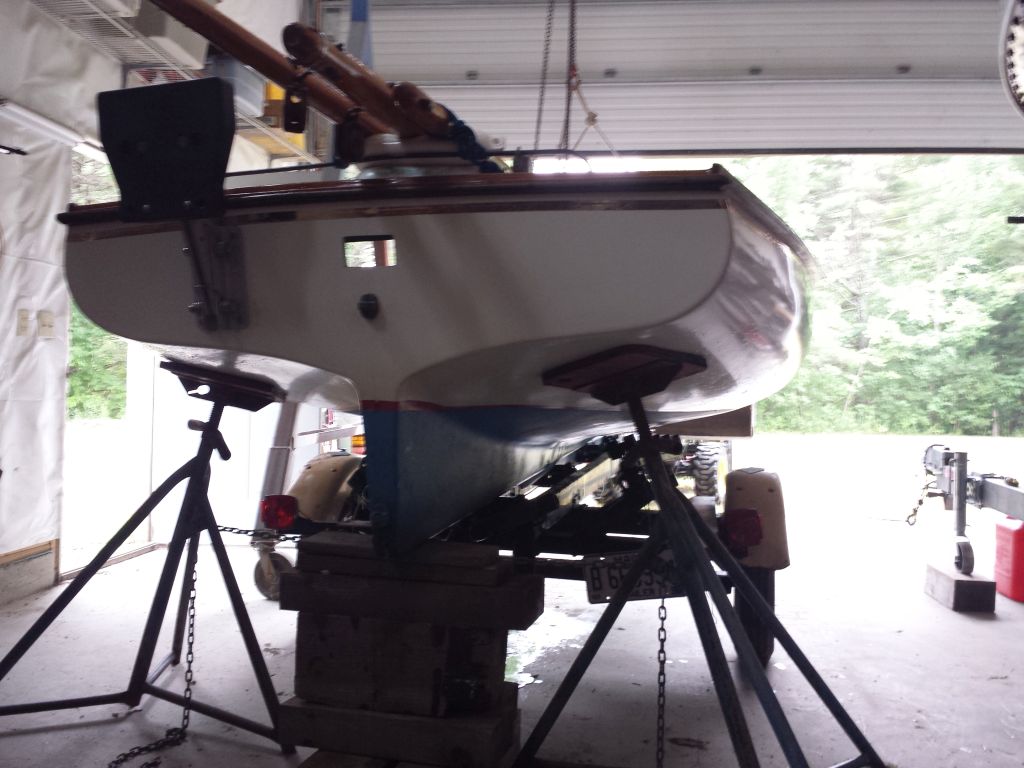
Once I had the trailer clear of the centerboard trunk, I blocked the keel and added forward jackstands for support, retaining the overhead sling as a safeguard.


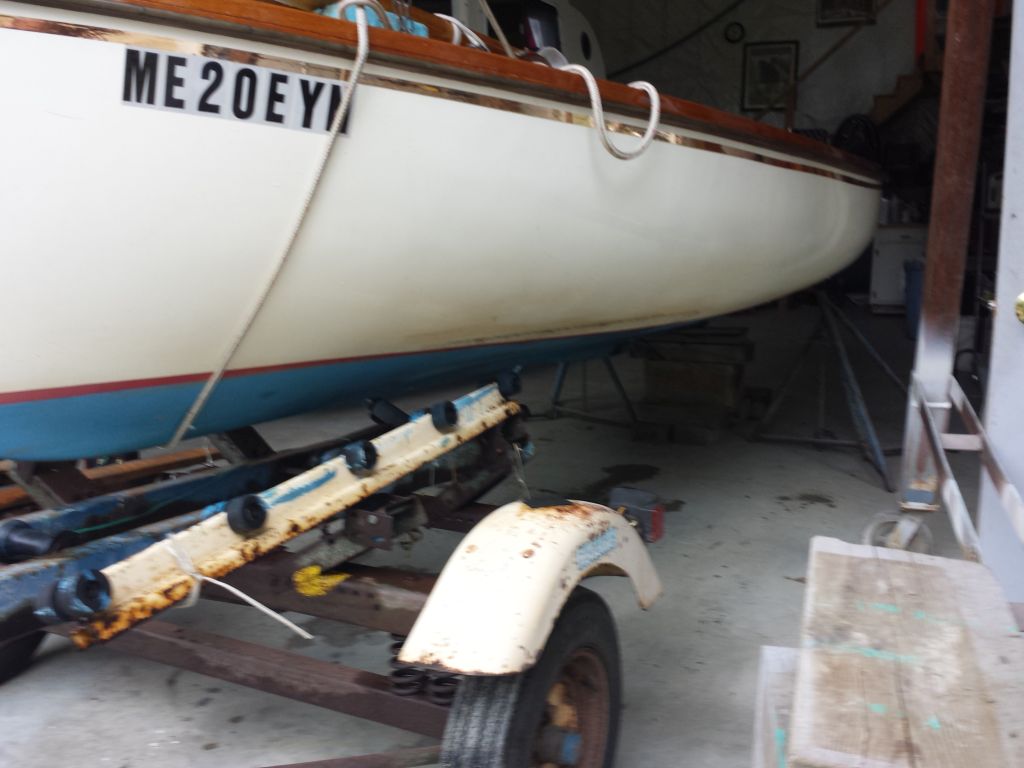


The trailer looked terrible, but later inspection proved the running gear (bearings etc) to be in excellent condition and clearly maintained and serviced over the years.
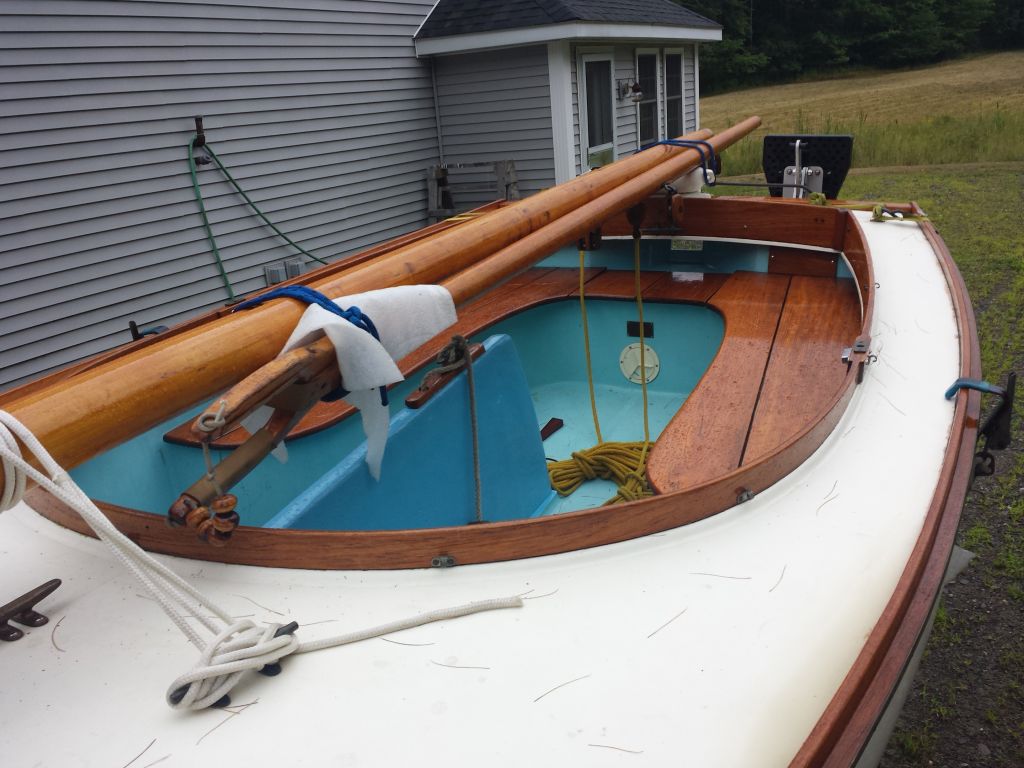
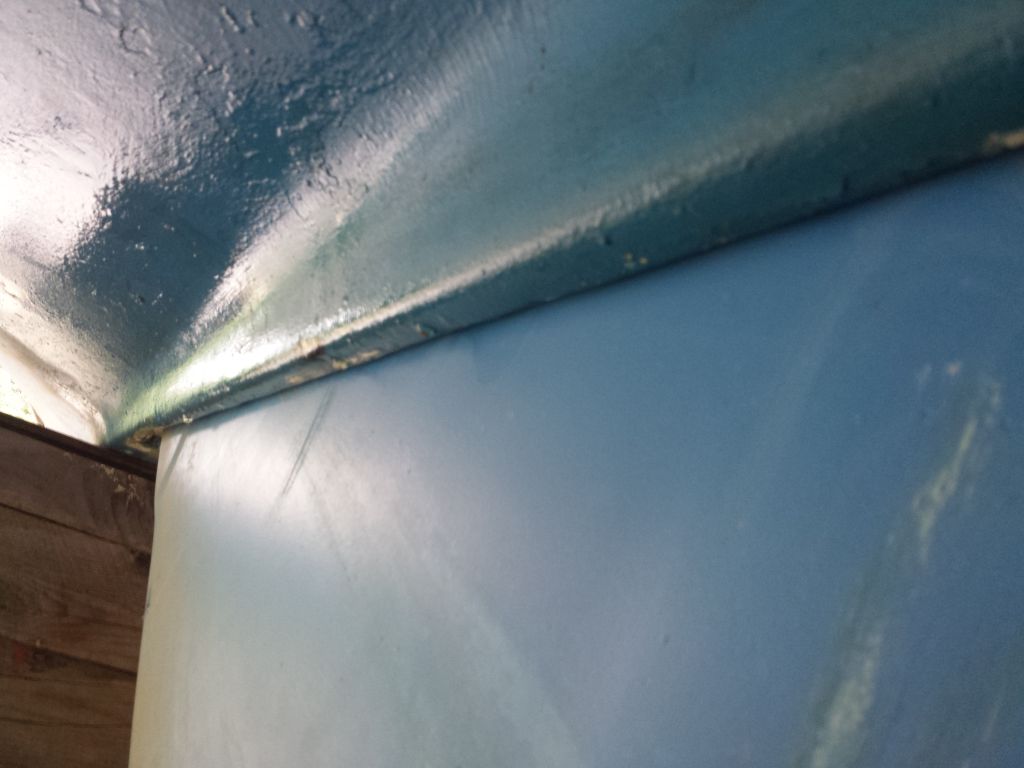
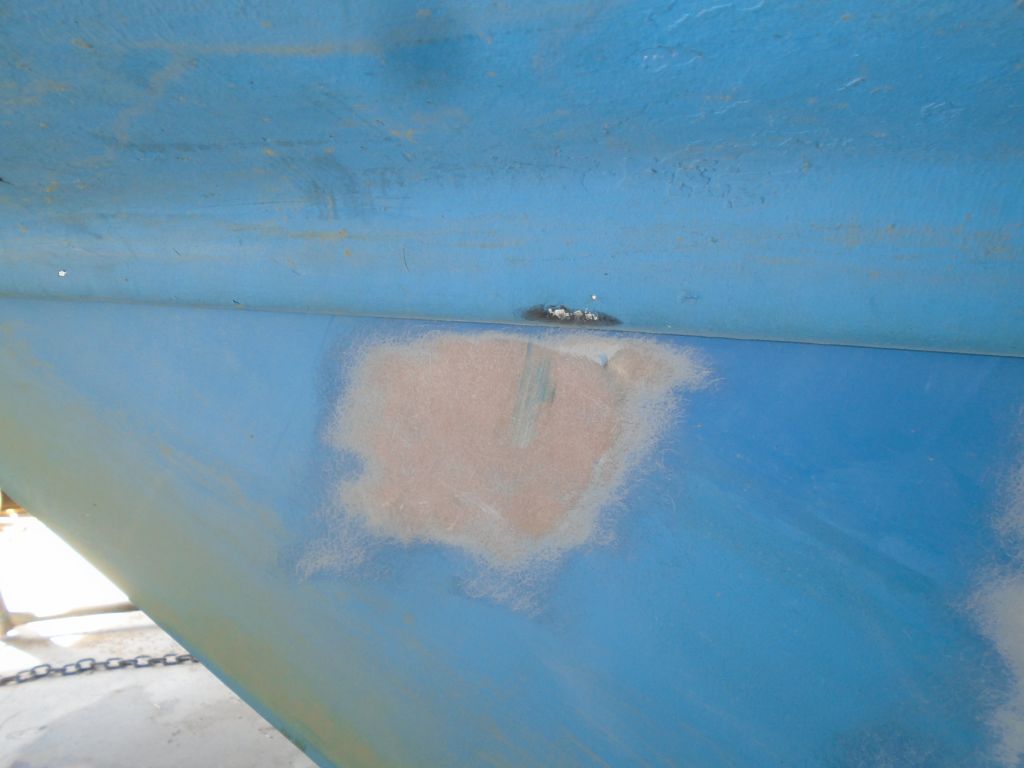
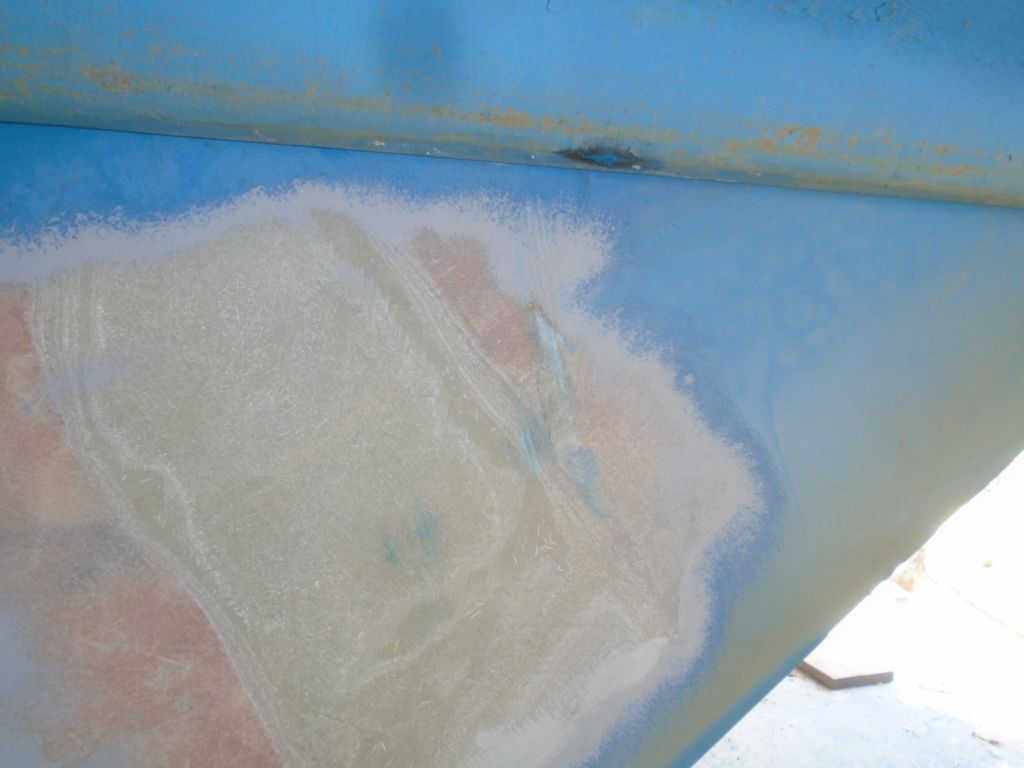
Releasing the centerboard pendant, the board dropped partway–perhaps 1/3 of its total travel–before becoming stuck. This immediately seemed to indicate that the problem was in the board itself, not some of the other possible causes the current builder of the Handy Cat, from whom I’d purchased the boat and with whom I’d consulted, had suggested. From beneath, I could easily pull free the board, dropping it fully. Chafe marks were clearly visible in the paint on both sides of the board, indicating where the board was ill-shaped for the centerboard trunk.
The pendant stop was also located in the wrong place, and with further consultation with the builder, I marked the line where it should be stopped so I could reposition the wooden stop later.
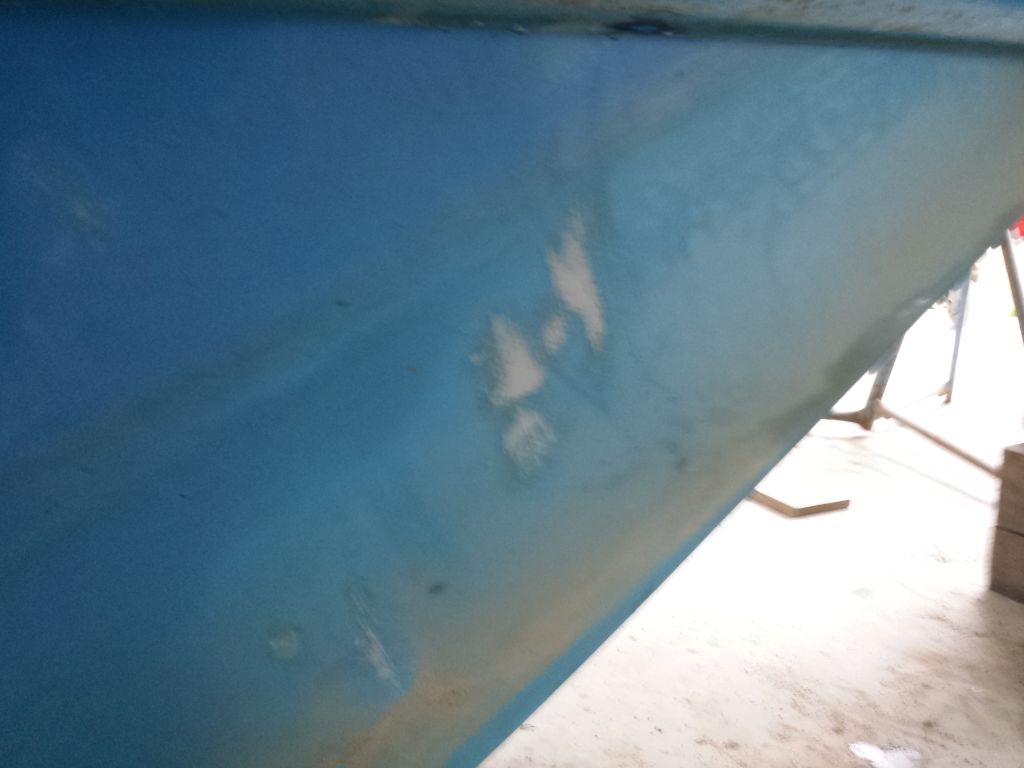


After operating the board several more times to determine the extent of the sticking issue, I sanded the board in way of the chafe marks on each side, removing whatever material was needed while maintaining the relative fairness of the foil itself. I performed several operation tests during the process, taking off more material when scrape marks were still visible after operation. After a time, the board seemed to drop easily with no indication of binding, and no further evidence of chafing on the surface of the board itself.
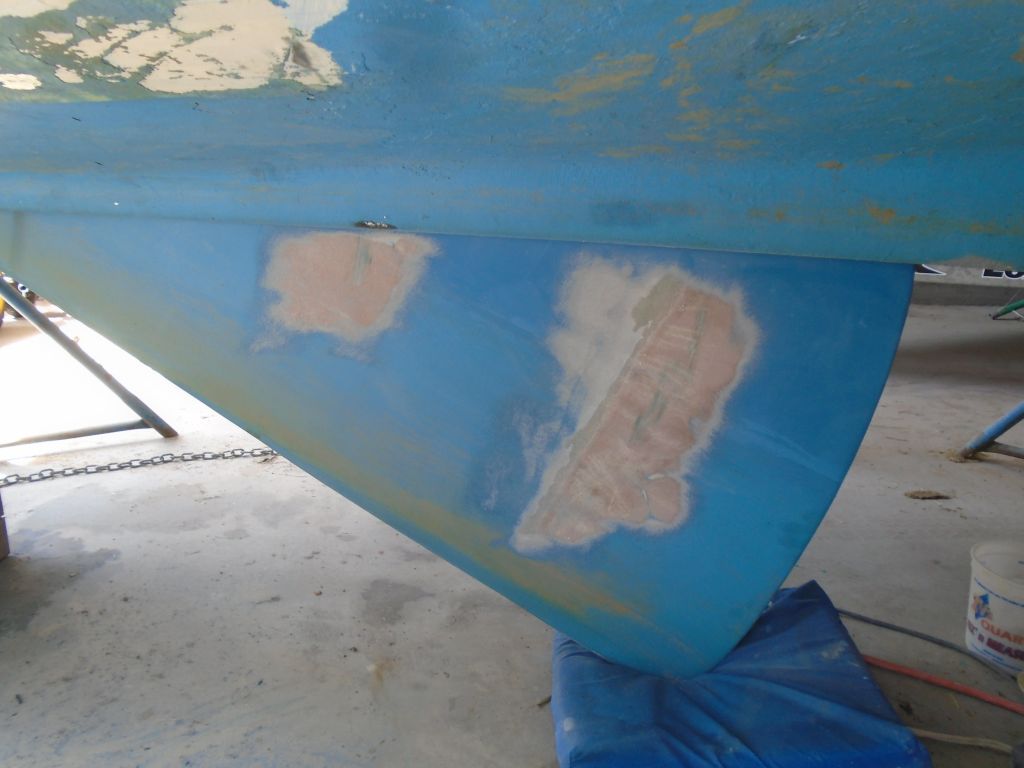
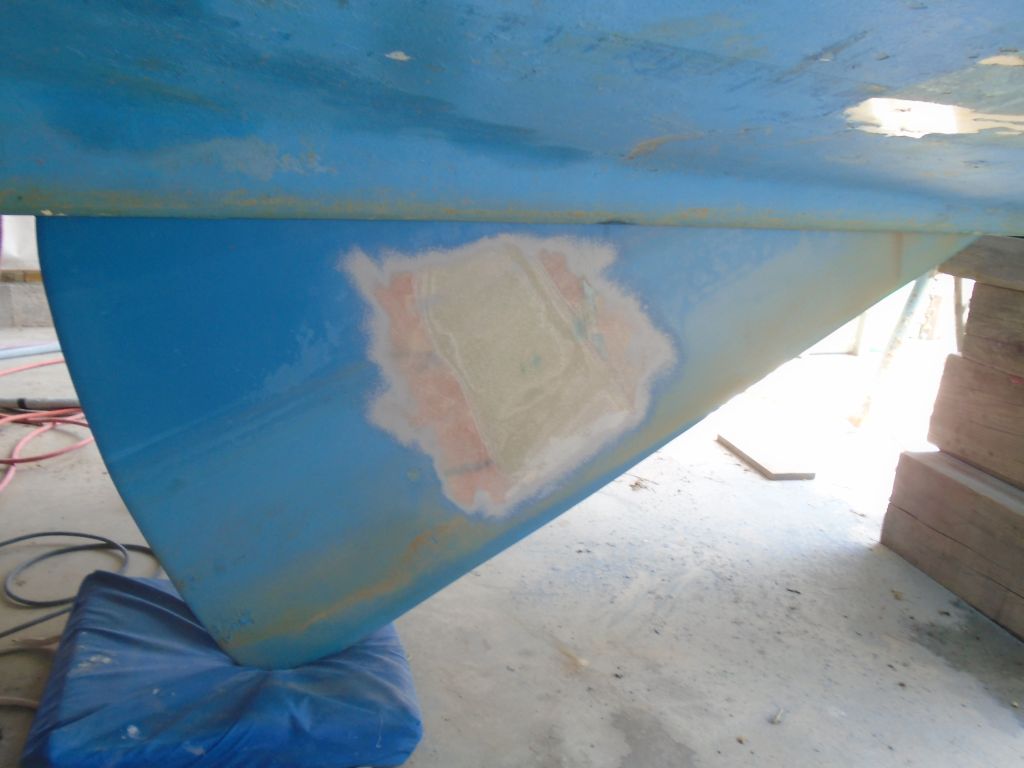
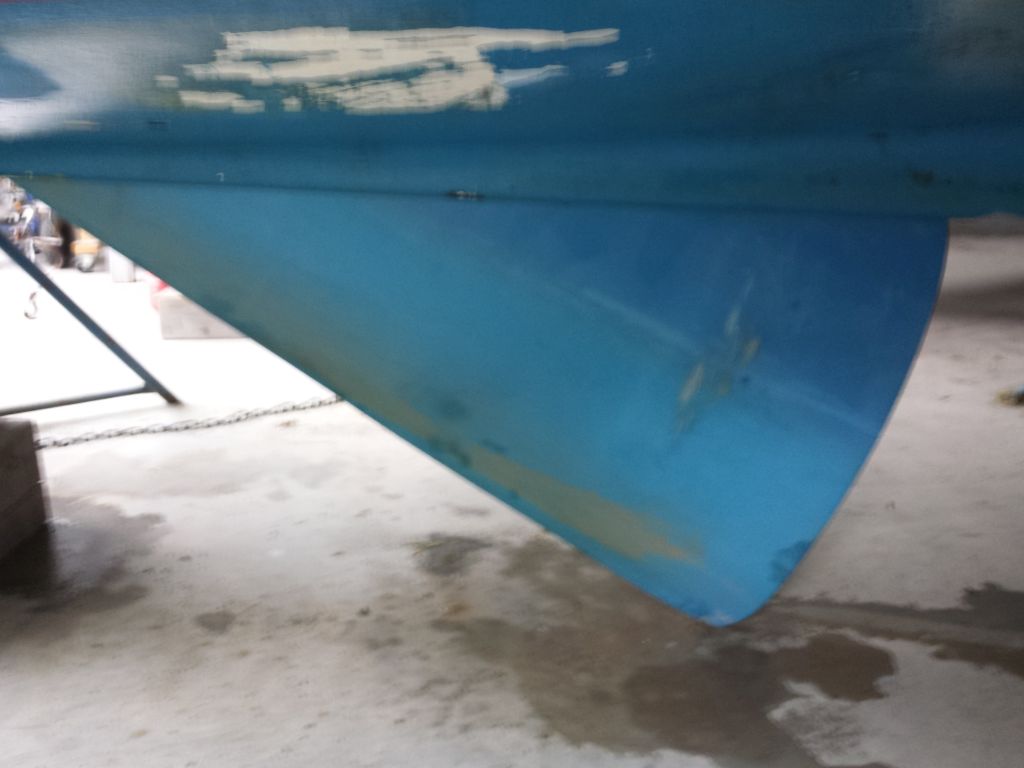
Satisfied now with the operation of the board, I went ahead and repainted it, and repositioned the pendant stop so it would stop the board’s travel at the right place (i.e. where the board had extended, which we determined was the correct position).
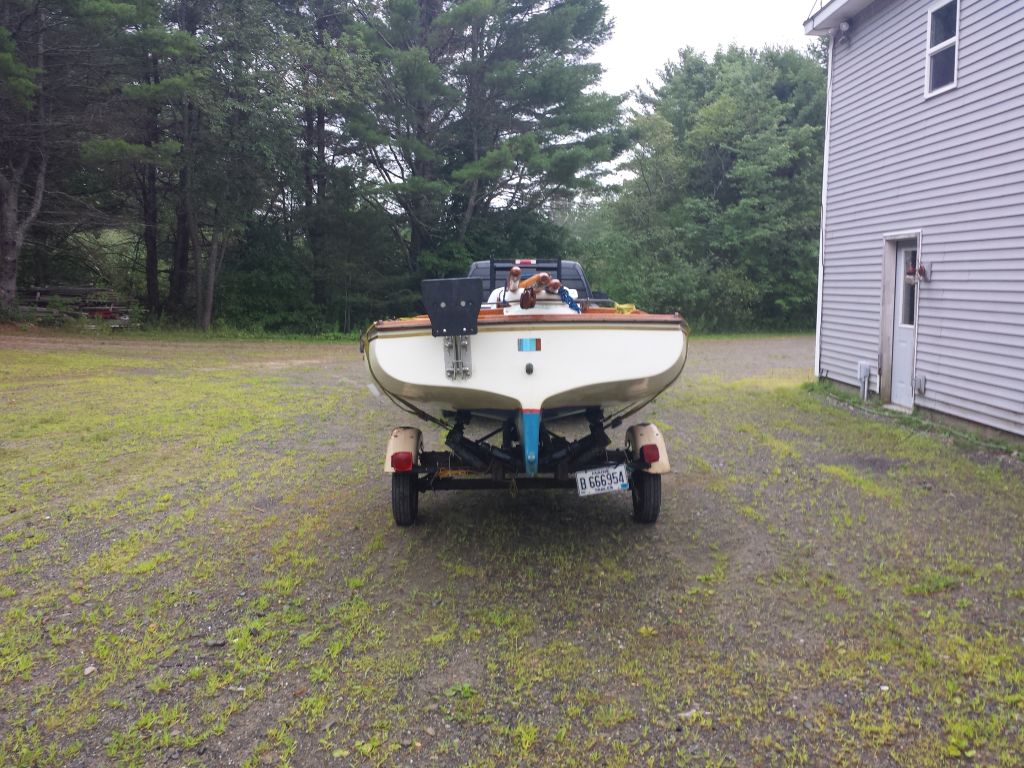
Outboard Bracket
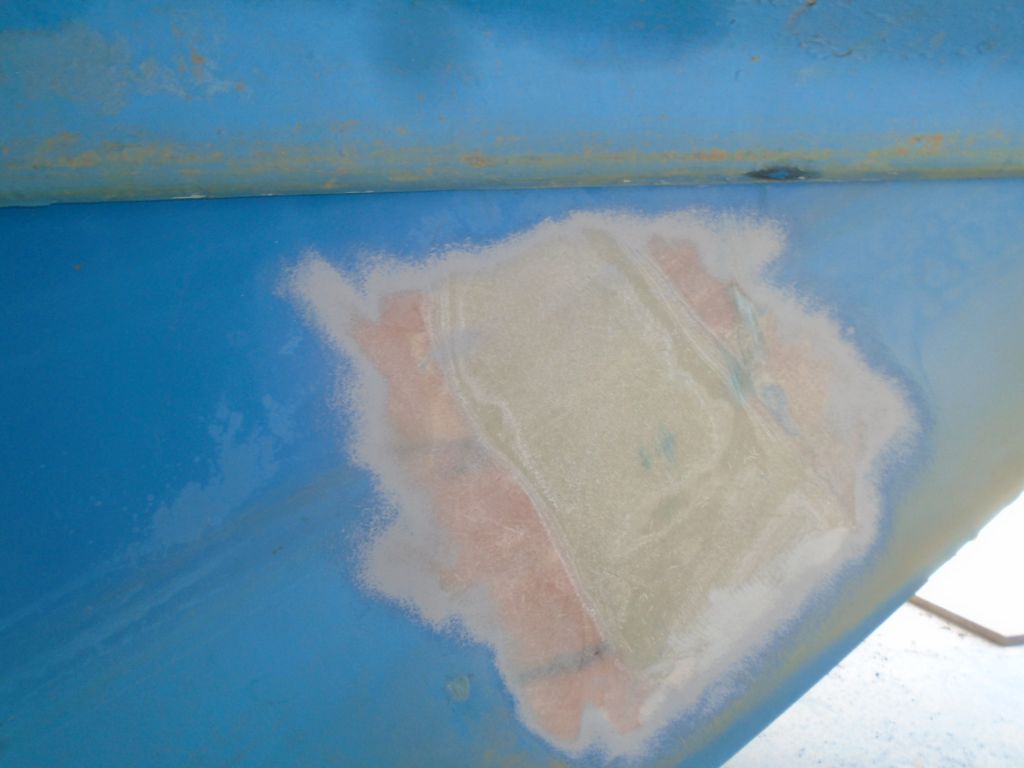
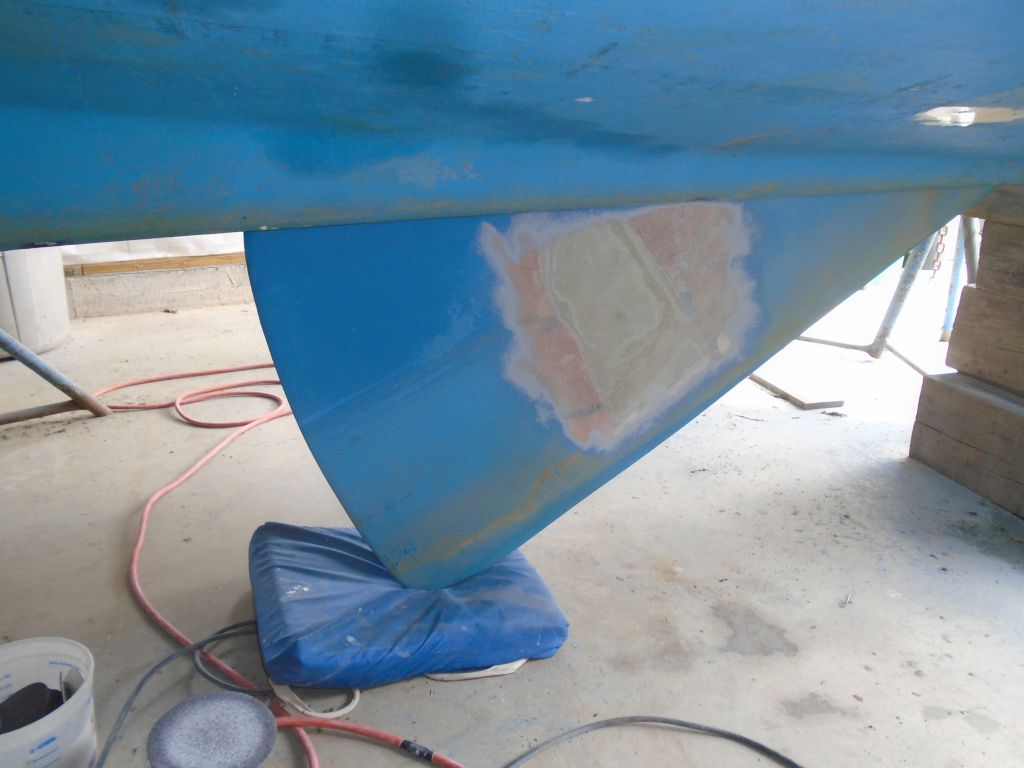
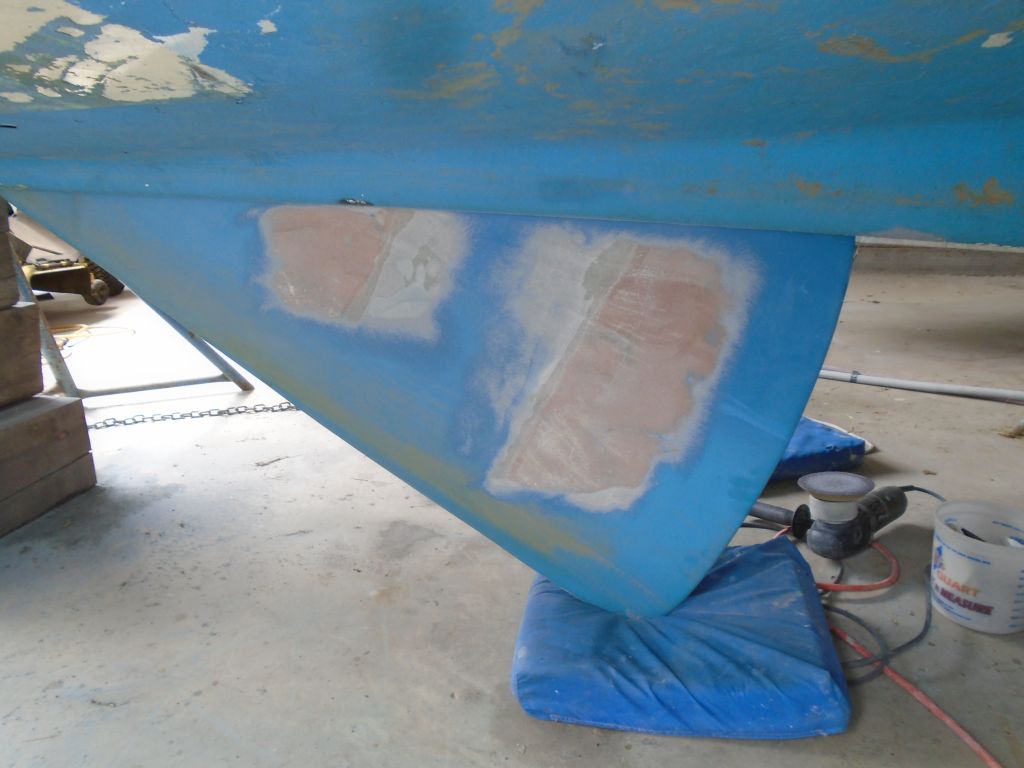
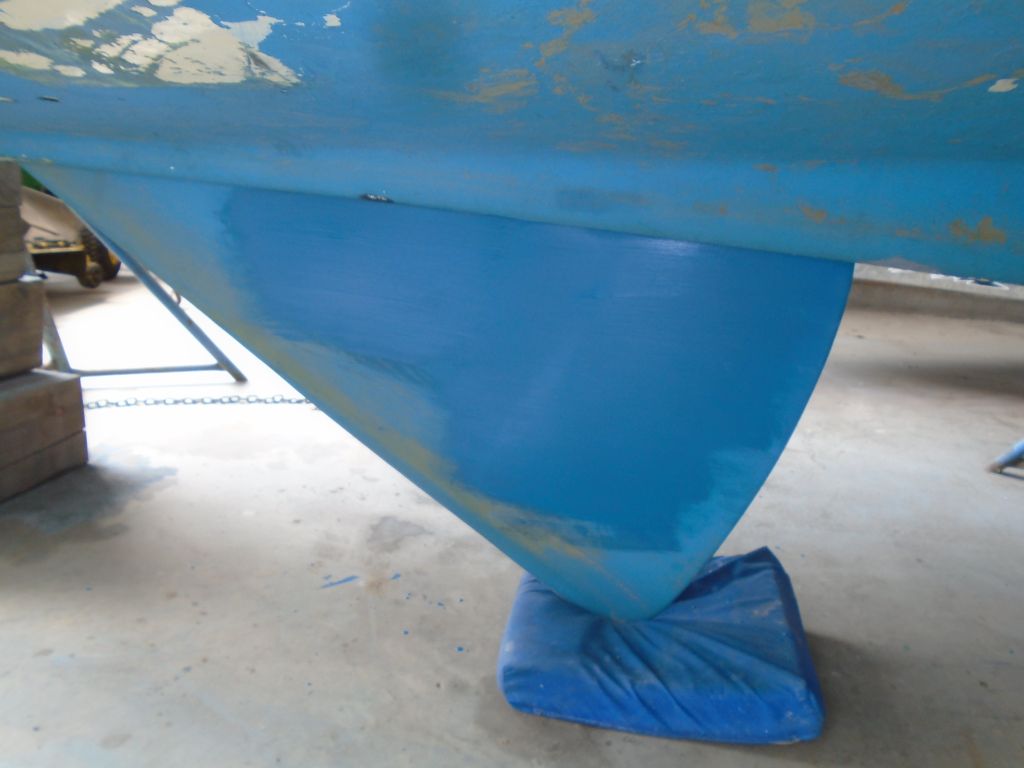
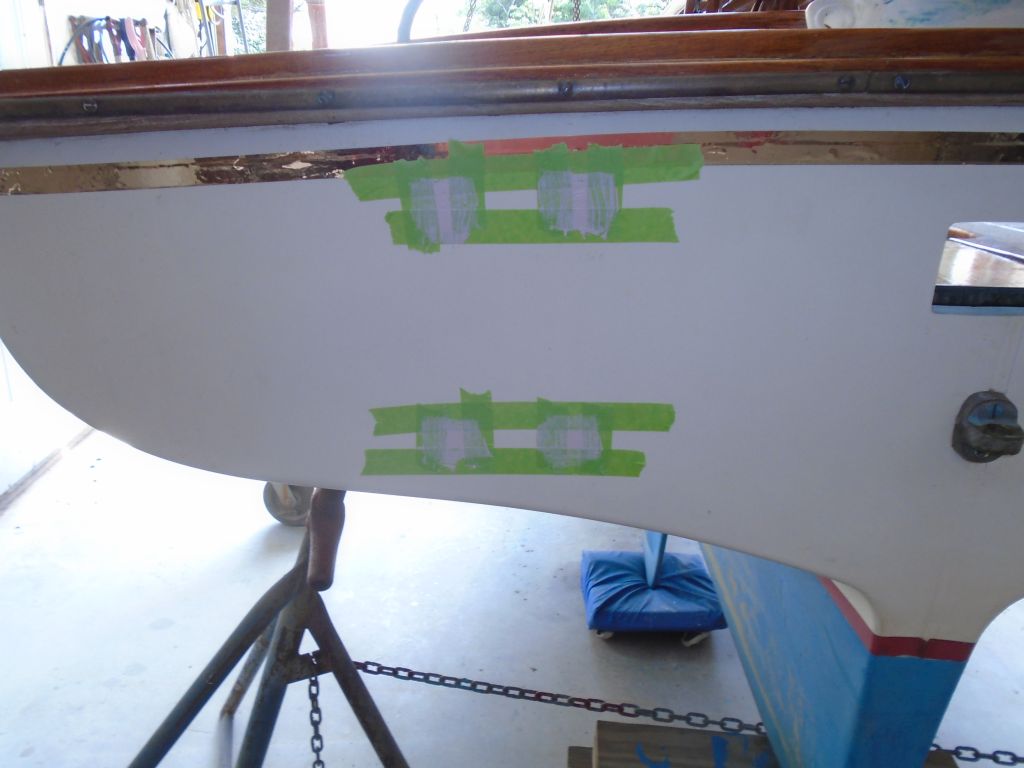
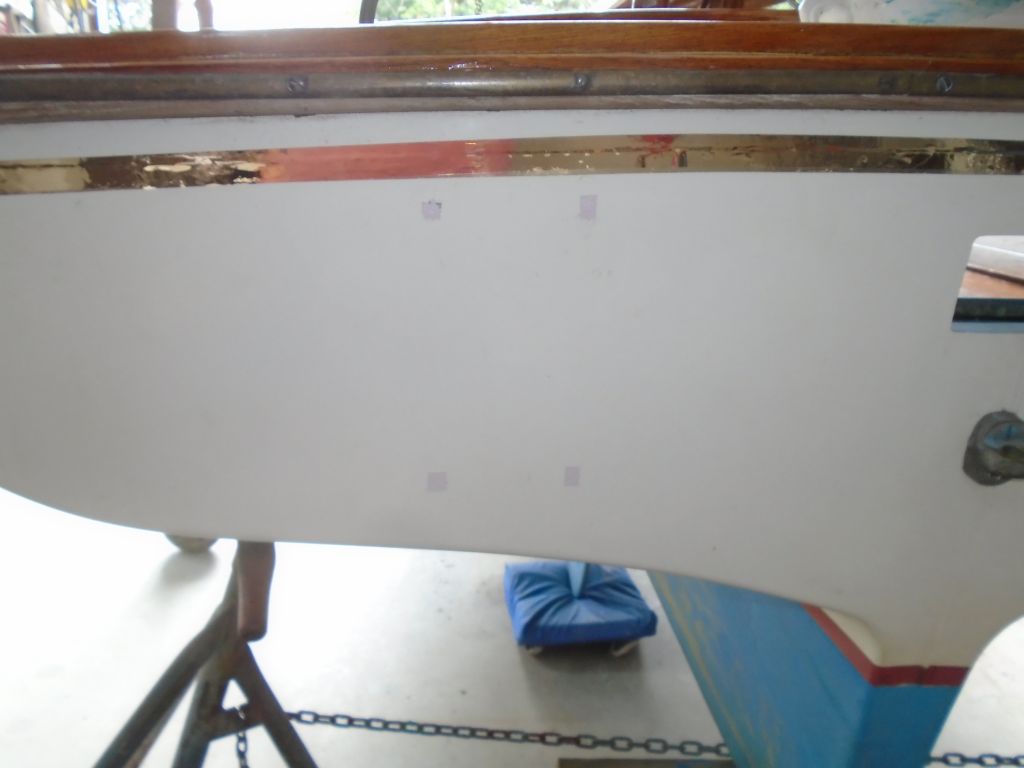
This new, modern outboard bracket was terribly out of place on this small and delicate boat, and as I had no desire nor need for an outboard, removal was paramount. The installer had cut an access port into the interior liner, so I could reach the bolts from within. The bolts were perhaps 2-1/2″ longer than the thickness of the hull and backing plate required, and secured with nylock nuts, so backing off the nuts was a lengthy and irritating process, but fortunately easy enough since the installation was so new. Afterwards, the bracket came off with ease, leaving four bolt holes to patch. The sealant used beneath the bracket was unknown, but truly seemed like cured hot glue to me. I was able to remove the vestiges of sealant later without too much work.


Masking over the holes from inside, and around their perimeters from outside, I filled the bolt holes with a thickened and white-tinted epoxy mixture, leaving it to cure overnight. I didn’t want to get into a major cosmetic repair at this time, and the white-tinted epoxy blended fairly well, and would also protect from UV. However, I intended to touch up the repairs with paint as soon as I could.
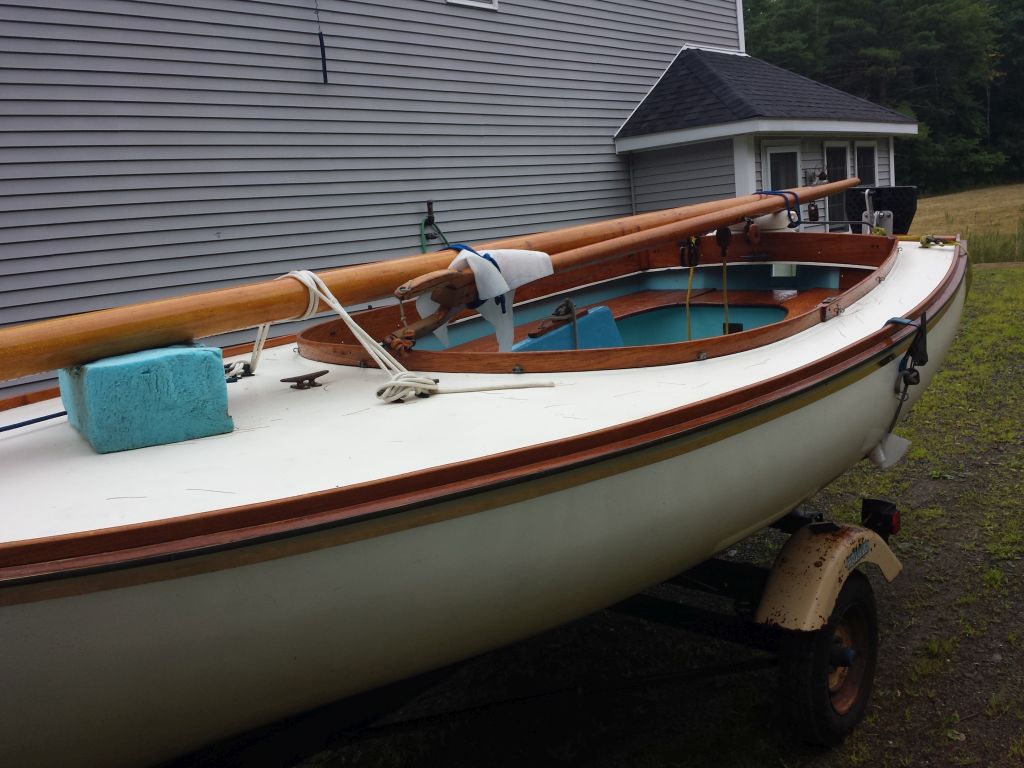
Cove Stripe
I’d not liked the cove stripe that someone added–it was too wide, too shiny, too cheesy. But I wasn’t sure whether to bother removing it at this time. Trying a bit of removal at the transom, though, I discovered that the foil tape peeled off easily, revealing and older, narrower stripe beneath. So I went ahead and removed all the tape–along with the registration numbers–with a heat gun and solvent. The committee looking into the feasibility of cove stripe replacement had adjourned after tabling the issue for now–the boat looked nice and traditional without, but I reserved final judgement for the moment.
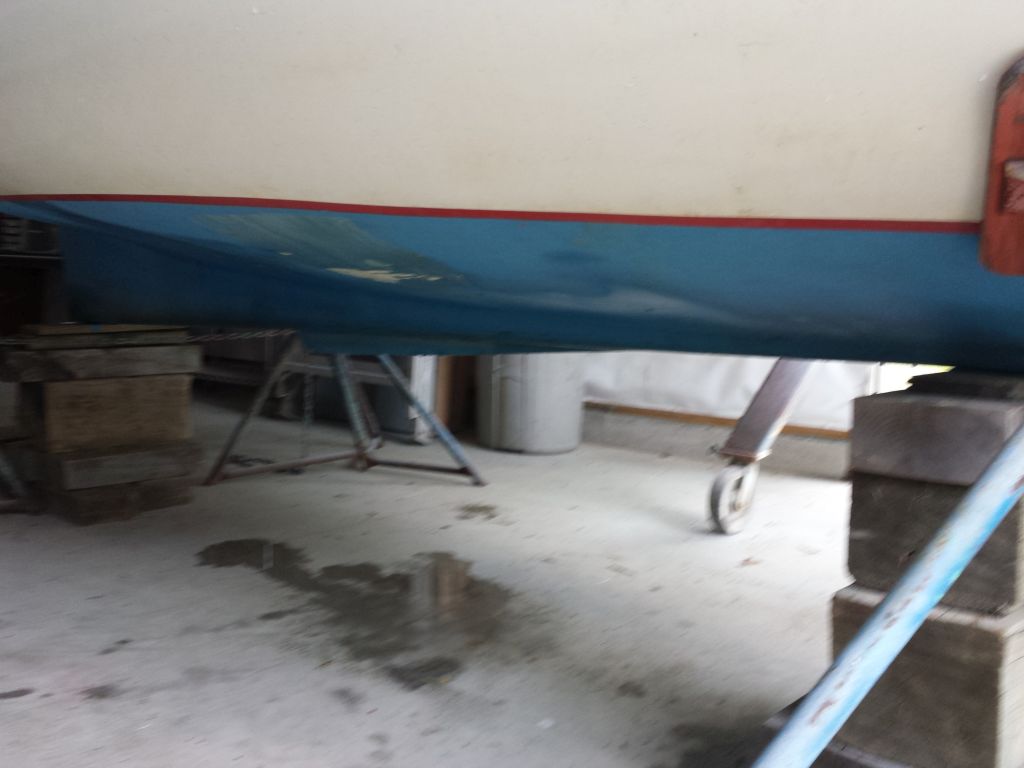
Further, it seemed clear to me that work would eventually be required on the waterline (bottom paint) and boottop (which was a strip of vinyl tape), but that work would wait till later, certainly not until I’d launched the boat and observed the actual waterline.
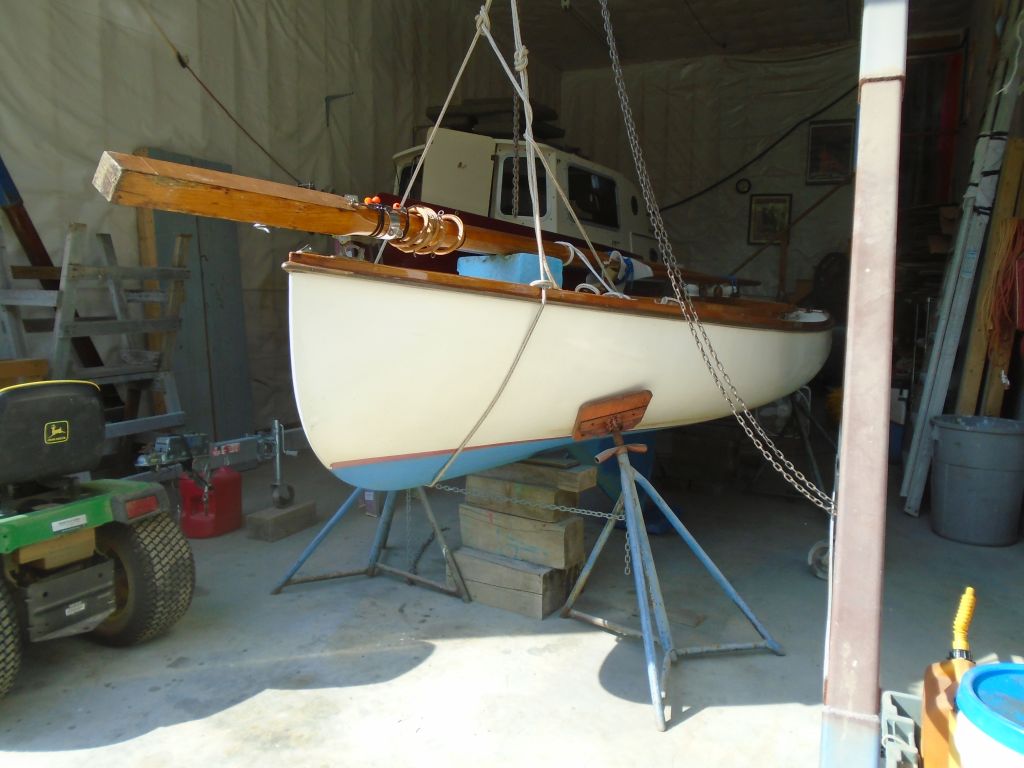
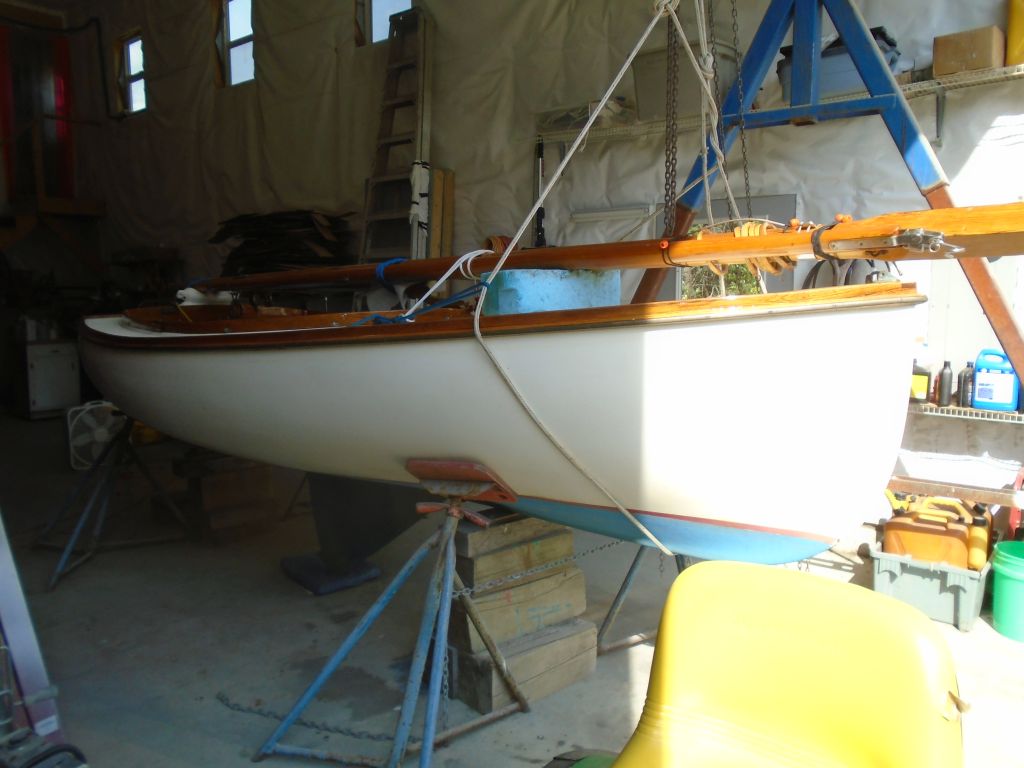

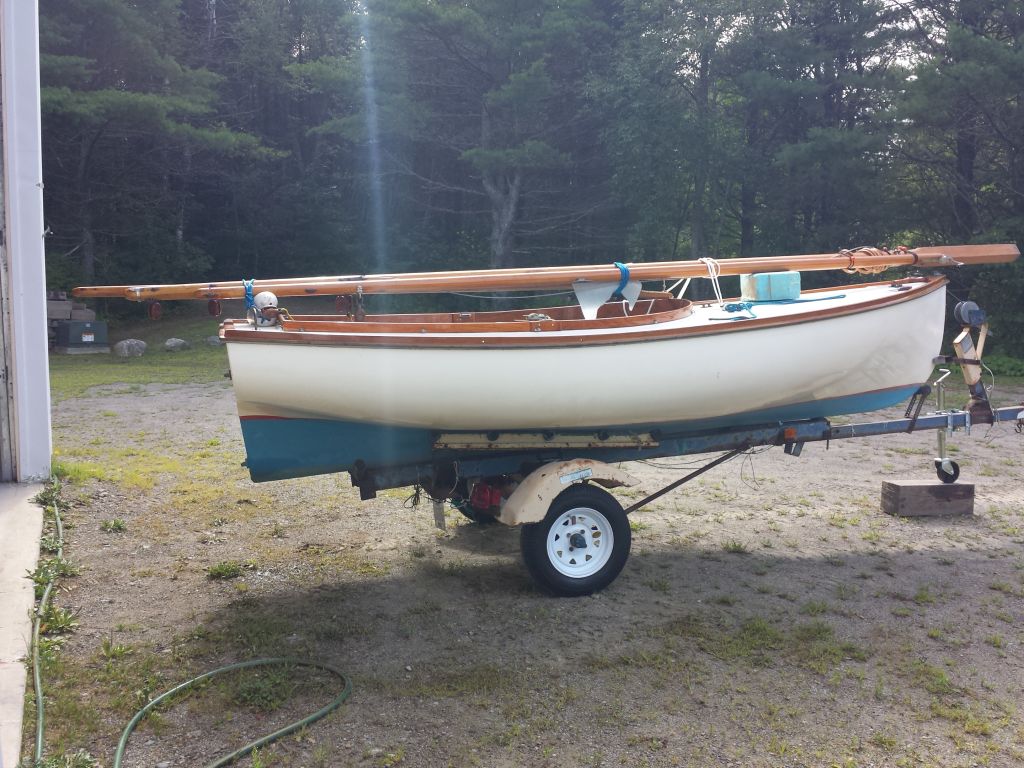
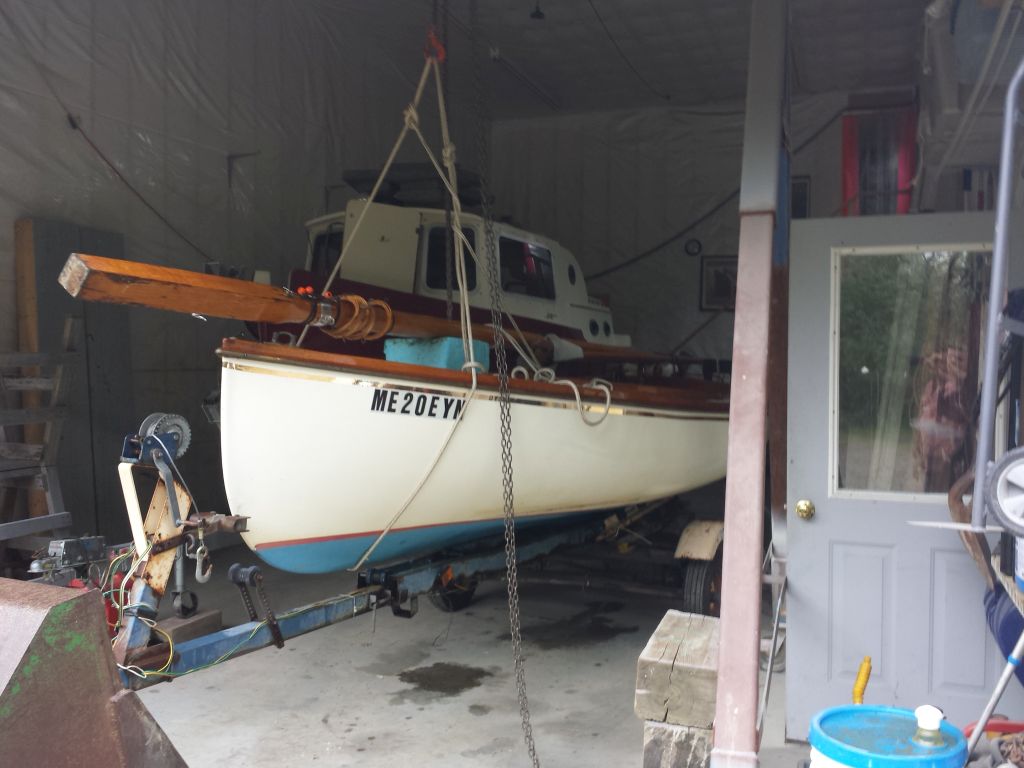
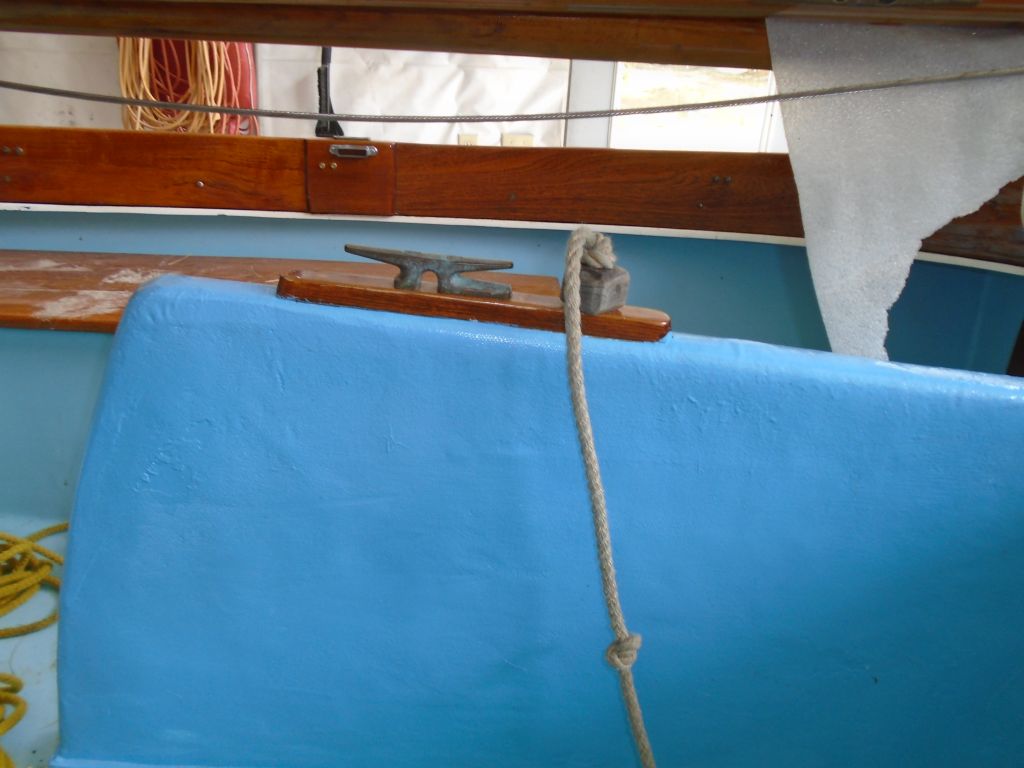
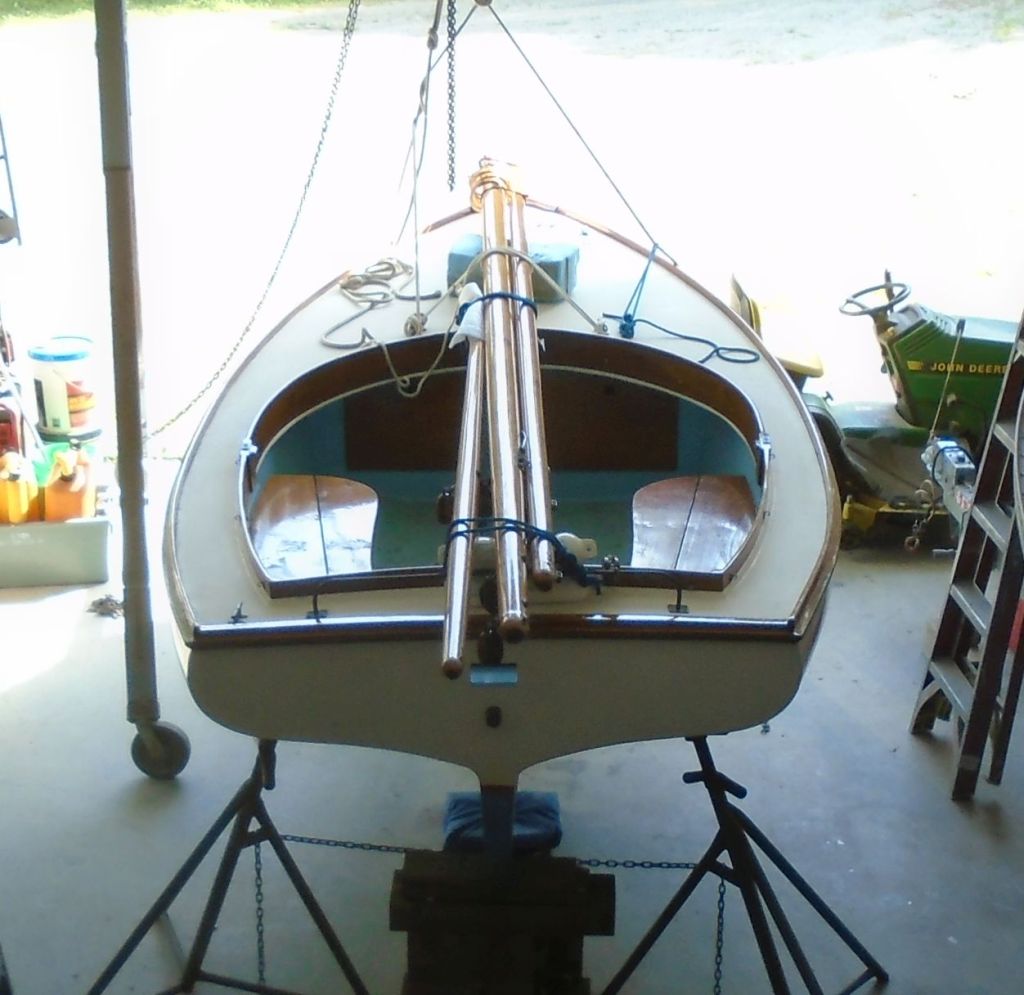
I just liked this view of the boat–perhaps my favorite aspect–from the staircase in the shop.
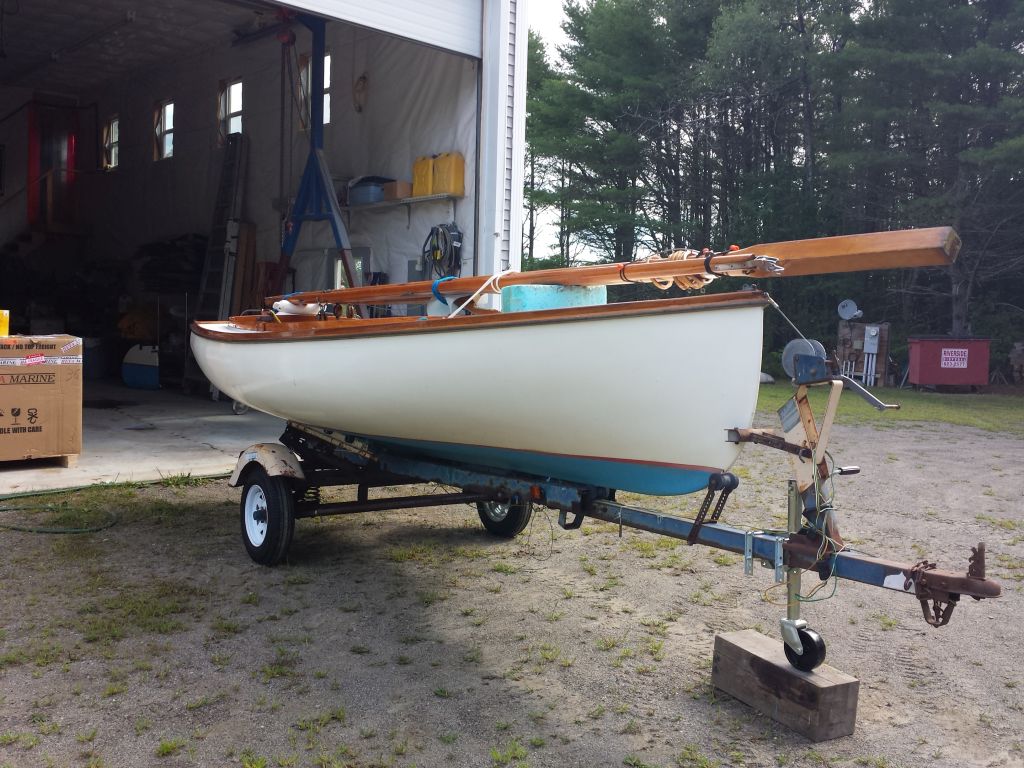
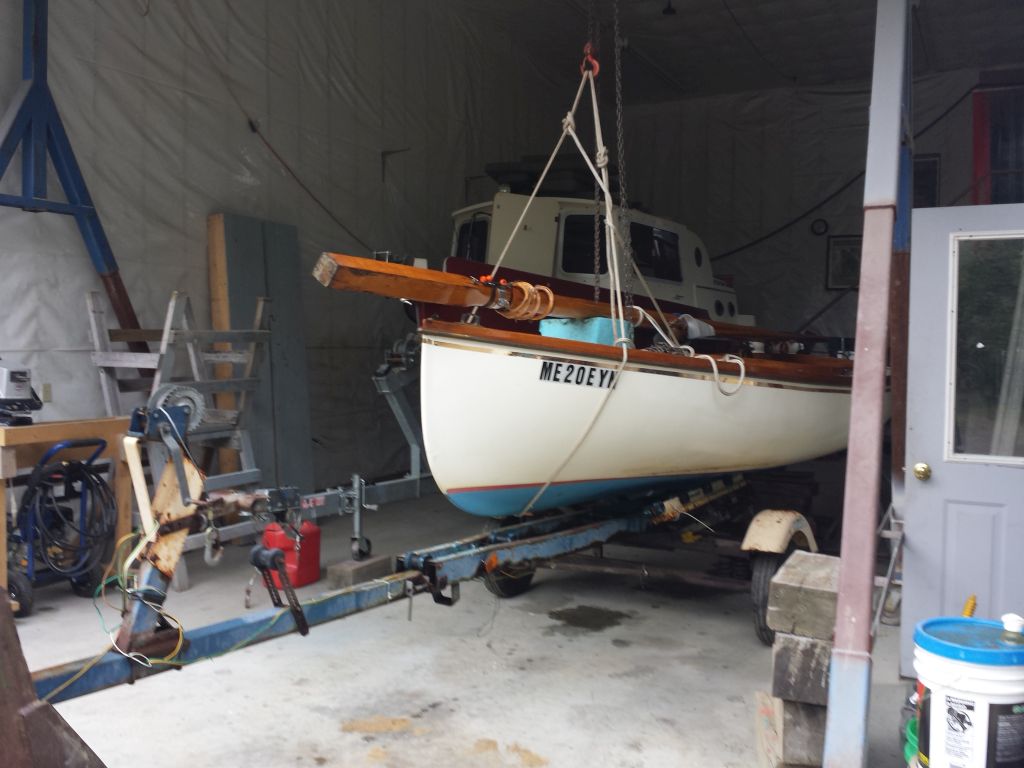
Back on the Trailer
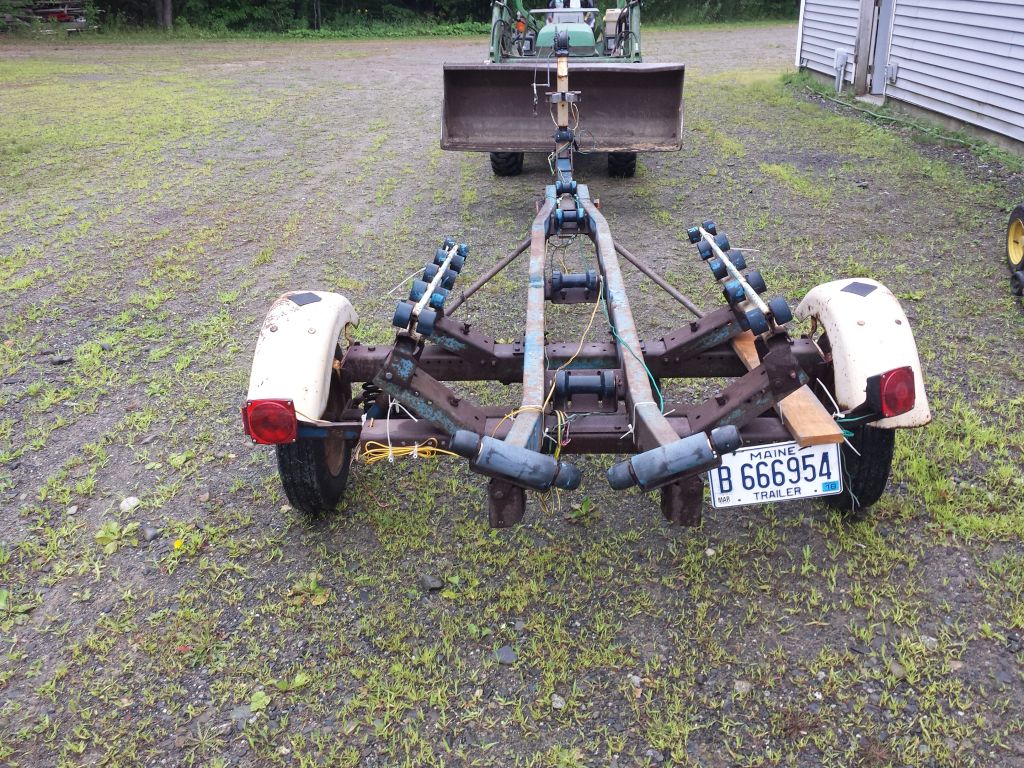
With work on the boat complete, I spent a little time on the trailer, replacing the tires and rims with new, and inspecting and servicing the wheel bearings and hubs as needed. These were in good condition and did not need replacing. I also installed a tongue jack.
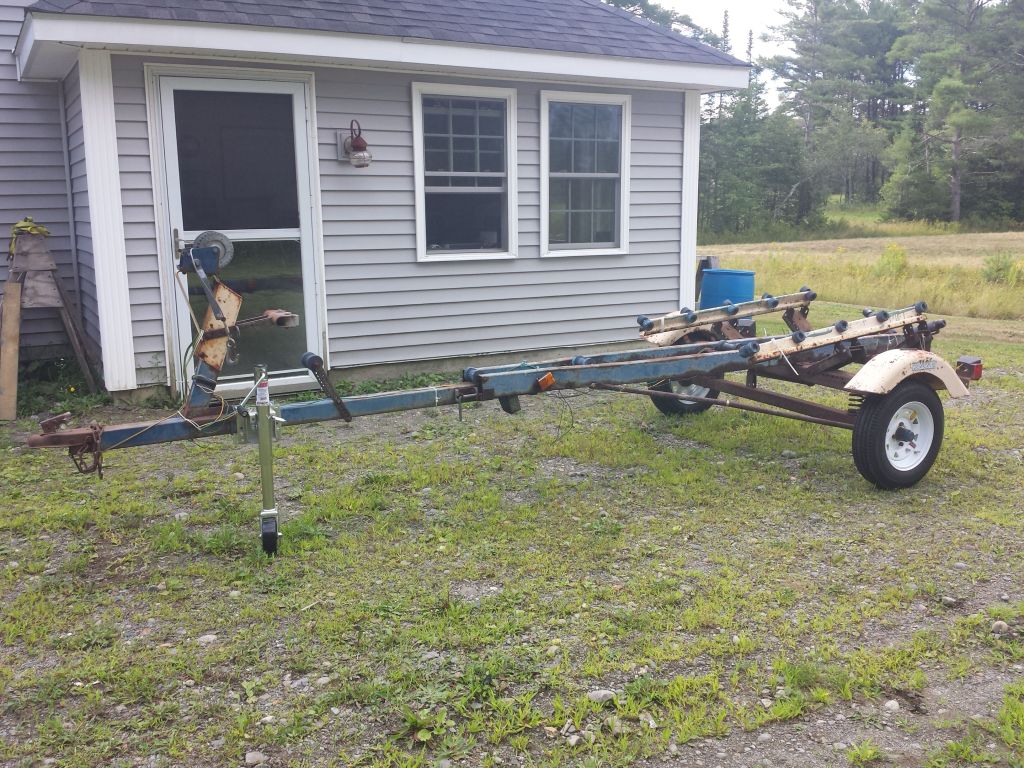
With the trailer rebuilt as needed, I reversed the process I used to remove the boat from the trailer, and put her back on.