February 28, 2025
Danusia Phase 2-40
Friday
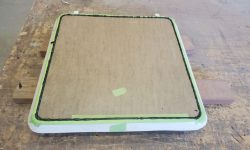
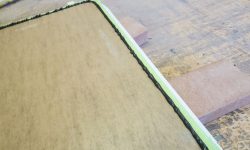
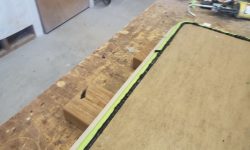
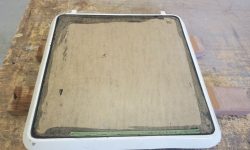
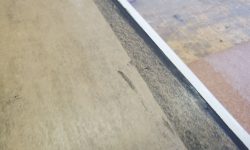
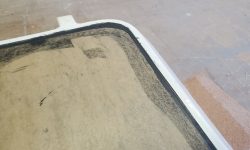
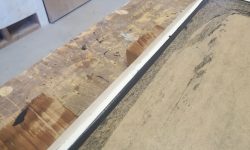
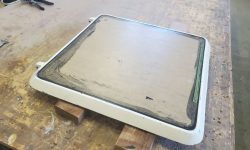
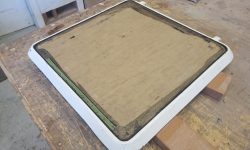
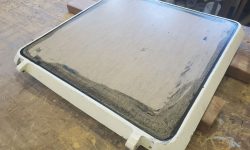
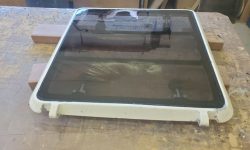
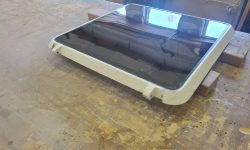
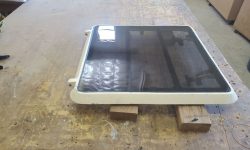
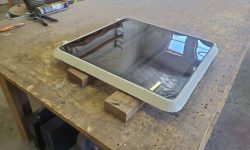
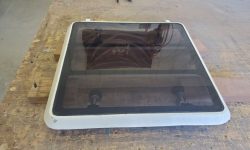
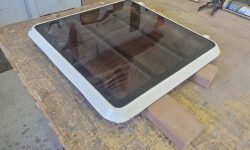
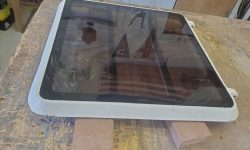
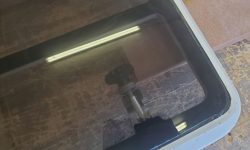
The final step for the new hatch lens was to apply additional sealant to the groove around the outer edge of the lens, which I’d chosen not to do in the same operation as the initial (and more critical) bonding and sealing operation earlier because access to the groove was poor, what with the various clamps and weights securing the lens at the time. Now, with the initial application cured sufficiently, I installed a bead of the sealant abundantly into the groove, then tooled it out smoothly, keeping it flush with the top surface of the protective paper on the hatch lens, as any sealant that overlapped this paper would make it difficult to remove the paper later without affecting the bead. I removed the masking tape from the outer edges, where I’d applied it to protect the hatch frame and make cleanup easier, but for now left the paper in place on the lens so as not to disturb the fresh bead of sealant, despite my urge to remove it and display the finished product.
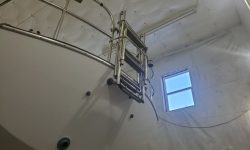
I took a few minutes to reinstall the transom boarding ladder that I’d removed early in the project.
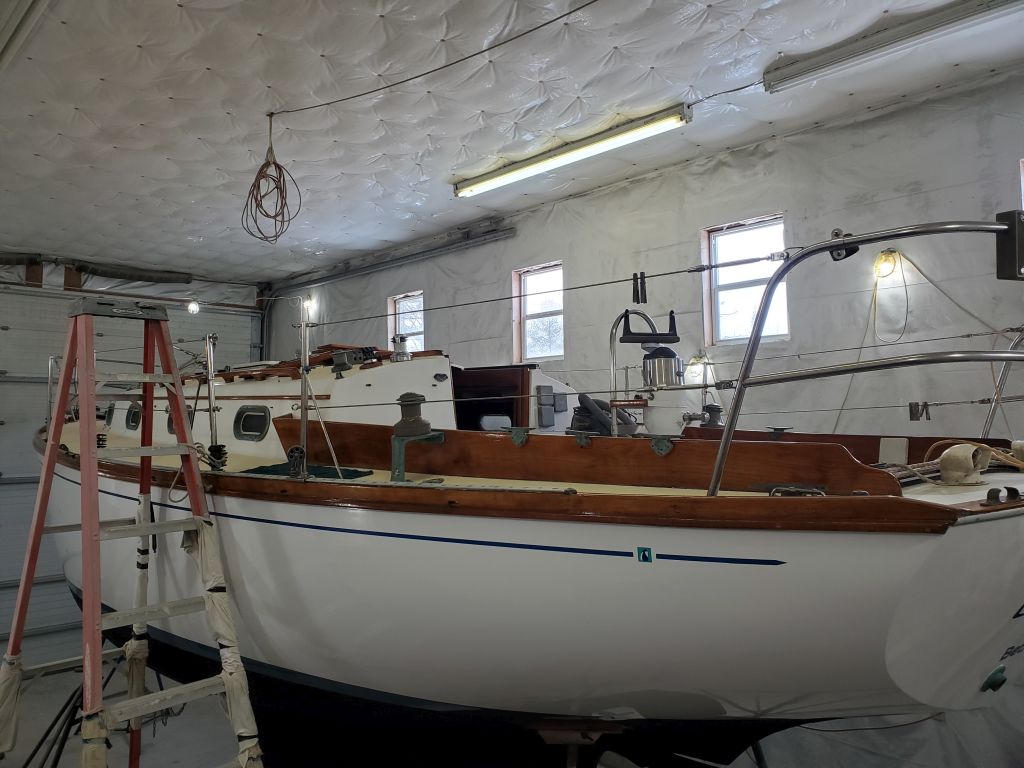
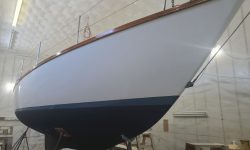
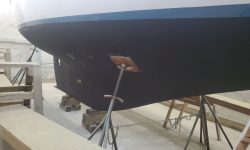
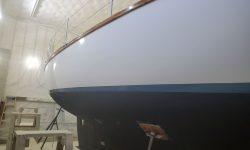
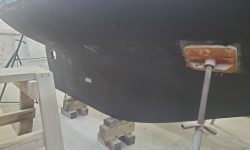
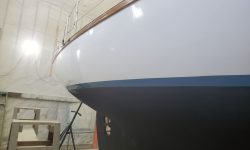
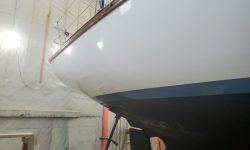
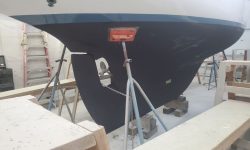
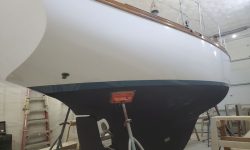
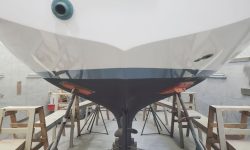
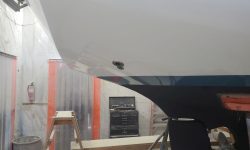
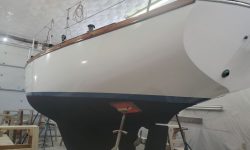
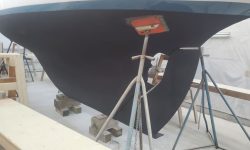
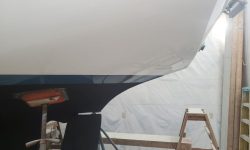
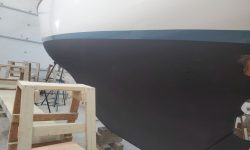
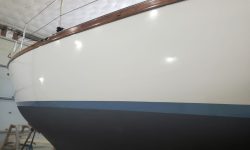
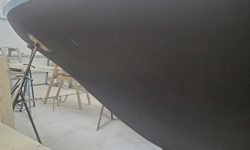
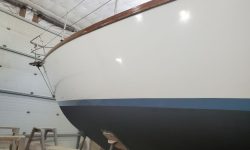
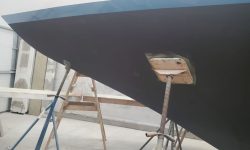
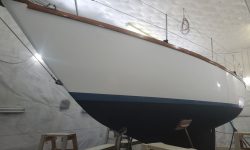
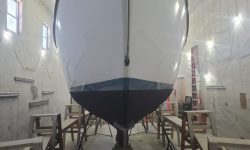
Next, I masked off for bottom paint, and applied a coat of the owner’s chosen paint, which further progressed the final appearance of the hull. The cove stripe, which would match as closely as possible the boottop, would truly finish off the appearance, but although I’d pre-ordered some striping tape for the job, I’d had a last minute decision to purchase tape in another shade of blue so I could compare the two, and that new order had yet to arrive.
Before leaving for the day, I decided to carefully remove the paper from the new hatch lens. The completed project looked great, and the sealant I’d applied beneath the lens (to secure it to the frame) was now clearly visible through the lens, and as hoped, or even expected, the seal was consistent and void-free in all areas, which ought to do well in terms of securing the lens and preventing future leaks.
Total time billed on this job today: 3.5 hours


