

February 19, 2025
Danusia Phase 2-33
Wednesday
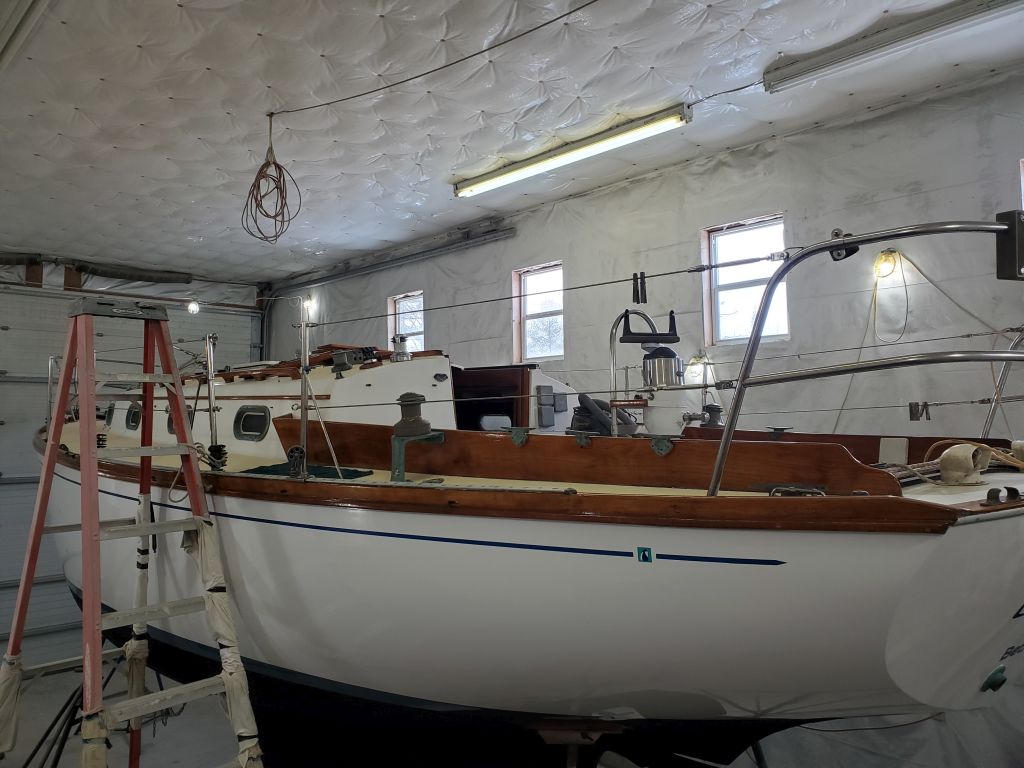
I had other business away from the shop later in the day, so I didn’t plan to attack the primer sanding just yet; in any case, the cold and windy weather yesterday and overnight meant that the shop had been cooler than I’d usually expect during the primer application and cure period, so it may not even have ben ready to sand (I didn’t make a test since I had no plans to sand this day anyway).
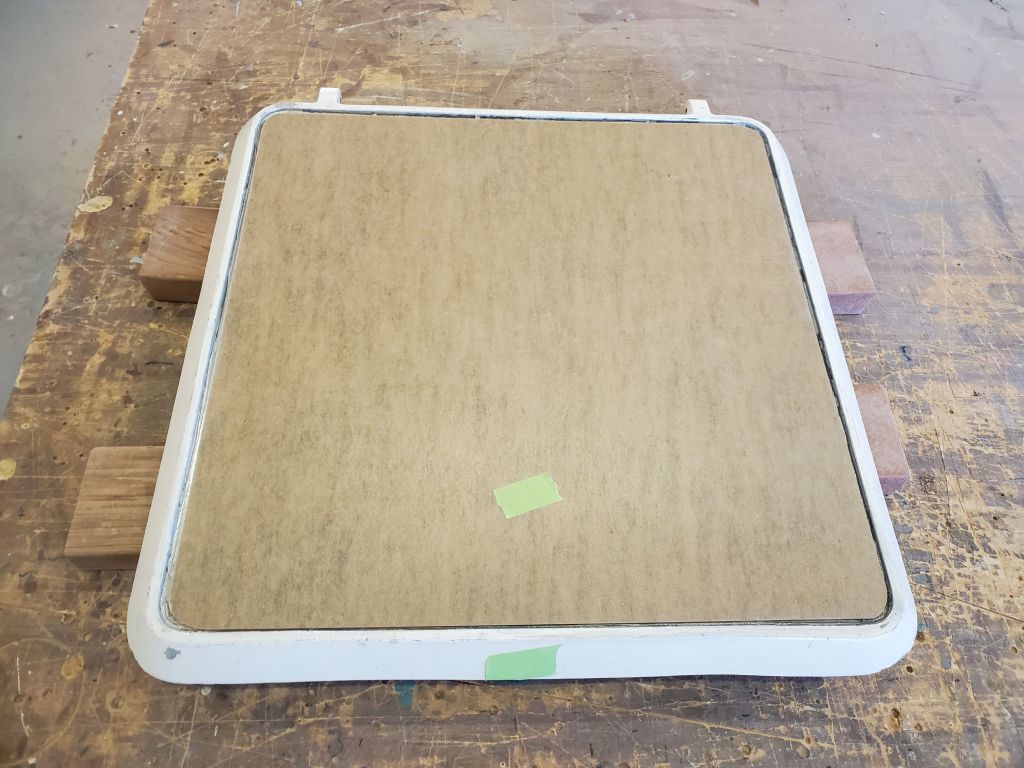
After cleaning up the spray gun, which I’d left soaking overnight, I turned to the deck hatch lens replacement. The replacement lens had arrived, so now I used the old lens as a guide to cut the new acrylic to fit, tracing the curved corners from the old hatch onto the new. With a scrap of the new material, I compared the color of the new lens with the old; it looked like a good match.
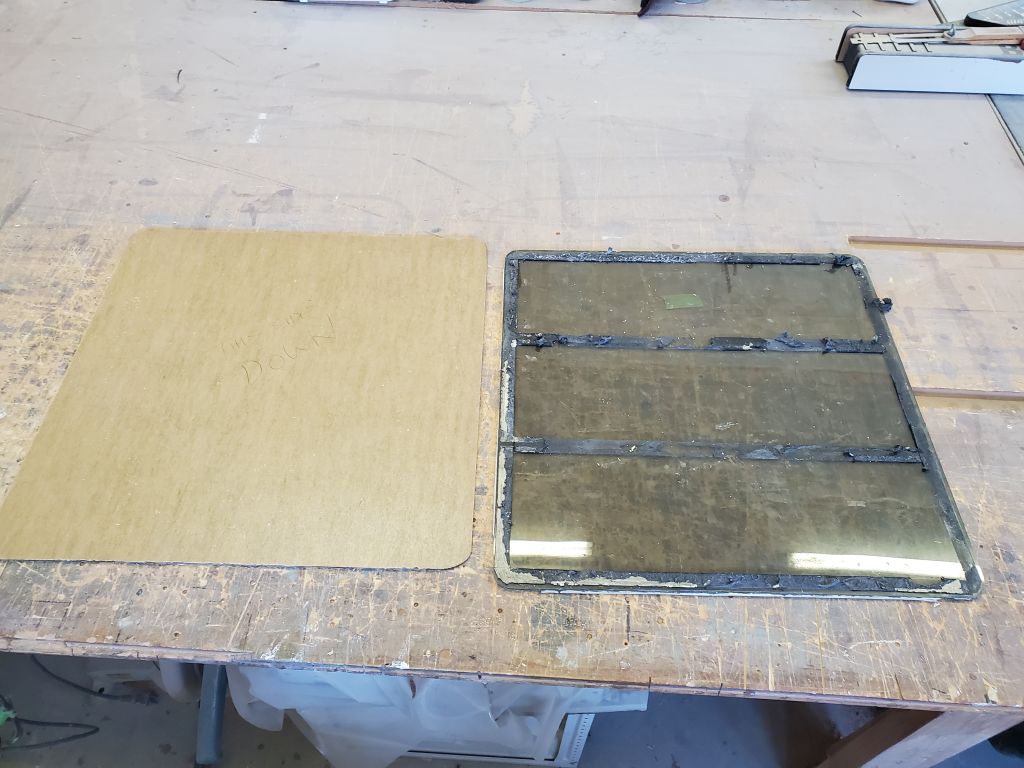

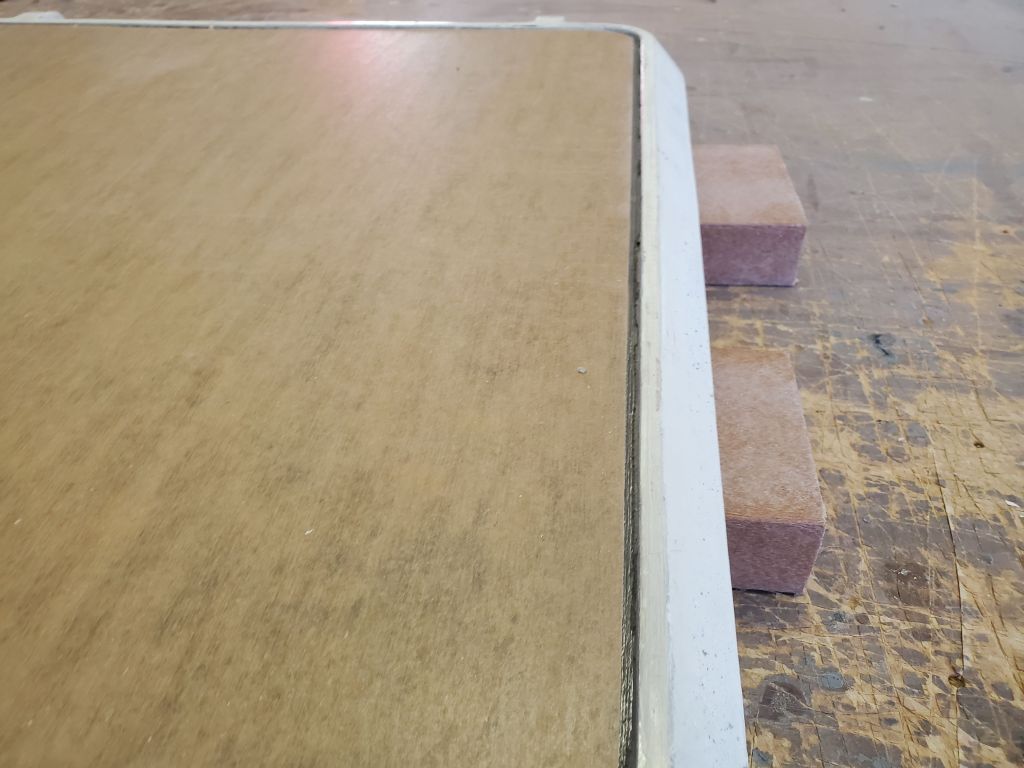
I dry-fit the lens in the hatch frame, where it fit with no problem. The hatch design as original incorporated an open caulking space between the edge of the lens and the hatch frame itself, so the lens was not a tight fit. I suppose this allowed for expansion and contraction of the parts in various conditions.
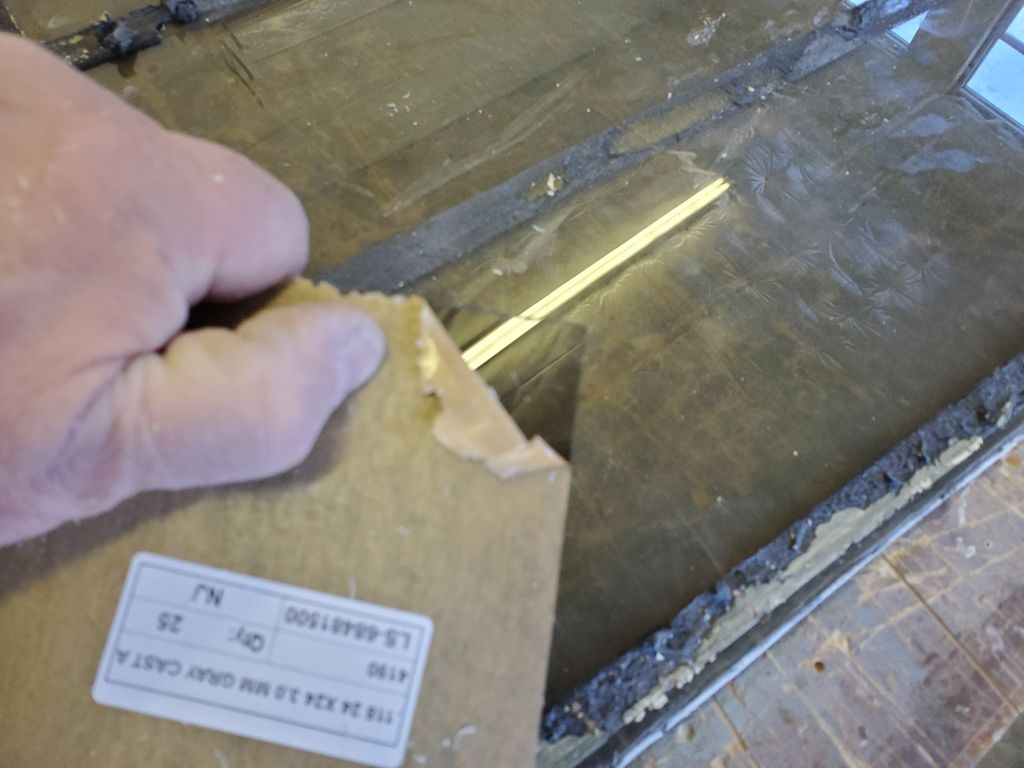
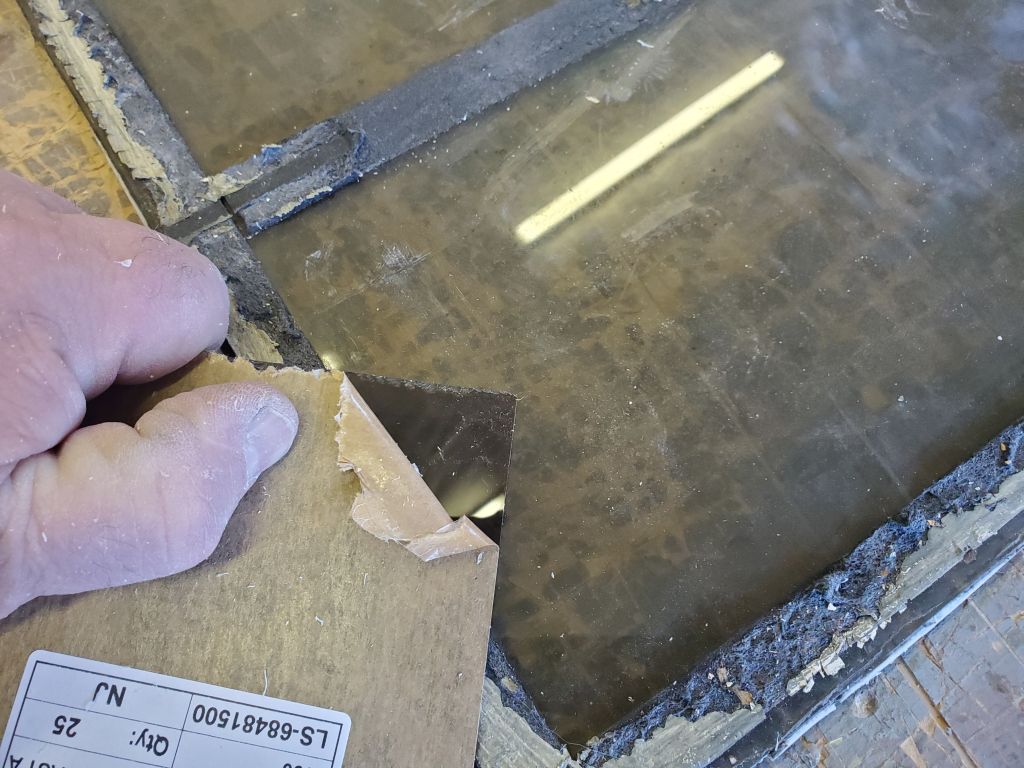
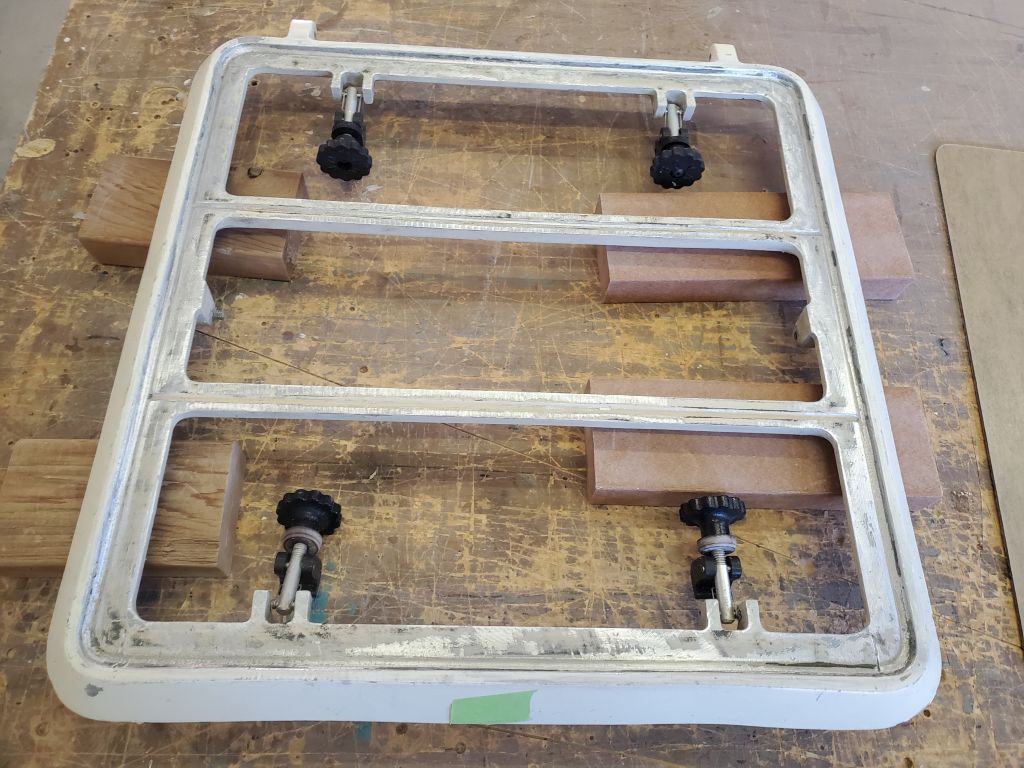
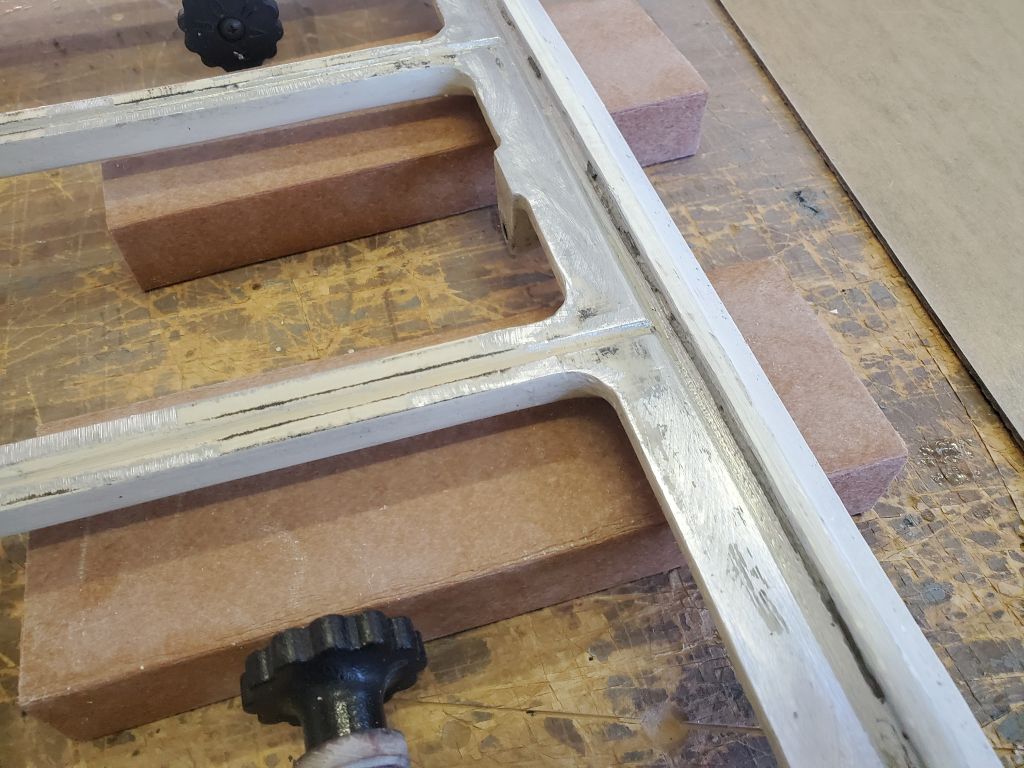
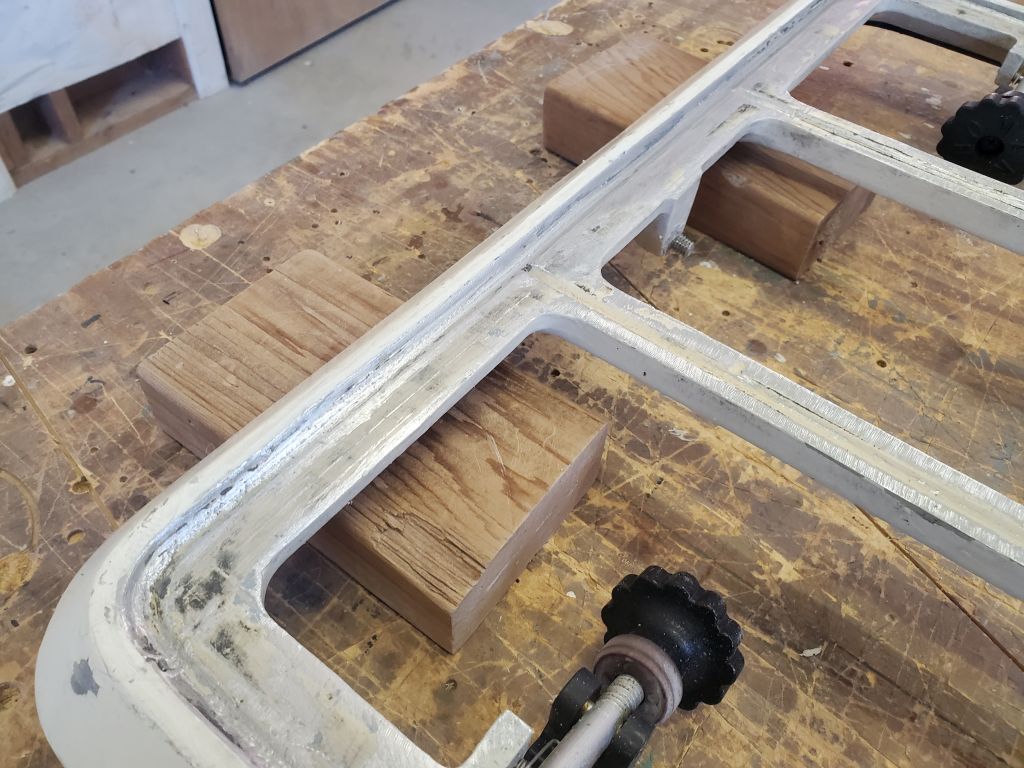
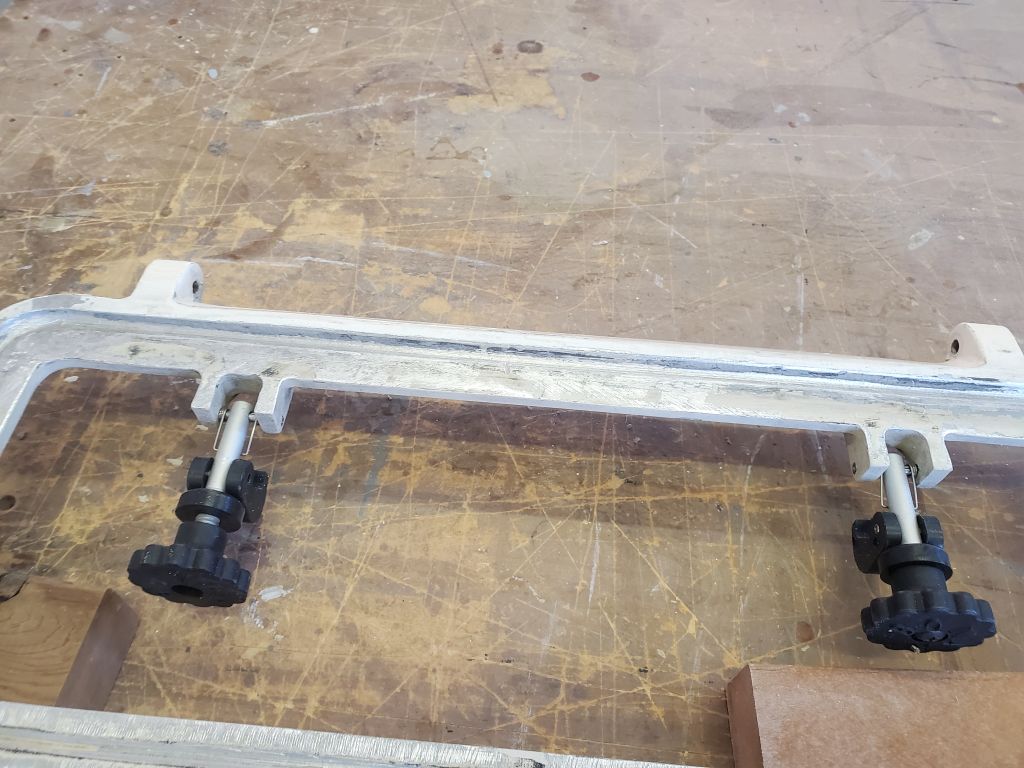
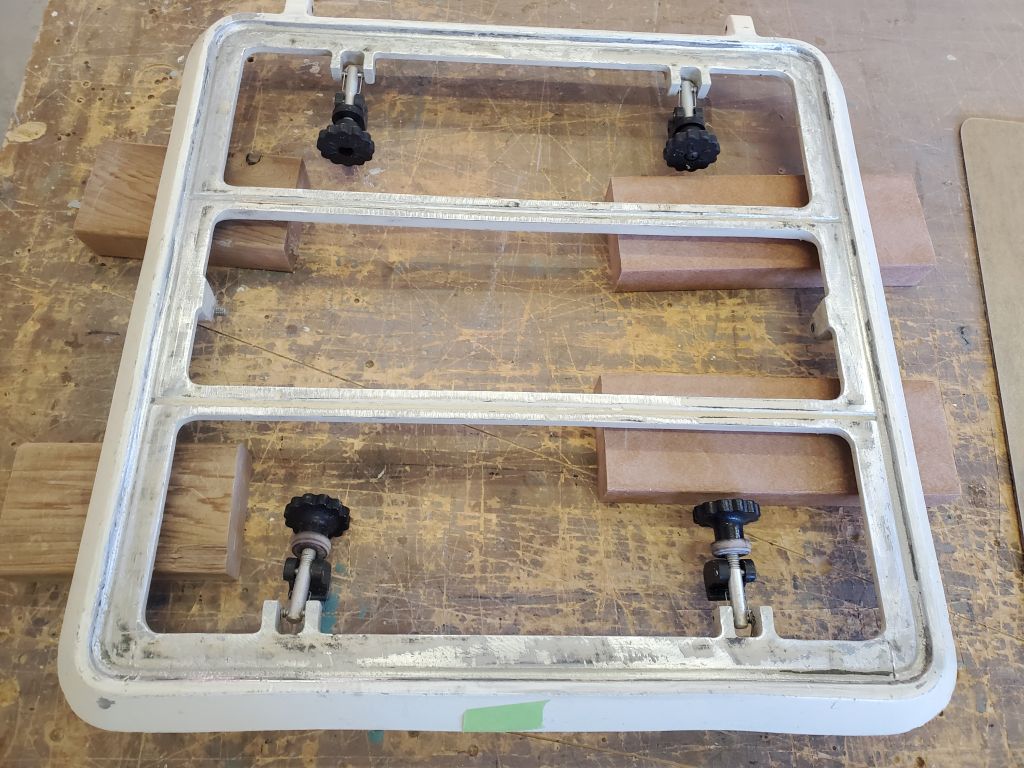
Satisfied with the fit, I spent the remainder of the day’s time cleaning up the rest of the hatch frame to rid it of old sealant. As usual, old silicone proved challenging to remove entirely, and I relied mostly on a scraper for the job, with some coarse sandpaper to help where needed. For the new lens installation, the actual adhesion and sealing of the lens to the frame would largely occur on the flat faying surfaces around the frame, rather than the ineffective double-stick foam tape that appeared to provide the bulk of the “seal” in the old design. I ordered sealant designed for lens installation and would complete the job once the materials arrived.

Total time billed on this job today: 1.5 hours