(page 5 of 5)

Danusia Phase 2-8

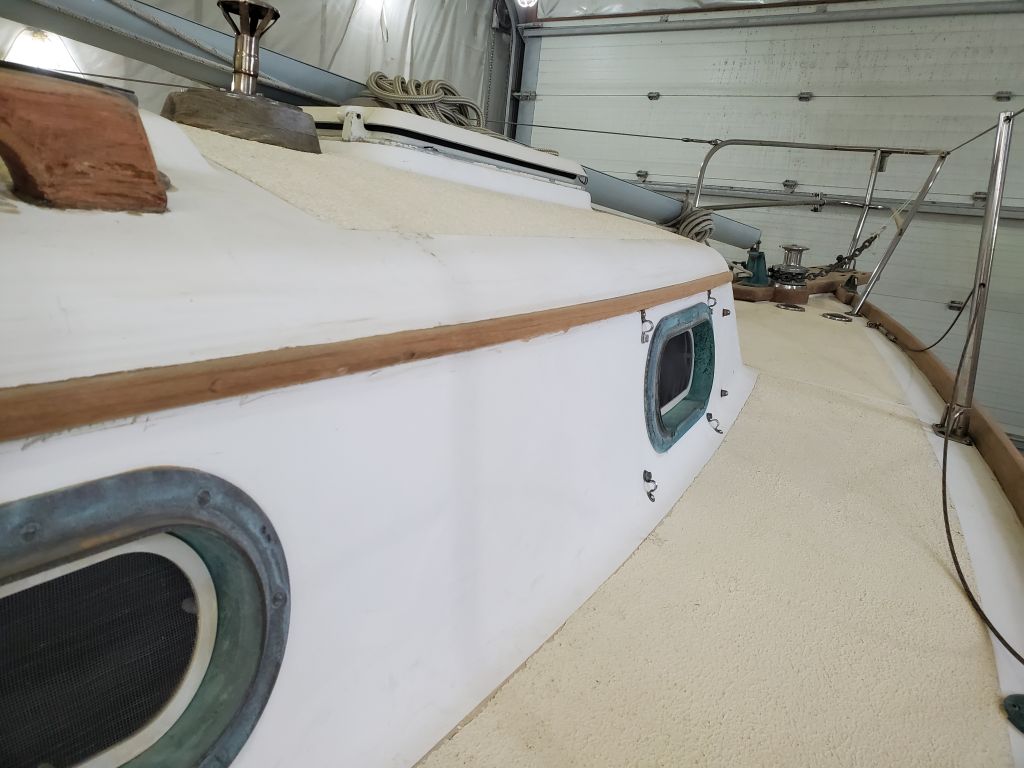
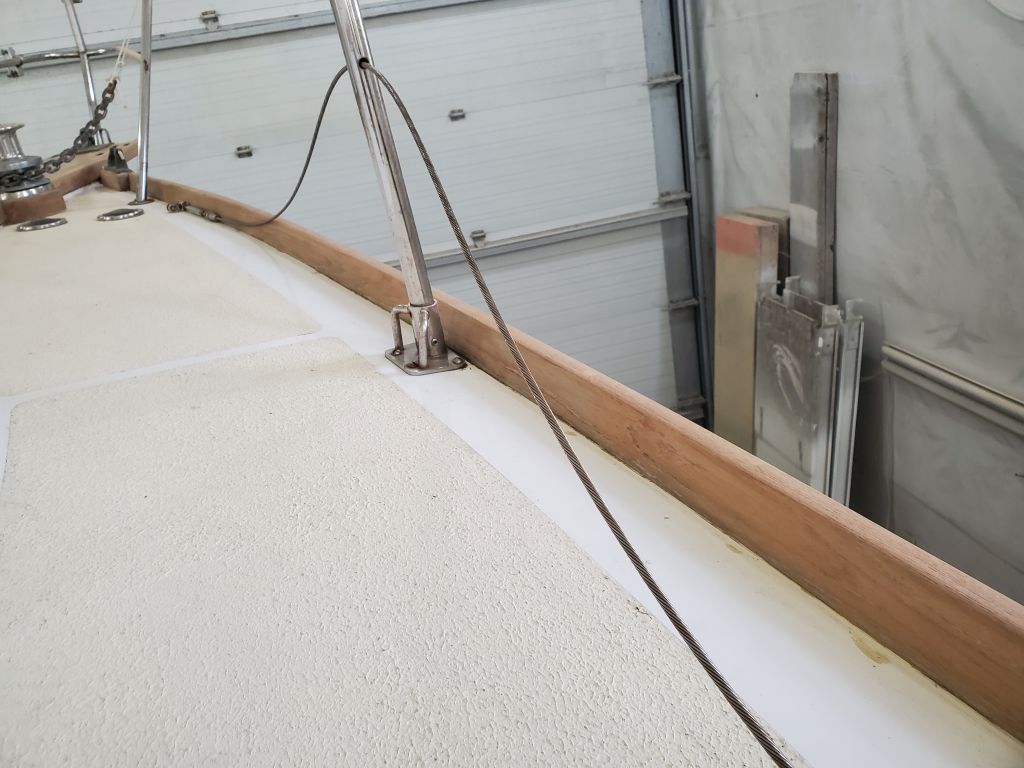
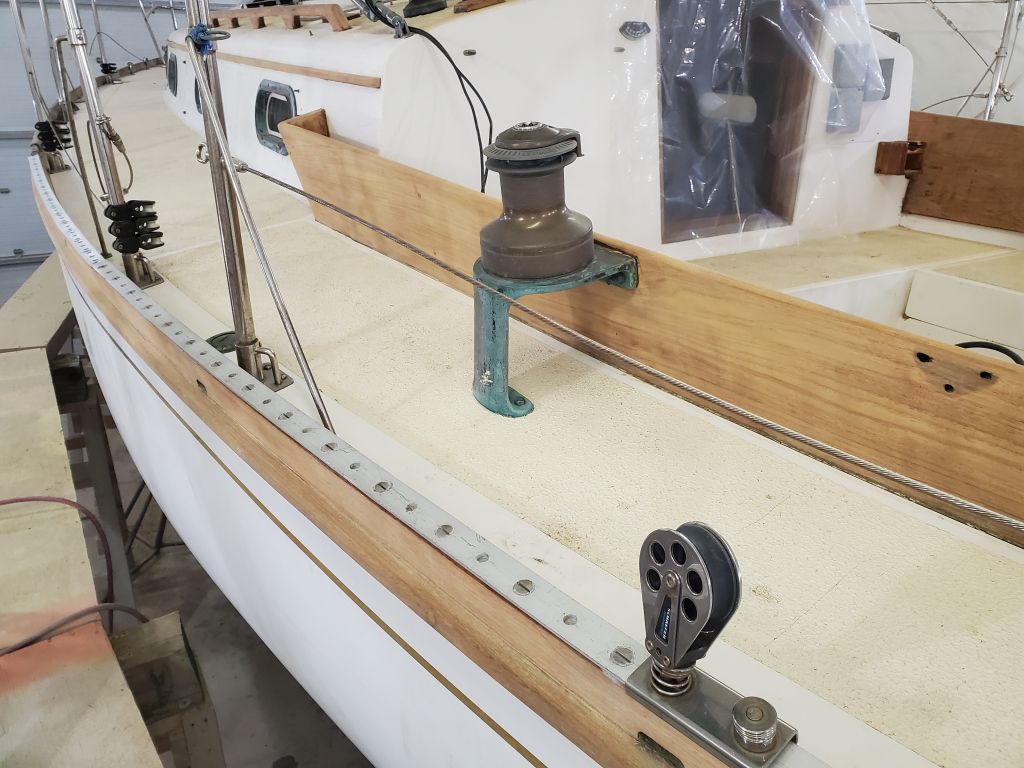
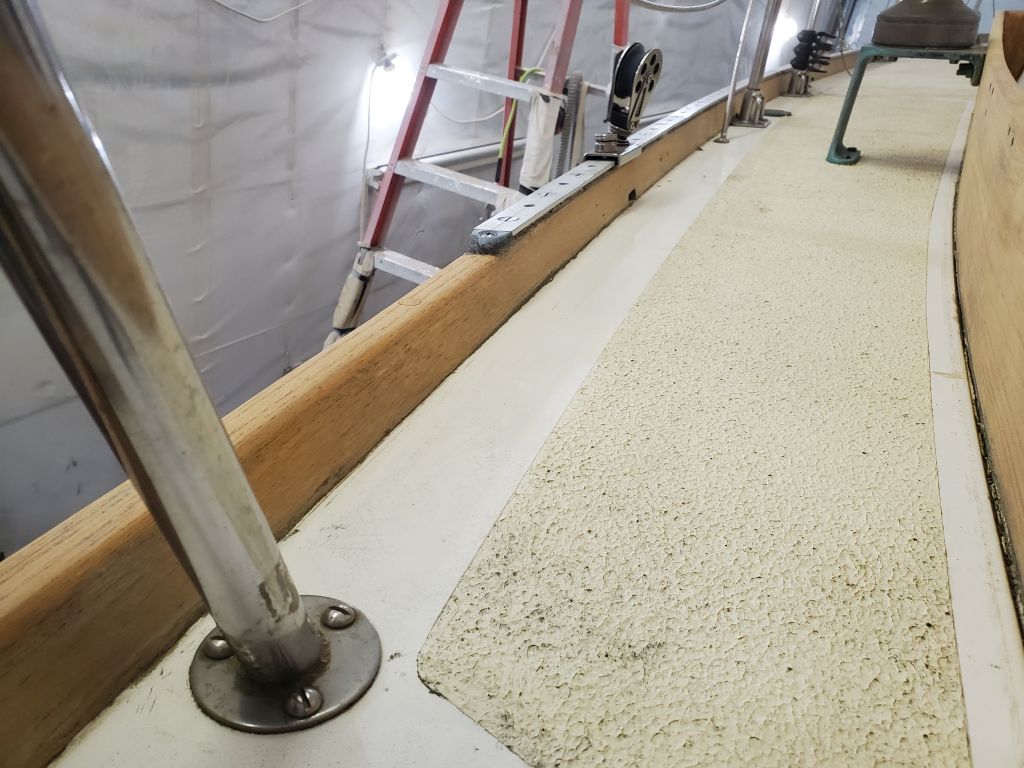
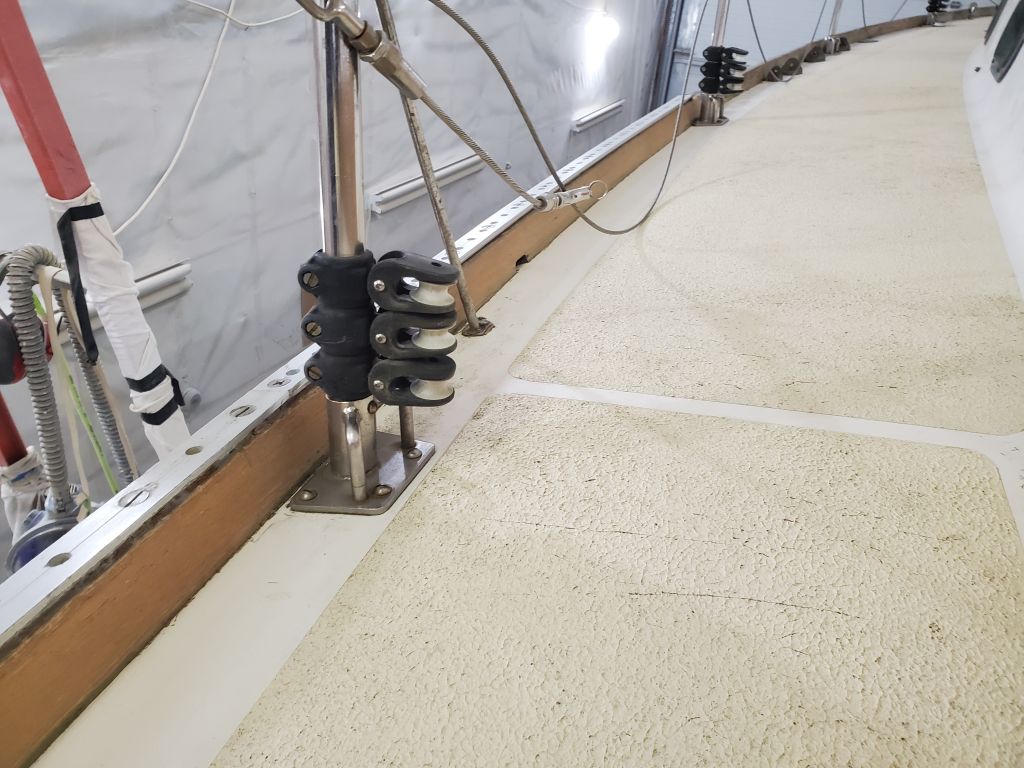
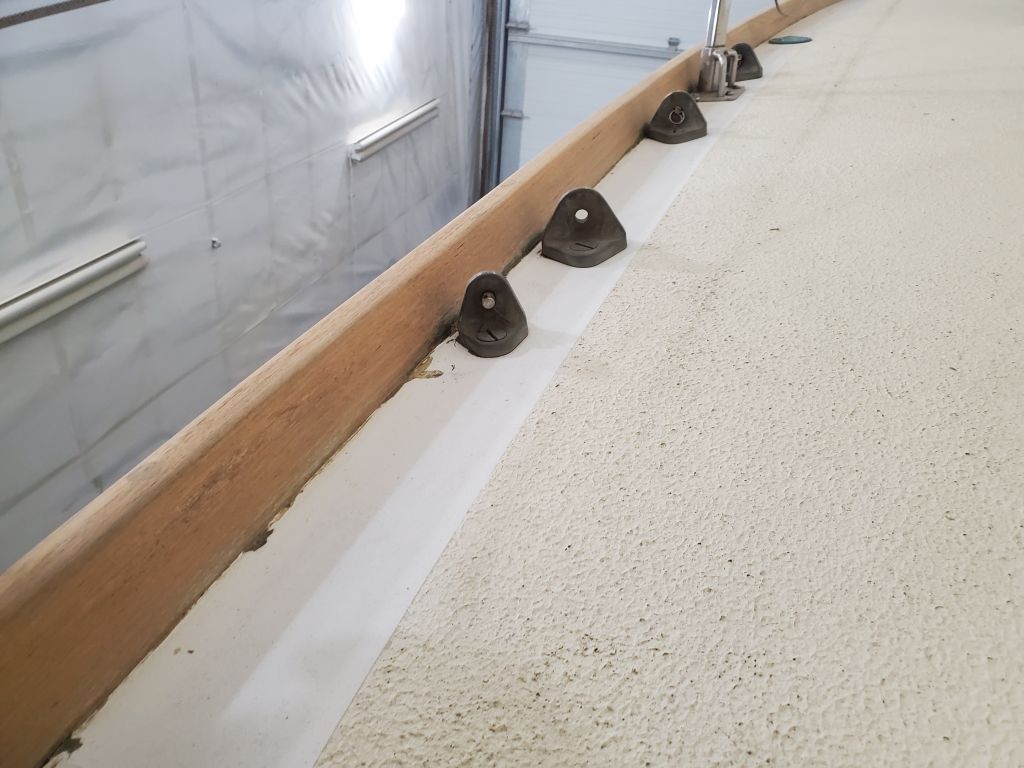
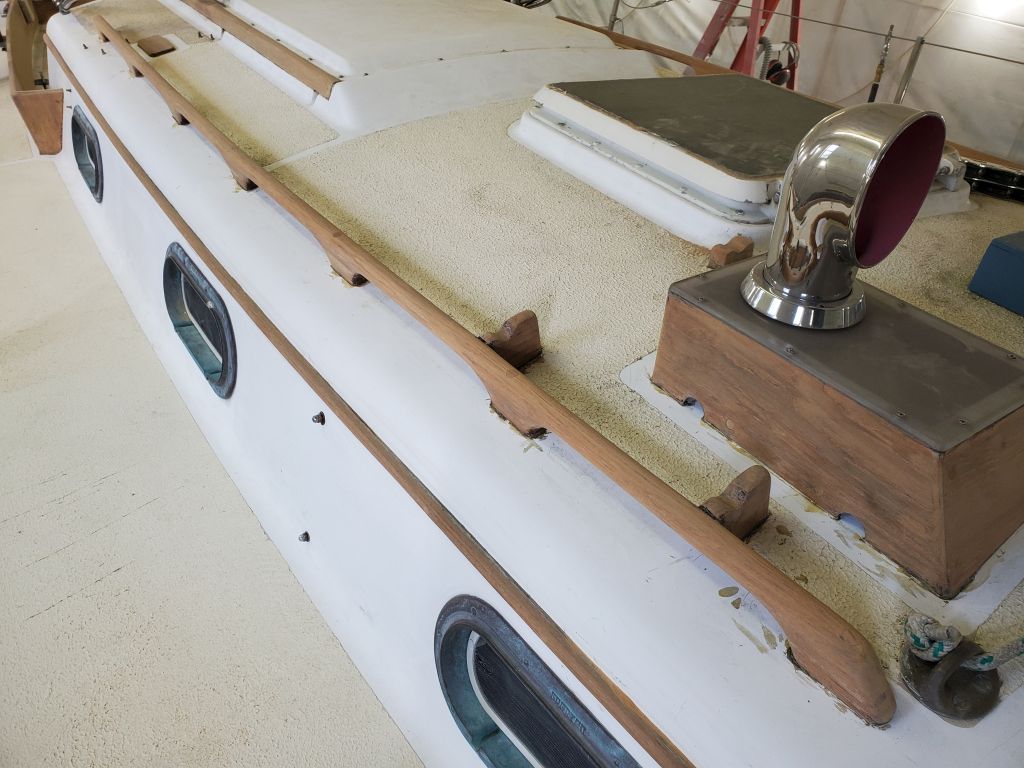
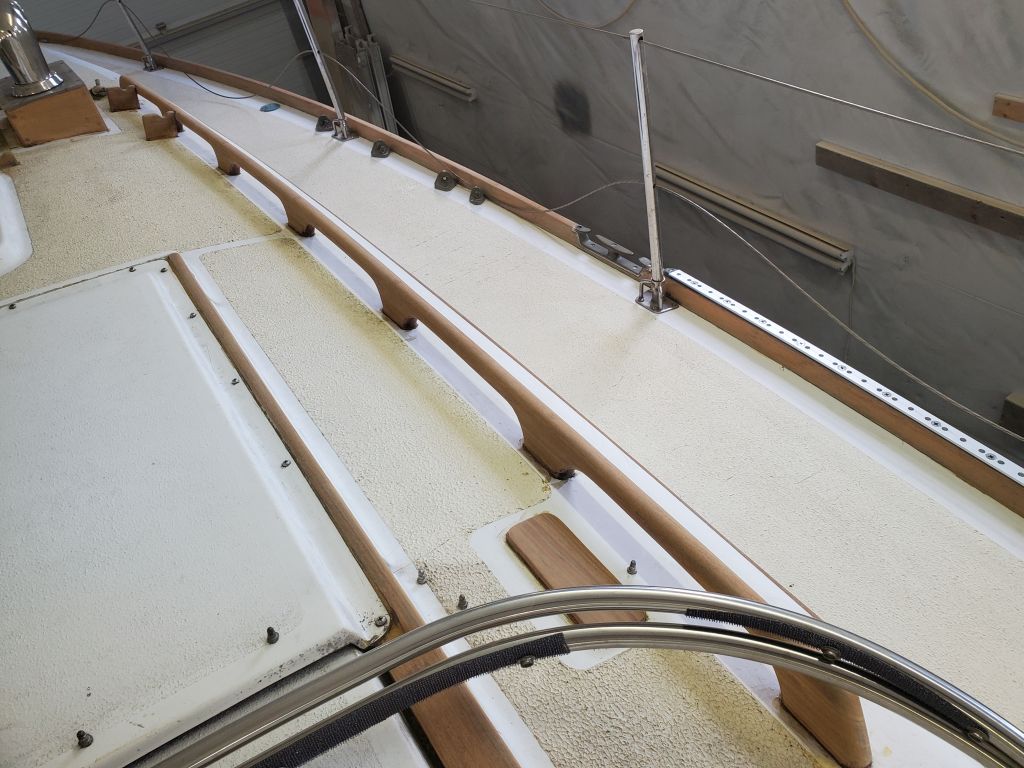
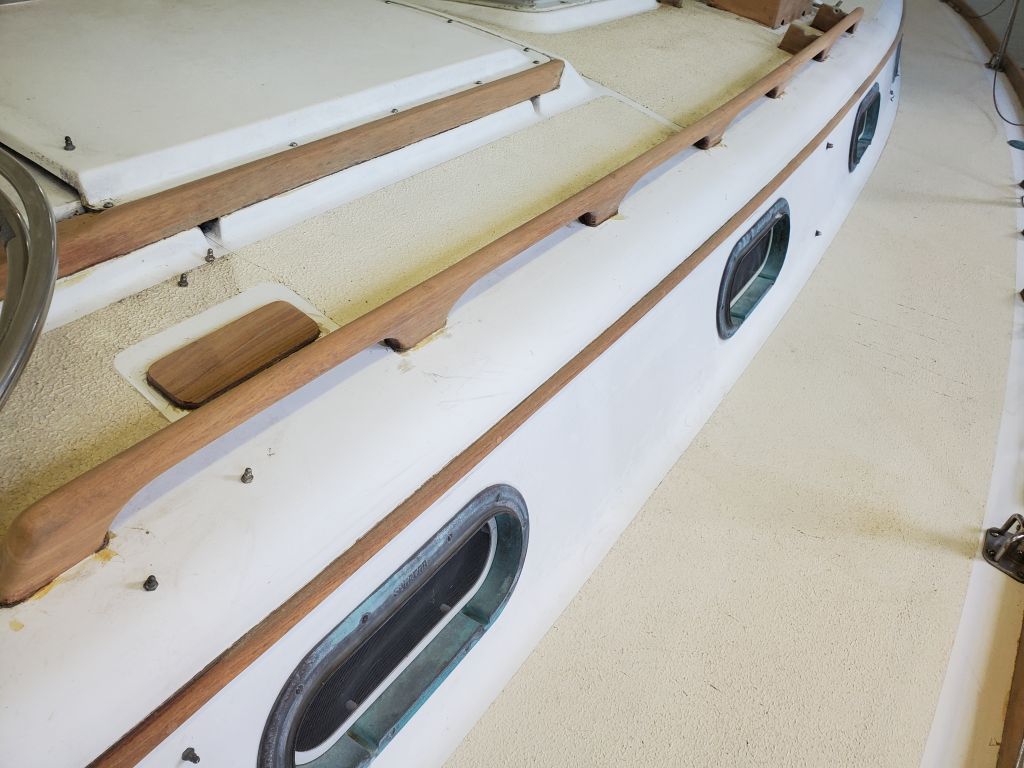
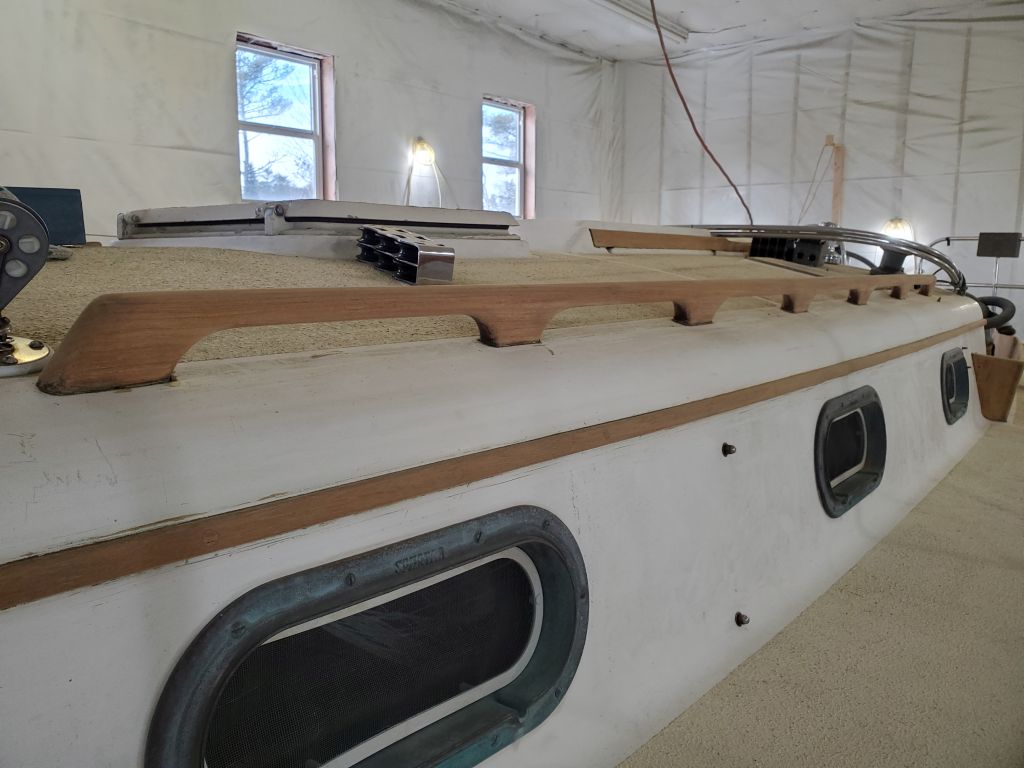
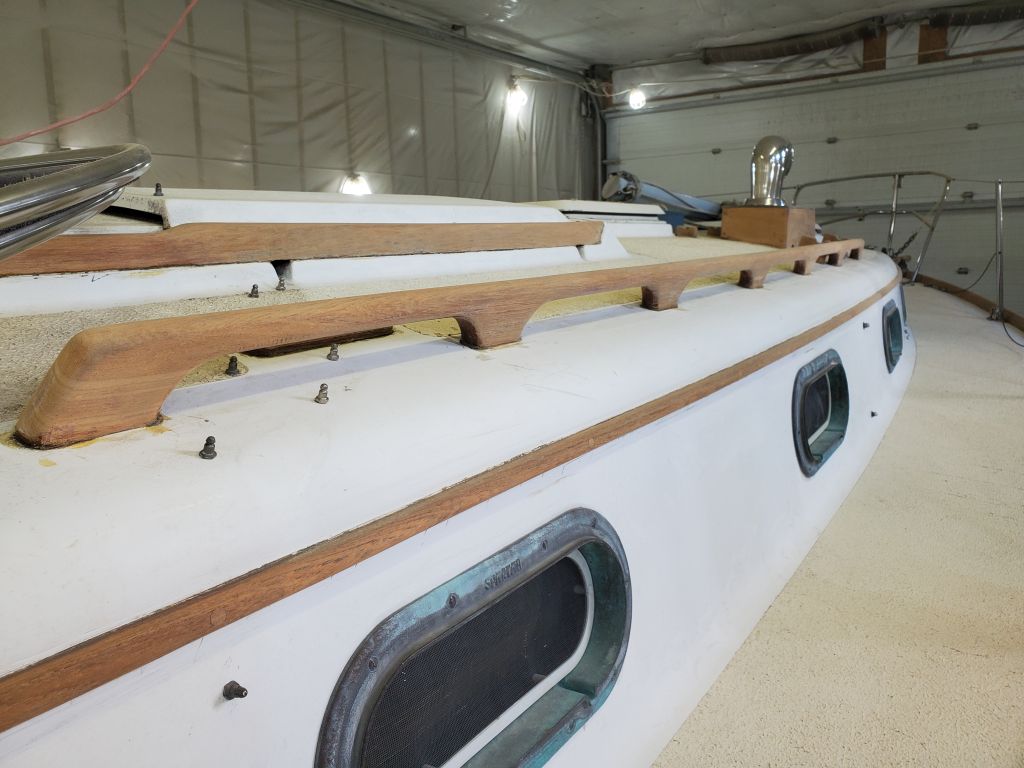
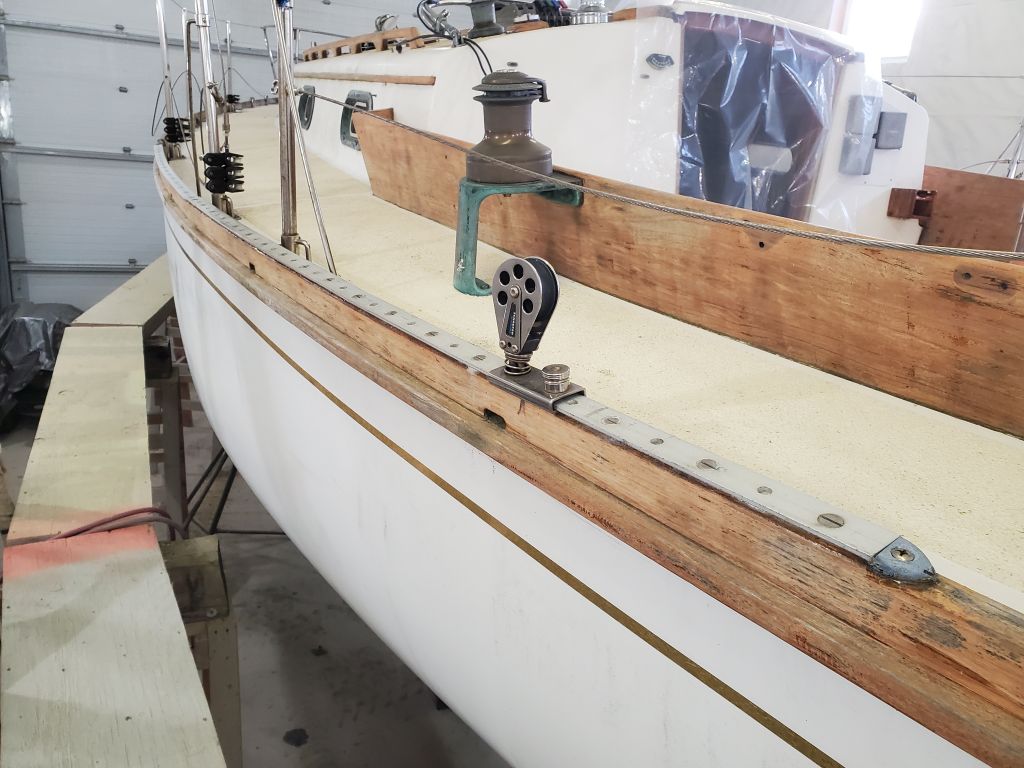
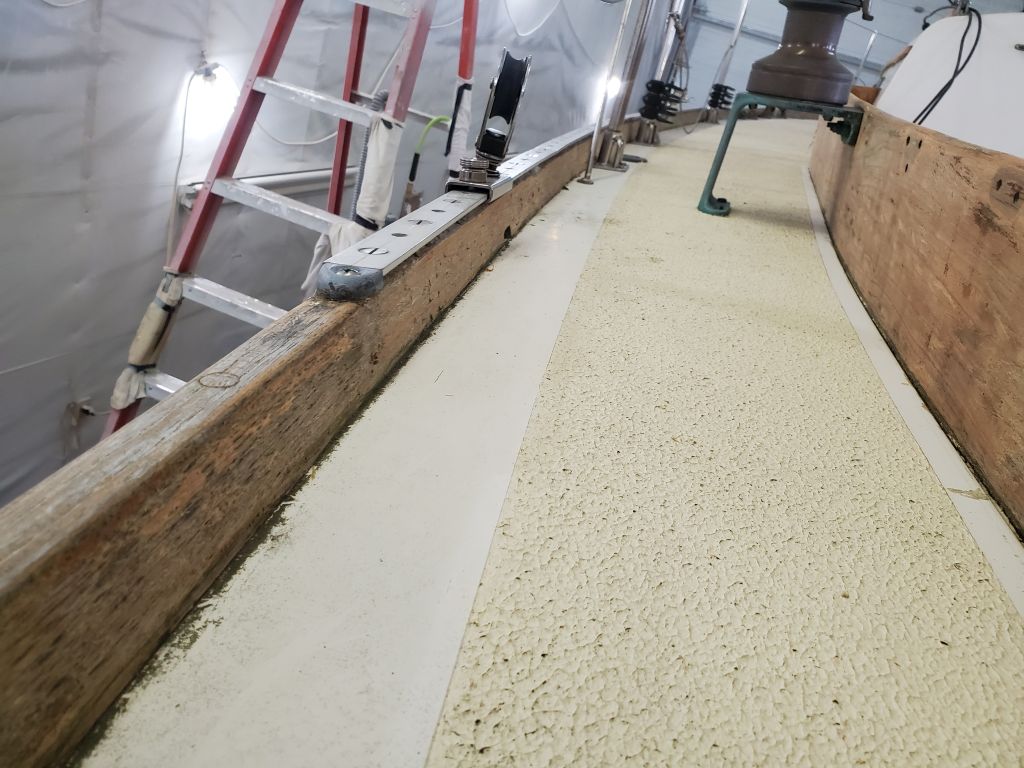
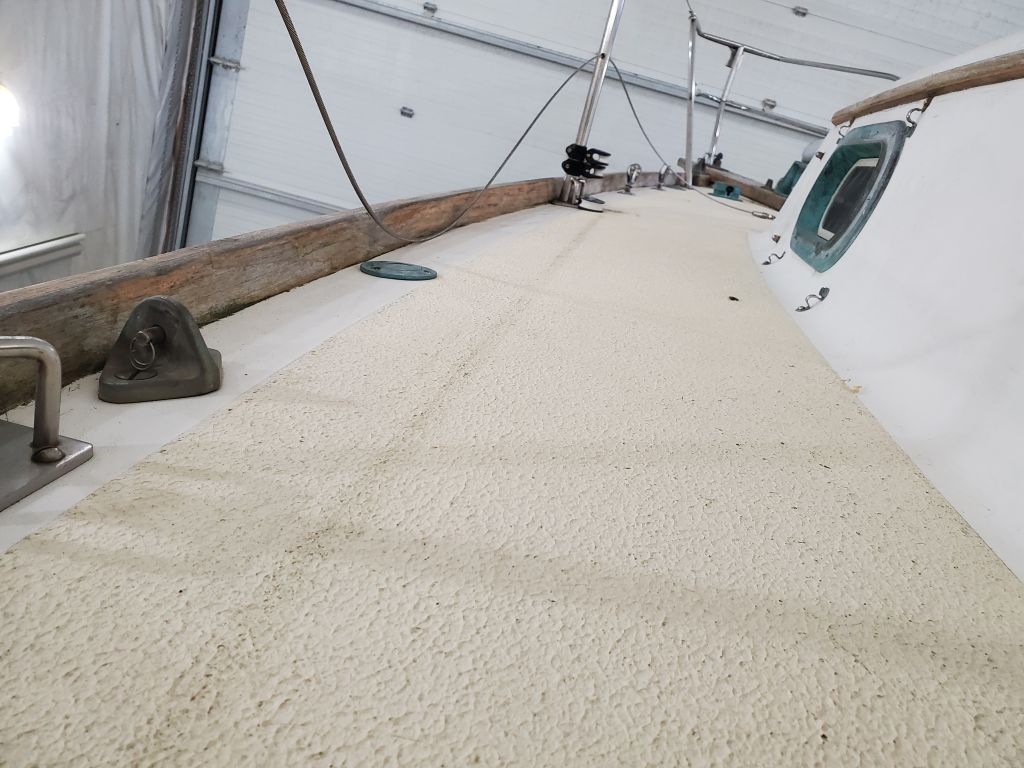
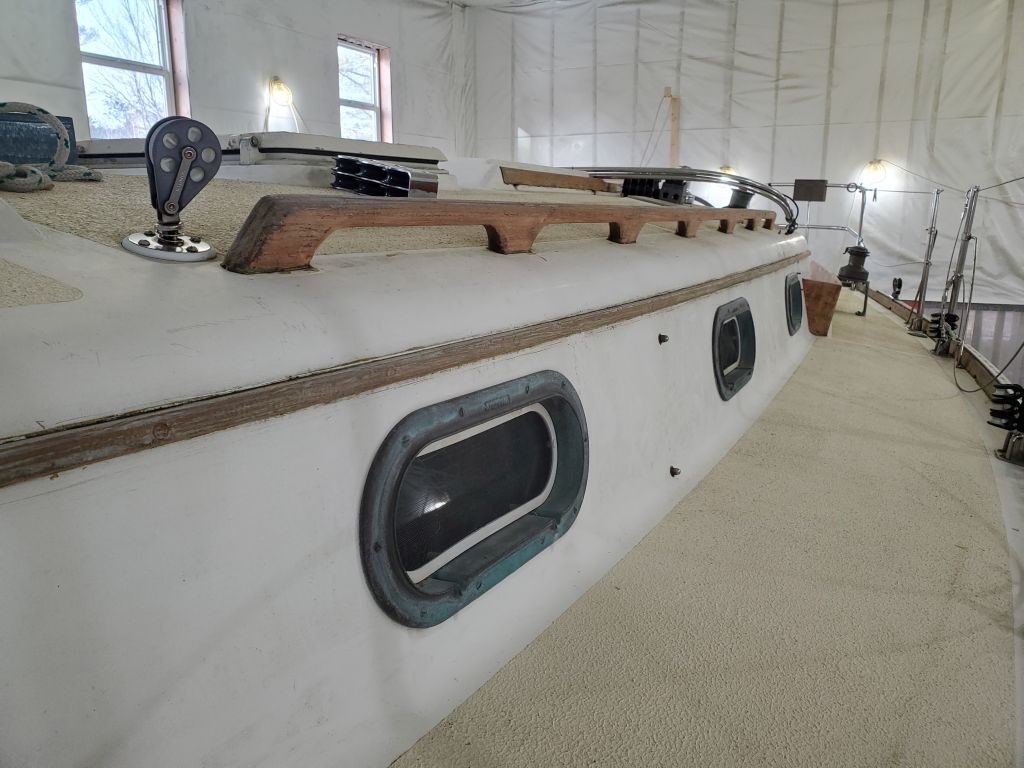
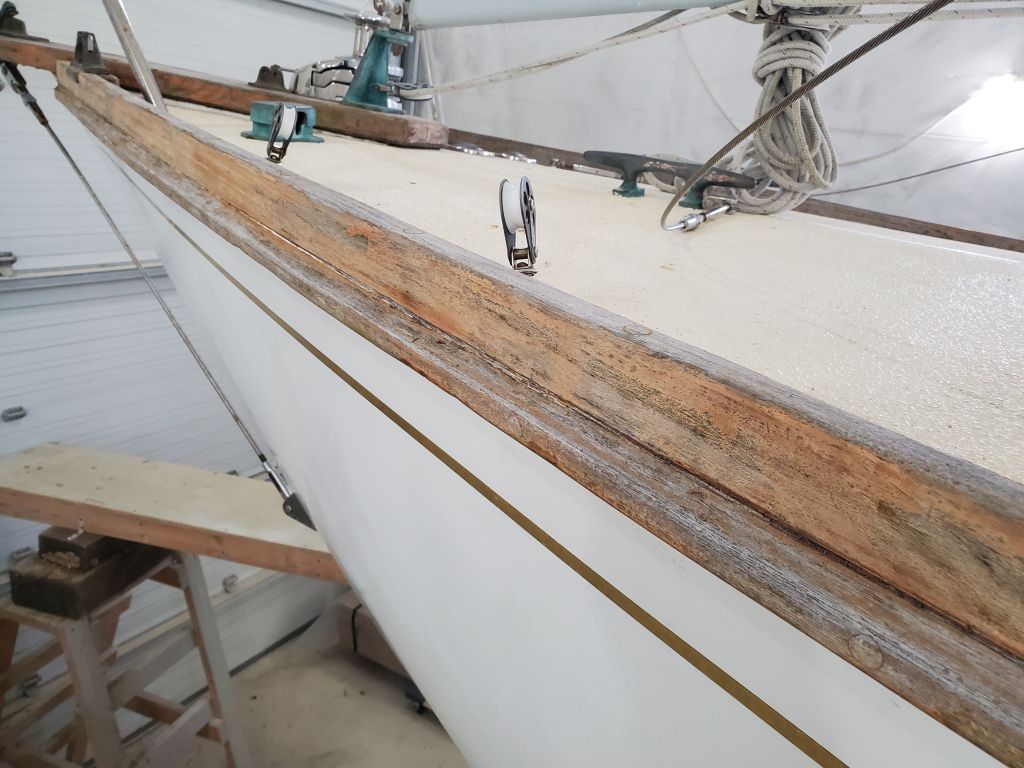
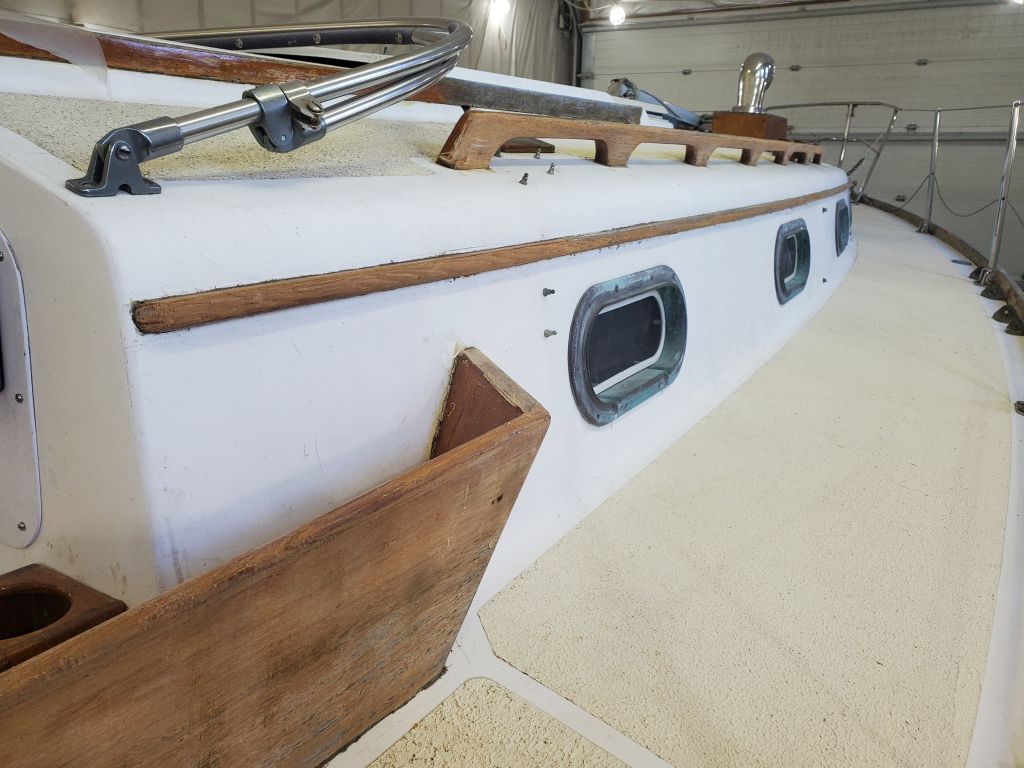
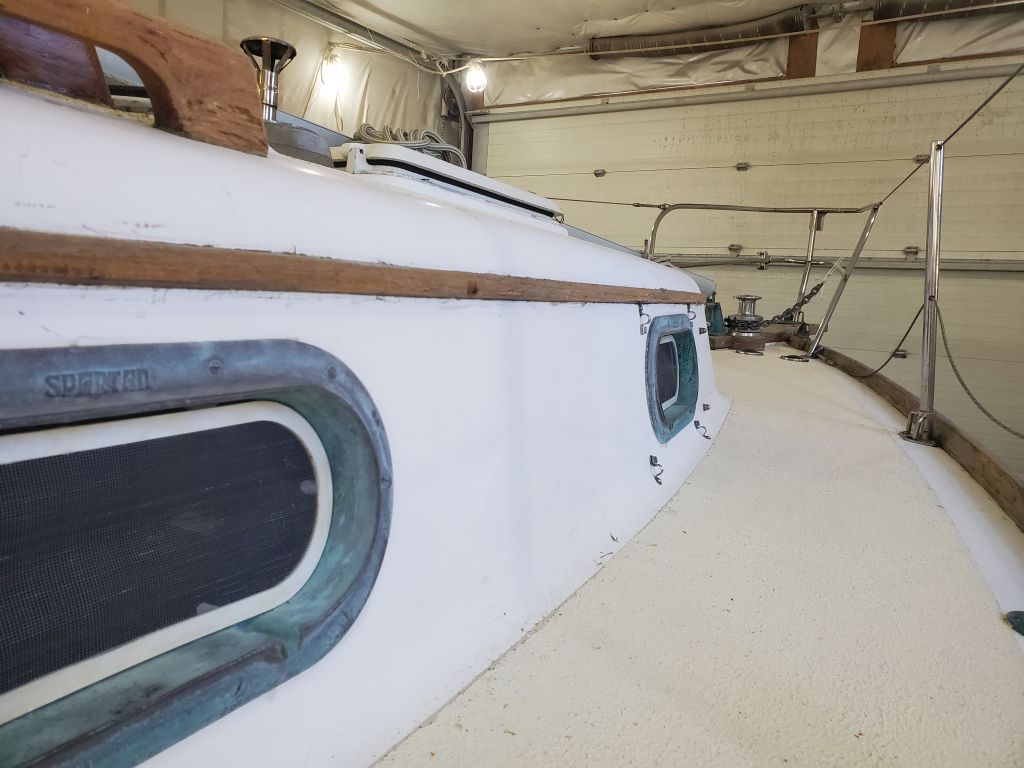
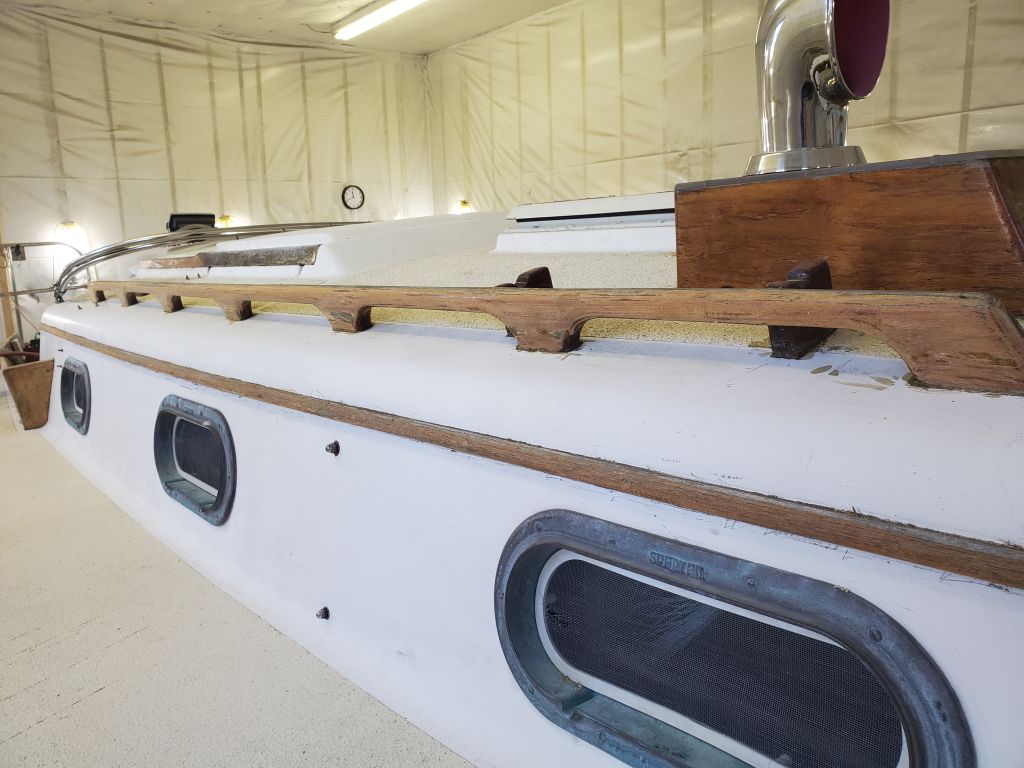
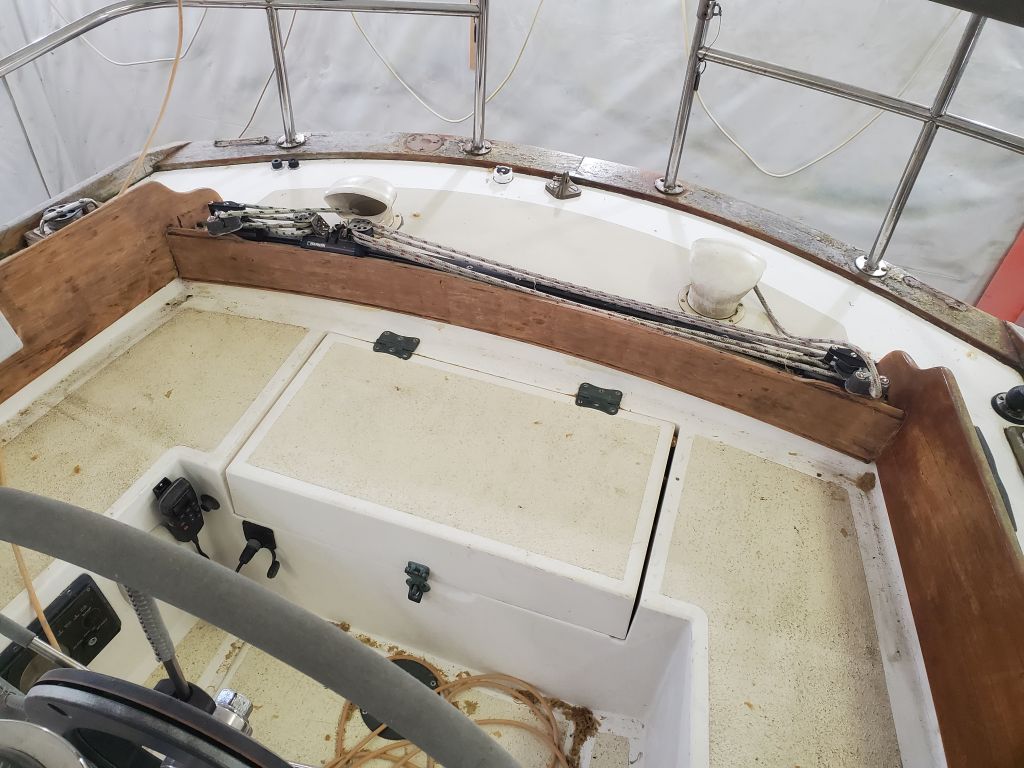
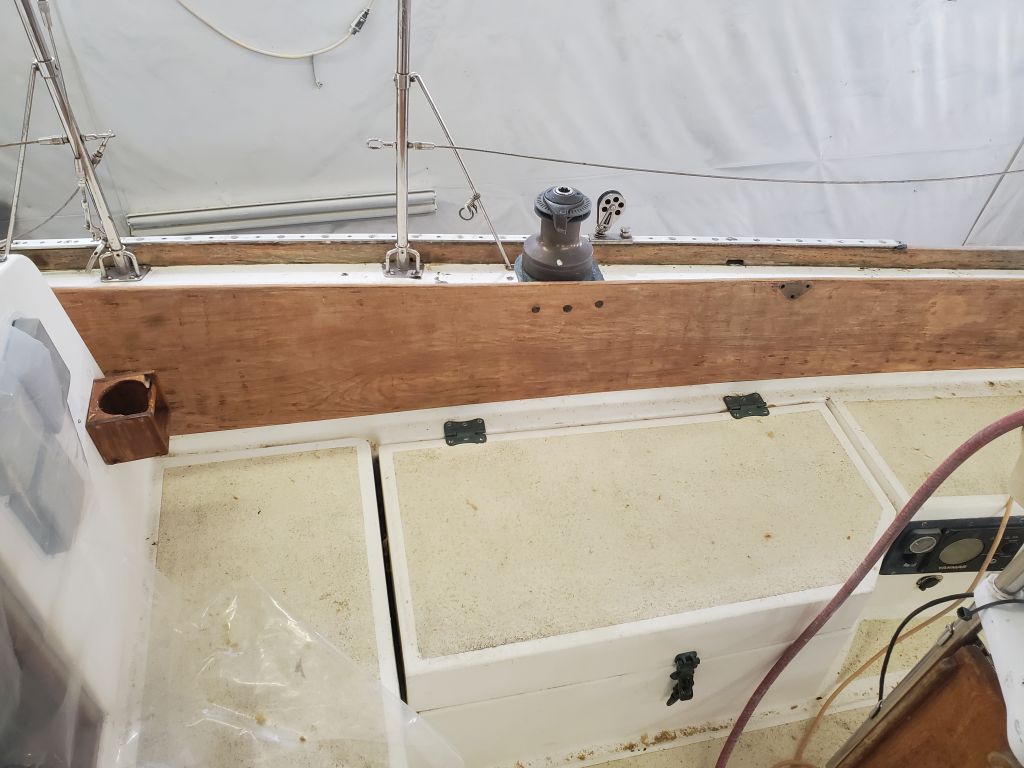
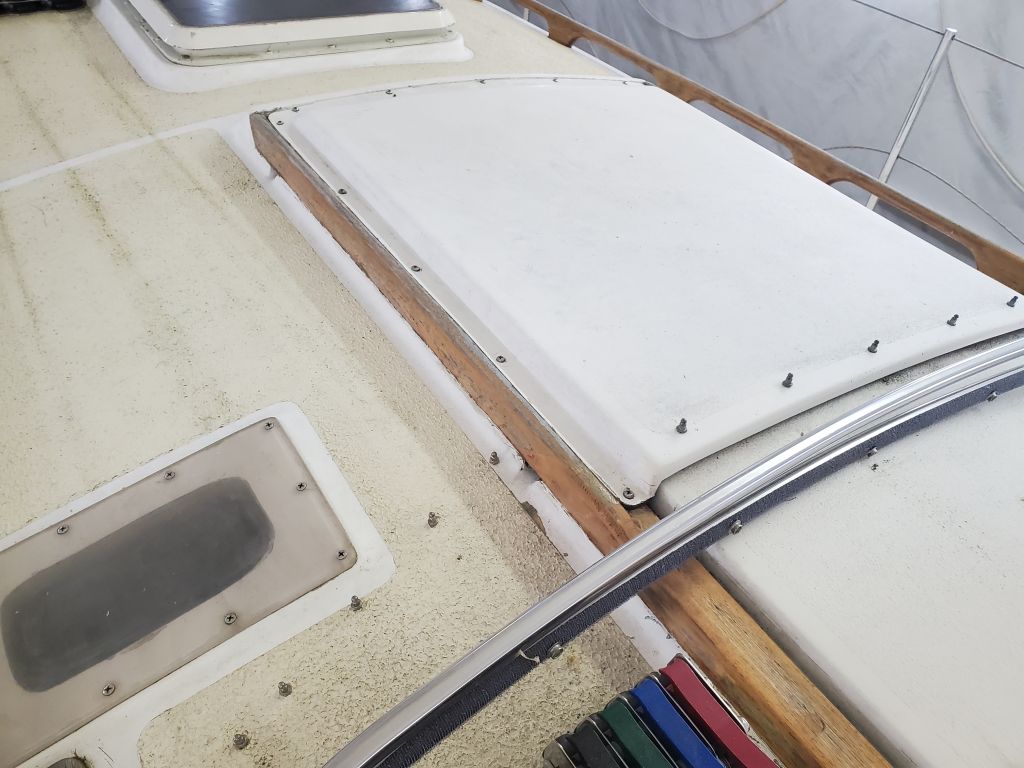
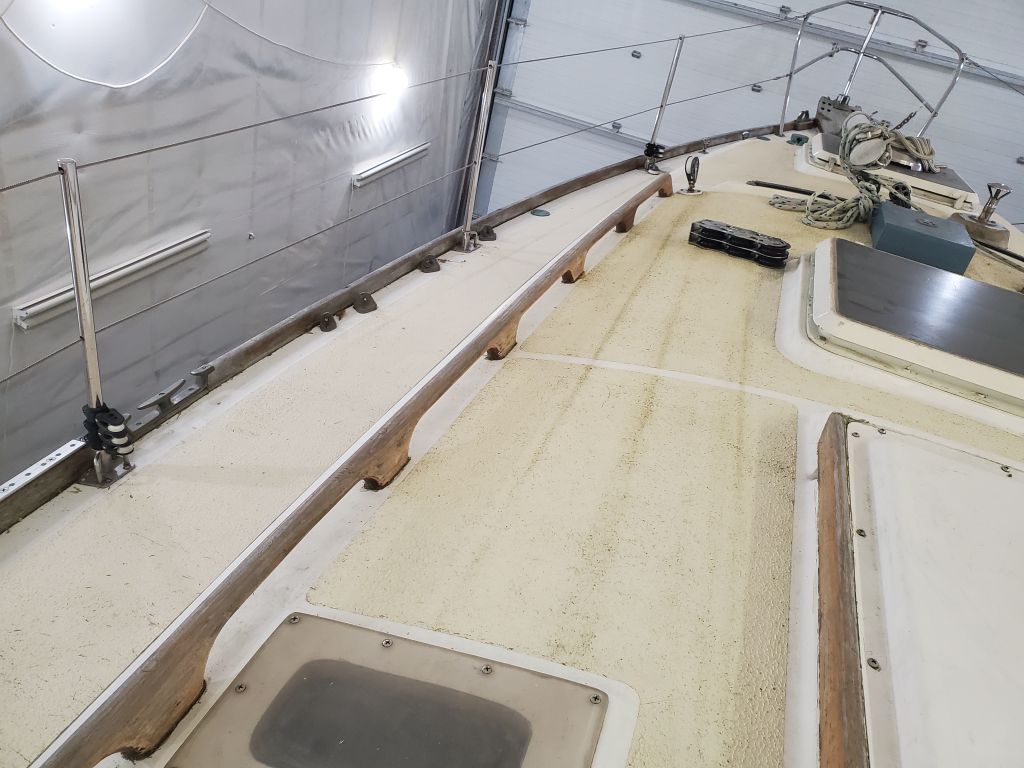
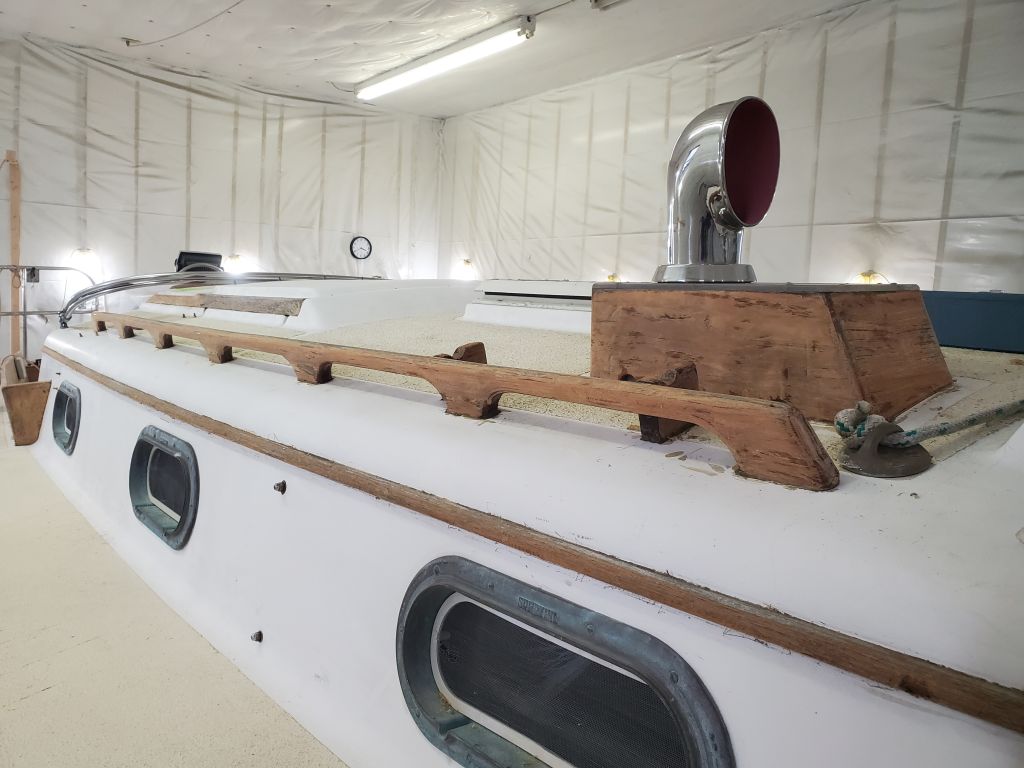
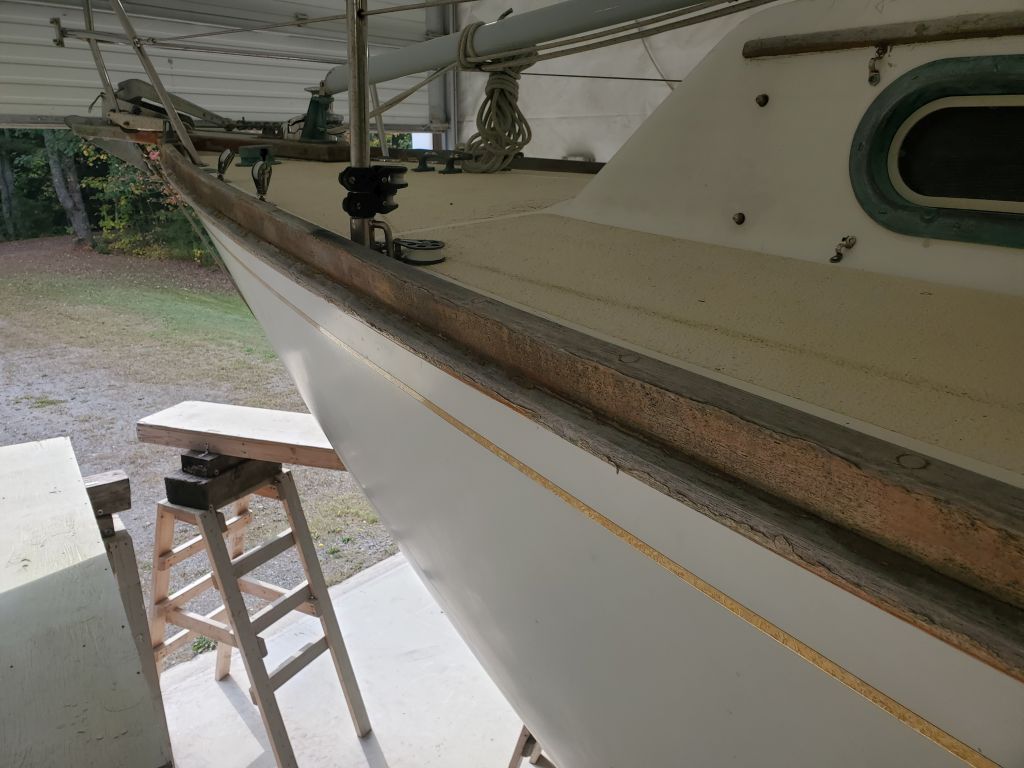
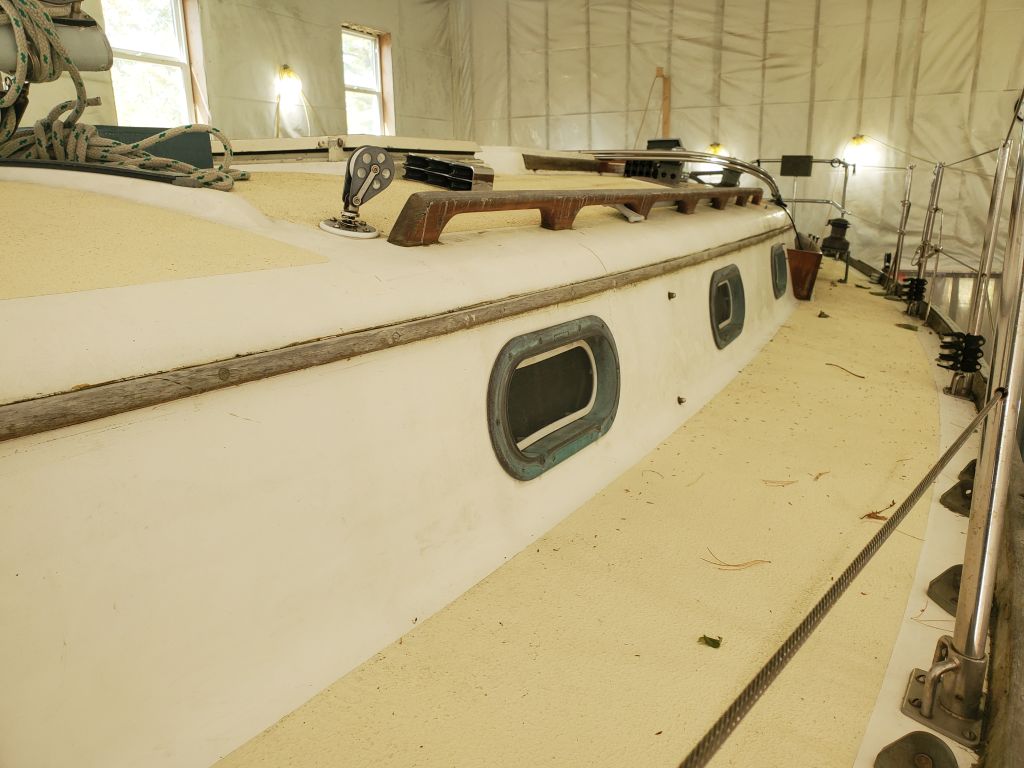
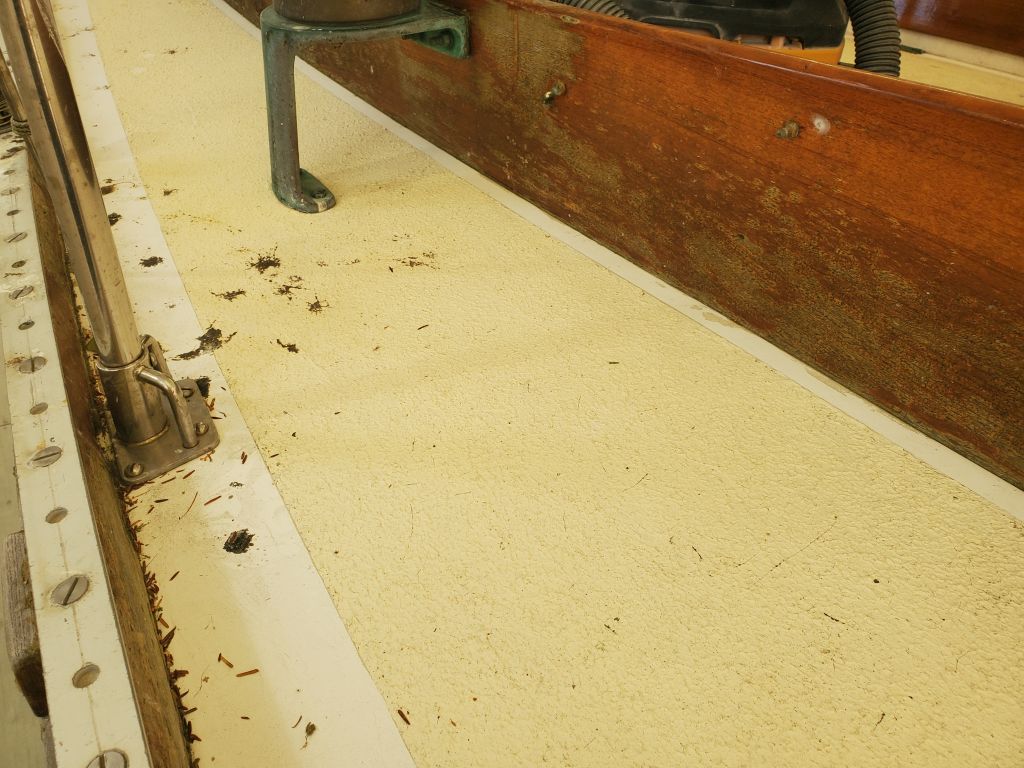
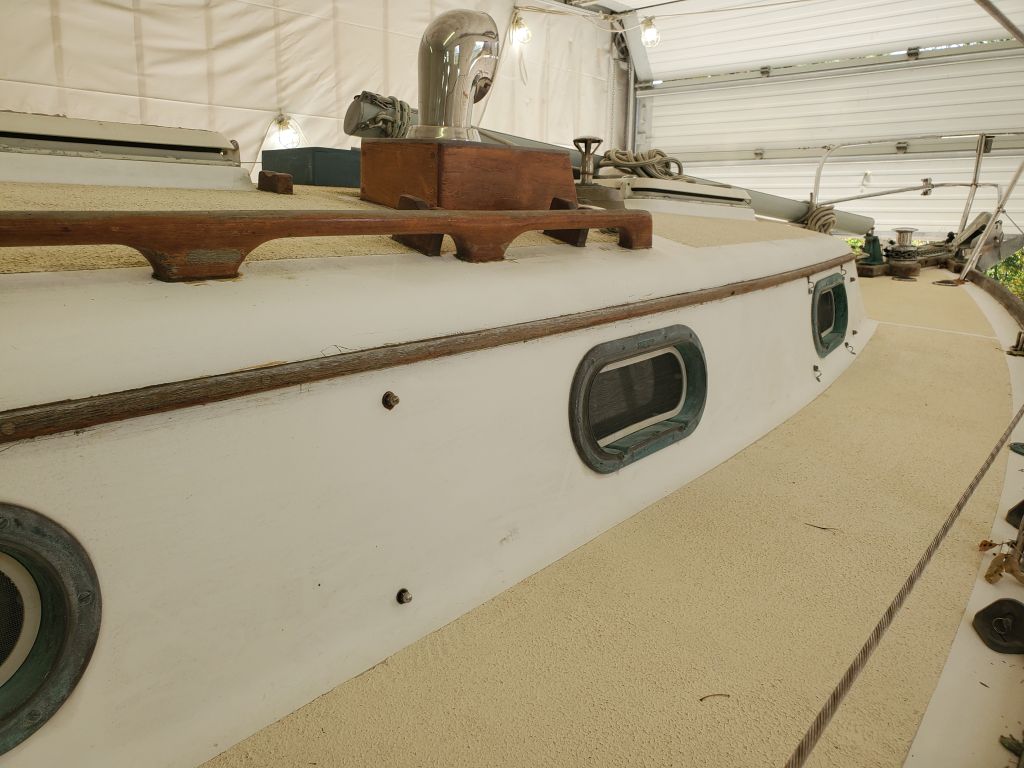
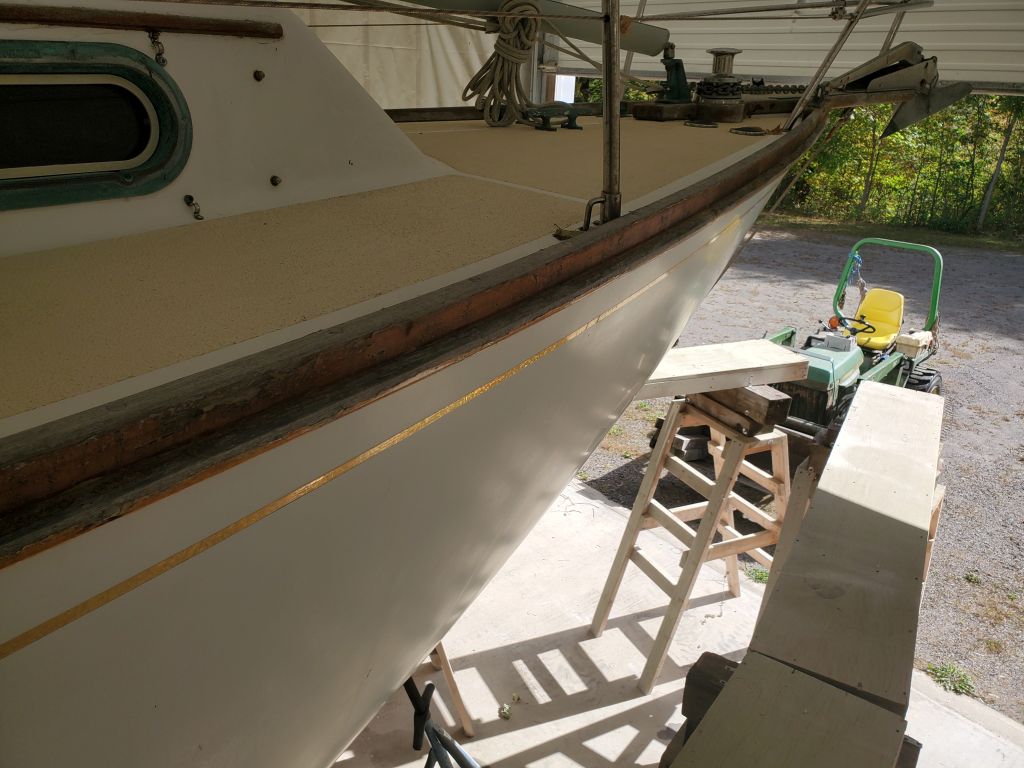
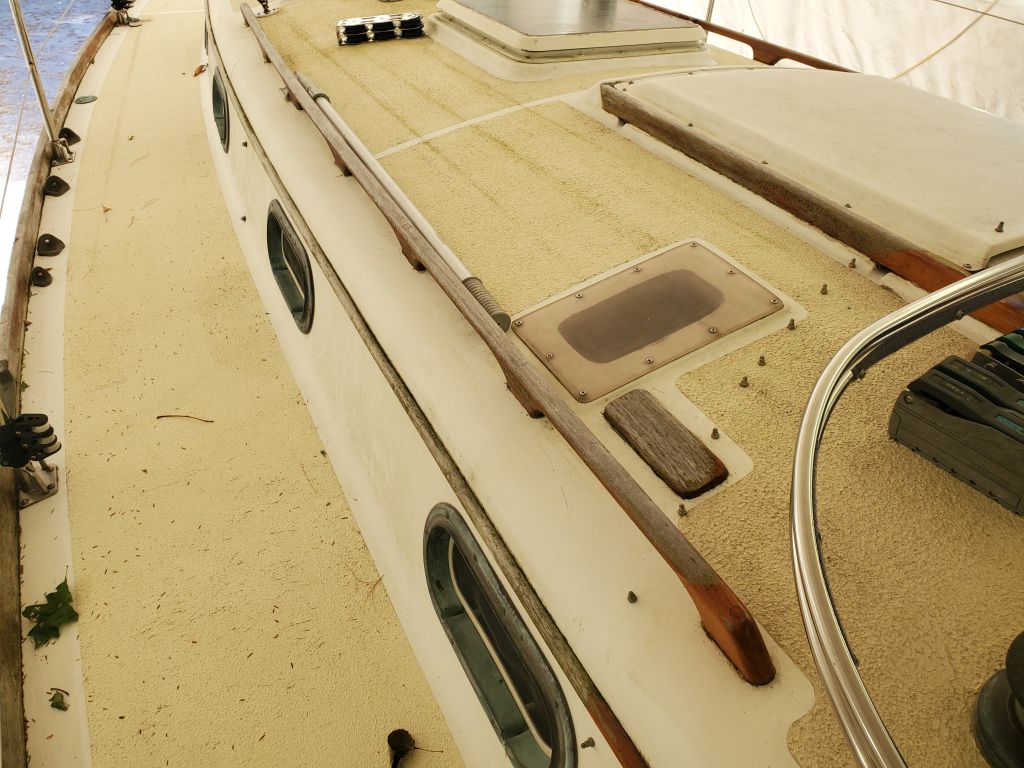
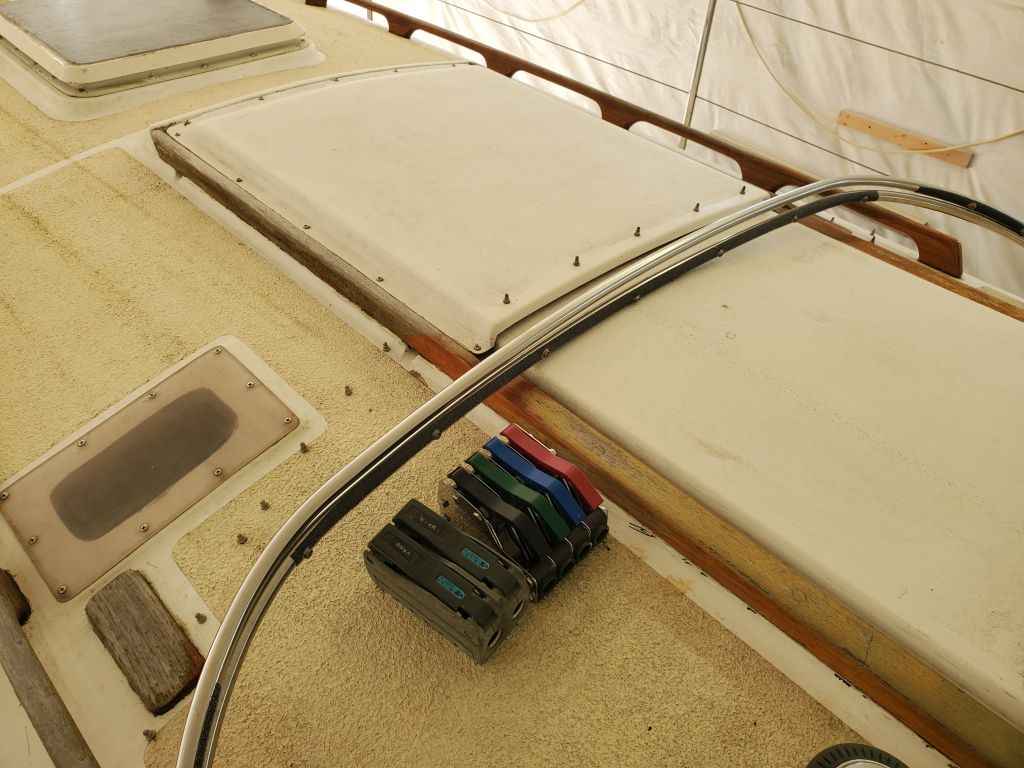
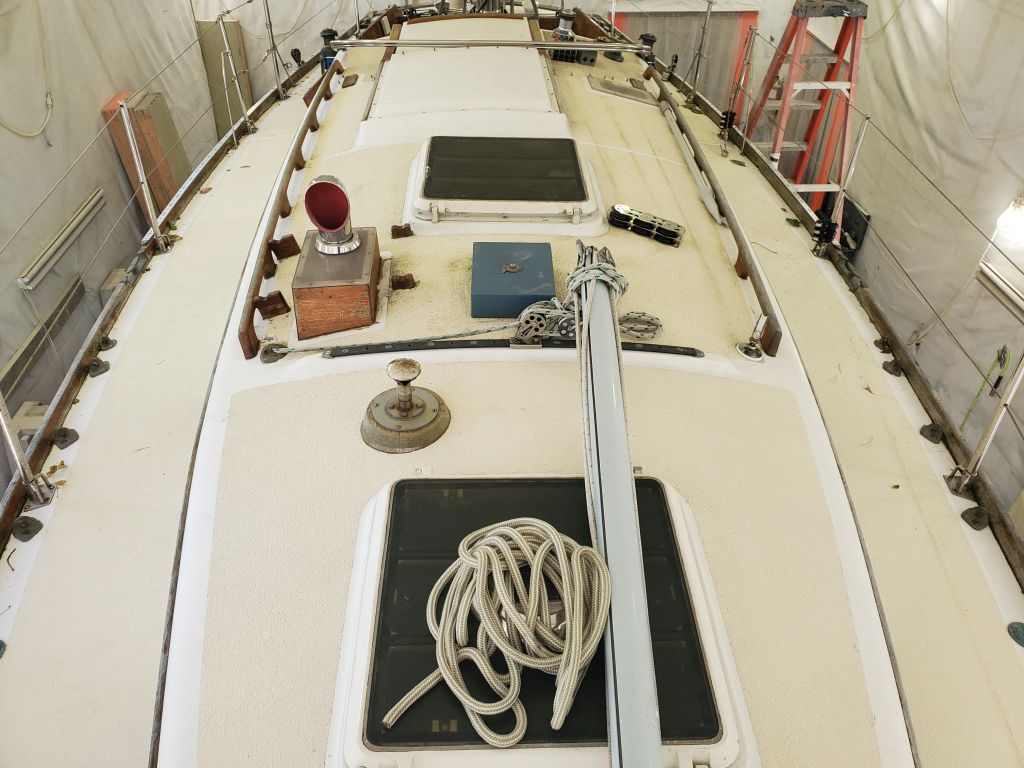
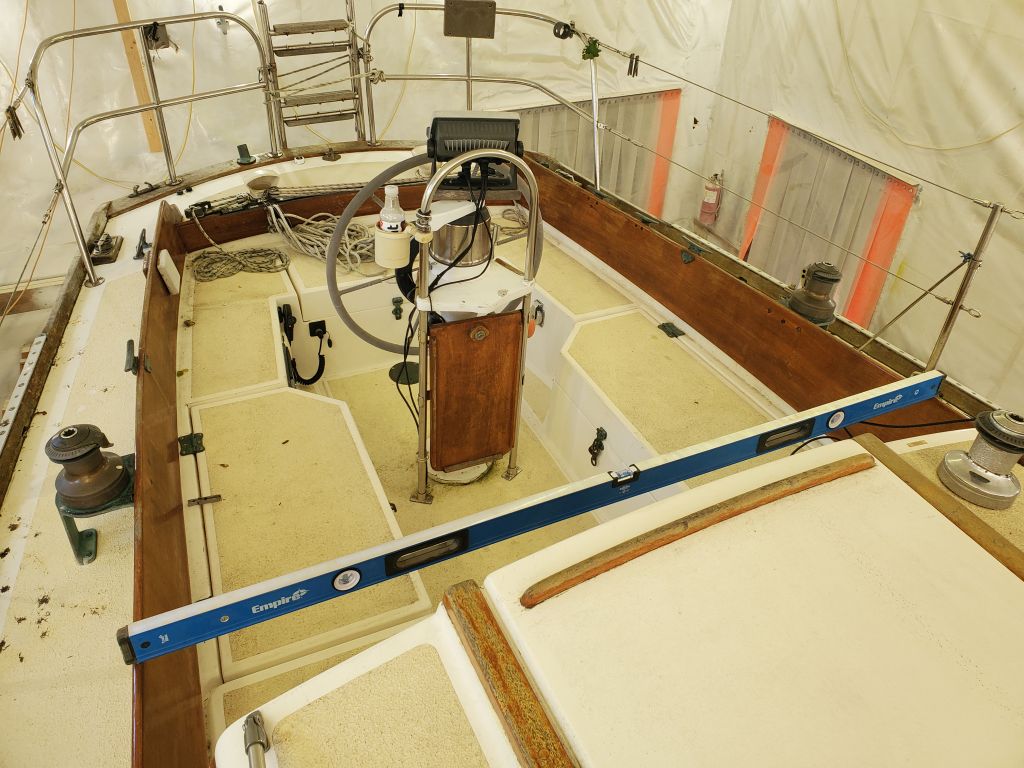
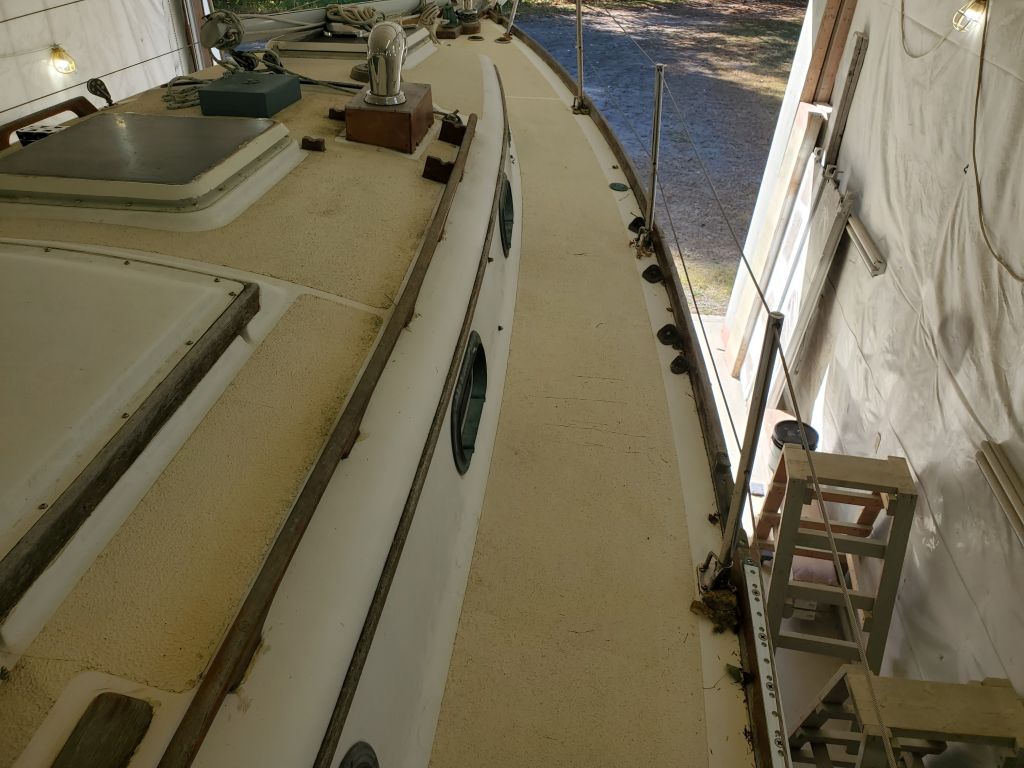
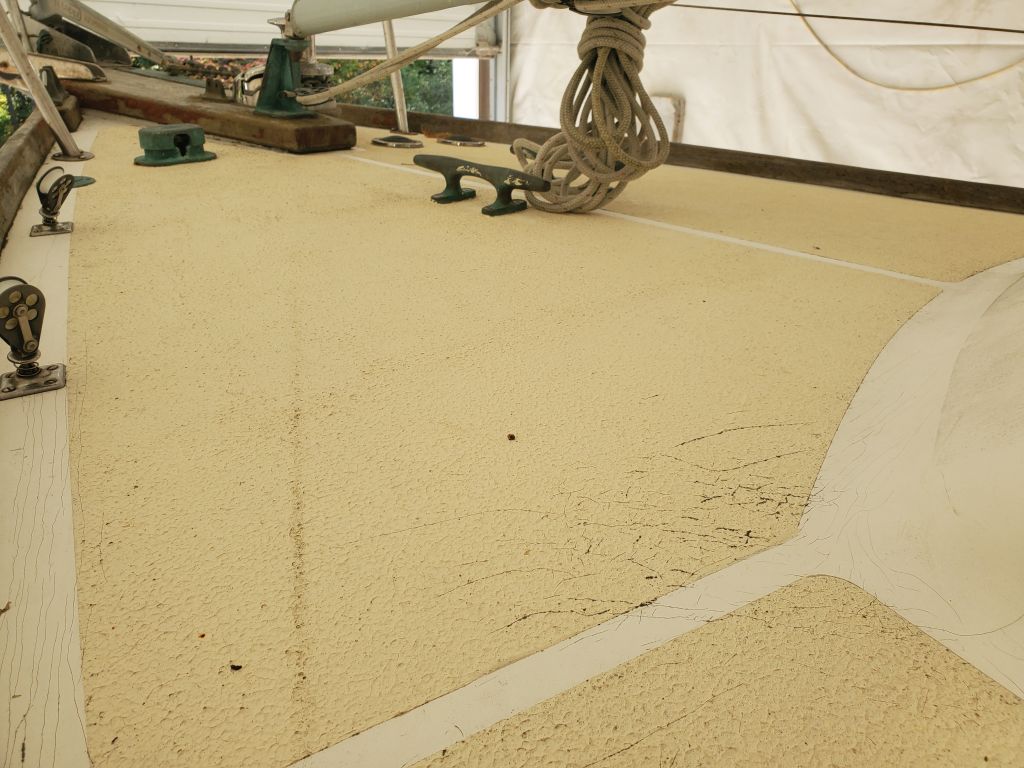
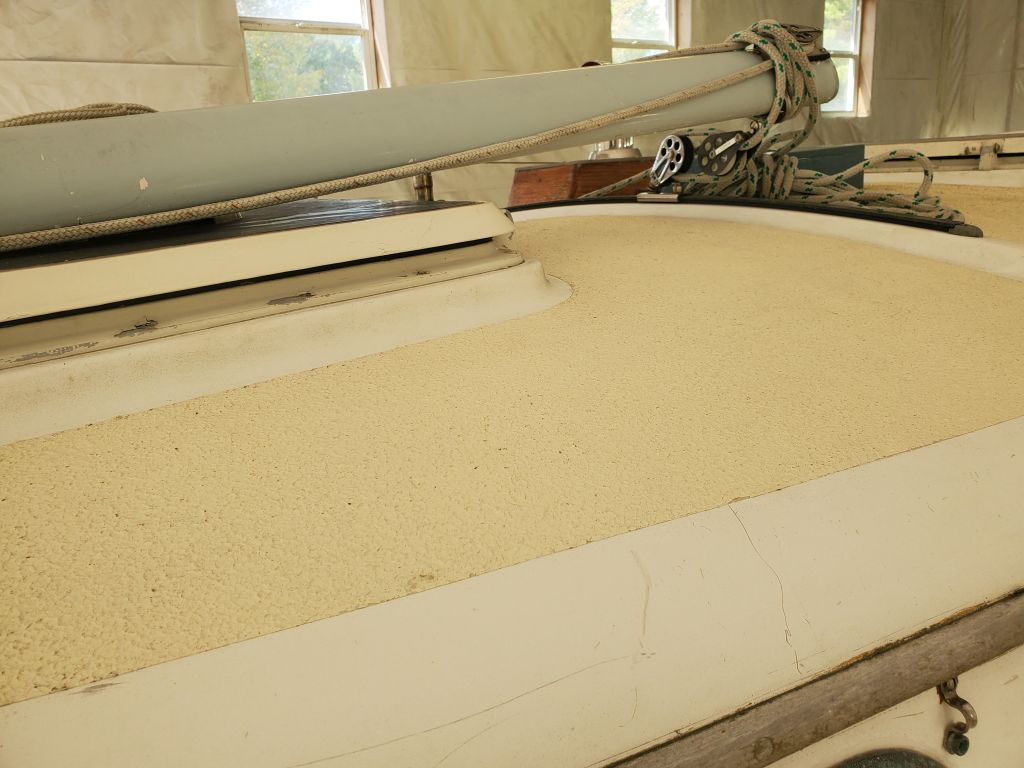
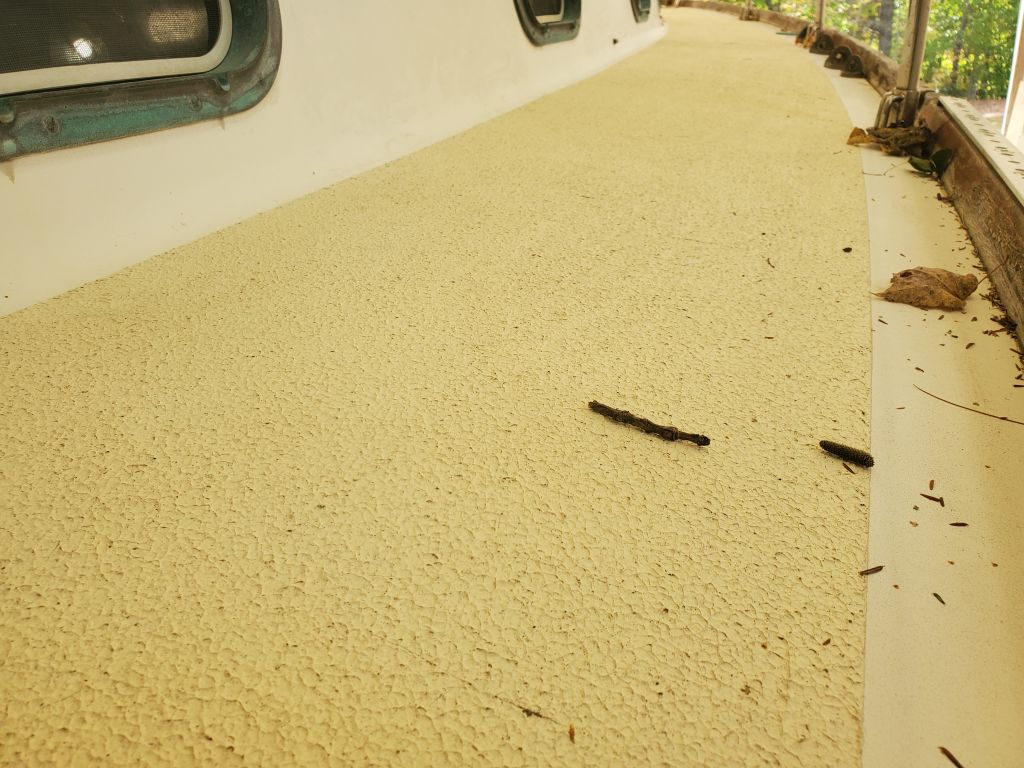
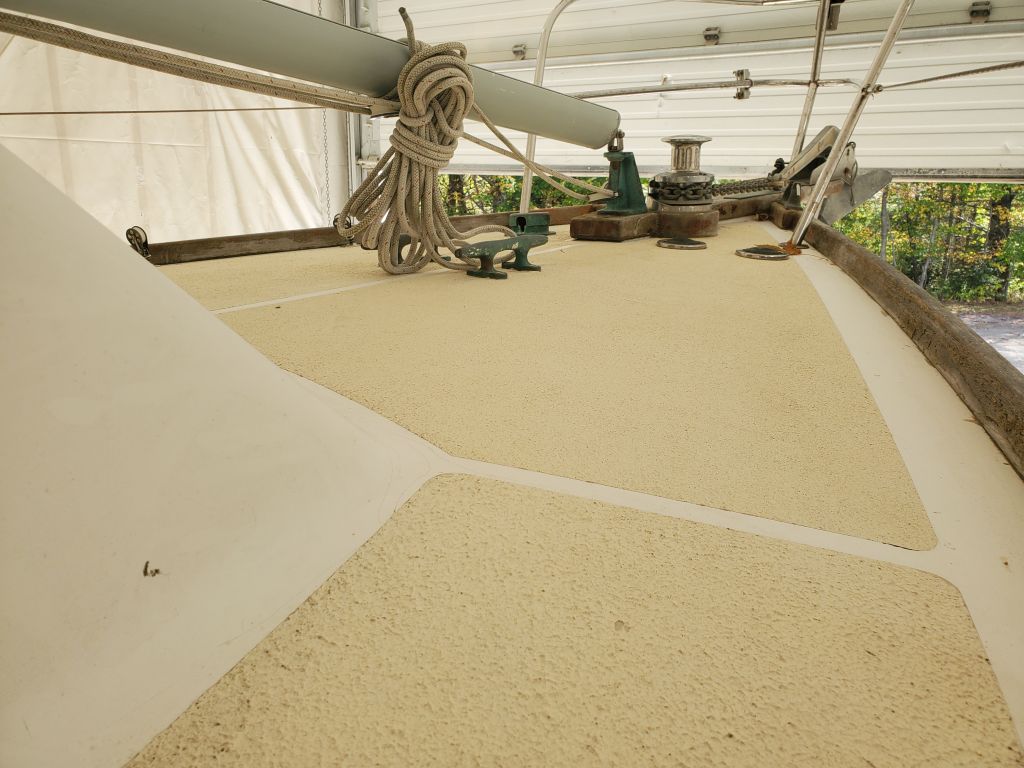
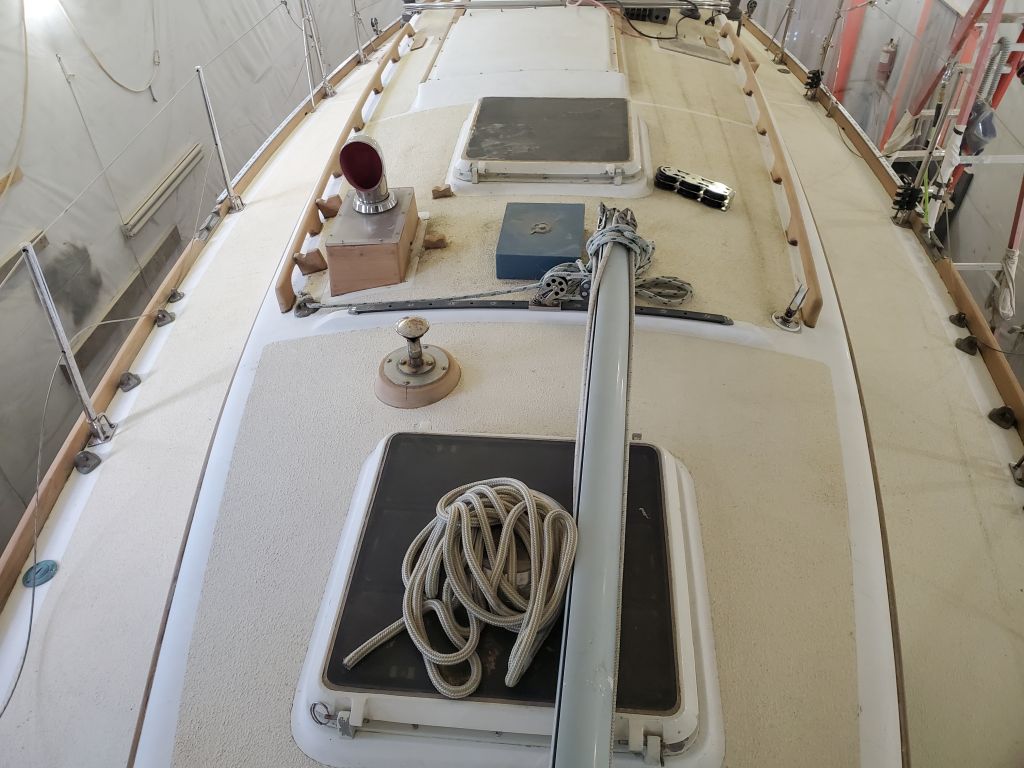
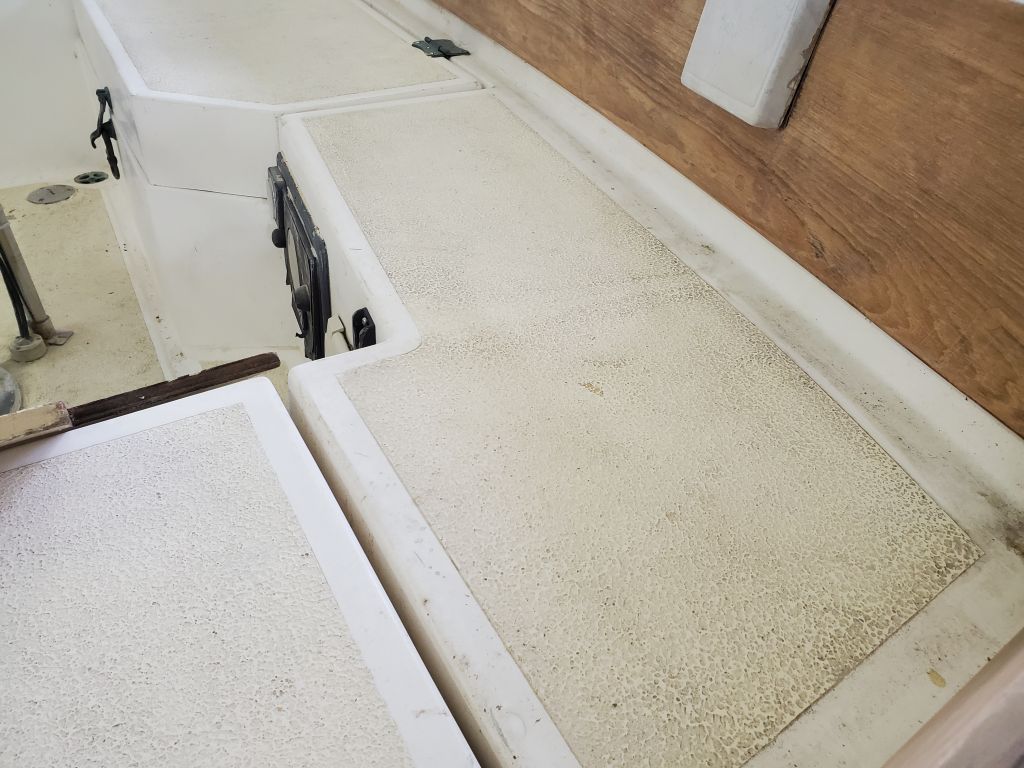
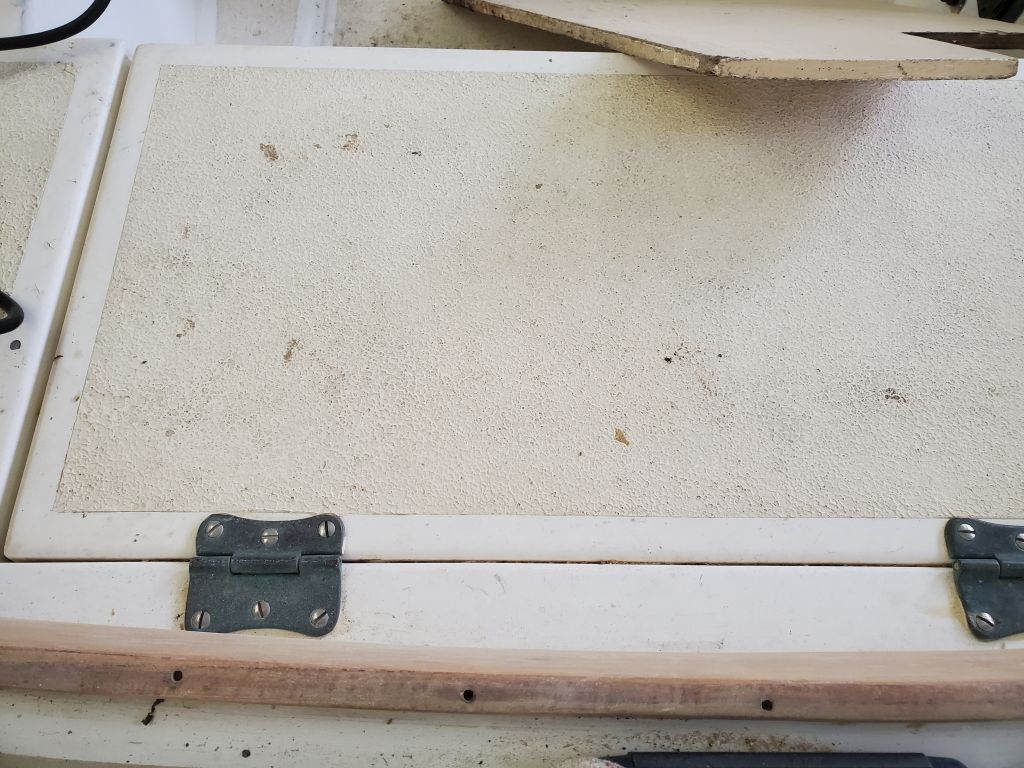
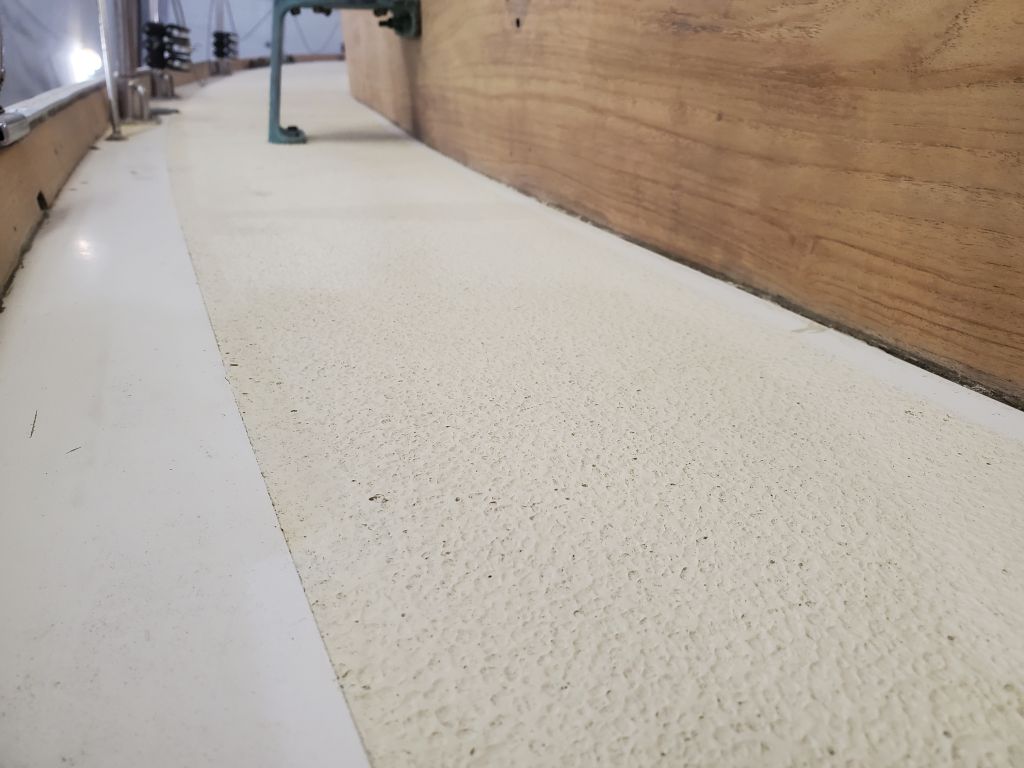
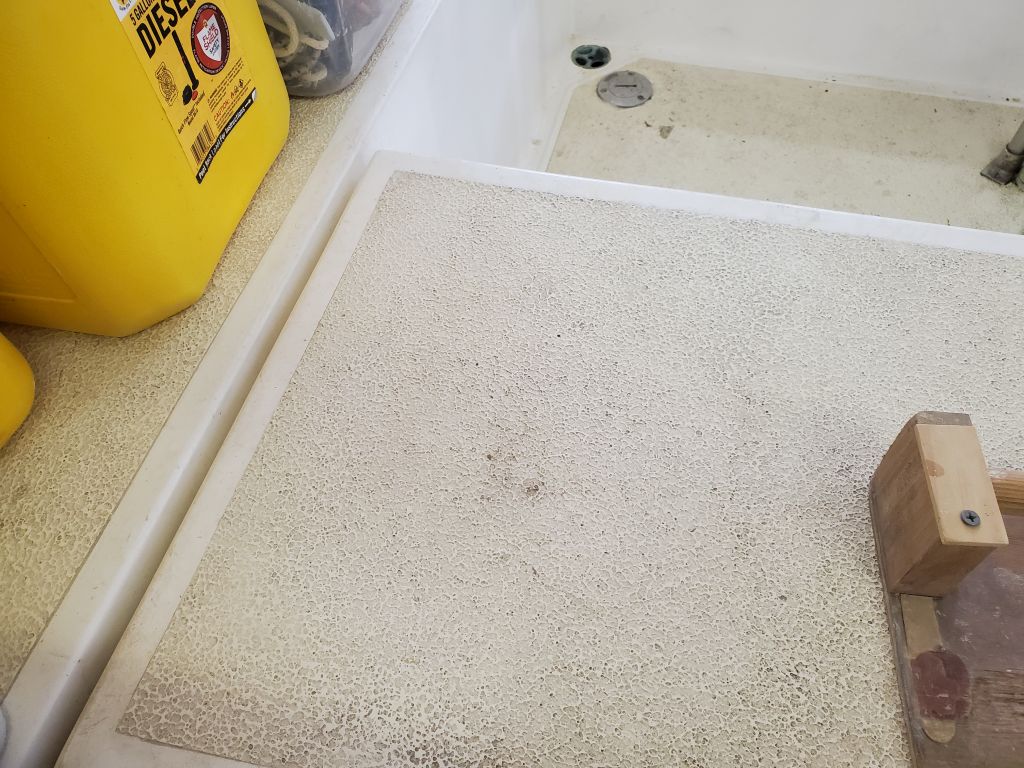
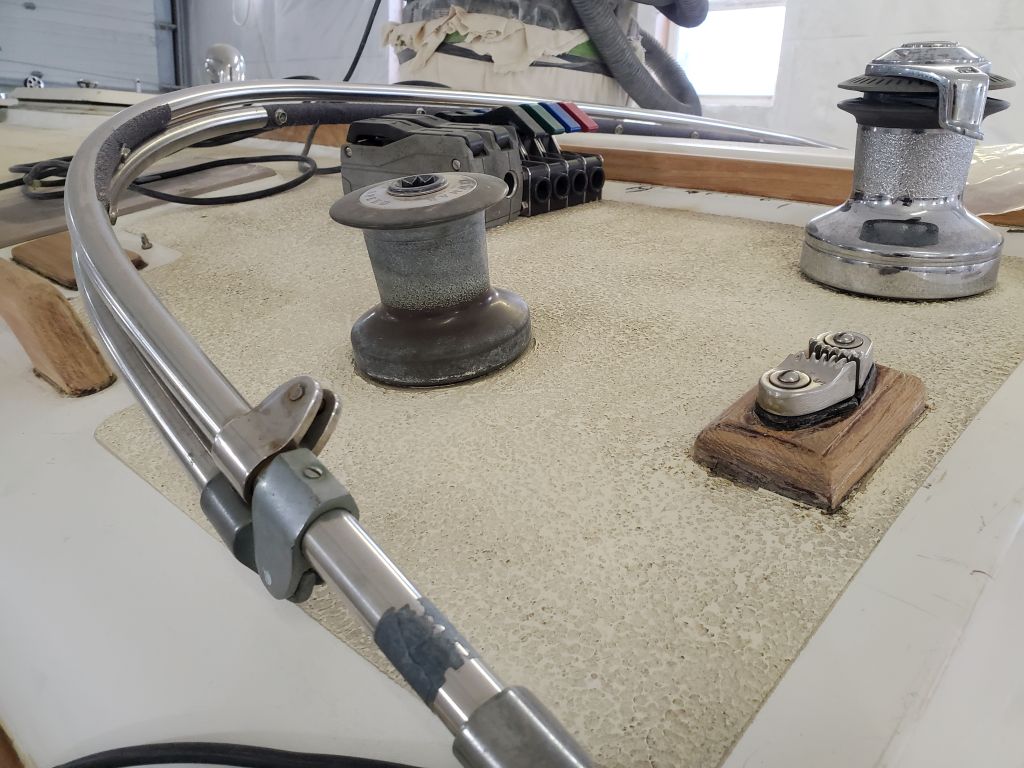
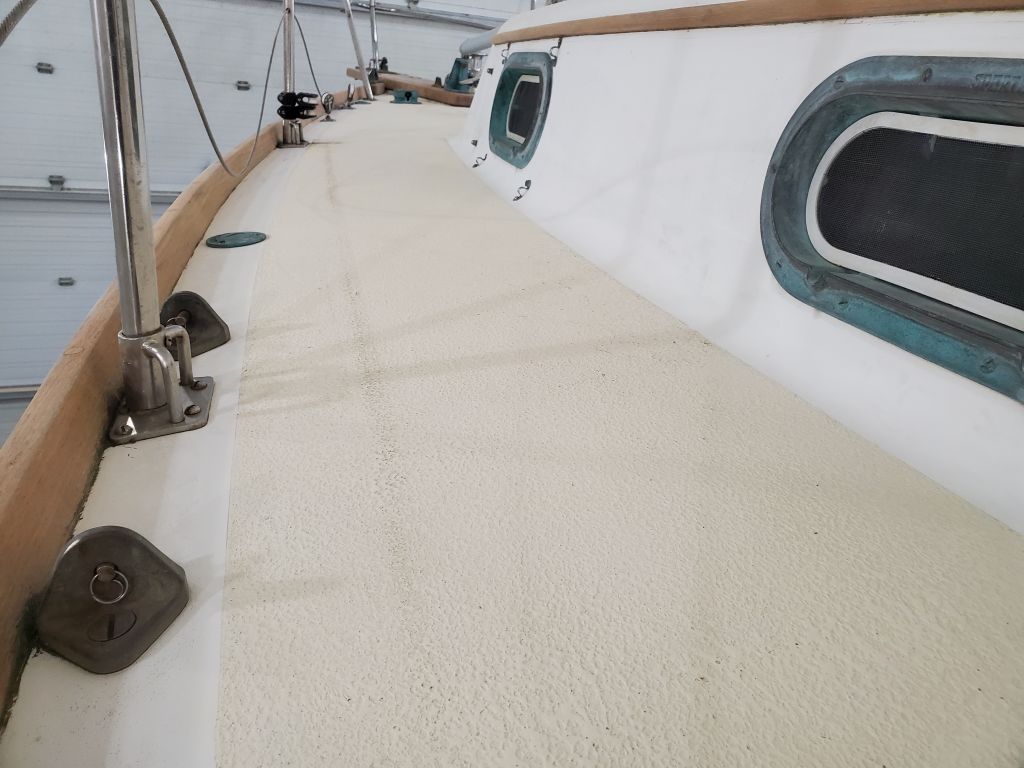
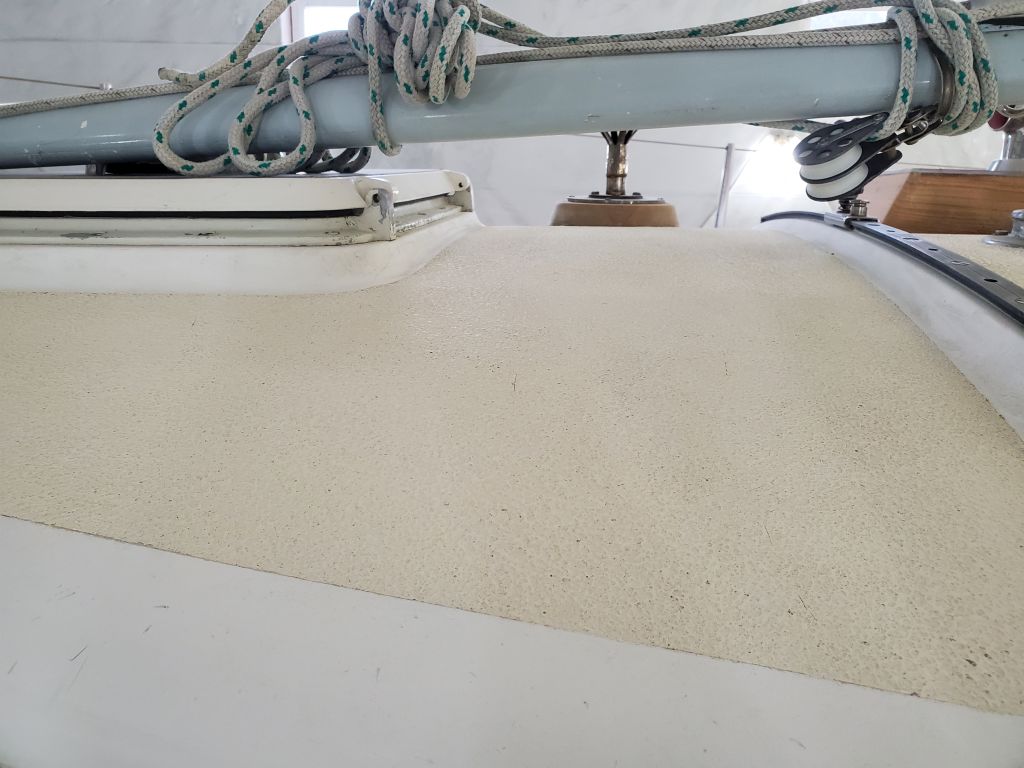
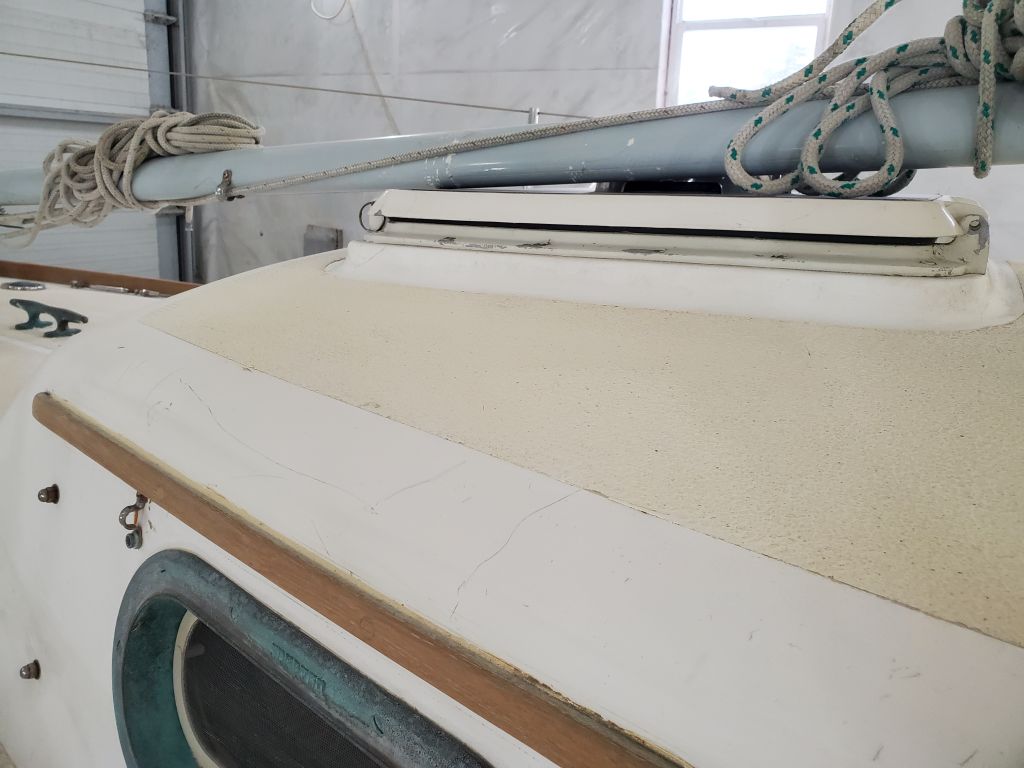
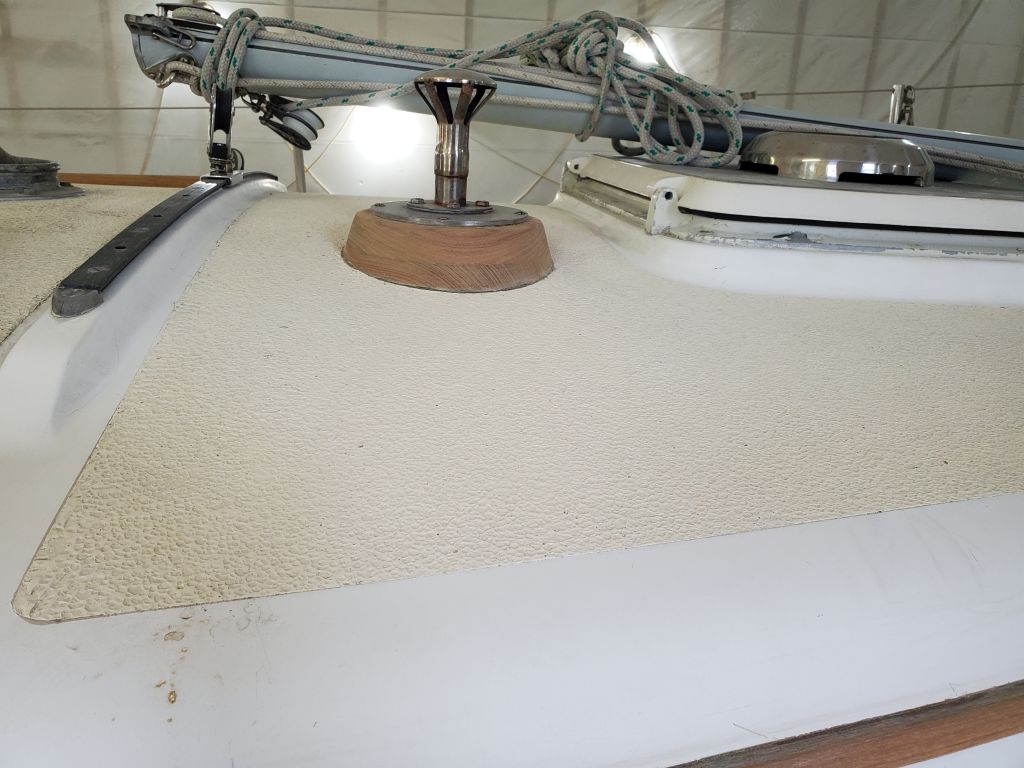
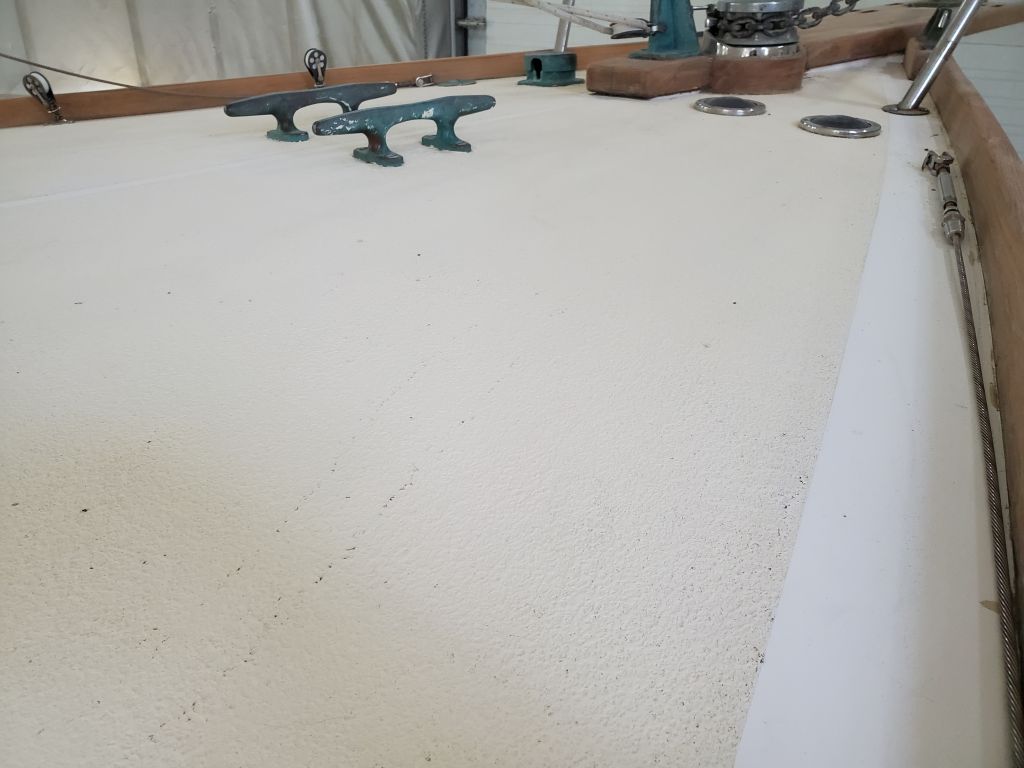
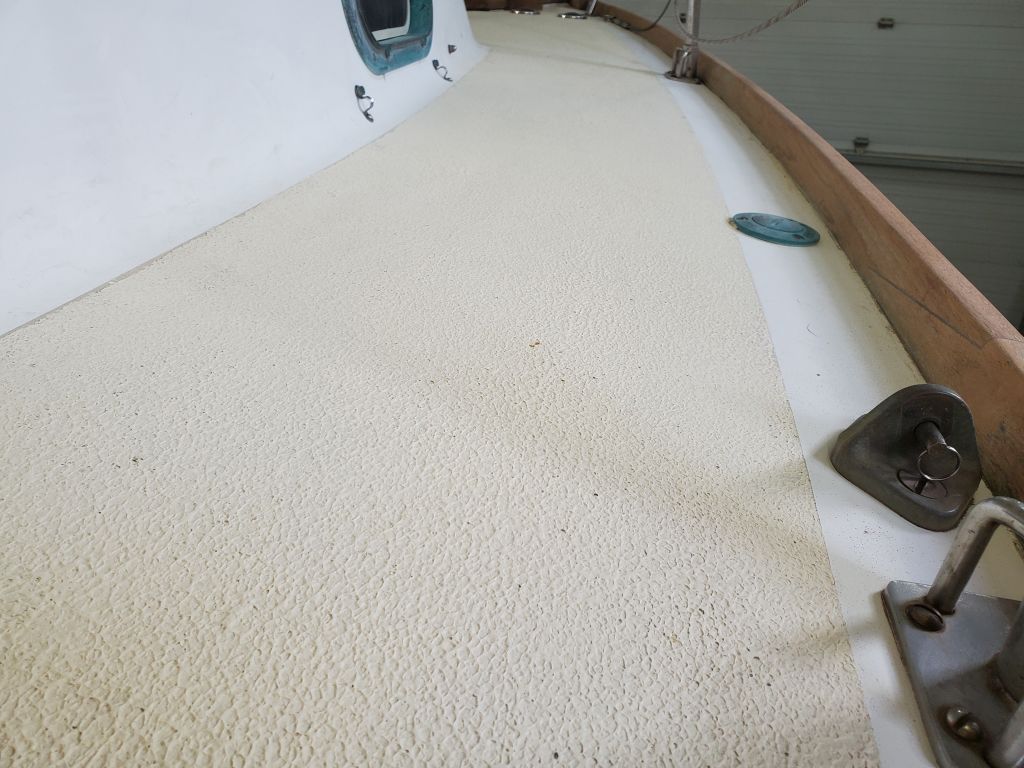
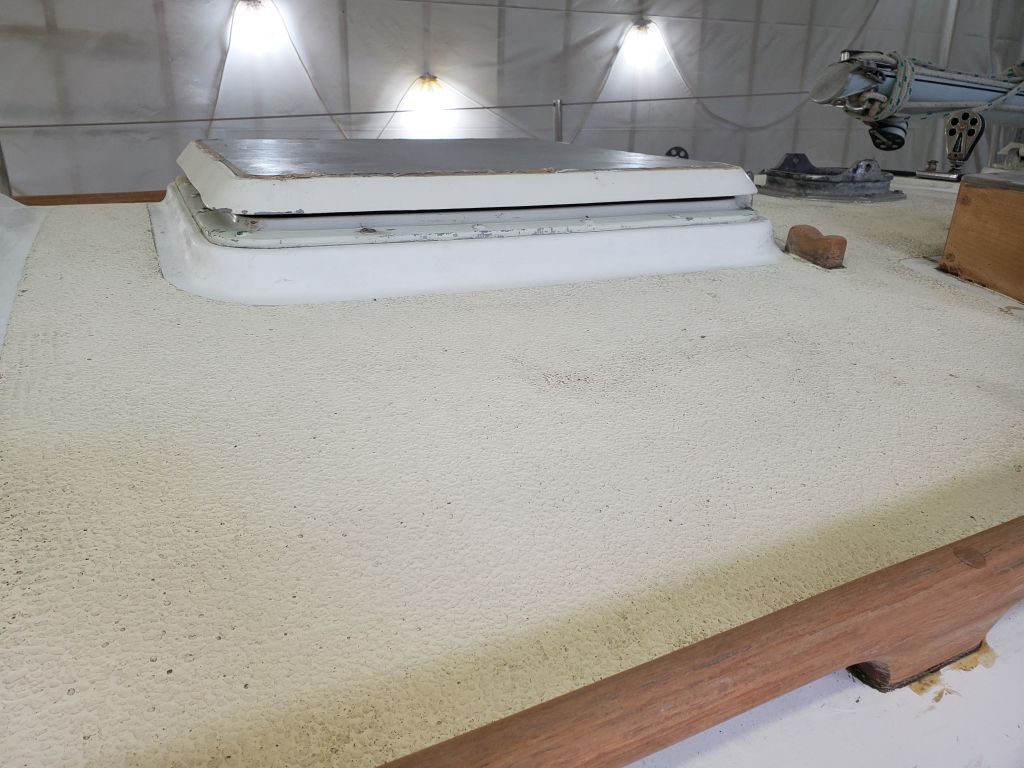
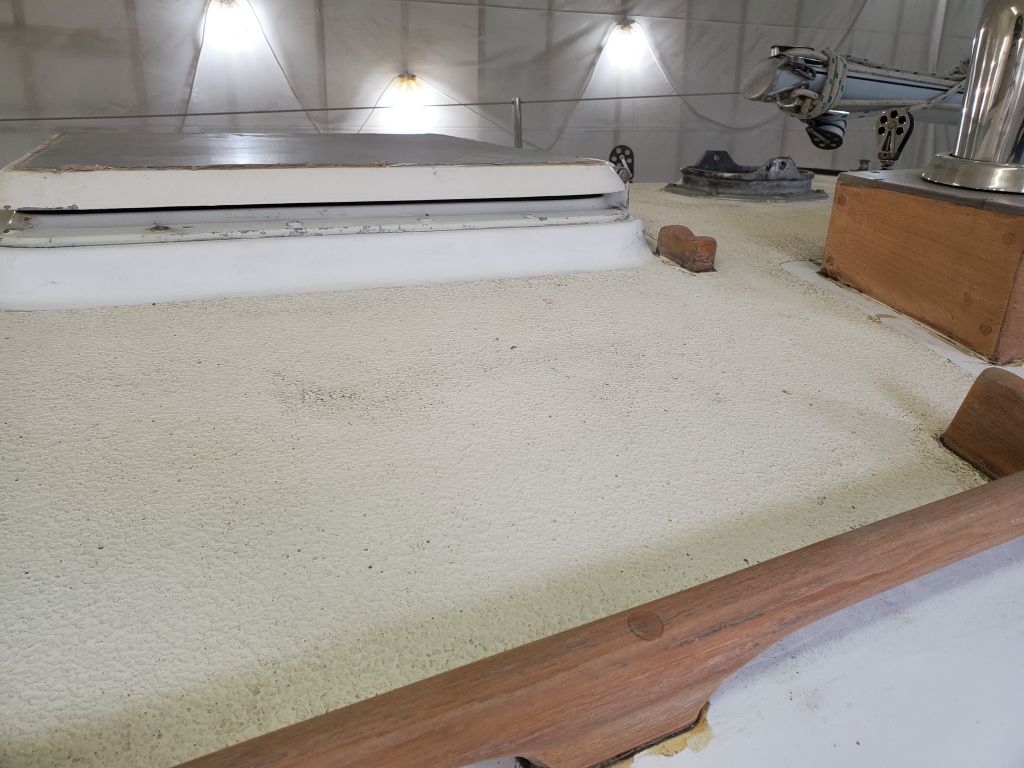
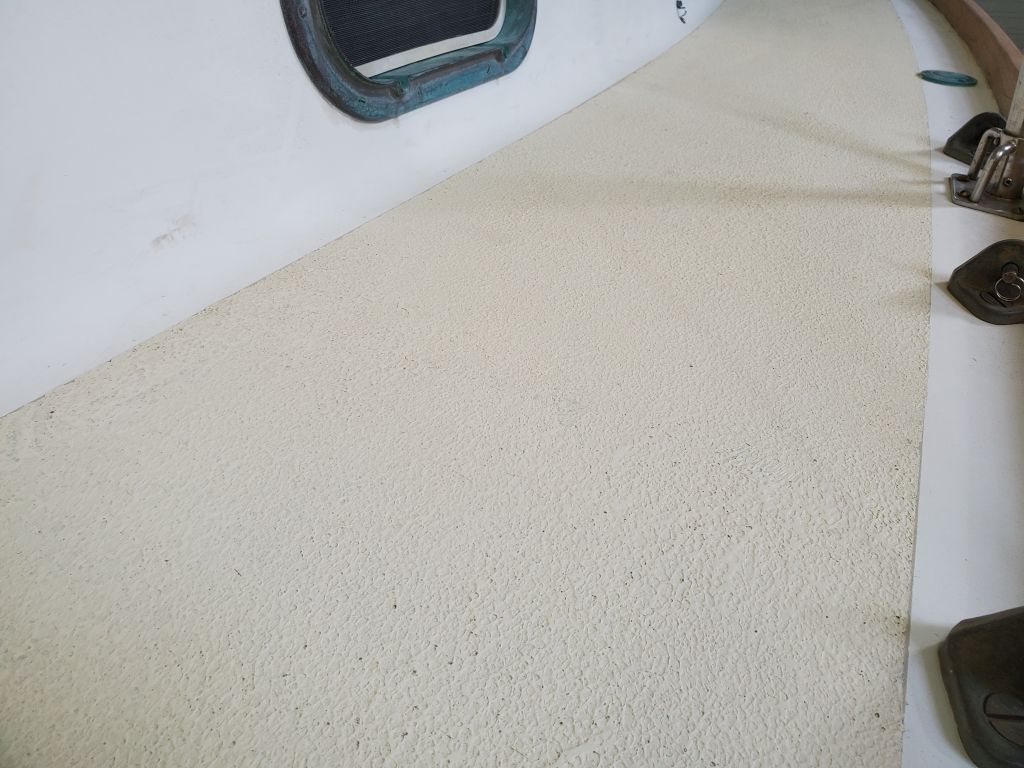
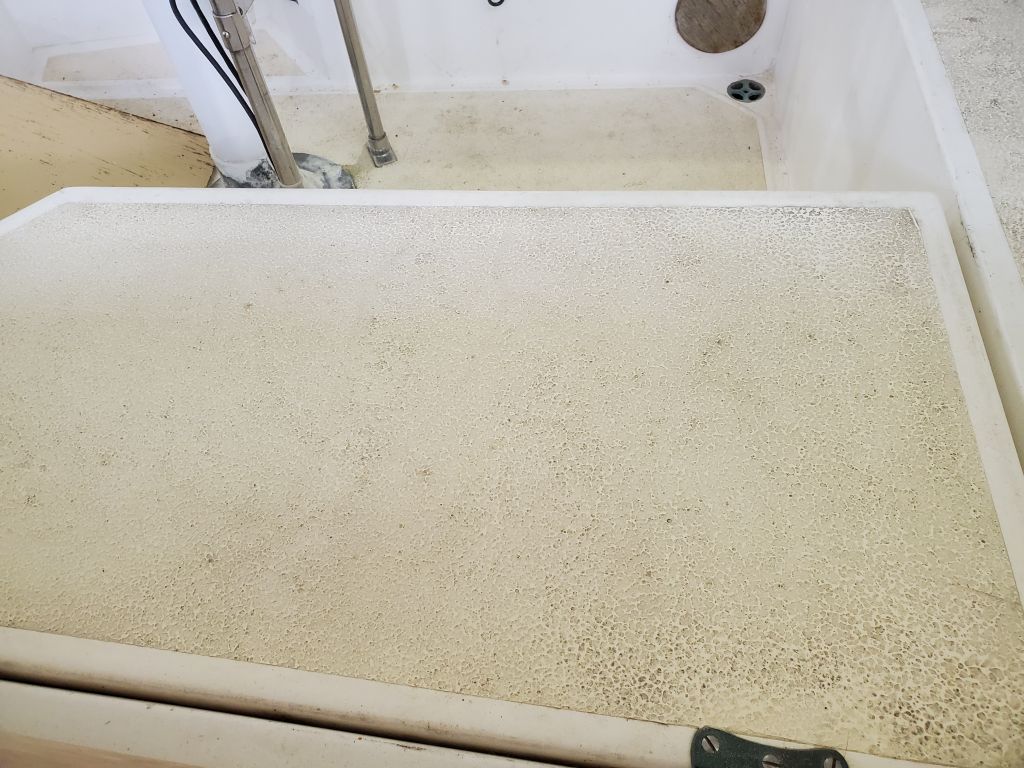
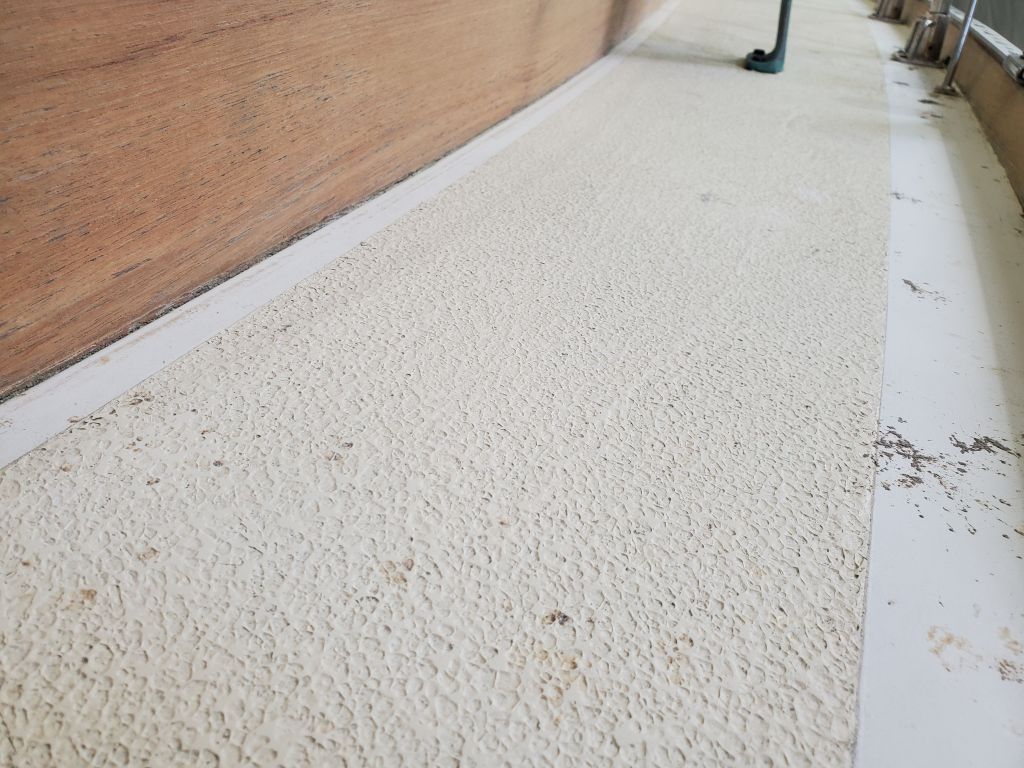
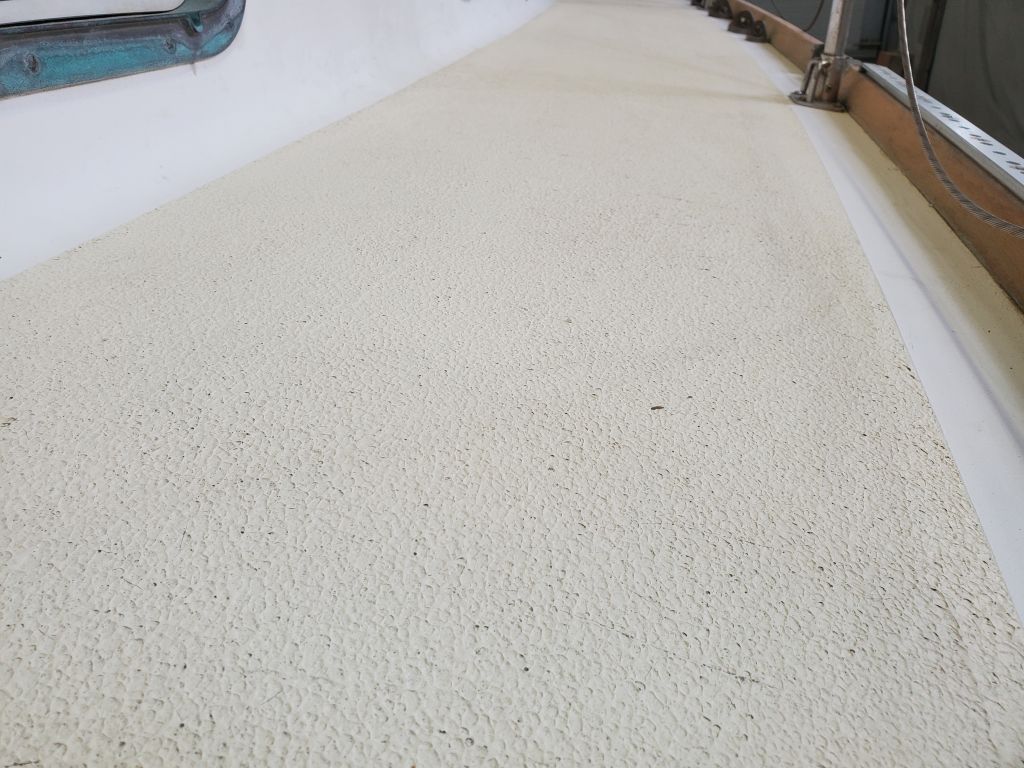
The owner asked me to refresh the nonskid.  The existing nonskid was not original, but had been painted with KiwiGrip sometime in the past.  Overall, it was still in good structural condition, but the original application was somewhat uneven in texture, though still doing its job.   The texture was quite rough and aggressive in many areas.

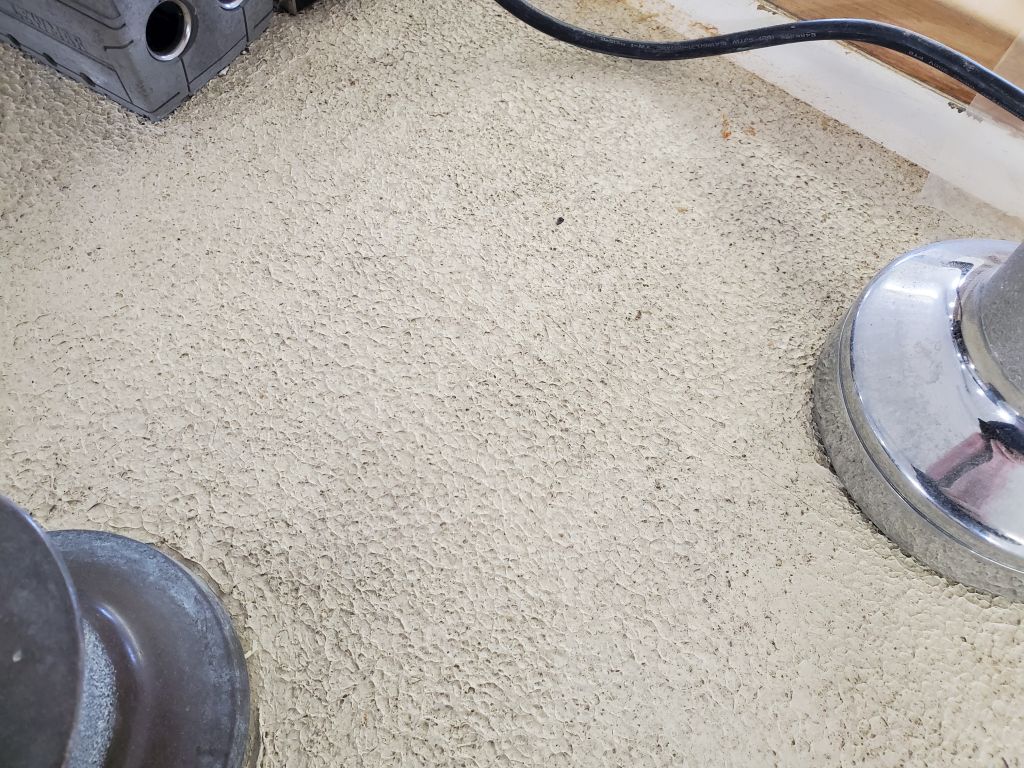
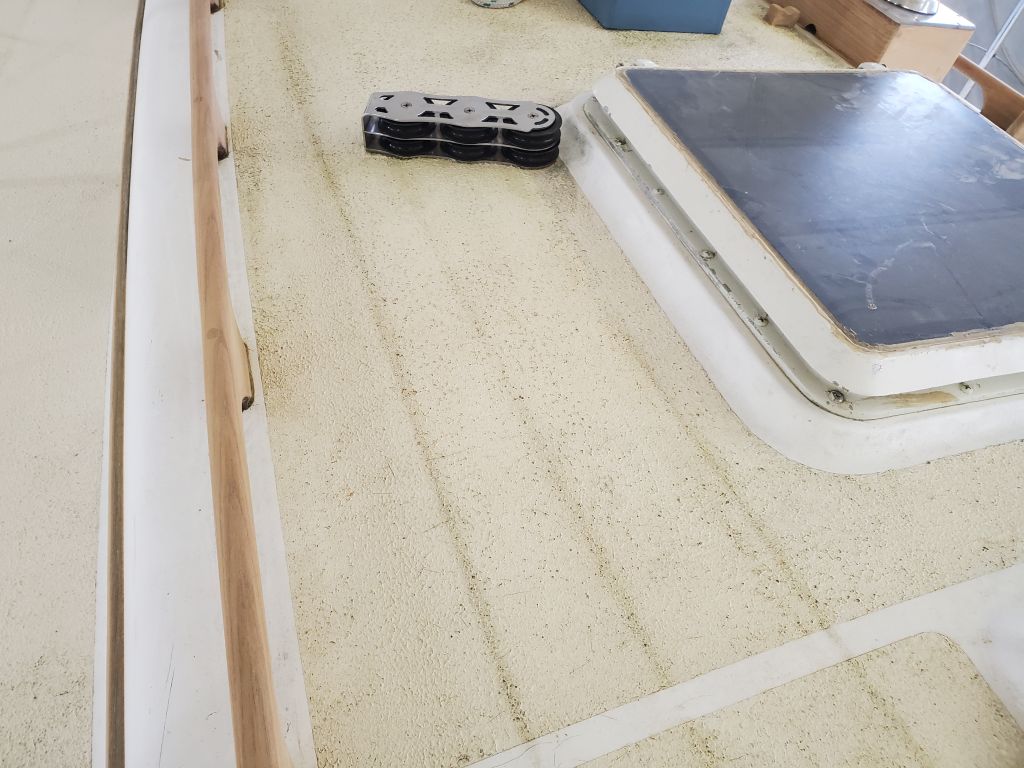
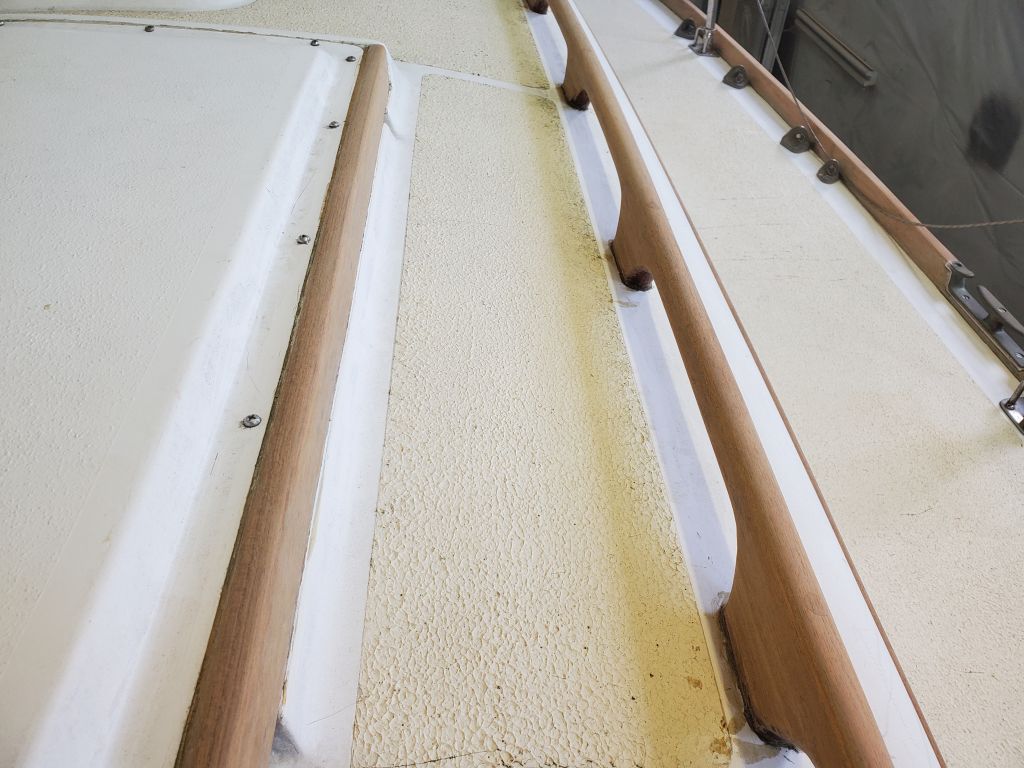
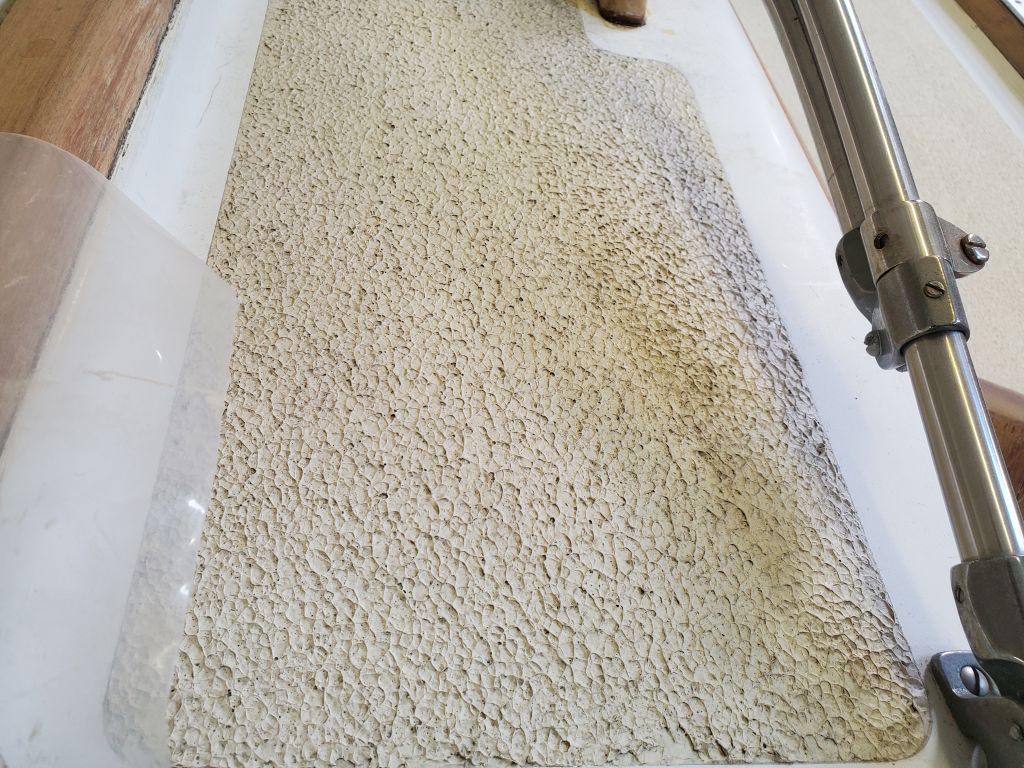
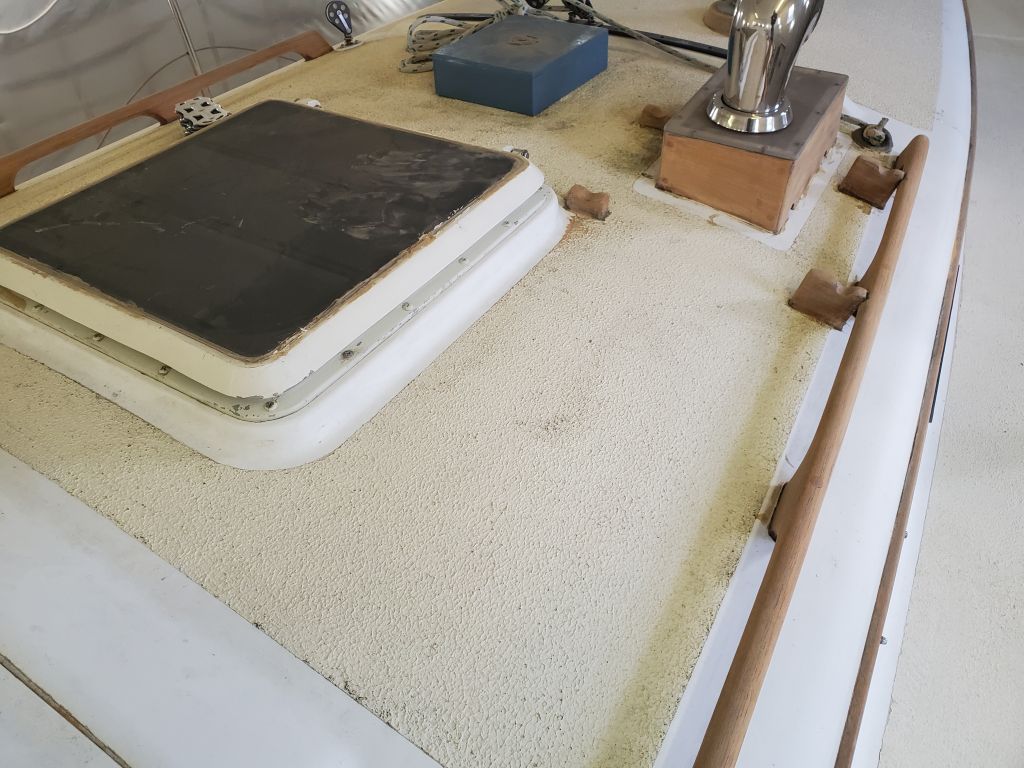
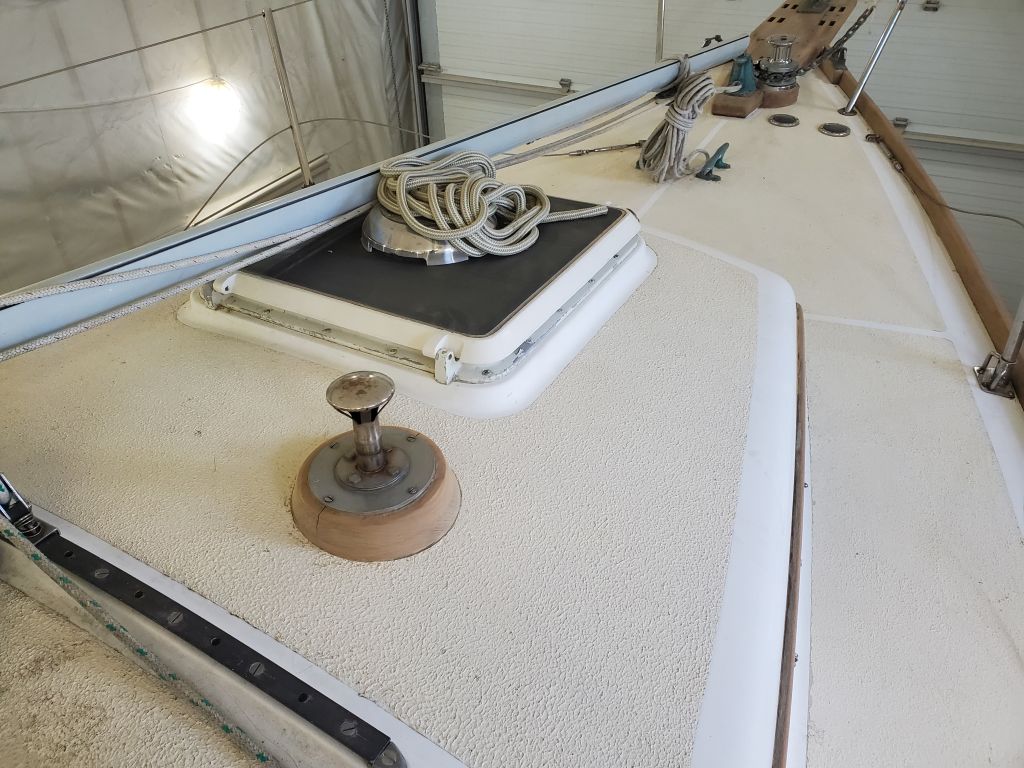
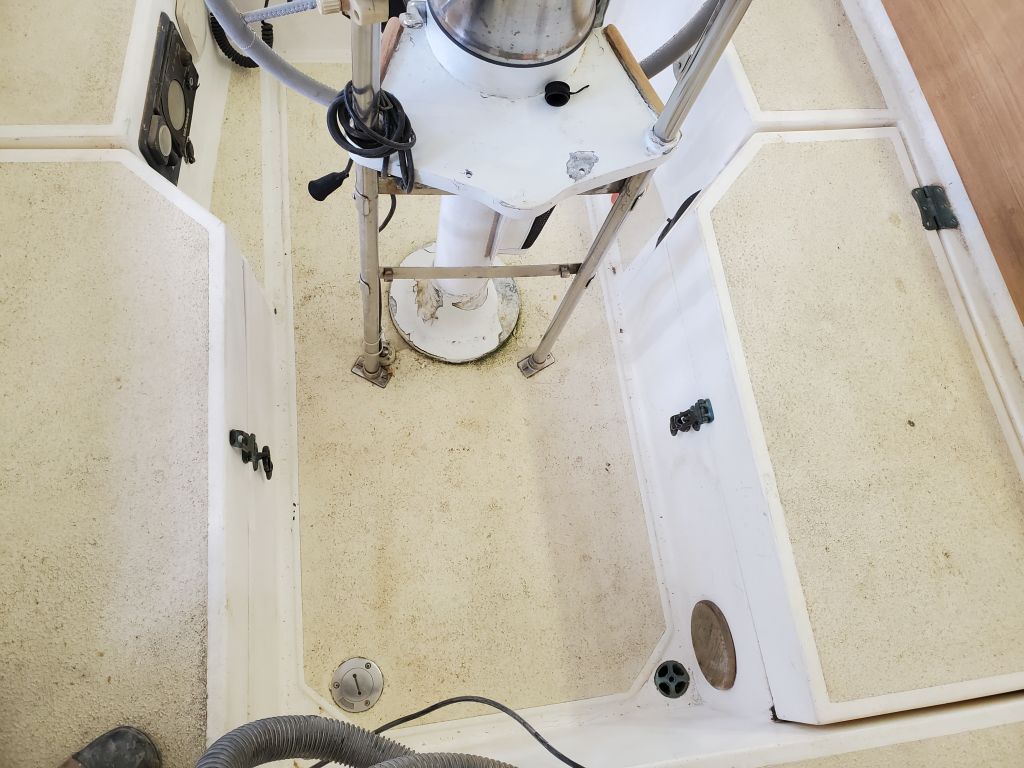
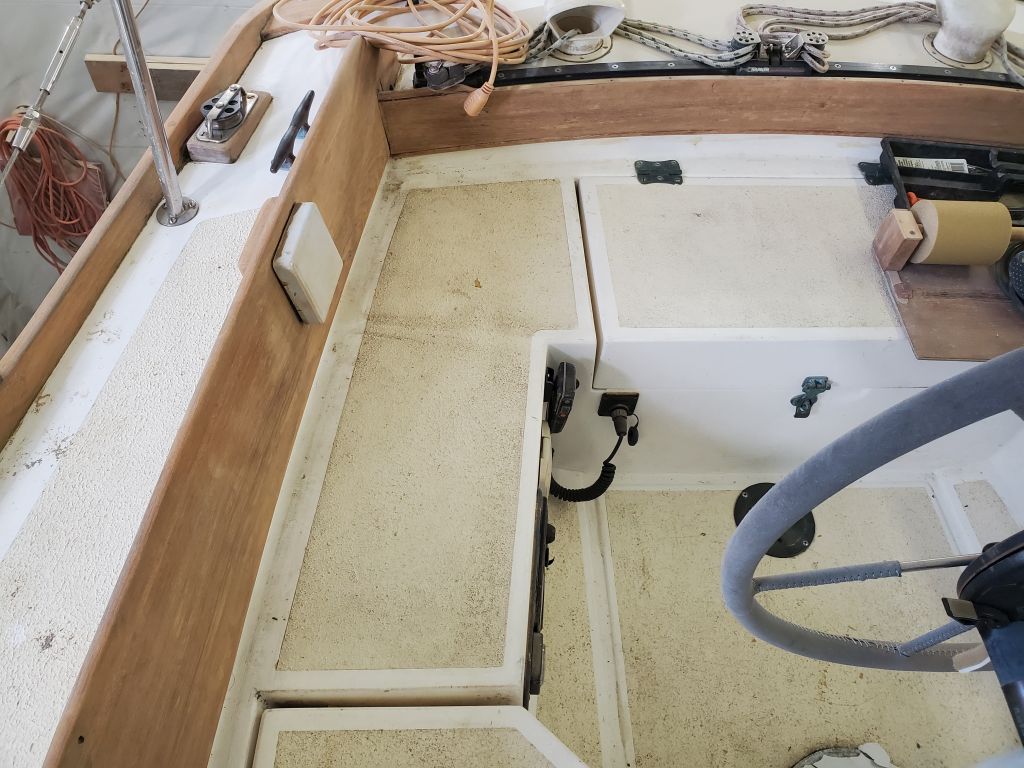
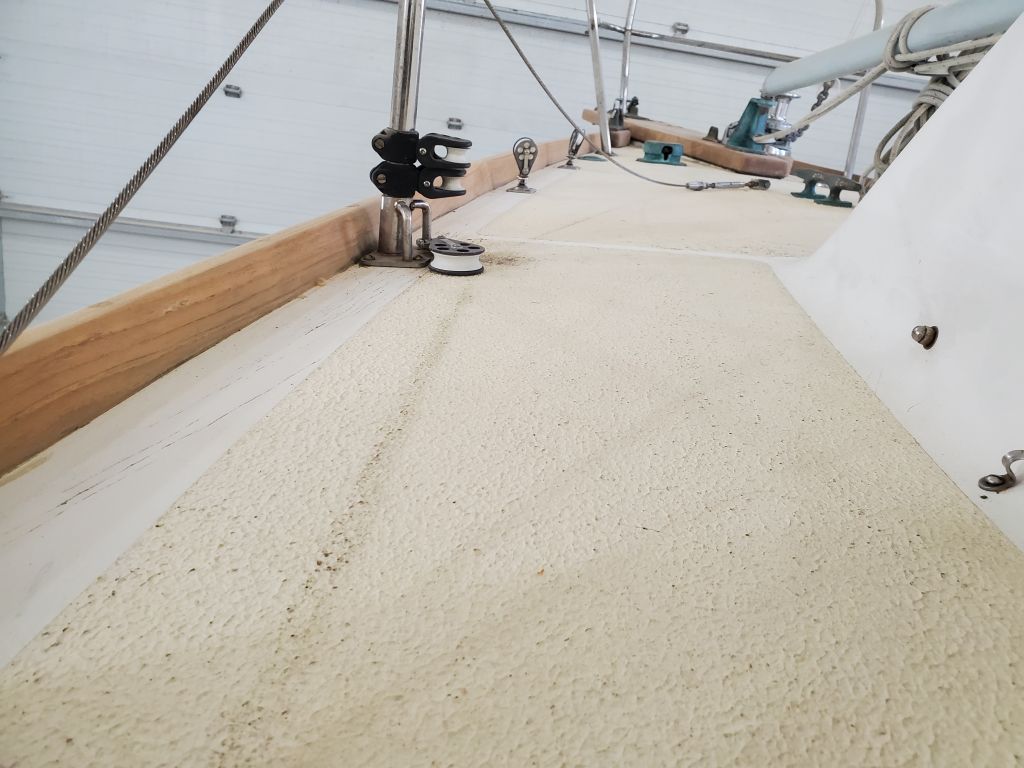
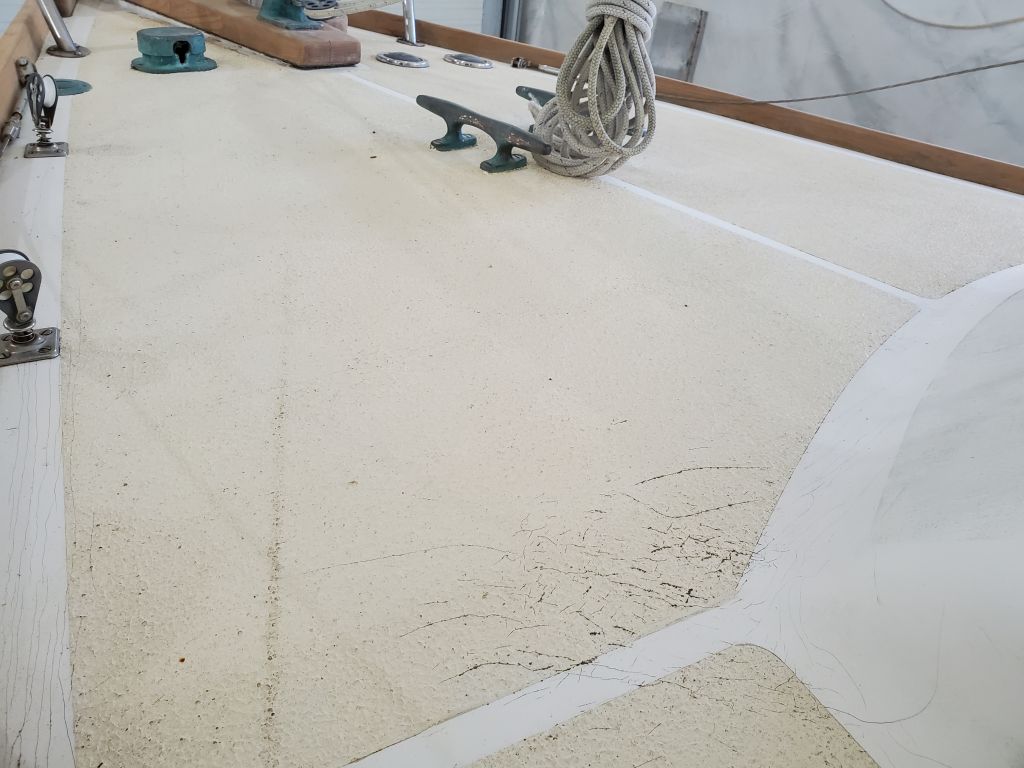
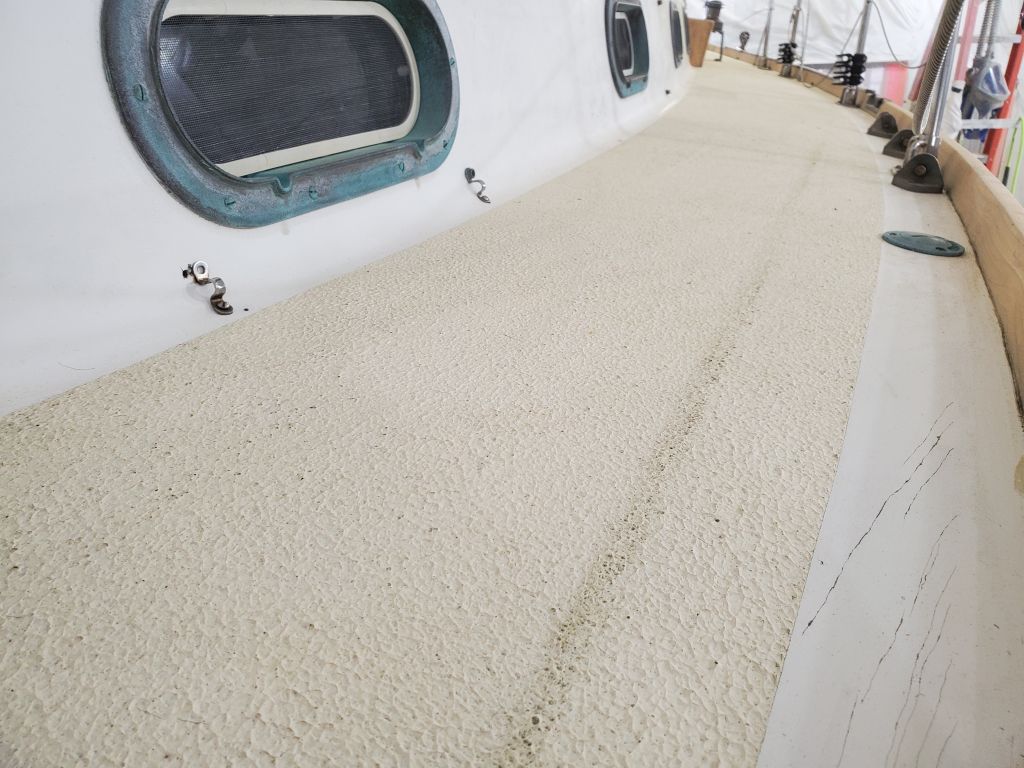
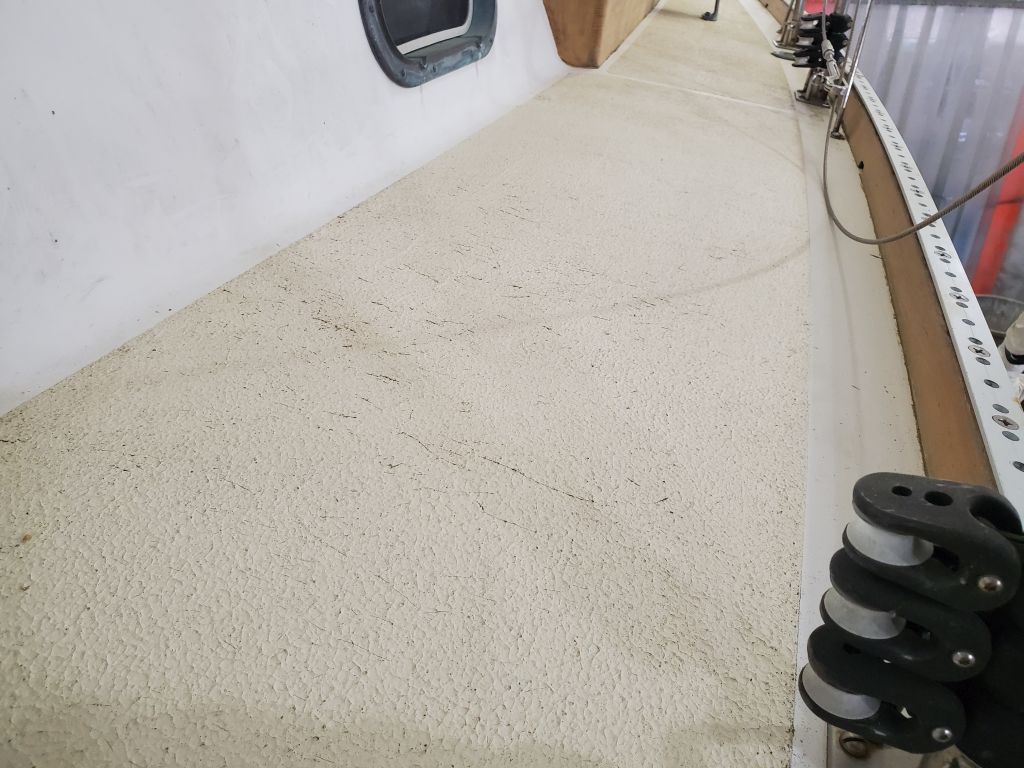
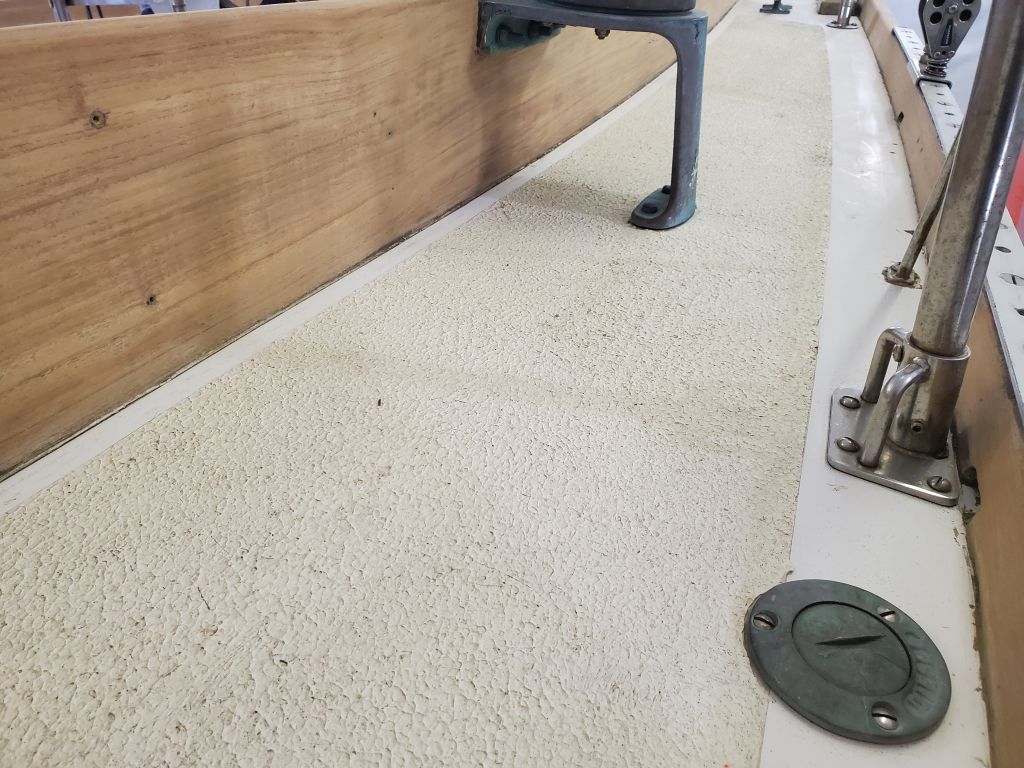
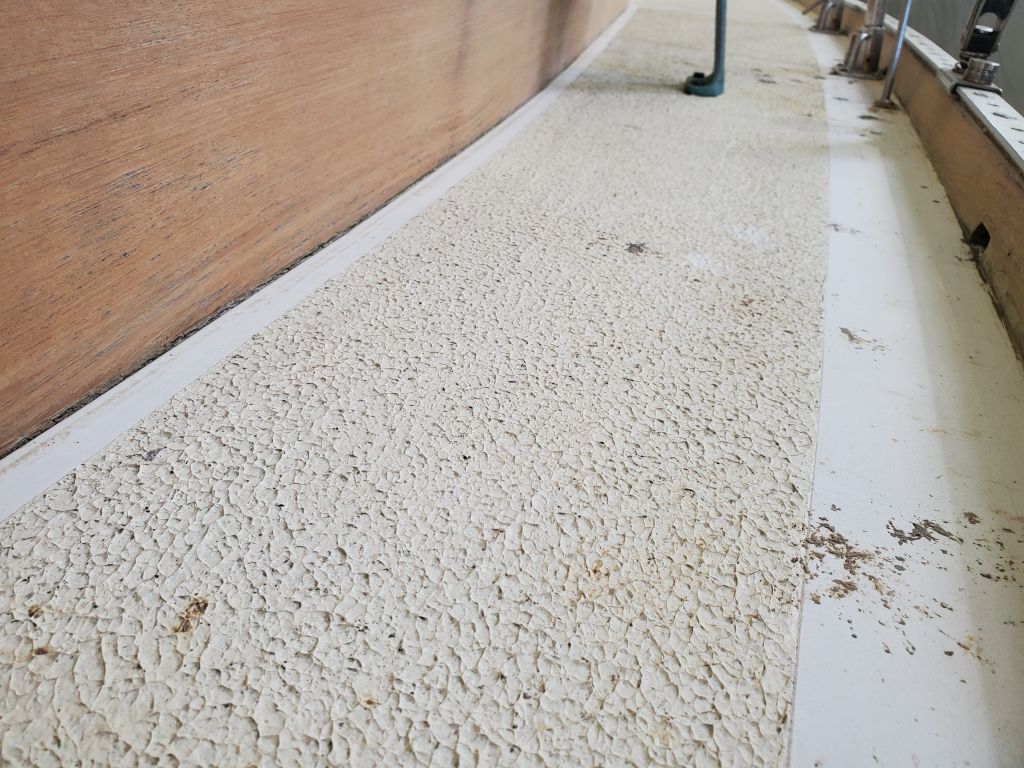
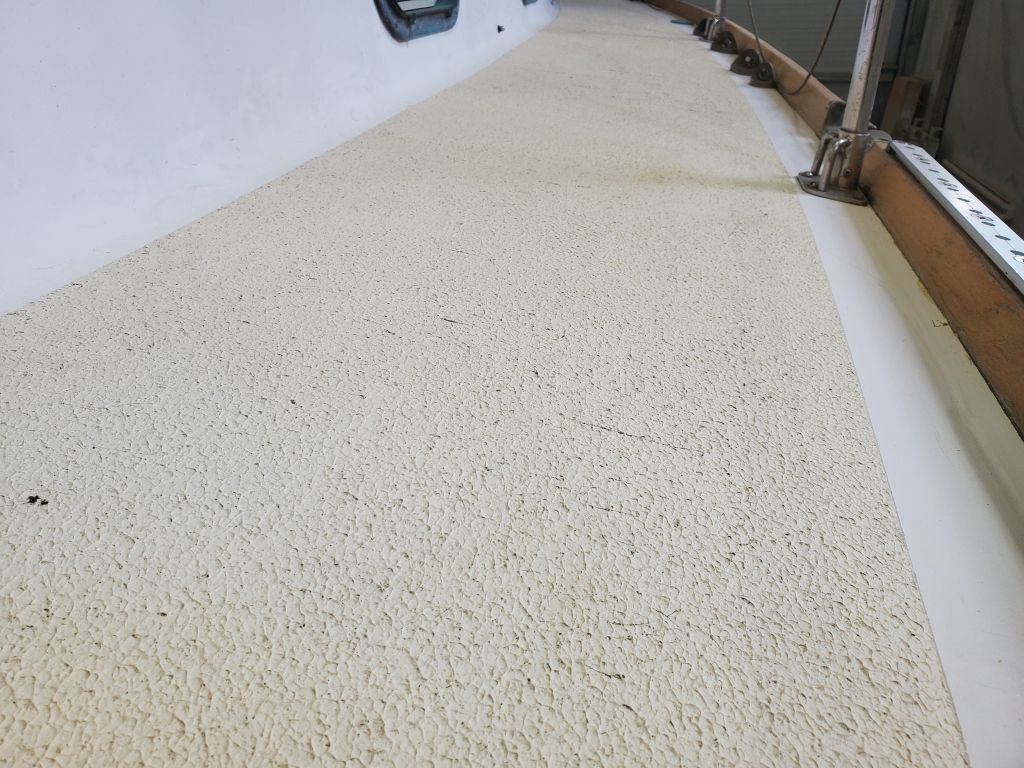
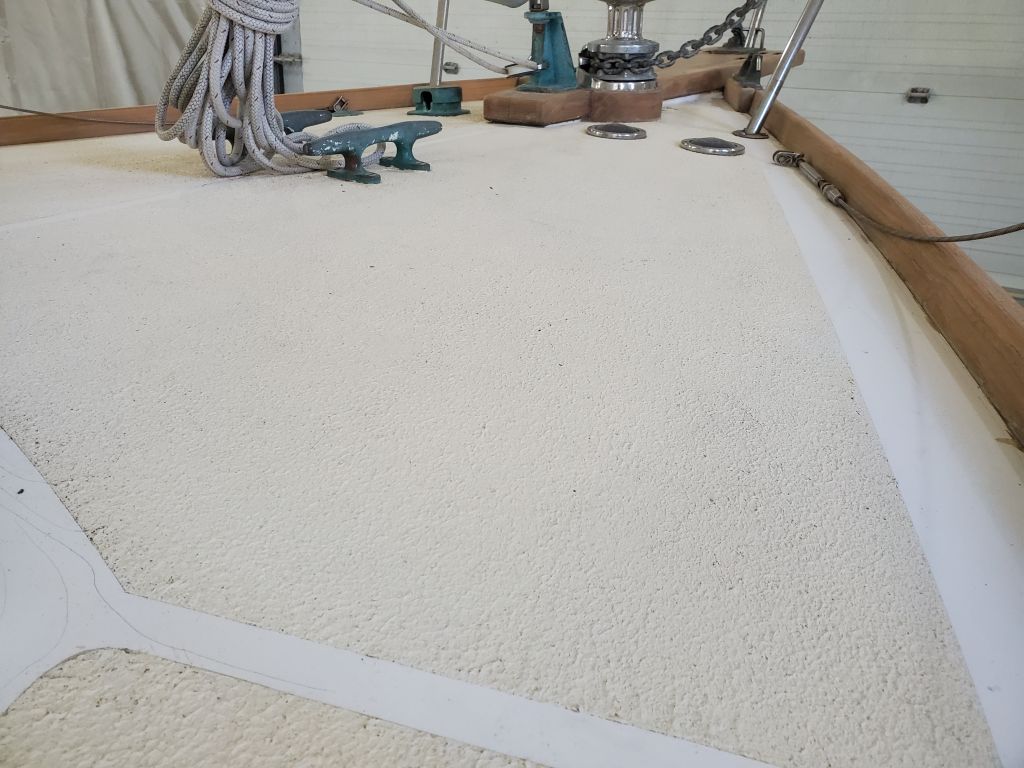
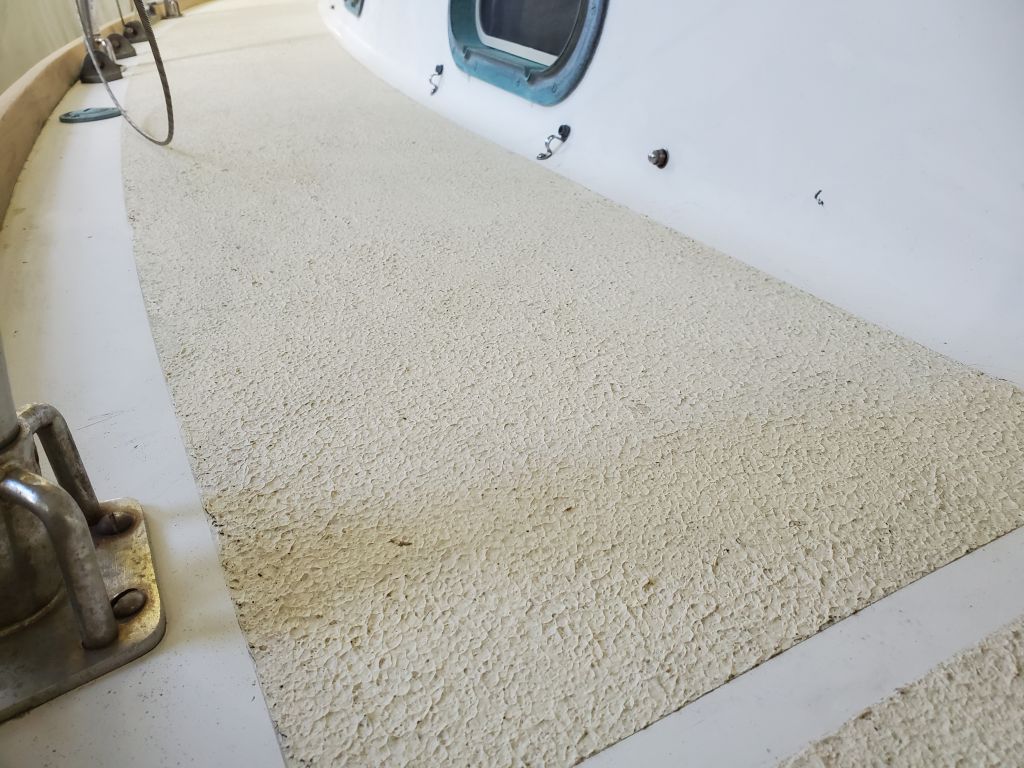
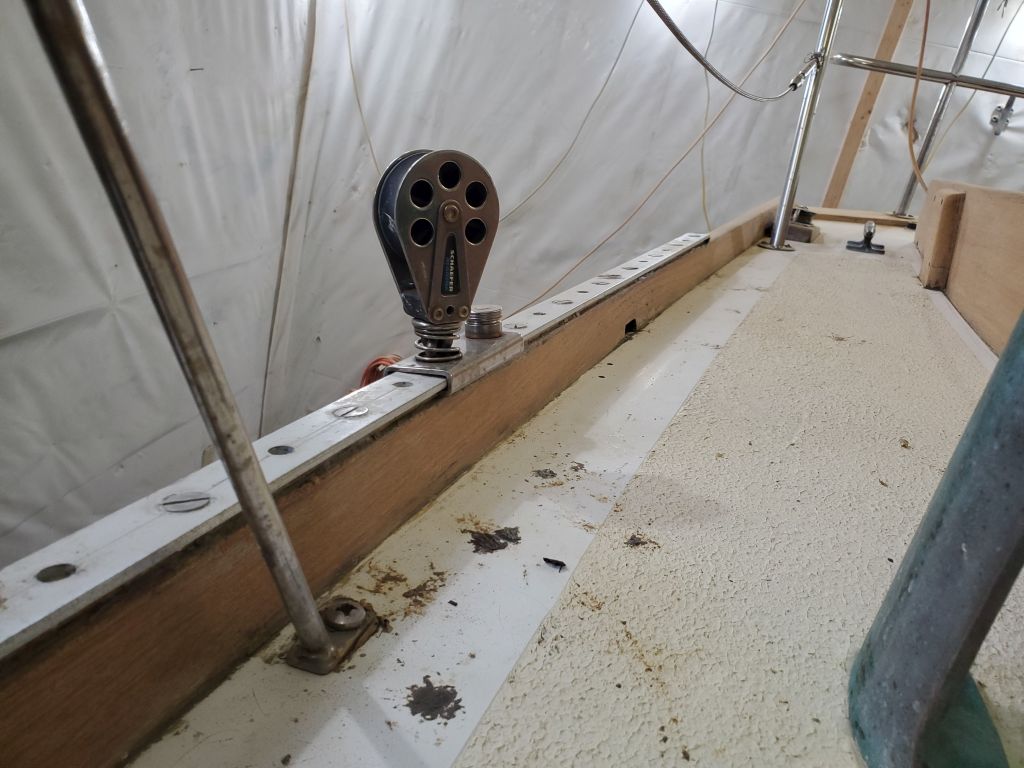
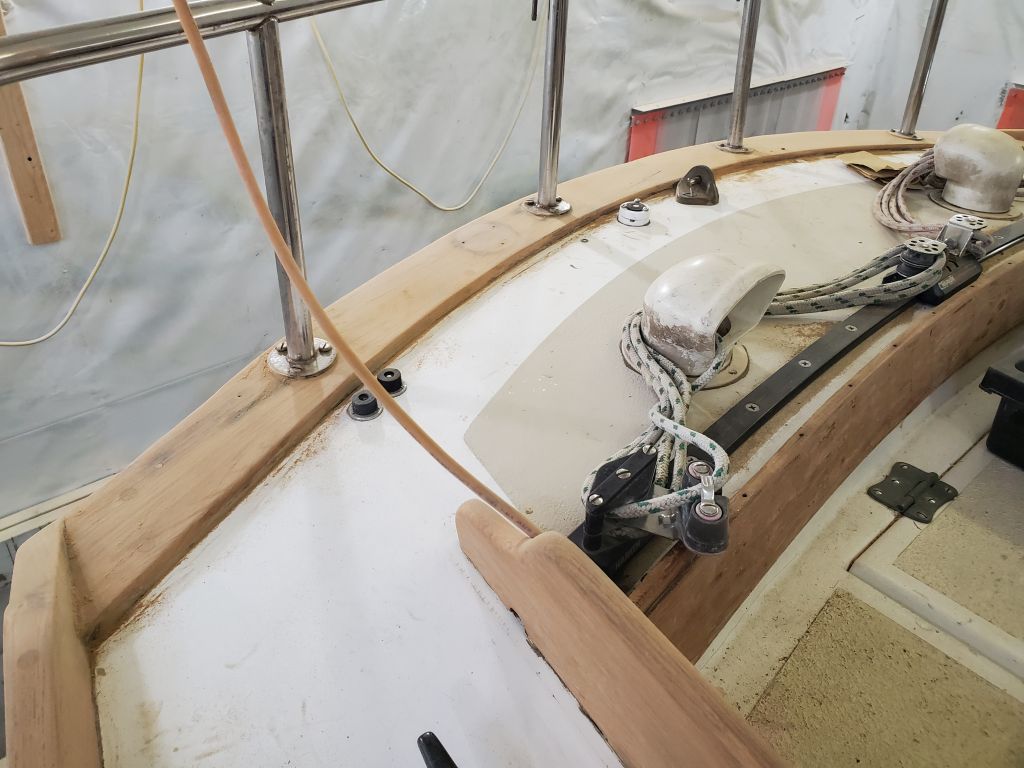
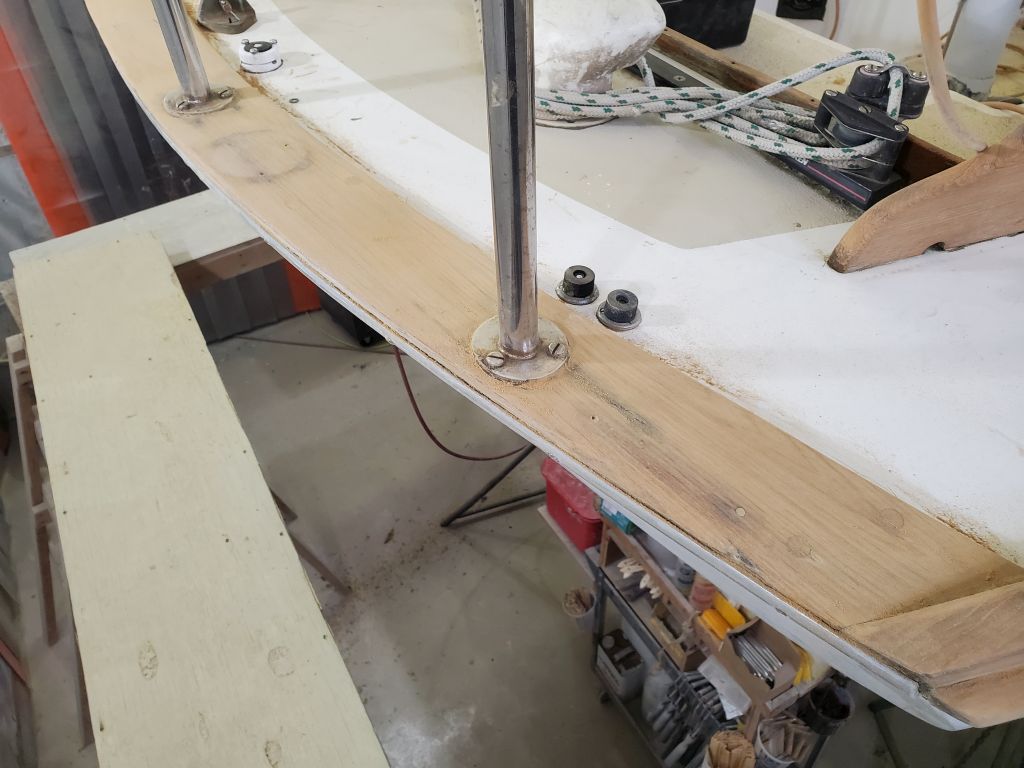
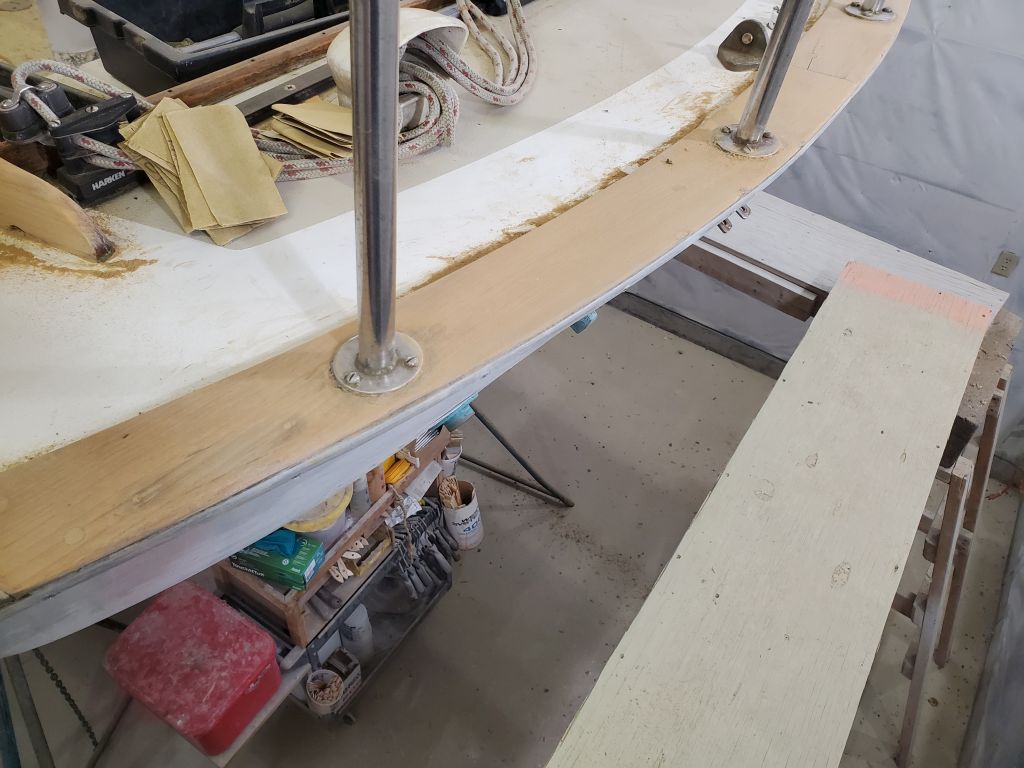
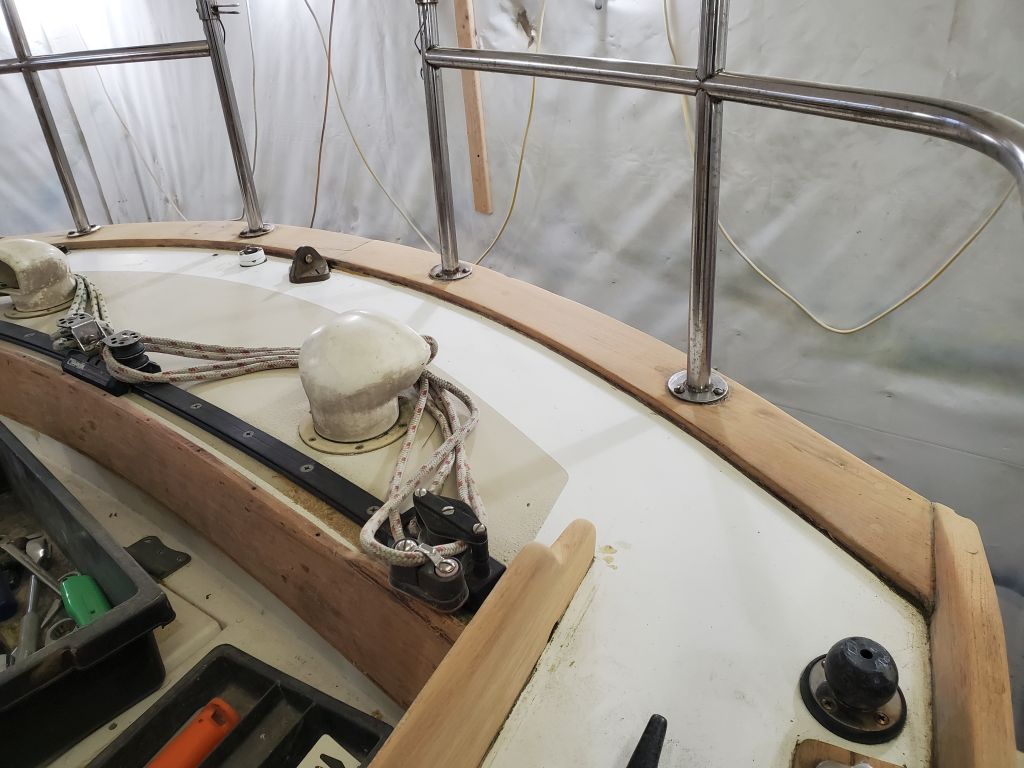
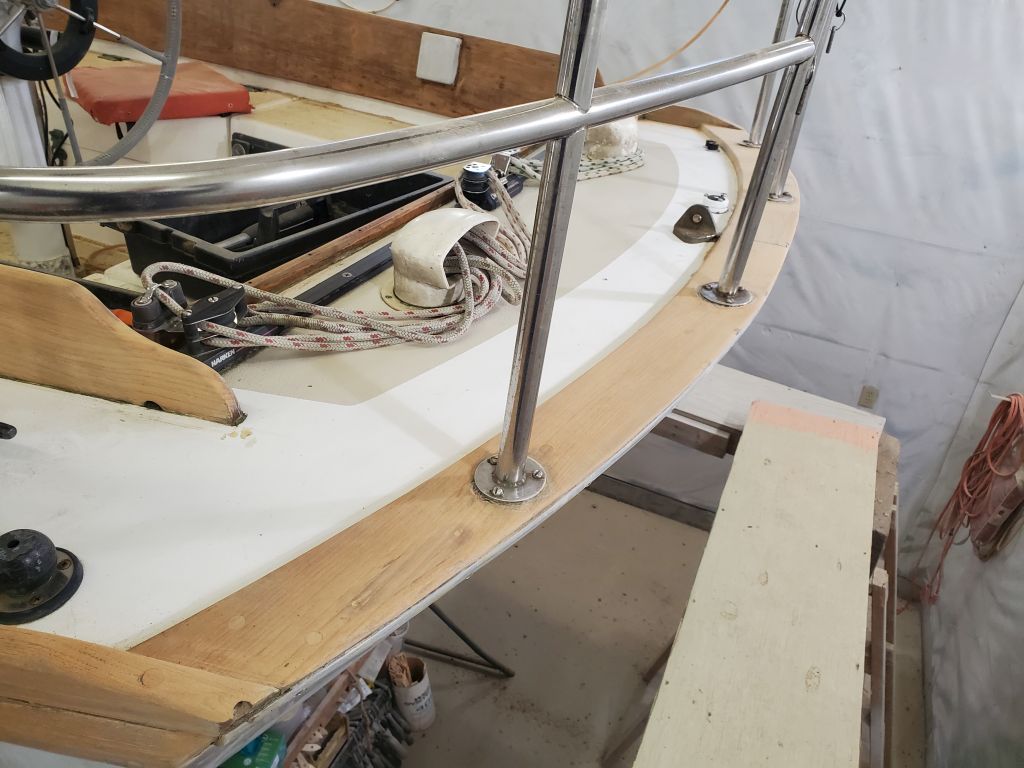
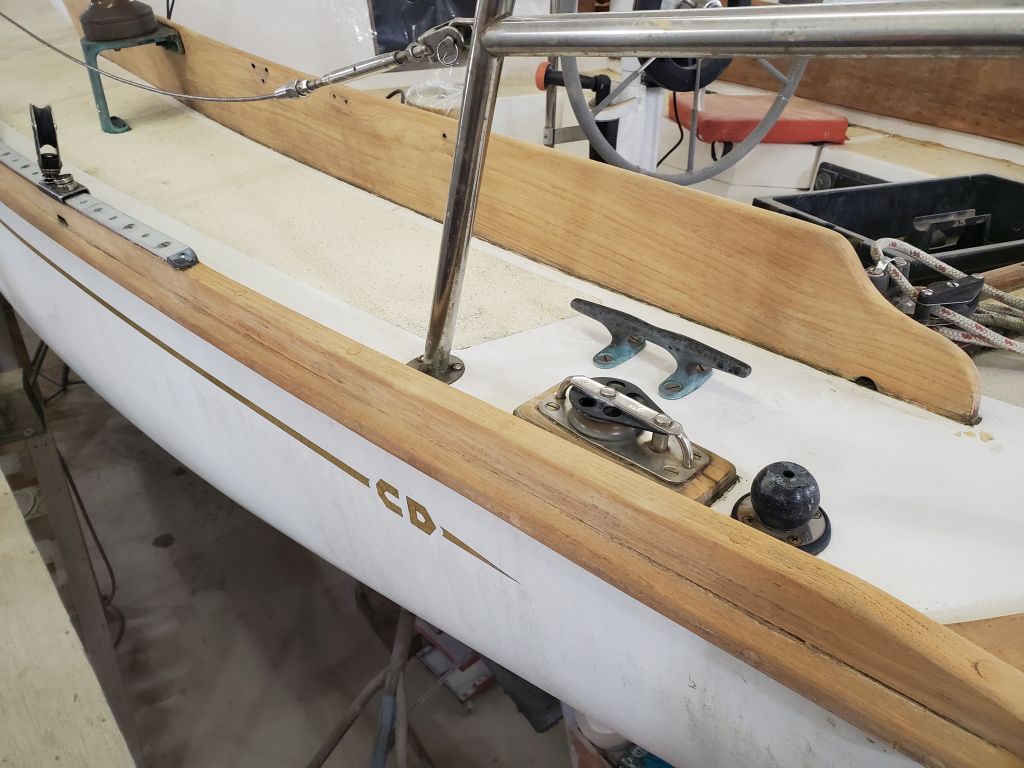
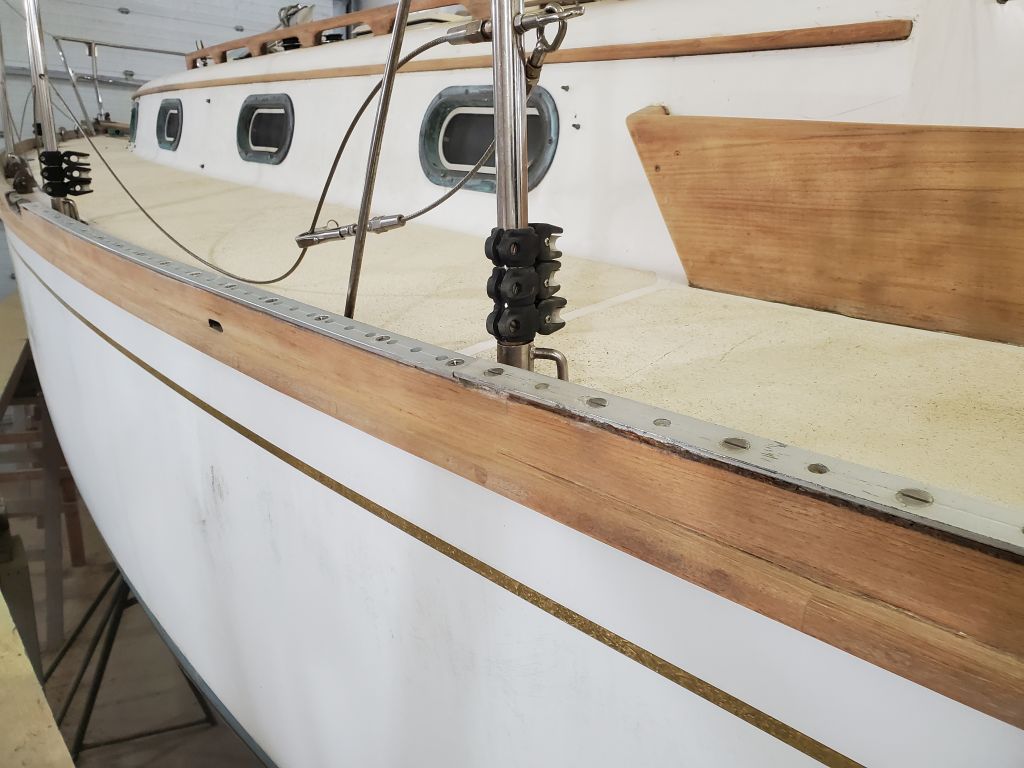
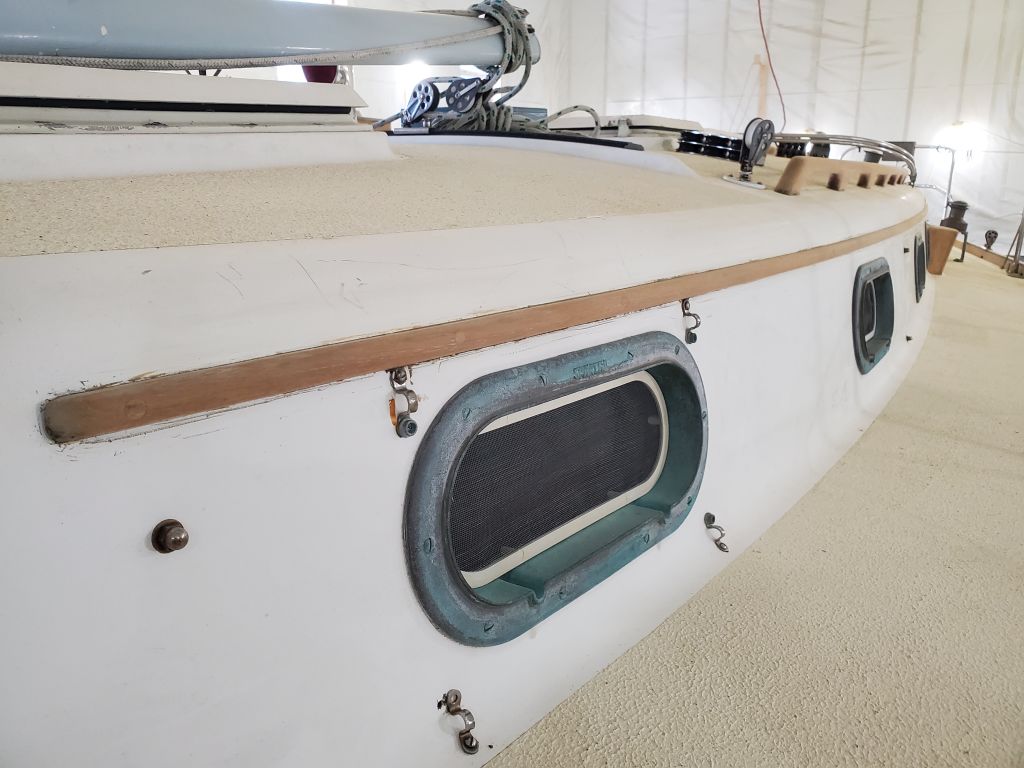
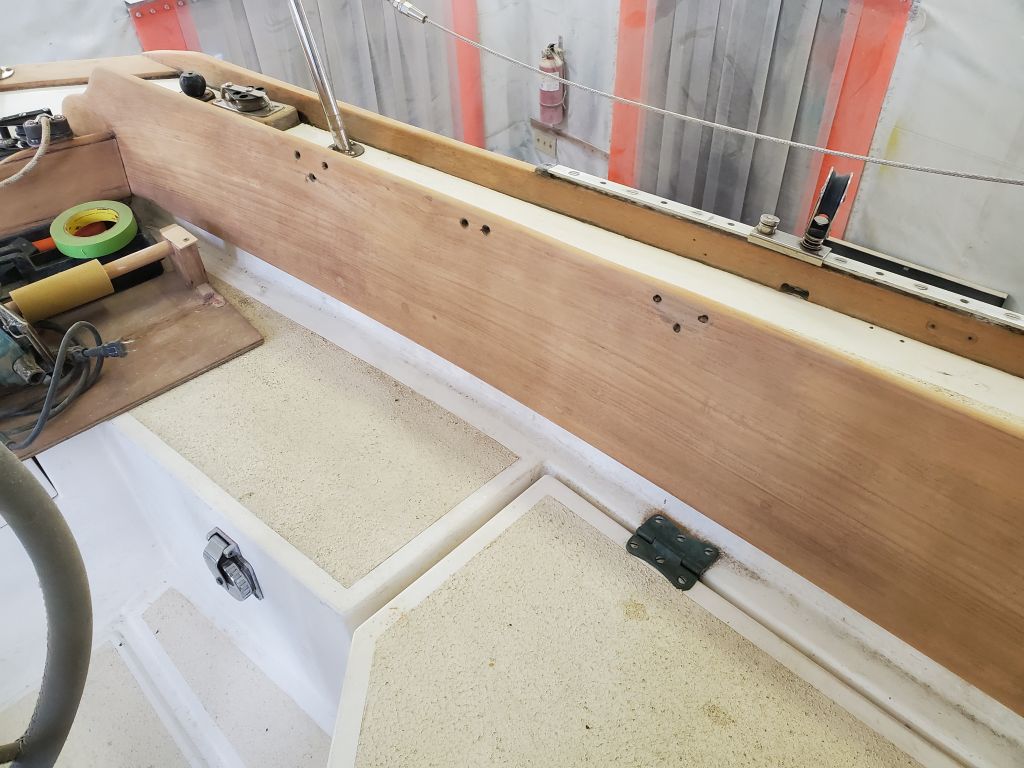
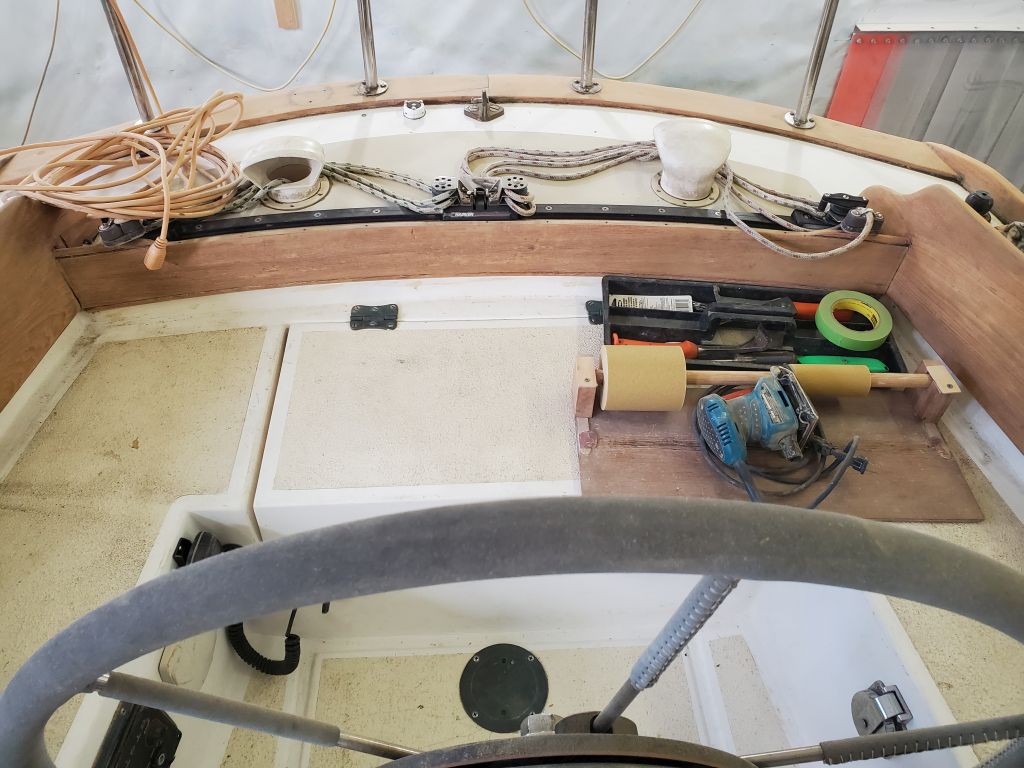
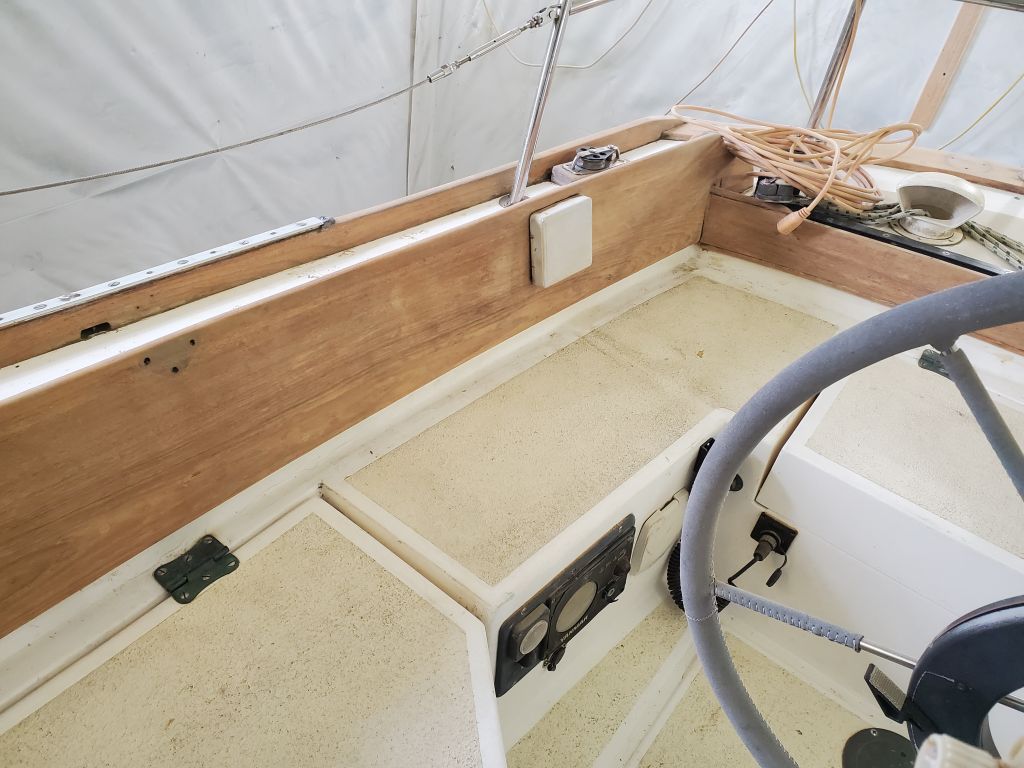
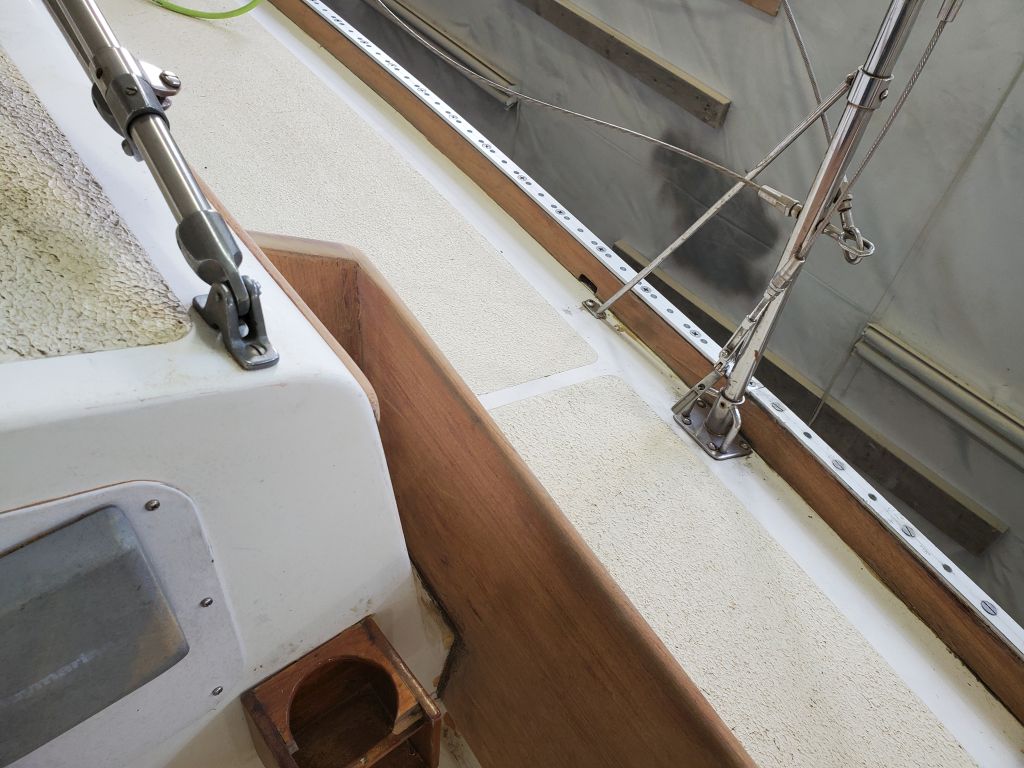
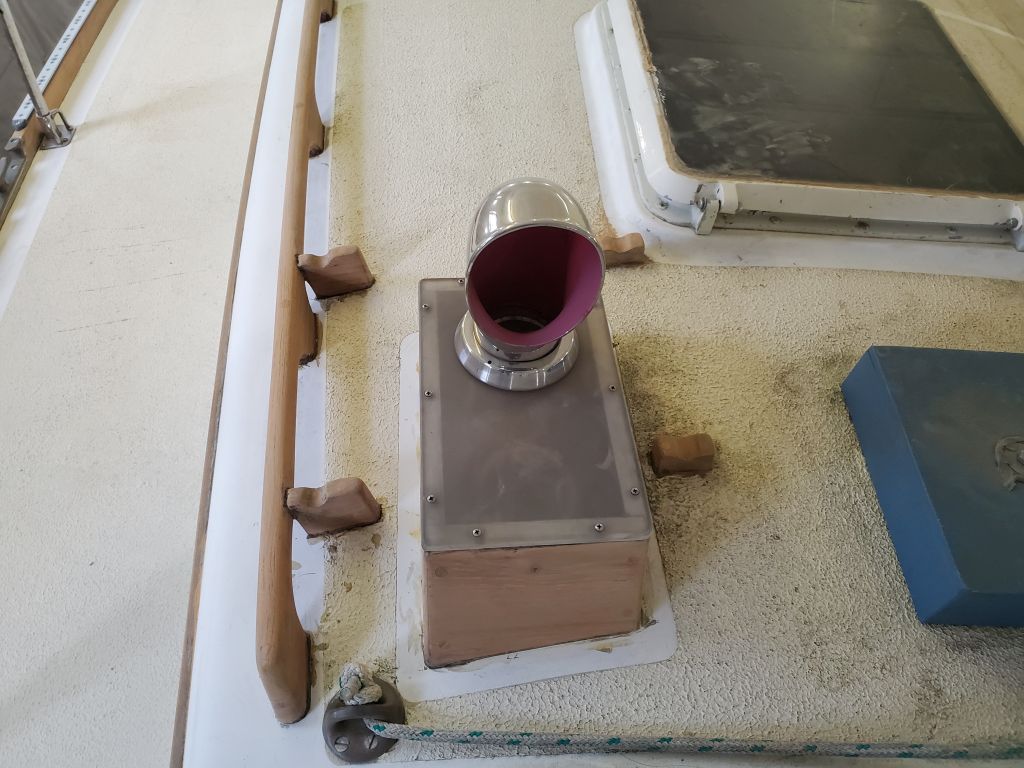
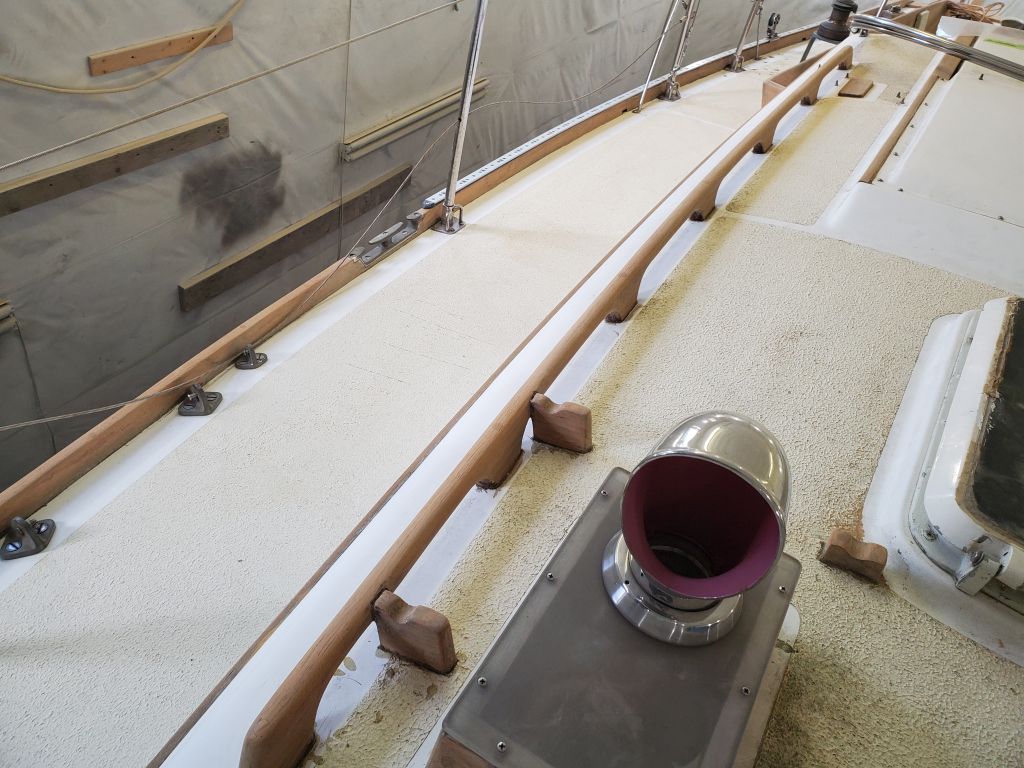
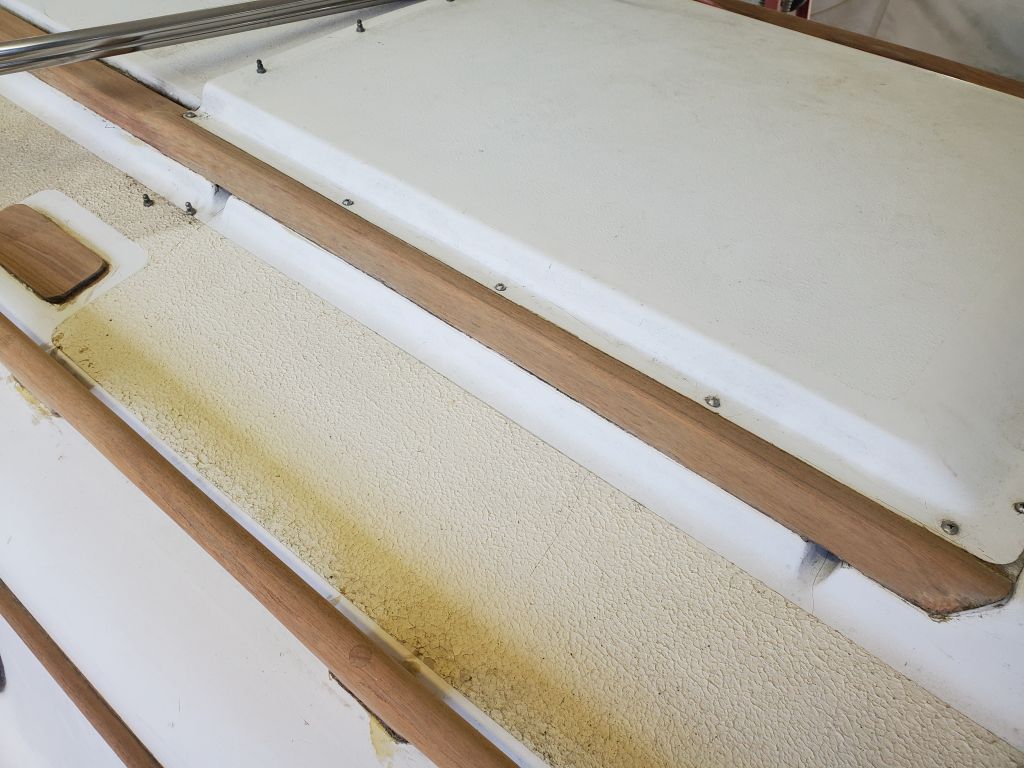
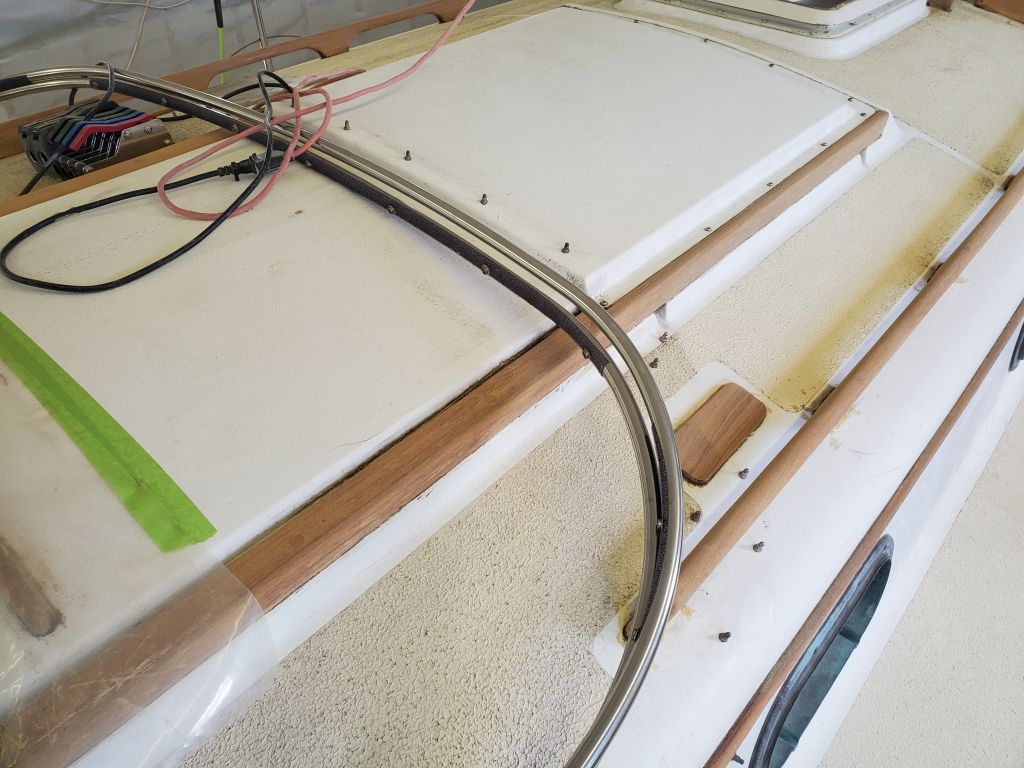
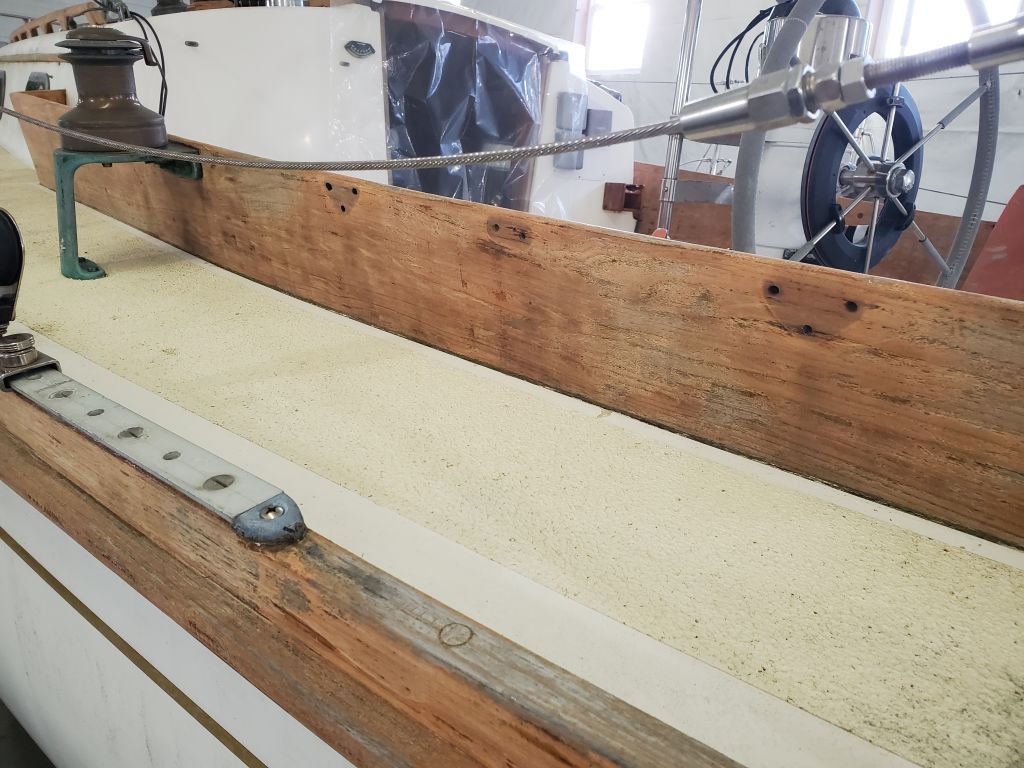
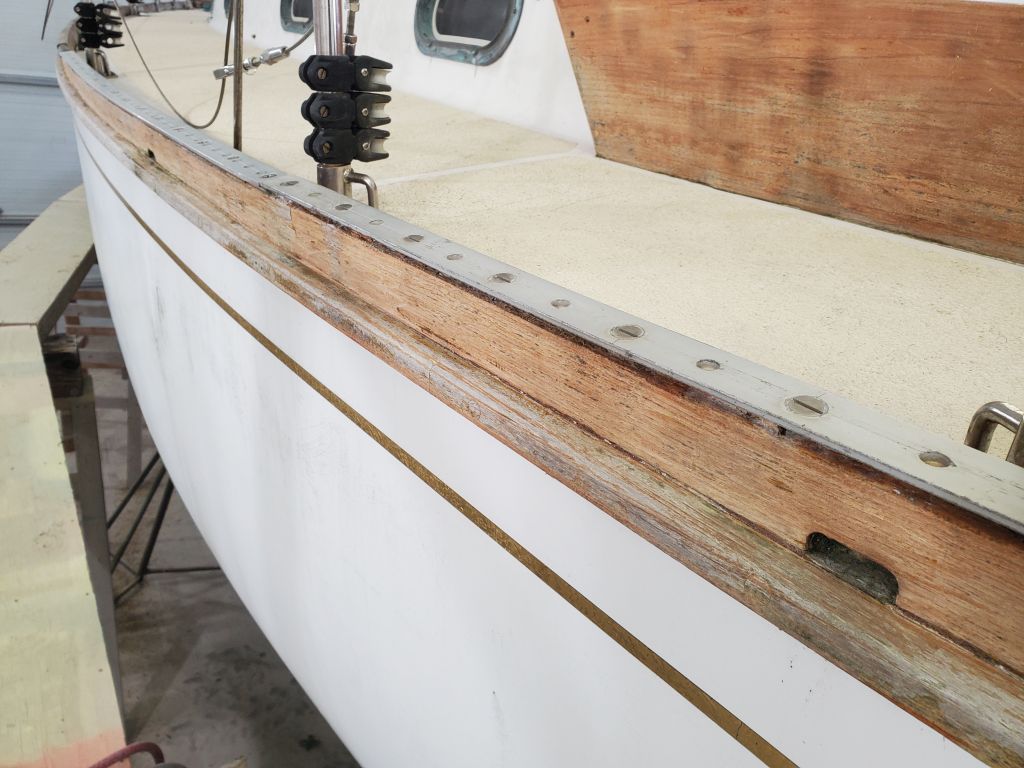
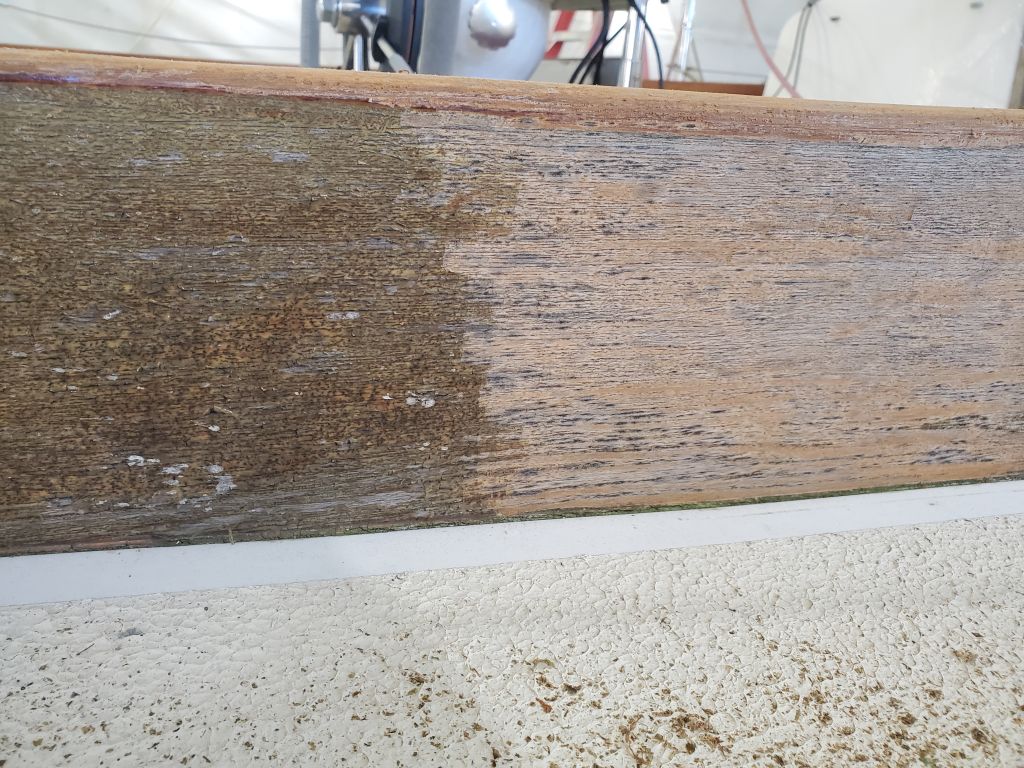
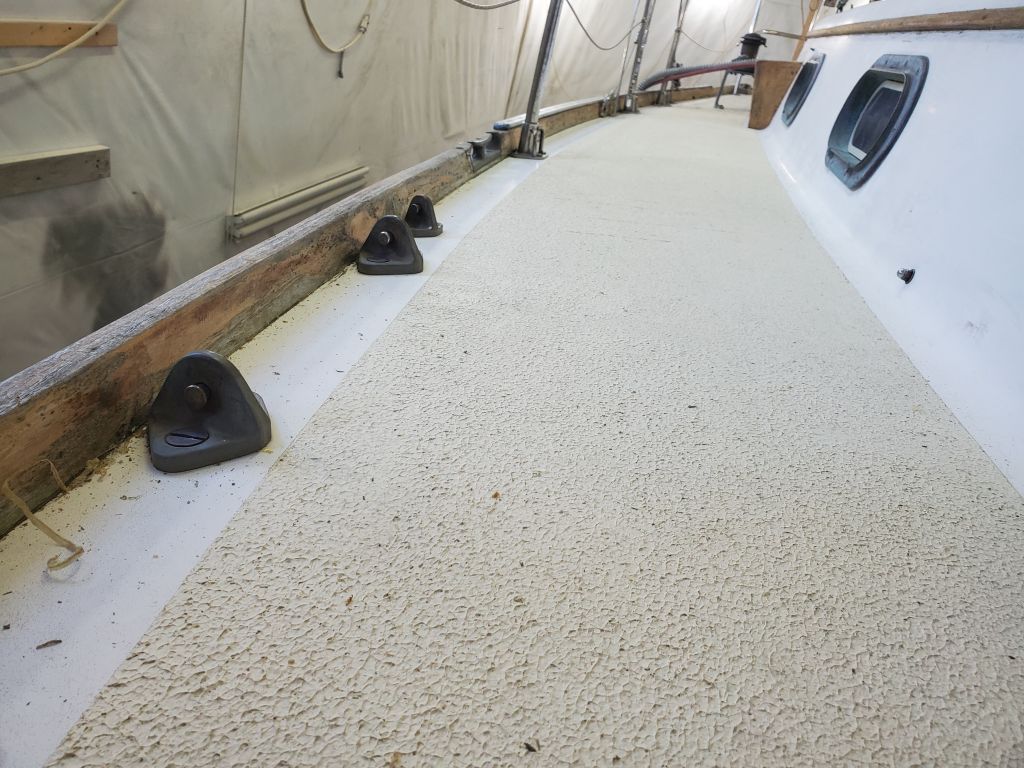
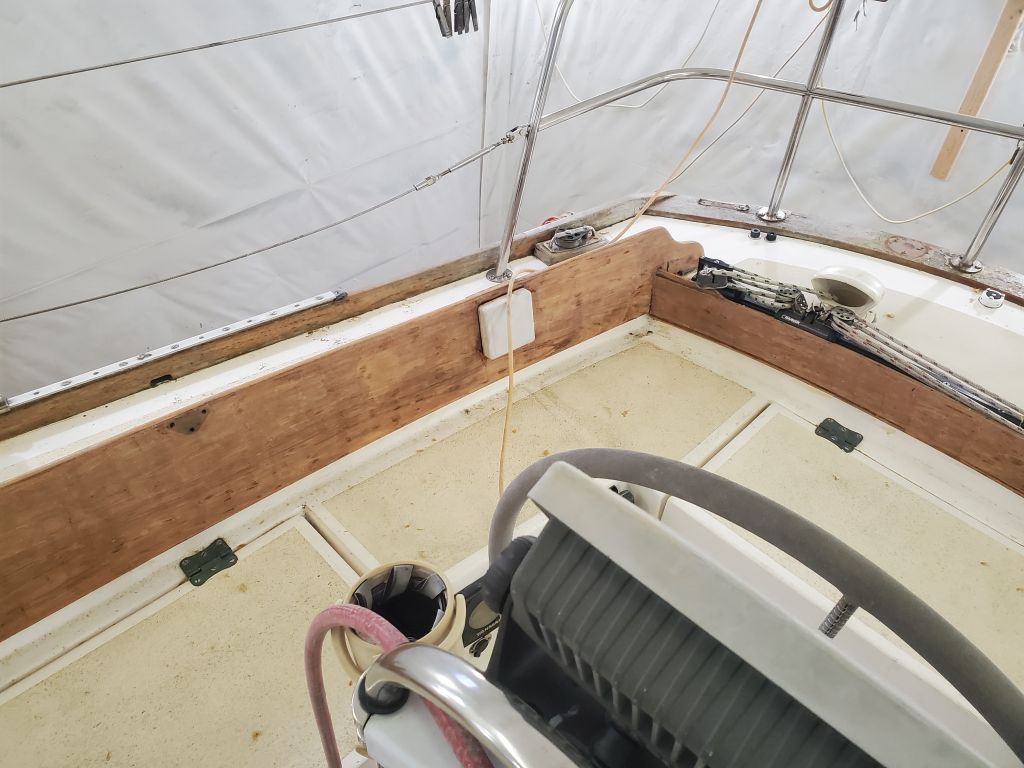
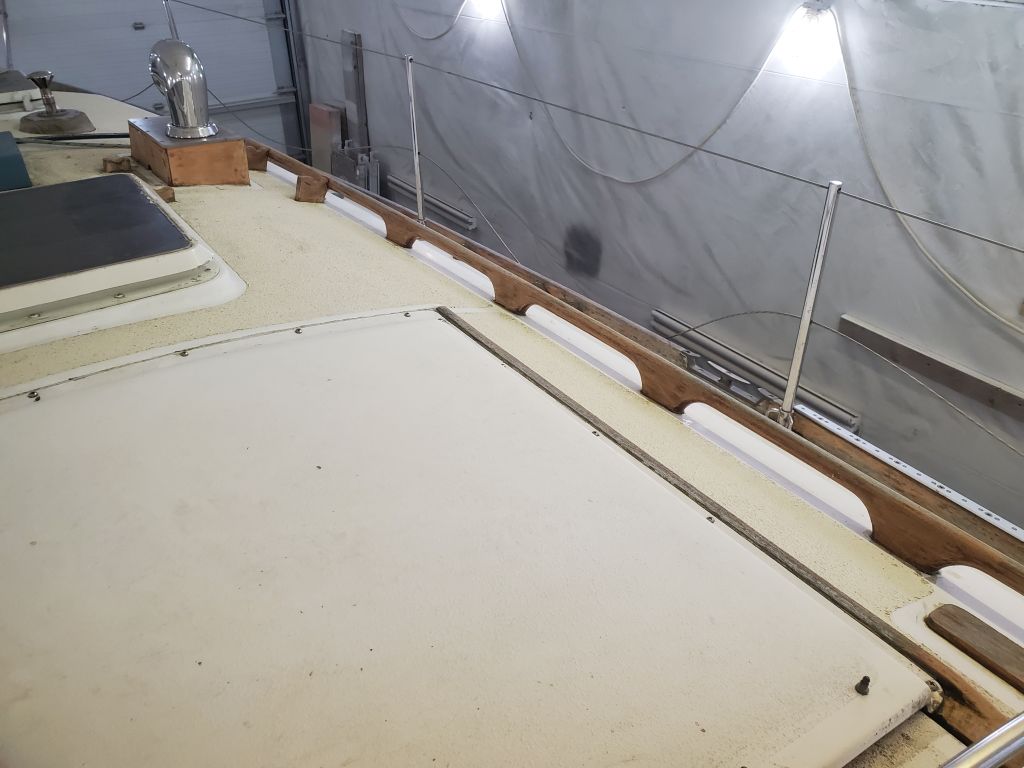
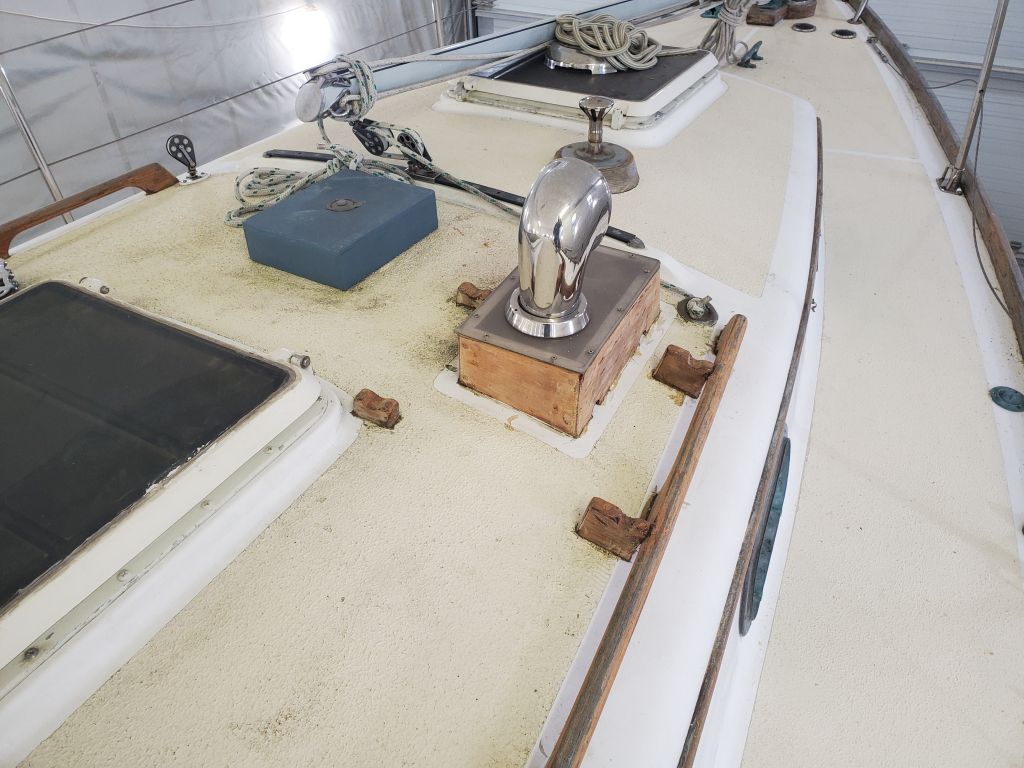
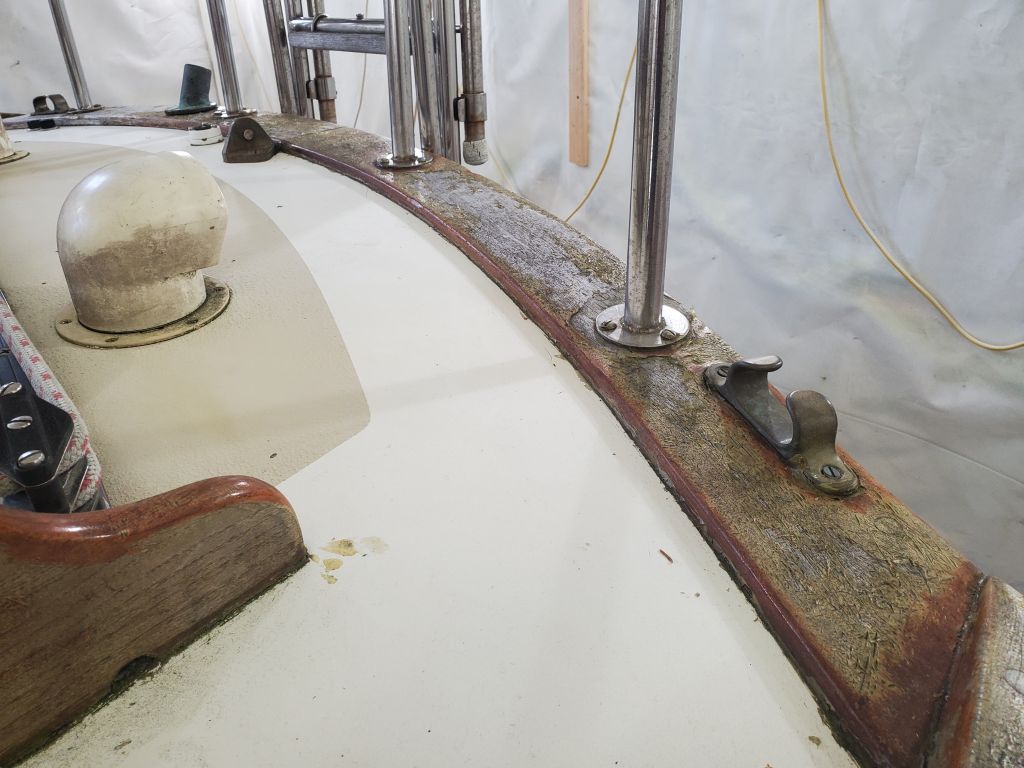
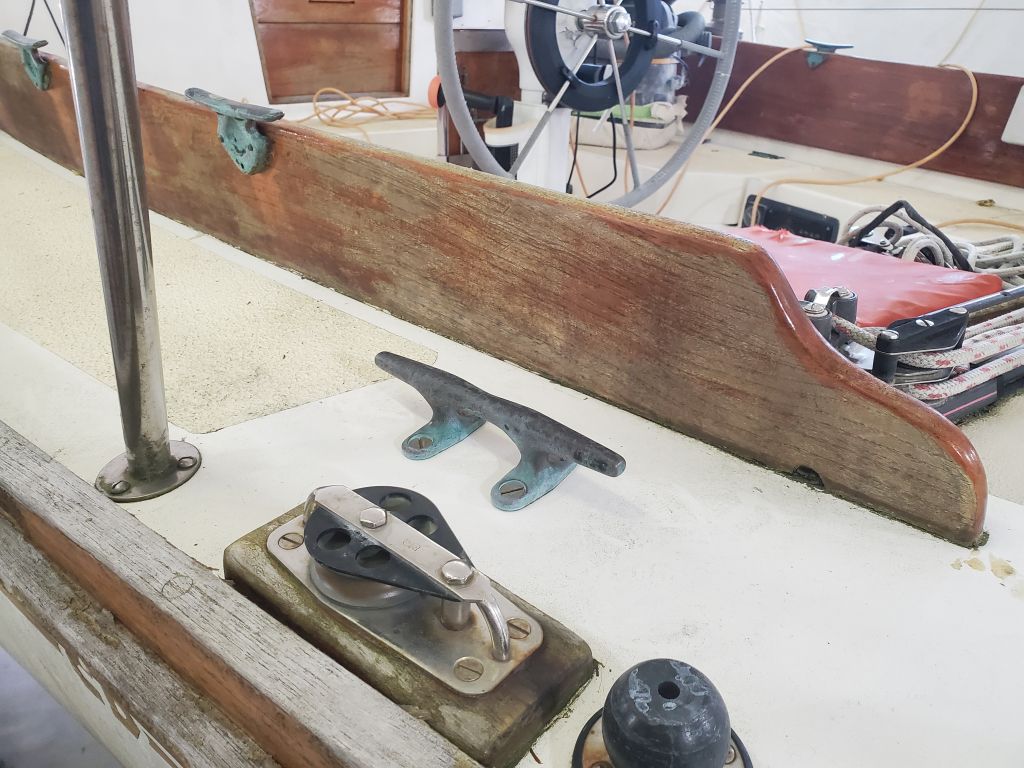
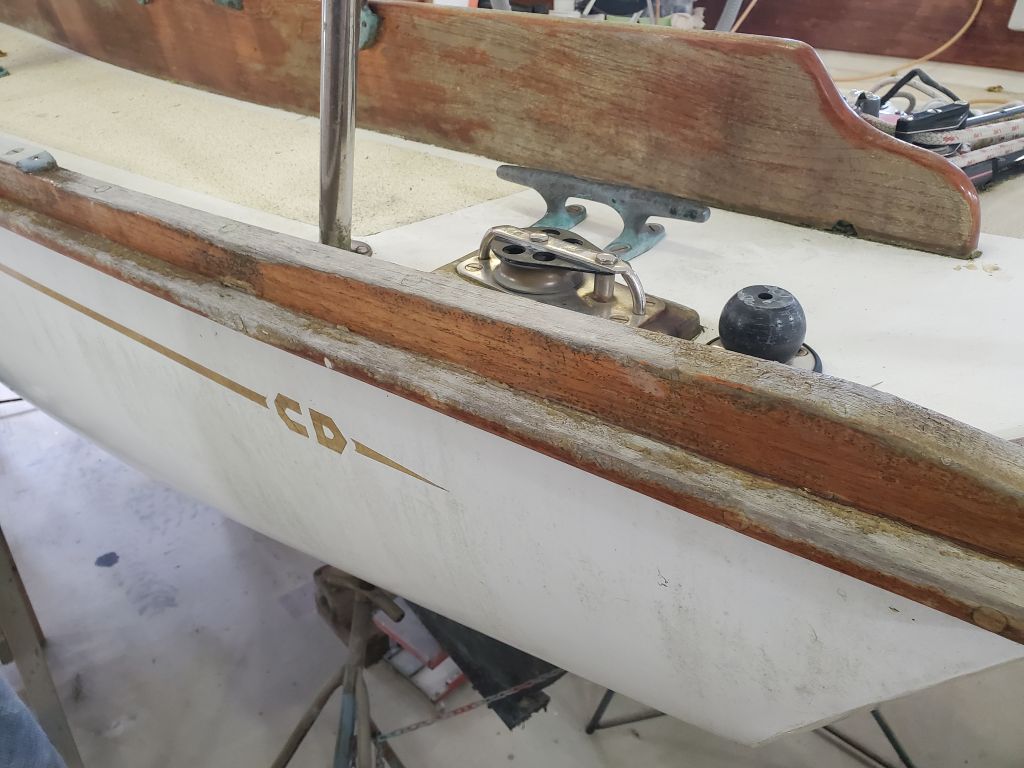
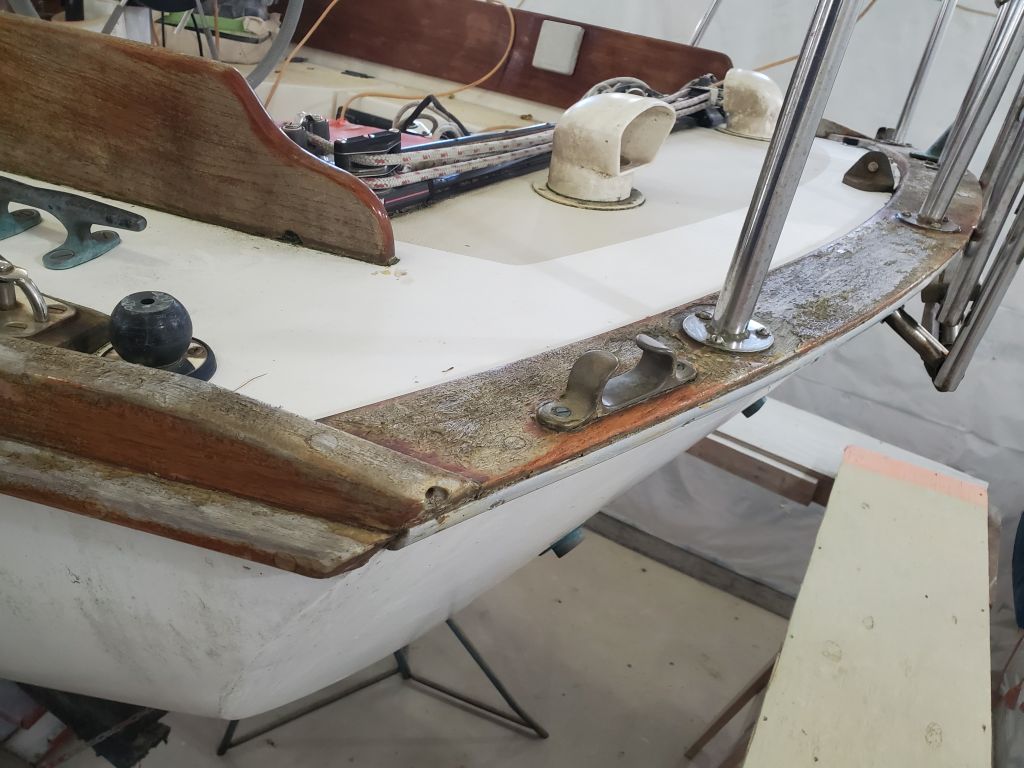
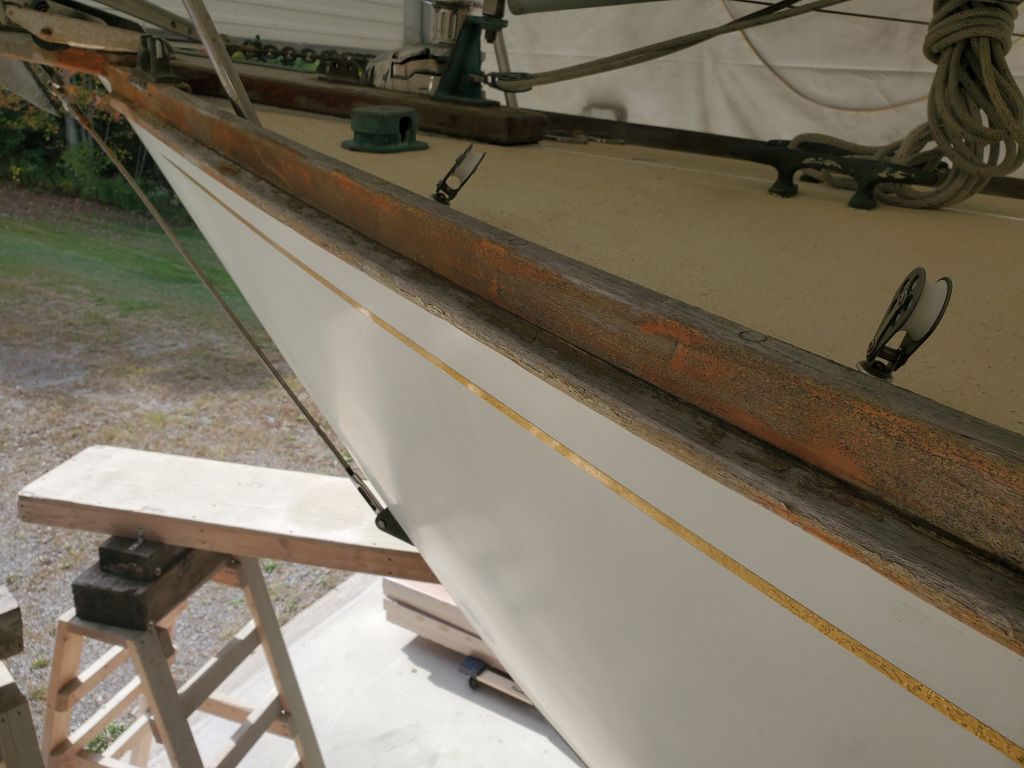
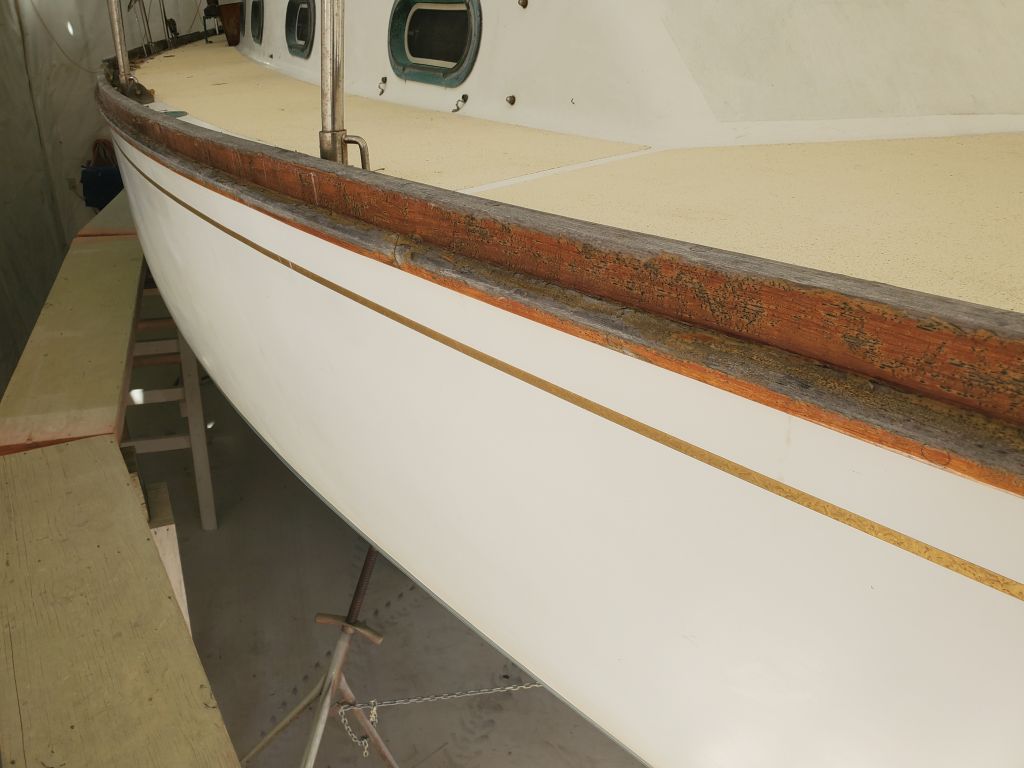
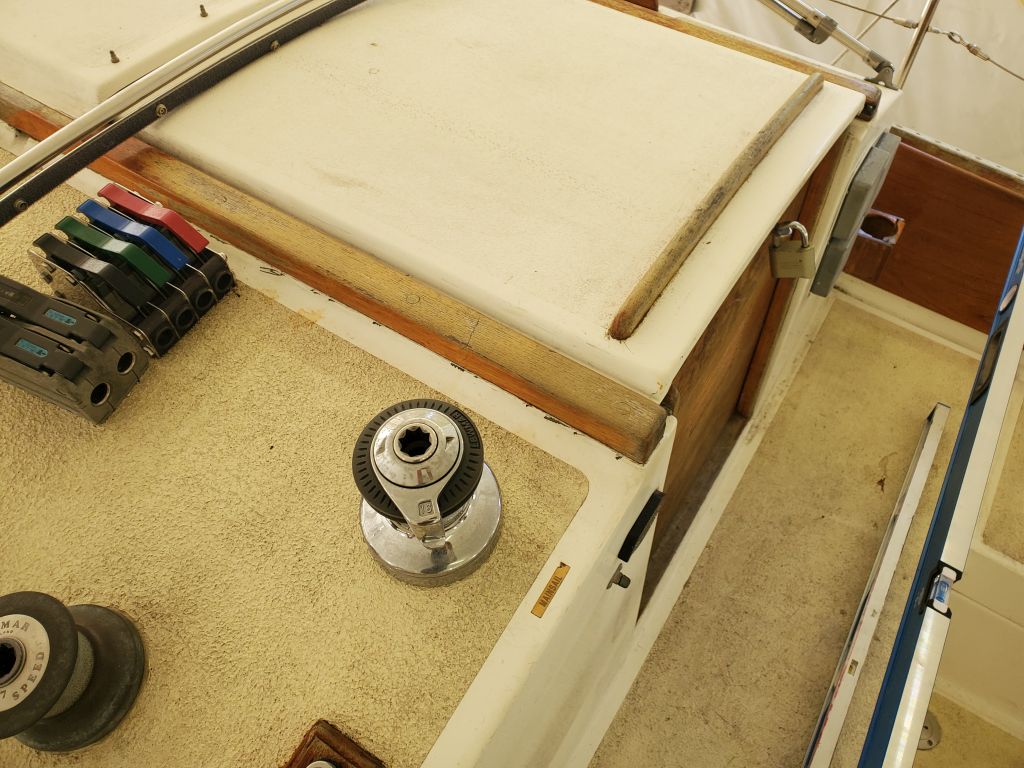
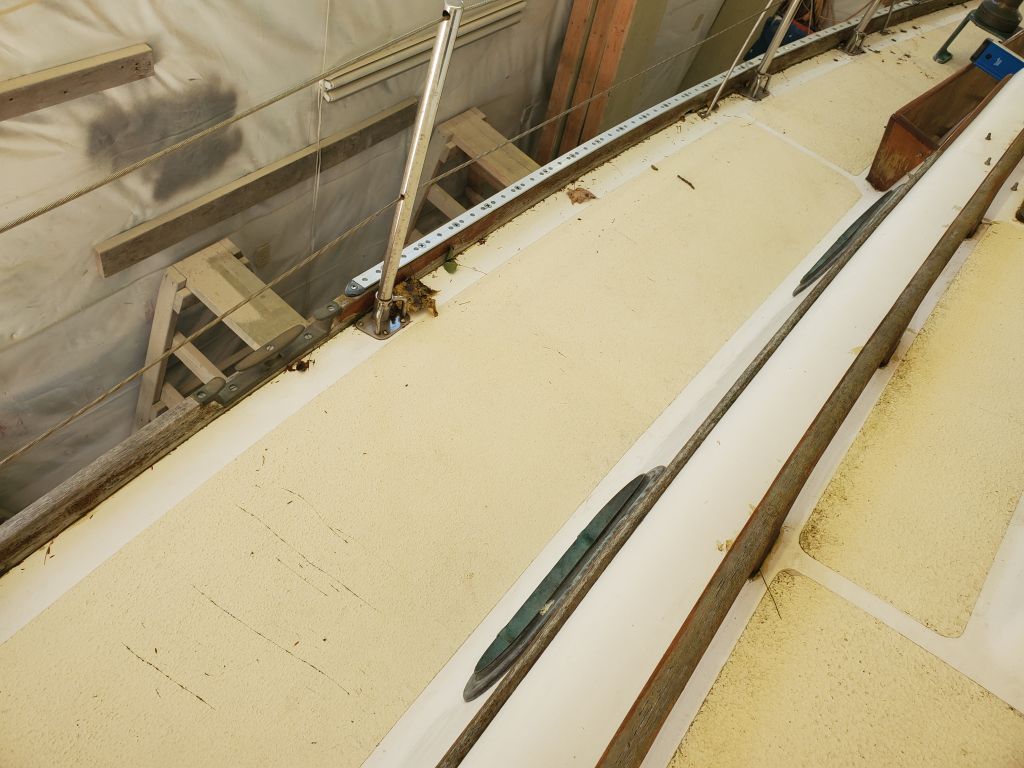
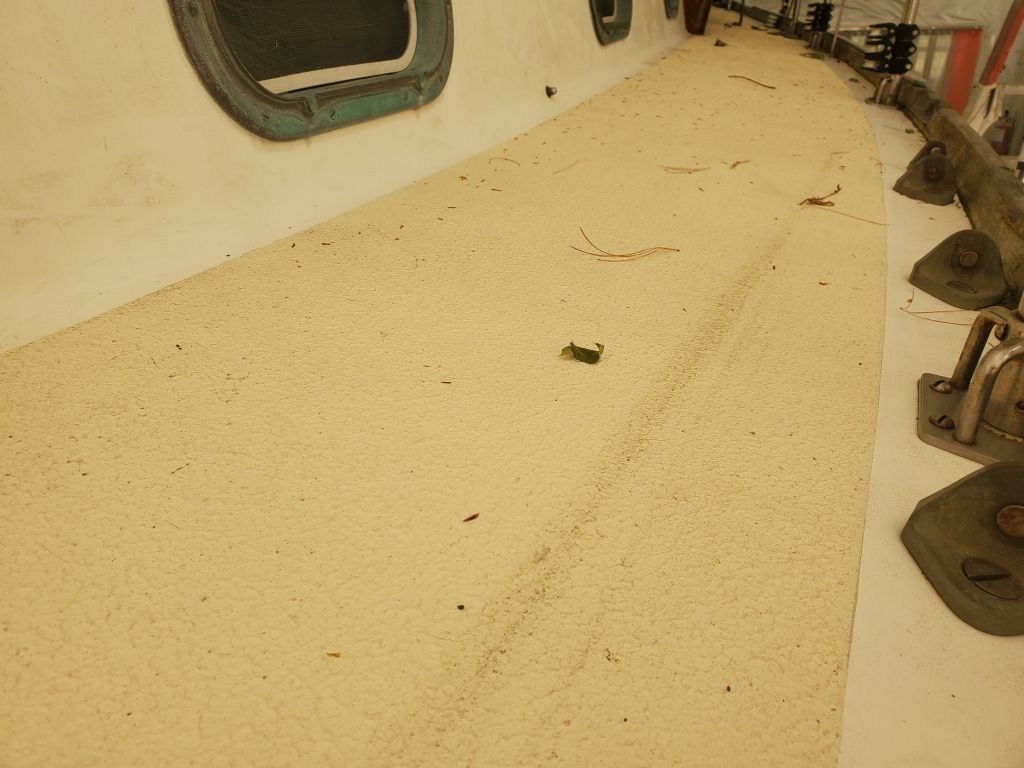
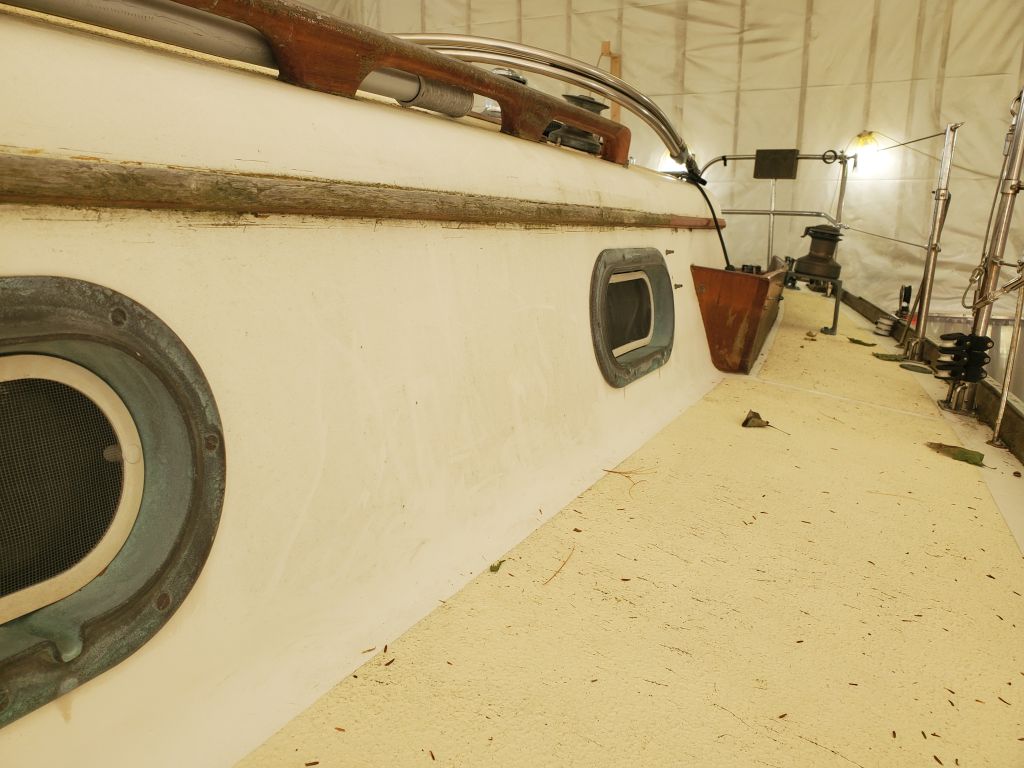
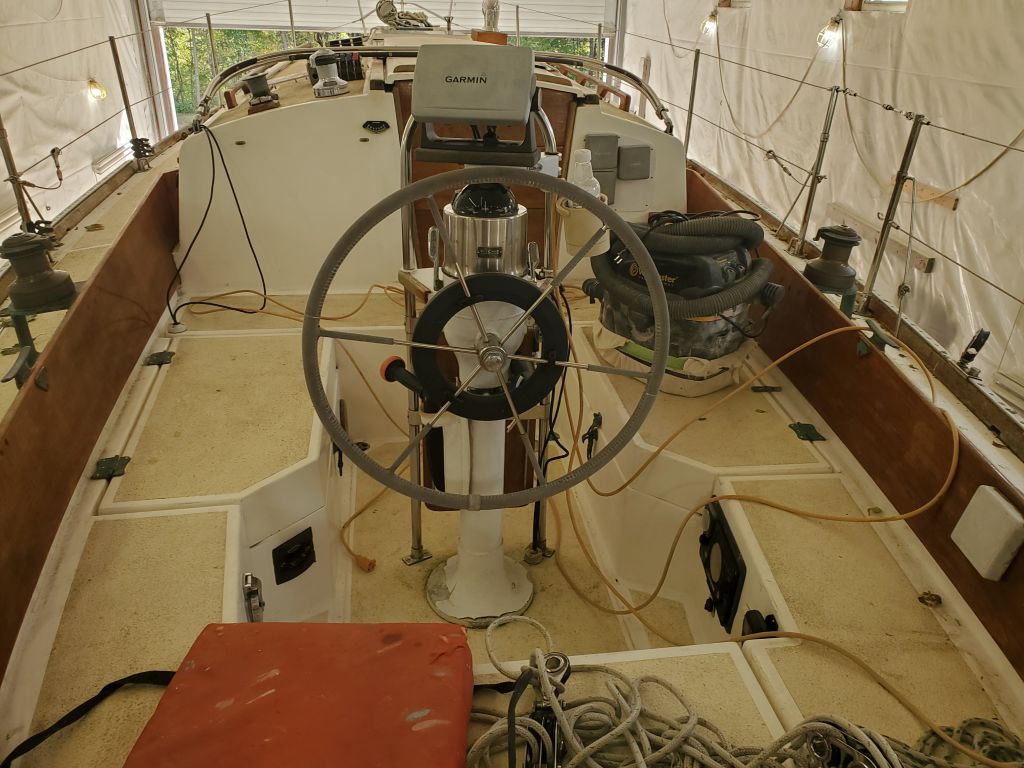
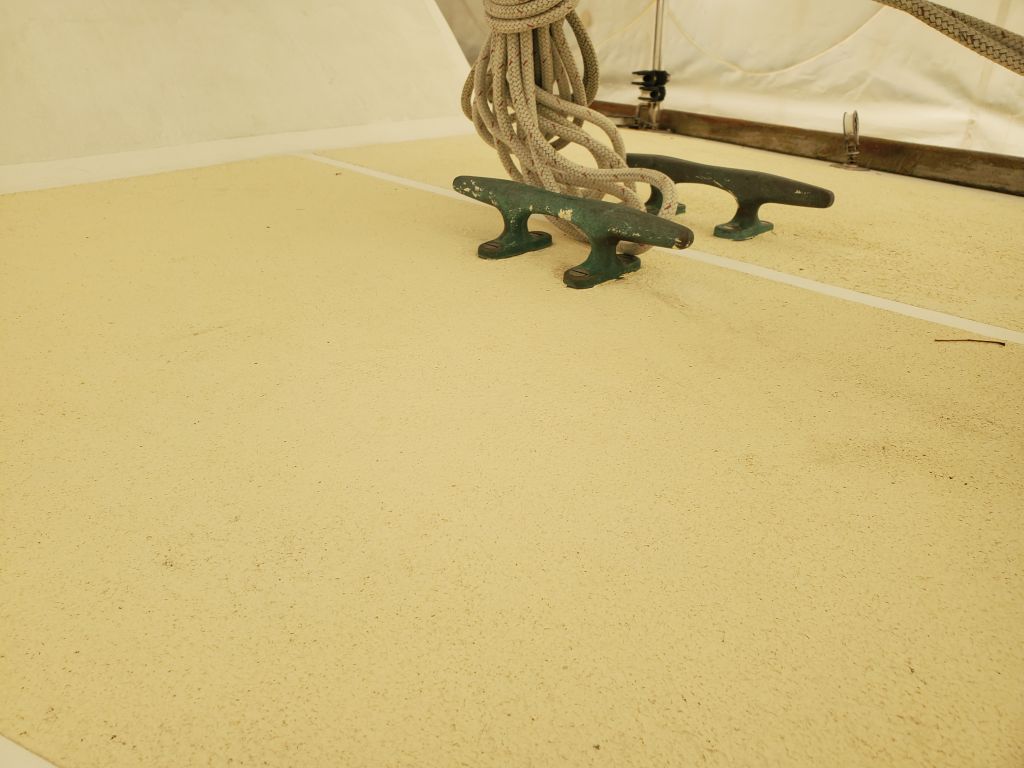
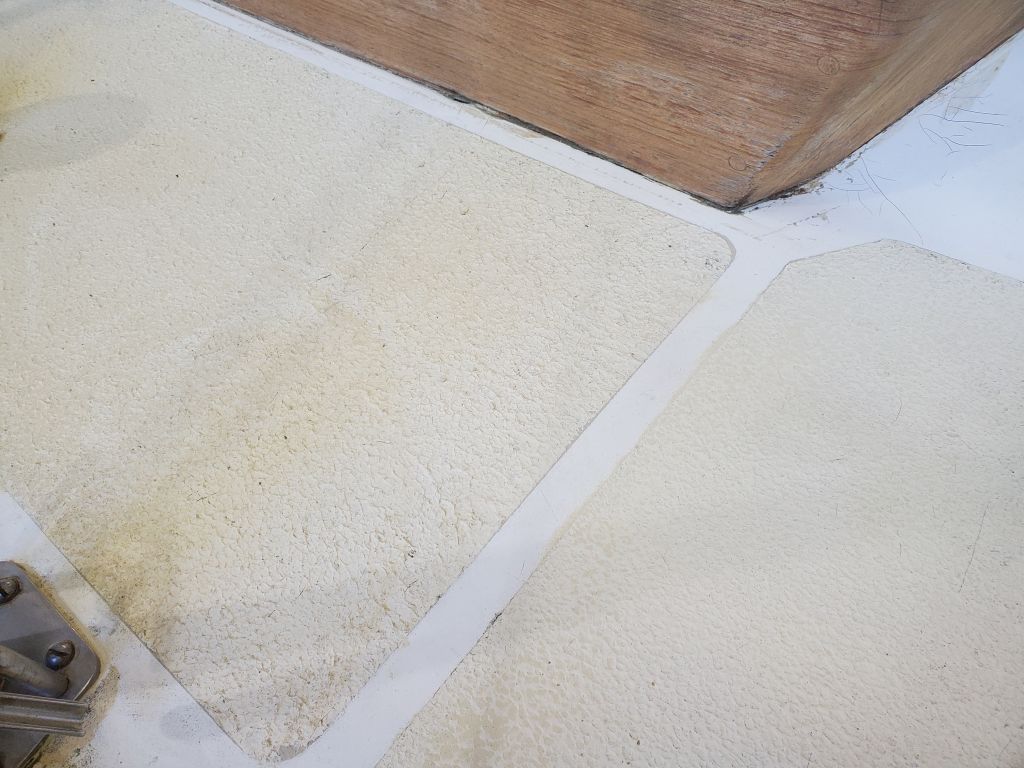
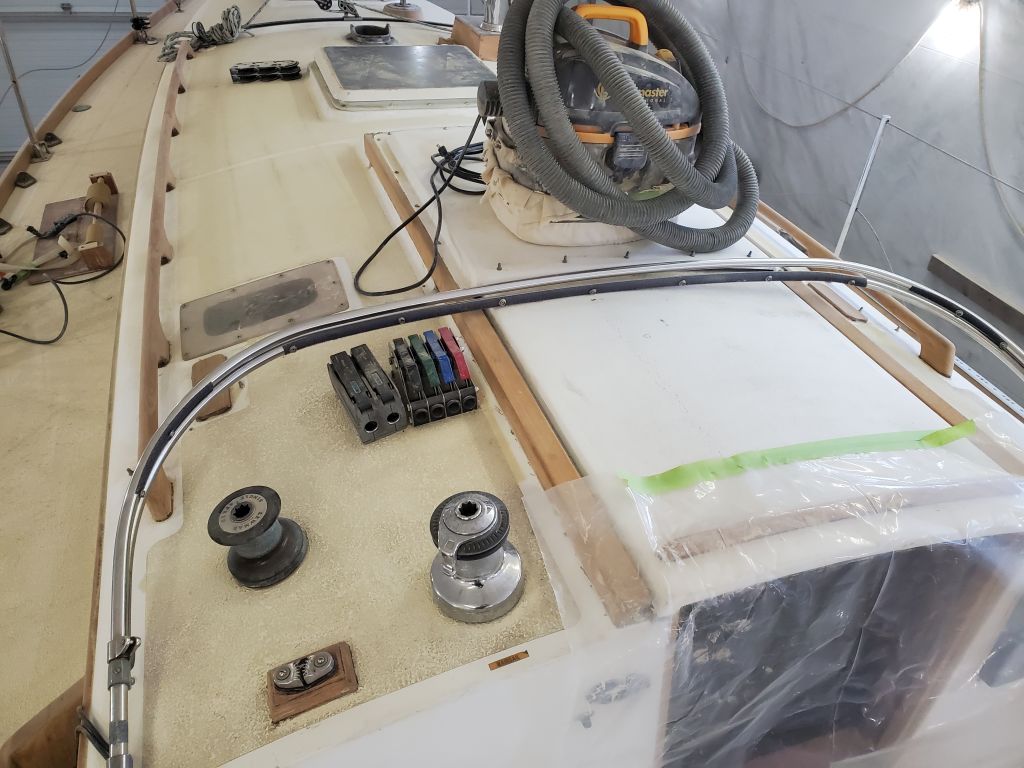
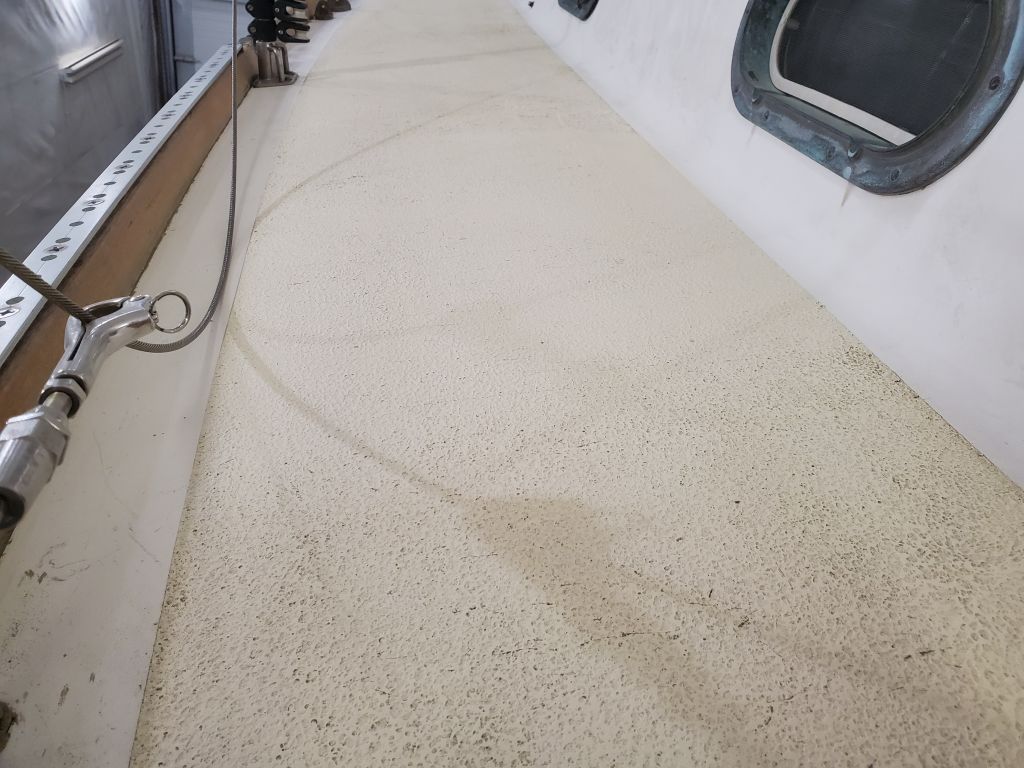
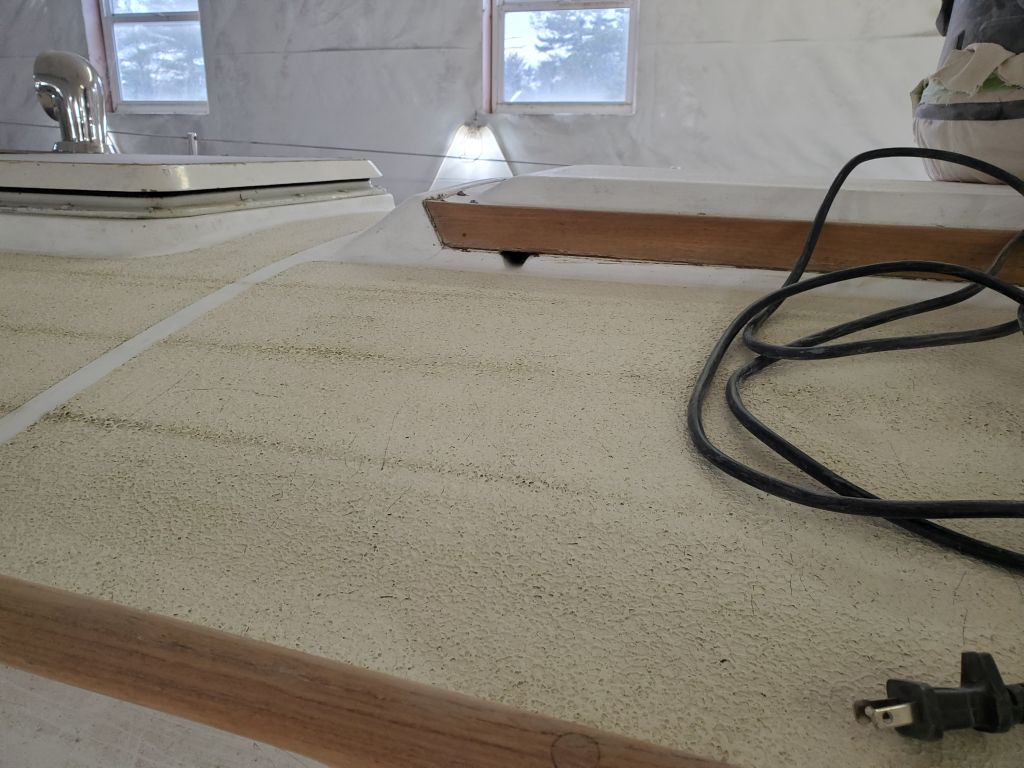
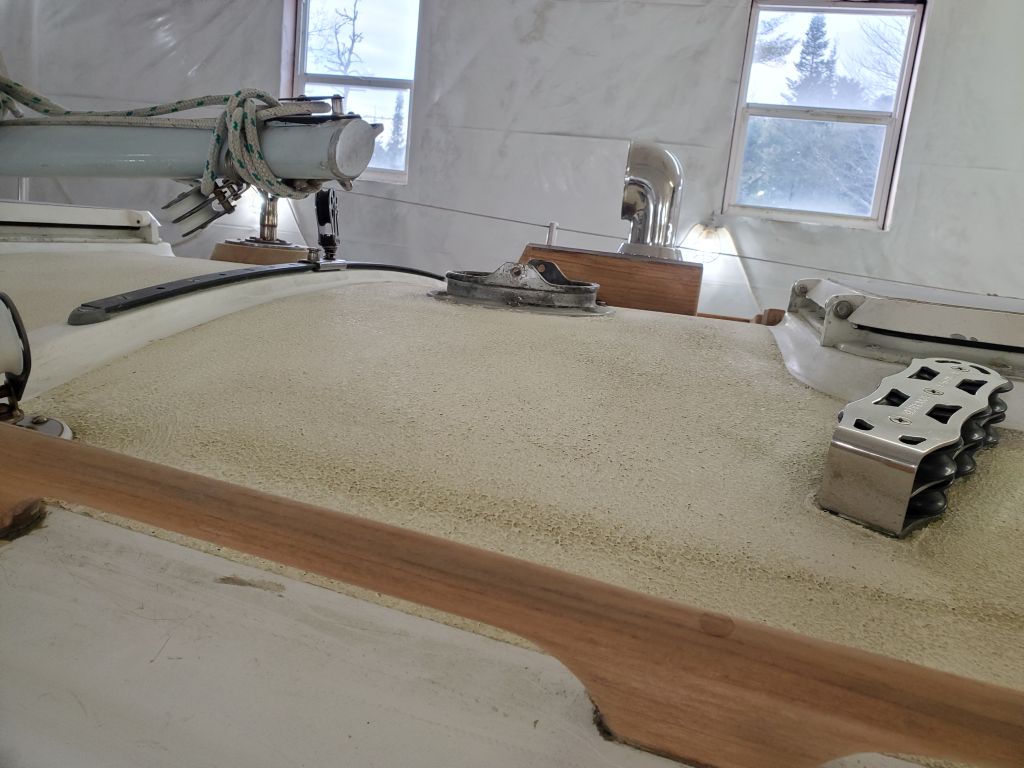
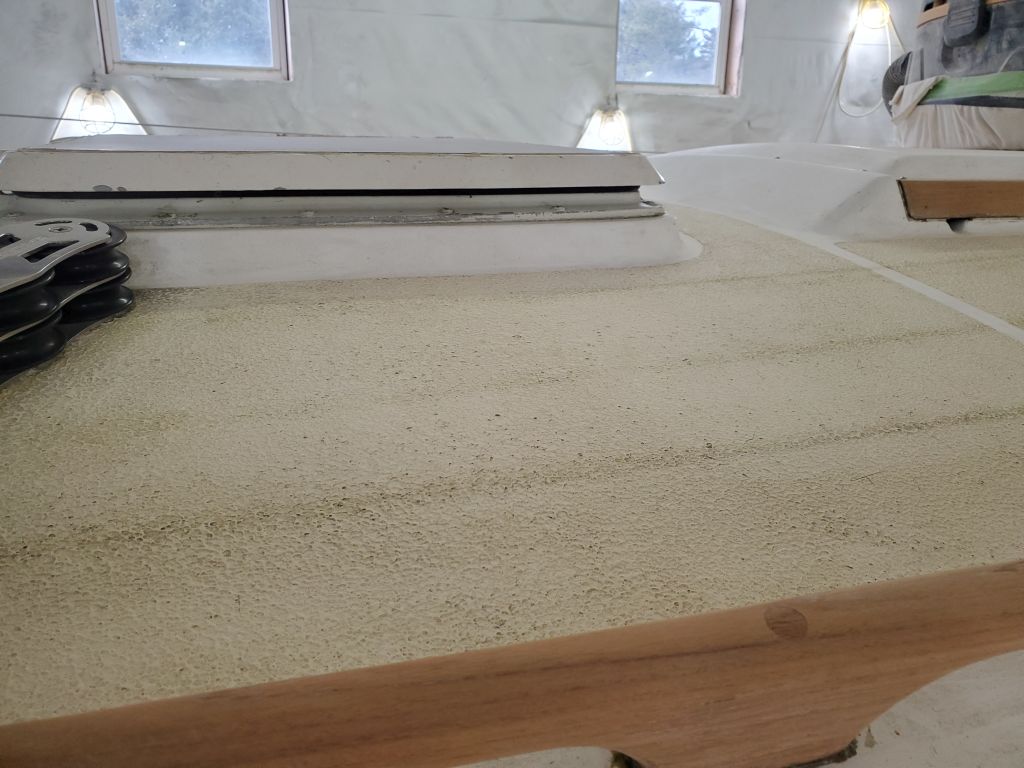
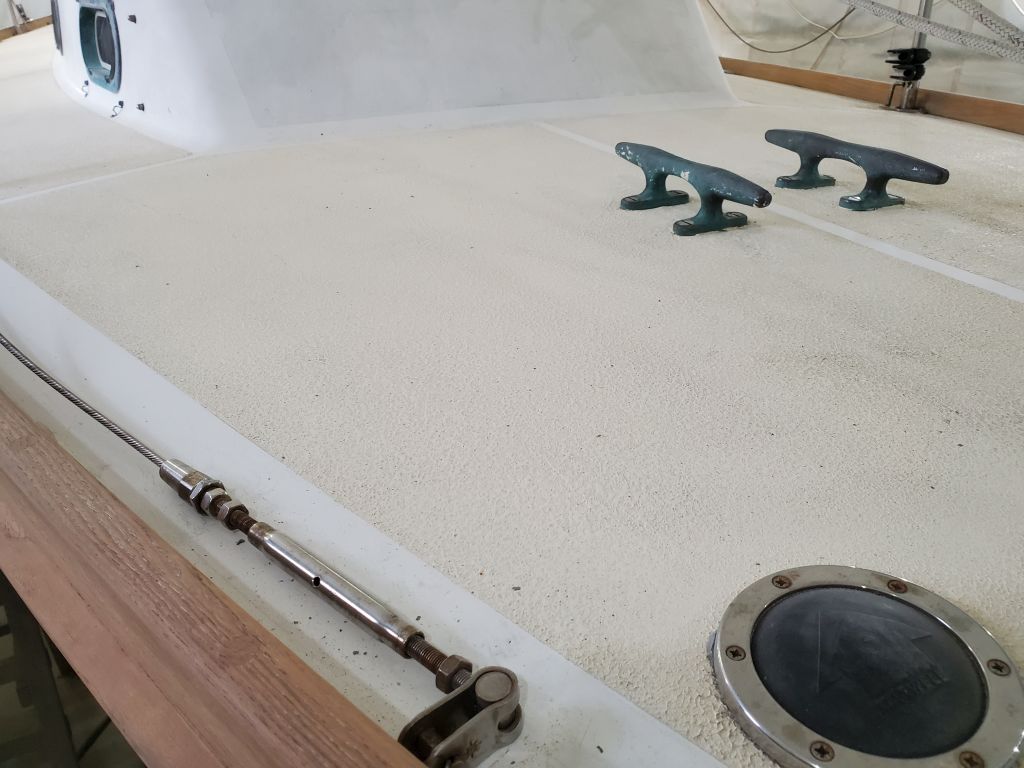
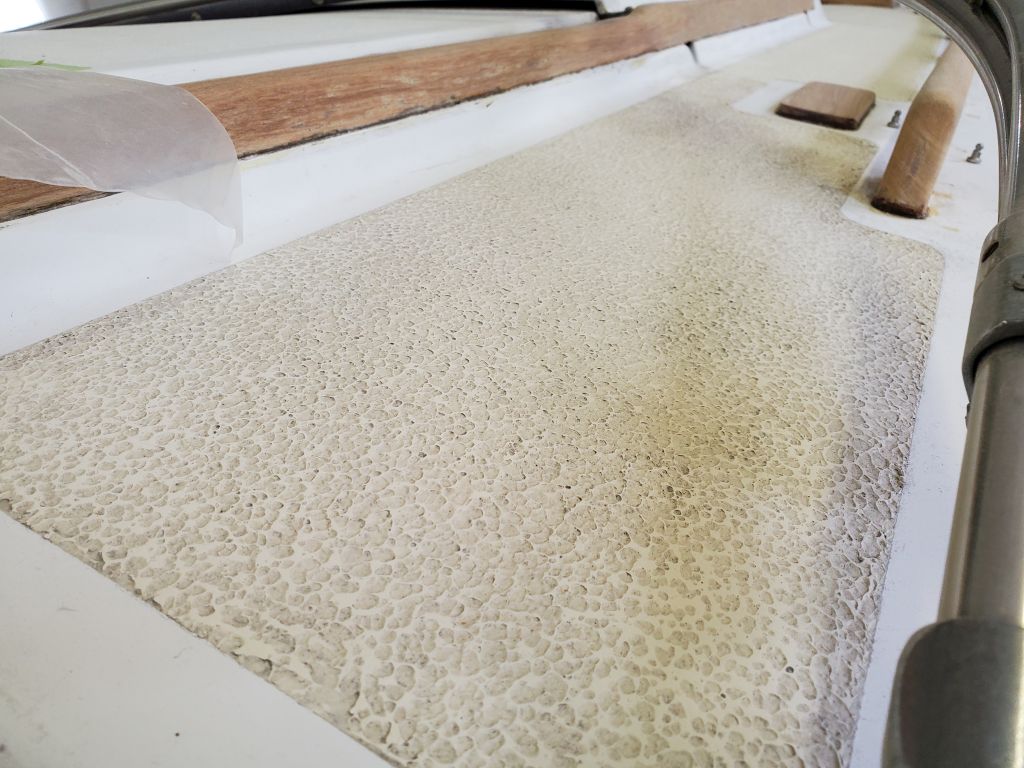
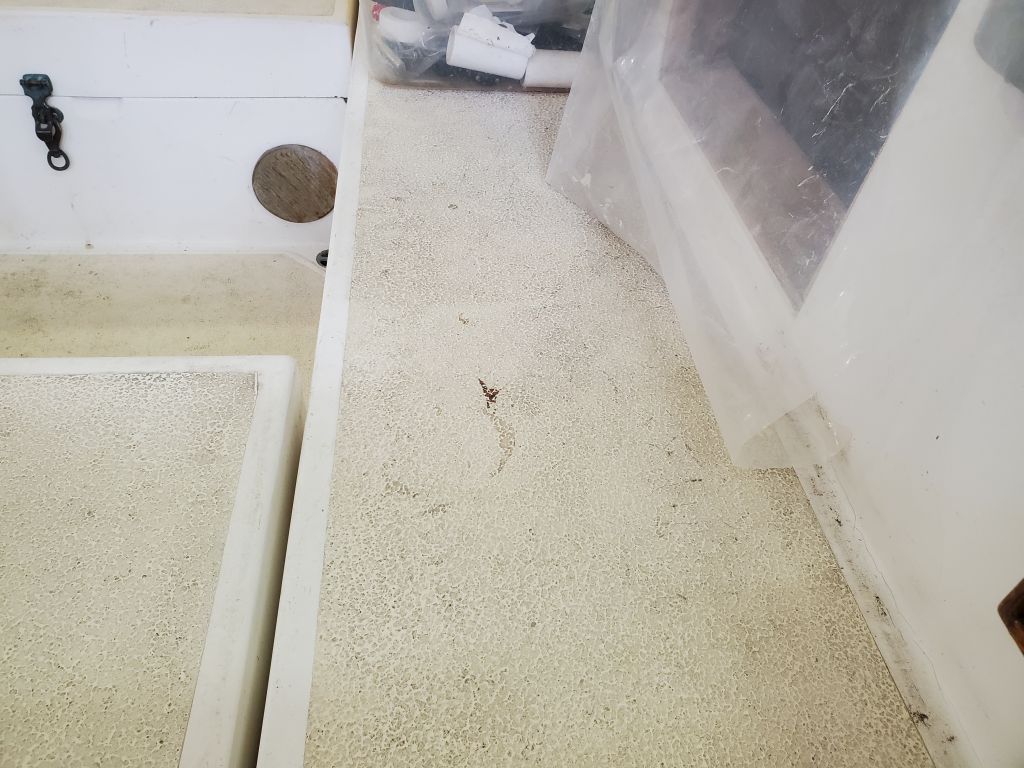
Because it was well-adhered and in good condition overall, I thought preparing the surface for a new coating of the same material required enough sanding to flatten the peaks, remove some of the texture, and provide a reasonable surface to which the new coating could adhere.  I wanted to get all the heavy sanding work out of the way on deck now, before beginning to apply new finishes, so  my first step was to sand the existing nonskid with 80 grit, keeping away from the gelcoated borders (though the thickness of the nonskid coating tended to hold the sander up just high enough) and flattening the old texture, though stopping well short of any attempts to completely smooth the surface or remove the old coating entirely.  This also did not remove all the discoloration and staining from the depths of the old texture, but I planned to wash the decks next time.  This work, and an initial cleanup, consumed the bulk of the day.

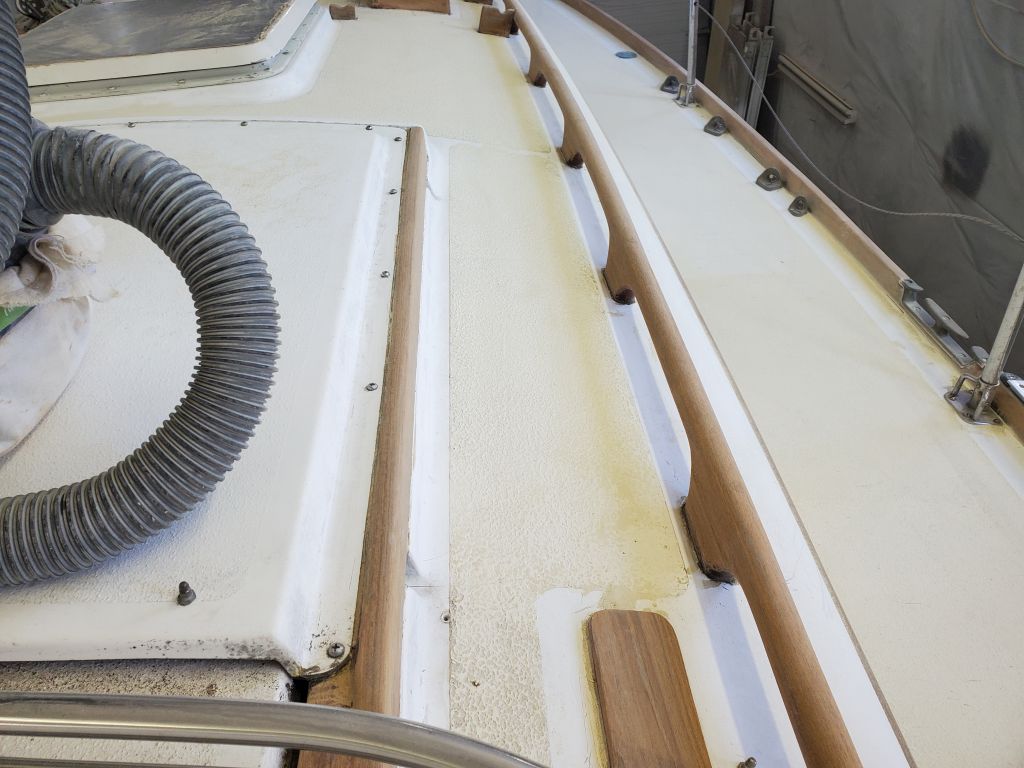
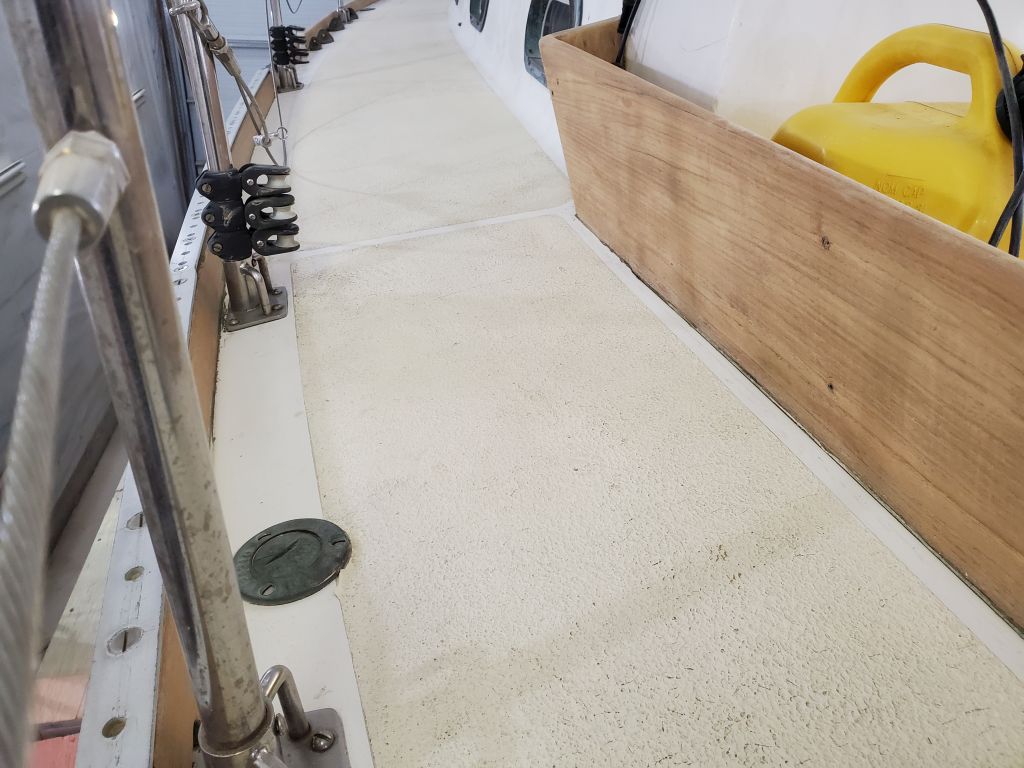
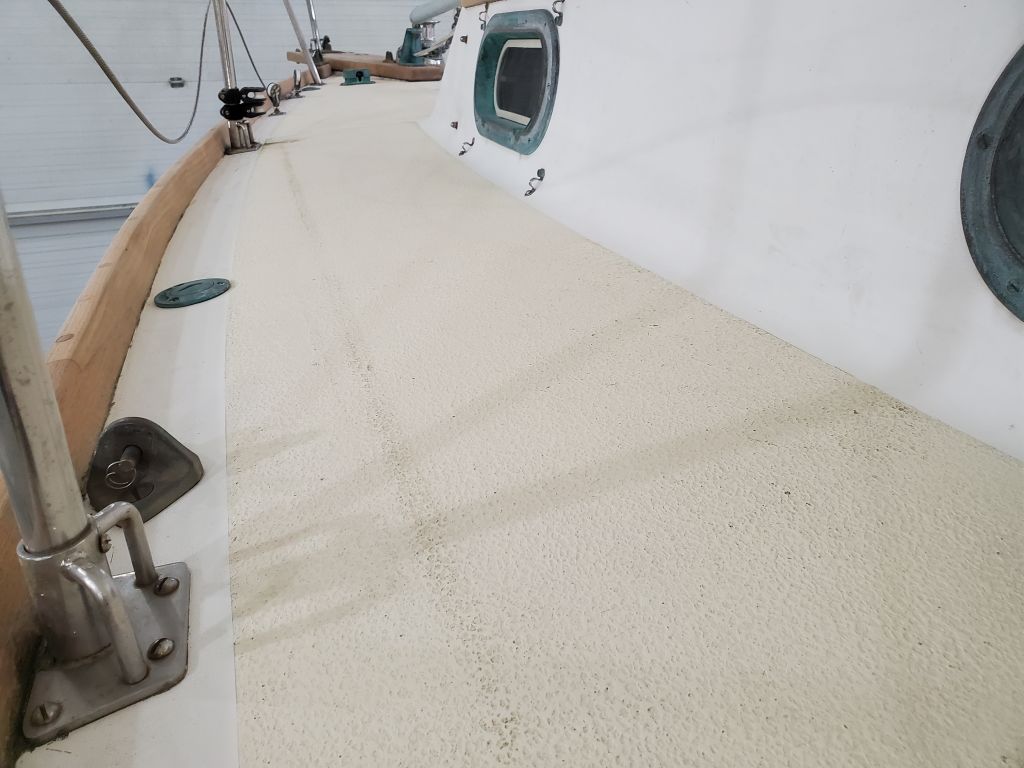
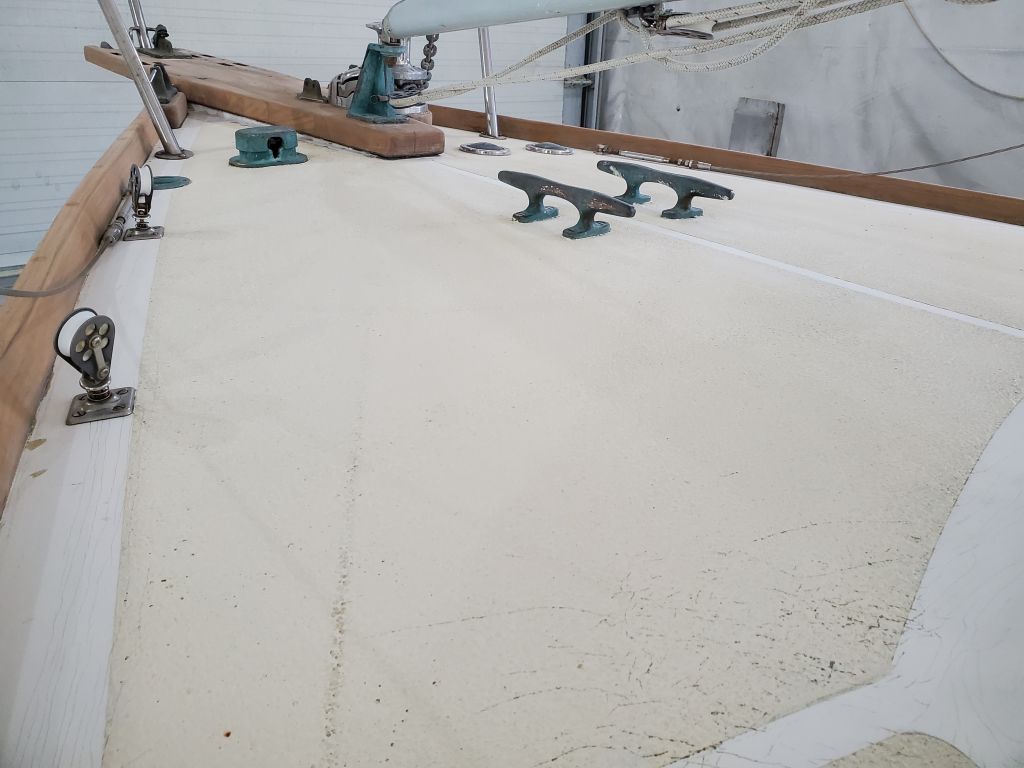
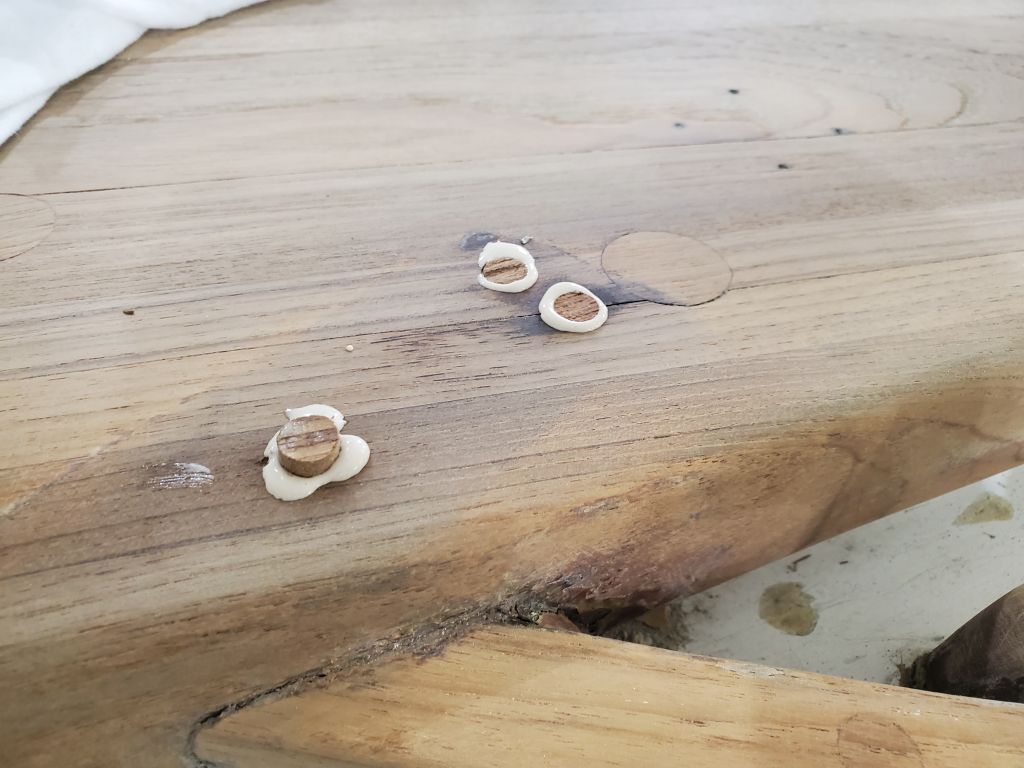
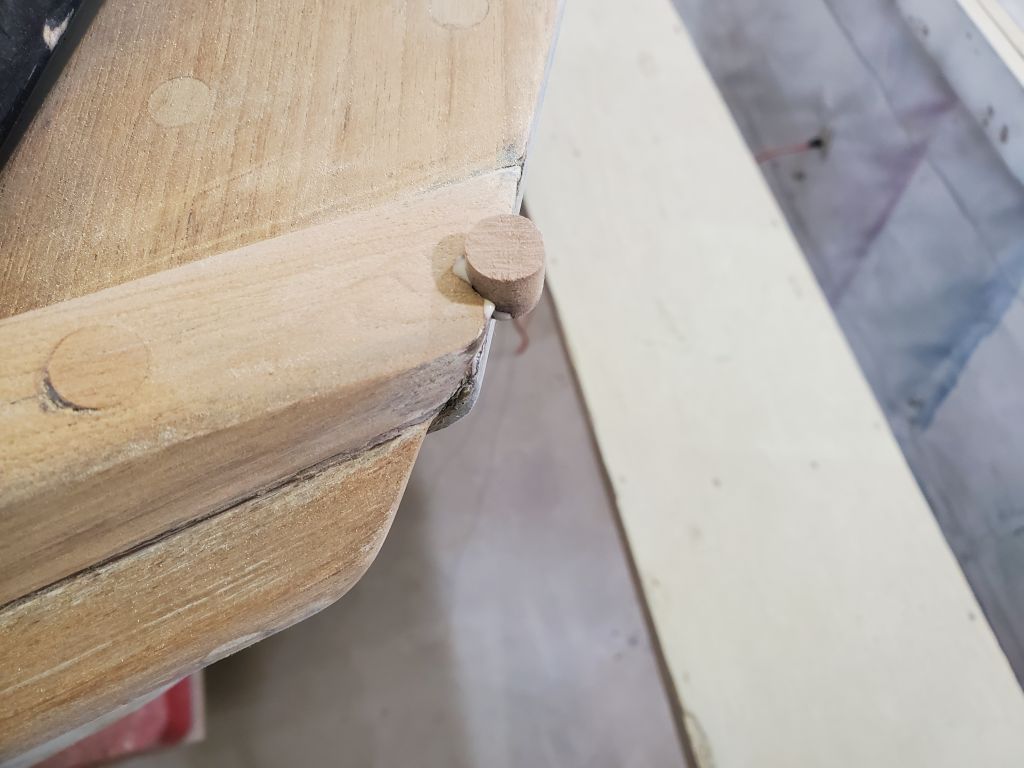
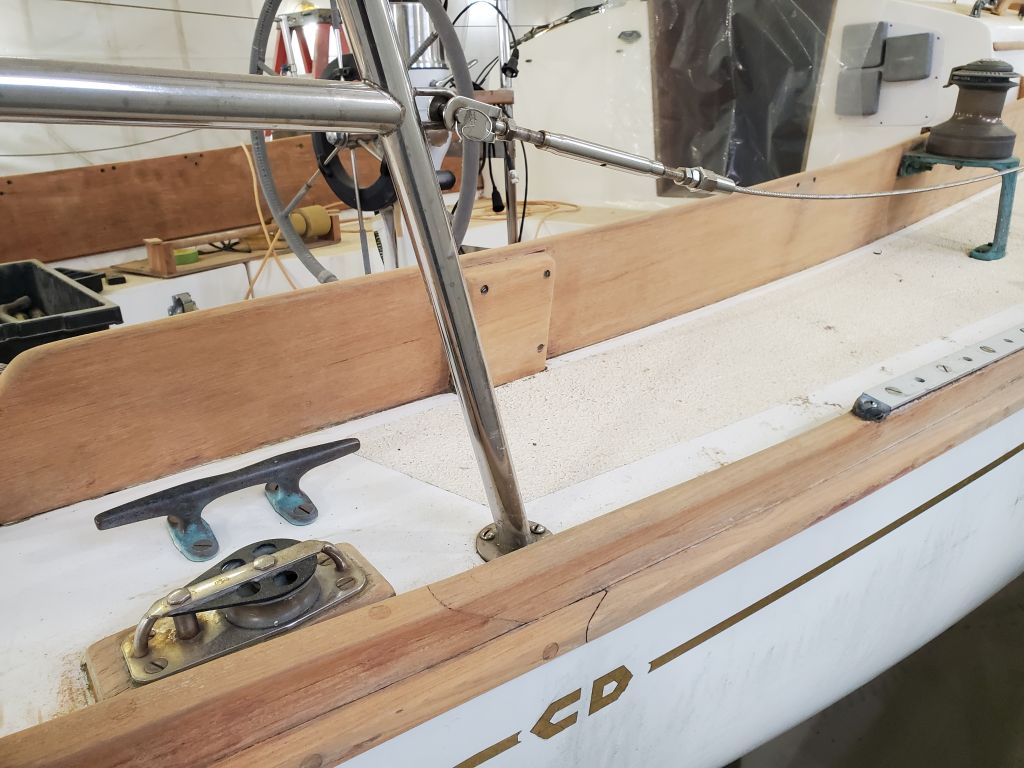
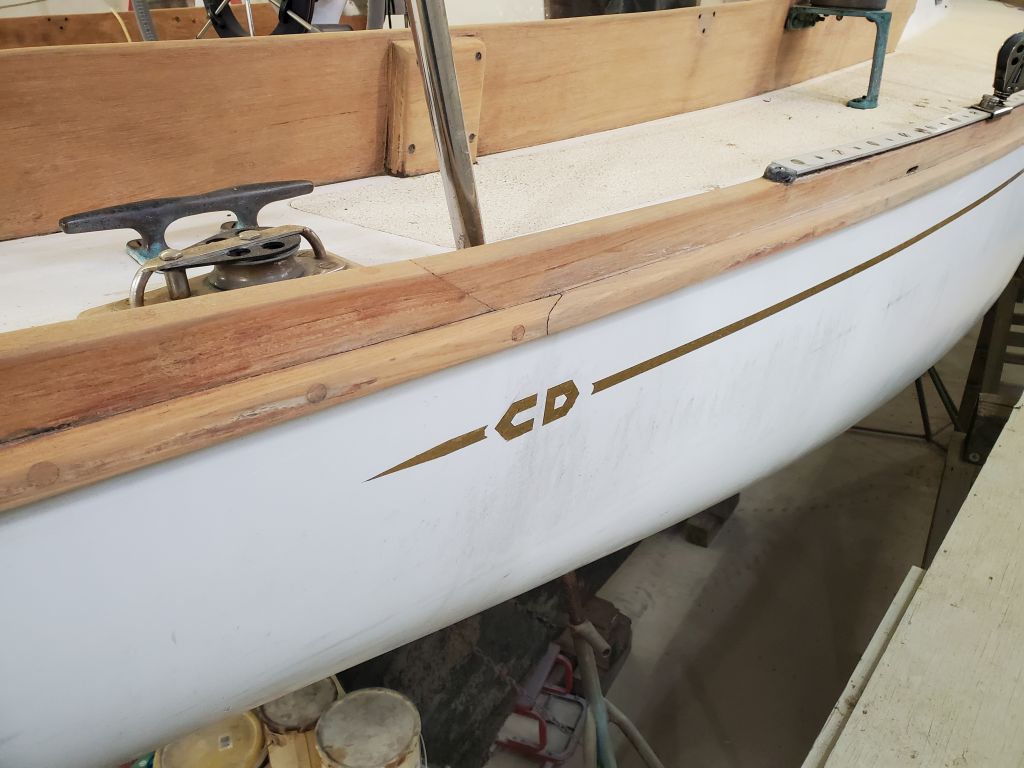
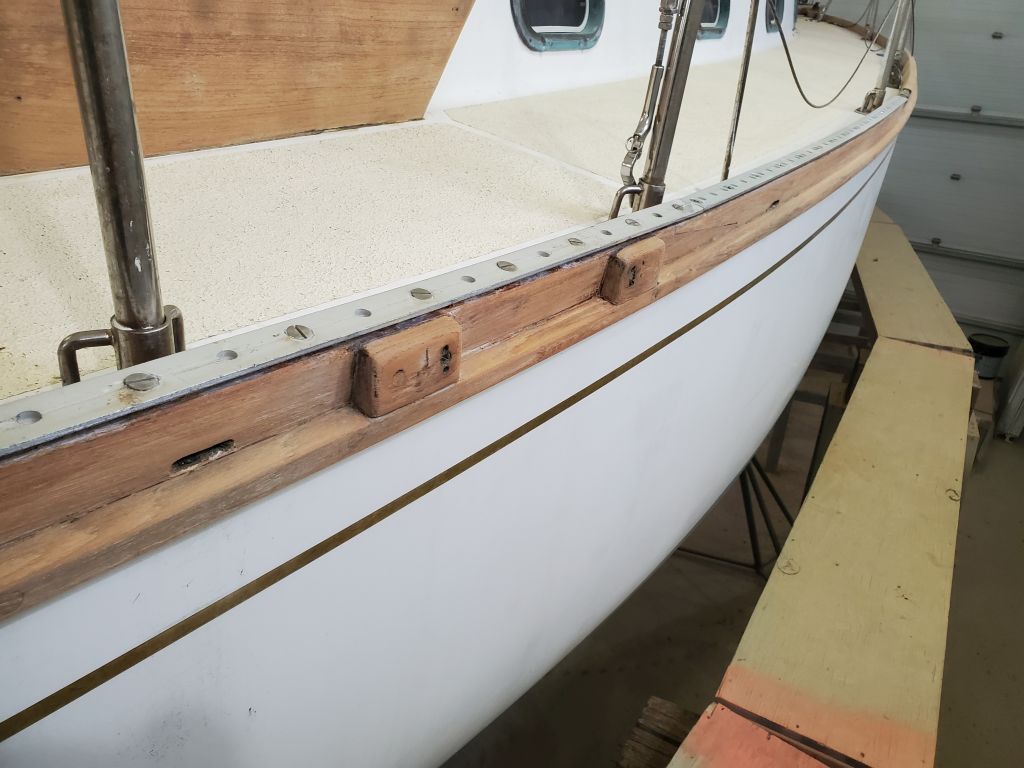
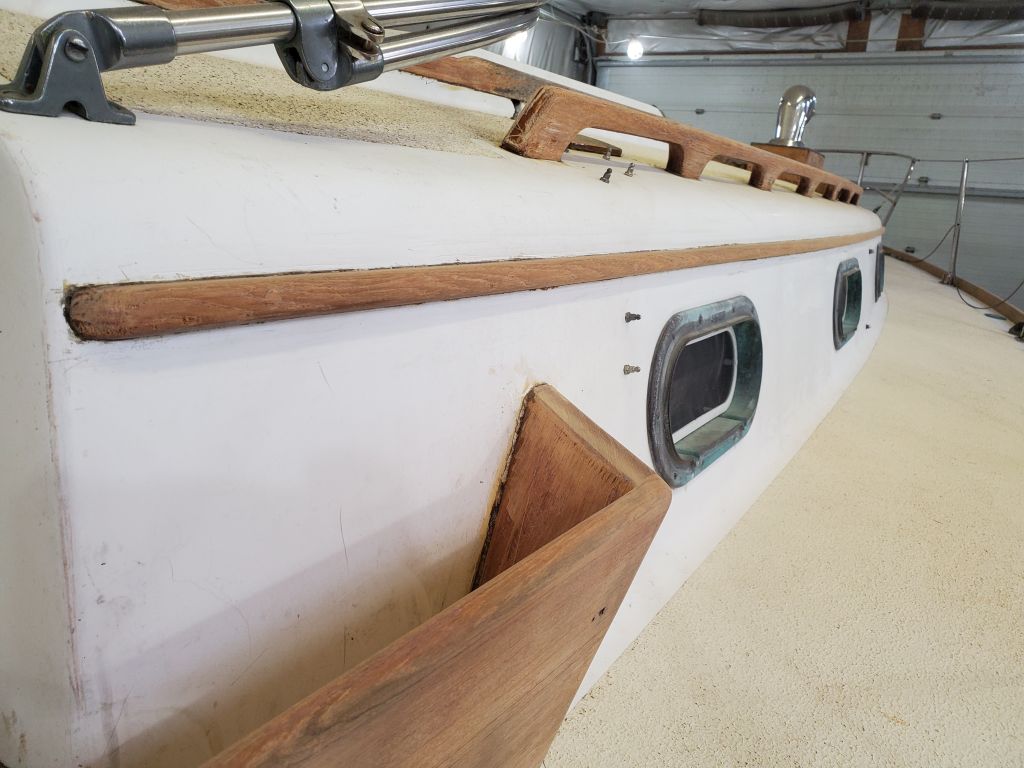
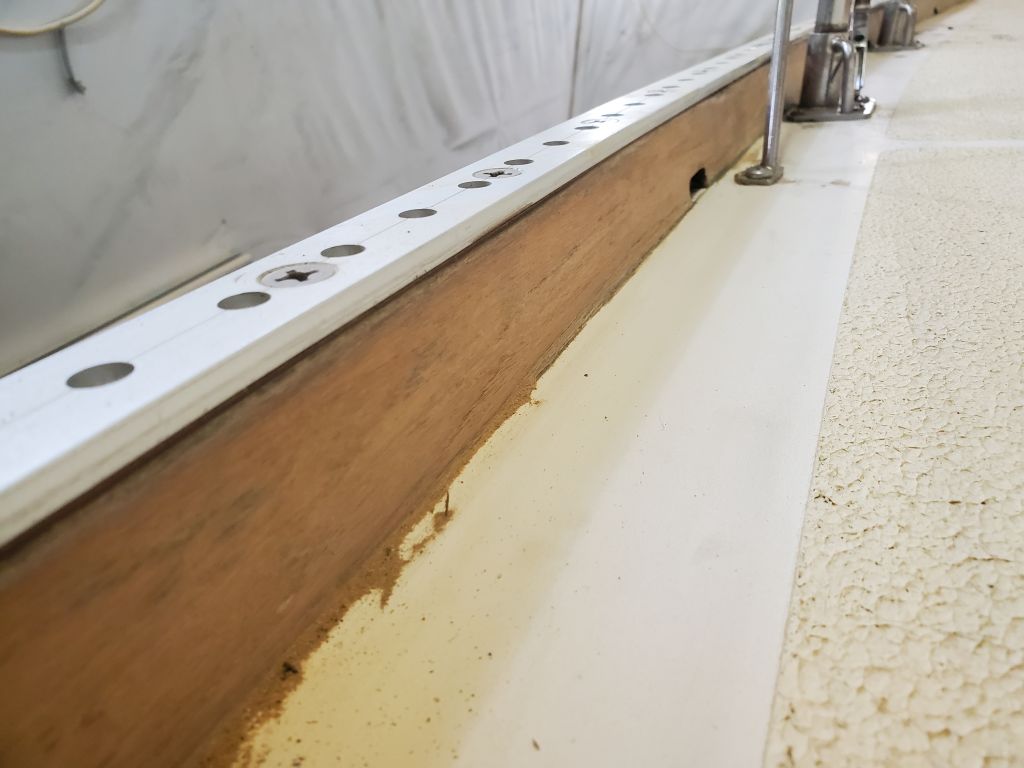
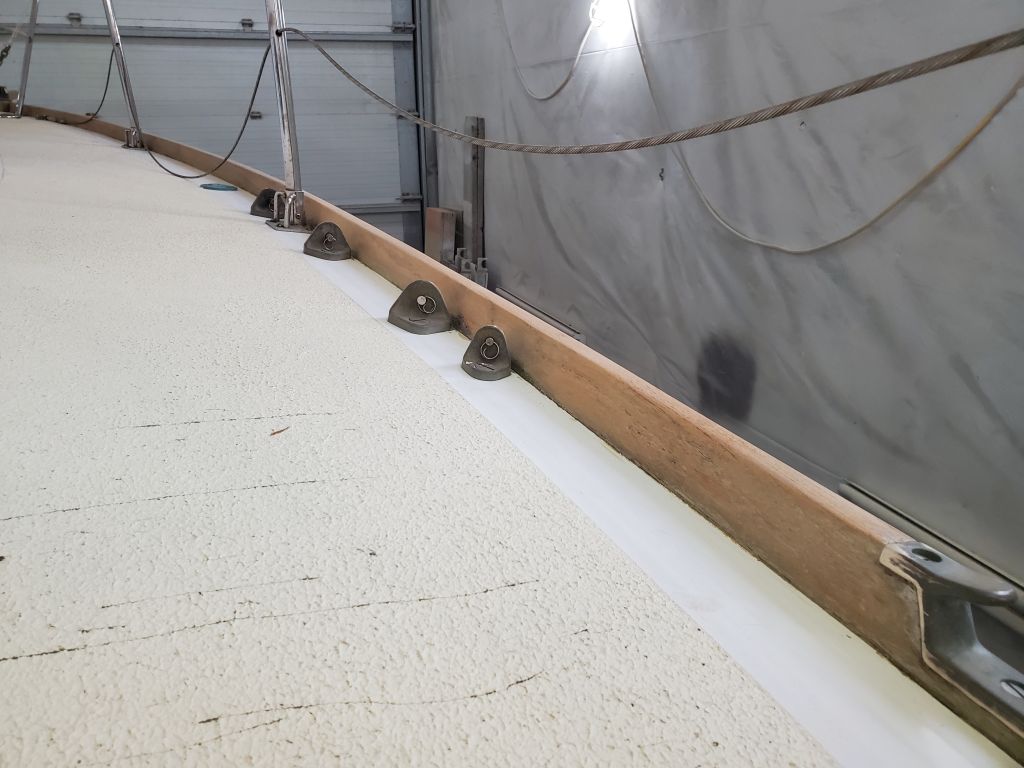
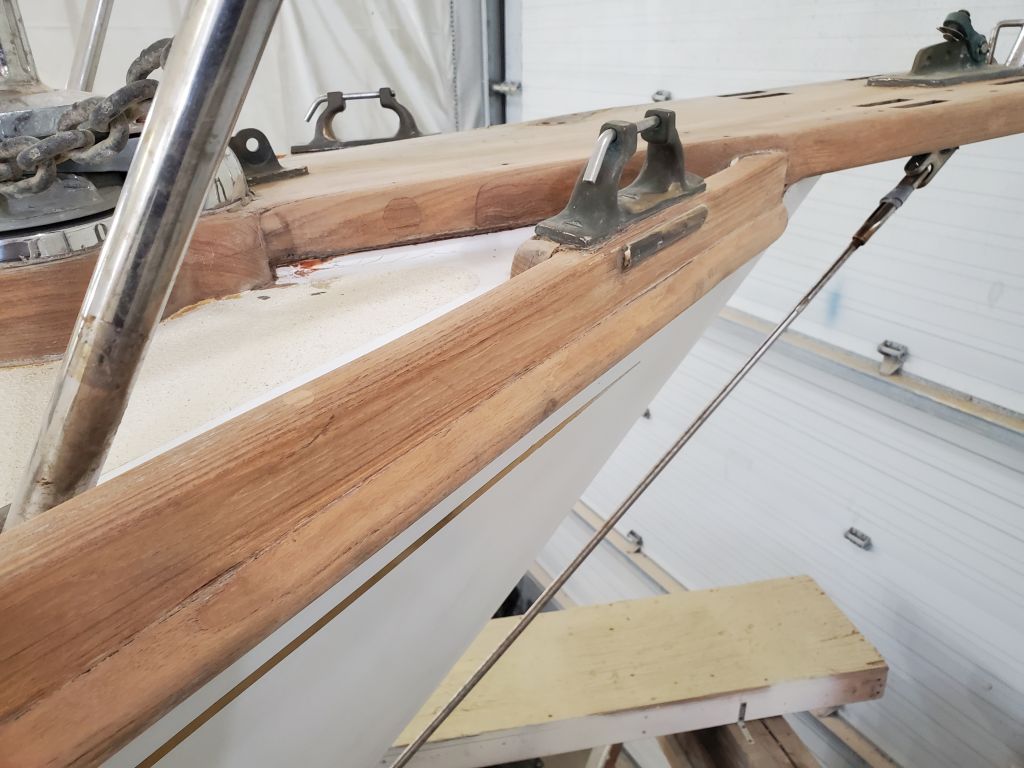
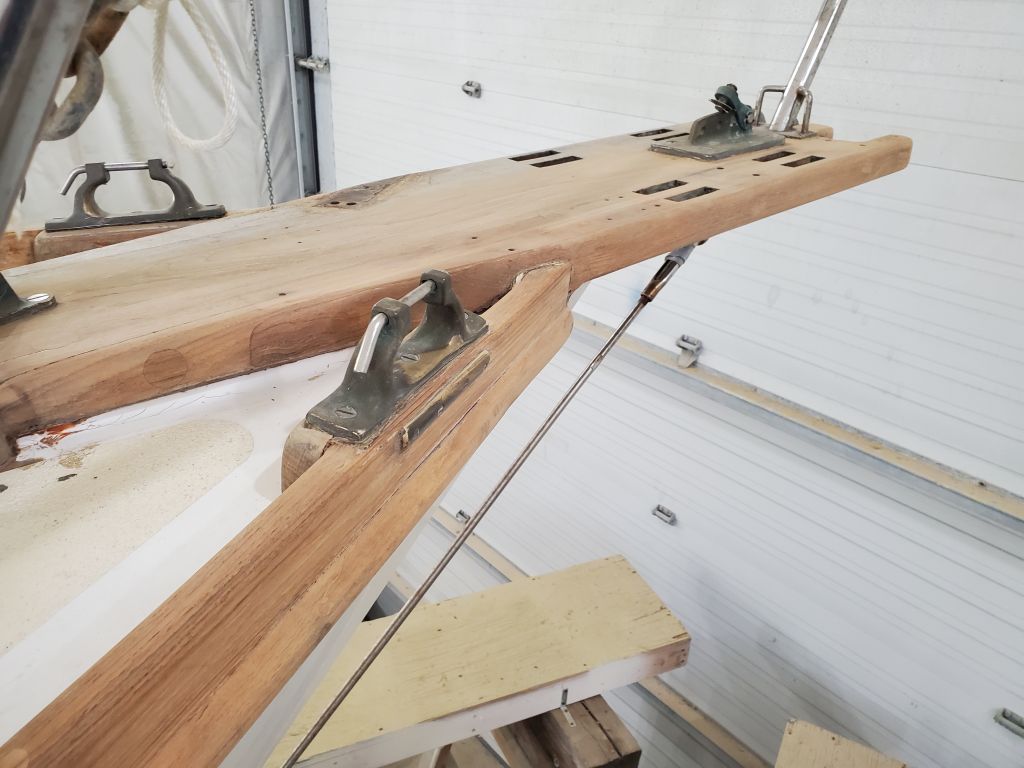
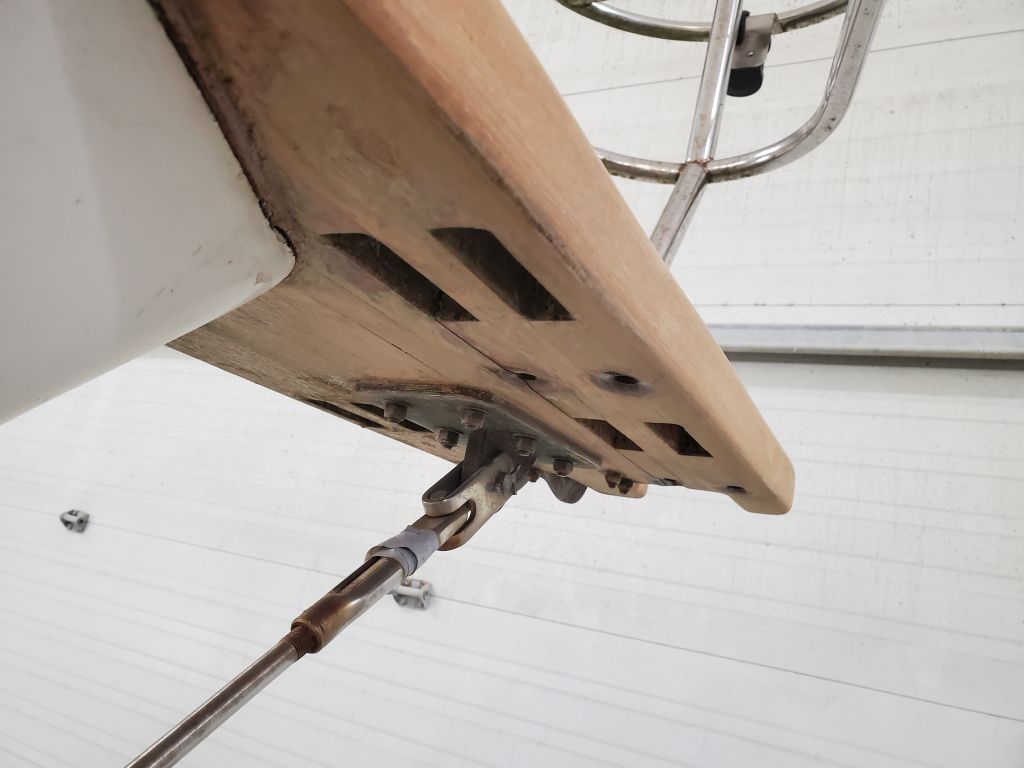
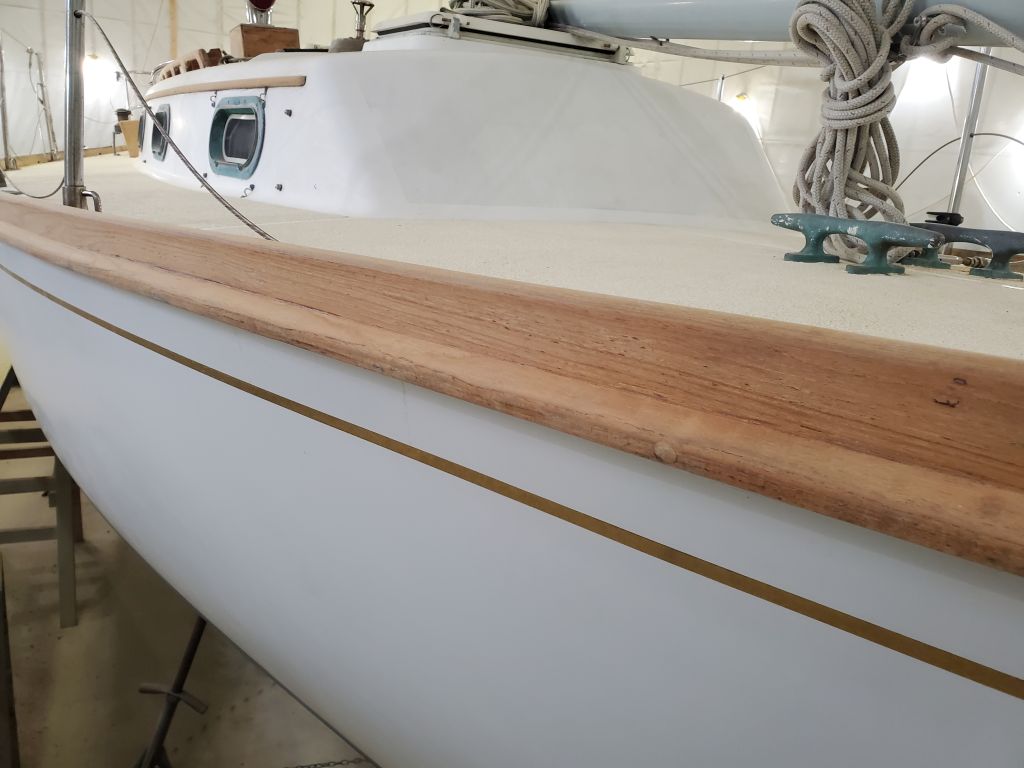
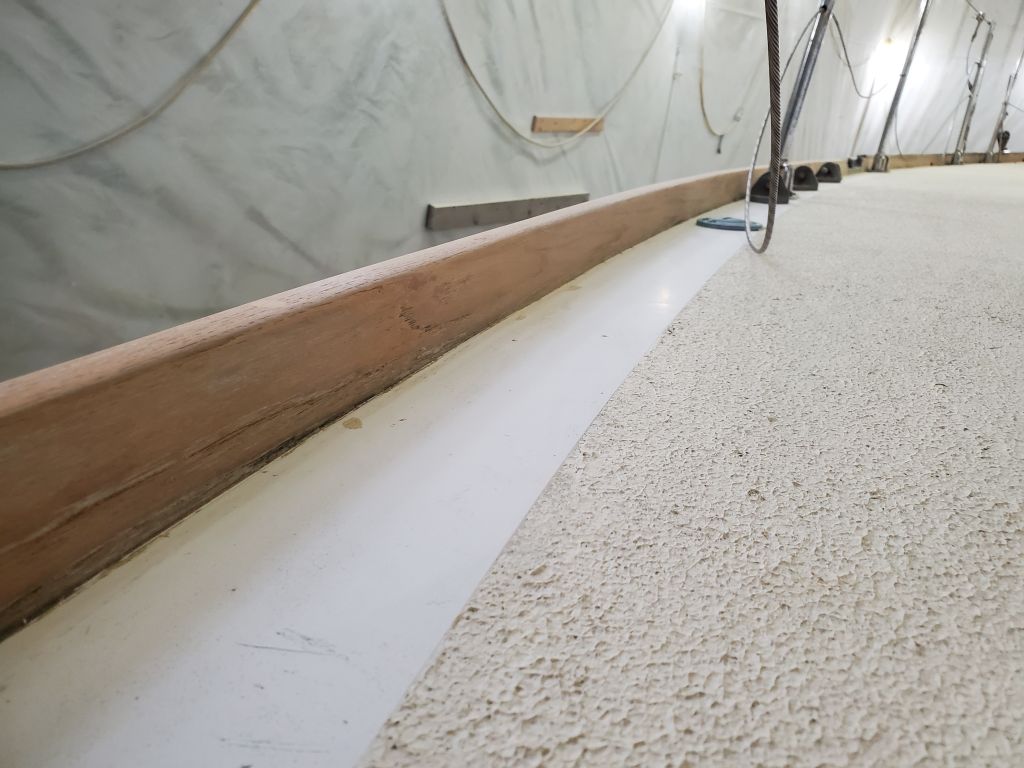
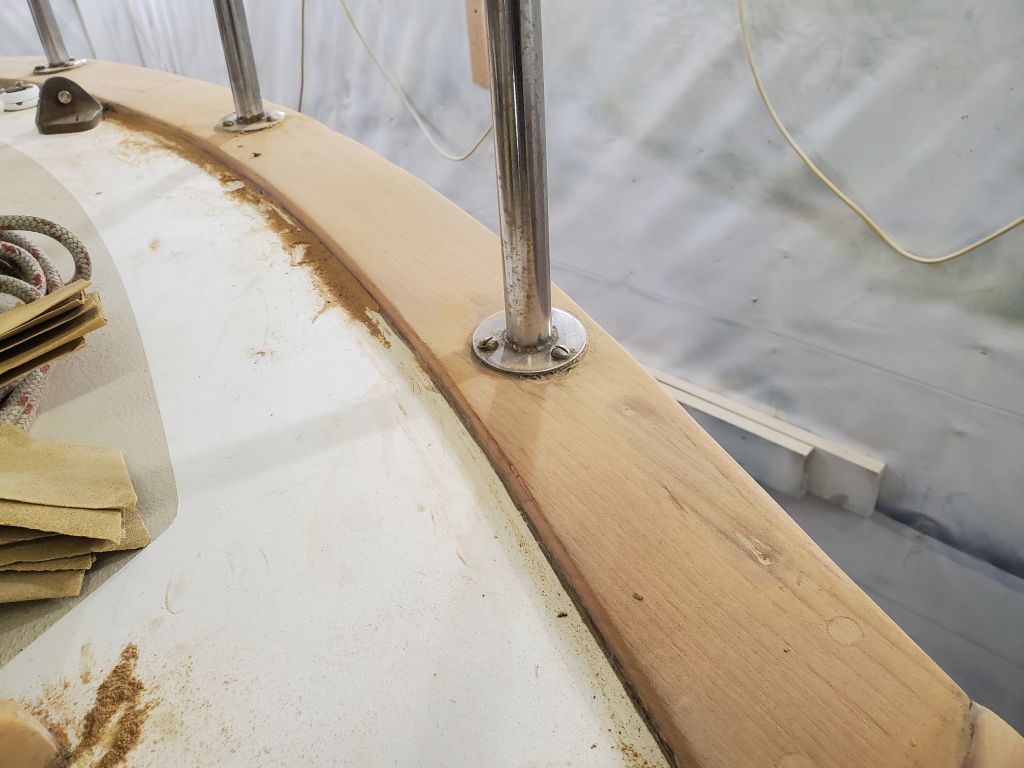
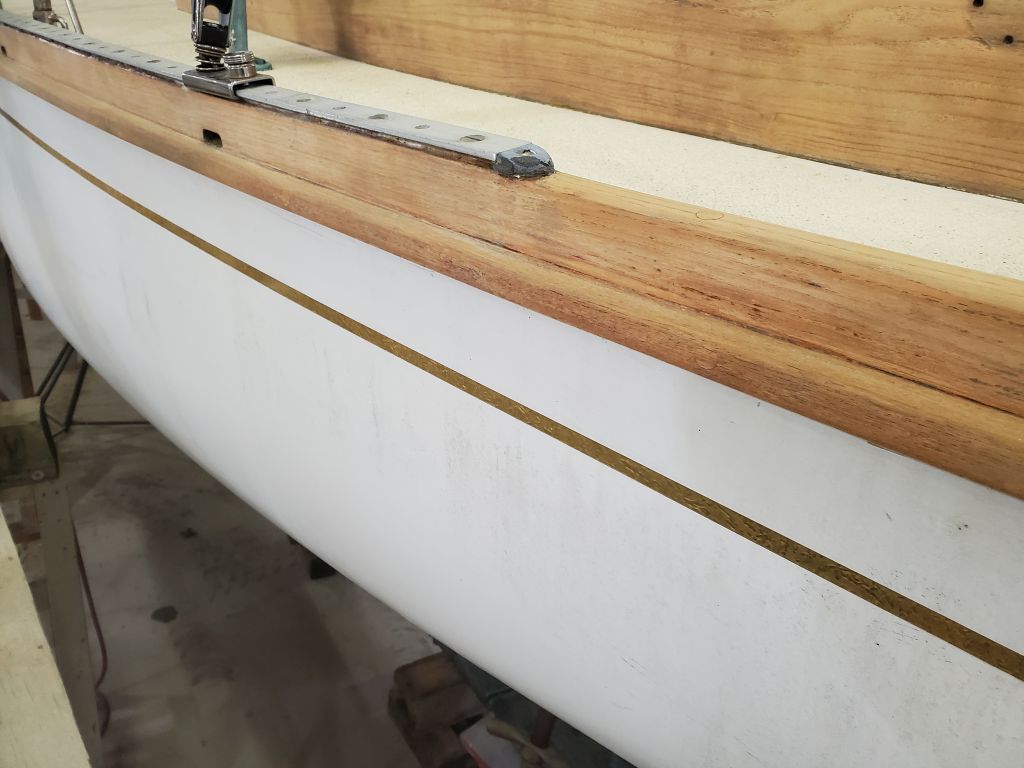
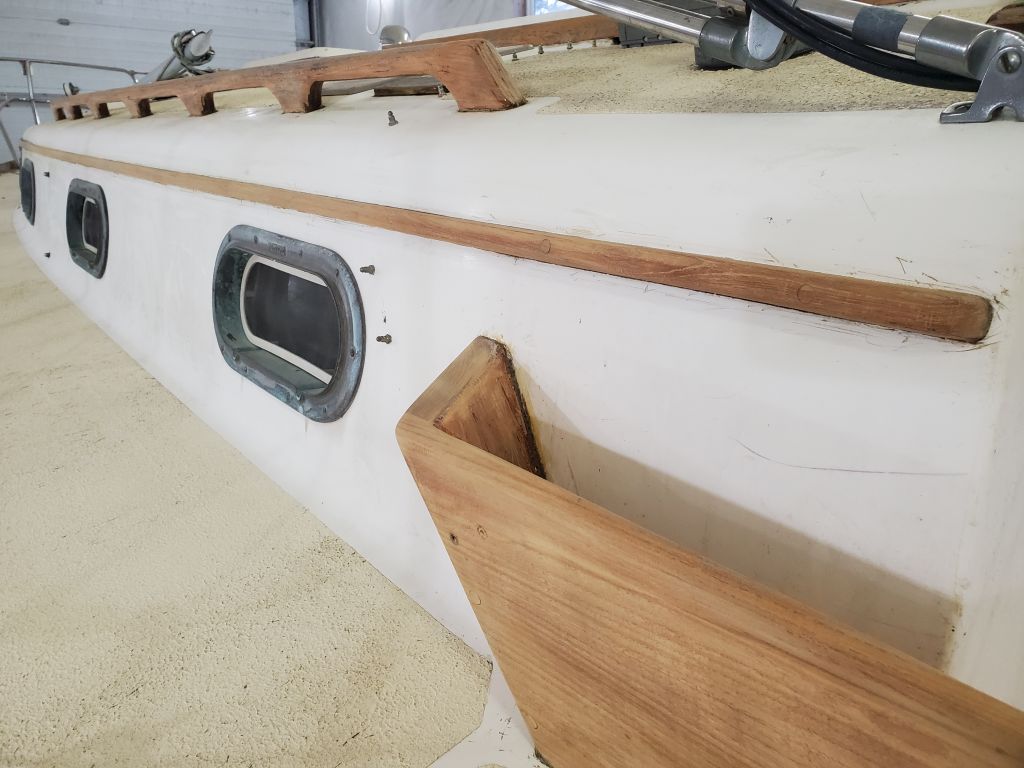
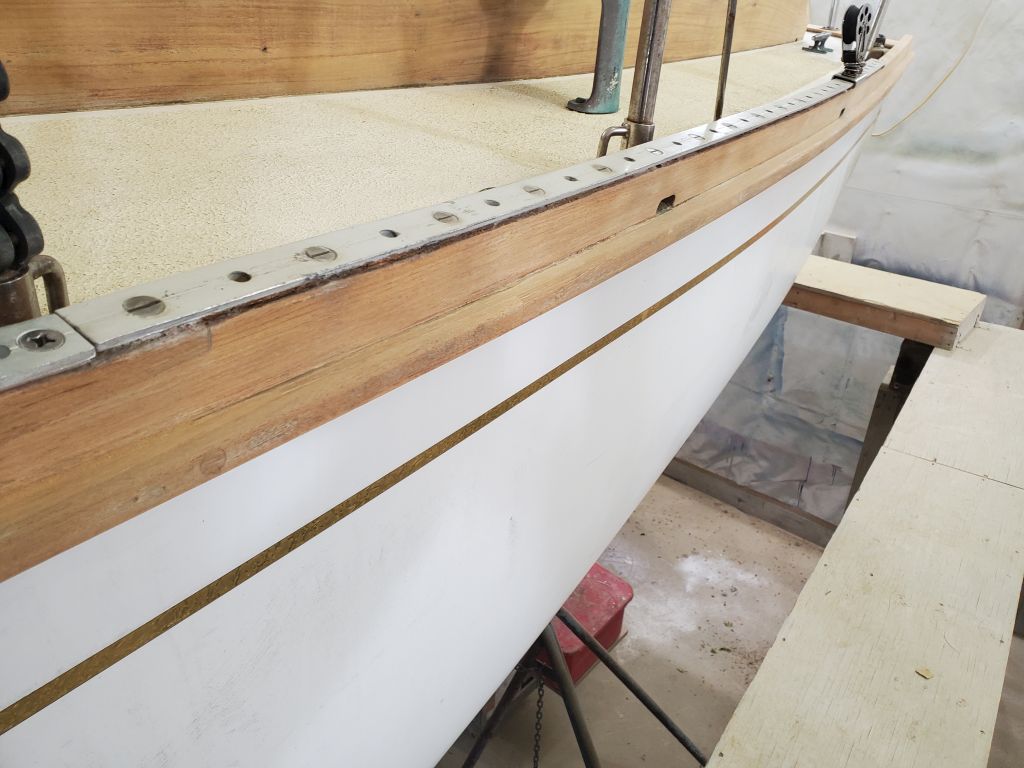
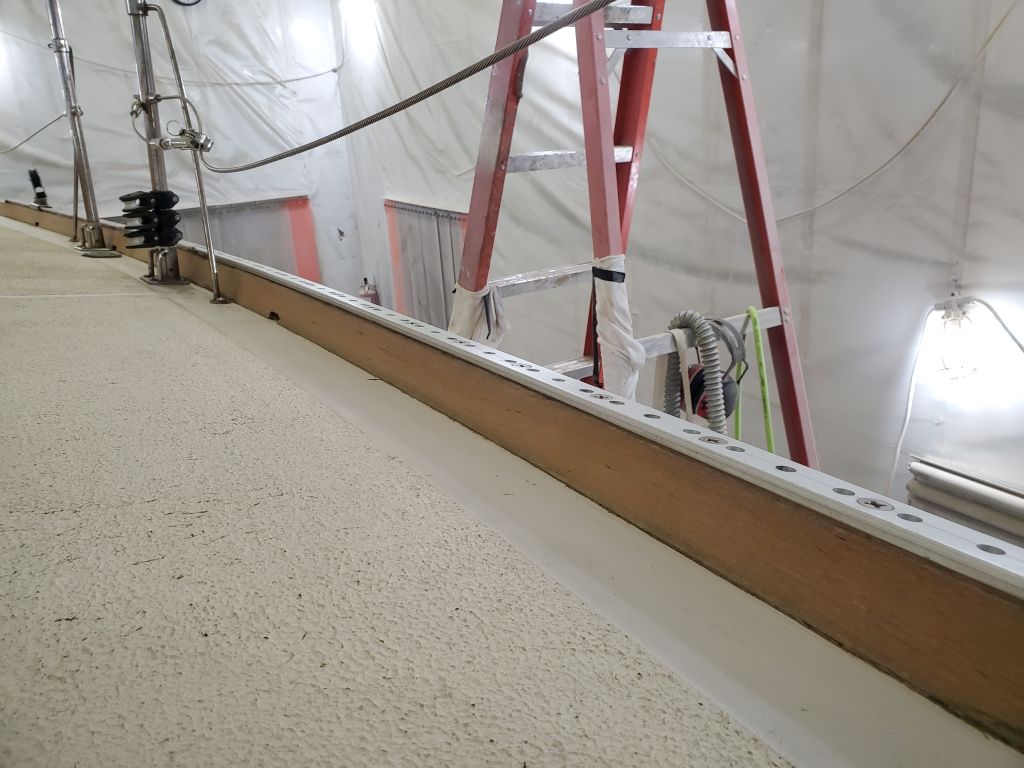
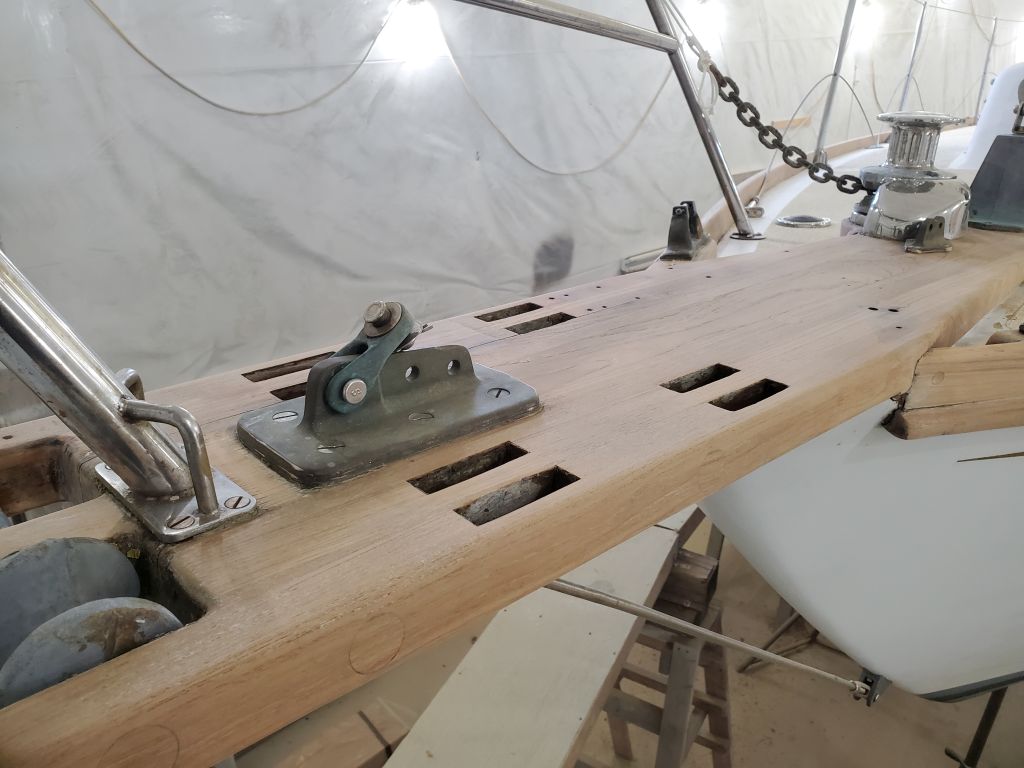
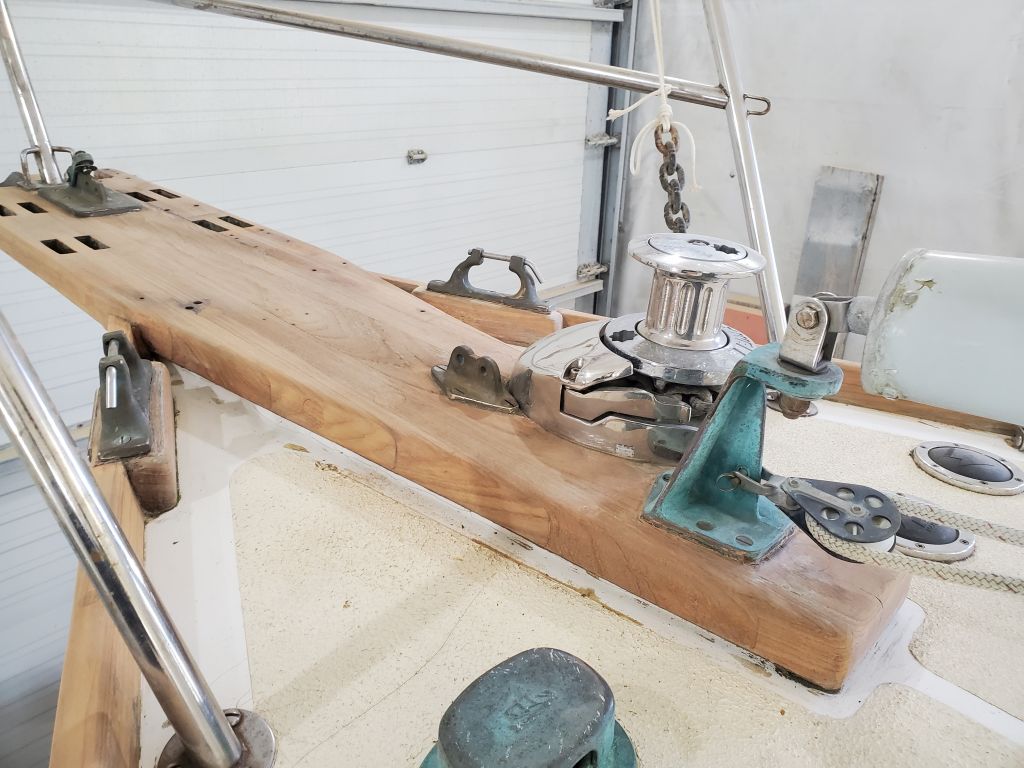
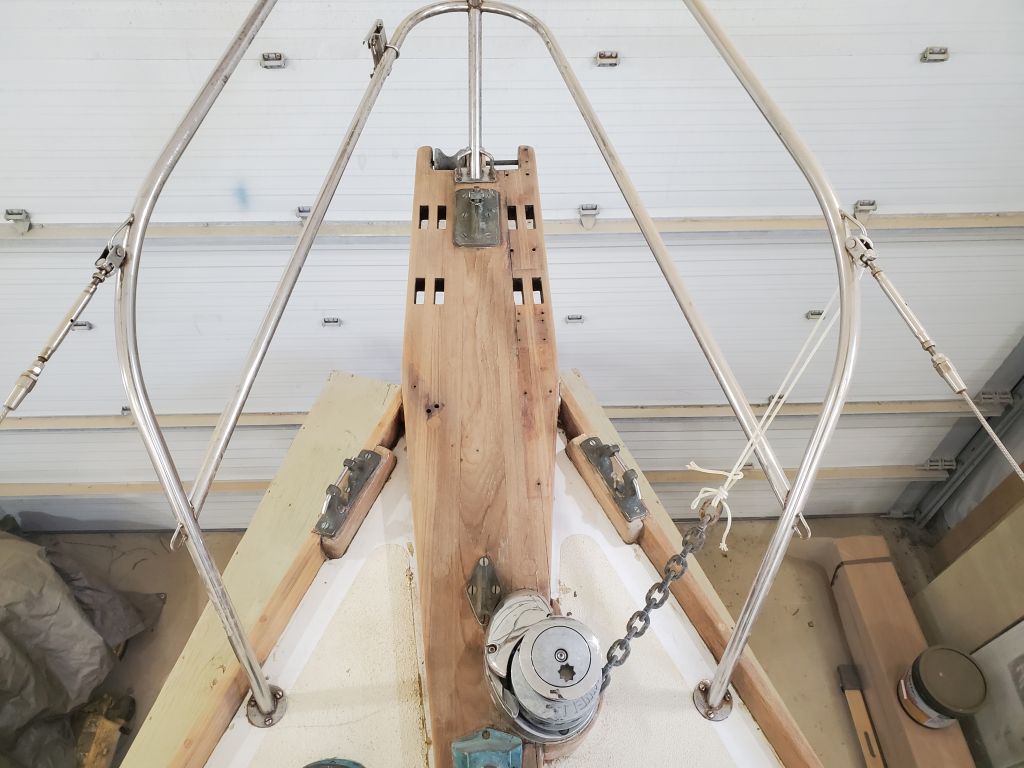
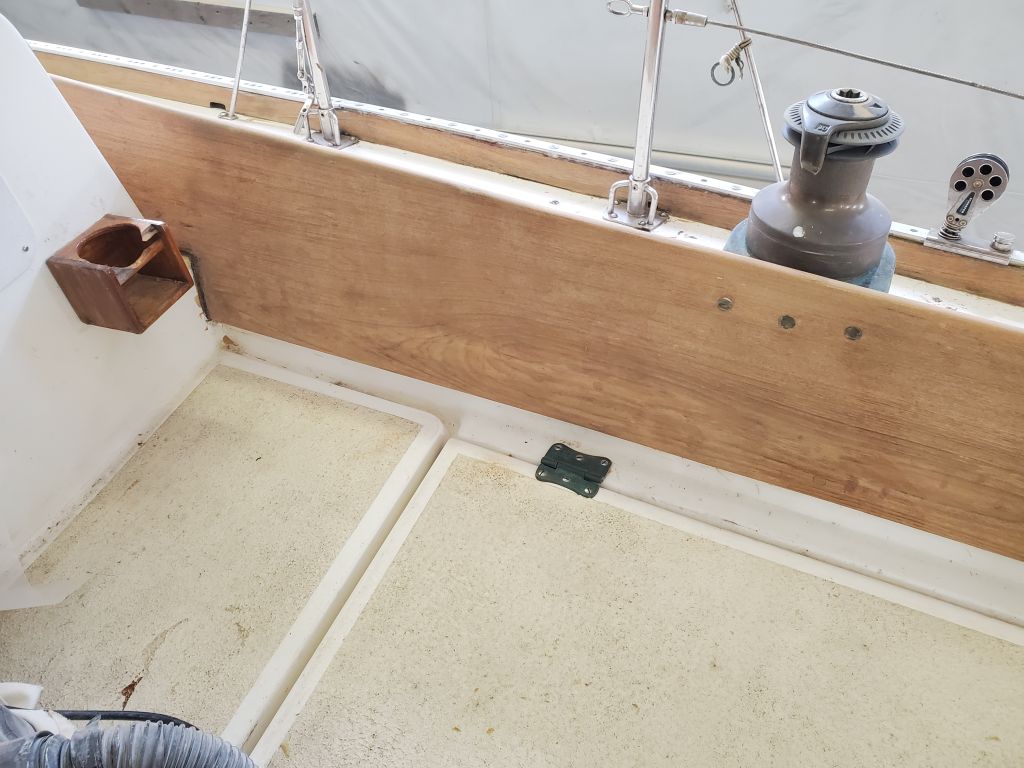
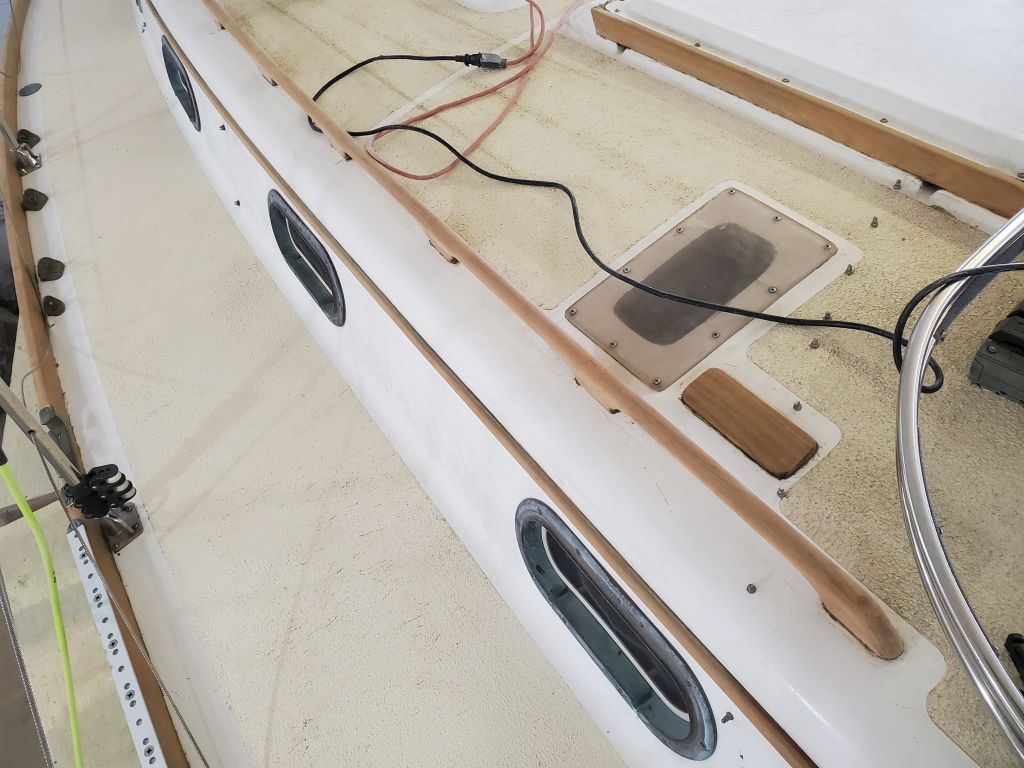
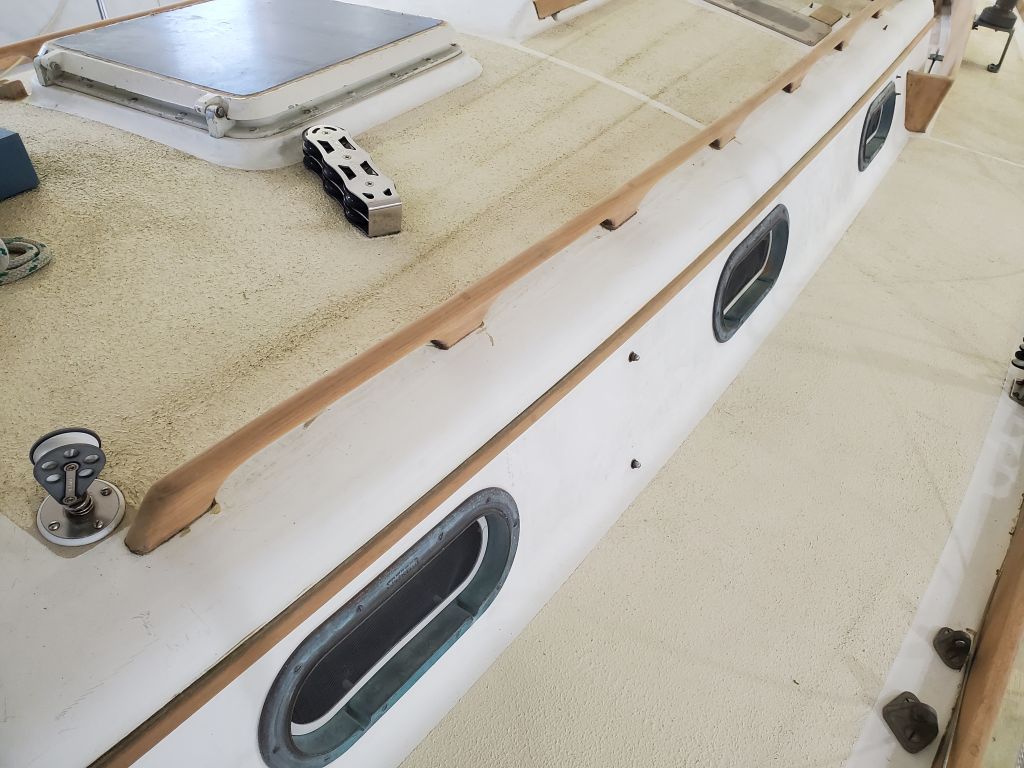
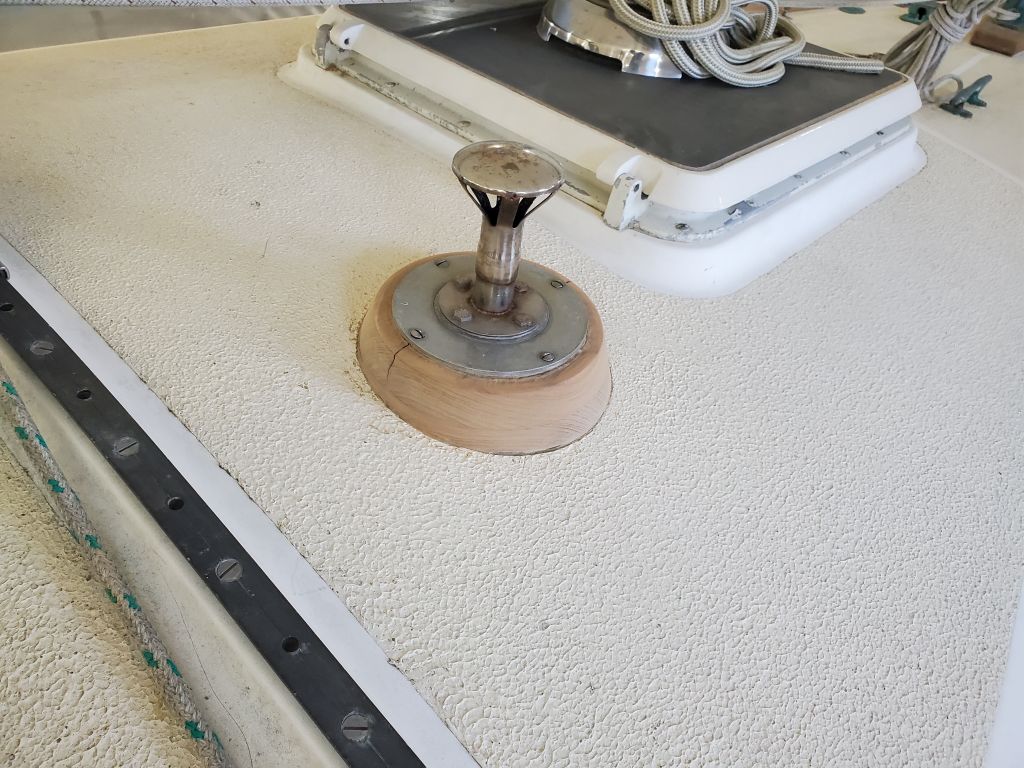
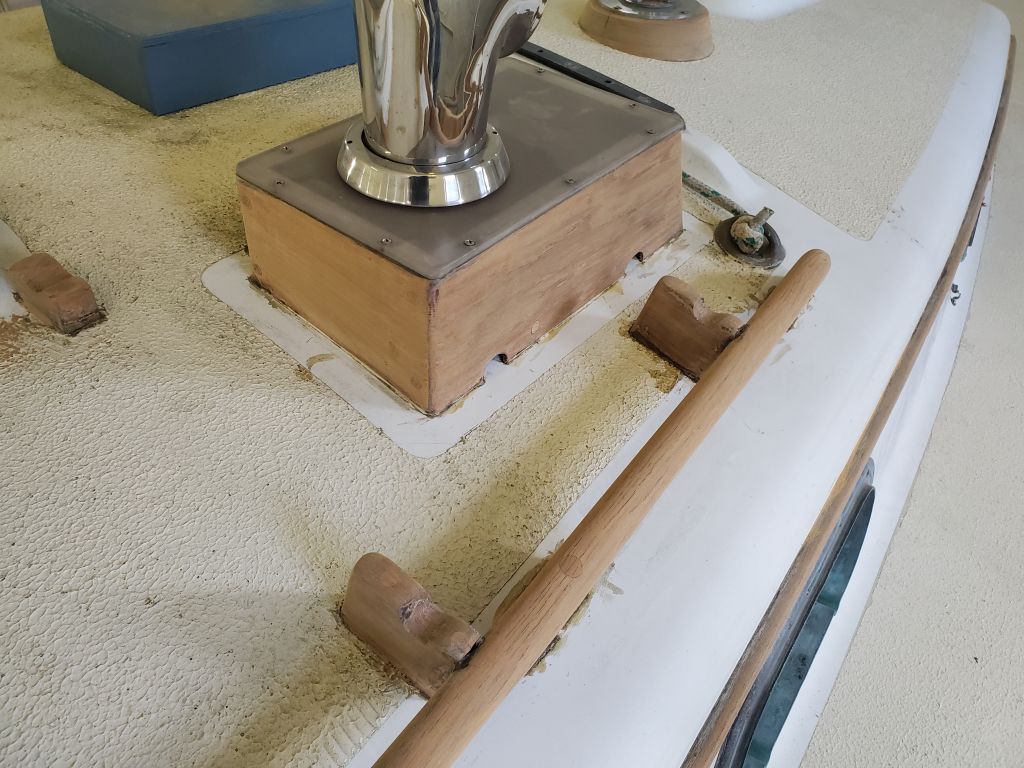
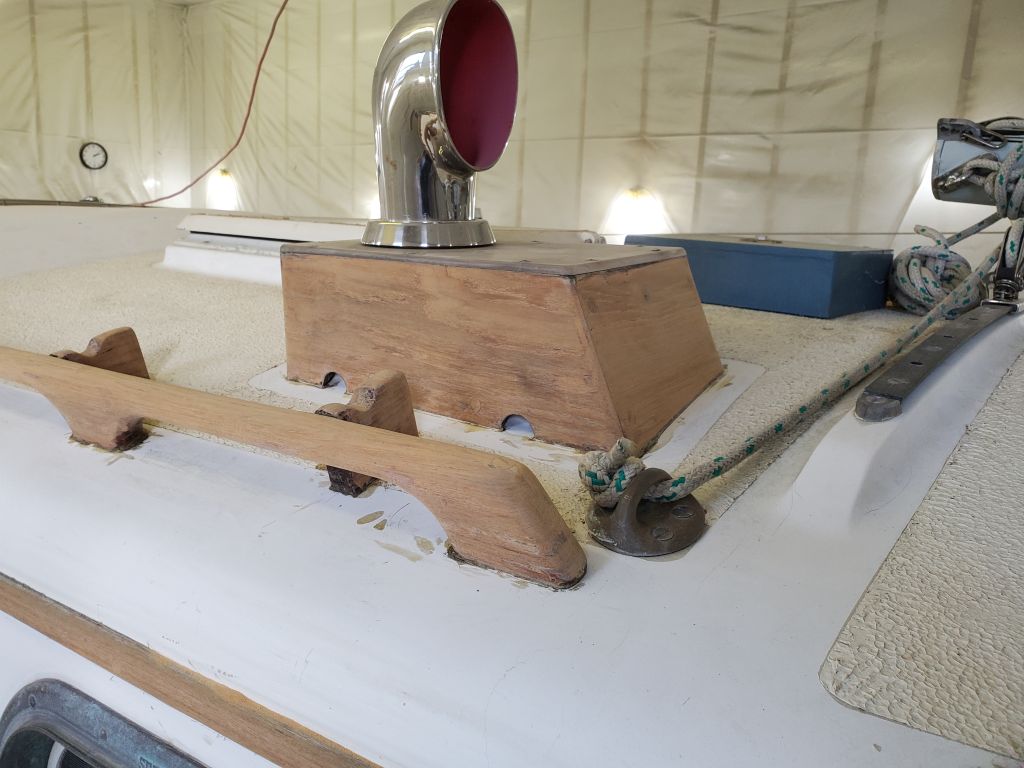
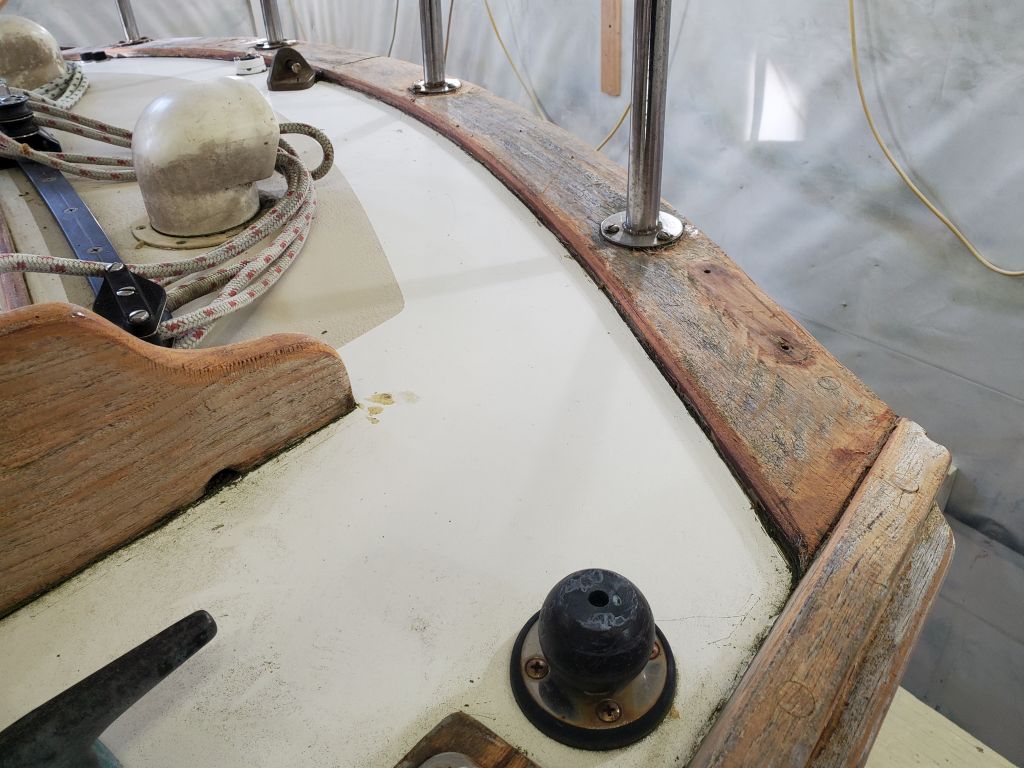
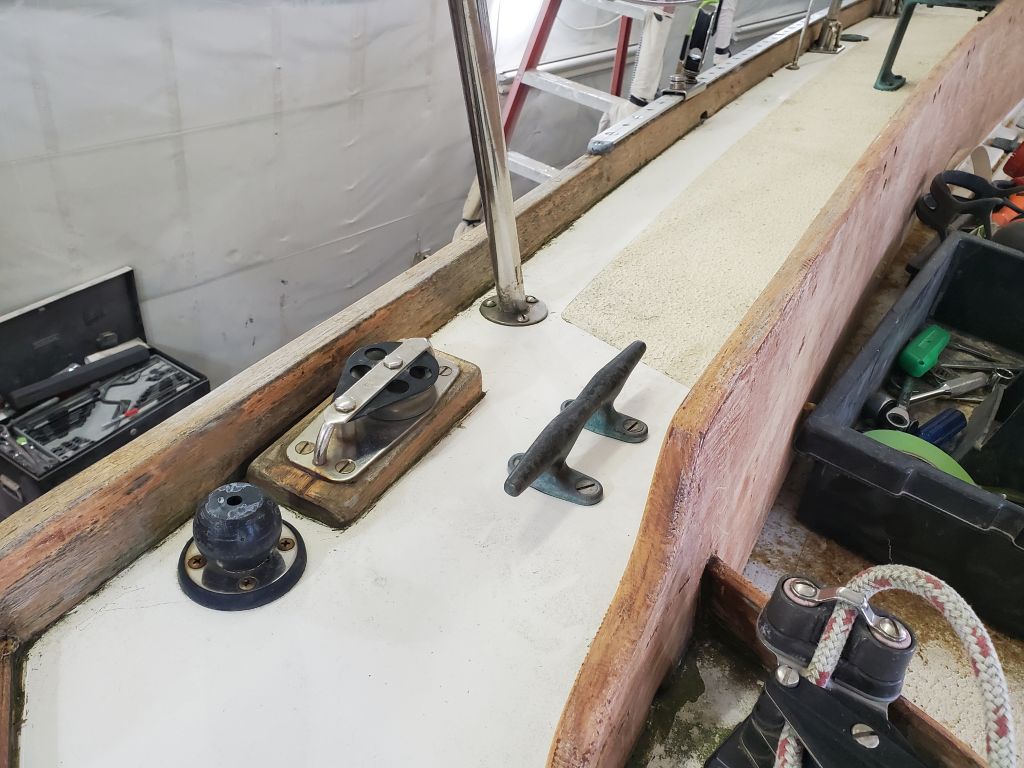
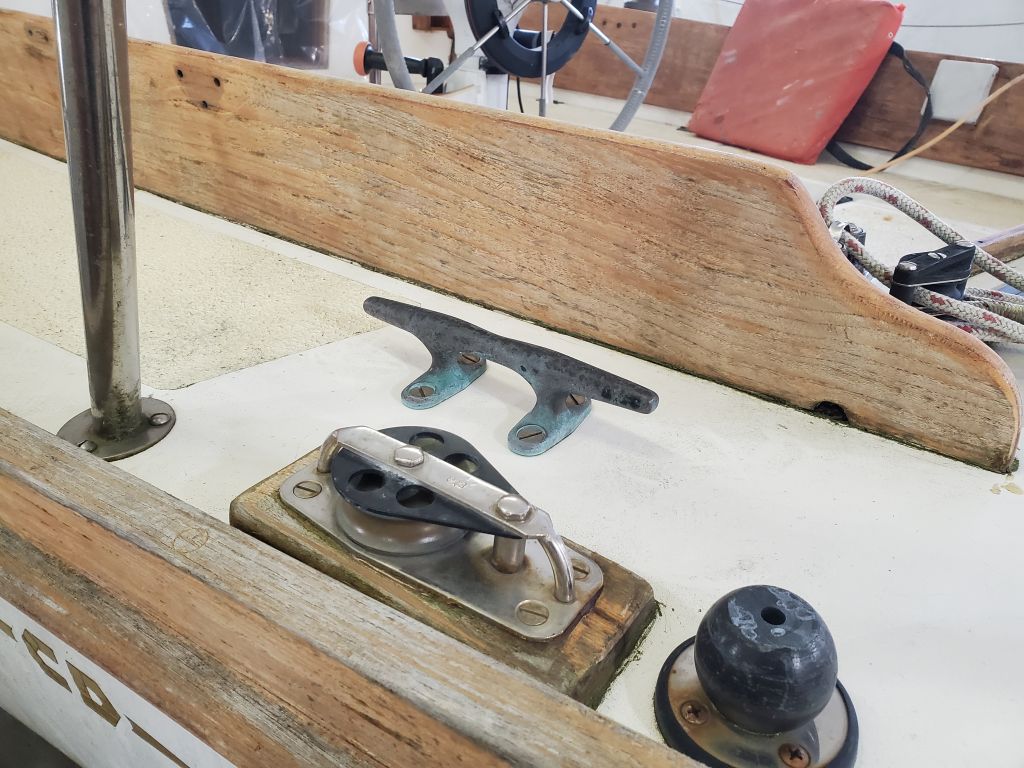
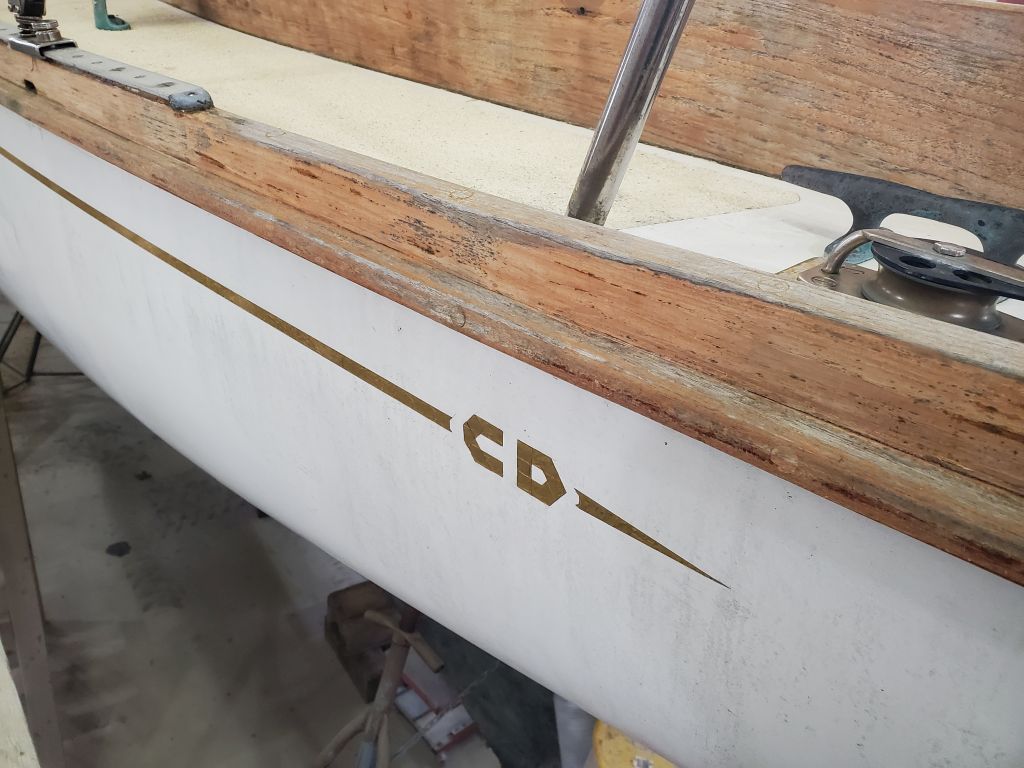
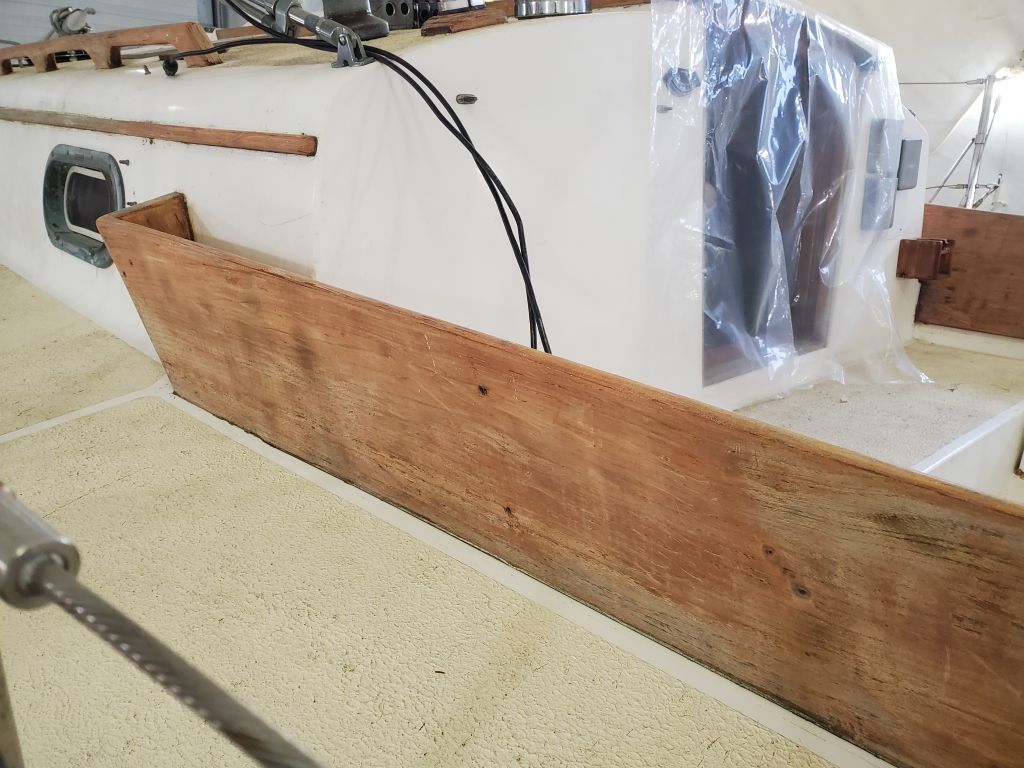
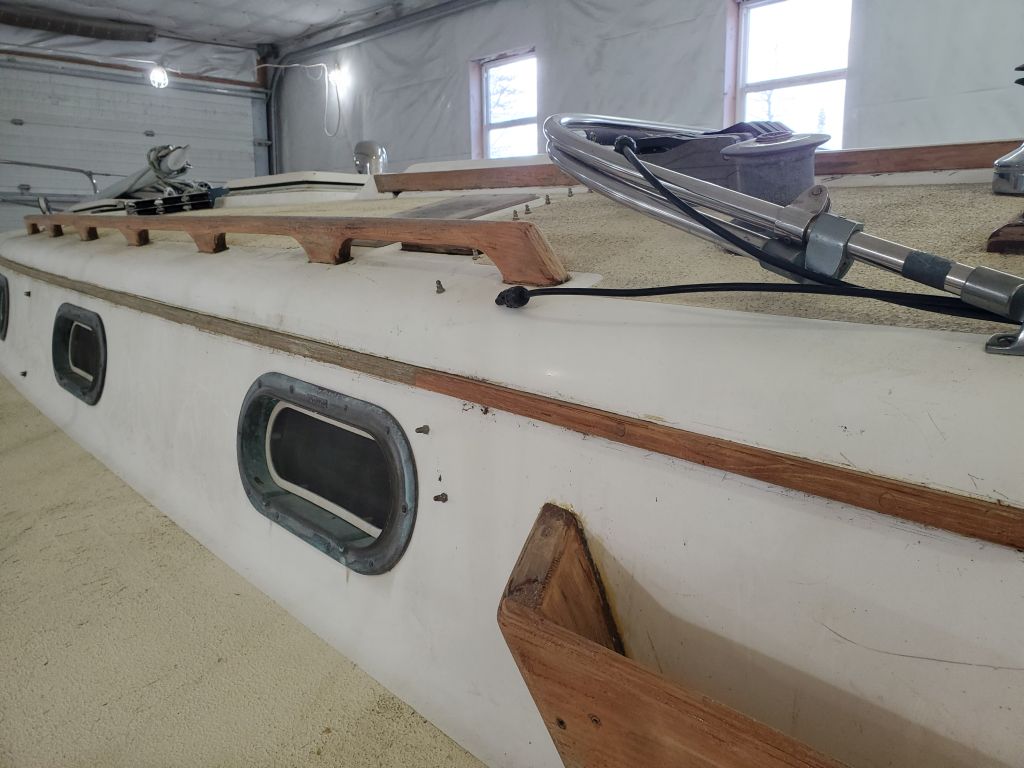
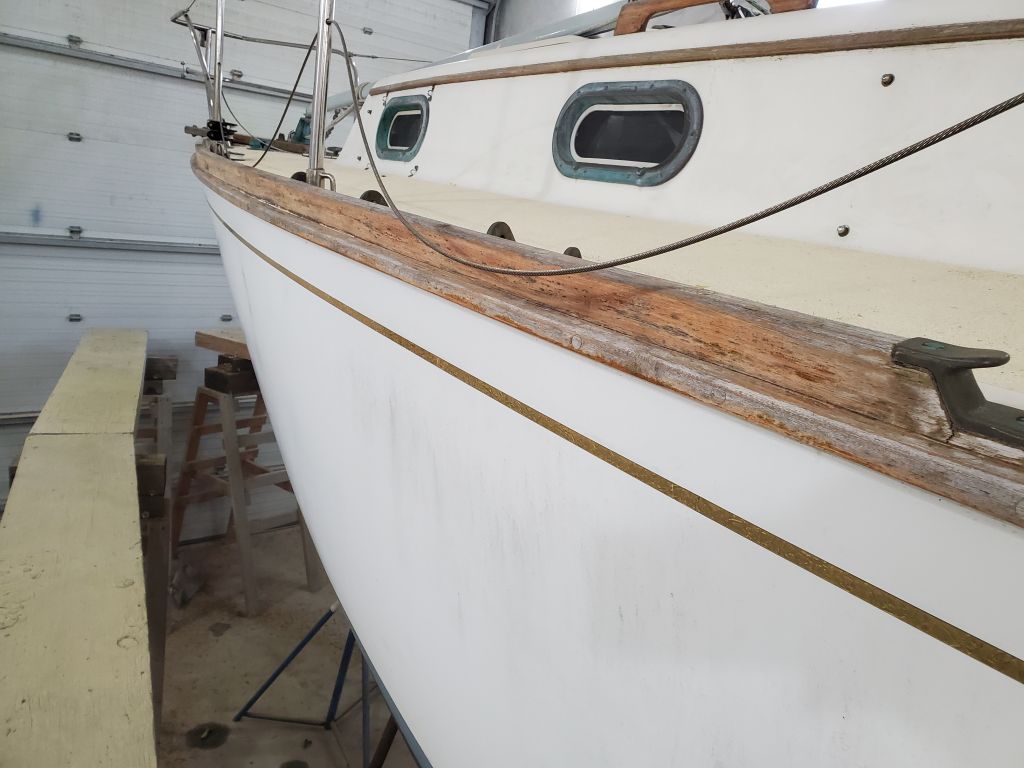
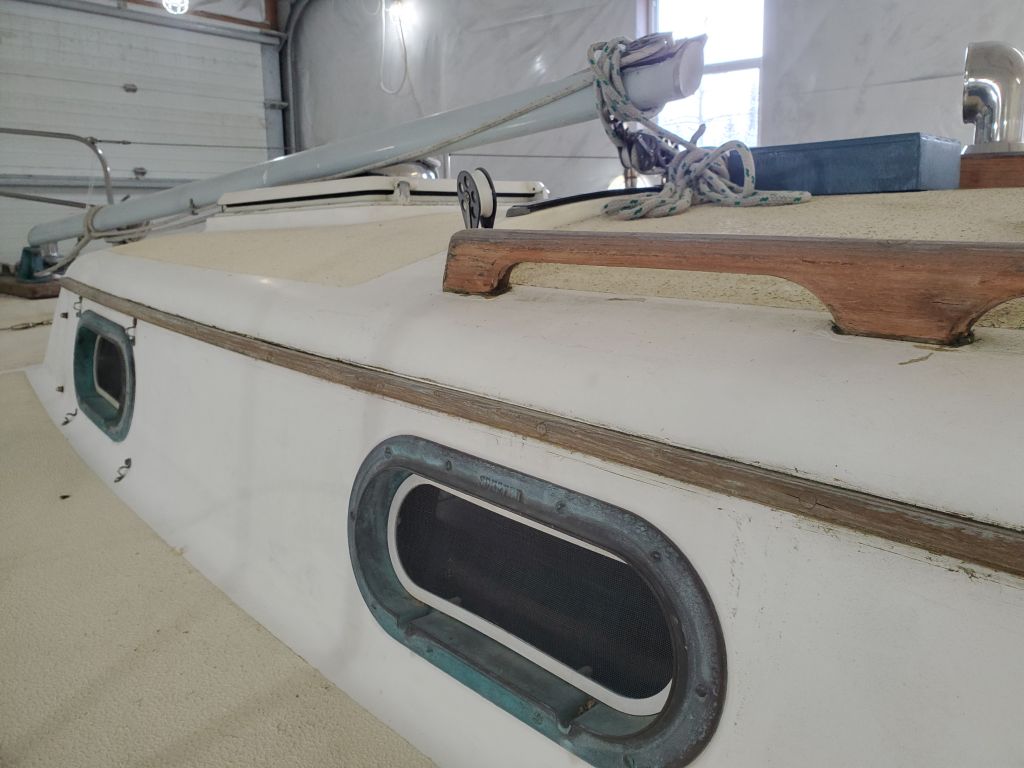
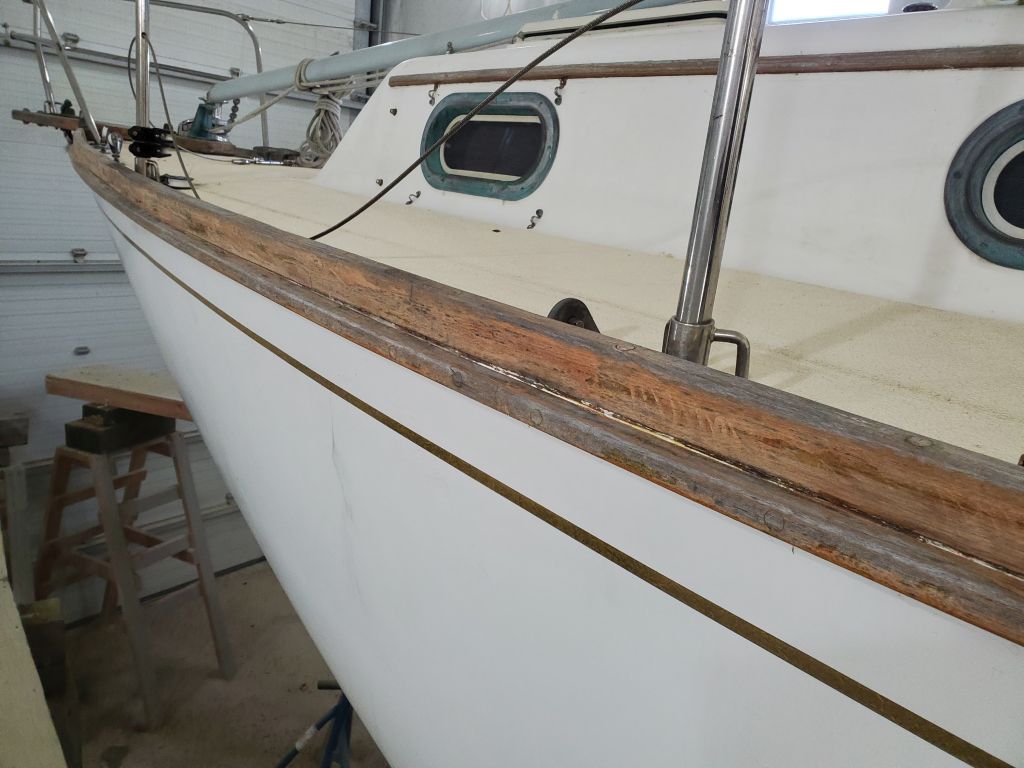
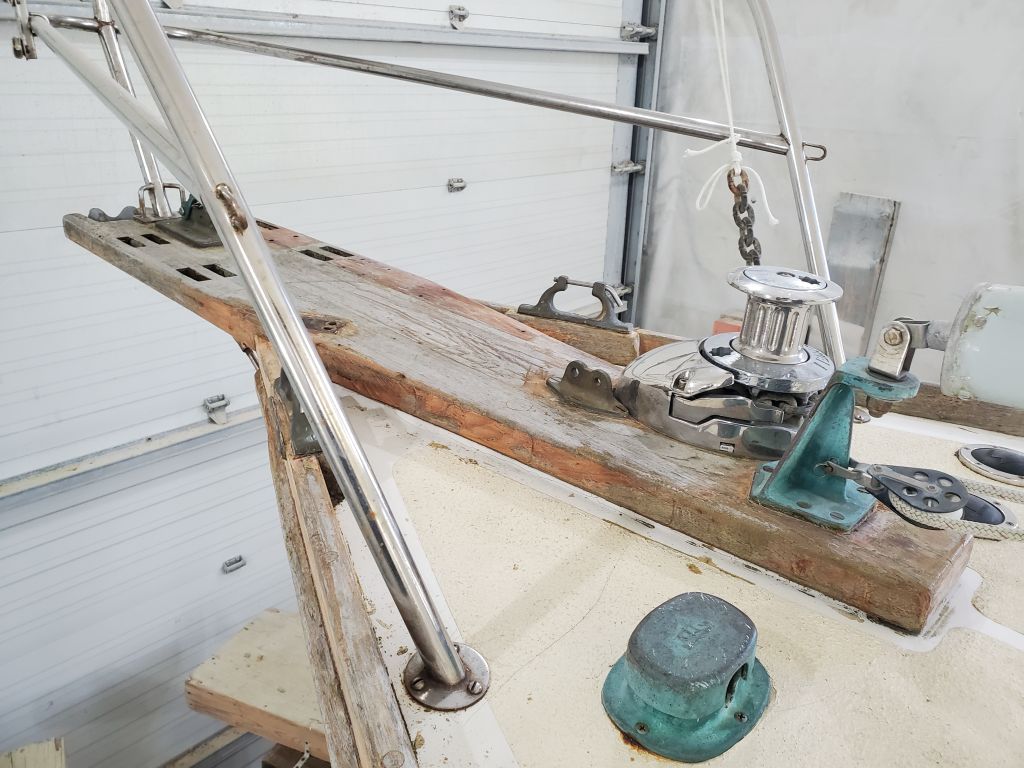
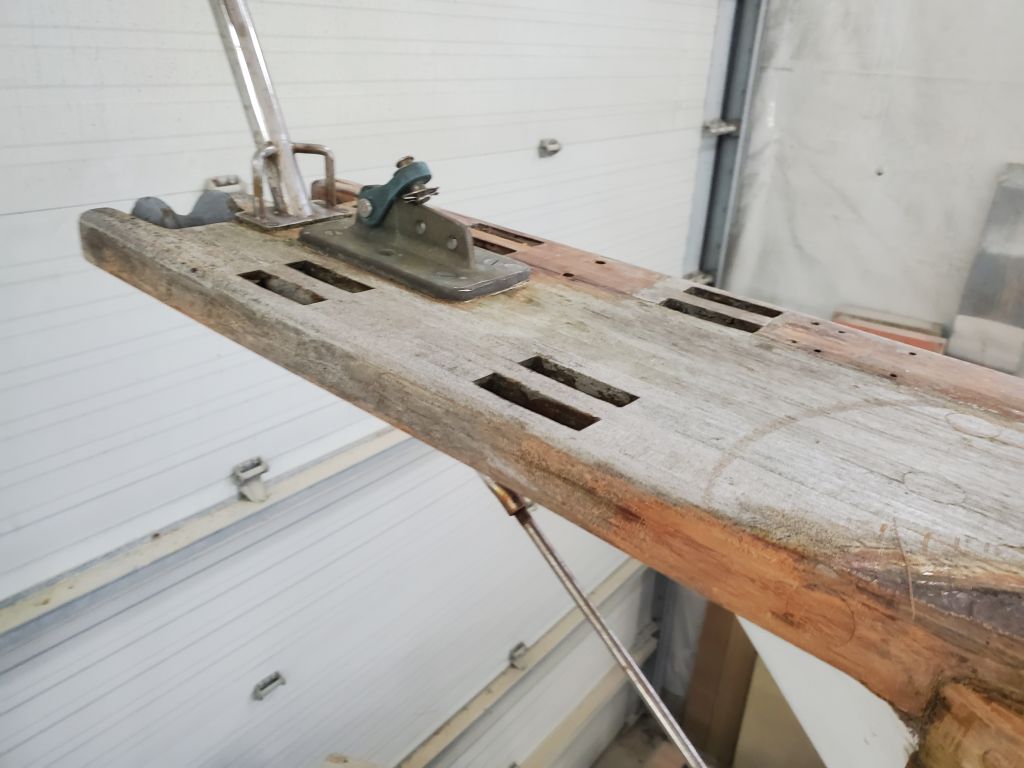
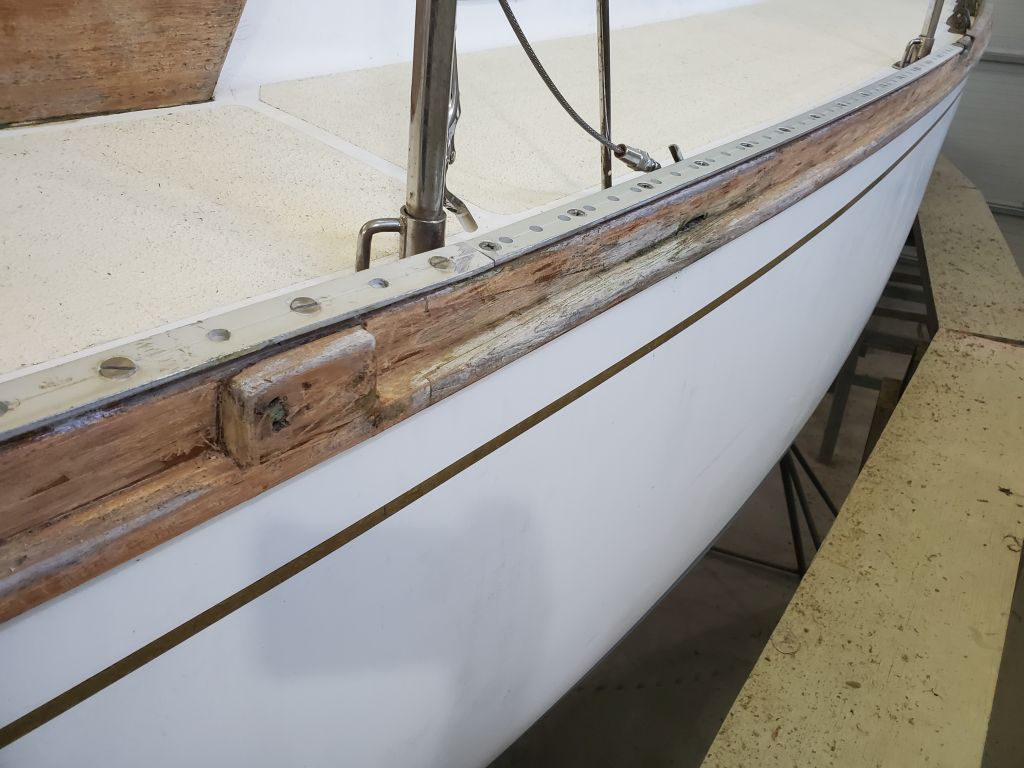
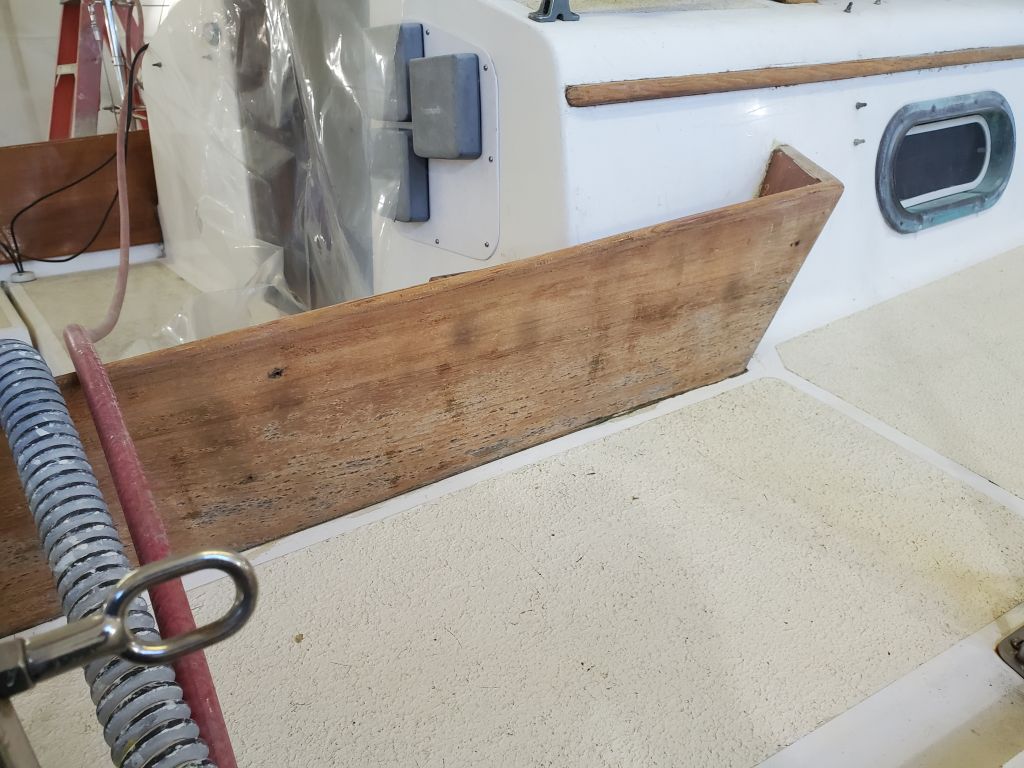
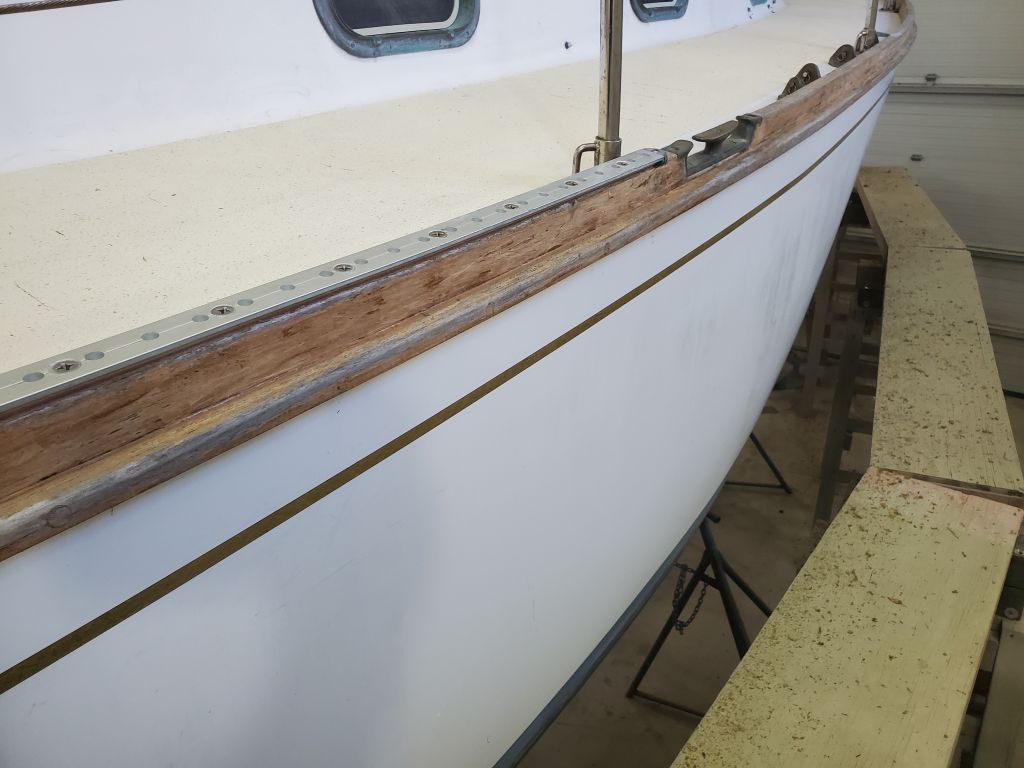
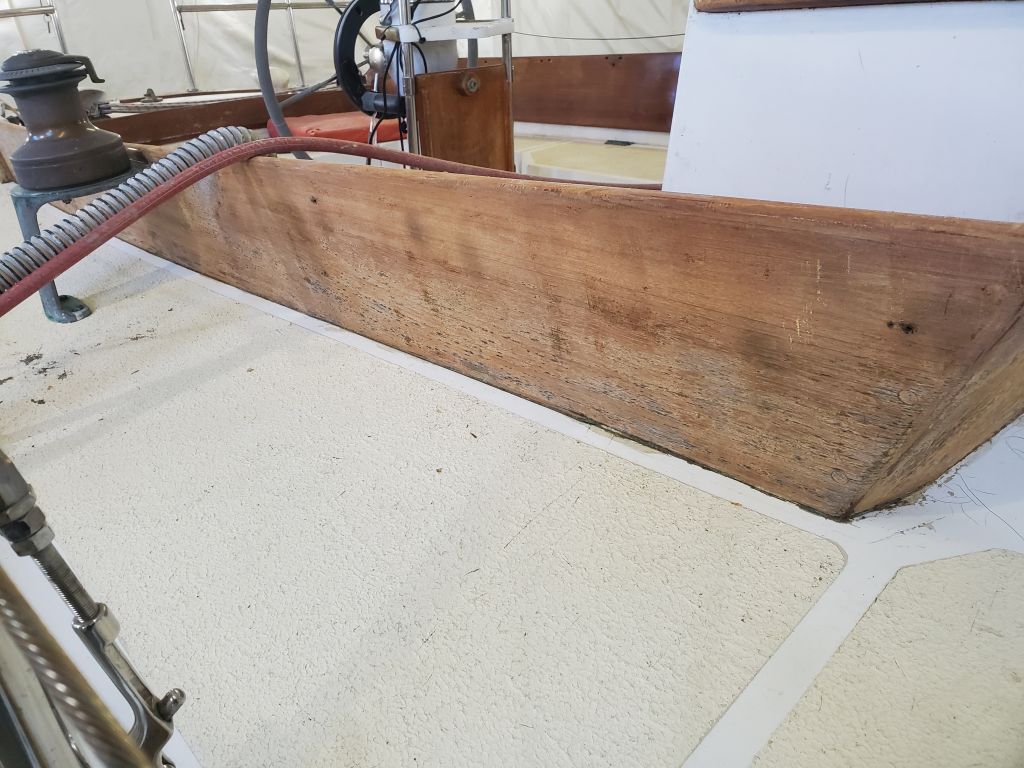
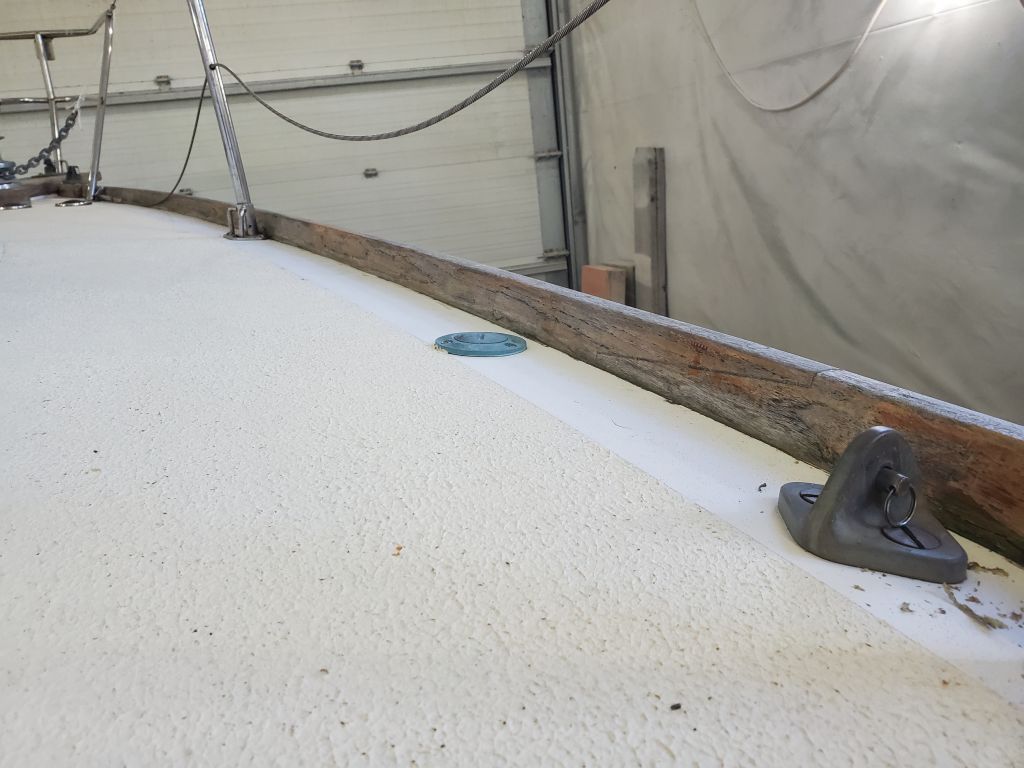
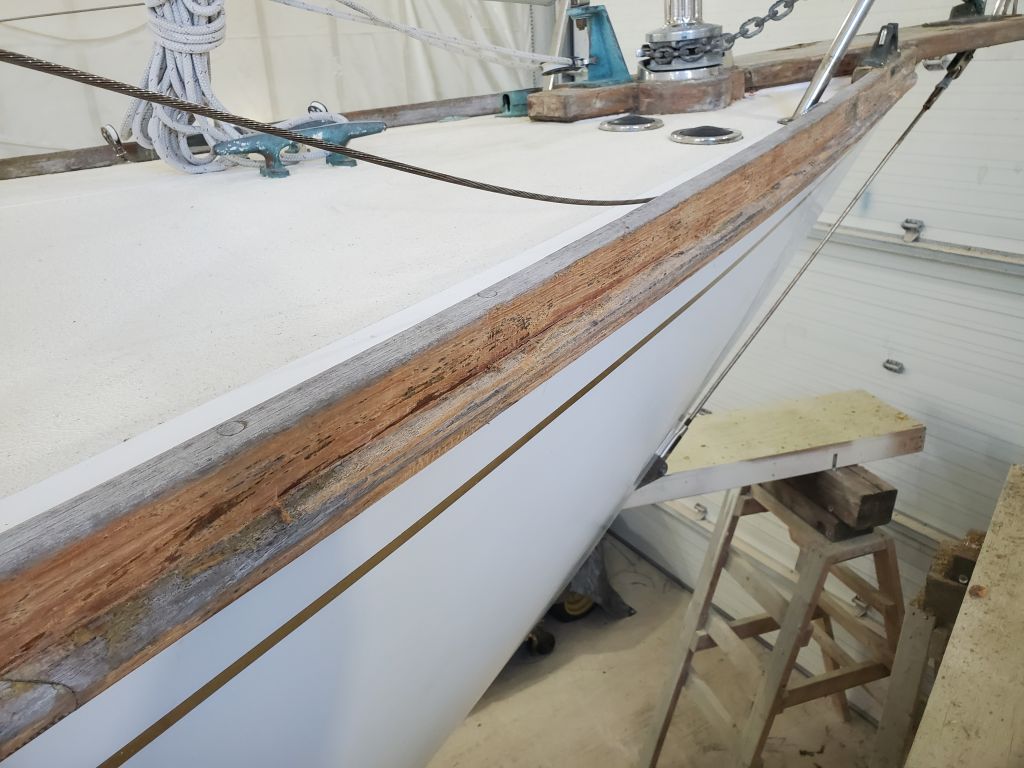
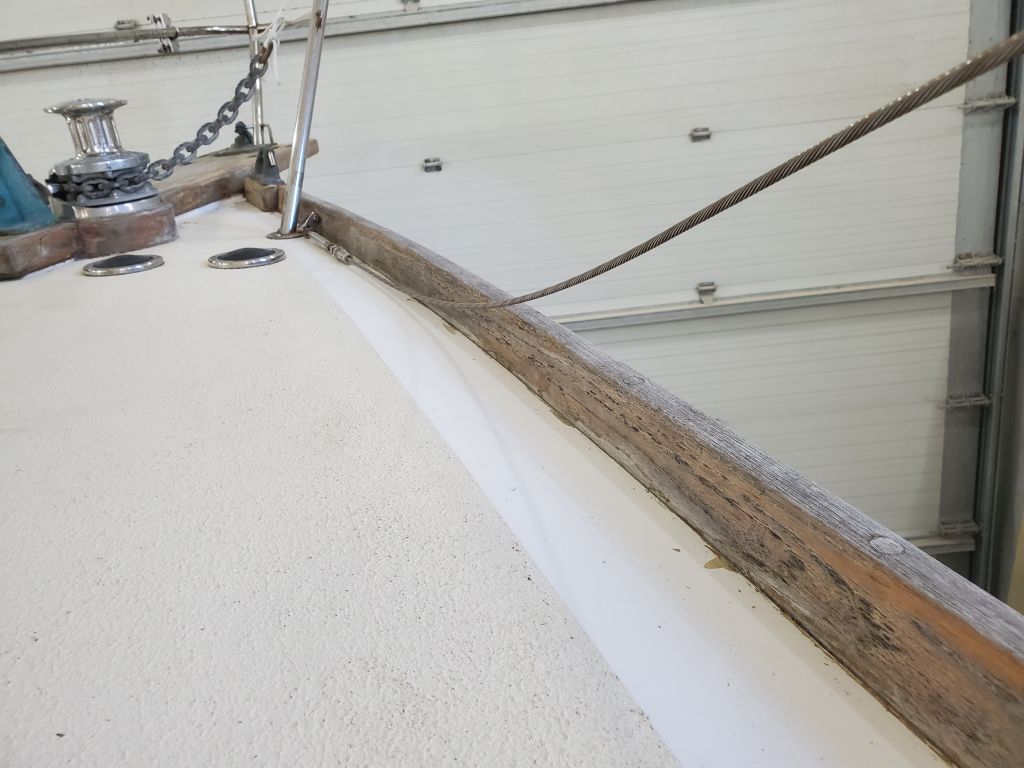
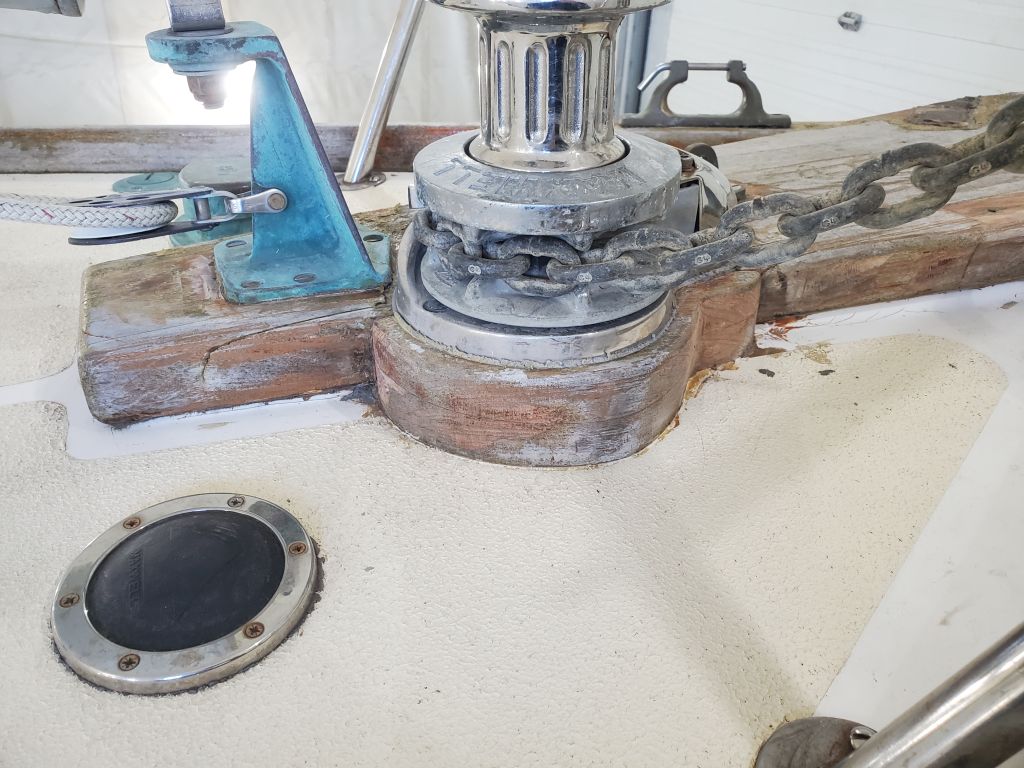
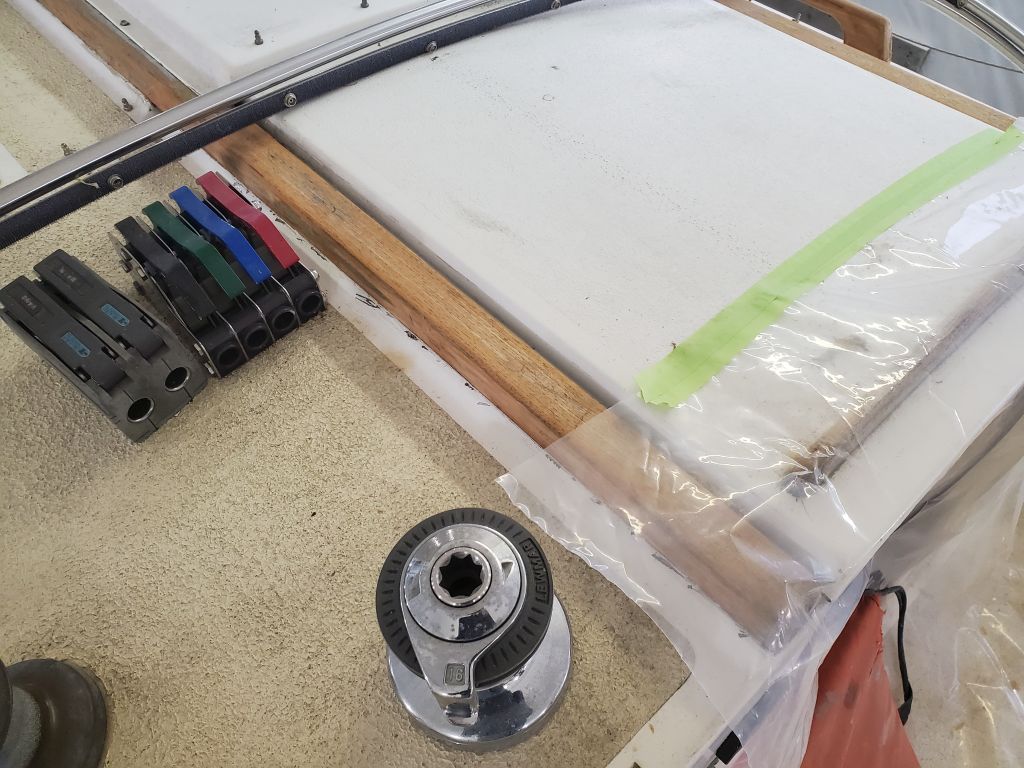
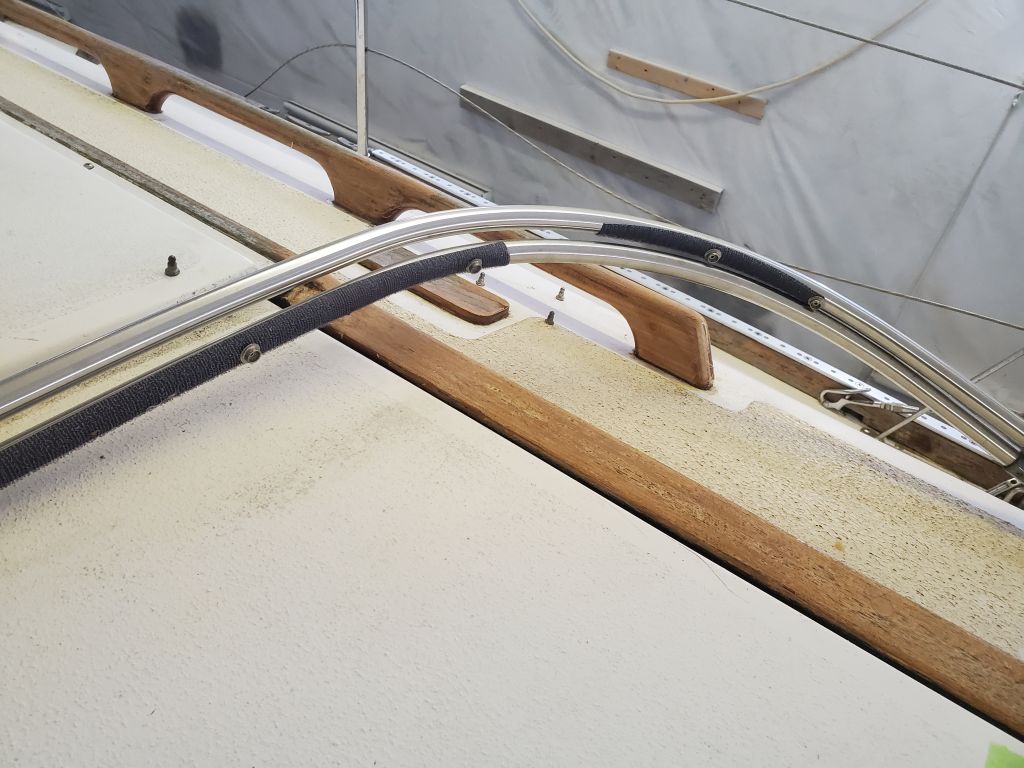
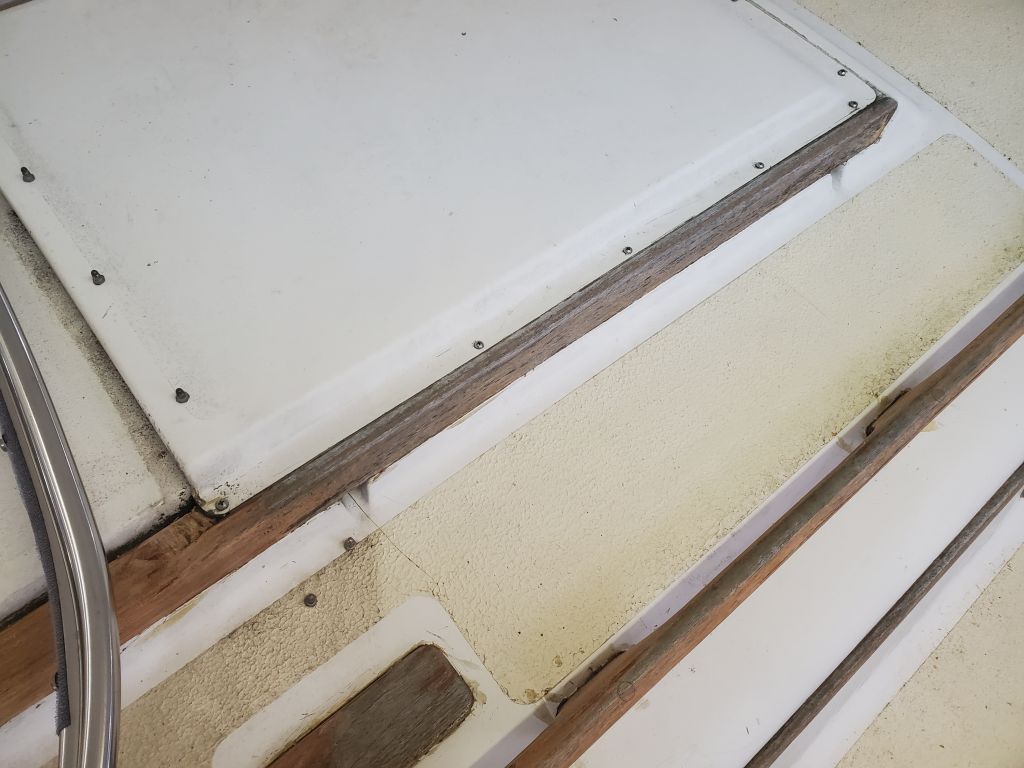
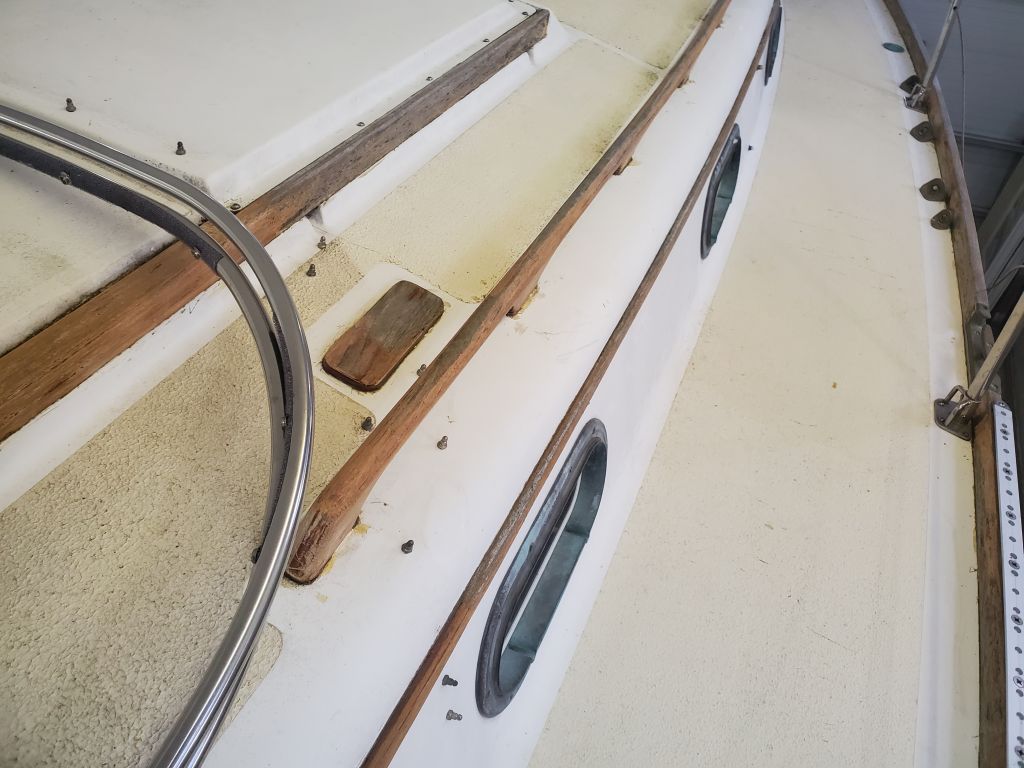
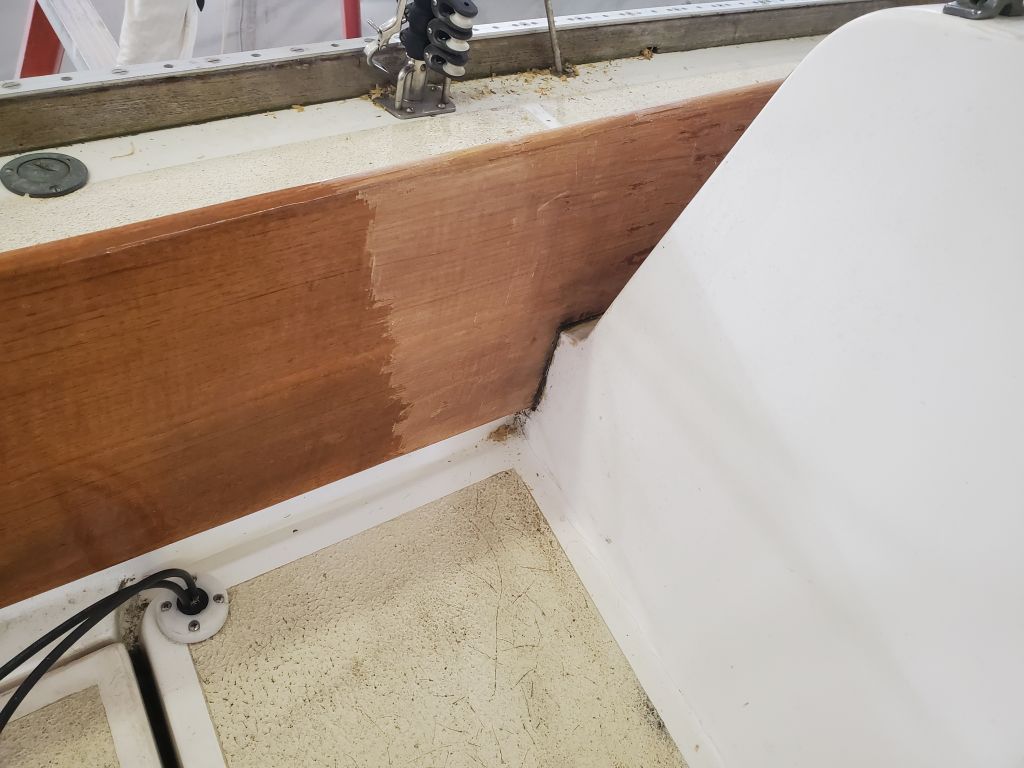
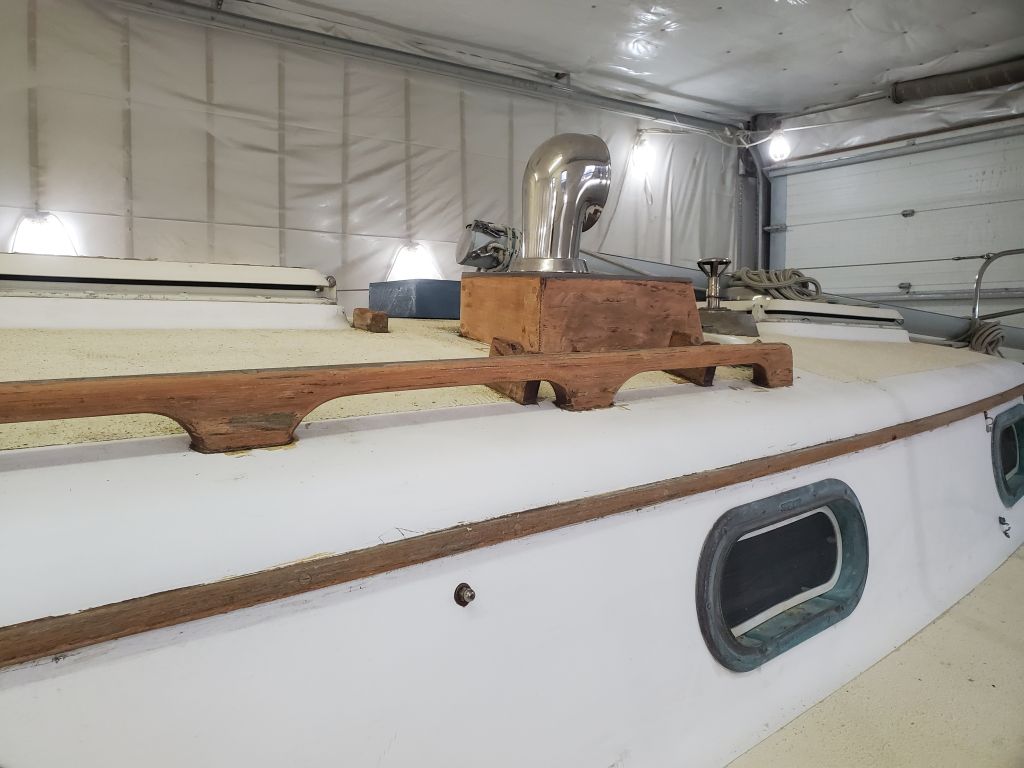
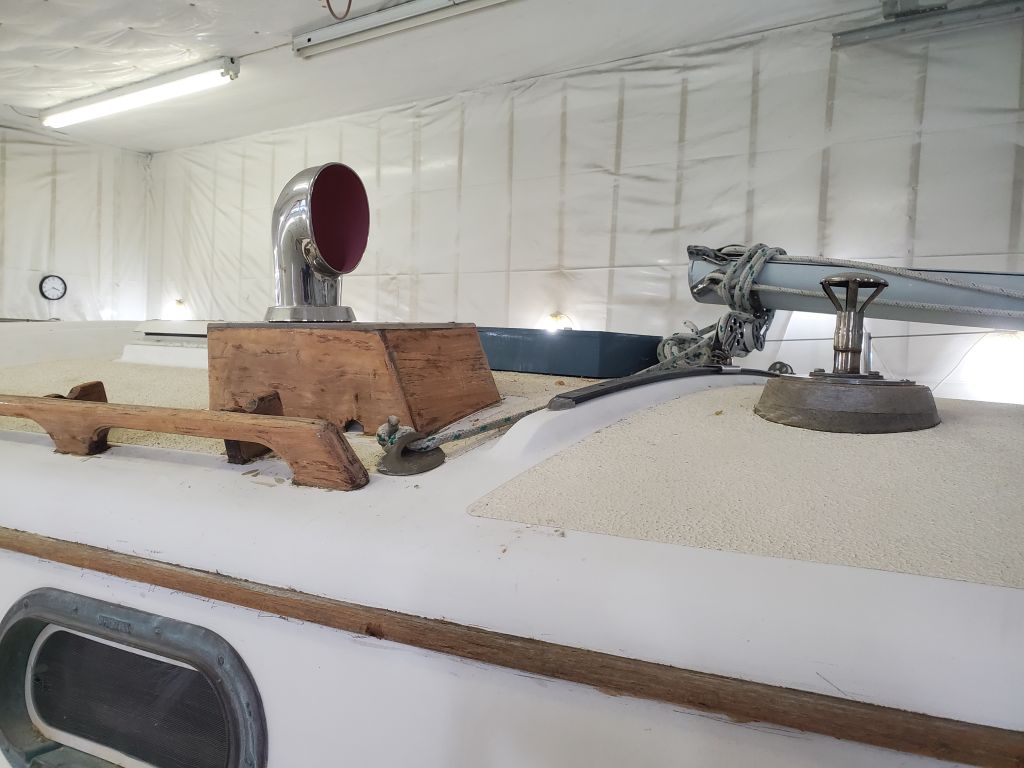
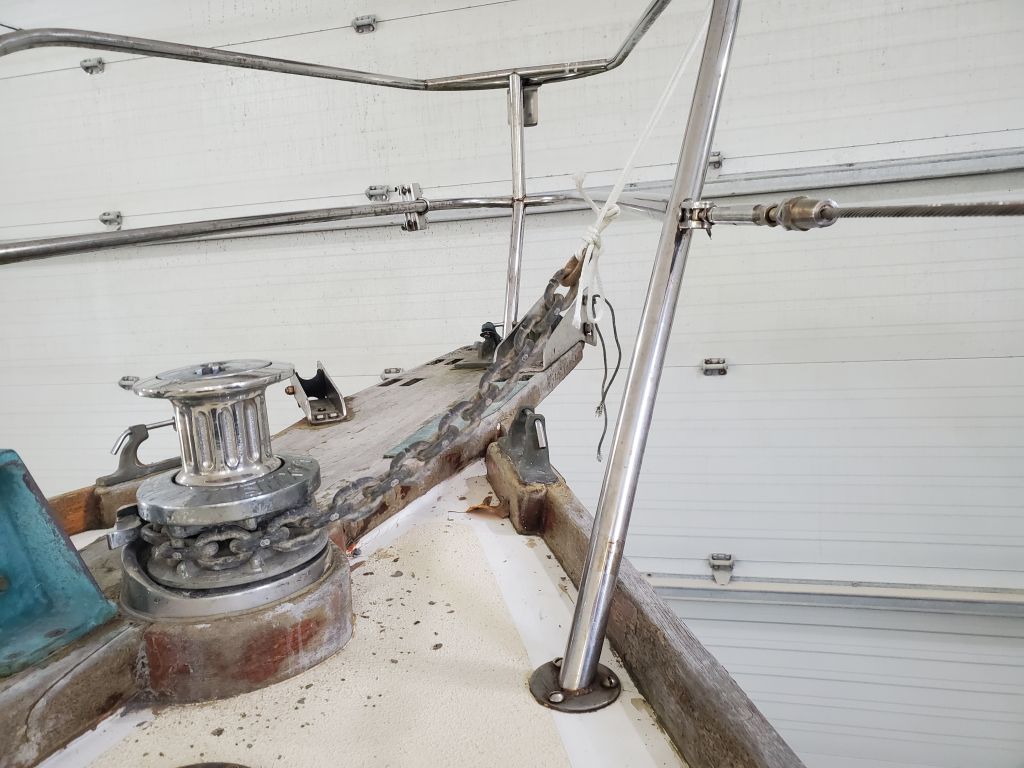
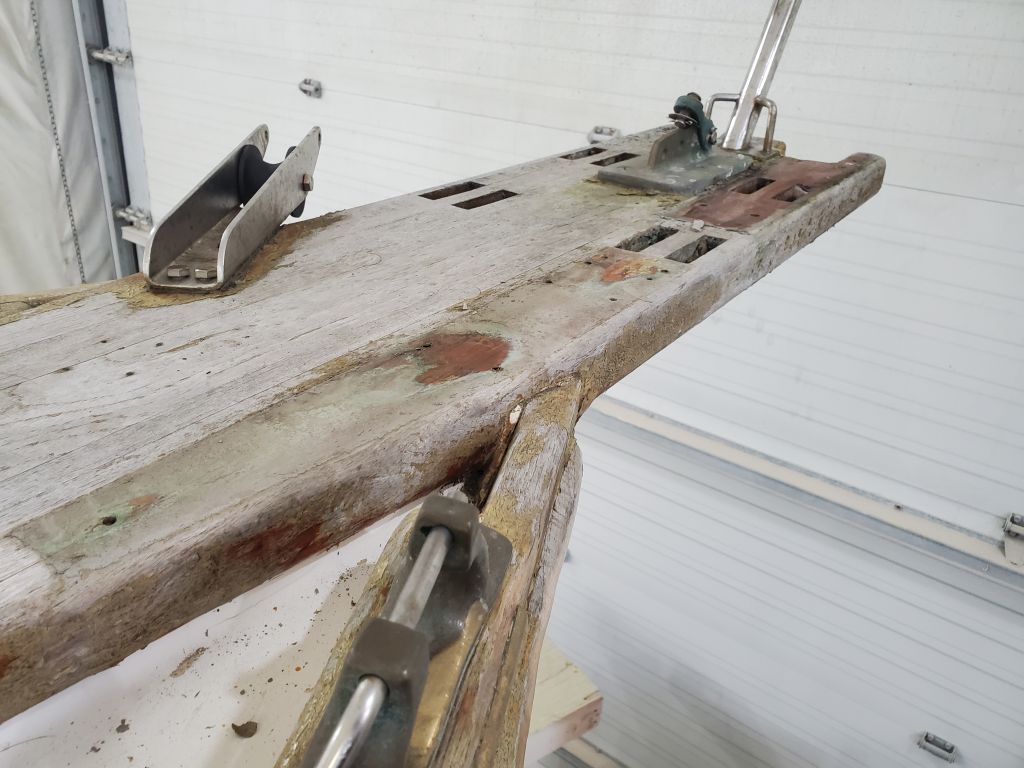
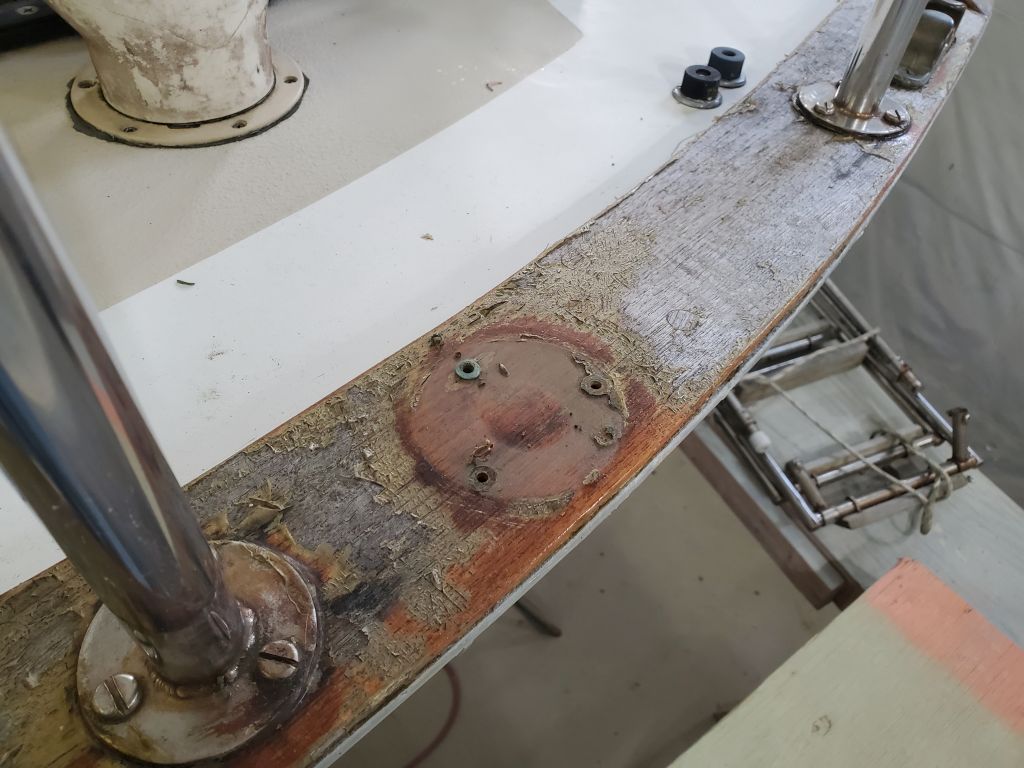
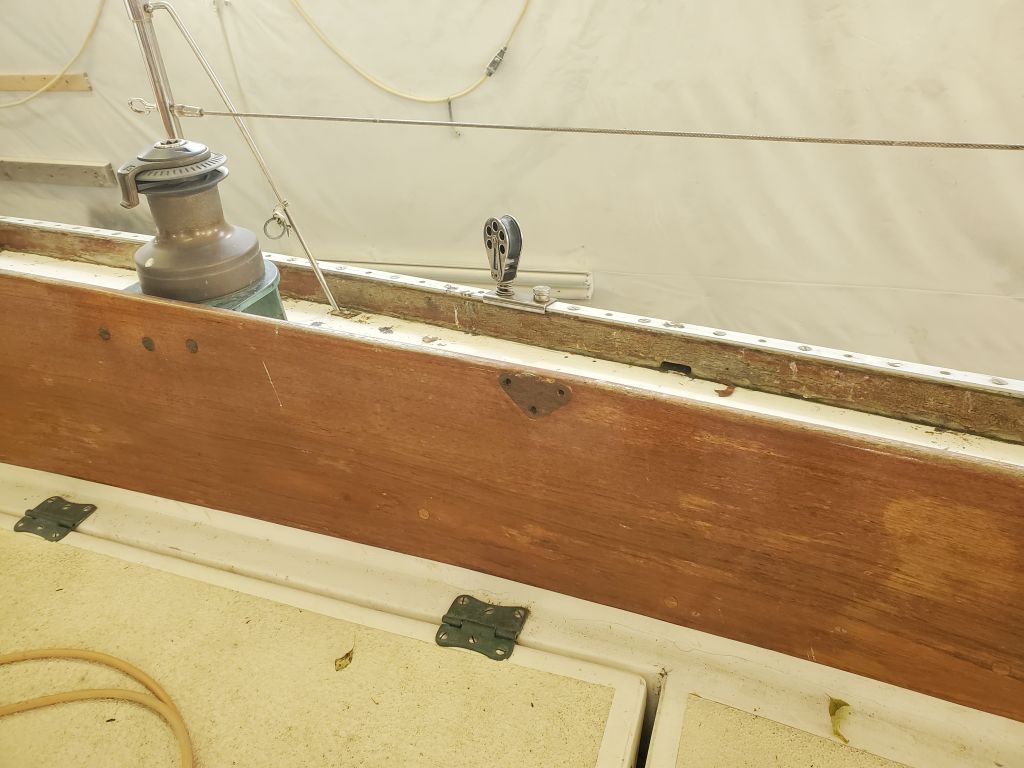
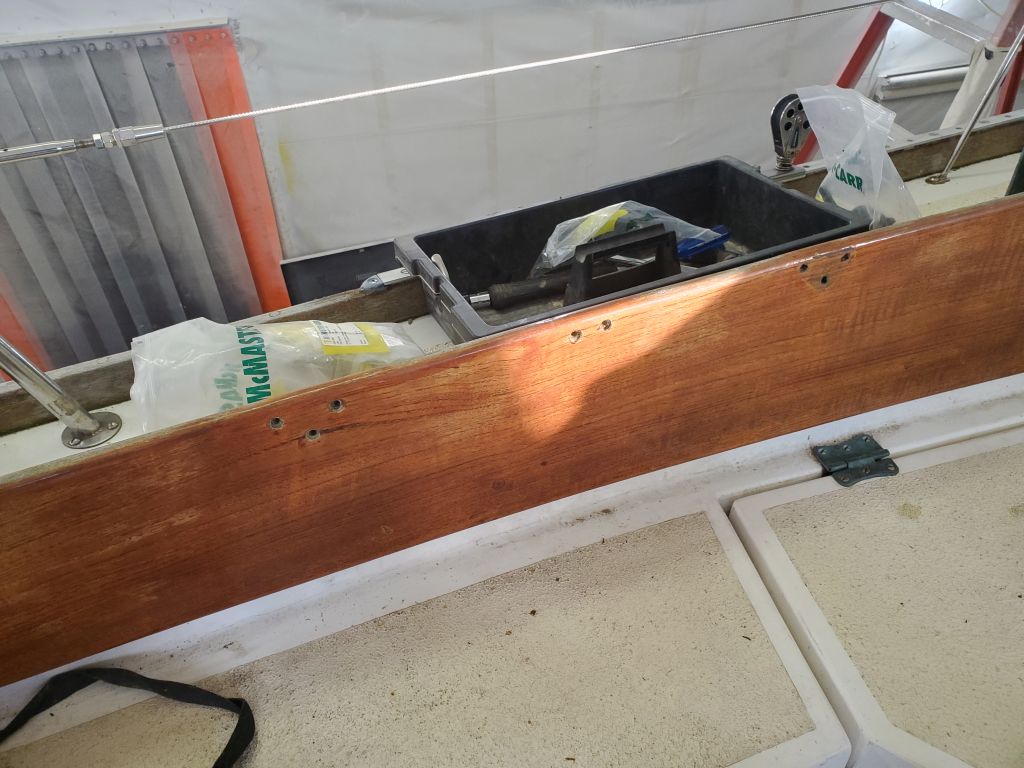
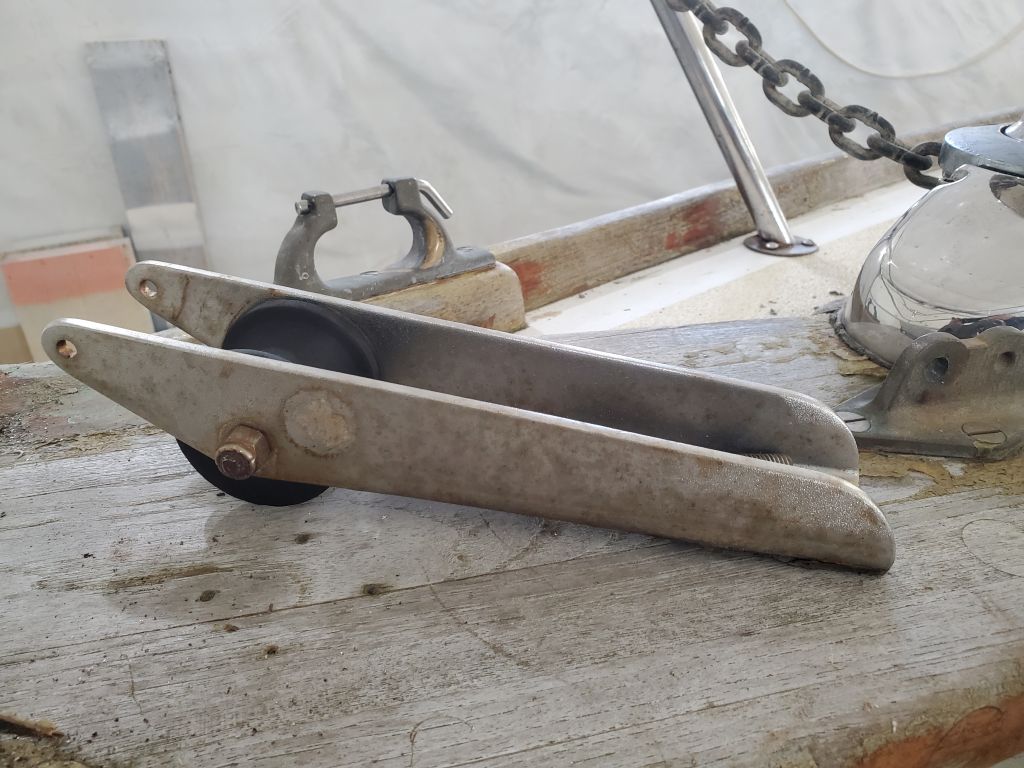
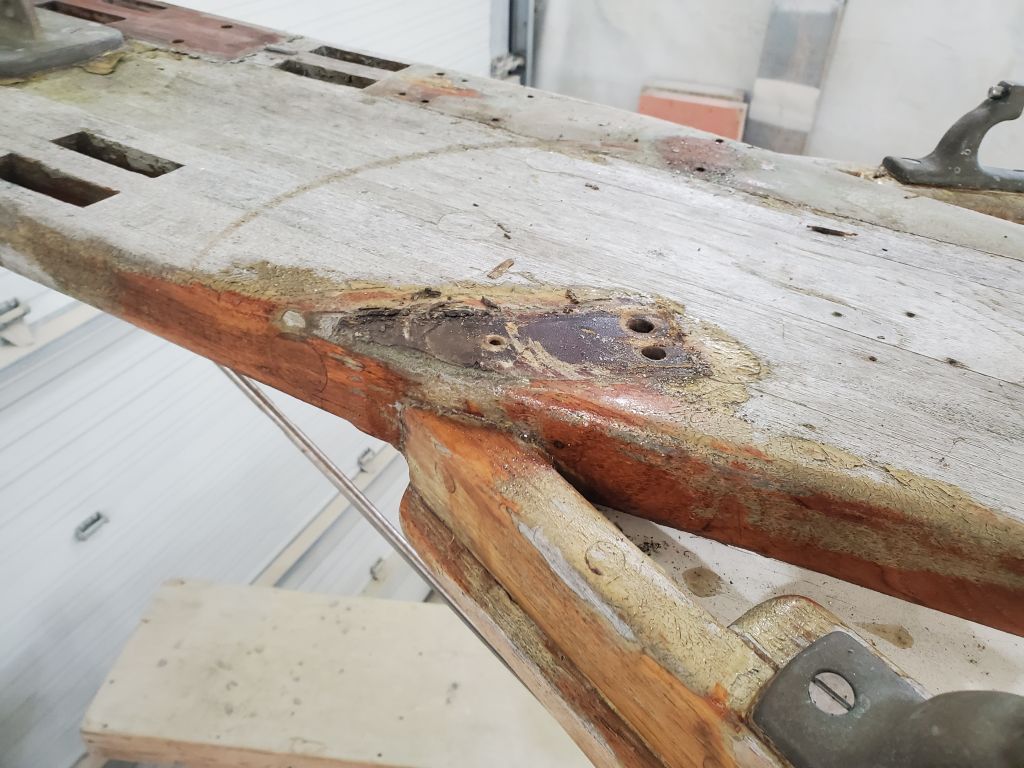
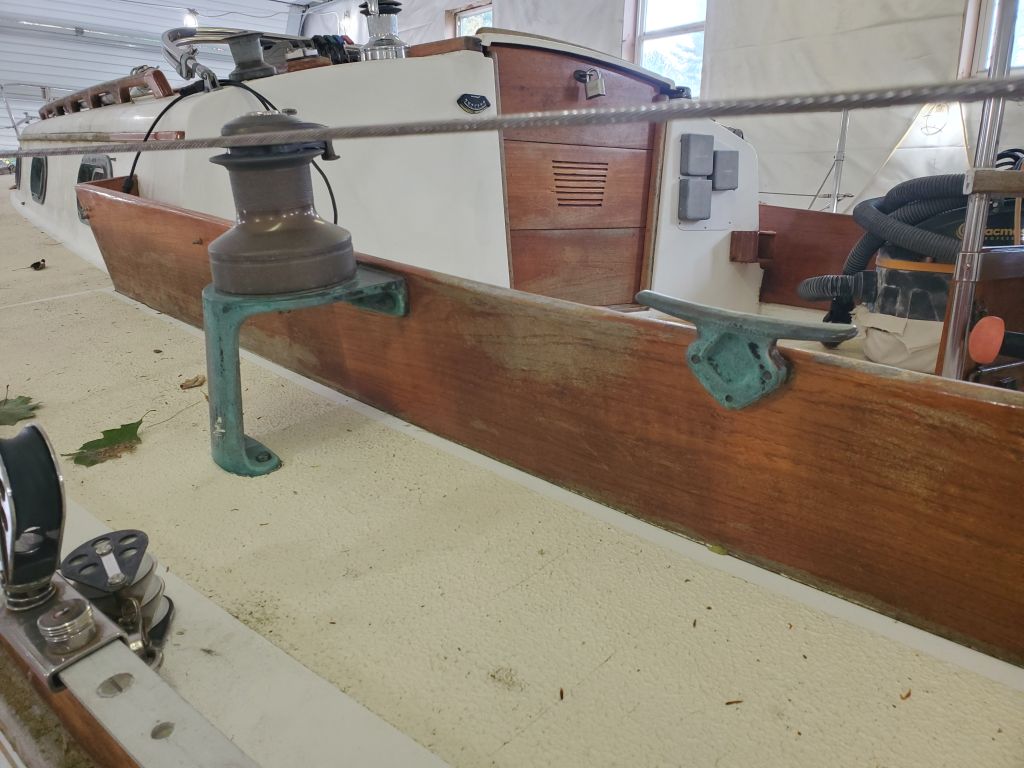
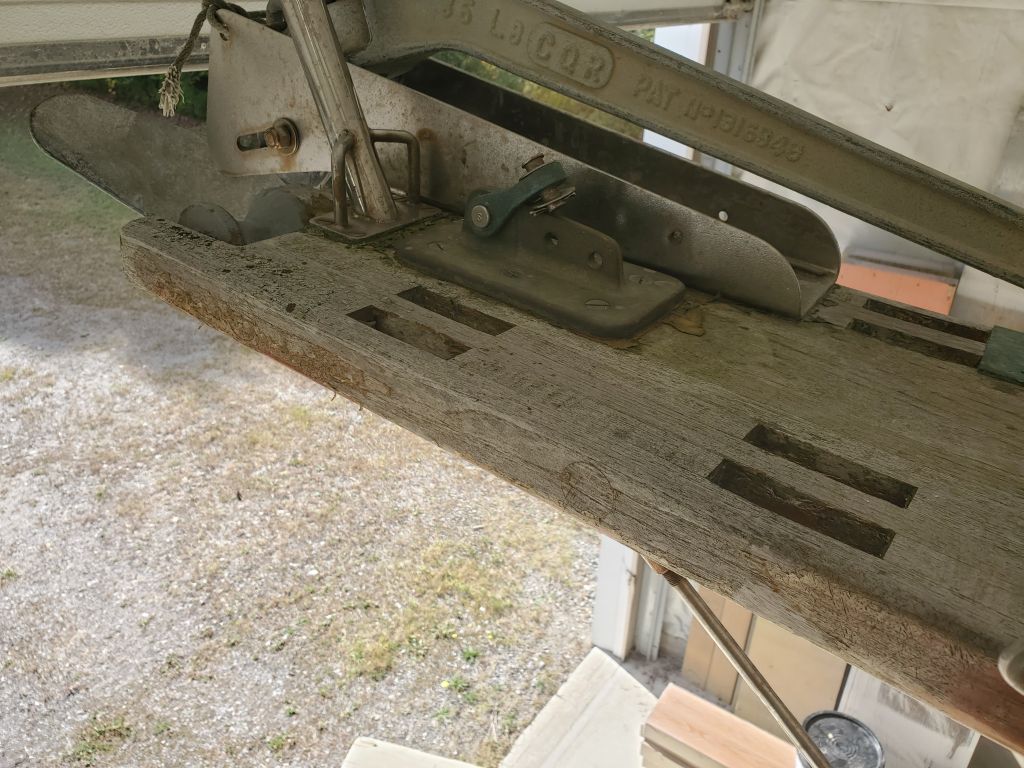
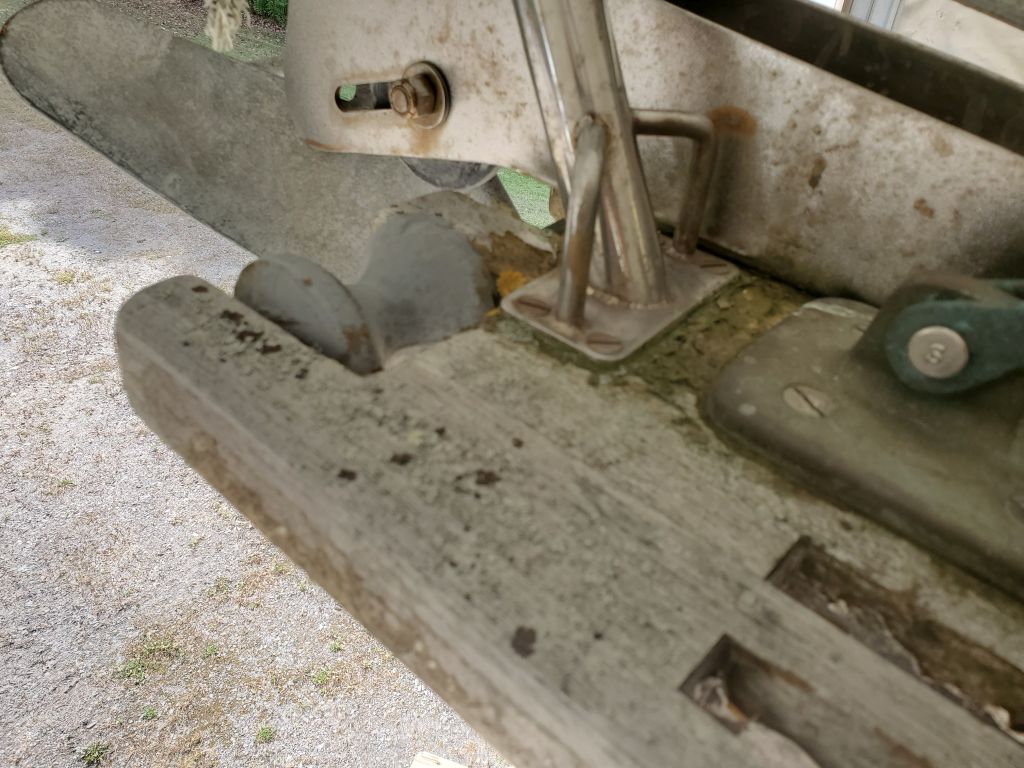
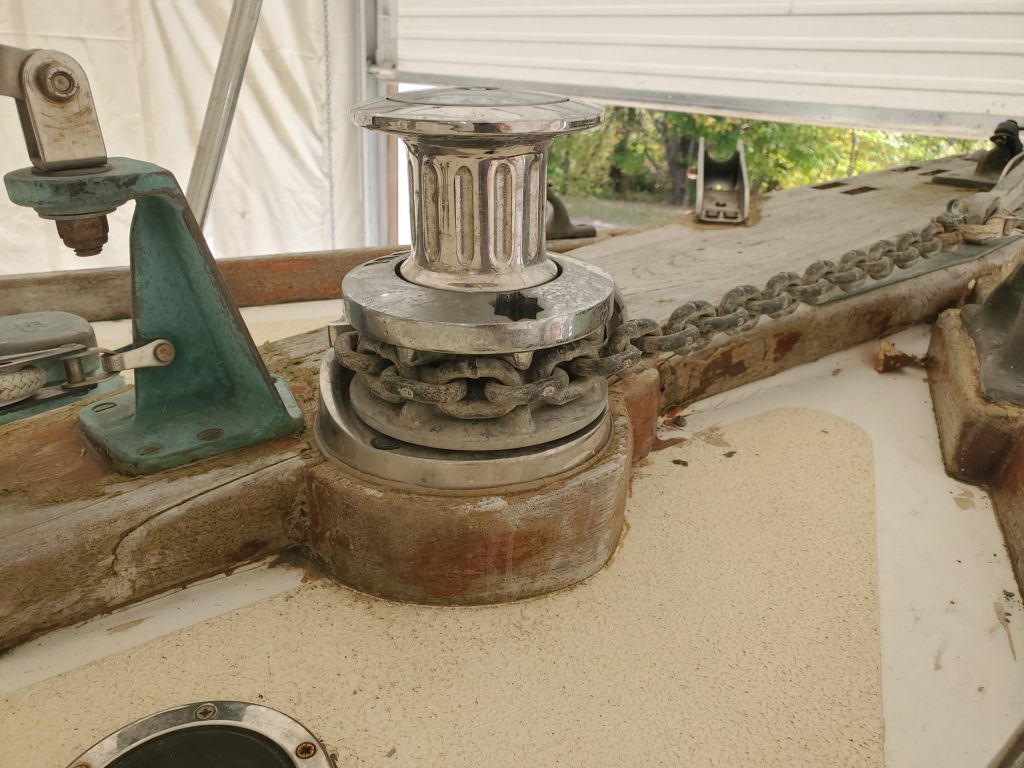
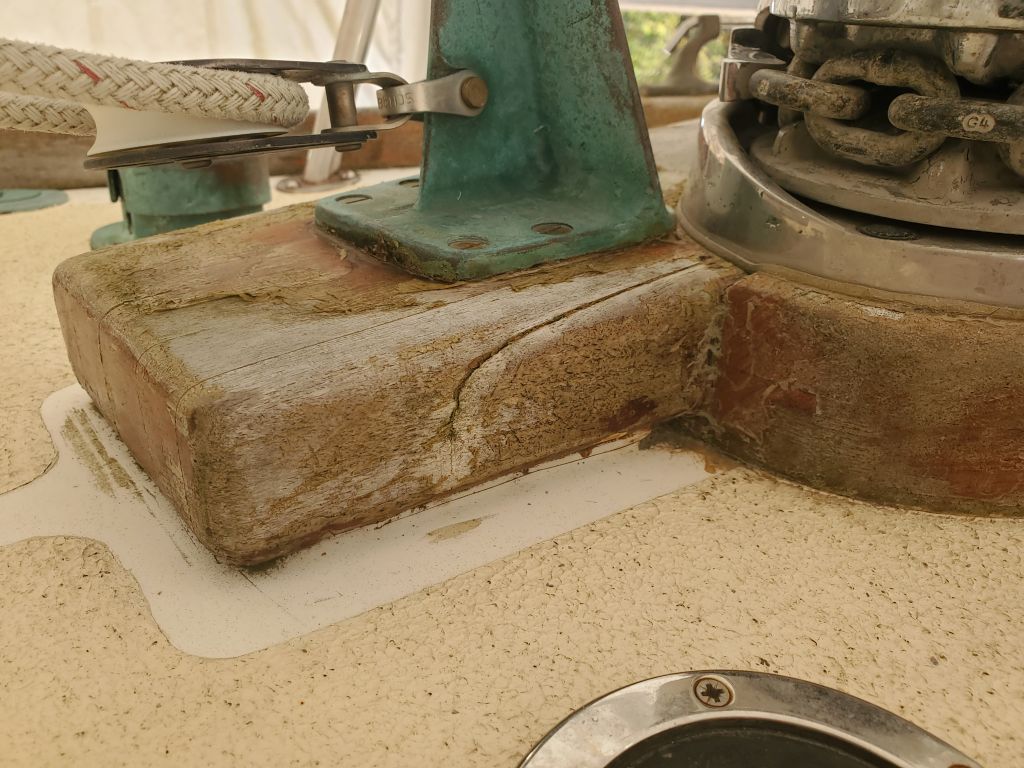
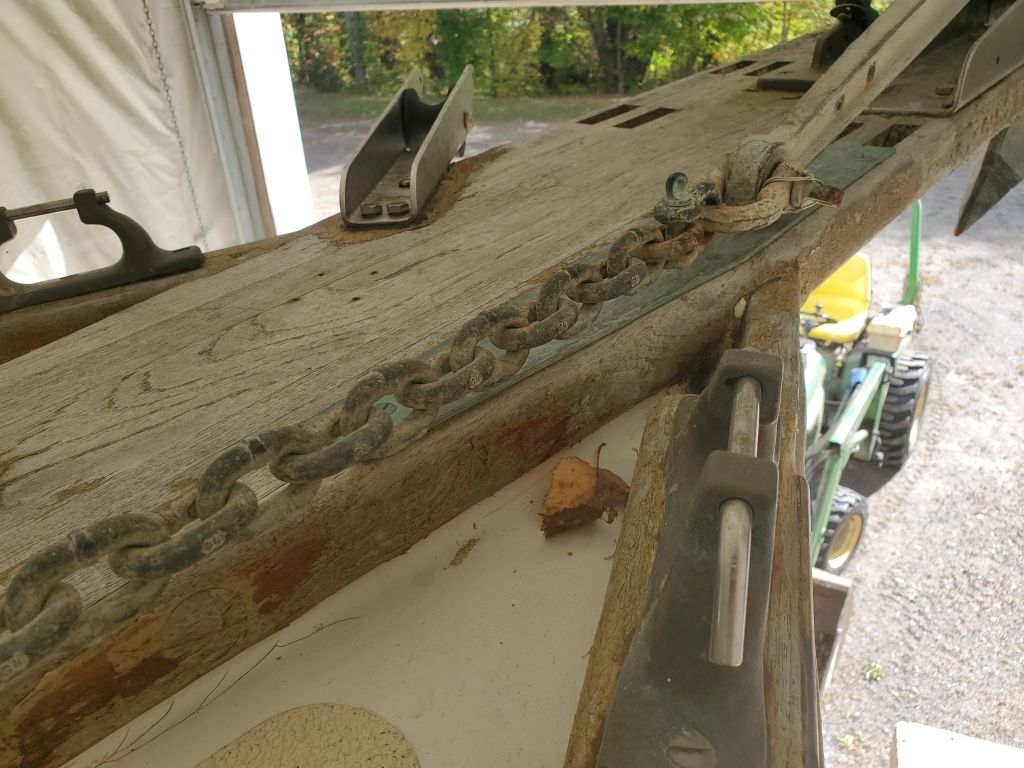
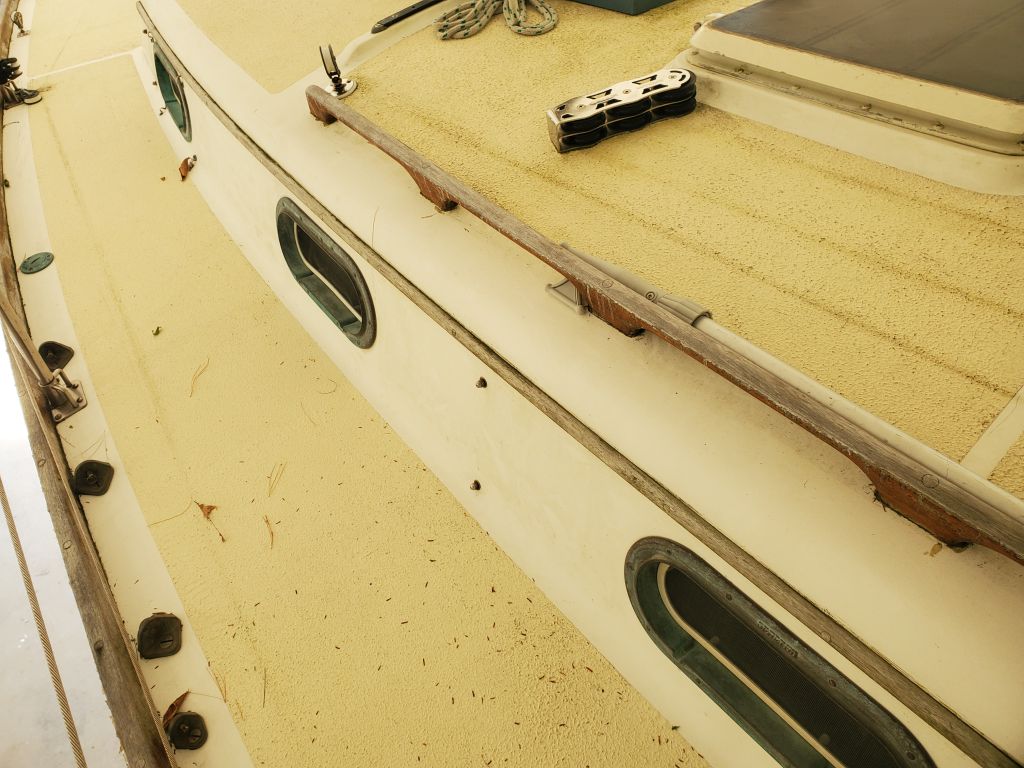
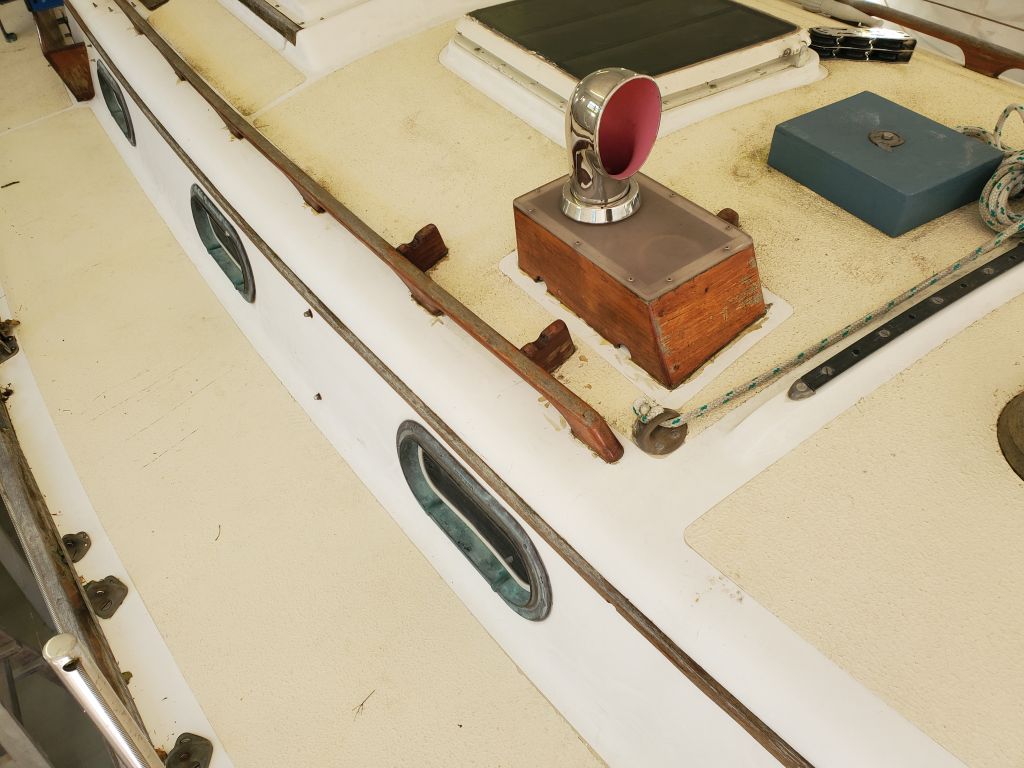
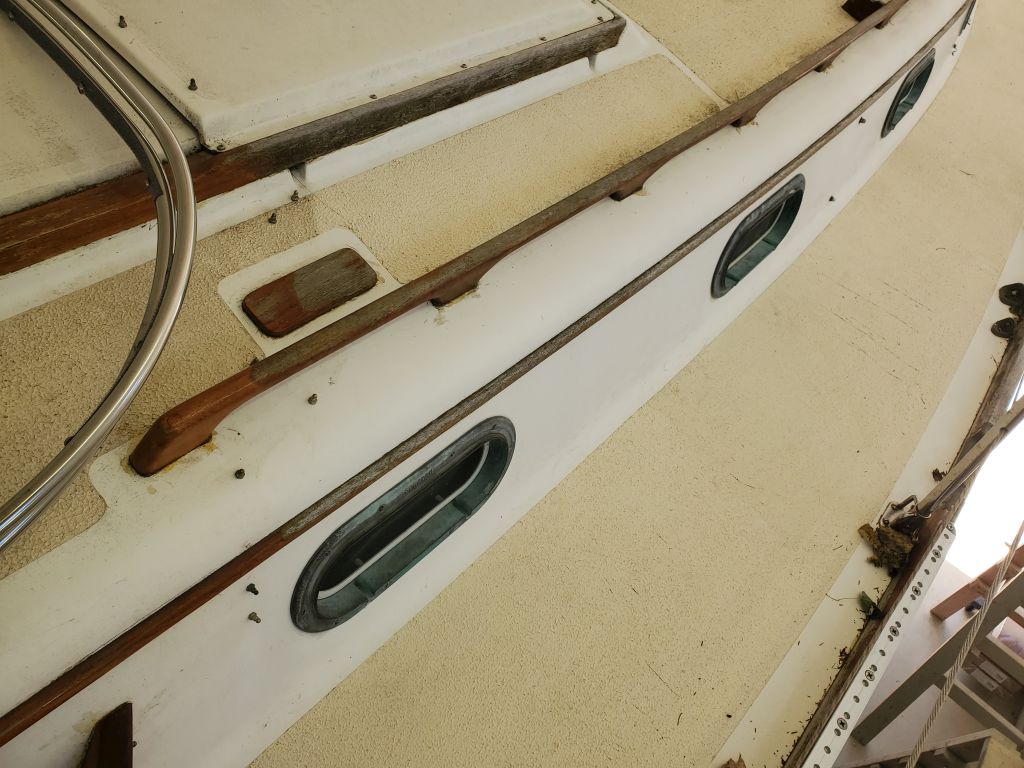
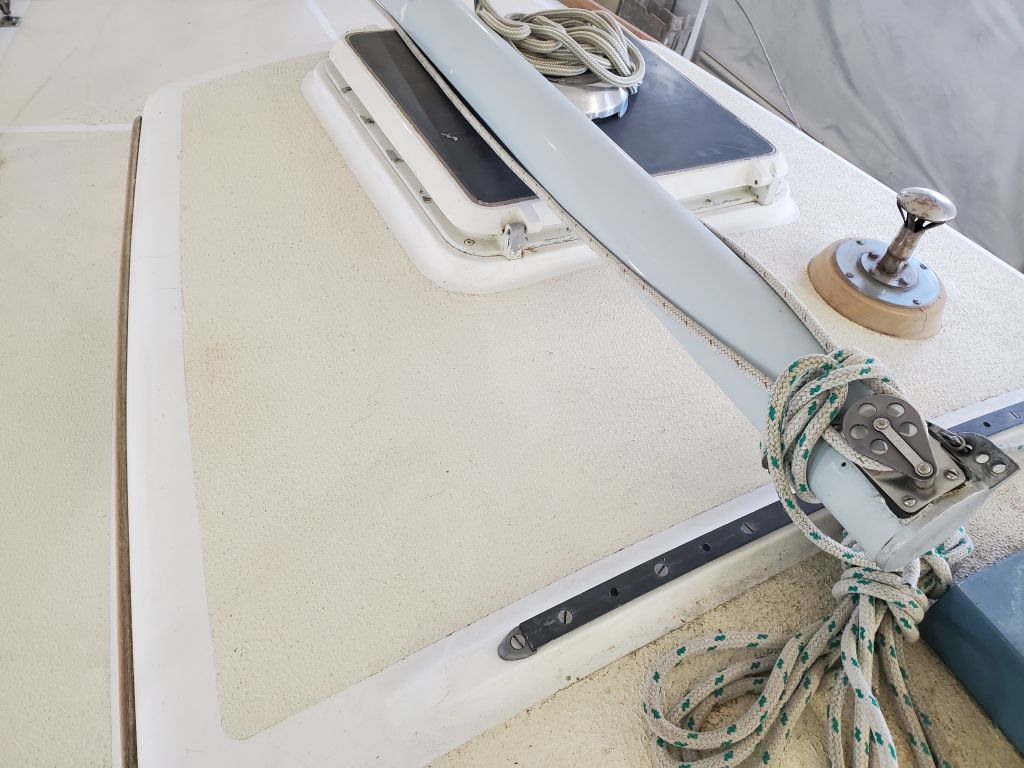
At the end of the day, I took a few minutes to install teak bungs in some unused bolt holes in the anchor platform, where the small anchor roller had been, and to repair one missing bung at the aft end of the port toerail.


Danusia Phase 2-7

With the rest of the brightwork stripped and sanded, I turned to a few loose parts I’d removed:  the pedestal table and companionway swashboards.  These also required stripping and sanding so they could be refinished.

After removing hardware, I stripped and sanded the wood clean.

Danusia Phase 2-5

Now that I’d removed all the old finish by scraping, it was time to finish cleaning up and preparing the wood with sanding.  Starting at the starboard bow, and the anchor platform, I worked throughout the say to sand all the teak with 80-120 grit paper, working my way down the toerail/rubrail, as well as the eyebrow trim and outboard side of the coamings.  I used a small palm sander where I could, and by hand as needed for tight areas, curves, and in particular the long lengths of headsail tracks along the aft quarter of the toerail, where the overhanging track prohibited access by anything other than hand sanding.

I continued around the taffrail, and up the port side from there, making it about halfway up the port side (to the forward end of the headsail track) by the end of the day.  I might have finished the port side (and had intended to), but lost an hour earlier in the day trying to fix (and succeeding thanks to hosting support chat) yesterday’s website upload problem (apparently I’d used up my disk space on my VPN, which was a surprise since I thought it was unlimited ( and was why I switched to a VPN some years ago)) since I couldn’t get hold of my web guru (who was supposed to be available for these behind-the-scenes things that I clearly don’t understand).  I’ll be looking for a new web guru from here.  (And now I’m done with the parentheticals.)

Danusia Phase 2-6

Picking up where I left off last time, I continued sanding the teak on deck, finishing up the port toerails, eyebrow, and anchor platform.  Generally, the wood cleaned up nicely with the two rounds of sanding, with few indelible stains, and the wood grain had fortunately been protected for long enough that even the weathered areas remained smooth and easy to sand clean and flat.

From there, I climbed on deck to sand the remaining teak:  handrails, cockpit coamings, companionway, and assorted bits.  This completed the sanding phase, other than a few pieces I’d removed from the boat that still required stripping and sanding (namely the swashboards and pedestal table).

Danusia Phase 2-4

I continued work with the heat gun and scraper, and over the course of the day finished up the port coaming, port toerail, handrail, and eyebrow.  Now all the brightwork was ready for some thorough sanding, which would be the focus of the next few days.


Danusia Phase 2-3

The first step to refurbish the brightwork was to strip what remained of the old.  Many areas of the wood were already bare and weathered, thanks to complete coating failure, but other, more protected areas still had many layers of varnish.  Starting at the starboard bow with the anchor platform, I spent the day working with a heat gun and scraper to remove the remains of varnish from the starboard toerail/rubrail, the starboard eyebrow, starboard cockpit coaming, aft coaming, and the cabintop handrails, Dorade vent, and other small pieces of brightwork on the cabin trunk, leaving the port coaming and toerail to finish up next time.

The wood still looked terrible at this point, but sanding would clean up the dark and weathered areas, and the remnants of varnish and scraping.

Danusia Phase 2-2

Now that the staging was set up, I planned for my first task to be working on the brightwork, or perhaps more accurately the work formerly known as bright.  I’d stripped and refinished the extensive teak woodwork for the owner 10 years before, and he admitted to having a problem keeping up with it after a year or two.  Now, the finish was in poor condition in most areas, with many bare areas heavily weathered, as seen in the photos posted in the September 30, 2024 post and the video below.

Before getting to work on the actual stripping and sanding, I removed whatever hardware I could, starting with lowering the anchor to the ground so I could remove the roller, and then resecure the chain out of the way for now.

Around the coamings and taffrail, I removed various dodger fittings, several bronze coaming cleats, flagpole socket, some bronze half-0val trim from the aft coaming, and the boarding ladder (this mainly to allow better access, though it would have had to be removed for painting the hull anyway).  I also removed the mainsheet tackle  and otherwise made early preparations for the work to get underway.

Finally, I removed a small anchor roller from the port side of the anchor platform, at the owner’s request.  This small roller, located at a strange angle, was never used.  I planned to seal up and bung the fastener holes.

Danusia Phase 2-1

Ten years after her first visit to the shop, Danusia was back for some refreshing, focused mainly on the brightwork and hull.  At the end of the season, the owner had her trucked to the shop, where the boat would spend the winter as I worked on the various projects.

I wouldn’t get deeply into the project for a few weeks, but with some time at hand I spent part of a day working on some of the early set up and preparations, starting with measuring and marking the existing waterline and boottop for reference, stating at the stern, where I measured from the bottom edge of the transom to the top and bottom of the boottop, and to the visible scum line that suggested the actual floating waterline.  These measurements would come into play later when I struck the new lines.

I repeated the process at the bow, using the convenient bobstay fitting as my basis for measurement.

Next, I documented the “as-arrived” condition of the hull.

Next, I checked and corrected the position of the boat so she was level from side to side, which would be helpful later in the project as the time came to remark the waterline.  As originally positioned, she was a bit low to port, so with some adjustment of the stands I eventually obtained level.

Next, I set up staging around the boat that would allow me to comfortably work at deck level, mainly on the brightwork, which required stripping, sanding, and refinishing.  I planned to do this work first.  The height of the boat required that  I add blocking beneath my planks to raise things to the appropriate level.

To wrap things up for now, I documented the condition of the brightwork and decks, both of which would receive needed attention during this shop visit.

Newer posts