(page 4 of 5)

Danusia Phase 2-18

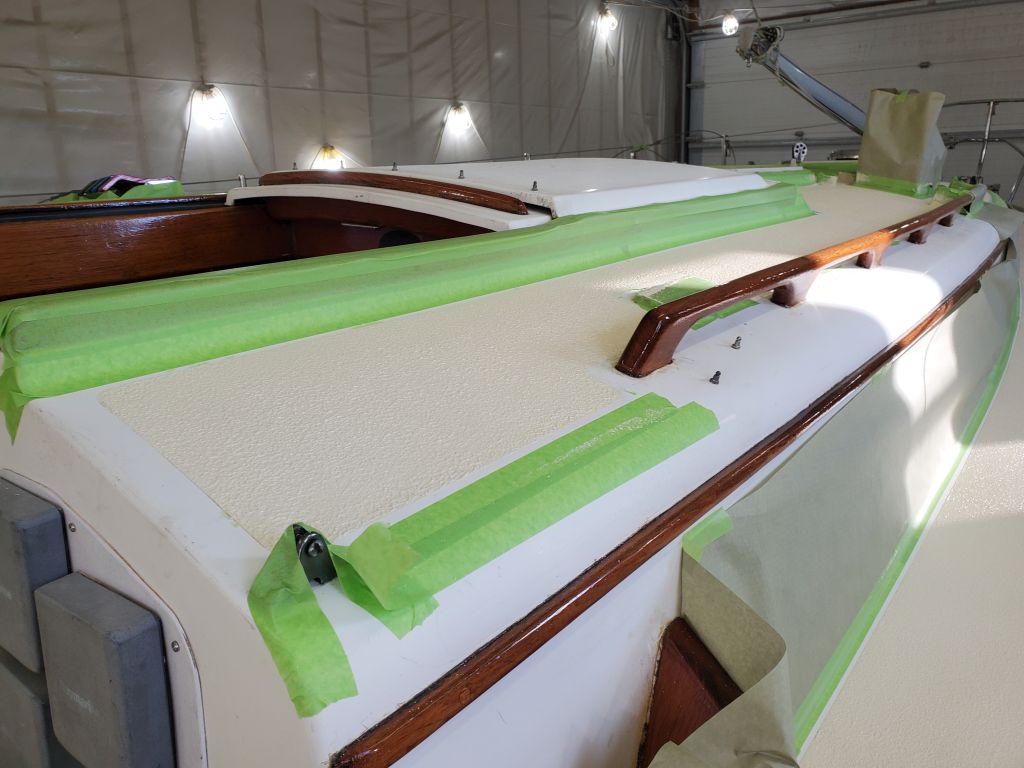
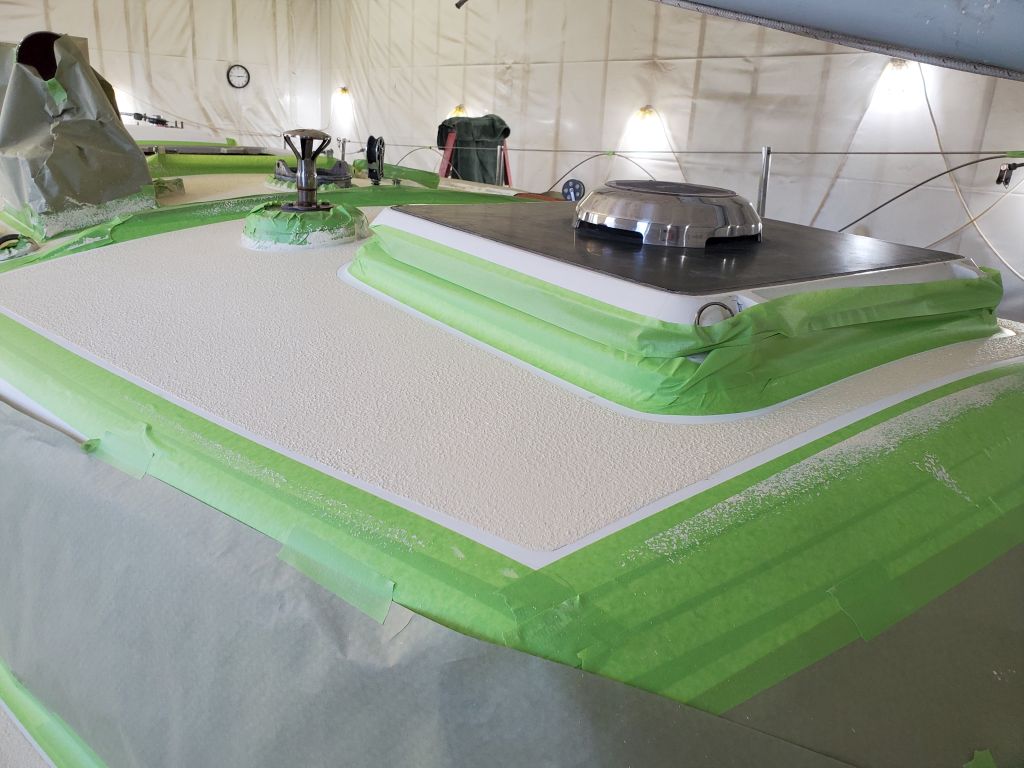
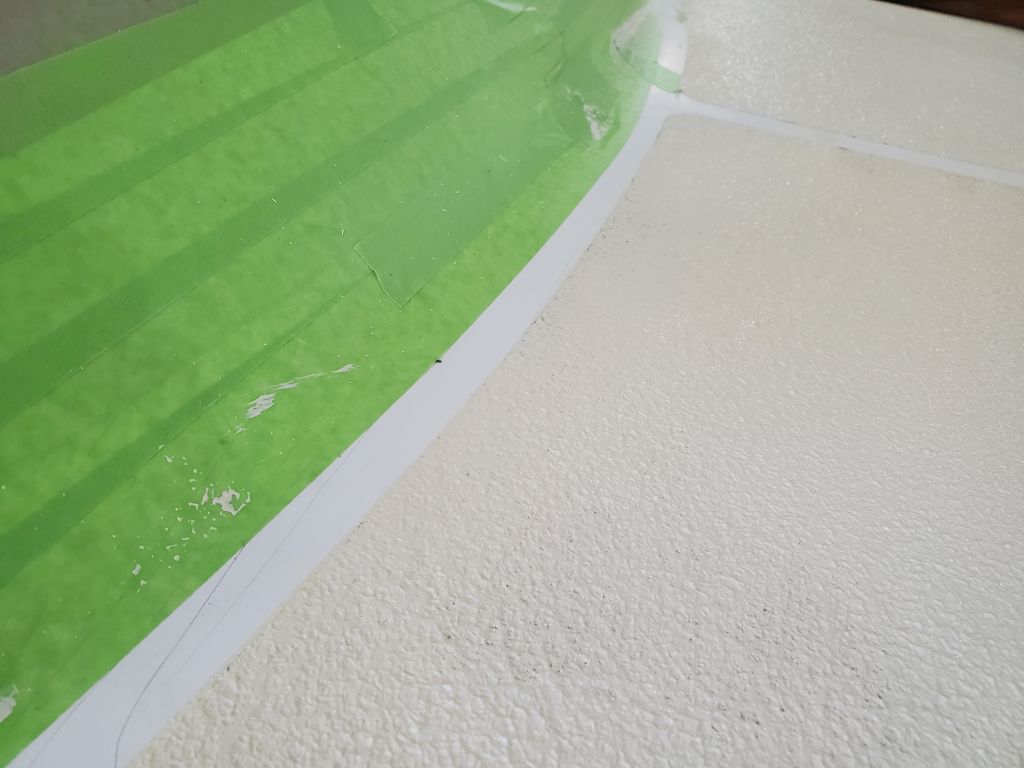
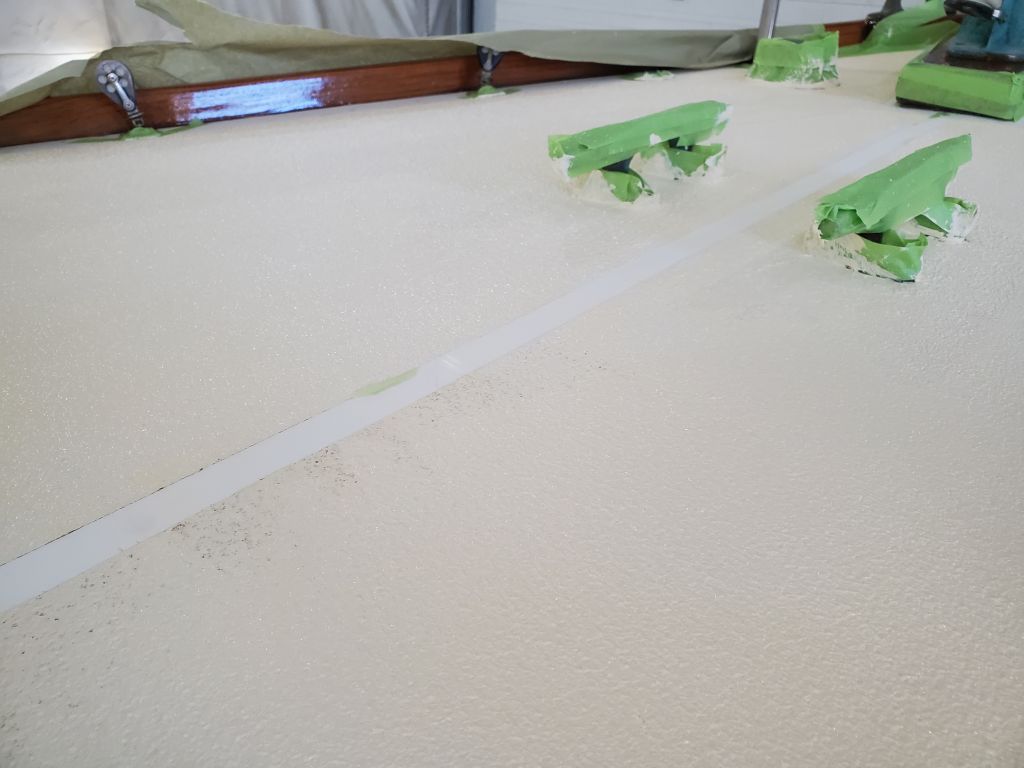
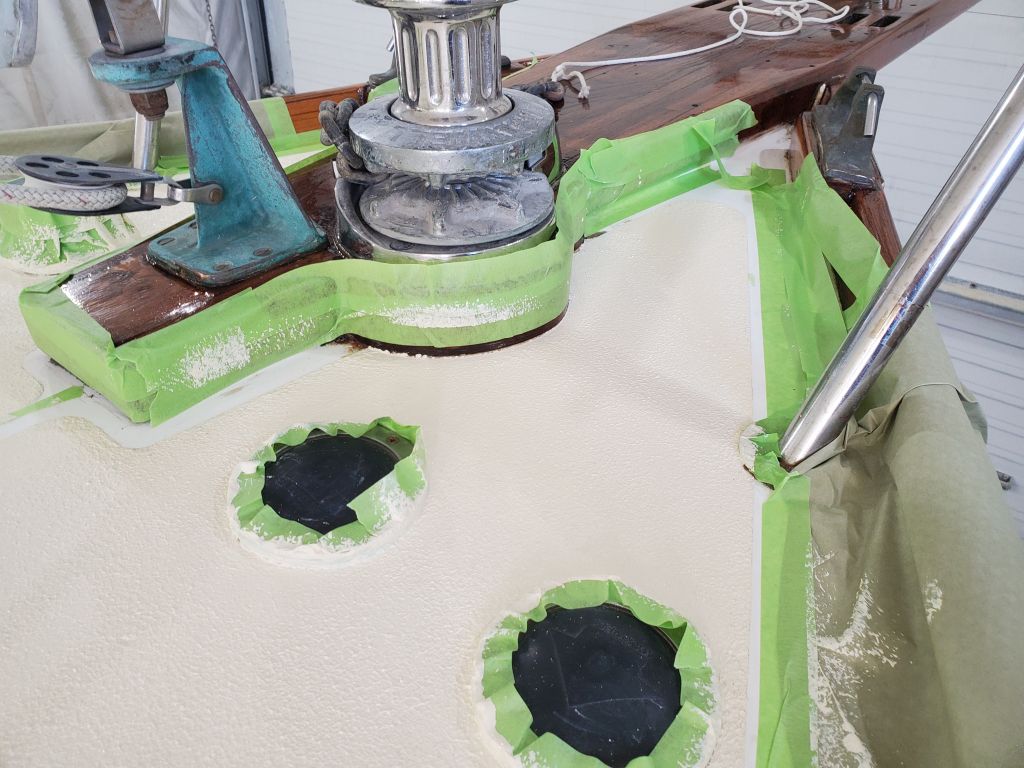
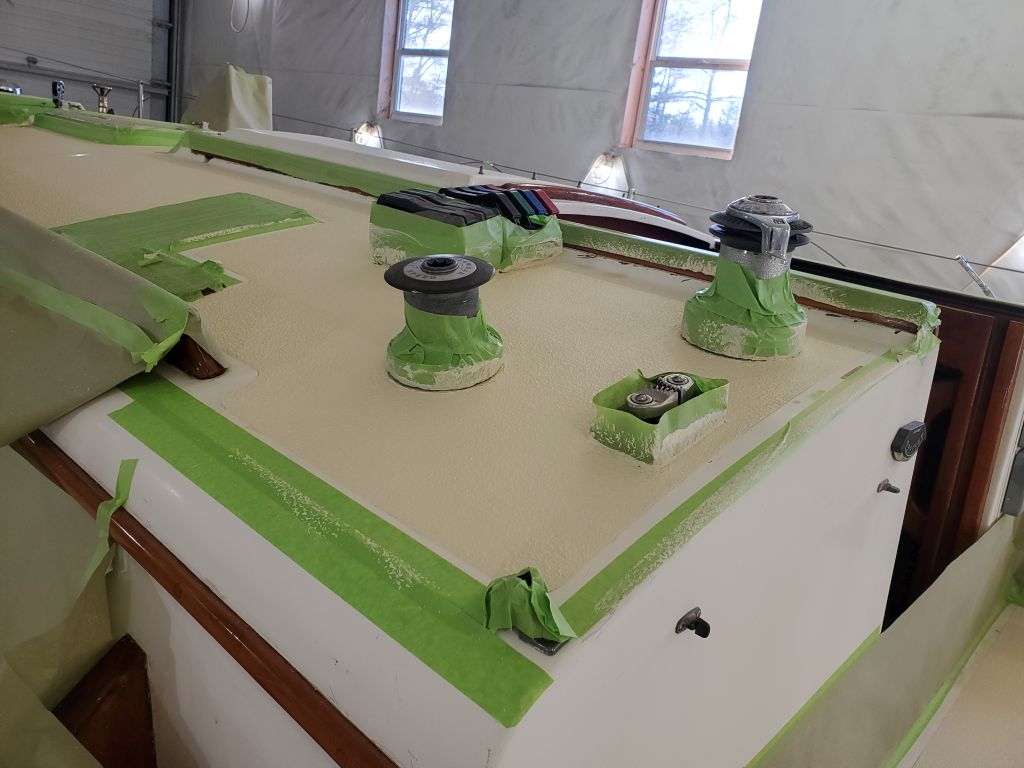
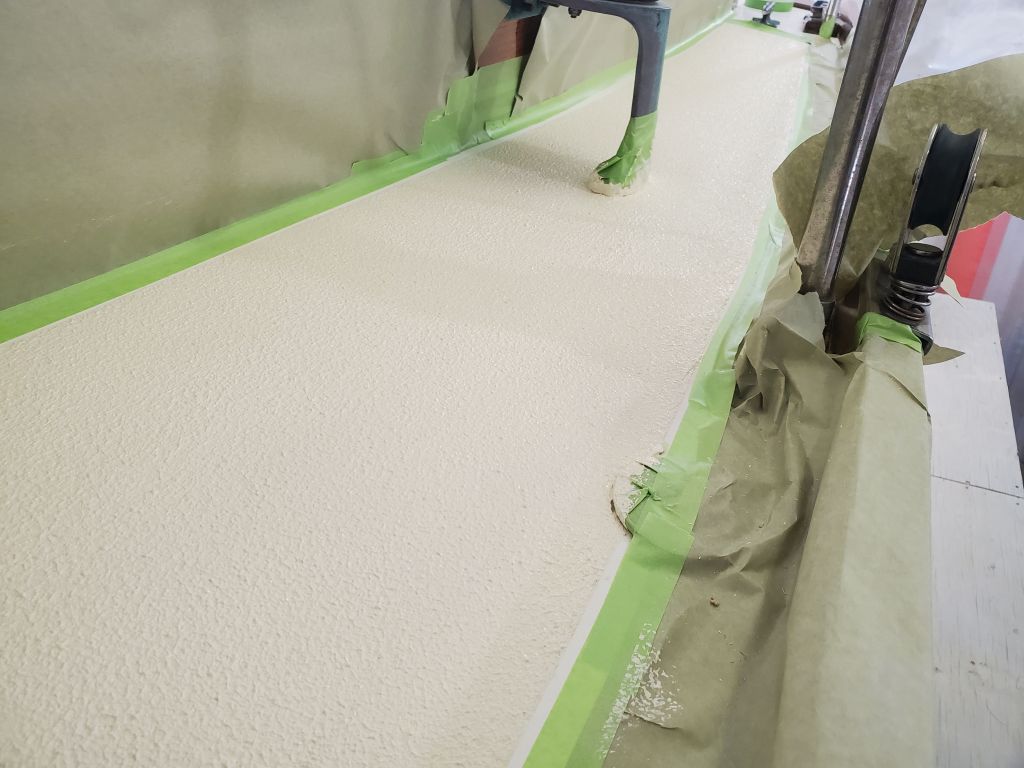
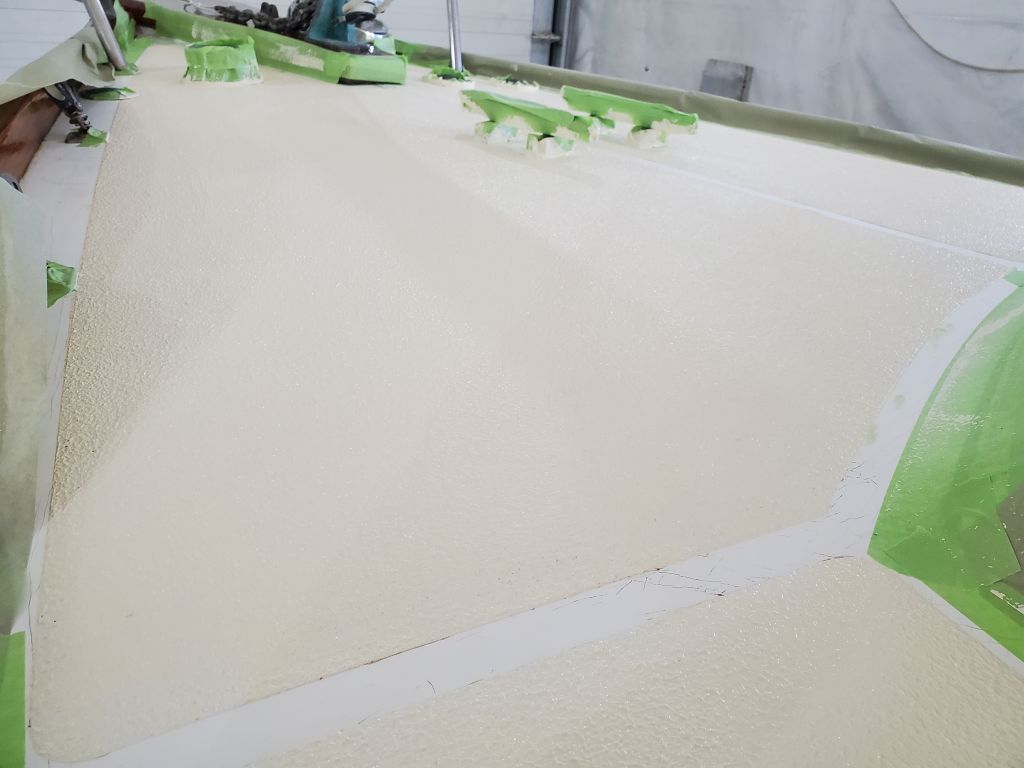
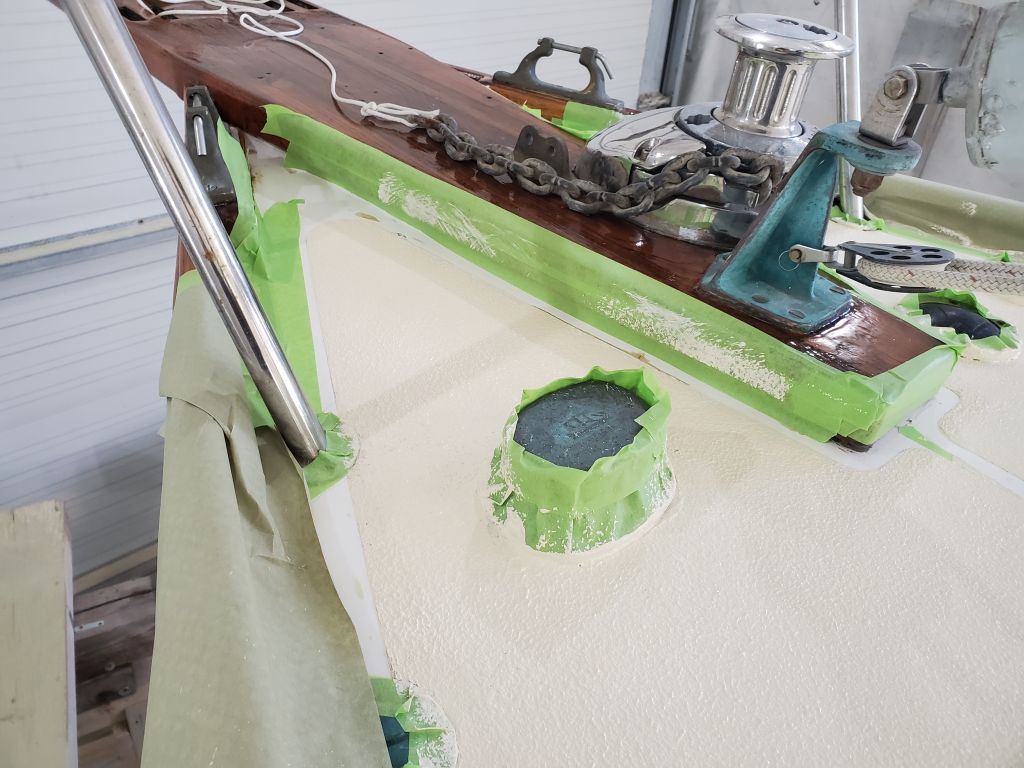
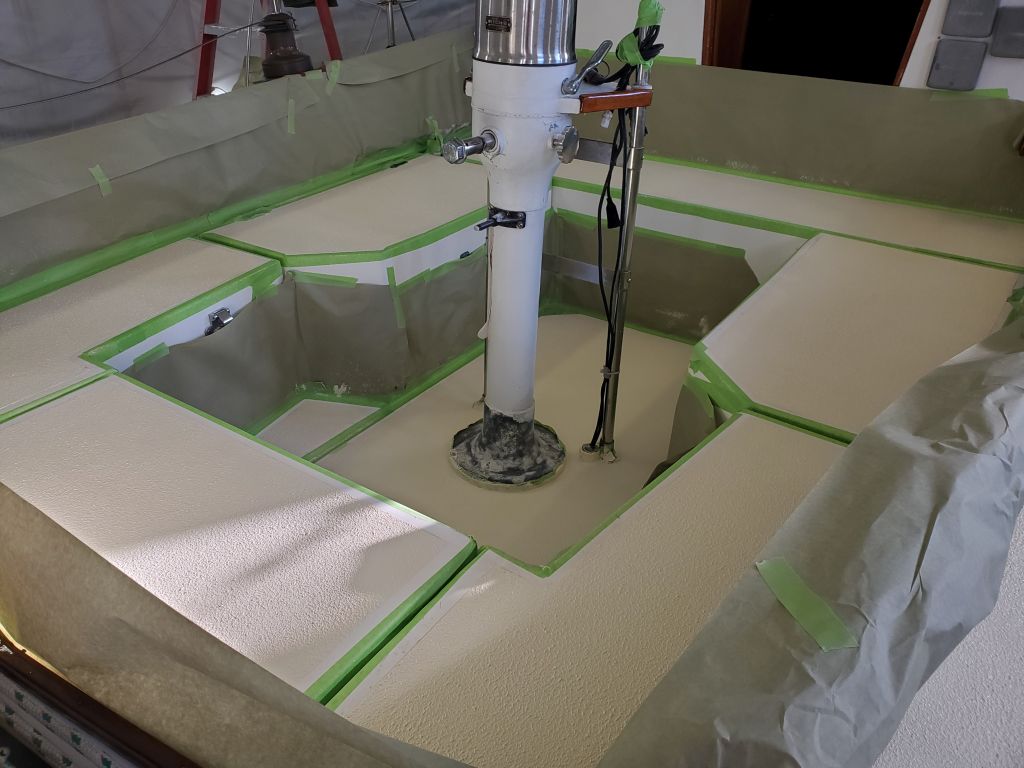
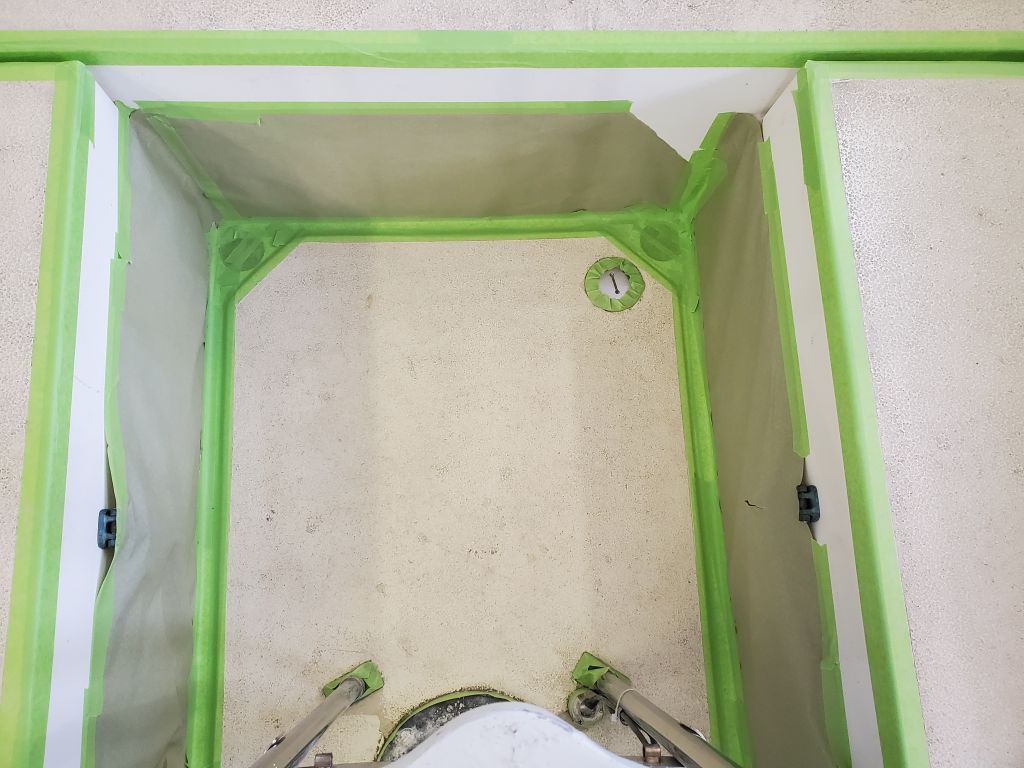
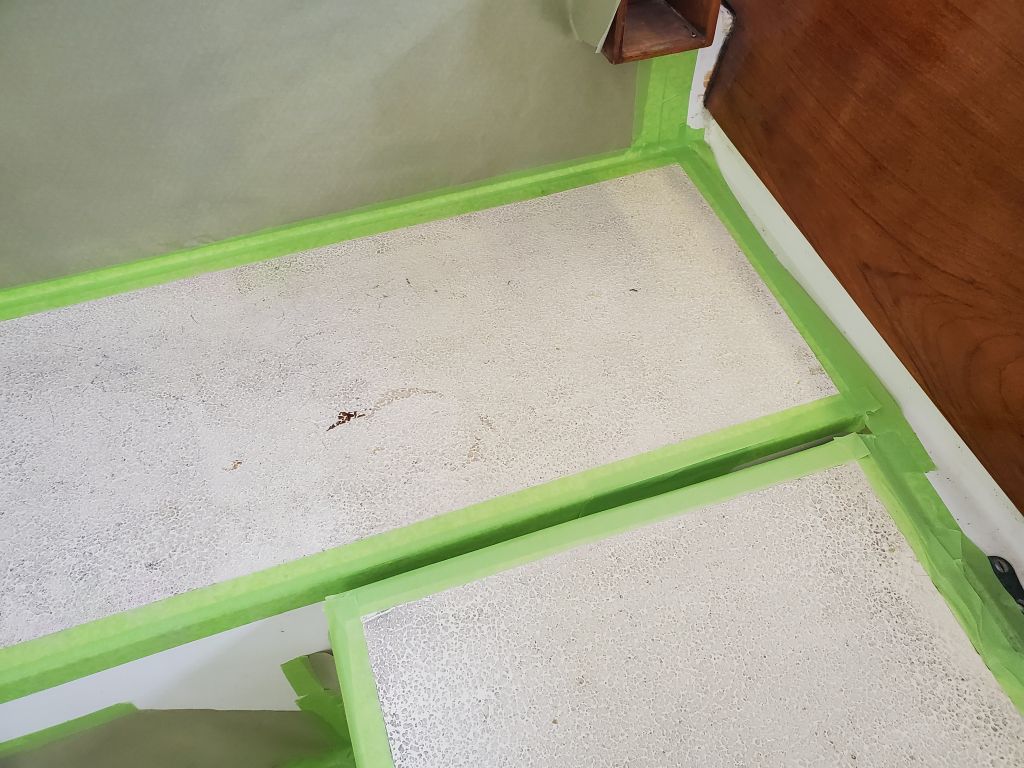
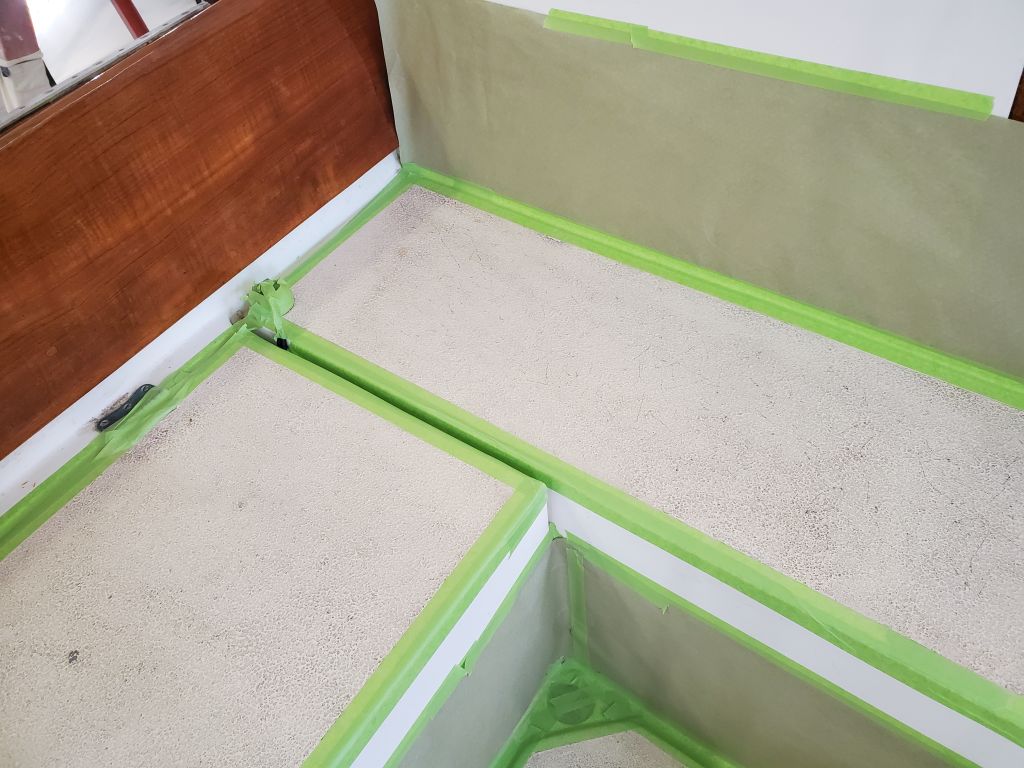
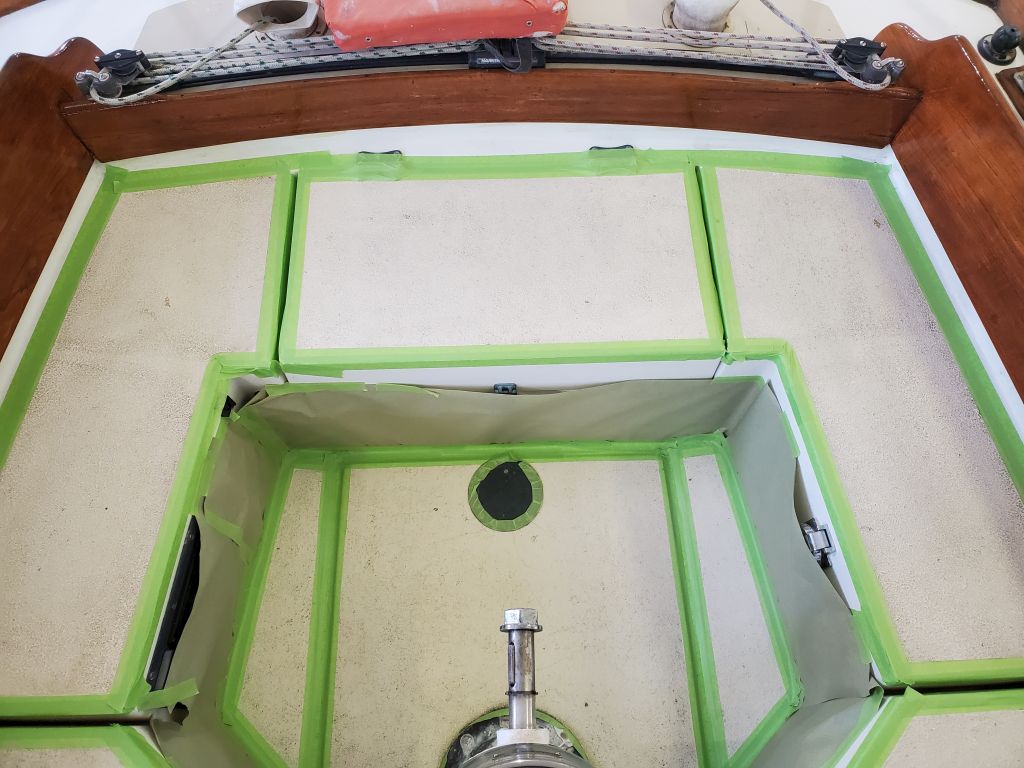
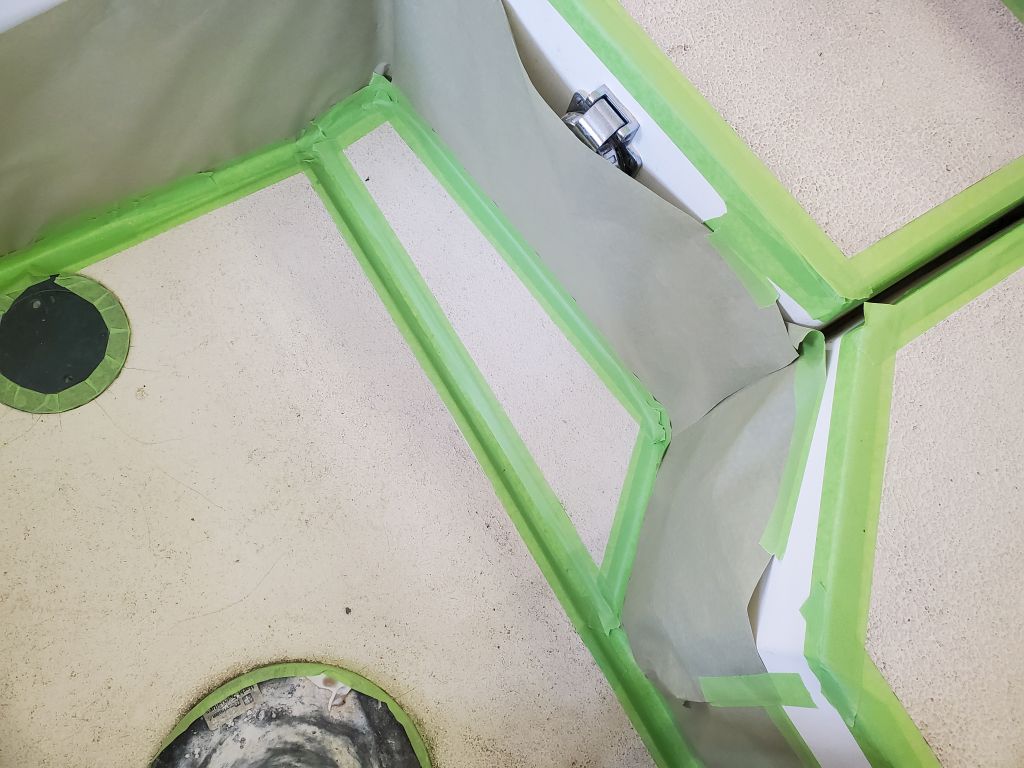
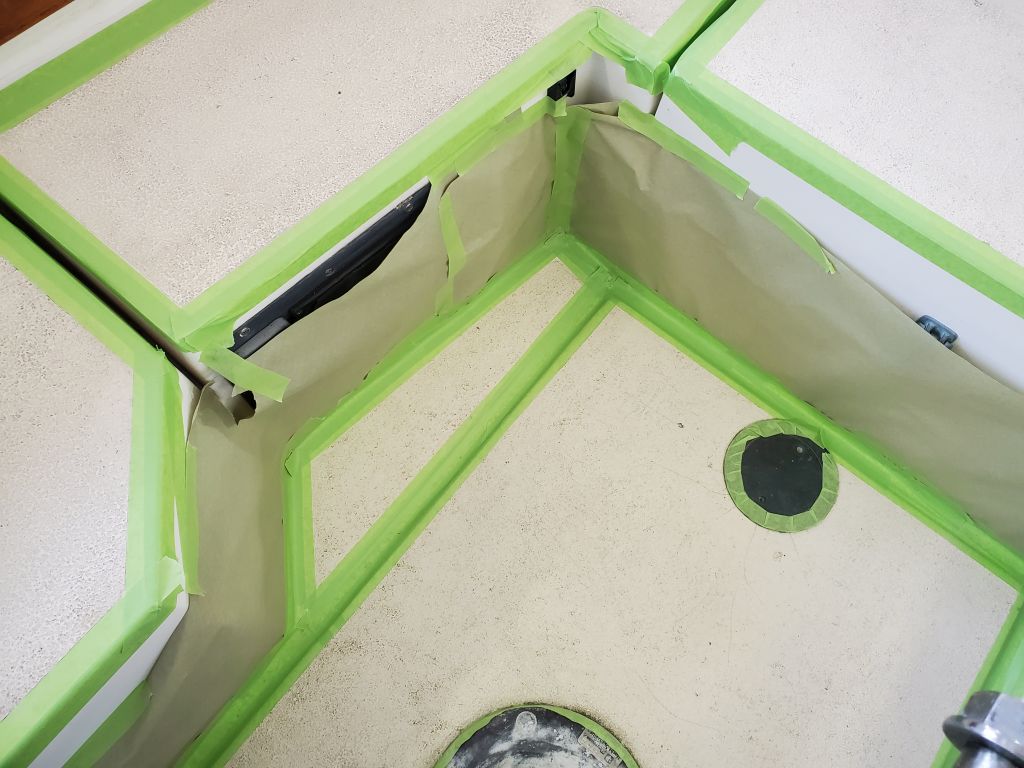
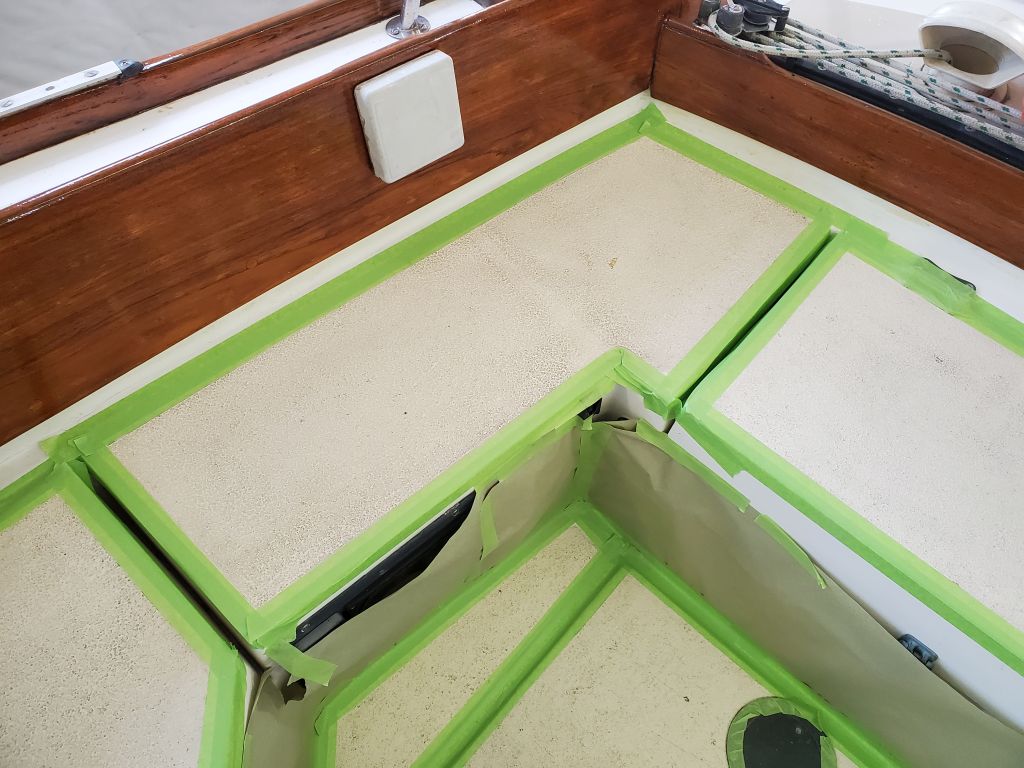
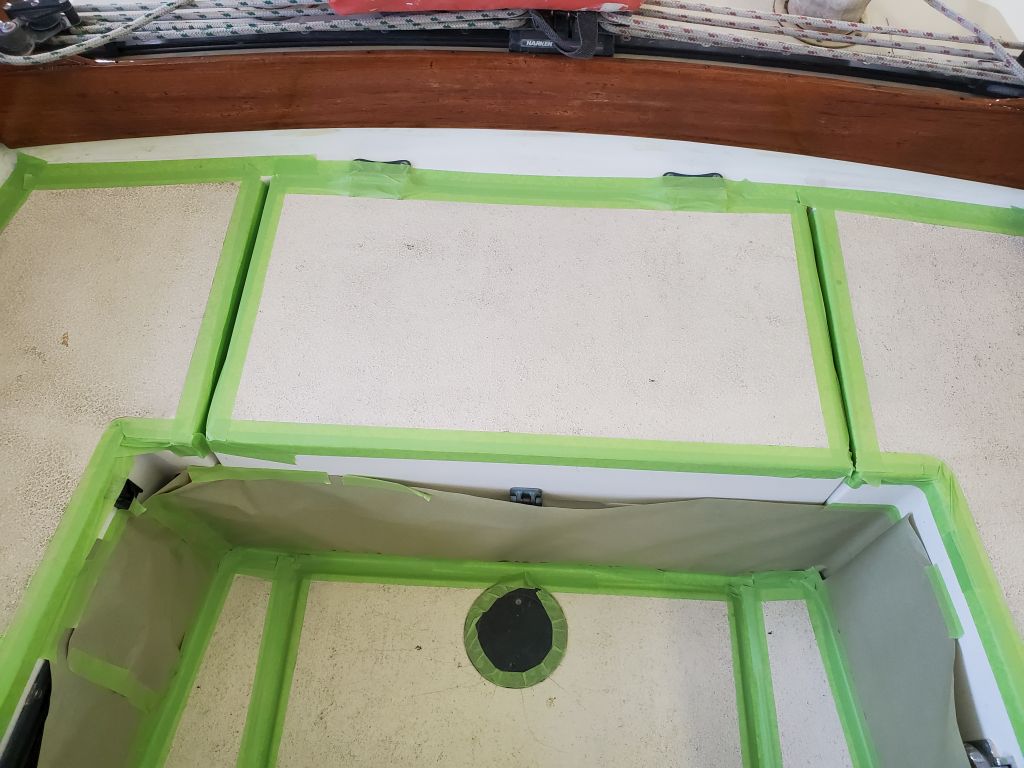
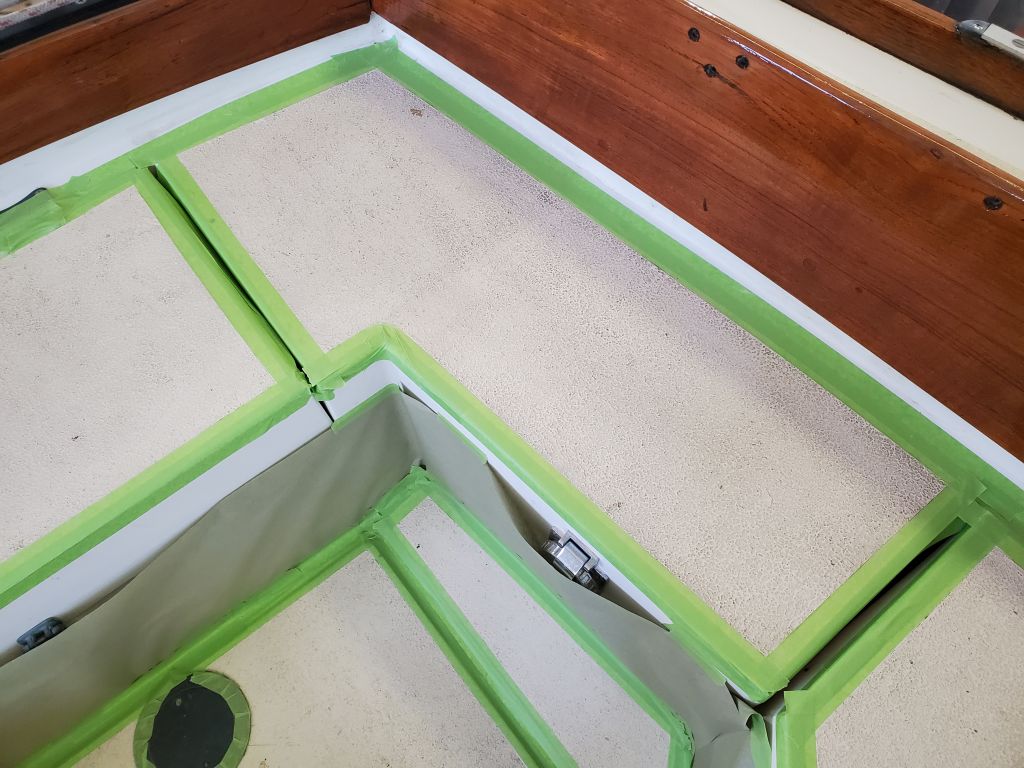
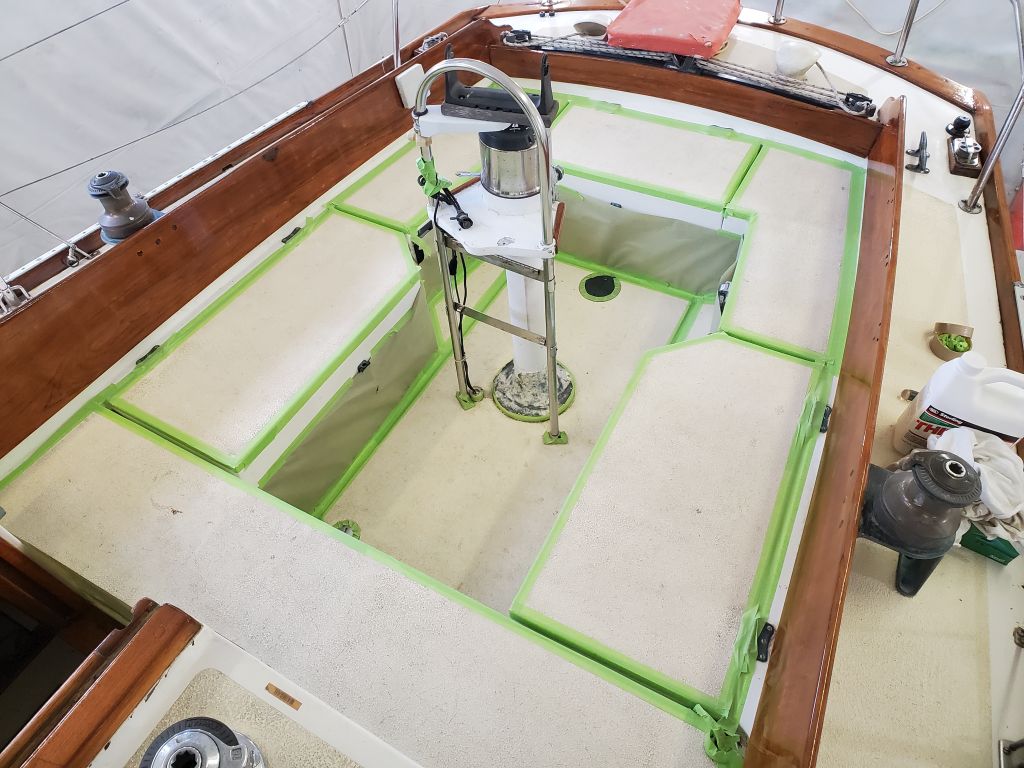
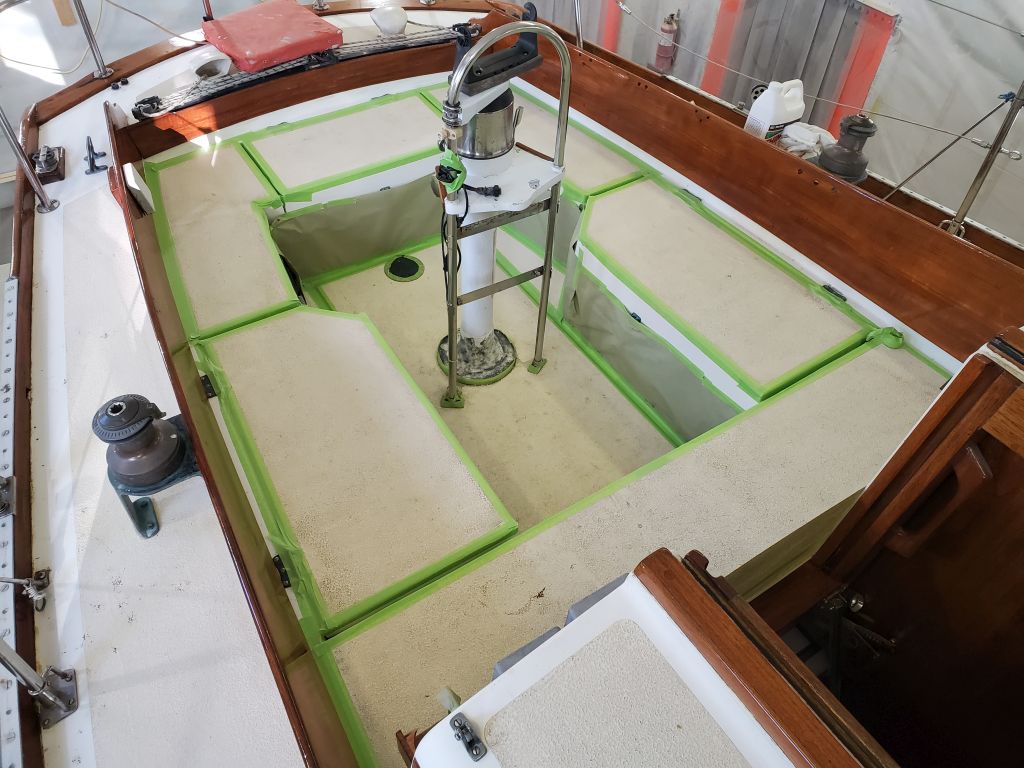
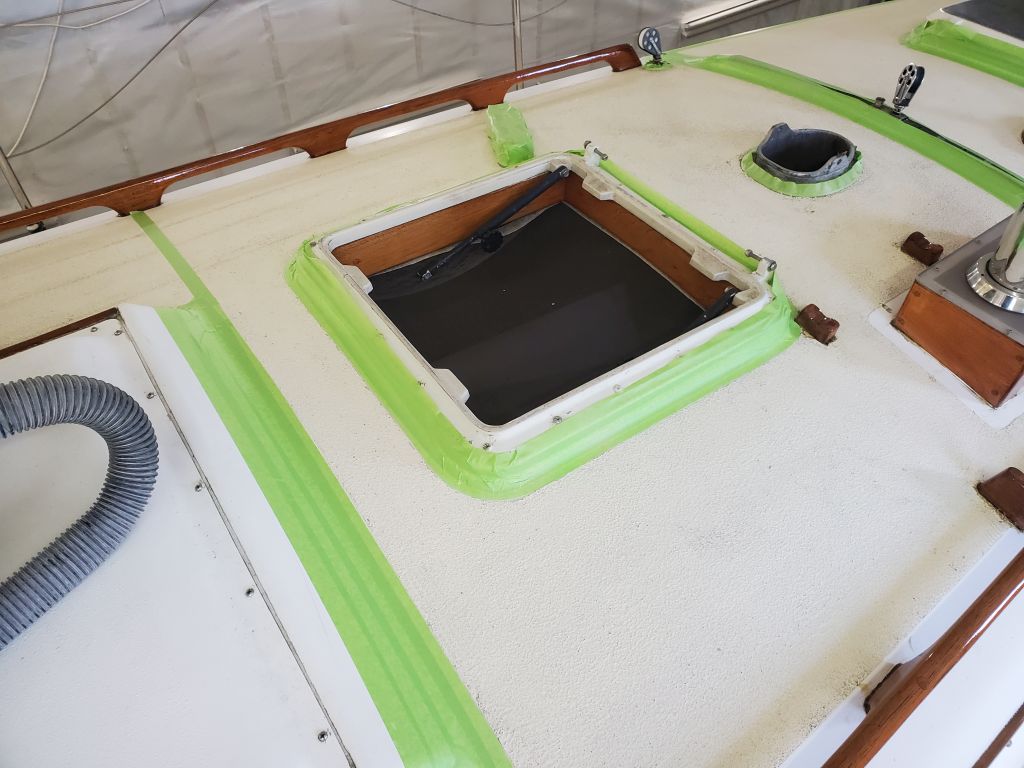
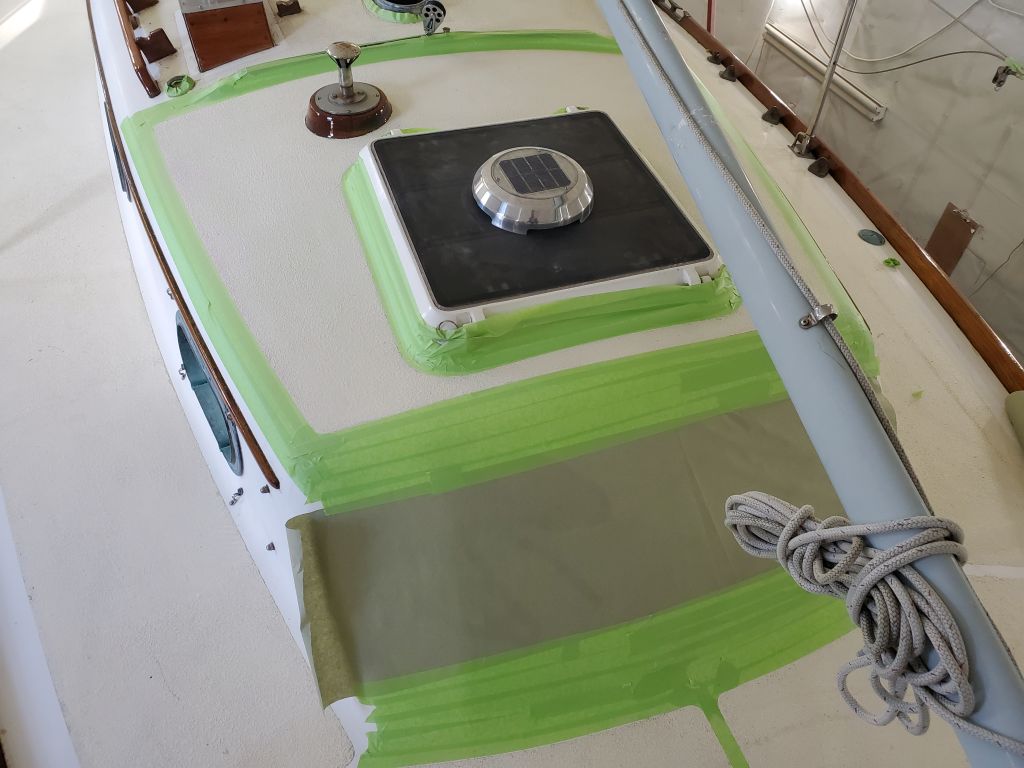
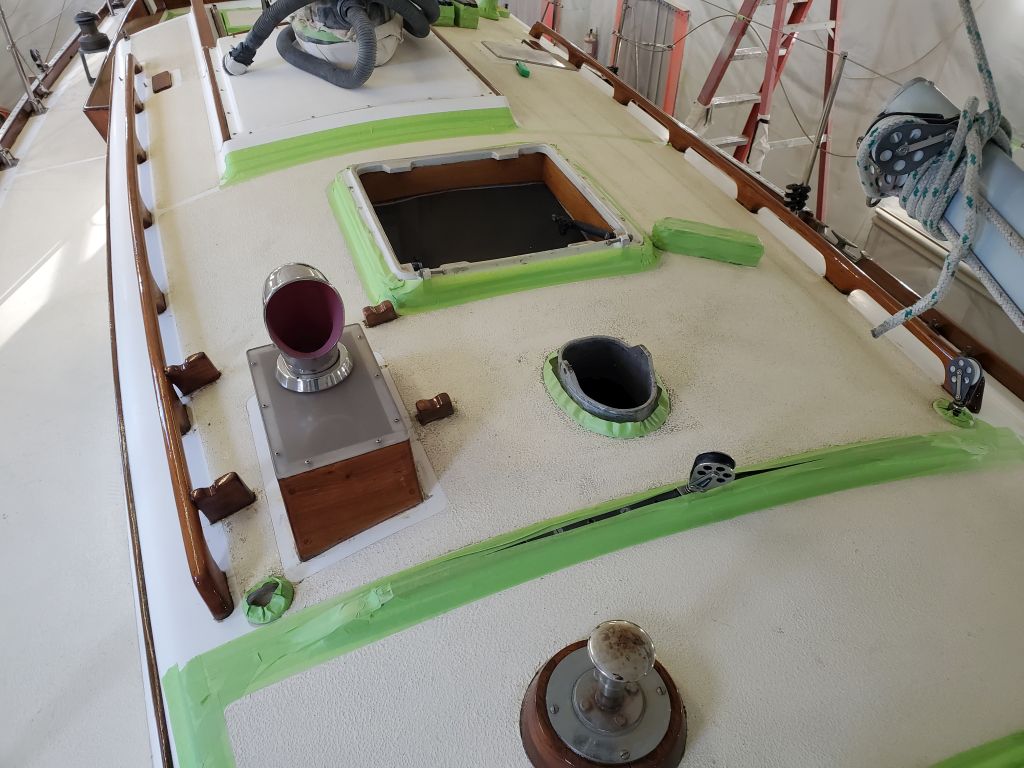
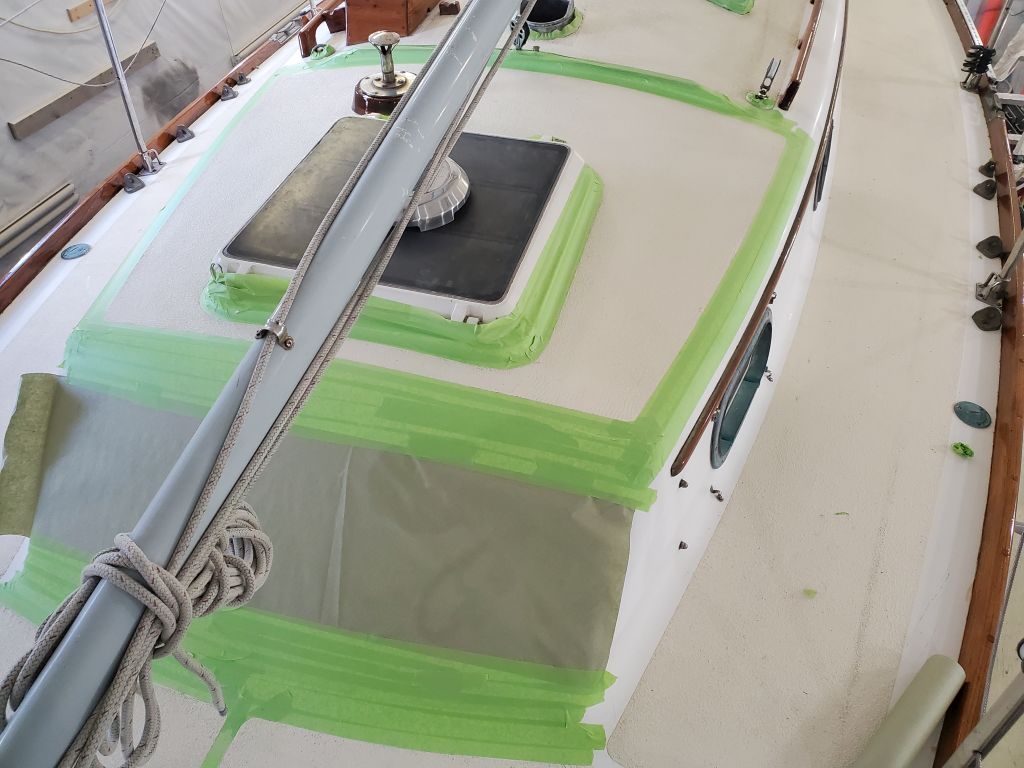
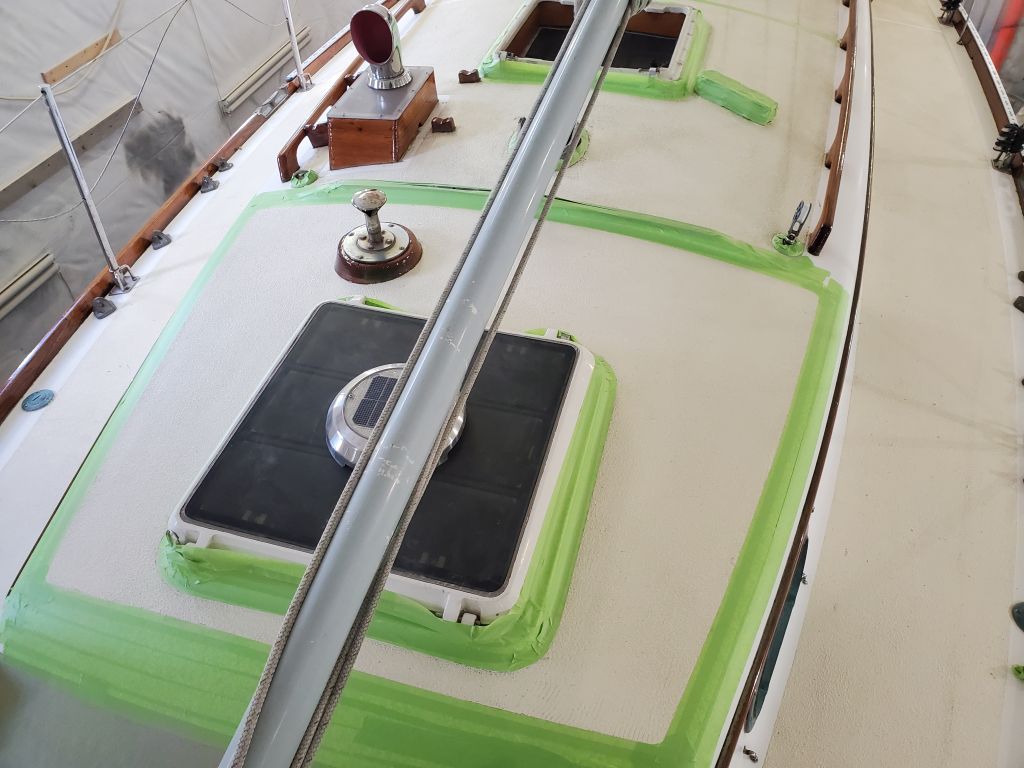
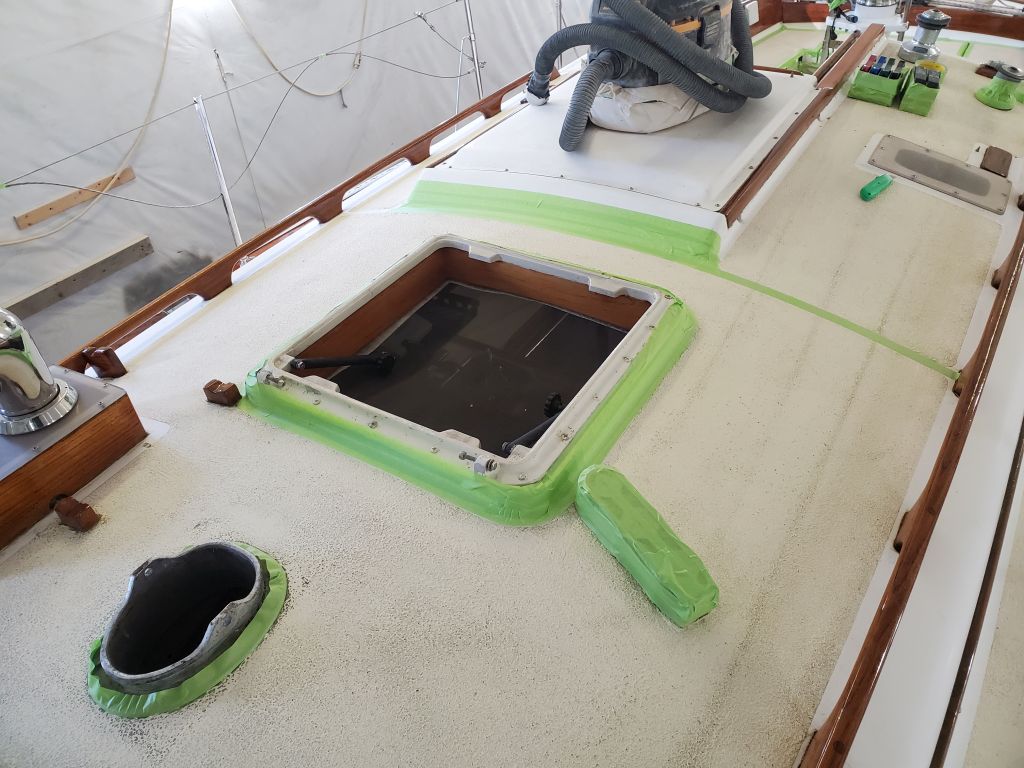
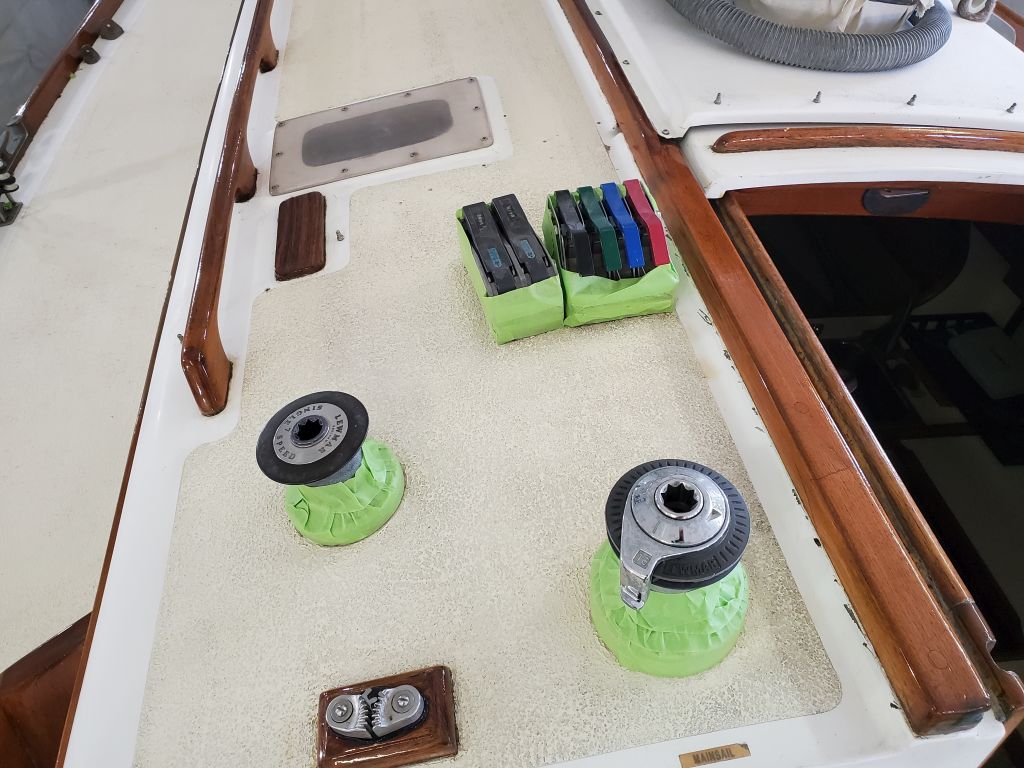
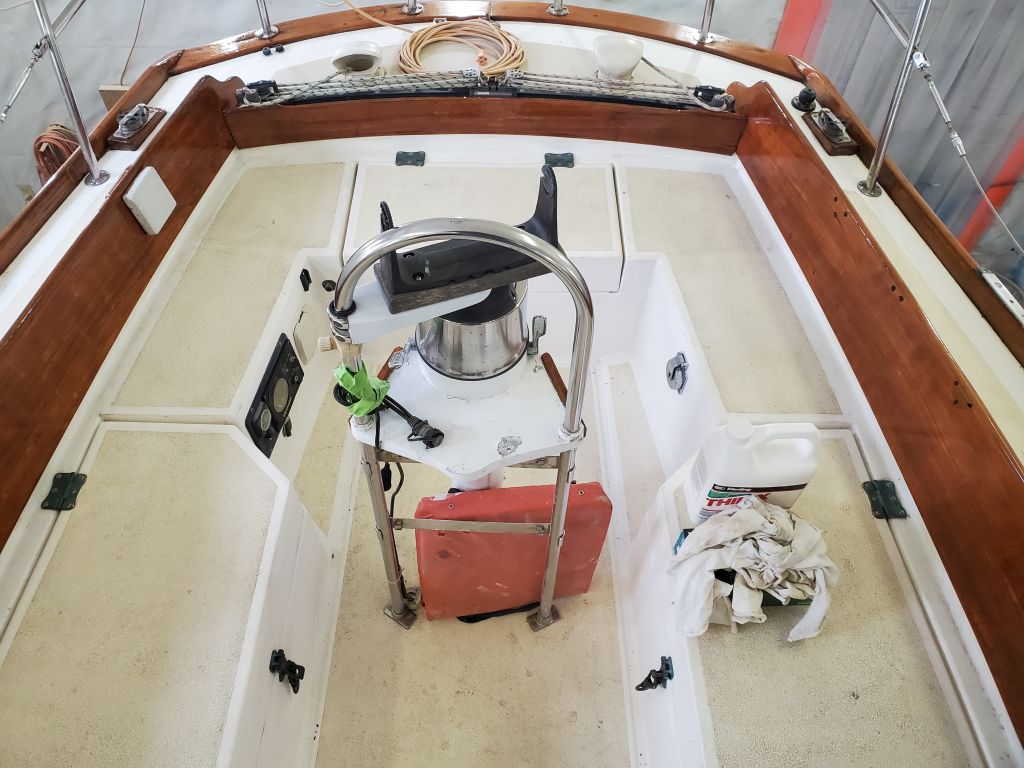
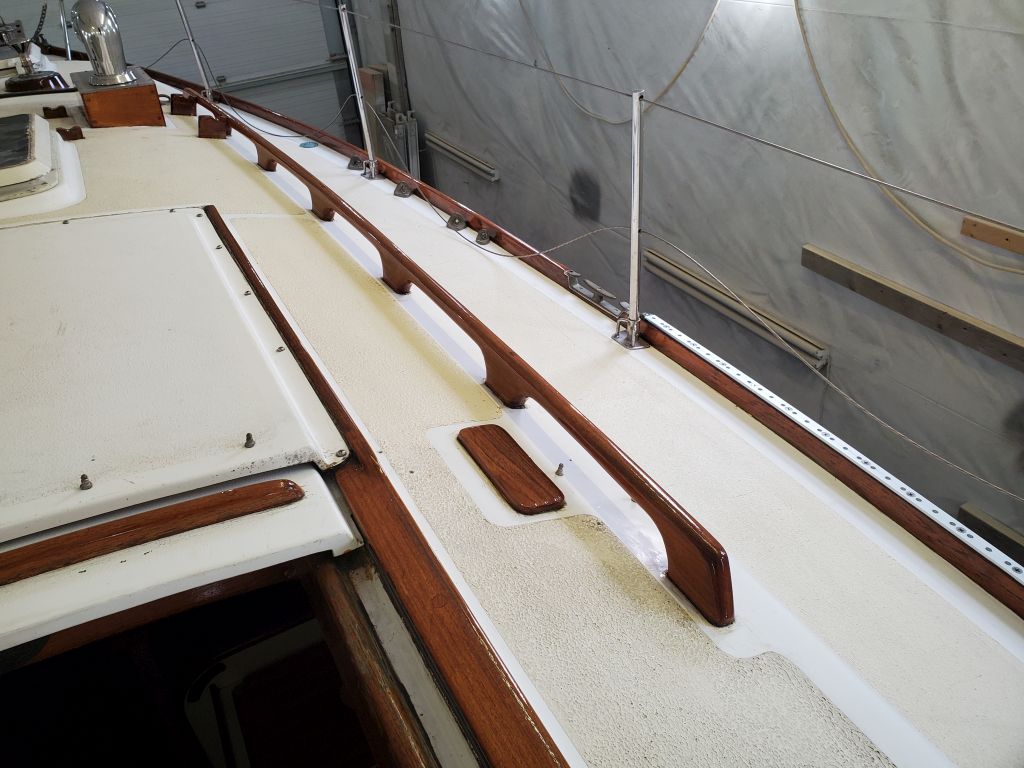
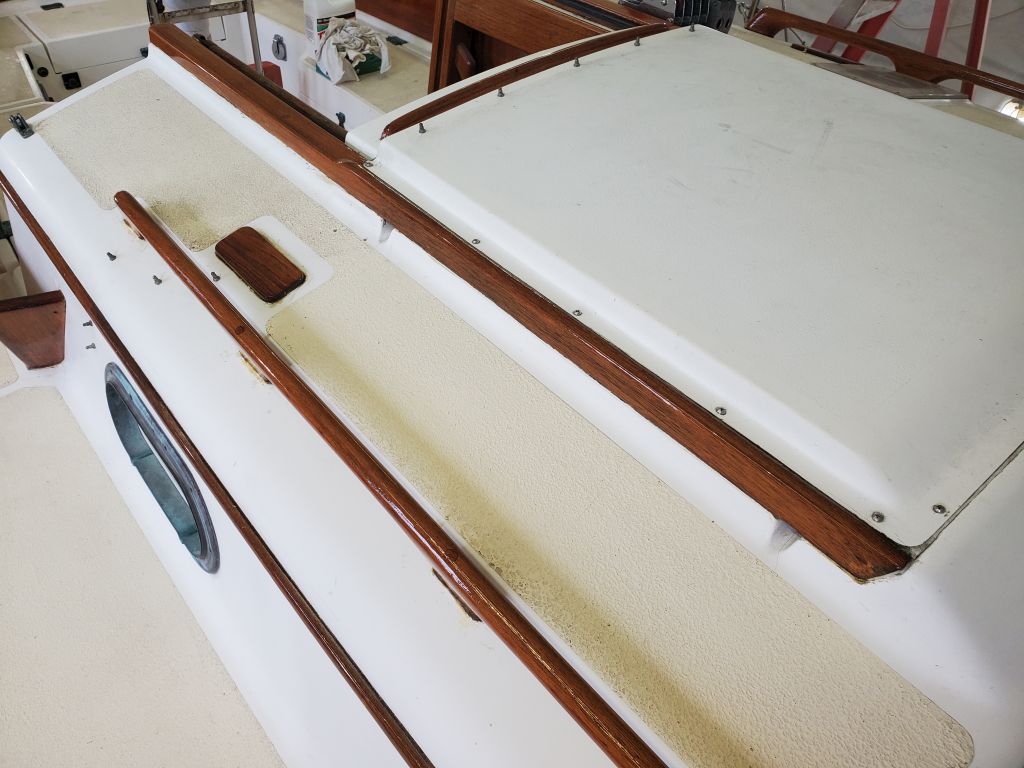
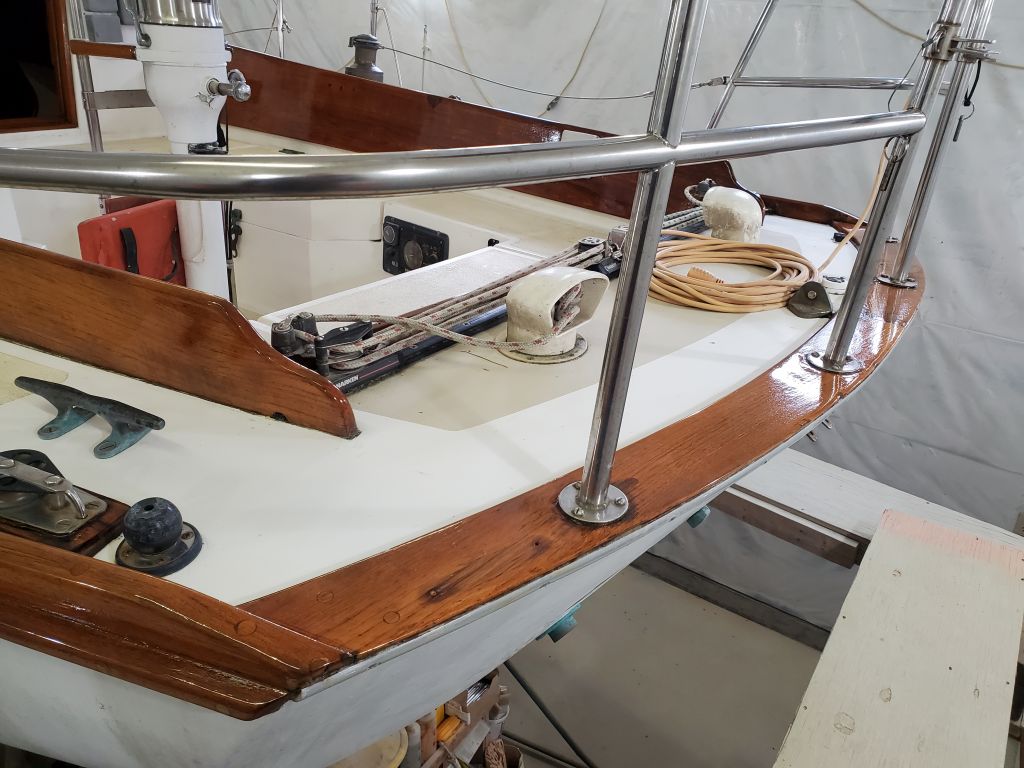
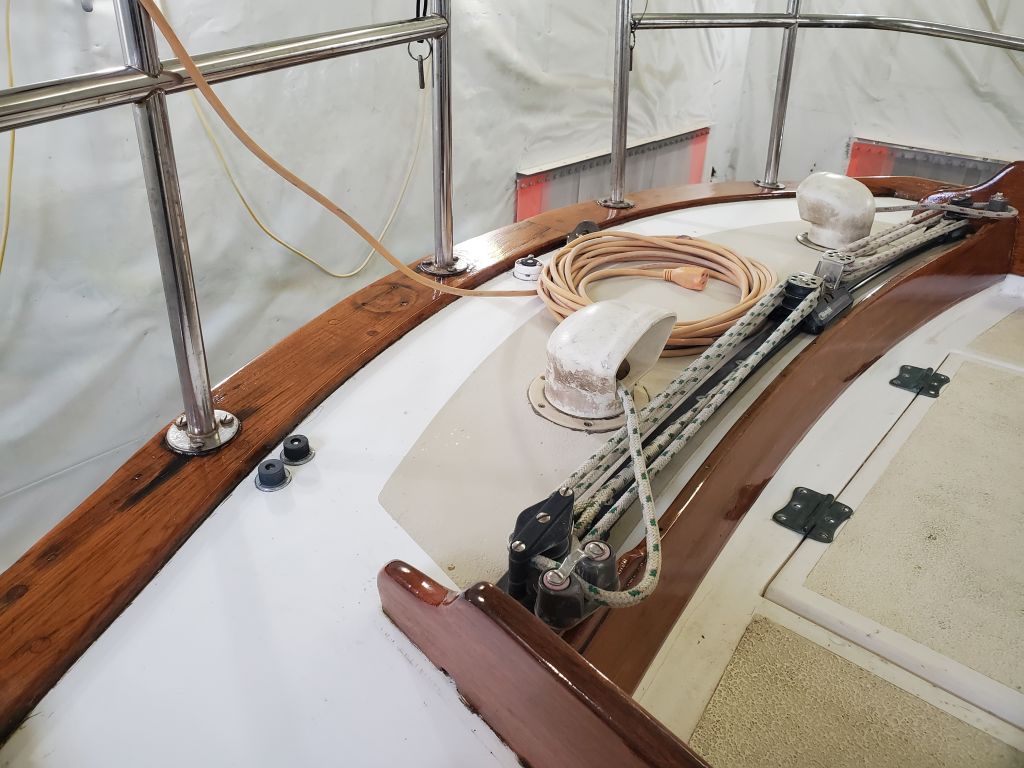
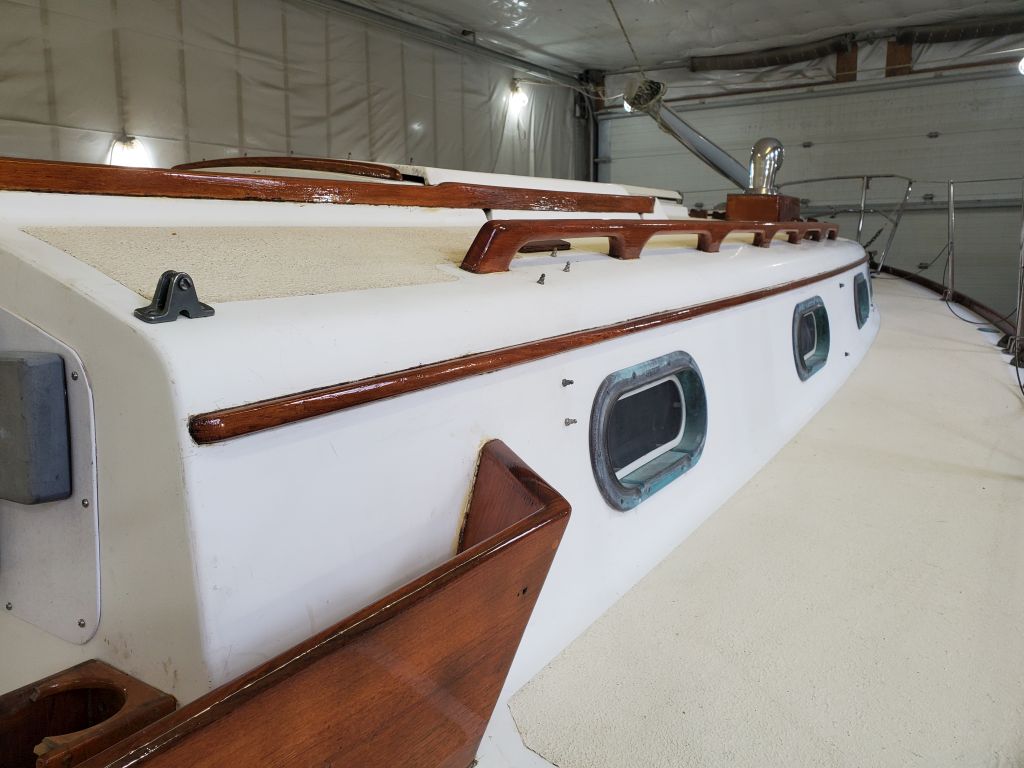
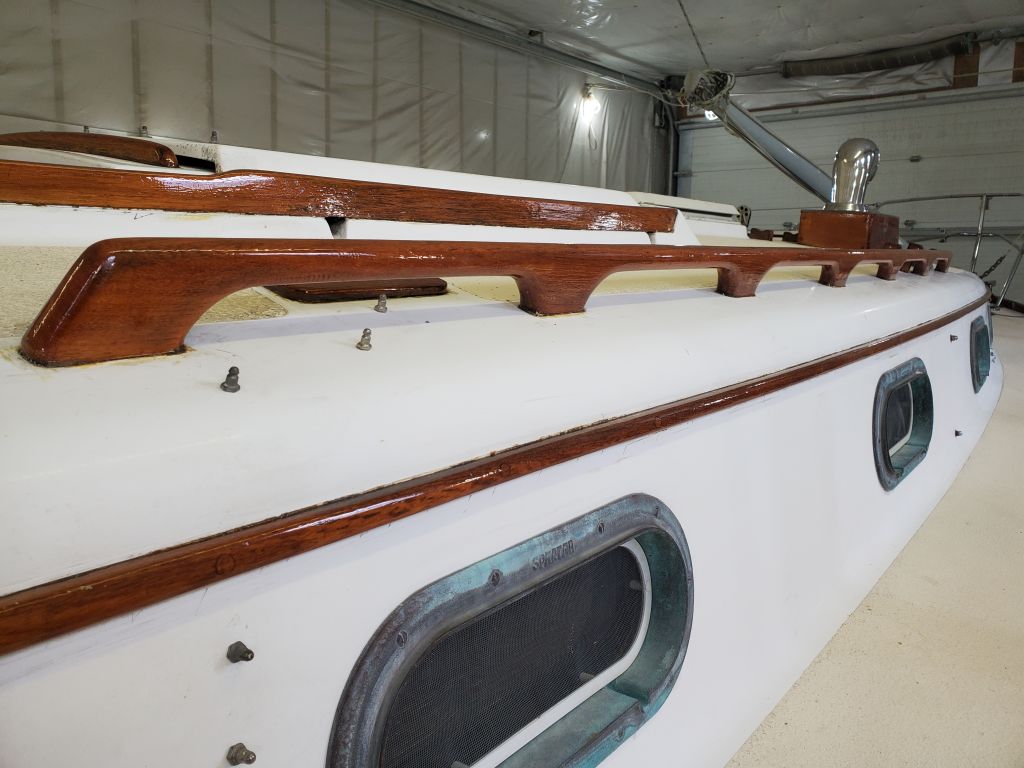
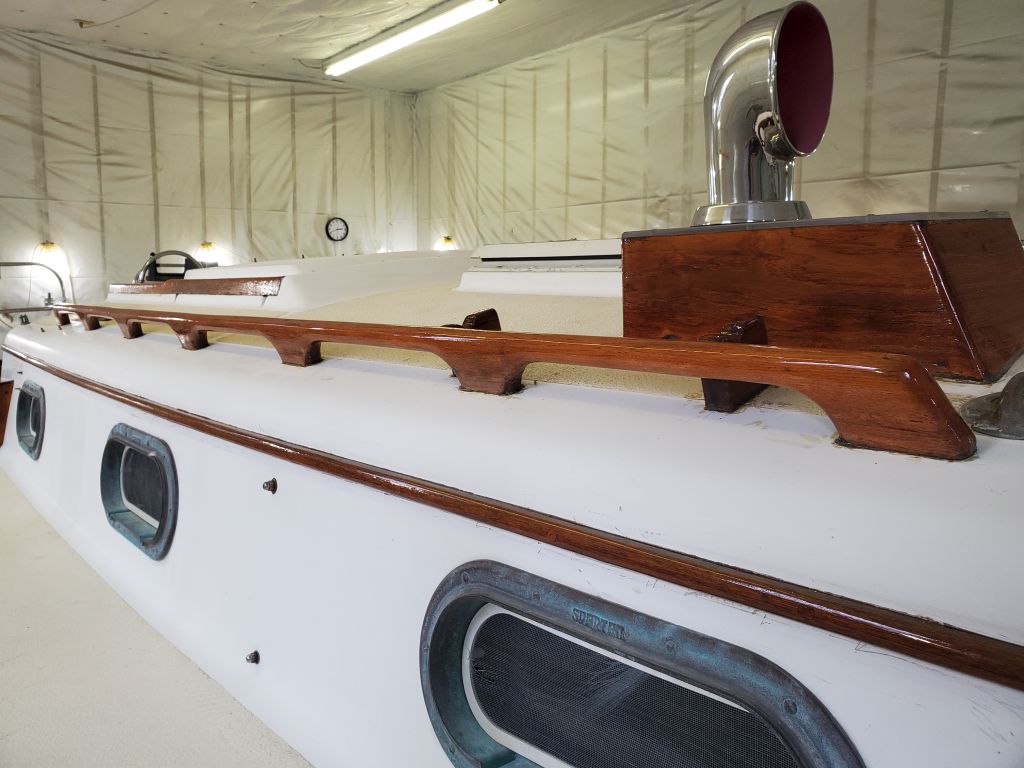
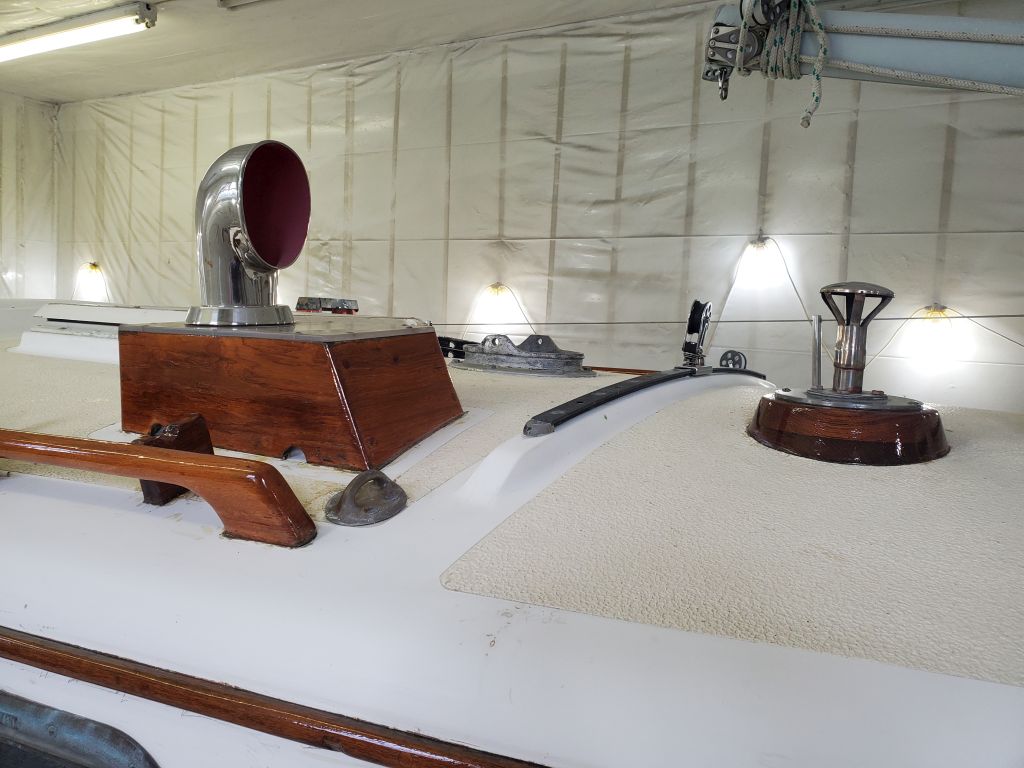
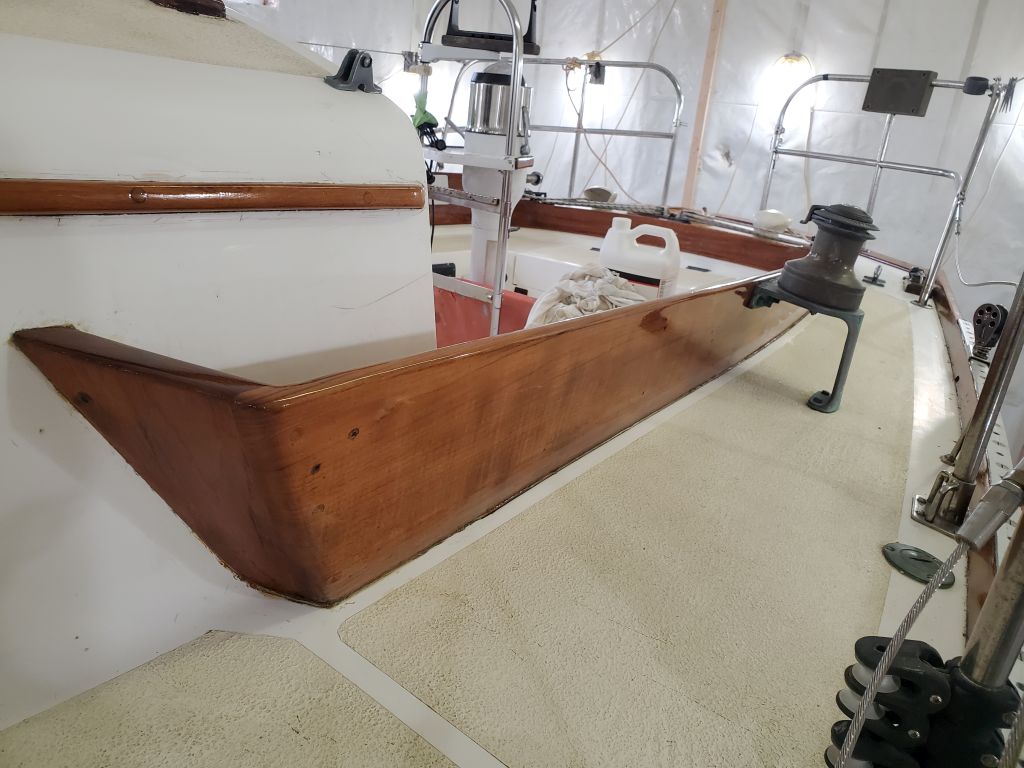
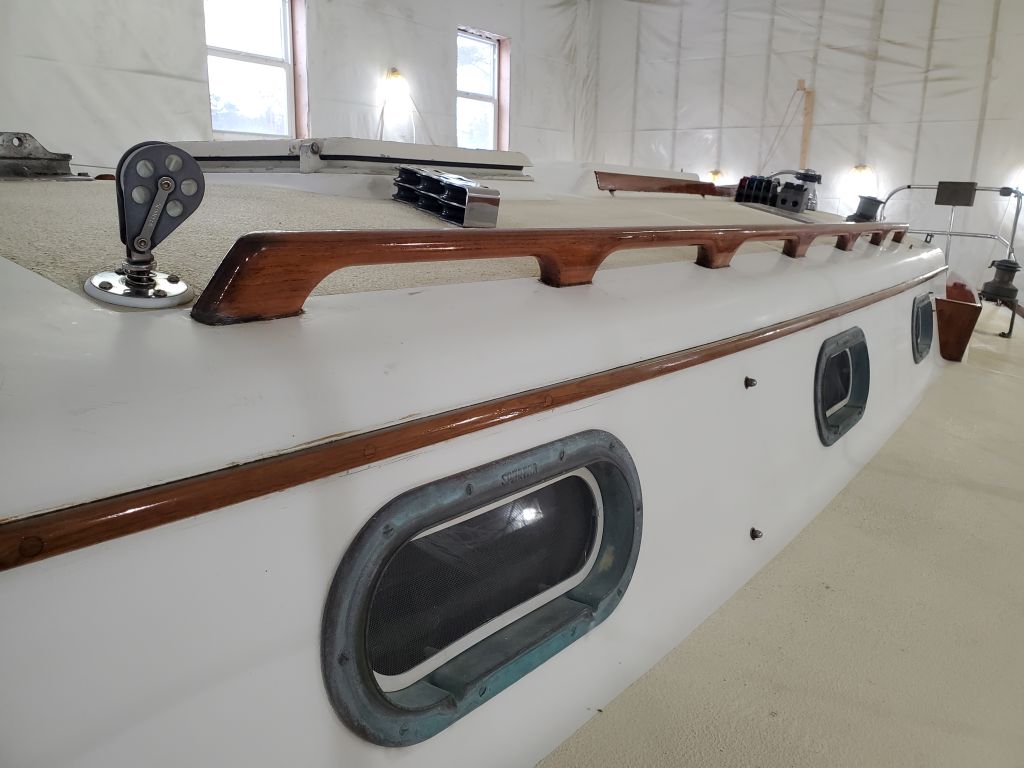
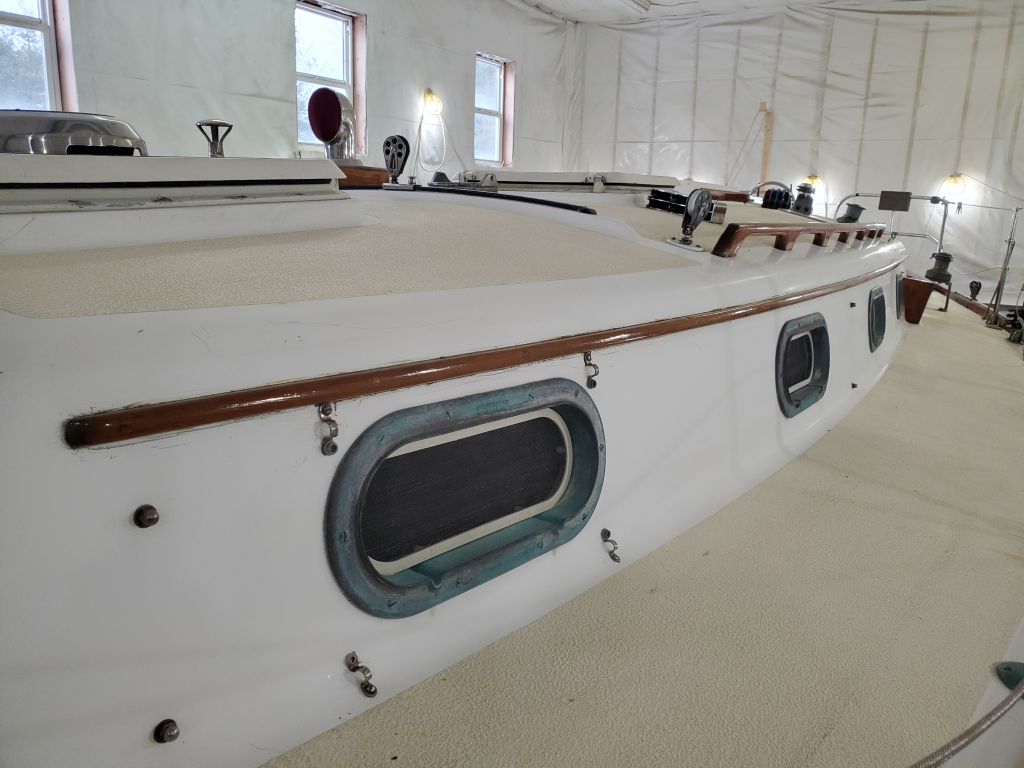
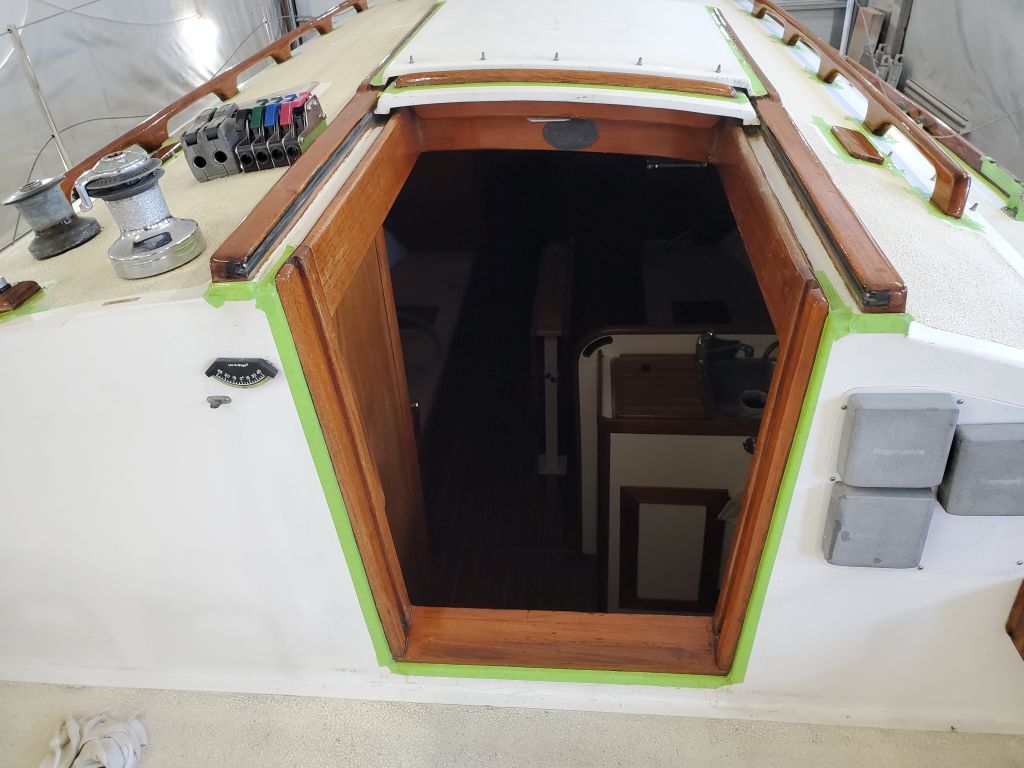
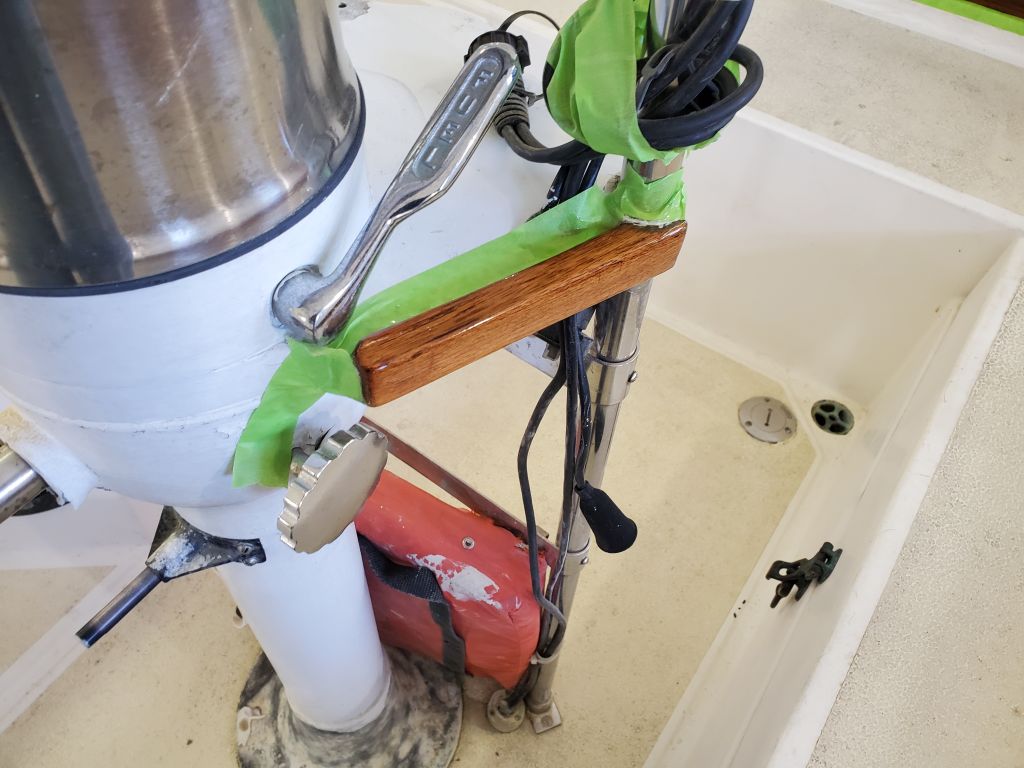
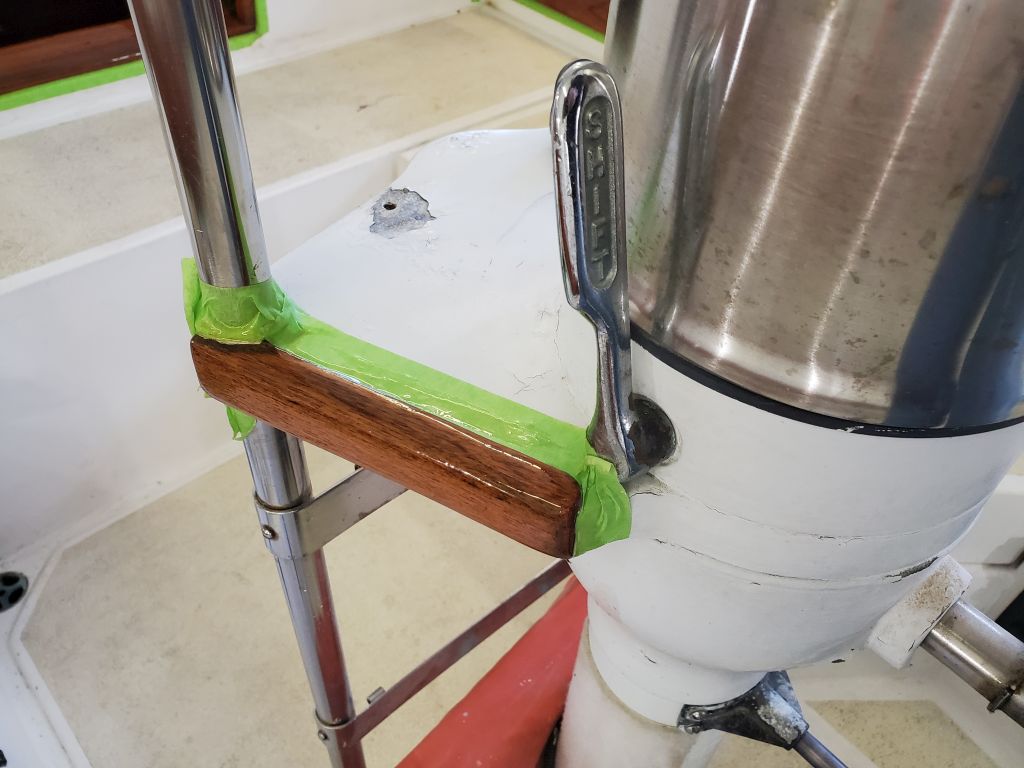
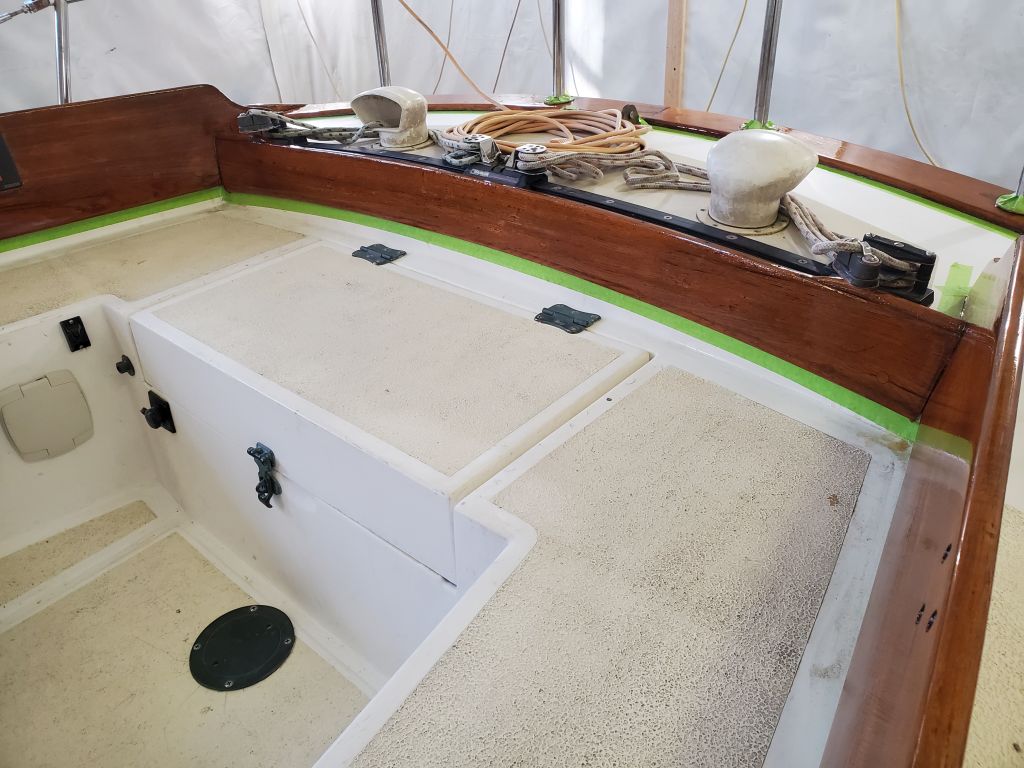
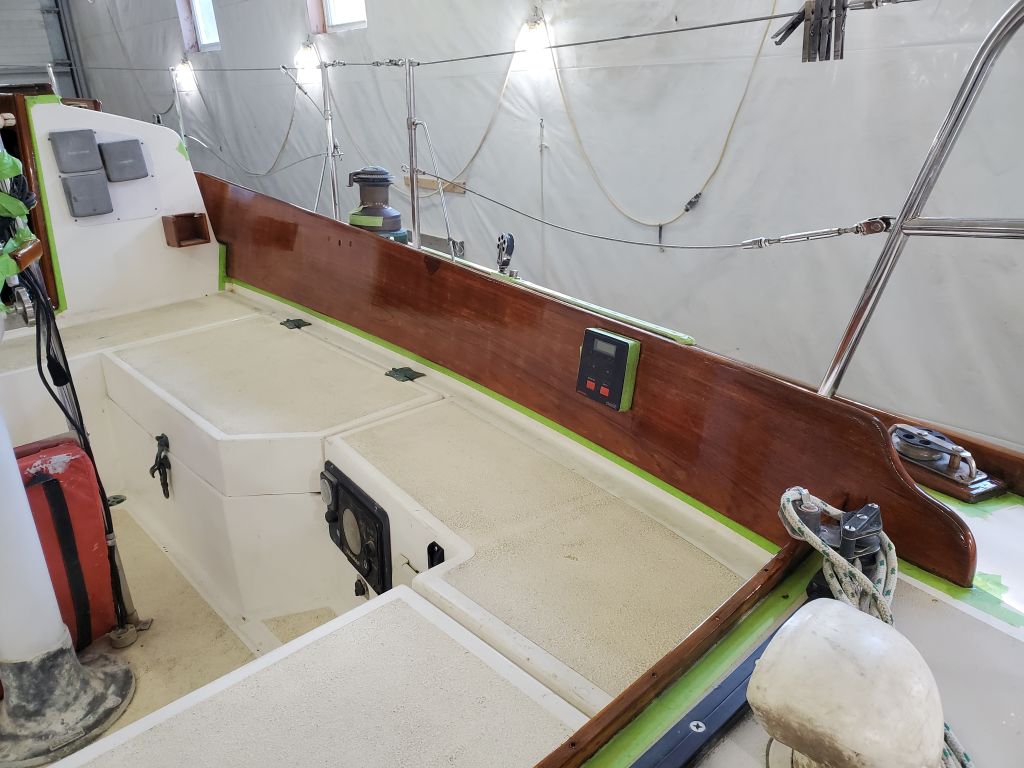
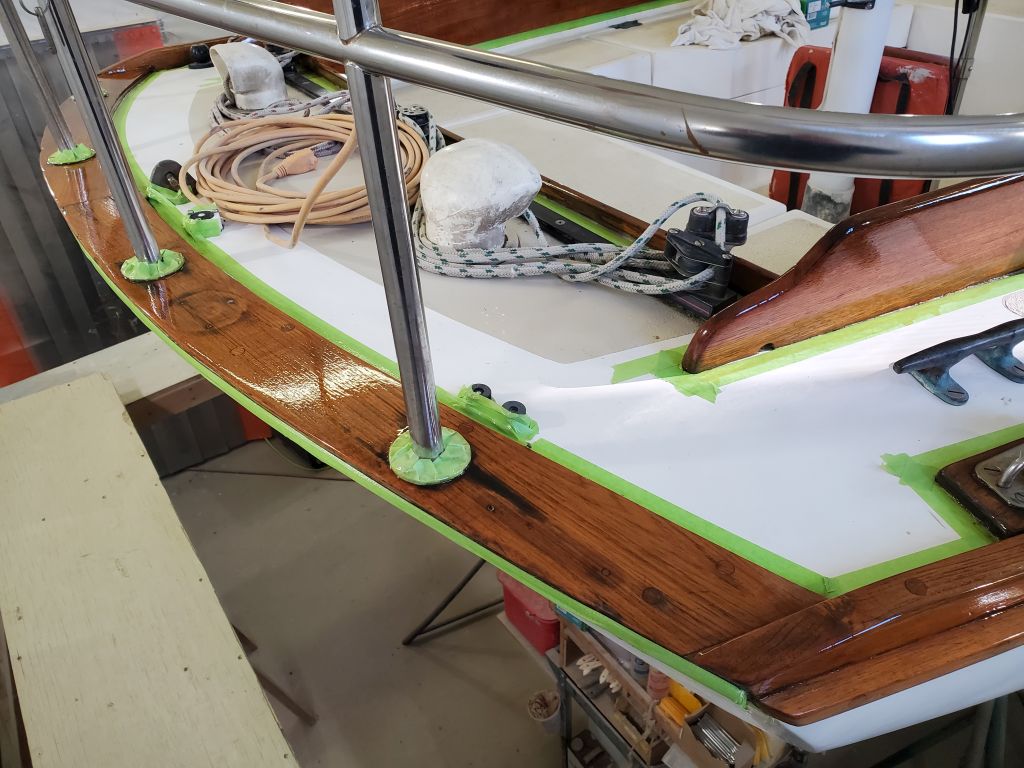
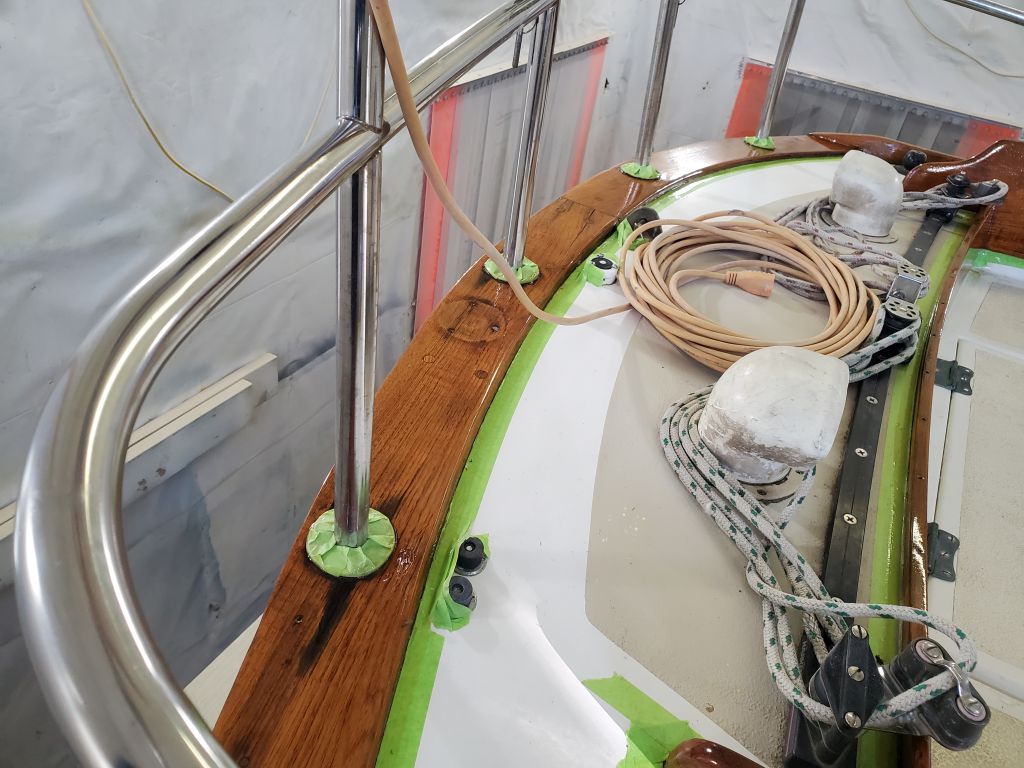
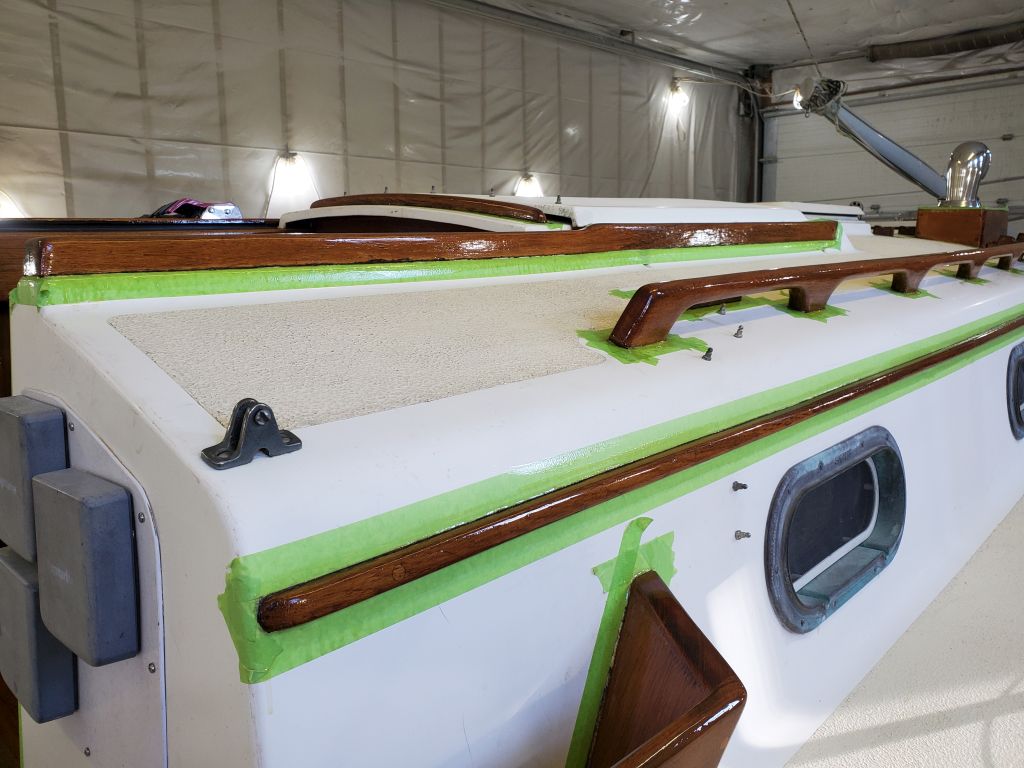
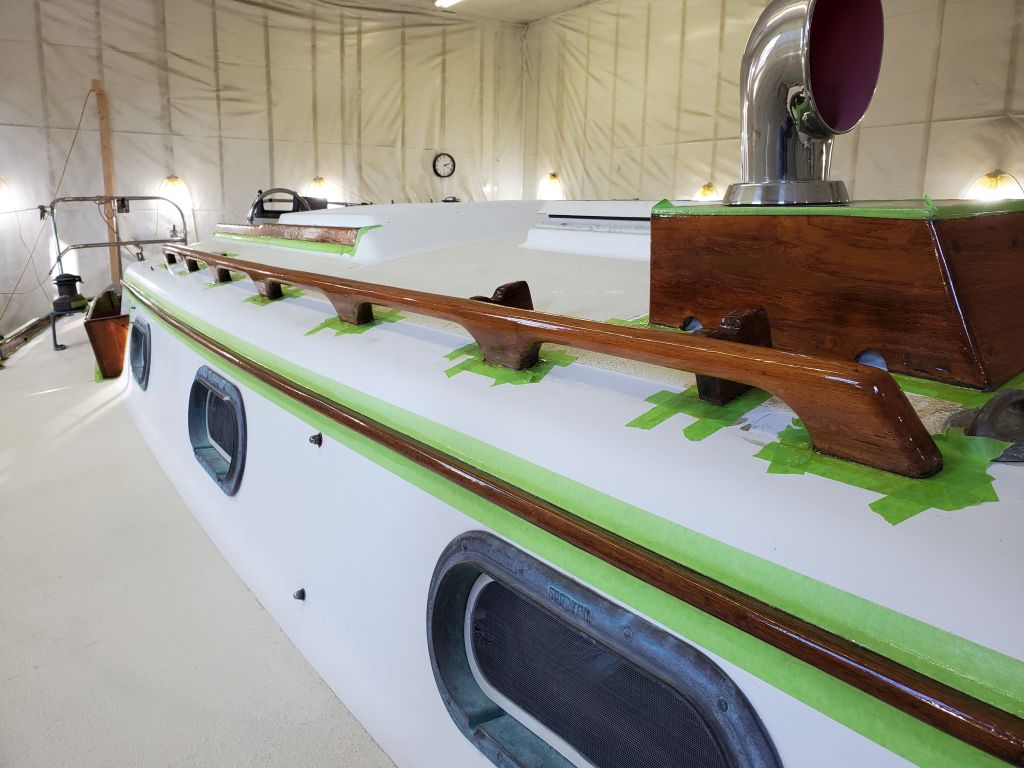
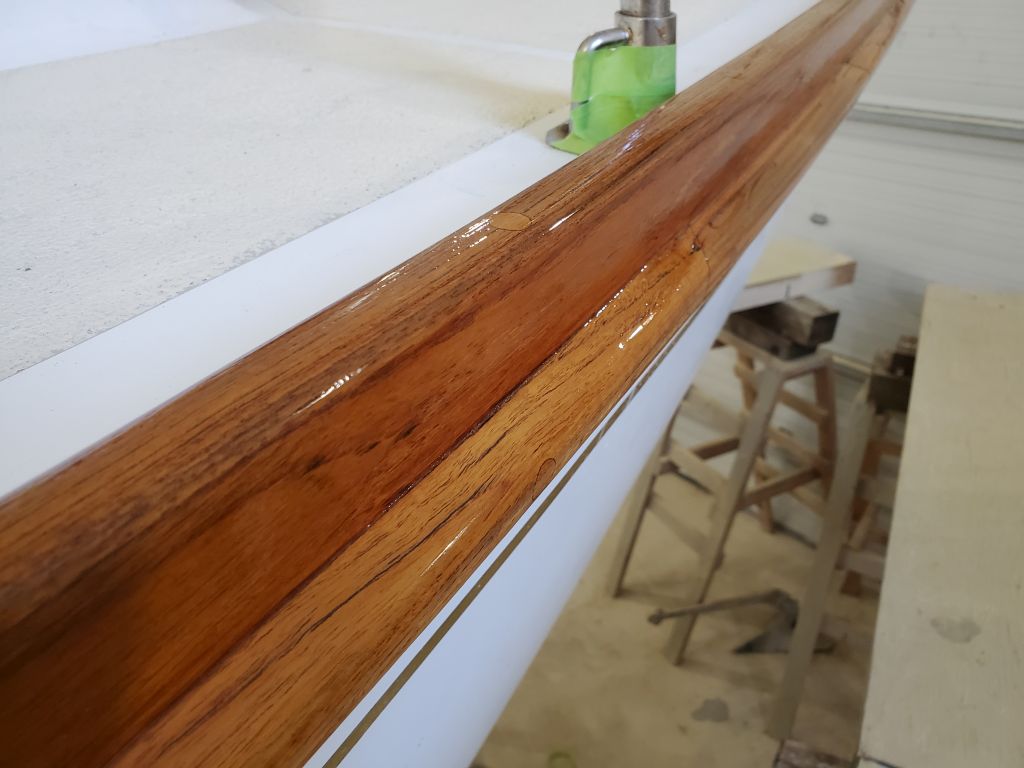
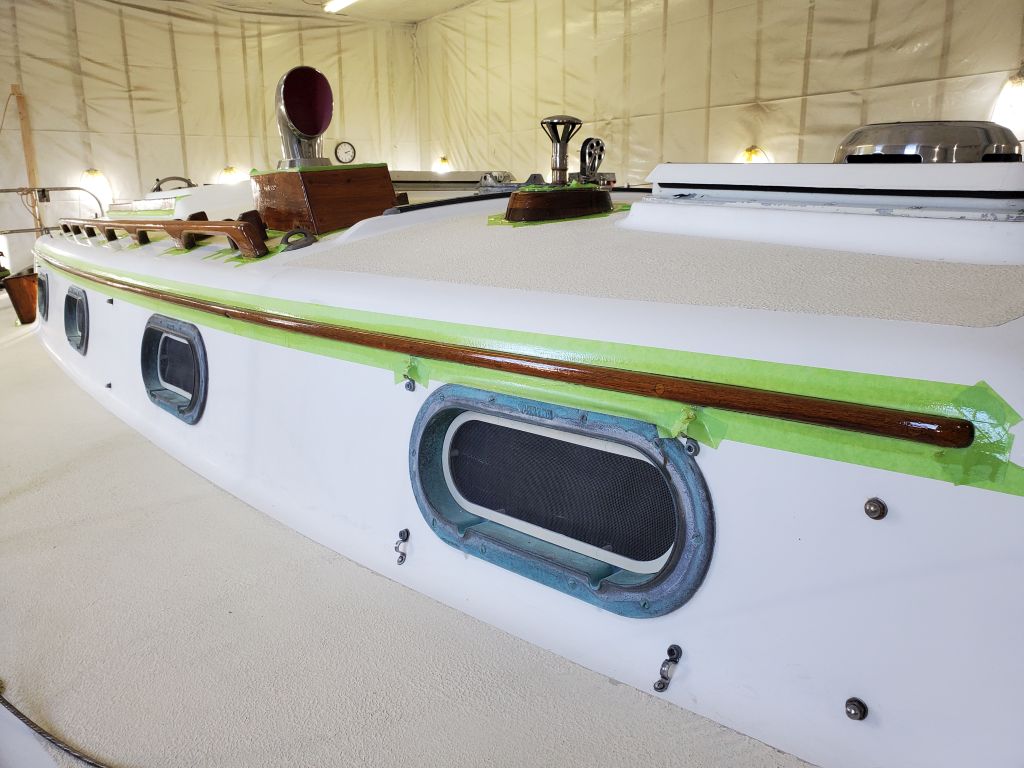
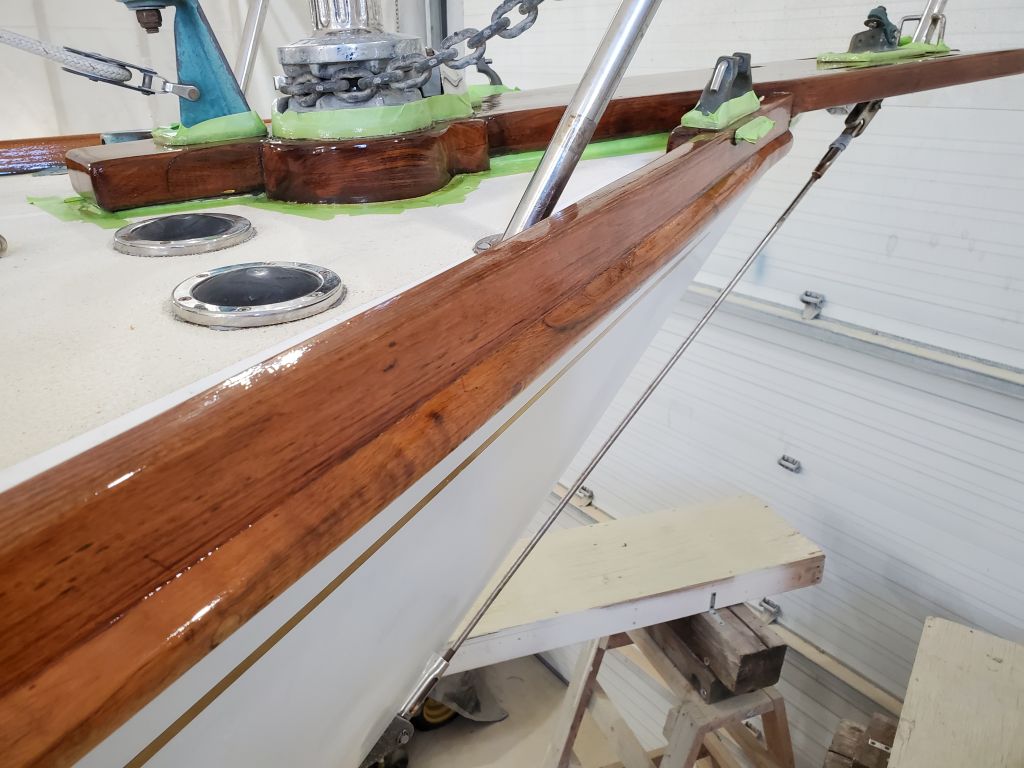
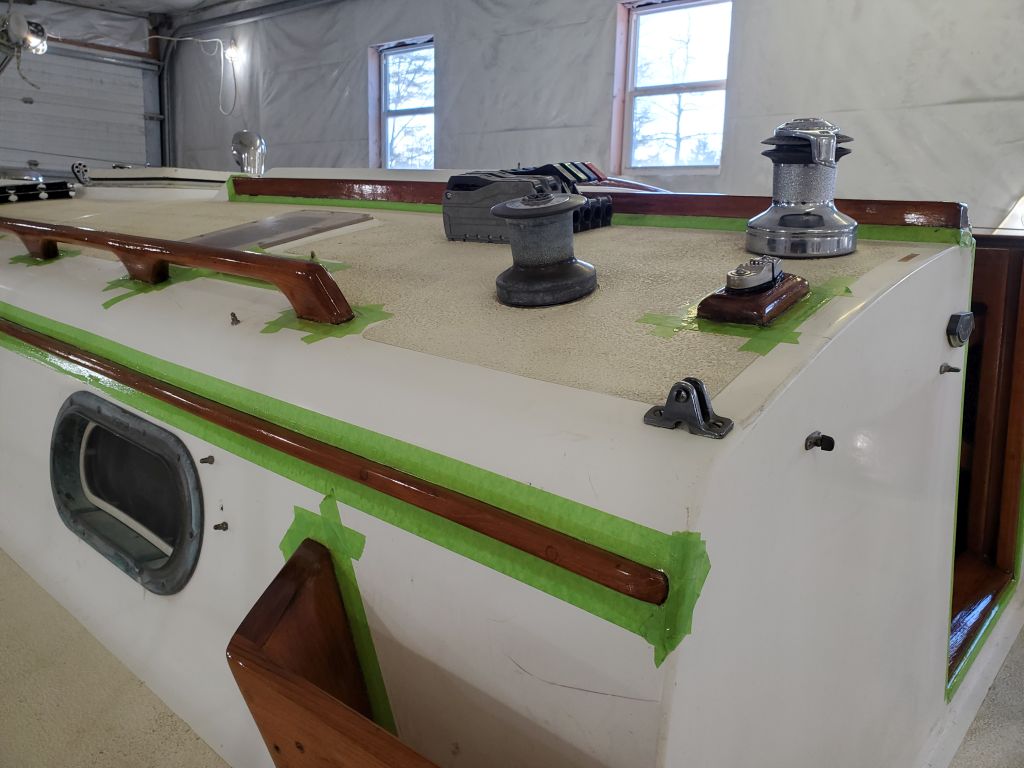
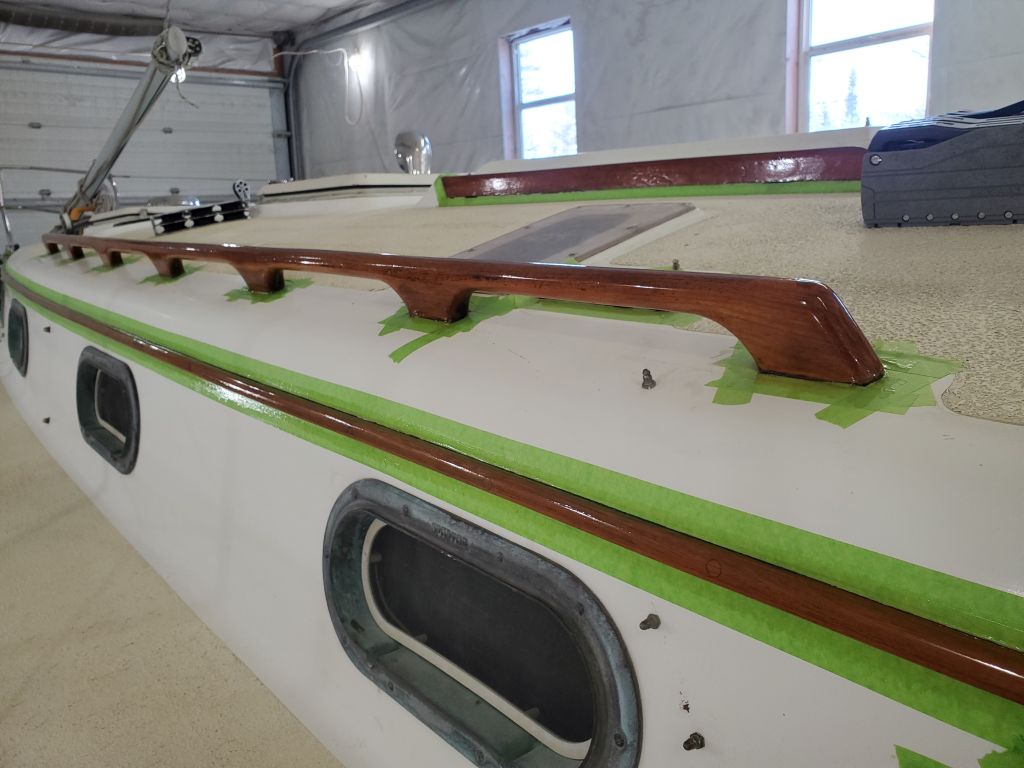
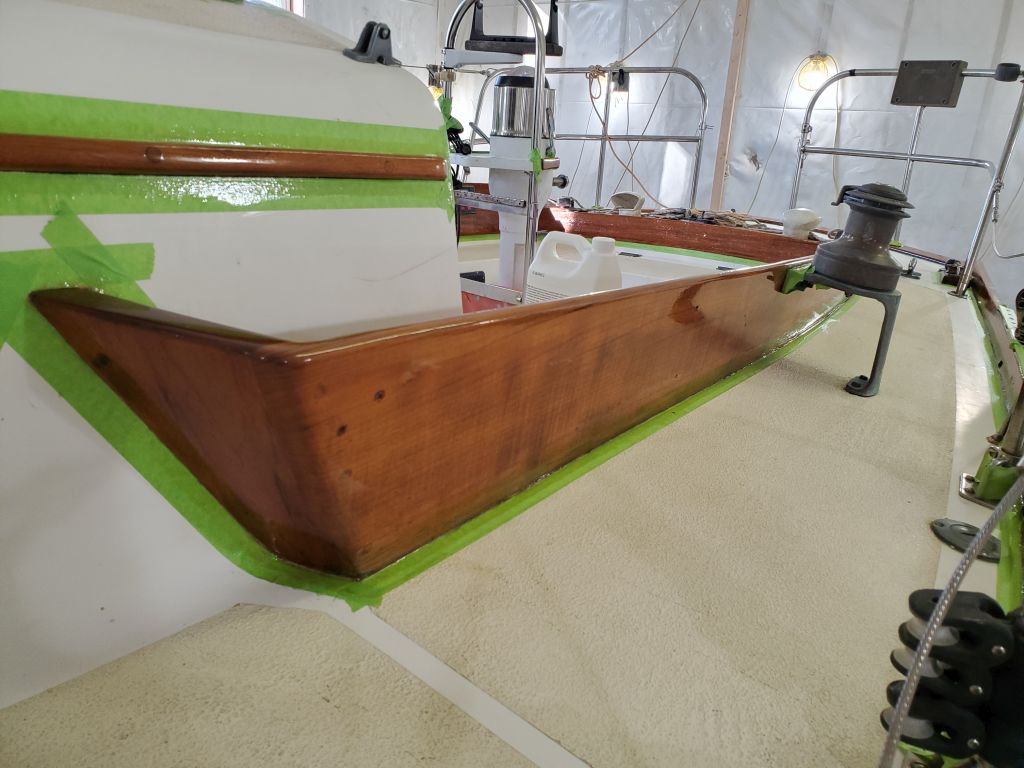
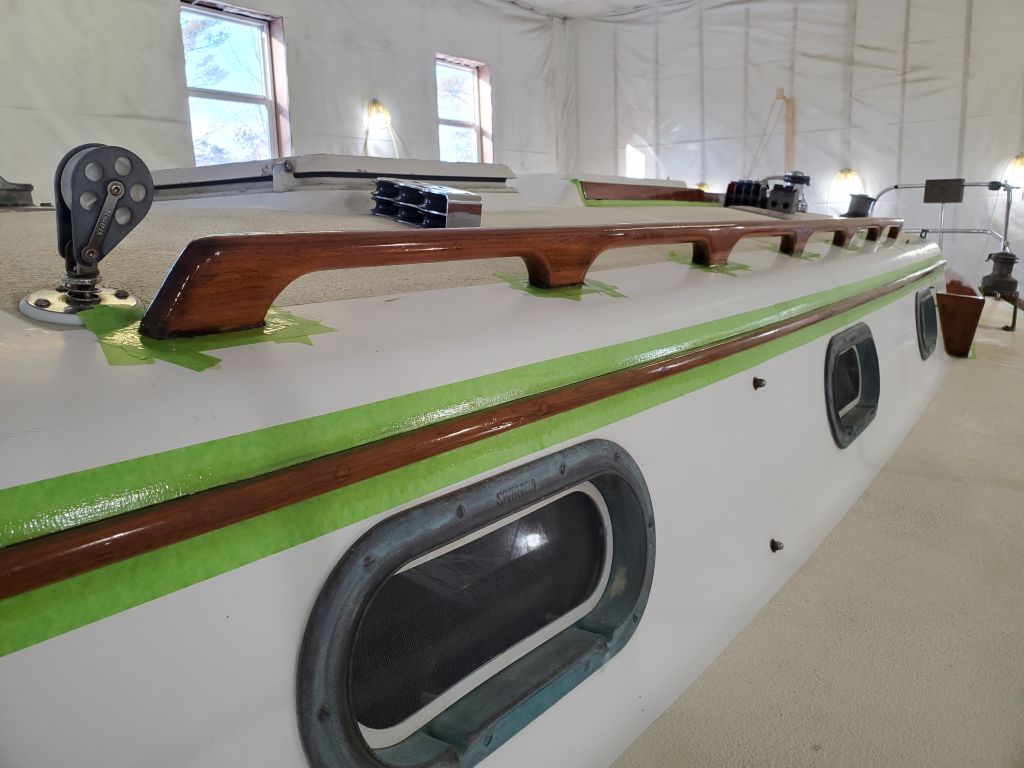
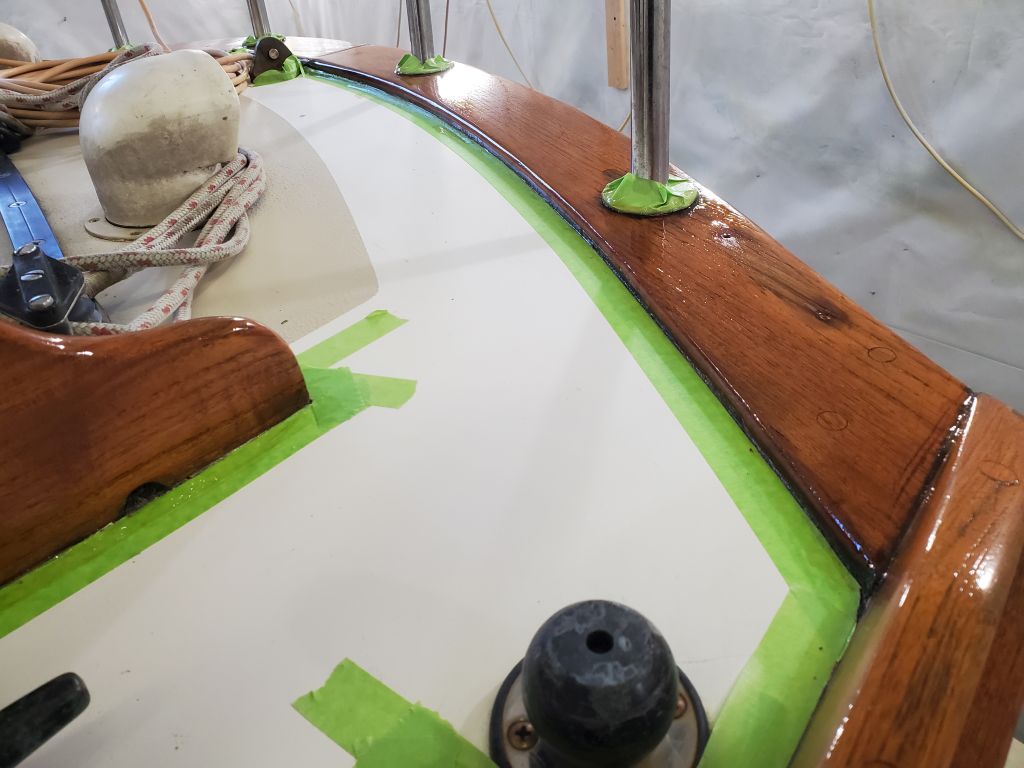
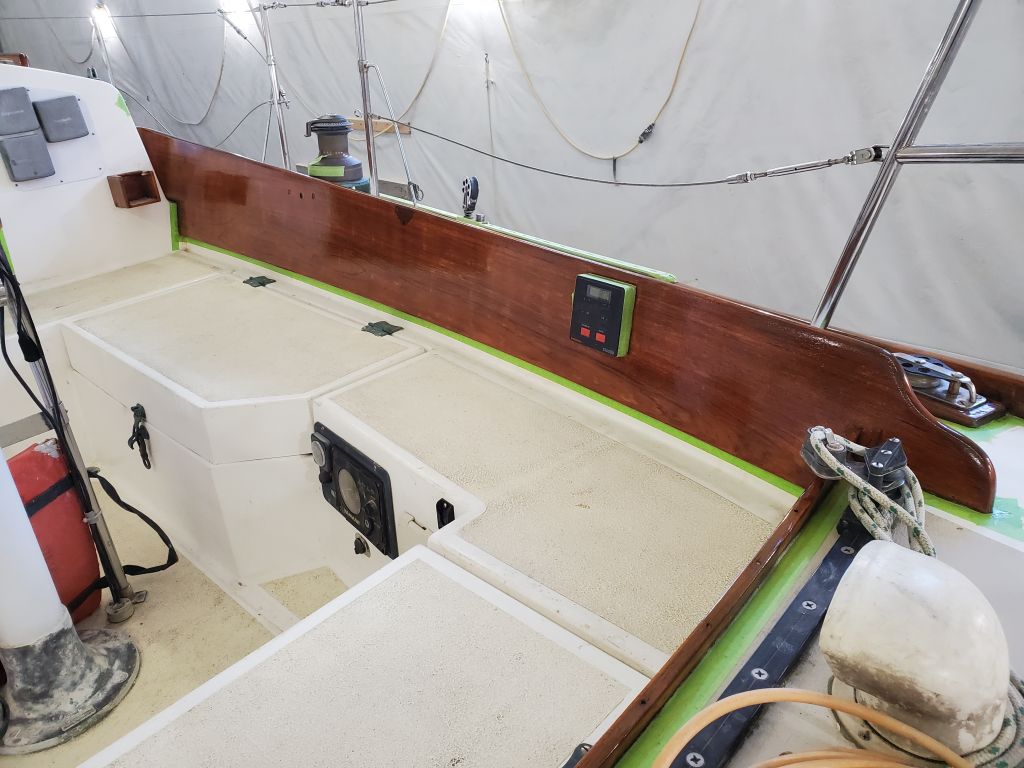
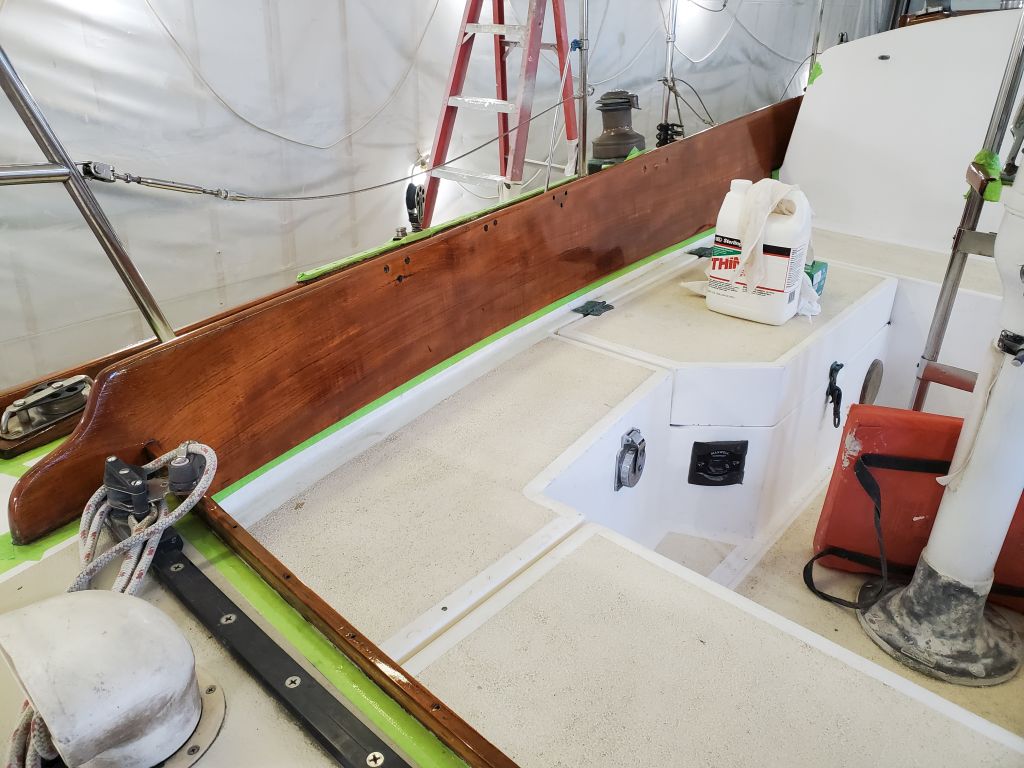
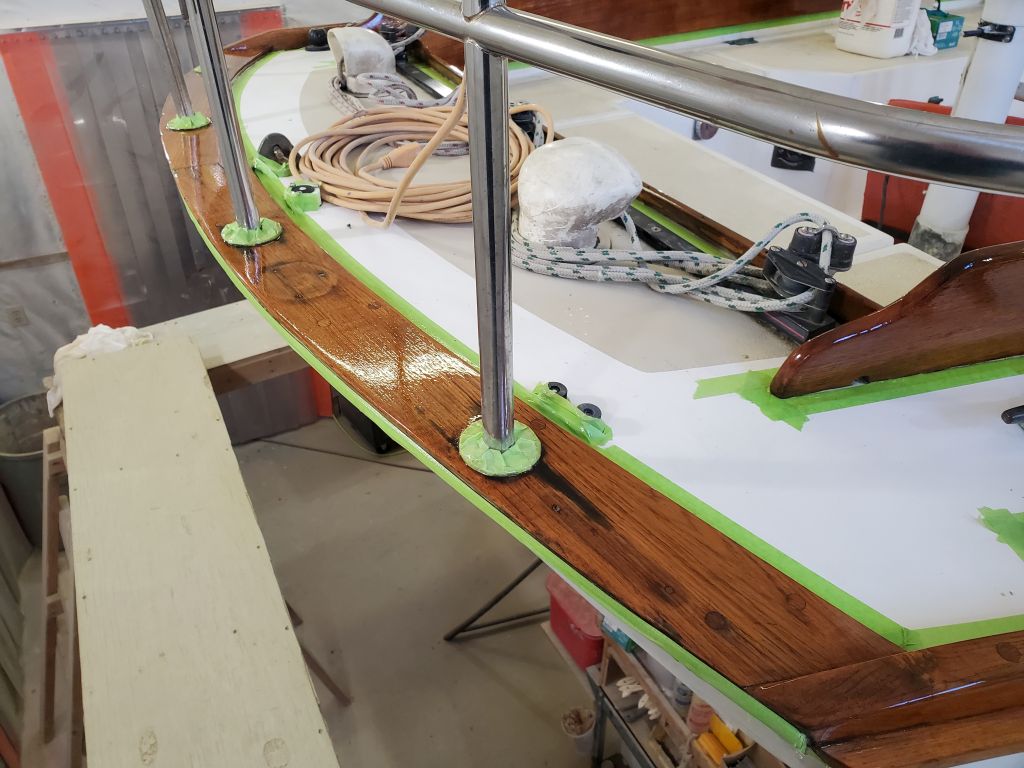
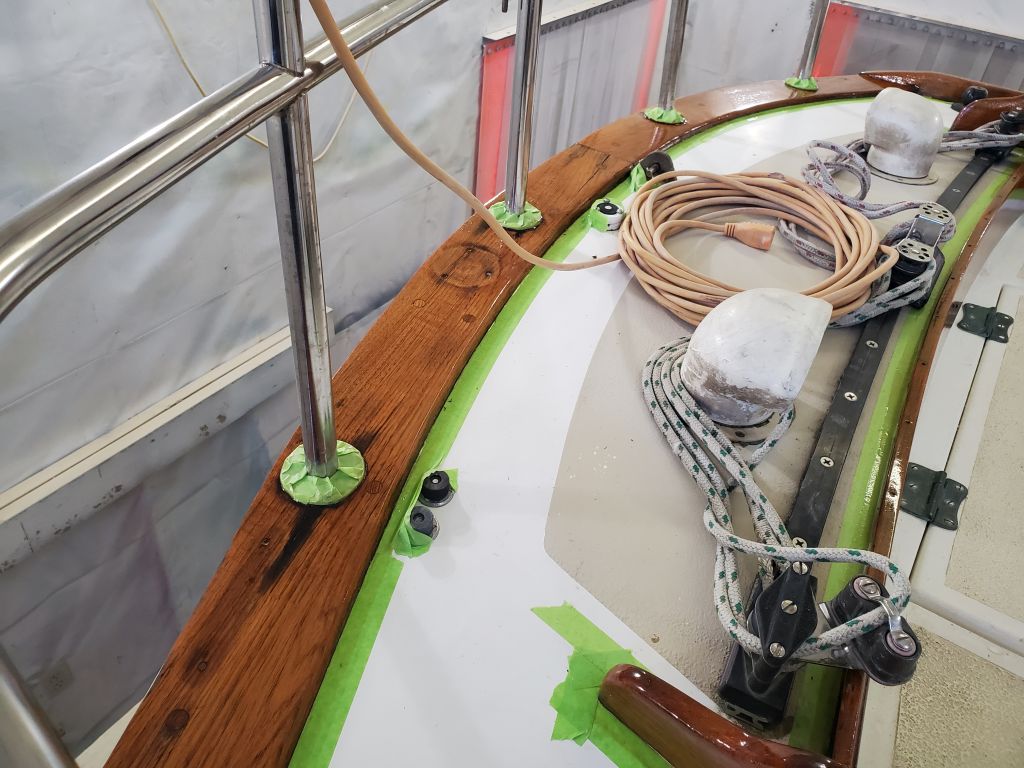
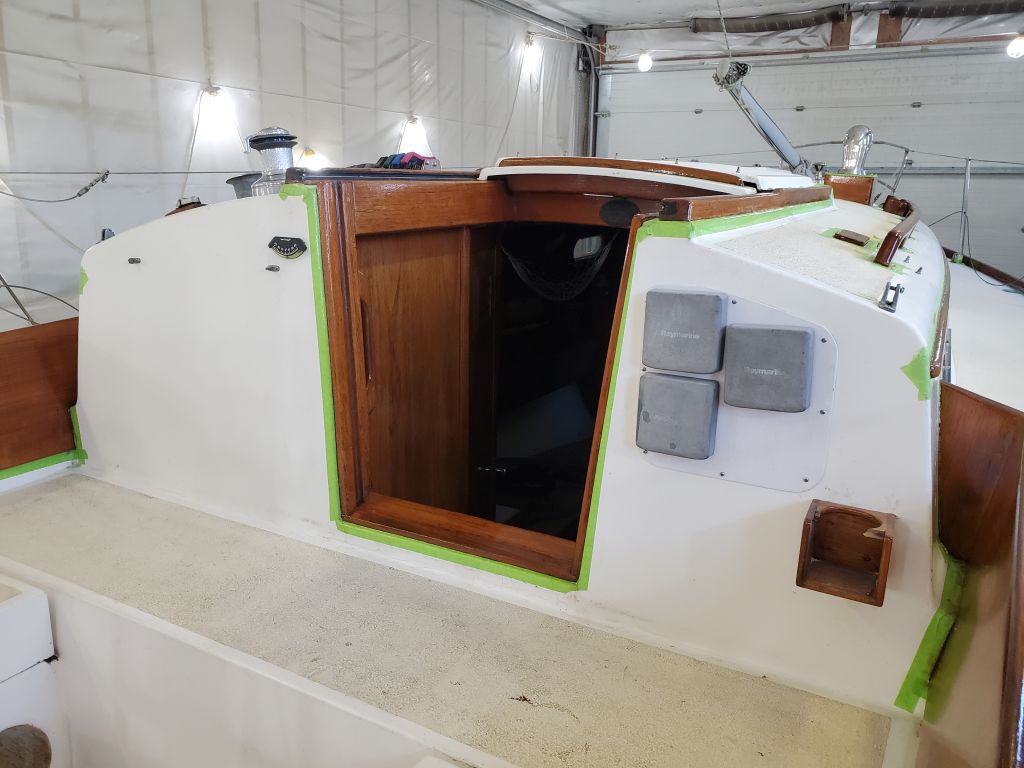
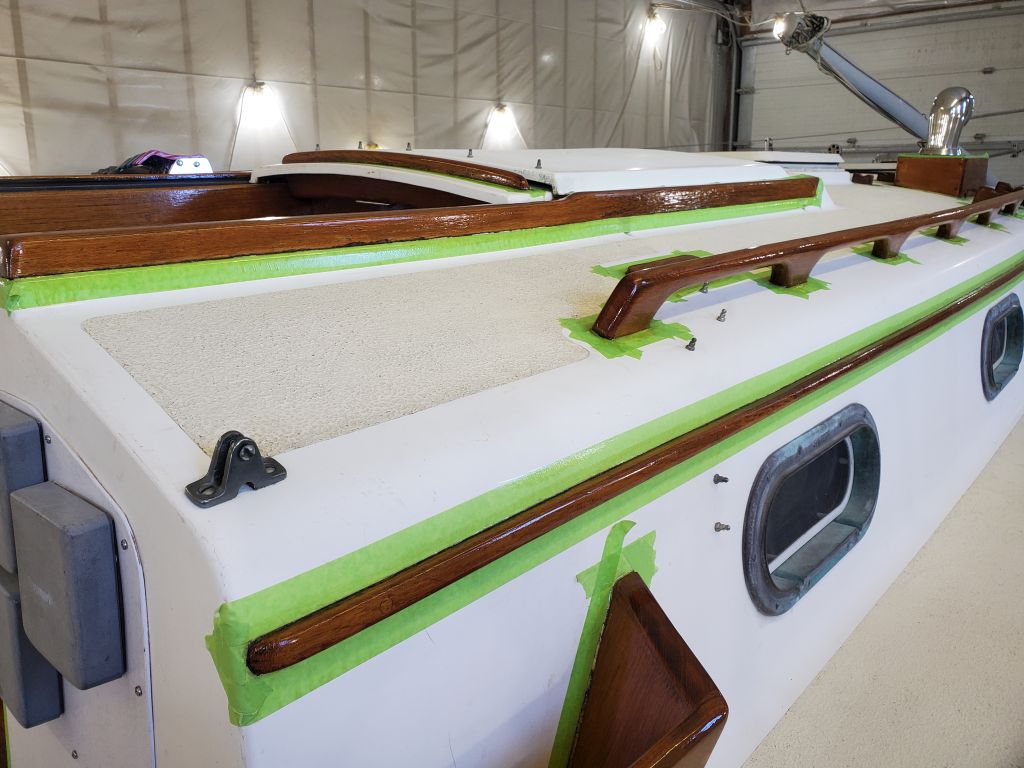
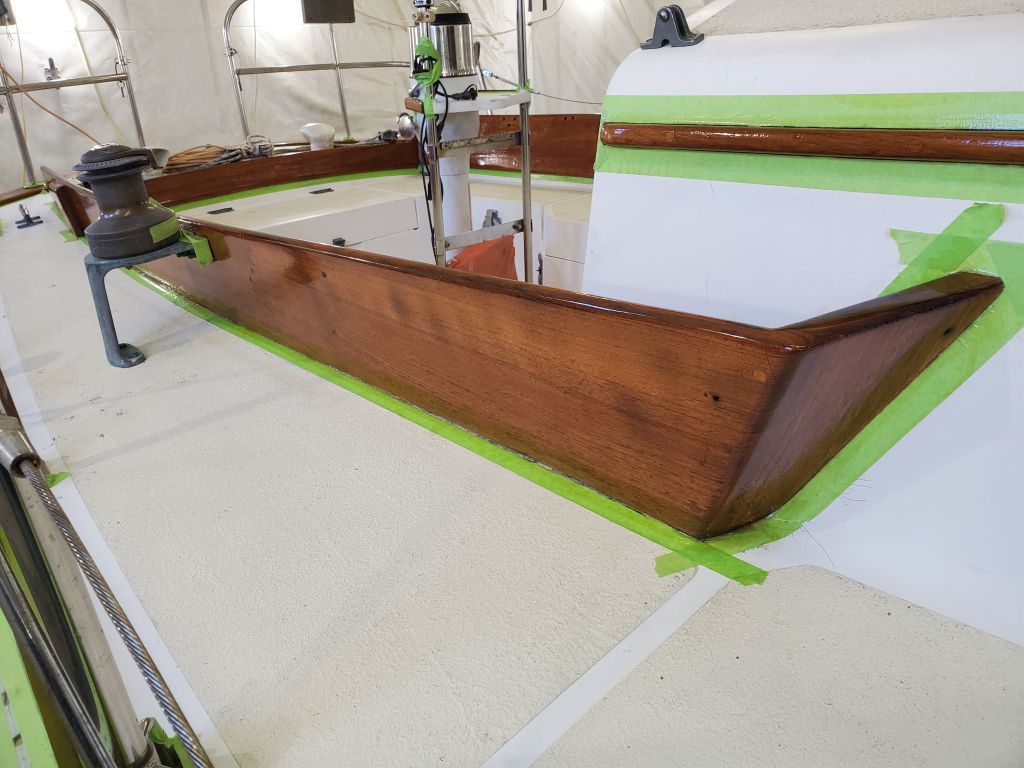
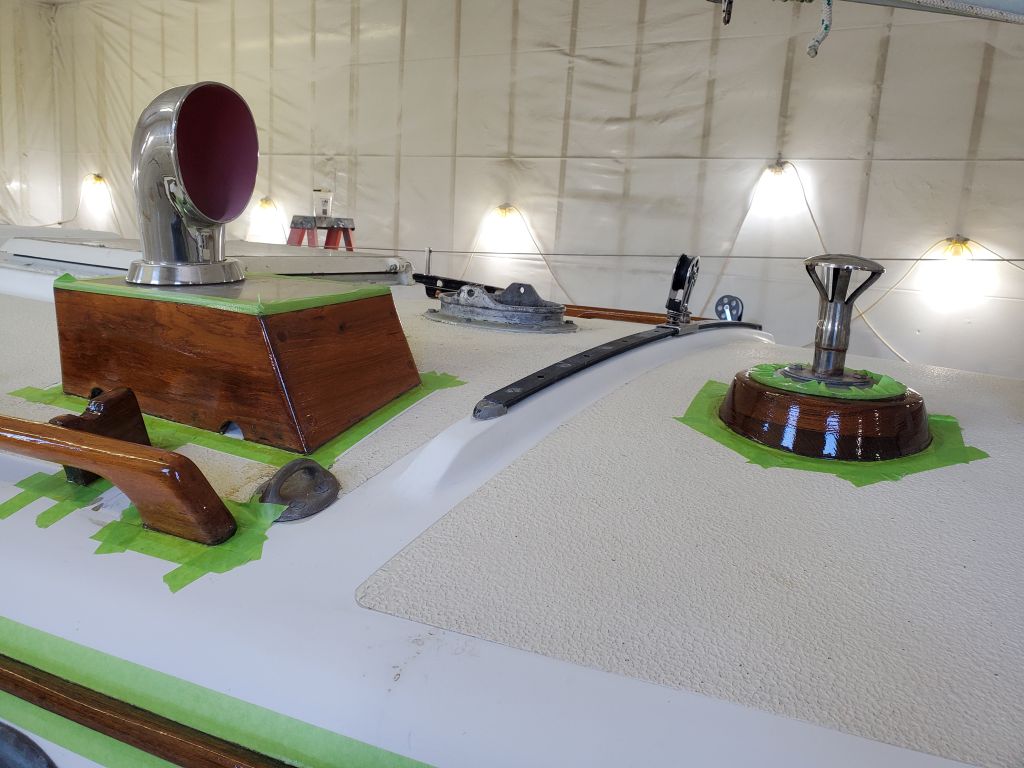
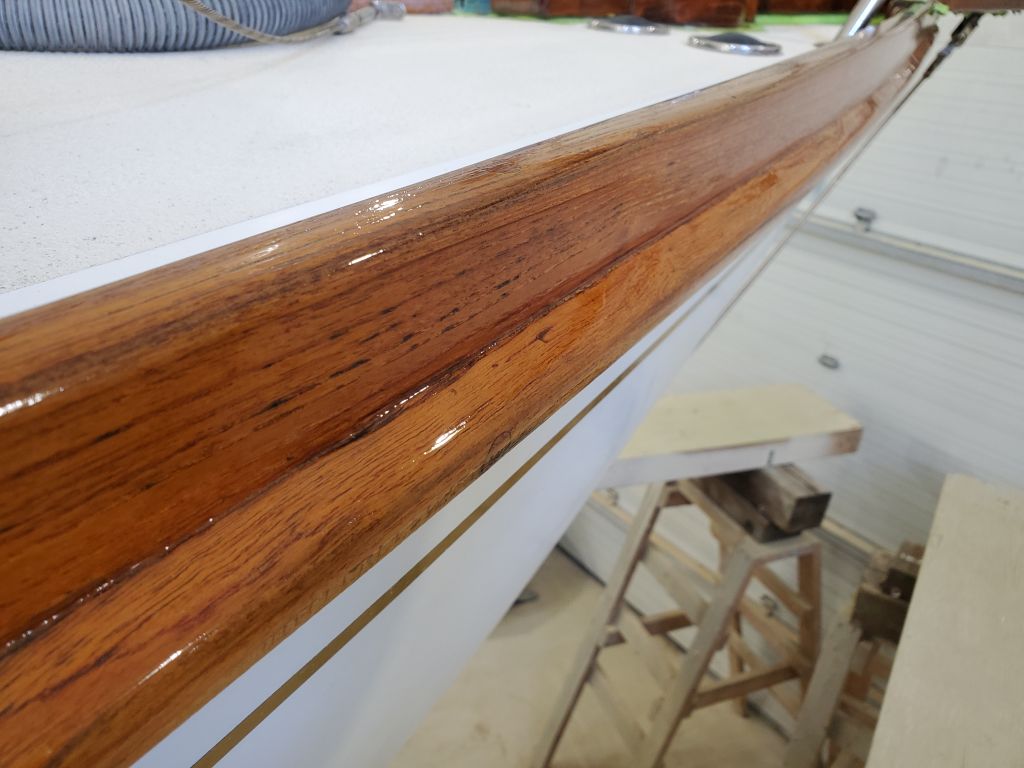
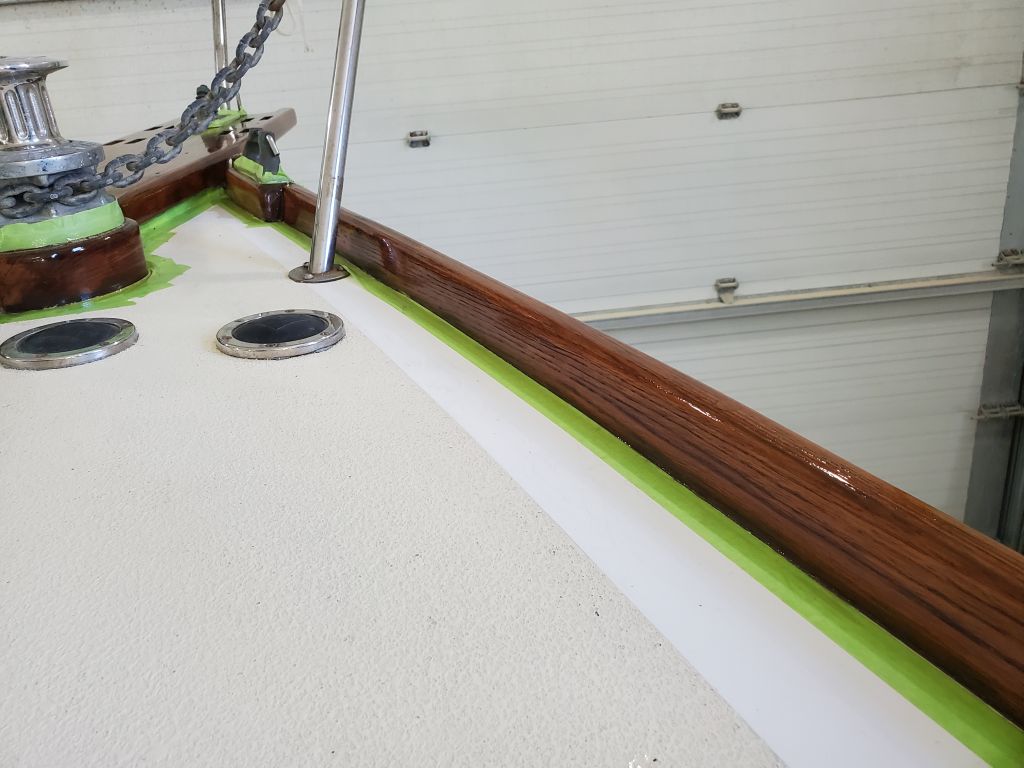
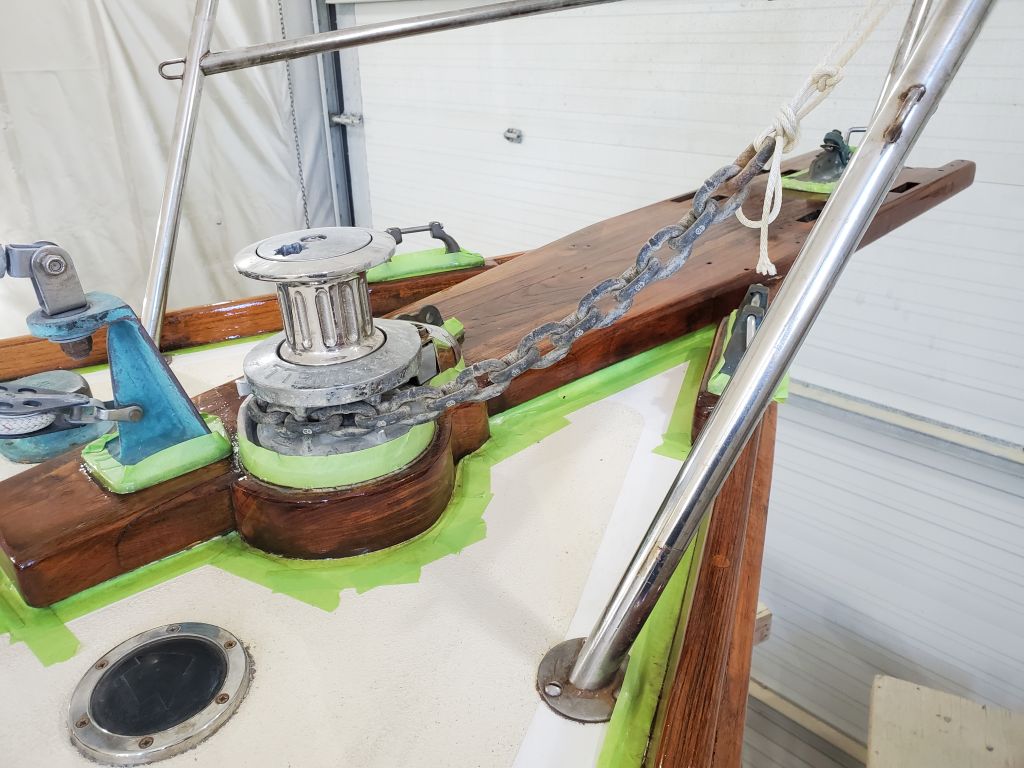
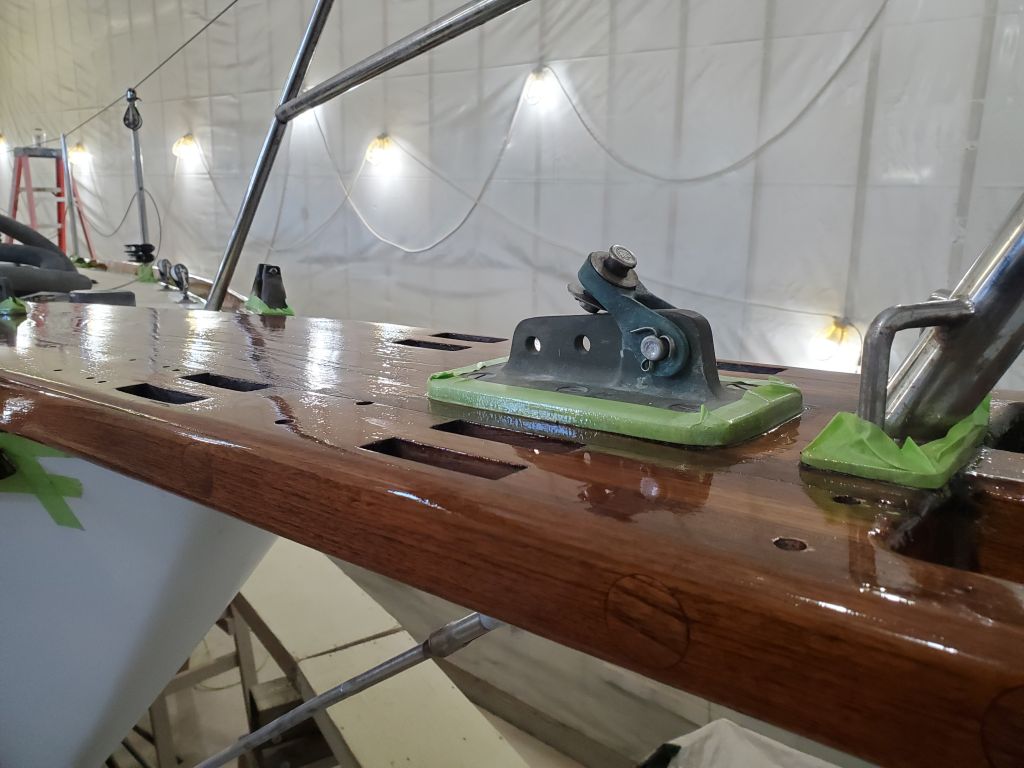
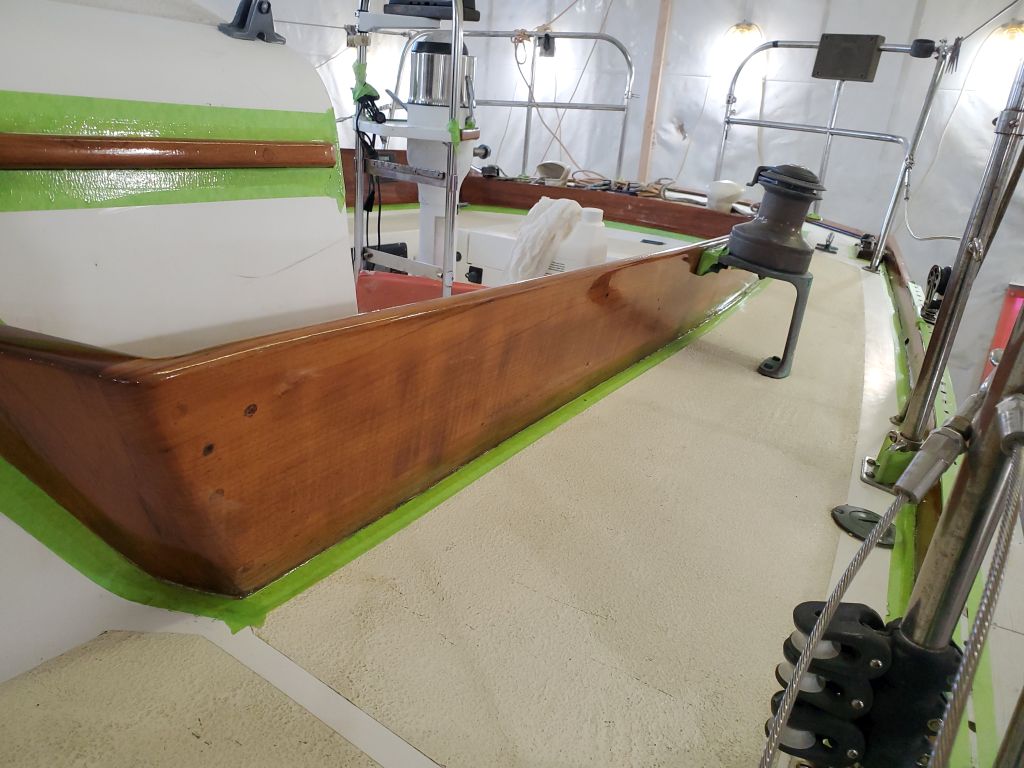
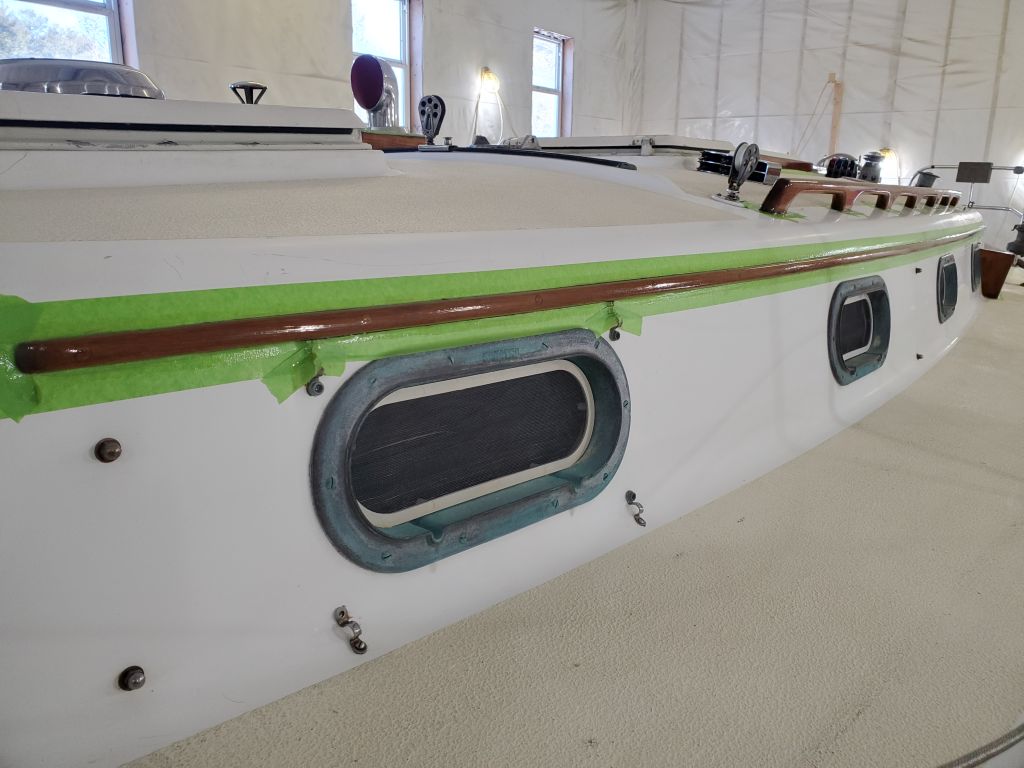
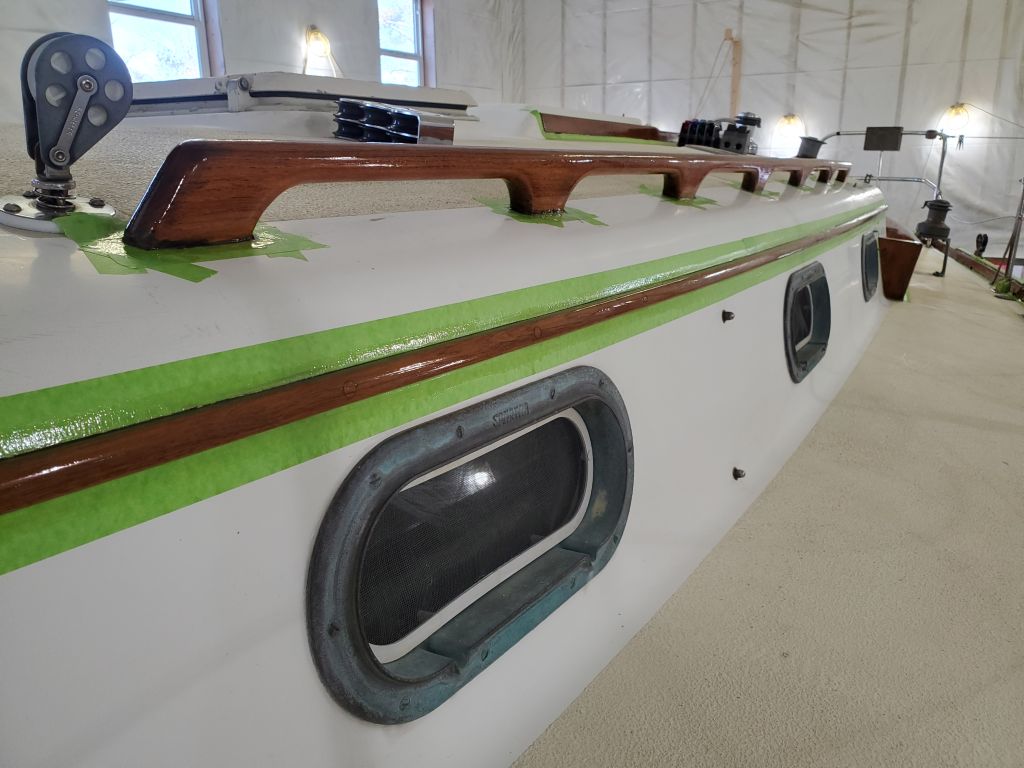
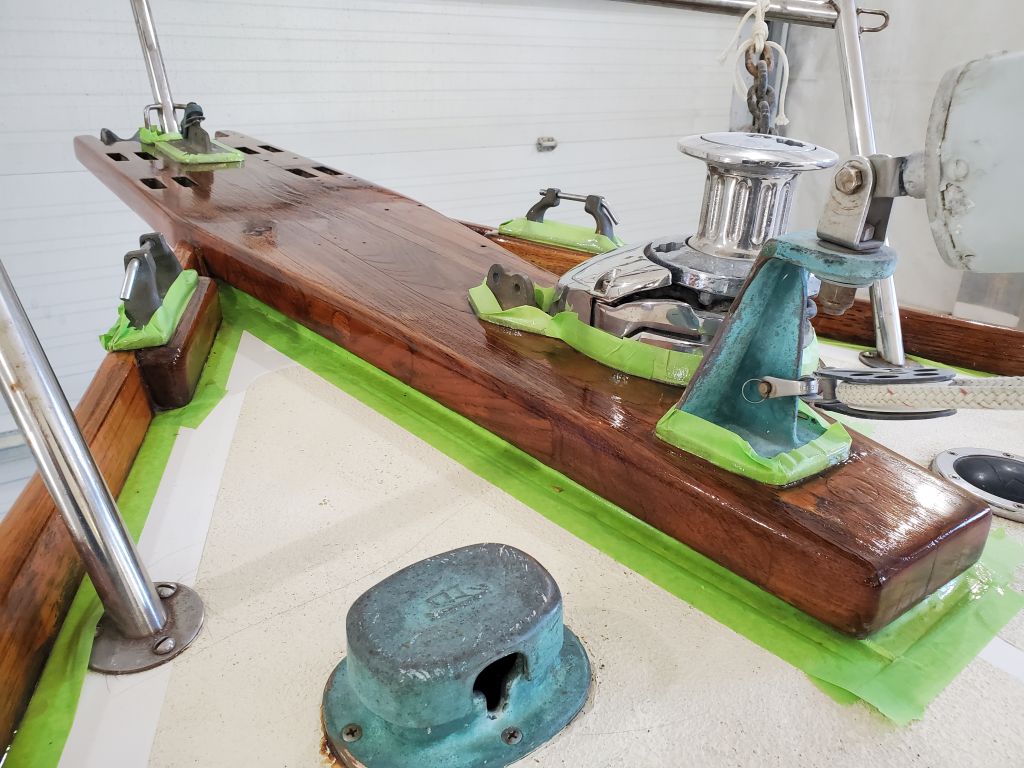
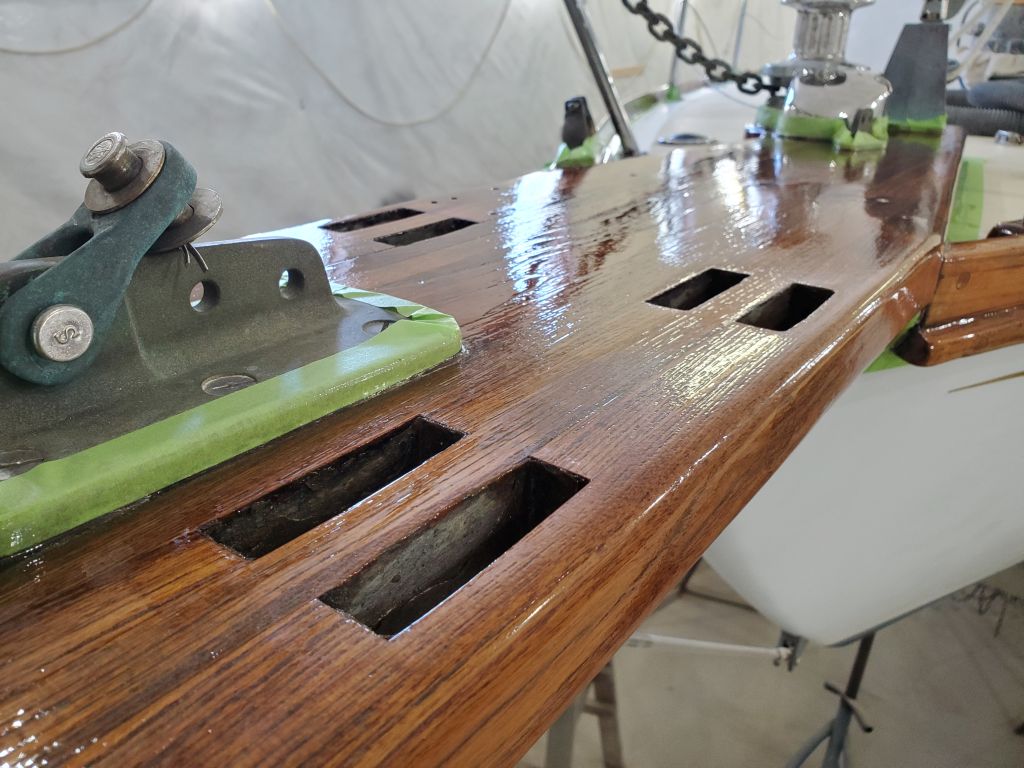
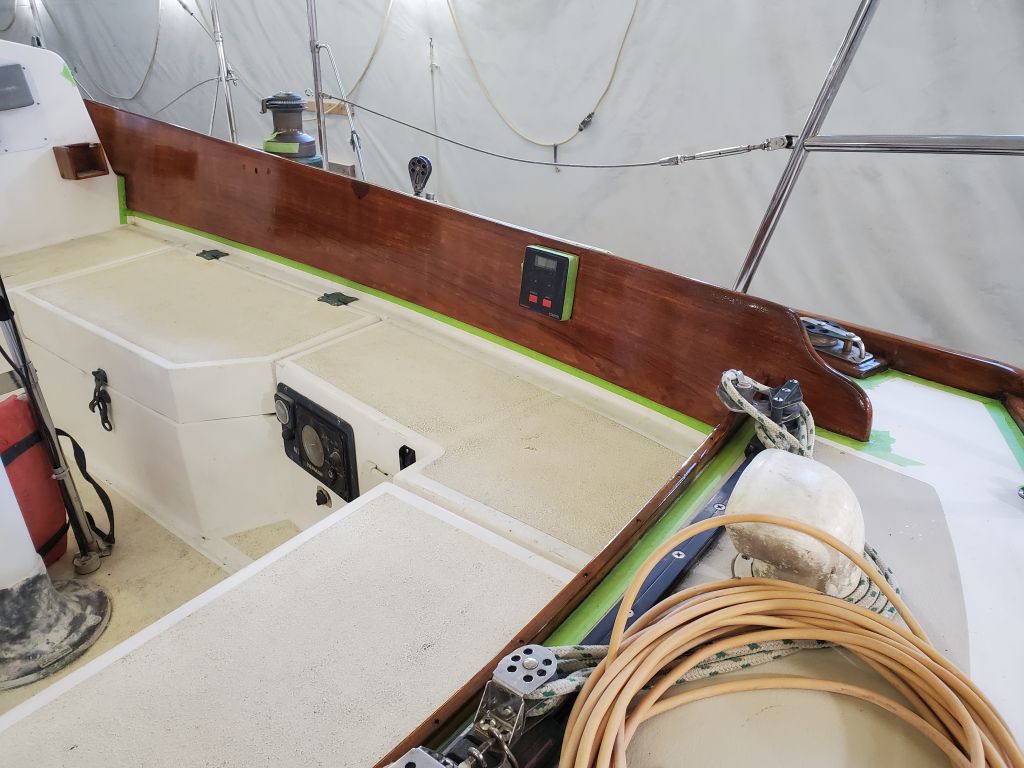
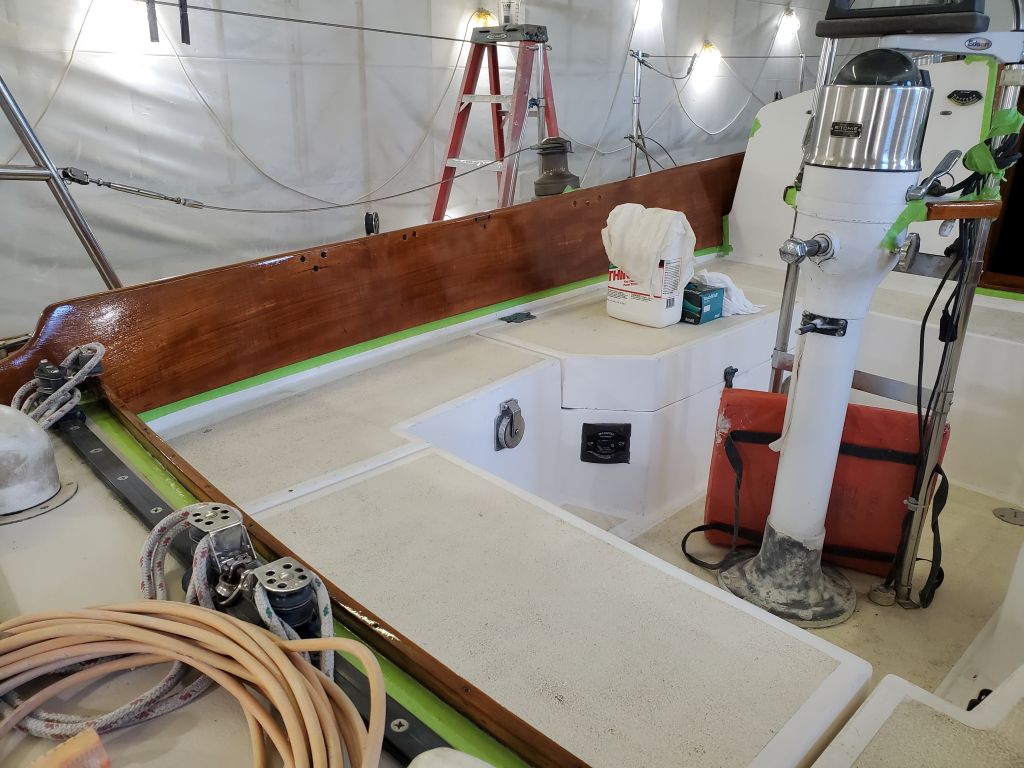
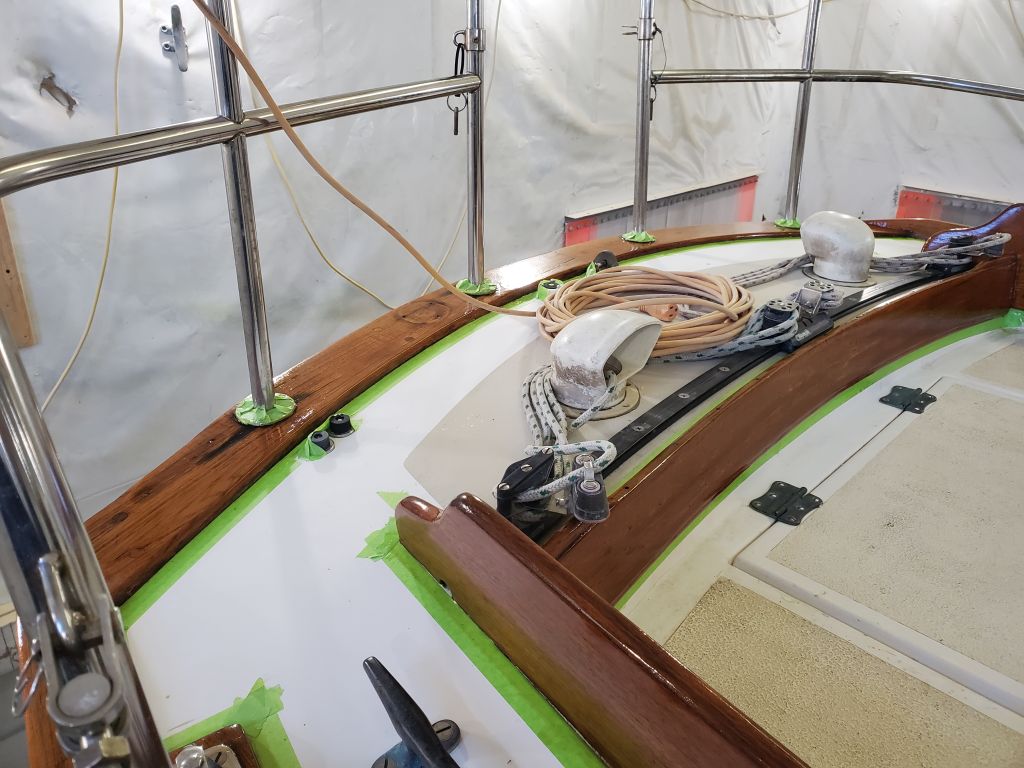
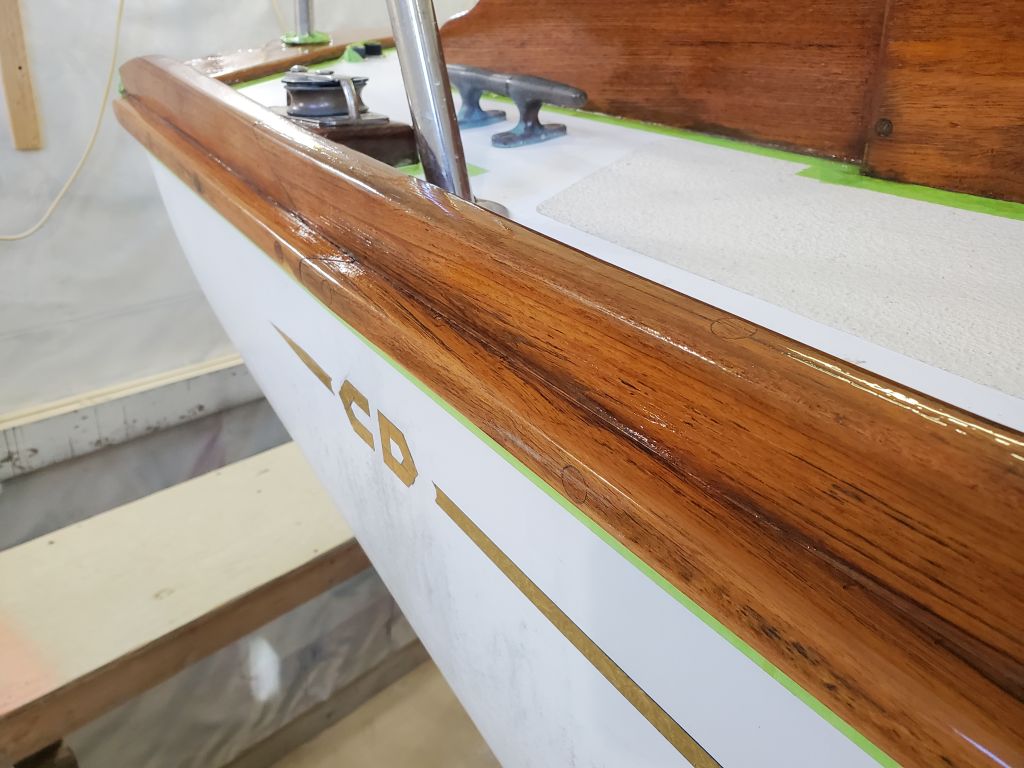
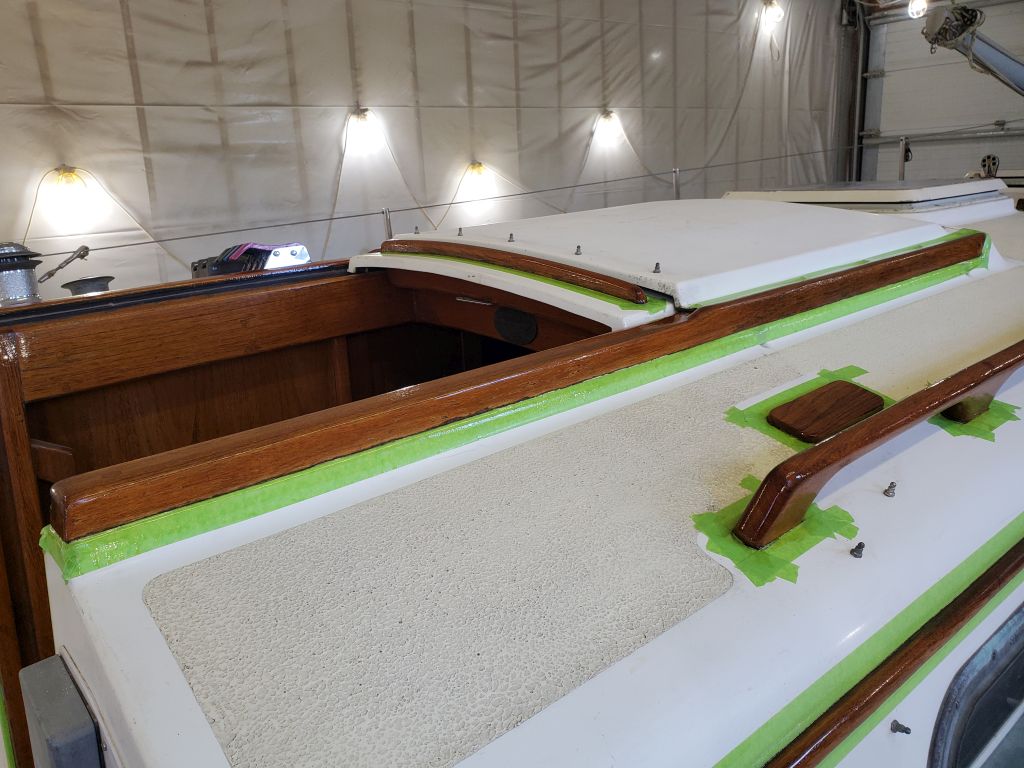
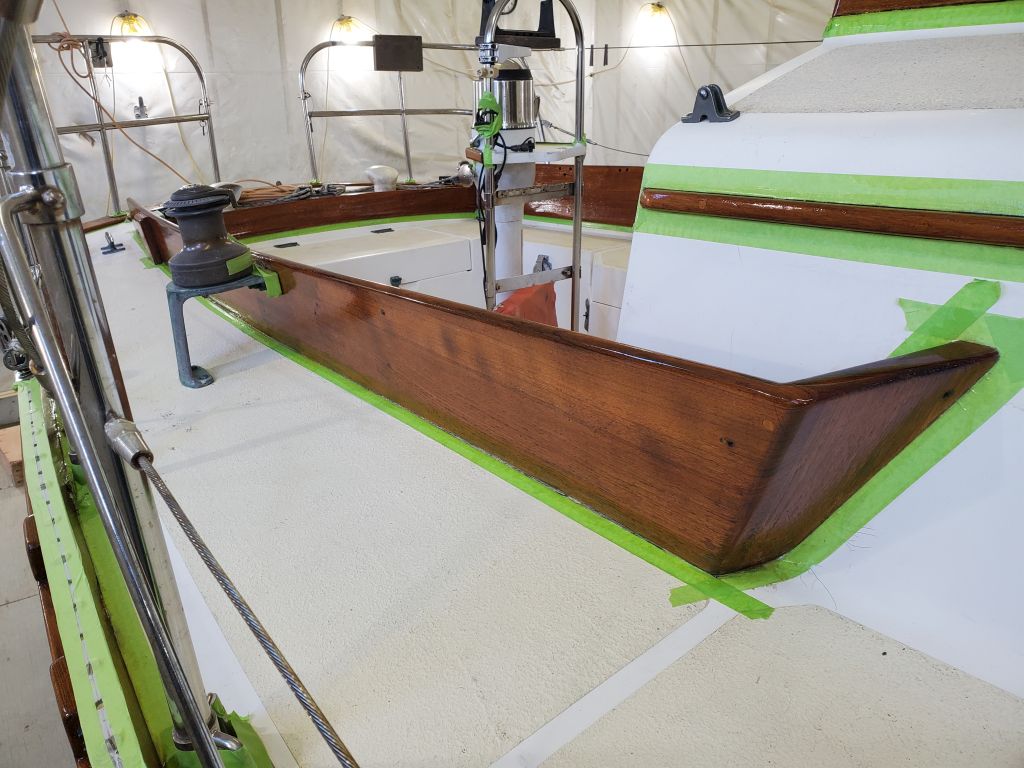
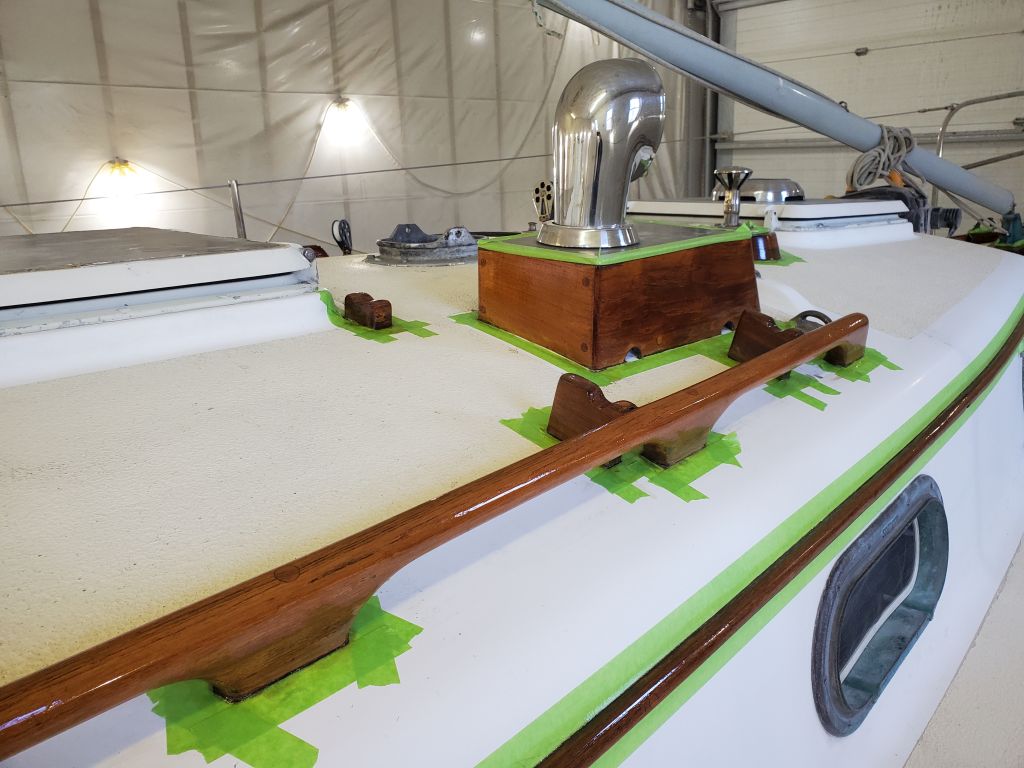
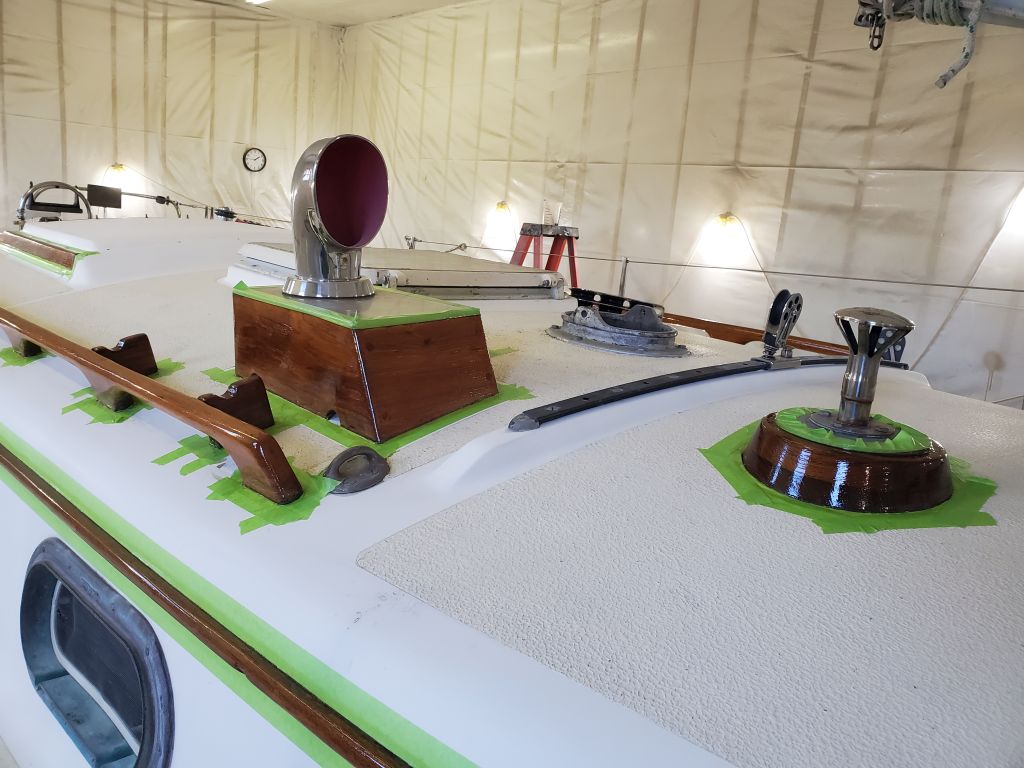
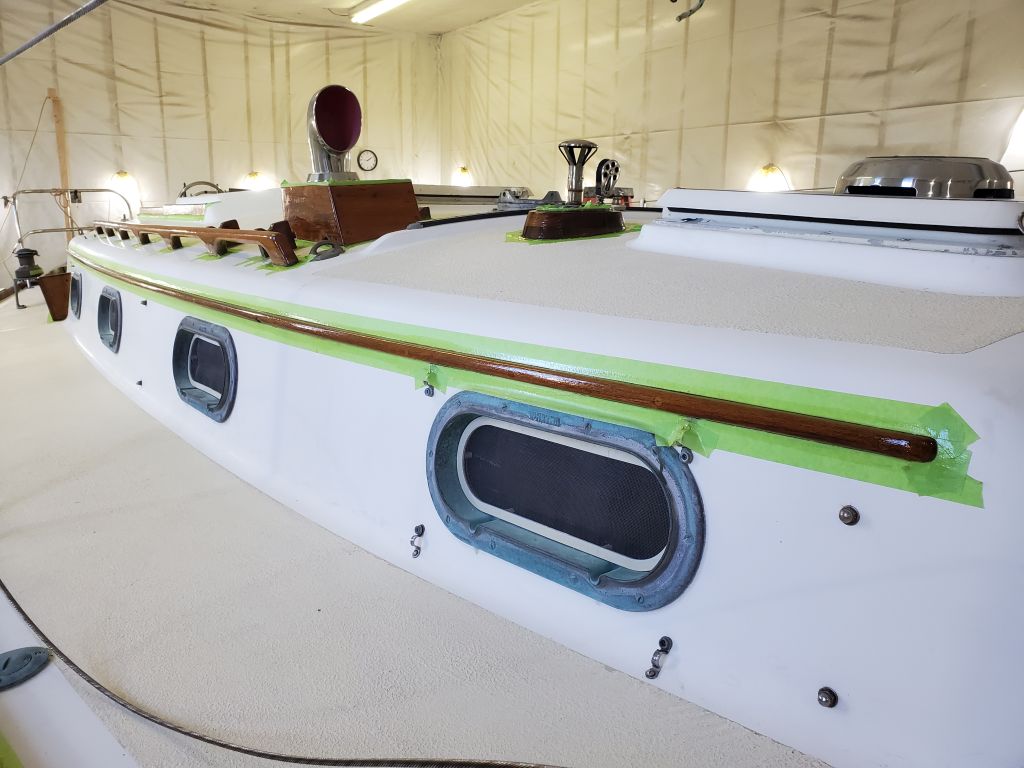
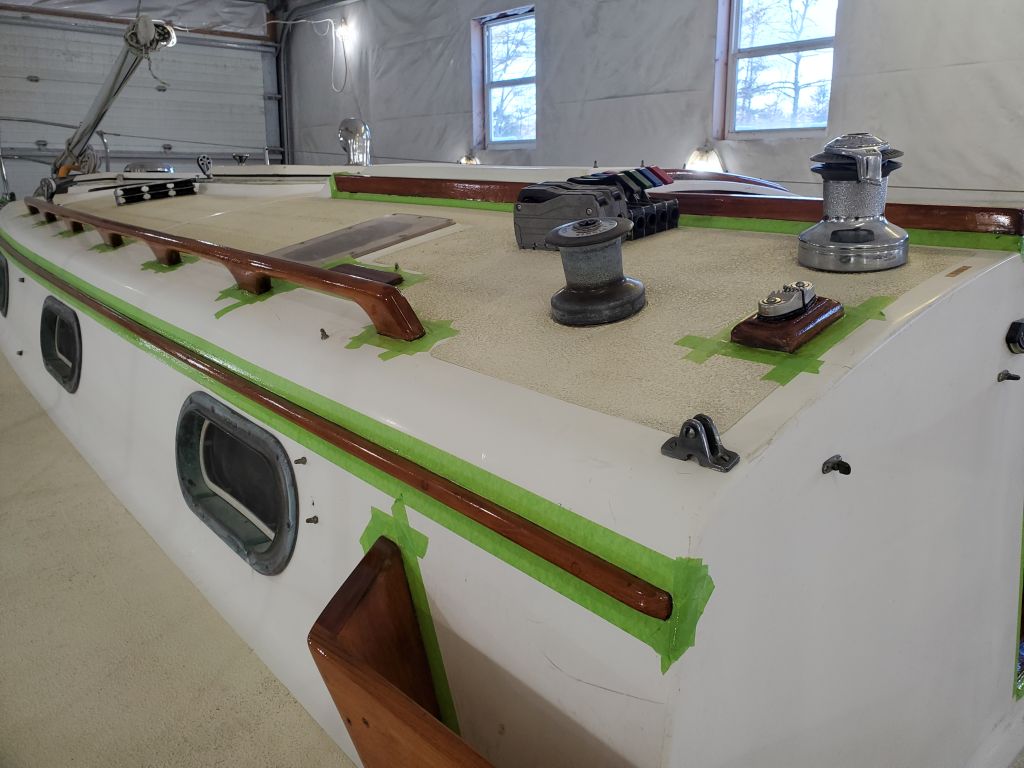
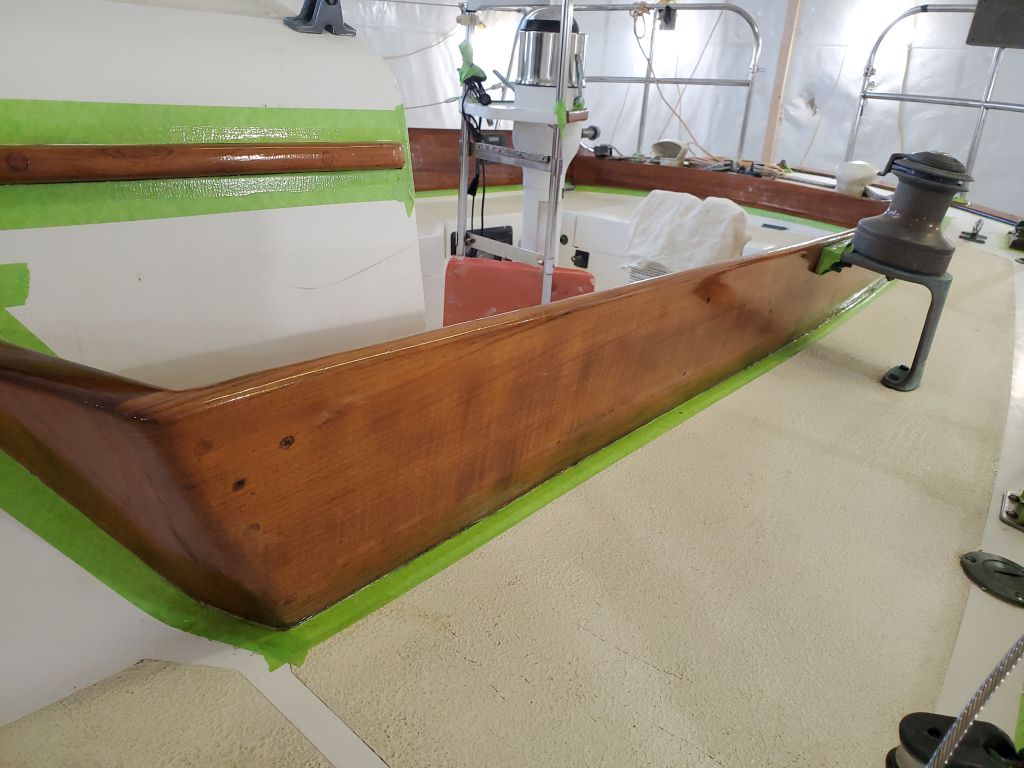
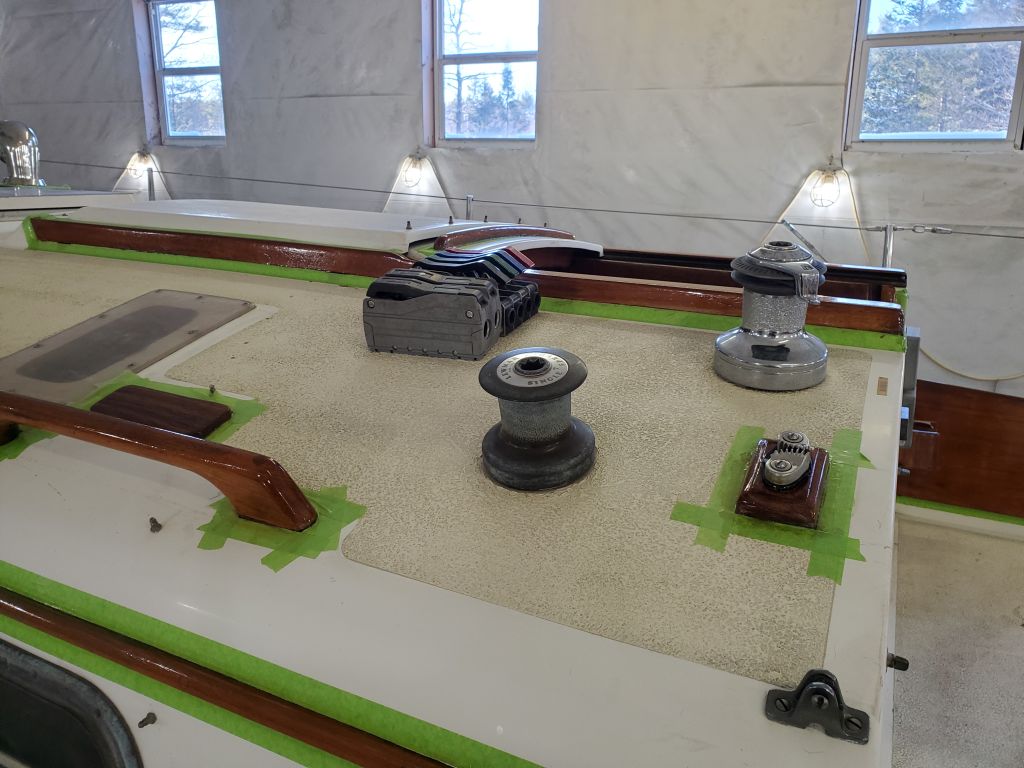
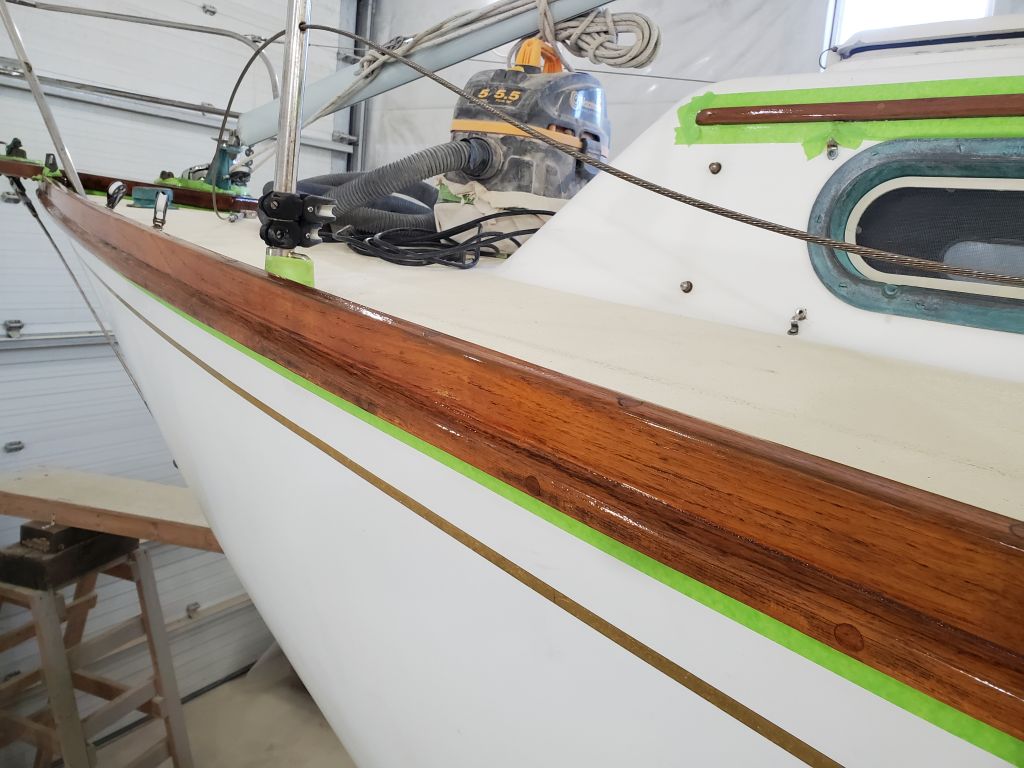
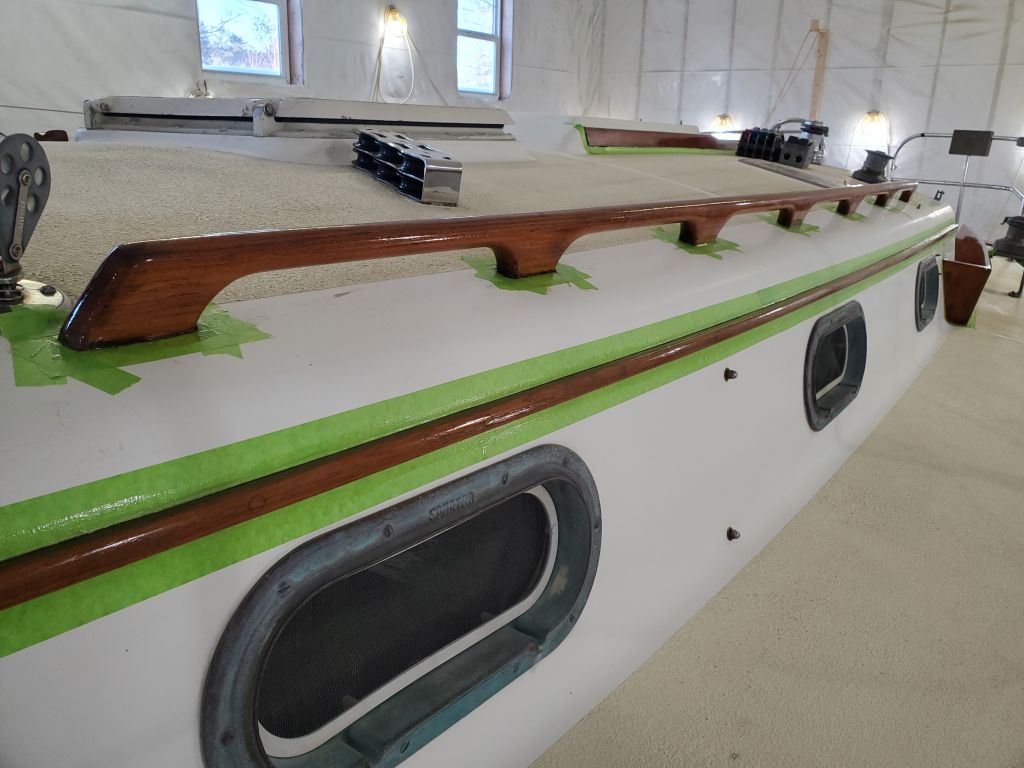
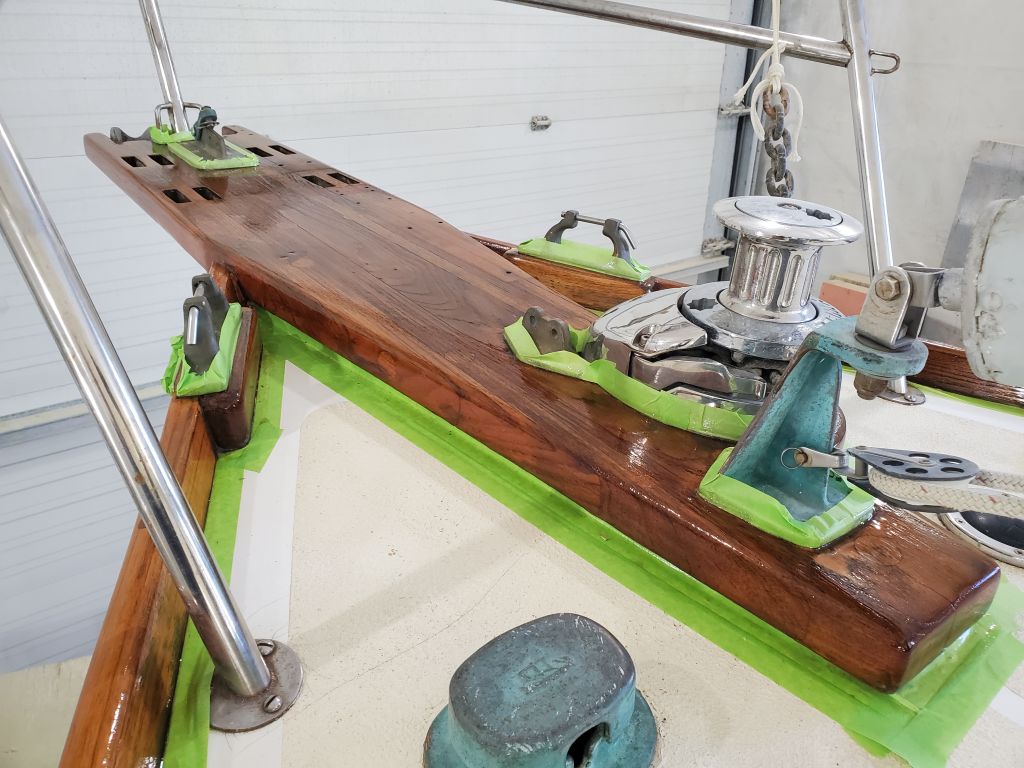
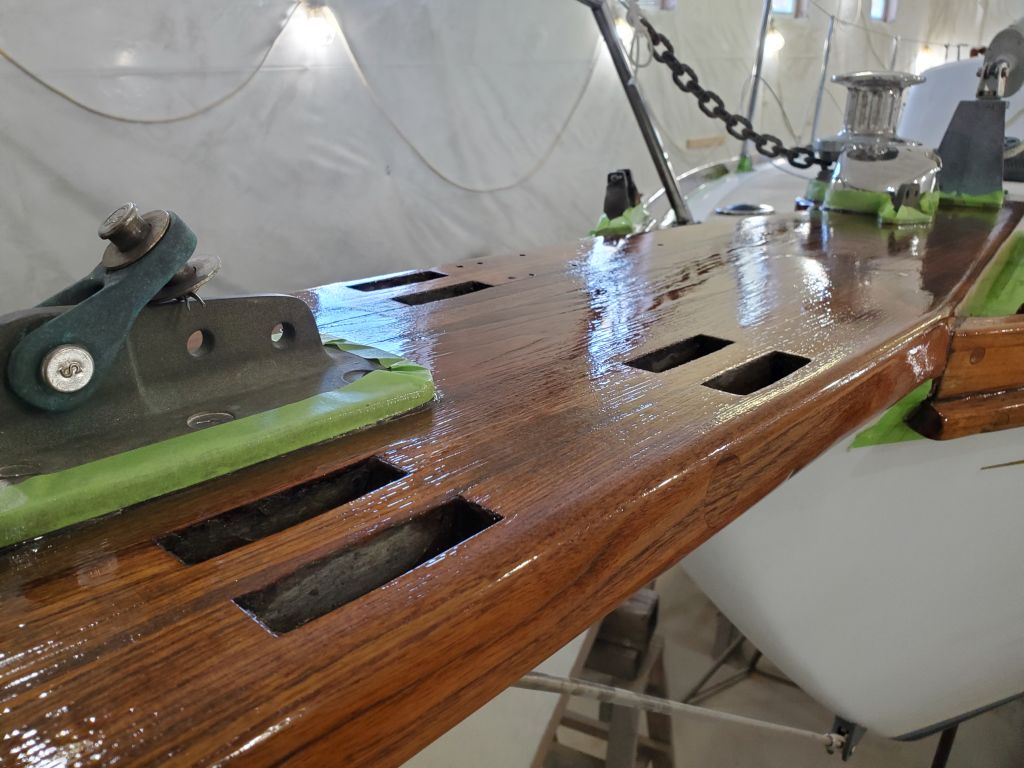
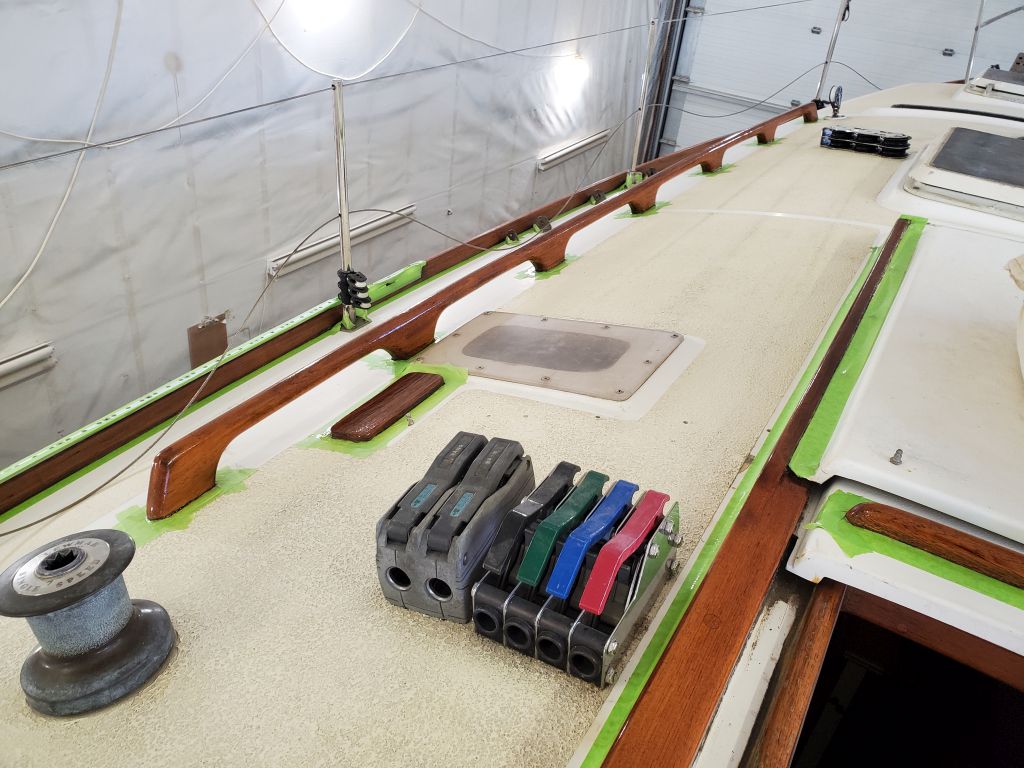
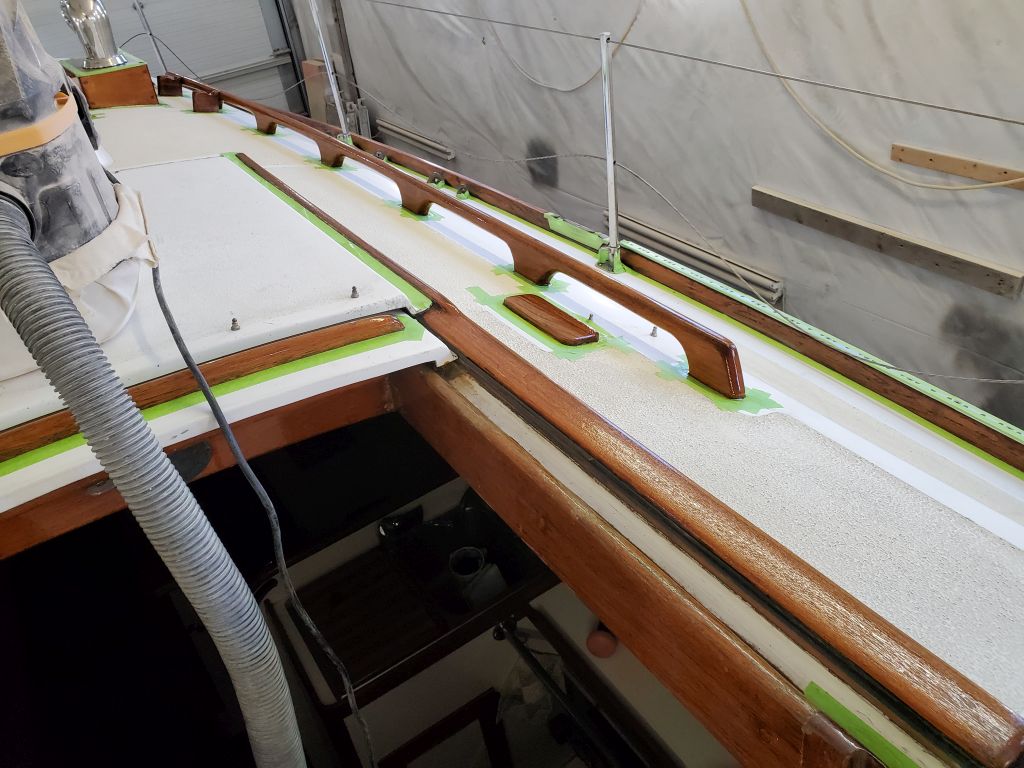
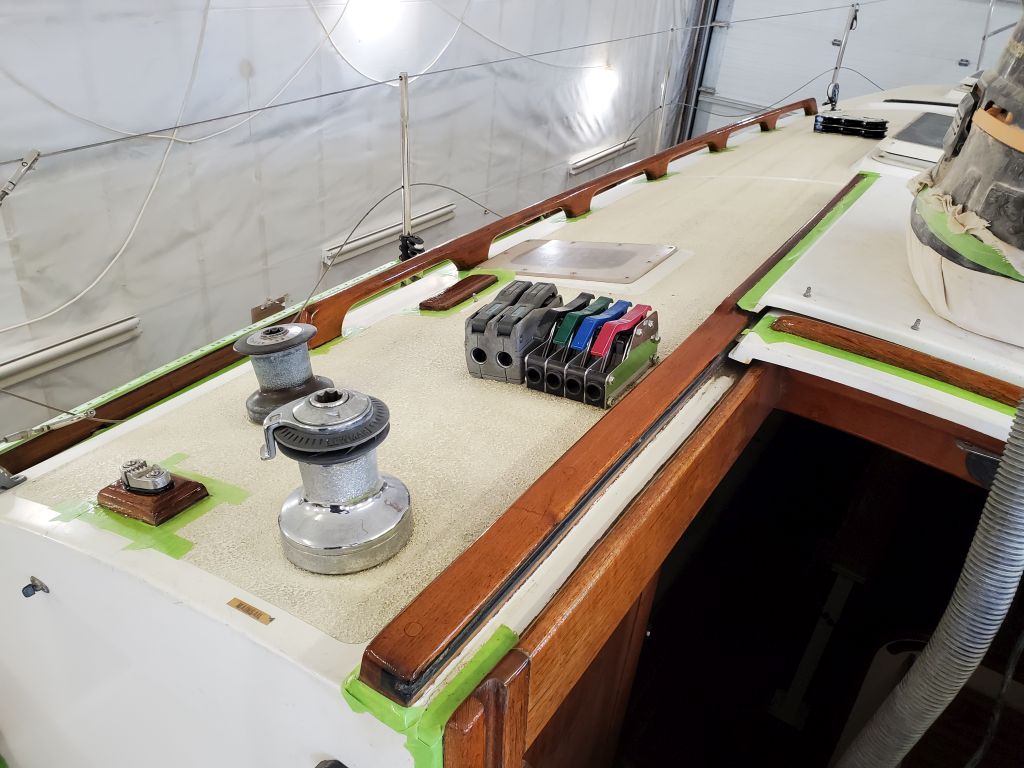
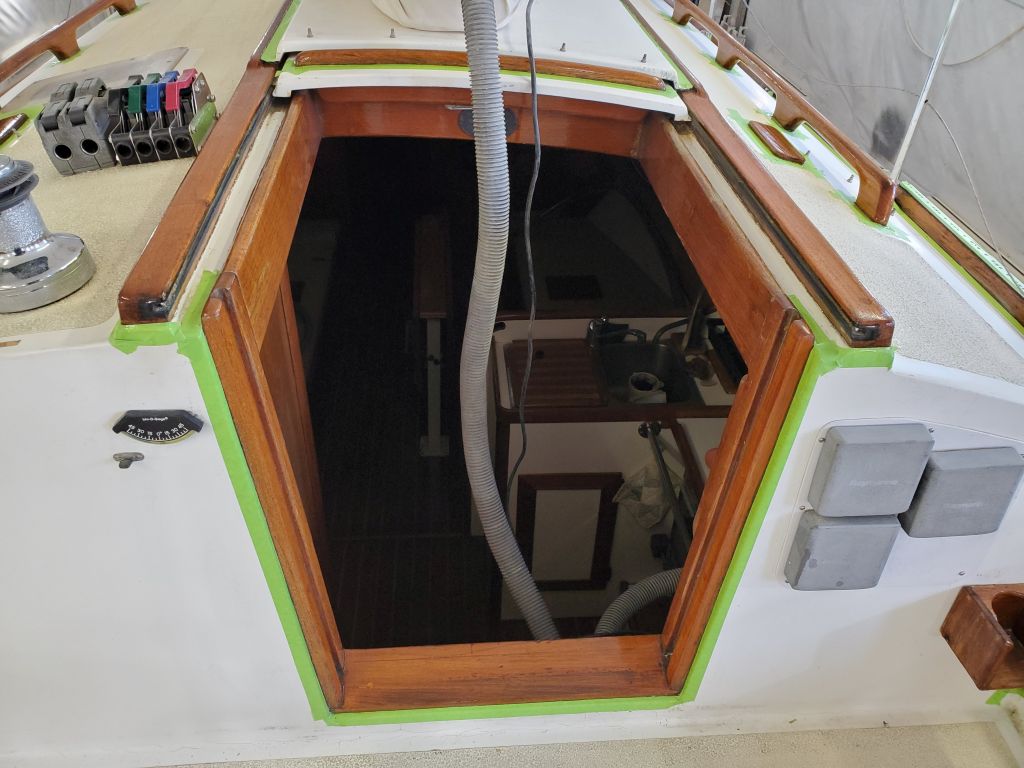
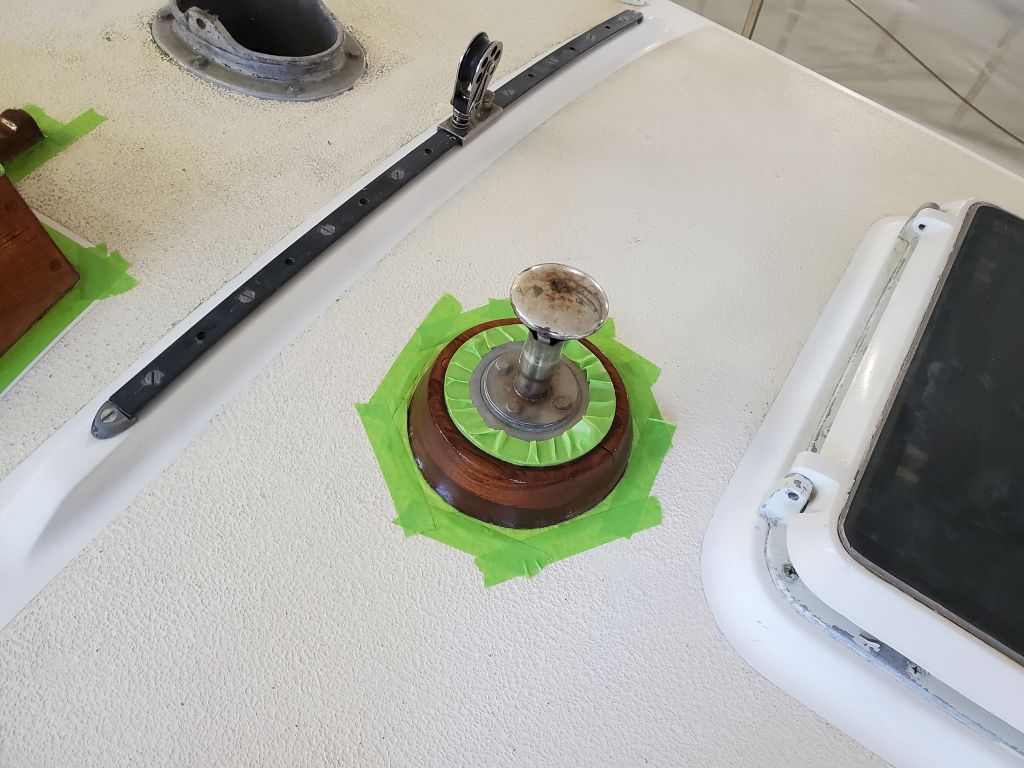
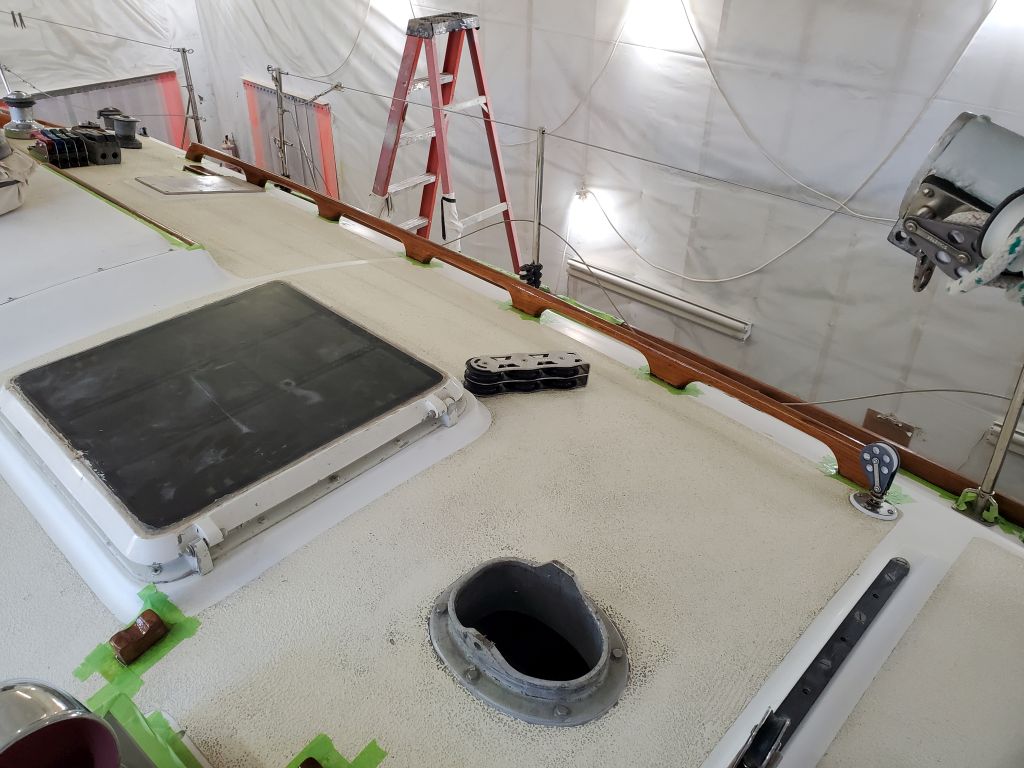
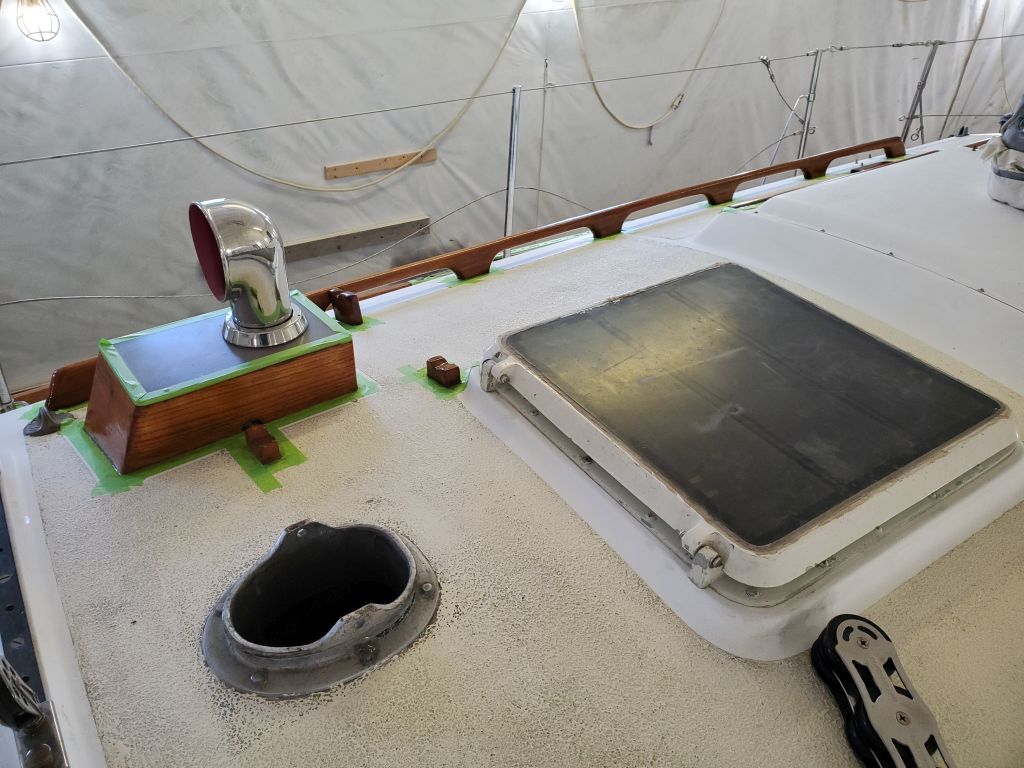
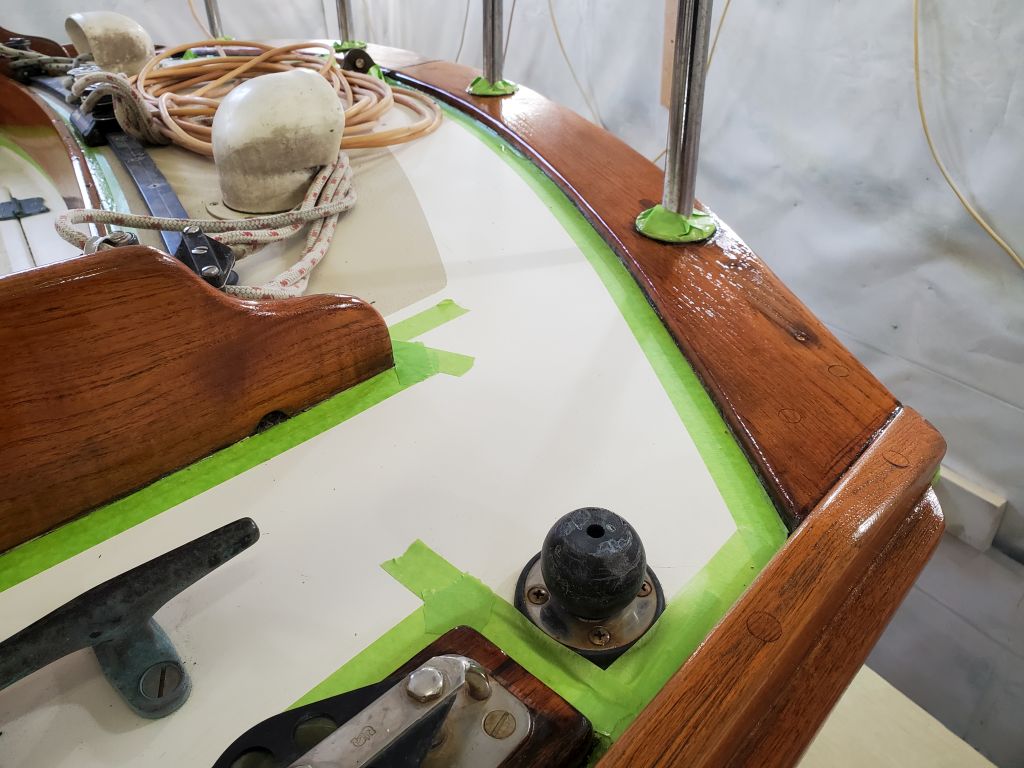
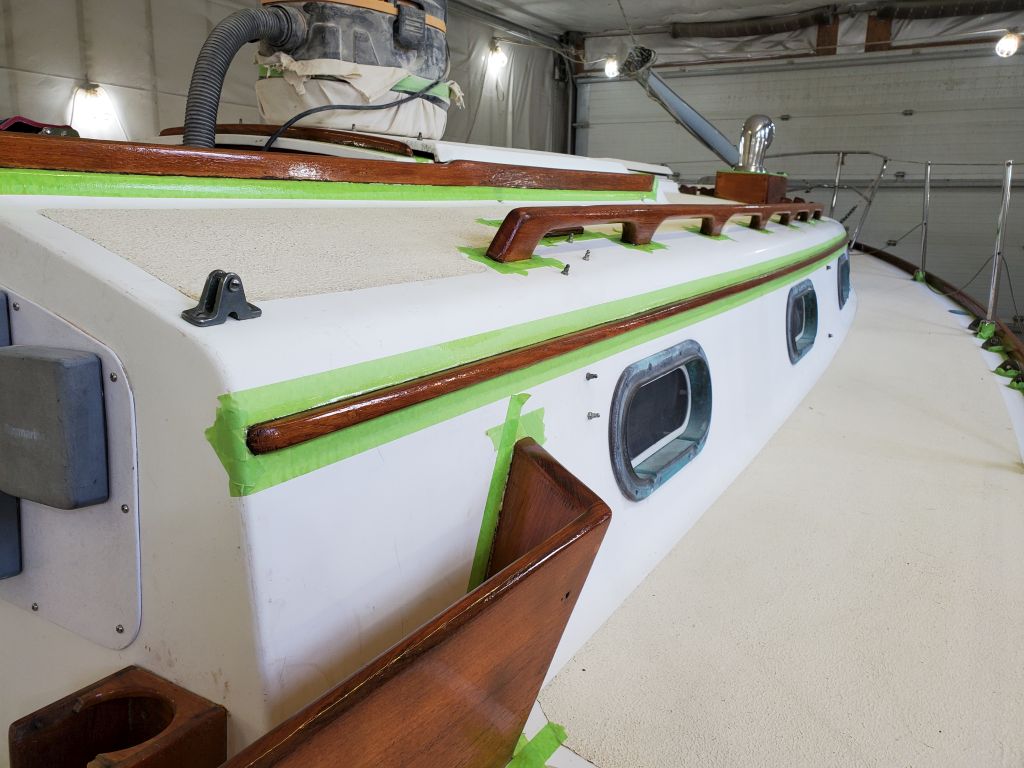
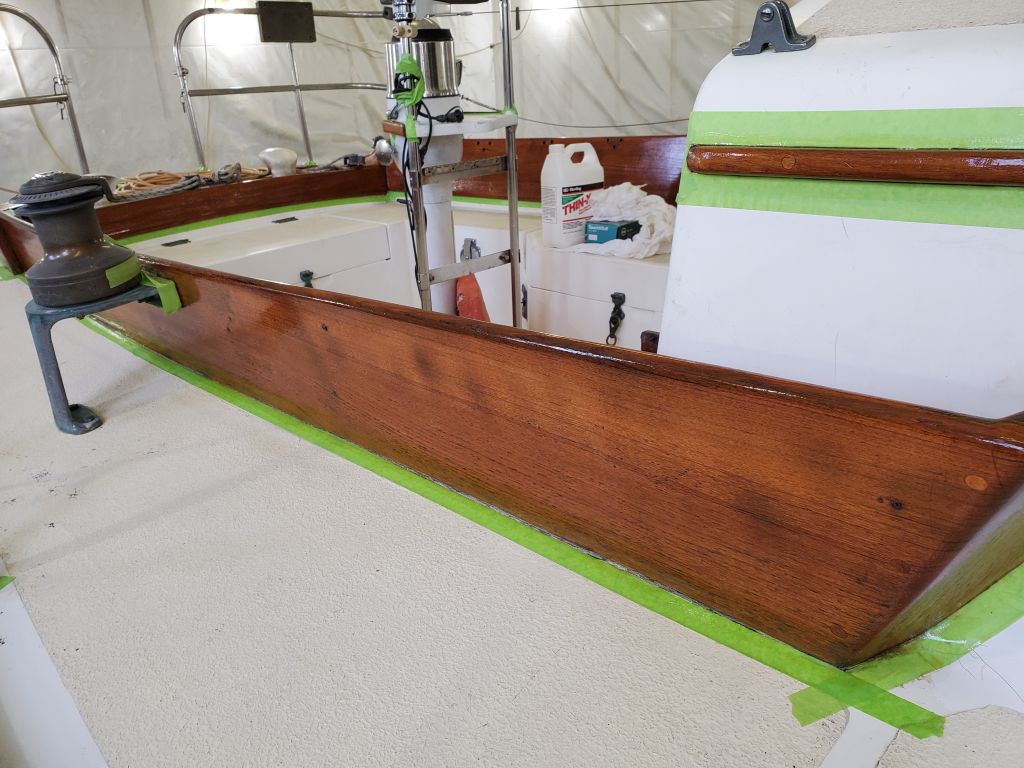
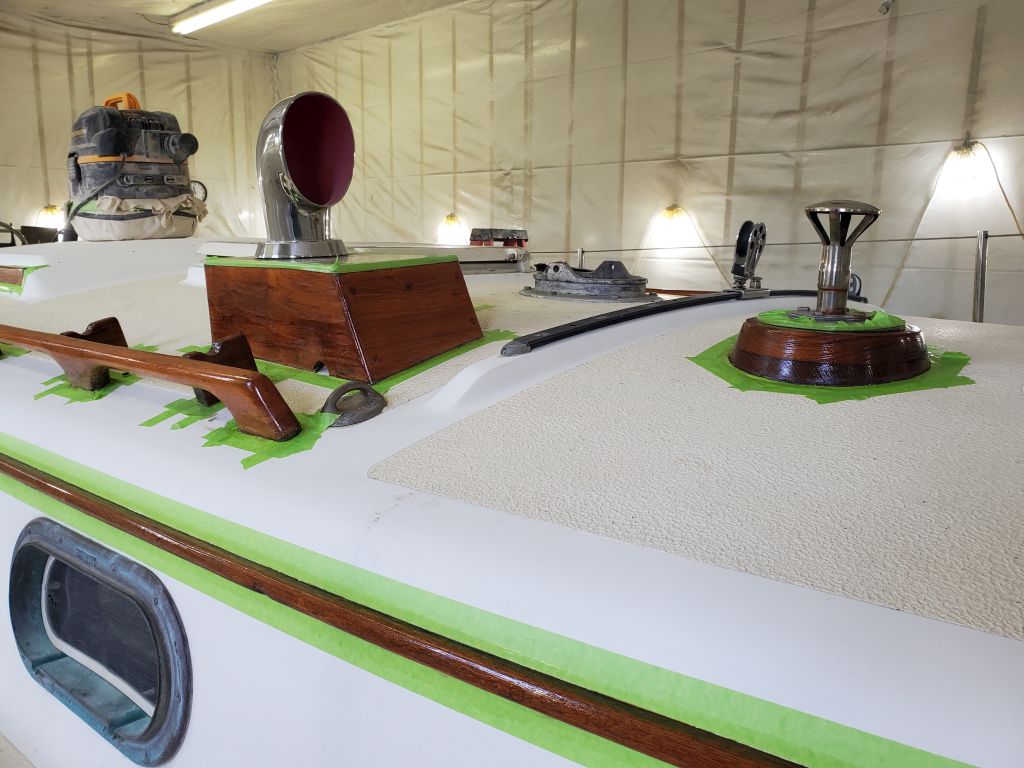
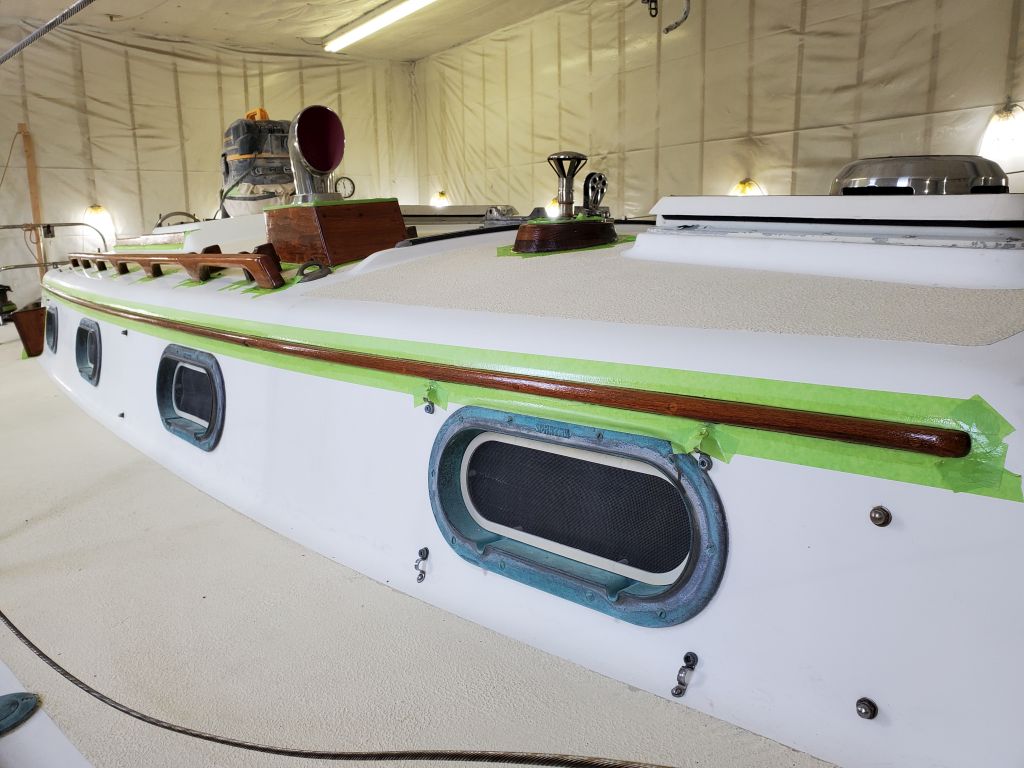
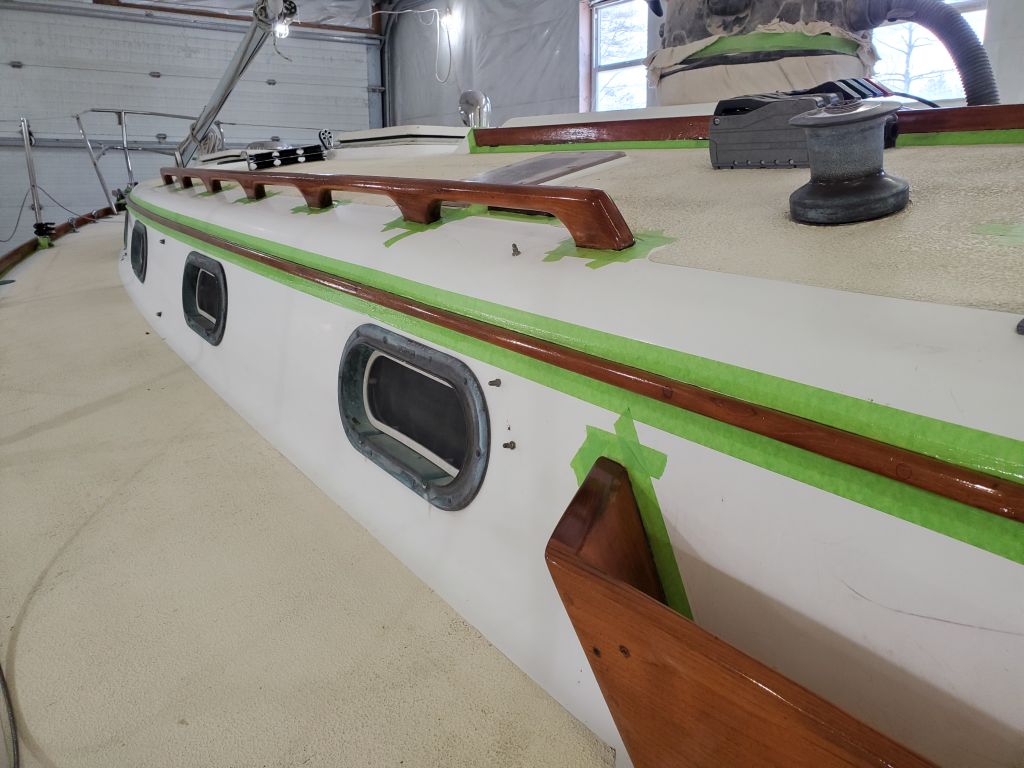
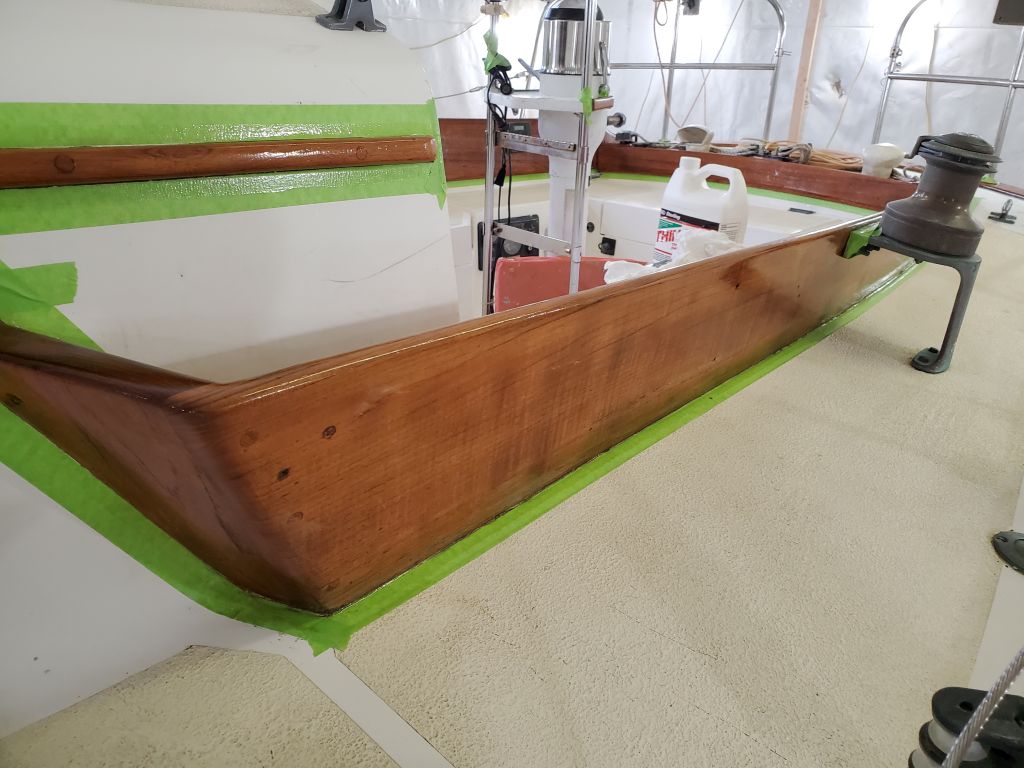
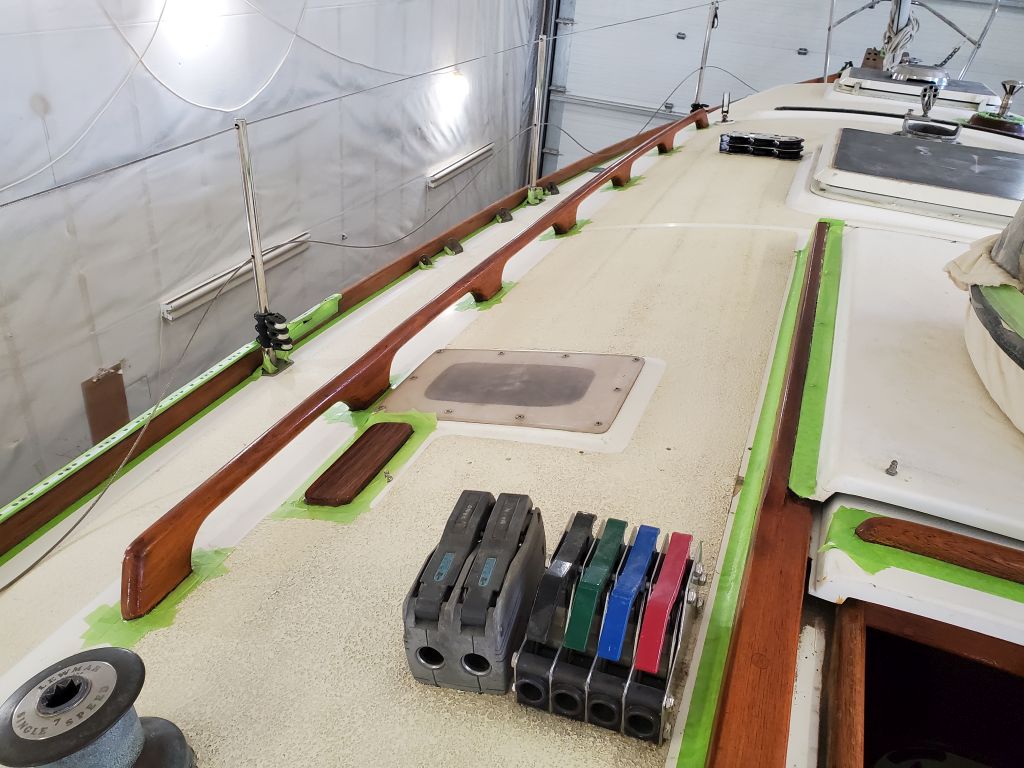
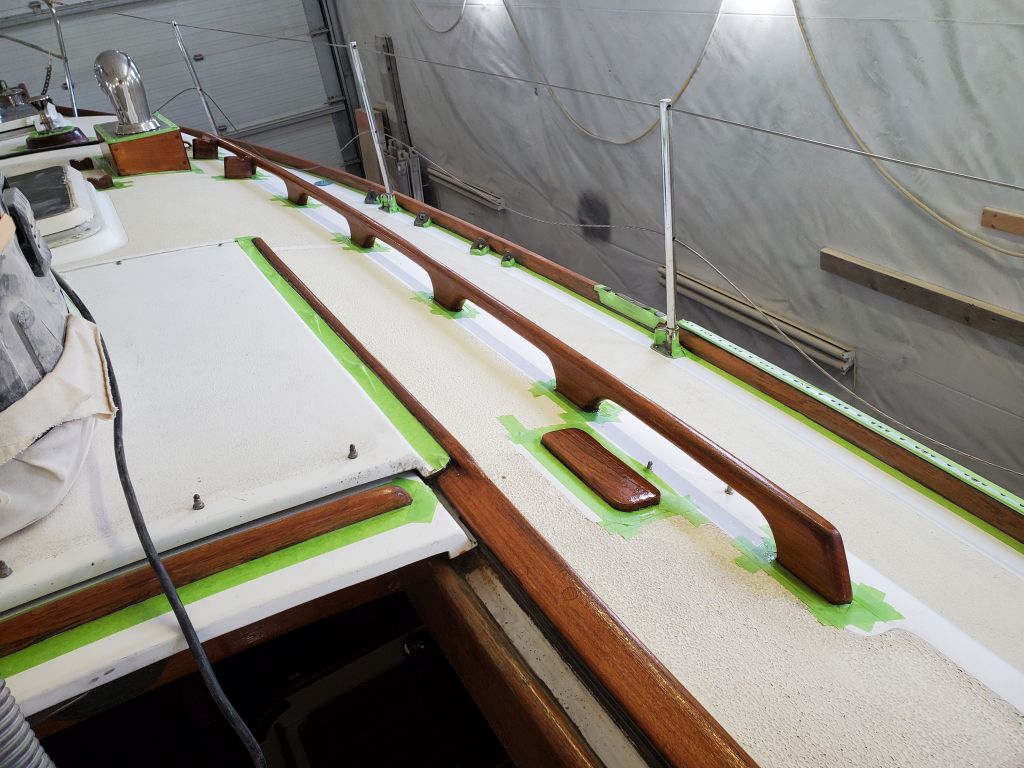
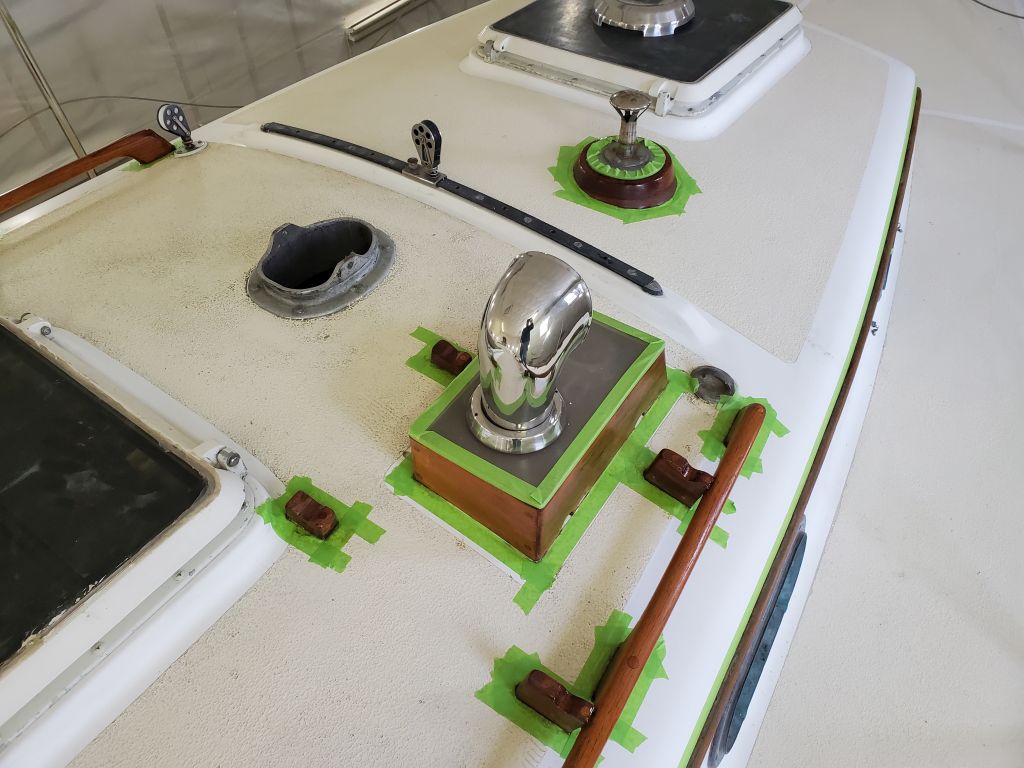
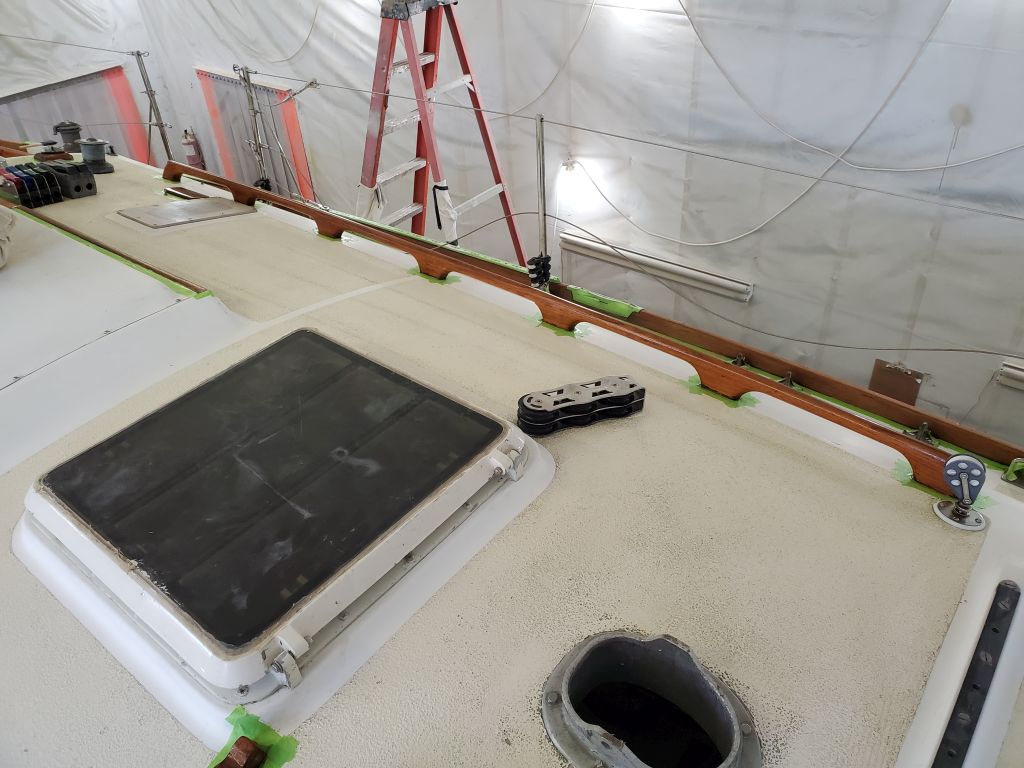
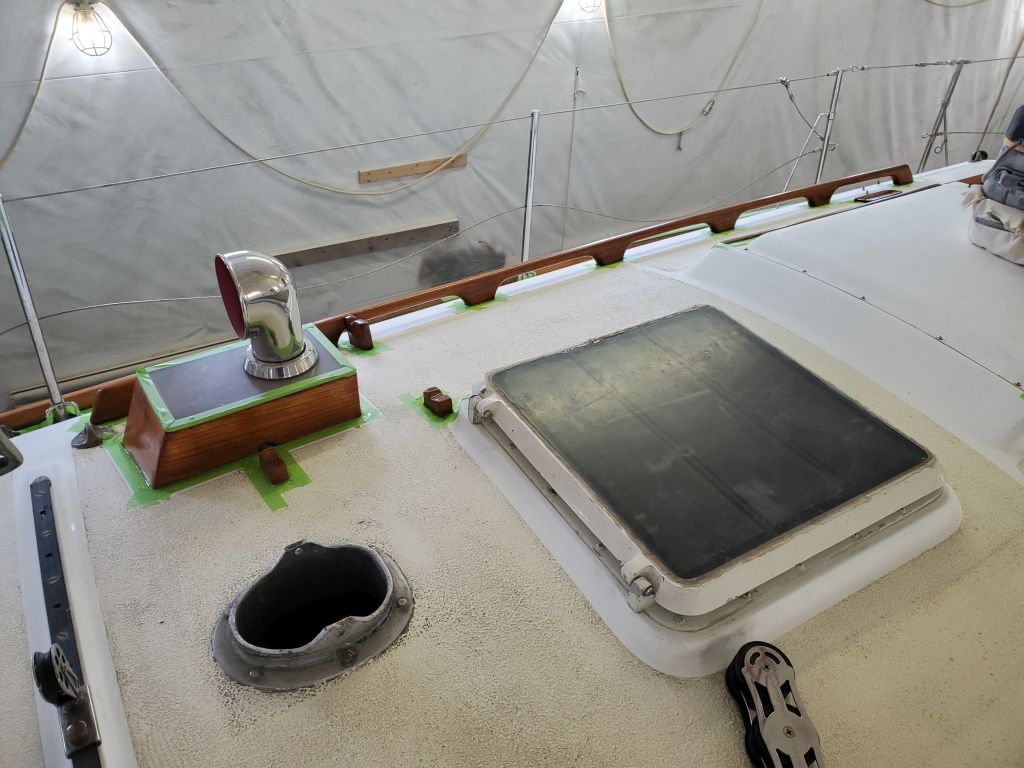
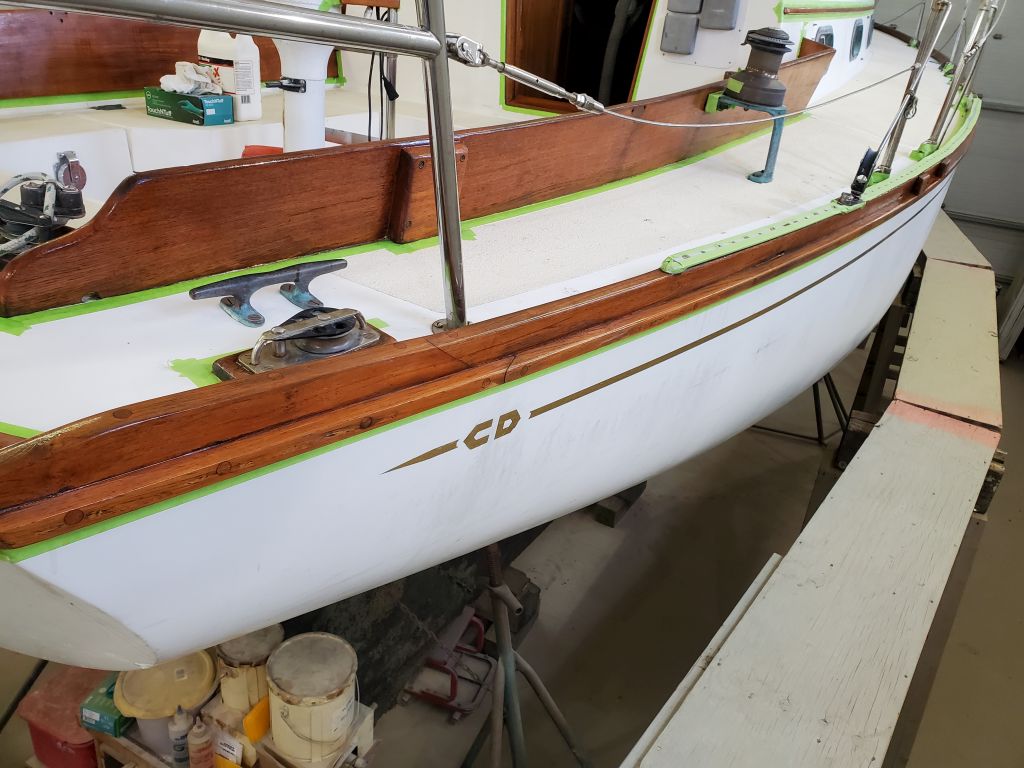
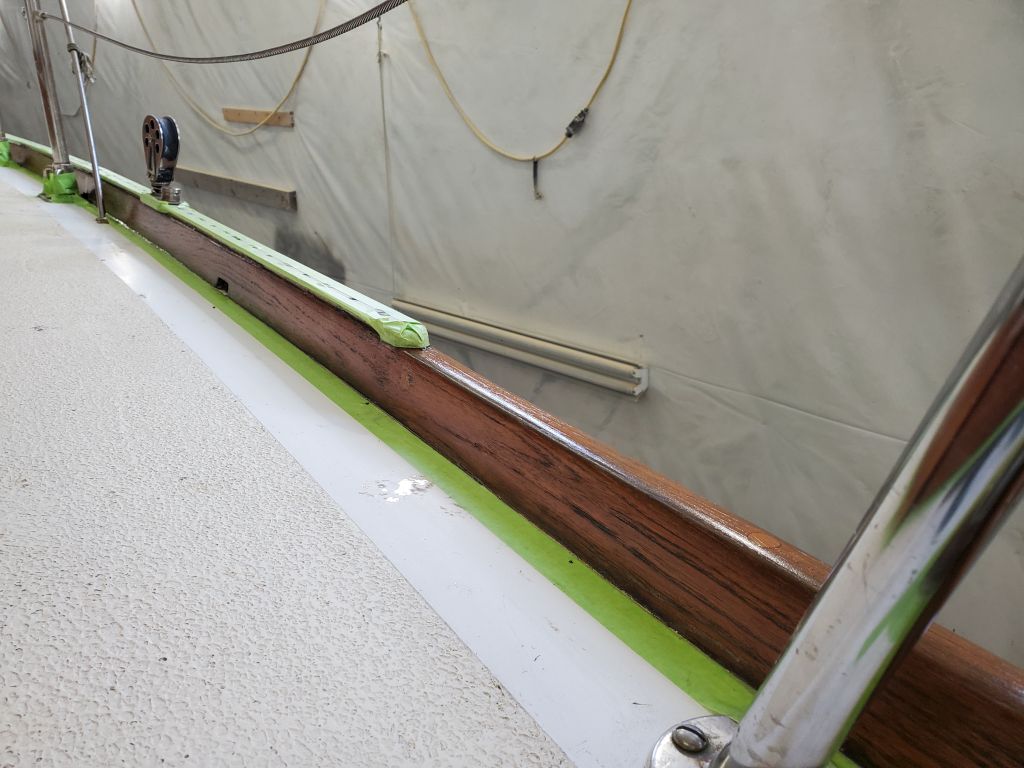
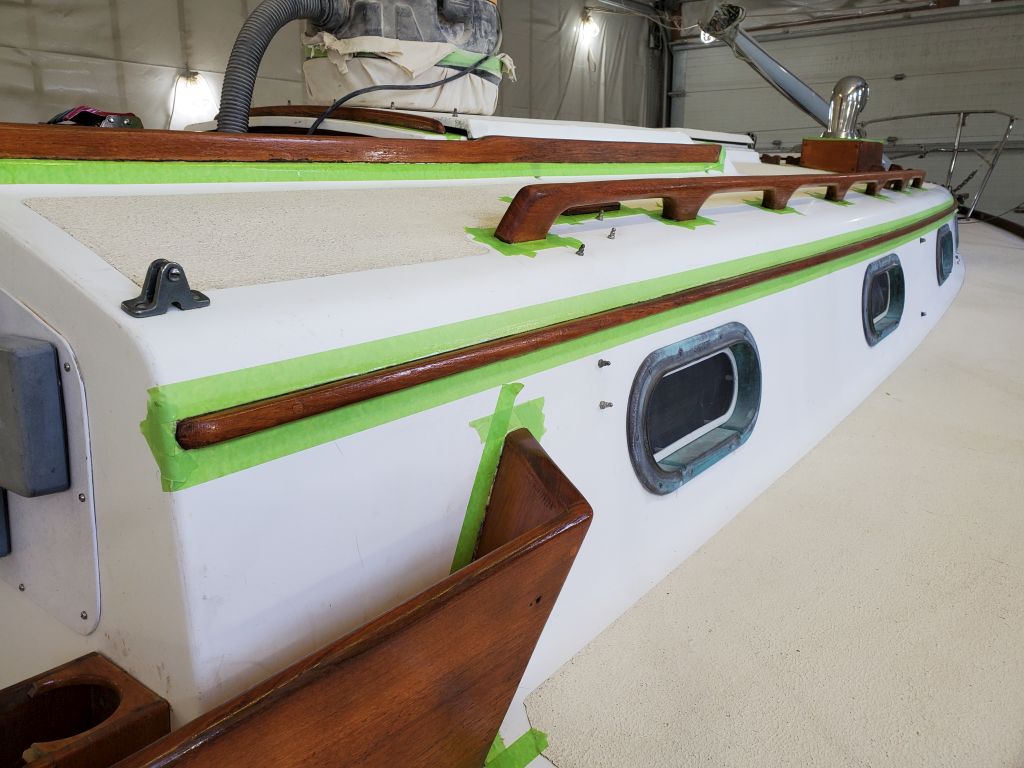
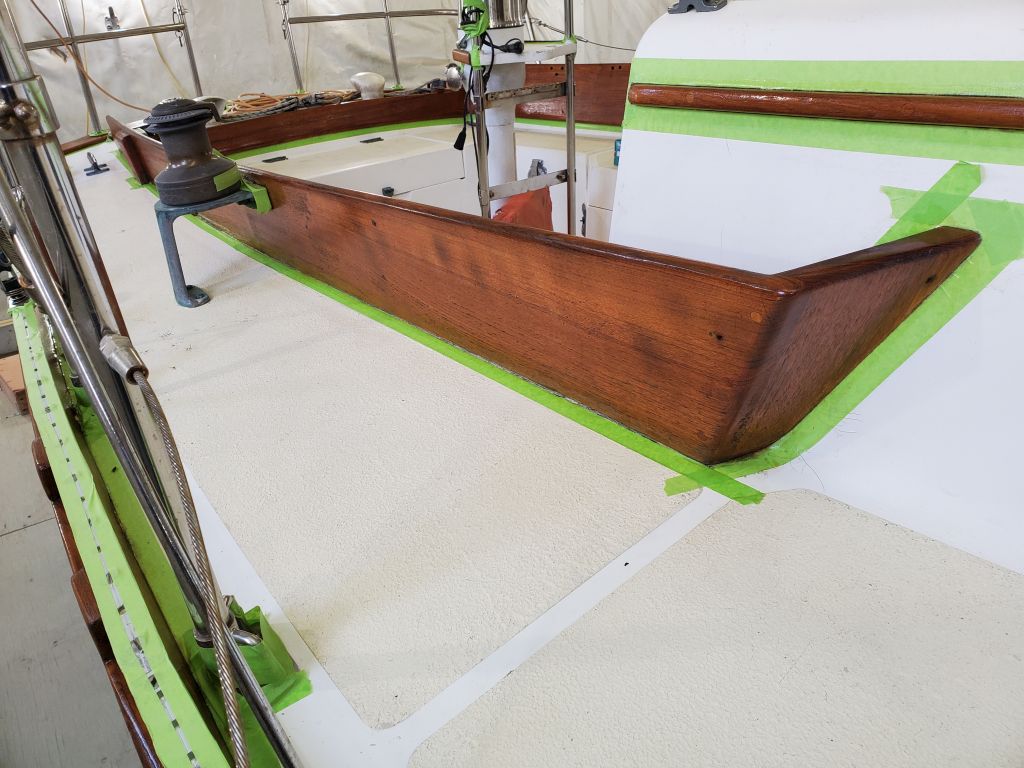
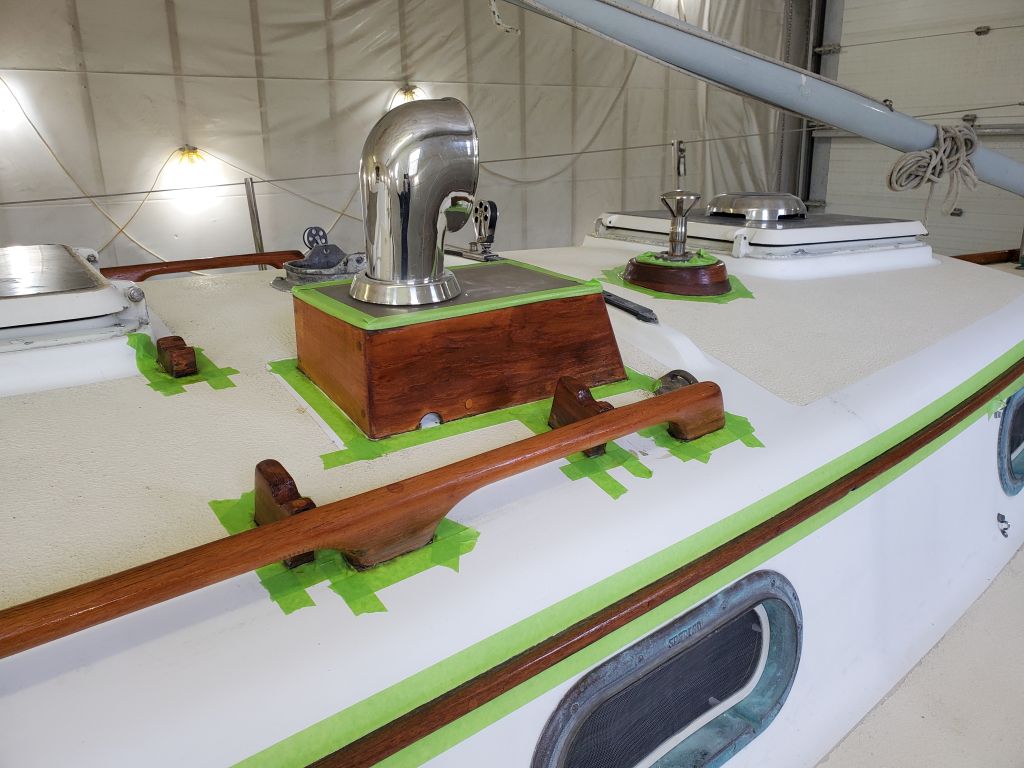
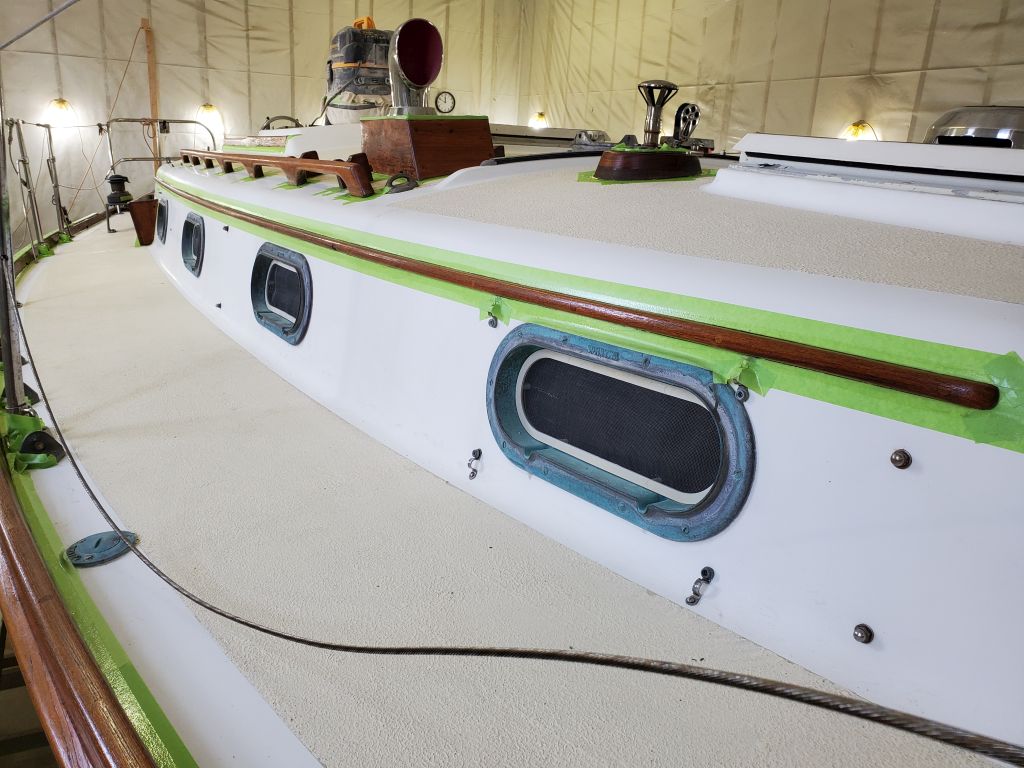
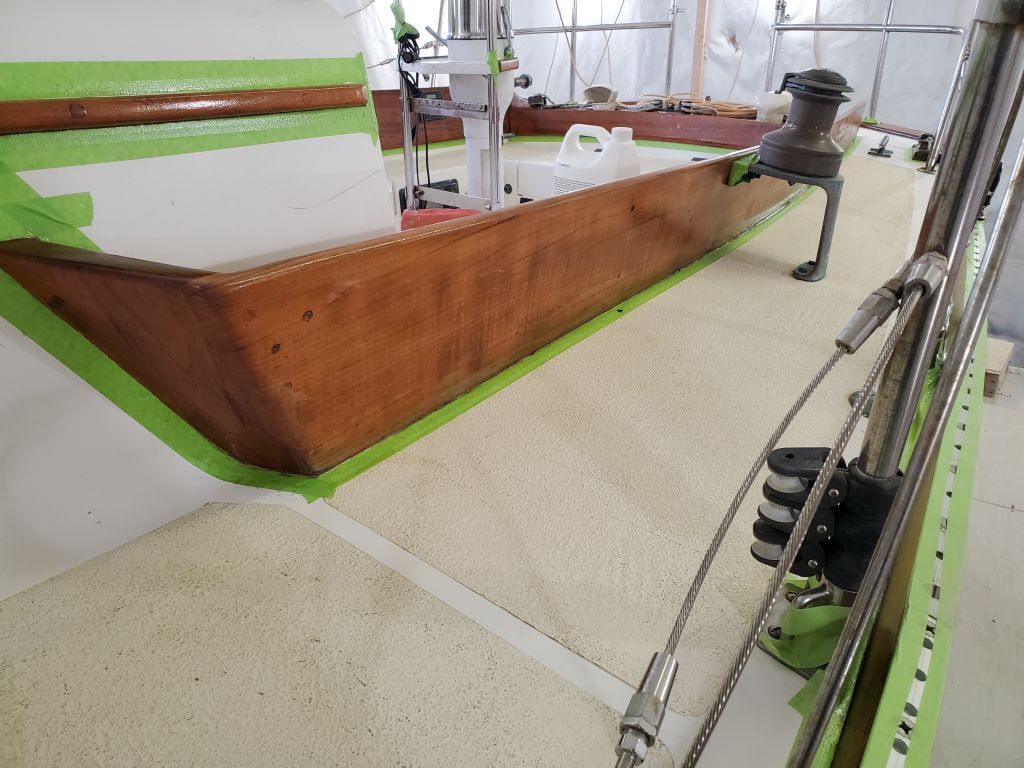
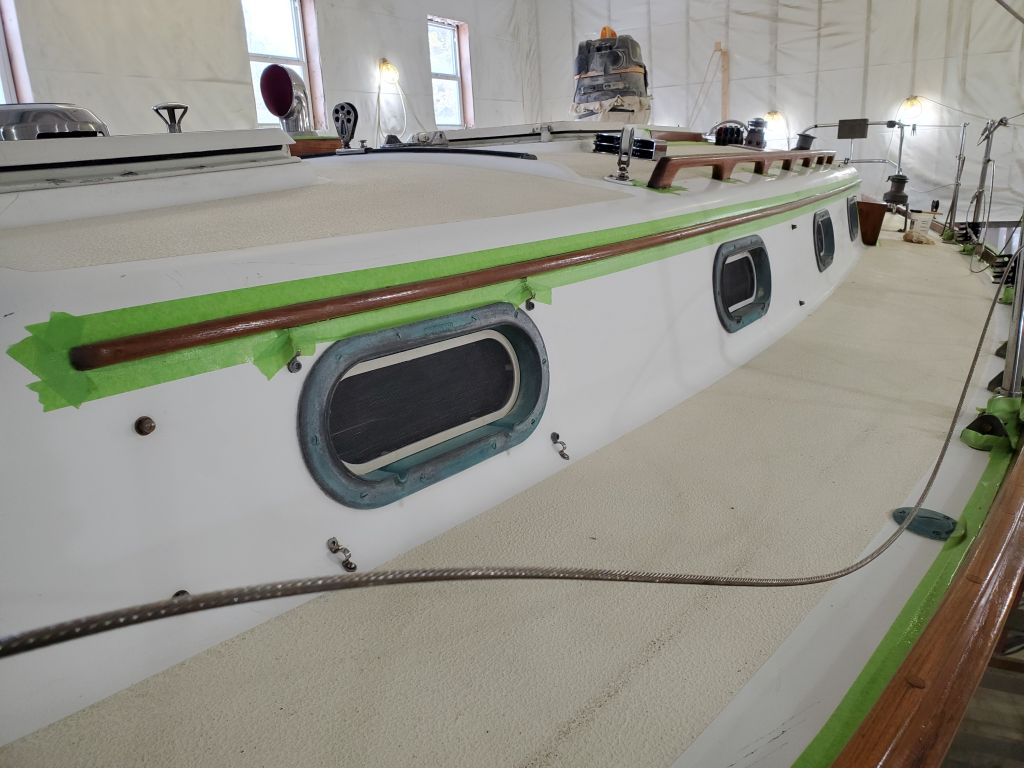
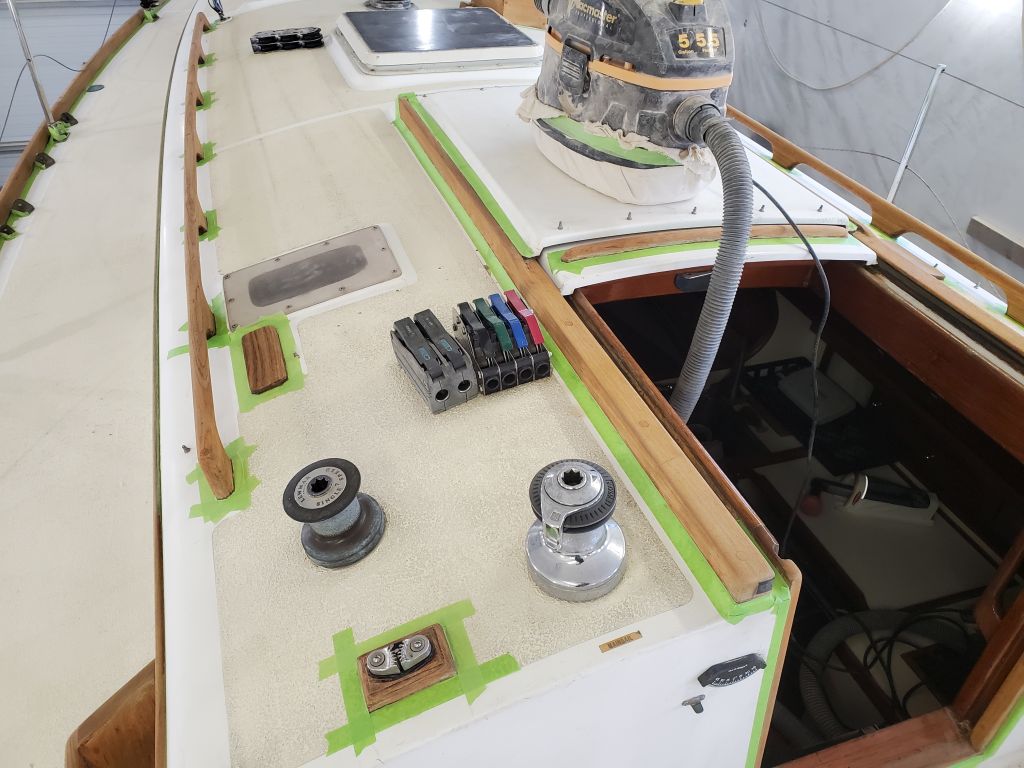
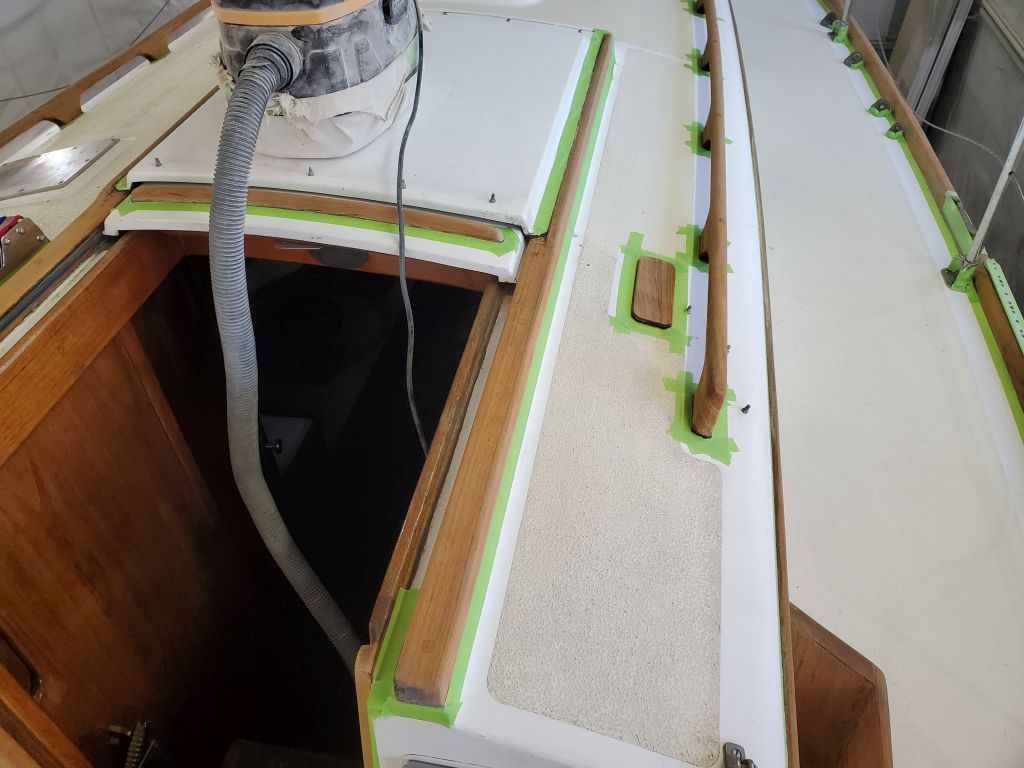
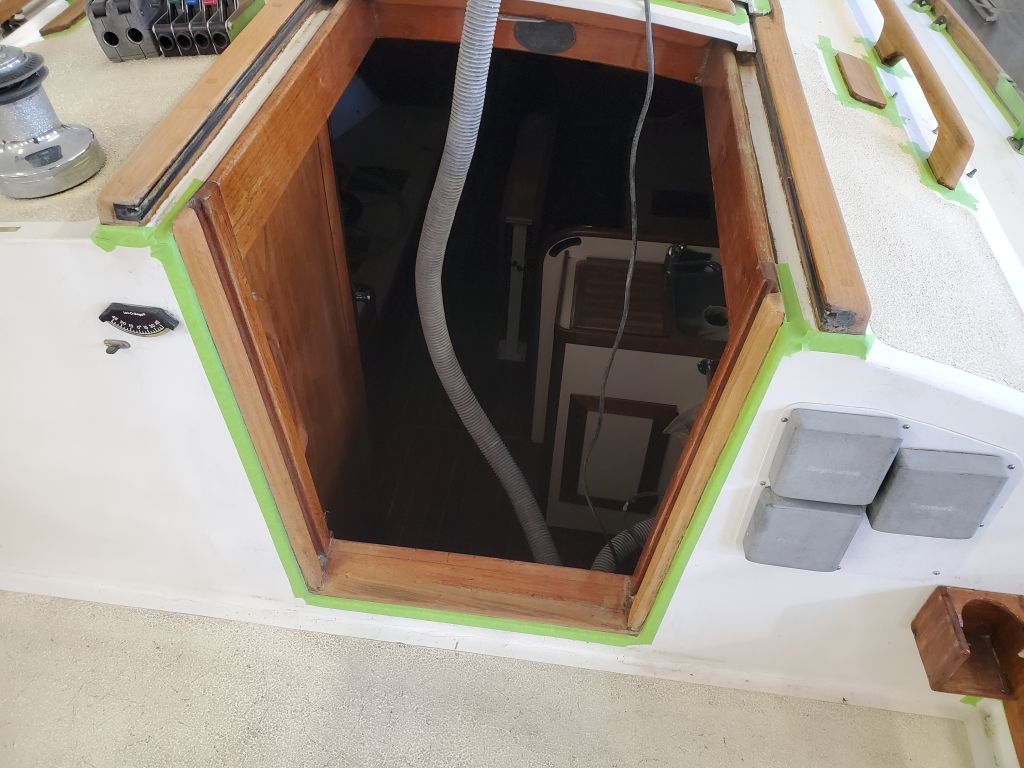
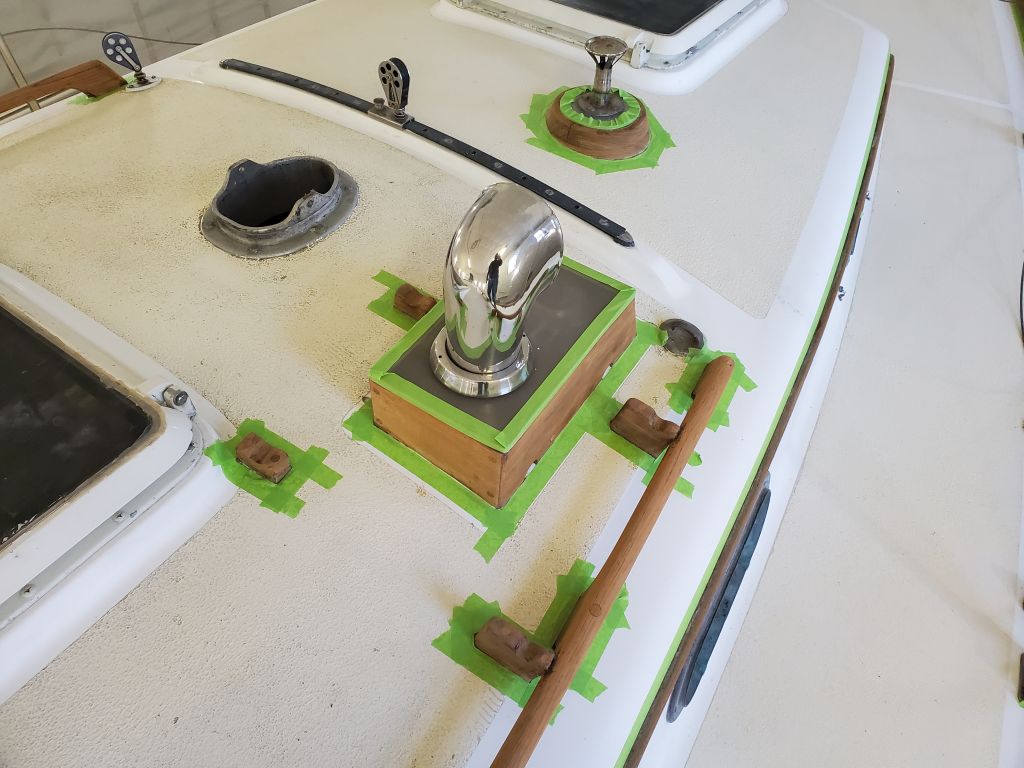
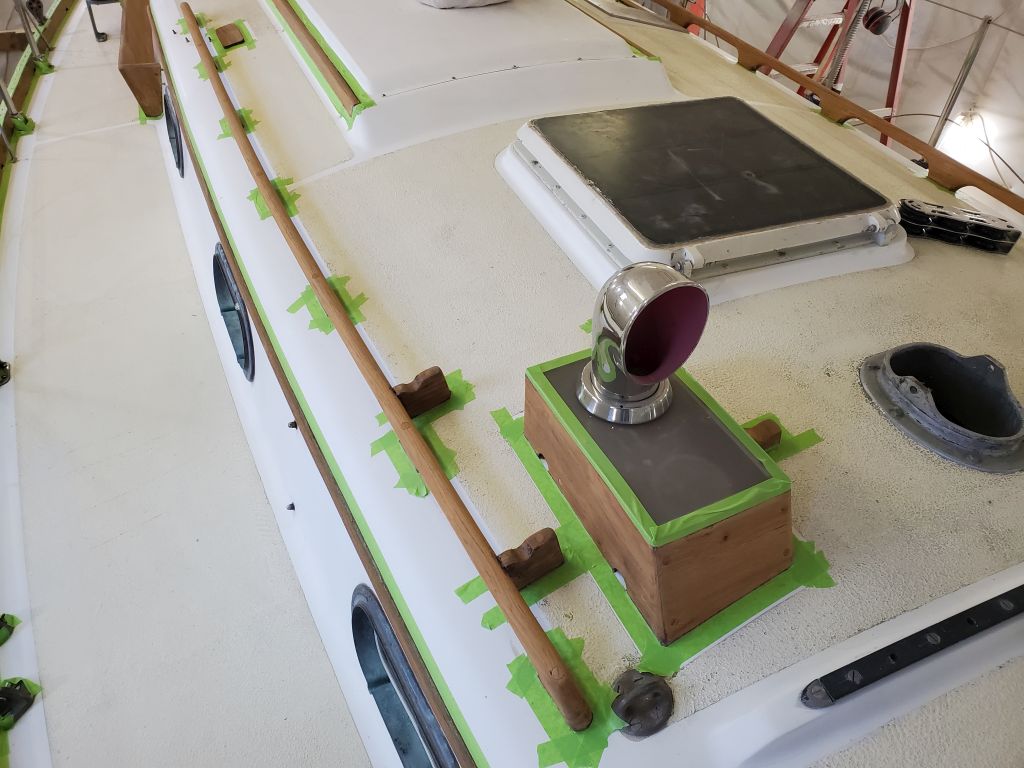
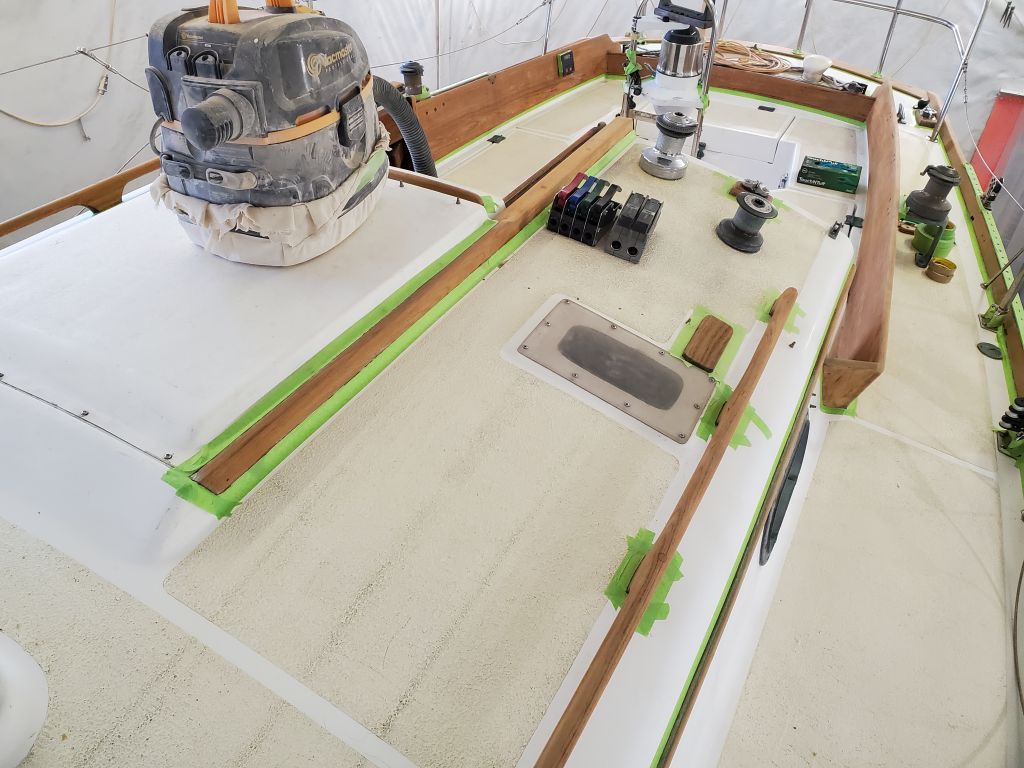
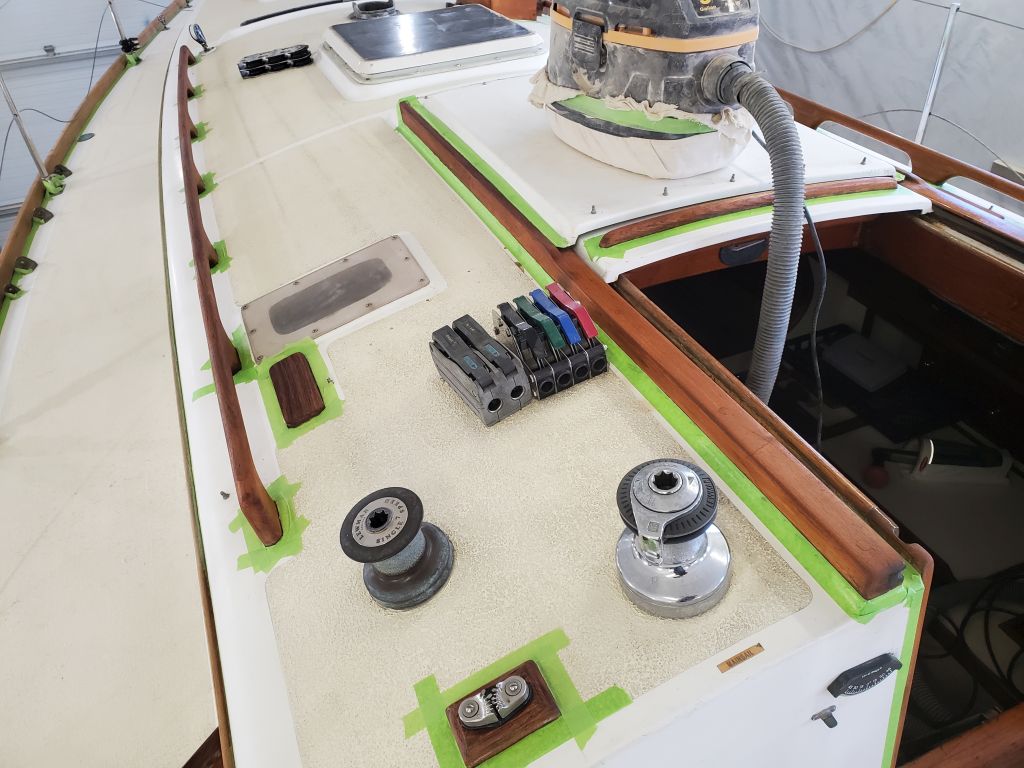
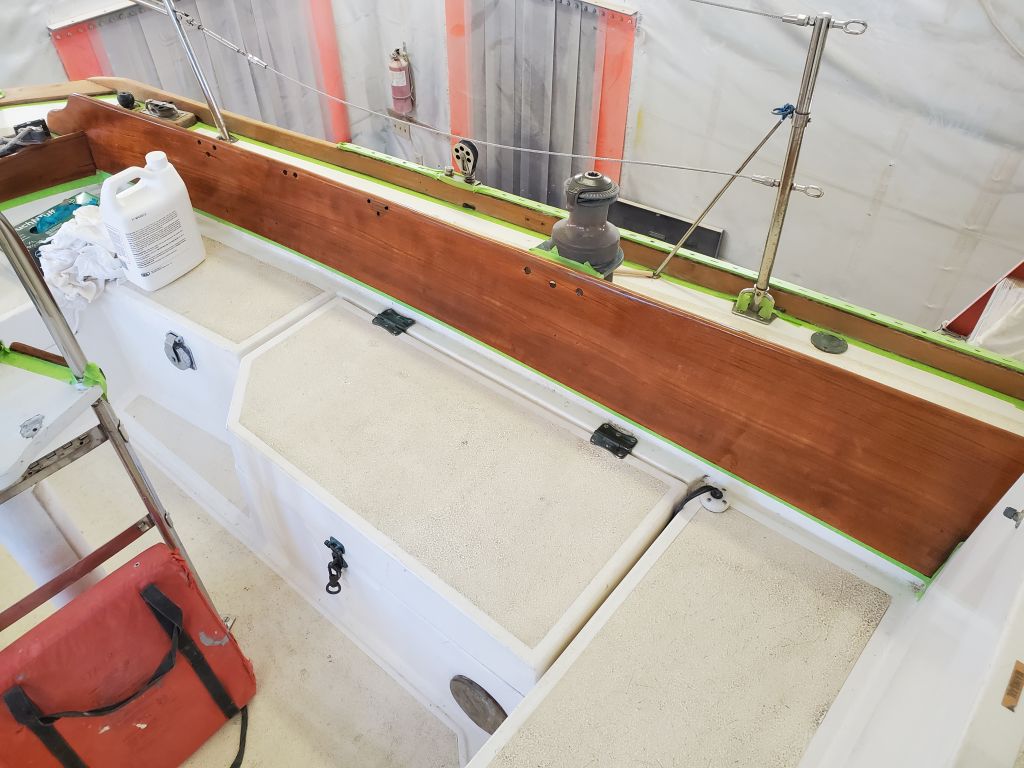
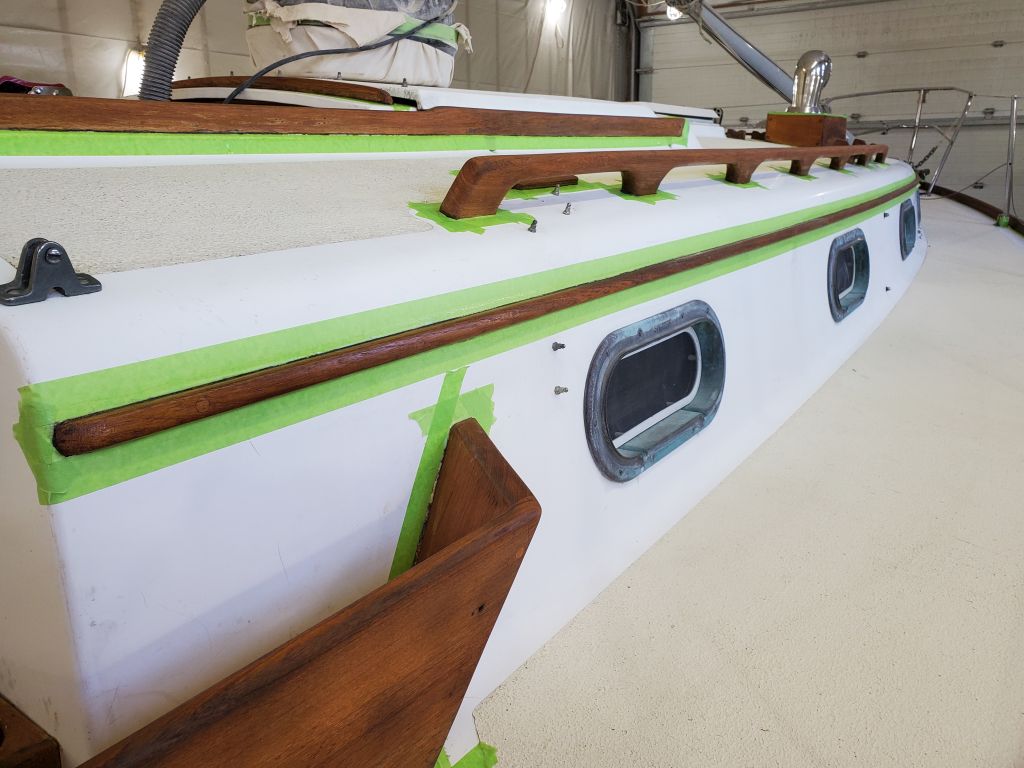
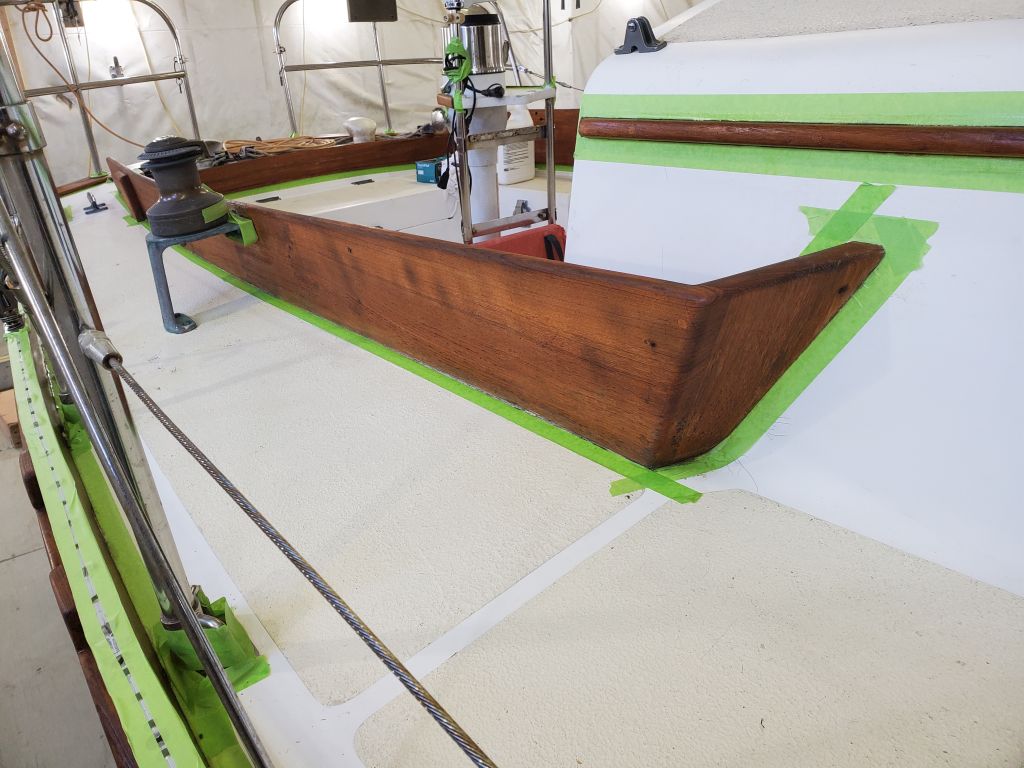
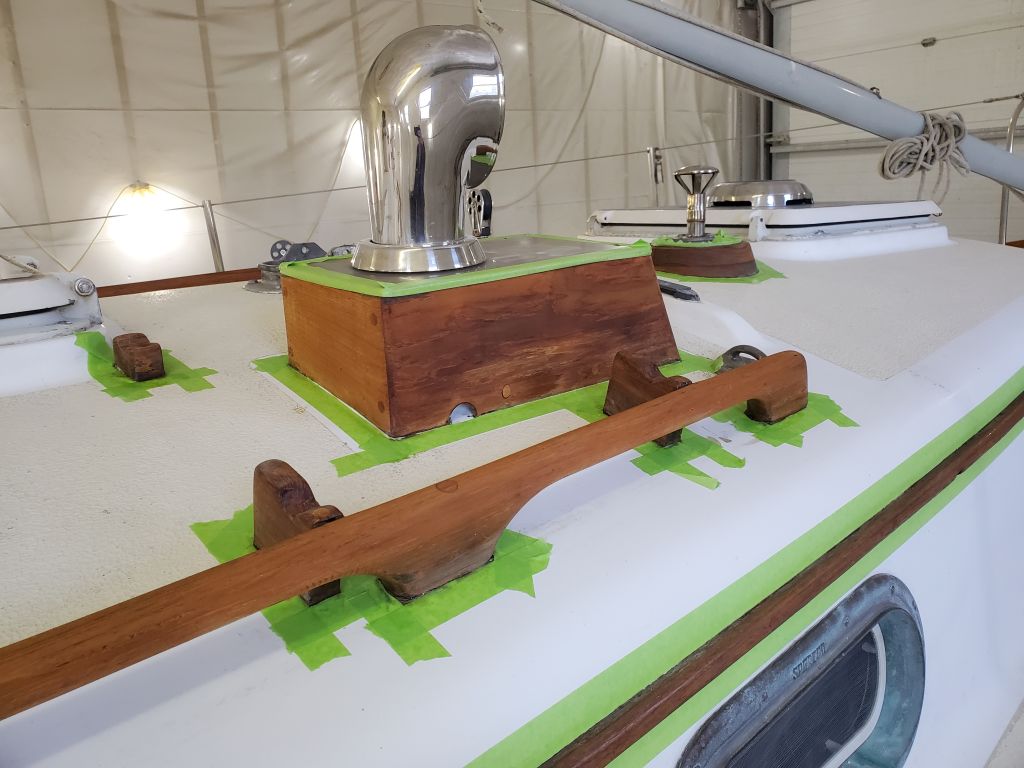
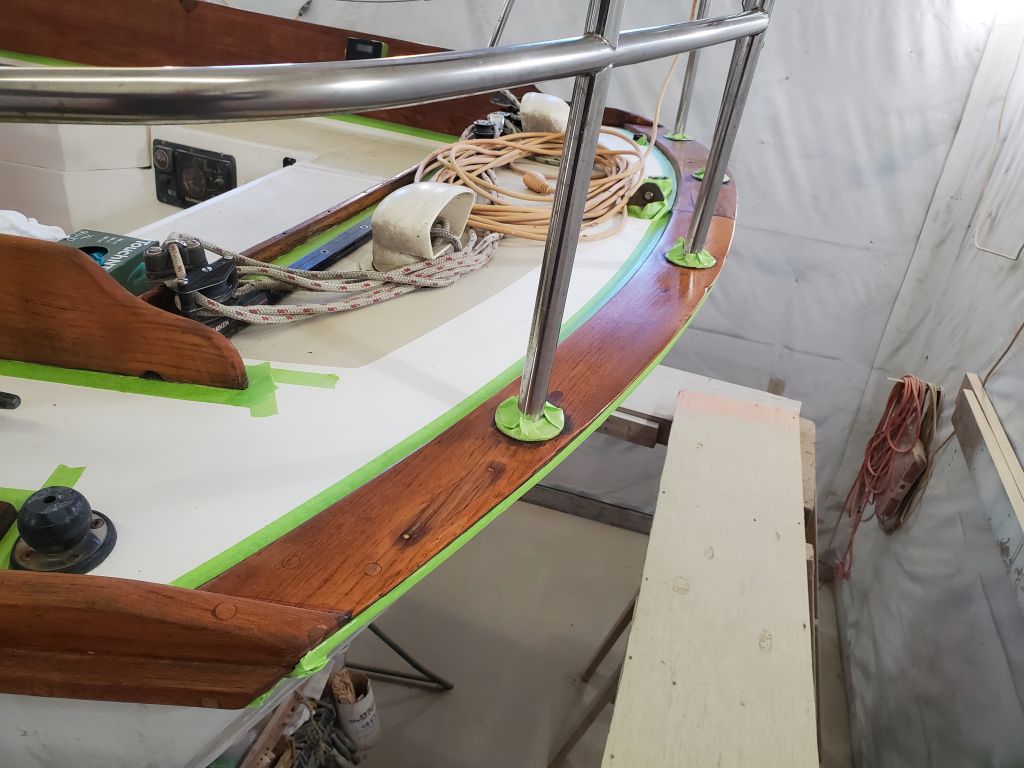
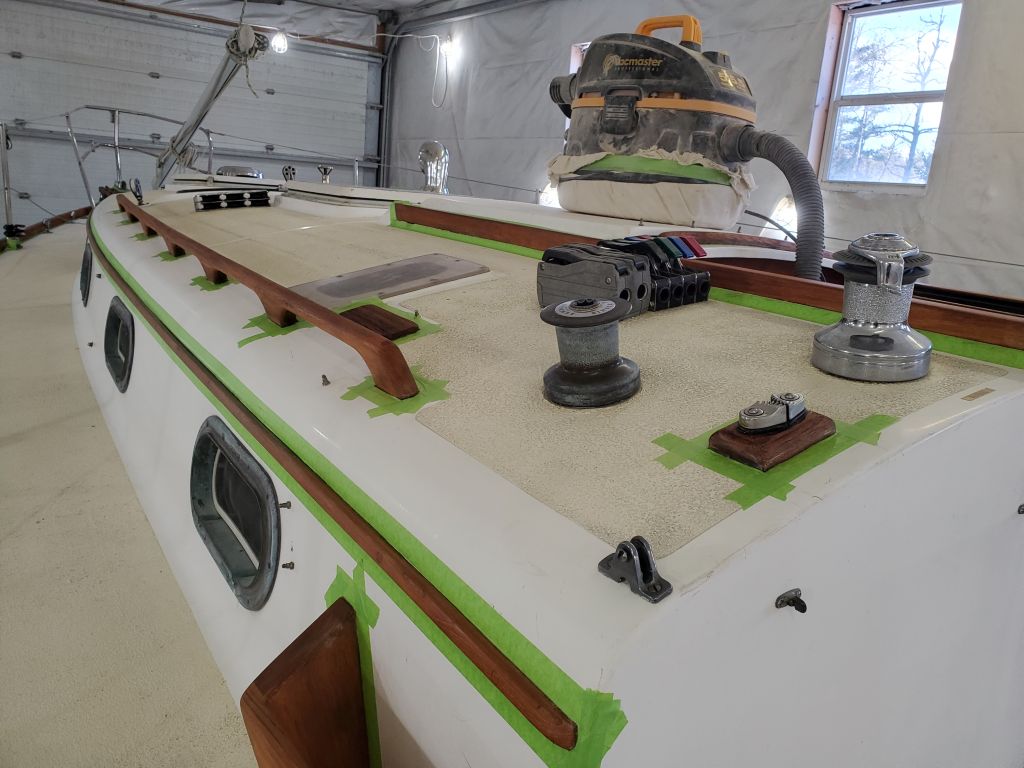
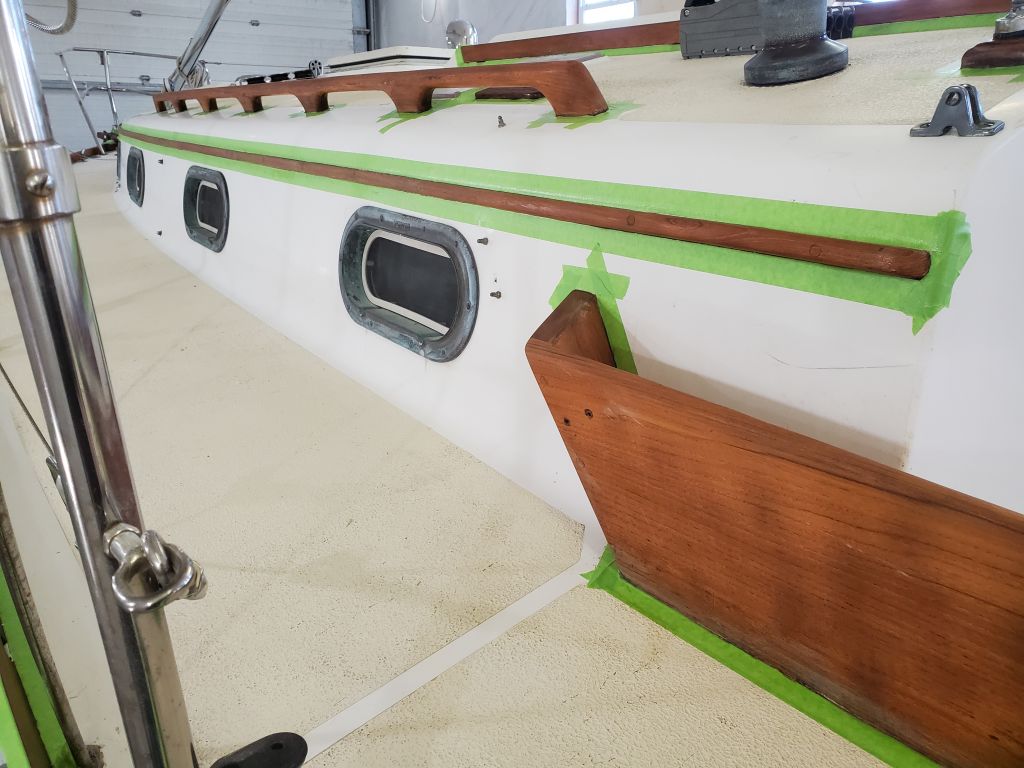
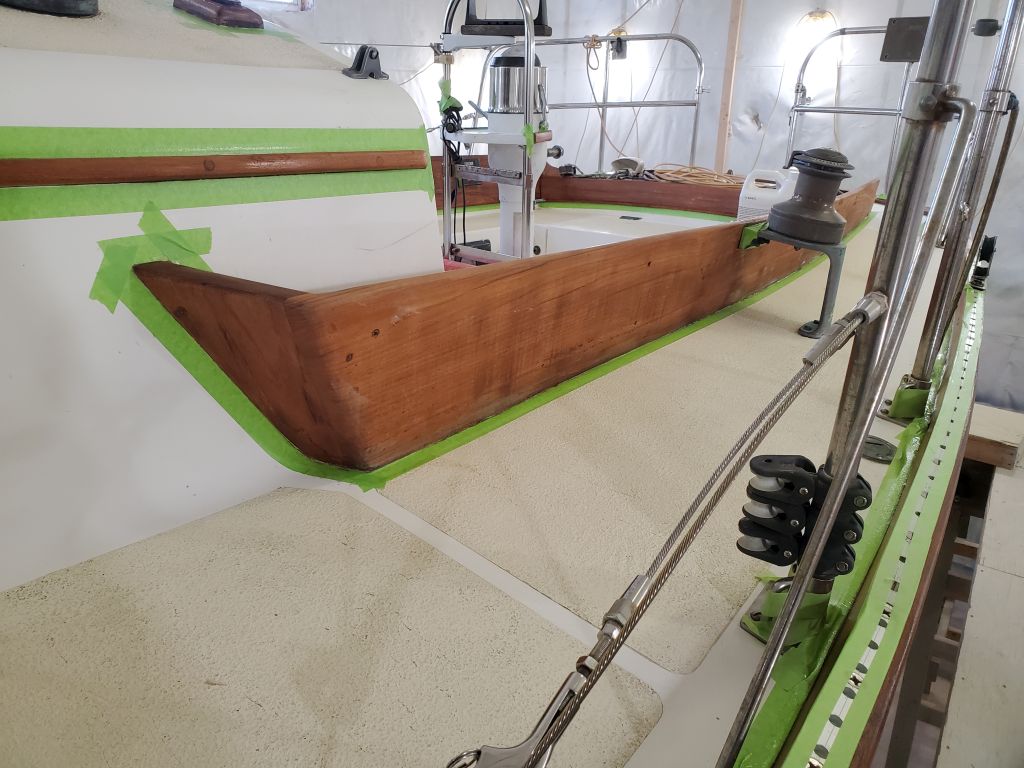
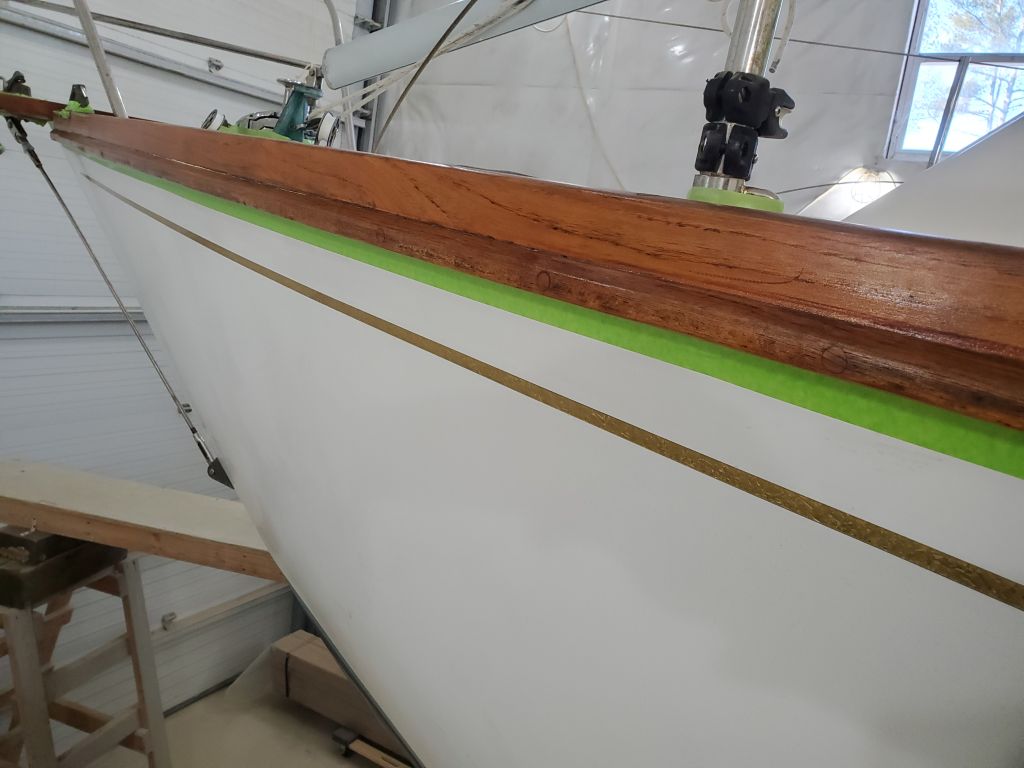
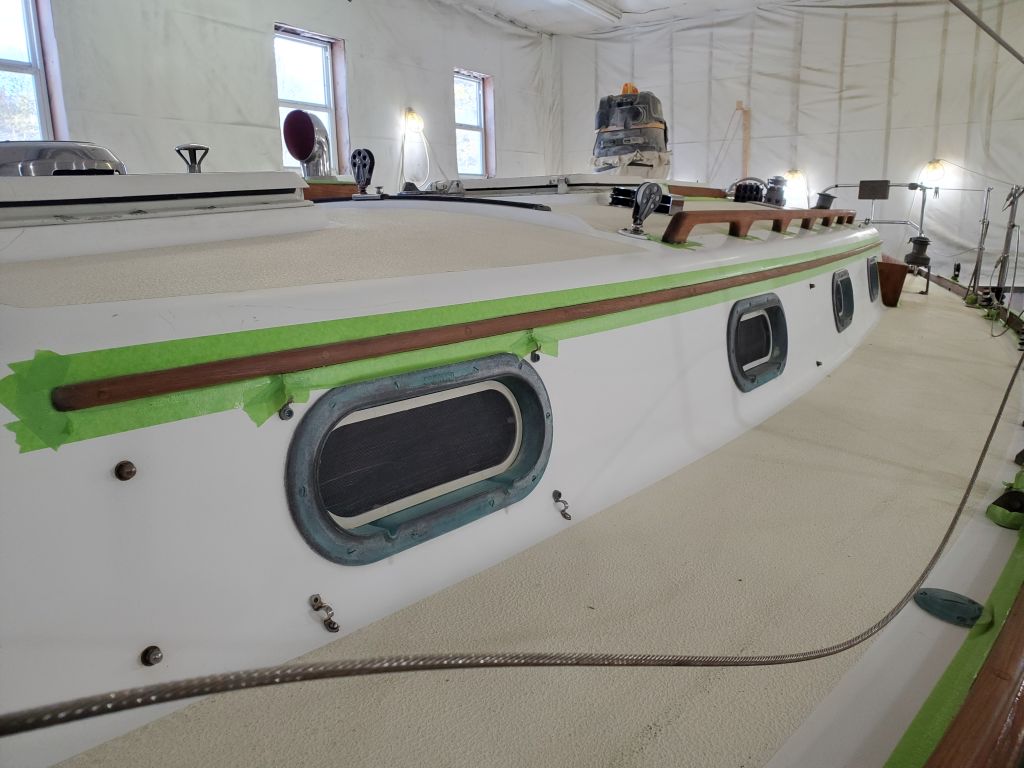
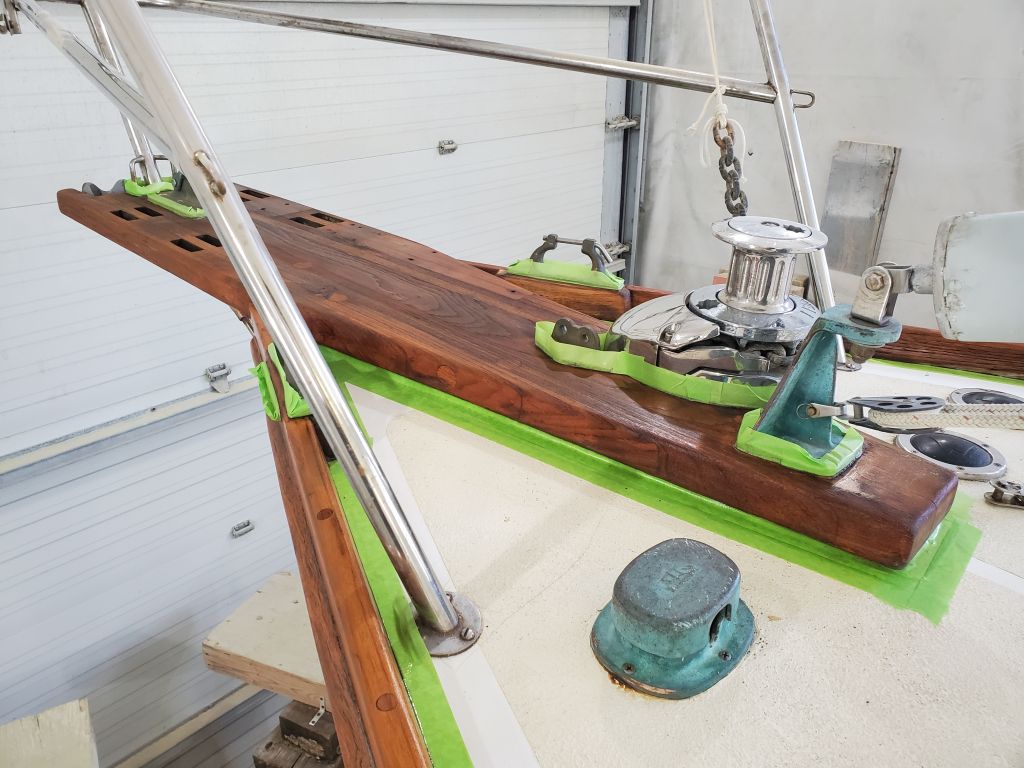
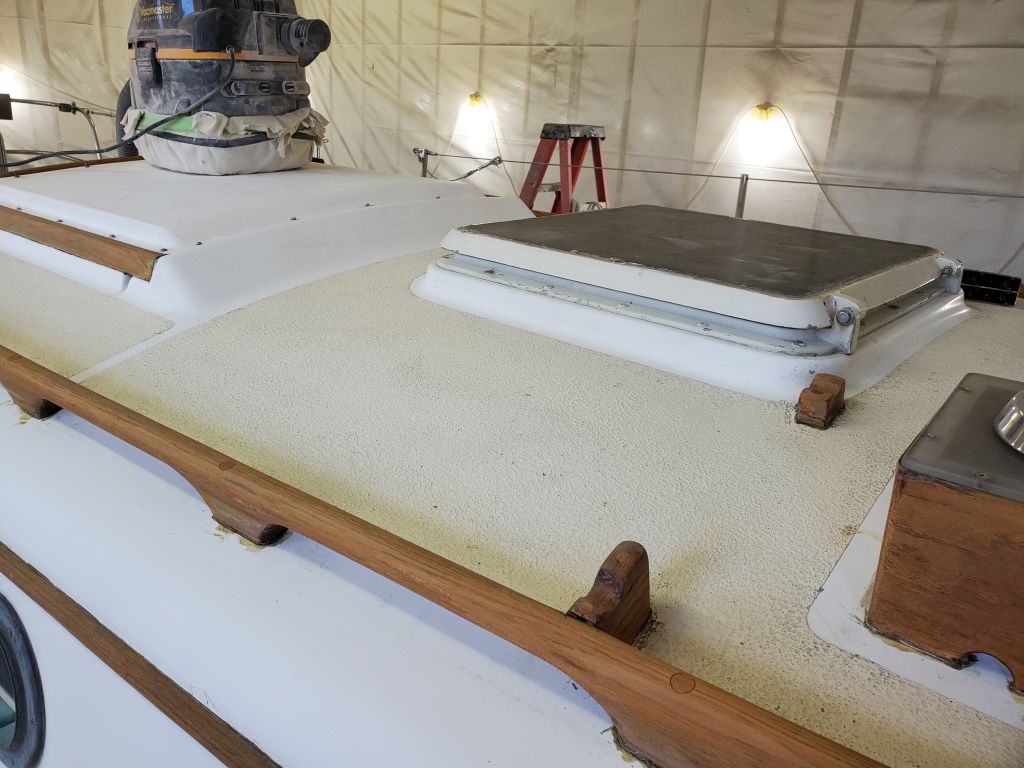
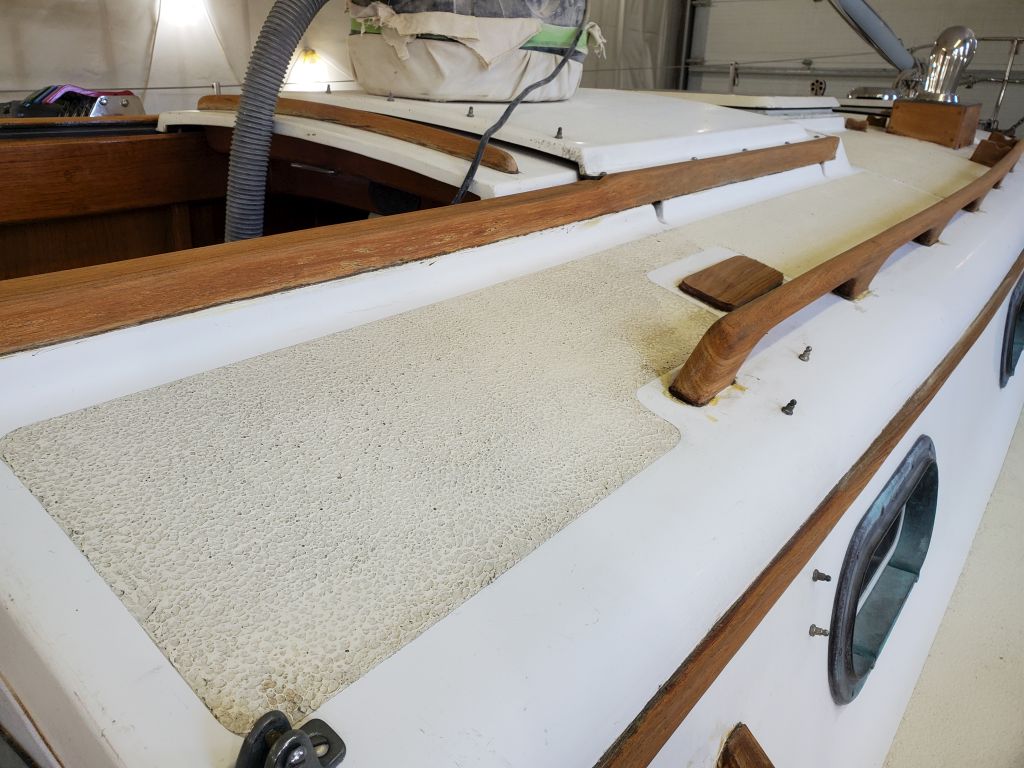
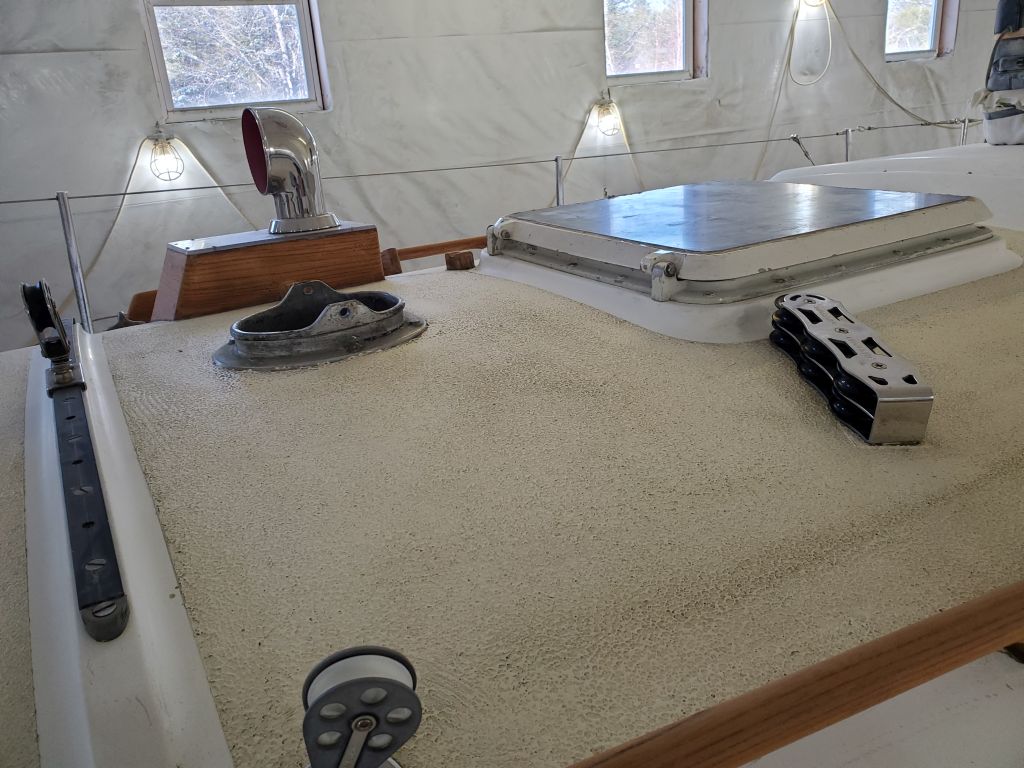
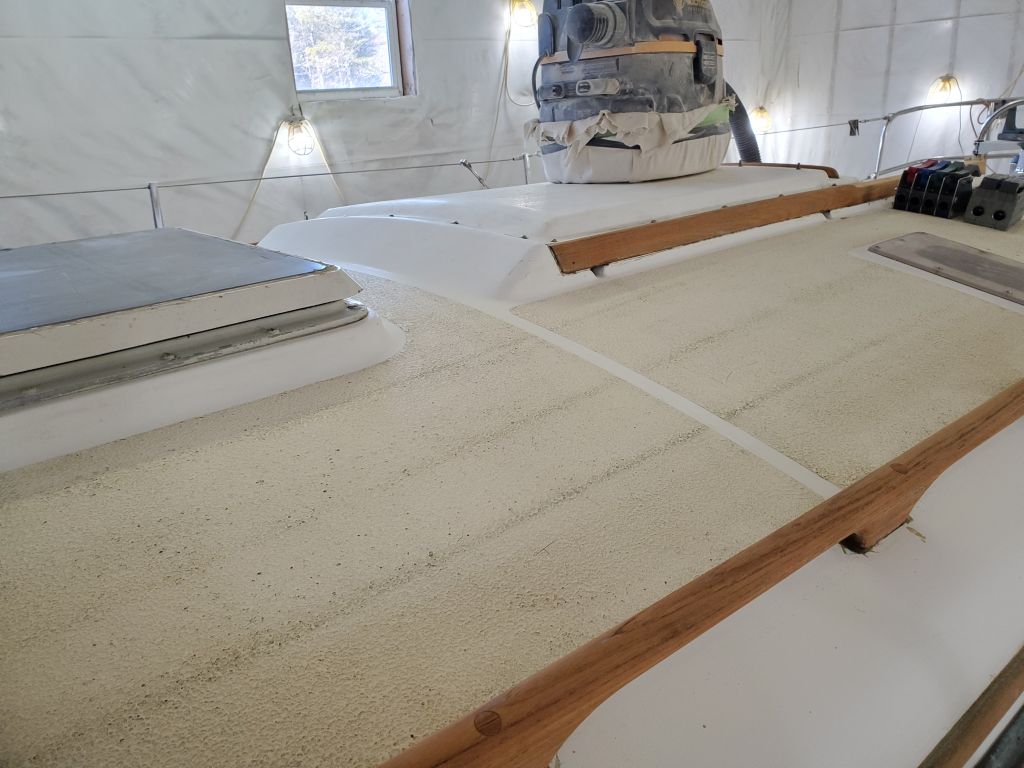
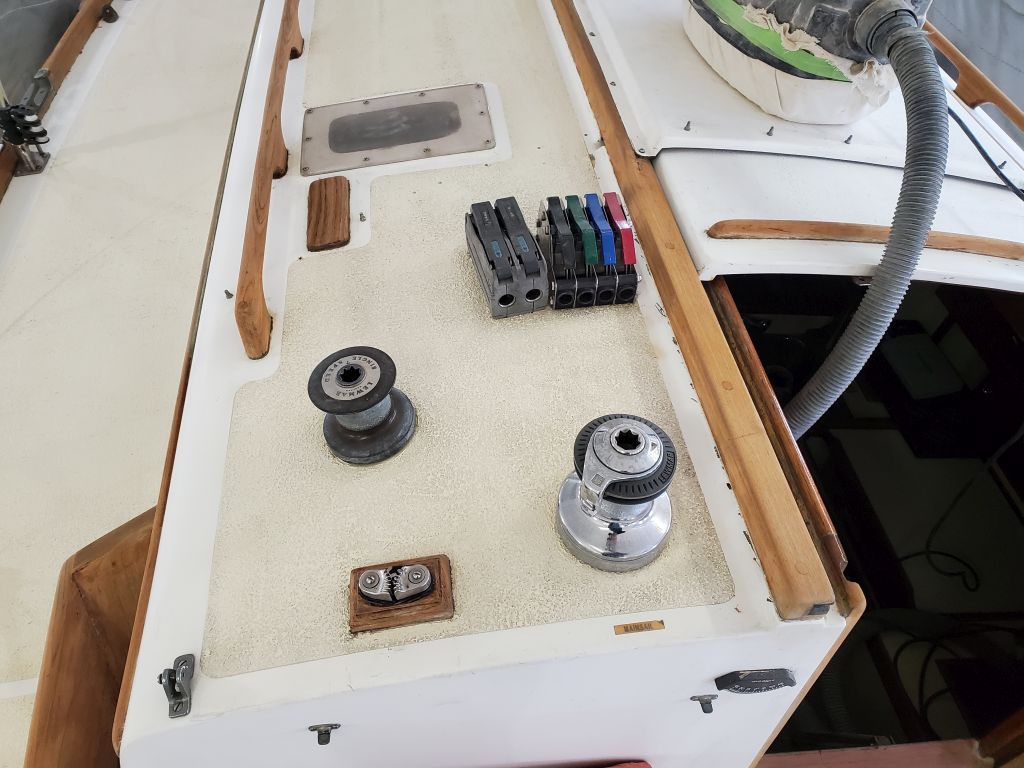
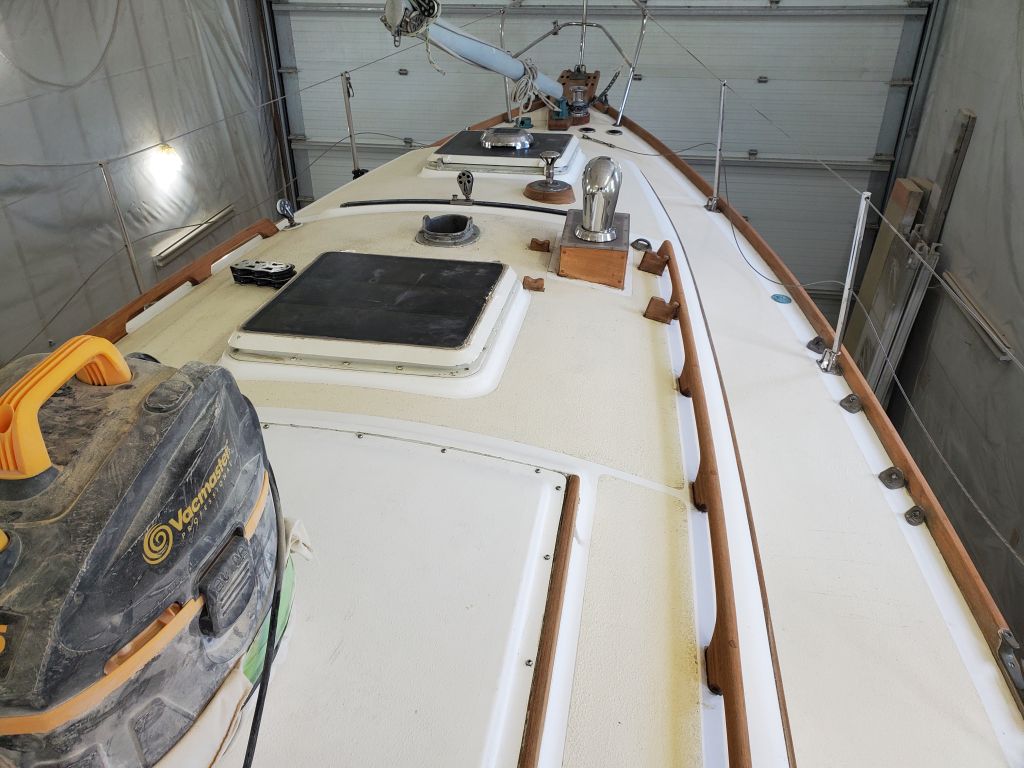
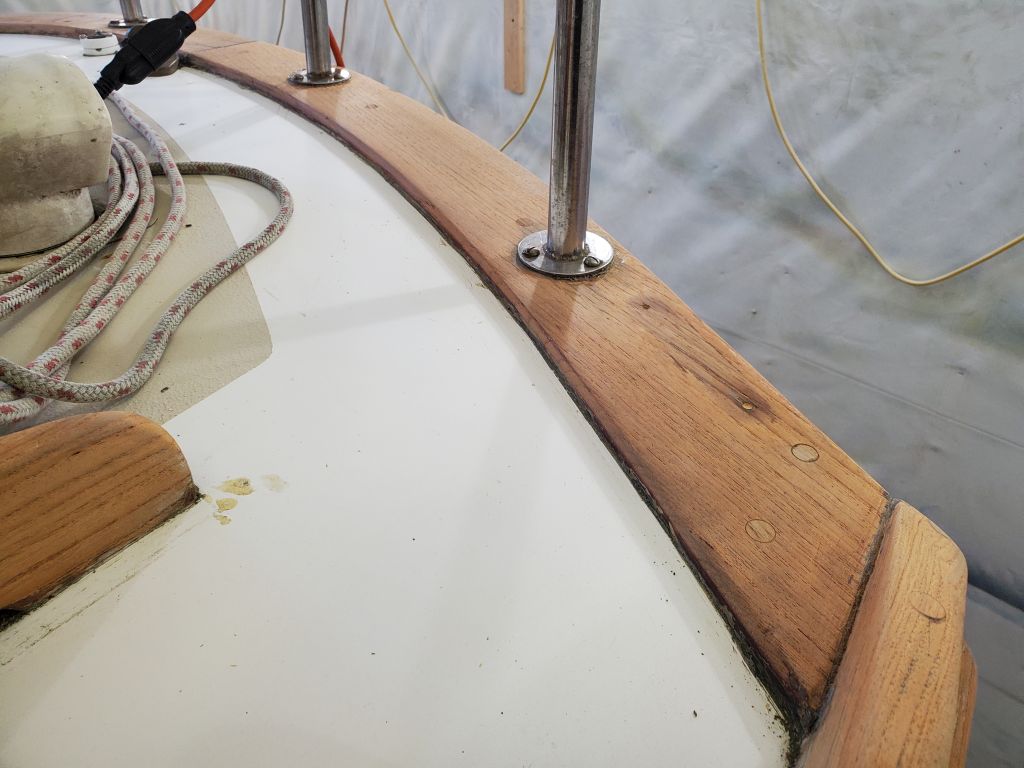
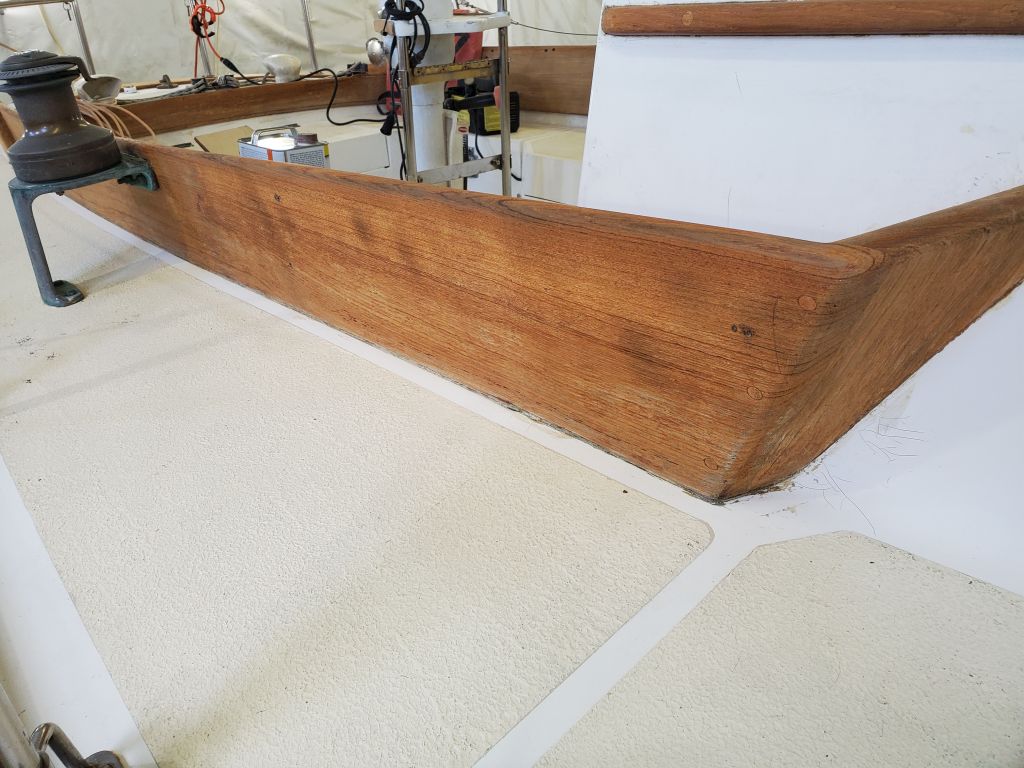
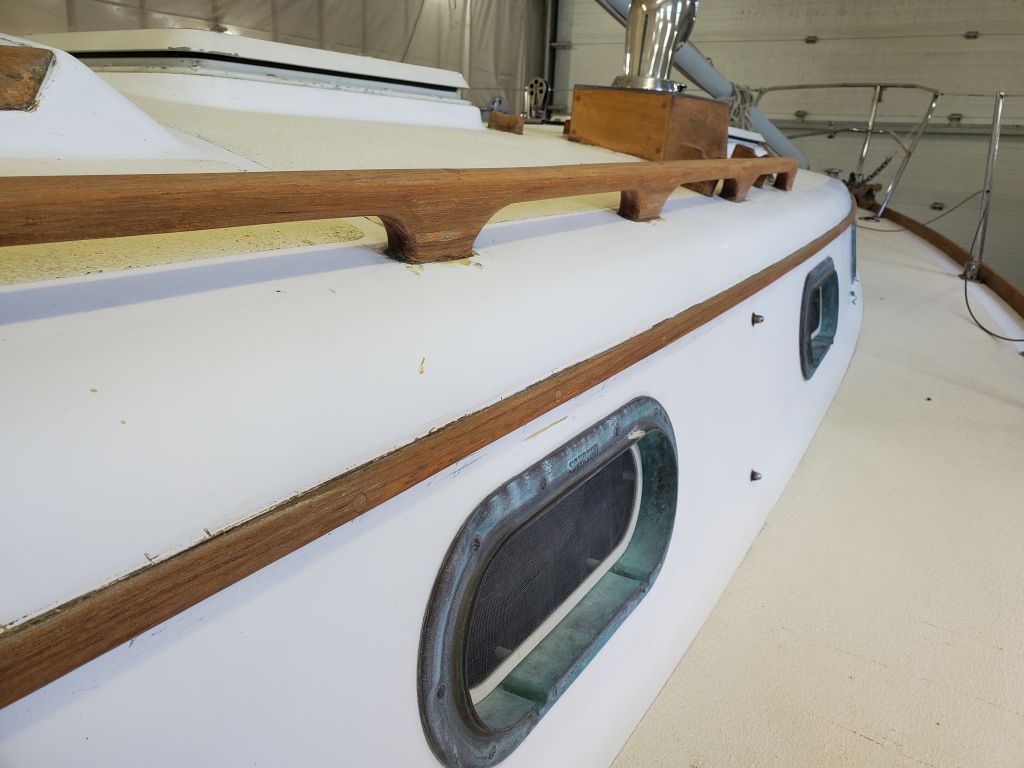
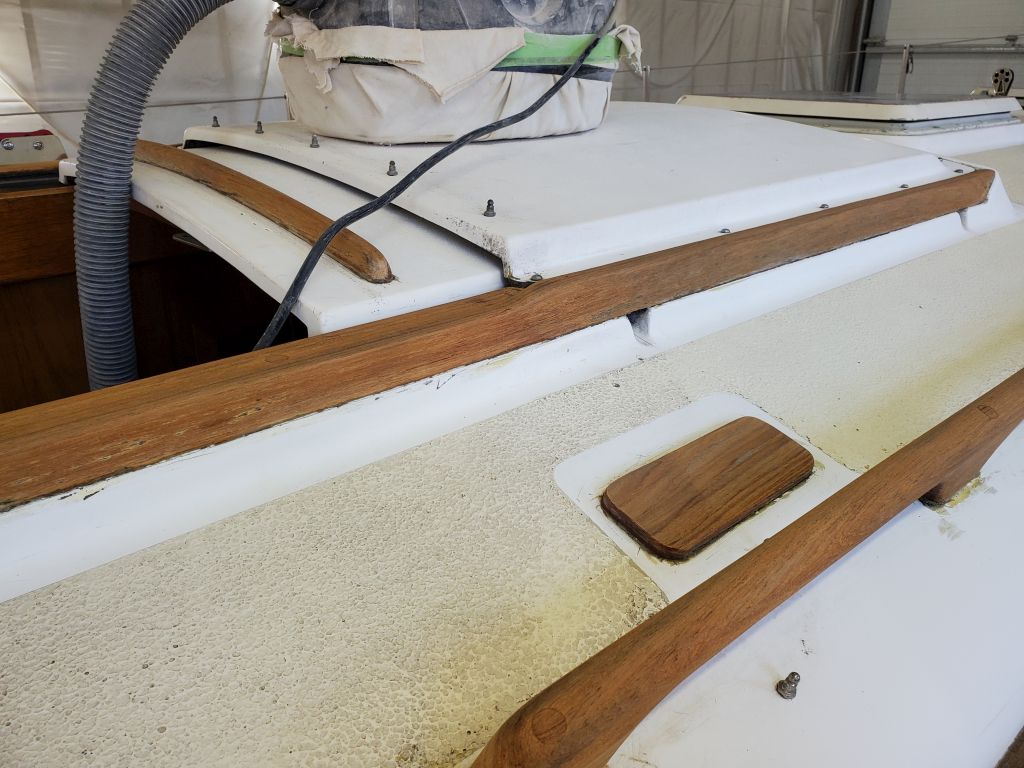
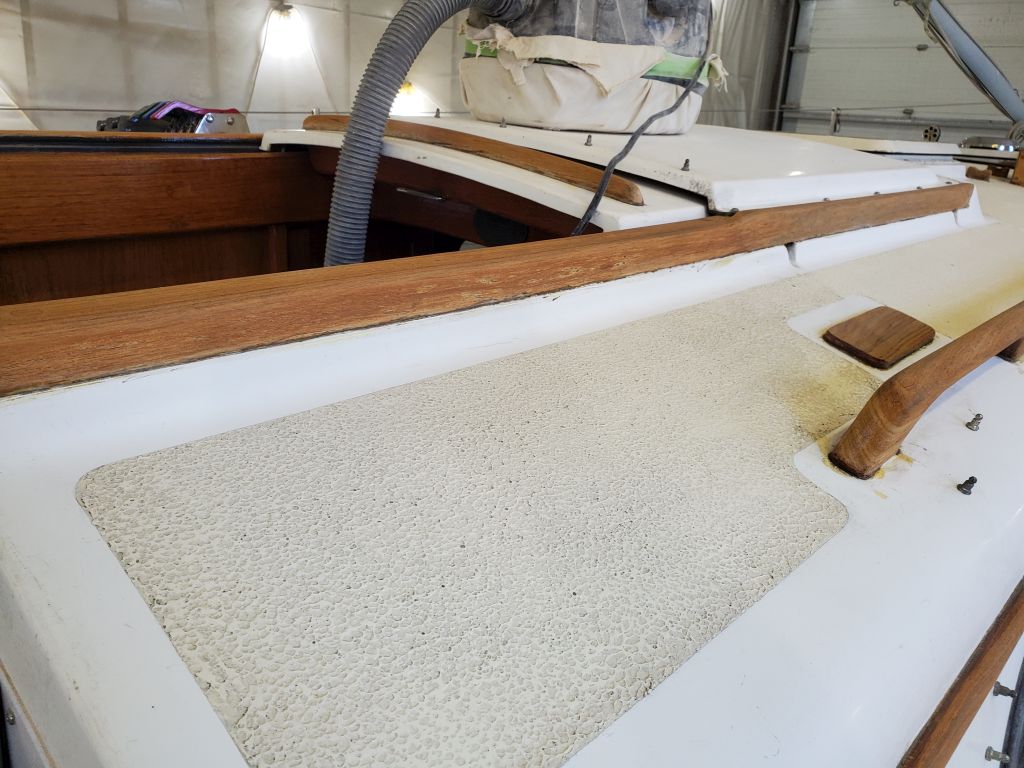
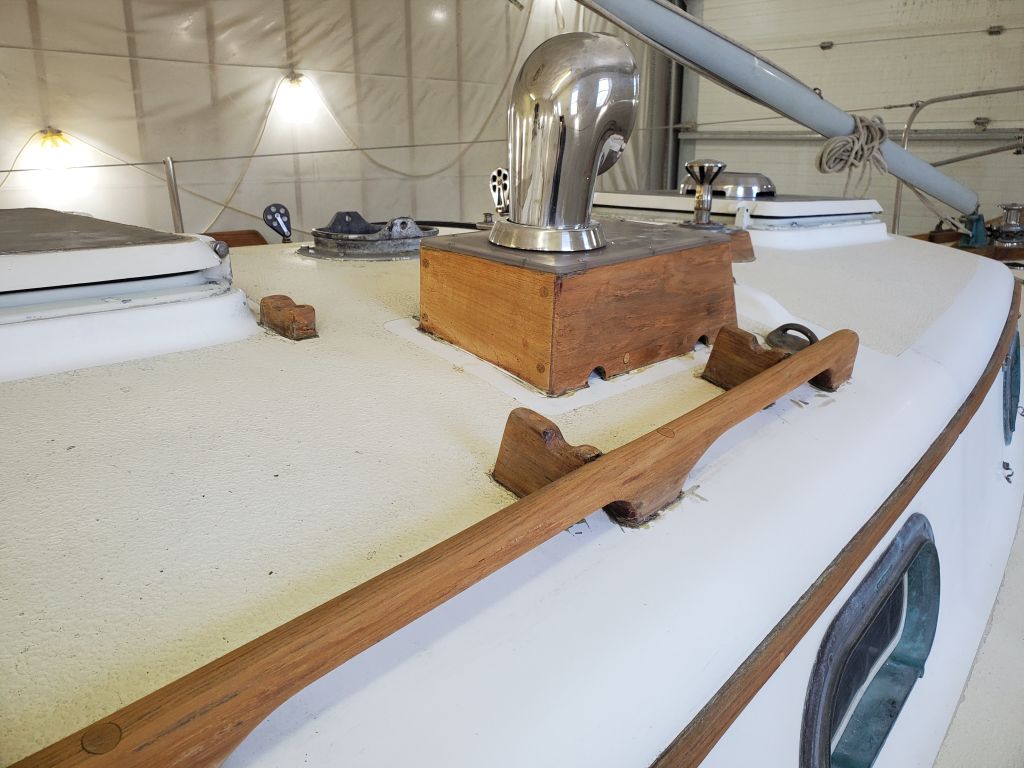
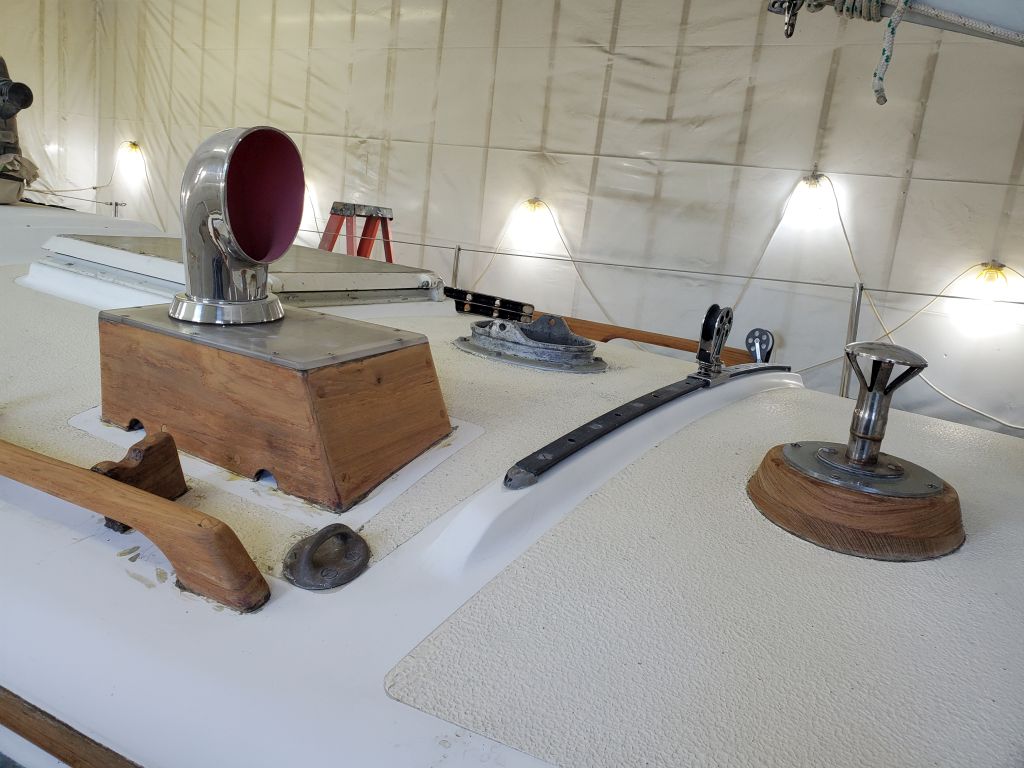
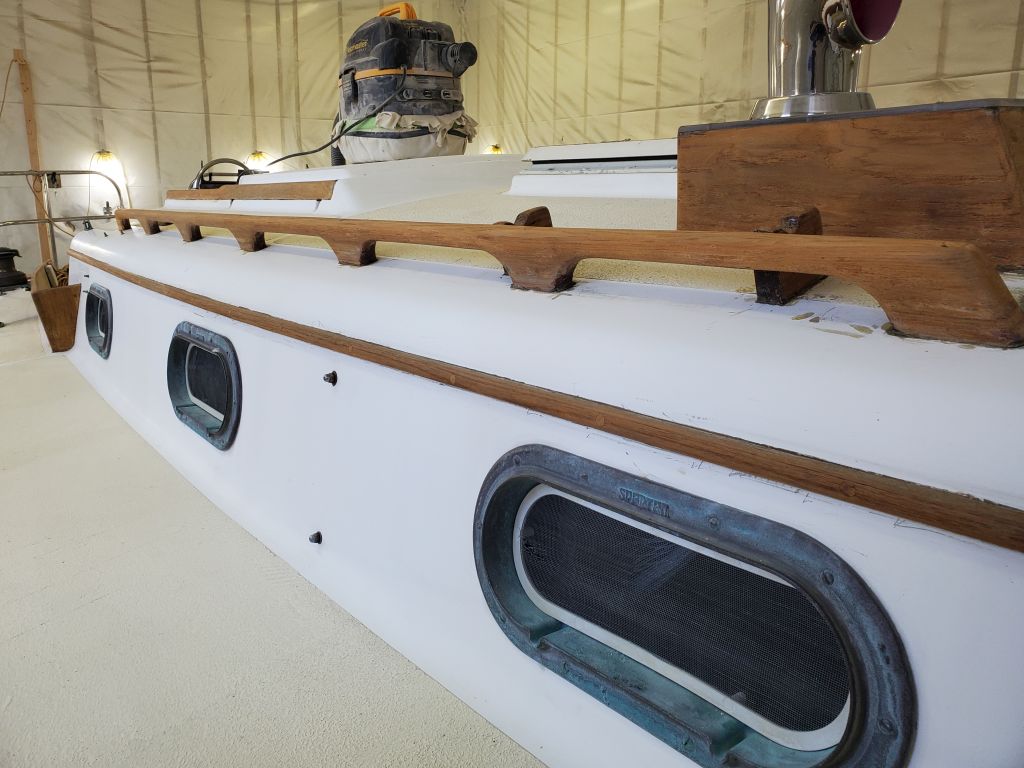
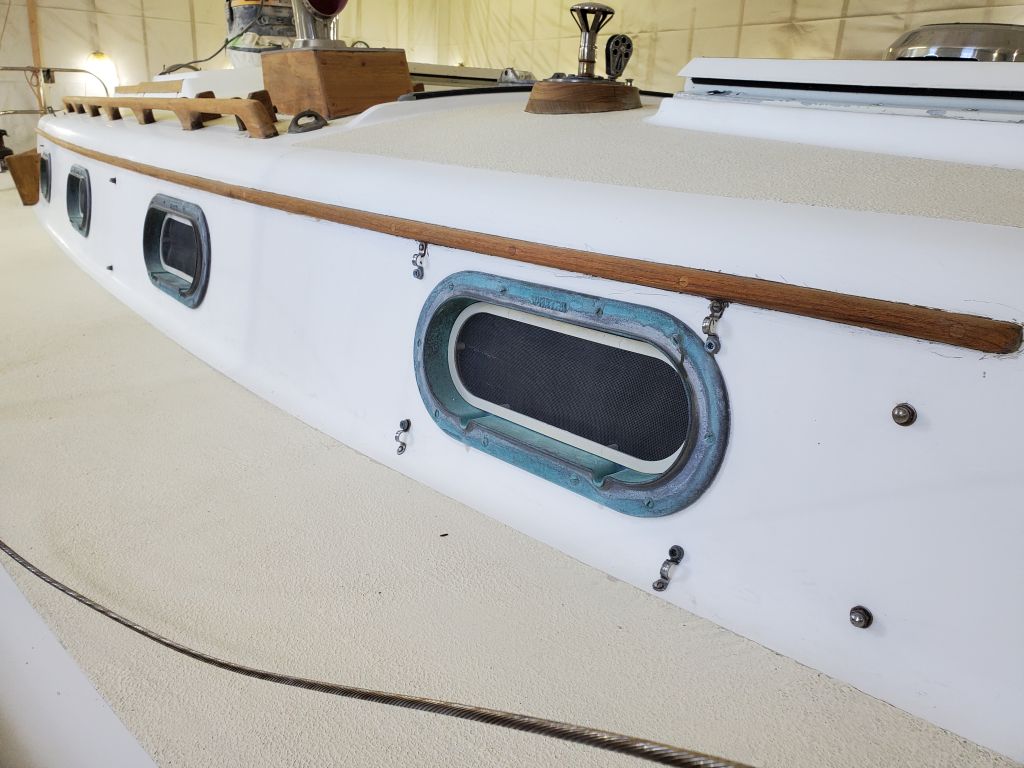
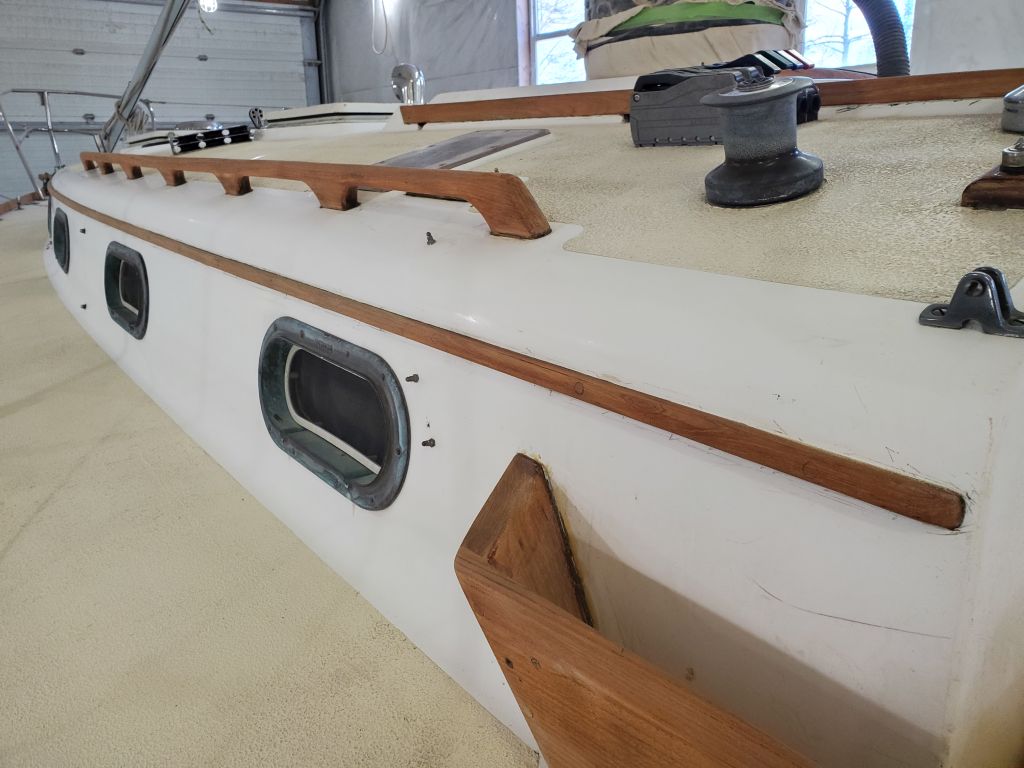
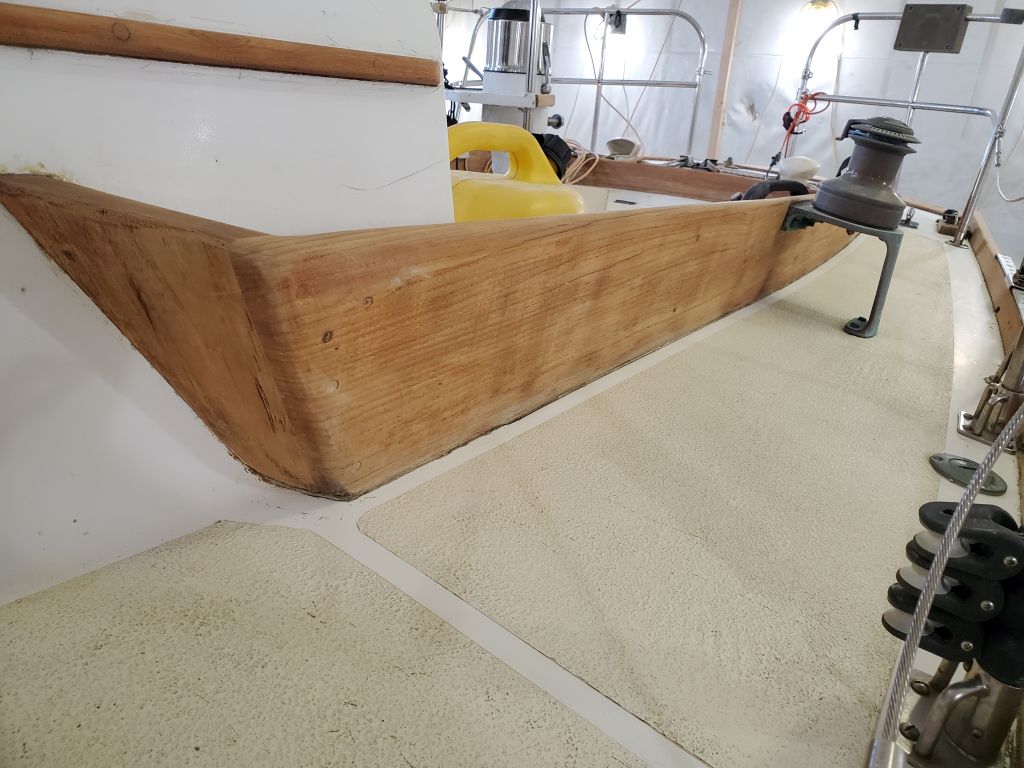
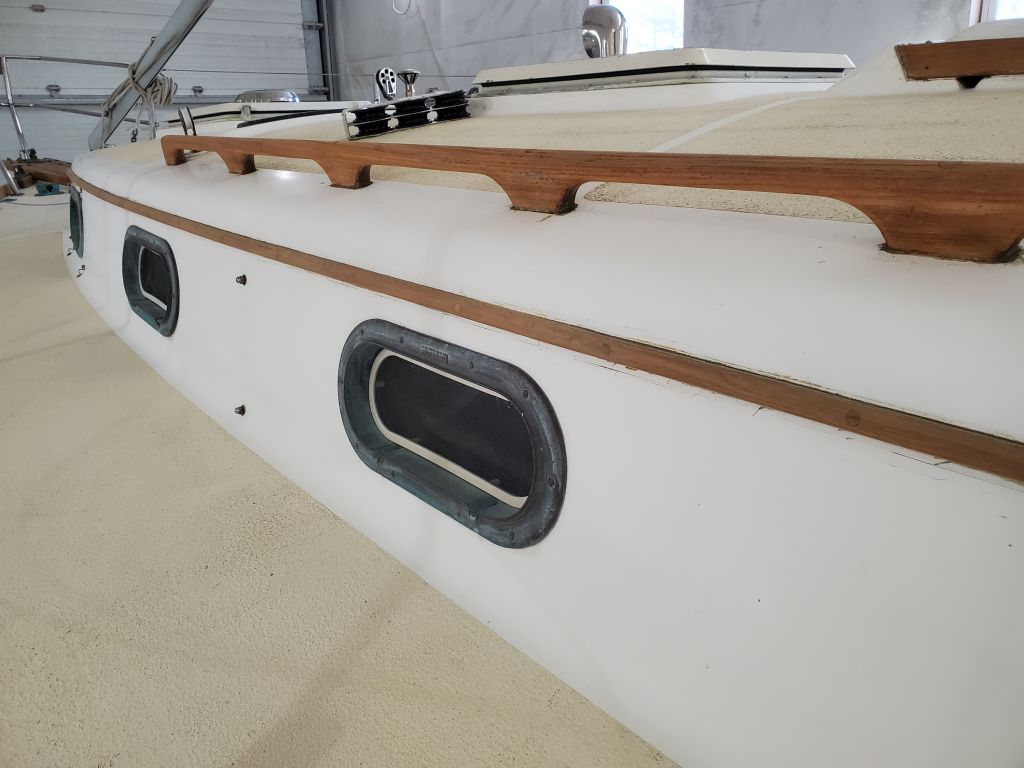
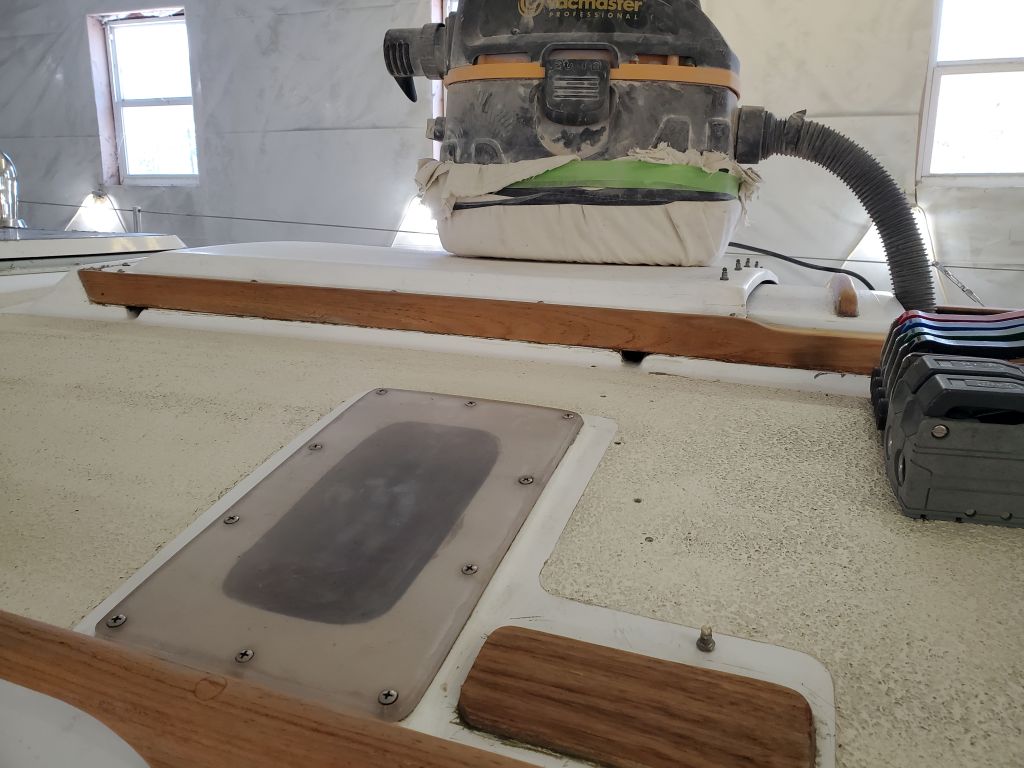
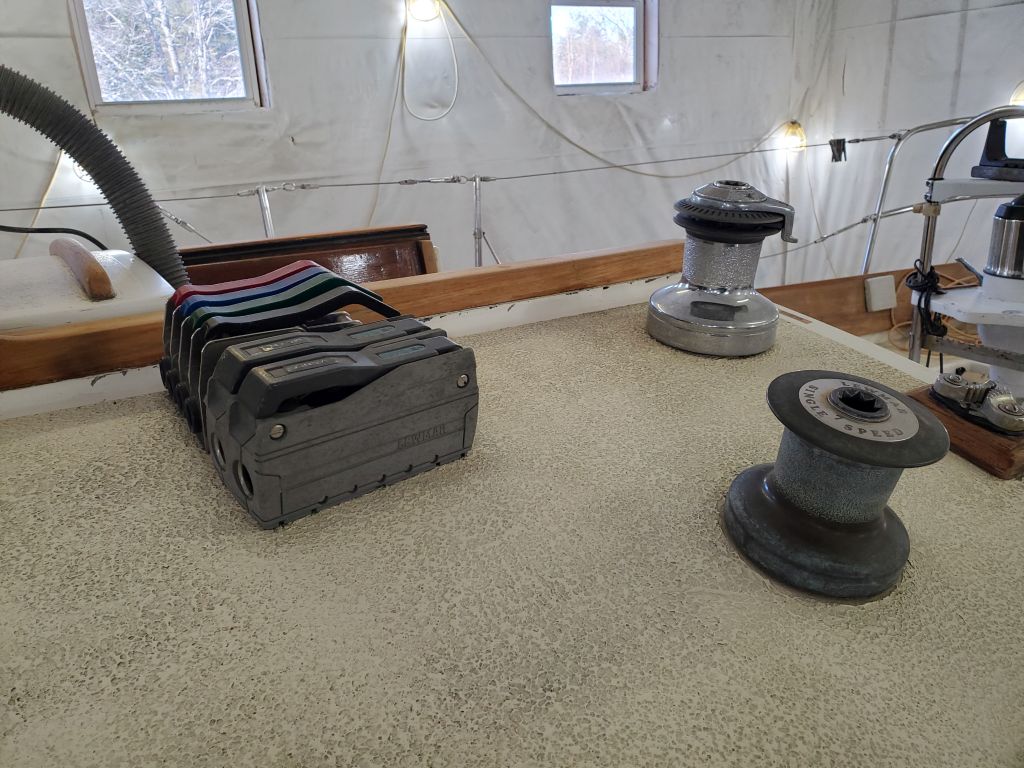
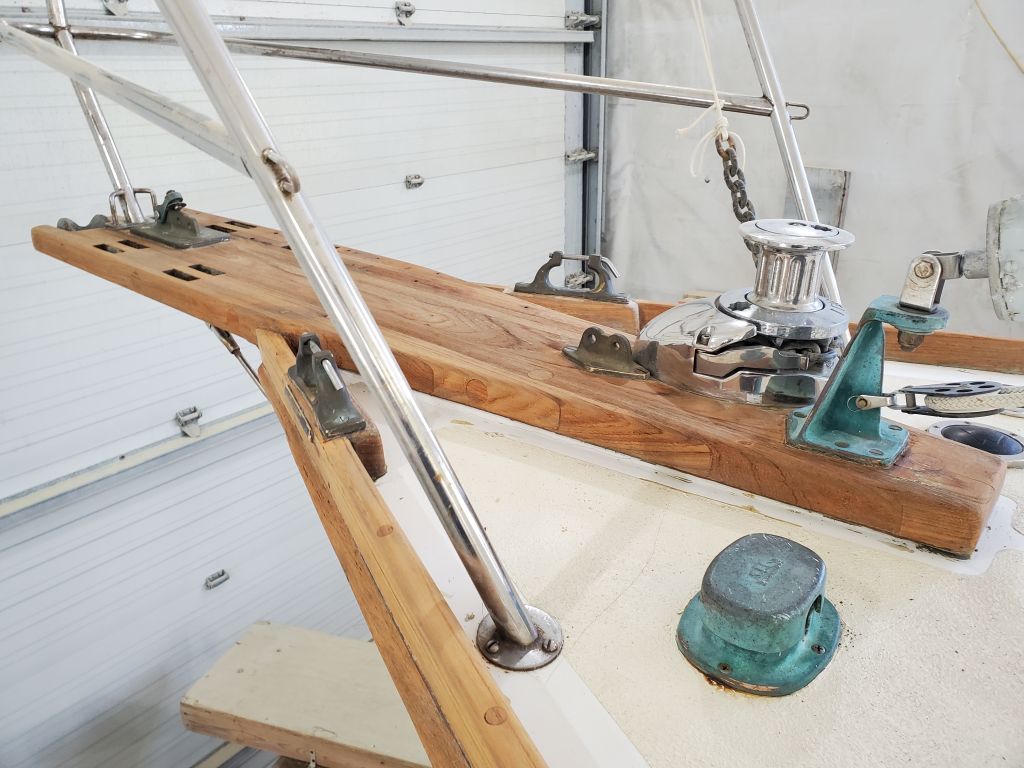
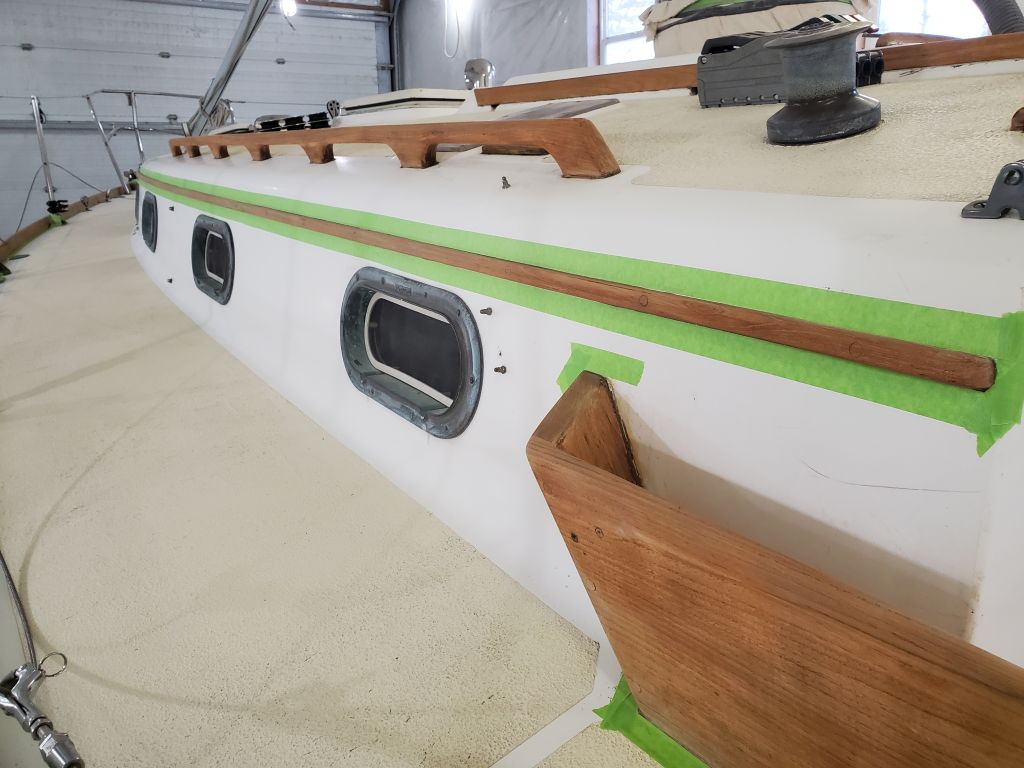
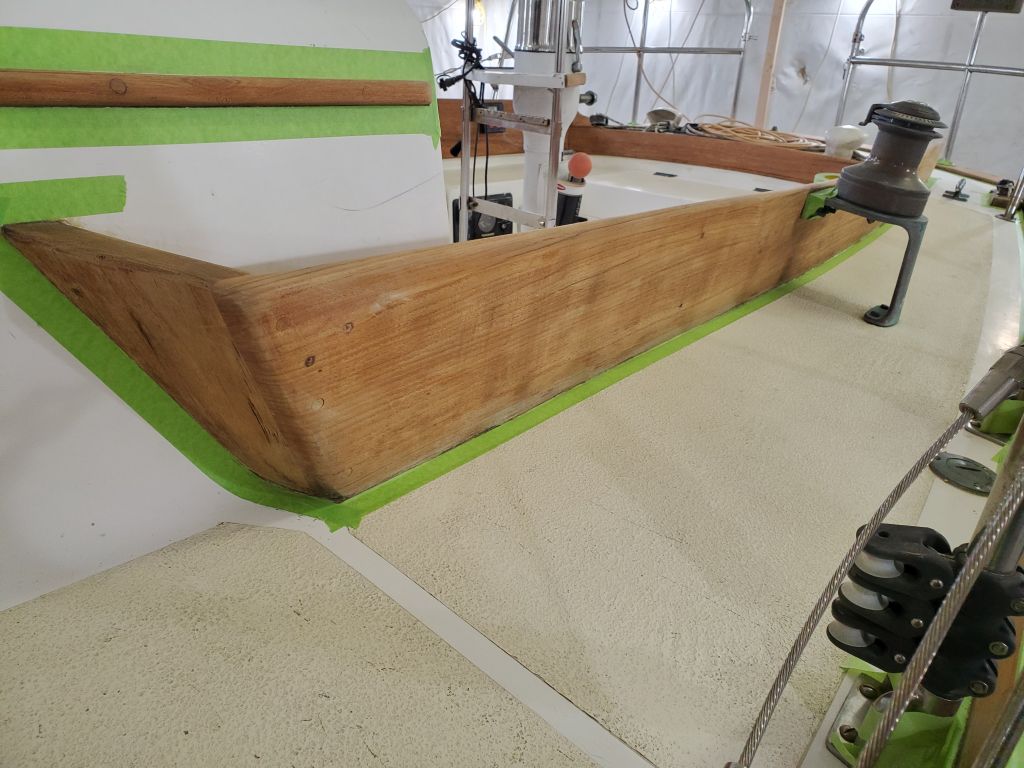
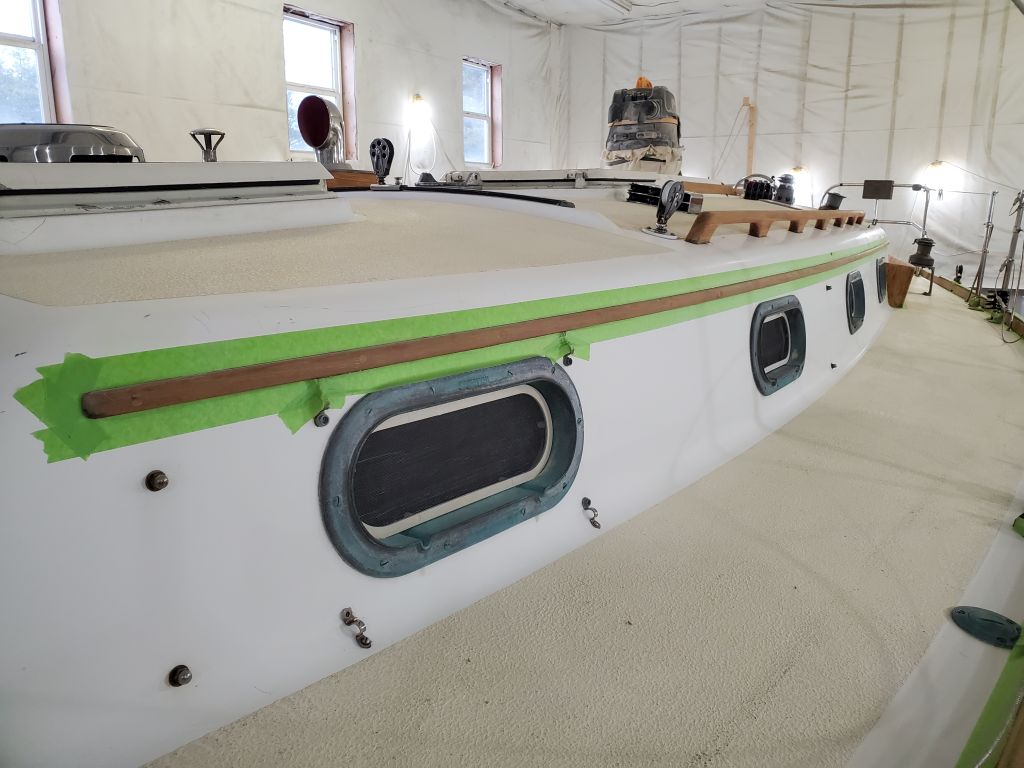
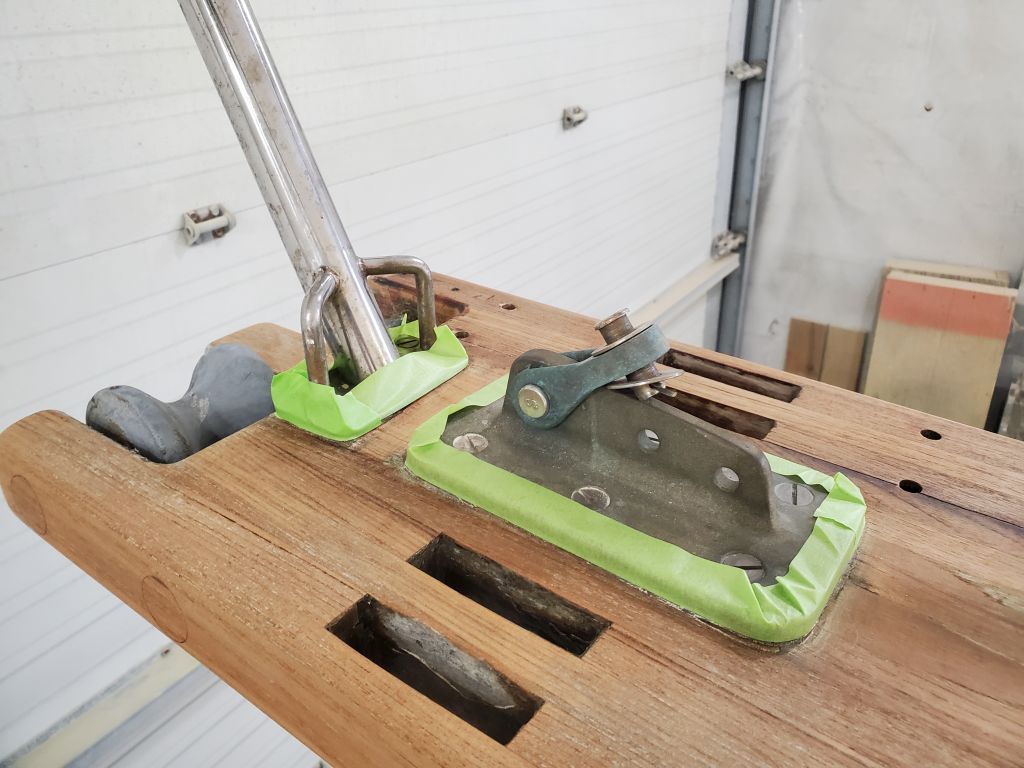
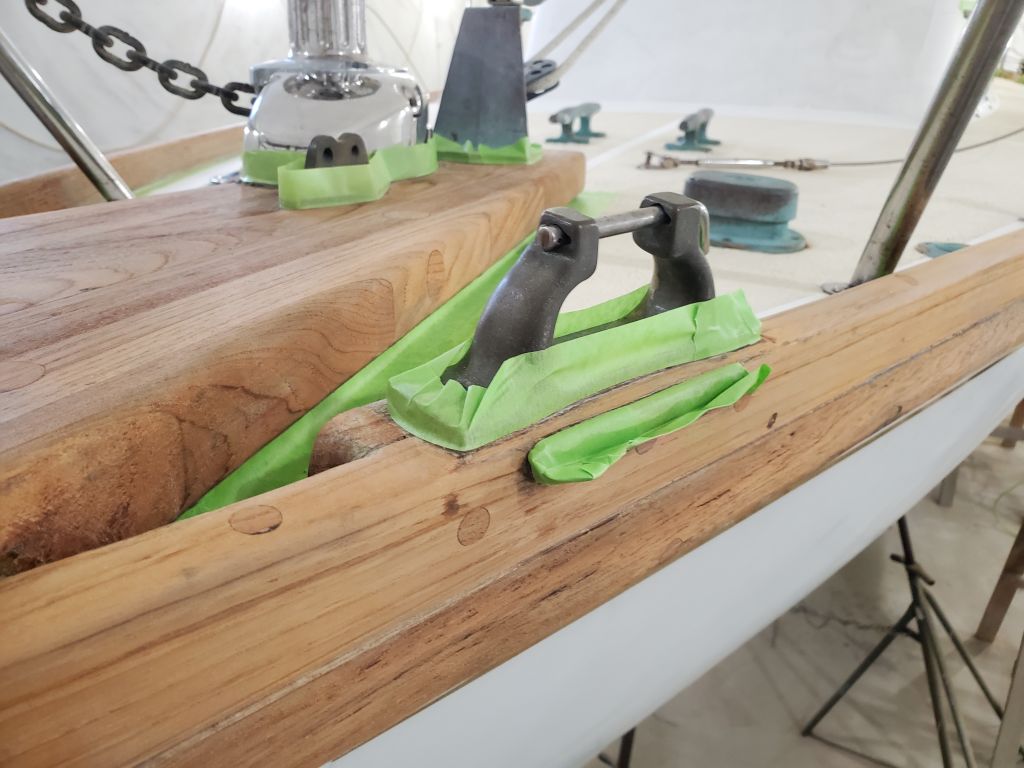
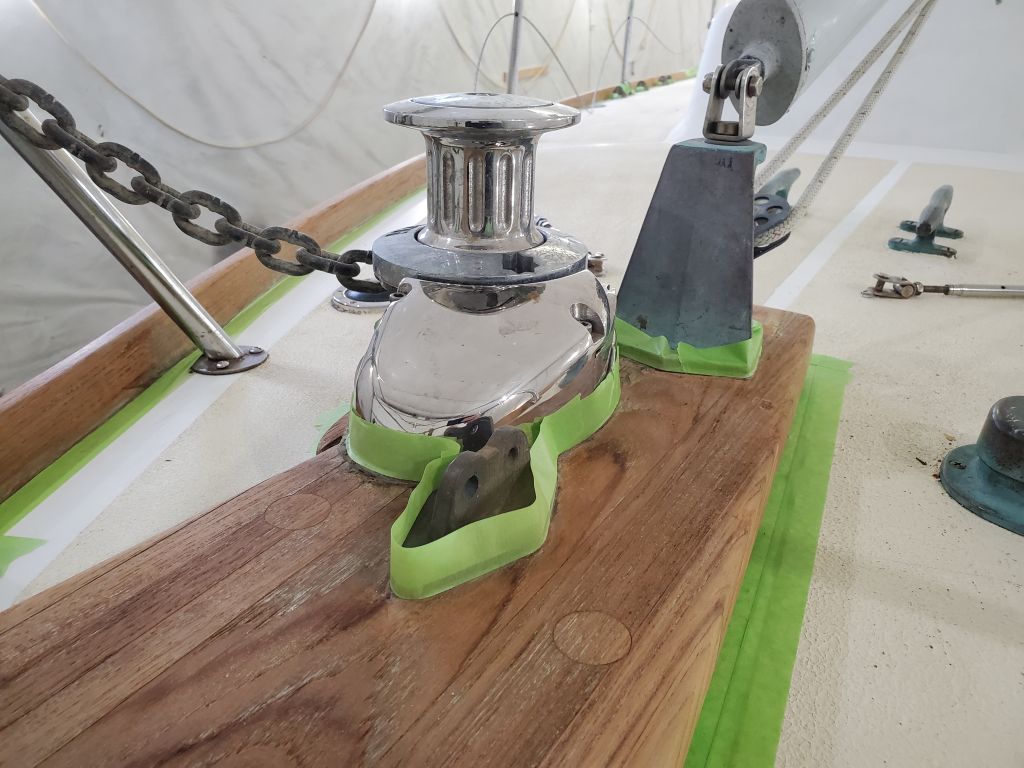
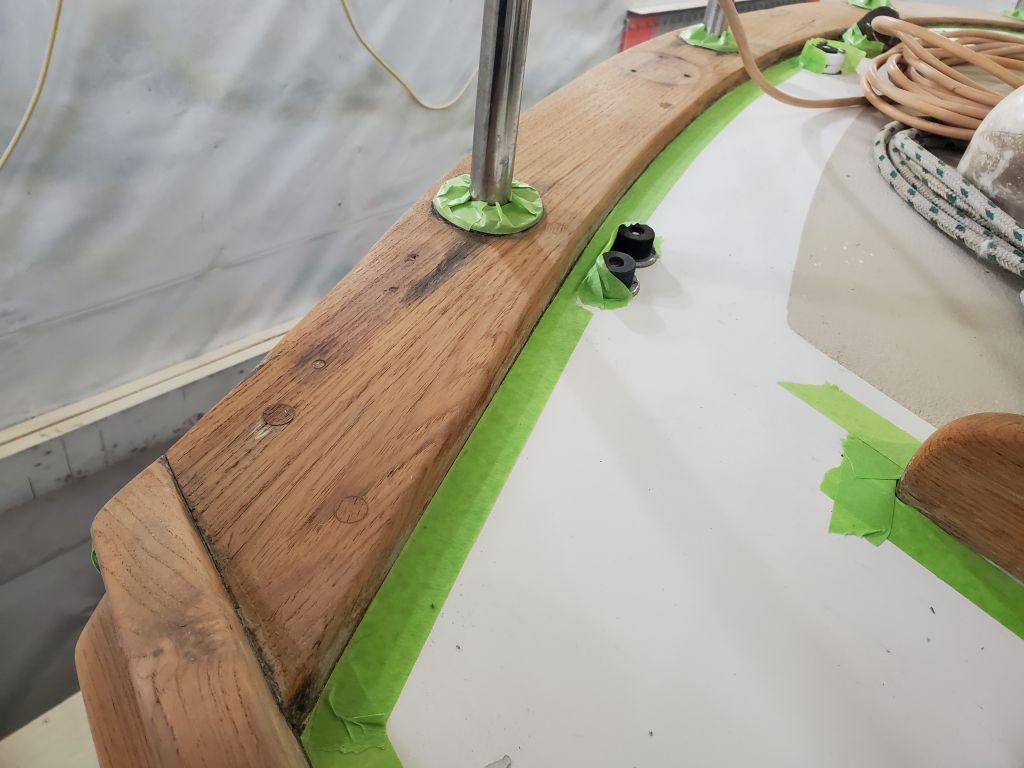
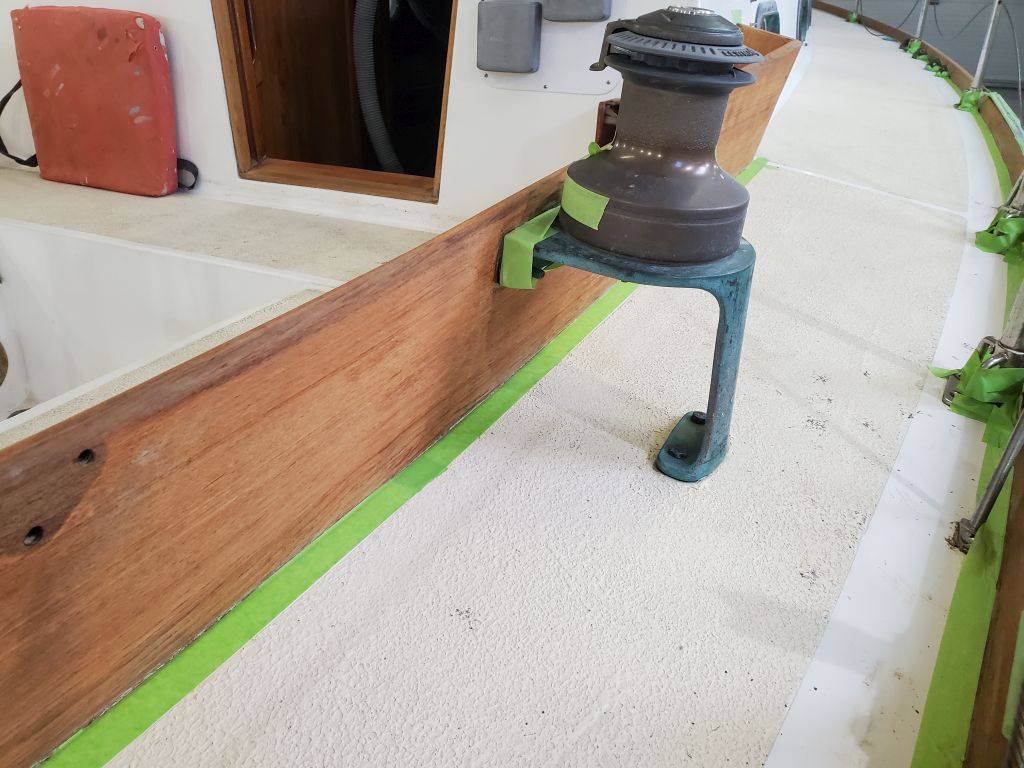
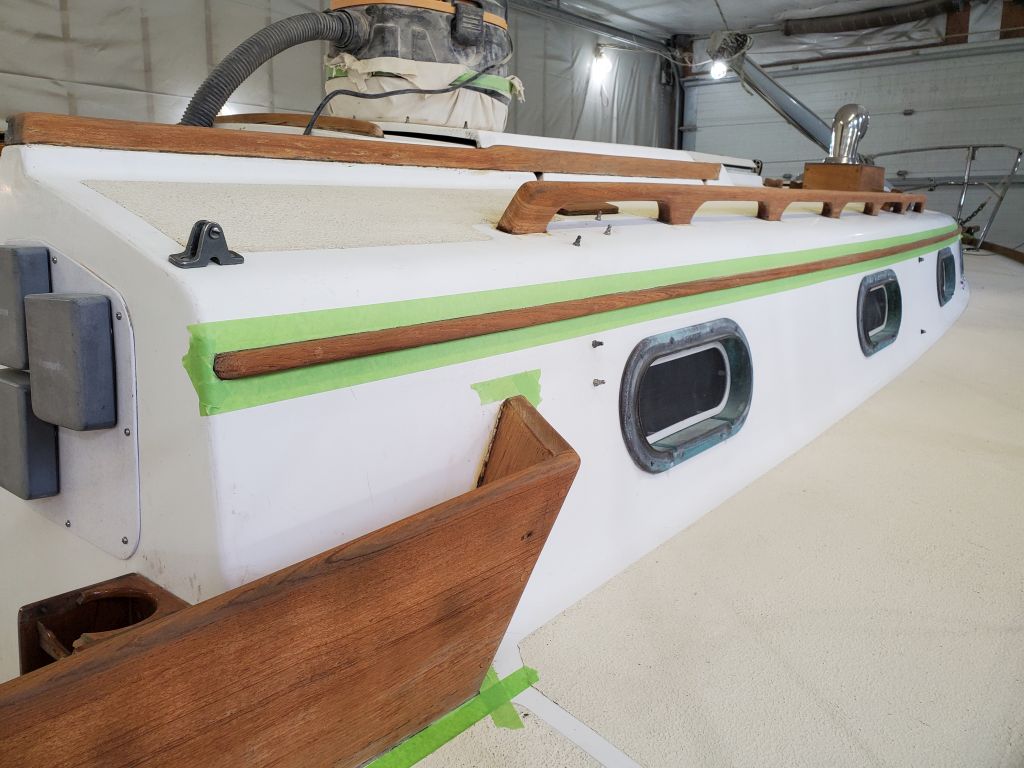
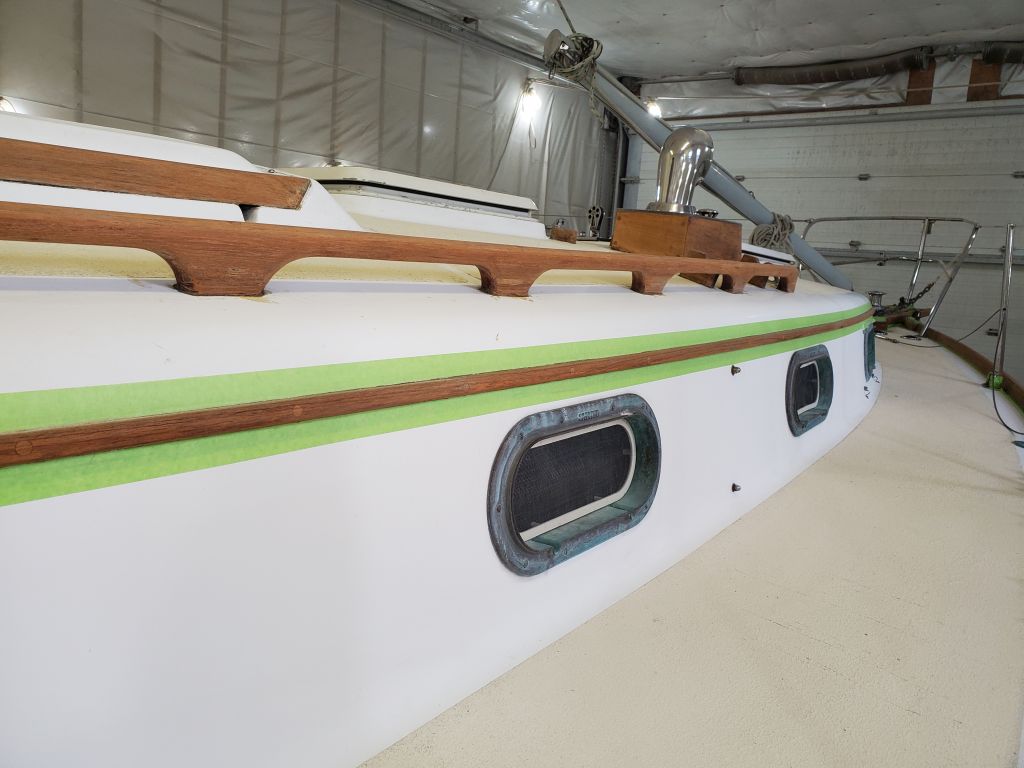
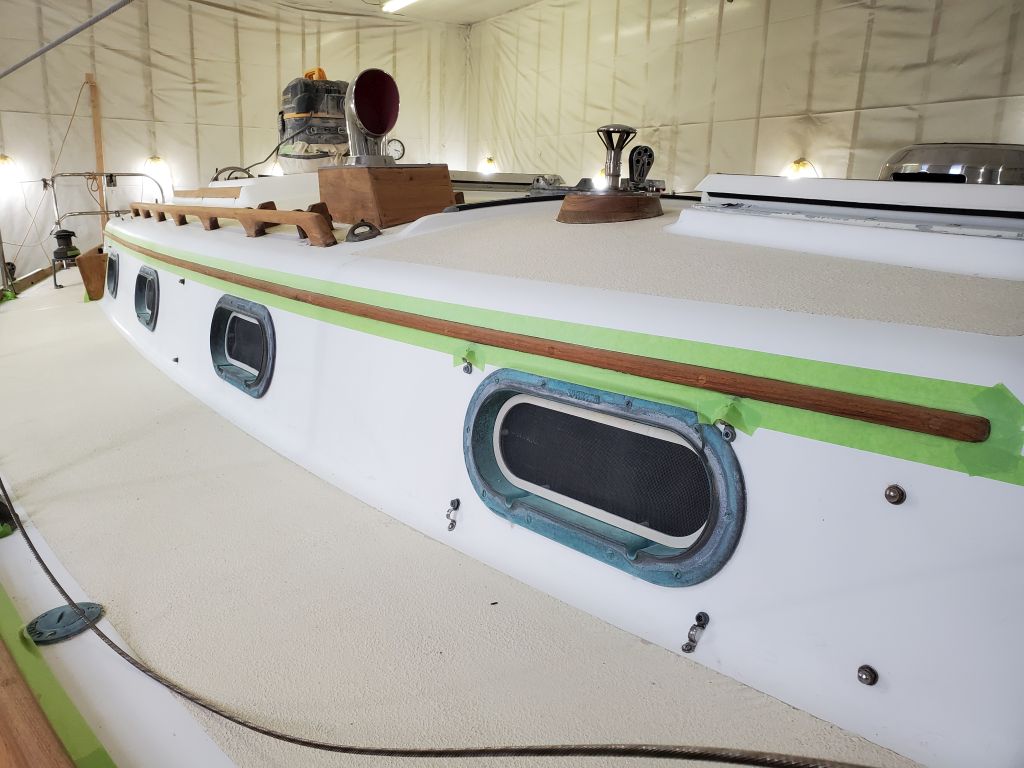
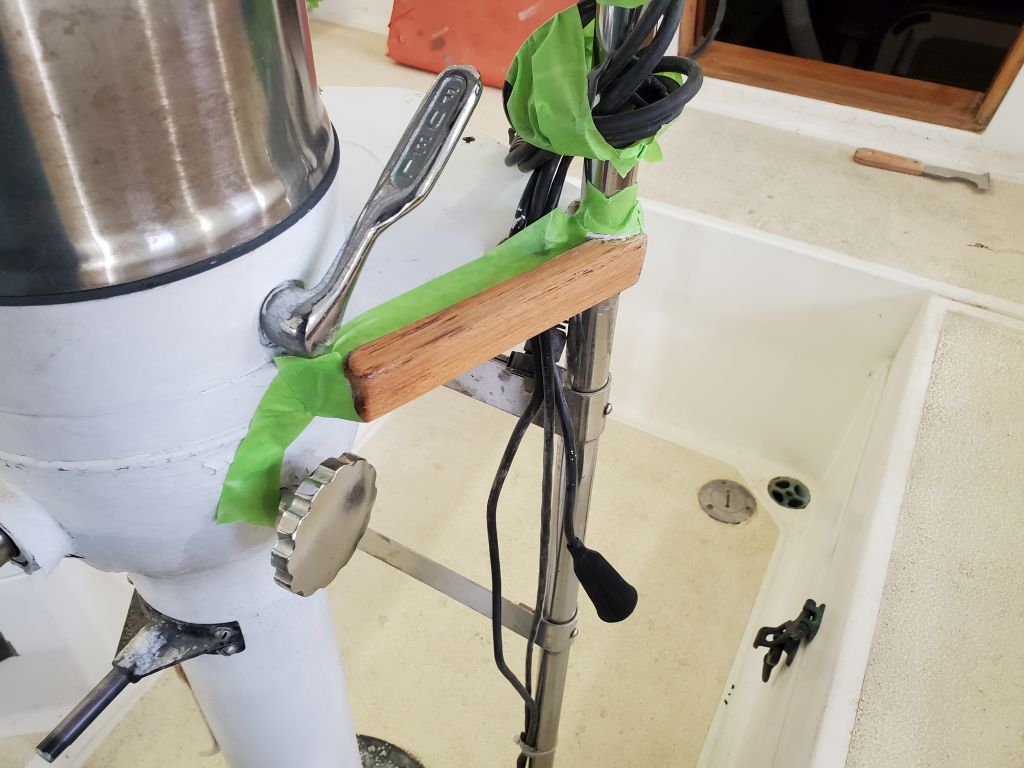
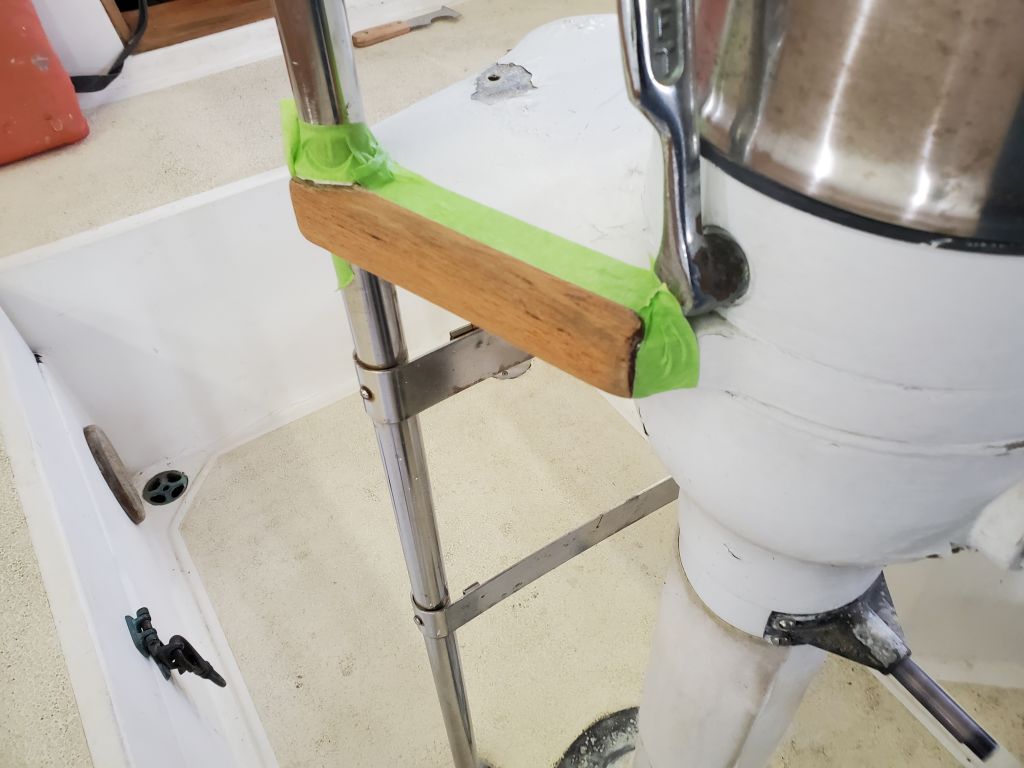
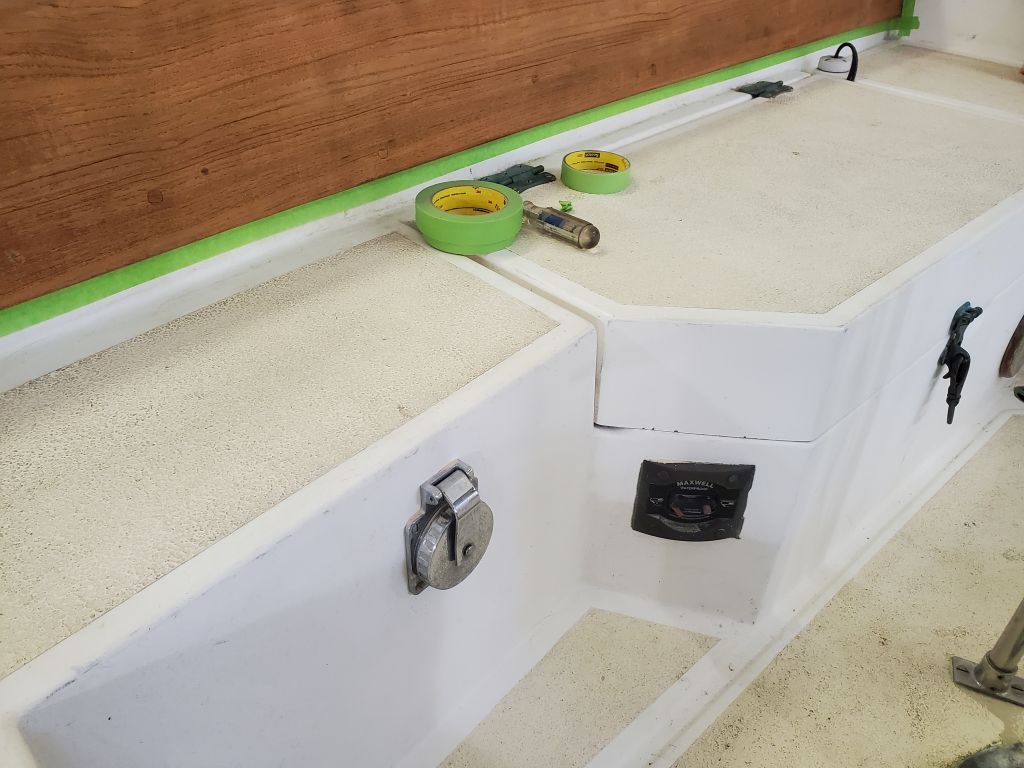
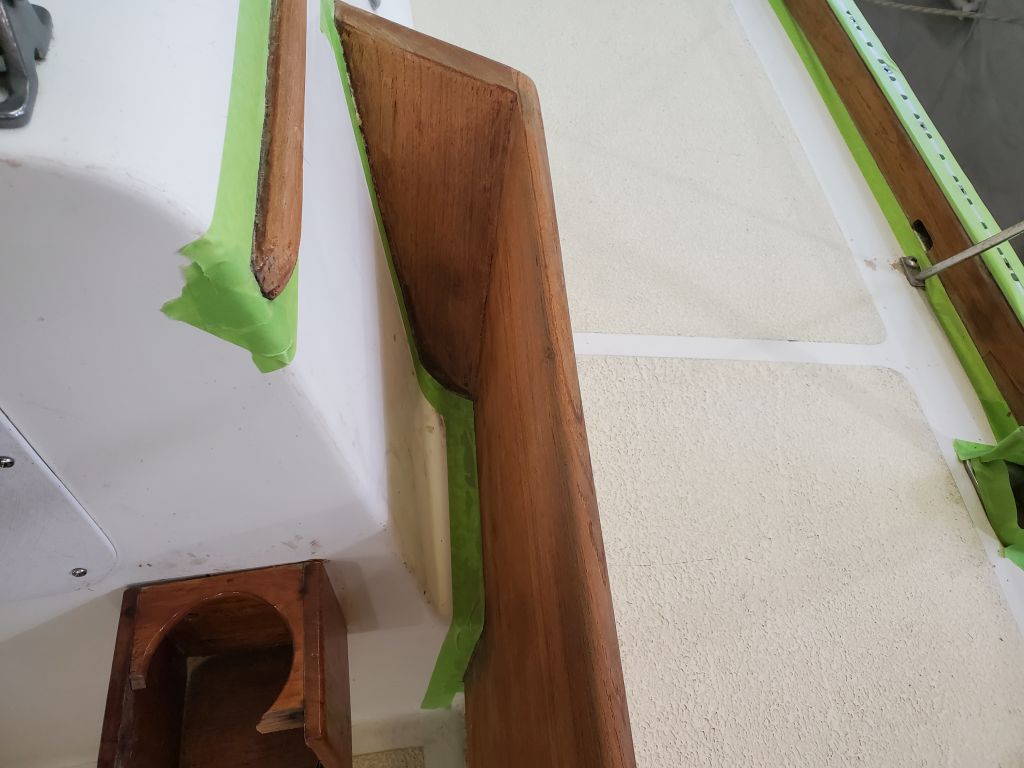
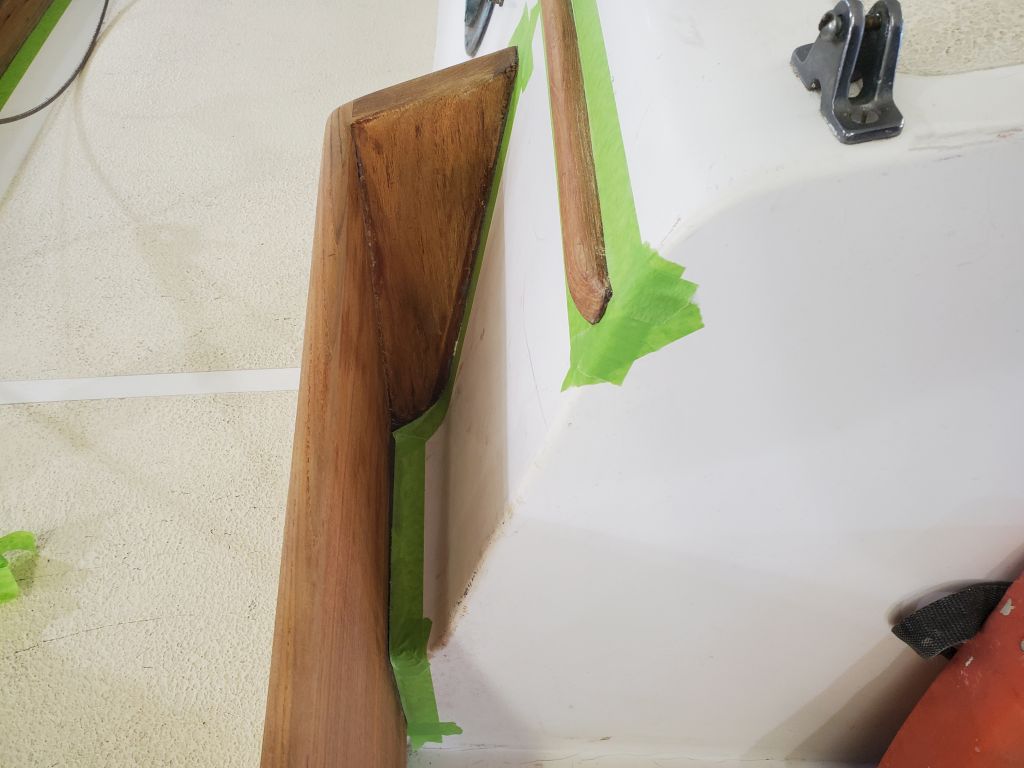
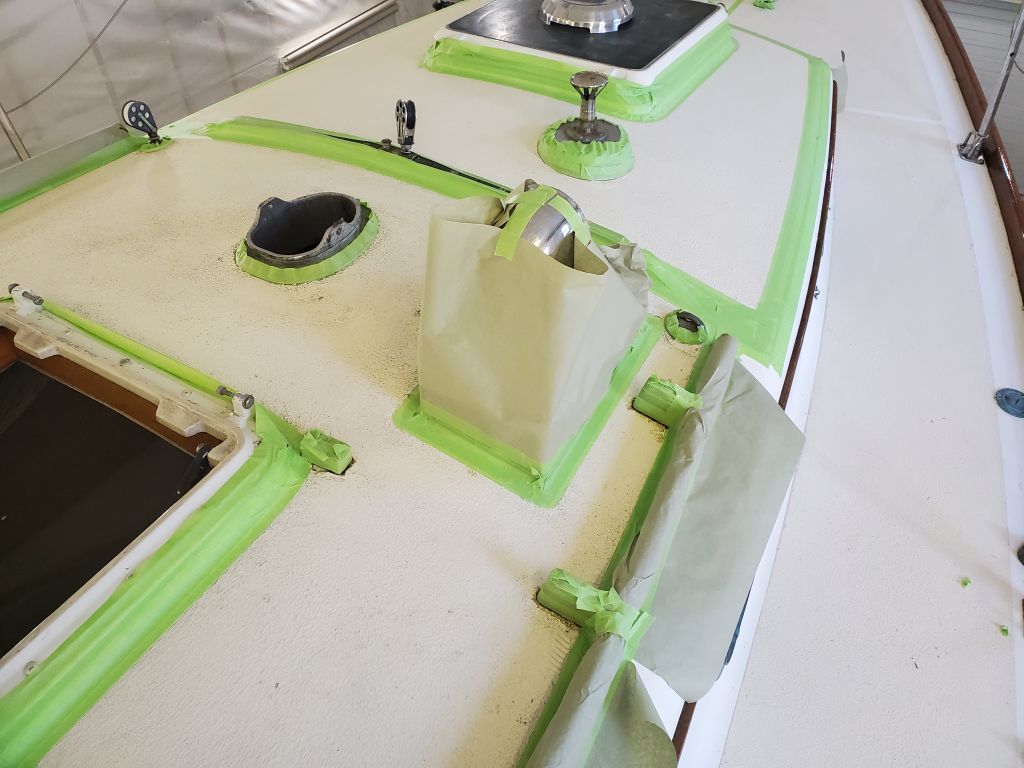
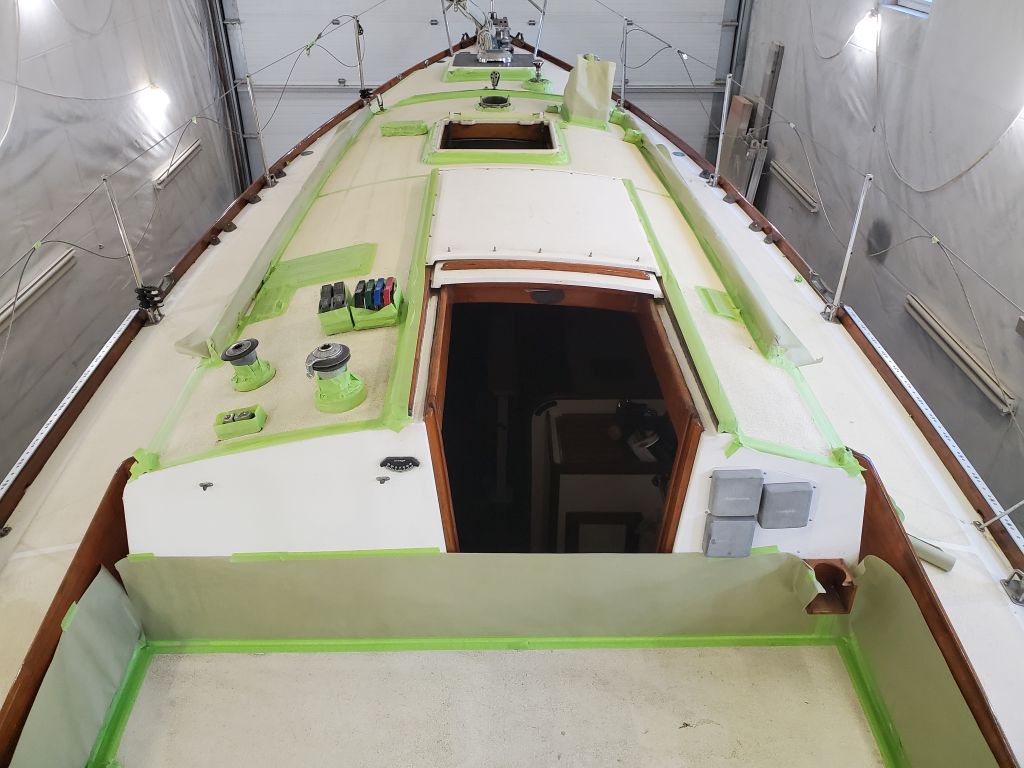
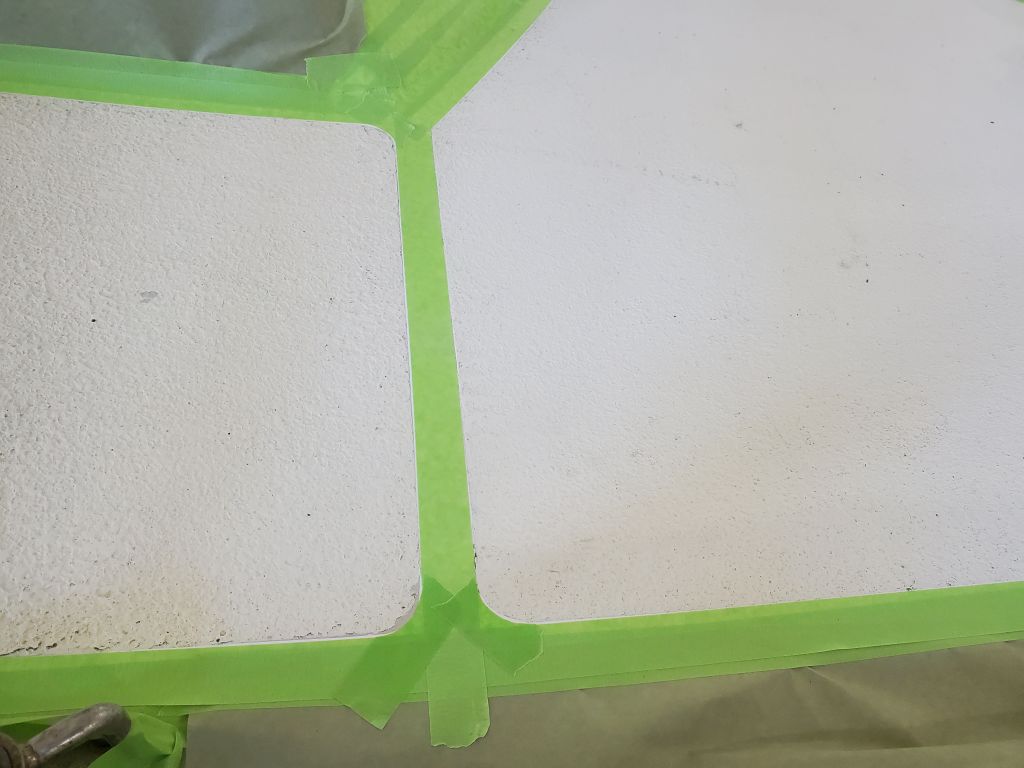
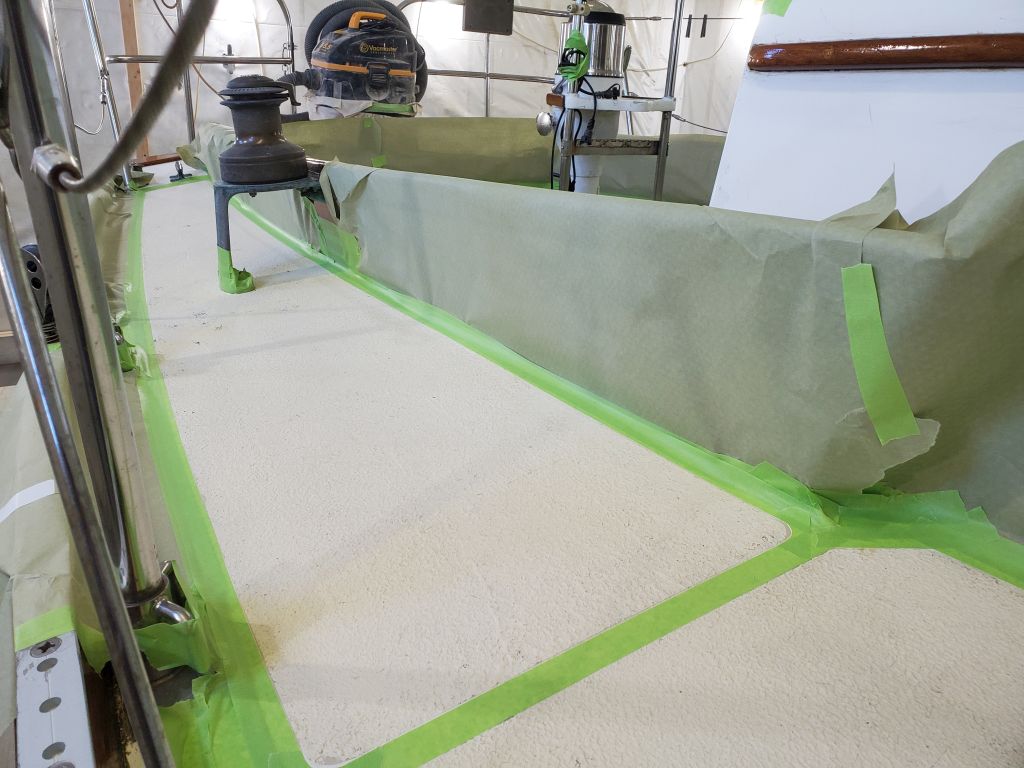
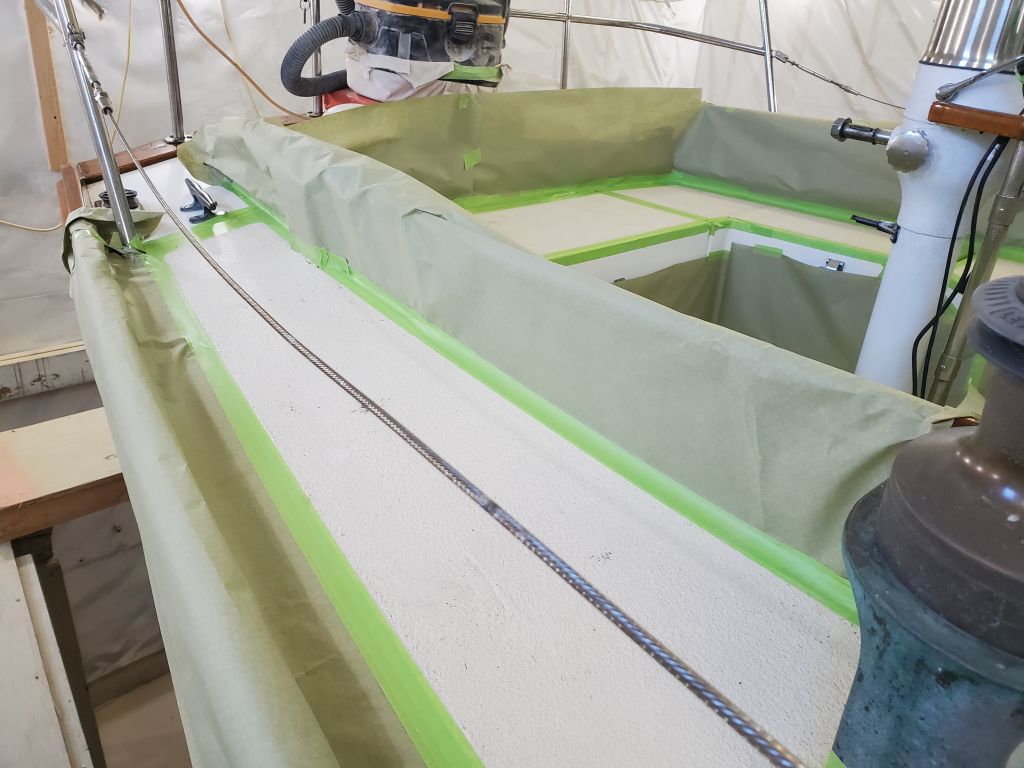
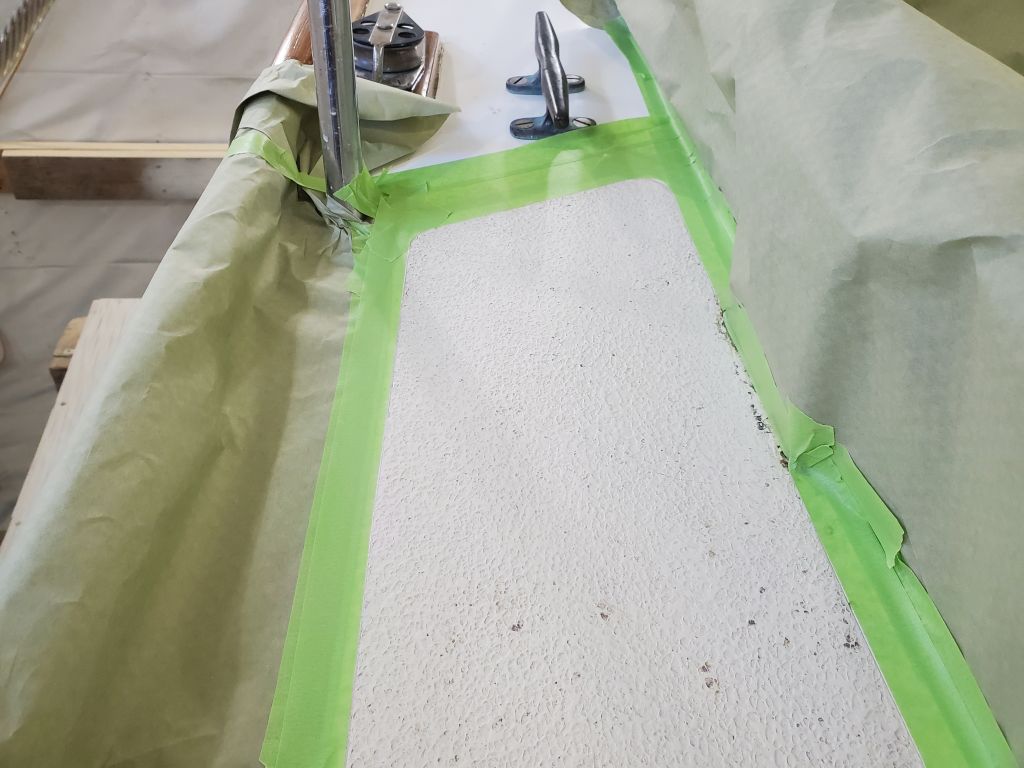
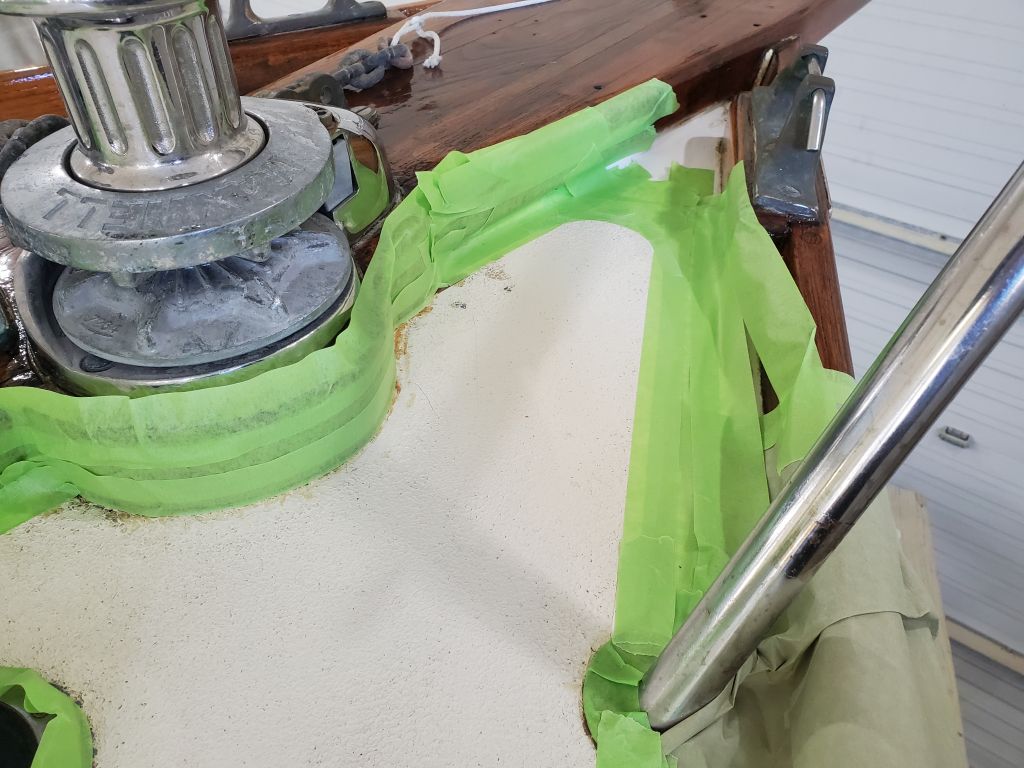
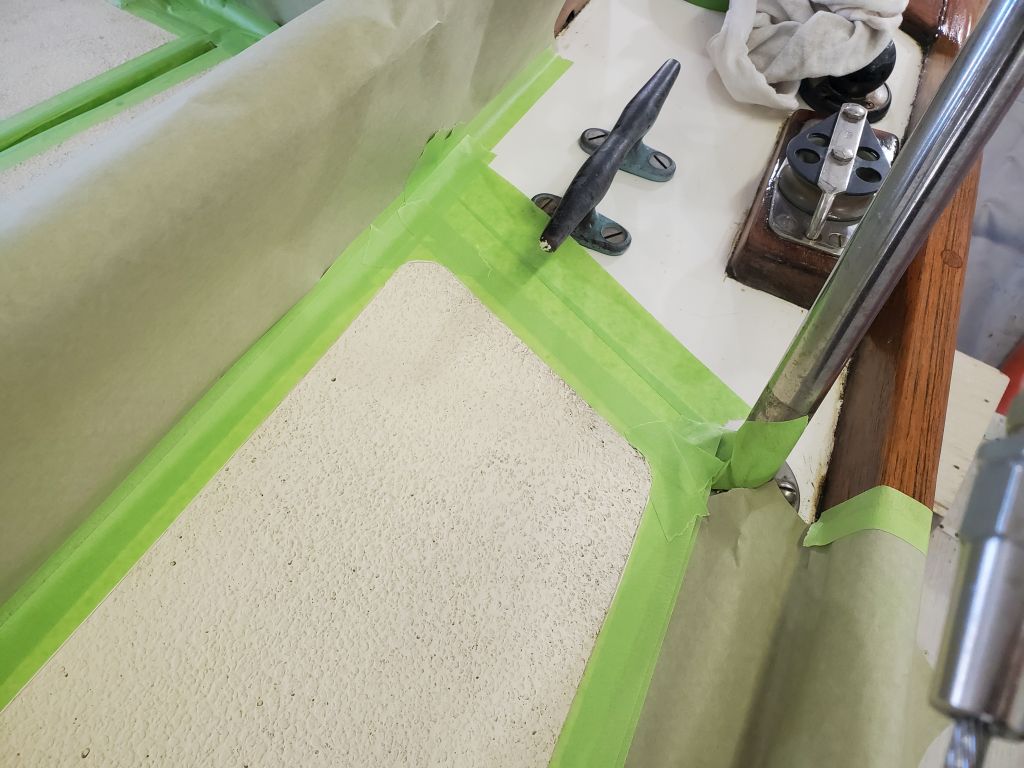
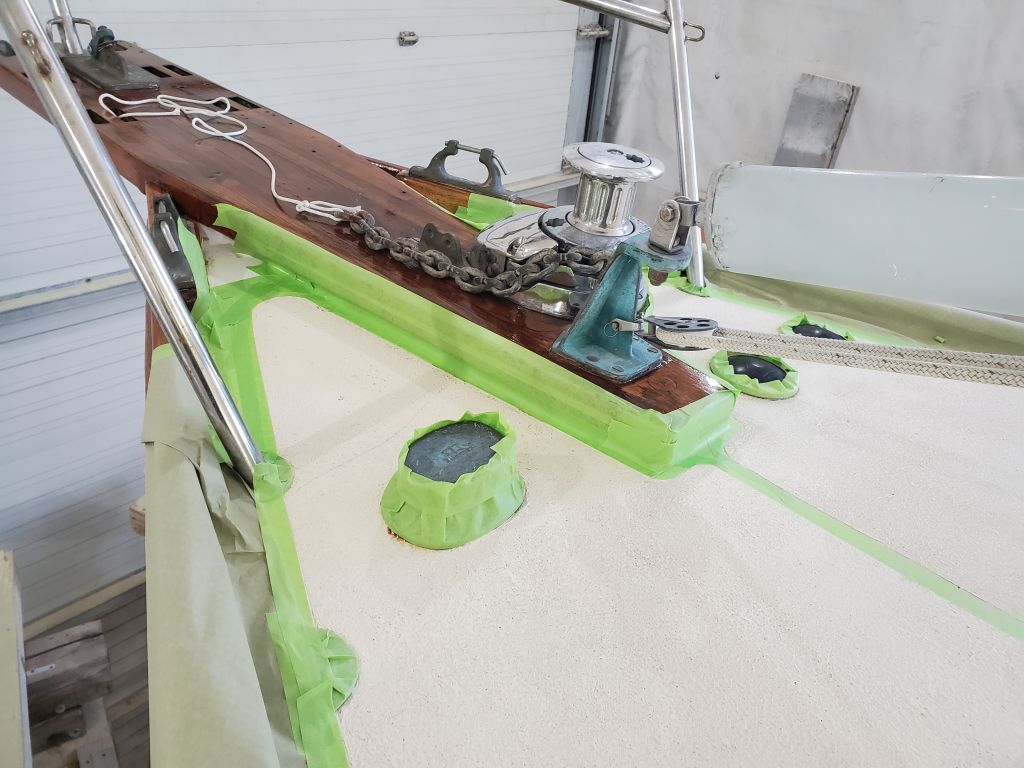
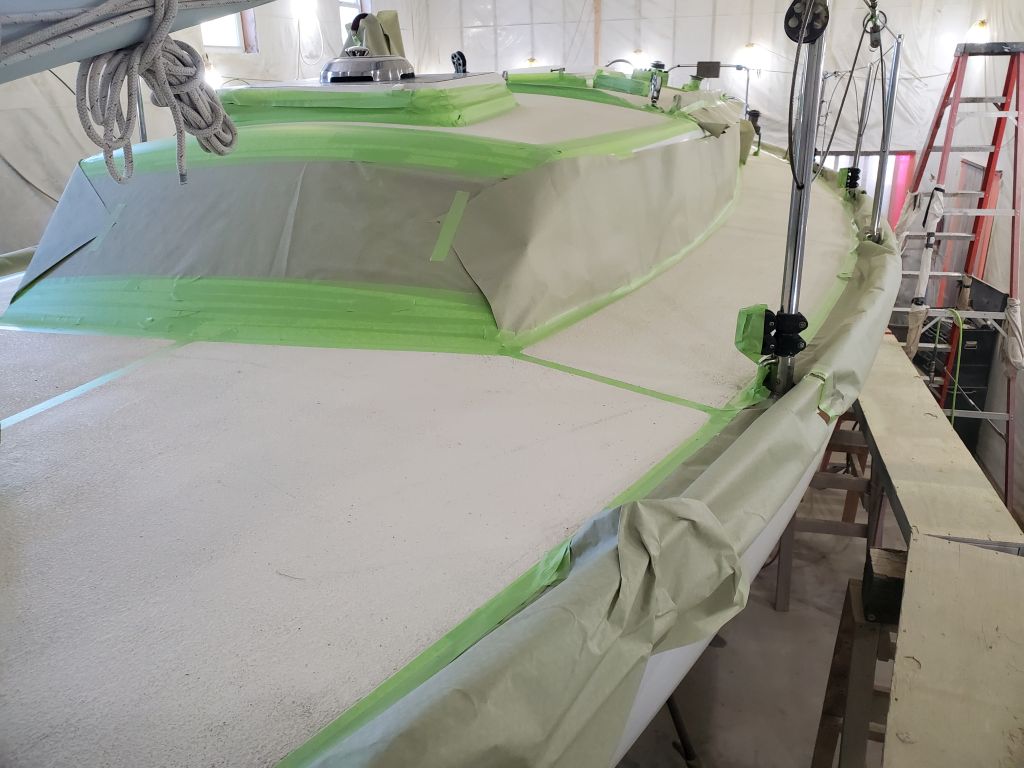
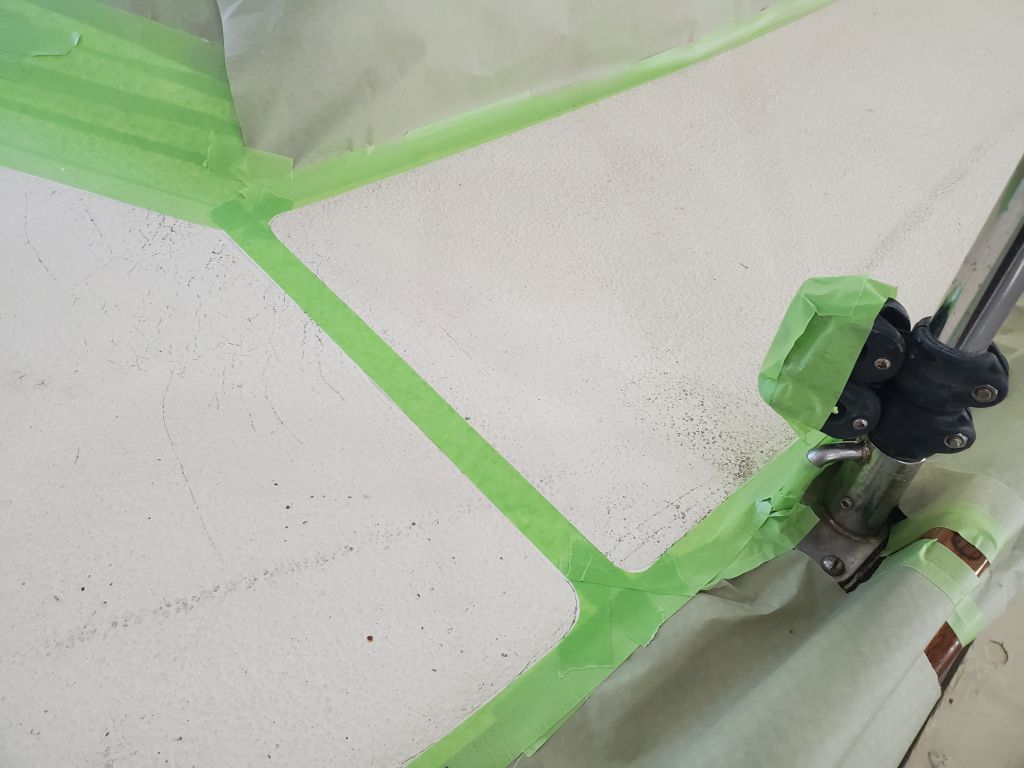
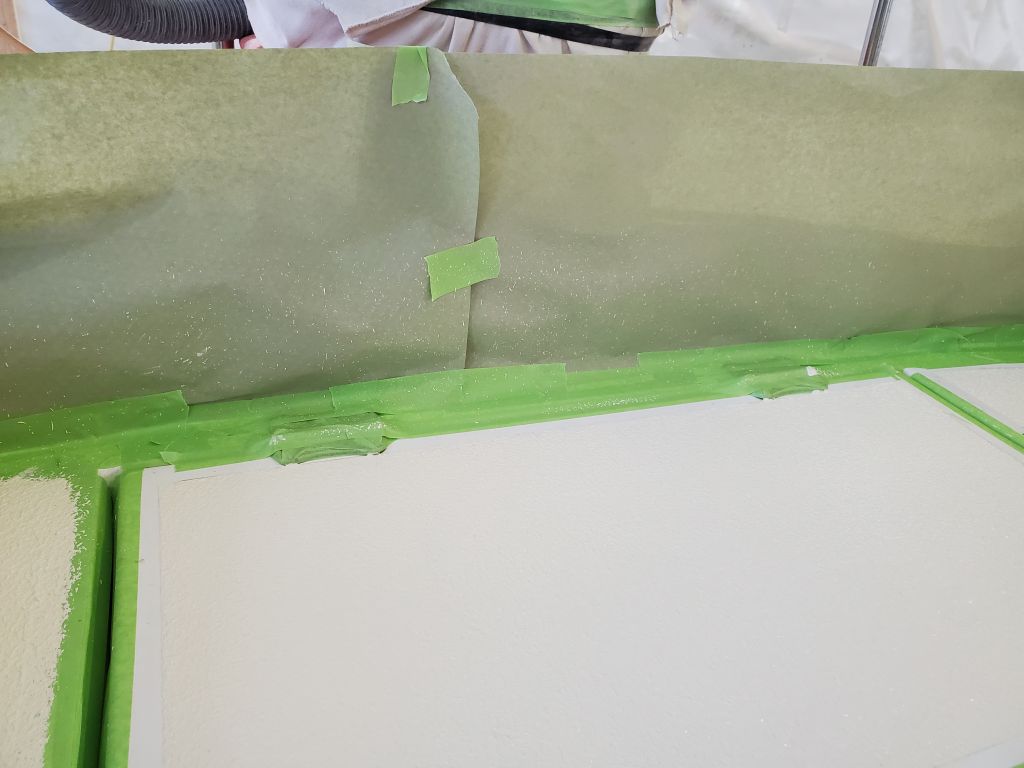
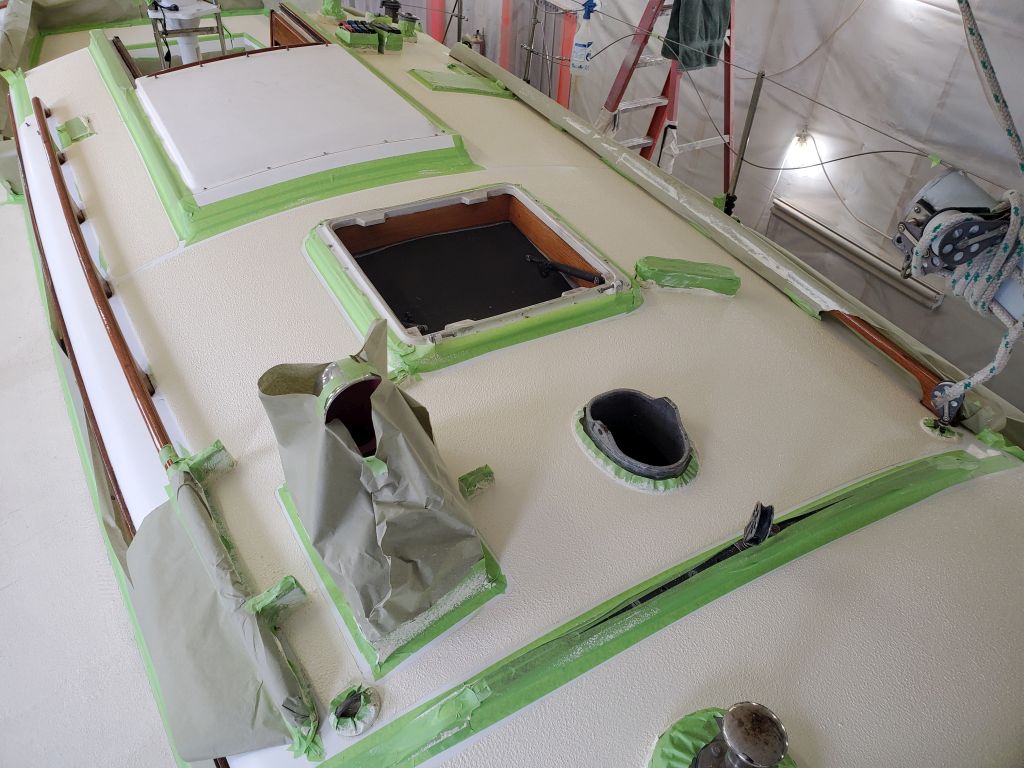
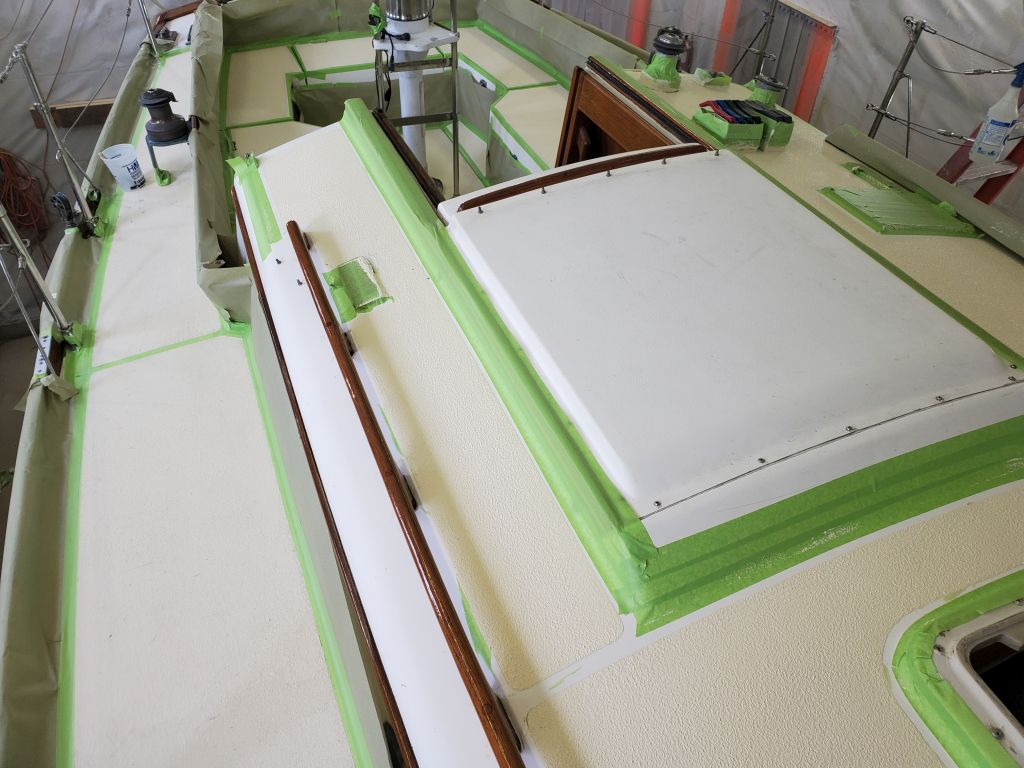
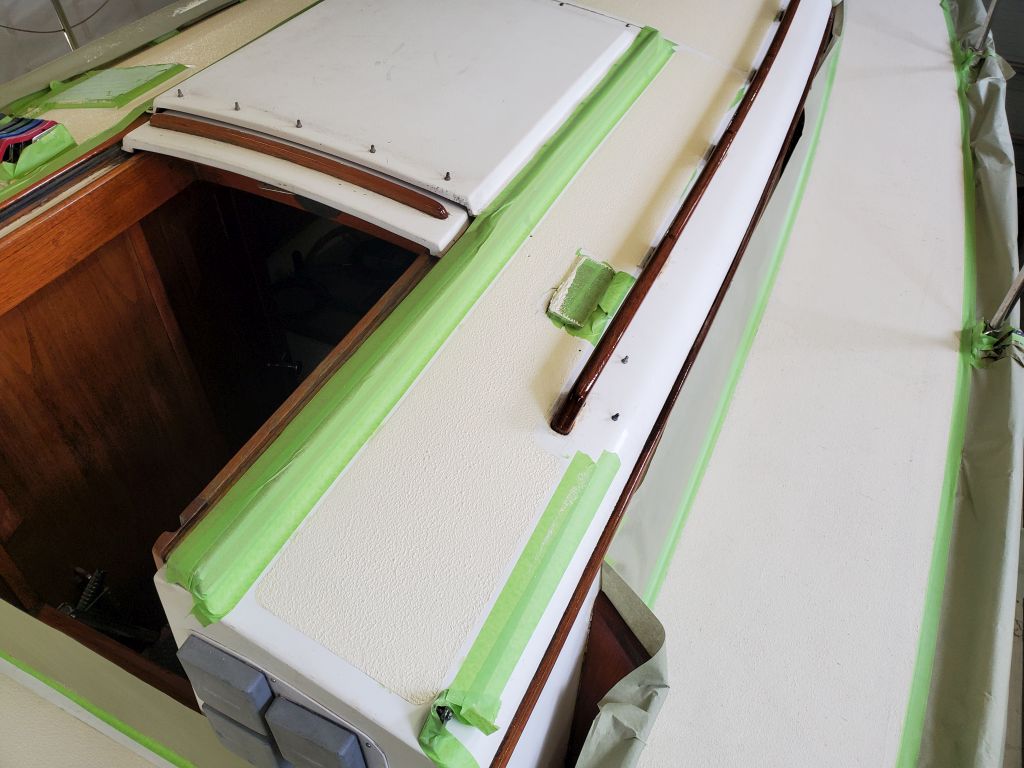
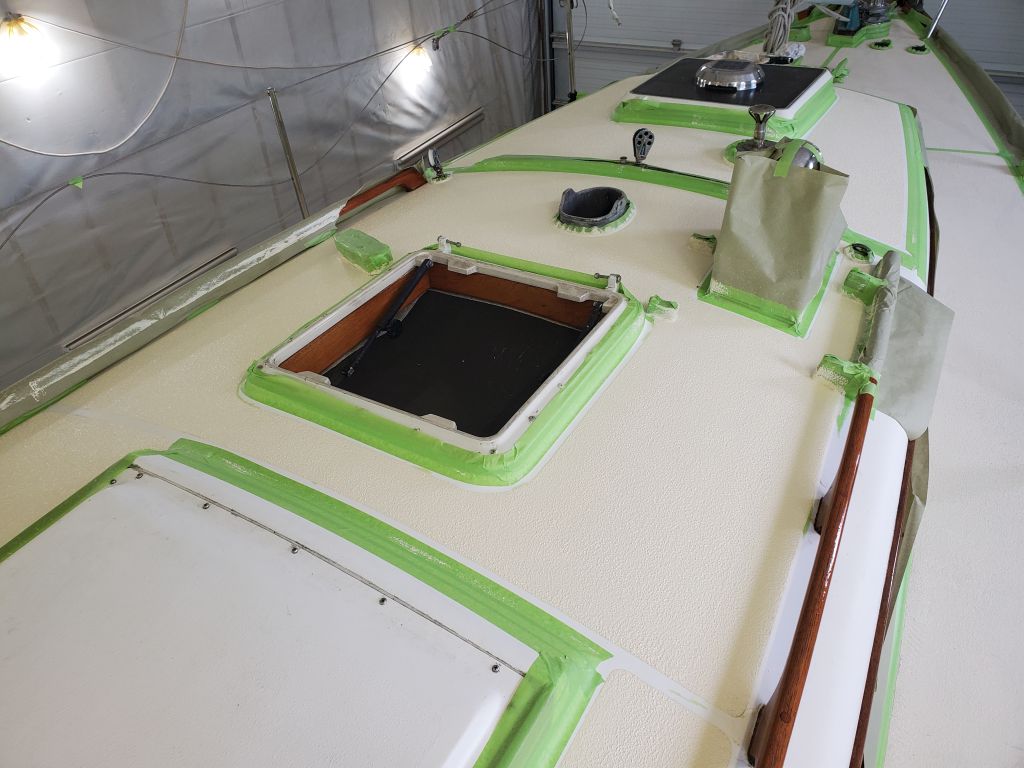
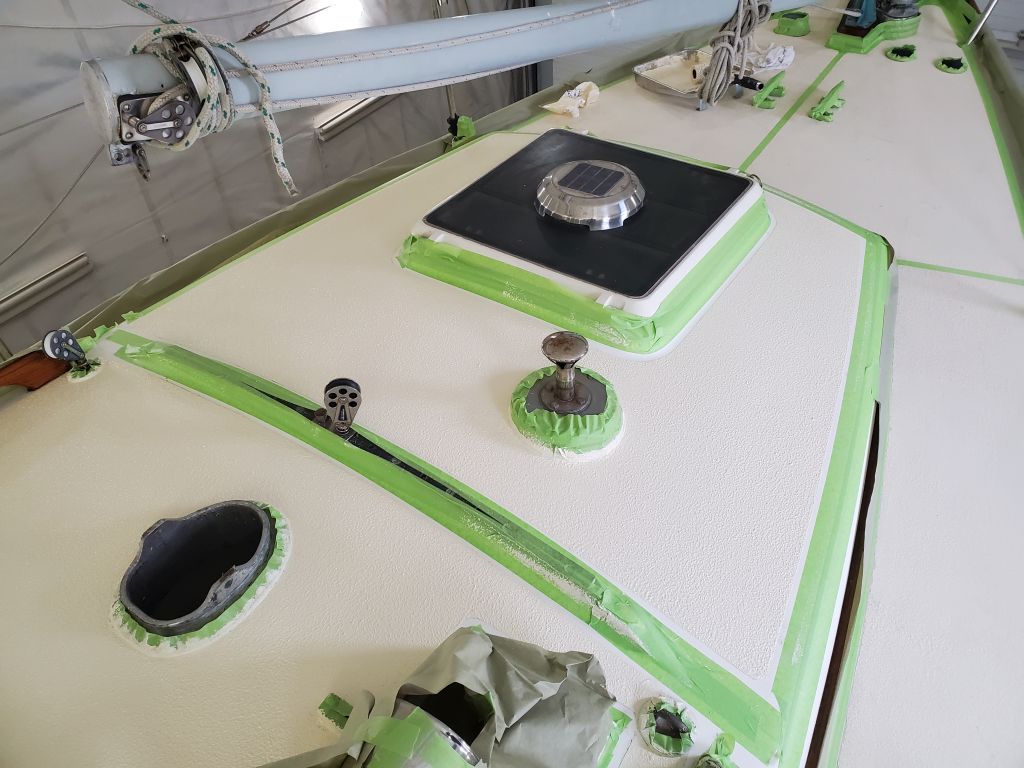
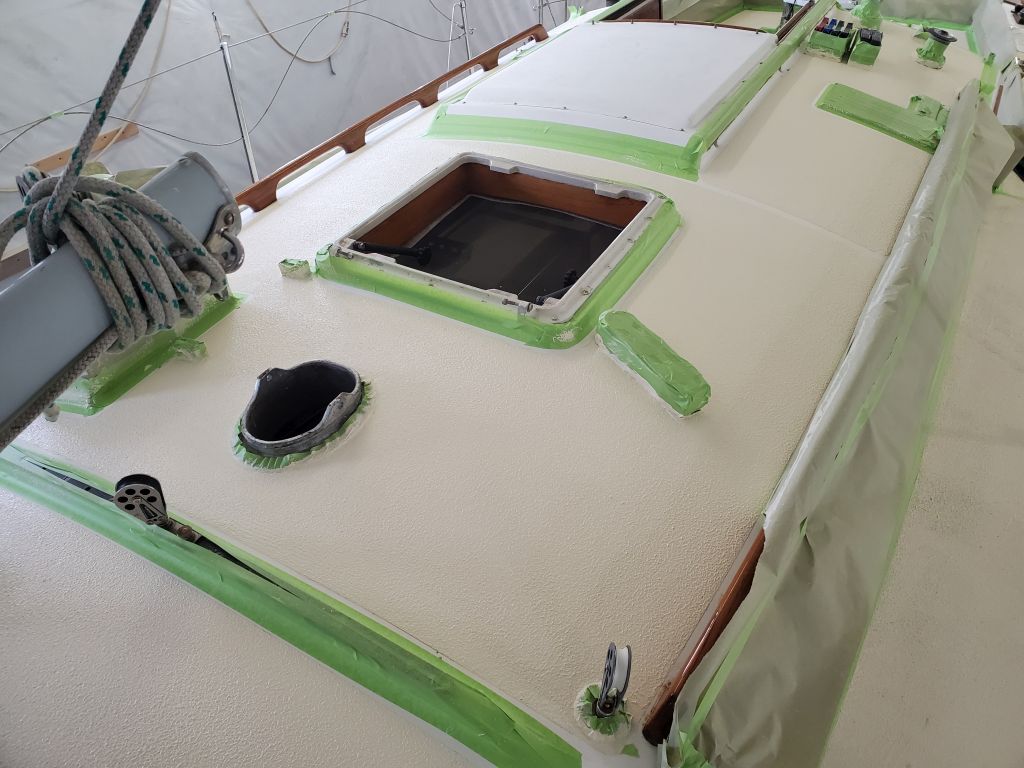
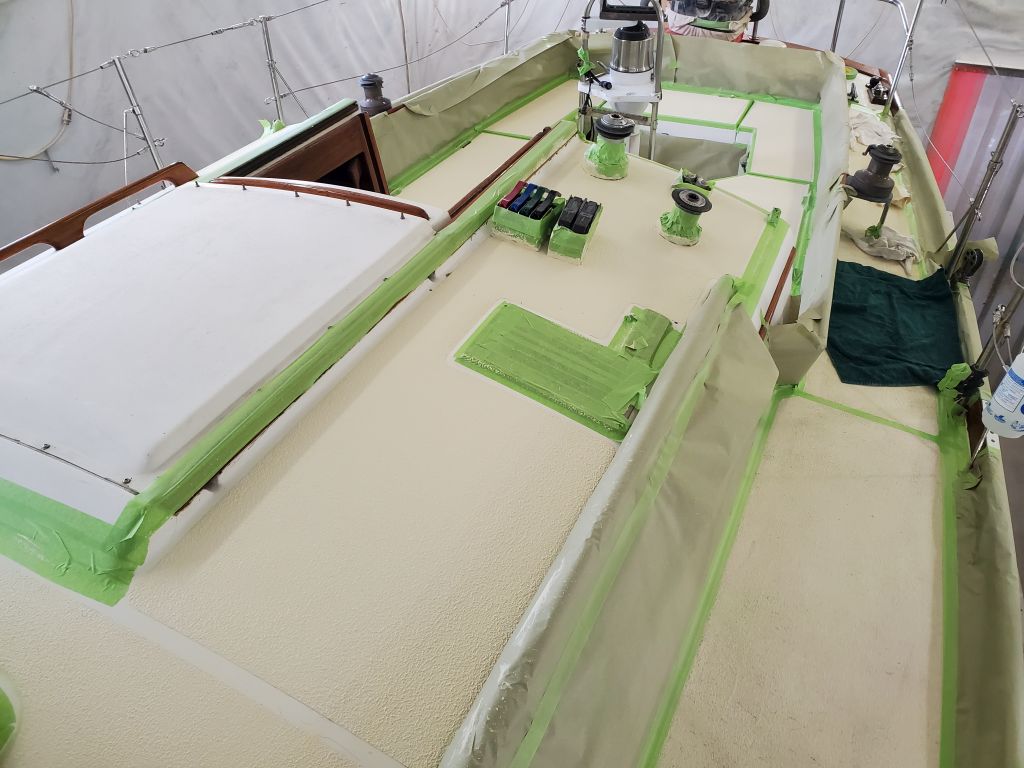
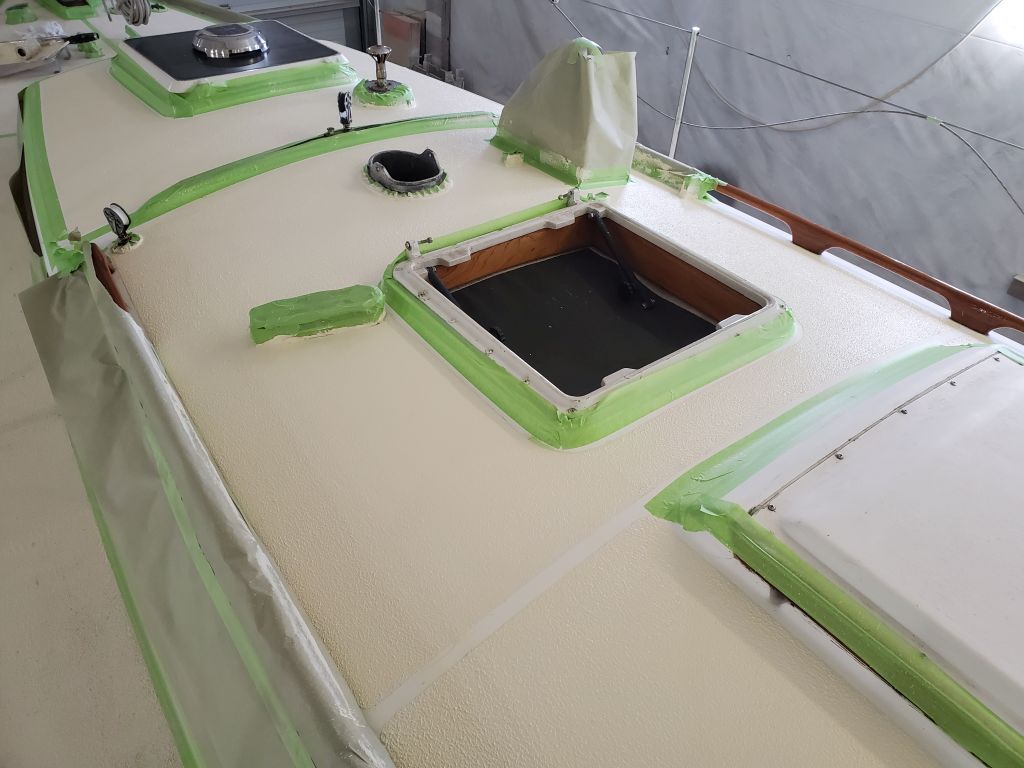
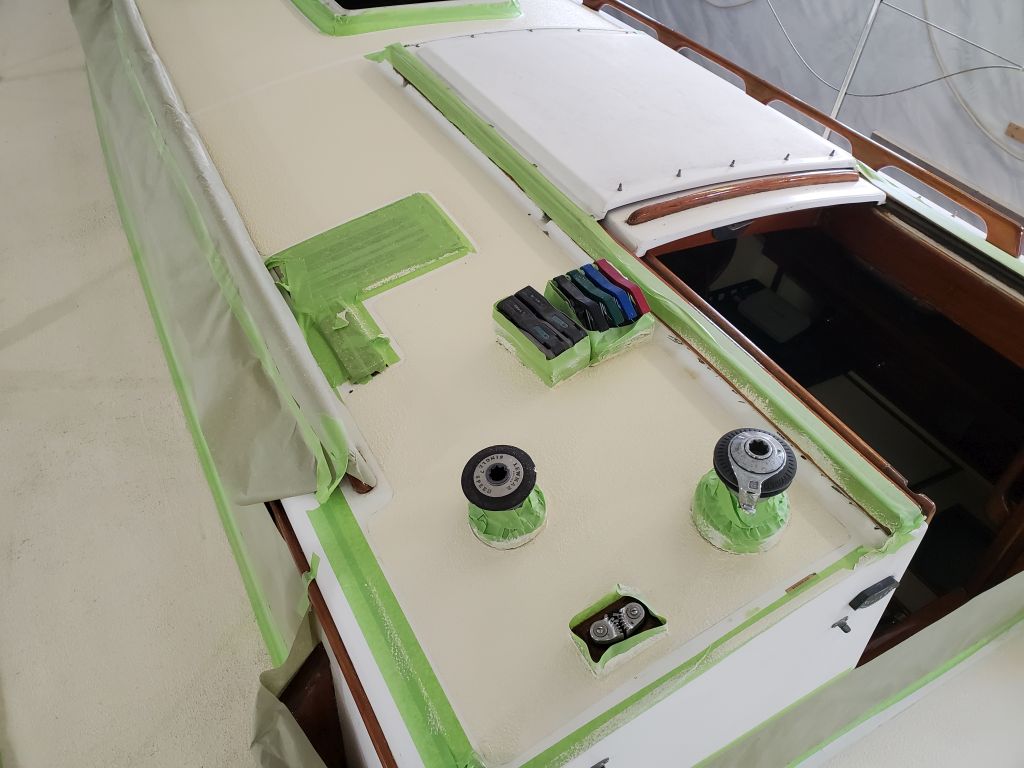
Now that the brightwork had had quite a few days’ cure time, it was safe for me to continue and complete the masking to prepare for nonskid, starting with the cockpit coamings, which I covered completely in masking paper, and then the coachroof, where I fully protected the handrails and other areas with plenty of tape and masking paper to hedge against splatters during the nonskid work.  I followed and was bound by the lines of the existing pattern, cutting rounded corners to match where necessary, and forming sharp corners where the pattern dictated.  Afterwards, I performed the final cleanup of these areas to prepare for paint.

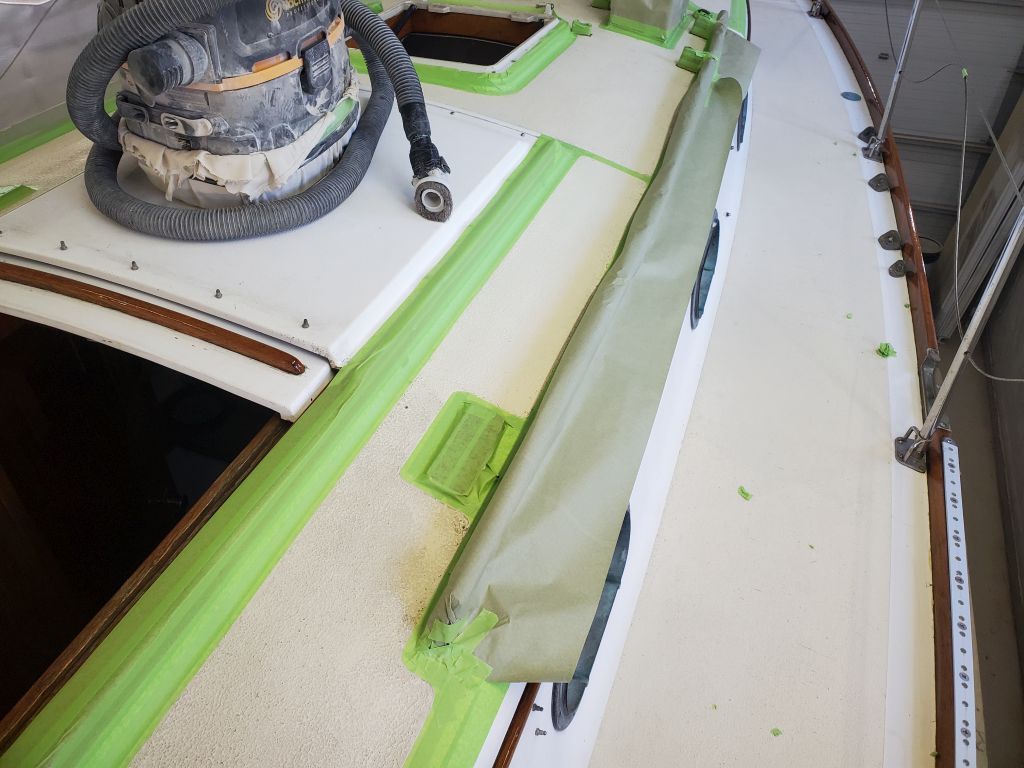
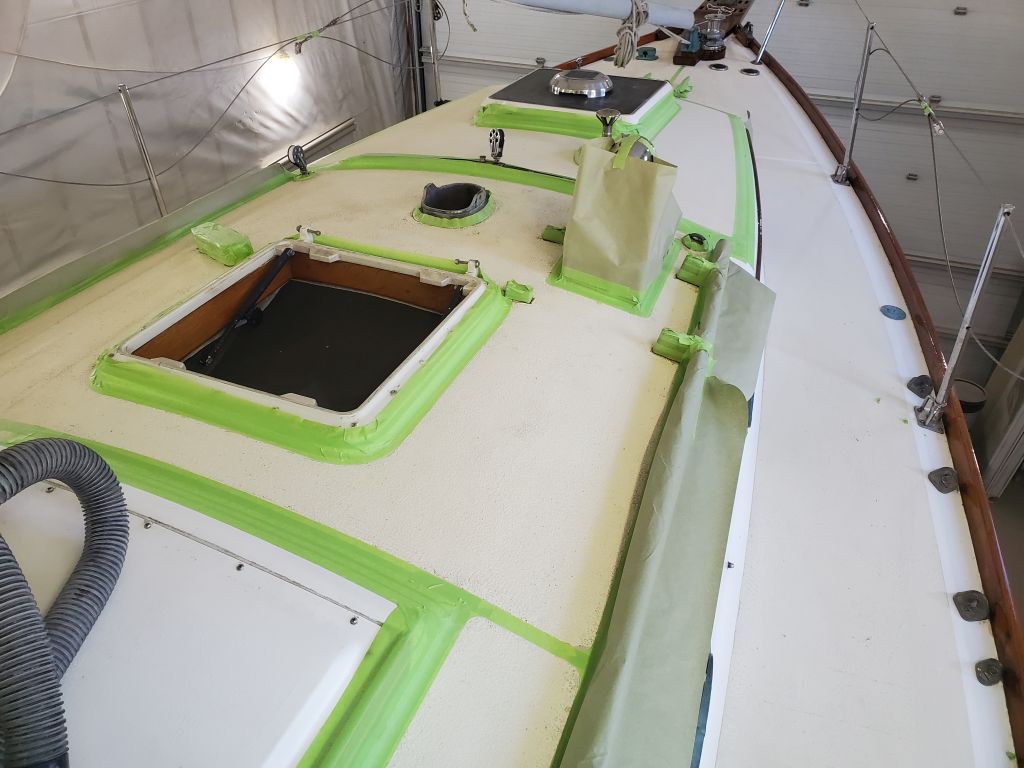
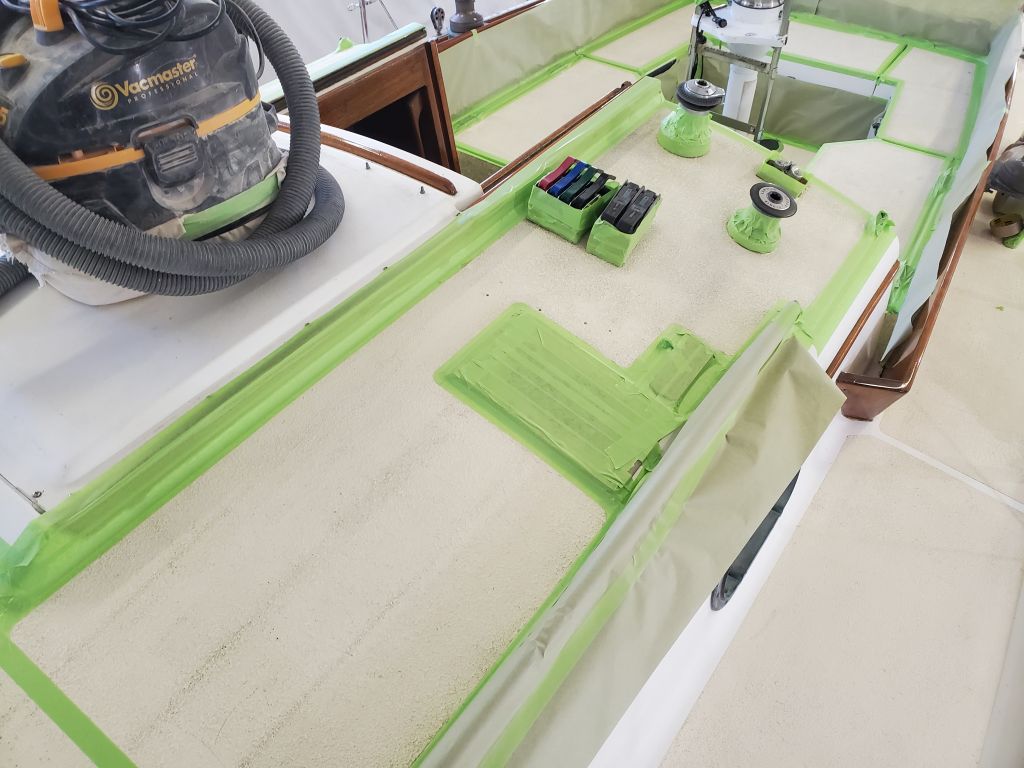
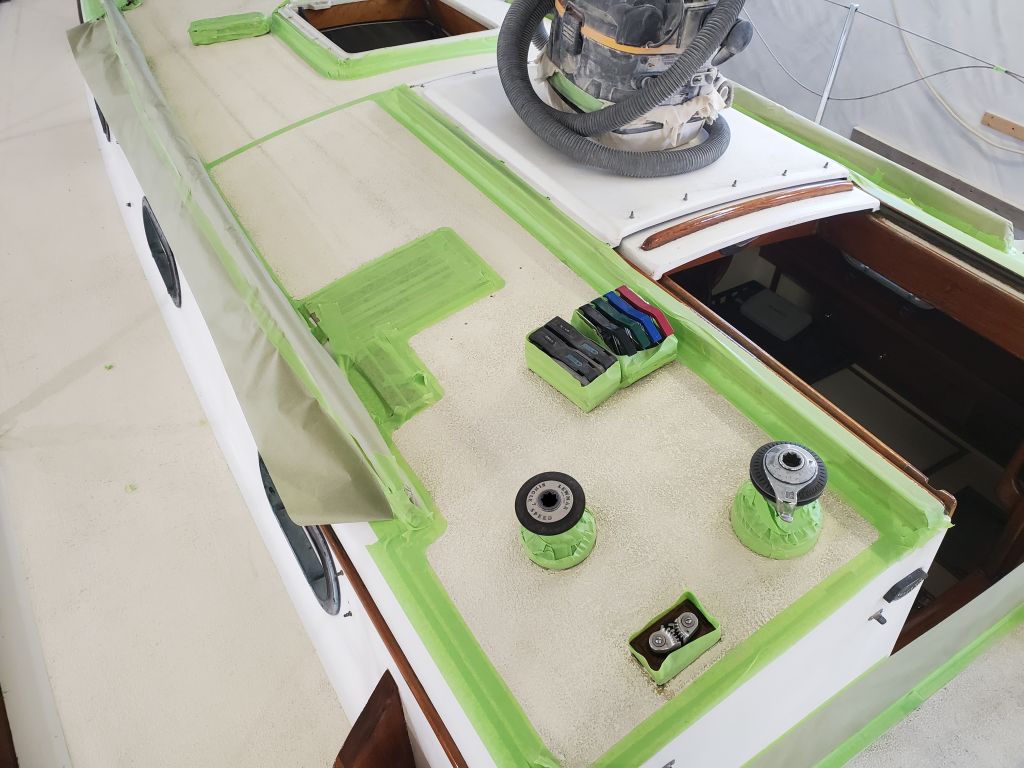
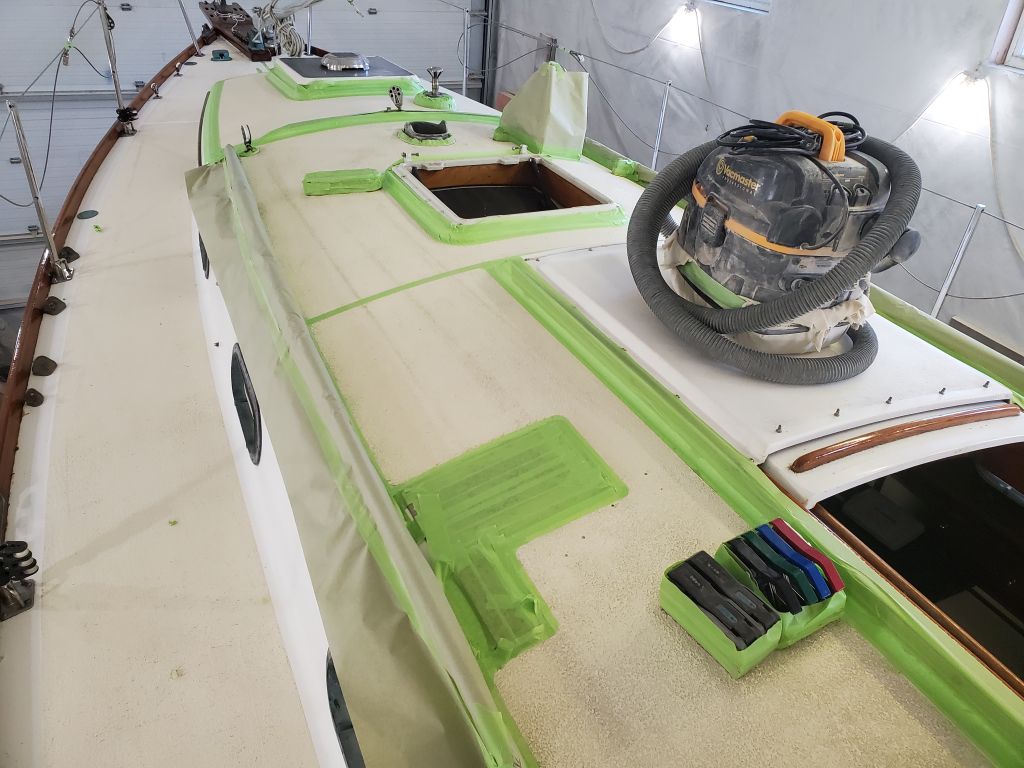
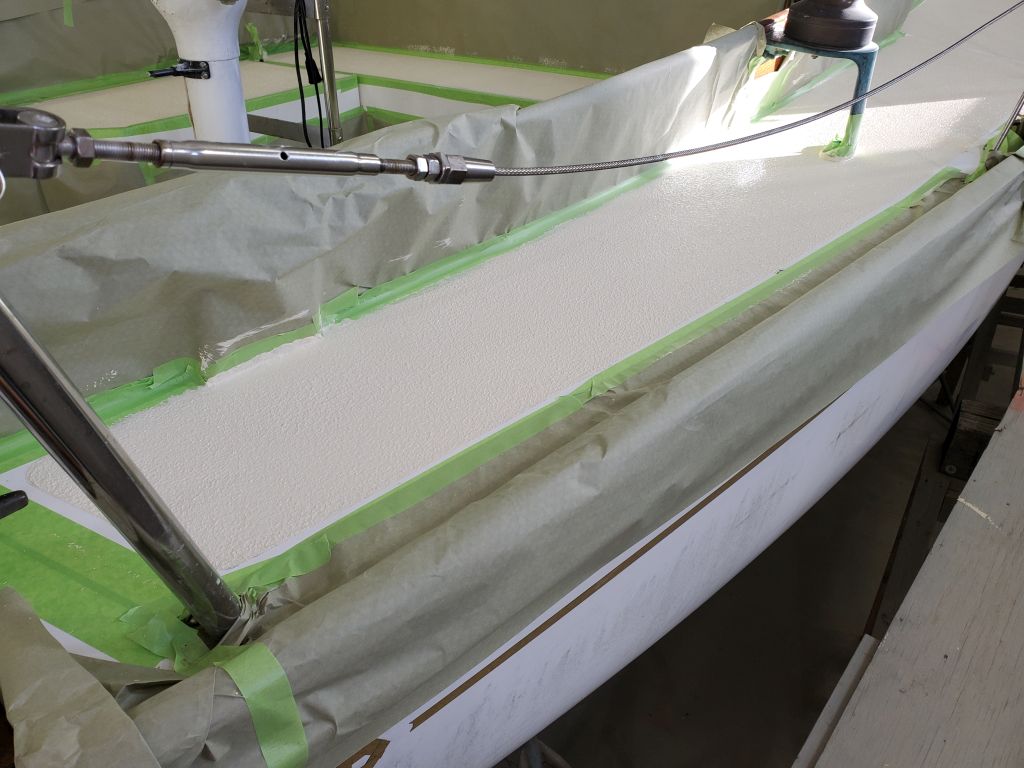
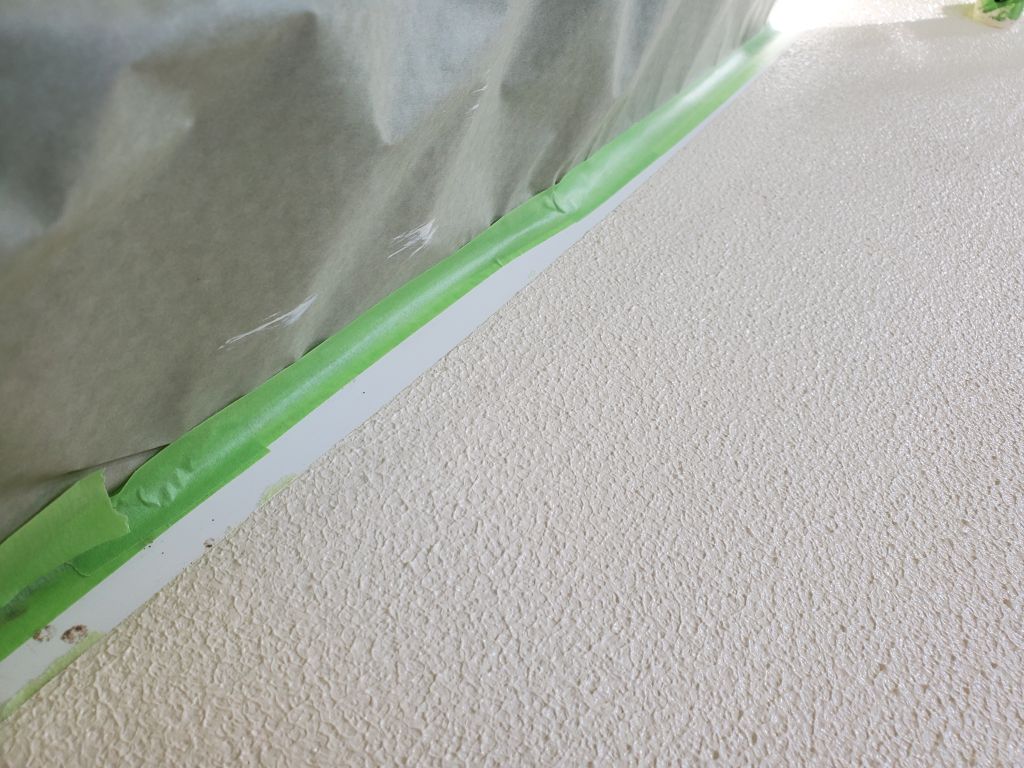
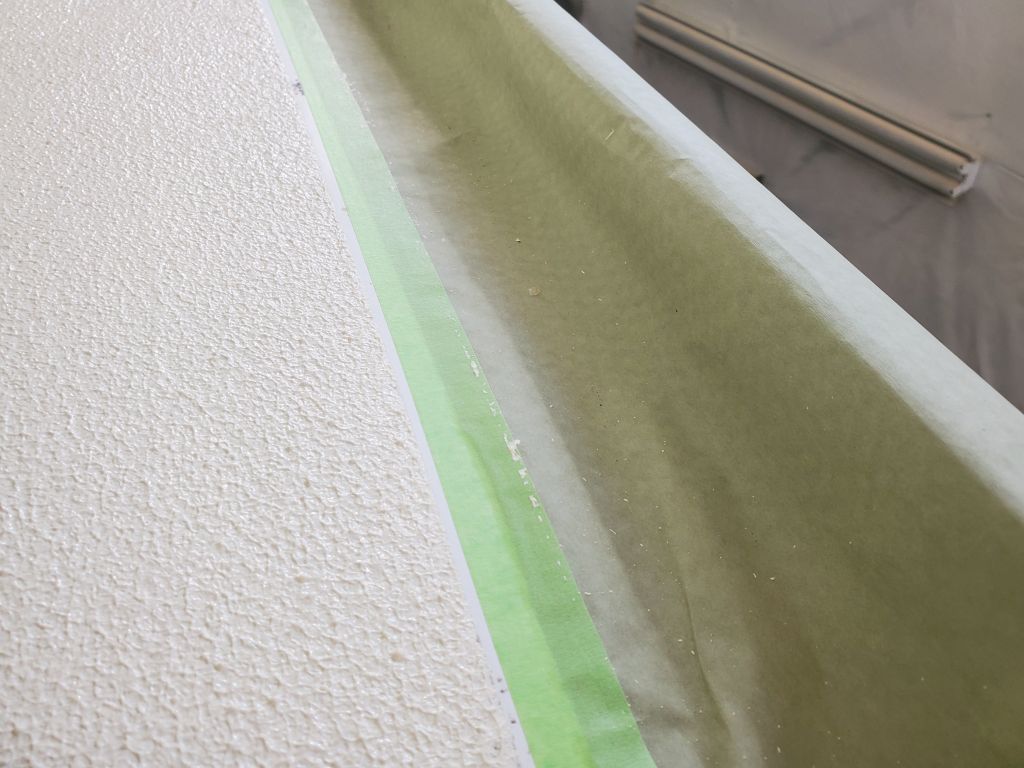
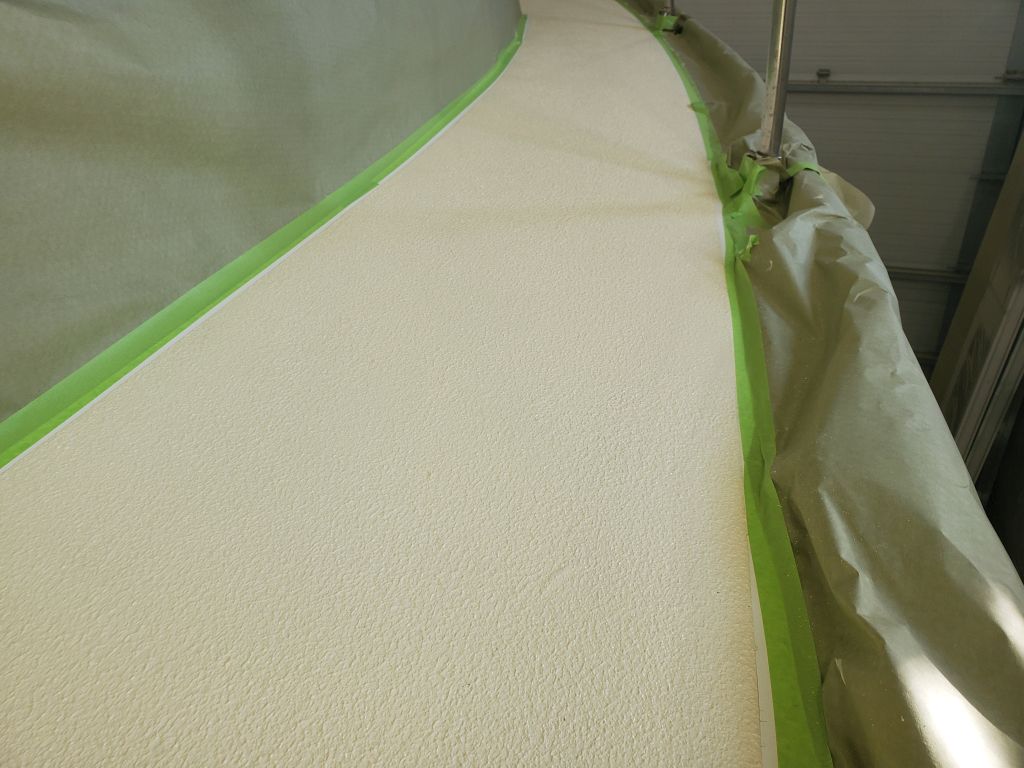
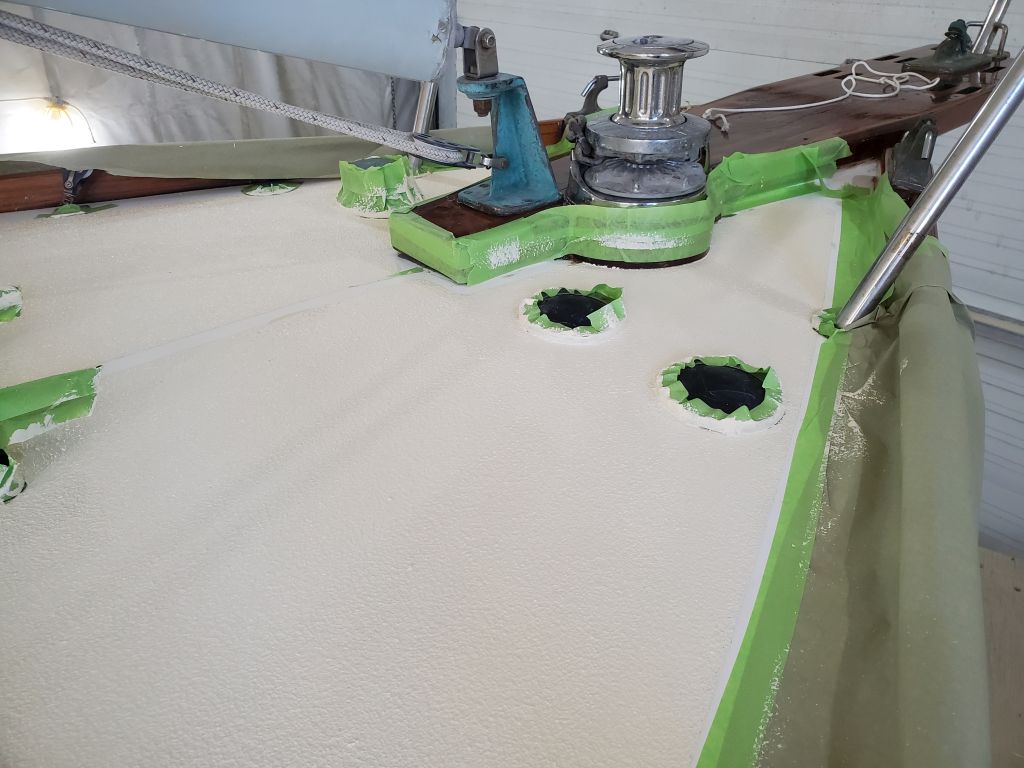
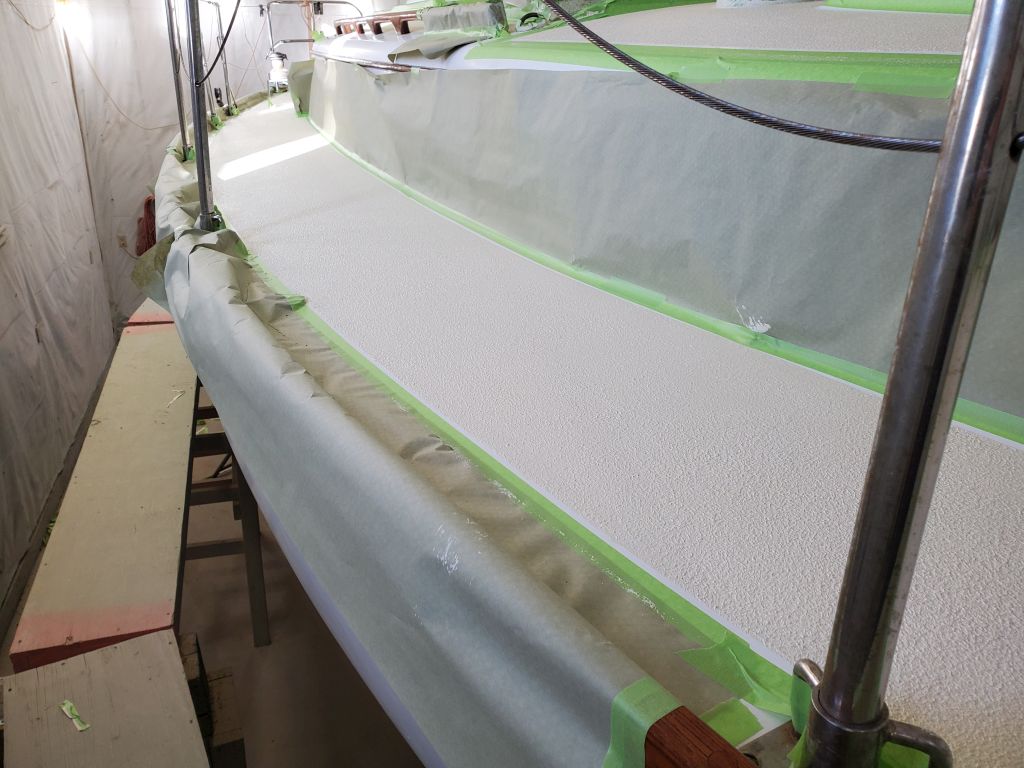
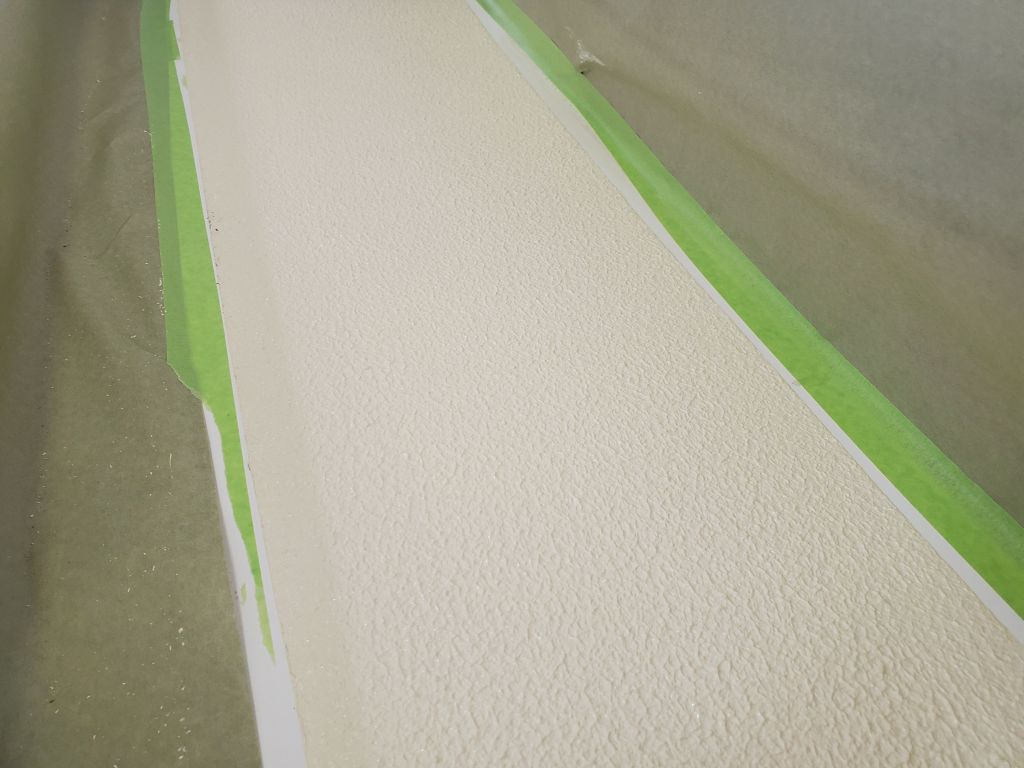
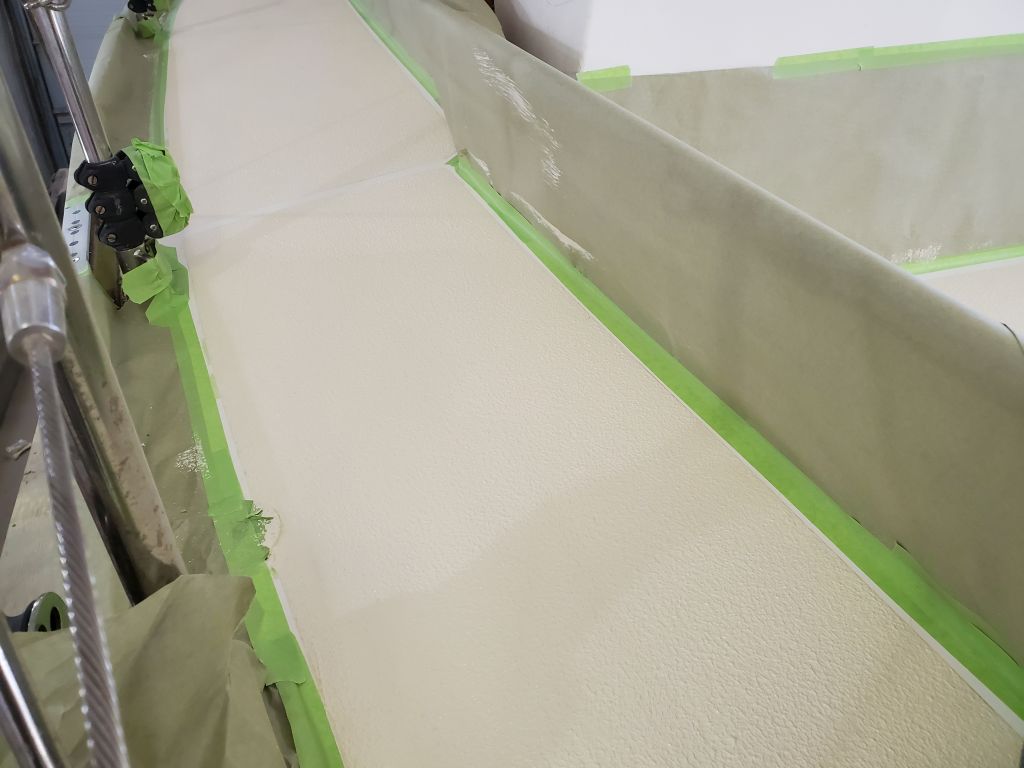
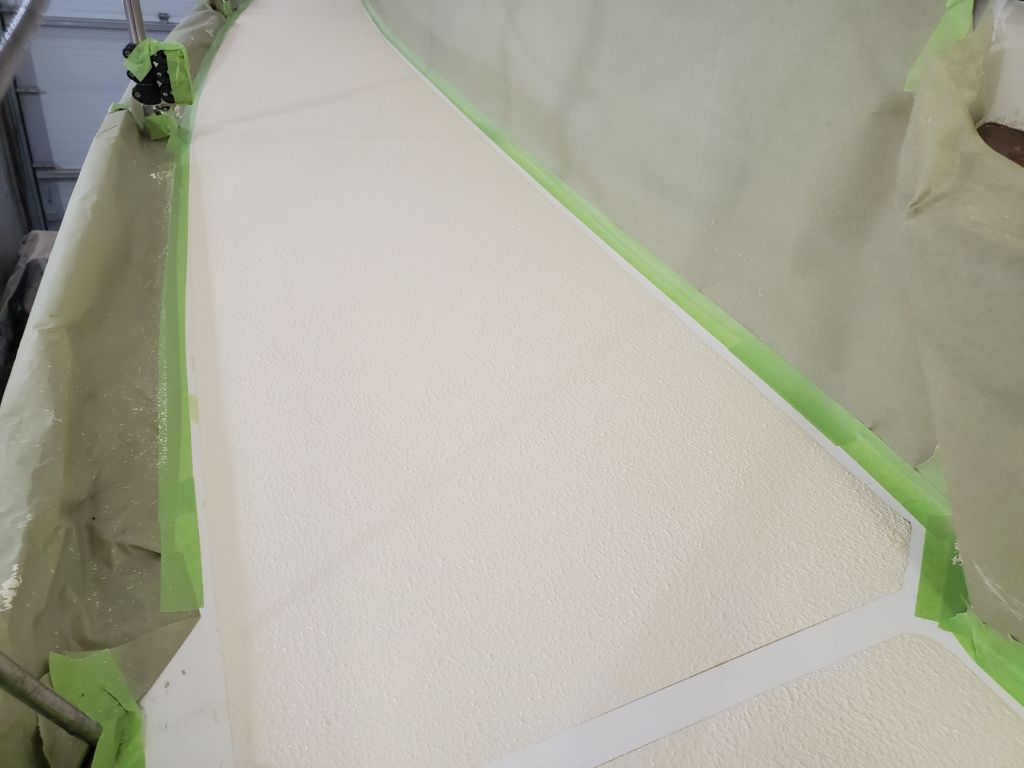
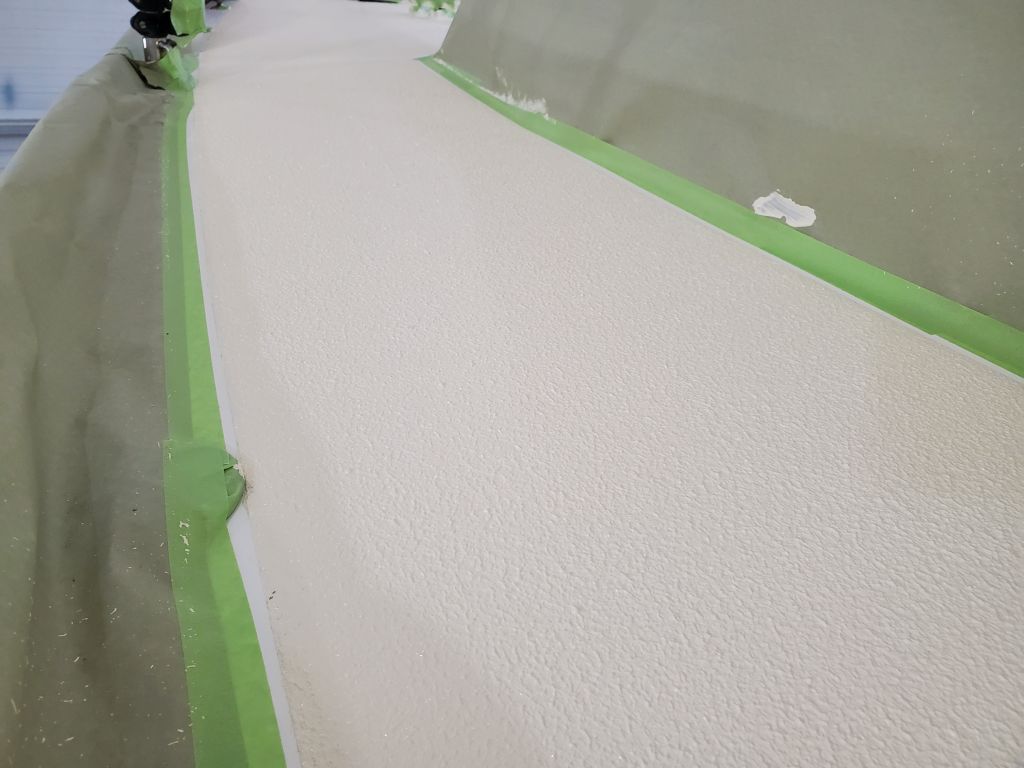
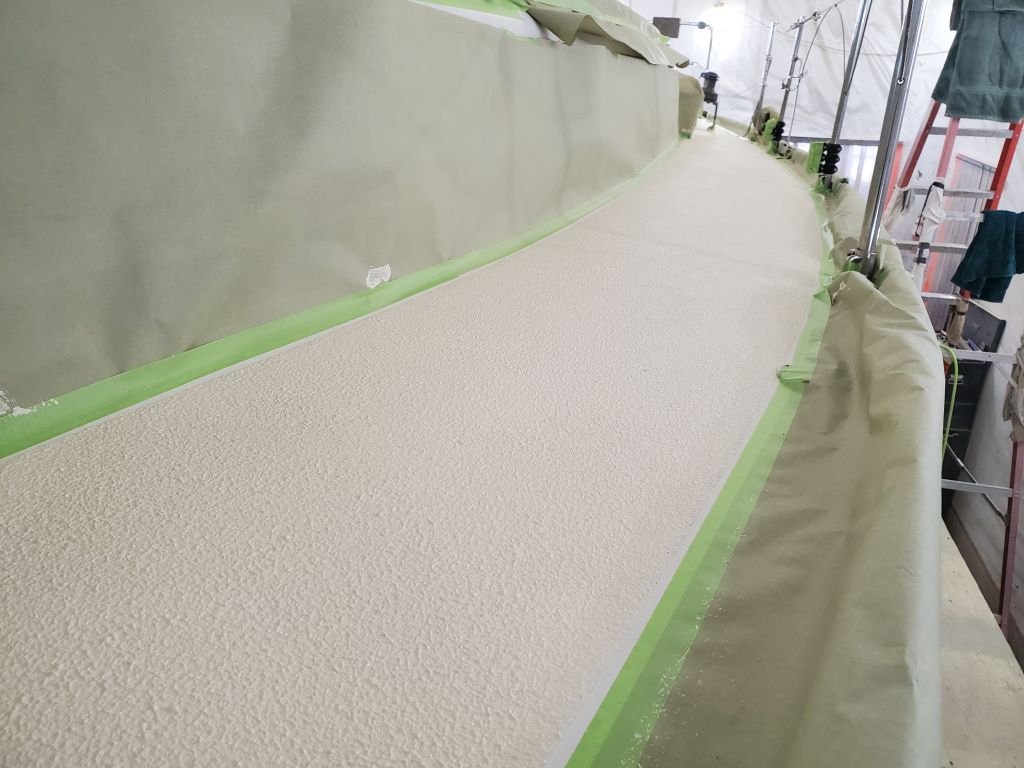
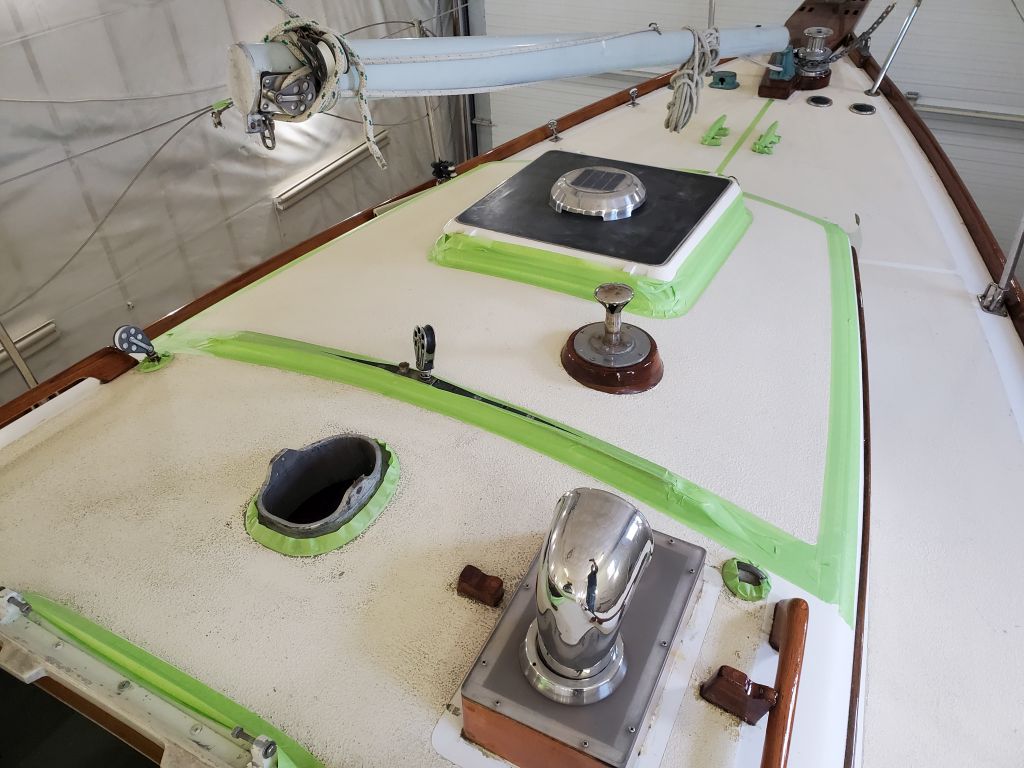
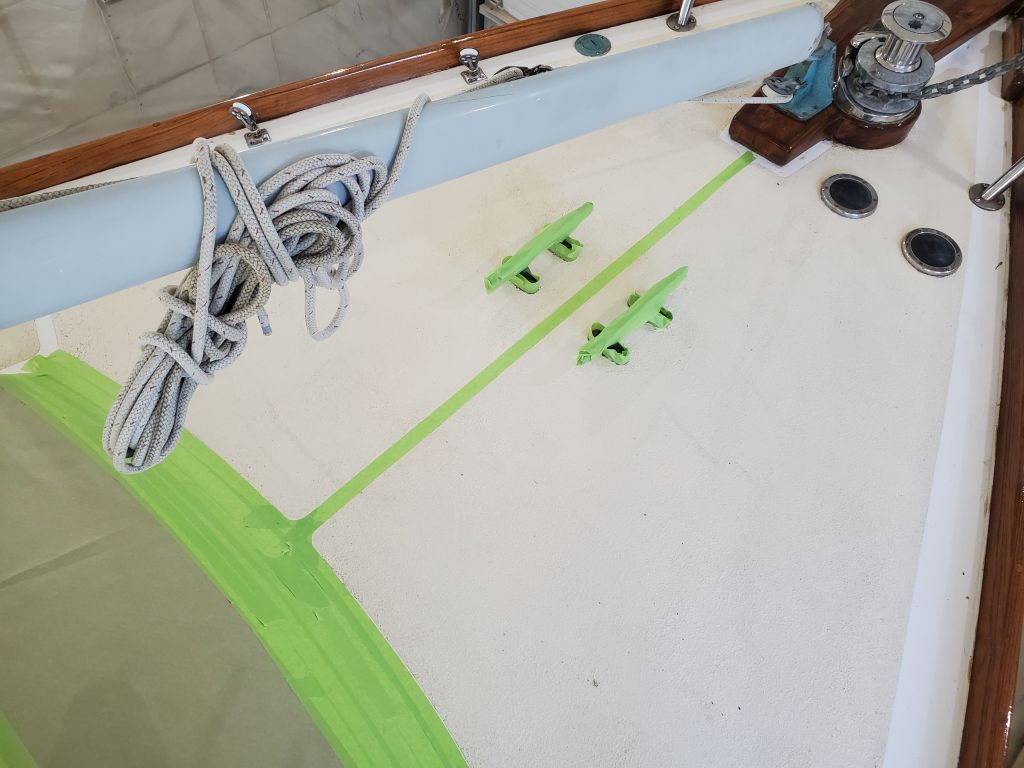
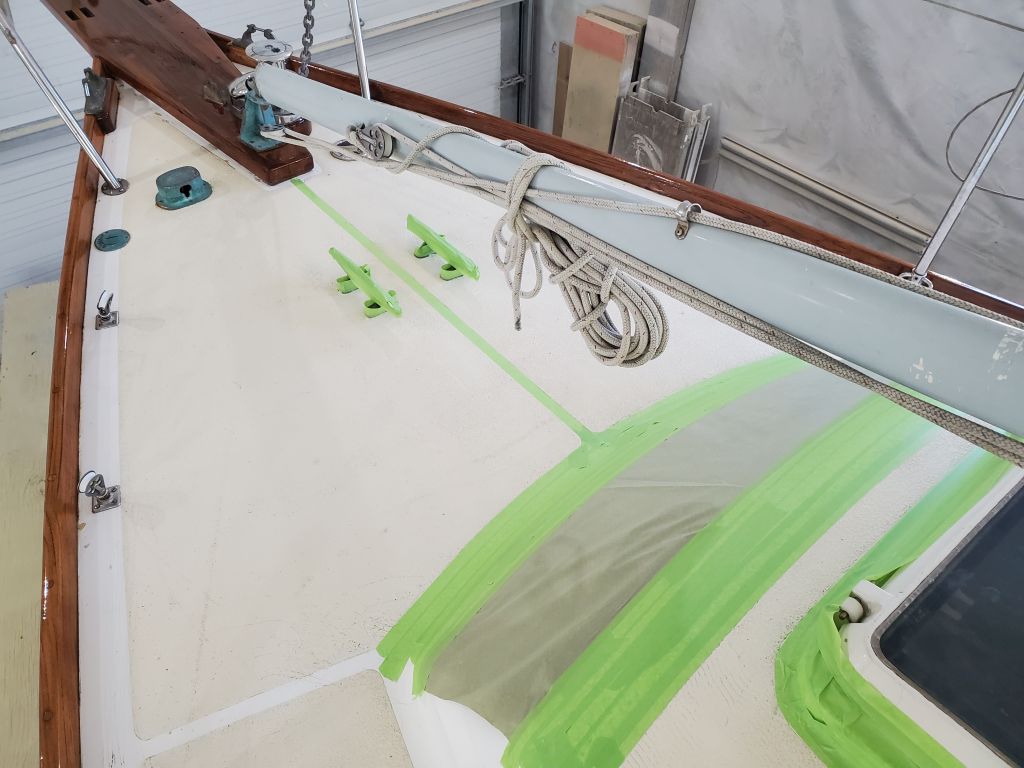
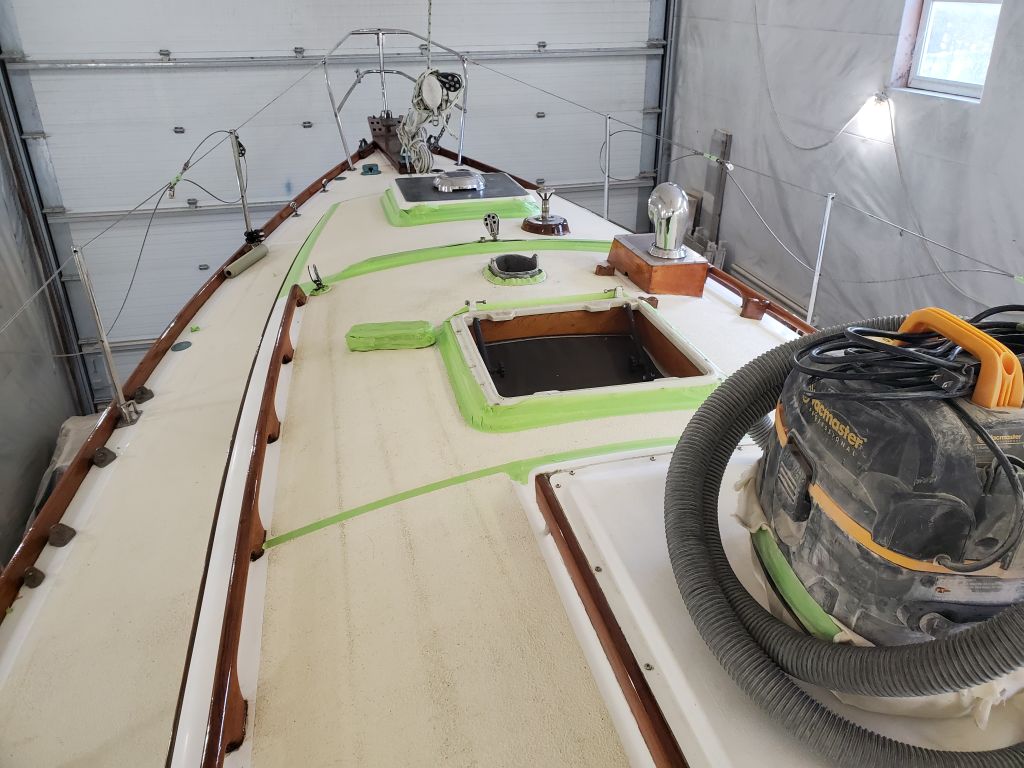
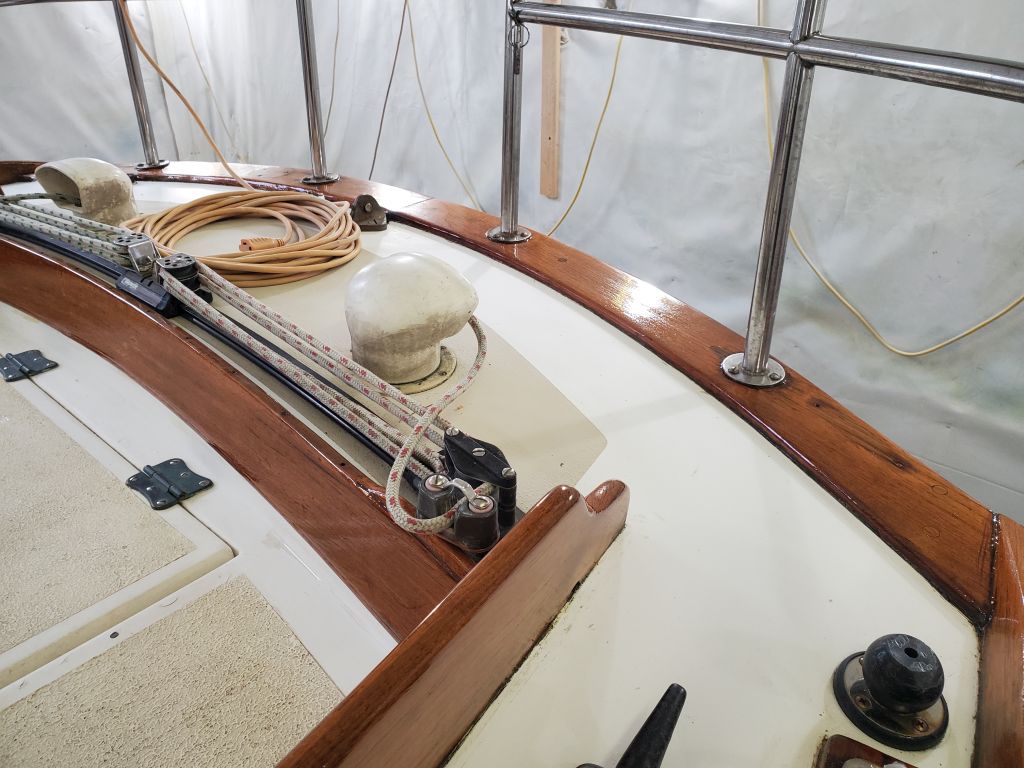
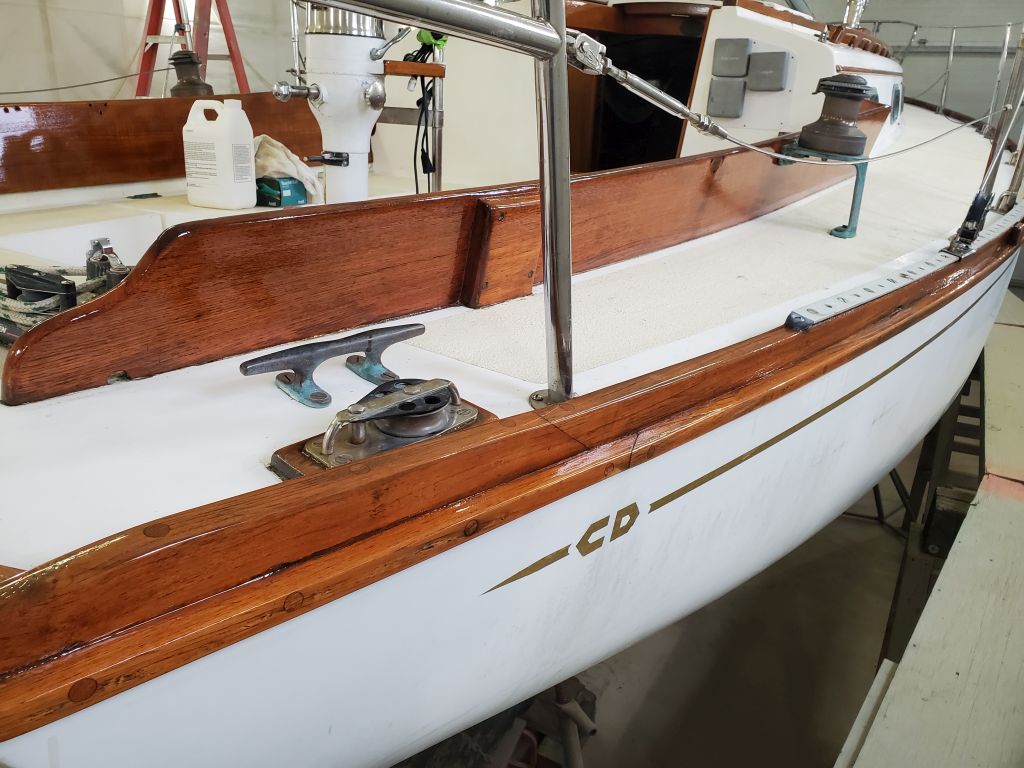
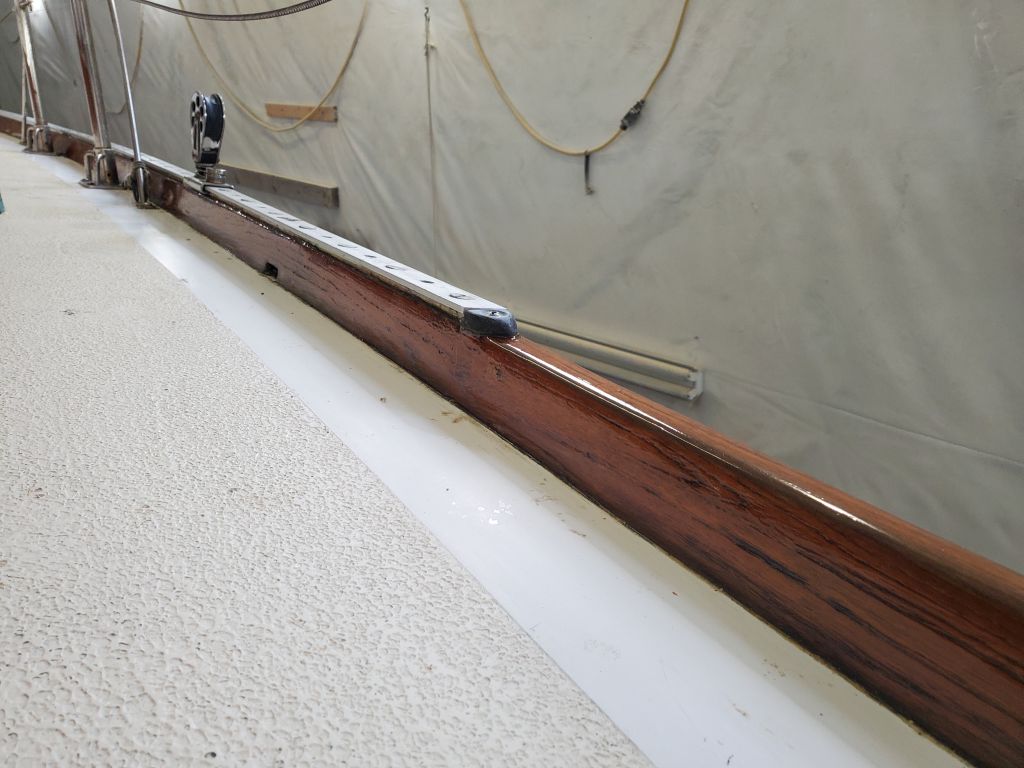
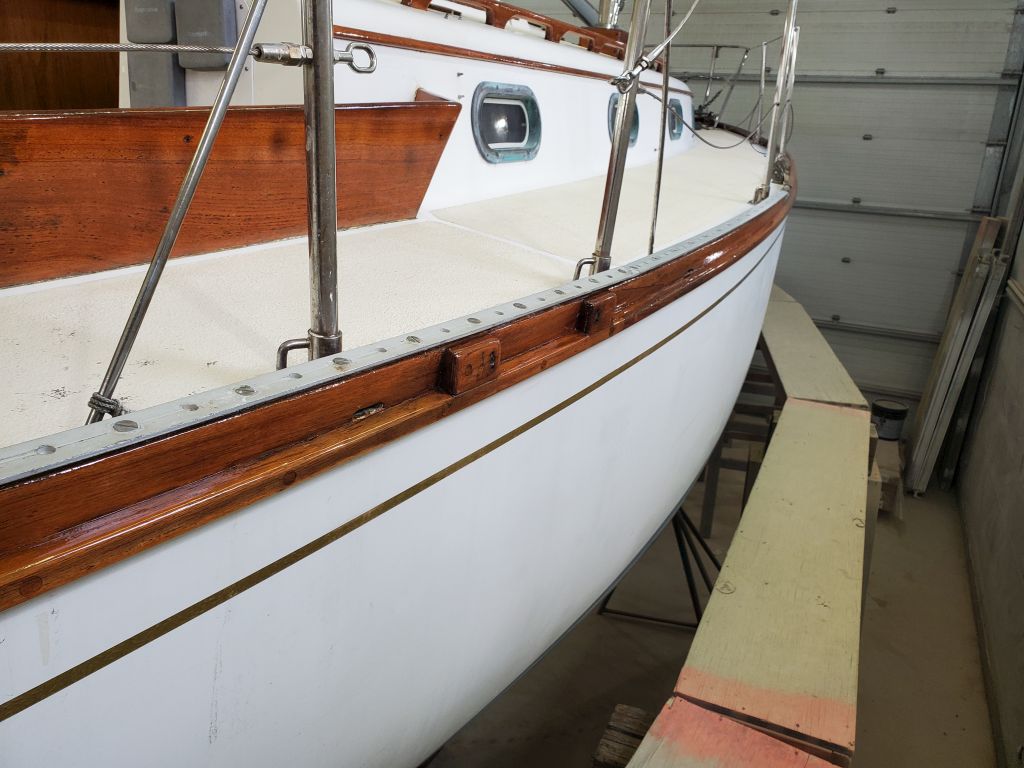
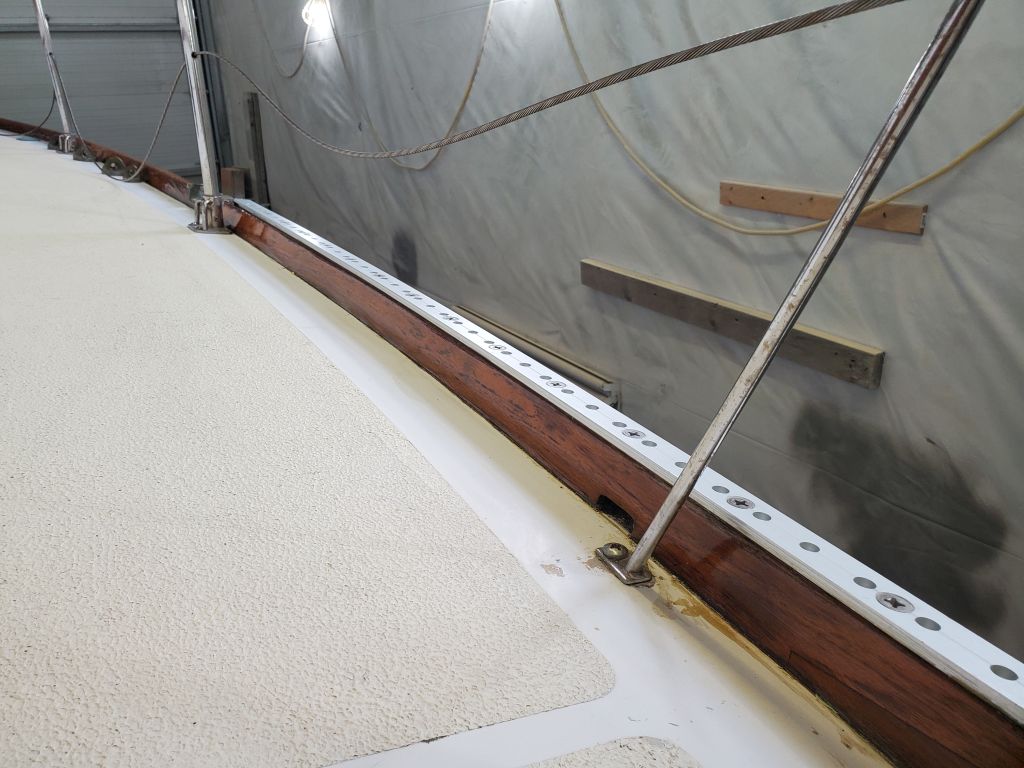
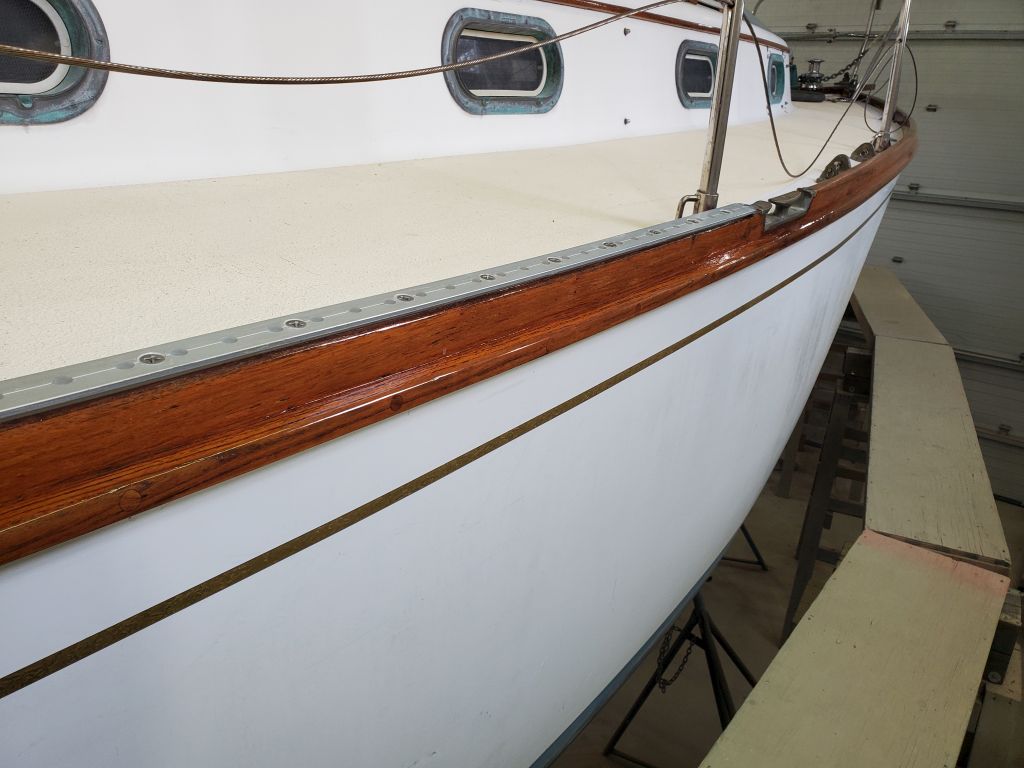
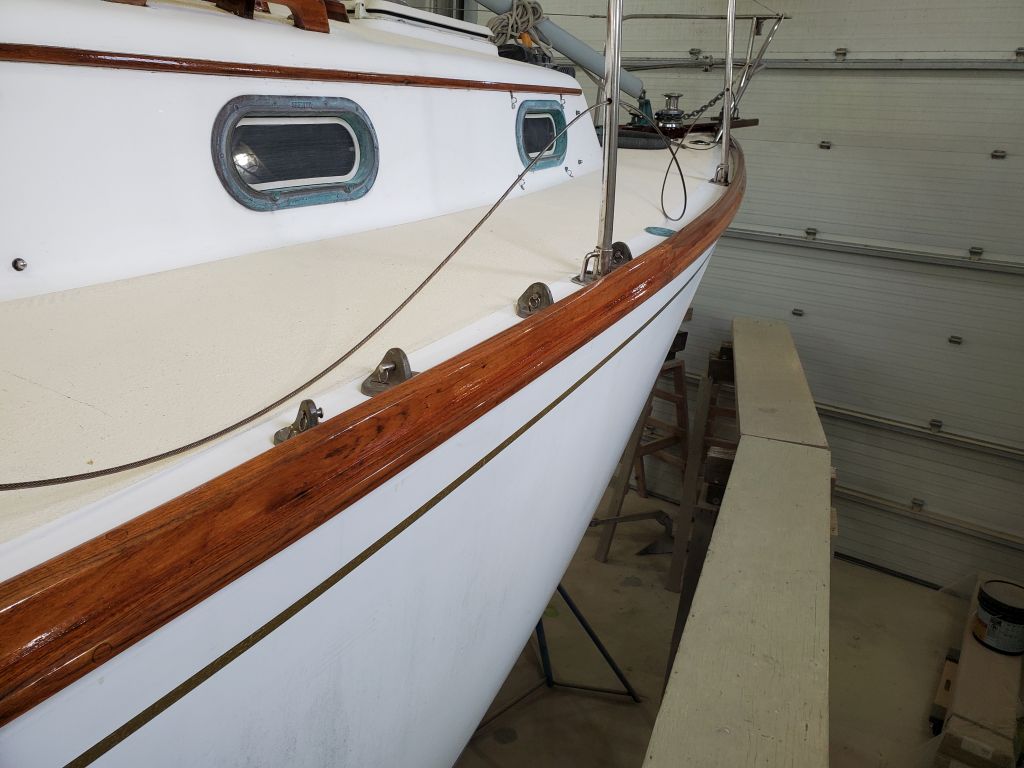
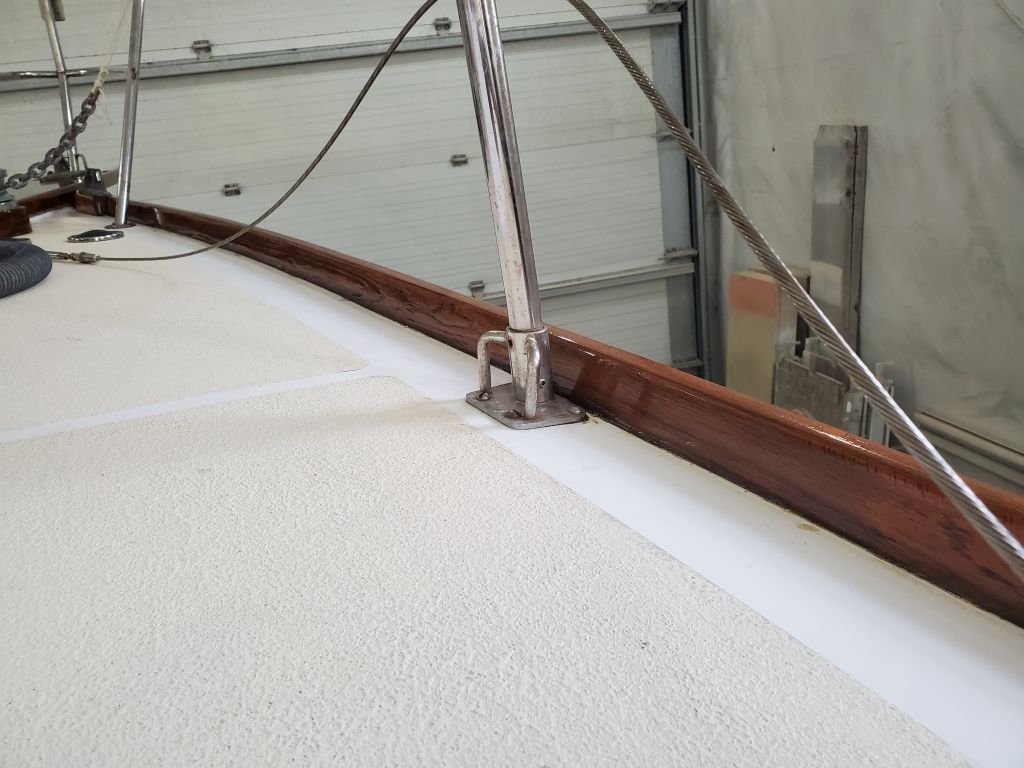
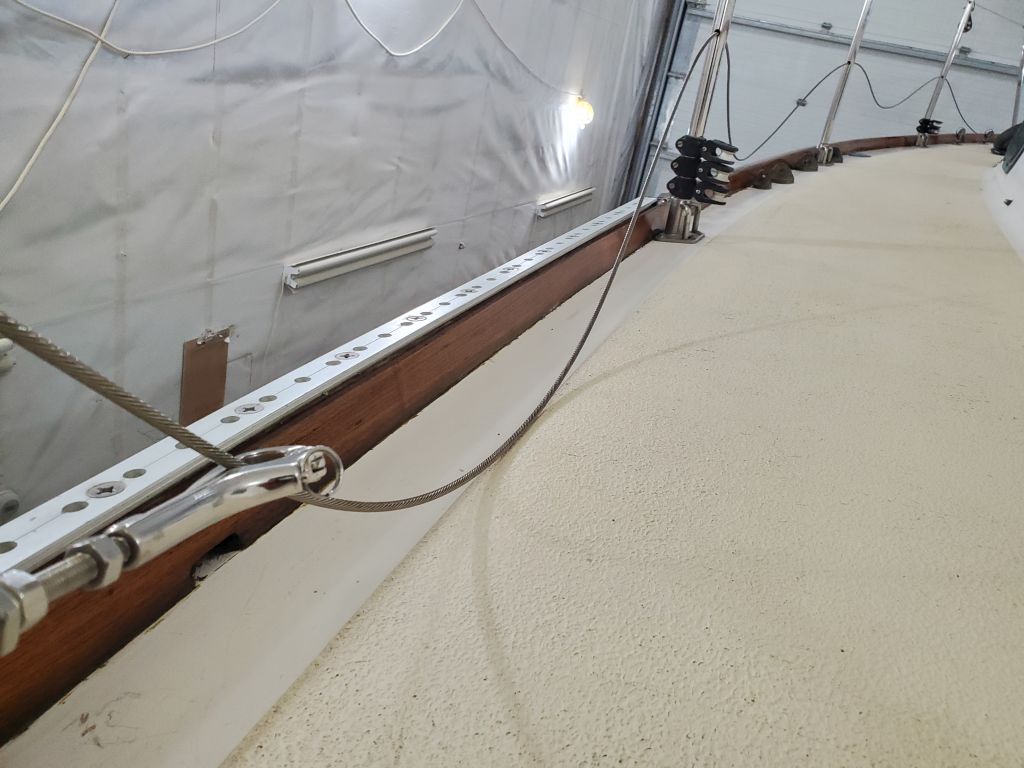
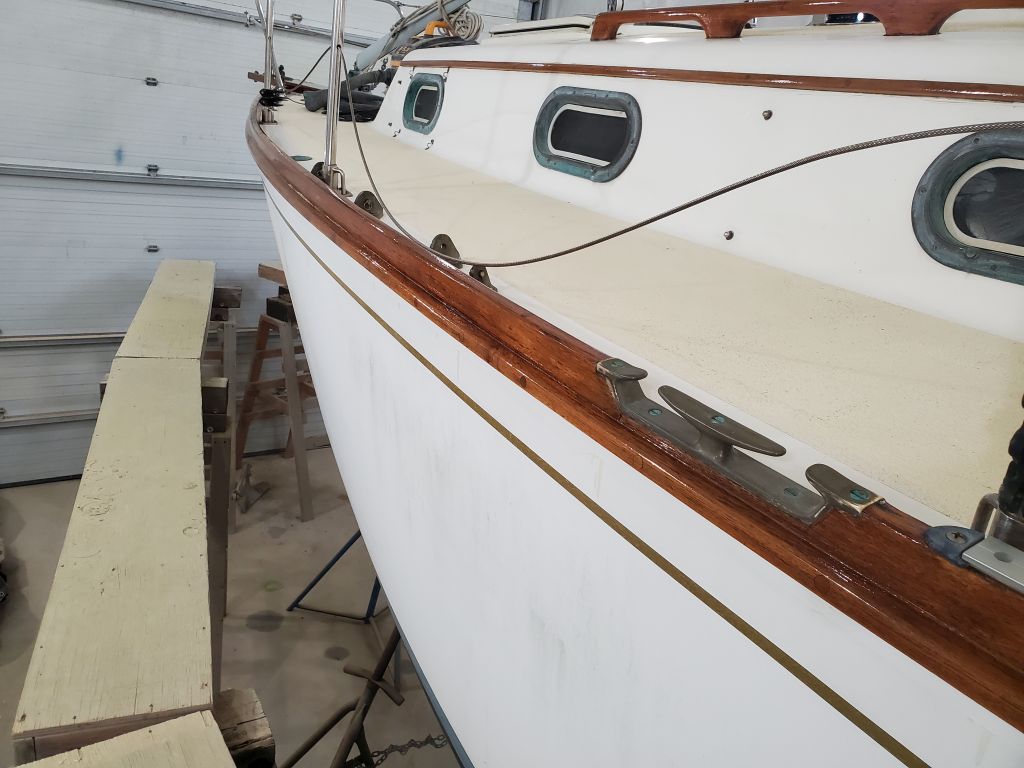
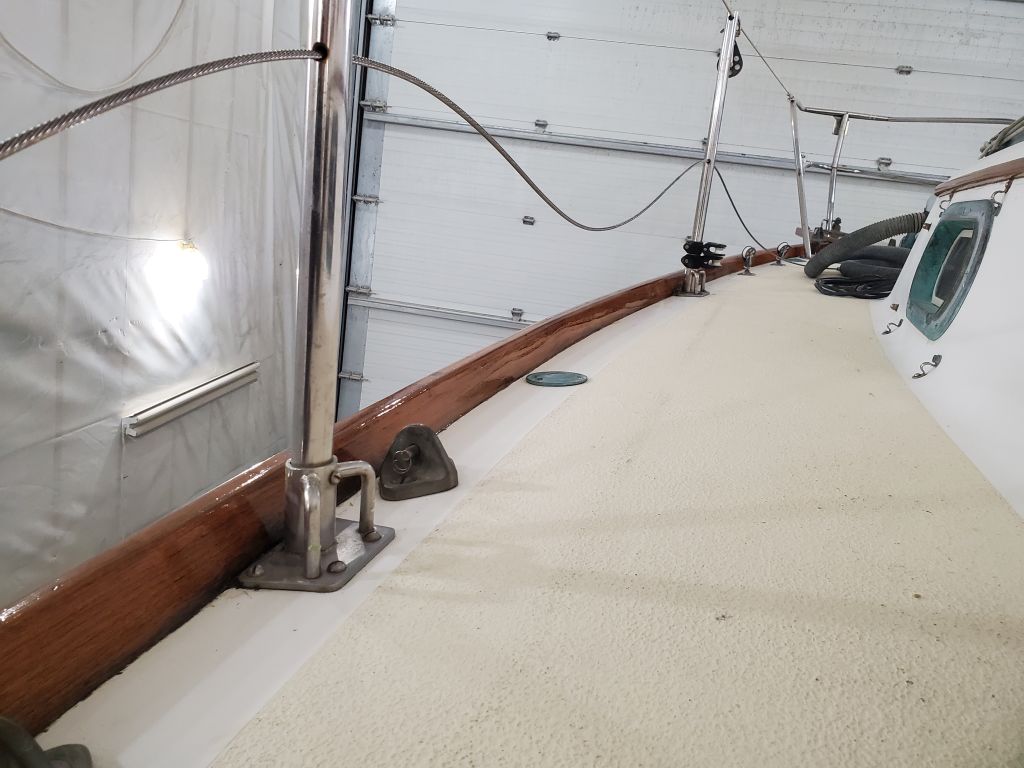
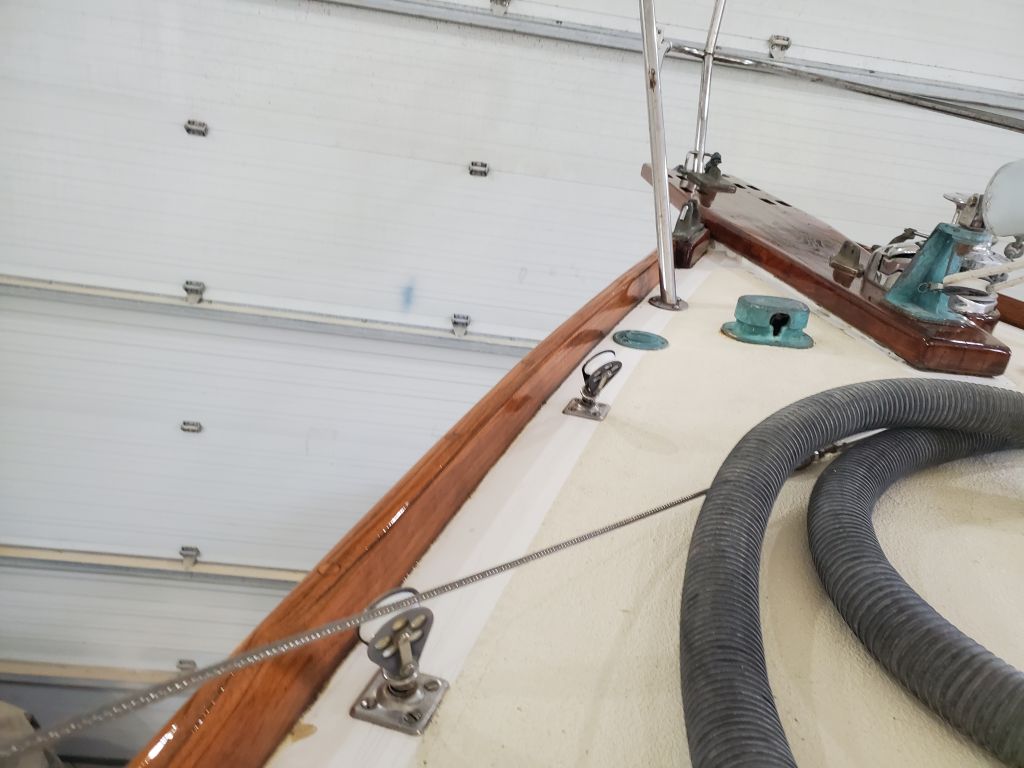
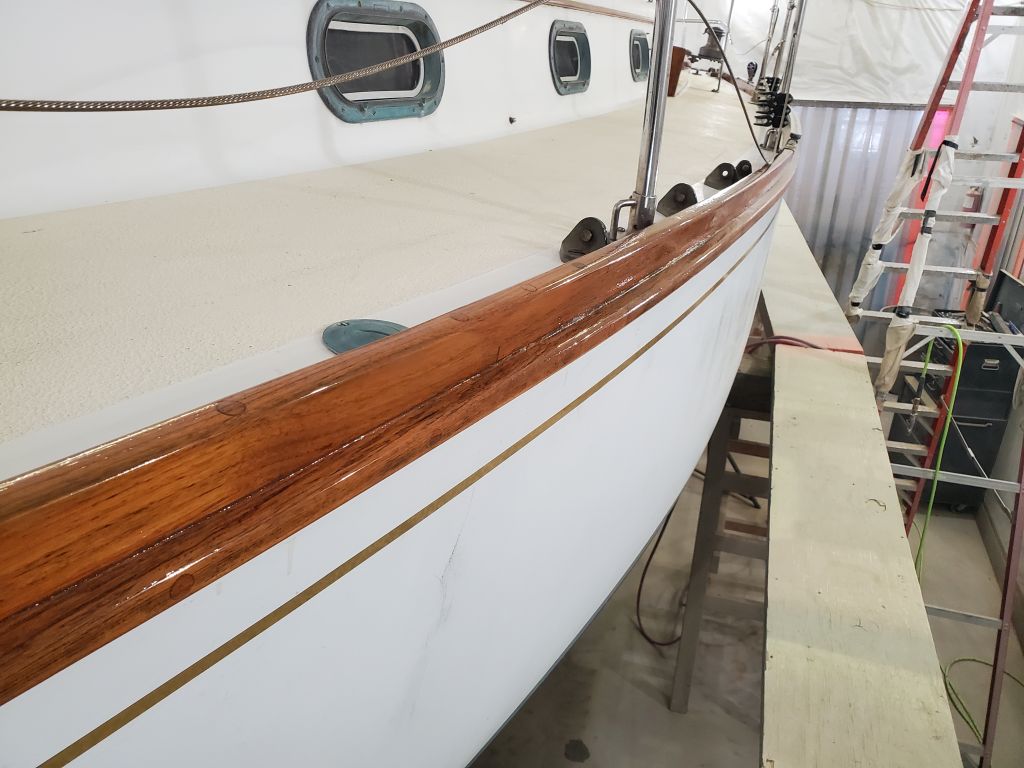
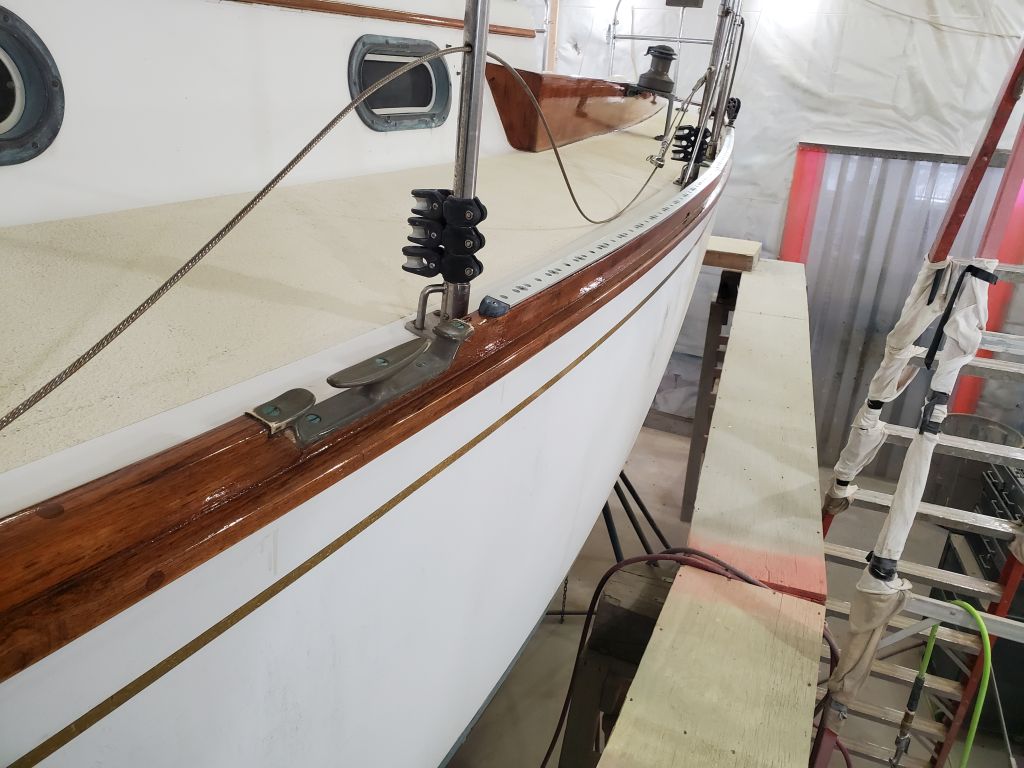
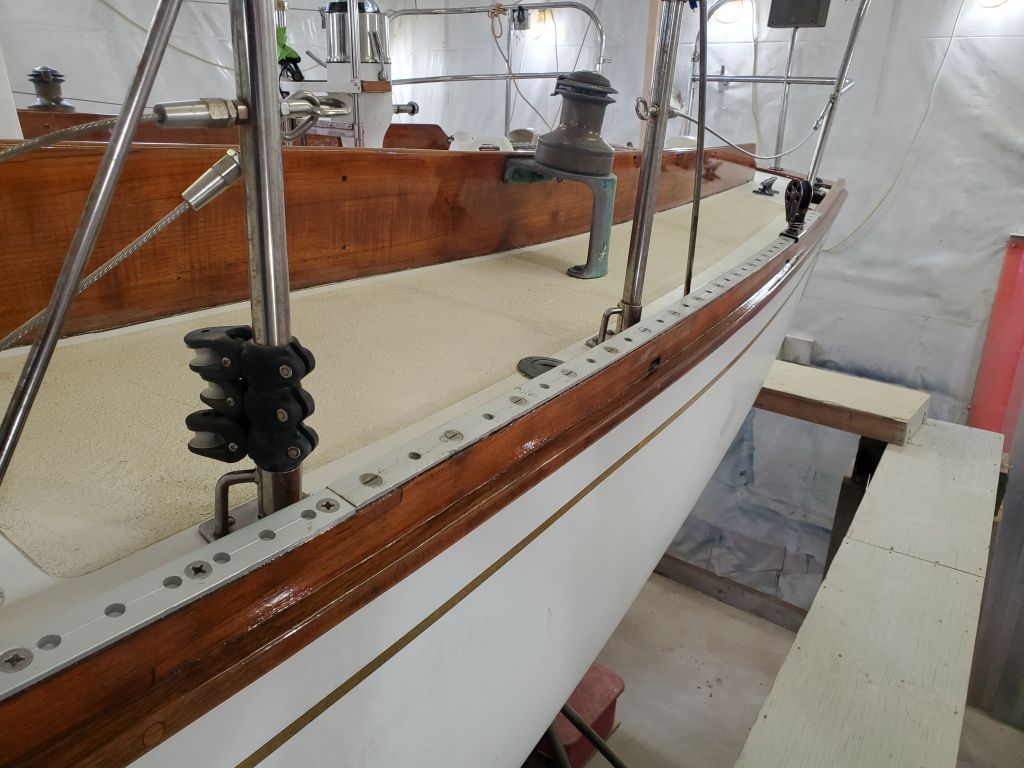
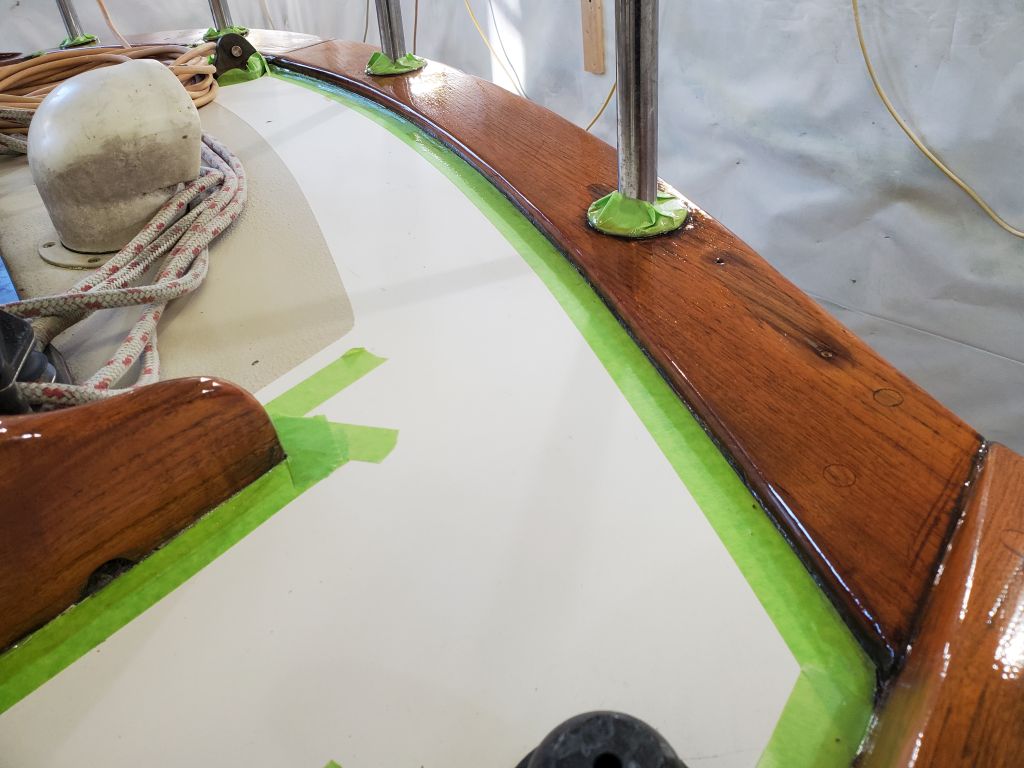
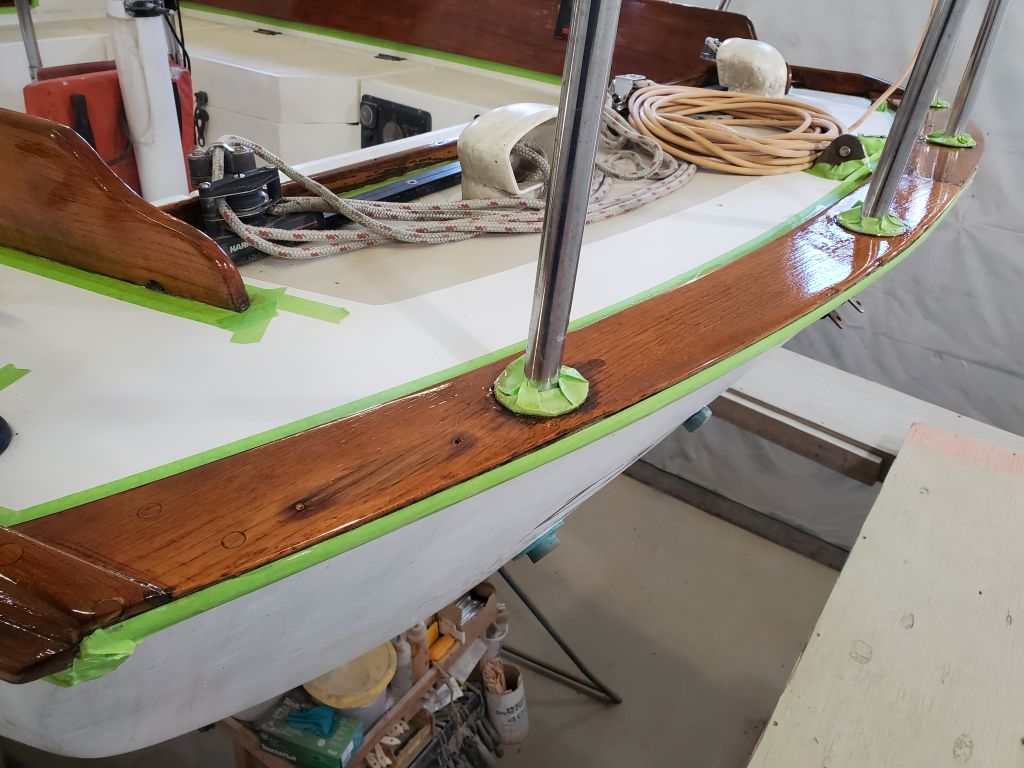
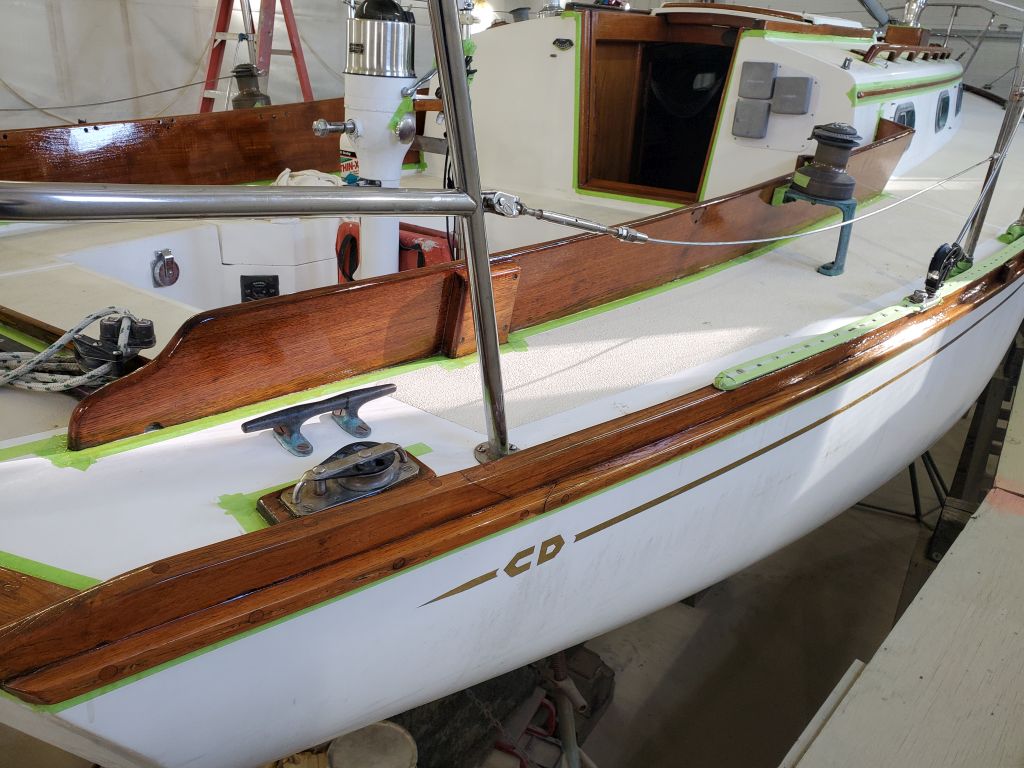
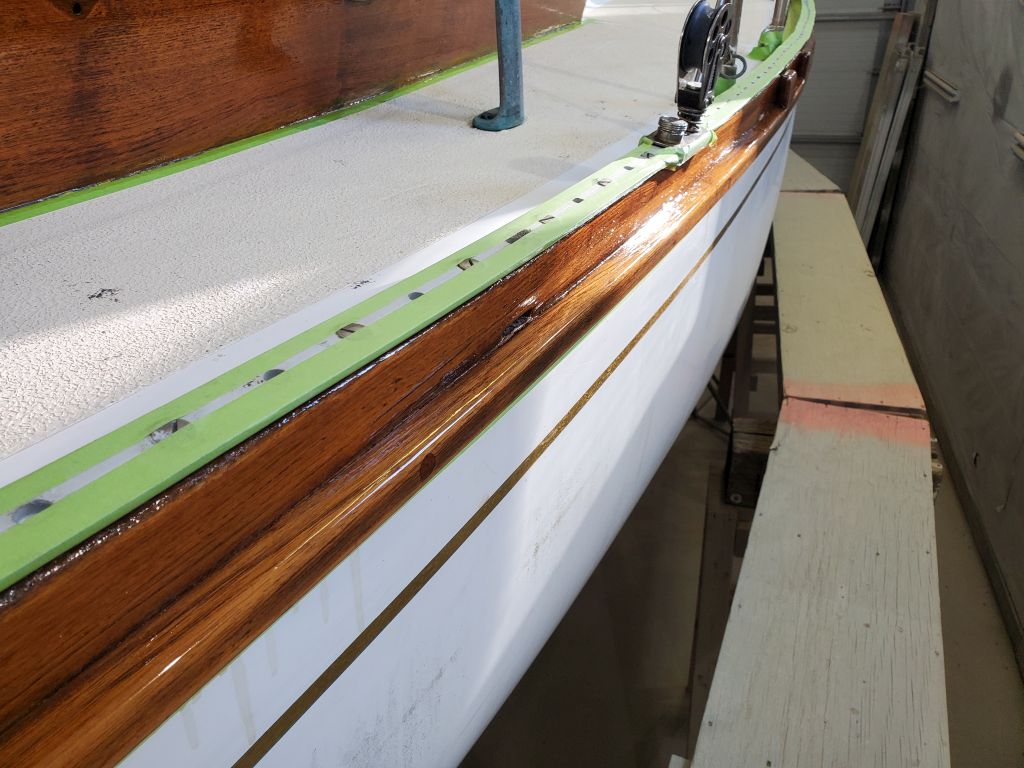
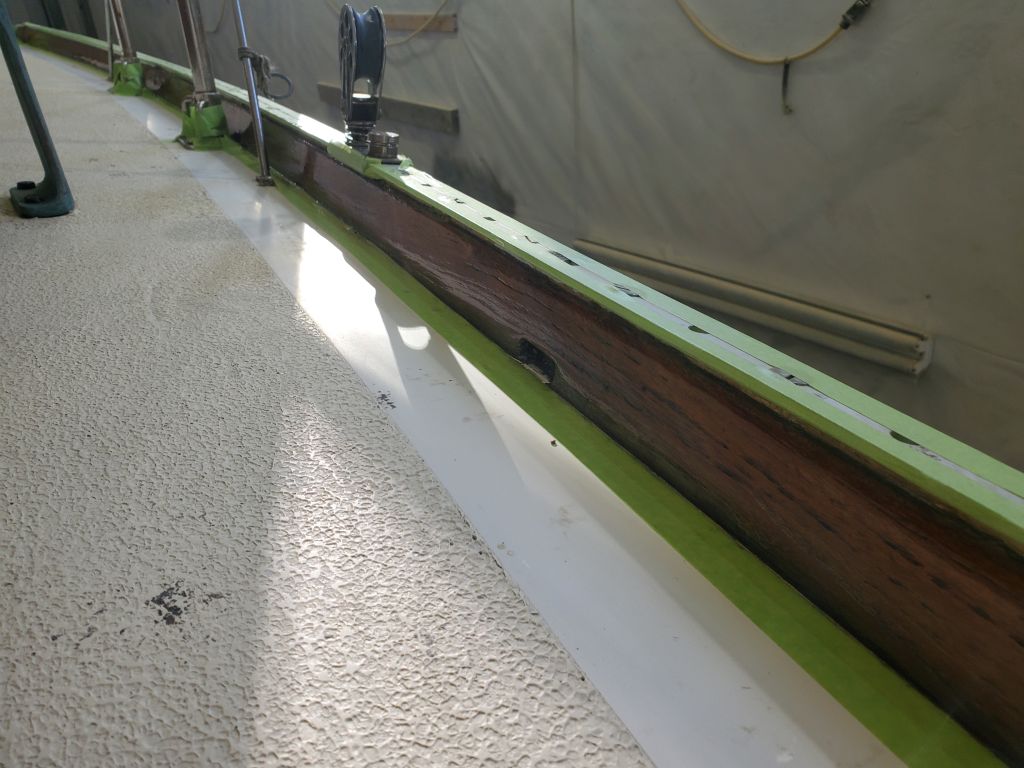
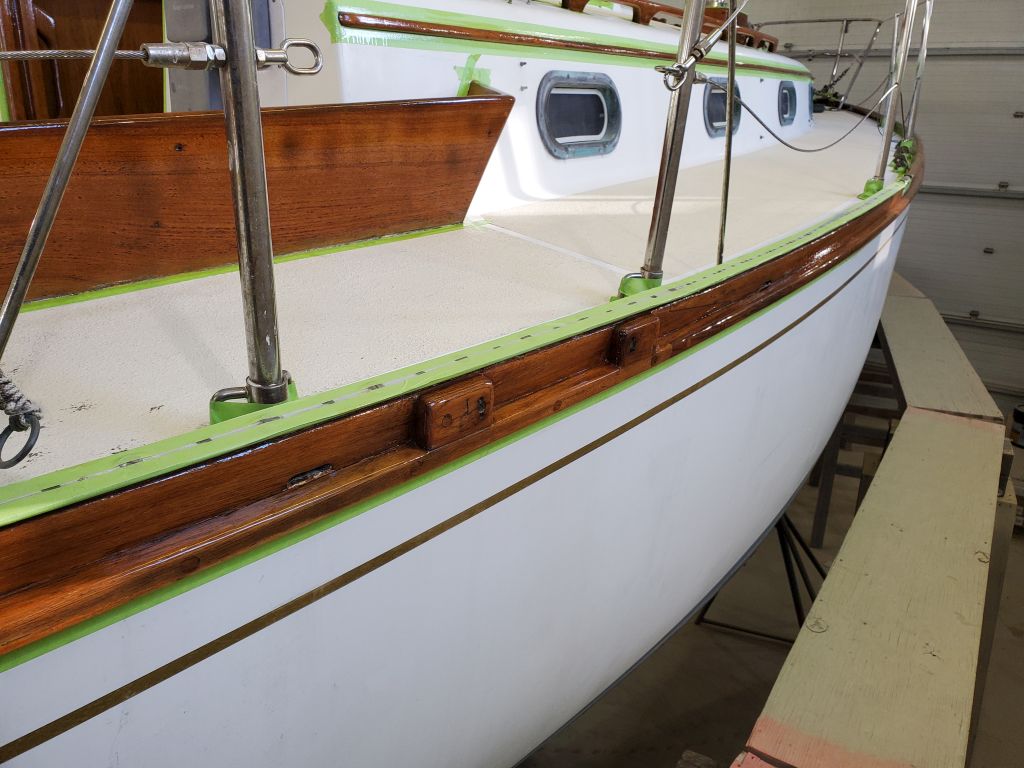
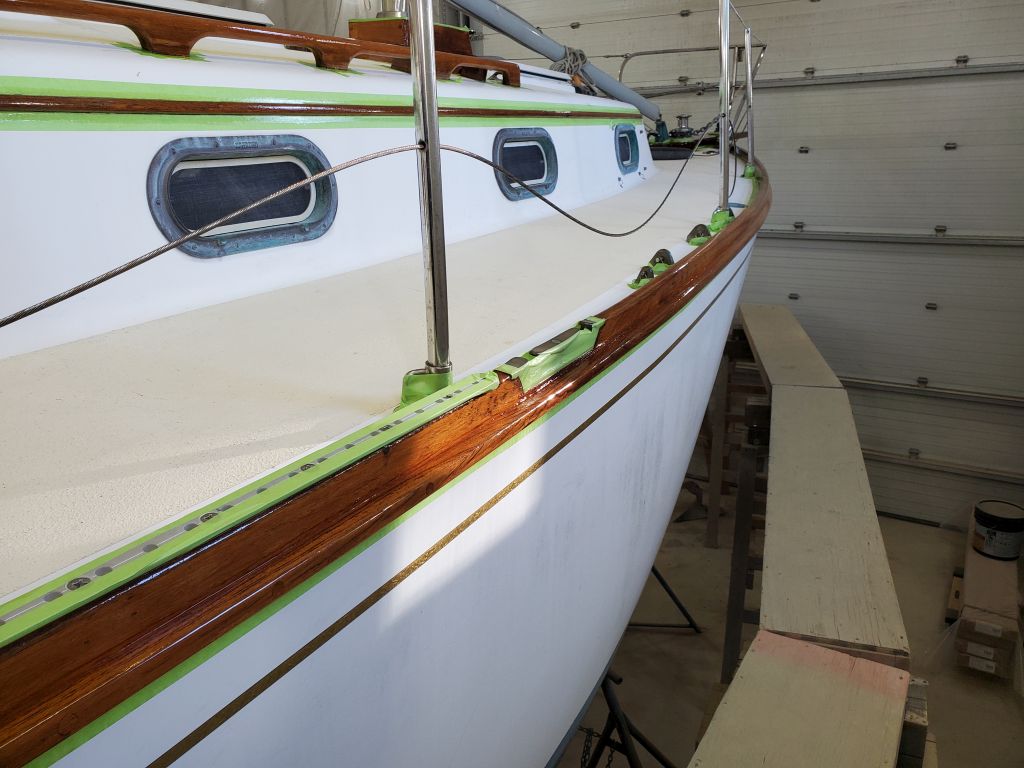
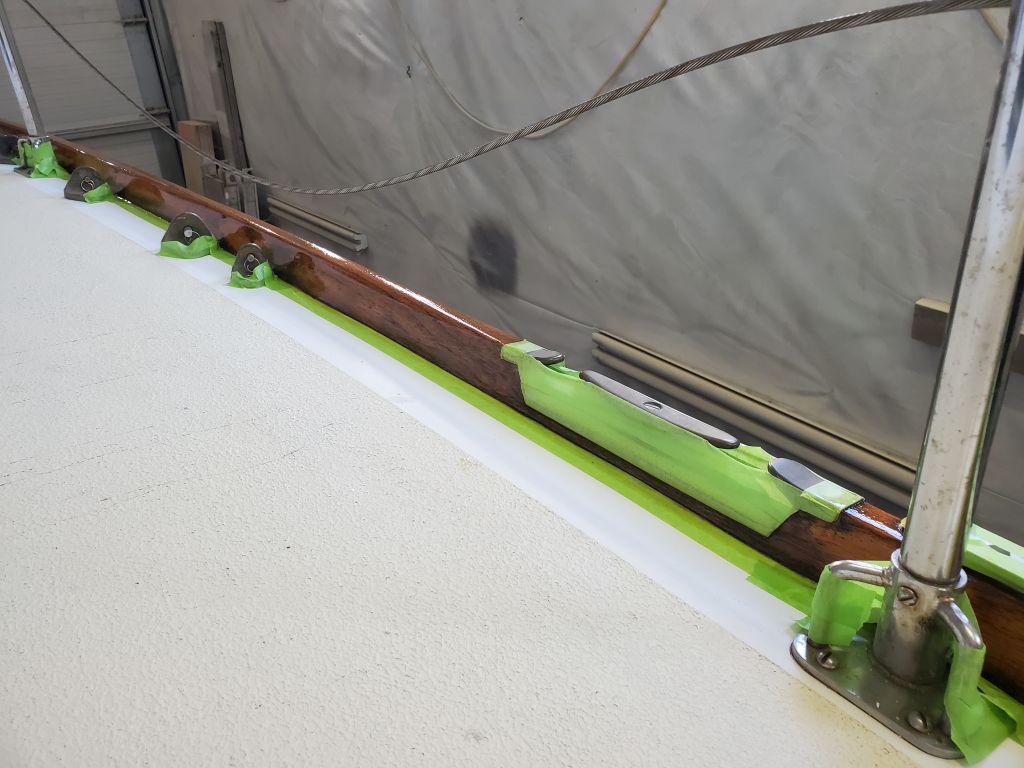
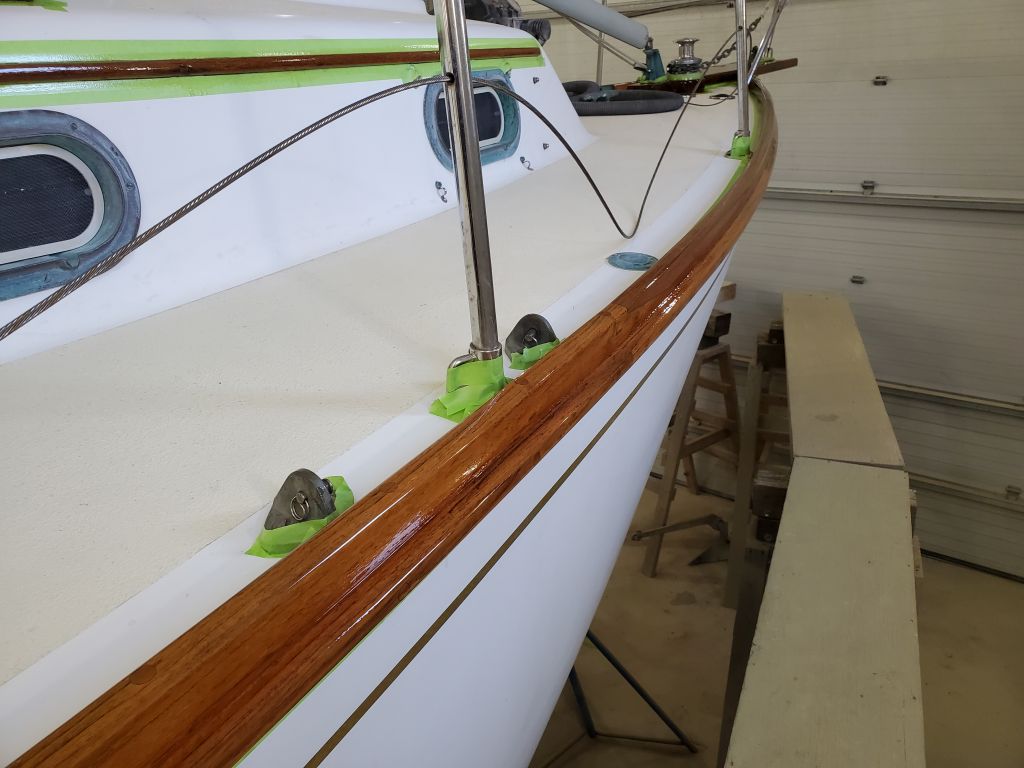
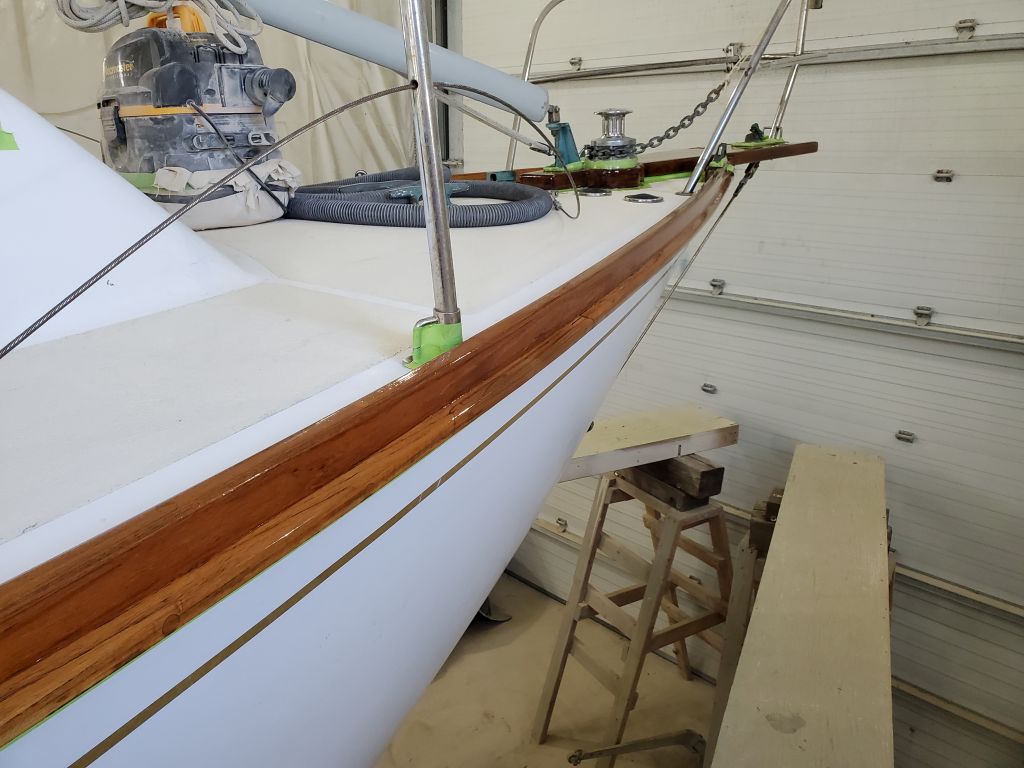
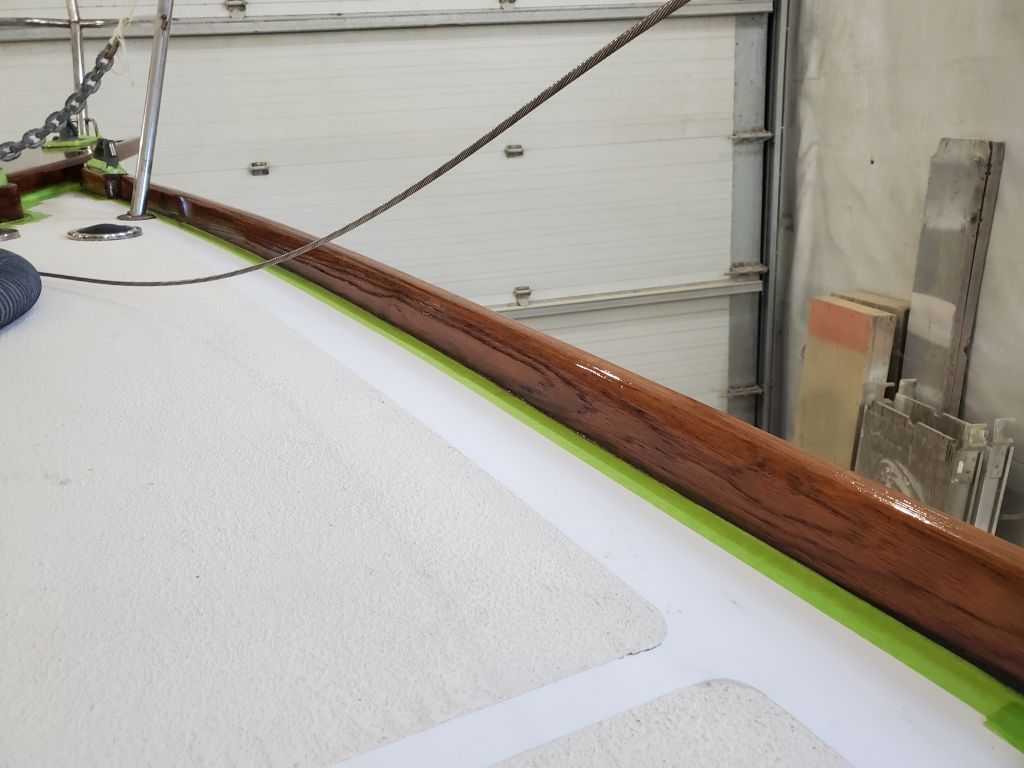
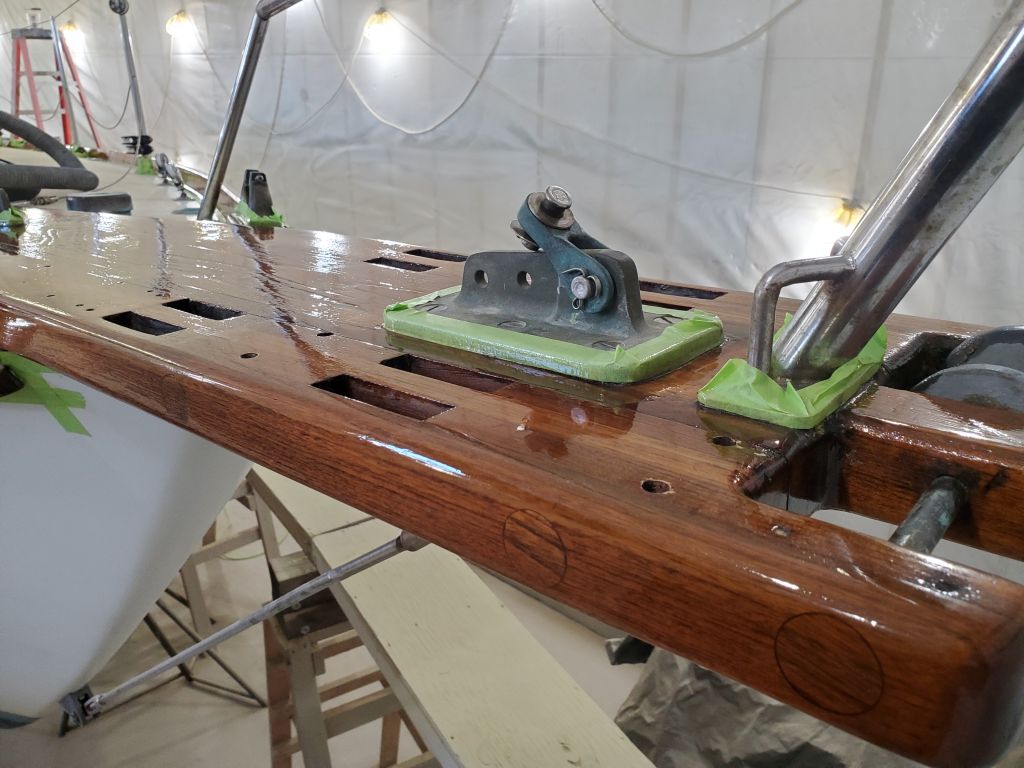
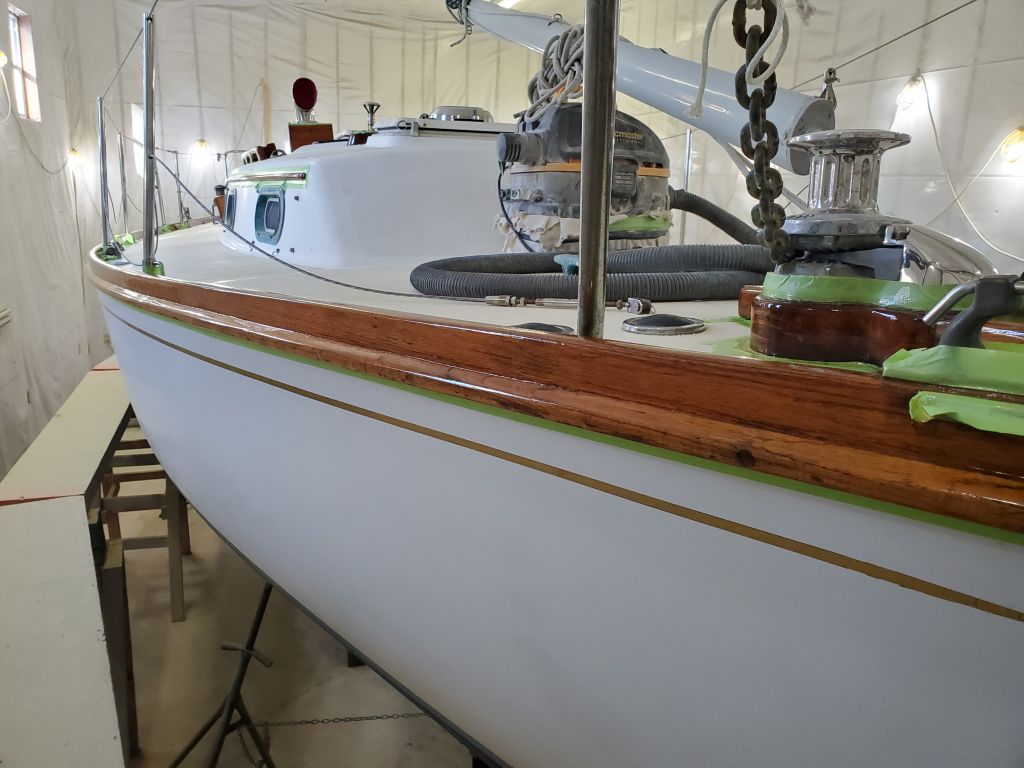
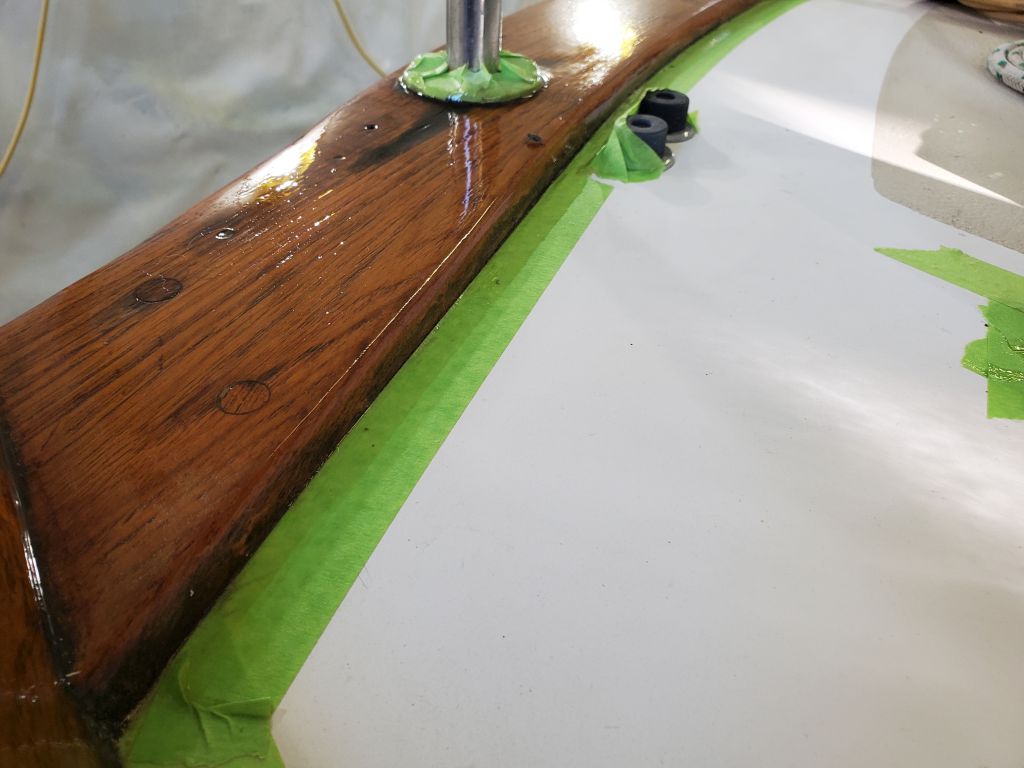
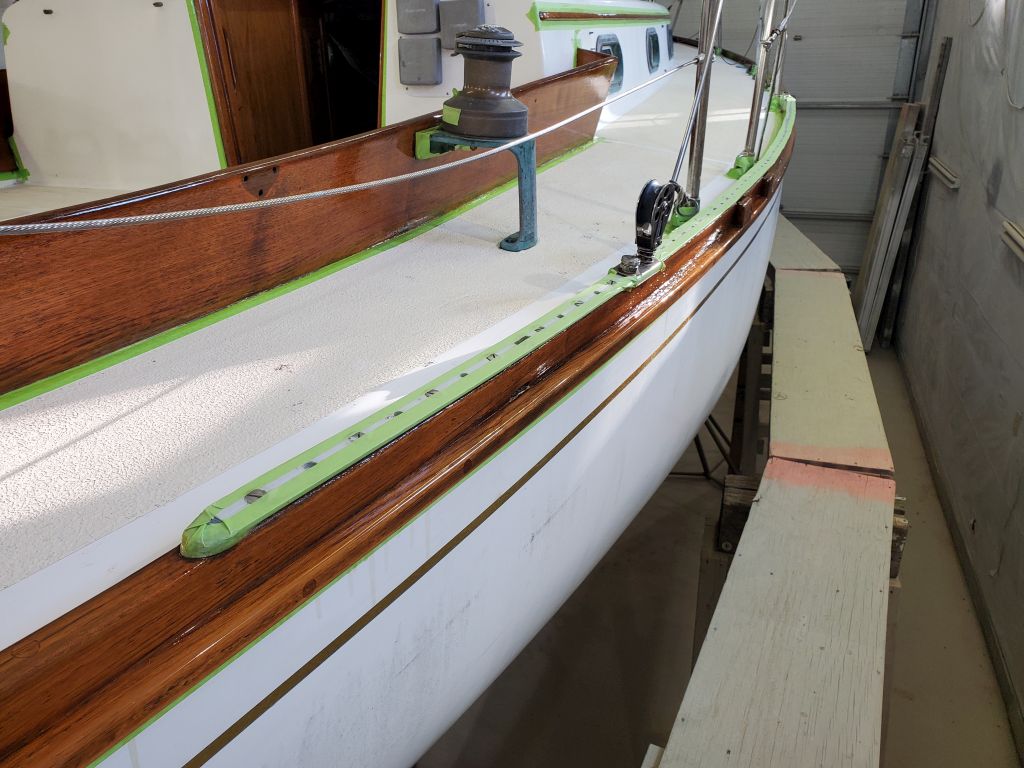
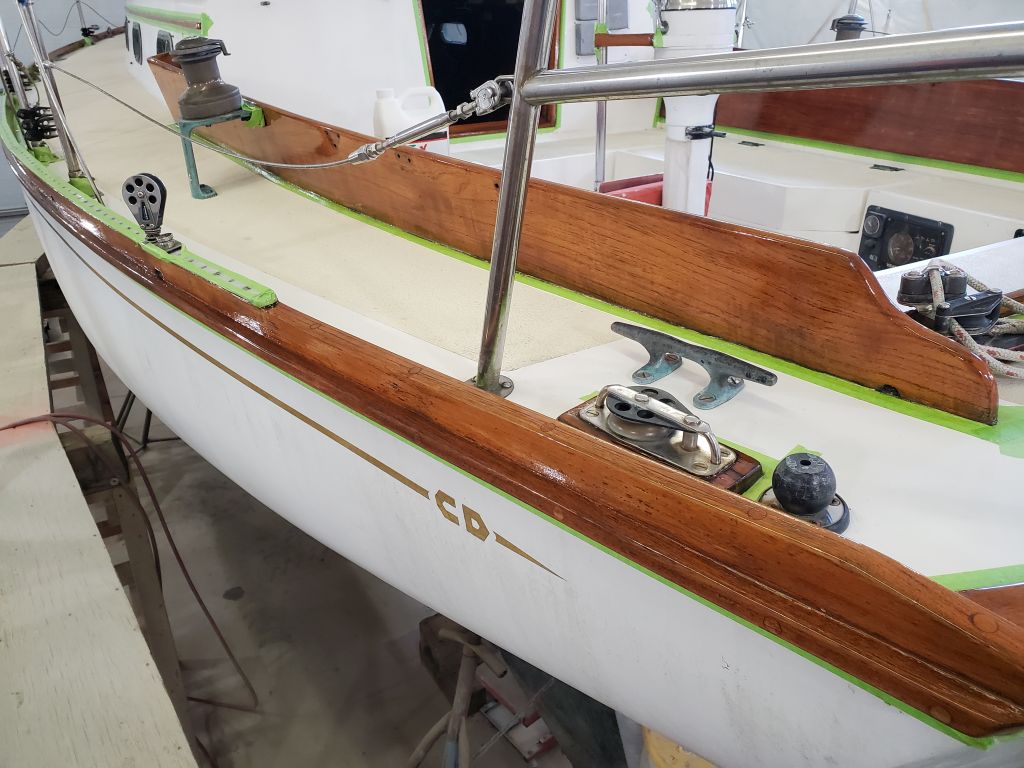
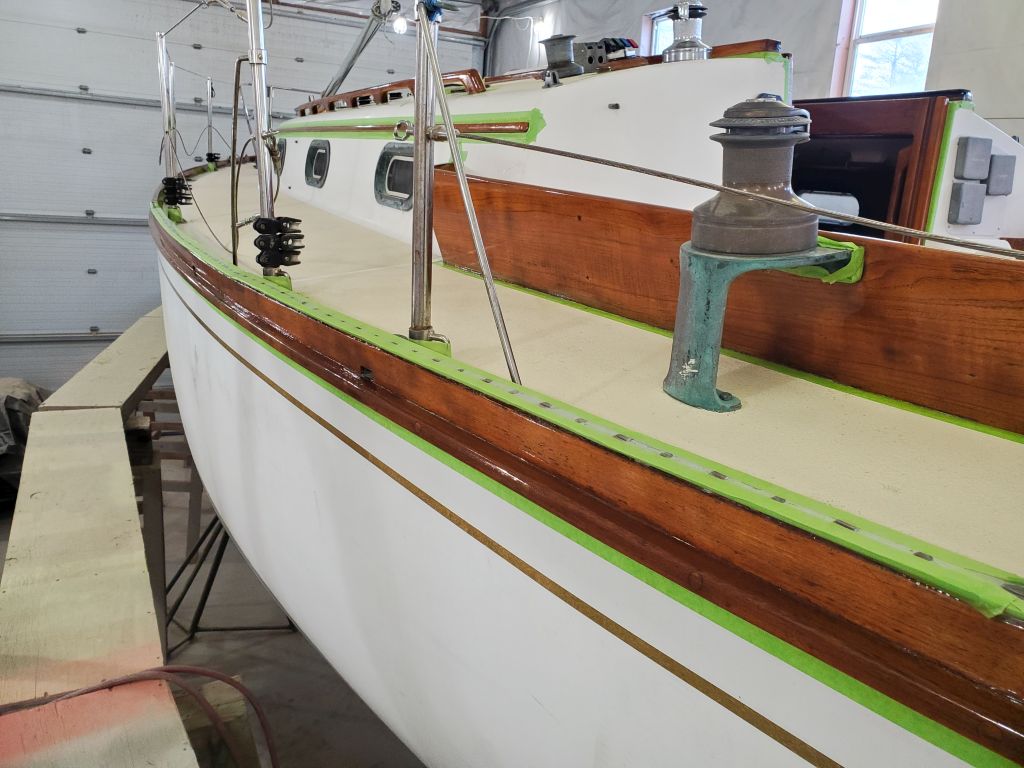
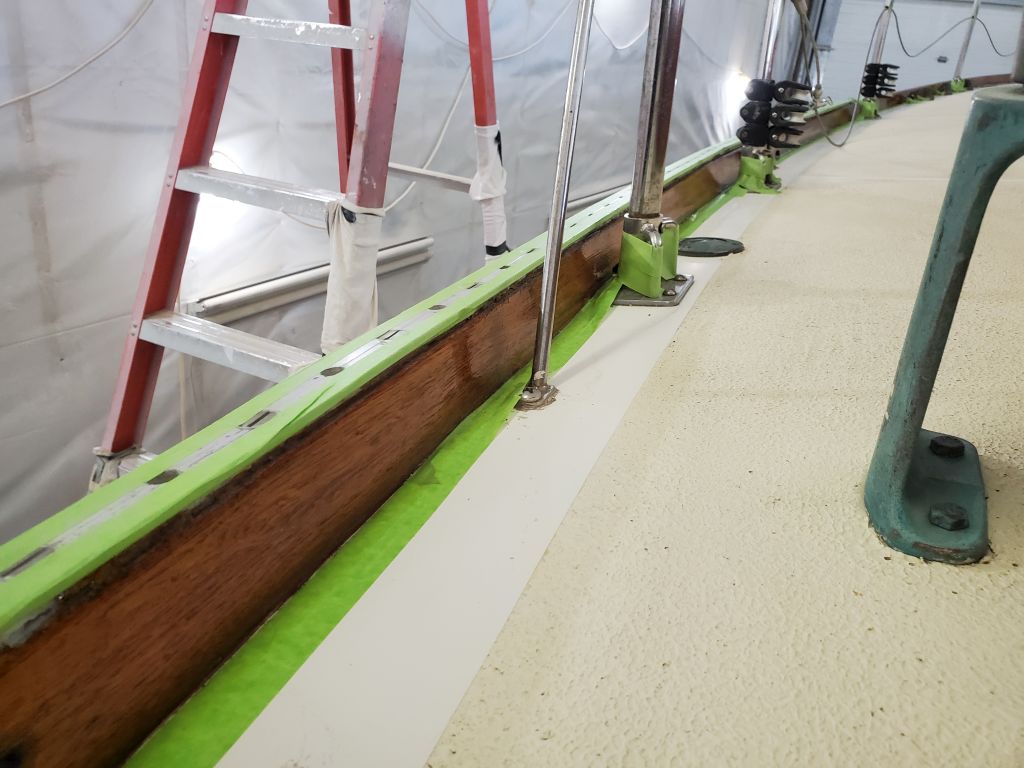
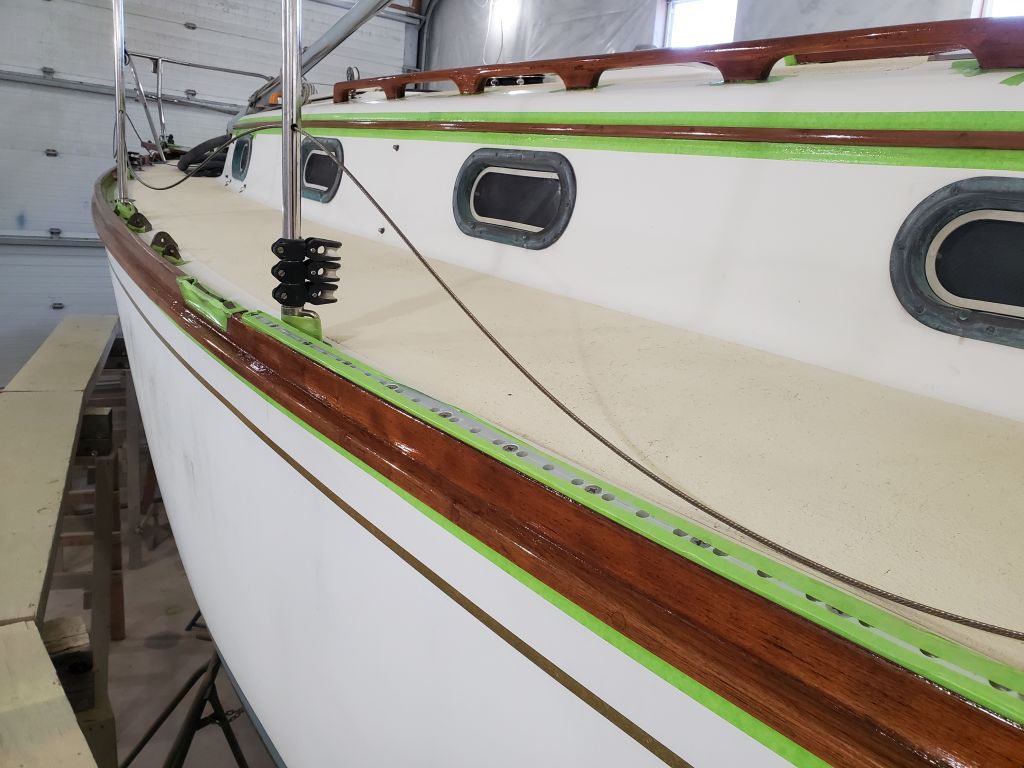
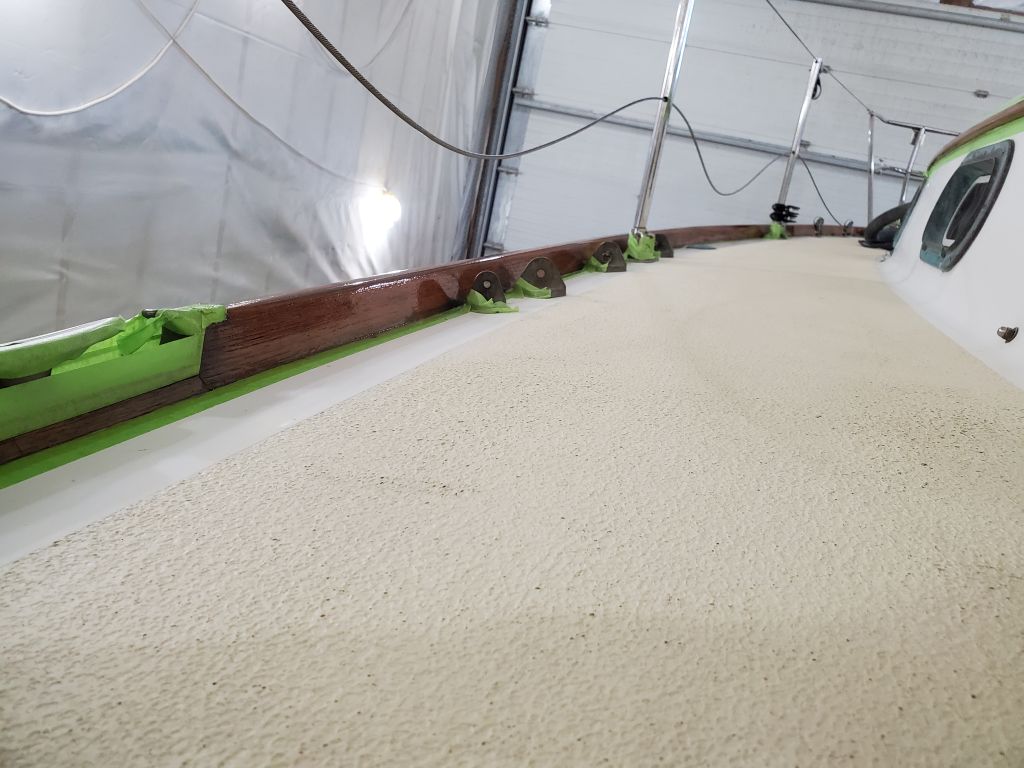
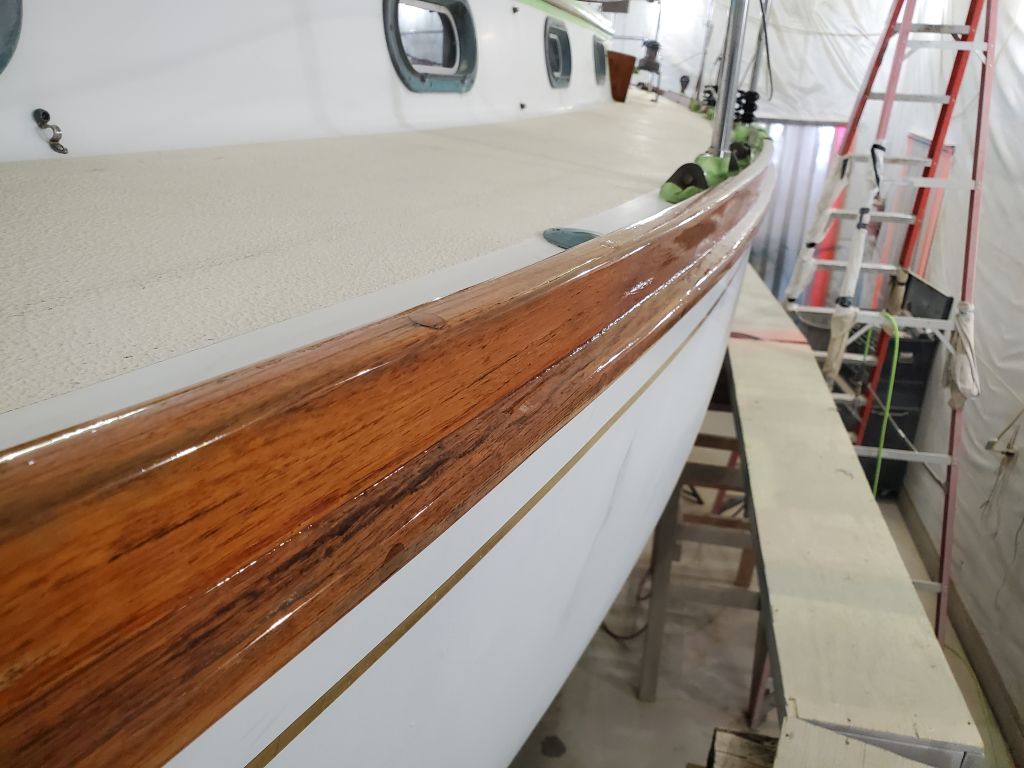
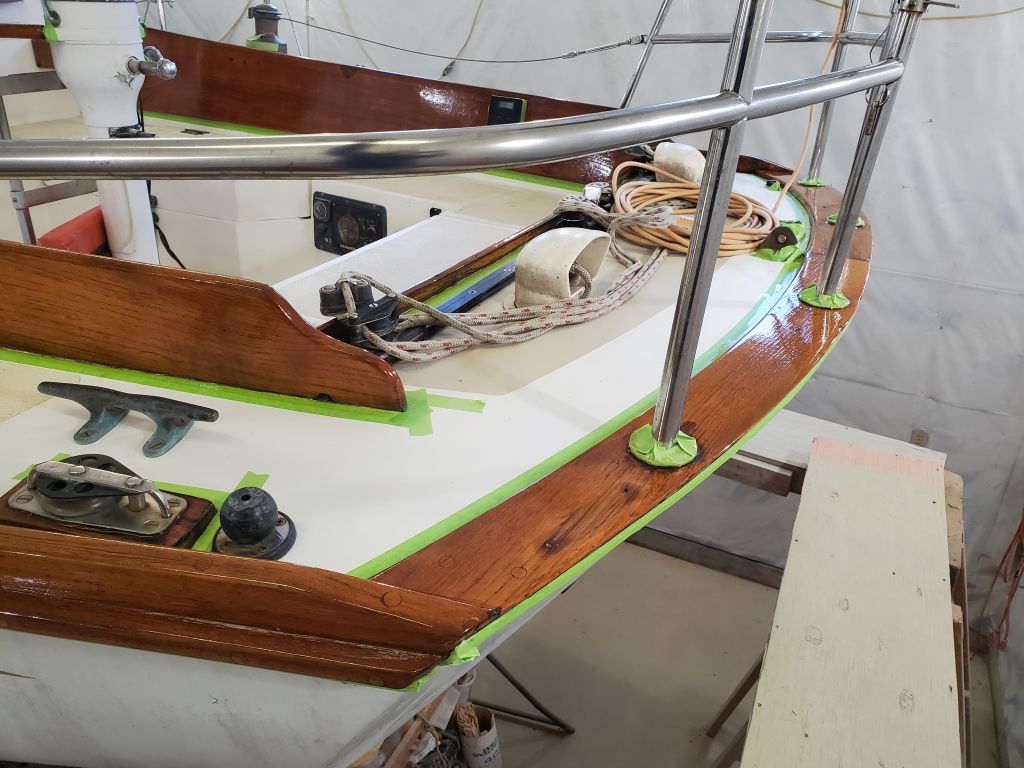
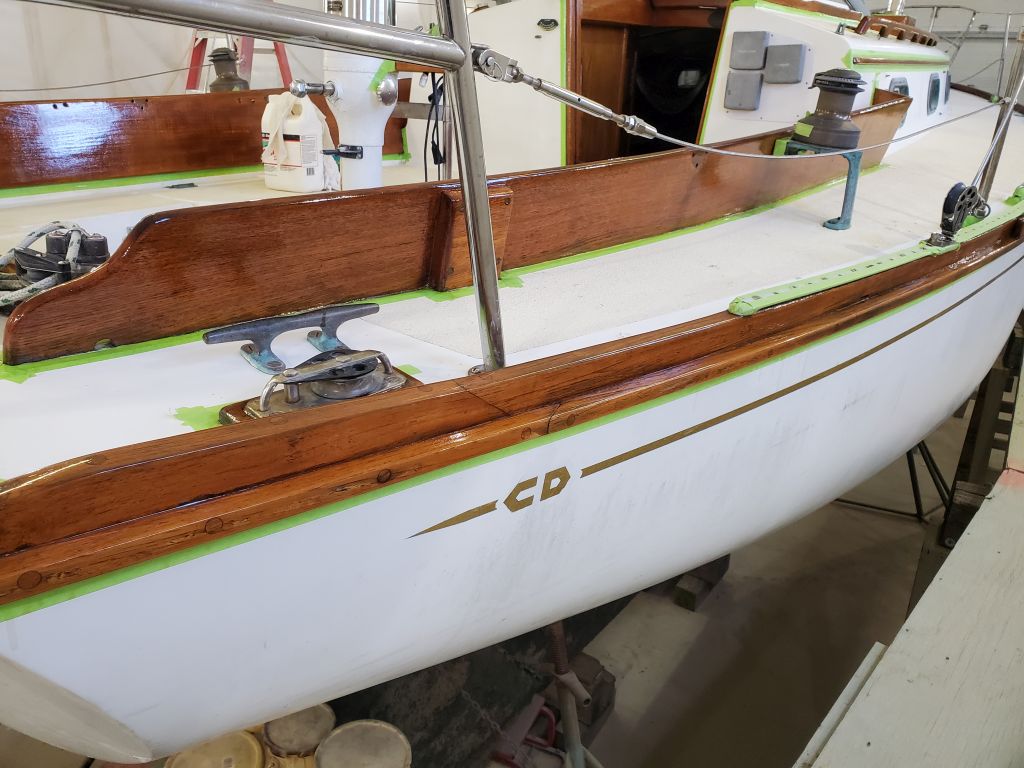
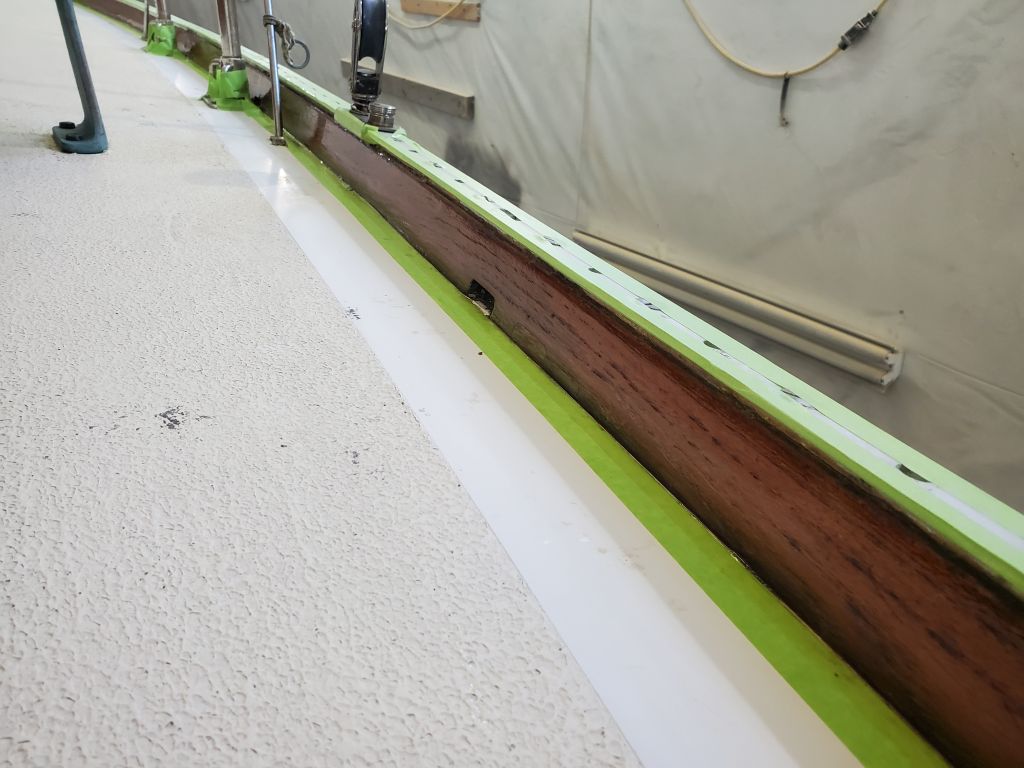
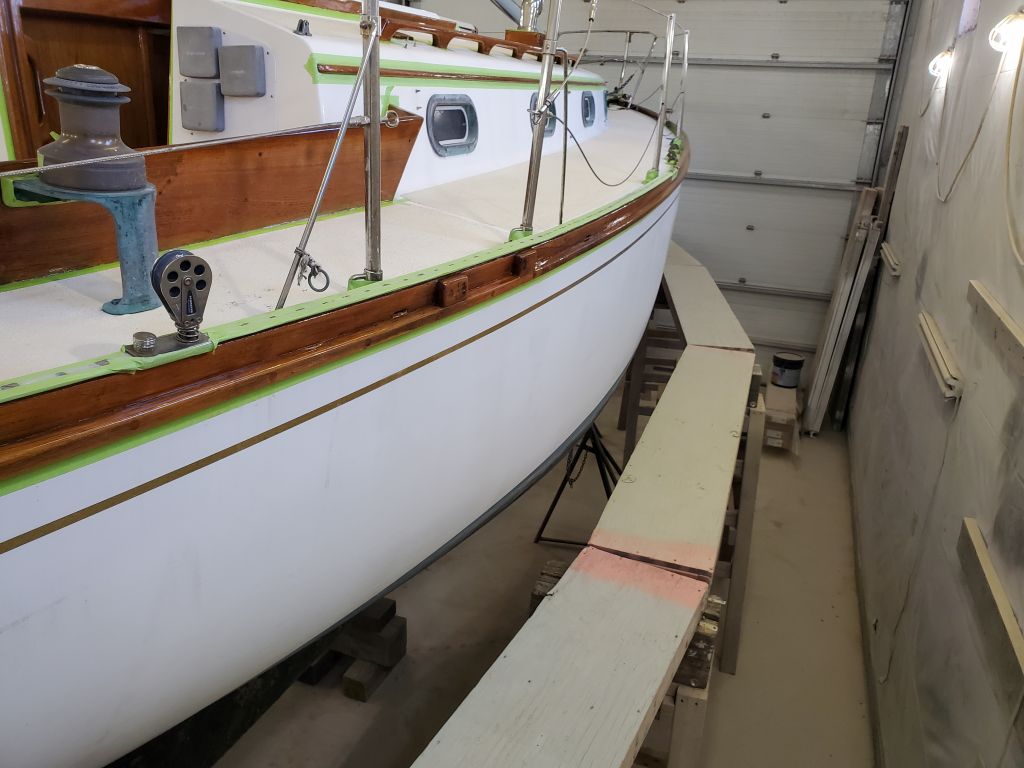
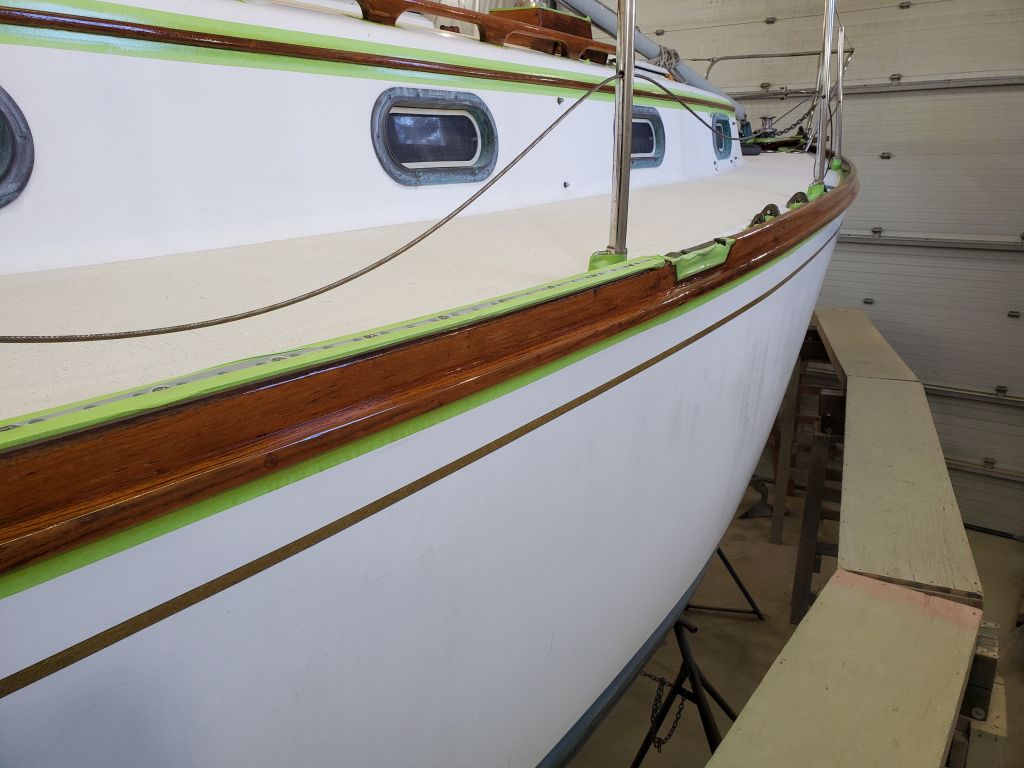
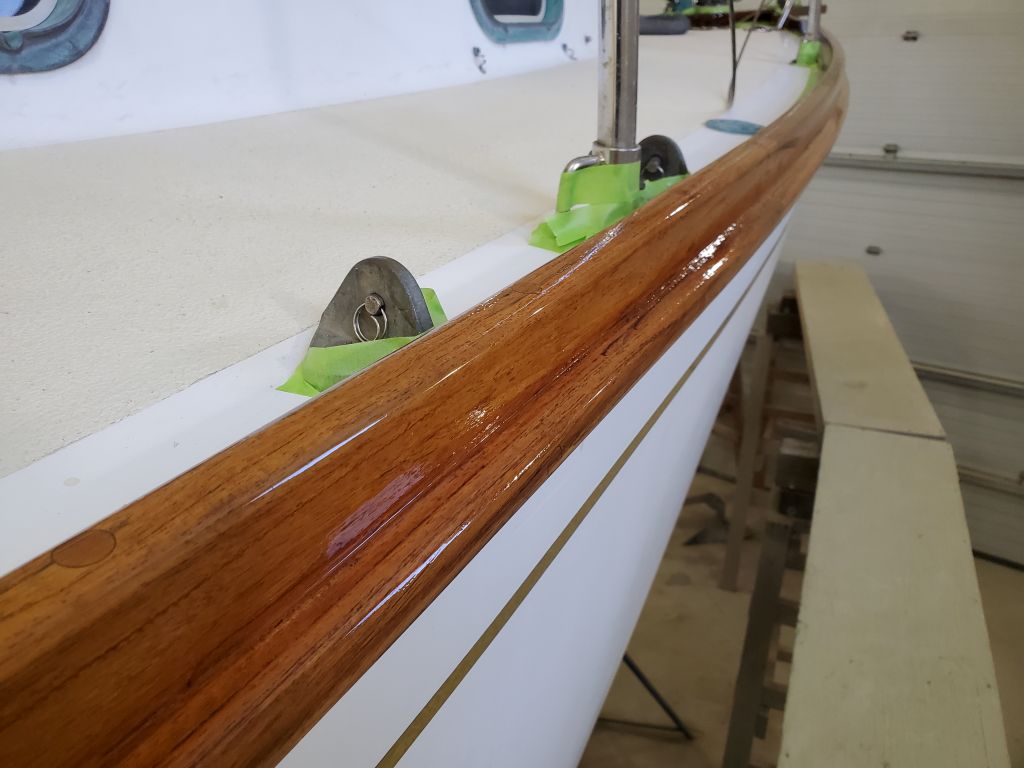
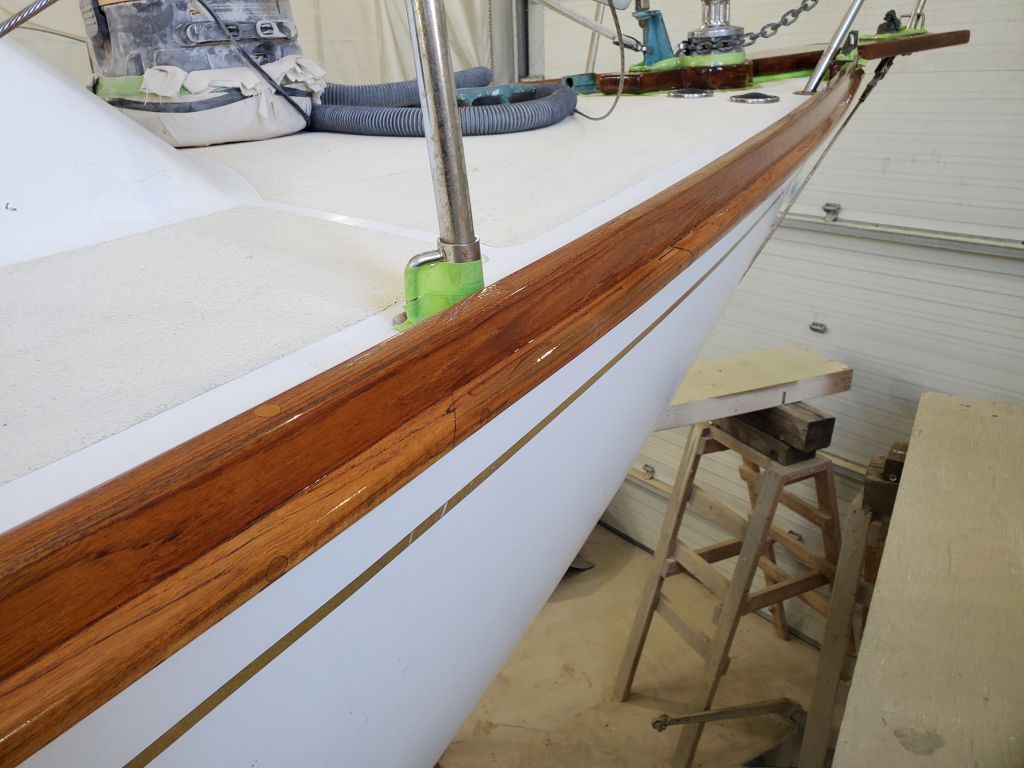
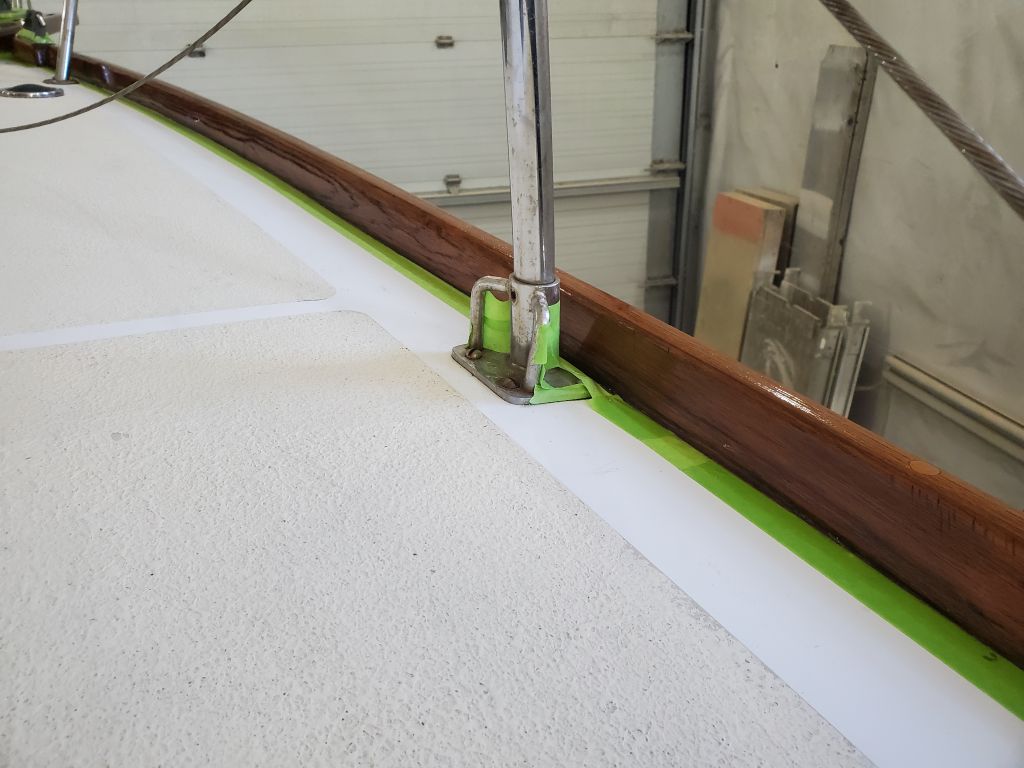
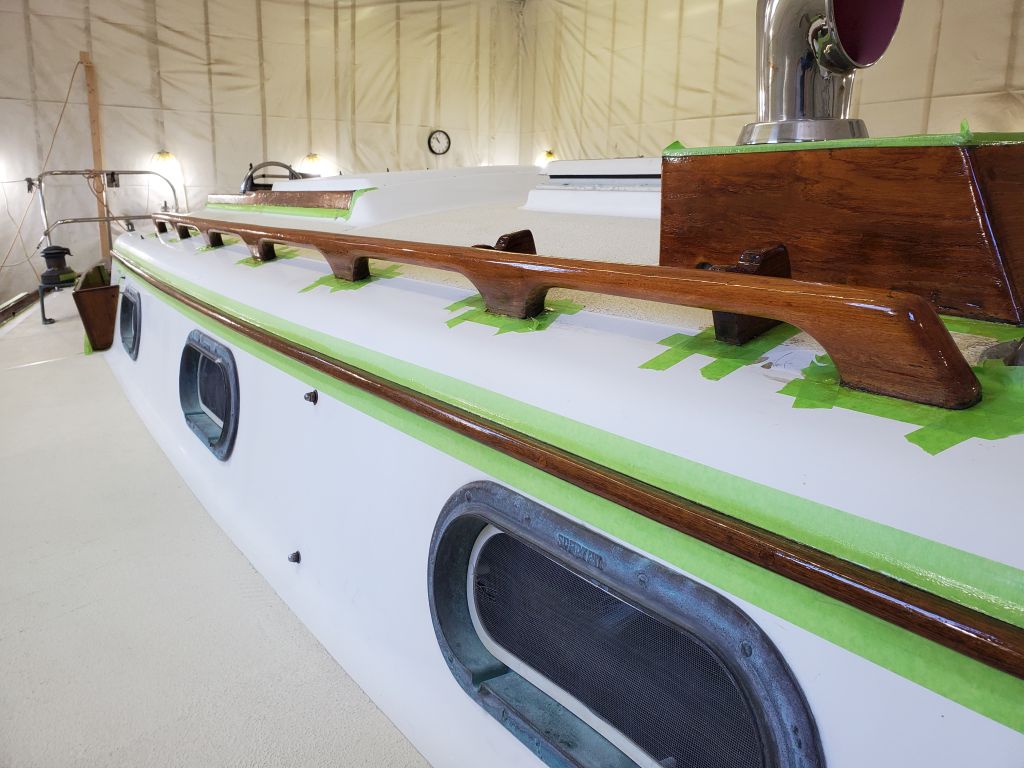
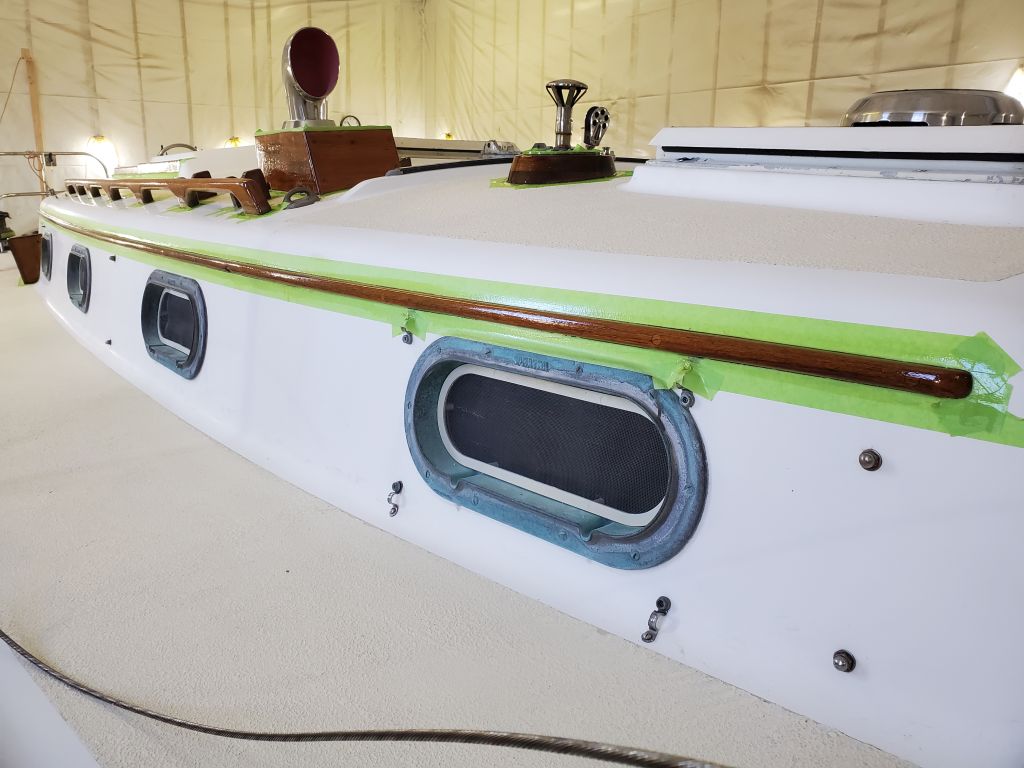
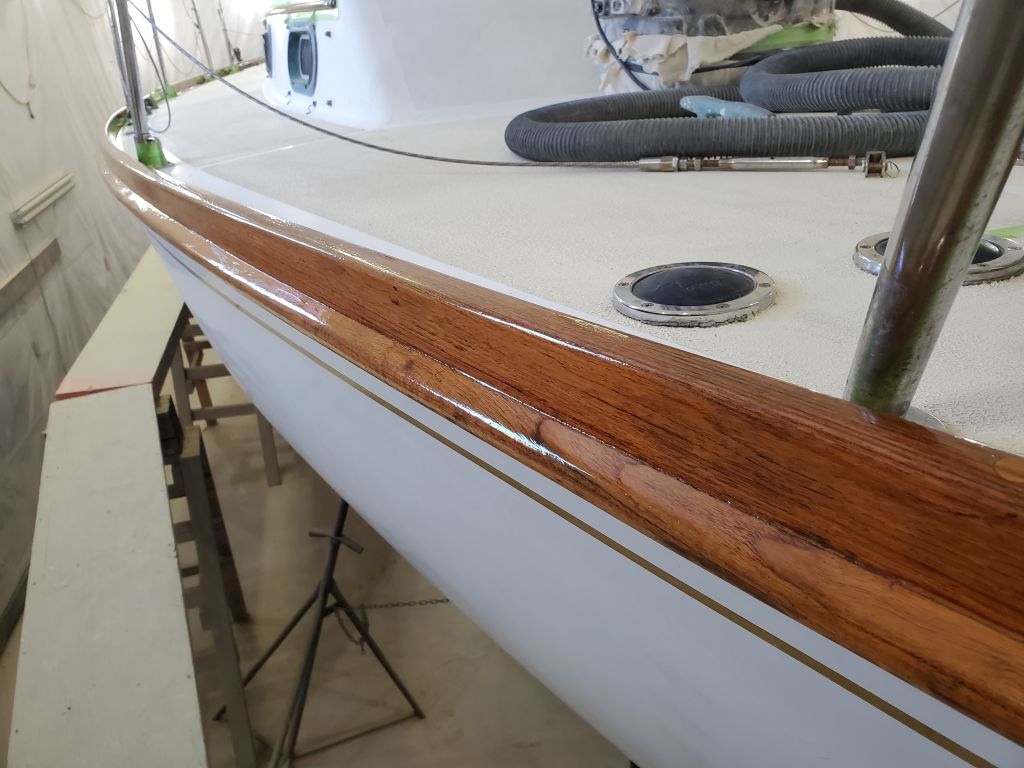
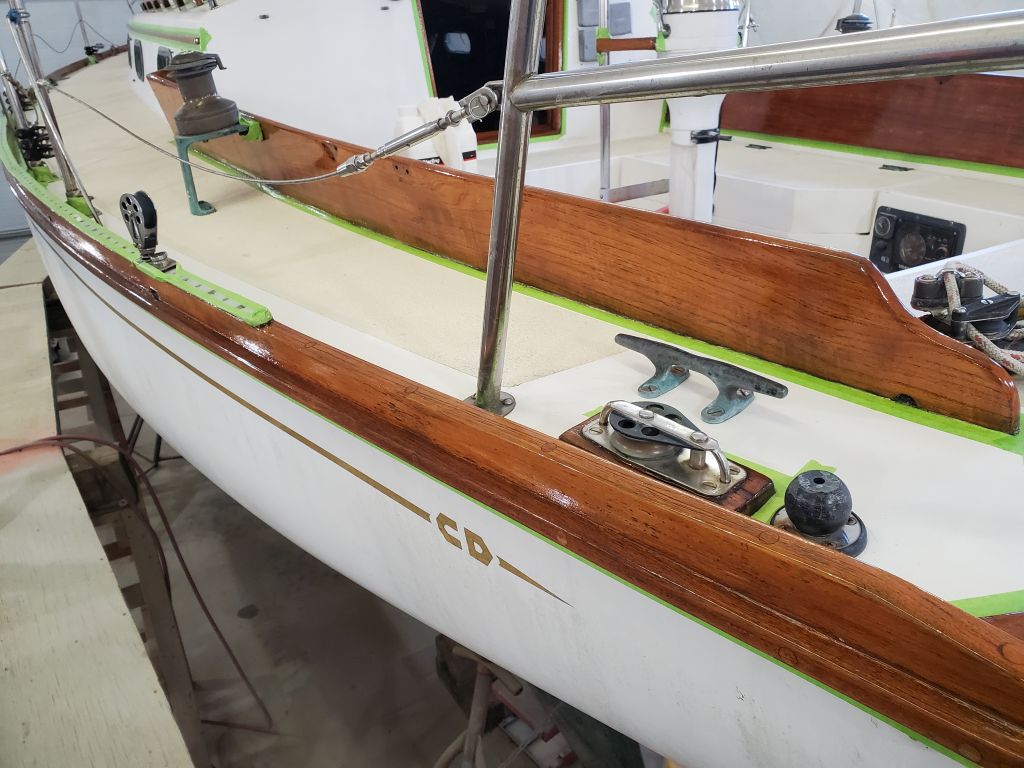
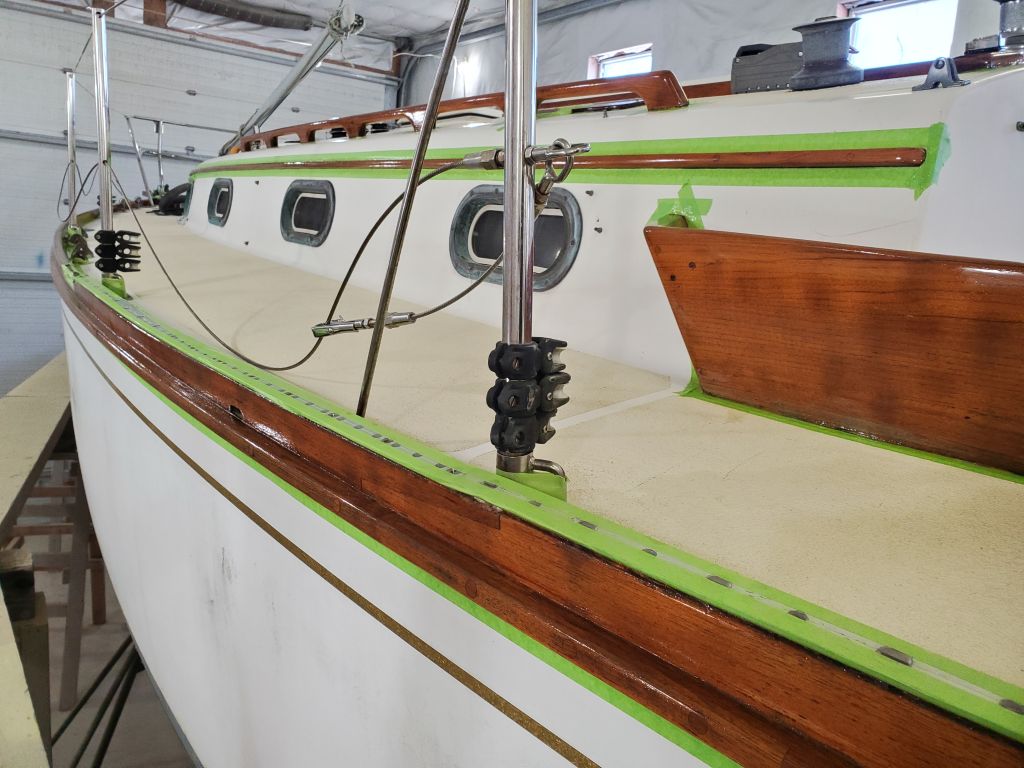
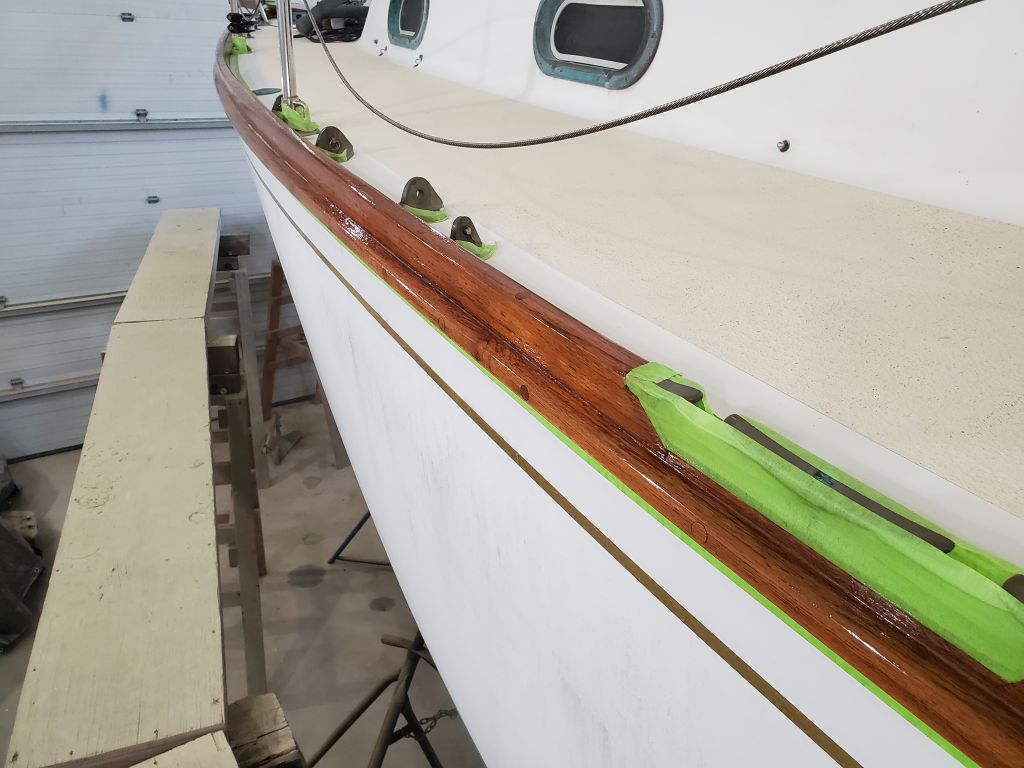
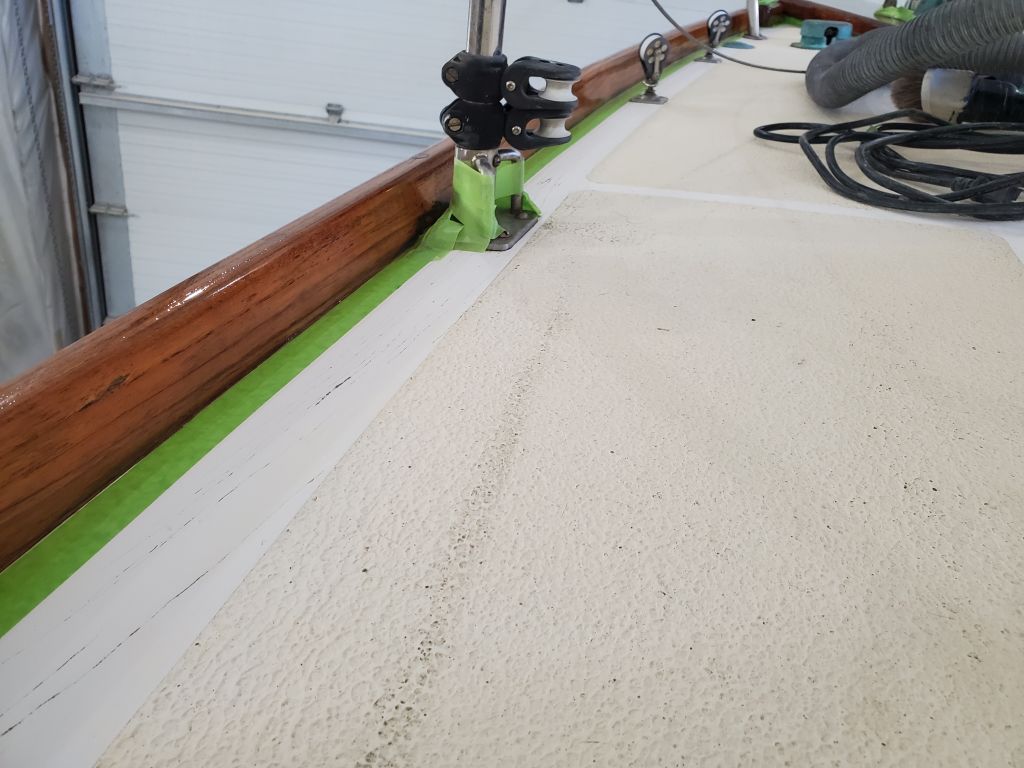
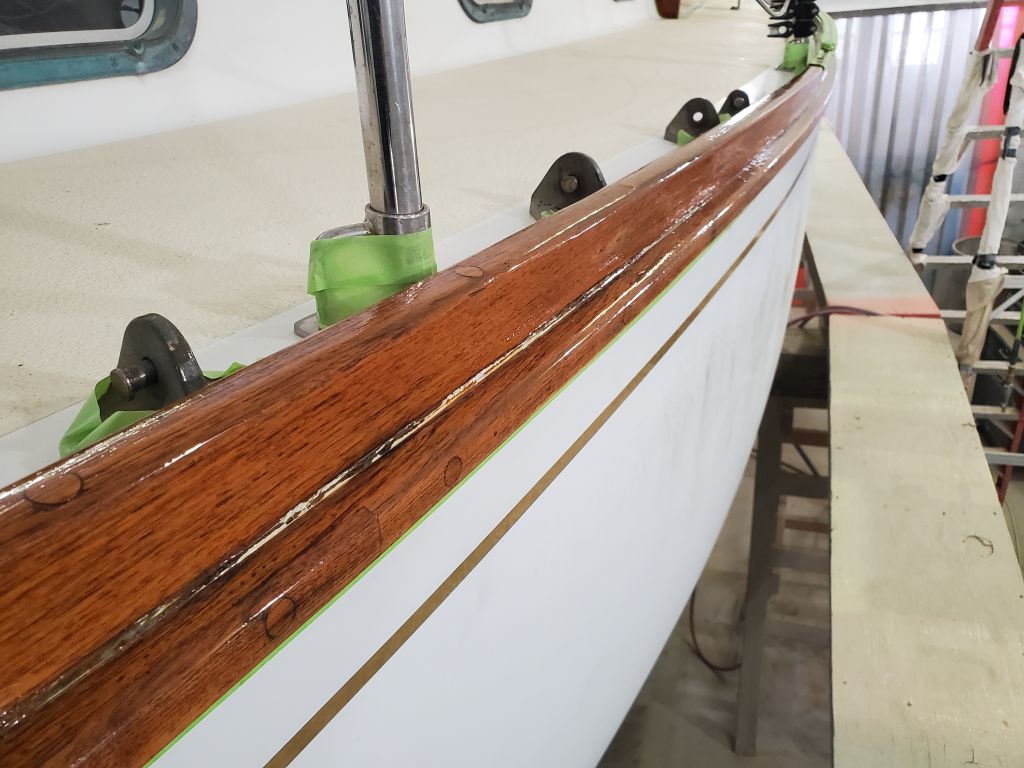
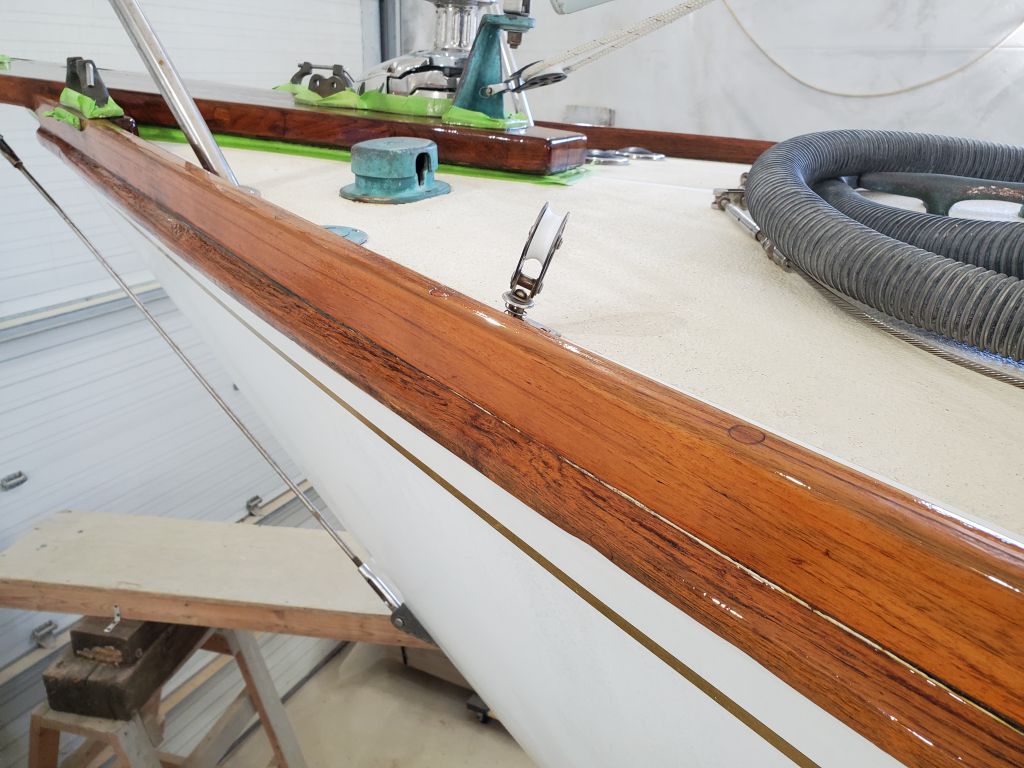
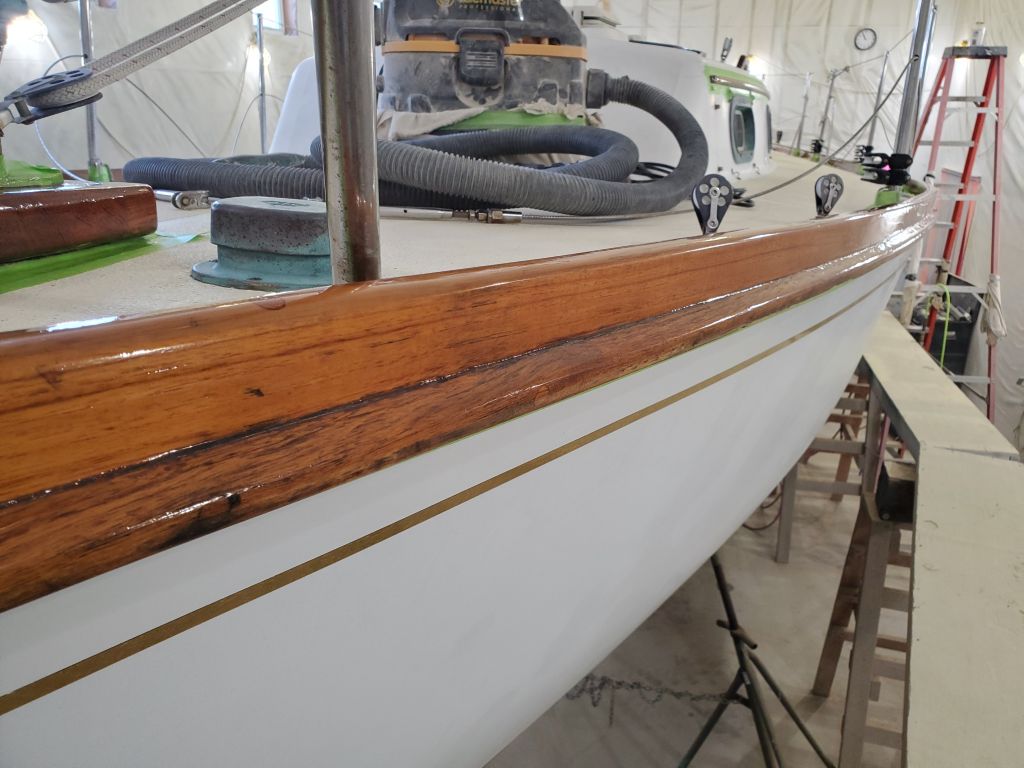
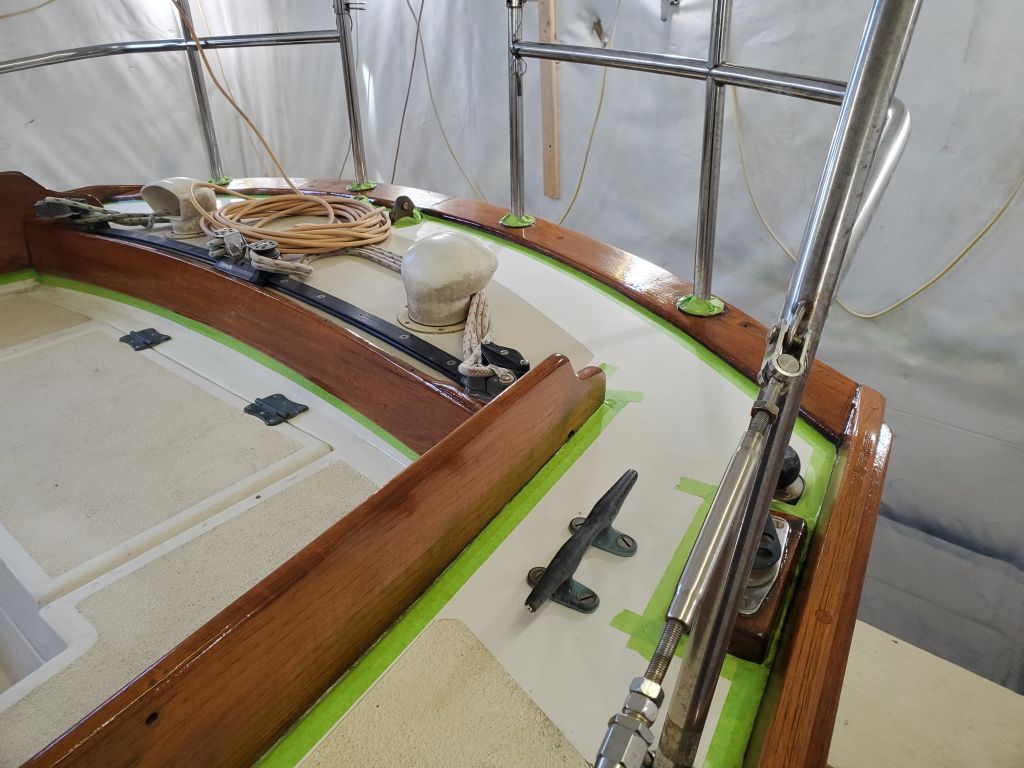
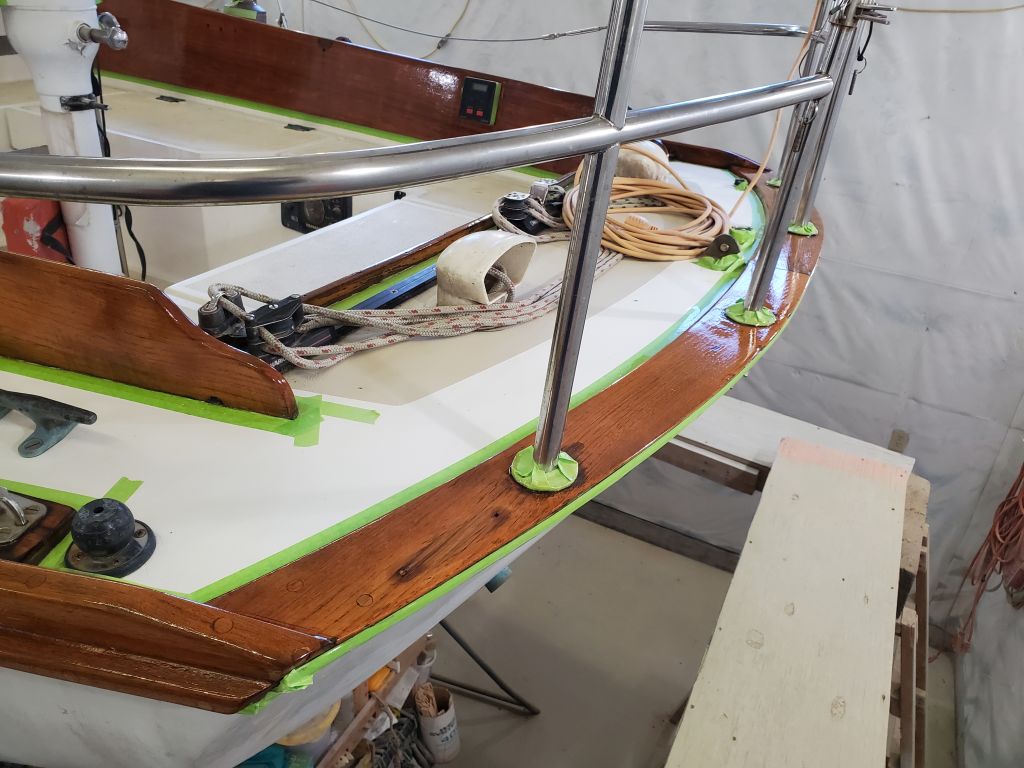
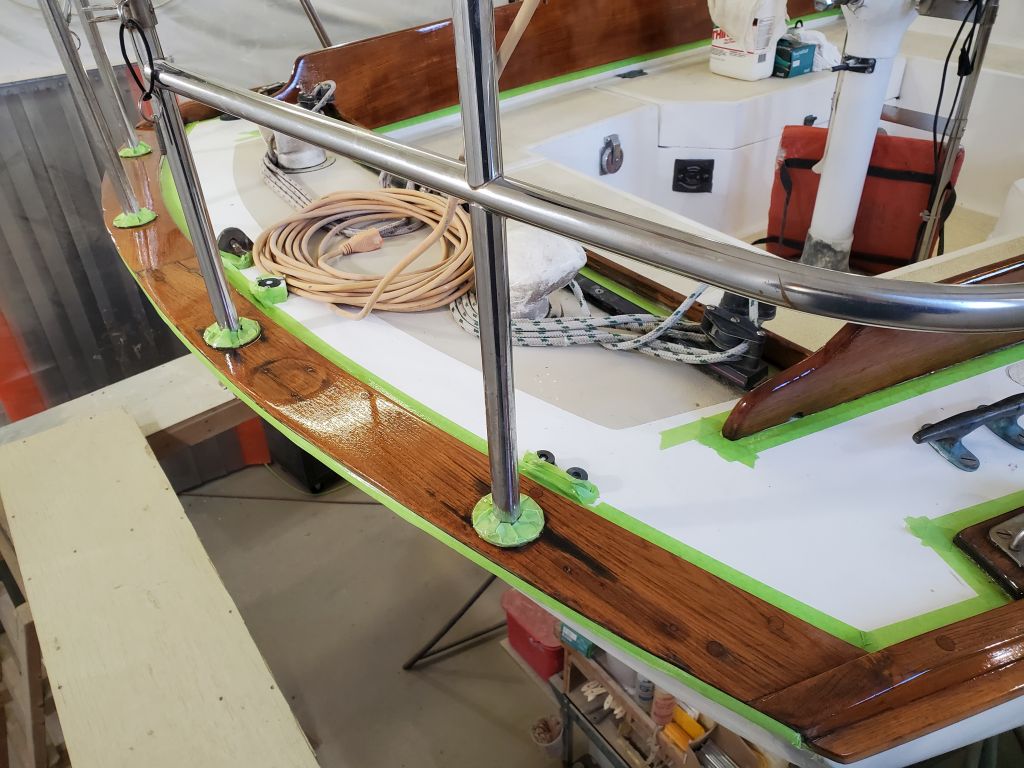
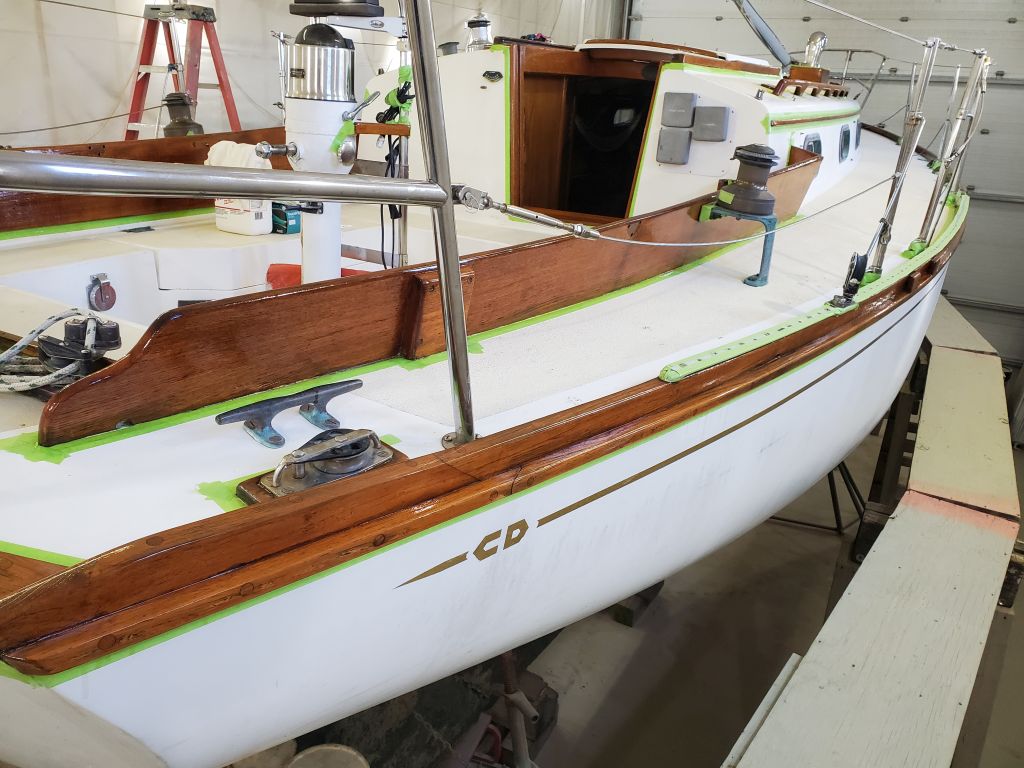
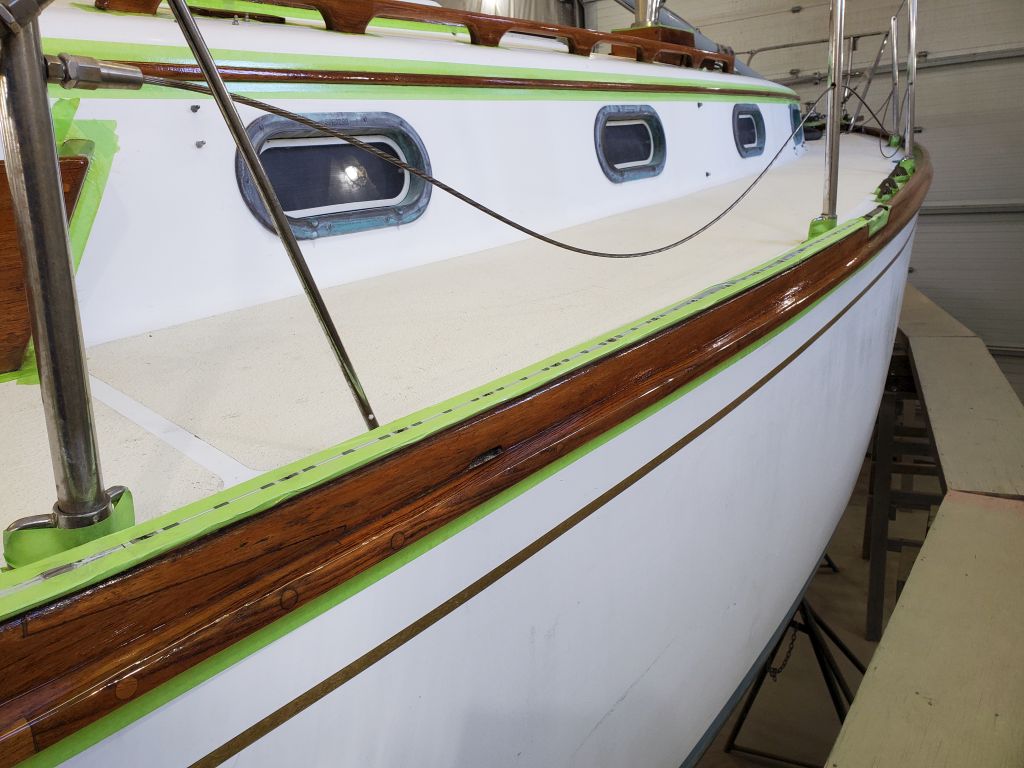
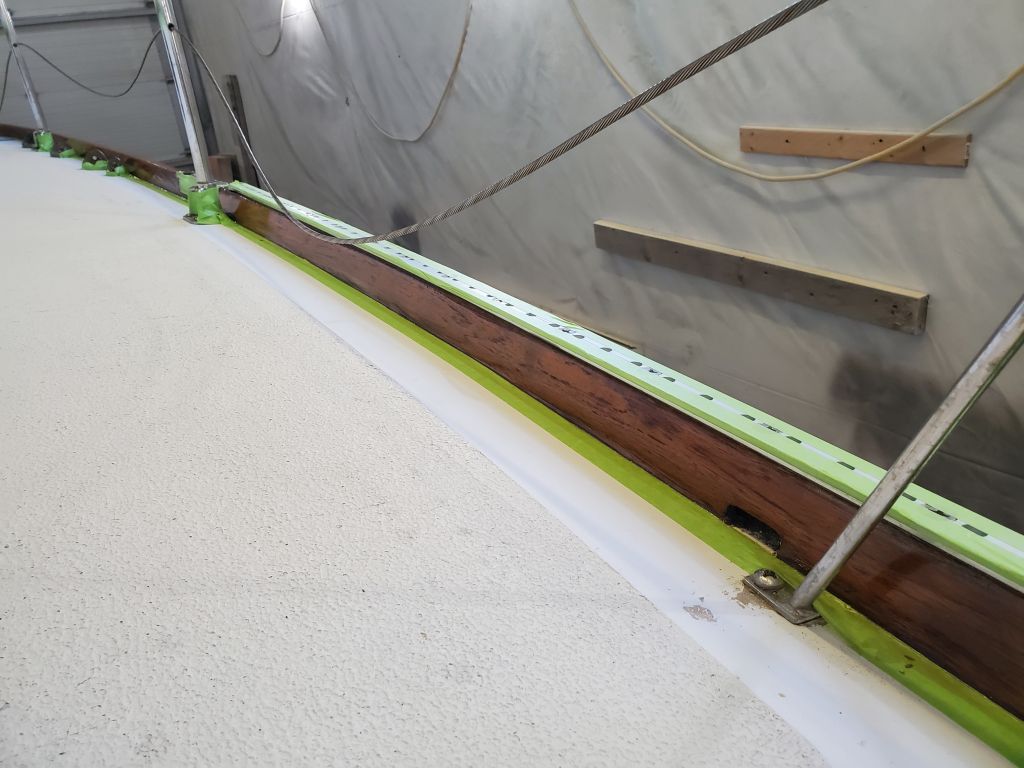
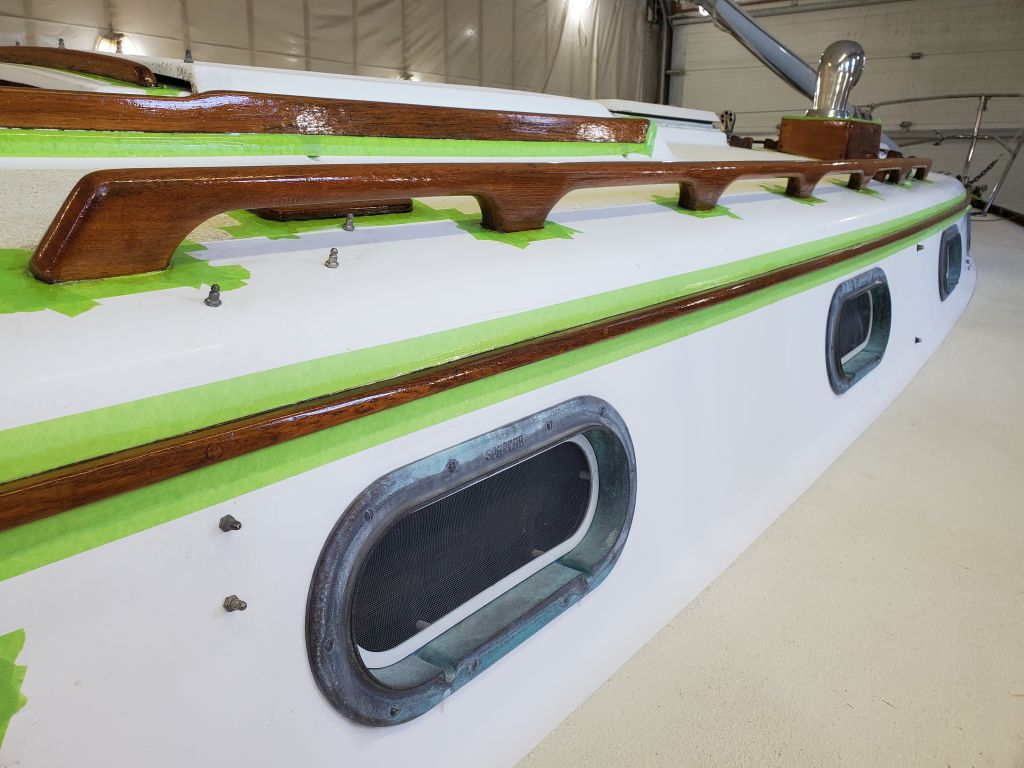
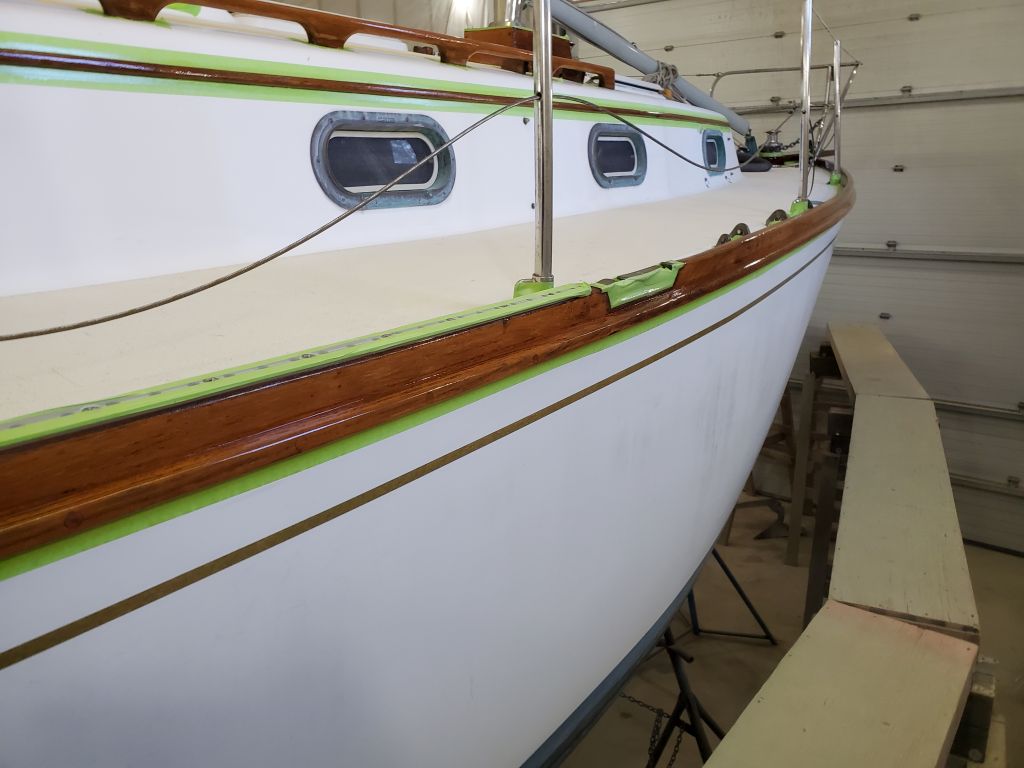
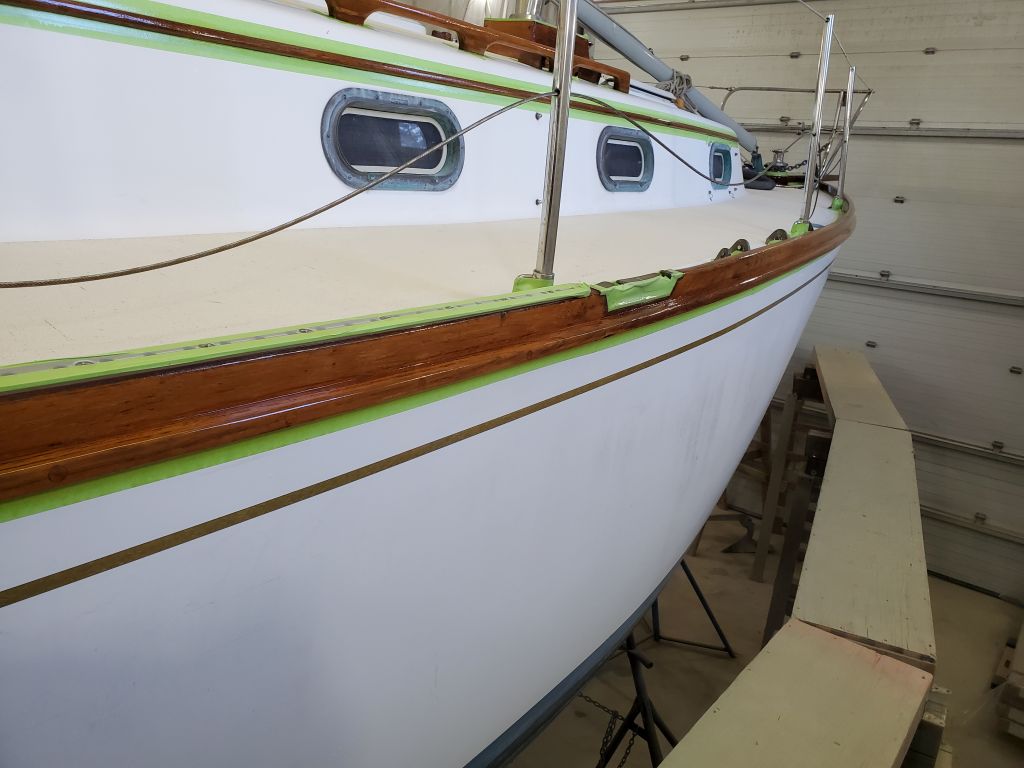
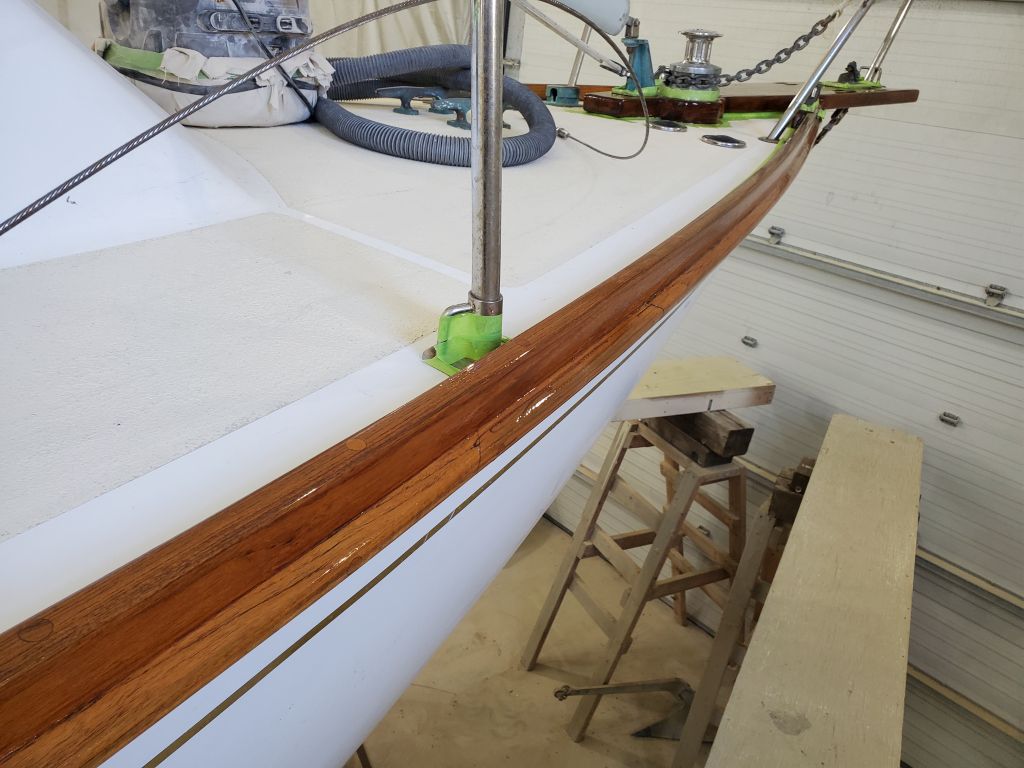
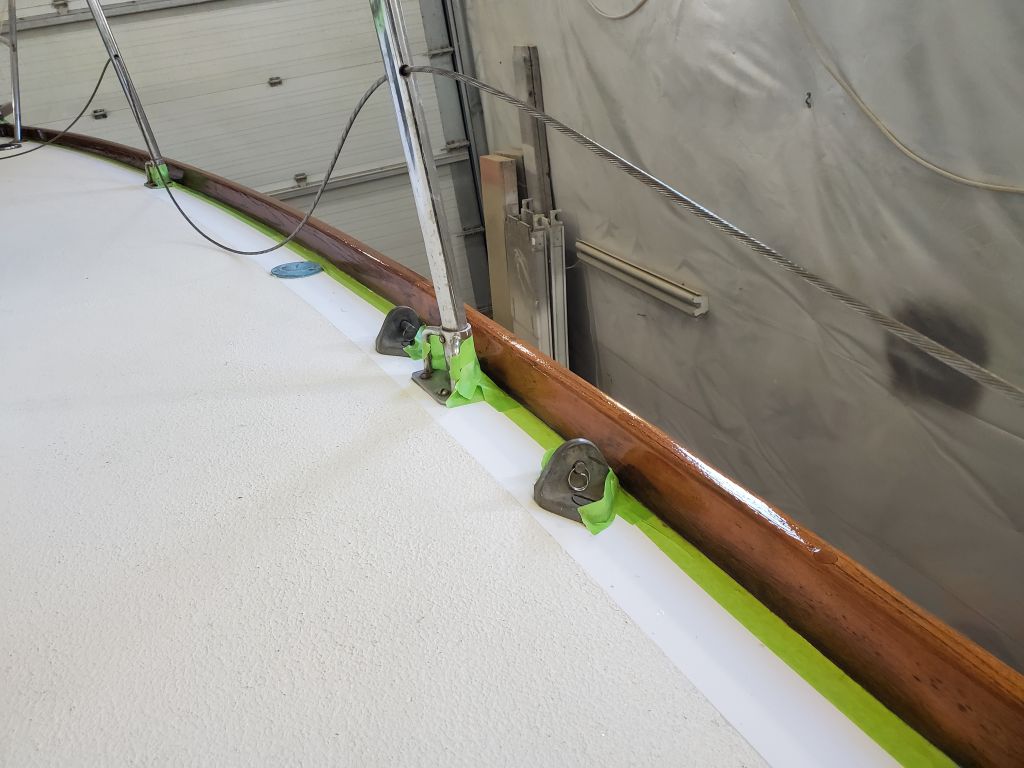
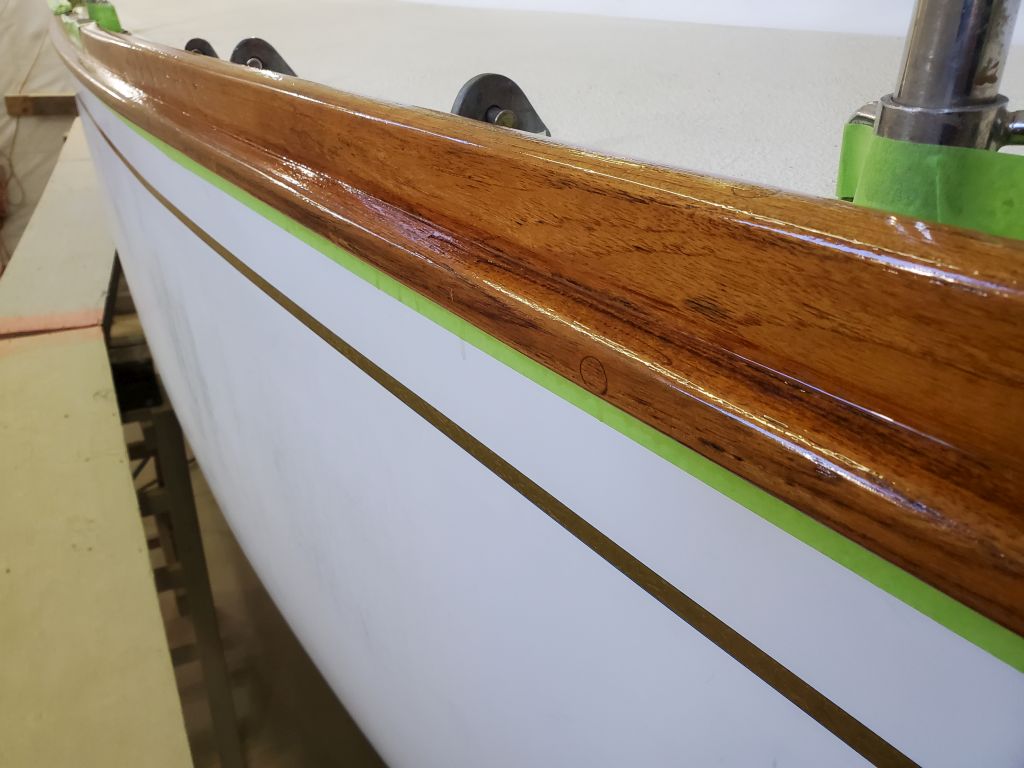
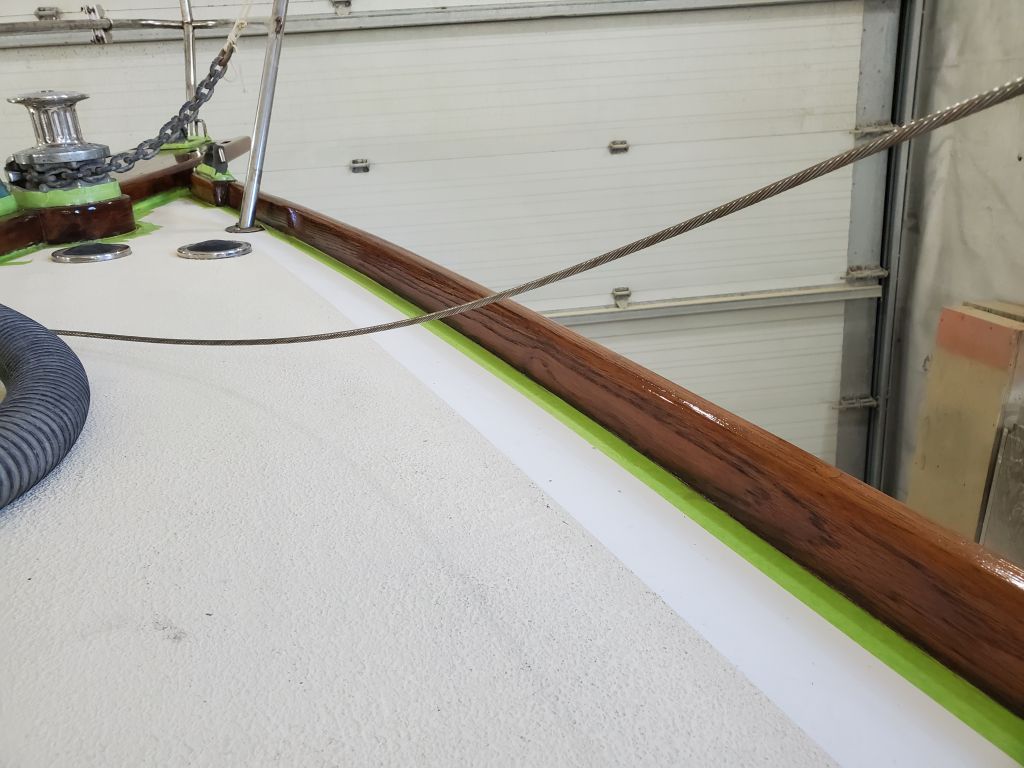
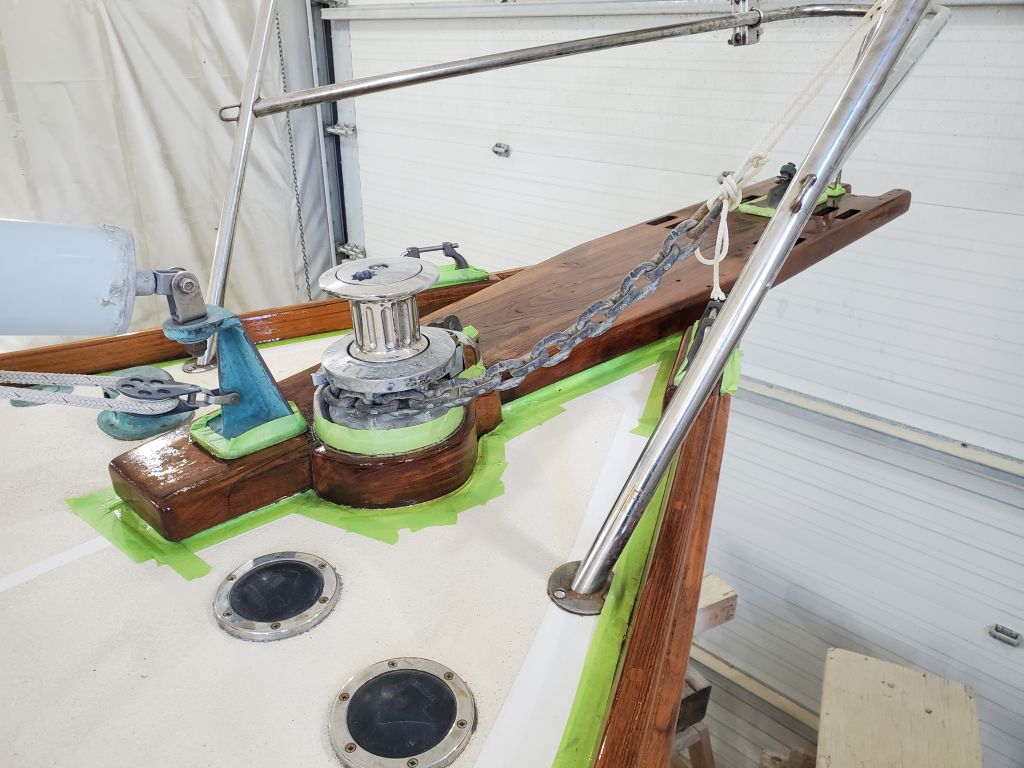
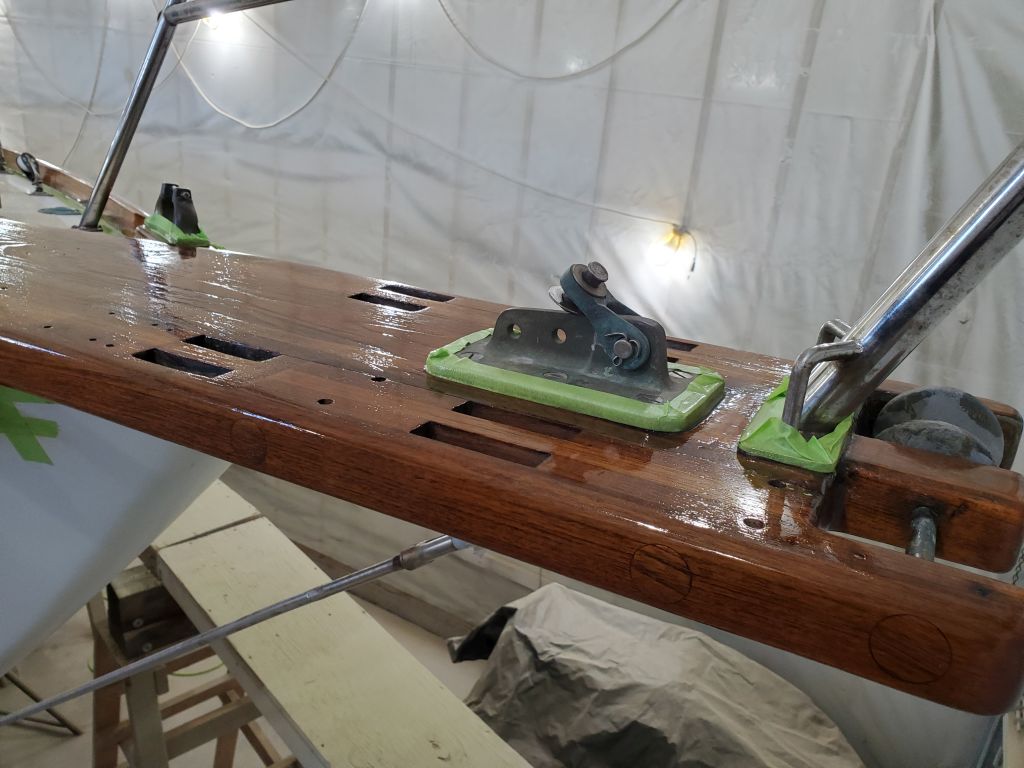
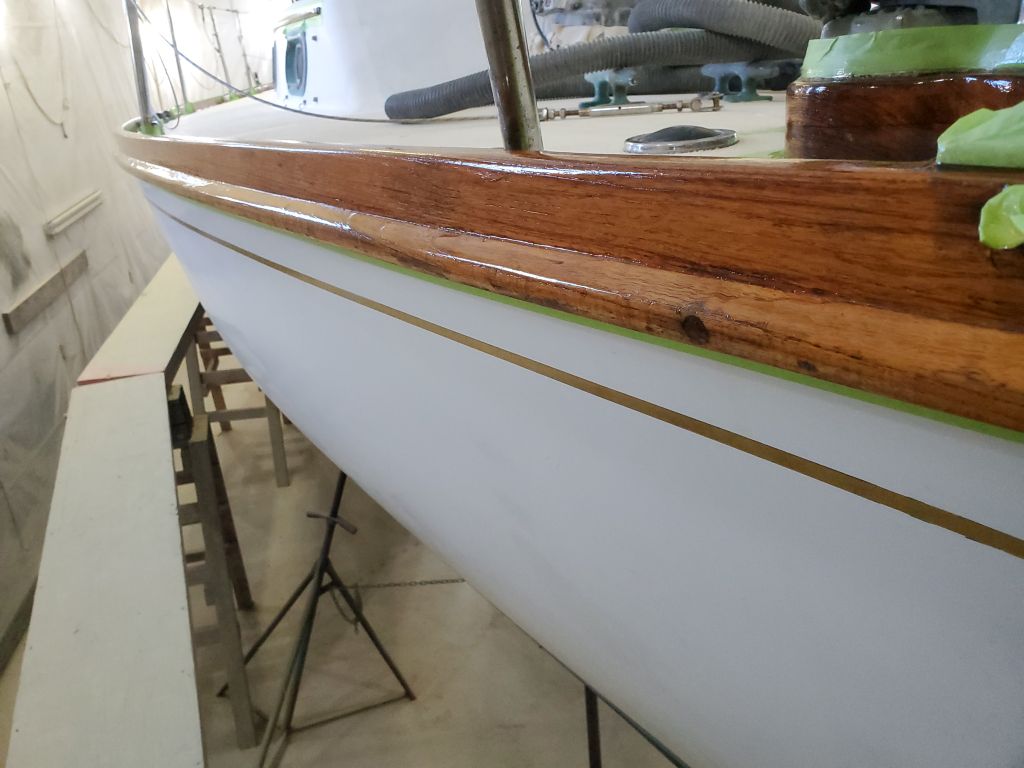
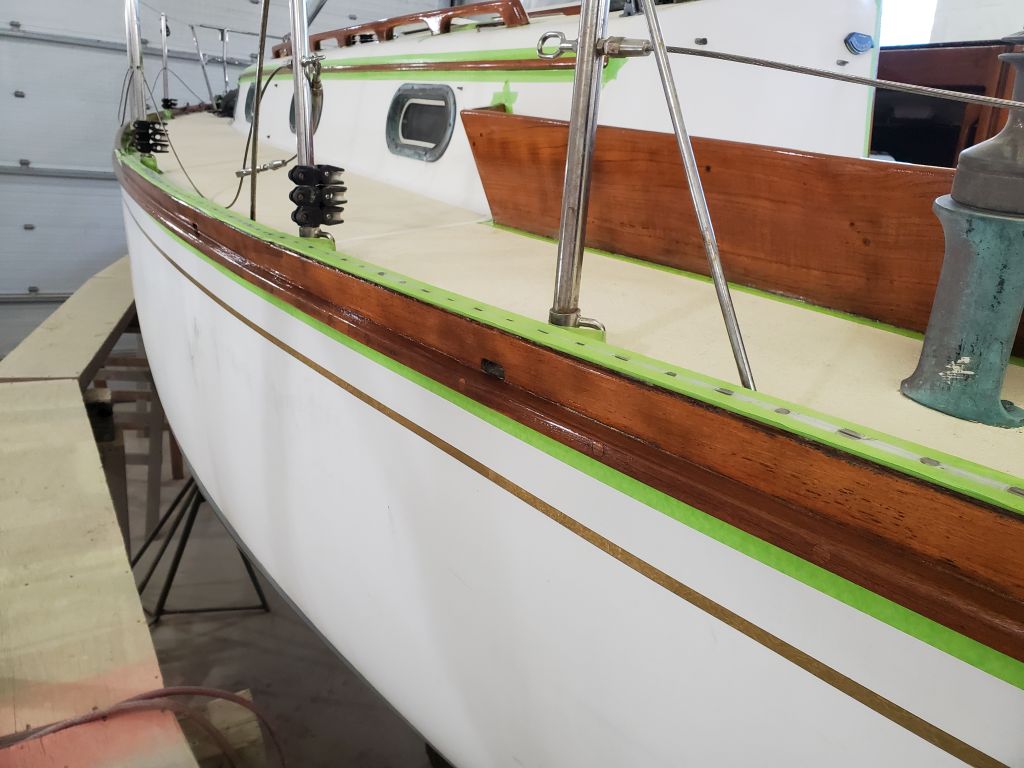
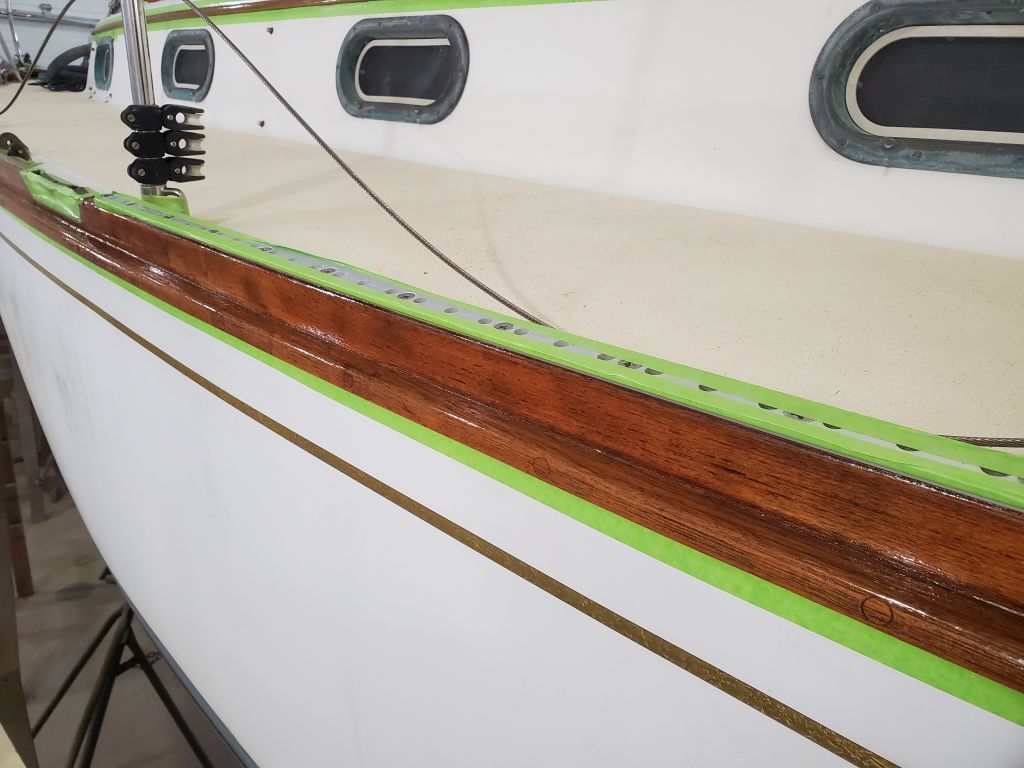
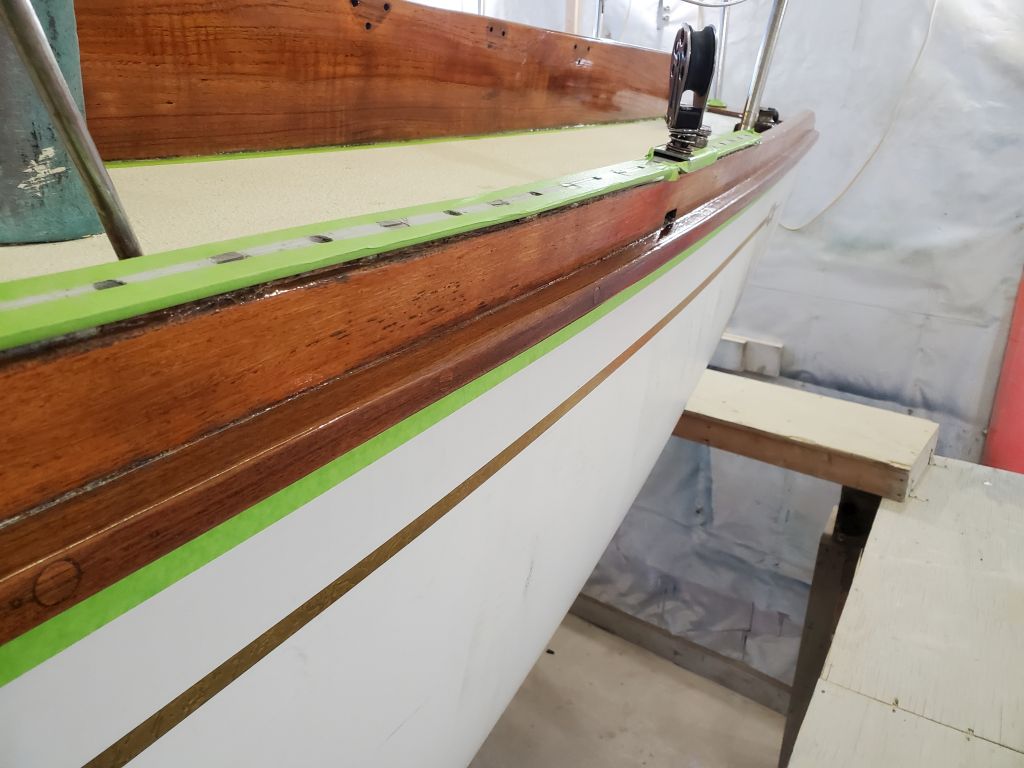
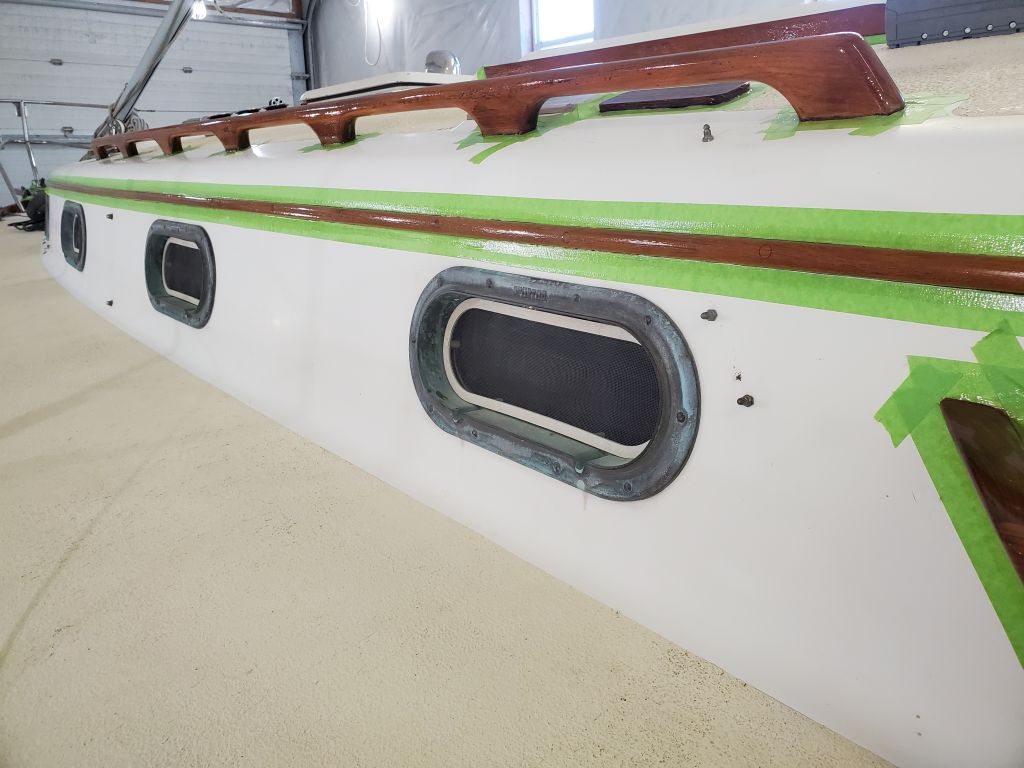
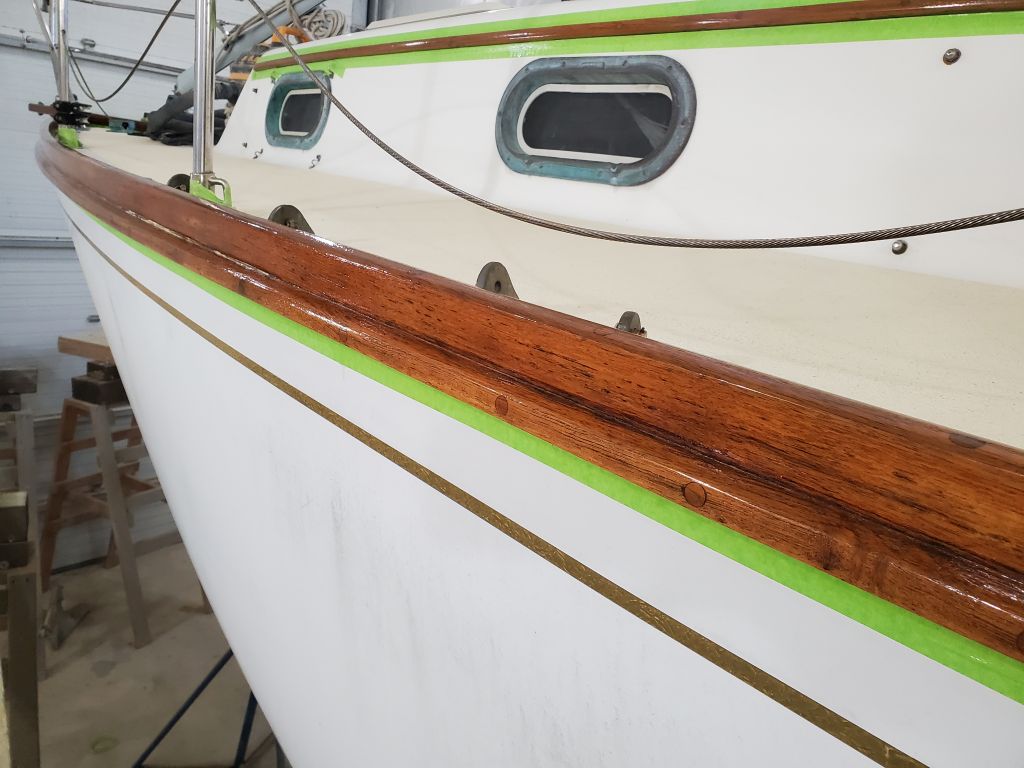
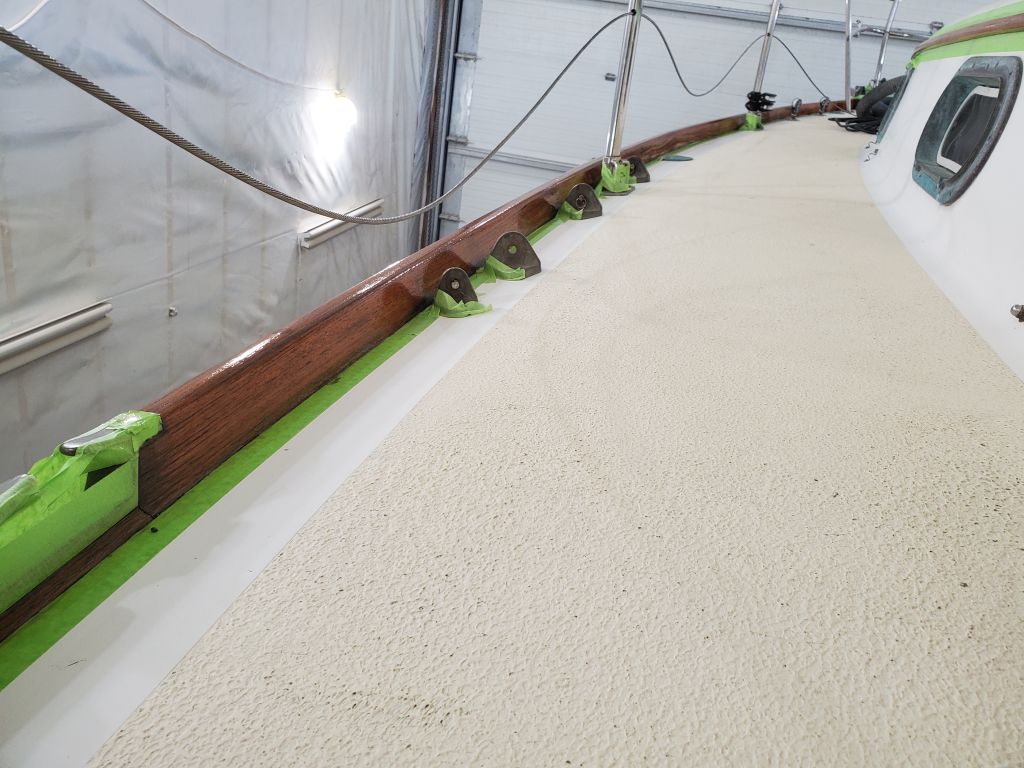
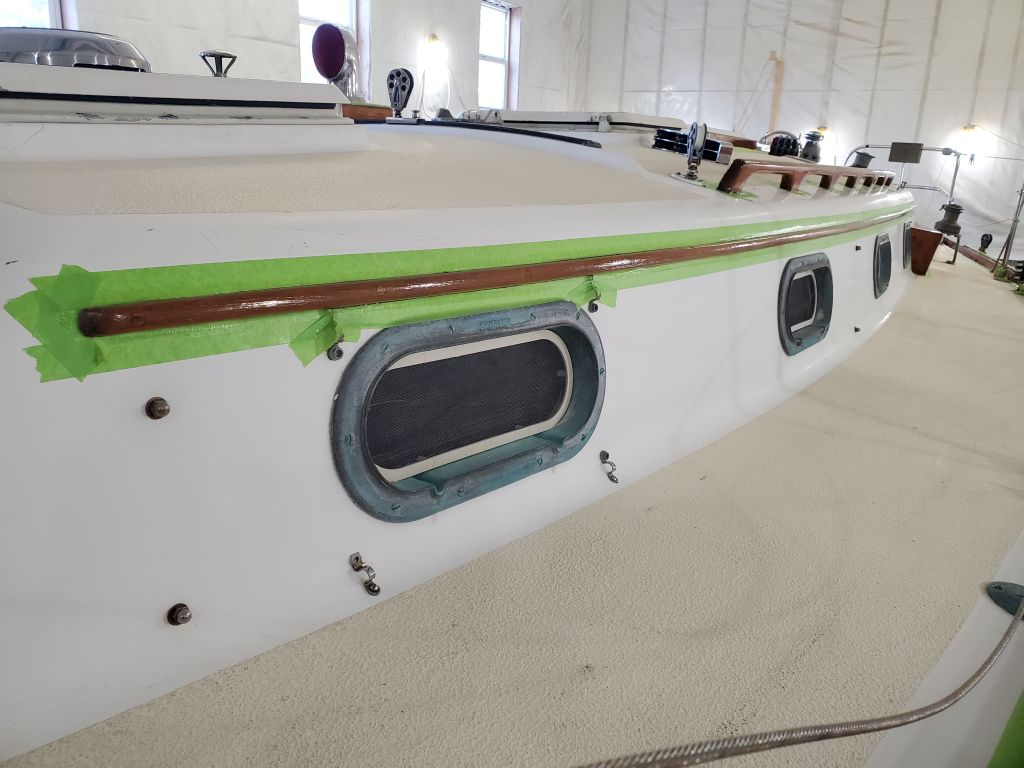
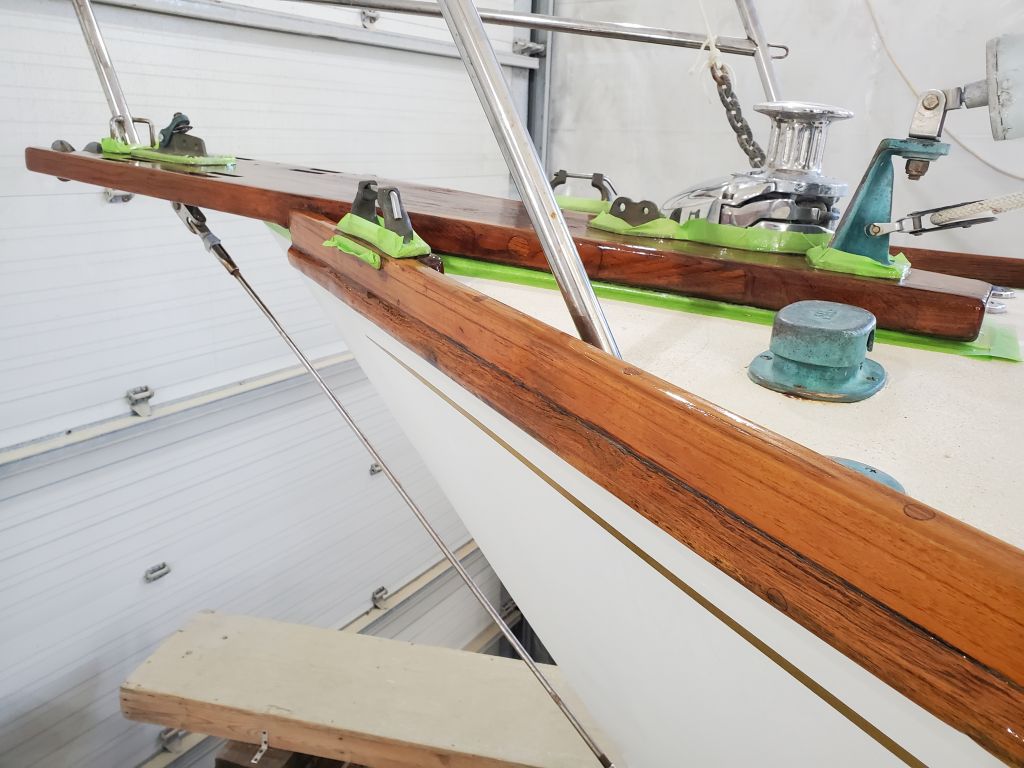
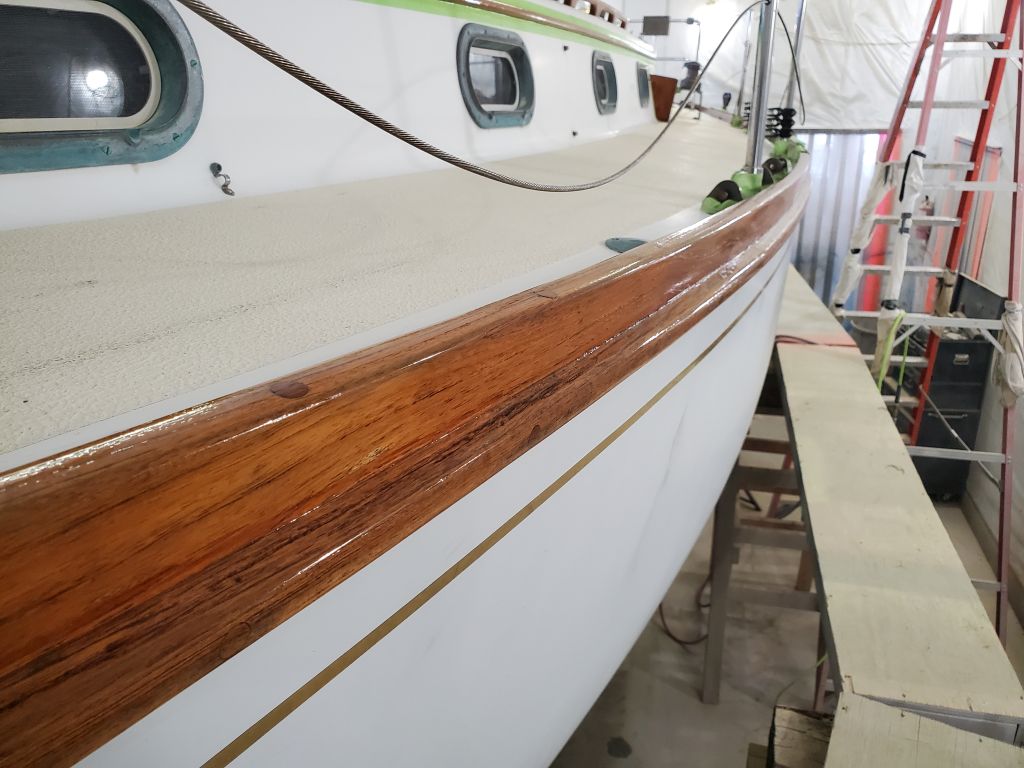
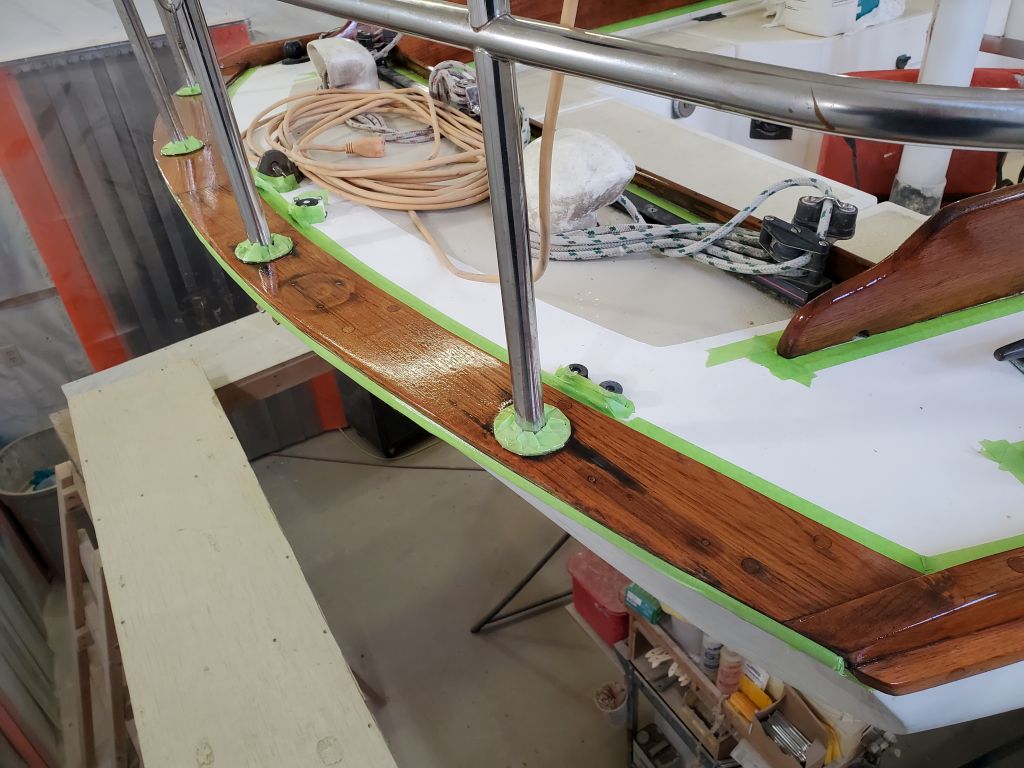
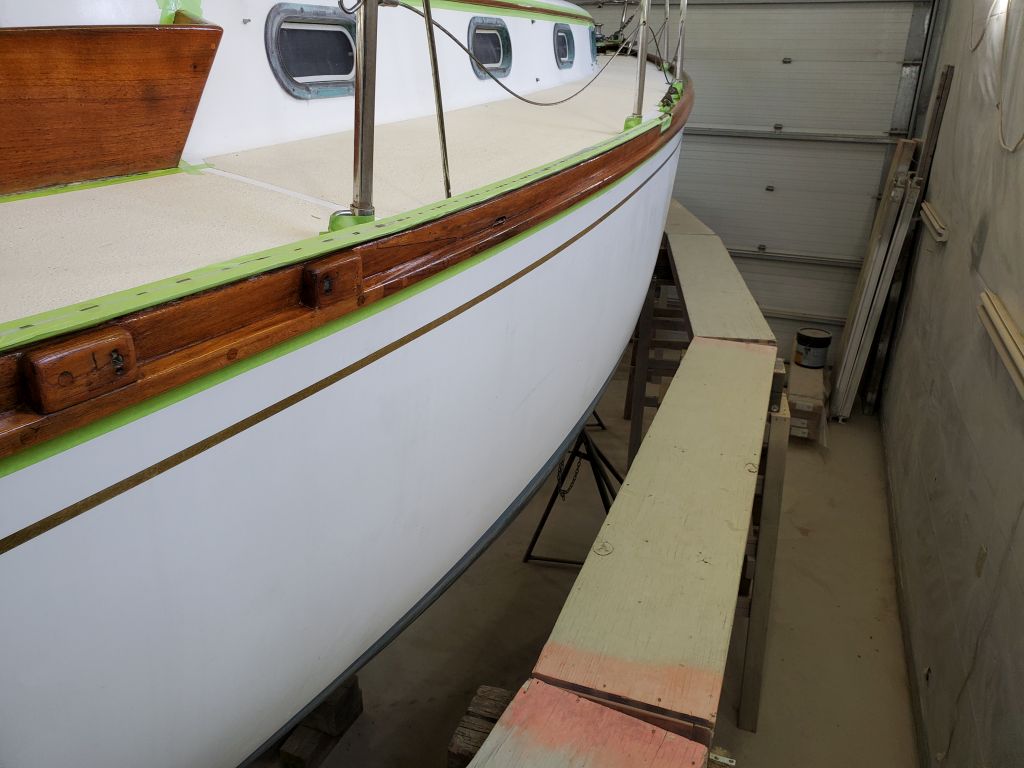
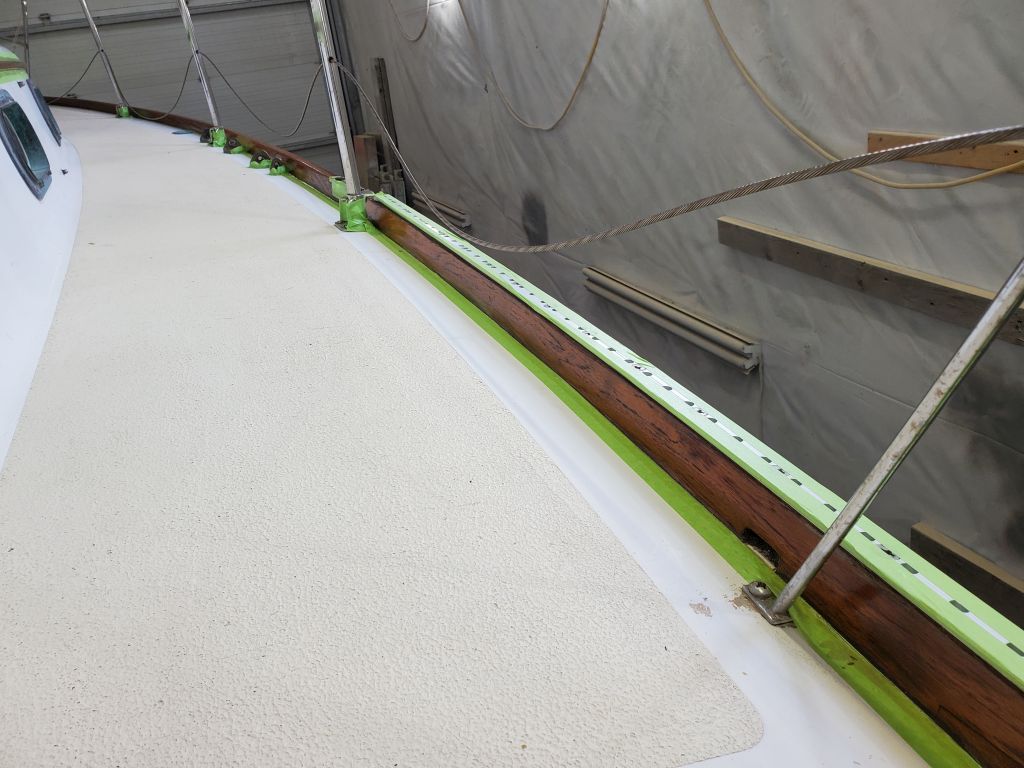
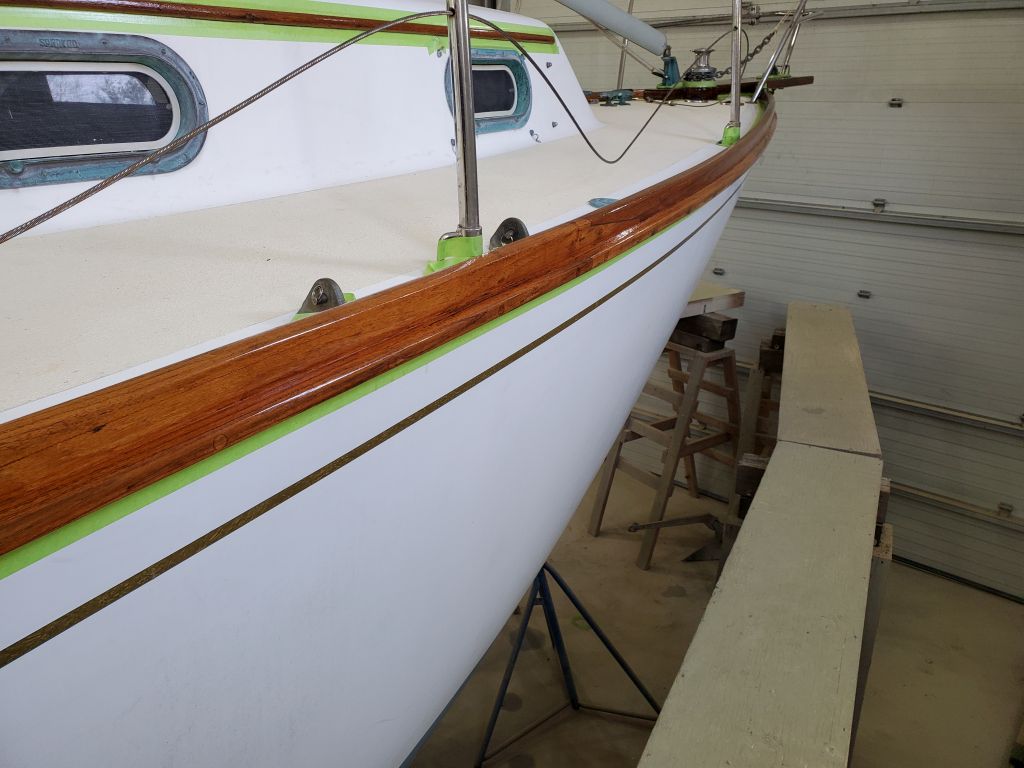
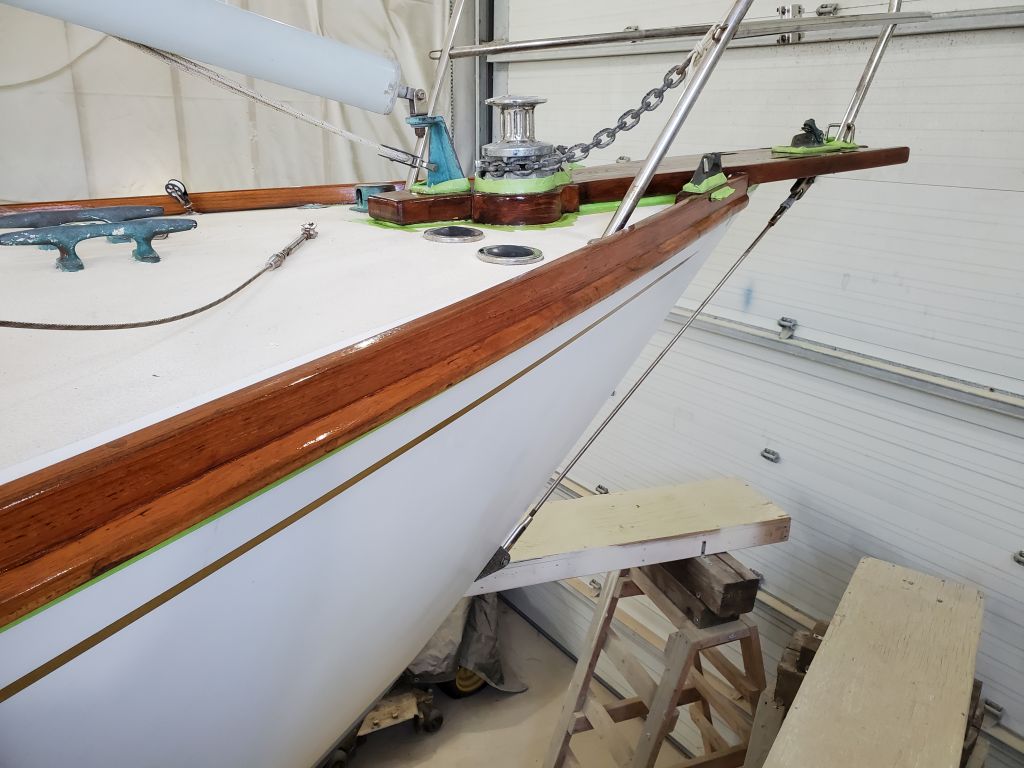
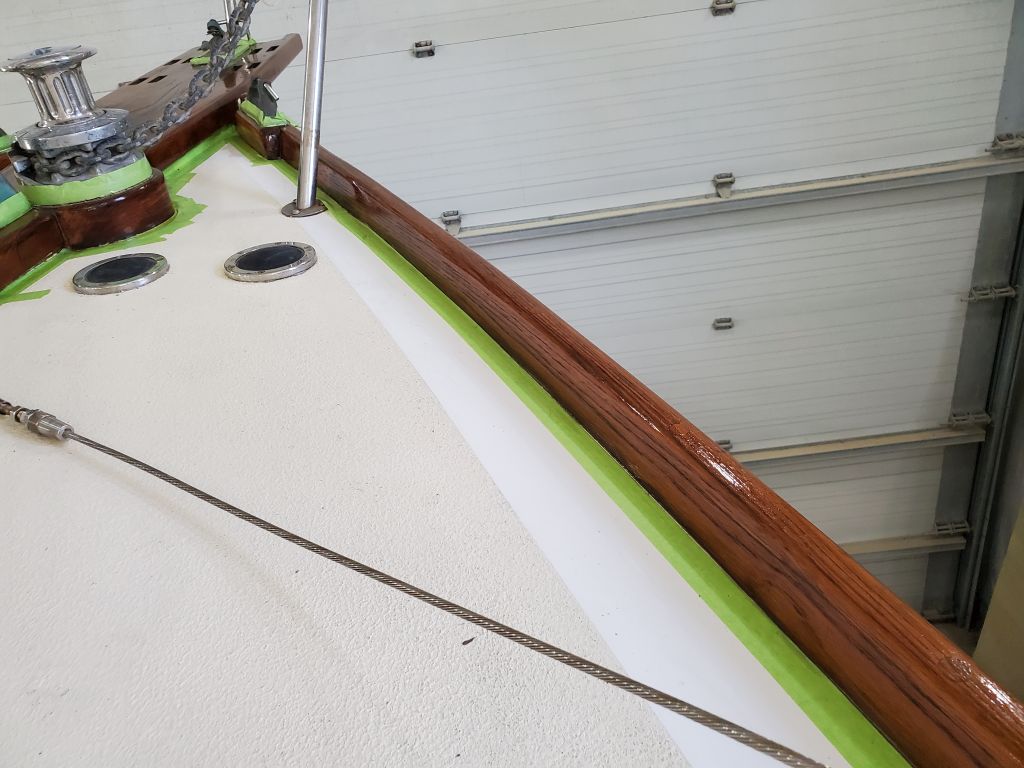
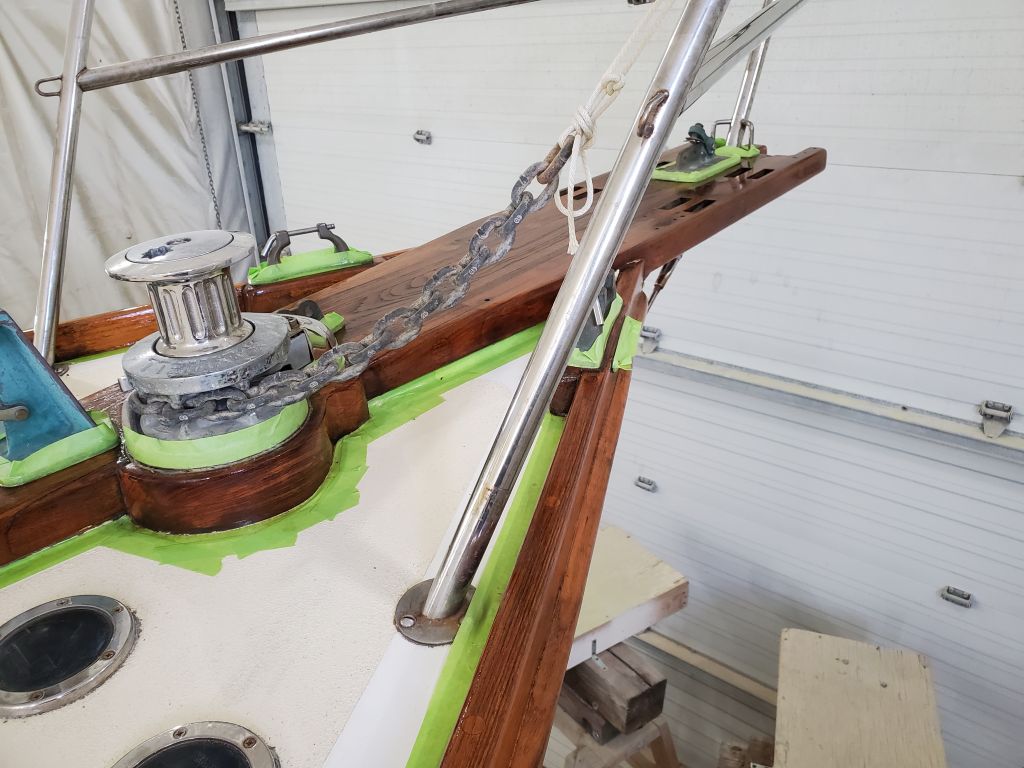
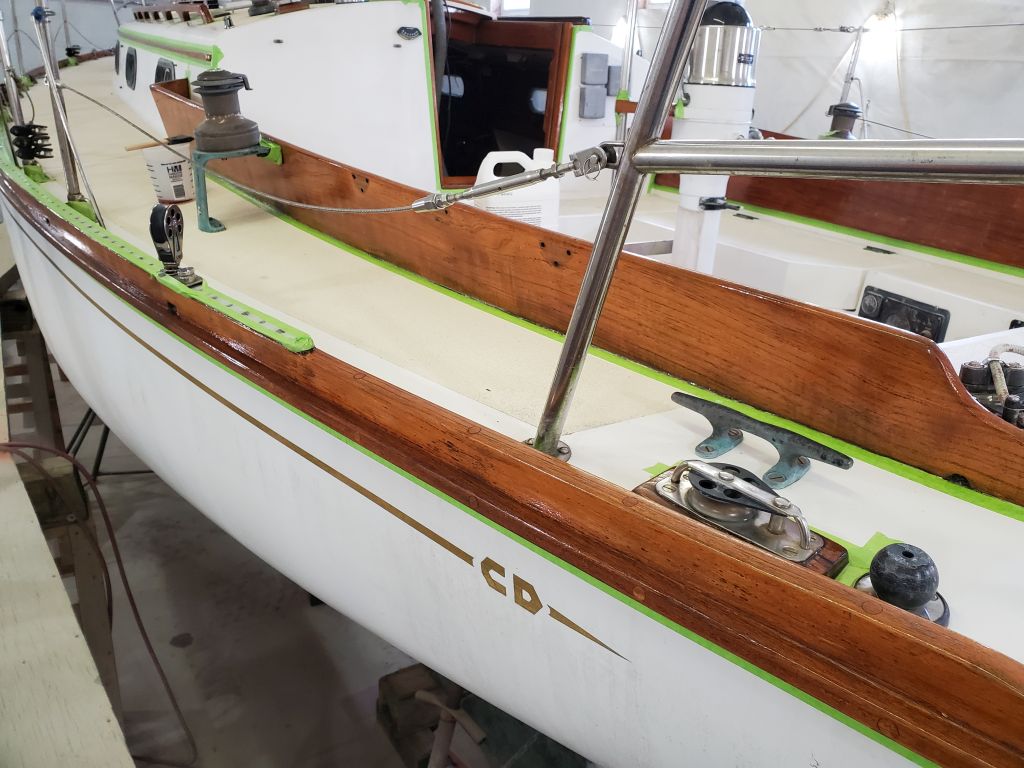
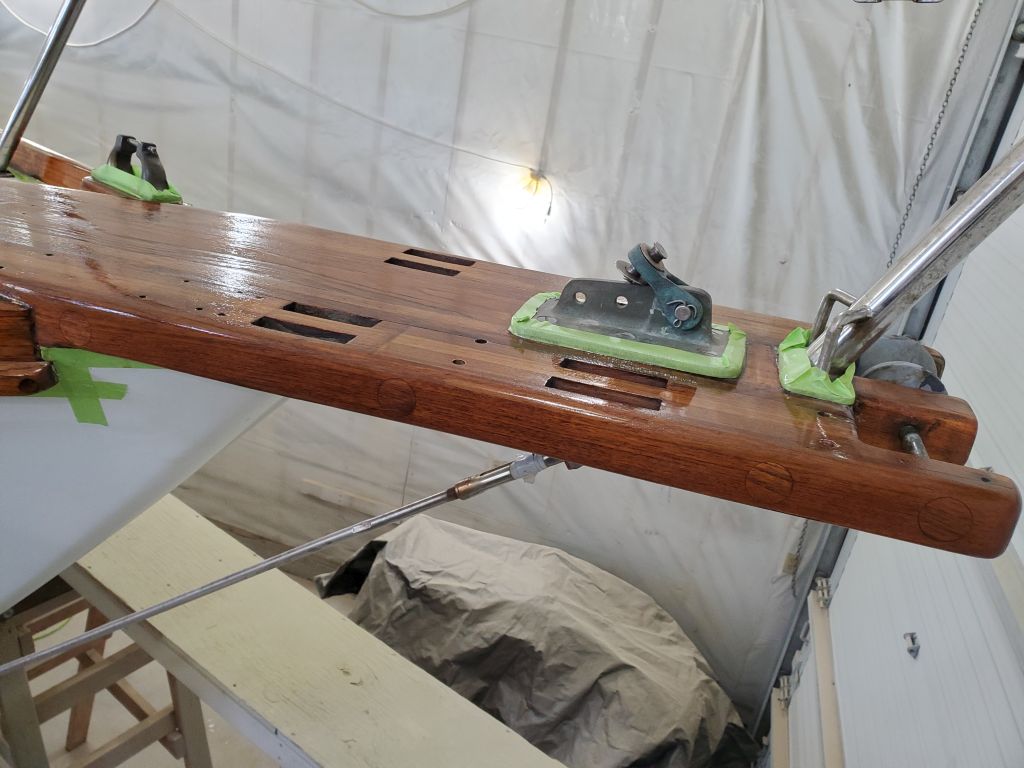
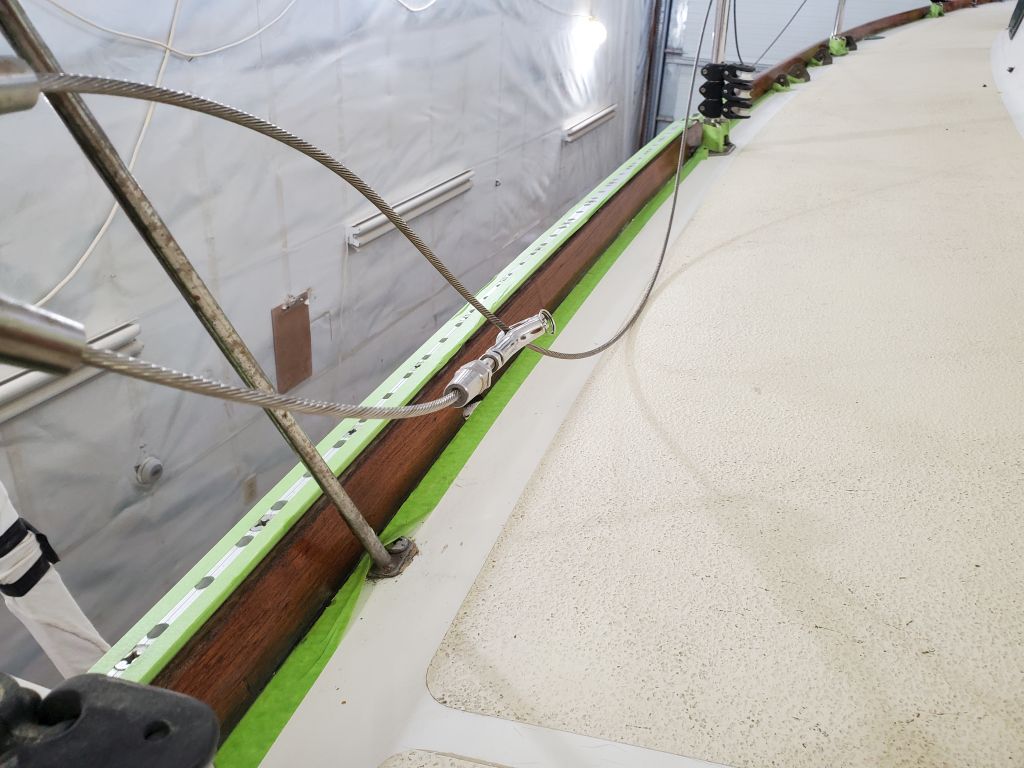
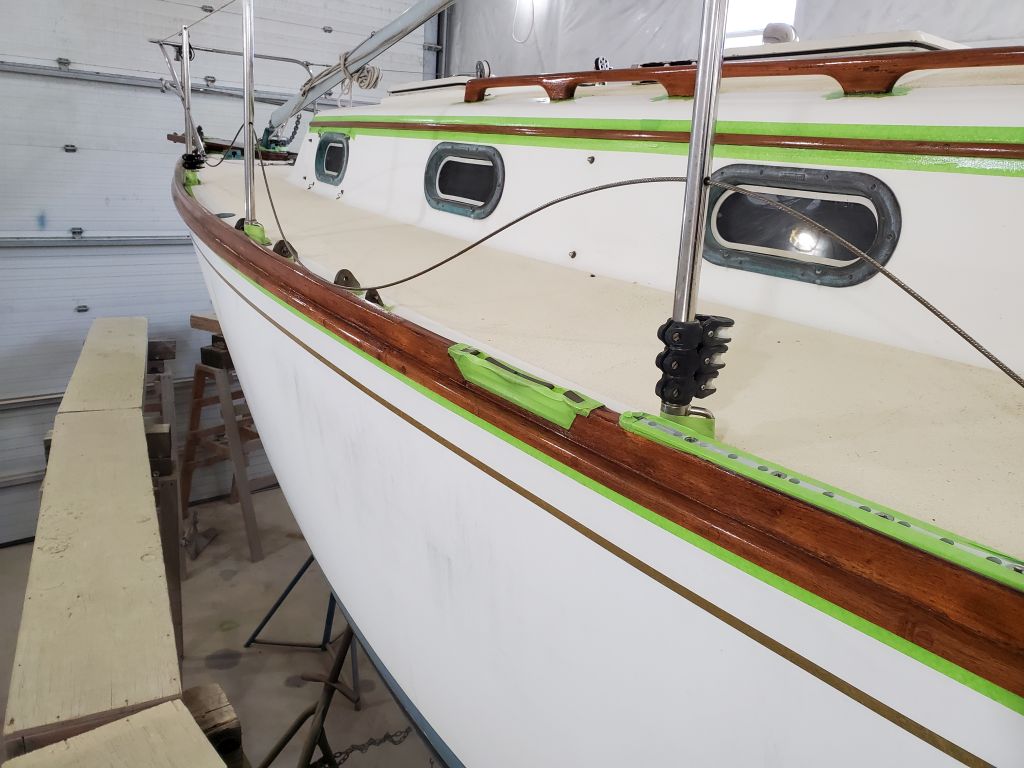
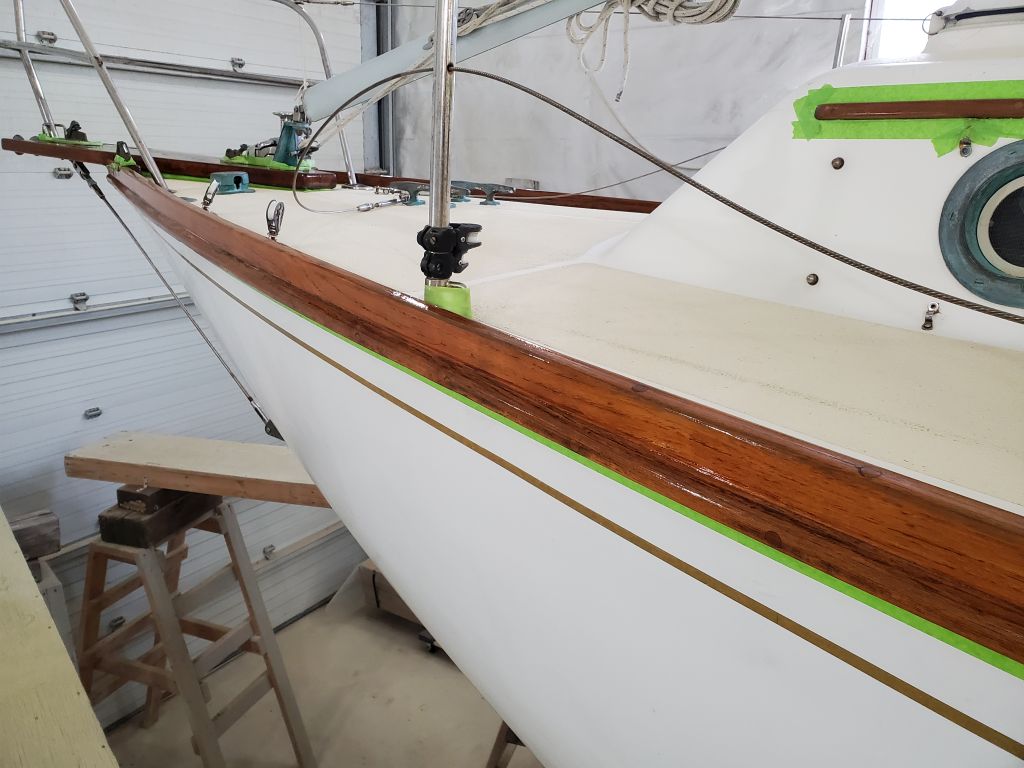
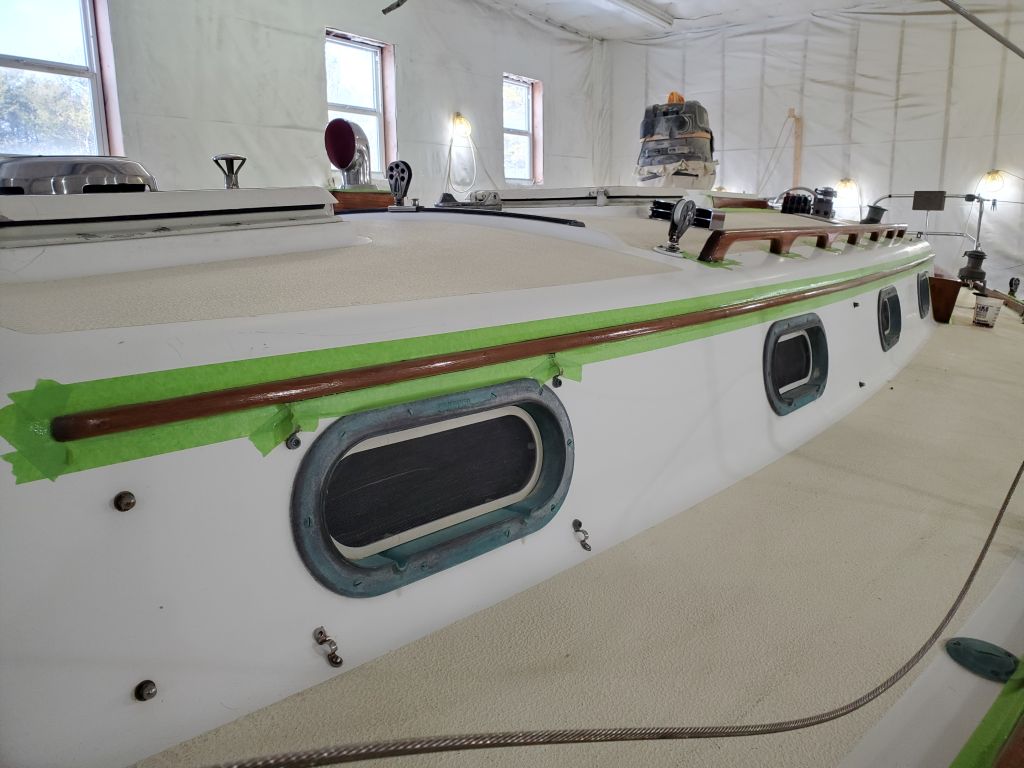
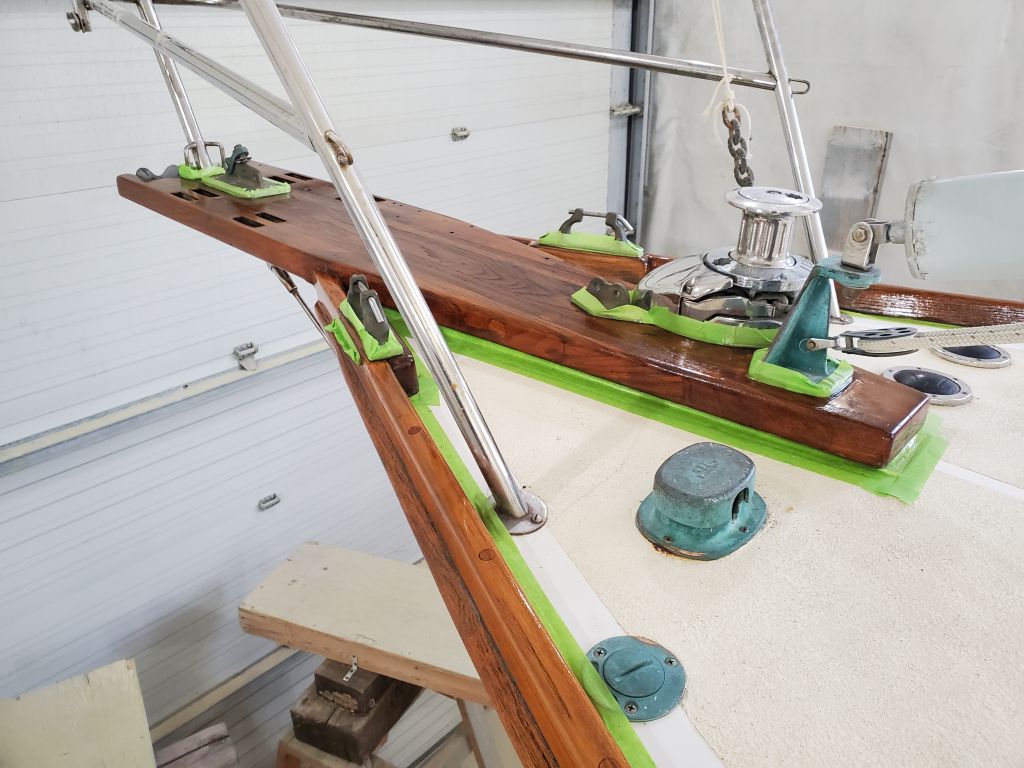
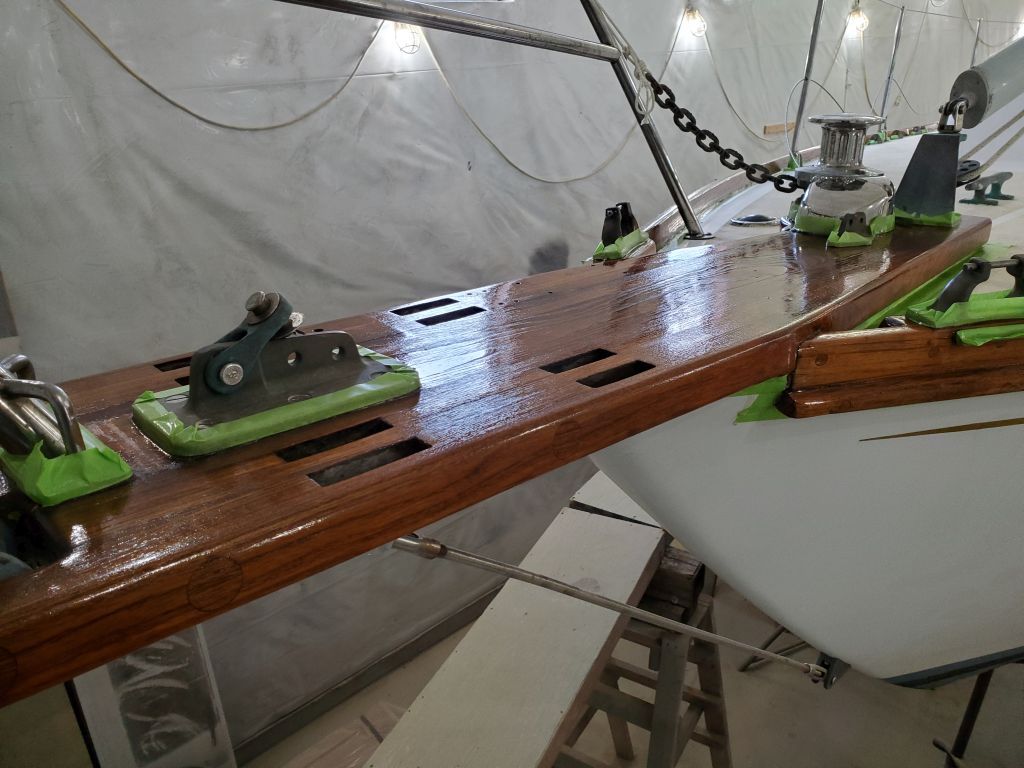
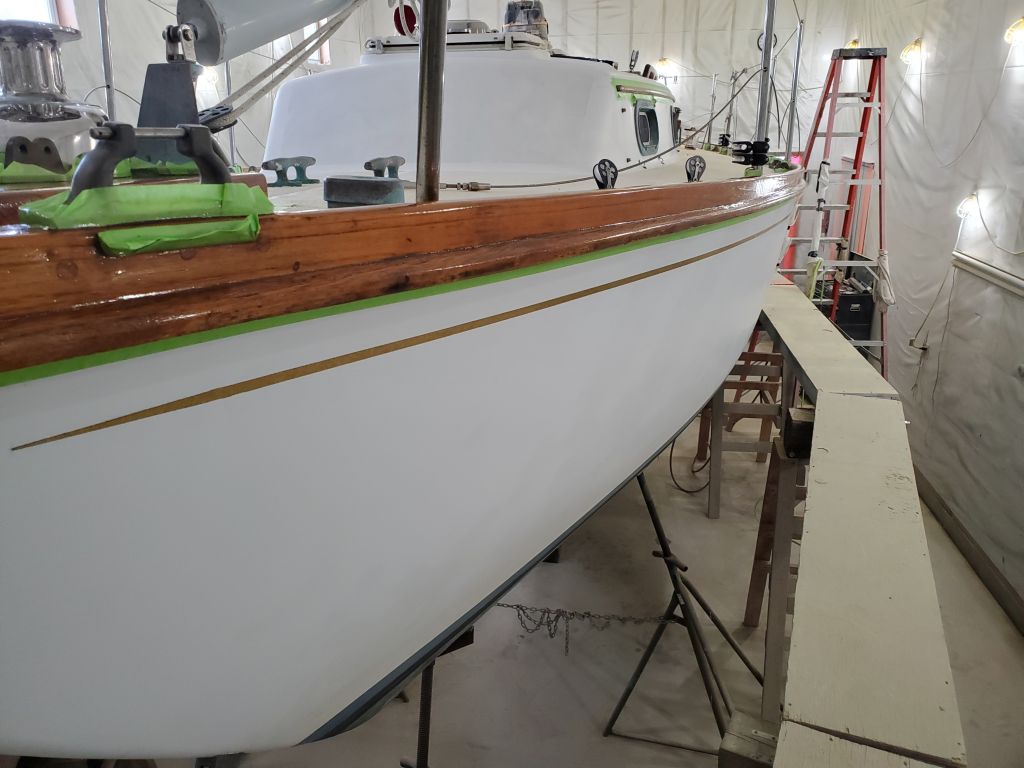
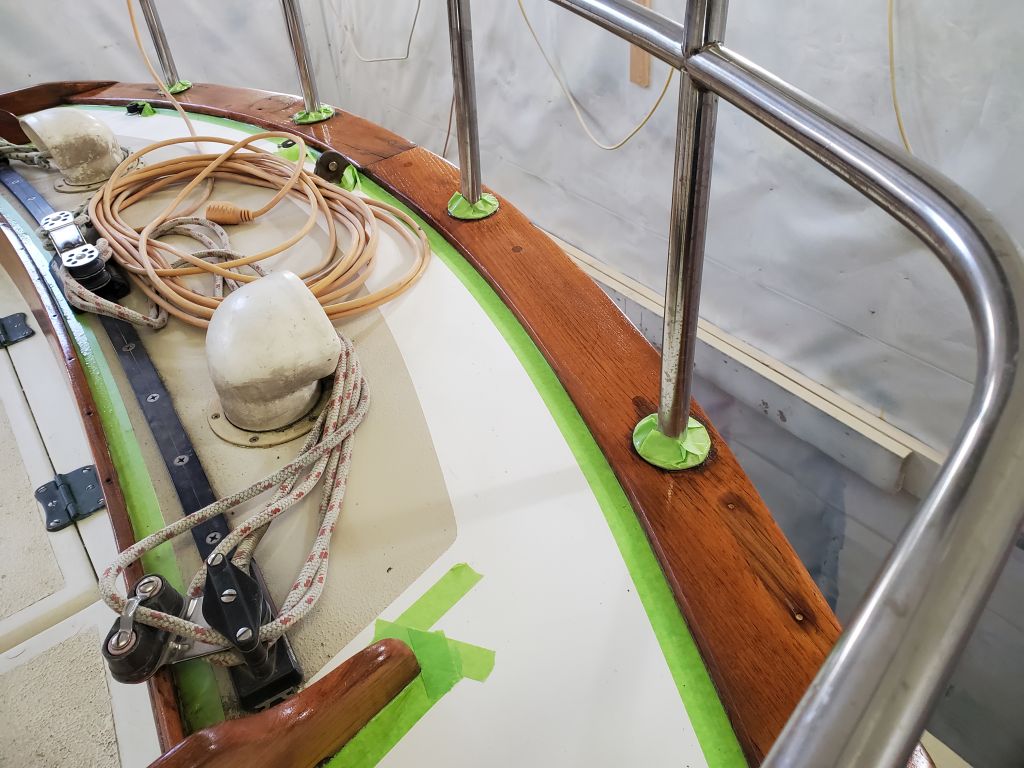
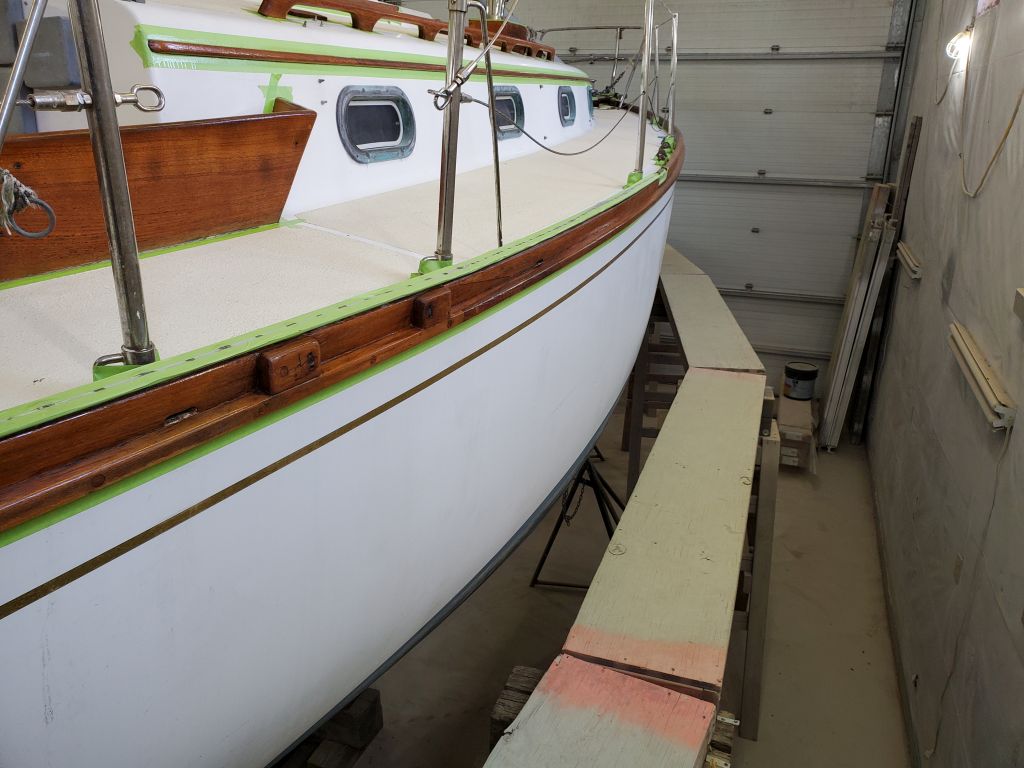
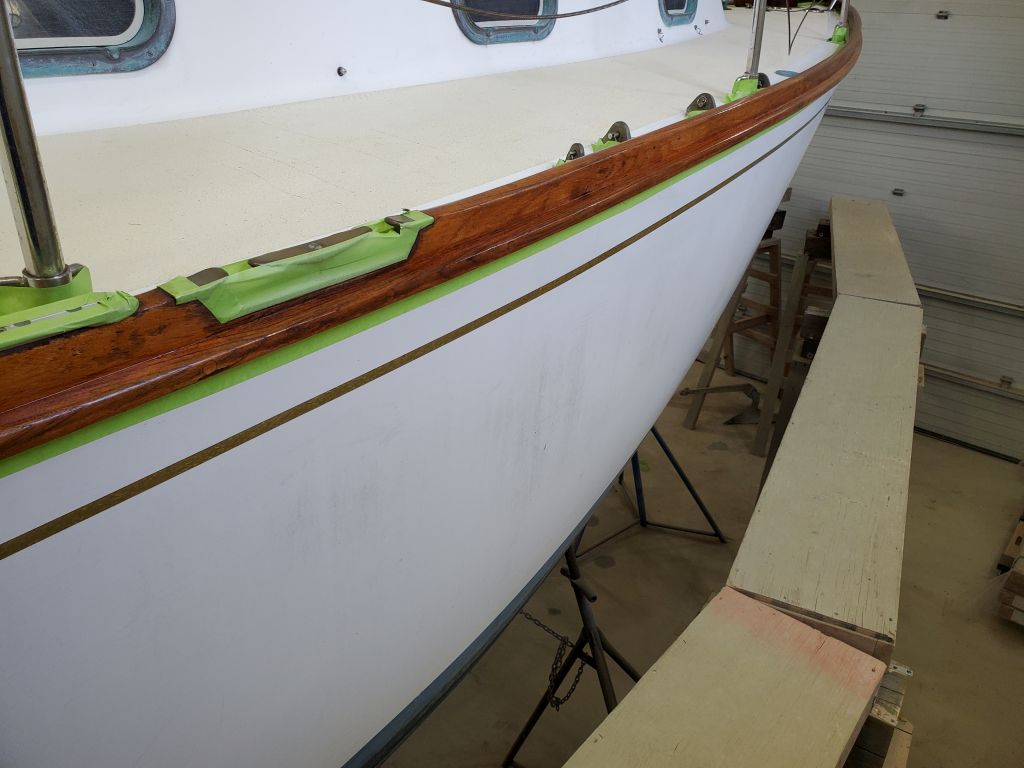
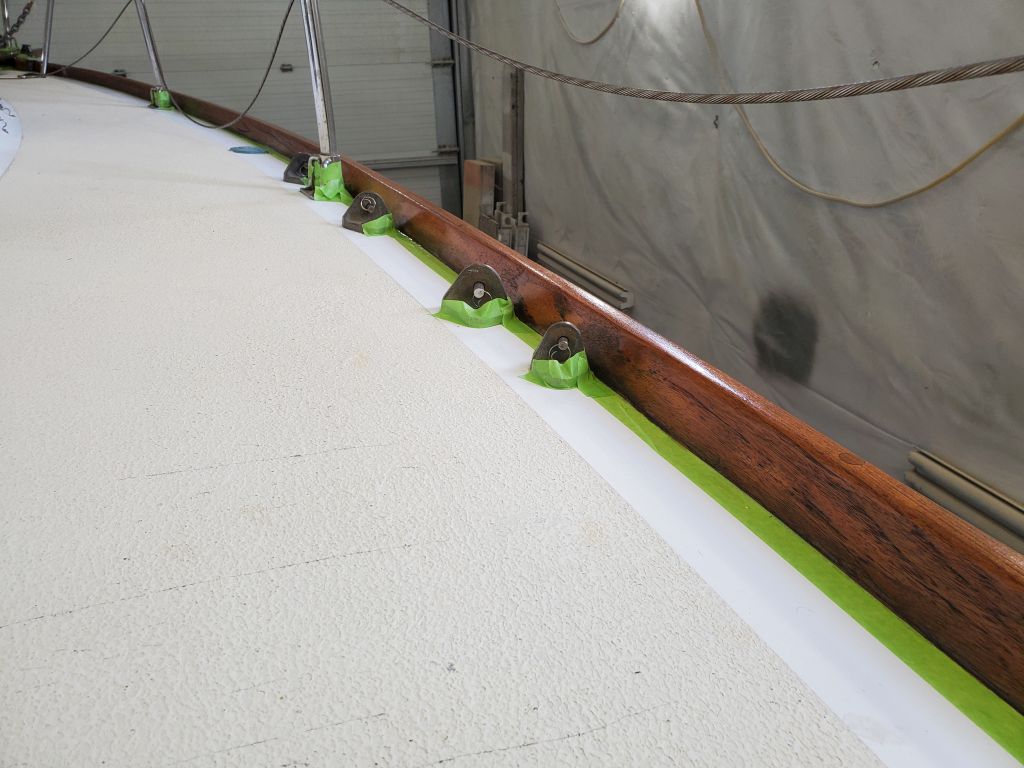
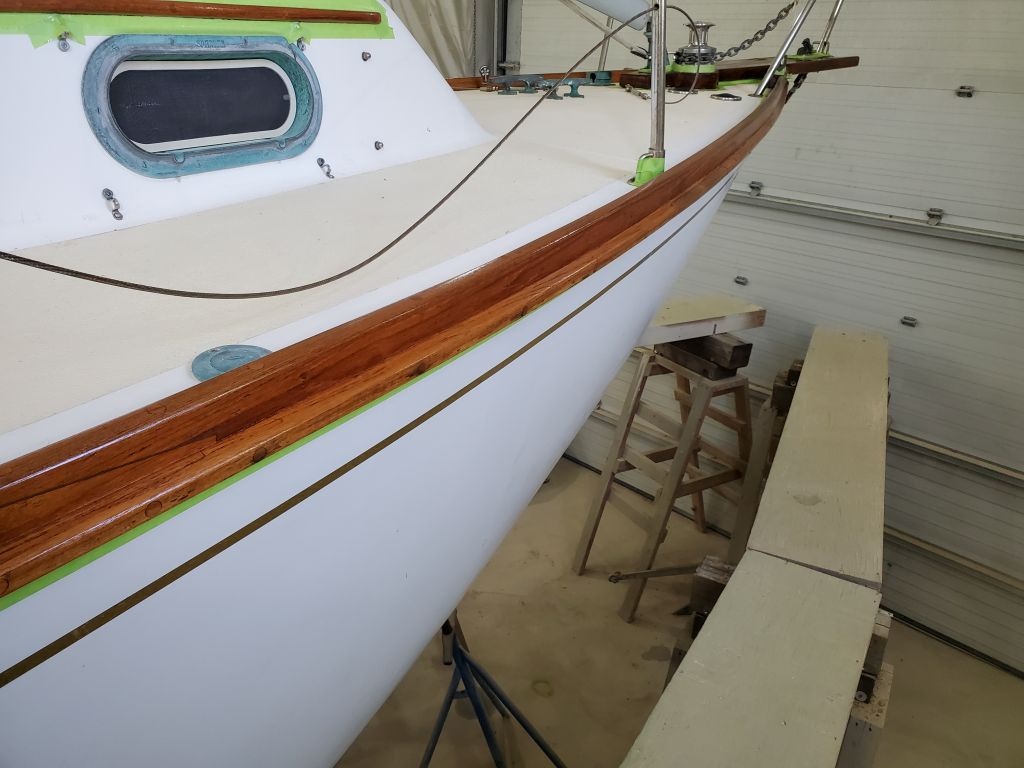
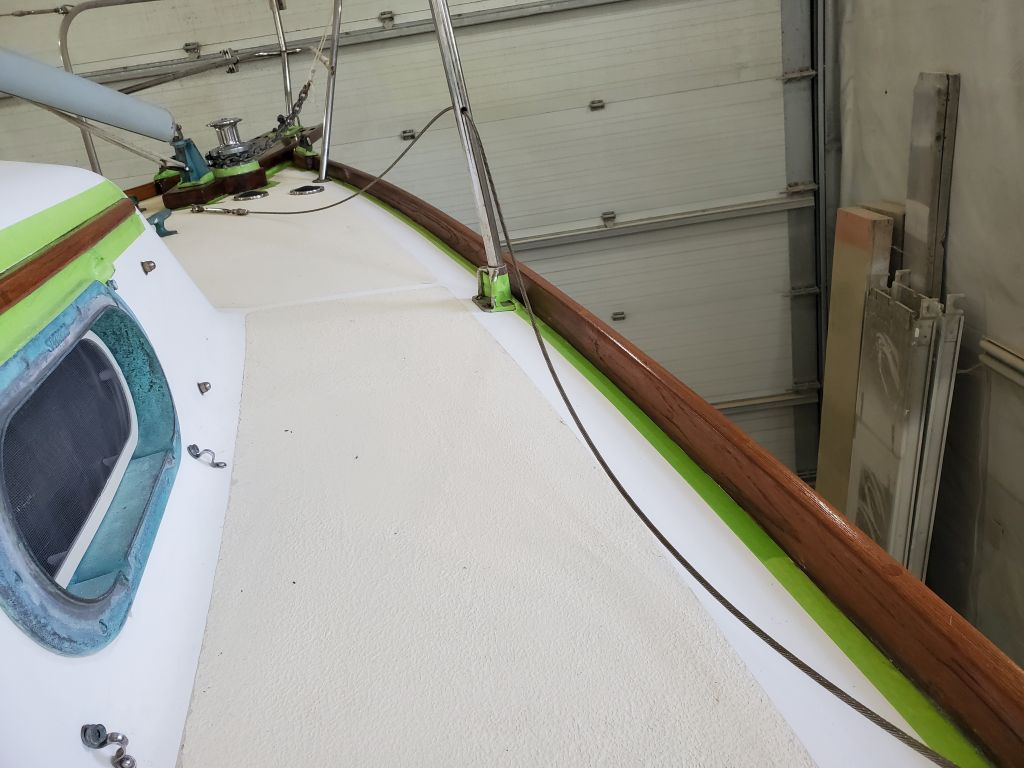
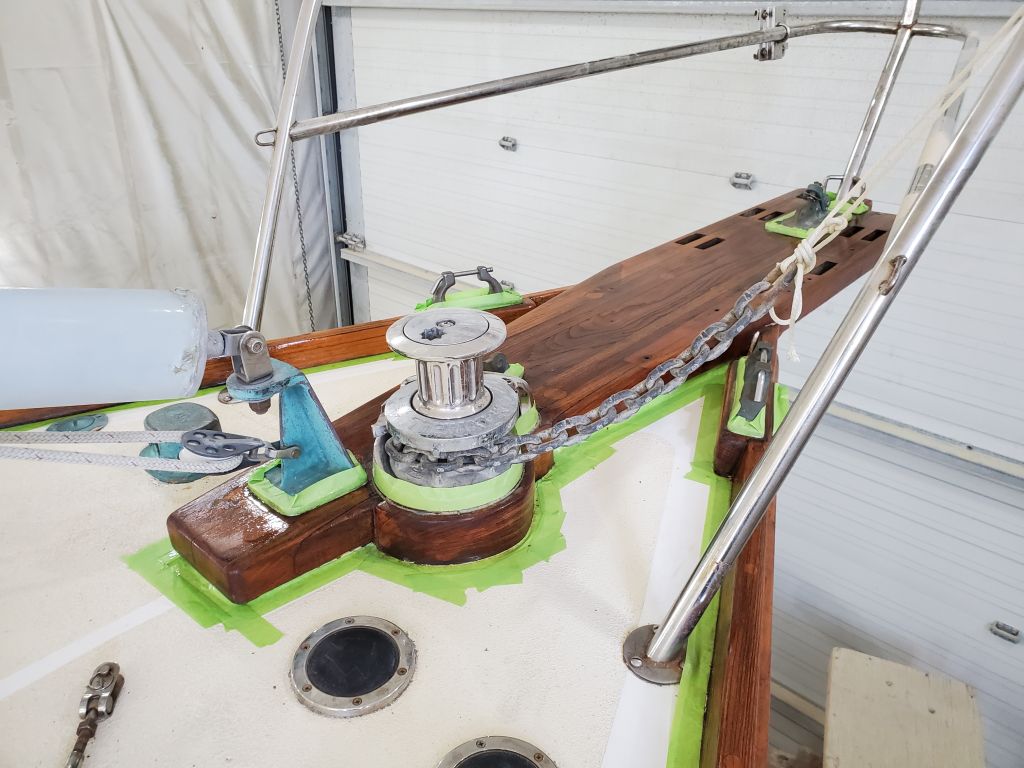
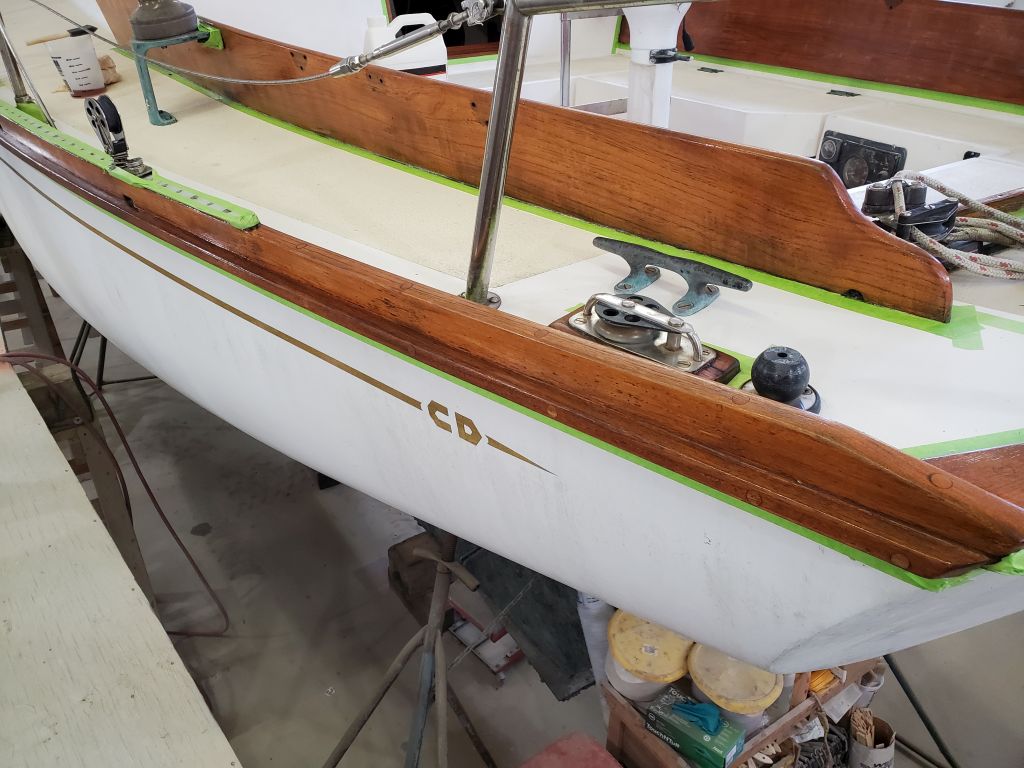
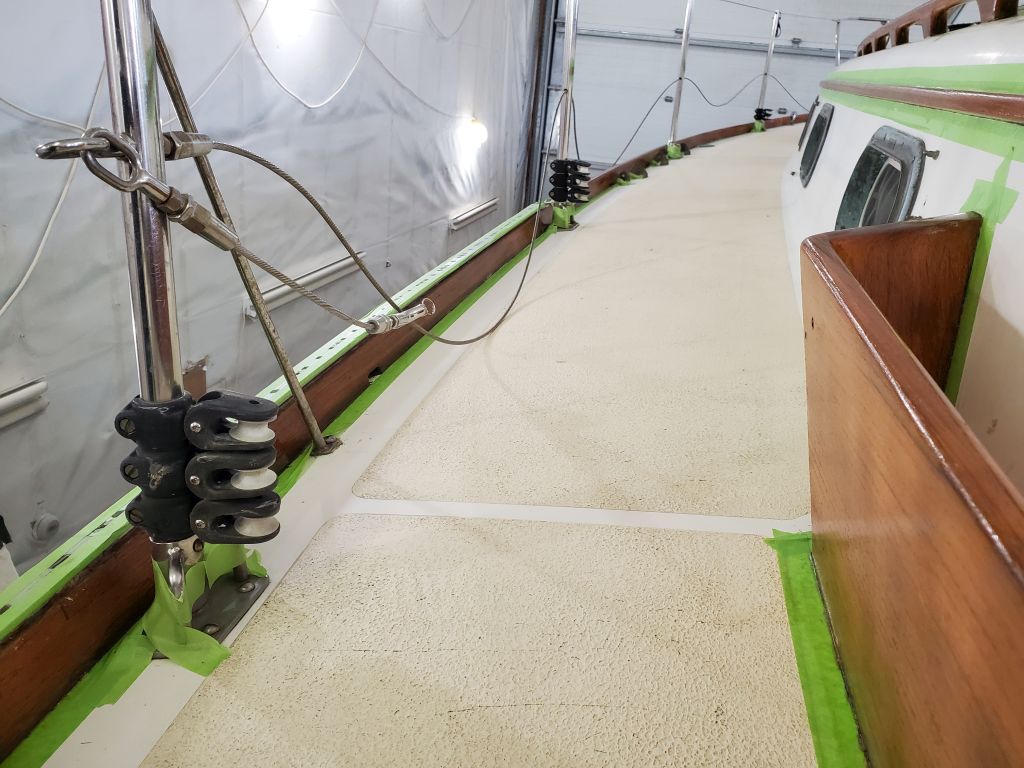
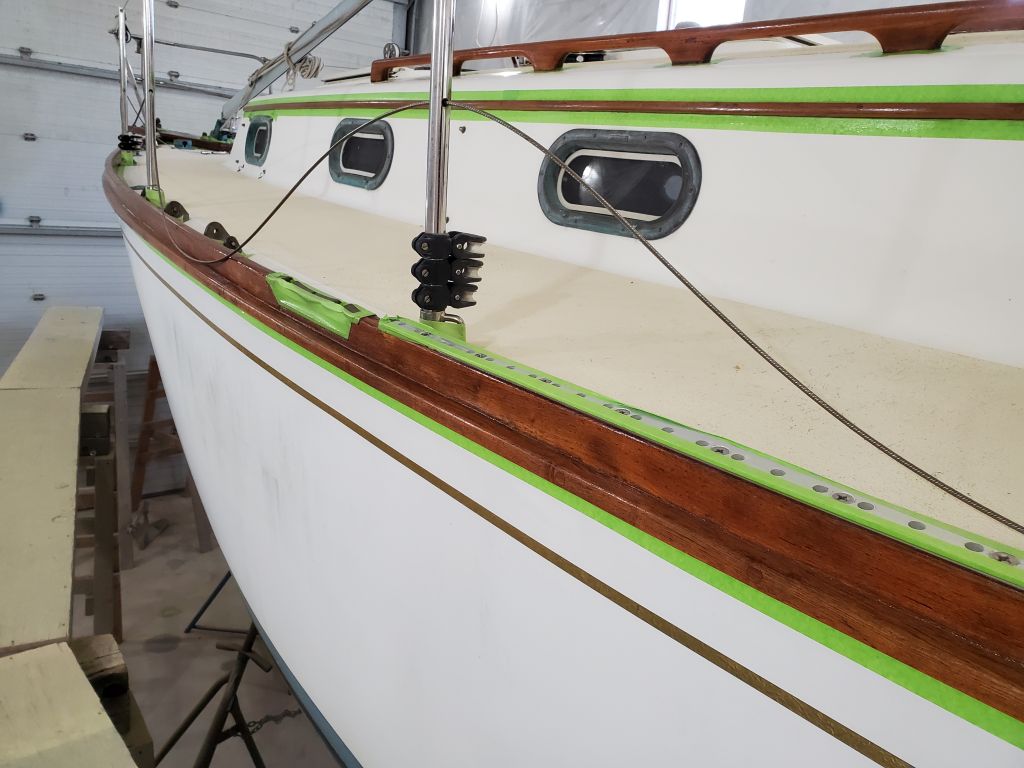
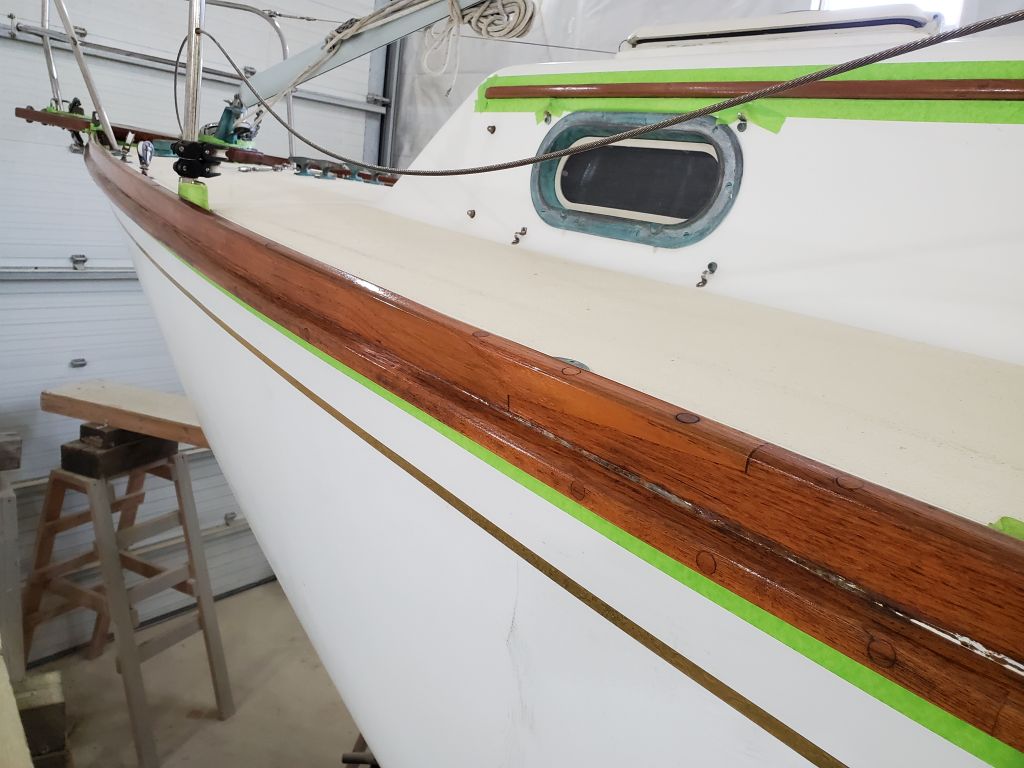
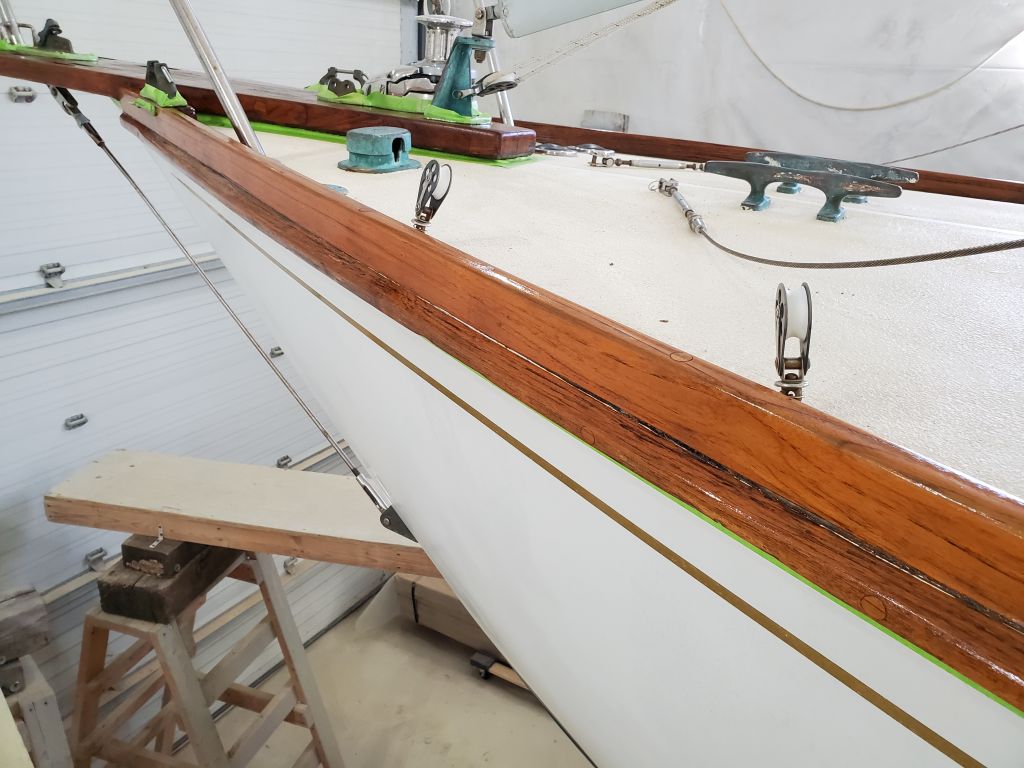
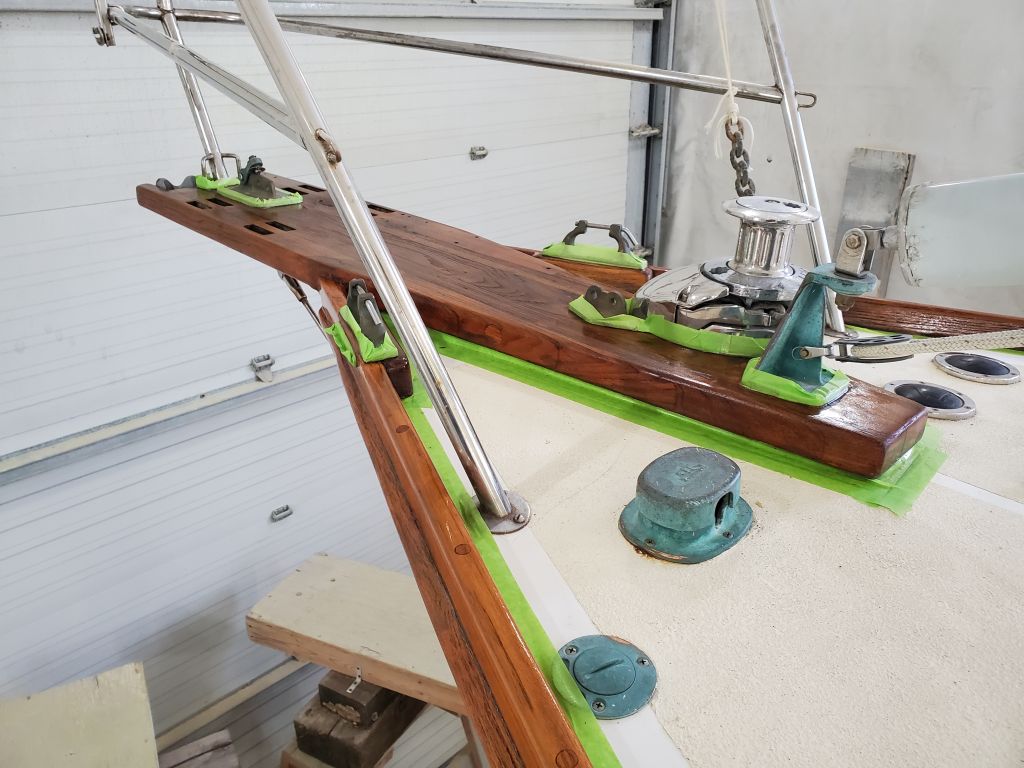
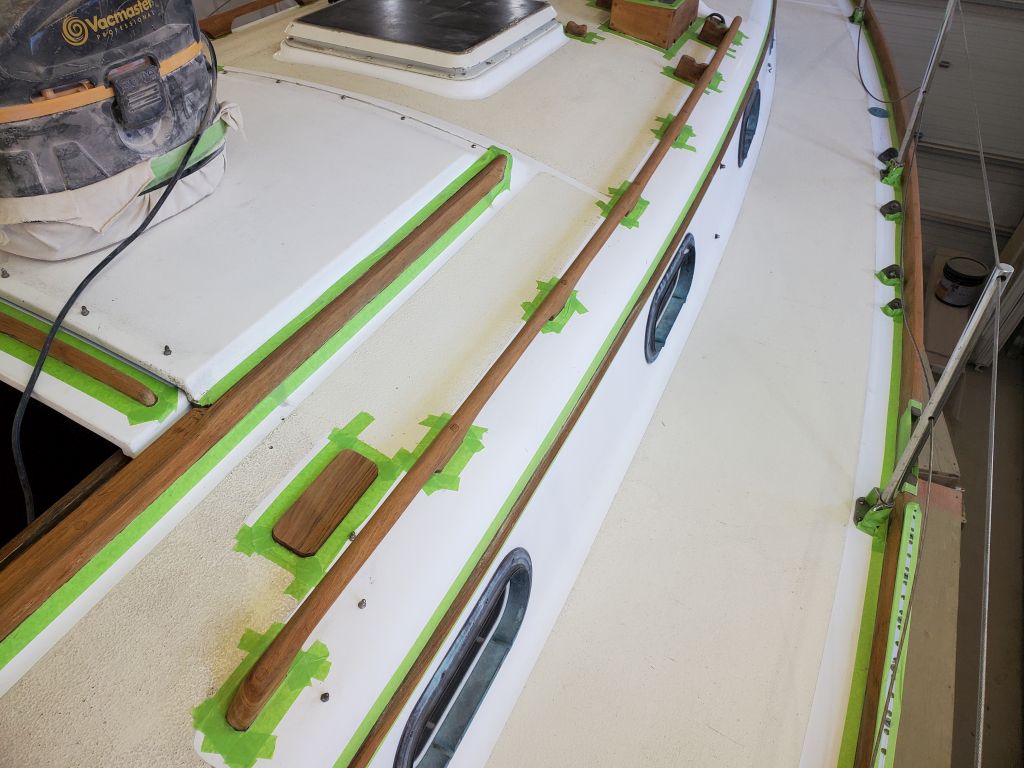
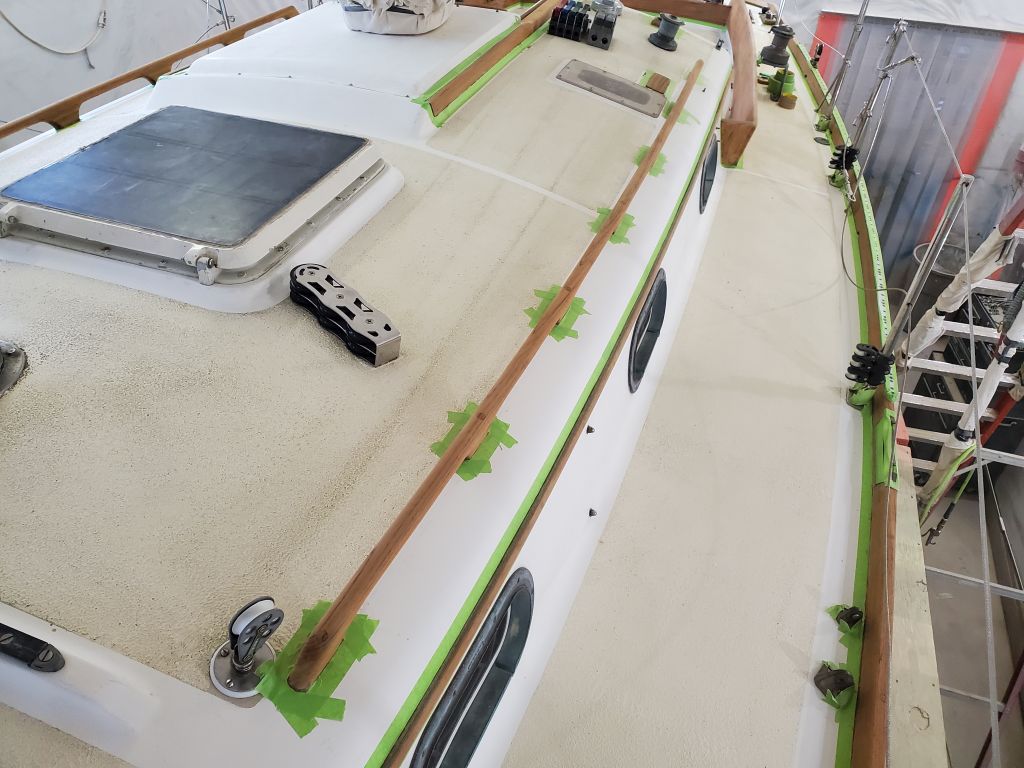
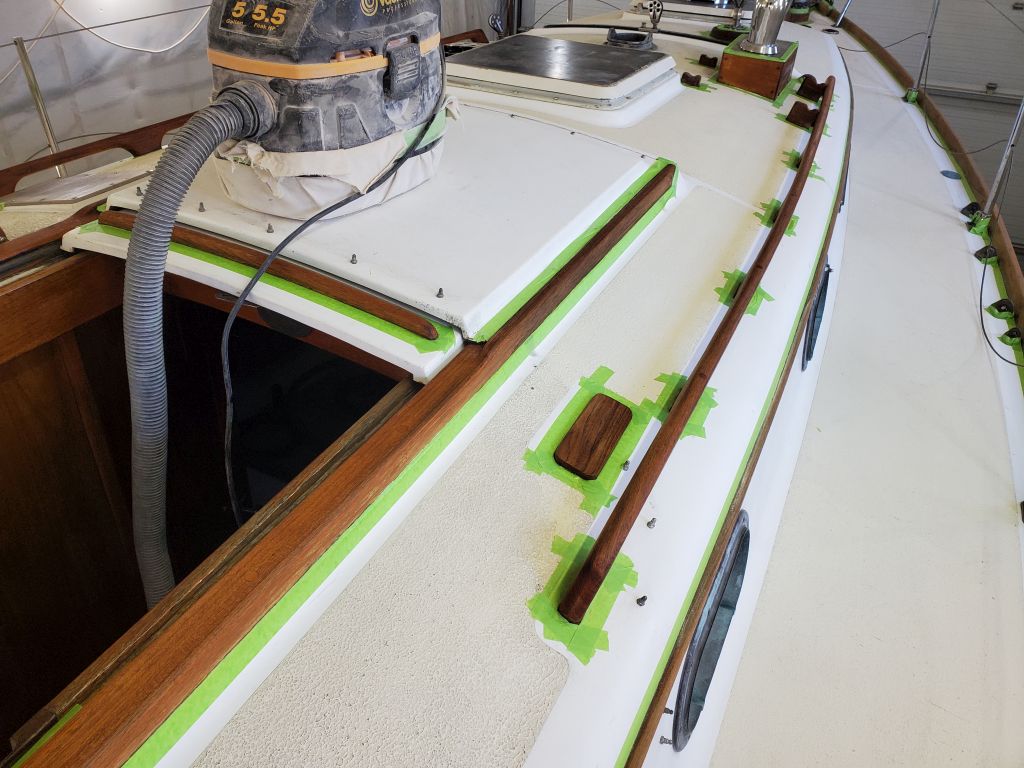
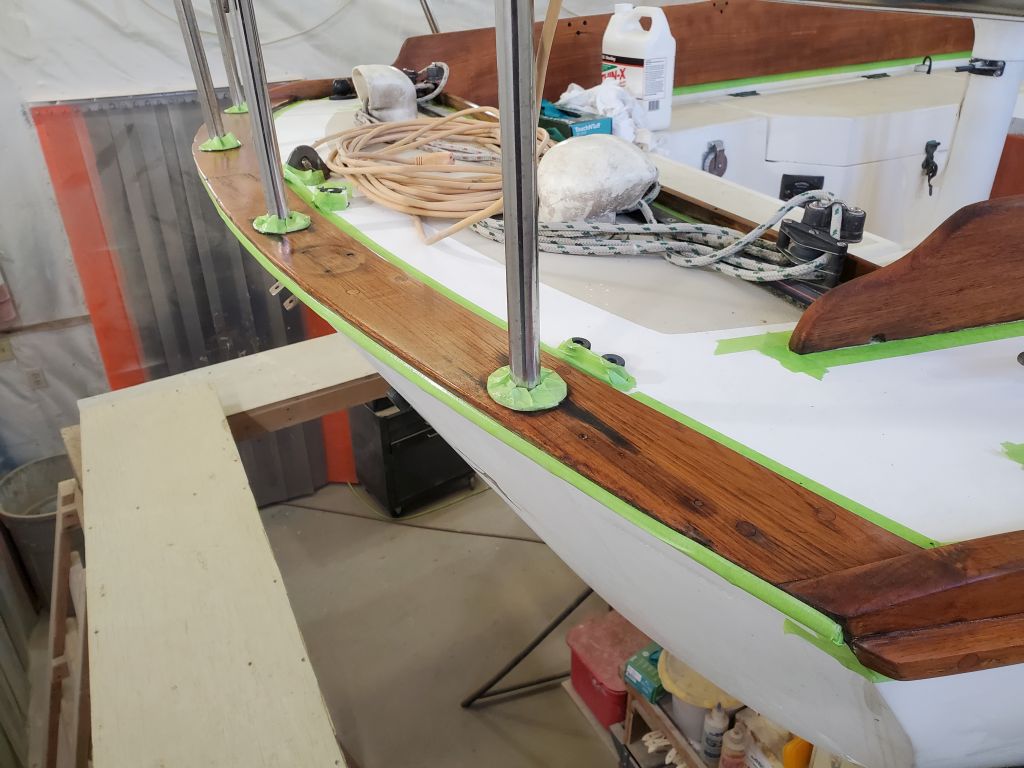
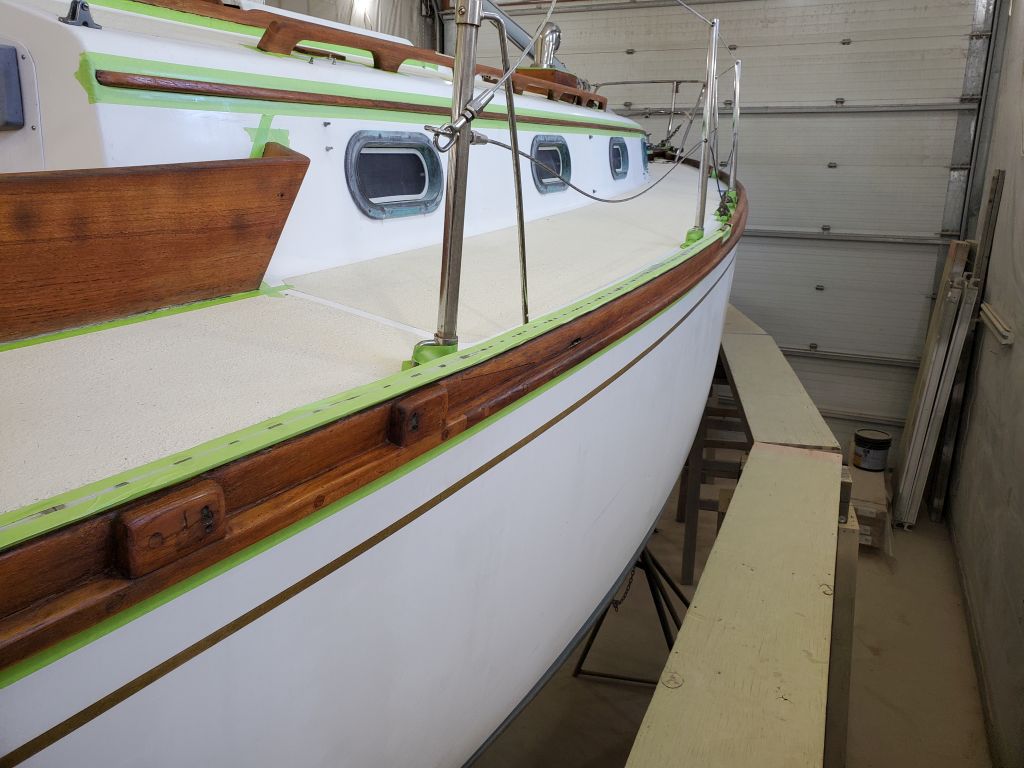
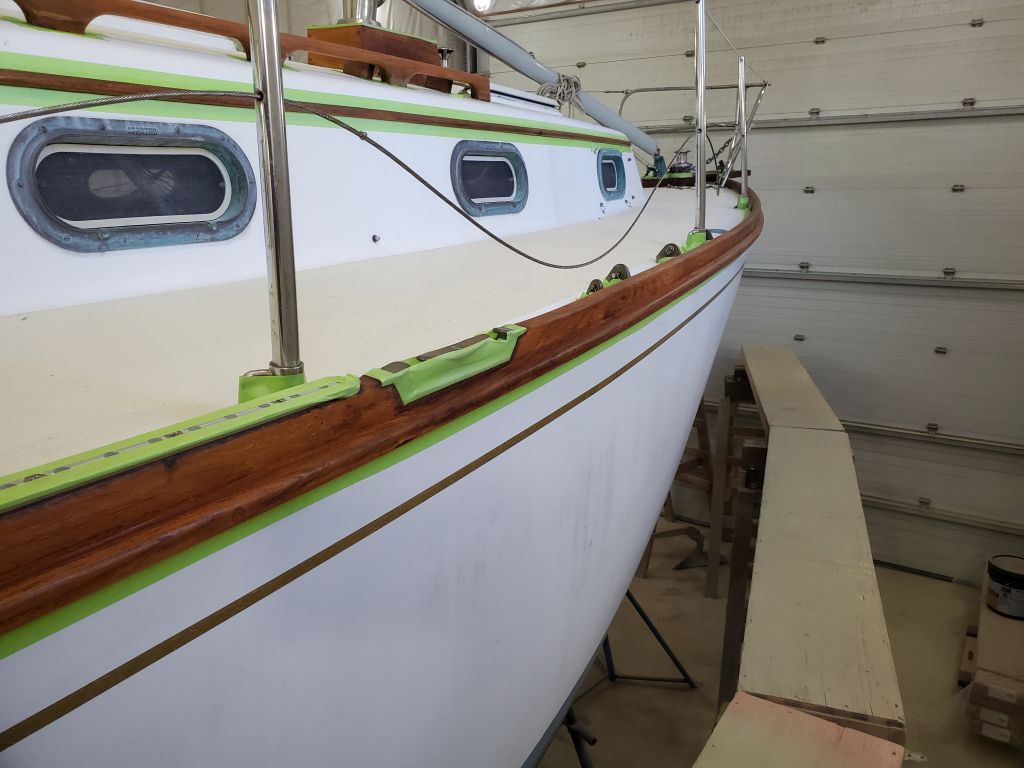
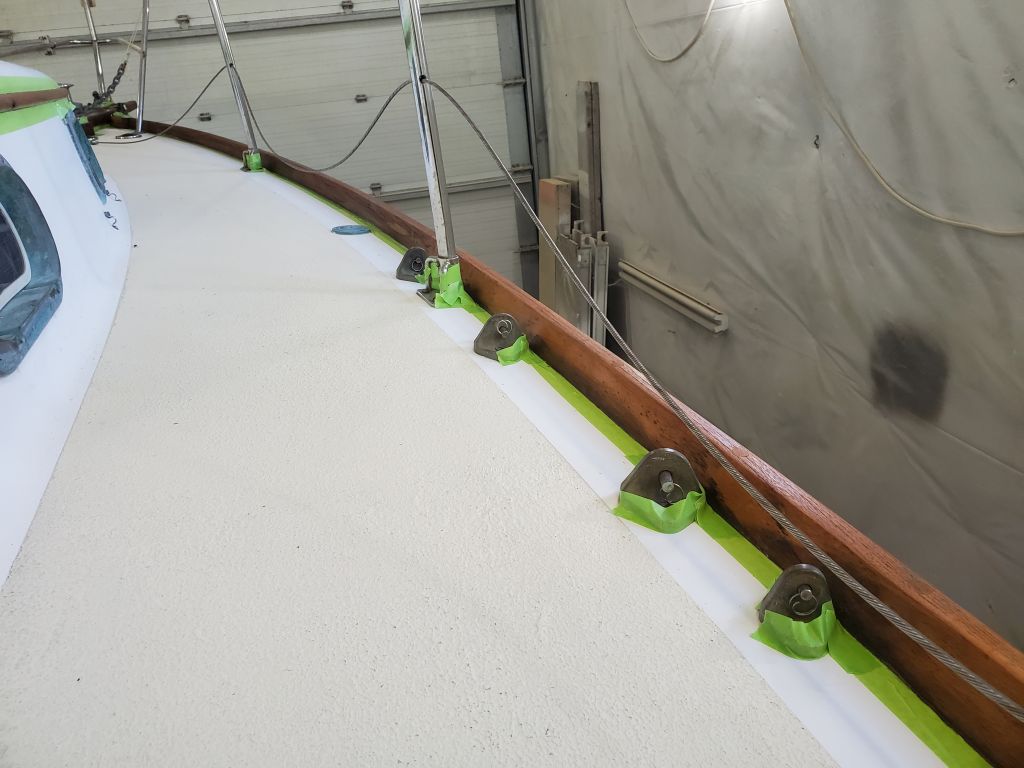
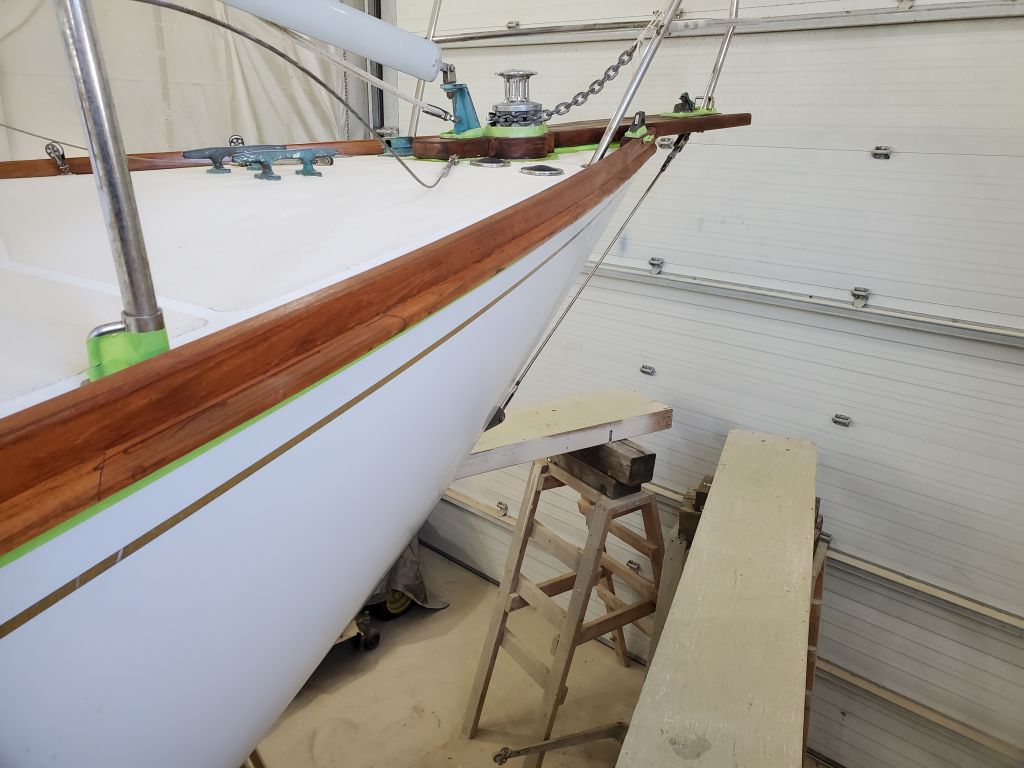
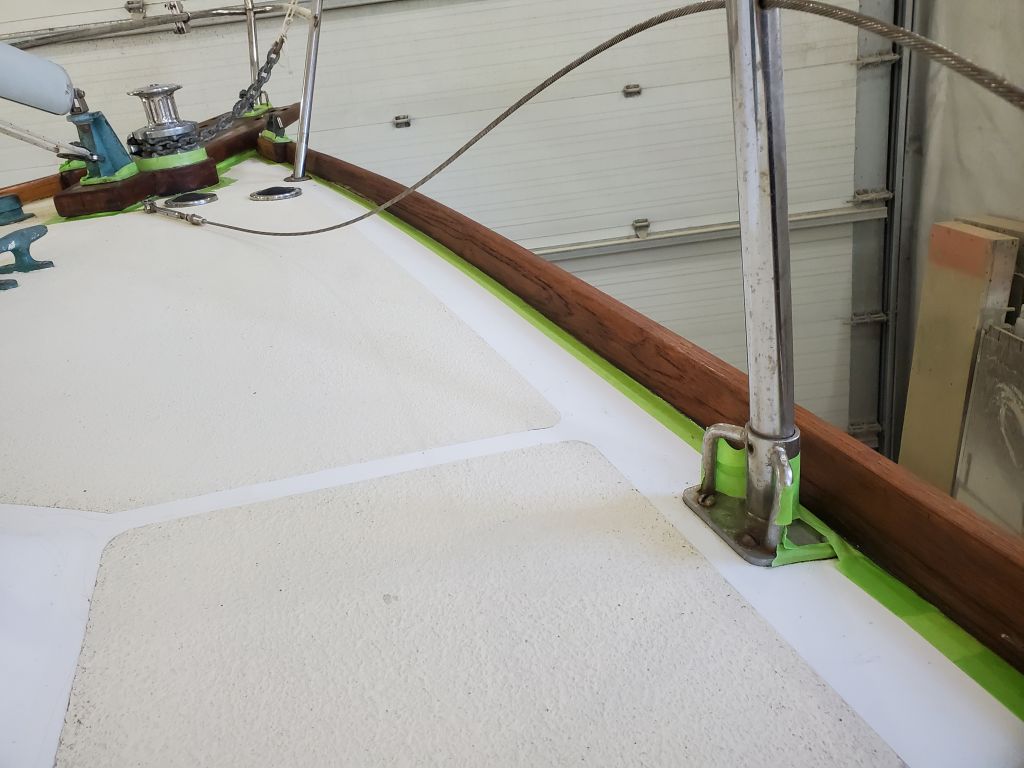
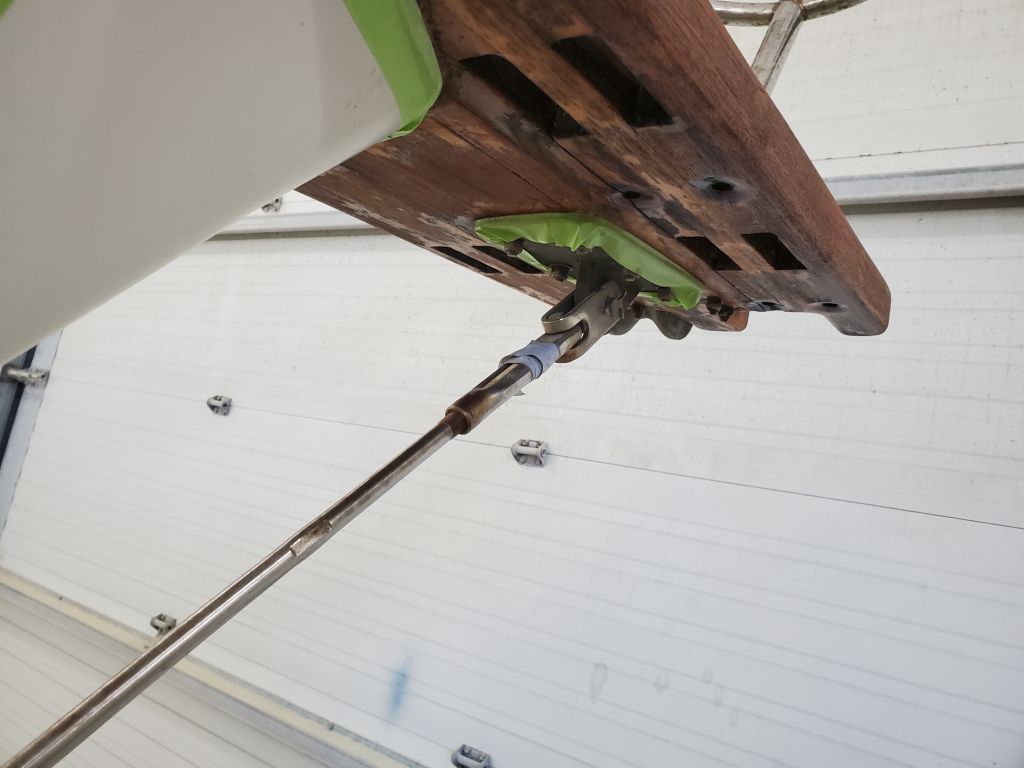
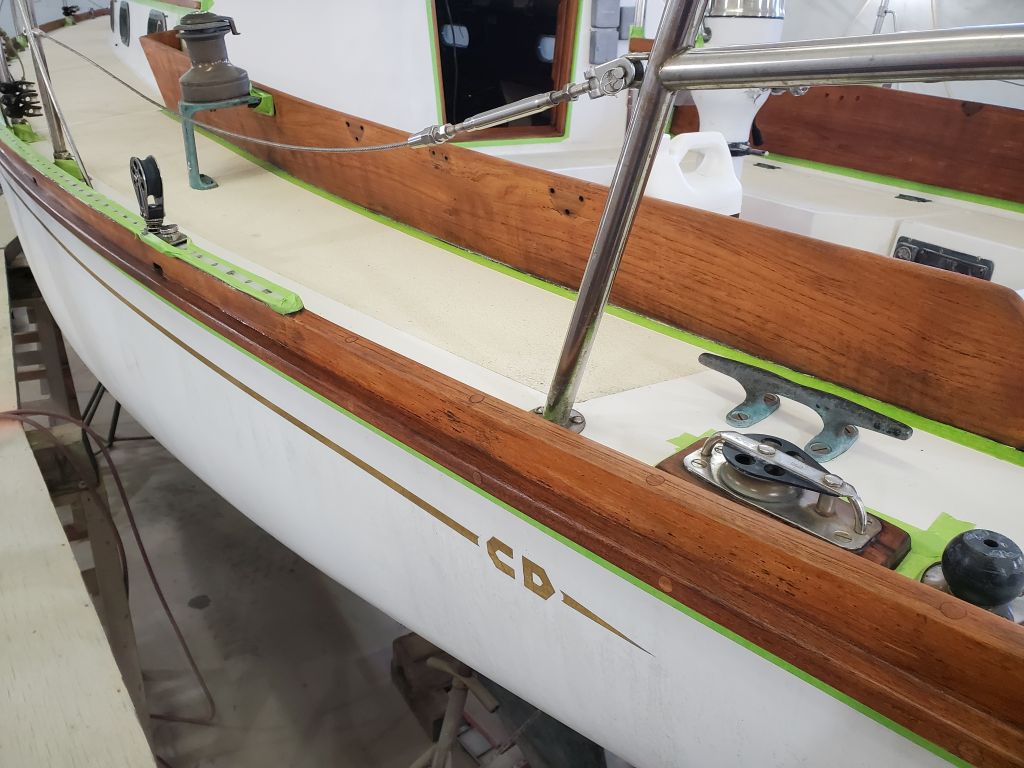
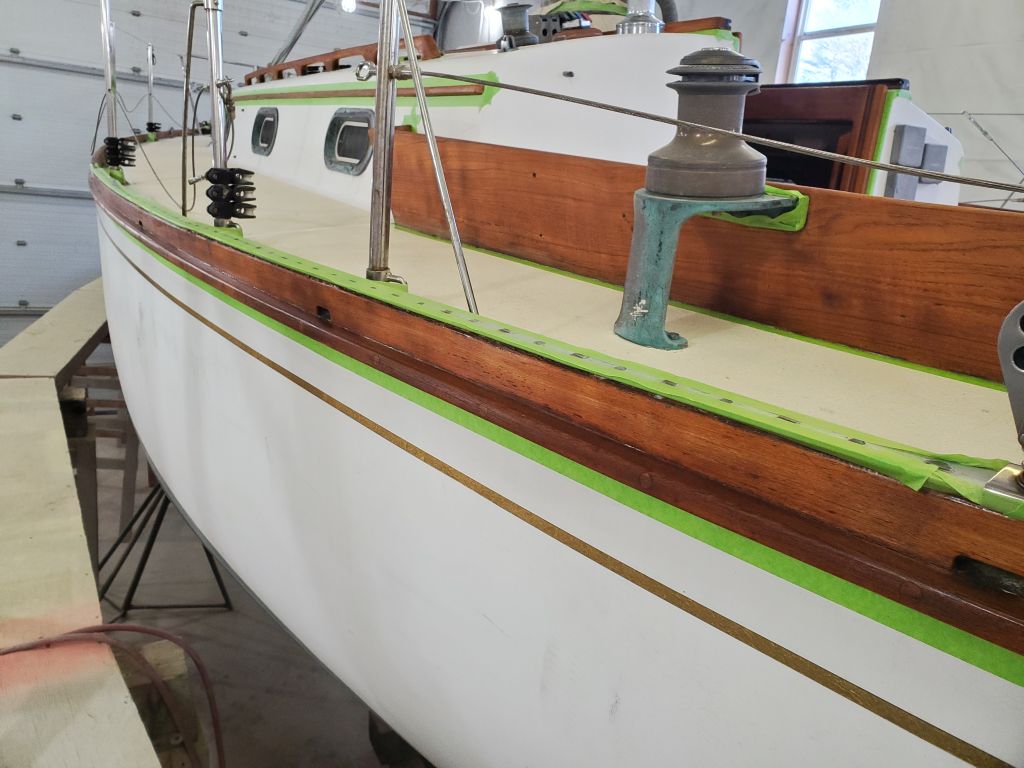
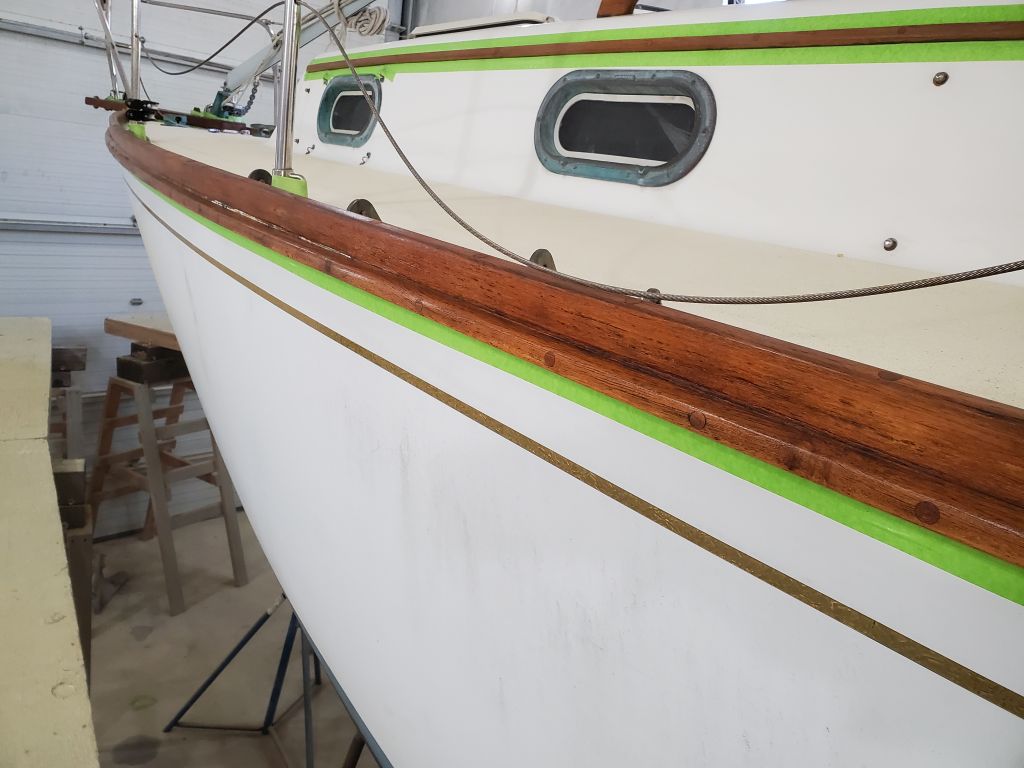
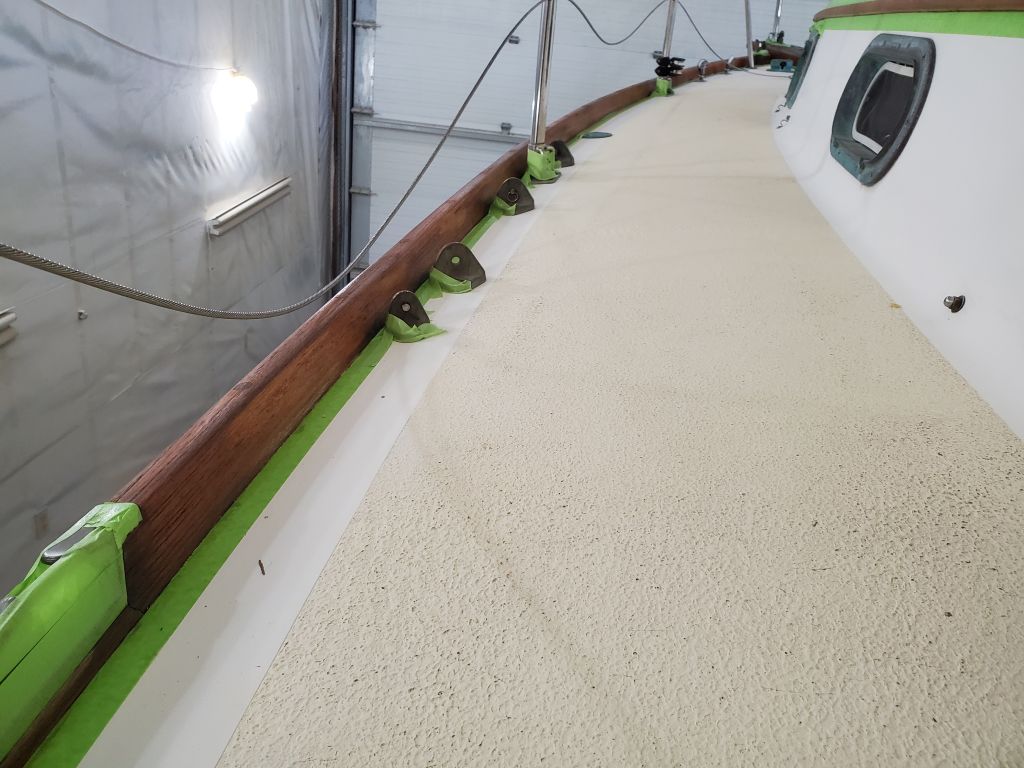
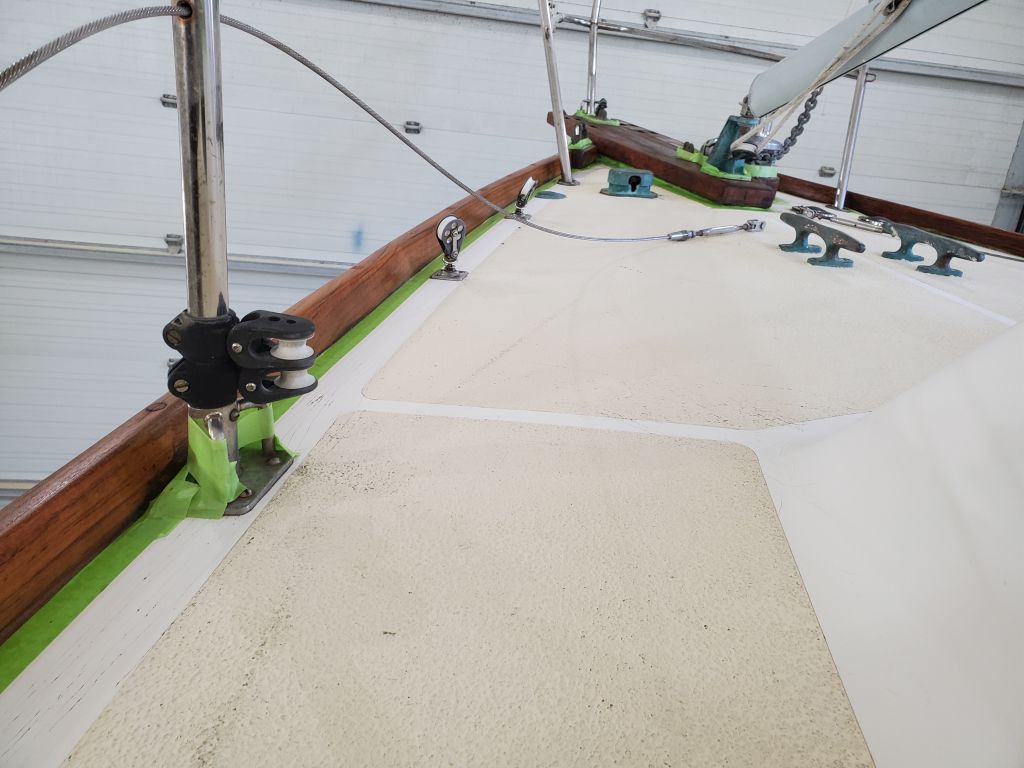
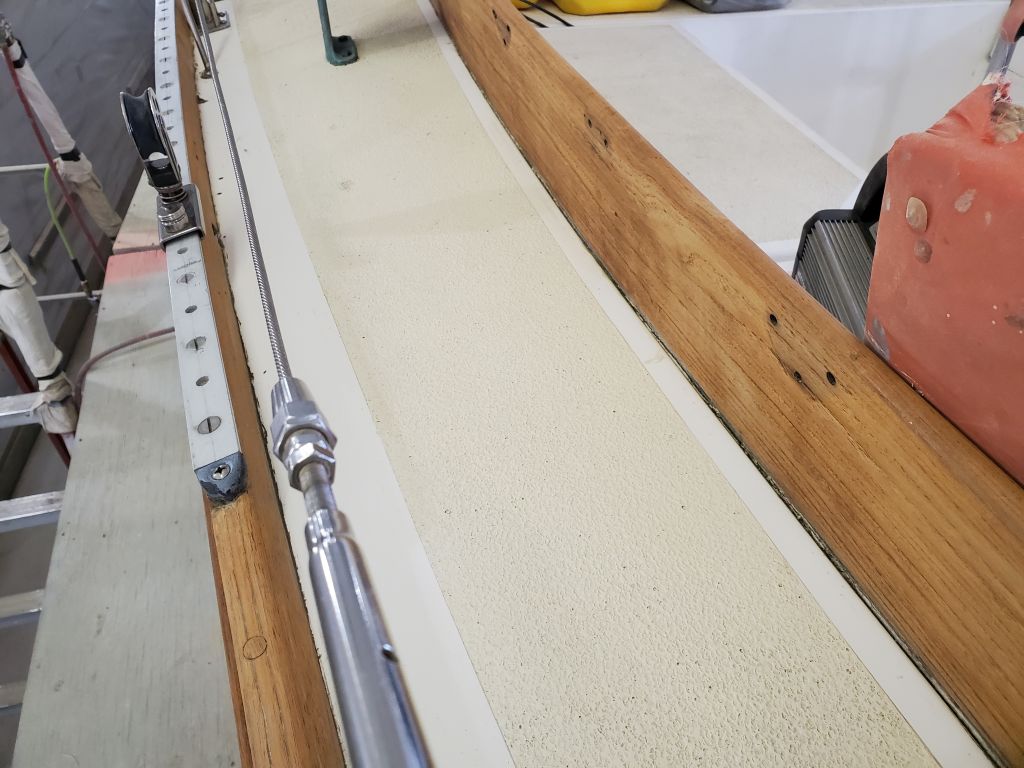
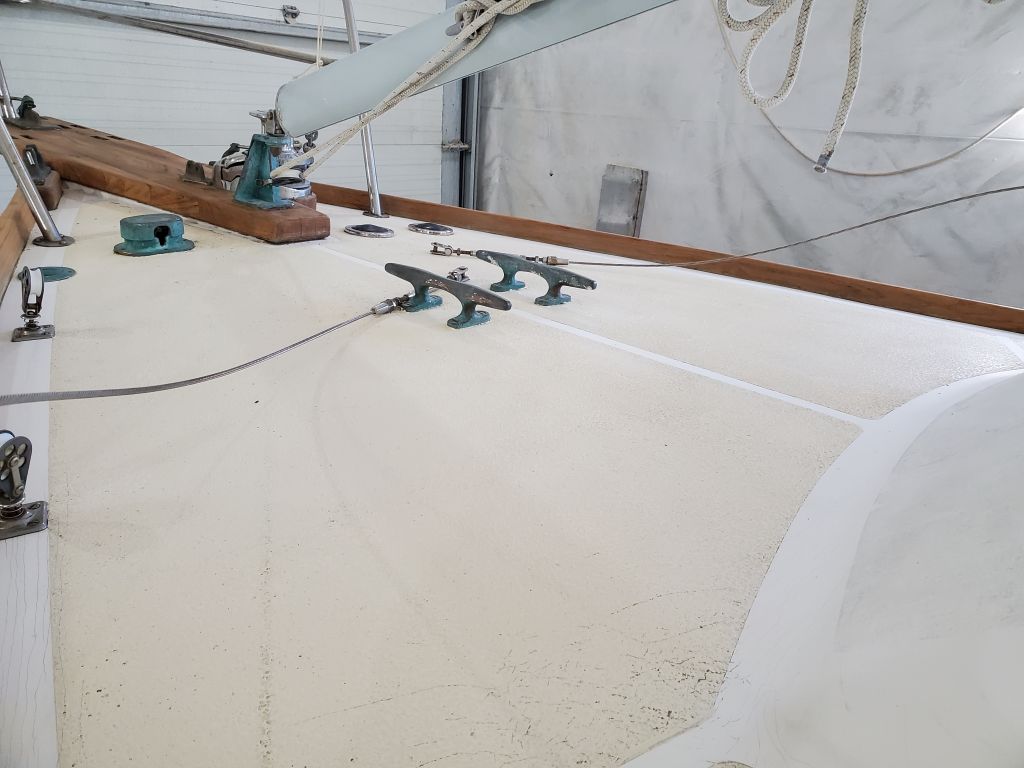
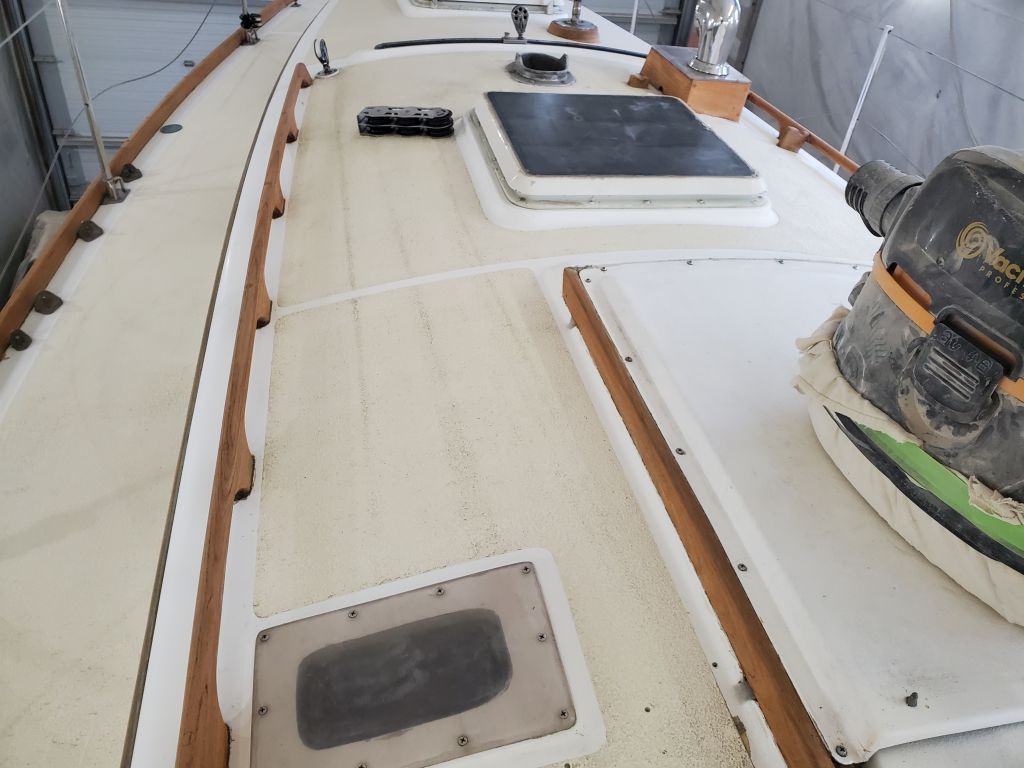
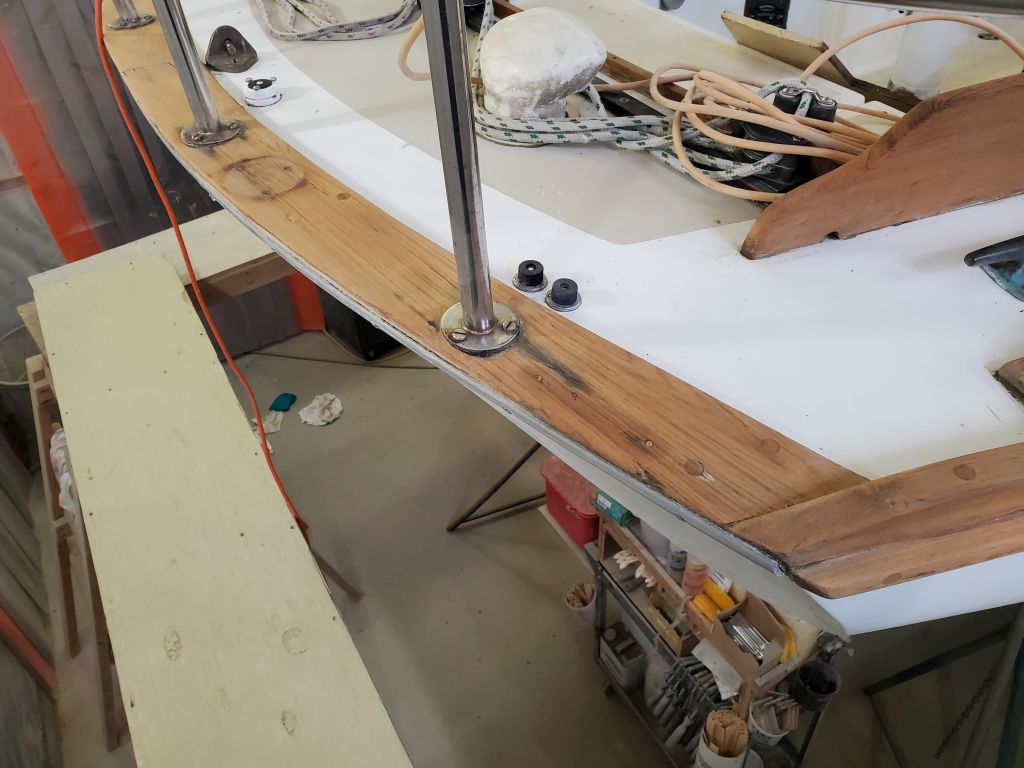
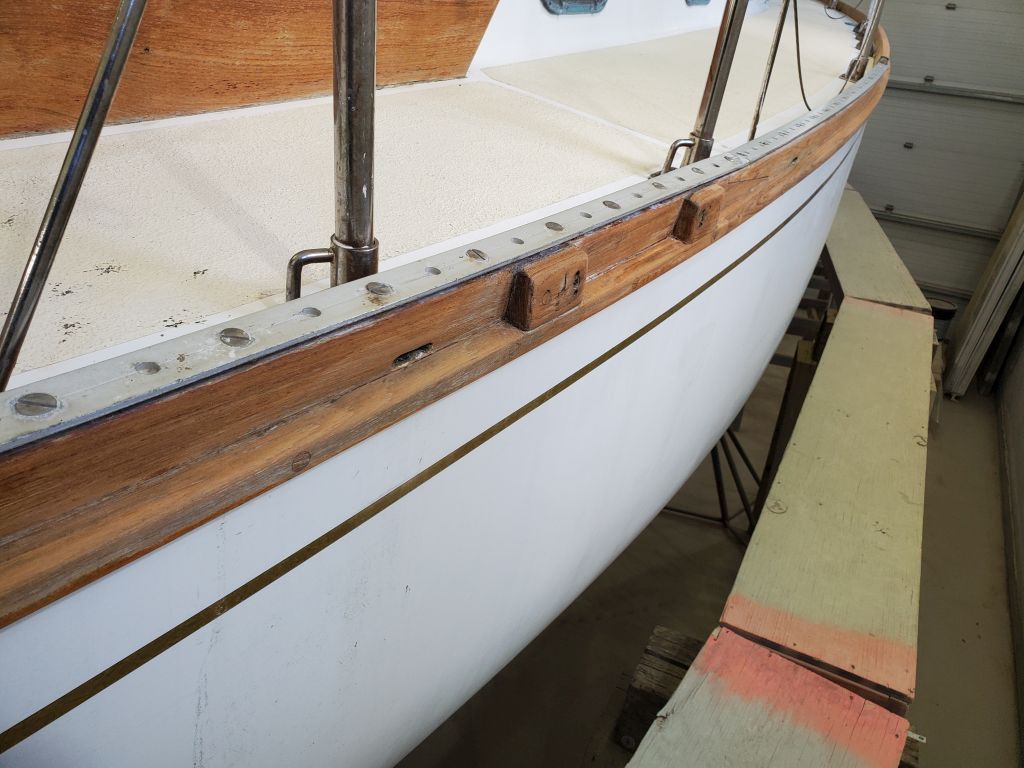
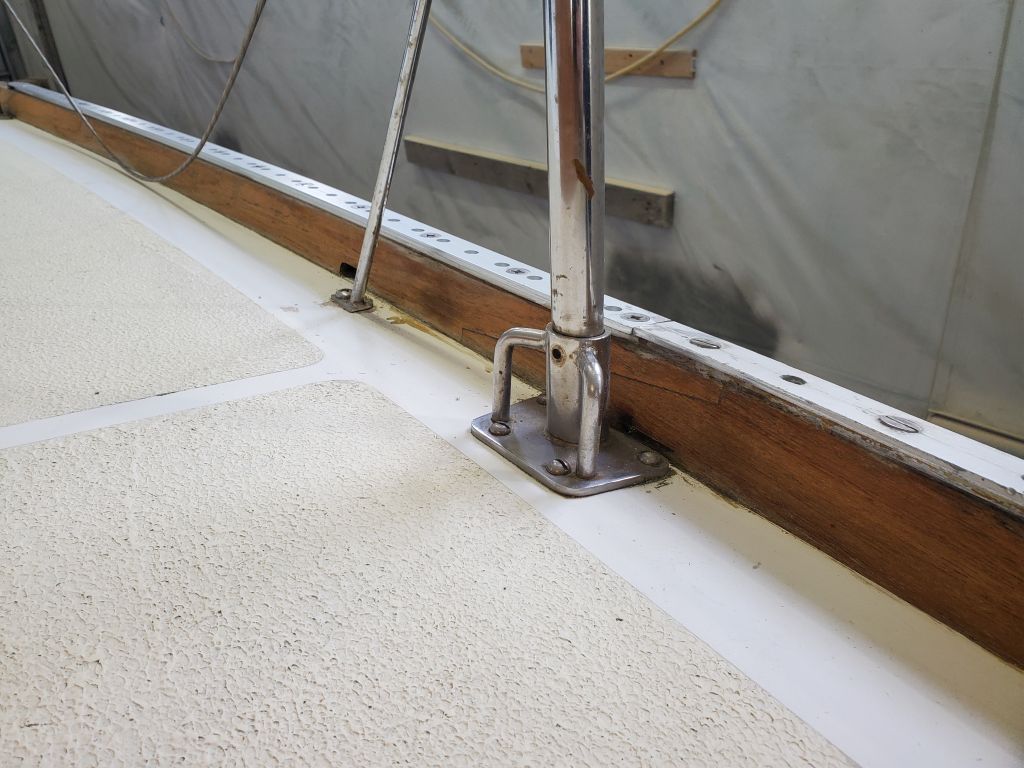
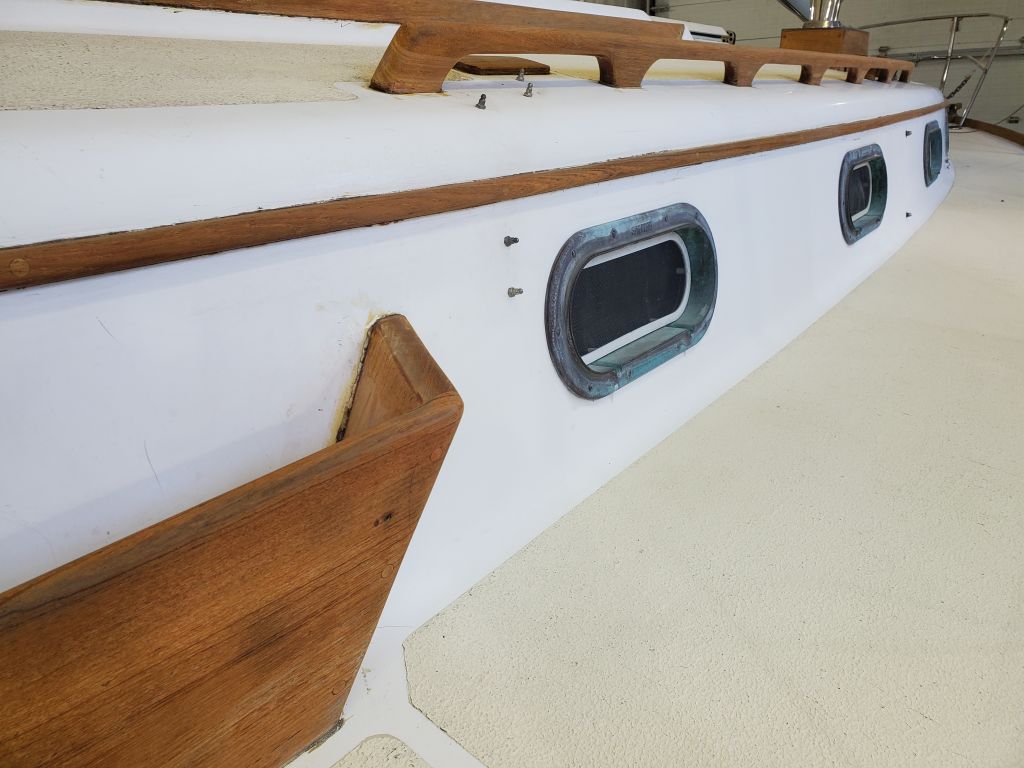
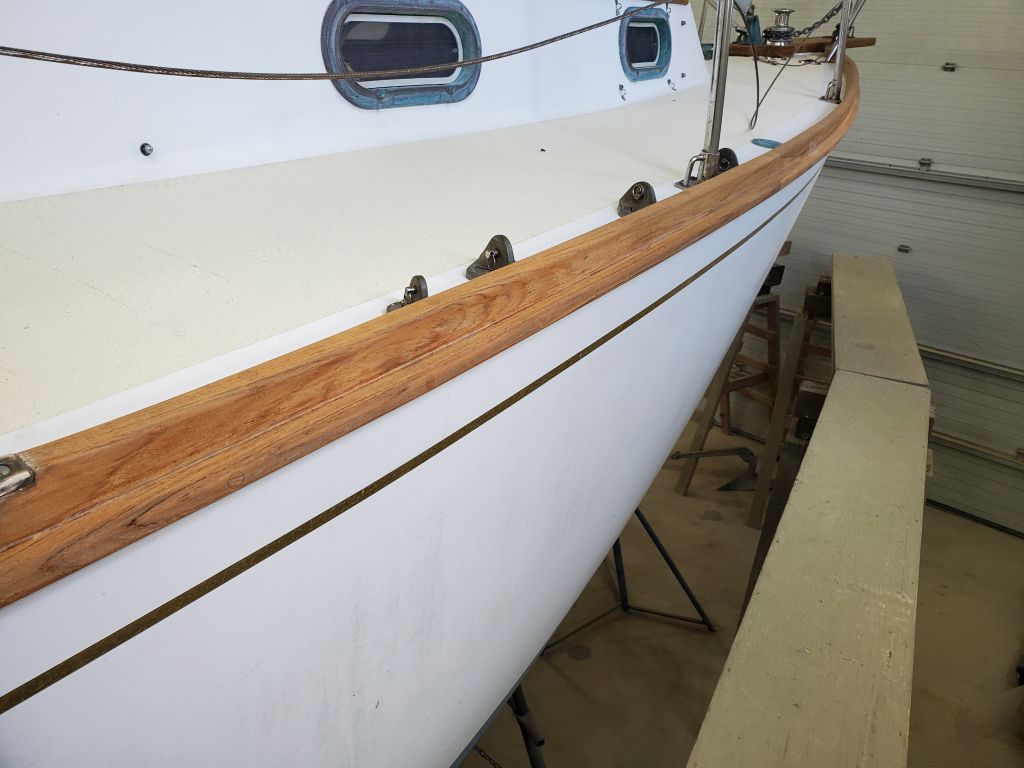
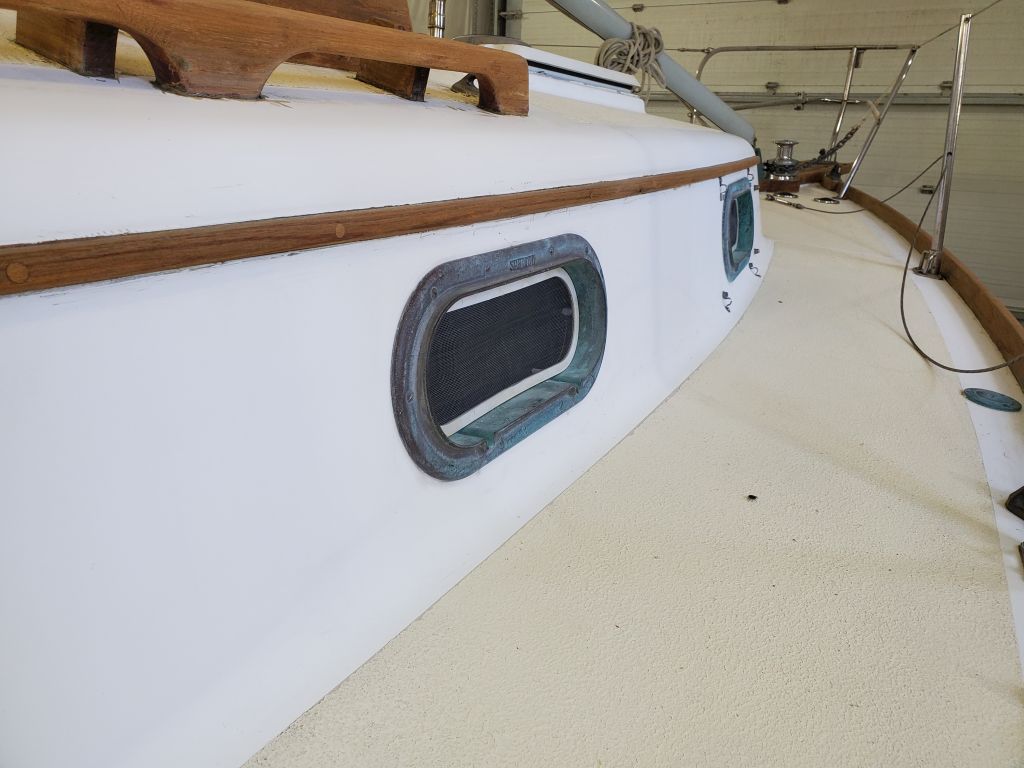
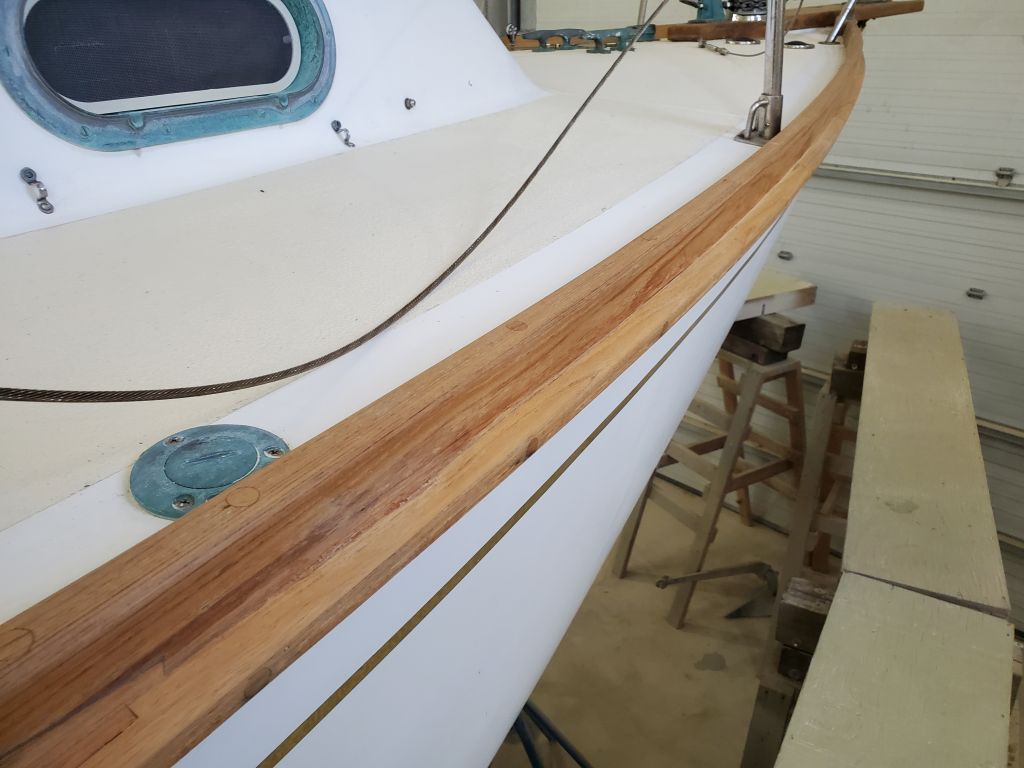
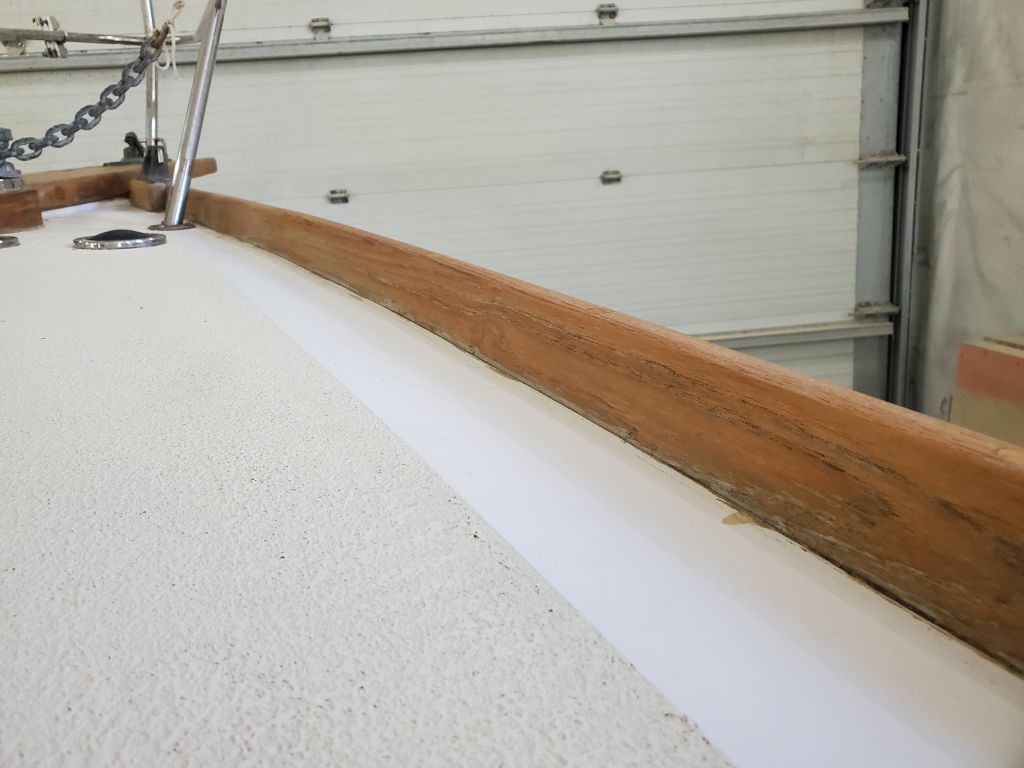
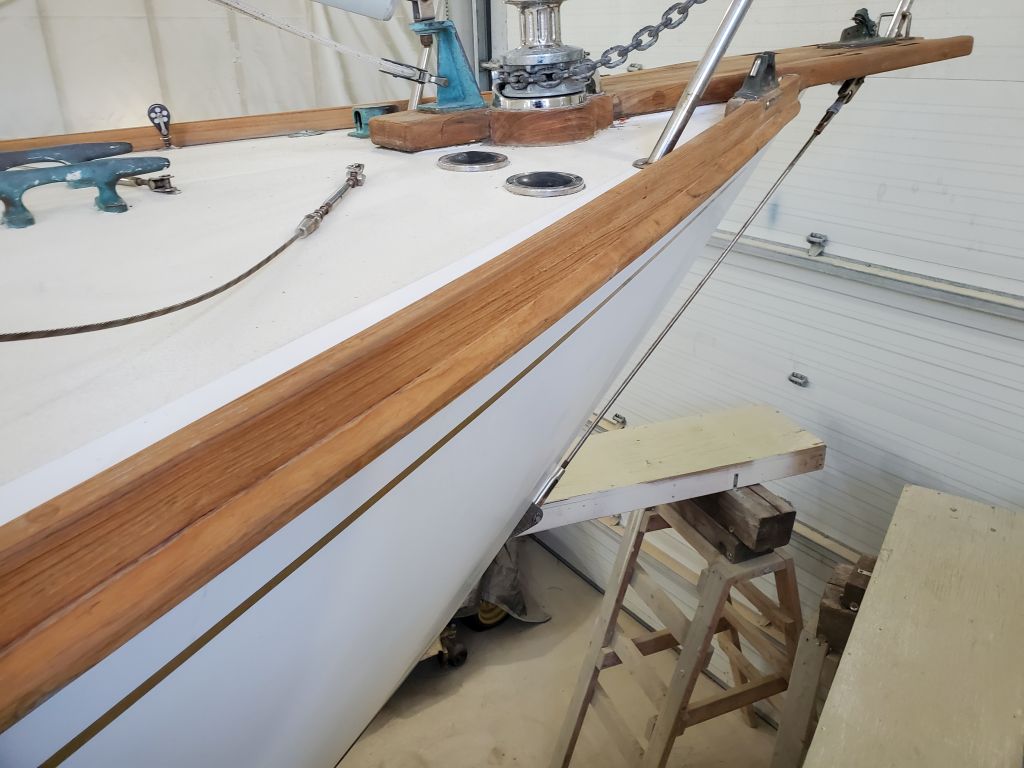
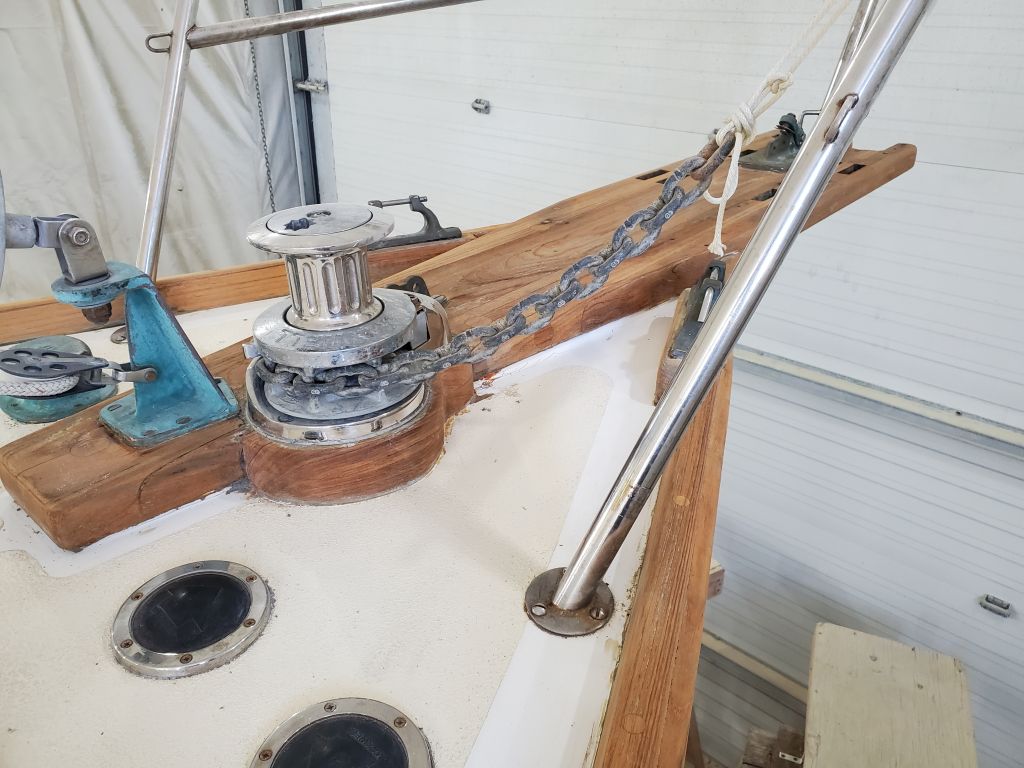
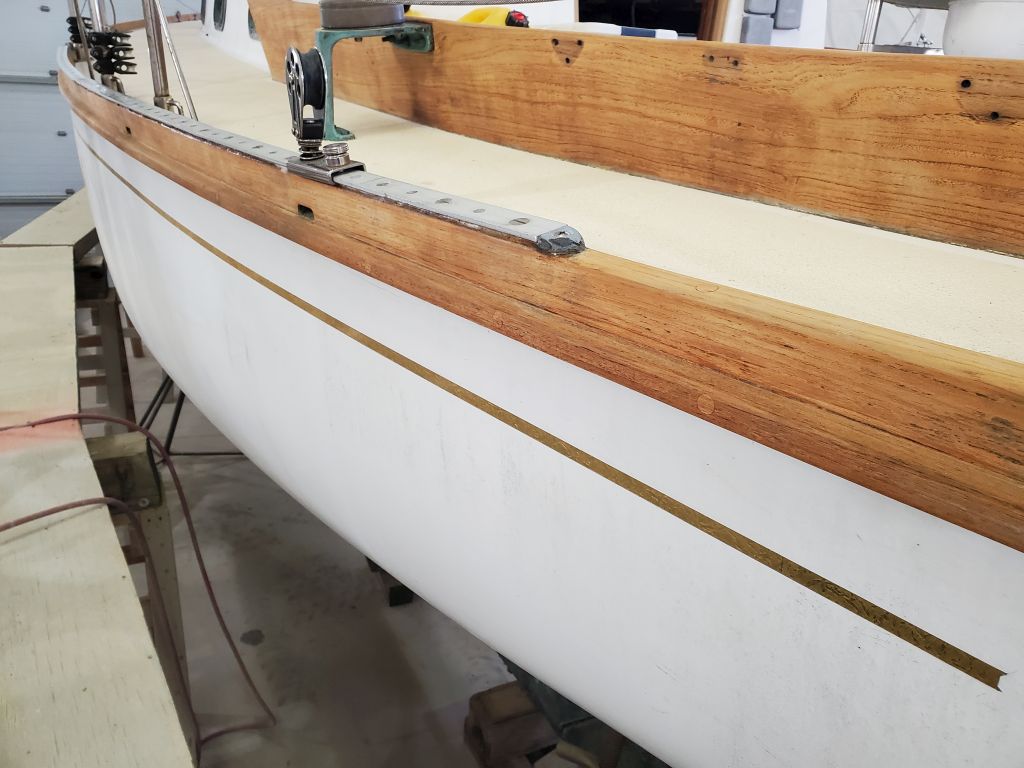
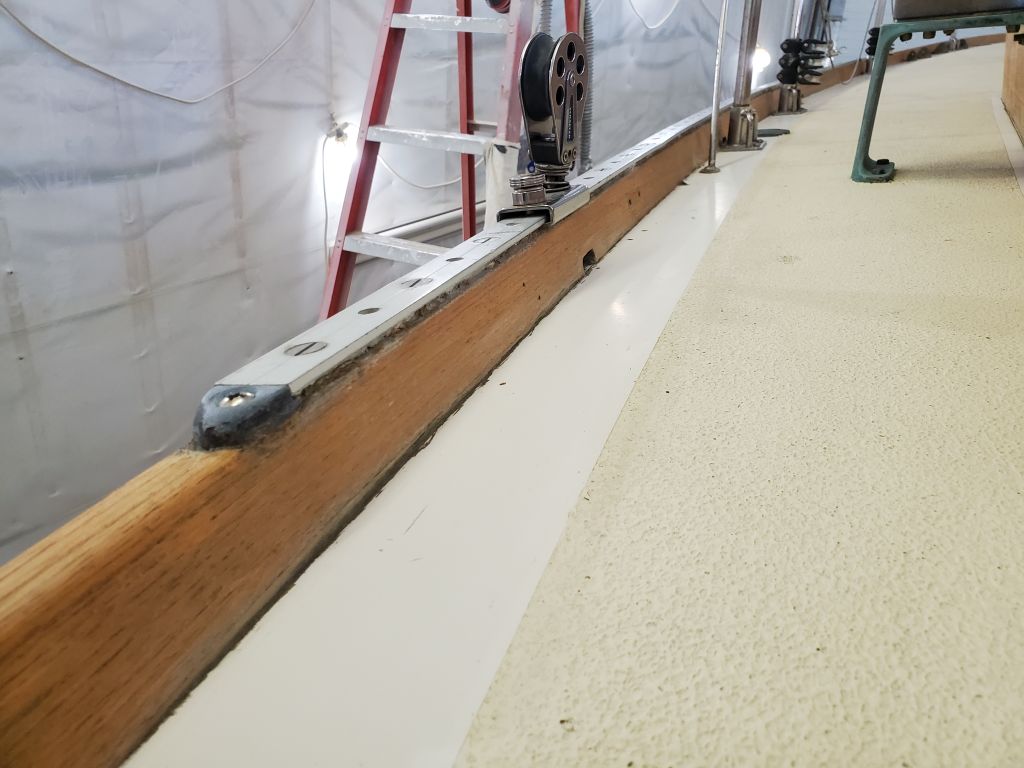
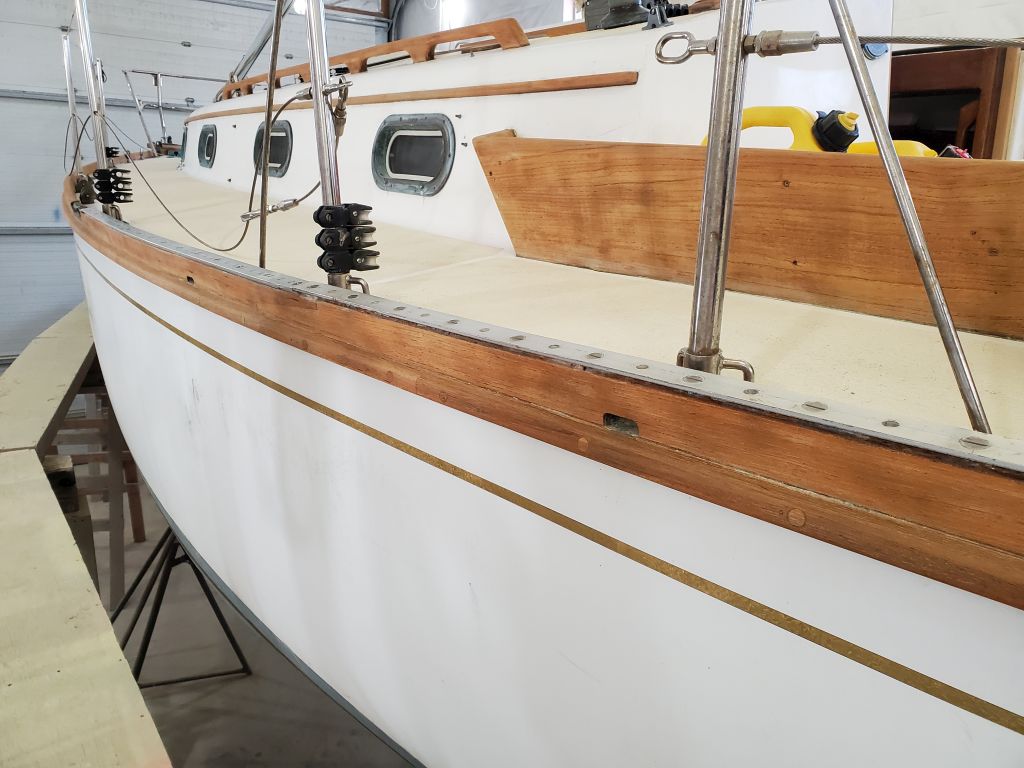
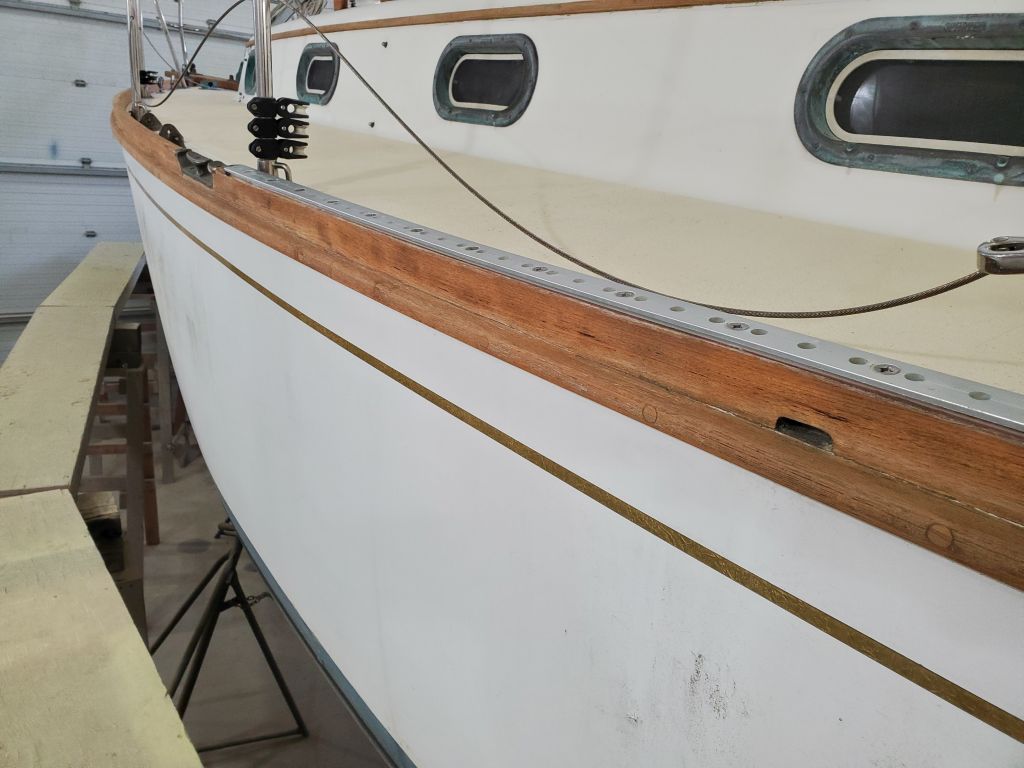
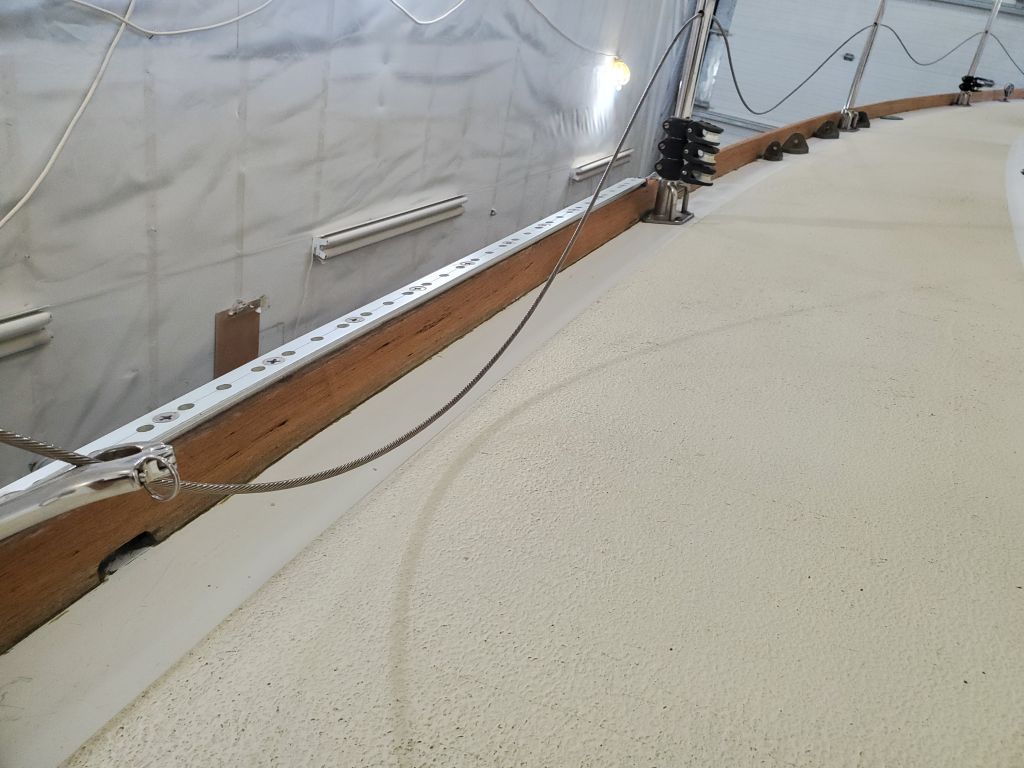
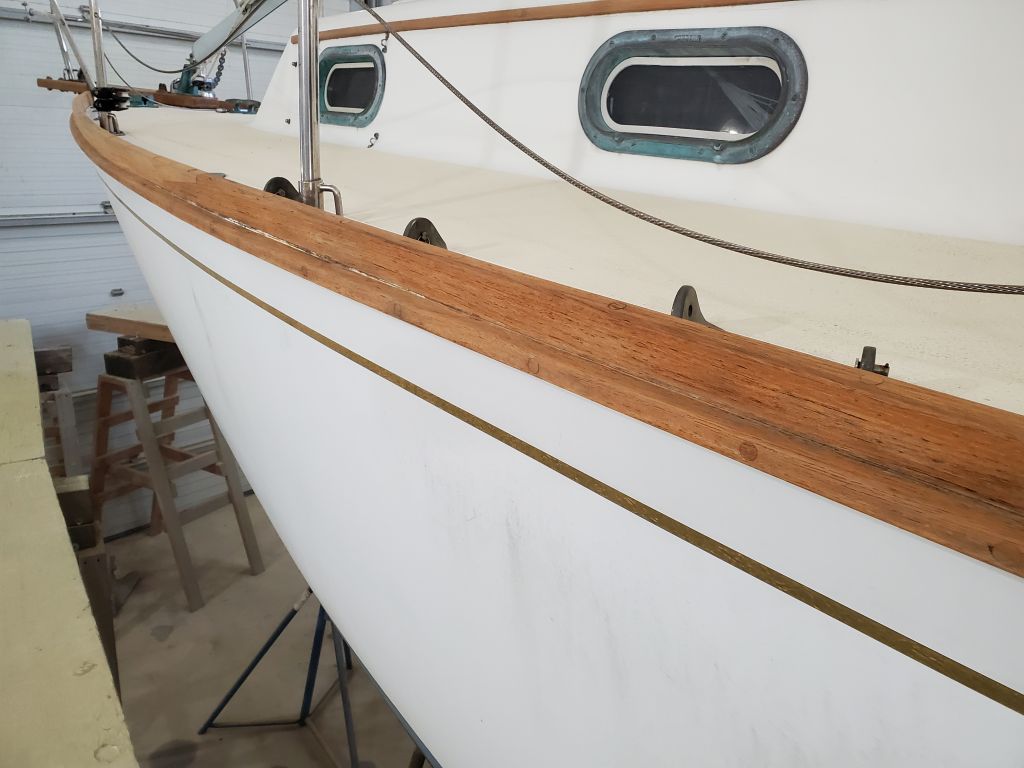
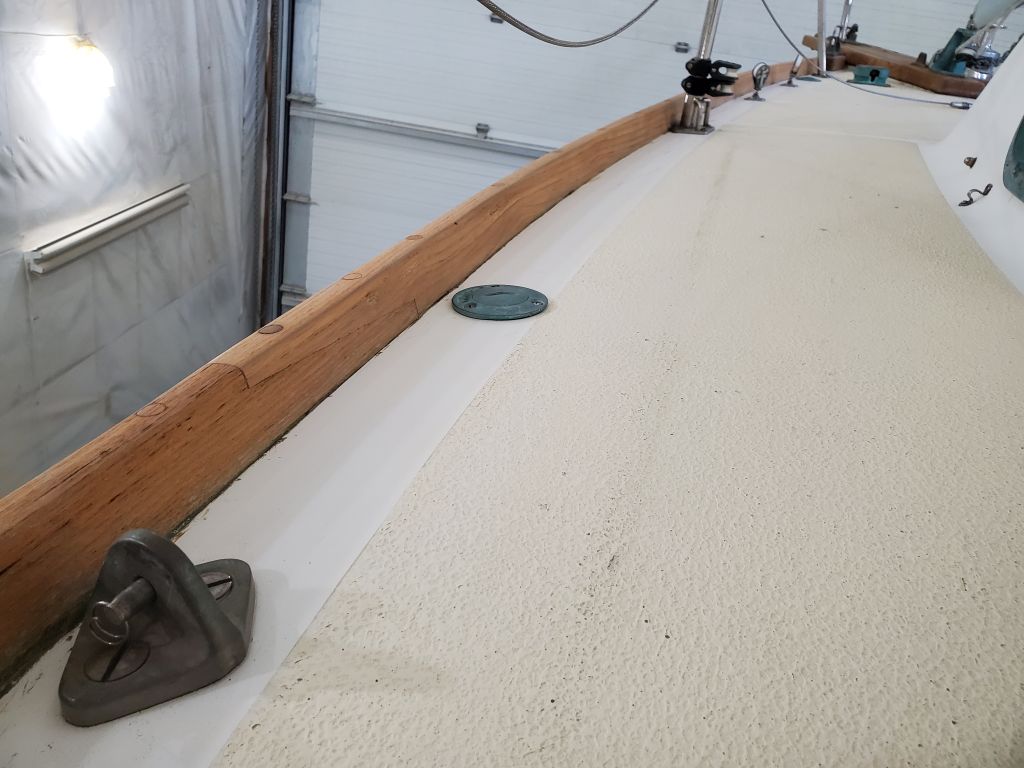
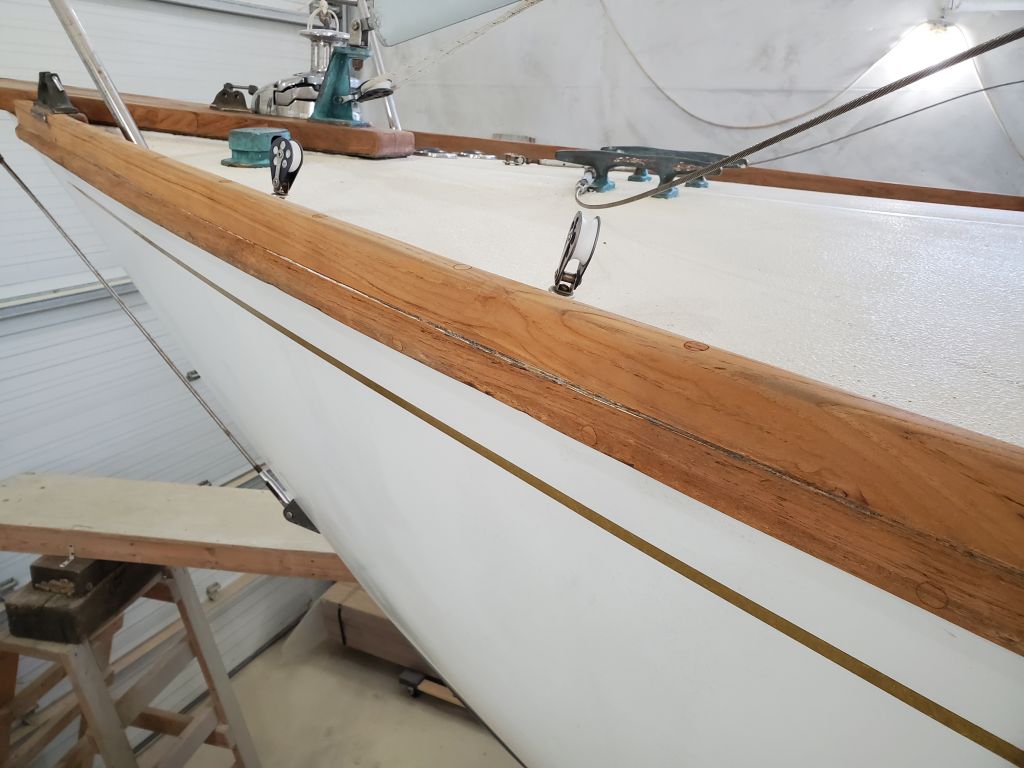
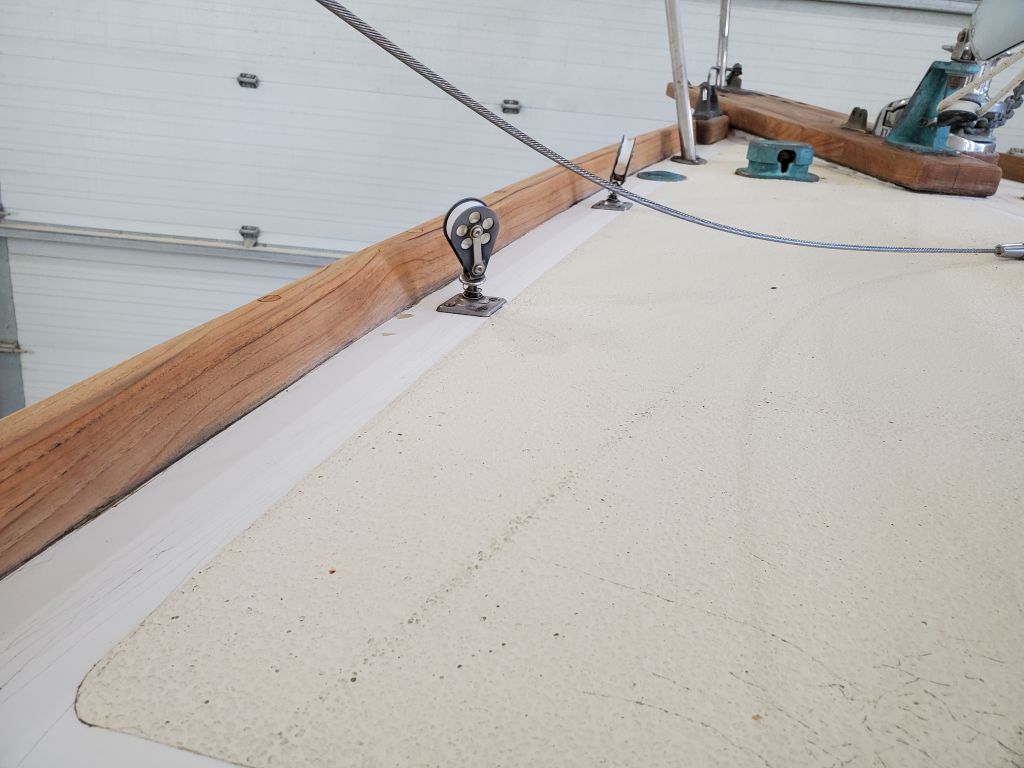
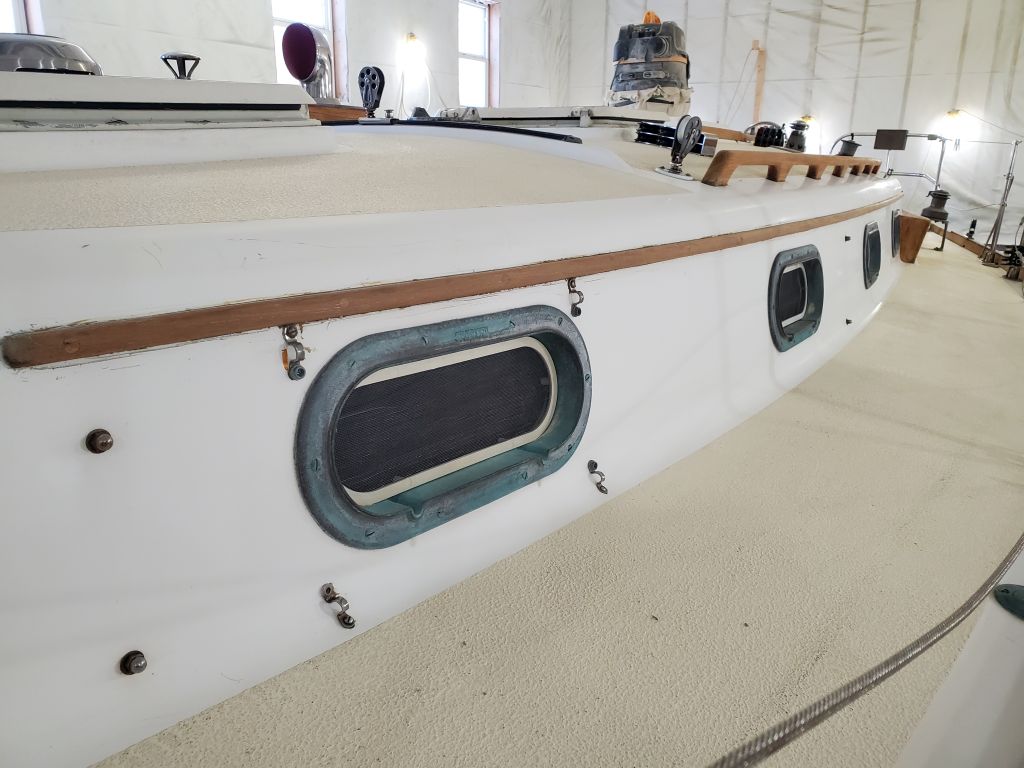
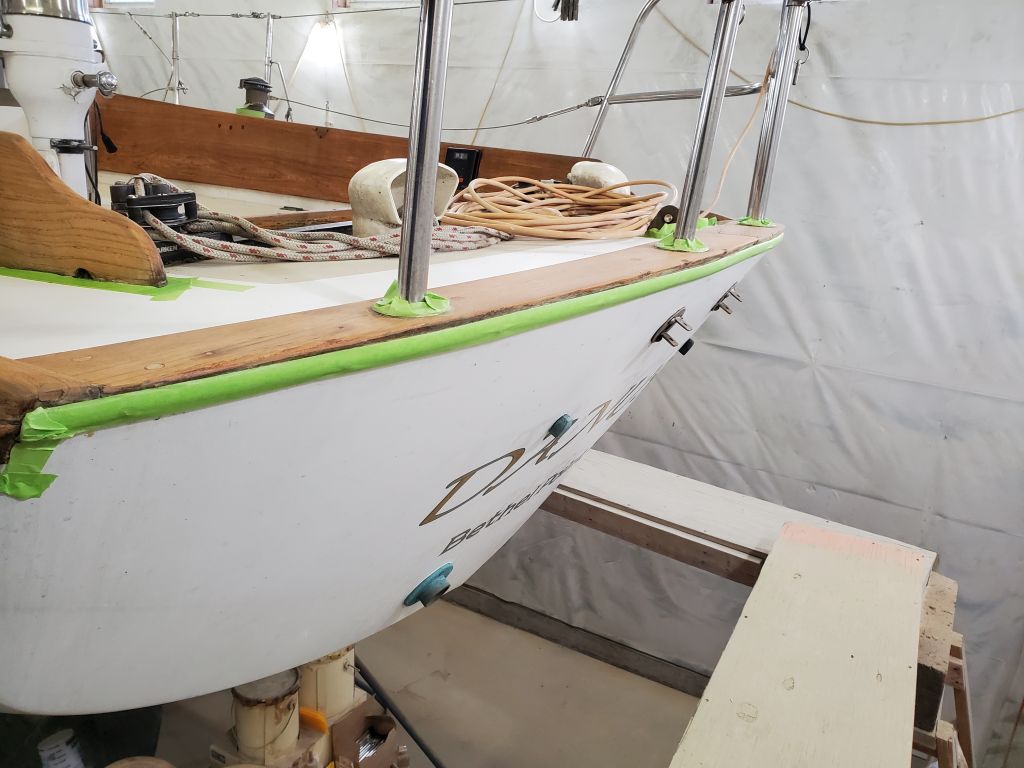
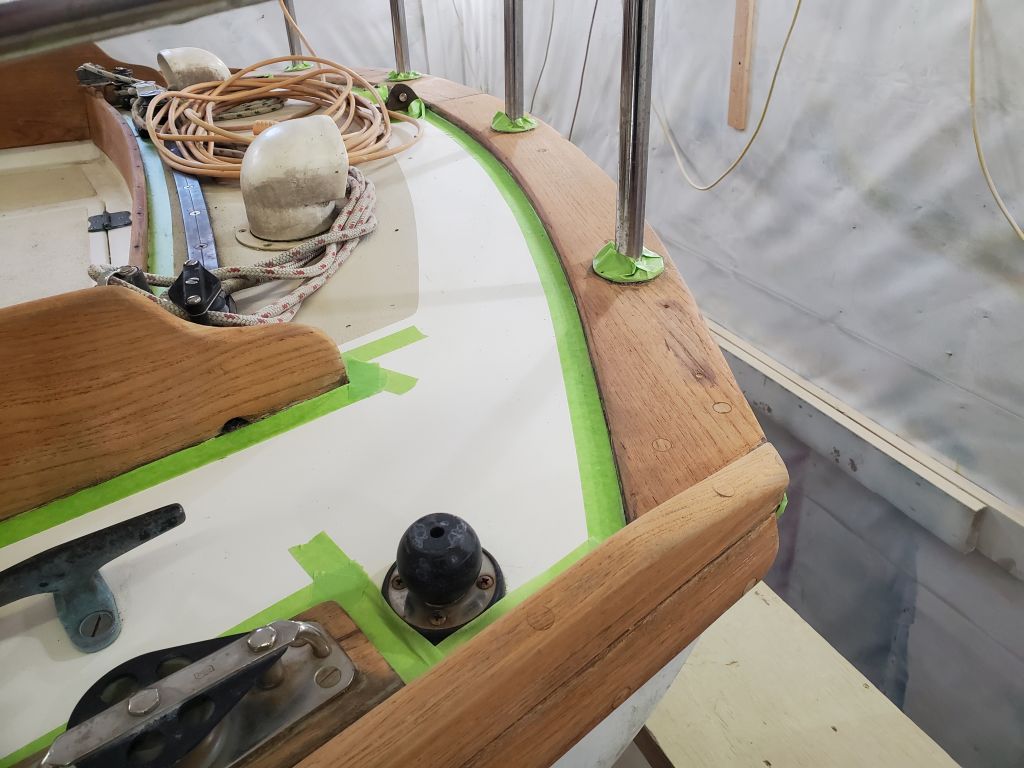
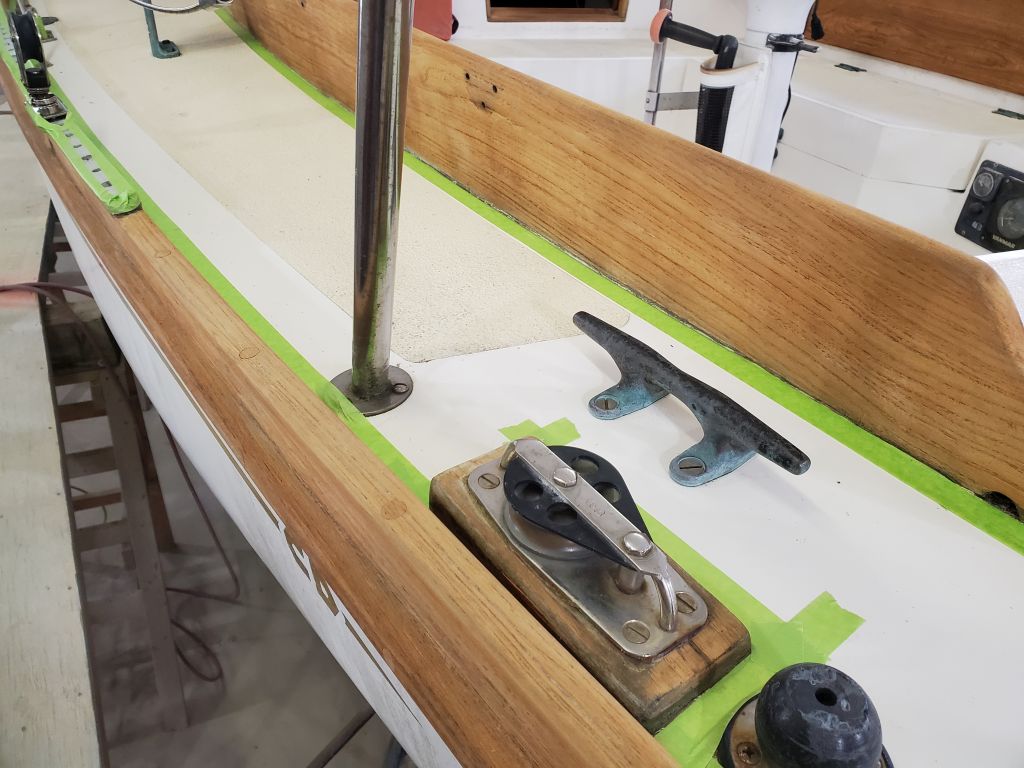
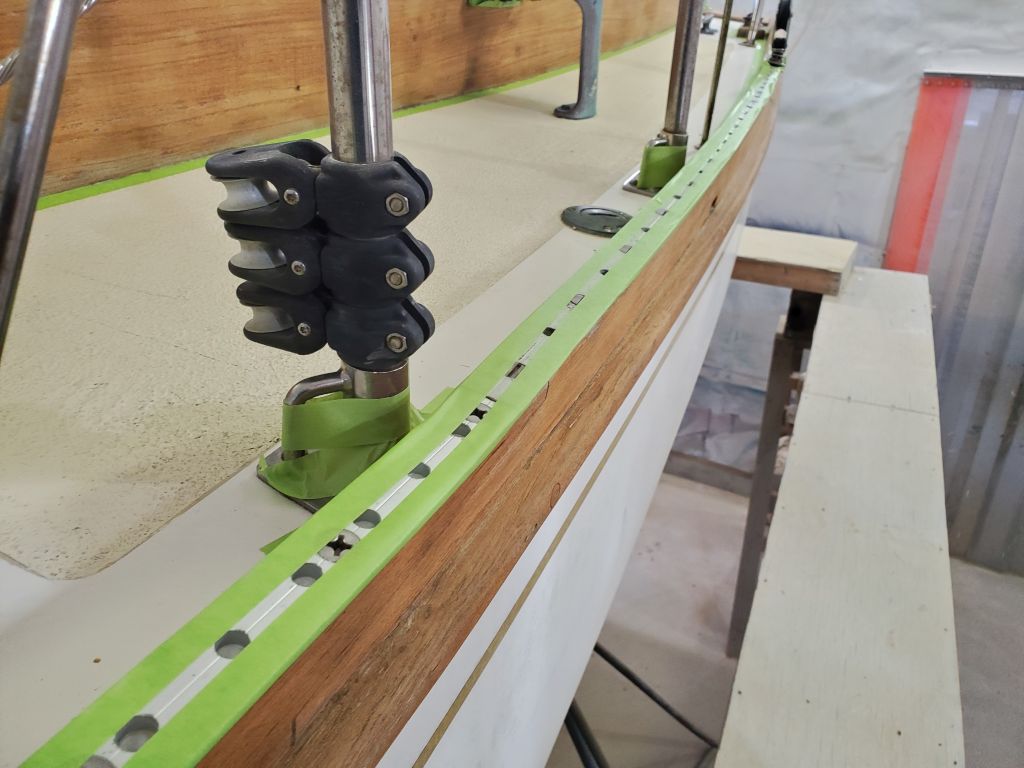
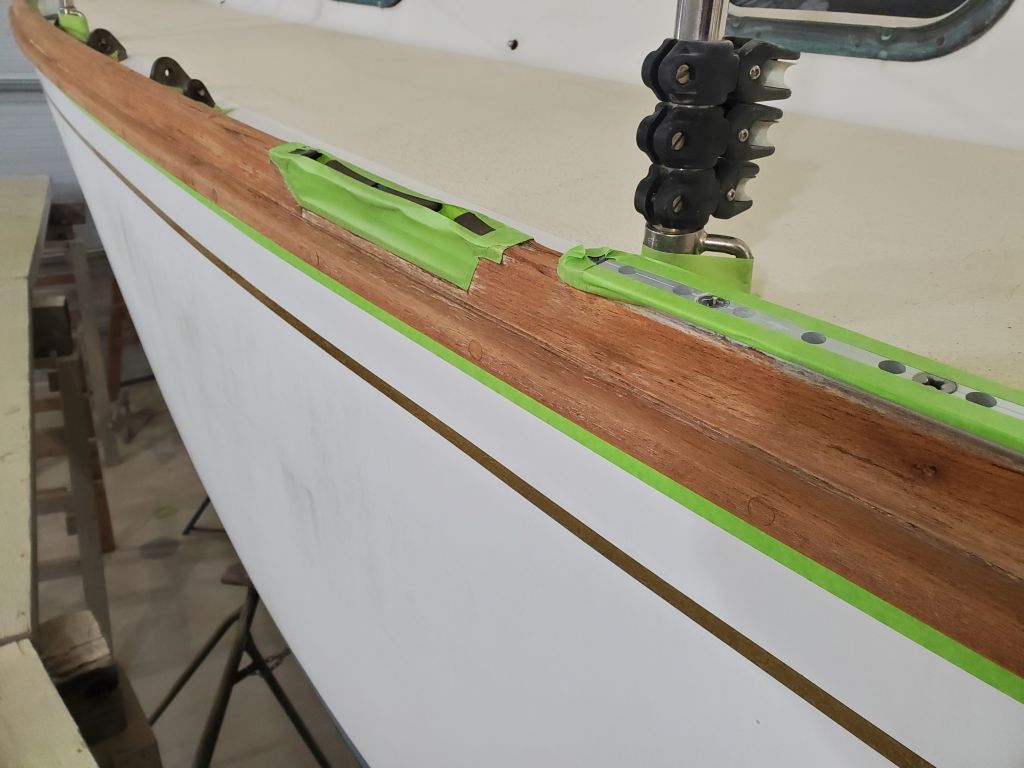
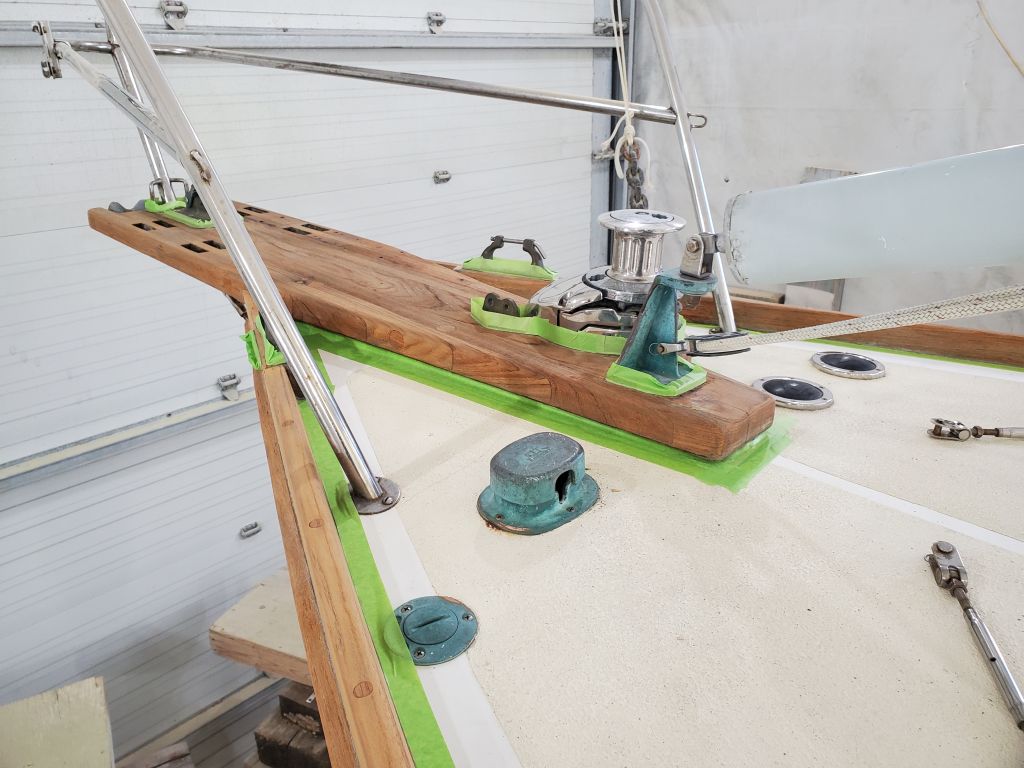
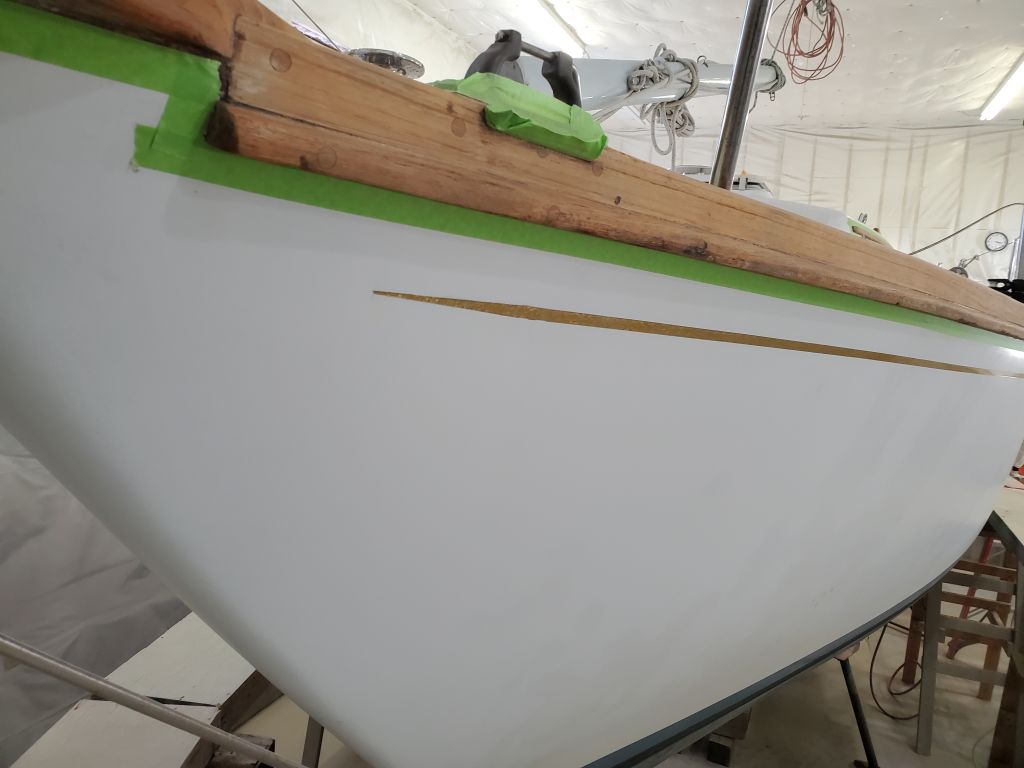
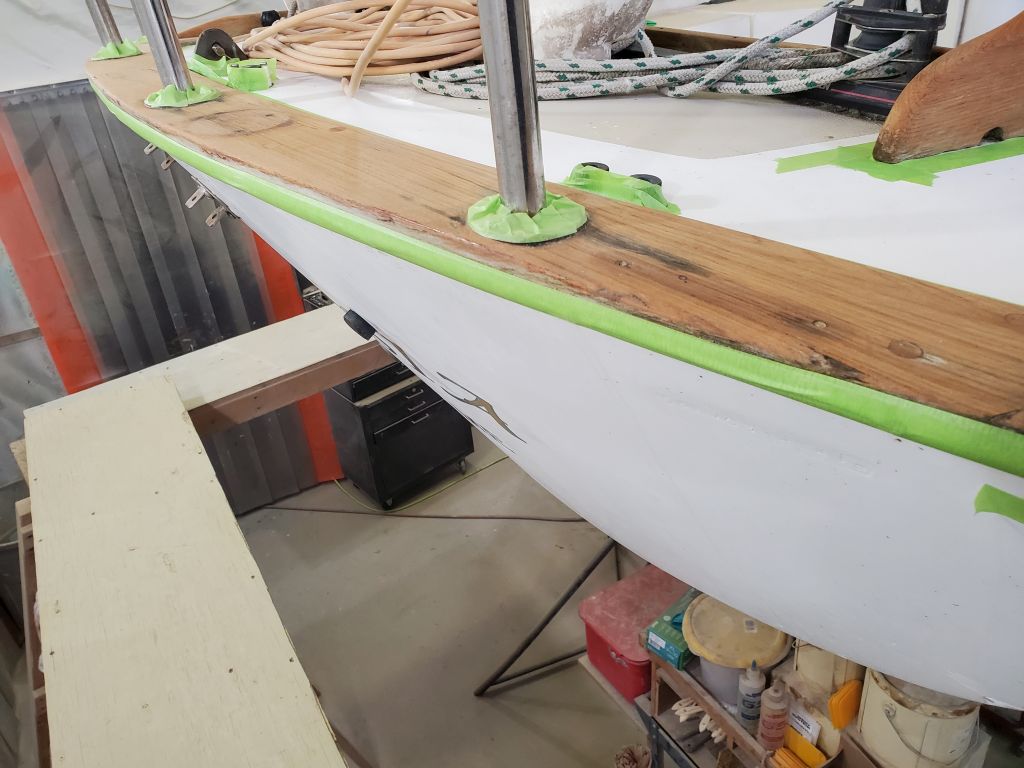
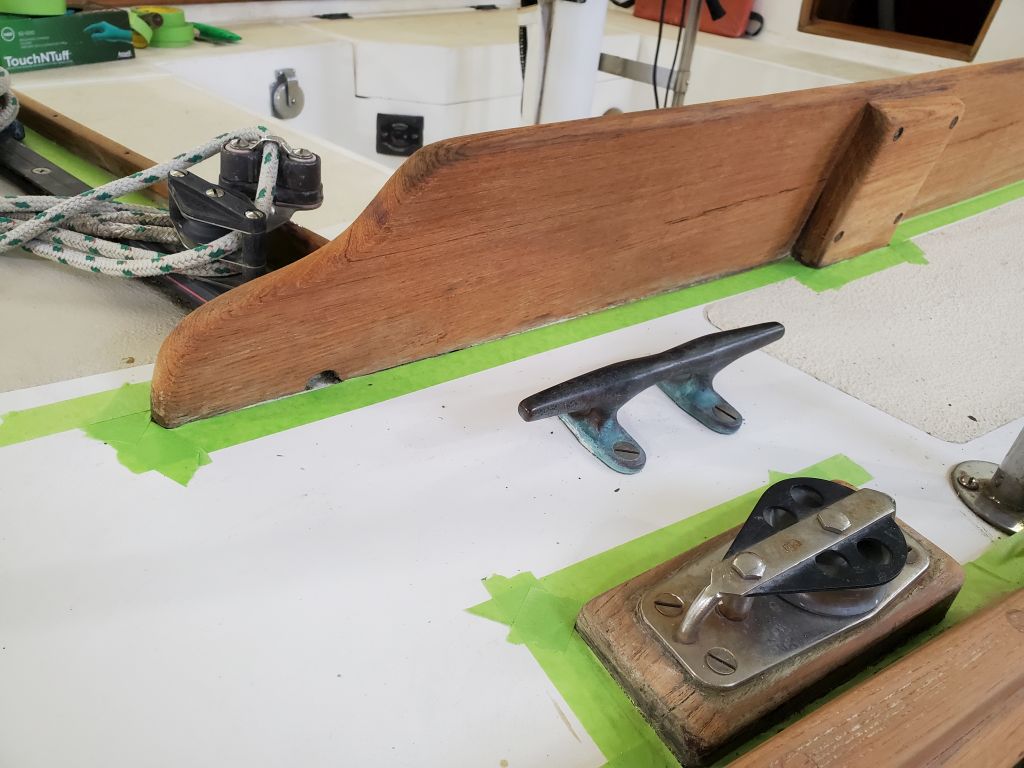
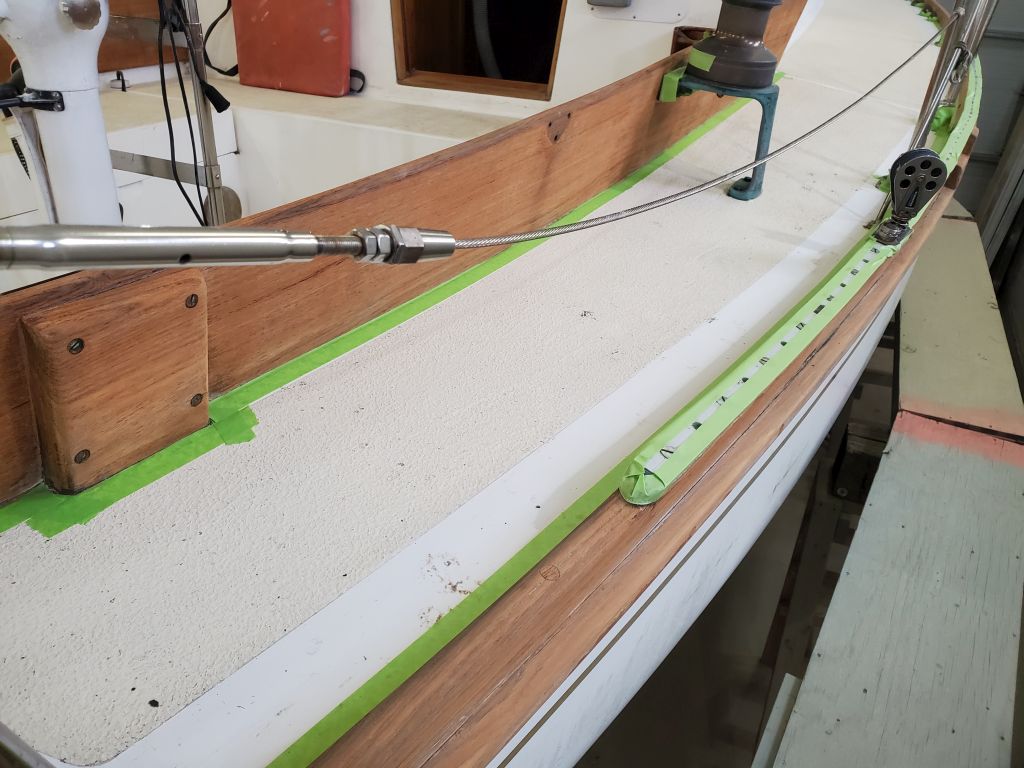
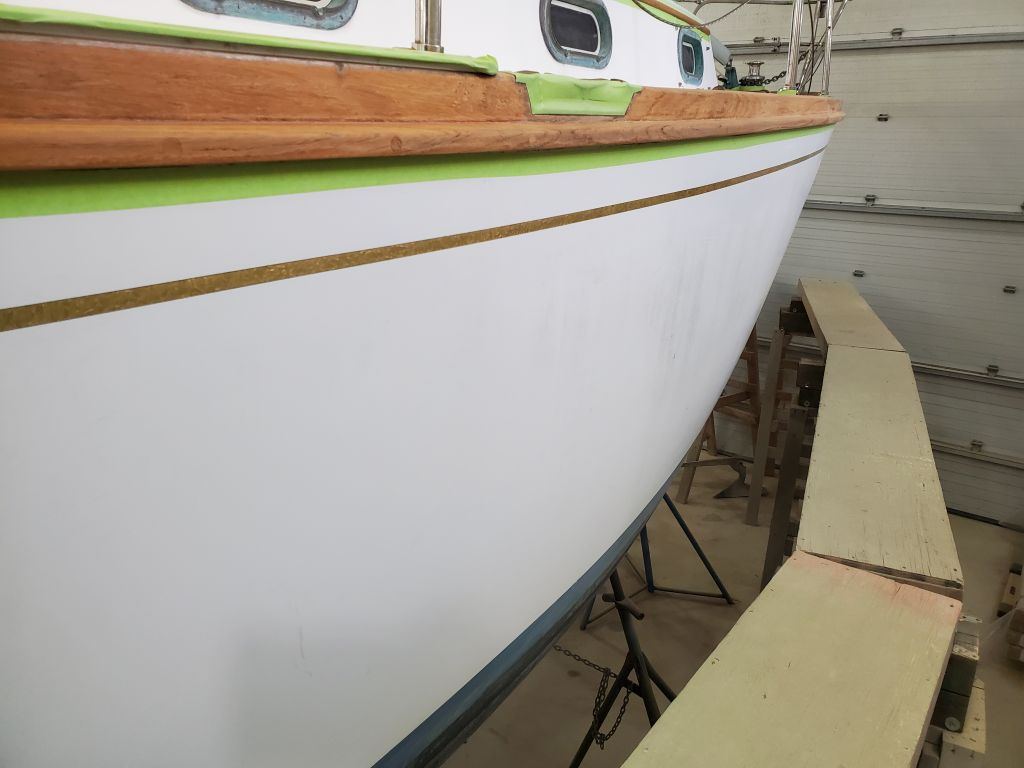
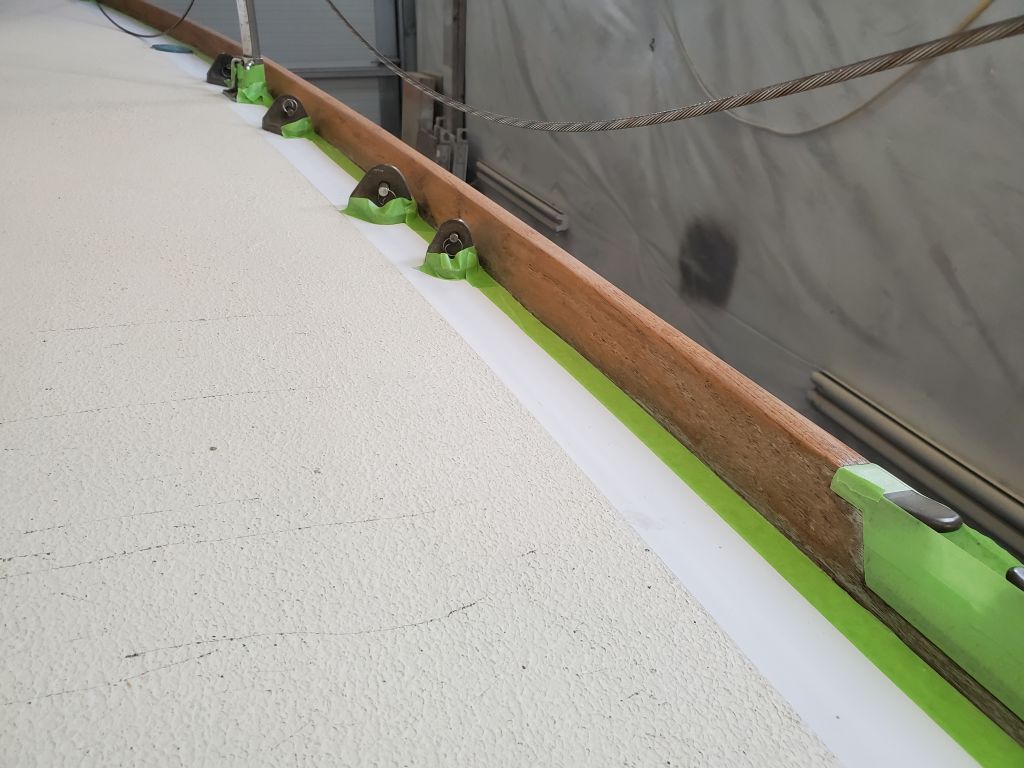
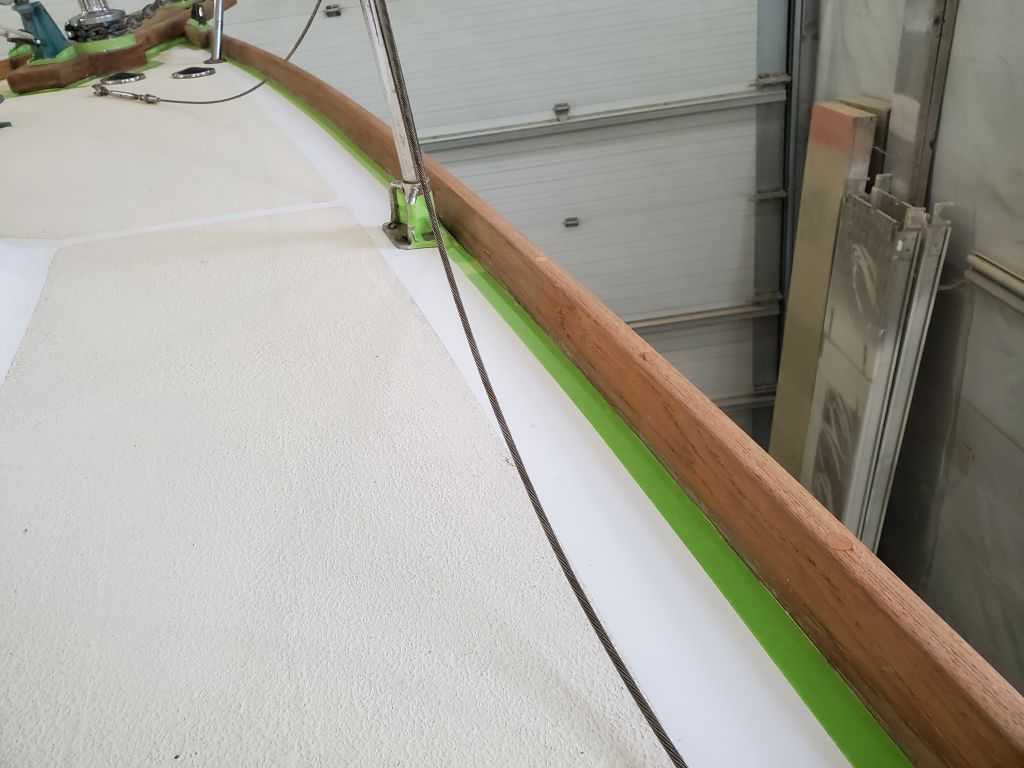
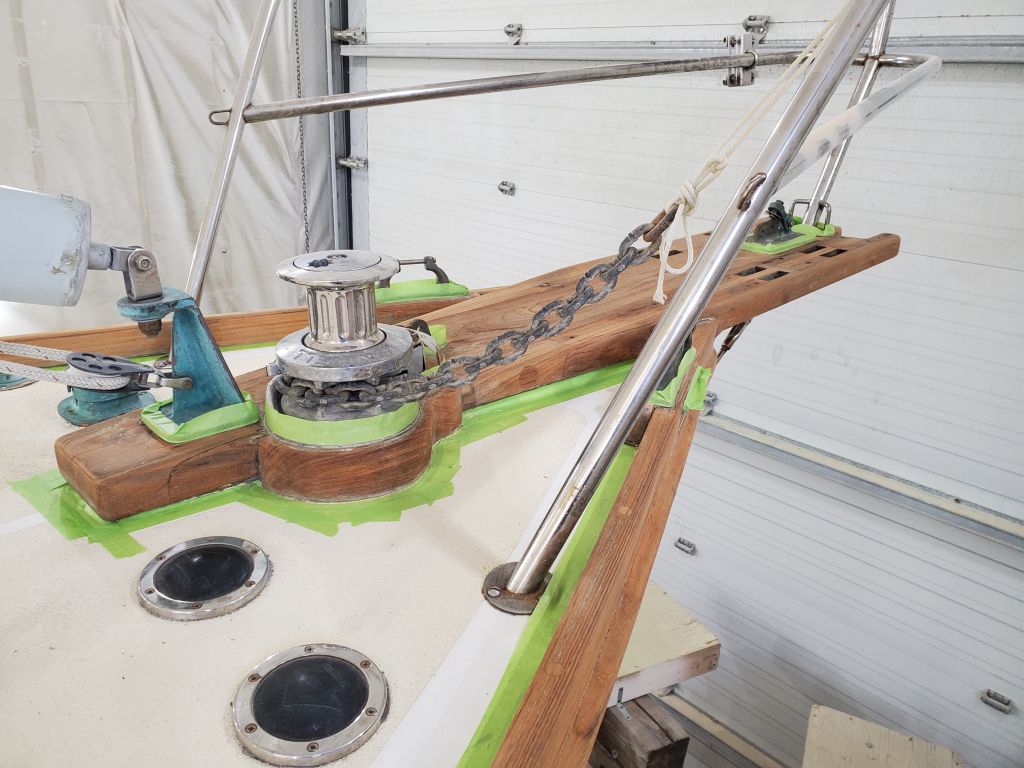
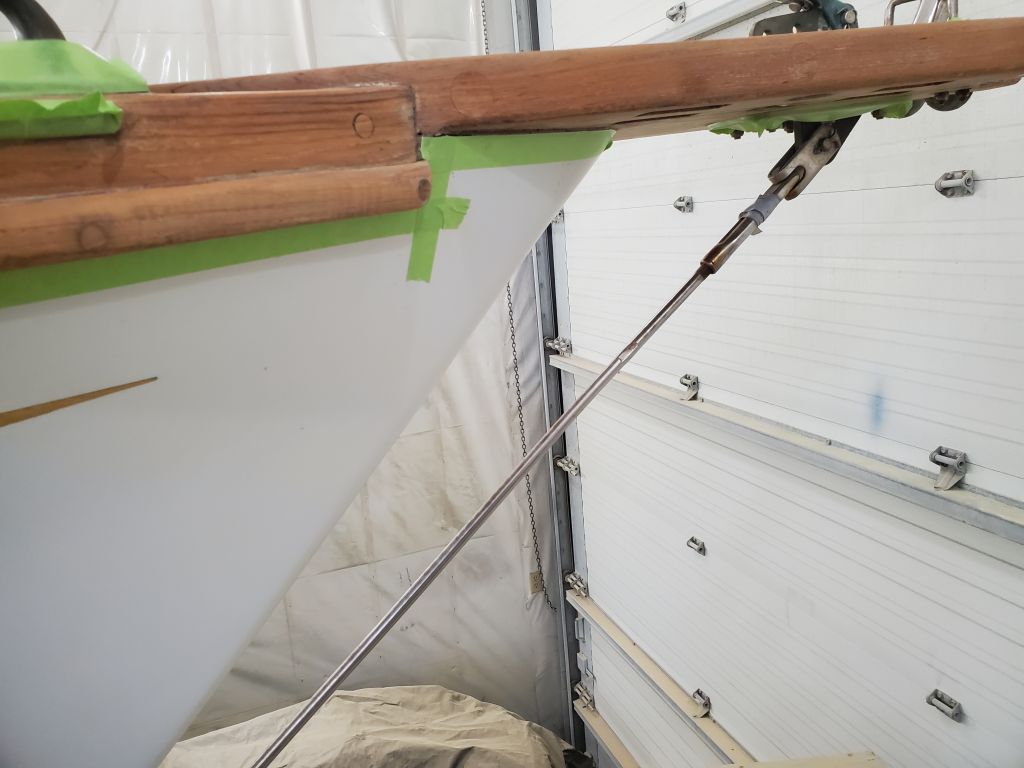
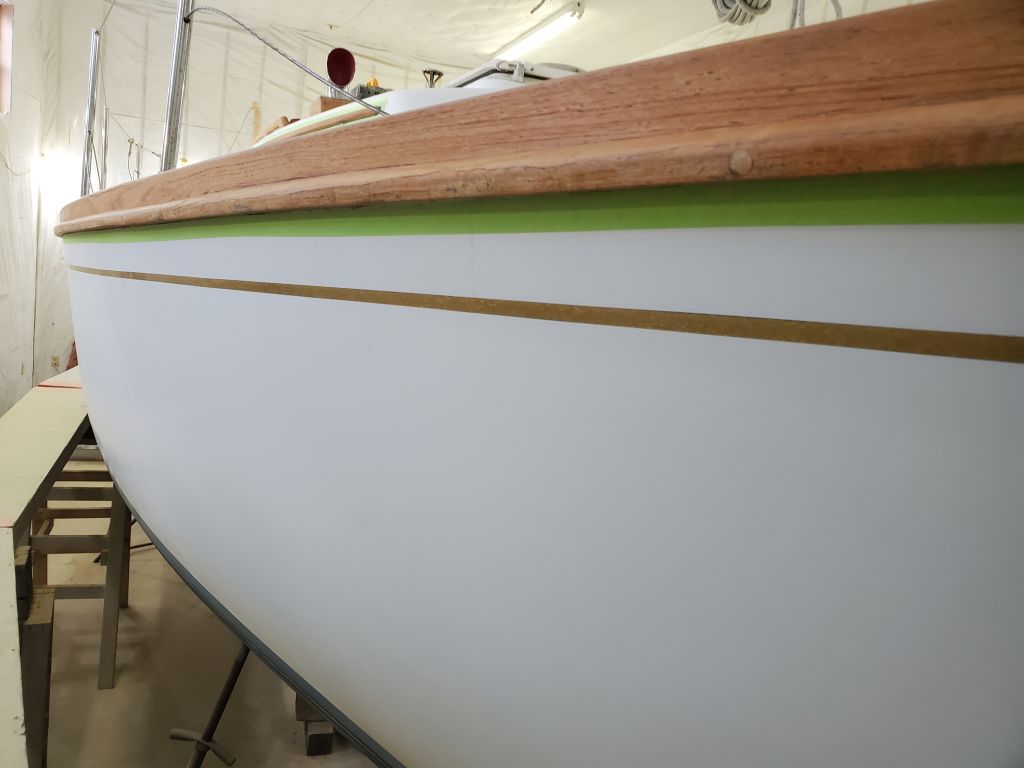
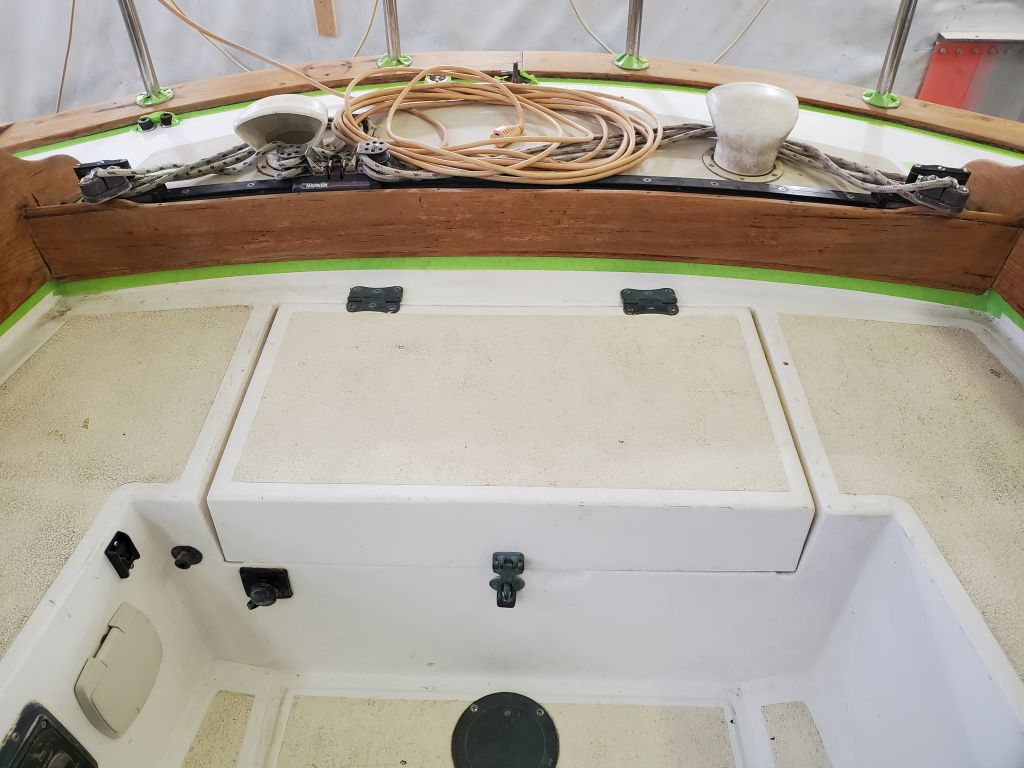
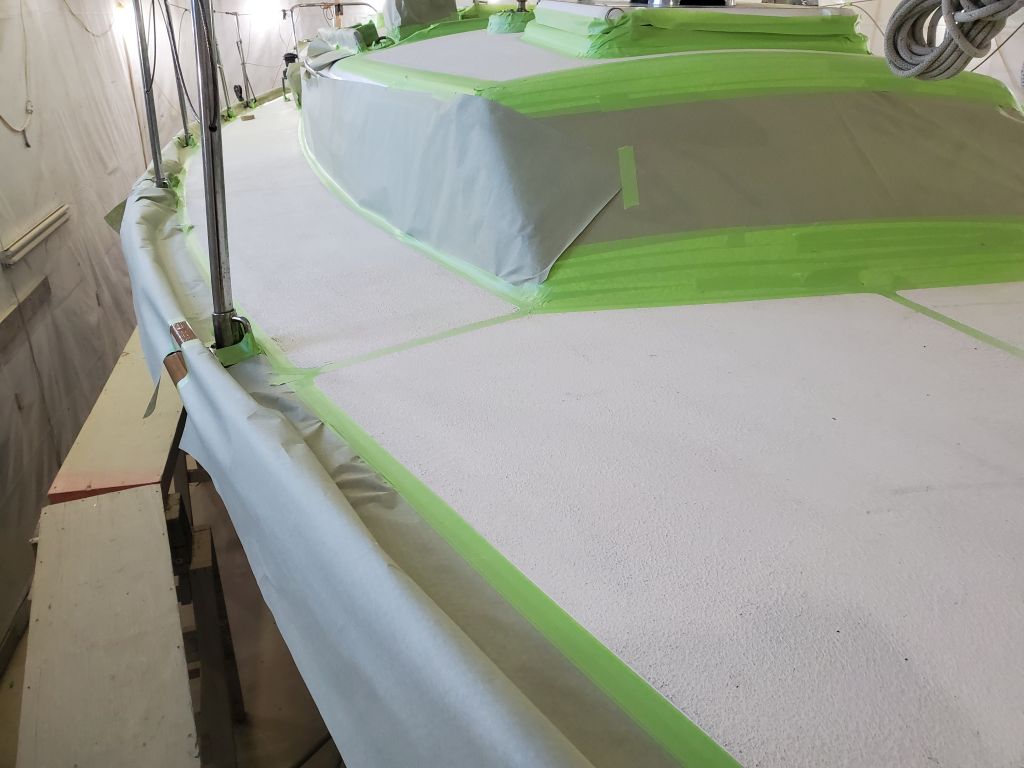
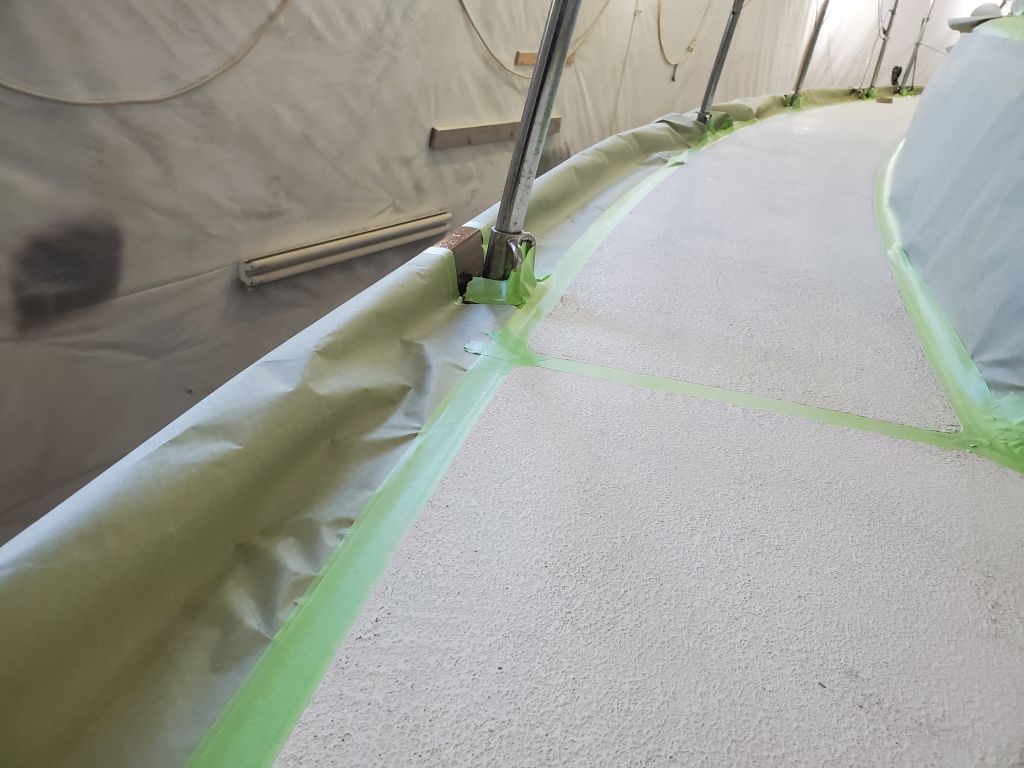
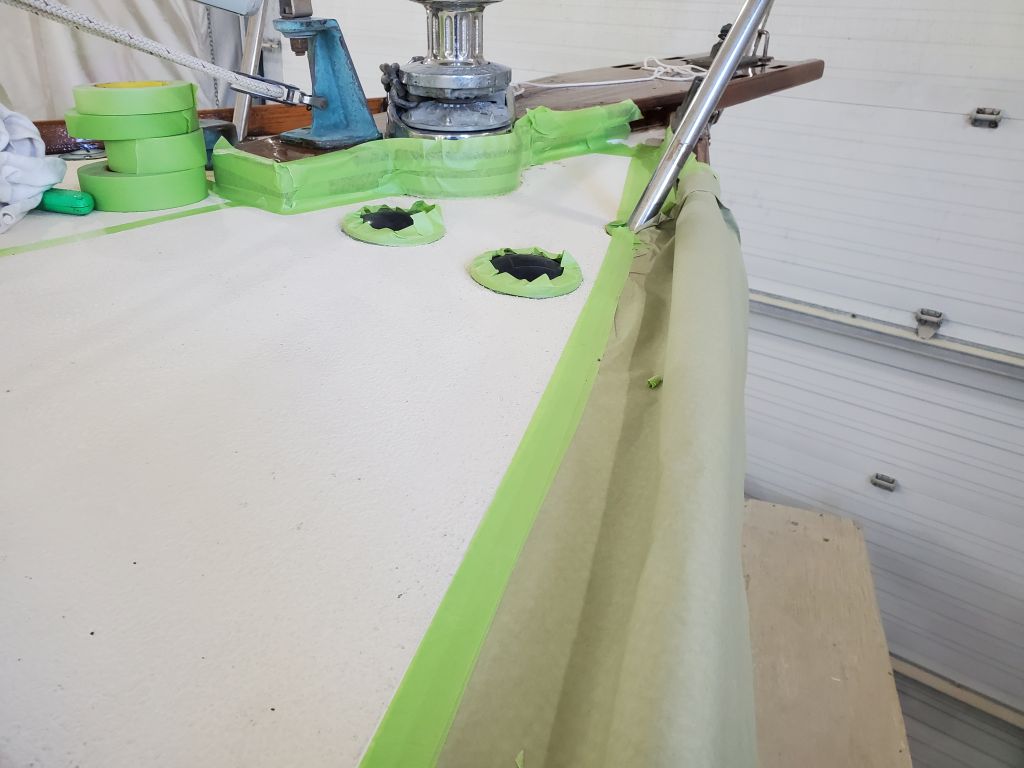
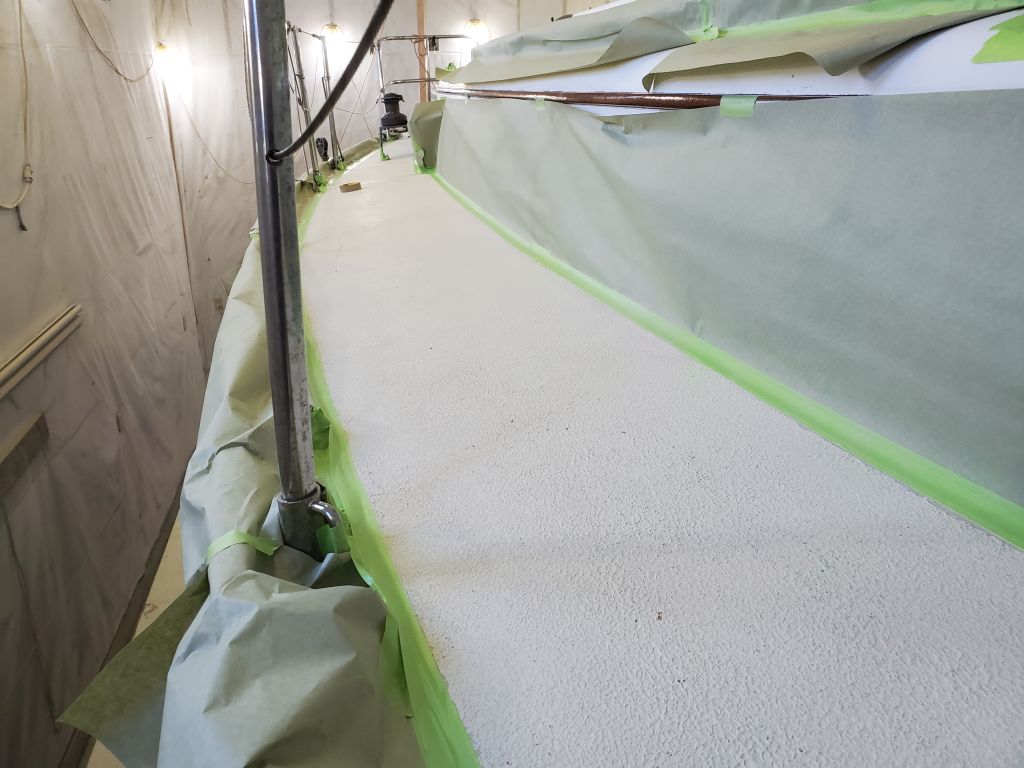
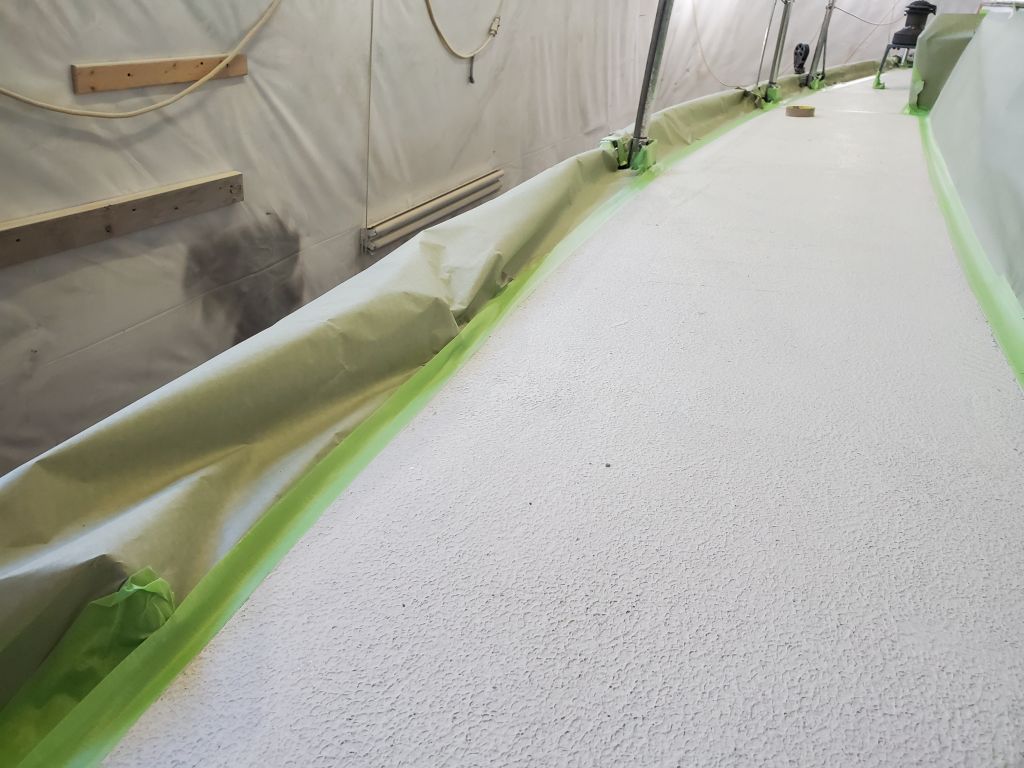
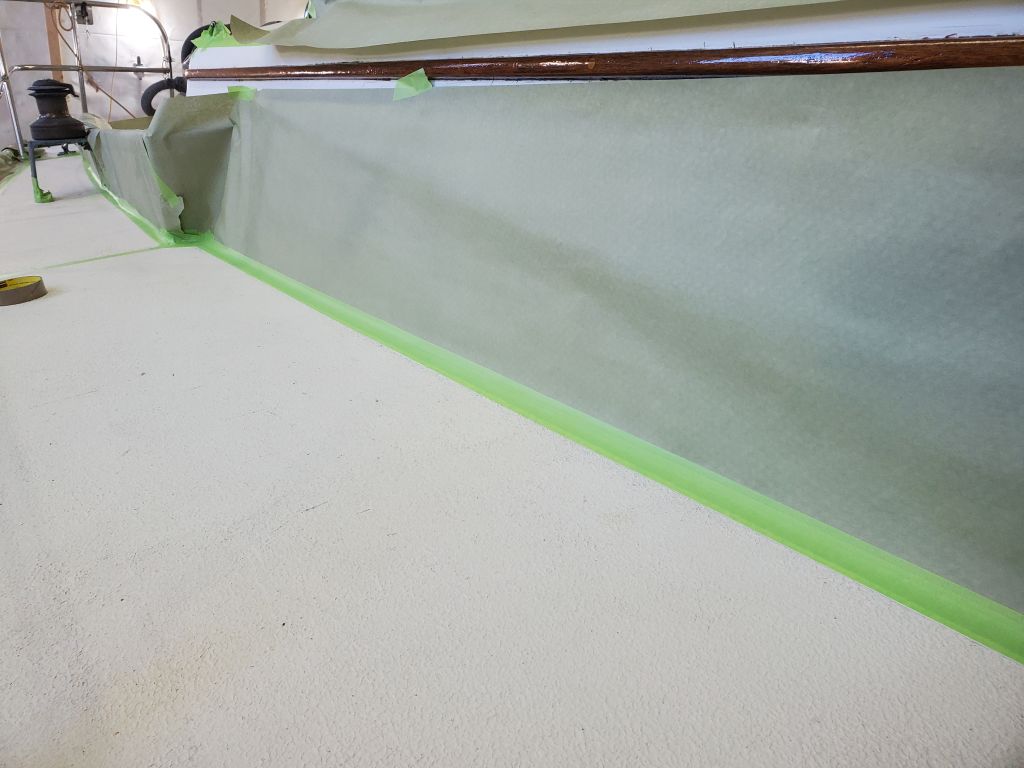
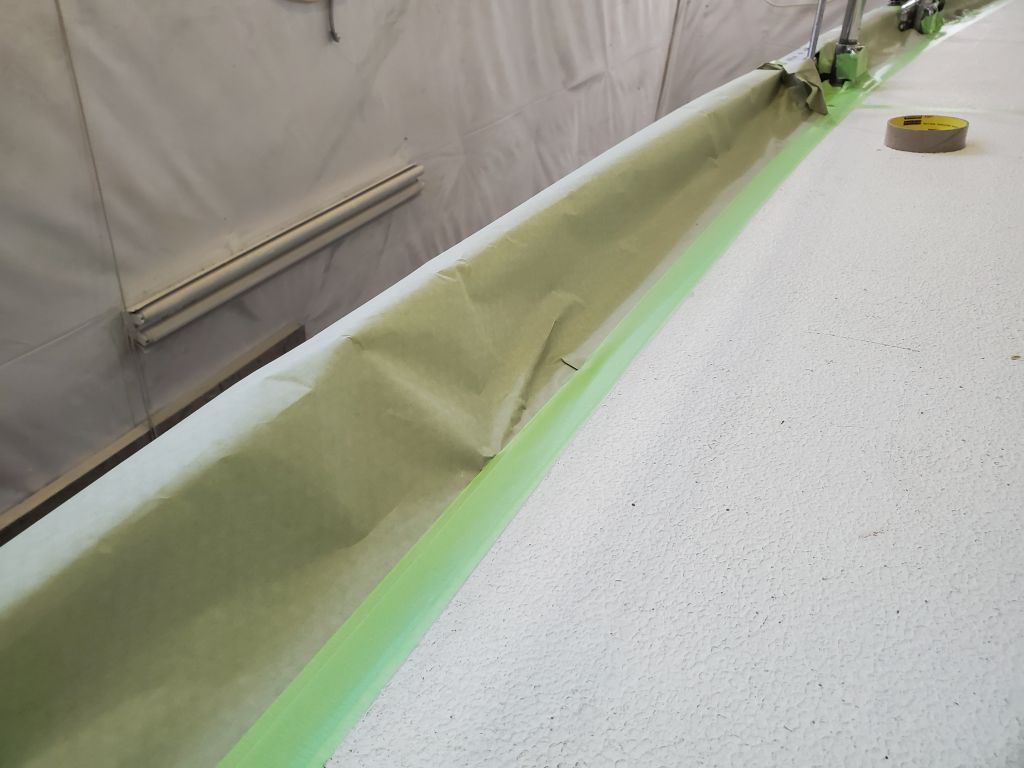
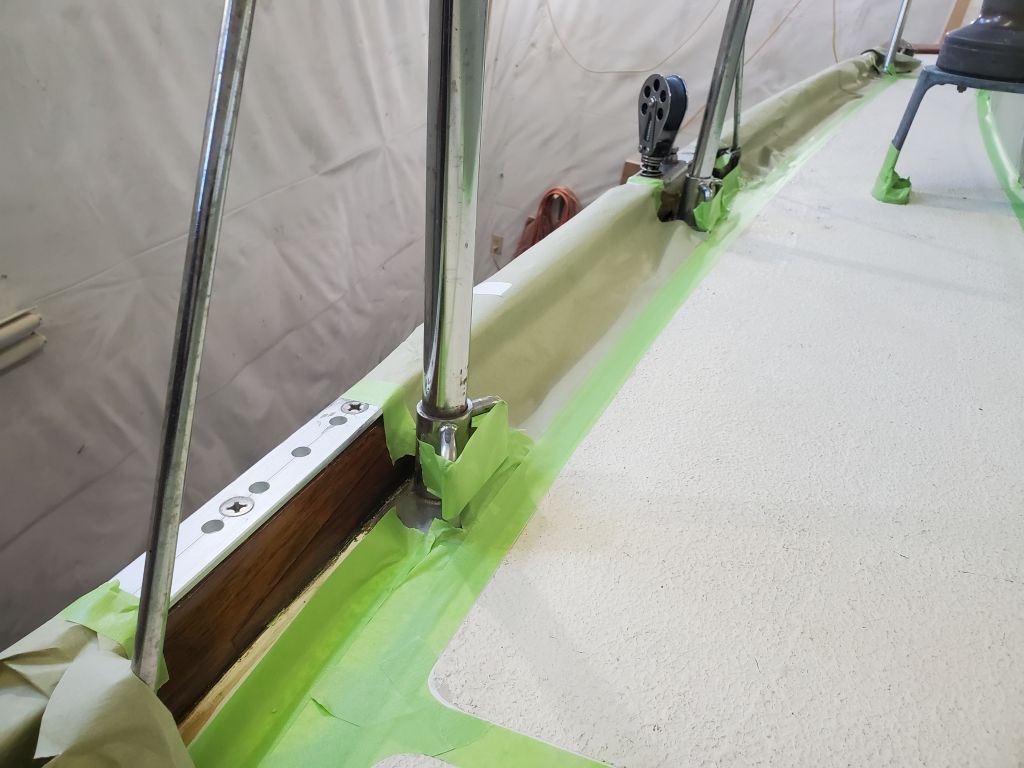
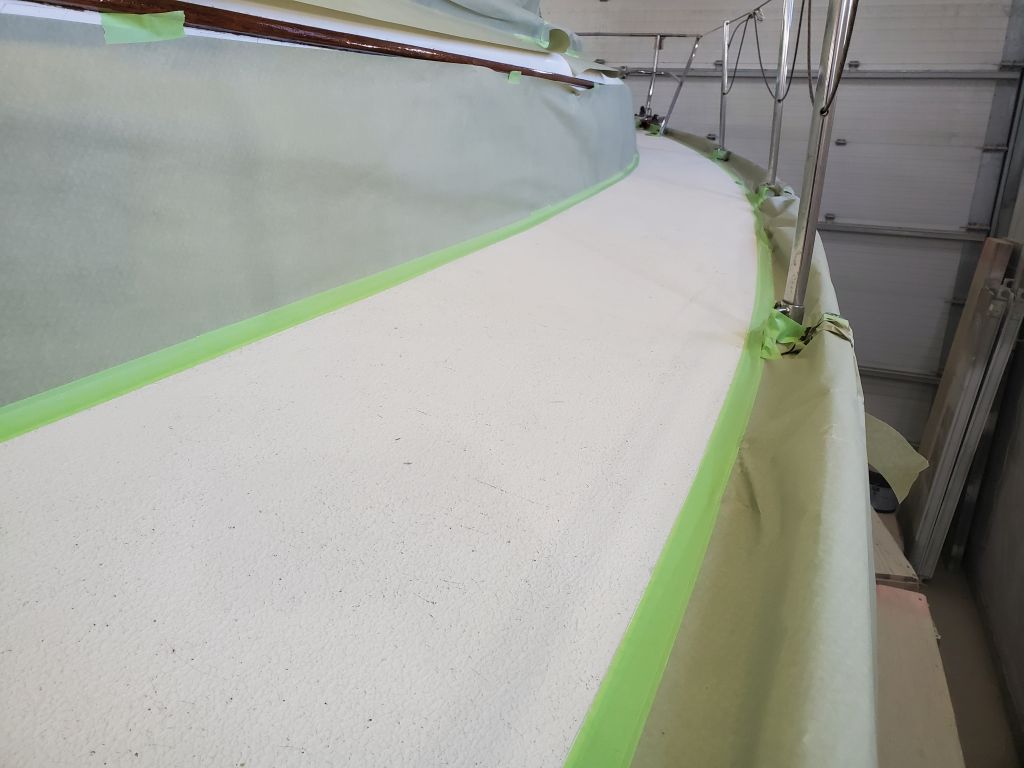
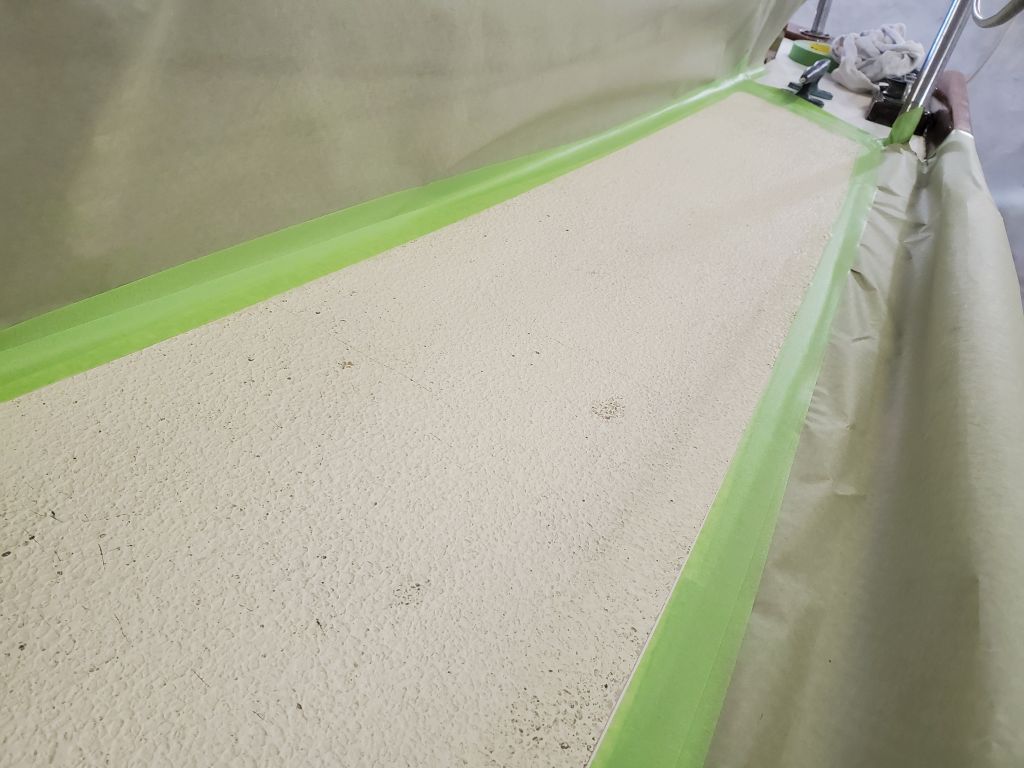
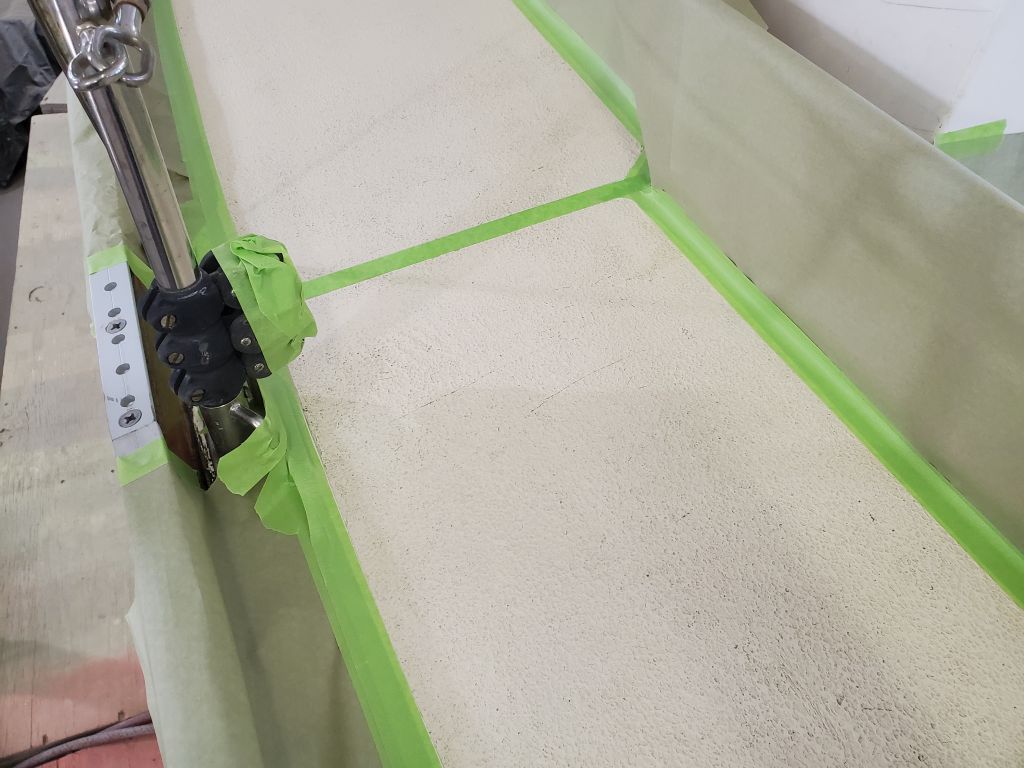
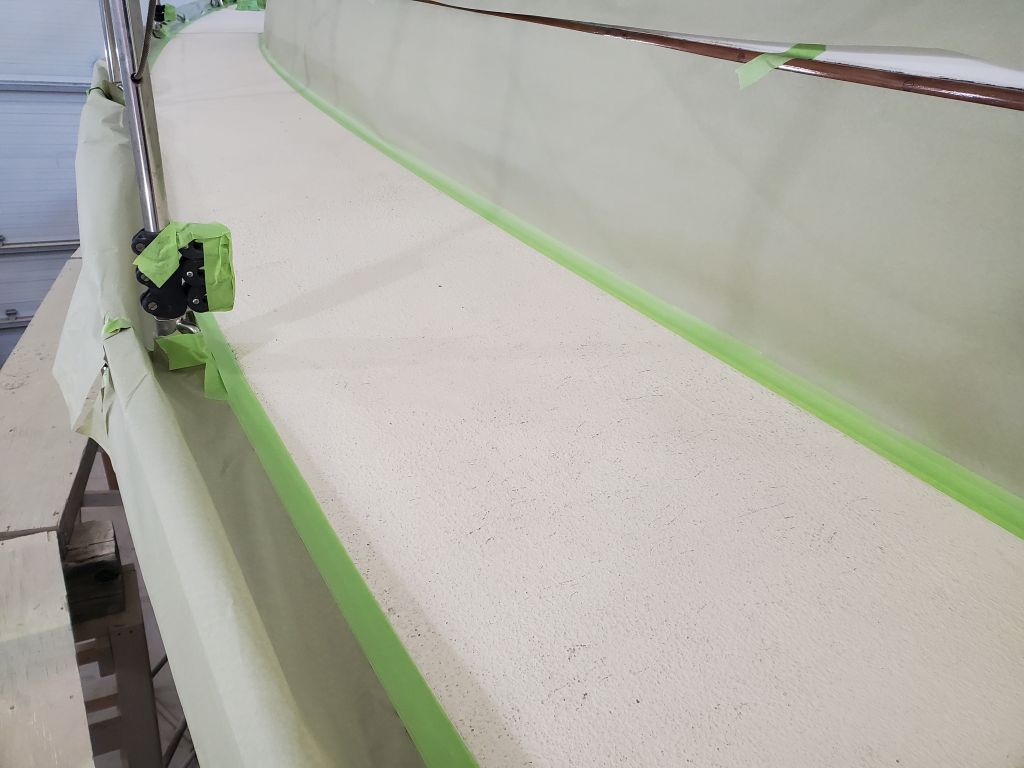
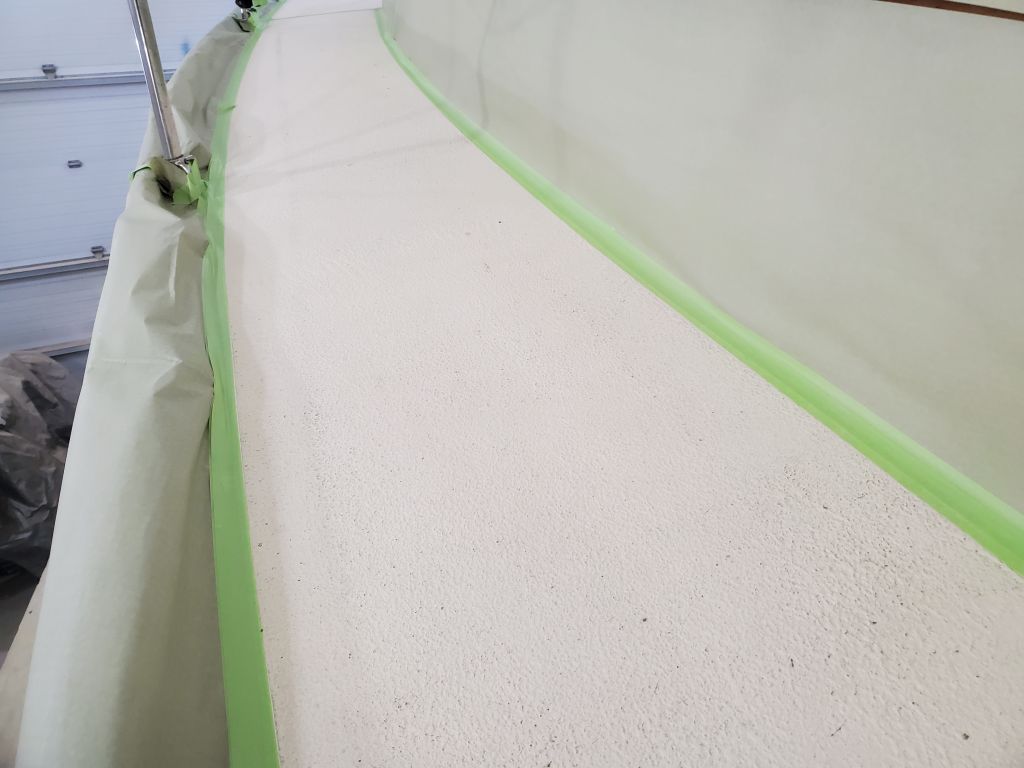
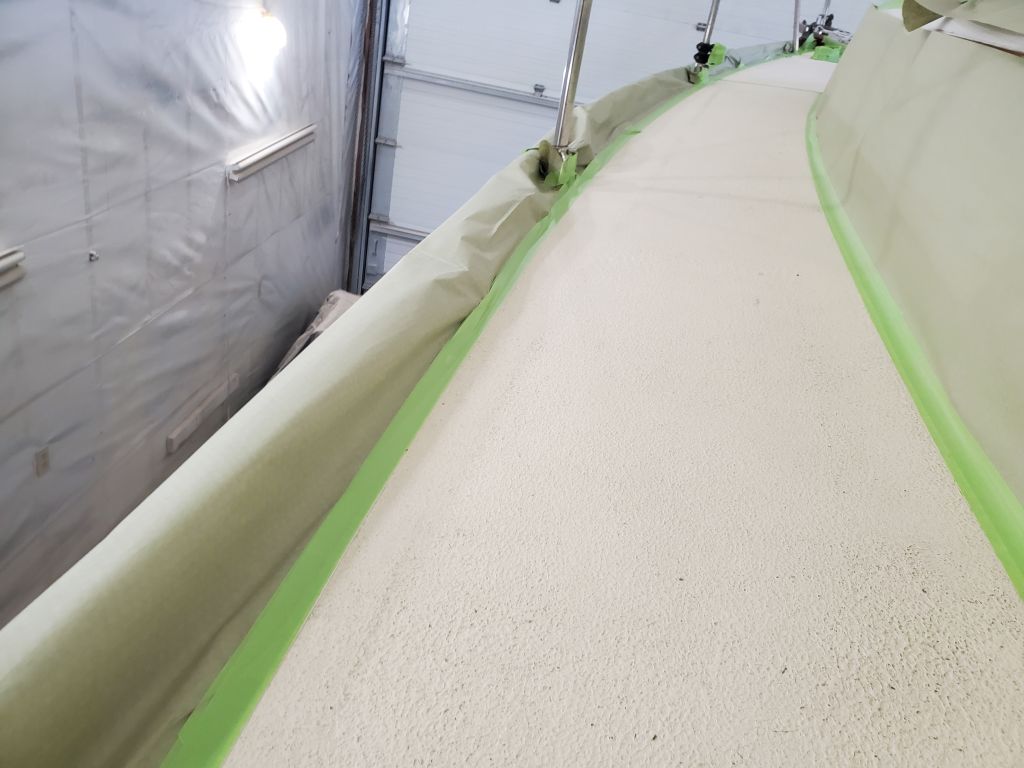
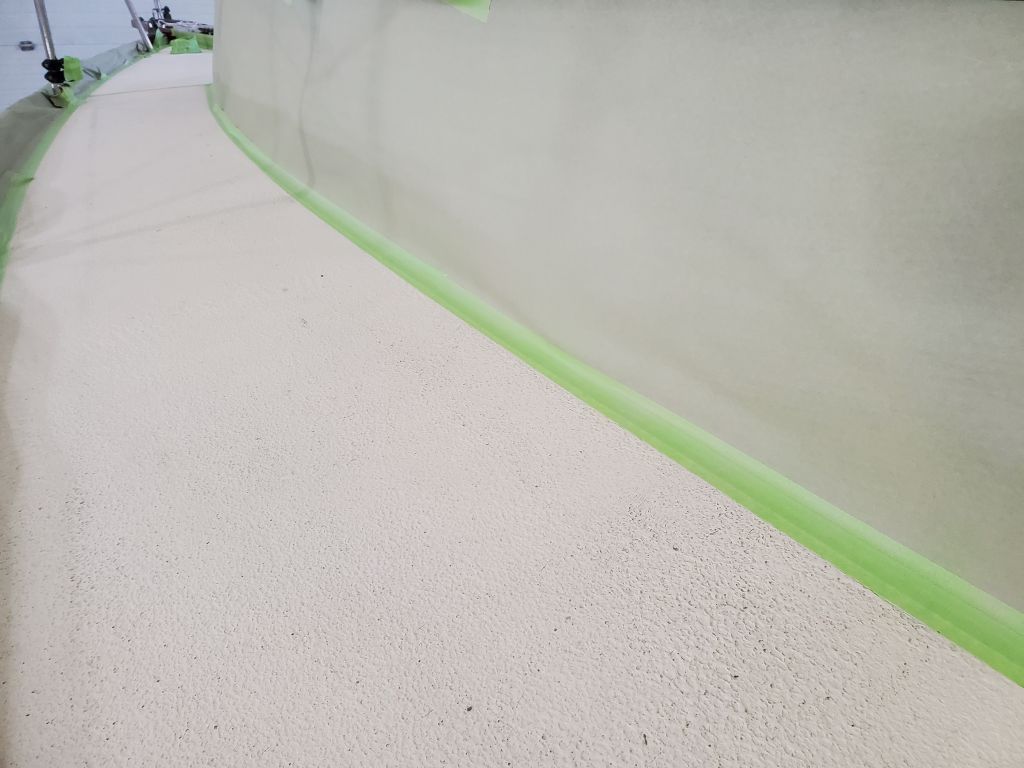
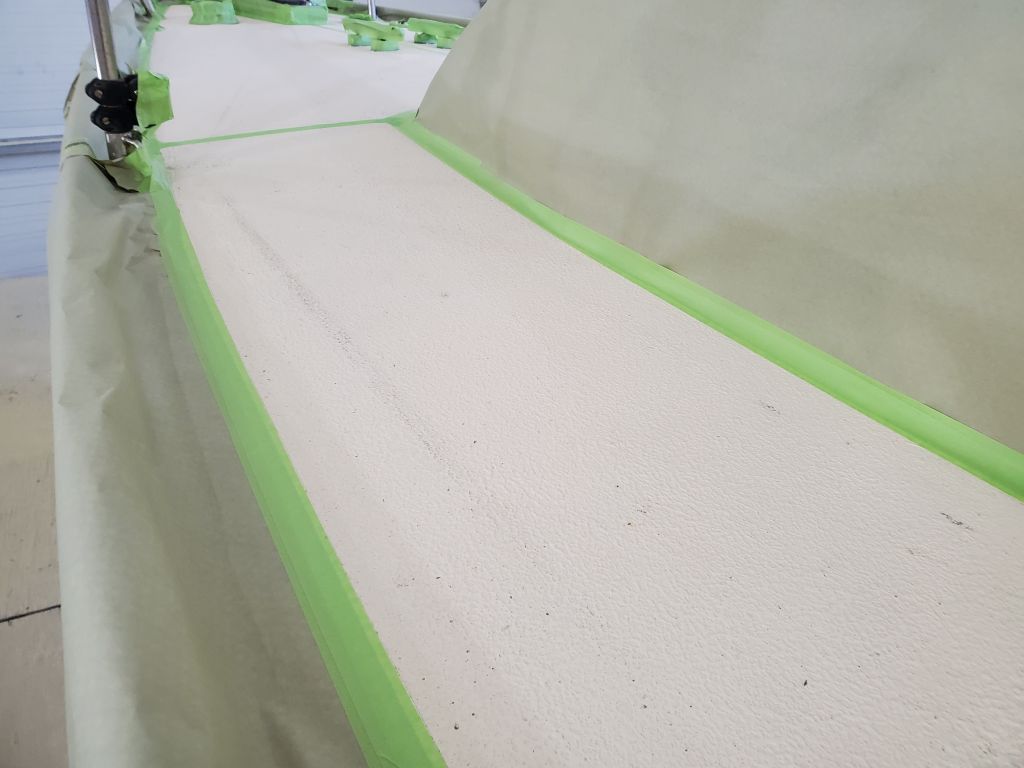
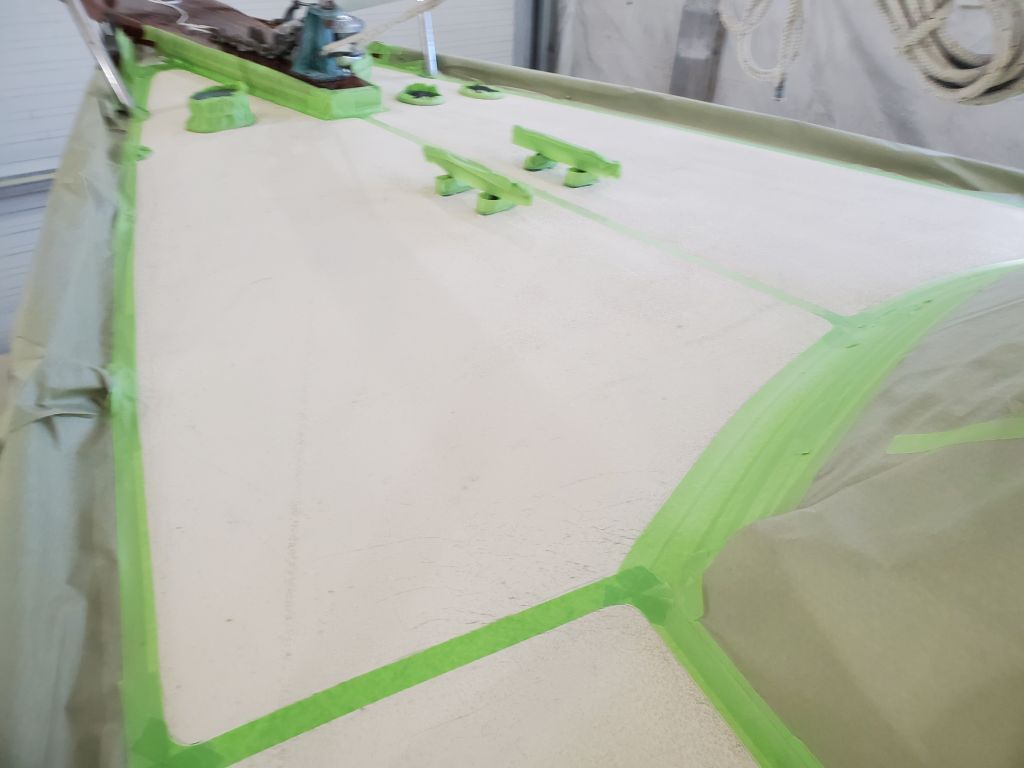
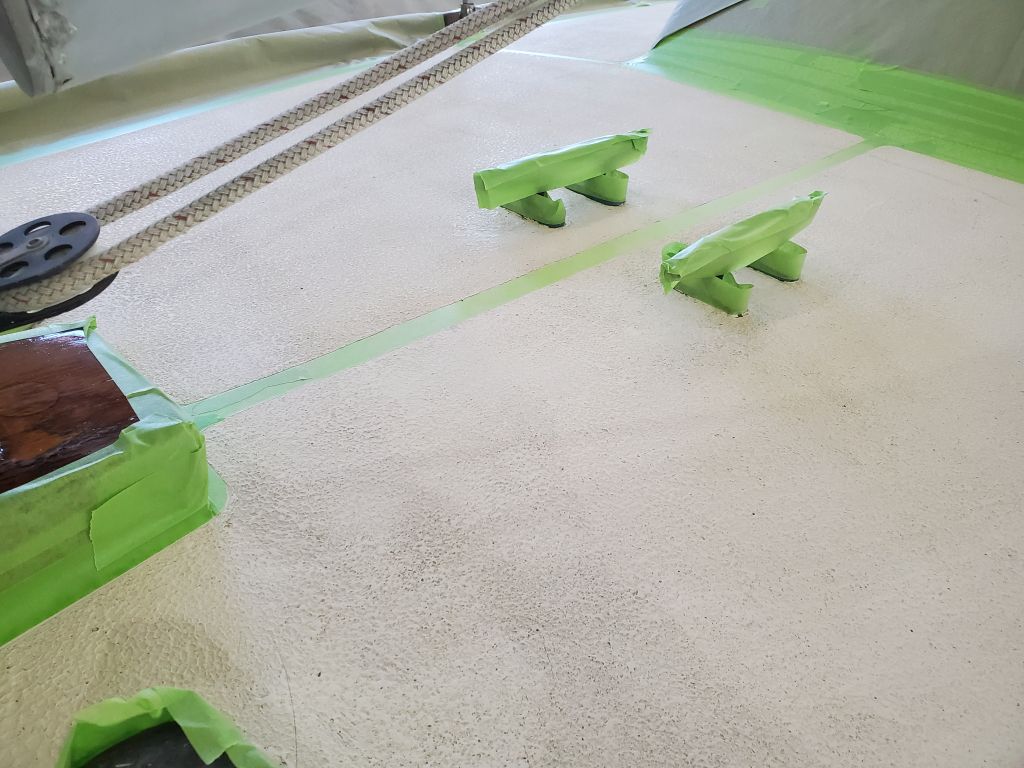
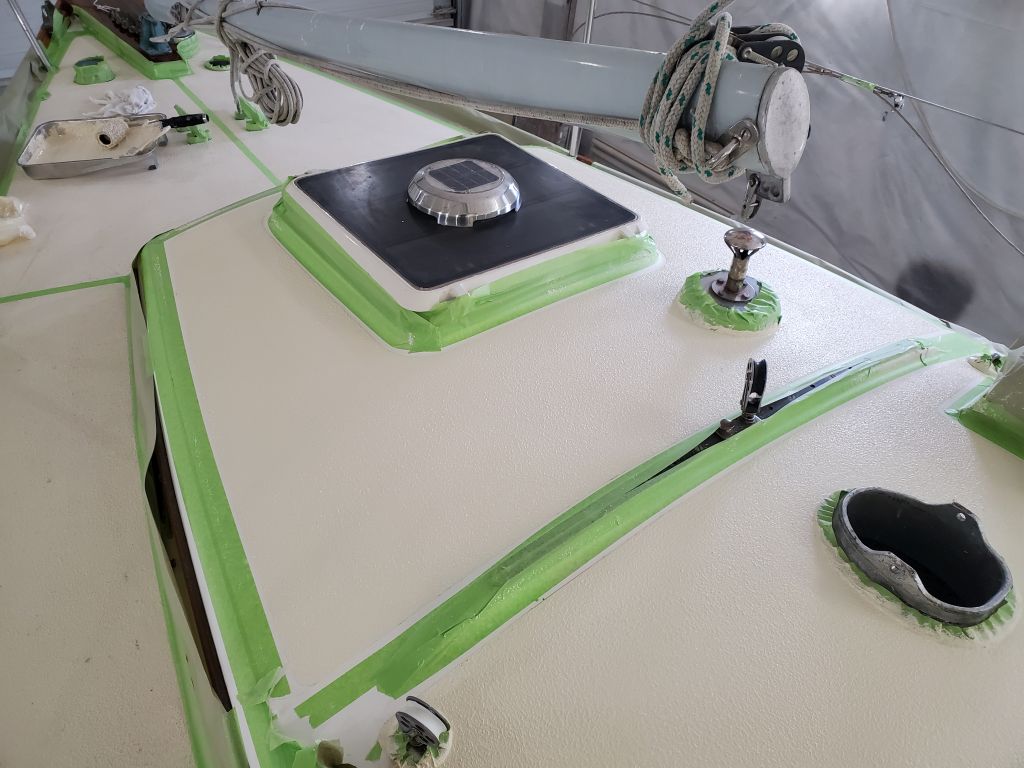
Working from the staging, I masked the sidedecks and foredeck, using paper to protect the cabin trunk and toerails.

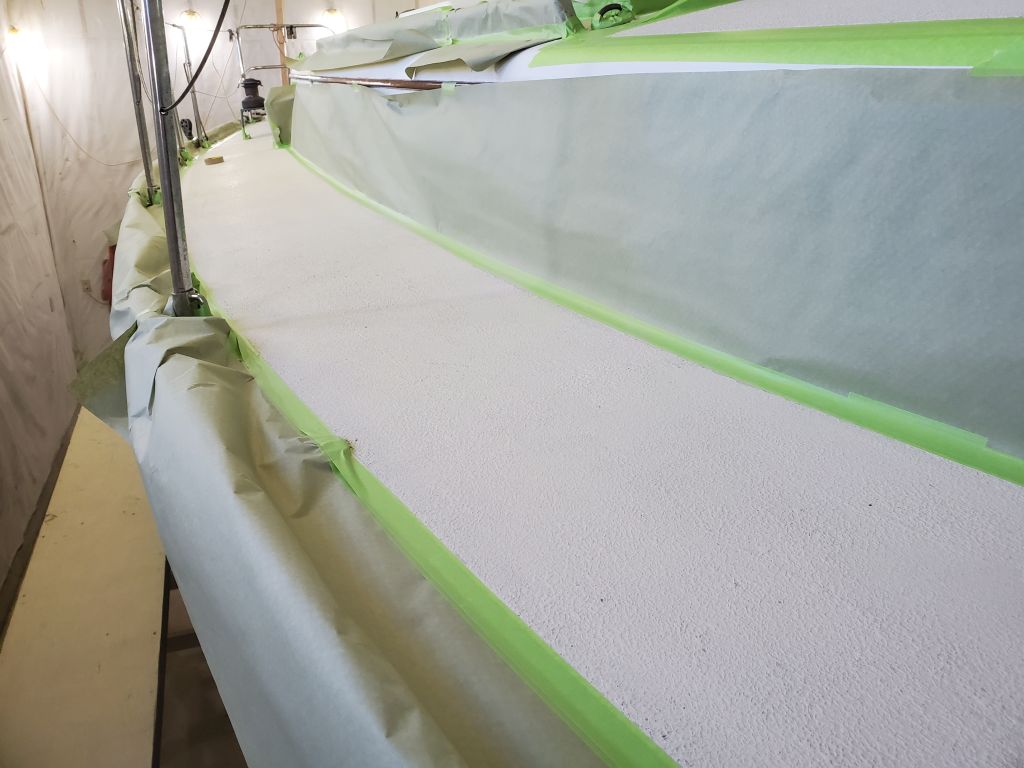
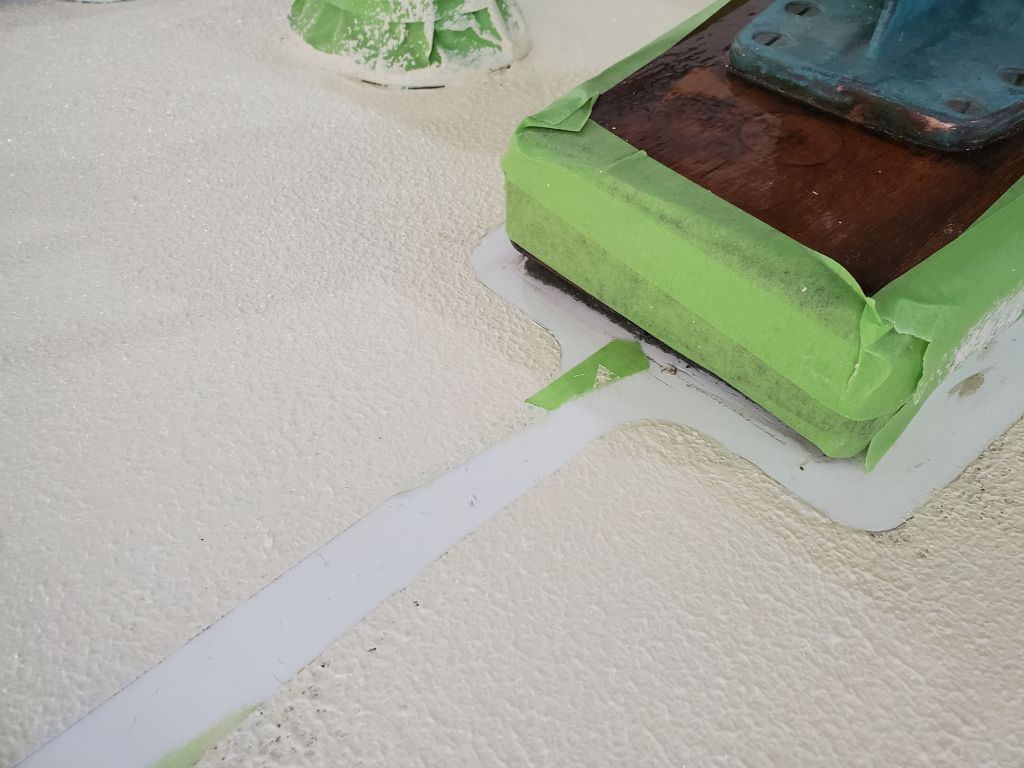
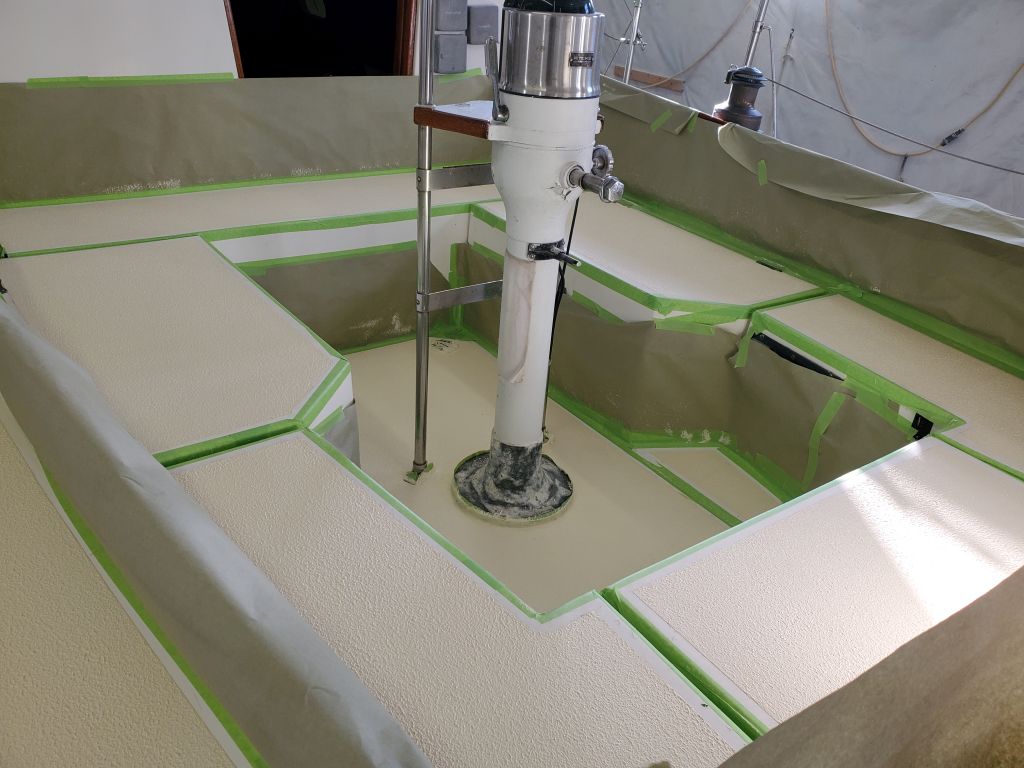
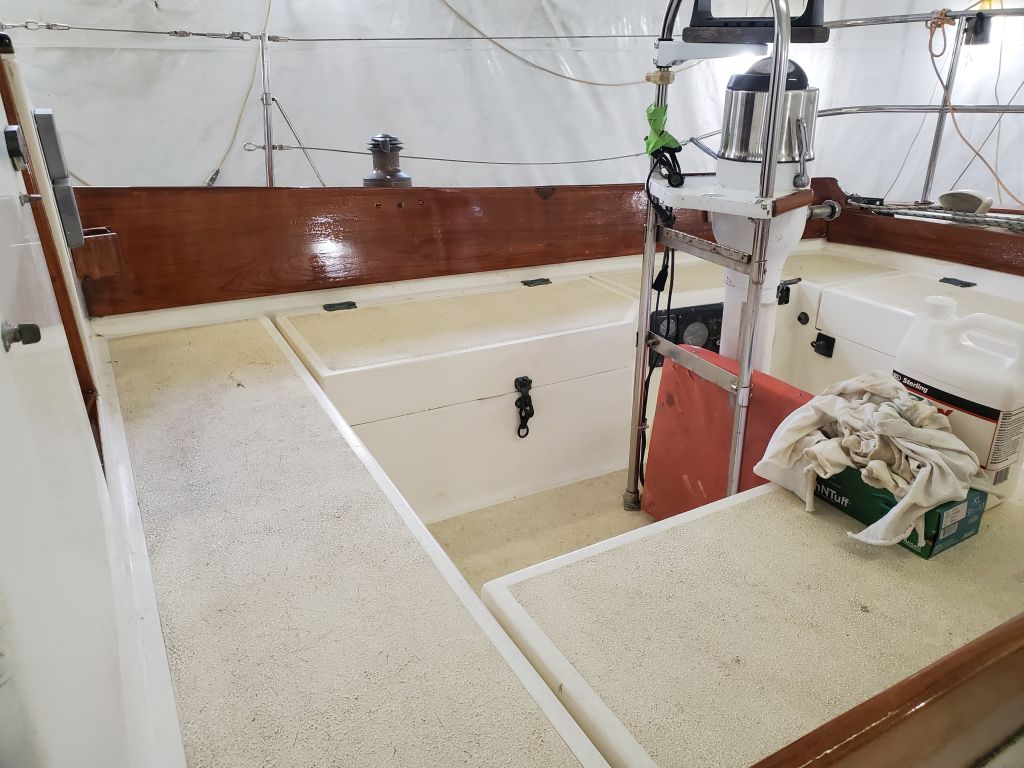
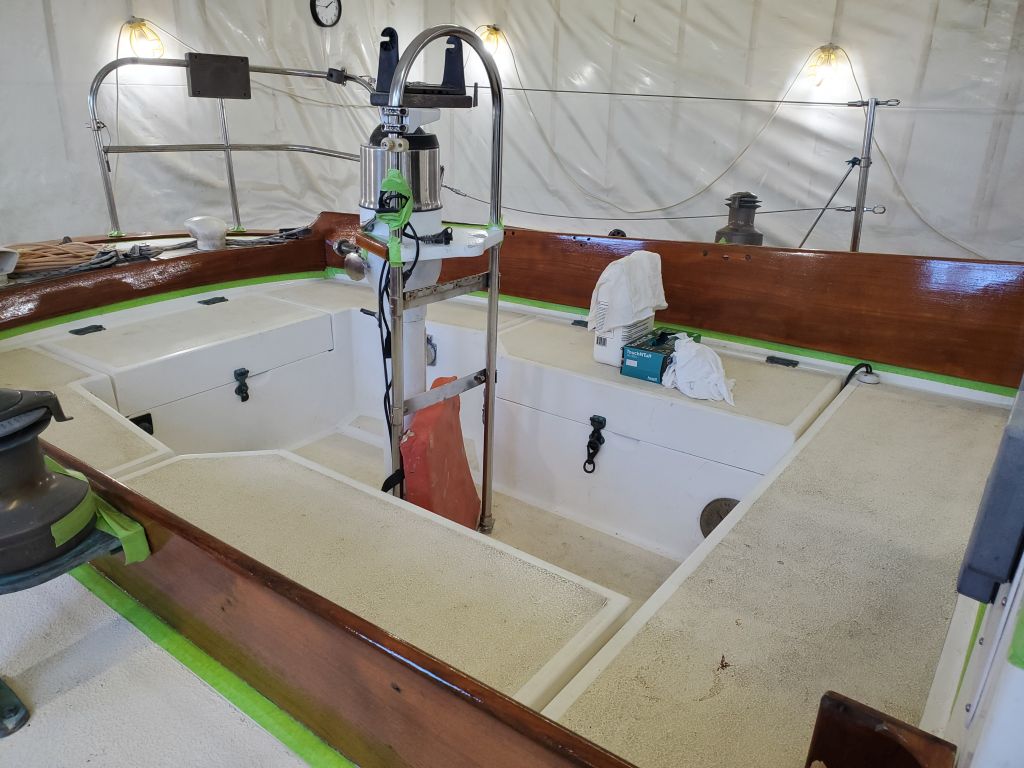
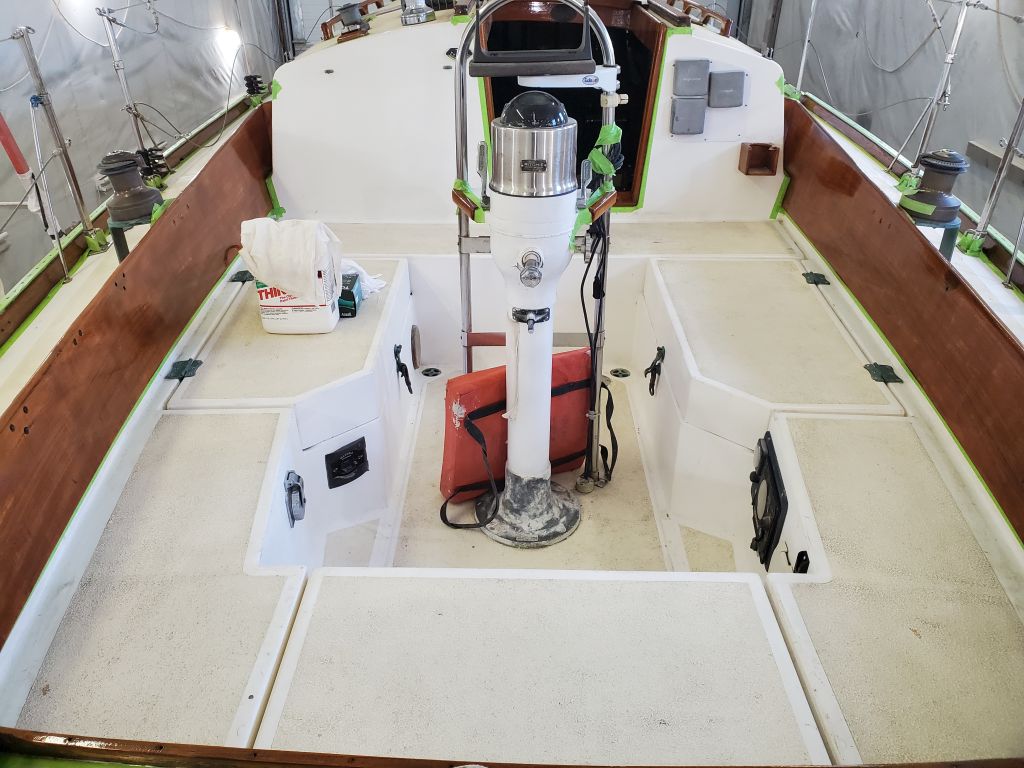
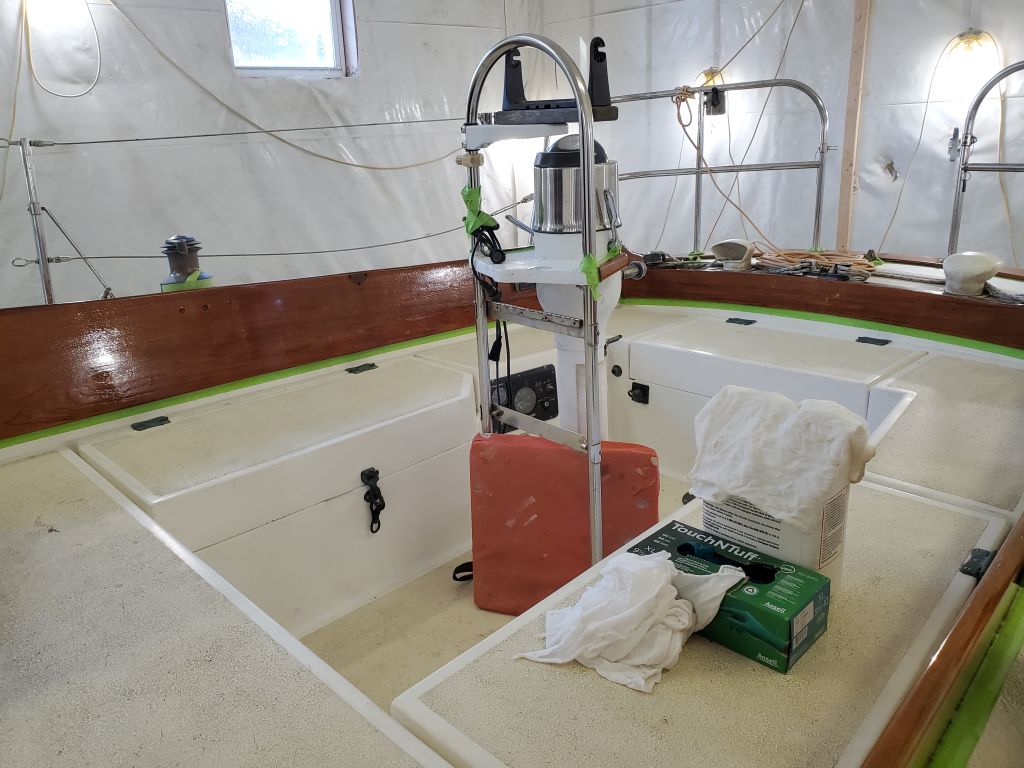
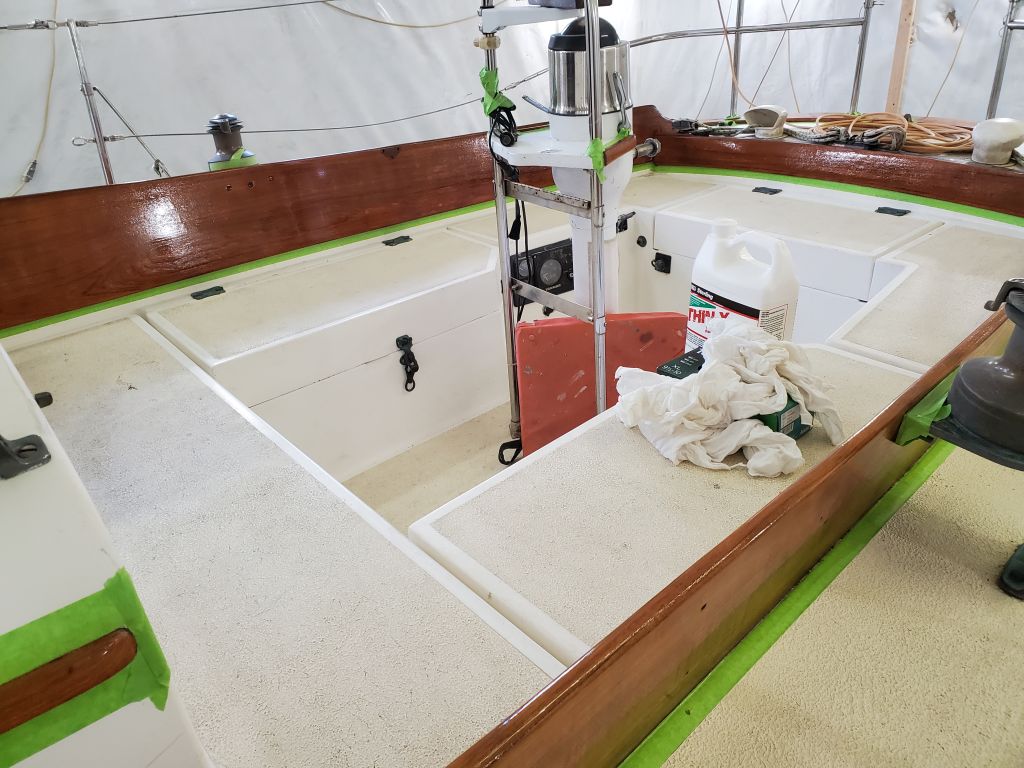
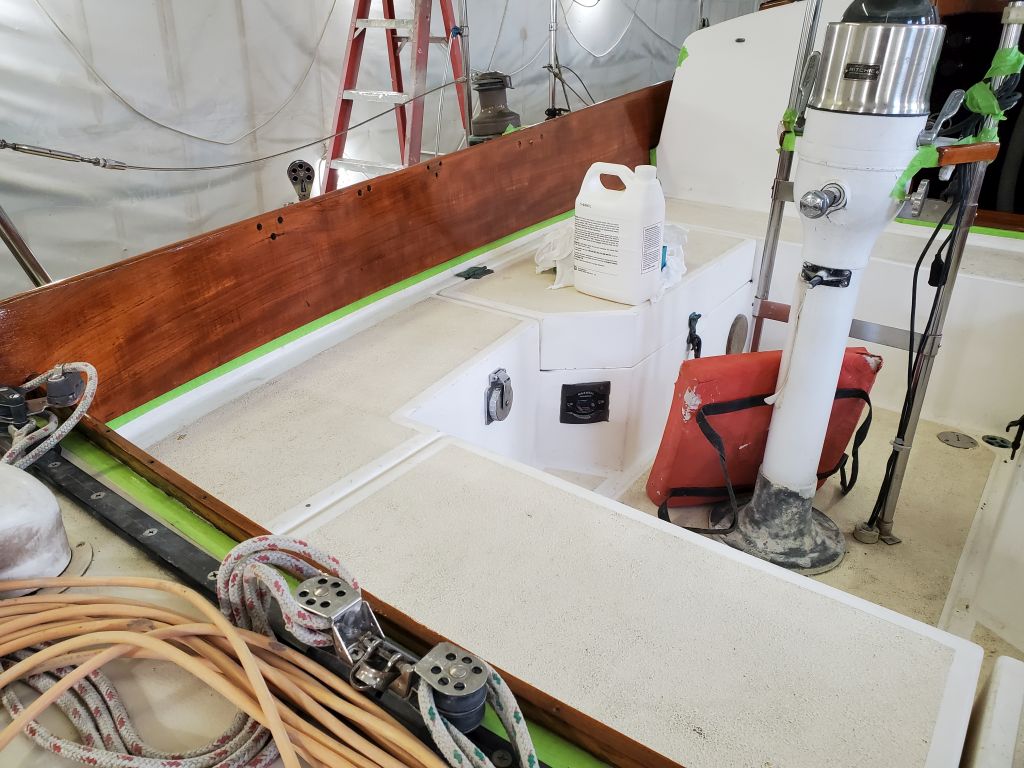
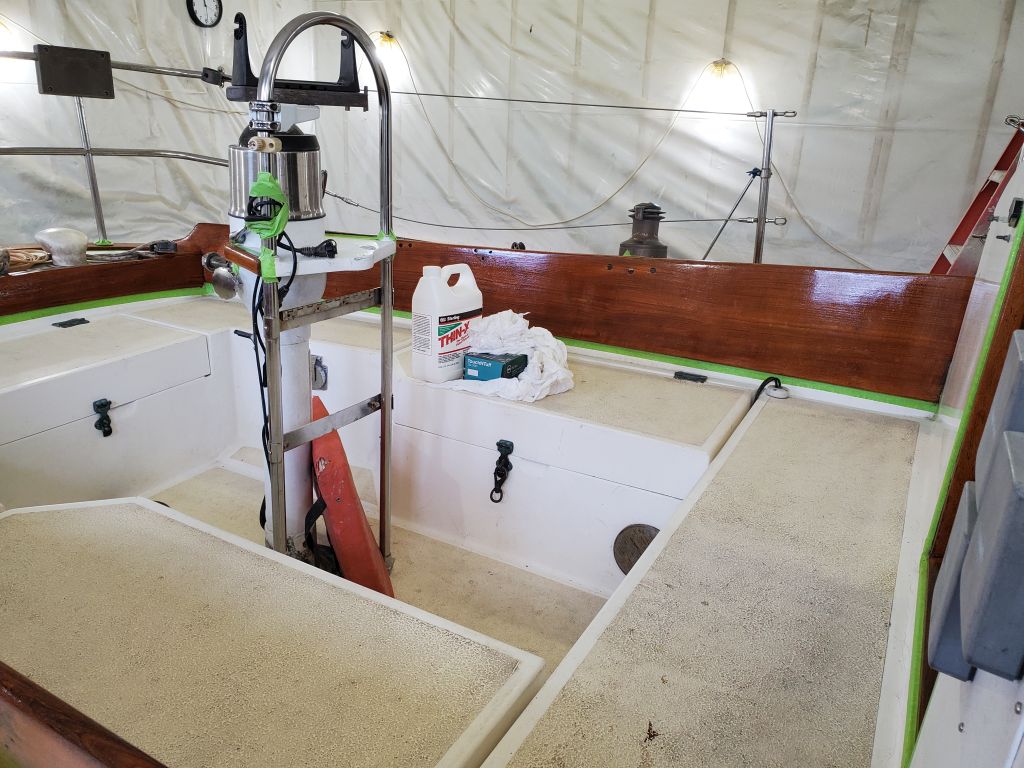
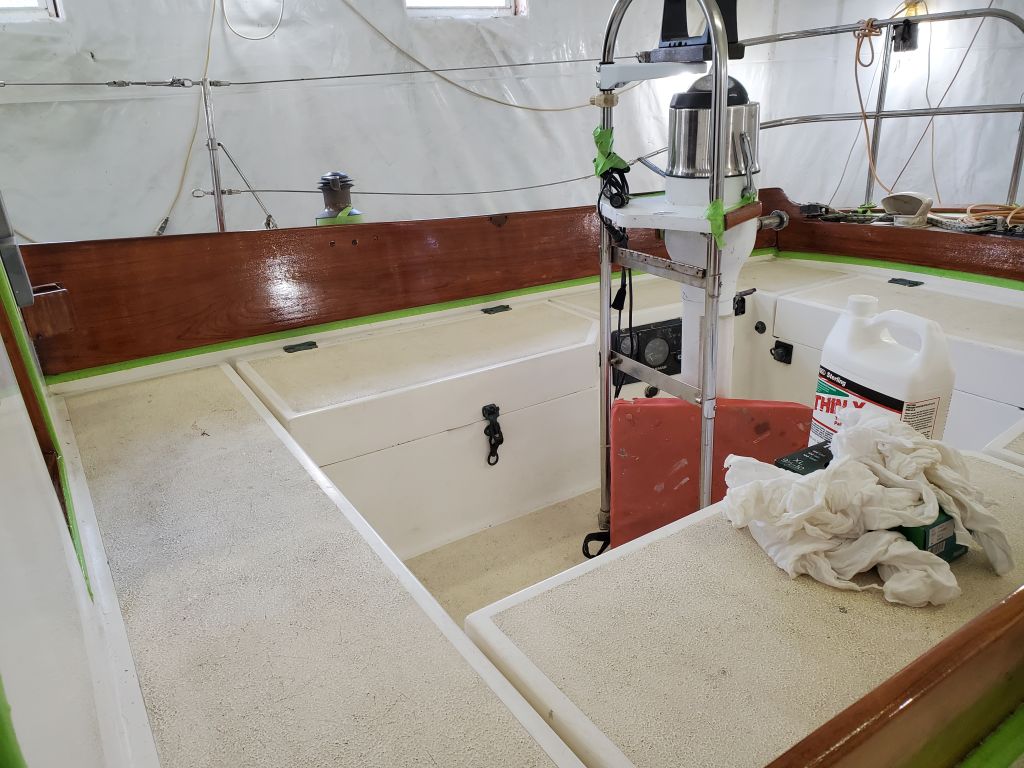
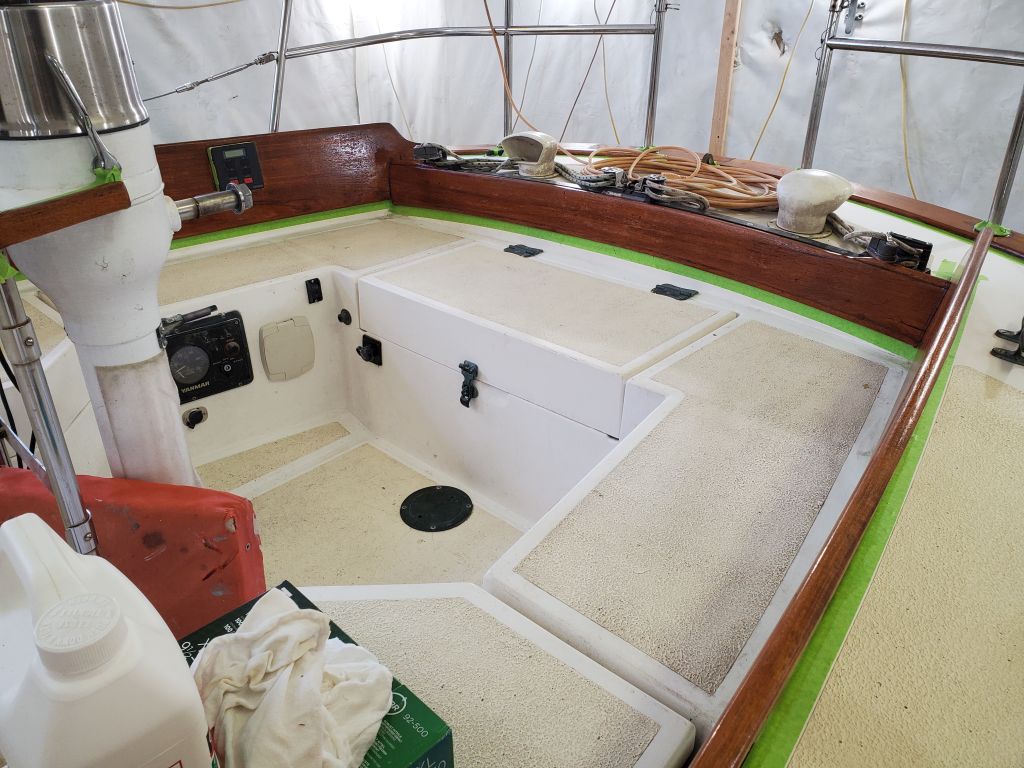
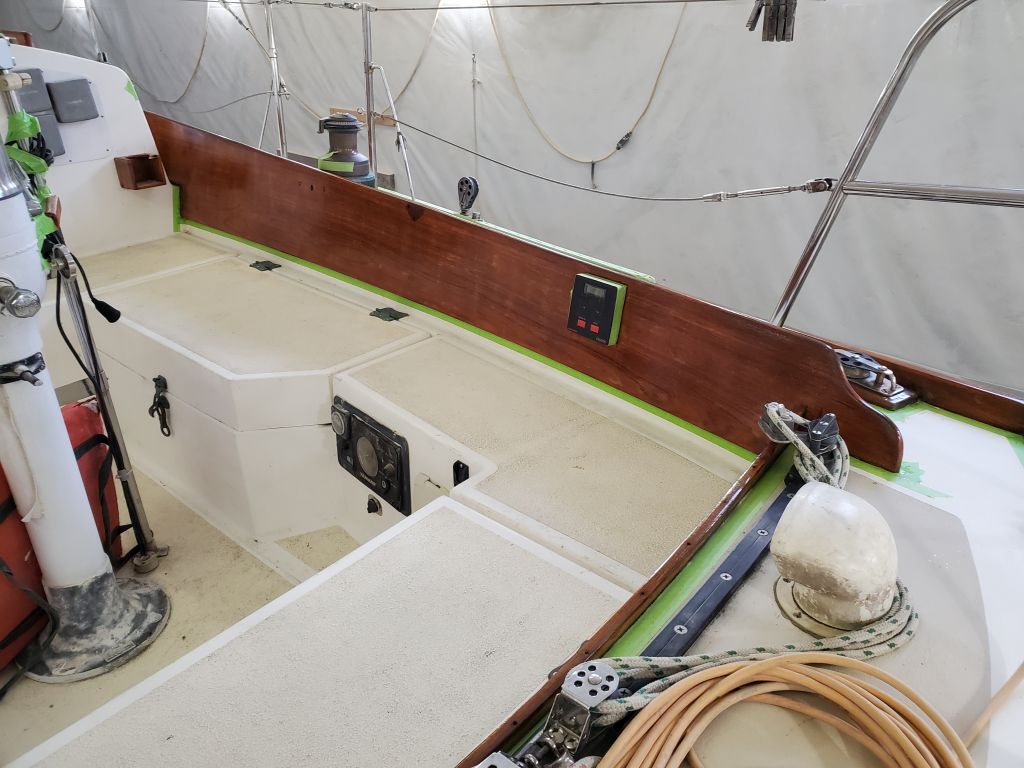
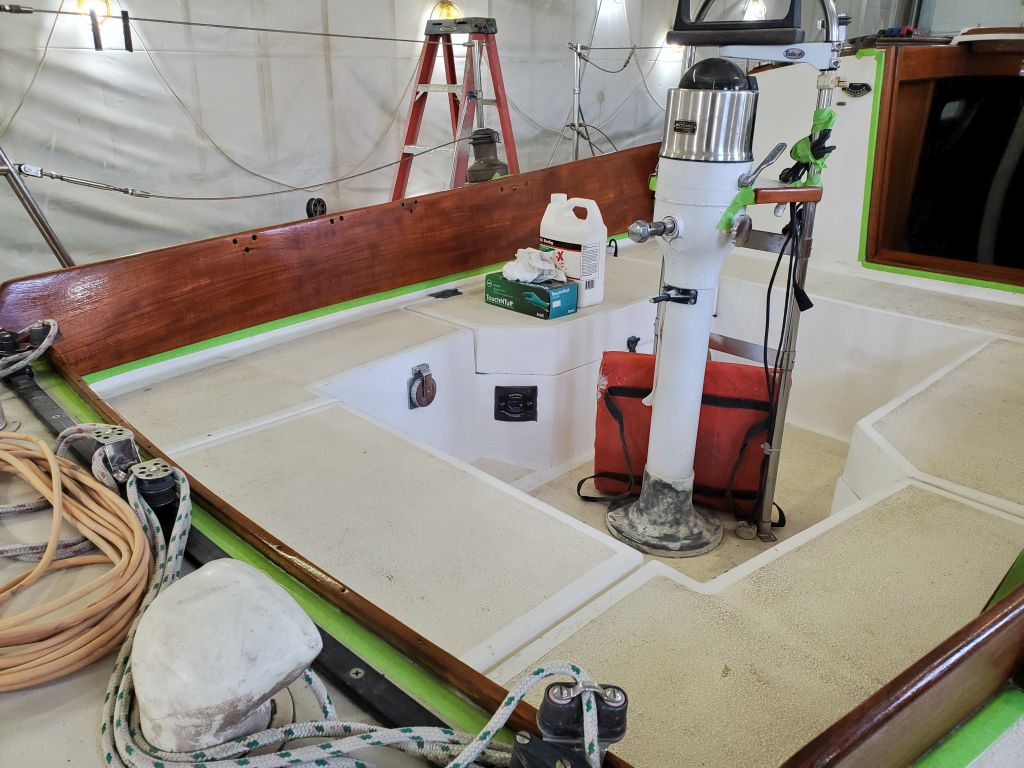
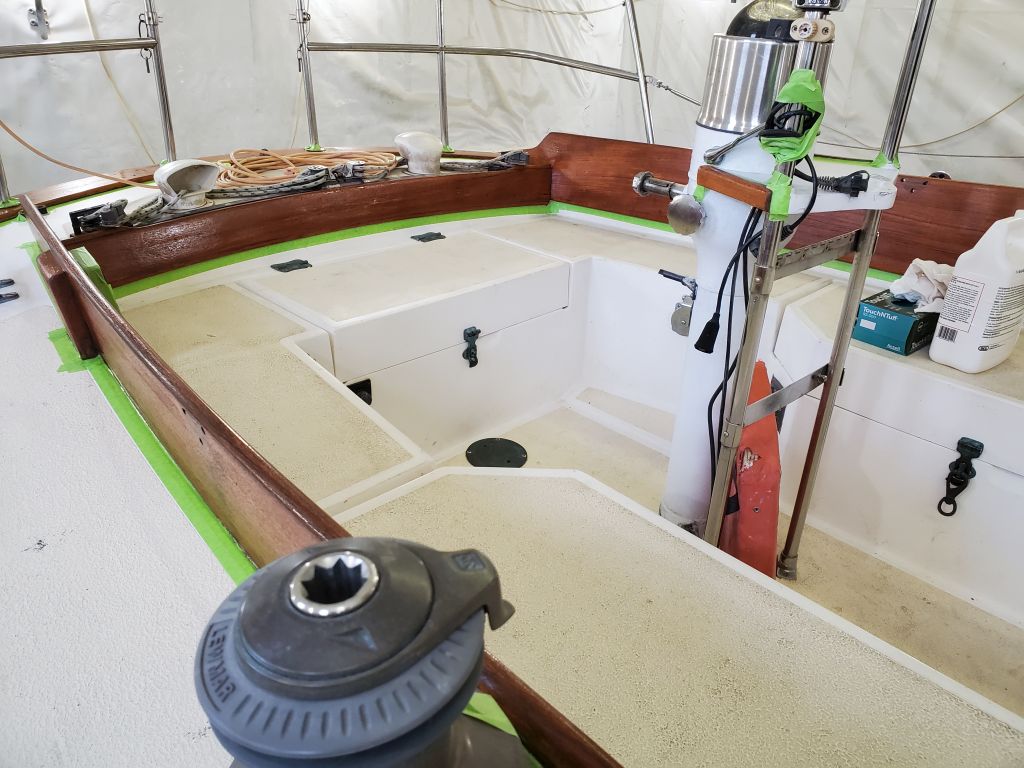
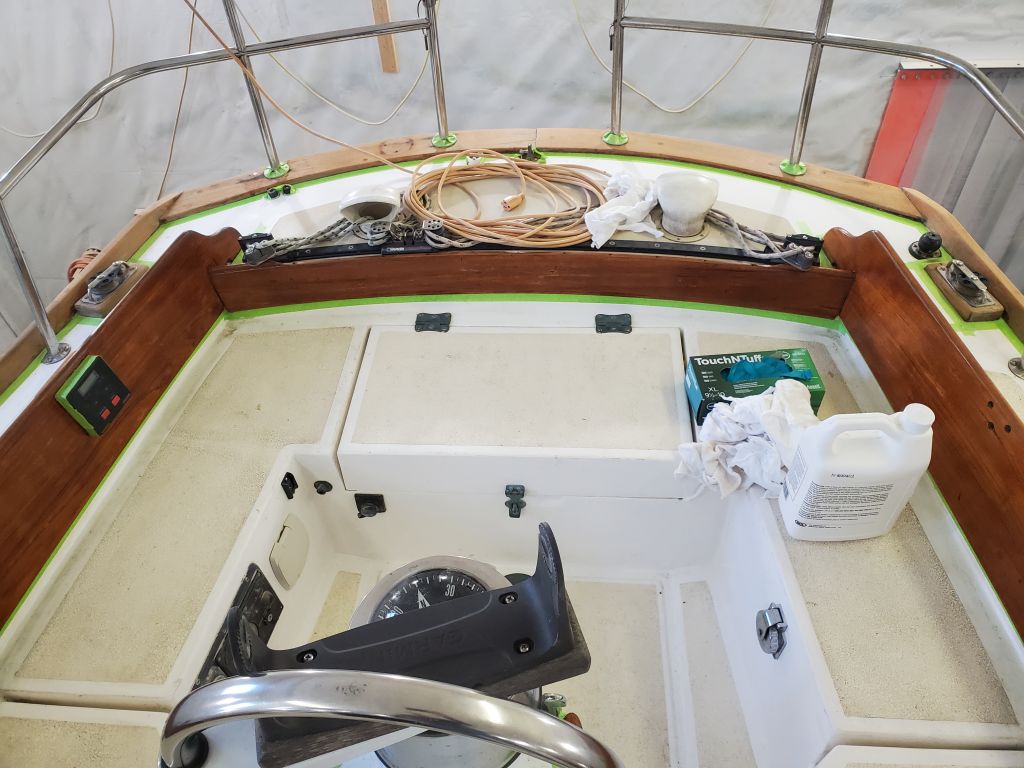
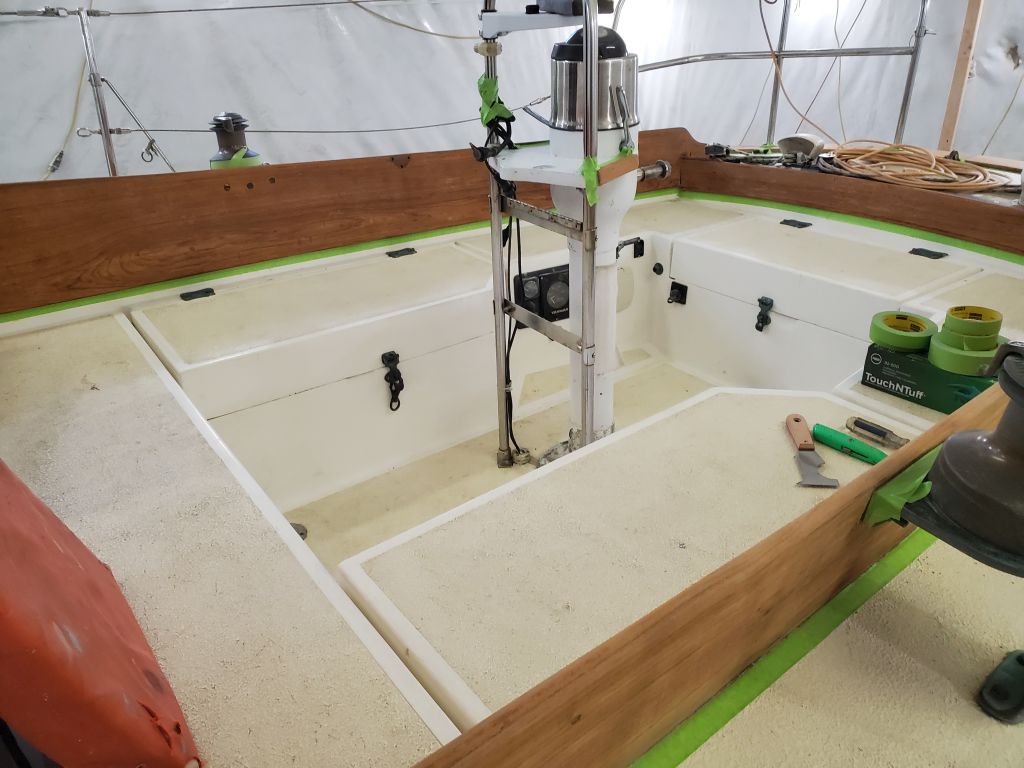
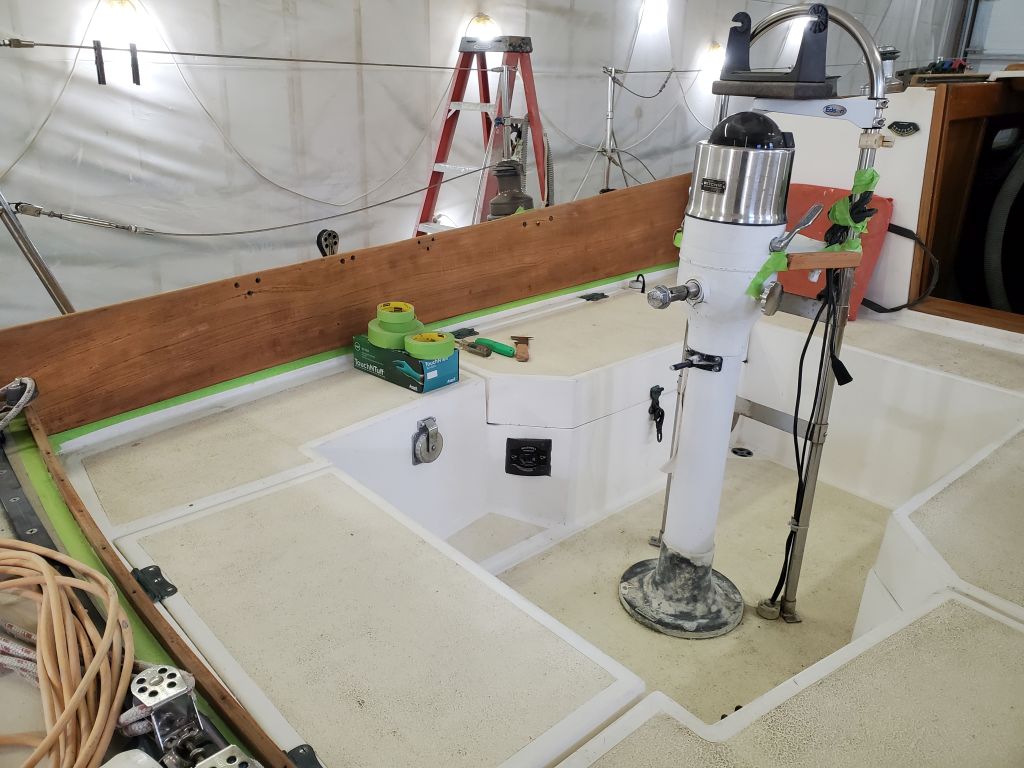
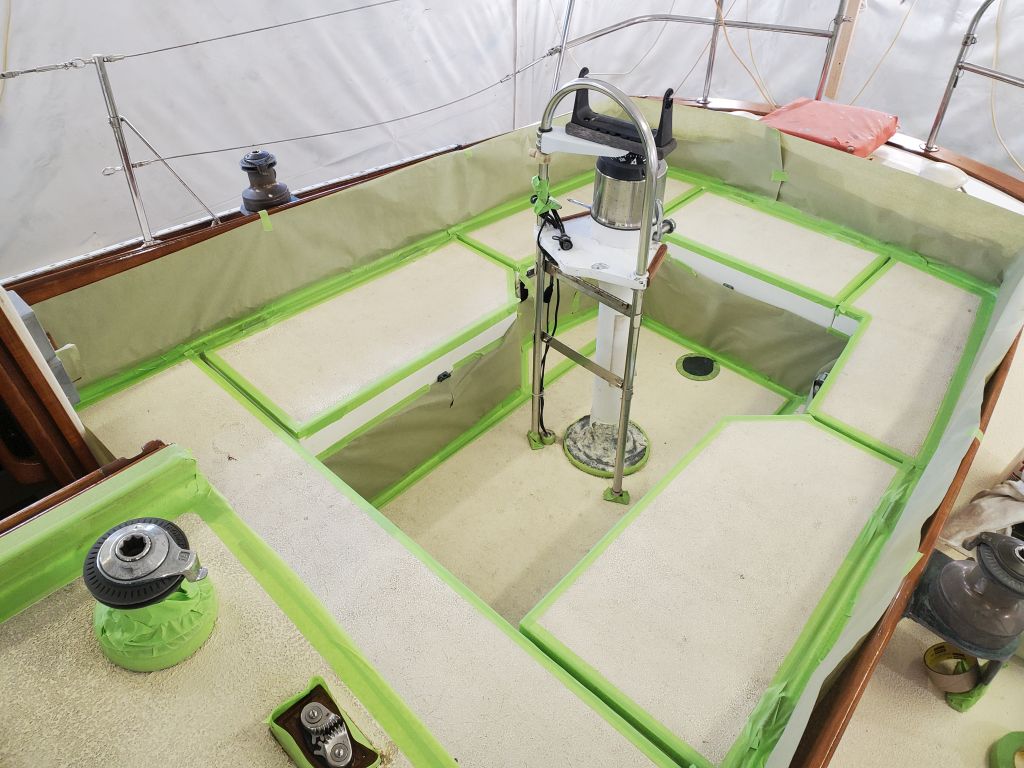
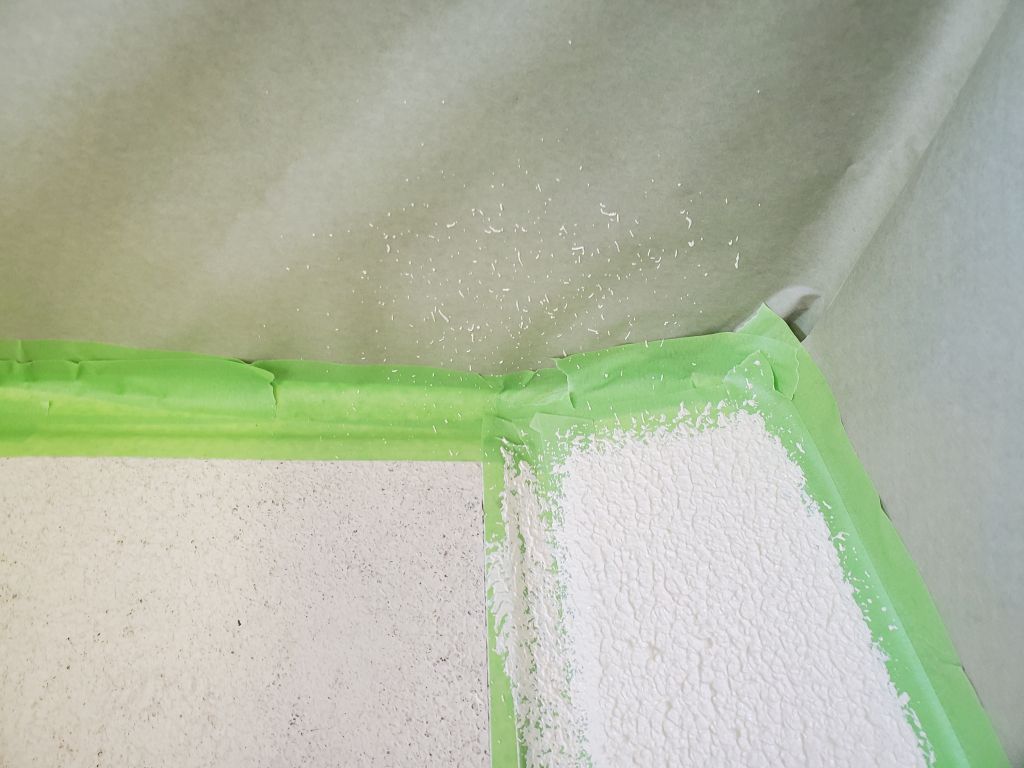
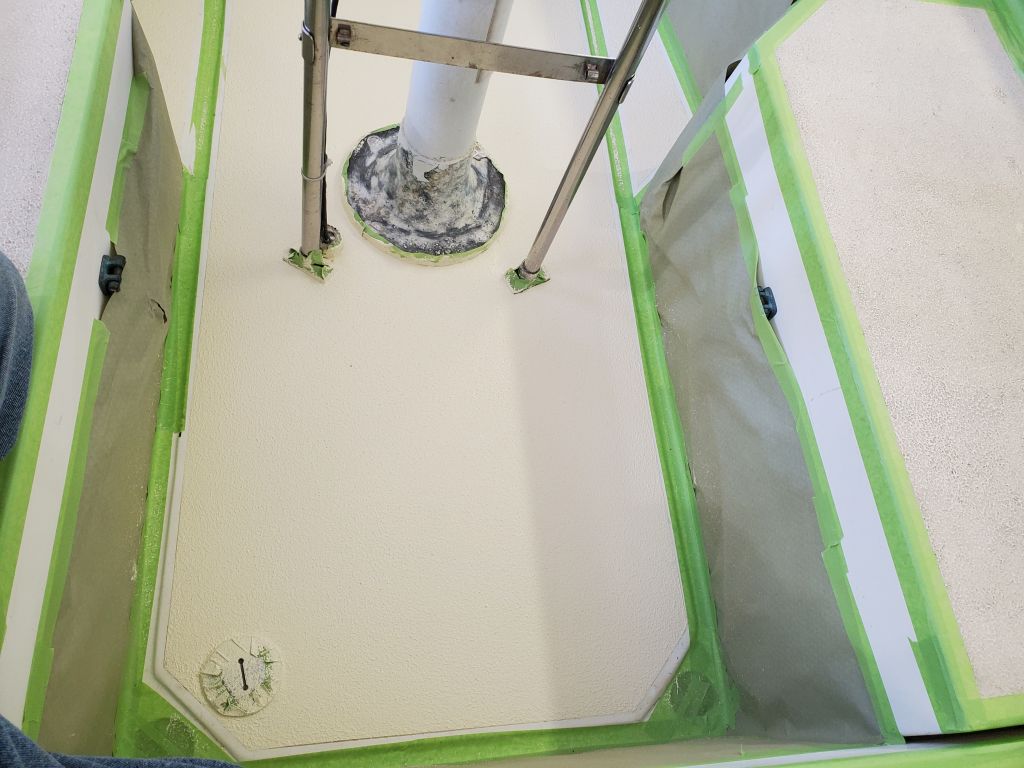
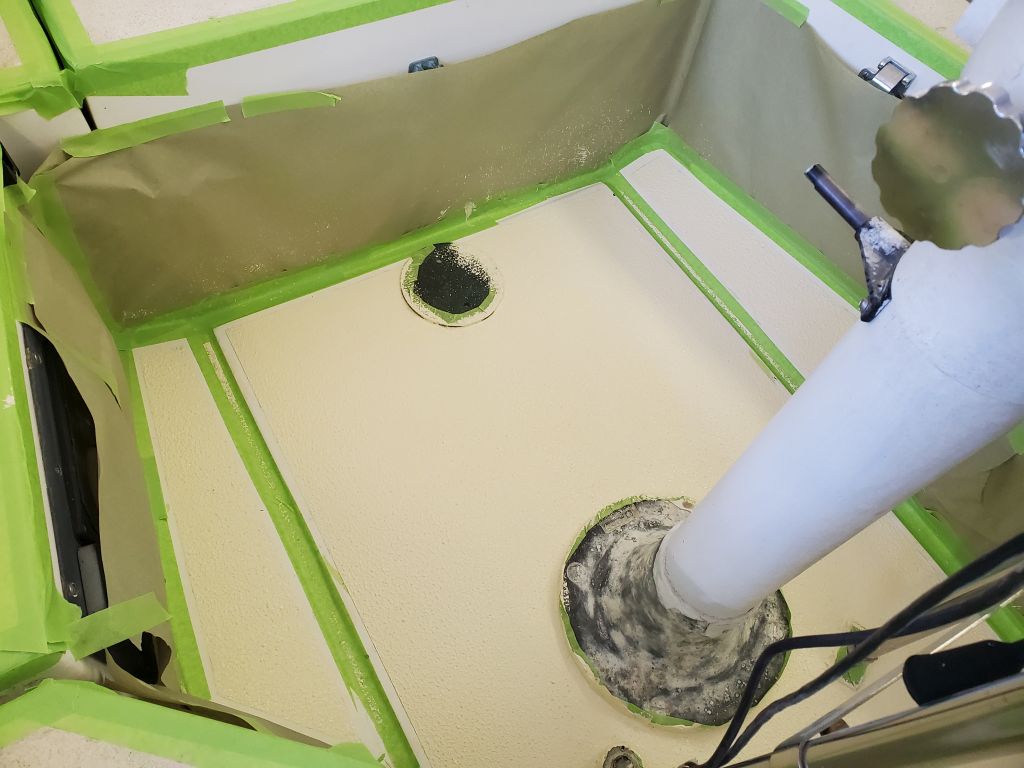
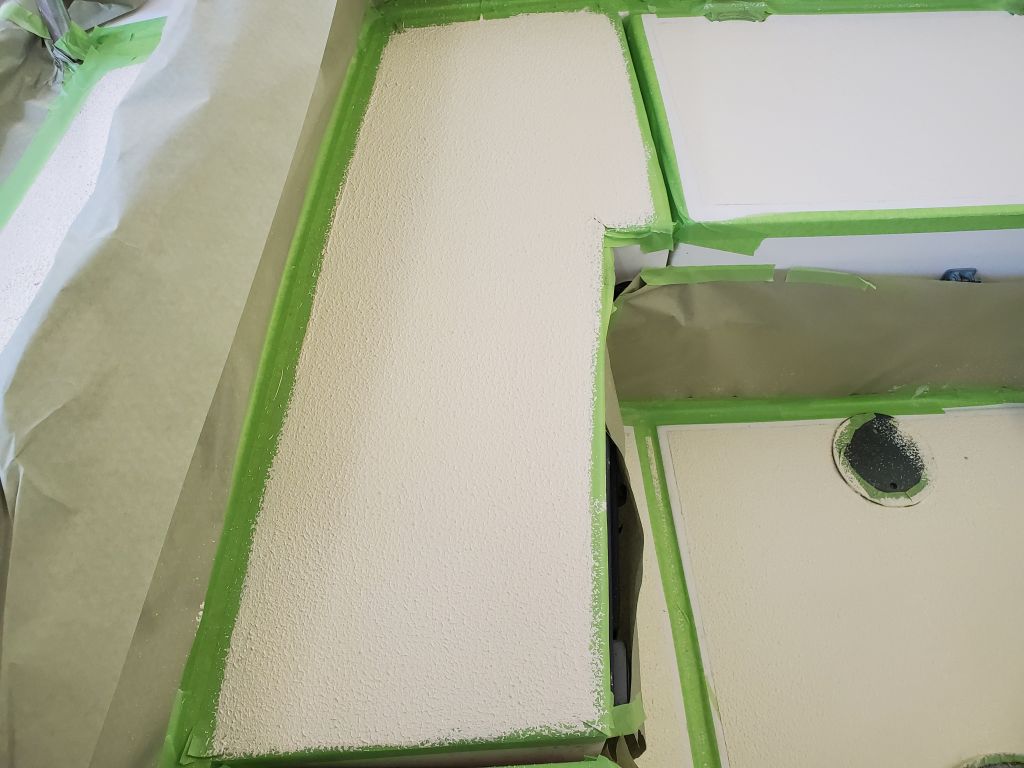
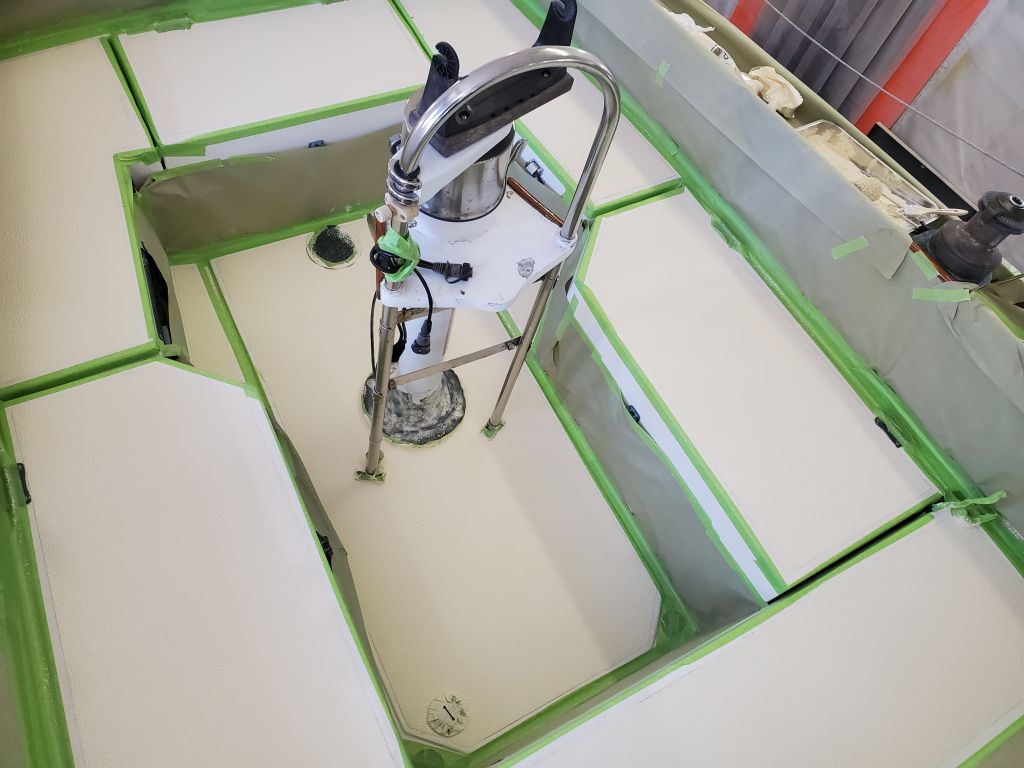
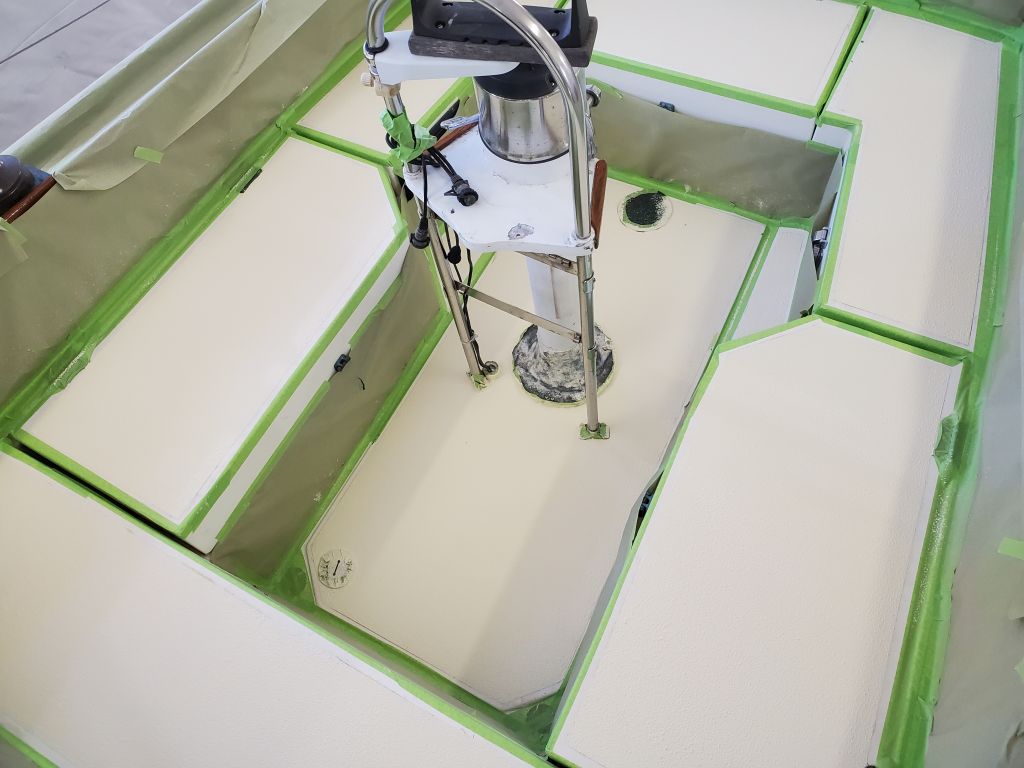
I’d worked steadily to finish up the masking, and found there was enough time in the day to actually paint the nonskid, though I’d anticipated doing it on a separate day.  After getting set up for paint, I started in the cockpit and cockpit well, where I painted the sole first.  I was immediately reminded of why I bothered with all the extra masking and protection, as I’d no sooner started then I had the splatter evidence before me, highlighting exactly why it was worthwhile.  Perhaps there really is a way to apply this paint without the splatter, but I have not found it.

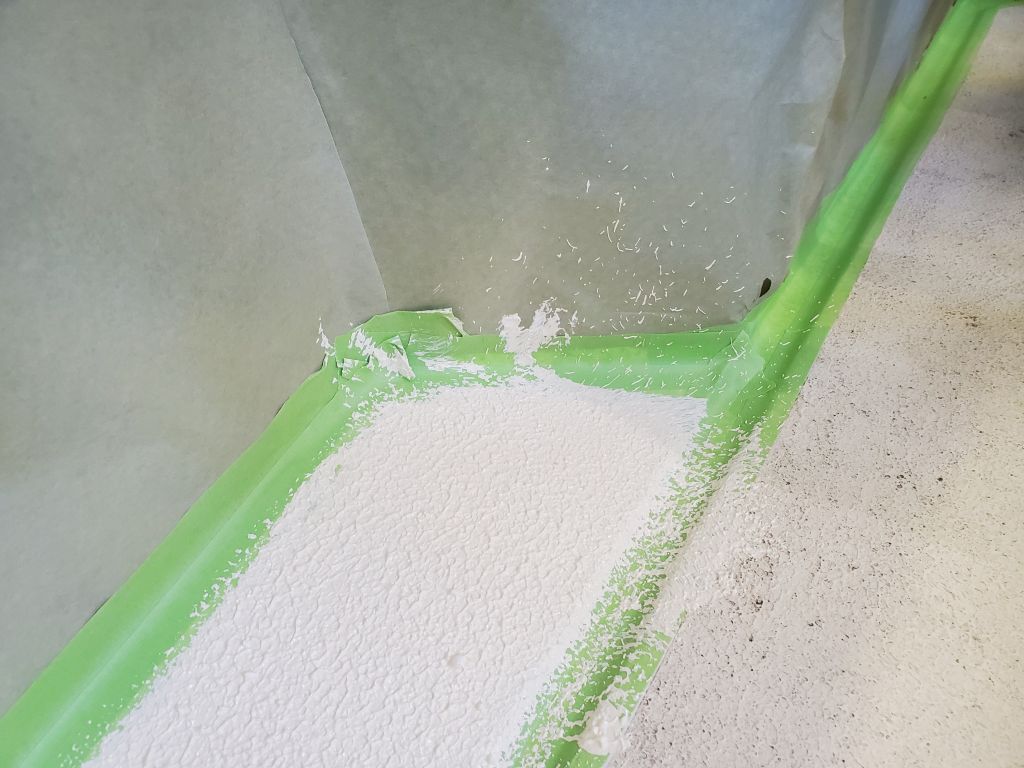
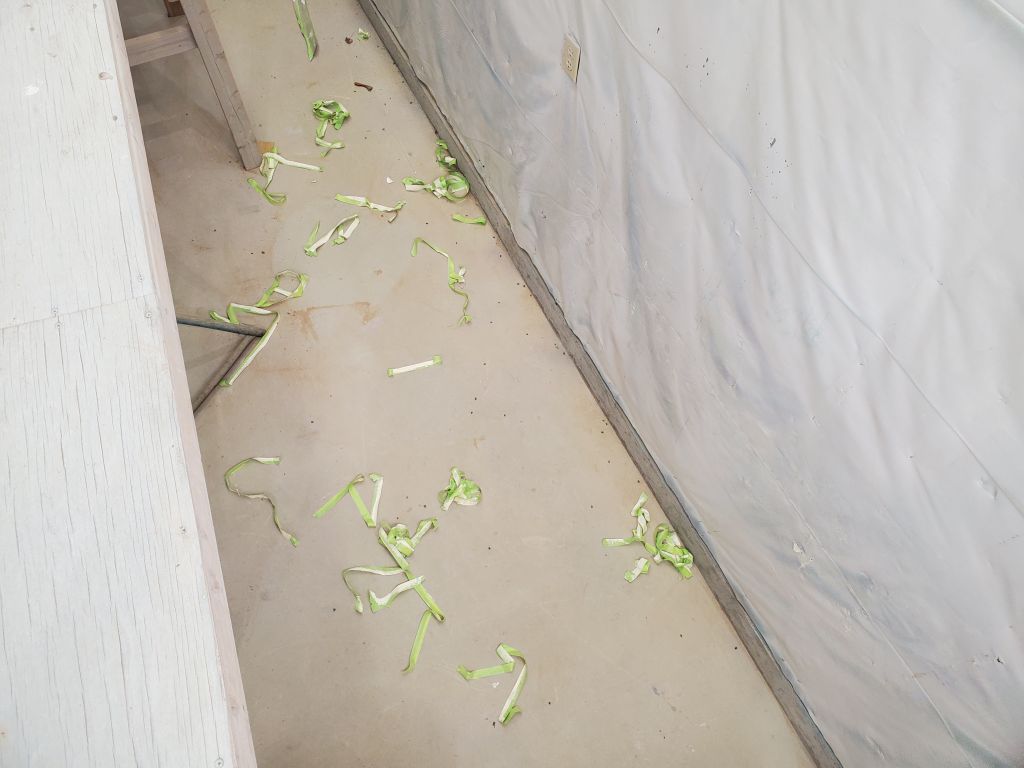
I finished painting the cockpit sole, an awkward proposition, and pulled the tape immediately adjacent to the fresh paint, throwing it over the side of the boat to get the messy strips out of the way.  My masking so far had worked pretty well, but as always it was hard to find the tape ends once covered in paint, and removal was a messy and delicate operation, extra-challenging in the depths of the cockpit well.

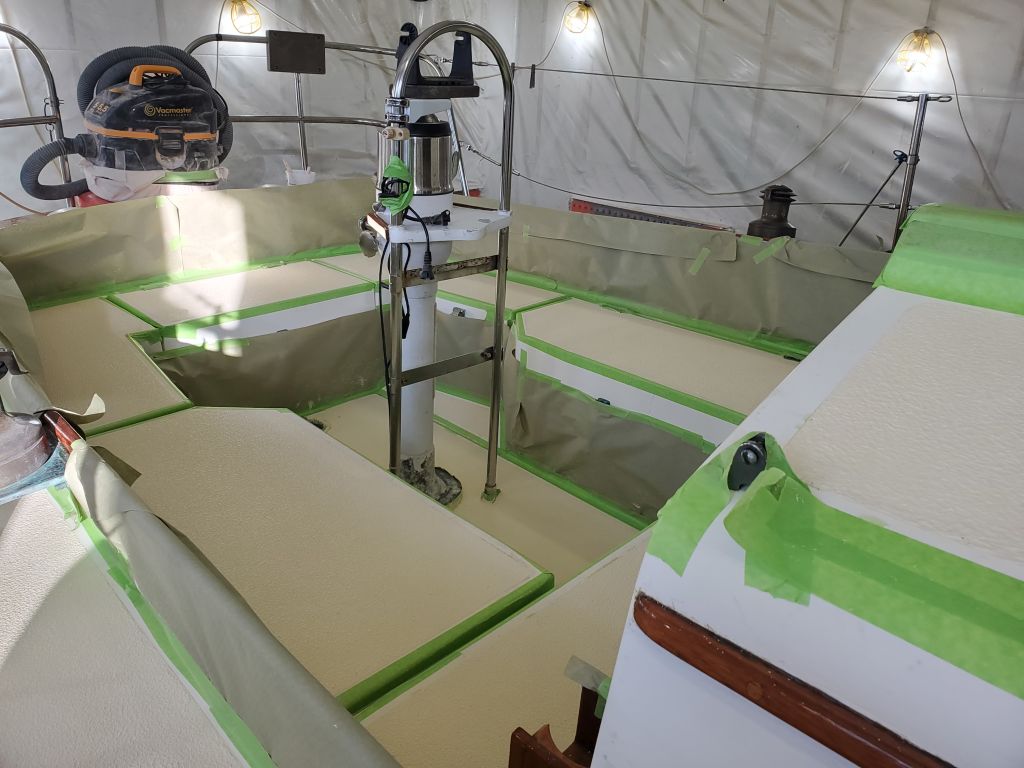
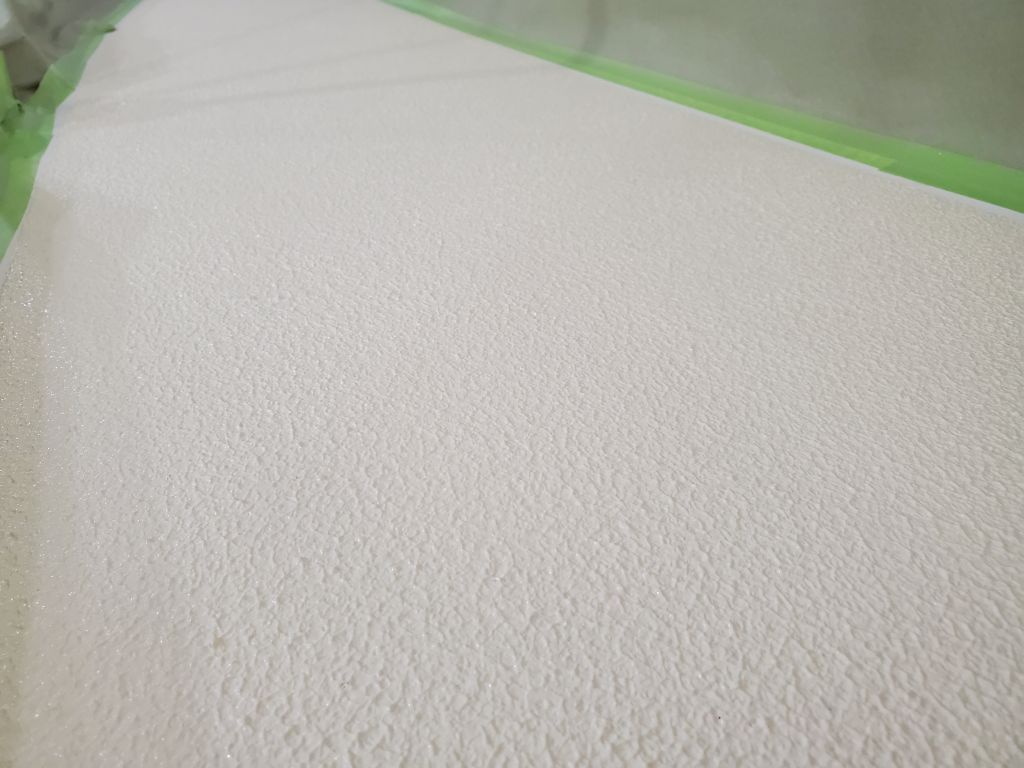
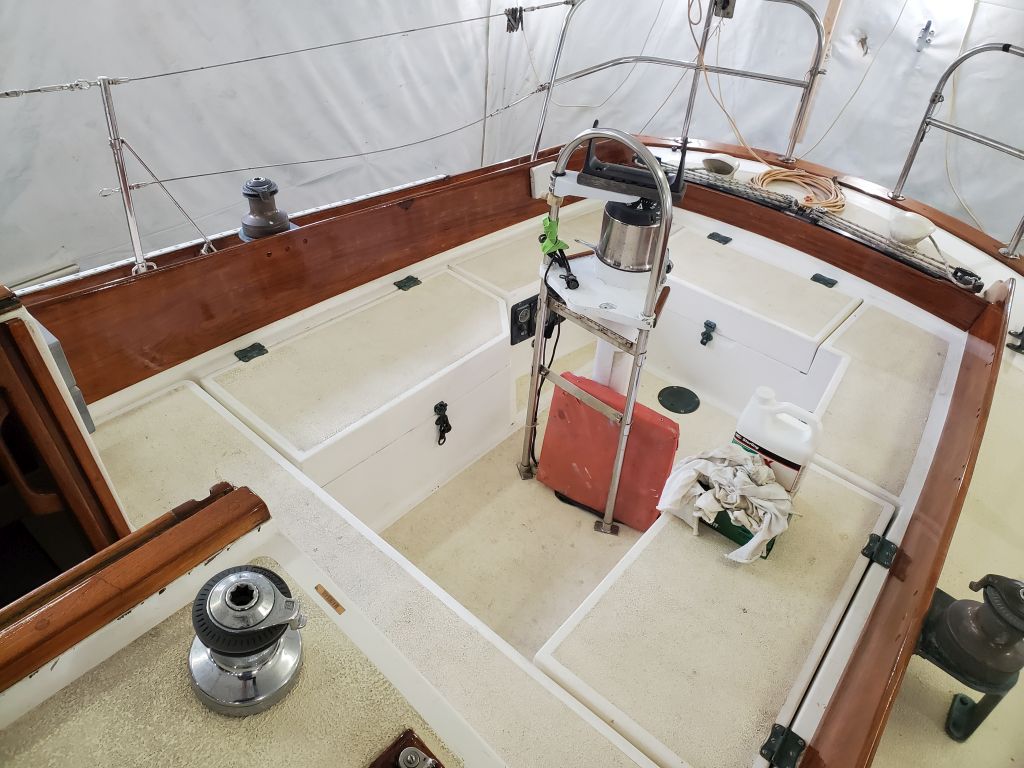
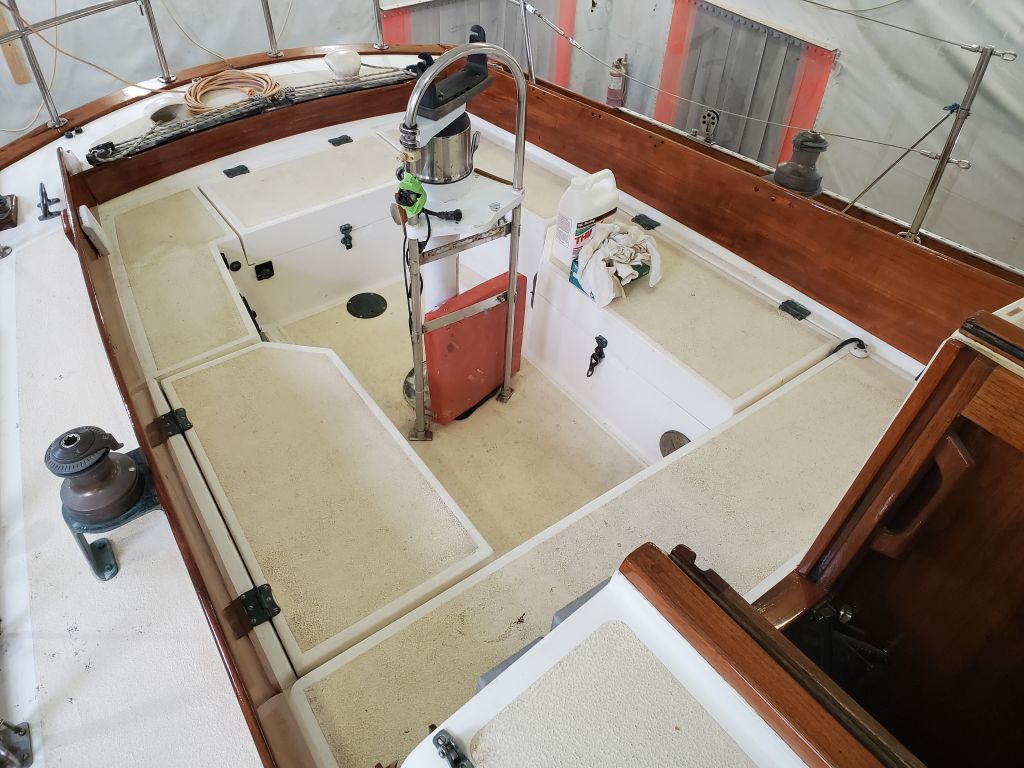
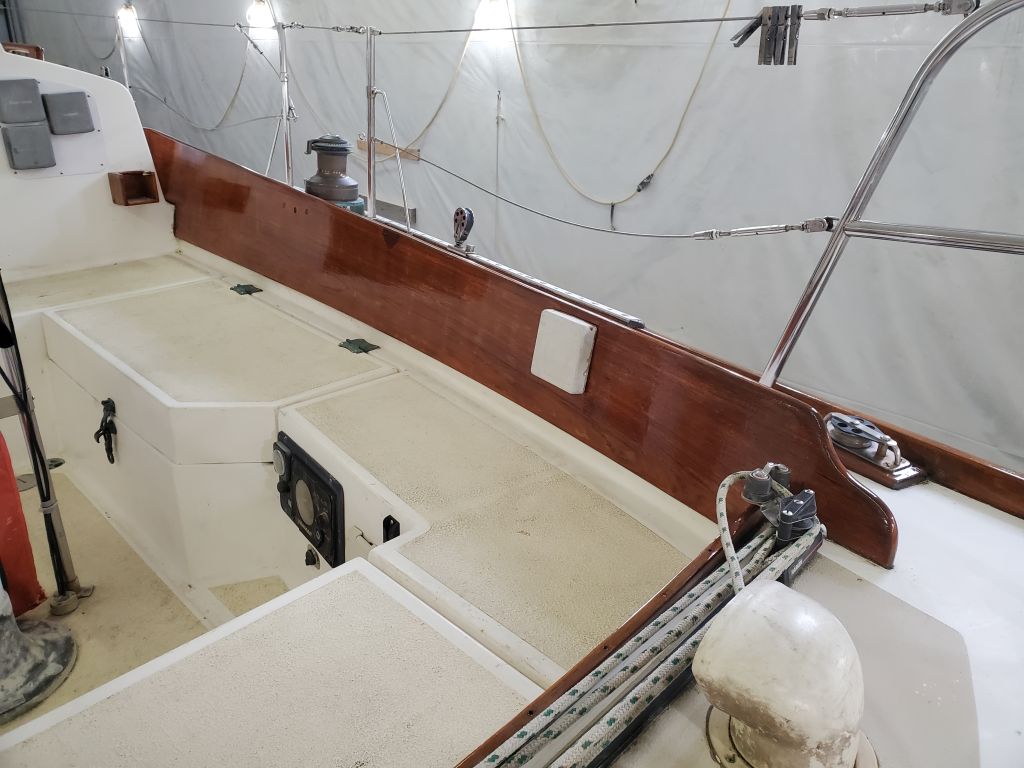
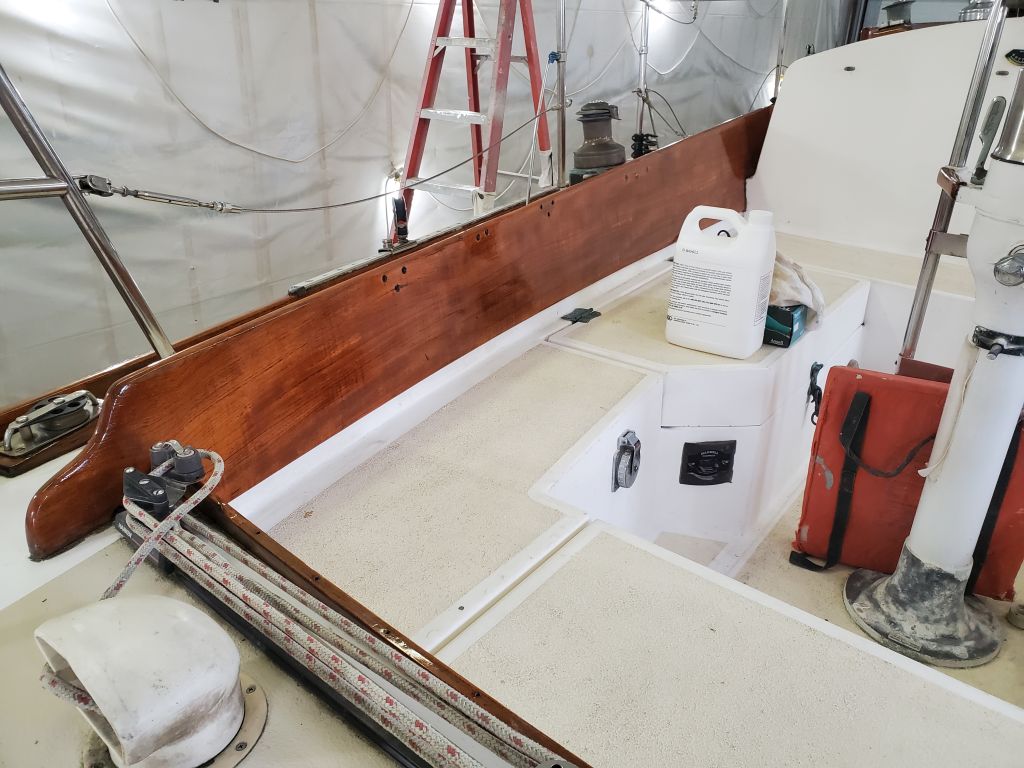
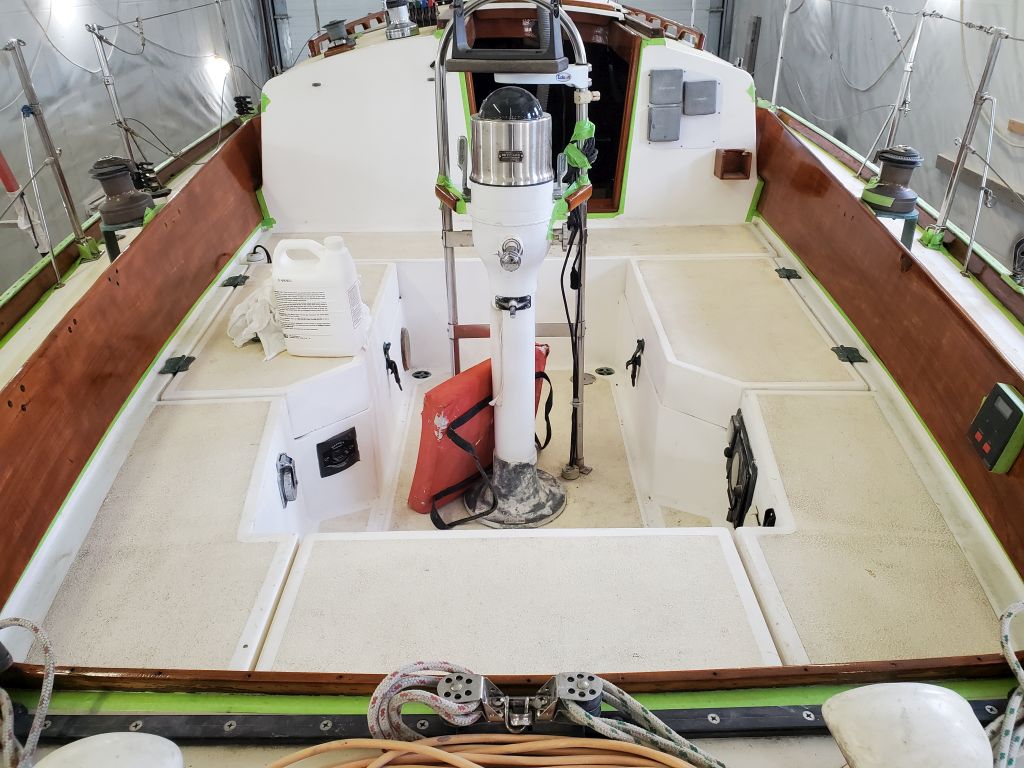
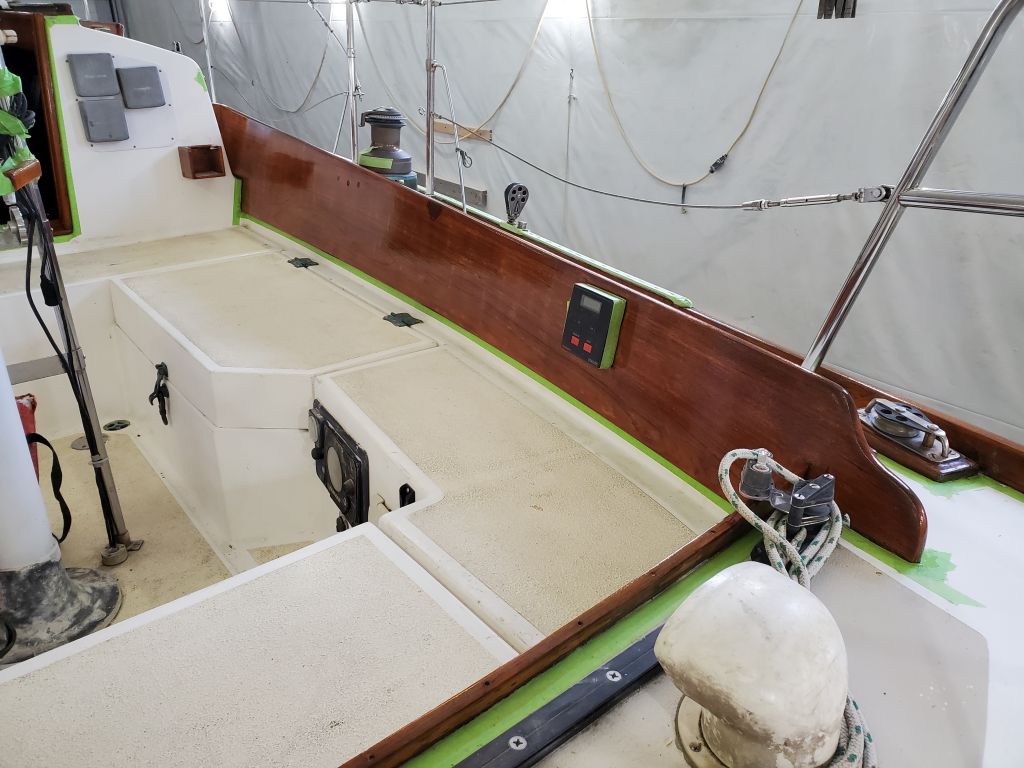
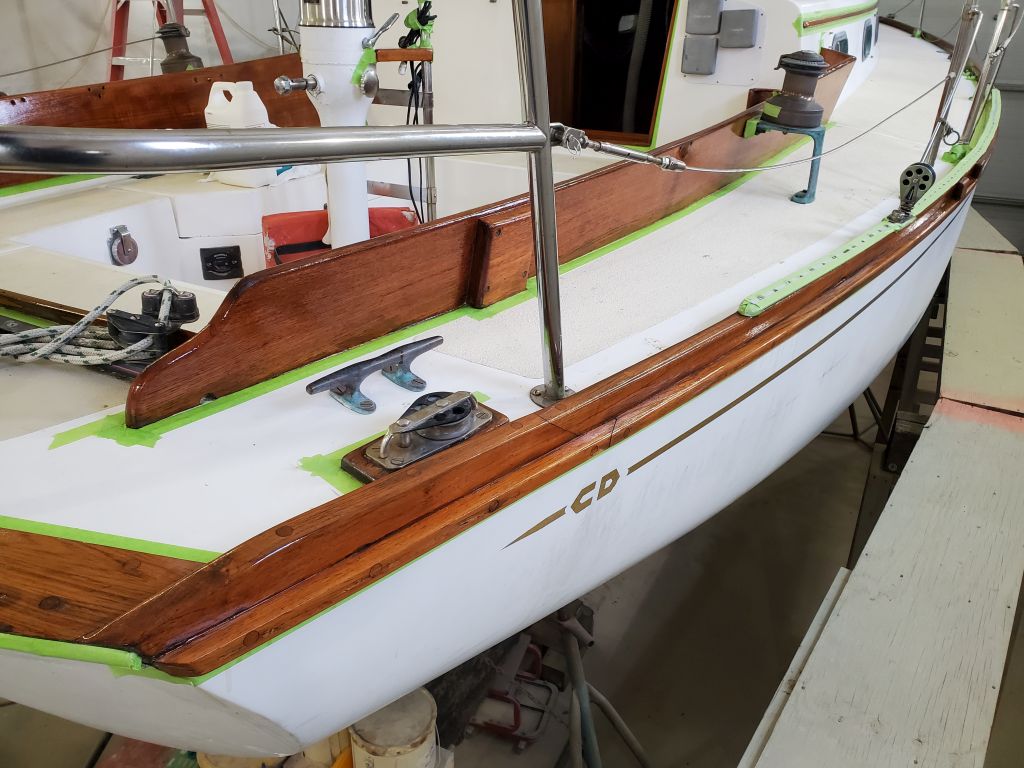
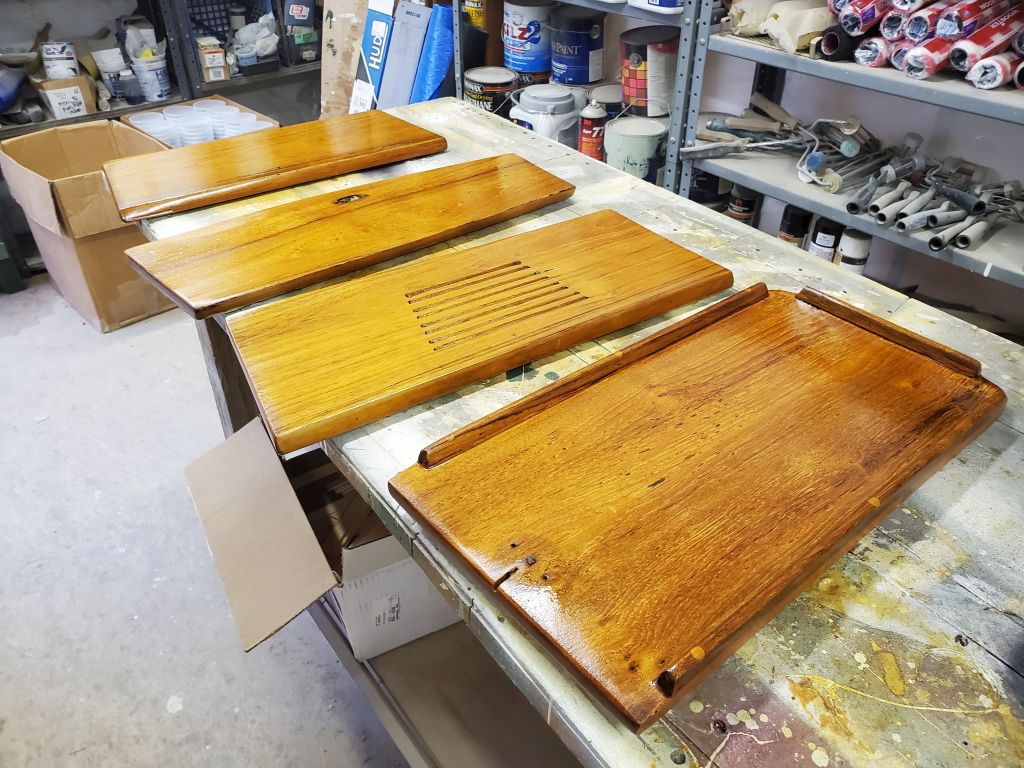
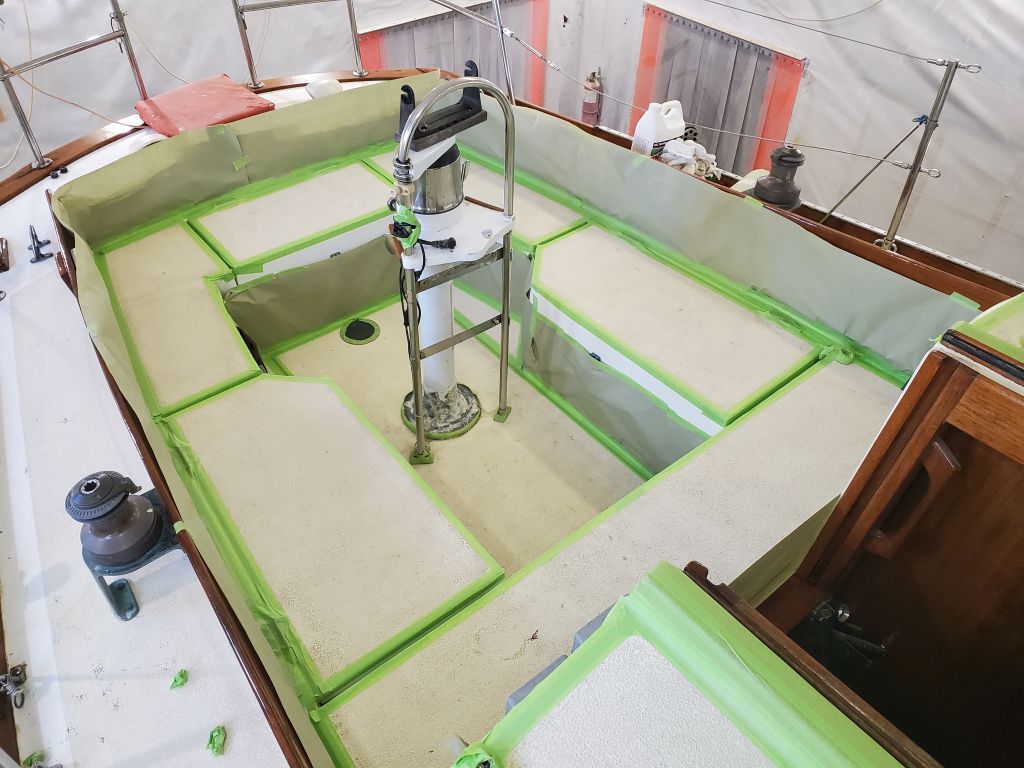
With hopefully the most difficult part of the job behind me, I continued with the cockpit seats and locker covers, working my way around and pulling the tape from each section once complete, till the whole cockpit was done.  So far, the improvement in appearance was dramatic.

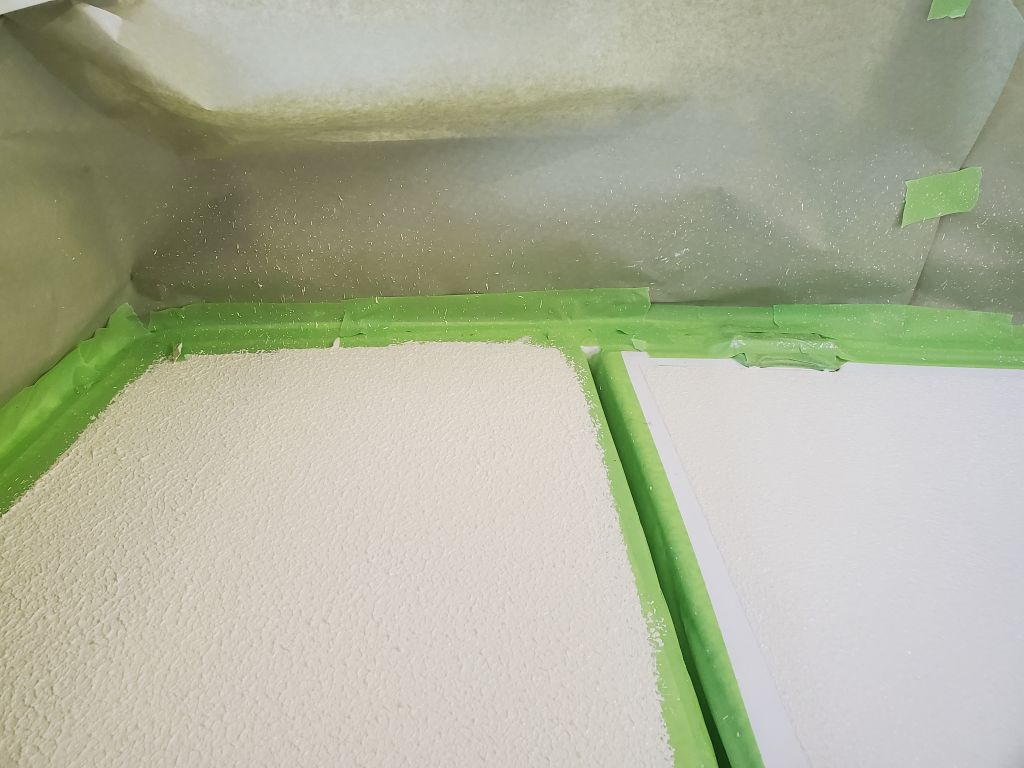
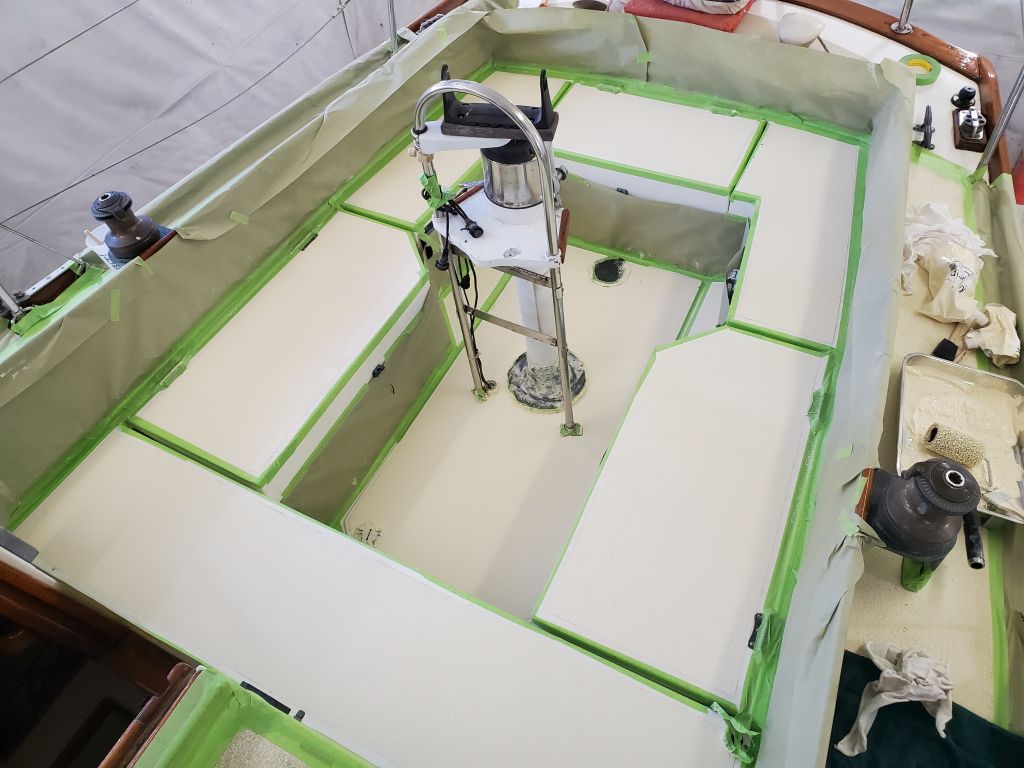
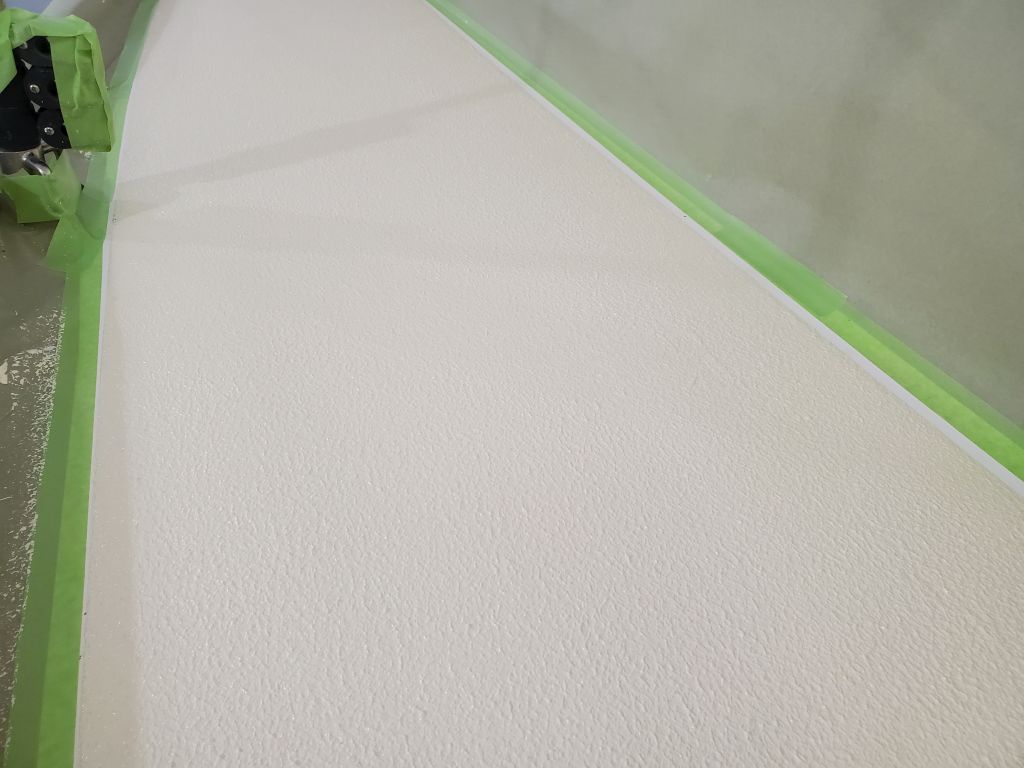
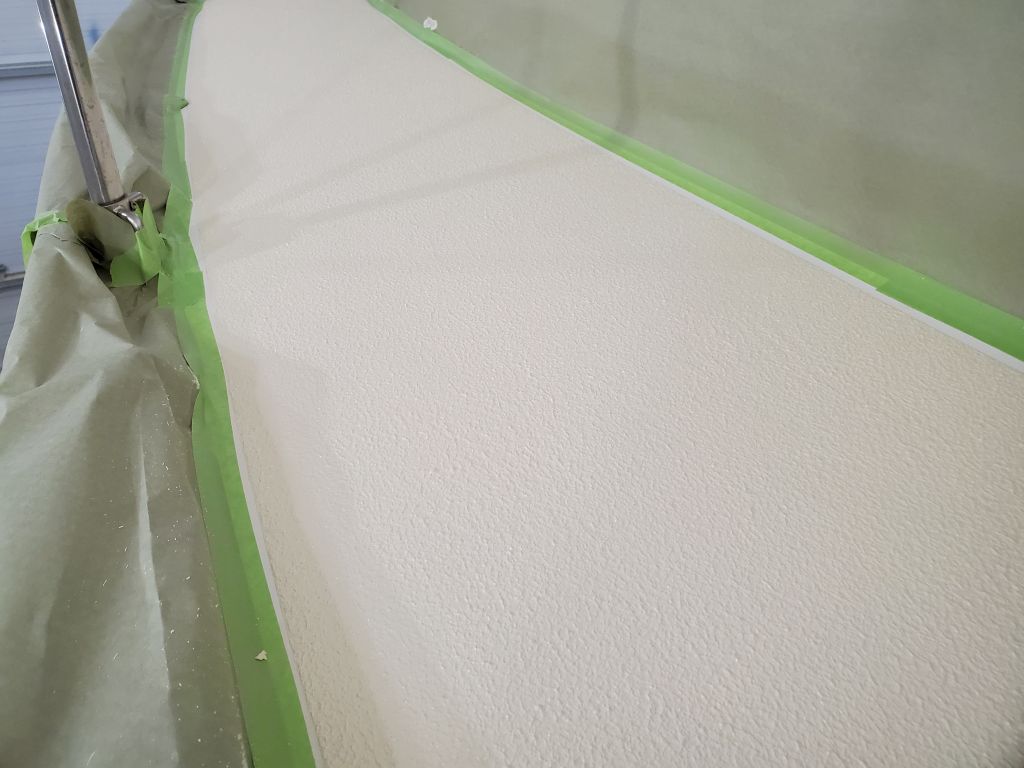
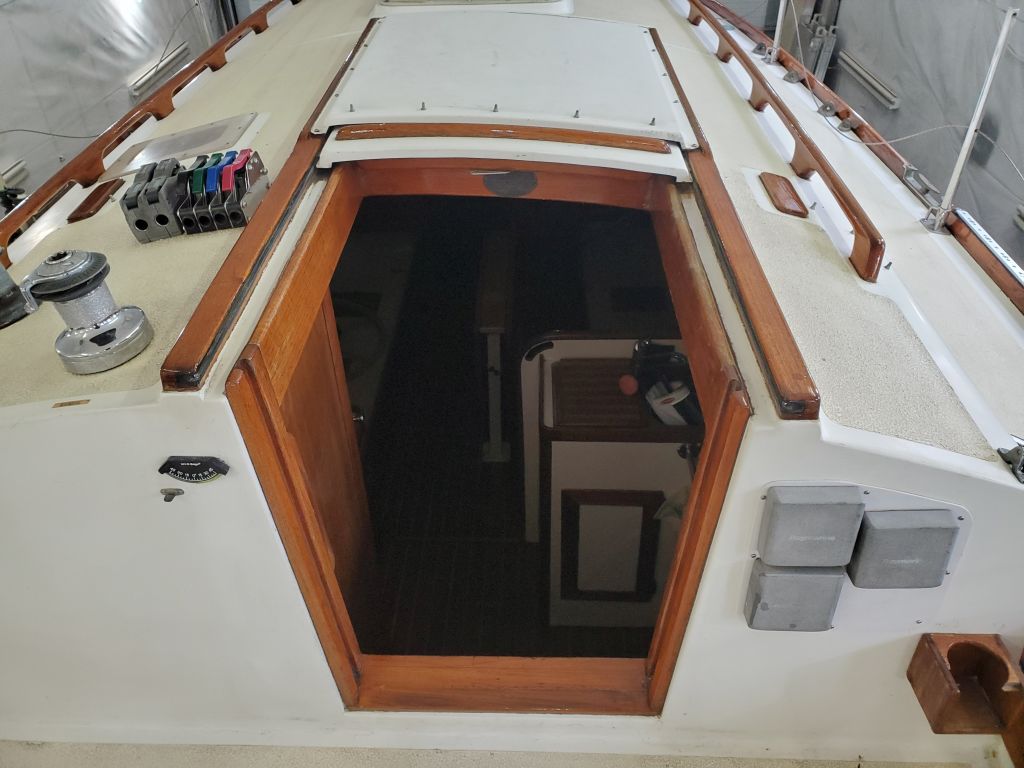
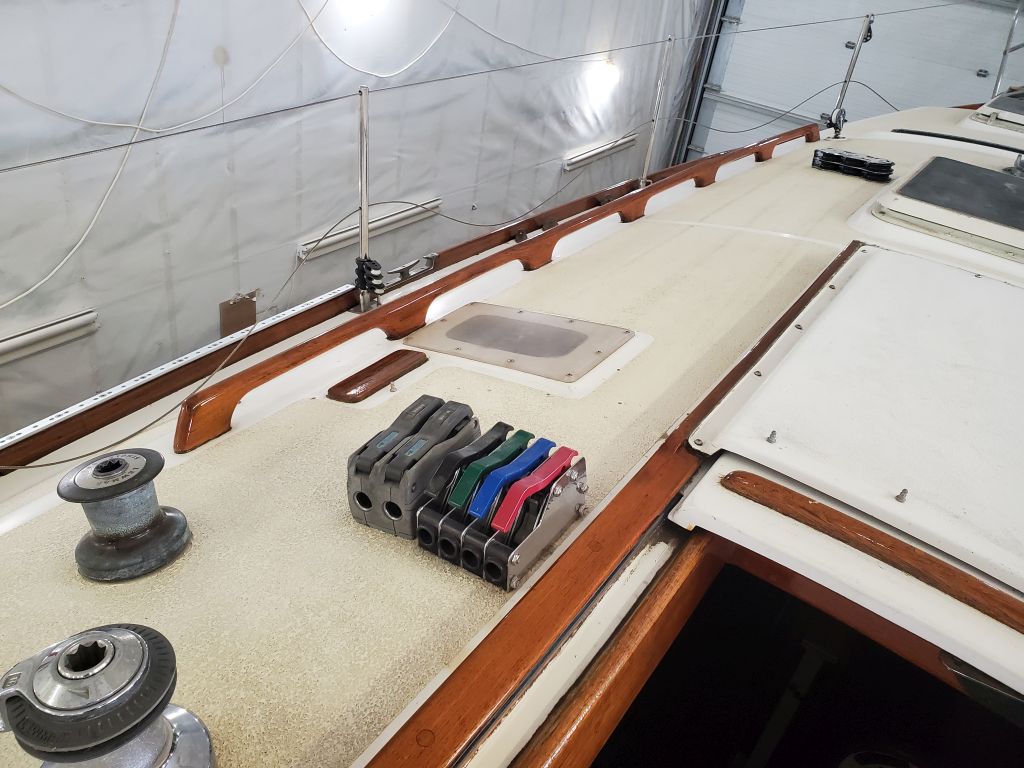
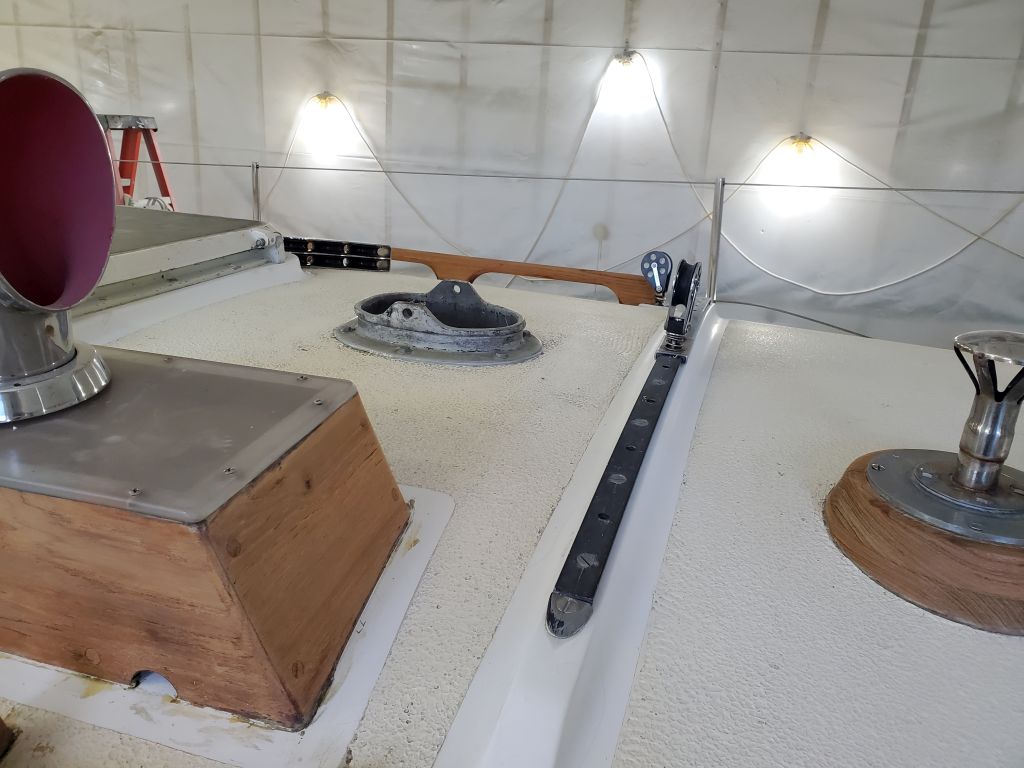
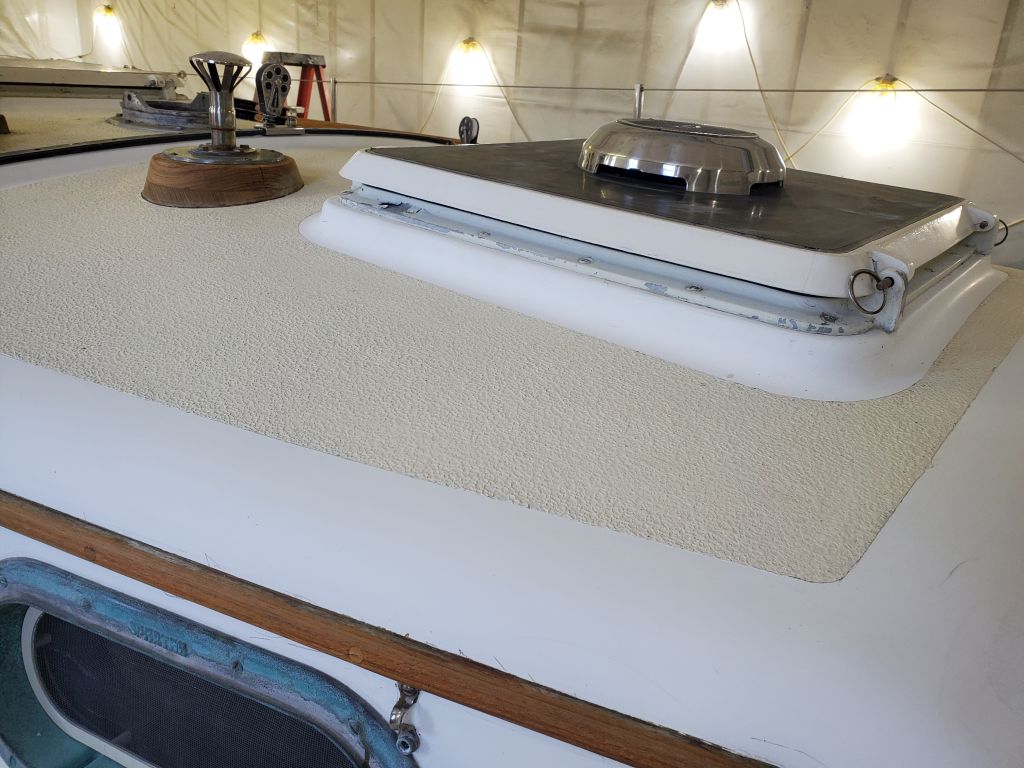
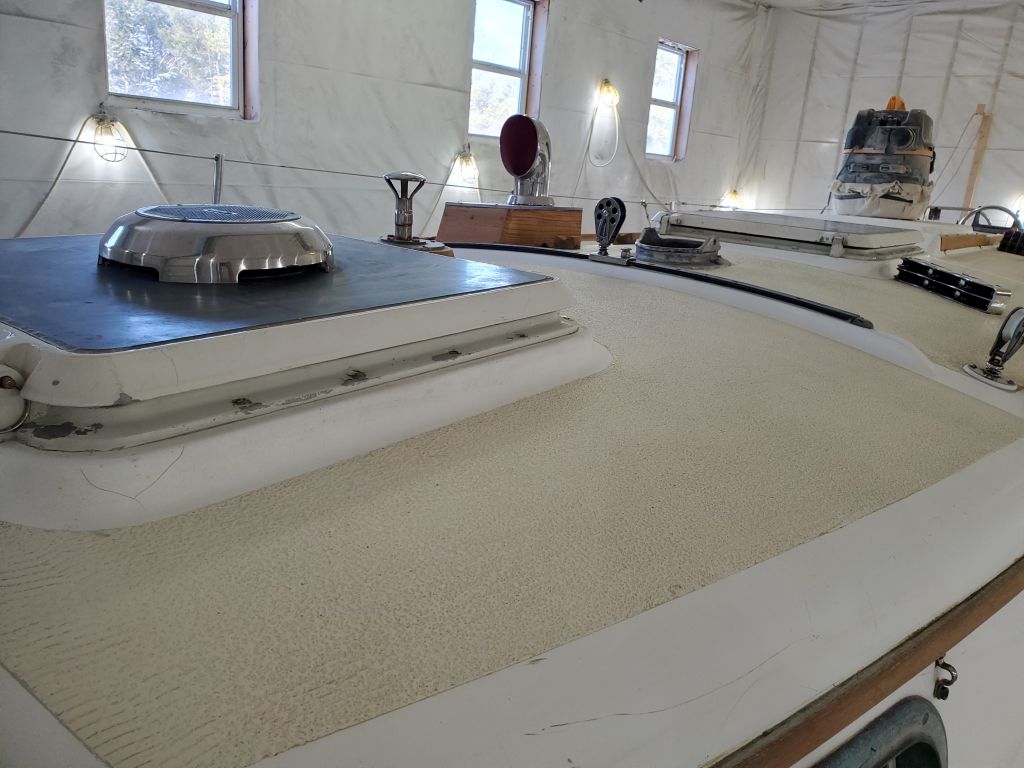
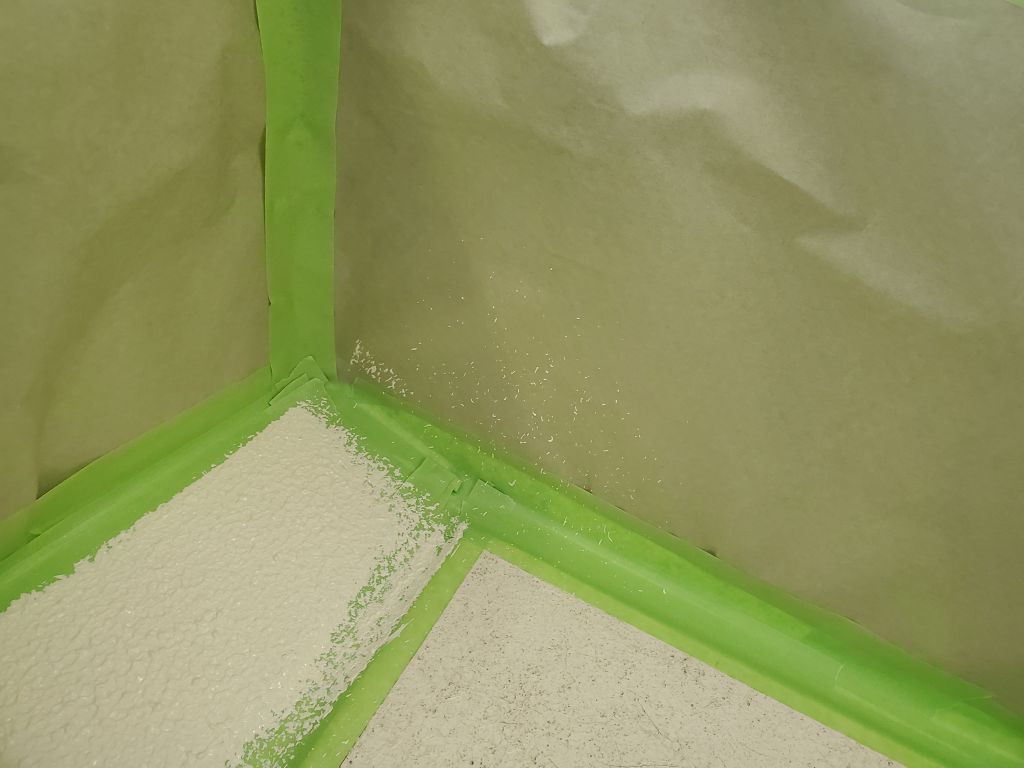
Next, I painted the coachroof, section by section.  Here, I had some challenges with the unmasking despite my best efforts, mainly in locating the ends of the tape to start pulling, but as always I persevered.  When the tape ripped during removal, or left its bottom layer behind, I simply left it, but I got most of the edge tape removed cleanly.  I left hardware fully masked for now, and would deal with its unmasking once the paint was cured.  Even with all the extra masking I’d done, I still had to remain vigilant for stray splatters beyond the confines of the tape and paper, ready to wipe them up with a water-dampened rag (Kiwigrip is water-based).

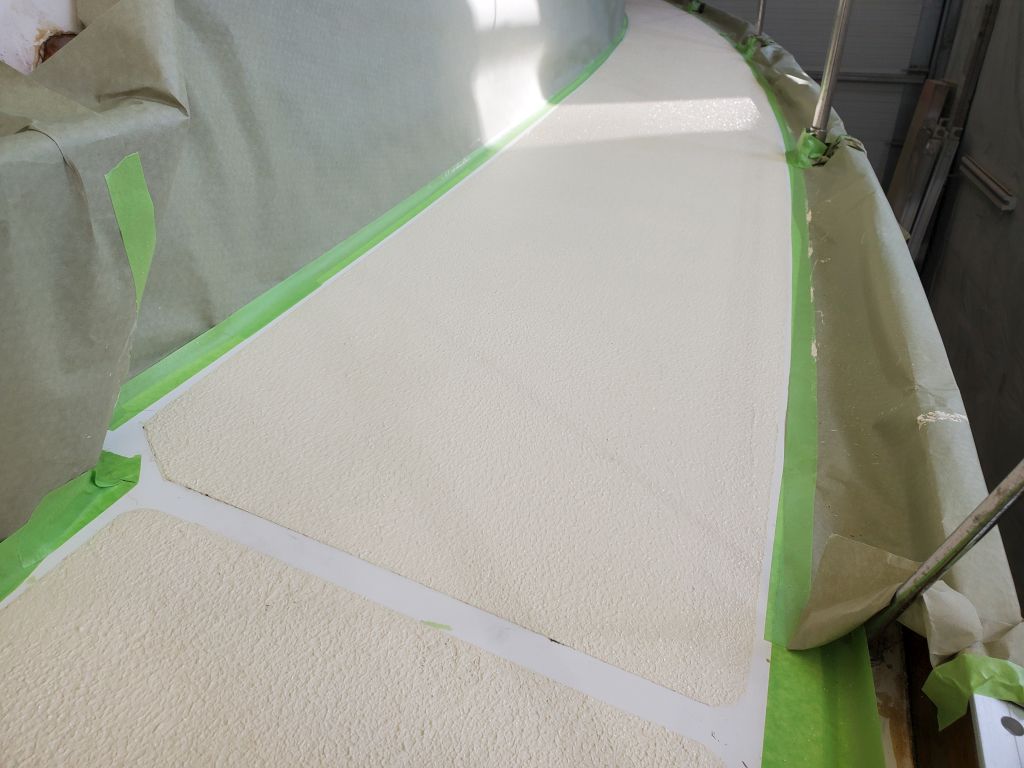
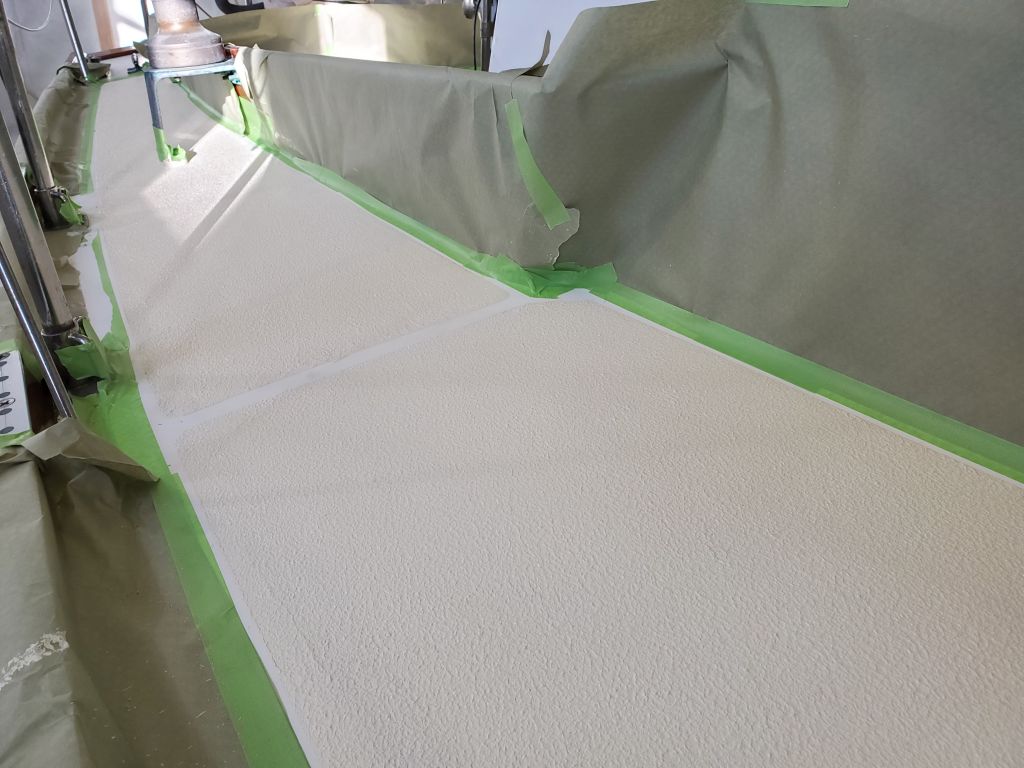
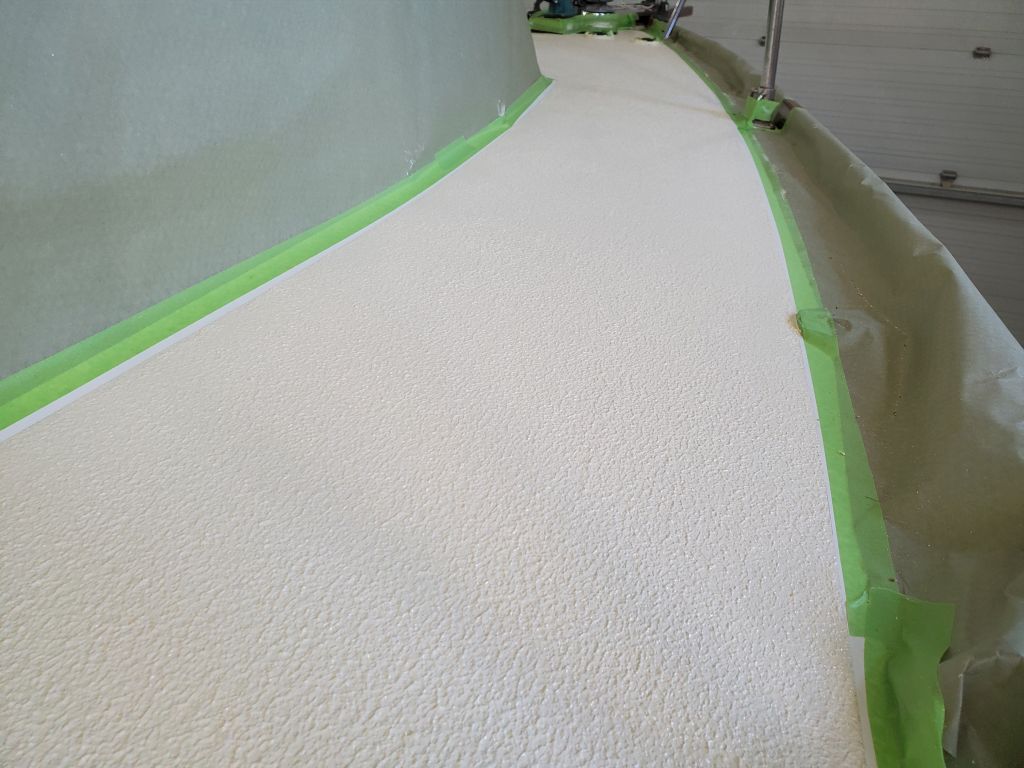
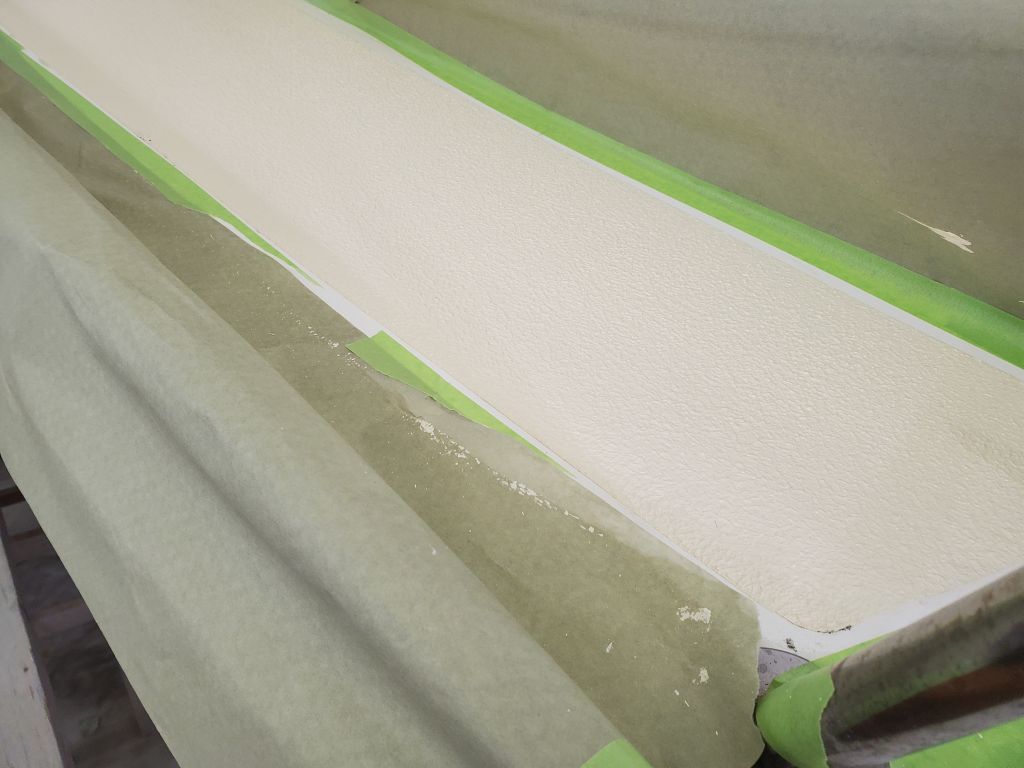
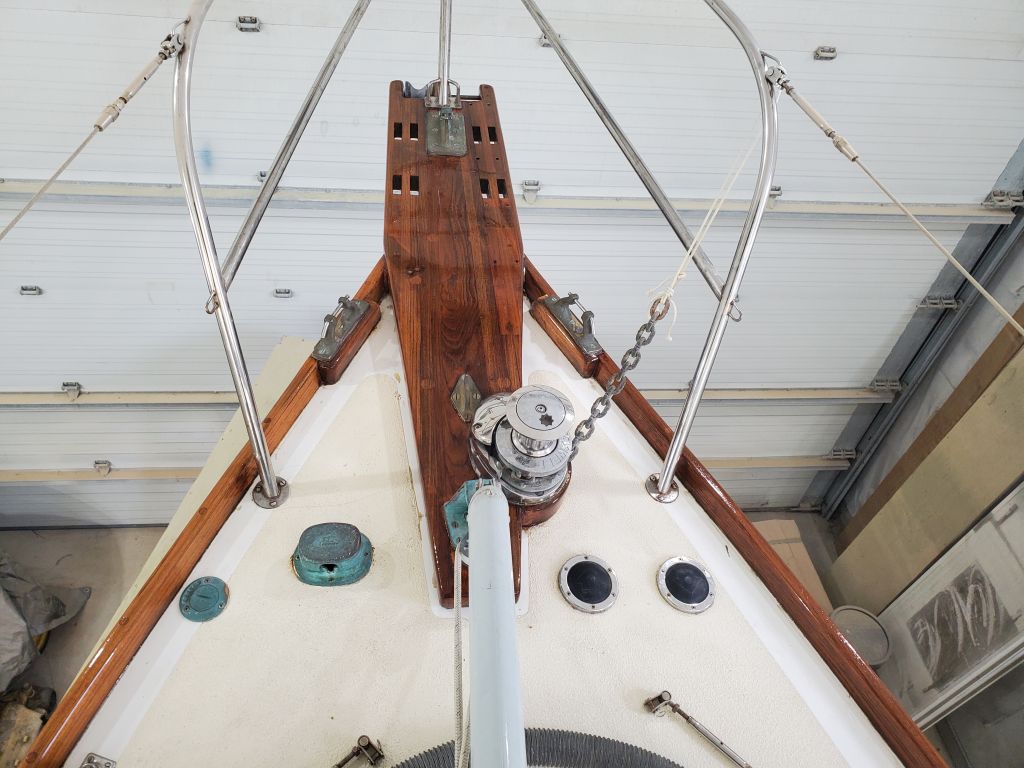
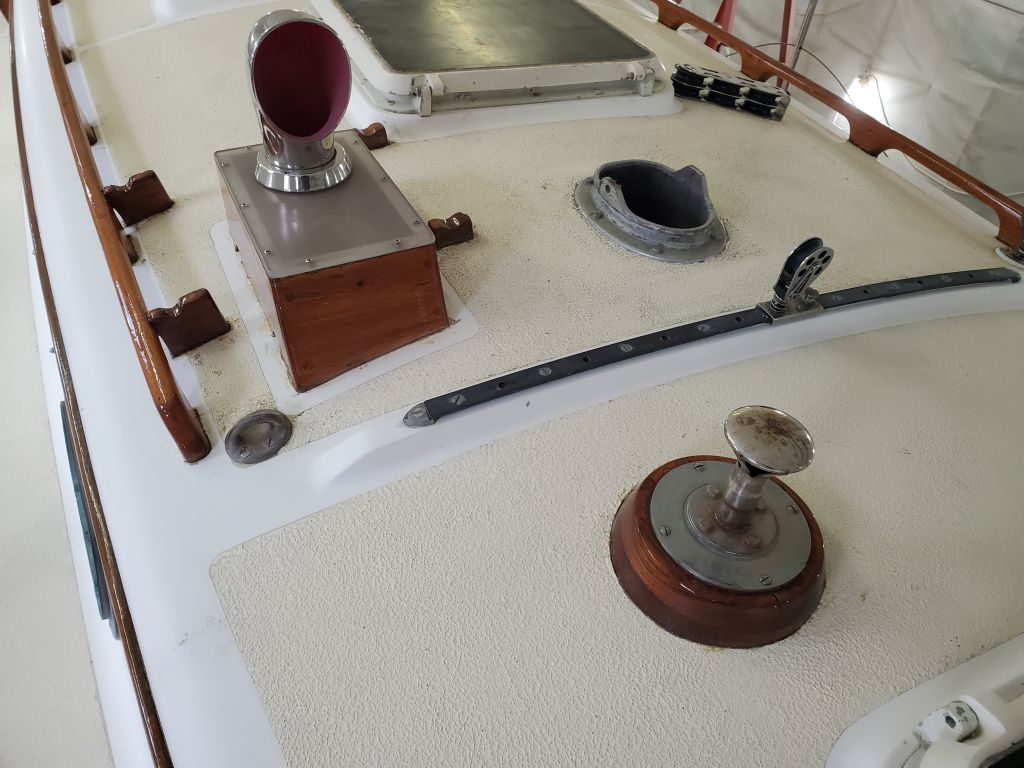
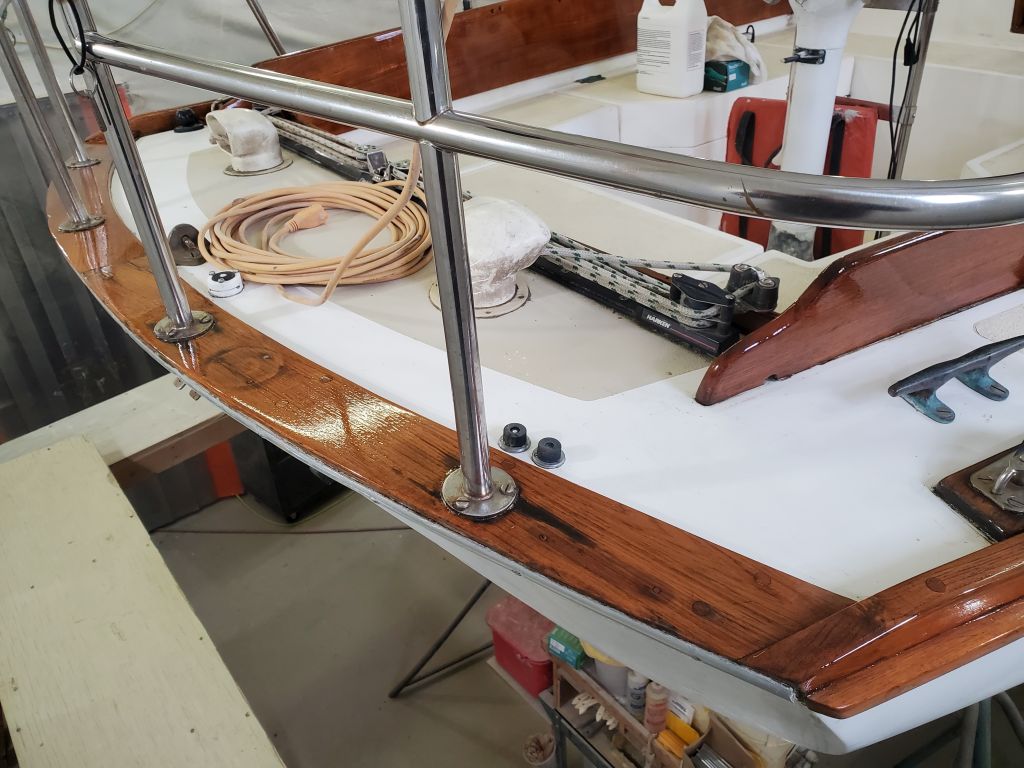
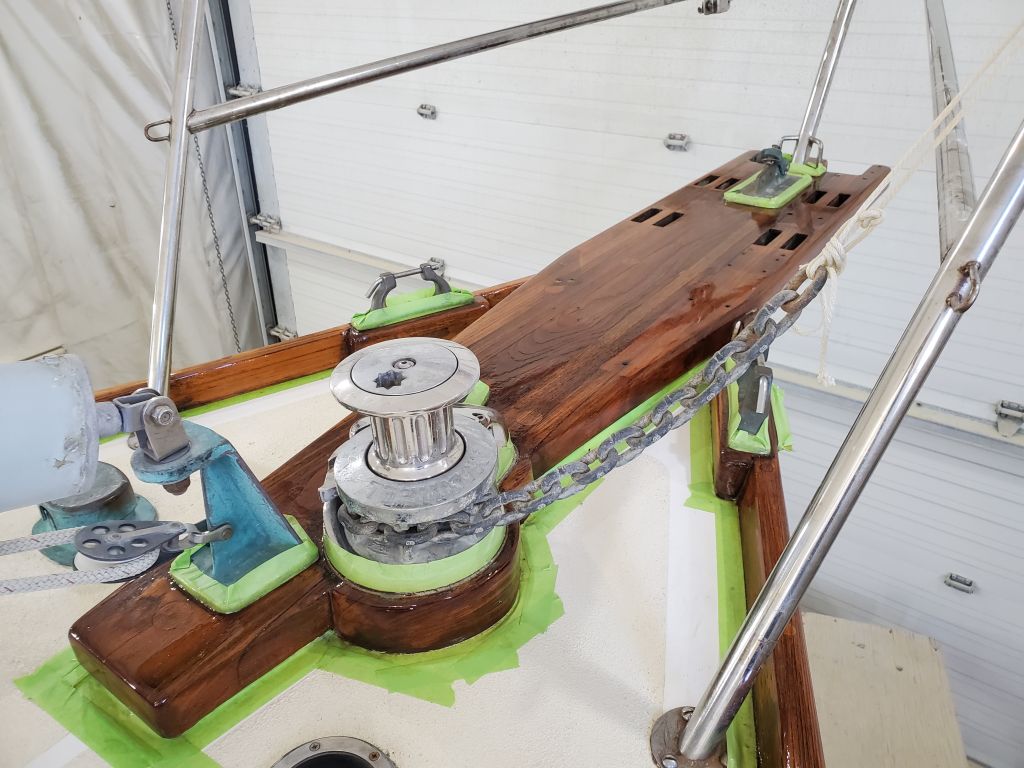
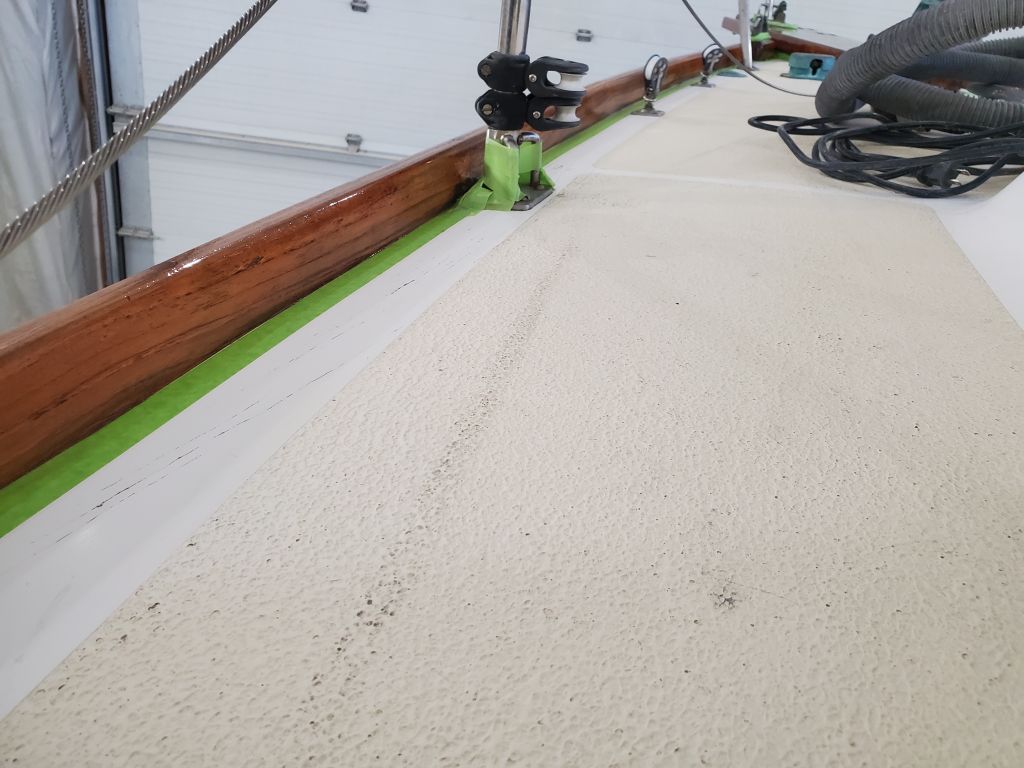
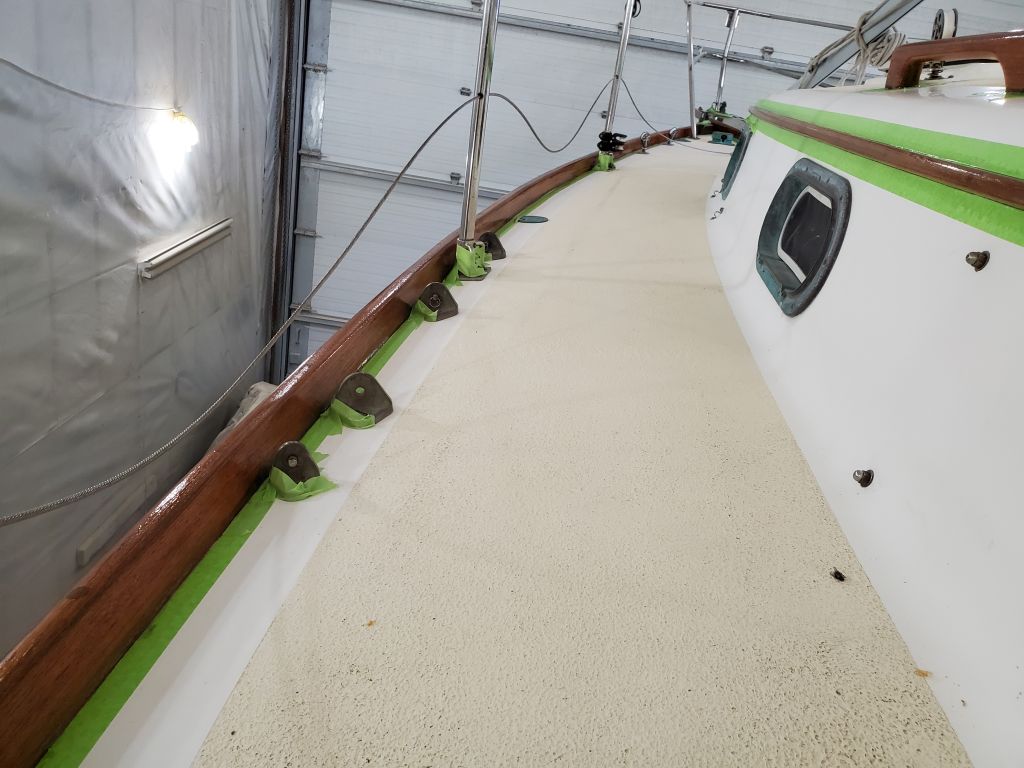
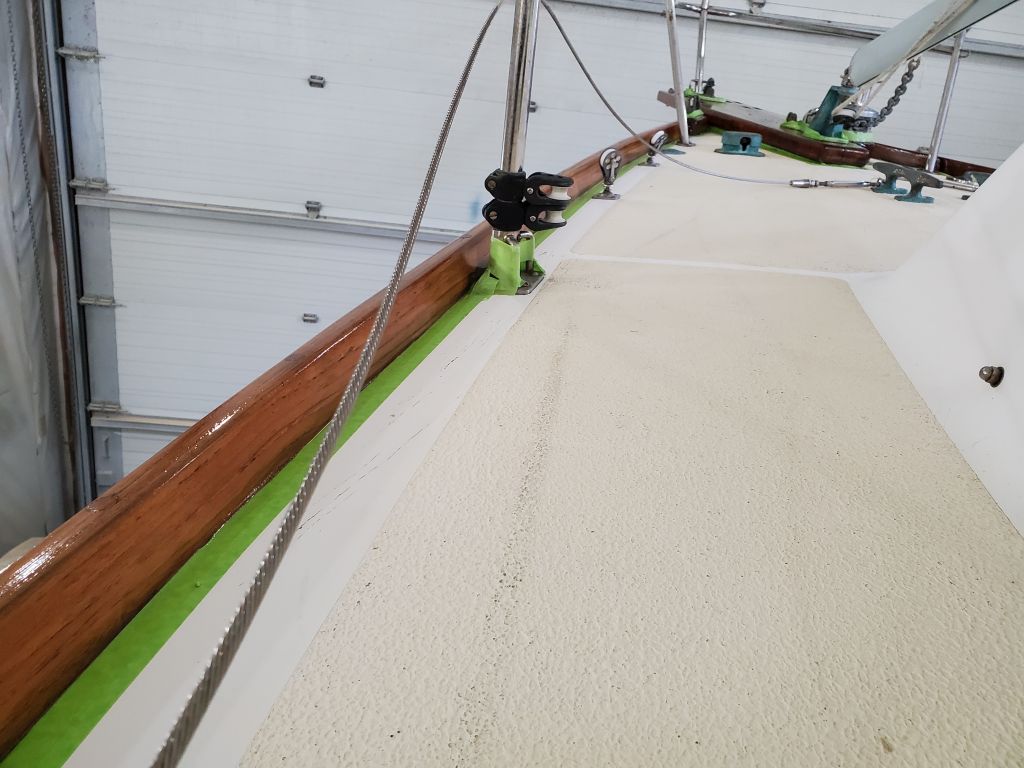
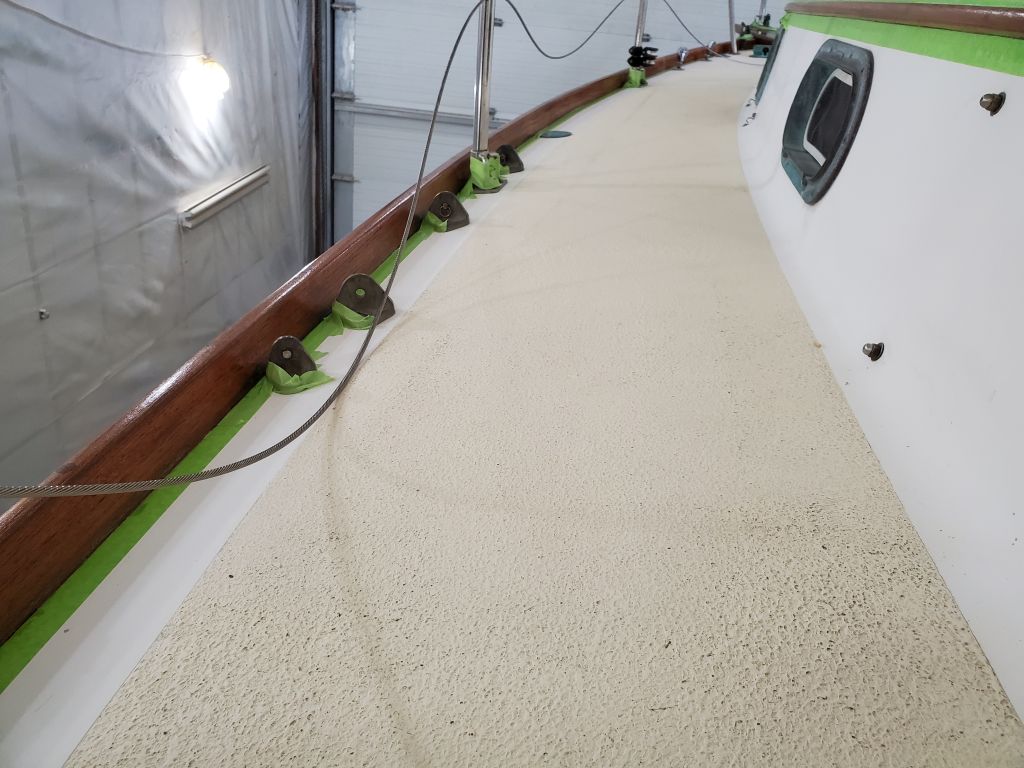
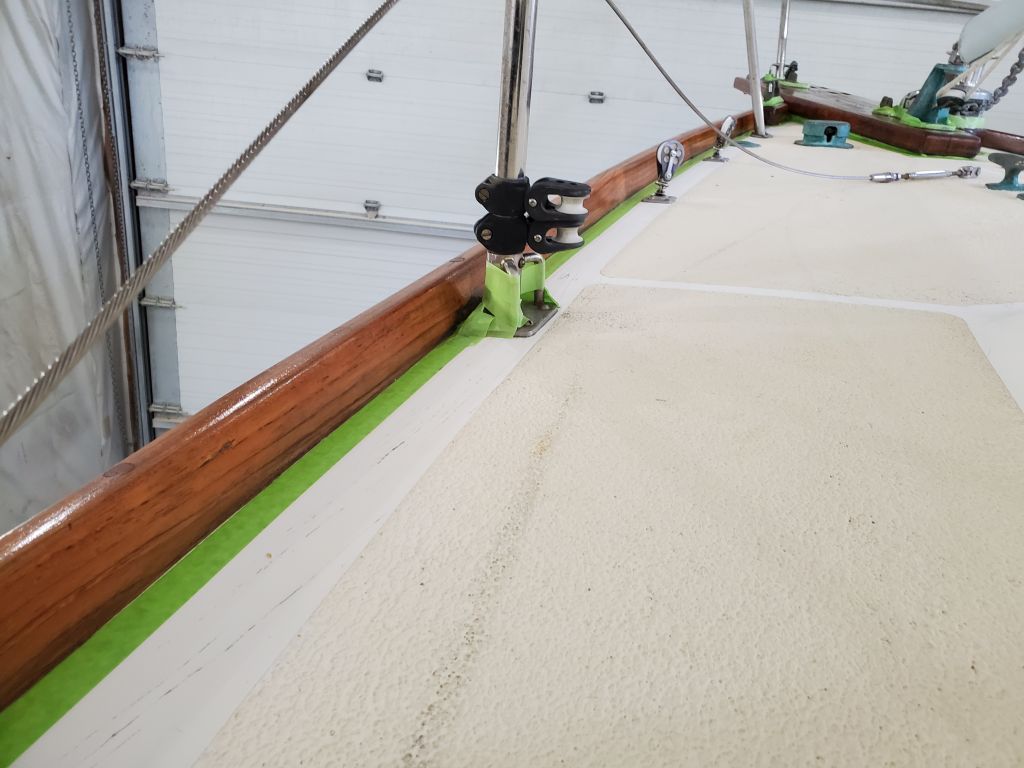
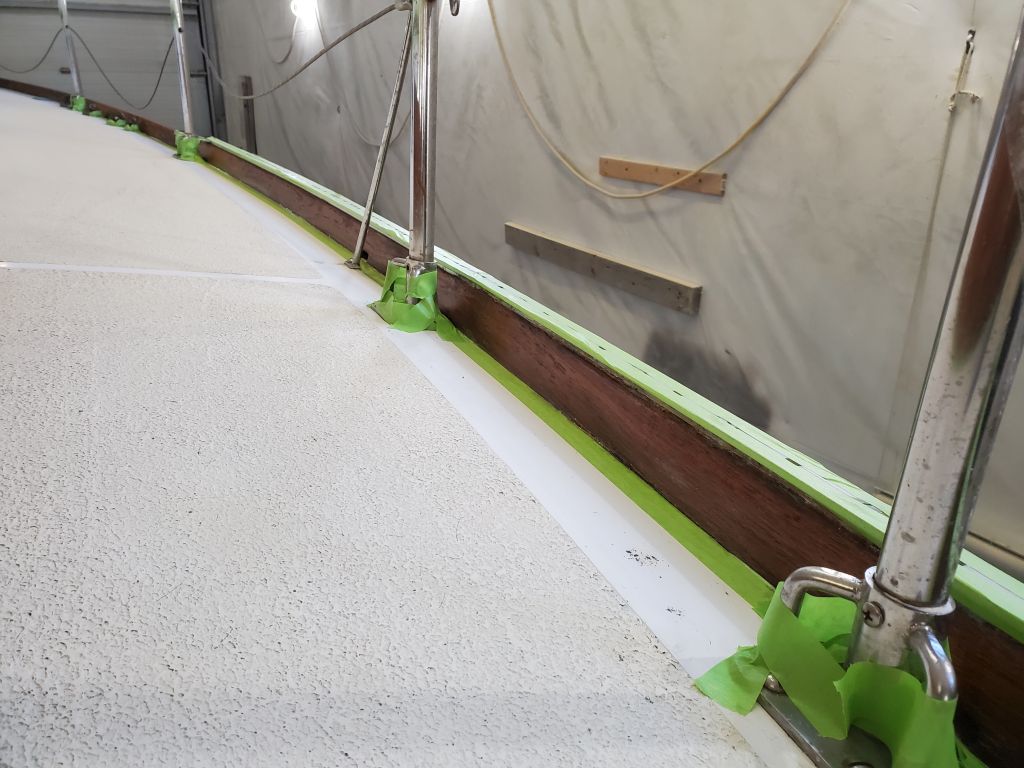
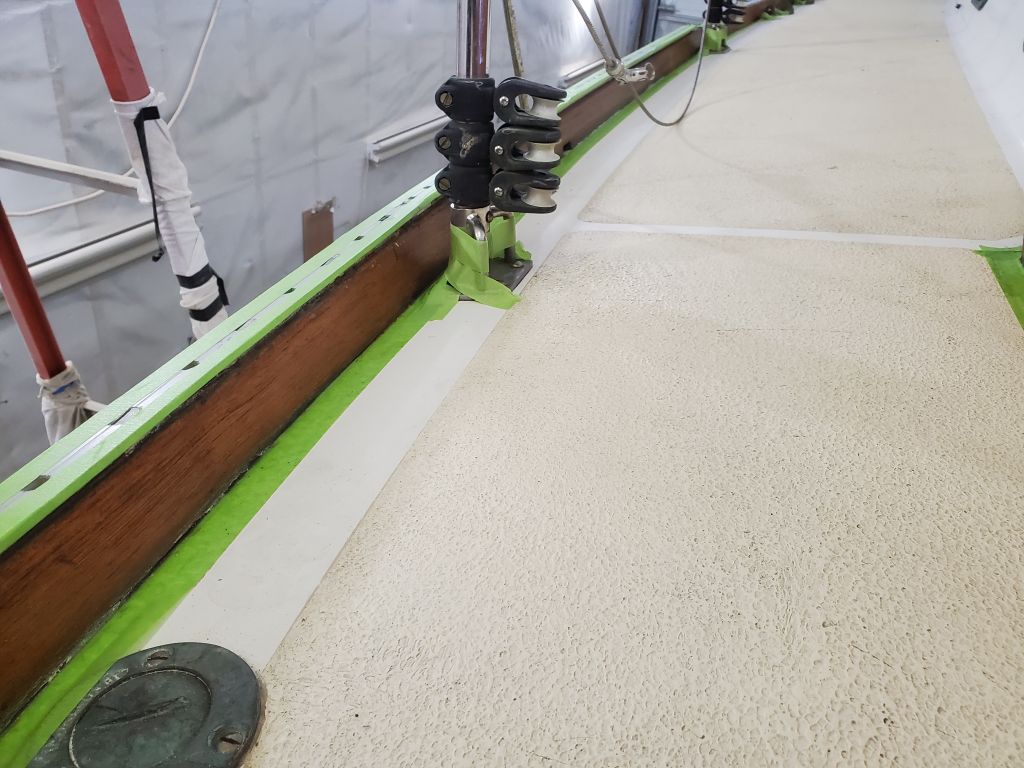
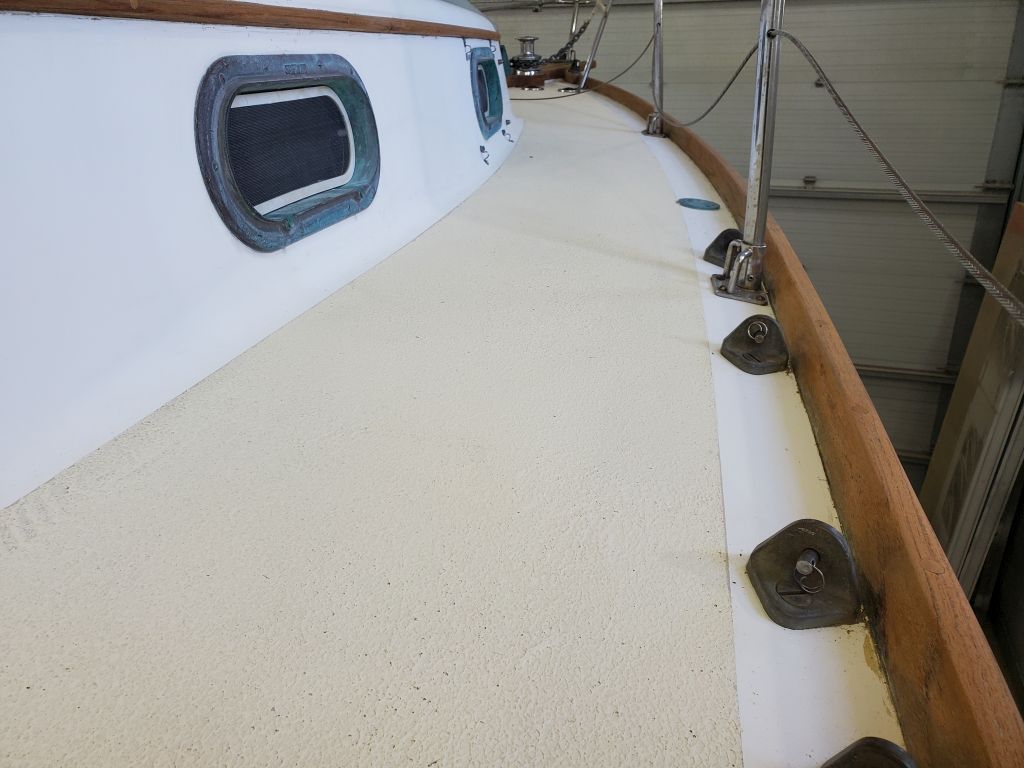
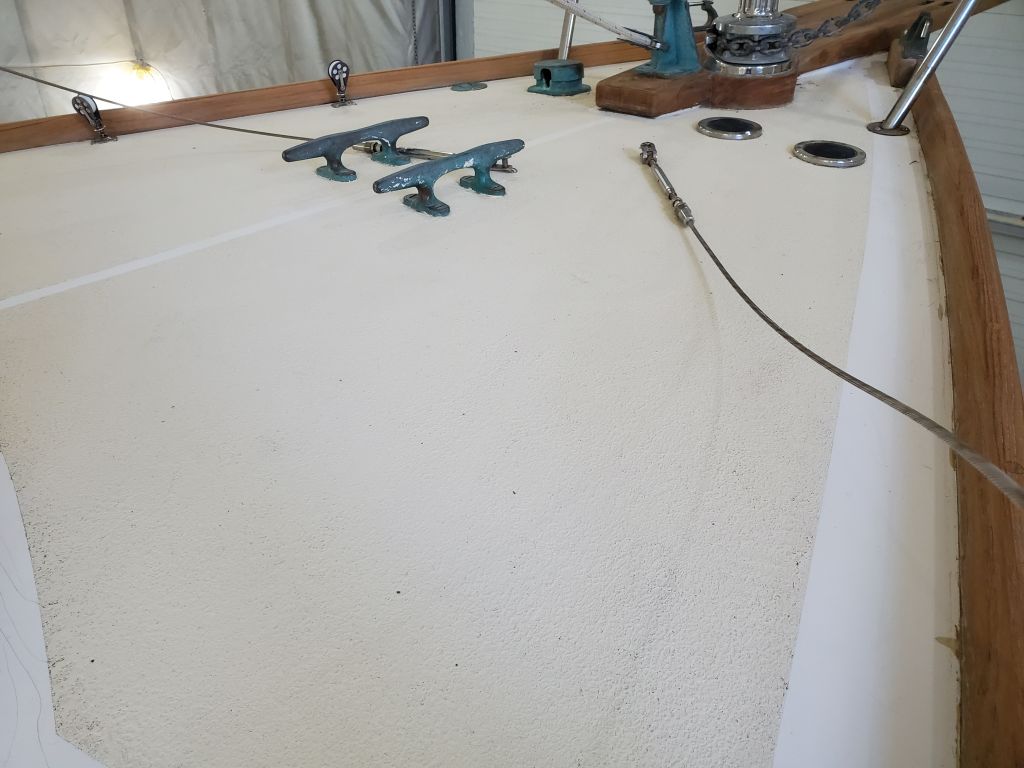
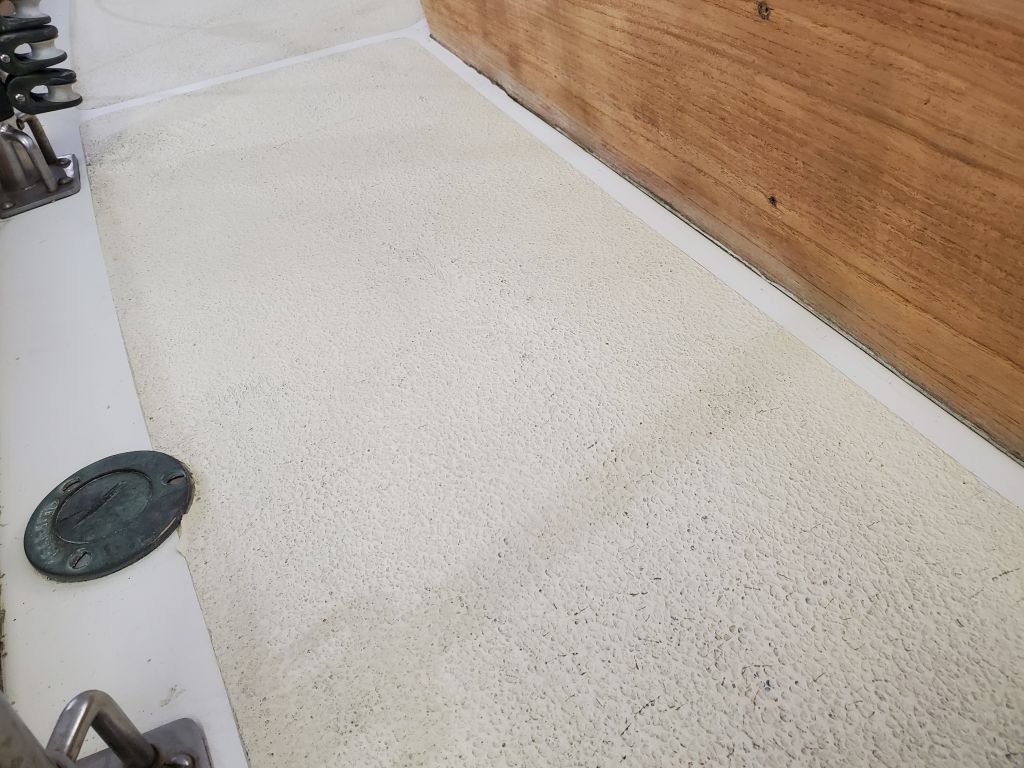
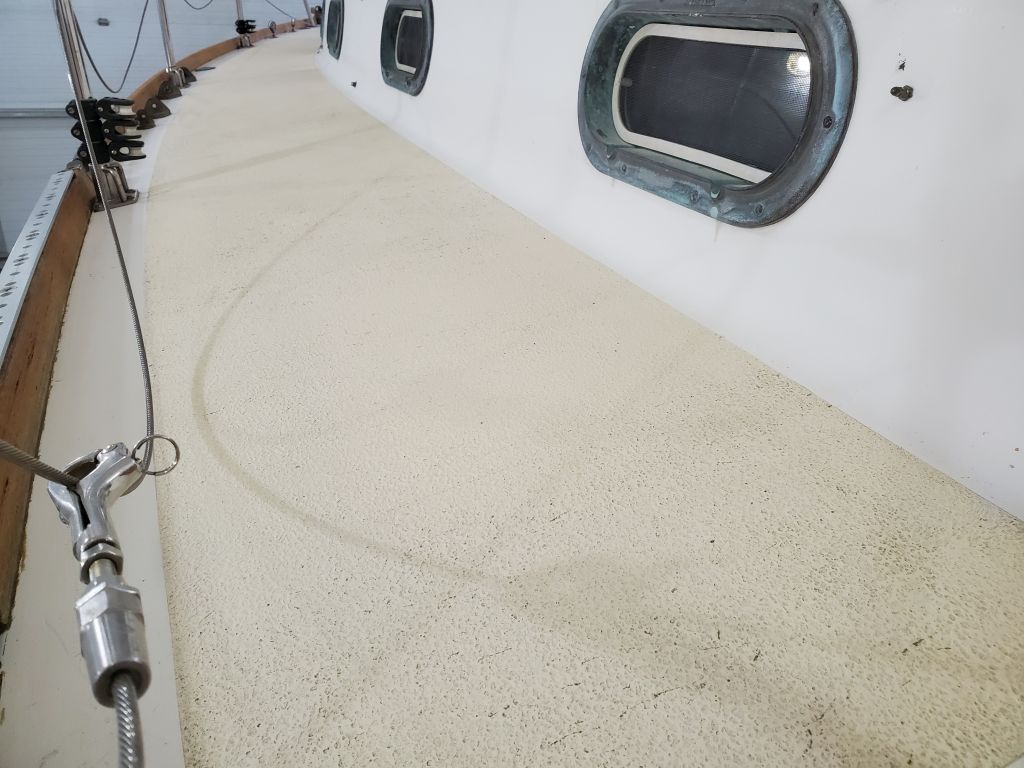
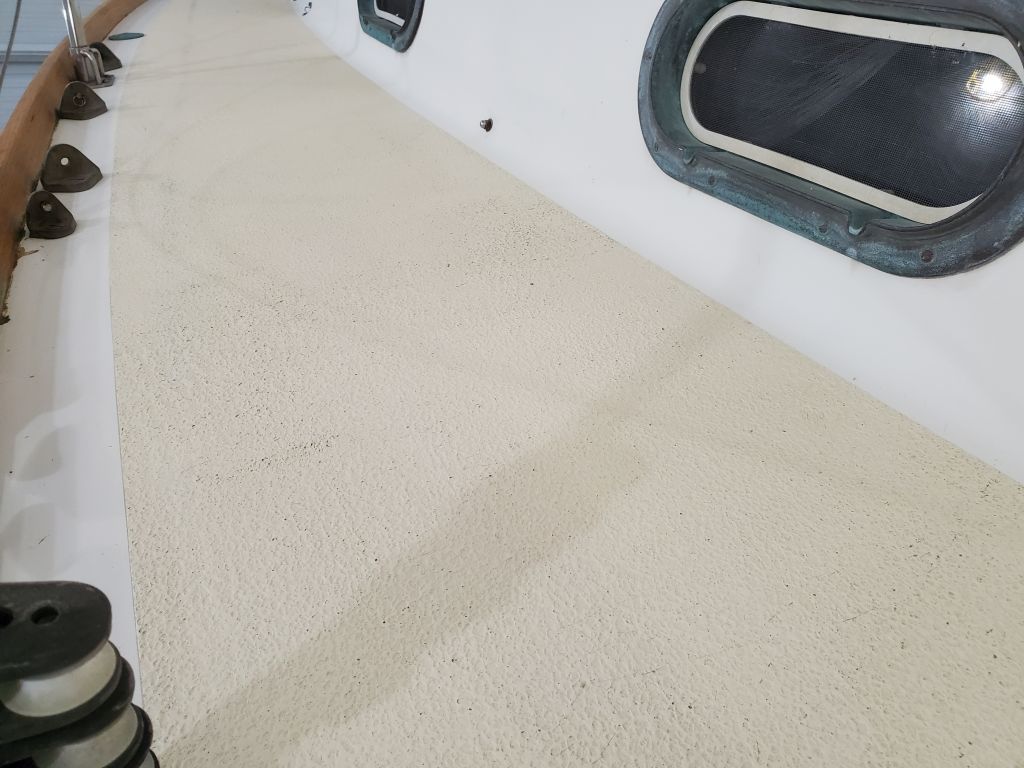
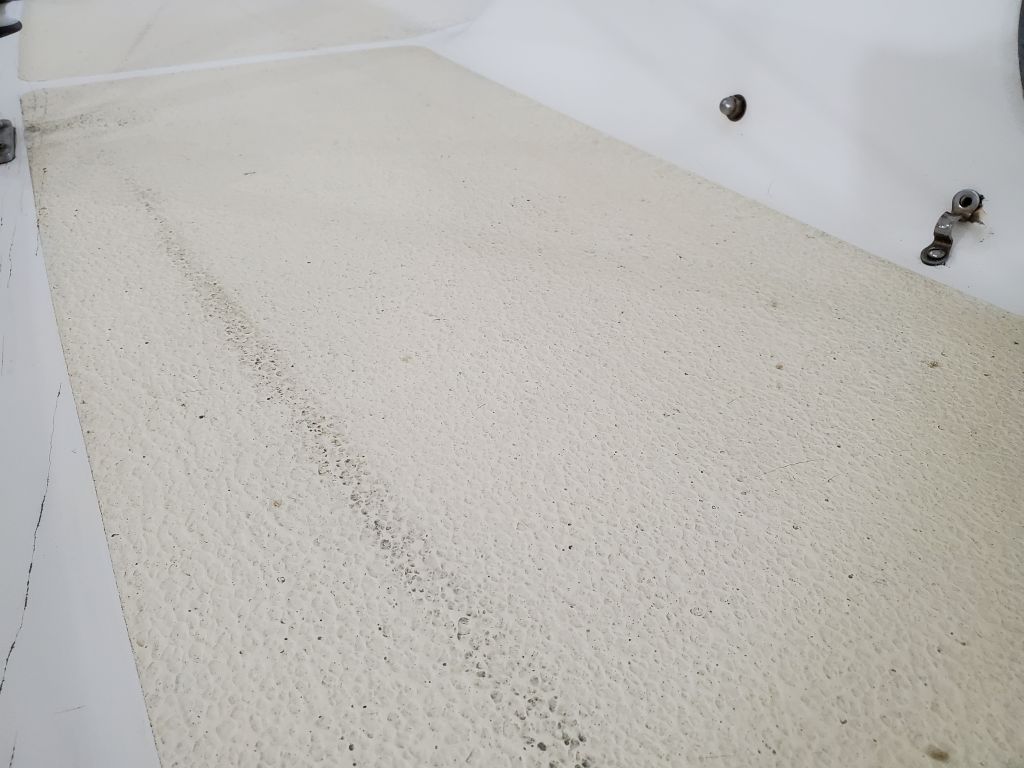
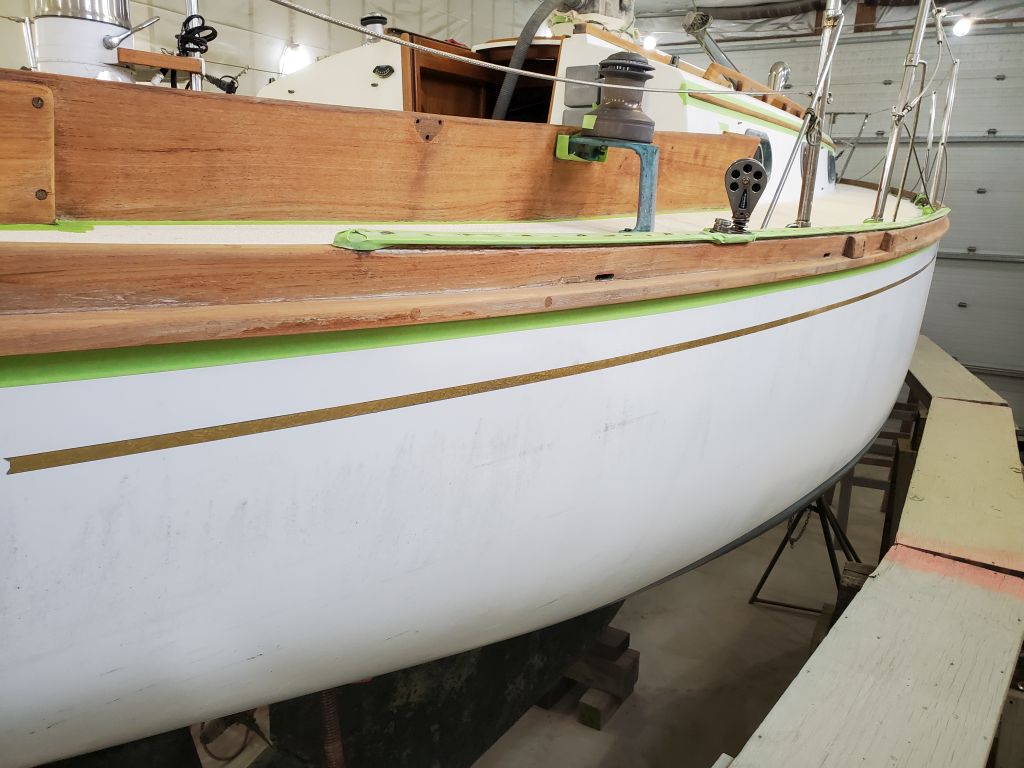
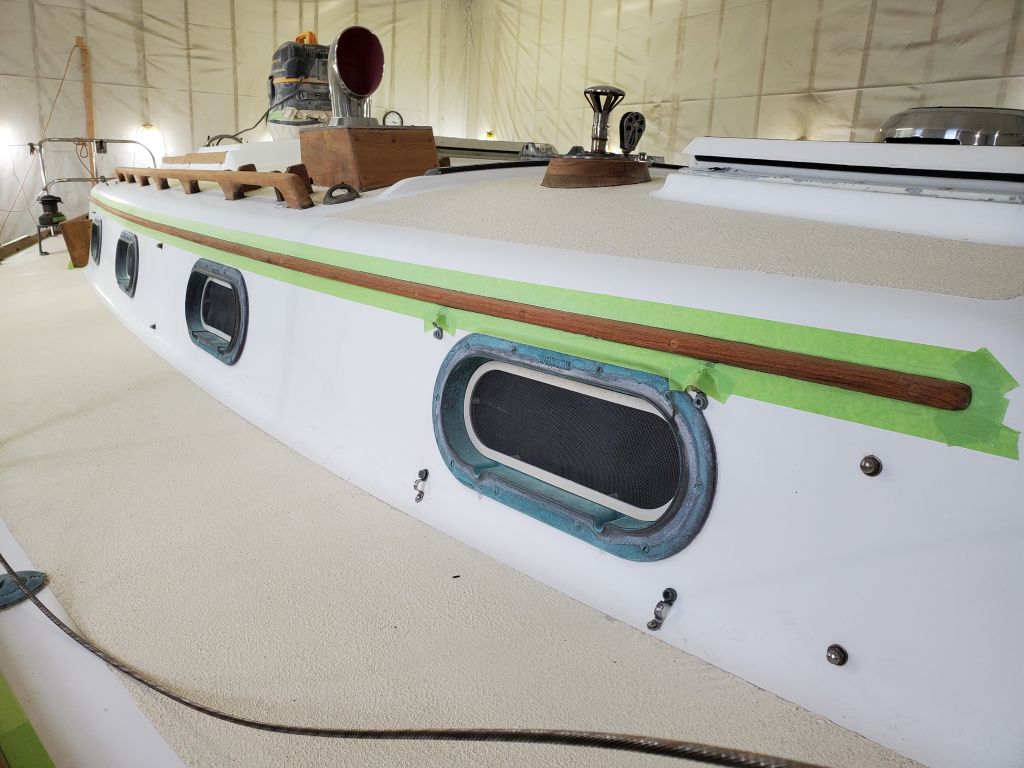
After a short break, I cleaned up the sidedecks, which I’d had to walk on for the rest, and then started painting again with the foredeck on both sides, before working my way down the starboard side, and then back up the port side to complete the job.  I pulled the strips of tape bordering the nonskid and left the remaining tape and paper in place till the paint had a chance to cure overnight and/or was safe to work on and around.


Danusia Phase 2-17

The next job on the agenda was to refresh the nonskid.  With the prepwork already complete, and the decks clean from the brightwork refinishing, I moved on to masking off for the nonskid application.  I wanted to give the fresh varnish some additional cure time before I masked it directly, and the weekend would give a couple additional days, so for now I worked only on masking areas where I didn’t have to tape the varnish, starting in the cockpit.

The nonskid would be Kiwigrip, a thick product that requires use of a special roller to obtain the texture.  Over a number of past applications, I’d found this to be a messy process, ripe for collateral damage to adjacent areas, so my practice now was to overprotect the nearby surfaces to prevent the frustration of paint splatters on unwanted areas during application.  Kiwigrip also requires that the masking tape be pulled shortly after application–a process I find onerous–but I’d also learned to make all efforts to provide for the easiest possible unmasking under this duress.  So these factors conspired to some level of overkill, I’m sure, for how I masked for the otherwise straightforward refinishing, but worth it to me for a more successful and easier application when the time came.

In the cockpit, I masked everything except the outboard edges against the freshly-varnished coamings, which I’d come back and cover after the weekend.  In the cockpit well, I added masking paper to protect against splatters on the sides of the well, and additional tape on all the other surfaces, arranging the tape so that the layer closest to the nonskid pattern was on top everywhere for easy pulling with the fresh paint.

The owner requested that I look into rebedding the lens on the midships deck hatch, so before I continued now I removed the hatch so I could work on it down on the bench when time and the spirit moved me.  More on this sub-project later.

Next, I masked where I could on the coachroof, including around the two hatches and anywhere that didn’t require directly masking on the new varnish.  I also masked the center portion of the foredeck, the bow cleats, and the forward end of the coachroof.  The rest would have to wait till the varnish had the benefit of the weekend’s cure time, after which I could finish up the rest of the deck masking as needed.


Danusia Phase 2-16

With six successful coats in place, the brightwork project was complete, and I could turn to removing the masking tape and cleaning up from the job.

I didn’t expect that it would require virtually the full day to remove the masking tape, but that’s what it took; this was OK, since I wanted to give the fresh varnish some cure time before I moved on to the next part of the project, which would be refreshing the nonskid, and it was too soon to think about masking near the new varnish anyway.

As I went, I also cleaned up any small amounts varnish from these applications that had seeped beneath the tape (usually a problem mostly at the corners of the handrails and around certain hardware), and did the best I could to remove varnish spilled during earlier applications over the years, sometimes with success, sometimes less so when there was a risk of damage to the gelcoat or the new varnish work.

Later in the day, I sanded the swashboards and cockpit table (the bottom side; the top side would require several more coats) and applied the sixth coat of varnish there.


Danusia Phase 2-15

As usual, I began by lightly sanding the most recent coat of varnish on all areas, then, after cleanup, applied the sixth coat of varnish.

Danusia Phase 2-14

After the usual light sanding and cleanup, I applied the fifth coat of varnish to all areas on the boat.  Because I was short on time with an afternoon commitment for which I needed to leave, I didn’t sand or varnish the loose small parts (companionway boards and cockpit table) this time around.

Danusia Phase 2-13

Continuing the process, I spent the morning lightly sanding all the brightwork, then cleaning up to prepare for the 4th coat of varnish, which I applied thereafter.  As usual, the 4th coat was where things started looking quite good as the thickness of the varnish continued to build.

Danusia Phase 2-12

After lightly sanding the brightwork with 320 grit, I applied the third coat of varnish to all areas.

Danusia Phase 2-11

In what would be a daily cycle for the immediate future, I started out by lightly sanding with the first coat of varnish, by hand and with a small sanding block when possible.  After cleaning up from the sanding, I applied another coat of varnish to all areas.

Danusia Phase 2-10

To begin, I finished up the masking around the brightwork on the cabintop.

Afterwards, I applied the first coat of varnish to all the wood.  This was a heavily-thinned down coat (approximately 50%) to allow the varnish to soak in to the bare wood.  Even so, there are few more immediately satisfying things than applying the first coat of varnish to bare wood.  The transformation was instantaneous and pleasing.

Danusia Phase 2-9

I spent the morning scrubbing the nonskid with rags and solvent to clean the surface as much as possible.  This did have a good effect on most areas, and in any event I now thought that the surface was prepared as well as it could be for recoating.

When the work on the nonskid was done, I cleaned the brightwork and surrounding areas as well to prepare for masking and eventual refinishing.

I spent the afternoon masking the brightwork, taking care of both toerails, both eyebrows, the anchor platform, and cockpit coamings before the end of the day.  I’d finish up the coachroof areas next time.

Older posts Newer posts