(page 2 of 5)

Danusia Phase 2-37

I cleaned up and reassembled the spray gun, which I’d left soaking overnight, and then removed what masking I could from the hull, mainly the various hardware and through hulls on the transom and counter.  I removed the masking paper and tape from the top edge of the boottop area.  For now, this was all I could do on the hull itself, as I needed to give the fresh paint additional cure time before masking over the topsides to spray the boottop.

This gave me time to continue work on the hatch lens replacement.  The lens was intentionally a bit smaller than the hatch opening, leaving a cosmetic caulking groove around the perimeter, meaning the lens could move about fairly easily in the opening.  But I needed to secure it in a reproducible way so that I could flip the hatch and trim the protective paper around the structural members beneath.  To register the lens from the top side of the hatch, I came up with an easy method using some paint sticks taped to the paper on the top surface of the lens; this simply held the lens from sliding in any direction, which meant that once I’d trimmed the paper, I could easily place the lens in the opening and know that the prepared surfaces would properly mate.

I clamped the lens lightly in place, then turned the hatch over so I could use a sharp knife to carefully score the paper around all the inside edges of the aluminum hatch frame, after which I removed the paper from these bonding areas.

After a final cleanup of the prepared hatch frame, I secured the lens in place with heavy beads of Sikaflex 295UV, and clamped and weighted the lens into the fresh sealant.  I did not try to fill and tool the cosmetic seam around the outside of the lens now, as it was impossible to clamp the lens and still access the outer seam; that would happen later, after the initial sealant application cured.  All the sealing and bonding of the lens occurred with the initial sealant application, and the outer edge was largely a cosmetic concern.  Although I couldn’t get the camera beneath the hatch the way it was supported on the table, I did peer beneath by eye to confirm good contact of the lens and squeezeout of sealant all around the inside.  I left the assembly to cure.

Danusia Phase 2-36

During the morning hours and after final preparations, I applied three coats of gloss snow white topcoat to the hull, leaving it to cure overnight.

Danusia Phase 2-35

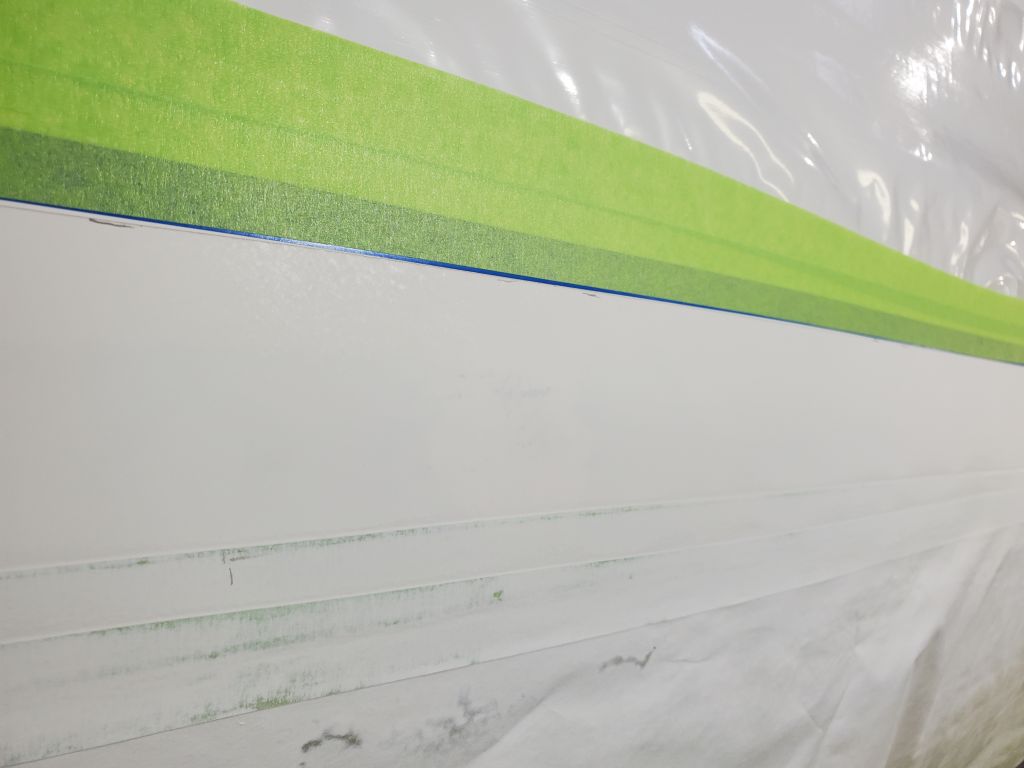
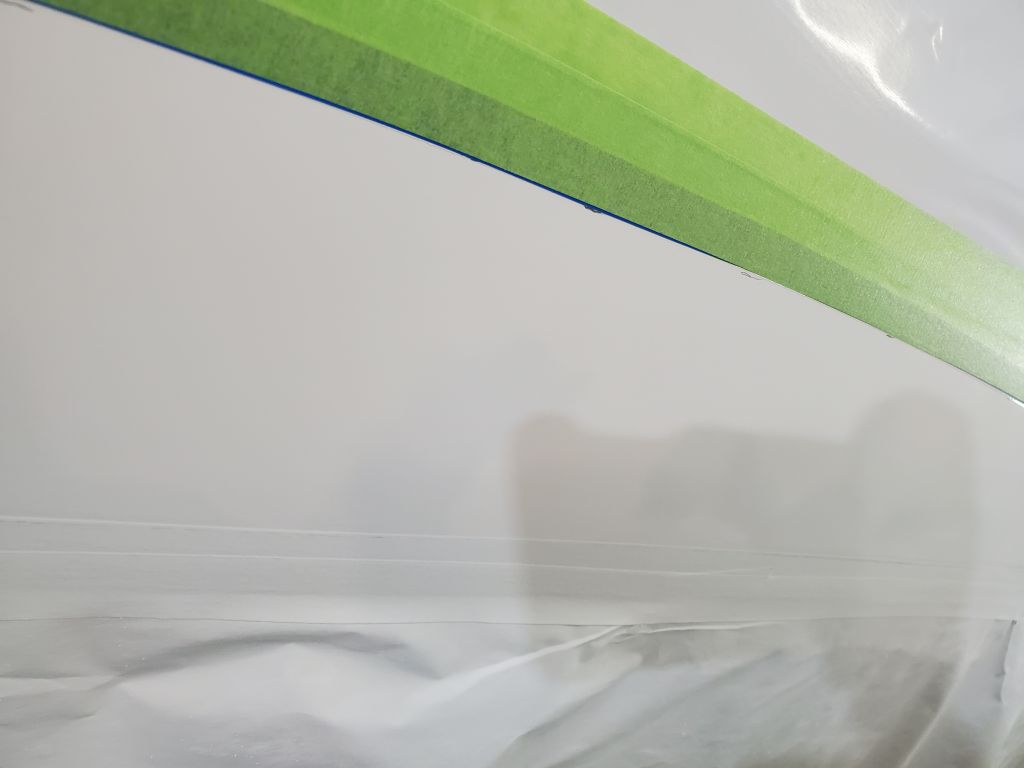
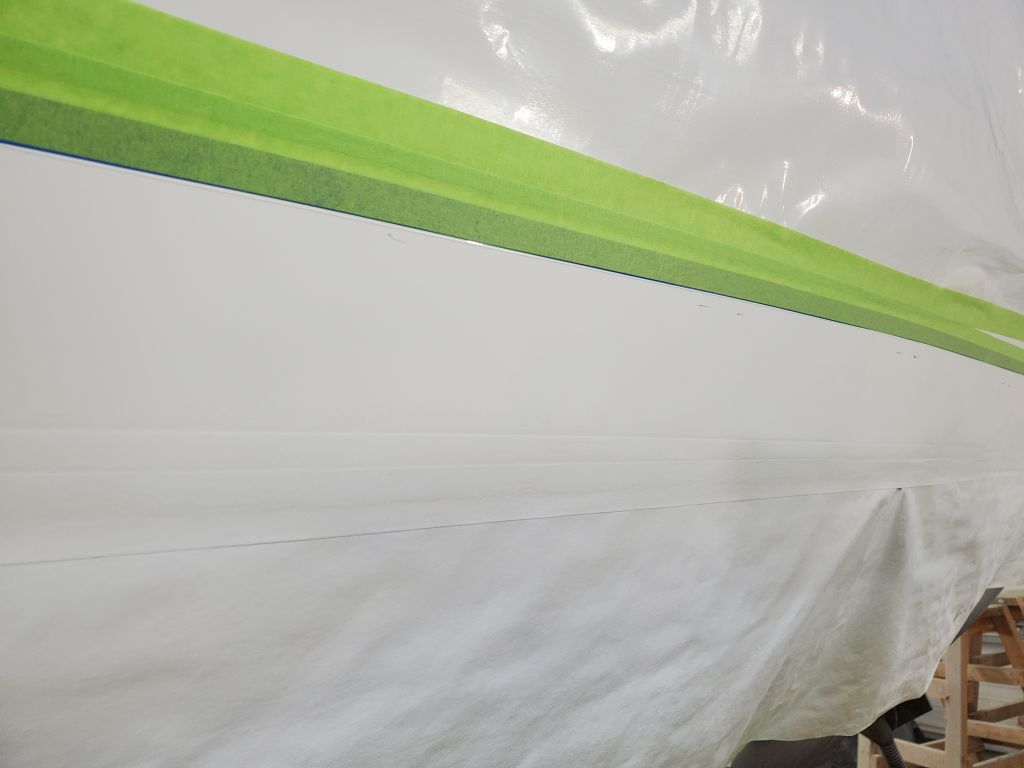
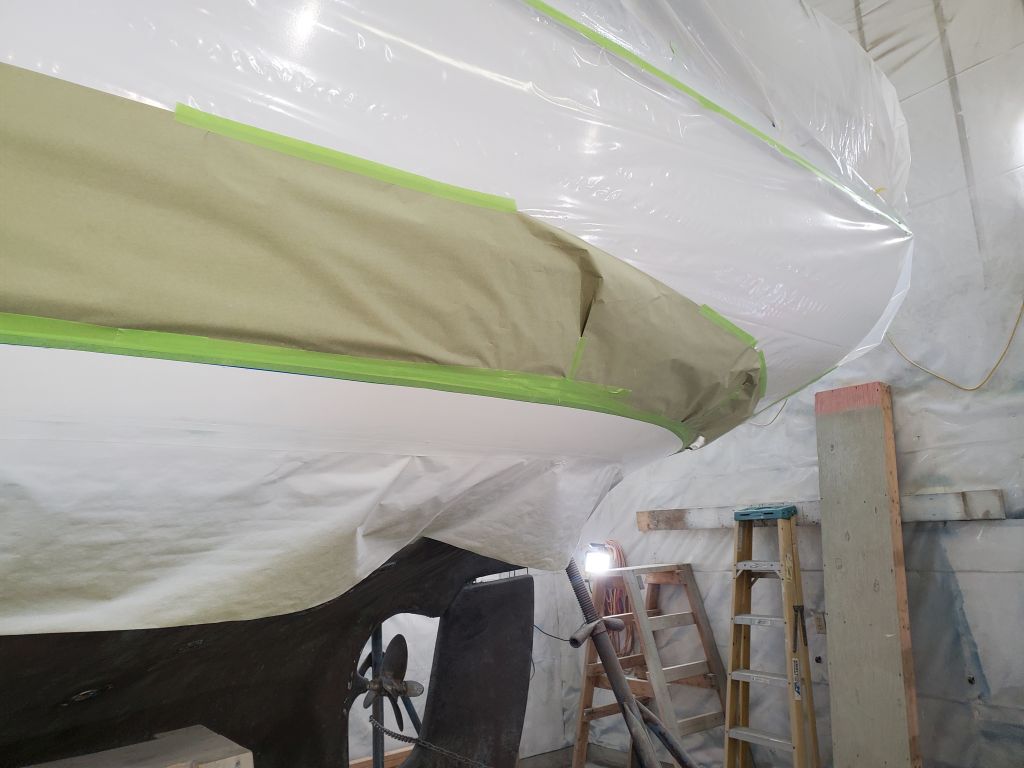
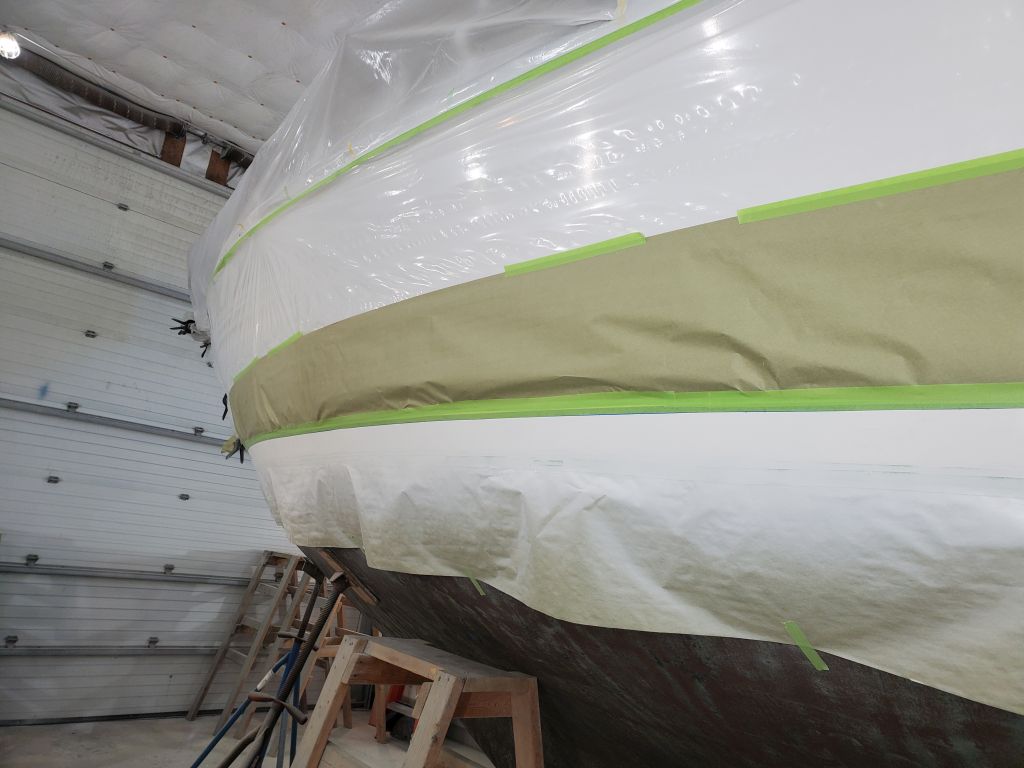
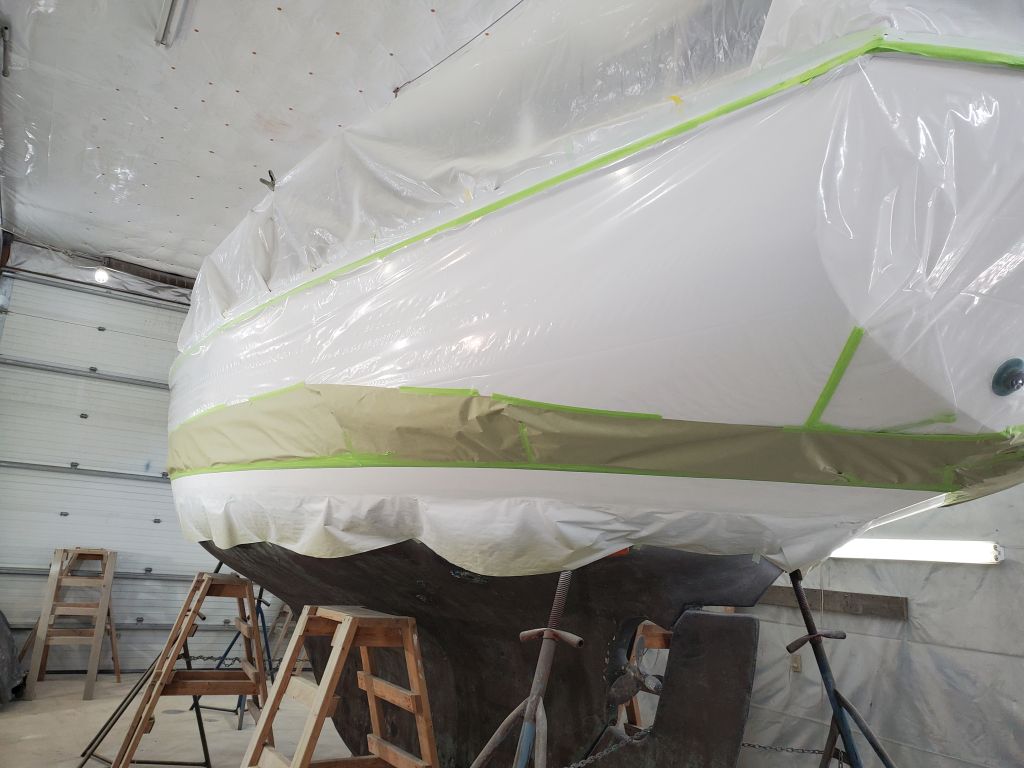
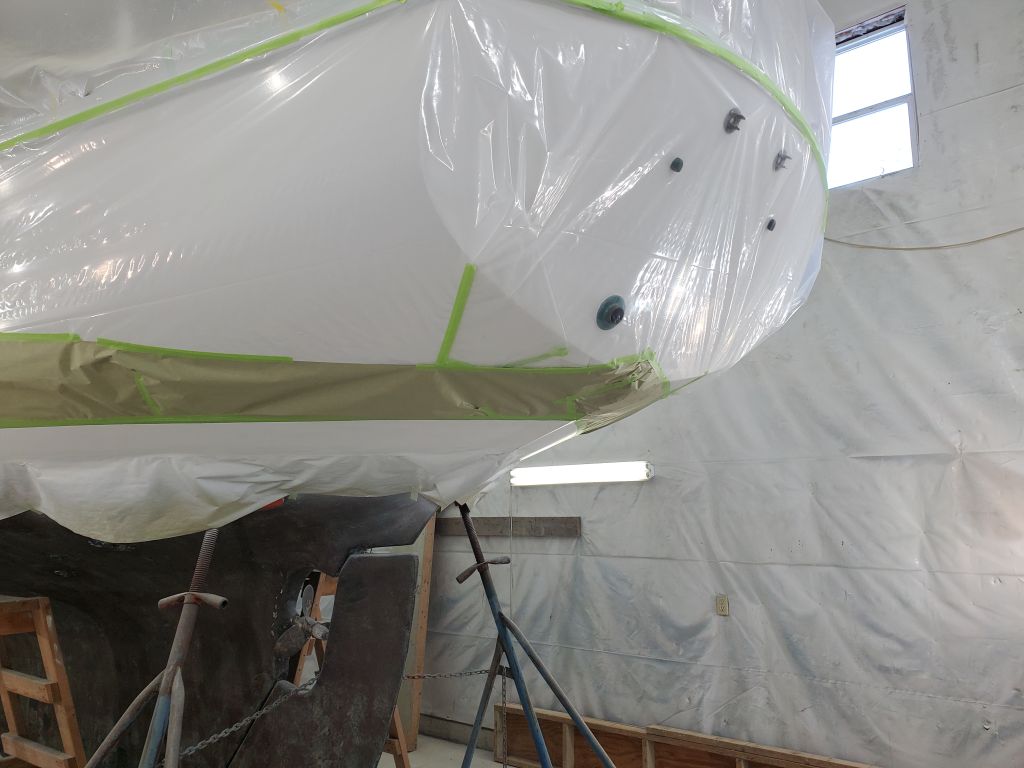
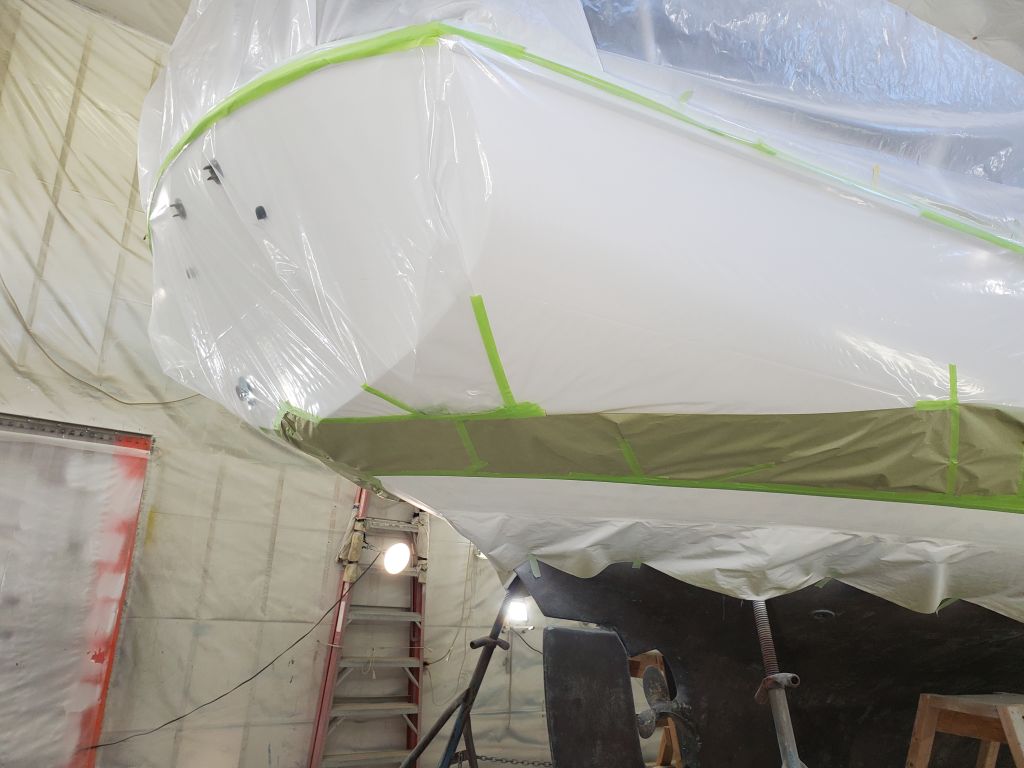
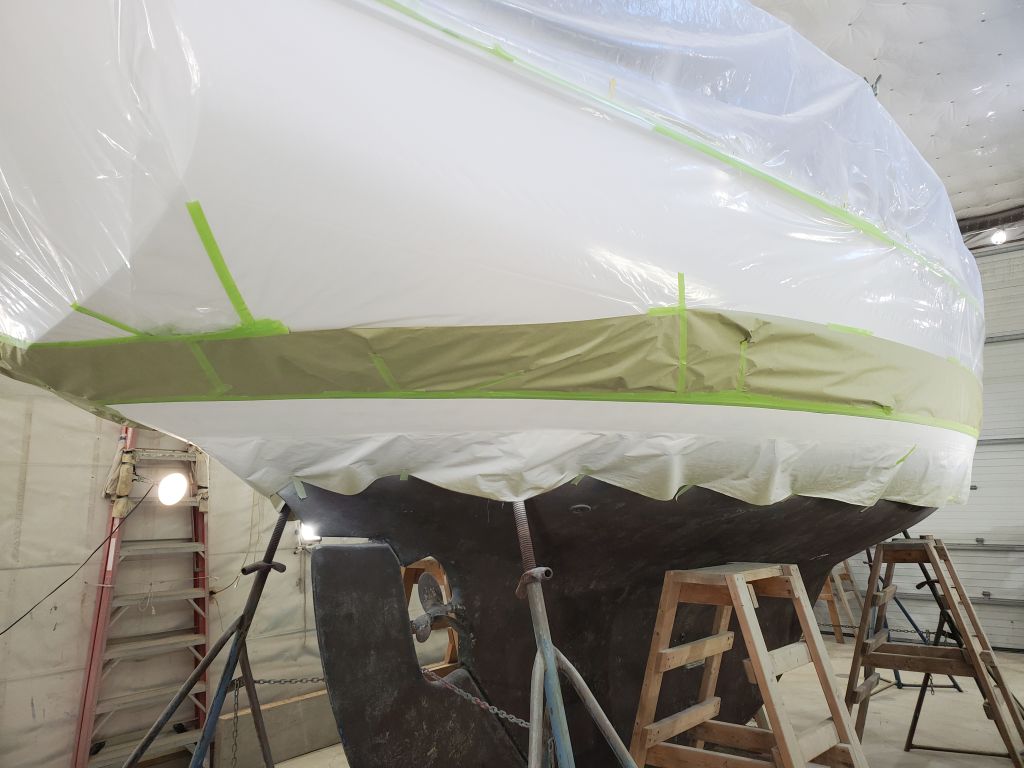
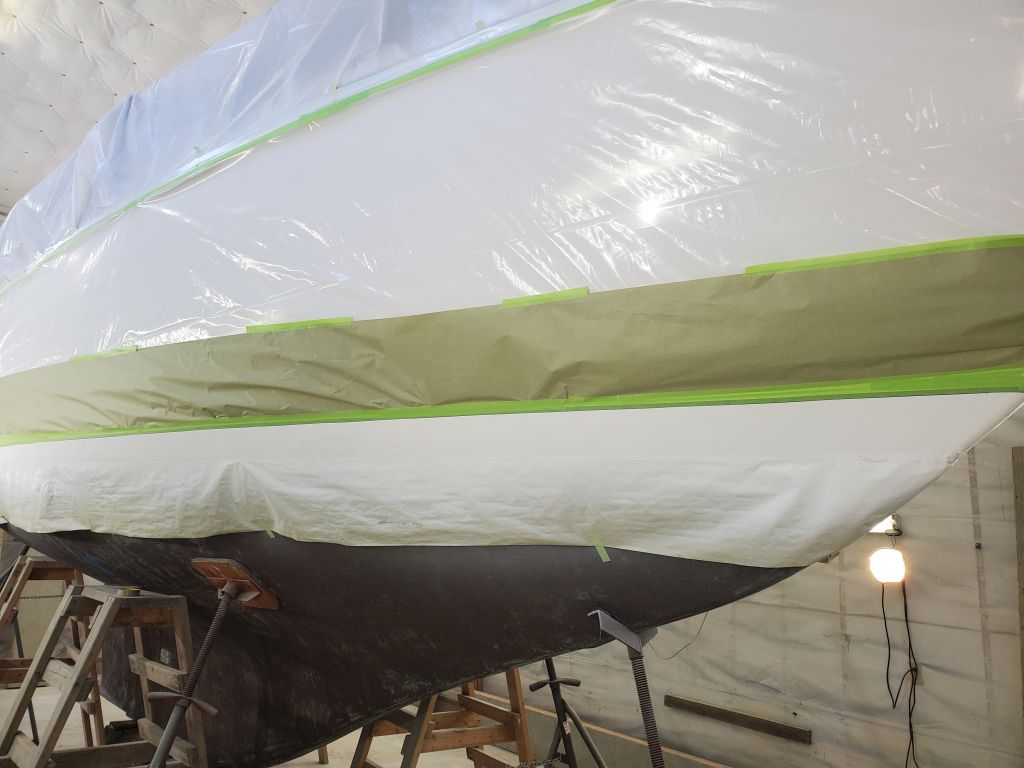
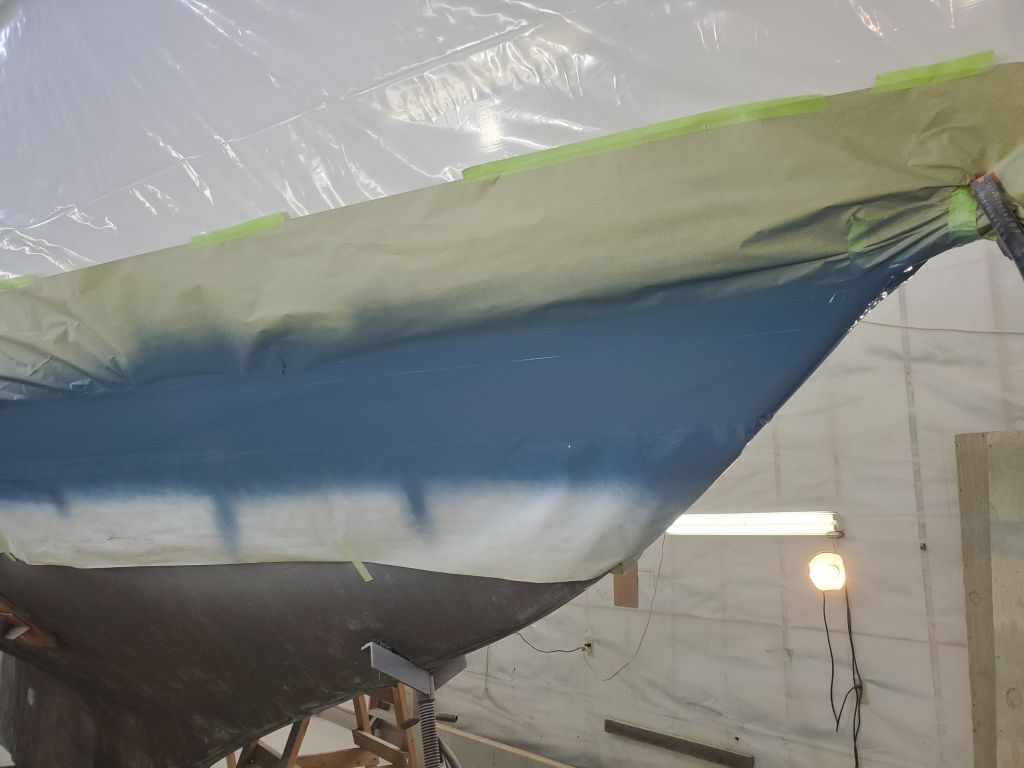
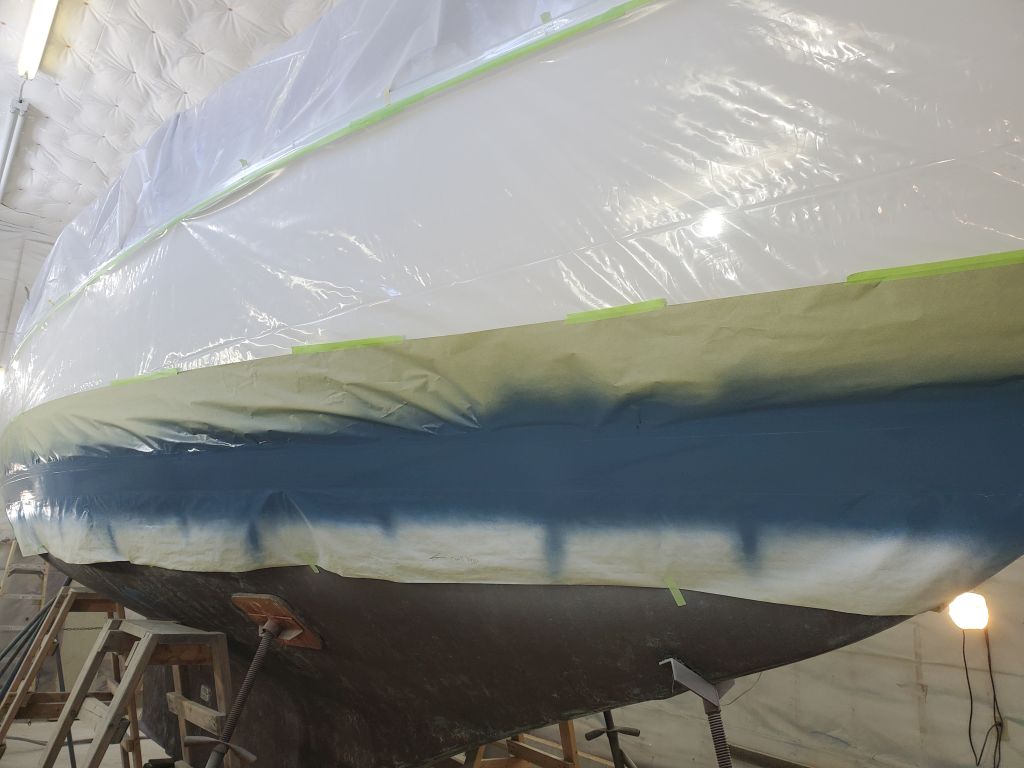
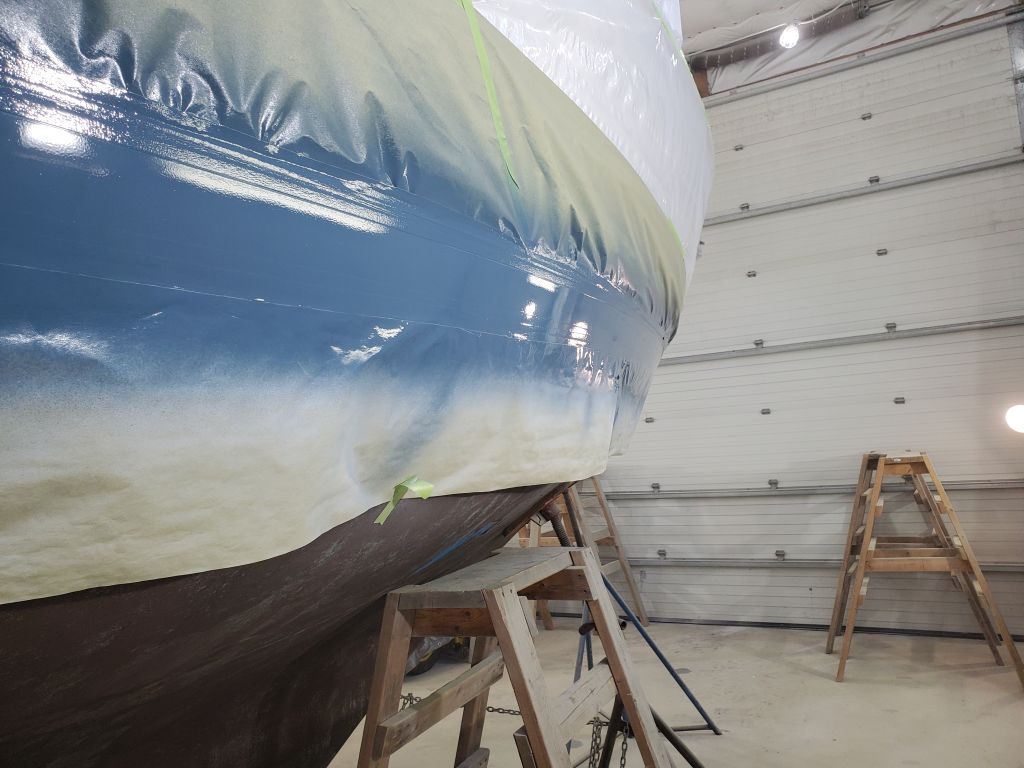
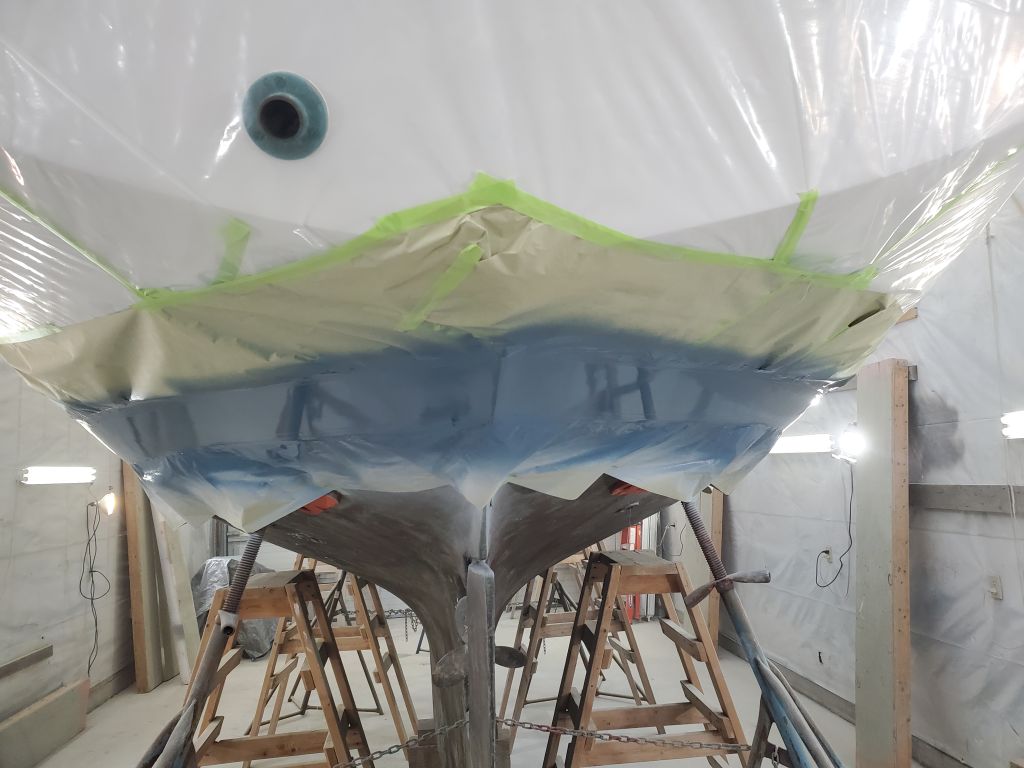
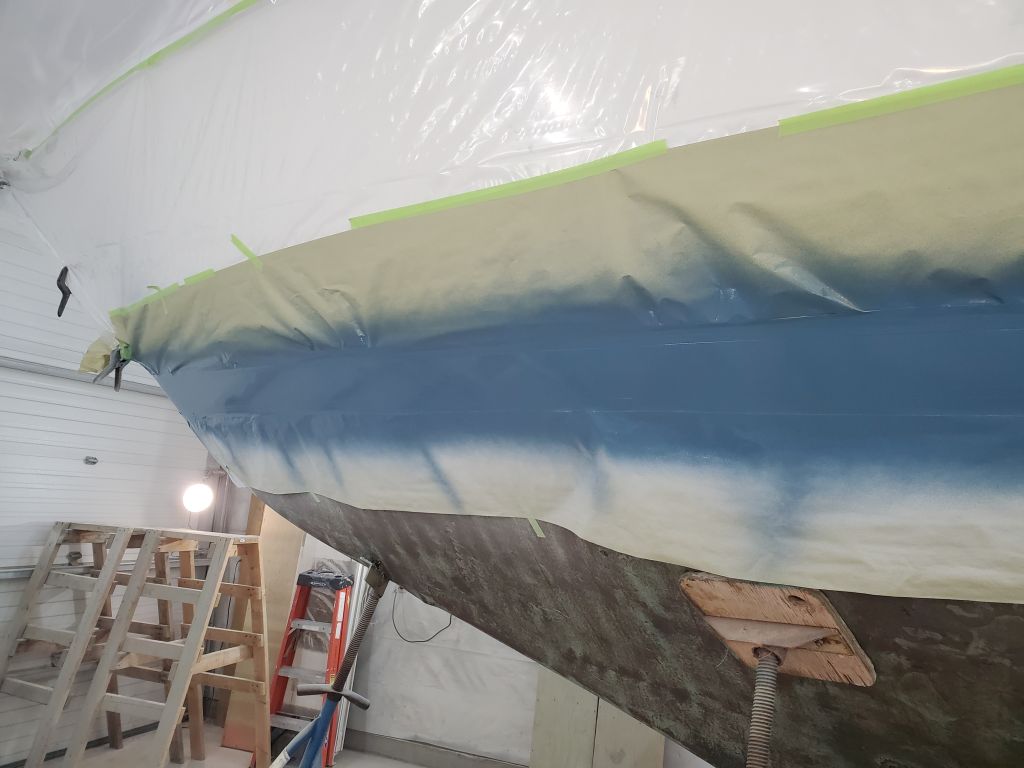
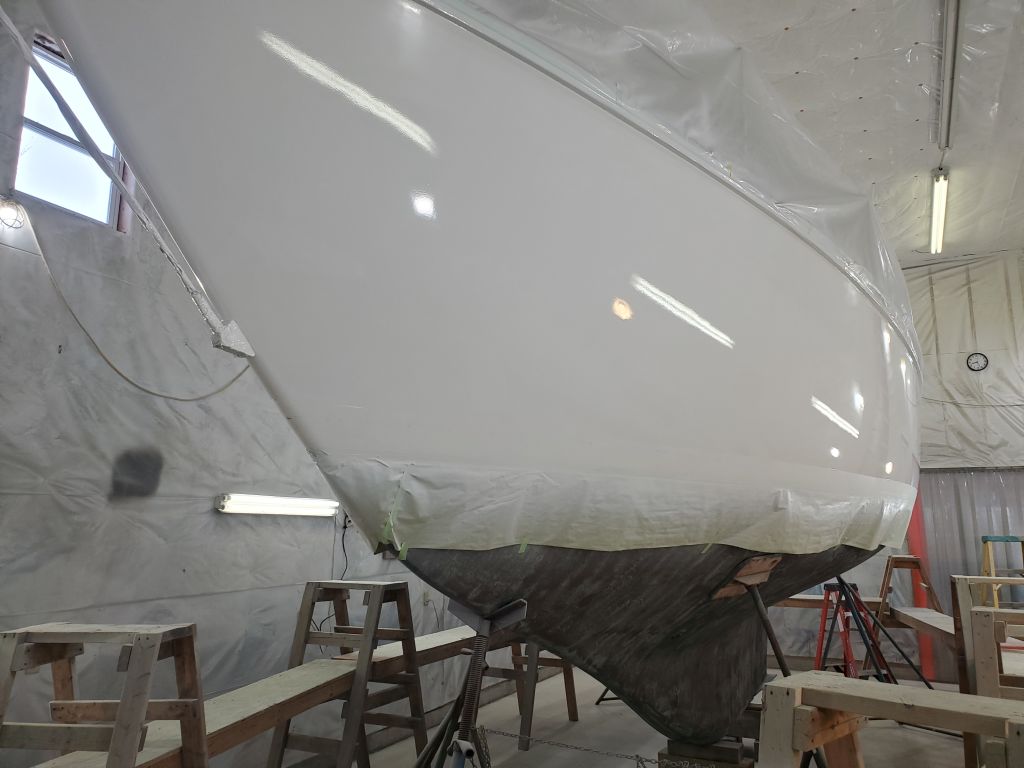
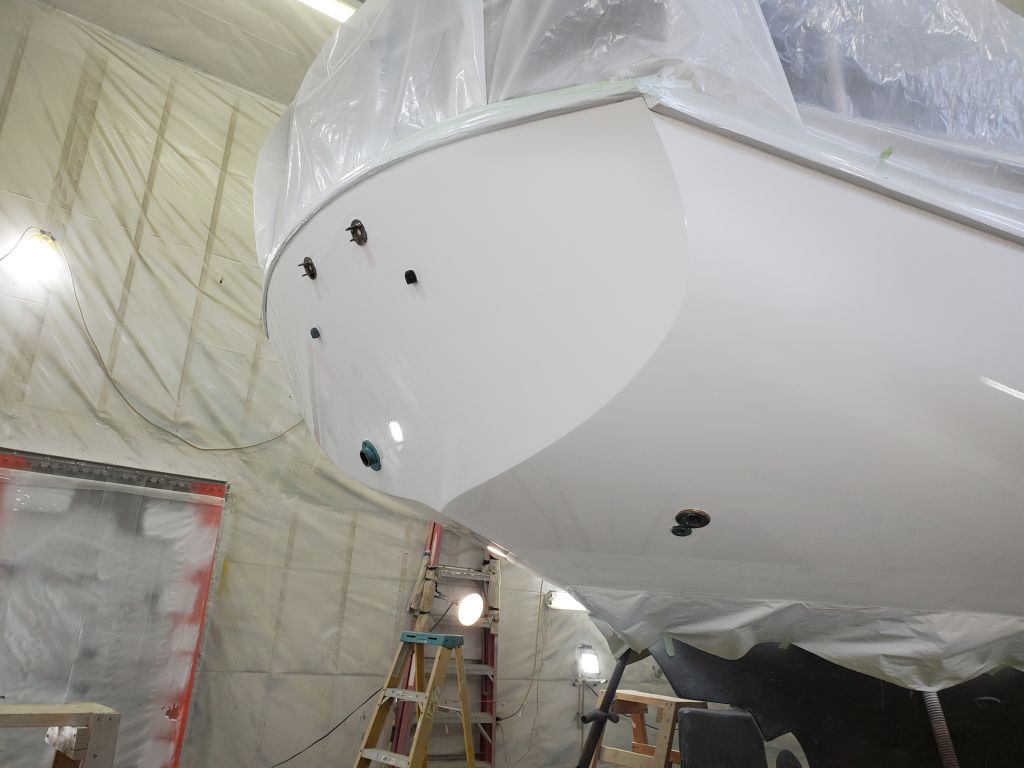
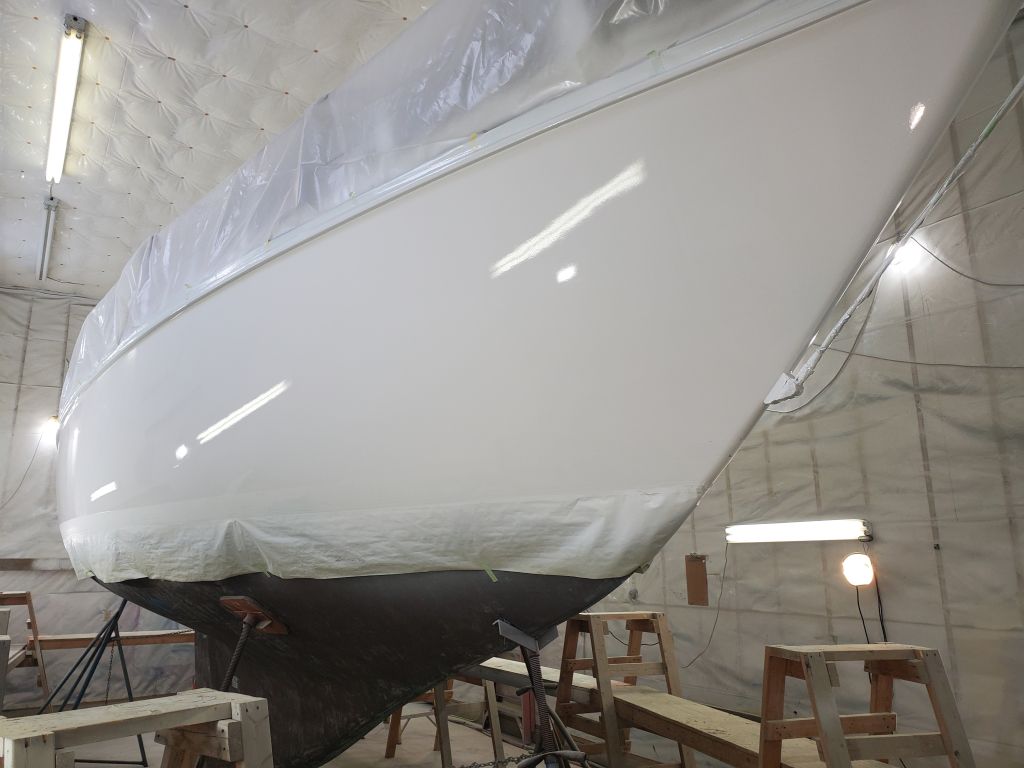
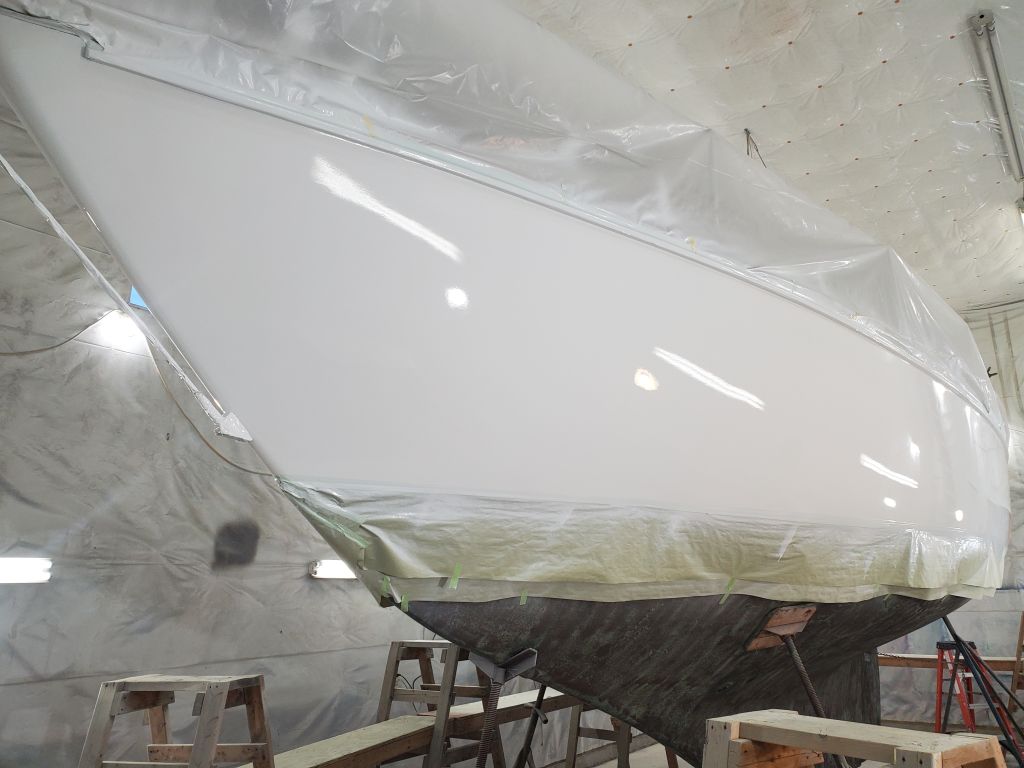
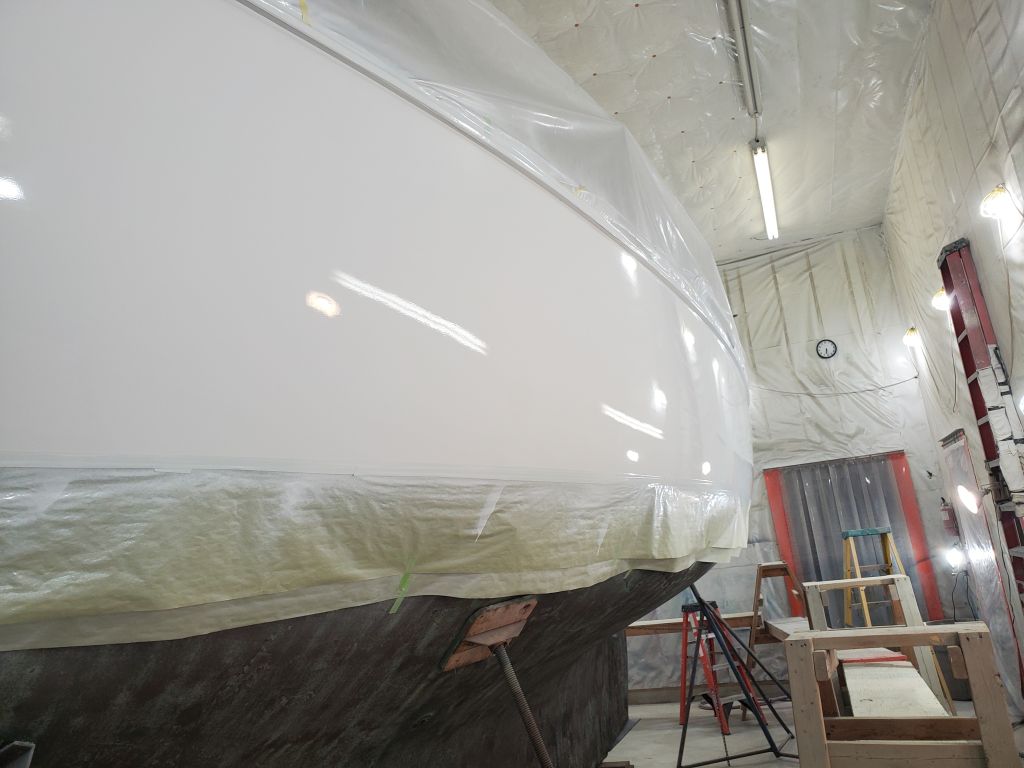
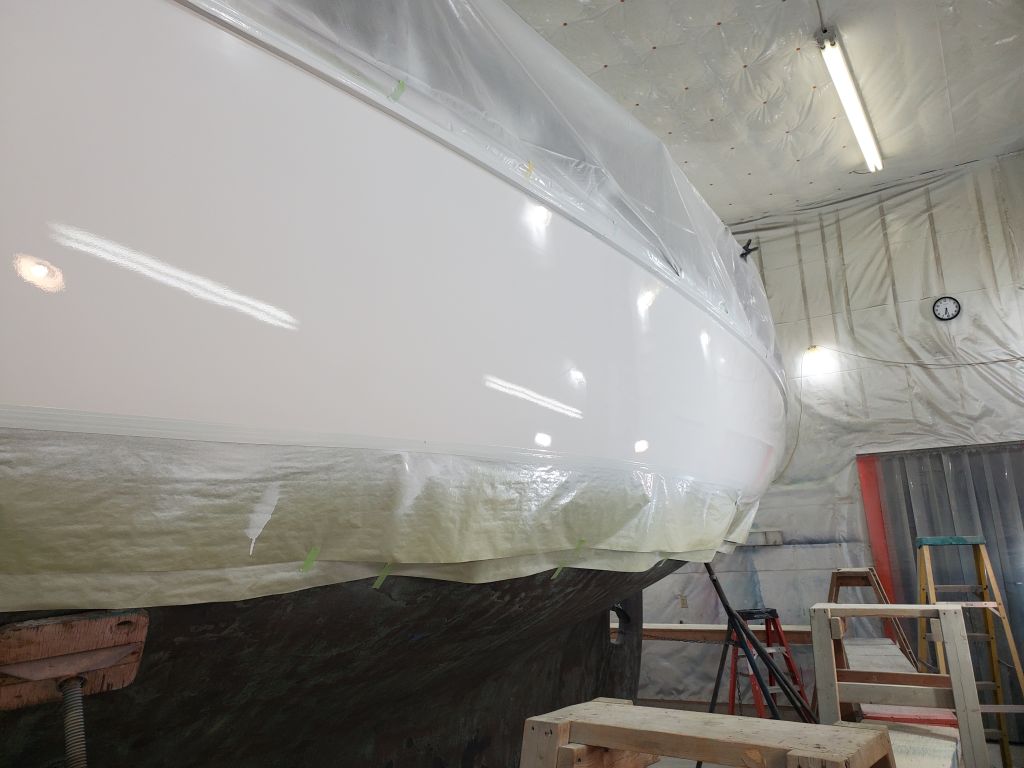
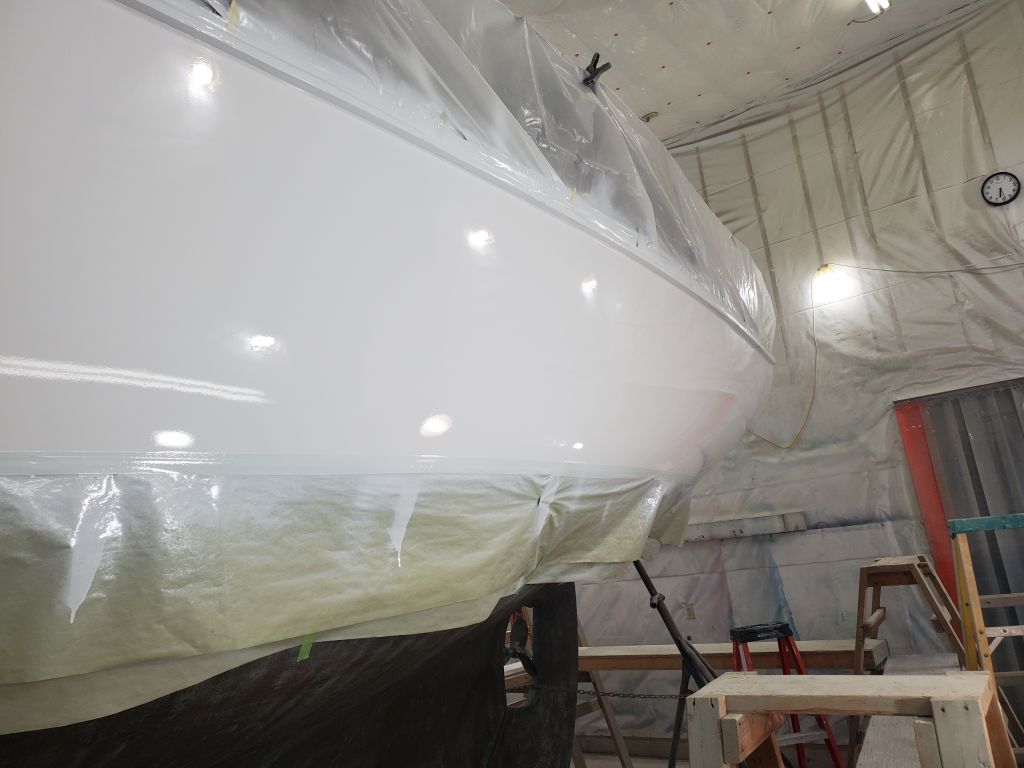
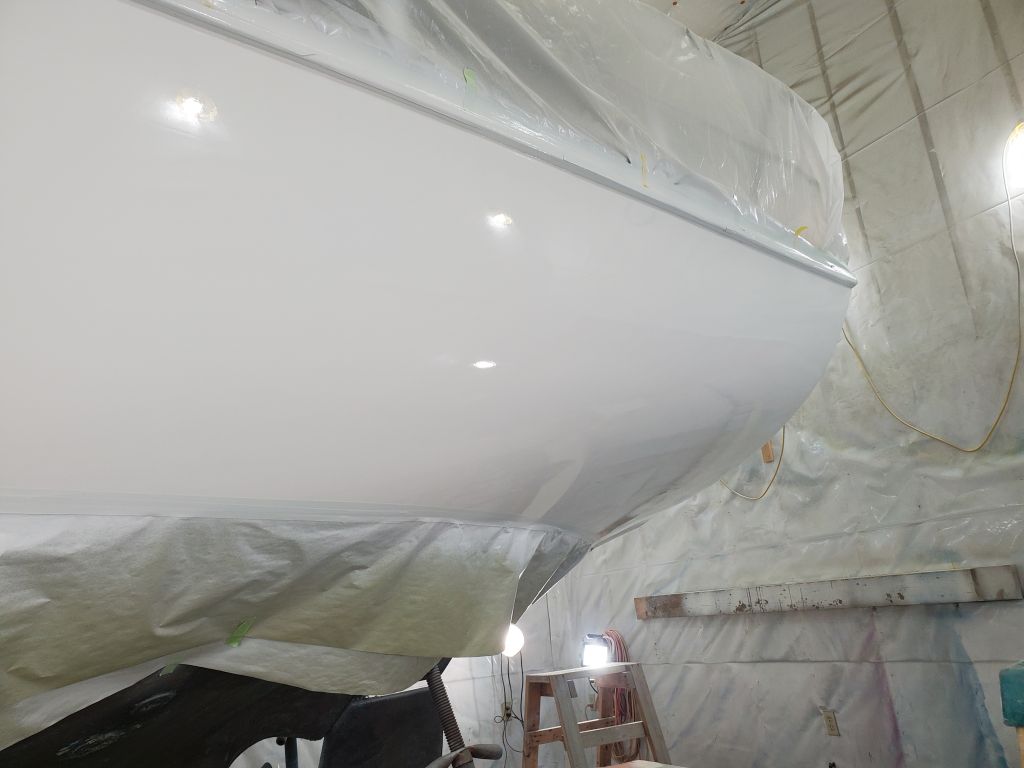
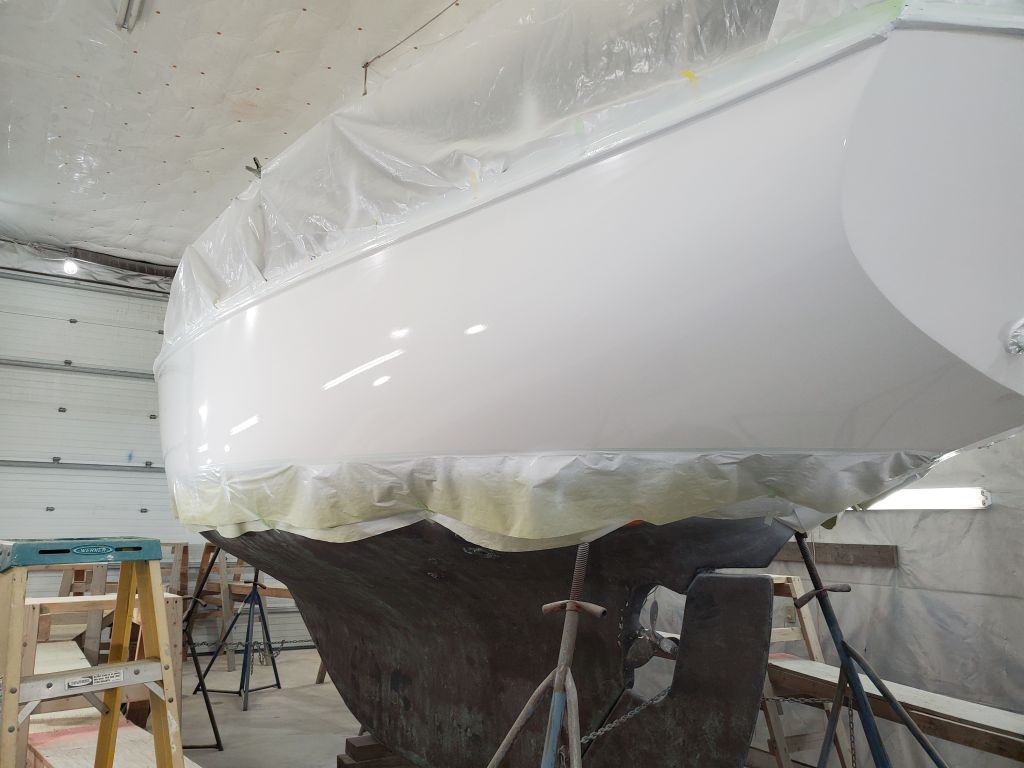
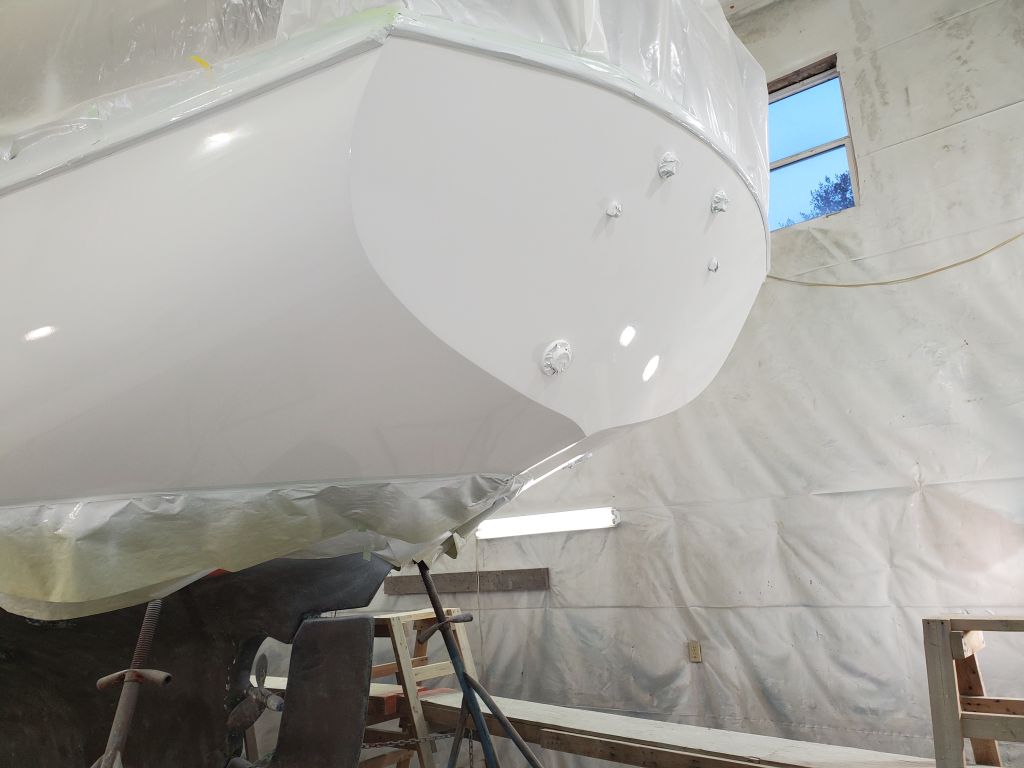
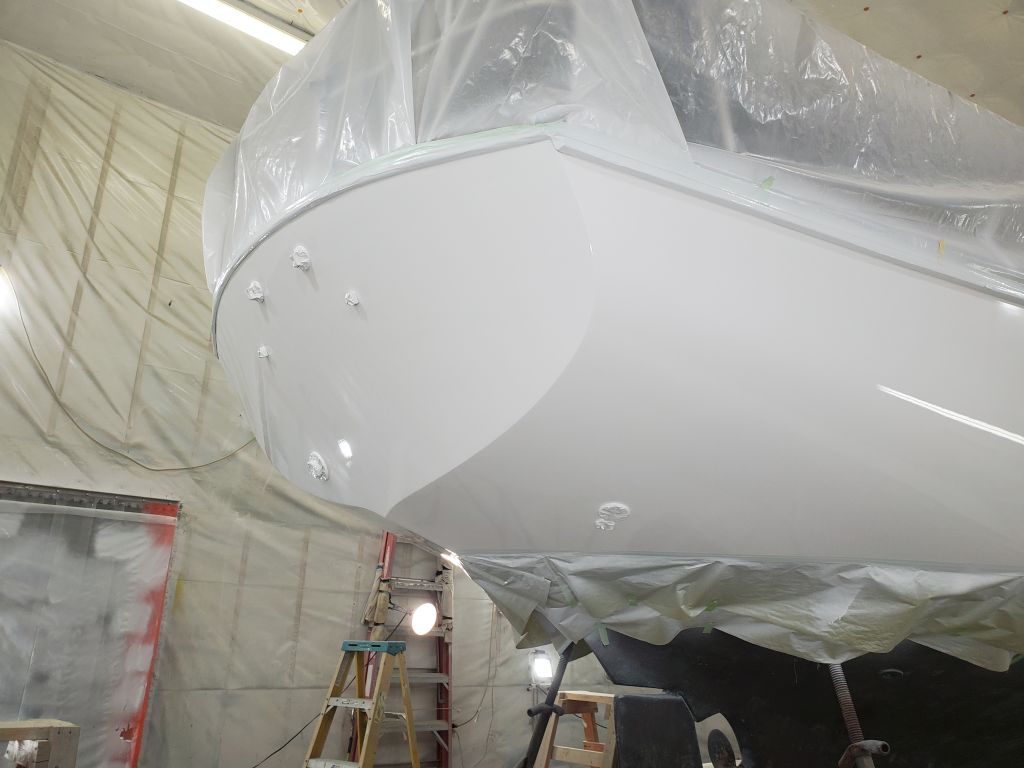
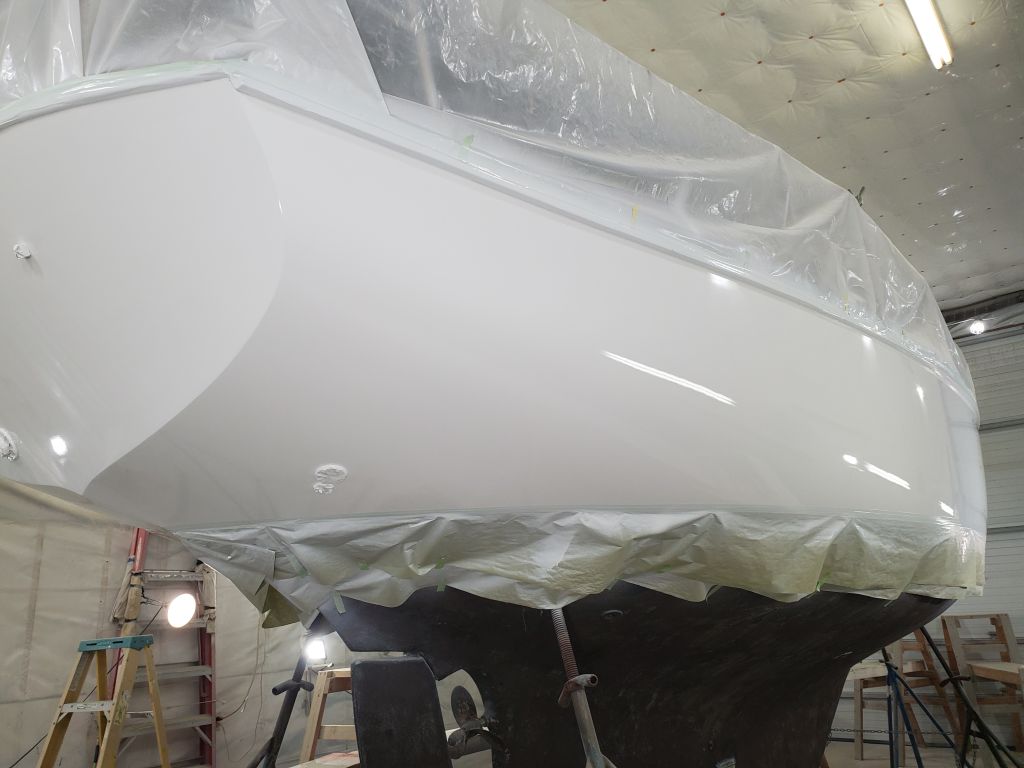
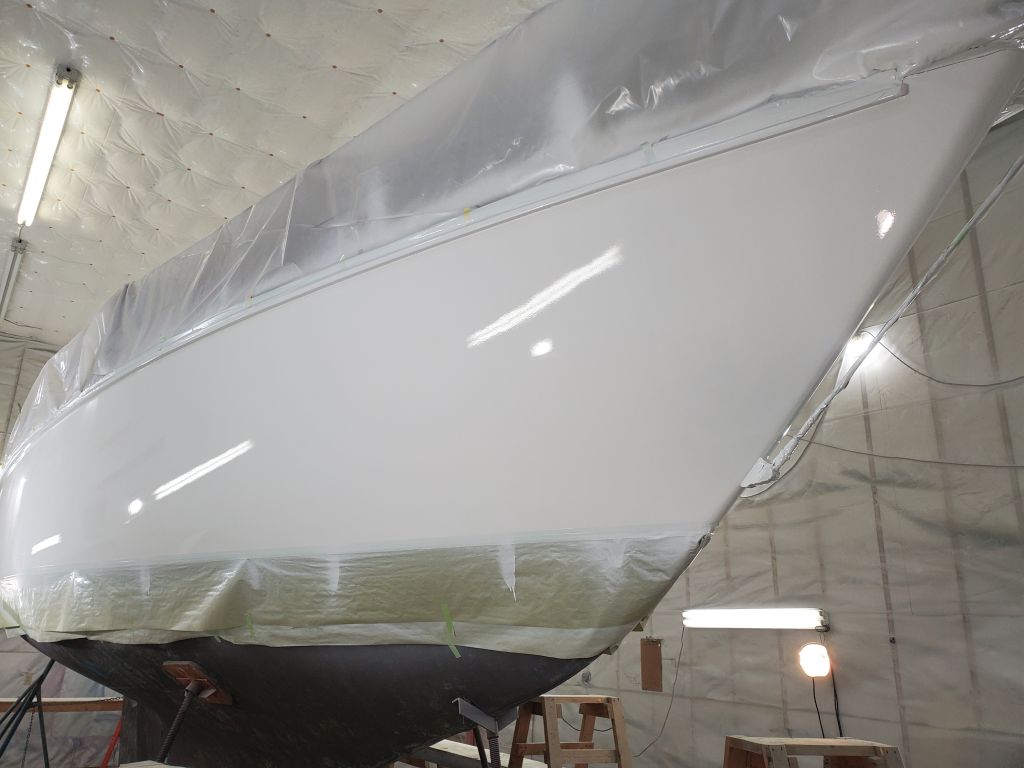
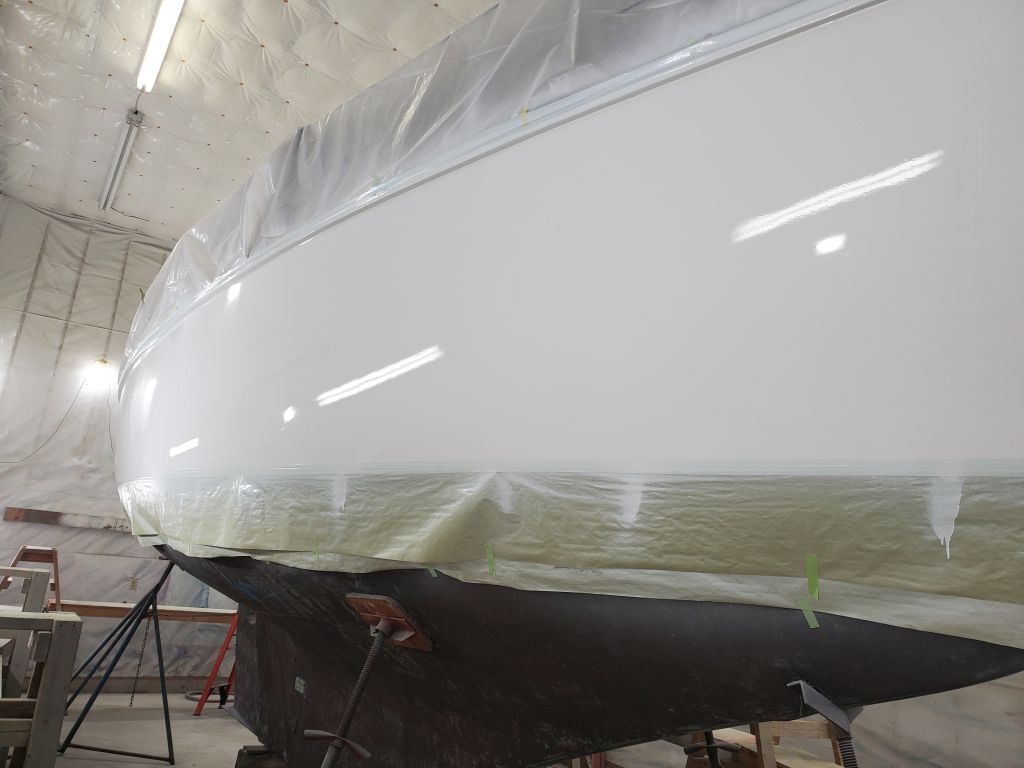
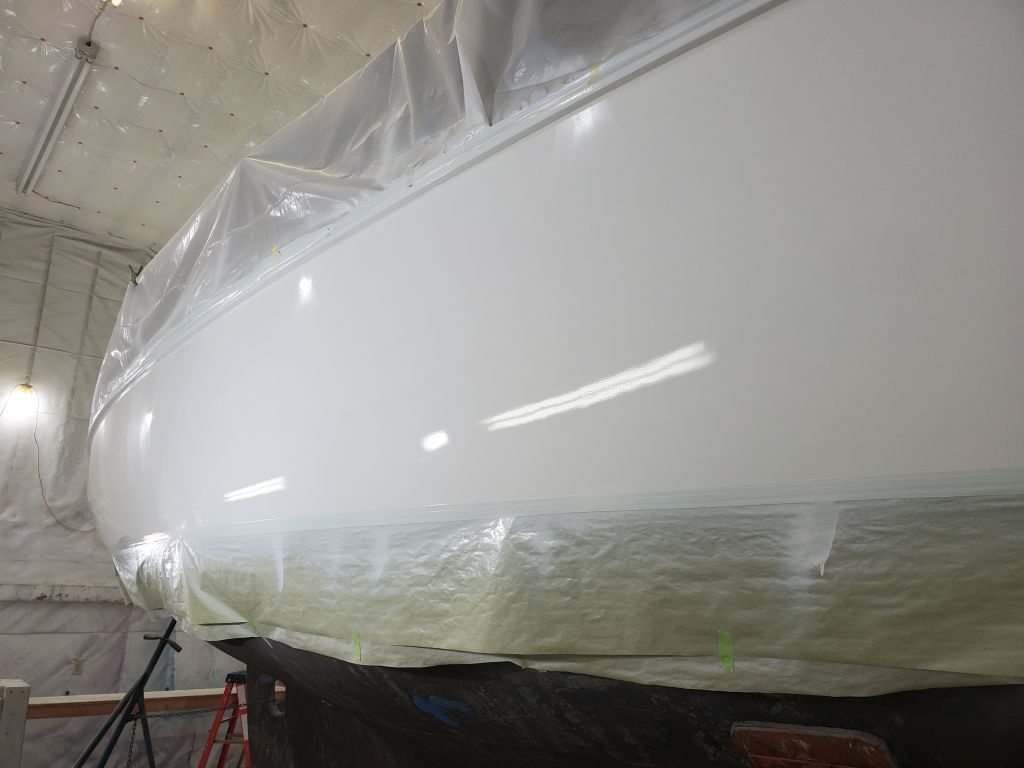
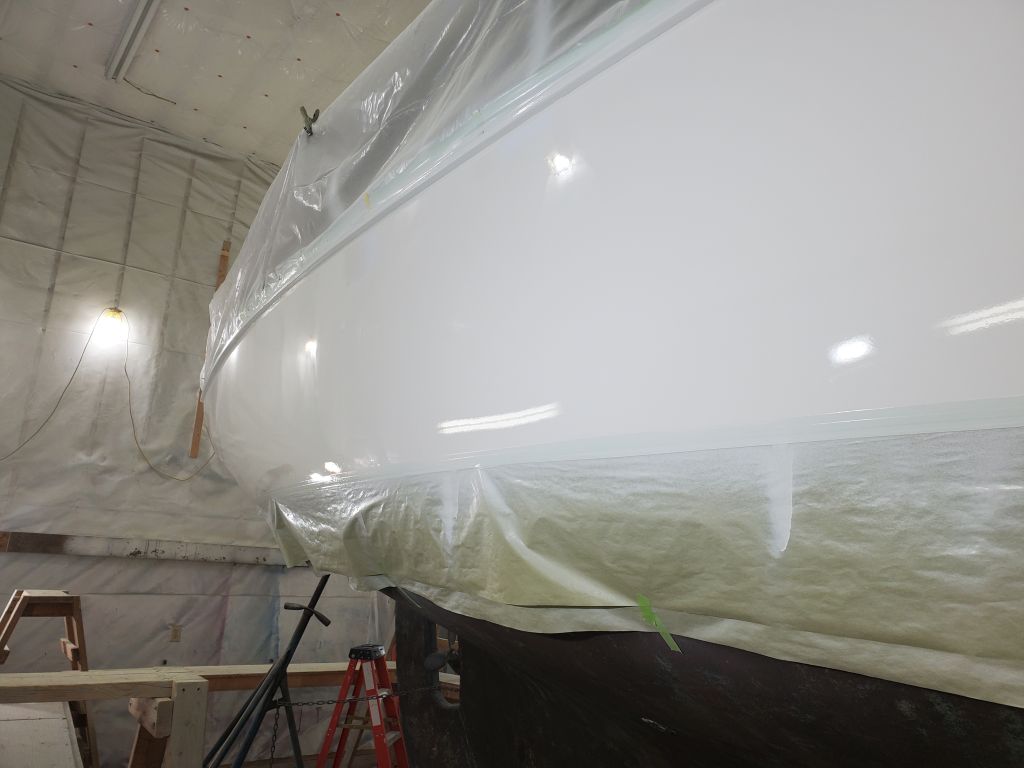
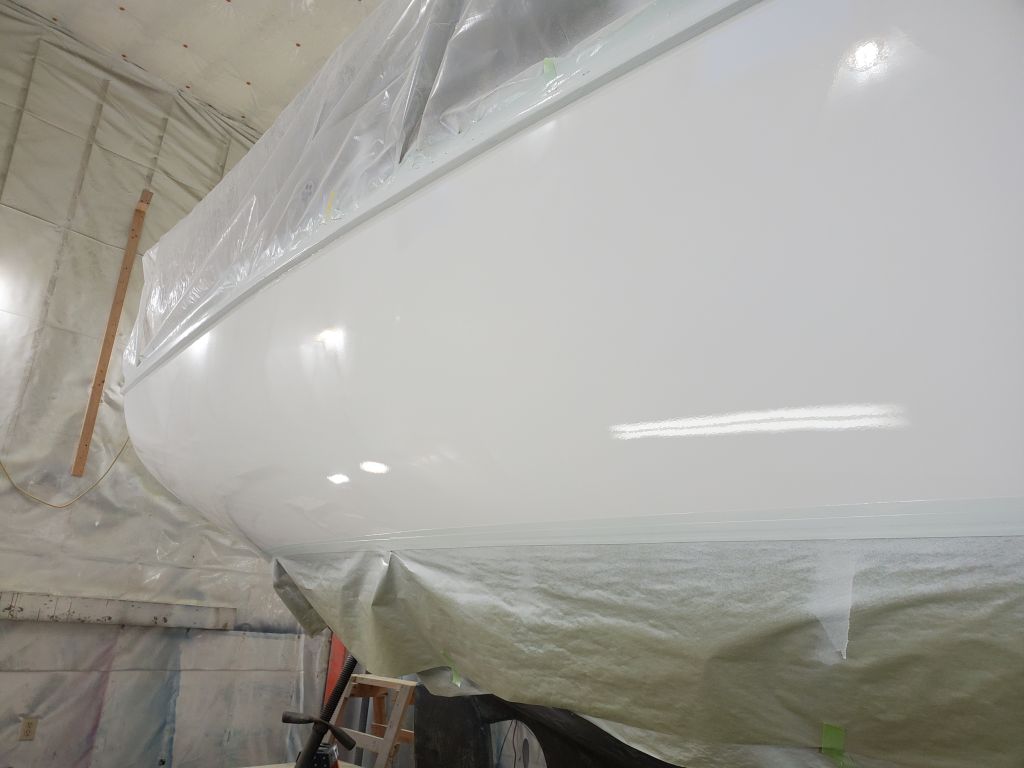
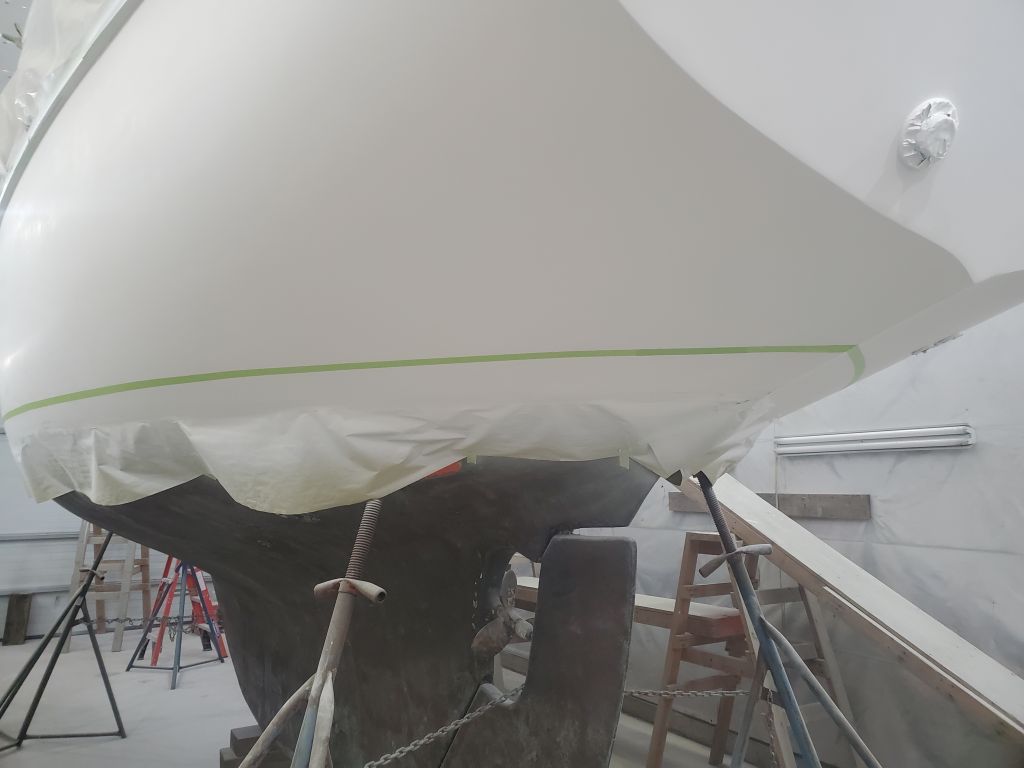
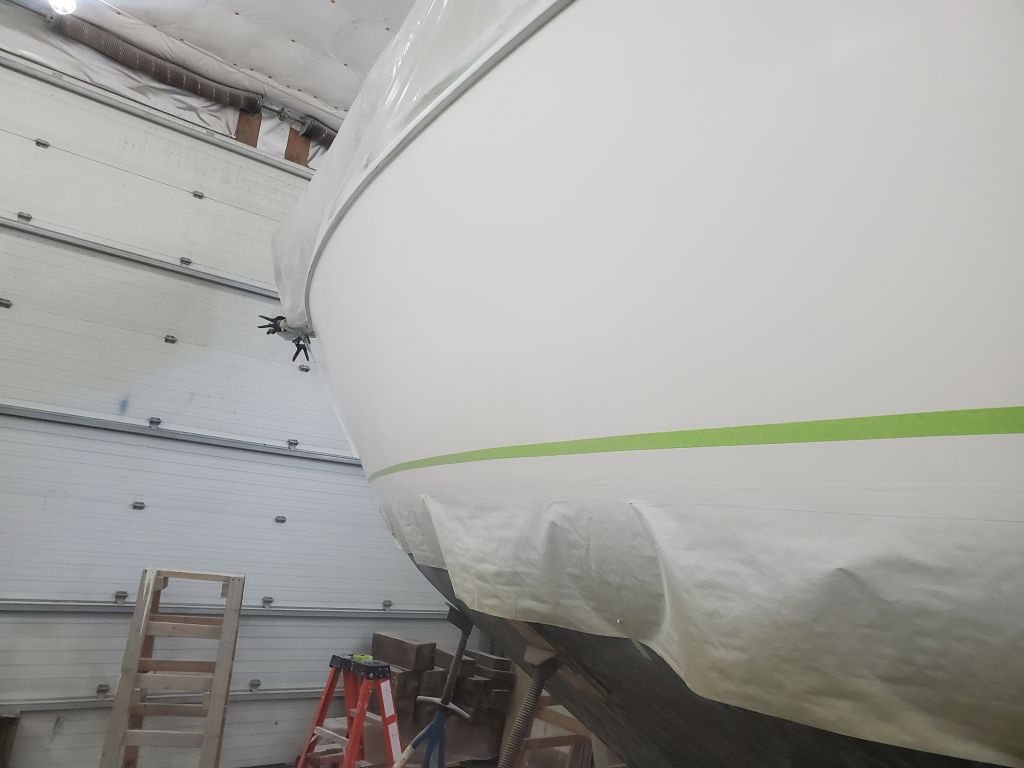
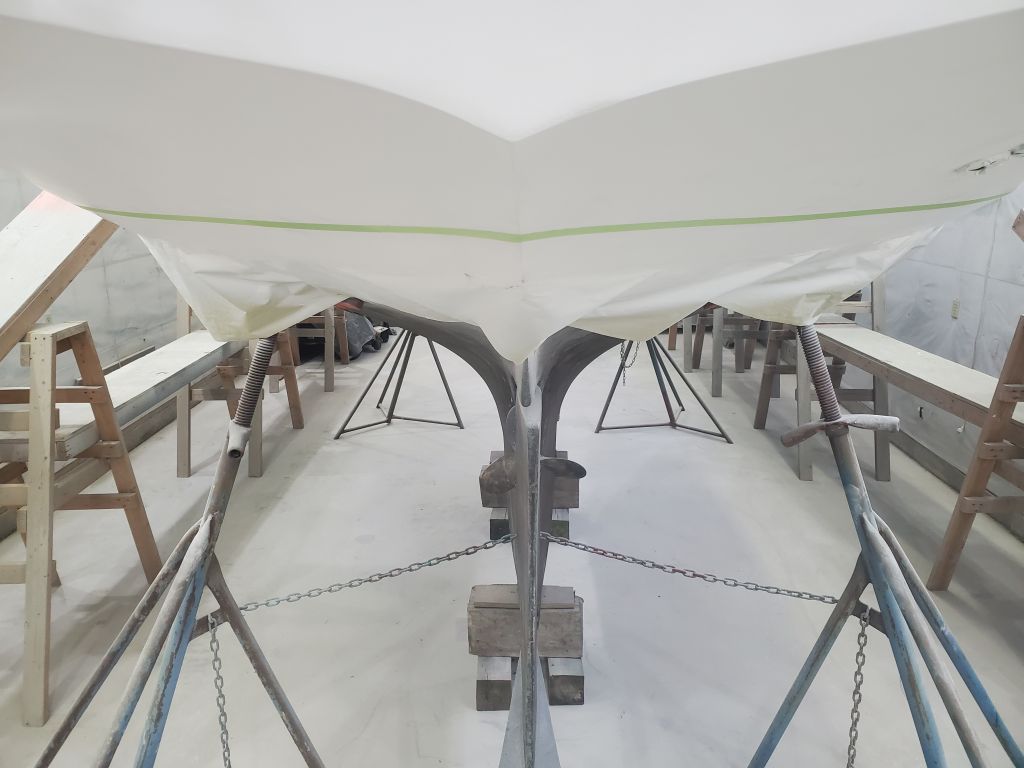
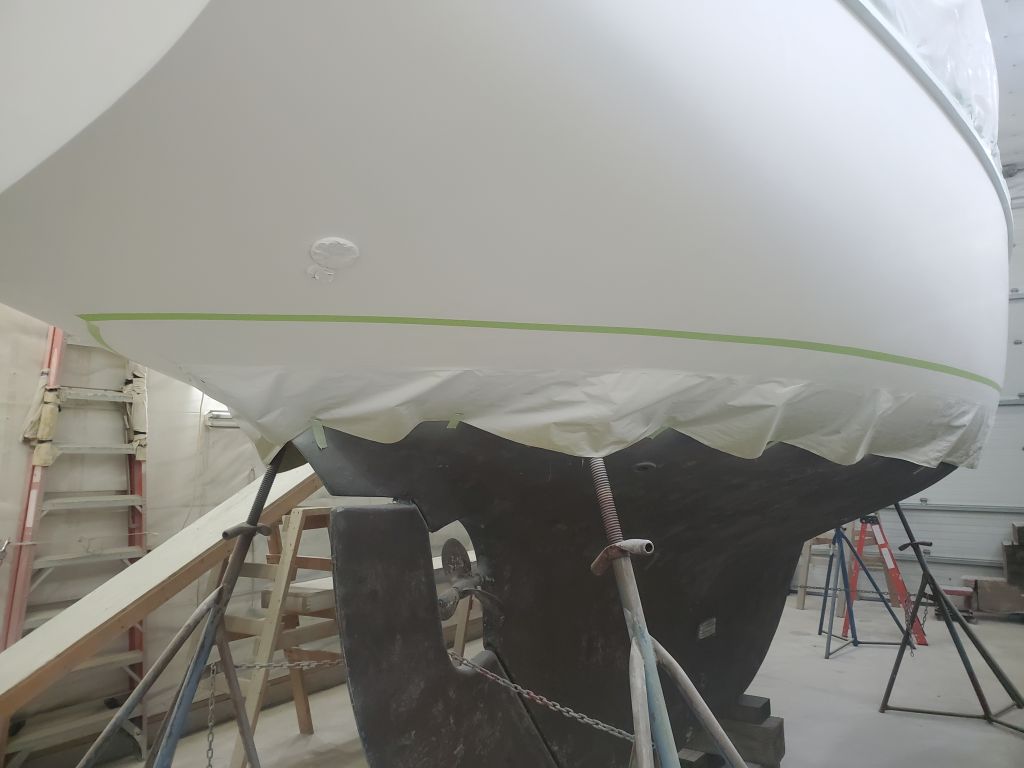
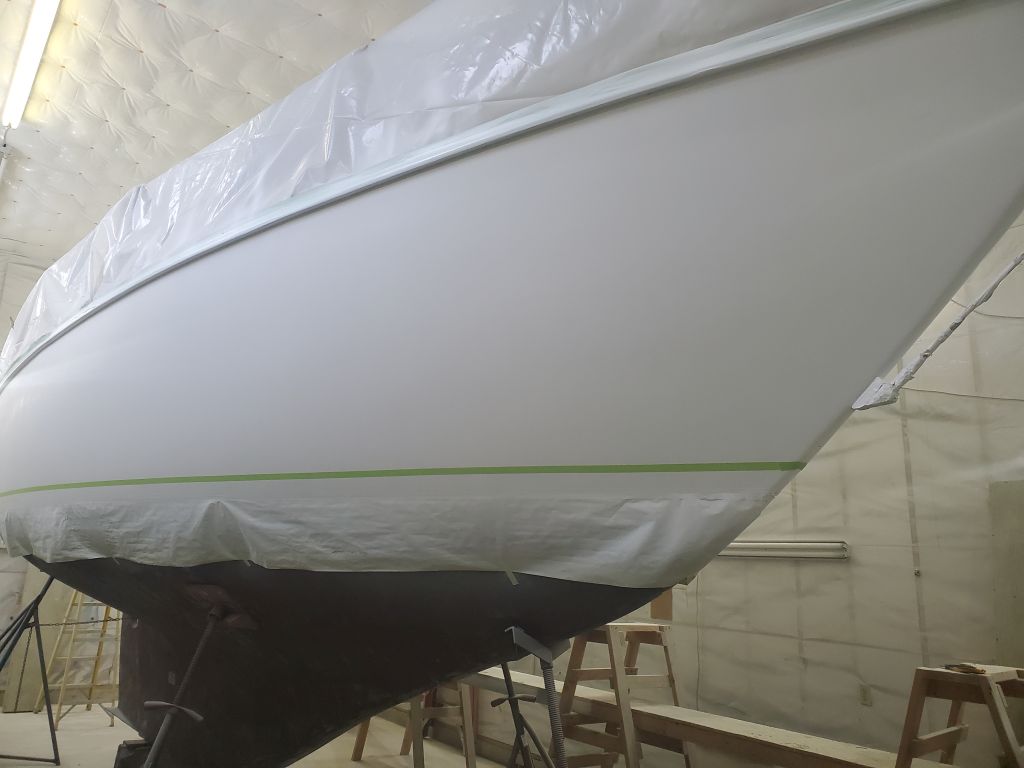
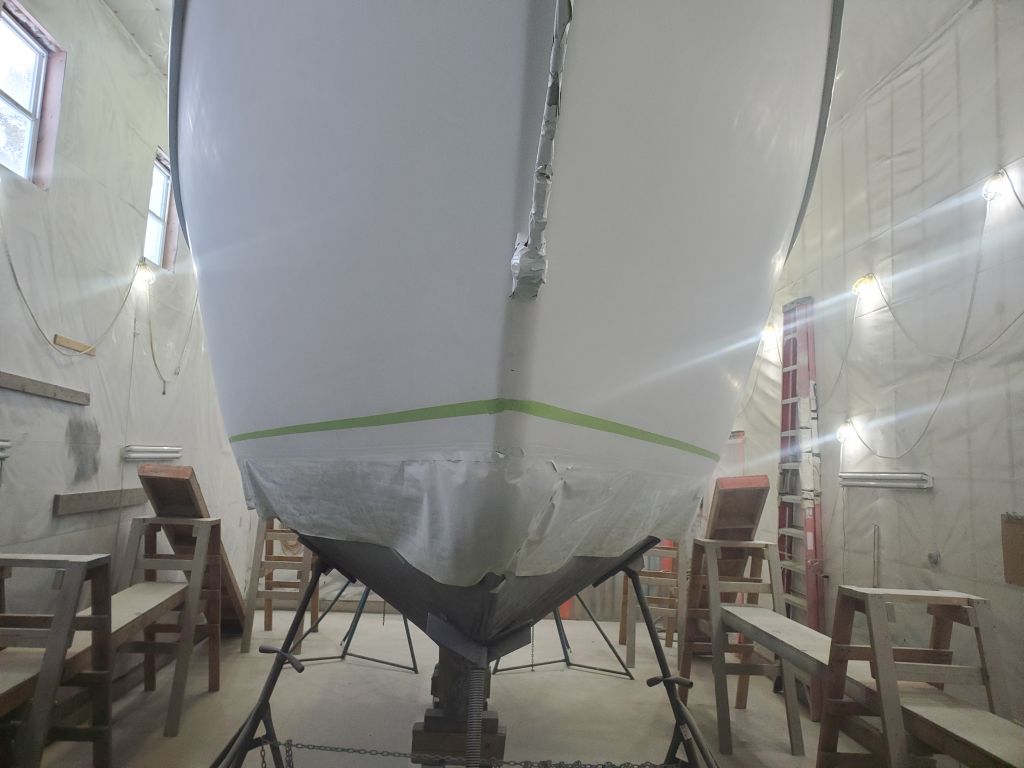
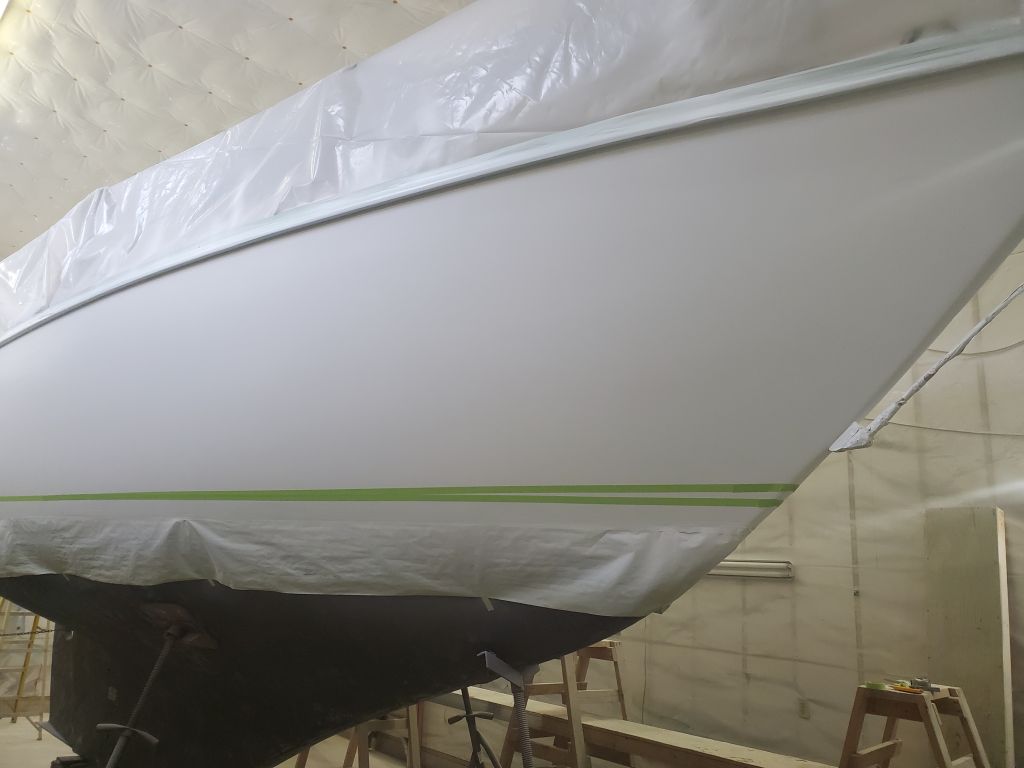
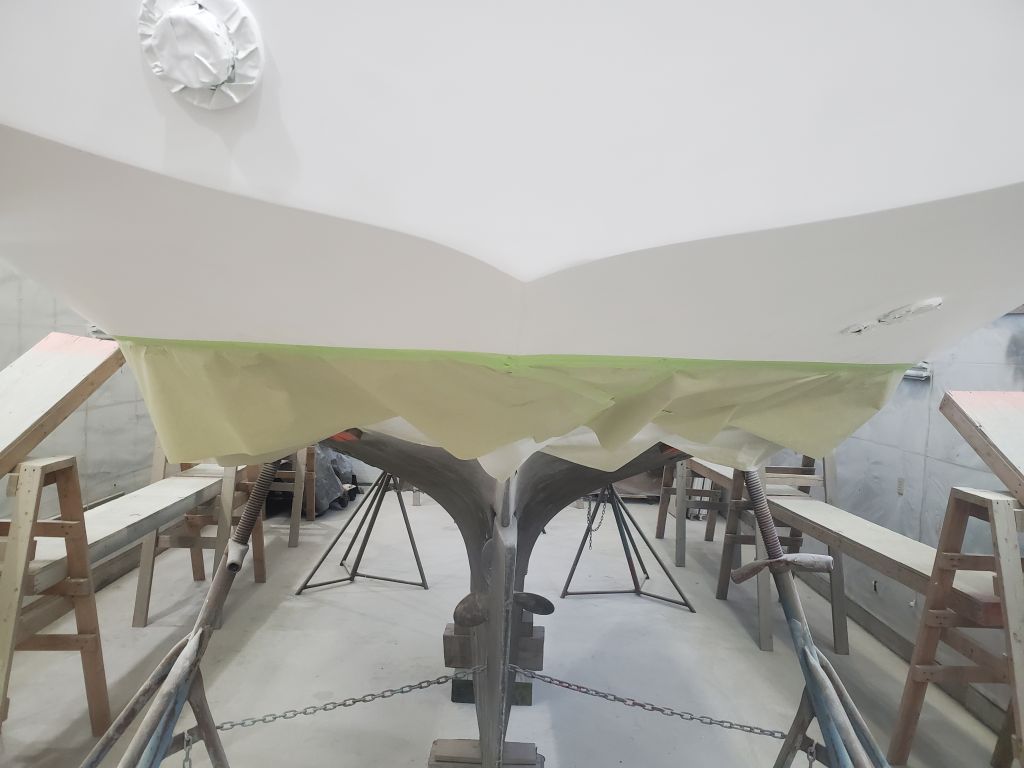
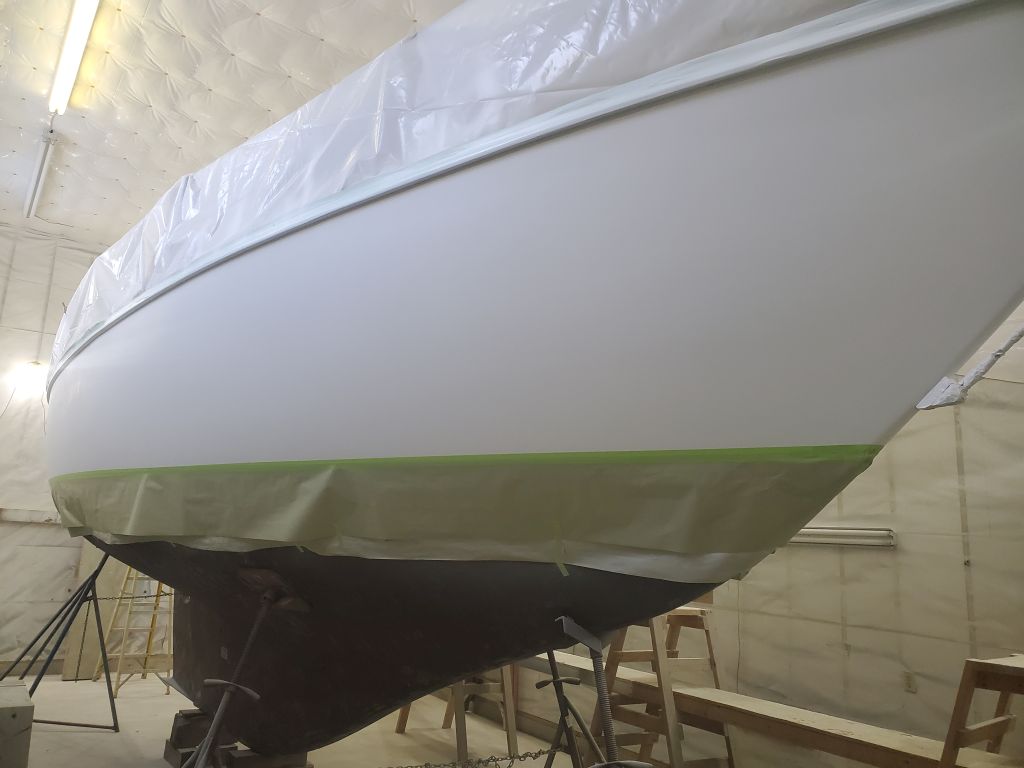
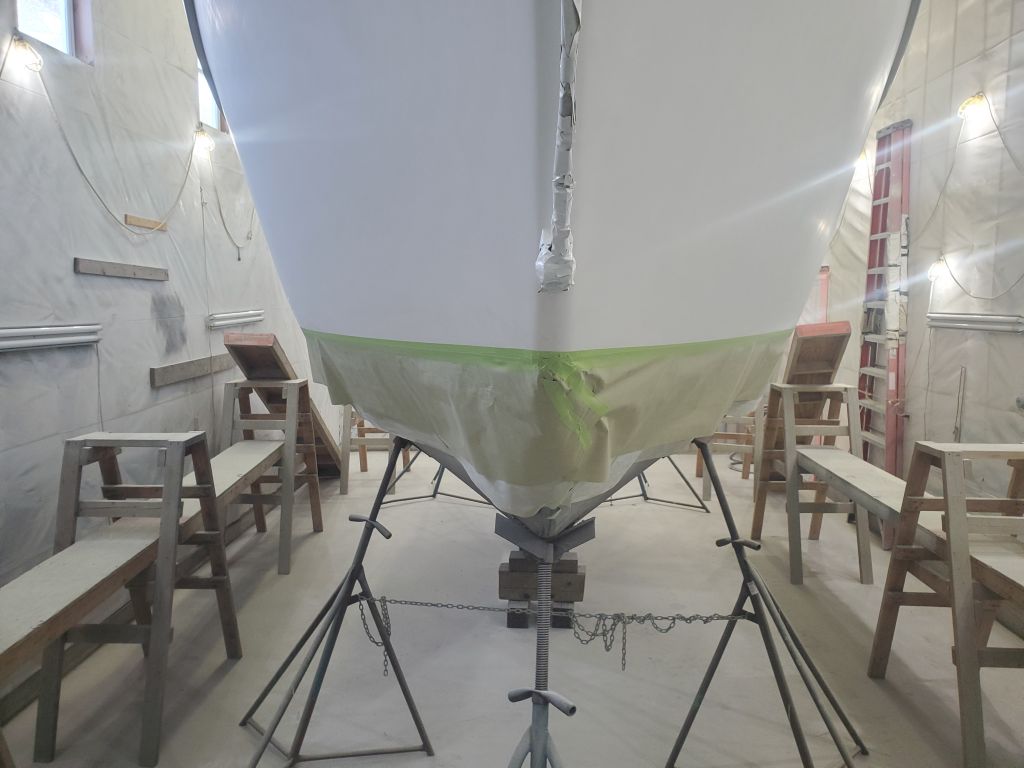
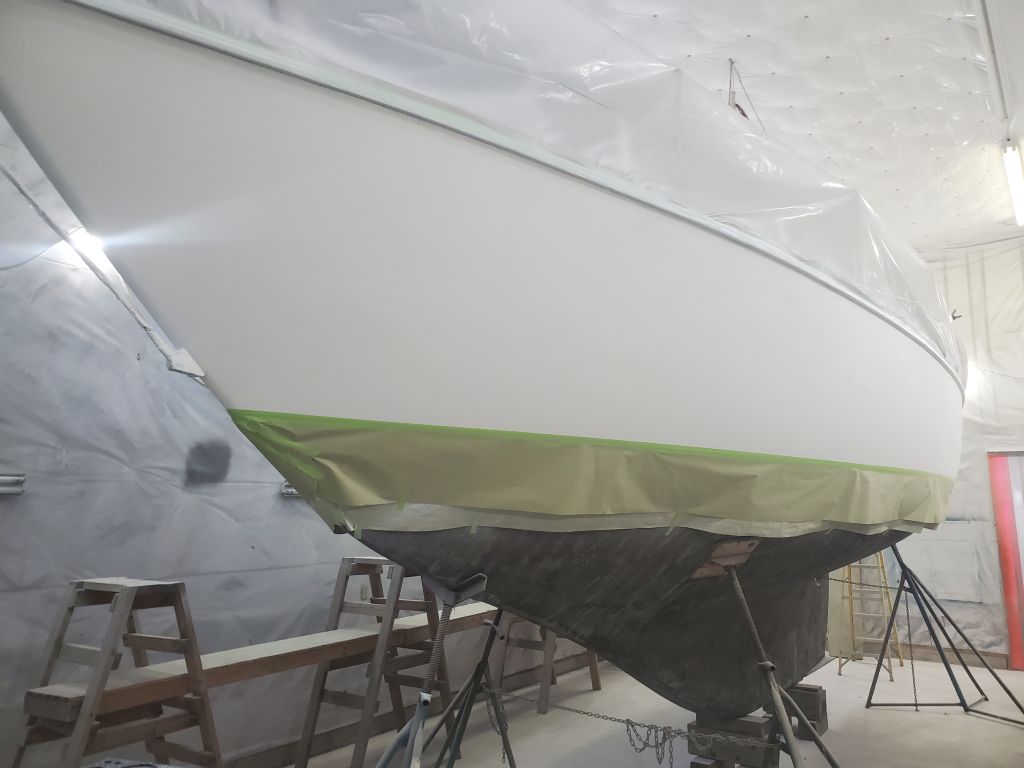
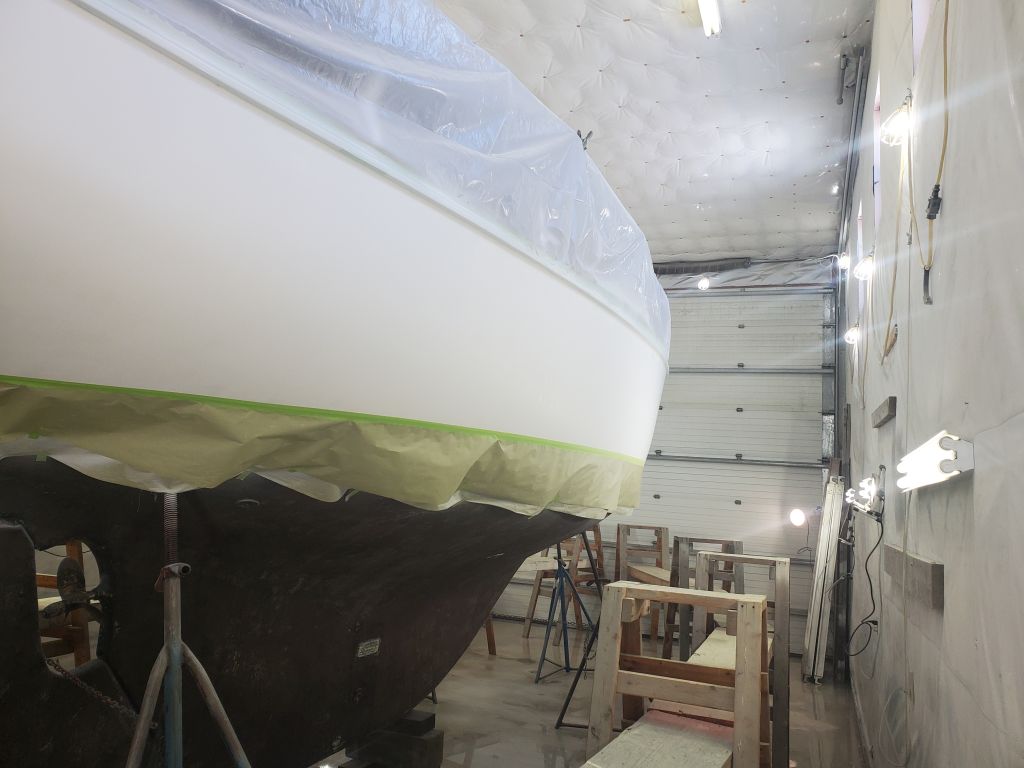
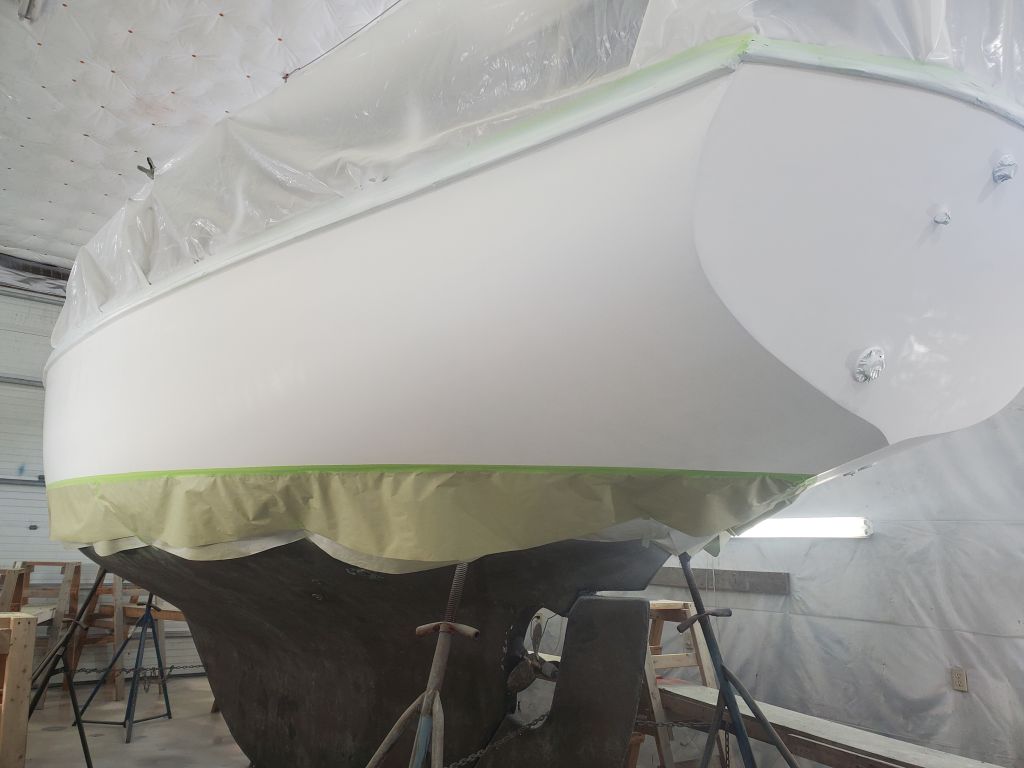
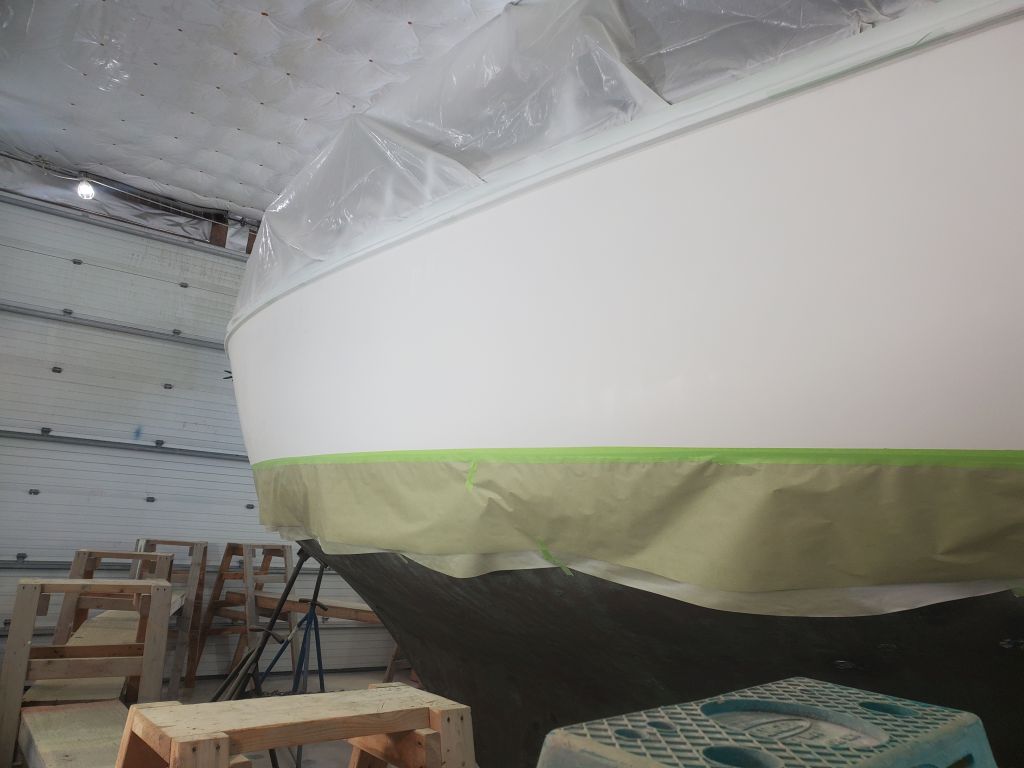
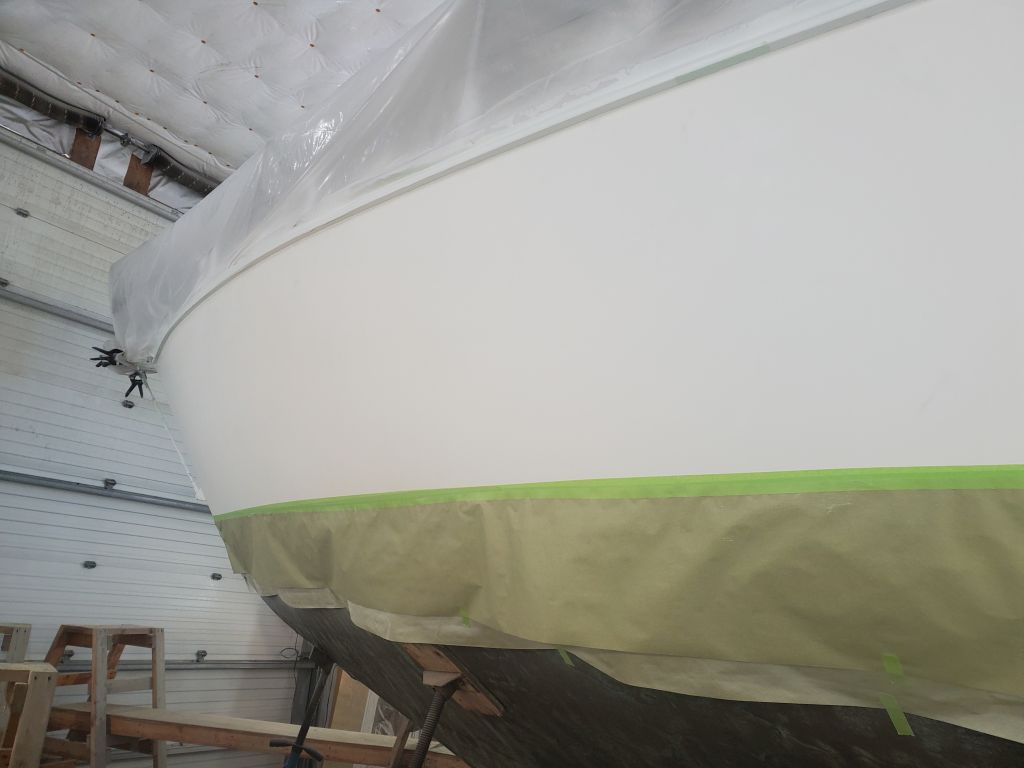
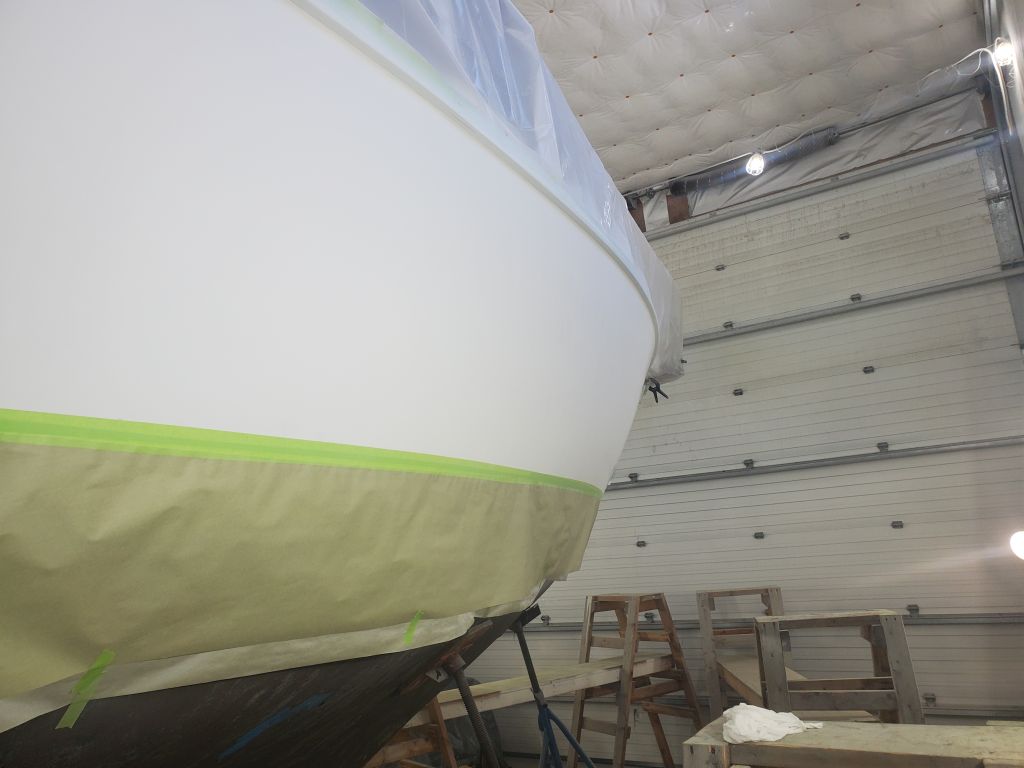
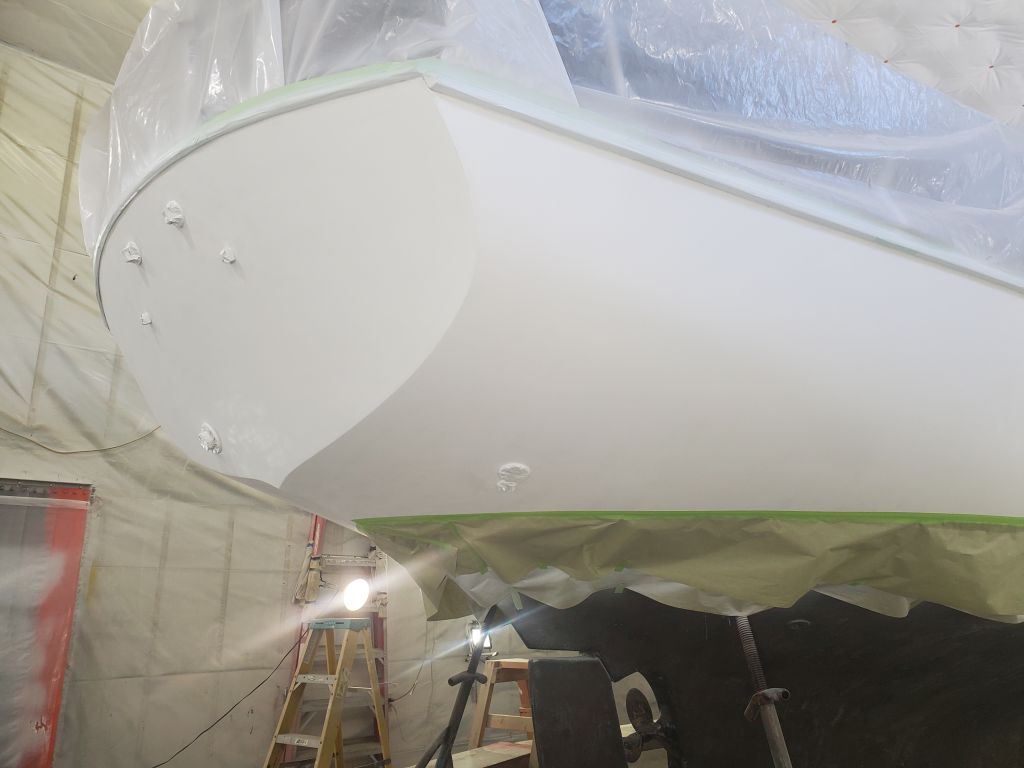
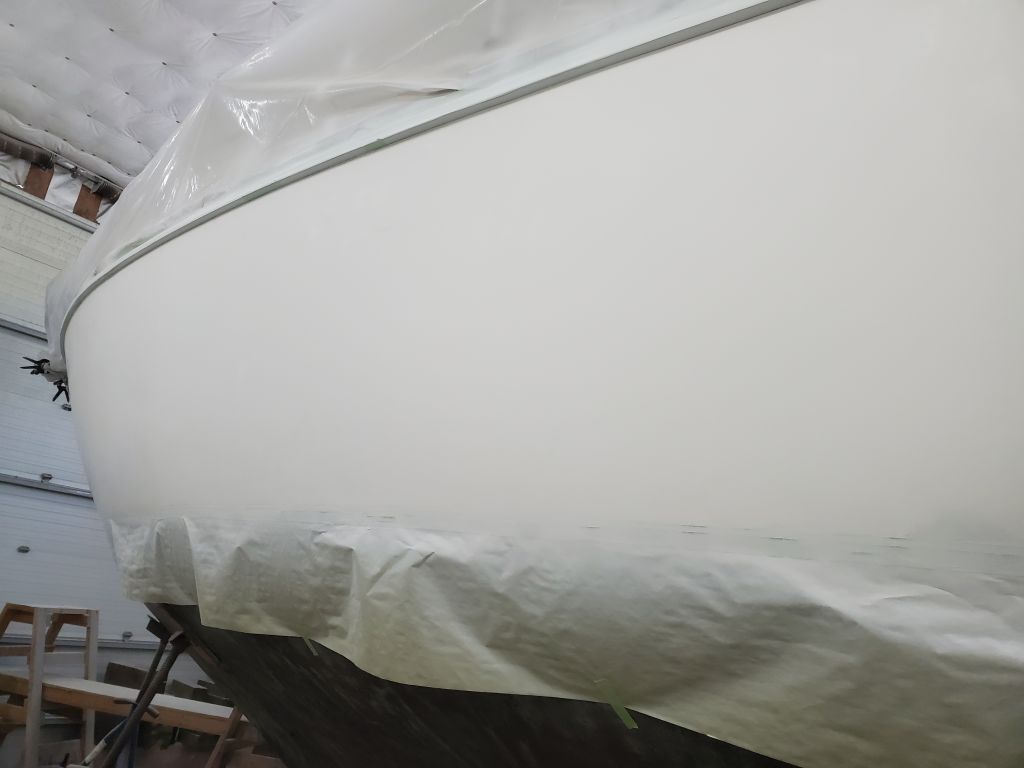
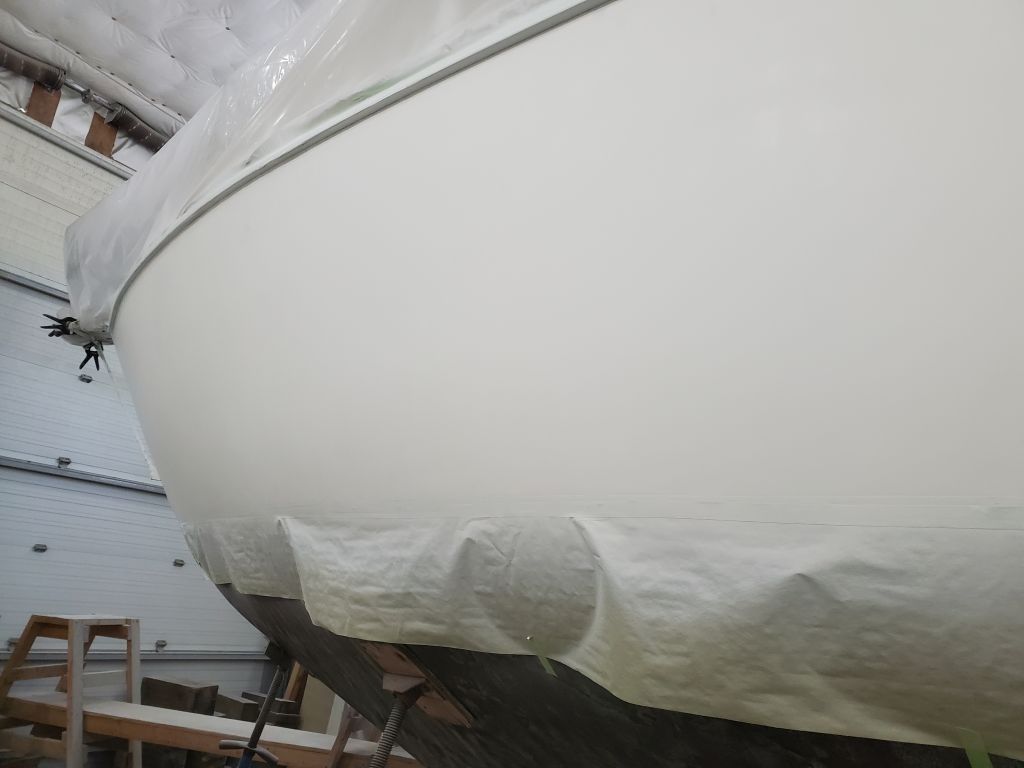
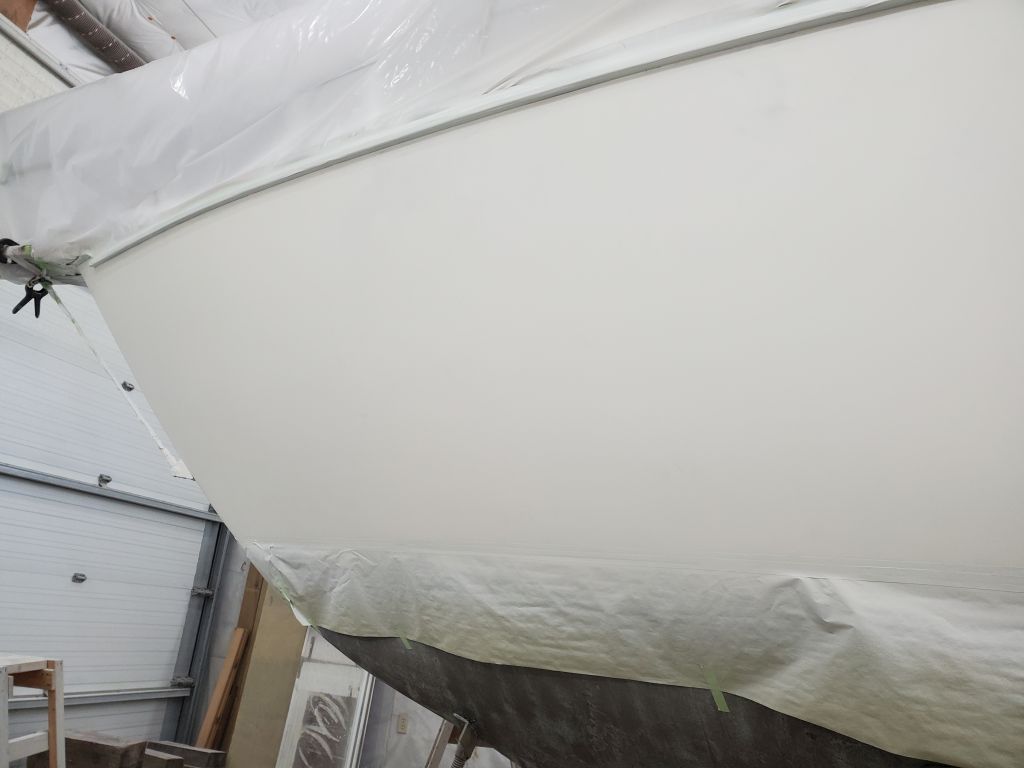
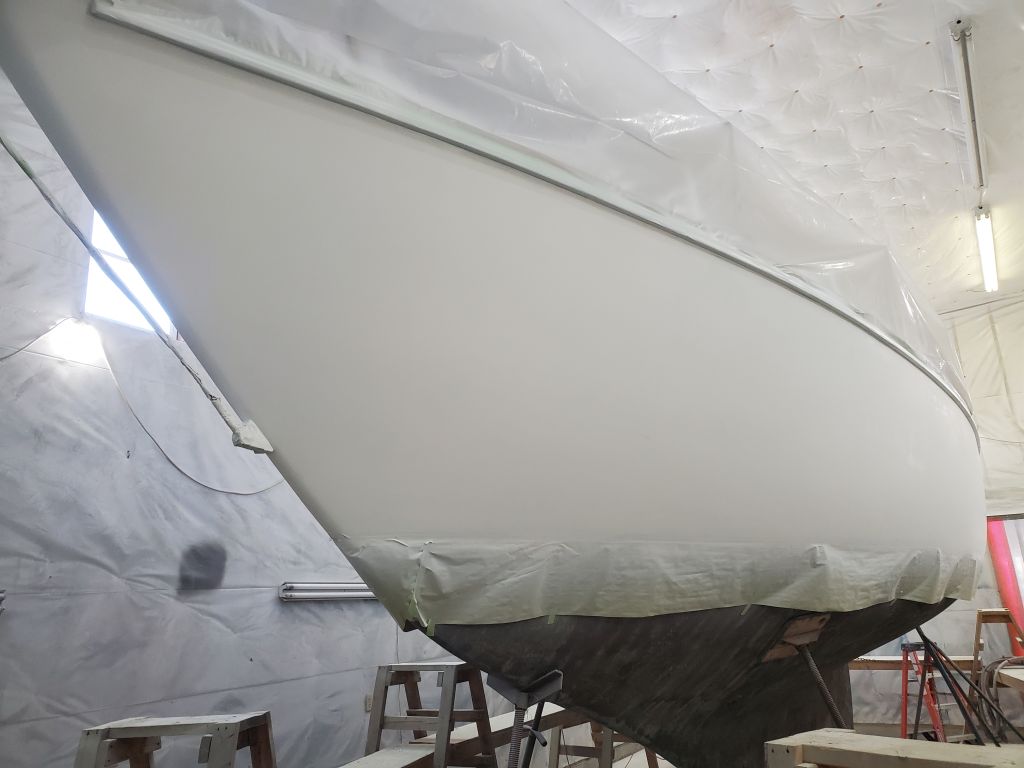
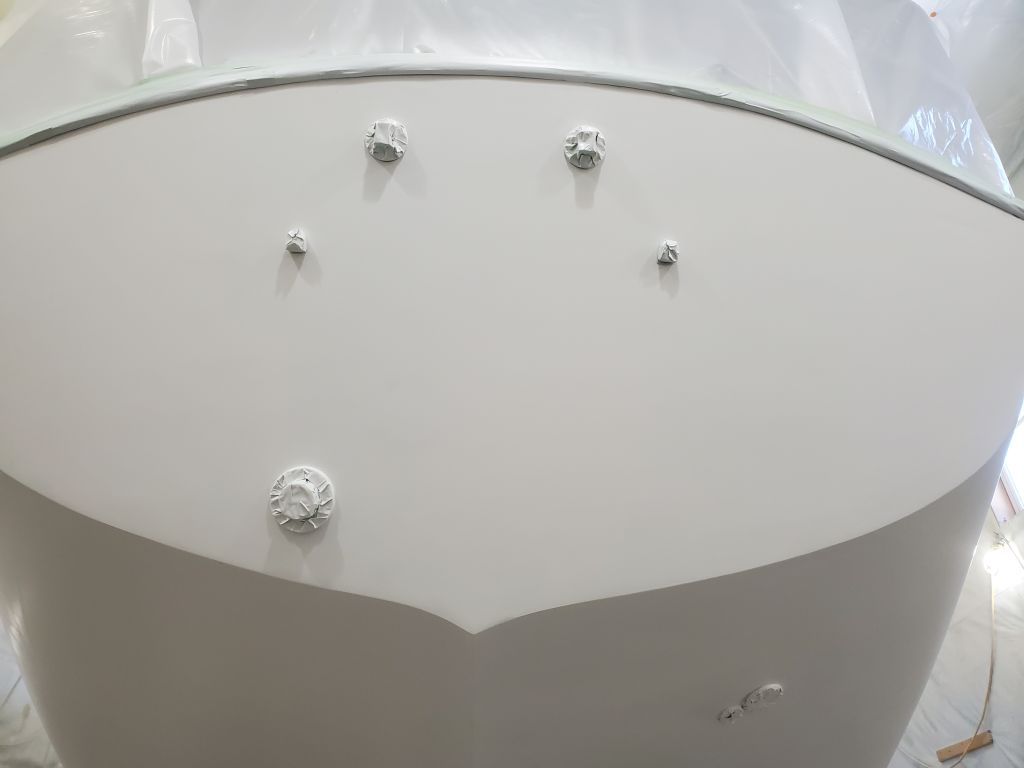
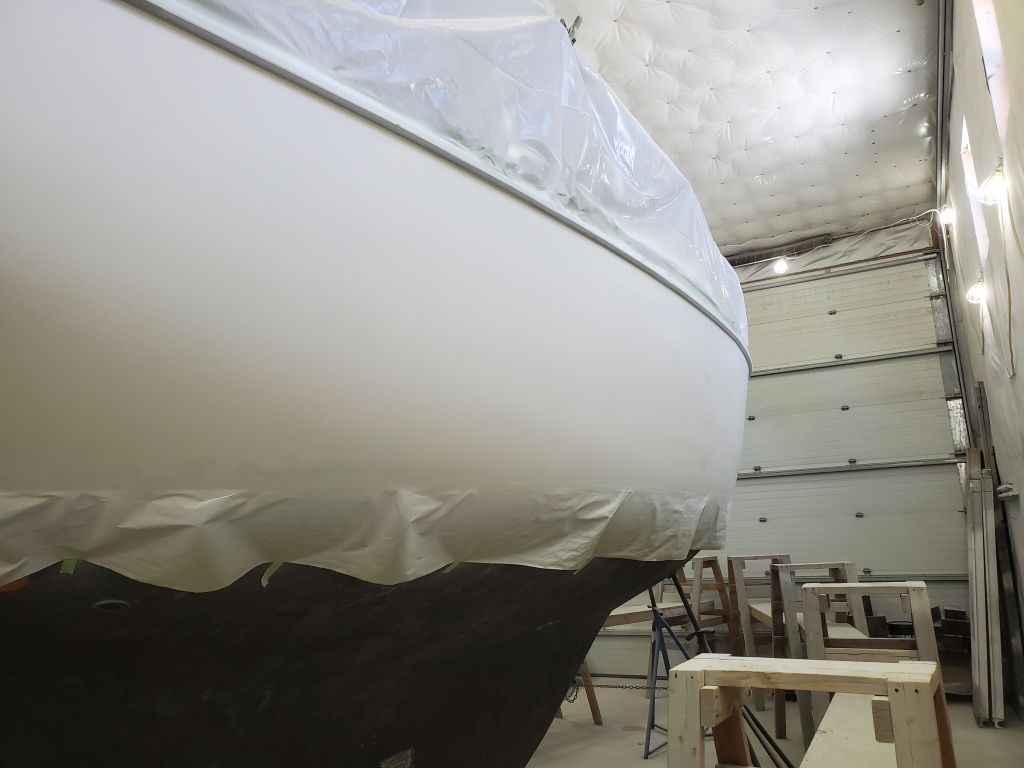
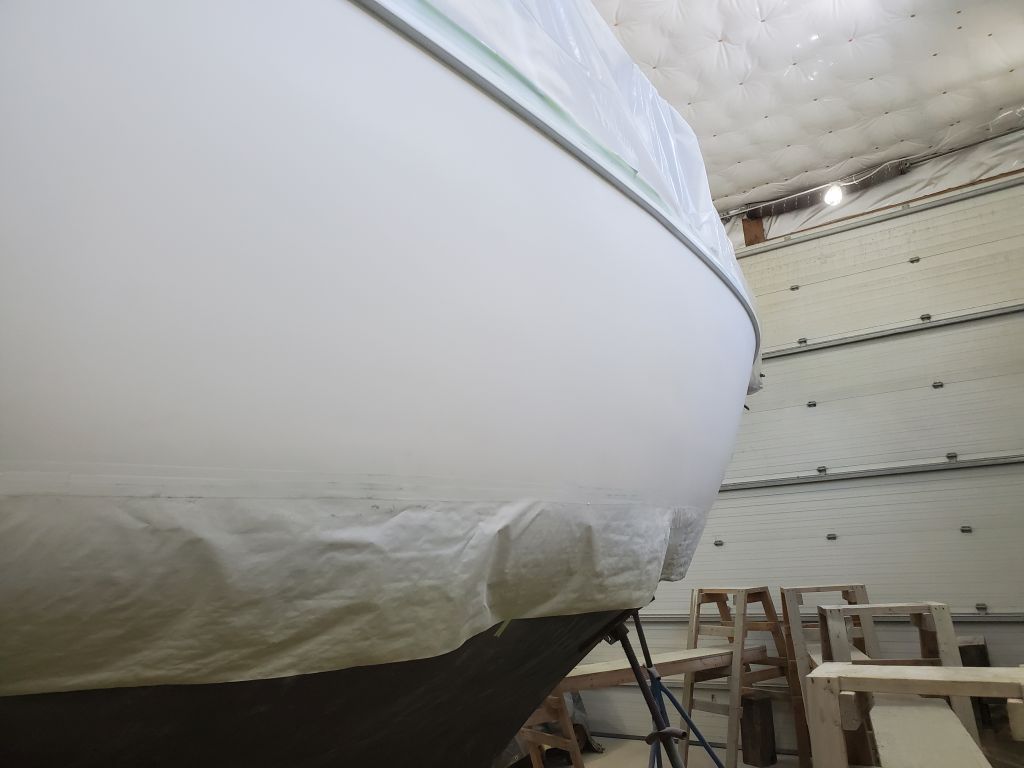
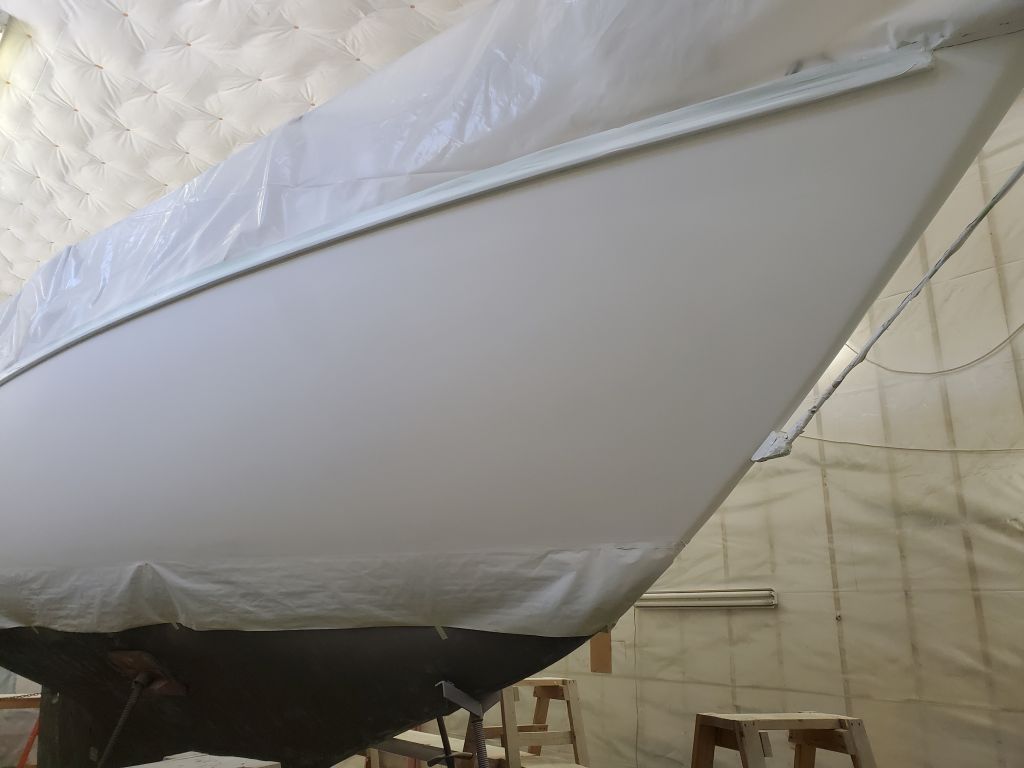
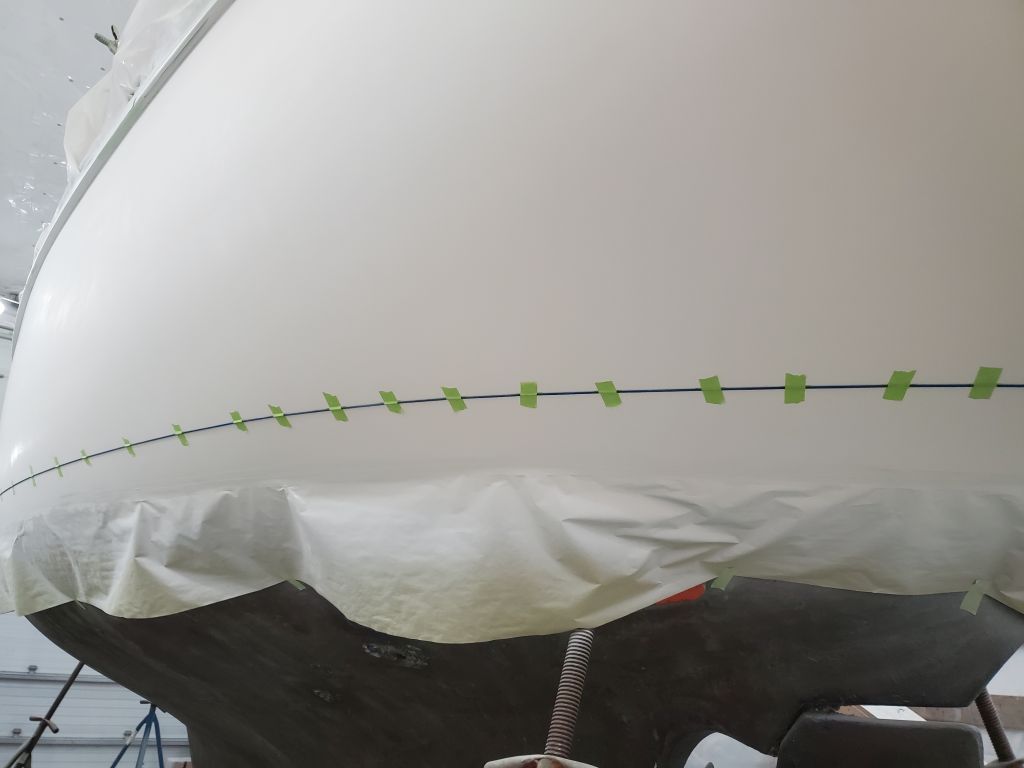
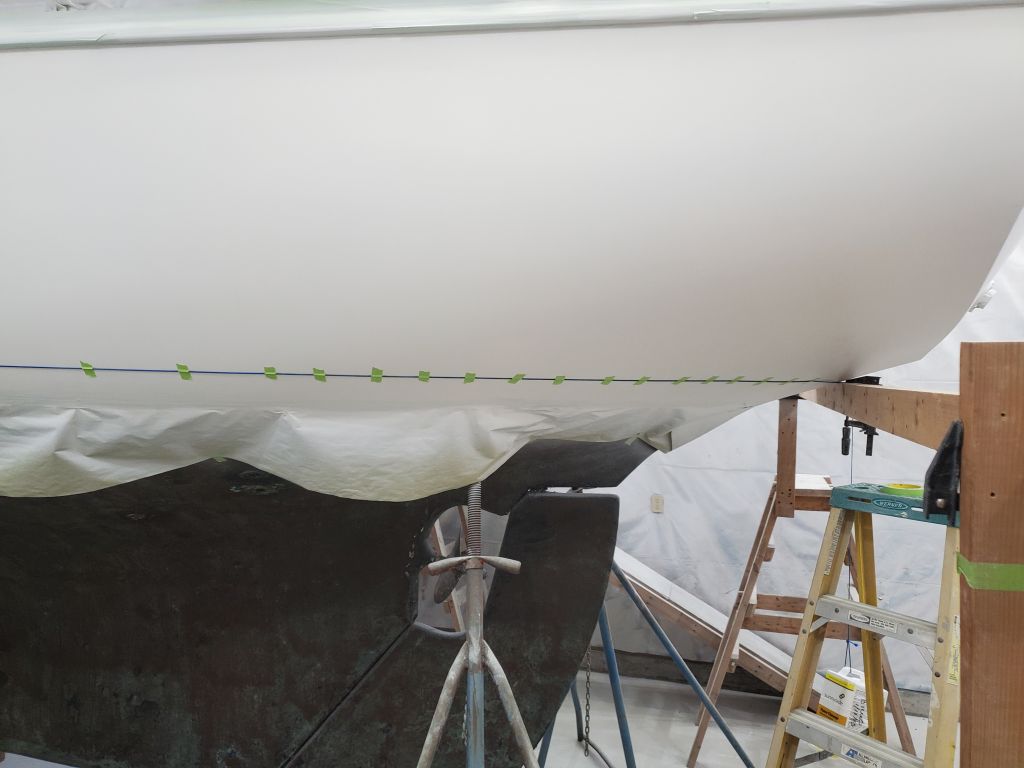
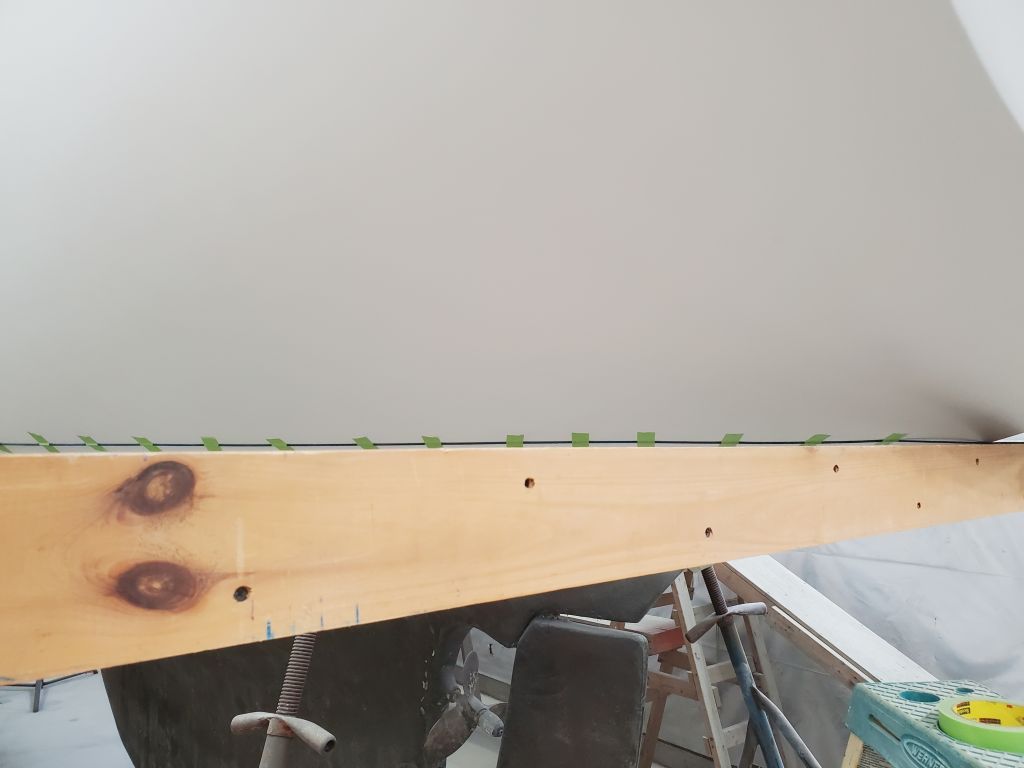
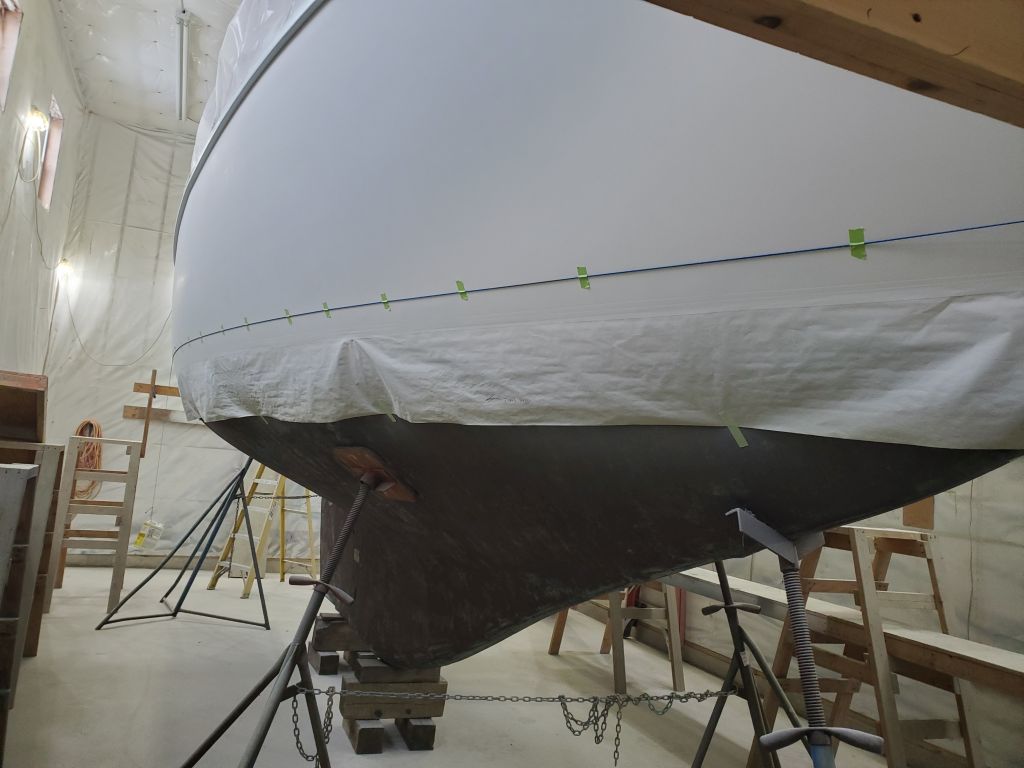
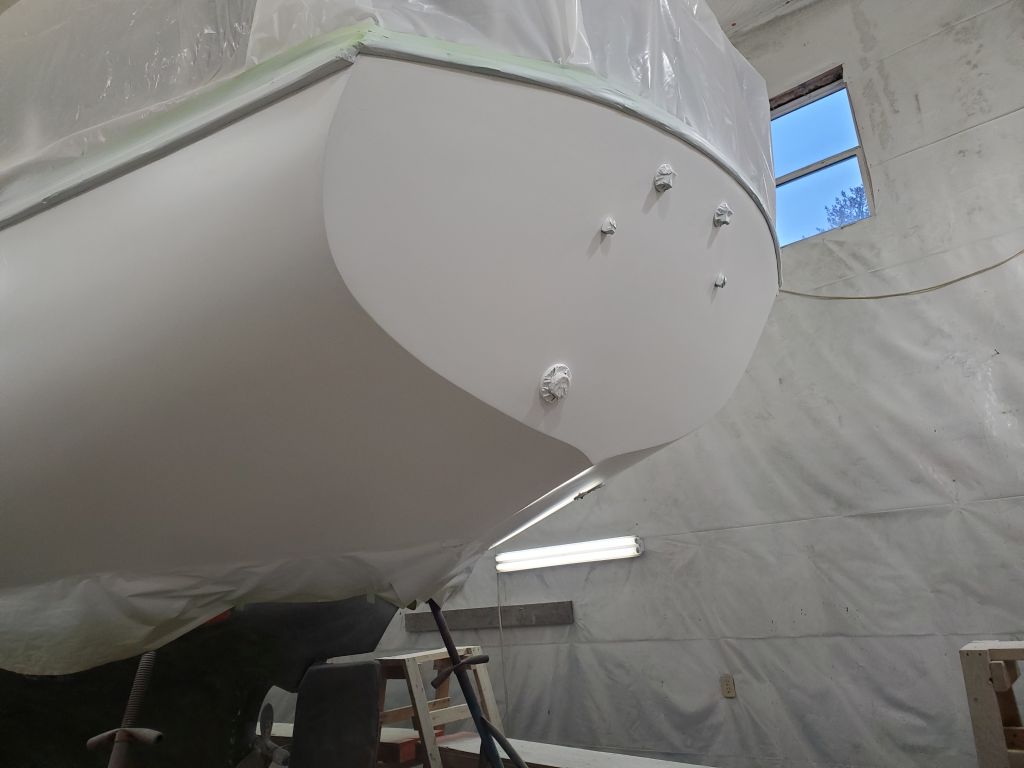
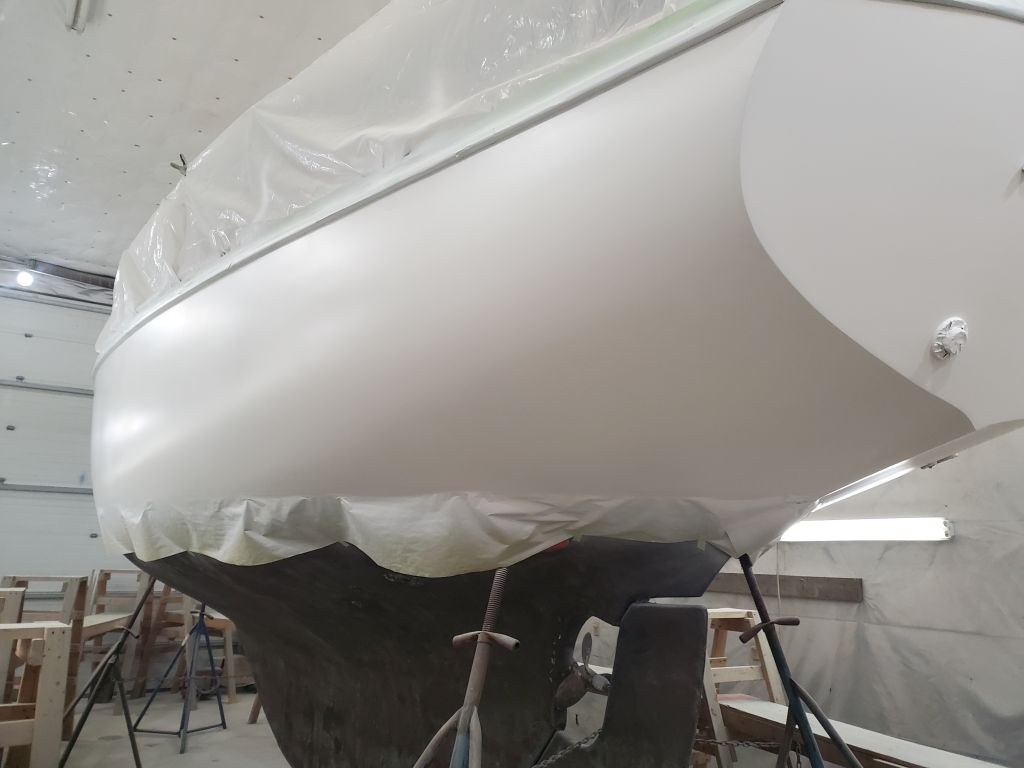
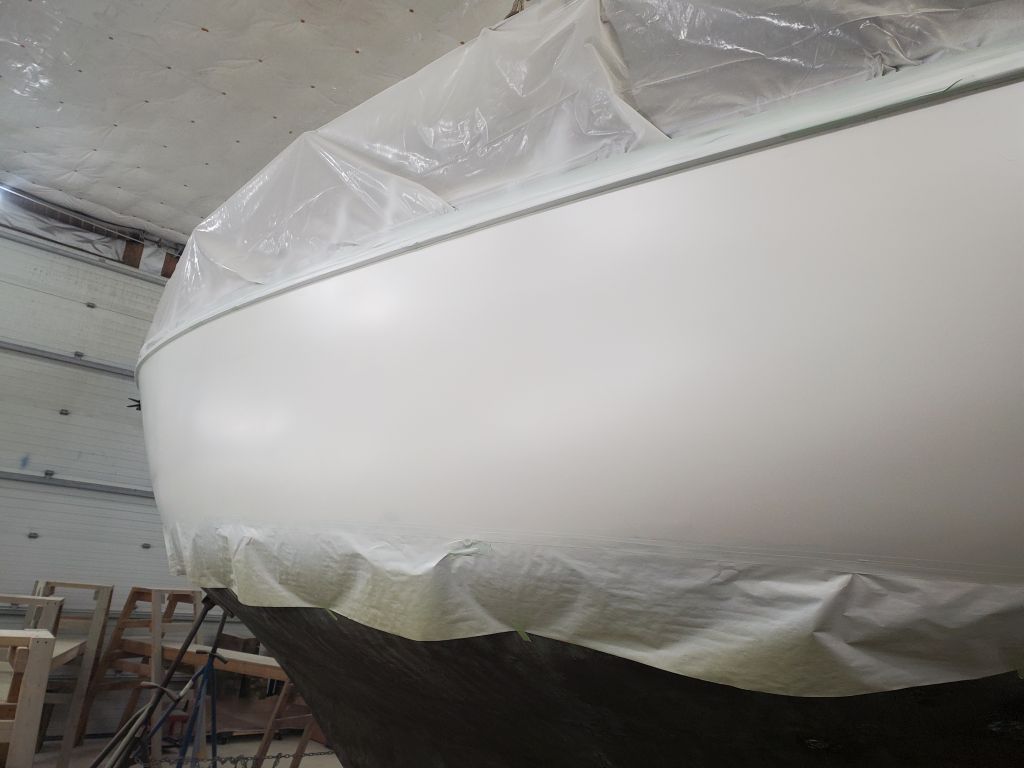
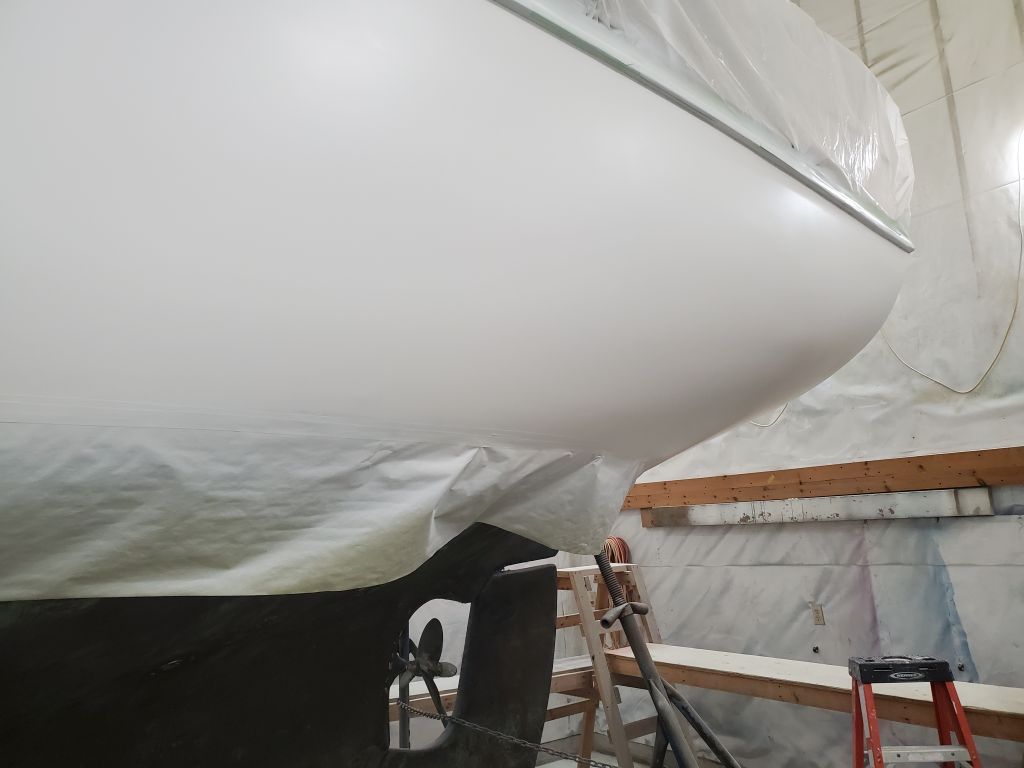
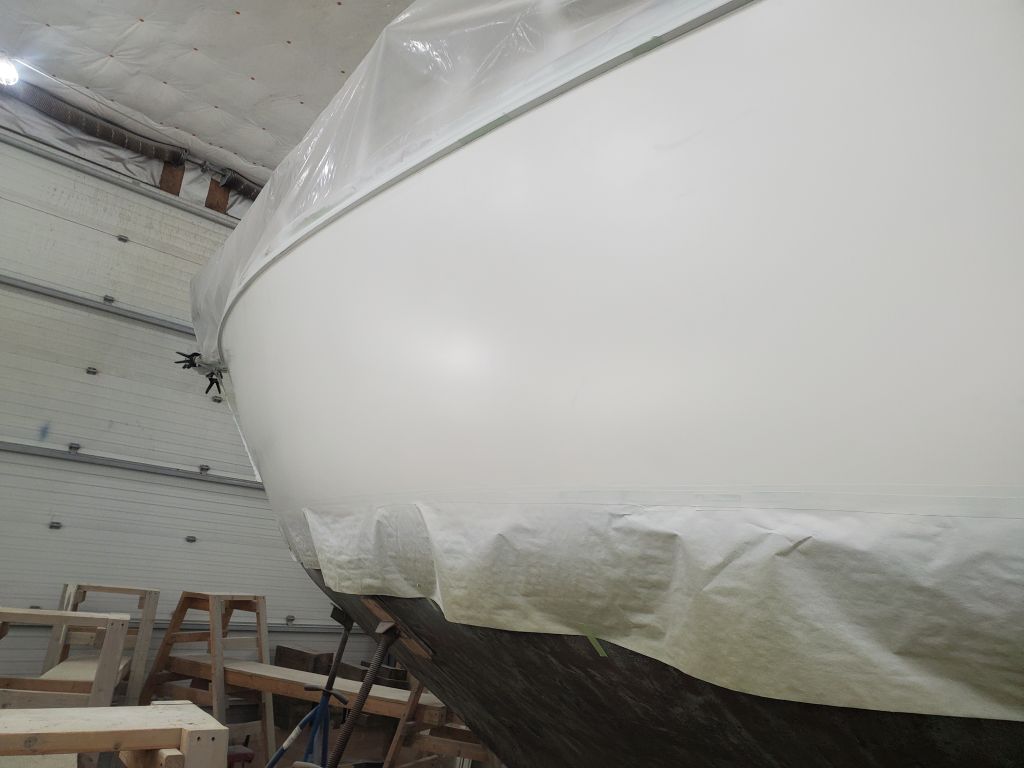
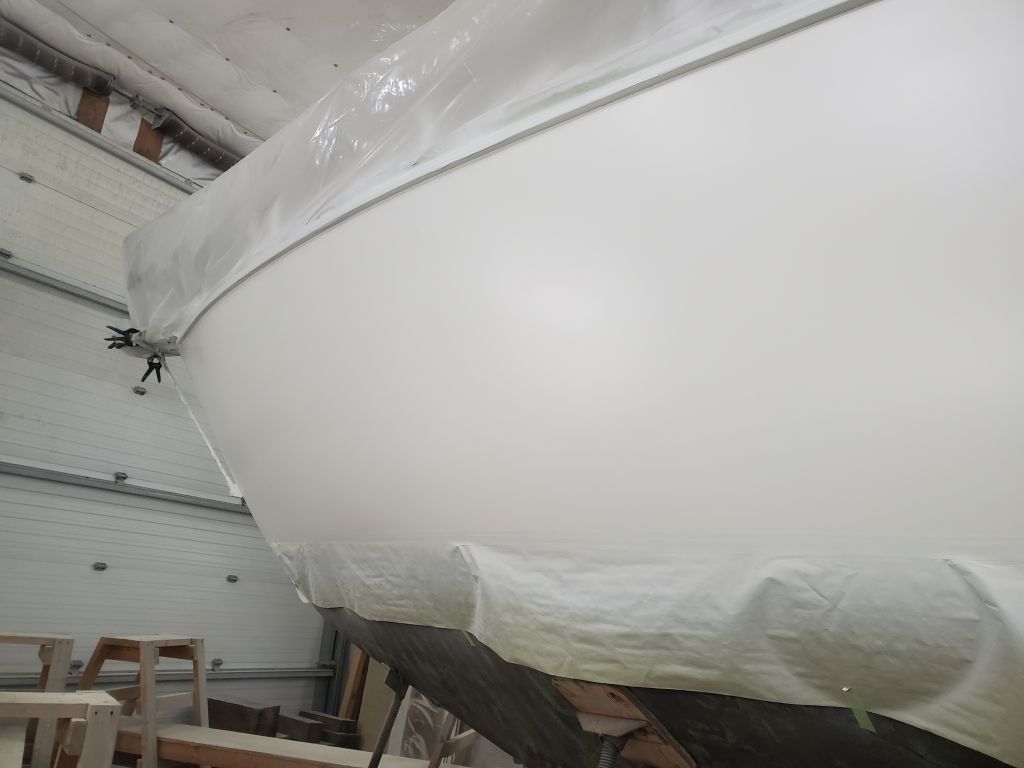
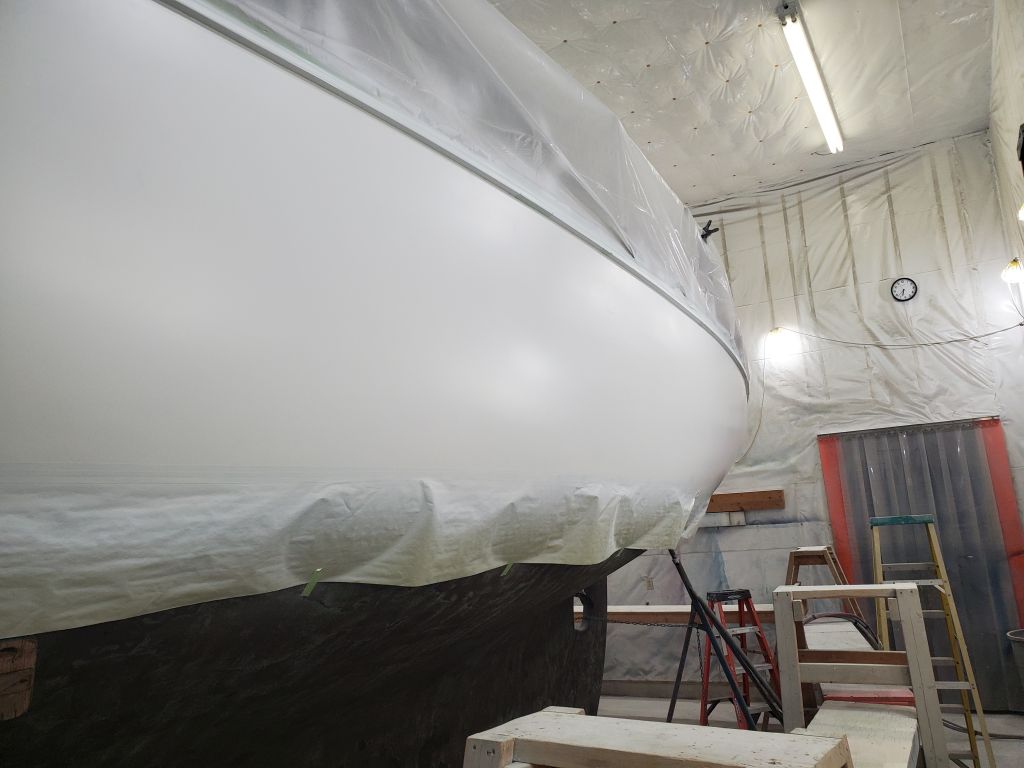
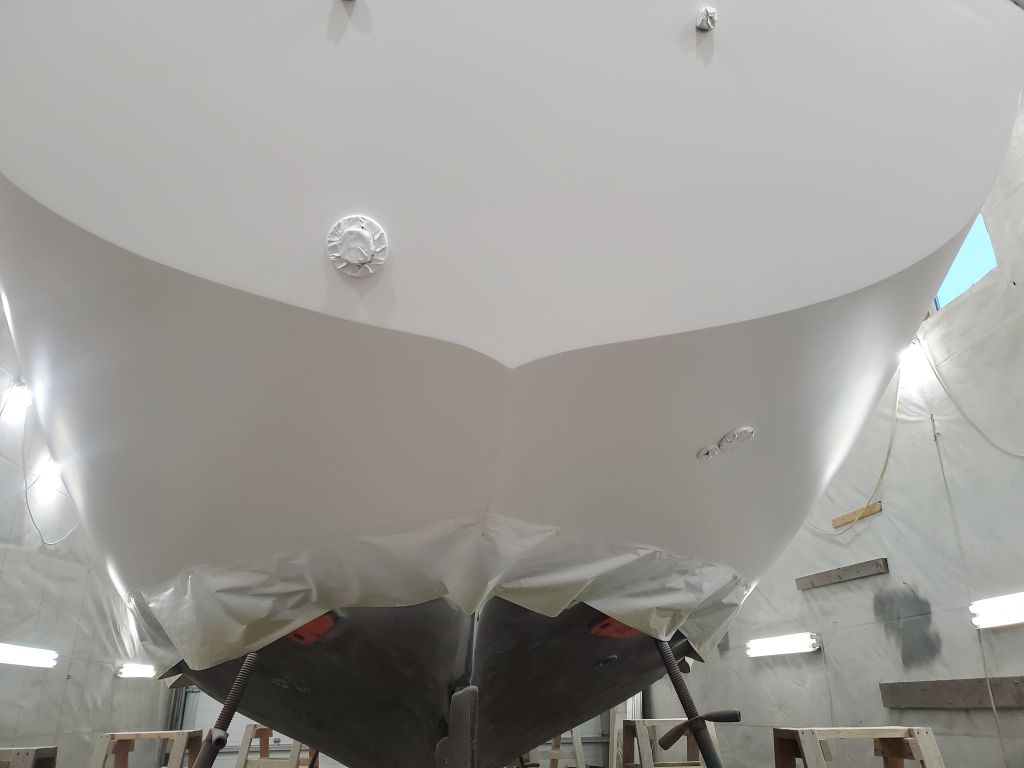
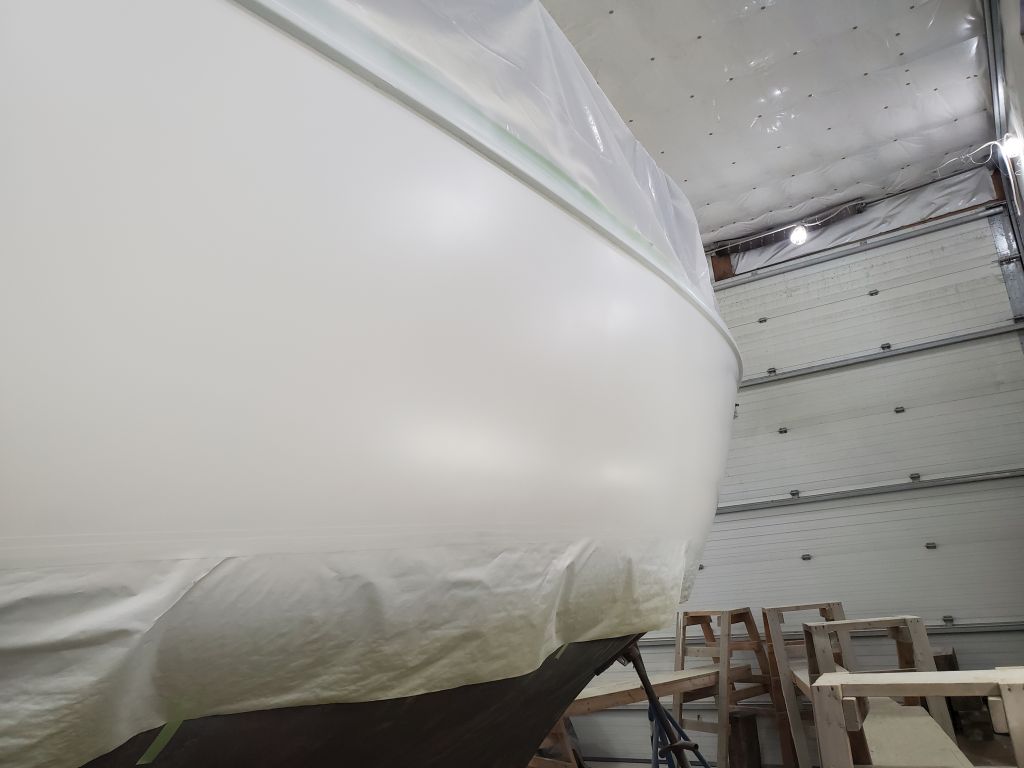
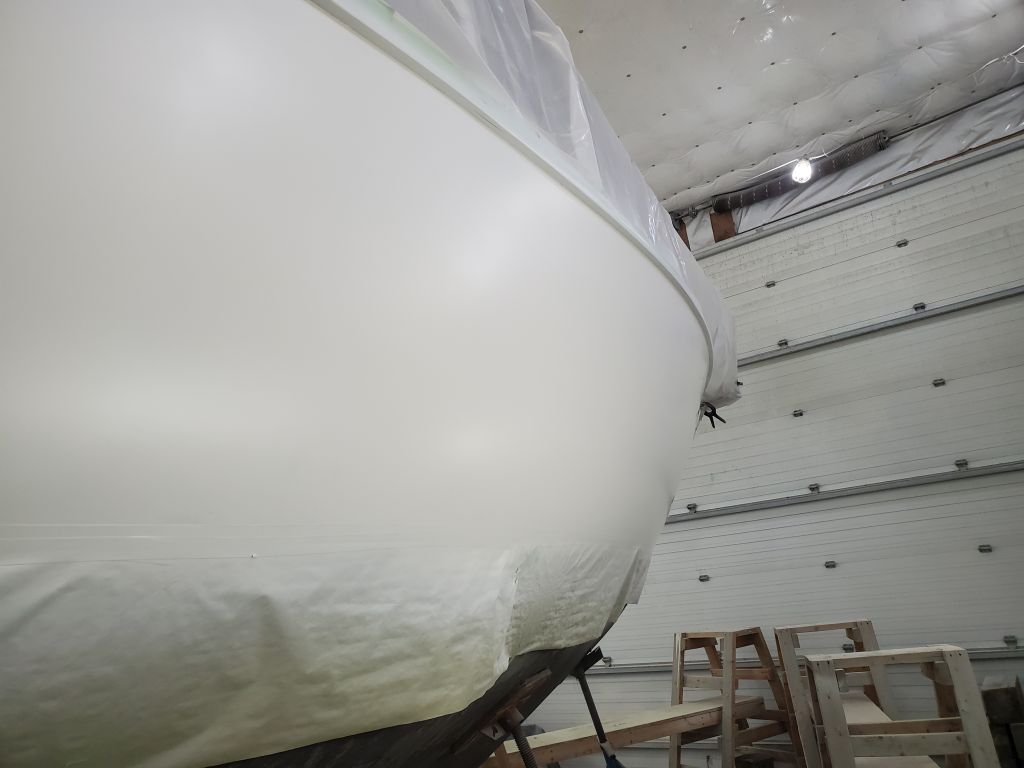
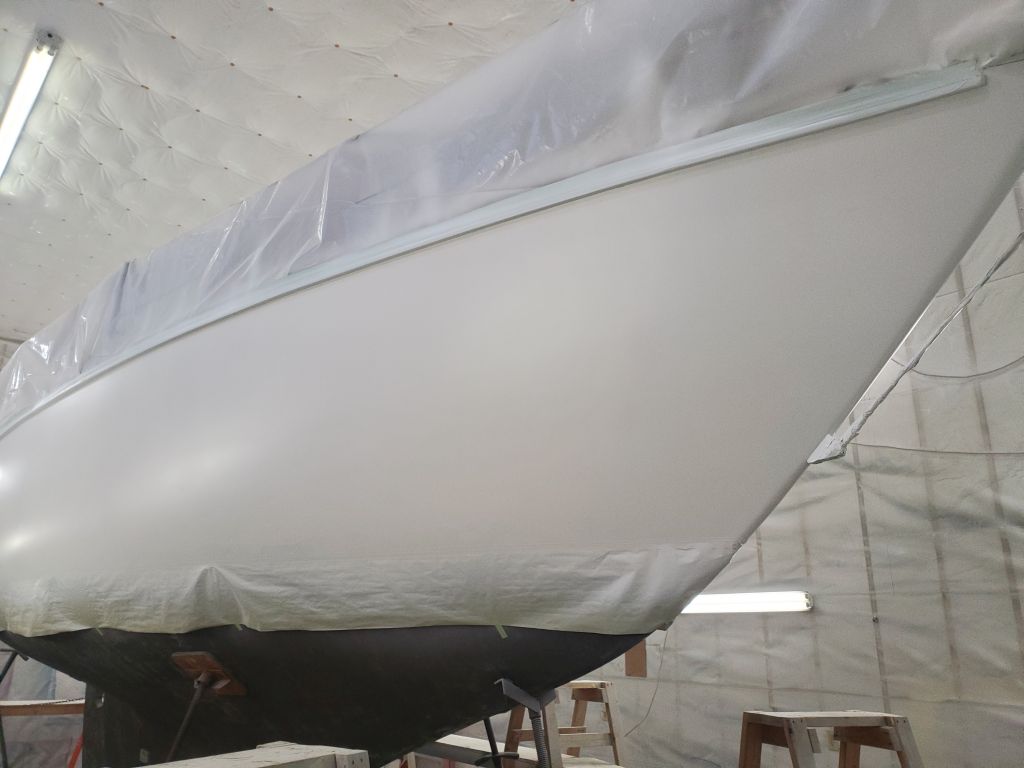
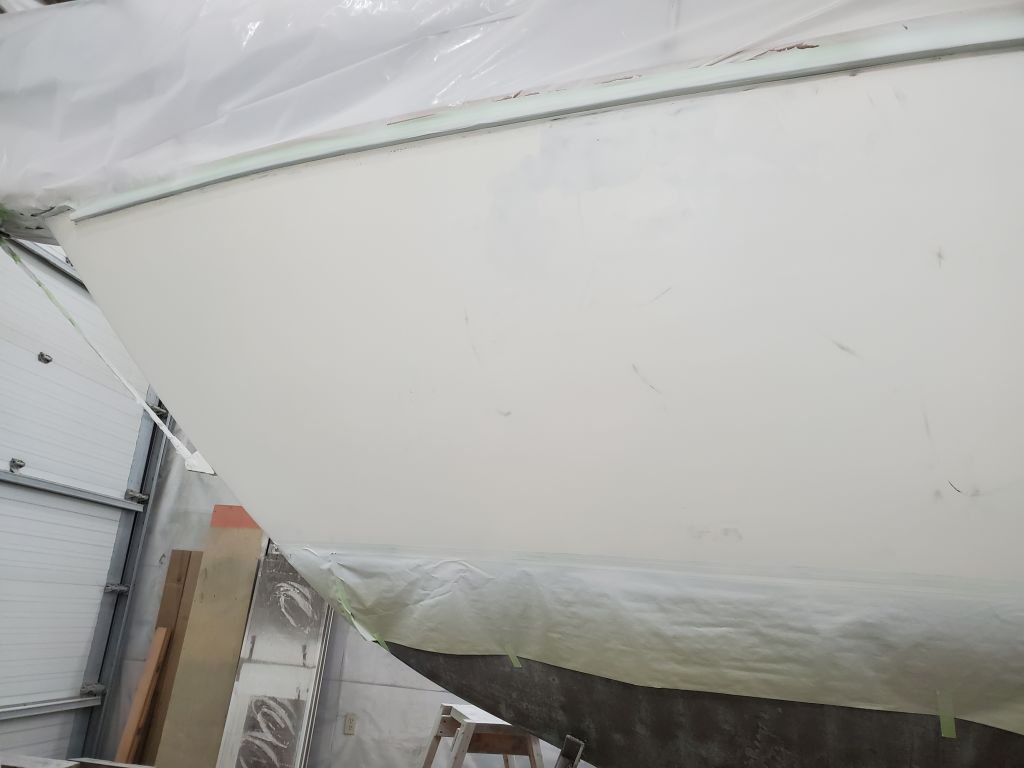
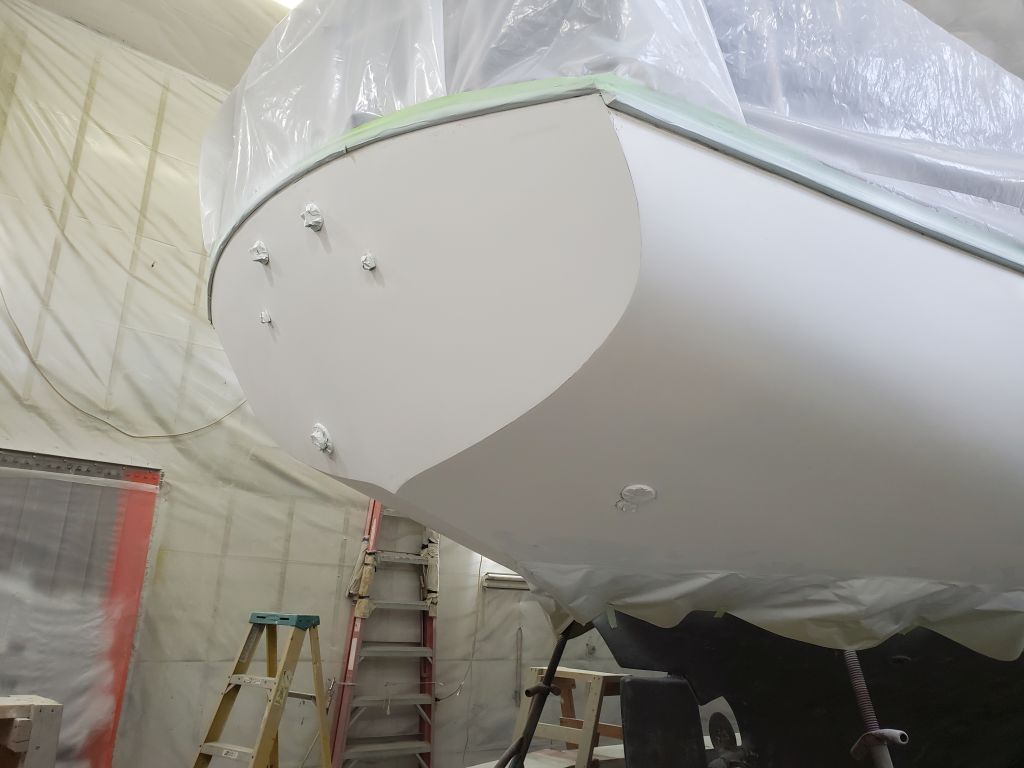
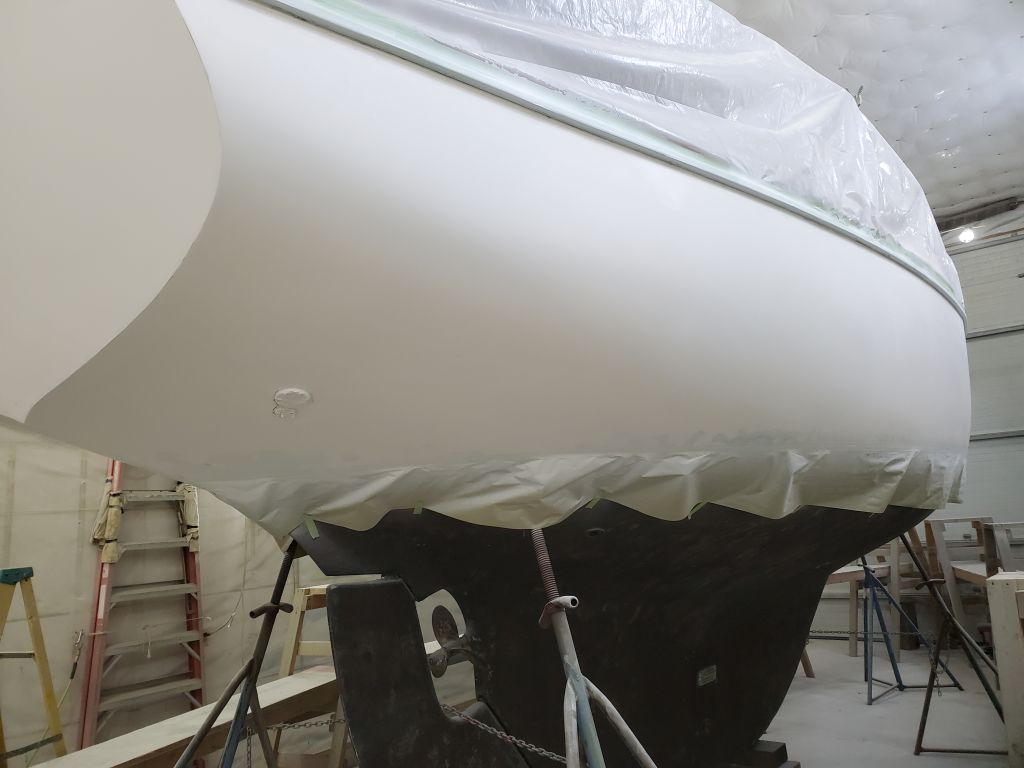
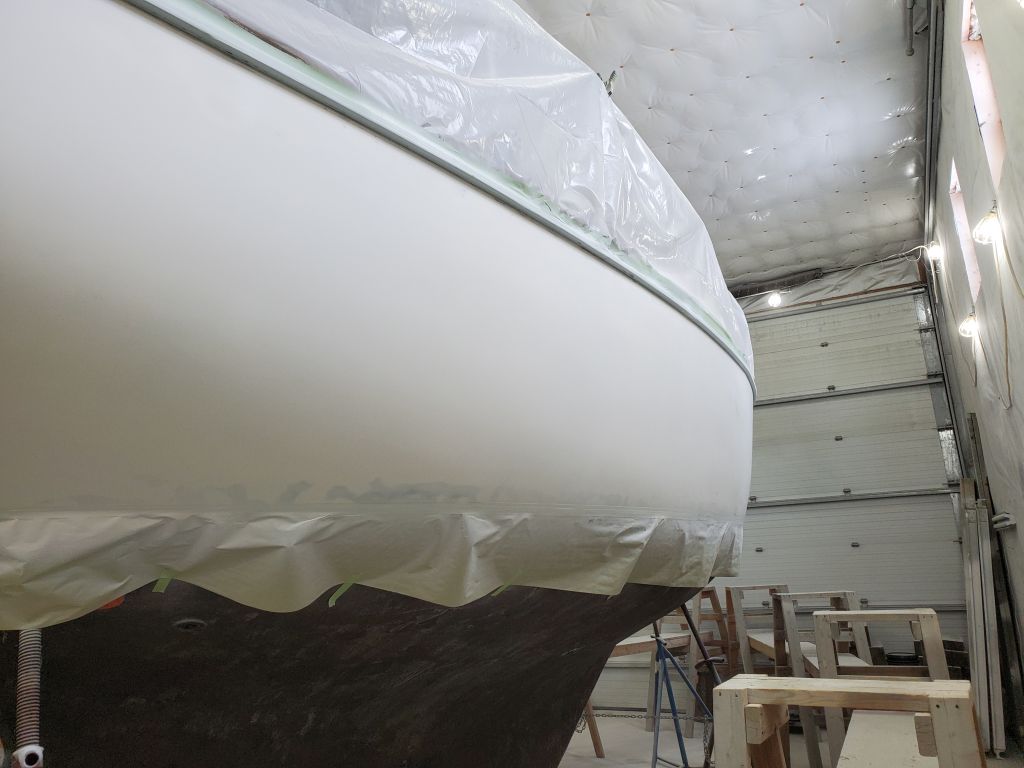
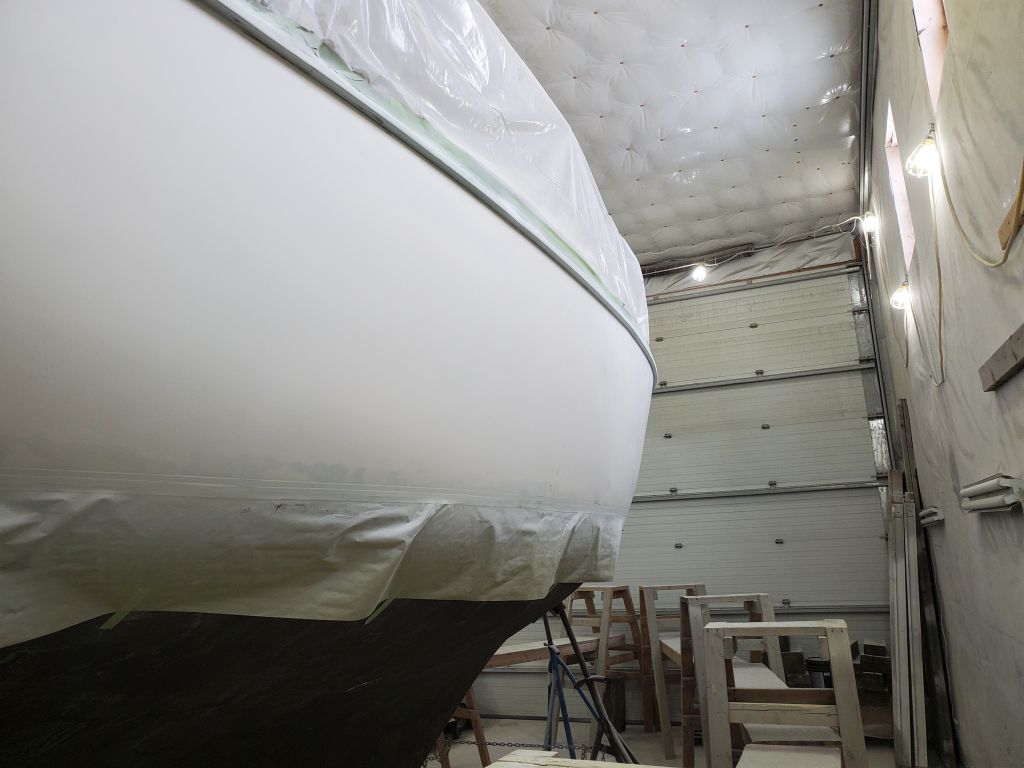
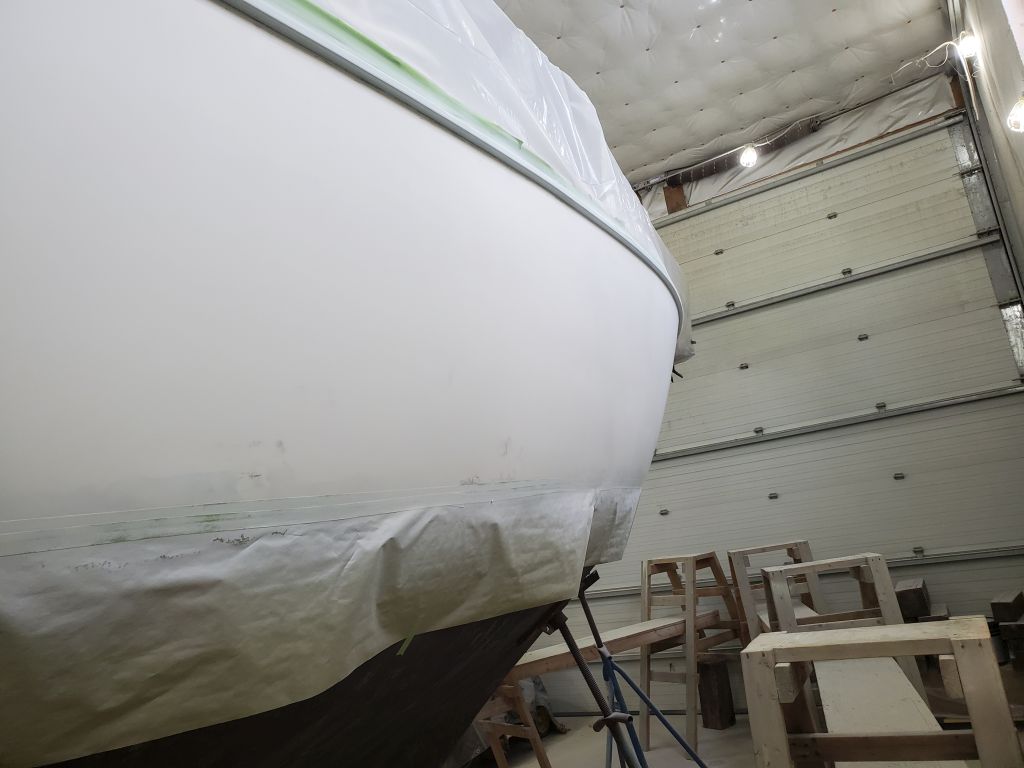
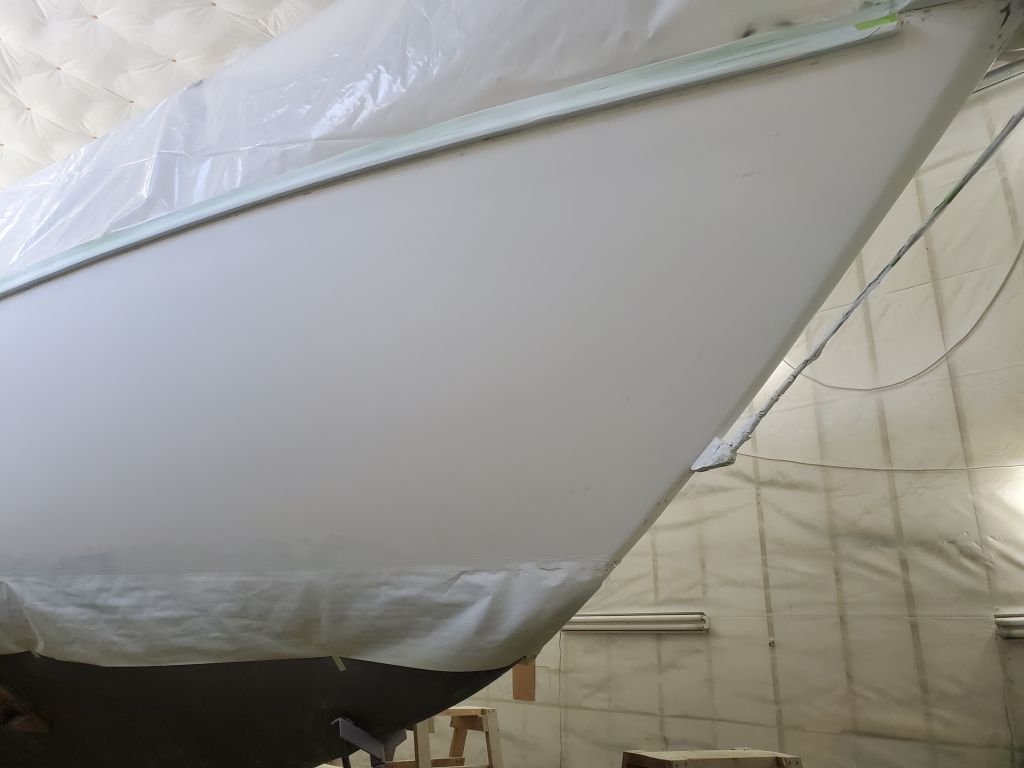
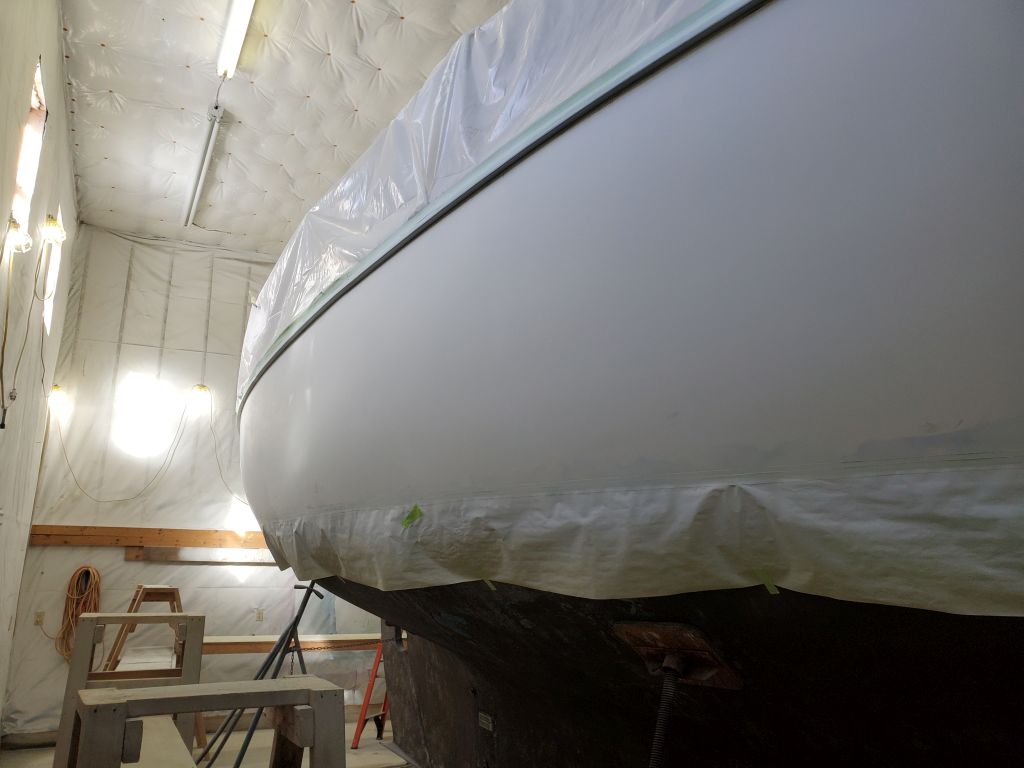
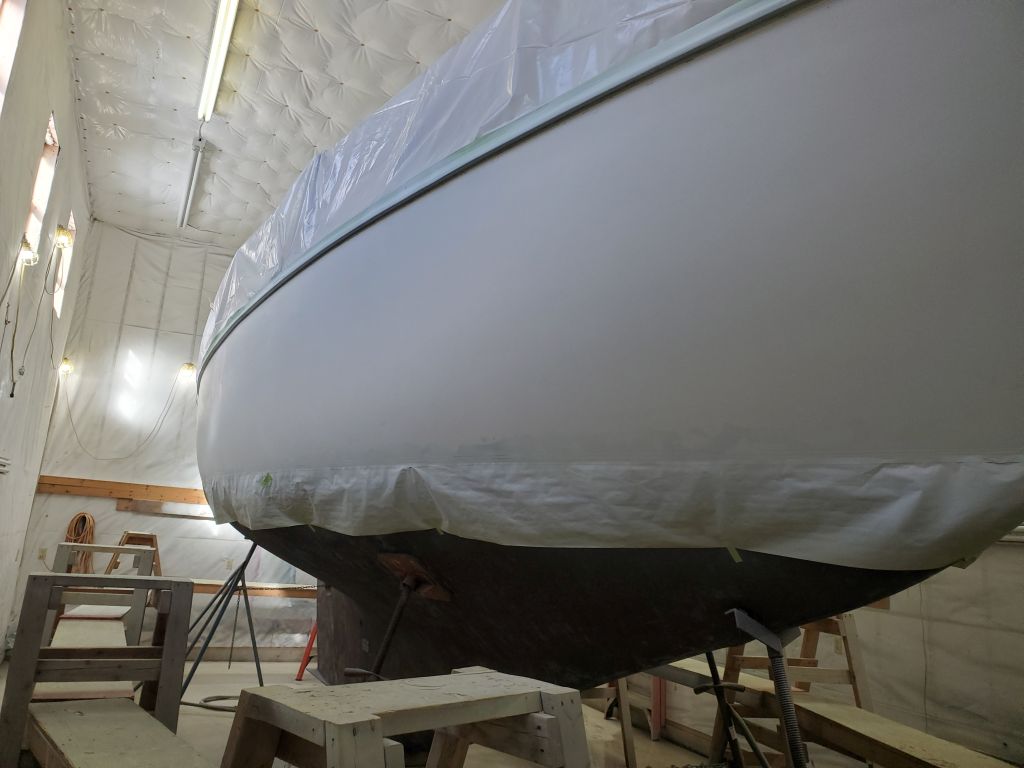
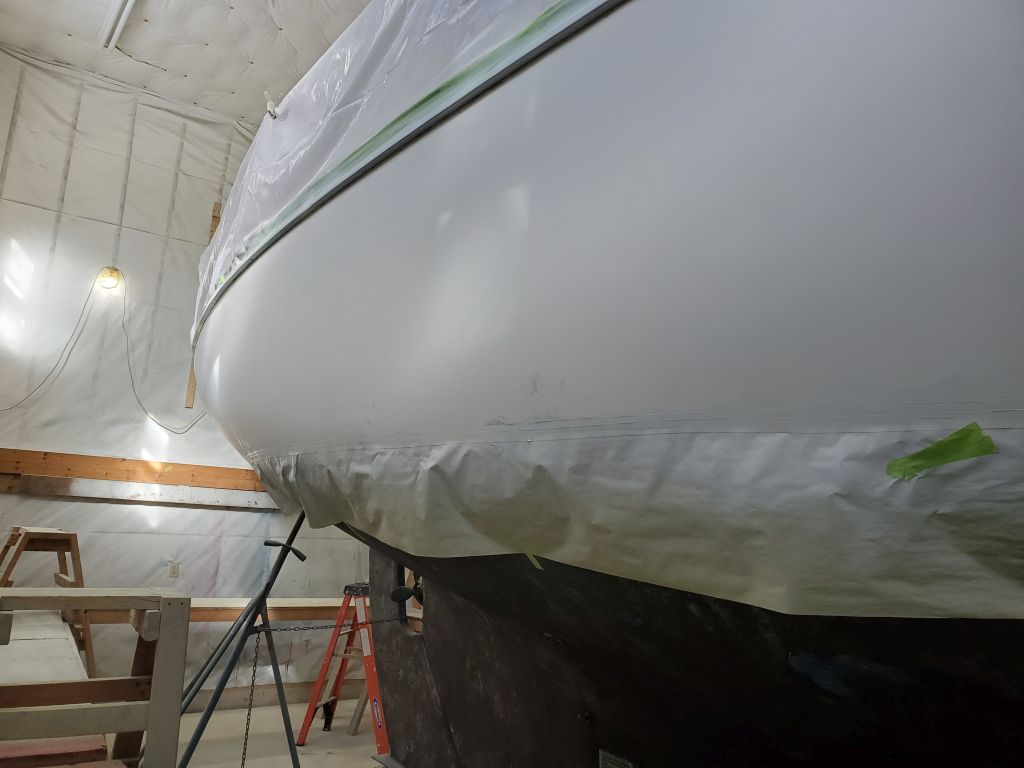
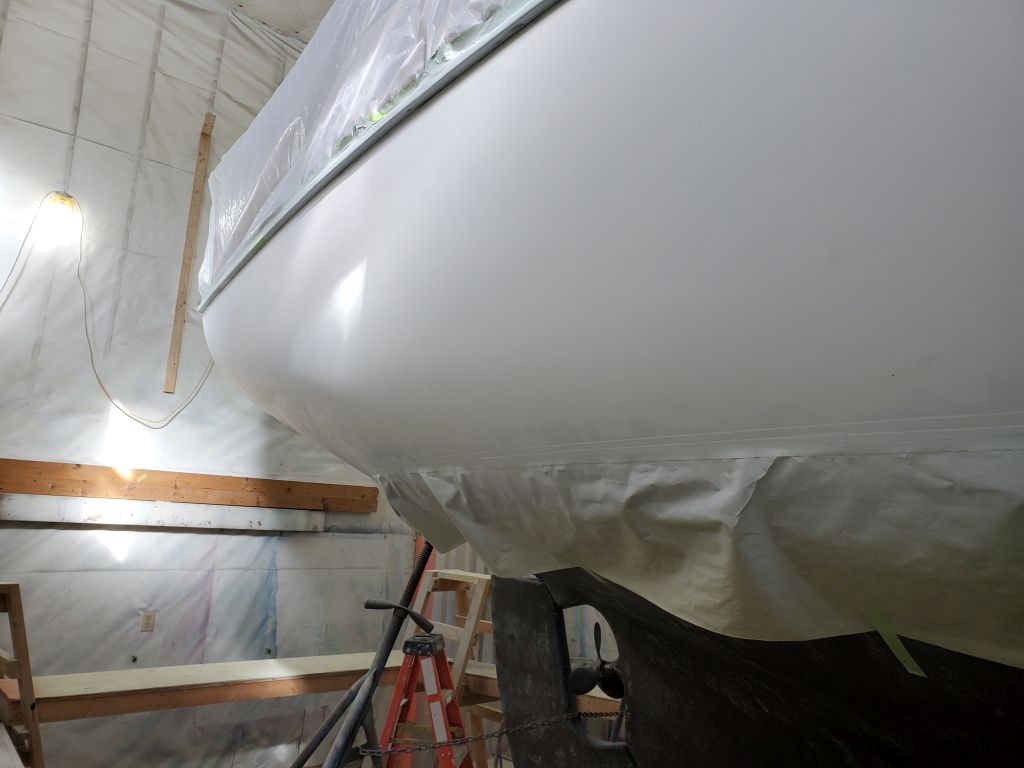
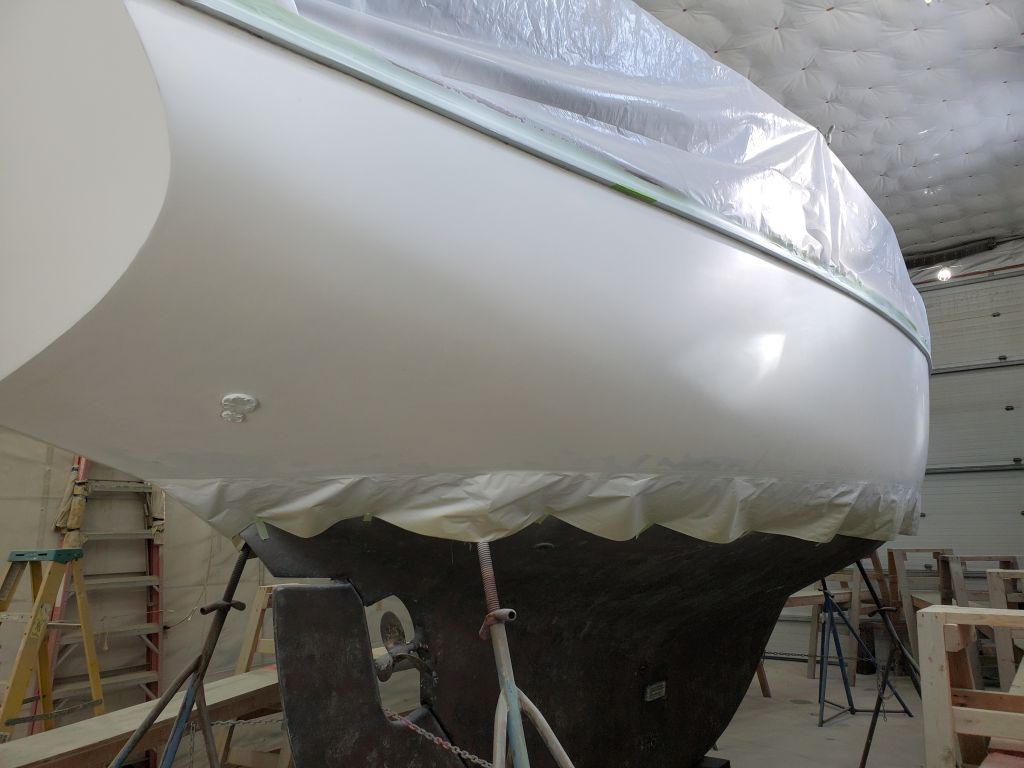
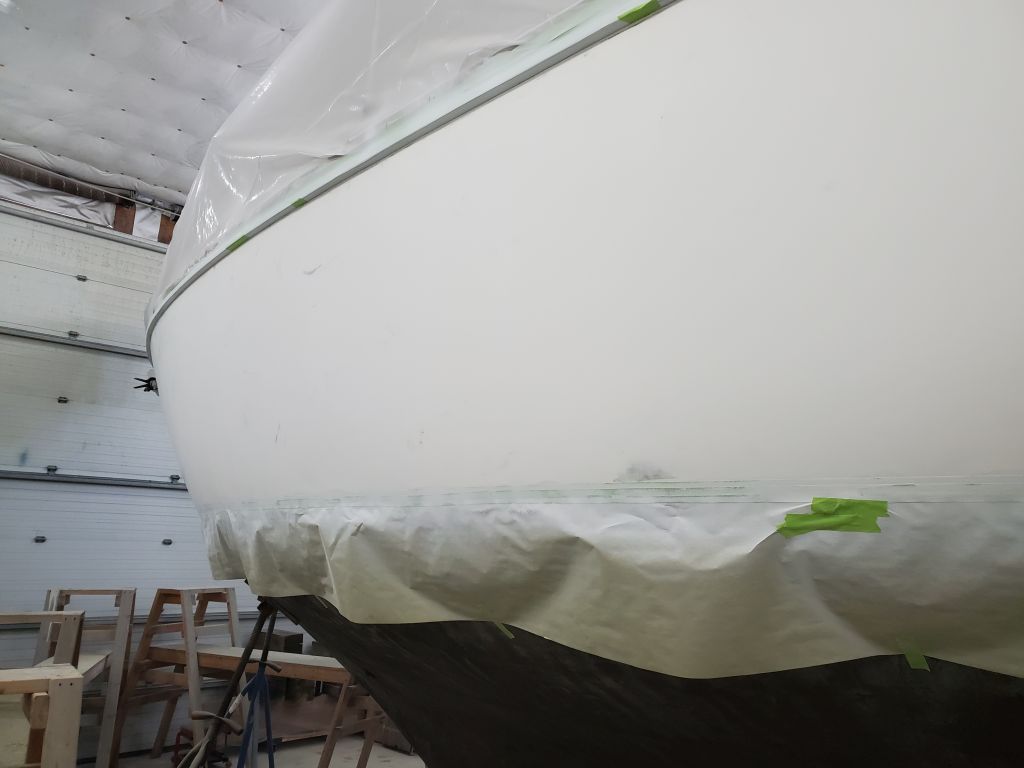
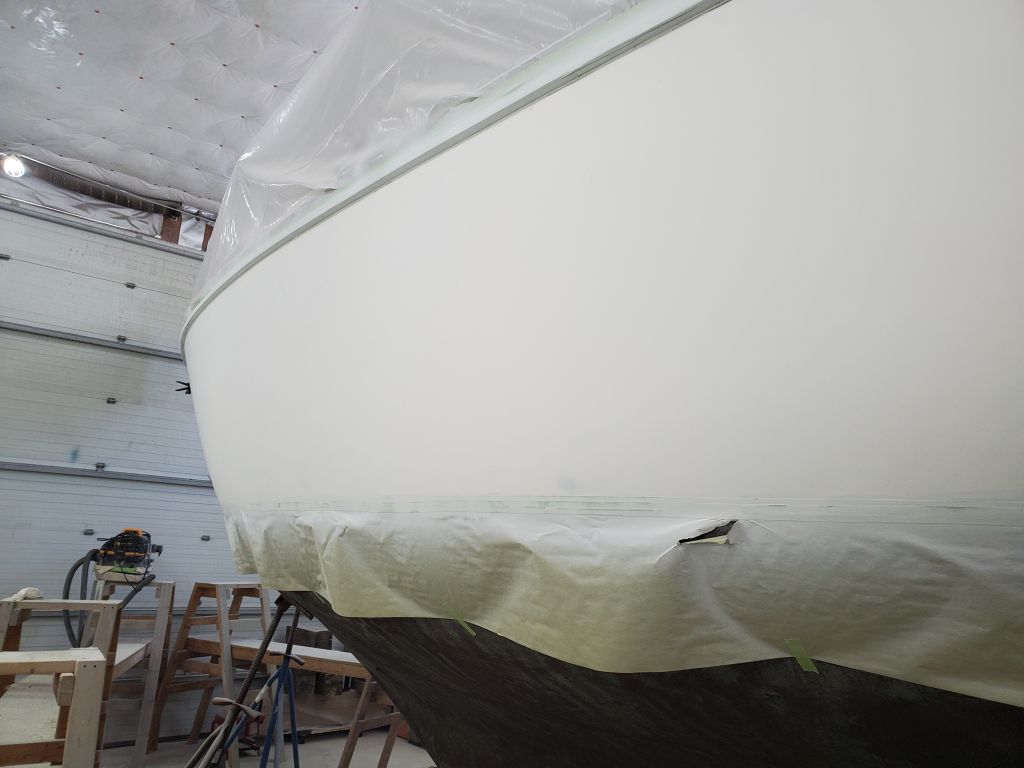
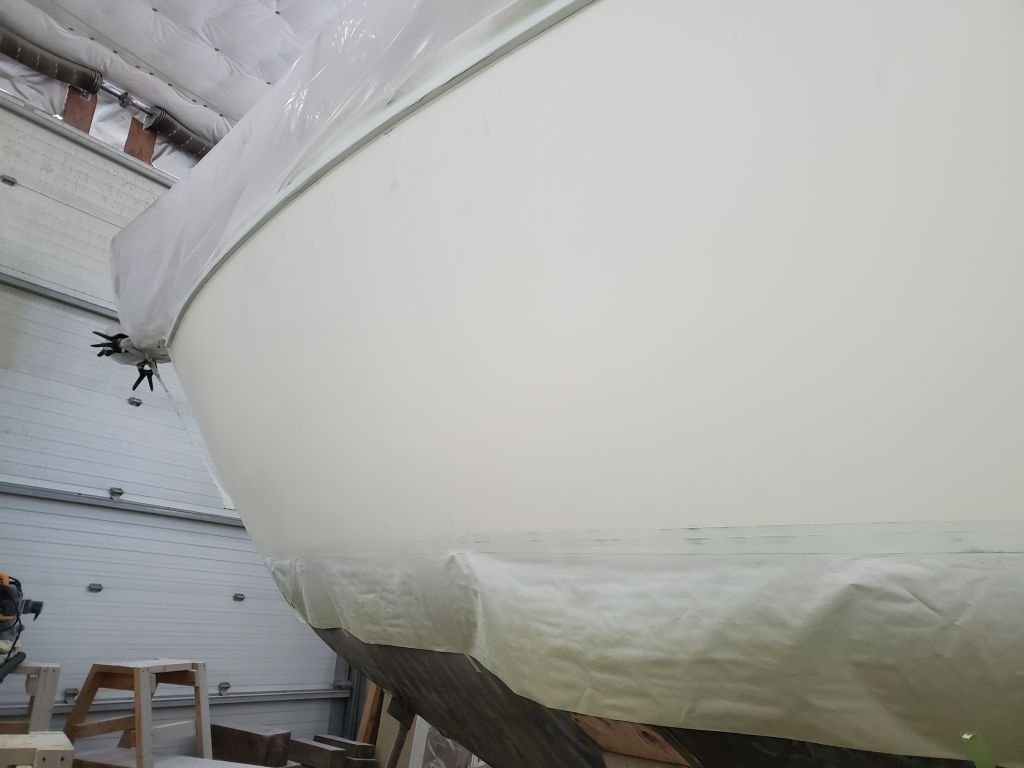
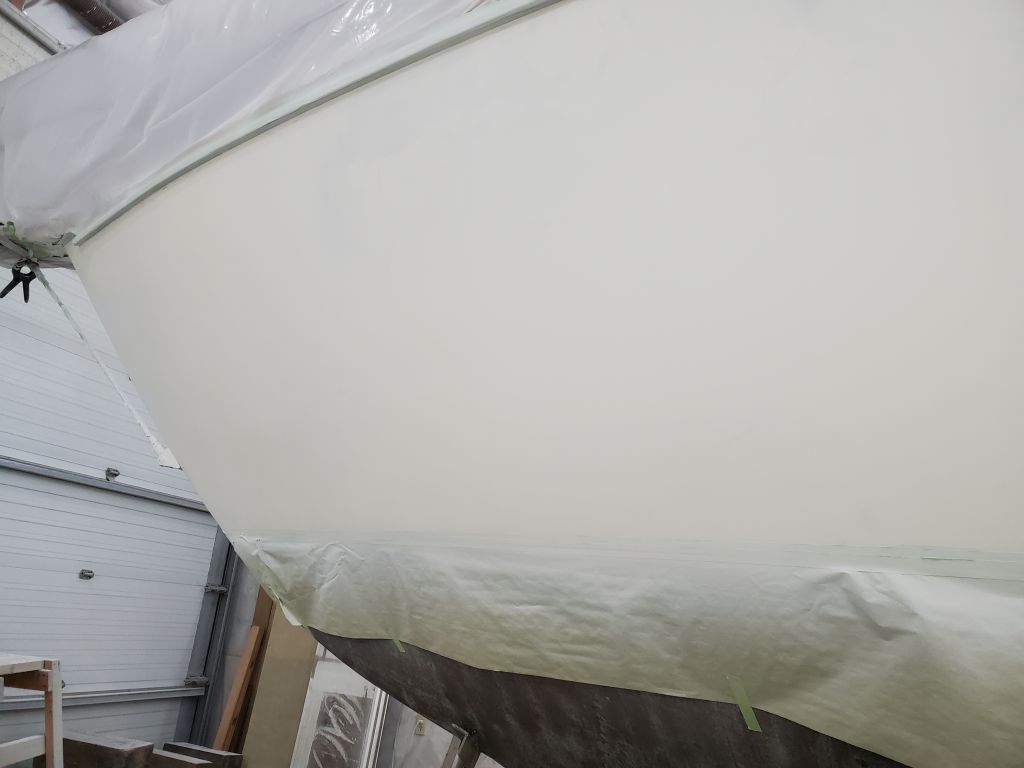
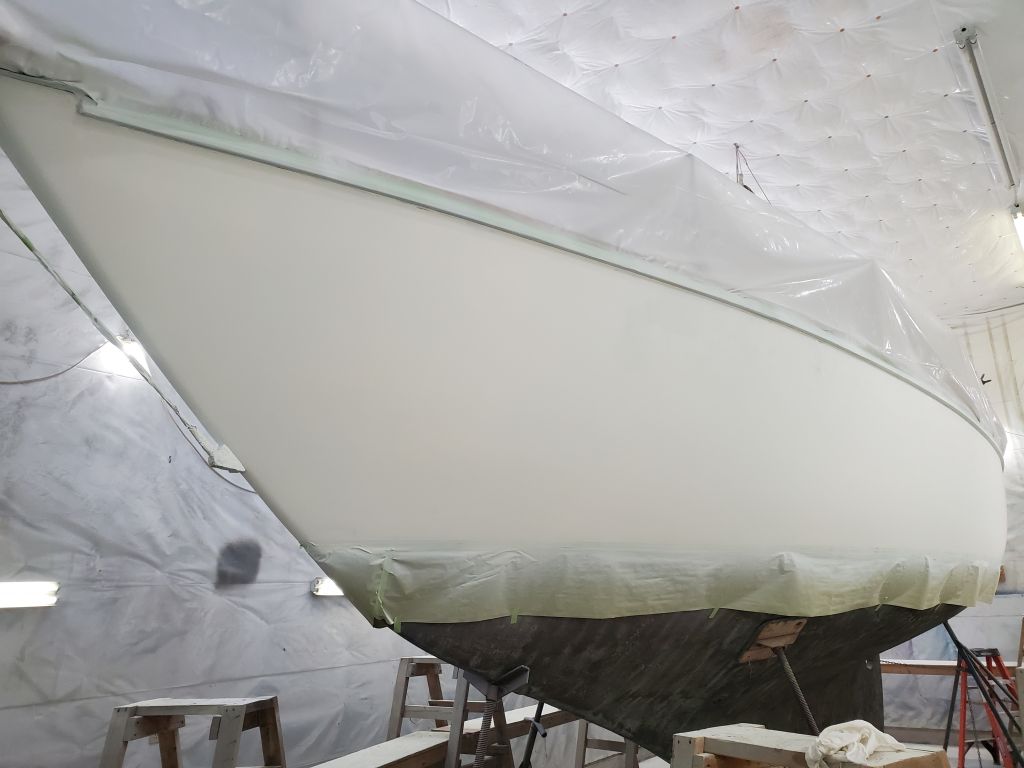
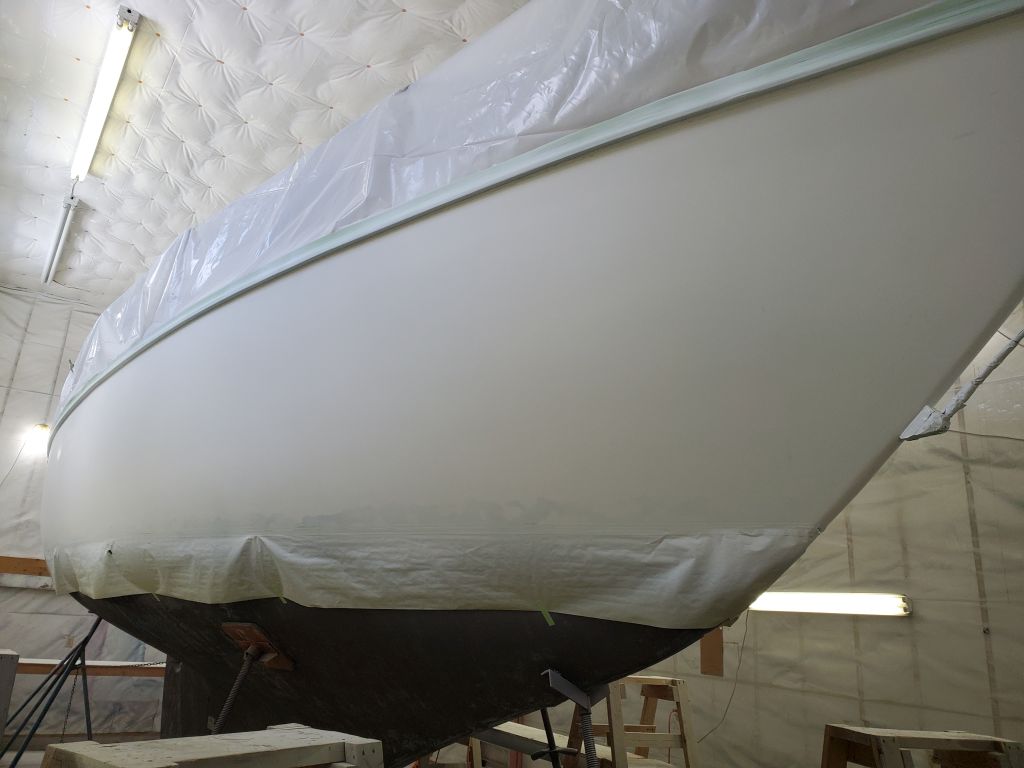
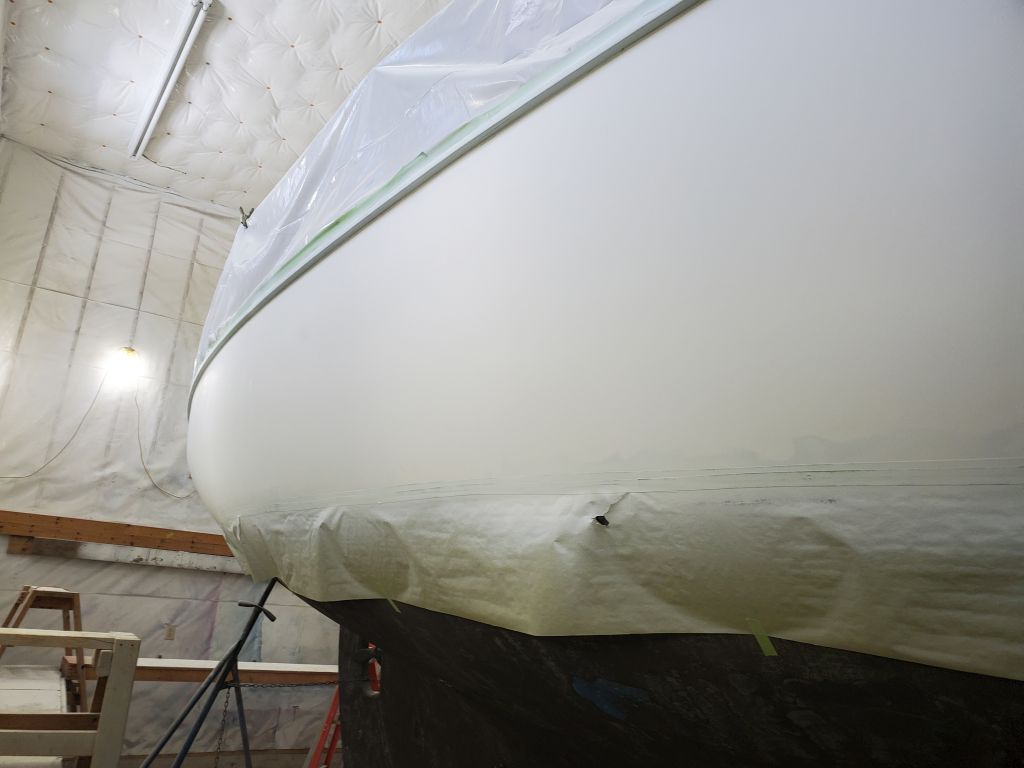
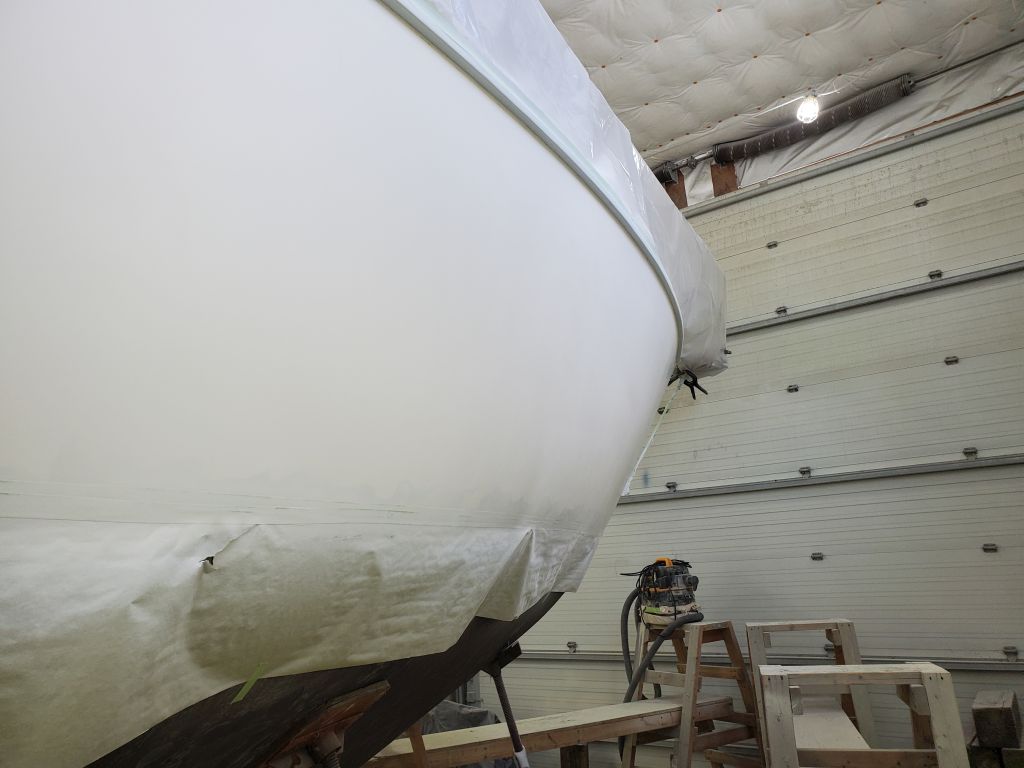
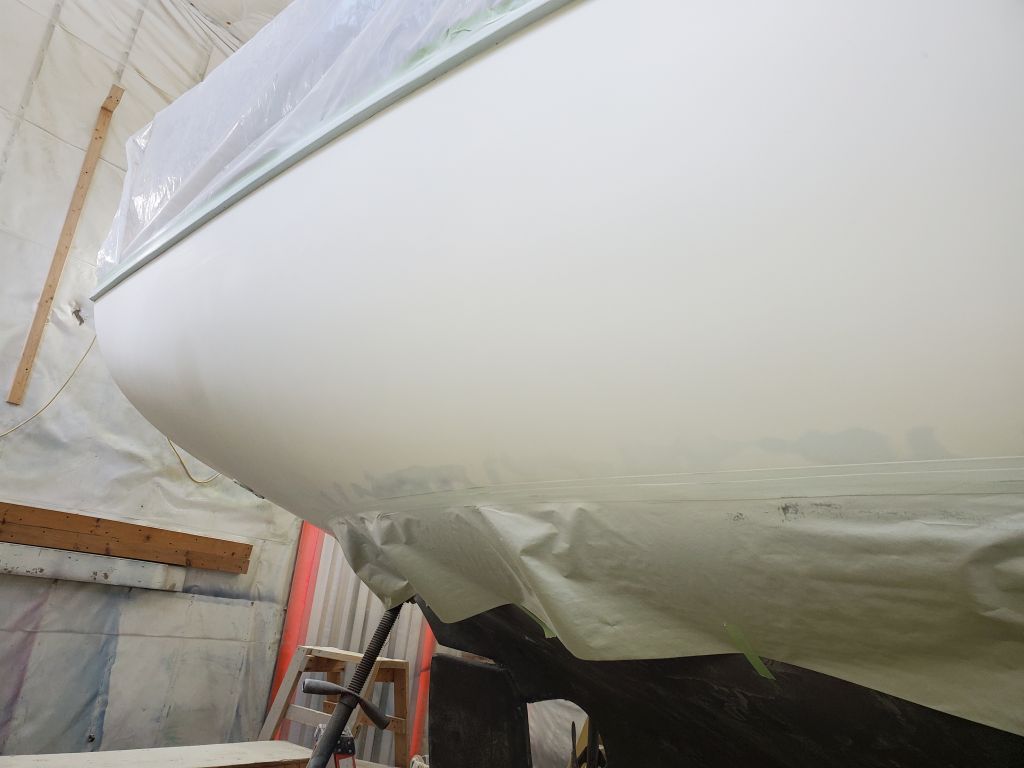
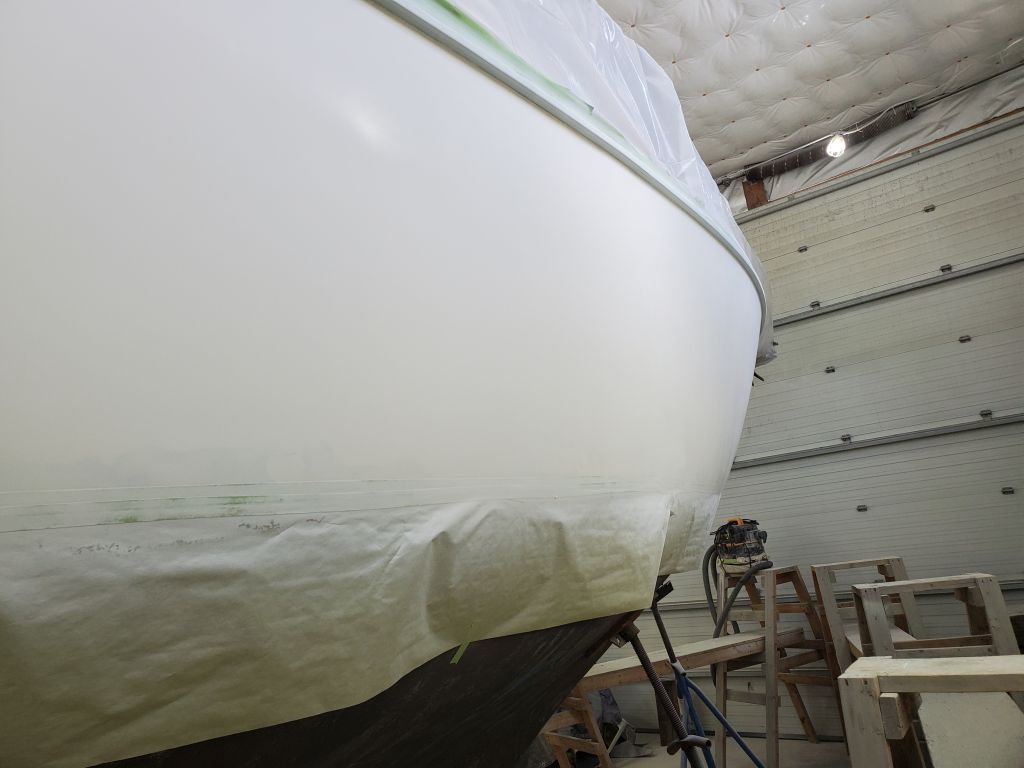
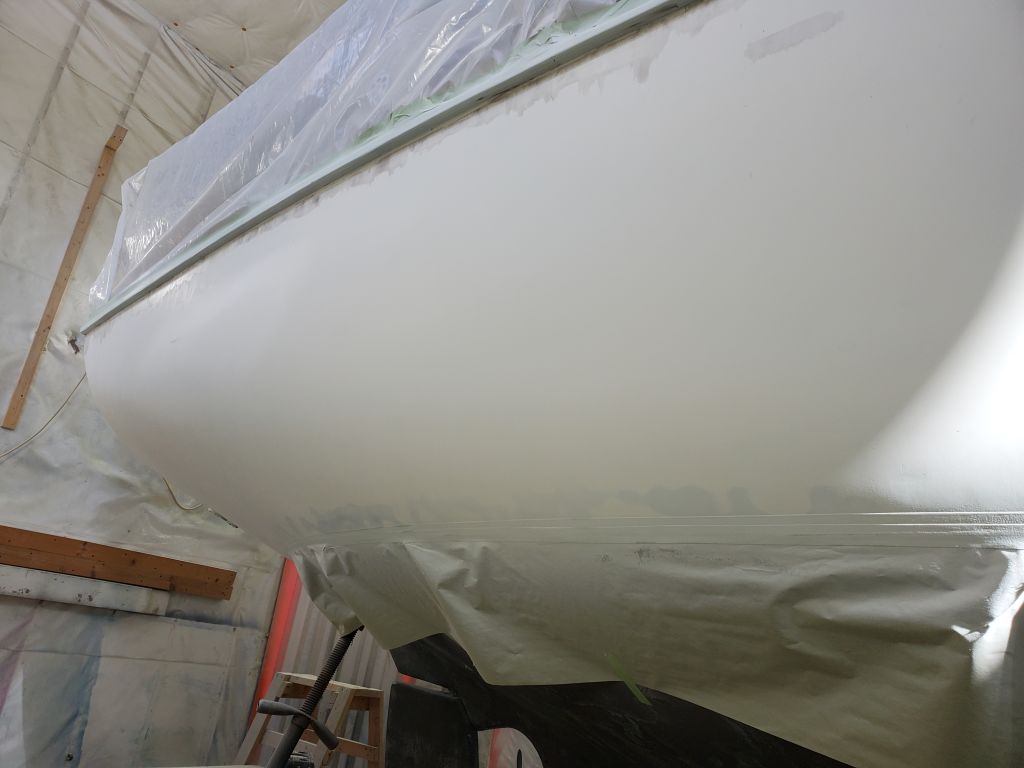
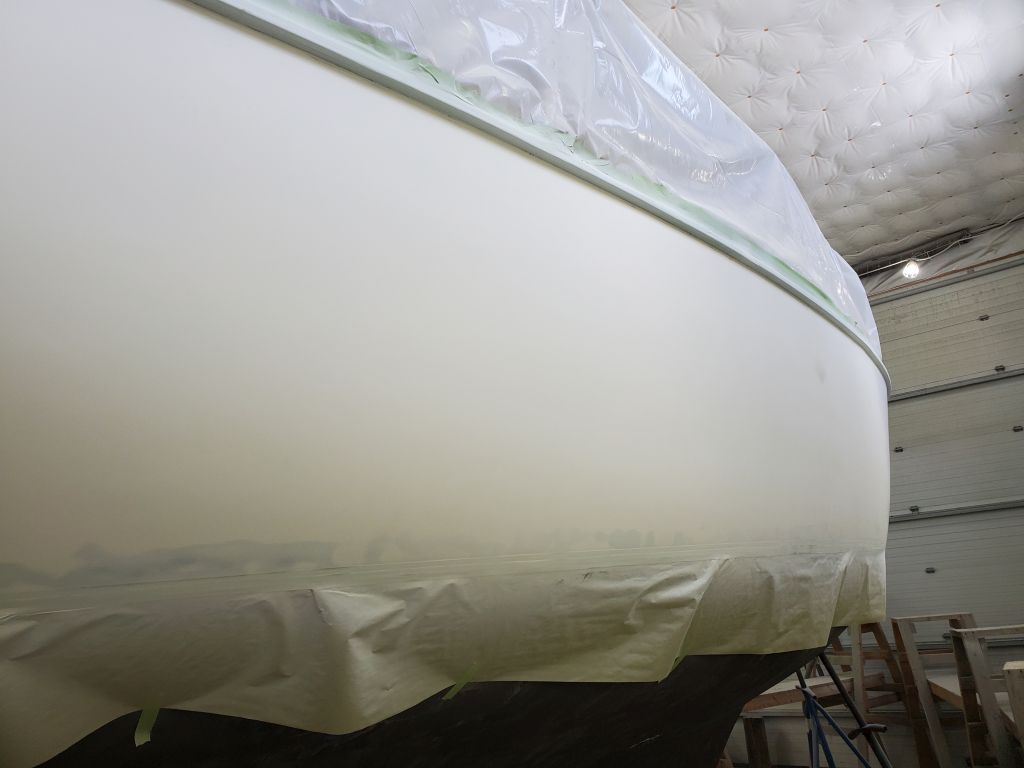
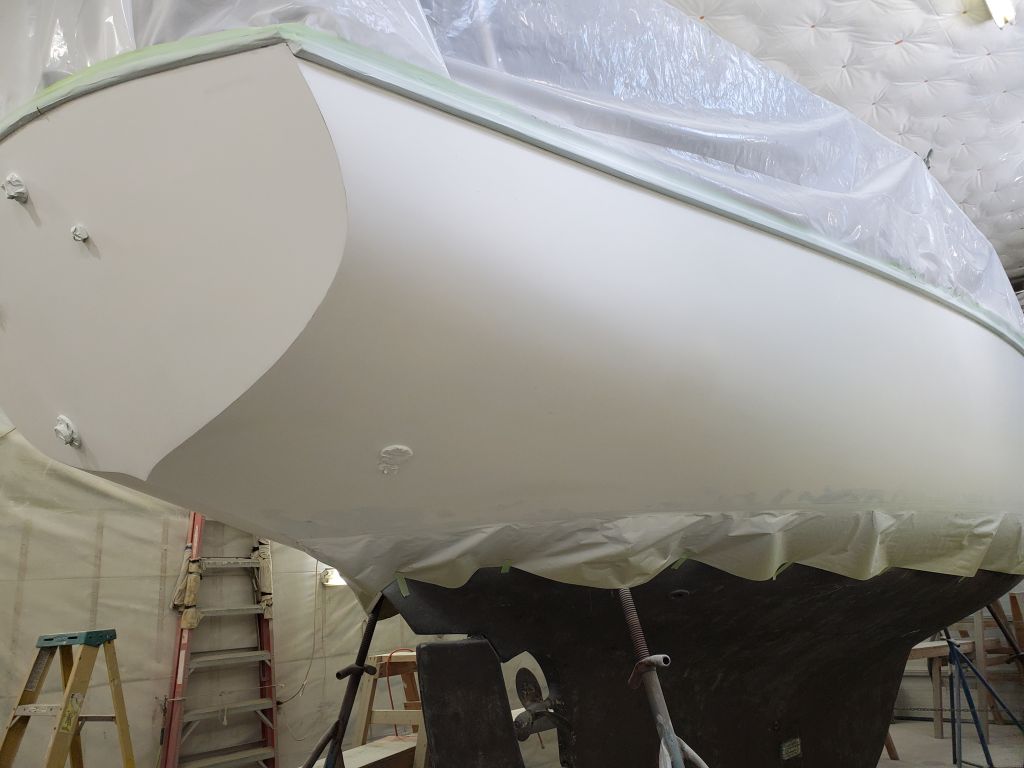
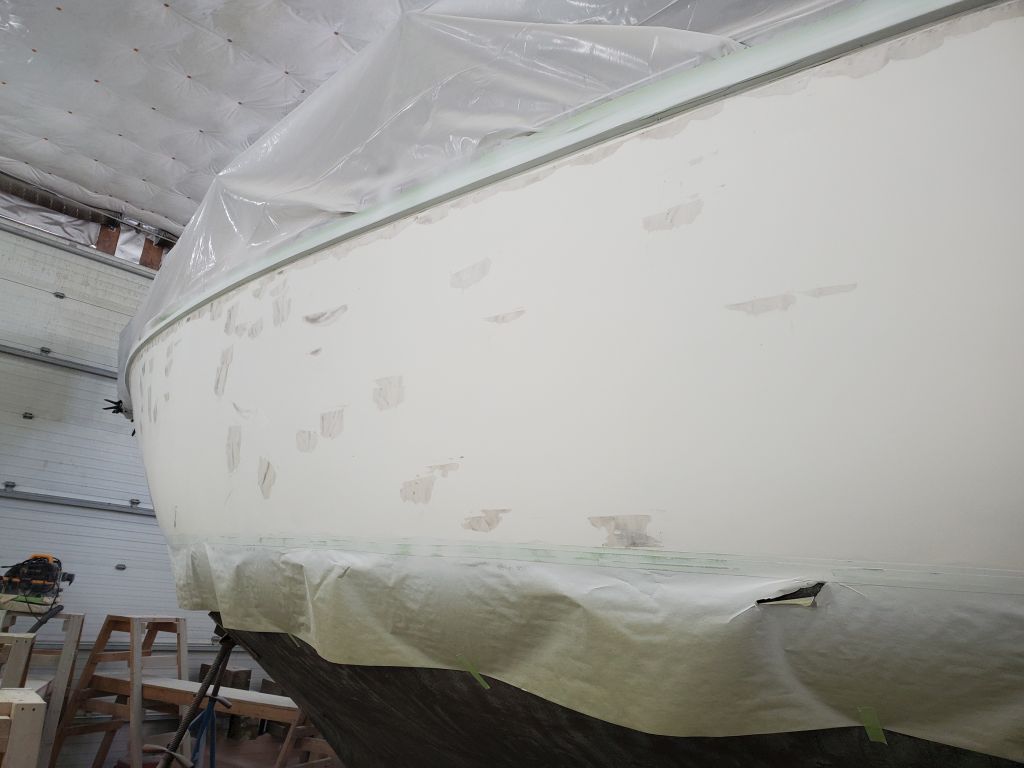
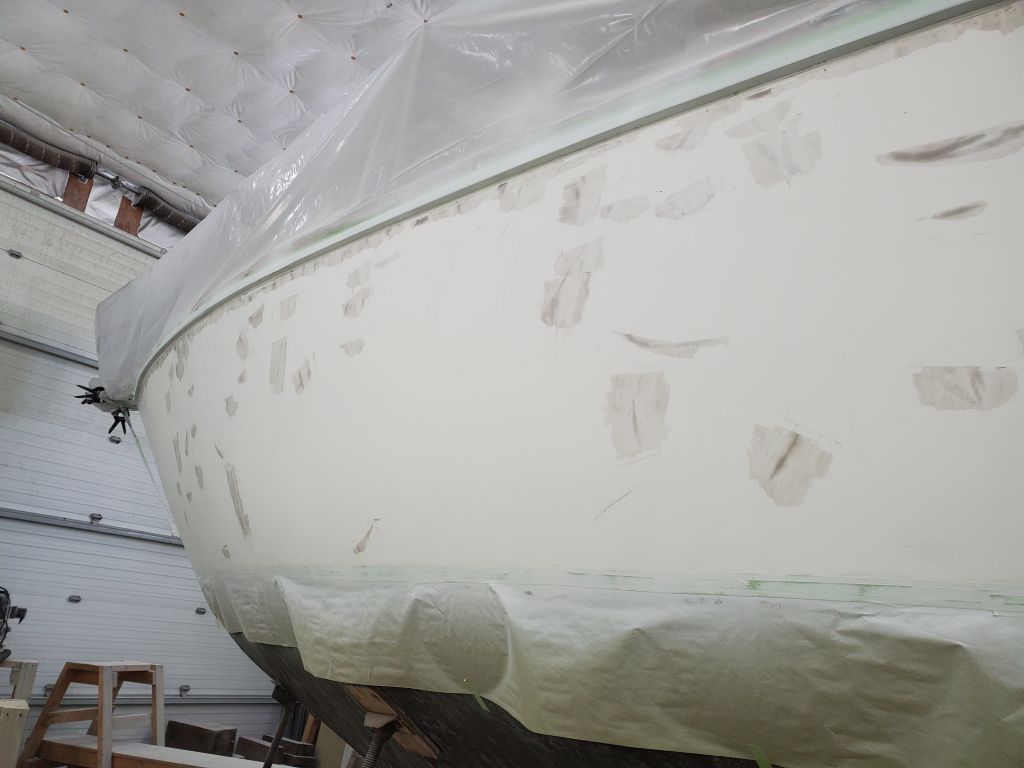
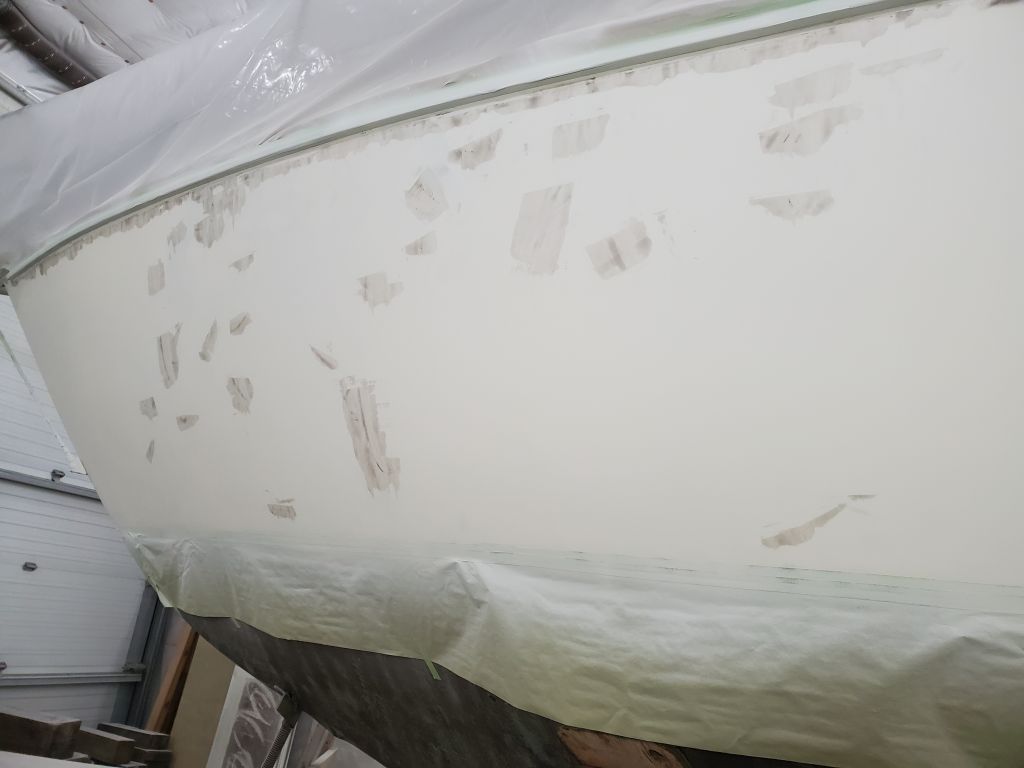
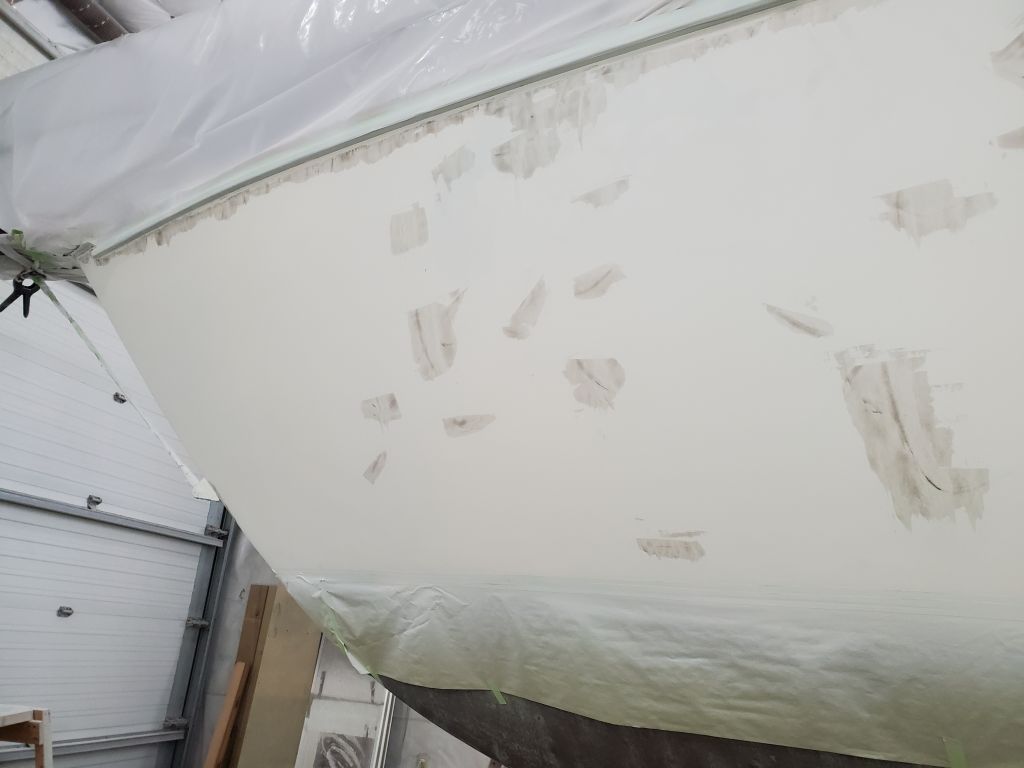
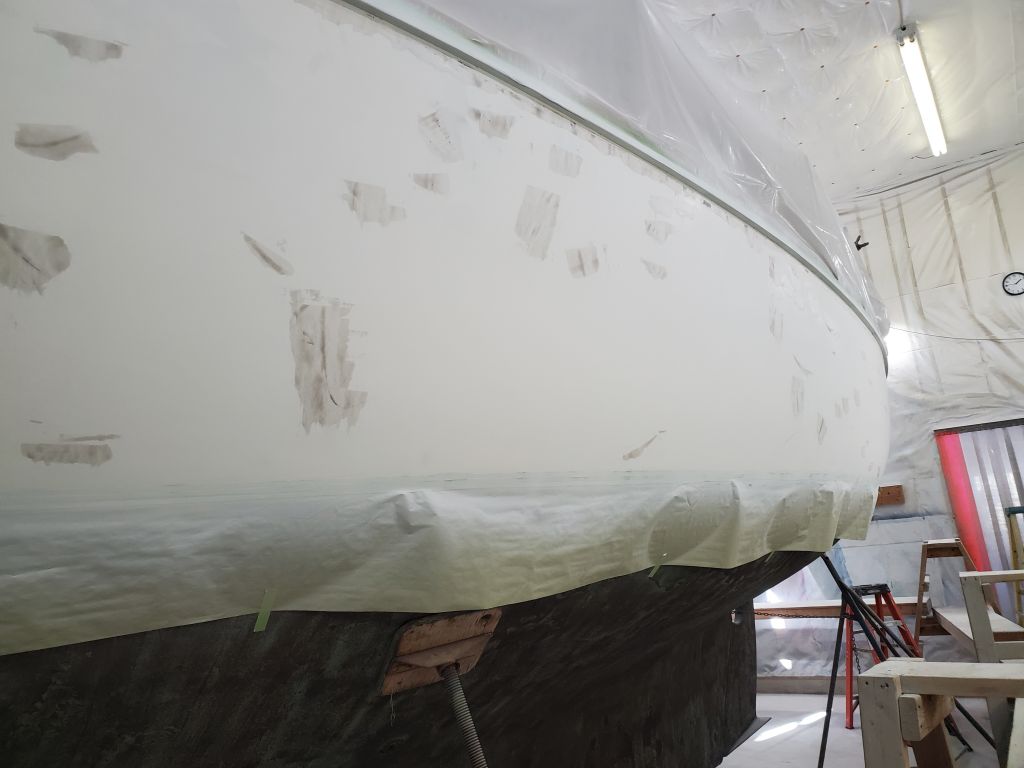
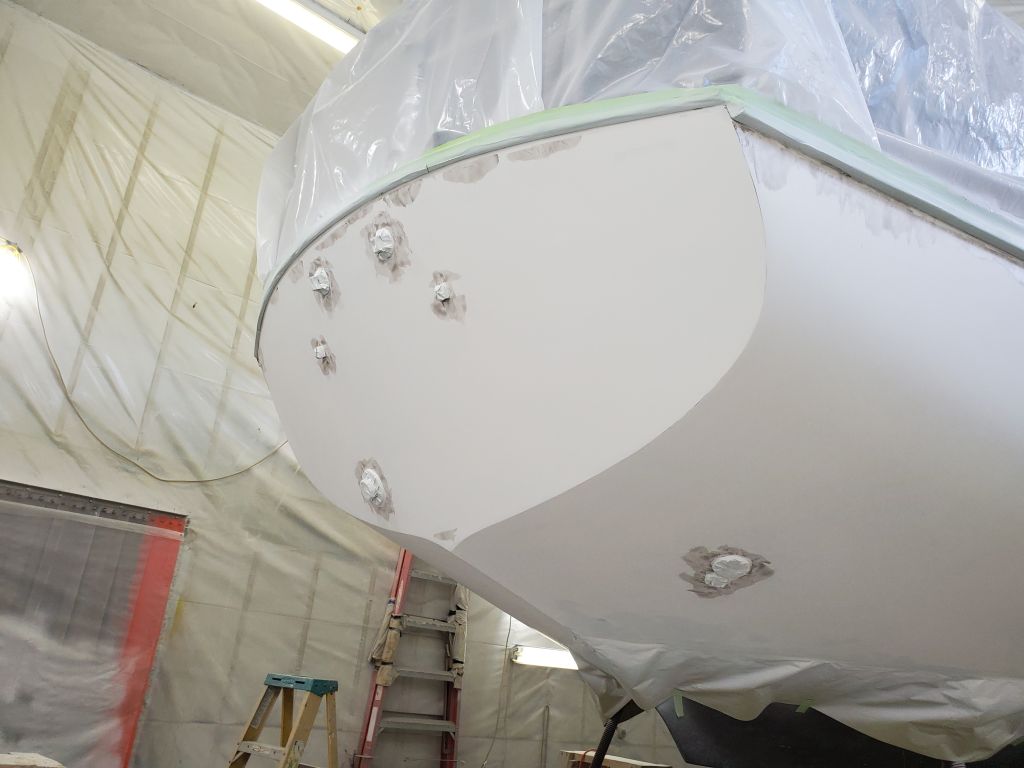
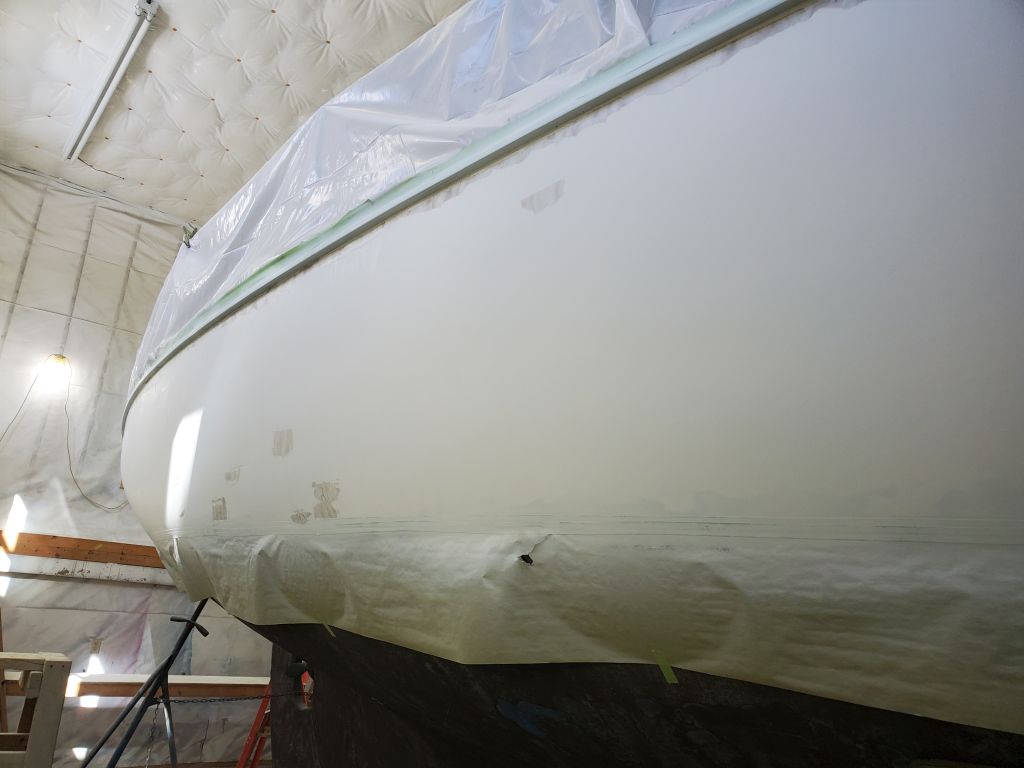
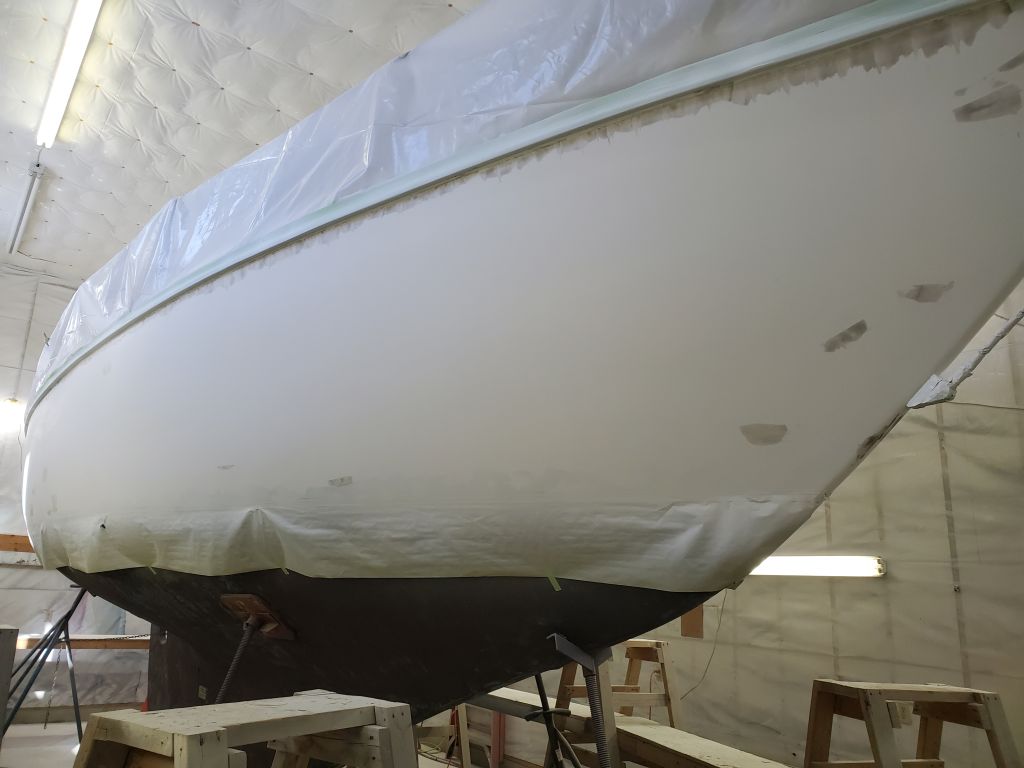
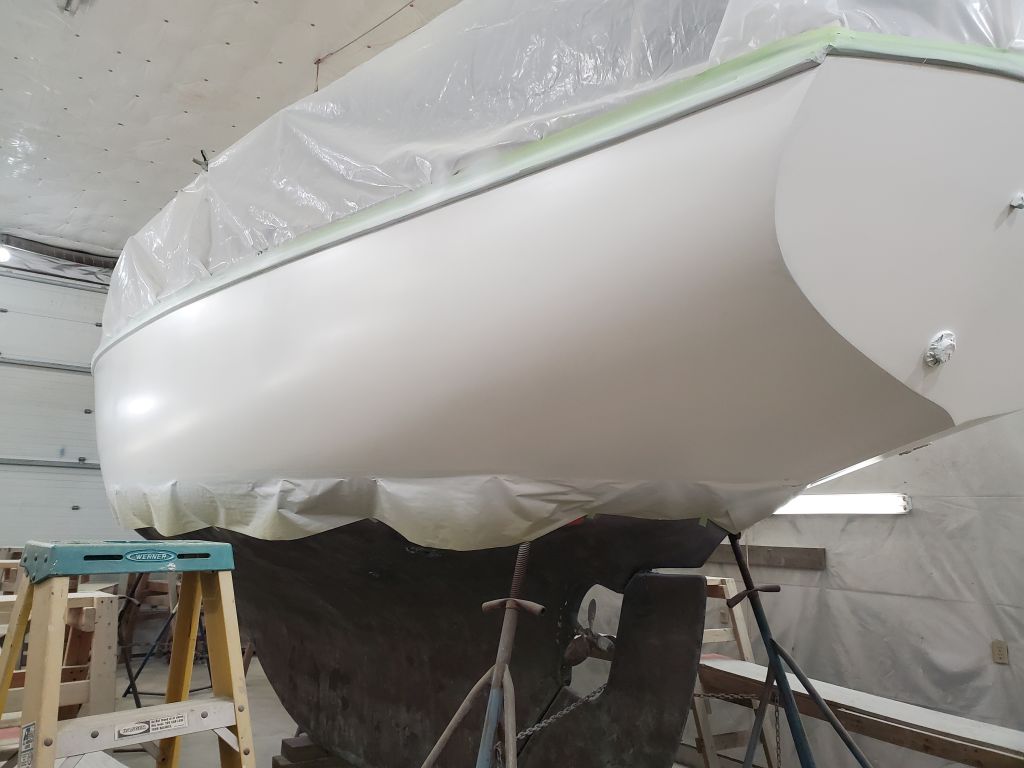
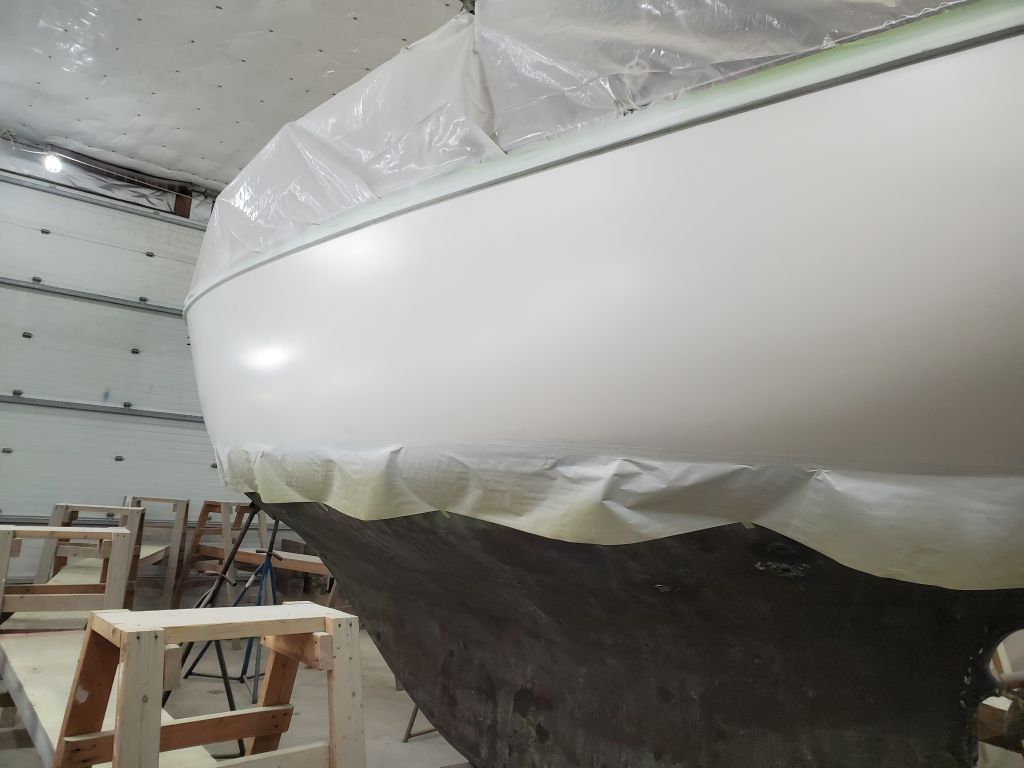
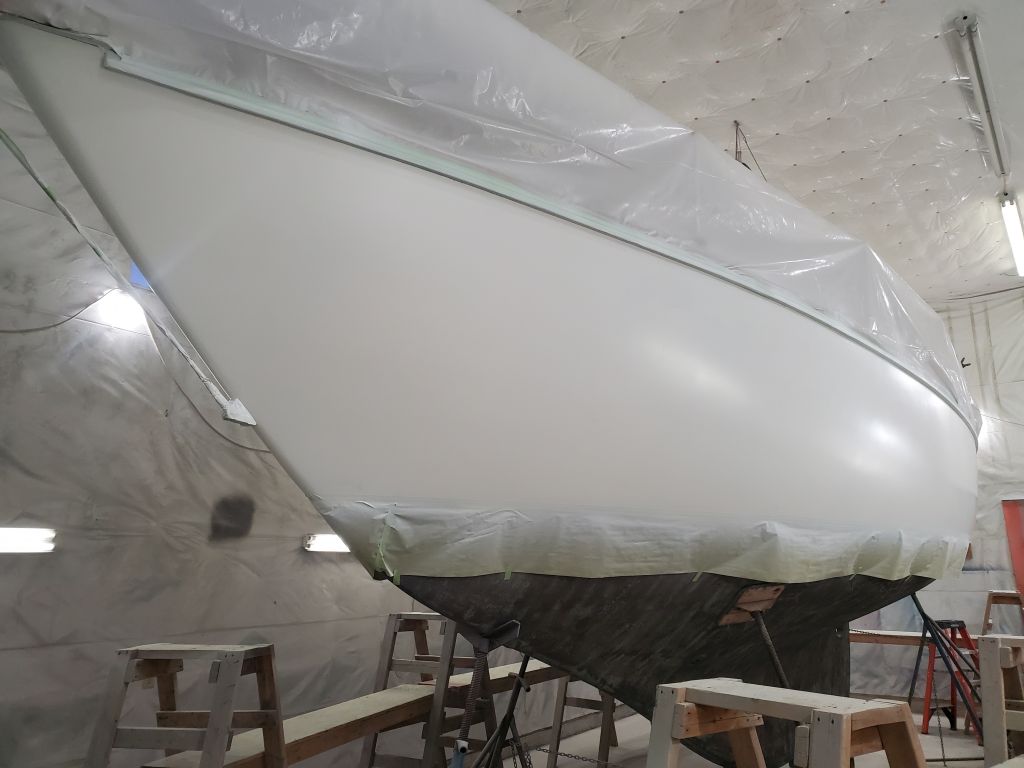
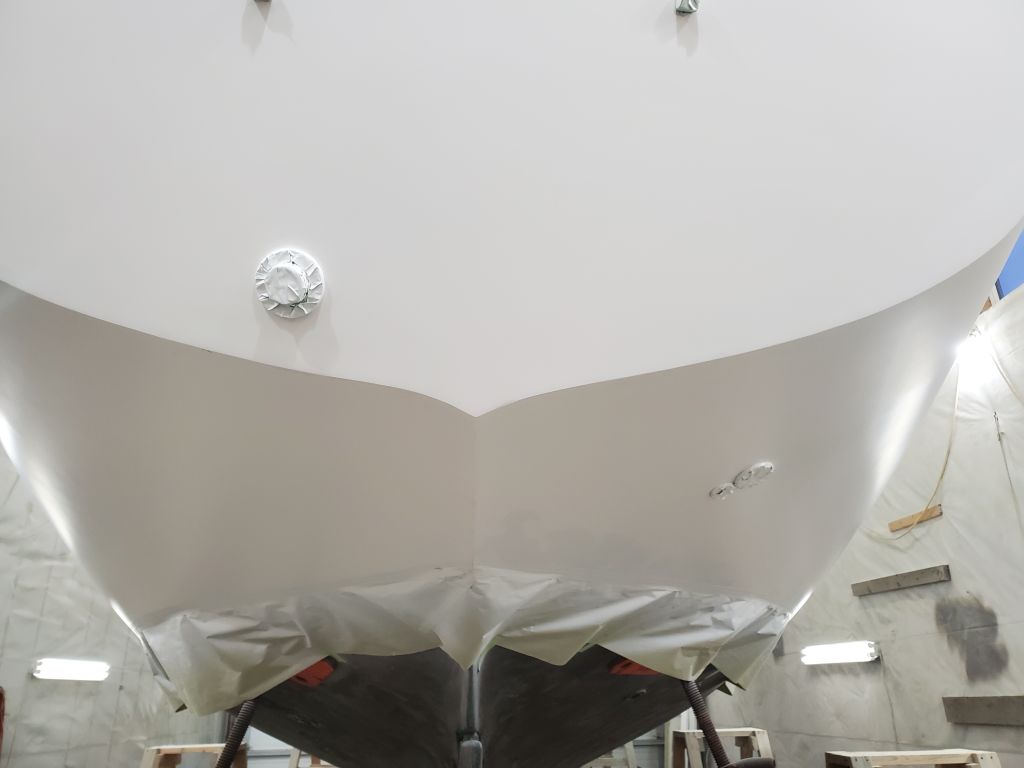
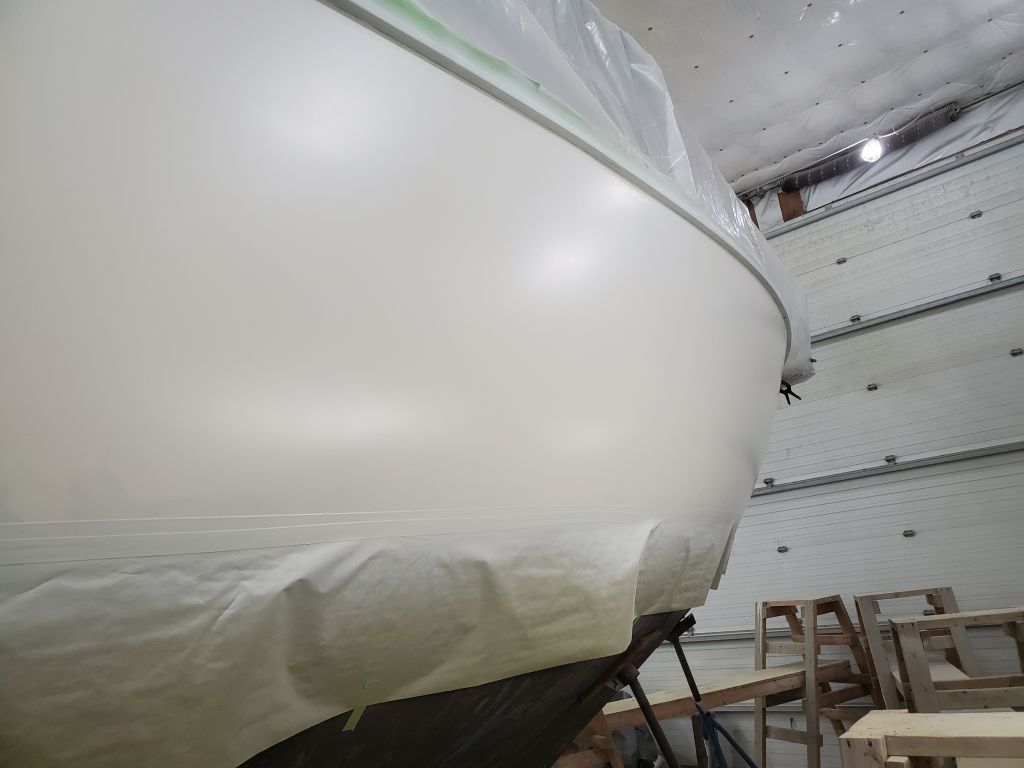
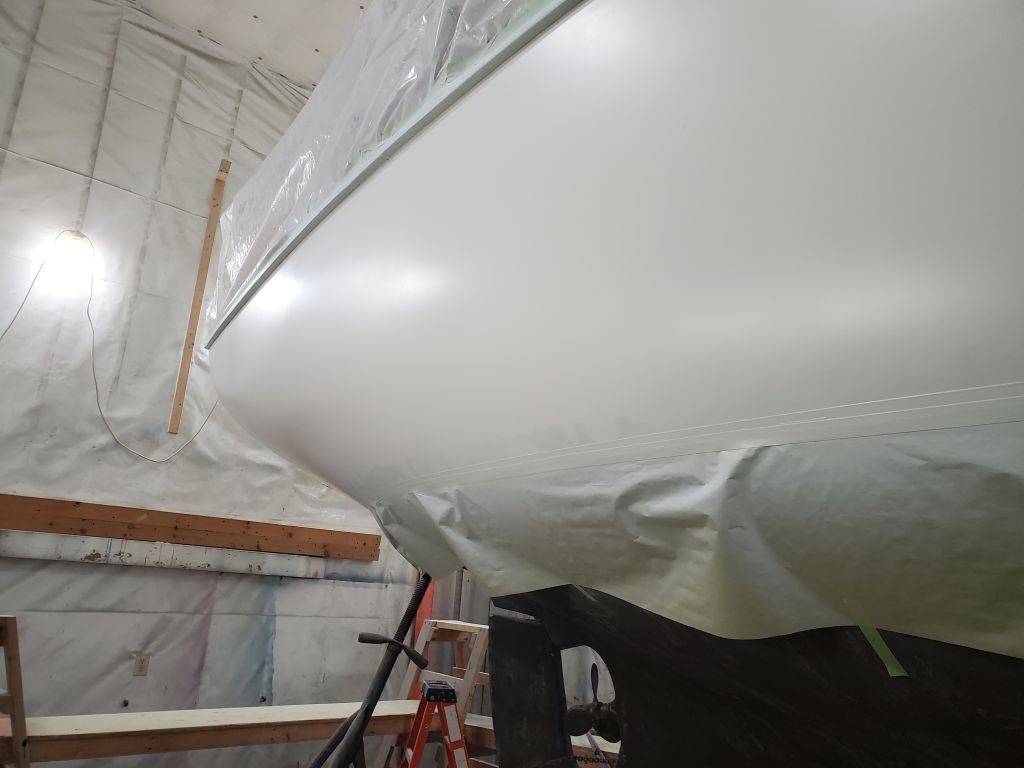
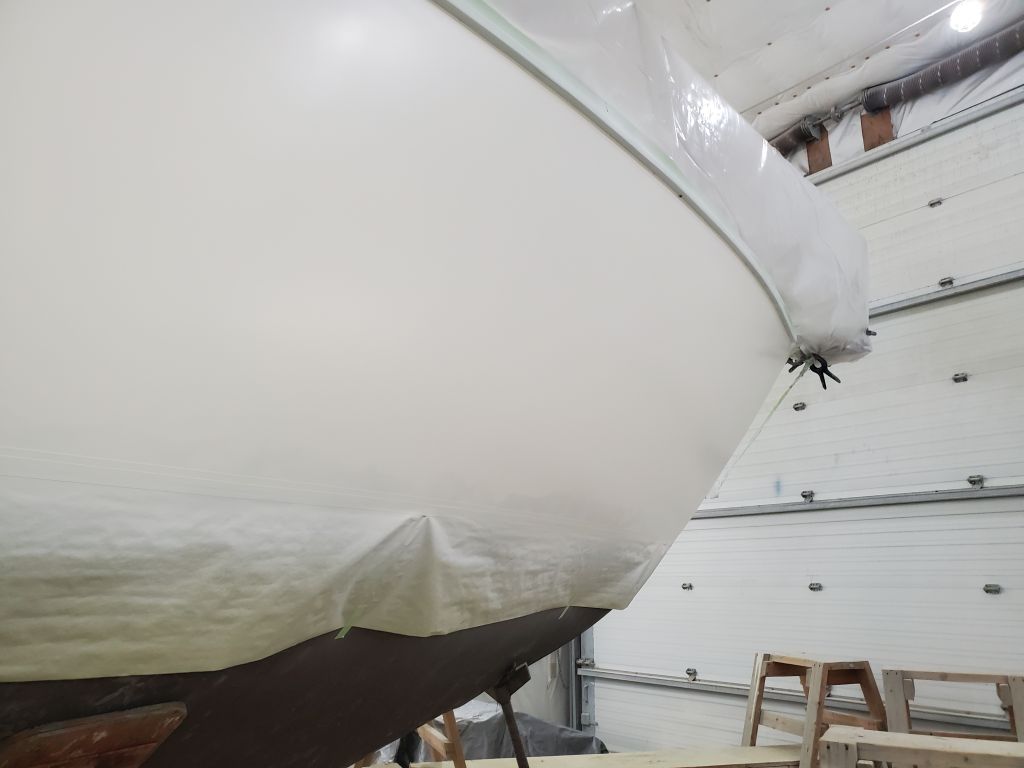
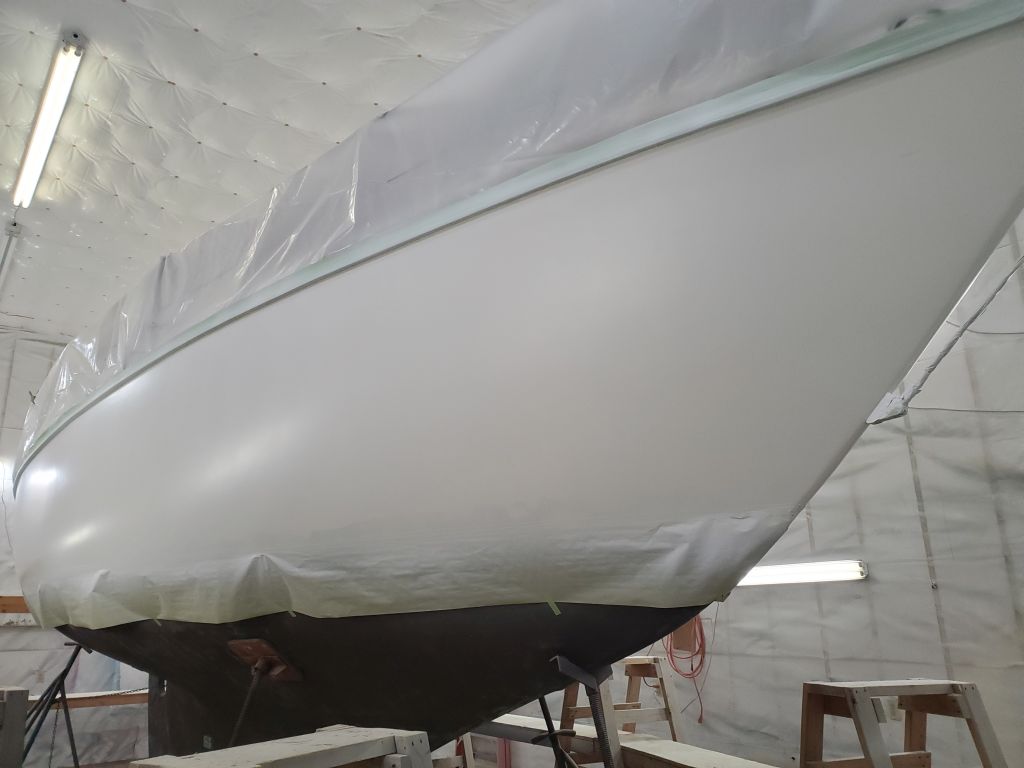
Now that the work of striking and marking the new boottop was complete, I dismantled the beams and supports and focused on masking just beneath the marks, creating the actual line of the boottop; above this line would be topside paint, which was going to be the next coating applied.  For now, I masked the entire boat to the line, but I planned to sheer the forward section of the stripe on both sides.

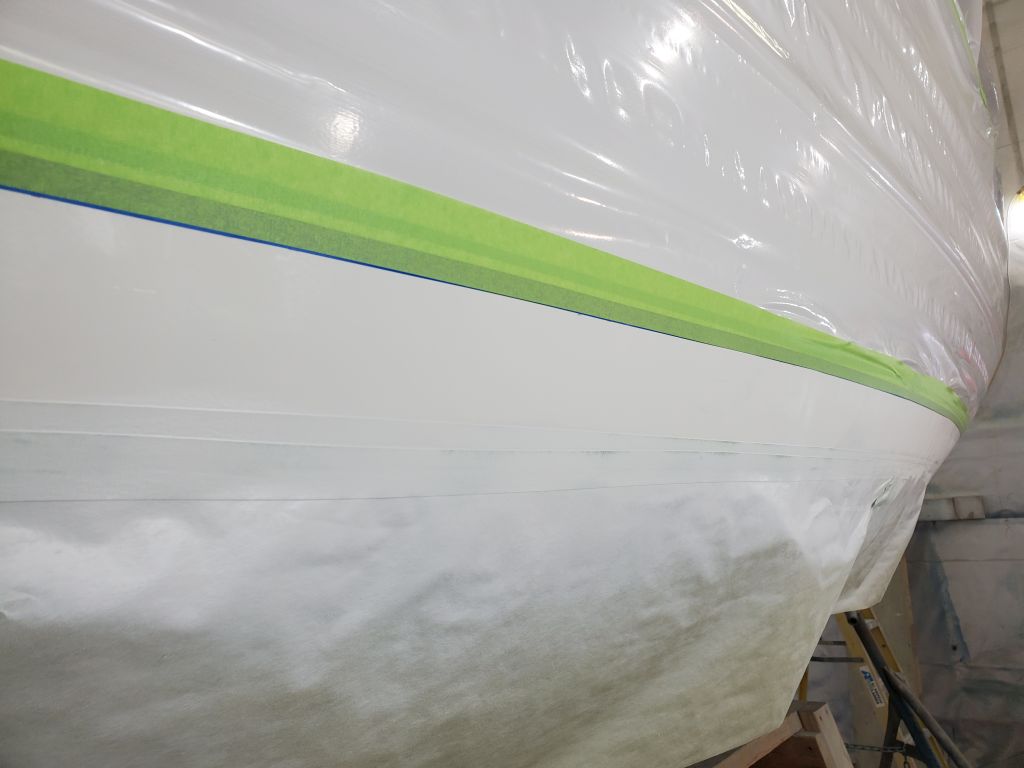
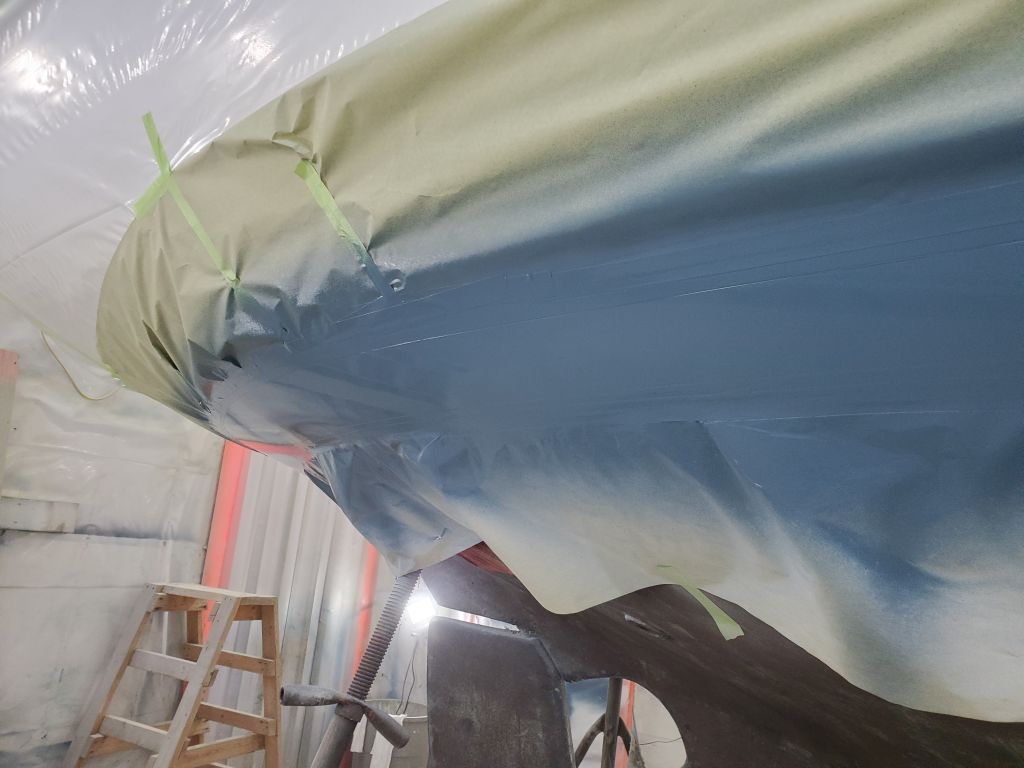
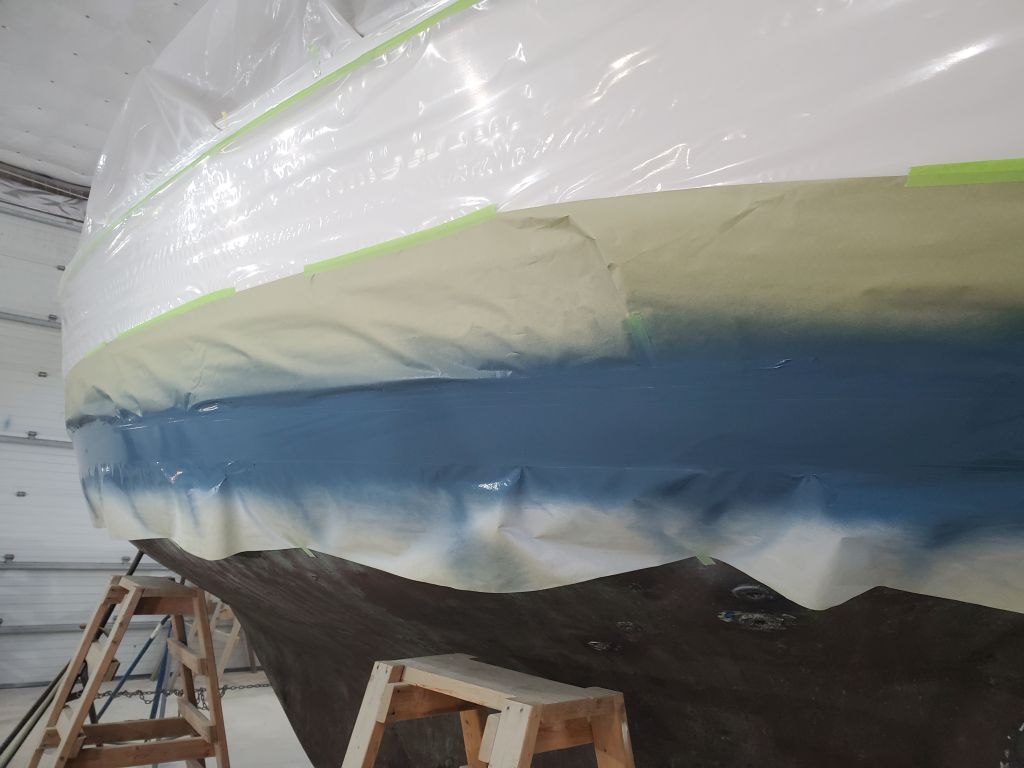
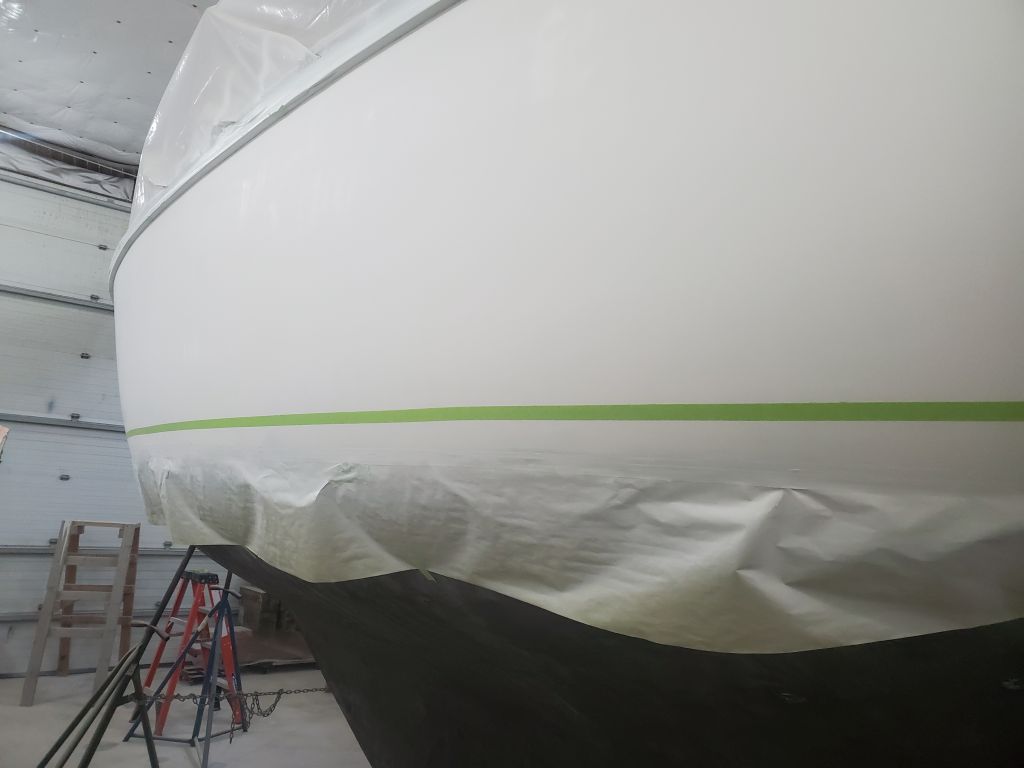
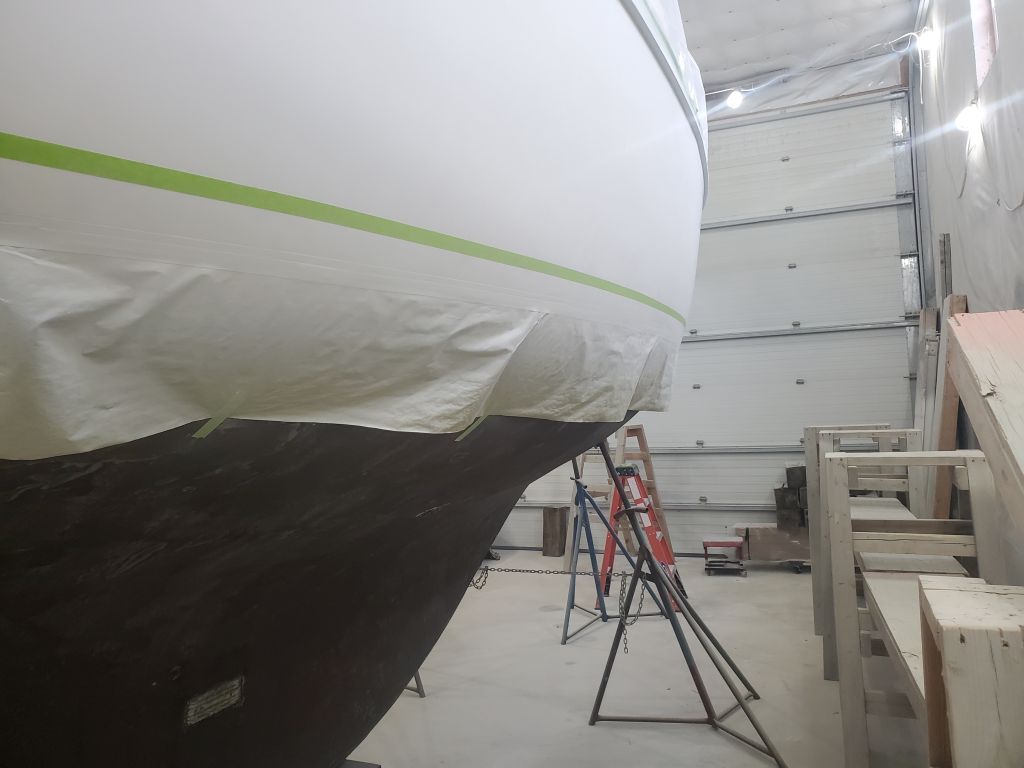
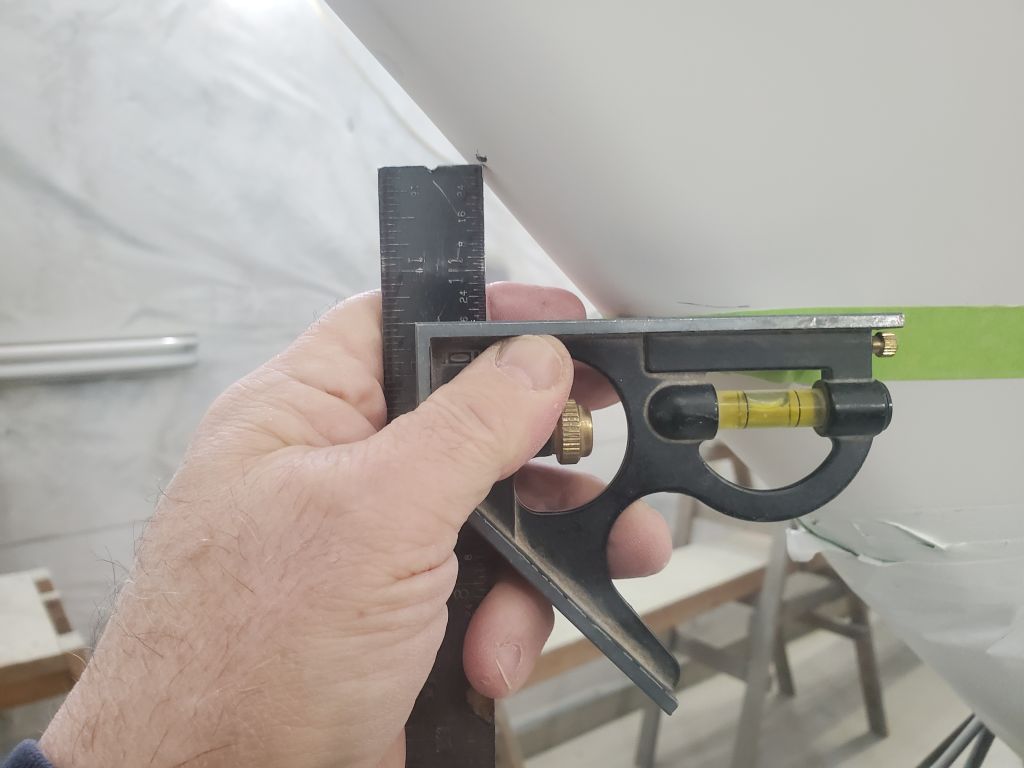
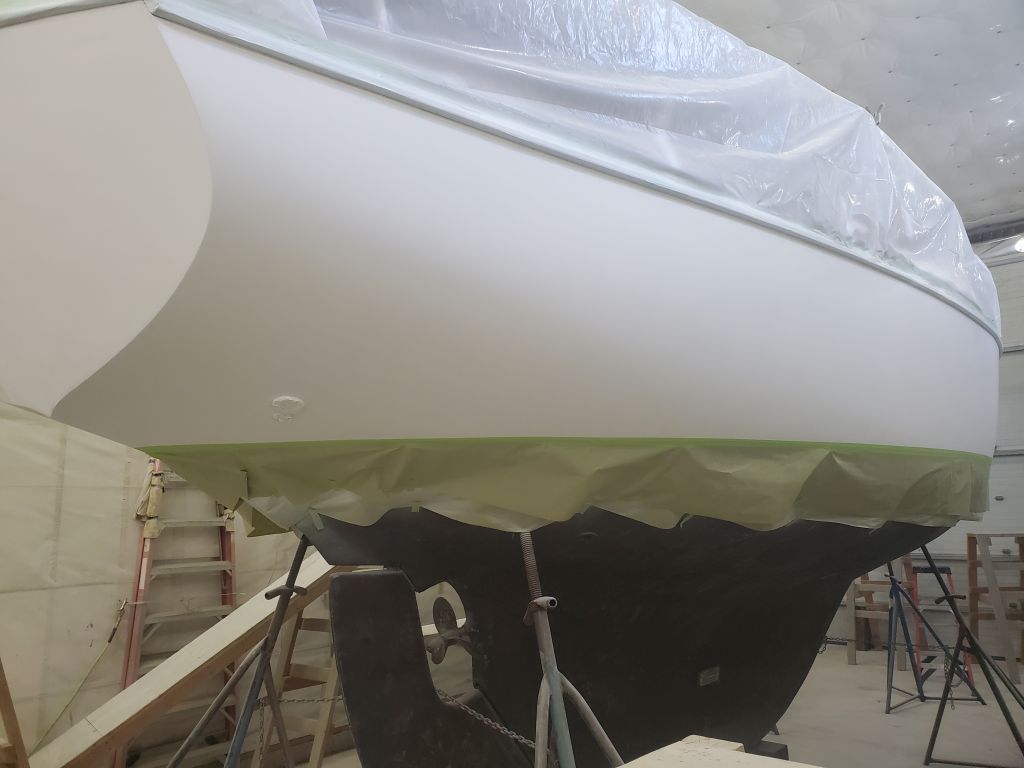
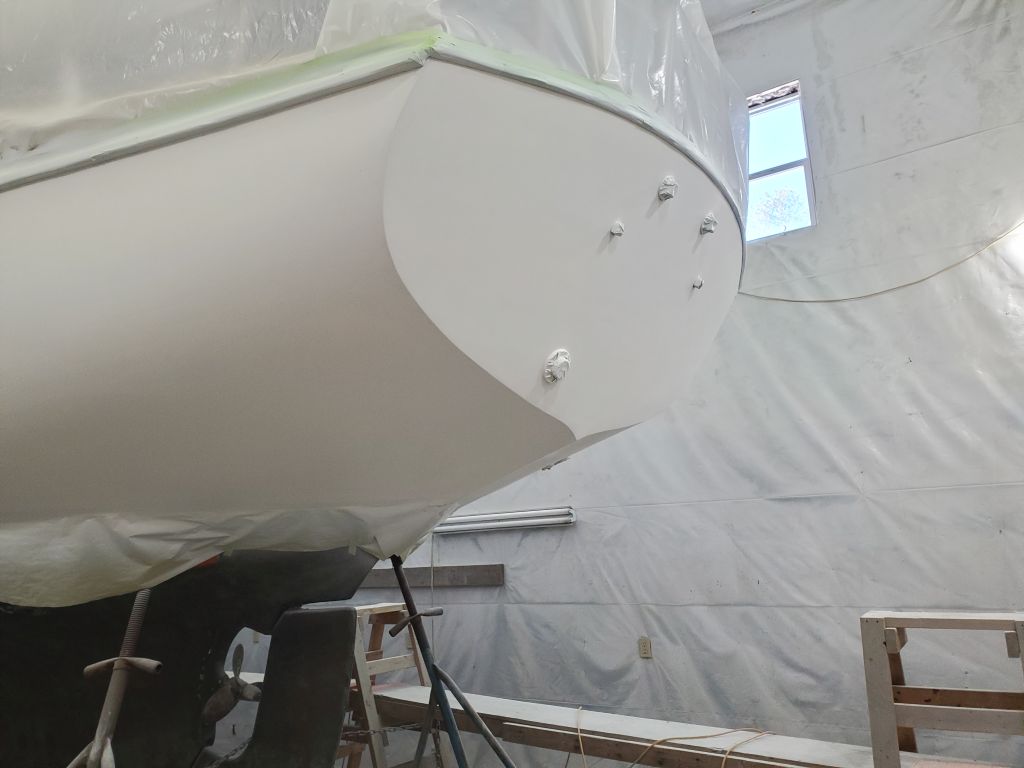
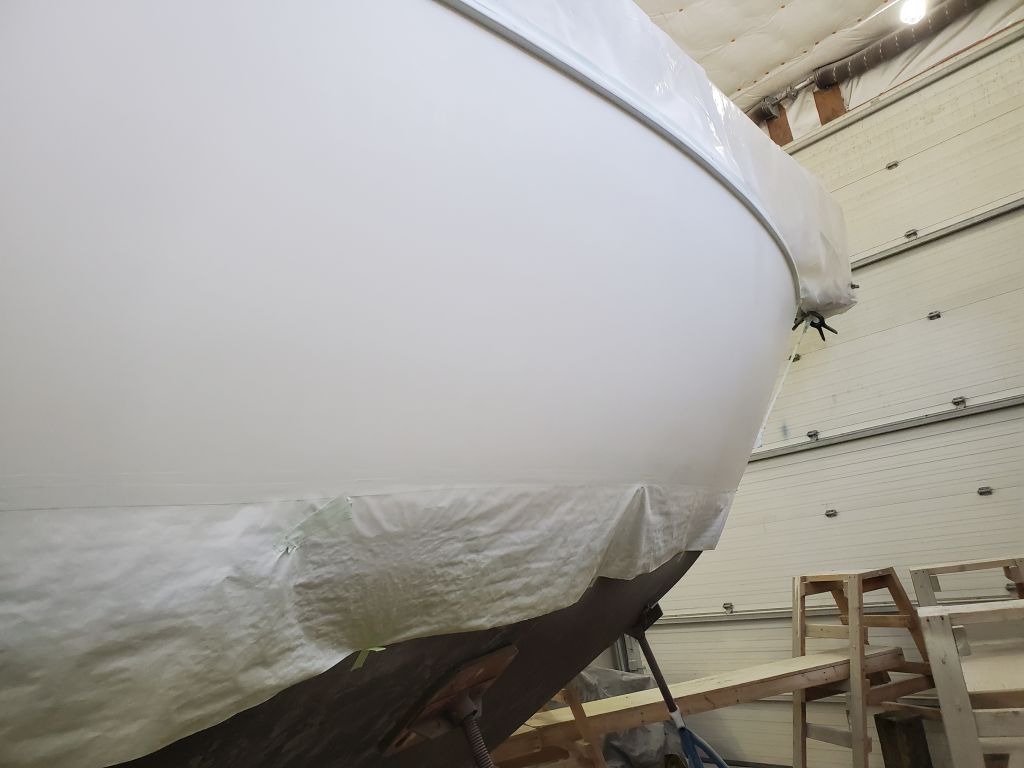
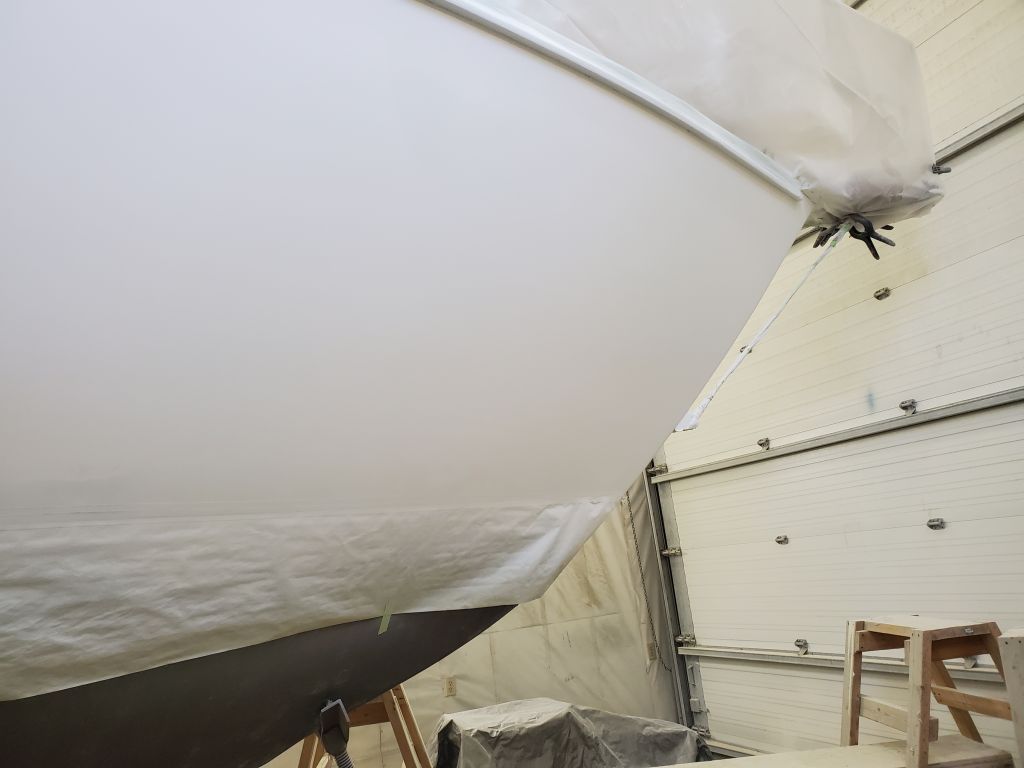
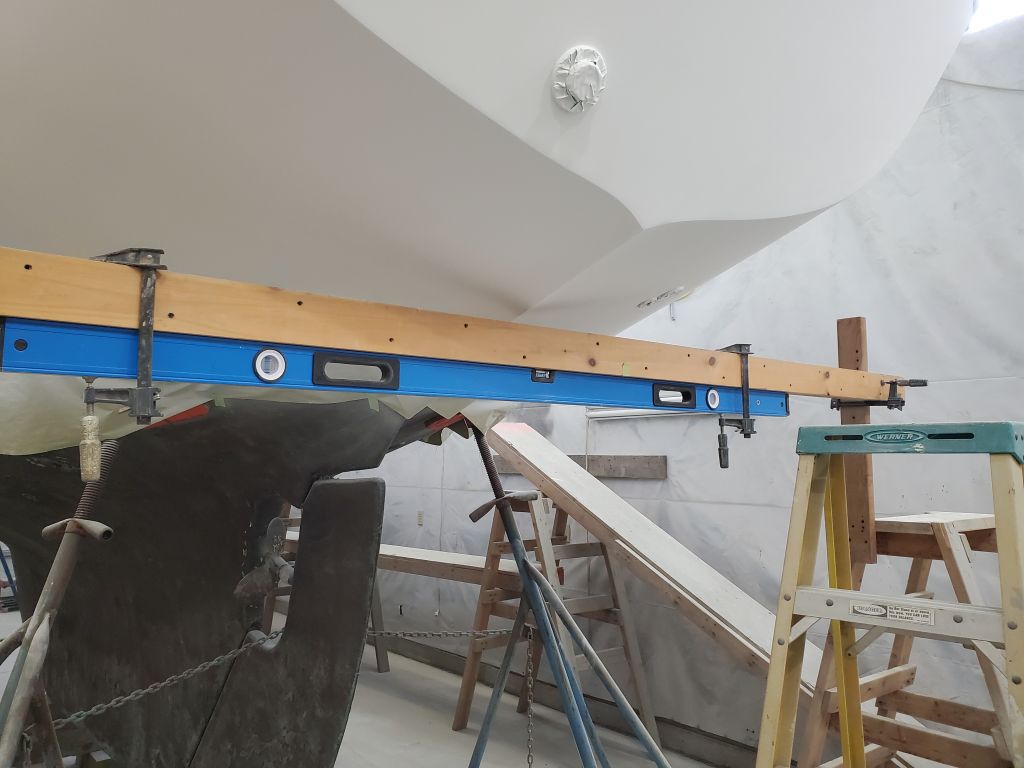
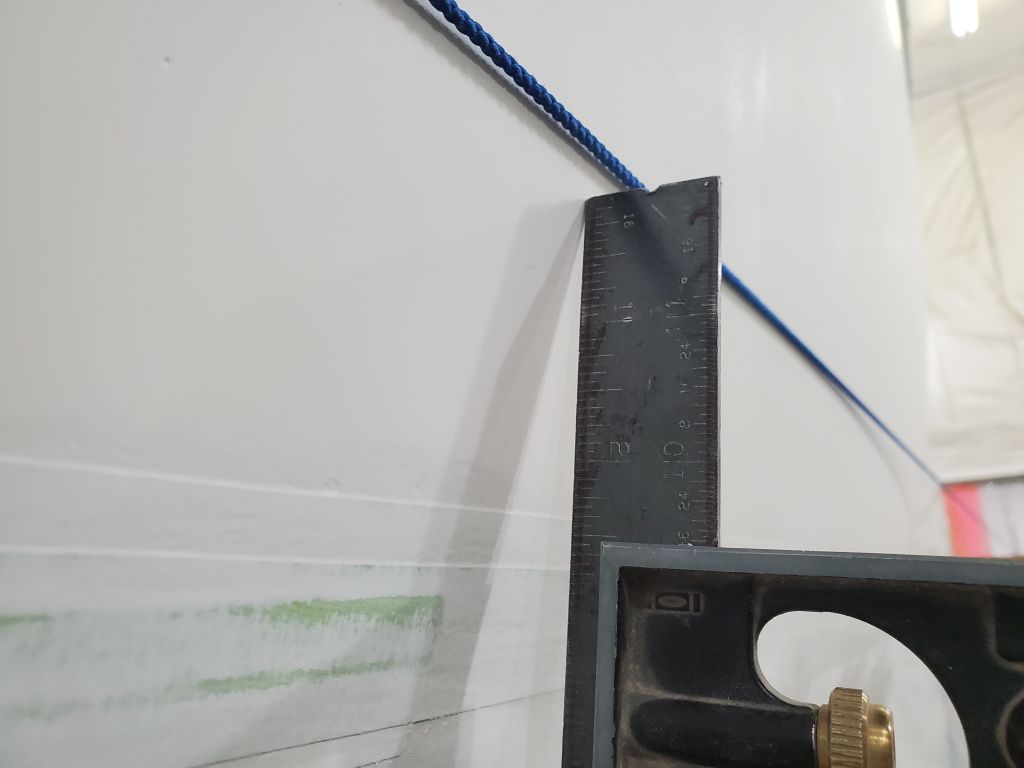
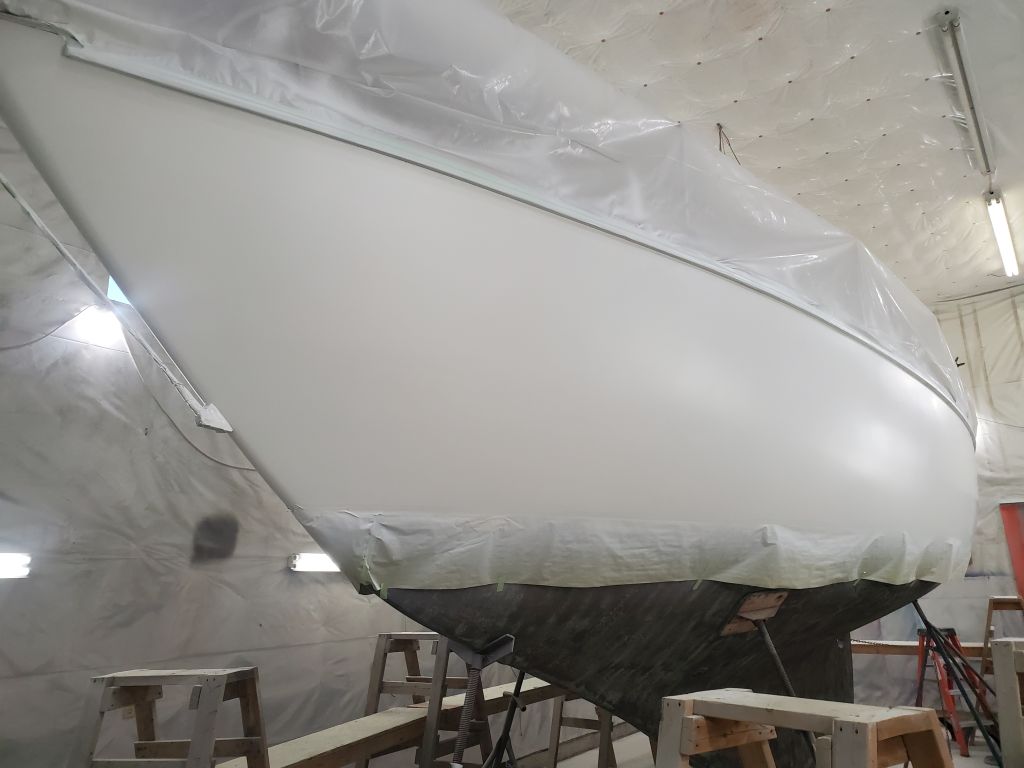
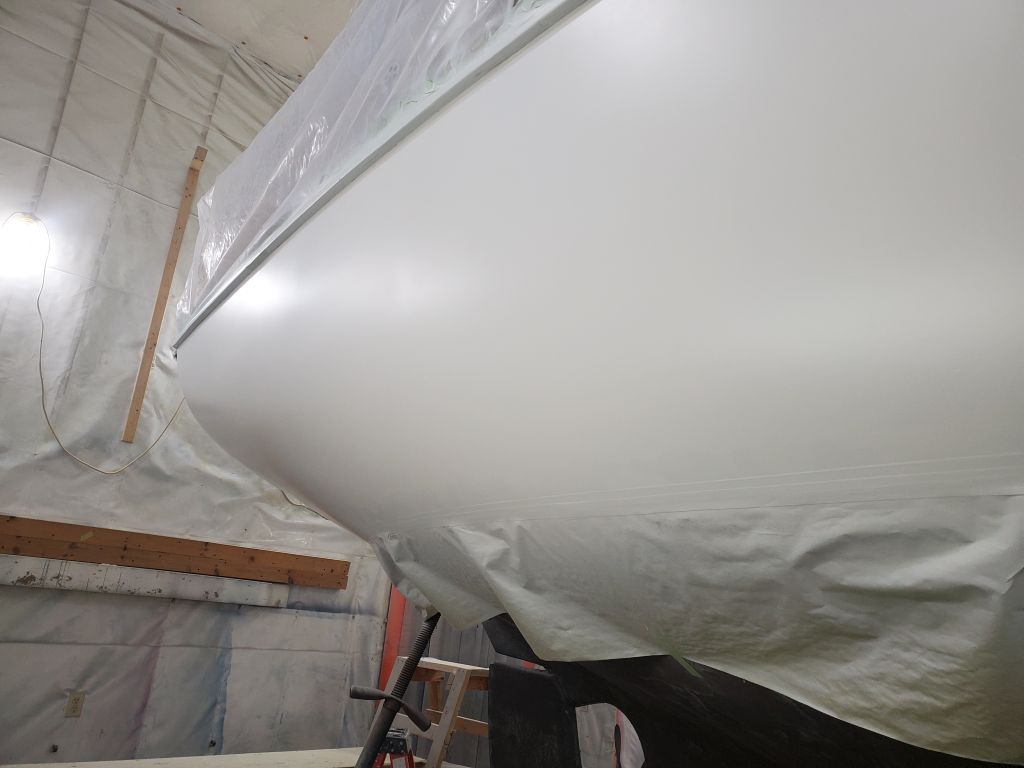
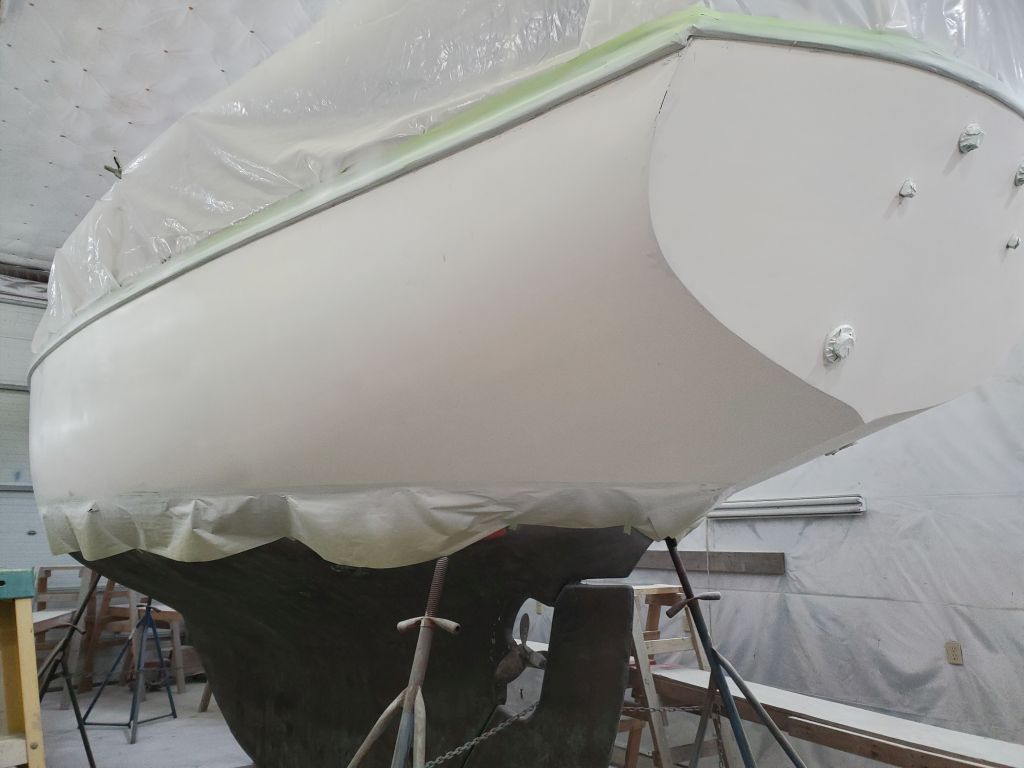
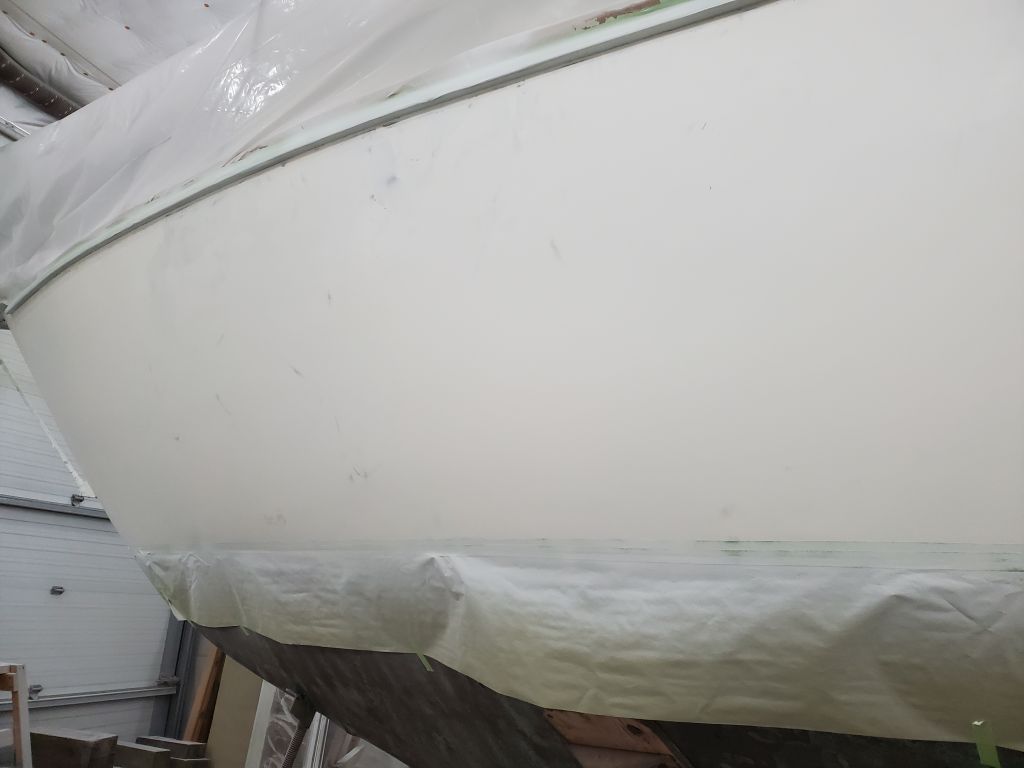
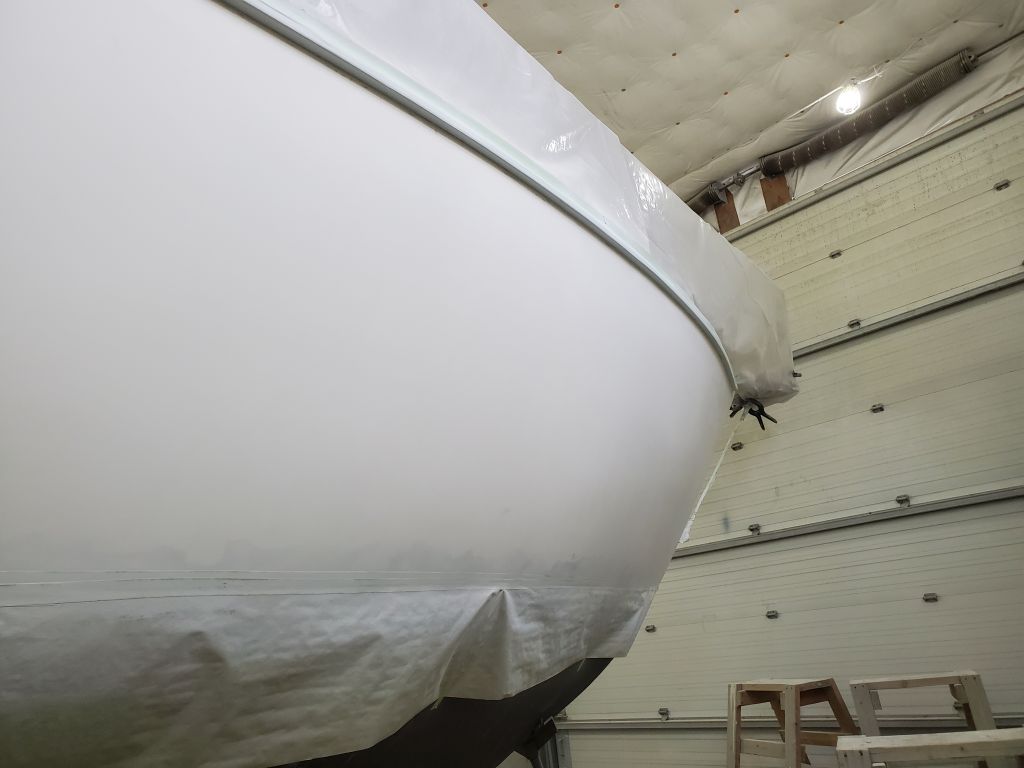
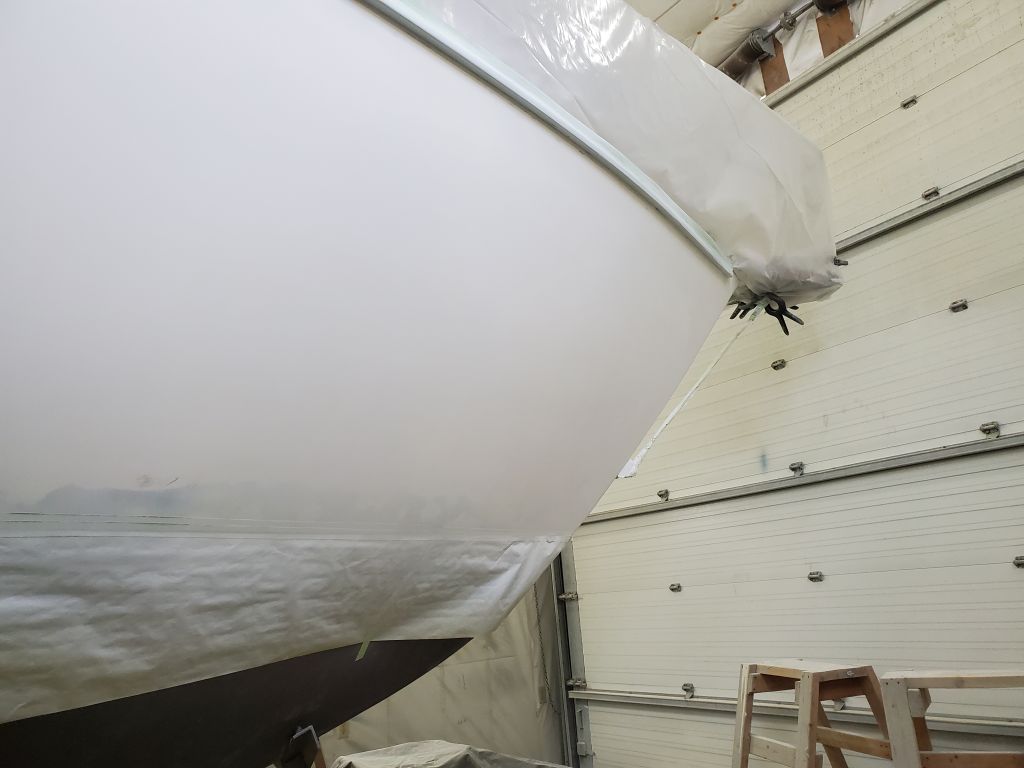
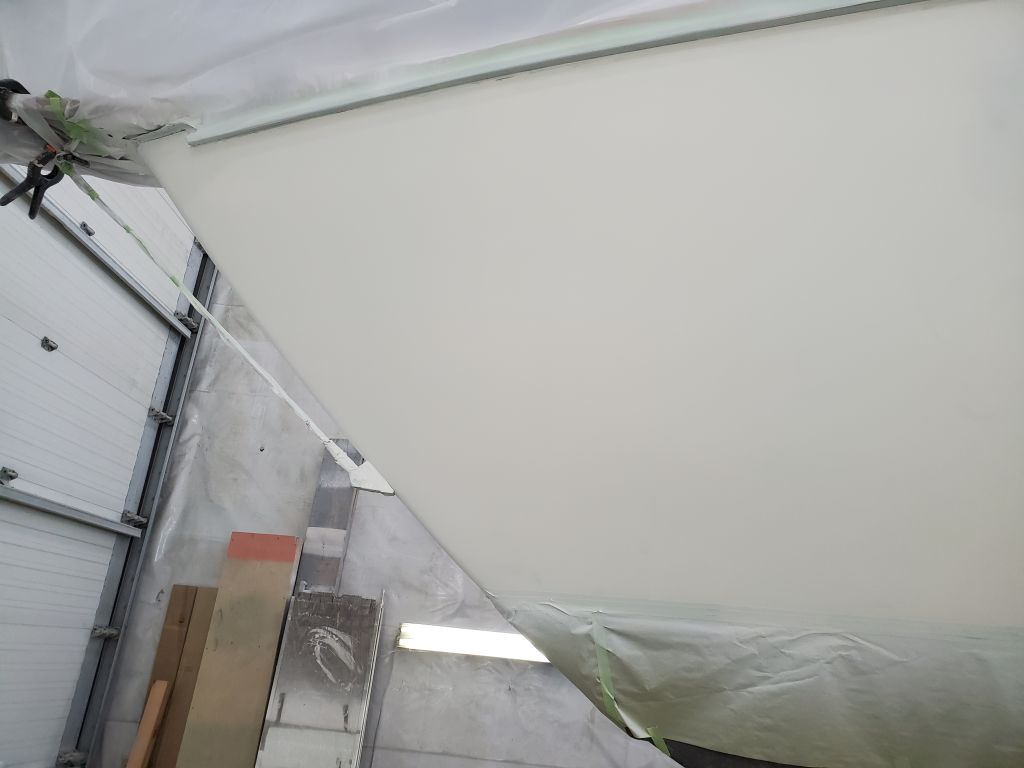
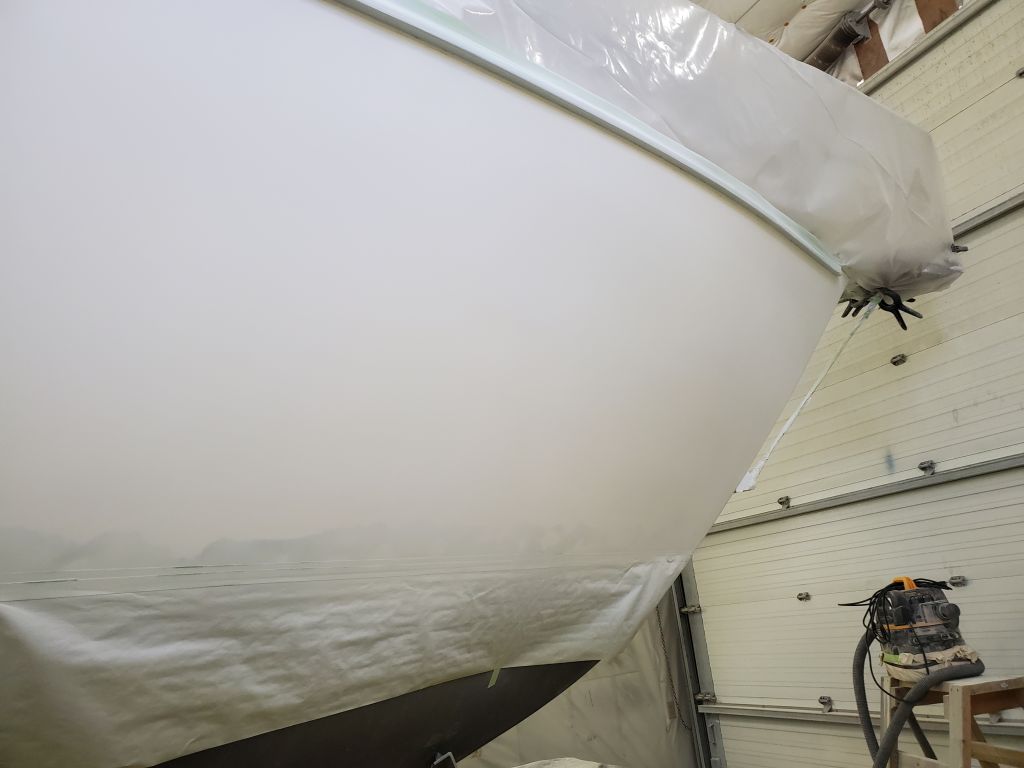
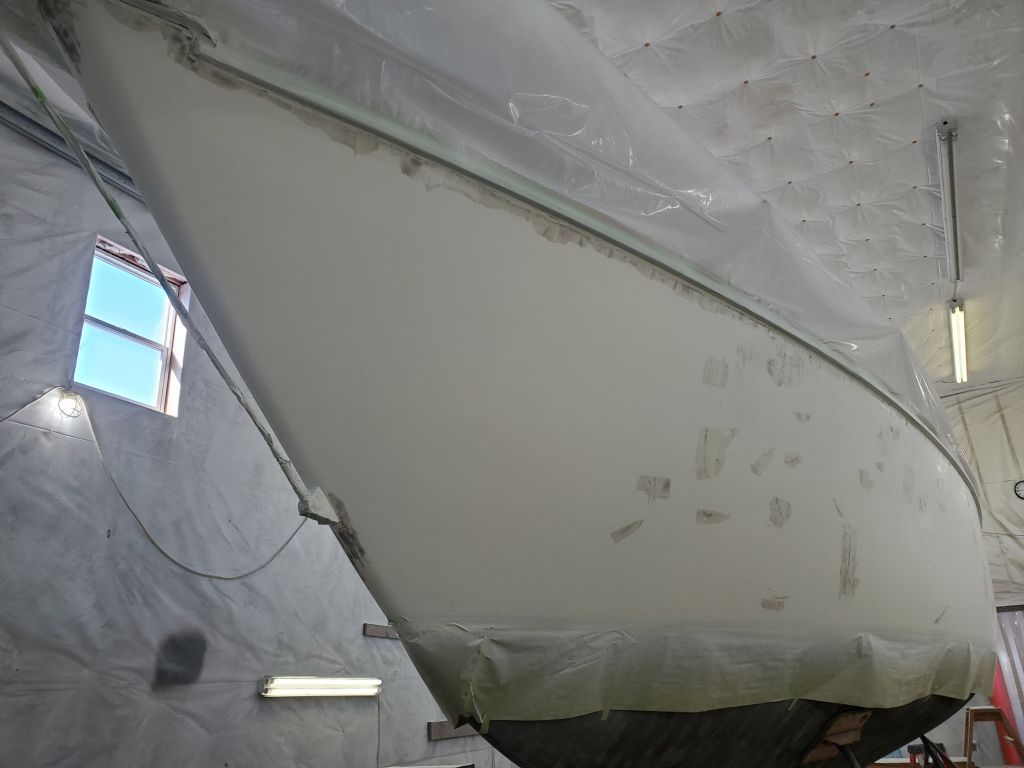
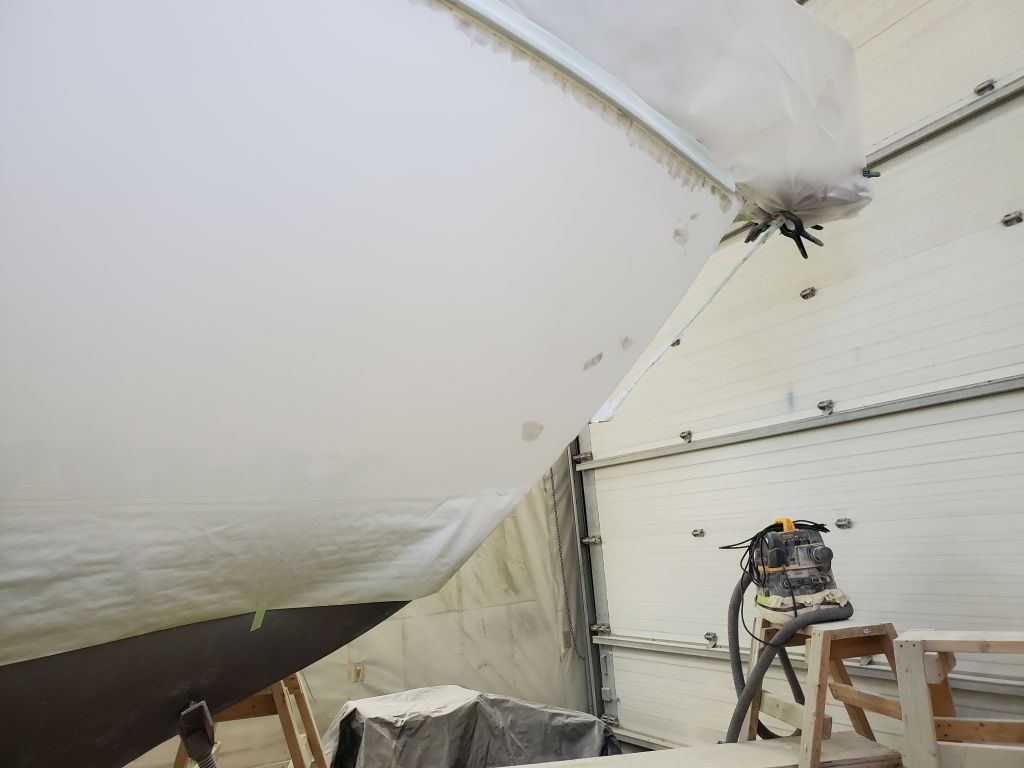
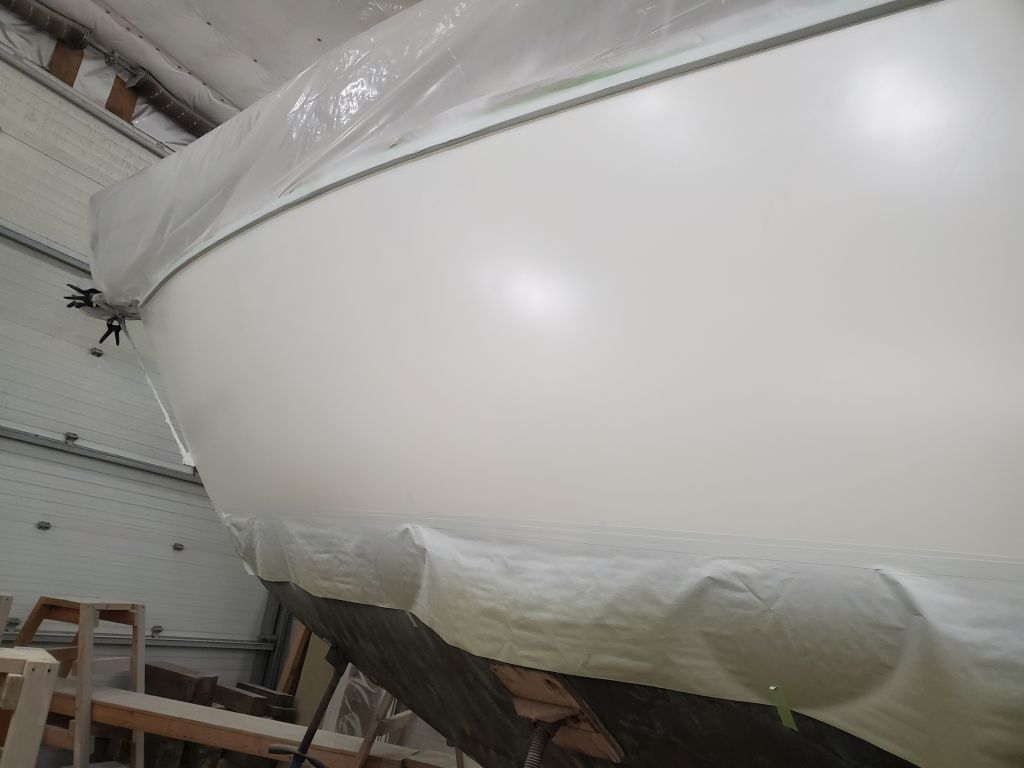
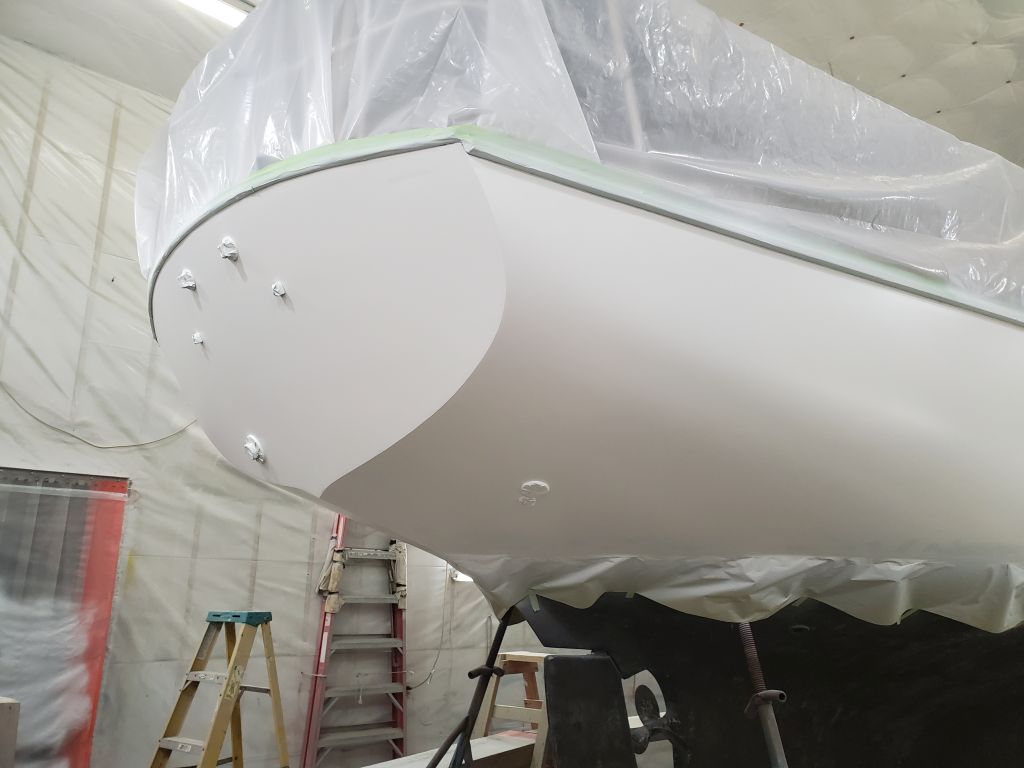
With a level and planar line like that struck,  the nature of the shape of the bow sections in a boat like this causes the eye to think the striping gets narrower towards the bow, even though it’s actually wider even as struck.  To accommodate and correct this trompe l’oeil, I chose to sheer the forward sections of the boottop–that is, raise the forward end and blend the line into the after portions of the stripe.  In this case, I chose to raise the stripe 1-1/2″ at the stem, a number I chose more or less randomly but not without thought and consideration:  this height just seemed to fit the bow sections somehow, given the waterline sections, flare, and sheerline.  With a square, I made a tick mark at the stem at the new height.  Then, I measured along the top of the stripe from the stem aft, making little marks on the tape at 8′, 9′, and 10′ aft–roughly 1/3-1/2 of the waterline length aft, or about where the hull shape started to more vigorously narrow after maximum beam.


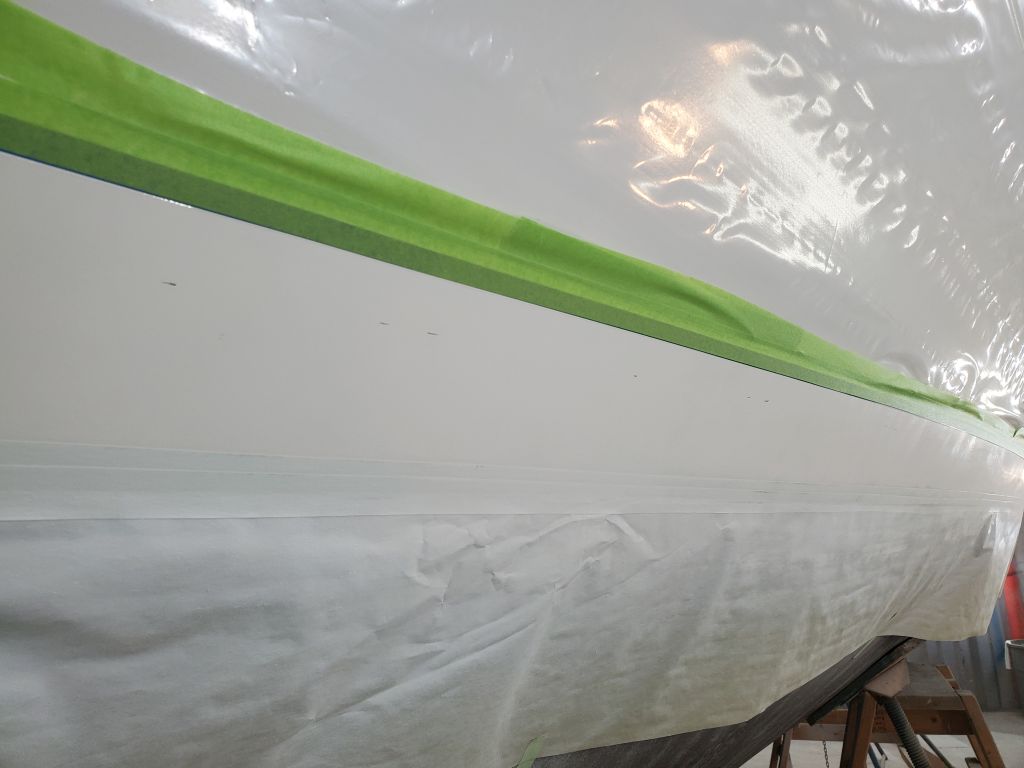
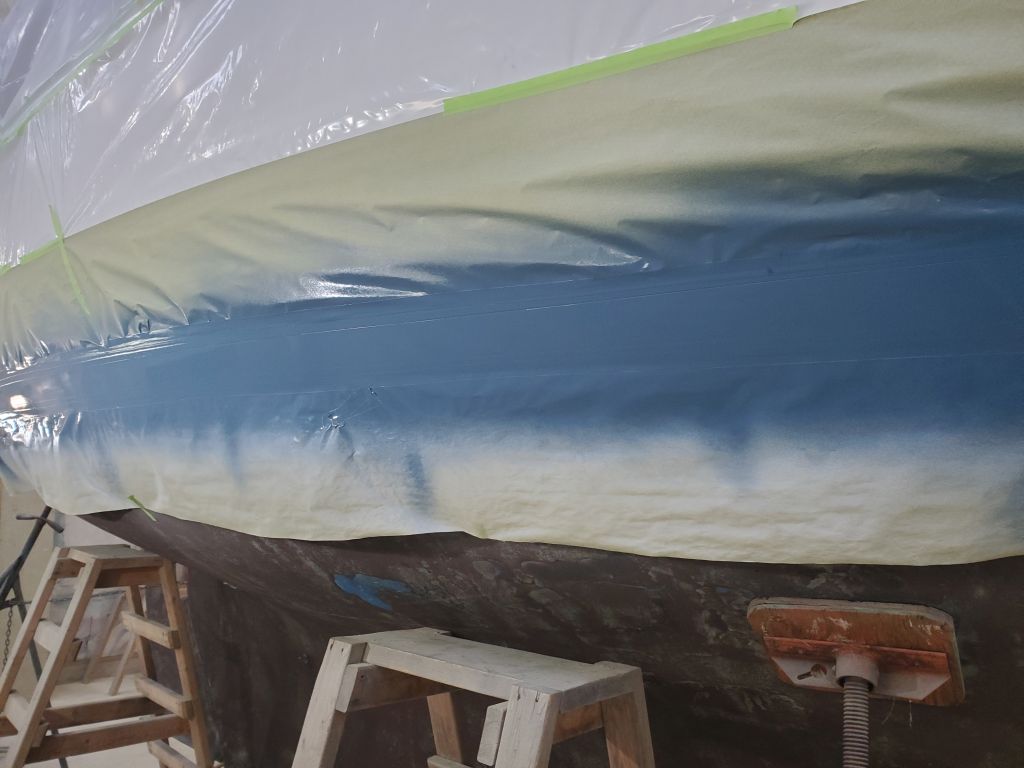
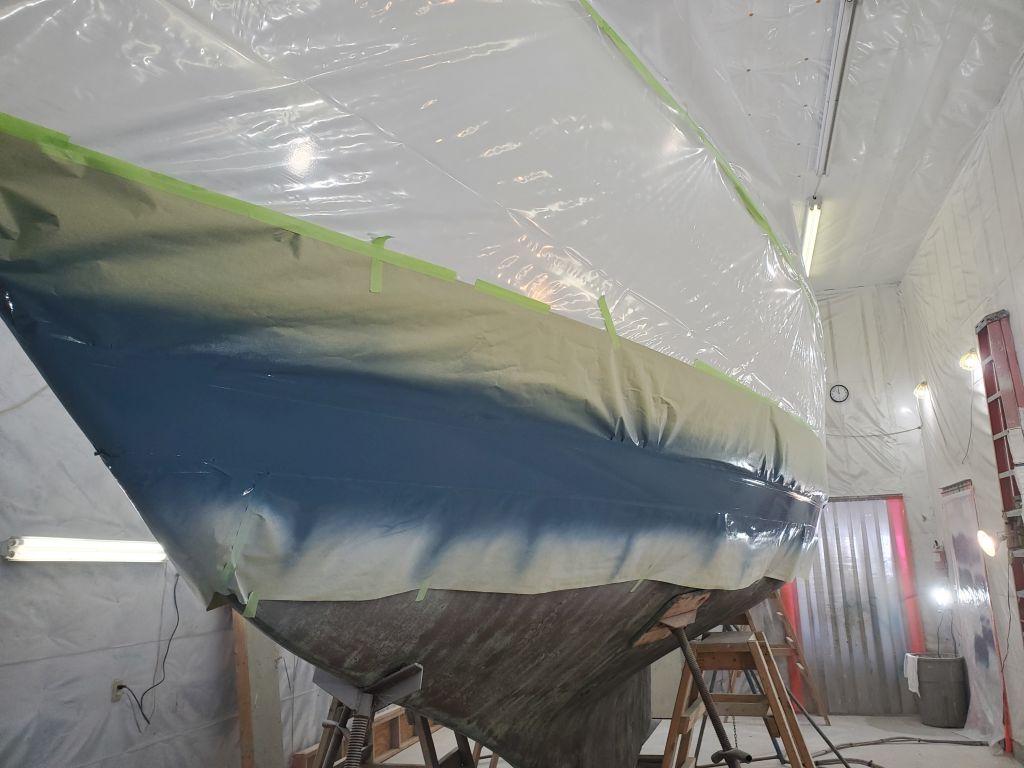
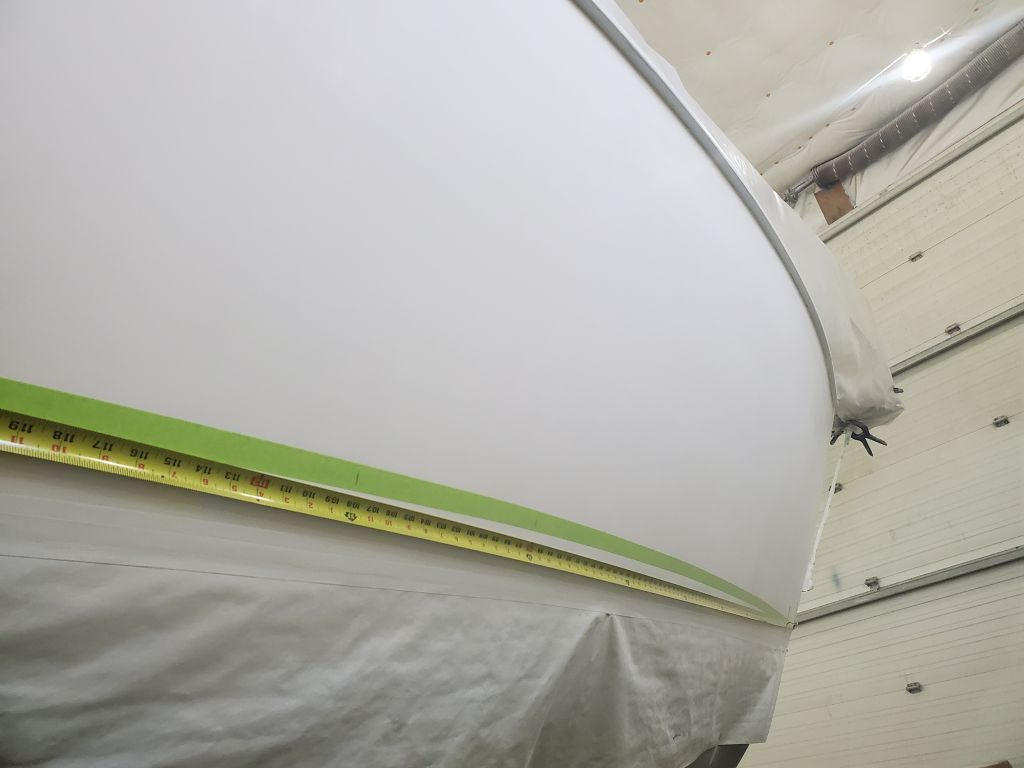
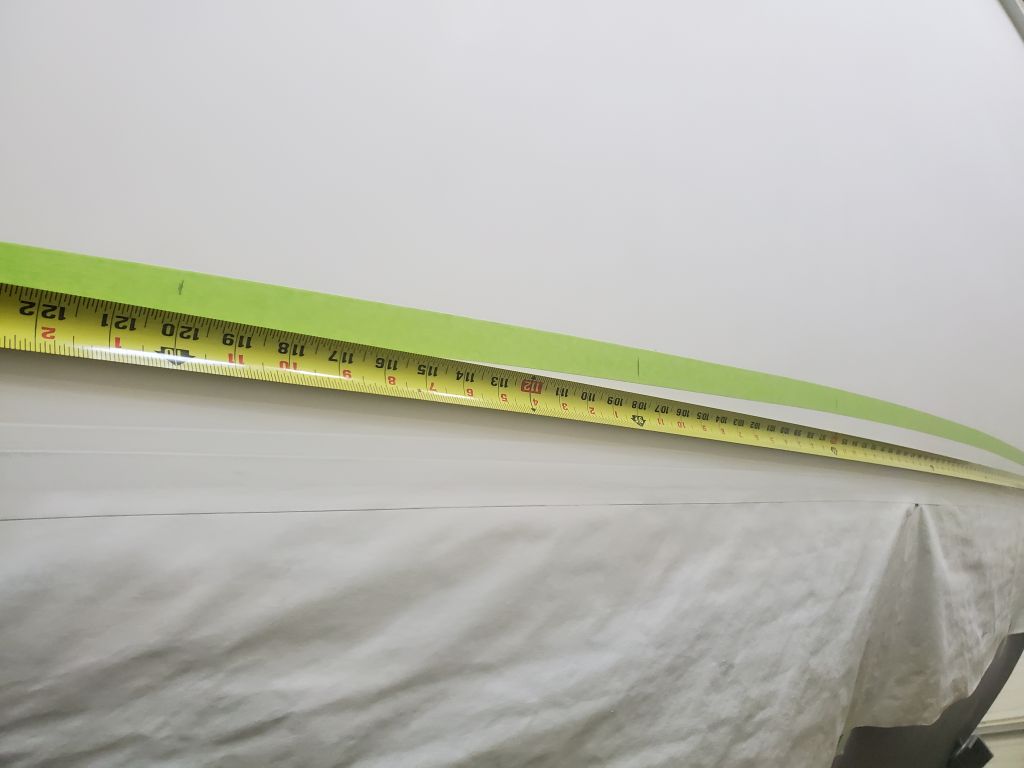
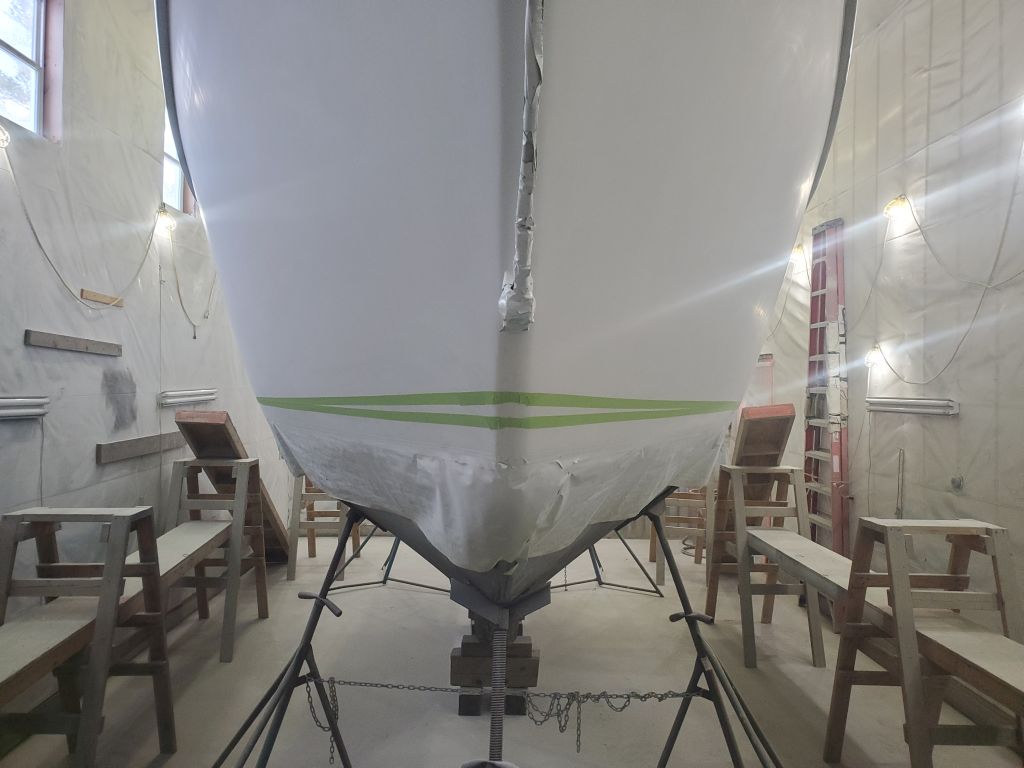
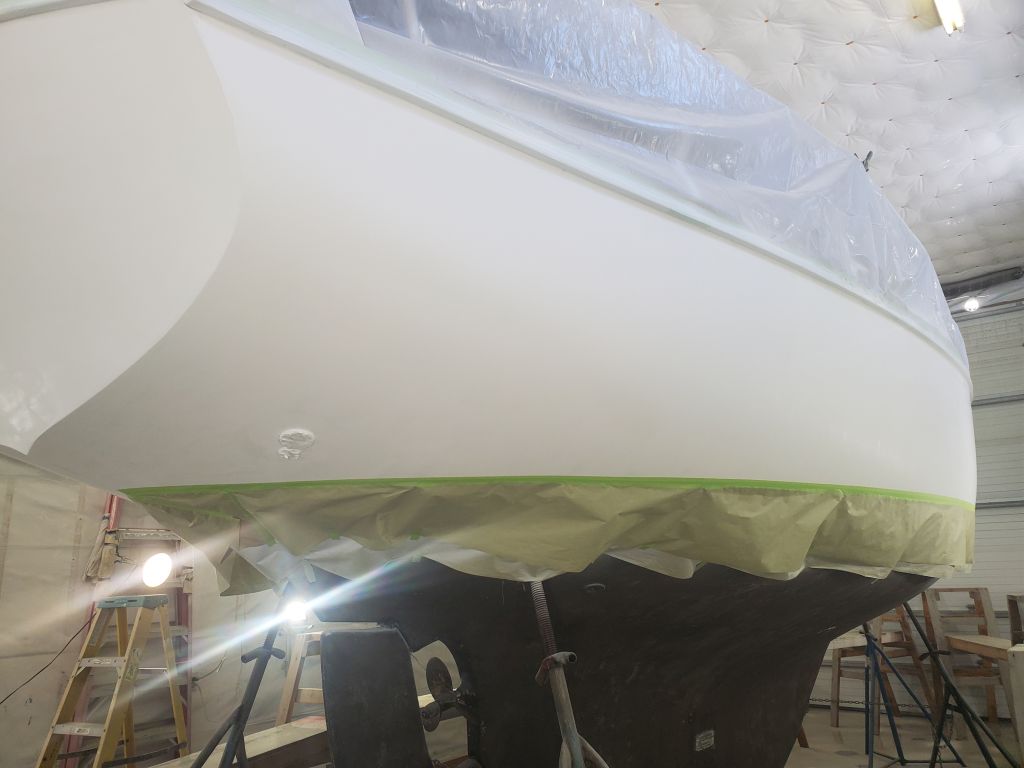
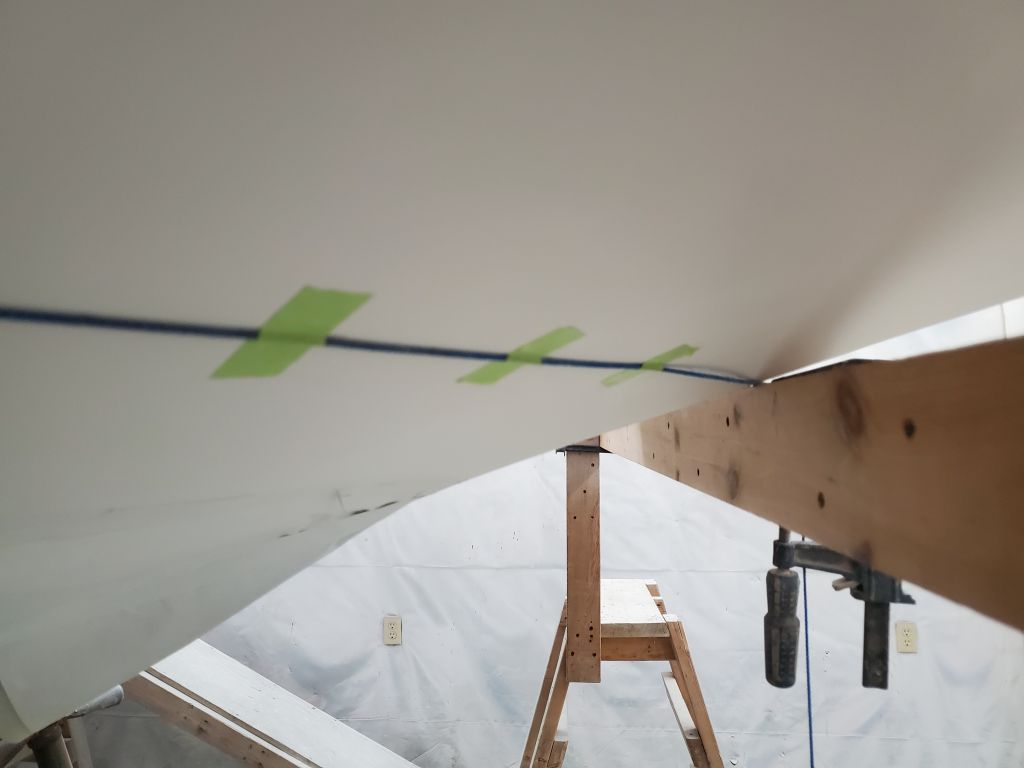
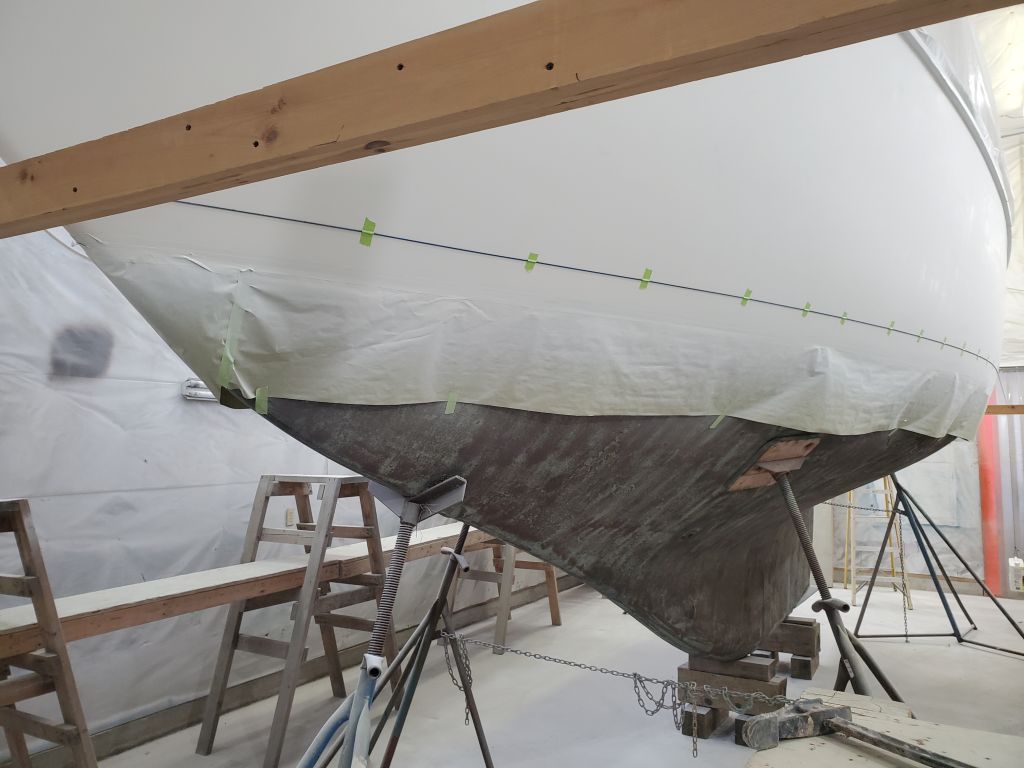
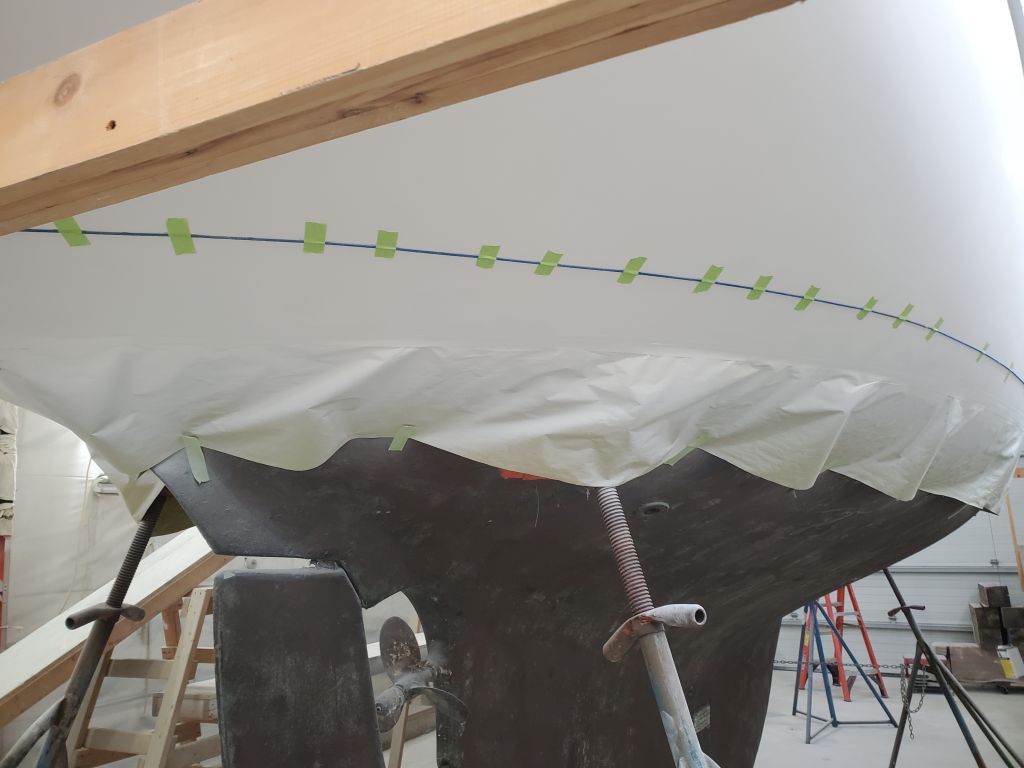
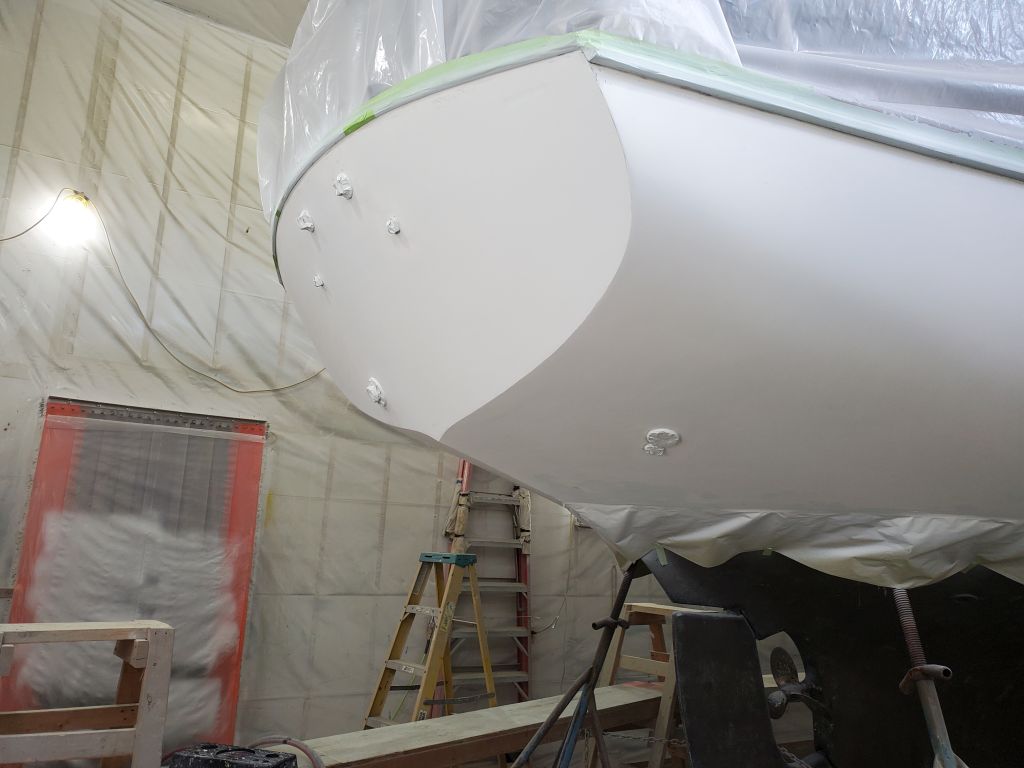
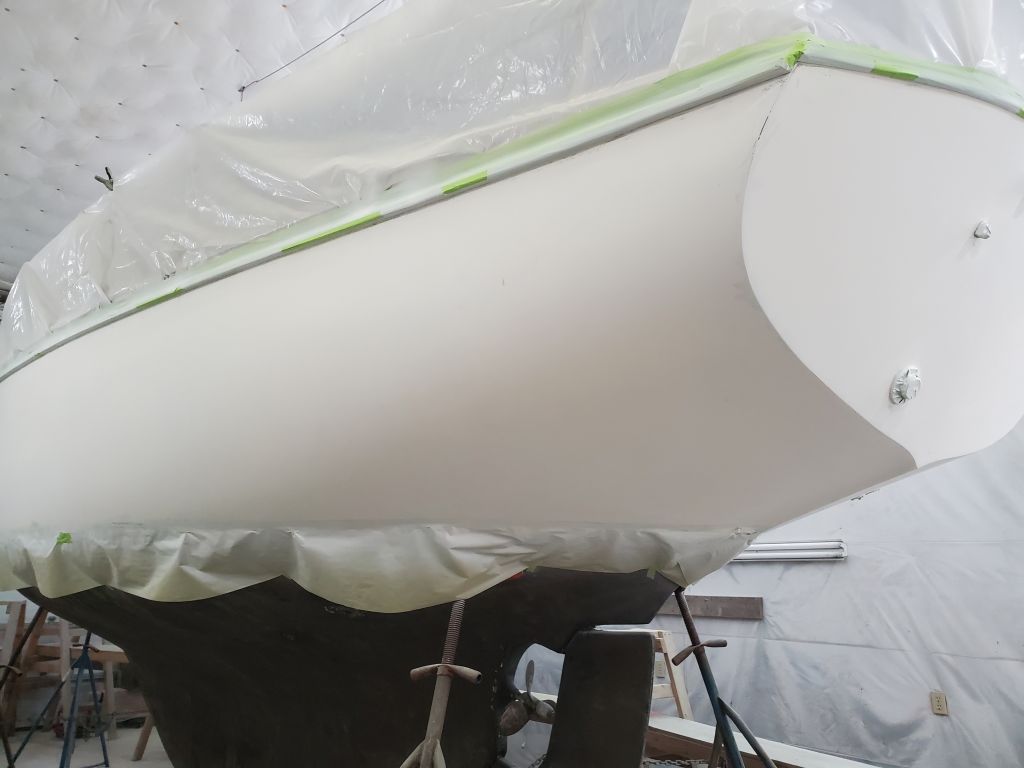
Any of these marks might be the starting point for the new line, but in this case the 10′ mark looked like the right place from which to start–this is a subjective and eyeball thing–so with tape stuck in place at that point, I stretched it forward to meet the new reference marks at the stem, creating a gradually-sheered new boottop line by eye between the two points.  I checked reference measurement or two on each side to determine that the tape was roughly similar on both sides.  In practice, and viewed as one normally would with the boat in the water or from a short distance, this line would not appear obviously curved or shaped, but would simply look right (at least such is the goal).   One sees rightness without understanding it; the eye is more drawn to anomalies and wrongness.

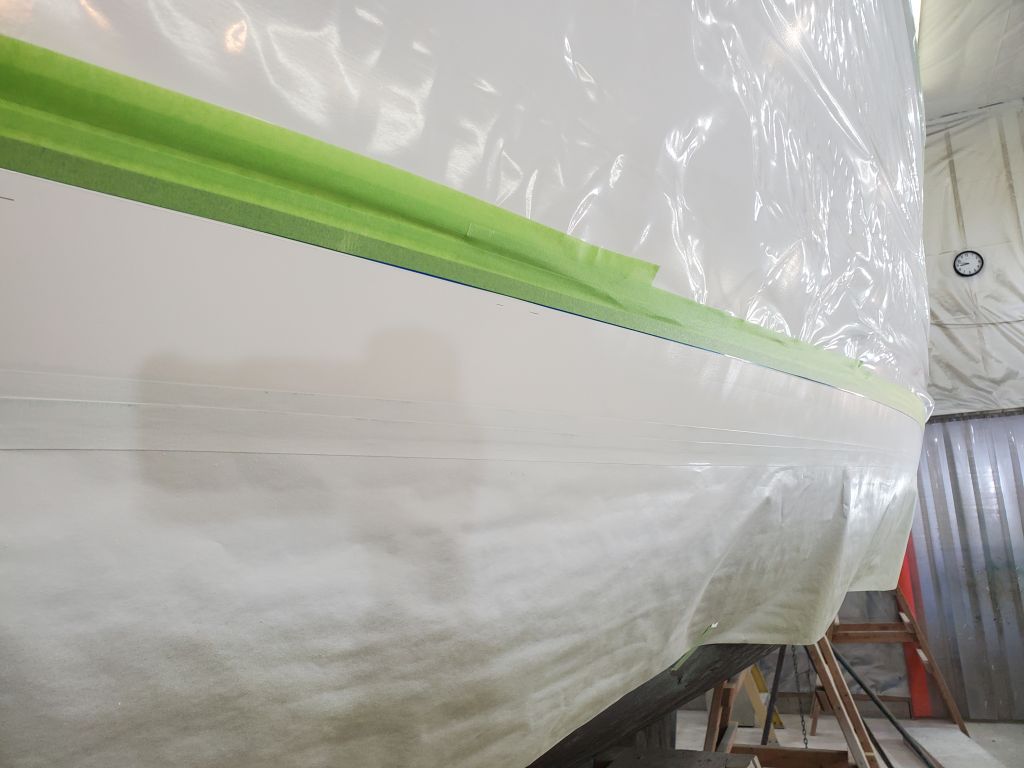
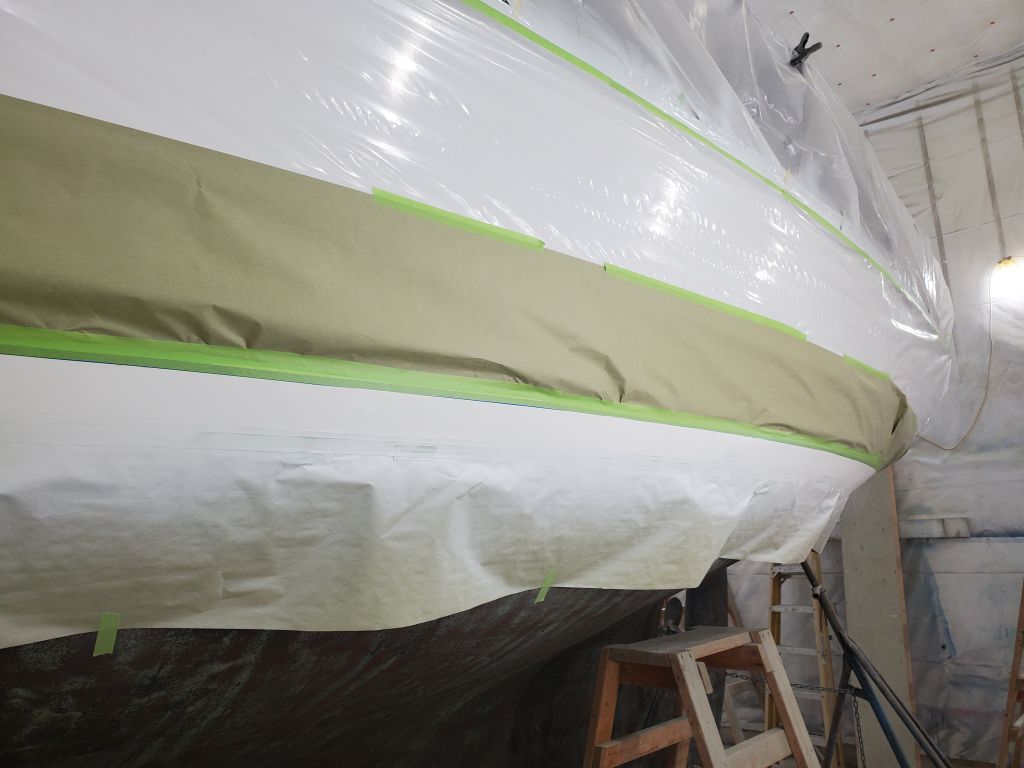
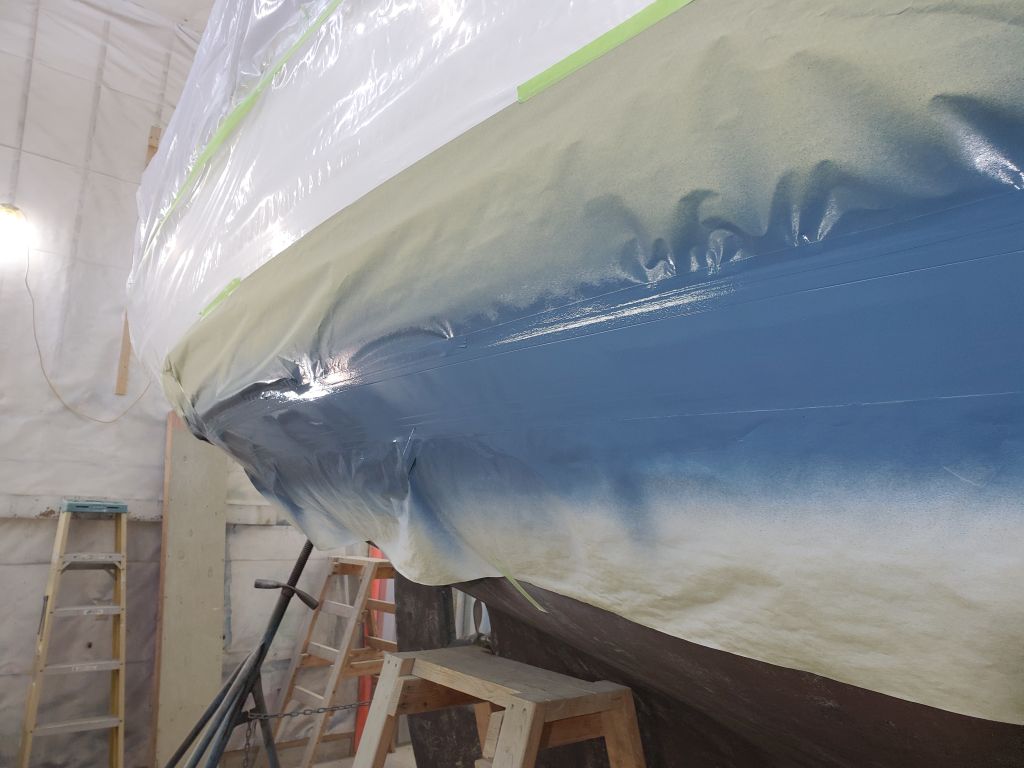
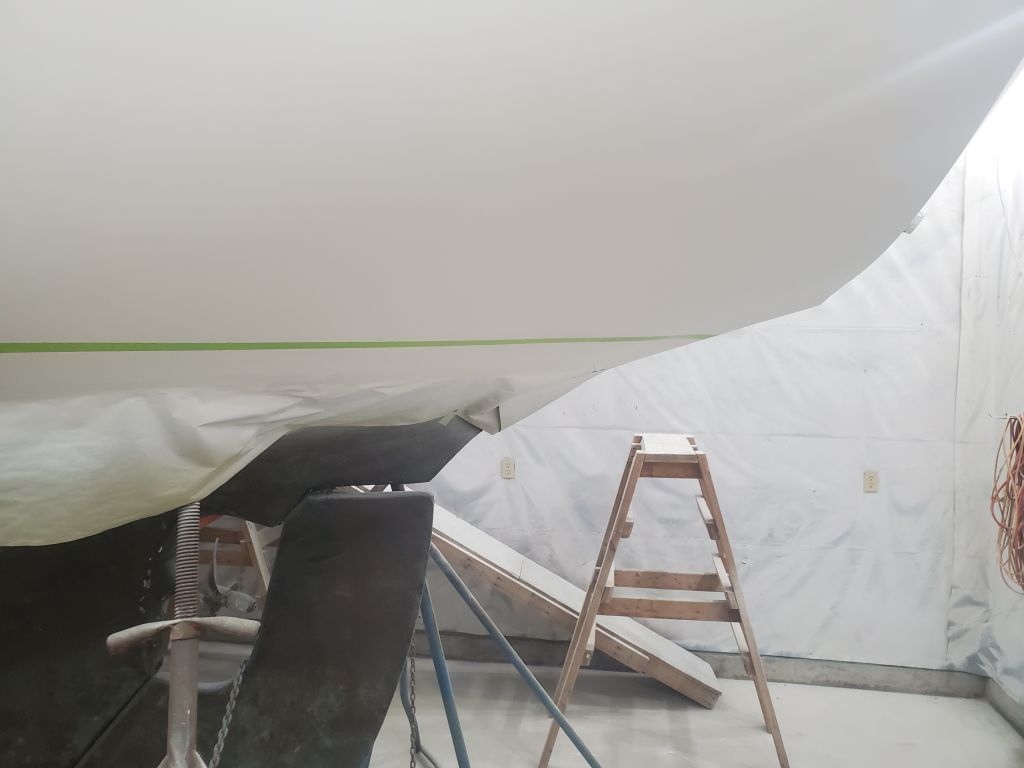
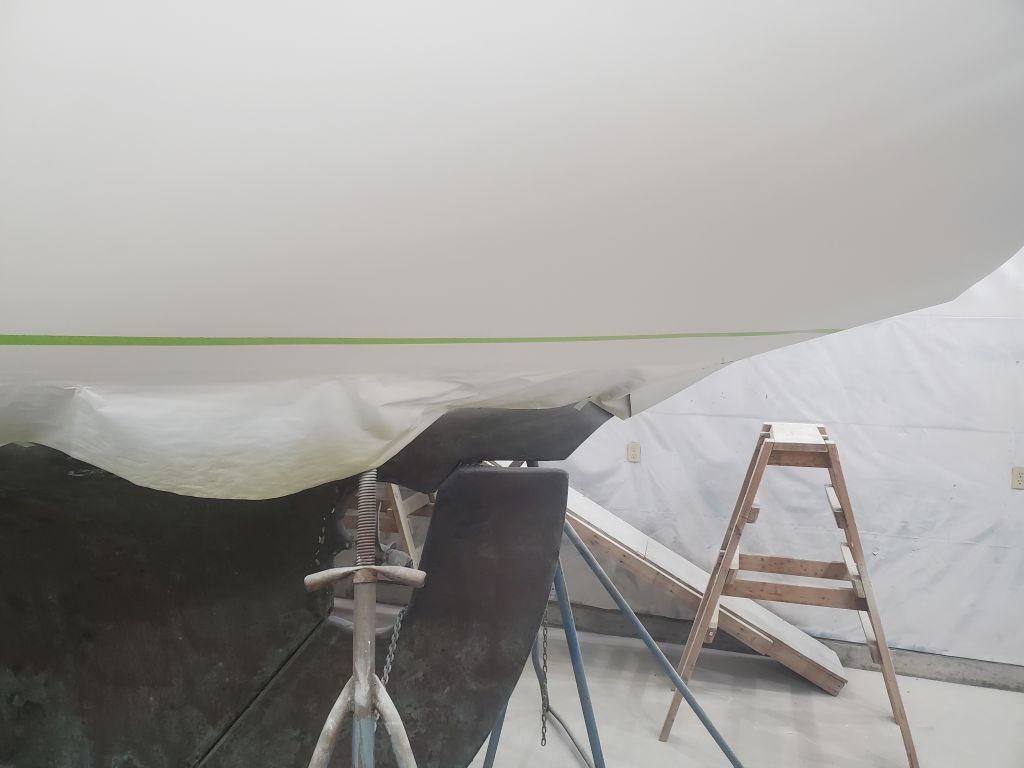
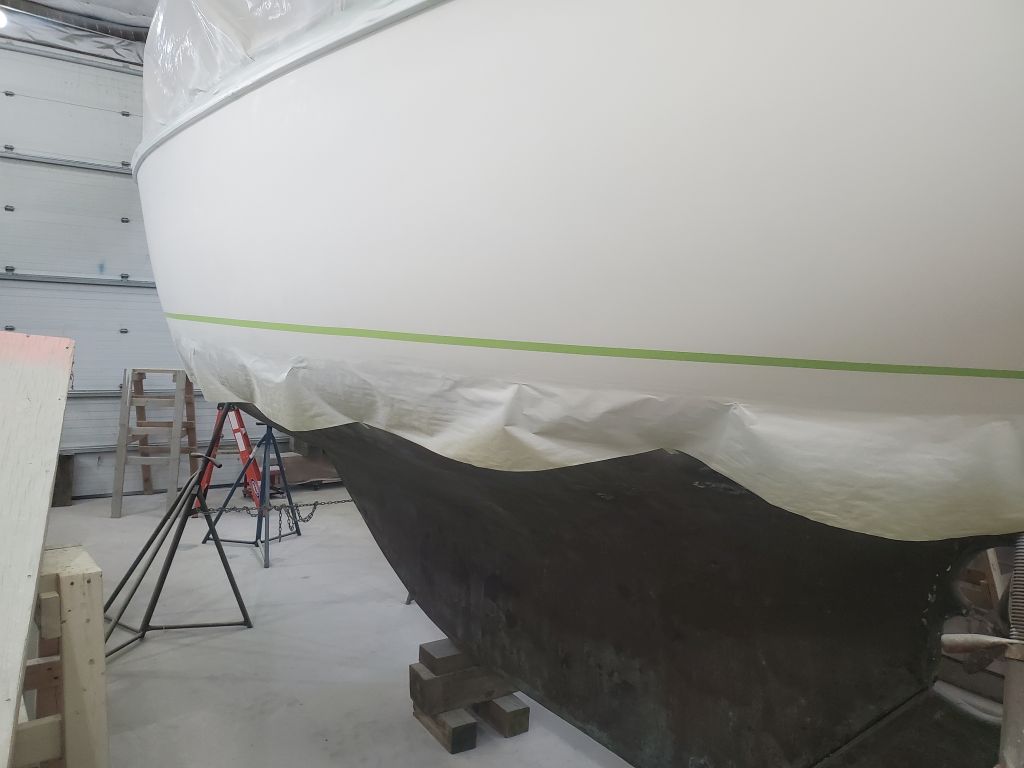
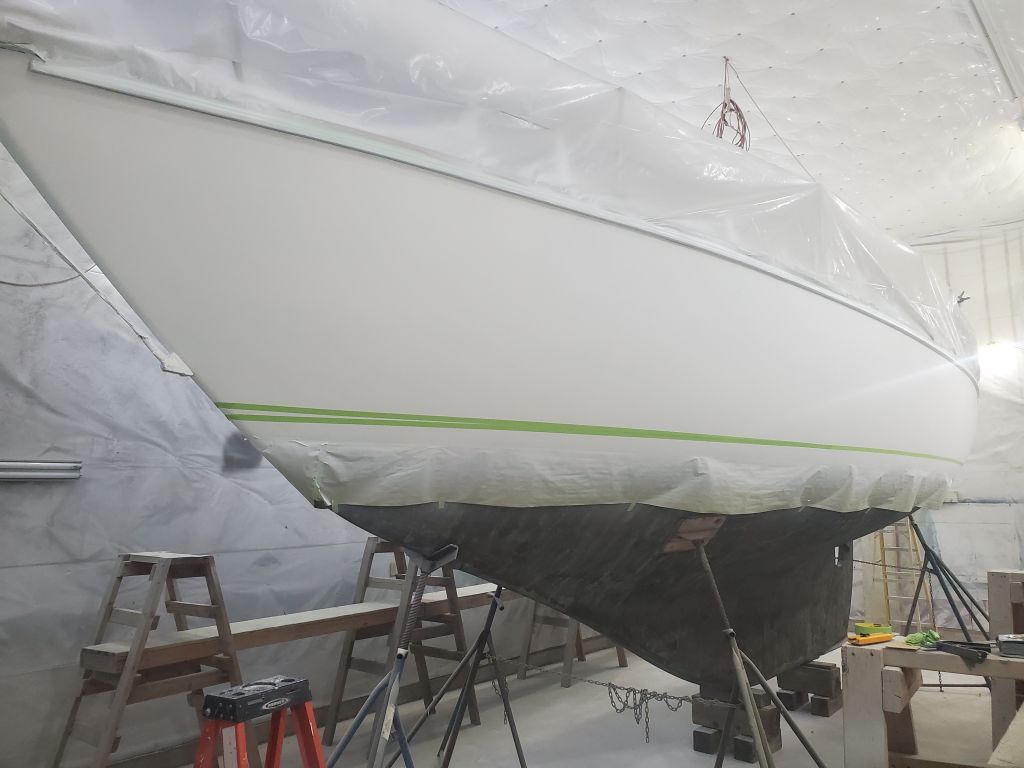
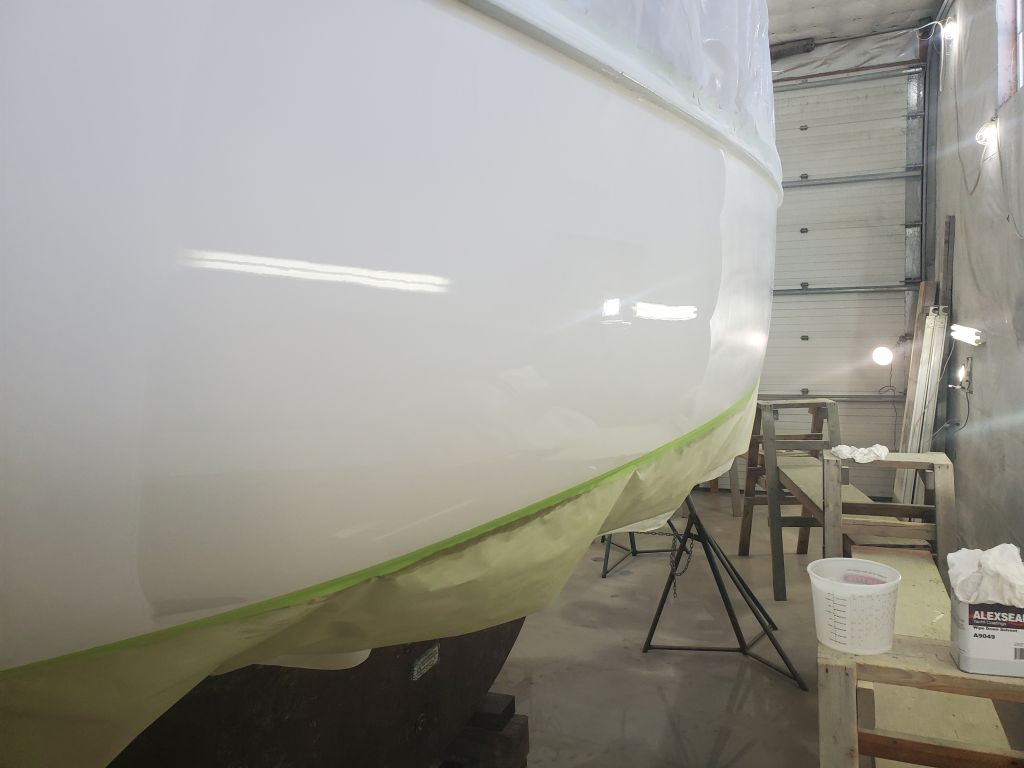
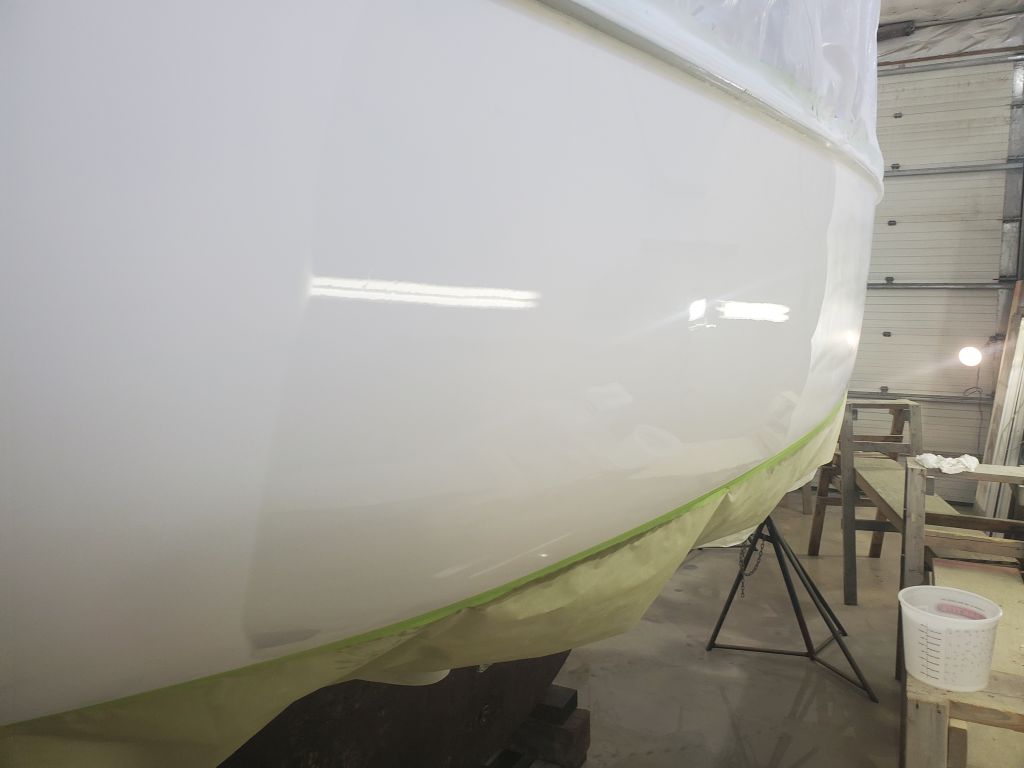
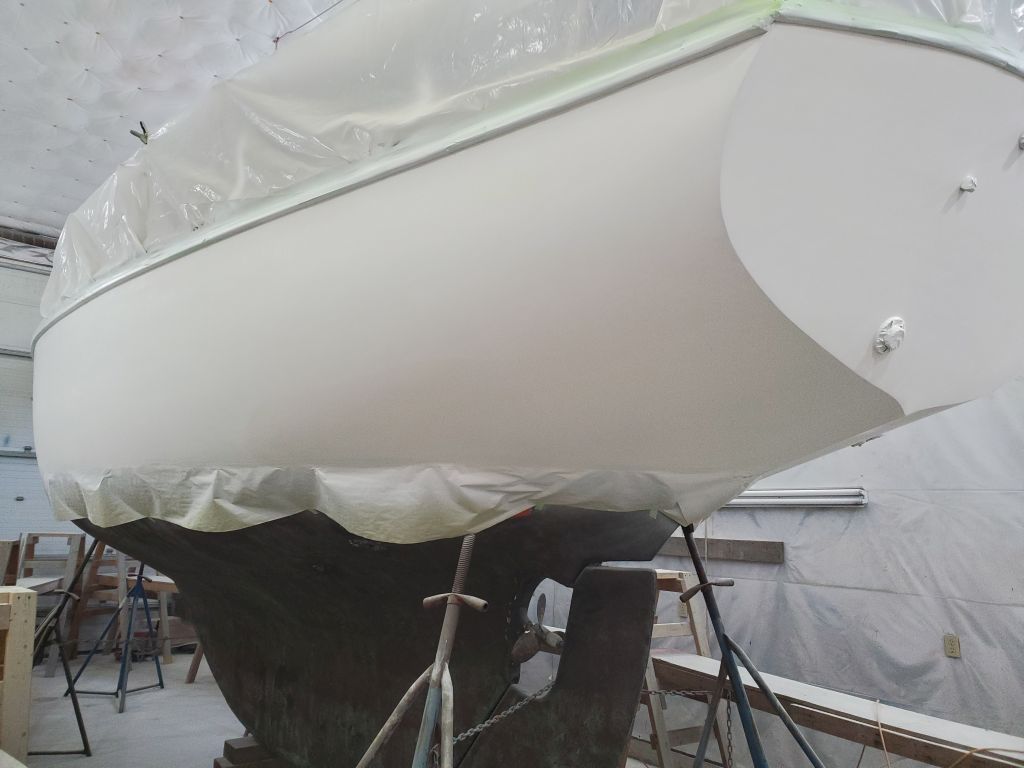
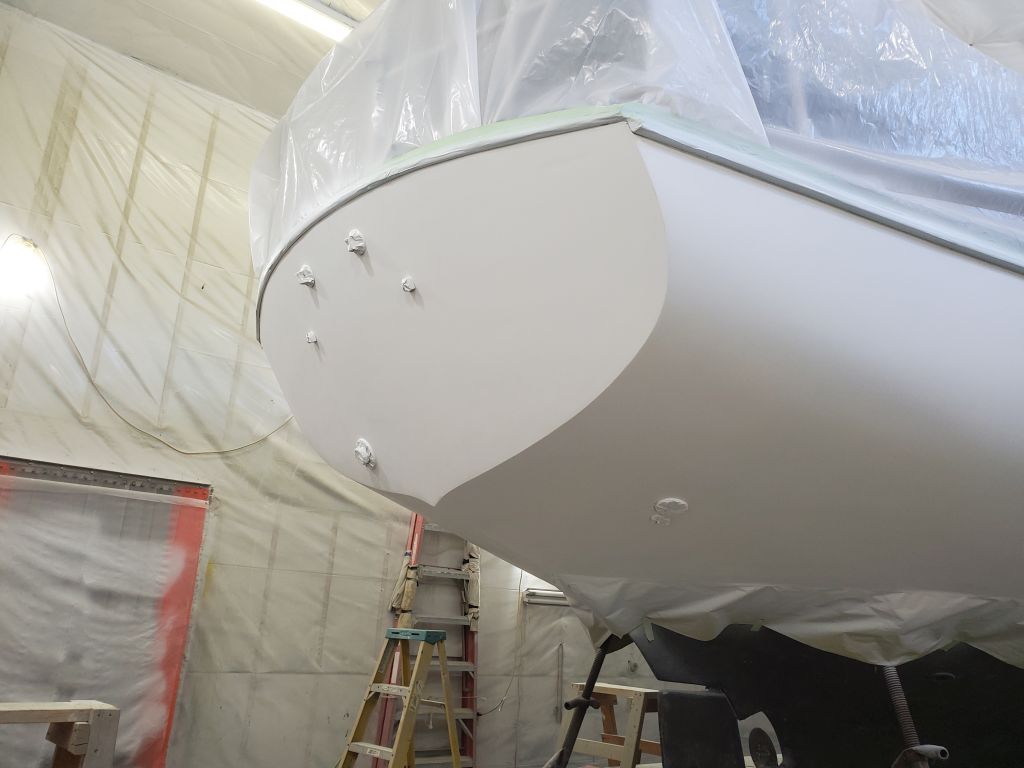
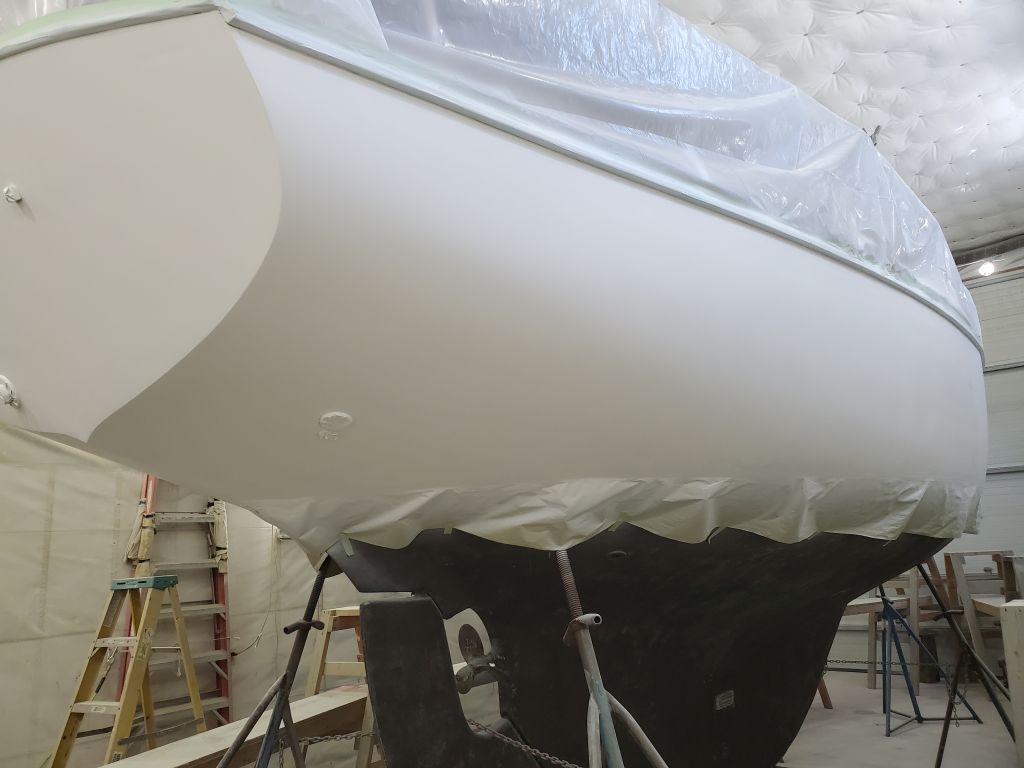
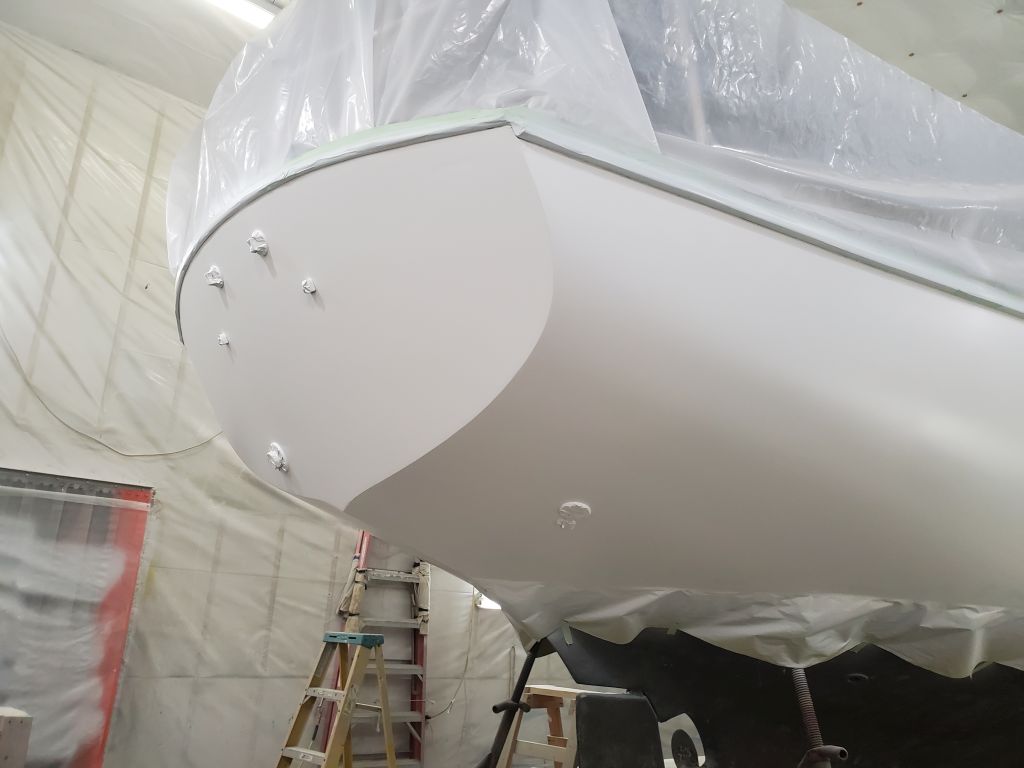
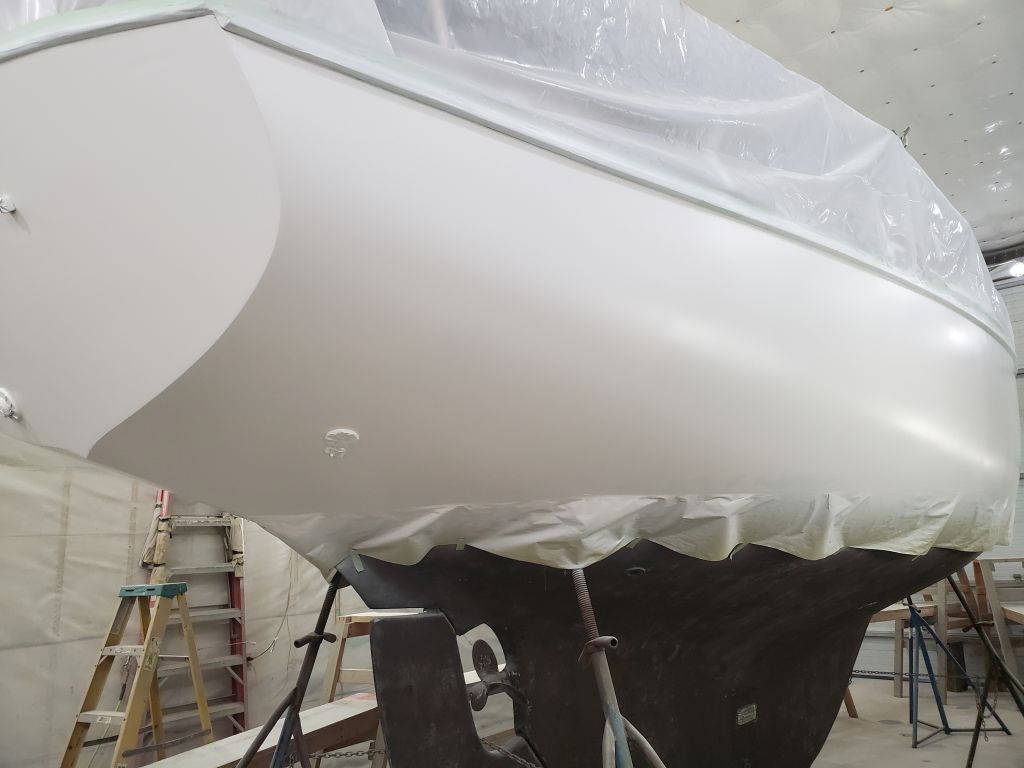
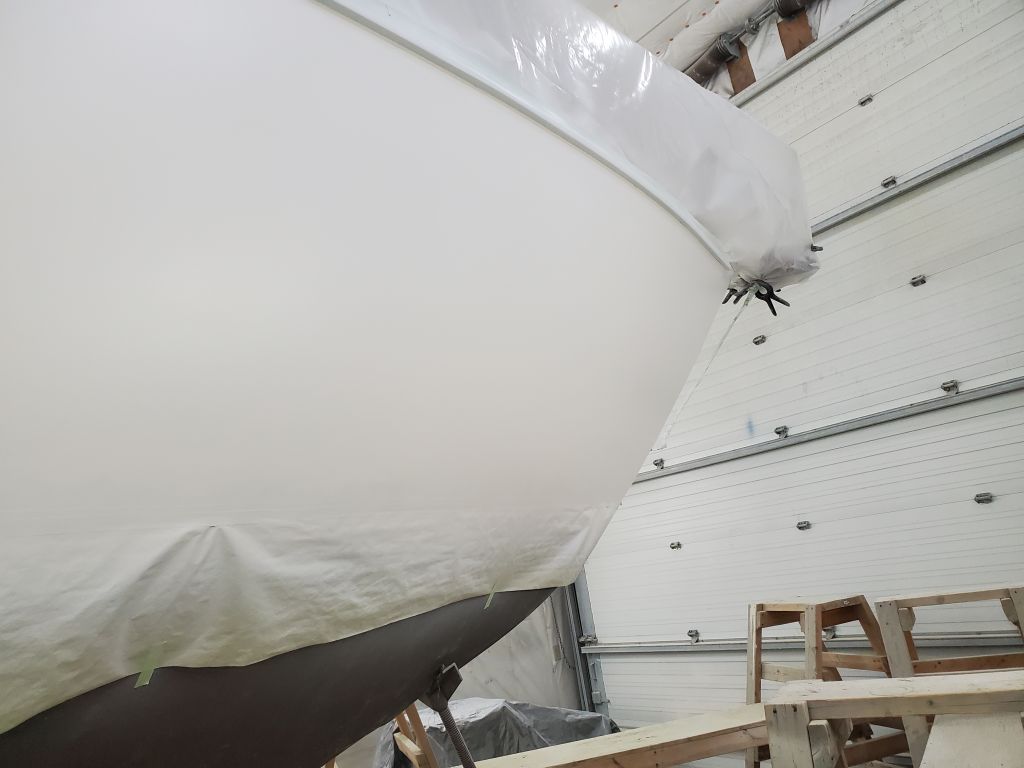
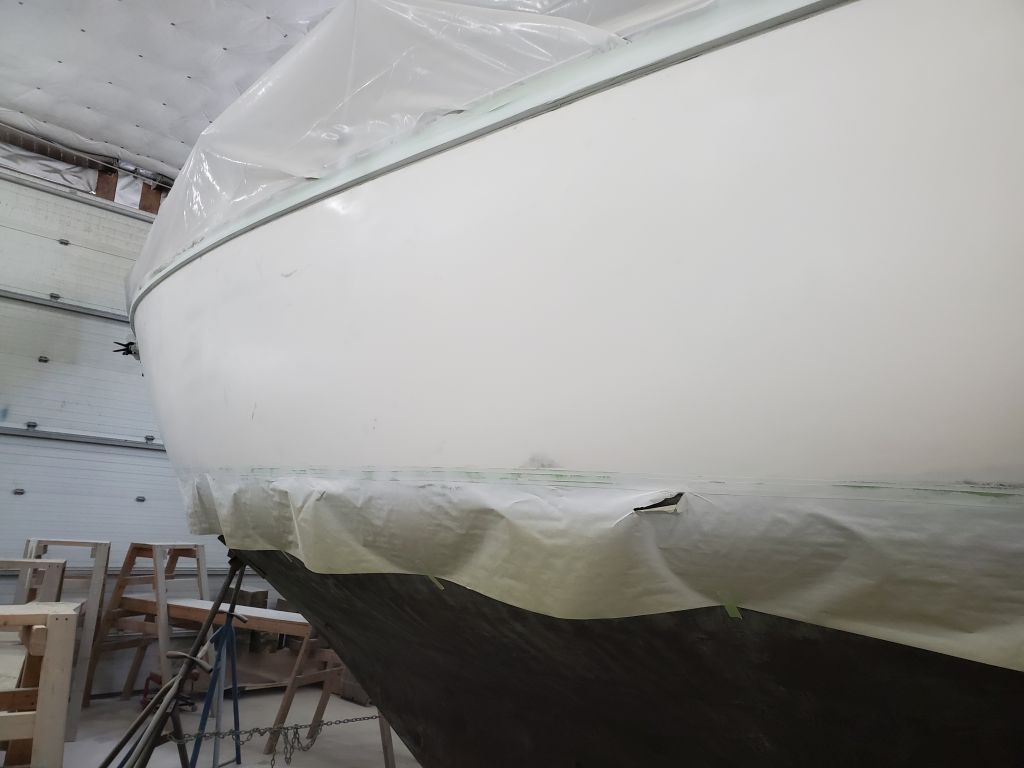
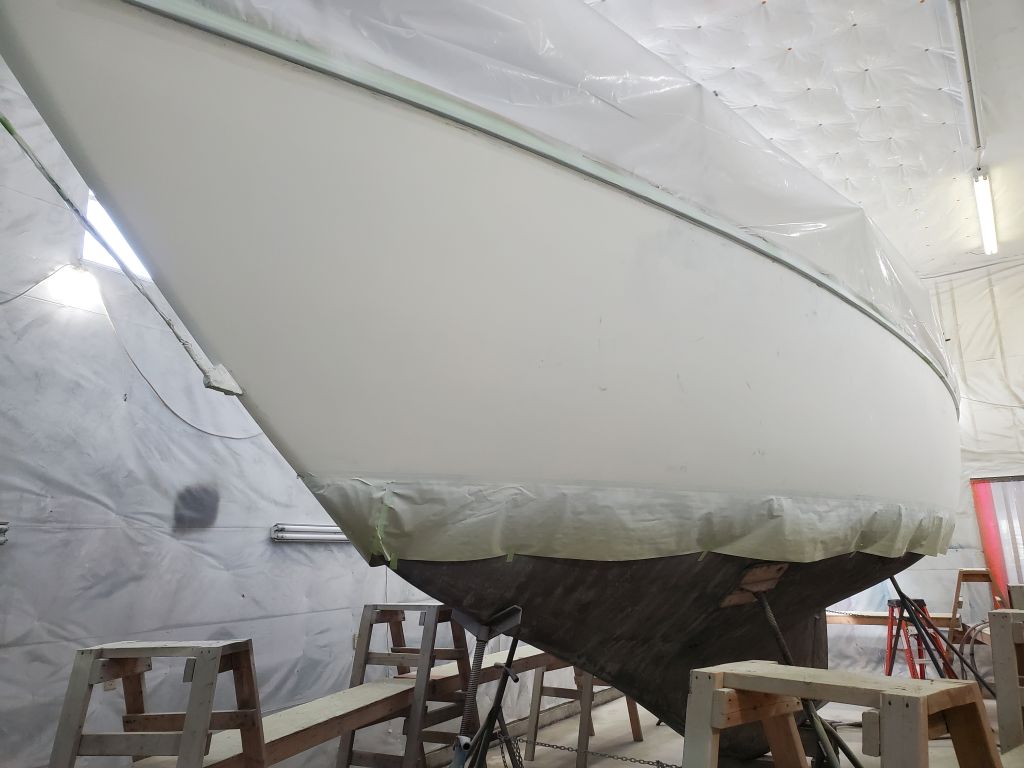
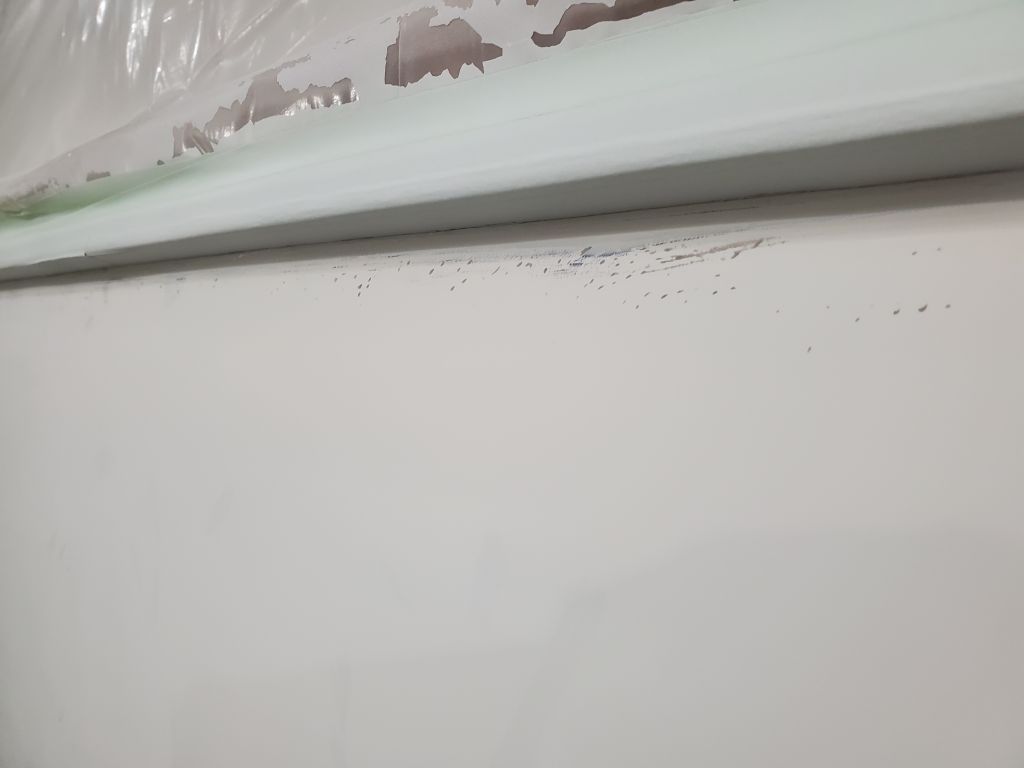
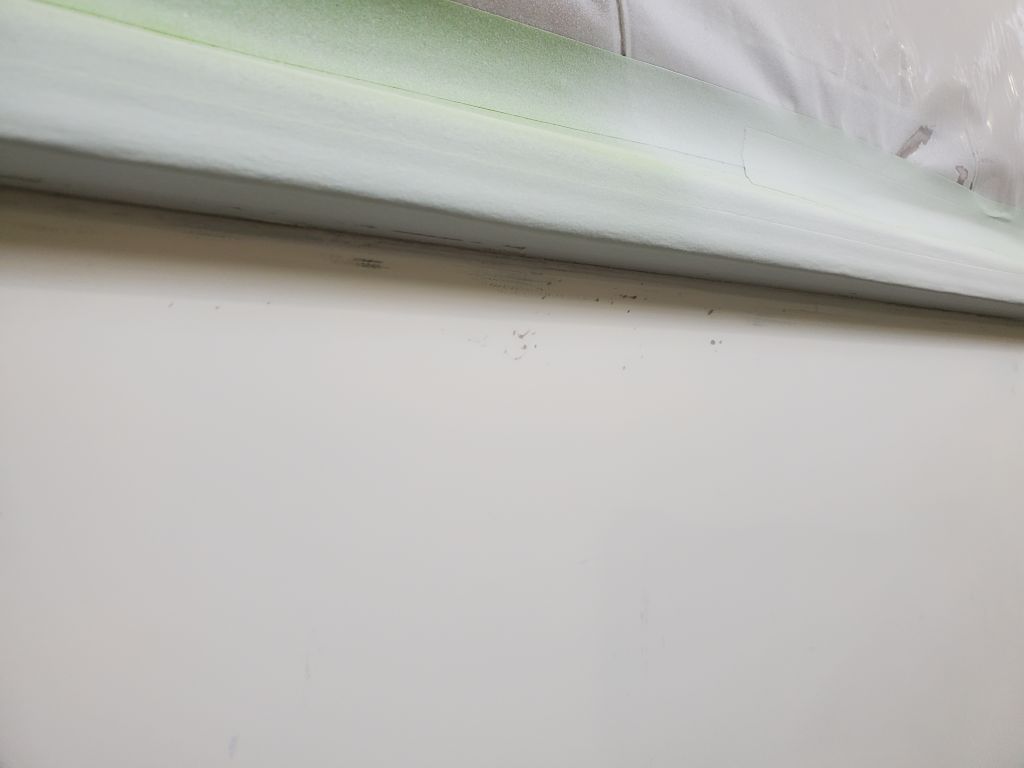
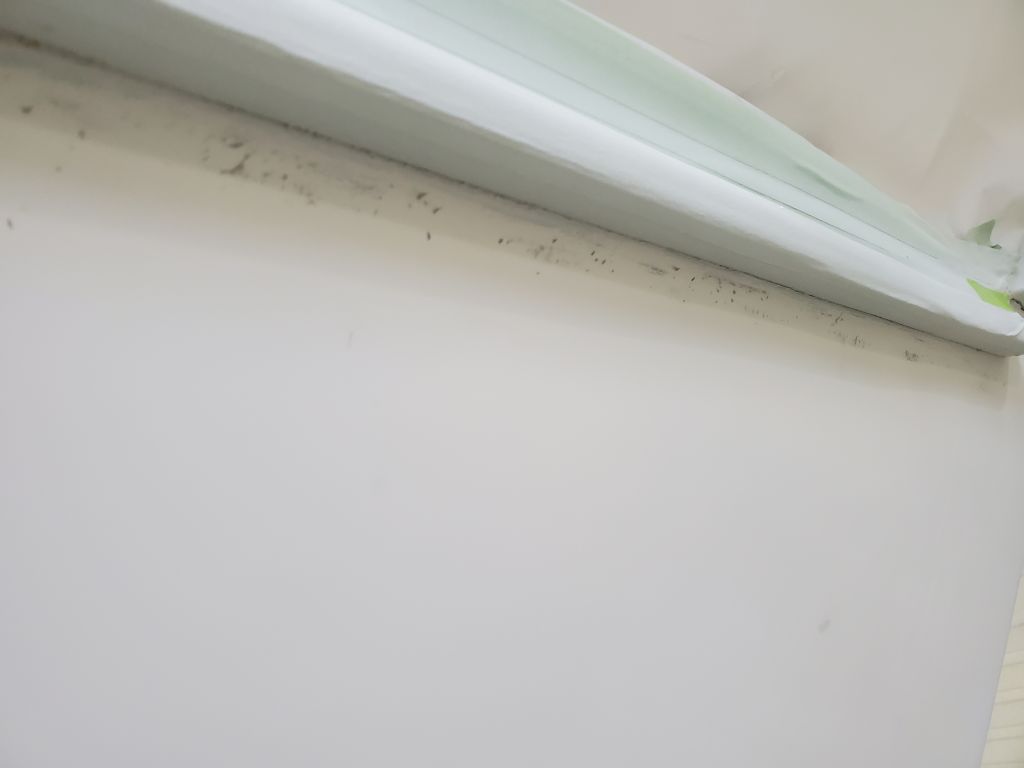
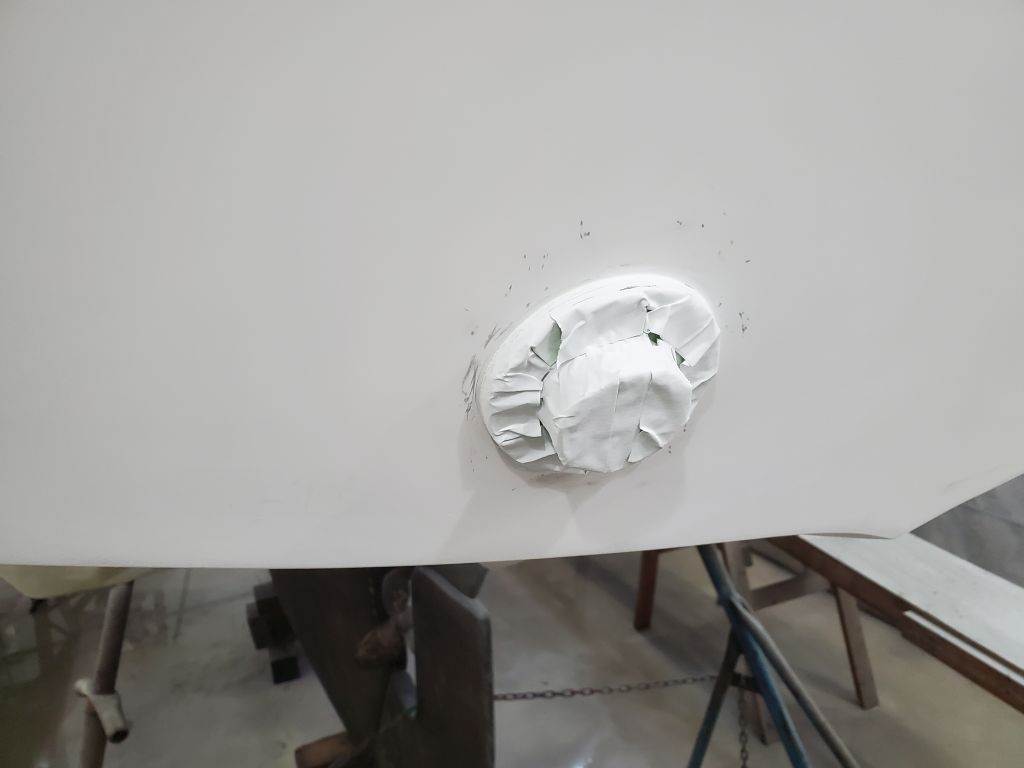
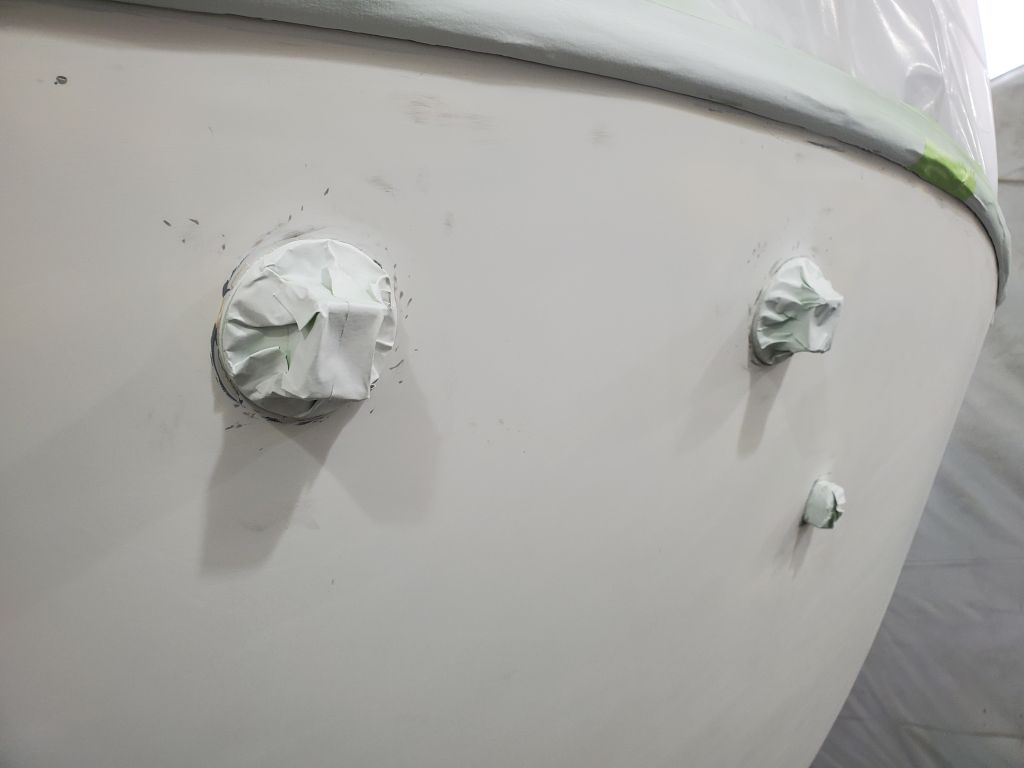
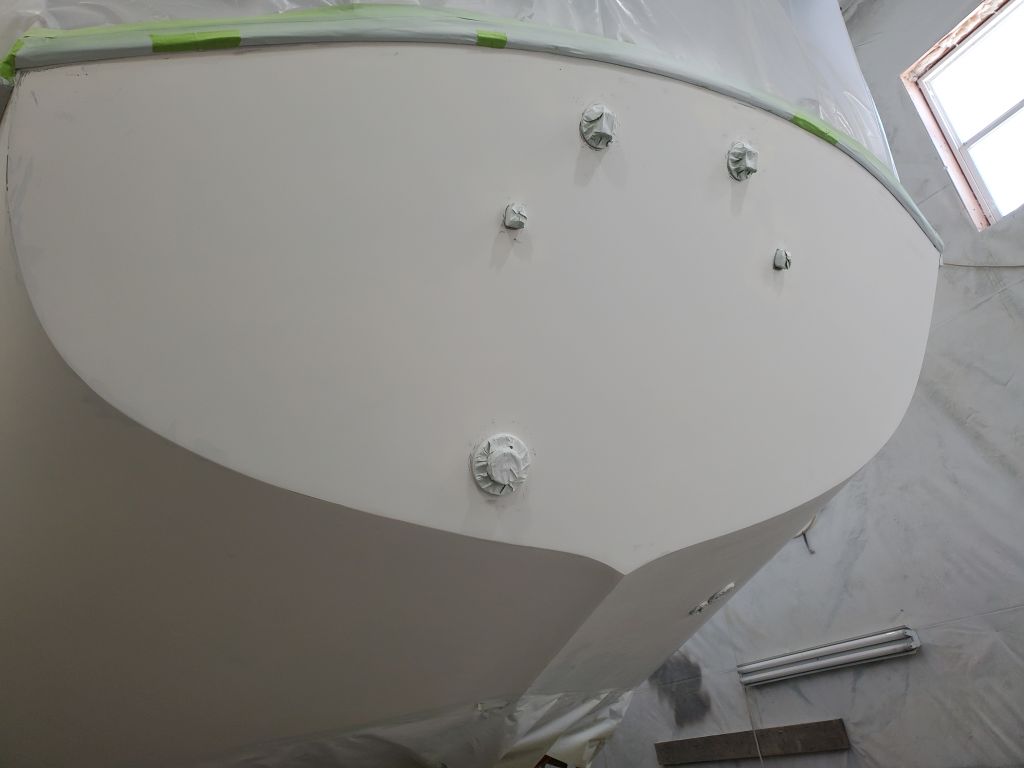
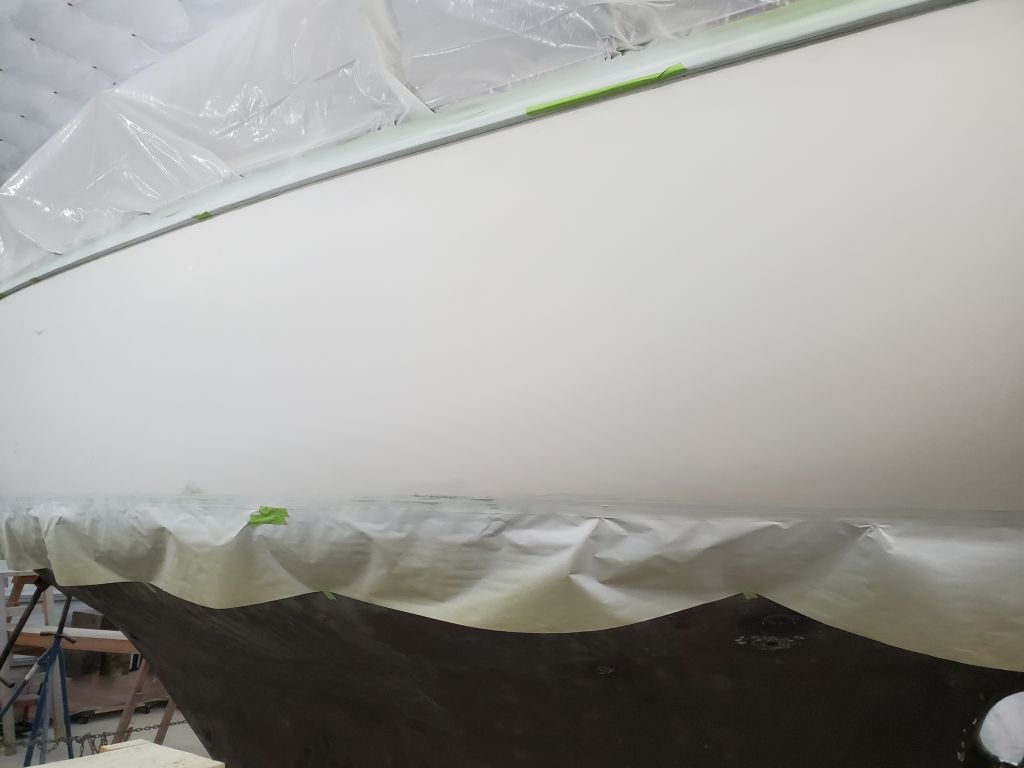
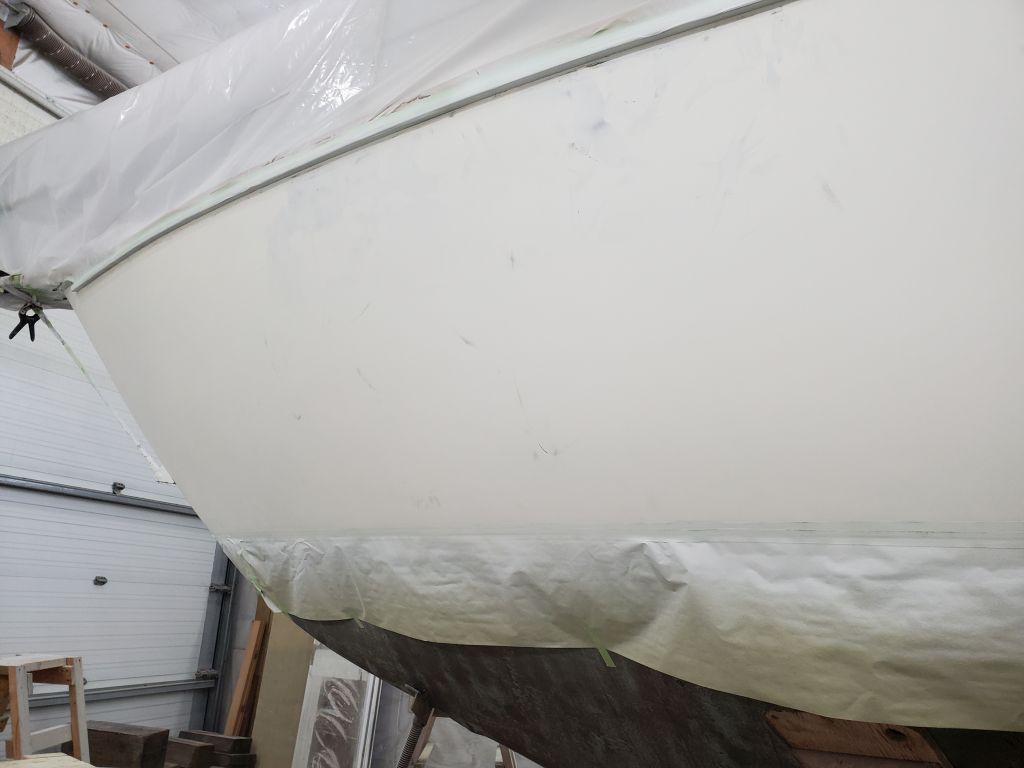
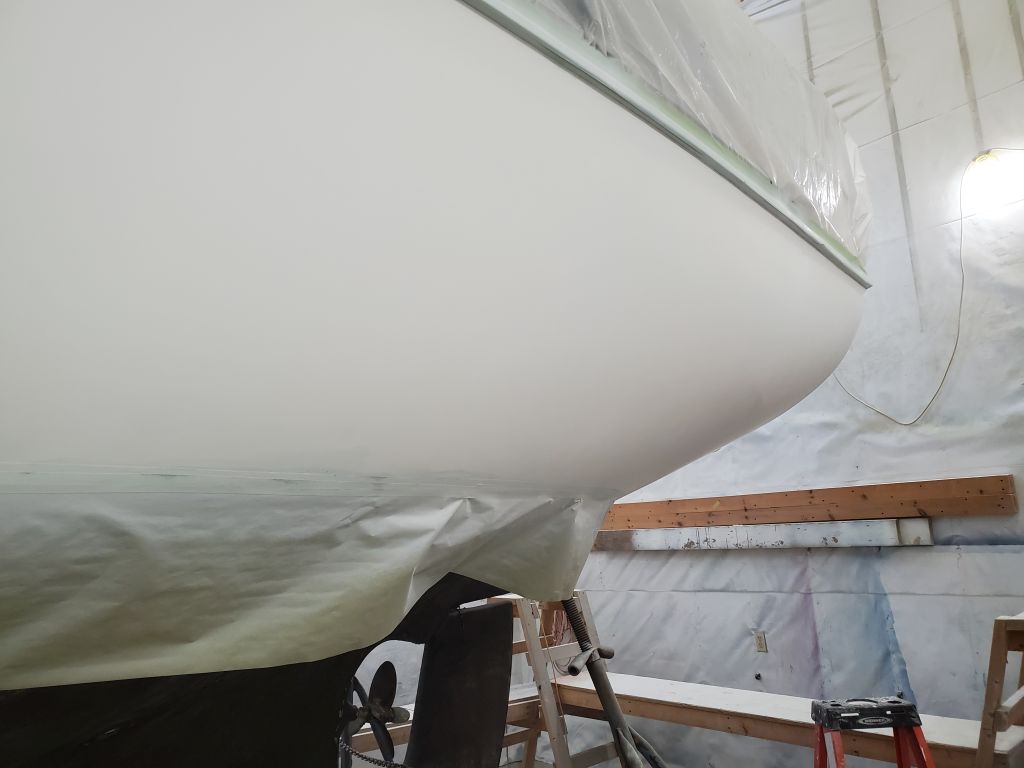
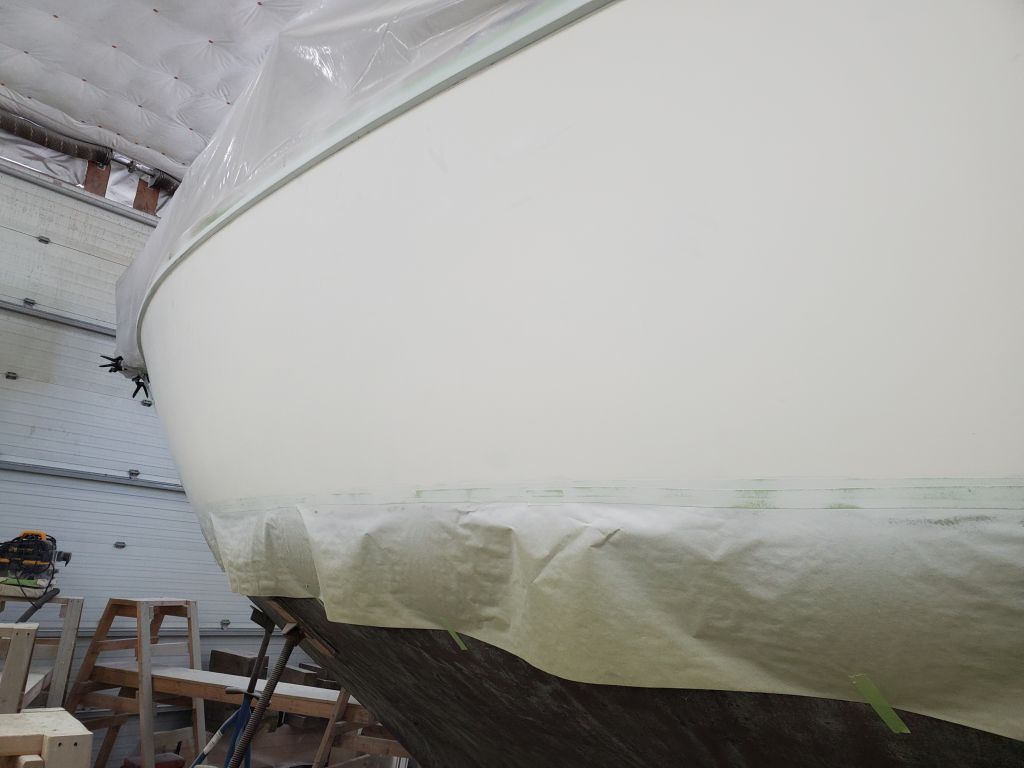
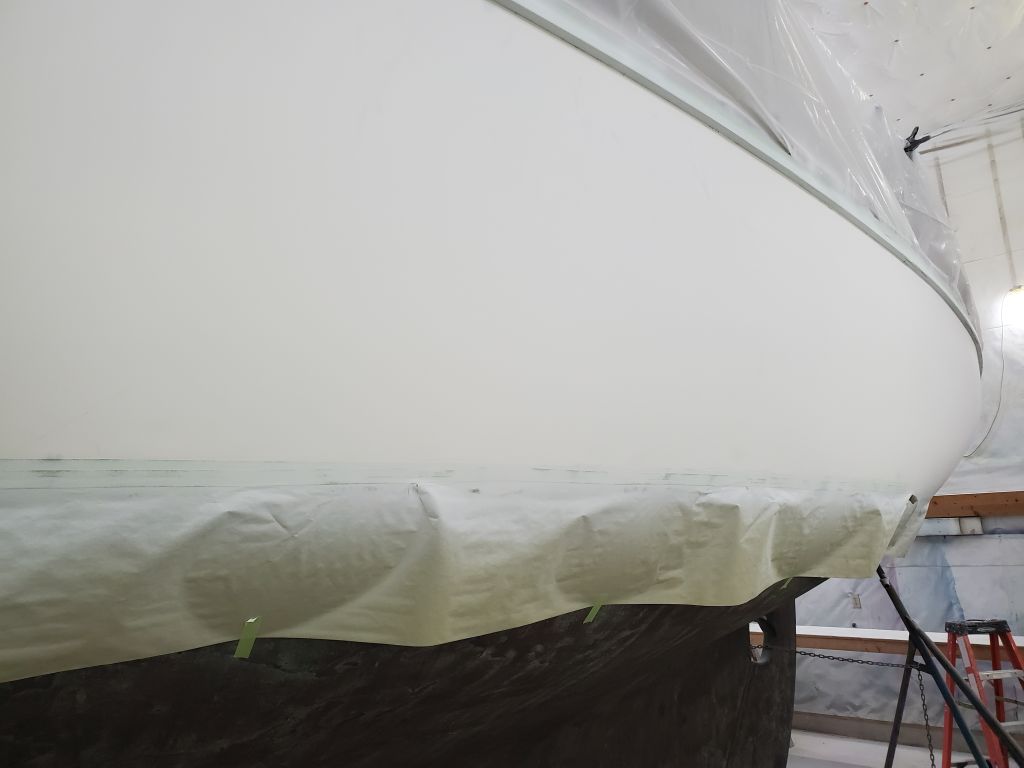
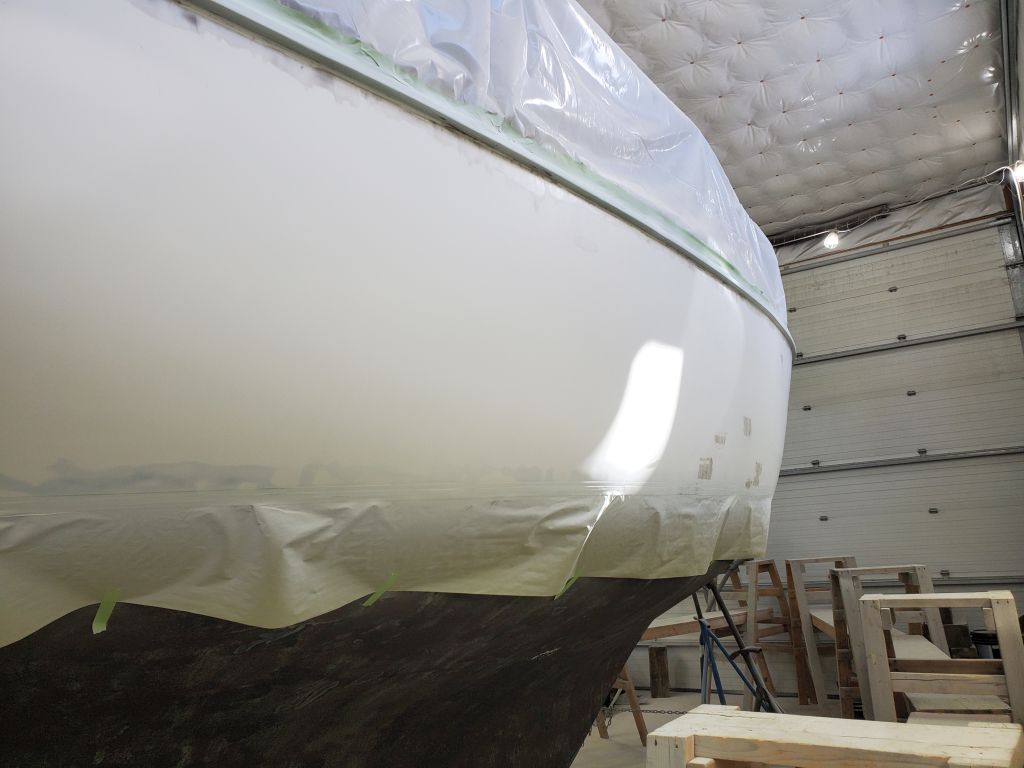
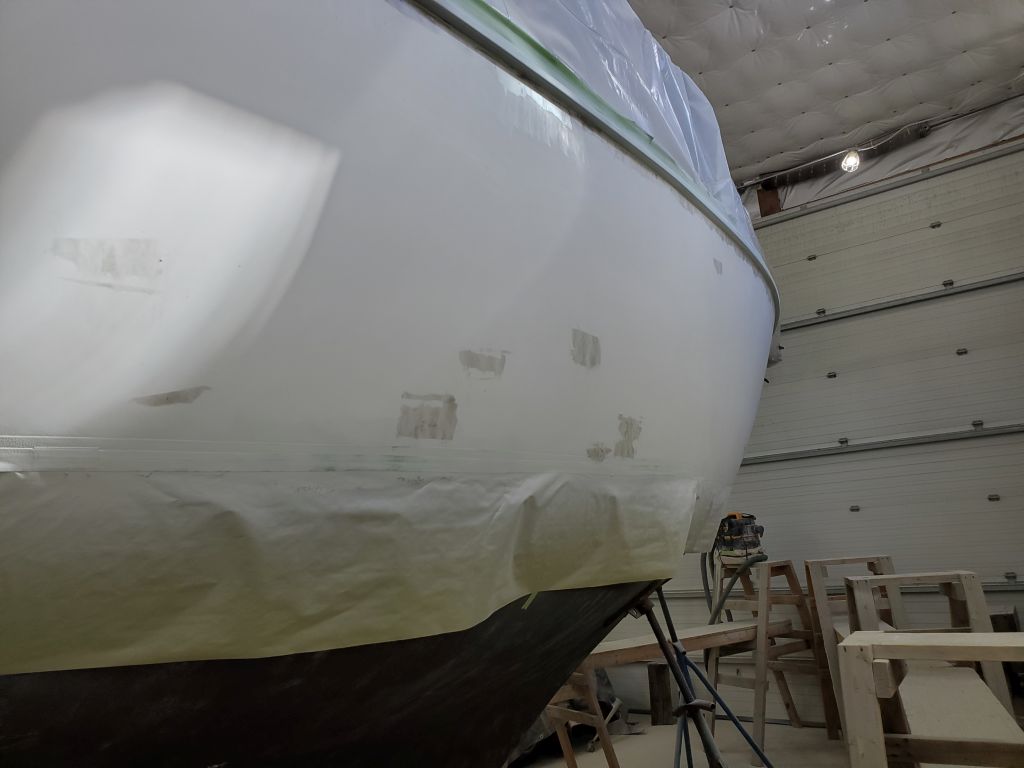
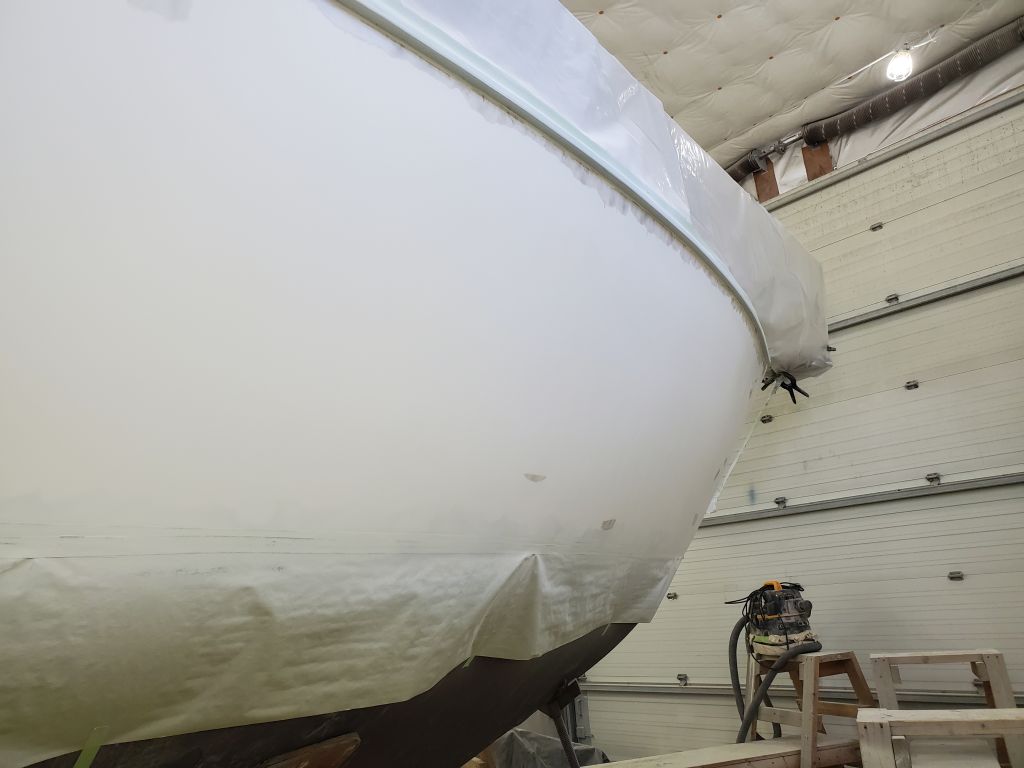
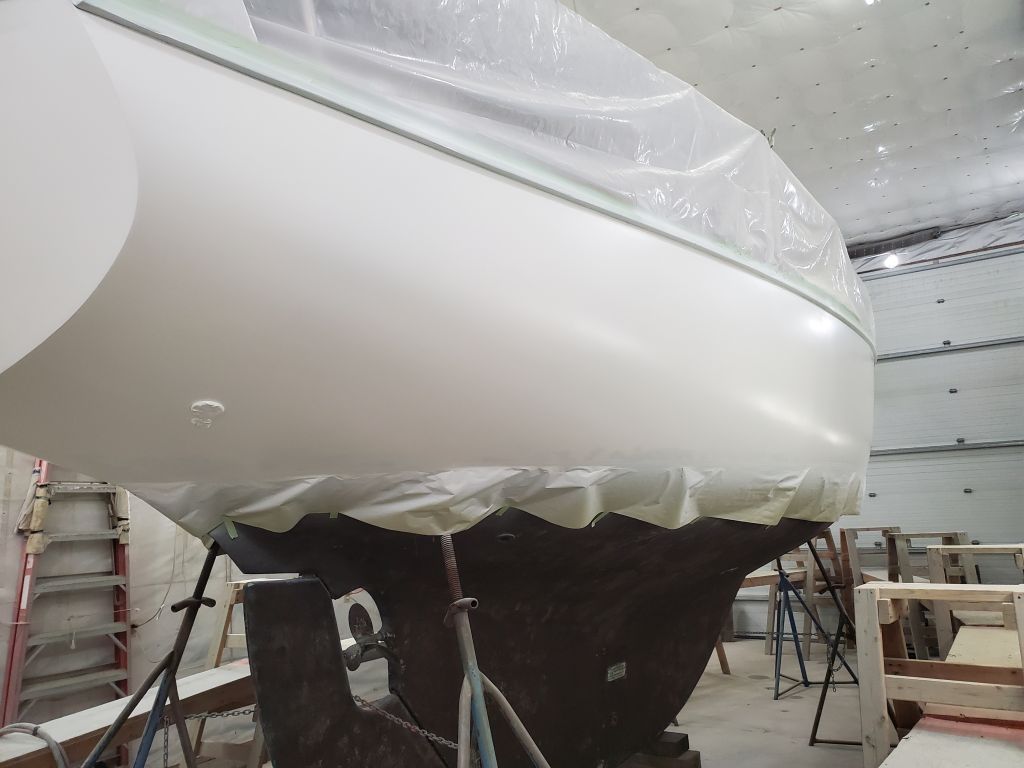
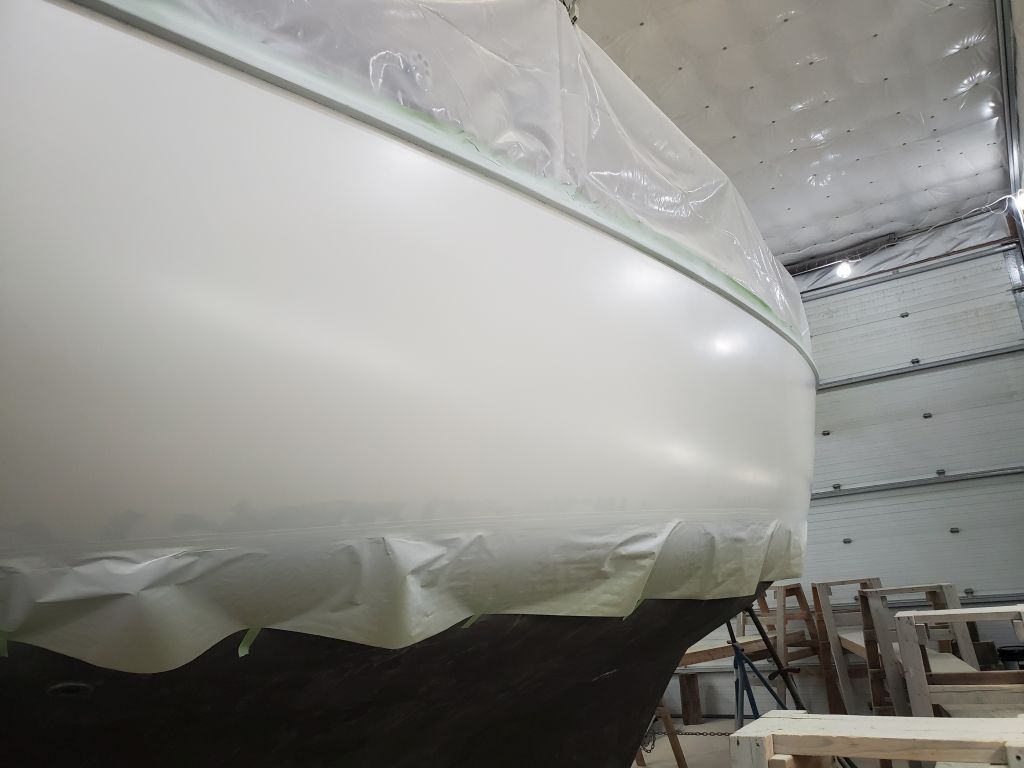
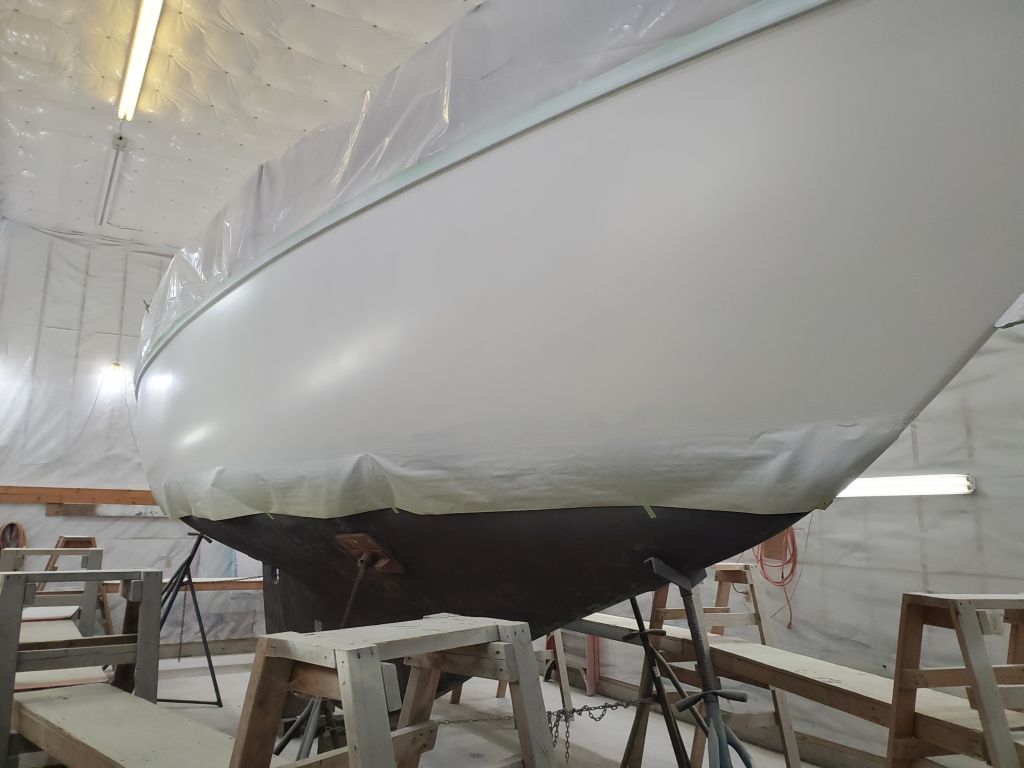
Afterwards, I masked off the hull beneath the new boottop line to prevent overspray during hull painting.

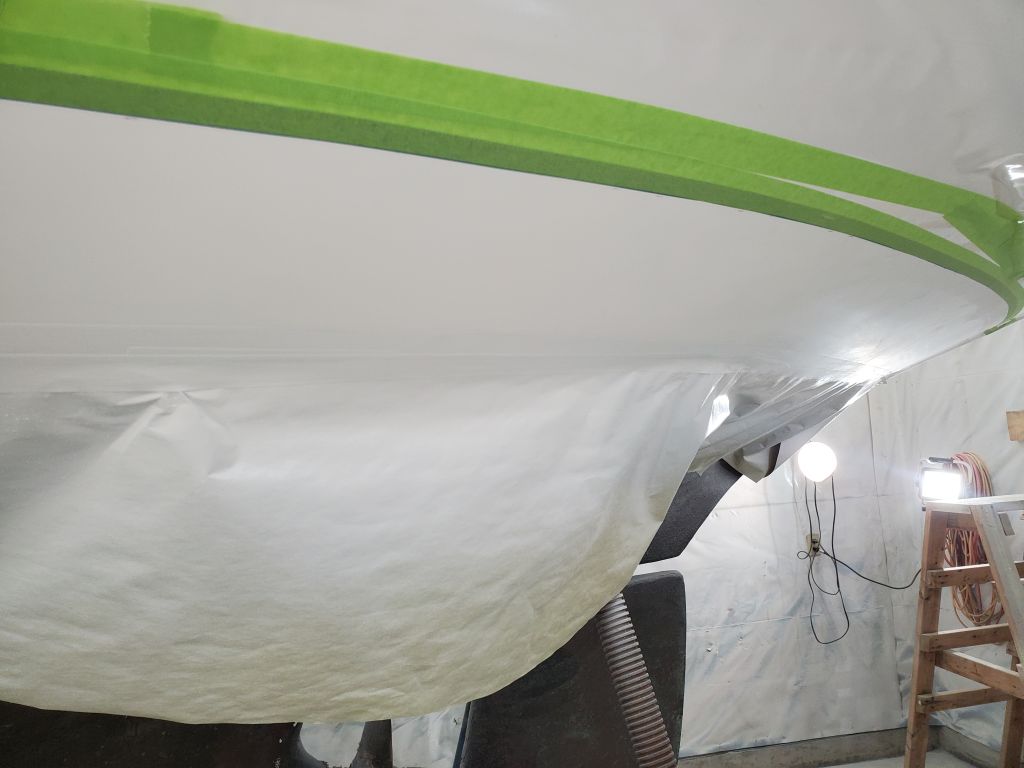
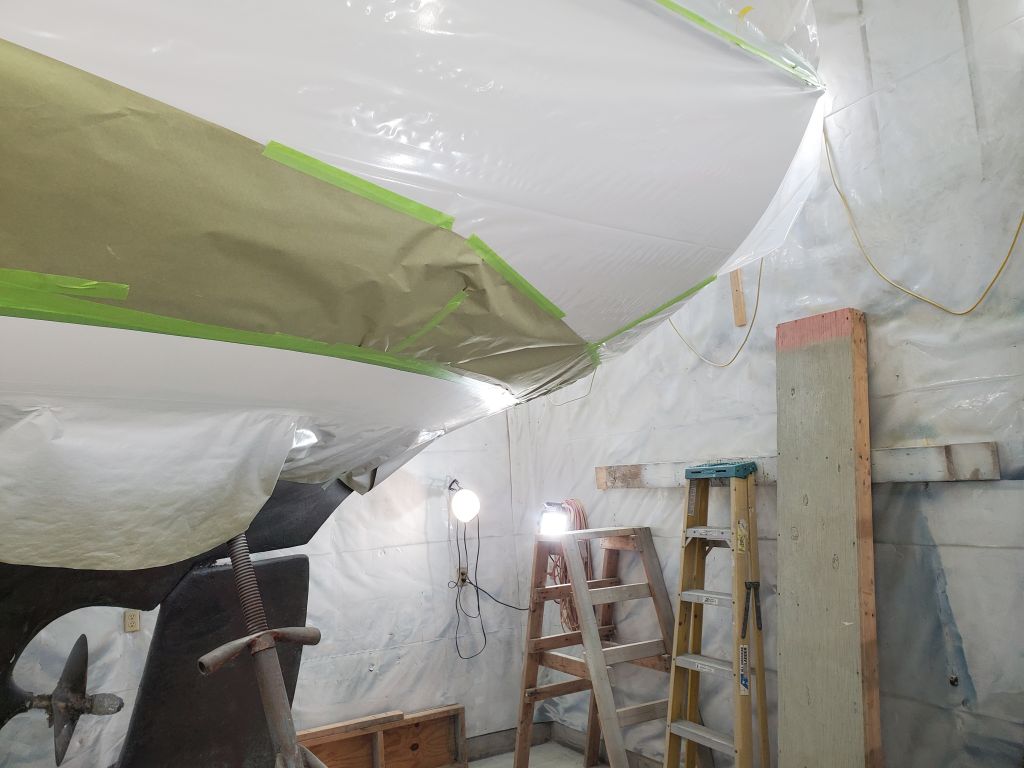
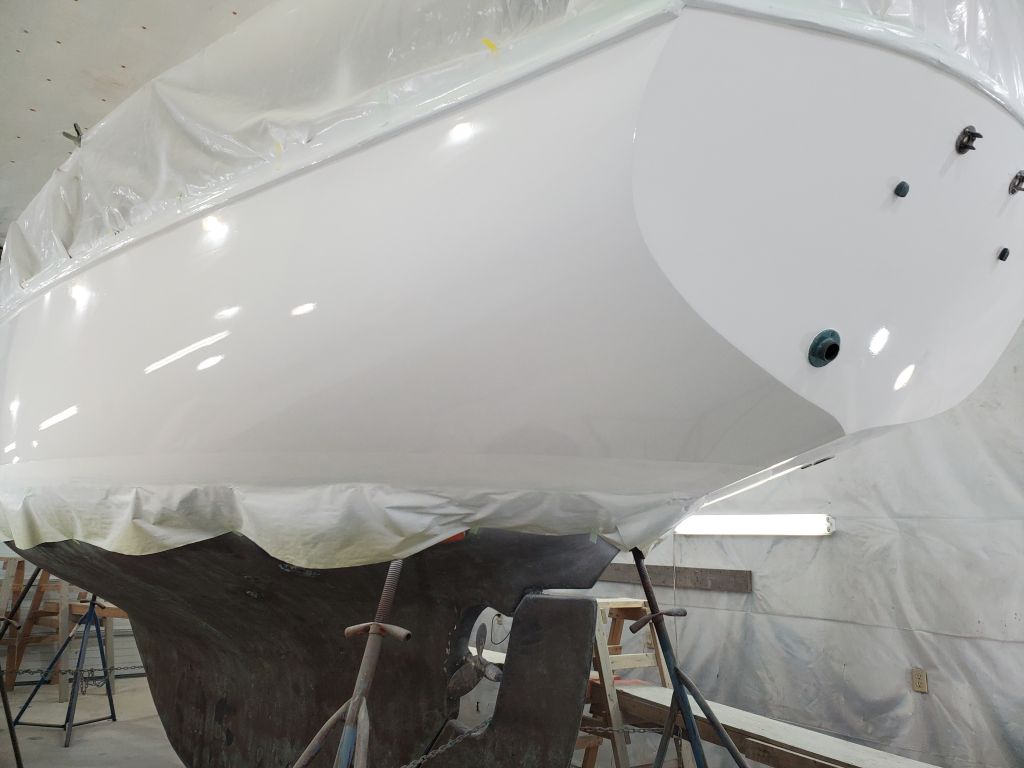
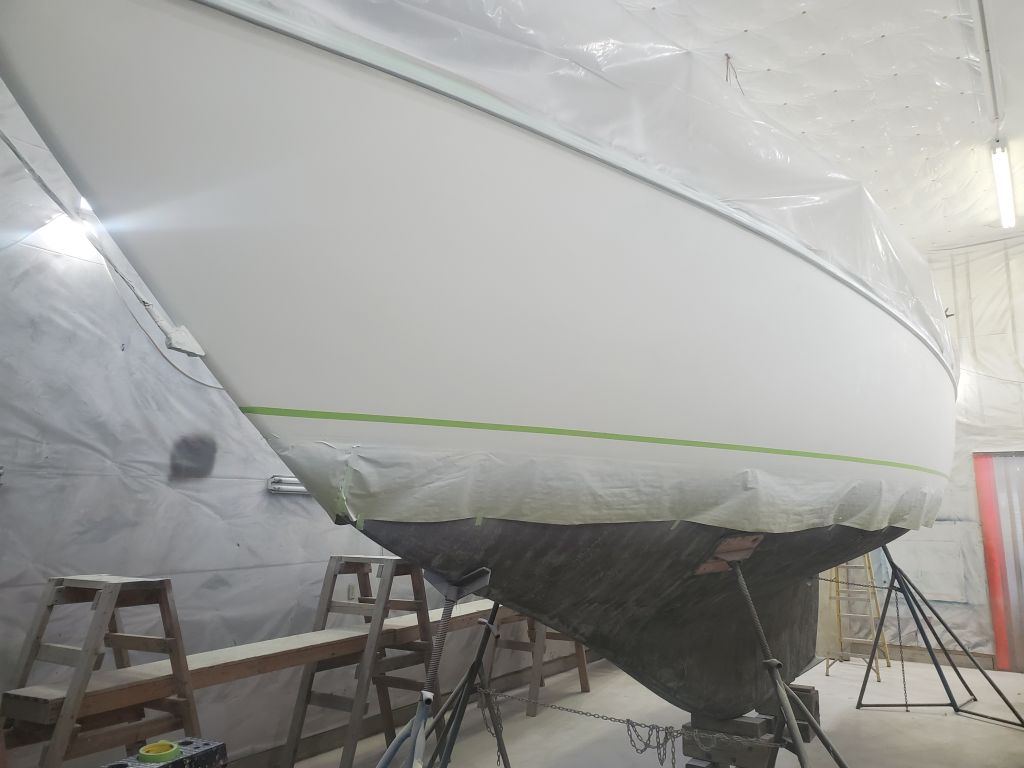
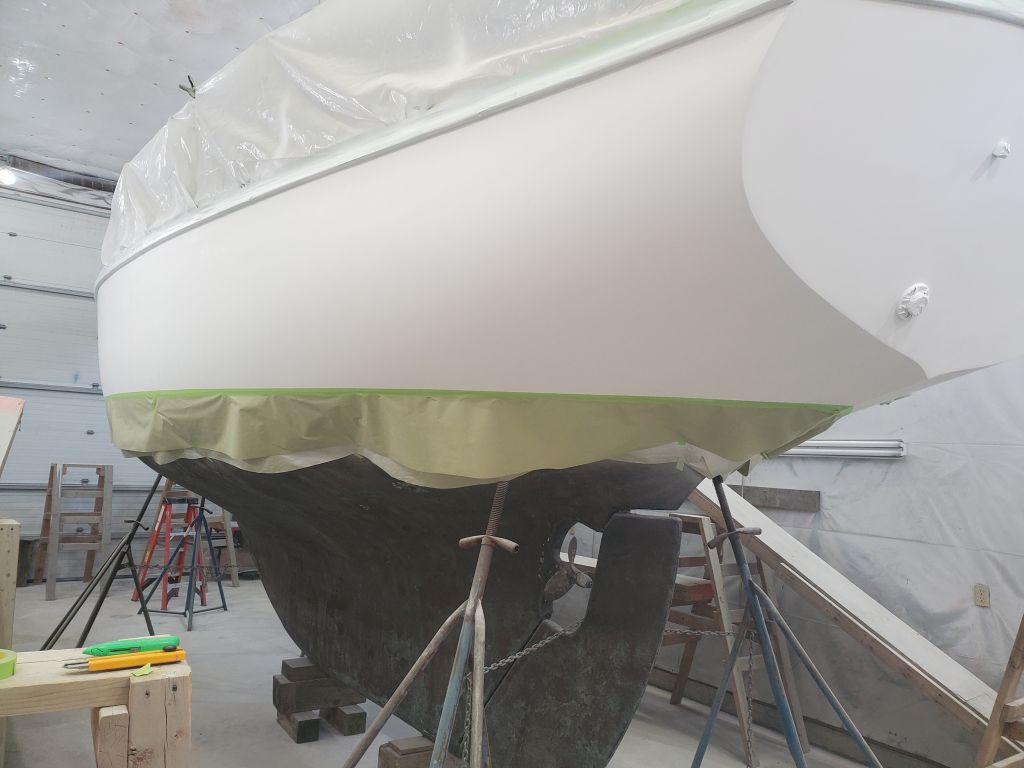
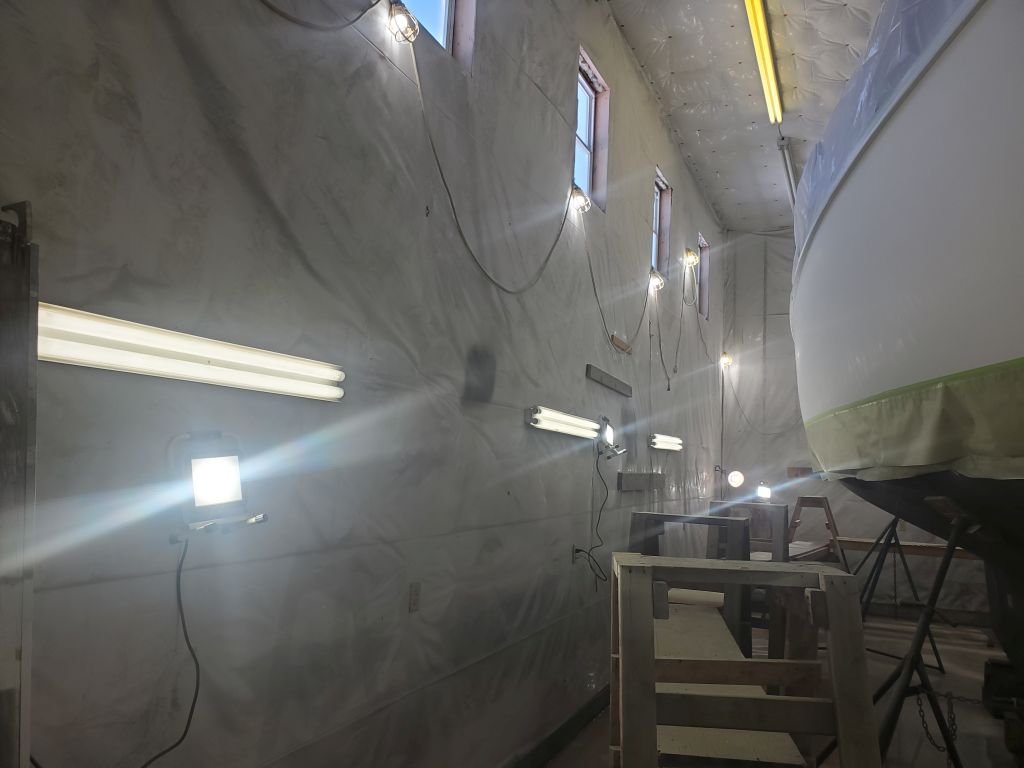
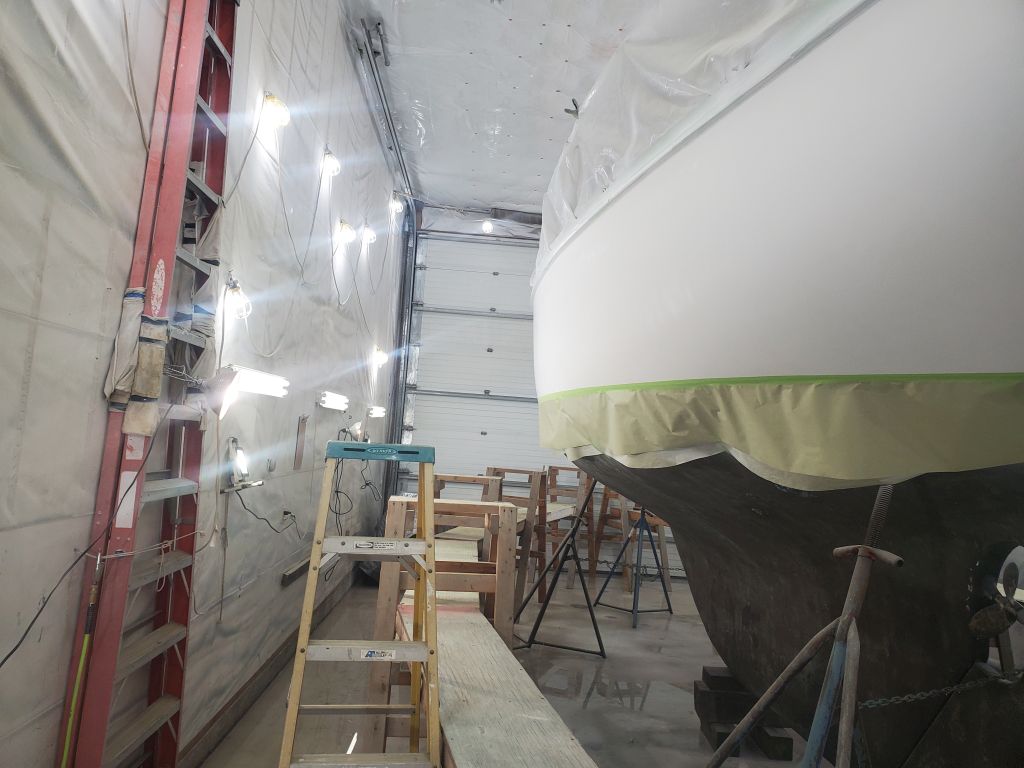
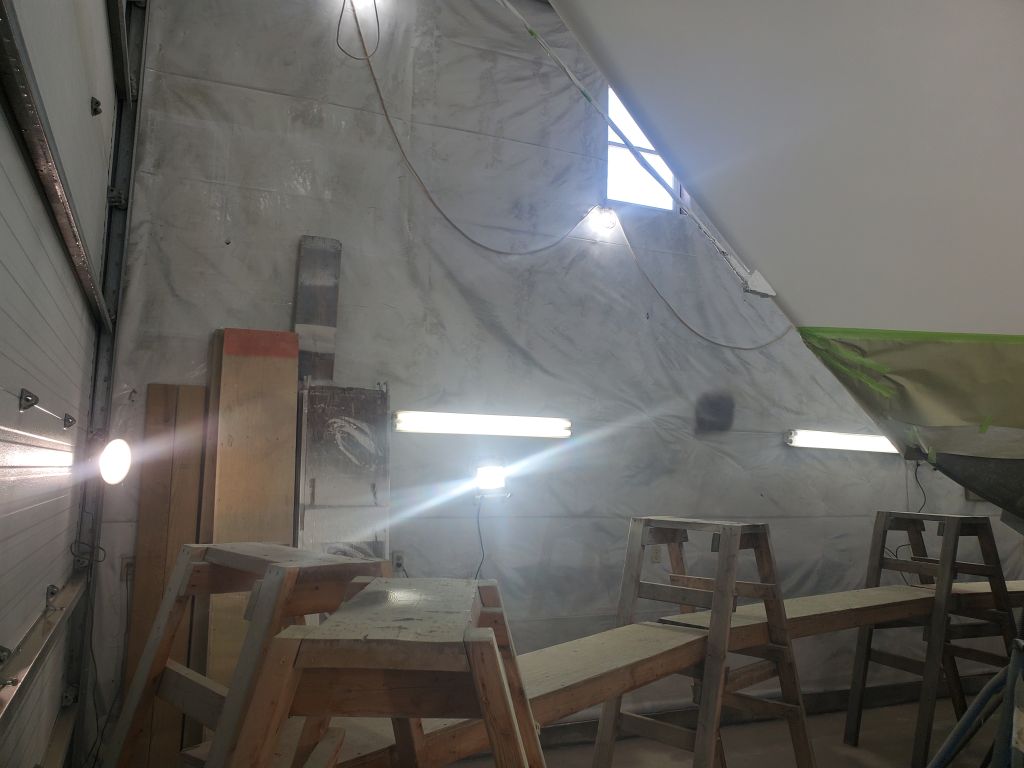
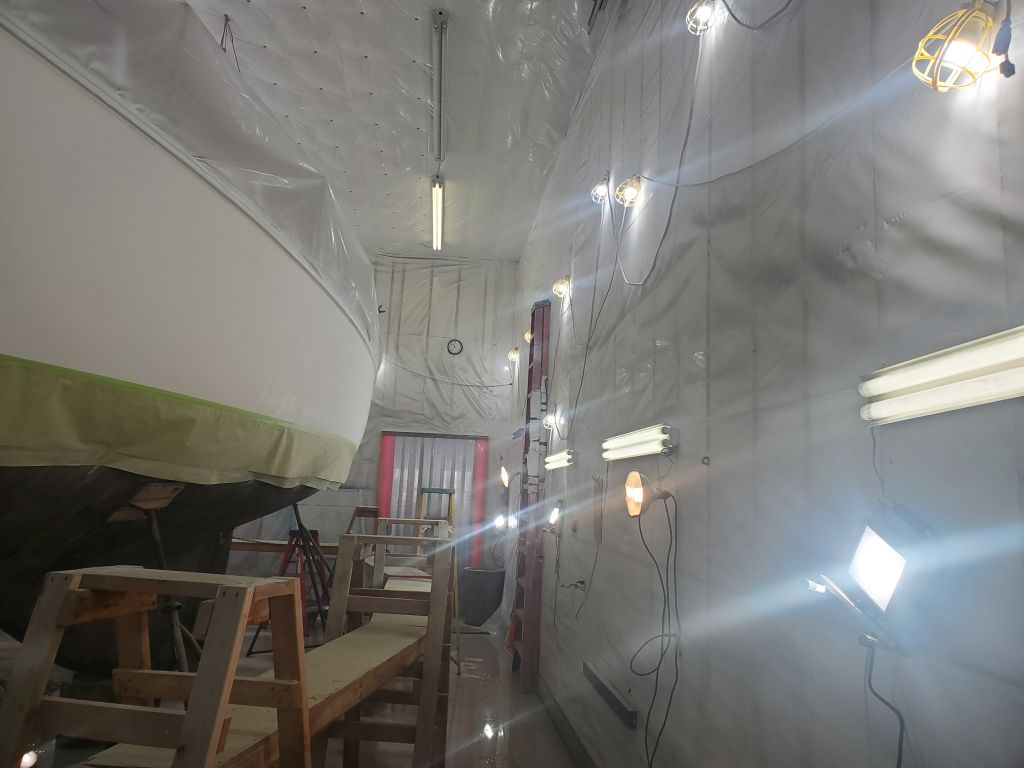
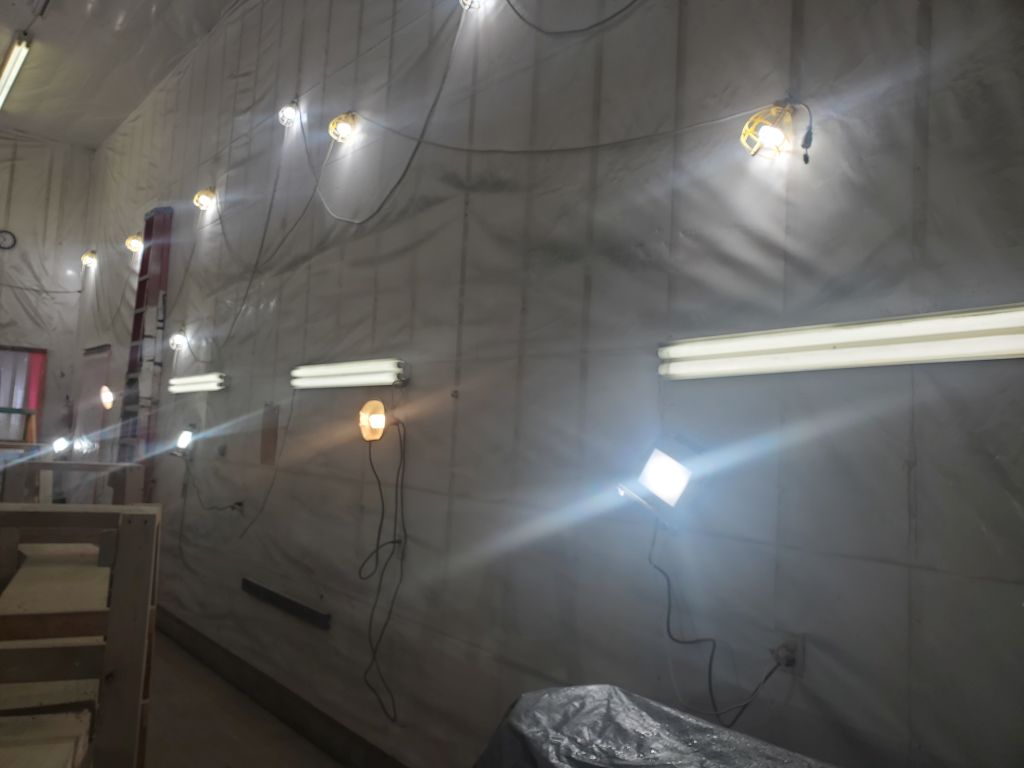
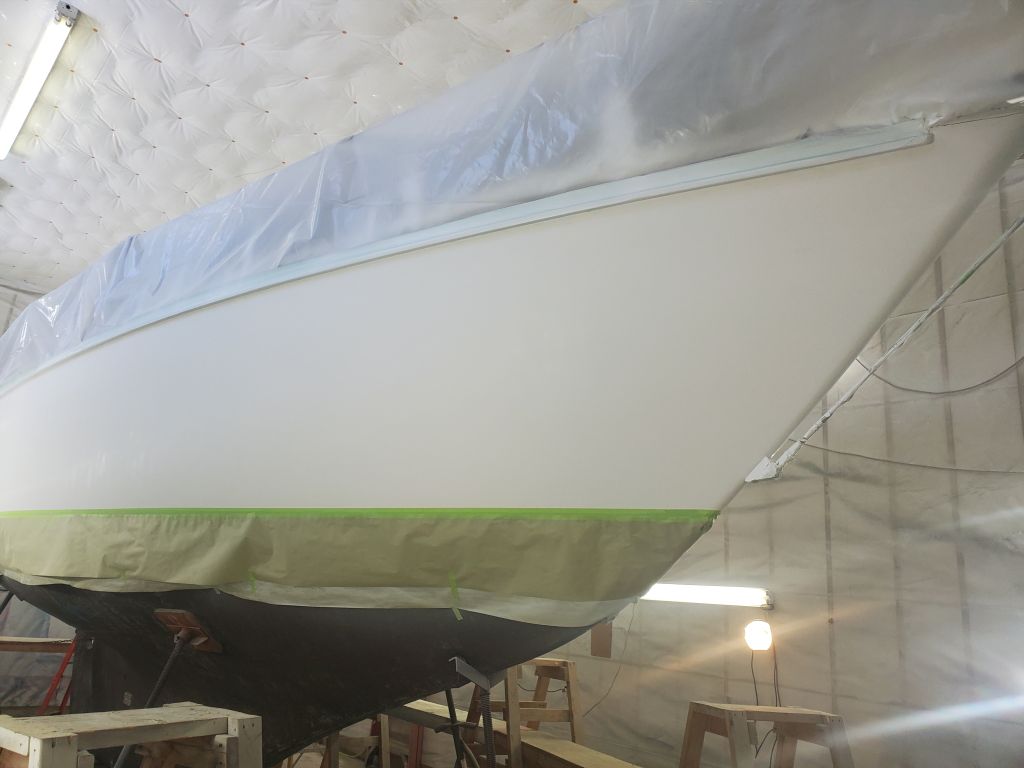
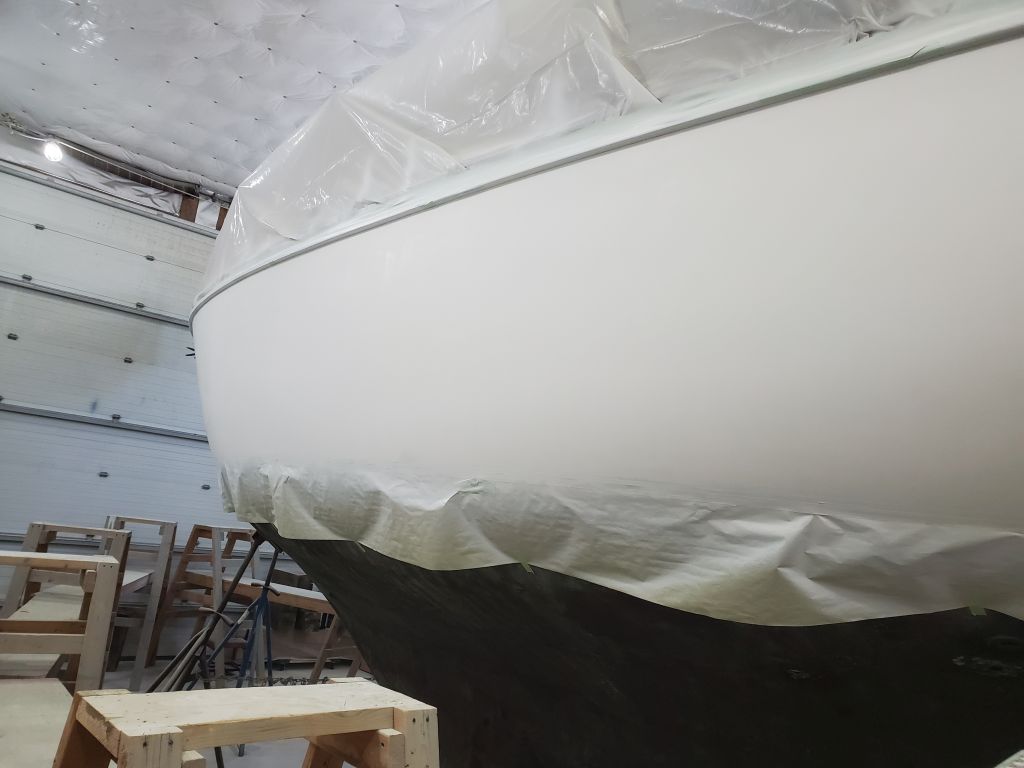
I finished up all other usual pre-painting preparations, including rinsing down the shop, preparing painting supplies, and installing a series of additional lights around the boat to spotlight it brightly and improve visibility during spraying the topcoat.  It’s virtually impossible to have enough light around the boat at this stage, as keeping tabs on where the spraygun has been becomes increasingly difficult with each new coat applied.

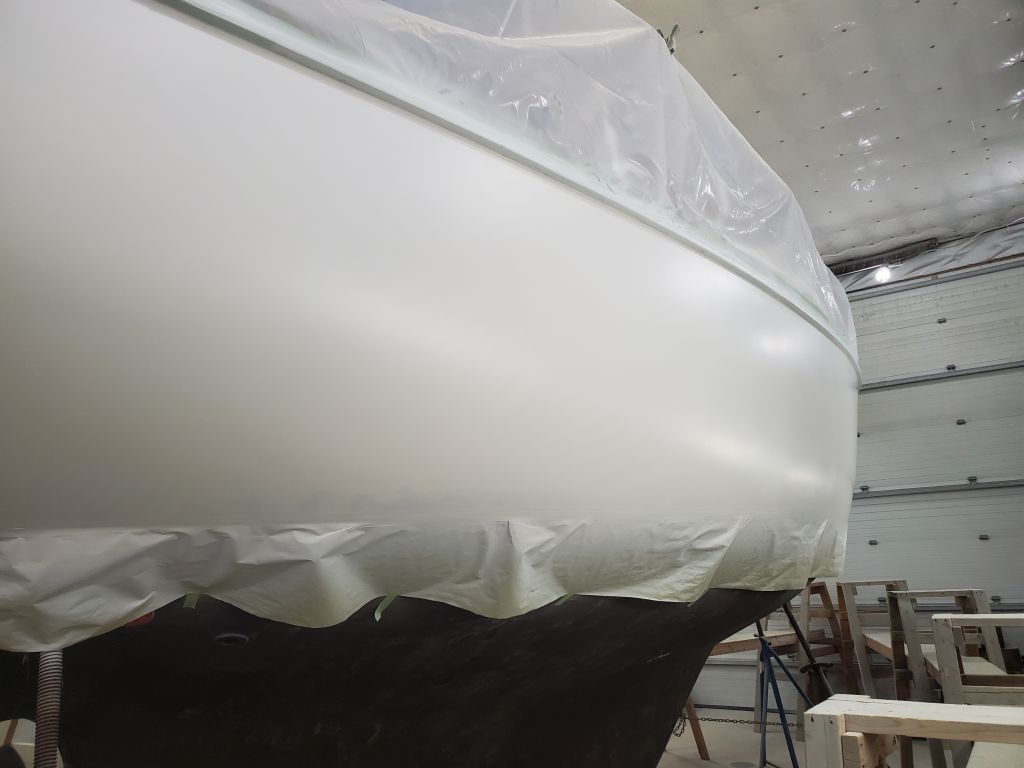
I wrapped up preparations with a final solvent-wash and tack-off.

Danusia Phase 2-34

I began the day at the controls of my sander, and sanded the hull with 320 grit to abrade the fresh primer and prepare it for the next steps.    Afterwards, I blew down the shop and plastic covering the decks to remove dust, then vacuumed and solvent-washed the hull.

Next, I needed to establish and strike the boottop, so I set up my two horizontal end beams once more, this time at a height 2-1/2″ above the waterline mark–the desired visual height of the boottop, which happened to match that which had been on the boat upon arrival.  At the stern, I first set the beam back up at waterline height, since I had no other means of determining the new boottop height and, with the beam at that level, used a steel rule positioned perpendicular to the beam to make a tick mark at the appropriate place on the centerline of the counter, 2-1/2″ above the previously-struck waterline.  Then, I raised the beam and leveled it at the new mark.  The angle of the counter was such that there was no easier or necessarily better way to establish the new mark.

At the bow, the stem angle was steeper and therefore it was easy enough to use a small square set to 2-1/2″ to make a new tick mark on the stem at the appropriate height, where I could then set up the level beam in one operation.

Now I strung a tensioned string between the beams, just tangent to and touching the hull at the maximum beam roughly amidships, and, taping it to the hull, slowly pulled the string closer to centerline at the stern bit by bit, marking the hull at each tape location, till I reached the centerline, giving me a series of tick marks from which I could tape the line.  I repeated the process on the port bow, then moved the string to the starboard side and completed the marking there just before the end of the day.  This put a crick in my neck since the boat’s waterline was above my head, and the string level at the top of the boottop was just about at my maximum reach.

Next time, I’d mask off the new line and continue with other preparations.

Danusia Phase 2-33

I had other business away from the shop later in the day, so I didn’t plan to attack the primer sanding just yet; in any case, the cold and windy weather yesterday and overnight meant that the shop had been cooler than I’d usually expect during the primer application and cure period, so it may not even have ben ready to sand (I didn’t make a test since I had no plans to sand this day anyway).

After cleaning up the spray gun, which I’d left soaking overnight, I turned to the deck hatch lens replacement.  The replacement lens had arrived, so now I used the old lens as a guide to cut the new acrylic to fit, tracing the curved corners from the old hatch onto the new.  With a scrap of the new material, I compared the color of the new lens with the old; it looked like a good match.

I dry-fit the lens in the hatch frame, where it fit with no problem.  The hatch design as original incorporated an open caulking space between the edge of the lens and the hatch frame itself, so the lens was not a tight fit.  I suppose this allowed for expansion and contraction of the parts in various conditions.

Satisfied with the fit, I spent the remainder of the day’s time cleaning up the rest of the hatch frame to rid it of old sealant.  As usual, old silicone proved challenging to remove entirely, and I relied mostly on a scraper for the job, with some coarse sandpaper to help where needed.  For the new lens installation, the actual adhesion and sealing of the lens to the frame would largely occur on the flat faying surfaces around the frame, rather than the ineffective double-stick foam tape that appeared to provide the bulk of the “seal” in the old design.  I ordered sealant designed for lens installation and would complete the job once the materials arrived.


Danusia Phase 2-32

Over the course of several hours, waiting between coats, I spray-applied three coats of white finish primer on the hull, leaving this to cure overnight.

Danusia Phase 2-31

The fine filler had enjoyed a weekend’s cure time, so now I sanded the hull once more as necessary, smoothing the filler and fine-tuning the primed surface with a finishing sander and by hand.  Afterwards, I vacuumed and solvent-washed the hull to remove dust.

I patched a few areas where the masking tape had been scarred during previous steps, then thoroughly cleaned the shop to remove and settle dust.  Once all that was done, I solvent-washed the hull a final time, this time using the proprietary solvent from the paint system.

With some time left in the afternoon, I took a look at the deck hatch frame I’d removed earlier, and tentatively dove in to see about removing the old lens for rebedding.  The lens was surrounded by a large amount of old silicone sealant, which had been ineffective at stemming leakage, apparently.  I cut out the bulk of this sealant with a knife and 5-in-1 tool, and cautiously tested the adhesion of the lens to the frame itself.  I had no problem getting the putty knife beneath, so I loosened the lens from all four edges, then, from underneath, pried the lens off the two crossbars as well, releasing the old acrylic lens intact.

The old lens had been installed over some sort of adhesive foam-based tape on all the bonding surfaces, plus the sealant around the exposed edge.  This was not only ineffective over the long term, but also left residue of the soft tape behind on all surfaces.  It was easy enough to scrape off the metal hatch frame, but would take much more time on the old plastic lens.  I soon determined that a replacement piece of acrylic for the hatch was relatively inexpensive–it was only 1/8″ thick–and that it would be far more economical, not to mention better in the end, to replace the lens with new rather than waste time meticulously removing the old bedding from the faded old lens, and I ordered the replacement.  My time could and would be better (and unavoidably) spent cleaning up the aluminum frame, which was contaminated with the old silicone and would require some work to clean up sufficiently to ensure good bonding of the new materials.    So with a bit more preliminary scraping to remove the worse of the old bedding from the hatch frame, I called it a day for now.

Danusia Phase 2-30

The high build primer had cured well overnight, and was ready for sanding.  Starting with the counter, I sanded the finish with 220 grit paper on a vibrating finishing sander.  The primer sanded easily with no issues, and the work went quickly as I continued from the port quarter up to the bow, then around the bow and back down the starboard side to complete the work.

I vacuumed the hull and solvent-washed, then went around the hull closely and applied 2-part fine fairing material where necessary, mainly to deal with some sanding scratches beneath the rubrail and some of the hardware, as well as a good-will sort of skim over some of the long-ago-repaired work on the port bow.  Most of this filling was probably not that critical overall, but the benefit of the high build primer is that it helps highlight even the smallest interruptions in an otherwise smooth and fair surface, giving me the opportunity to fine-tune things just a bit.  This was good timing as it would give the filler the entire weekend to fully cure for easy sanding next time.

Danusia Phase 2-29

Over the course of several hours first thing in the morning, I spray-applied three coats of high build primer on the hull, leaving it to cure overnight.

Danusia Phase 2-28

During the morning, I finished up the list of chores required to prepare for high-build application.  This included touching up the hull sanding in a few places, mainly the stem and transom around the hardware, then preparing and setting up spray equipment and hoses, paint supplies, and so forth.  I finished up with a final solvent wash on the hull, this  time using the proprietary solvent from the paint system.

I like to do my spray painting only first thing in the morning for various reasons, so I never start part-way through a day, and I needed the overnight to raise the temperature in the shop to painting level anyway.  So I turned to other things for the remainder of the day.

Older posts Newer posts