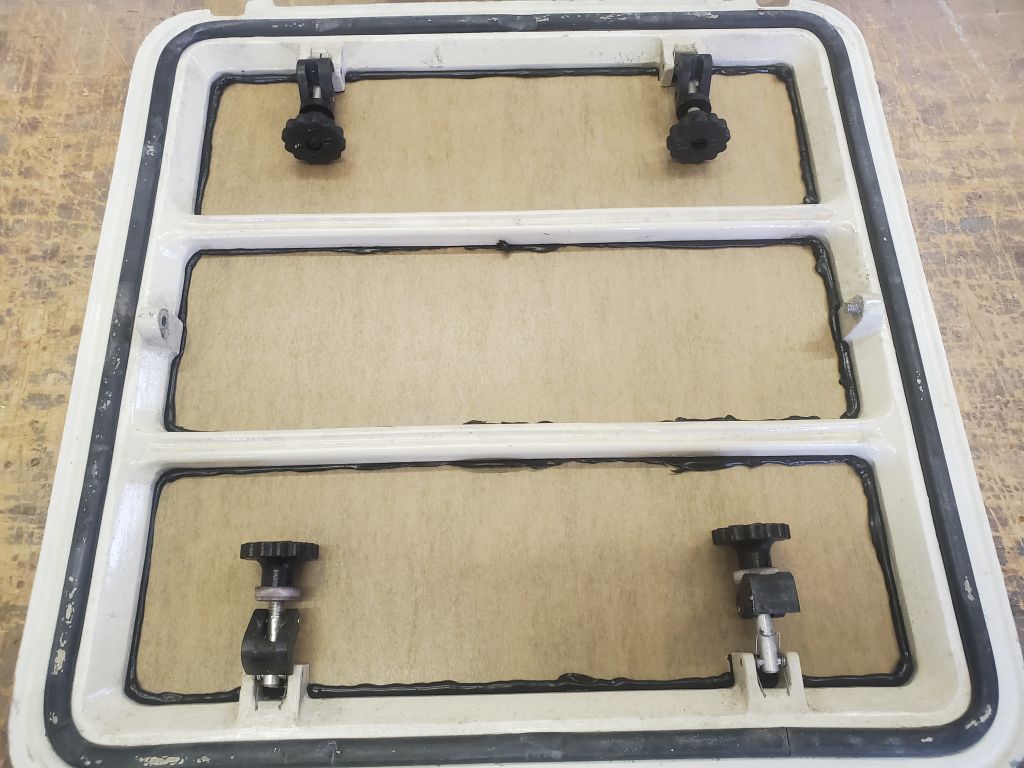
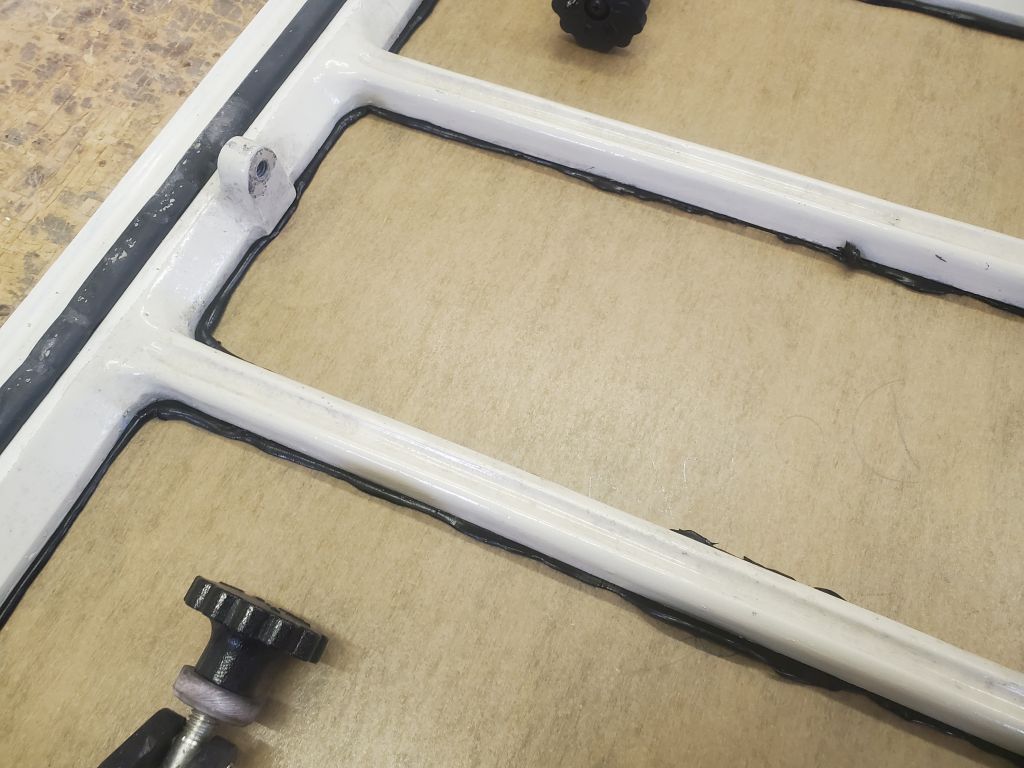
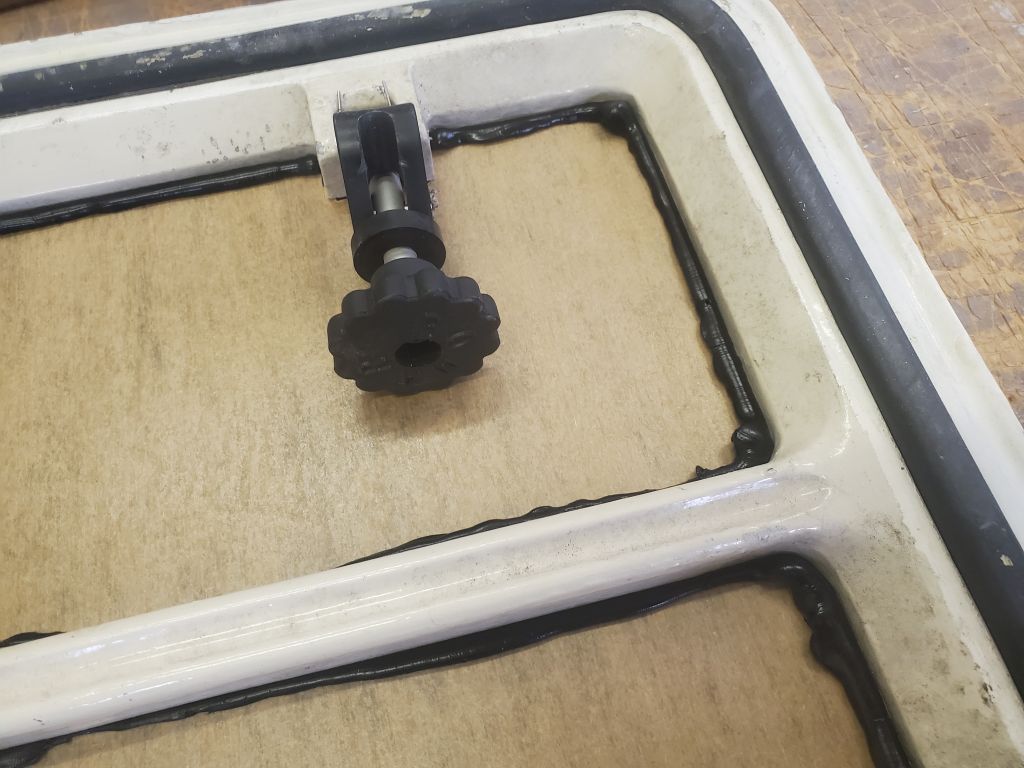
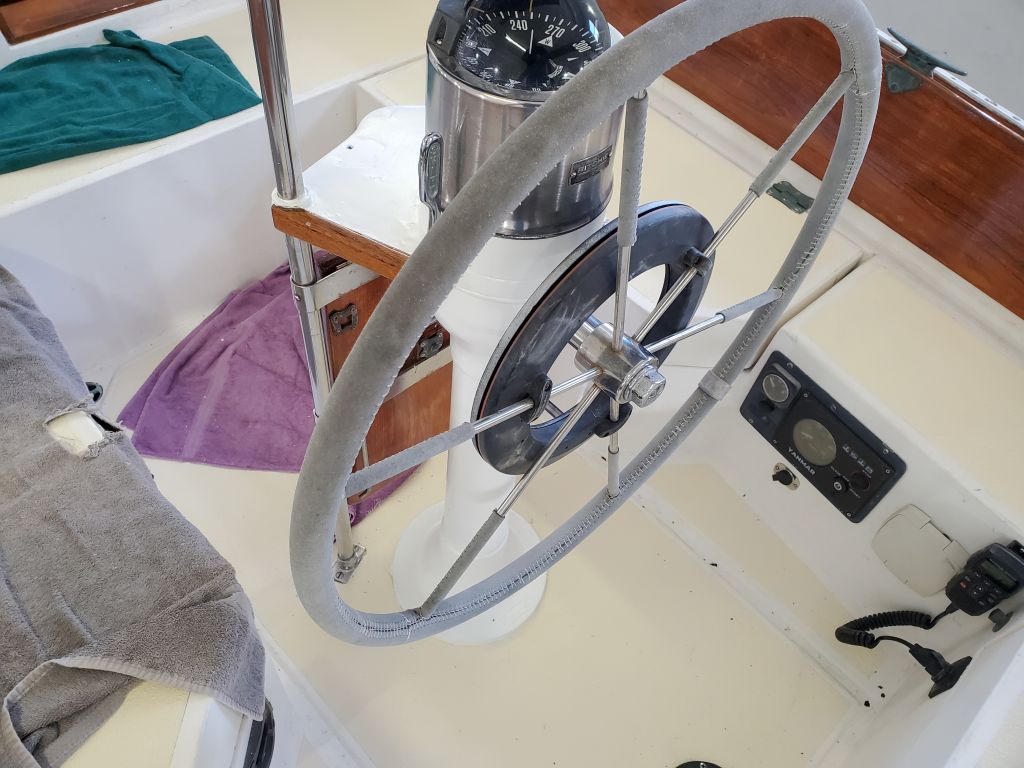
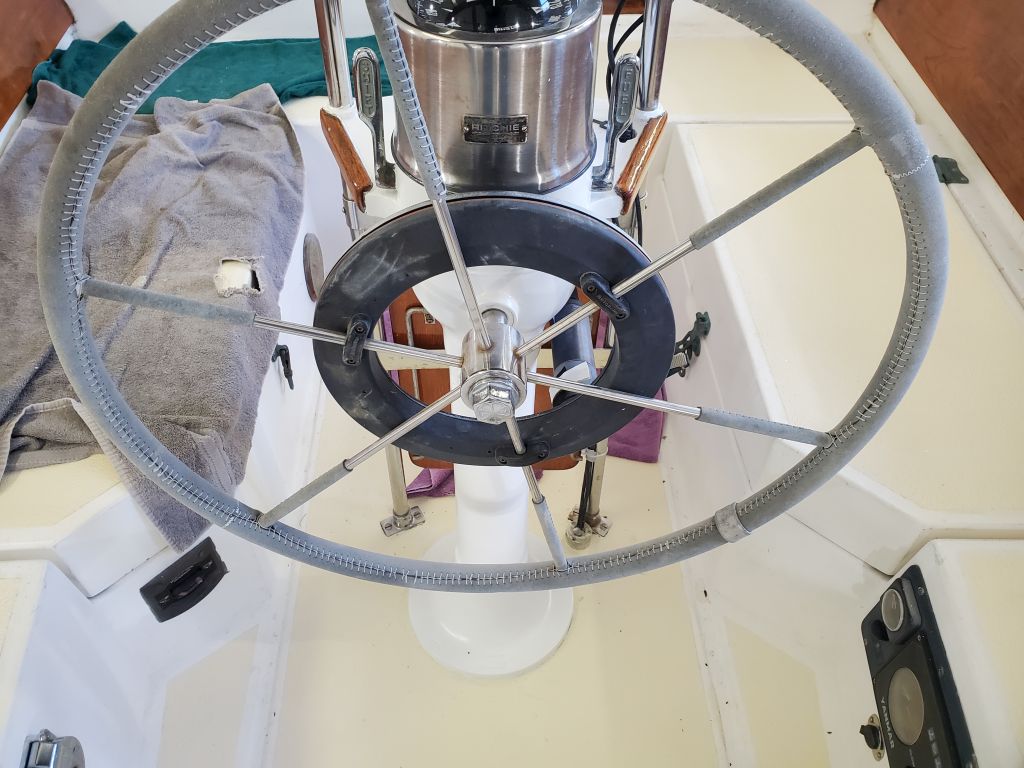
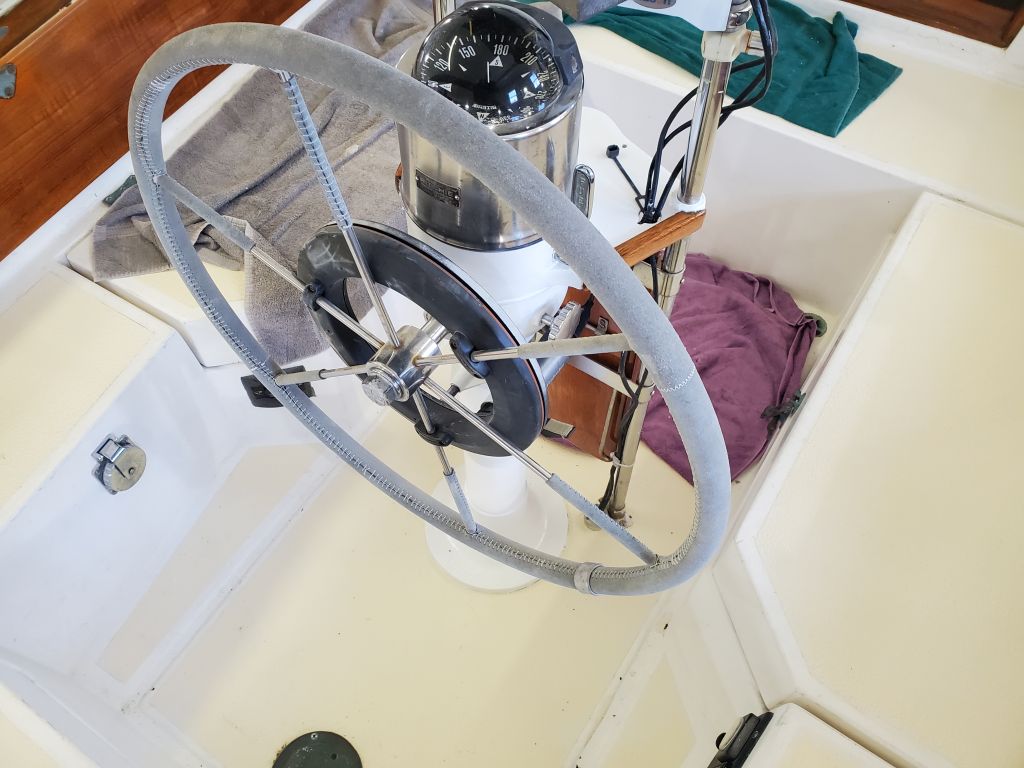
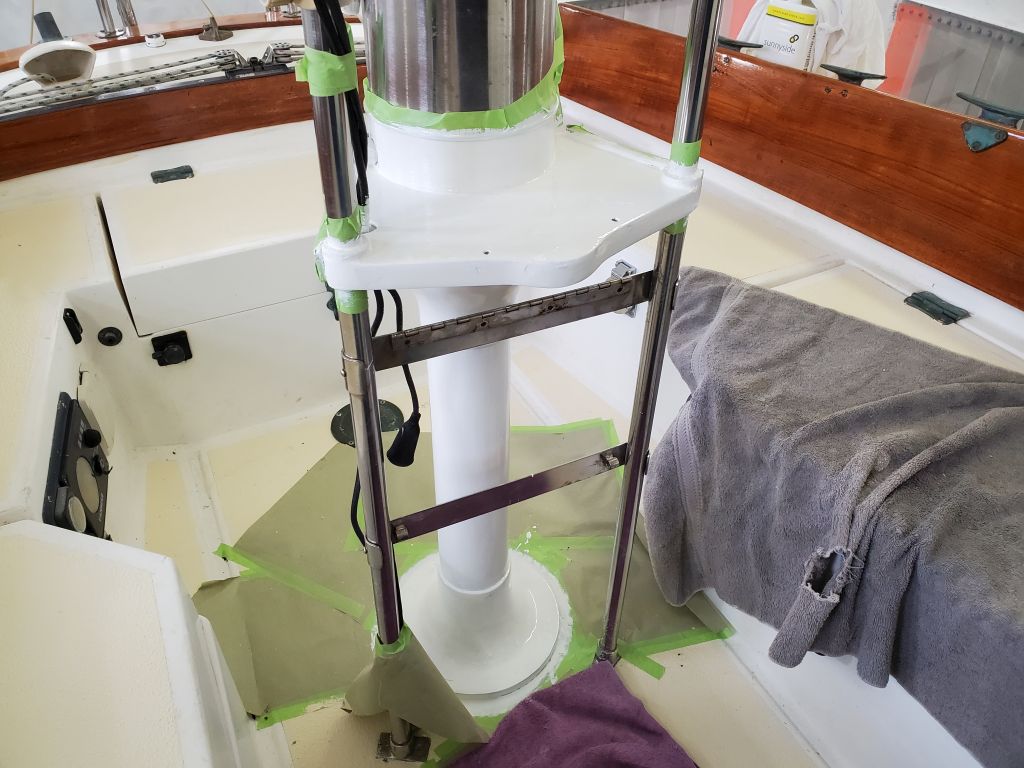
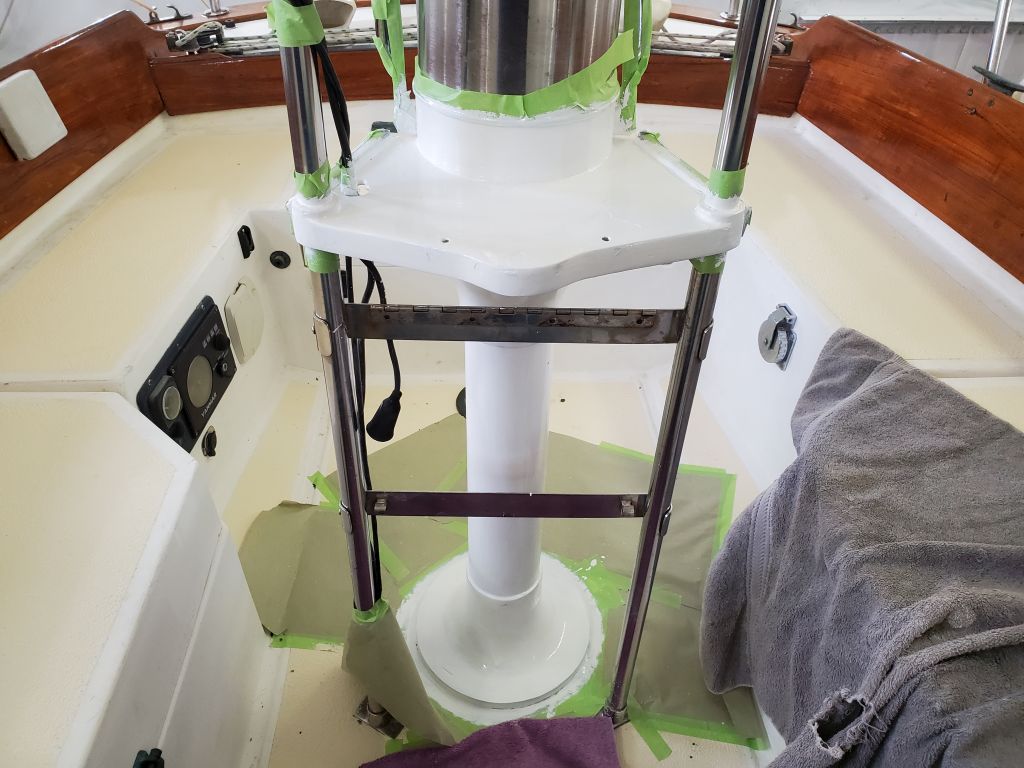
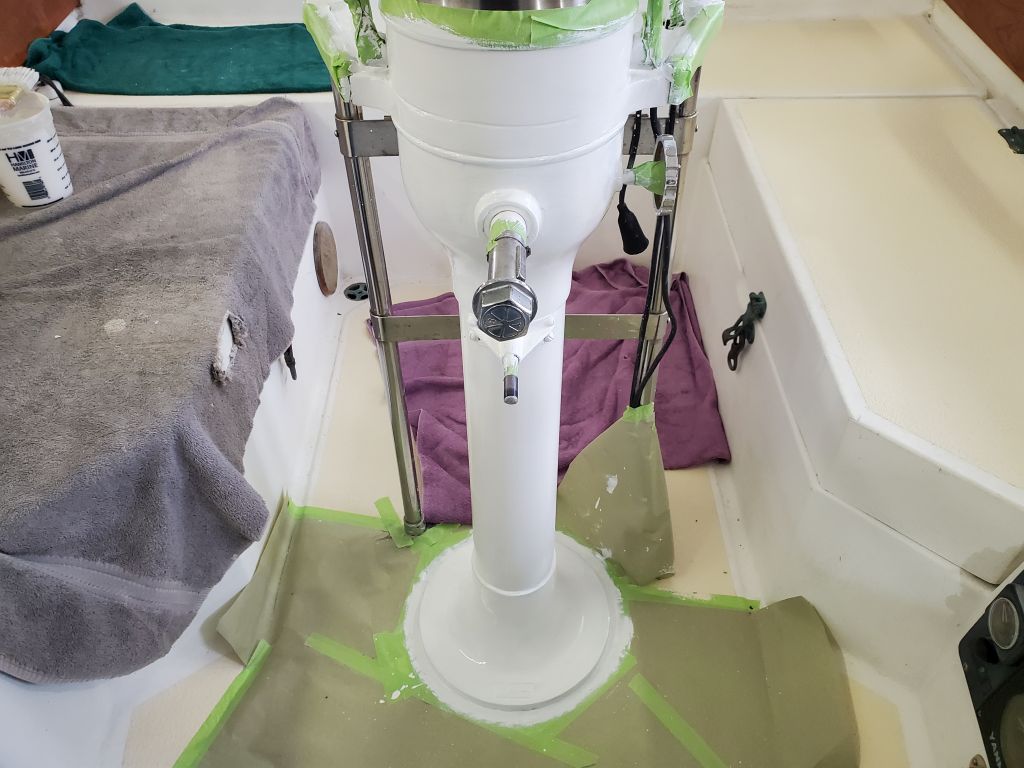
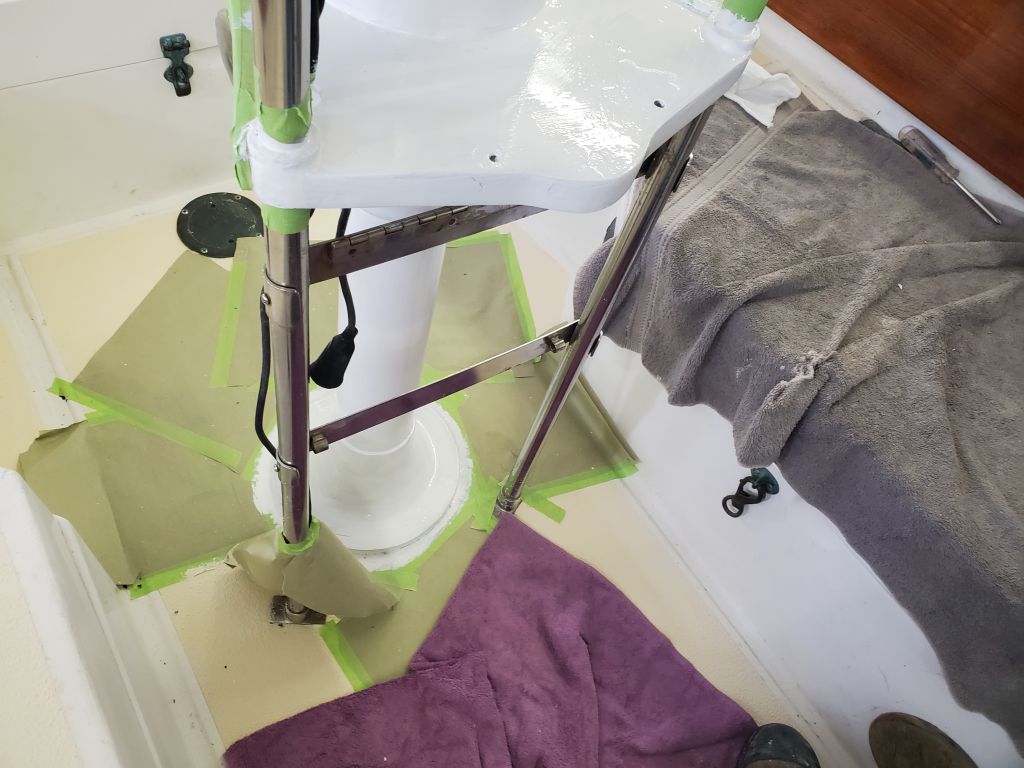
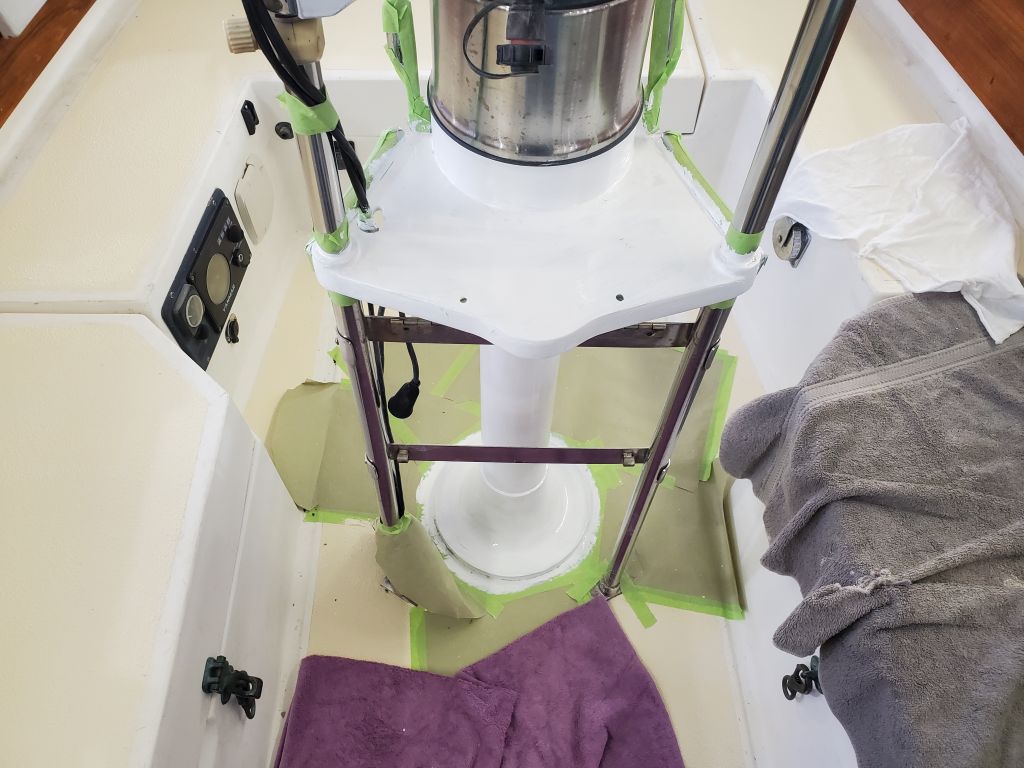
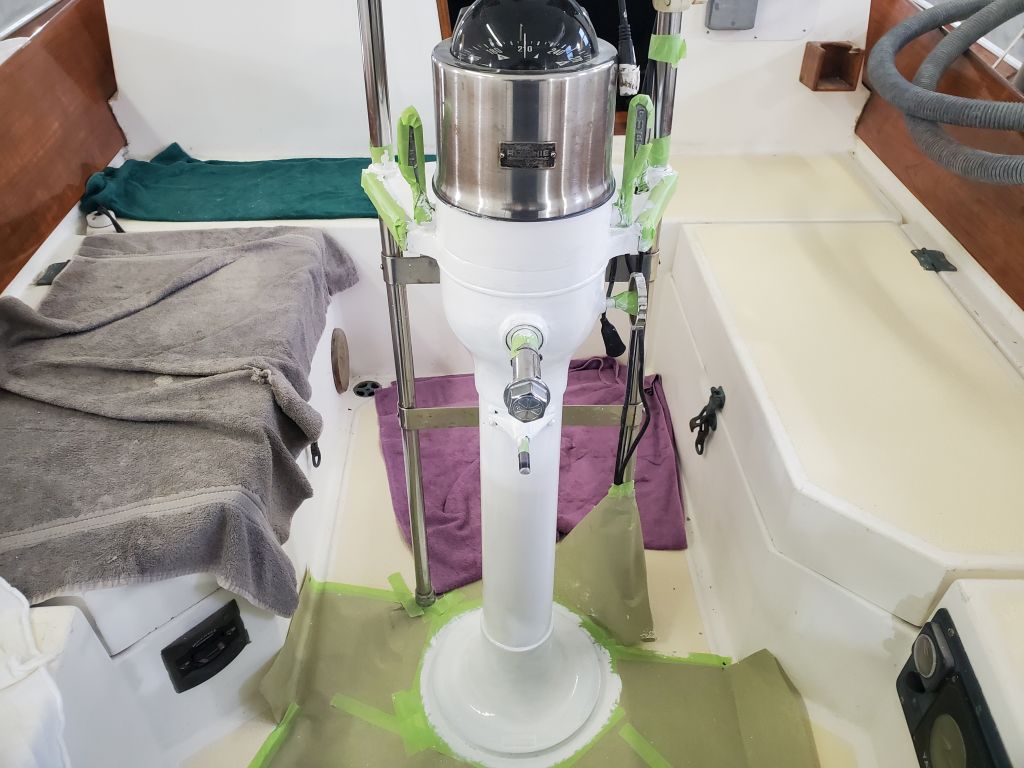
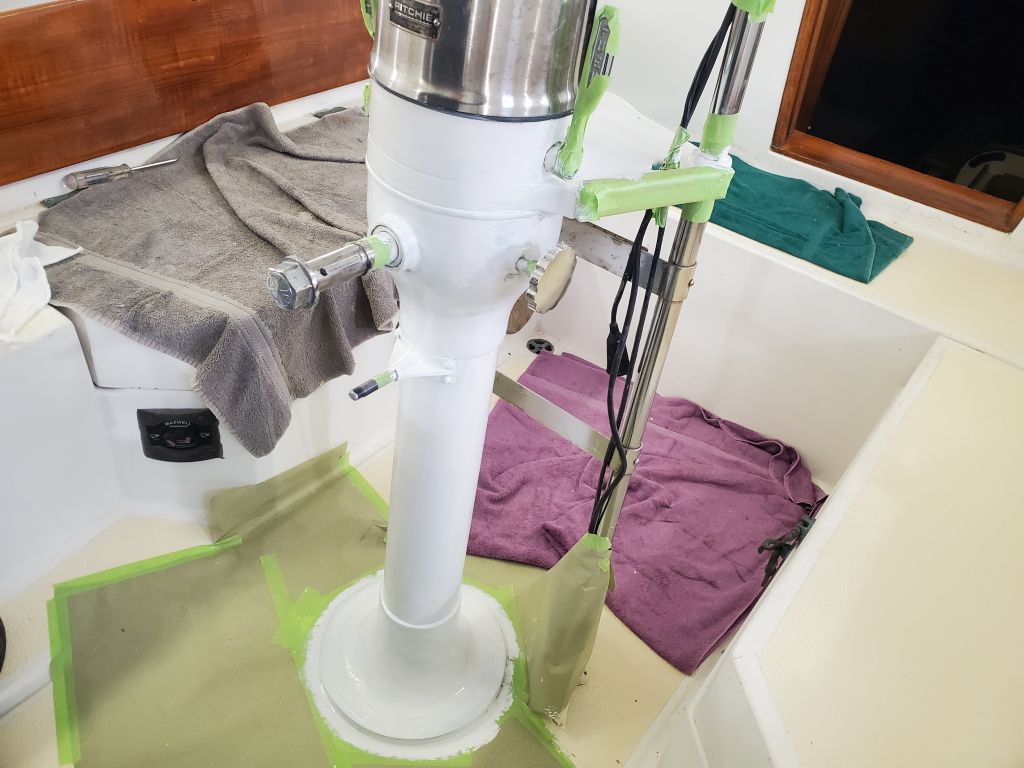
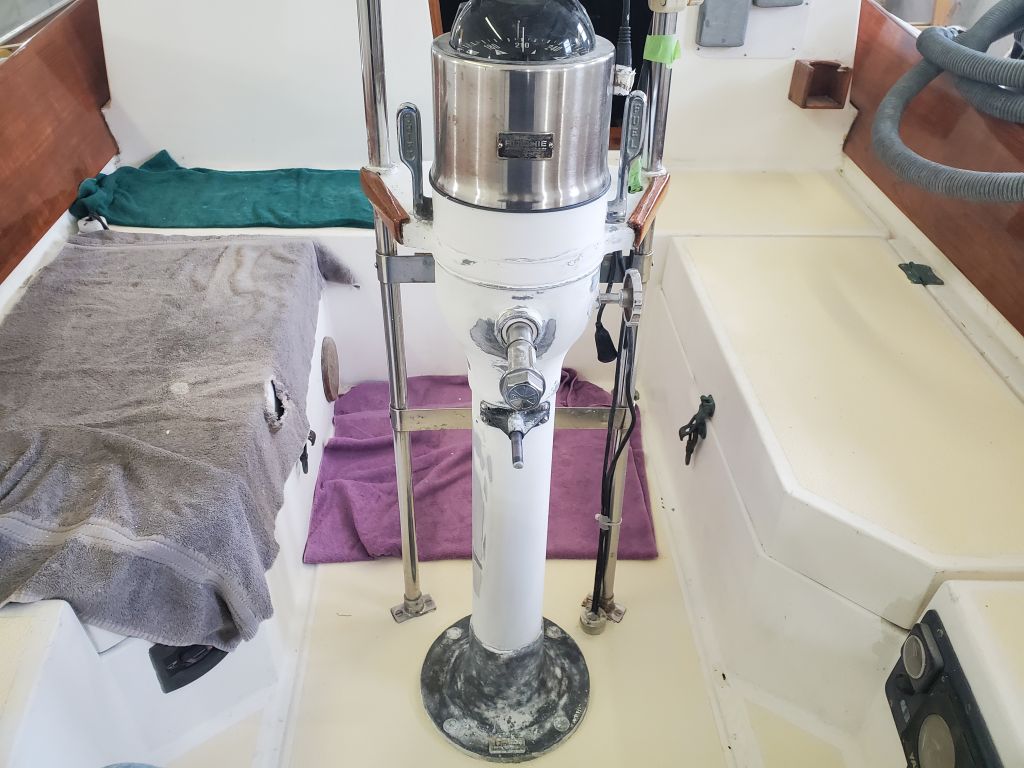
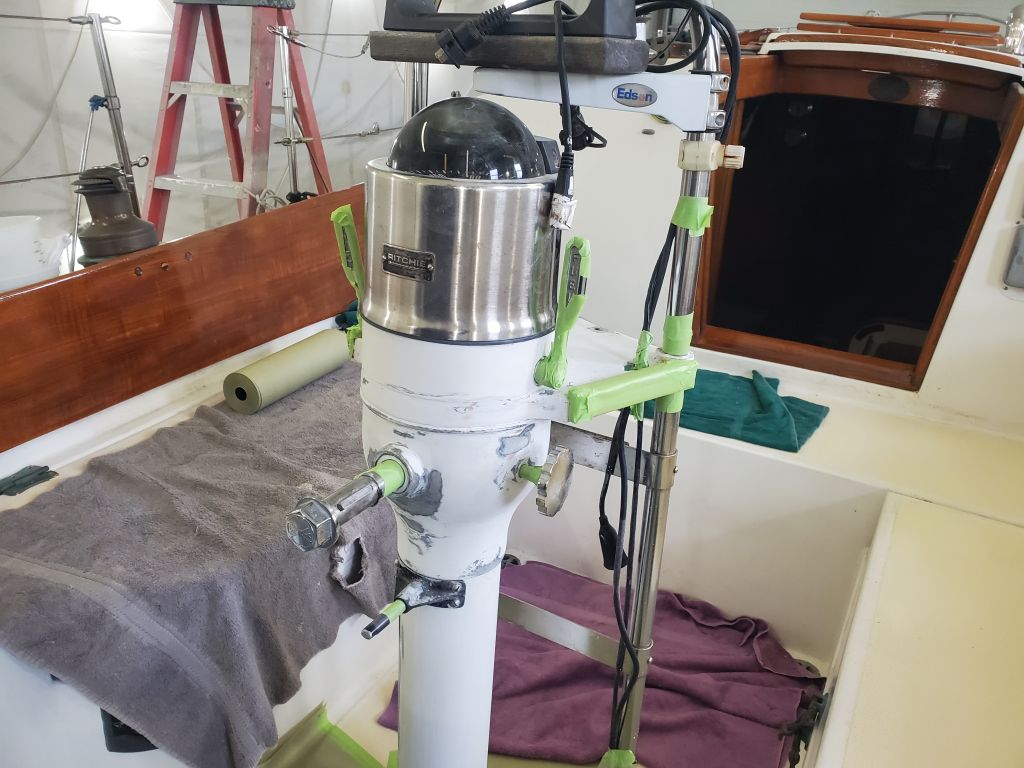
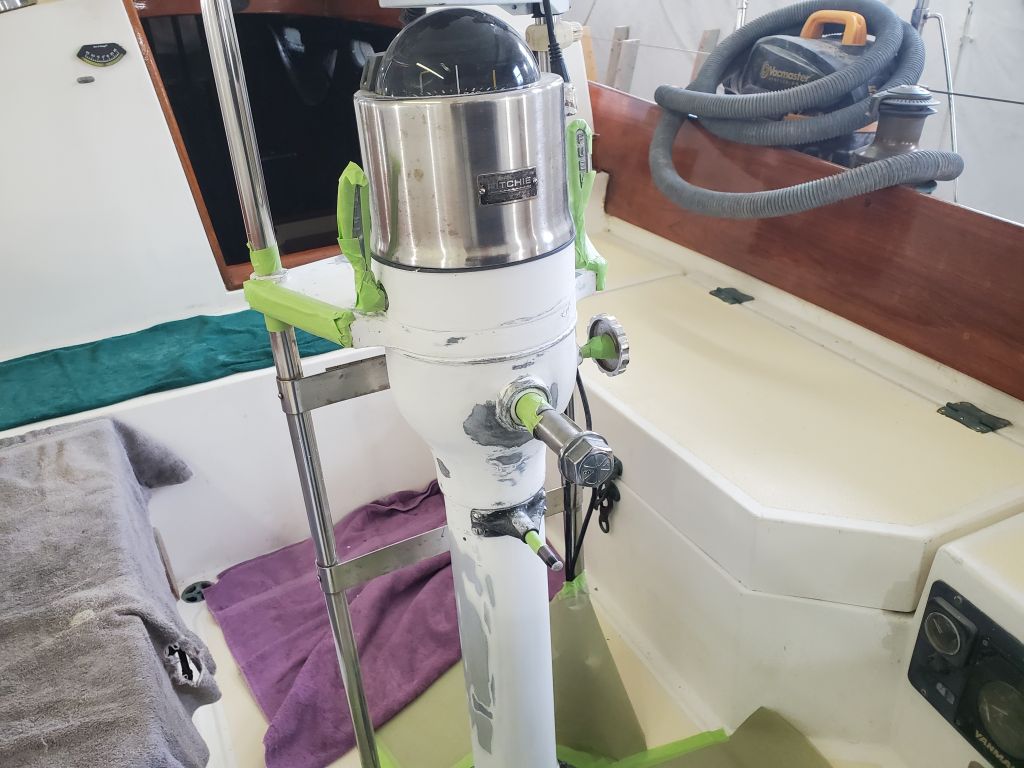
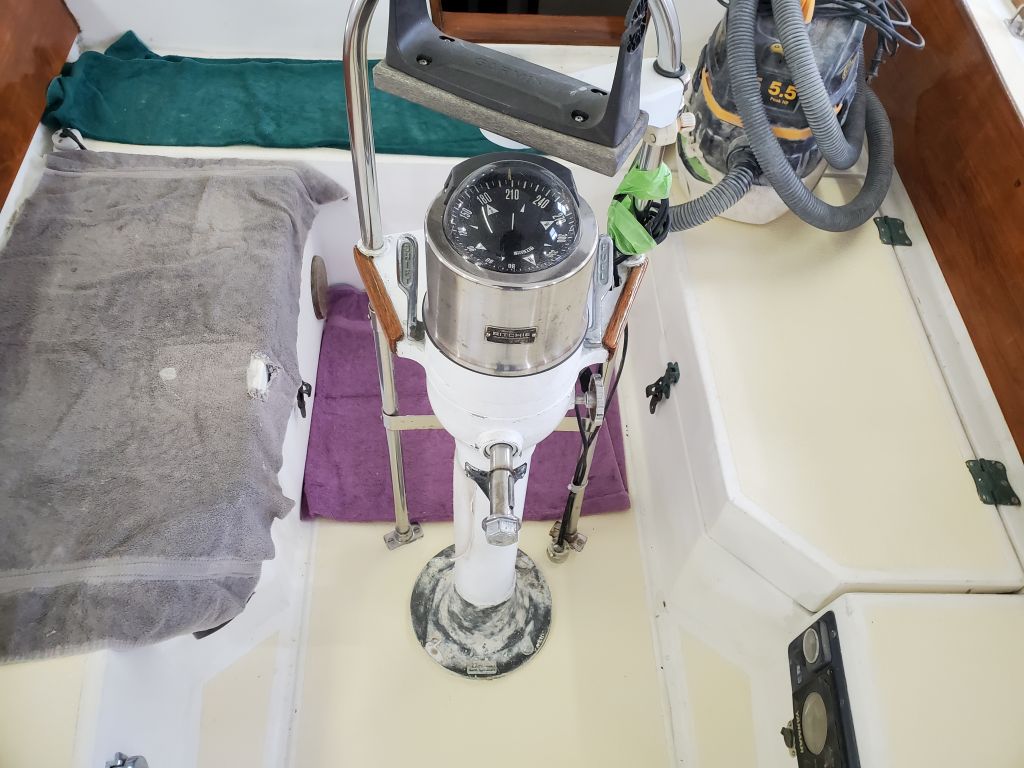
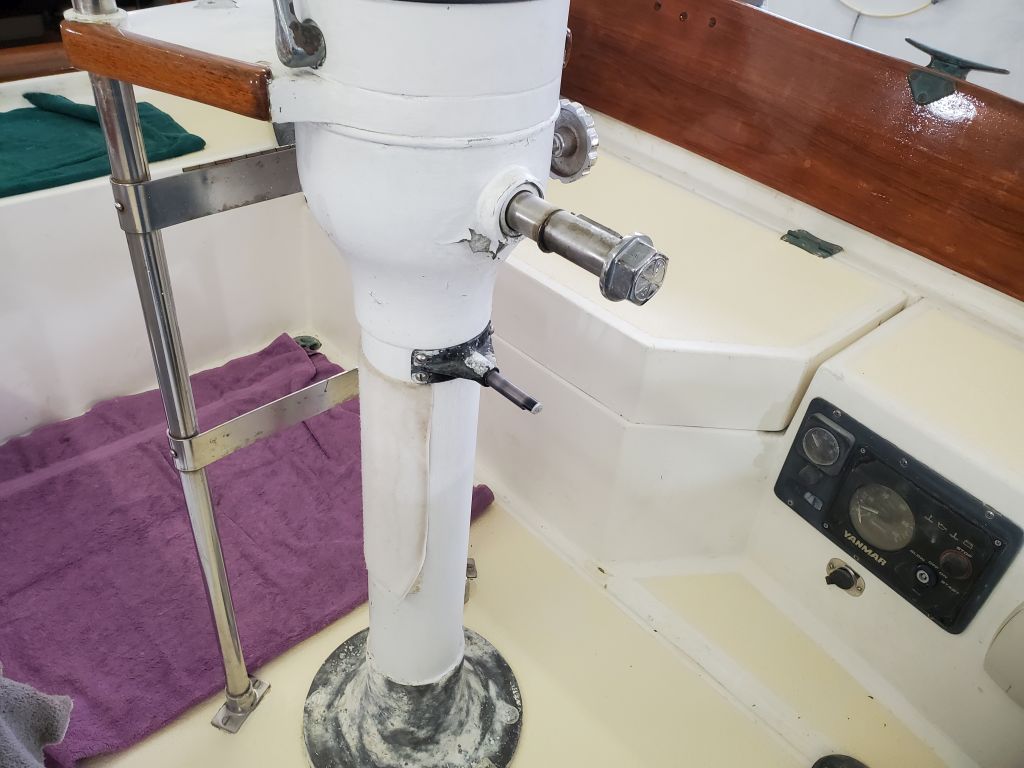
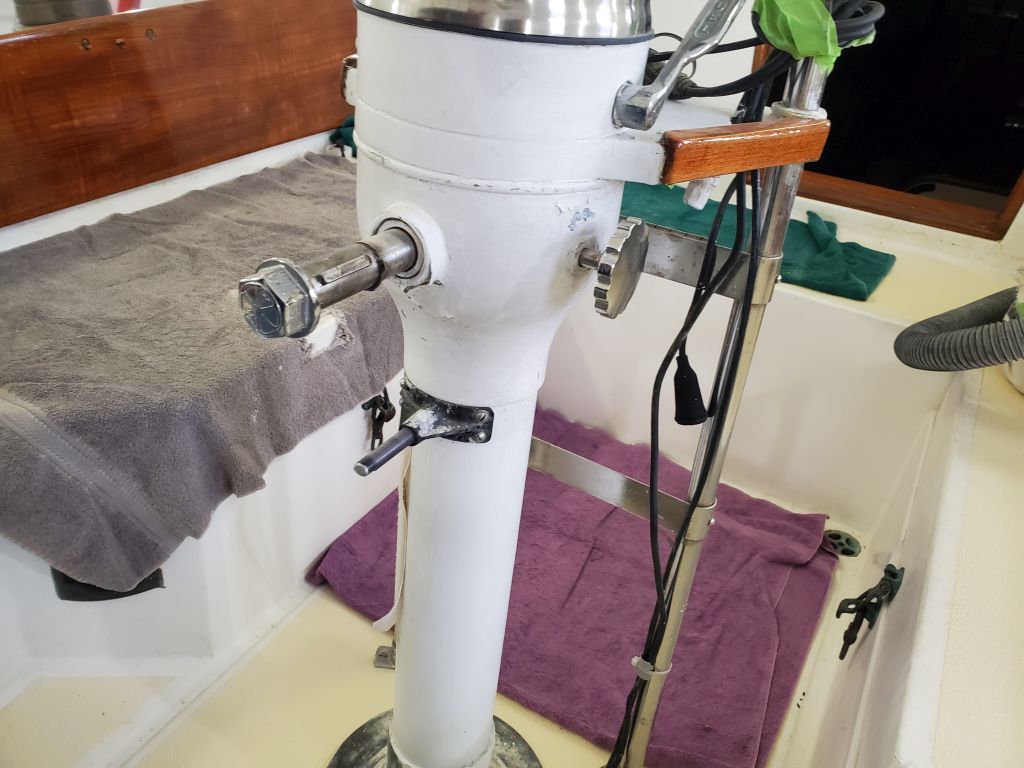
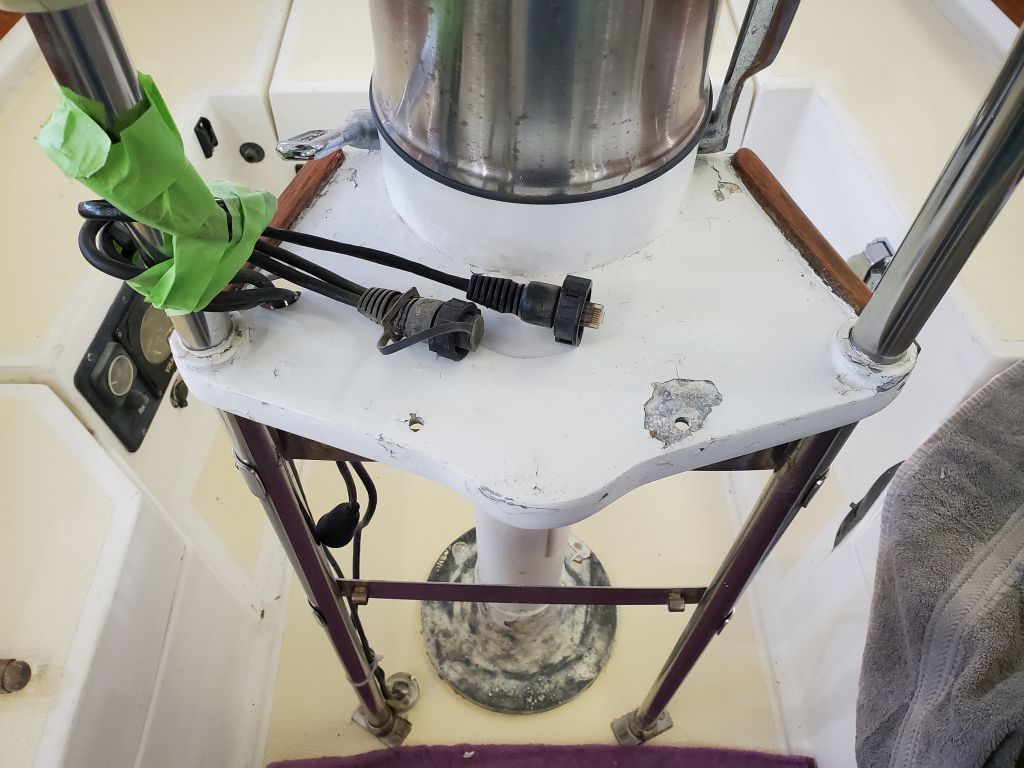
With the pedestal recoating complete, I removed all the masking, then reassembled the pedestal with the steering wheel and cockpit table to complete the related work.
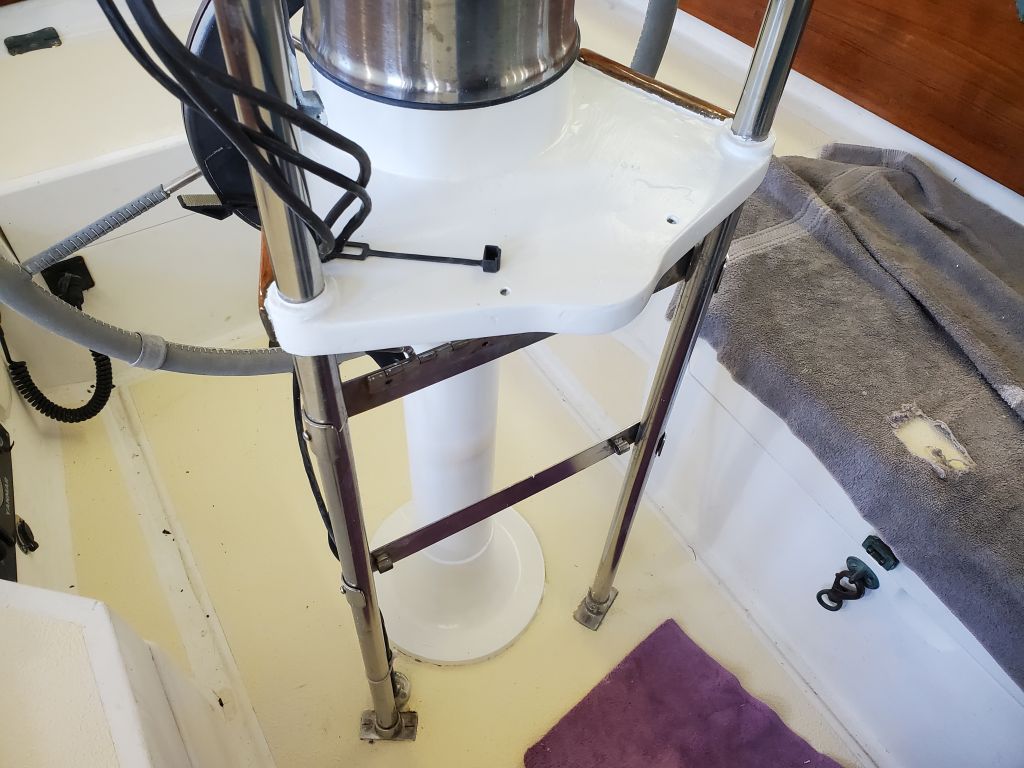
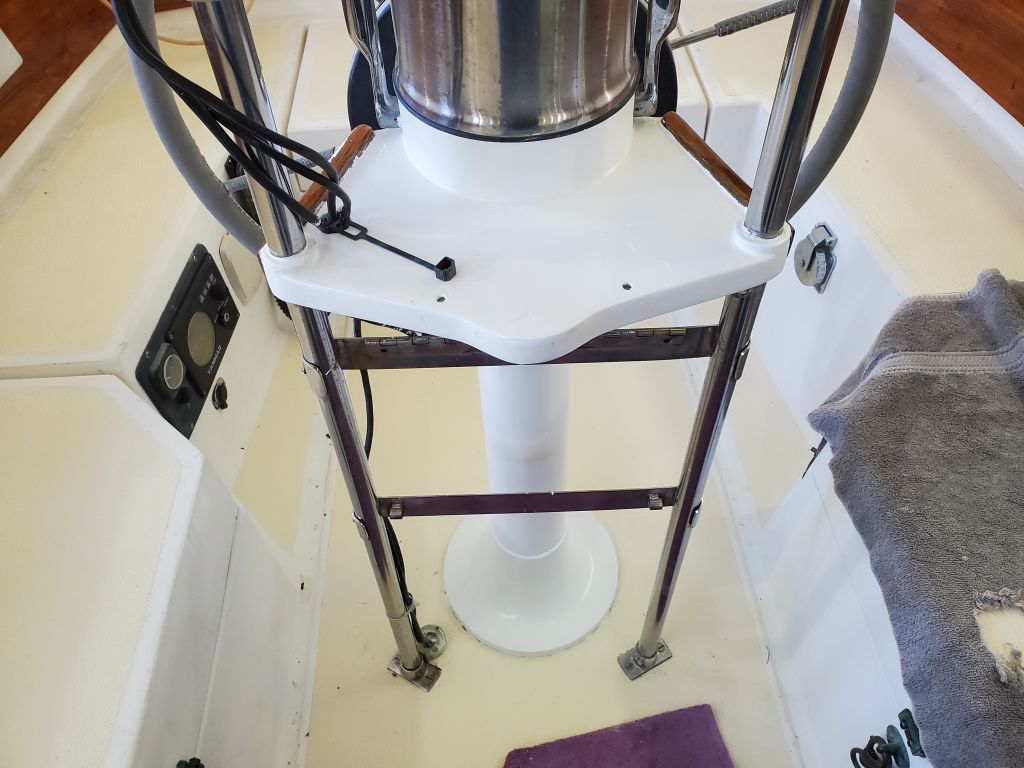
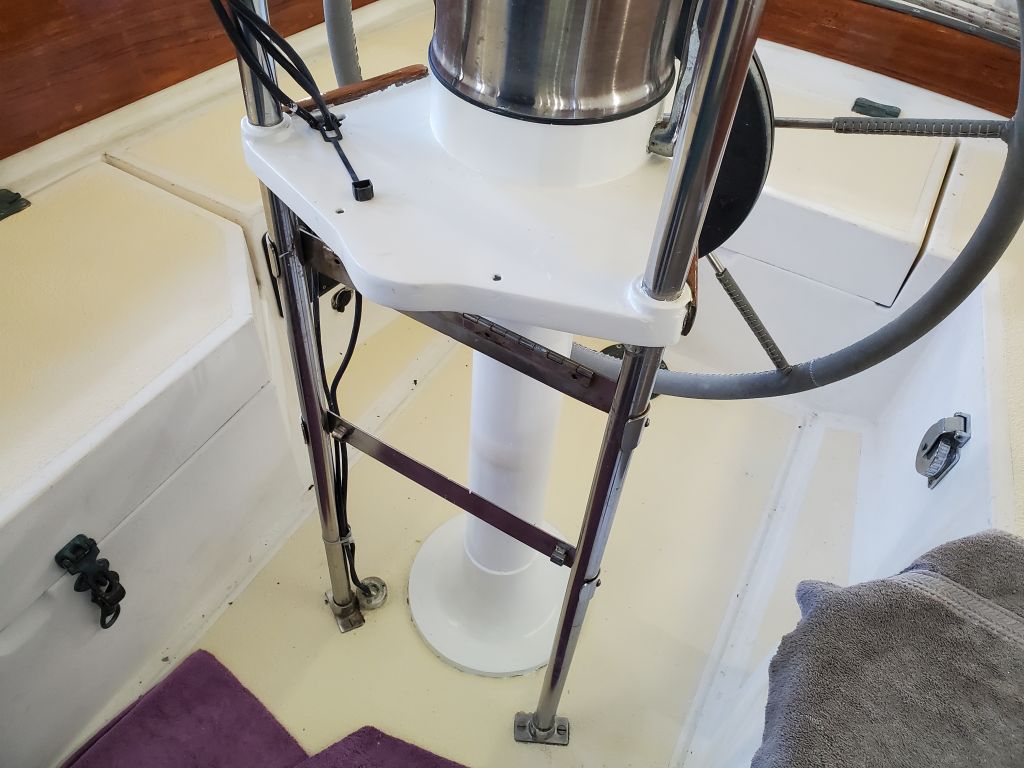


With the pedestal recoating complete, I removed all the masking, then reassembled the pedestal with the steering wheel and cockpit table to complete the related work.
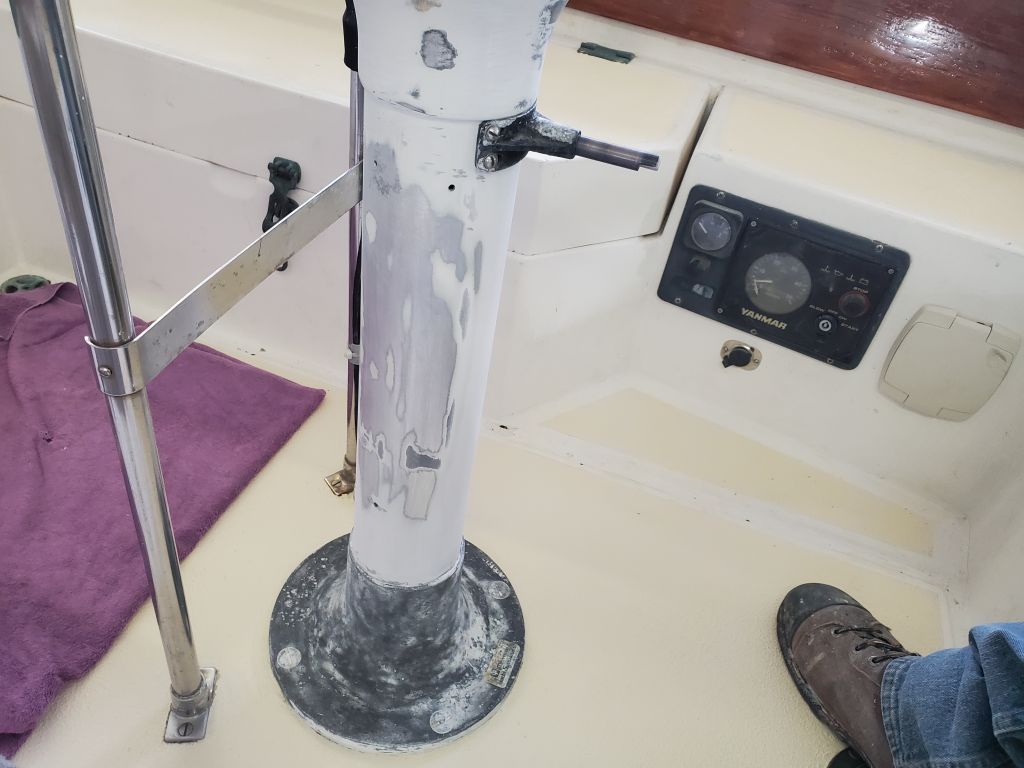
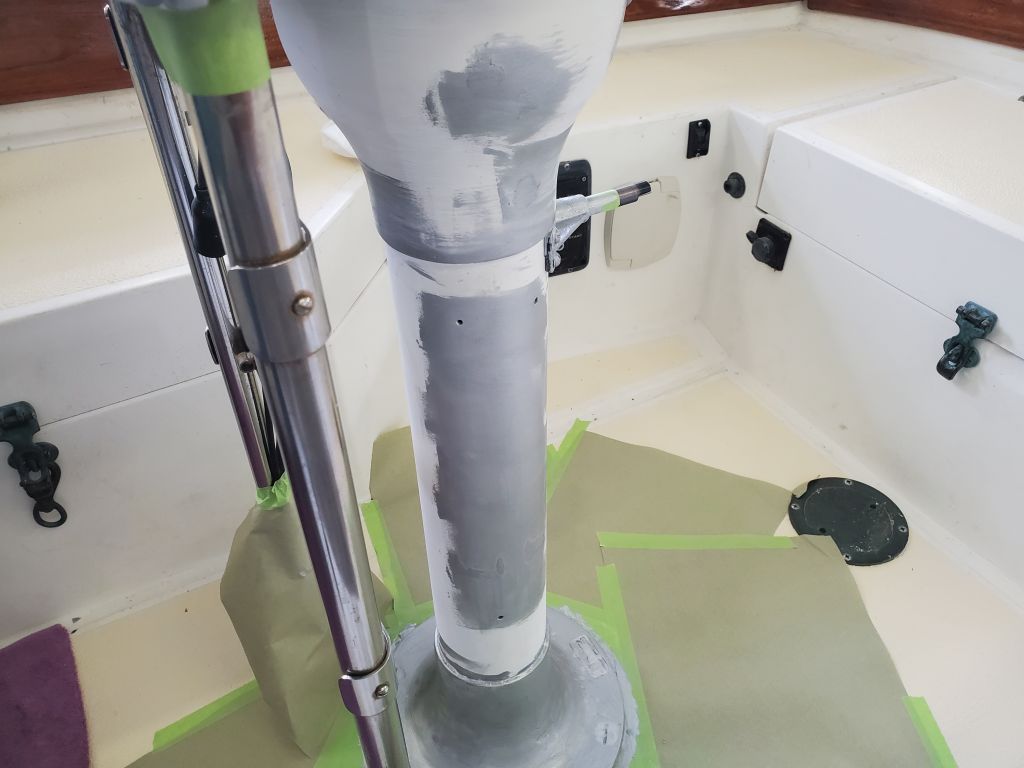
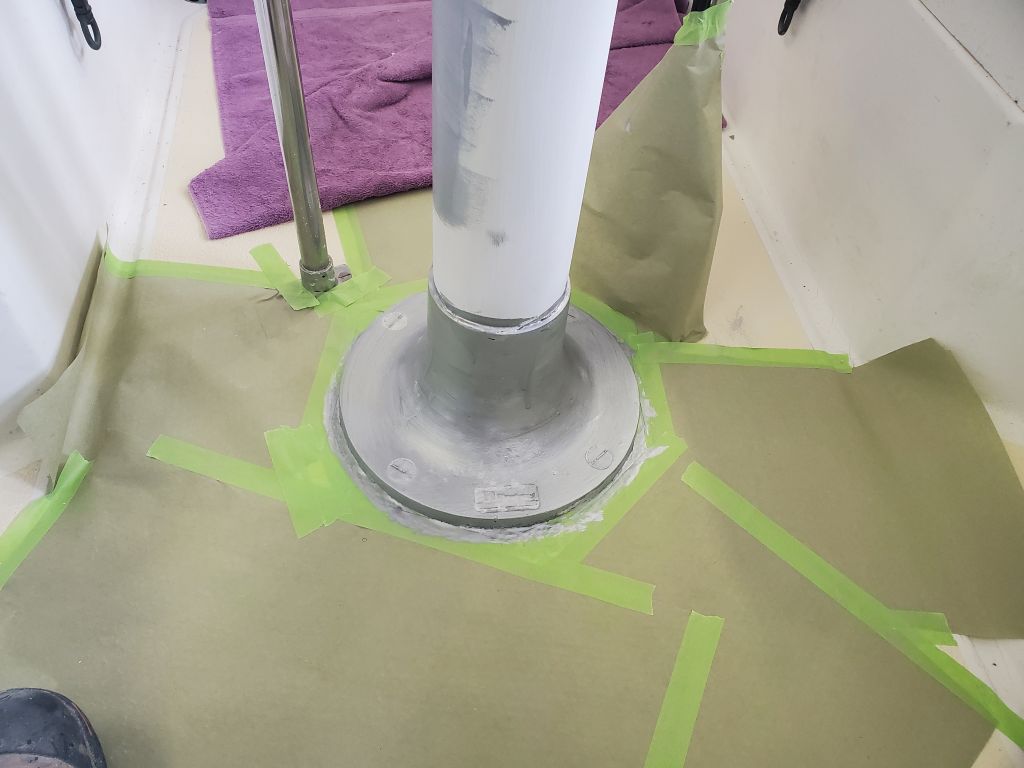
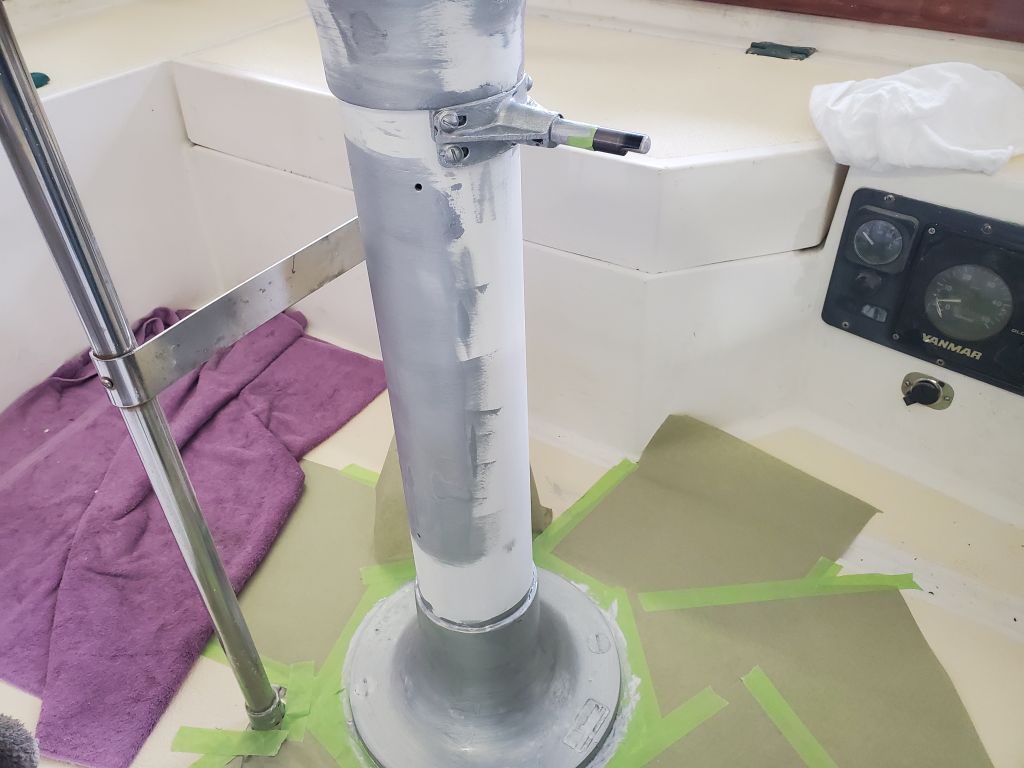
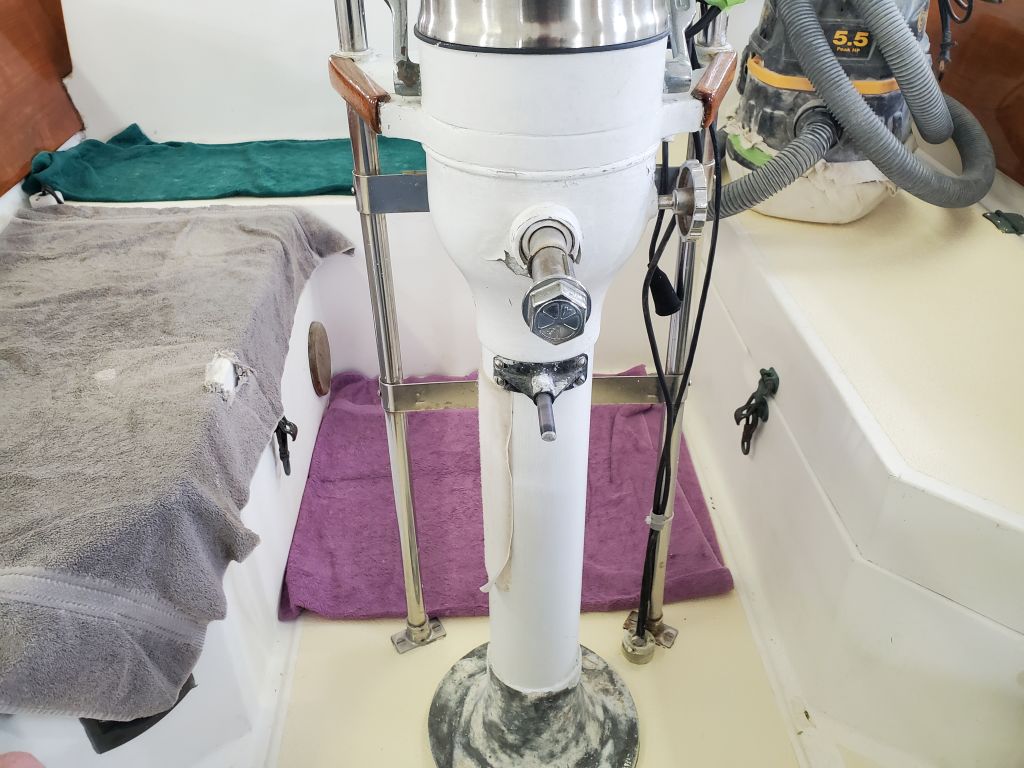
After light preparation, I applied a second coat of white enamel to the pedestal.


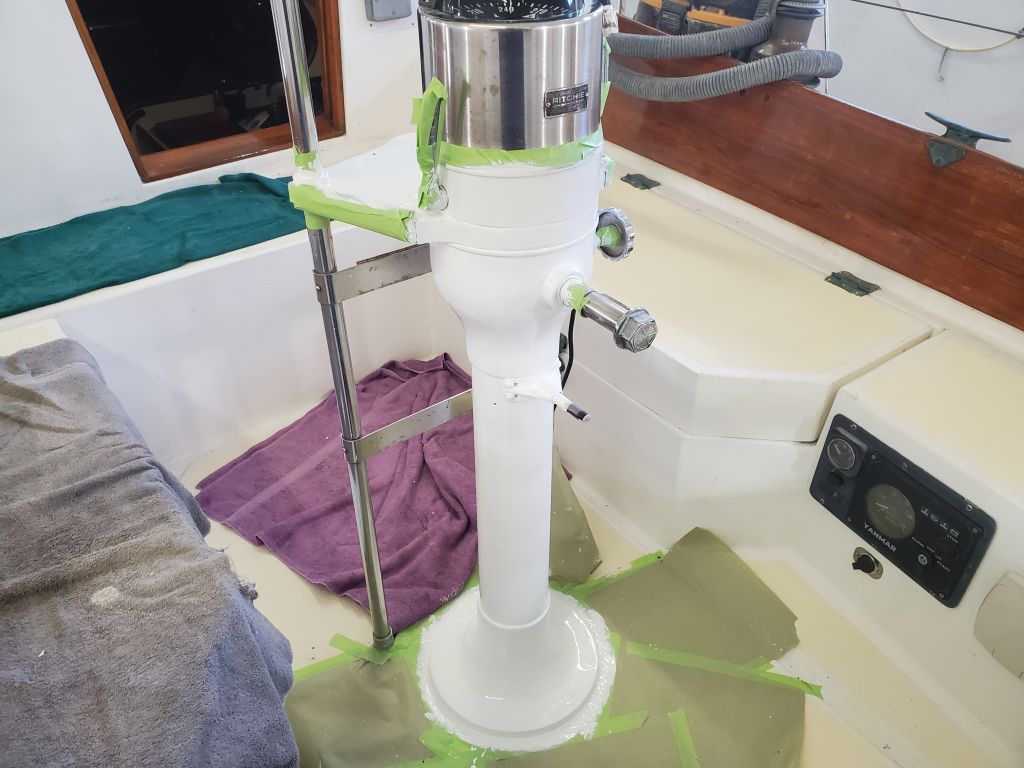
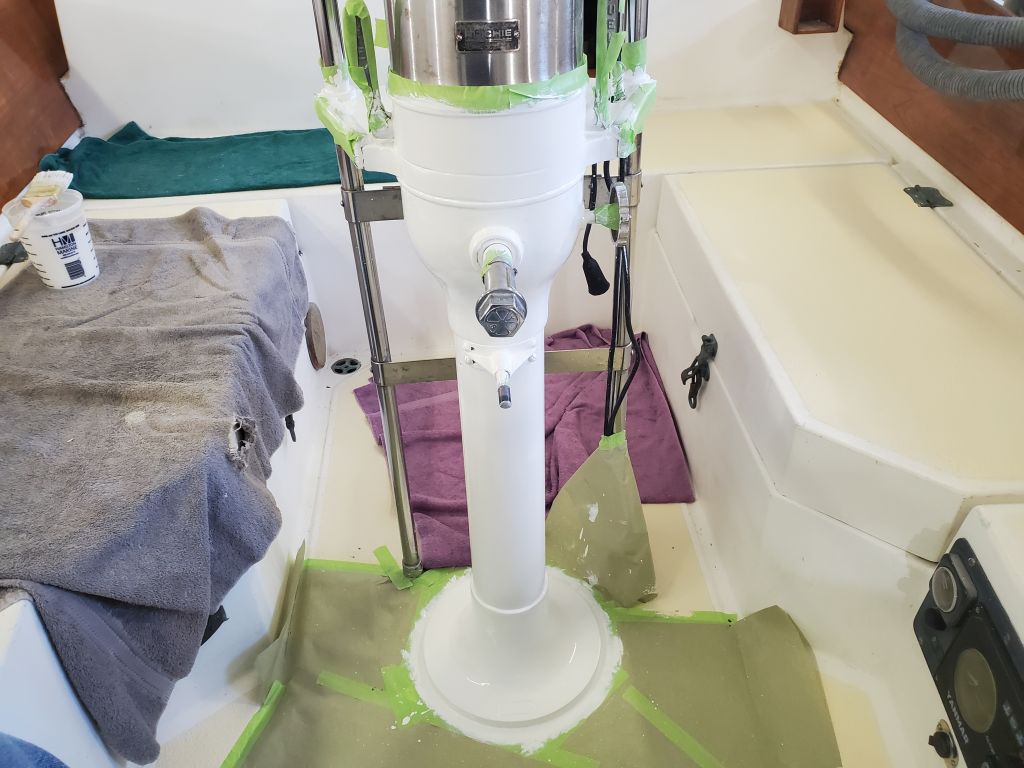
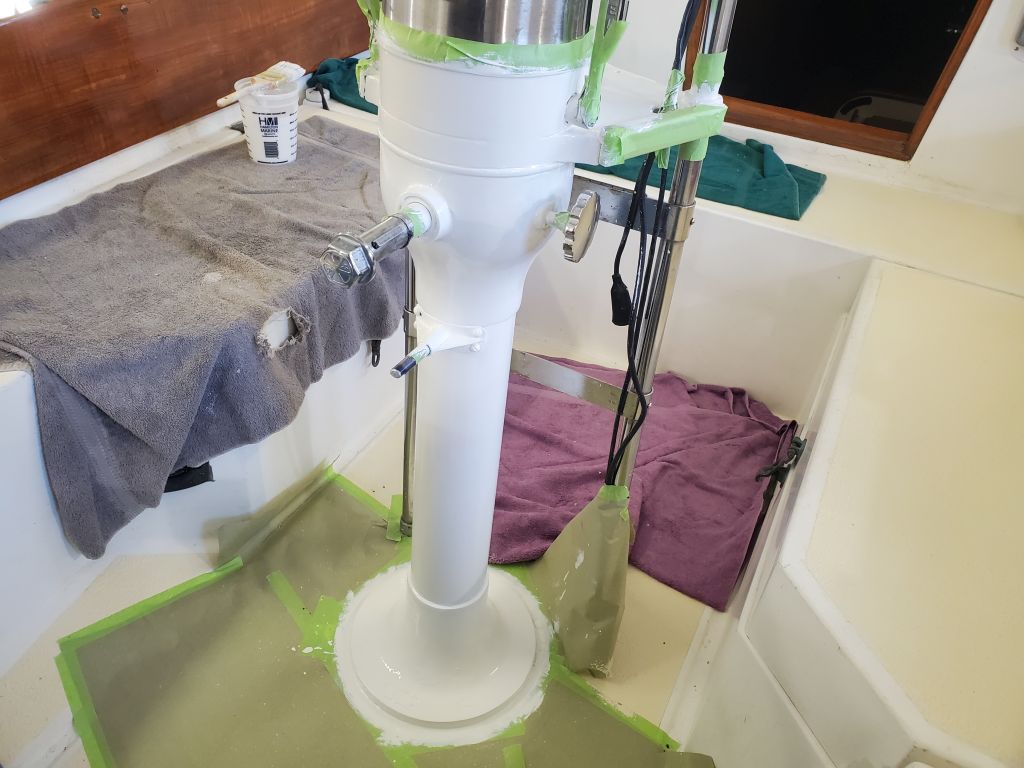
Continuing the process, in a brief work session I lightly sanded the primer on the pedestal with 220 grit, then applied the first coat of new white enamel.

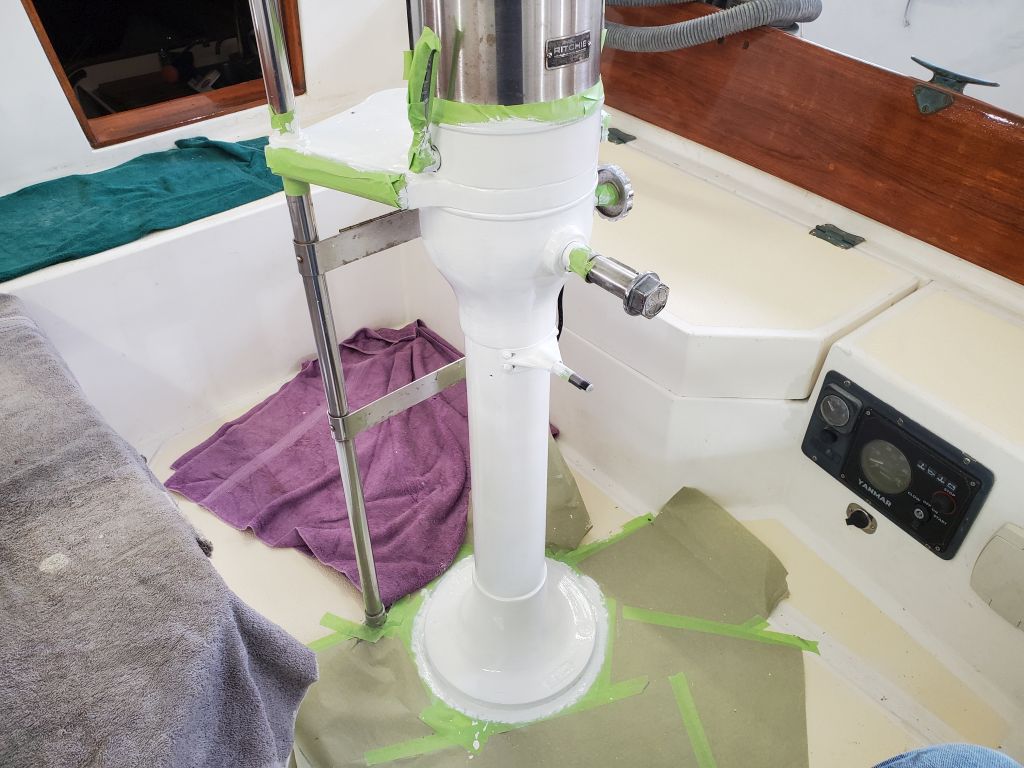

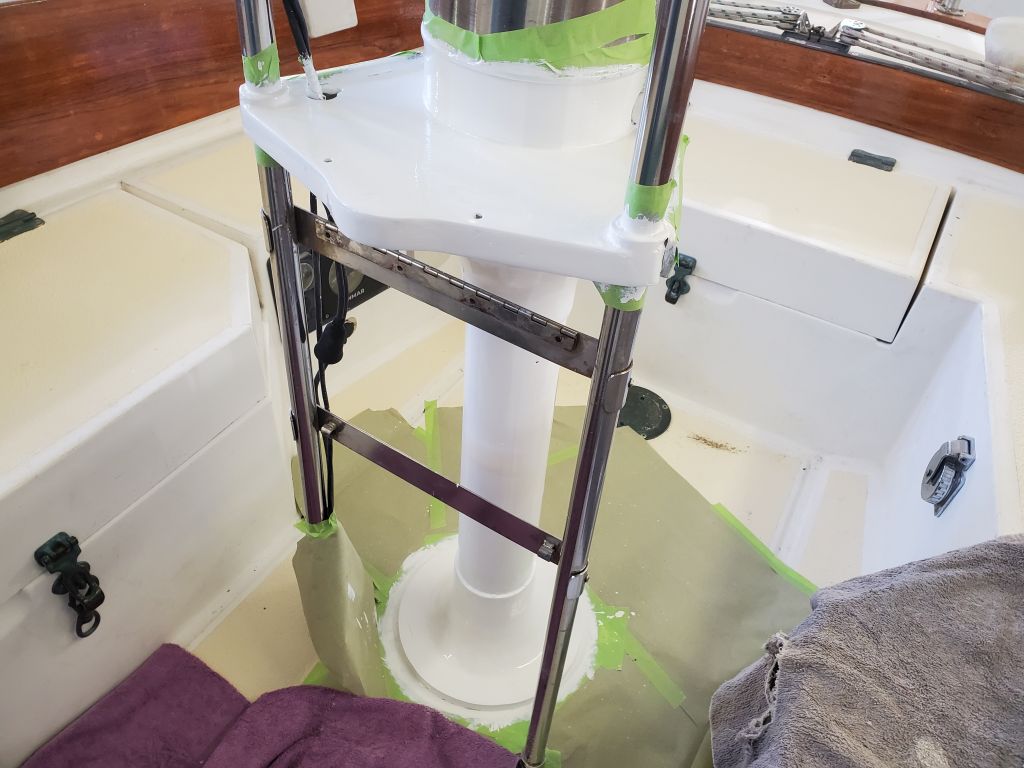
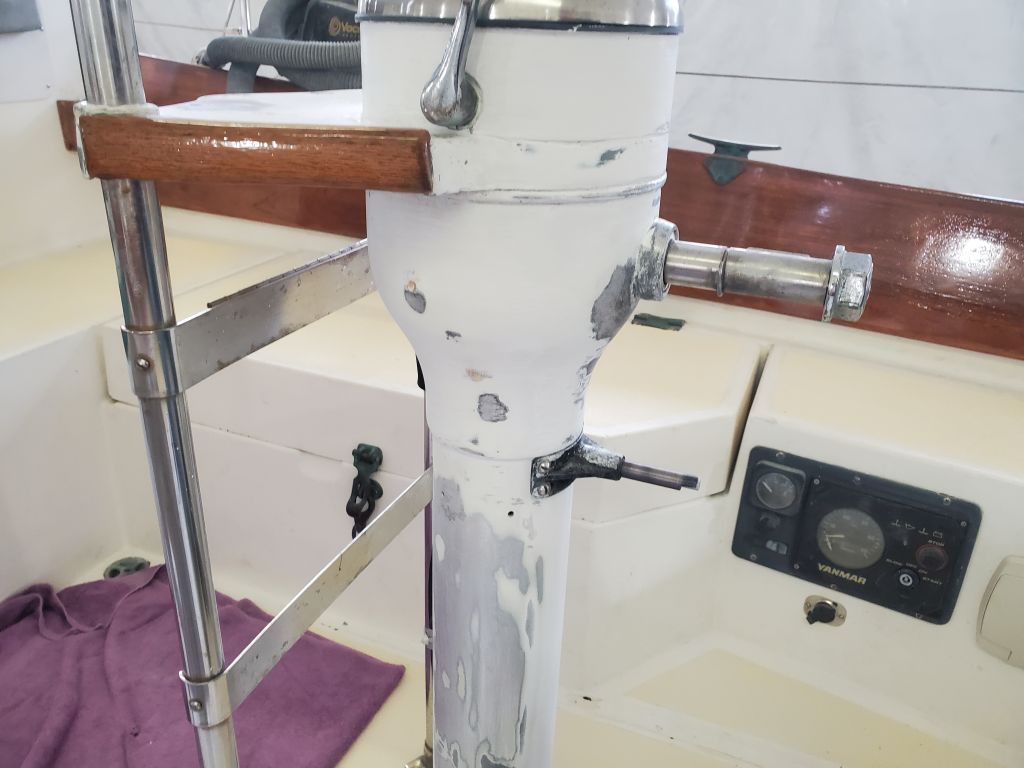
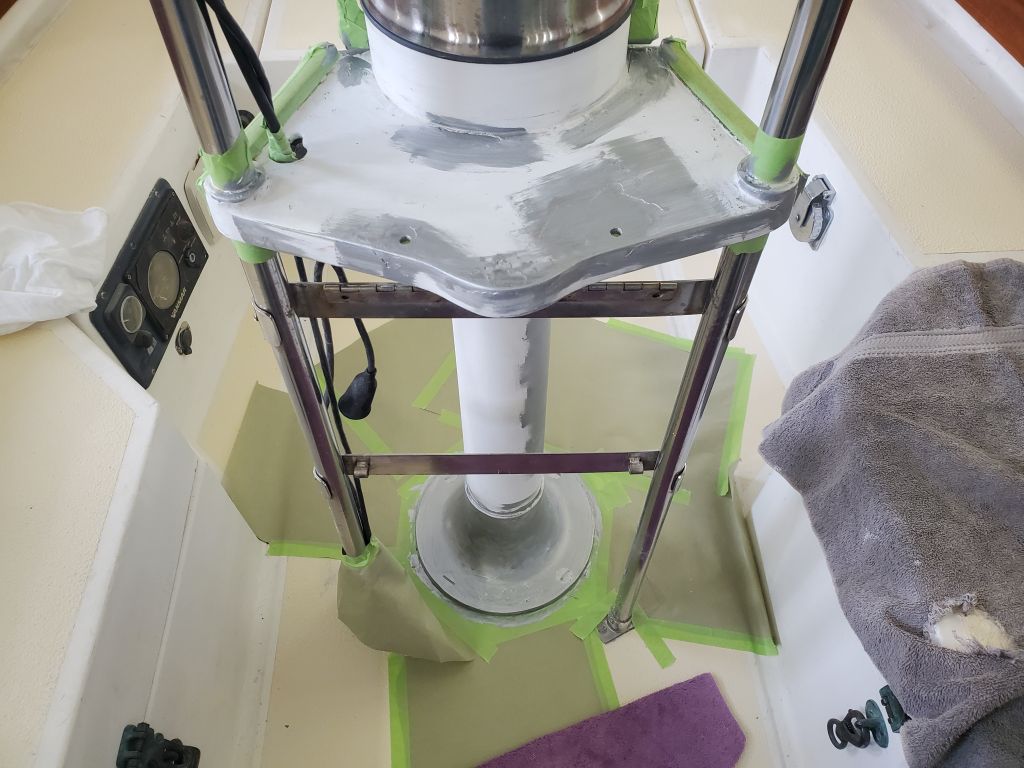
I sanded the coat of metal primer to prepare the surface and, after cleaning up, applied a coat of white primer over the entire pedestal.

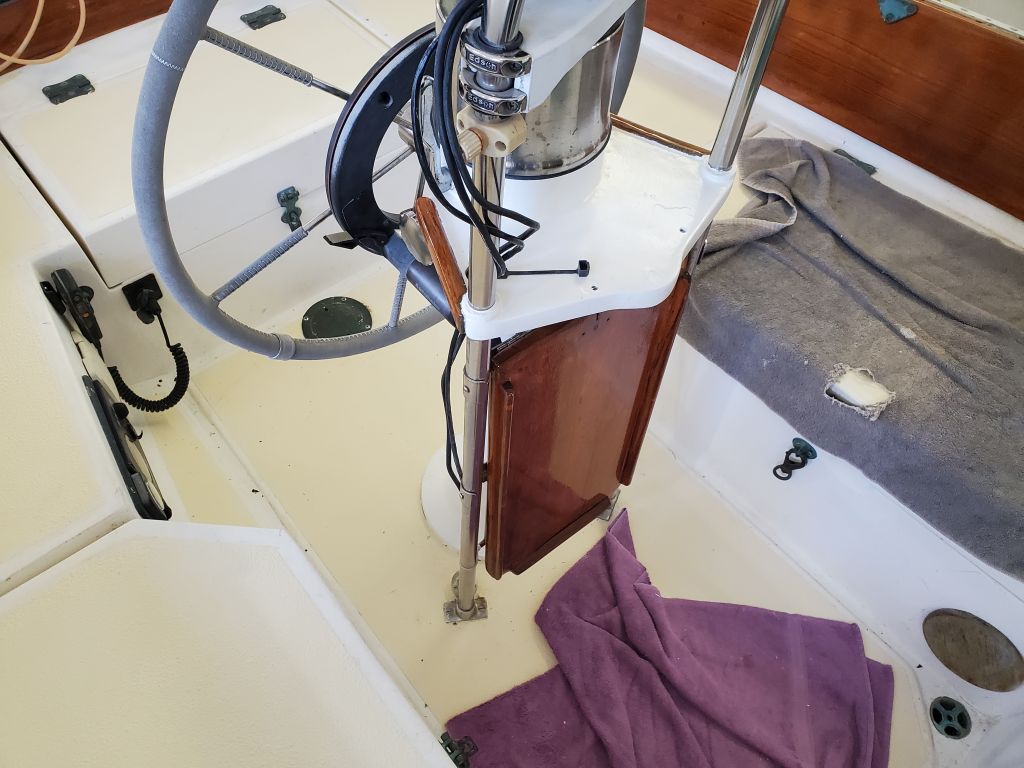
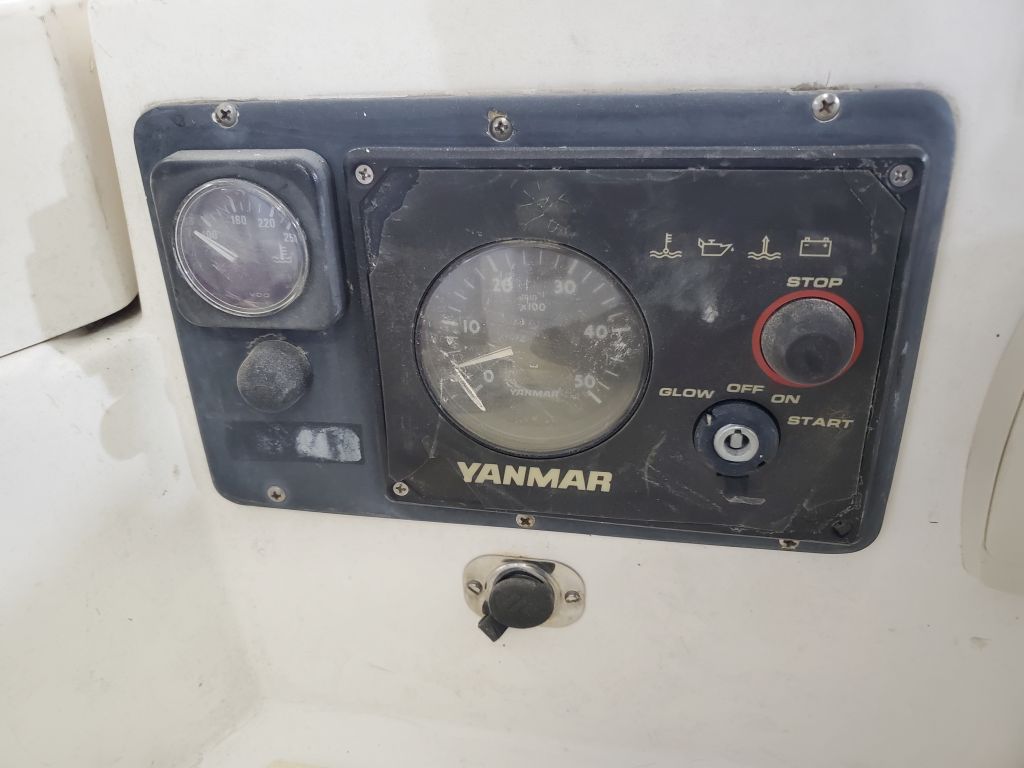
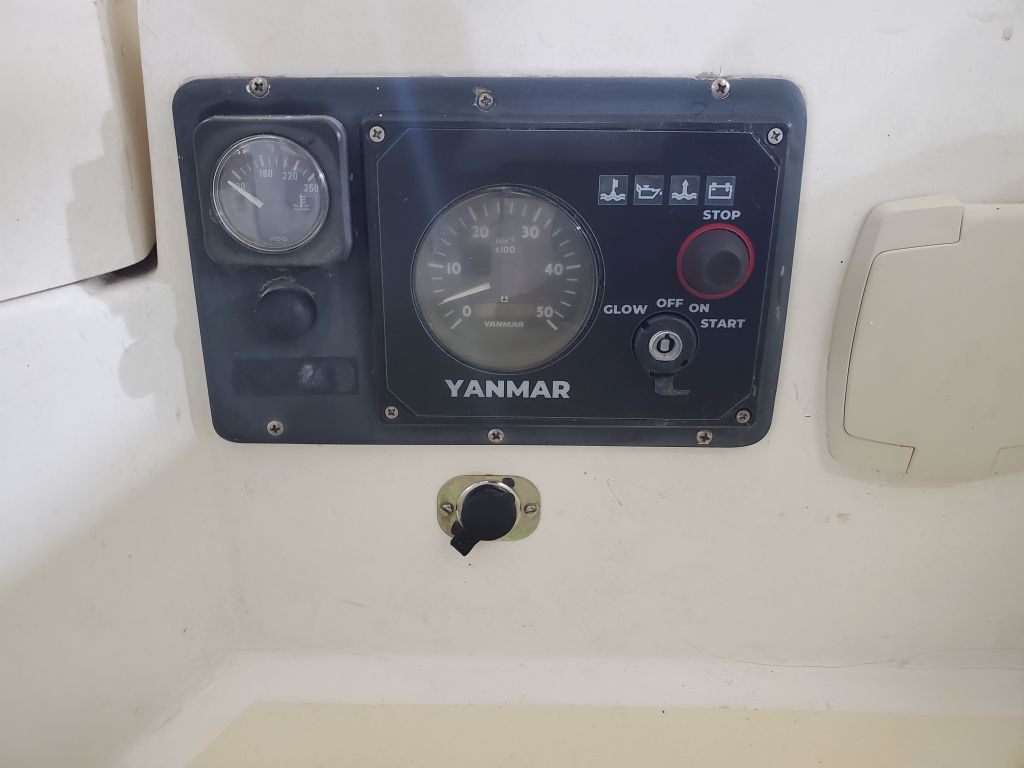
In other works, I replaced the faceplate on the old engine panel in the cockpit. The panel’s main problems were cosmetic, as the old face had begun to fail and chip away in places, and while the owner indicated there were a couple operational quirks and he’d be open to replacing the whole panel, I could not find a replacement panel of this style anywhere, other than one similarly-worn used one. However, the damaged face plate issue must be a common one, as there was a vigorous market in replacement face panels online. So I ordered one of those and now, with the replacement in hand, I removed the rest of the old one and replaced the face. It did improve the appearance for a minimal cost.
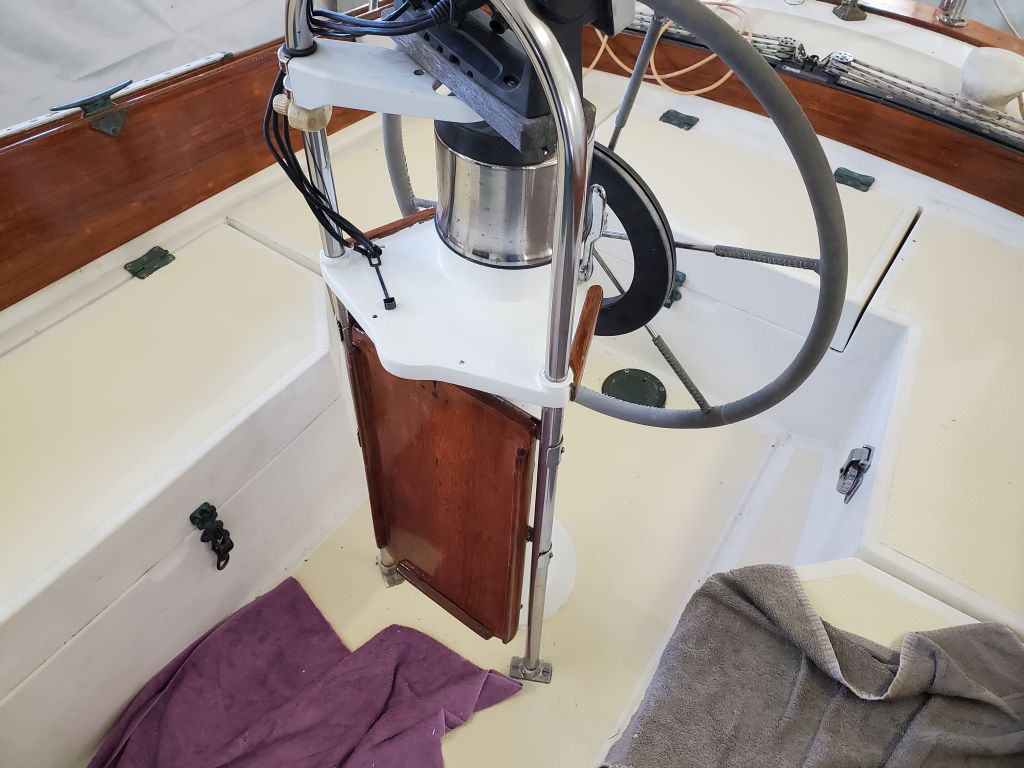
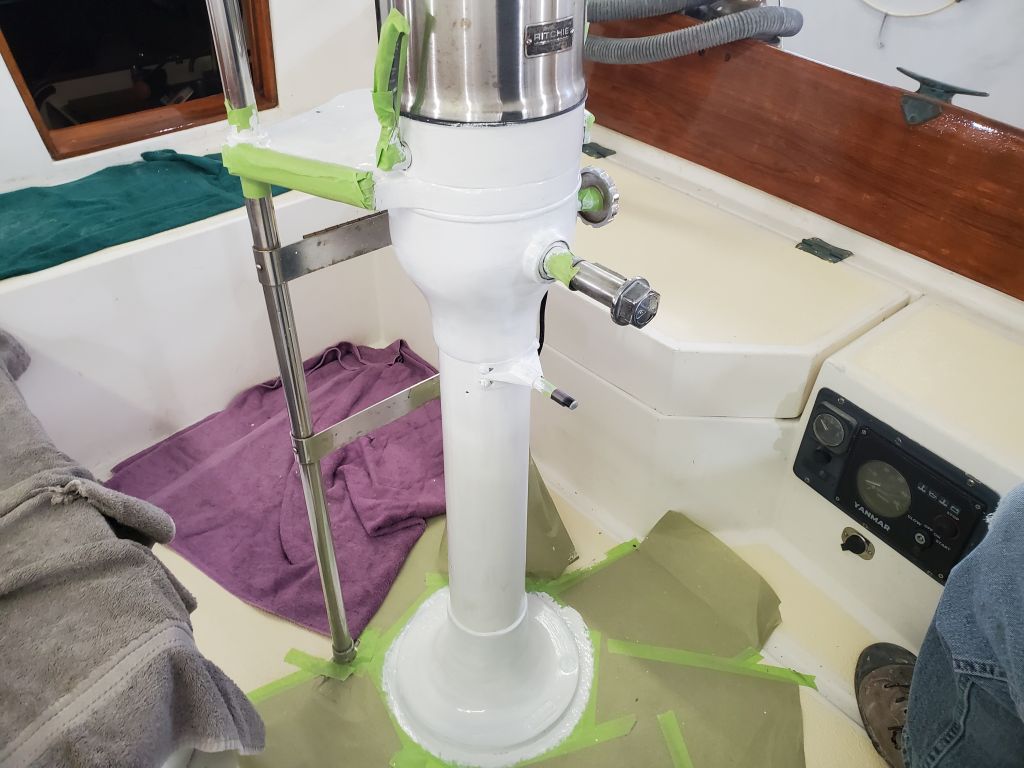
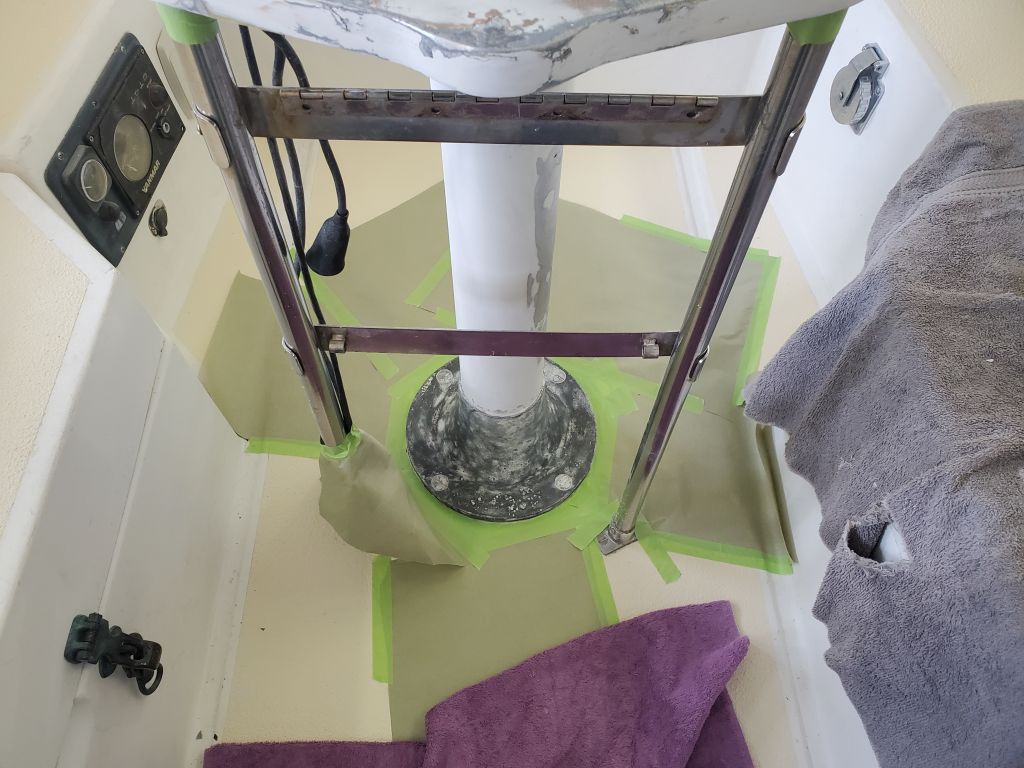
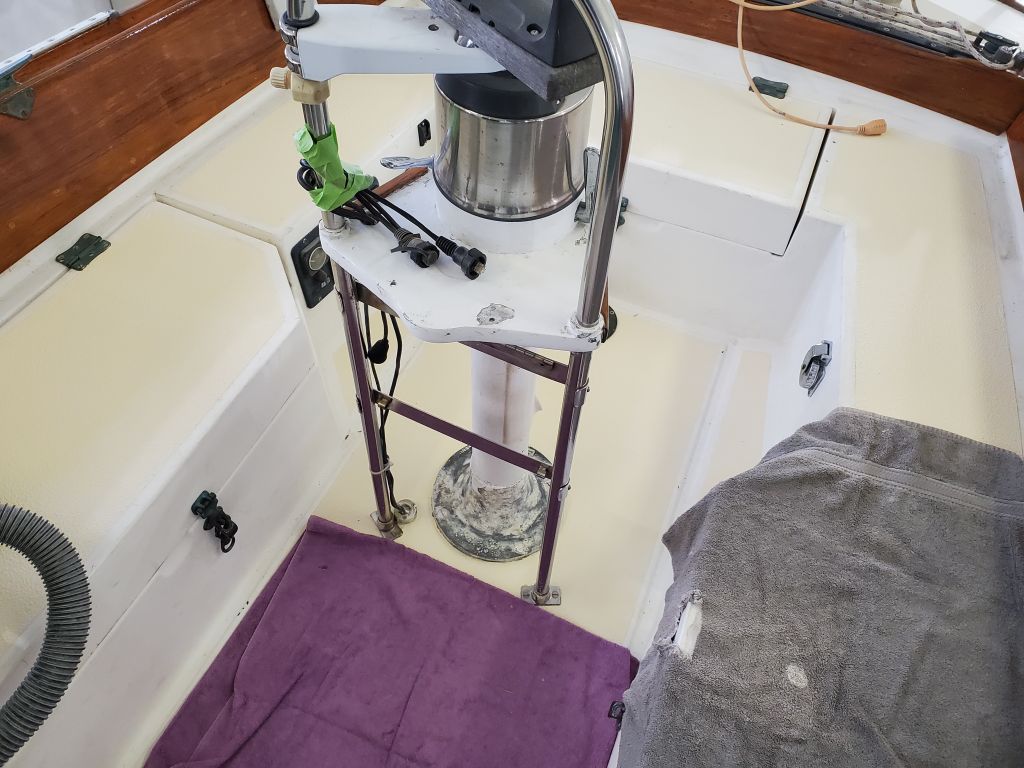
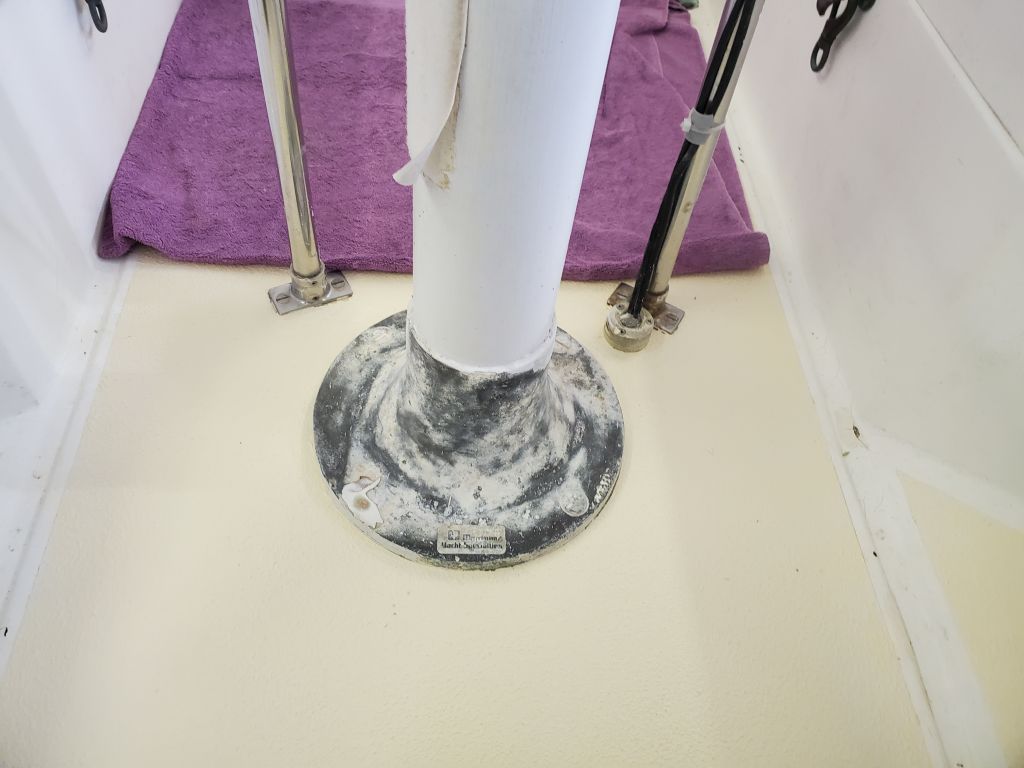
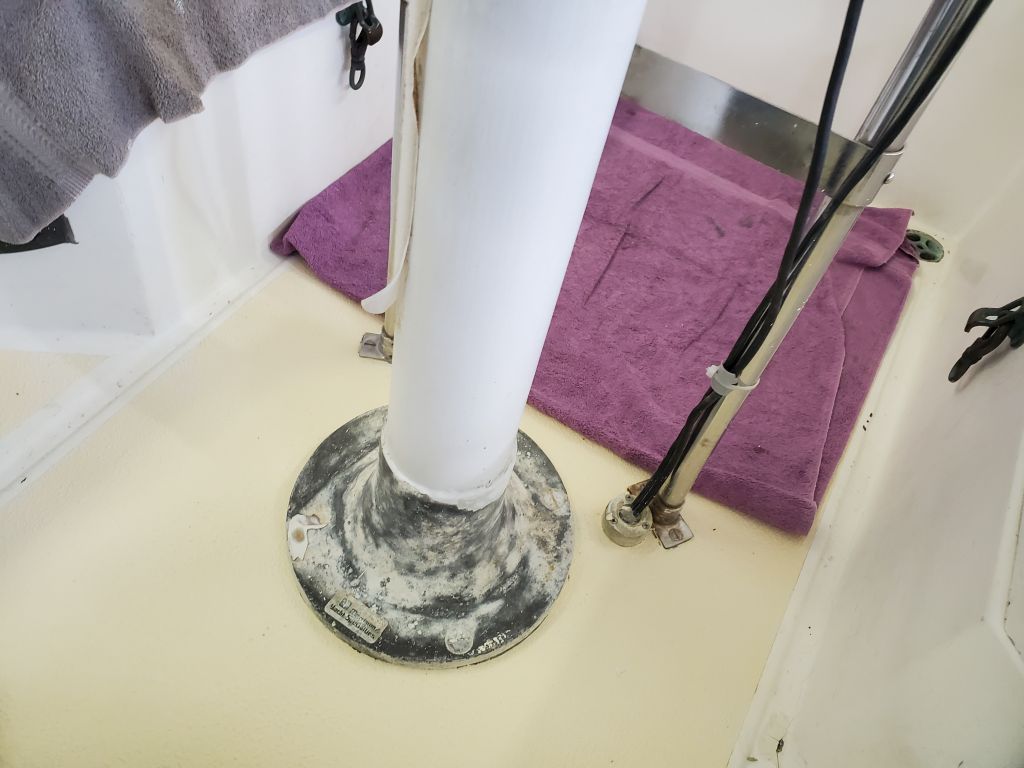
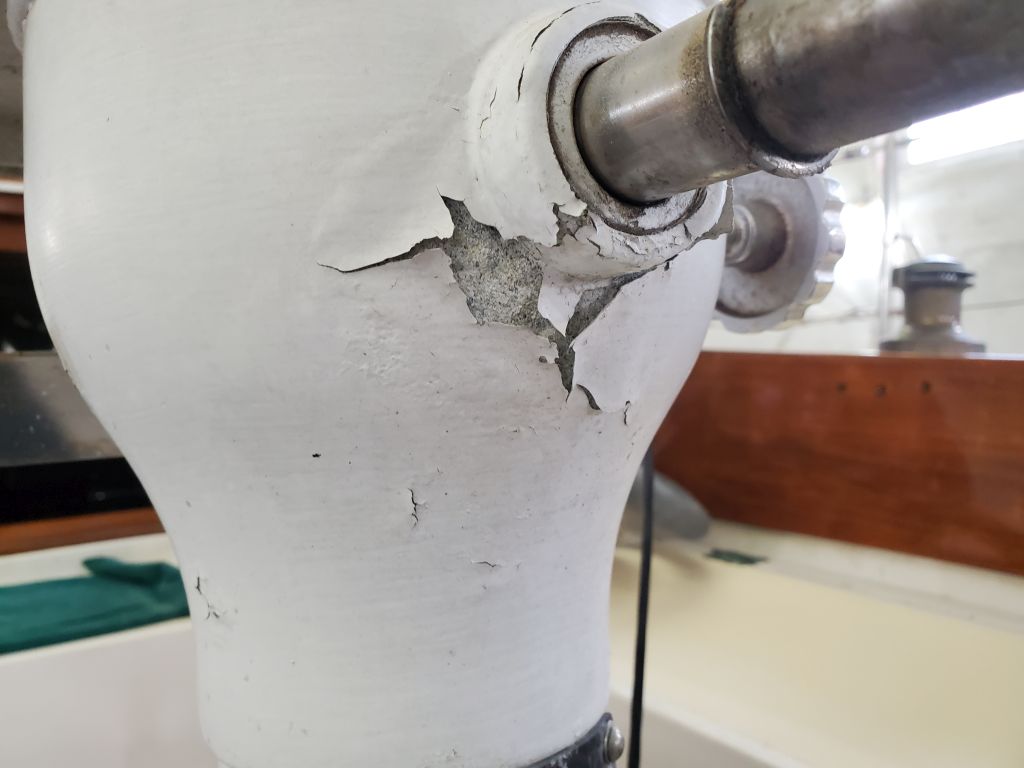
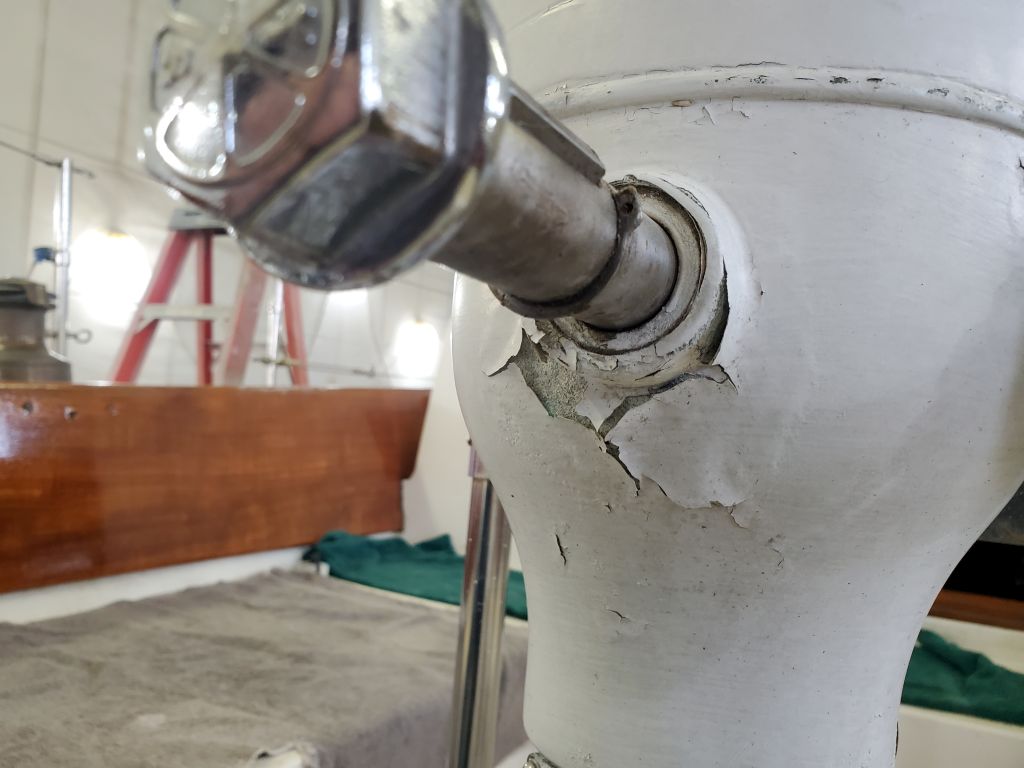
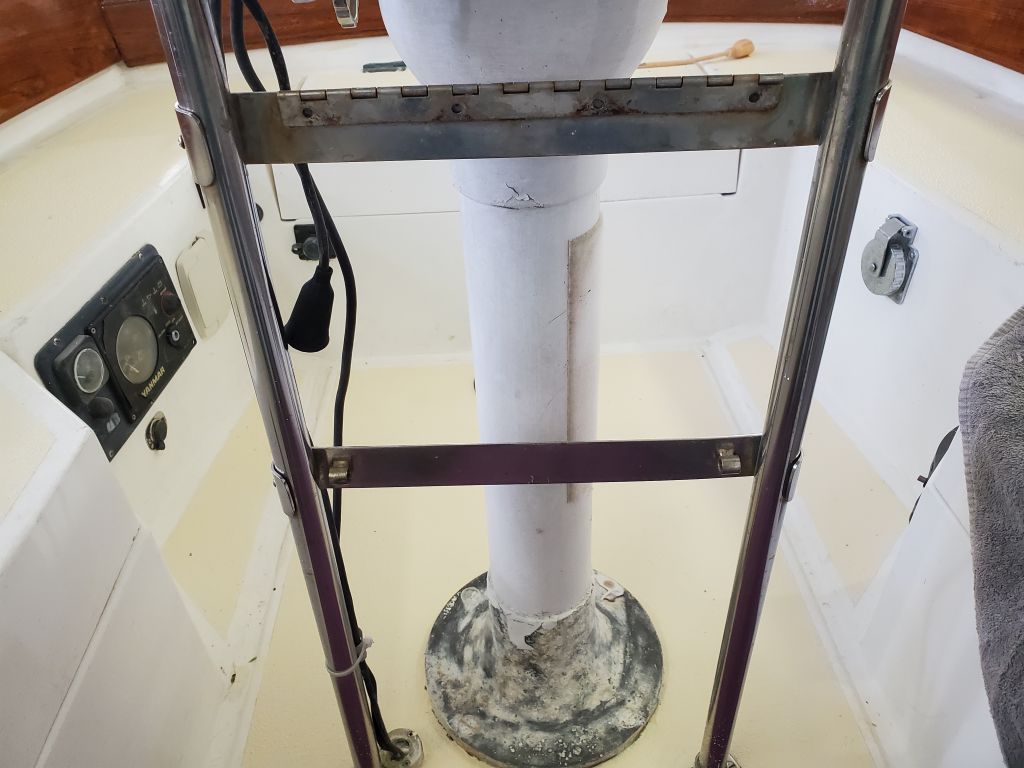
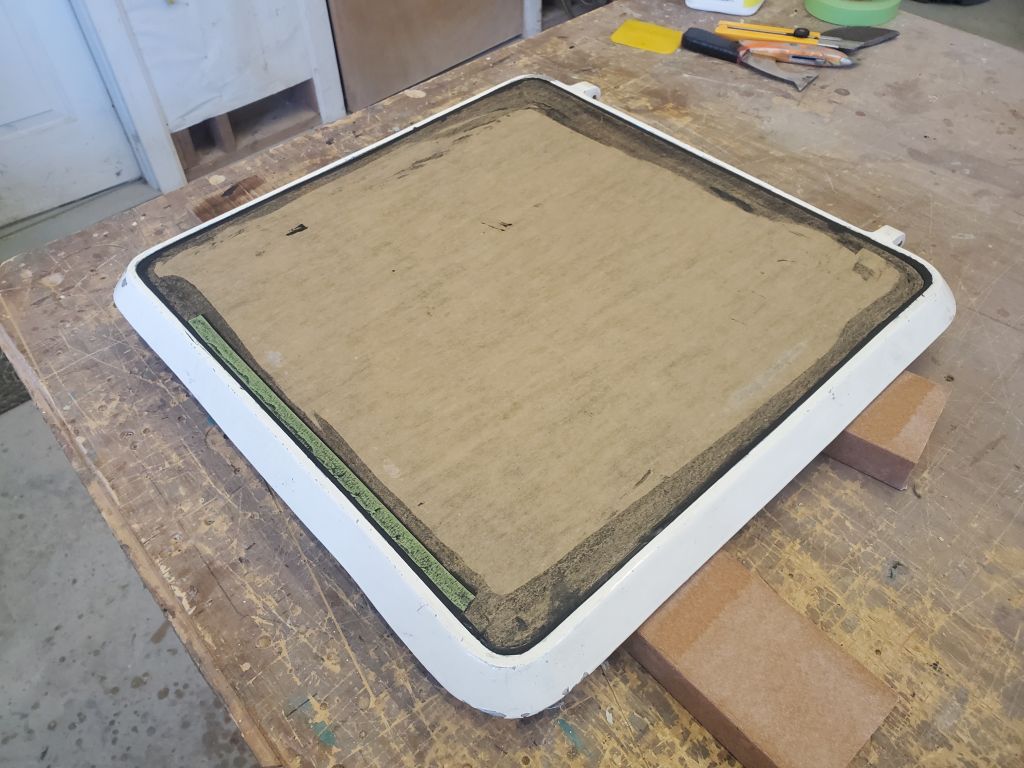
The first order of business on the pedestal was to remove a huge Velcro pad, to which had been secured a winch handle pocket. This Velcro was well-stuck to the side of the pedestal with its integral adhesive, and removal was challenging; then, it left behind a mass of gummy adhesive that I could only remove by scraping, taking some of the pedestal coating with it. Once that was off and scraped clean, I thoroughly sanded the pedestal as needed, feathering out areas where the paint had flaked clean through to the aluminum beneath so that the final result would have an acceptably smooth appearance.
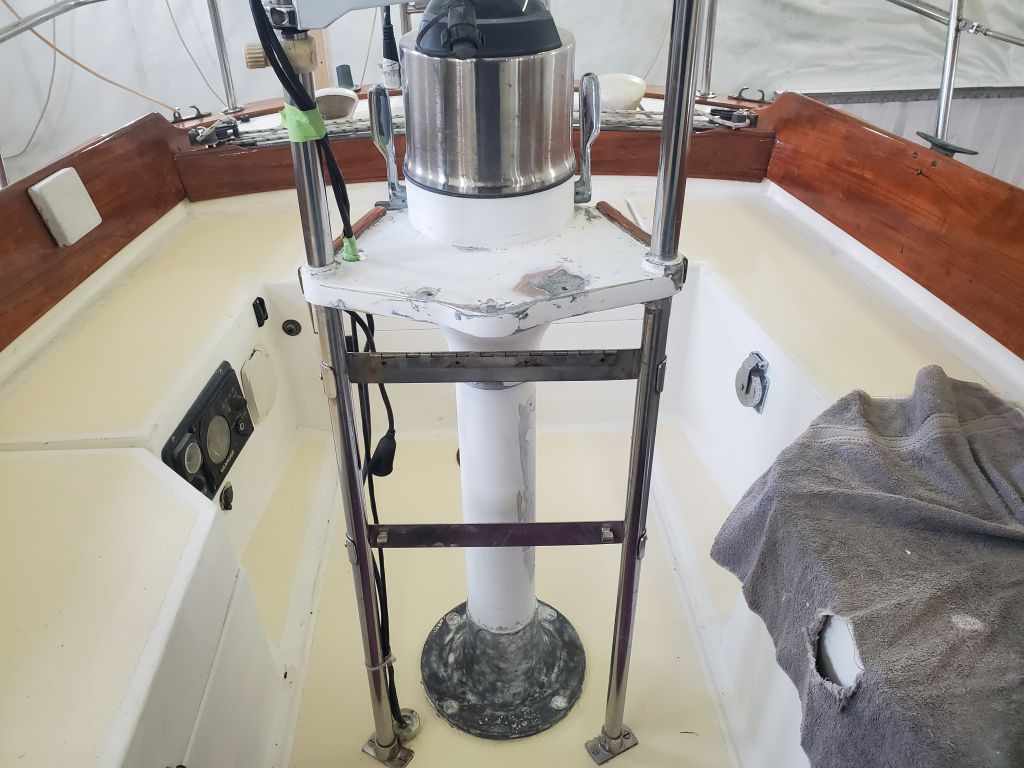
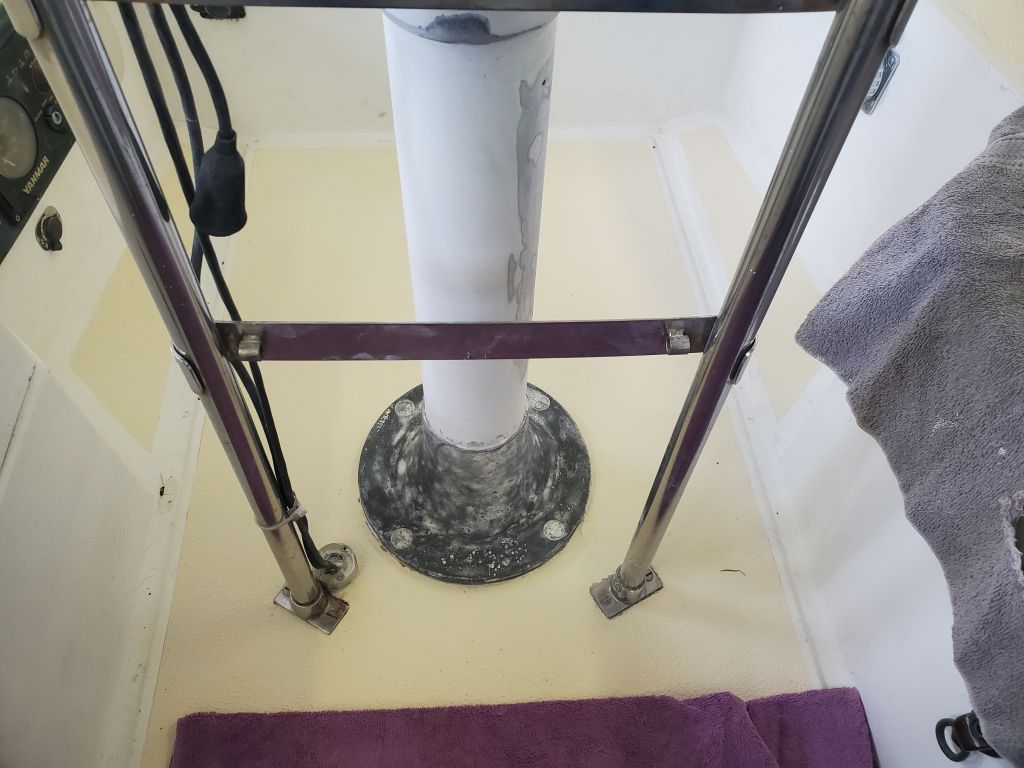
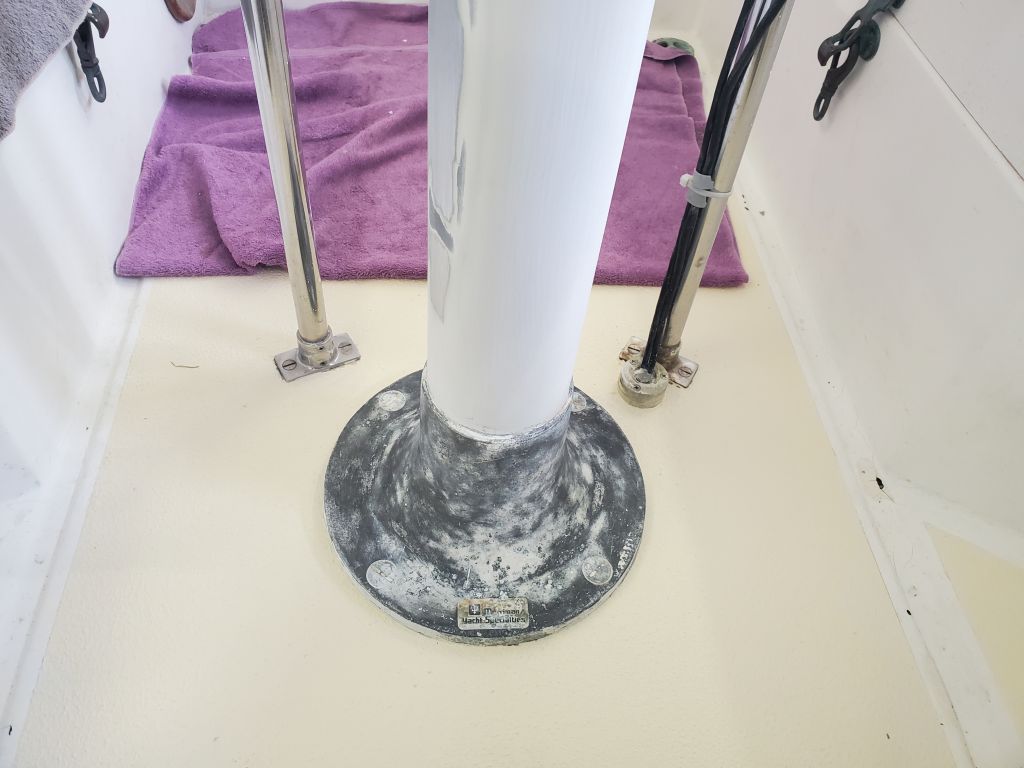
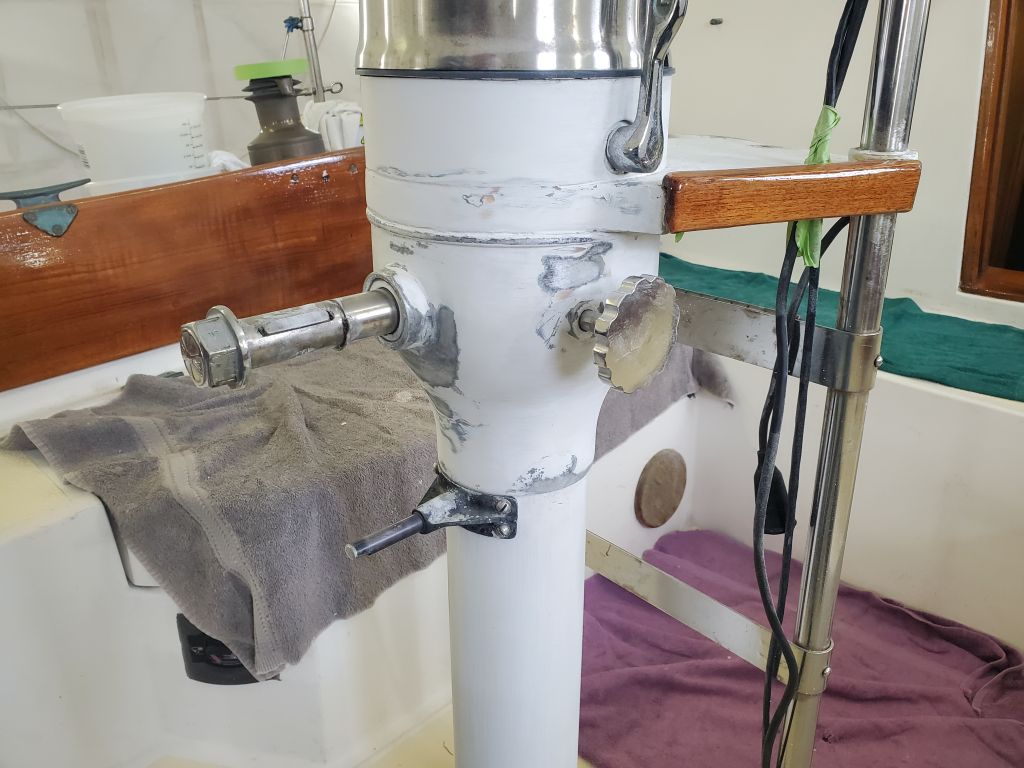
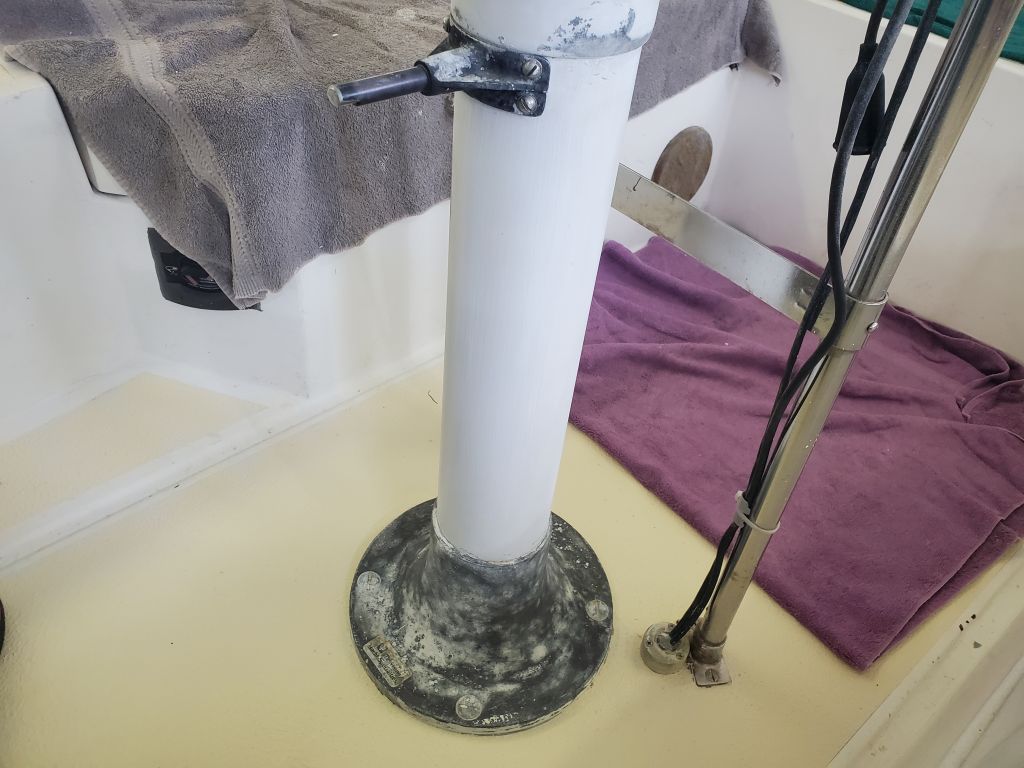
Ideally, it would have been nice to strip the pedestal fully down to raw aluminum and recoat with a series of appropriate etching metal primers and so forth, but that was impracticable with the pedestal mounted in the boat, and doing the job right would be uneconomical. So as before, when I refinished the pedestal in 2016, I settled for “good enough”. With all the old coating now gone from the pedestal base–the worst part of the pedestal then and now–I hoped that the new paint would adhere better and last longer, though the pedestal would require occasional recoating for best appearance going forward. If this were to be a once every 10 years sort of thing, that seemed reasonable enough.
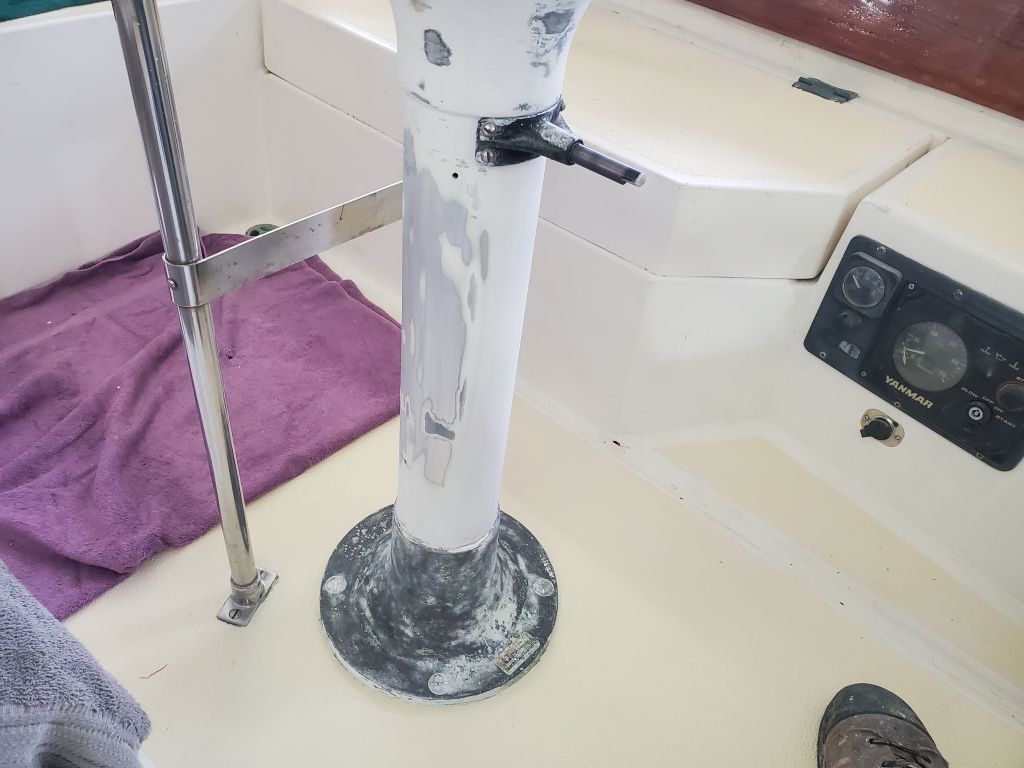
To that end, I found some metal primer in my inventory left over from some other job long forgotten, and since it was what I had, I decided to use it on the bare metal parts as a good base before priming the entire thing anew. I planned to let the metal primer cure over the weekend, and then over a few additional days I could apply regular primer and two or three coats of new white paint.

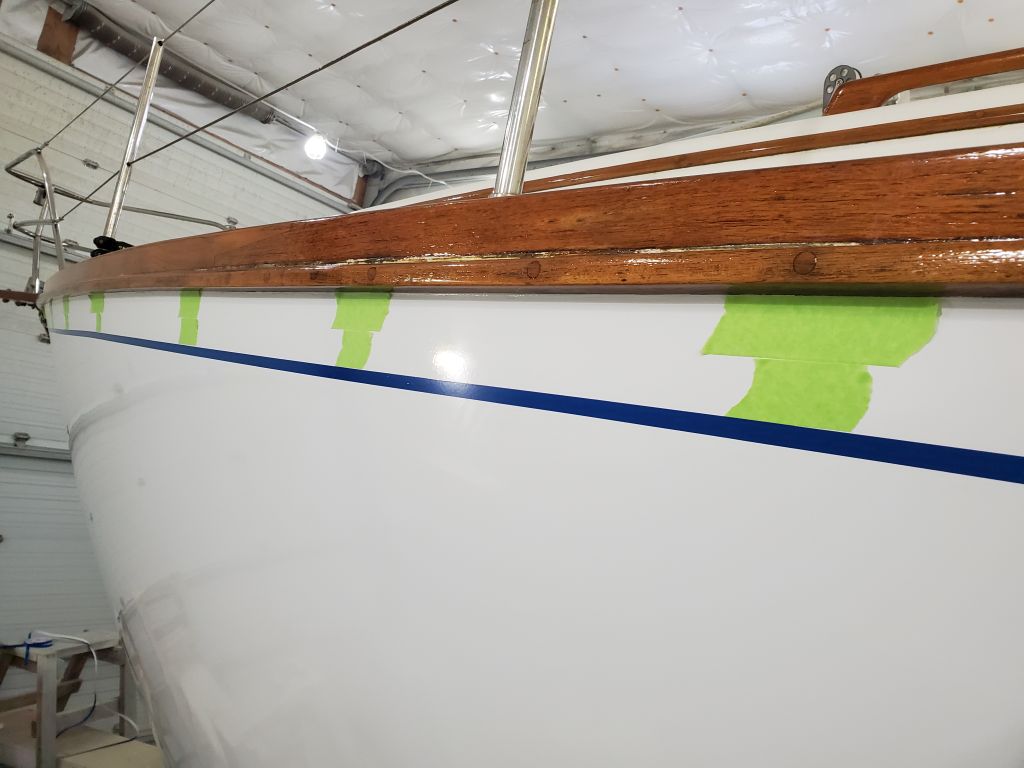
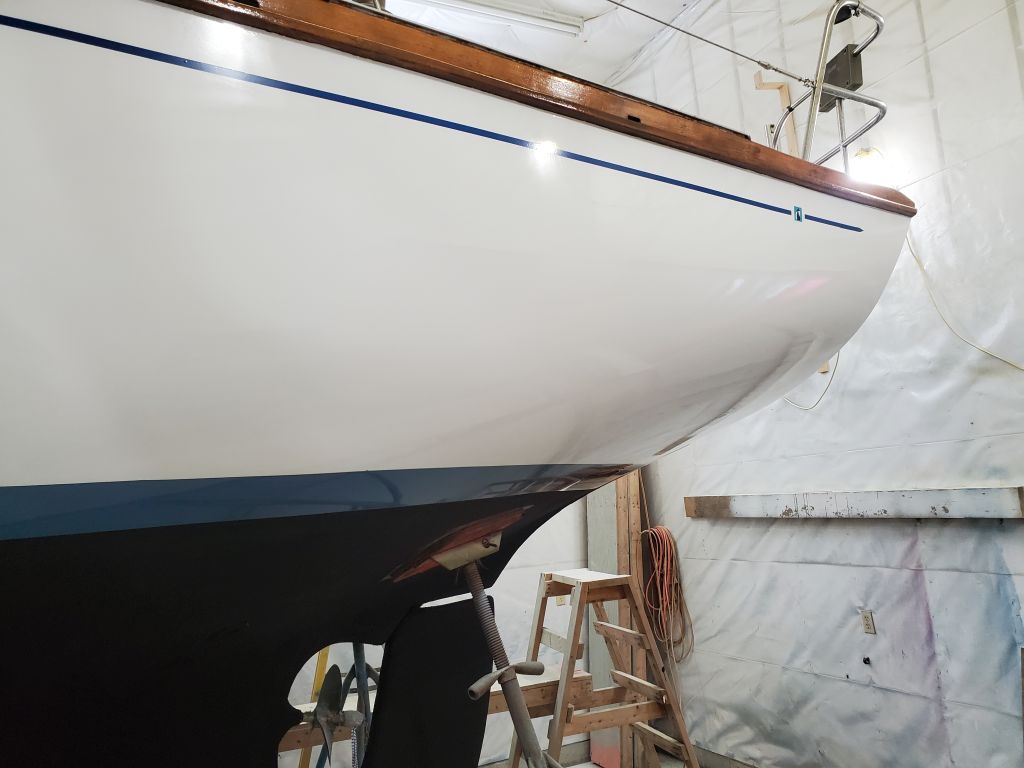
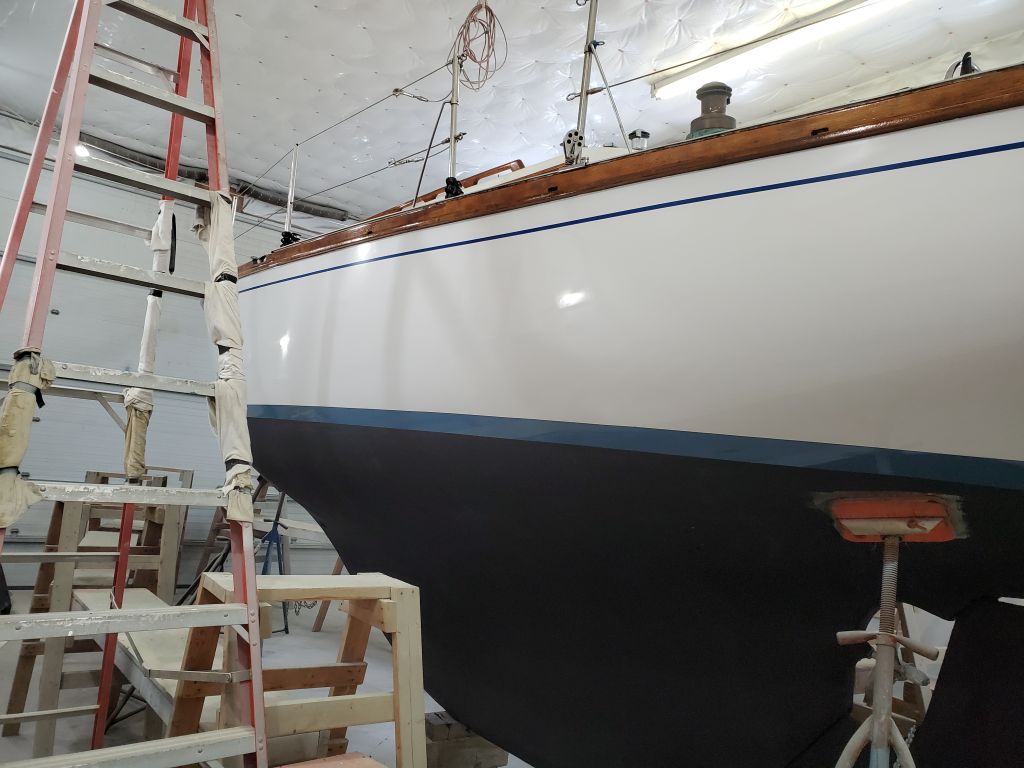
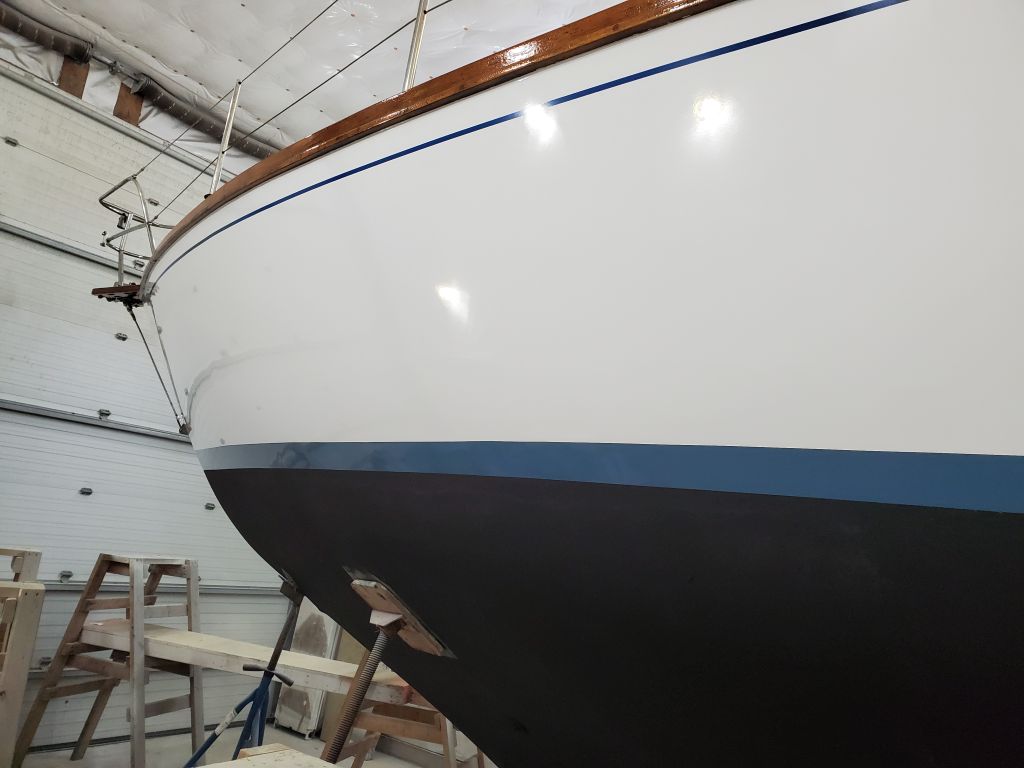
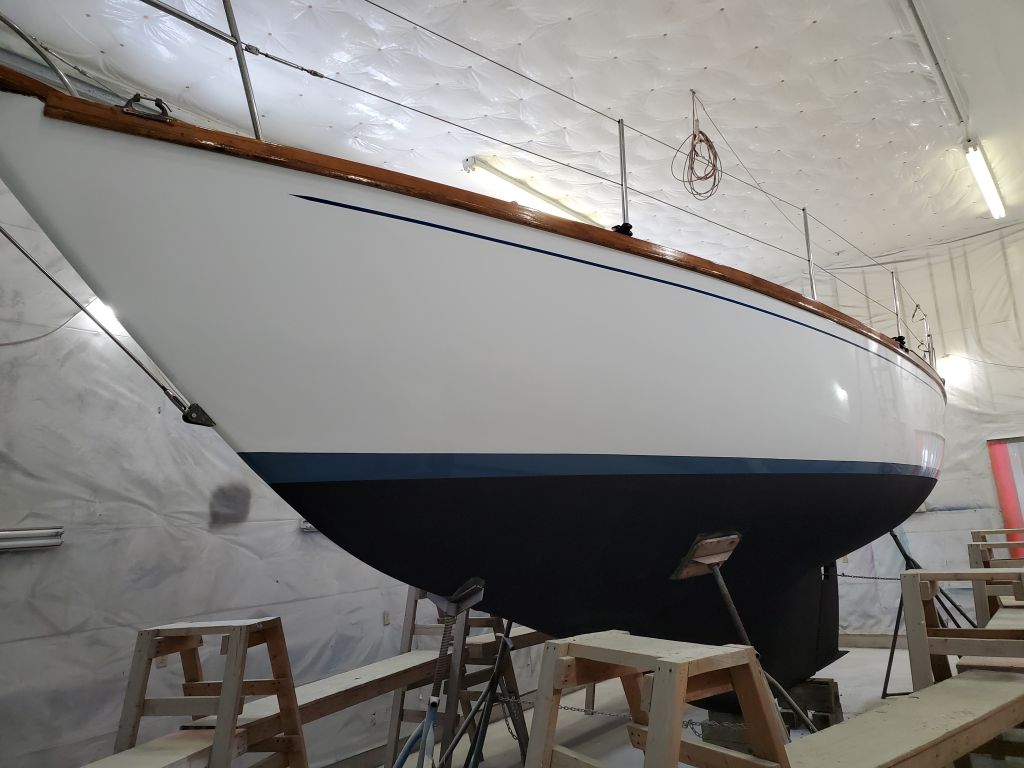
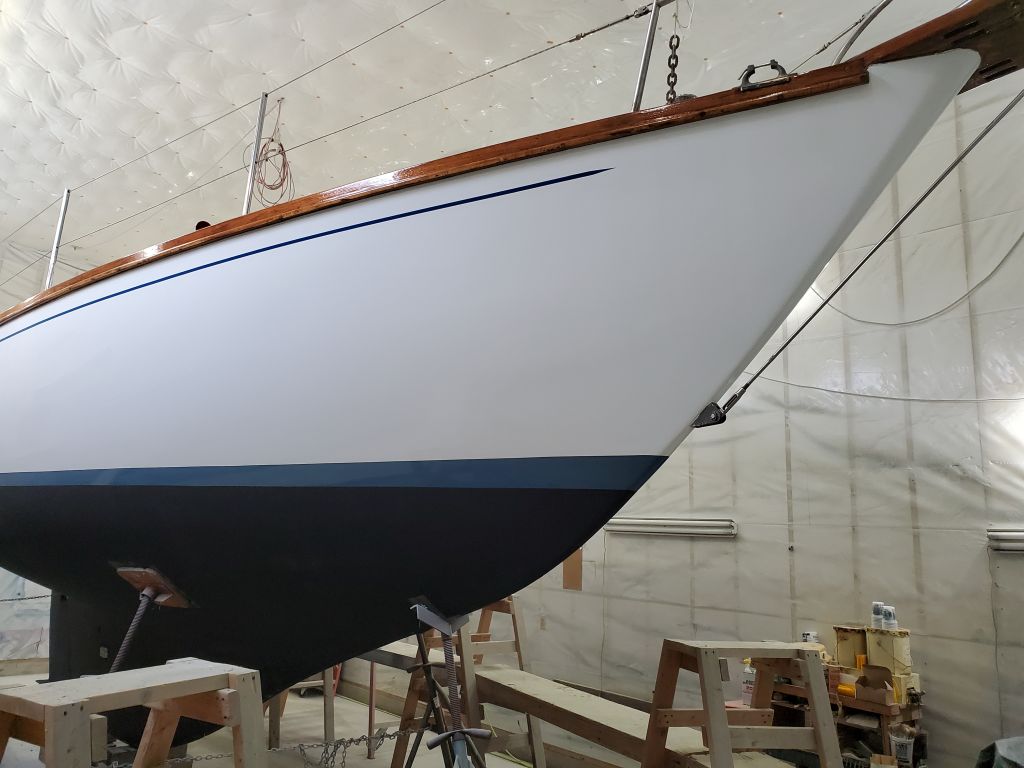
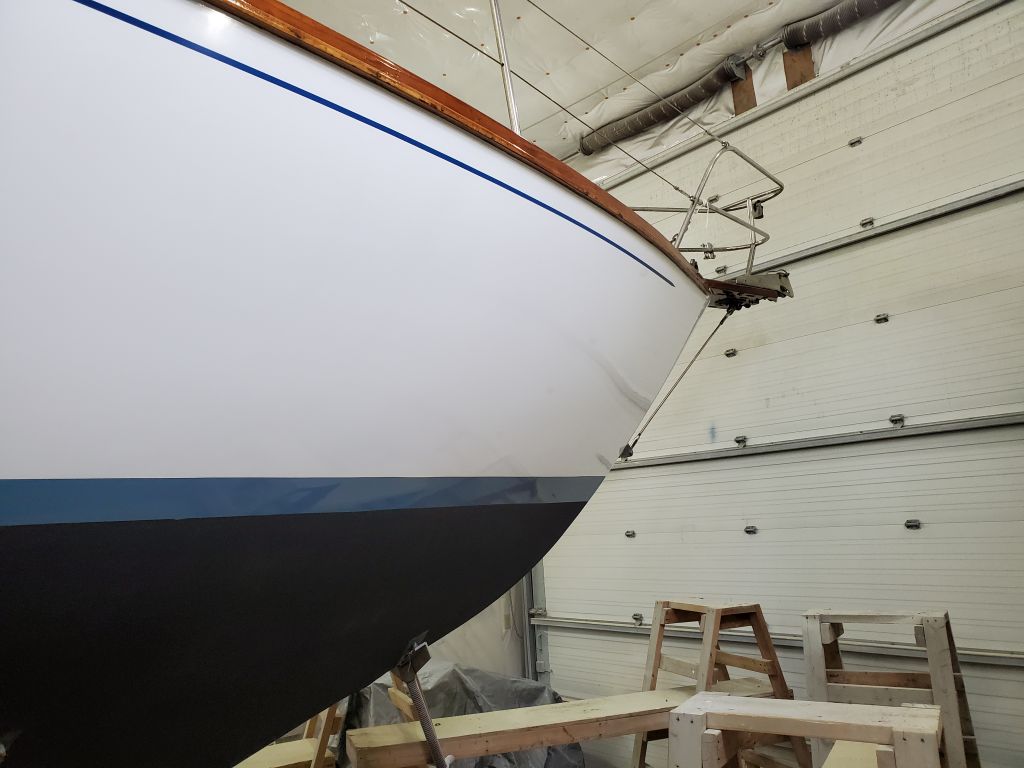
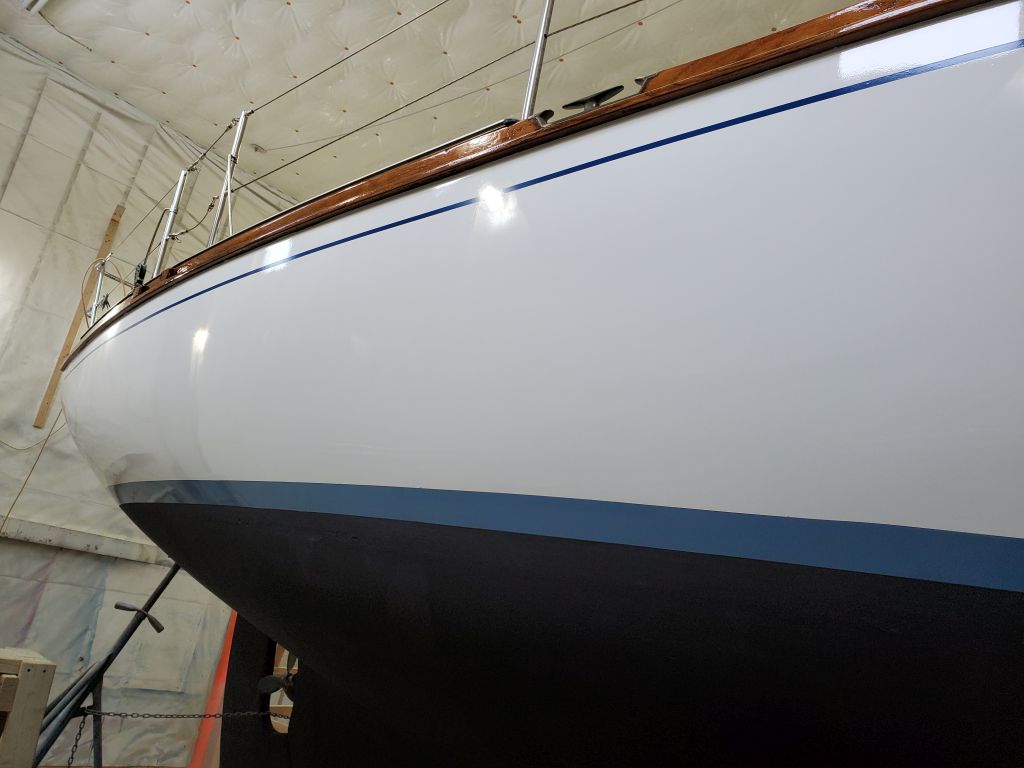
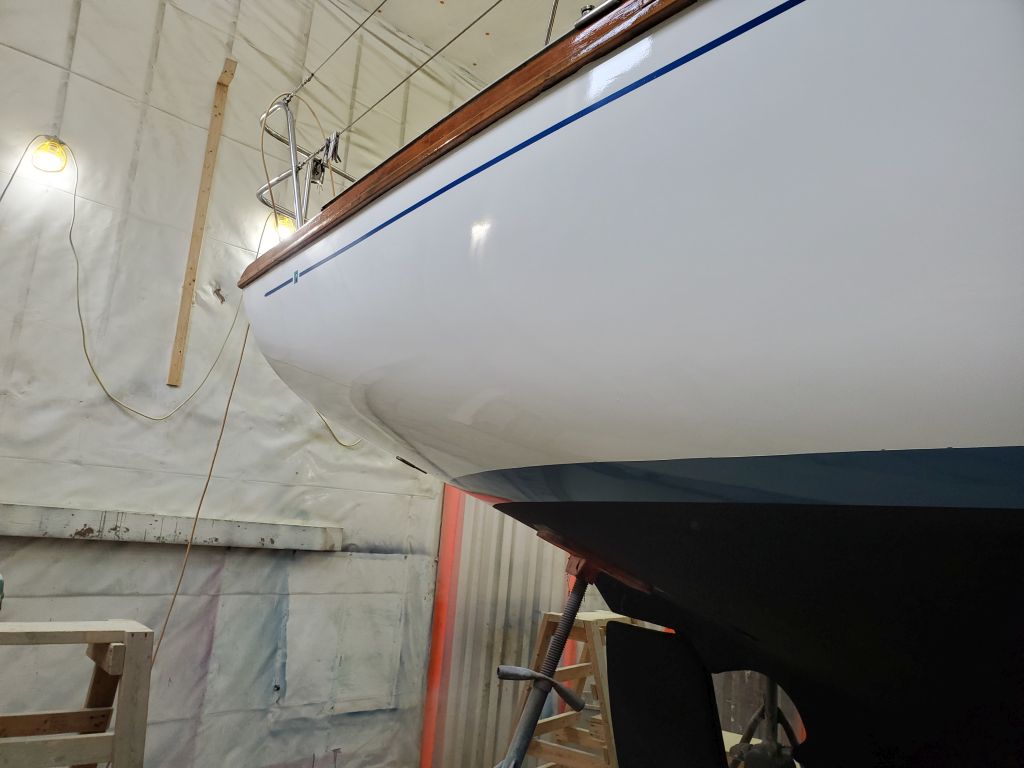
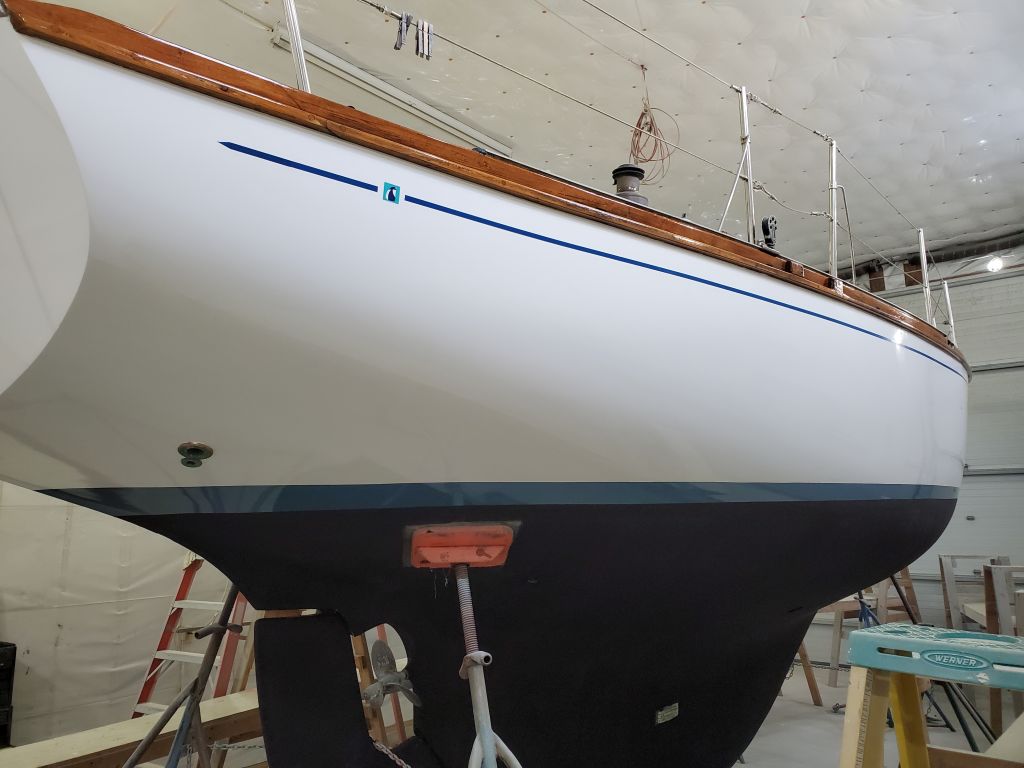
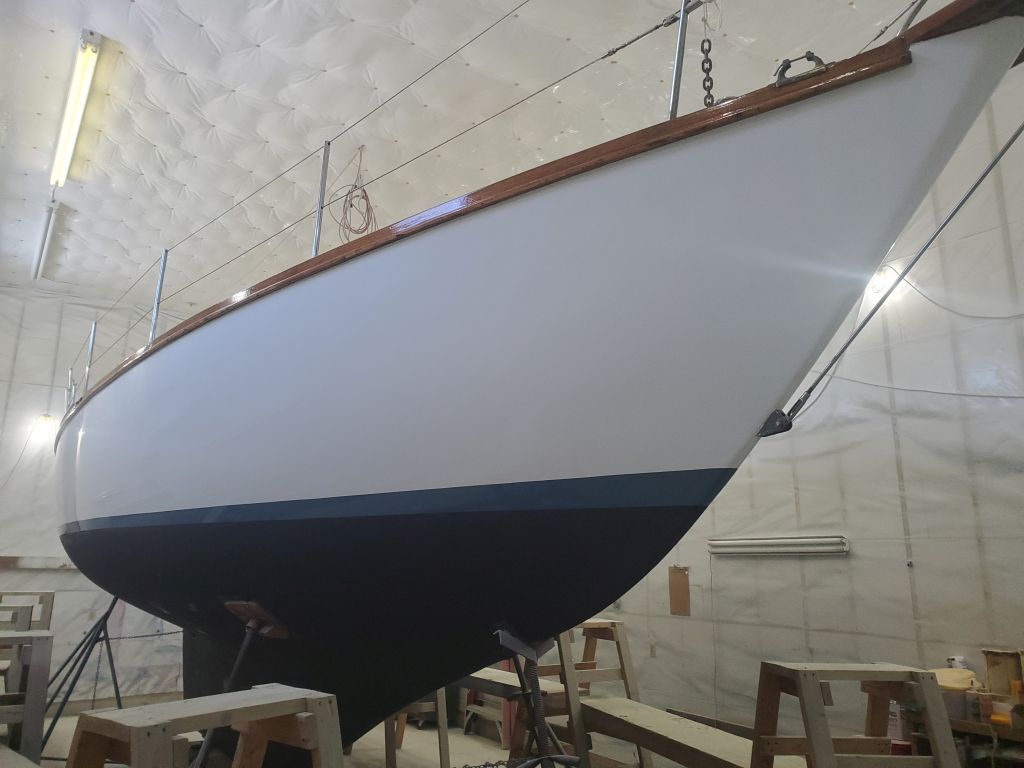
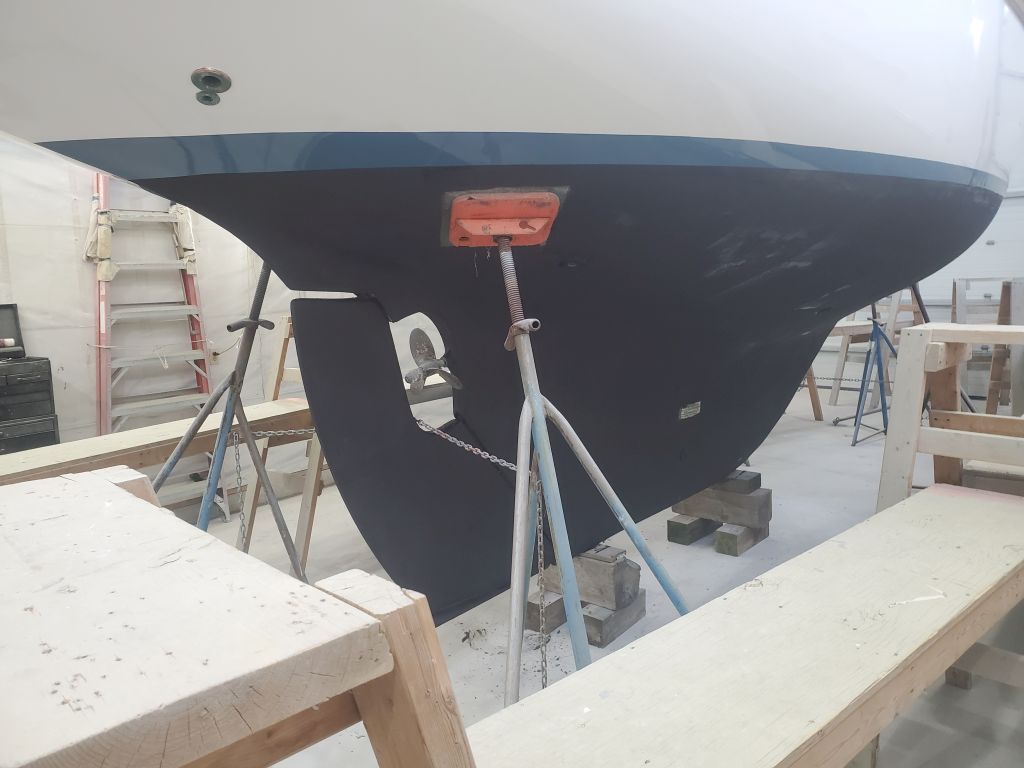
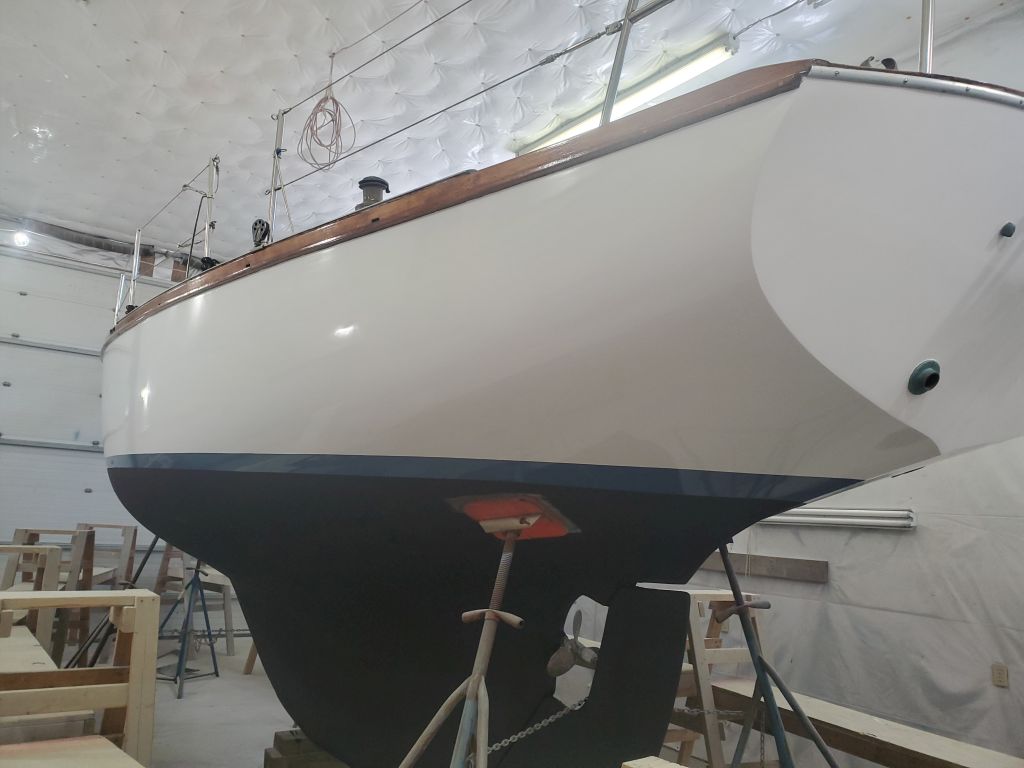
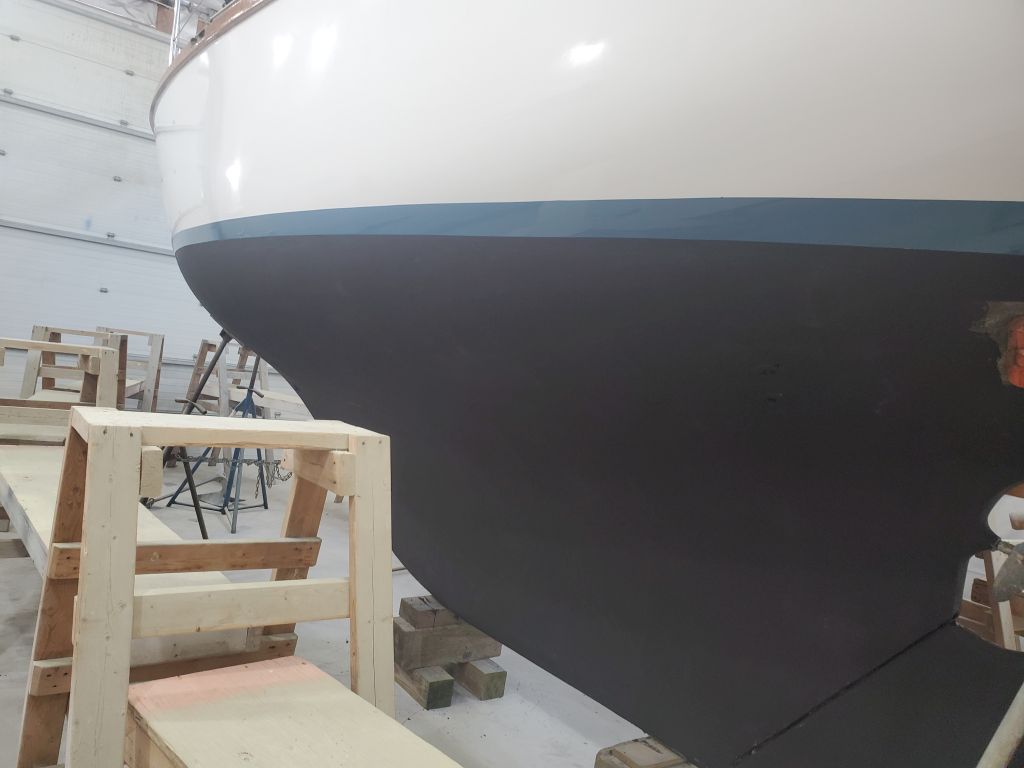
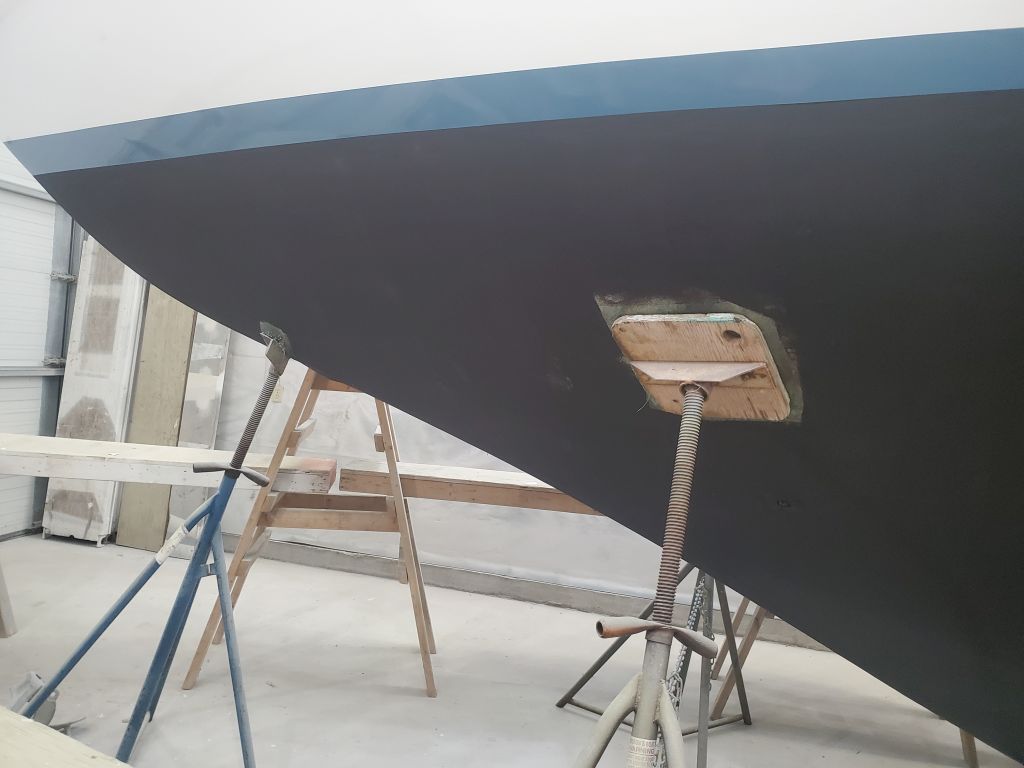
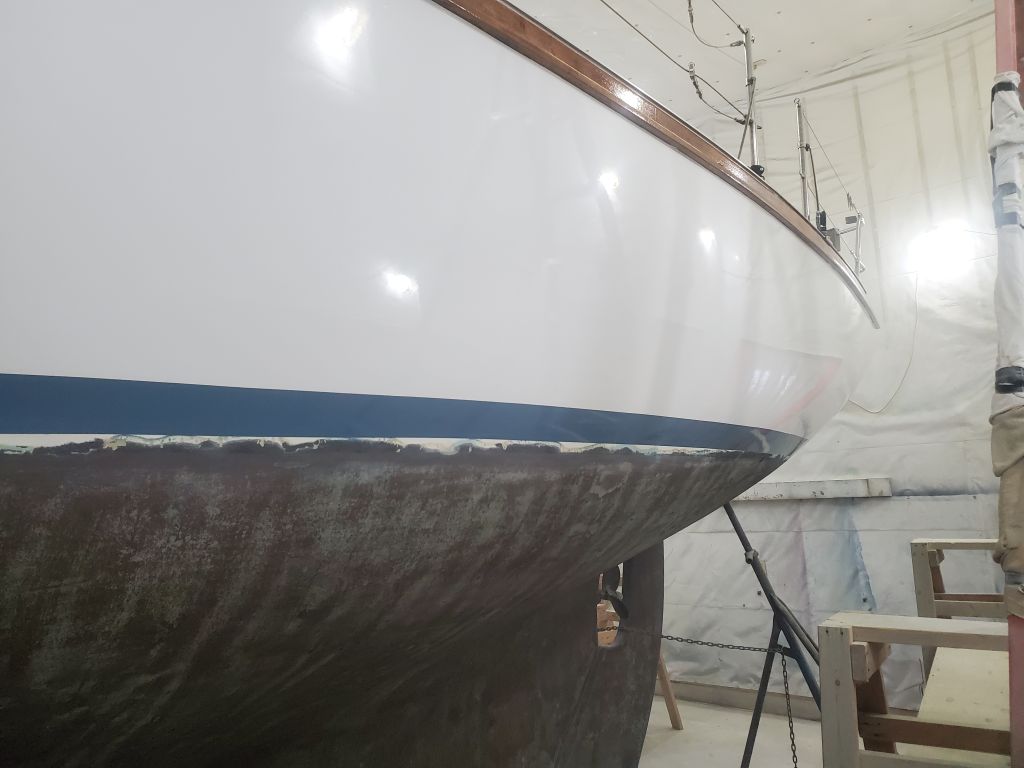
To help space the cove stripe properly from the rubrail, I installed two widths of 1-1/2″ tape periodically beneath the rail, to simulate the 3″ distance required. I’d measured the original cove stripe earlier in the project to determine this height. At the ends, I installed longer lengths of tape so I could use them to make some marks for where to end the cove stripe.
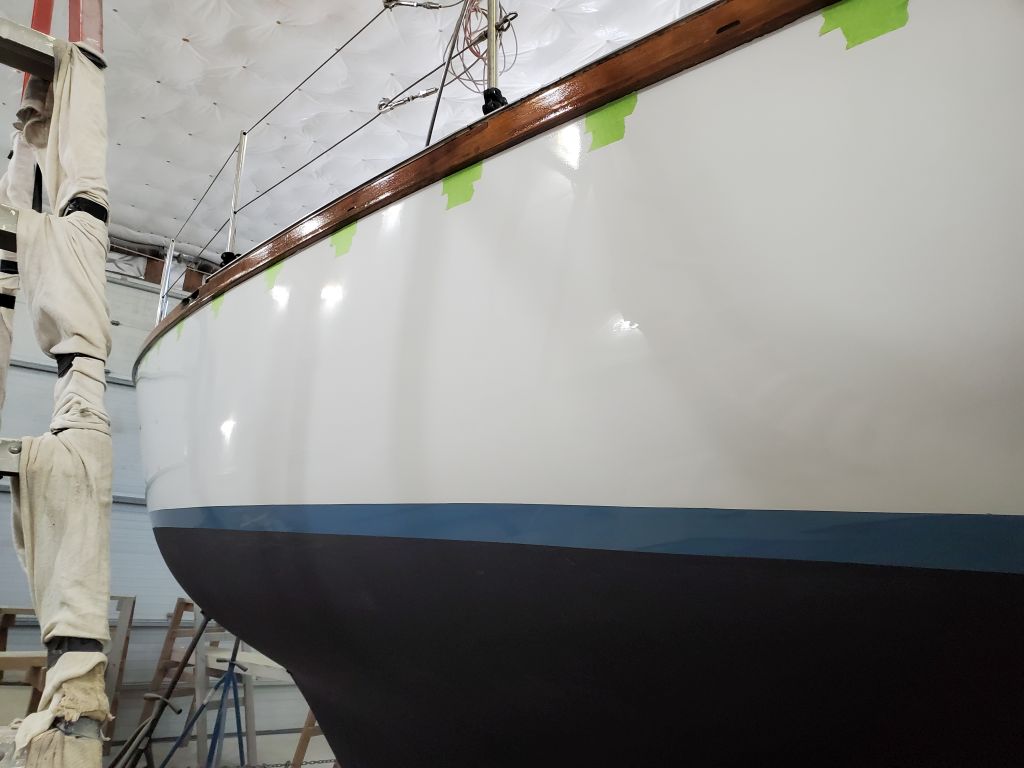
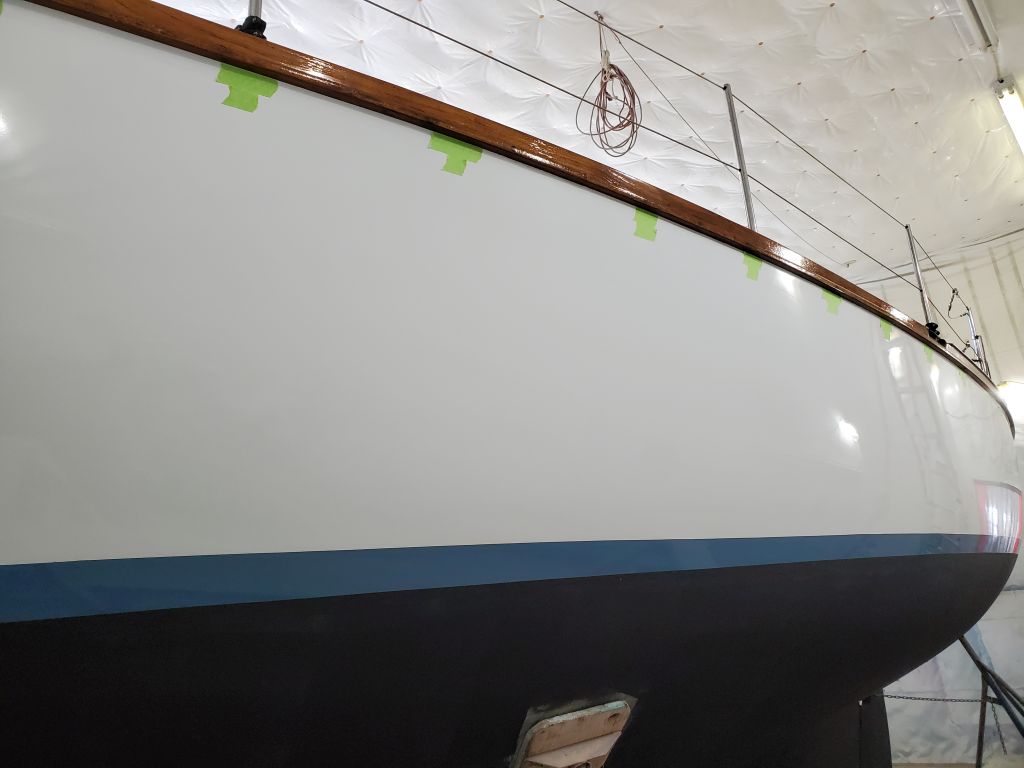
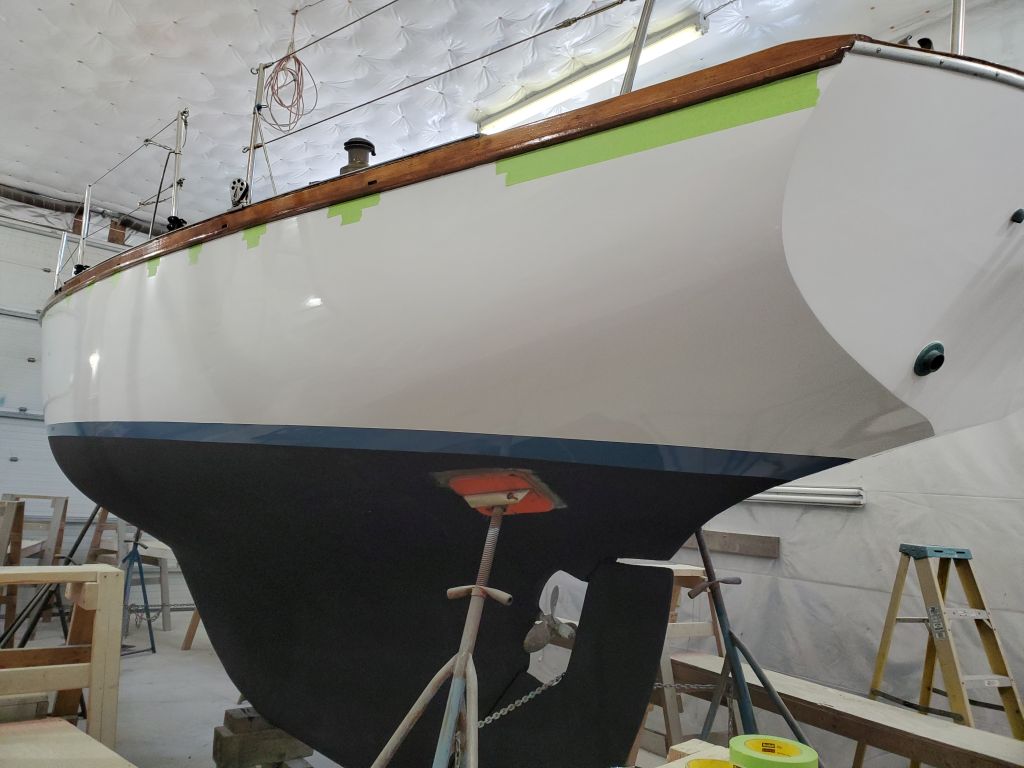

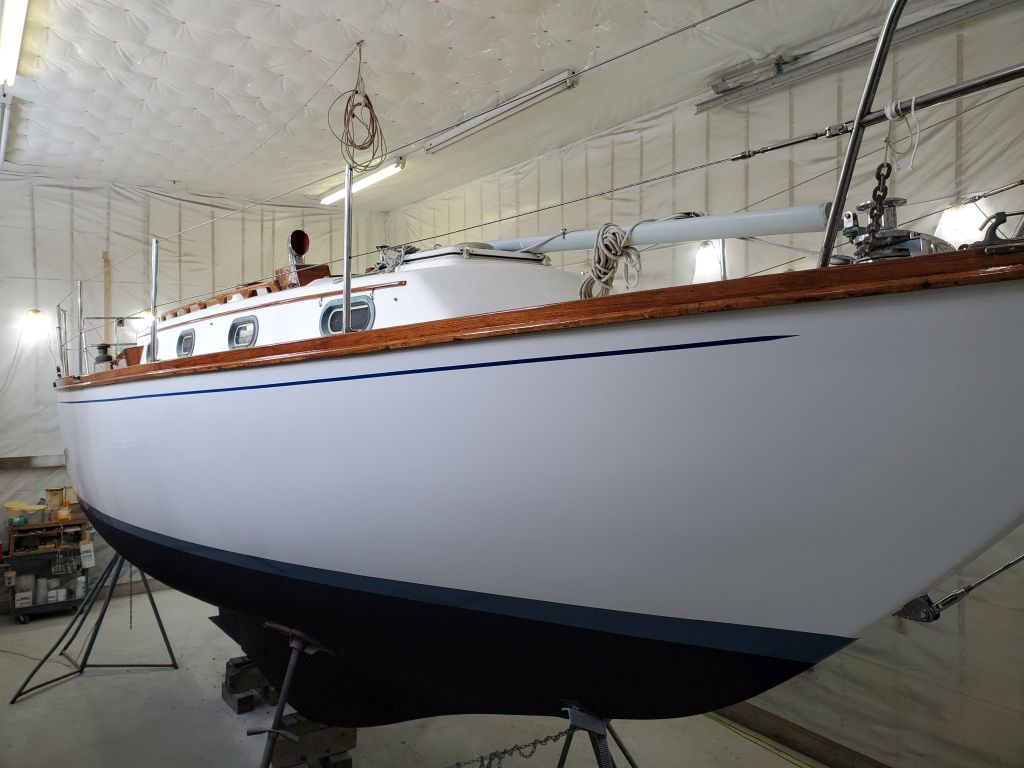
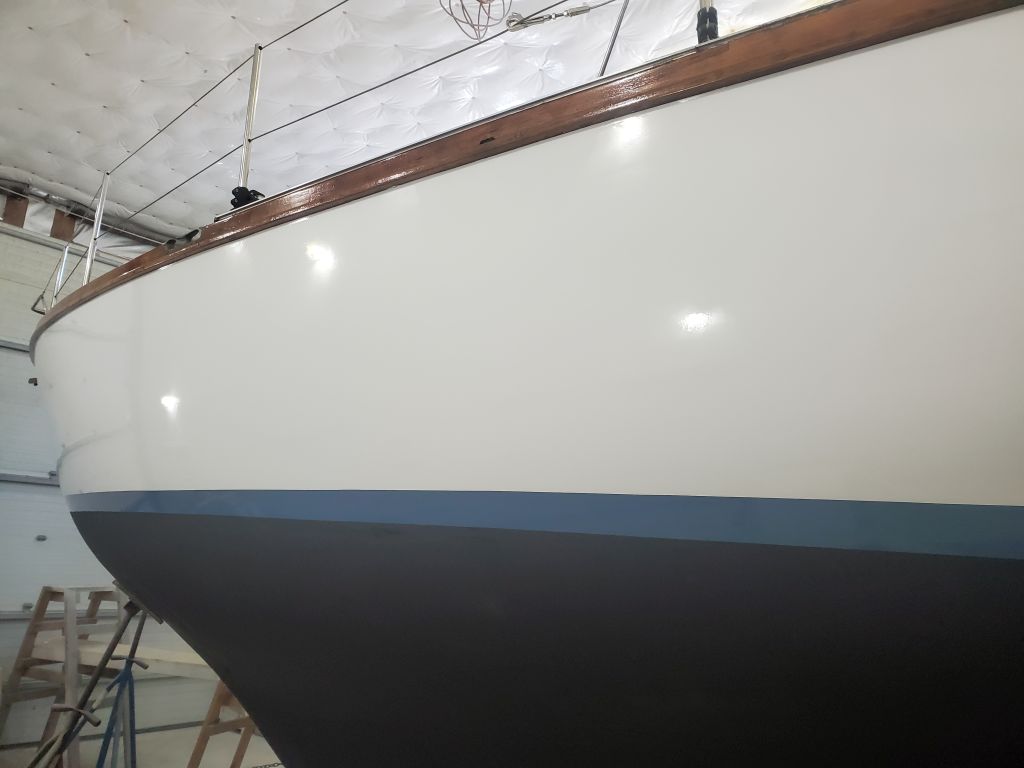
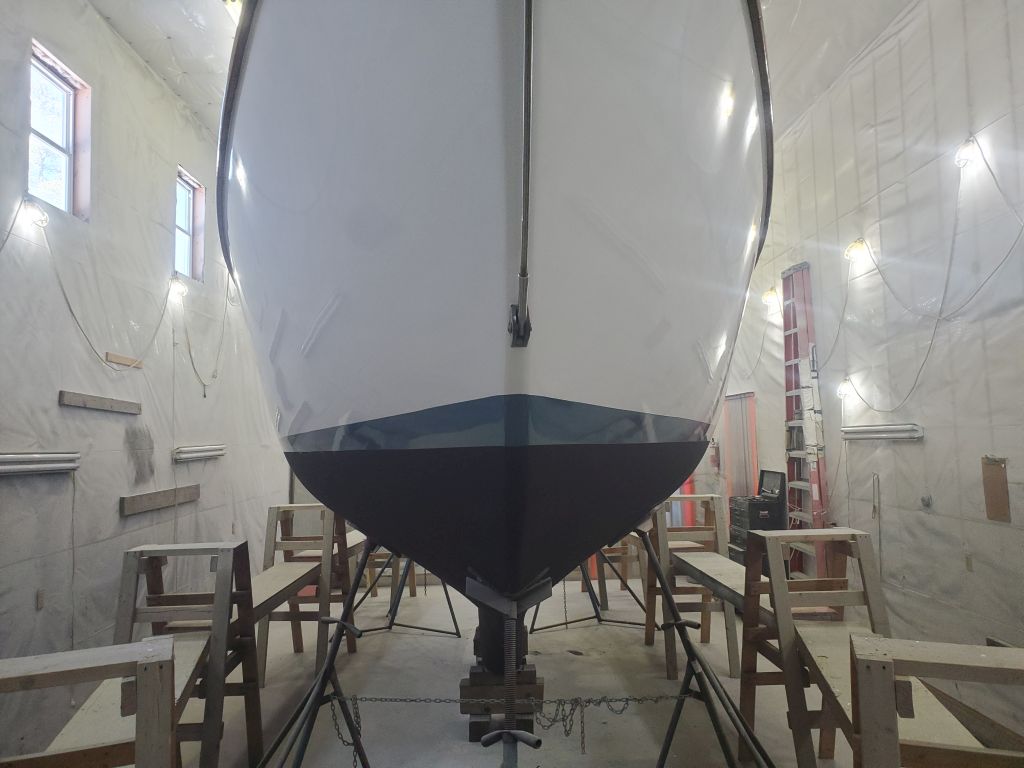
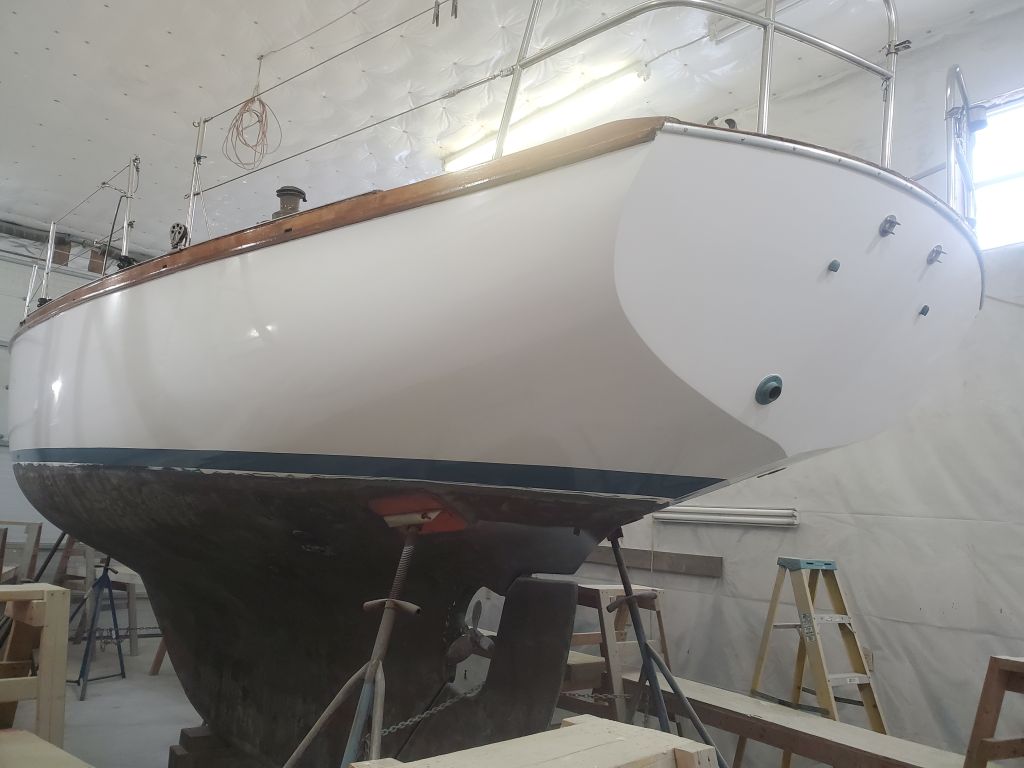
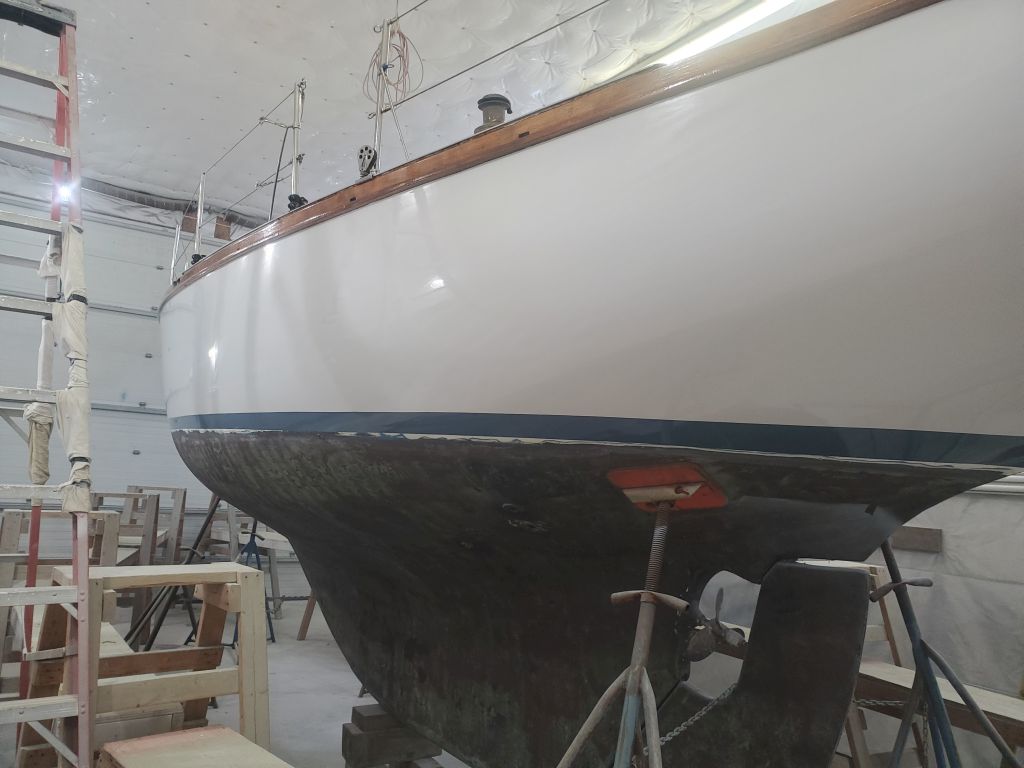
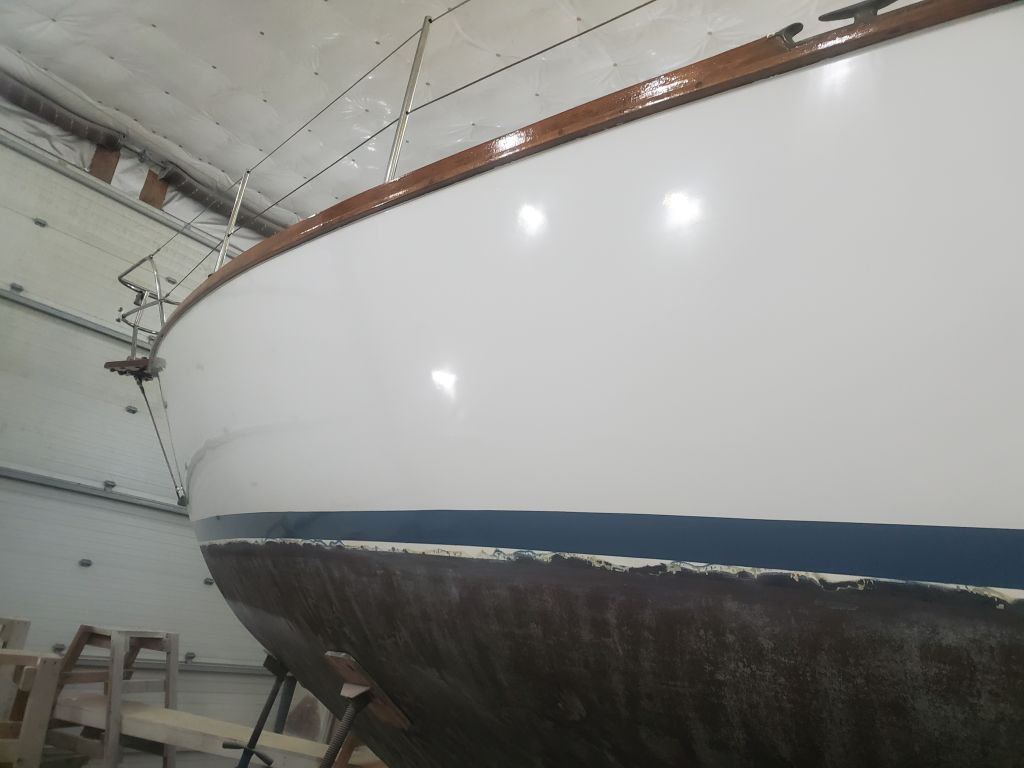
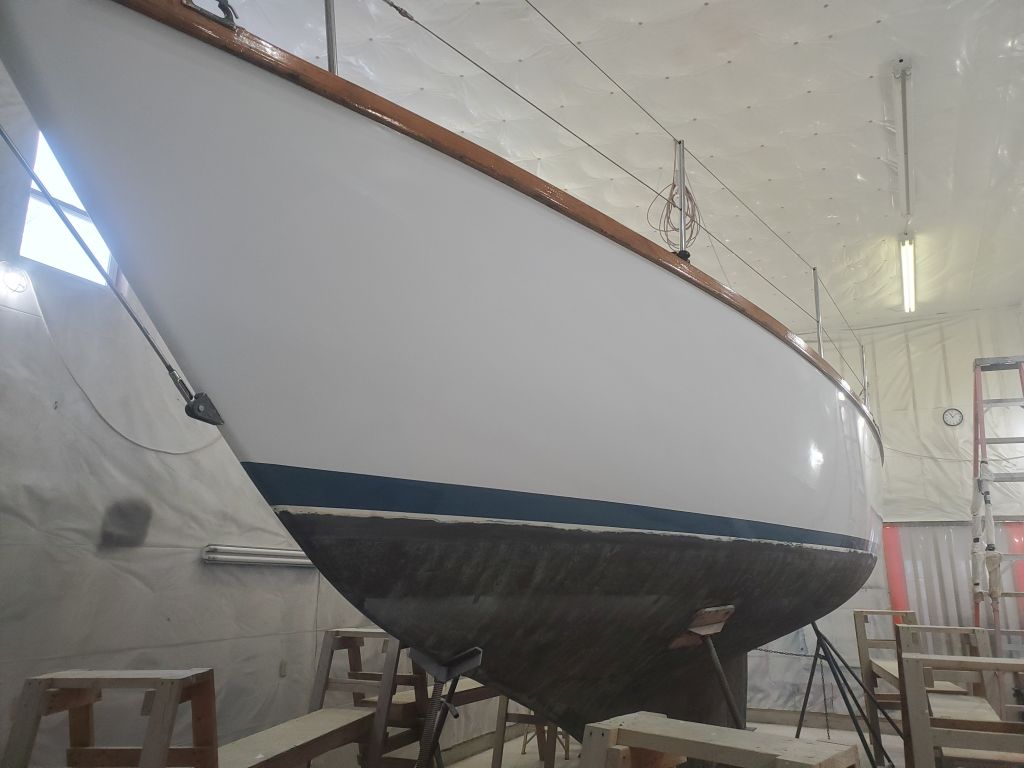
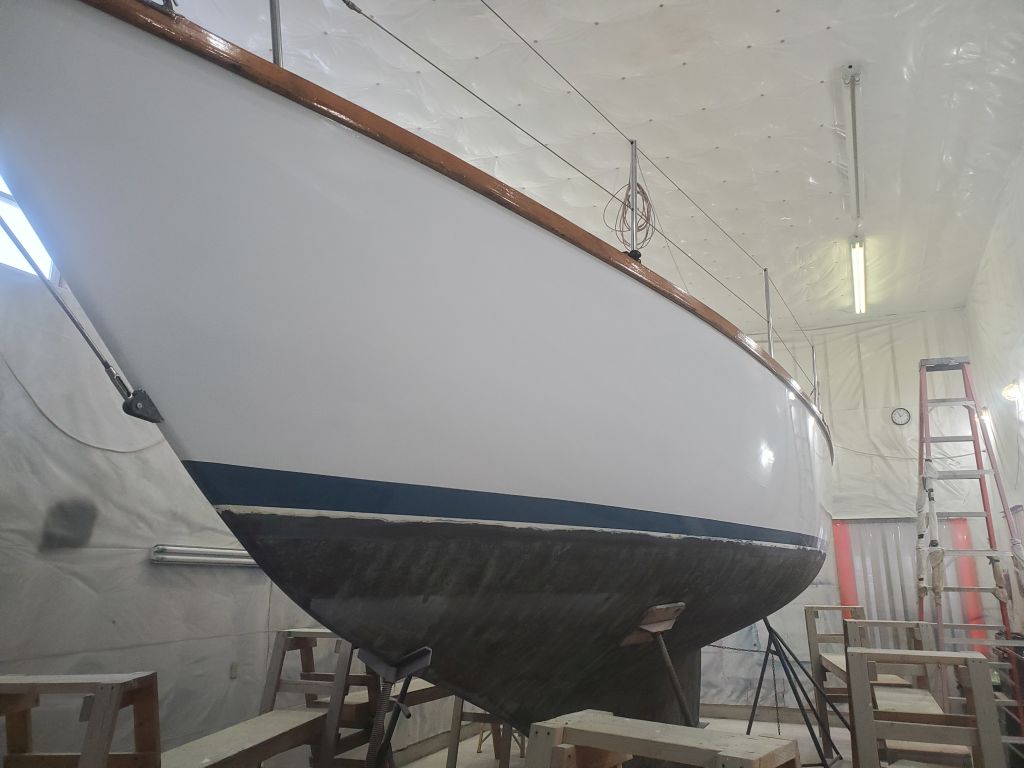
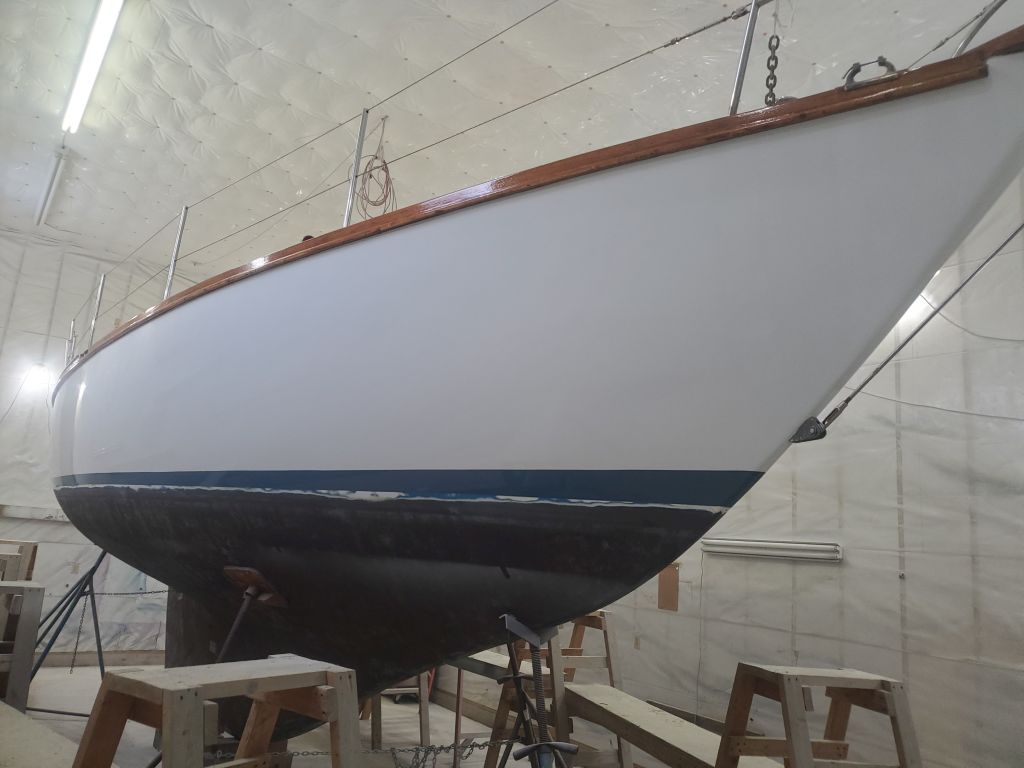
I used the tape only as a general alignment guideline as I installed the vinyl covestripe tape along the hull on each side, fairing the line by eye. At the owner’s request, I chose a blue color to coordinate with the boottop. I terminated the line 12″ forward of the transom, and about 3′ aft of the stem (2.5′ aft of the forward edge of the rubrail), as I think it looks best if the cove stripe does not run too close to either end of the boat. This small accent added greatly to the appearance of the boat and finished things off.
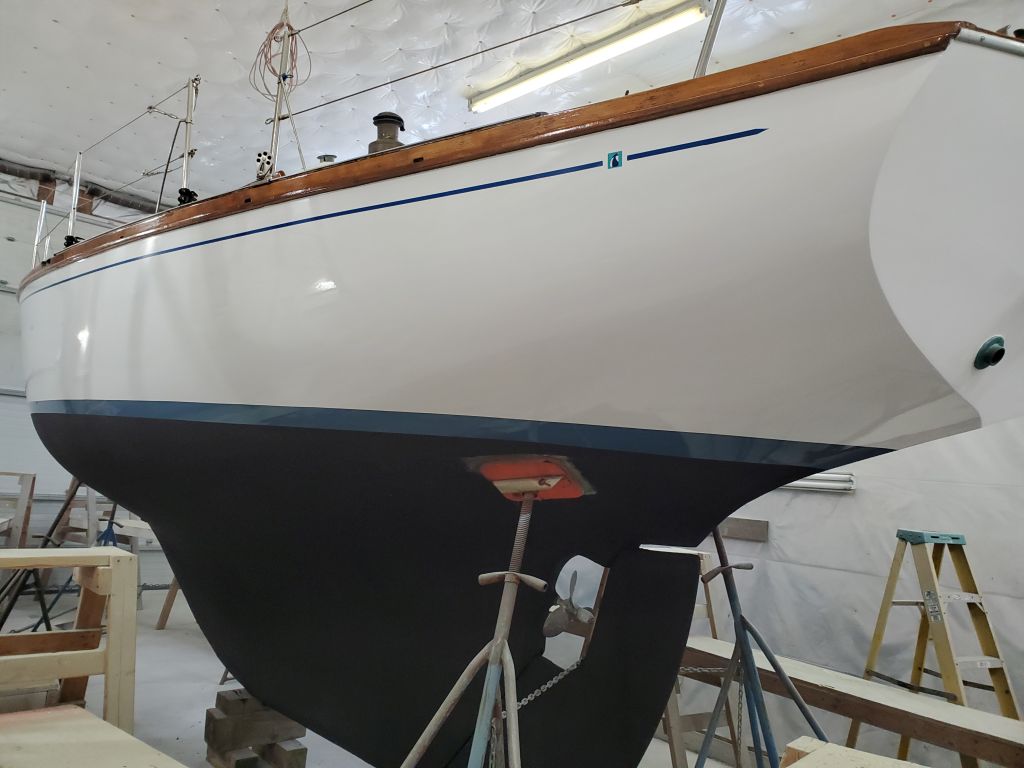


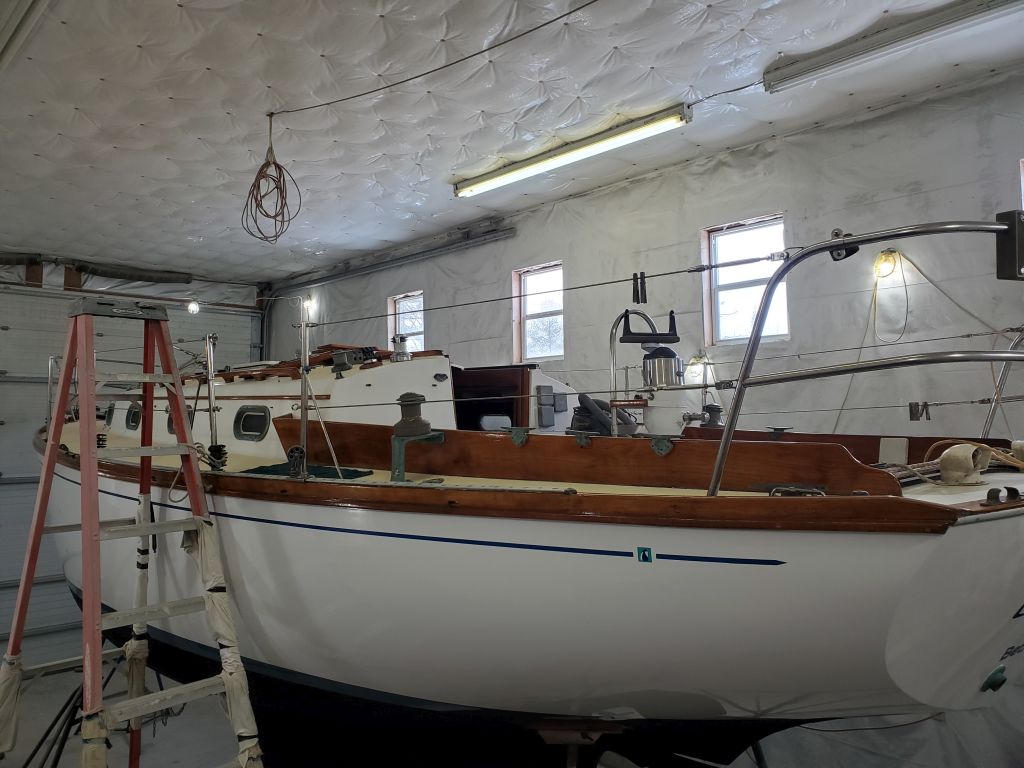
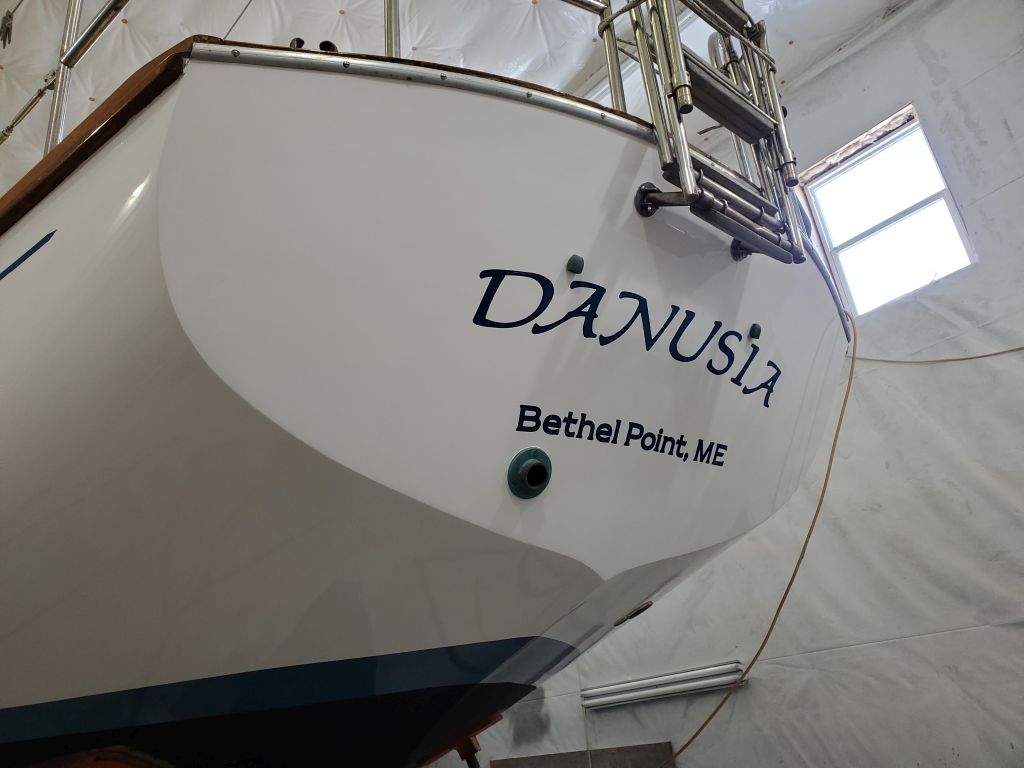
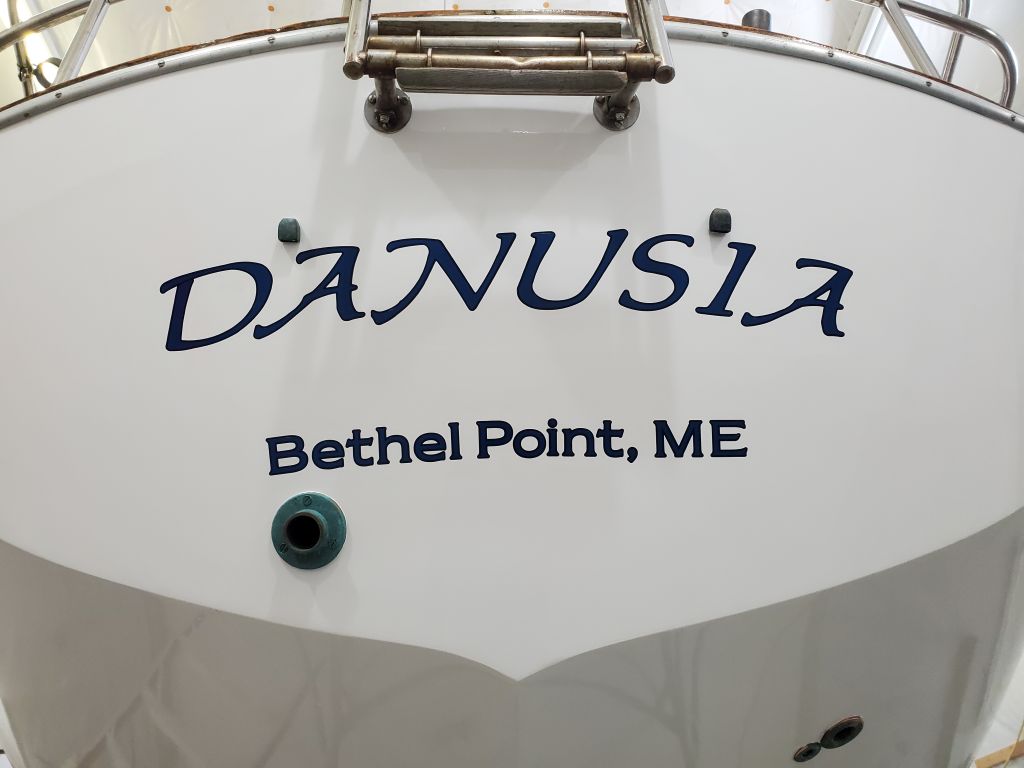
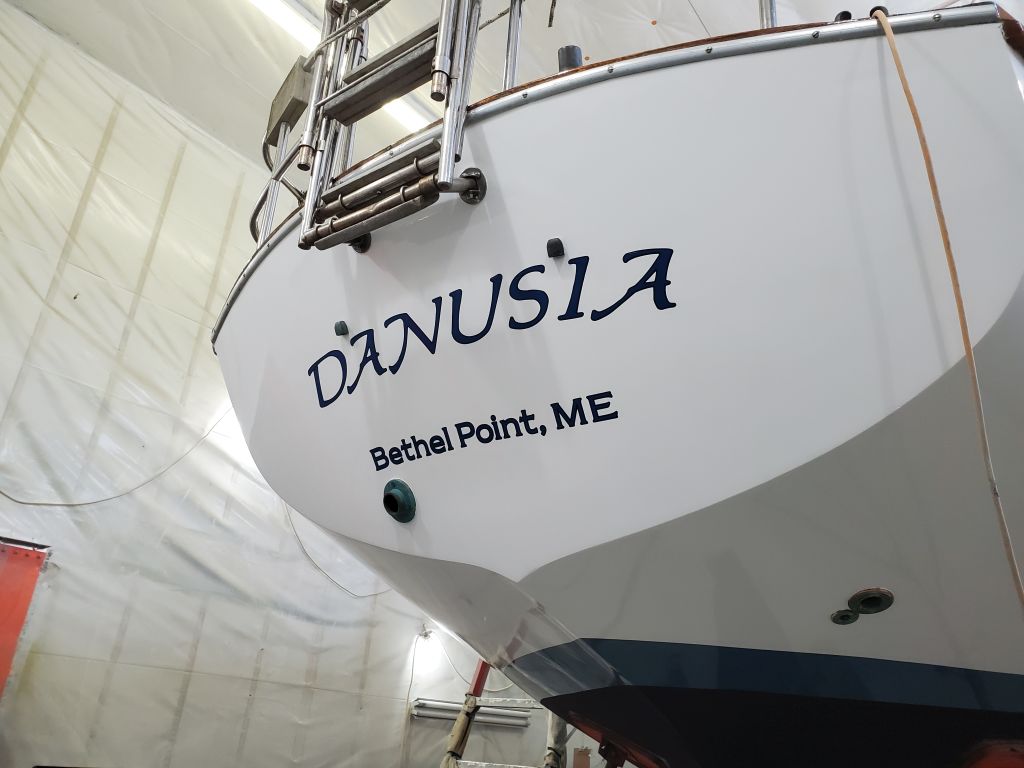
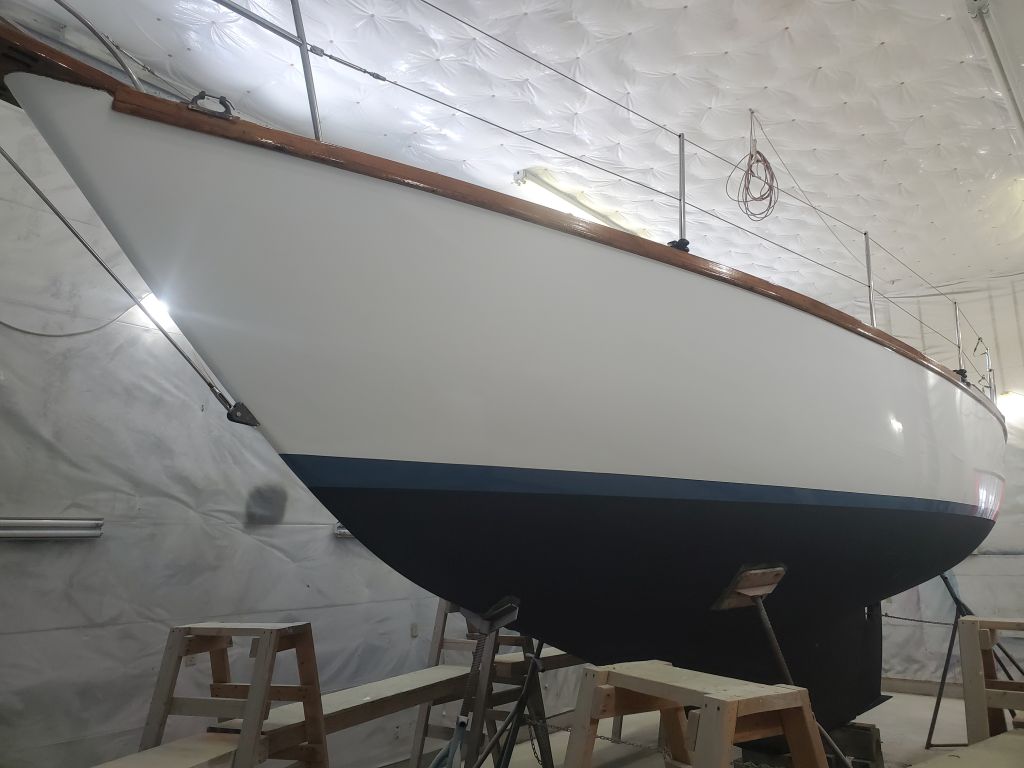
Now done with the staging, I gratefully broke it down and stored it away, opening space around the boat. Next, I installed the new lettering on the transom to complete the hull work. The style, placement, and size of the lettering was the same that the owner had chosen originally in 2016, but with a different color scheme: blue lettering with a narrow black outline, tying everything together.
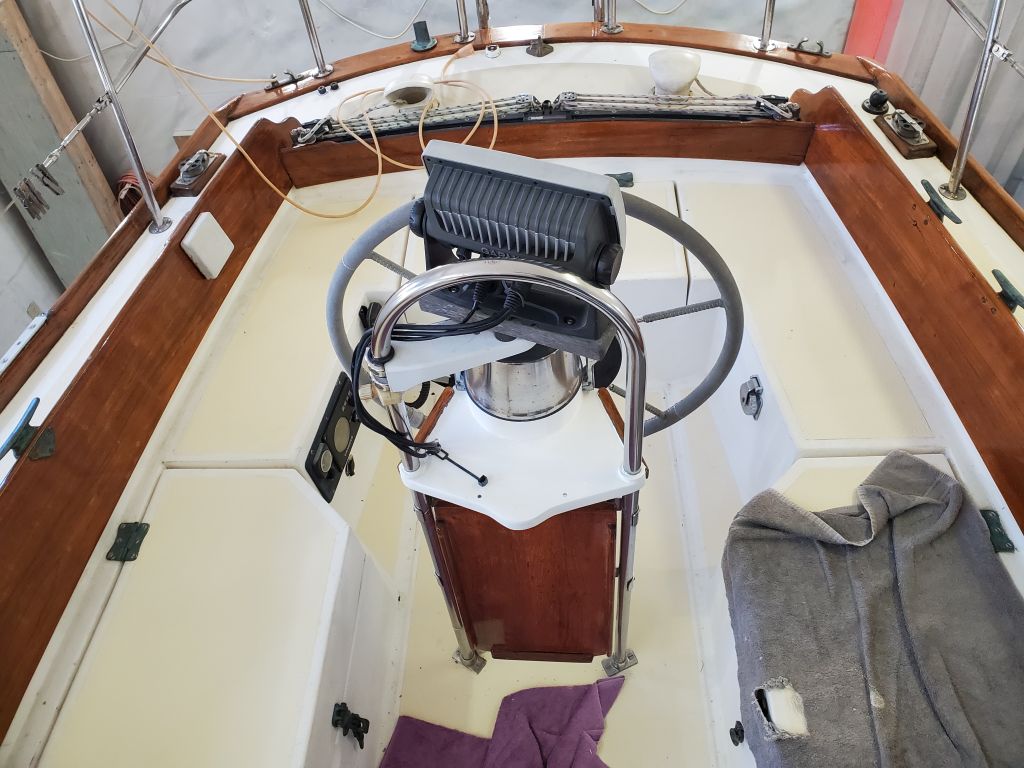
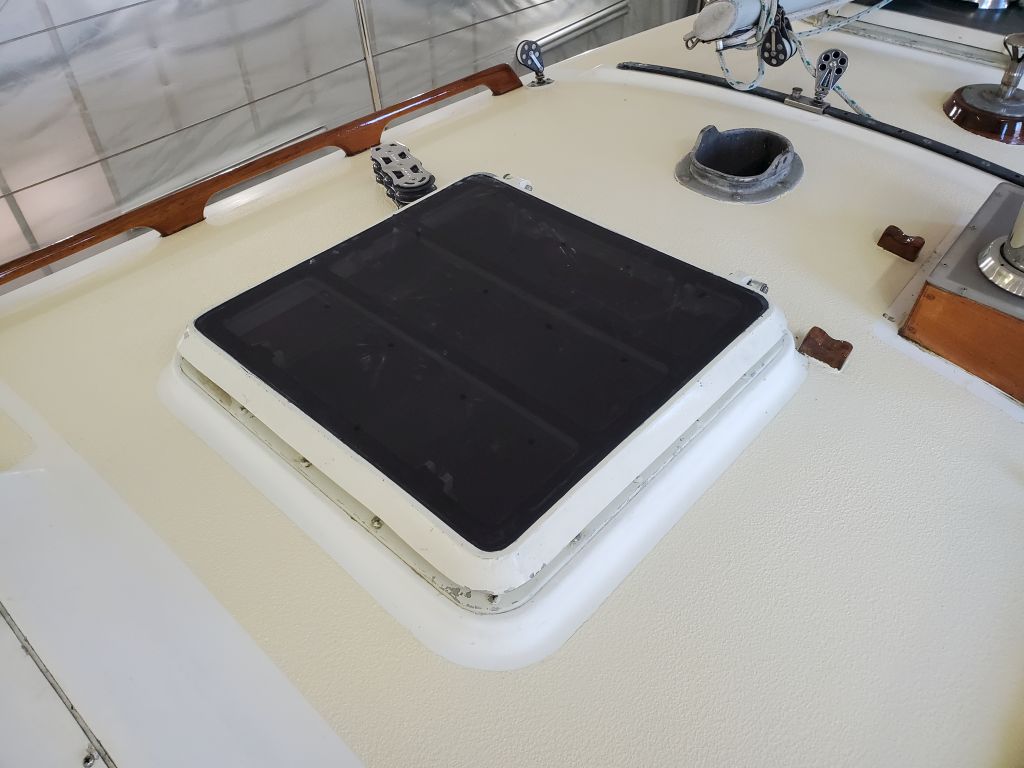
Up on deck, I assessed a couple of the last-remaining jobs to be completed, mainly the steering pedestal. I’d repainted the pedestal 10 years earlier and now it required it again, as there had been complete failure of the remmants of the original factory coating at the pedestal base (including the repaint), and more minor and expected failures elsewhere. I’d already scraped off all the failing paint on the base collar during an earlier stage of the project, but the remainder of the pedestal would require additional prep work. This would be my focus next time.

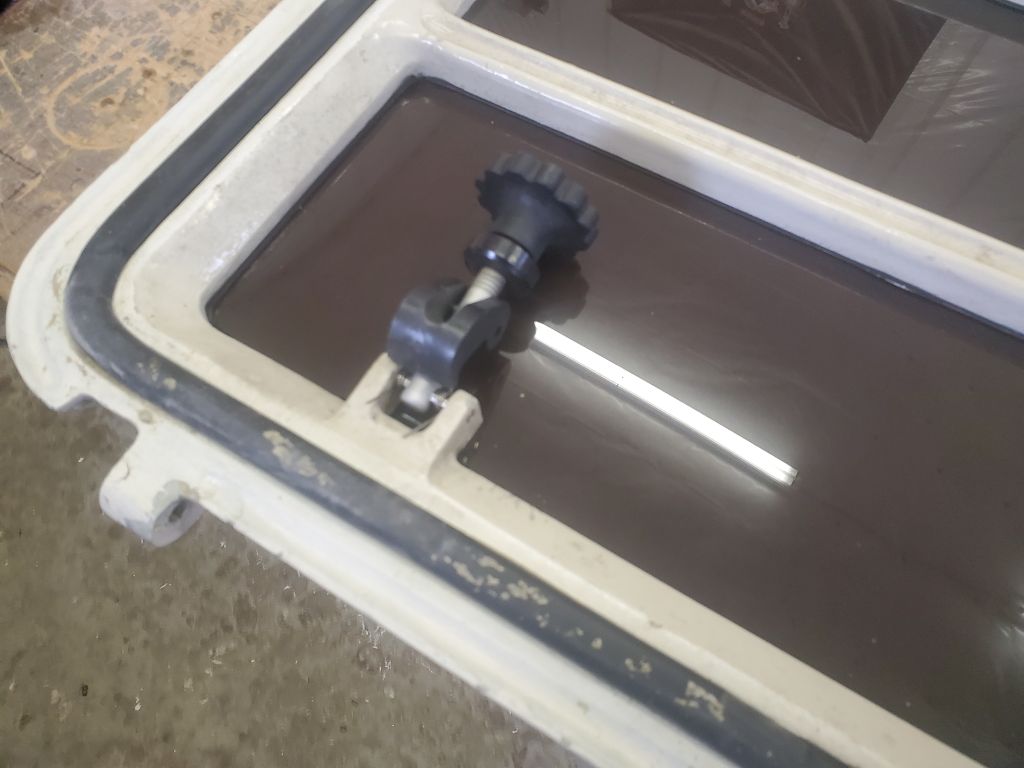
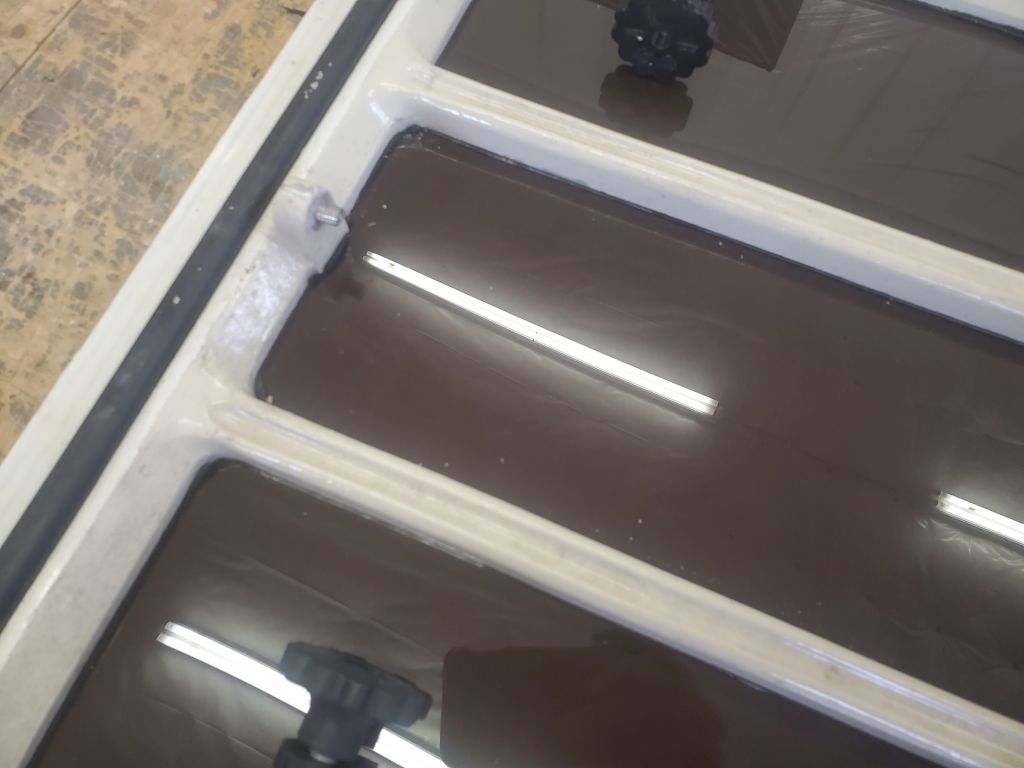
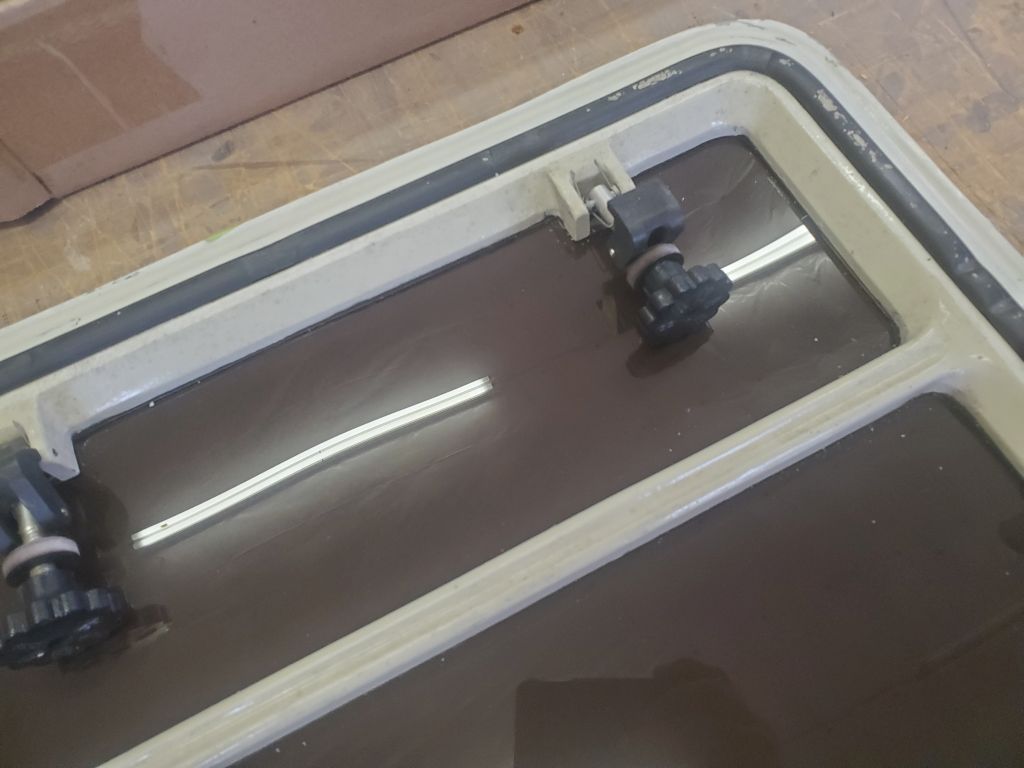
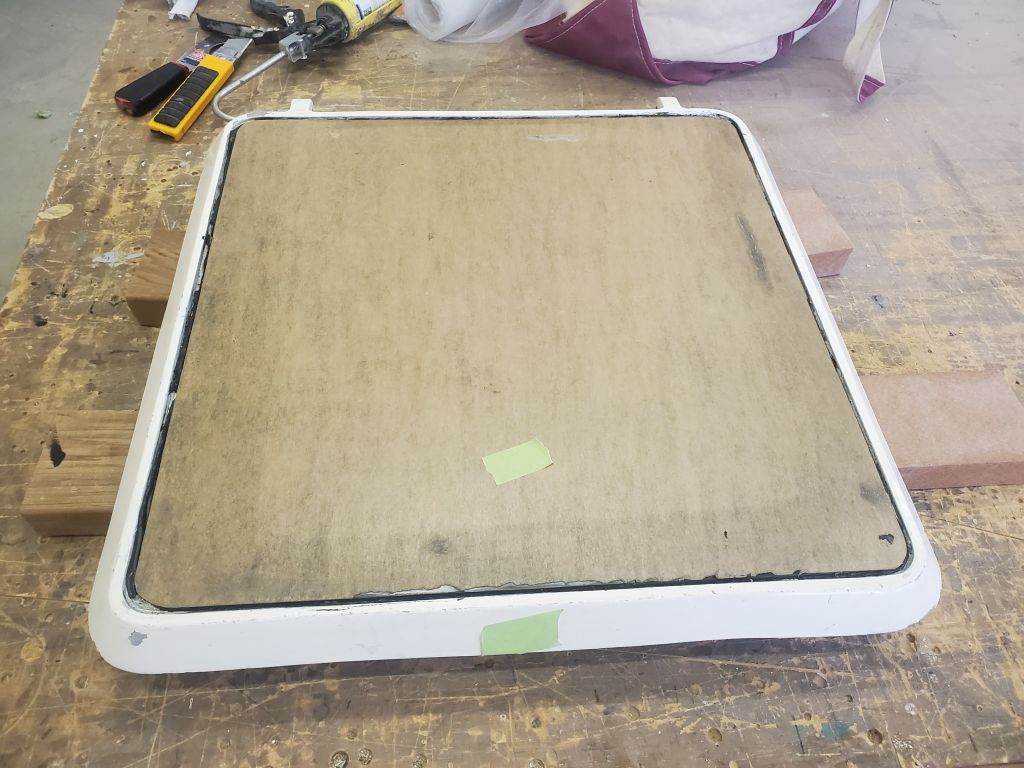
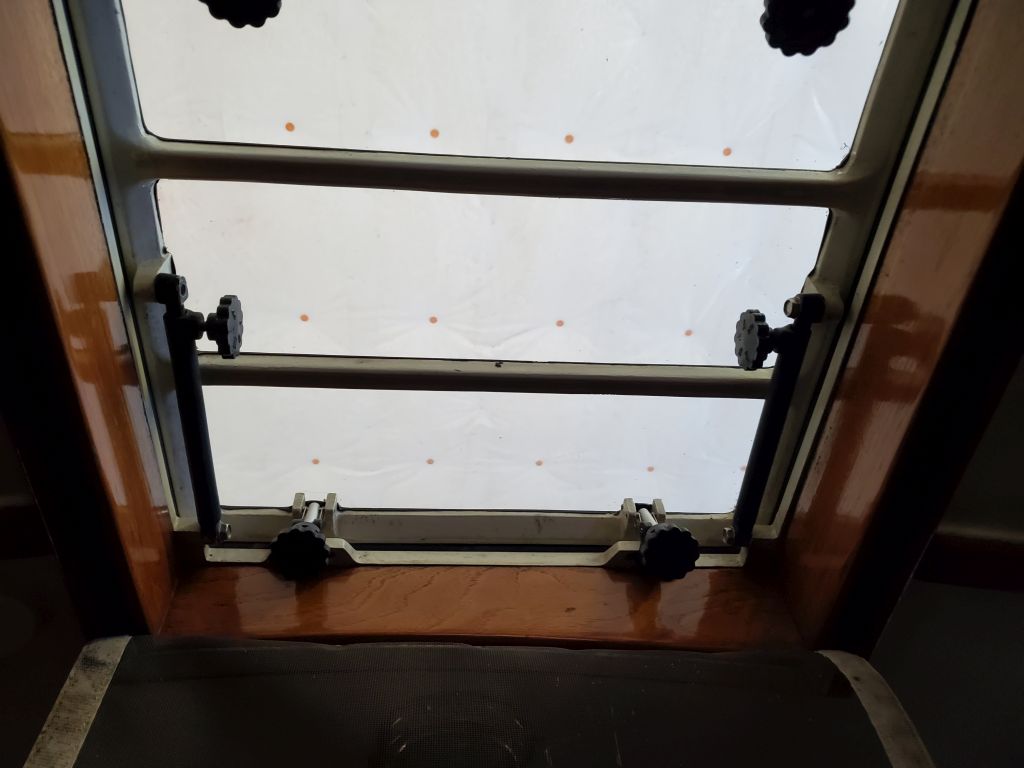
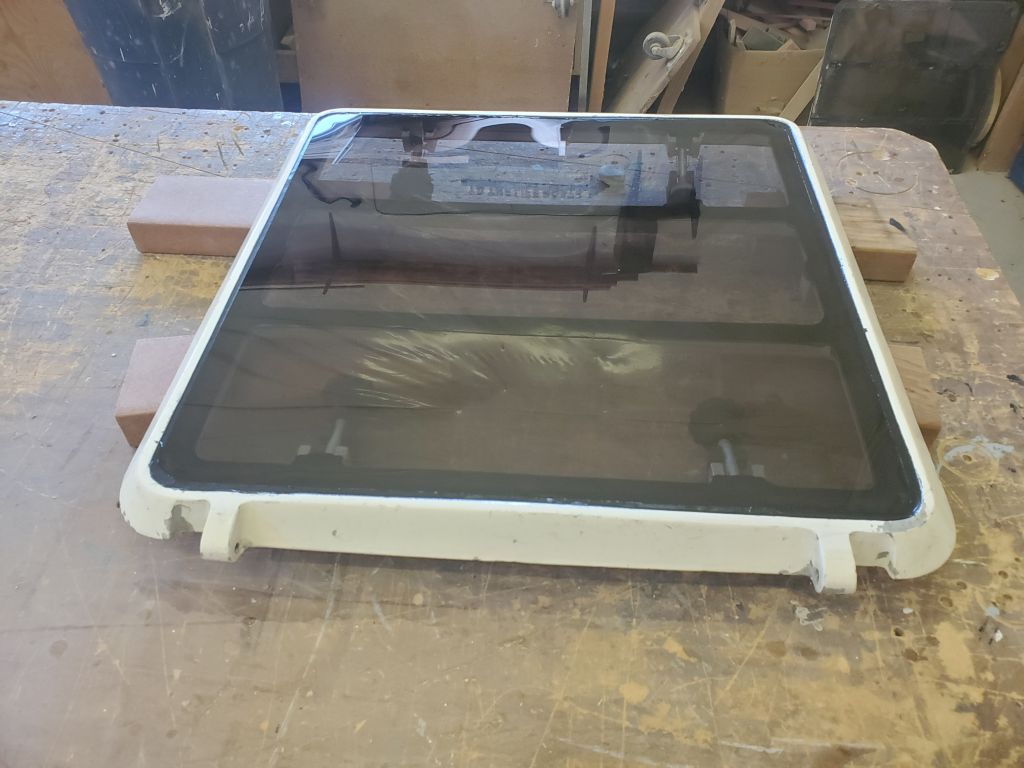
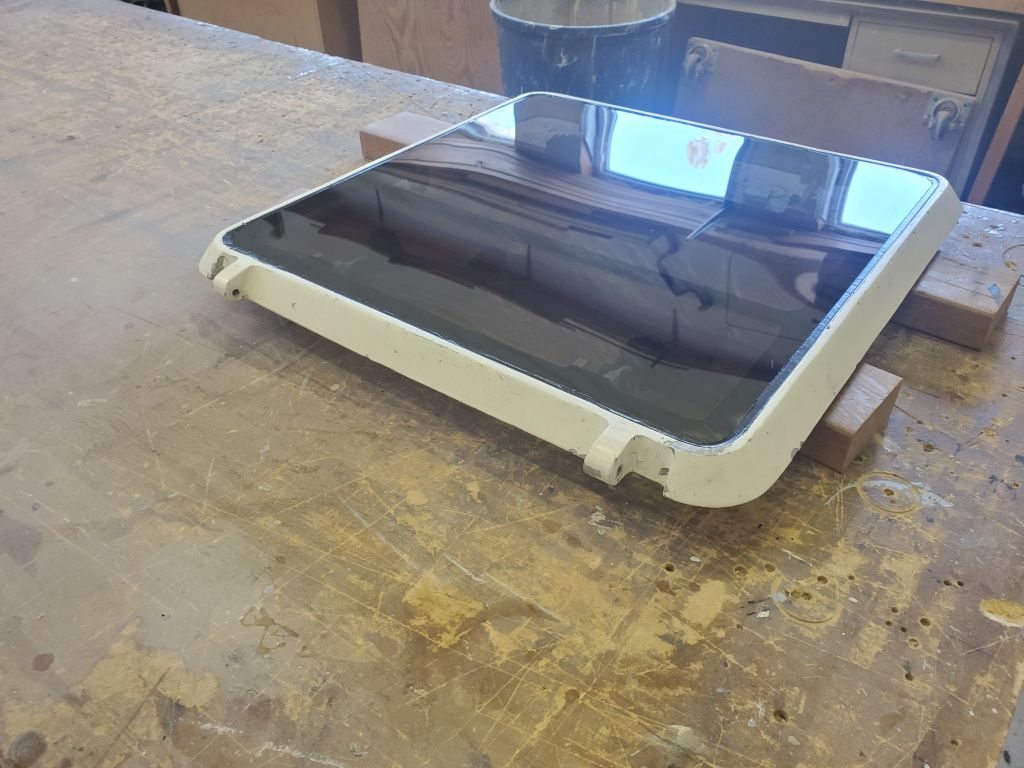
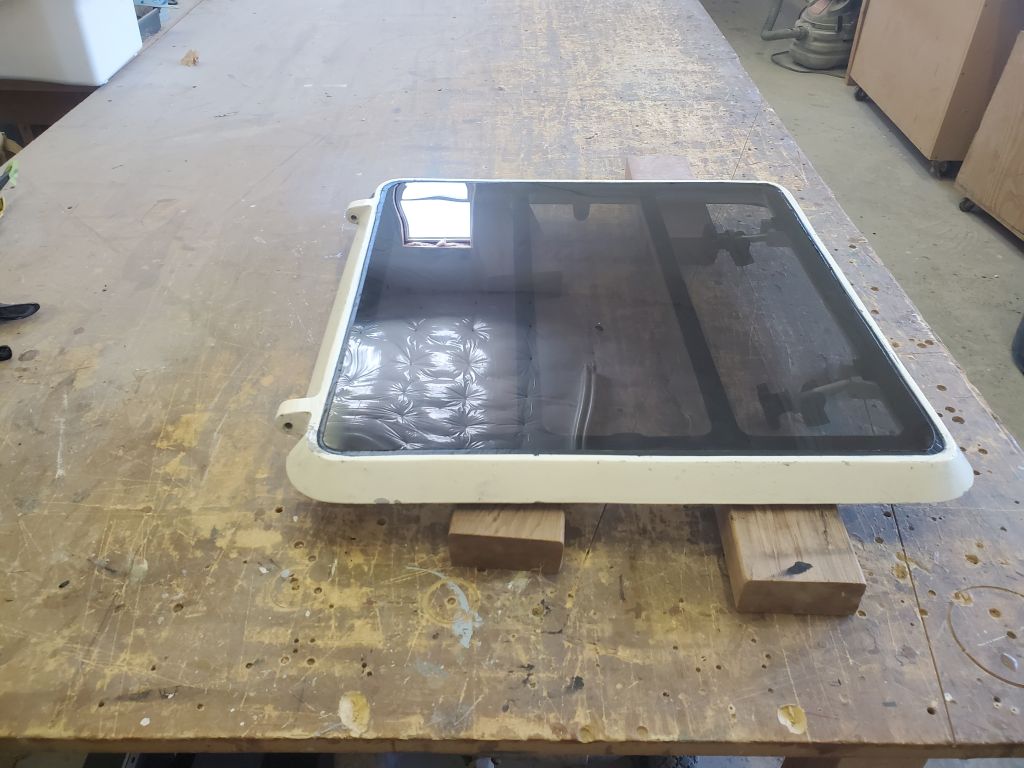
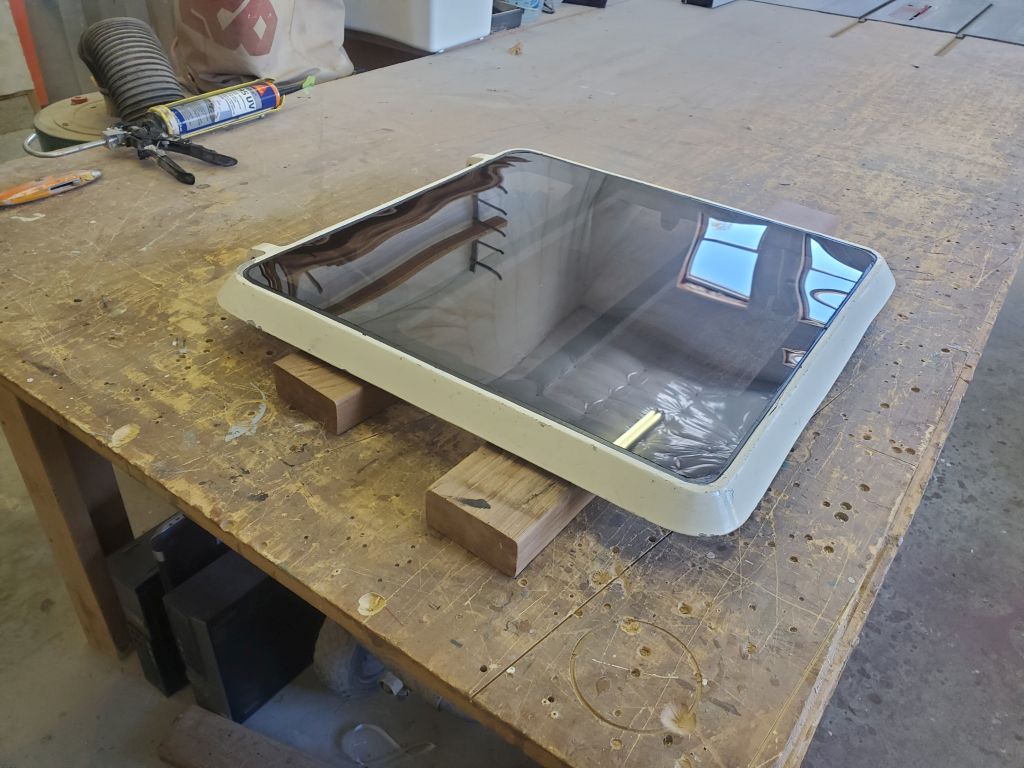
It was a day of minor miscellany. With just a couple smaller jobs left on the docket for this project, I wanted first to wrap up the work already underway, so I reinstalled the now well-cured midships hatch frame with its fancy new lens.
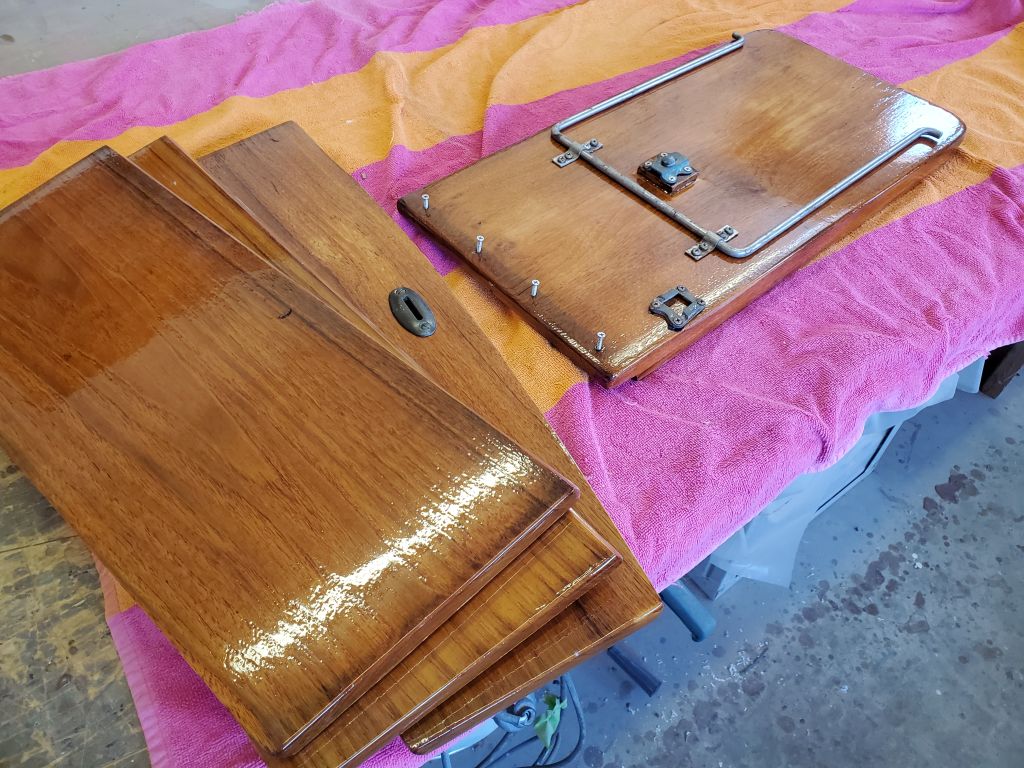
I reassembled the hardware I’d removed from the companionway swashboards and cockpit table.
I’d hoped, and frankly planned, to finish up the hull with the cove stripe, but alas, the order I’d been awaiting didn’t arrive despite promises from the postal service in my inbox all weekend. So I didn’t get anywhere with this small but important step, but did manage time late in the day to go out and pick up the new graphics for the transom, so that was something.
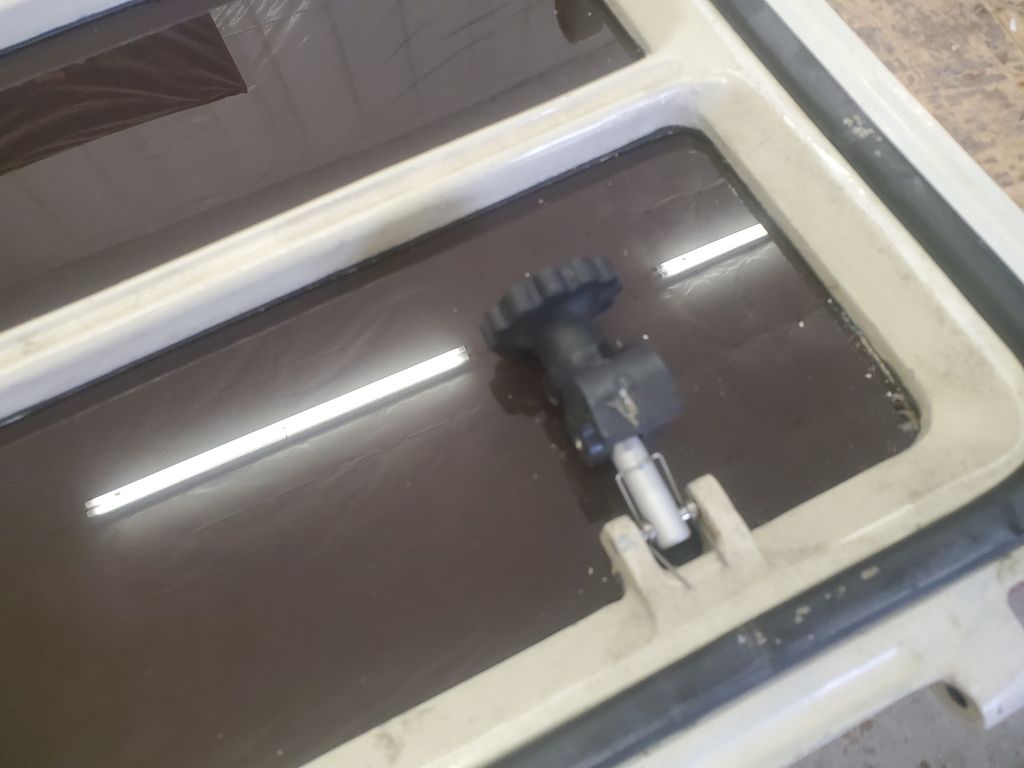
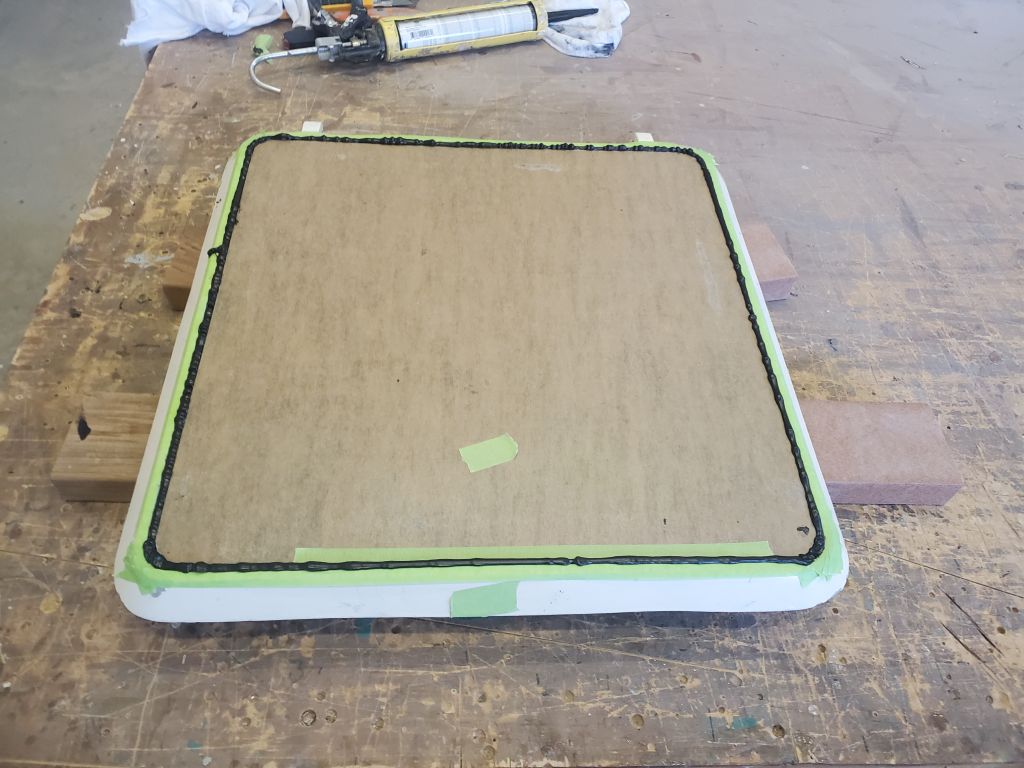
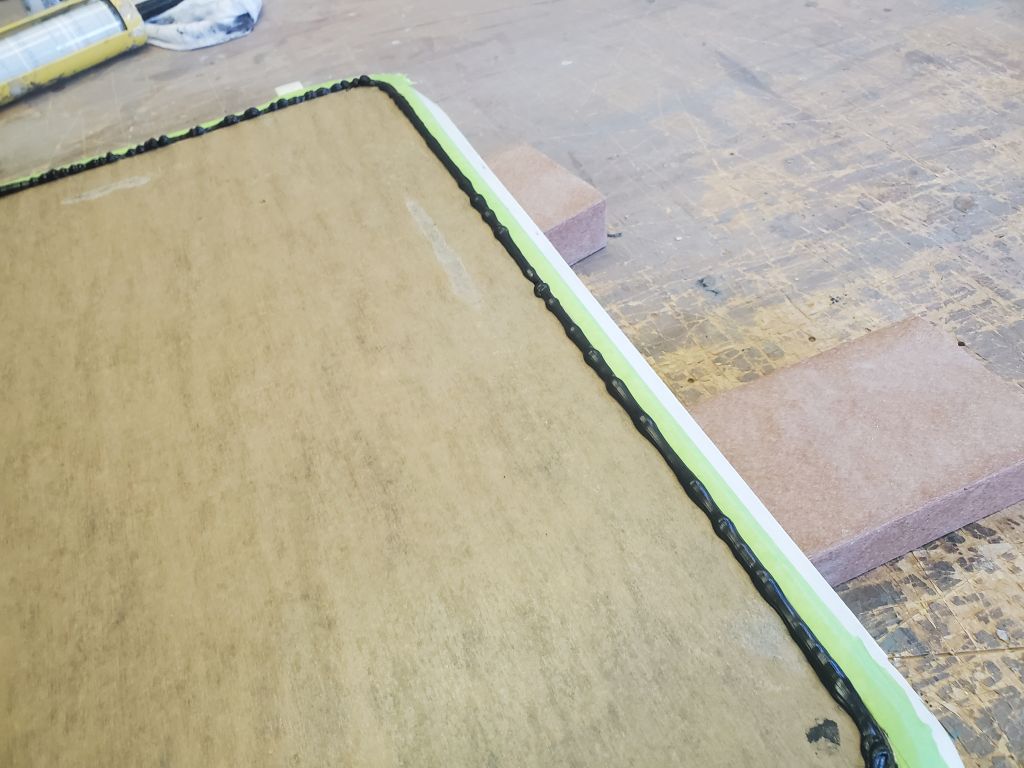
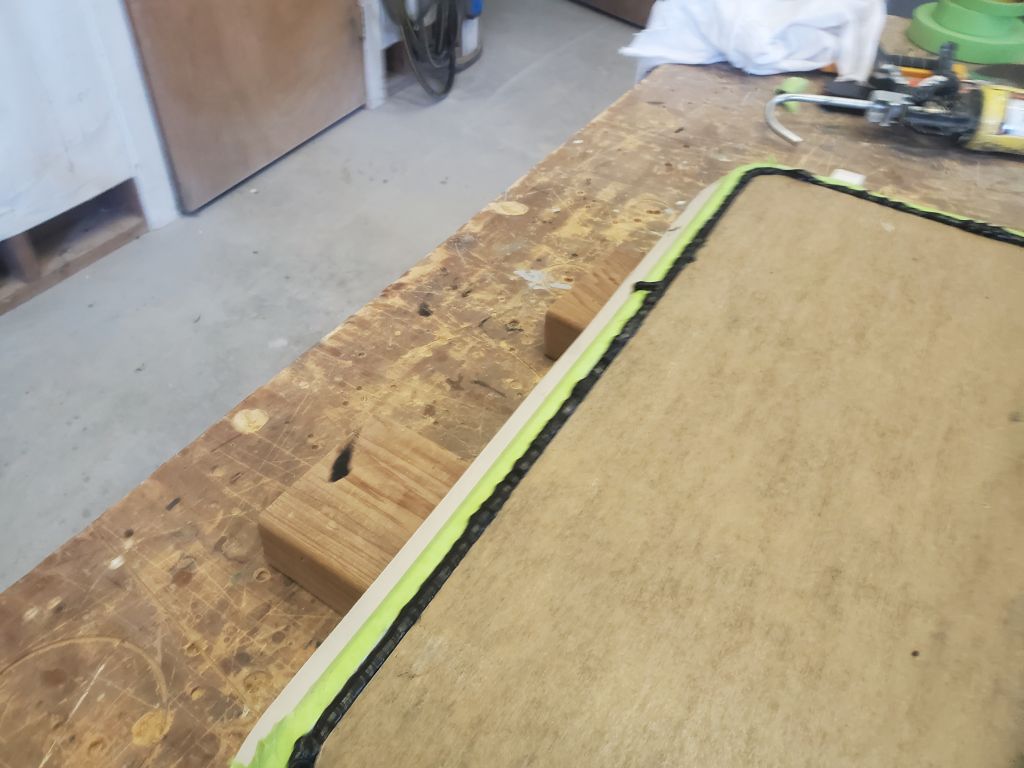
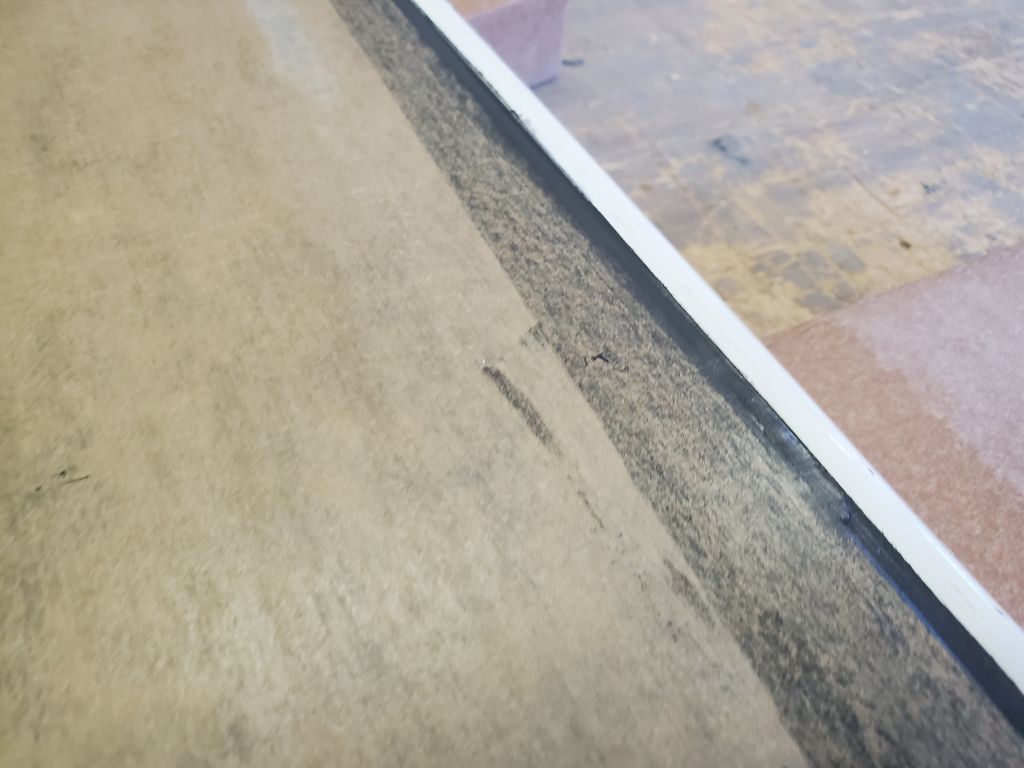
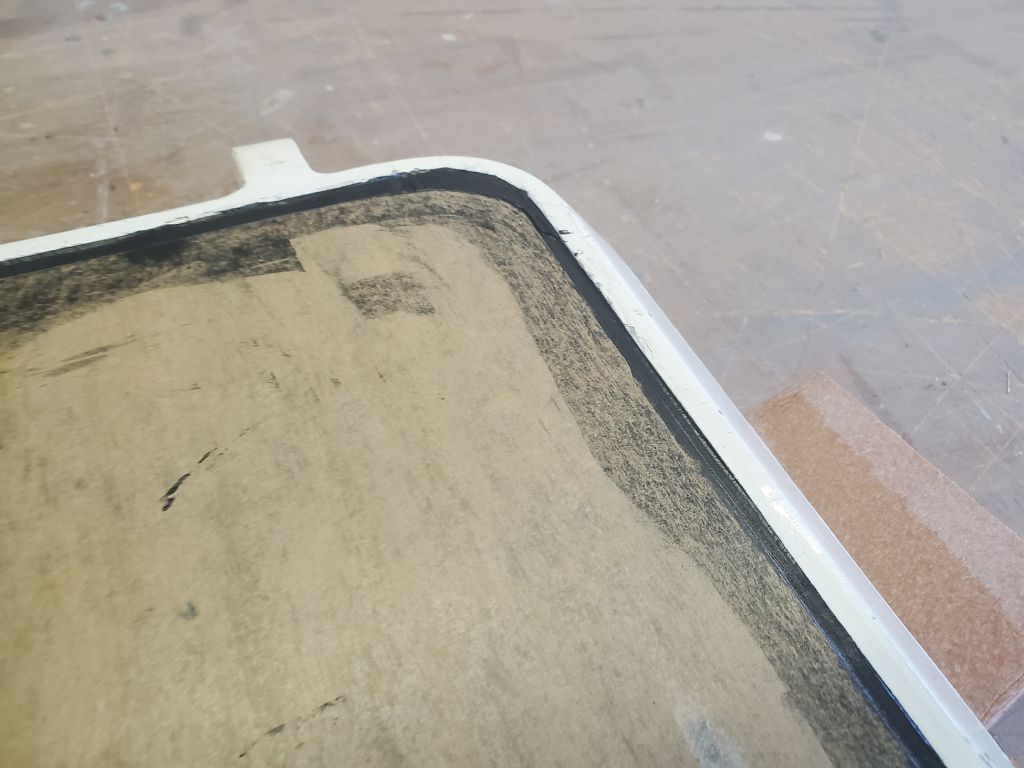
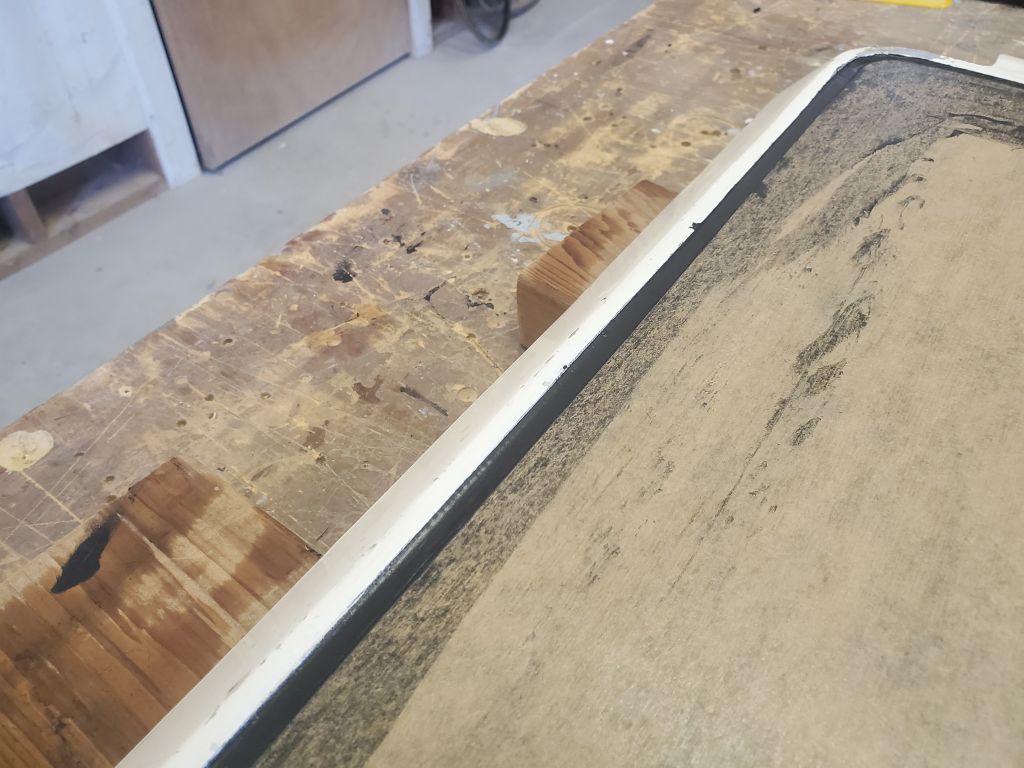
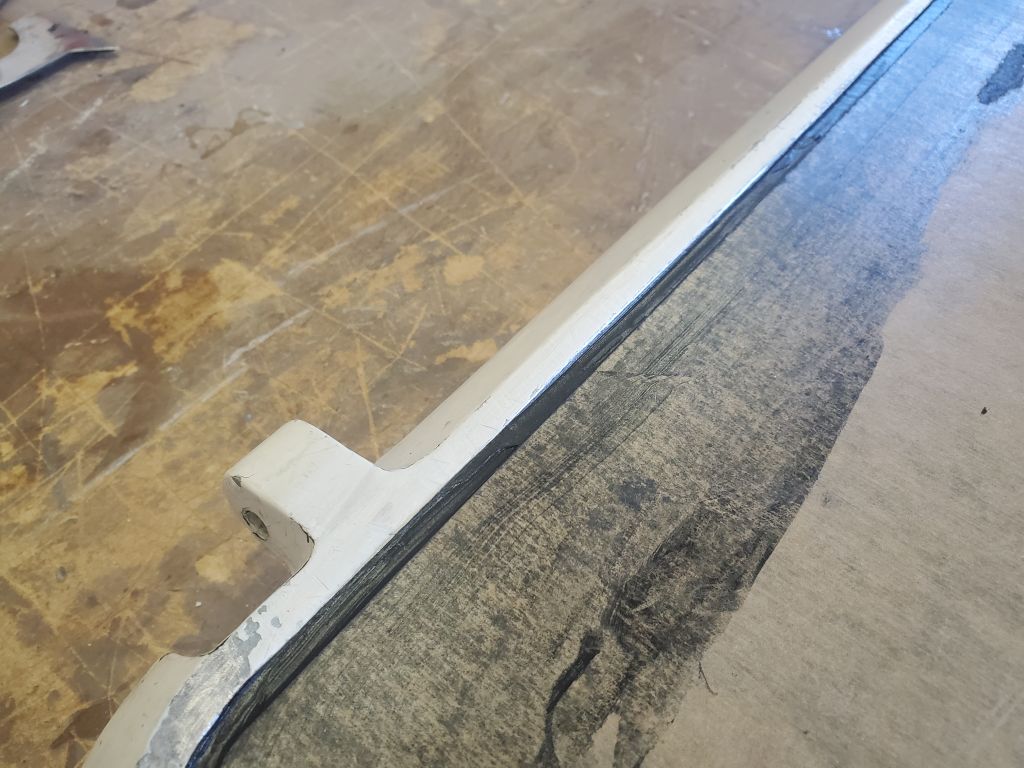
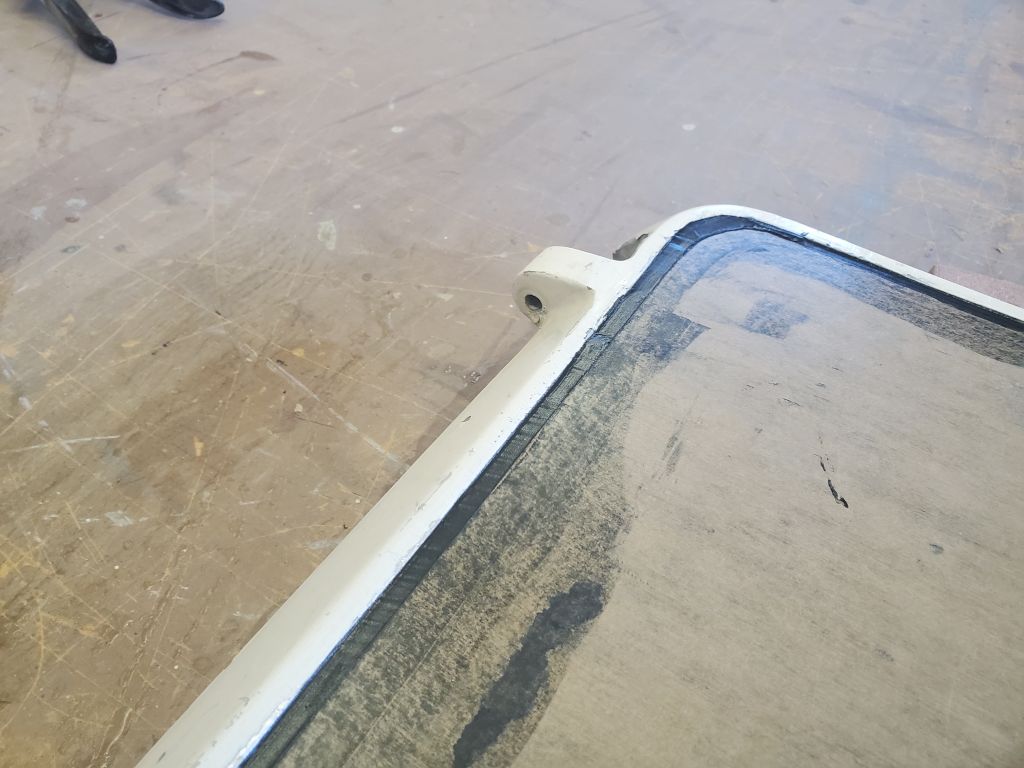
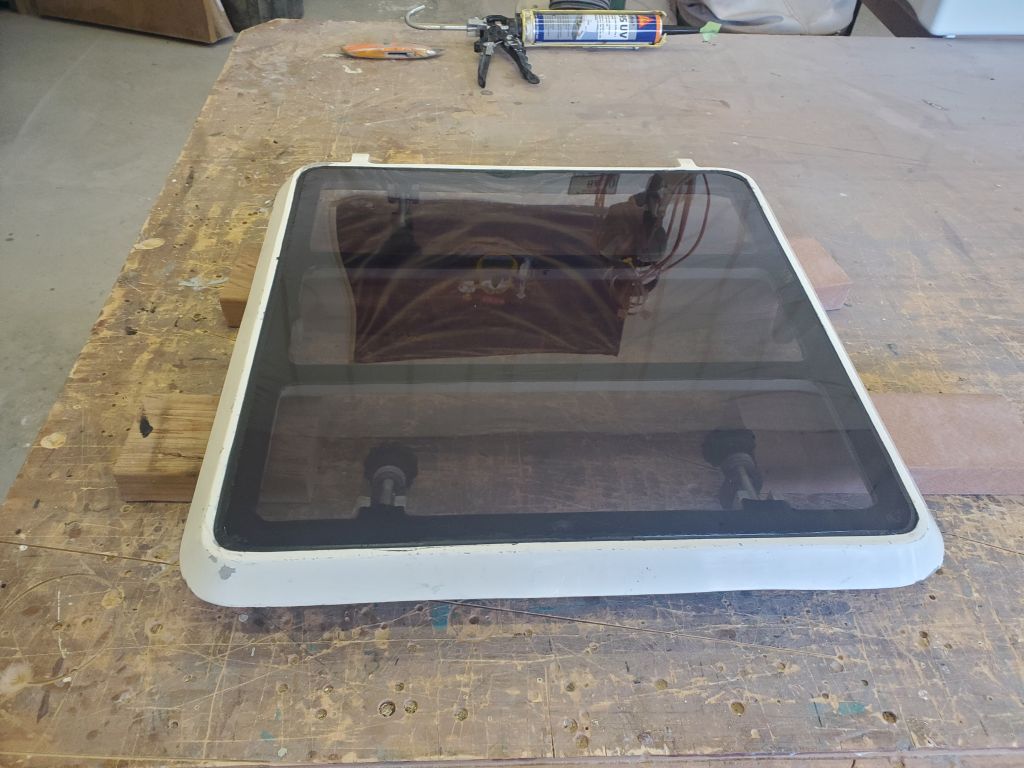
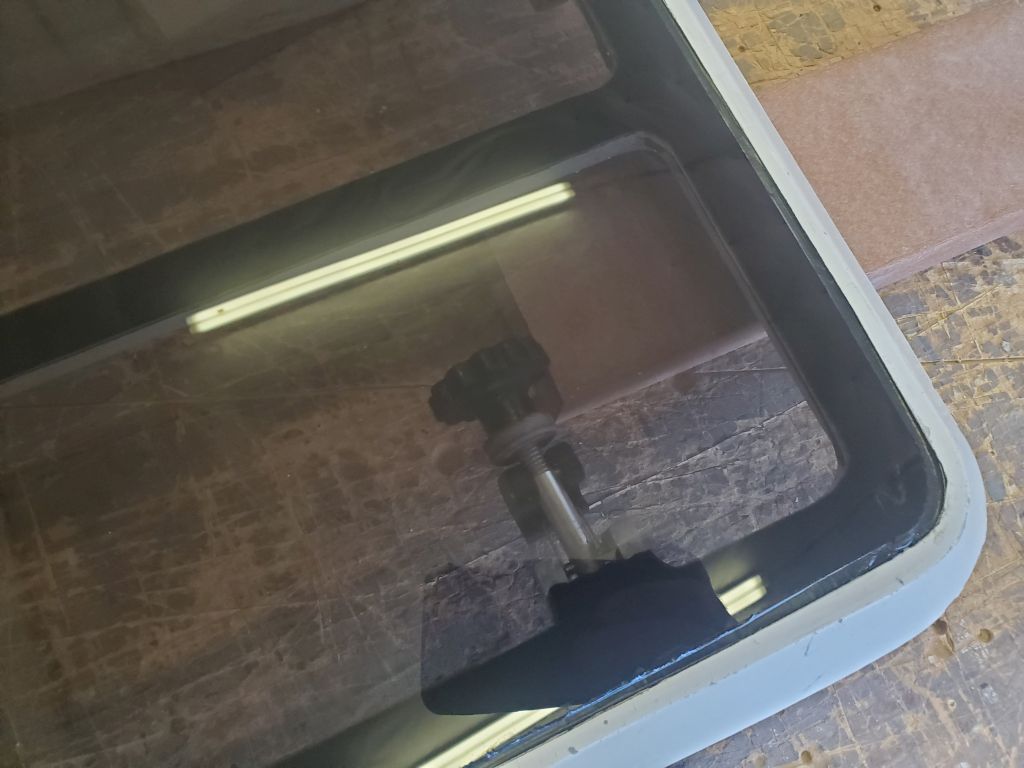
The final step for the new hatch lens was to apply additional sealant to the groove around the outer edge of the lens, which I’d chosen not to do in the same operation as the initial (and more critical) bonding and sealing operation earlier because access to the groove was poor, what with the various clamps and weights securing the lens at the time. Now, with the initial application cured sufficiently, I installed a bead of the sealant abundantly into the groove, then tooled it out smoothly, keeping it flush with the top surface of the protective paper on the hatch lens, as any sealant that overlapped this paper would make it difficult to remove the paper later without affecting the bead. I removed the masking tape from the outer edges, where I’d applied it to protect the hatch frame and make cleanup easier, but for now left the paper in place on the lens so as not to disturb the fresh bead of sealant, despite my urge to remove it and display the finished product.

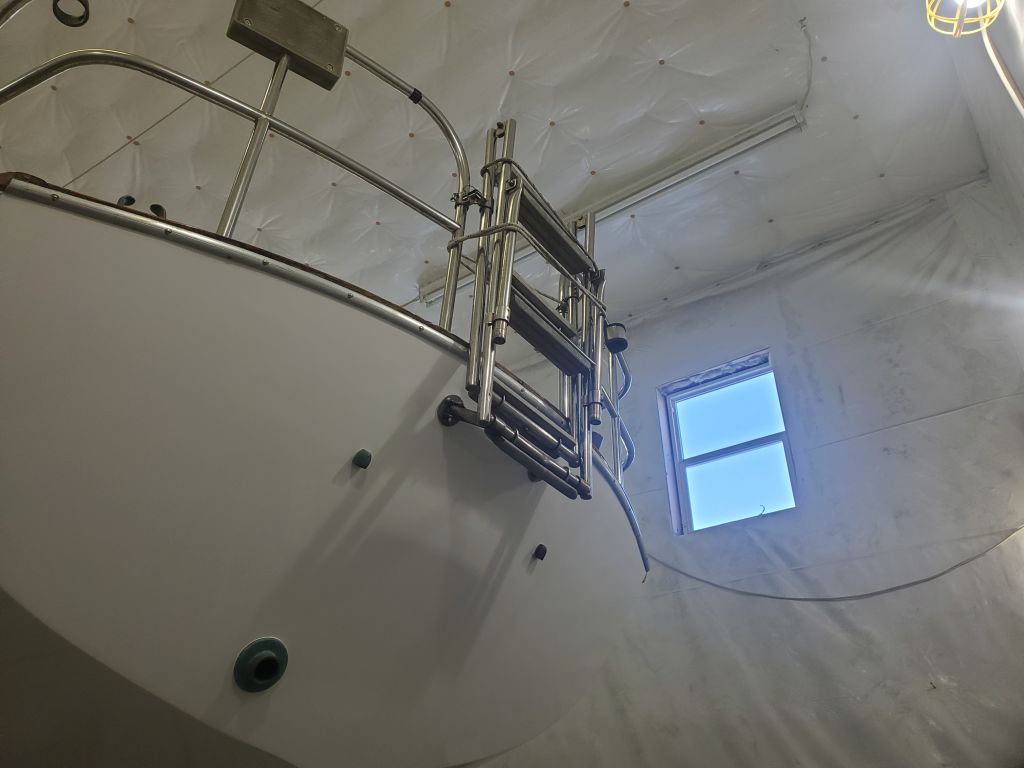
I took a few minutes to reinstall the transom boarding ladder that I’d removed early in the project.
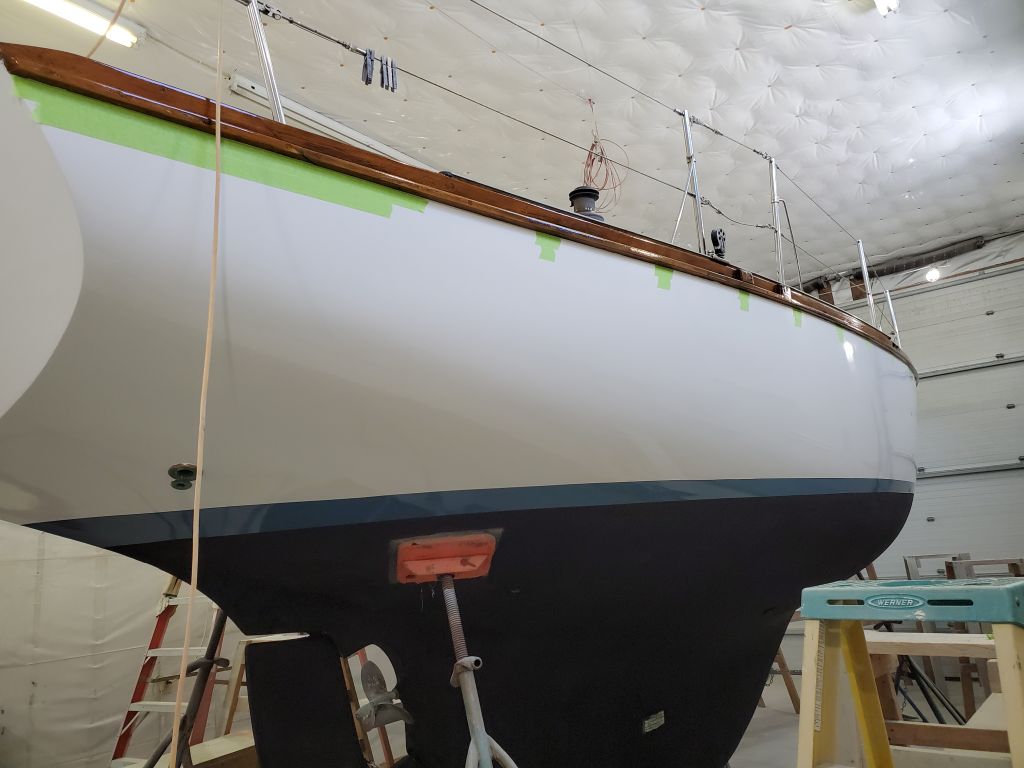
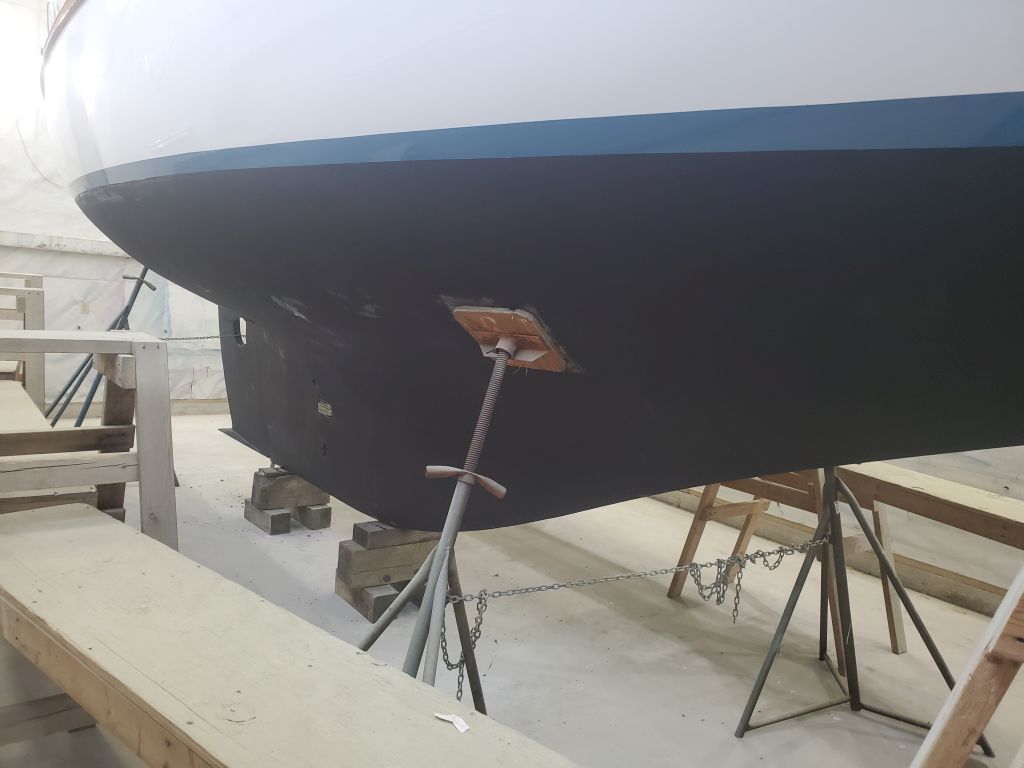
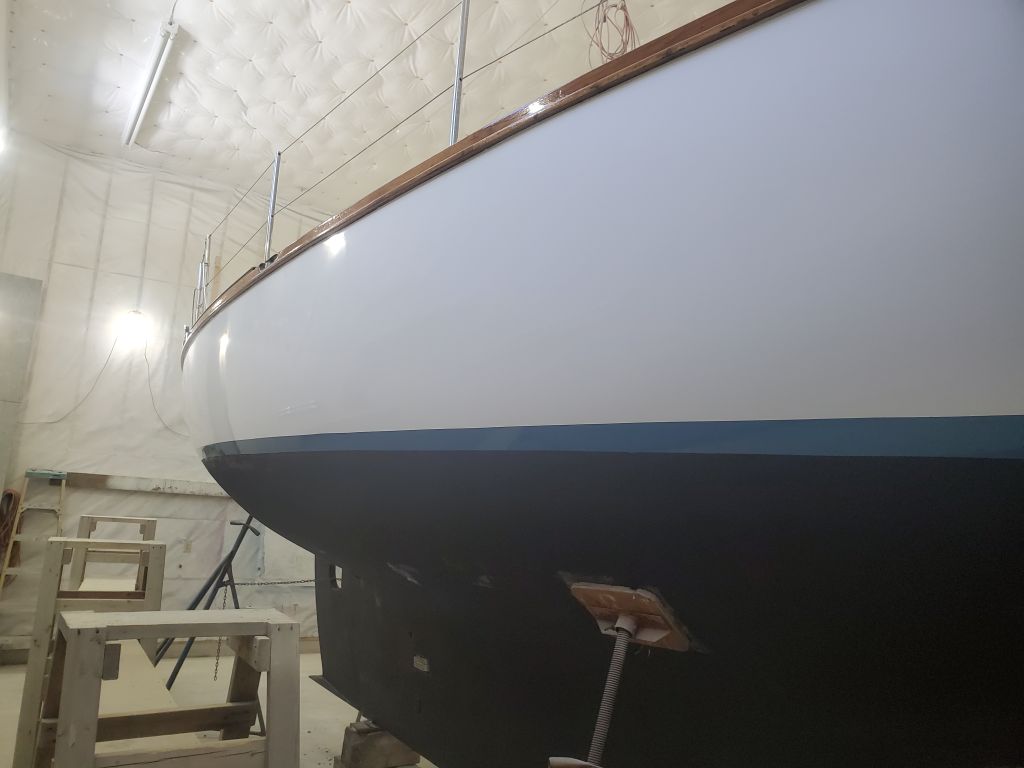
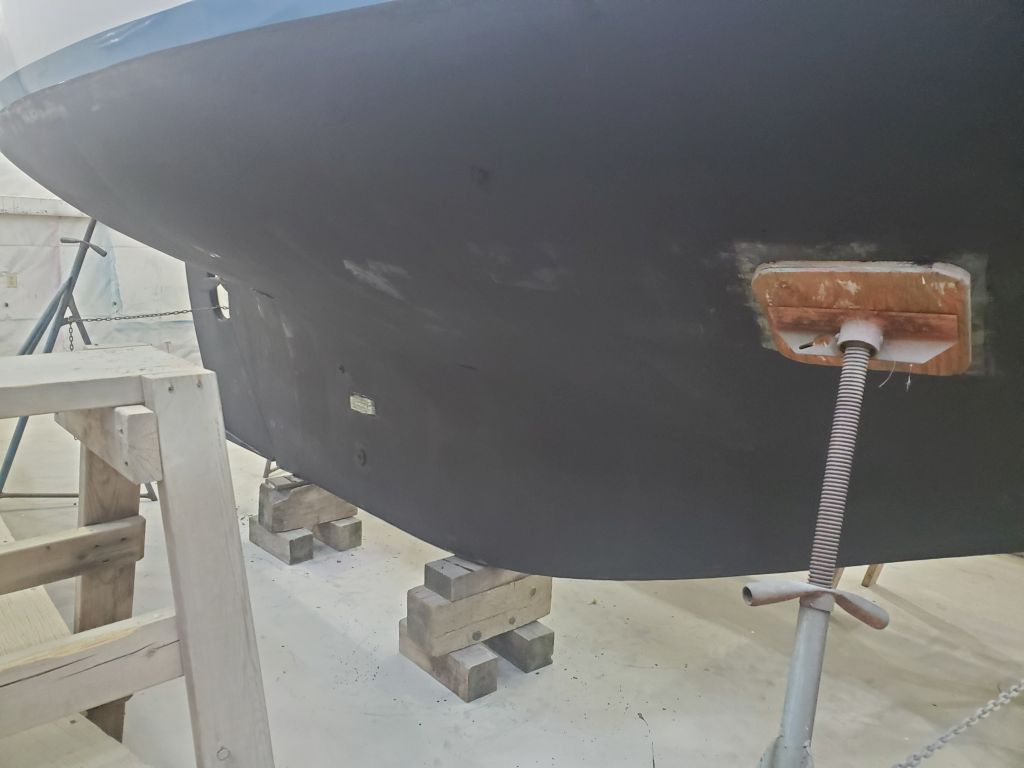
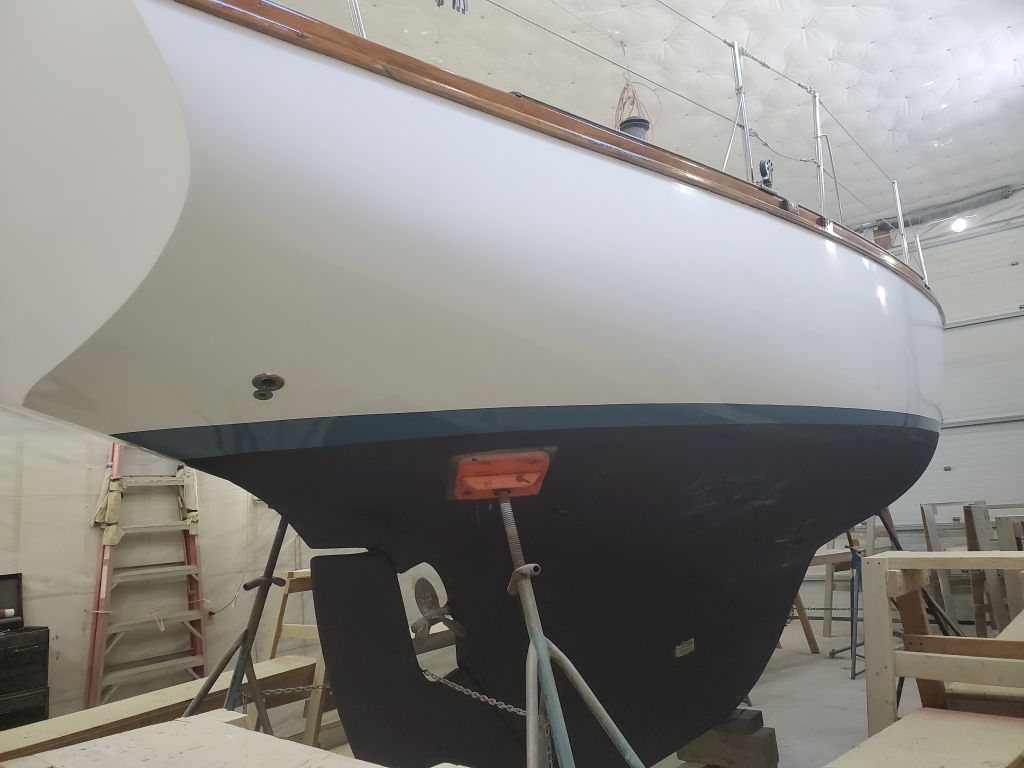
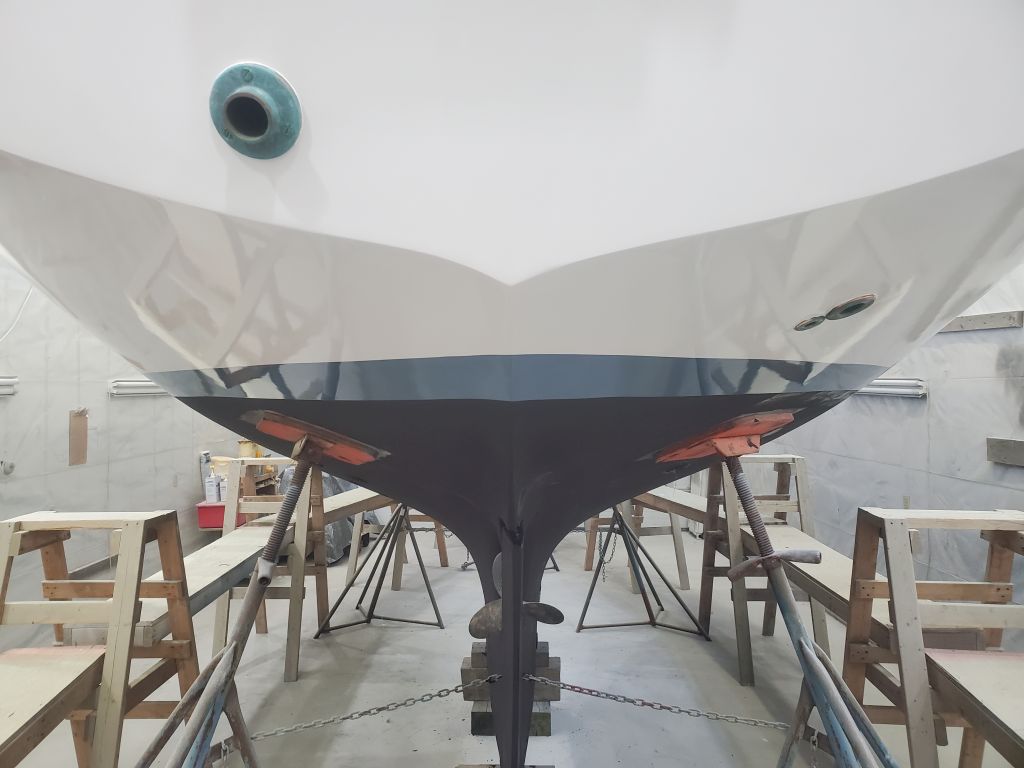
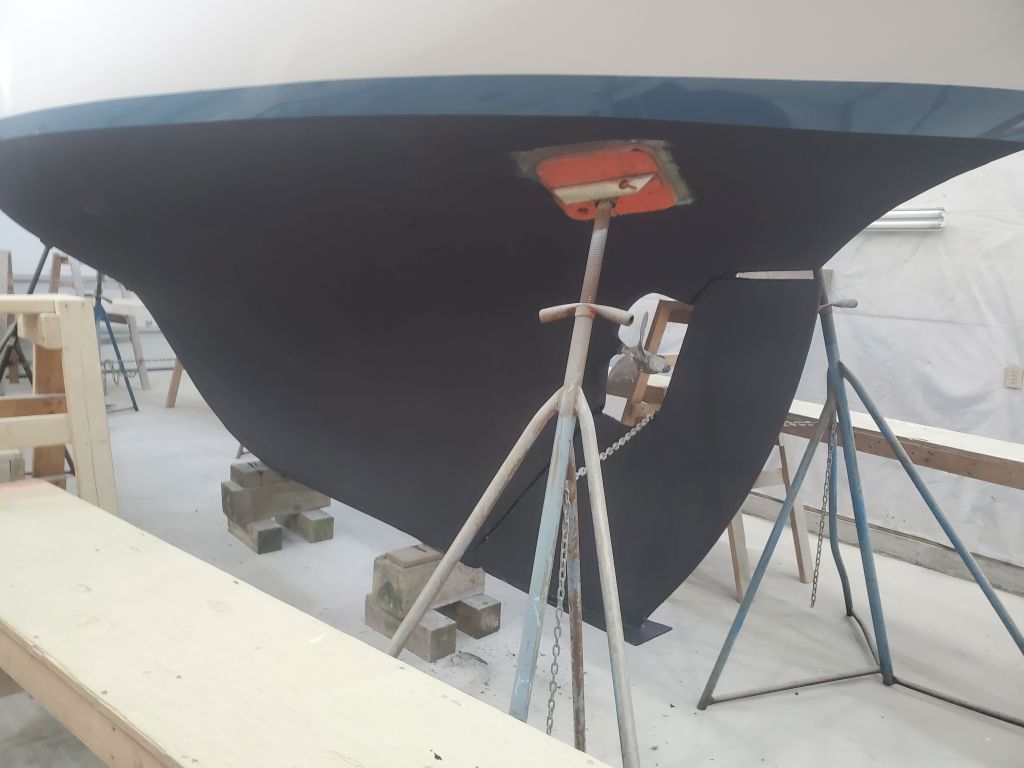
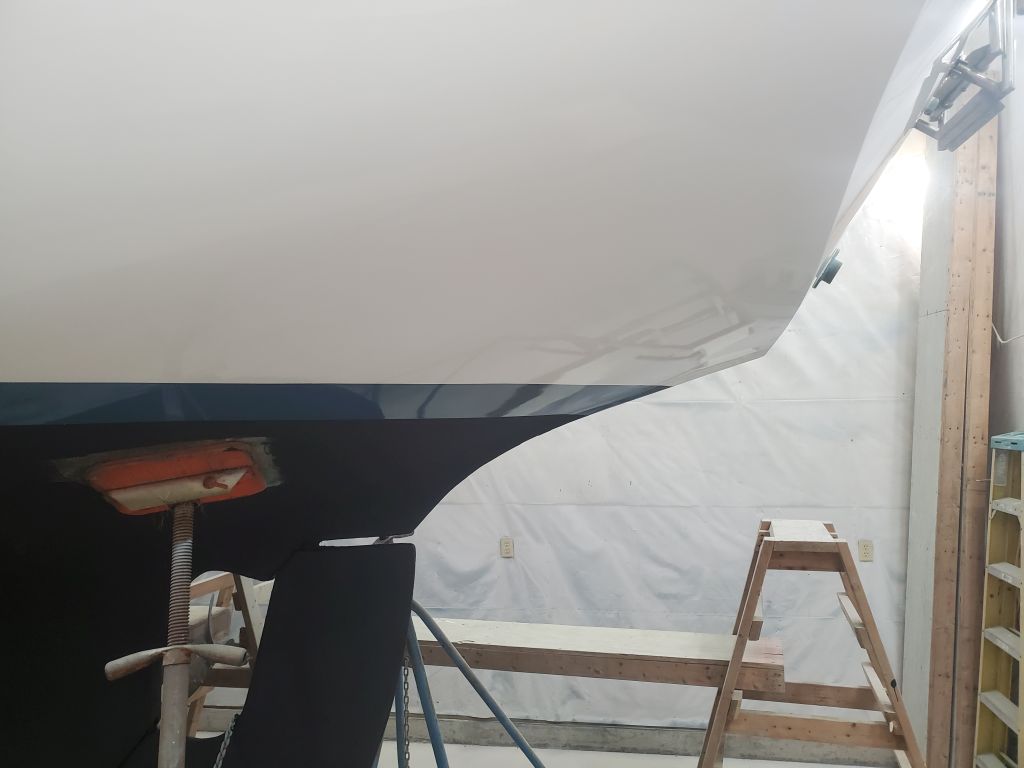
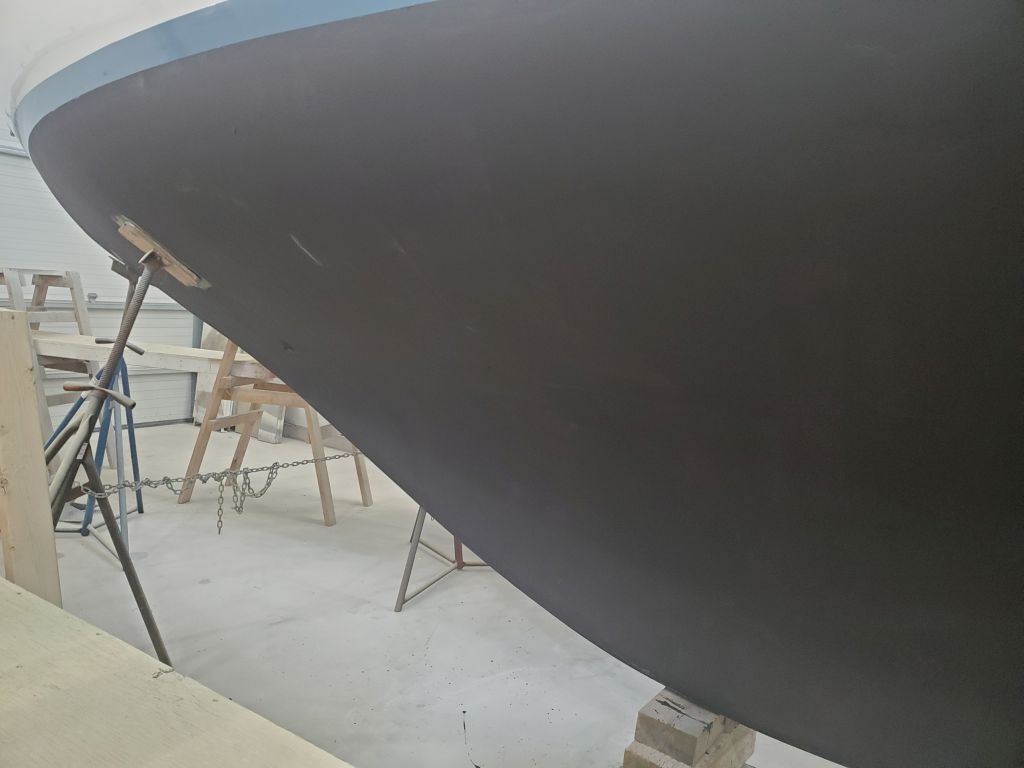
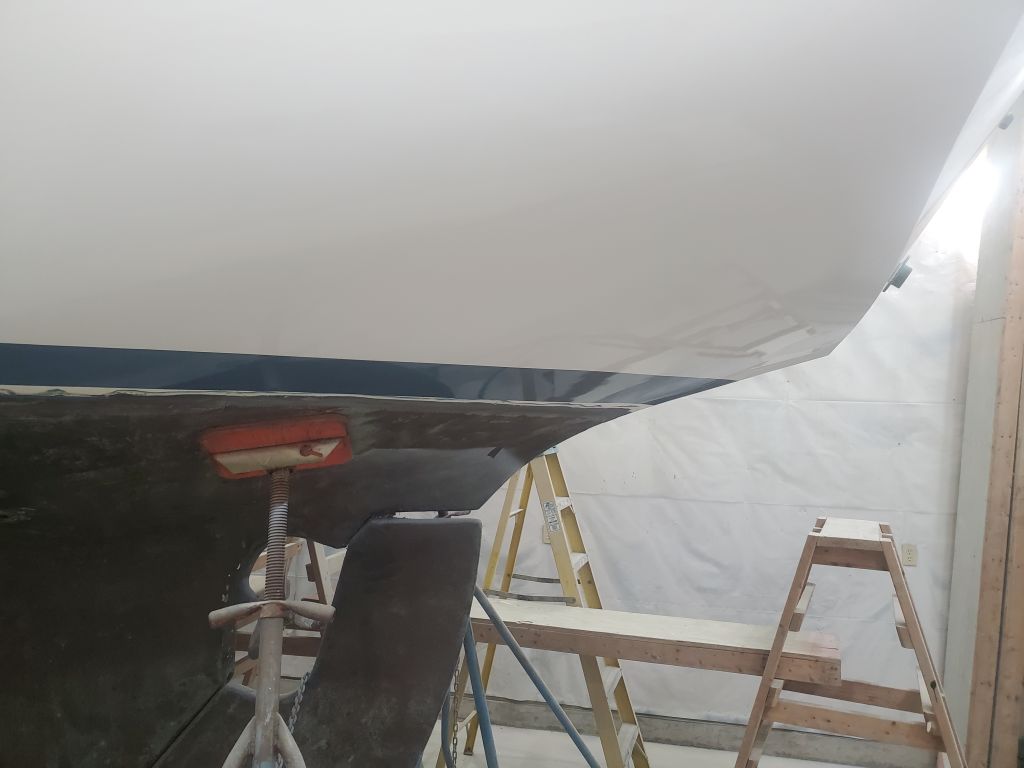
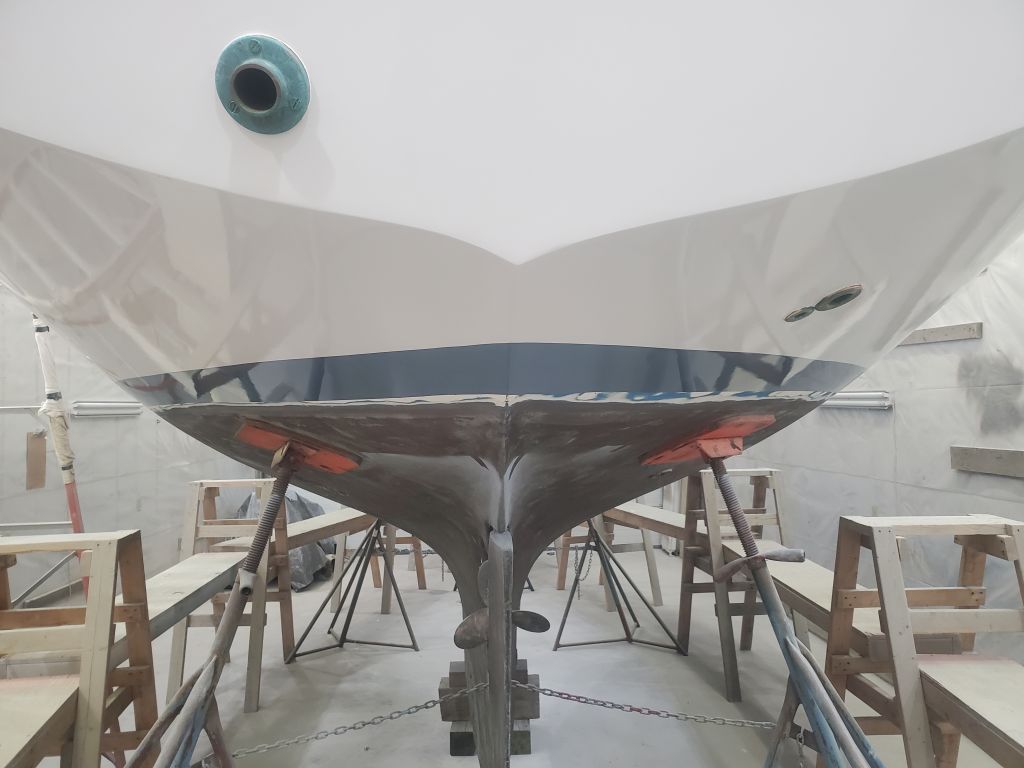
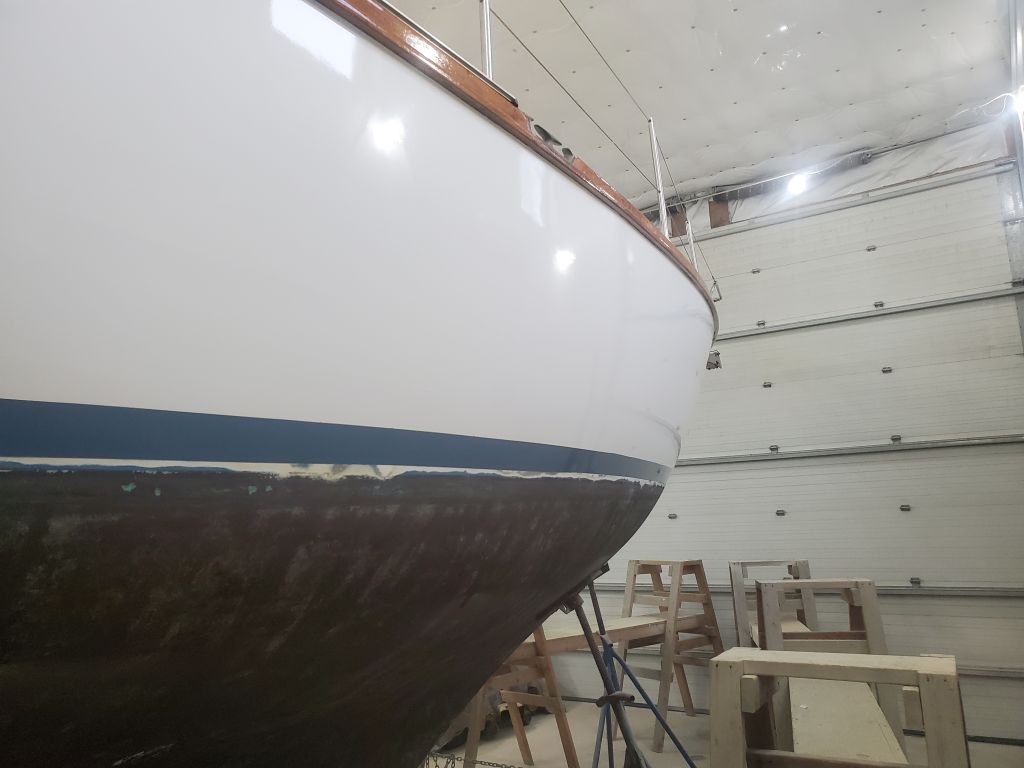
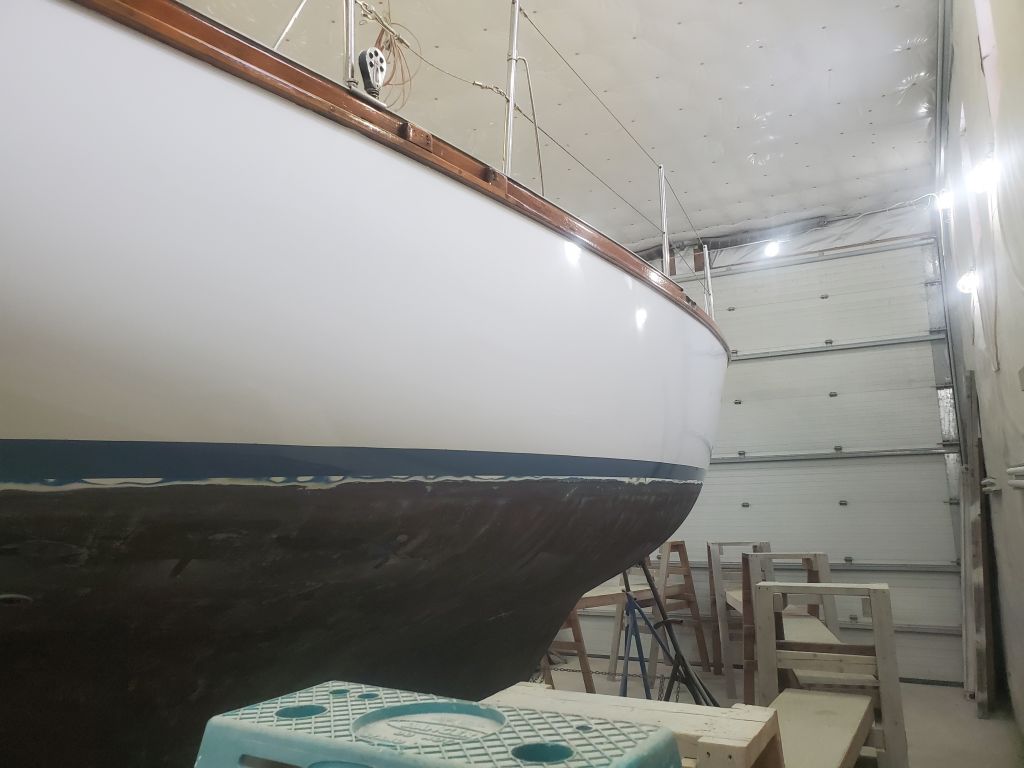
Next, I masked off for bottom paint, and applied a coat of the owner’s chosen paint, which further progressed the final appearance of the hull. The cove stripe, which would match as closely as possible the boottop, would truly finish off the appearance, but although I’d pre-ordered some striping tape for the job, I’d had a last minute decision to purchase tape in another shade of blue so I could compare the two, and that new order had yet to arrive.

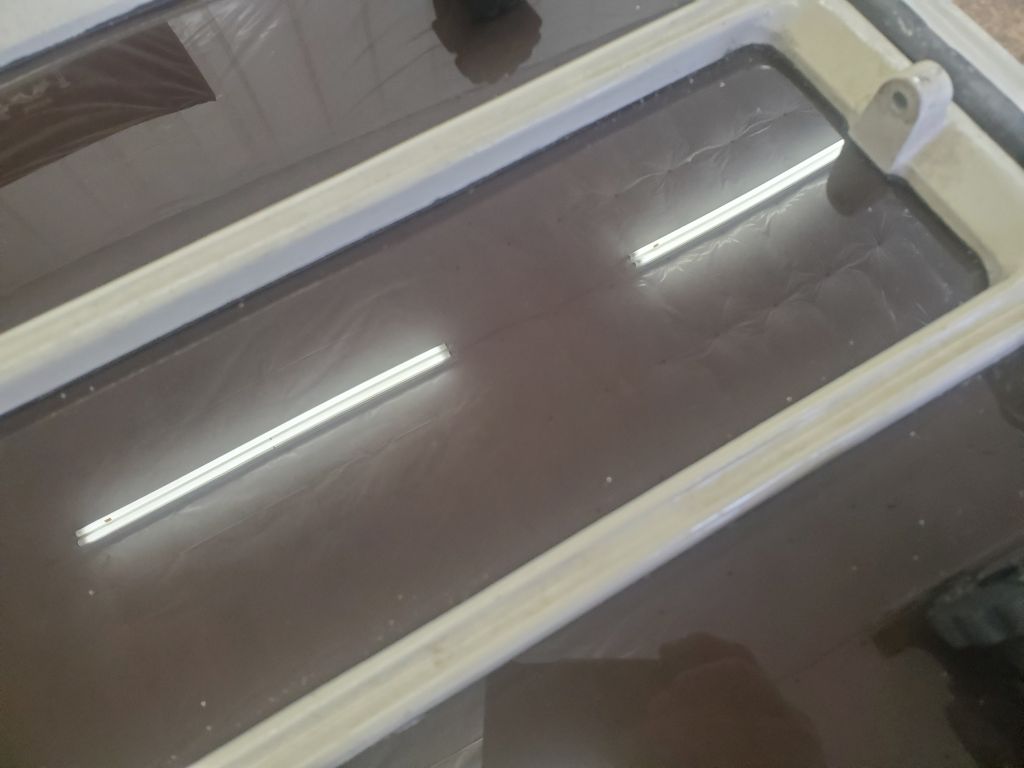
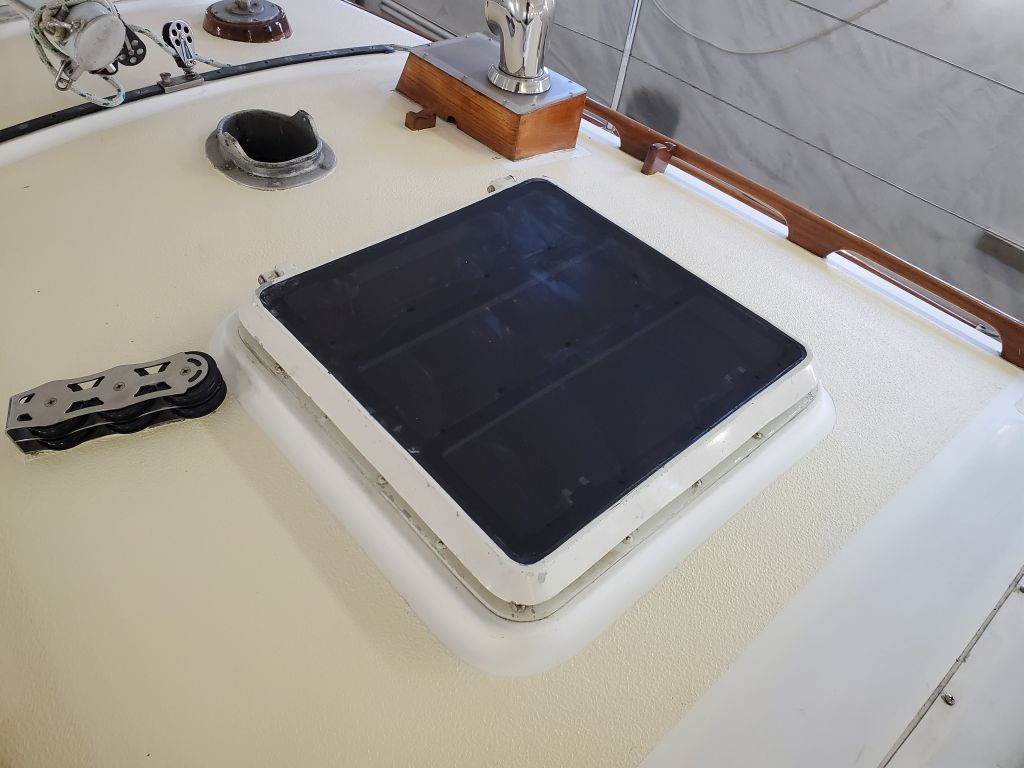
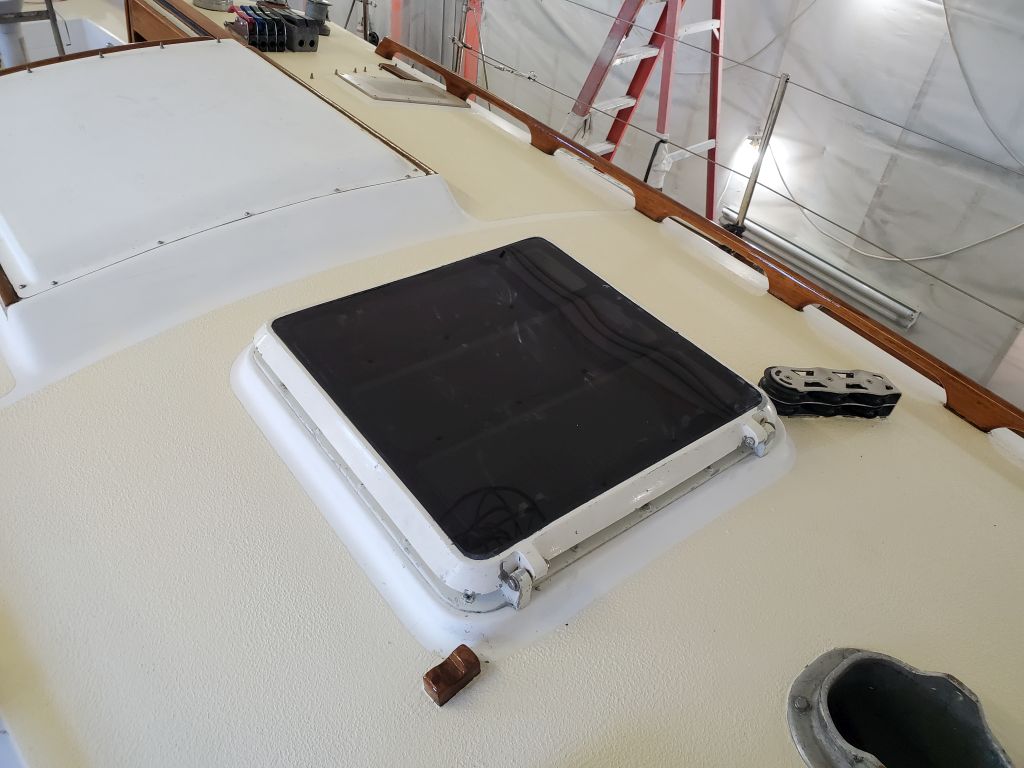
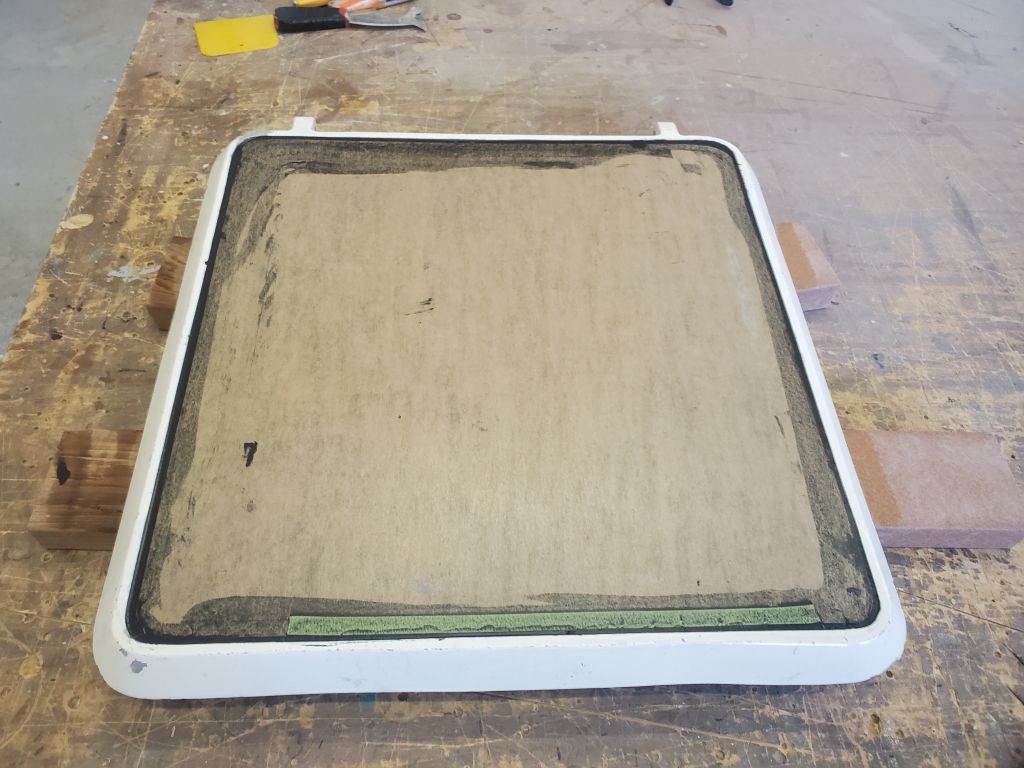
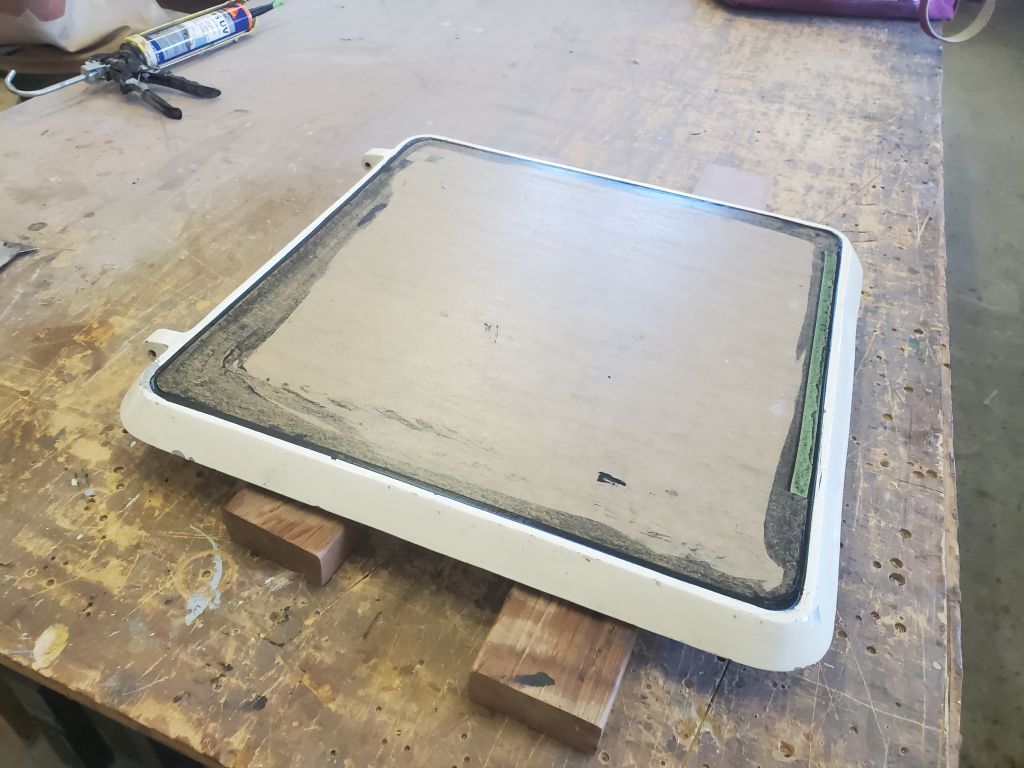
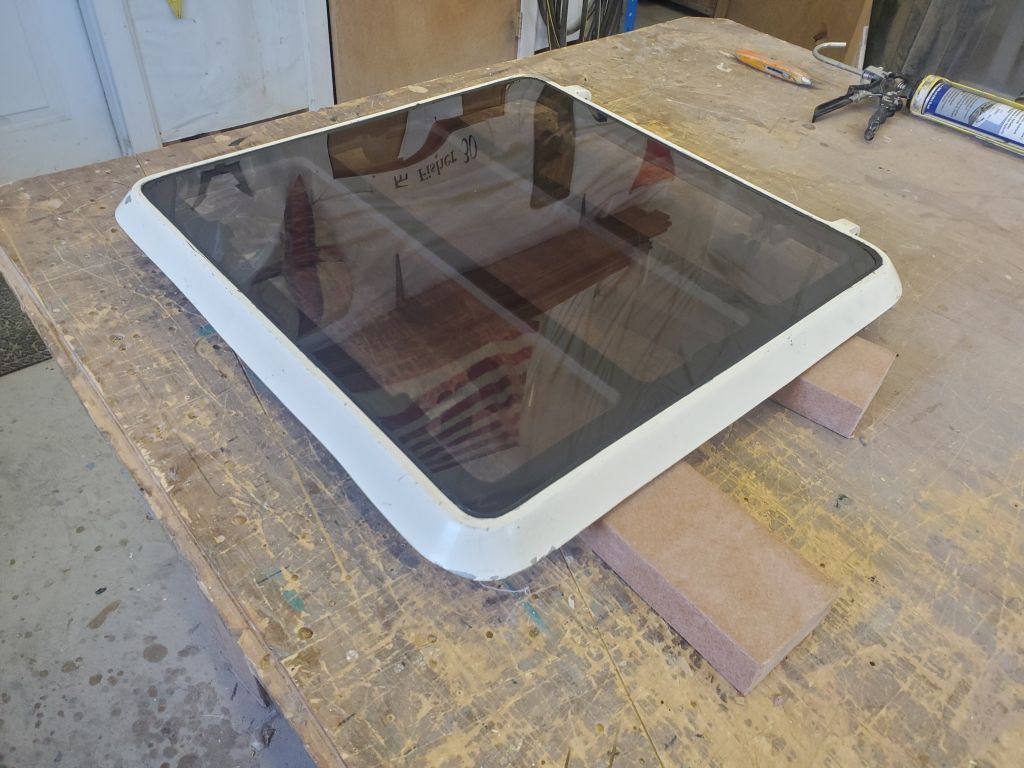
Before leaving for the day, I decided to carefully remove the paper from the new hatch lens. The completed project looked great, and the sealant I’d applied beneath the lens (to secure it to the frame) was now clearly visible through the lens, and as hoped, or even expected, the seal was consistent and void-free in all areas, which ought to do well in terms of securing the lens and preventing future leaks.

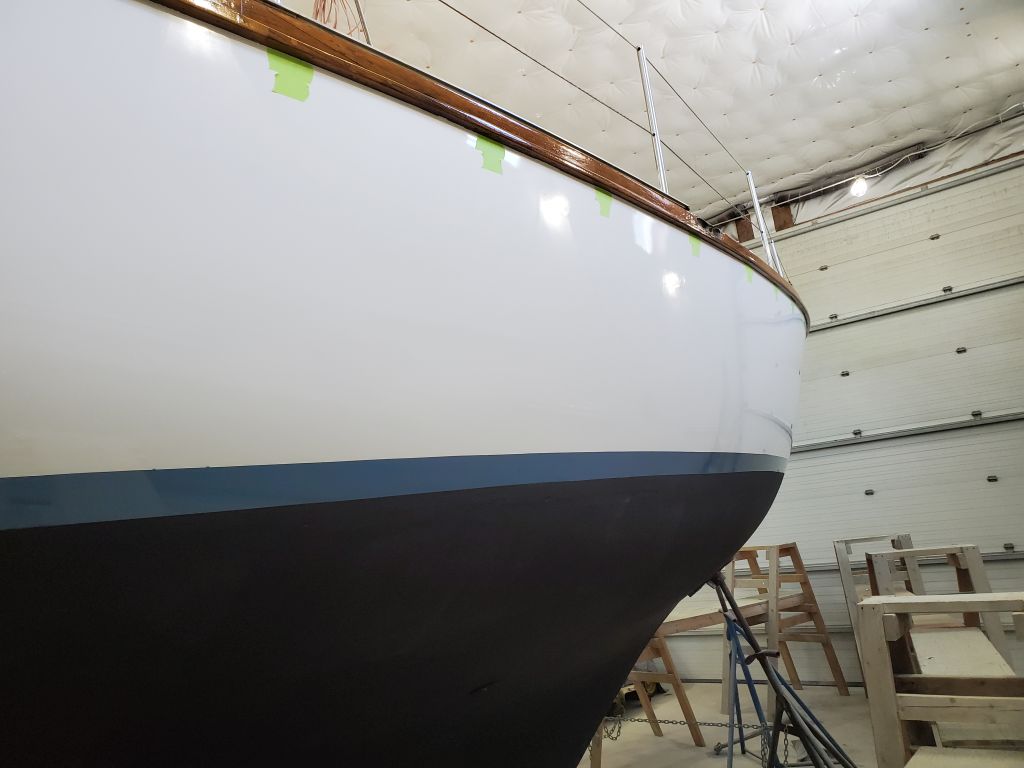
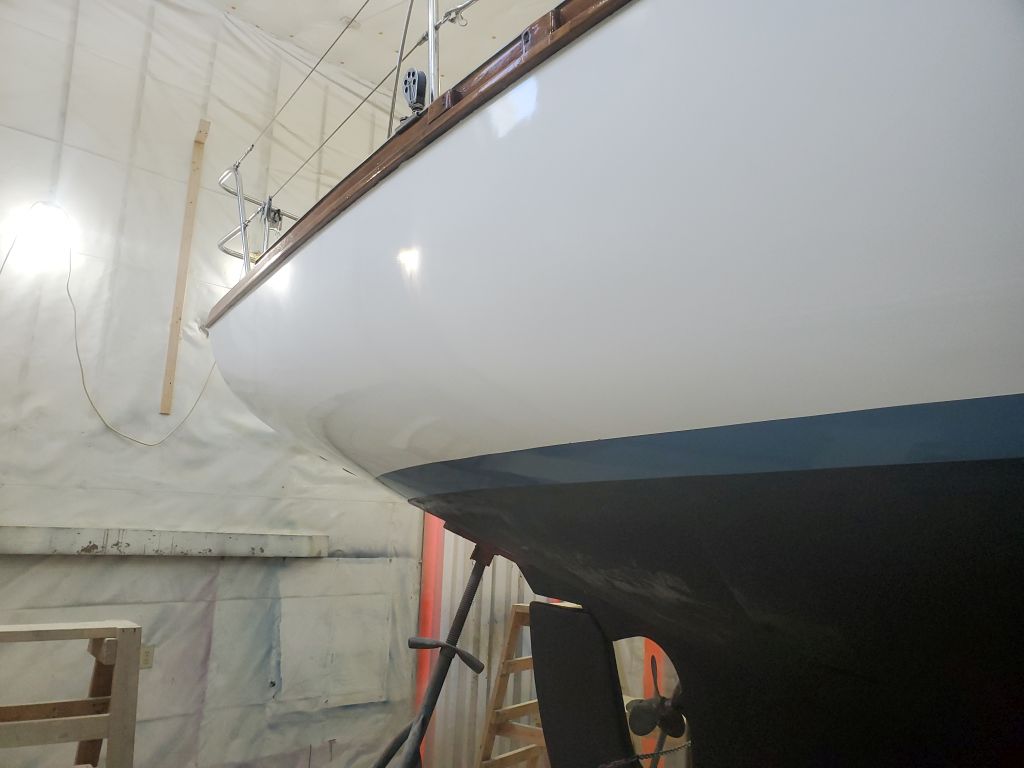
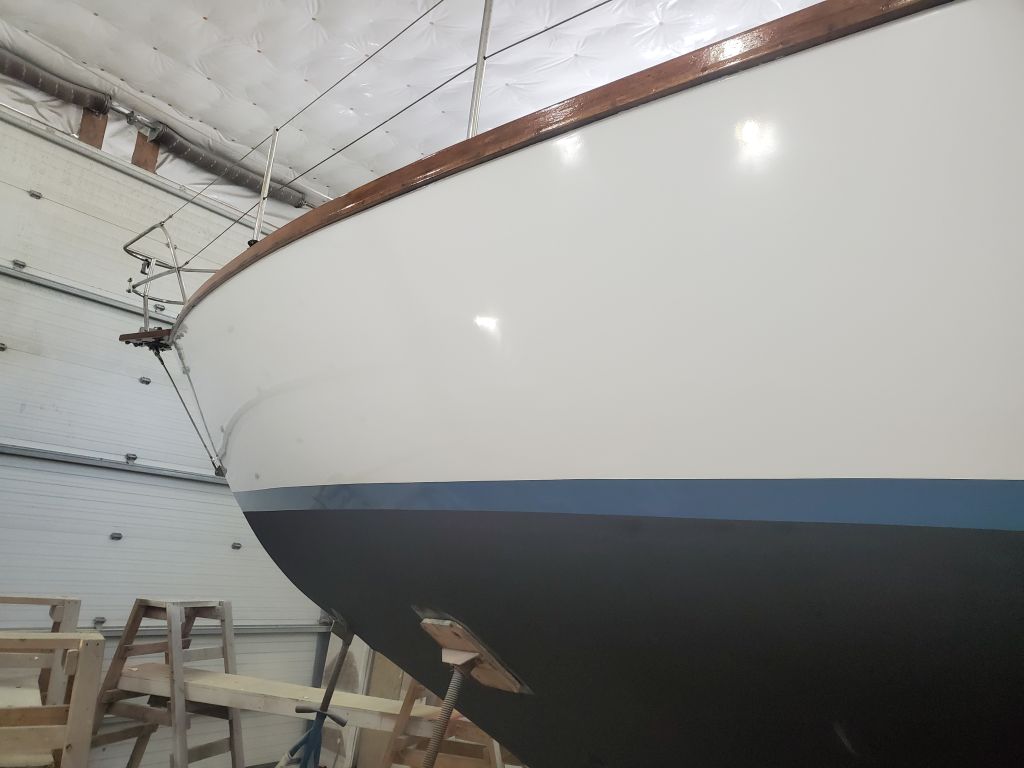
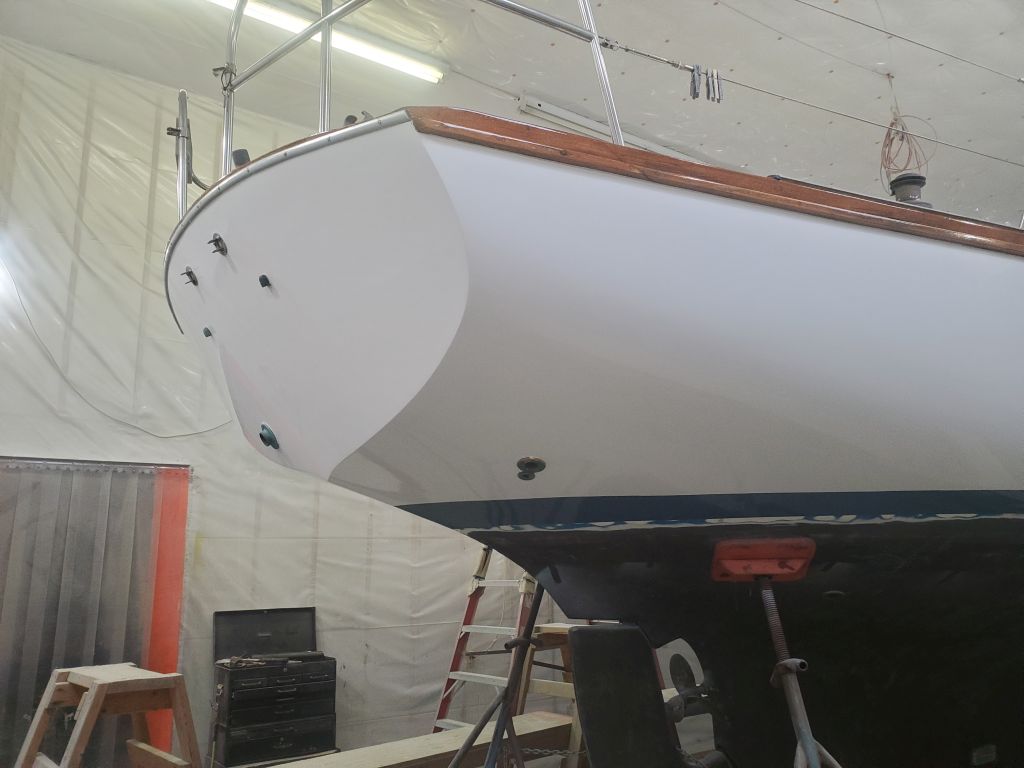
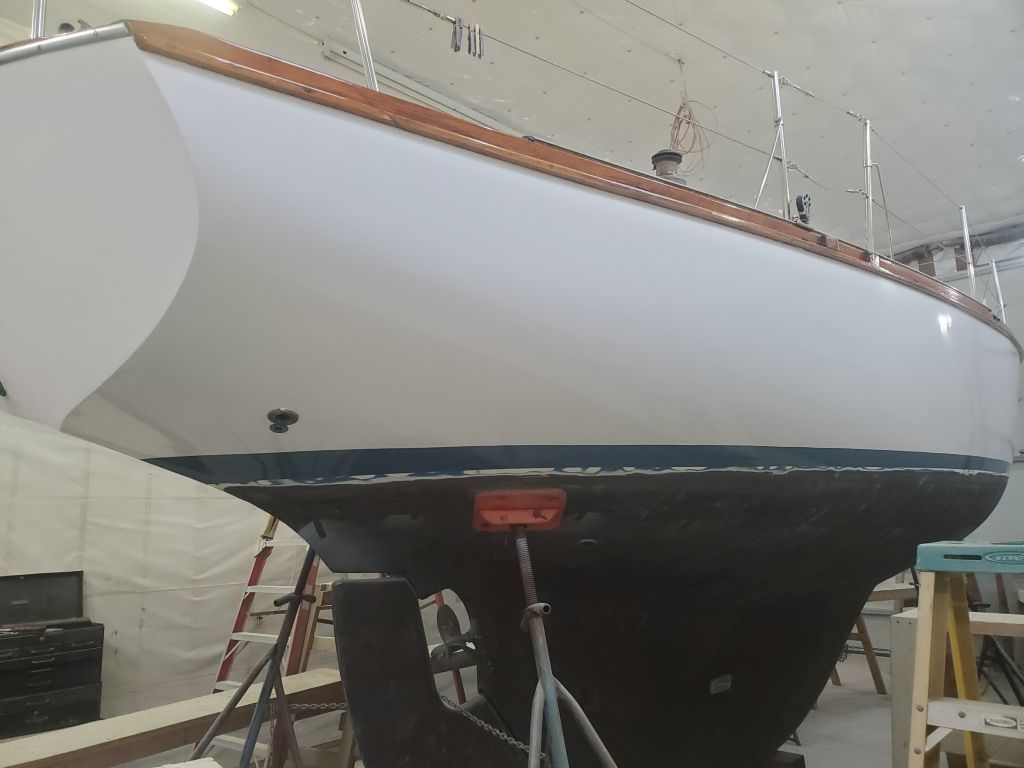
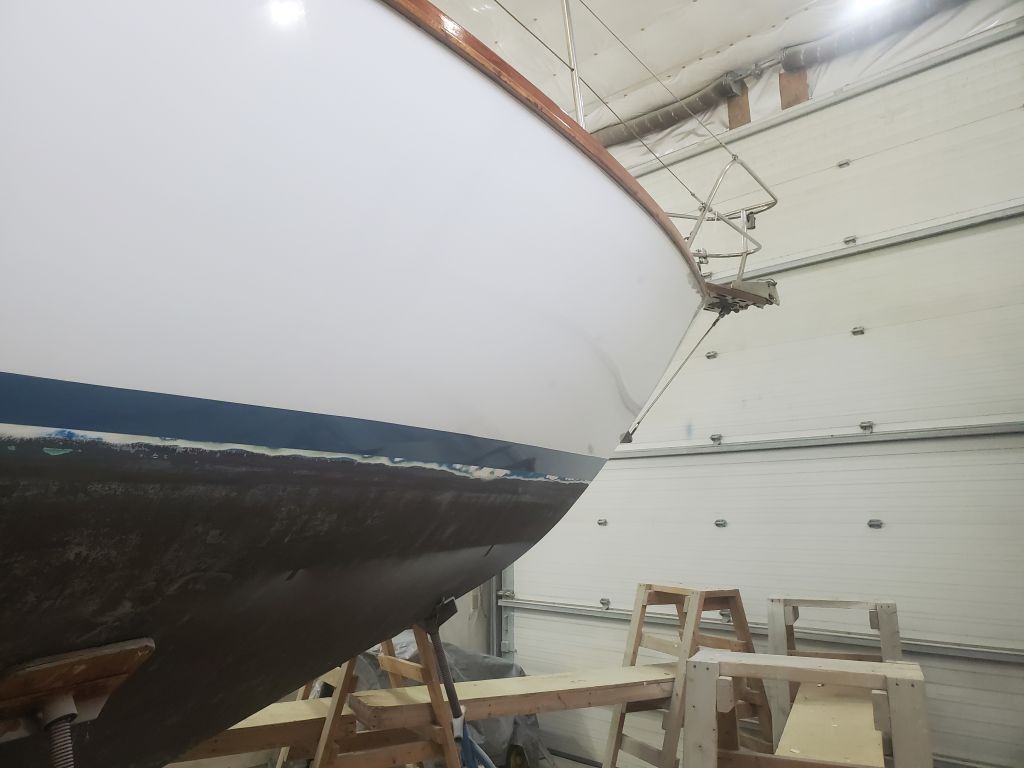
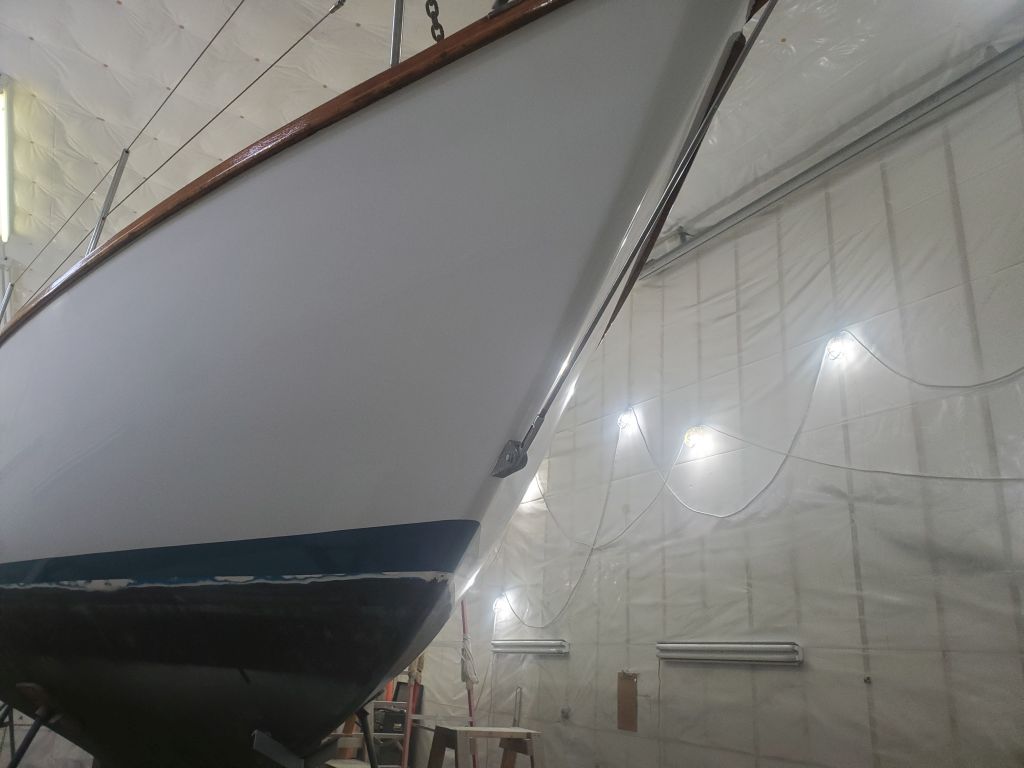
After allowing the fresh boottop paint to cure overnight, I could go ahead and remove all the masking. Since this was the last painting step for the hull, I could remove the toerail and deck masking as well. I bent to this task through the morning, eventually removing all the tape, paper, and plastic to expose the completed paint. The boat looked terrific, but would look even better once I finished a couple additional details, like painting the bottom and installing the cove stripe.
Next, I turned to the hatch repair, and removed the clamps from the lens so I could clean up the squeezeout on the bottom side, and remove the protective paper there. I left the paper on the top surface for now, pending application of the final bead of black sealant around the hatch perimeter soon.