< Back to Aquasport
Saturday
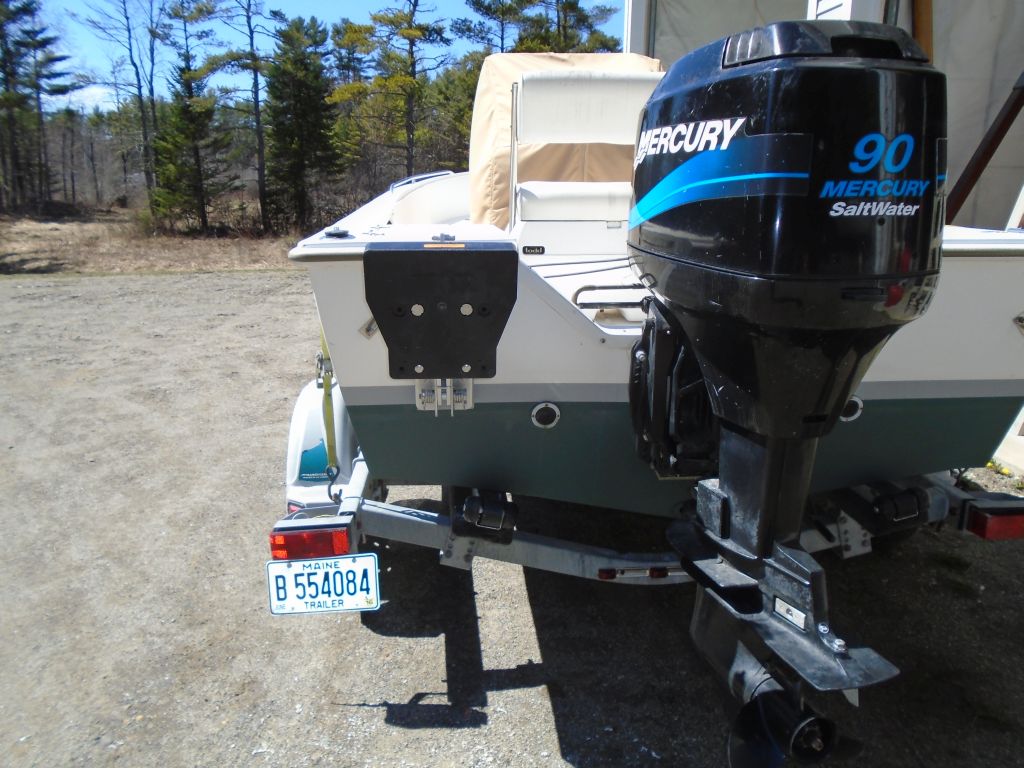
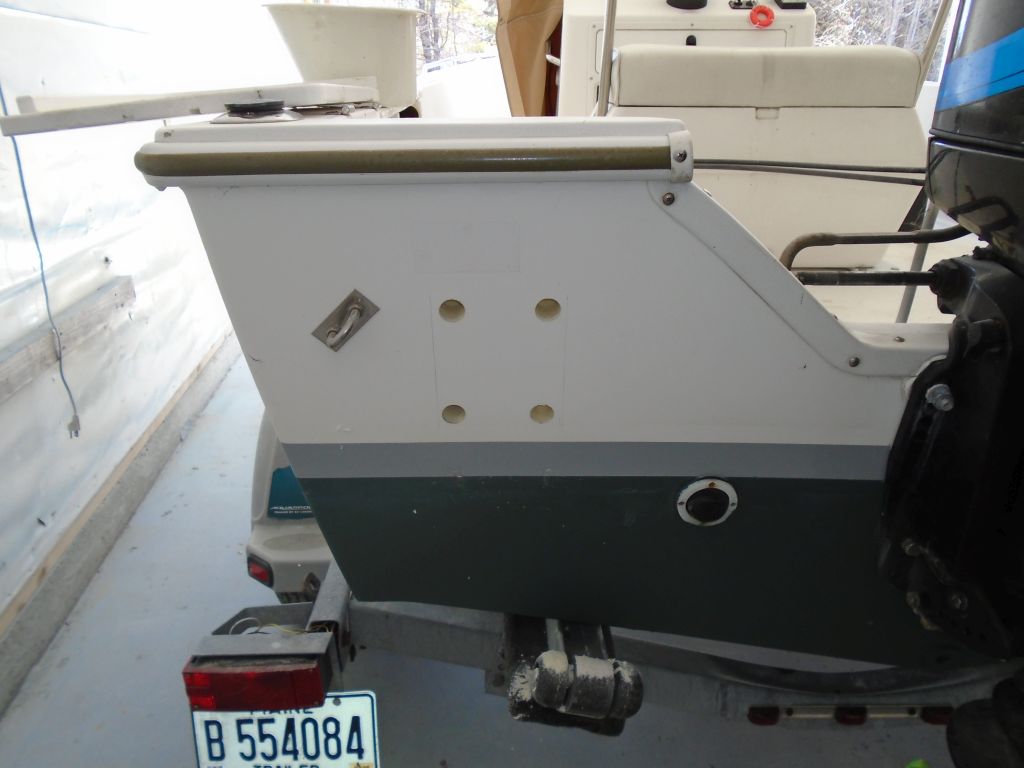
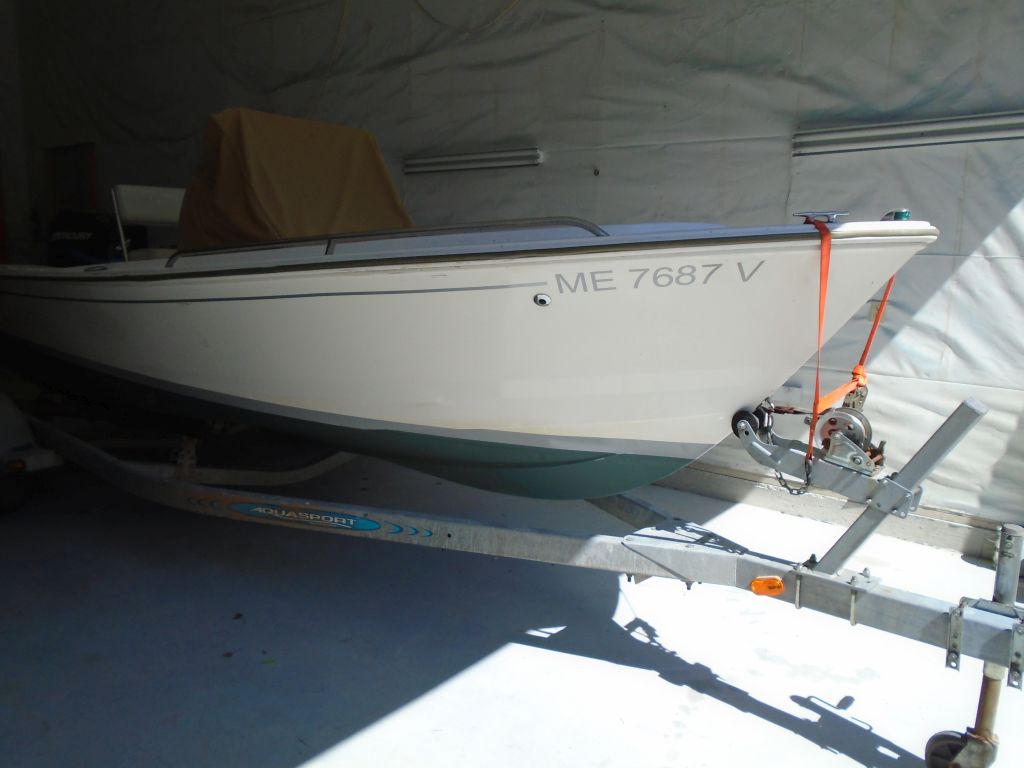
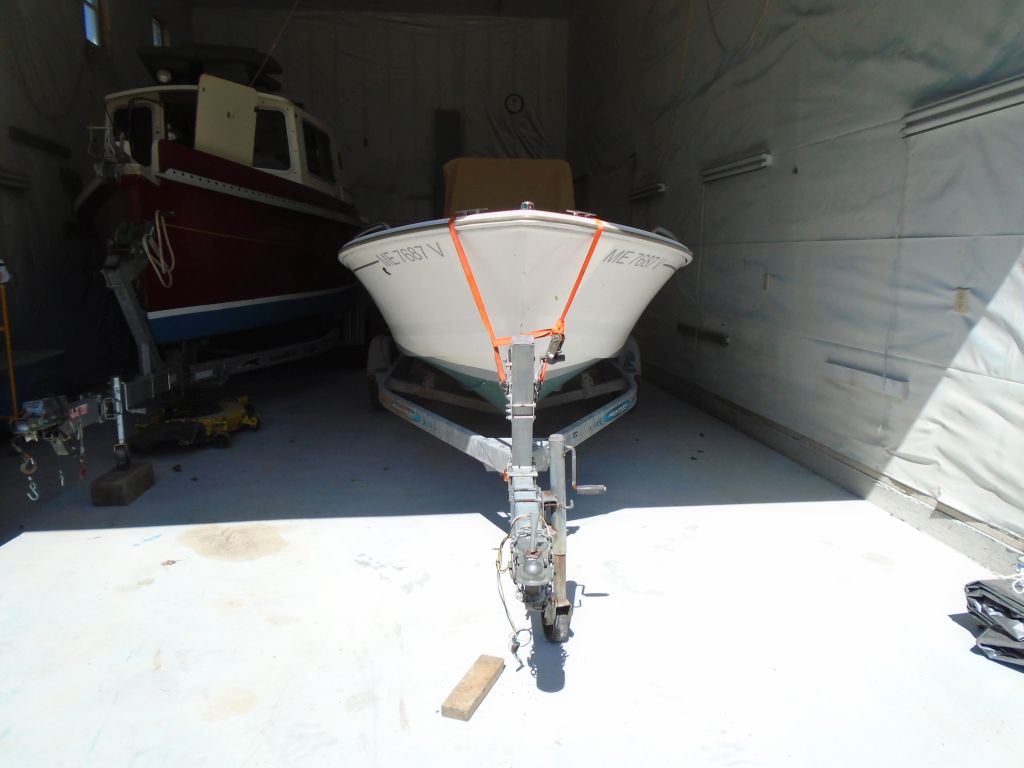
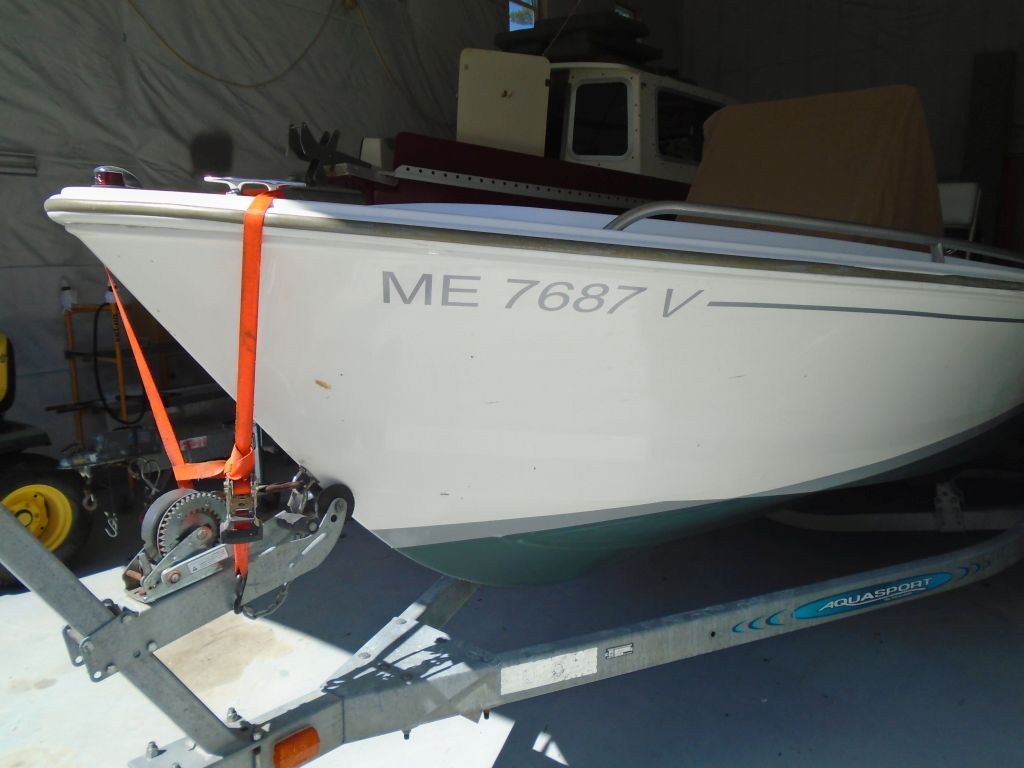
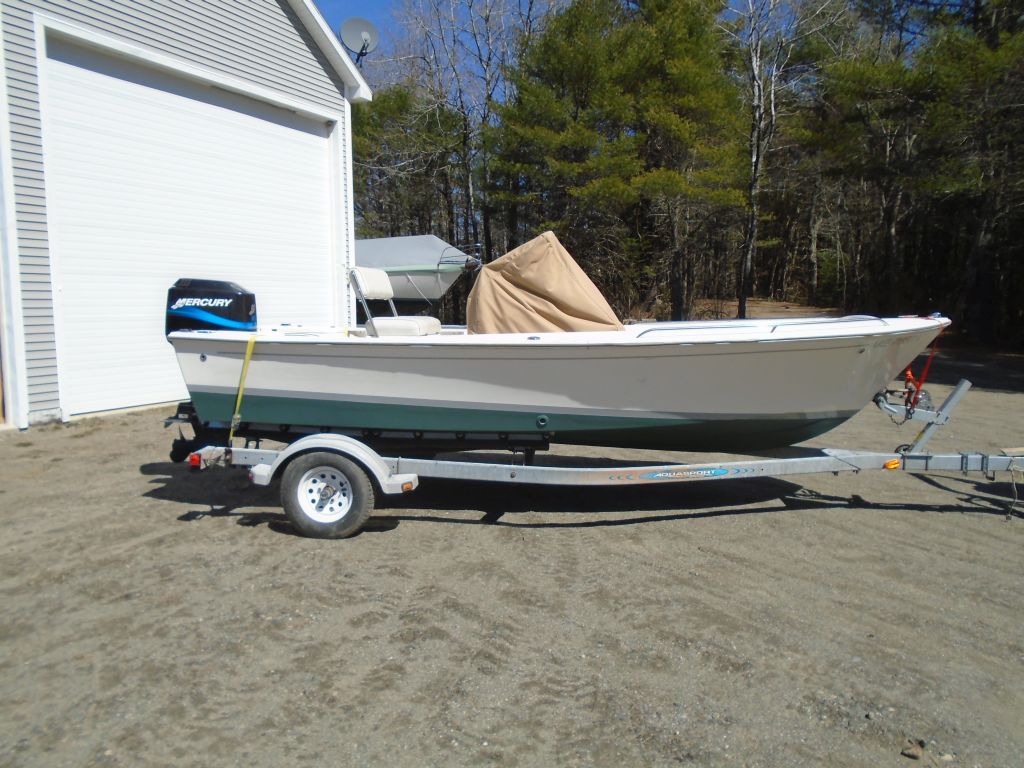
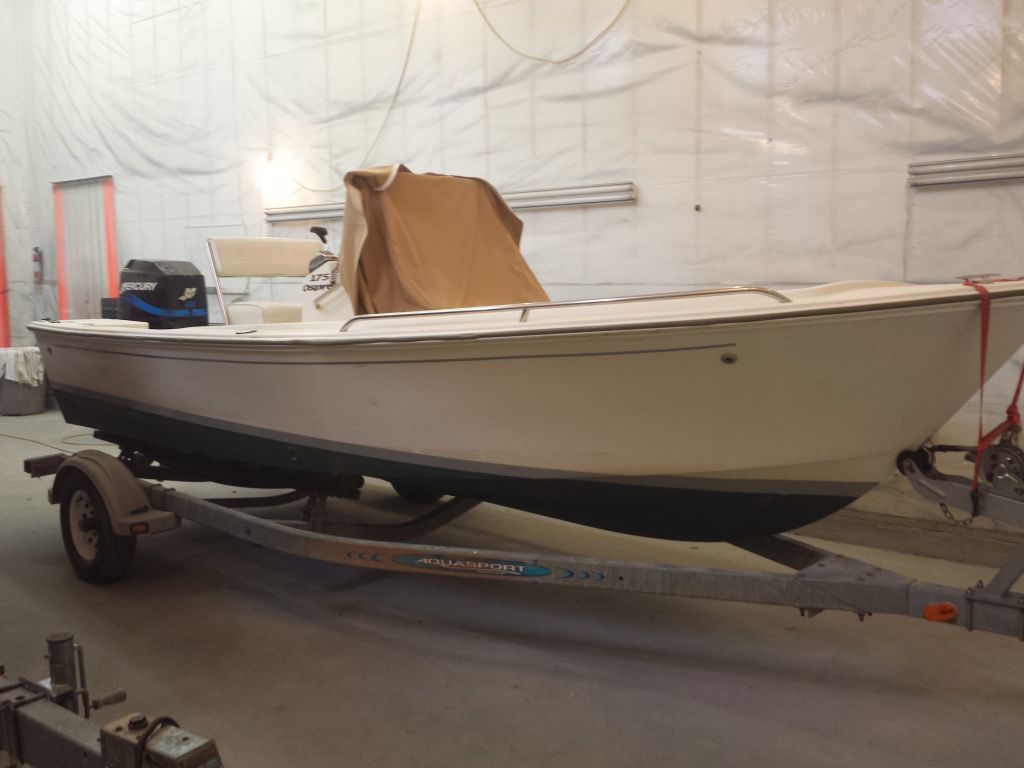
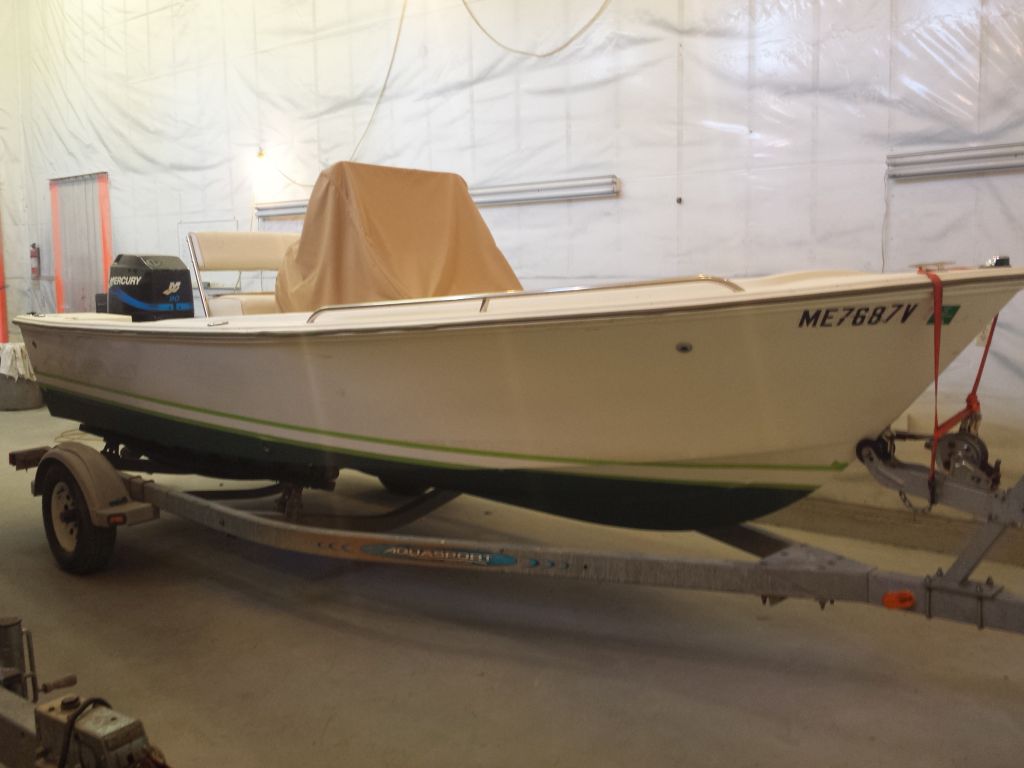
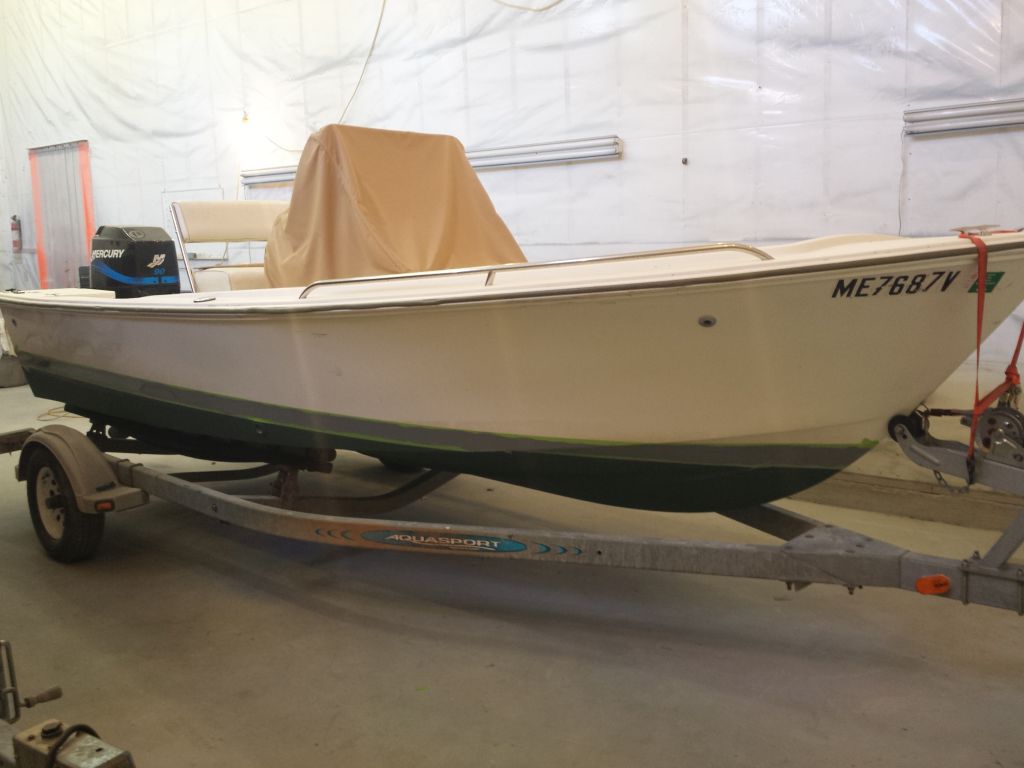
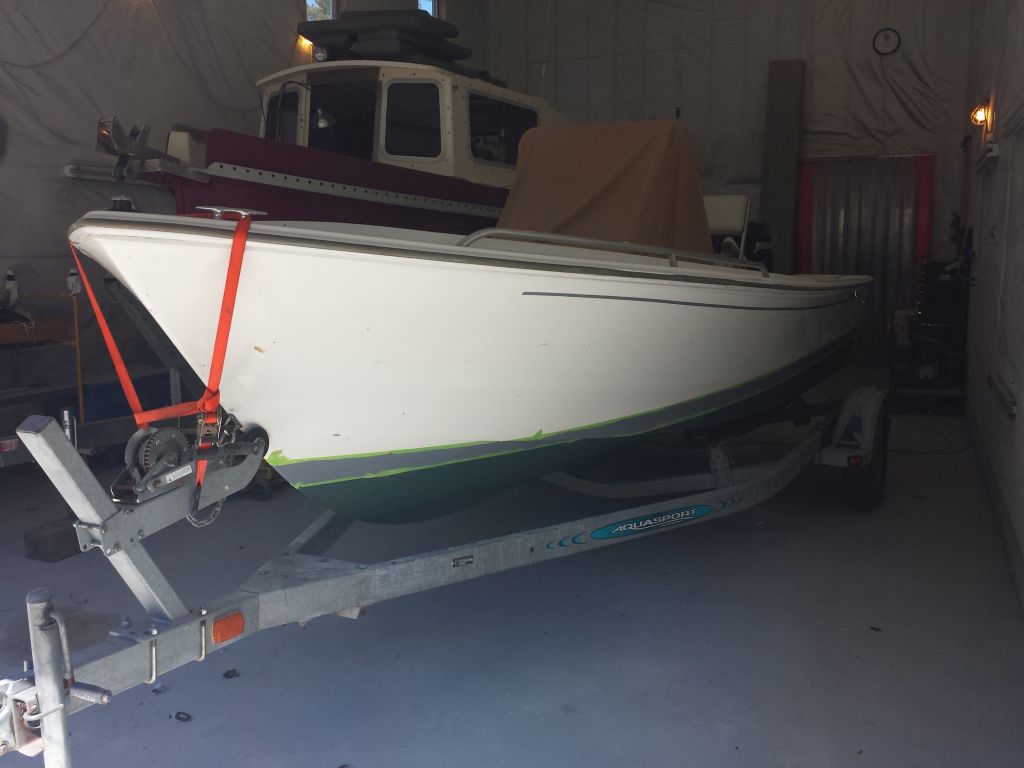
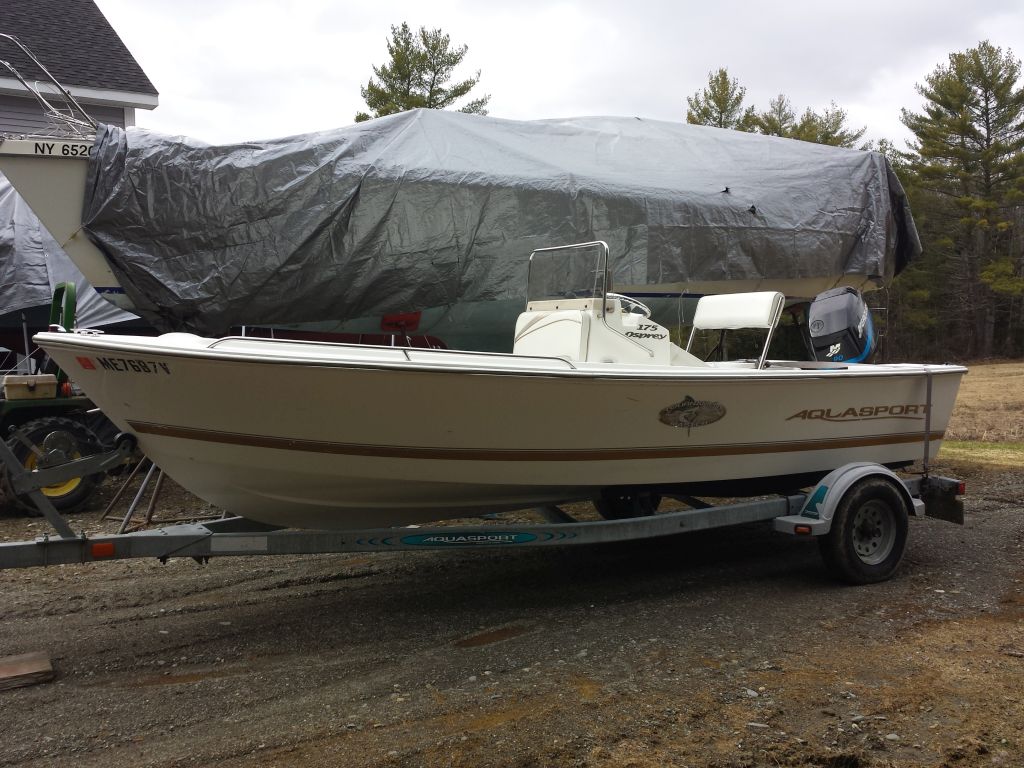
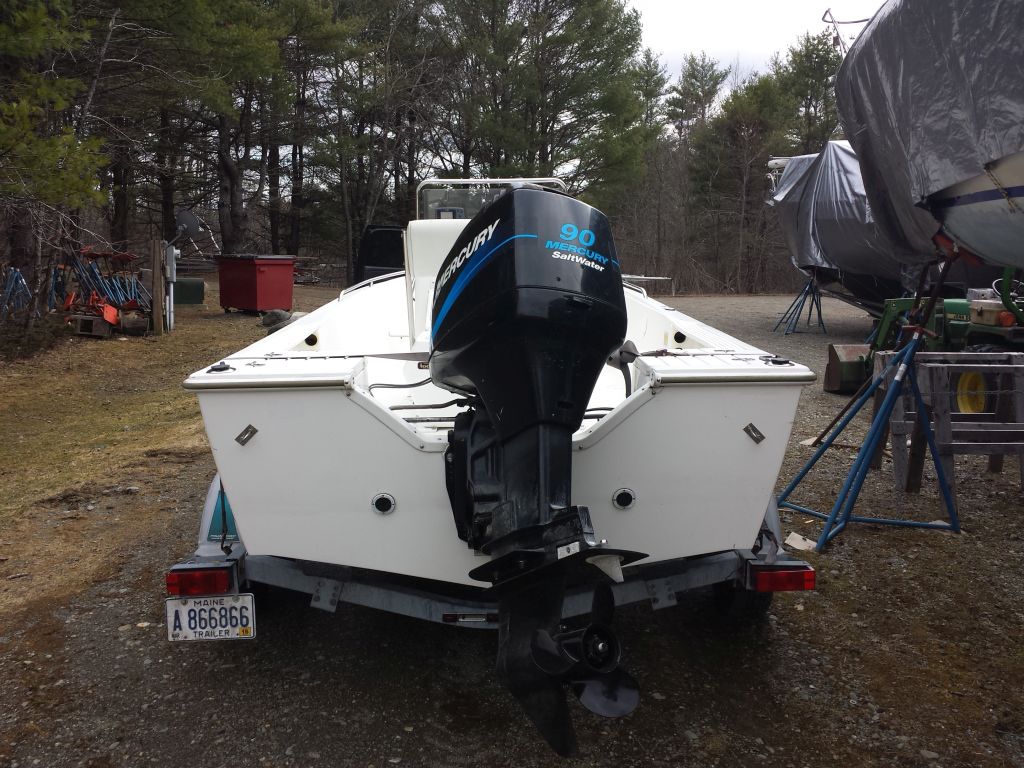
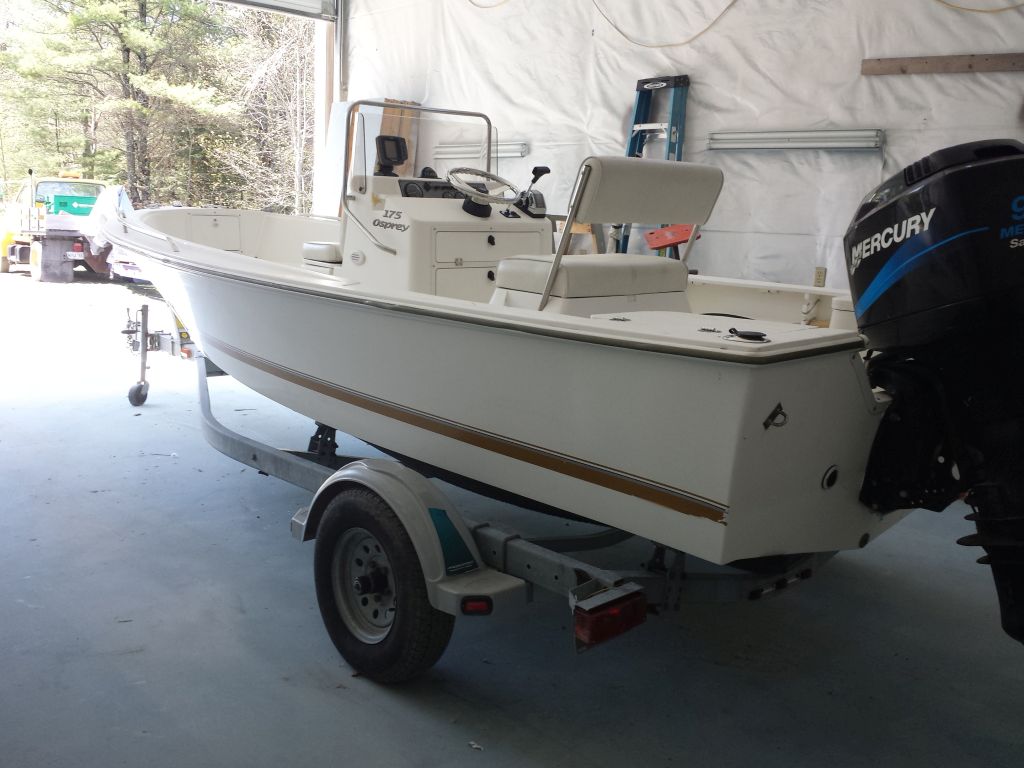
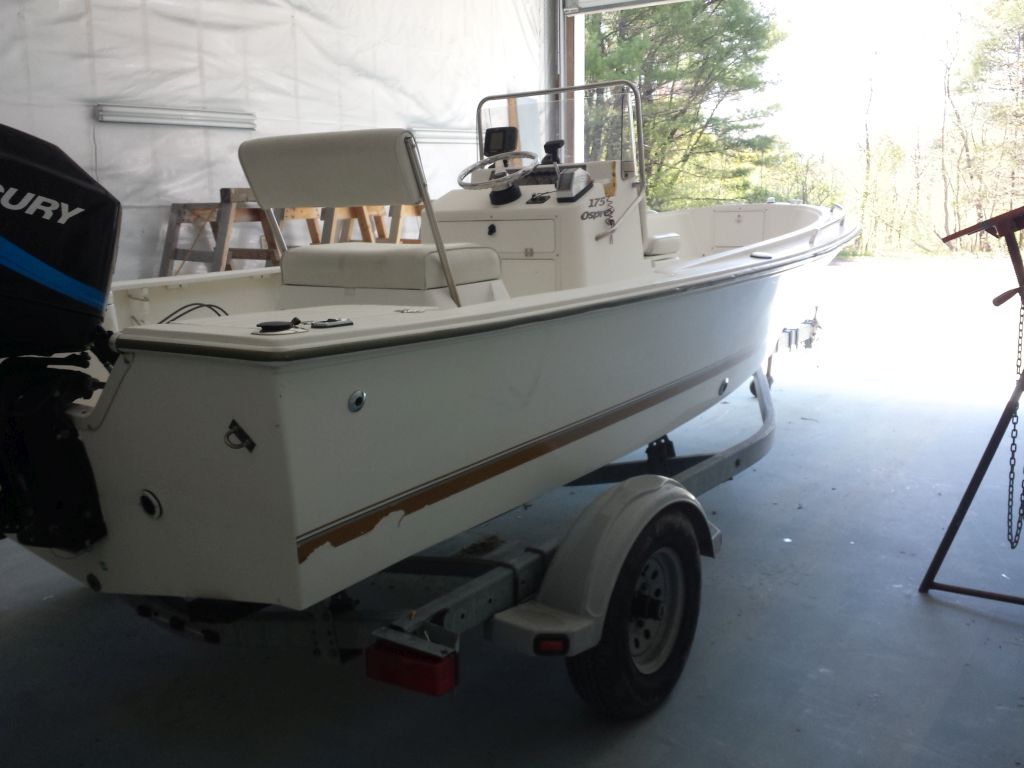
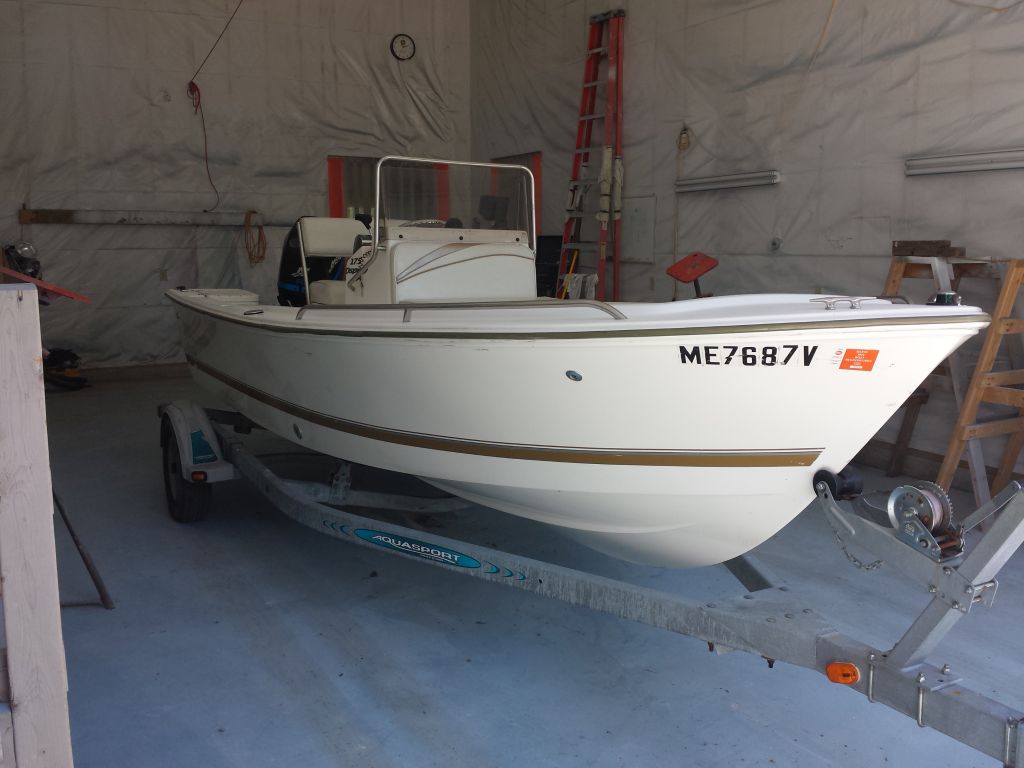
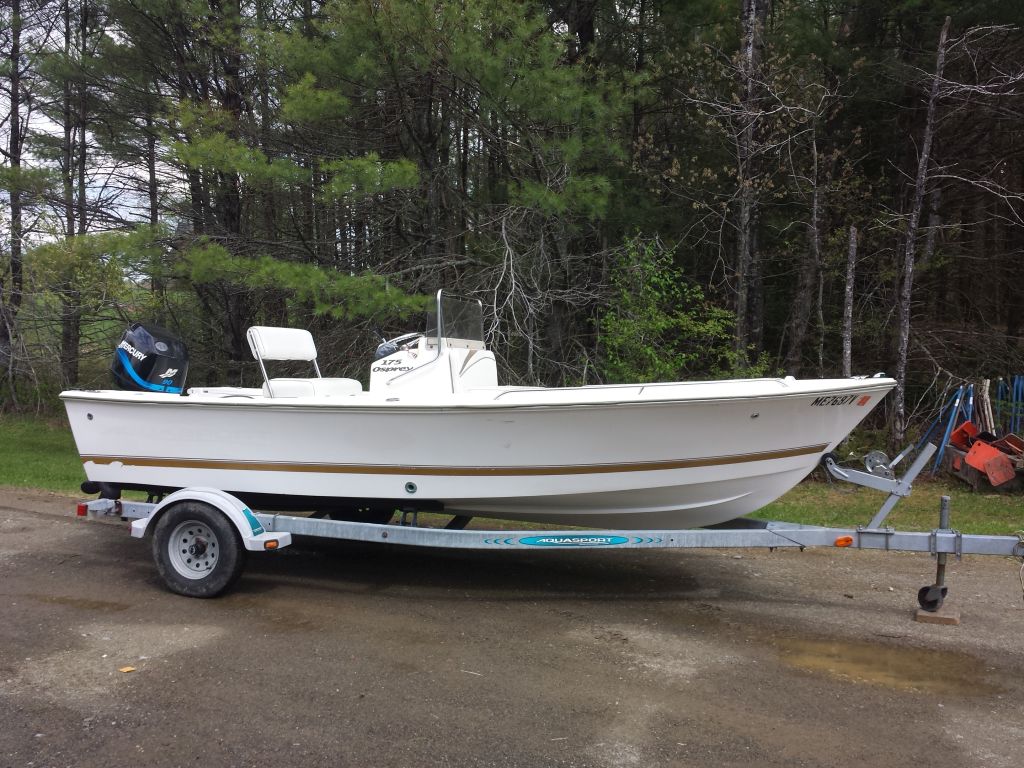
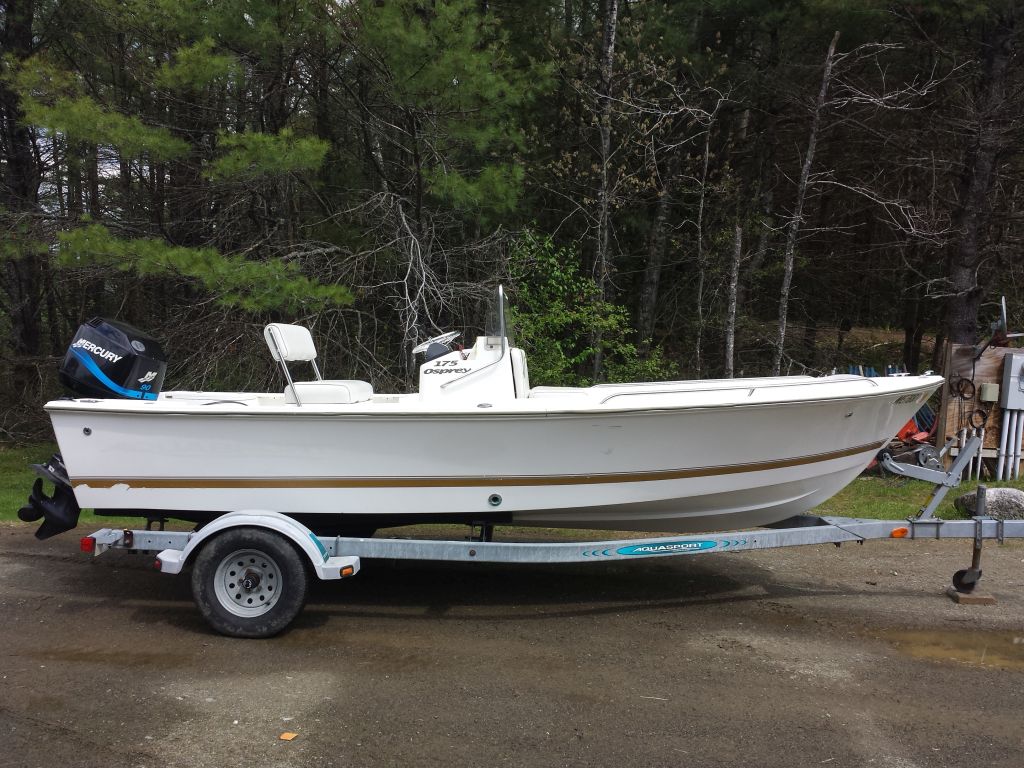
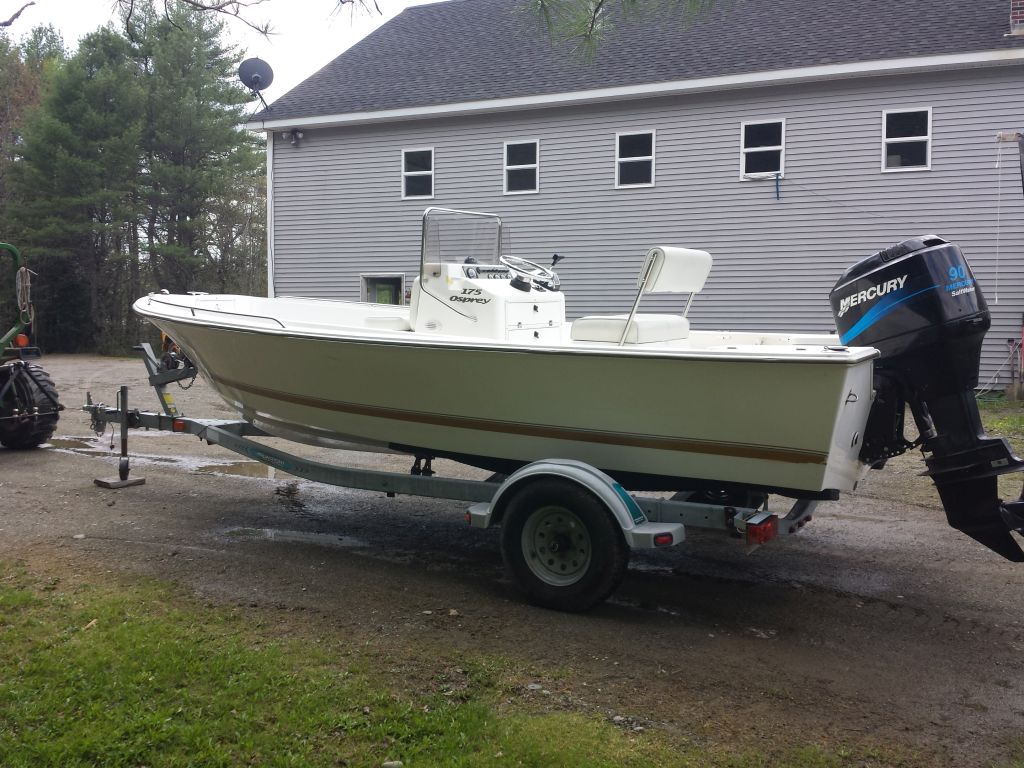
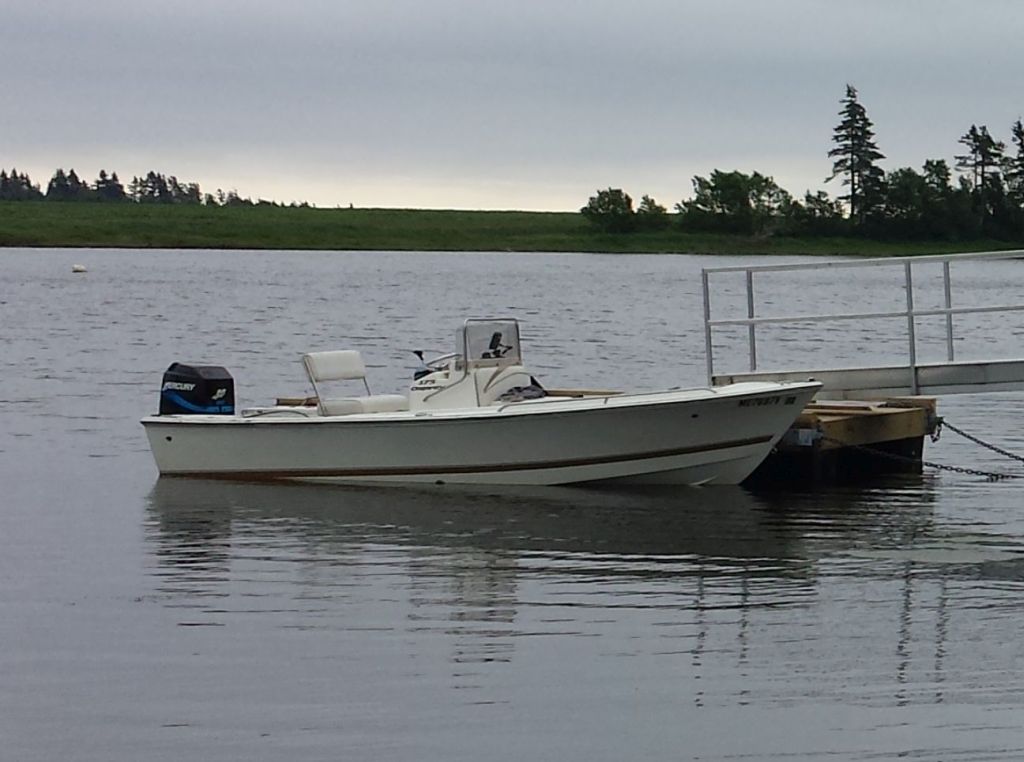
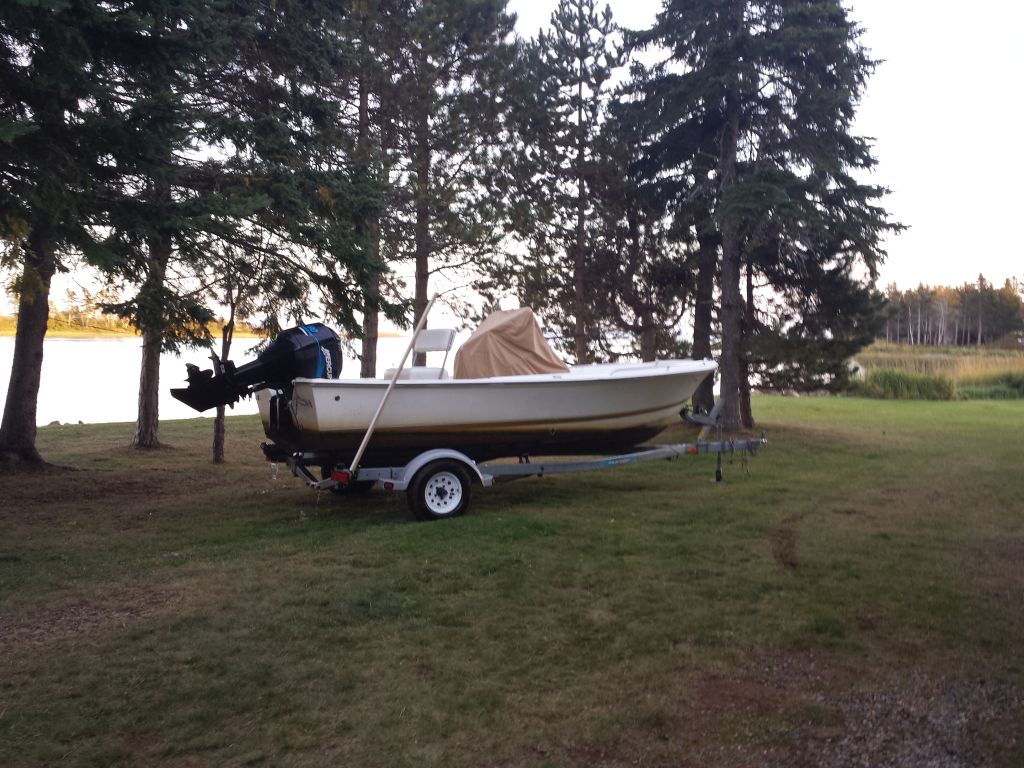
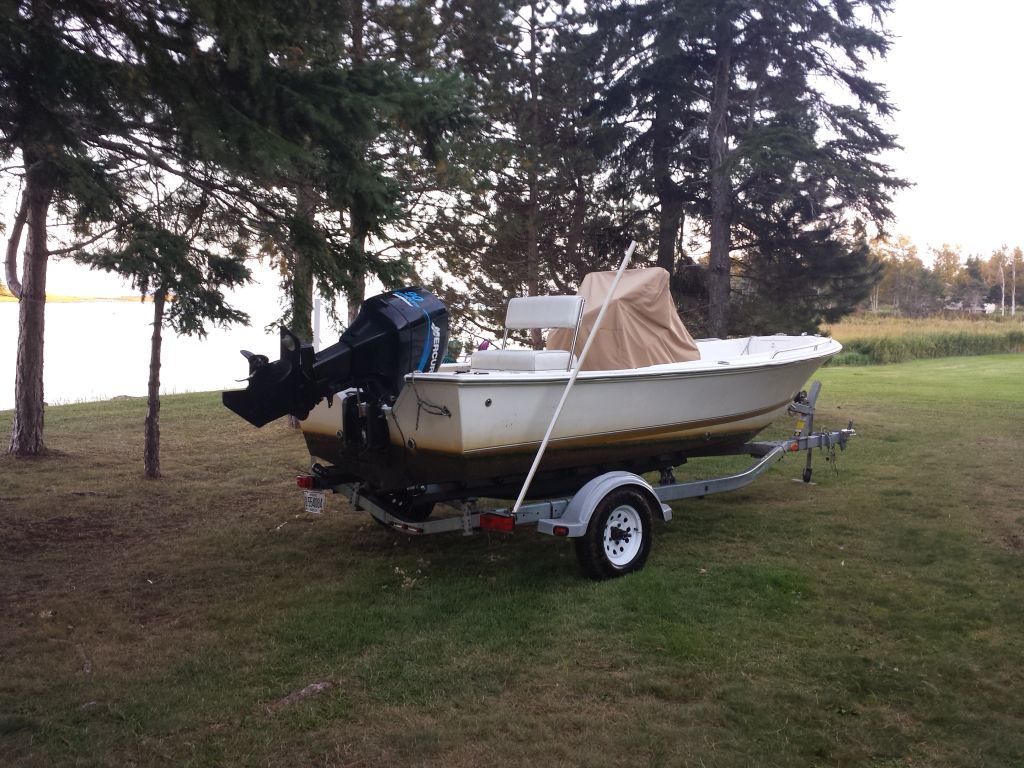
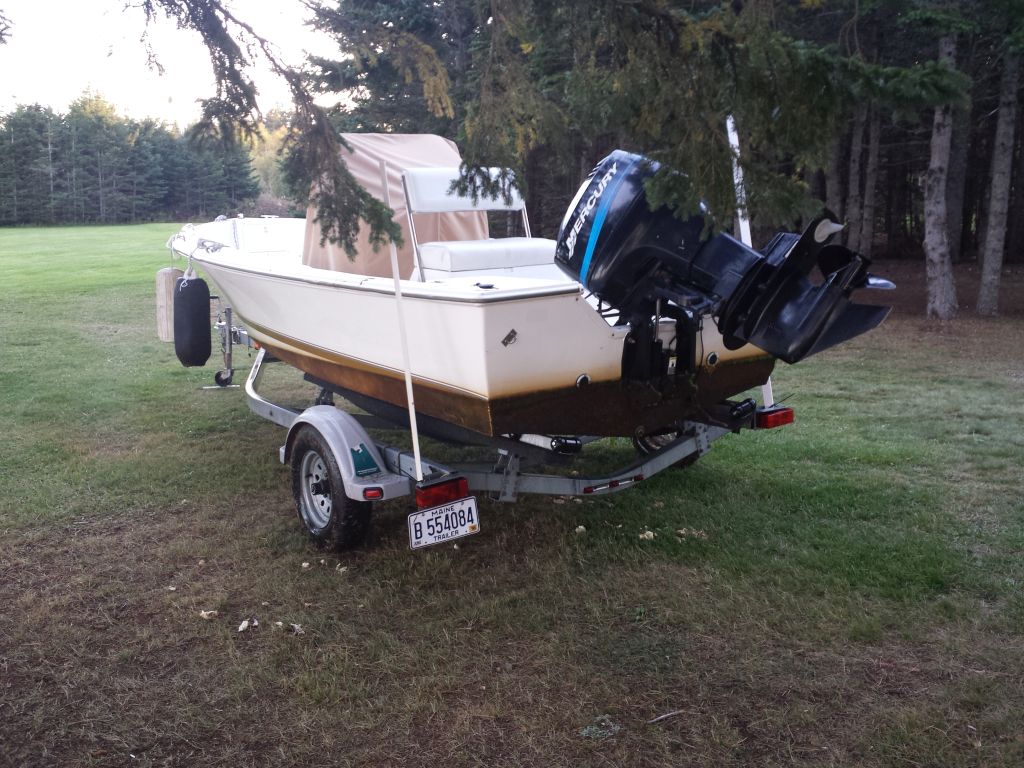
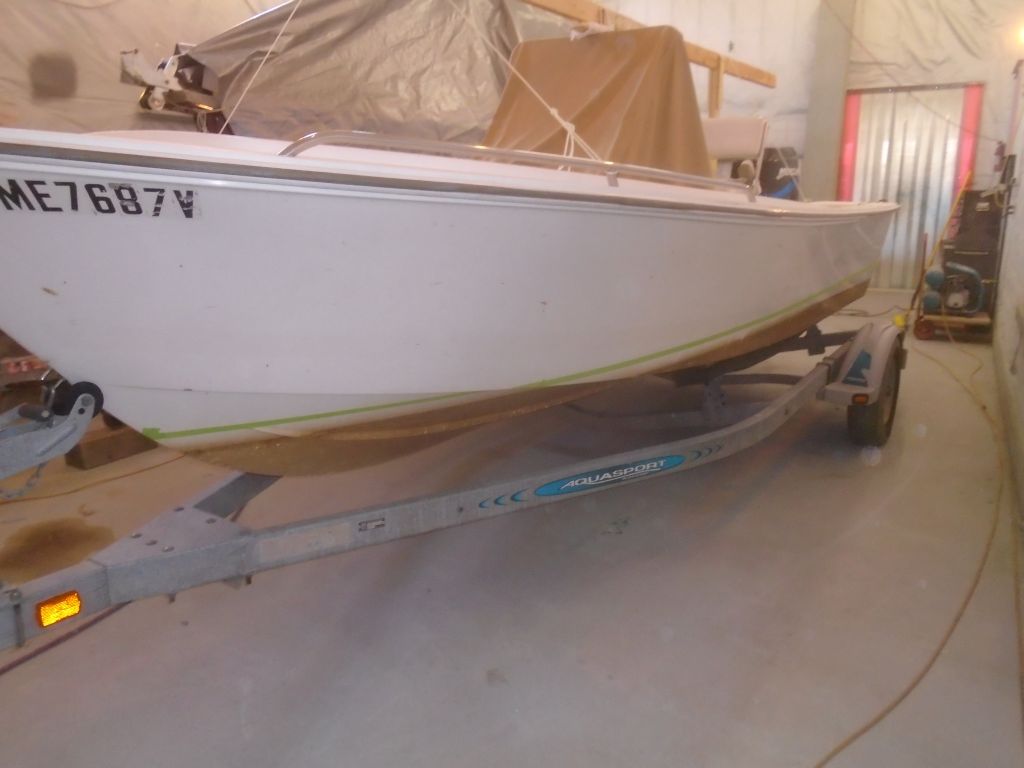
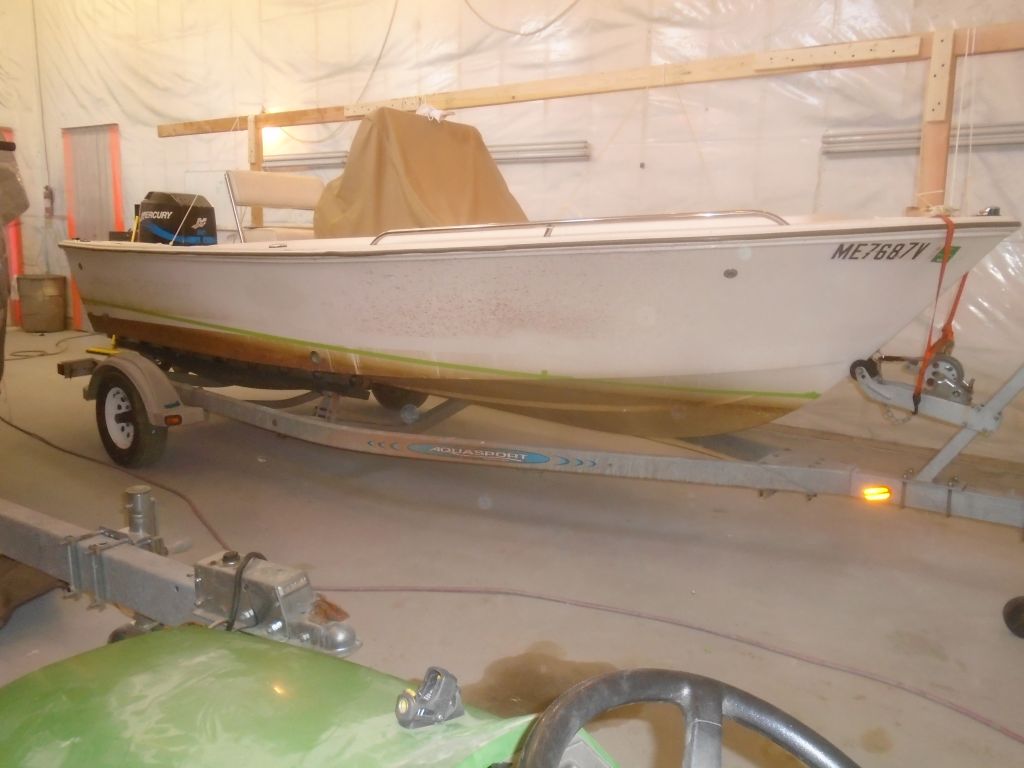
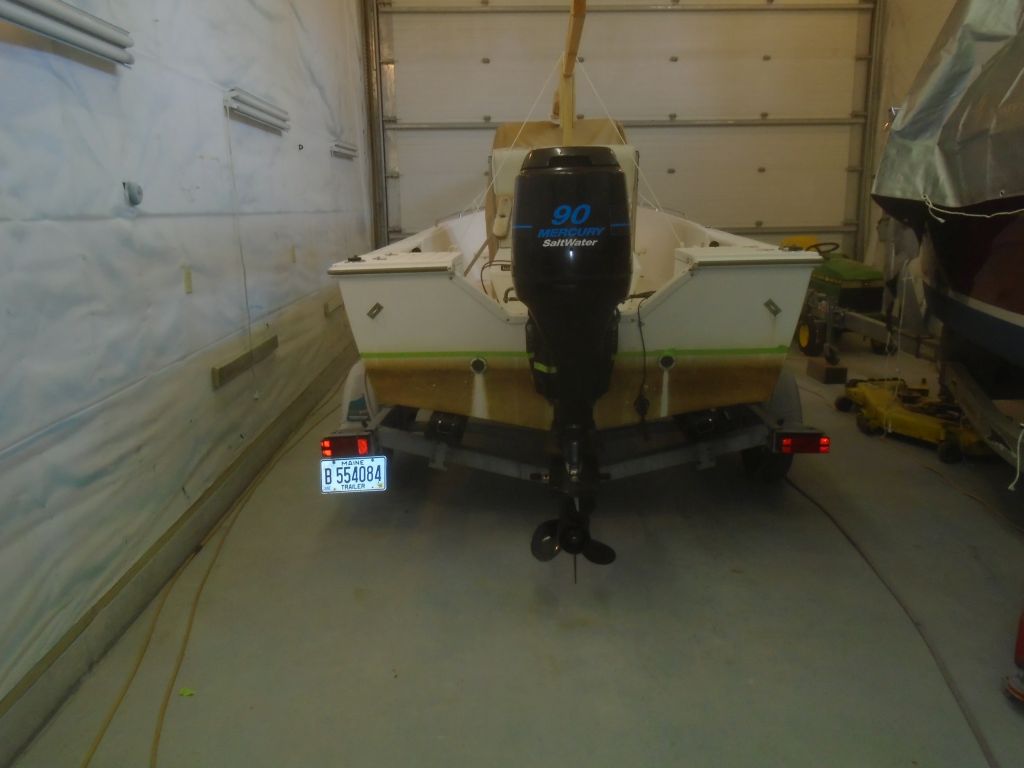
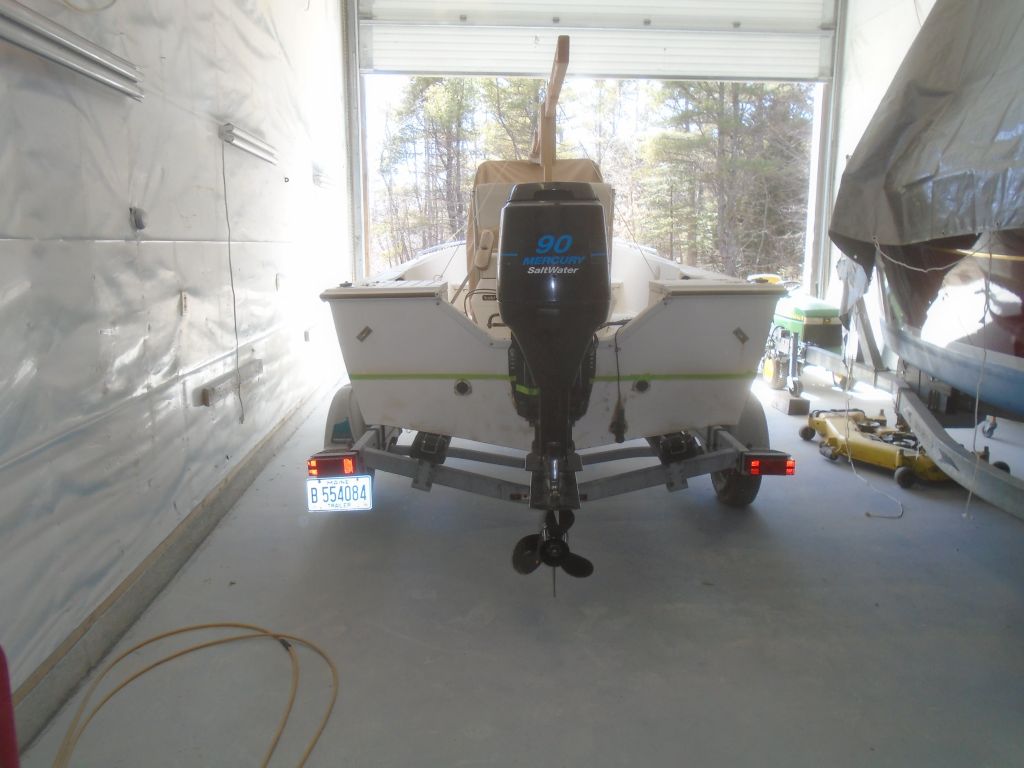
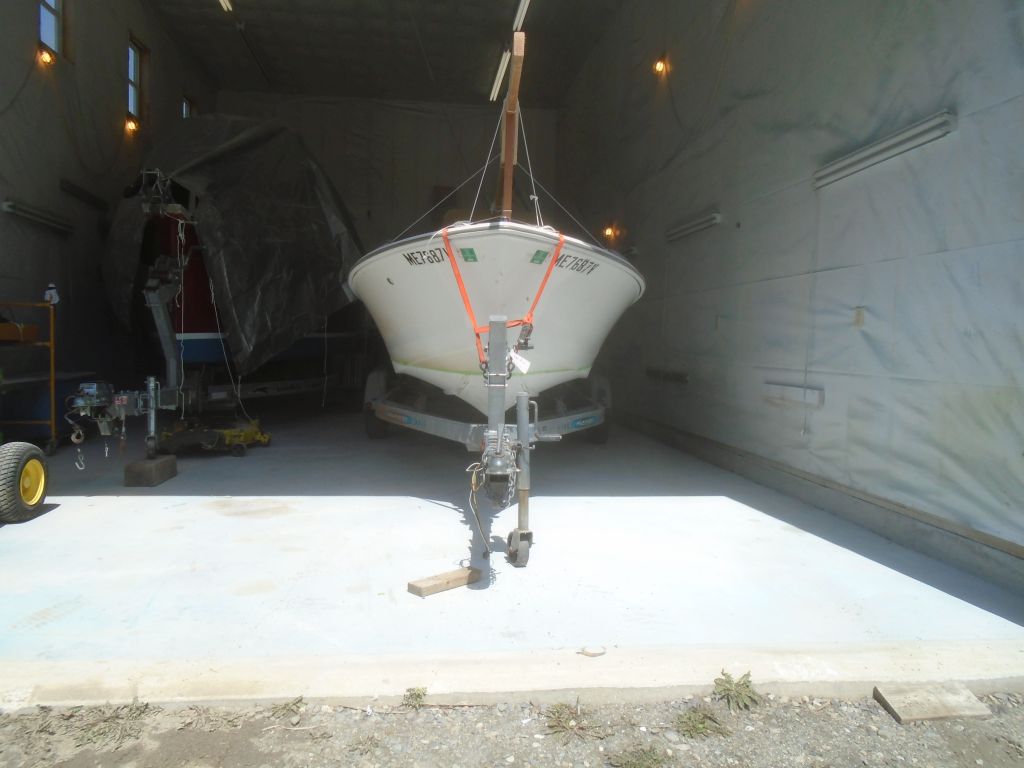
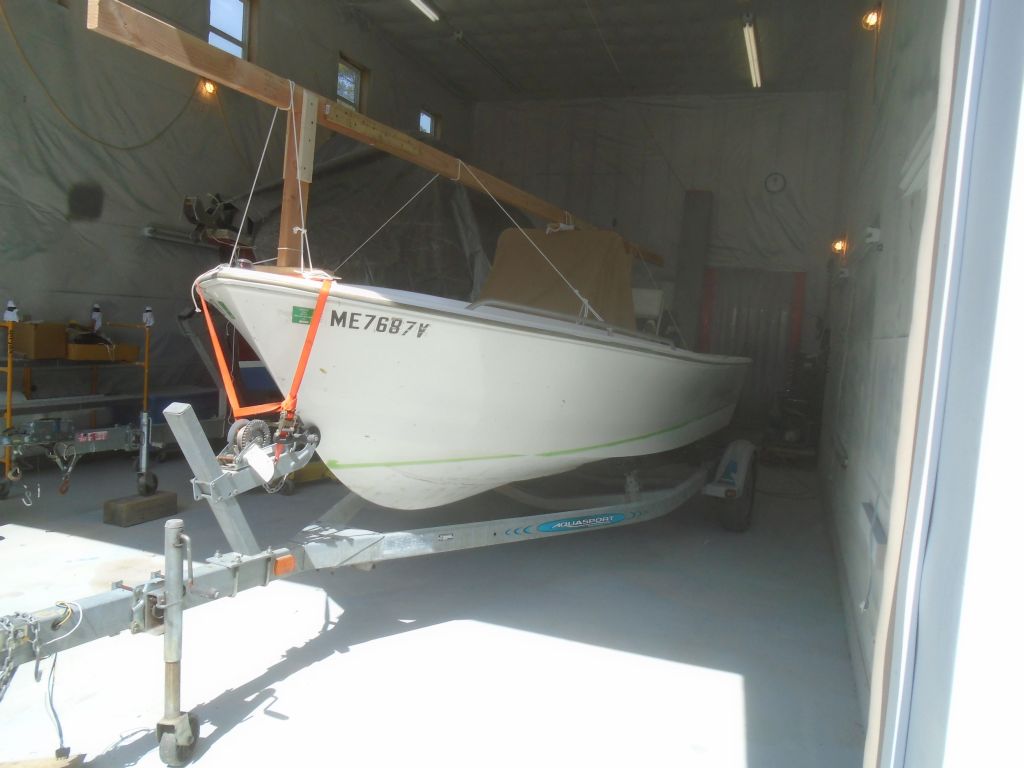
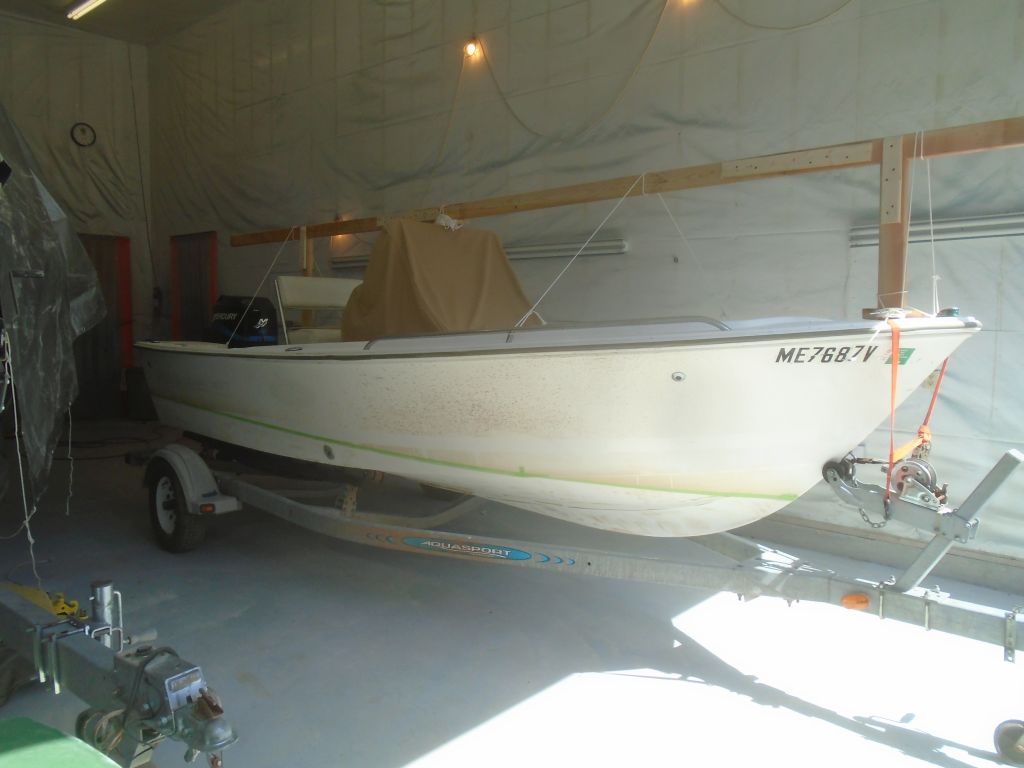
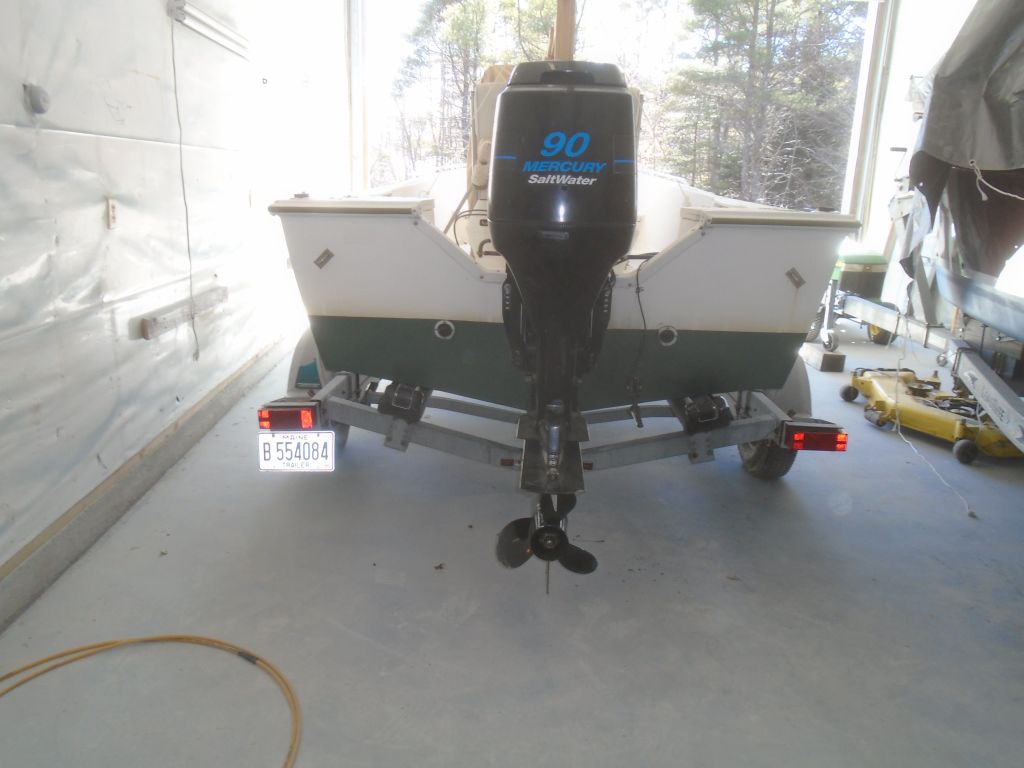
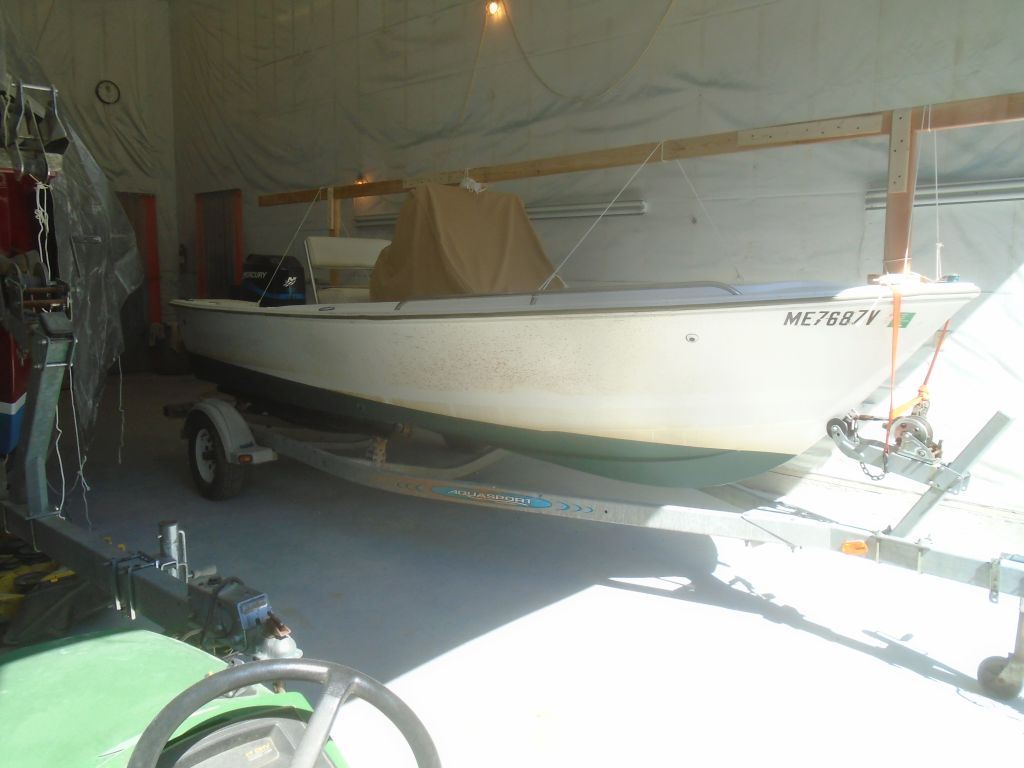
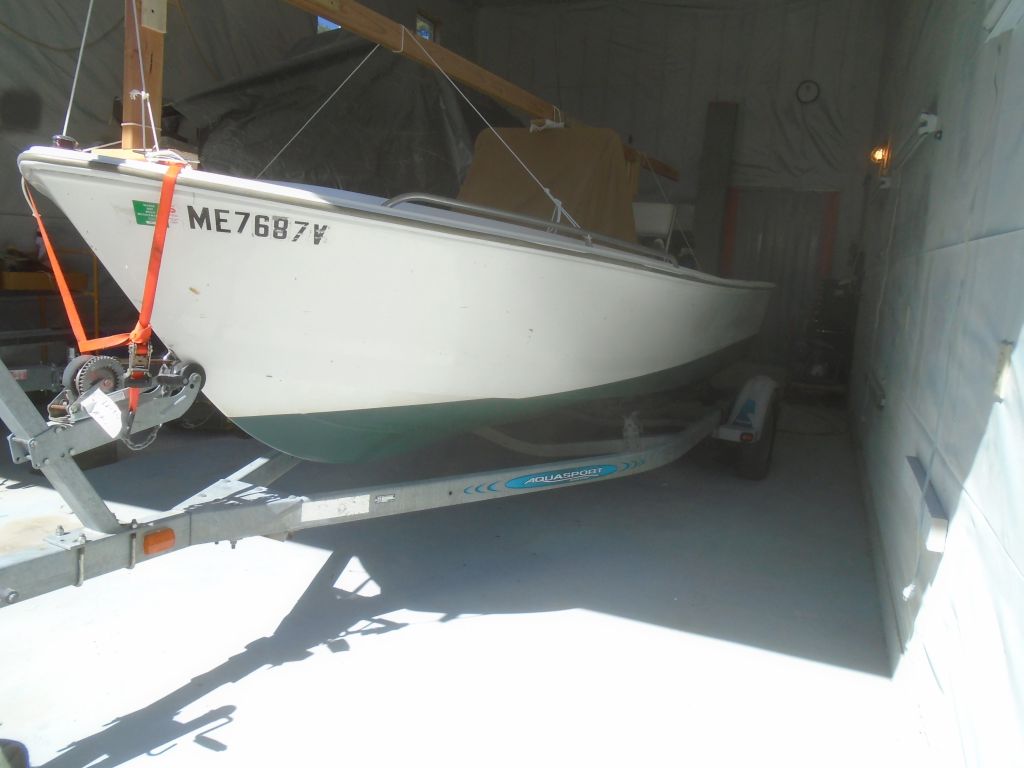
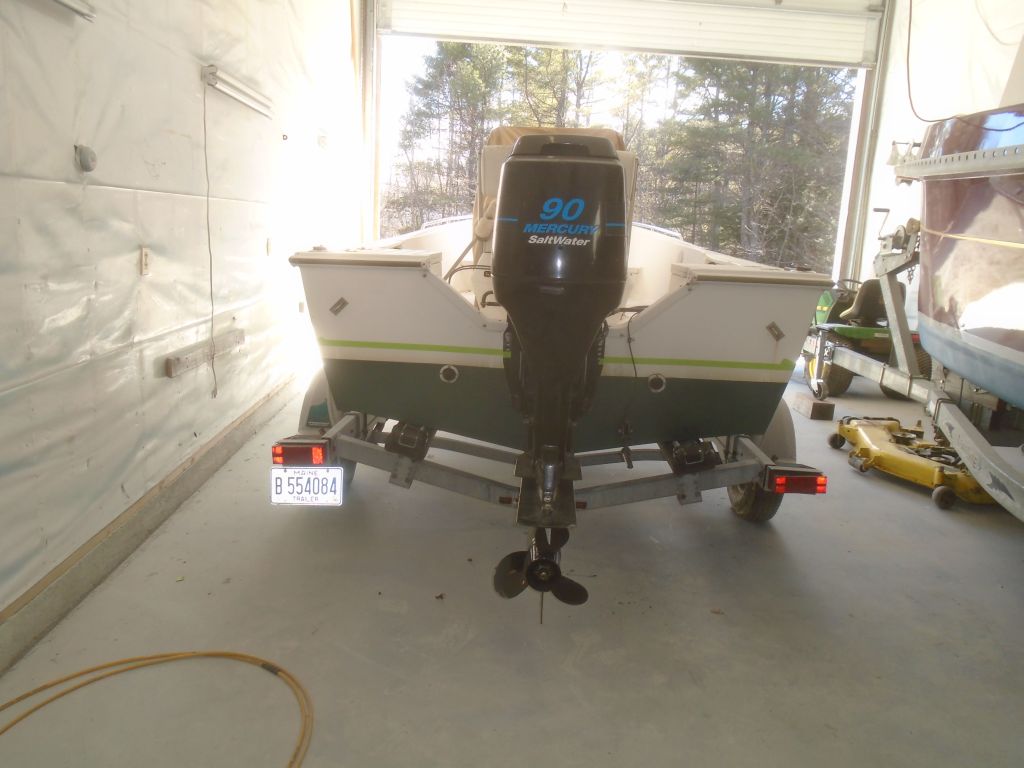
I bought this 17′ center console in April 2015 for use at a property we have. The boat was just what I was looking for: small, simple, in good condition but not too good. I wanted a boat that required no particular care or maintenance, and wasn’t so pristine that I had to worry about it. This fit the bill in all ways. The boat had been used mostly at a lake, and still had the original graphics package. The bottom had never been painted. These photos show the boat in her original-to-me condition on April 24, 2015.
Back then, my first (and basically only) order of business was to remove the logos from the topsides, which didn’t take long with a heat gun and some solvent. I left the striping at the time, but I didn’t particularly care for it. But getting rid of the logos made a huge difference.
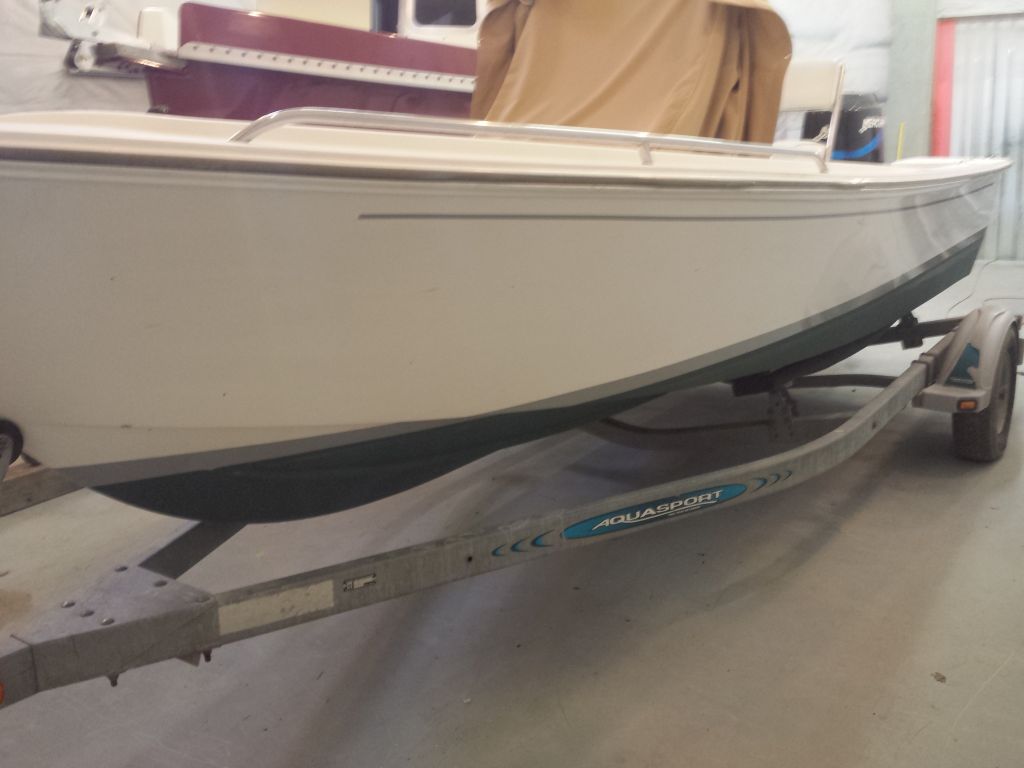
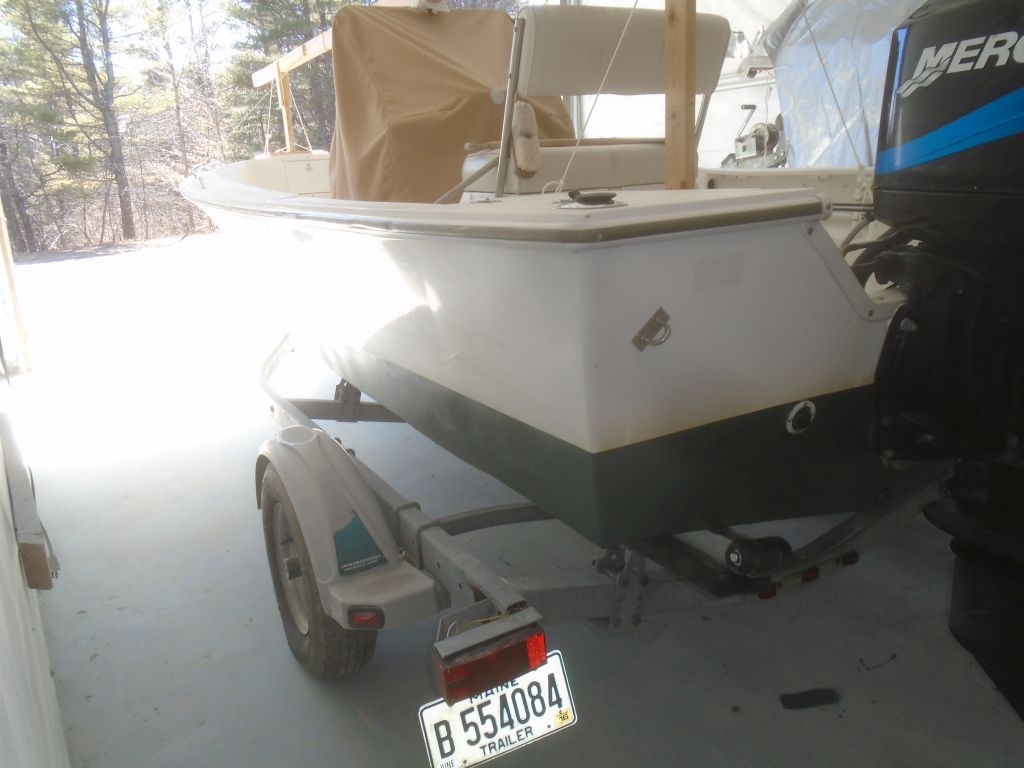
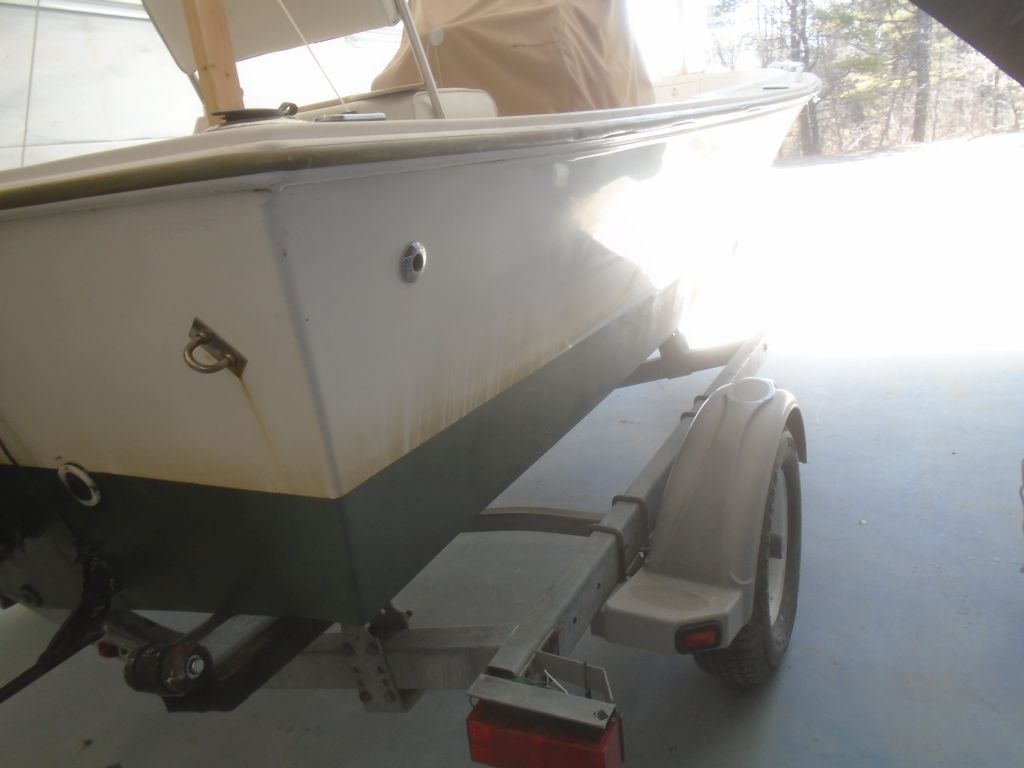
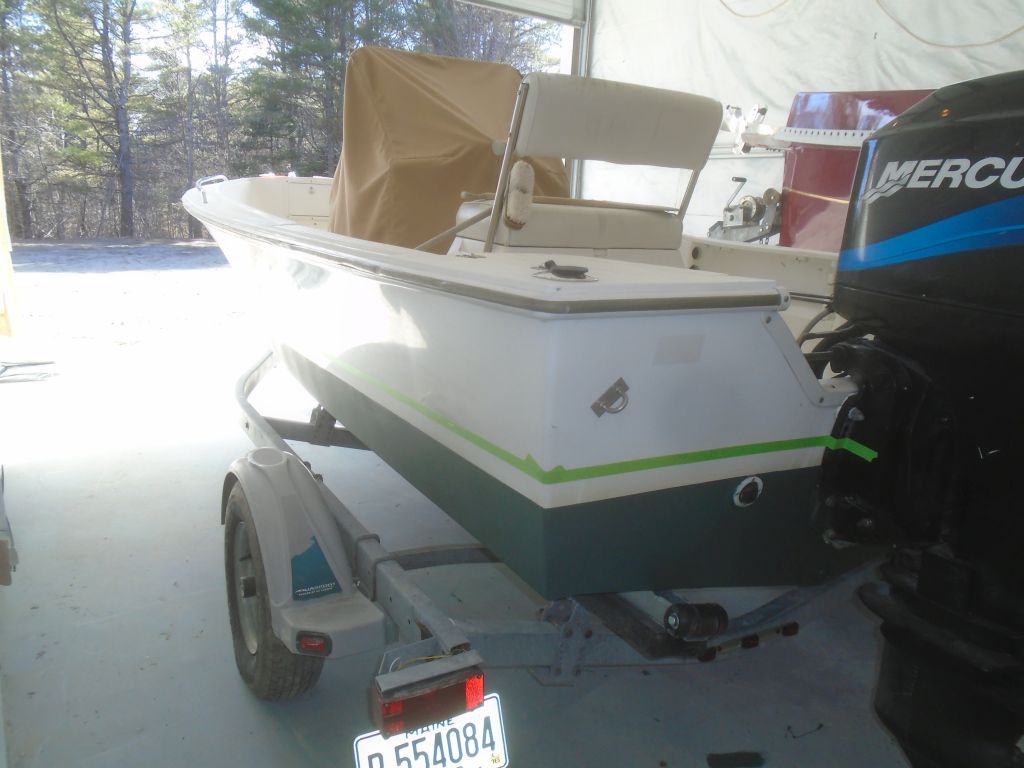
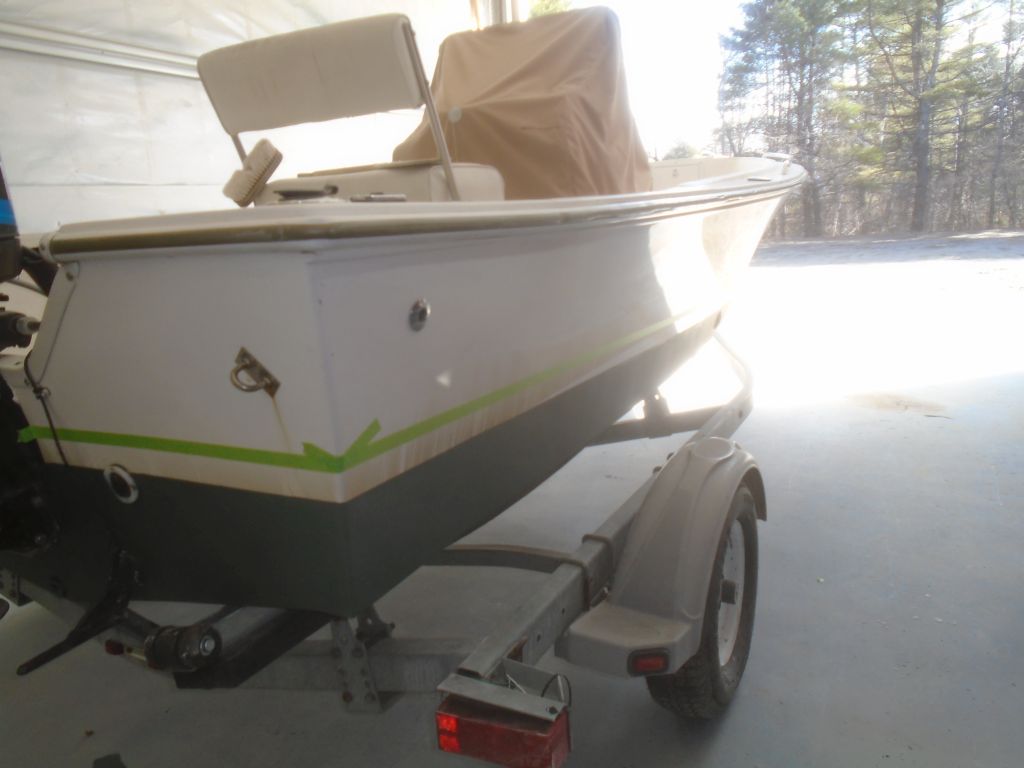
One thing I’d always liked about Aquasports (I had a 250 center console many, many years ago and loved that boat) was that they had a bit of a traditional sheerline, but the existing graphics package minimized this by sweeping the booptop striping up at the bow (basically a requirement with vinyl tape), and sagging at the stern. I guess this makes it look racy or something, but it isn’t my taste. For the first season, however, this was good enough. As expected, though, this all had the effect of making the boat look like it was sagging at the stern when in the water, with the aft part of the striping submerged at rest, and instead of allowing the nice sheerline to shine through, it just made it look like someone had hung something too heavy off the stern.
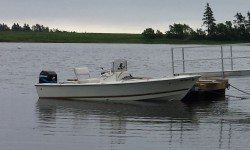
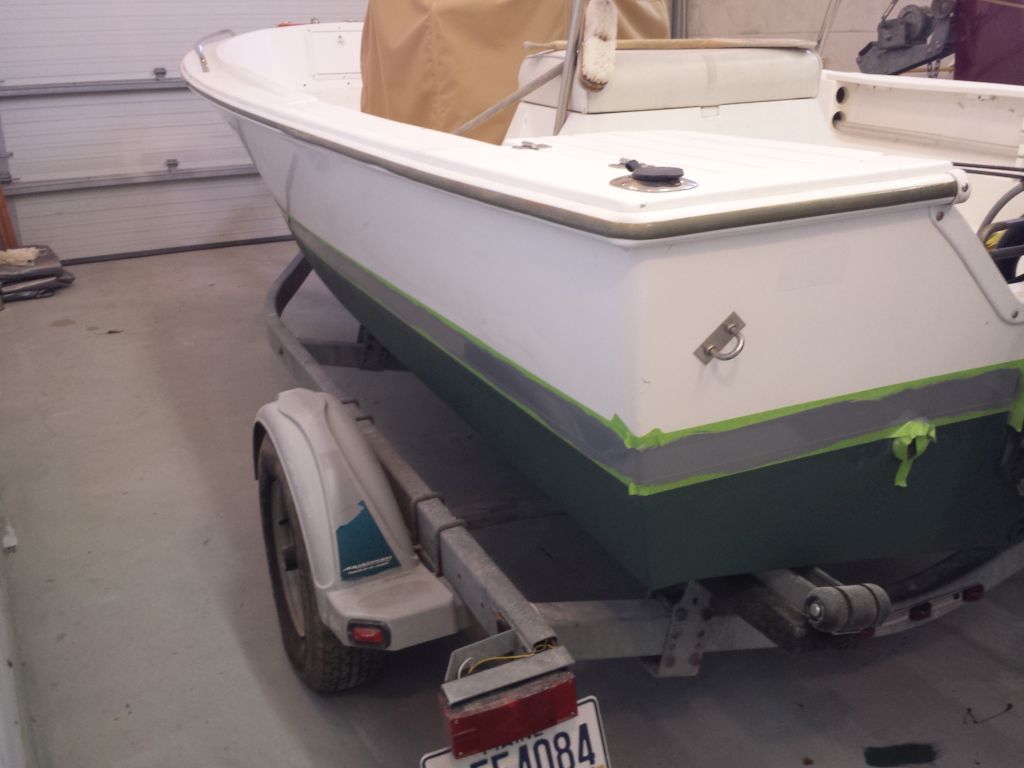
With no bottom paint, after a short season the bottom was well-covered with growth and staining. This was good in a way, as it clearly defined the actual waterline of the boat, and I could use this for reference to restripe the boat more to my liking. When I powerwashed off the growth later, after I took these photos, the striping tape that had been in the water all peeled off as well, so it became obvious to me at that point that I’d be redoing everything, like it or not.
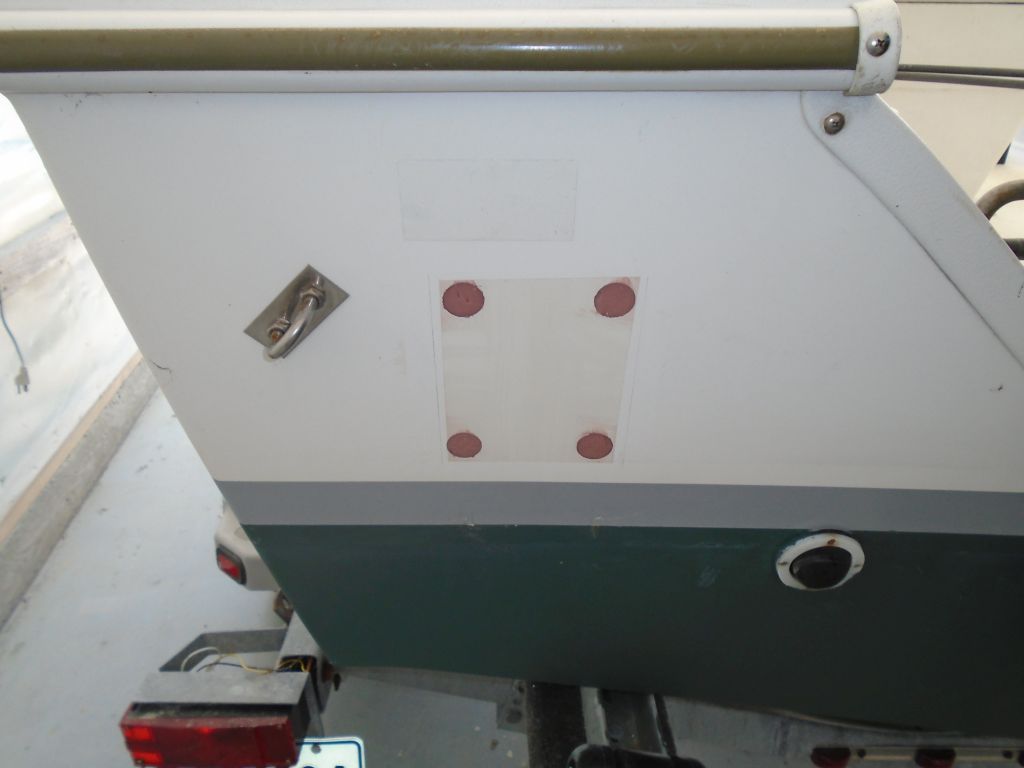
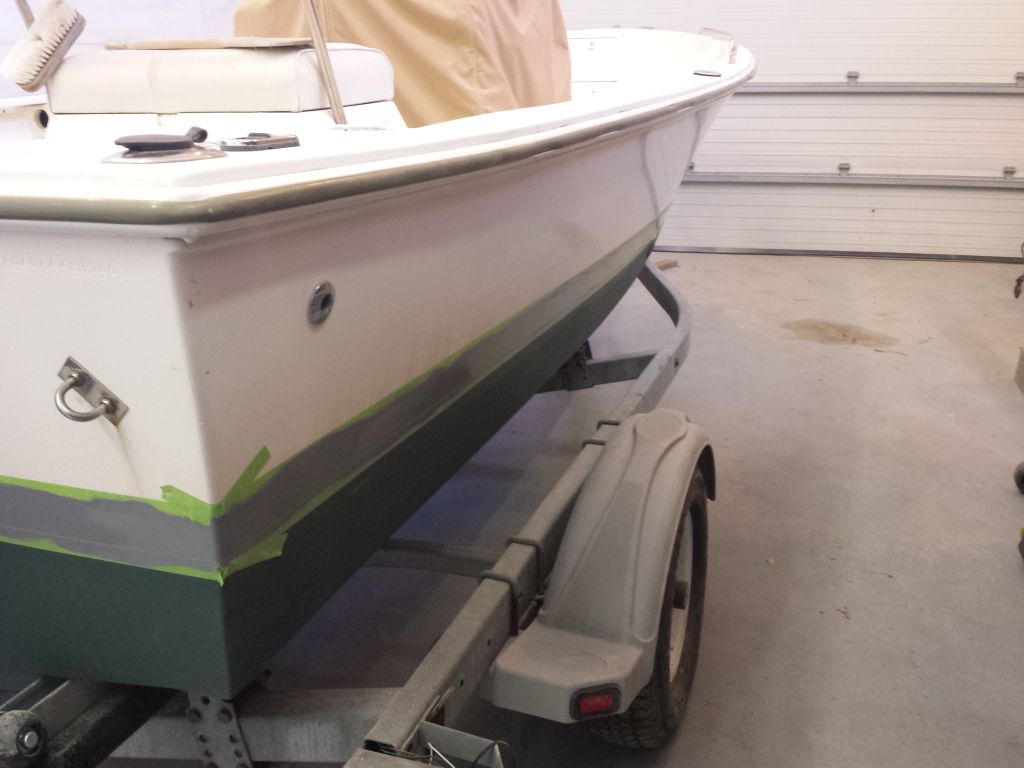
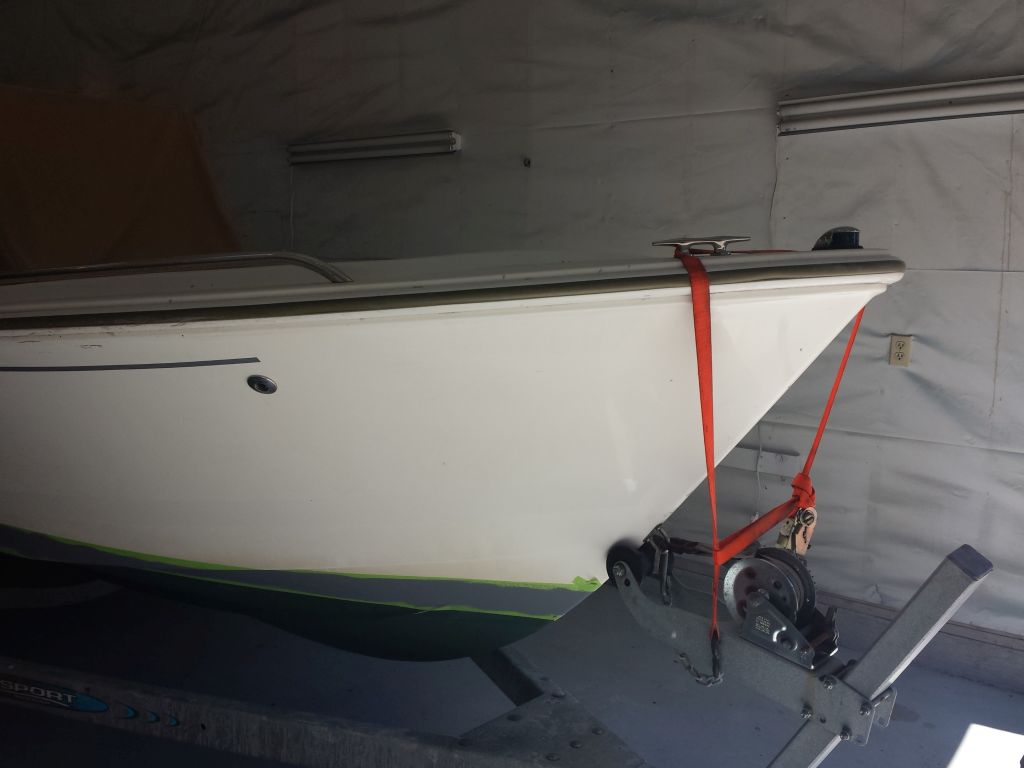
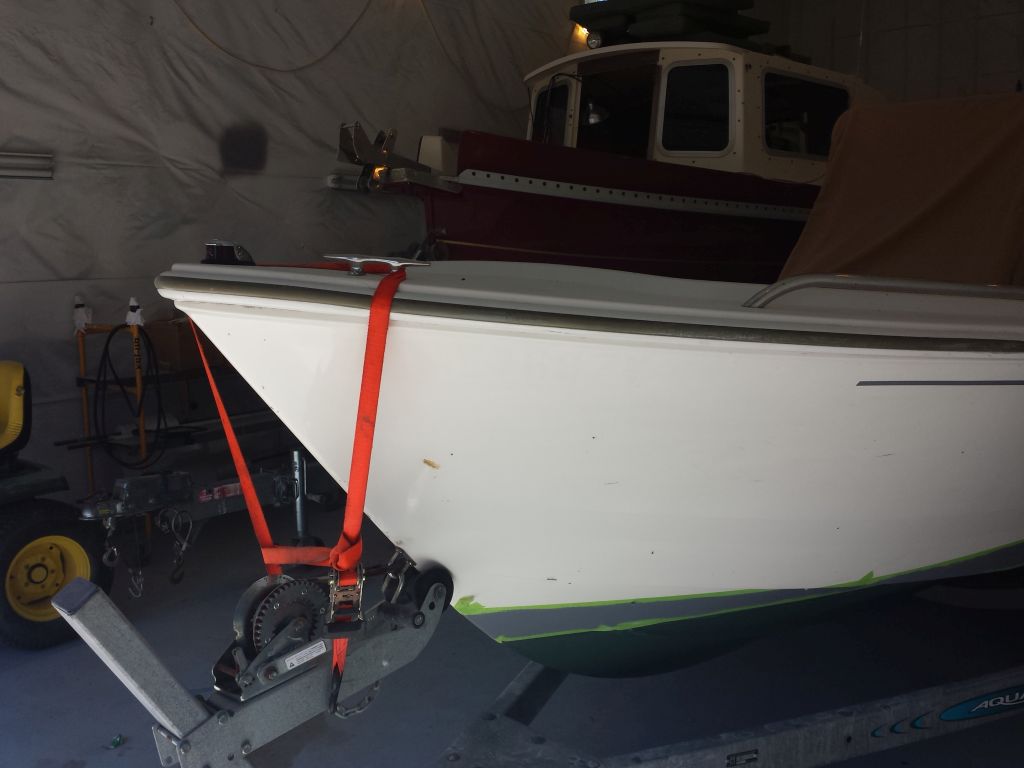
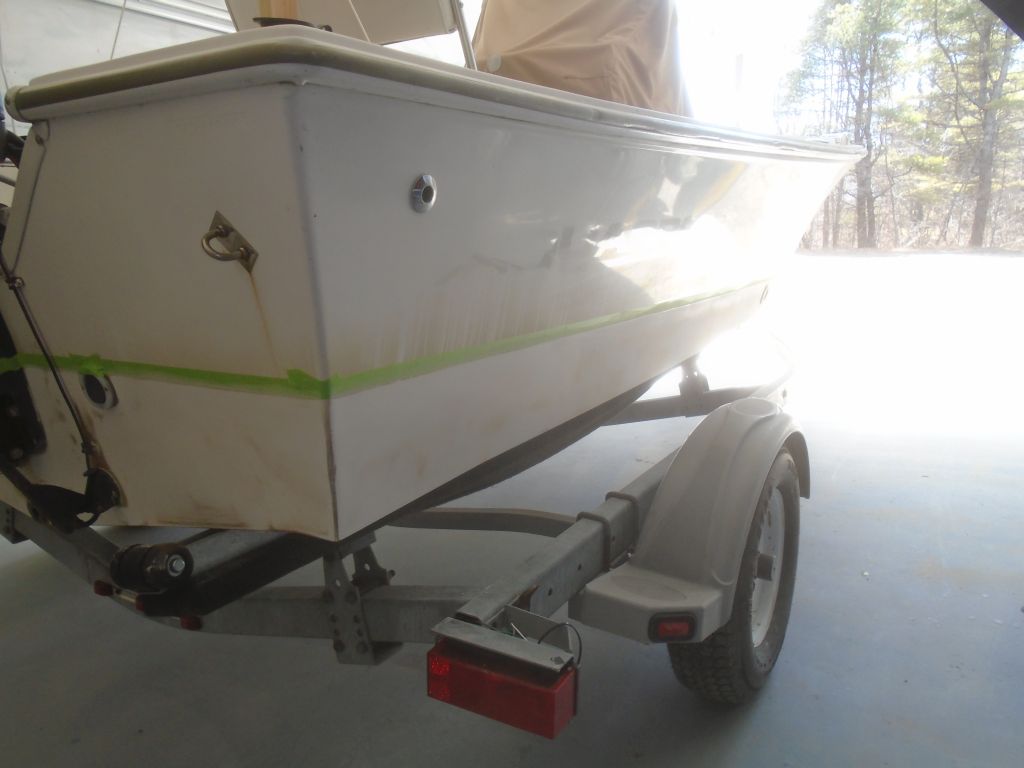
Fast forward to the present, and I found myself ready to attack the new appearance package, and I began by removing the old multi-striping tape, which consisted of a 1-1/2″ gold band, then four separate narrow bands of gray, black, white, and gold above, I’m afraid I neglected to take true “before” photos, and only started documenting the process after I’d removed the old tape. The boat was filthy with mud on the hull from a dirt road, and the bottom free from growth but highly stained from the water the boat had floated in last season. But wanting to get the bottom work underway and completed as soon as possible, with limited time available, I left these other chores for later, and immediately focused on marking the bottom for a new and proper waterline. For now, I just solvent-washed the hull at the waterline so it would accept masking tape.
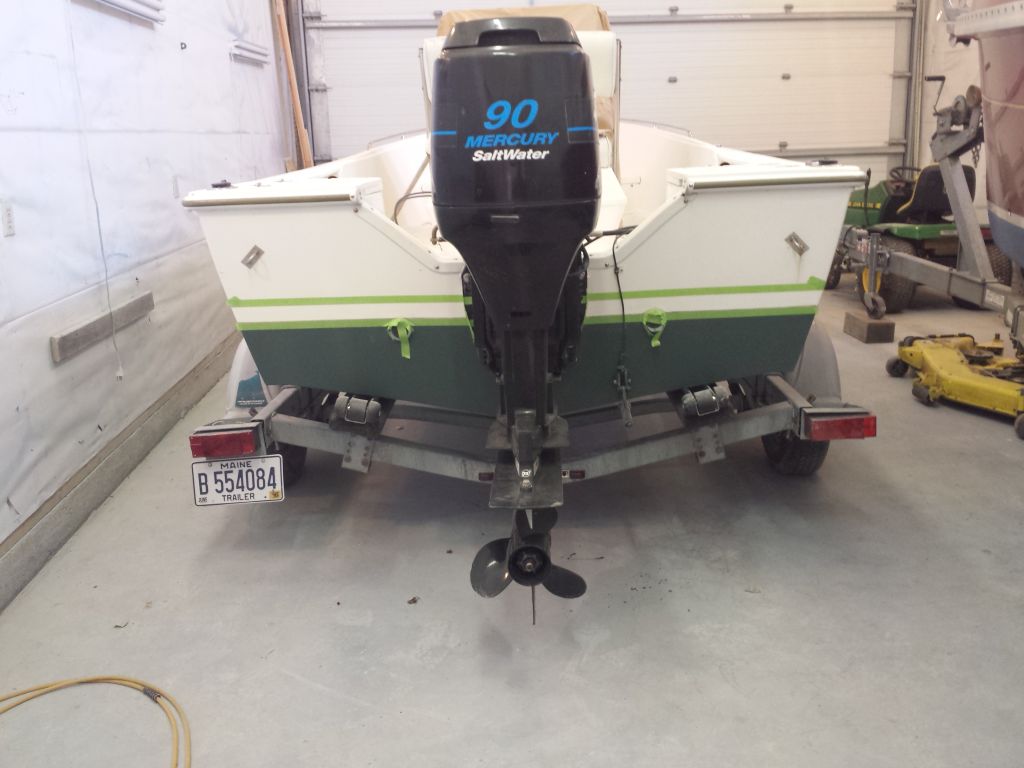
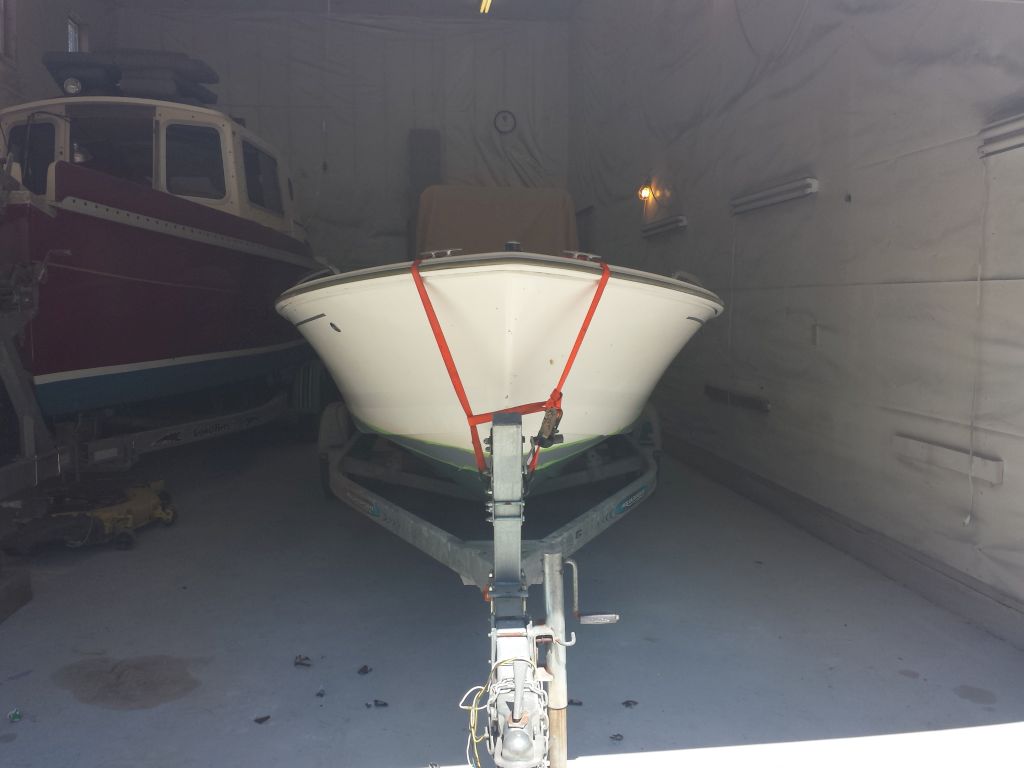
The actual static waterline was clearly demarked by the fouling line, so I used 2″ tape to bring it up that distance above, which would provide an adequate buffer of antifouling paint above the waterline to avoid staining and for the sake of appearance. This was easy at the stern, with the typical slab sides of the boat, but at the bow I had to strike the line by eye, keeping it visually level with the actual waterline and at the proper new height. I struck the new line above my 2″ reference with 1″ tape, so I could sand and paint the area below.
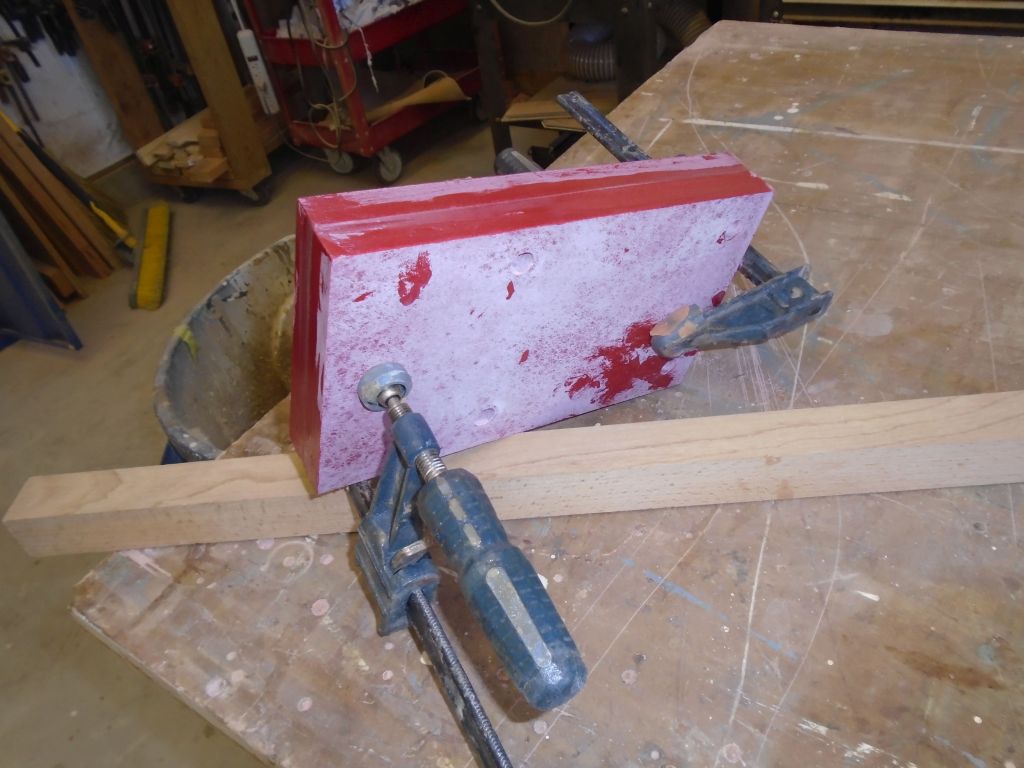
Now, I sanded the bottom below the tape, removing the remnants of growth and preparing the virgin gelcoat for paint. The staining actually worked as a sort of guide, as once I’d removed it, I’d sanded enough, and the process went pretty quickly. I didn’t worry about the two roller bunks the boat rested on, but sanded around them as needed.
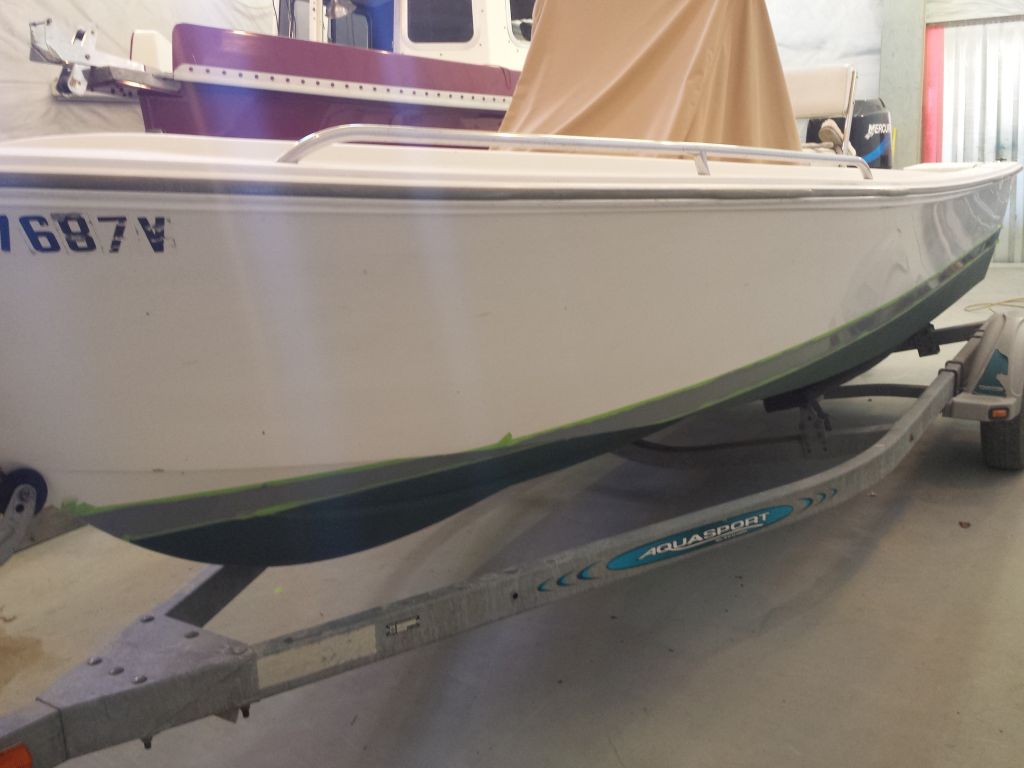
Afterwards, I blew off and solvent-washed the bottom, then applied a coat of dark green antifouling paint that I had on hand. Things were looking better already.
The bottom paint dried quickly, and it wasn’t long before I could begin the next step, which was to mask off the top edge of a new boottop 2″ above the bottom. Again, I used 2″ tape on the slab sides to determine the height, and struck the bow portions by eye to maintain a fair visual line in the v’d bow sections.
Total time billed on this job today: 5 hours