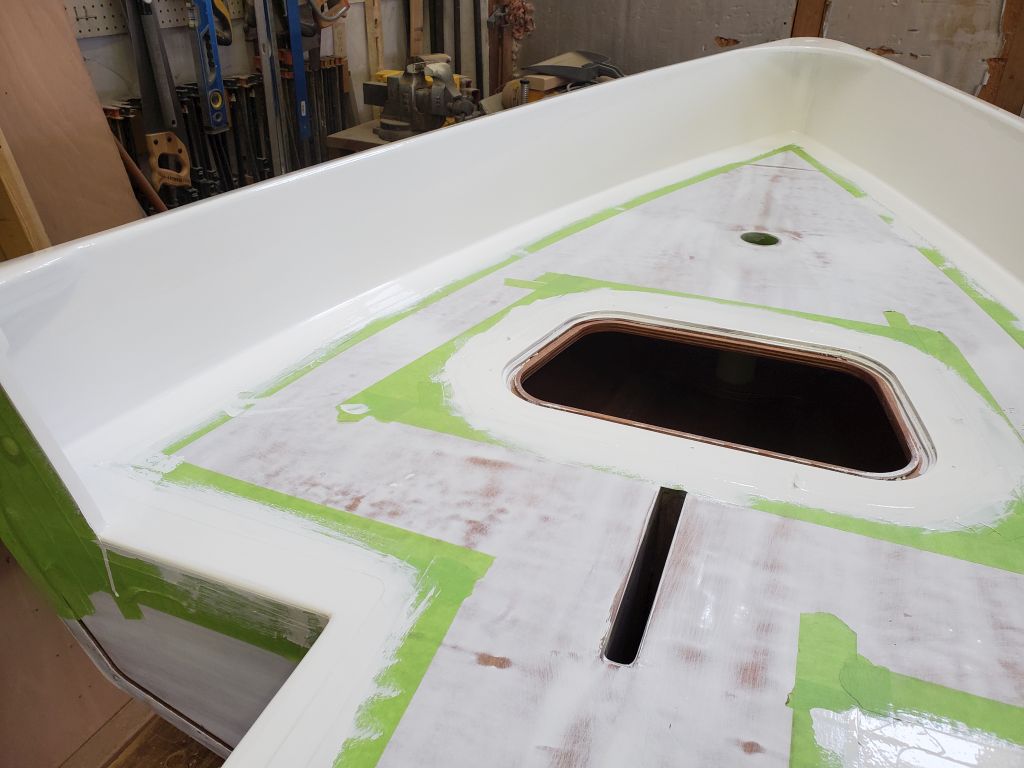
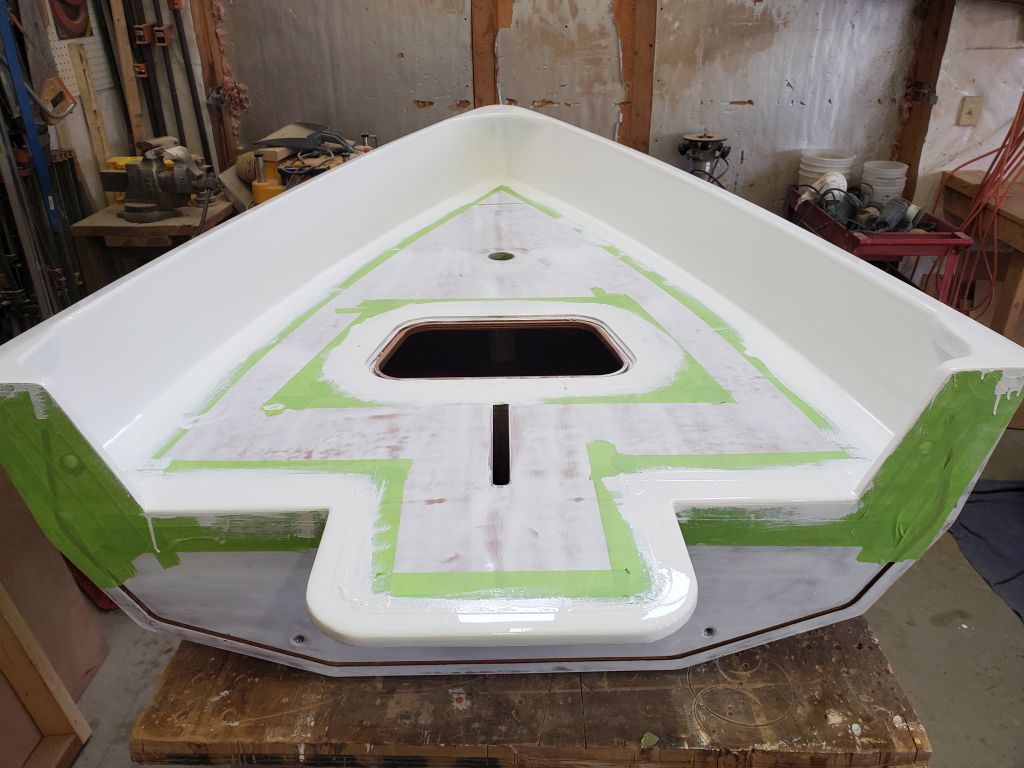
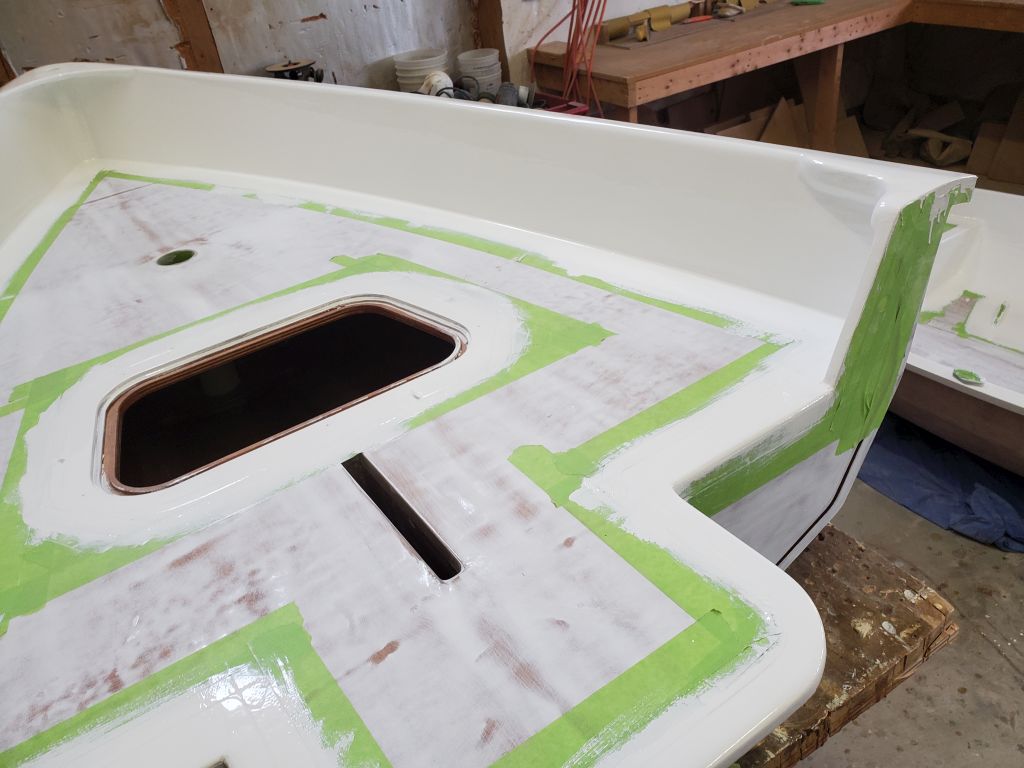
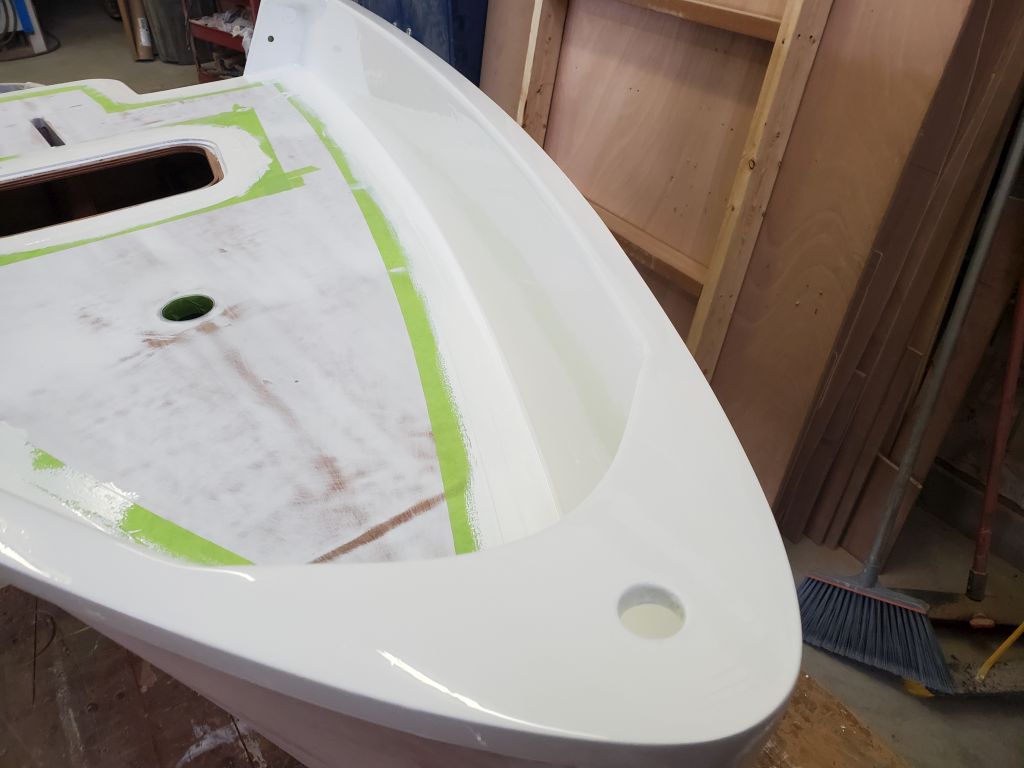
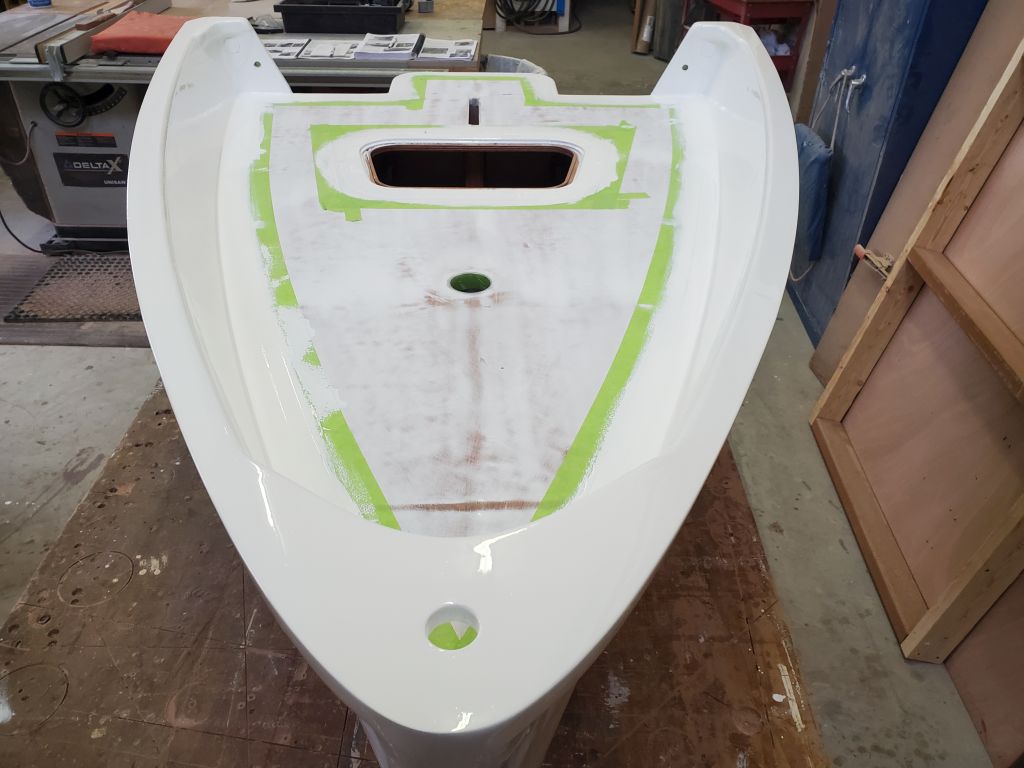
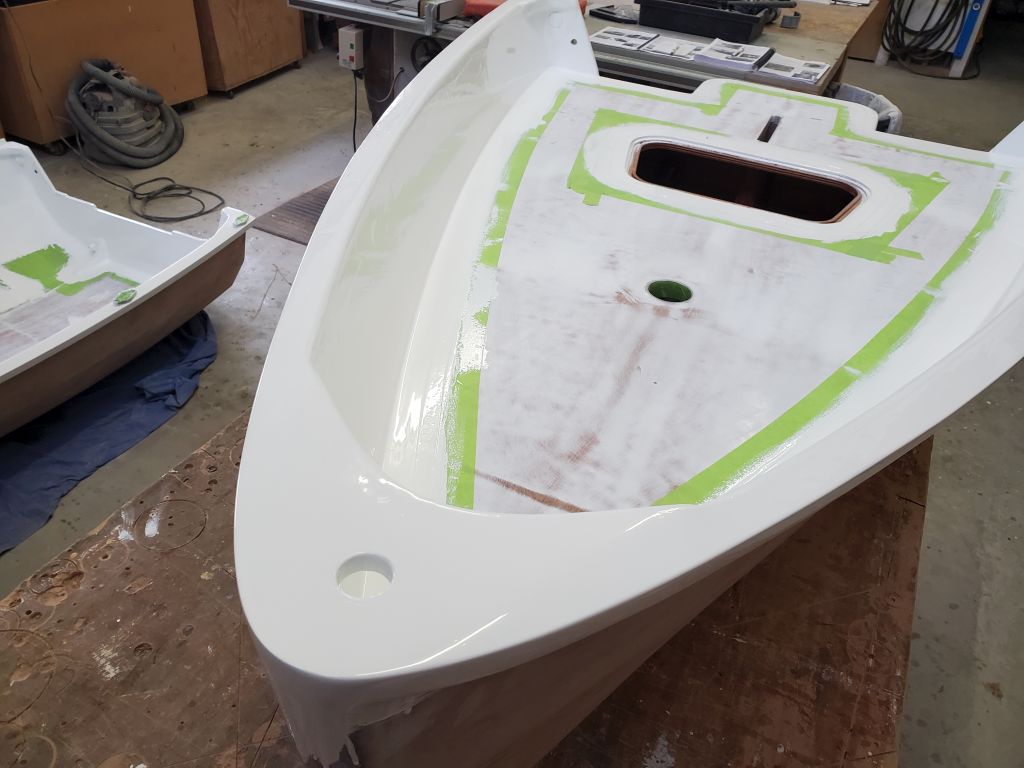
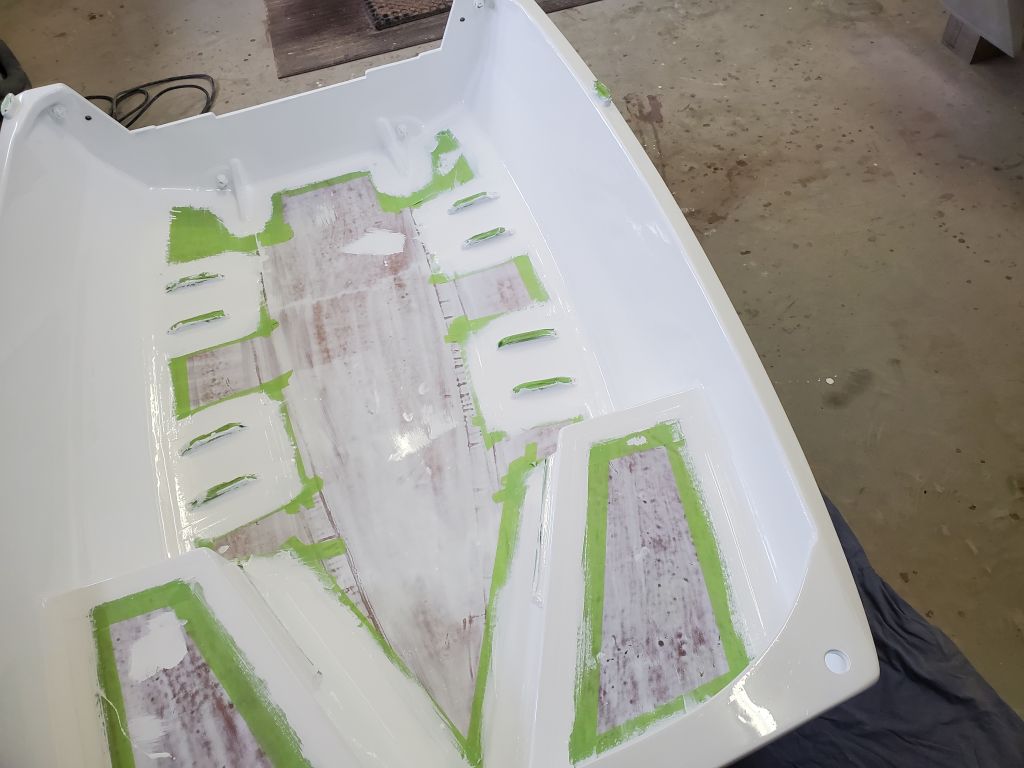
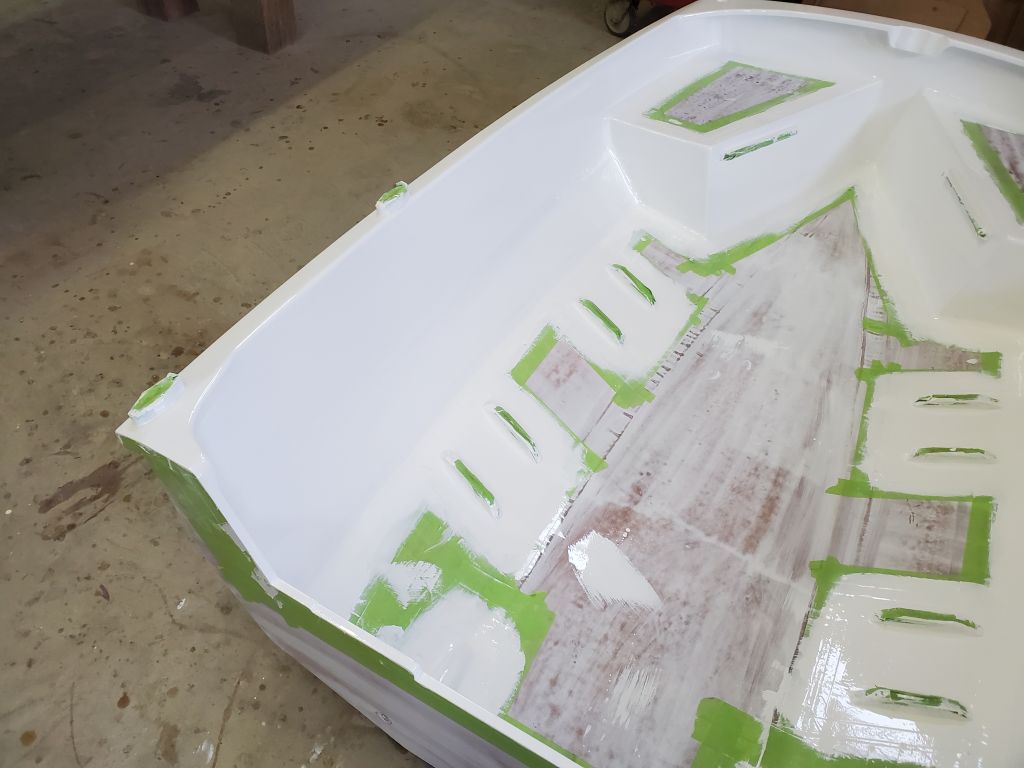
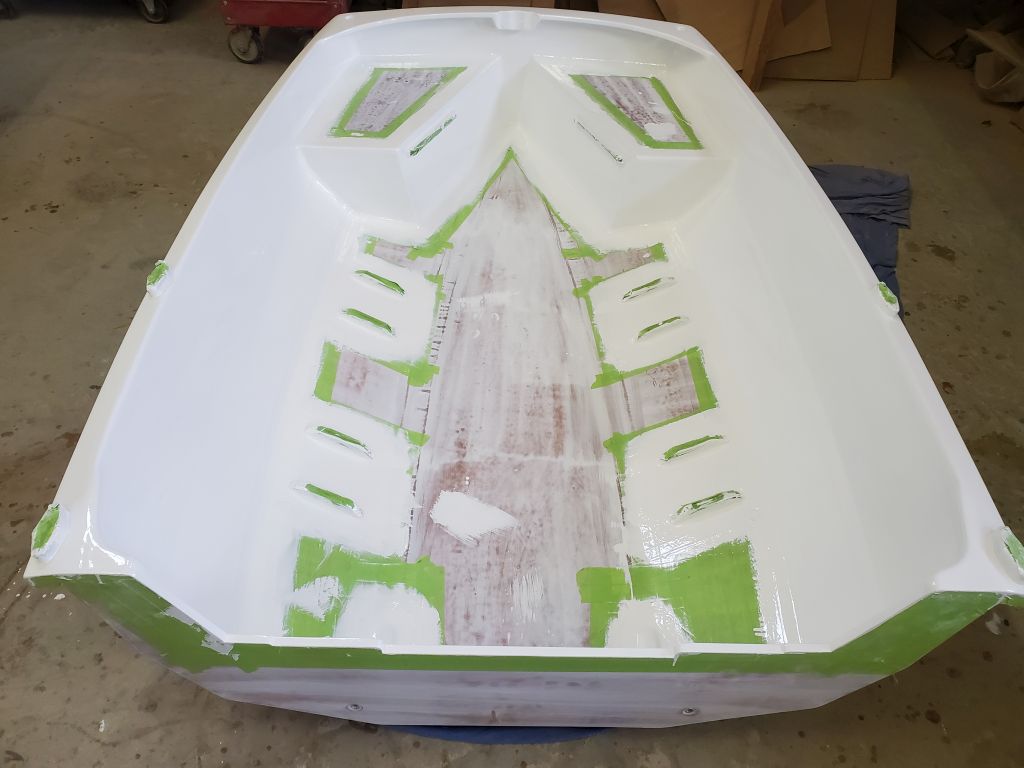
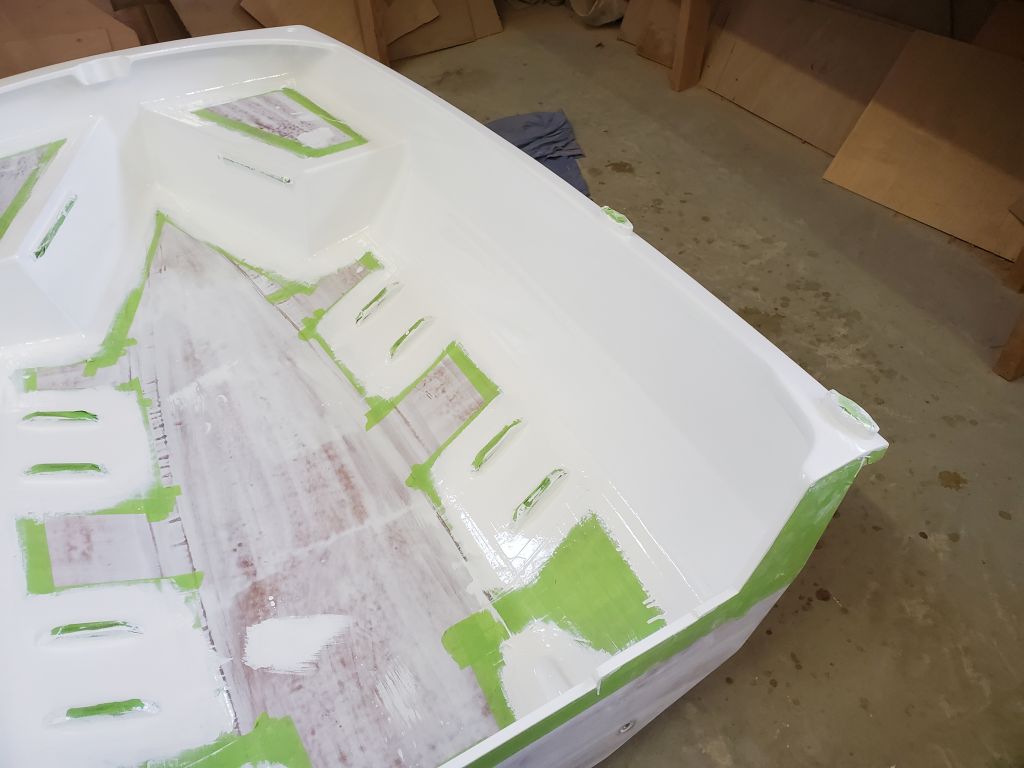
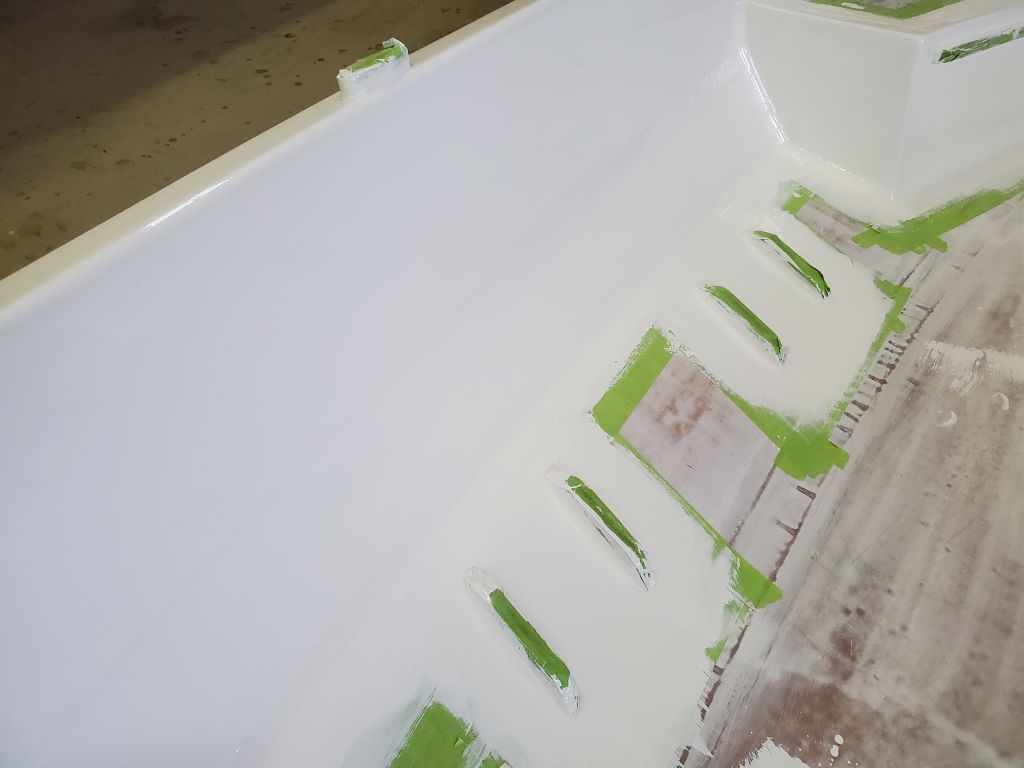
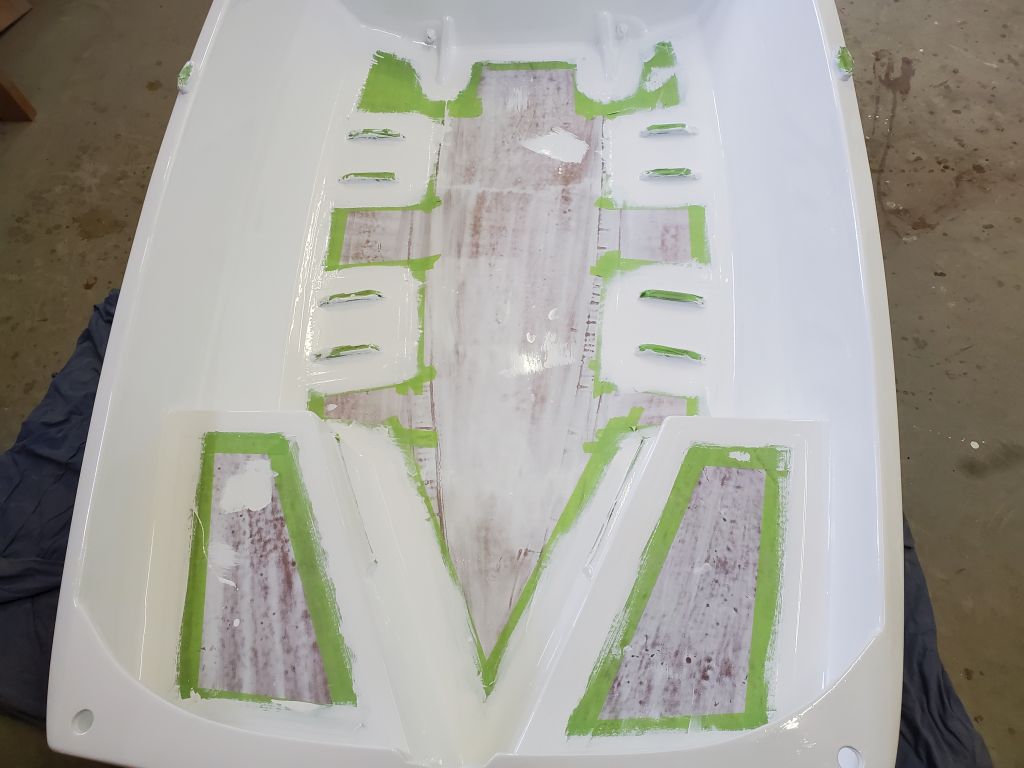
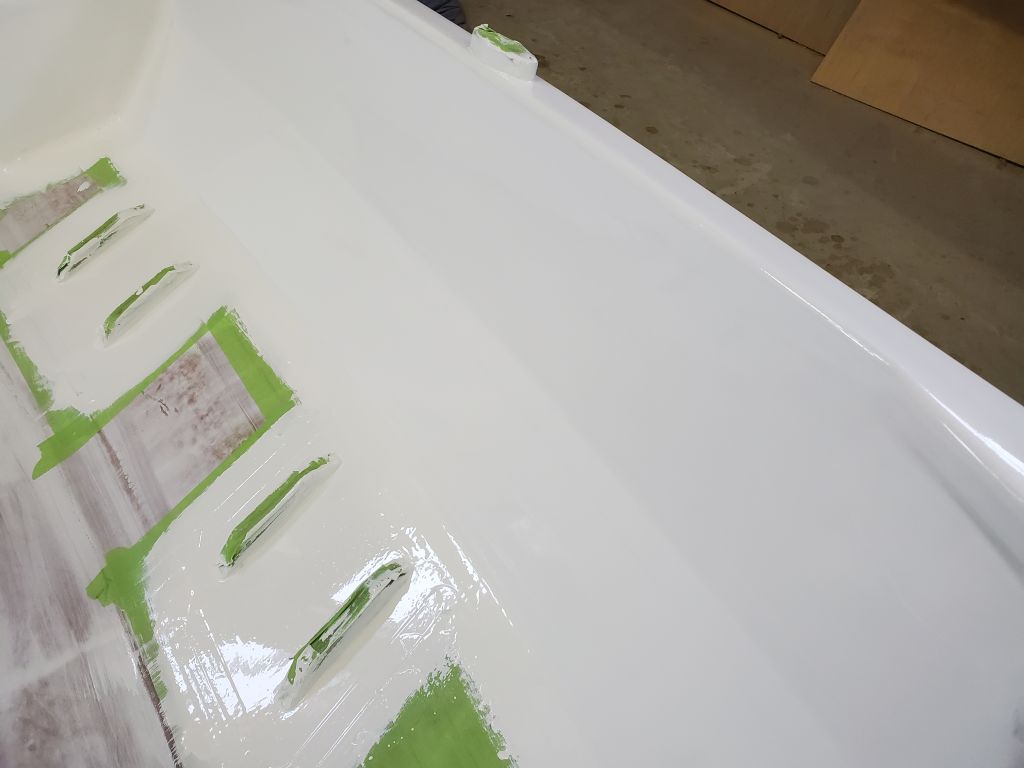
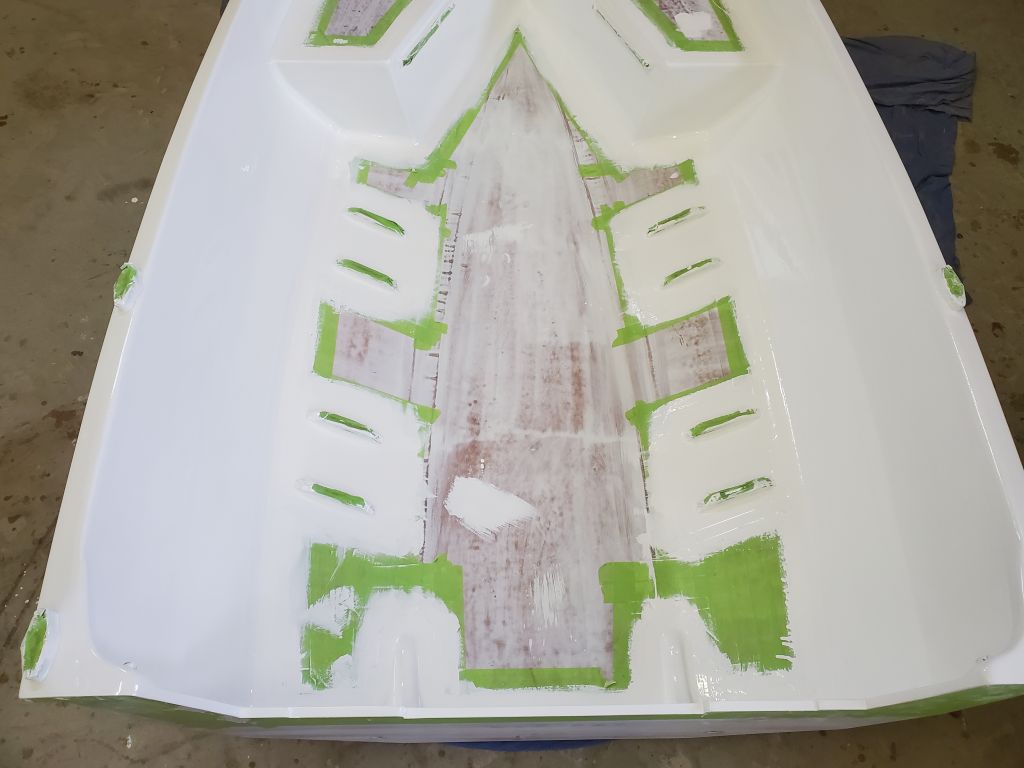
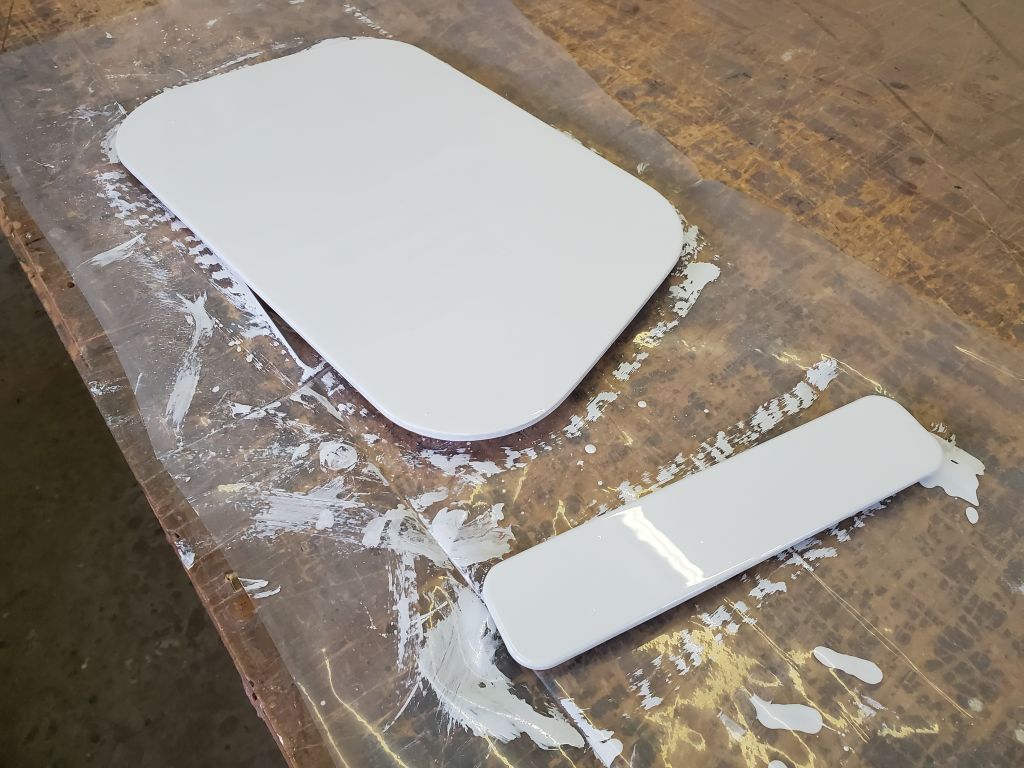
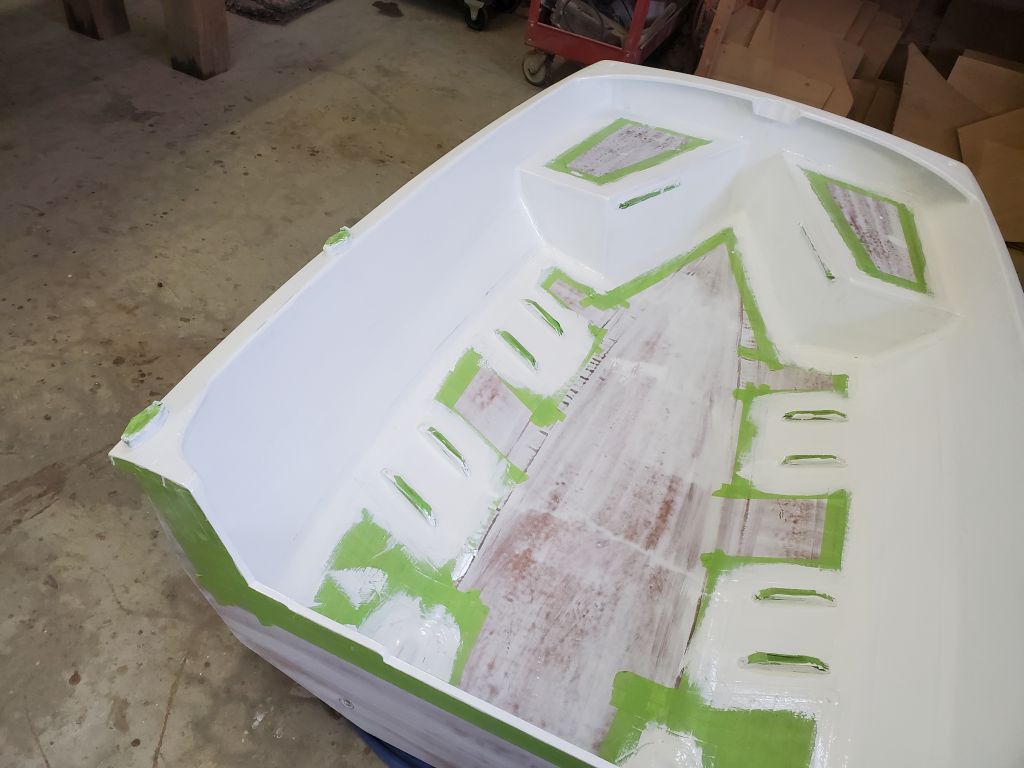
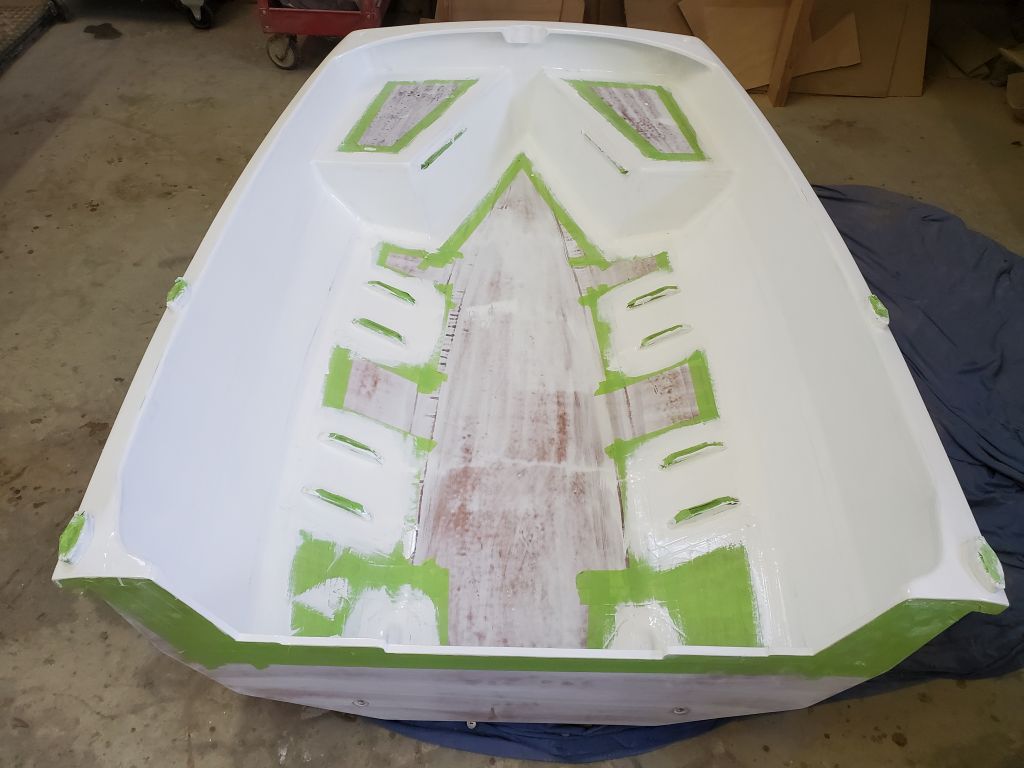
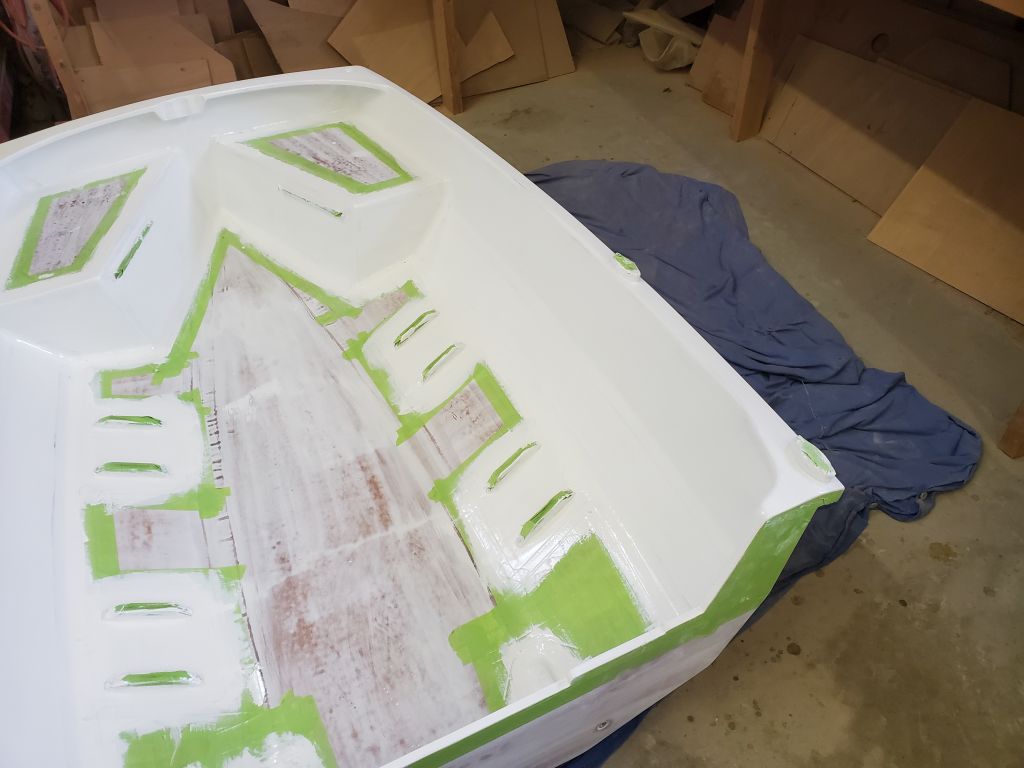
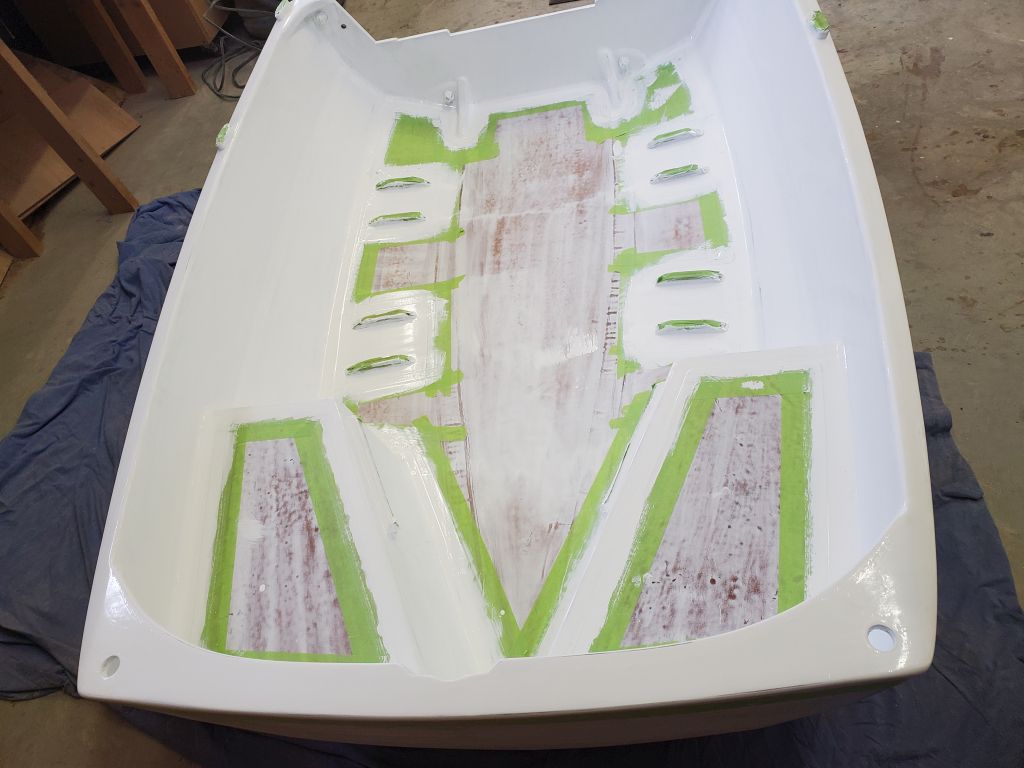
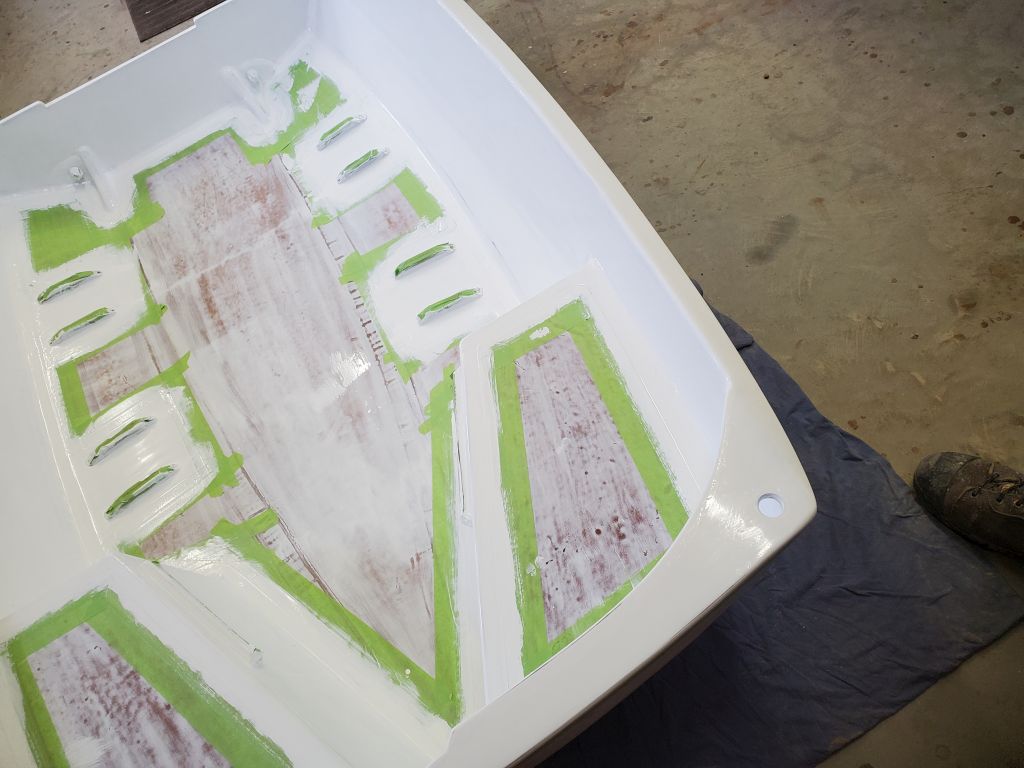
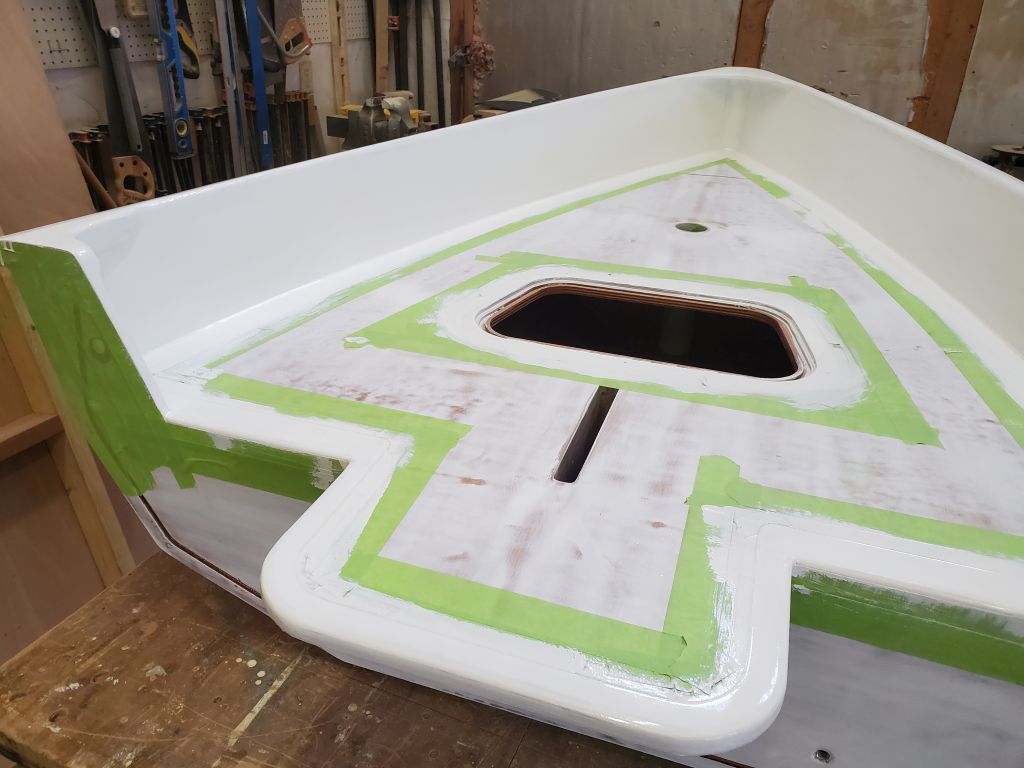
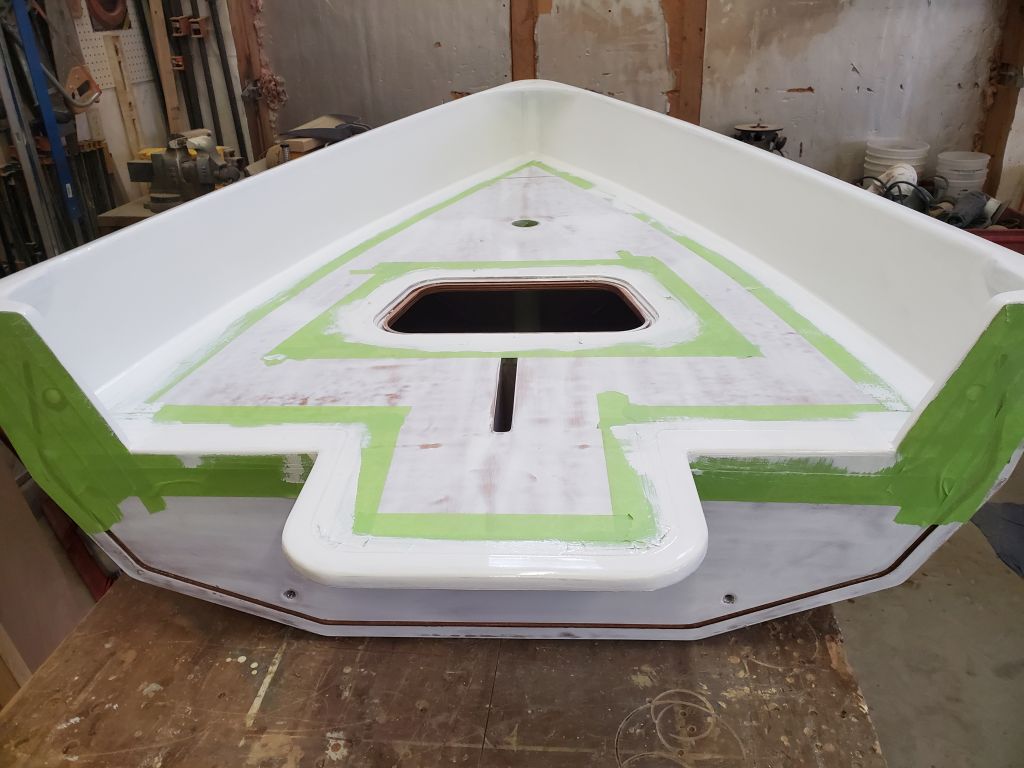
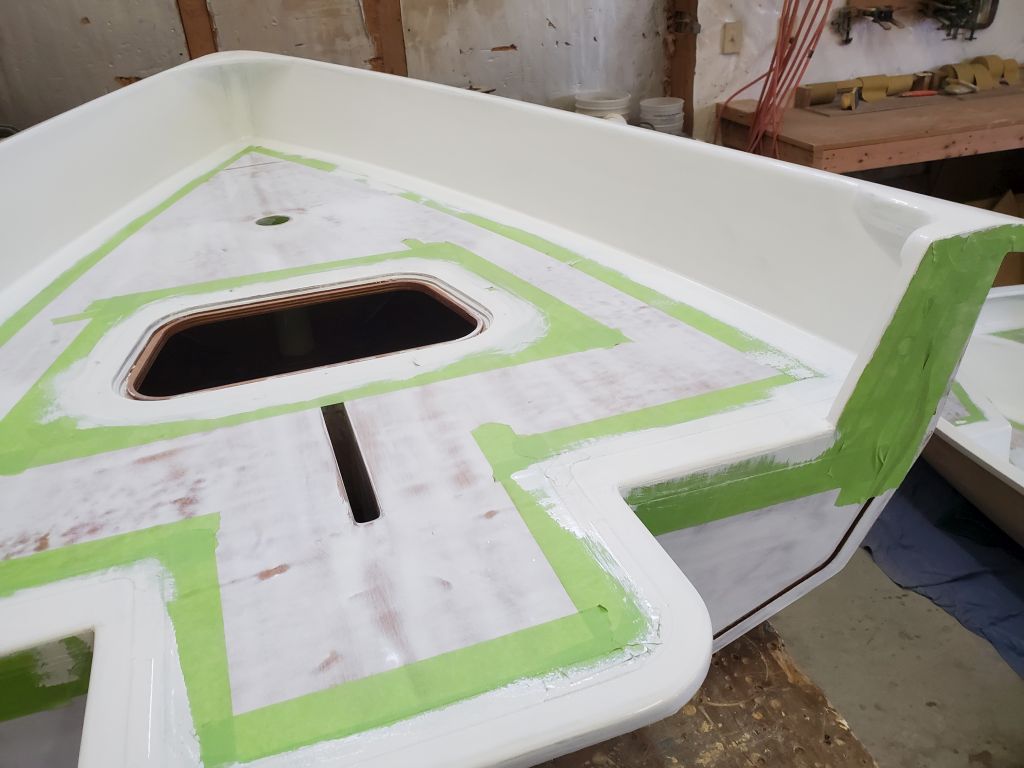
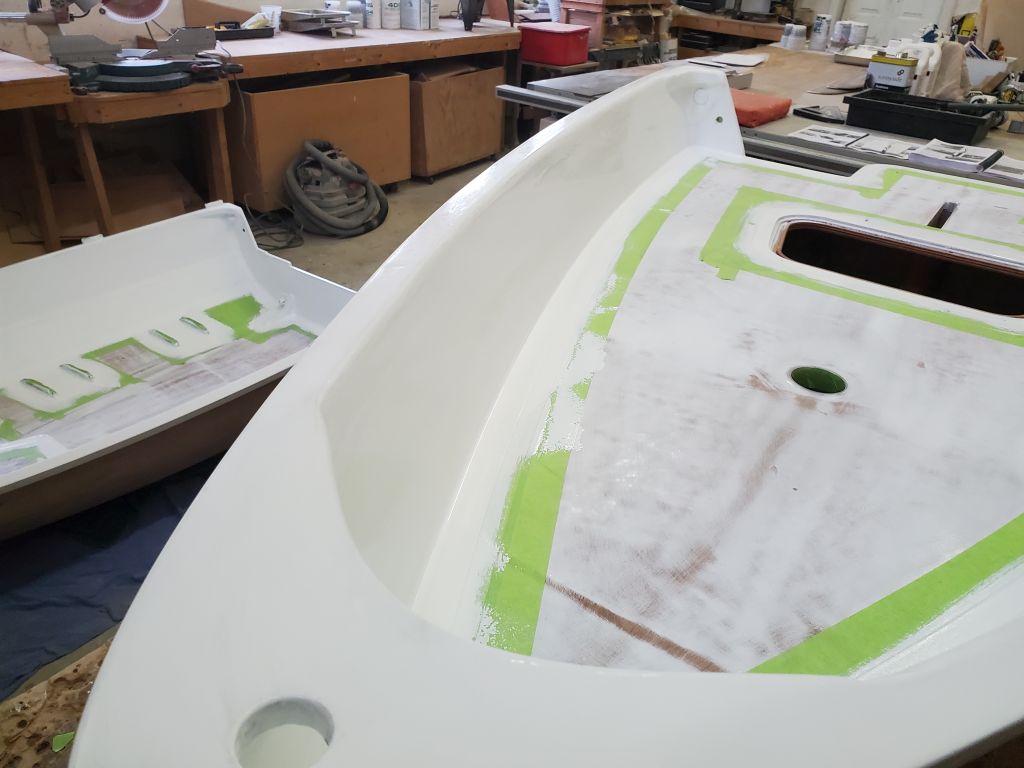
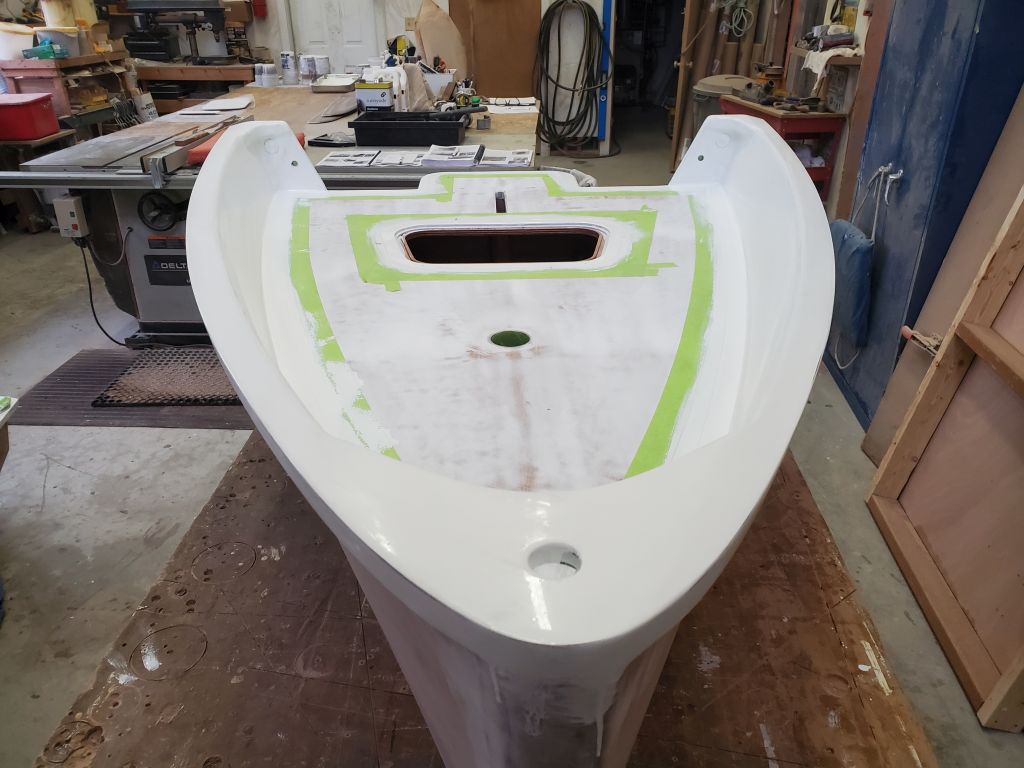
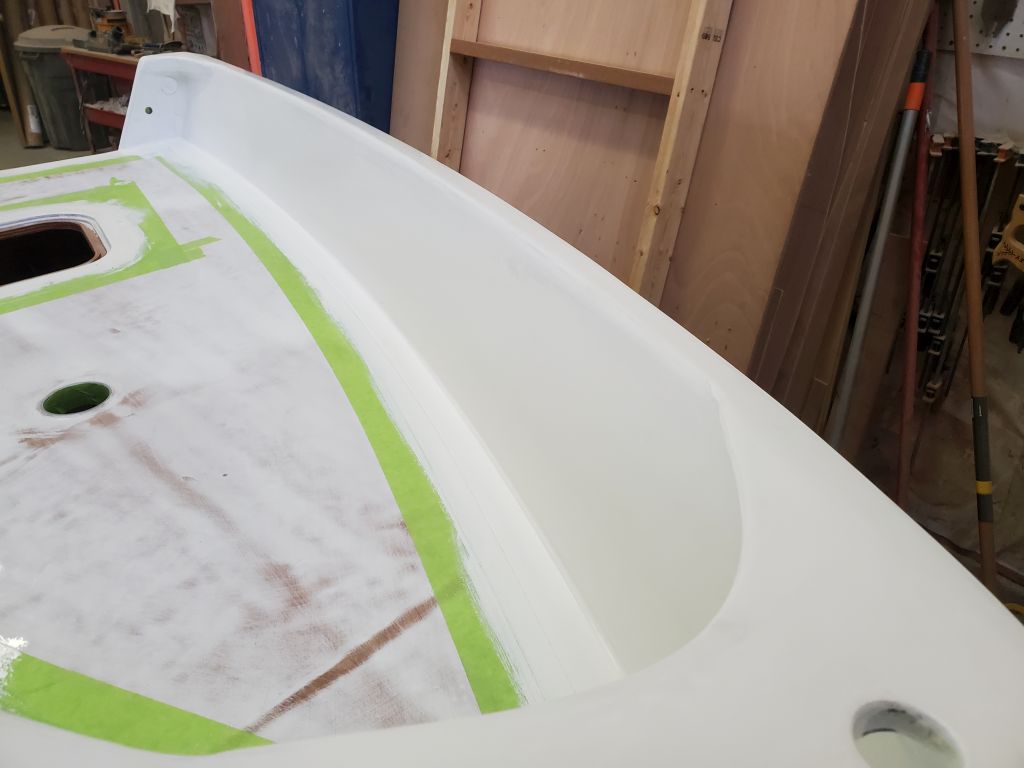
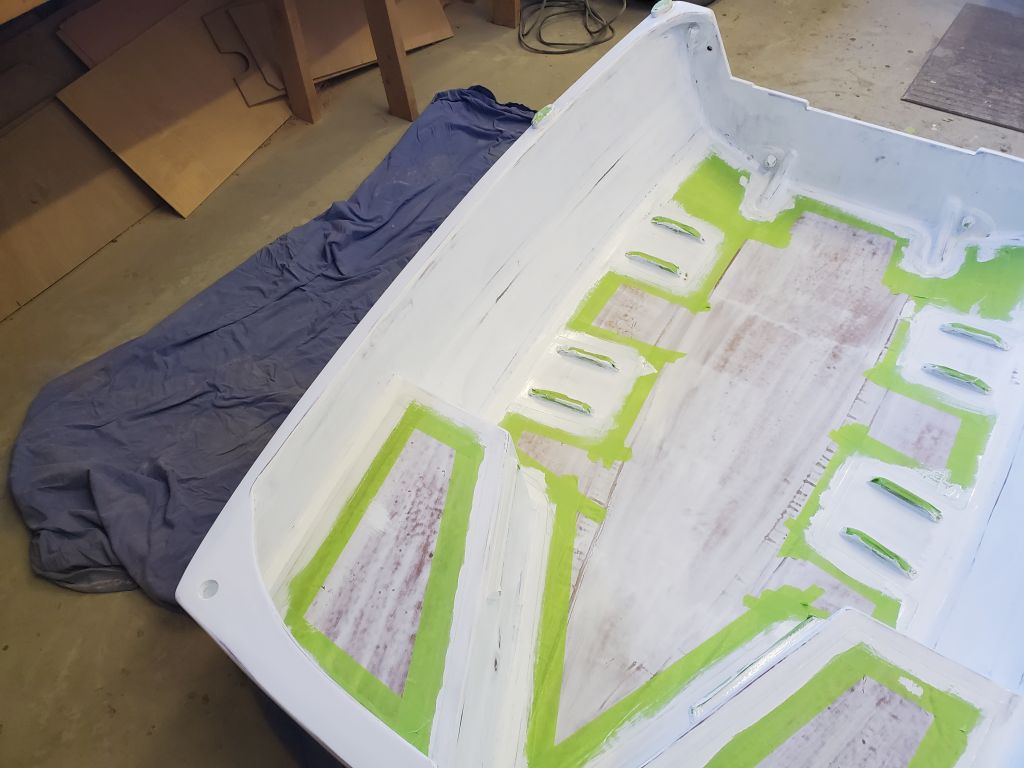
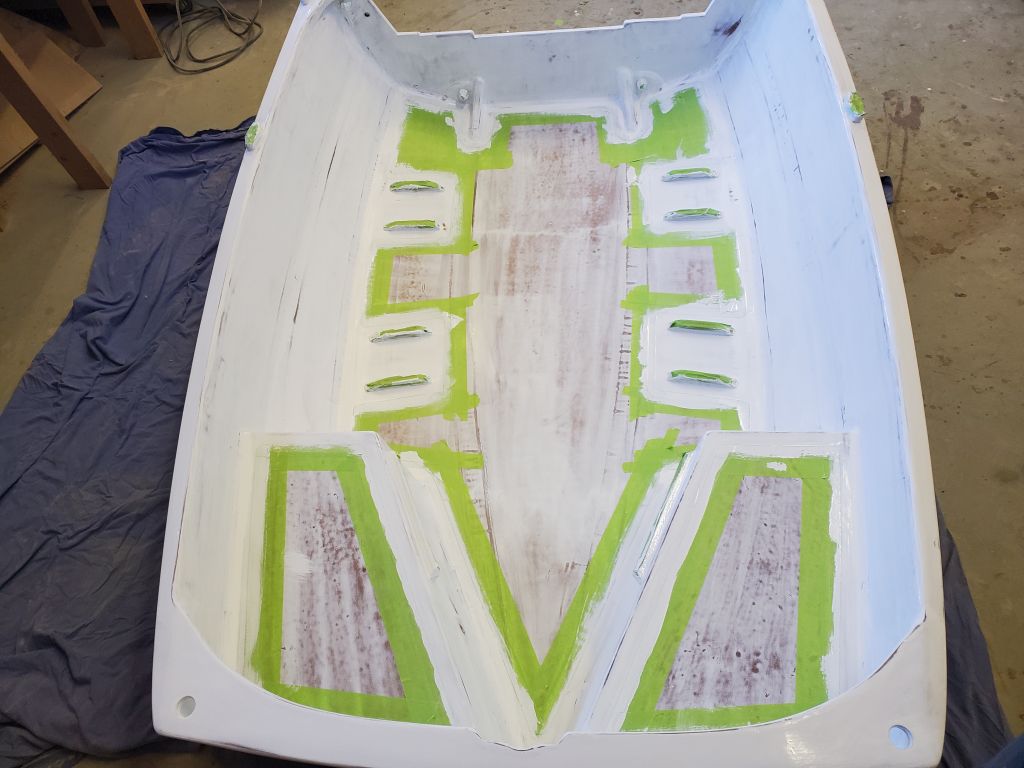
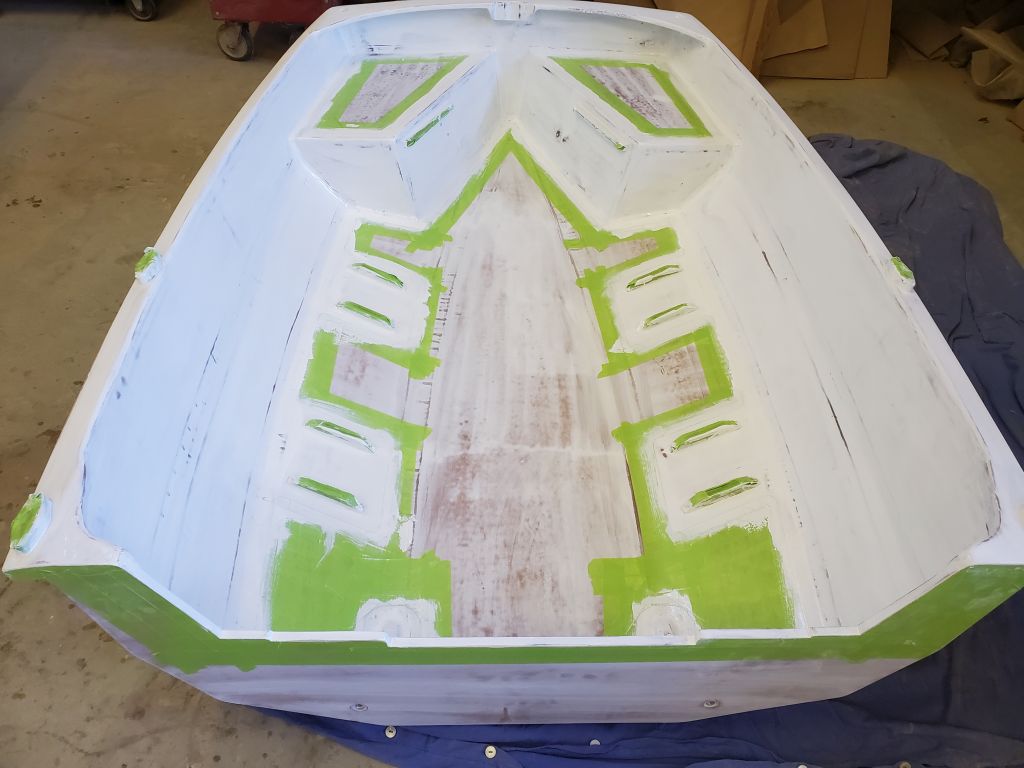
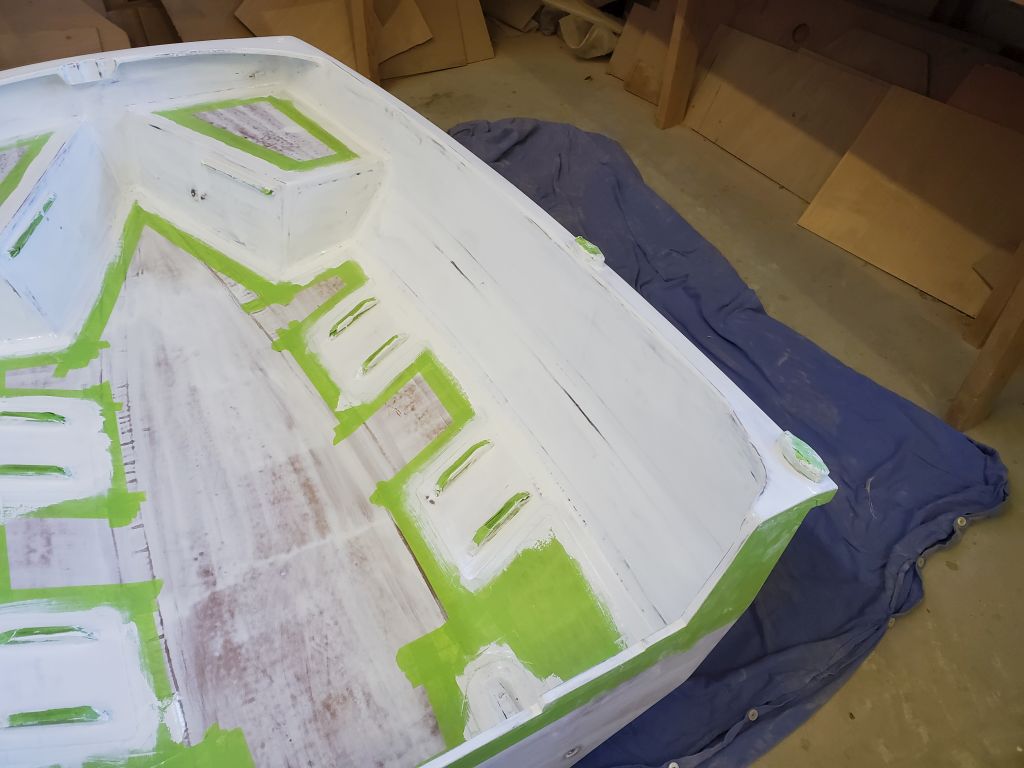
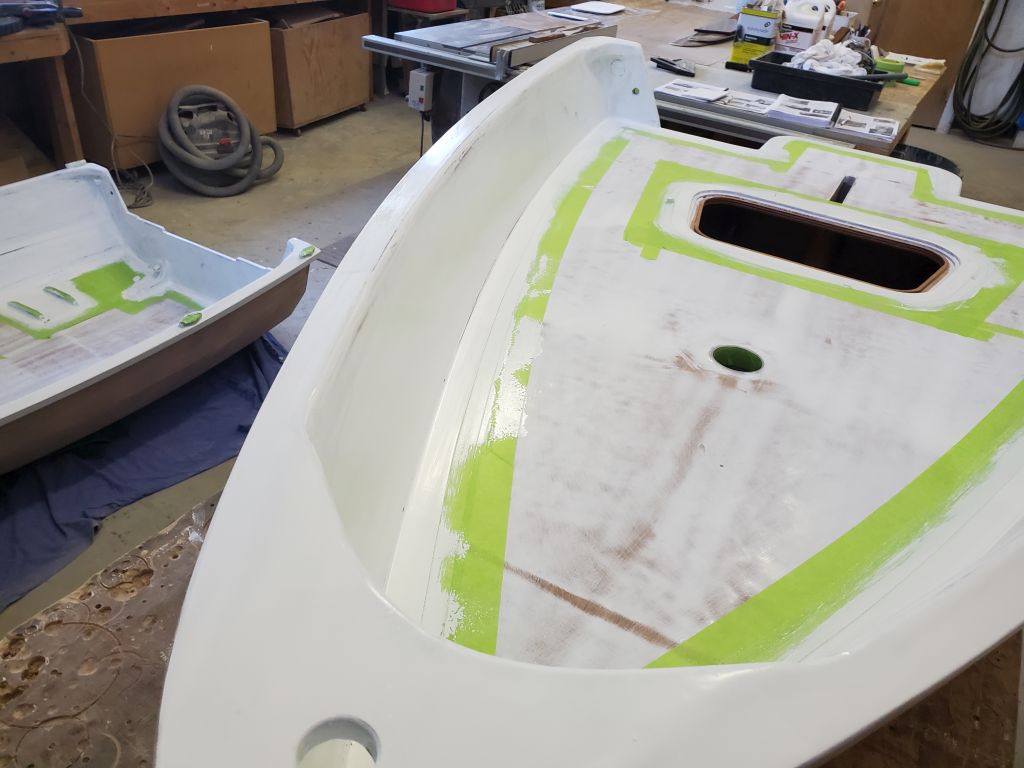
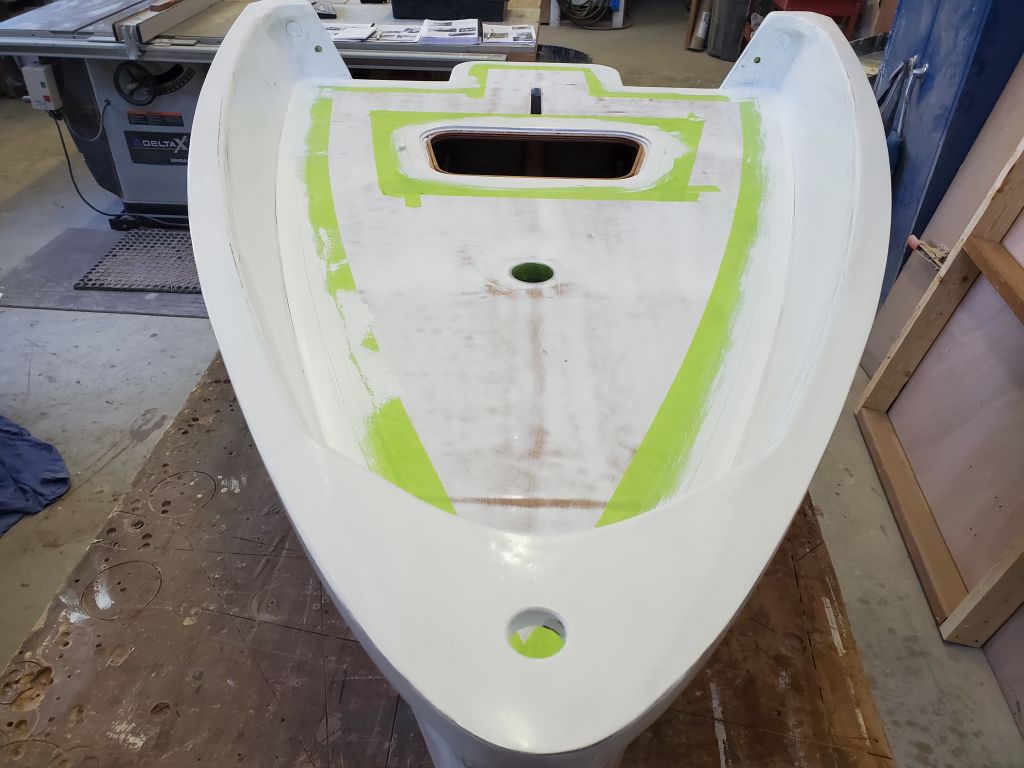
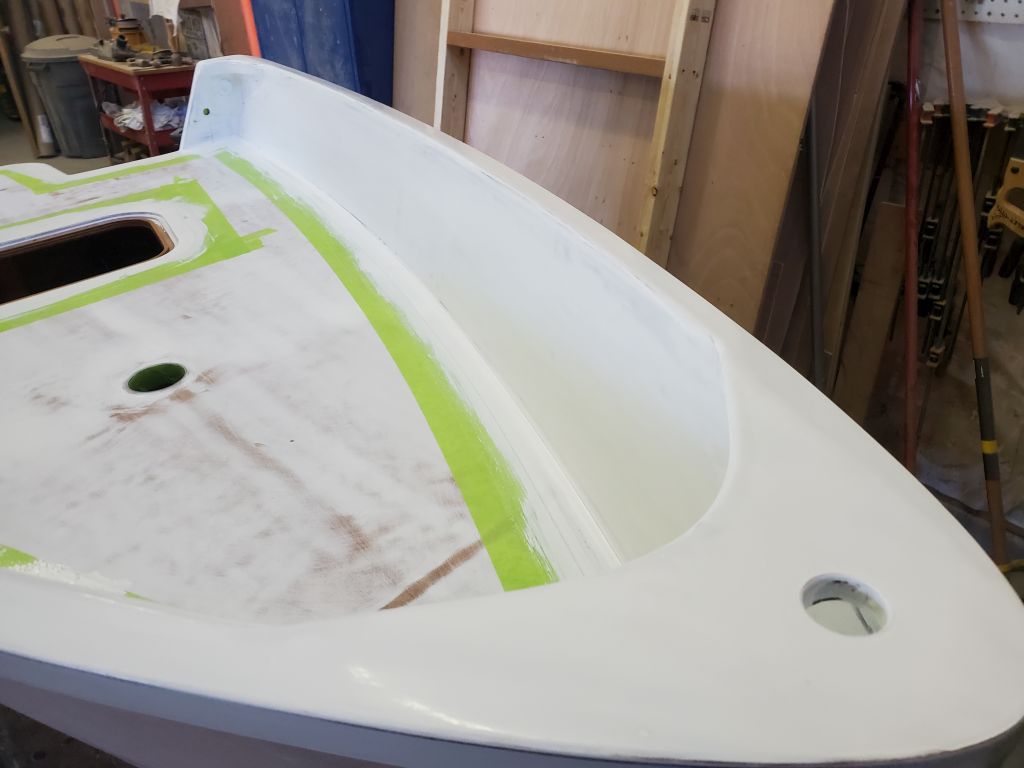
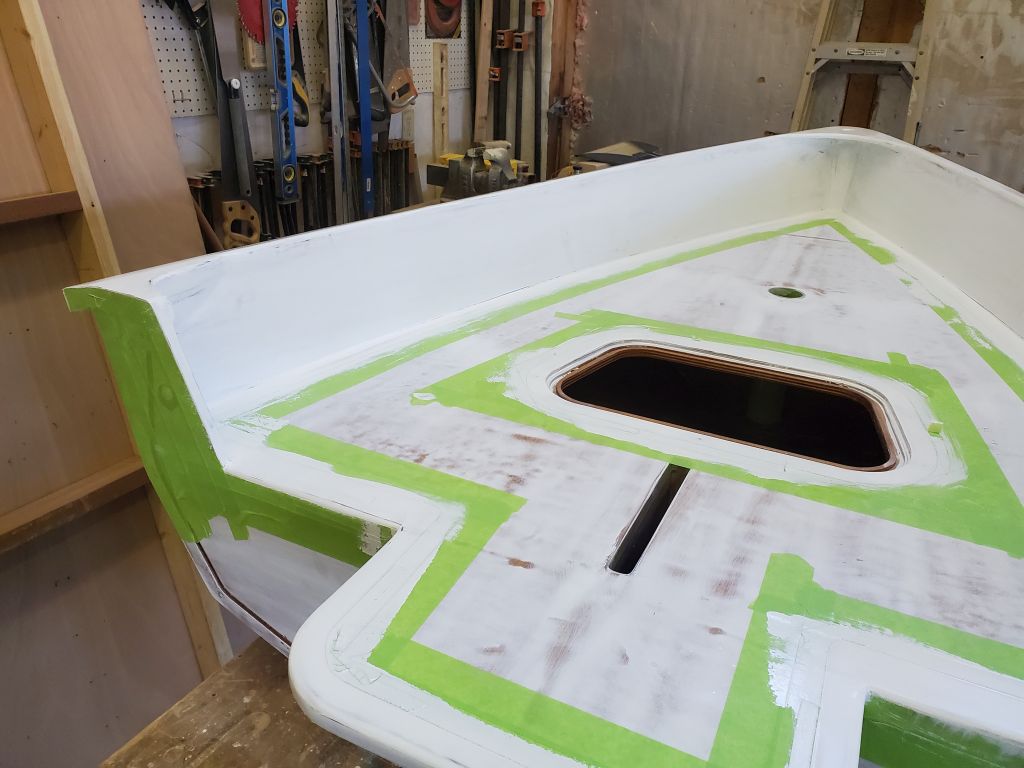
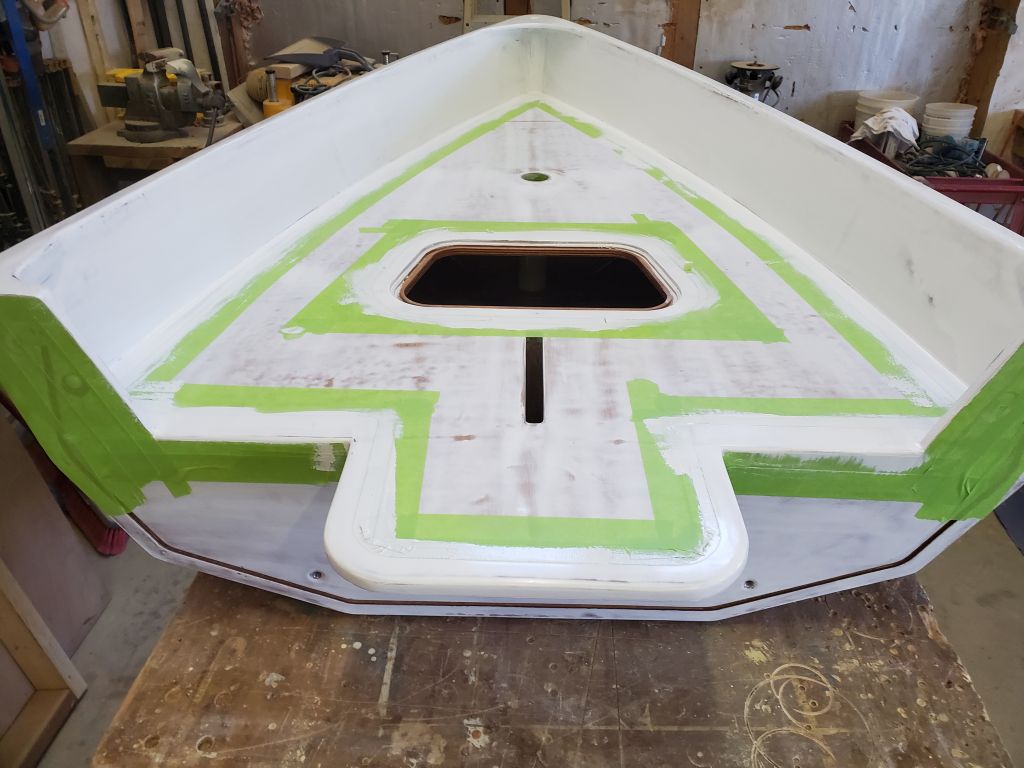
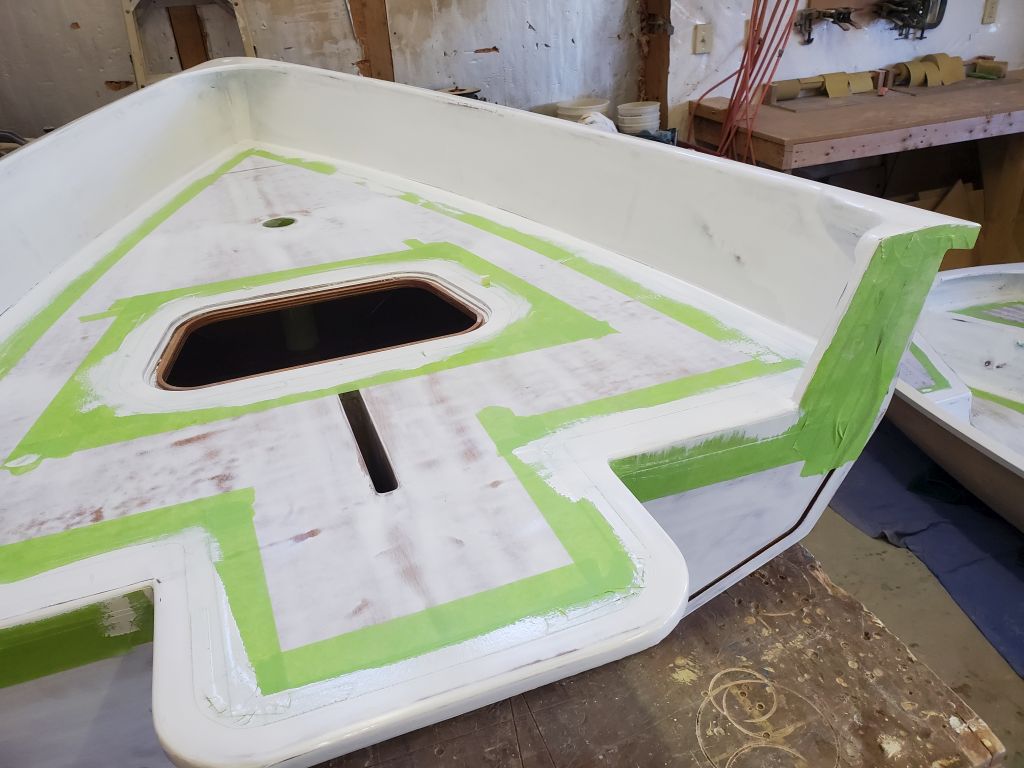
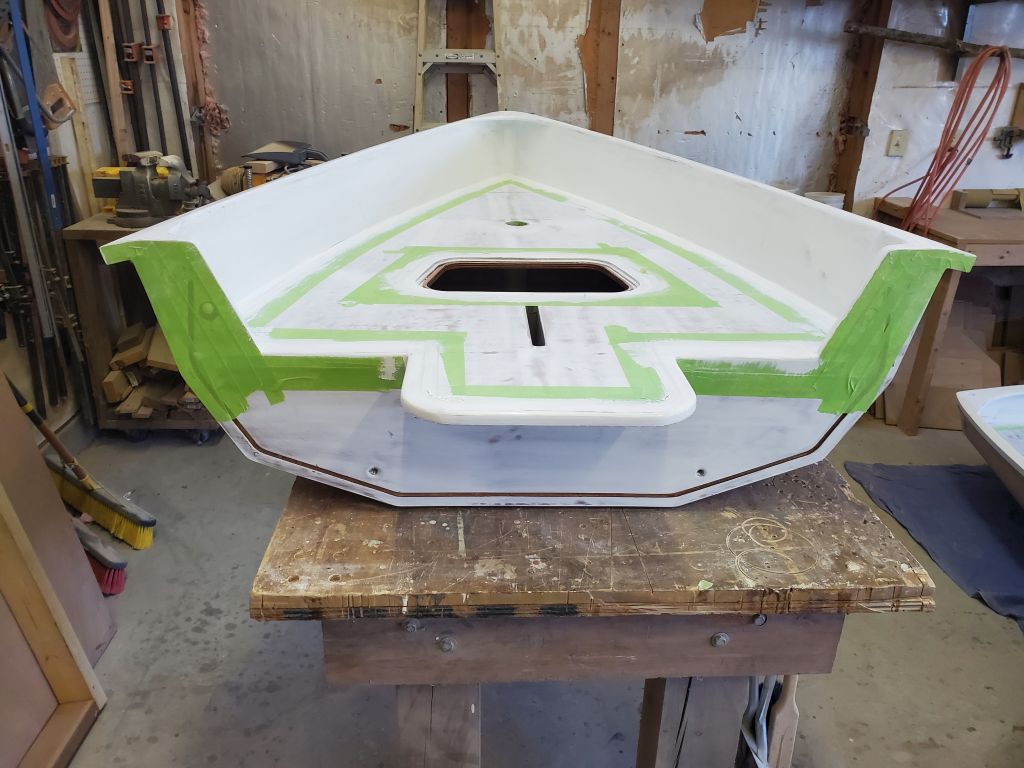
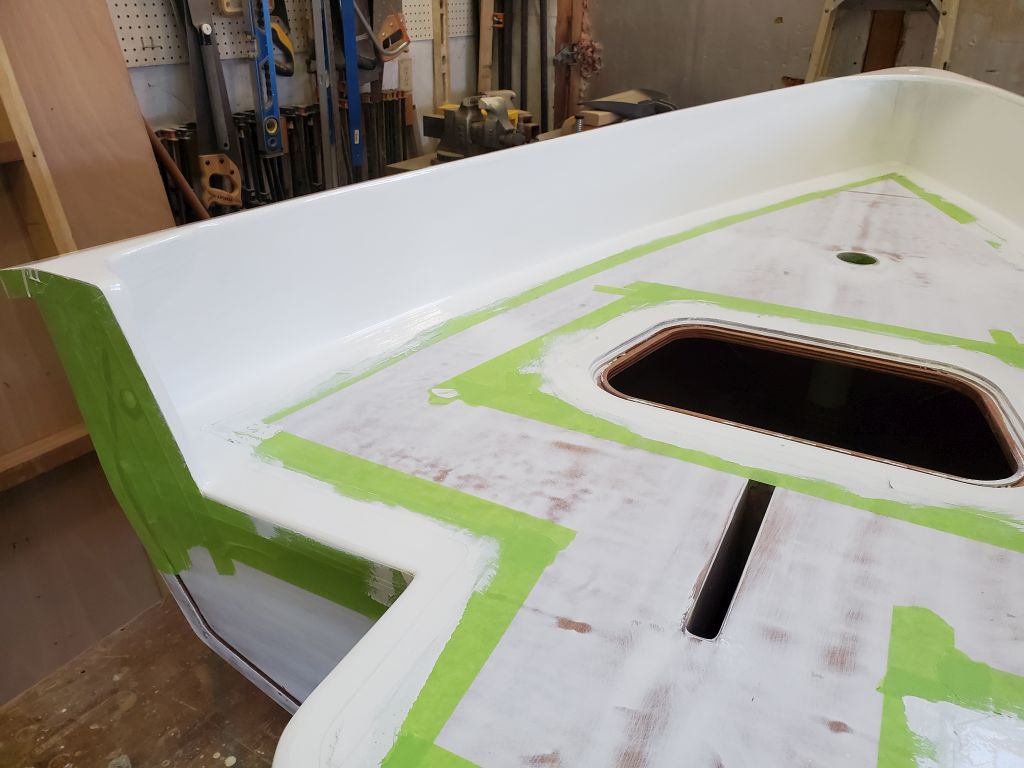
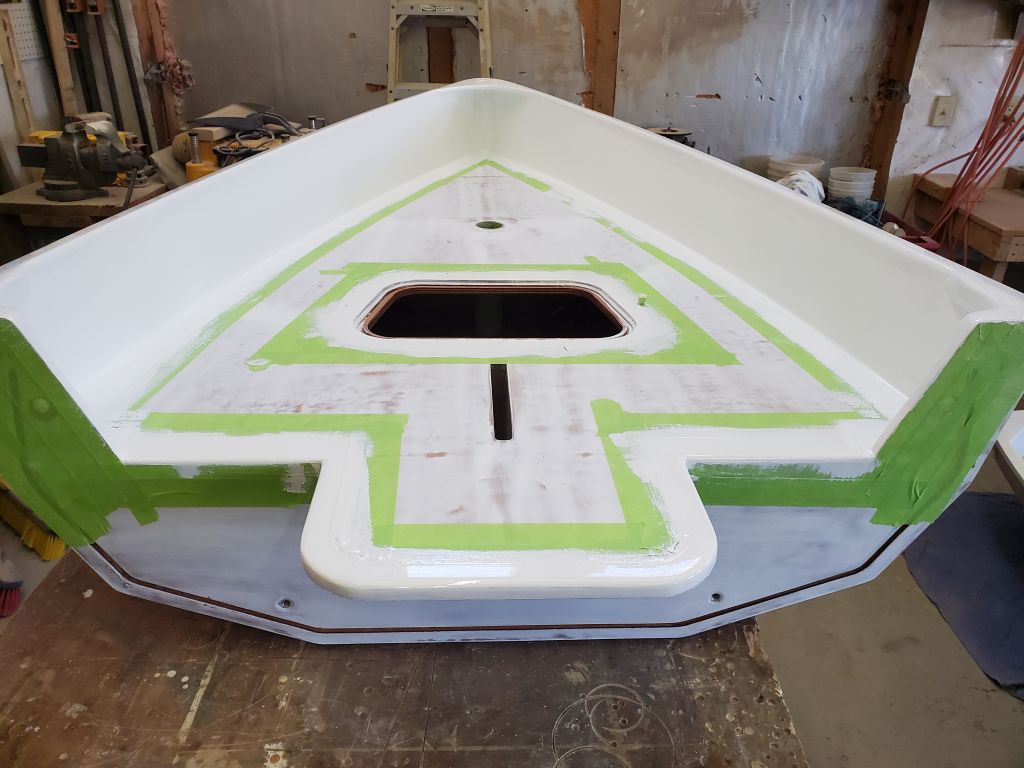
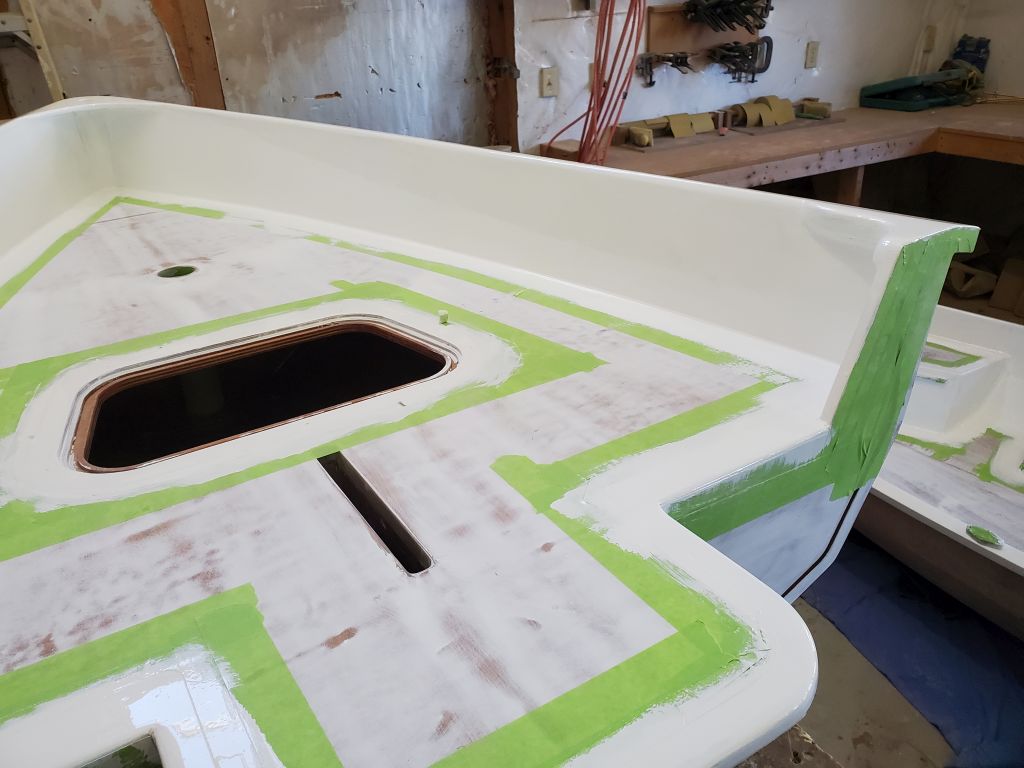
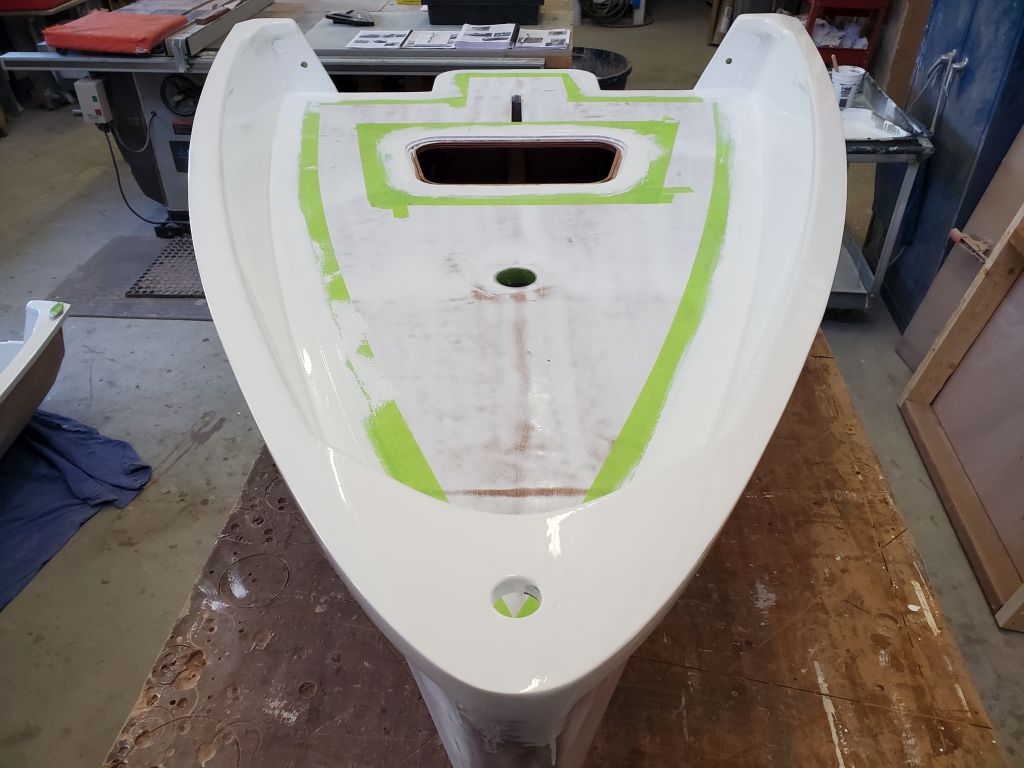
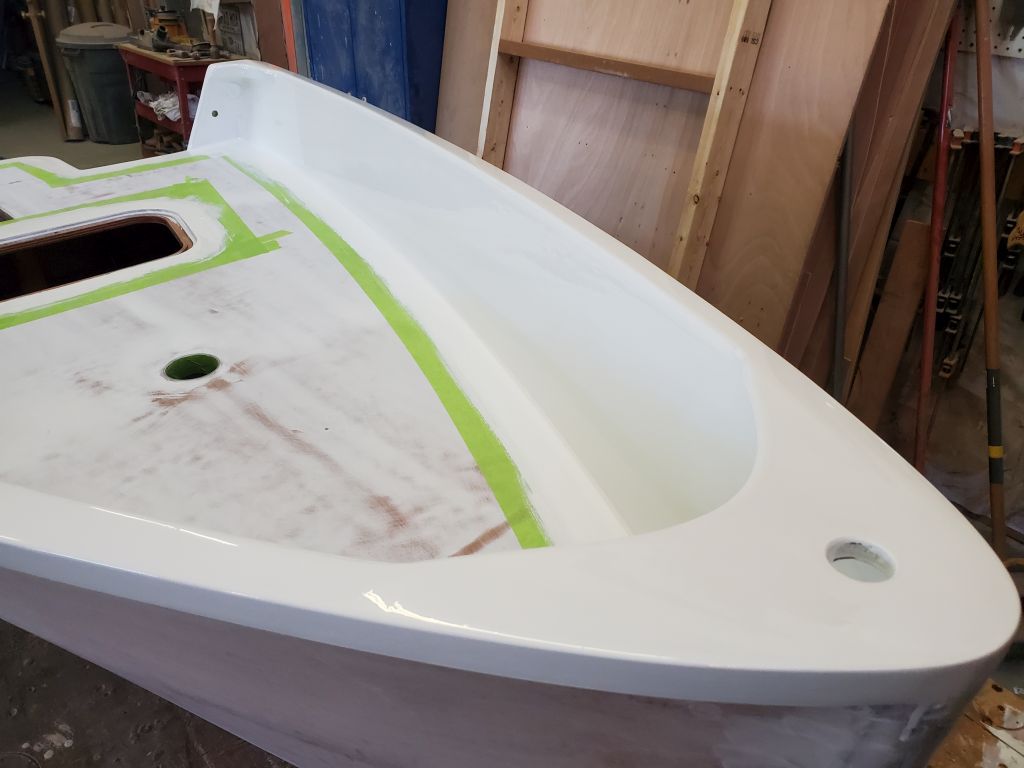
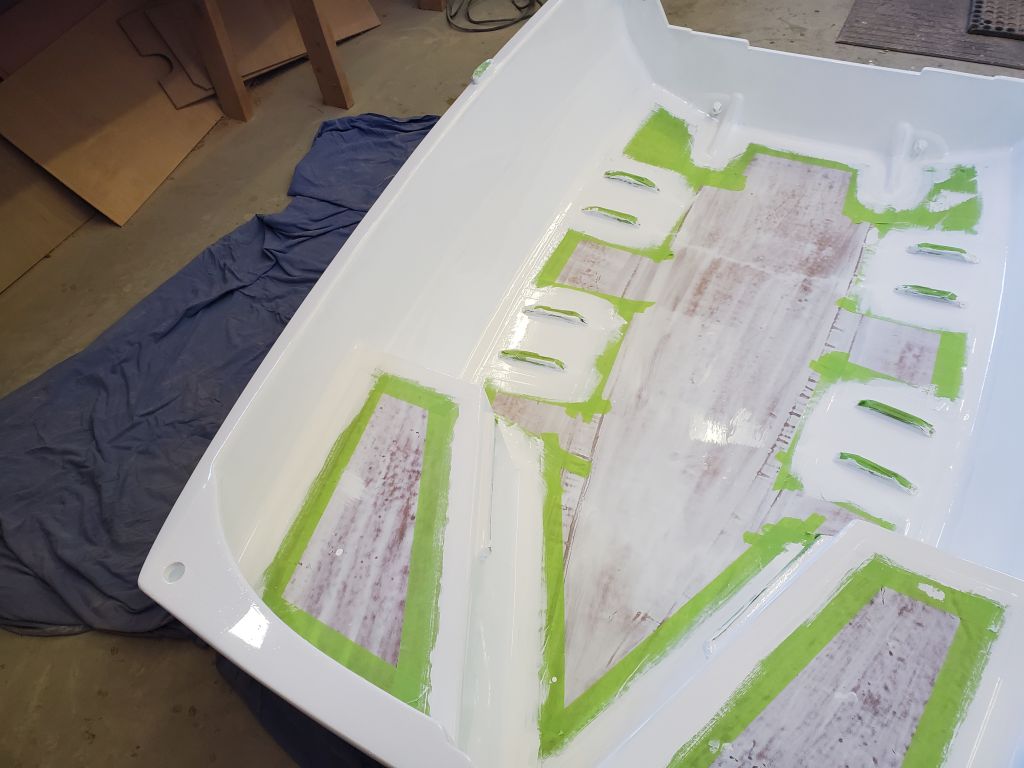
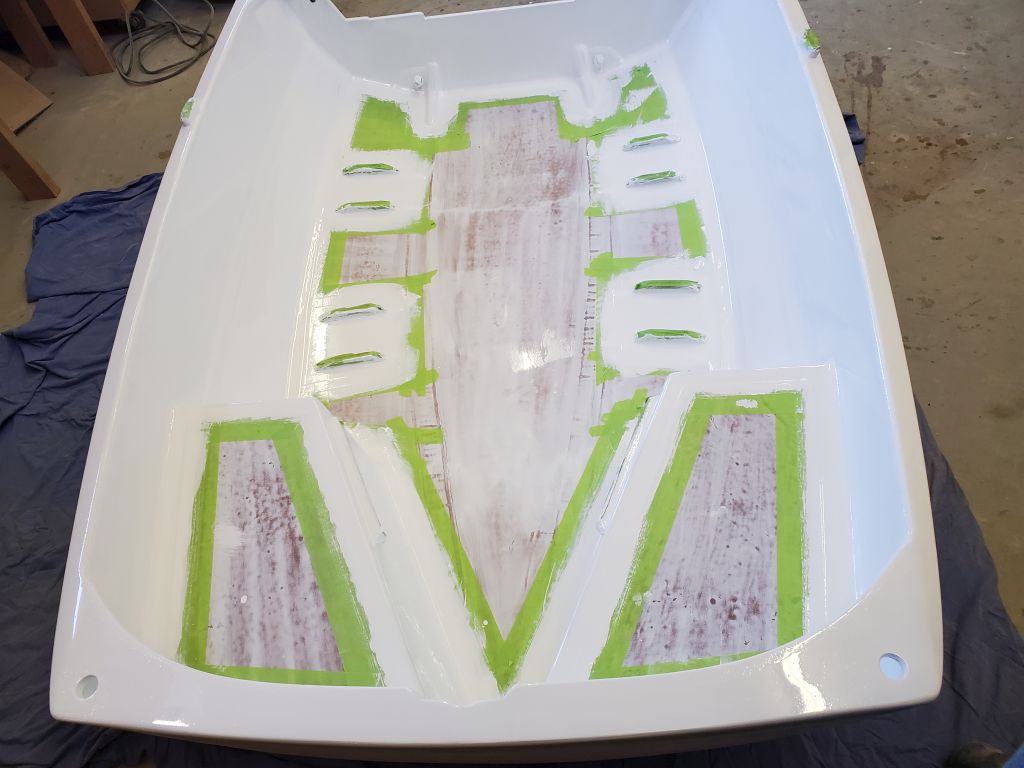
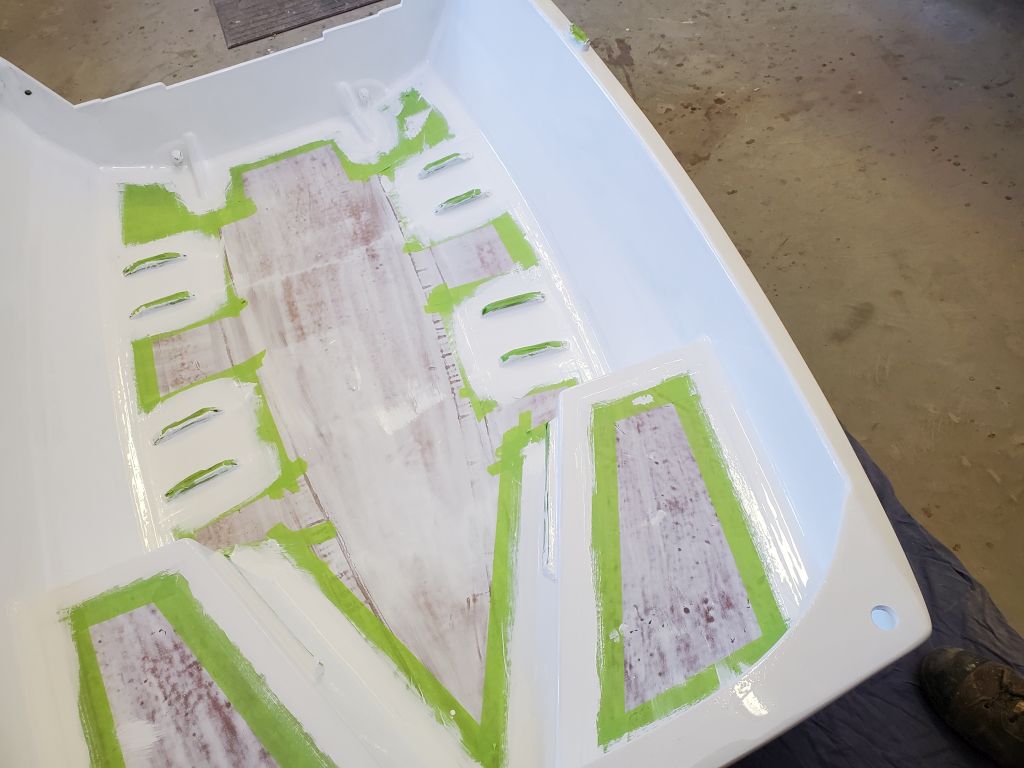
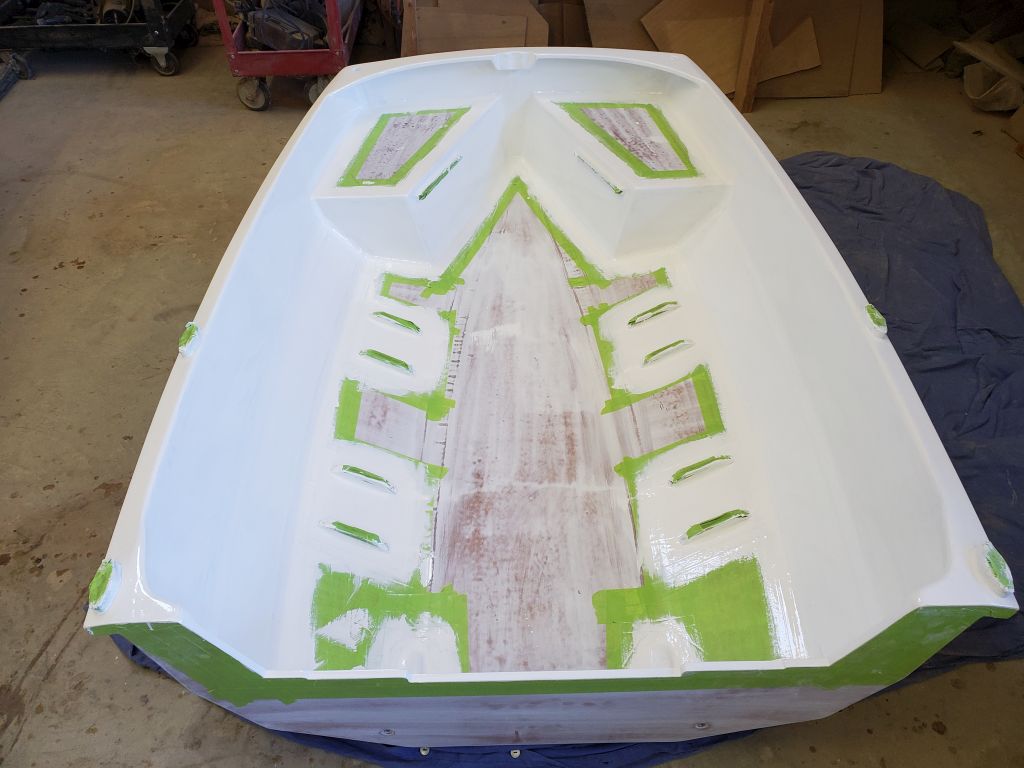
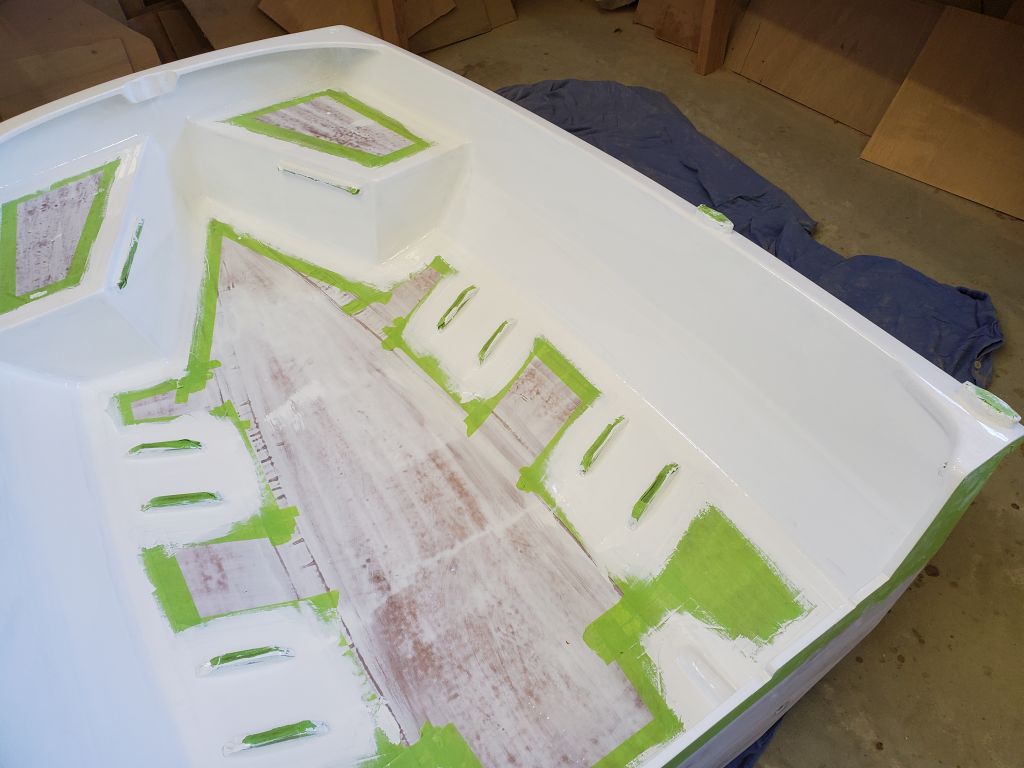
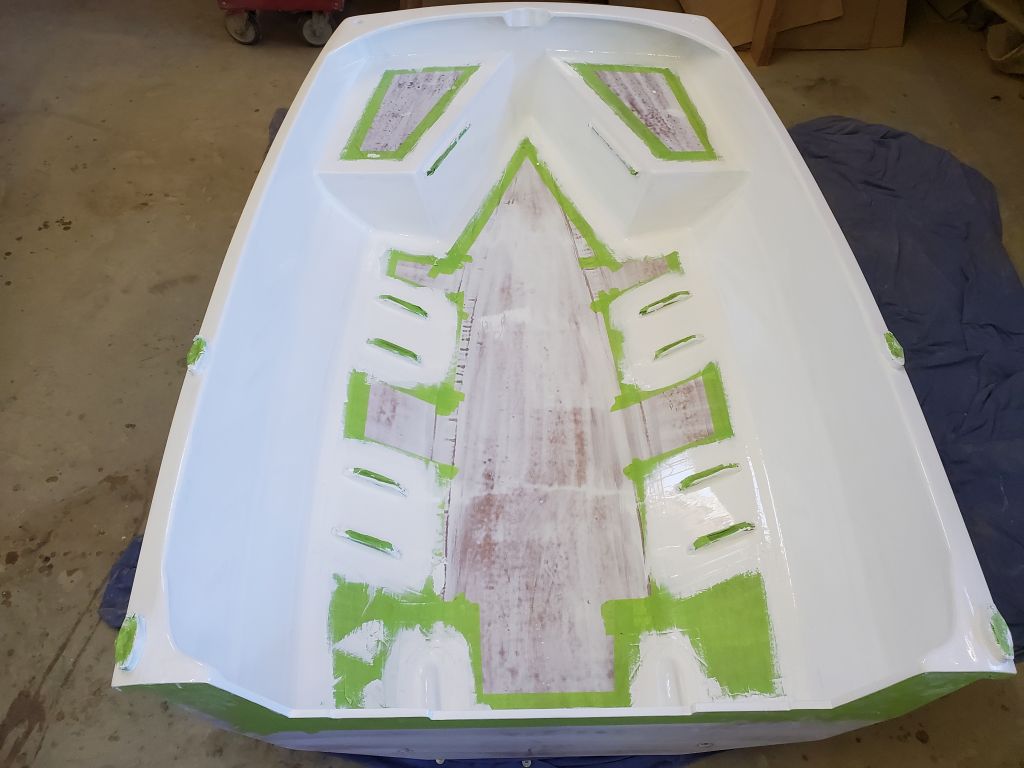
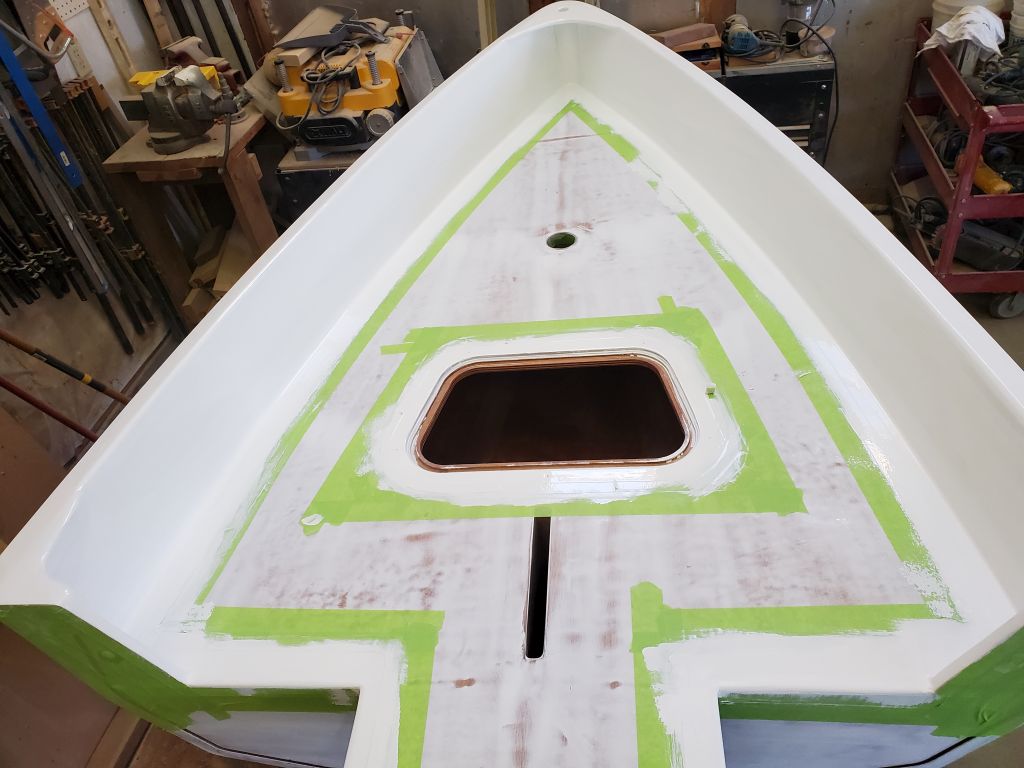
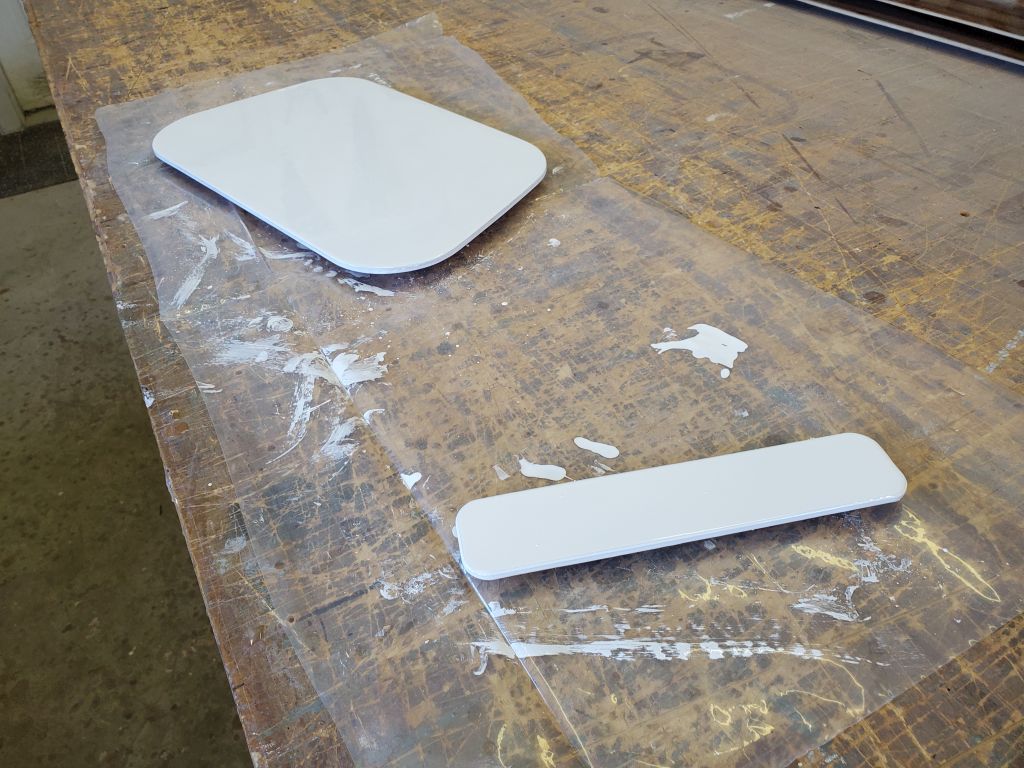
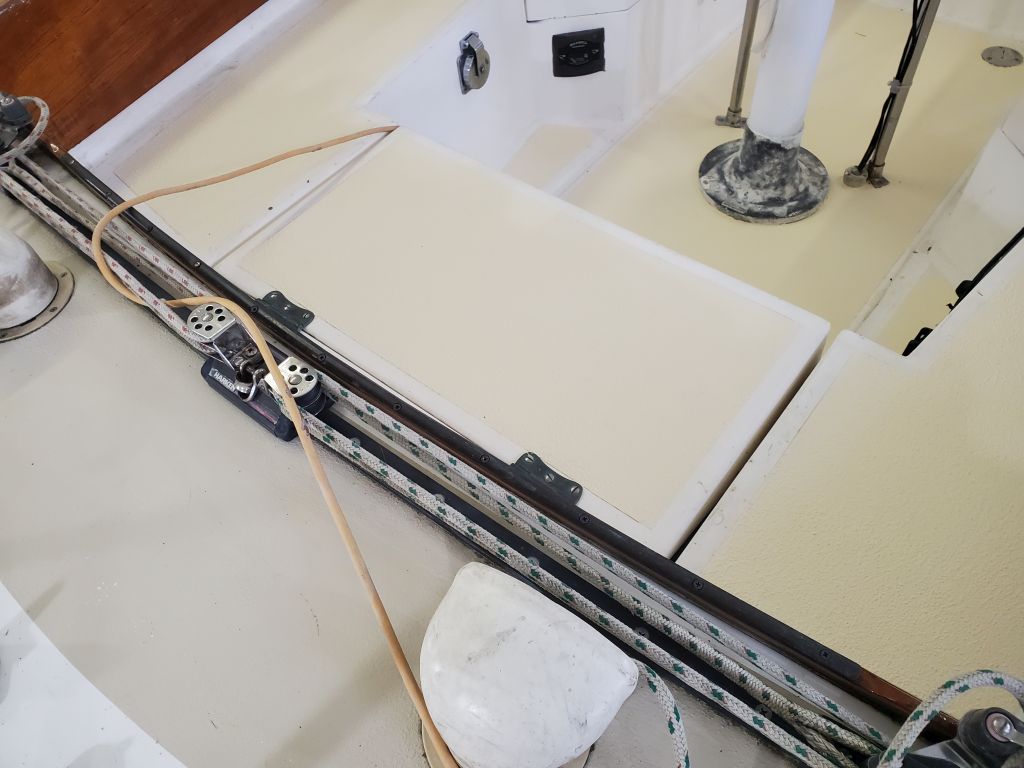
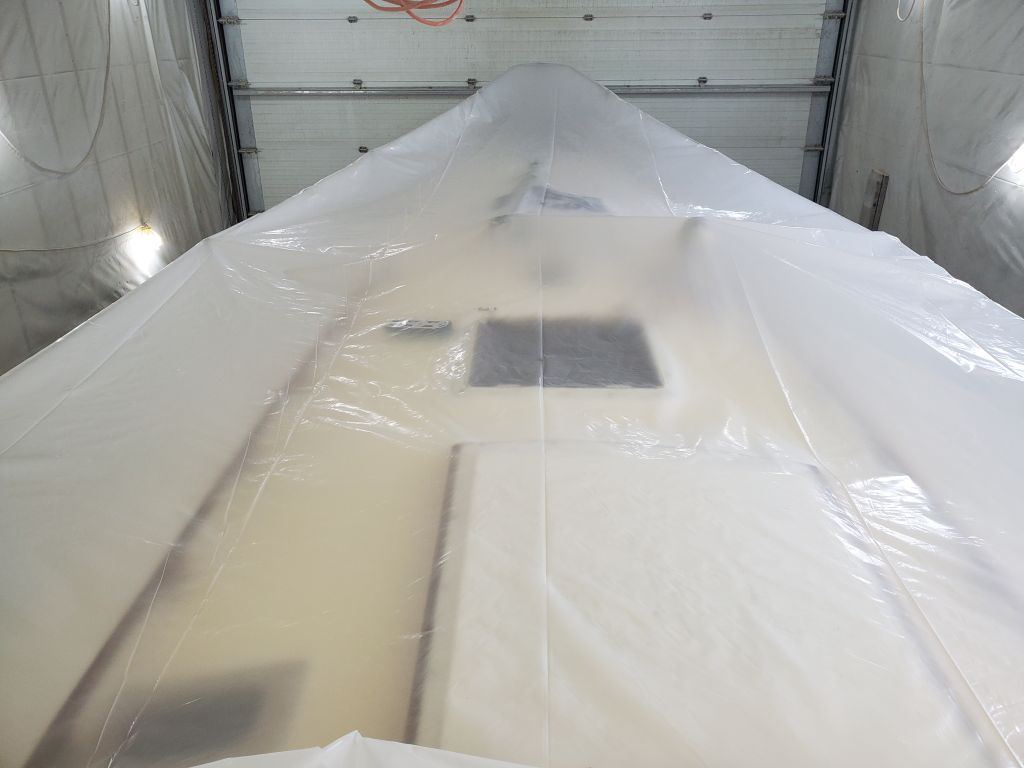
After final preparations, I applied the third coat of gloss white polyurethane to the interior of the boat, stern and bow, along with another coat on the two smaller pieces–hatch cover and daggerboard trunk filler. Again, I applied the paint with a brush, working from inside the aft half and outside the forward half. I was pleased with how this coat turned out and hoped that it would be the final finish inside the boat.
For the next rounds of sanding, I switched to 6″ orbital finishing sander, and sanded the entire hull twice more: first with 80 grit, to remove the last of the gray primer and start to remove the scratches from the previous round of sanding; and a final round with 120 grit paper to finish the surface appropriately for high-build primer.
The hull was in good shape and at this point I didn’t think there’d be any requirement to make any repairs or touch anything up. All the previous repair and fill work that had been done on the port side was in good condition, and hadn’t been vis9ible at all through the old paint, so there was no call to make any improvements there. So, gratefully, I called the sanding done, other than a few minor places I might have to hand-sand and touch up, especially at the stem where the bobstay prohibited access with sanding tools.
To make the shop habitable again, next I blew off the hull, plastic, and shop walls with compressed air, then cleaned up all the sanding dust and debris from the week’s efforts. Finally, I rinsed off the staging and floor to settle the dust. I rinsed off the bottom too. Still ahead before high-build primer: final cleanup of the topsides, repairs to the masking tape and any final detail sanding, and striking and masking off the waterline (i.e. top of the bottom paint).
I’d been anxious to get to the third coat of gloss white on the hull interior, but with an aggressive sanding project underway in the next bay taking all my time and making the environment hostile to final paint coats anyway, it took several days before I could finally get back and lightly sand the previous coat of paint. Afterwards, I cleaned up the boat and shop as needed to prepare for the final coat of paint next time.
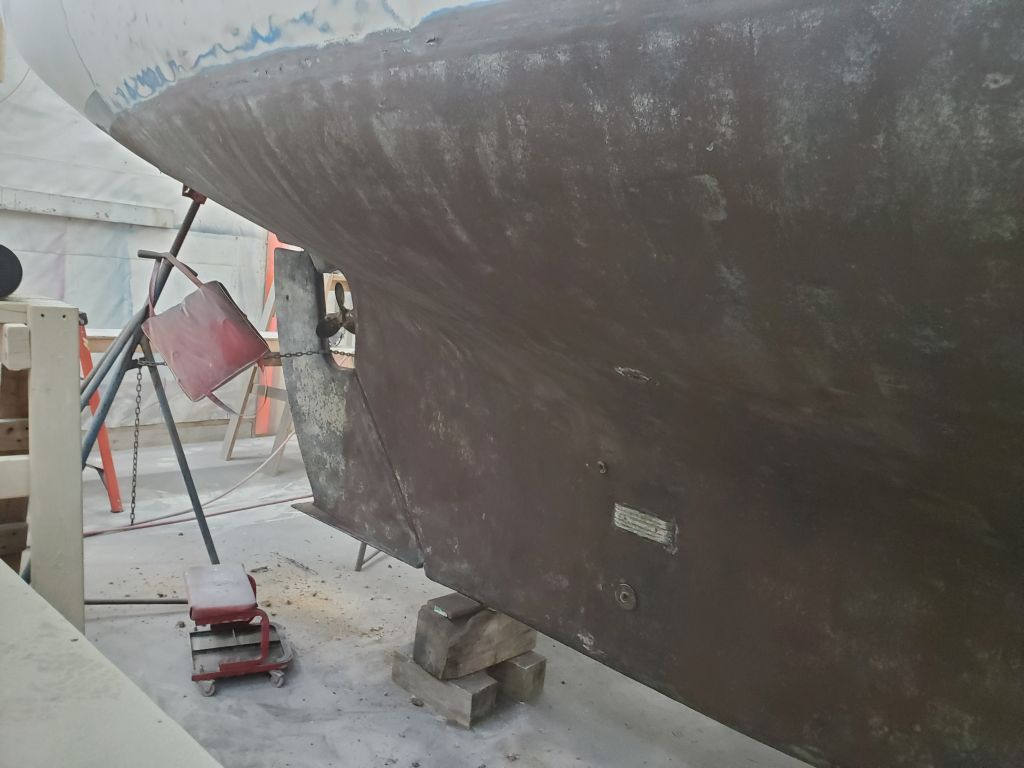
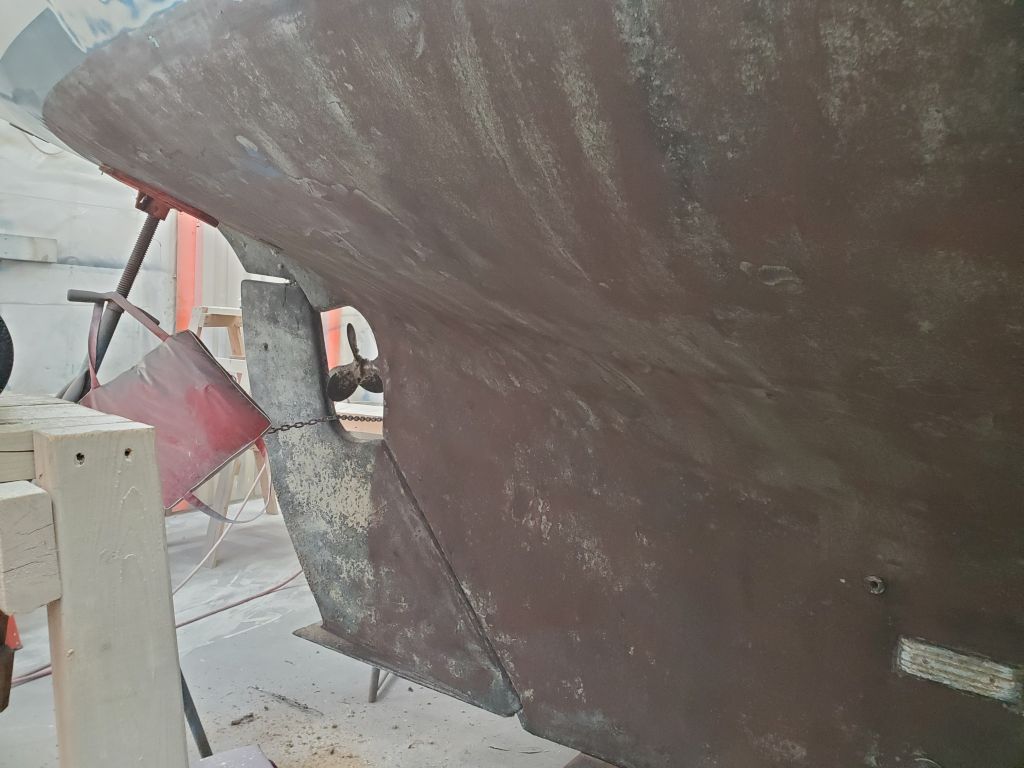
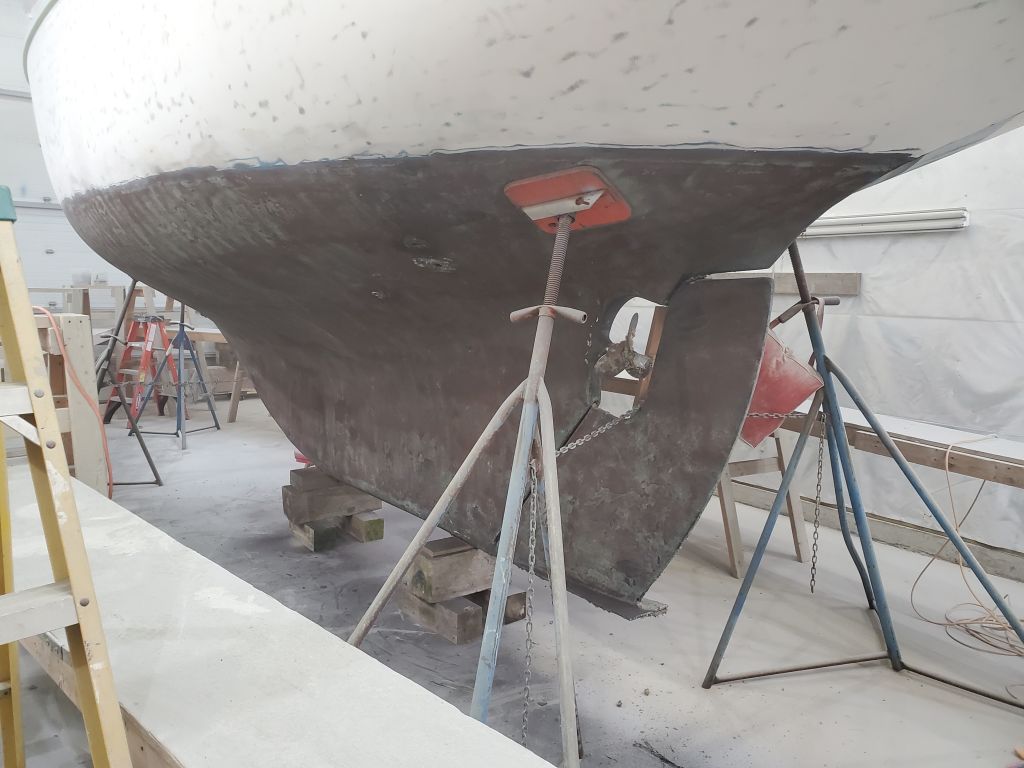
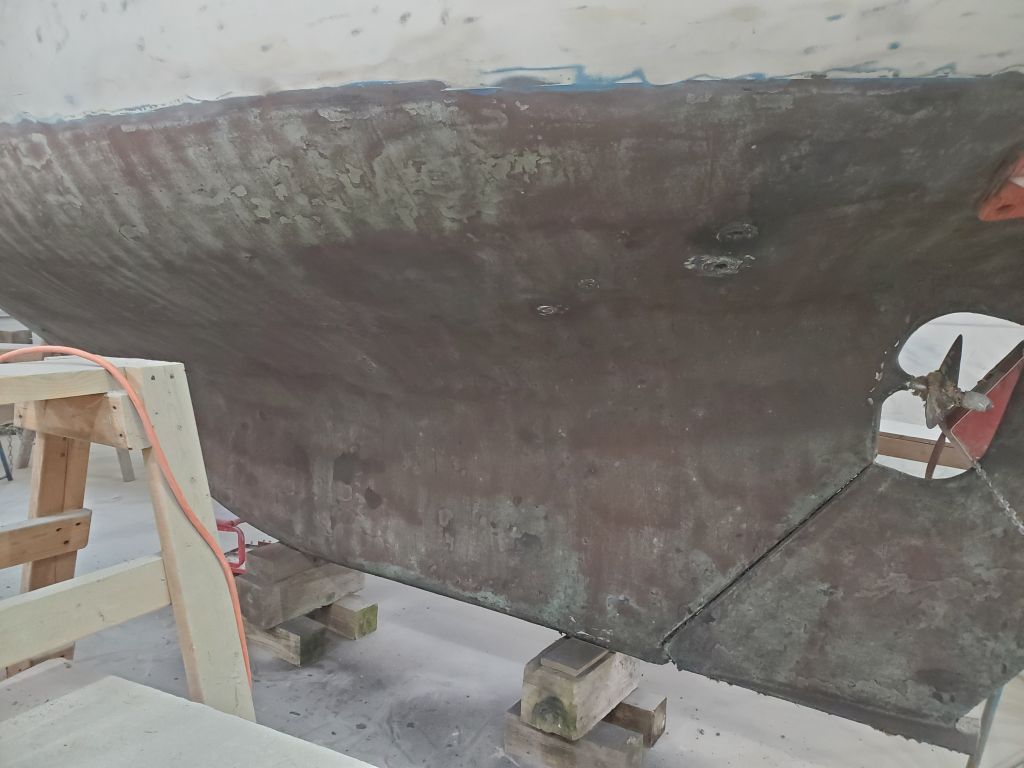
I continued the paint removal sanding, eventually completing the aft part of the starboard hull, the counter, and the transom, and the last bit of the bottom, mainly the rudder and around the propeller aperture.
Below the rubrail, and in other tight areas around hardware, the sander could not reach all the way to remove the paint, leaving narrow bands of paint behind. Now, I went around the hull with a detail sander to remove this final bit of the old coating, the last step before I could think about the finish-sanding phase of the prep work, which would be my task for next time.
Starting now at the starboard bow, I continued the sanding work on the starboard hull, working my way towards the stern to remove the old coatings.
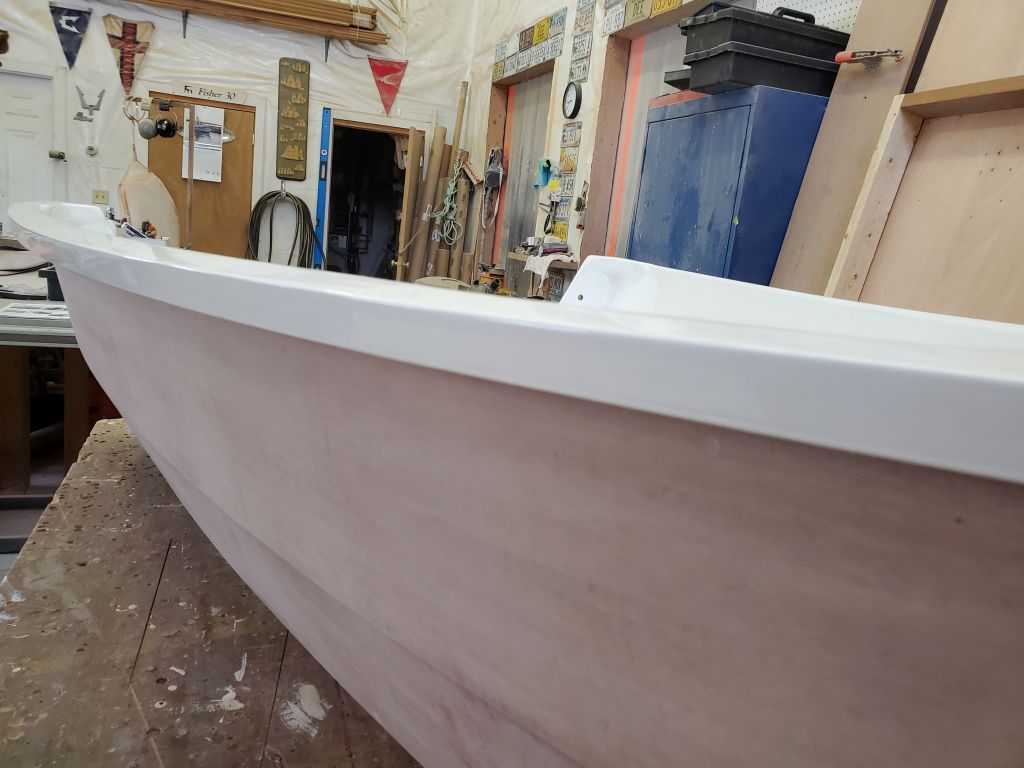
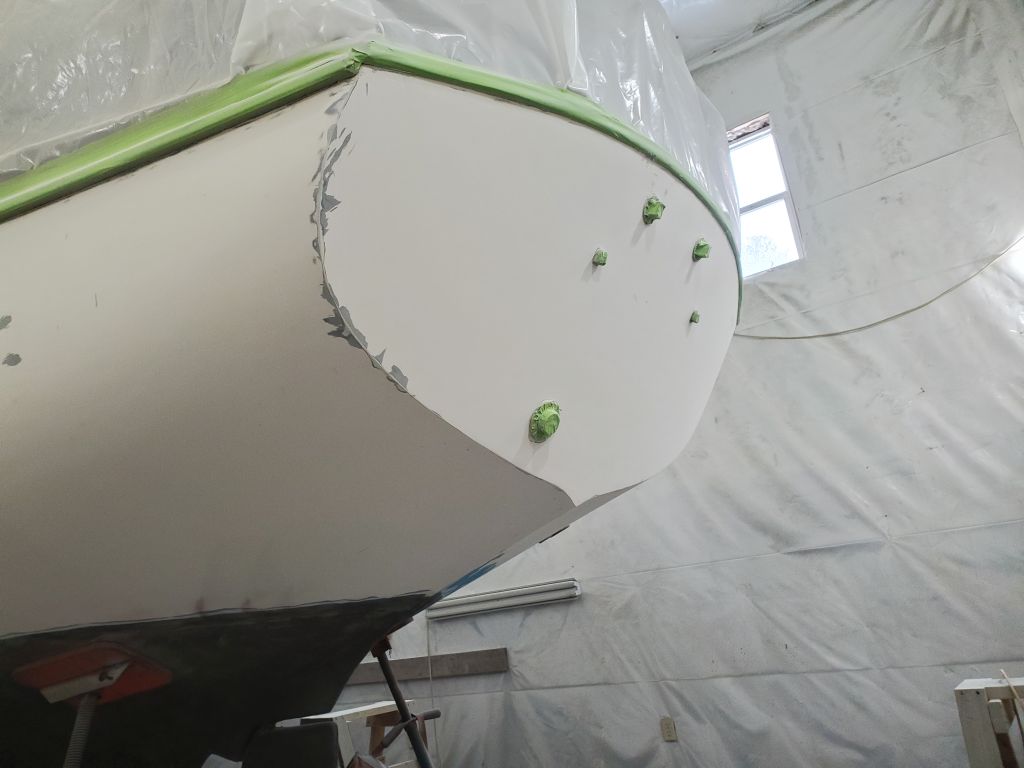
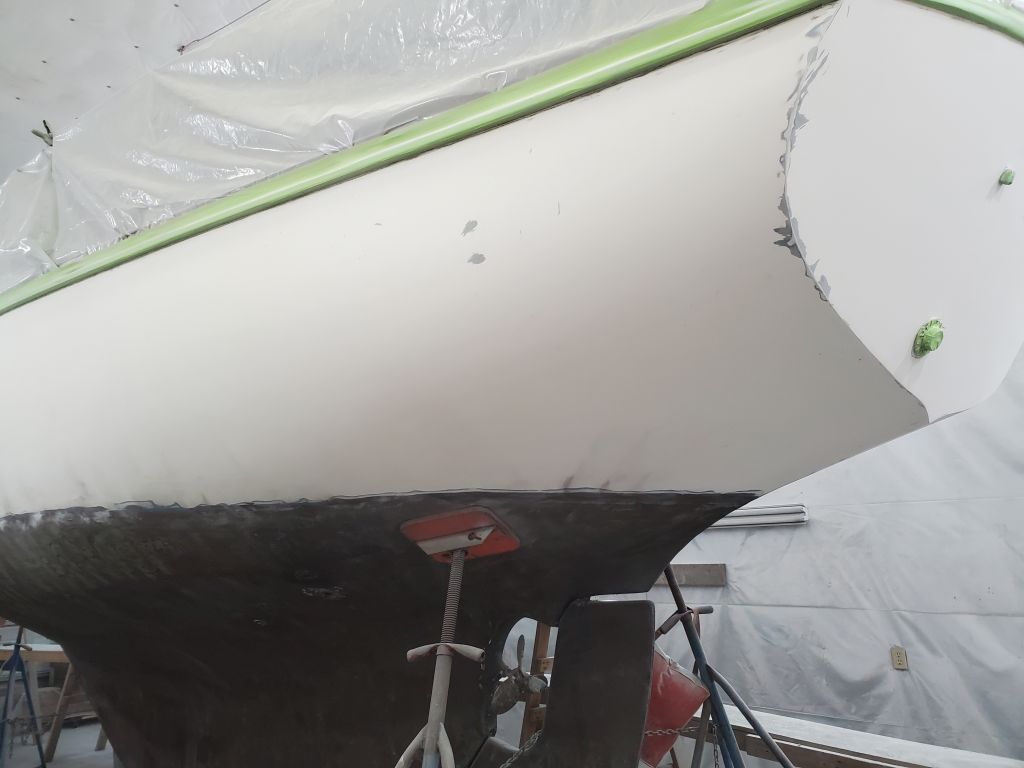
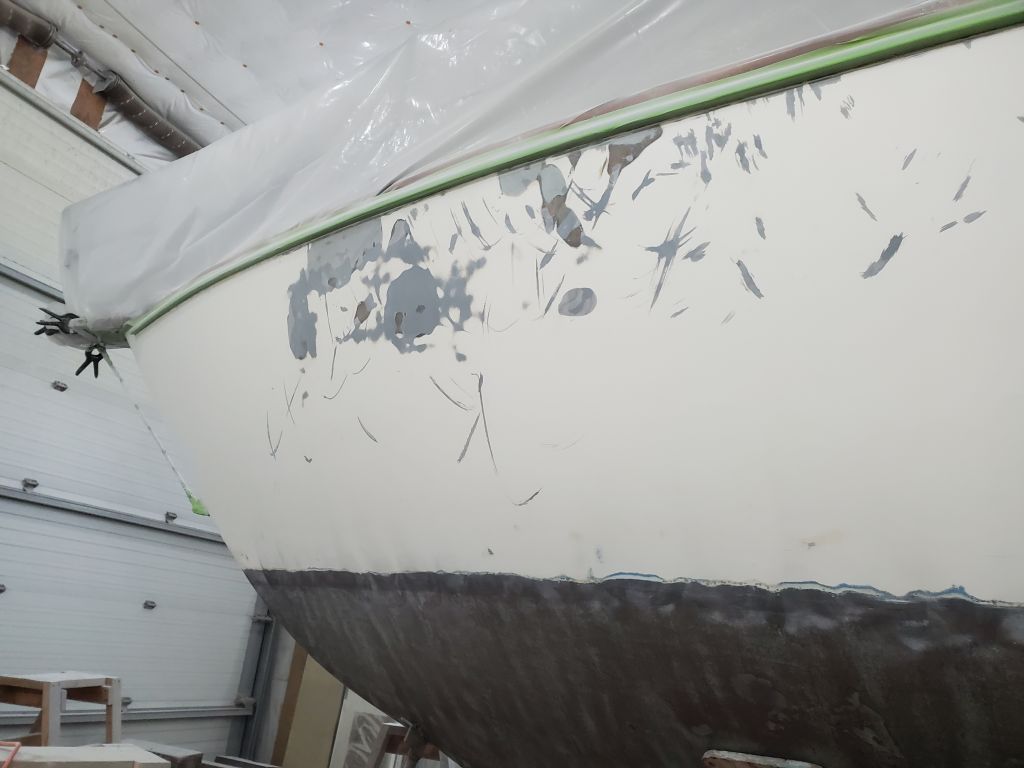
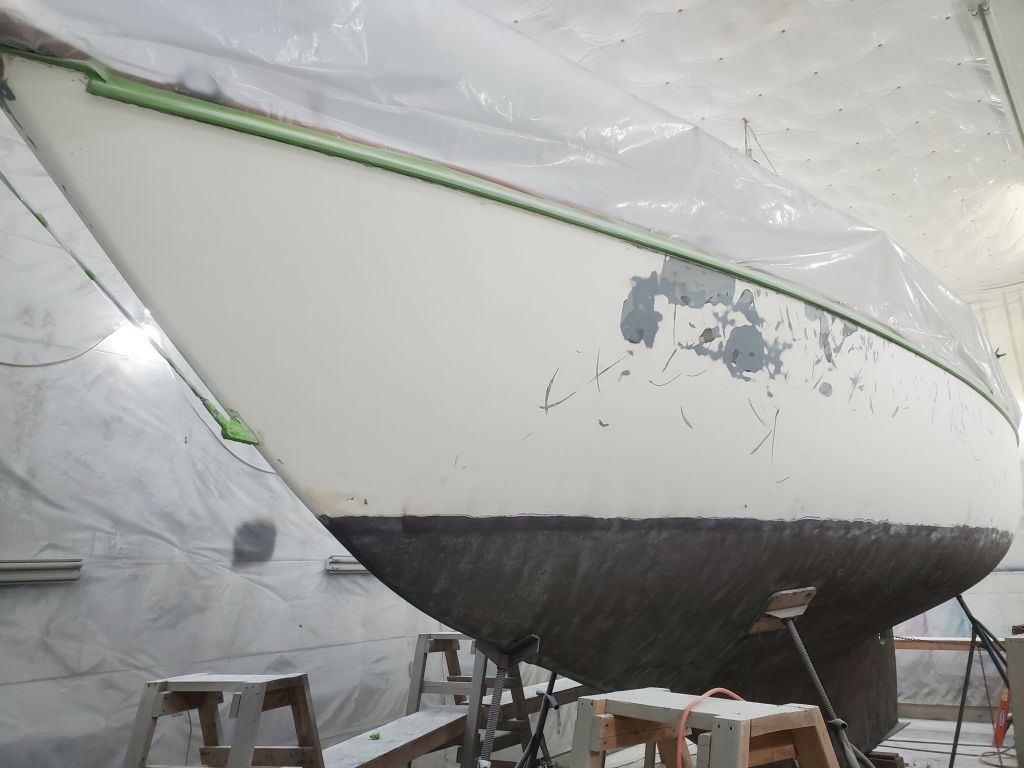
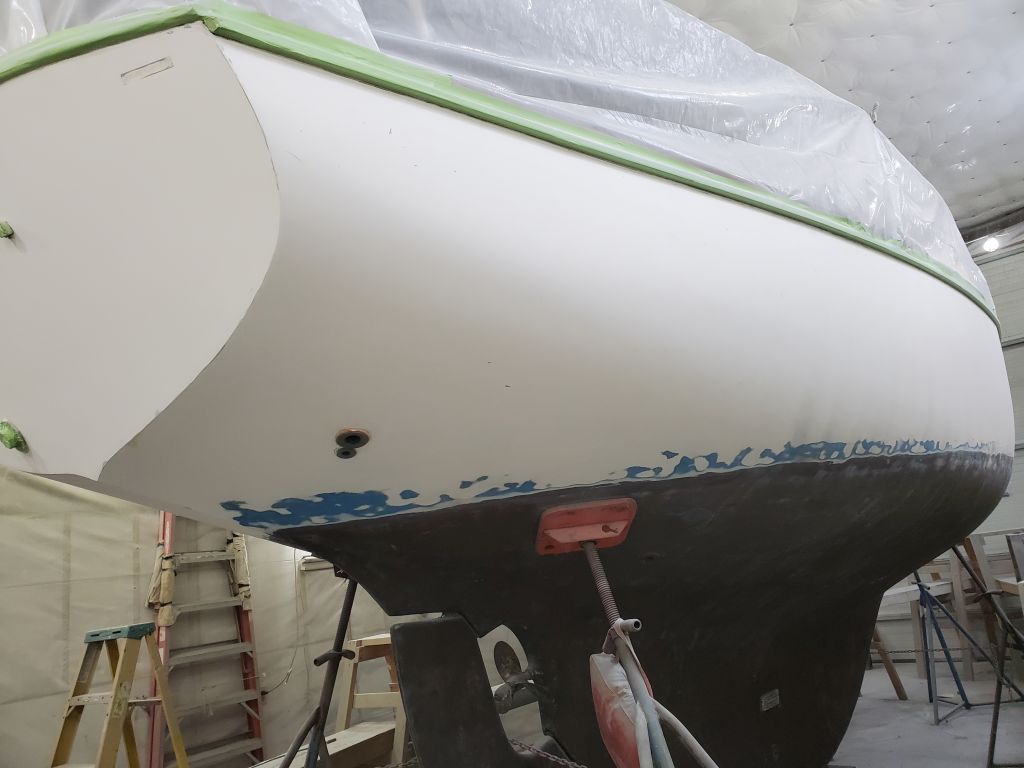
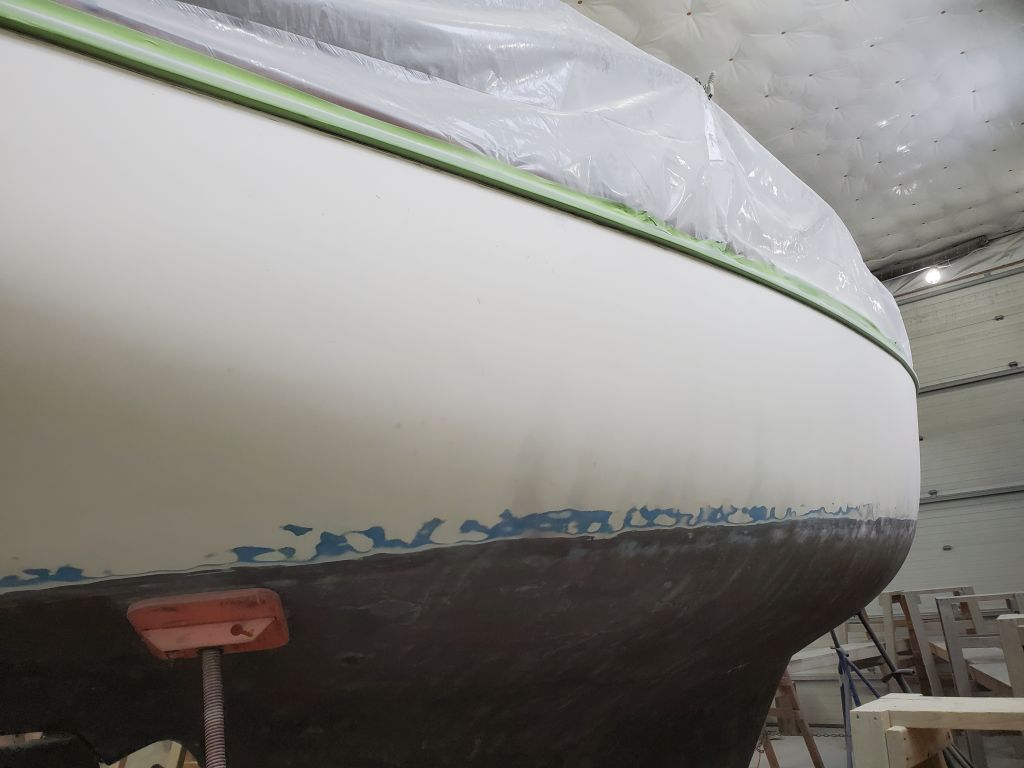
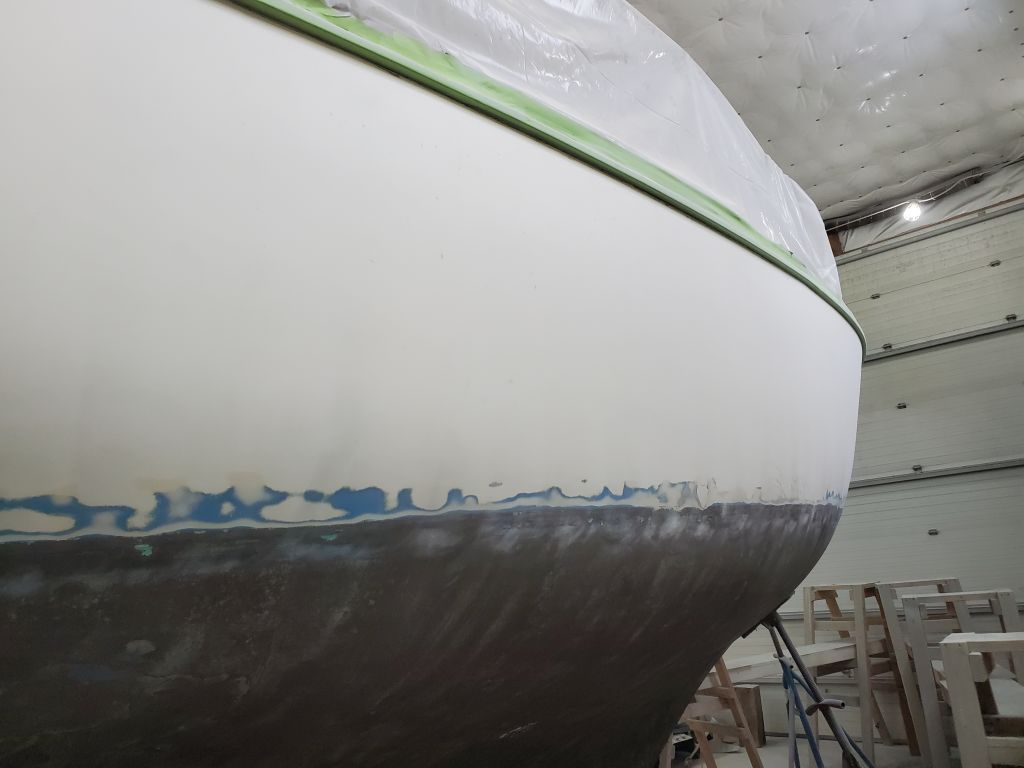
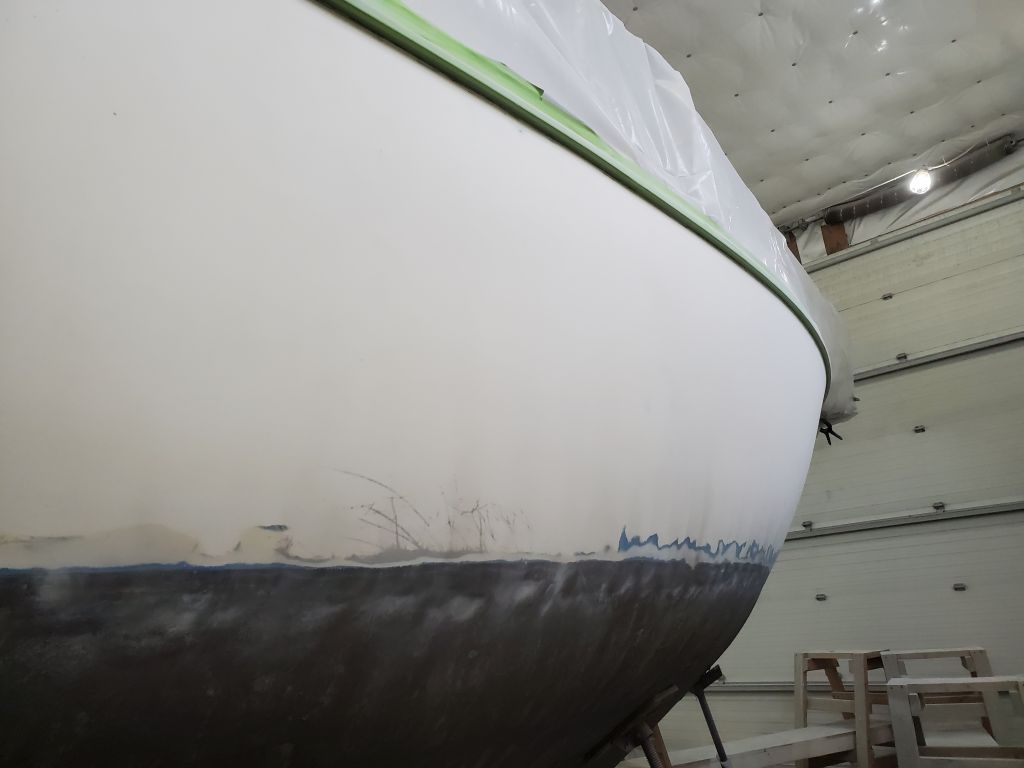
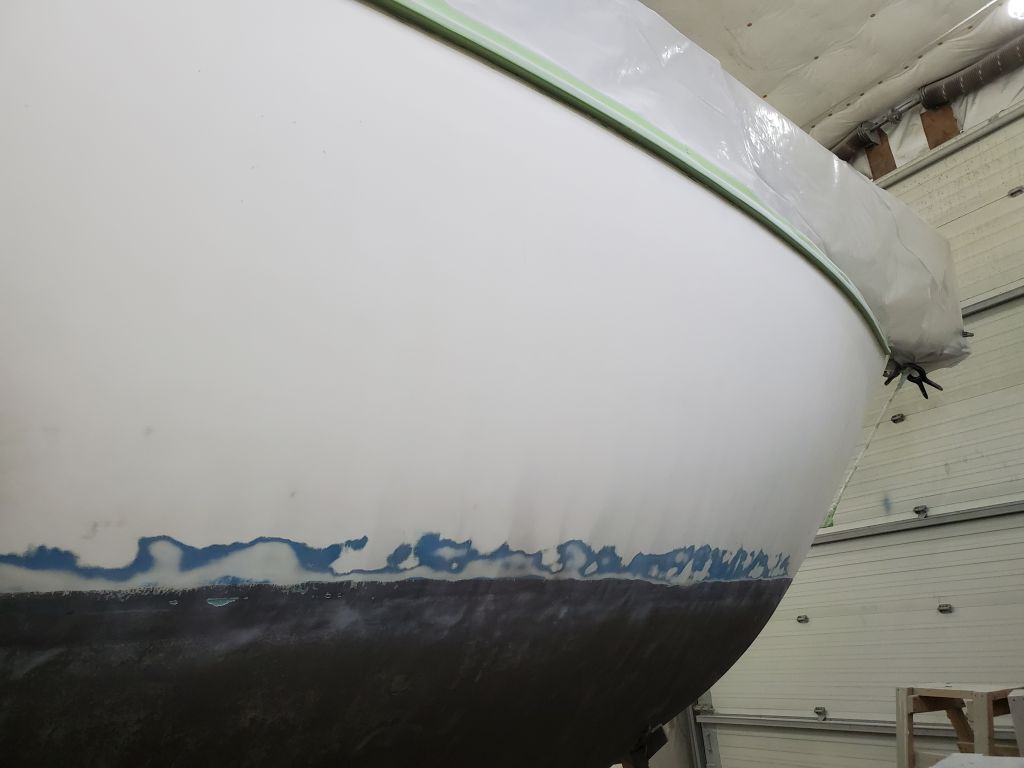
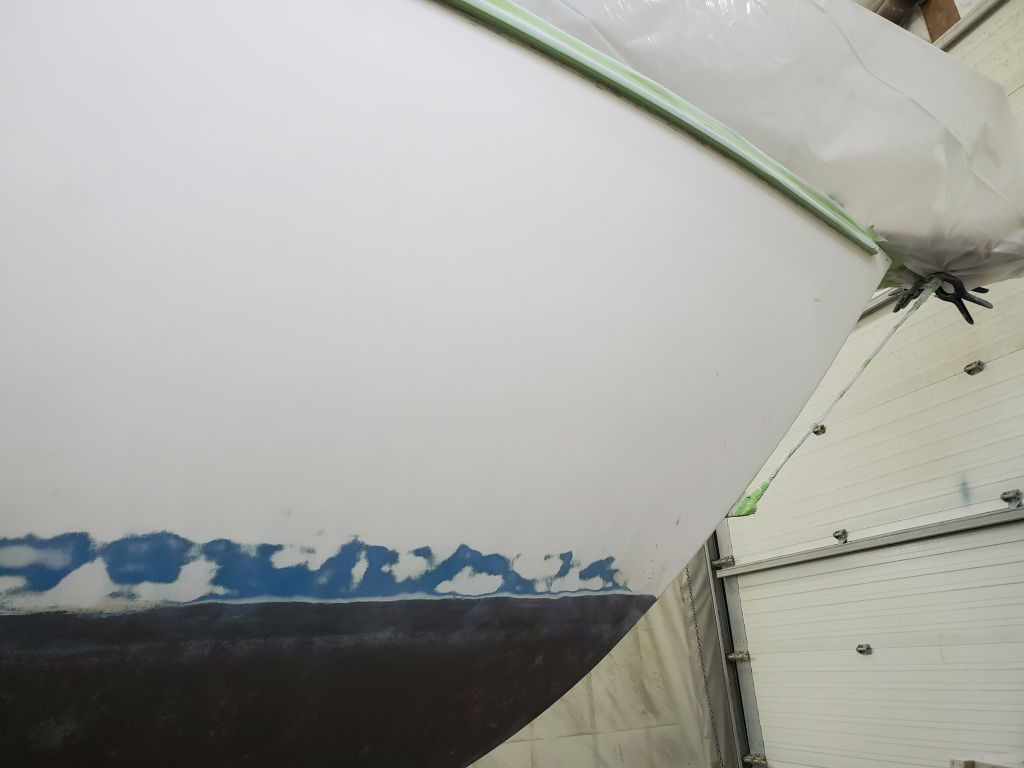
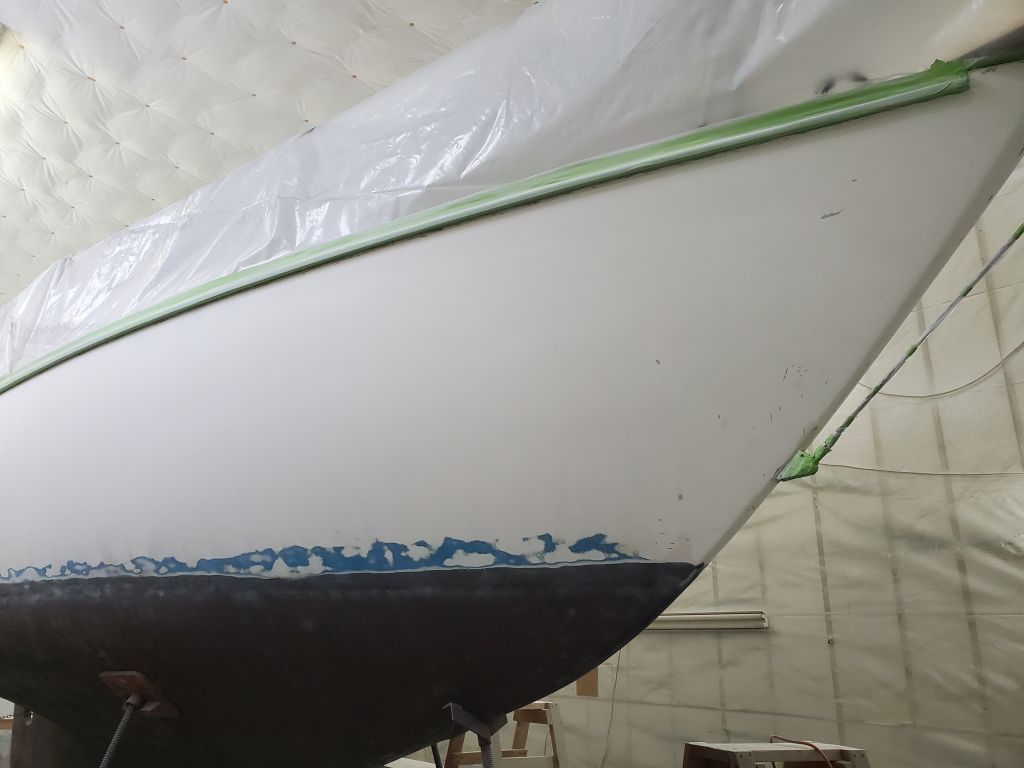
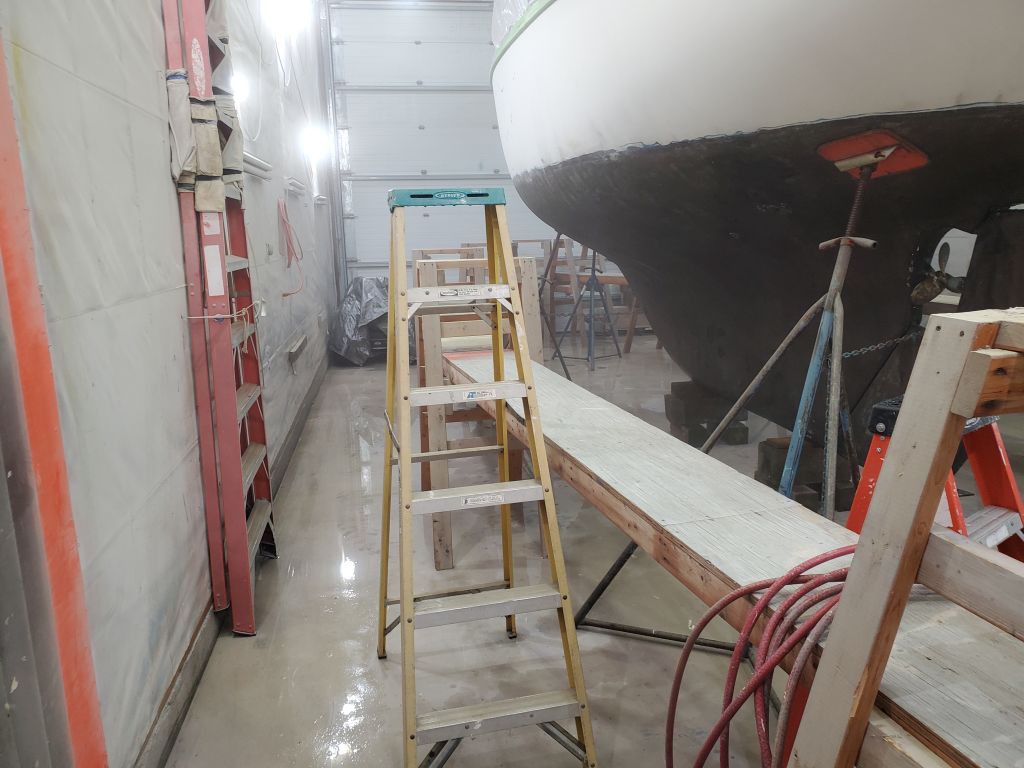
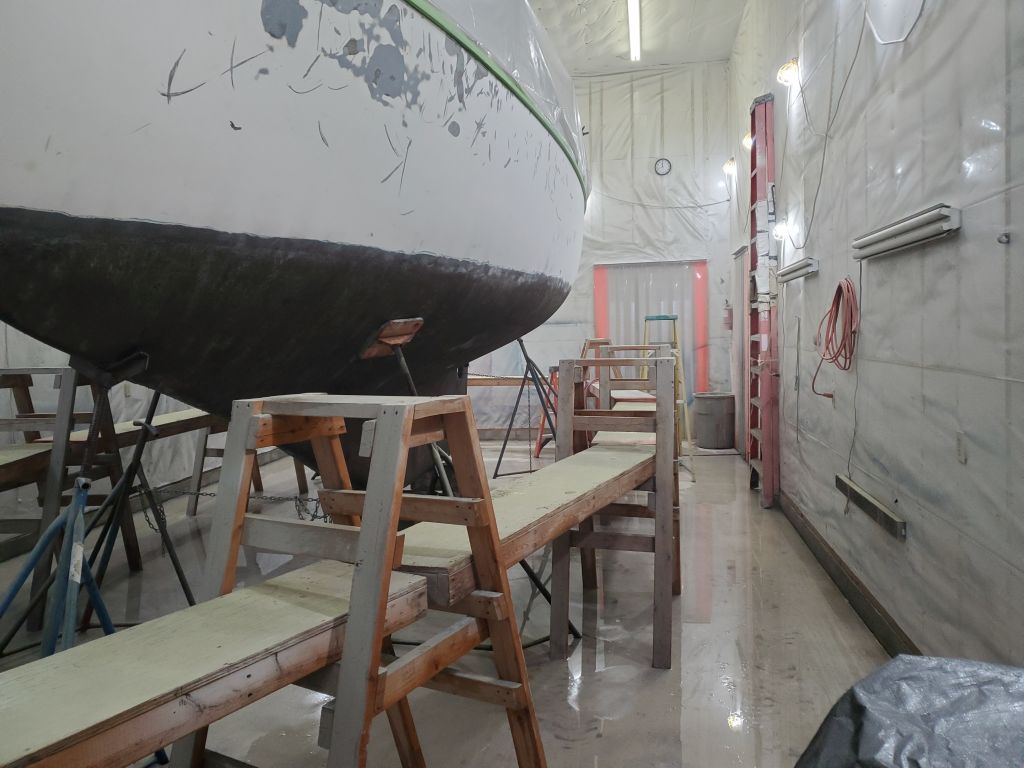
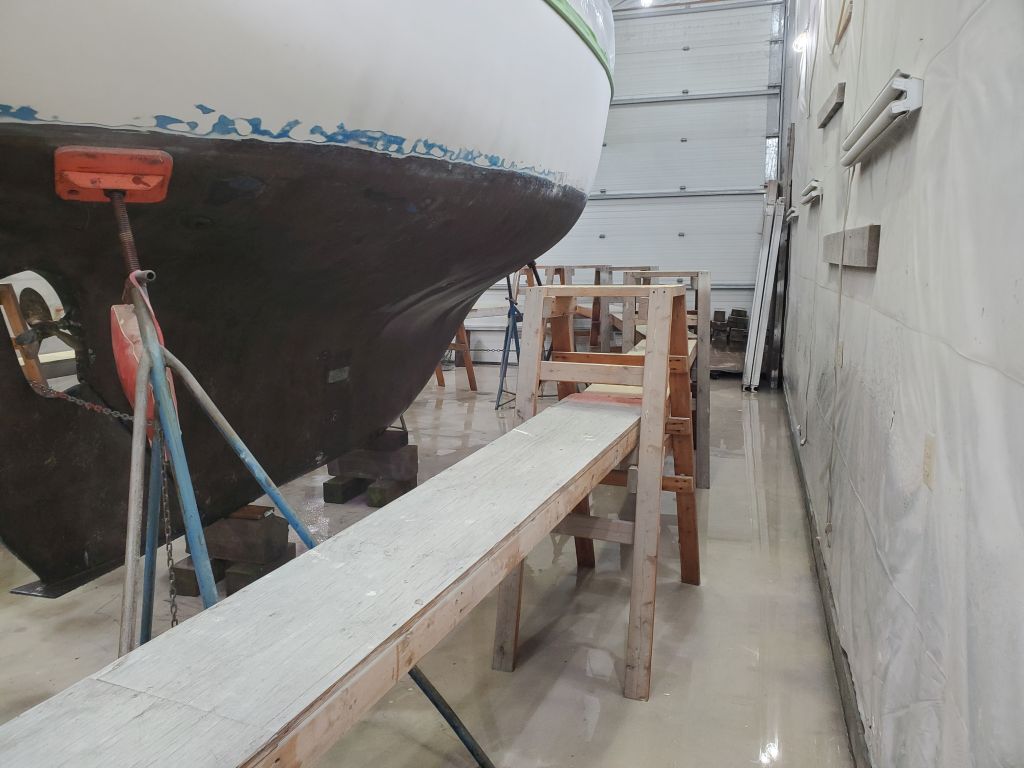
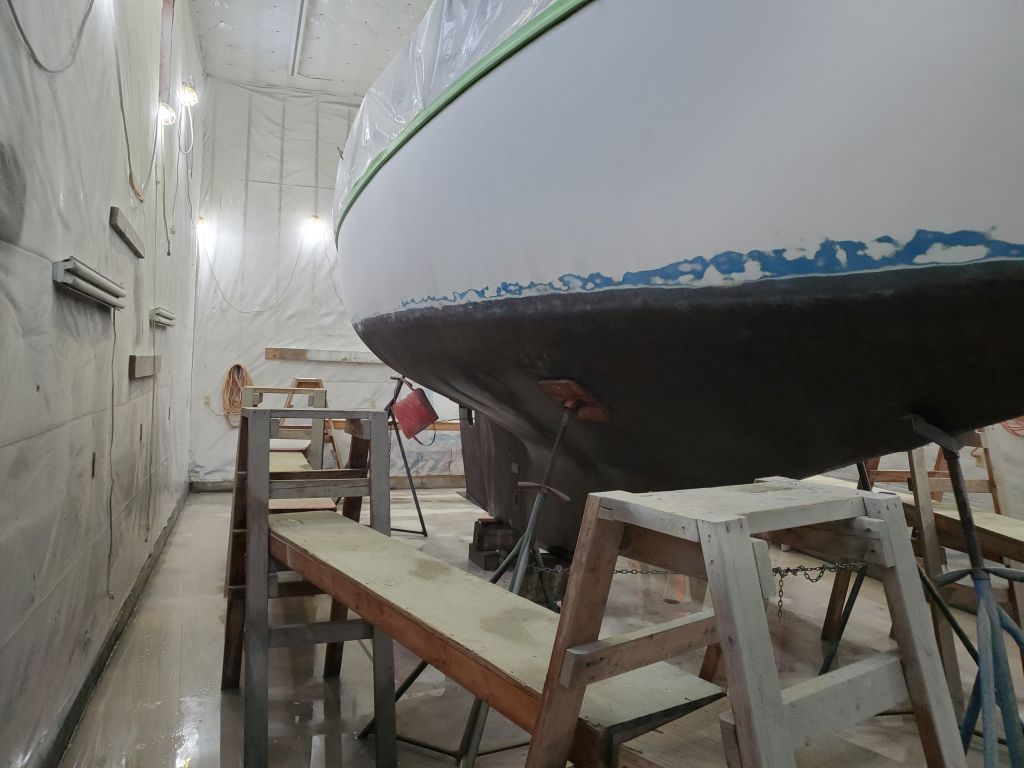
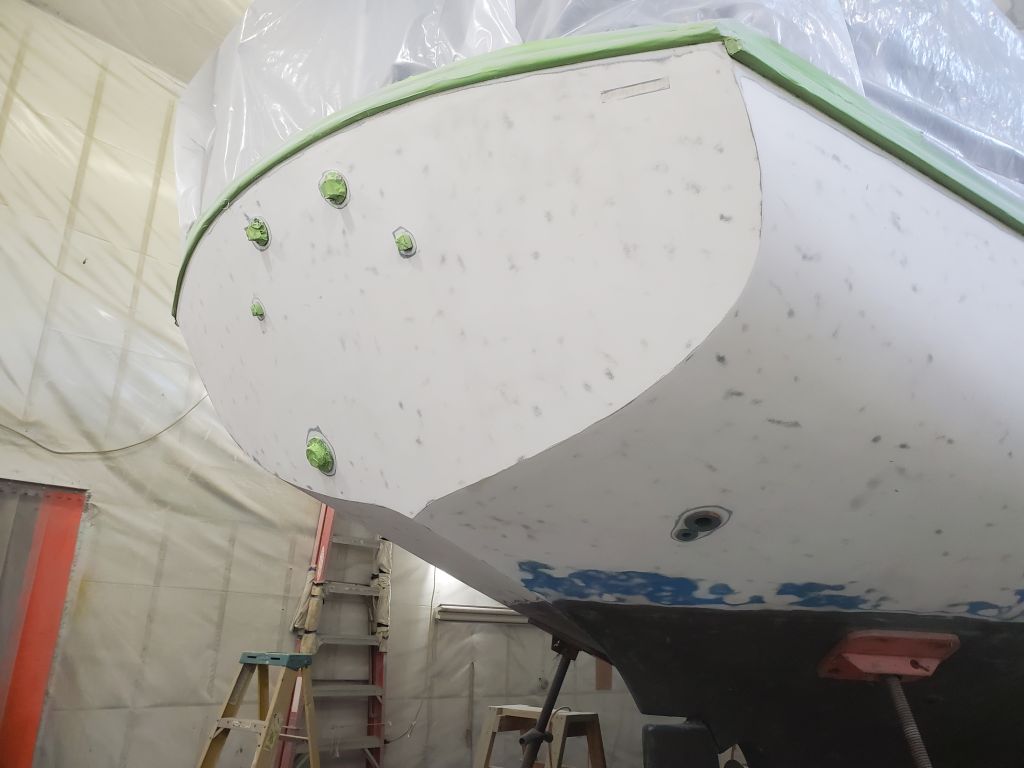
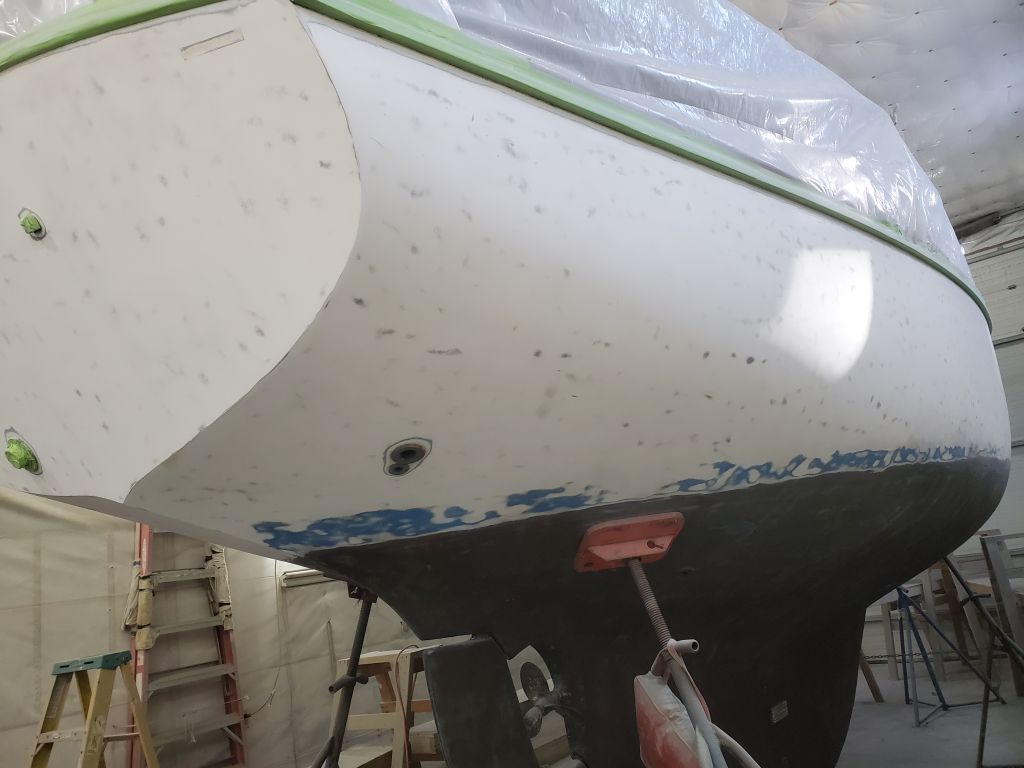
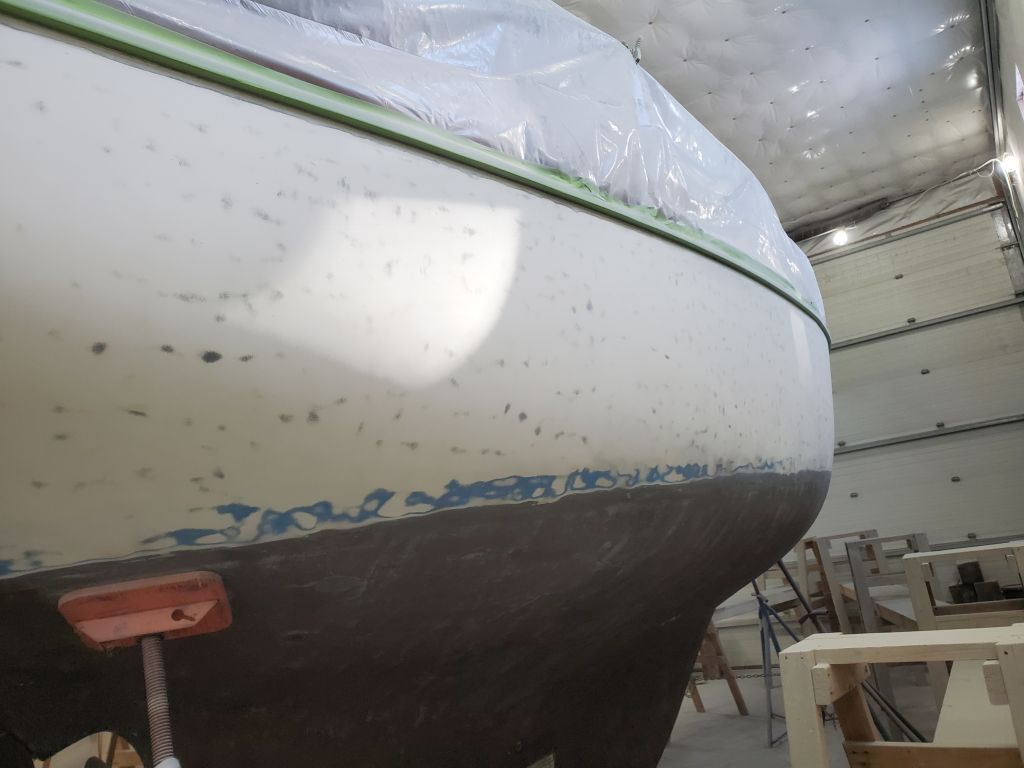
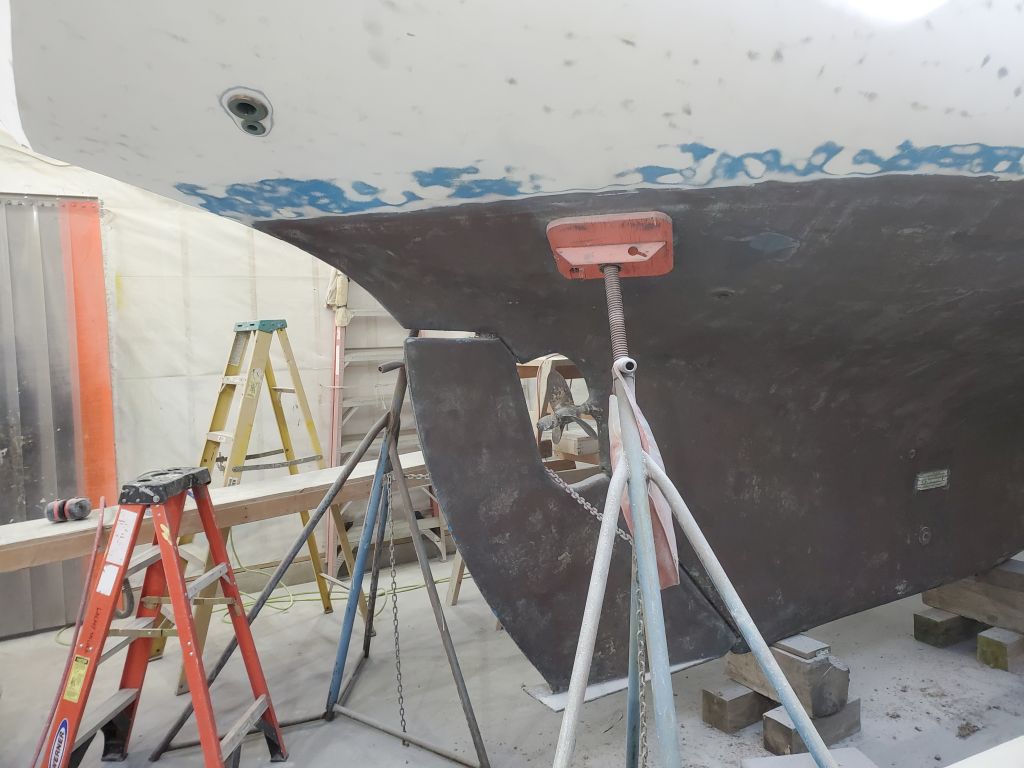
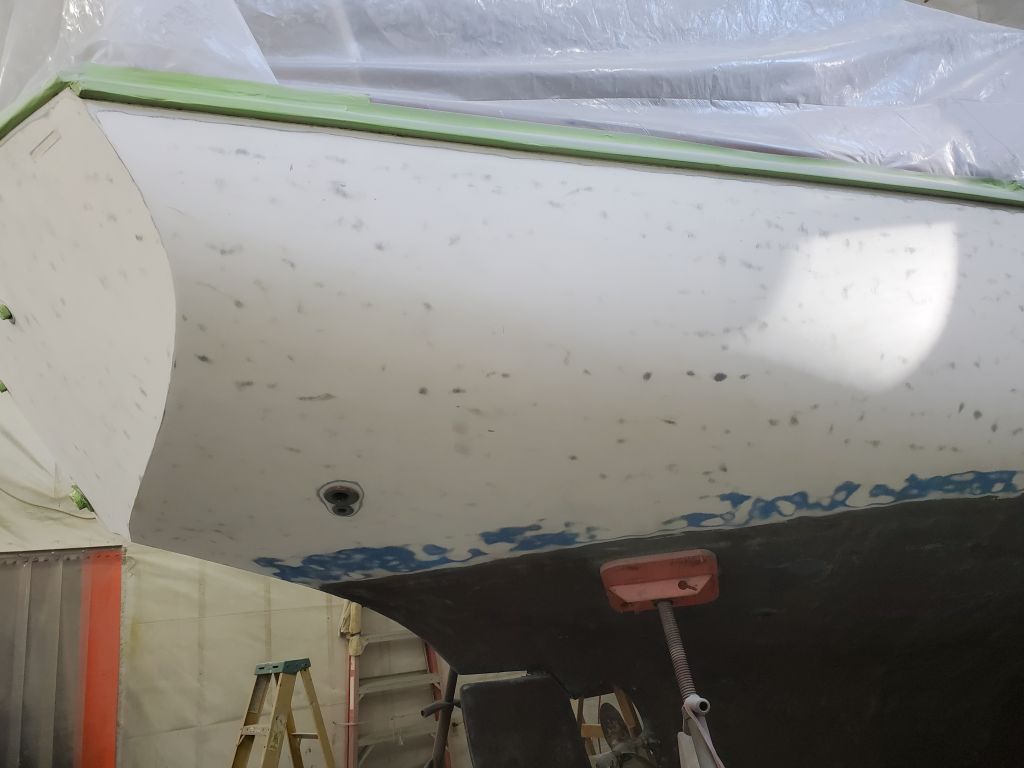
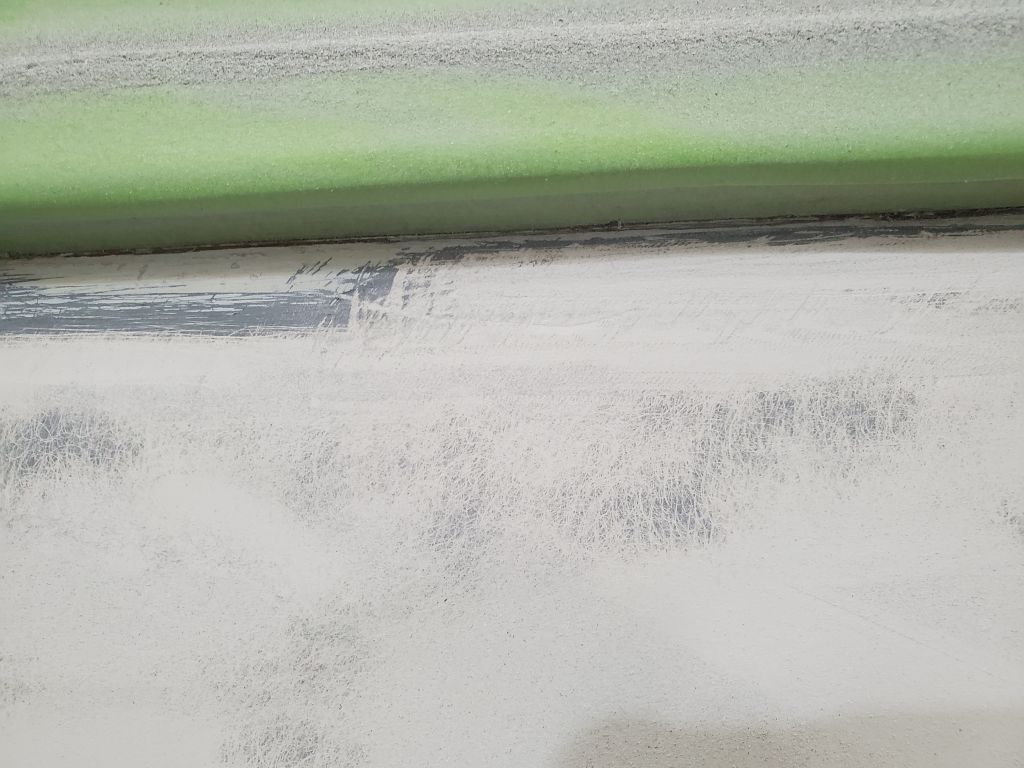
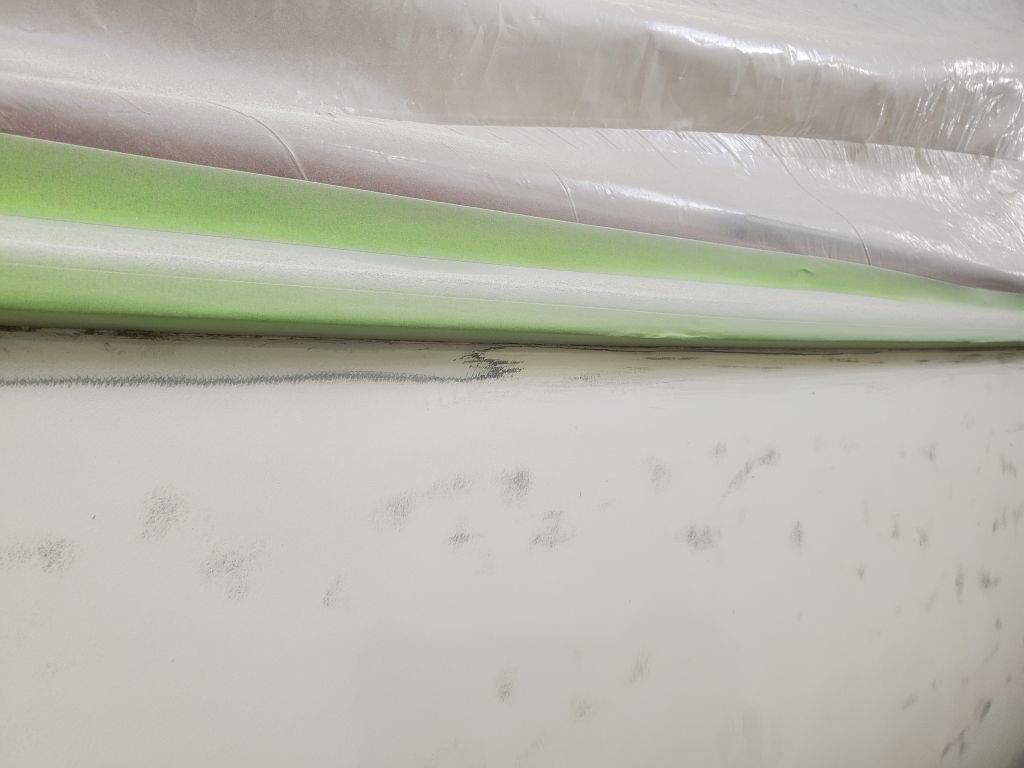
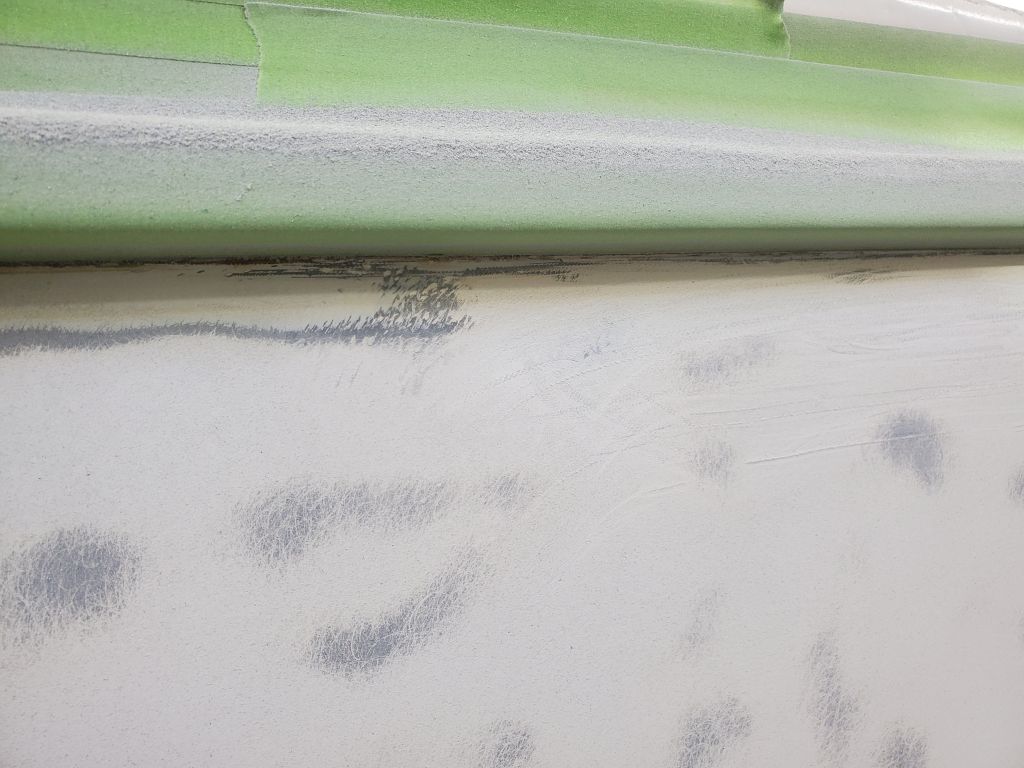
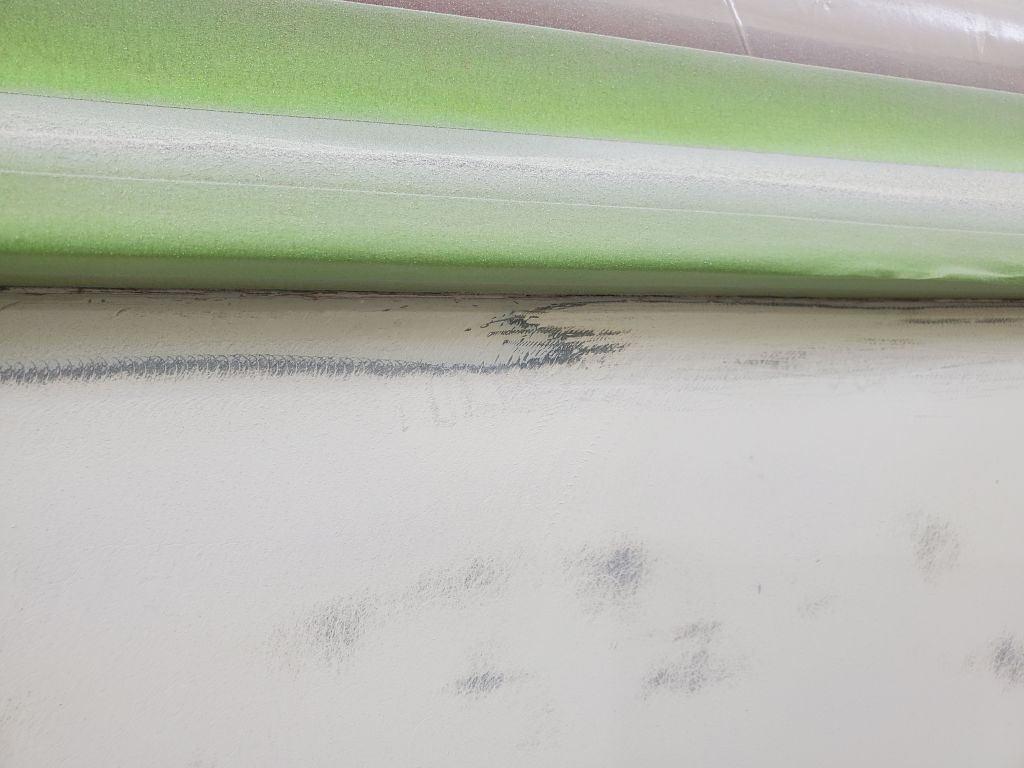
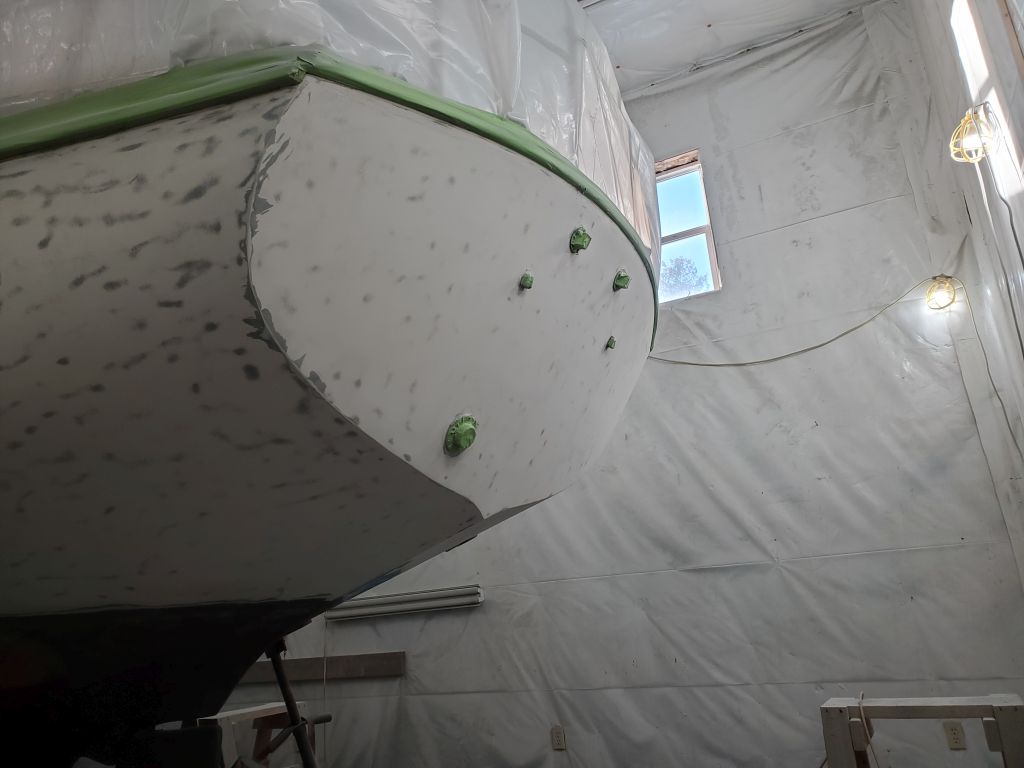
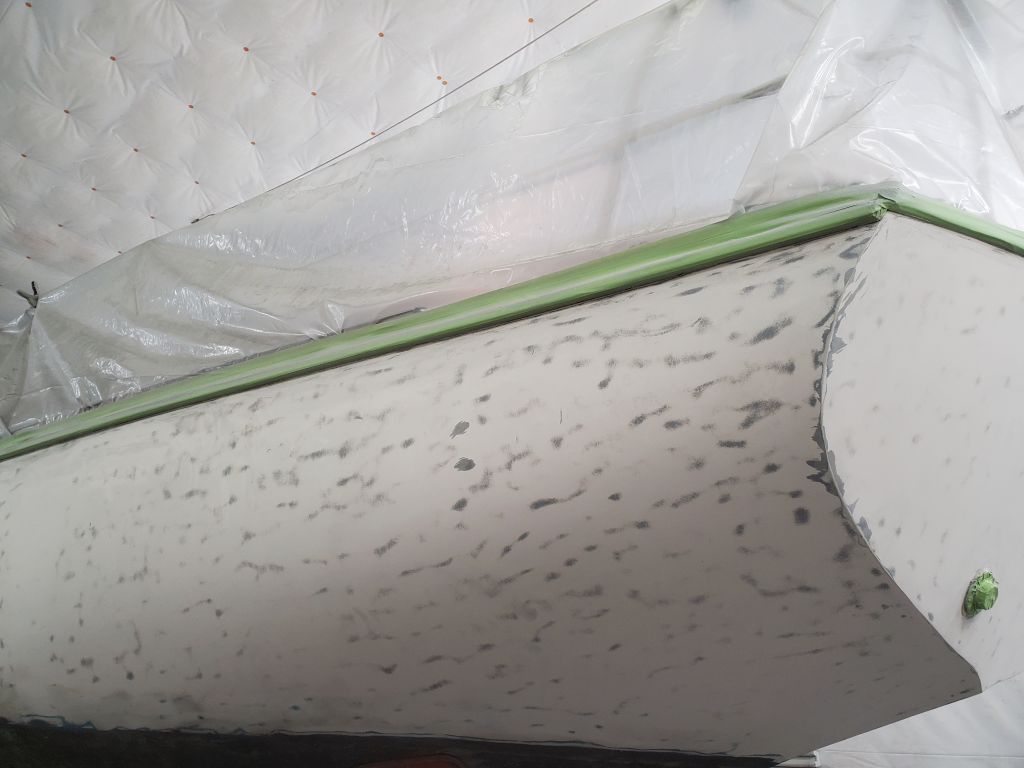
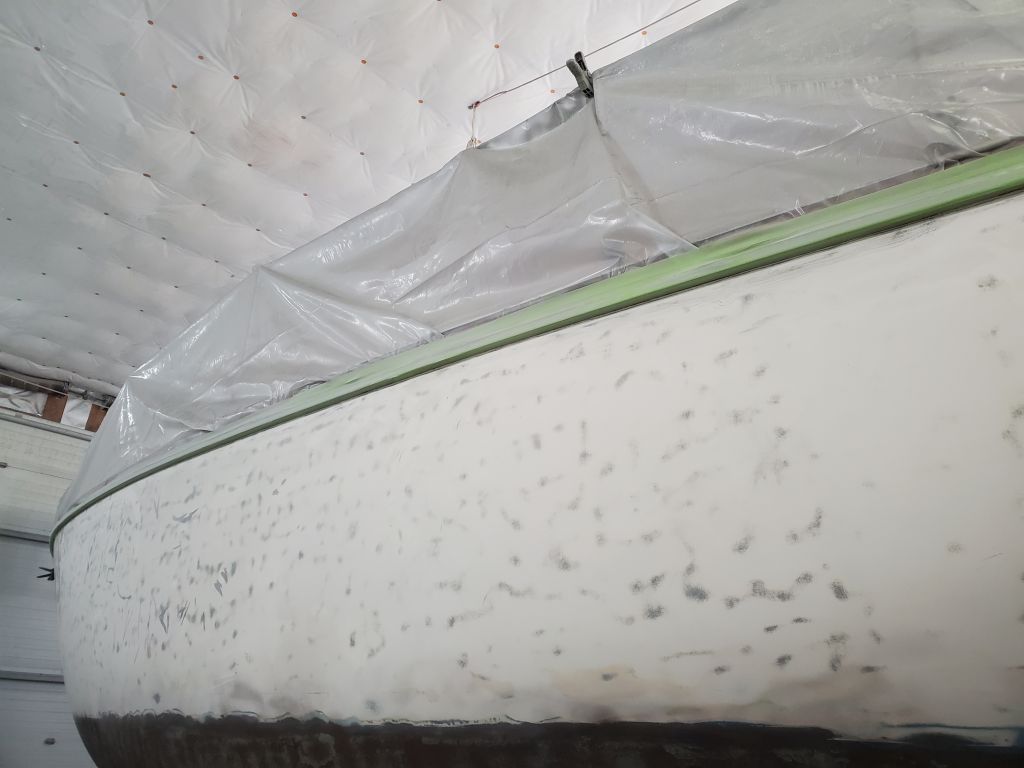
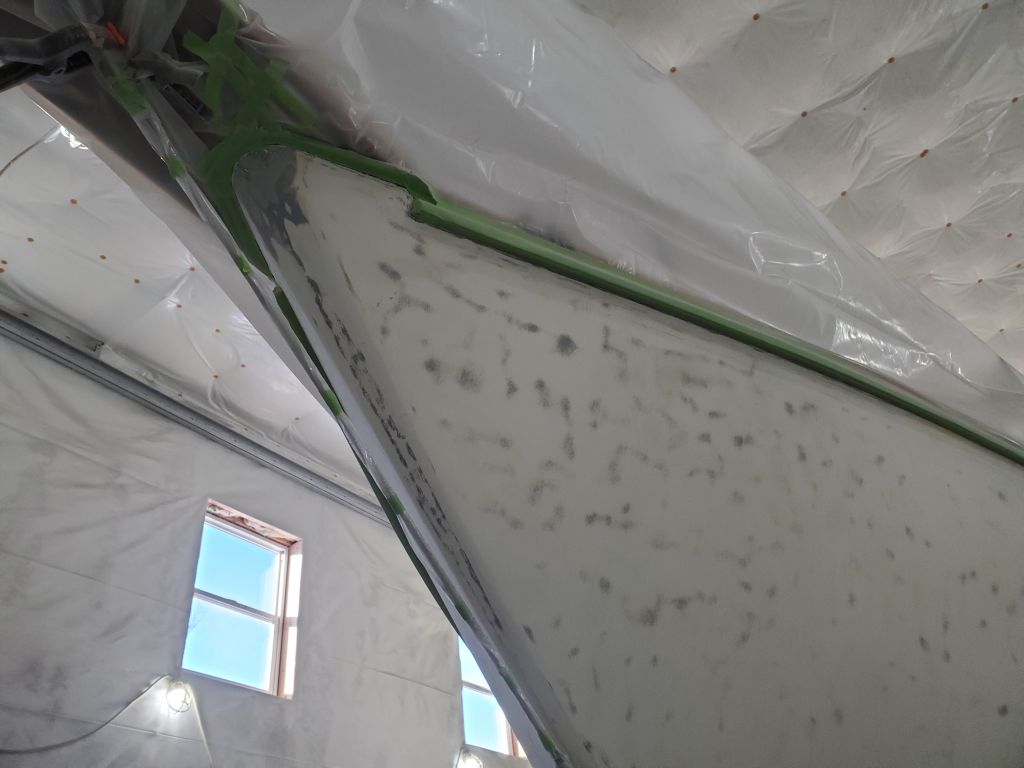
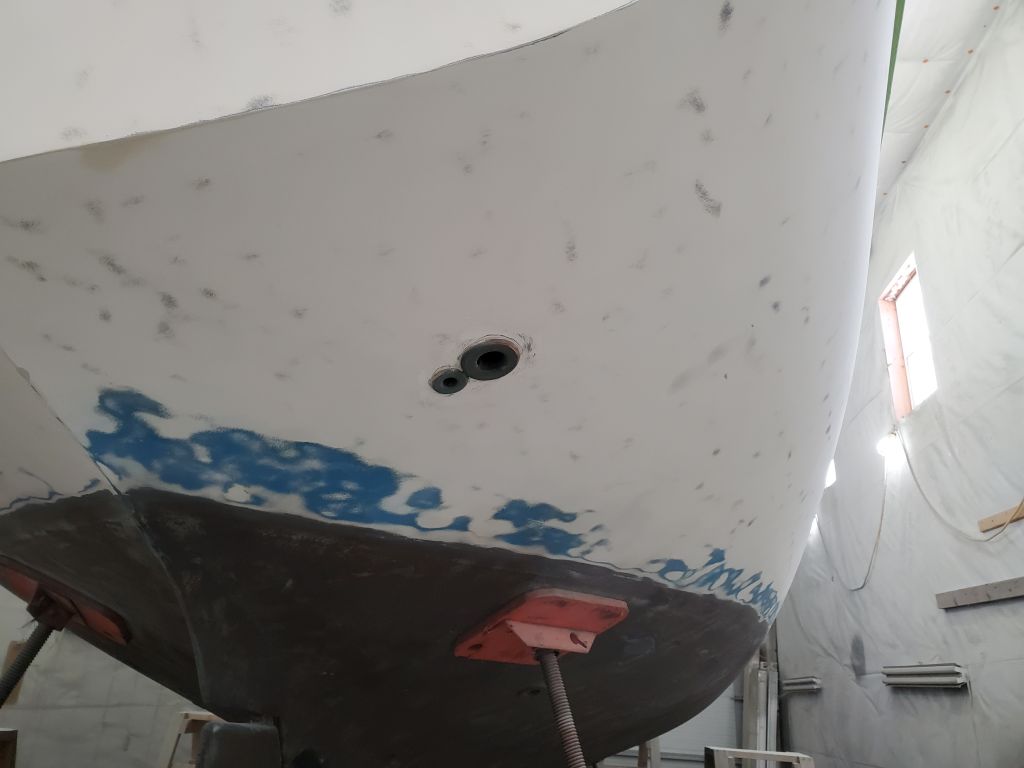
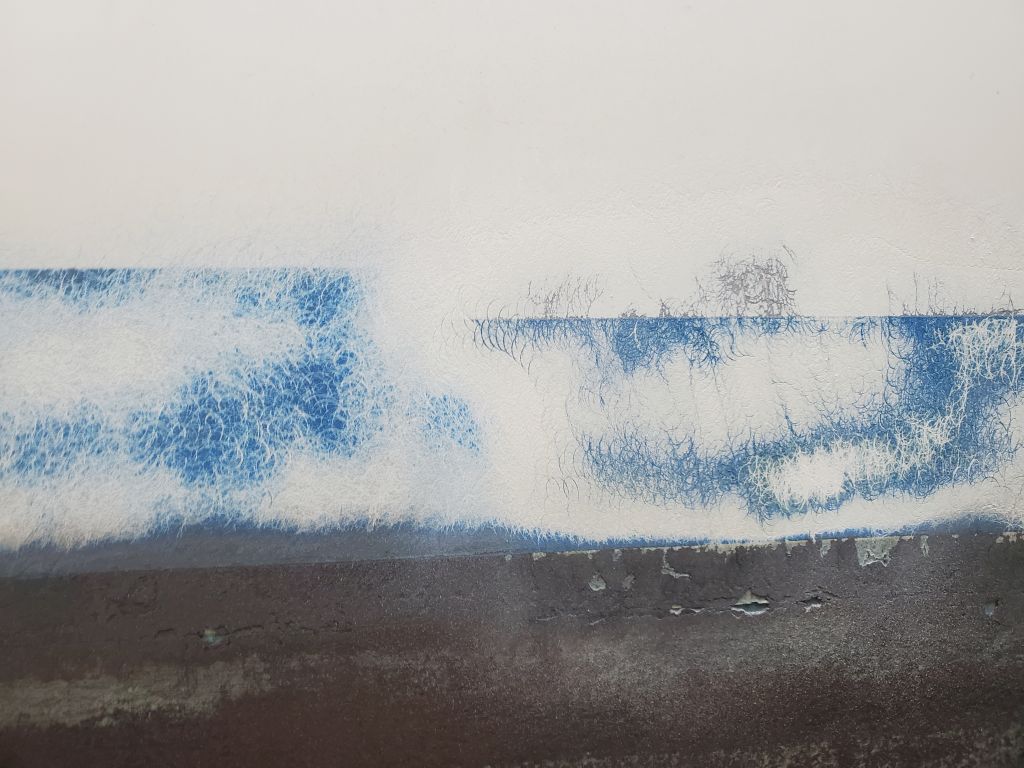
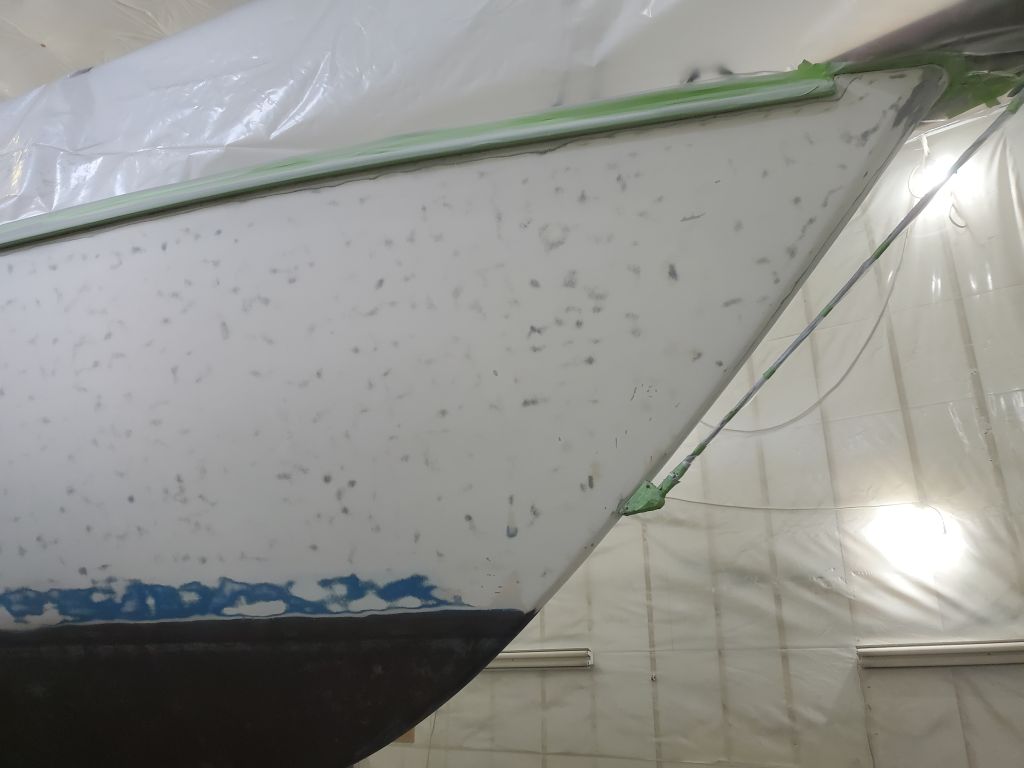
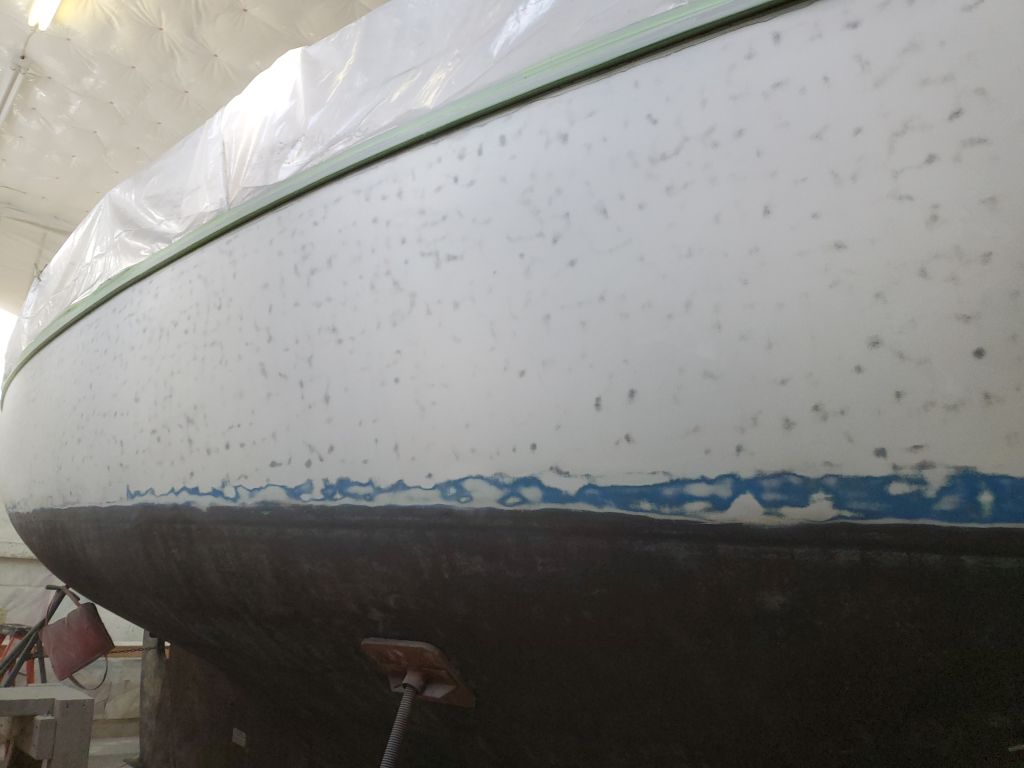
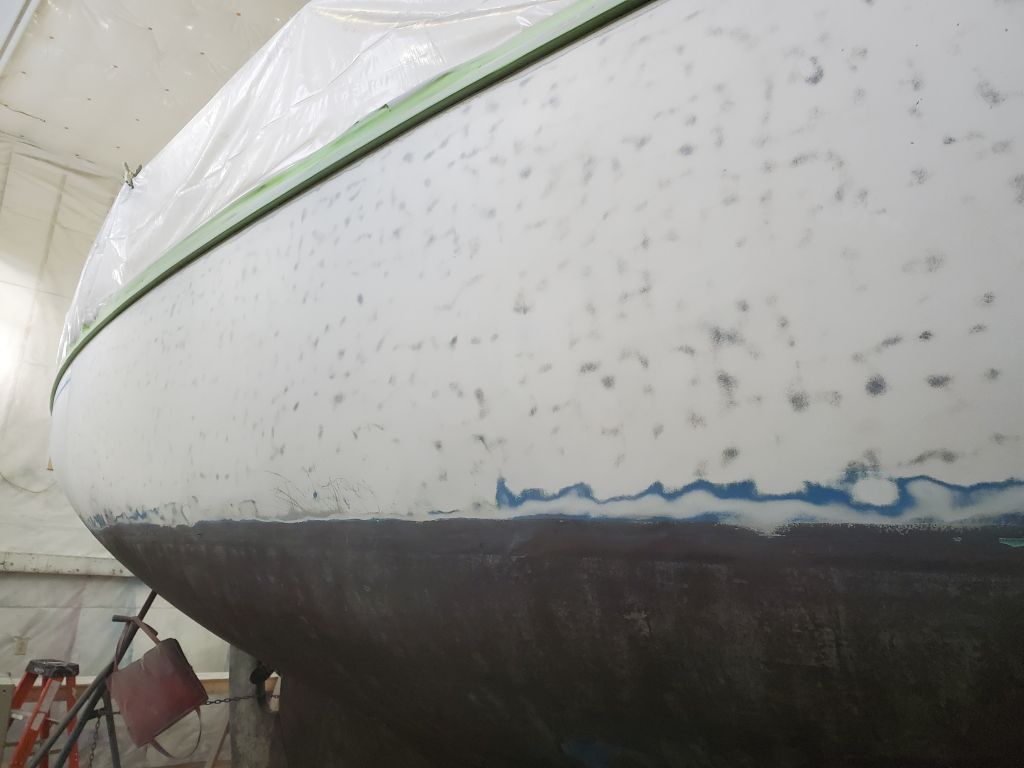
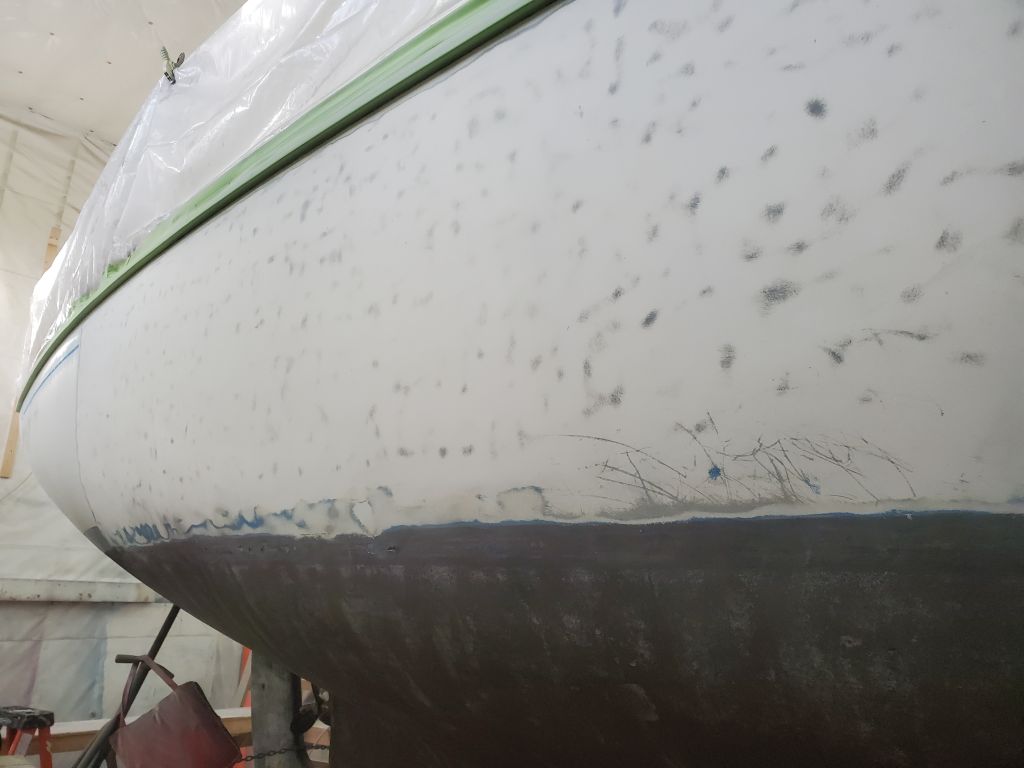
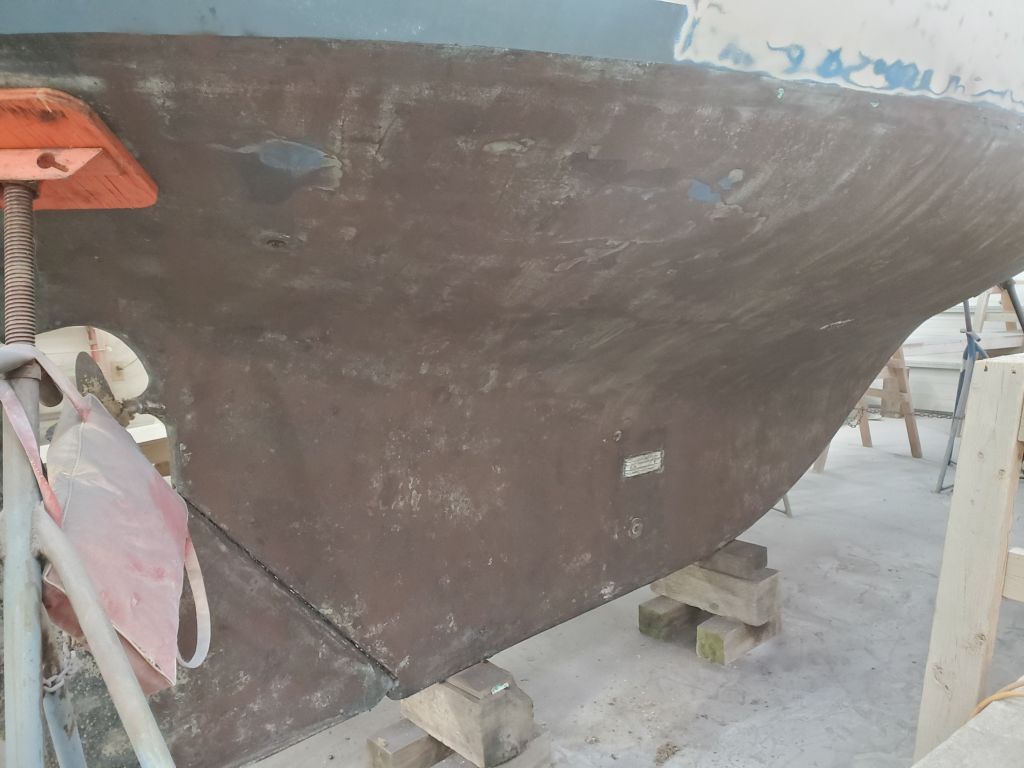
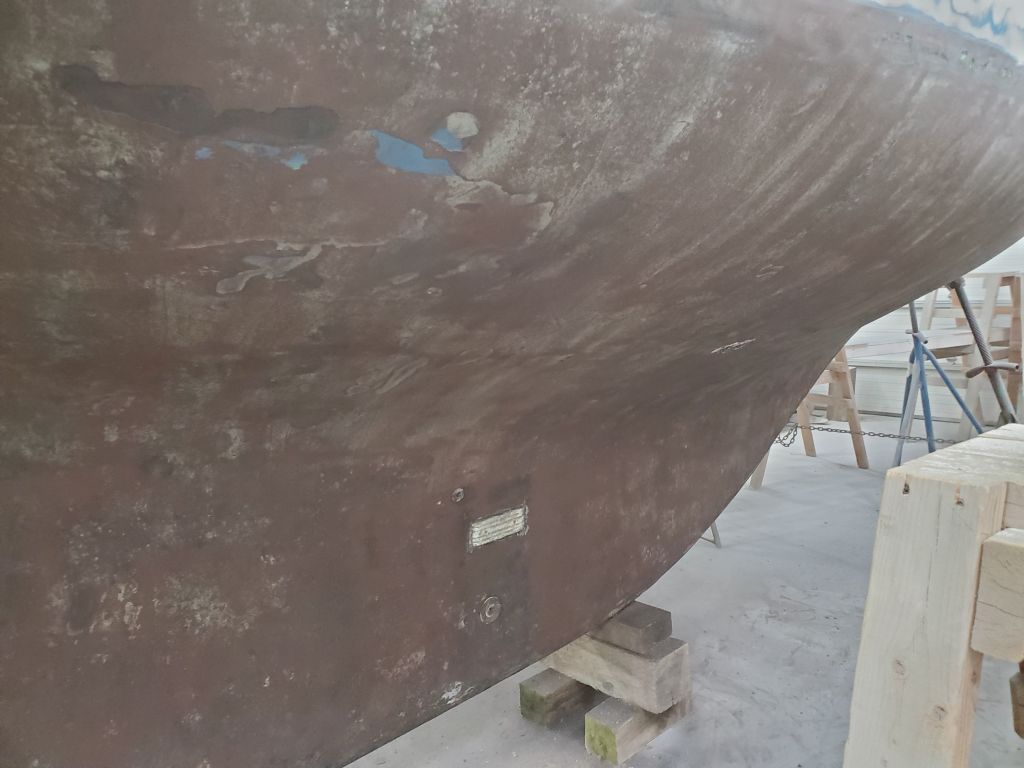
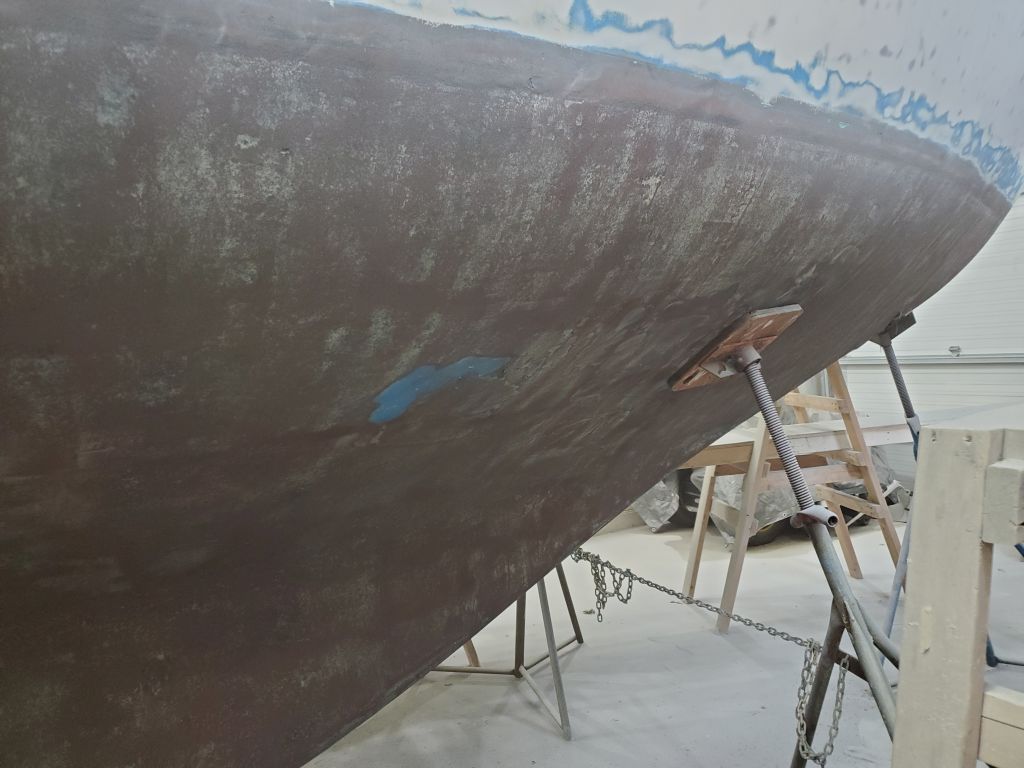
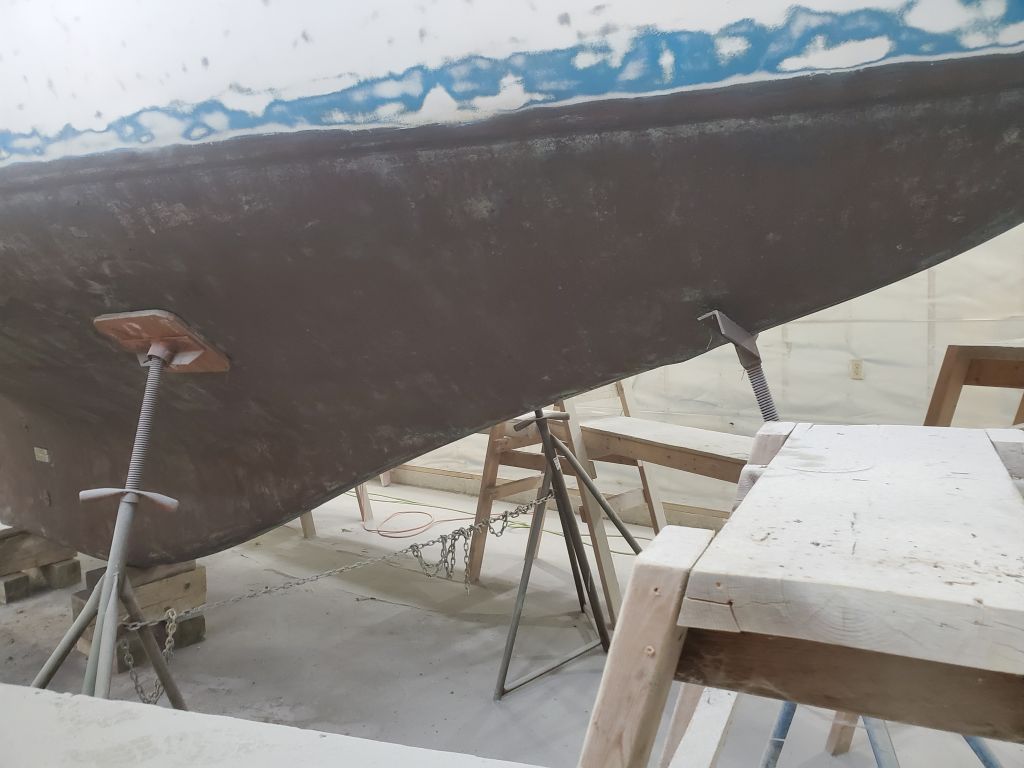
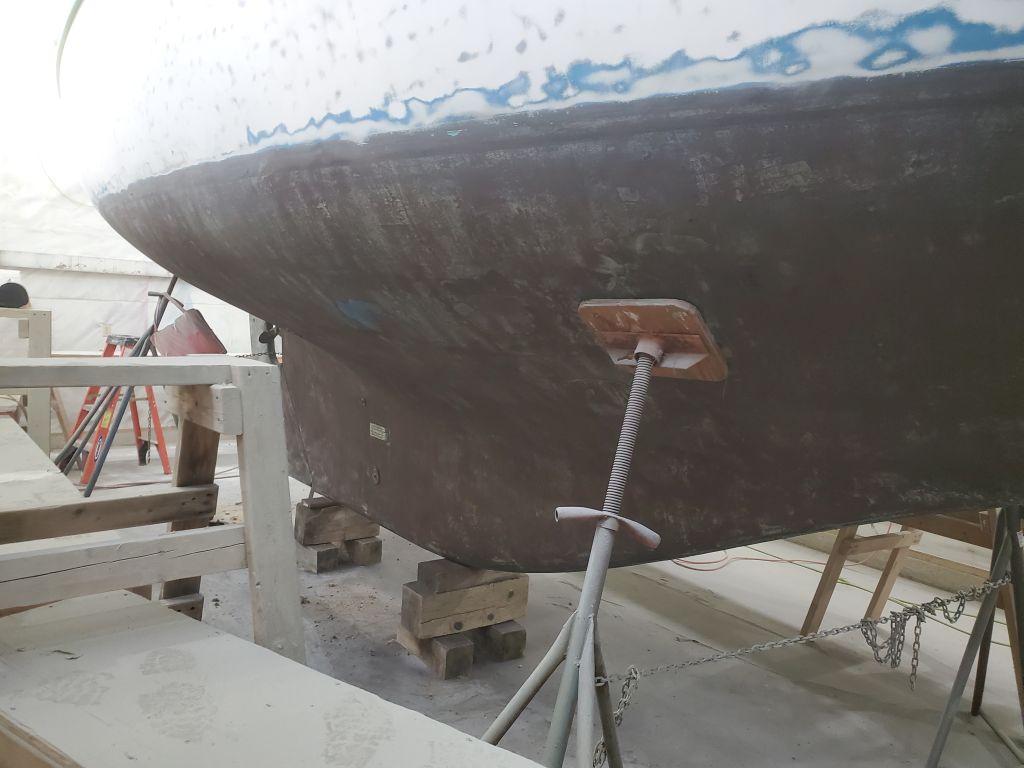
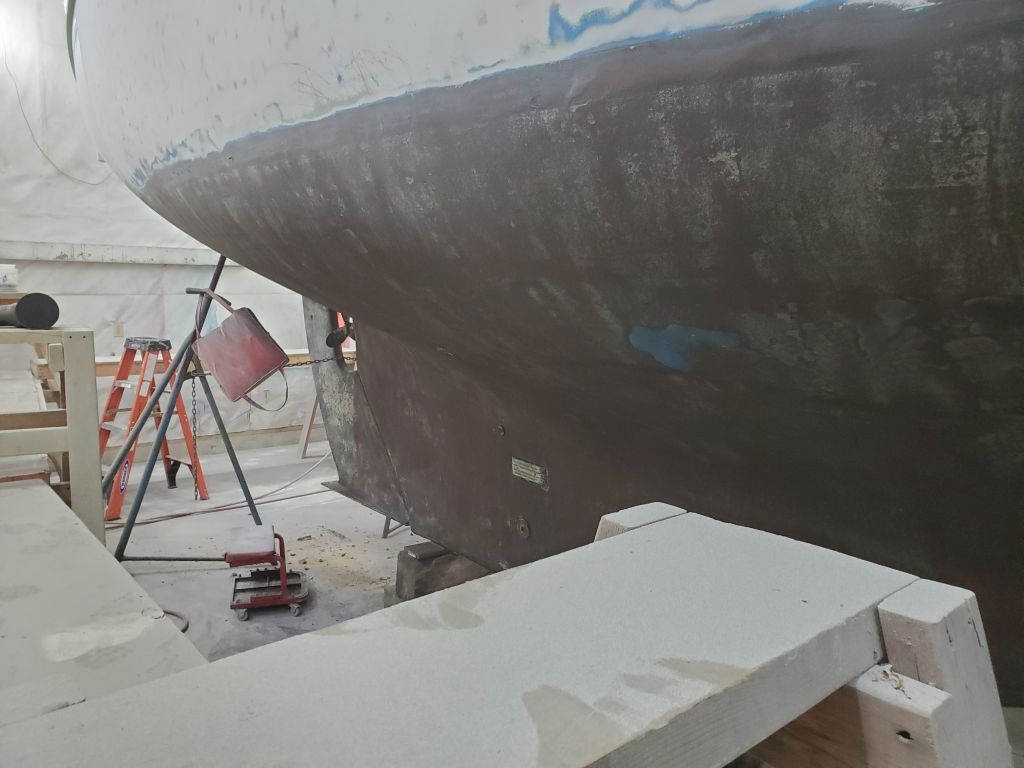
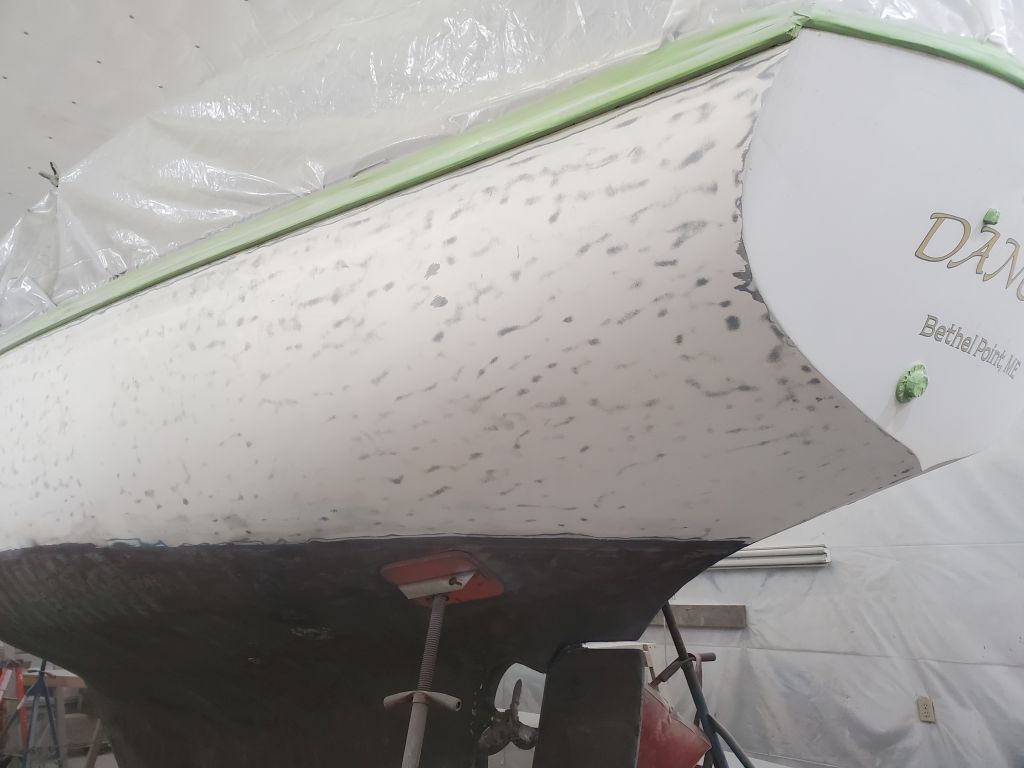
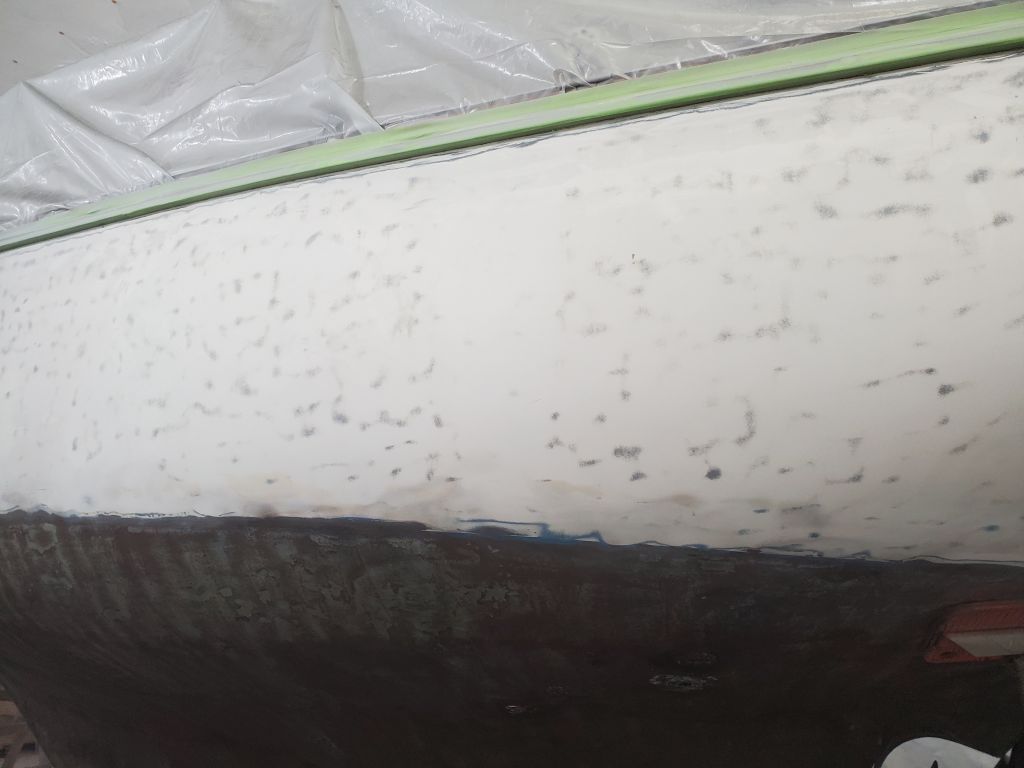
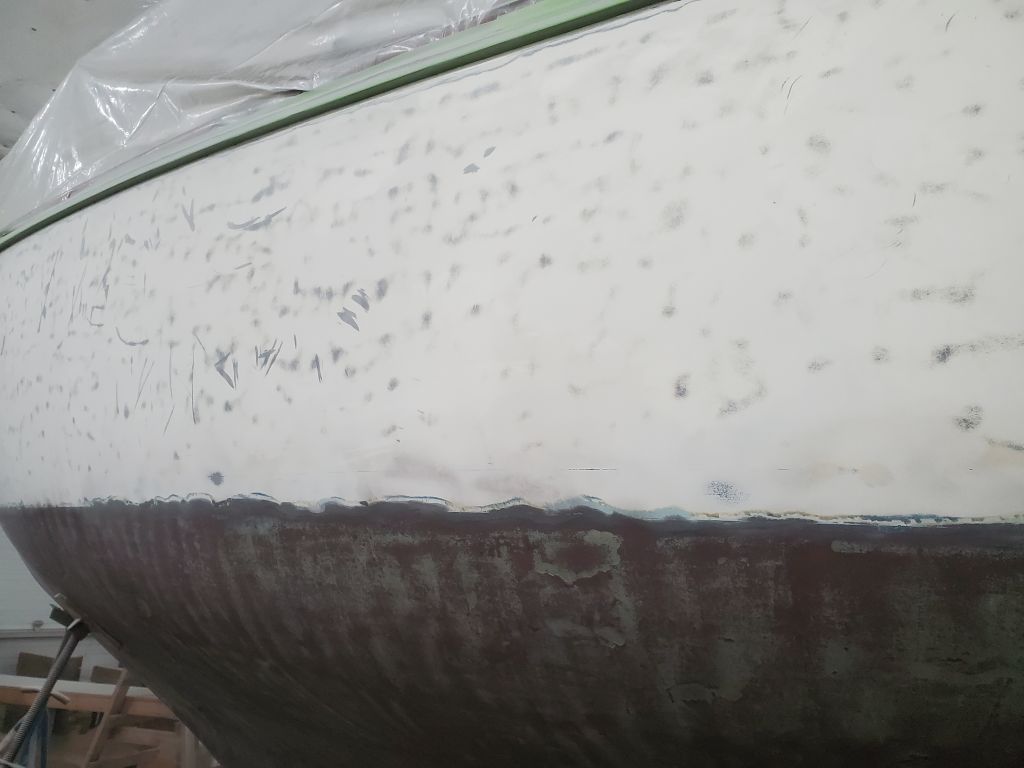
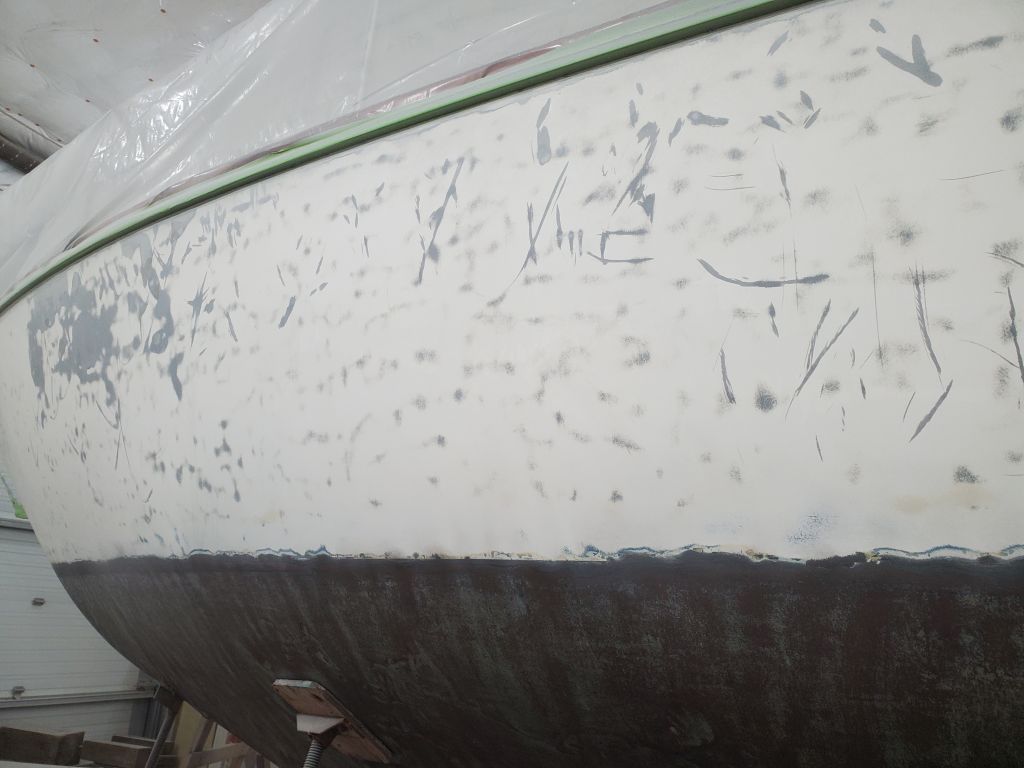
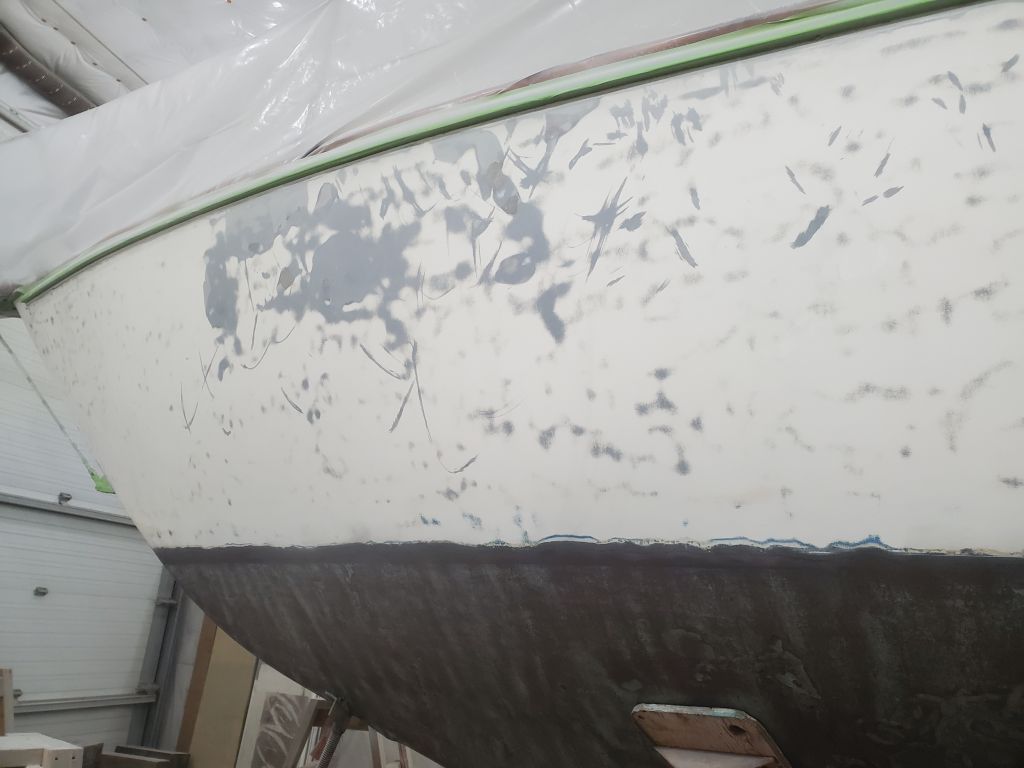
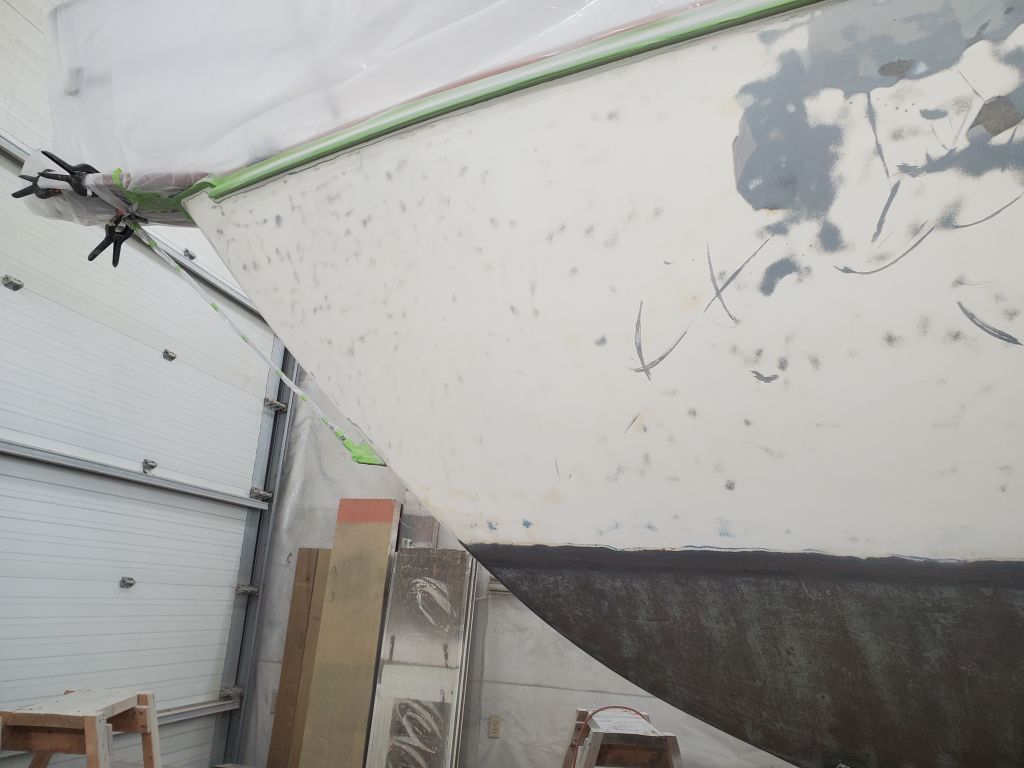
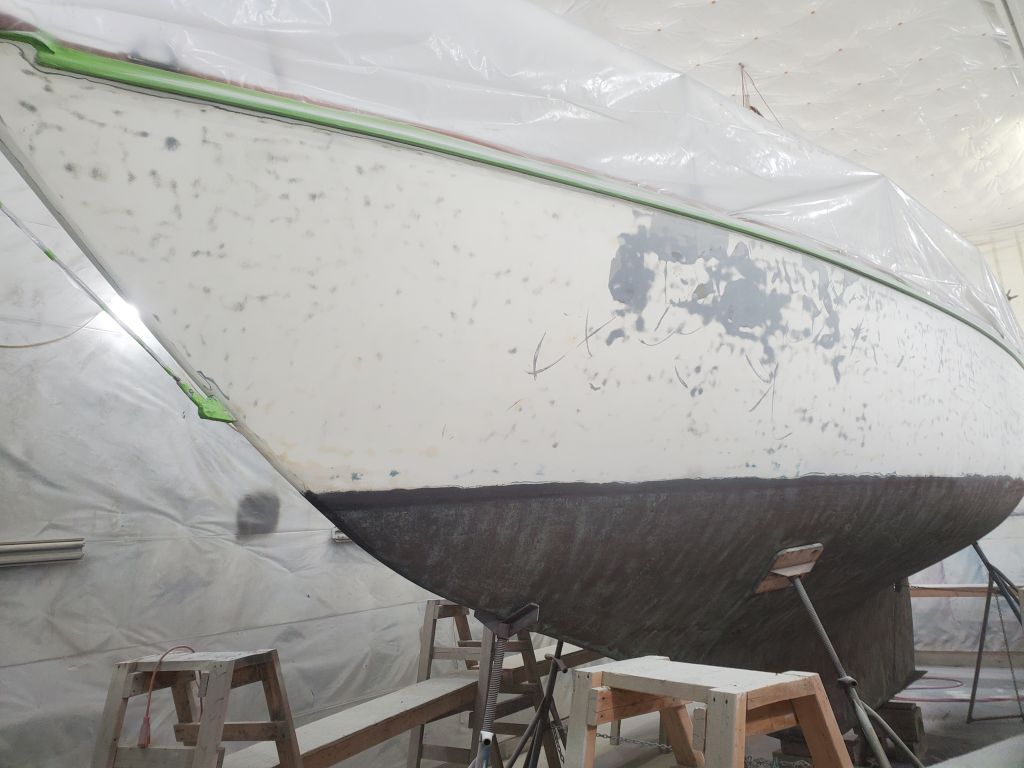
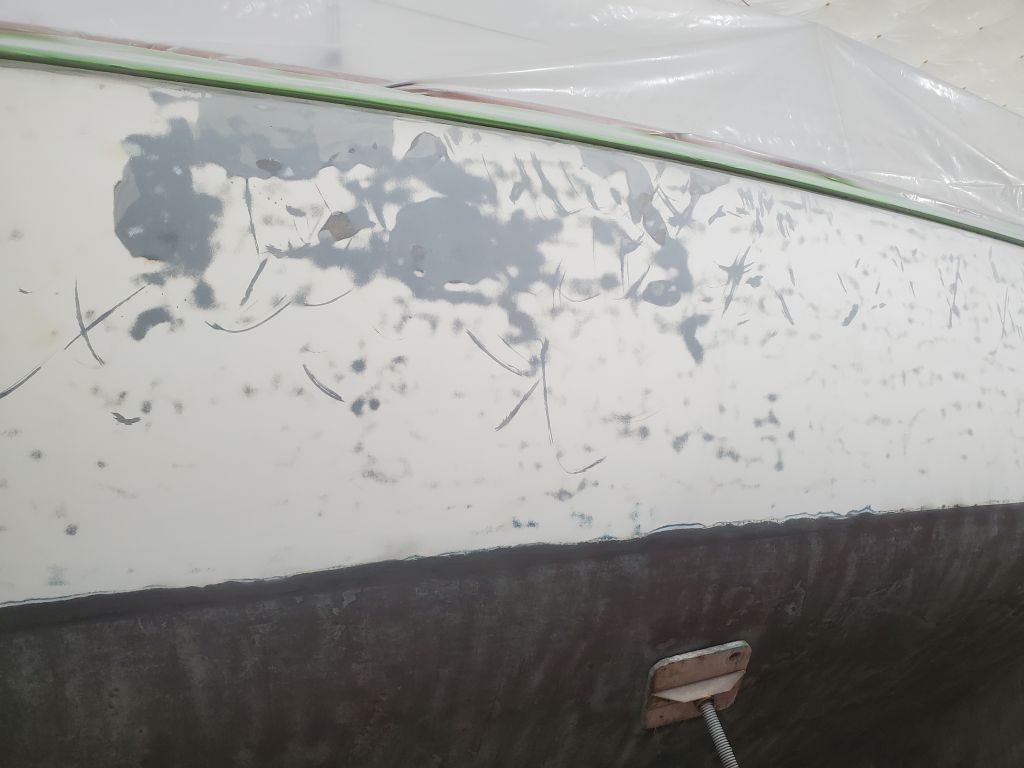
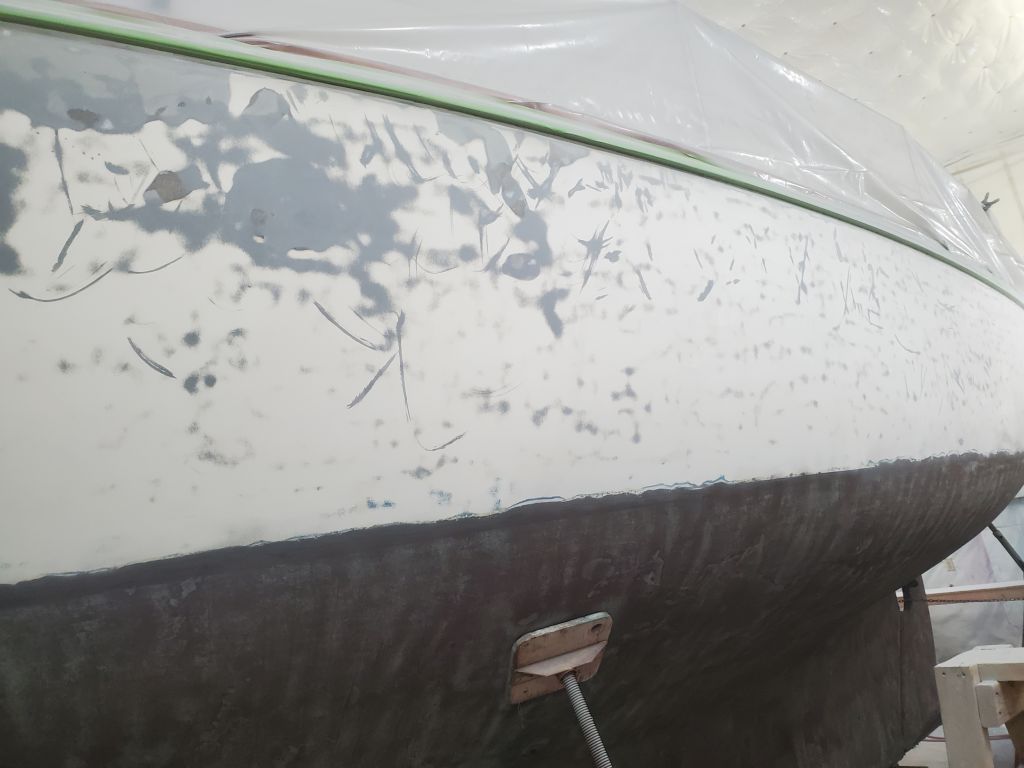
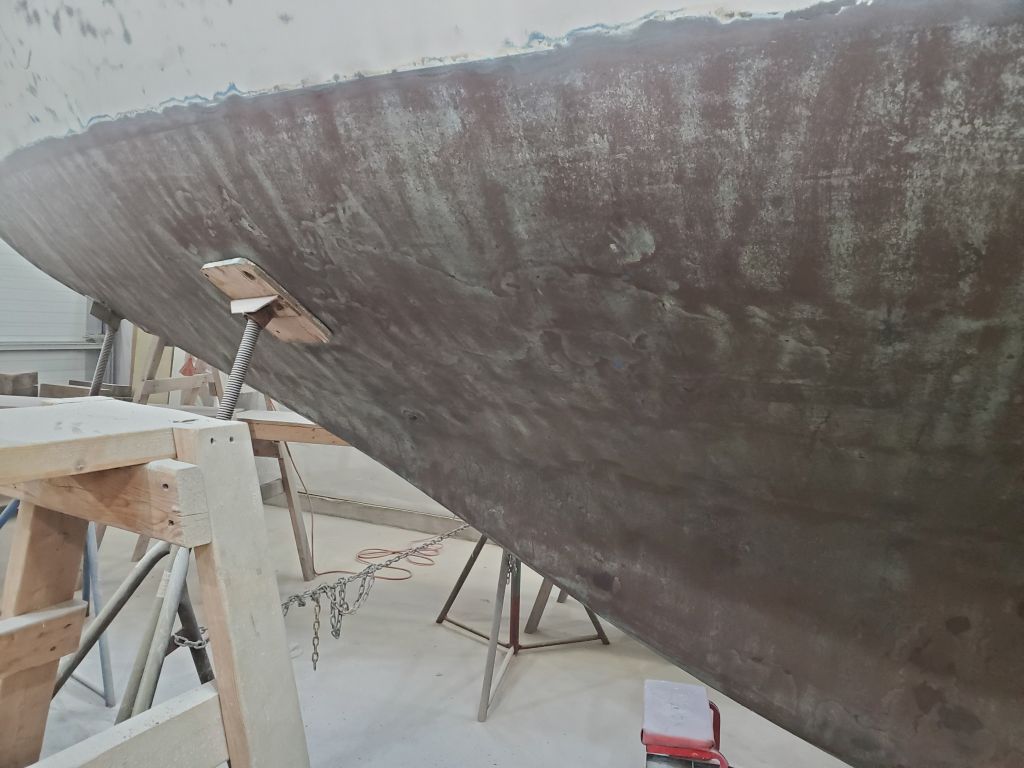
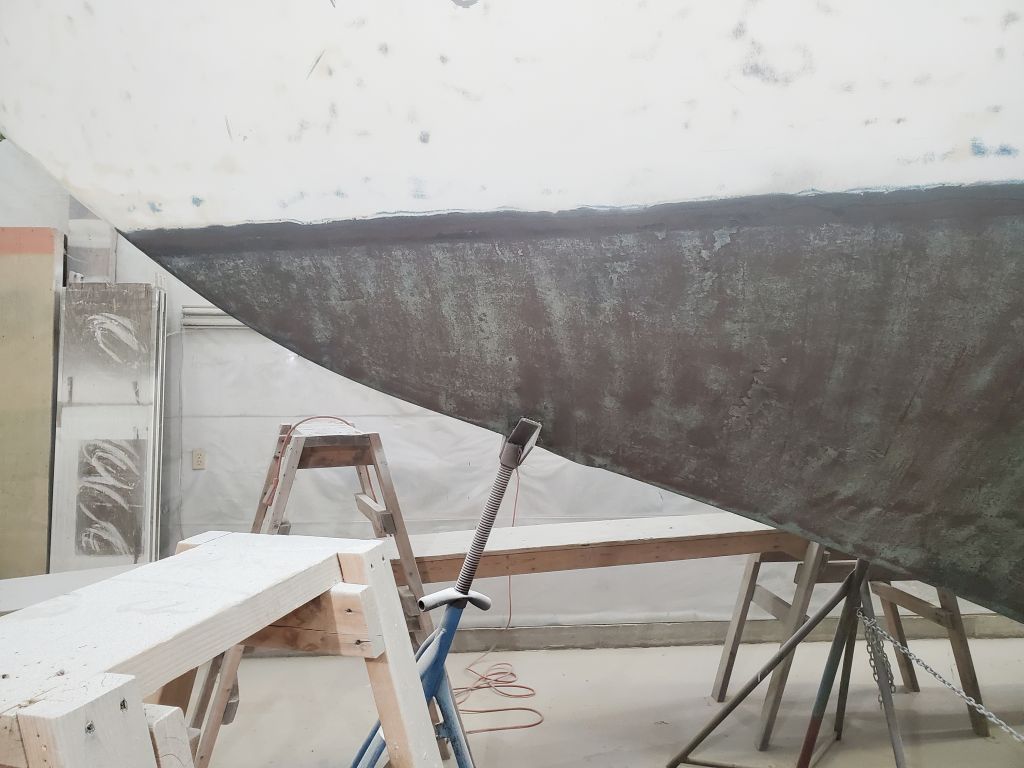
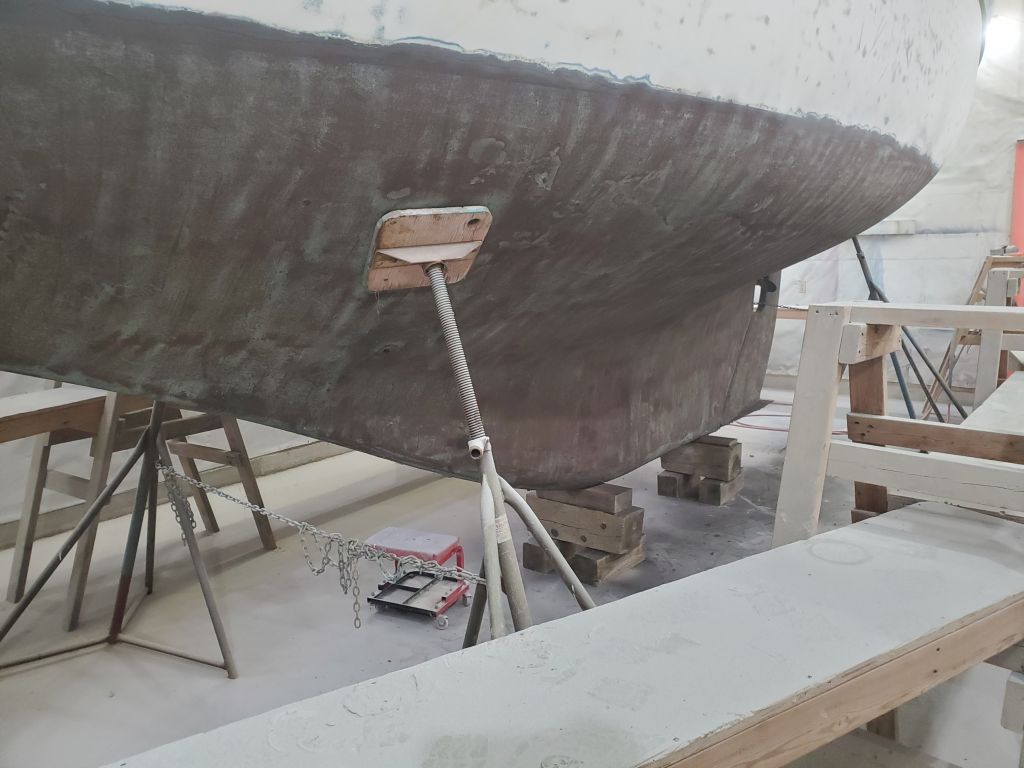
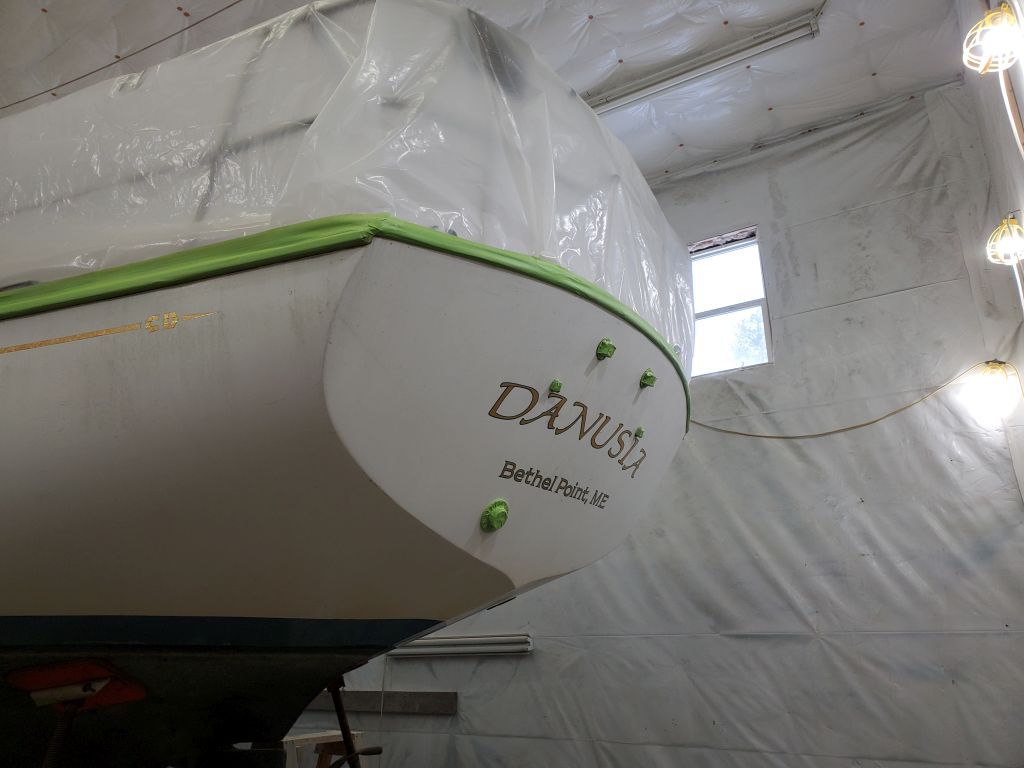
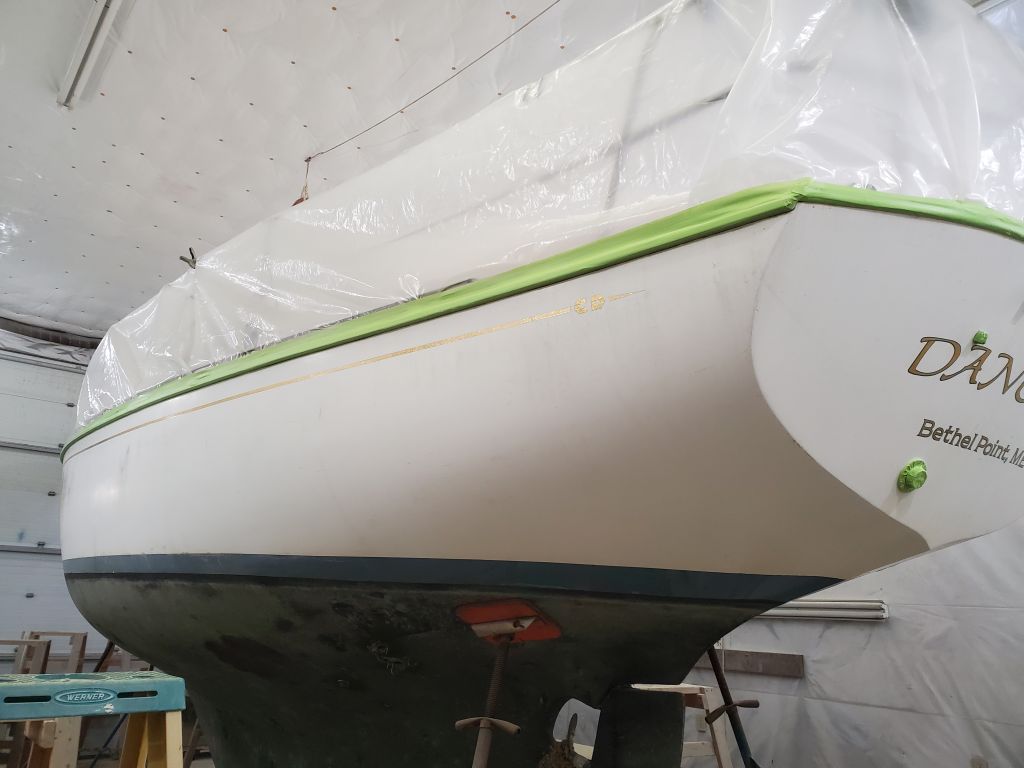
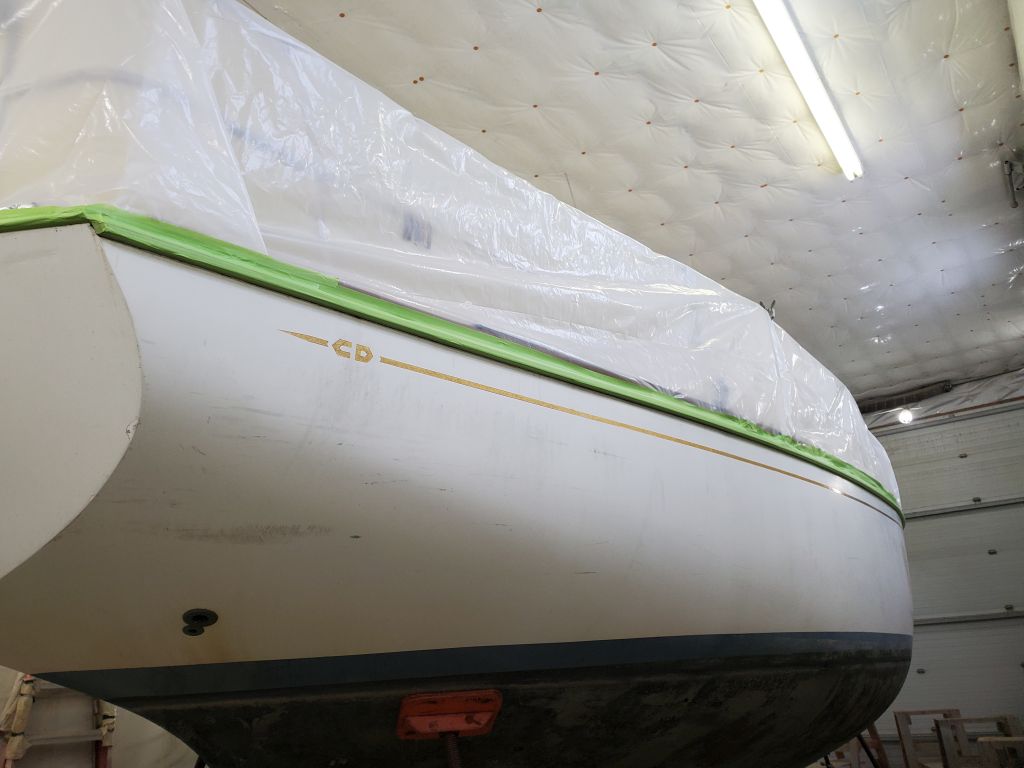
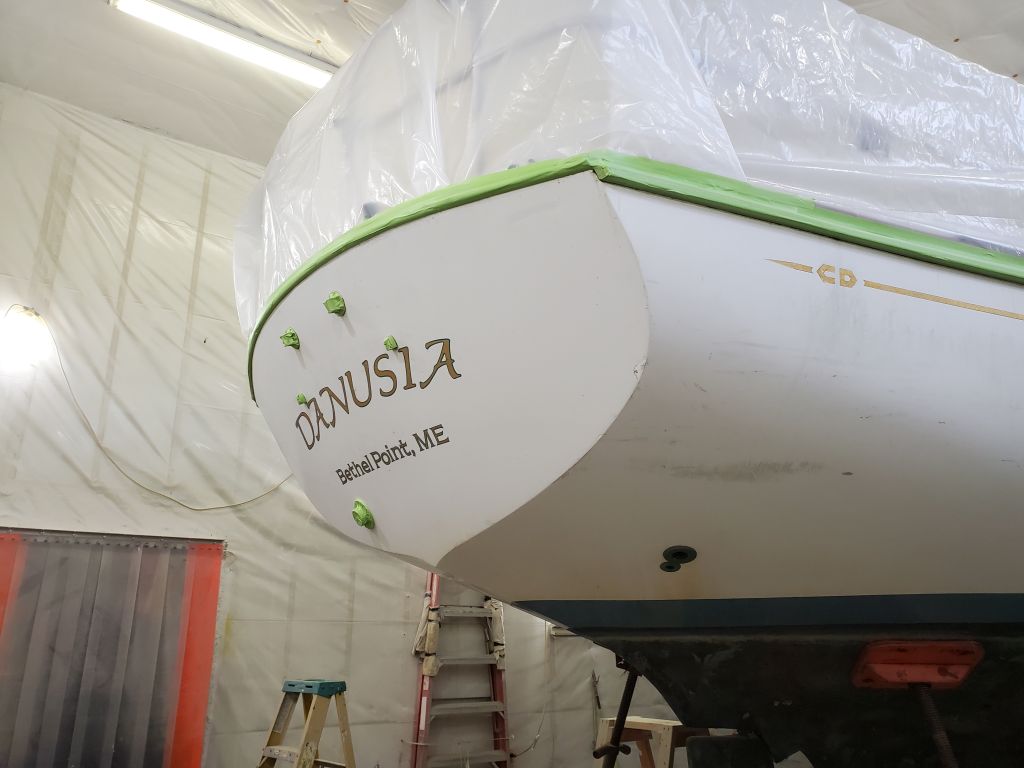
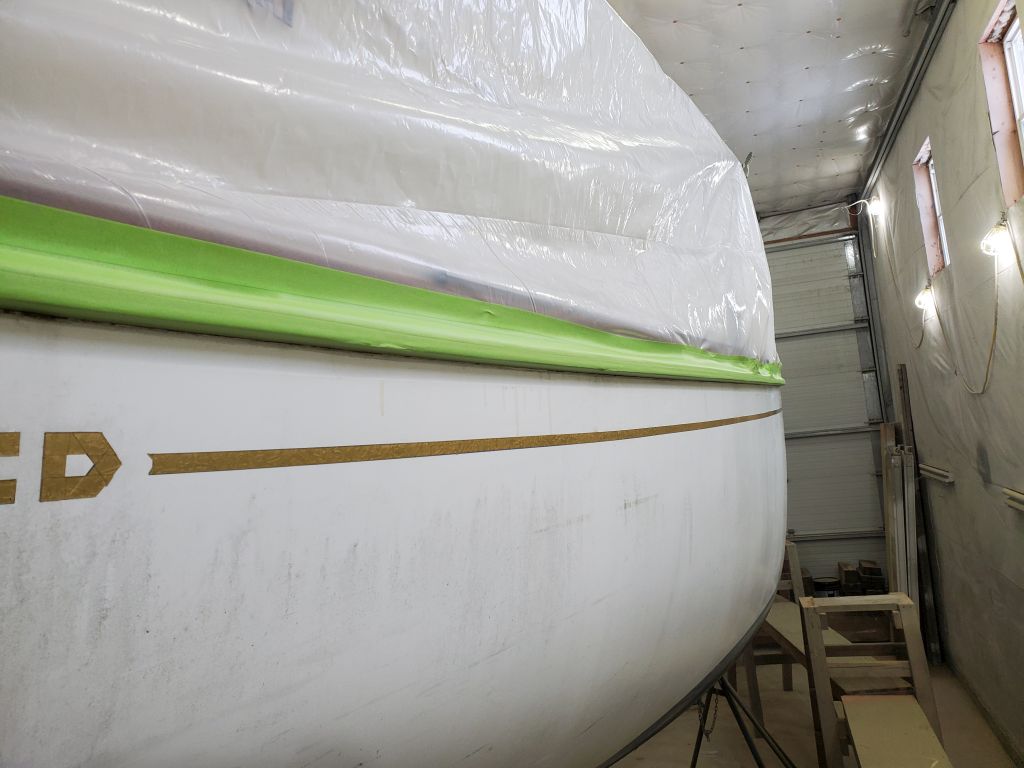
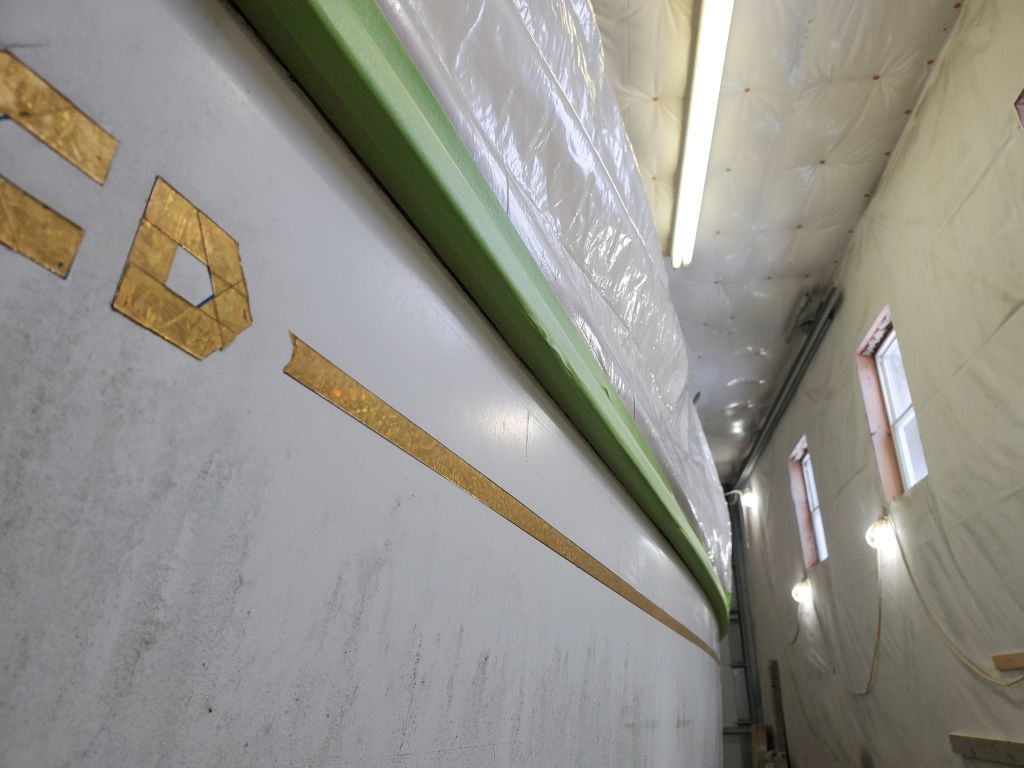
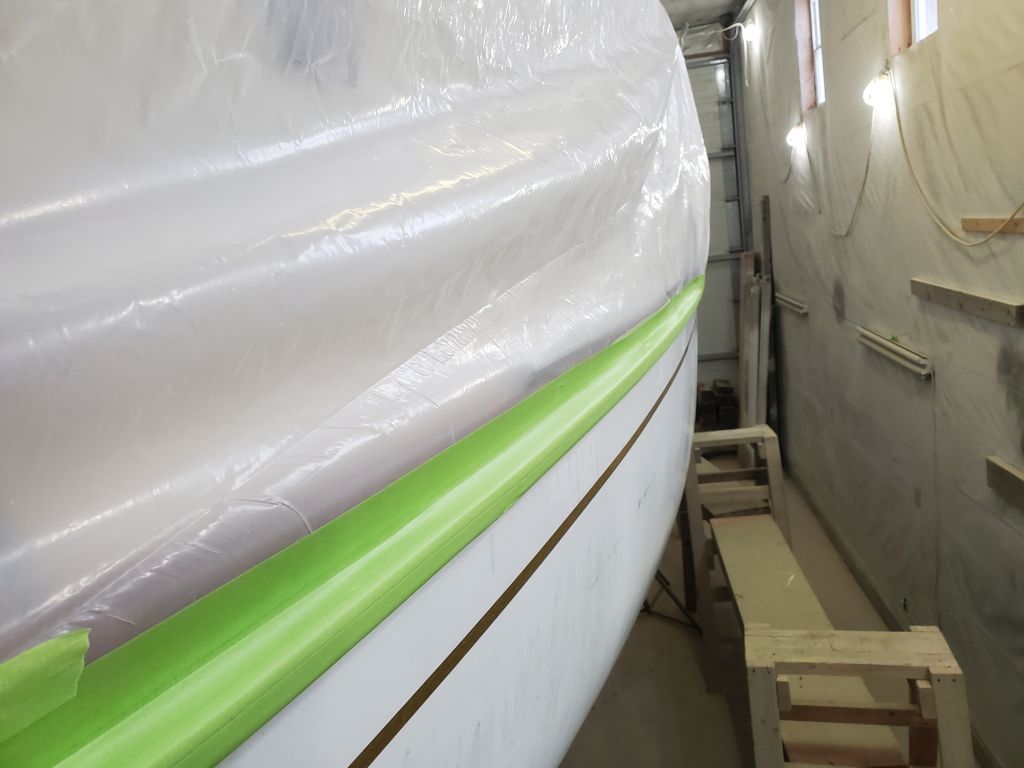
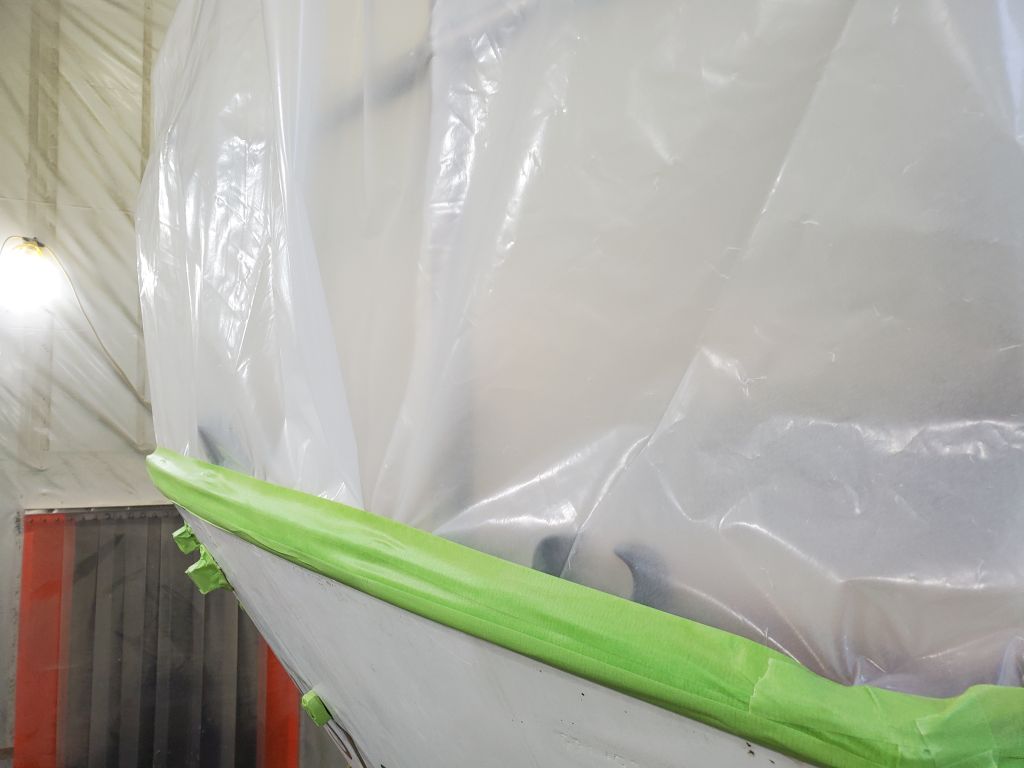
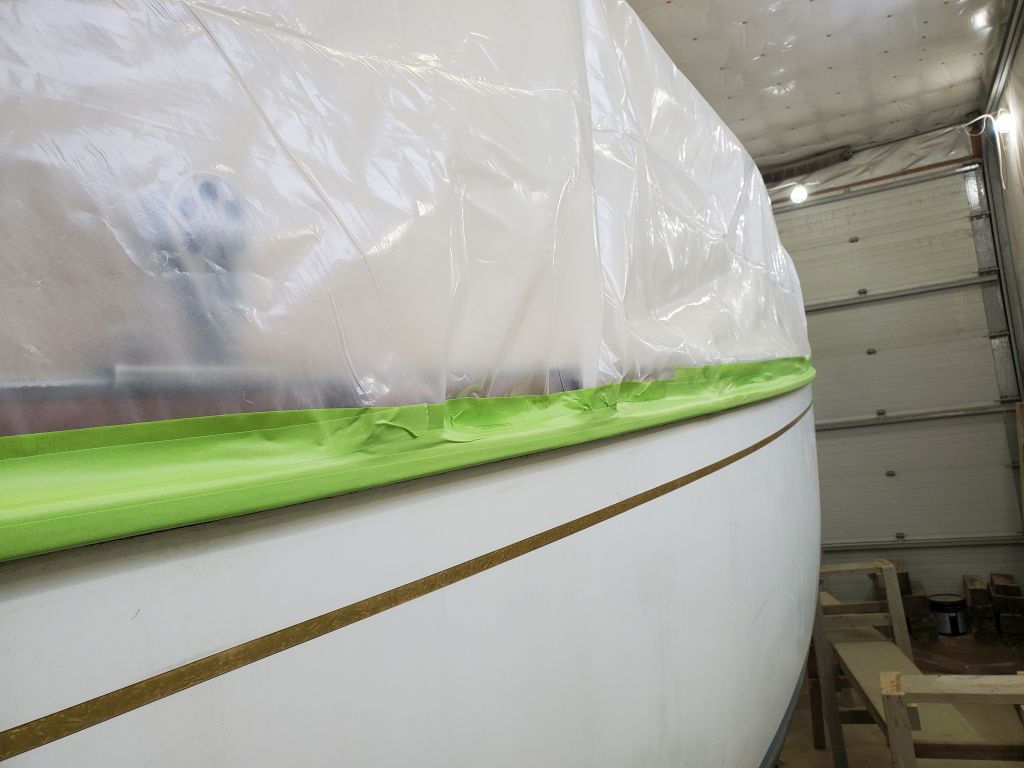
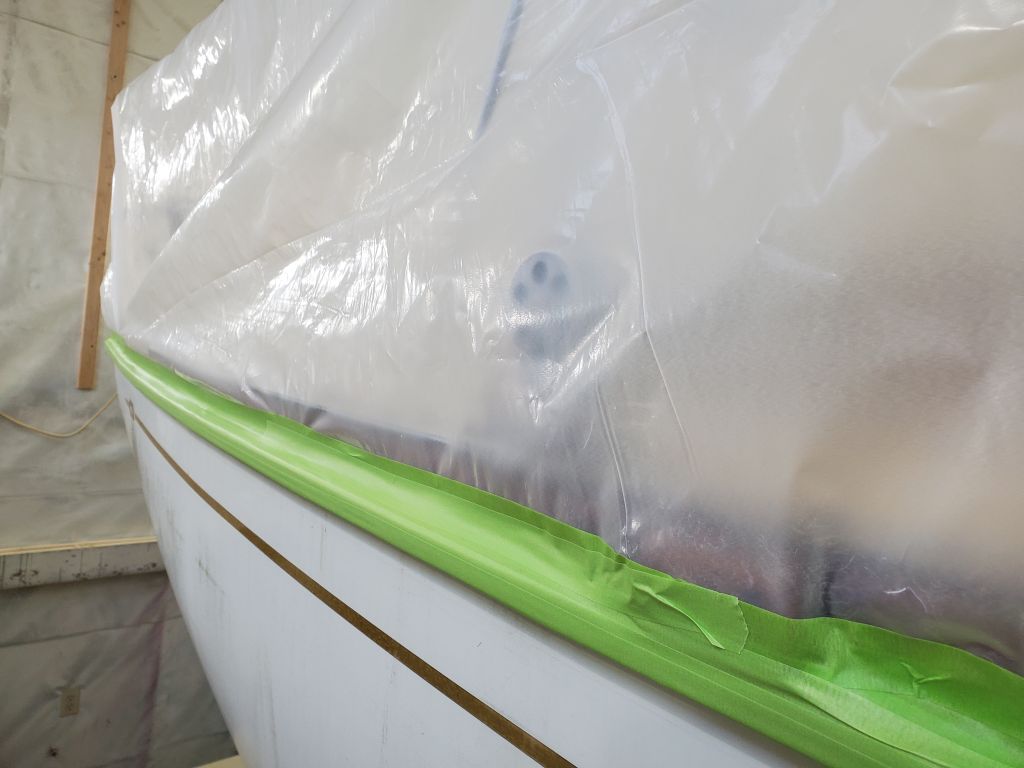
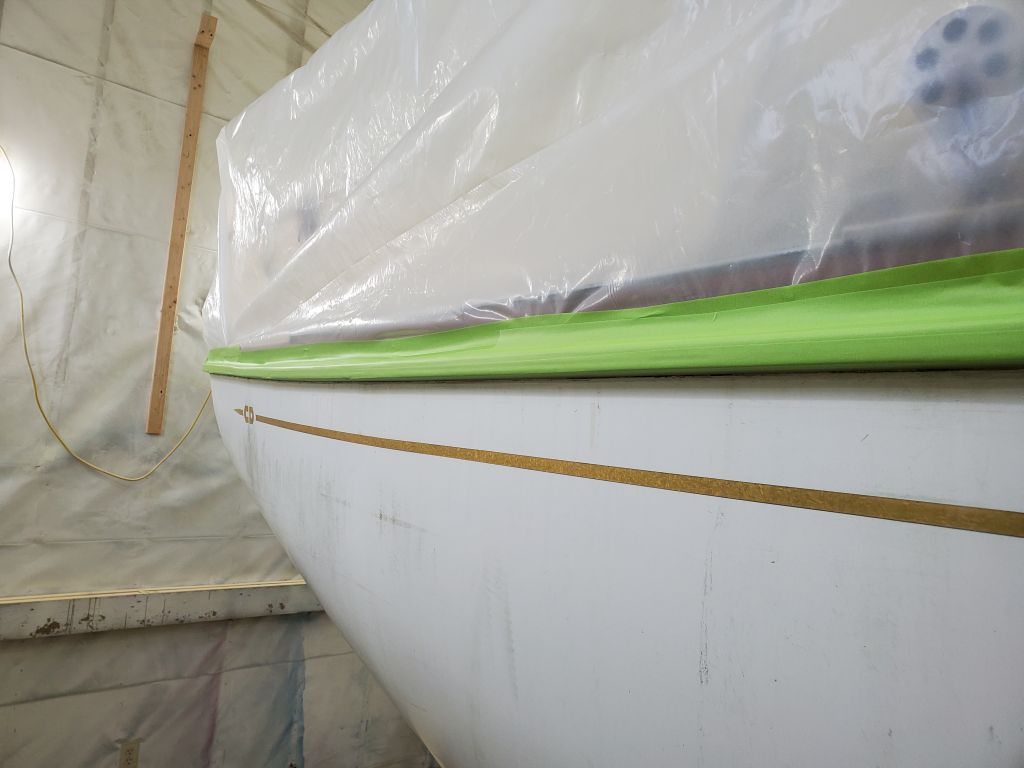
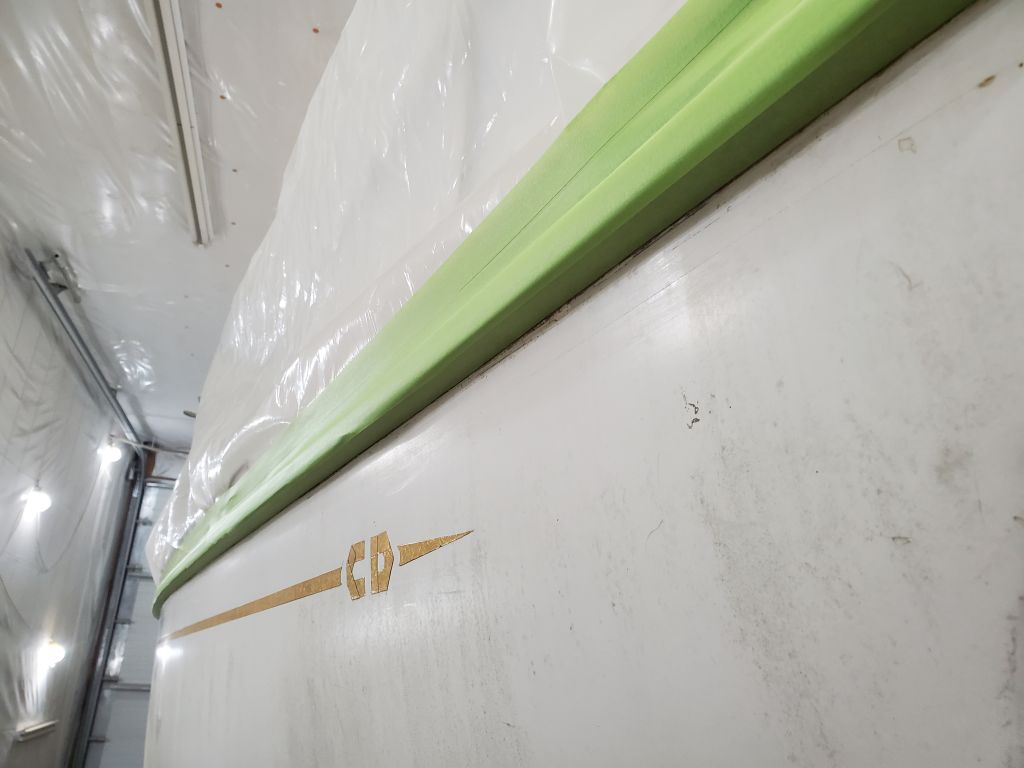
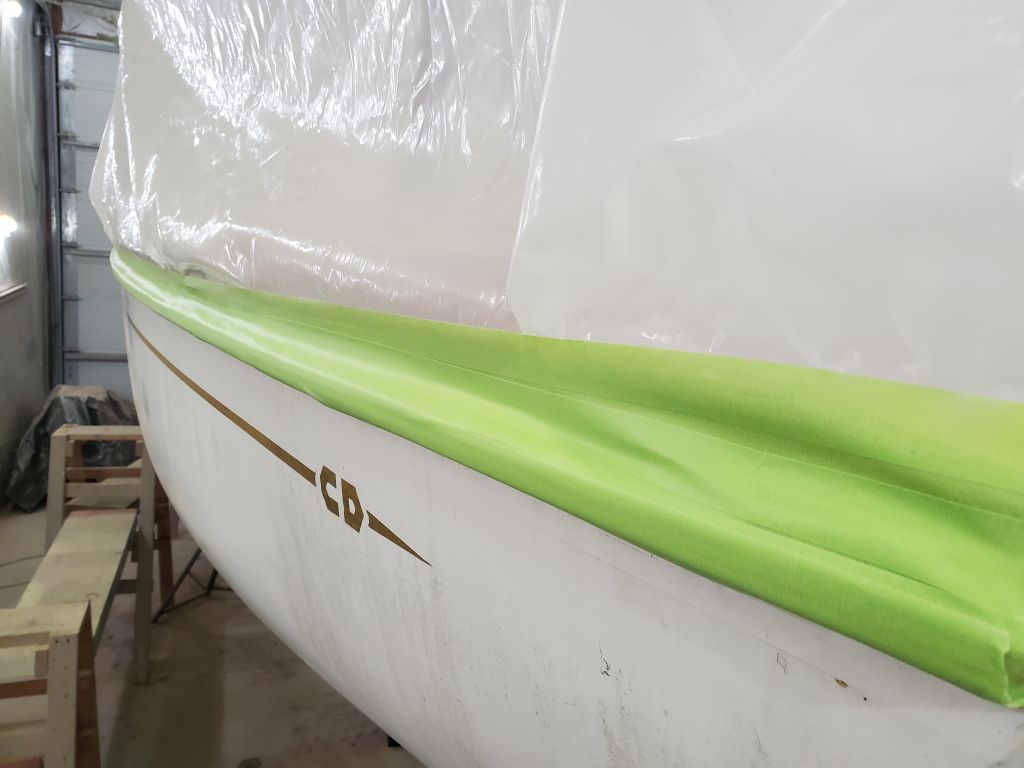
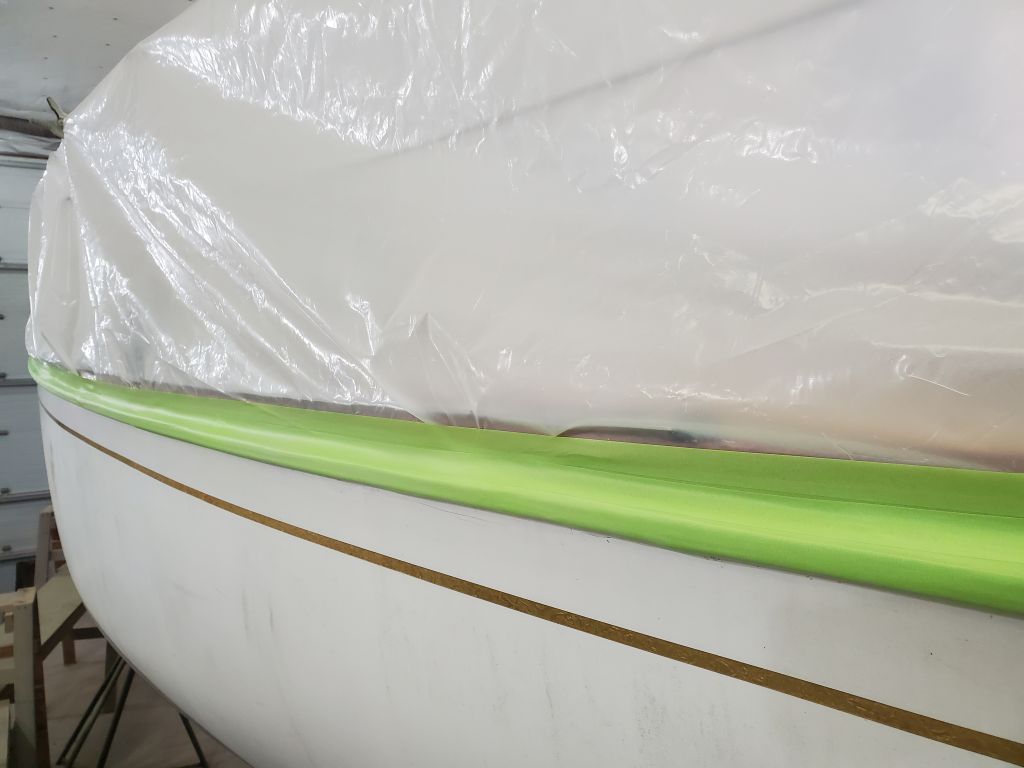
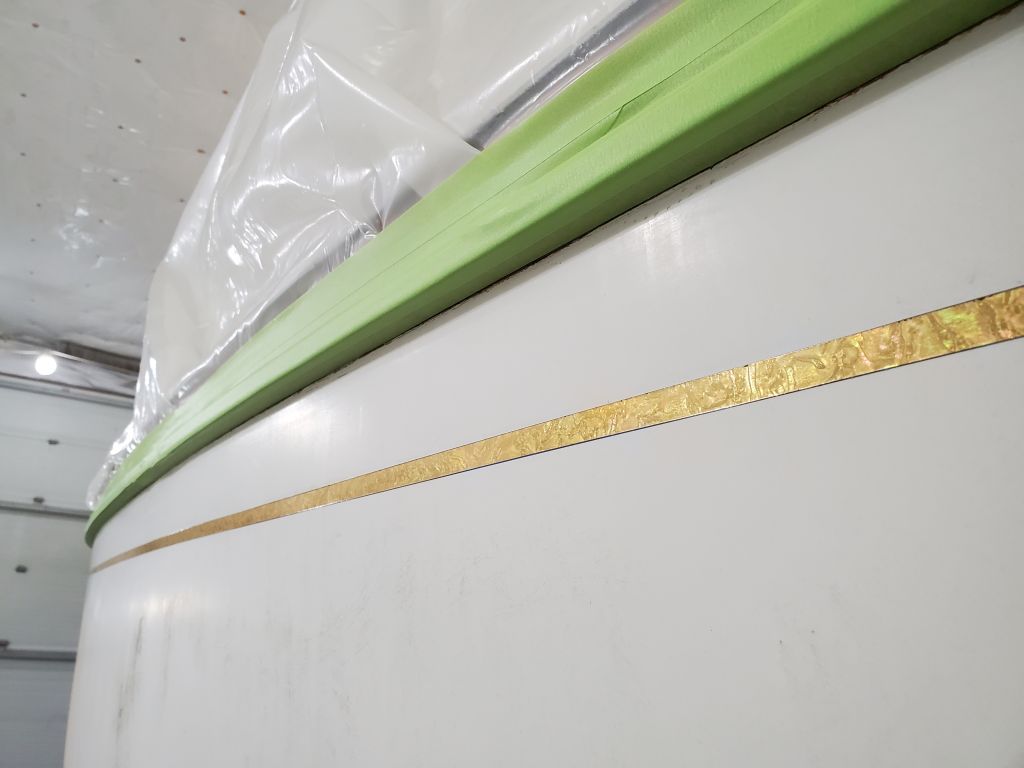
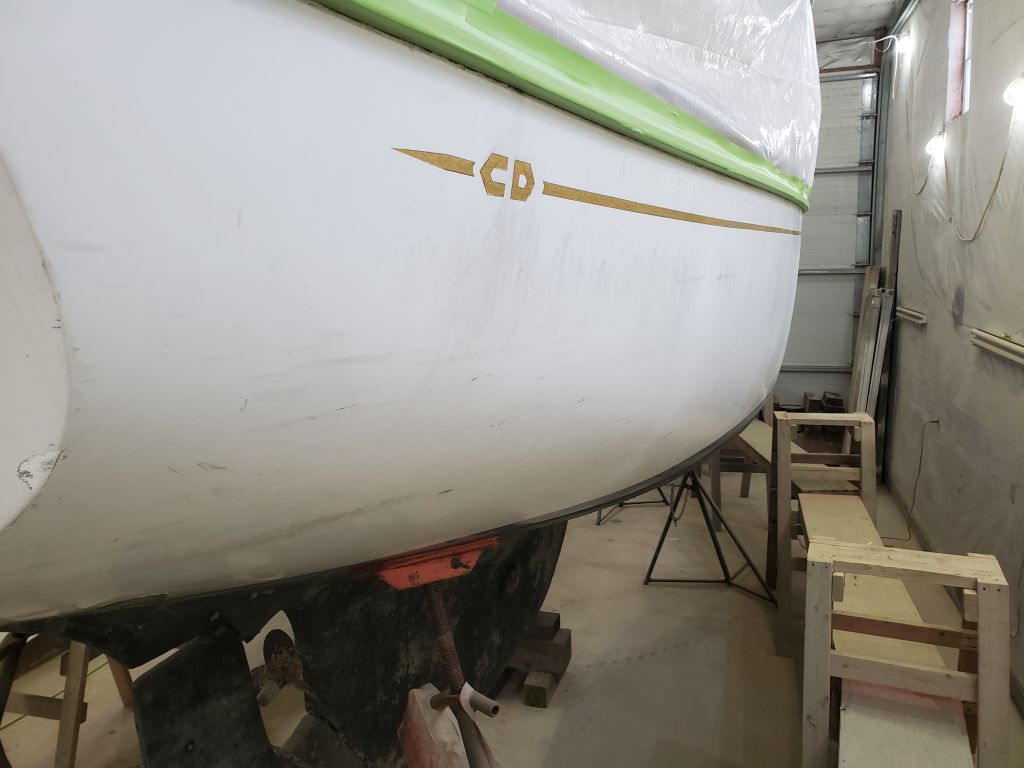
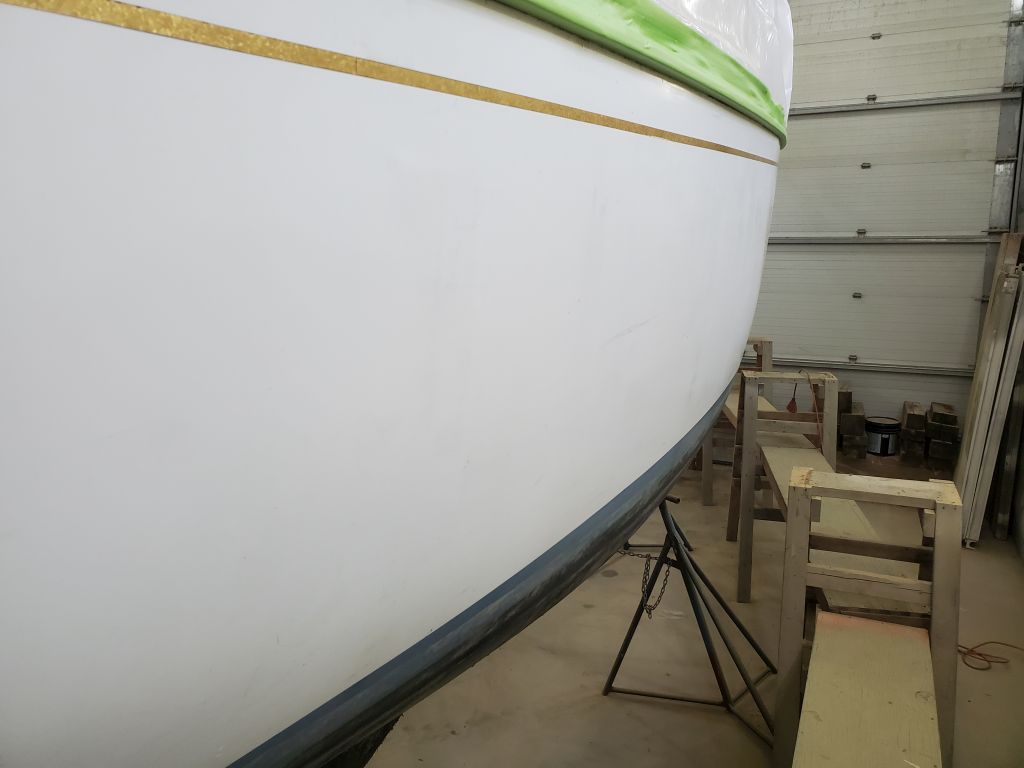
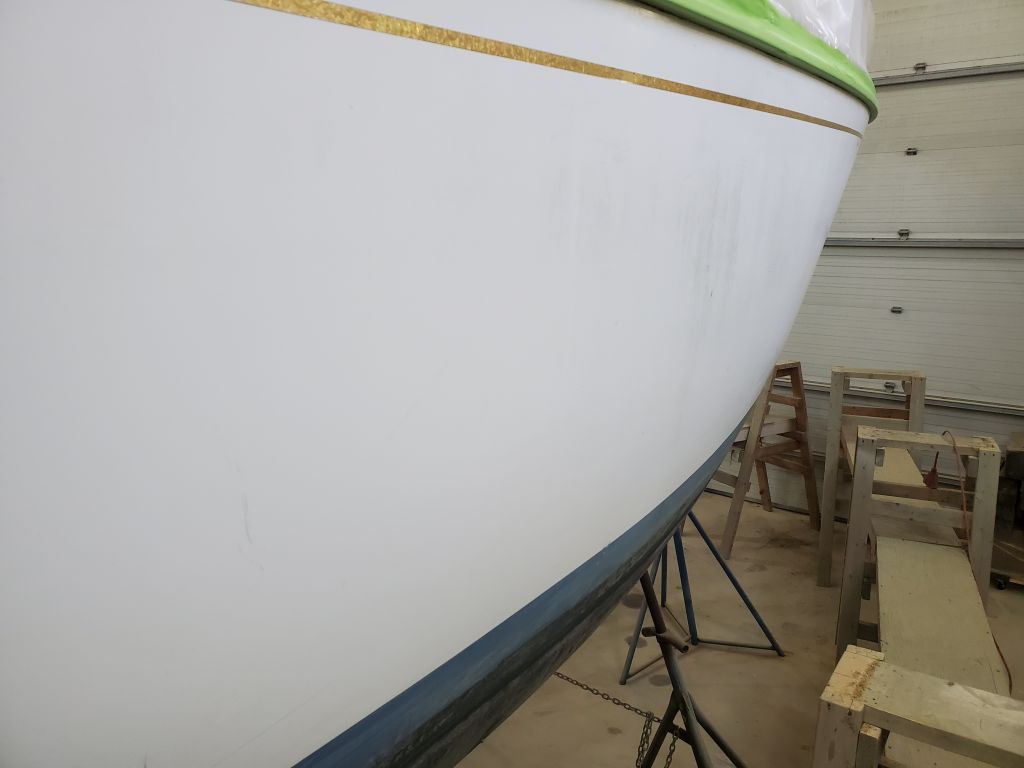
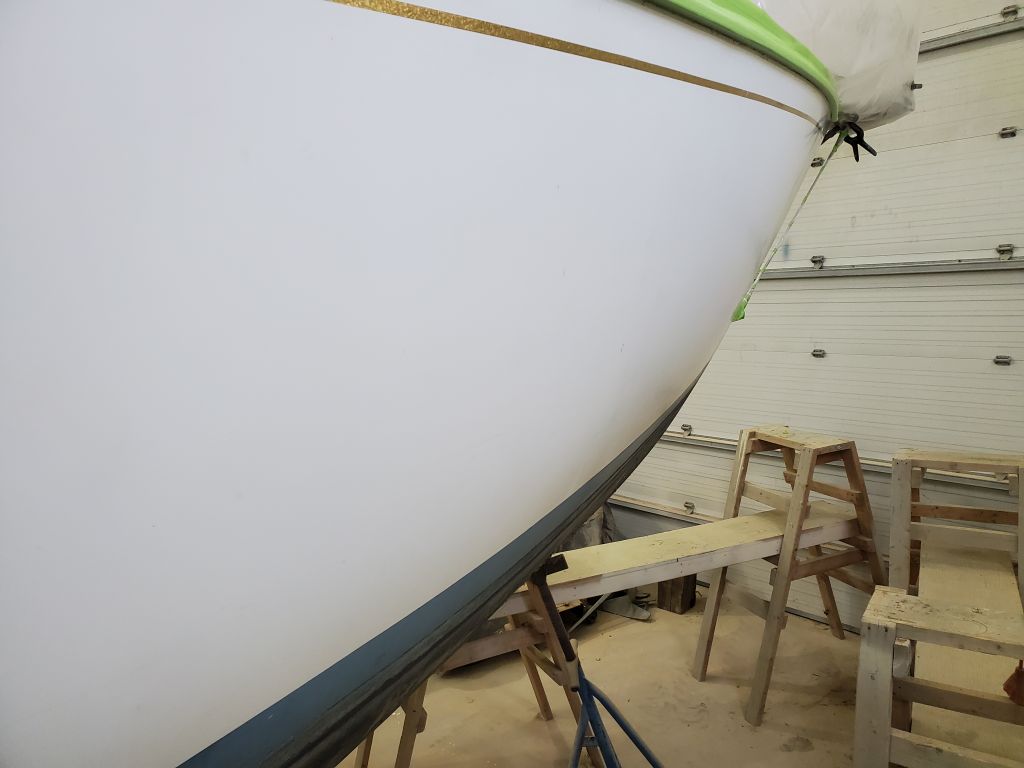
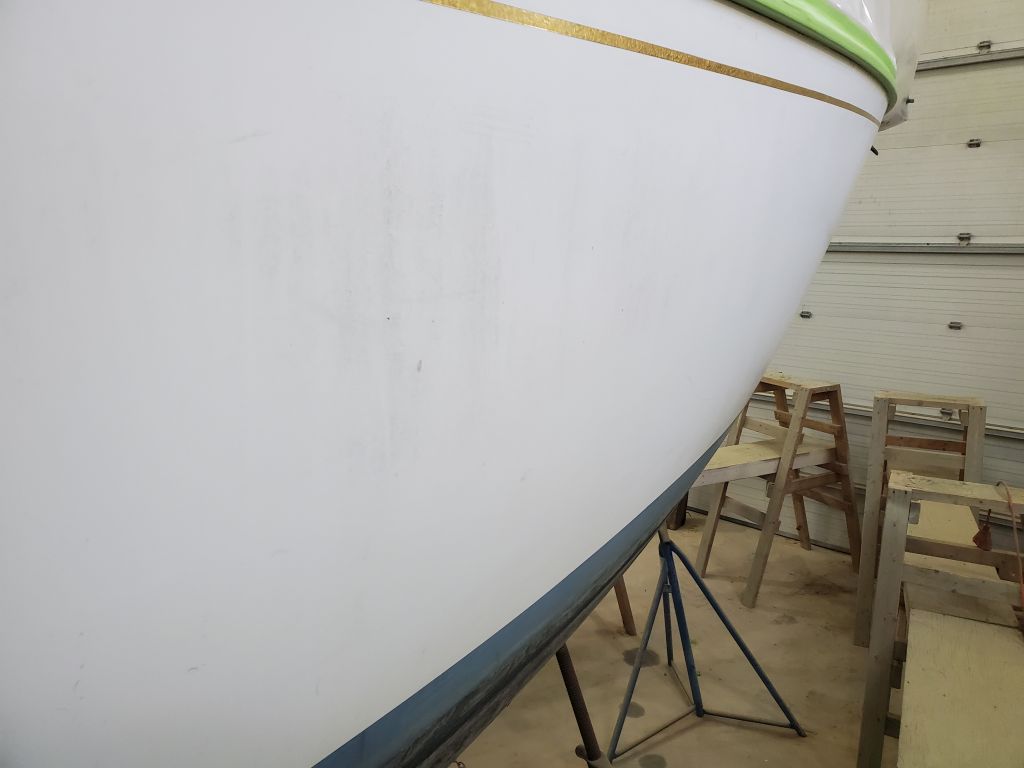
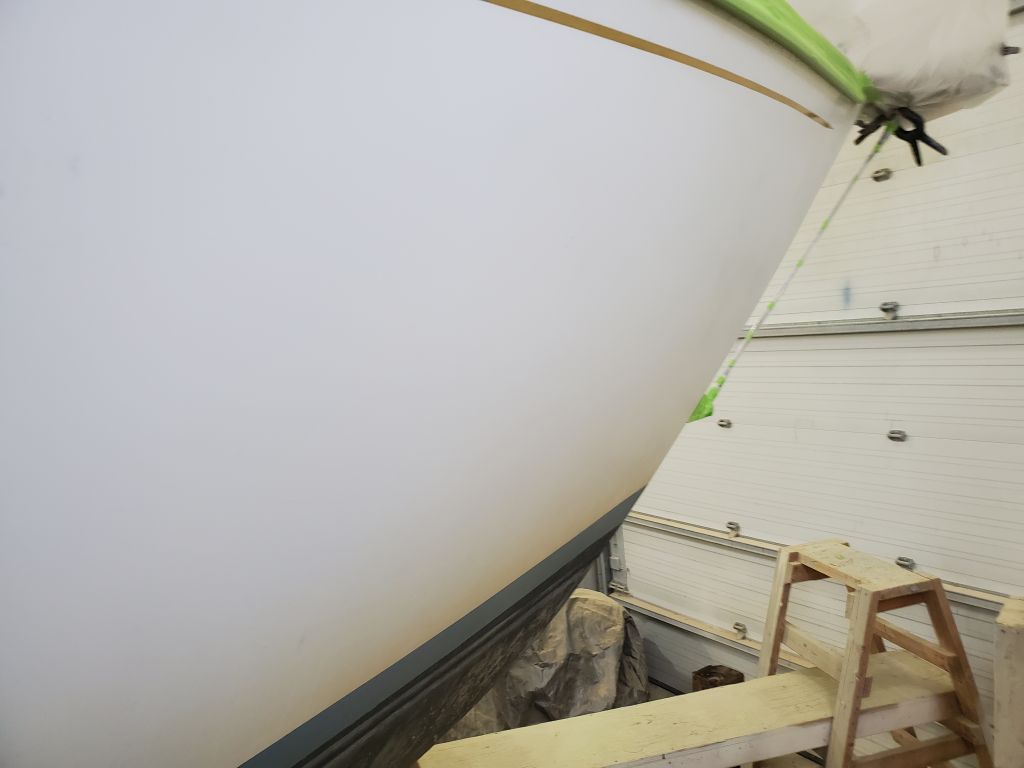
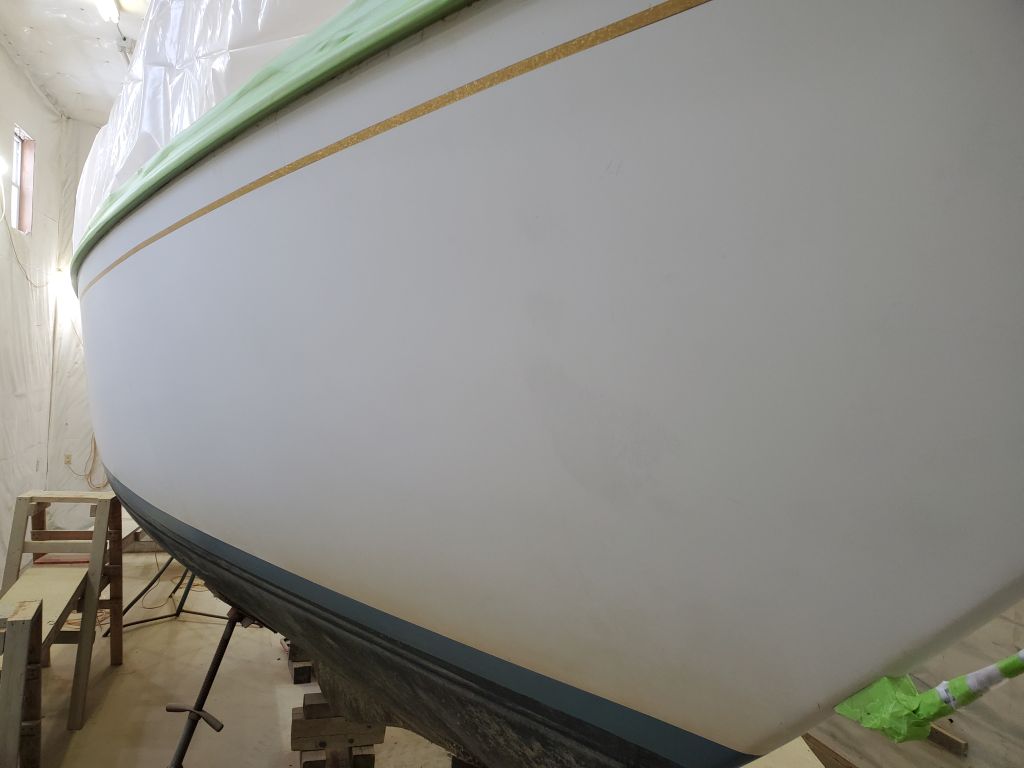
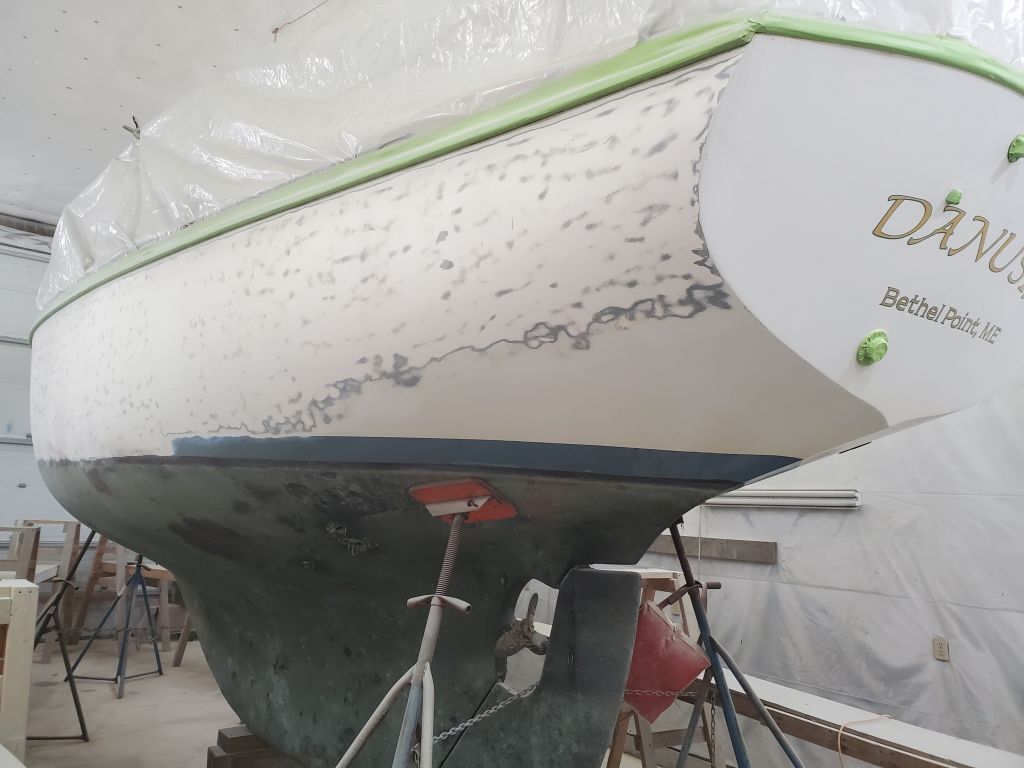
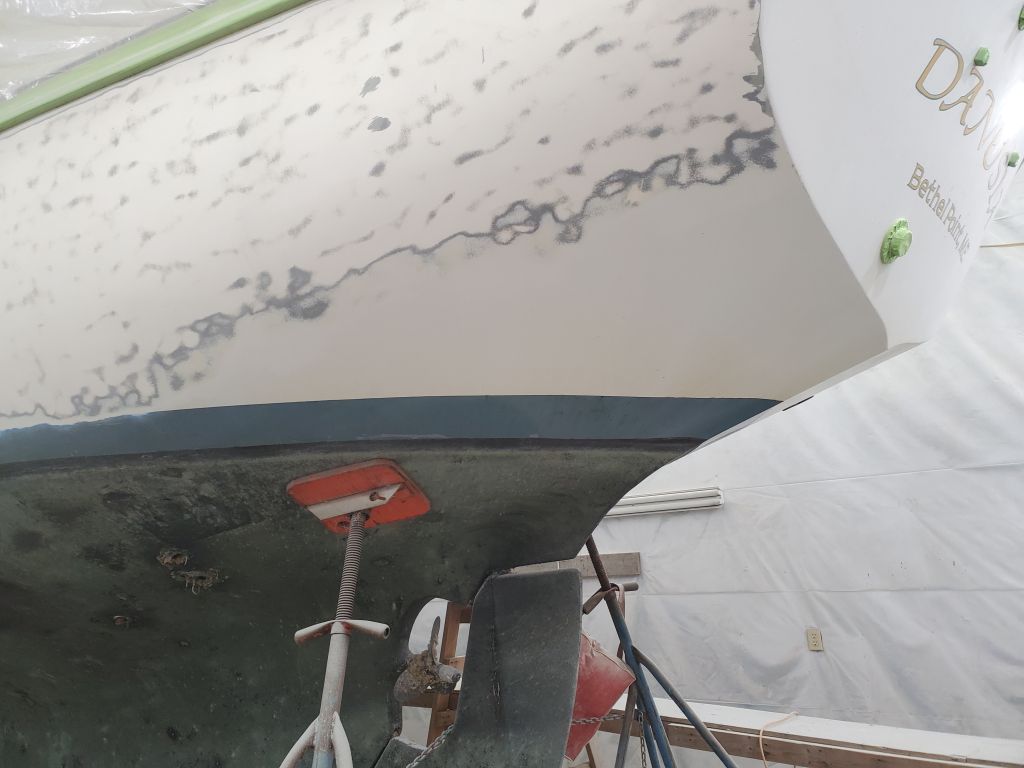
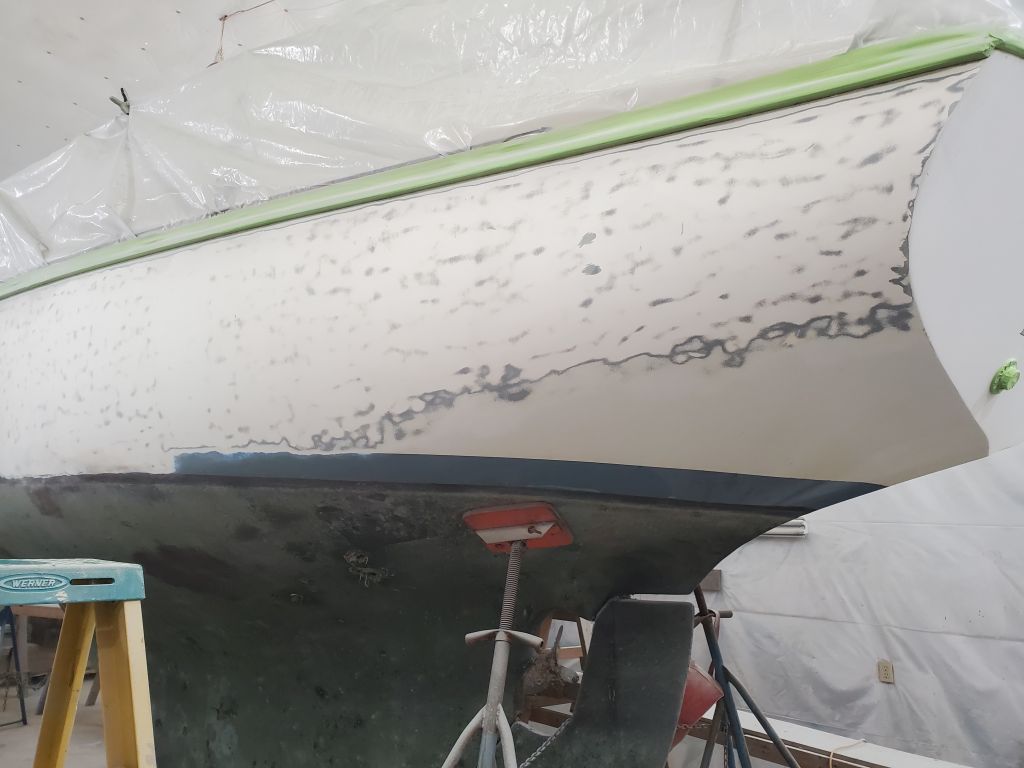
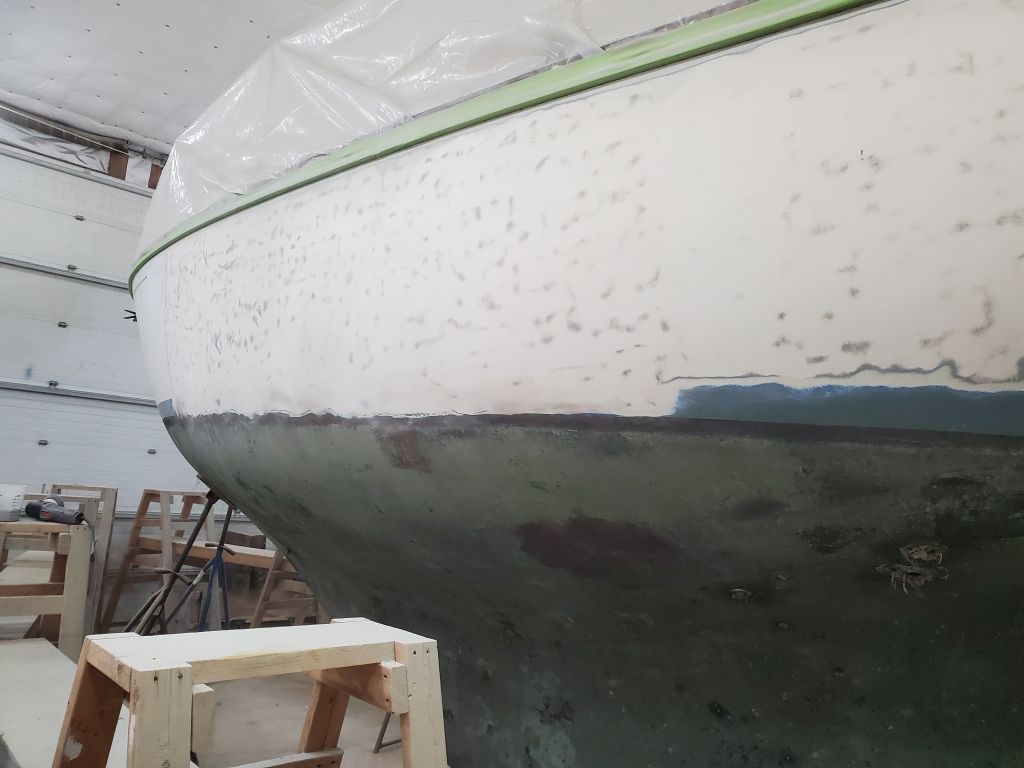
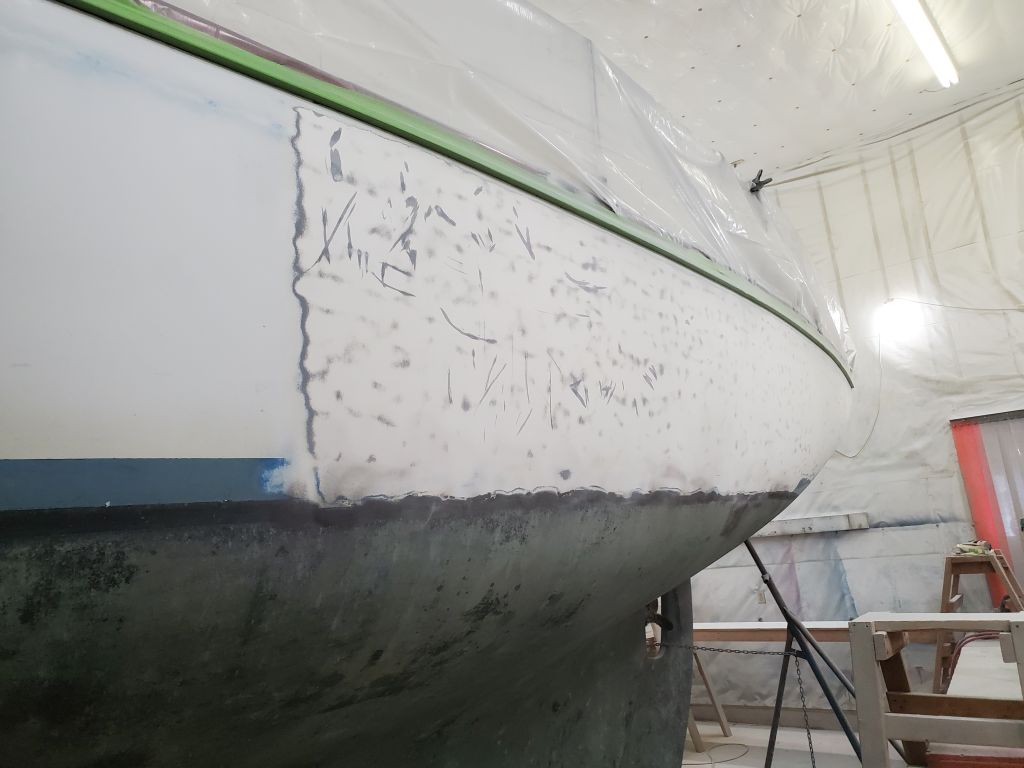
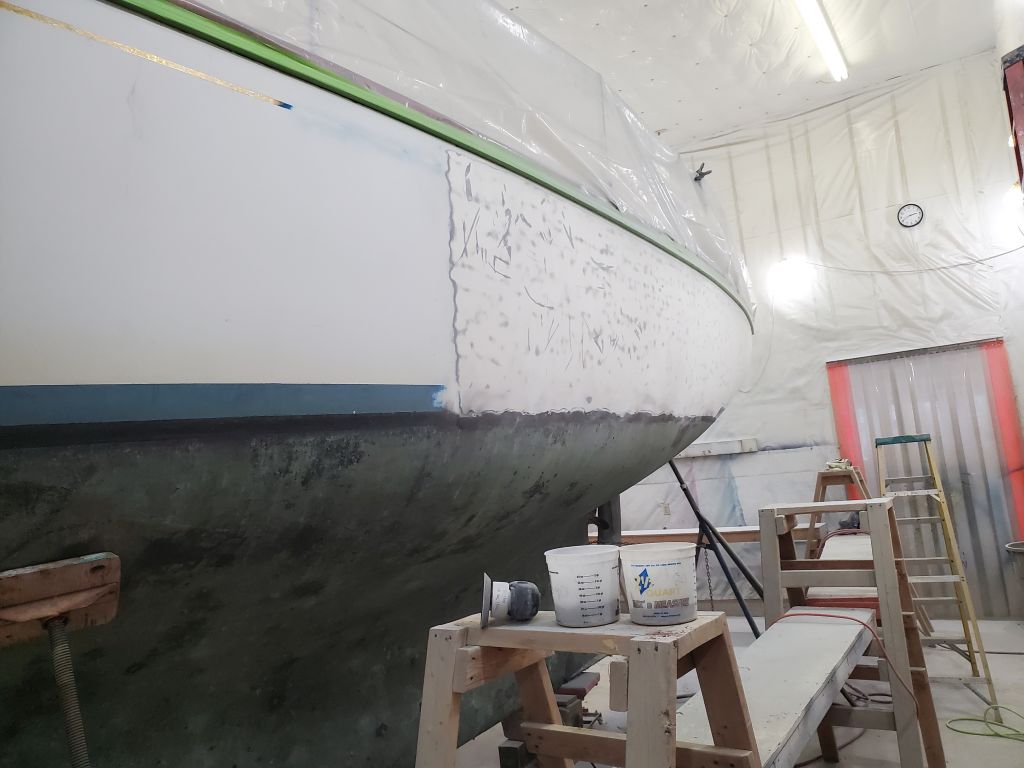
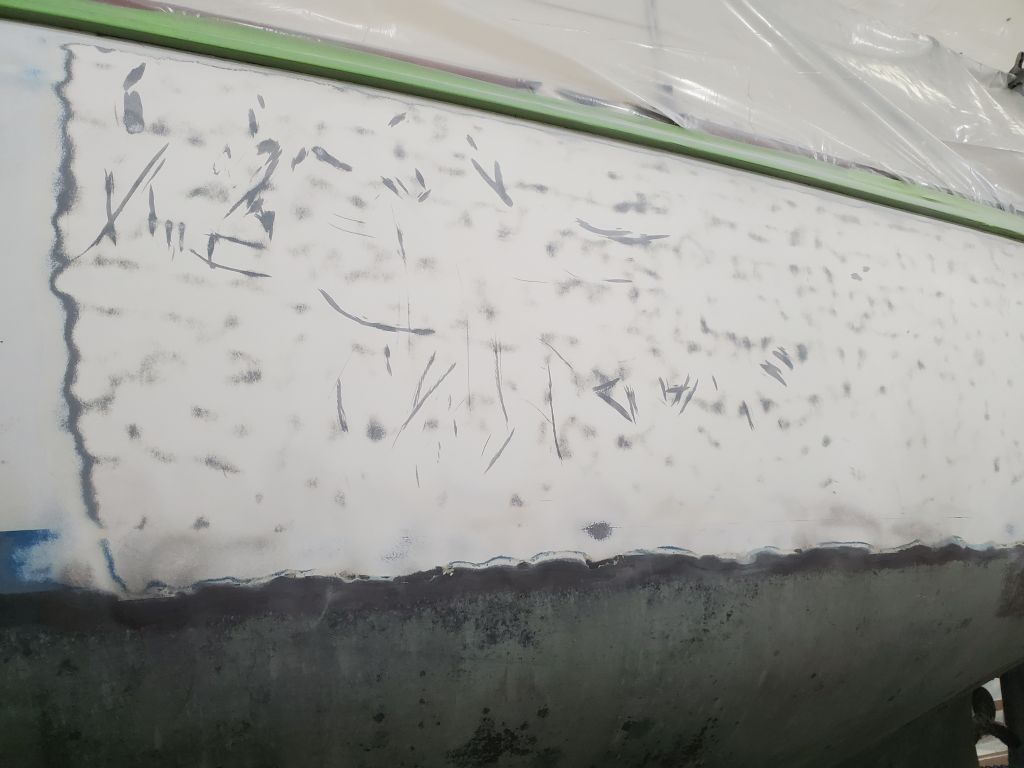
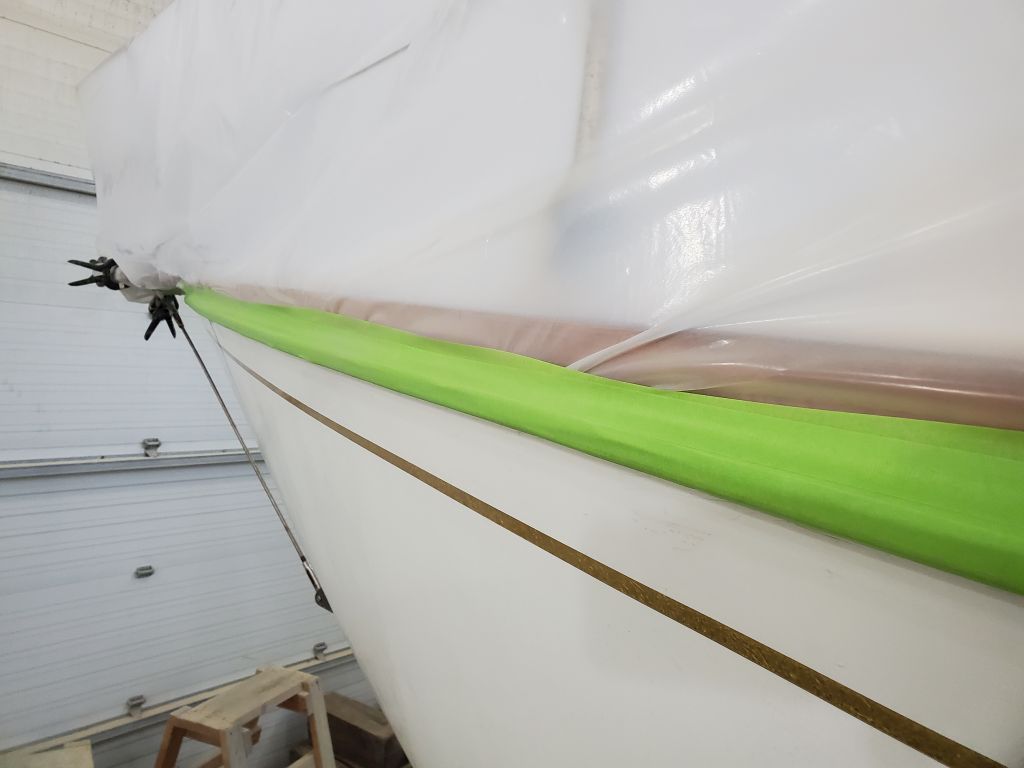
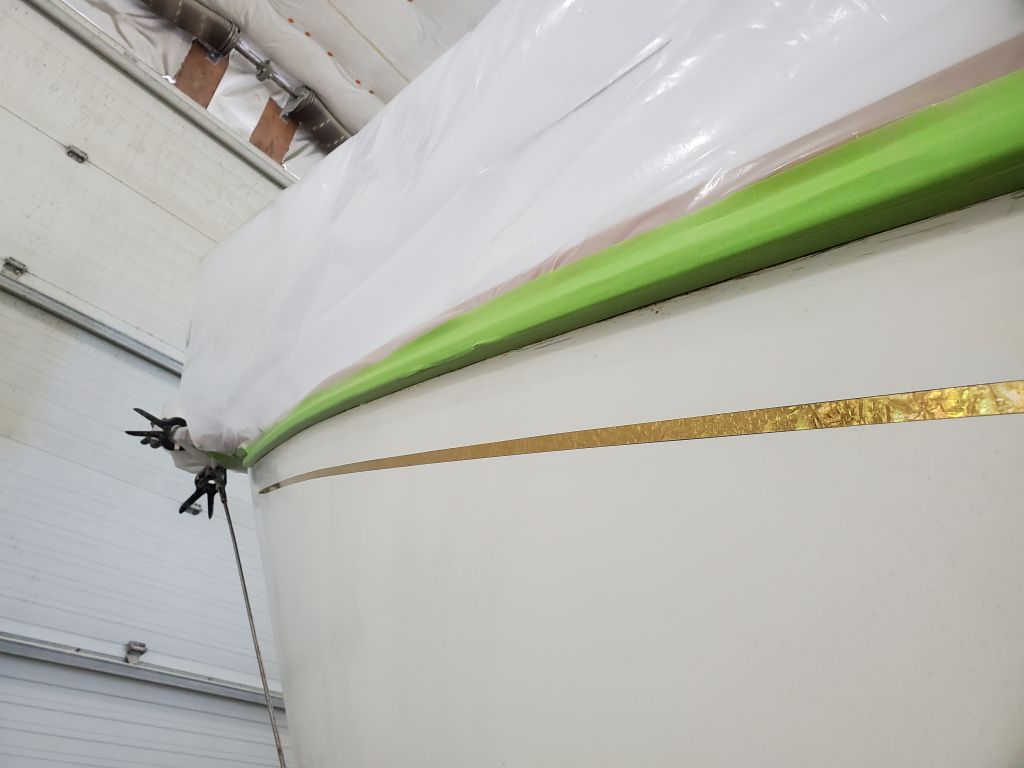
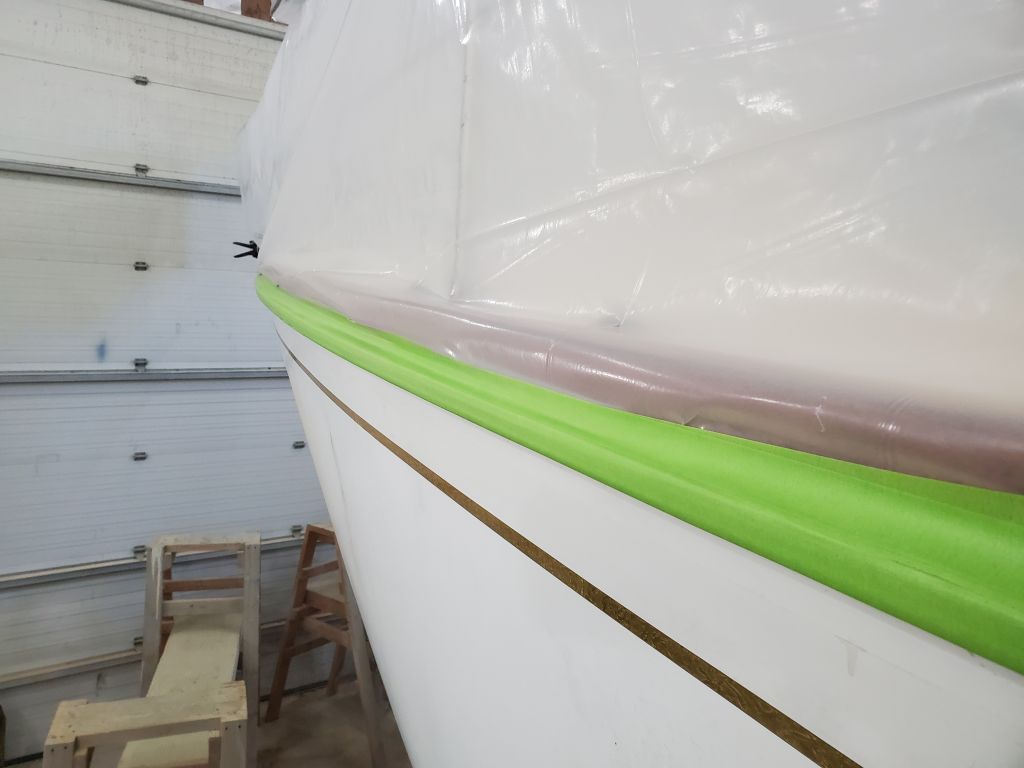
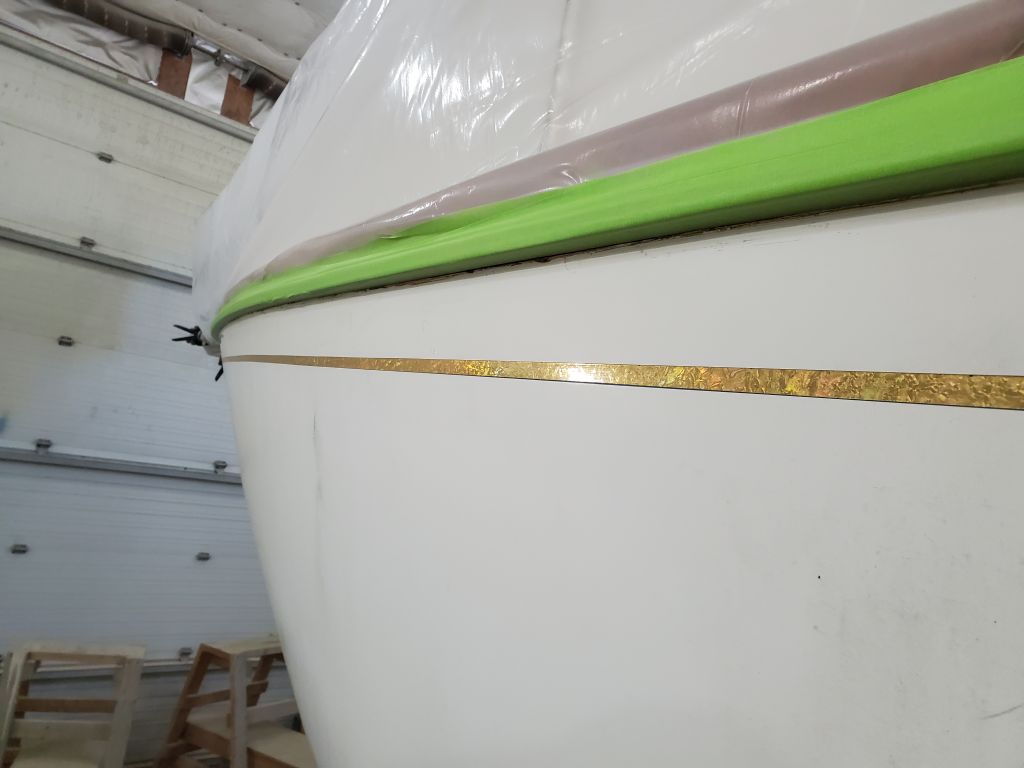
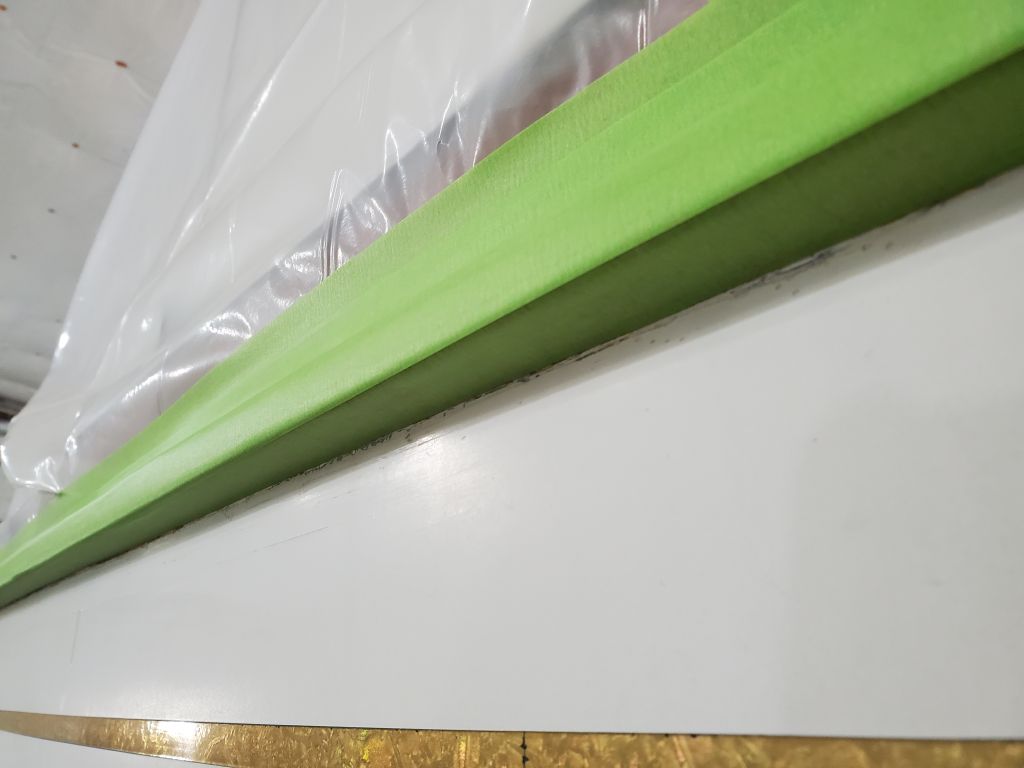
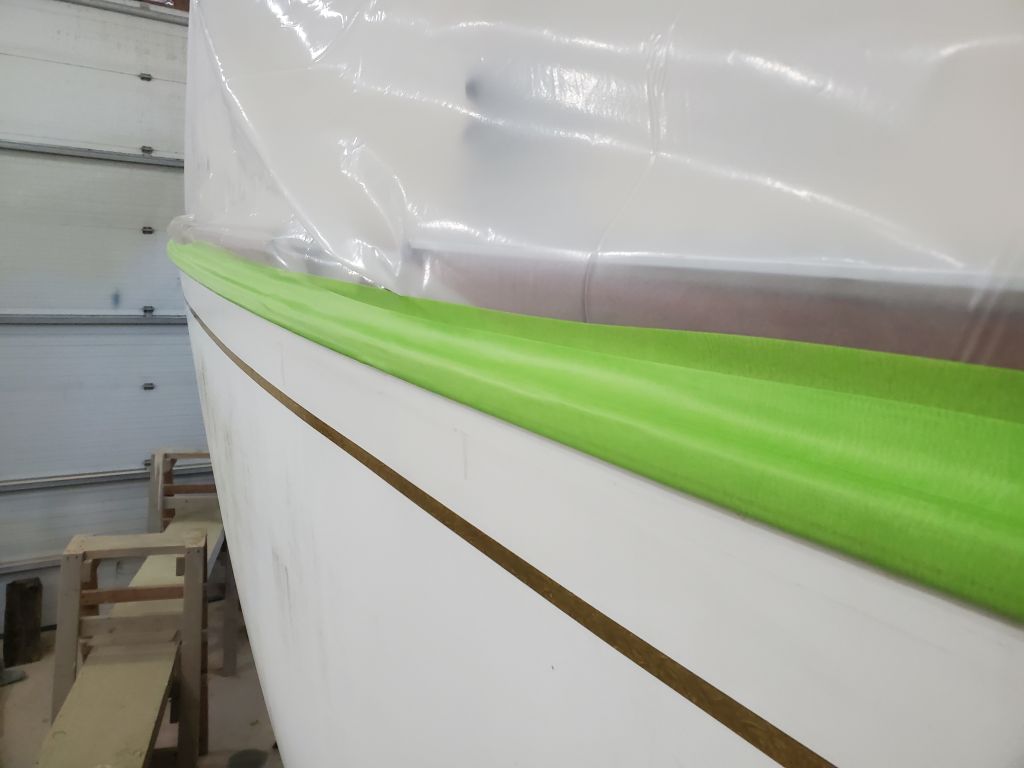
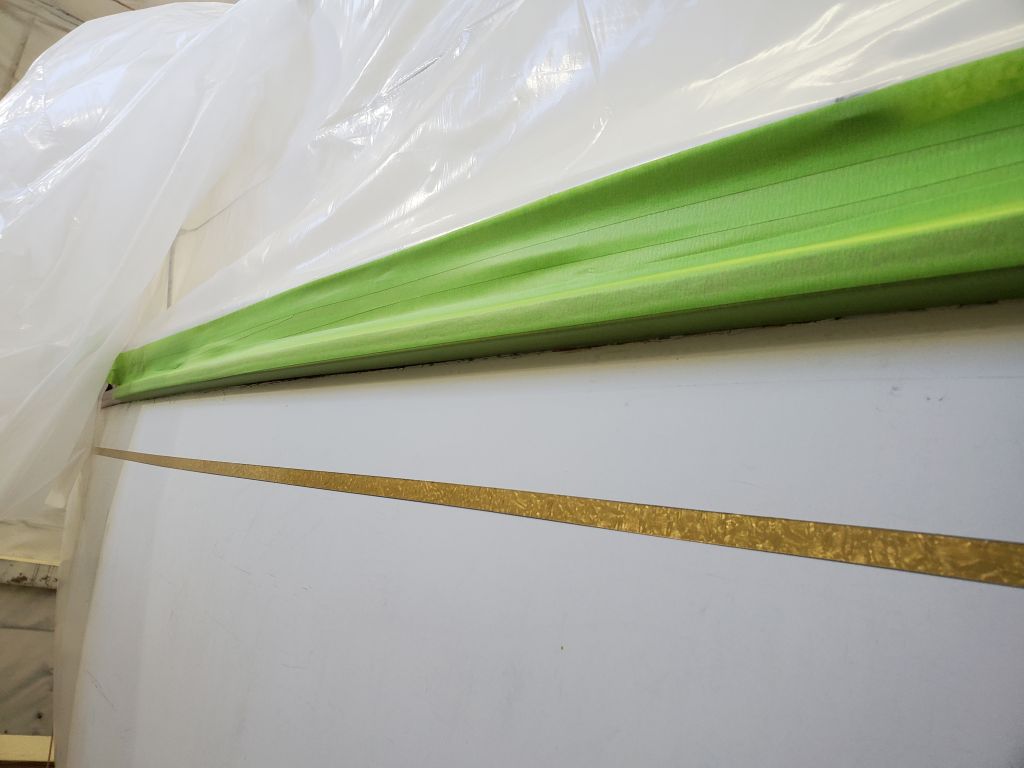
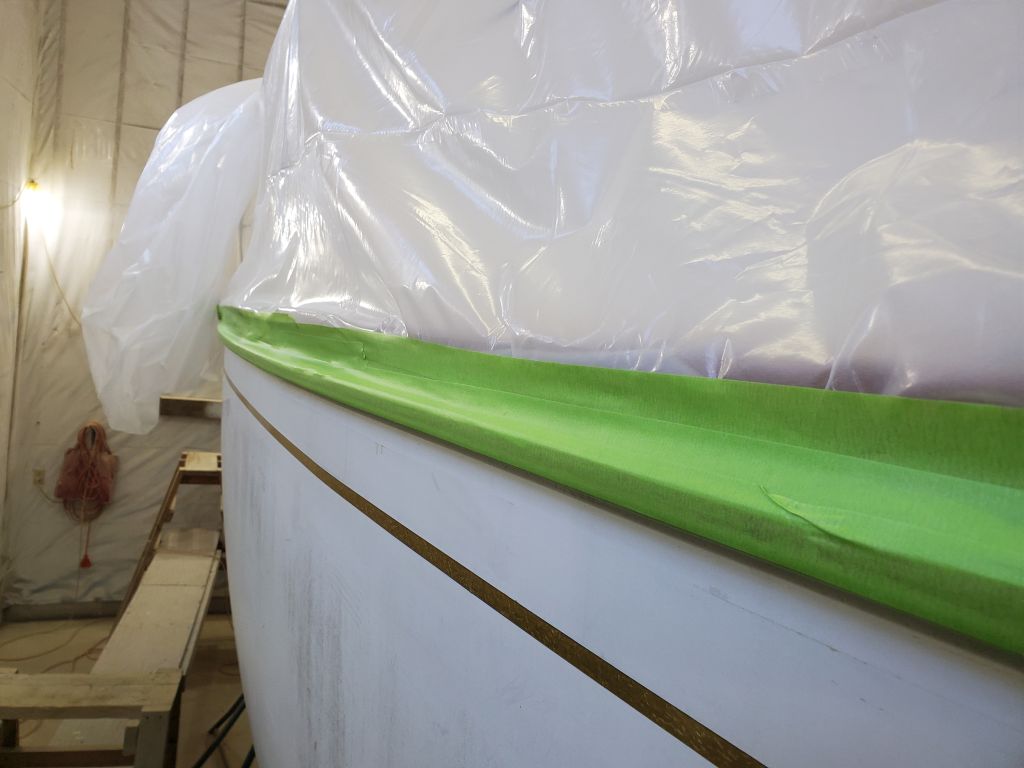
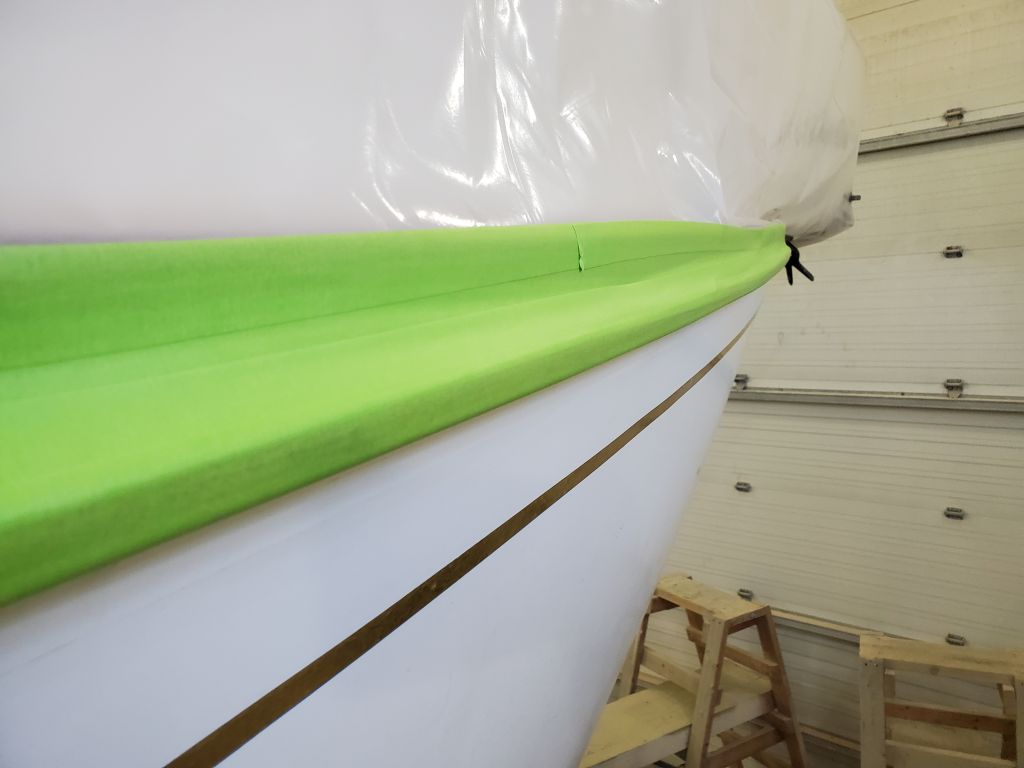
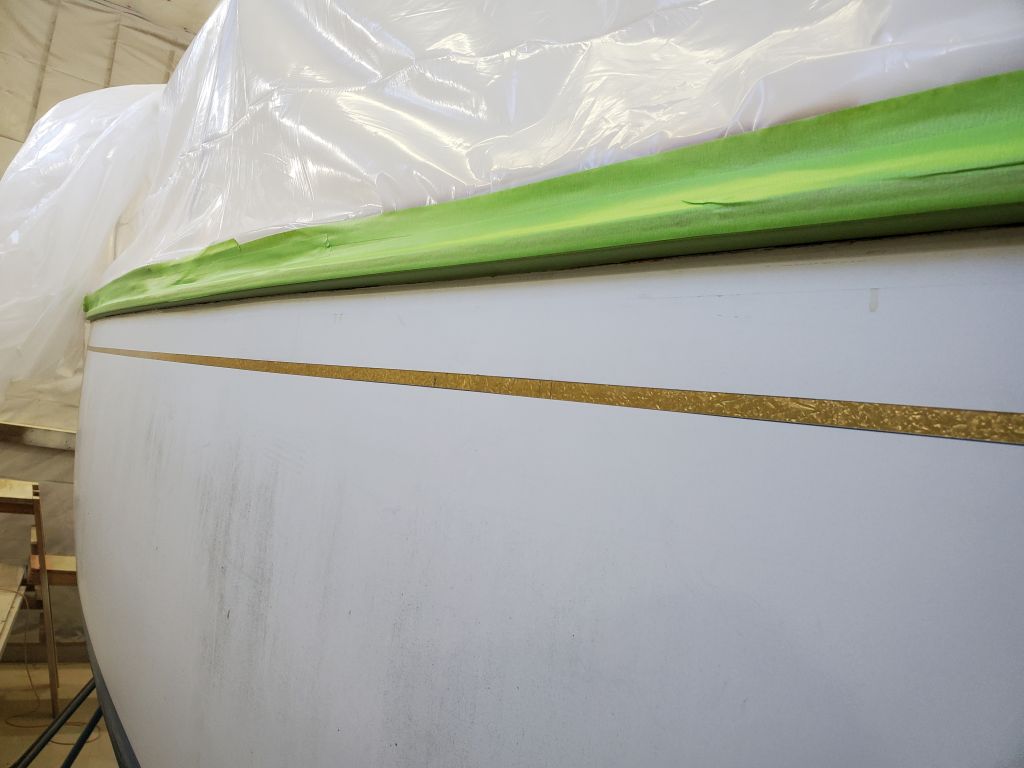
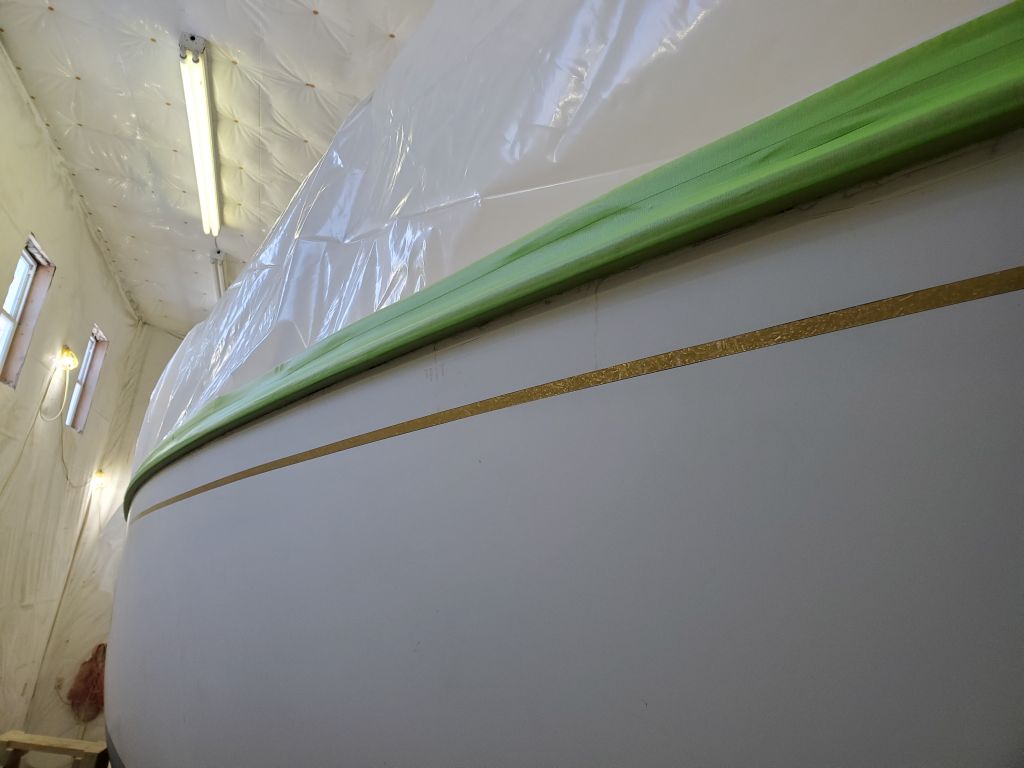
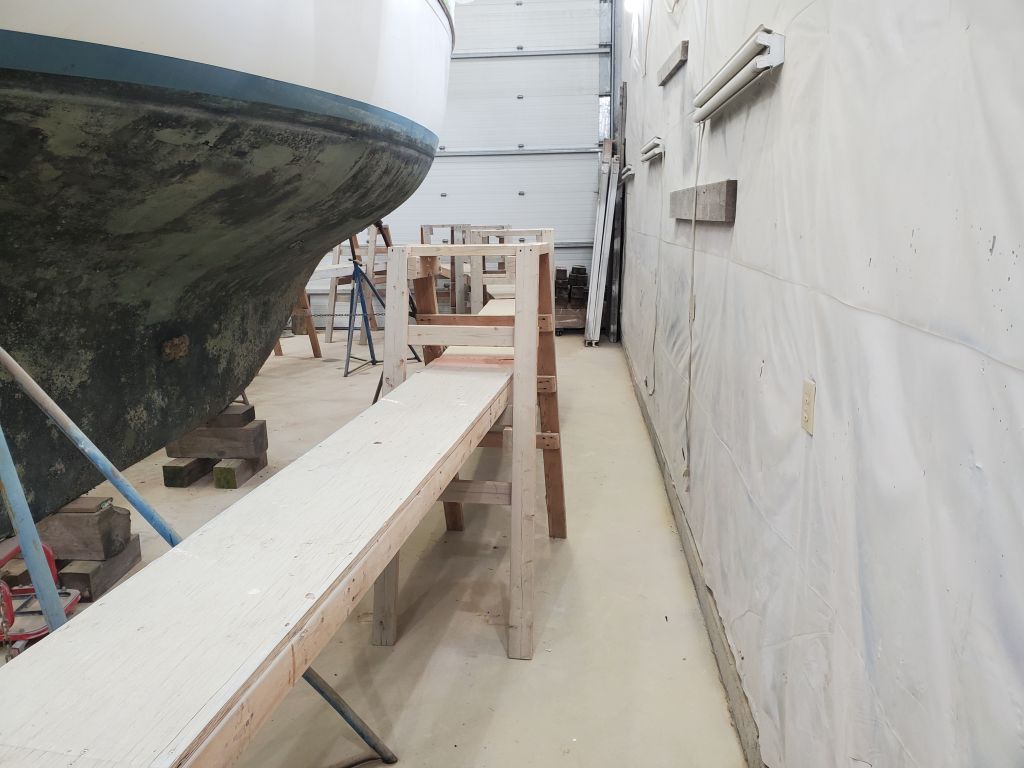
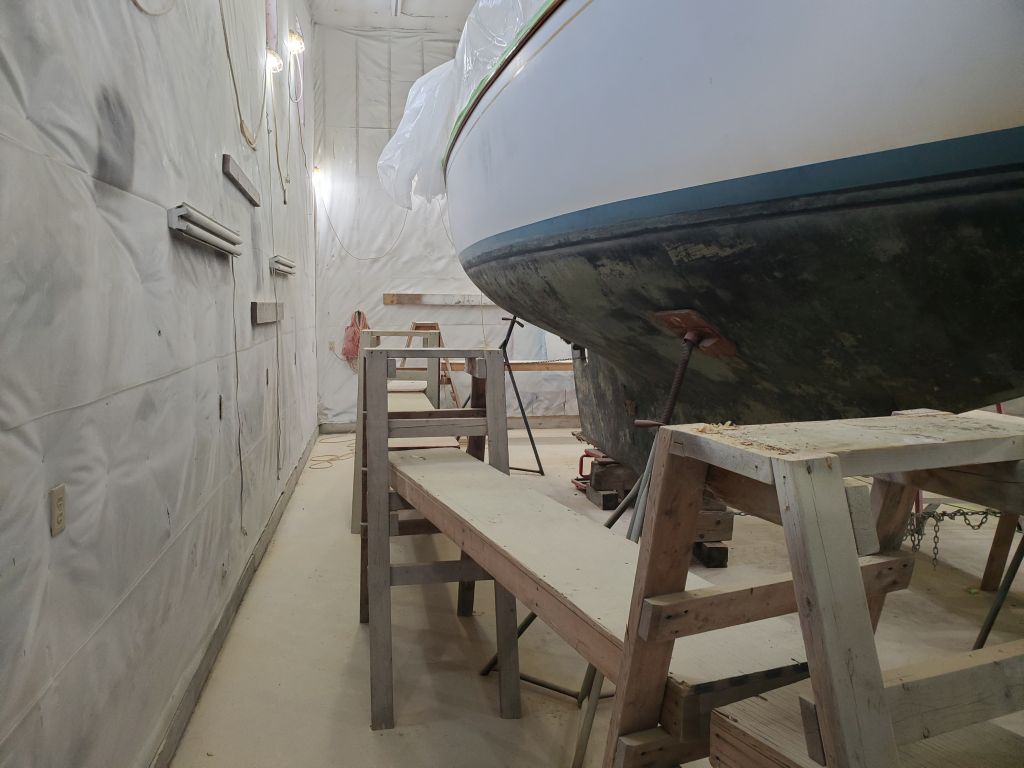
On the port side, while sanding early on near the waterline, I’d found additional blue layers beneath the existing boottop, and kept sanding till all the blue was gone, leaving the white gelcoat behind it. Eventually I realized that this was an old gelcoat boottop hidden beneath all the new paint (primers and the painted blue boottop that I’d repainted for the owner when the boat was in my shop previously). I felt committed to removing it all along the port hull, but now, when I revealed the same thing on the starboard side, I knew I didn’t have to remove all the old blue; it was a lot of extra work to remove it, but was unnecessary. In these photos, you can see that blue gelcoat boottop behind and beneath the painted layers of the current boottop–the old stripe was higher at the bow (first photo), and lower by the time I’d moved somewhat aft.
The point of this description is to explain why there’s still blue showing on some parts of the hull after sanding on this side. More would likely get sanded off during the next sanding round, but I saw no need to remove it all like I’d done on the previous side.
In any event, by the end of the day I’d worked aft to the starboard quarter, about 10′ forward of the transom.
I also sanded most of the bottom on this side, scuffing with coarse paper to remove marine growth and loose paint.
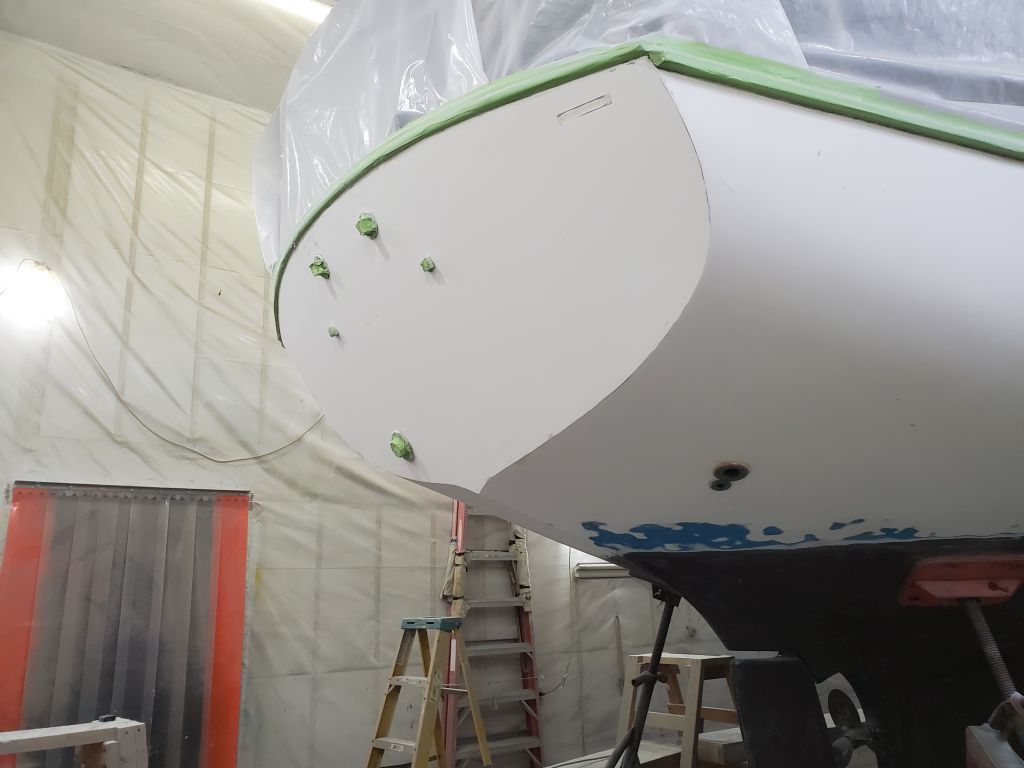
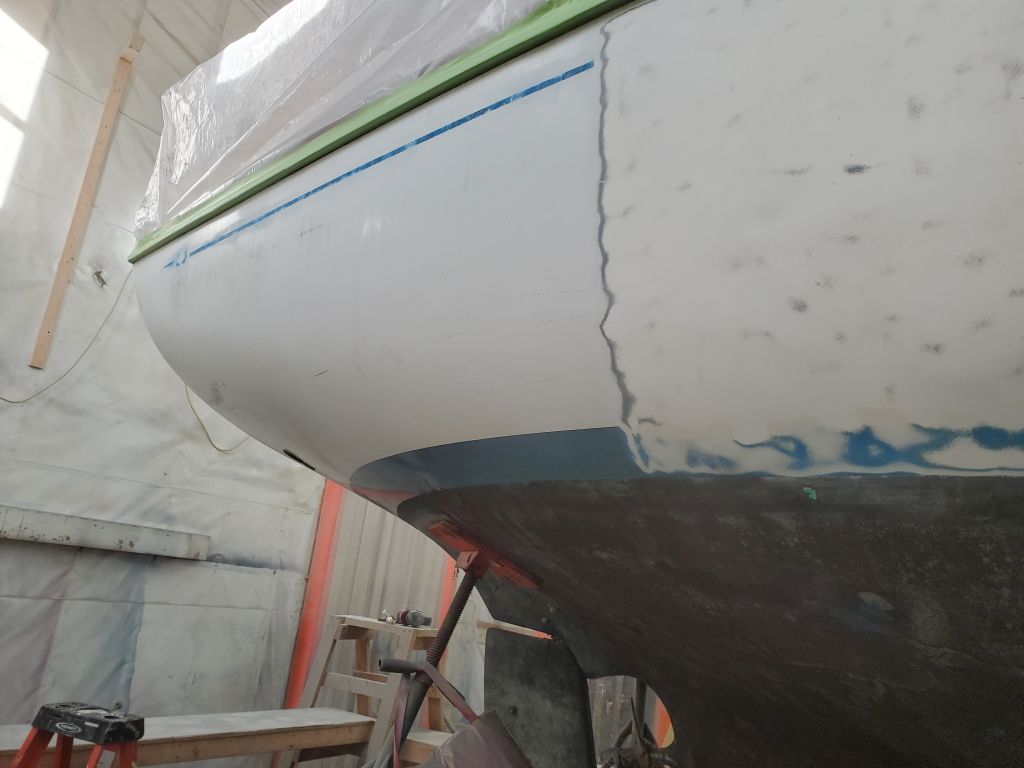
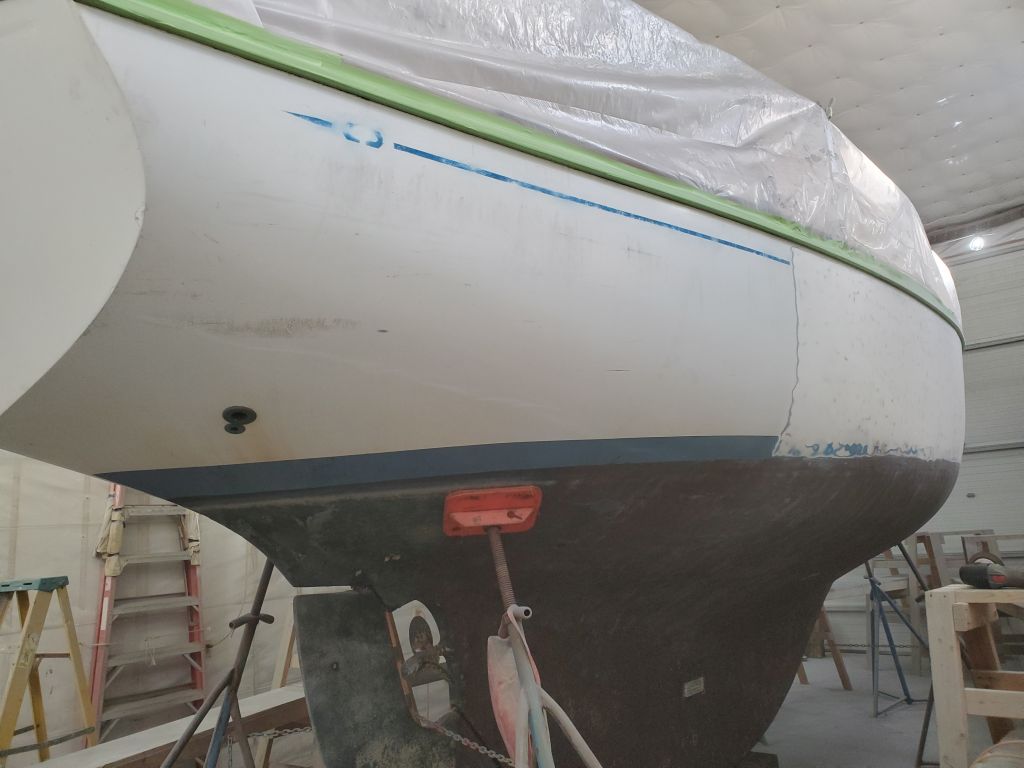
I continued work removing the old coatings from the hull, beginning with the port counter–a difficult and uncomfortable area to reach–and then continuing along the hull from where I left off last time, eventually reaching the stem by the end of the day. In all areas, this required several rounds of sanding to remove the various layers of old paint, finishing off with a round with finer sandpaper. Later, I’d sand the hull again with different tools and paper to finish off the prep work.
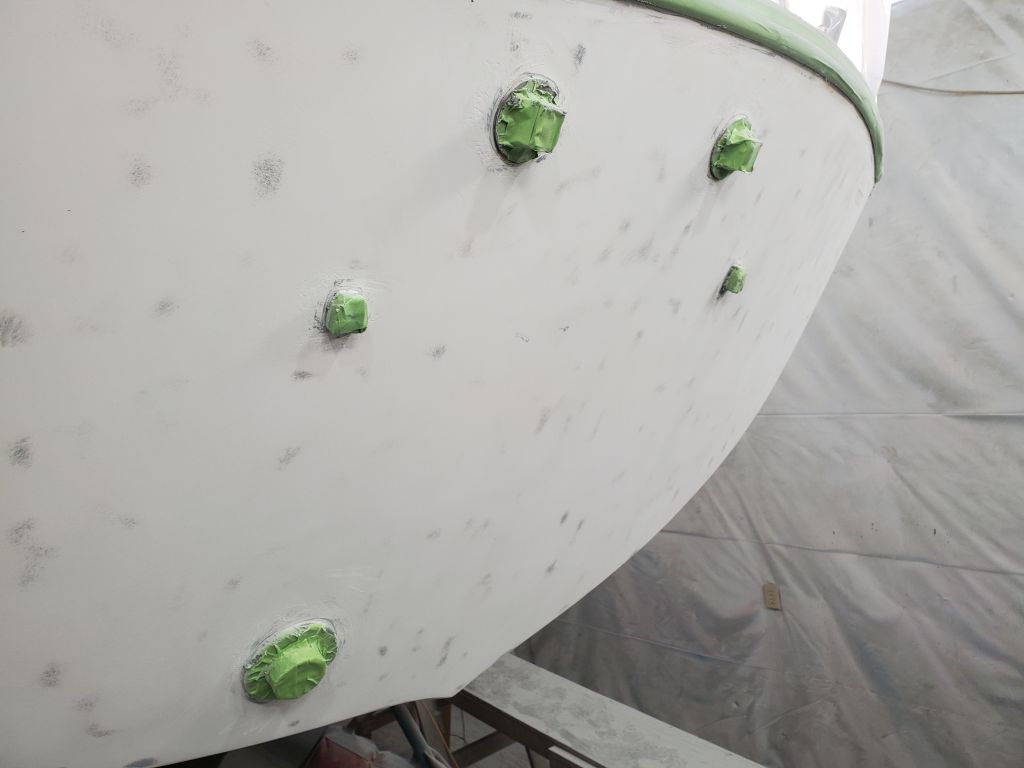
The hull beneath was in generally good condition, though apparently the boat had some sort of run-in with another boat or a dock/piling or some such, causing the generally minor–and previously repaired–cosmetic damage near the port bow.
I also sanded the bottom on the port side, just enough using coarse paper to remove the existing dried marine growth and prepare it for eventual repainting.
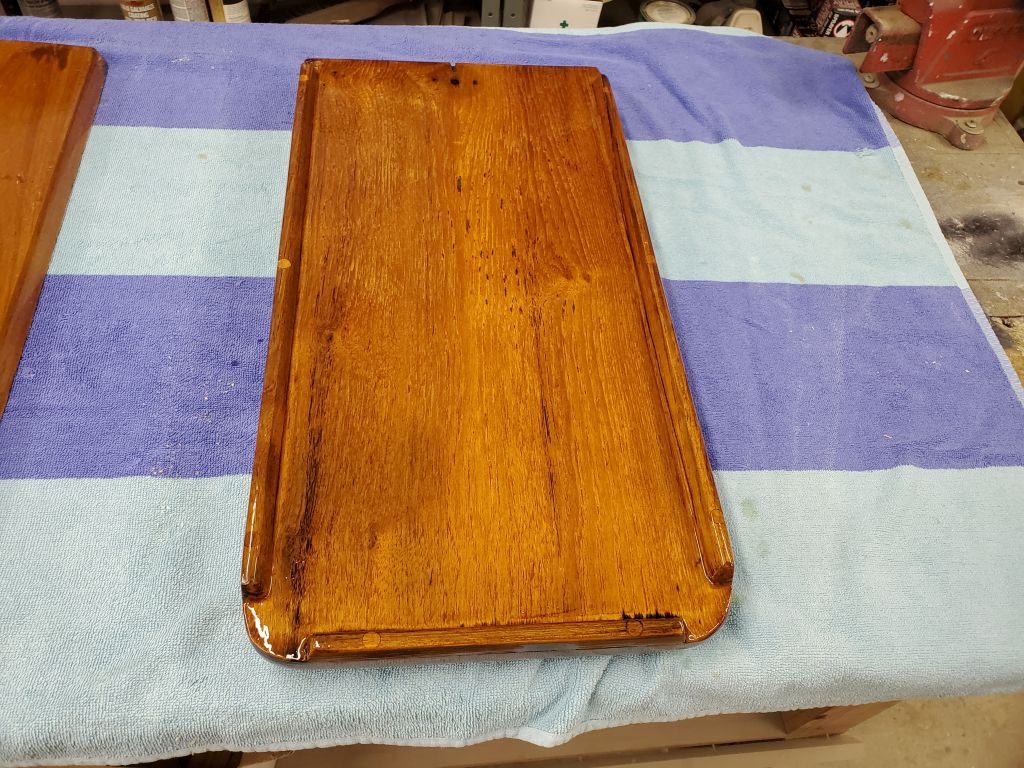
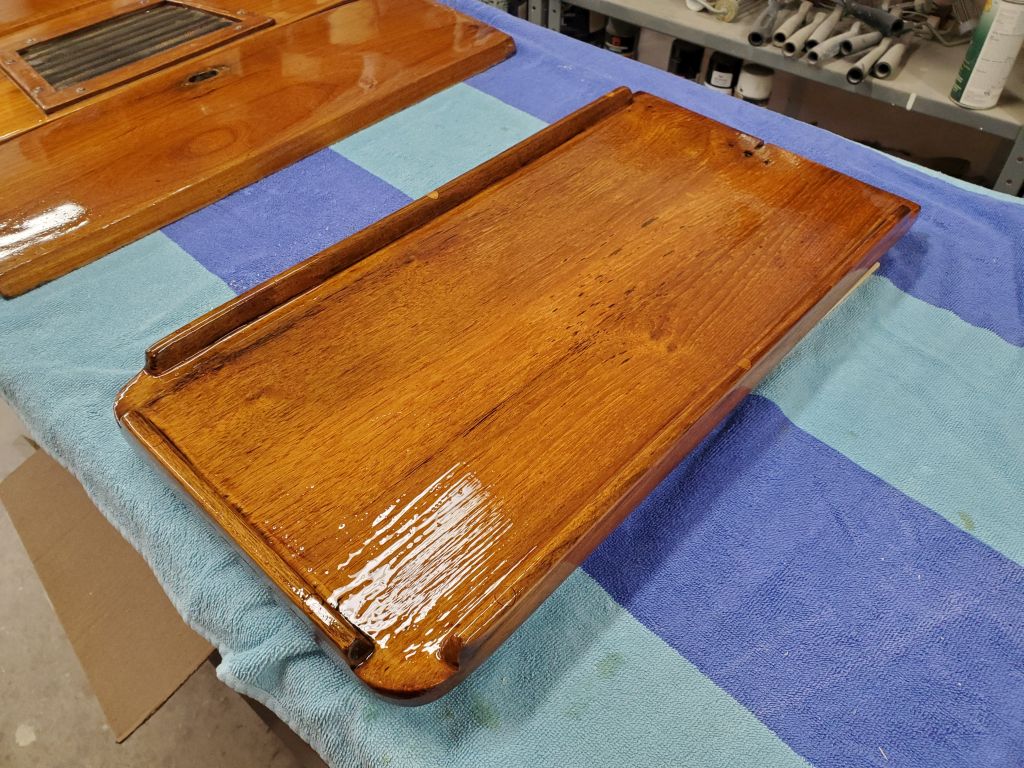
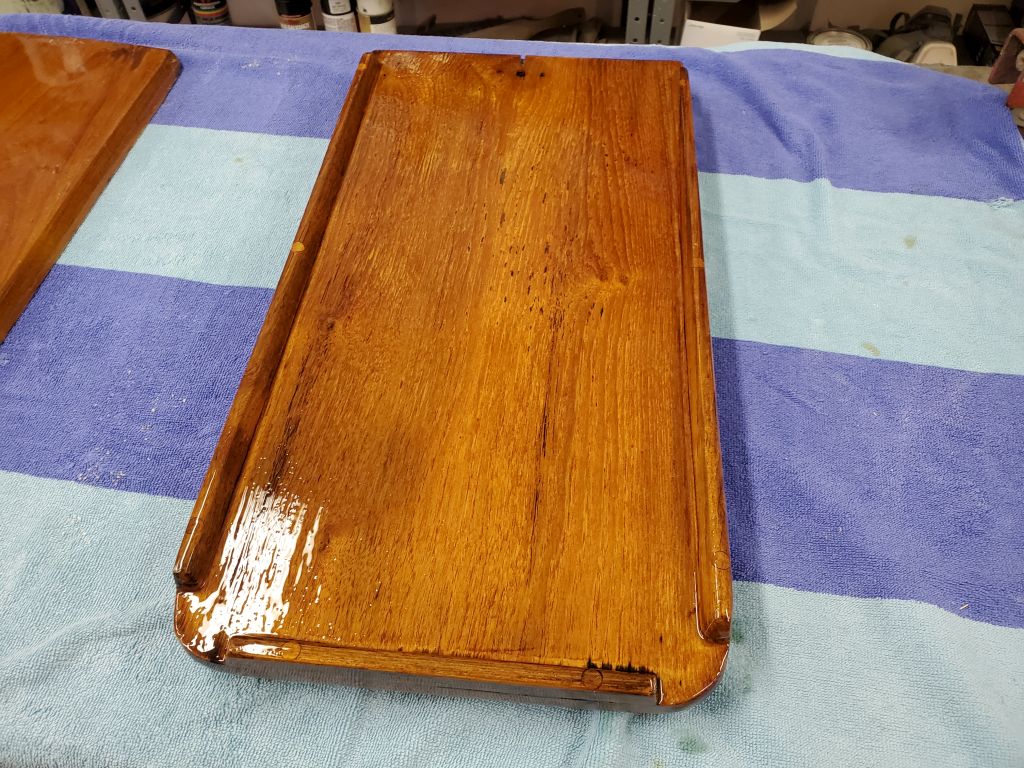
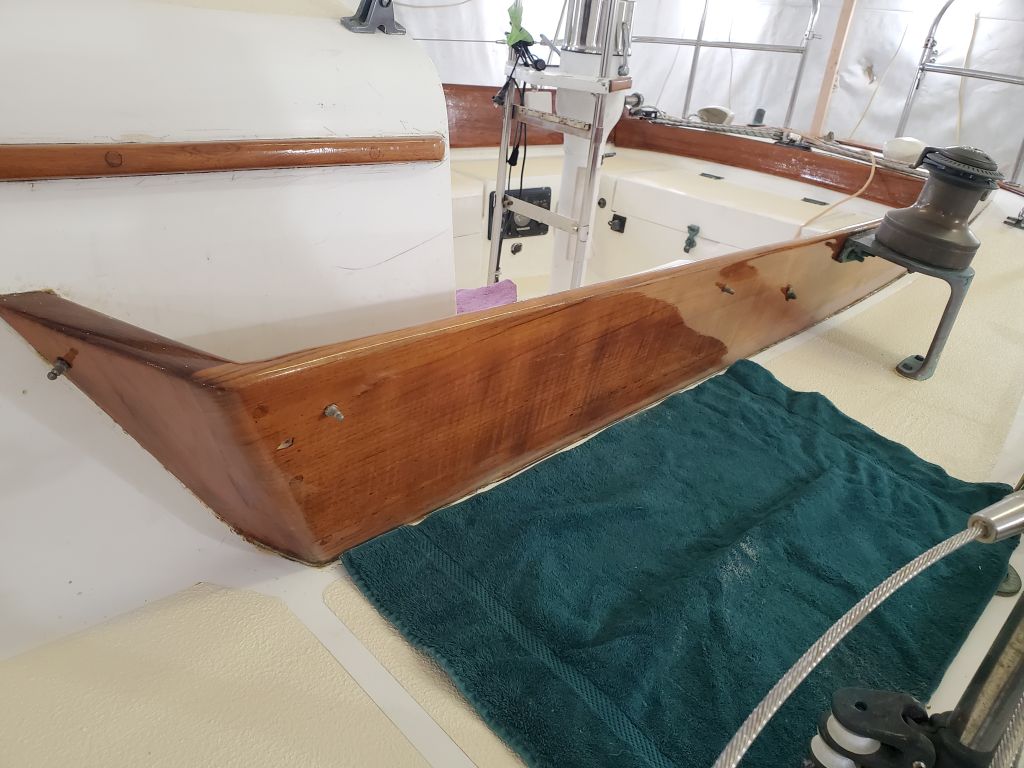
First thing, I continued the varnish work on the table top with another coat, the sixth and likely final for now.
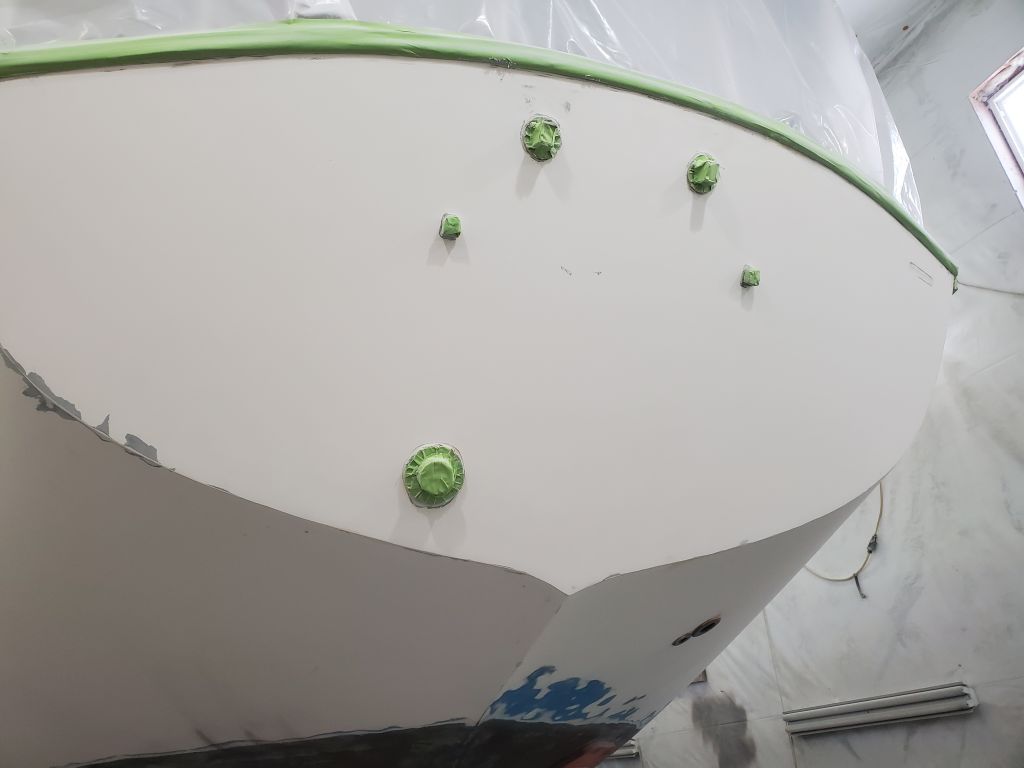
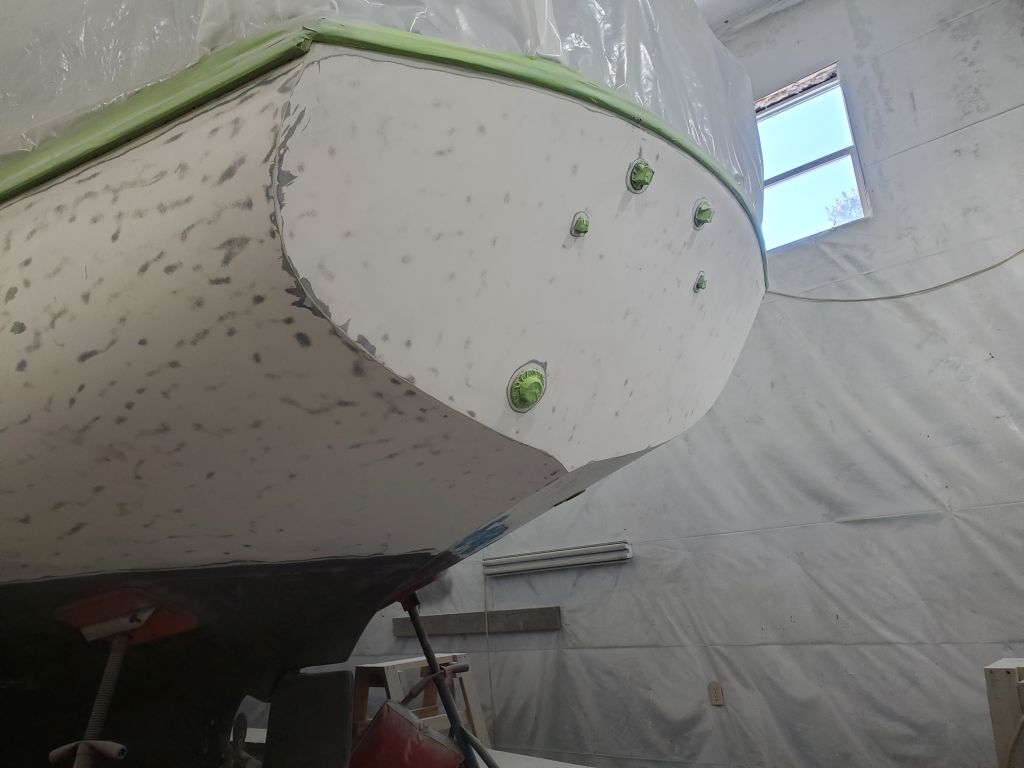
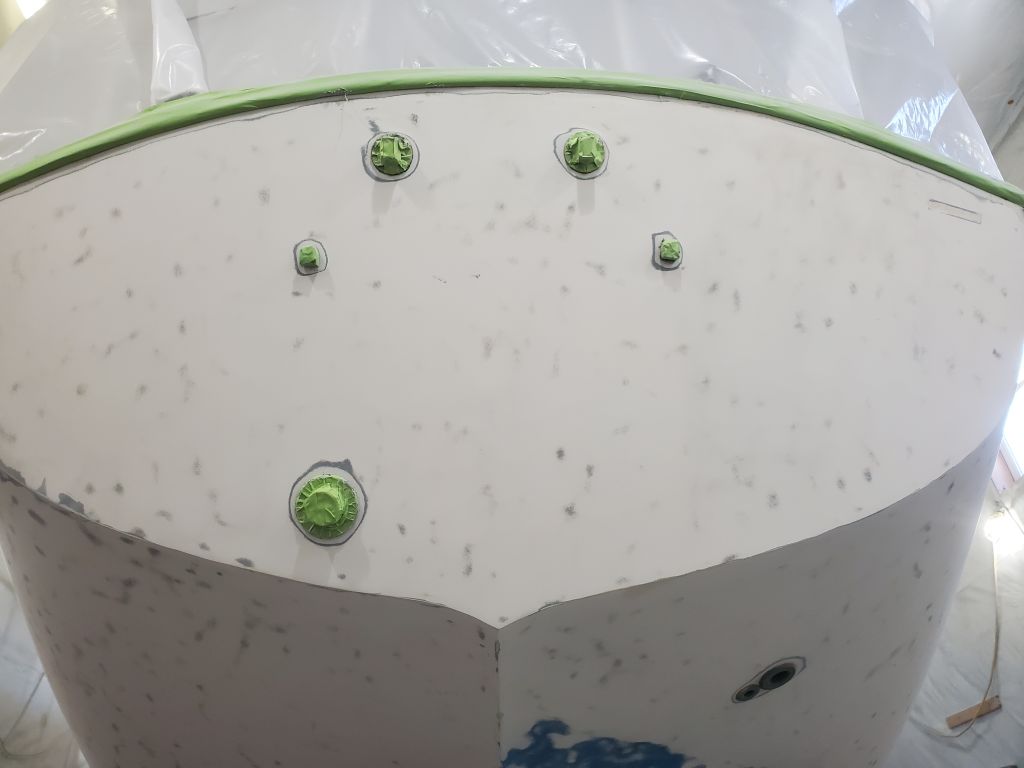
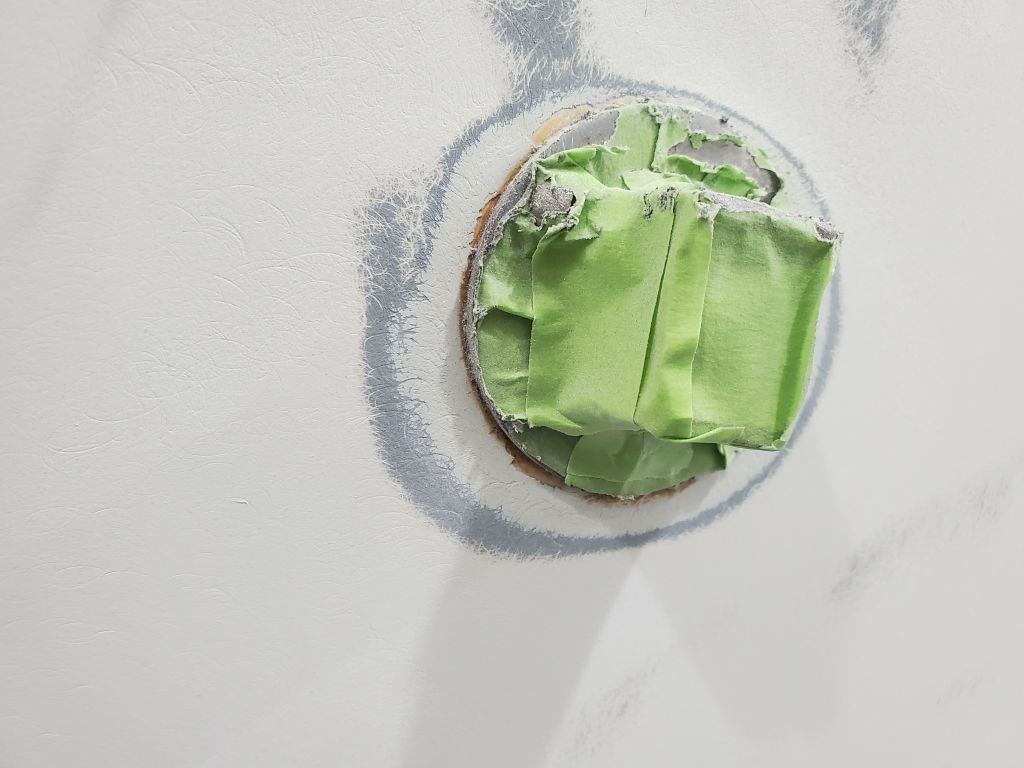
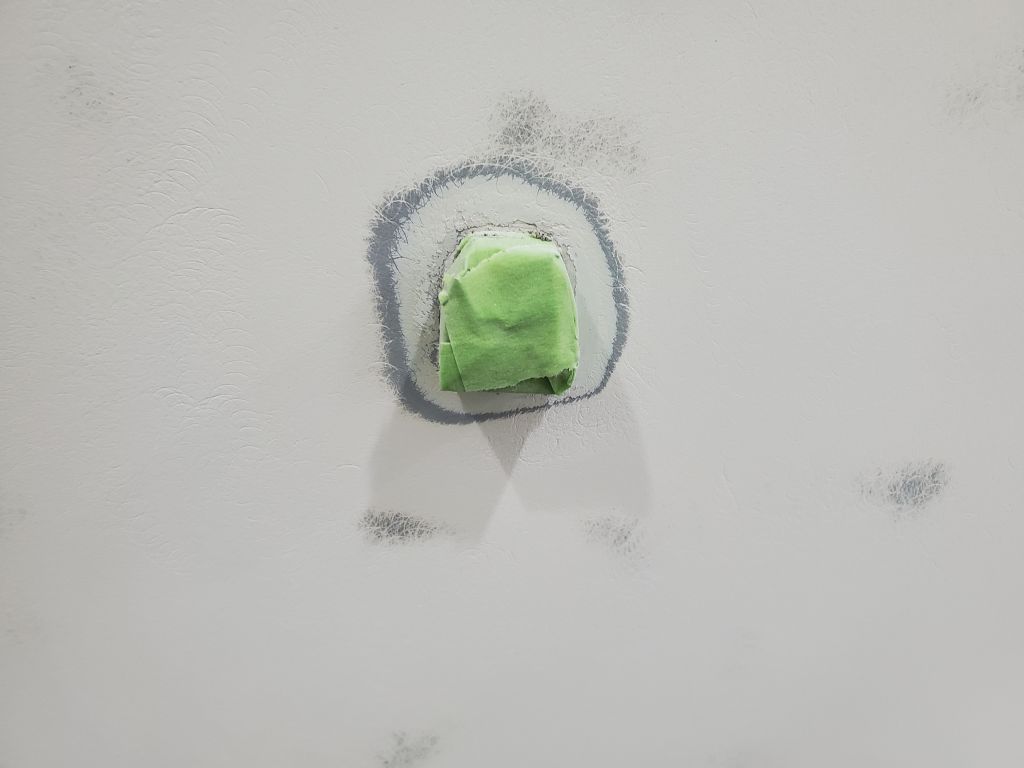
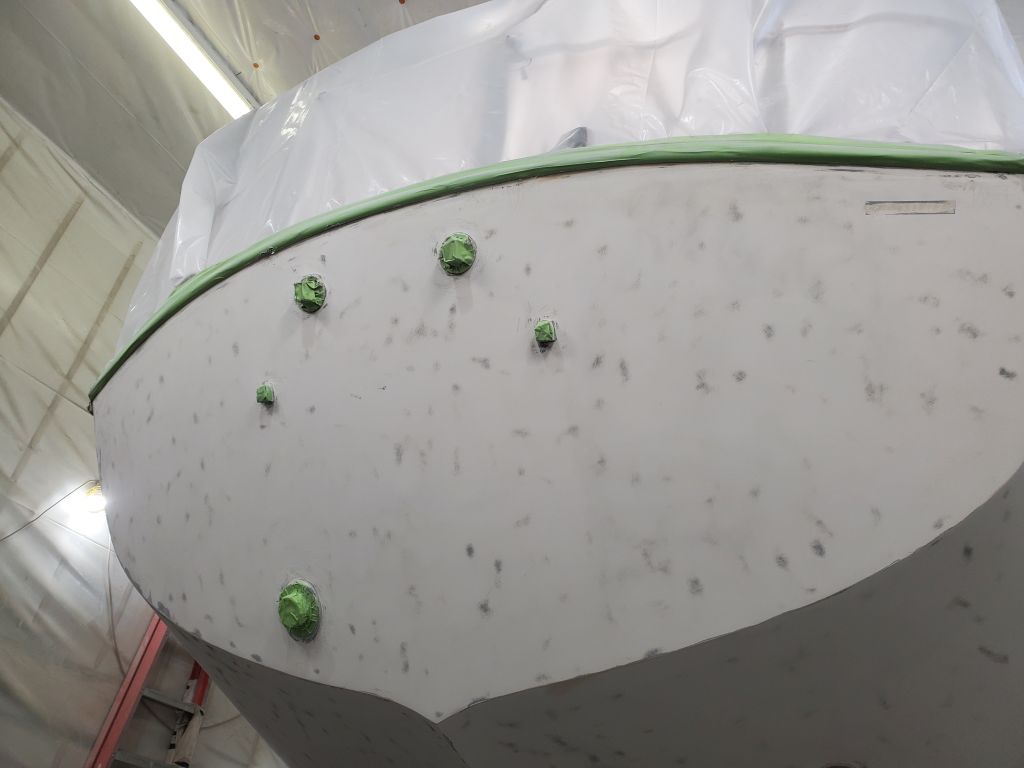
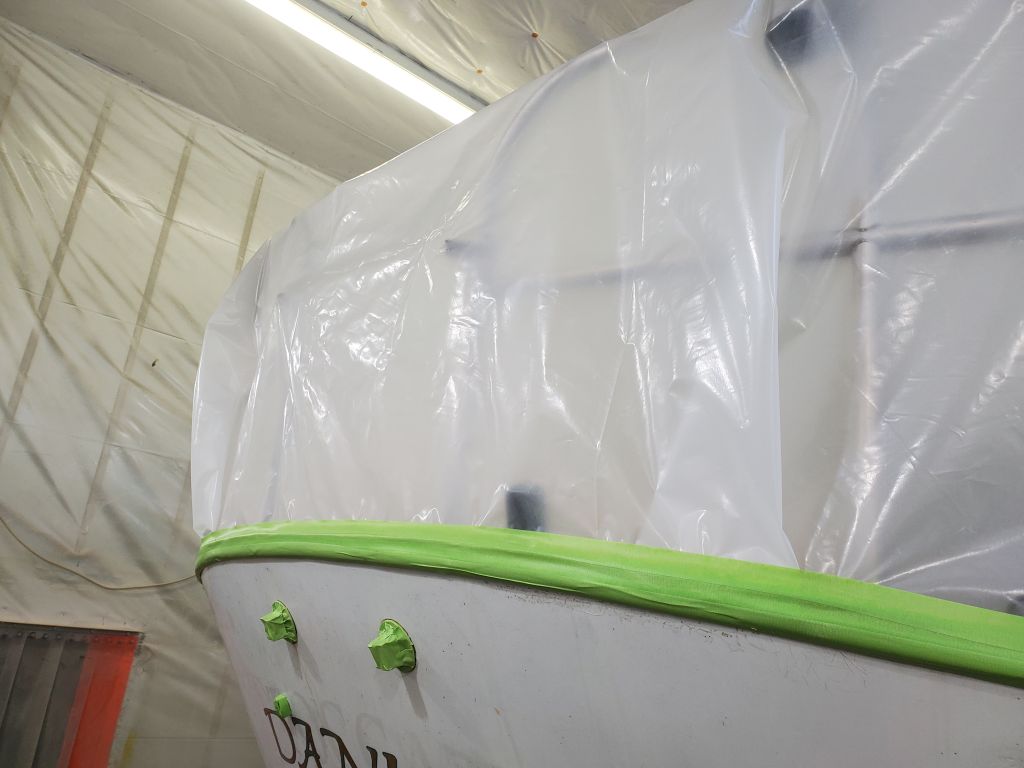
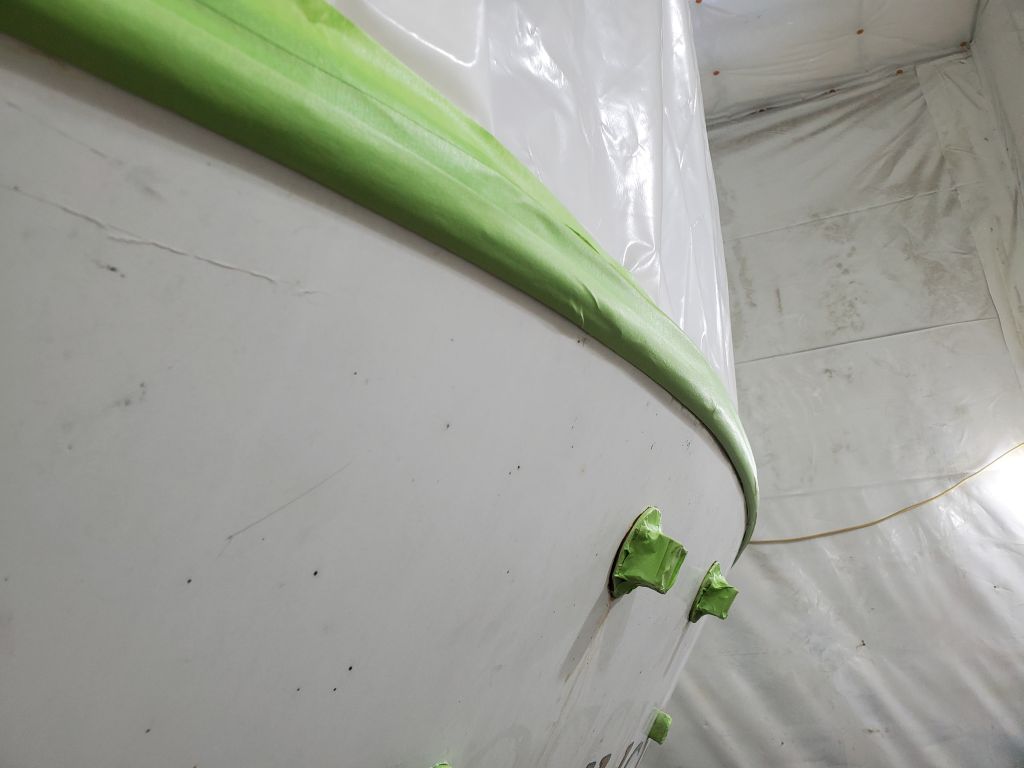
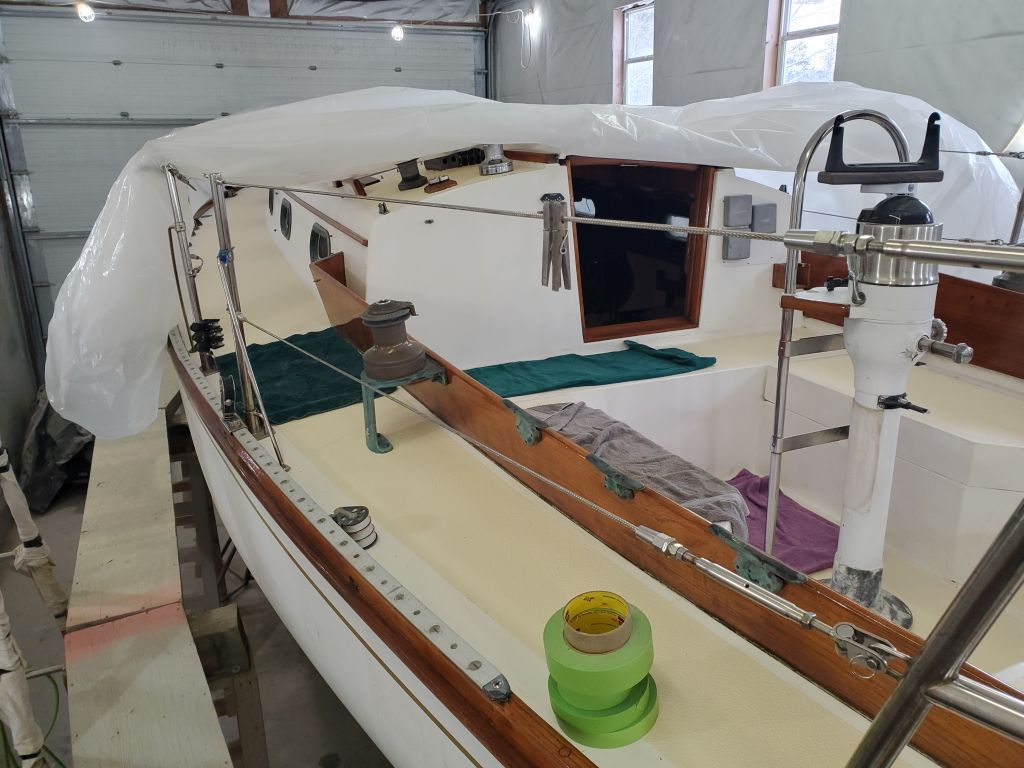
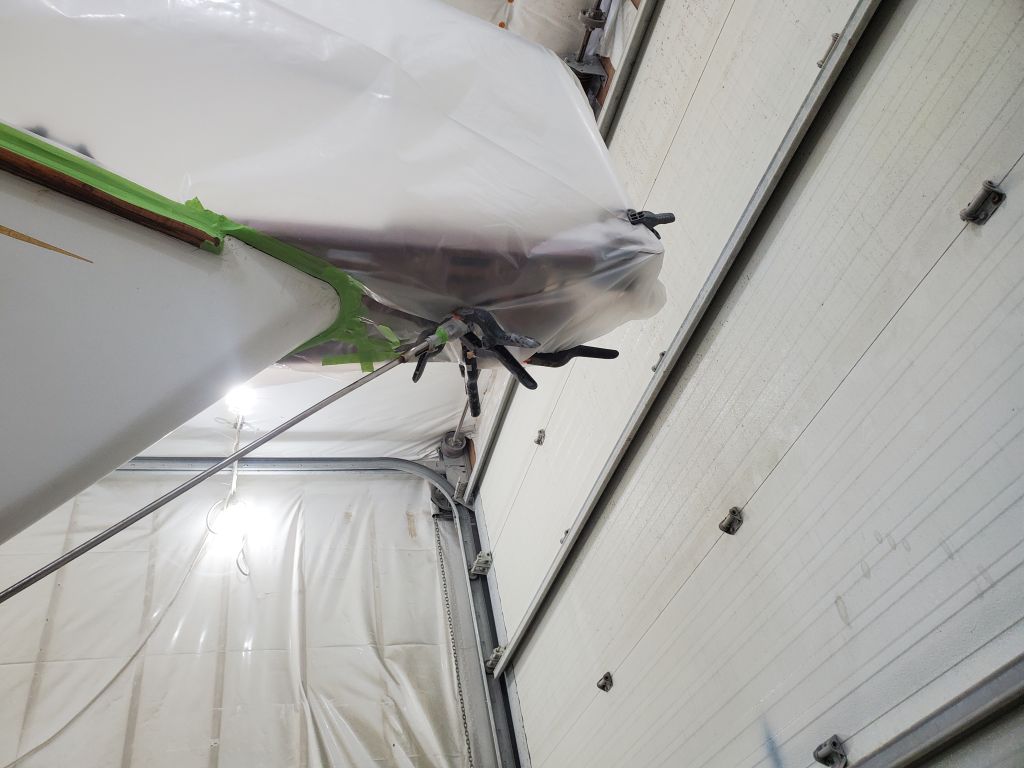
Next, I finished covering and masking off the decks to prepare for hull sanding and painting. I masked over various pieces of hardware on the transom, though this might have been premature, as I might damage the tape during sanding. But that would be easy enough to repair later.
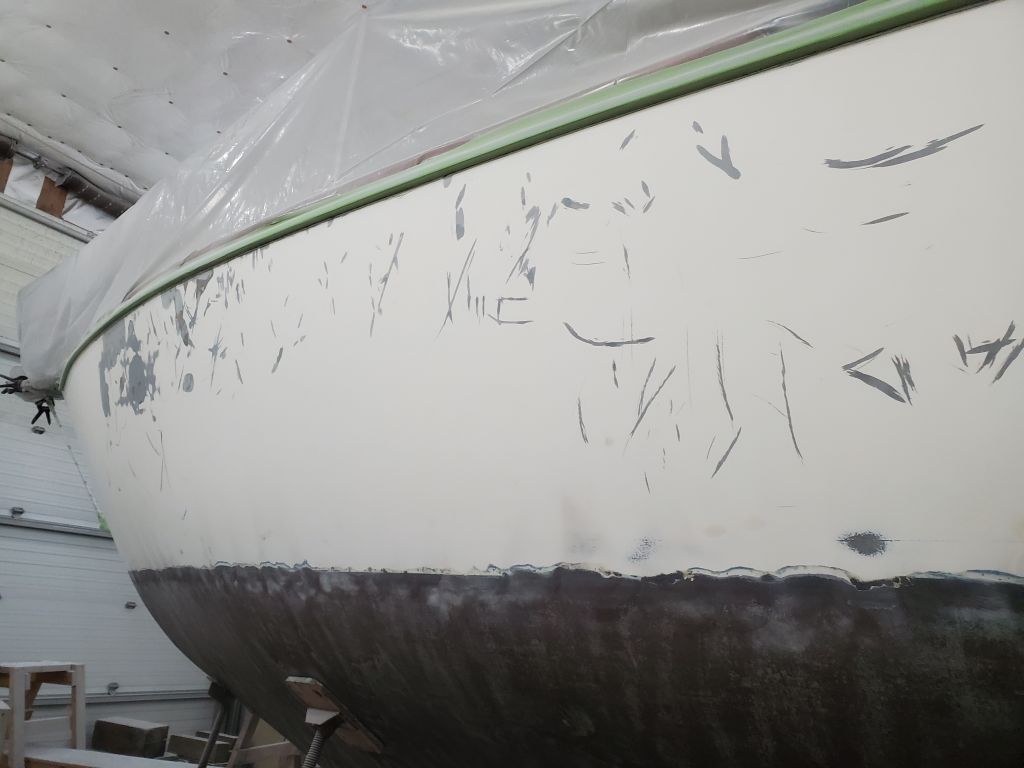
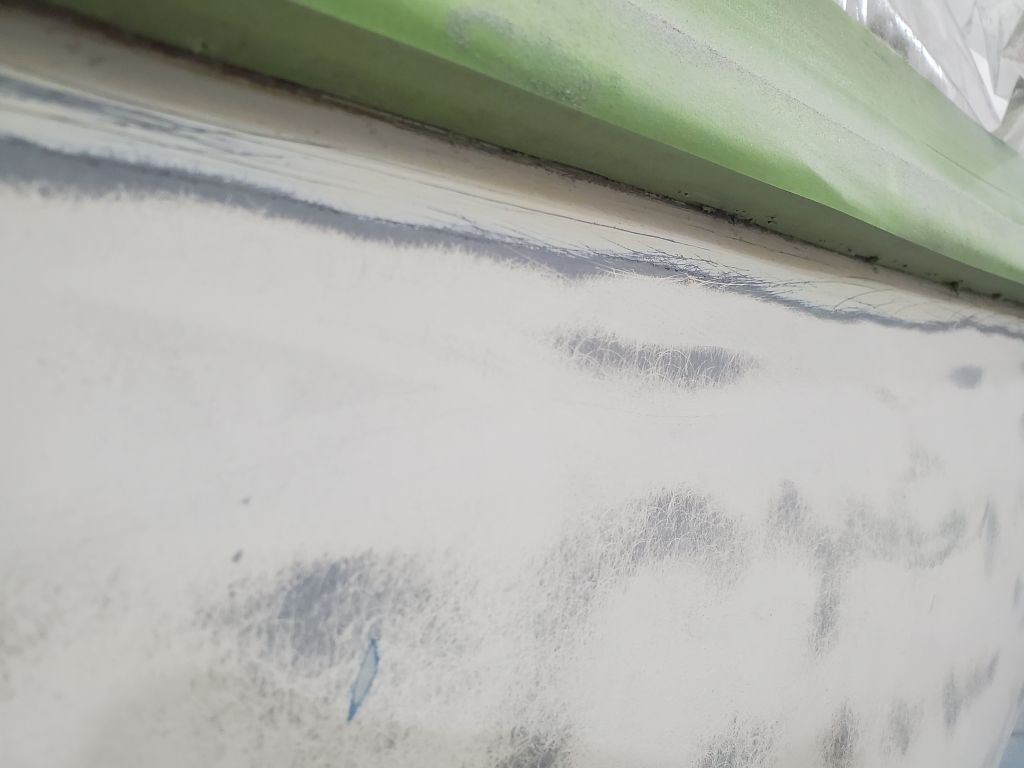
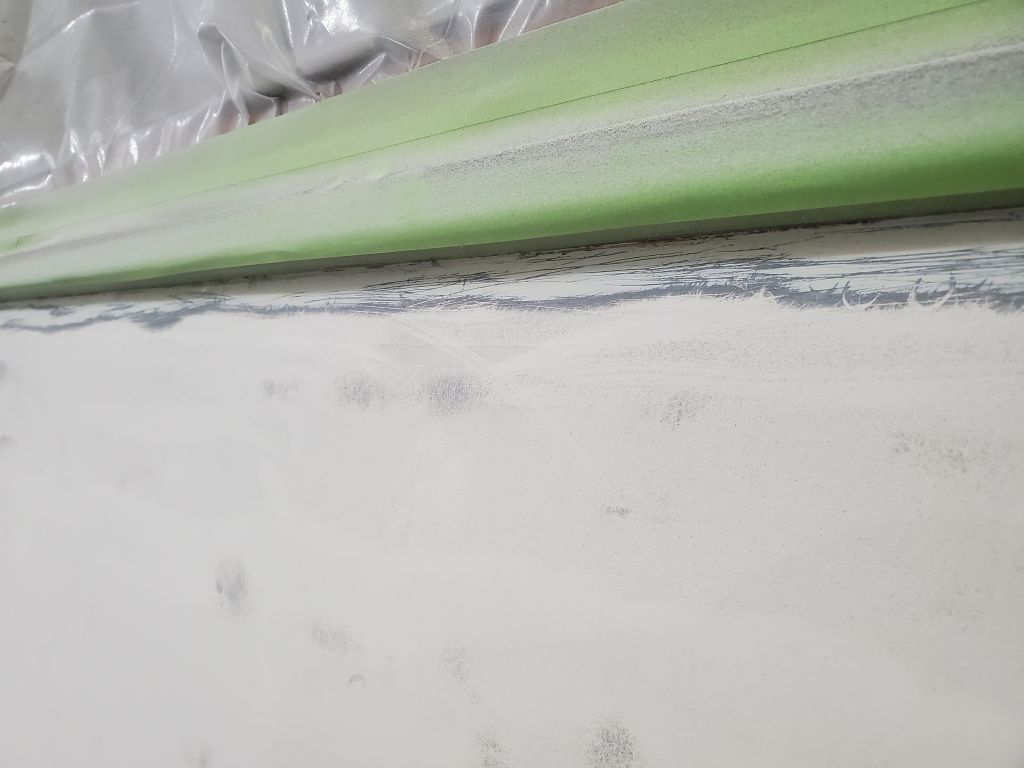
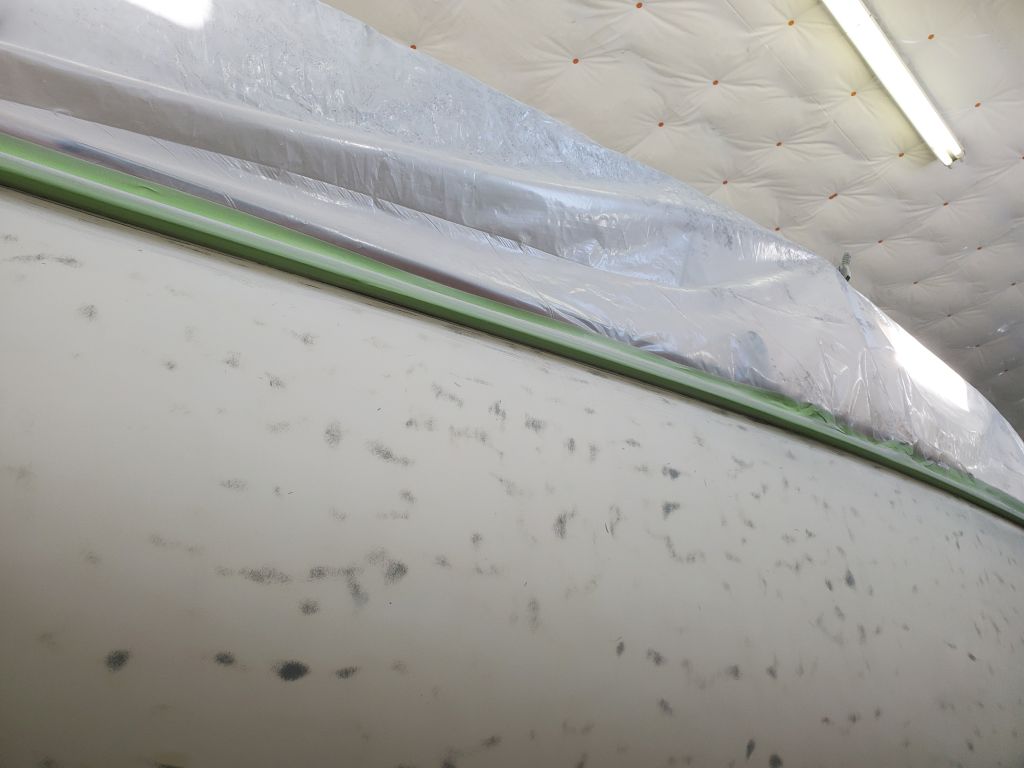
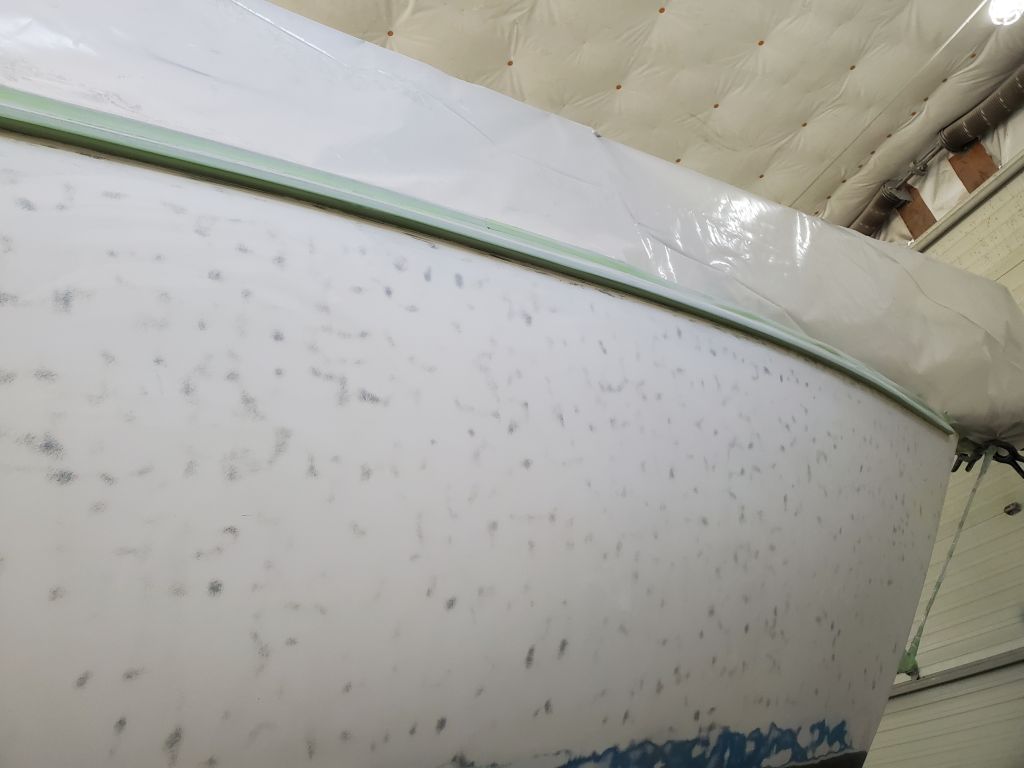
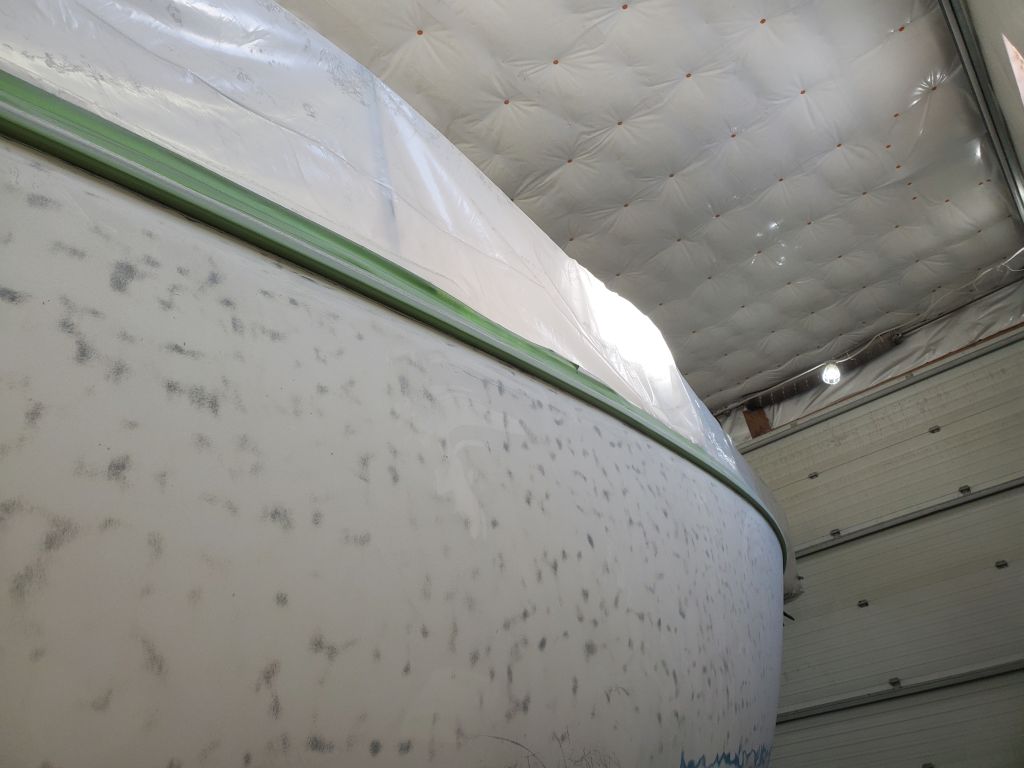
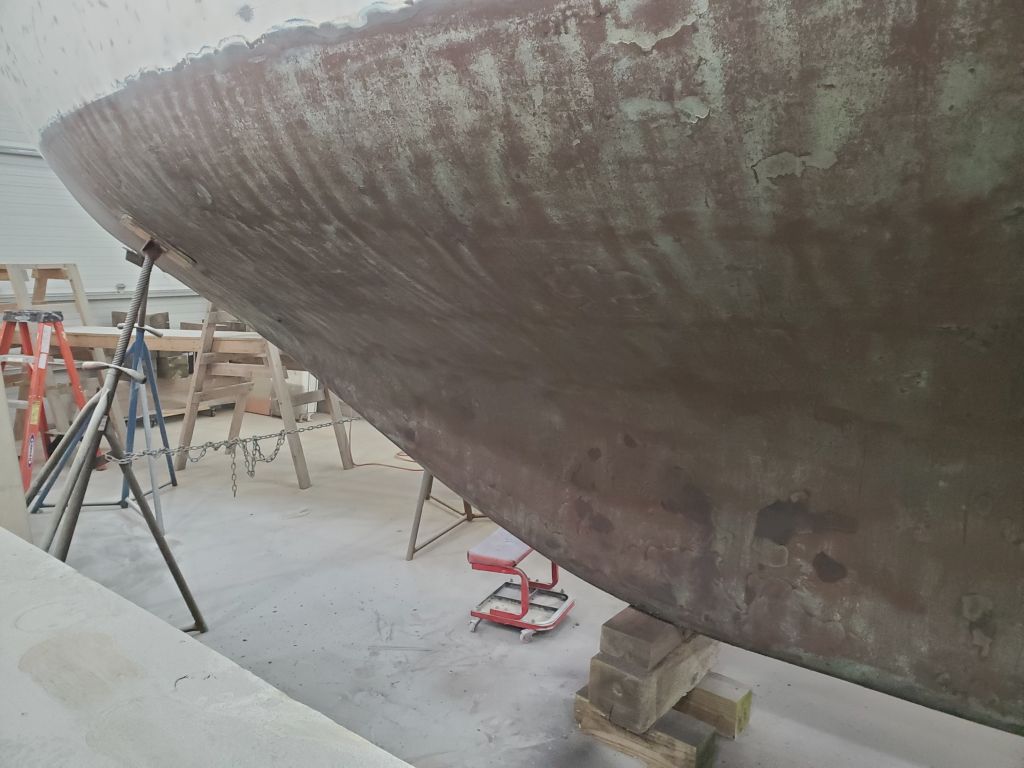
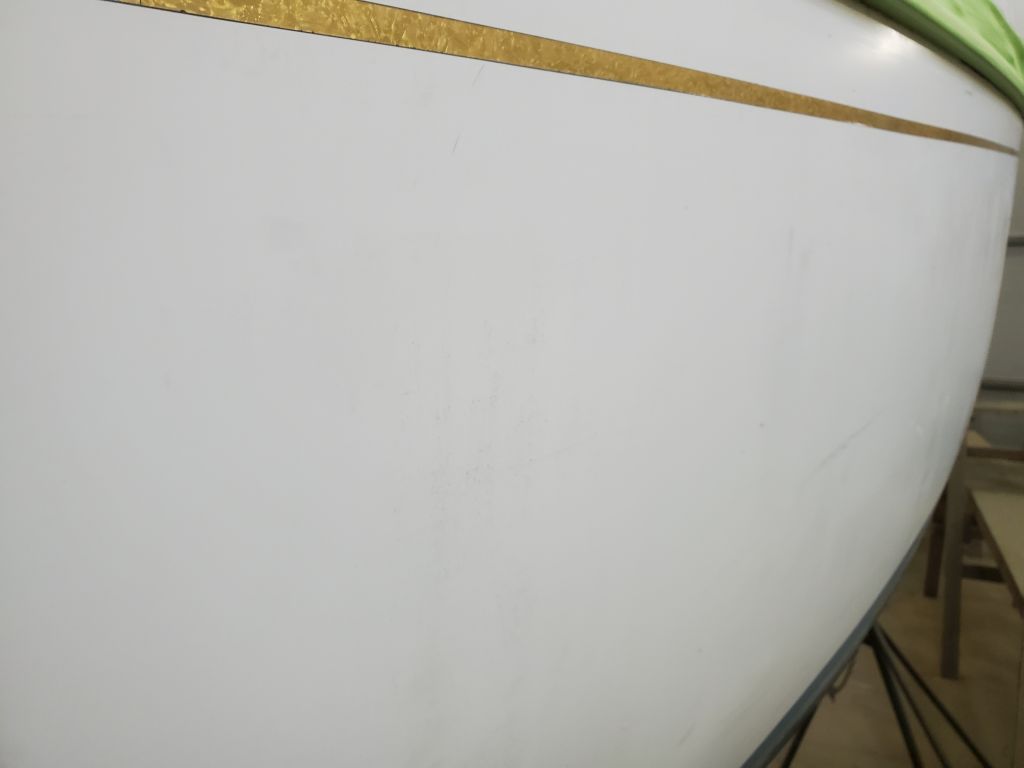
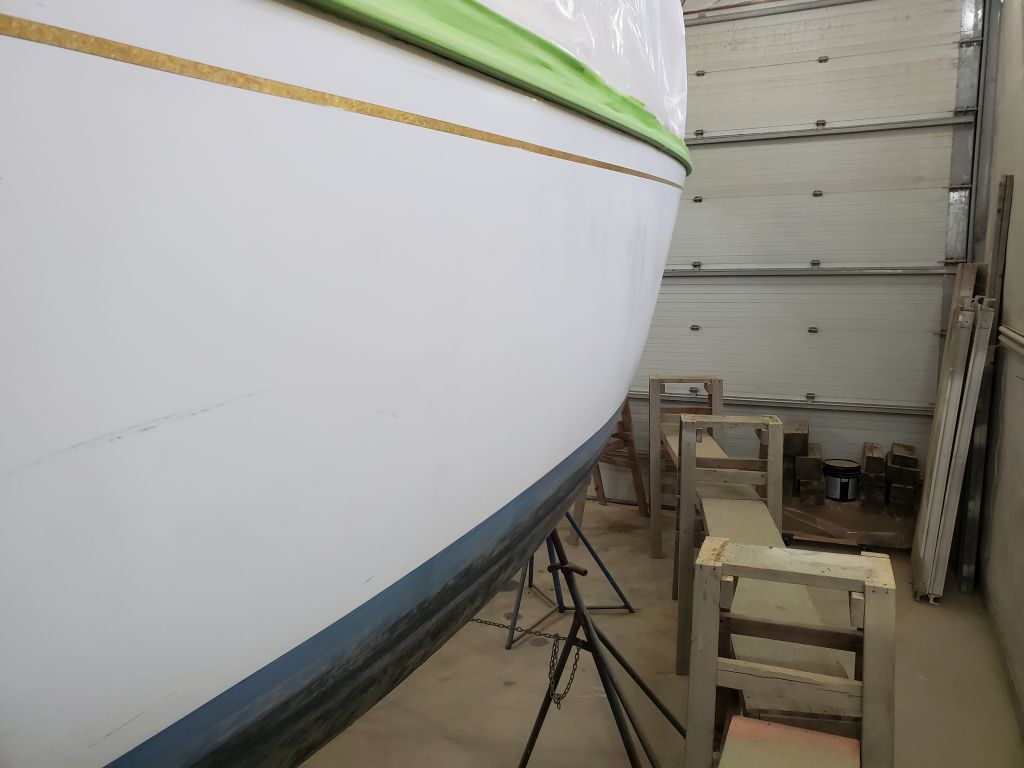
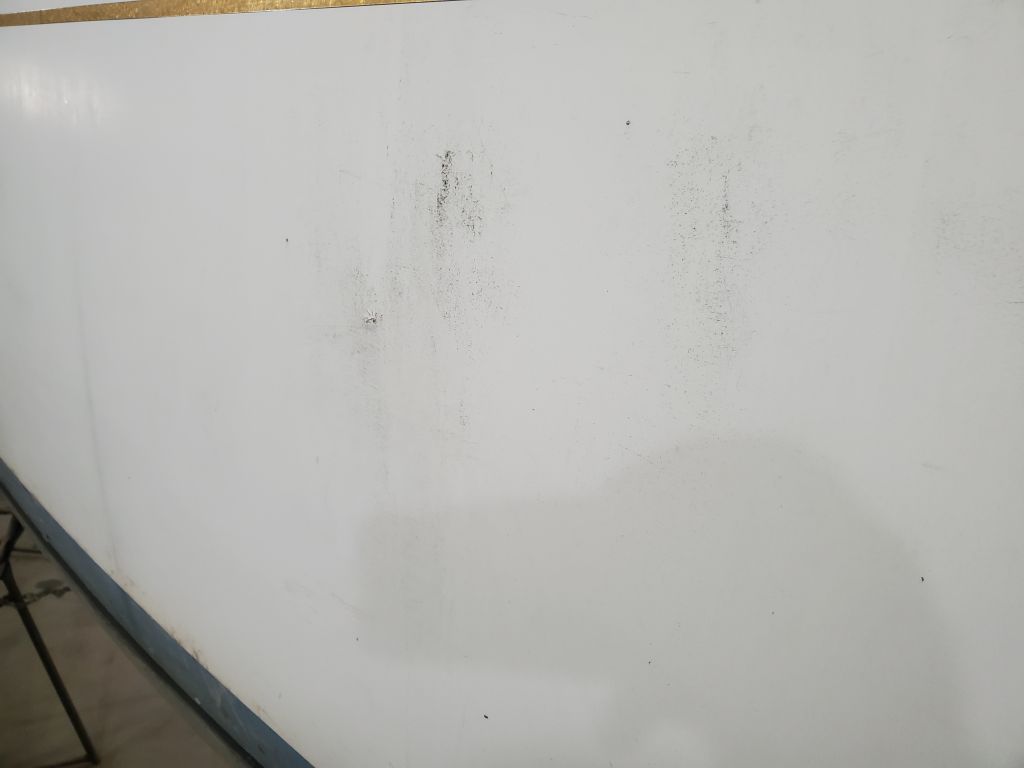
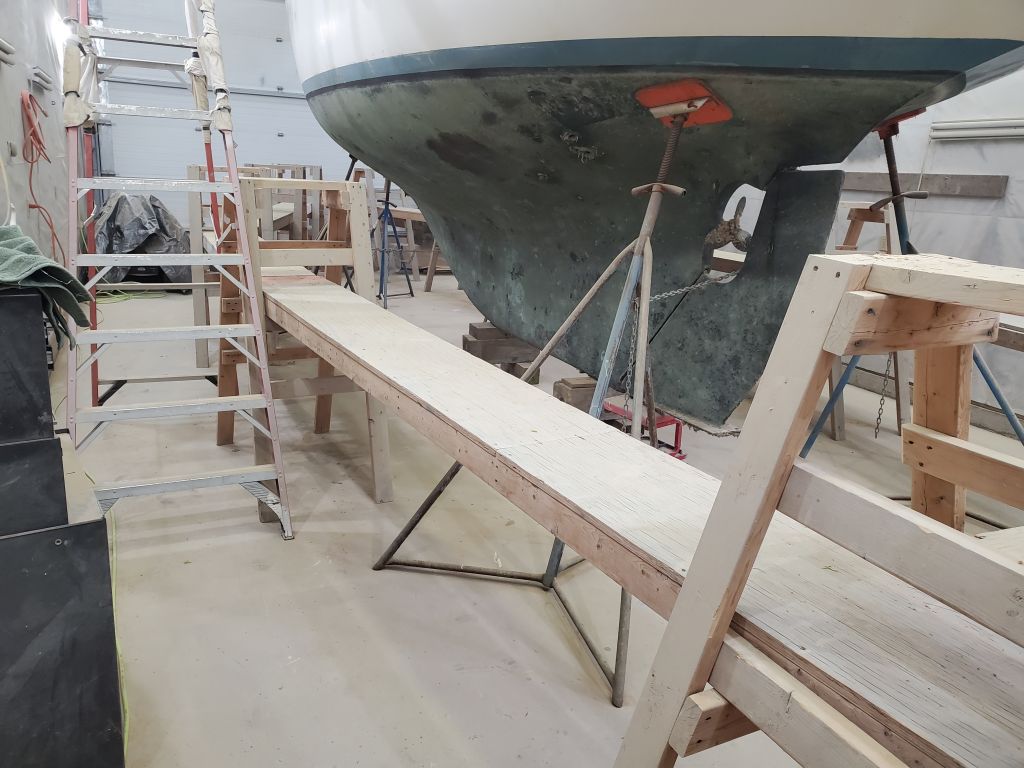
I documented the hull’s as-arrived condition shortly after the boat arrived at the shop, but took several additional pictures now. The existing hull had been painted (and clearly professionally) with LPU at some point in the past, but the topcoat was now highly oxidized and, in some areas, crazed and dirty from exposure and wear. I thought the condition was such that it would be better to remove all the existing coating, rather than attempt to prepare it and use it as a substrate for the new work.
After getting set up, I started work to remove the existing coatings from the hull, starting at the port quarter. Over the remainder of the day, I worked through two sandpaper grits to remove the white topcoat and two layers of primer from the hull–first an off-white layer, and then a gray layer beneath.
This was an aggressive round of sanding, using 40 grit paper to get through the hard and tough topcoat and primer beneath. Once I’d exposed the gray primer, I switched to 80 grit paper and sanded off most of the primer. But I left the final cleanup and removal for the next sanding stage, which would use gentler tools and less-aggressive paper to avoid undue damage to the gelcoat and ensure that the hull remained fair throughout the process. This stage of sanding would come later, once I’d stripped the bulk of the paint and primer from the rest of the hull. For now, I worked off the staging, leaving the counter and portions of the hull at the waterline for later when I’d work off the floor to handle the rest.
The hull beneath the paint was in generally good condition, with several small and minor repairs that had been effected during the preparation for the paintwork I was now removing. I didn’t anticipate much in the way of additional repair work or fairing once I’d completed the sanding routines over the next week or so.
I made it approximately halfway up the length of the hull forward before the end of the day.
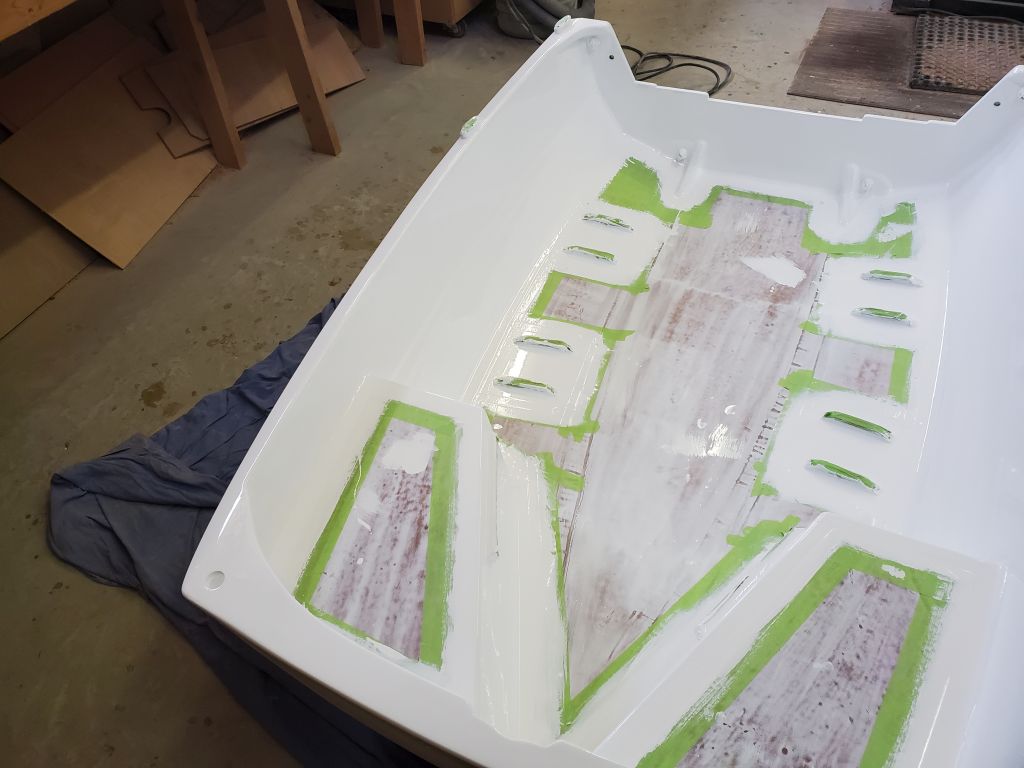
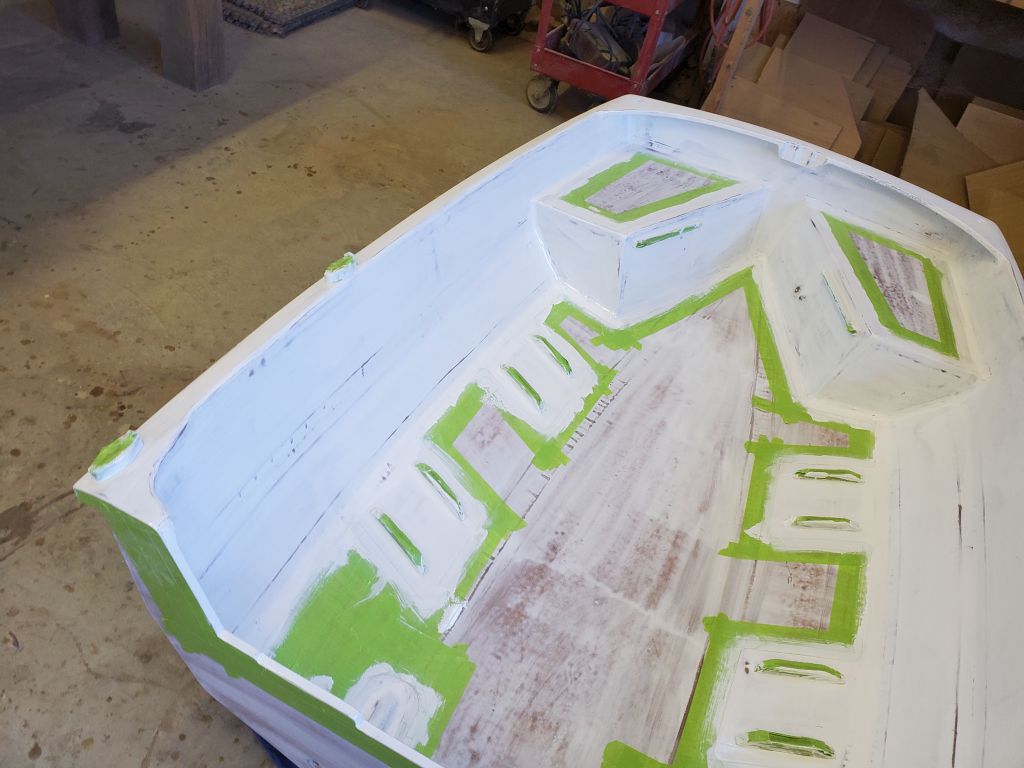
The first coat of gloss paint had not been ready to sand the morning after application, but now, the next day, I could–and did–lightly sand the paint with 320 grit paper, scuffing the gloss and correcting a run here or drip there. Once the sanding was complete, I completely changed up how I’d set up the two halves for painting, as I’d had a continuing challenge with getting reasonable access to the inside of the aft hull, in particular, which was a complicated little thing to paint.
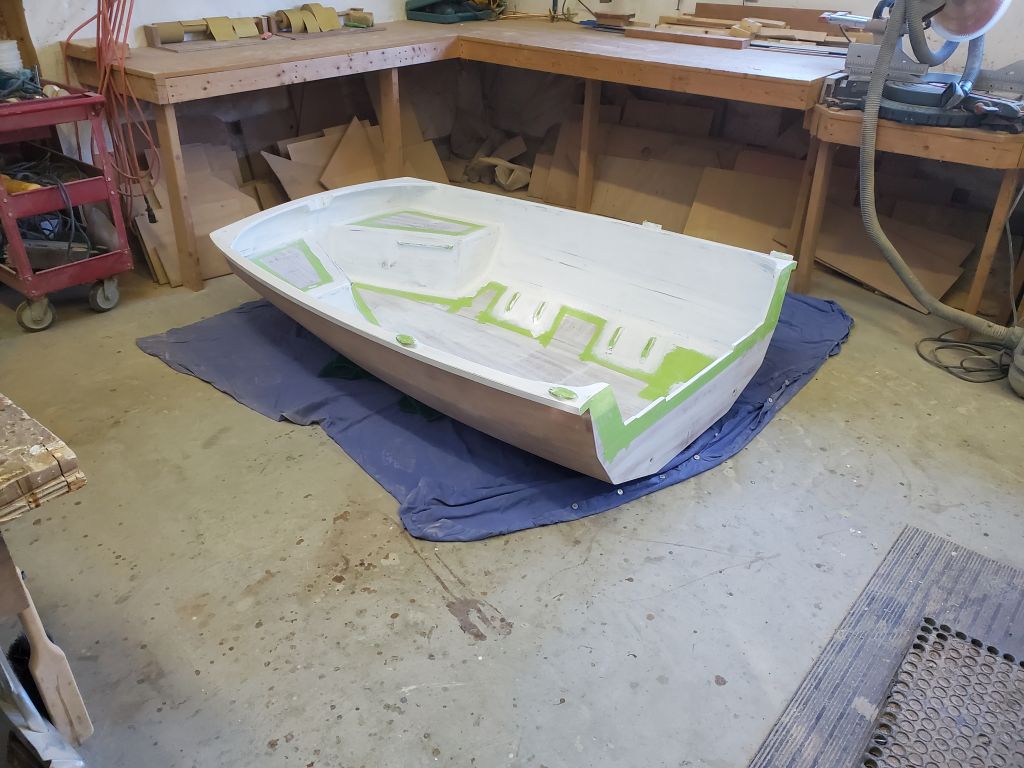
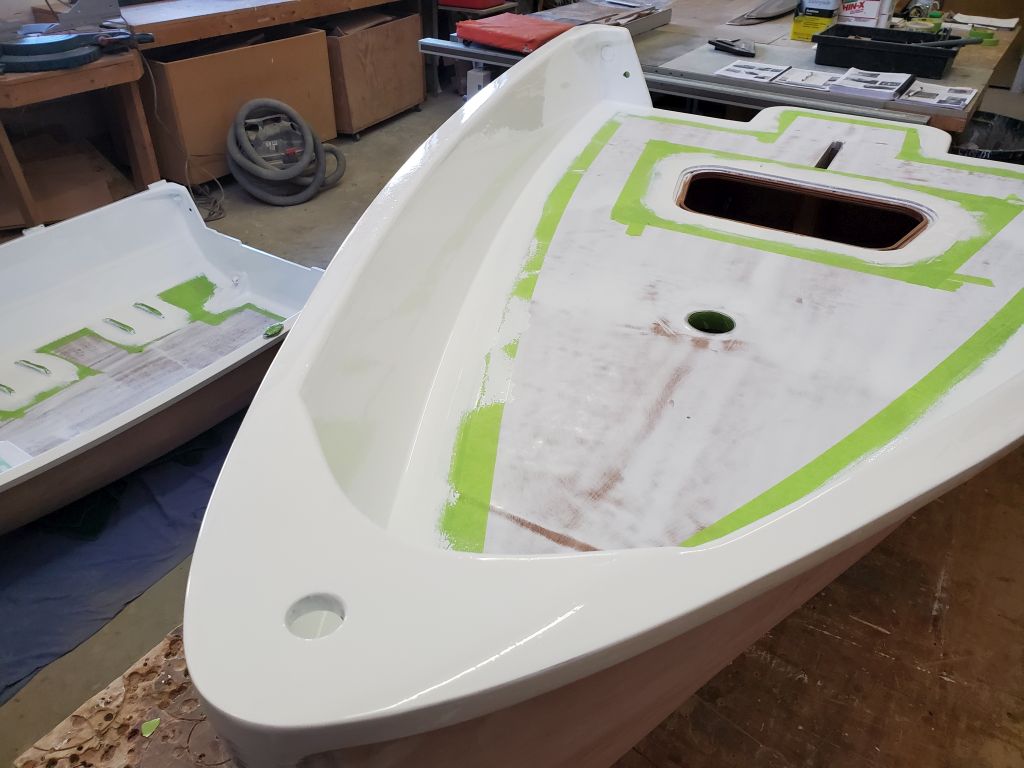
Now, I moved the aft half to the floor, where I set it up on a blanket for protection and added chocks to support it securely, and set up the forward half on the work table. The forward half, being much smaller and lighter and with a simpler paint scheme, was far less of a problem for access and decent paint application and would work on the raised table, as it hadn’t given me any particular problems with access, but now I planned to literally get in the aft half to allow better access to the complicated after regions, and also allow me to work forward on both sides at once to maintain a wet edge.
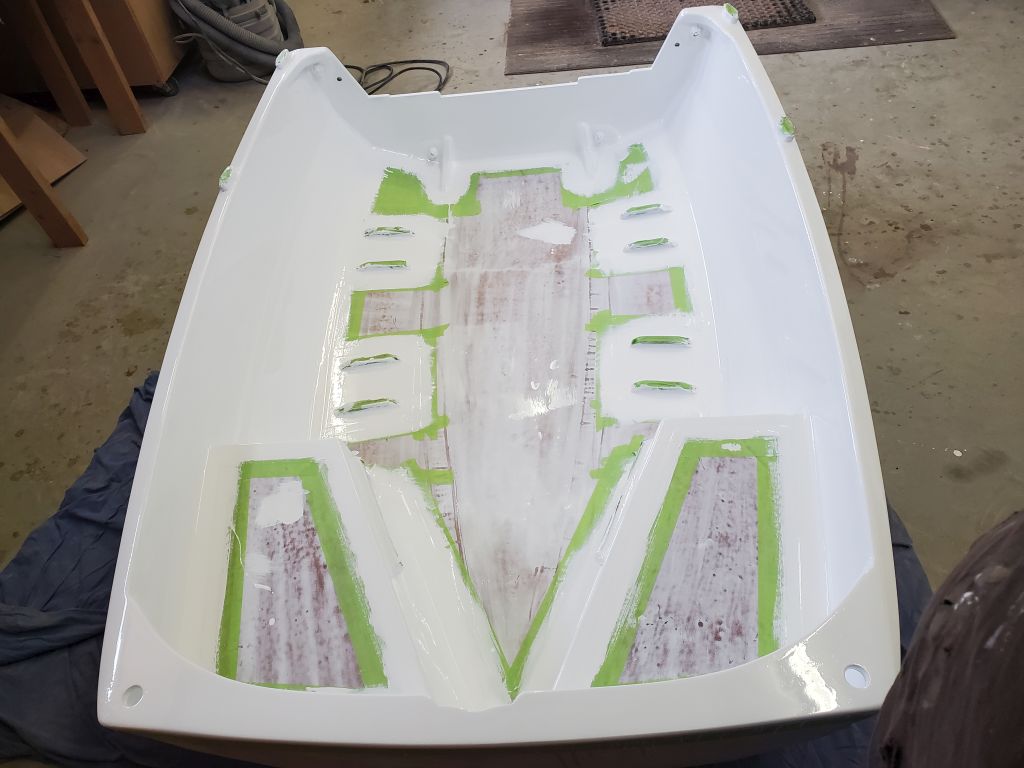
Later in the day, after final tack-off and preparations, I applied the second coat of gloss white polyurethane to the inside hull areas. I’d found previously that many of the spaces were too tight to properly use a roller, so this time I worked with brush alone, and with the better access to the inside of the boat, from being inside myself, I was much more pleased with the results.
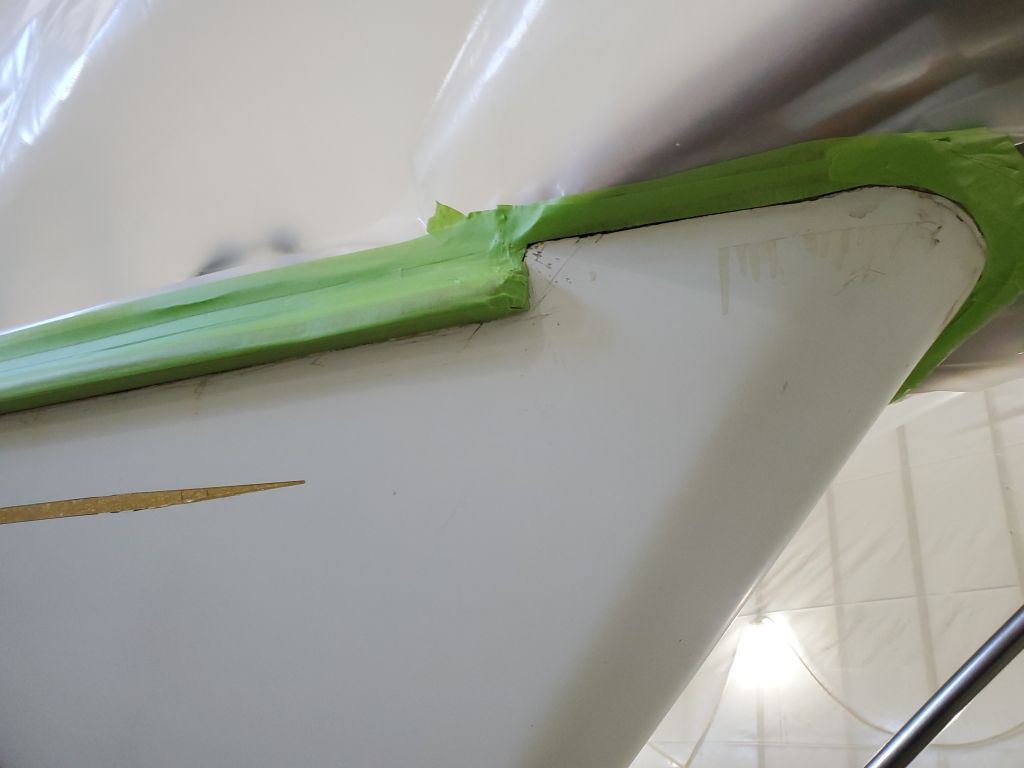
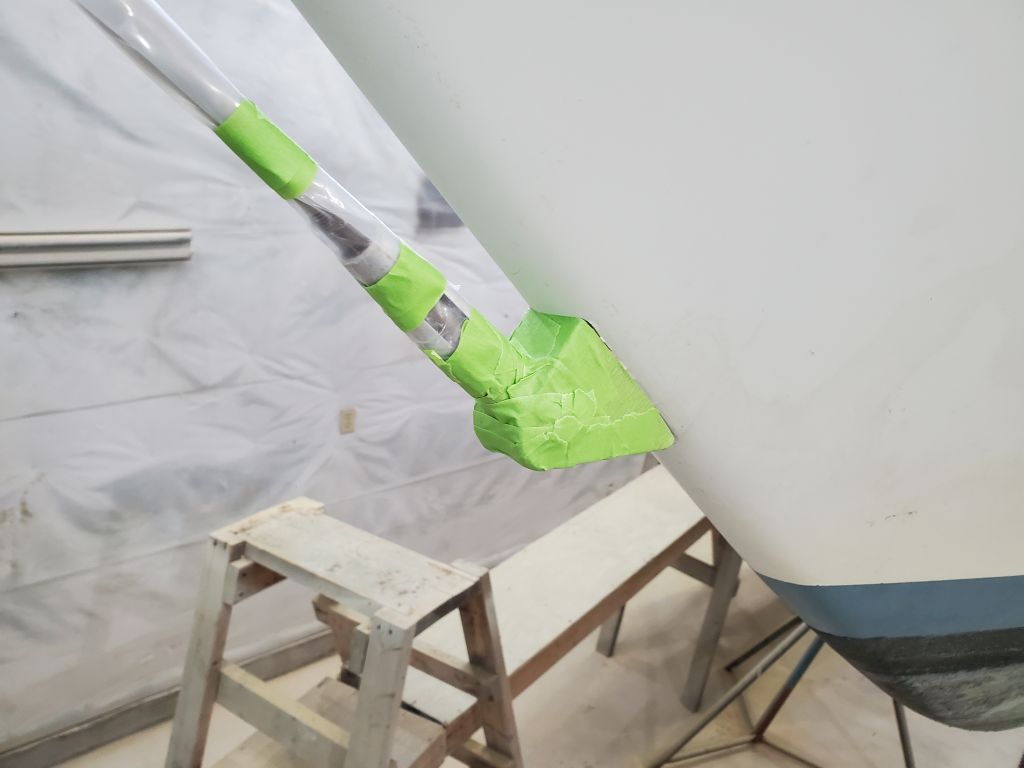
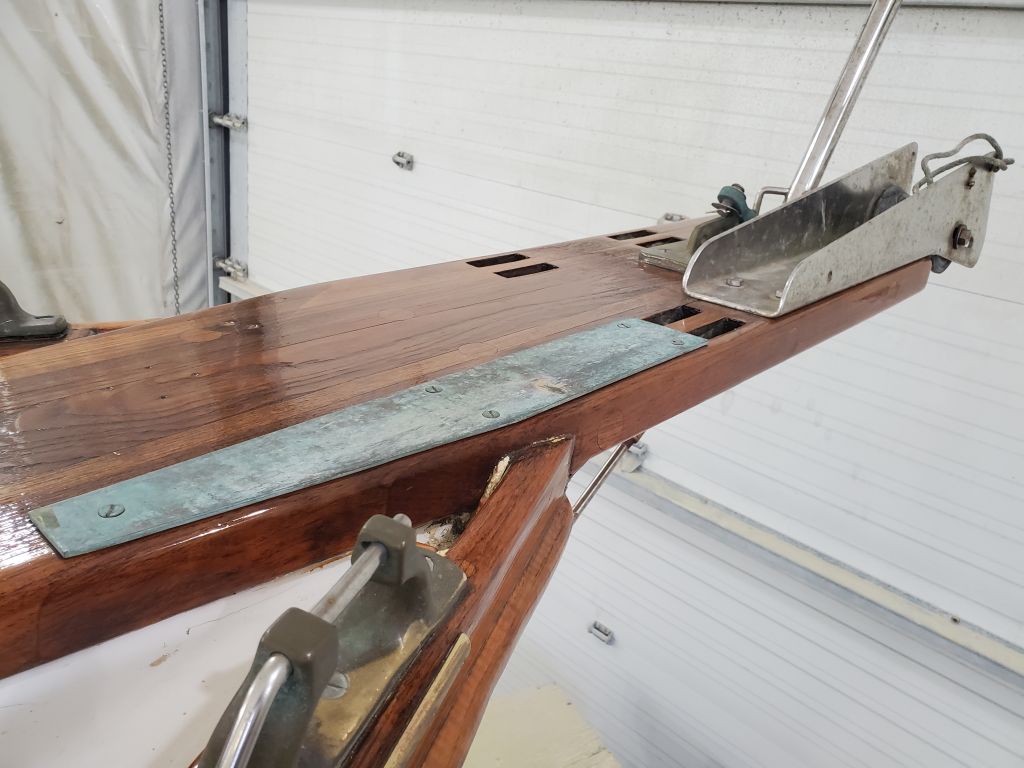
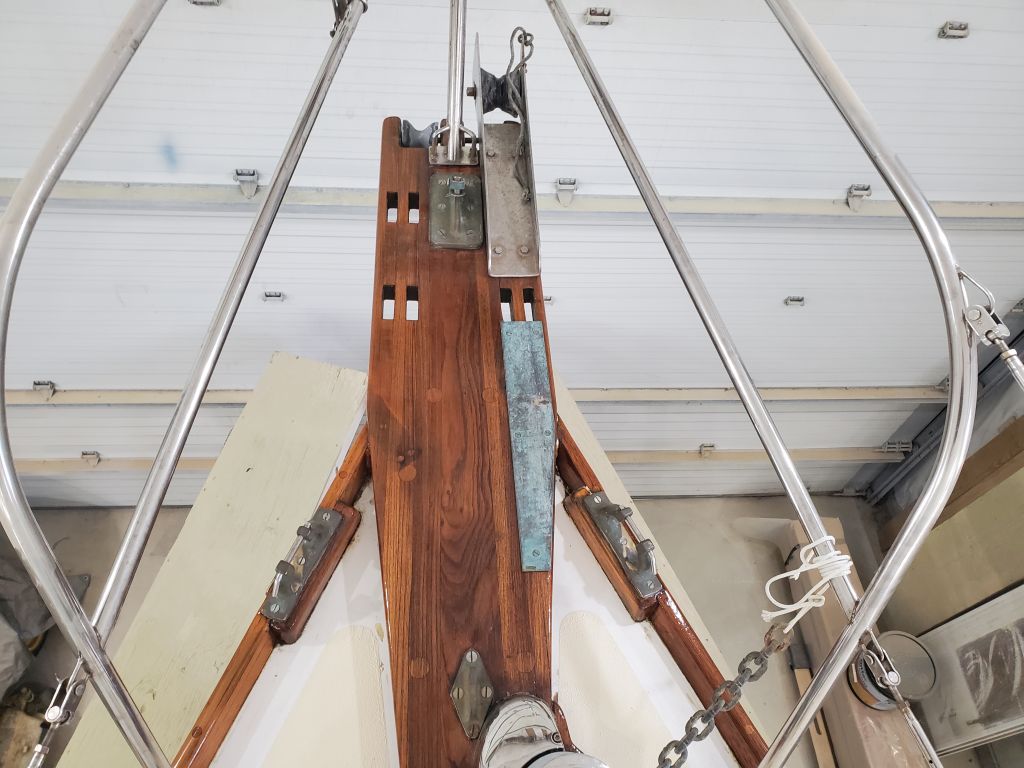
With the project briefly on hold till the owner arrived mid-day to collect his starting battery so he could obtain a replacement (bringing me lunch in the bargain–thanks!), I finished up the masking on the forward half of the boat, taping off the rubrail as needed and masking the bobstay and bobstay fitting.
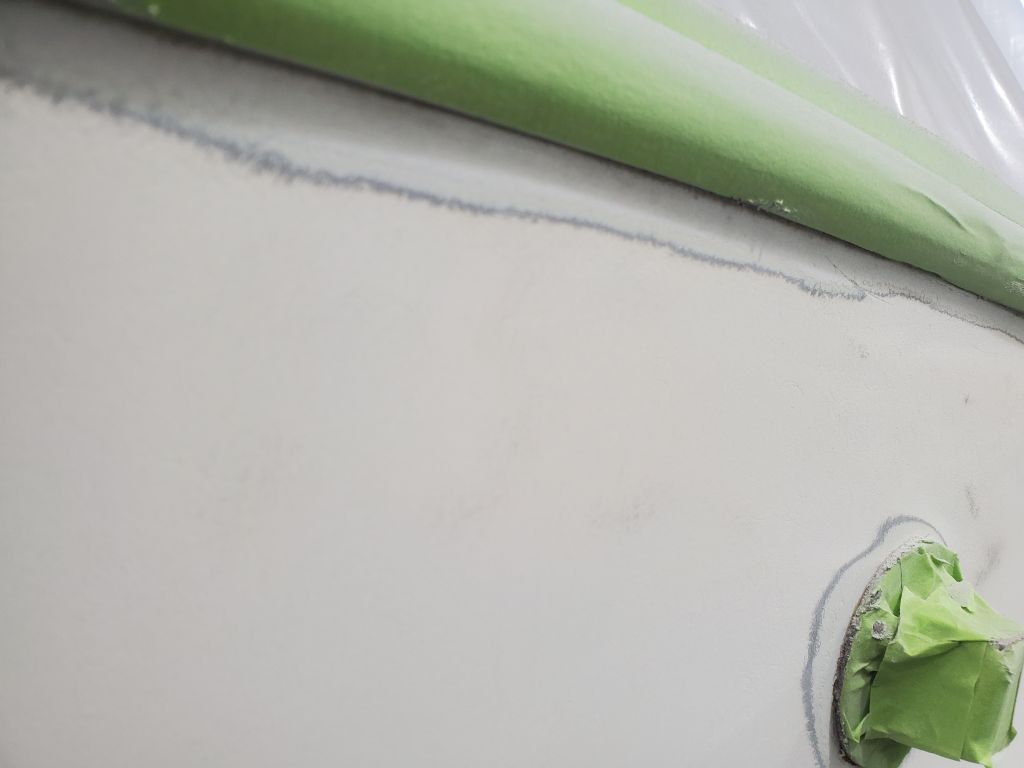
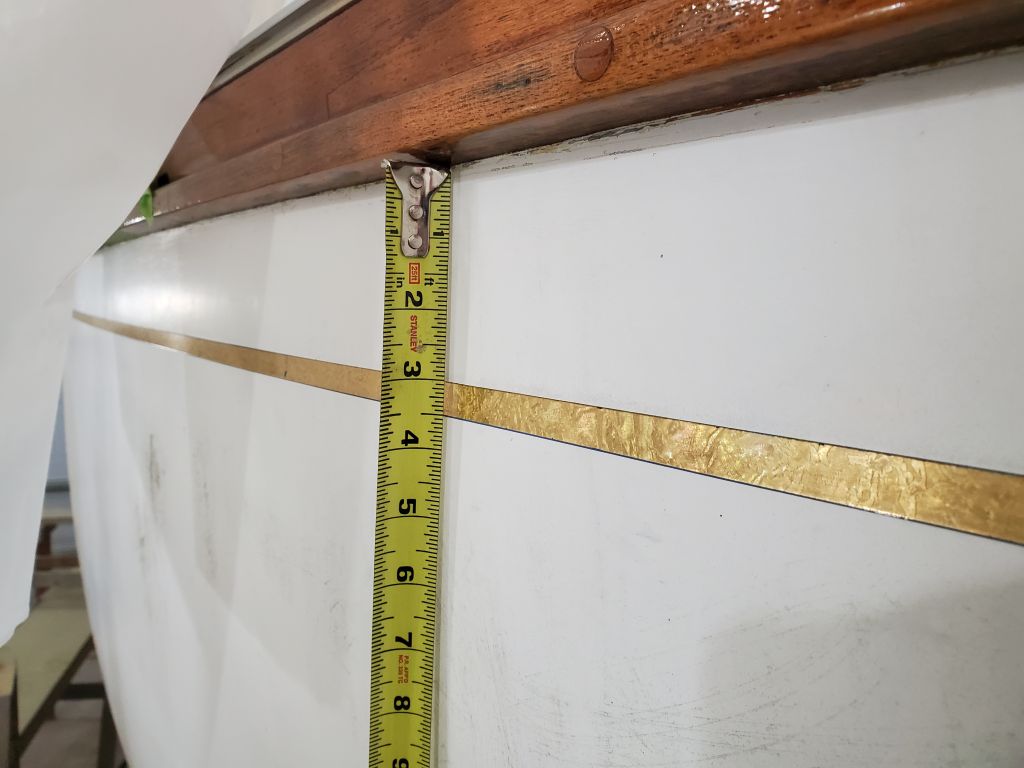
For reference, since I’d soon be sanding off all the hull paint and trim, I took a couple measurements to help with later relocating the cove stripe, and to register the existing width of the boottop.
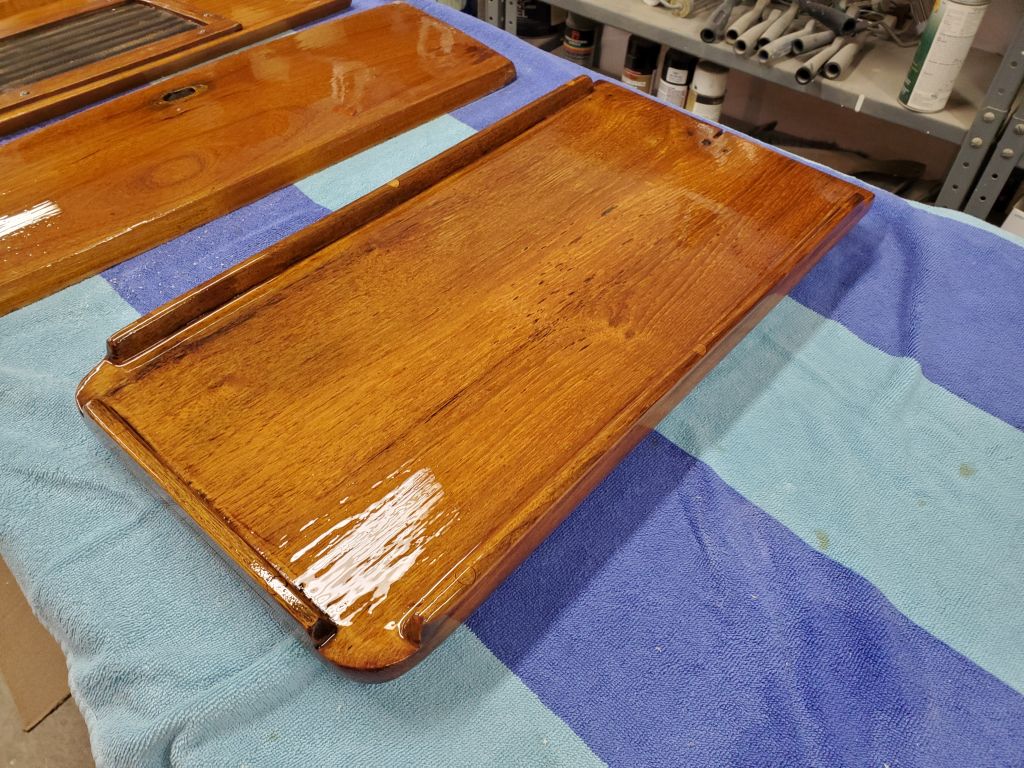
I continued with another round of light sanding and another coat of varnish (#5) on the working surface of the cockpit table.
The top side of the pedestal table still required a few more coats of varnish; I’d done both sides at once through three coats, but then I’d worked only on the back side to bring it up to the required six coats. So now I applied a fourth coat to the top side of the table, and also took the opportunity to apply one freshen-up coat of varnish to the inside faces of the swashboards. just to spruce them up. I’d not stripped these faces, as they were in good condition, but just a little scratched up from use.
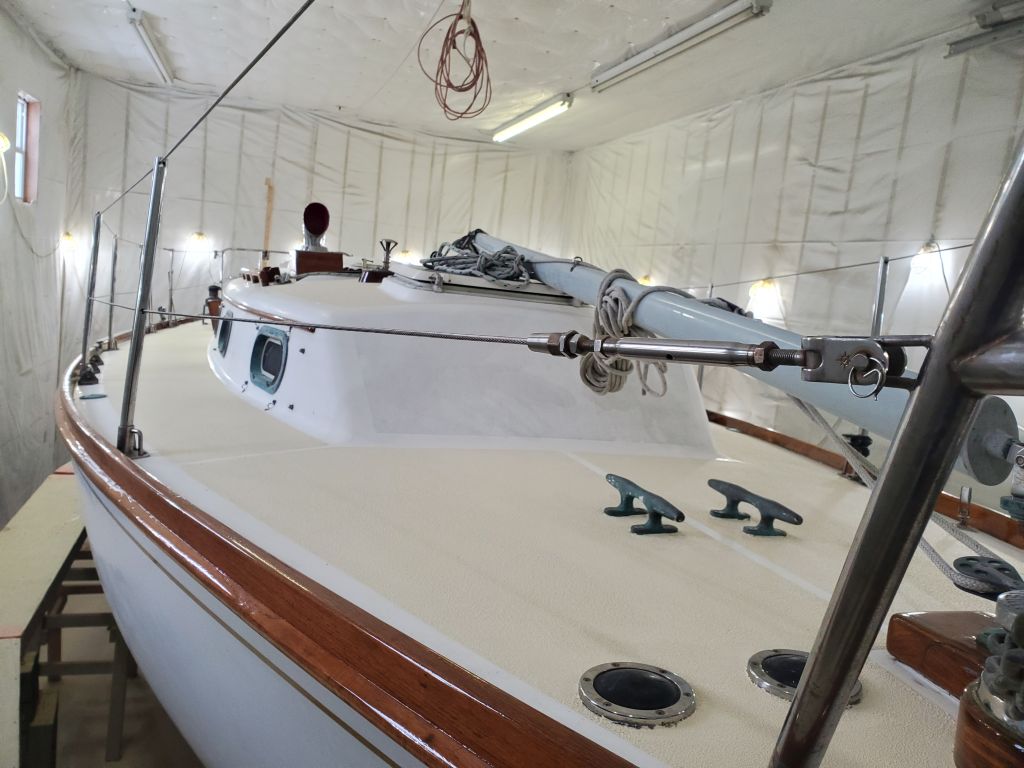
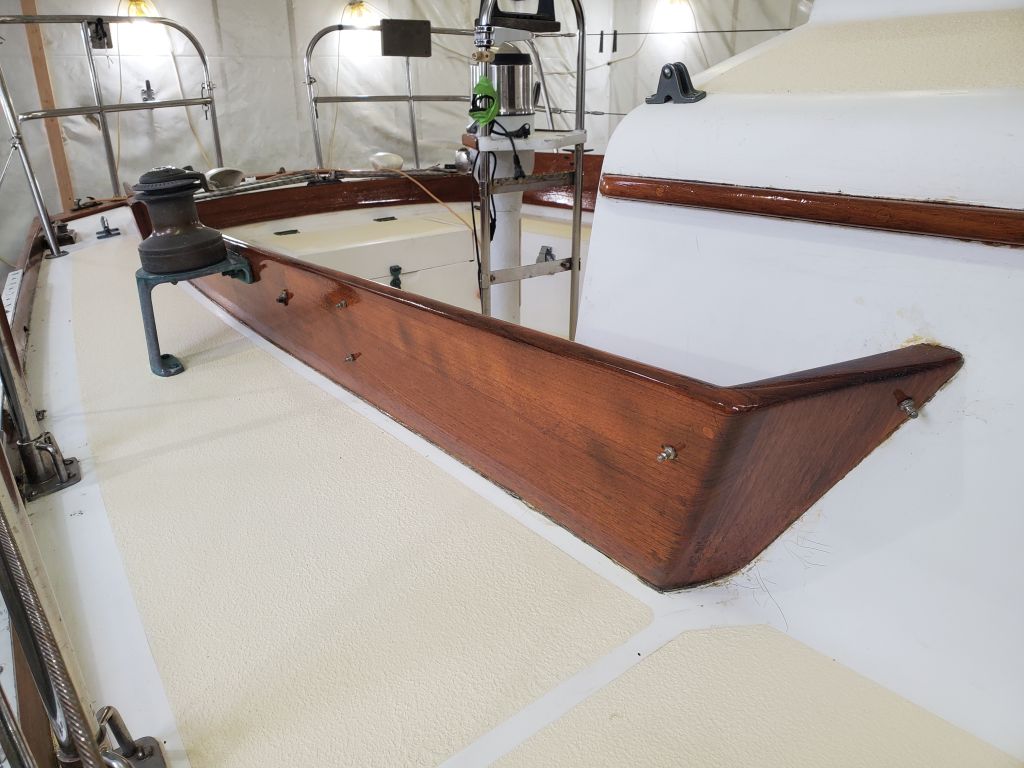
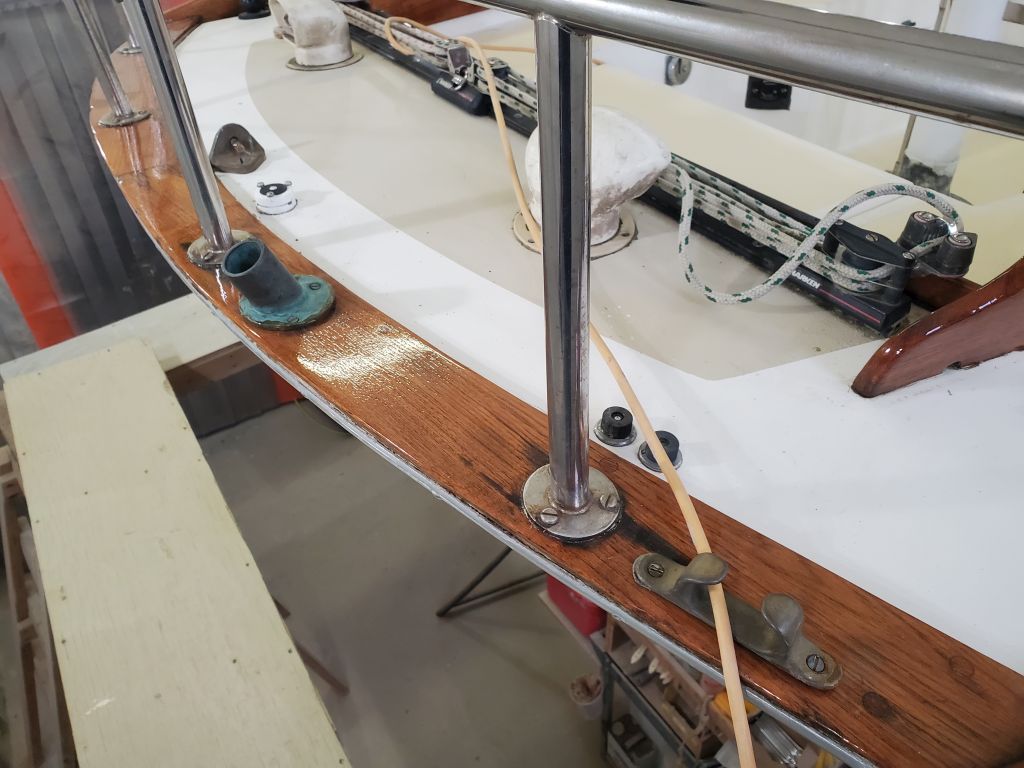
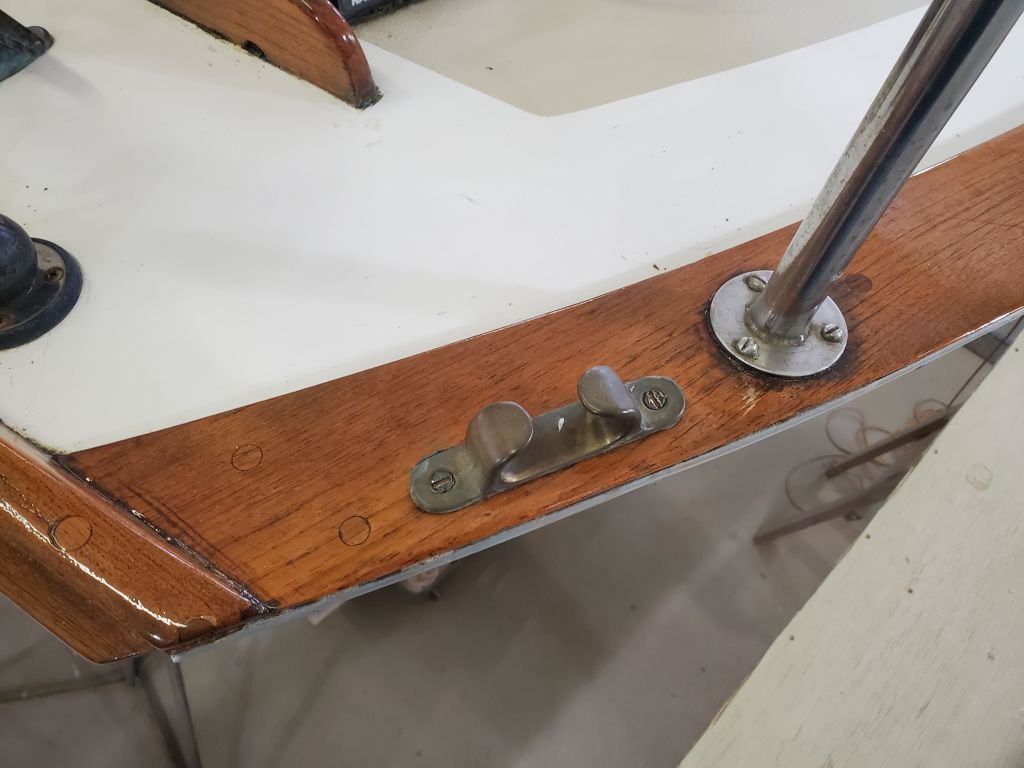
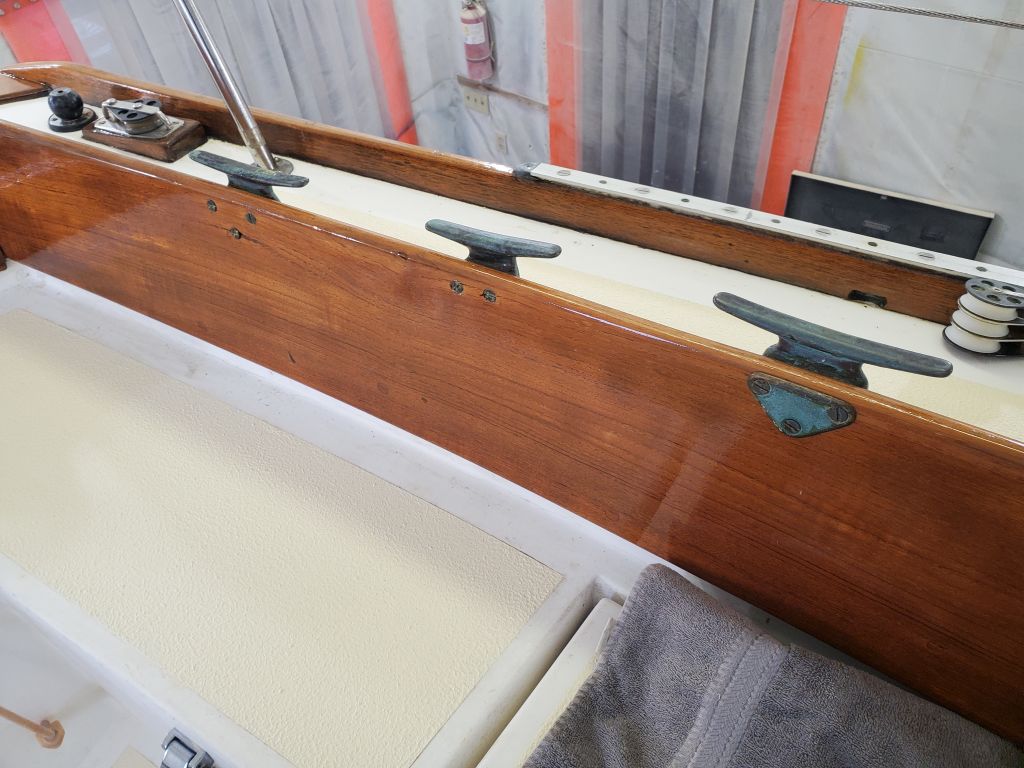
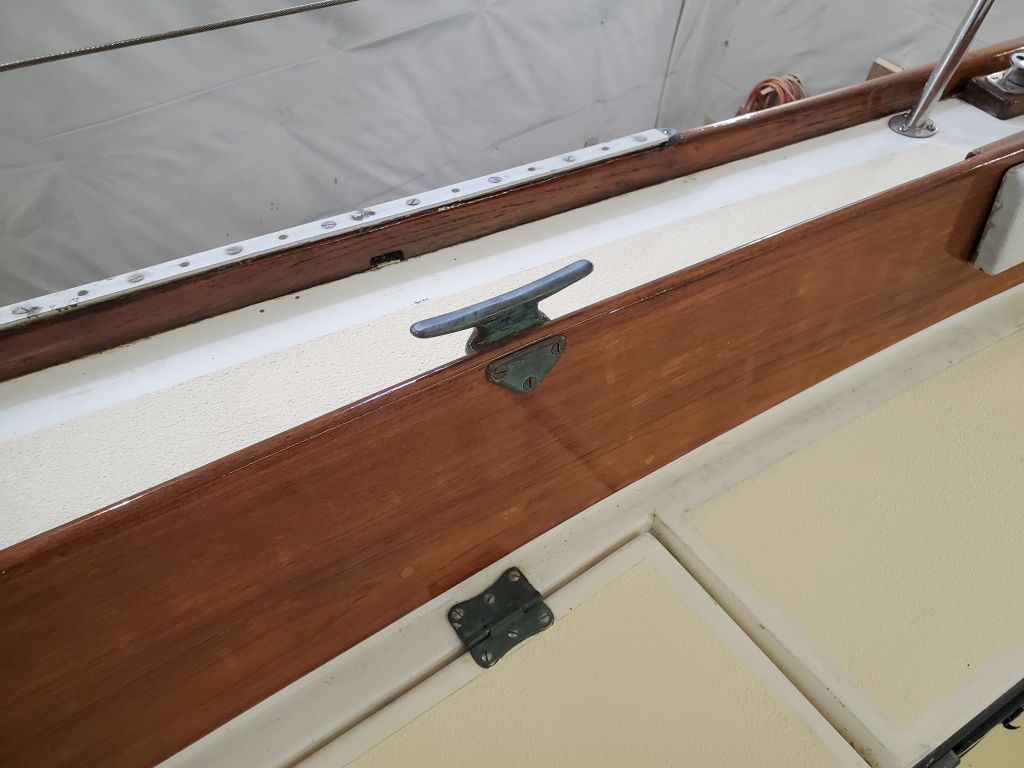
On the boat, I reinstalled various hardware I’d removed for the varnish and deck projects, and reinstalled and secured the lower lifelines.
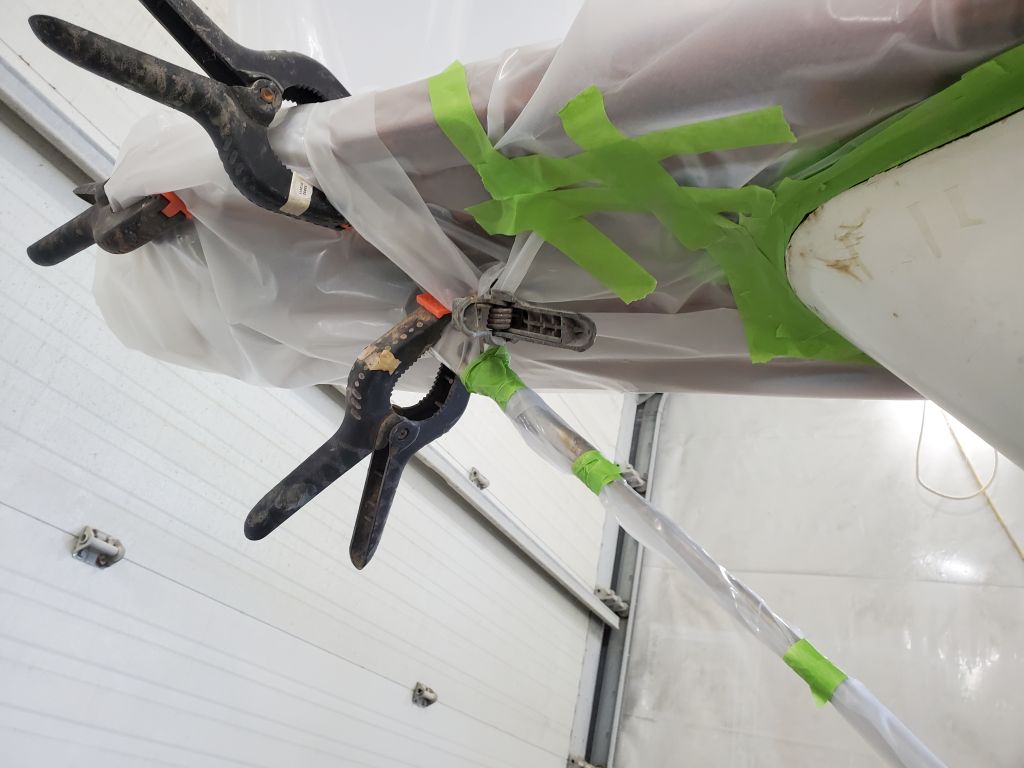
Now I was ready to shift focus to the hull, and to that end I began to drape plastic sheeting over the decks for protection. I left the cockpit exposed for the moment, as the owner was coming up the next day to hook up a battery charger, so I’d finish up the sheeting a little later in the week and be ready to get to work on the hull next week.
But getting as far as I did meant that I could dismantle the staging from deck height and reassemble things at a level suitable for hull work, and from which I’d finish the deck masking when the time was right.