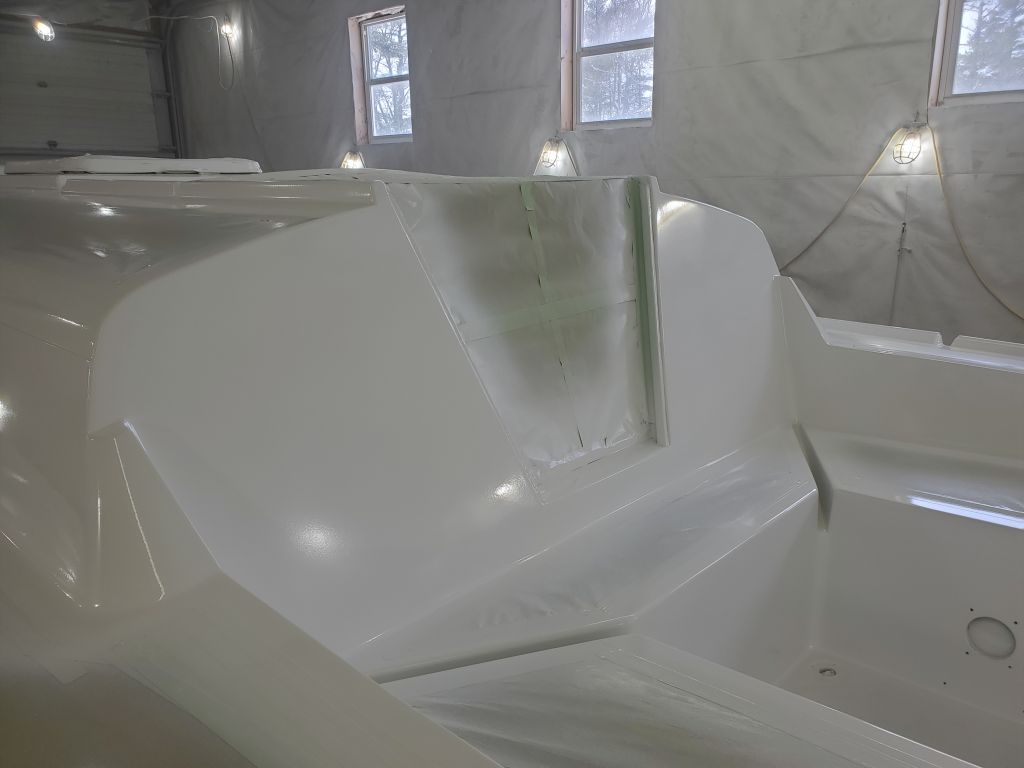
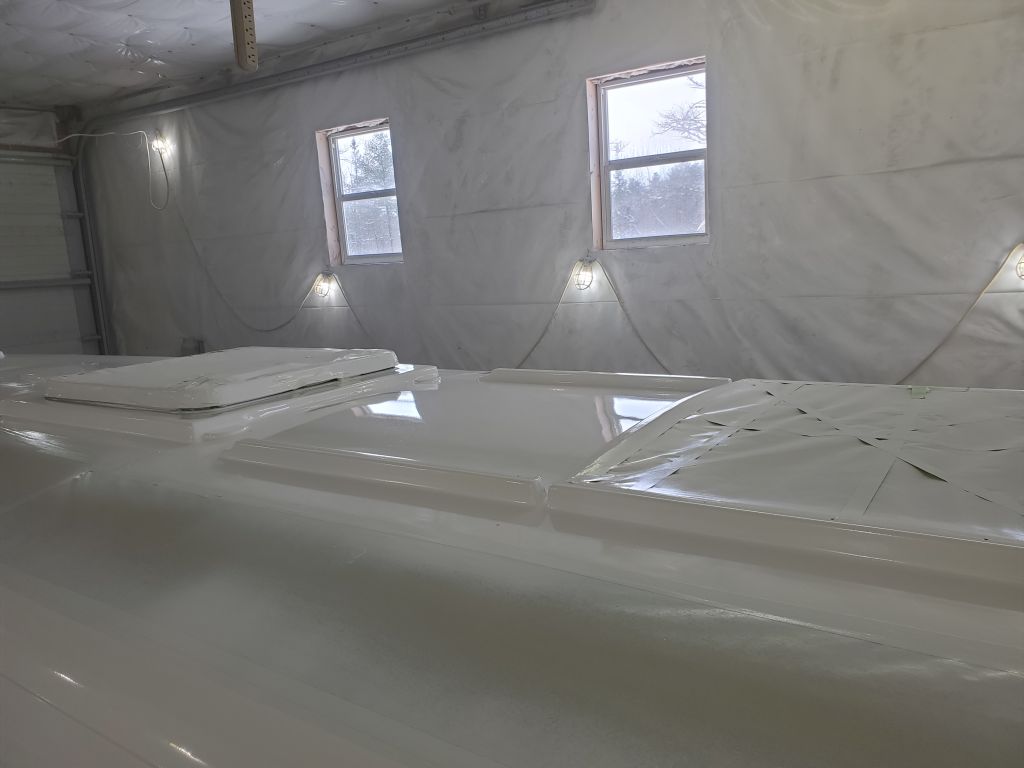
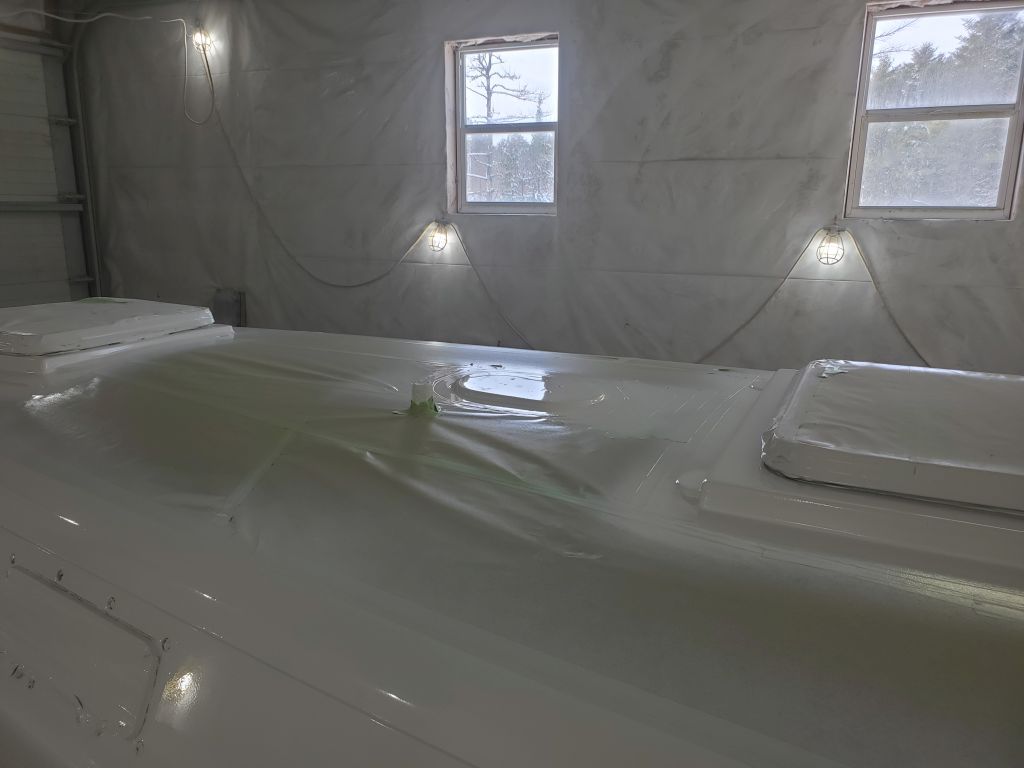
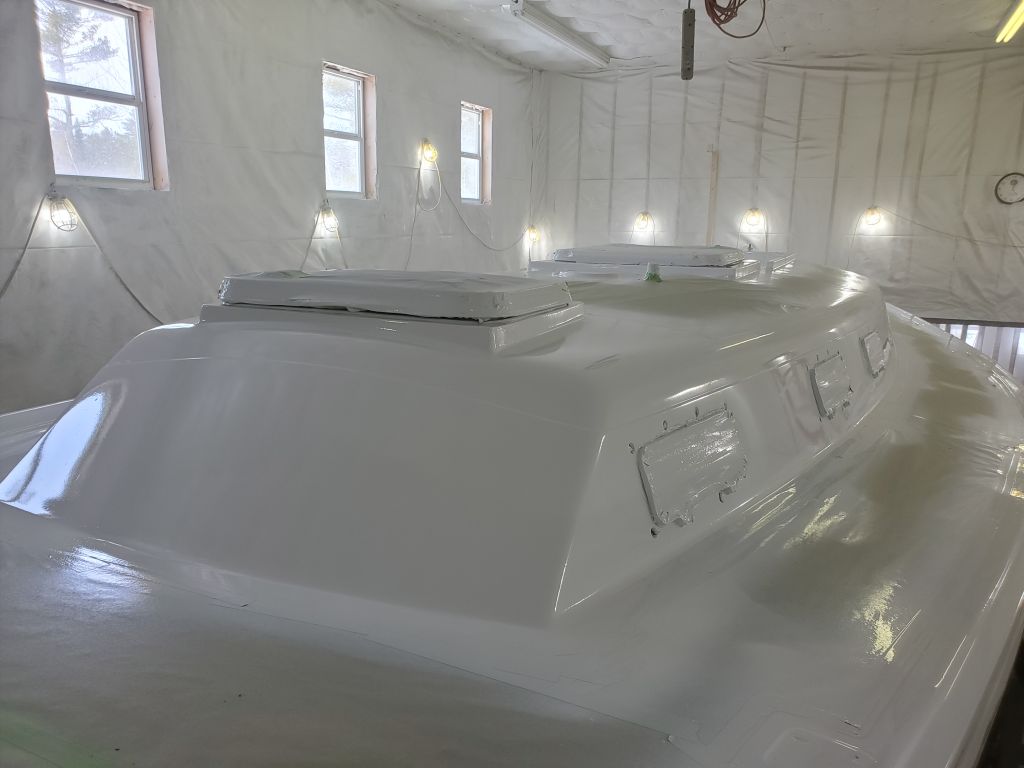
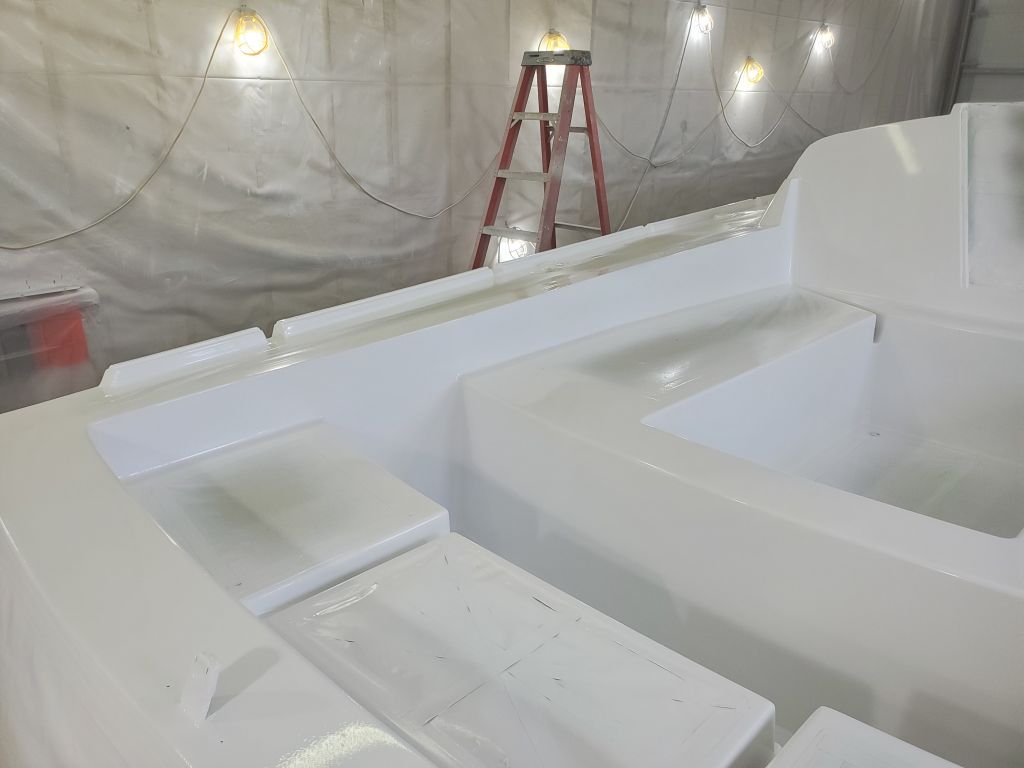
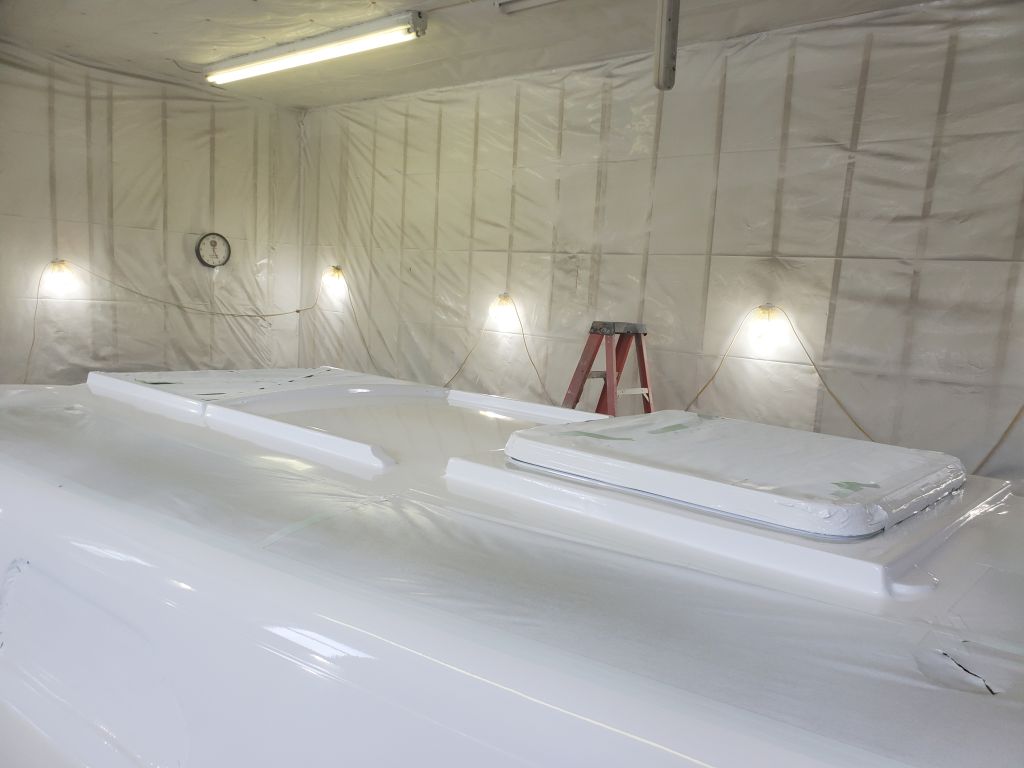
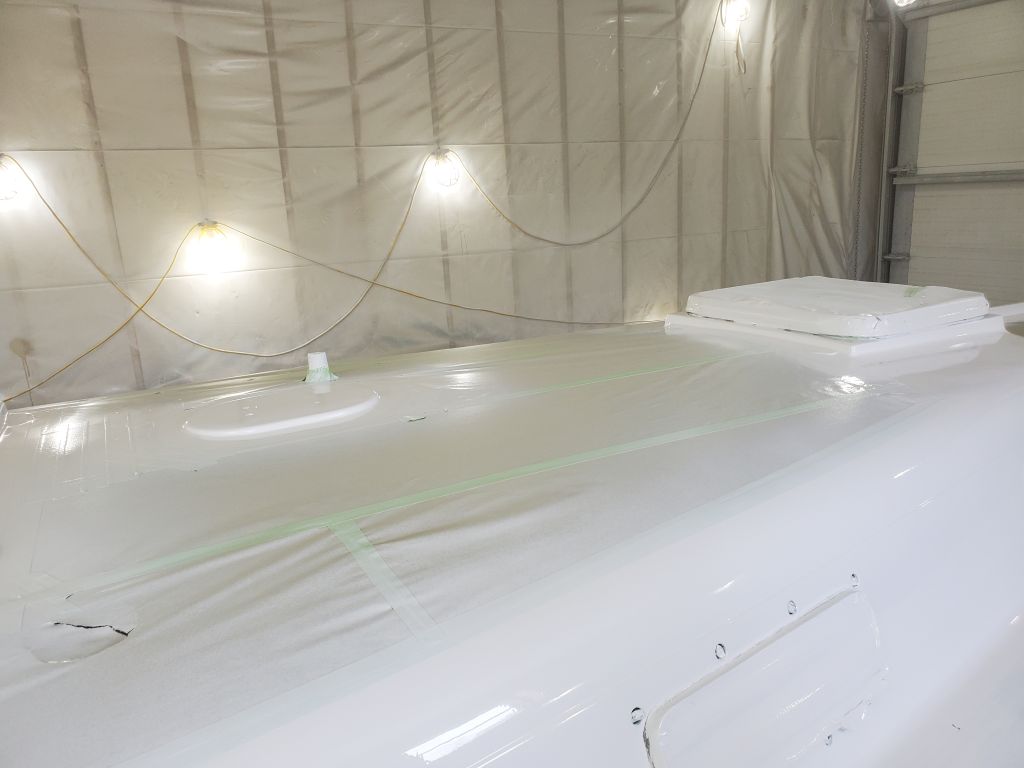
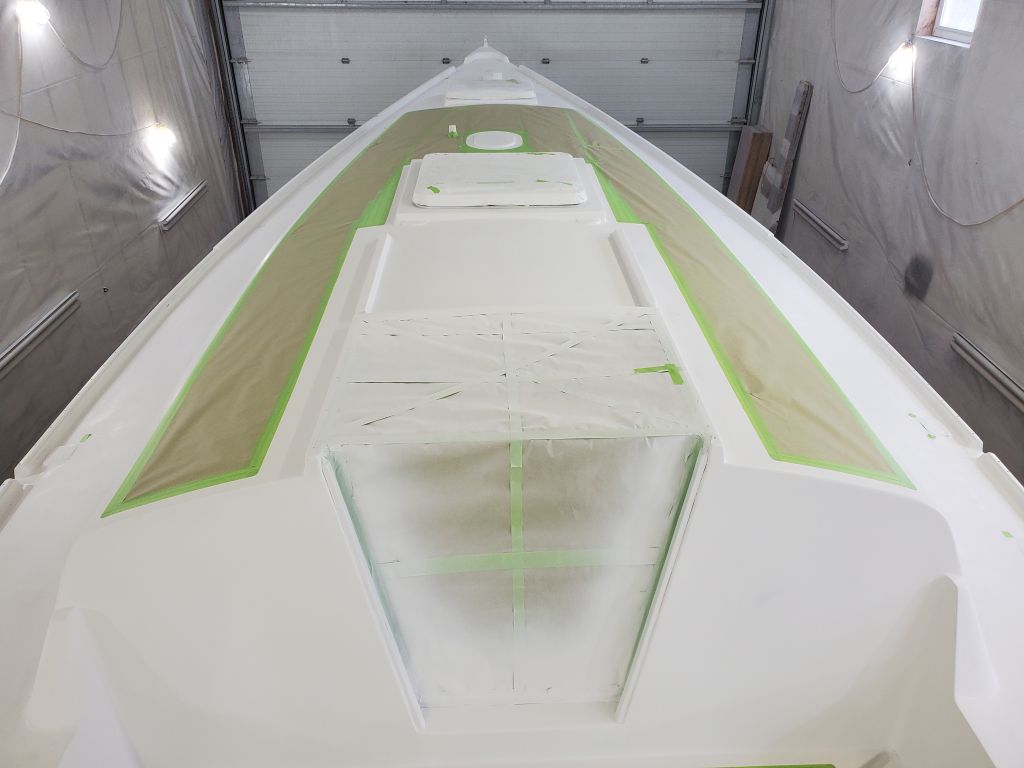
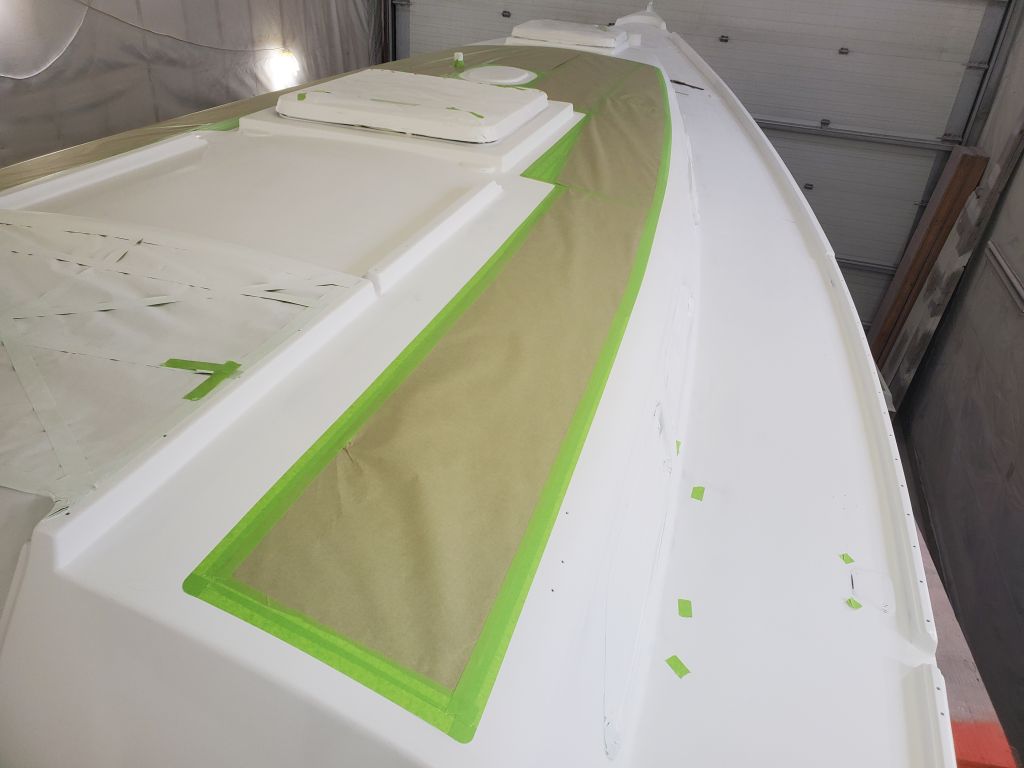
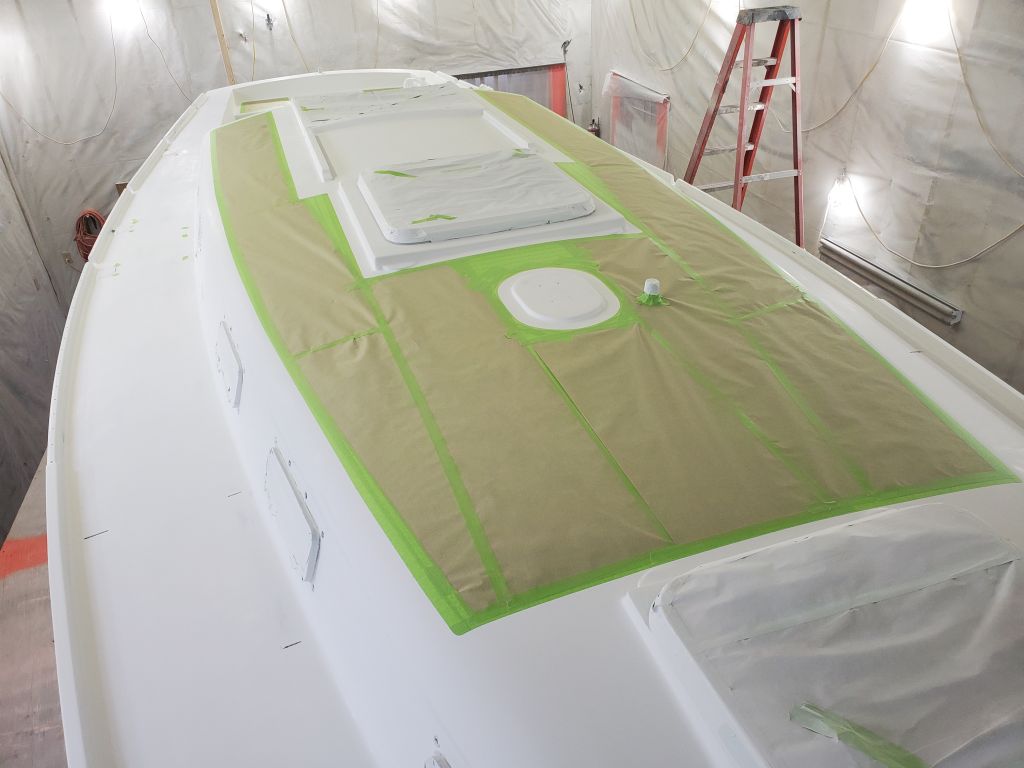
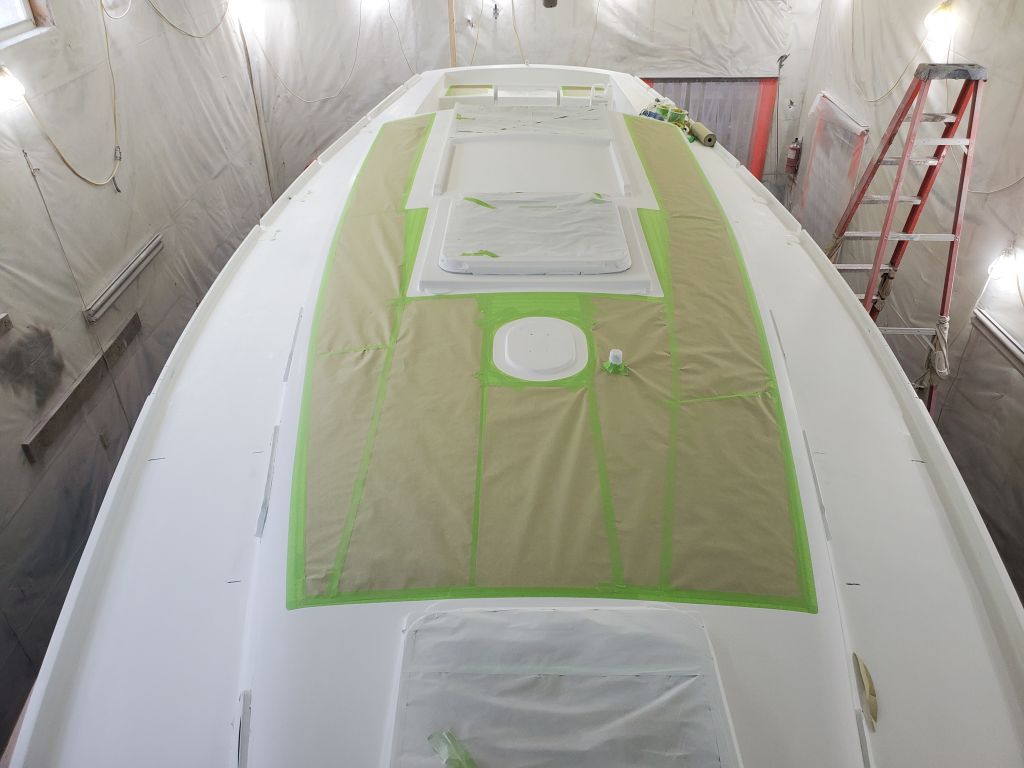
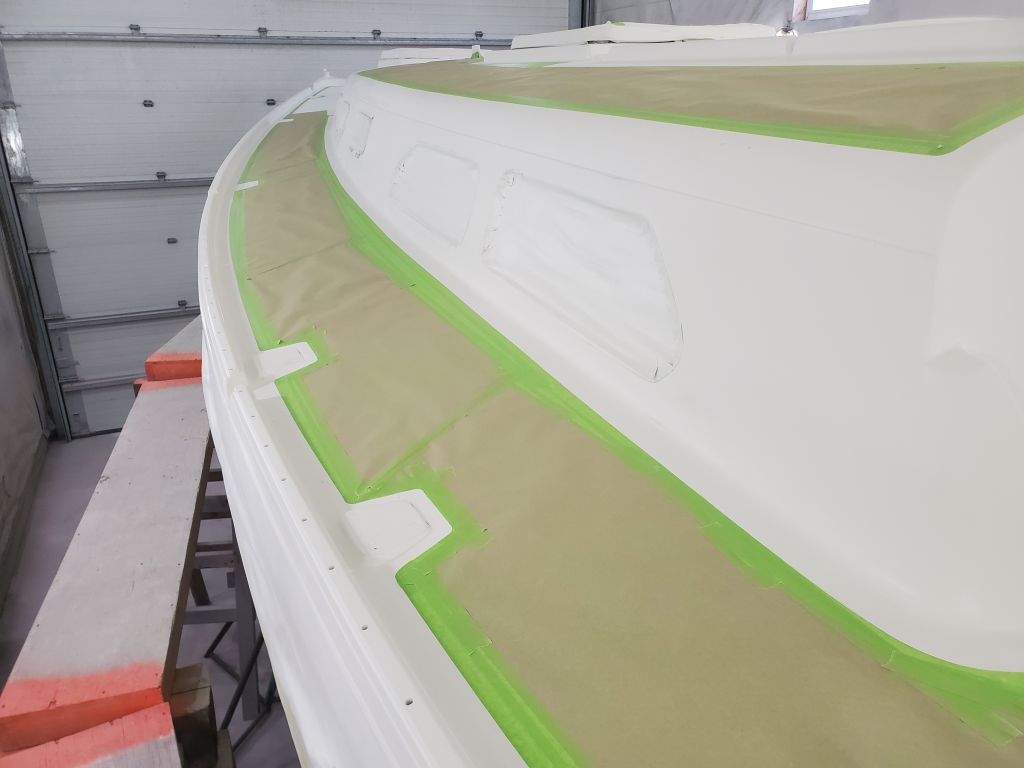
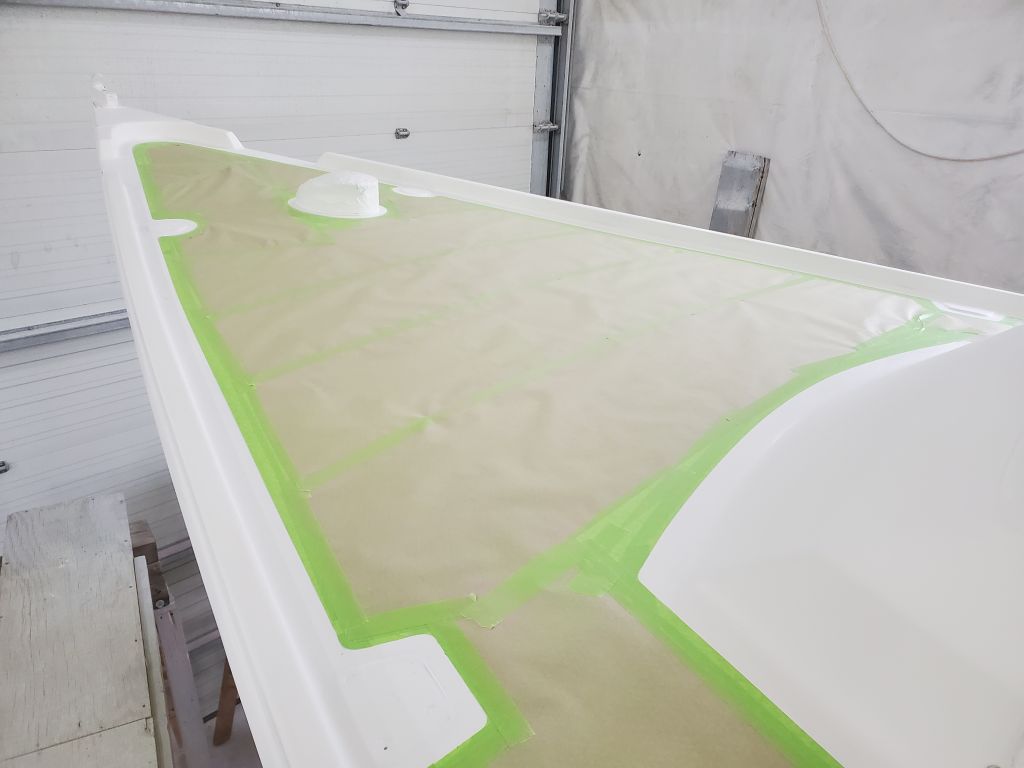
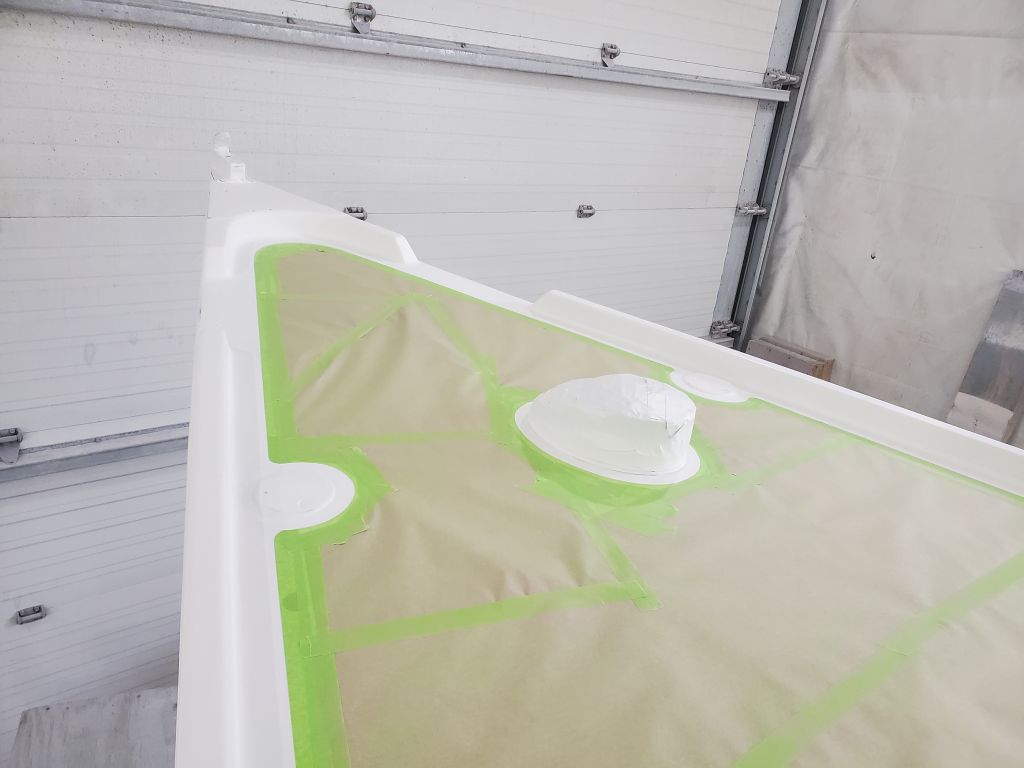
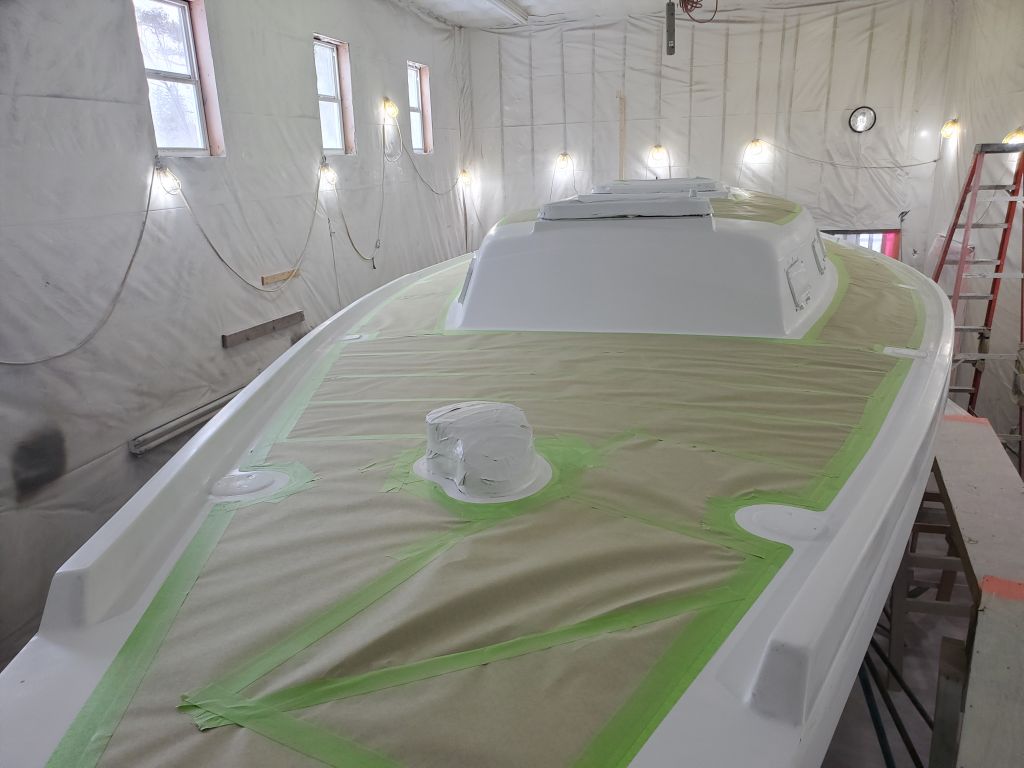
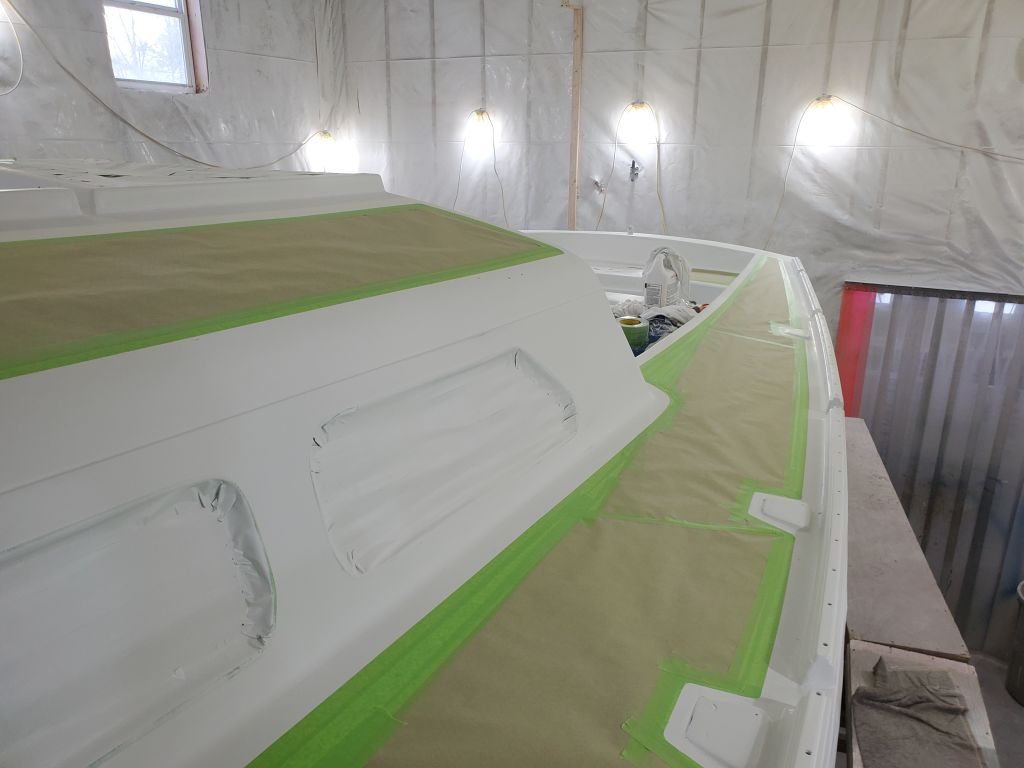
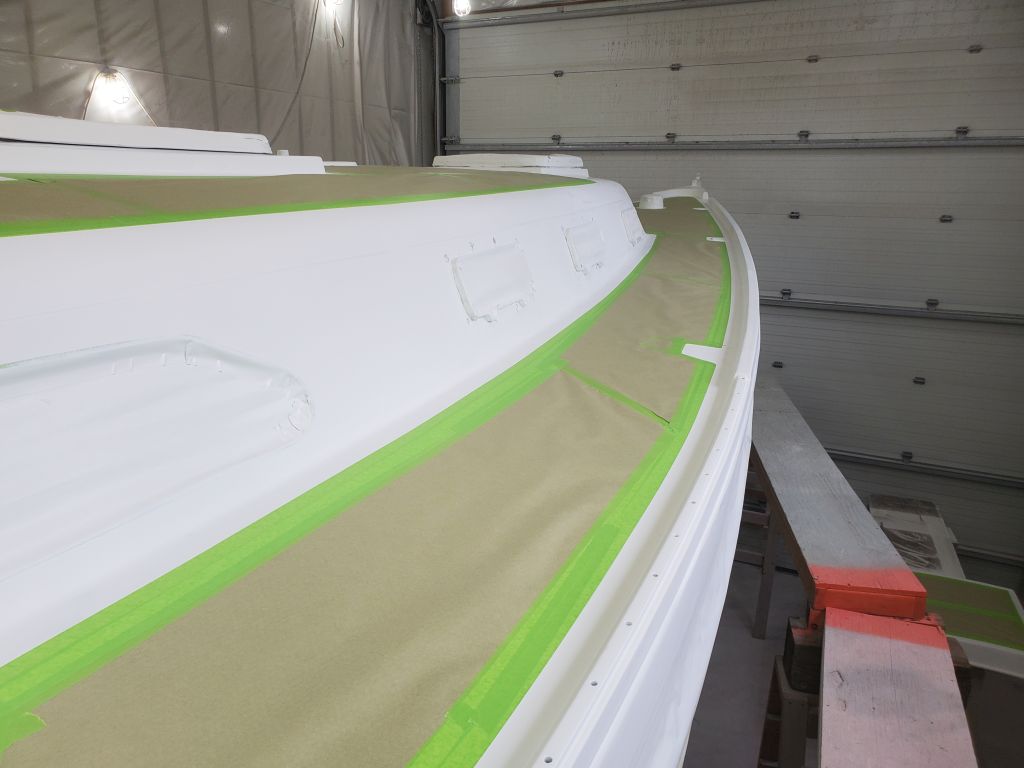
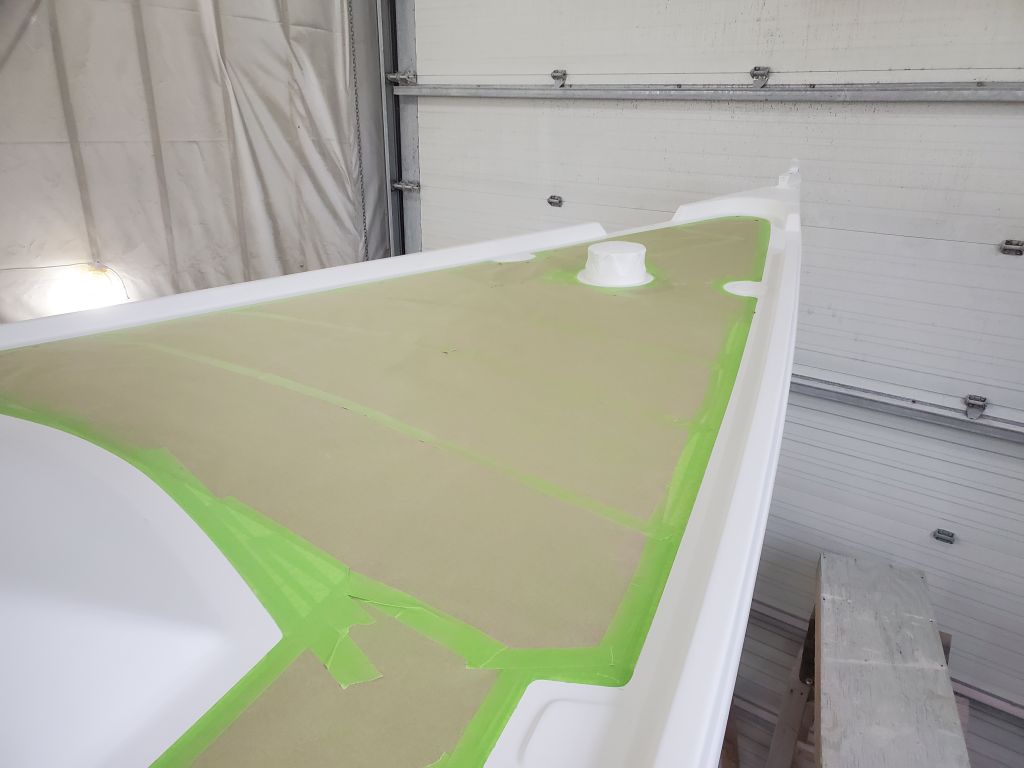
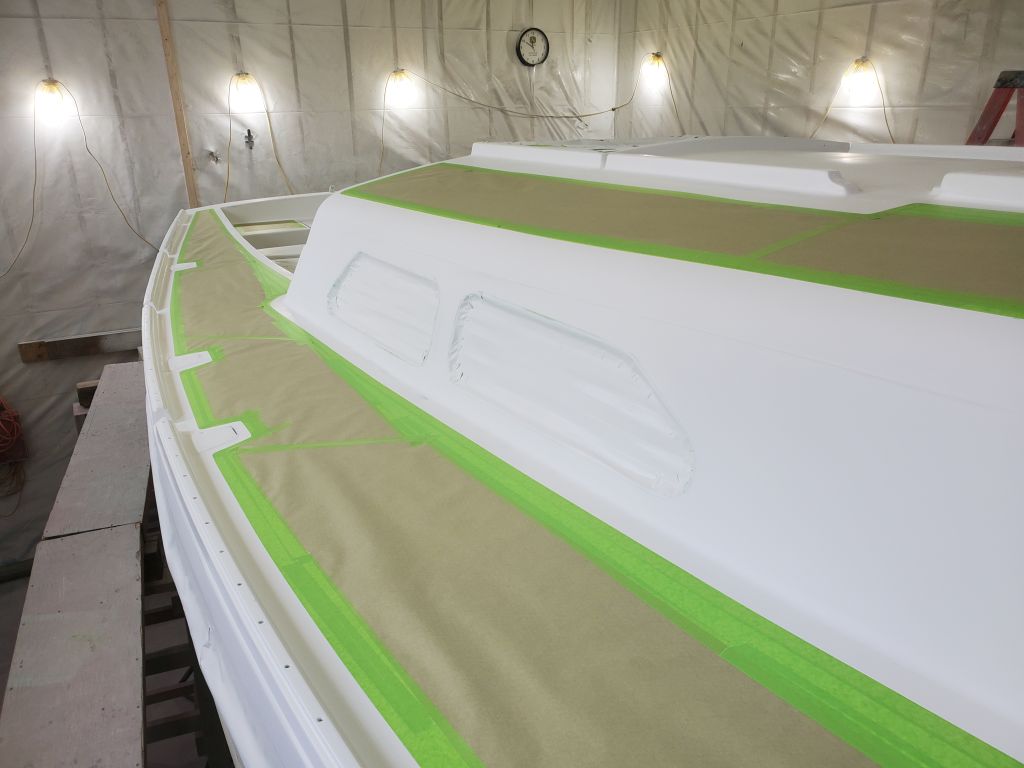
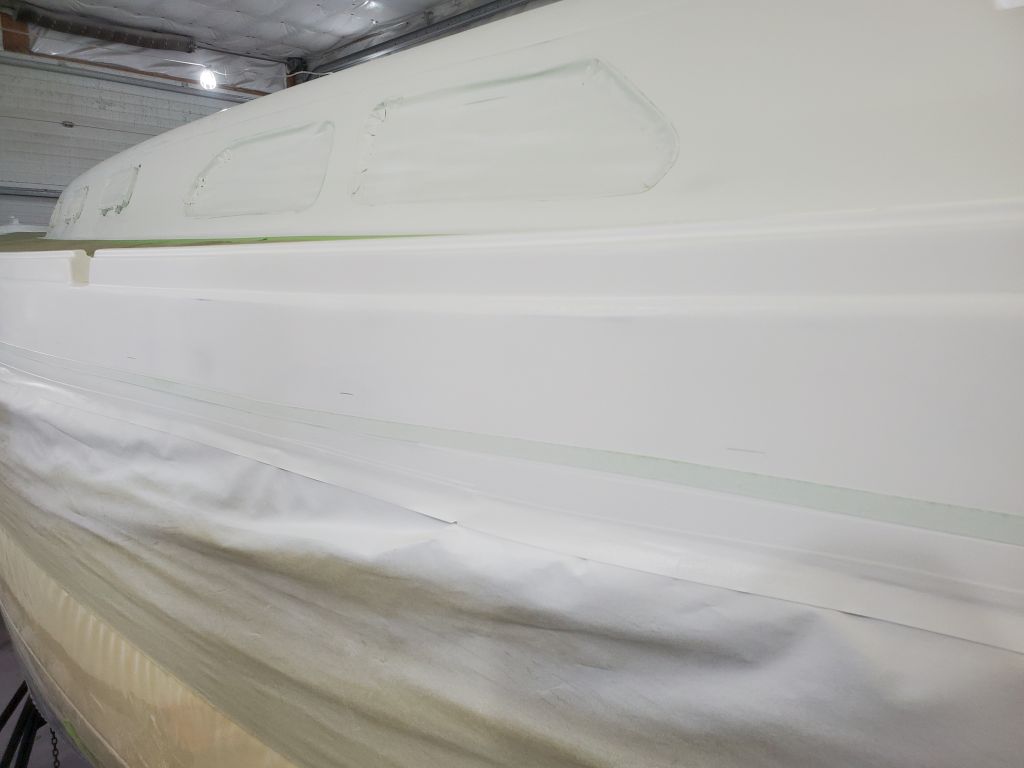
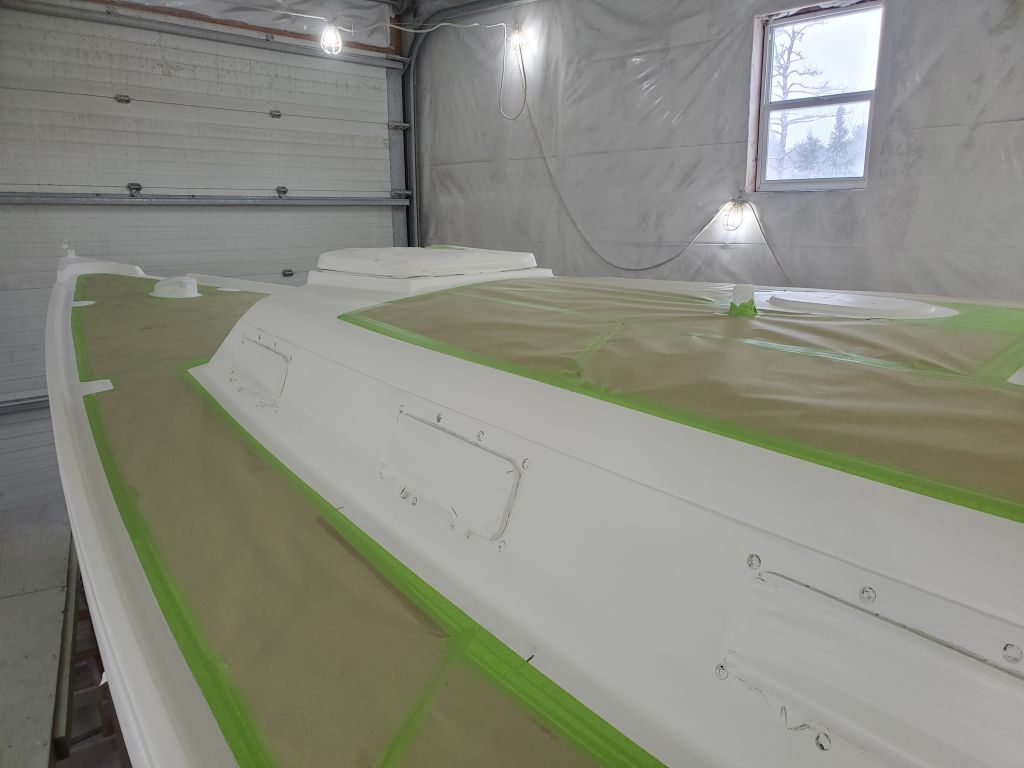
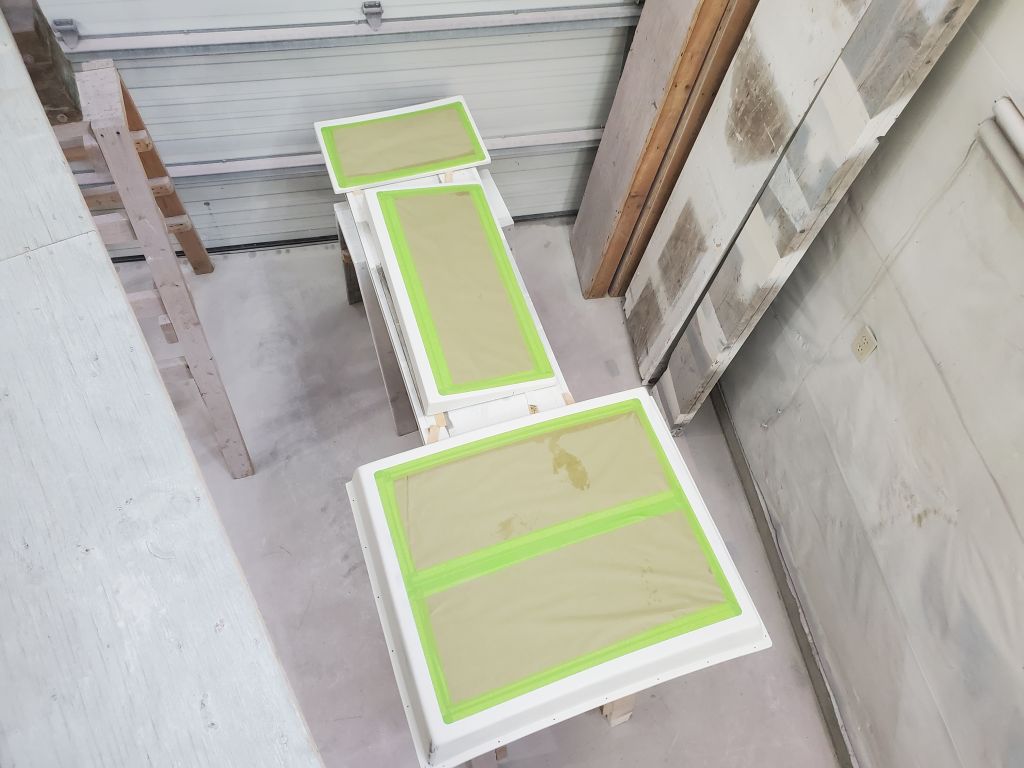
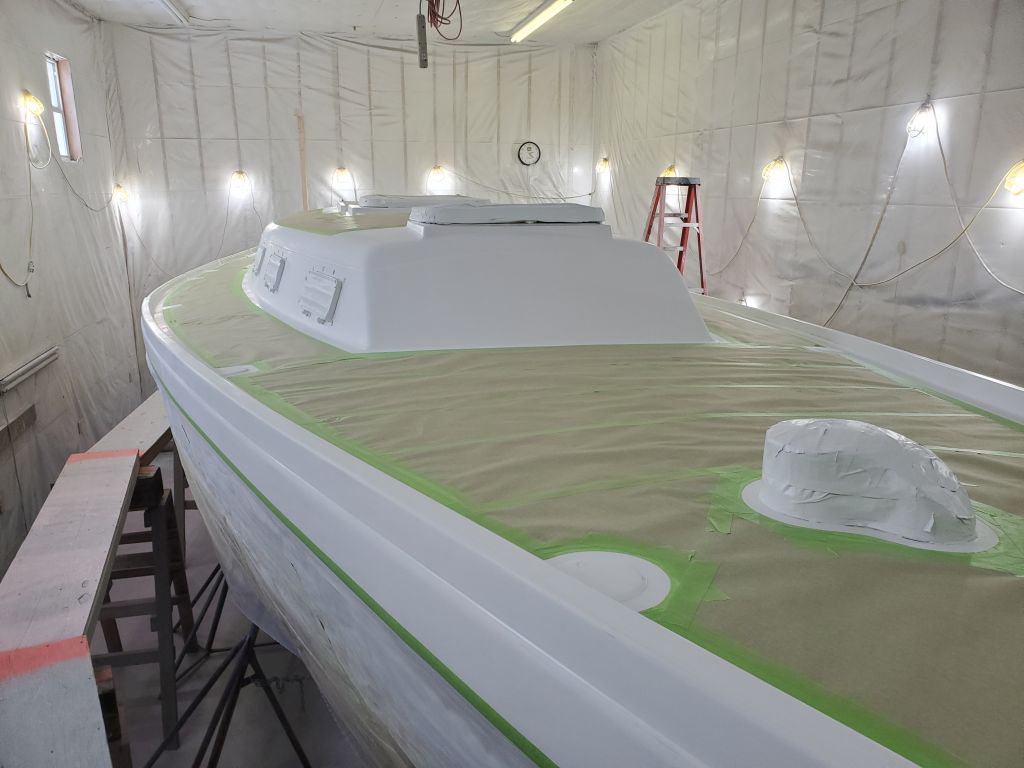
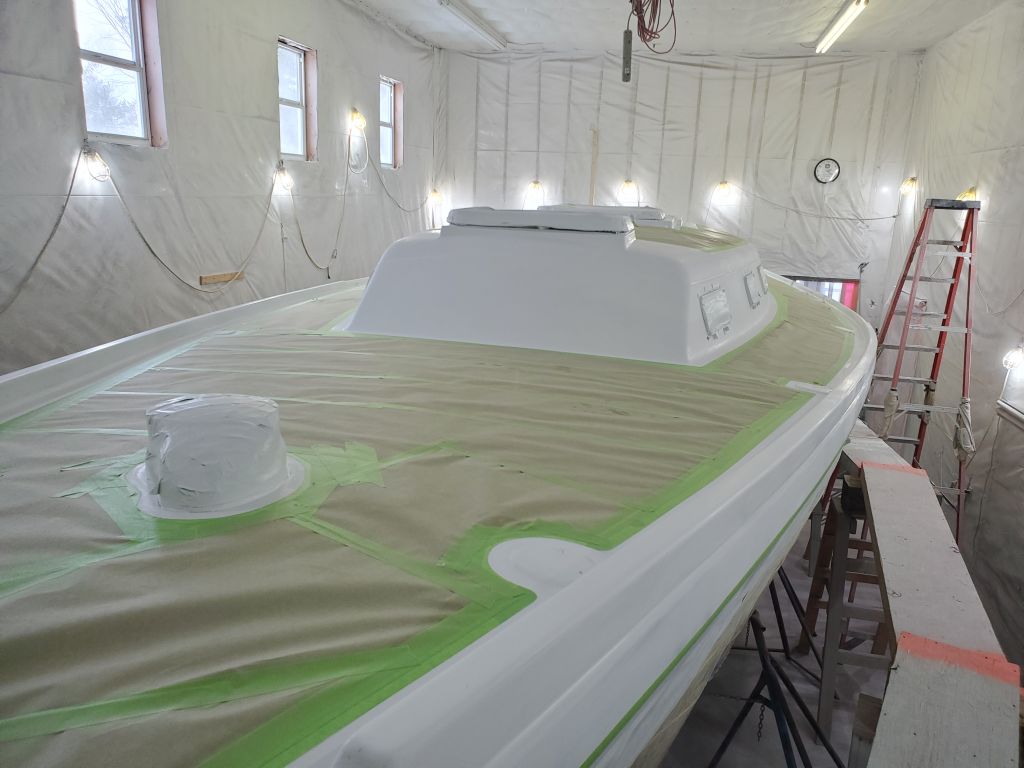
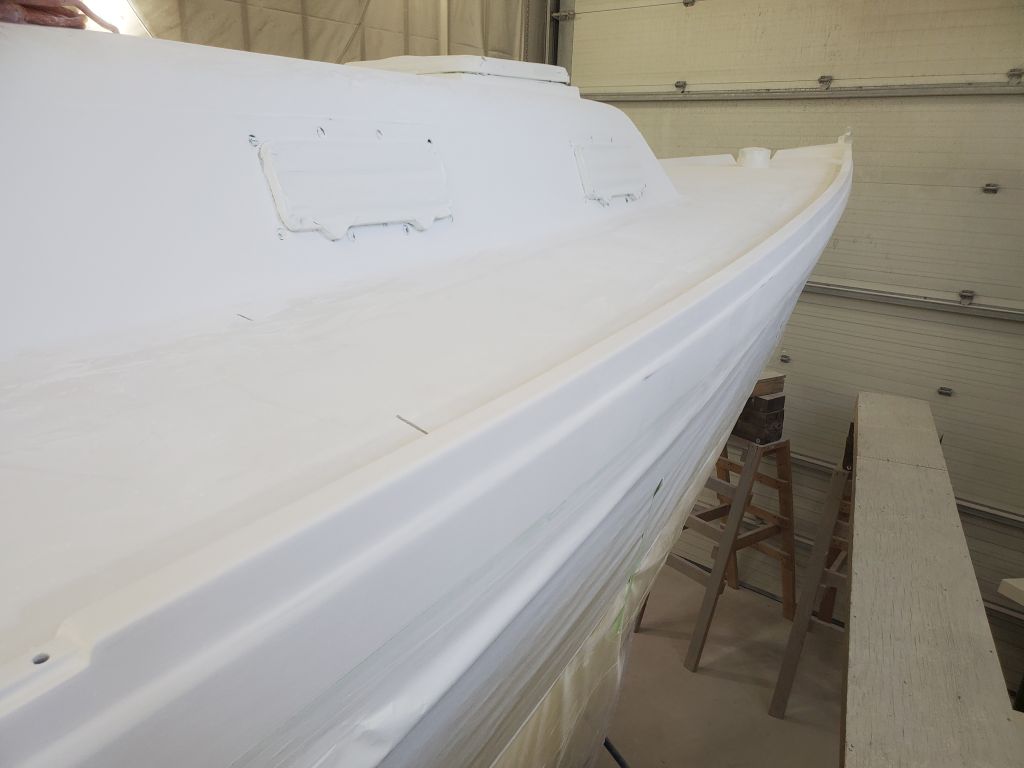
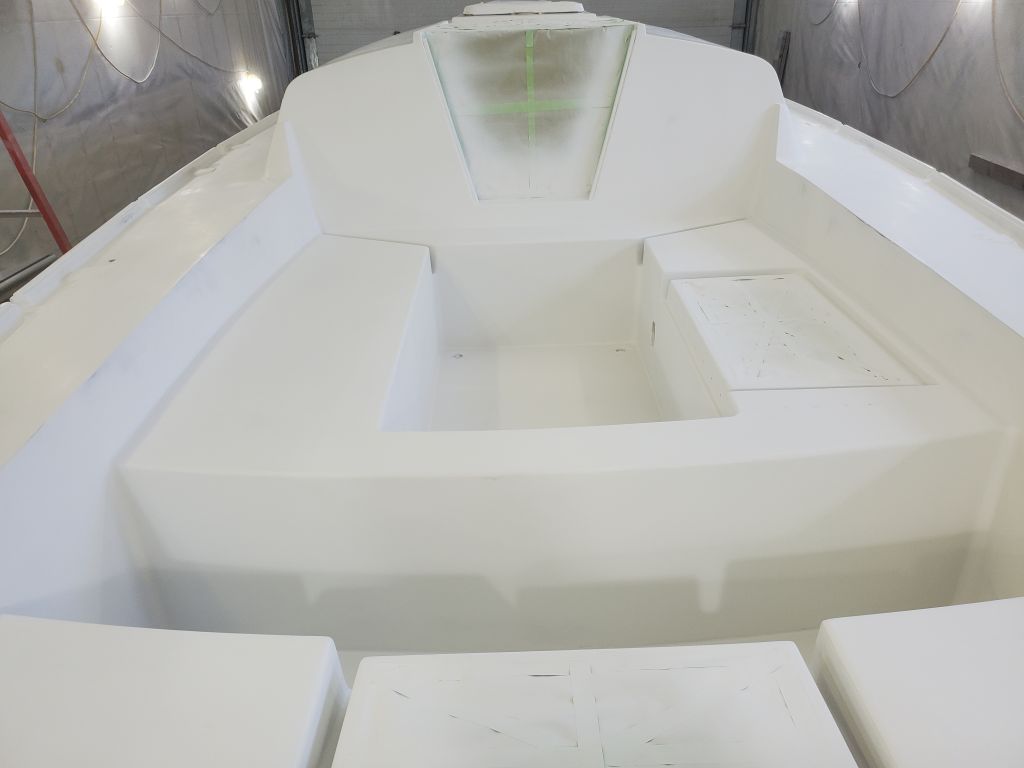
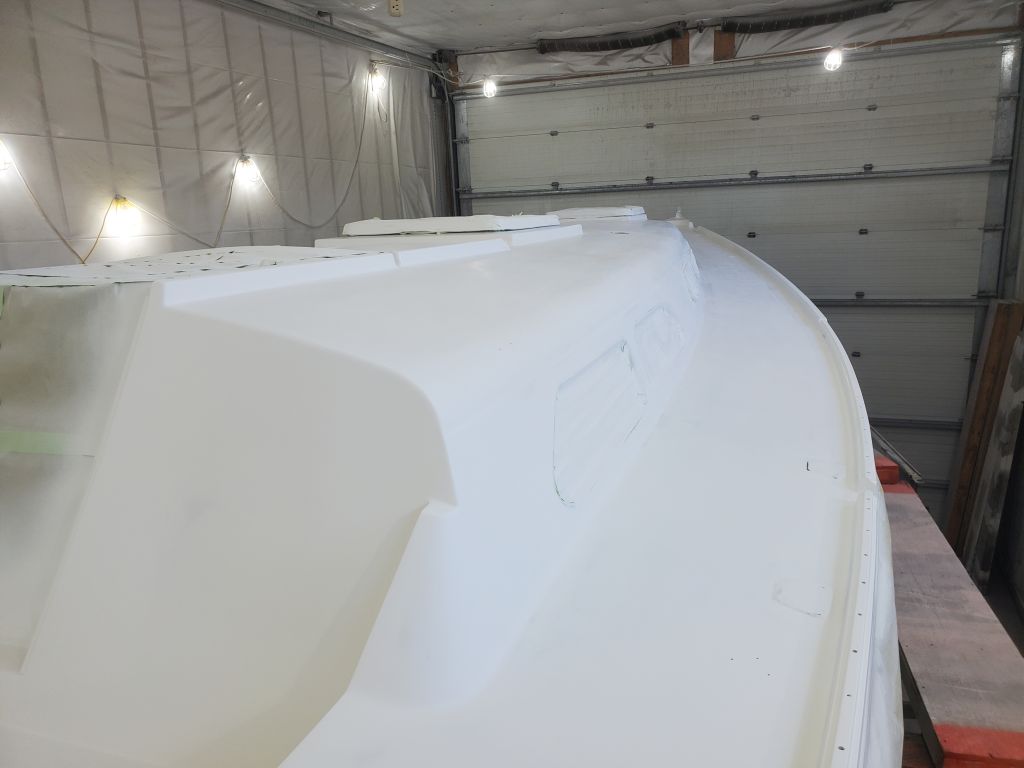
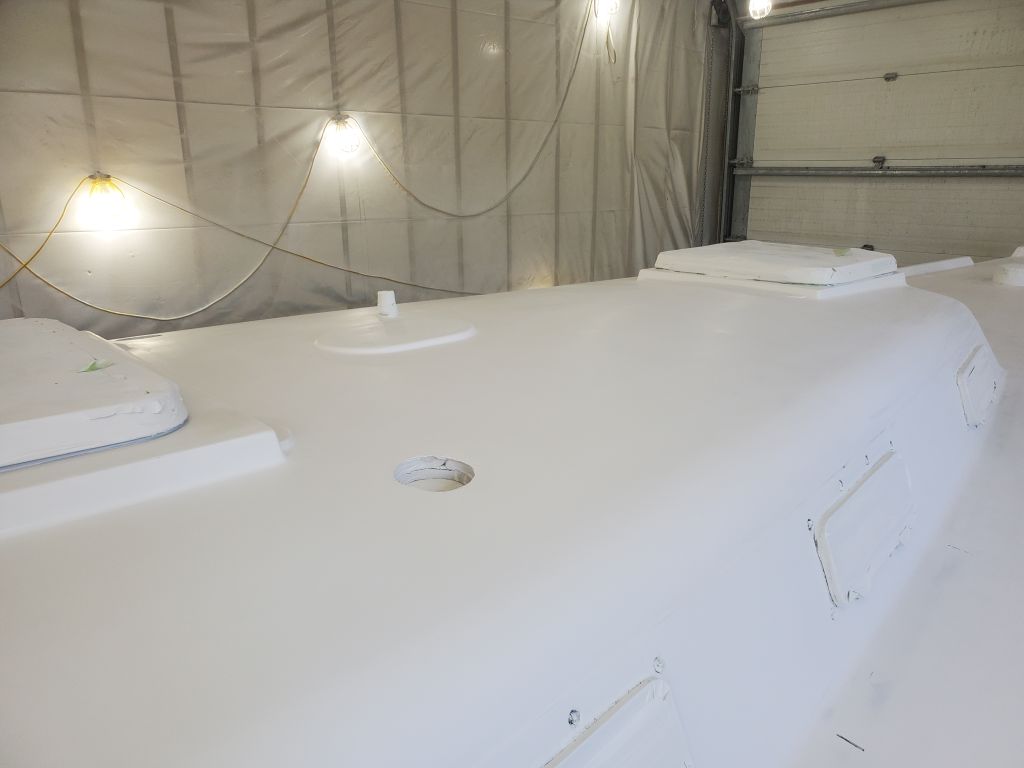
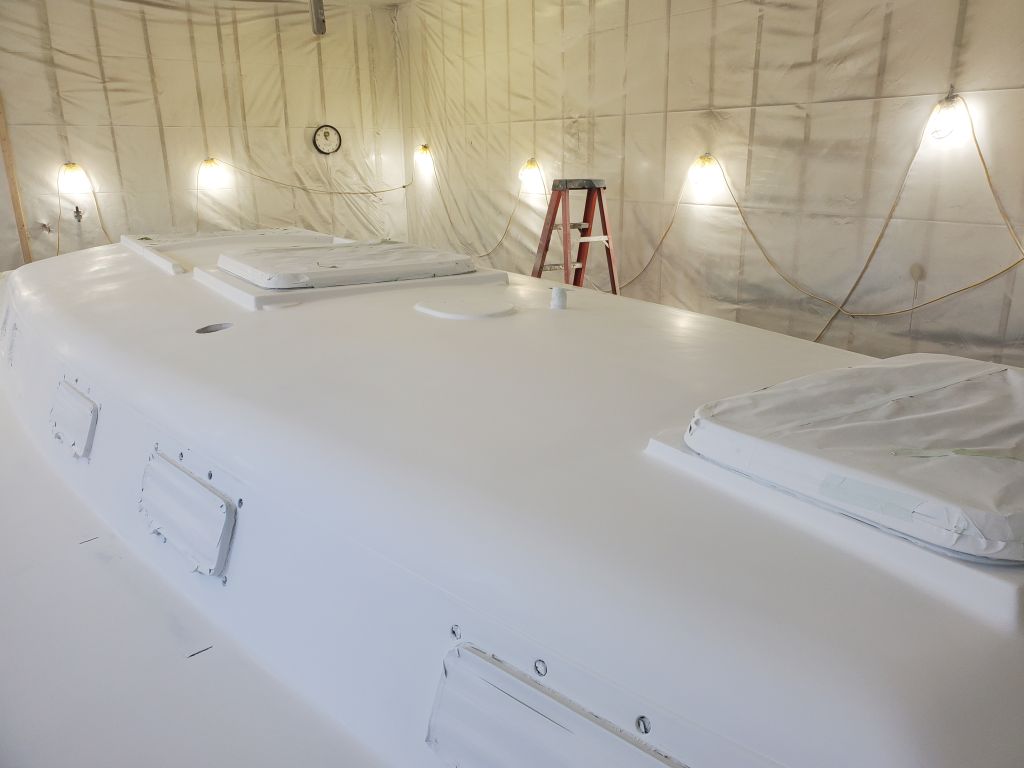
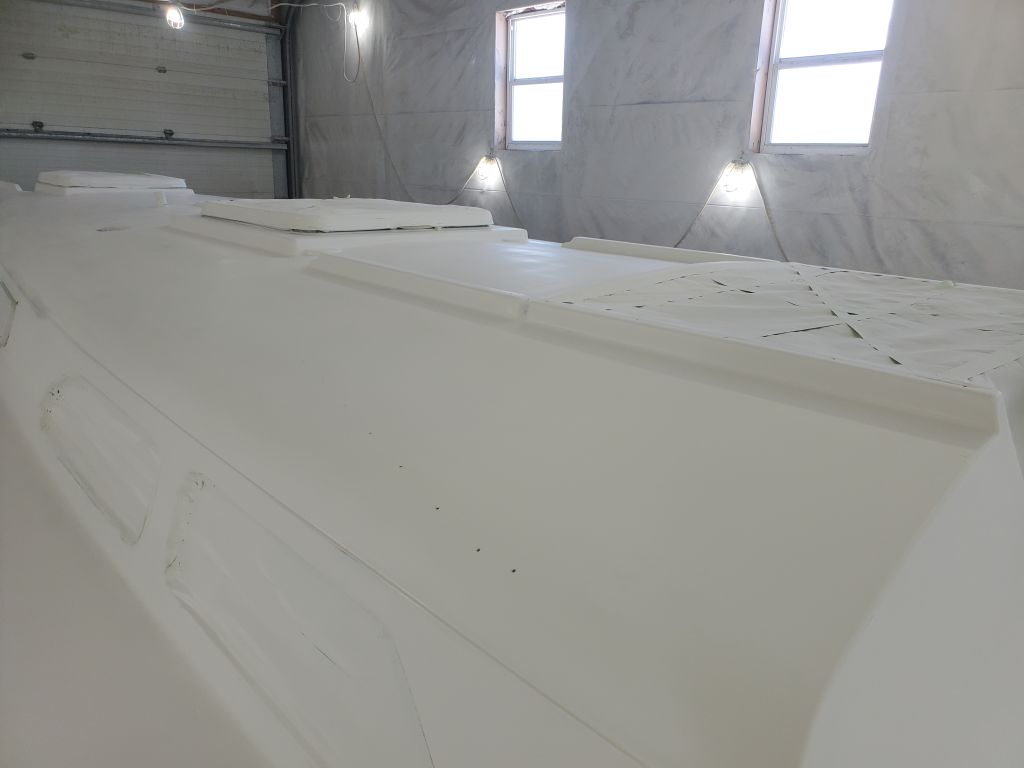
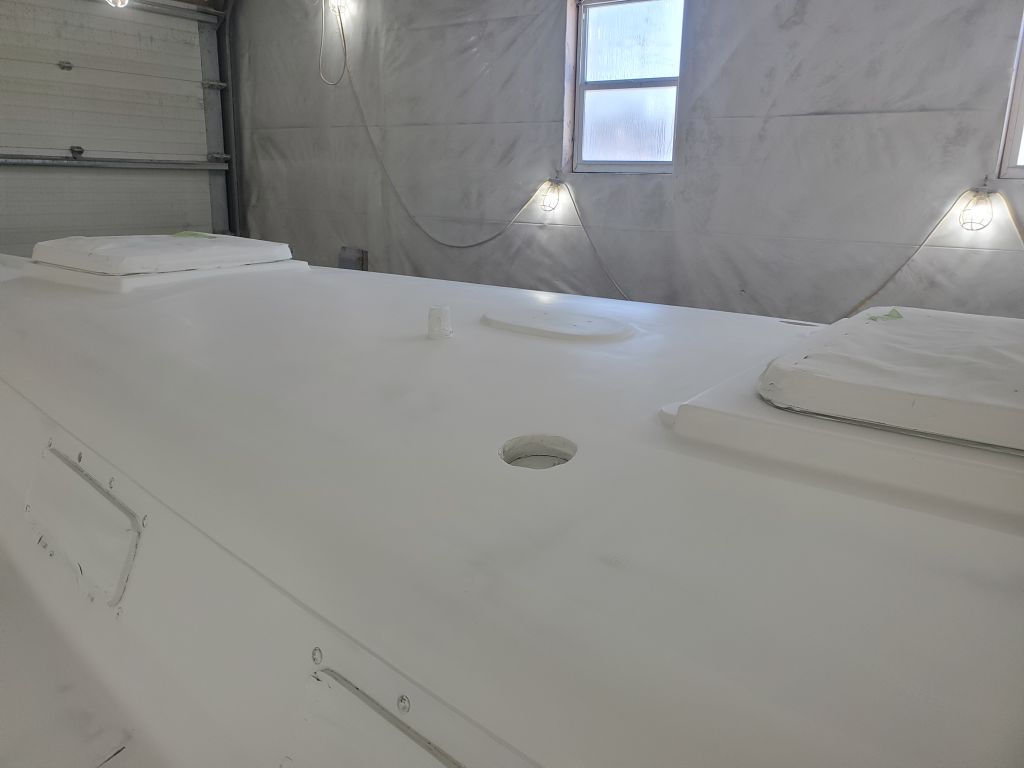
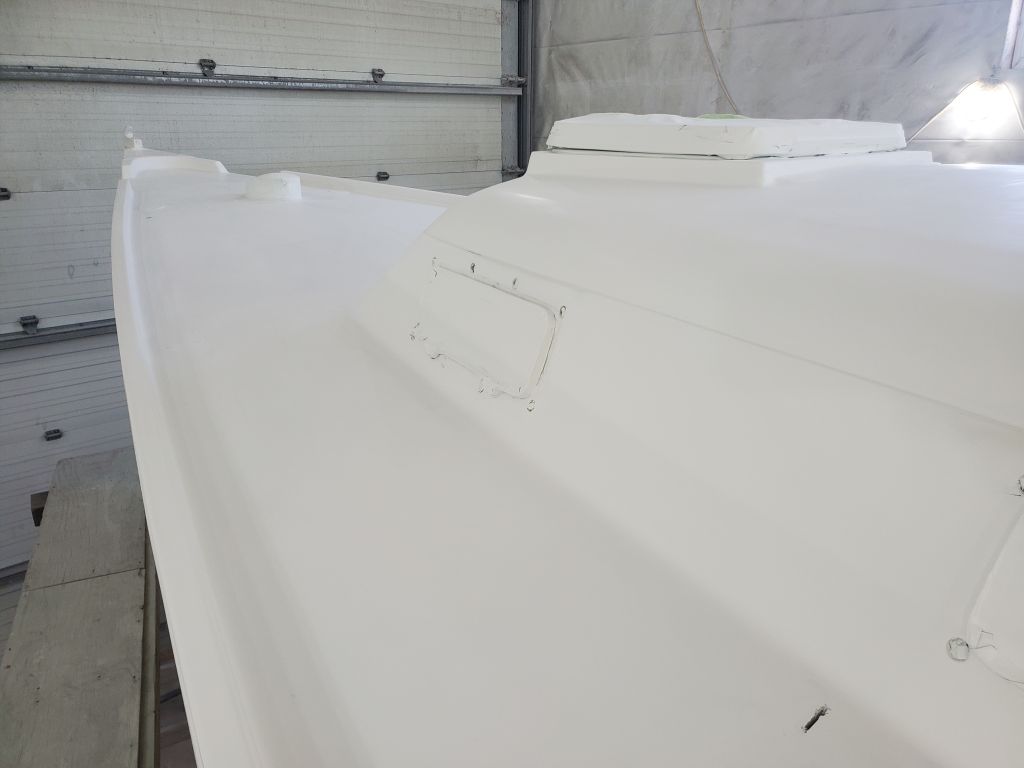
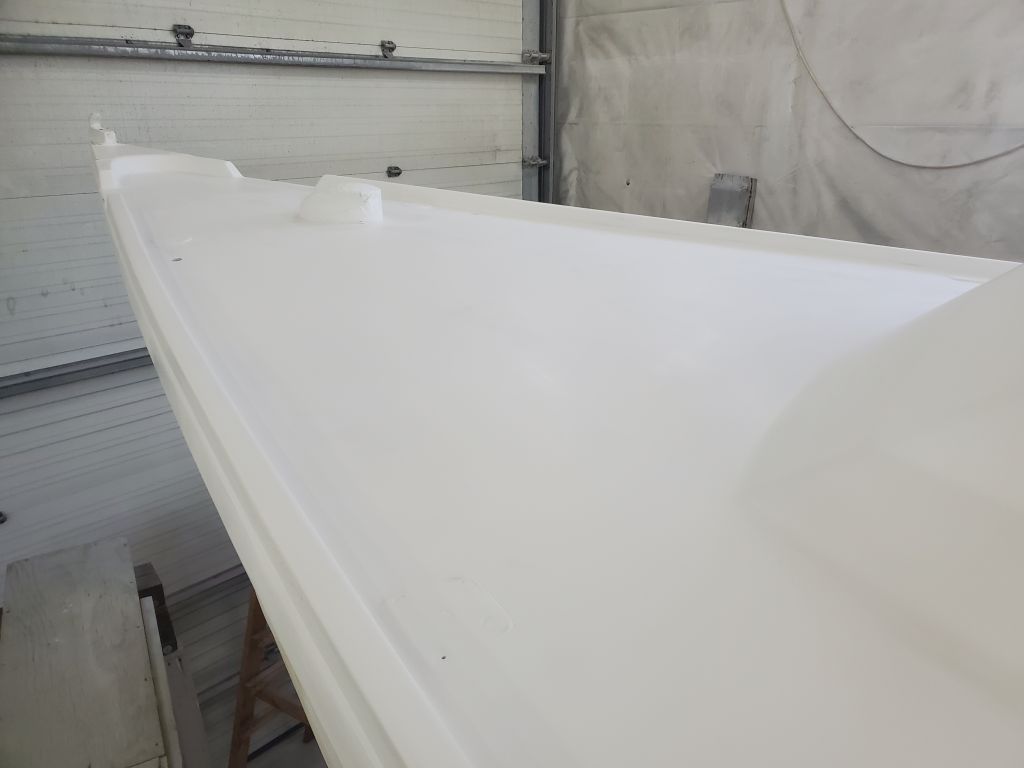
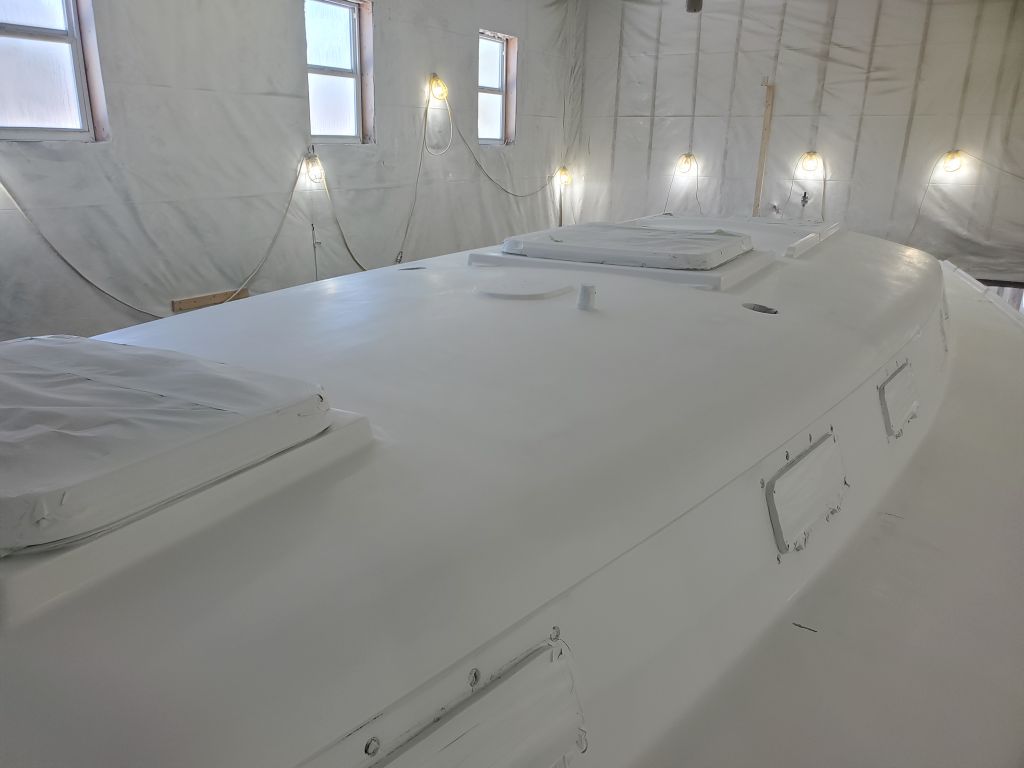
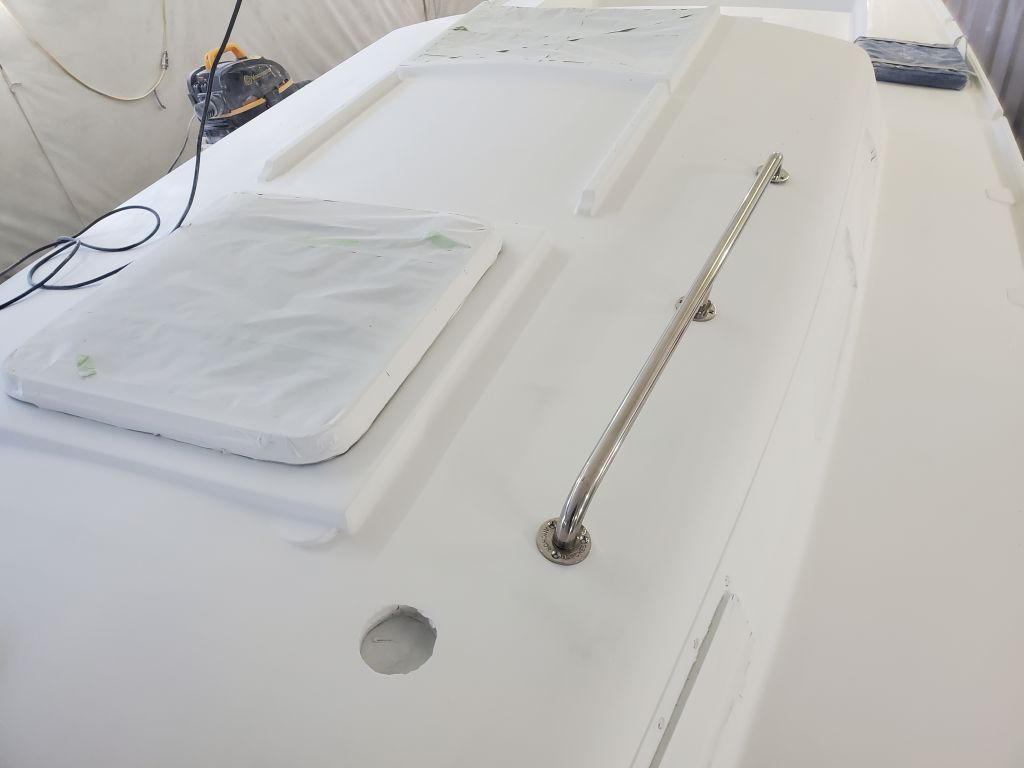
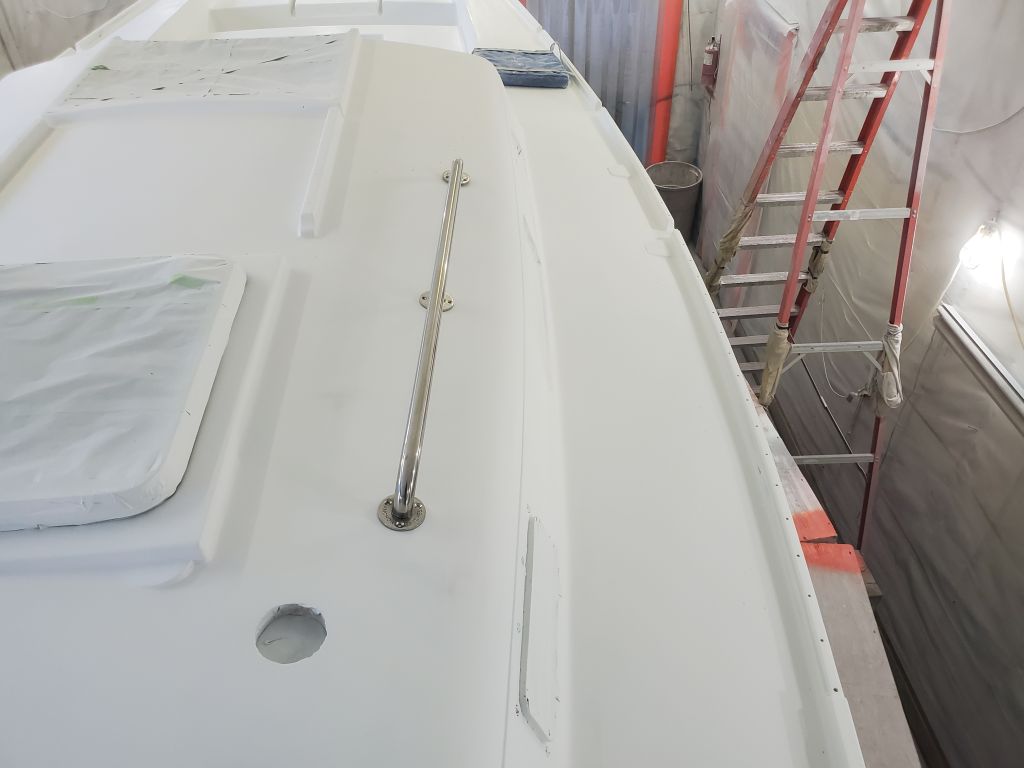
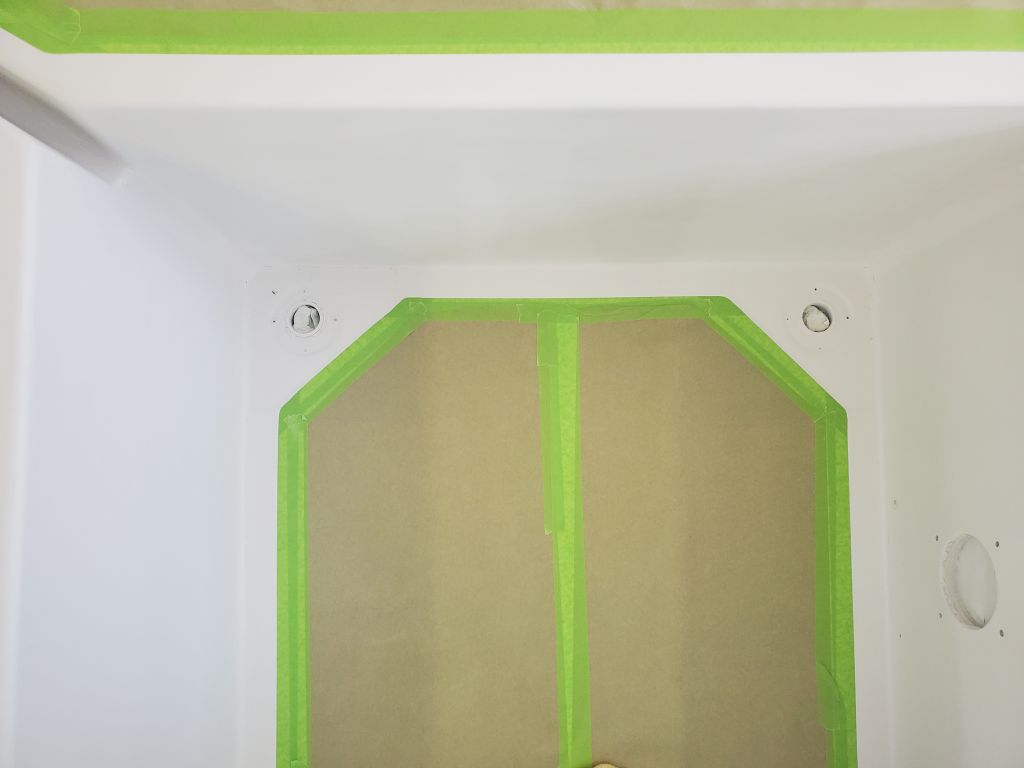
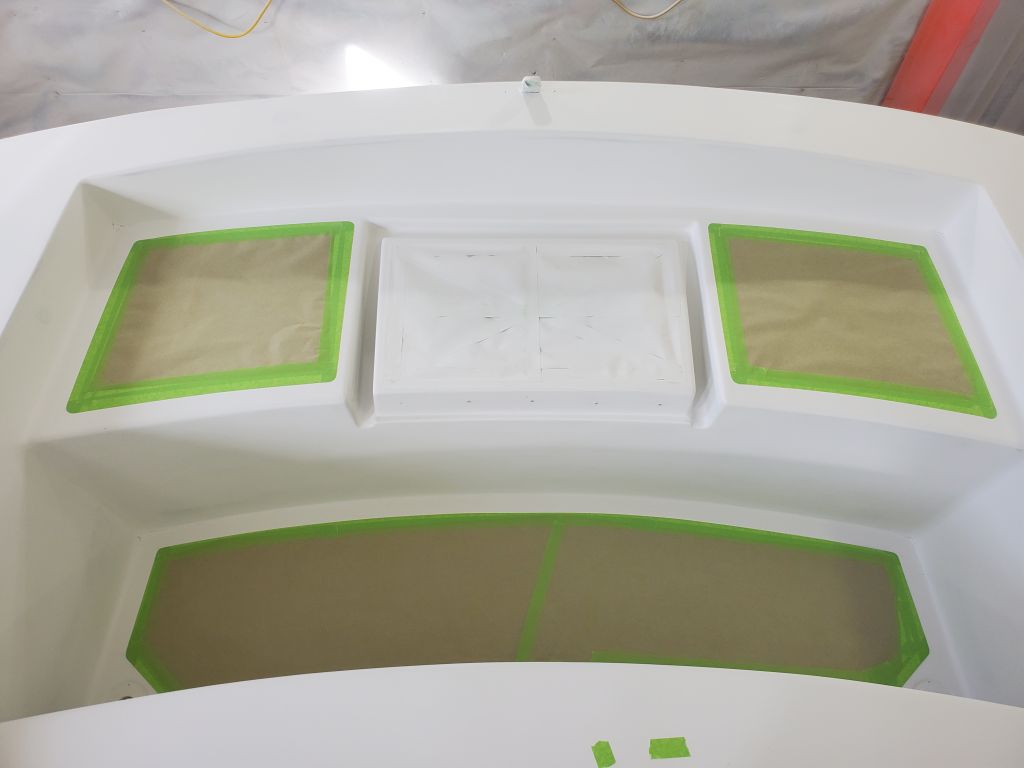
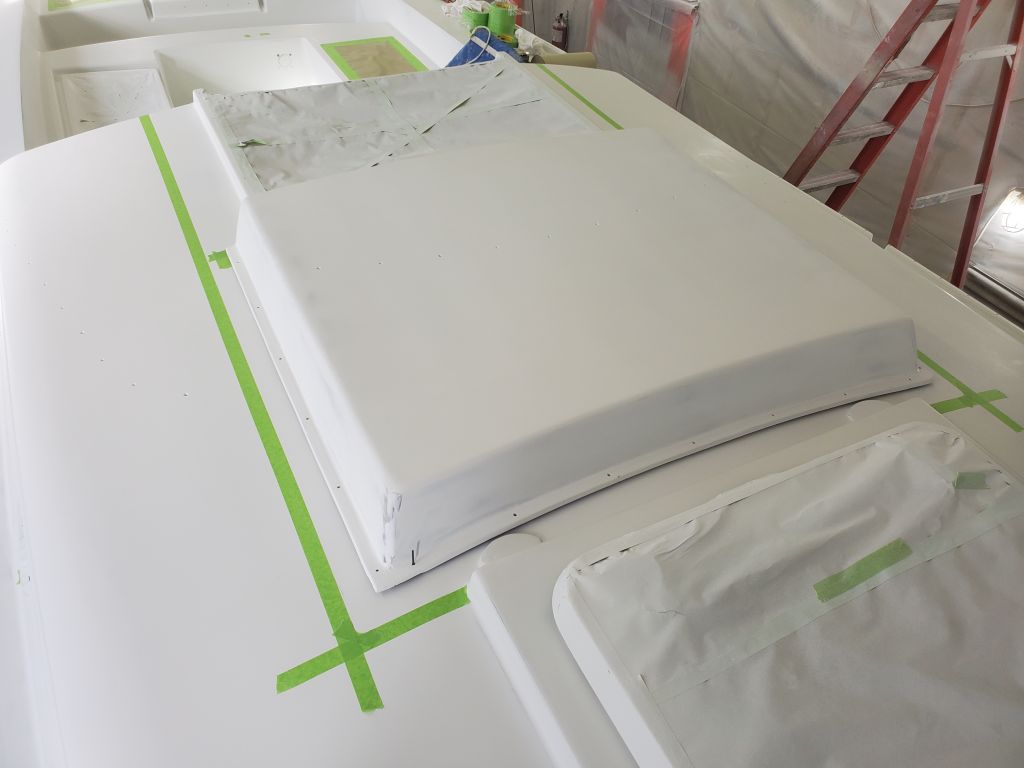
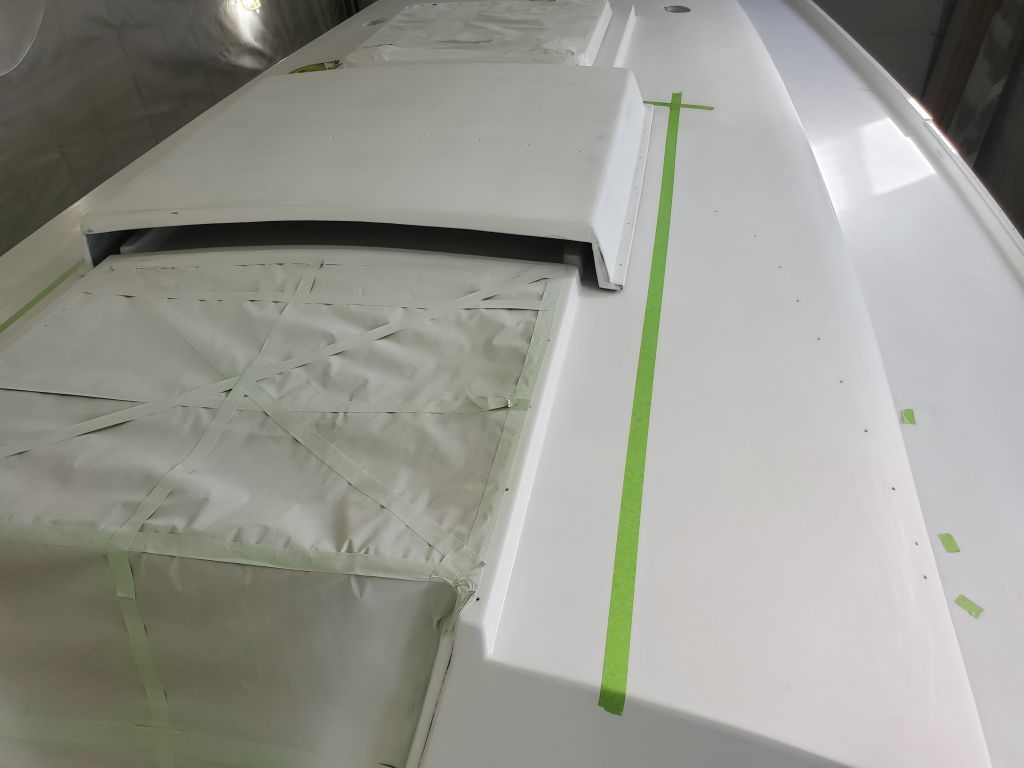
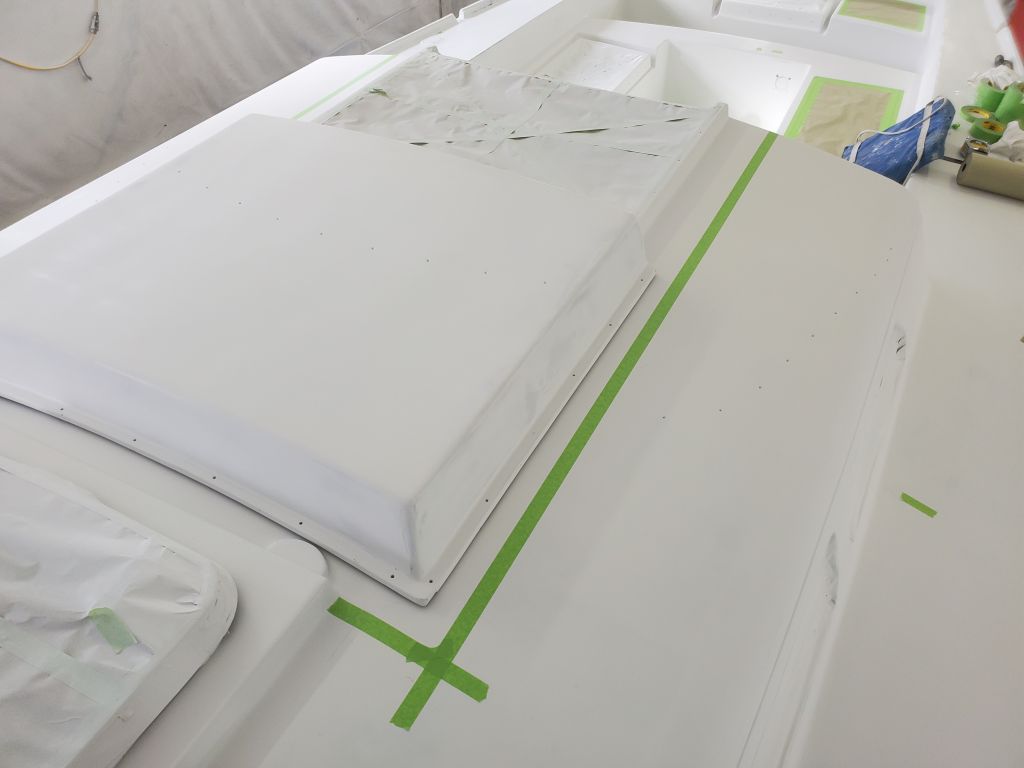
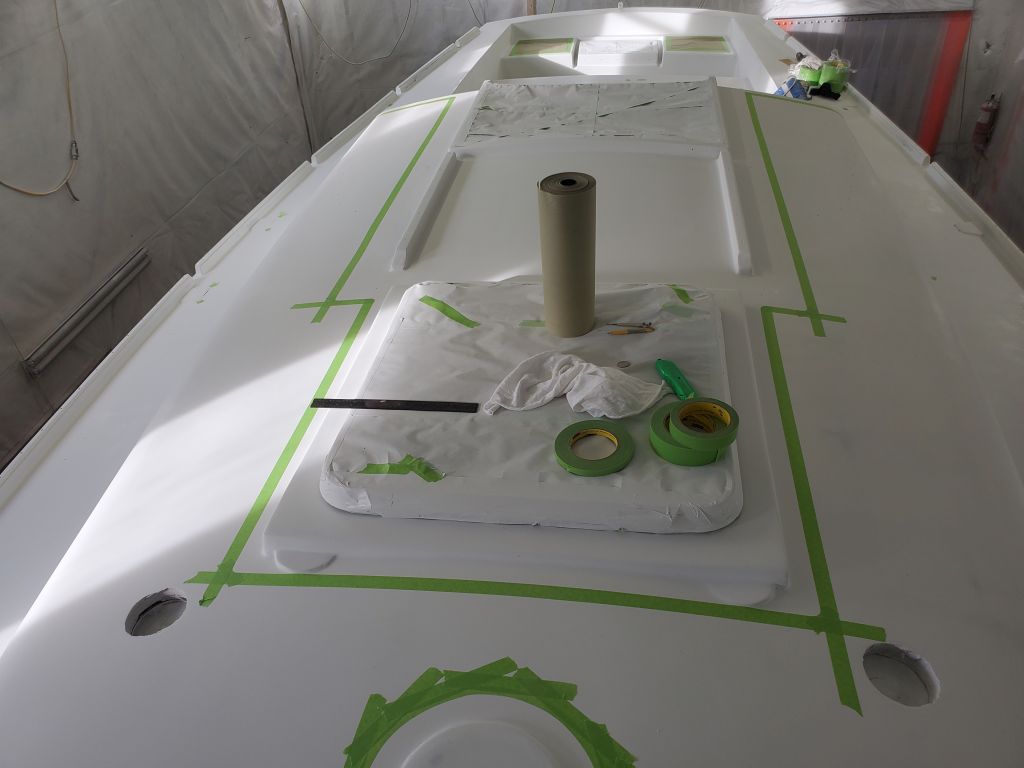
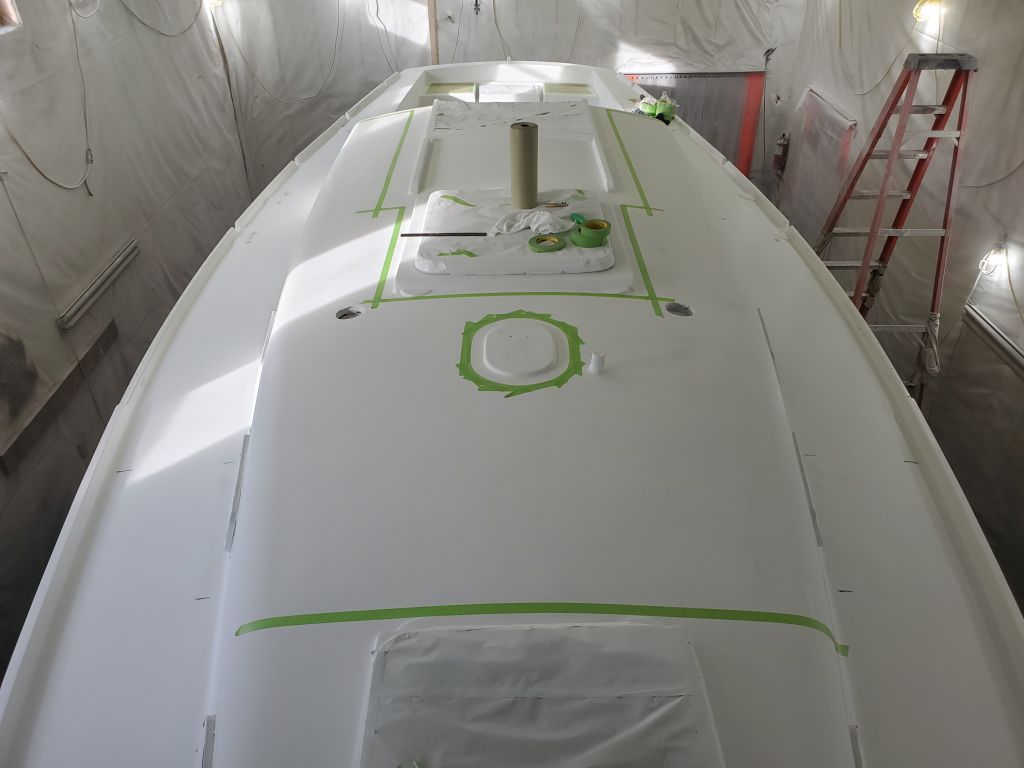
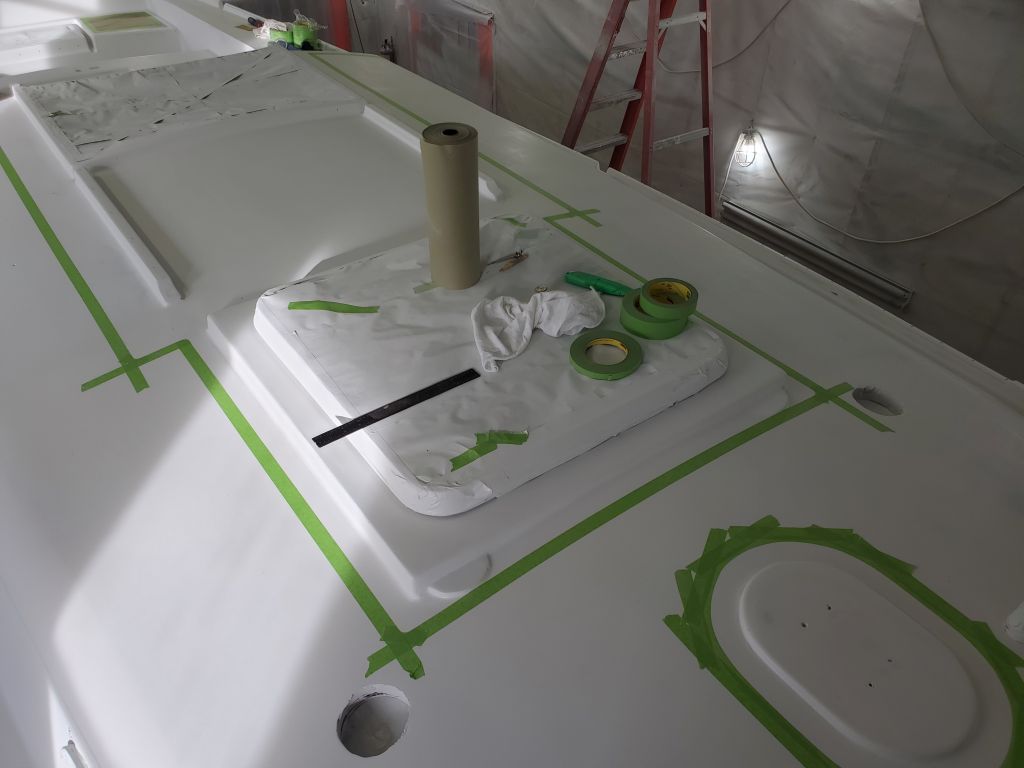
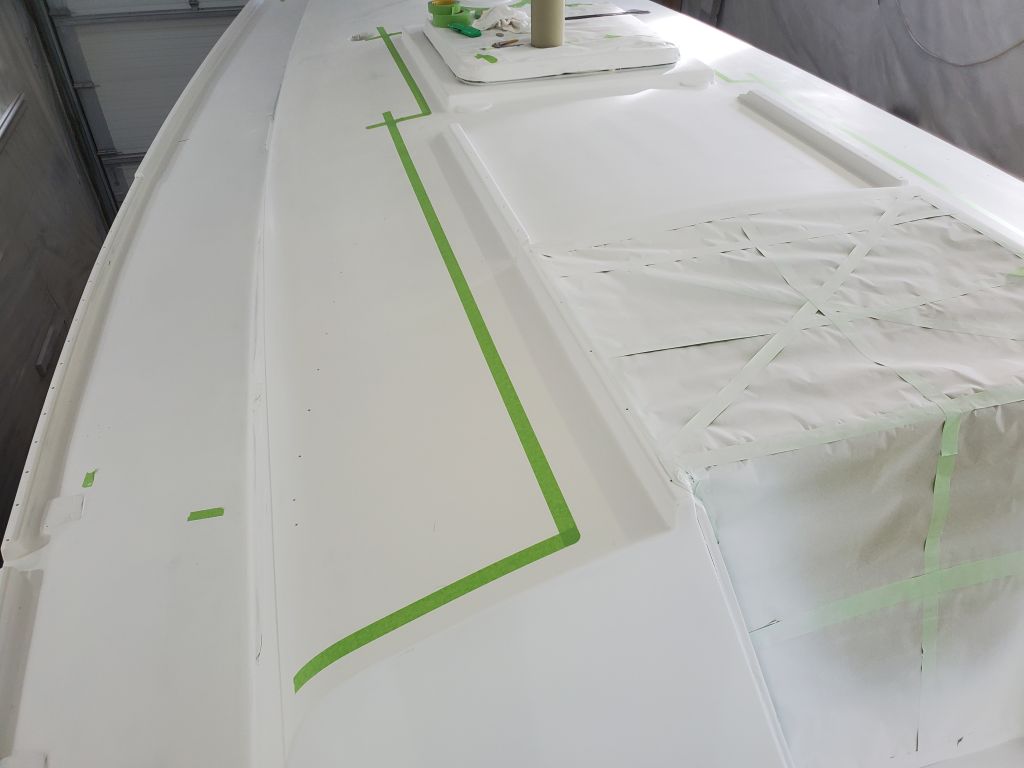
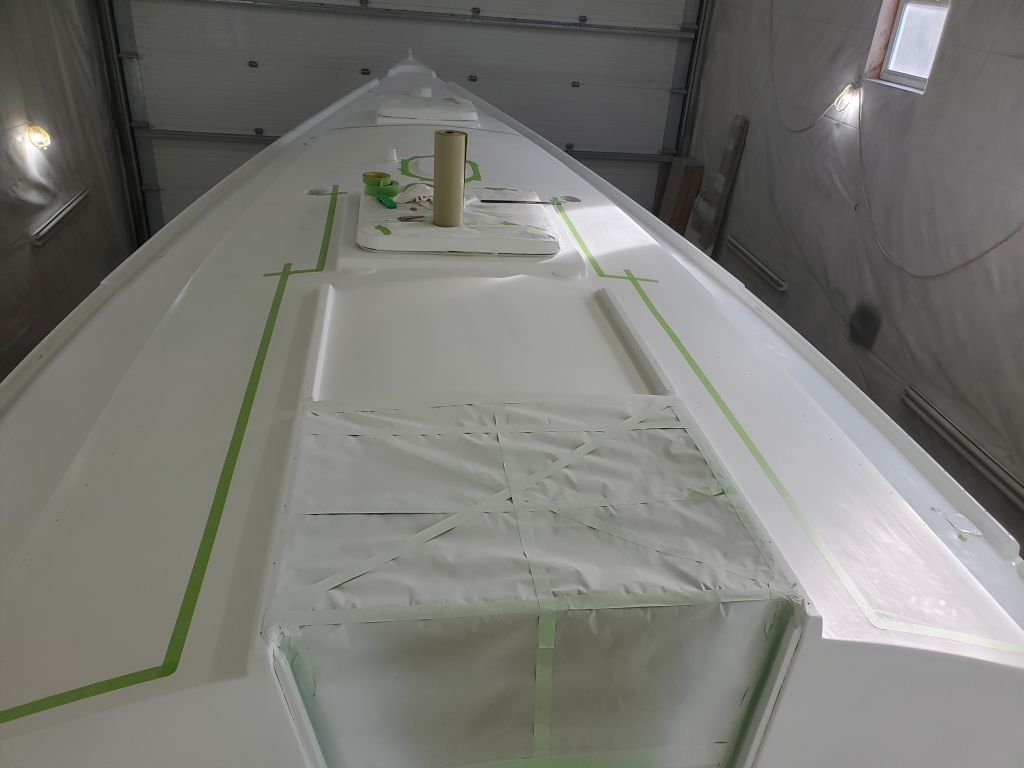
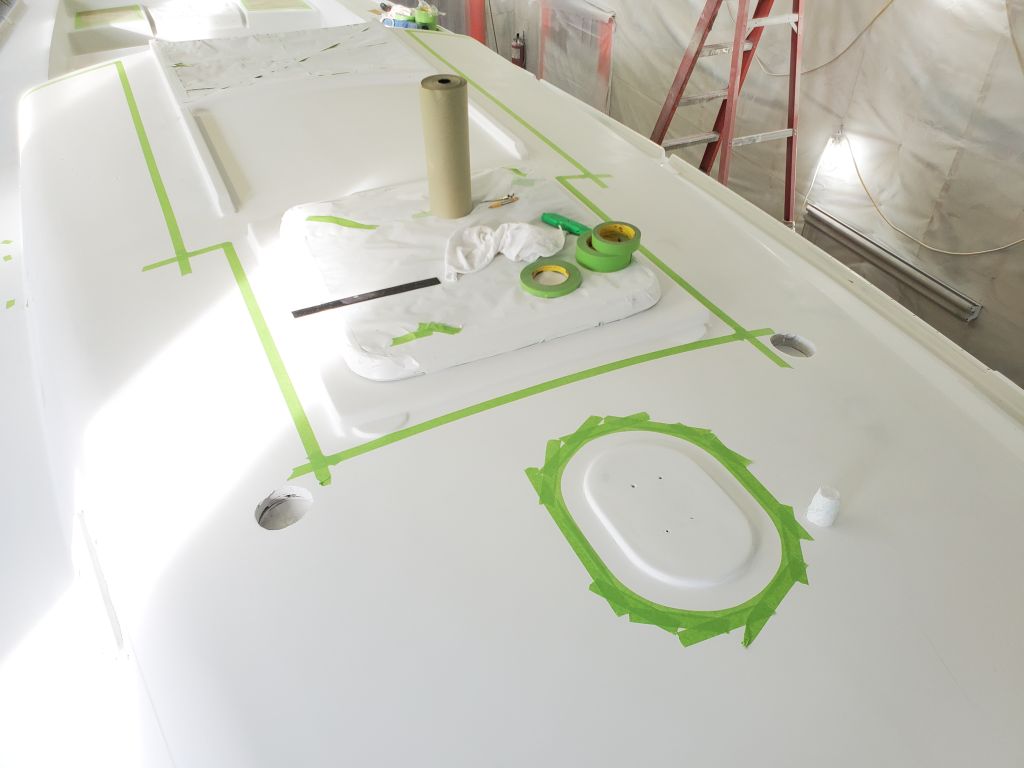
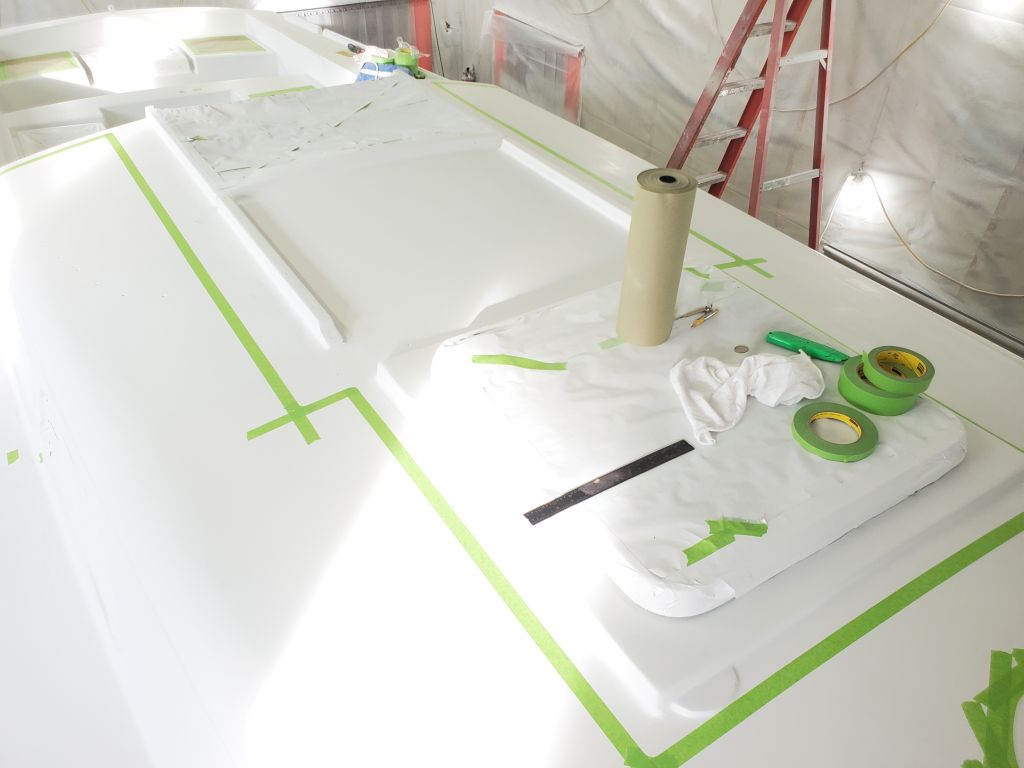
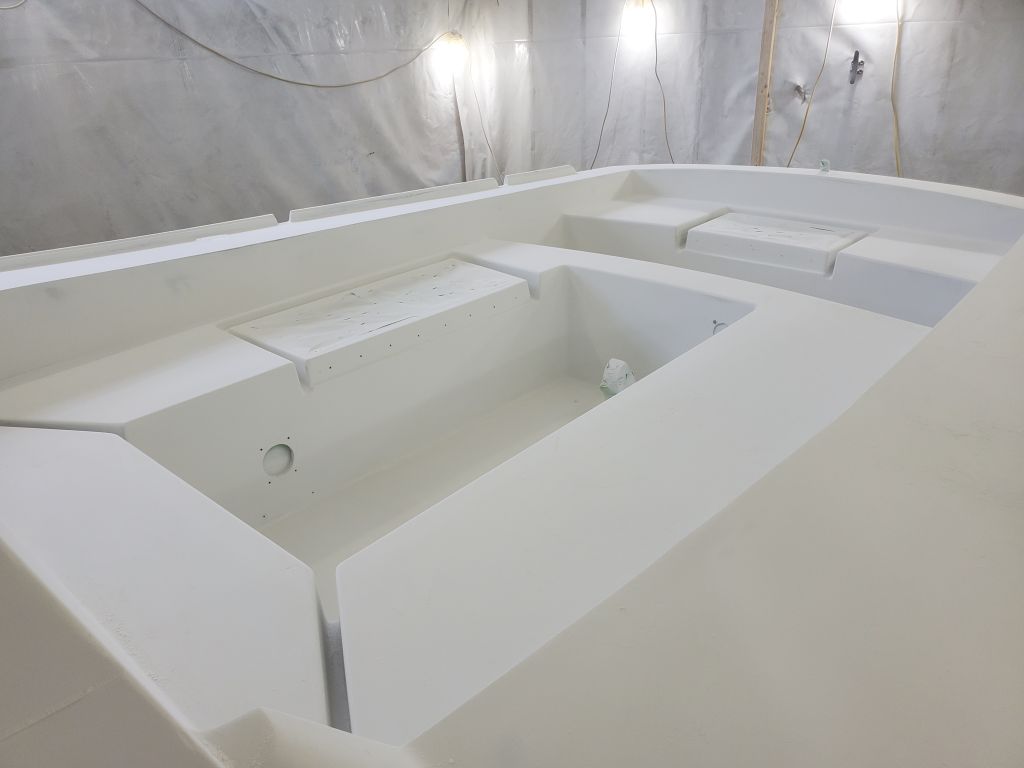
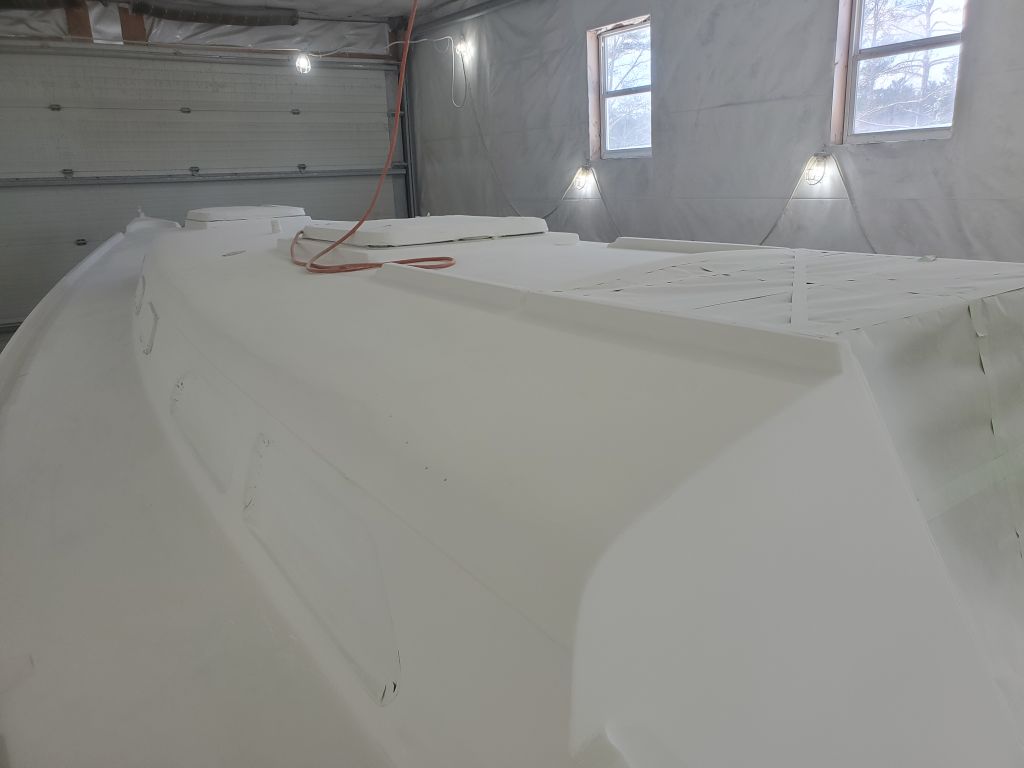
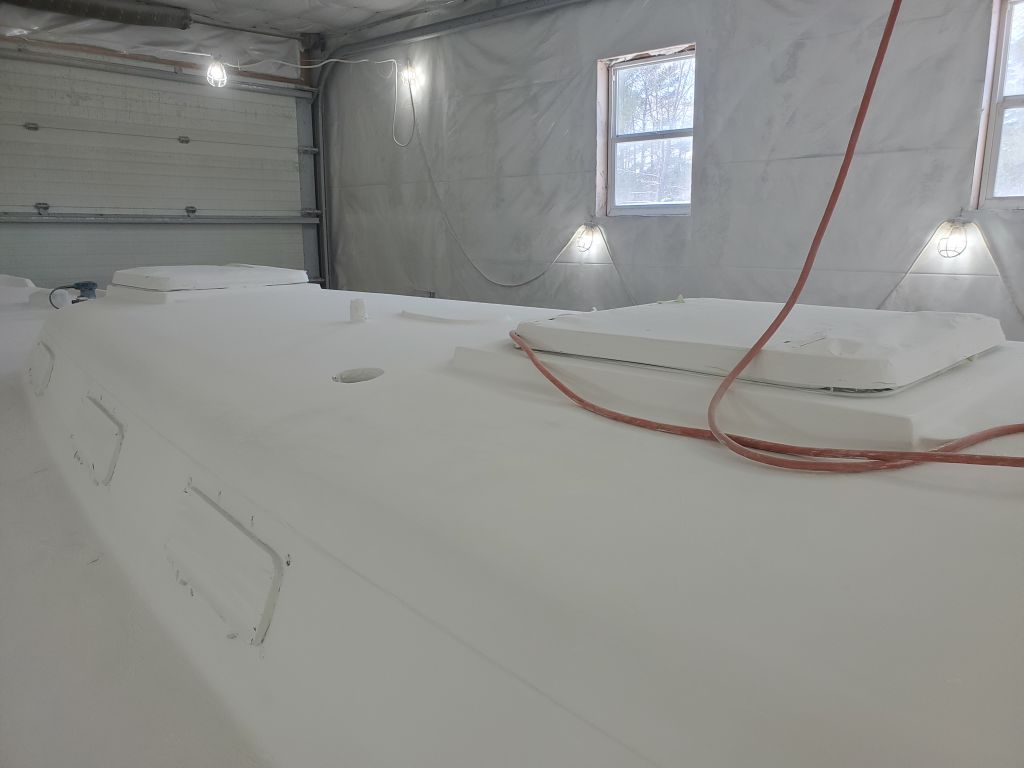
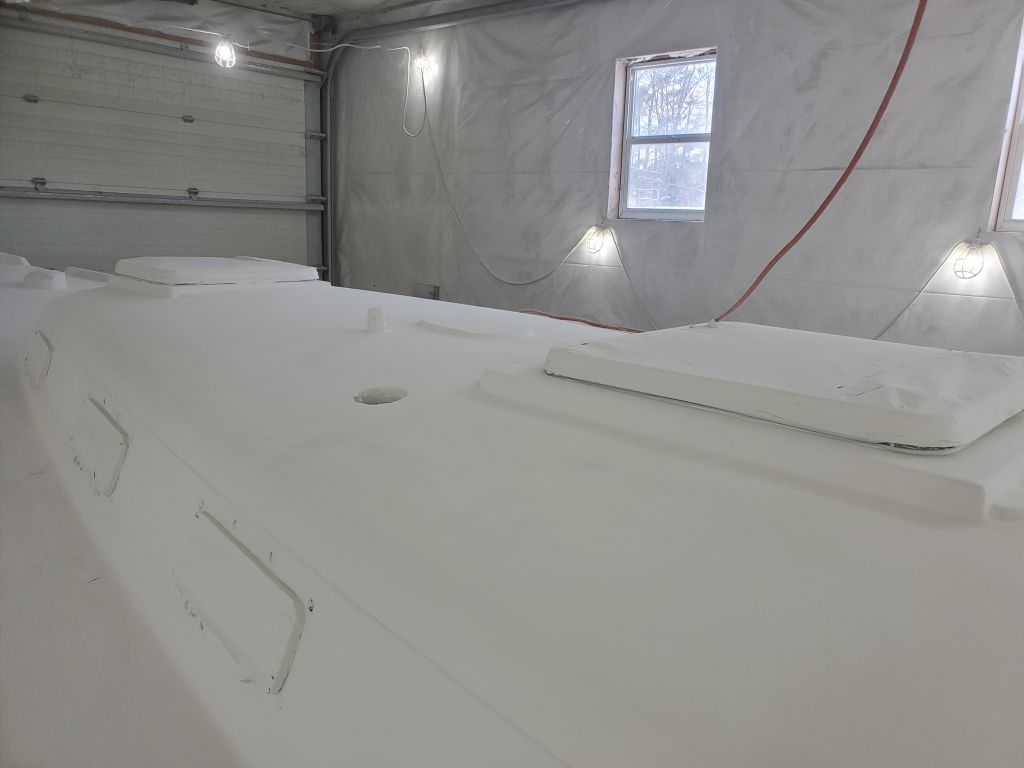
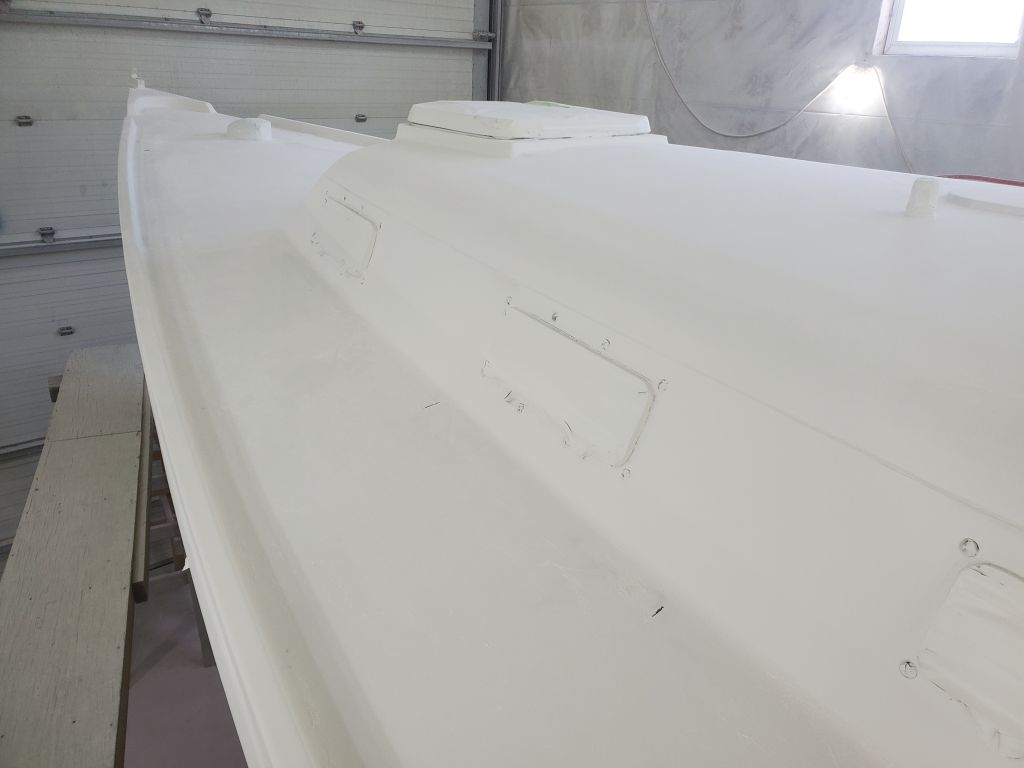
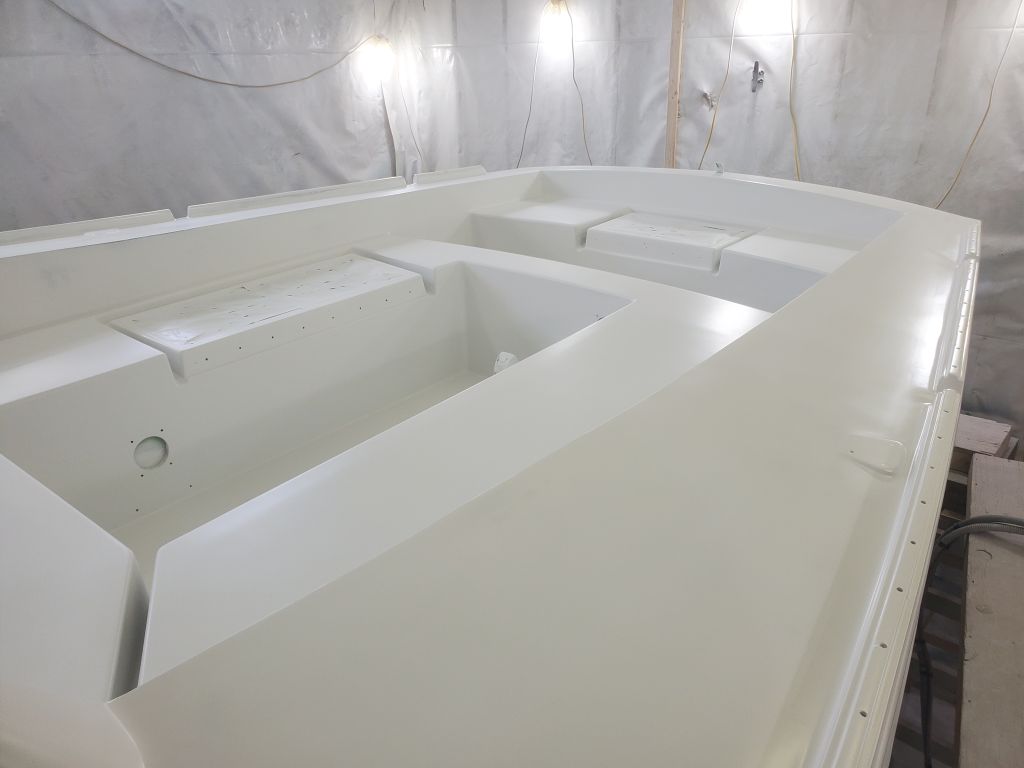
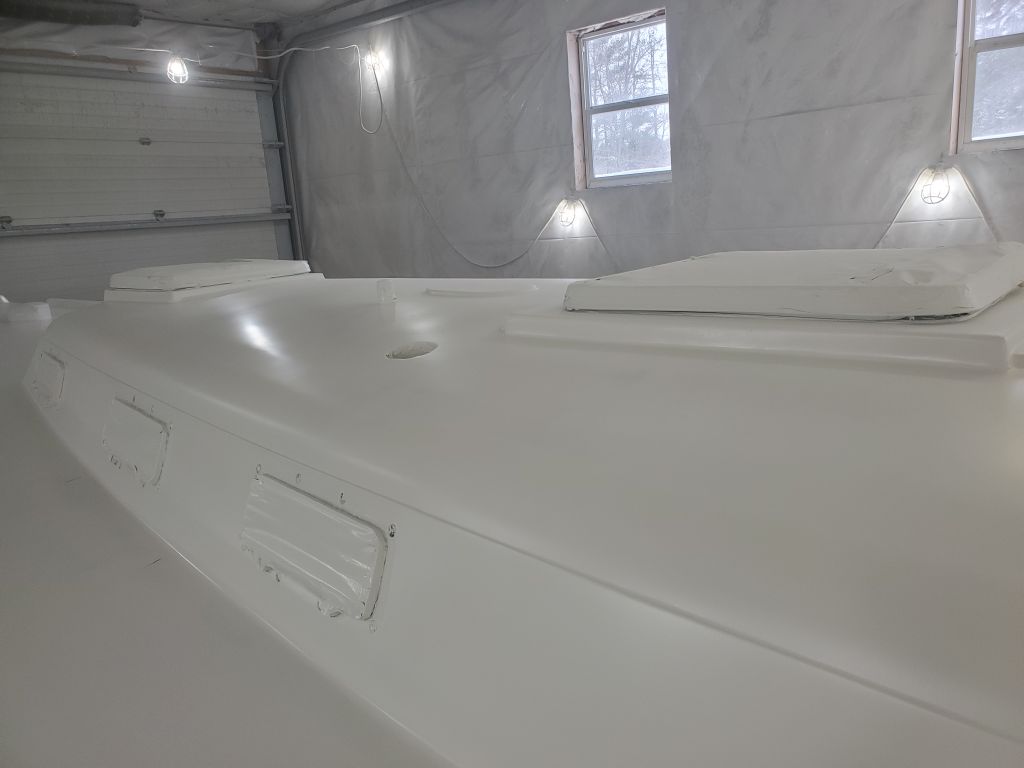
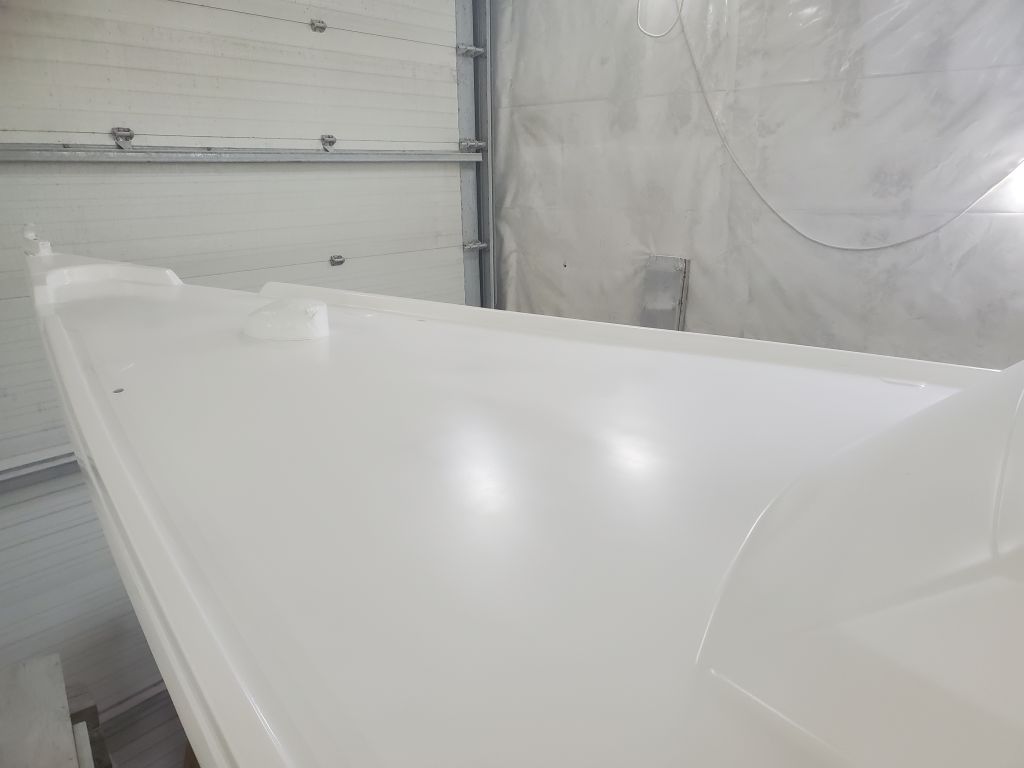
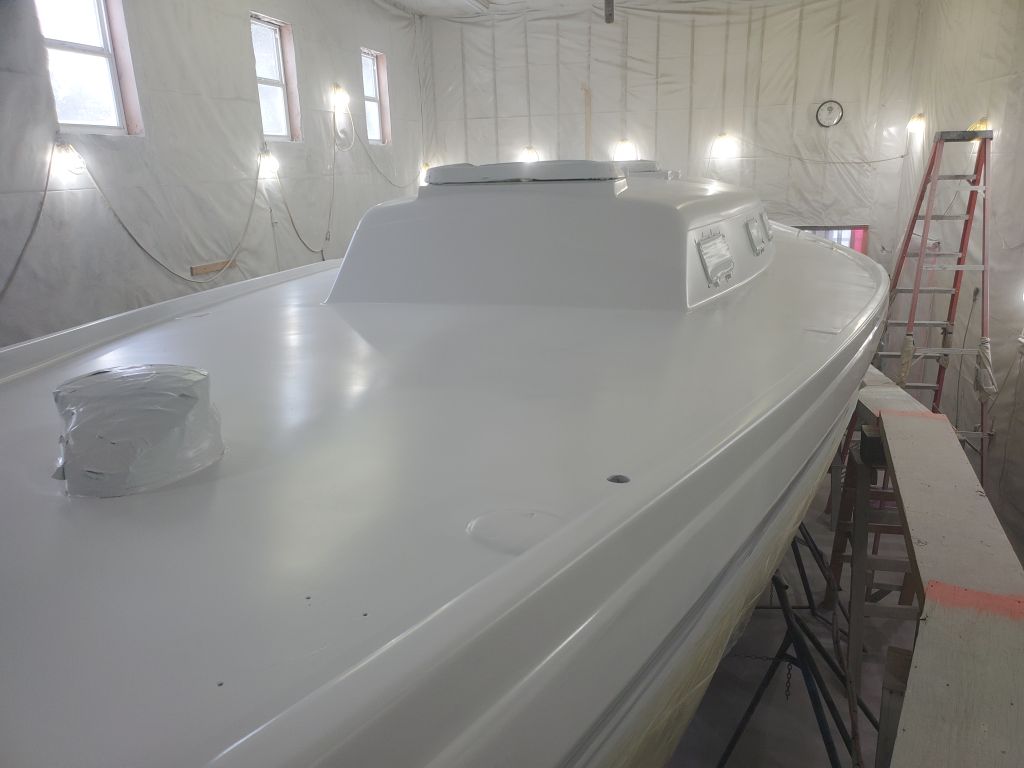
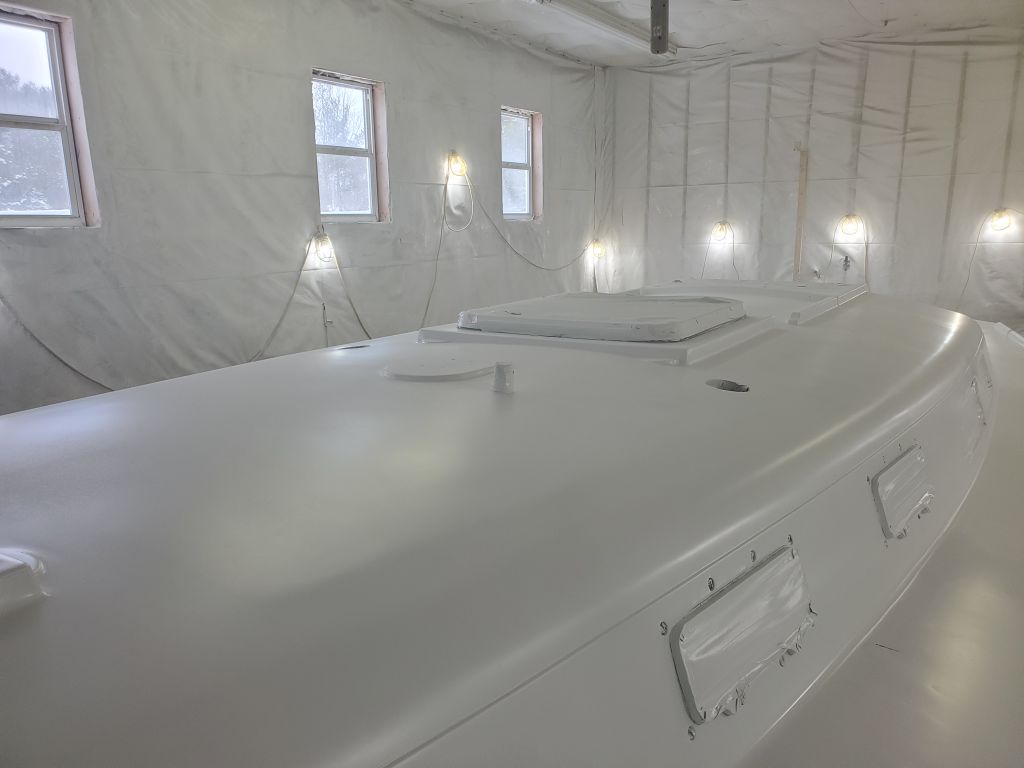
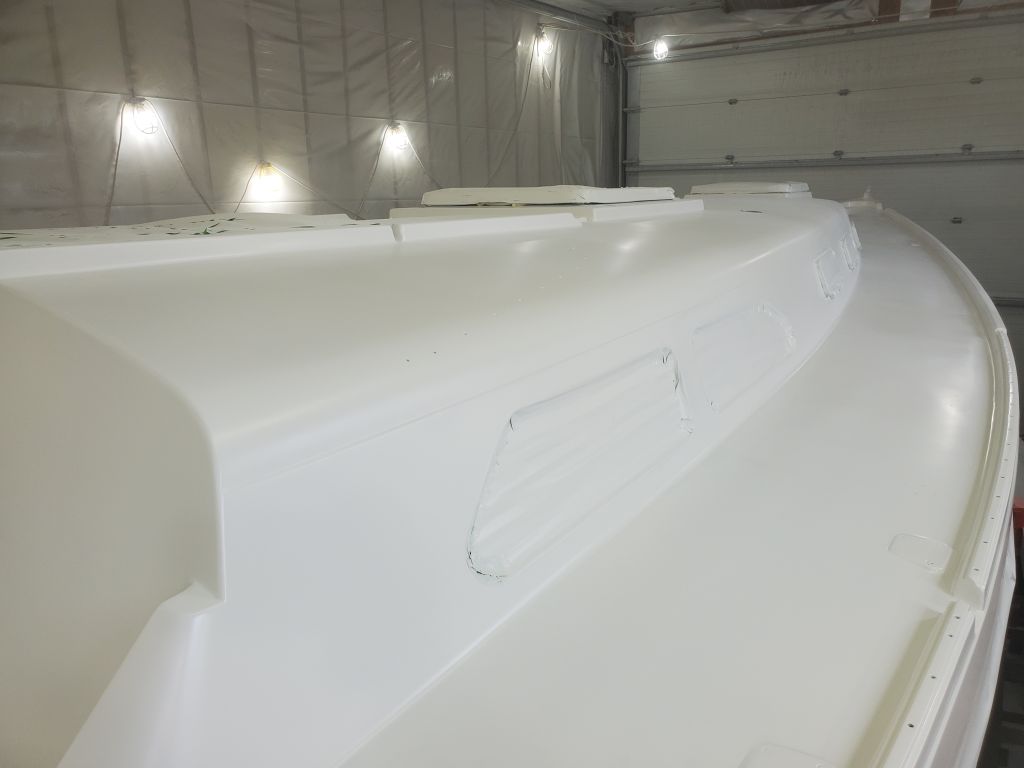
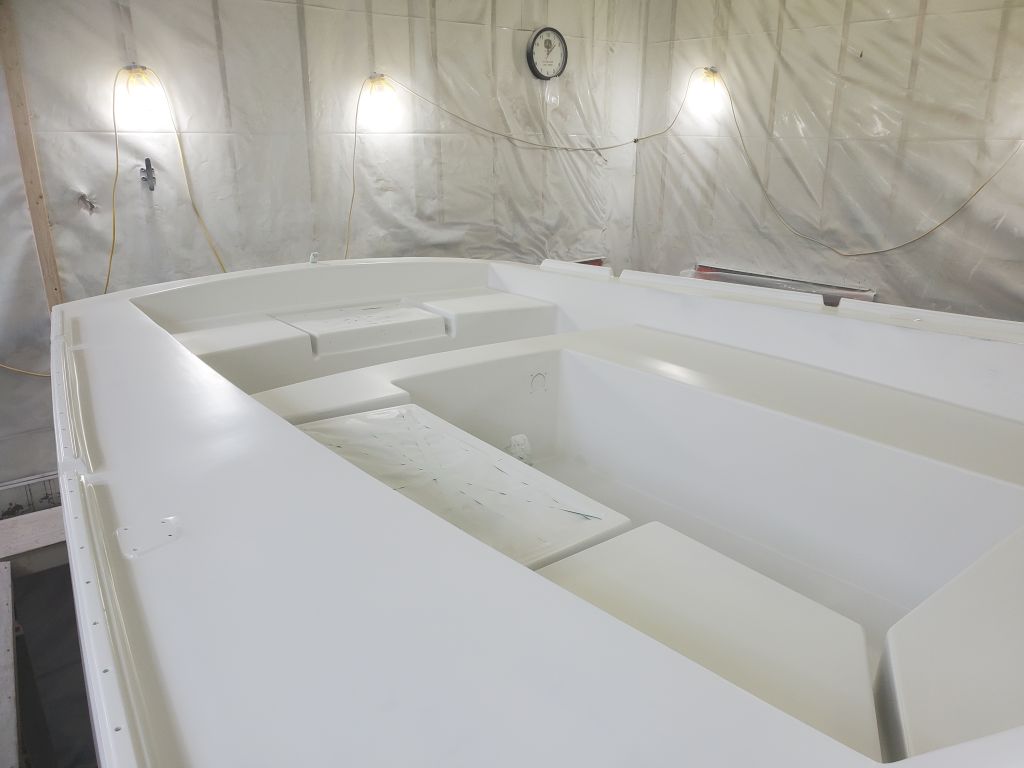
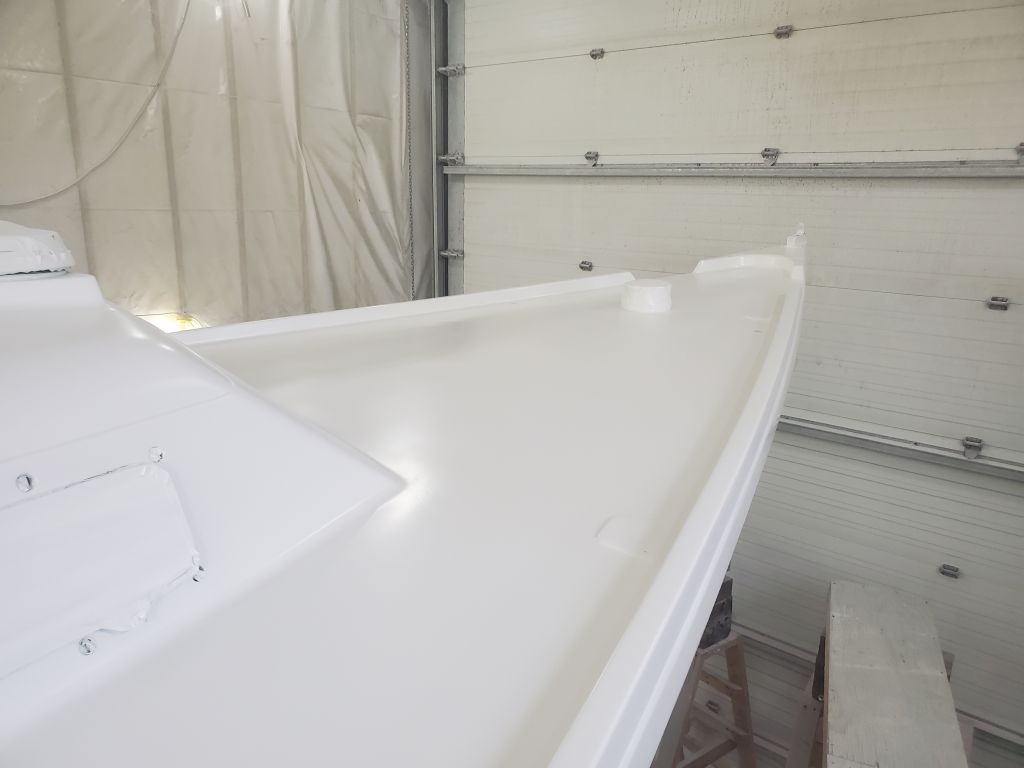
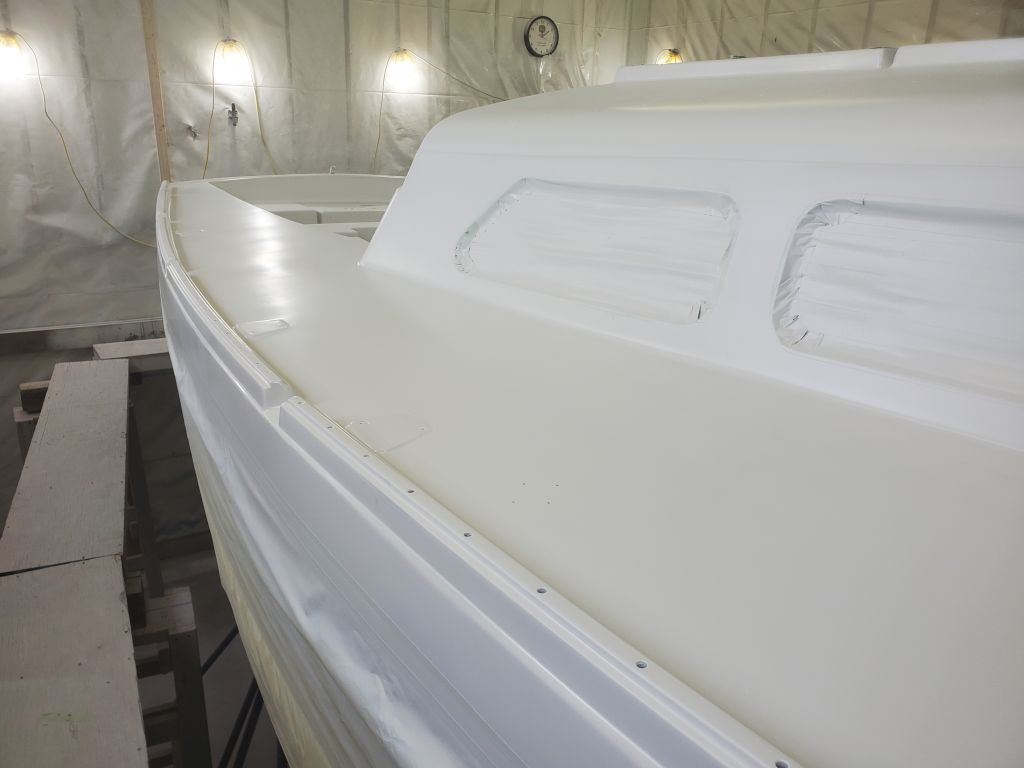
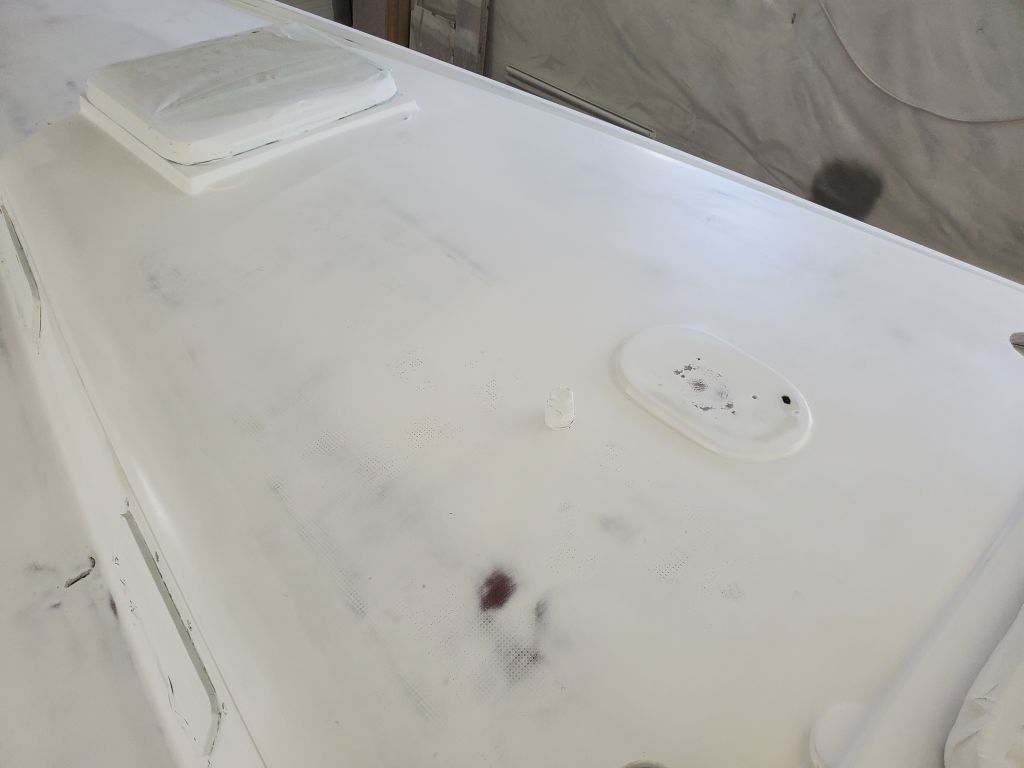
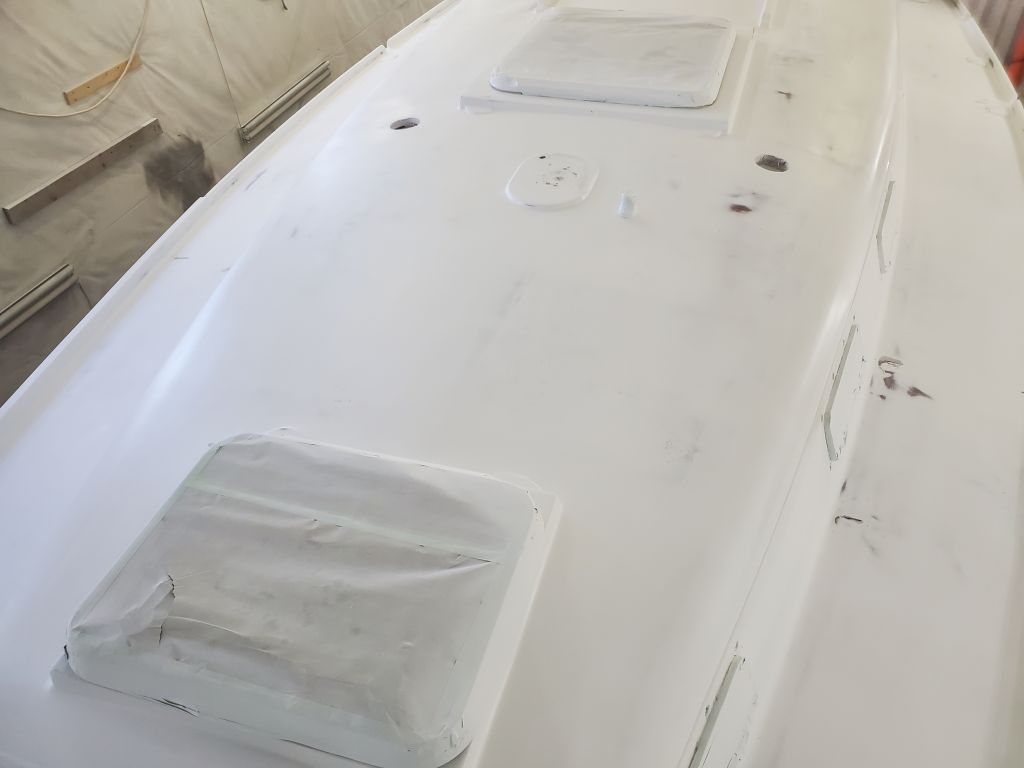
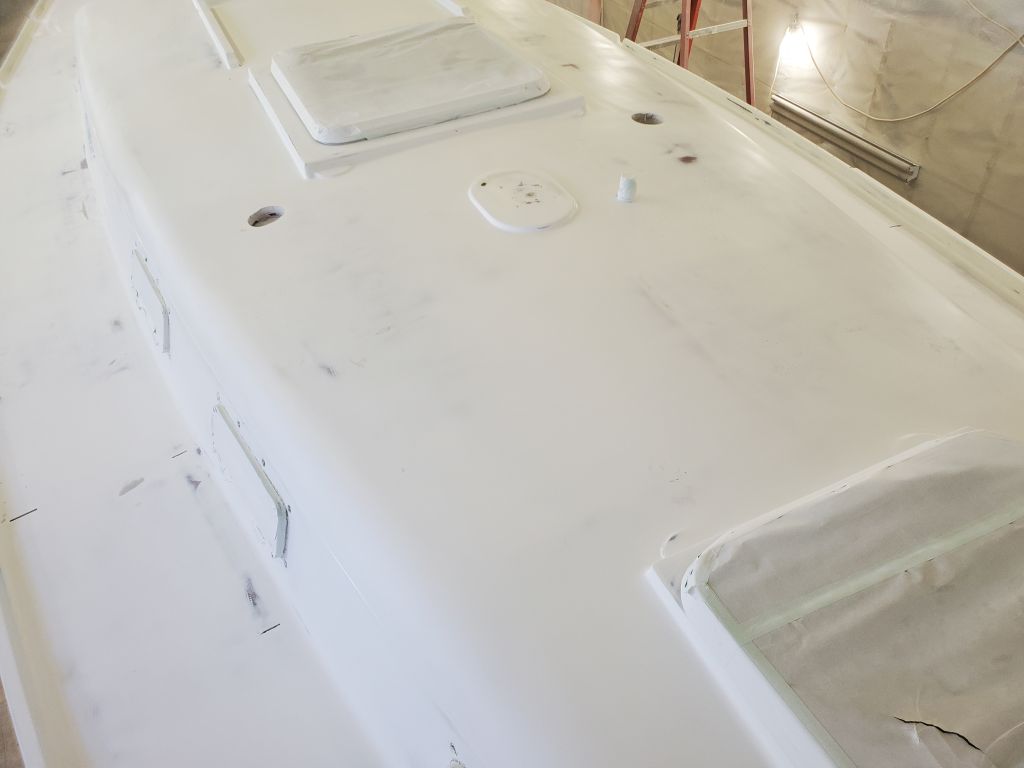
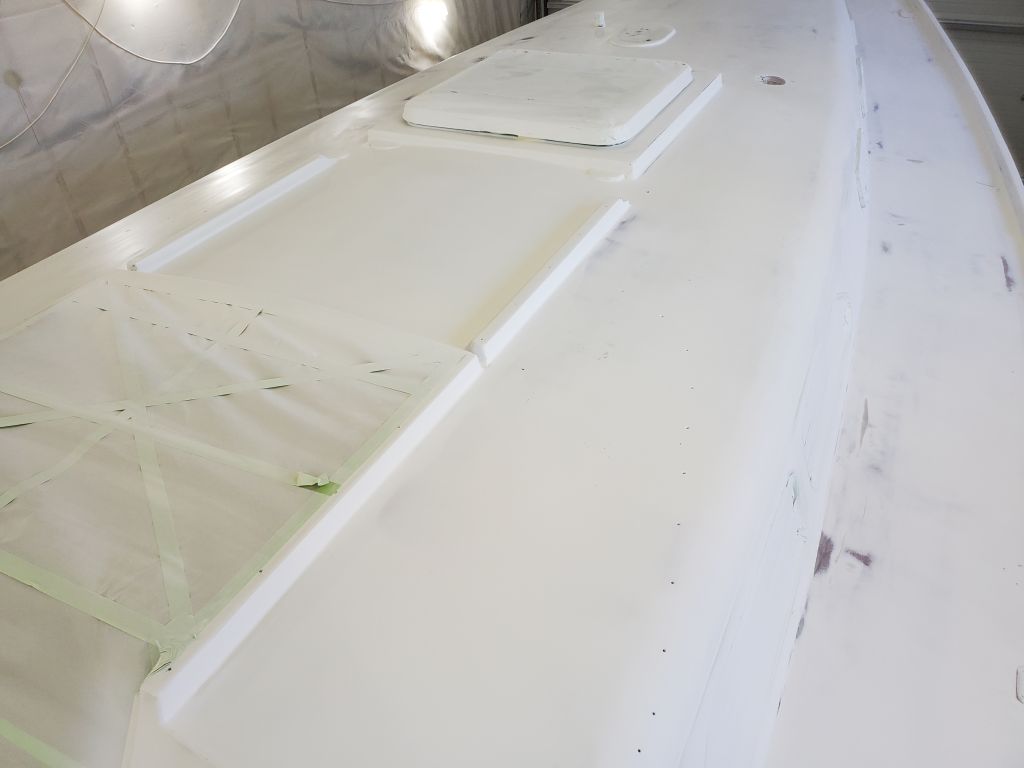
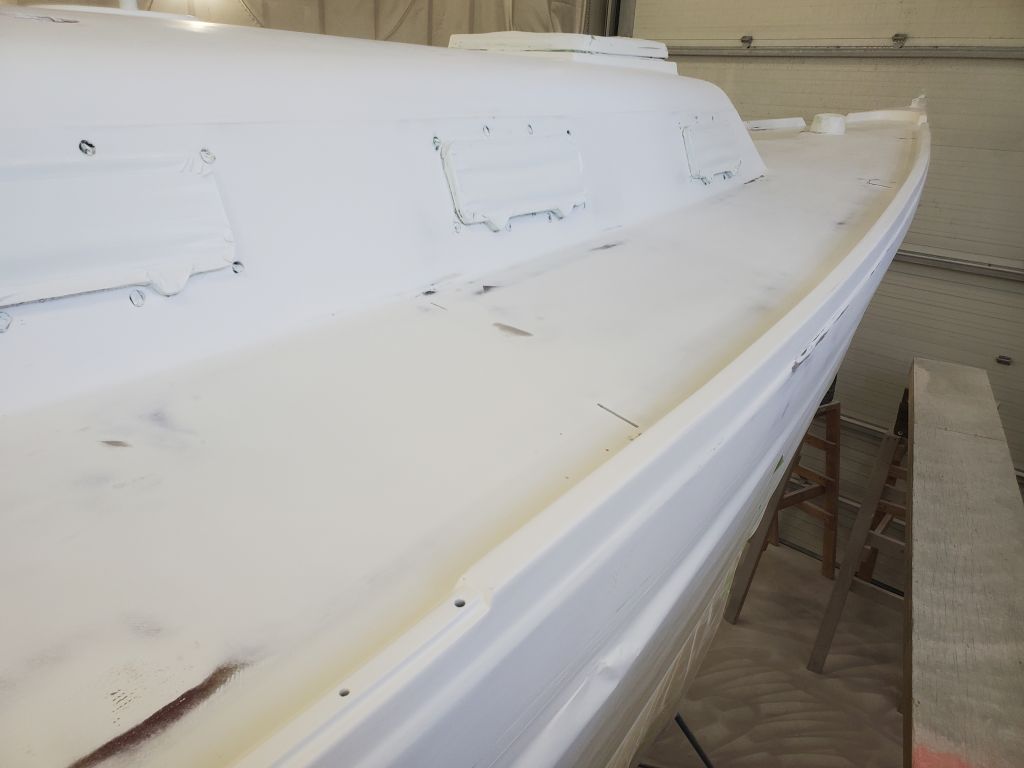
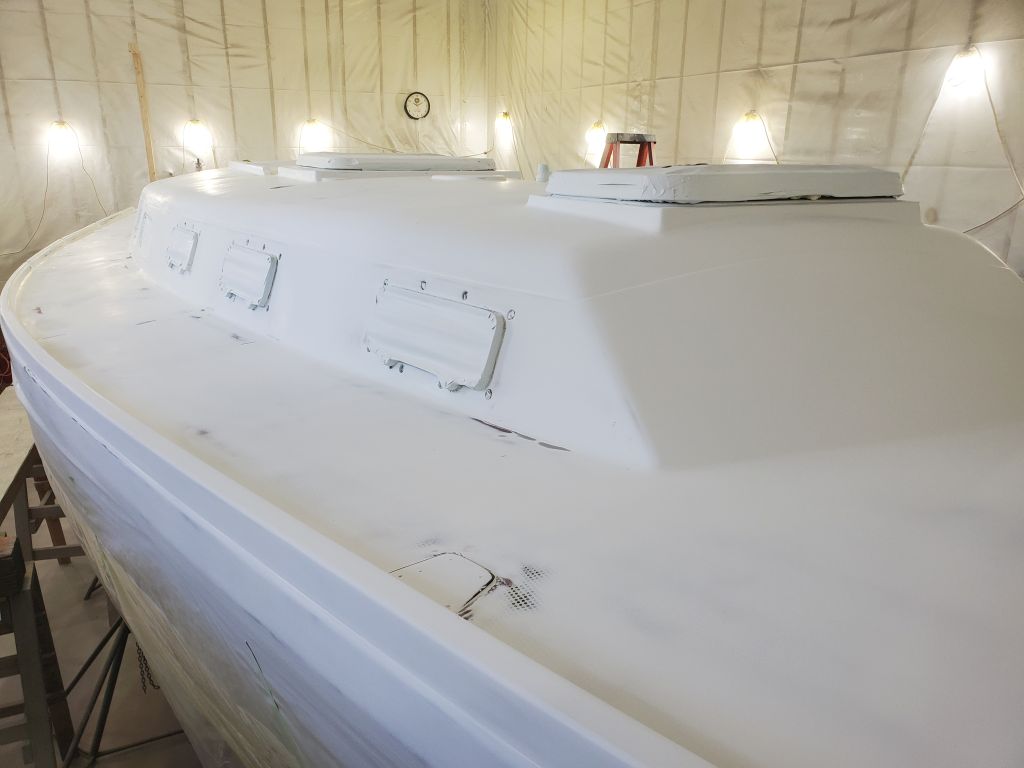
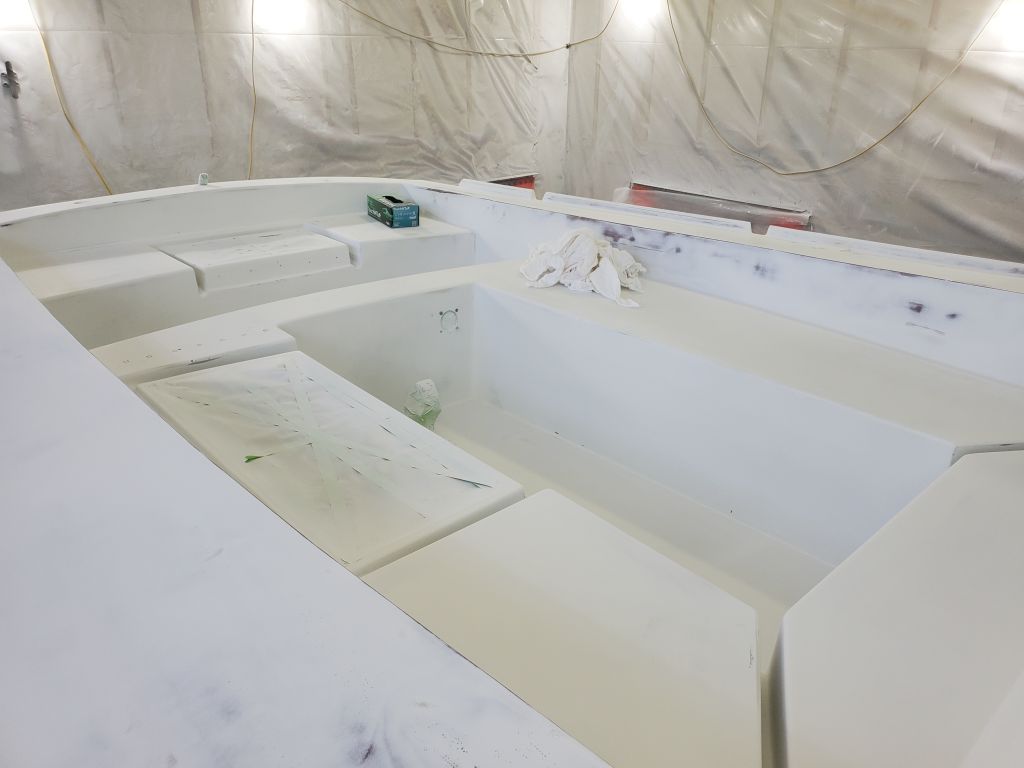
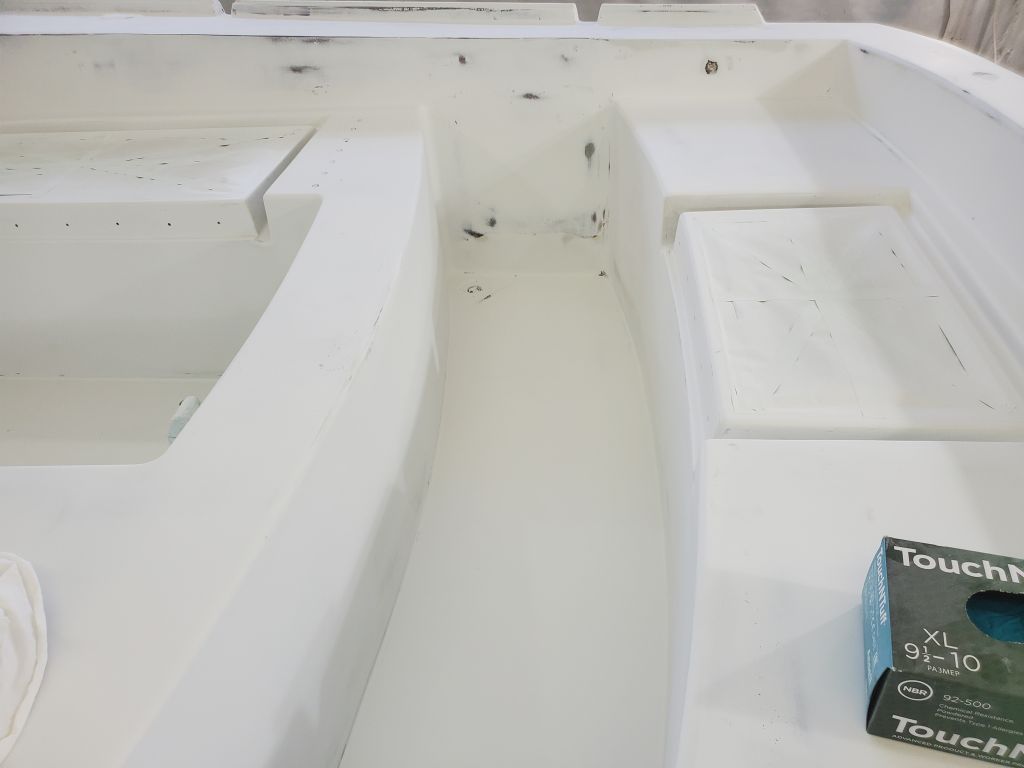
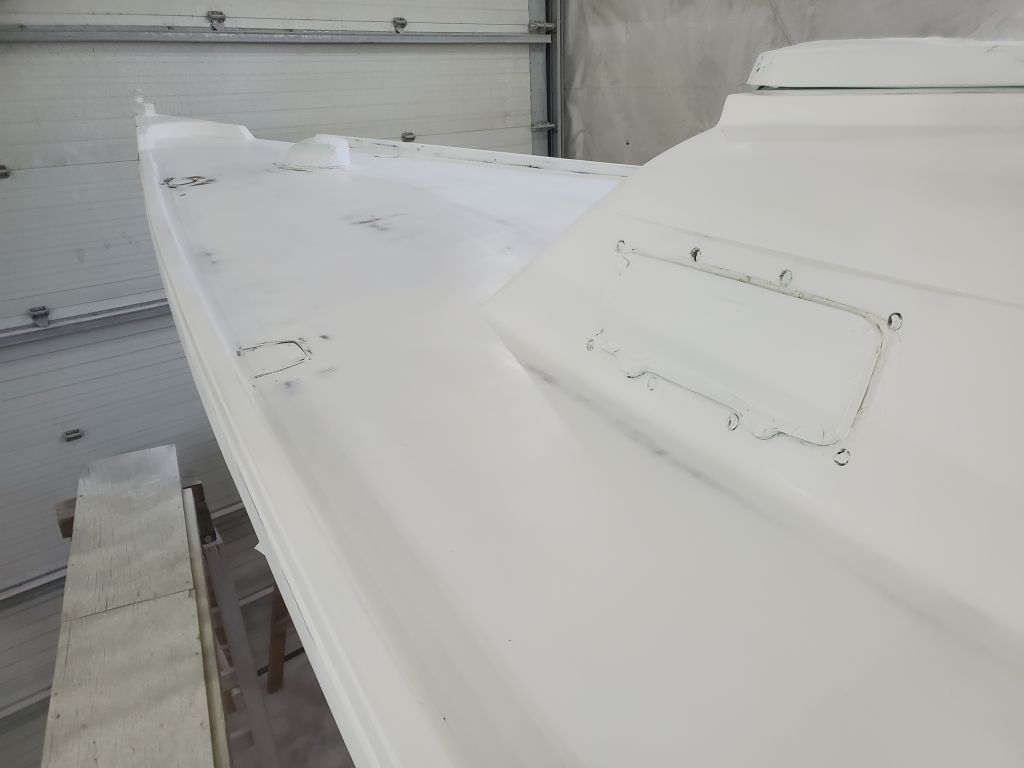
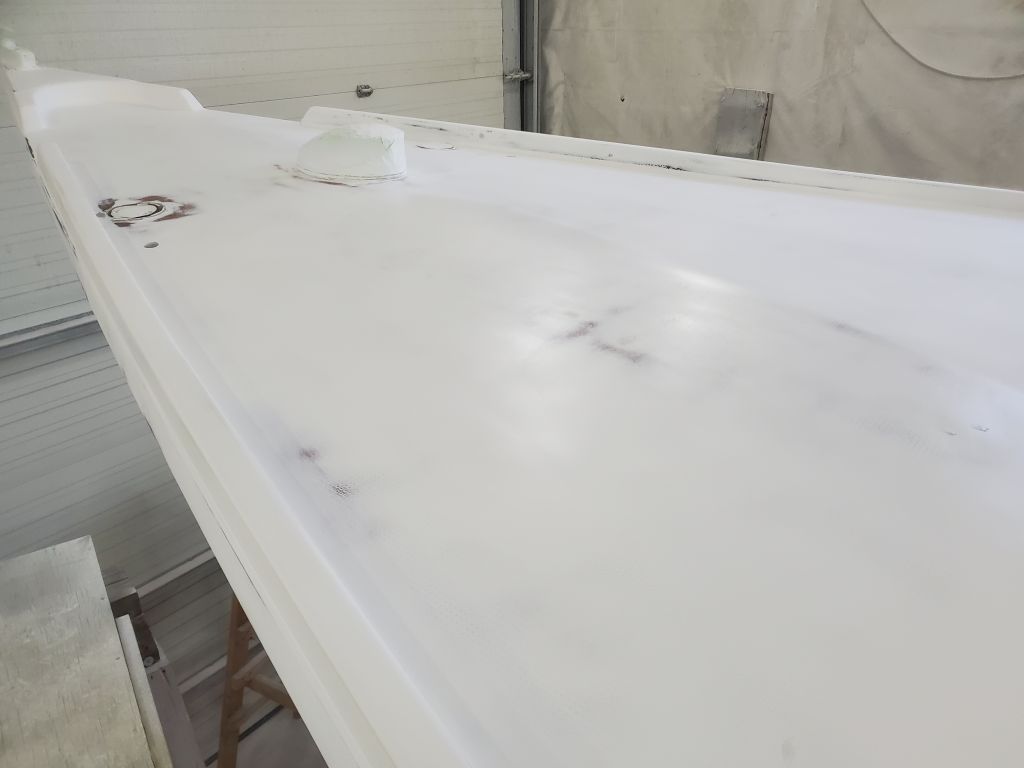
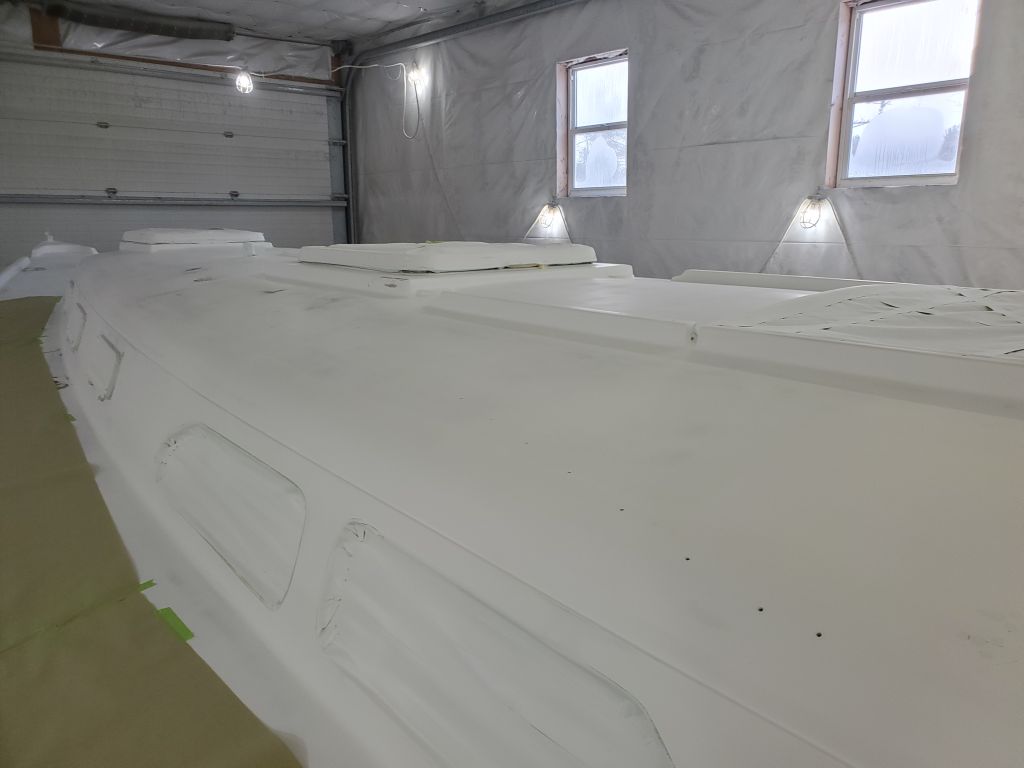
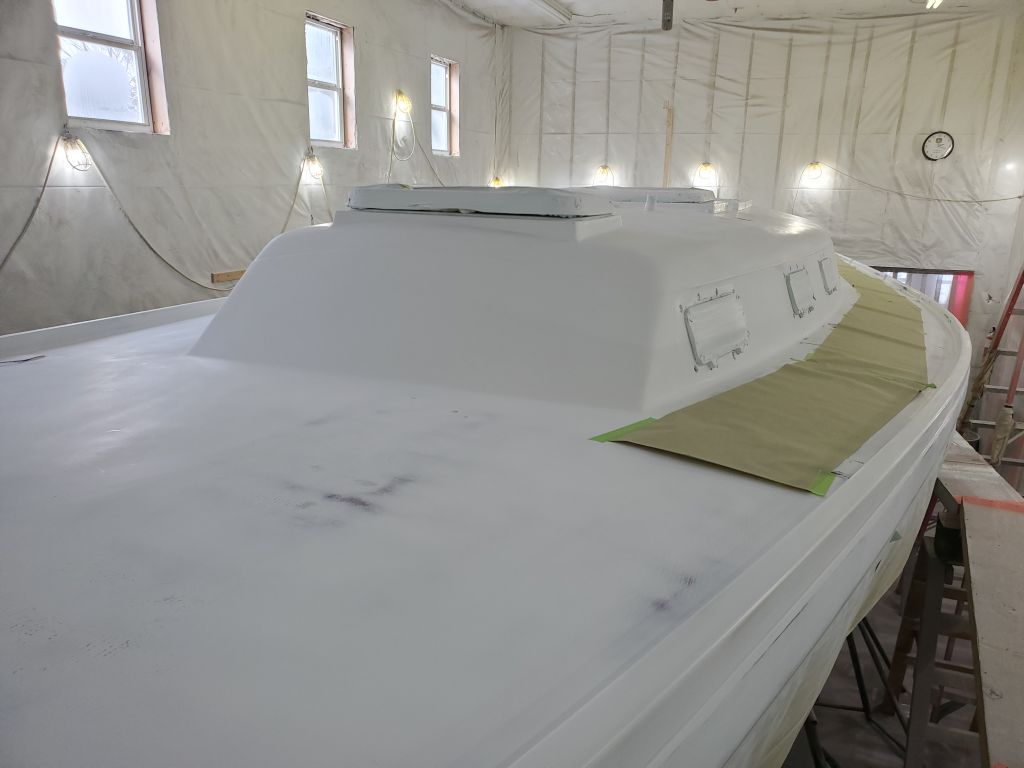
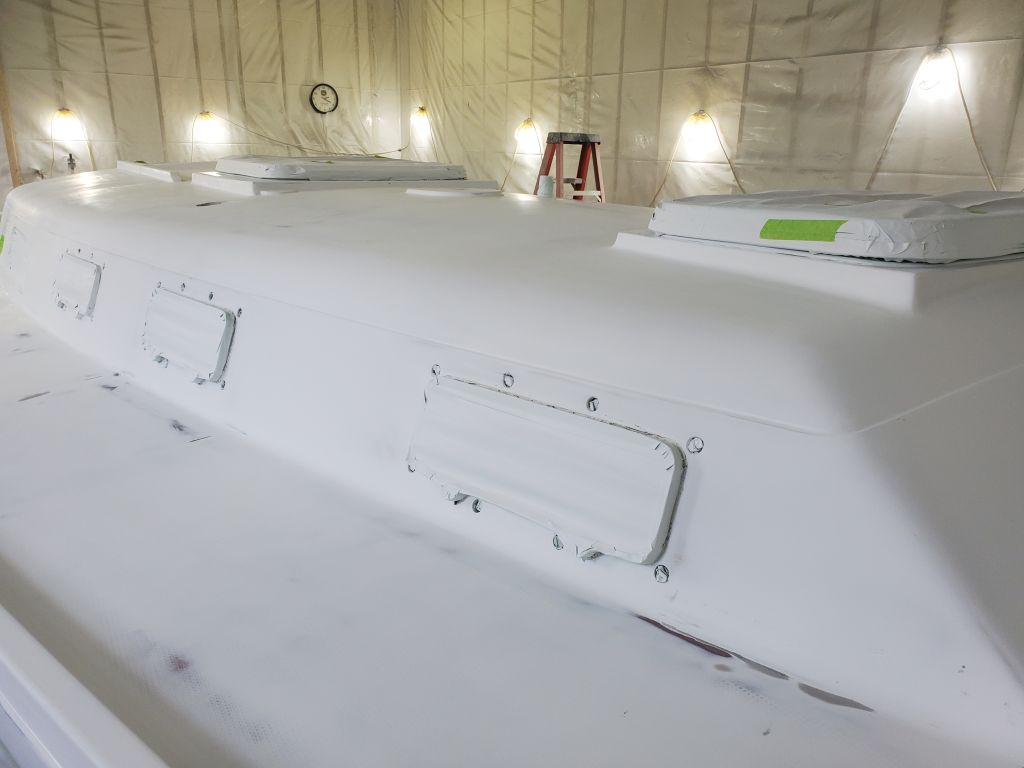
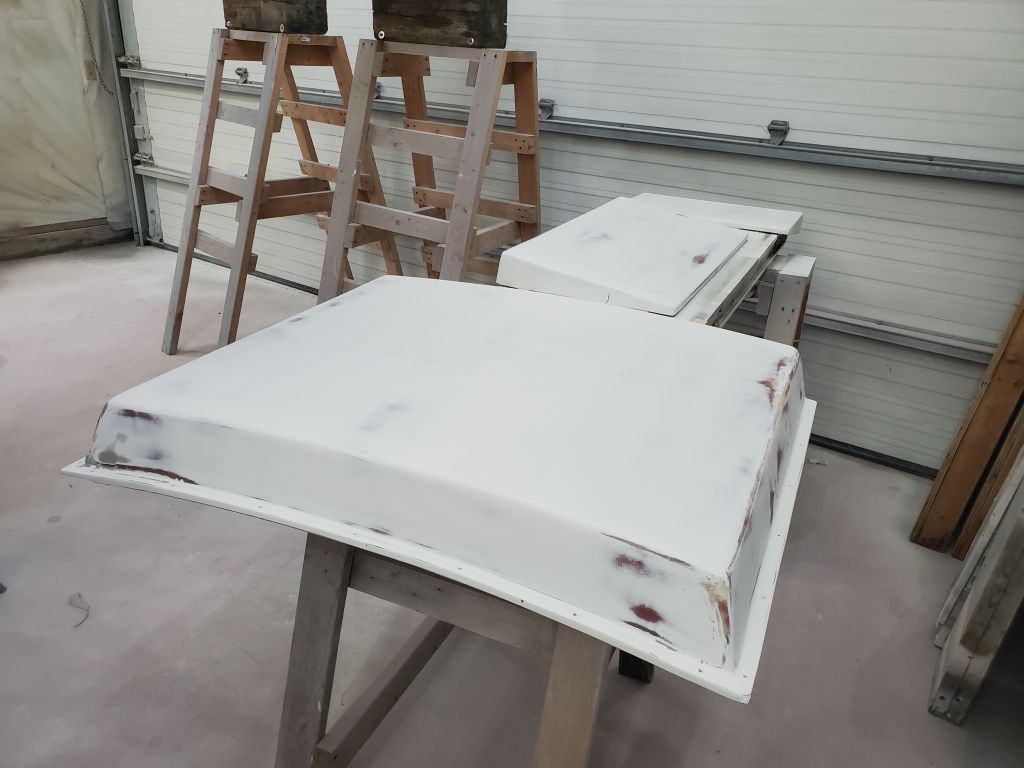
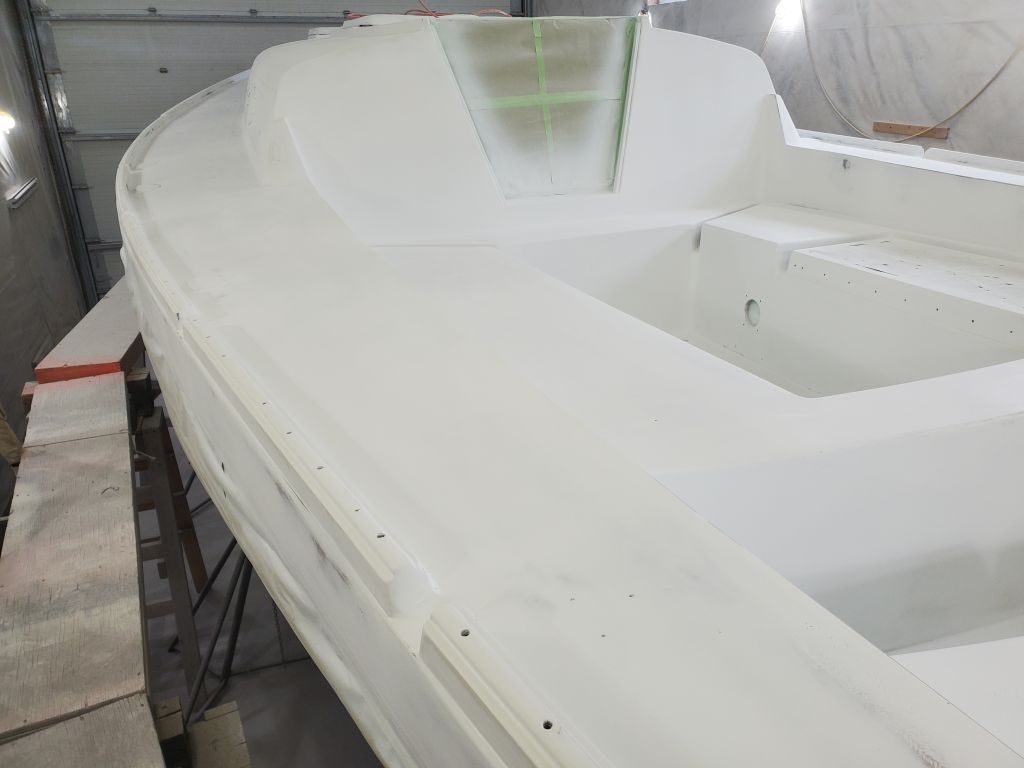
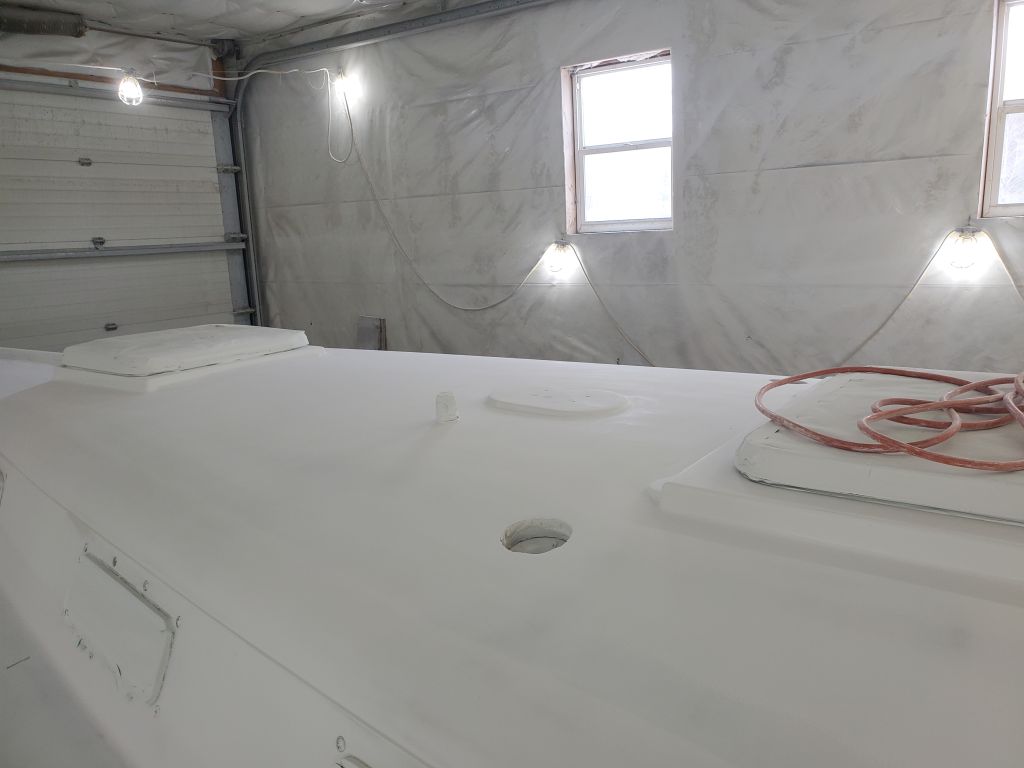
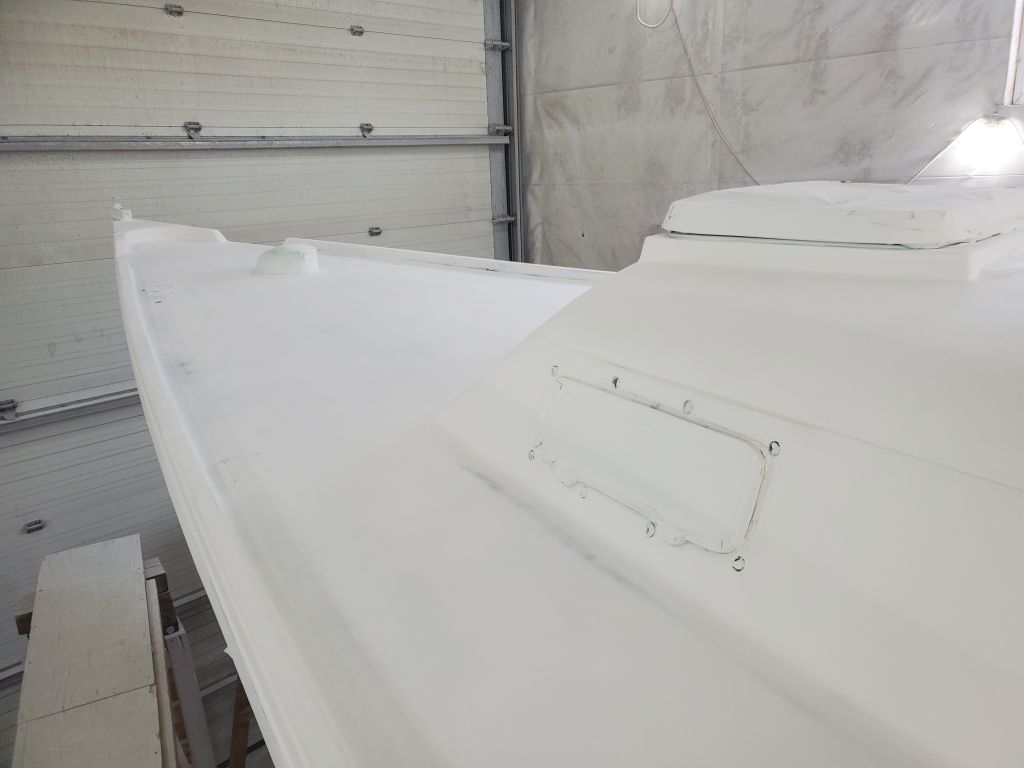
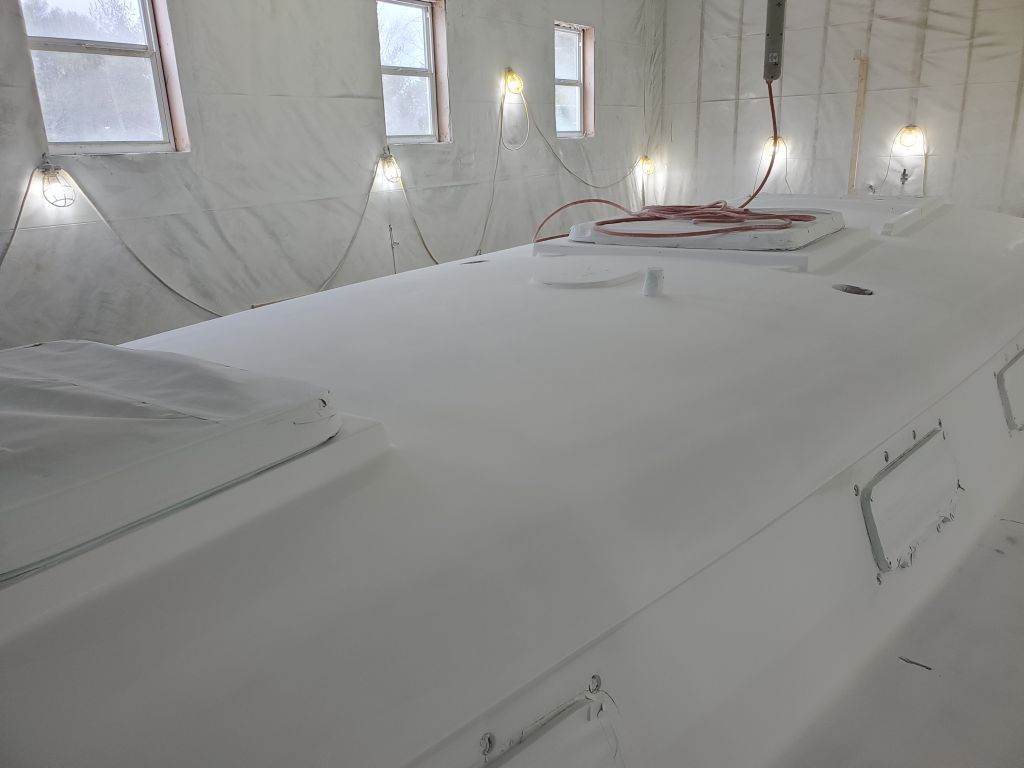
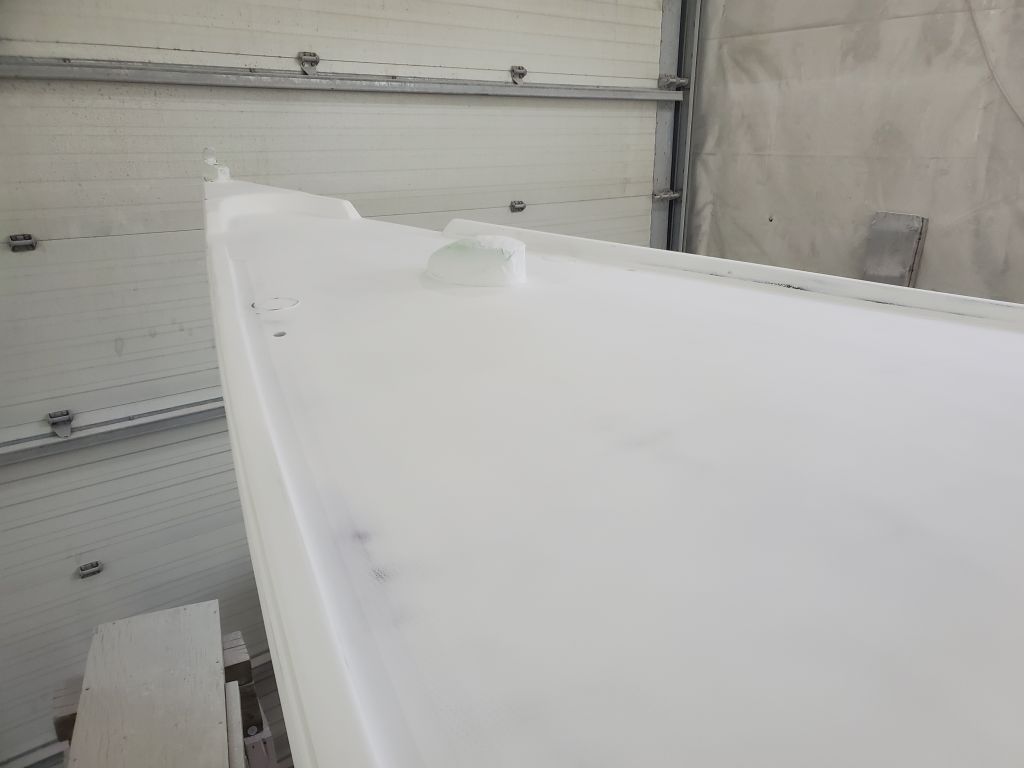
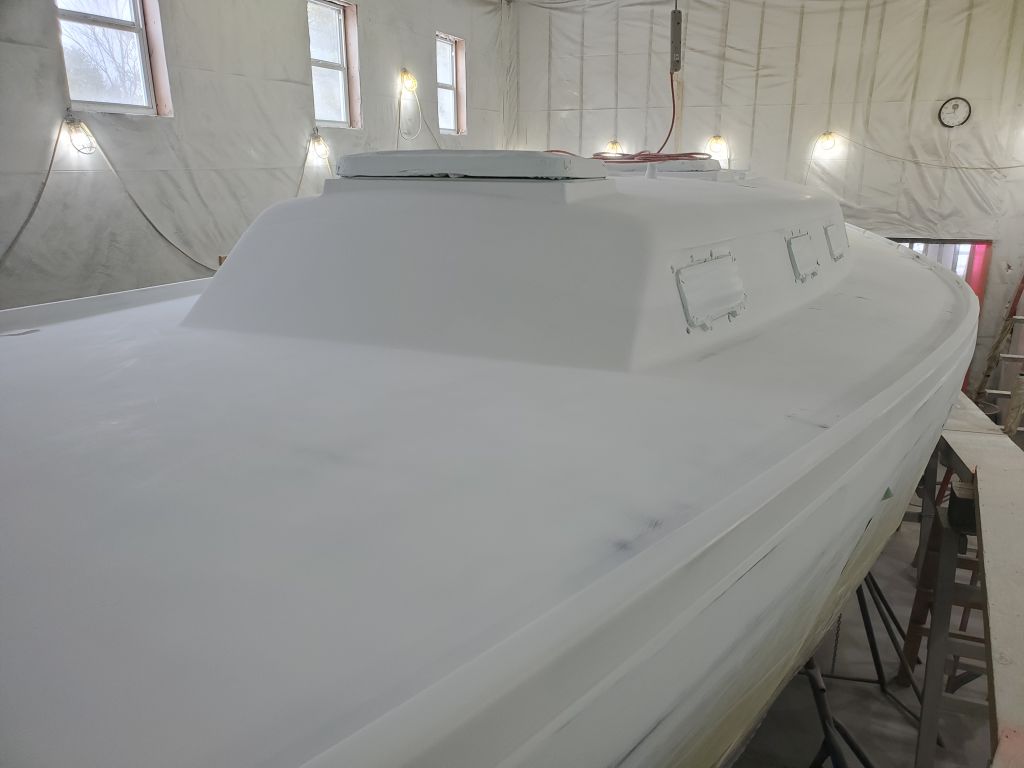
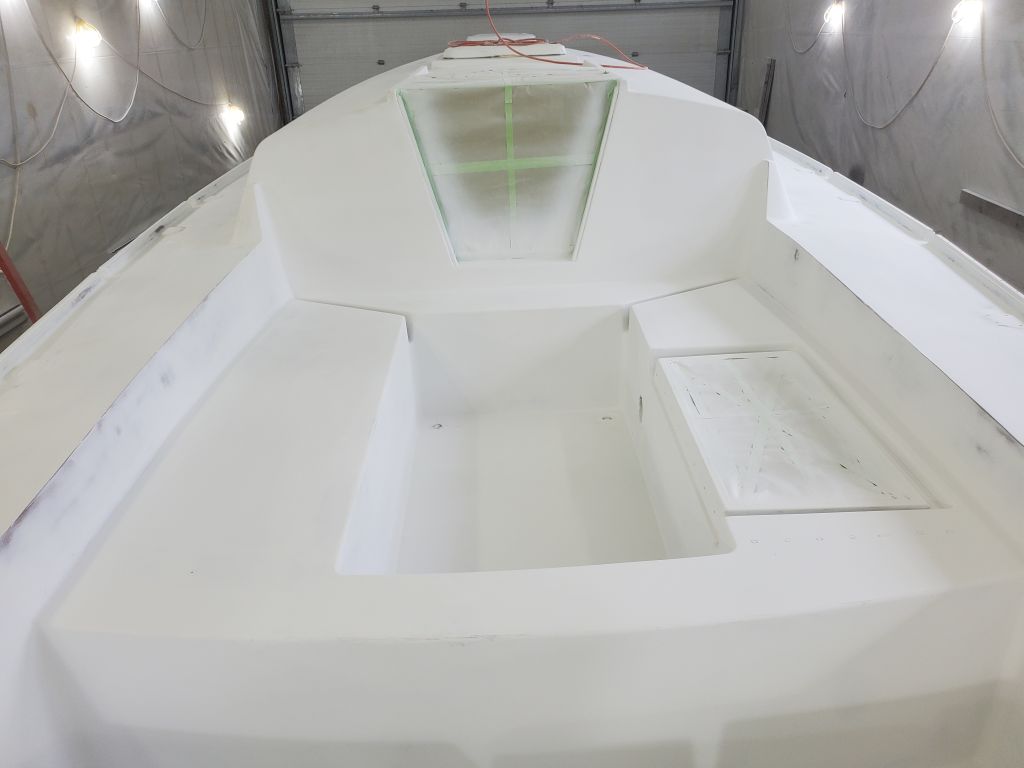
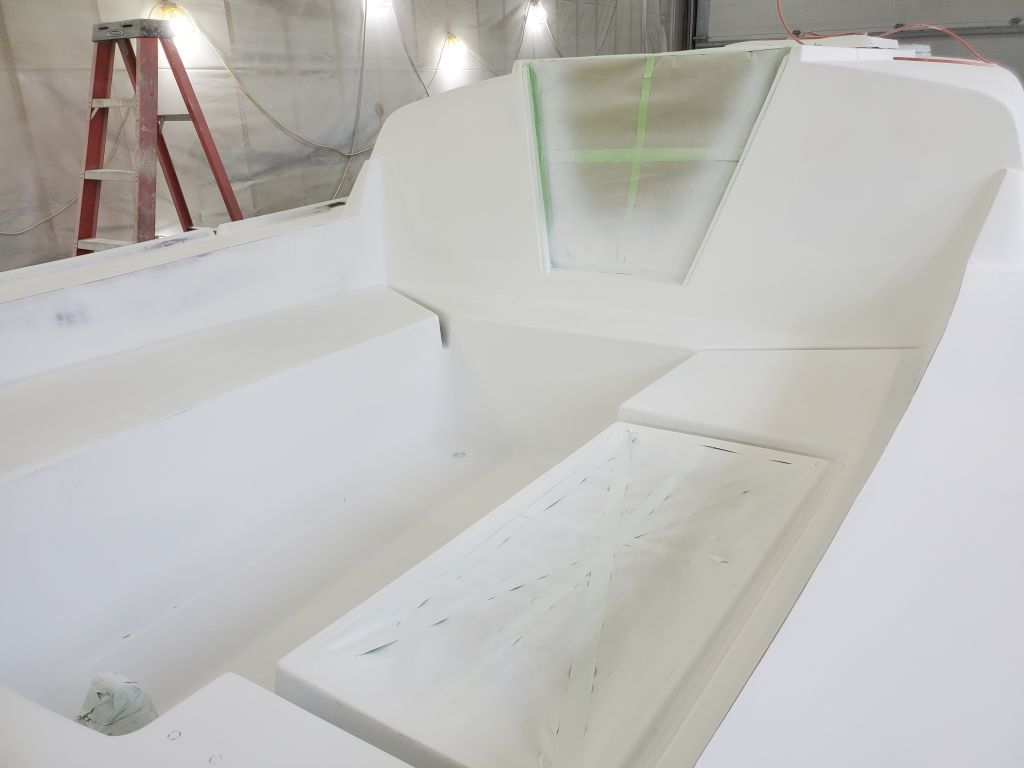
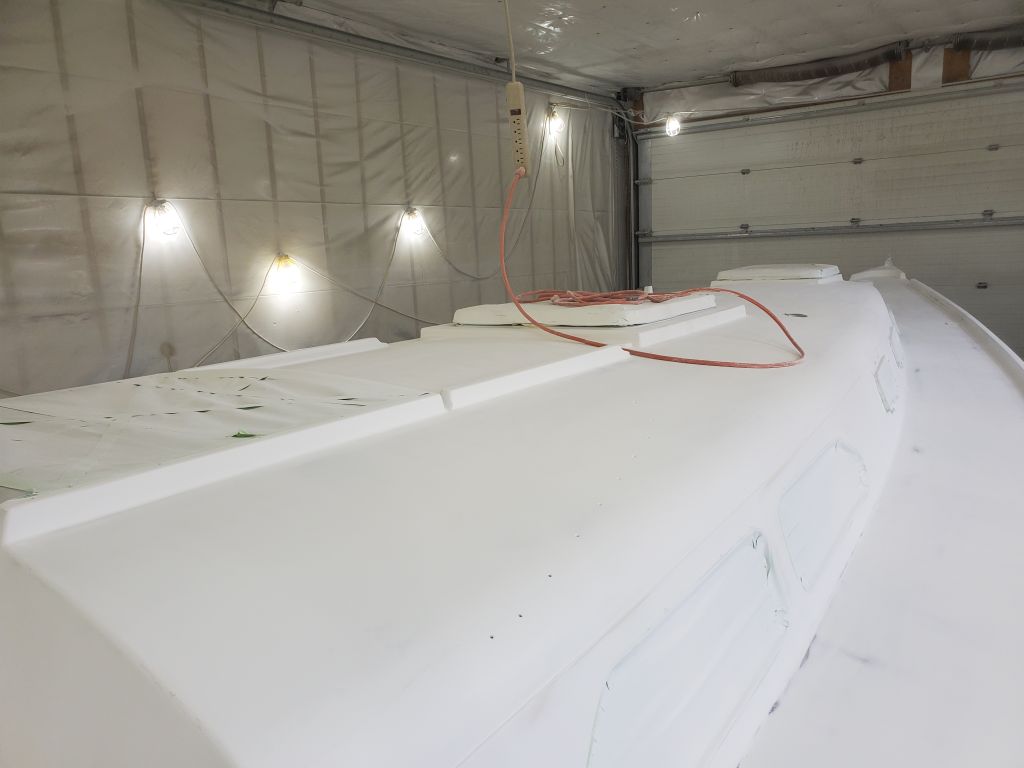
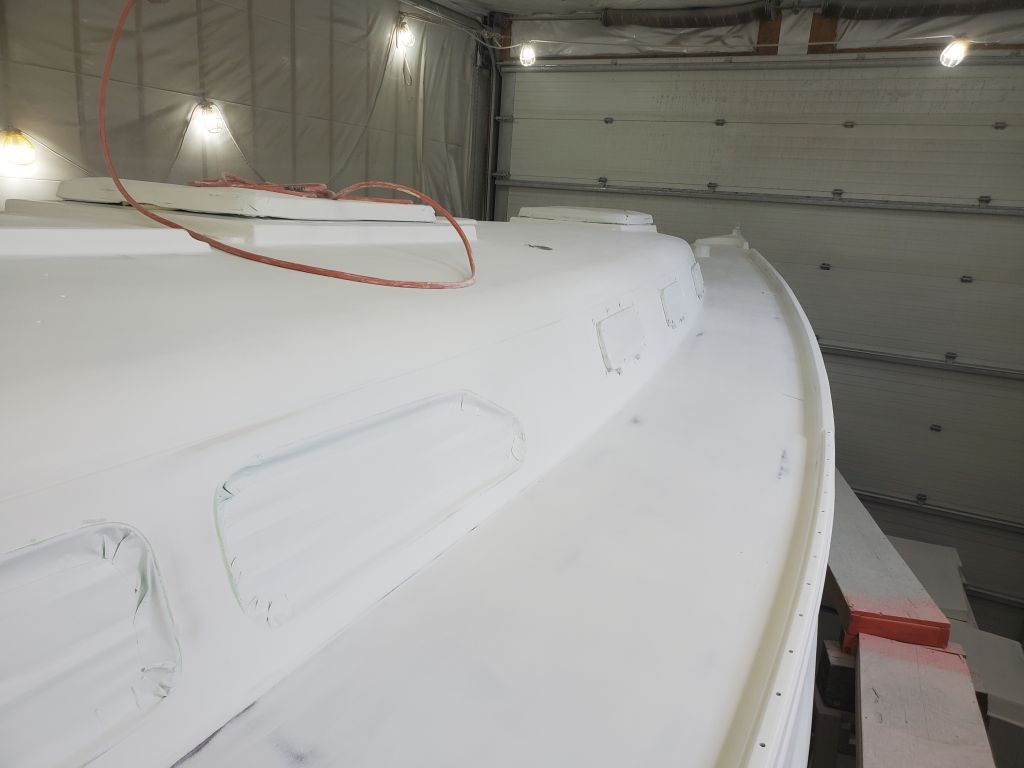
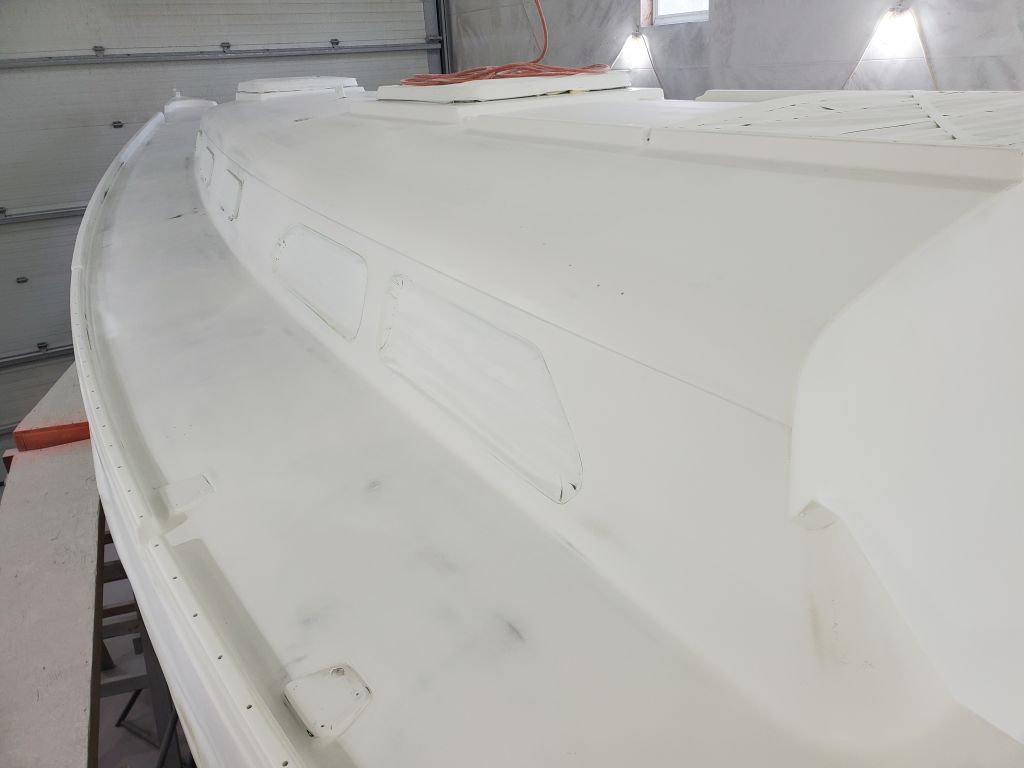
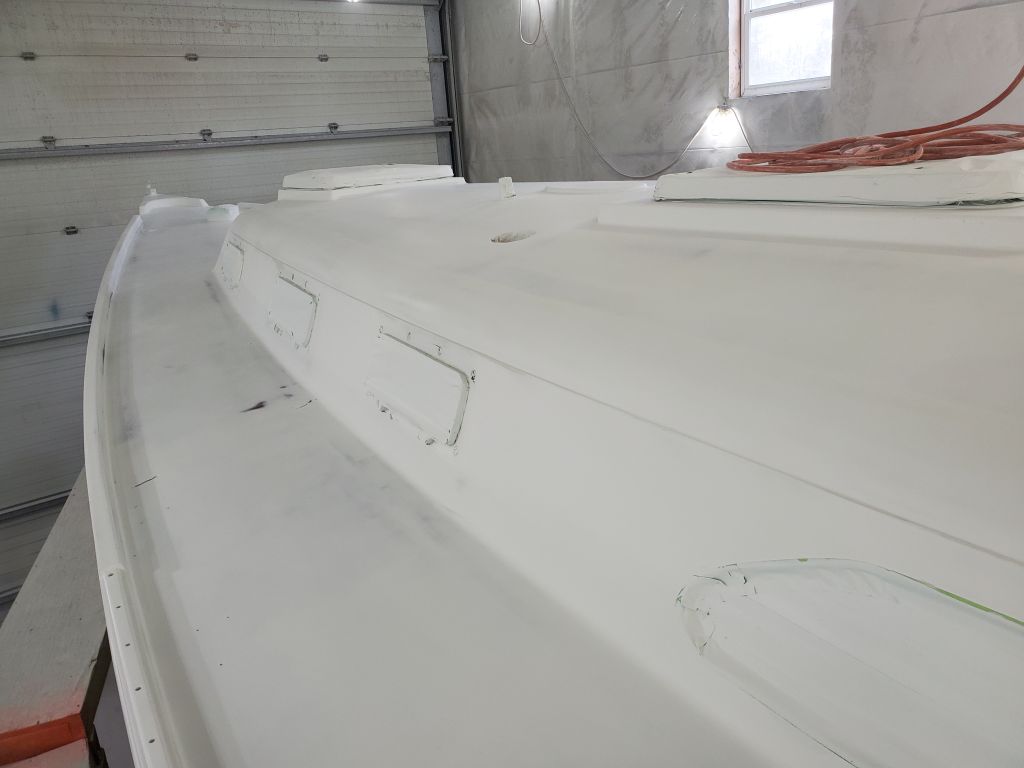
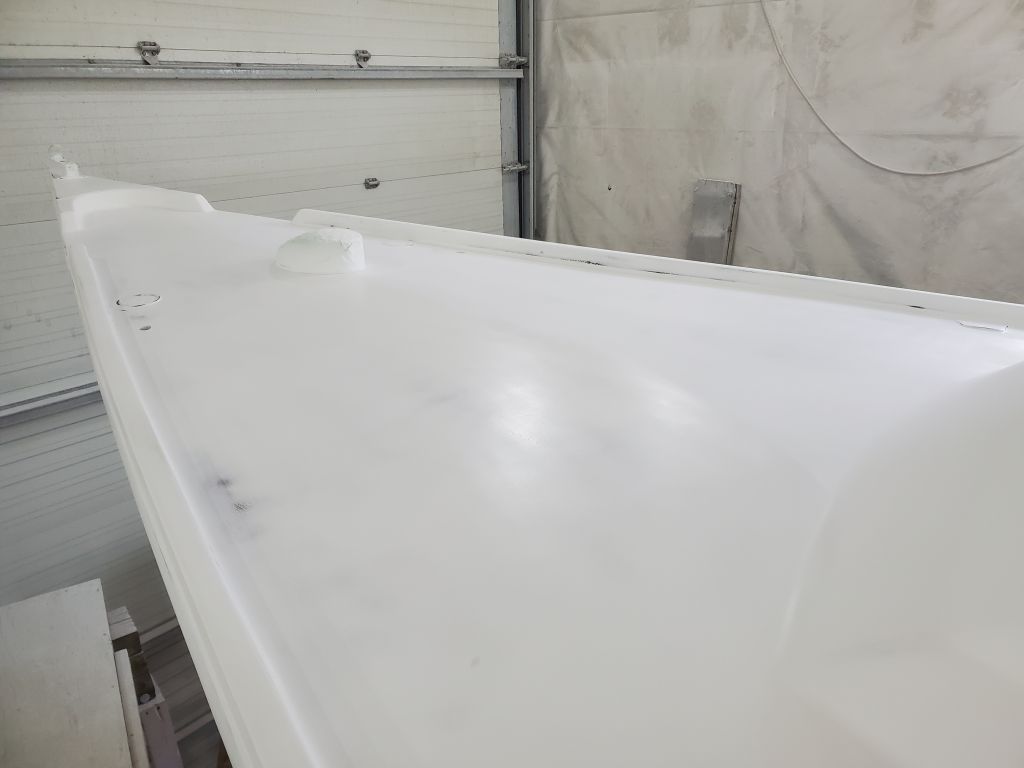
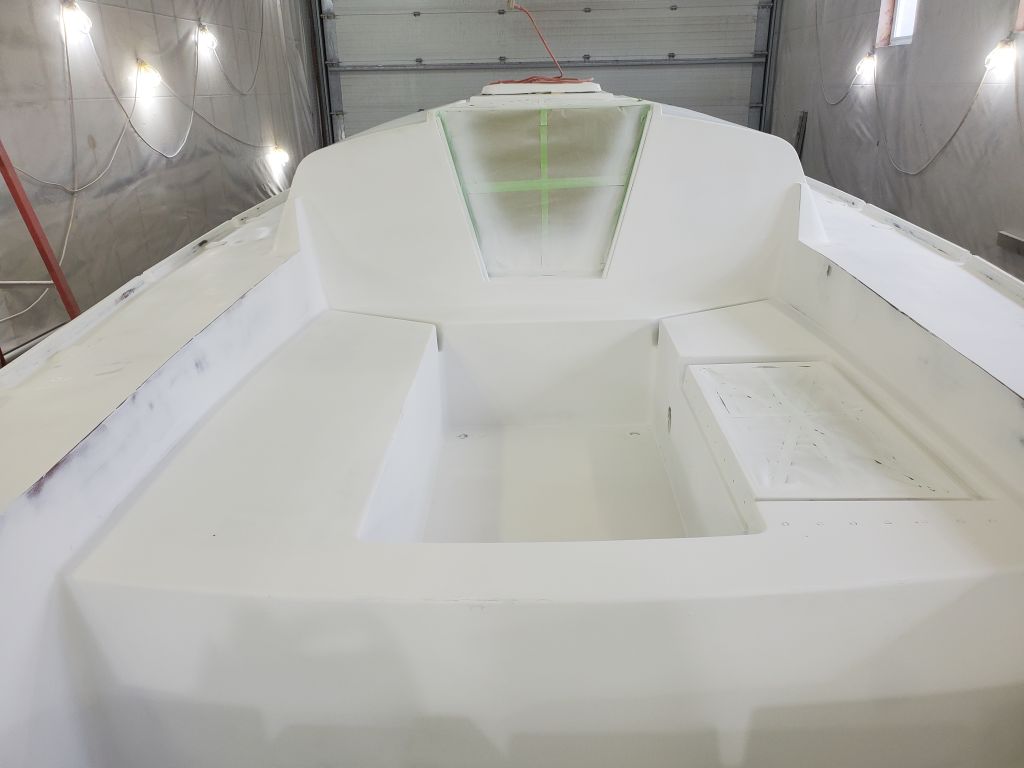
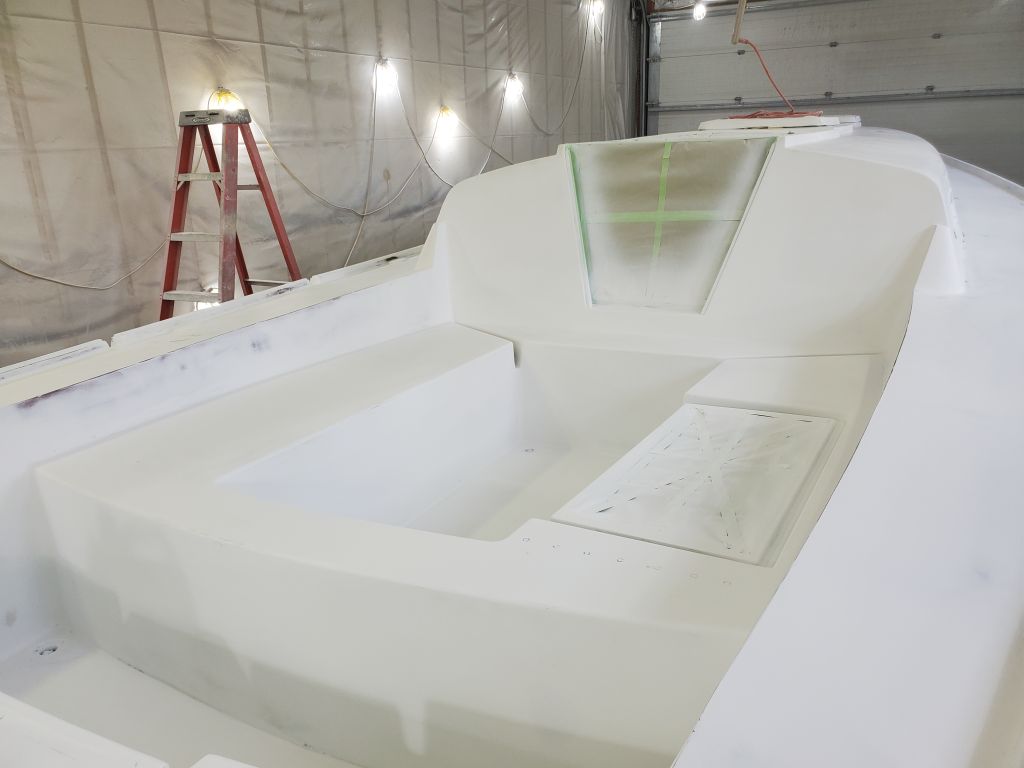
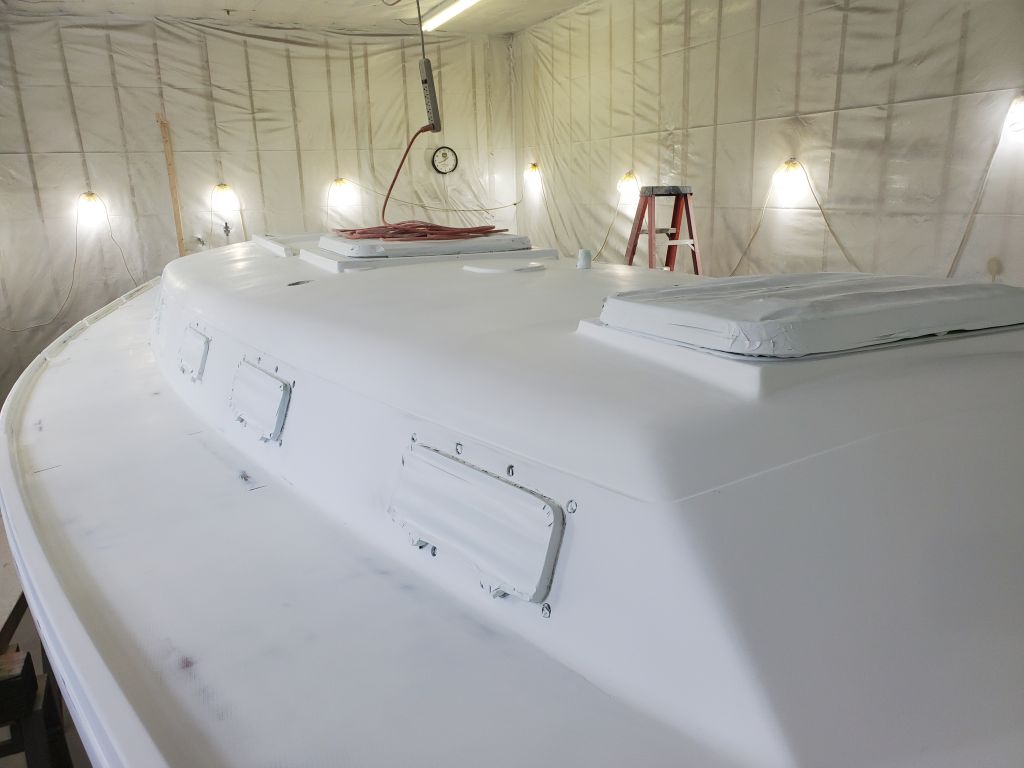
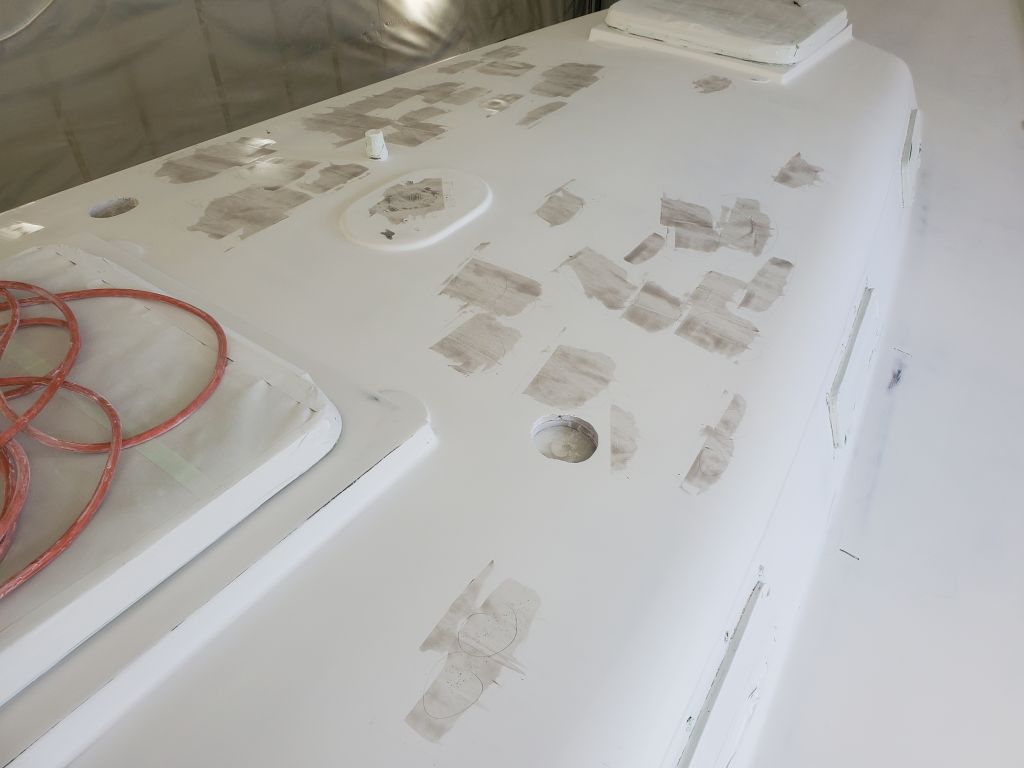
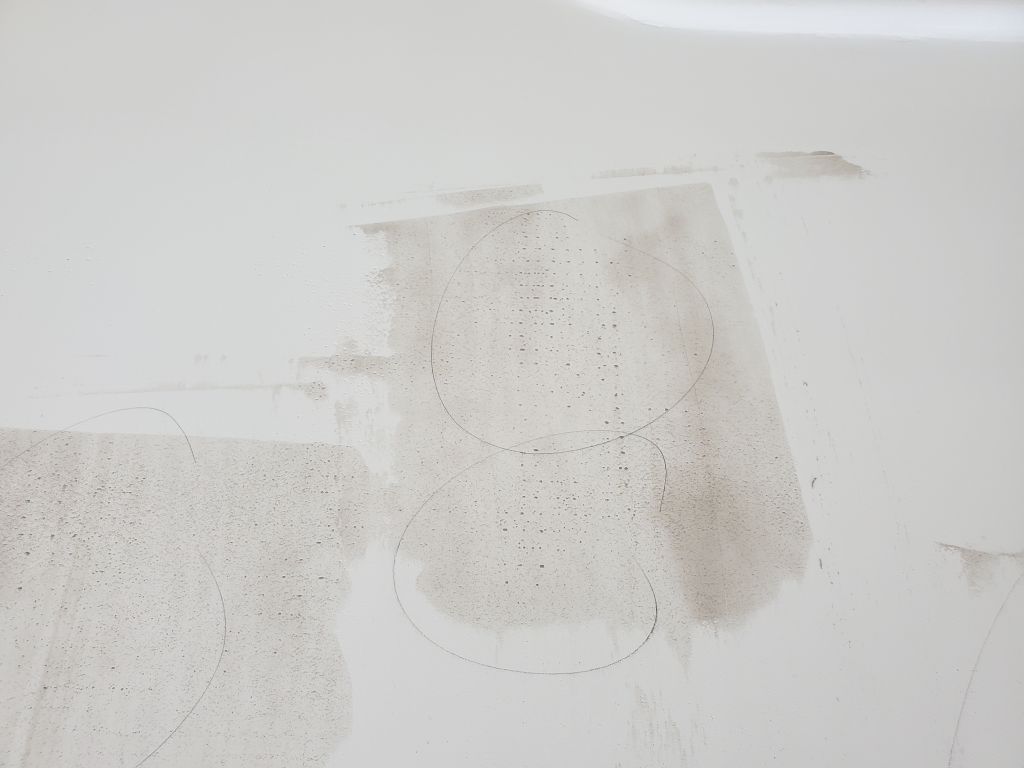
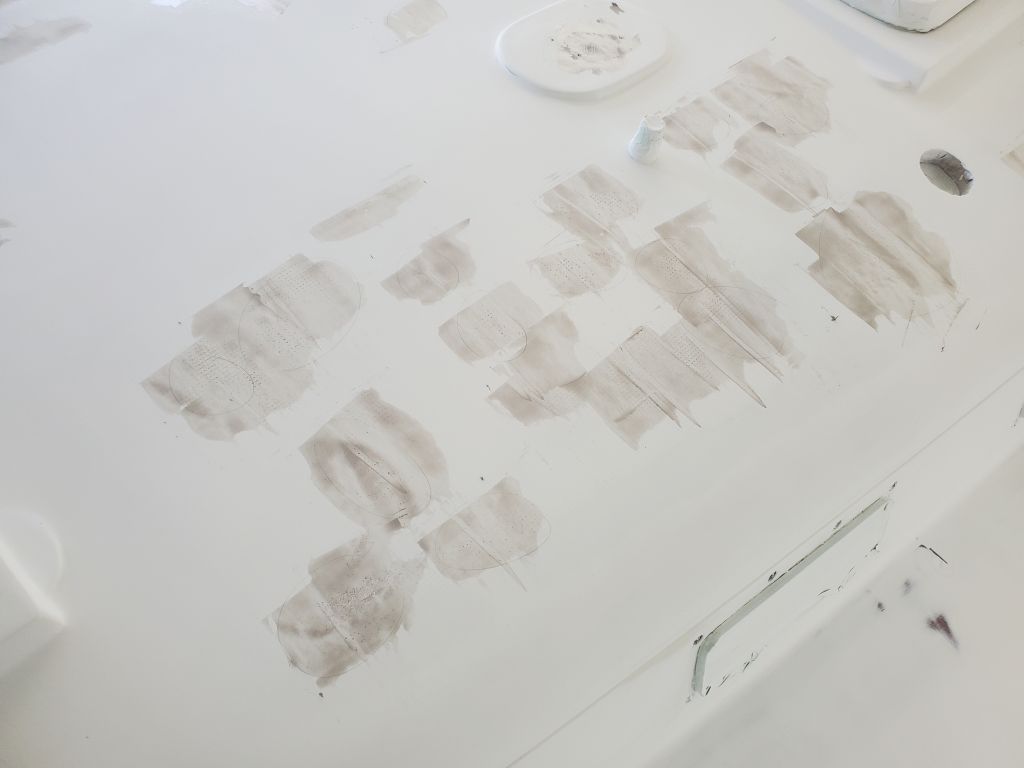
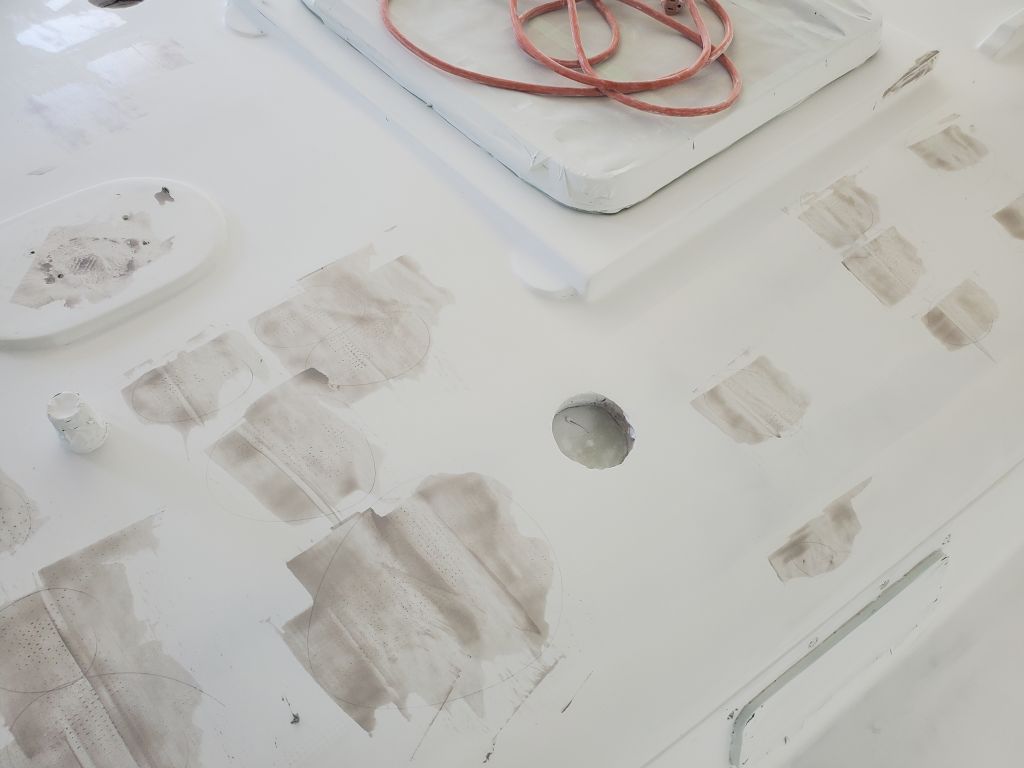
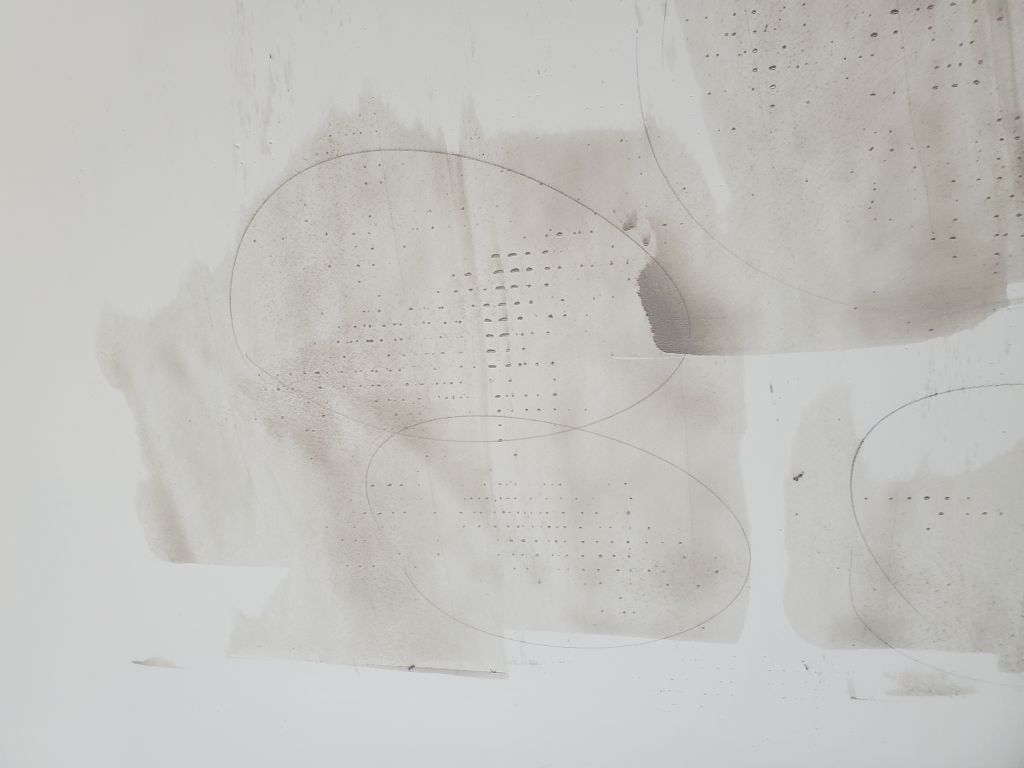
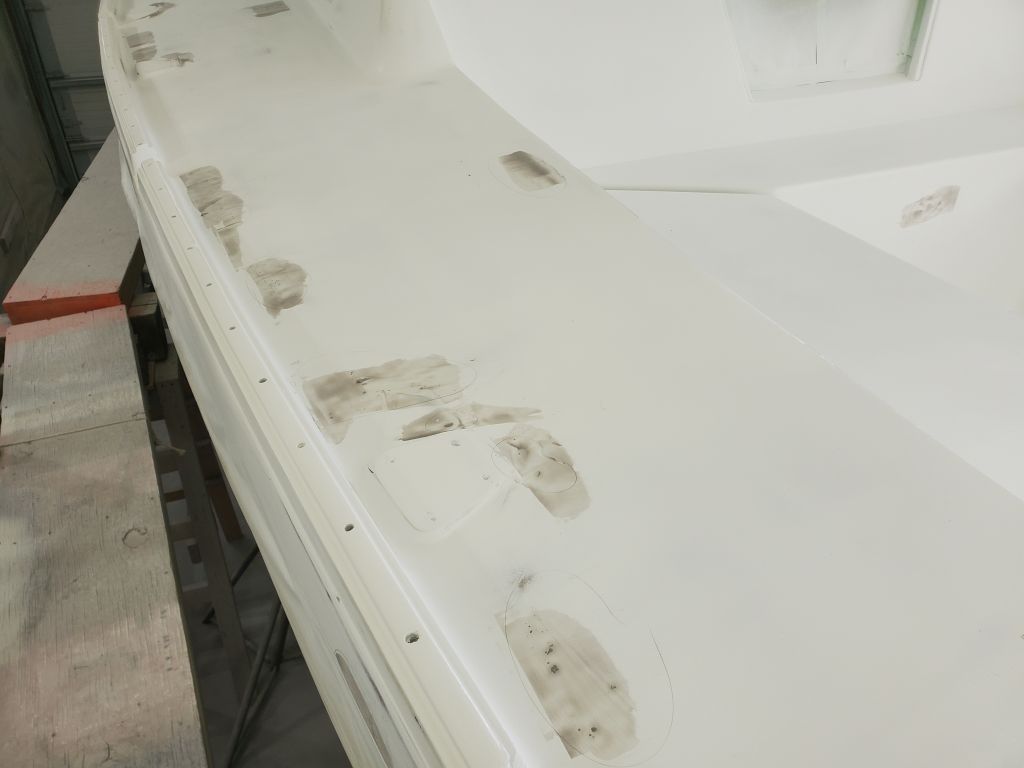
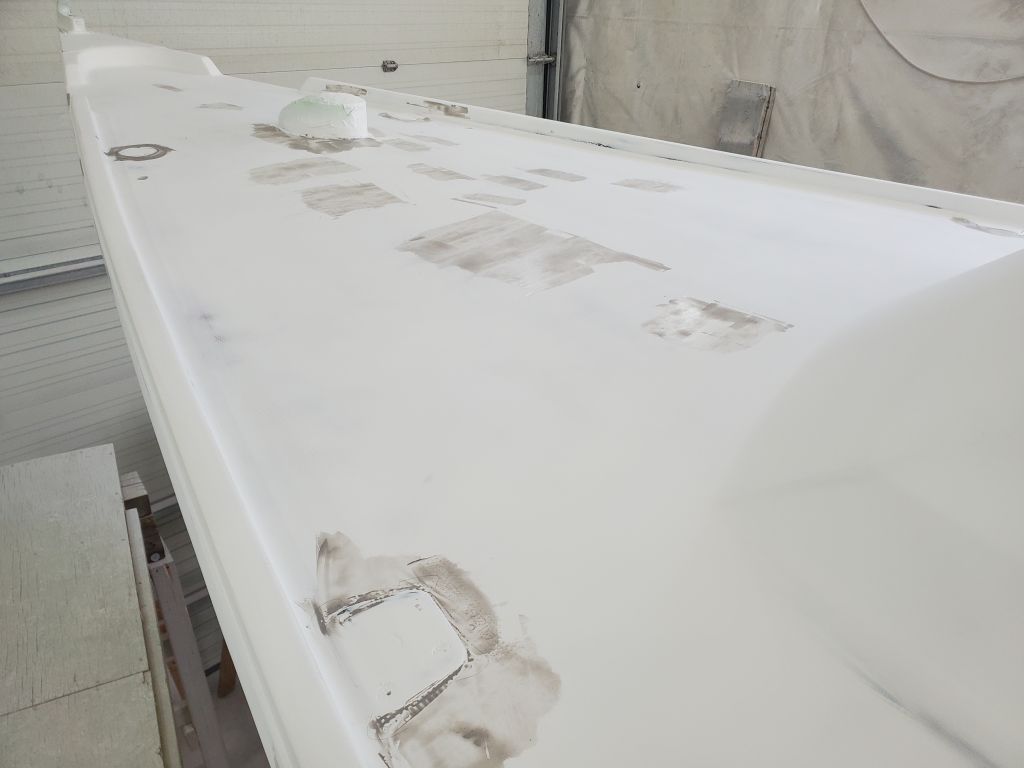
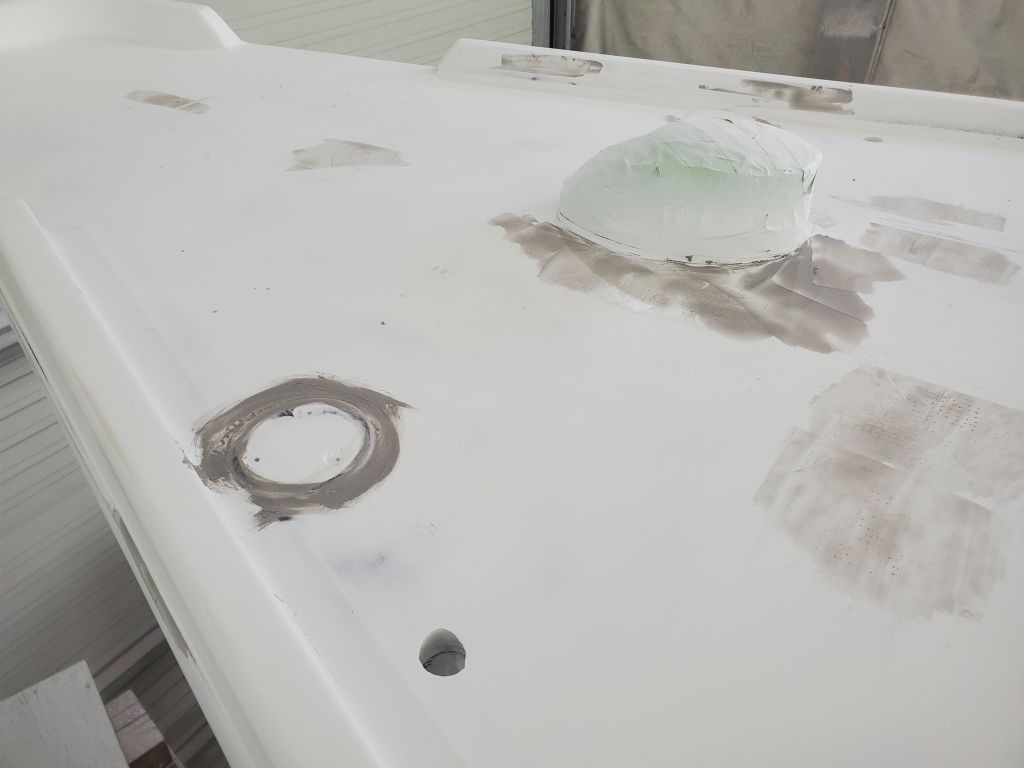
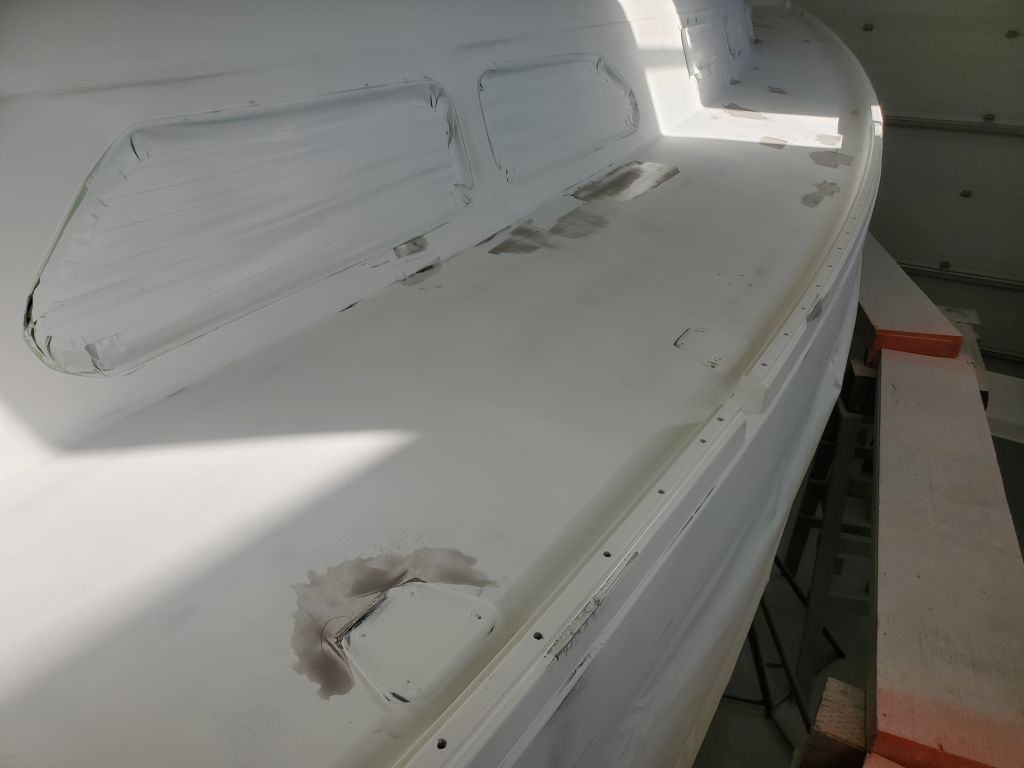
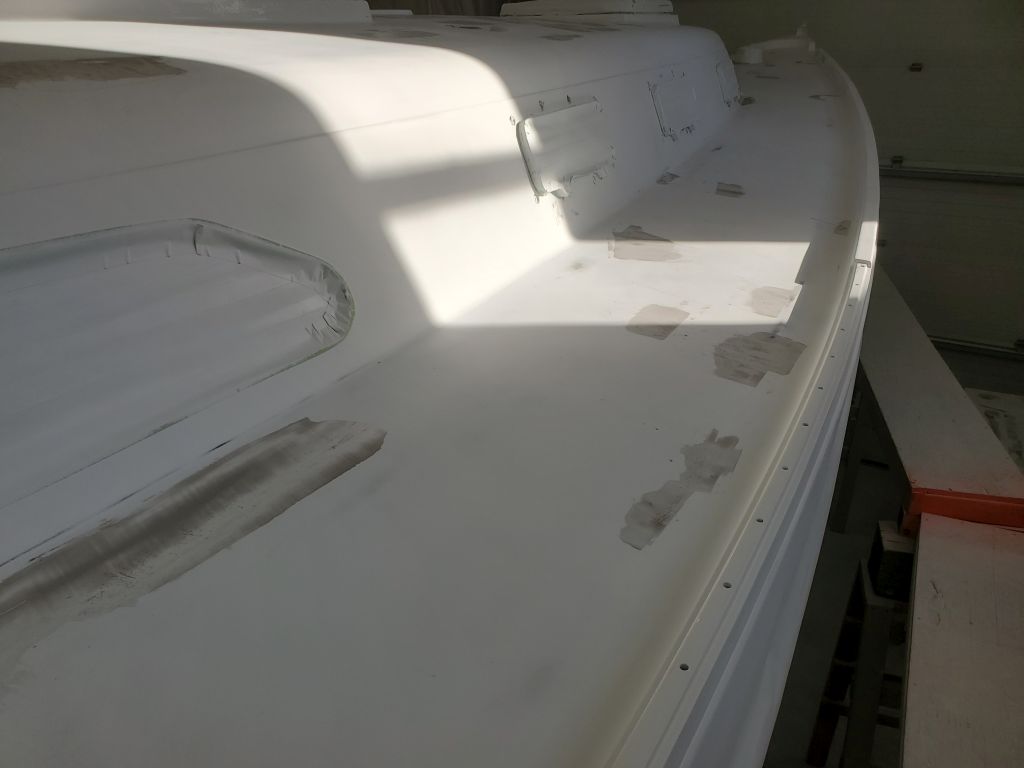
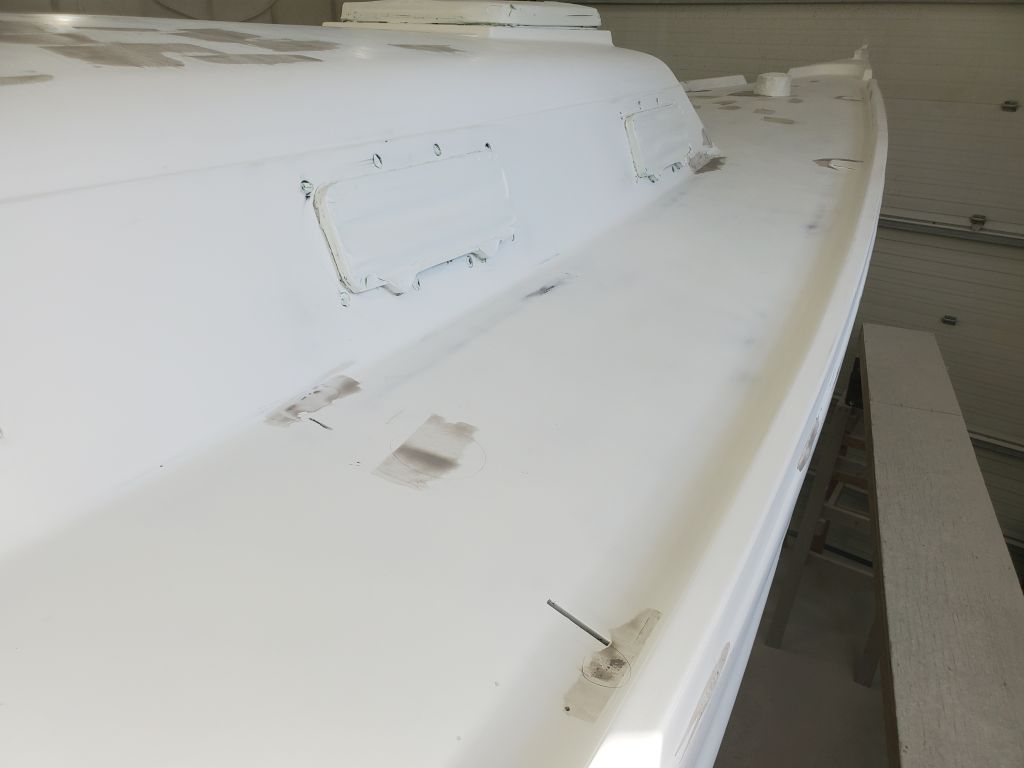
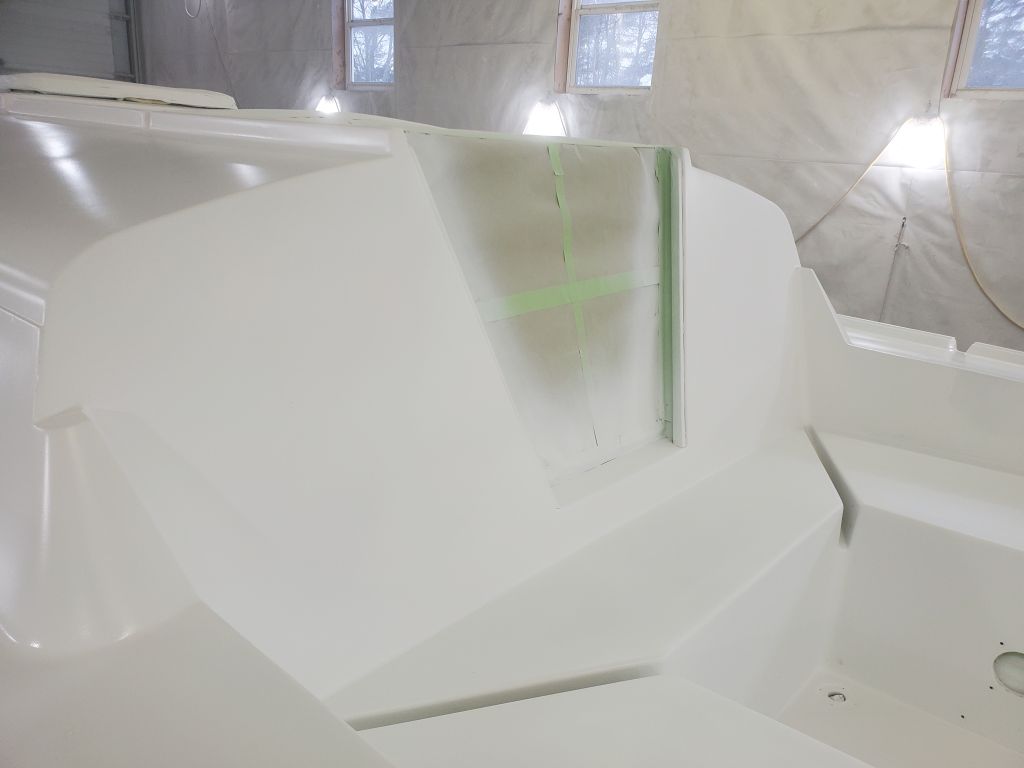
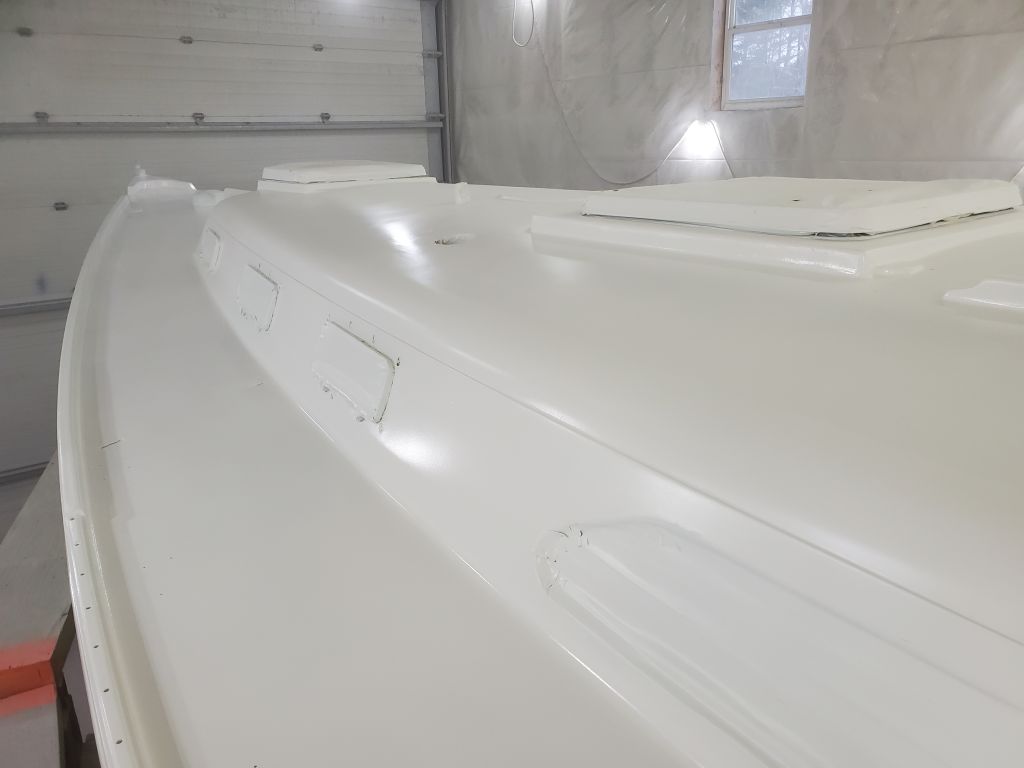
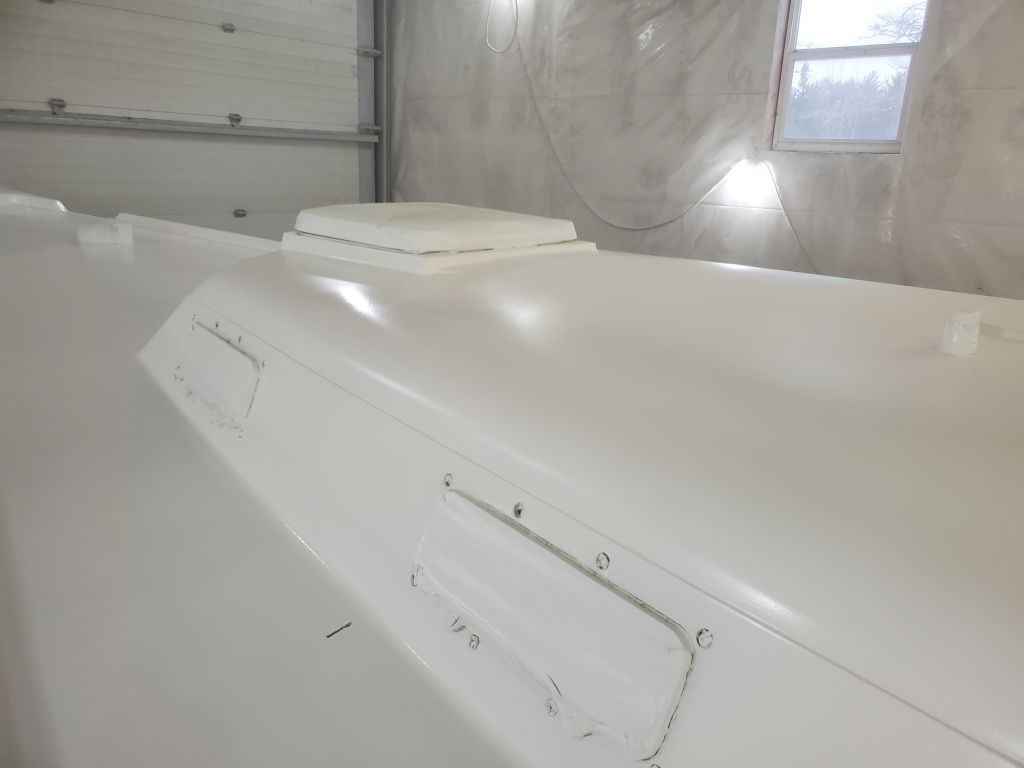
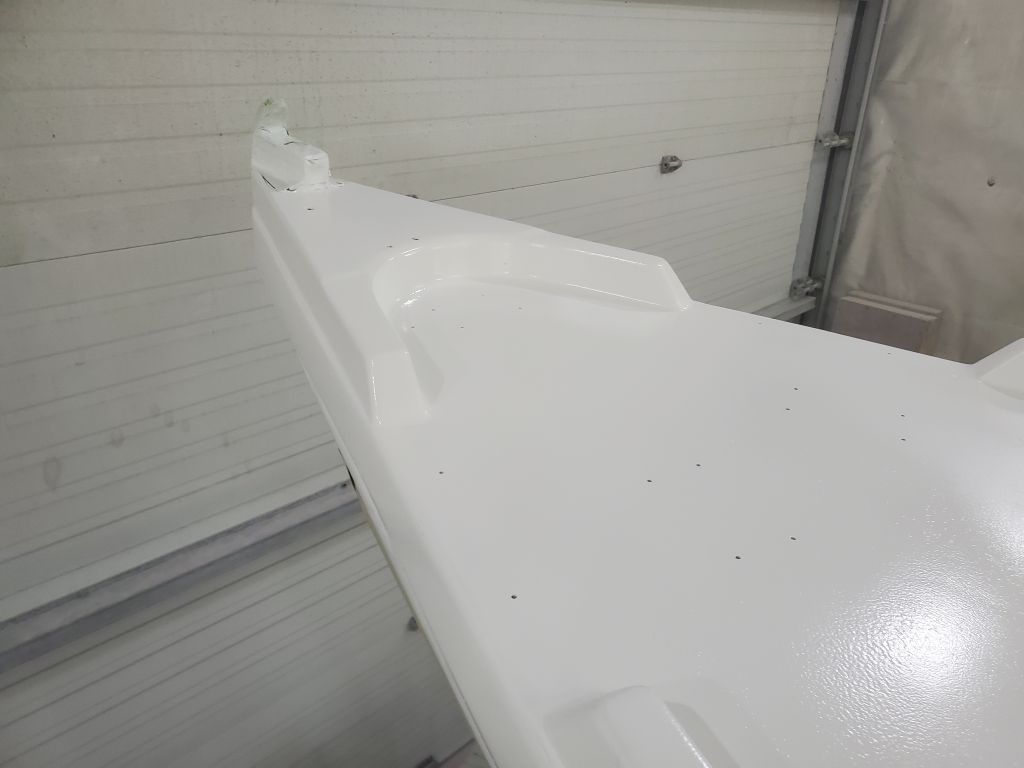
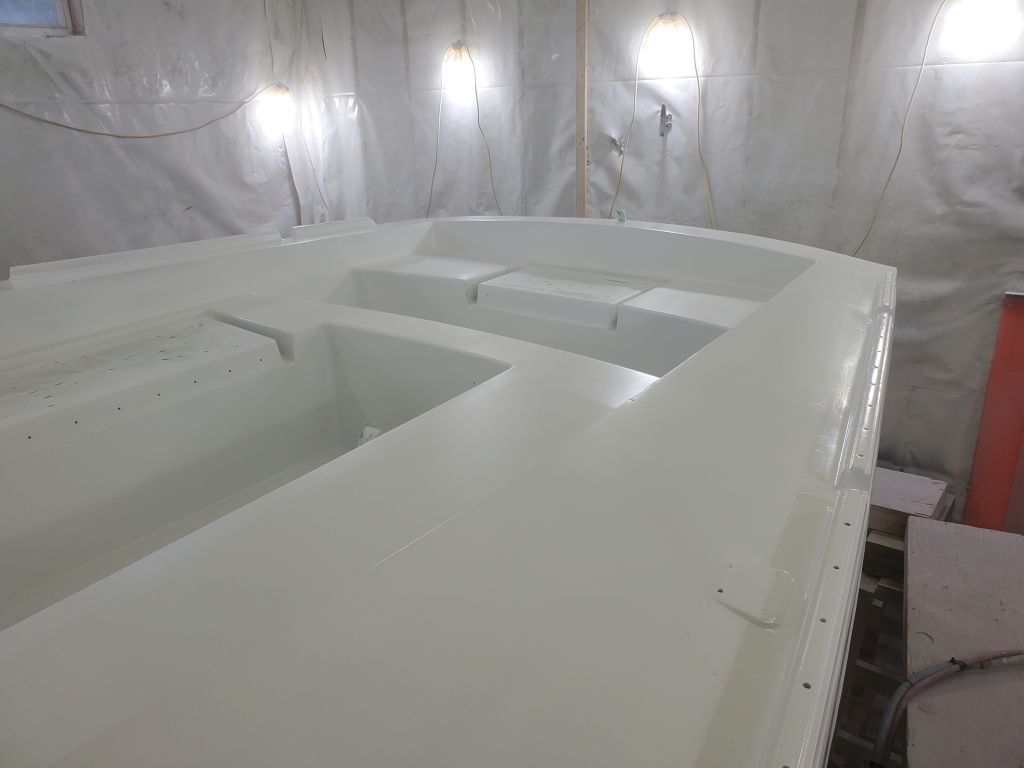
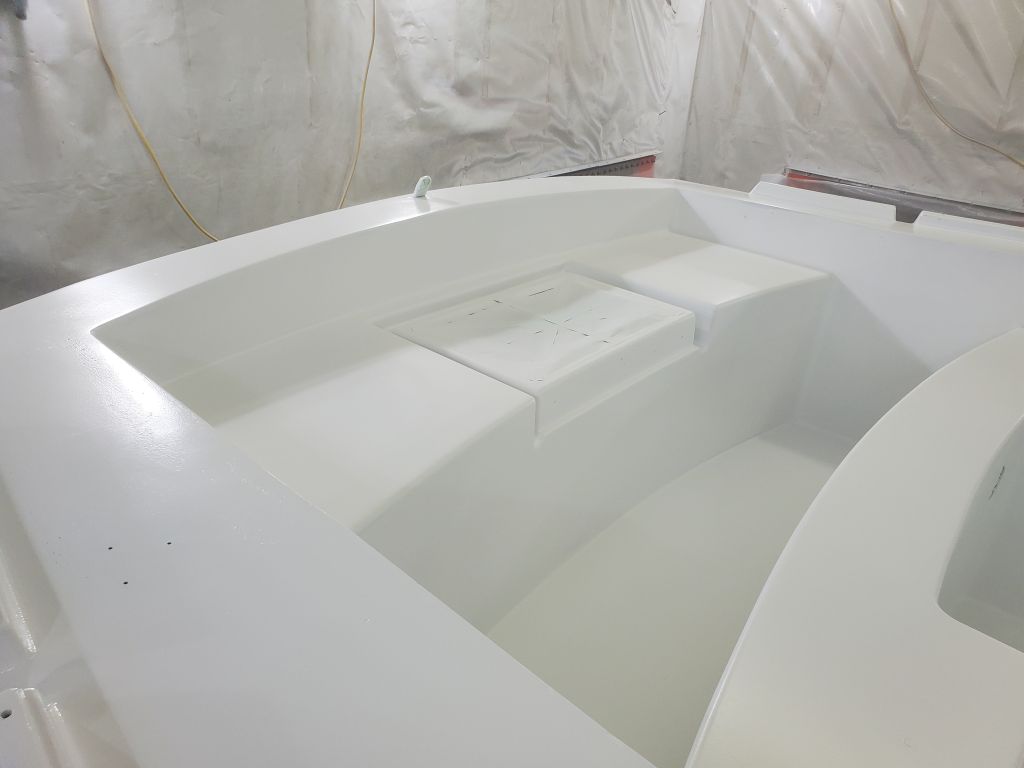
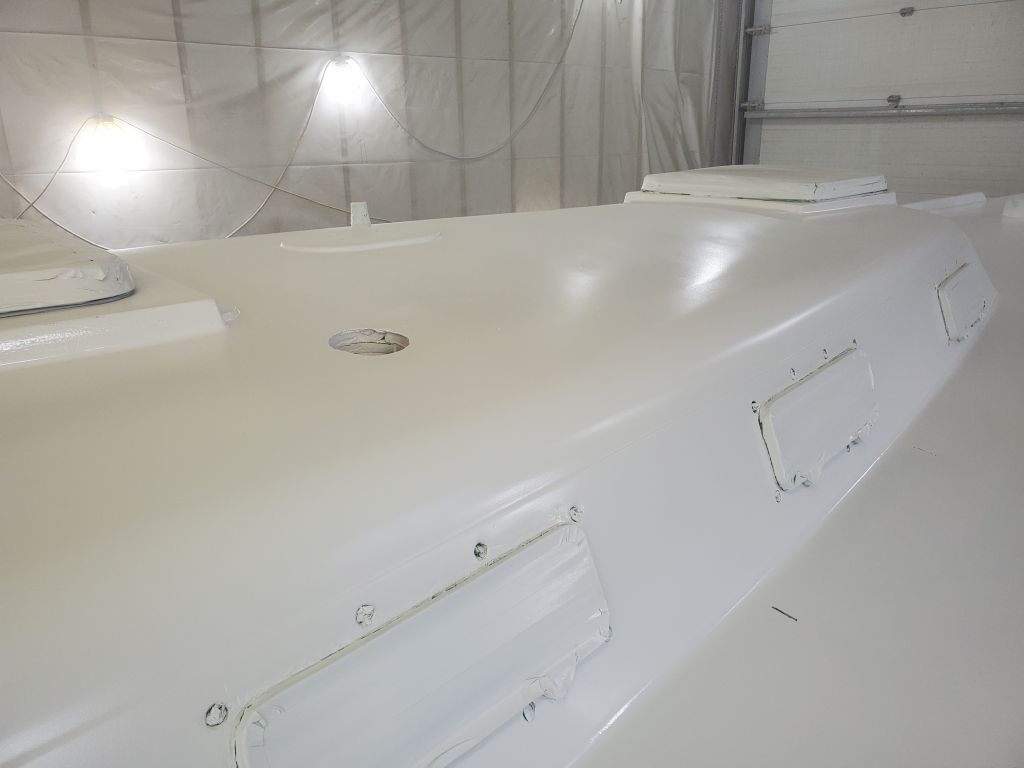
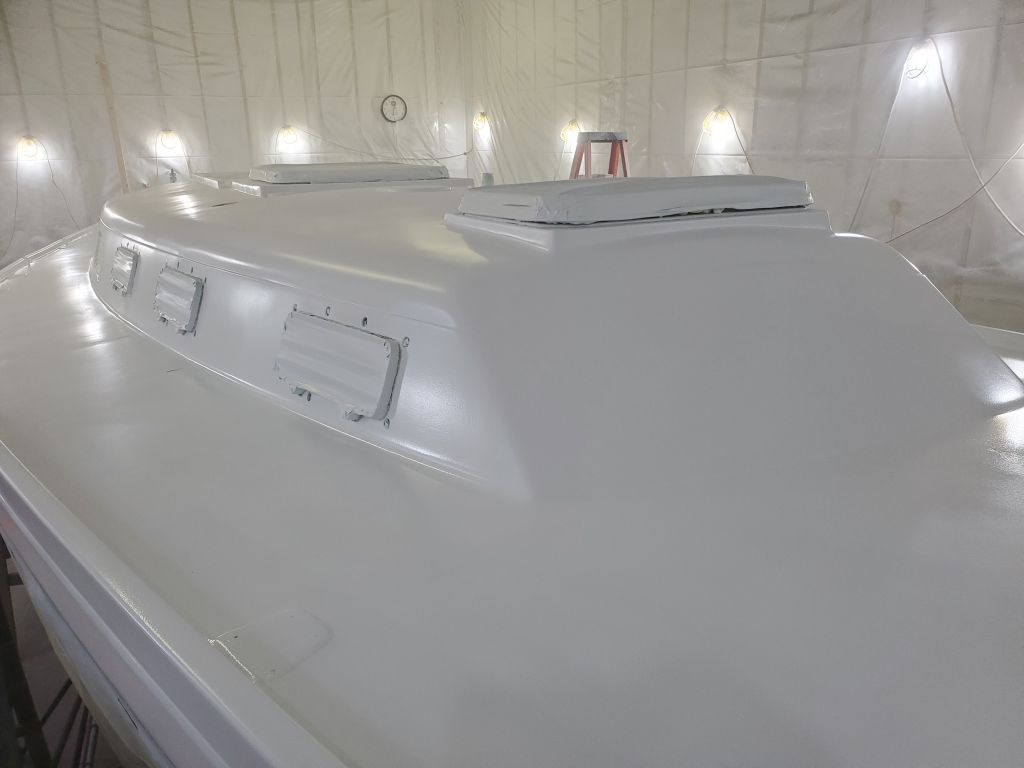
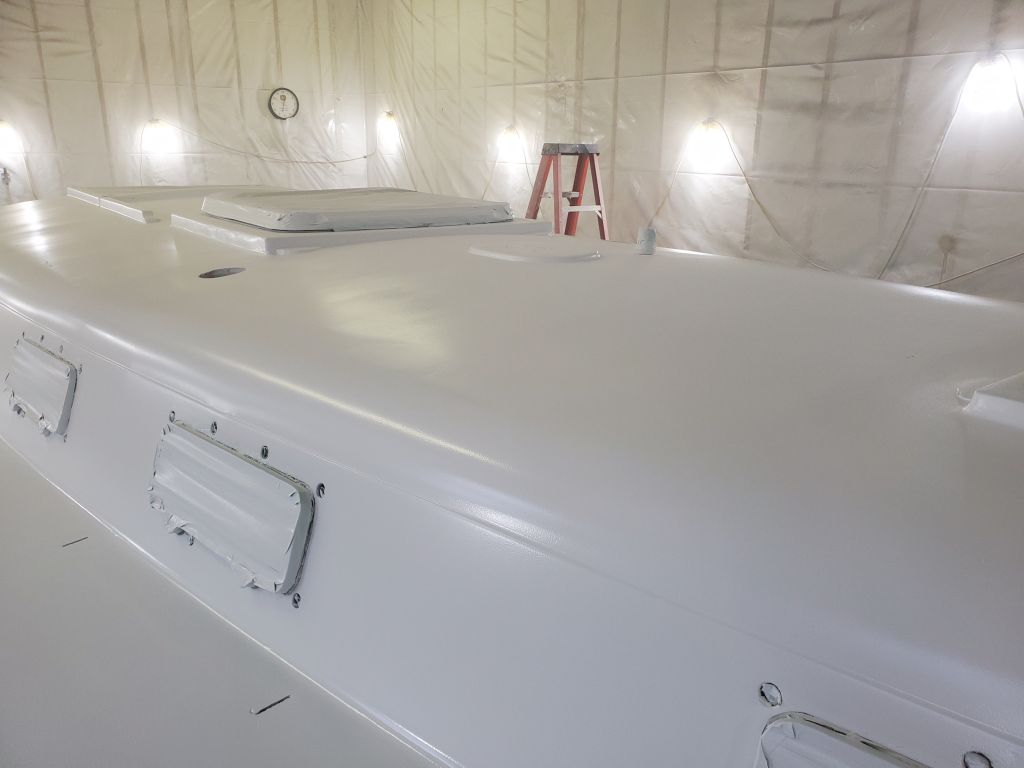
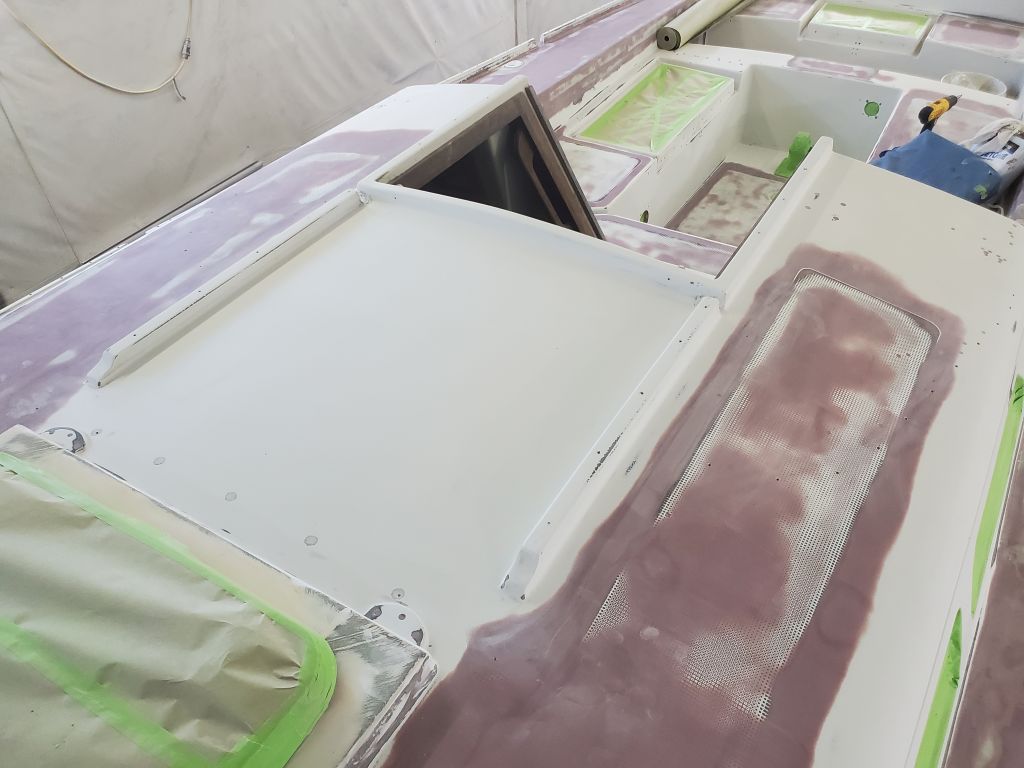
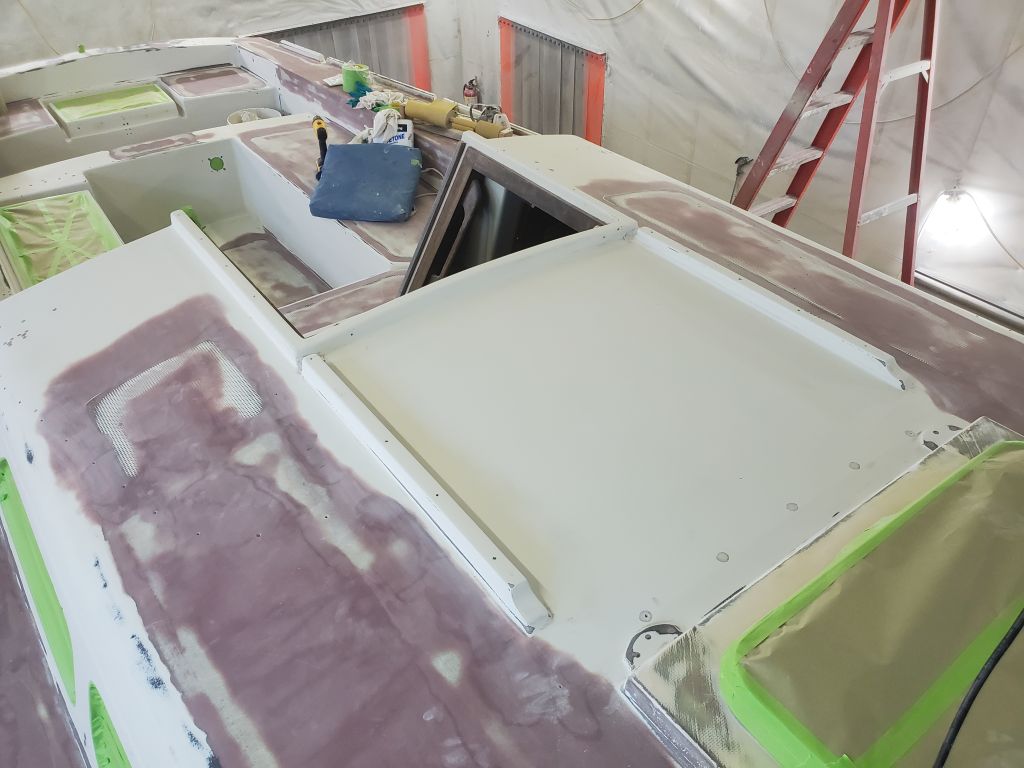
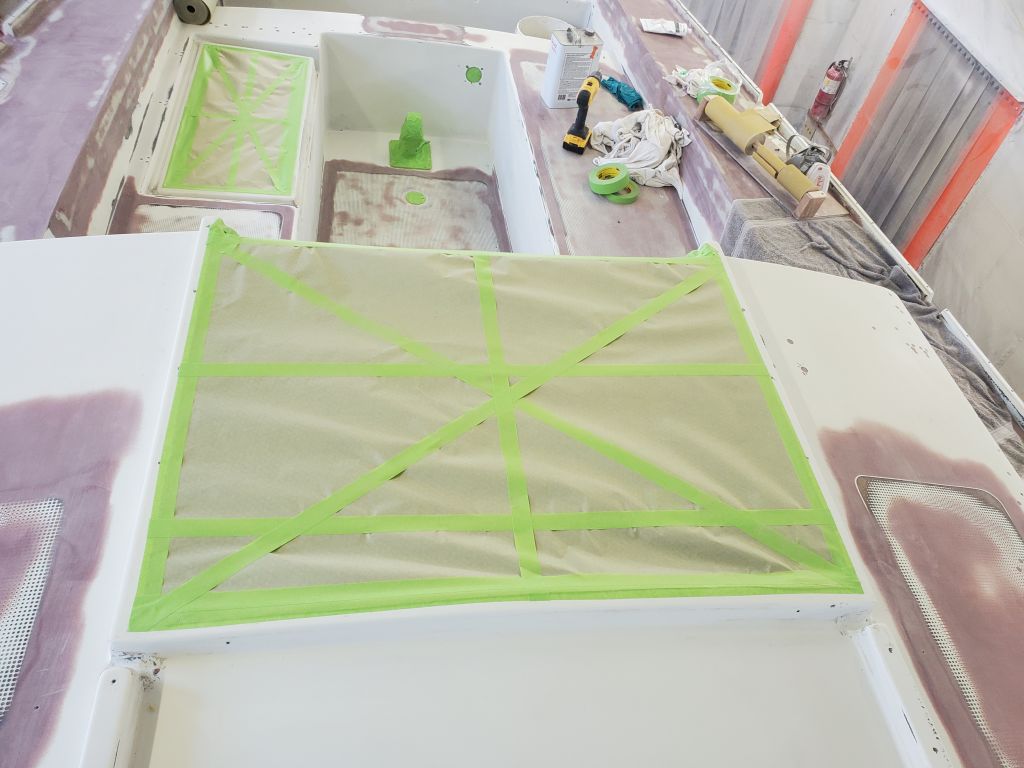
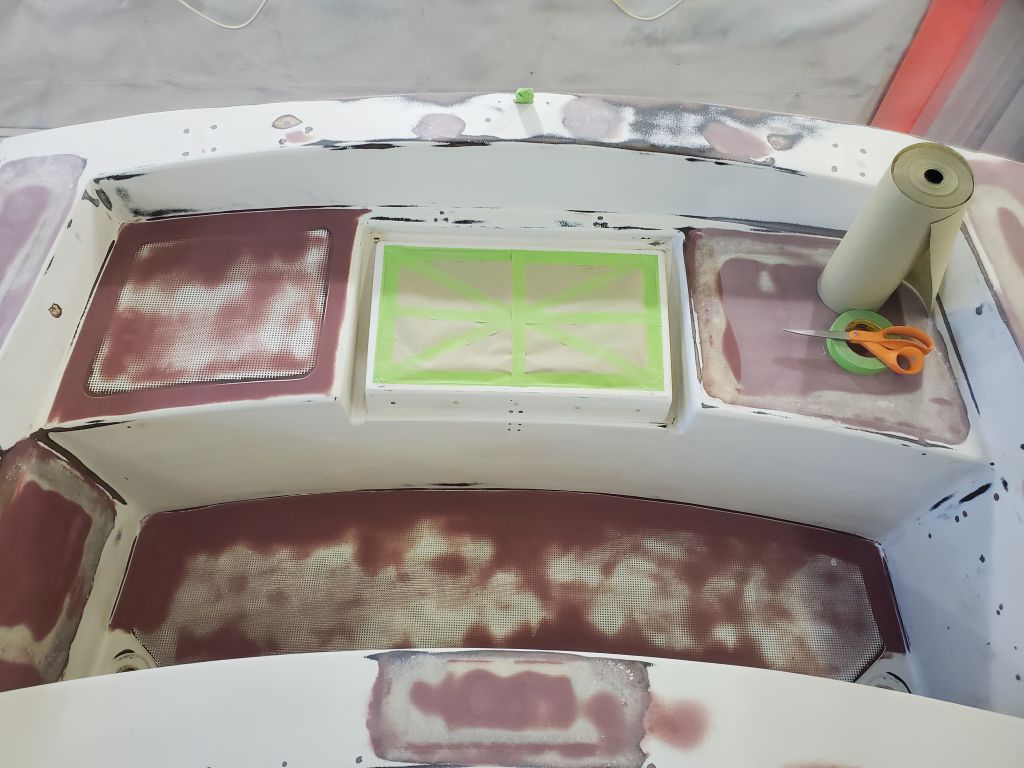
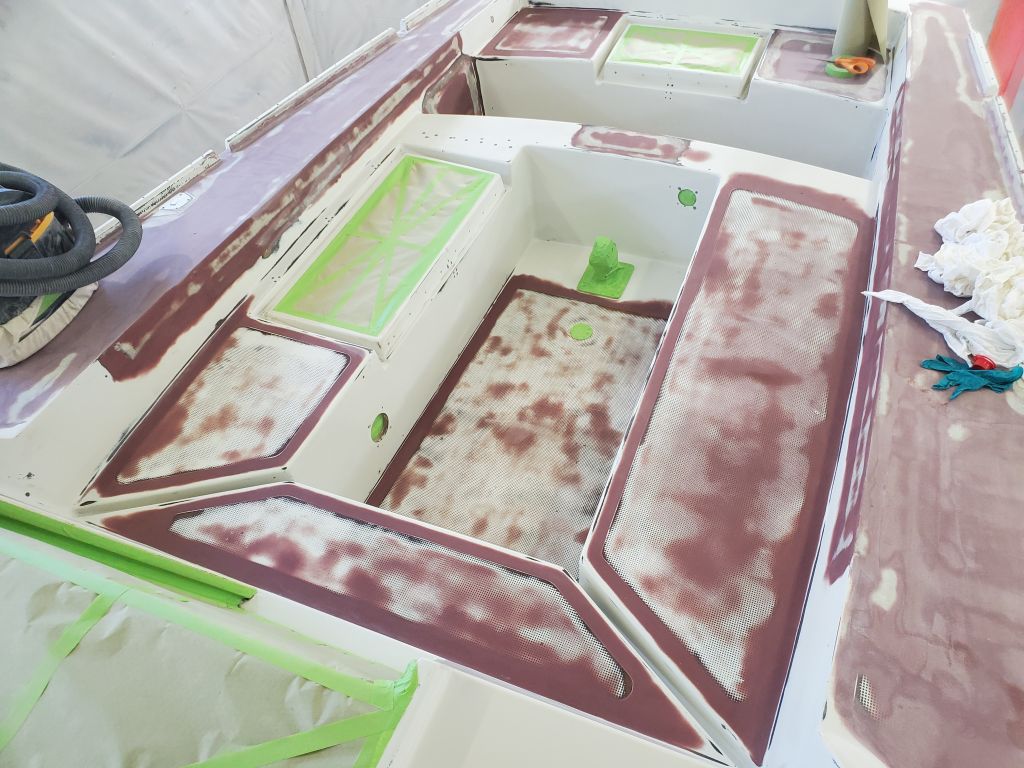
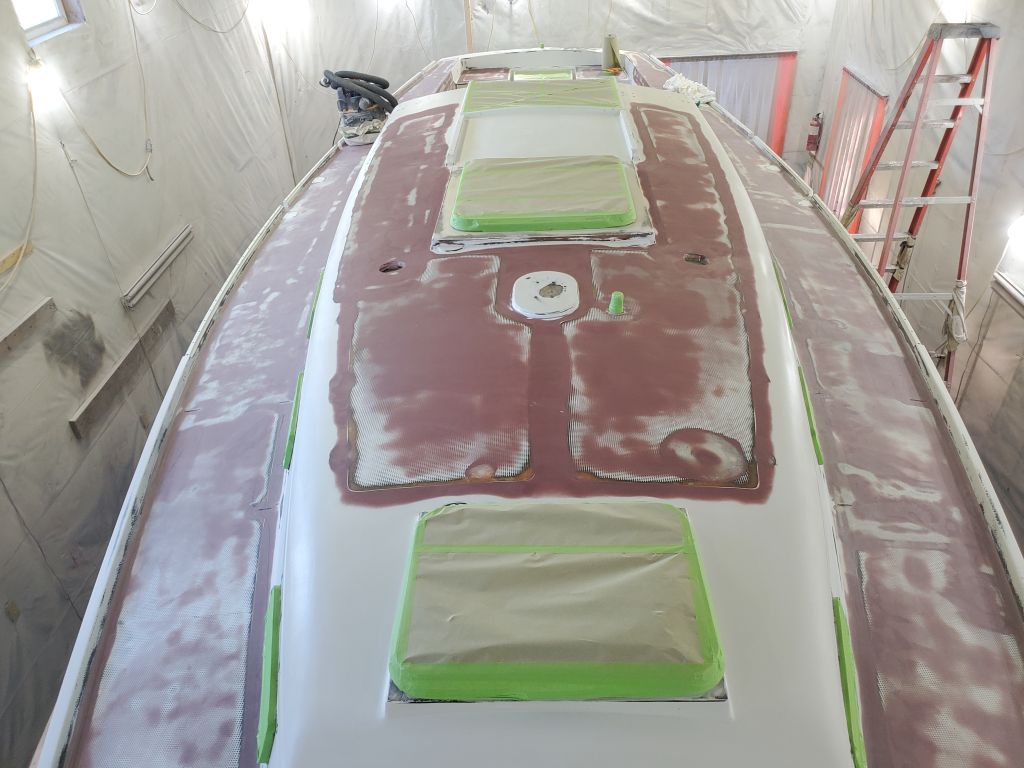
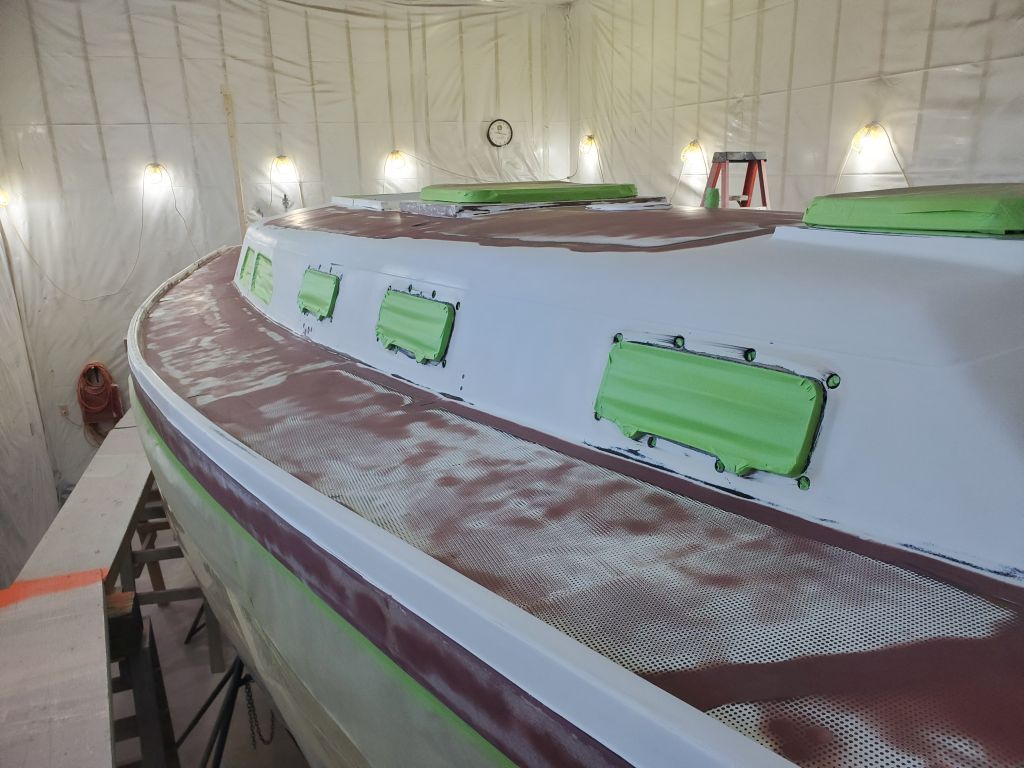
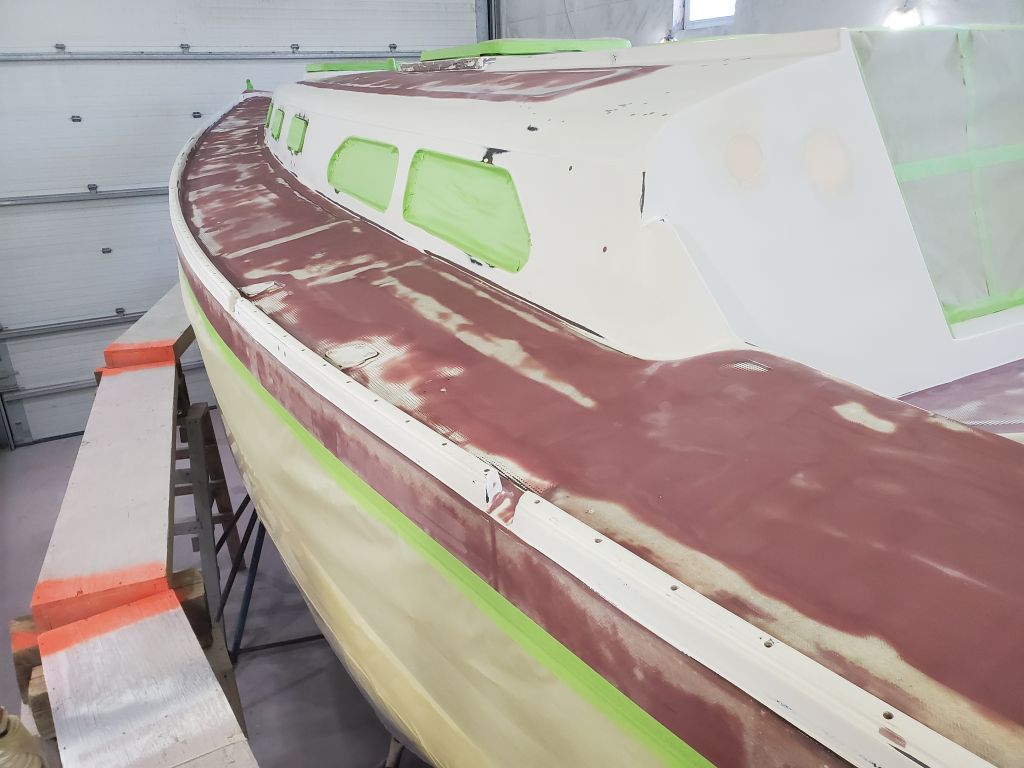
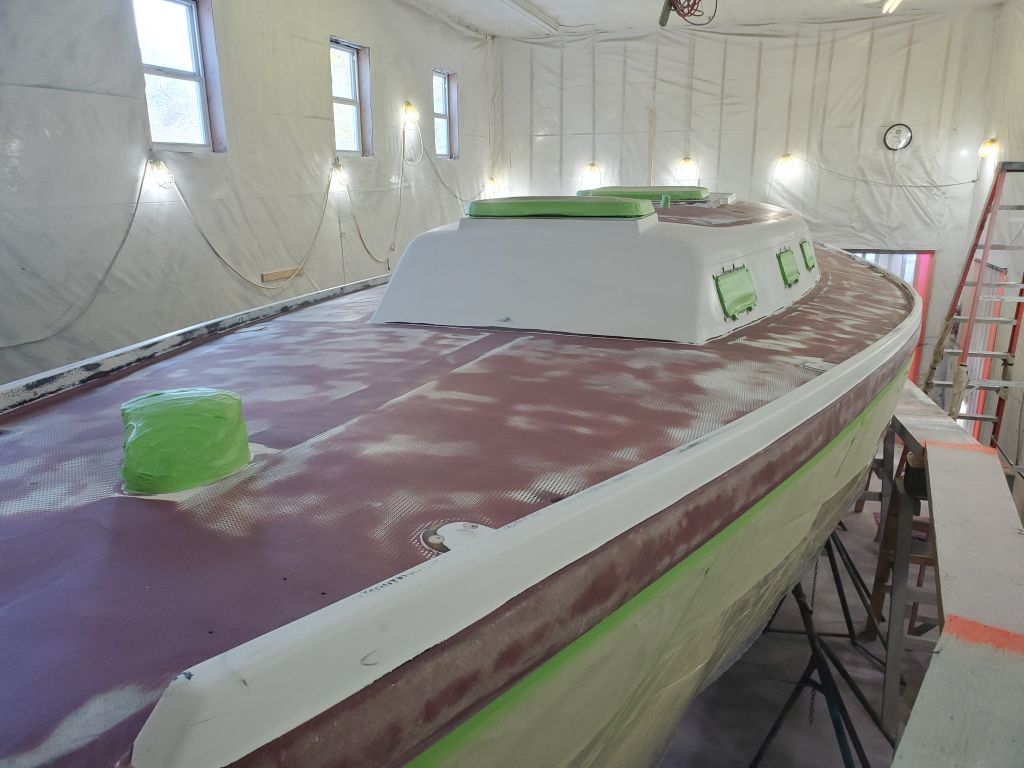
First thing, I finished up the masking on the coachroof. At the edges, I held a rigid straightedge against the cabin side, and marked 1-1/2″ inboard from there to establish the nonskid line. I covered the nonskid field areas with masking paper to prevent against overspray.
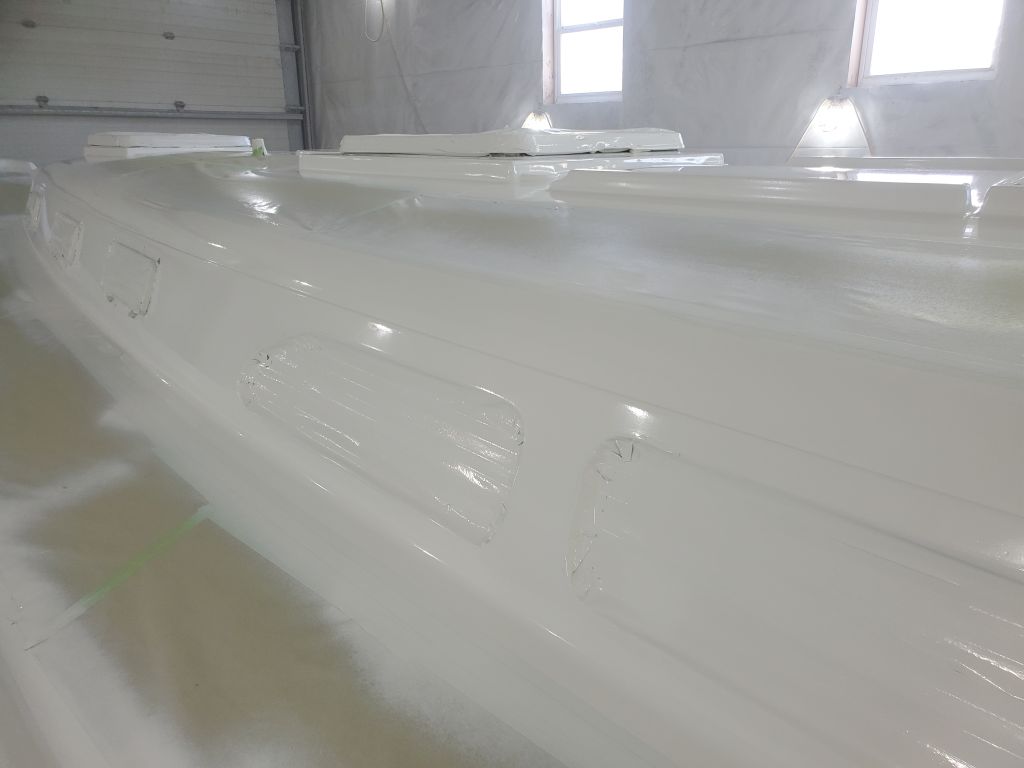
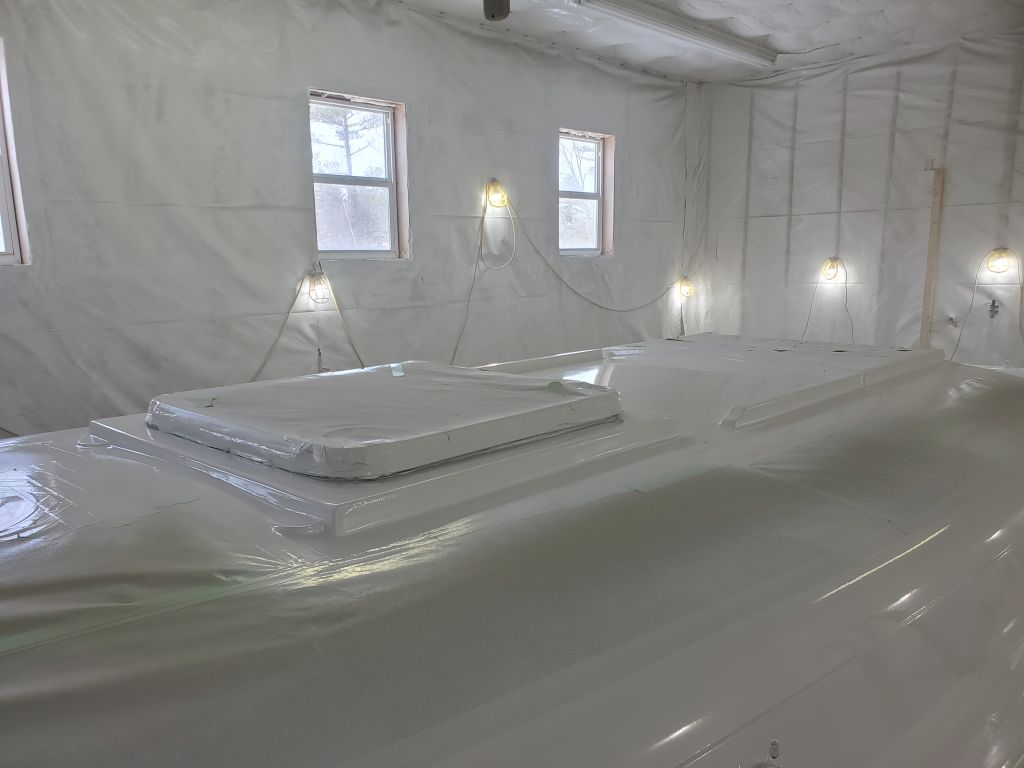
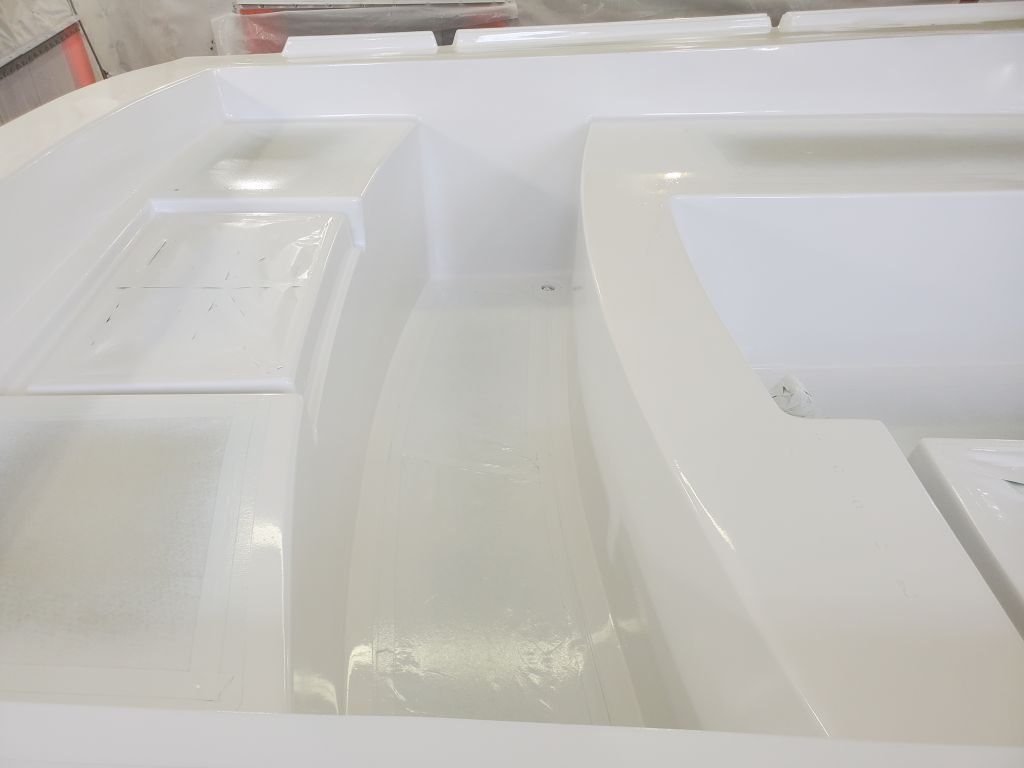
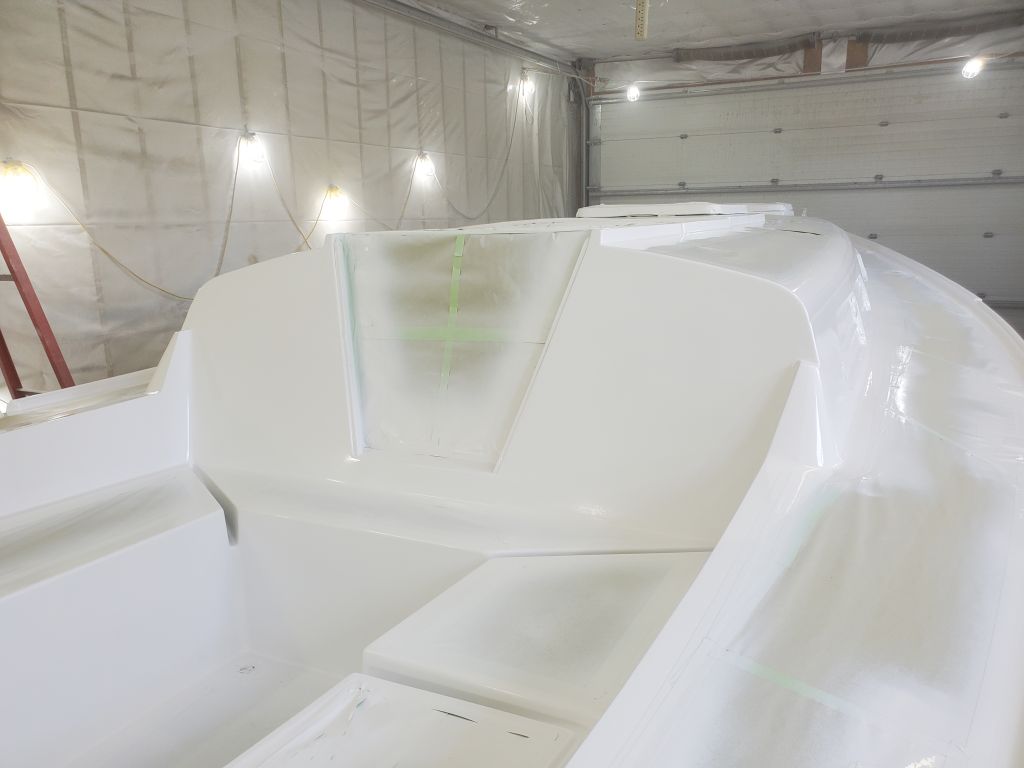
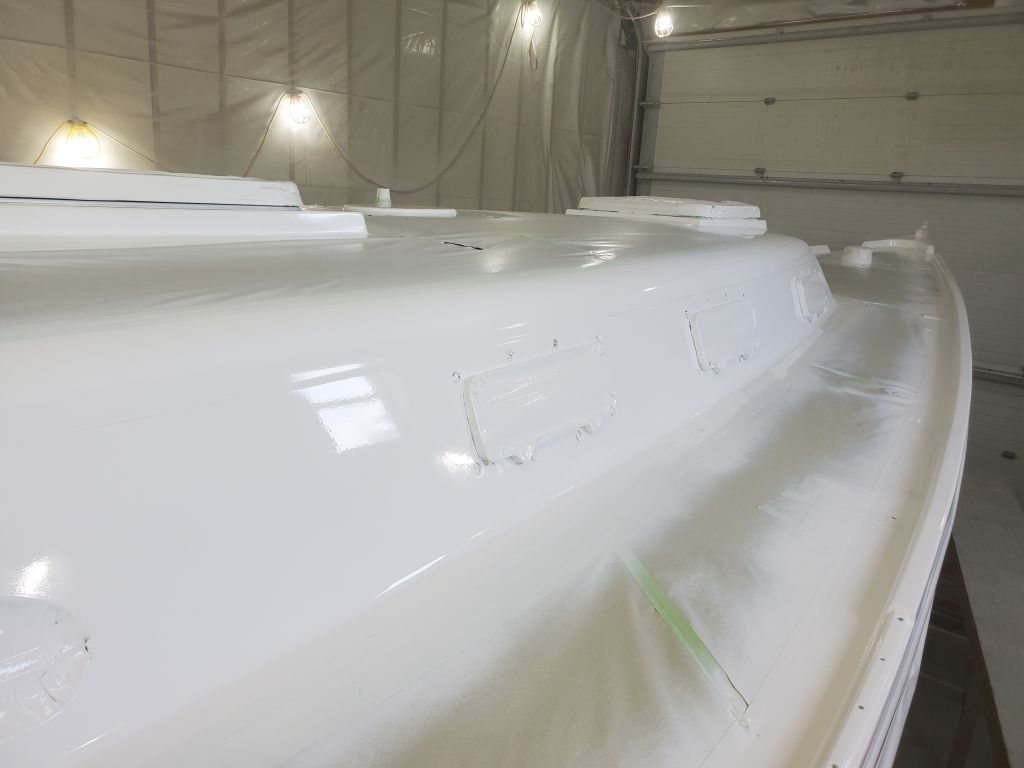
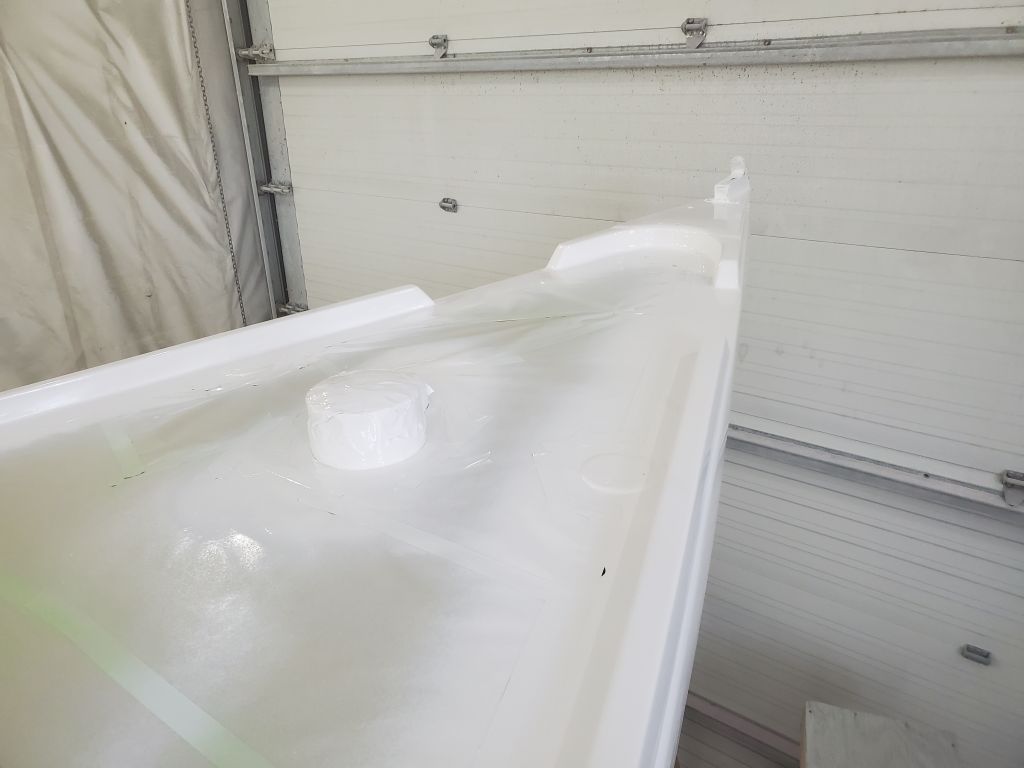
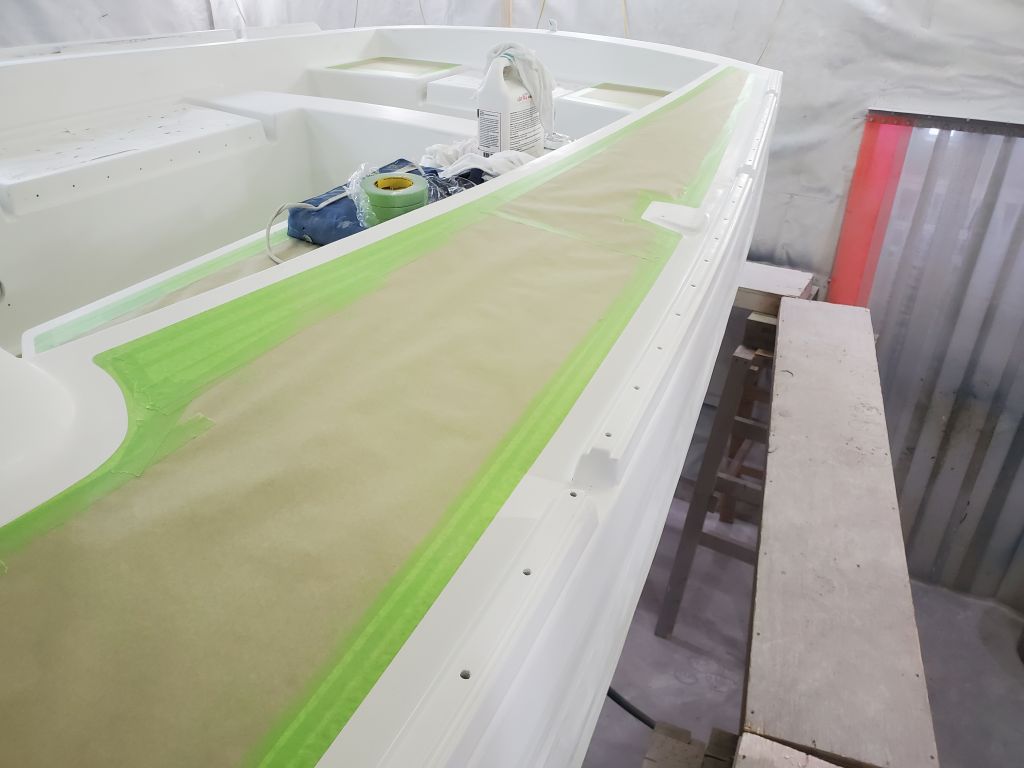
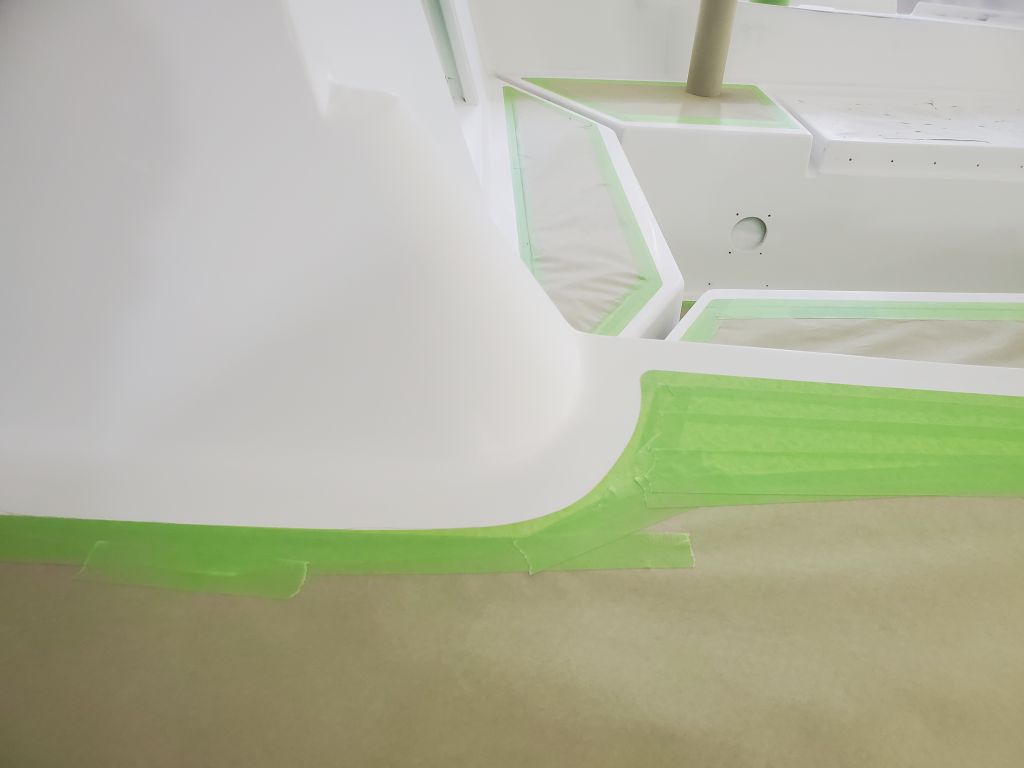
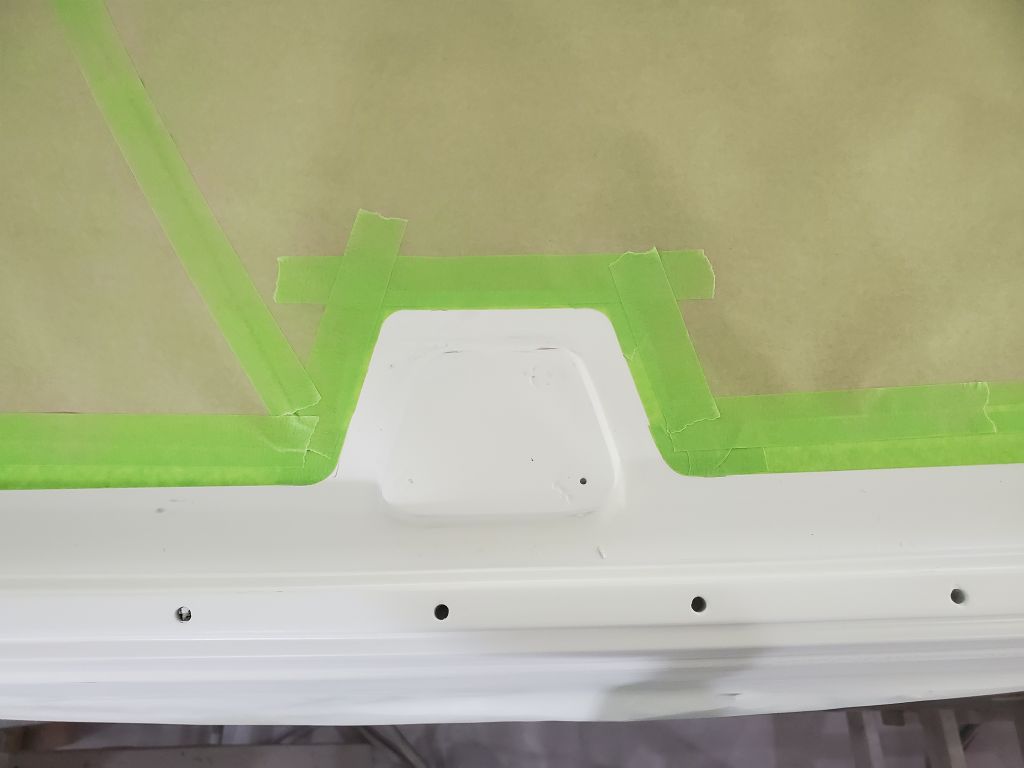
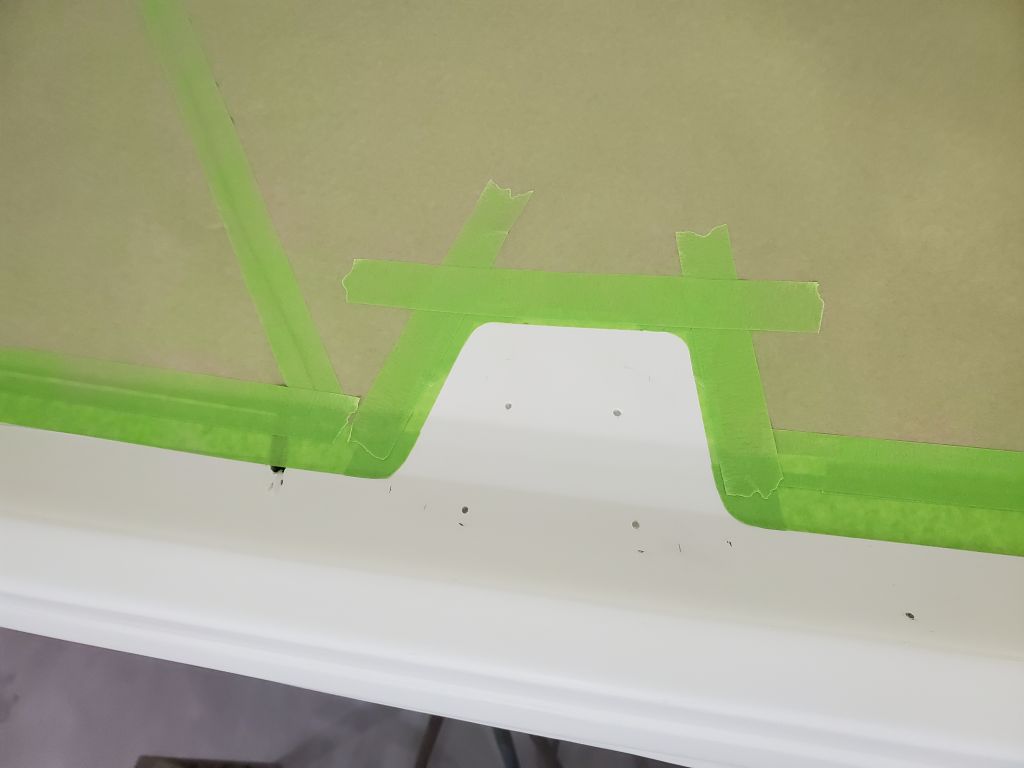
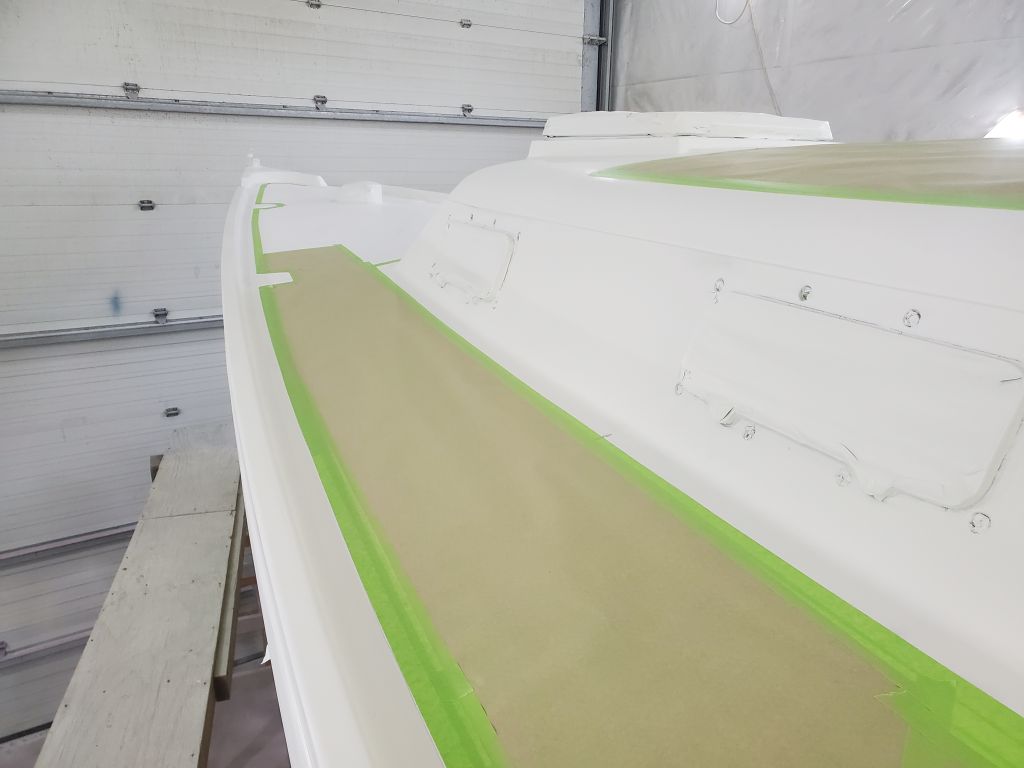
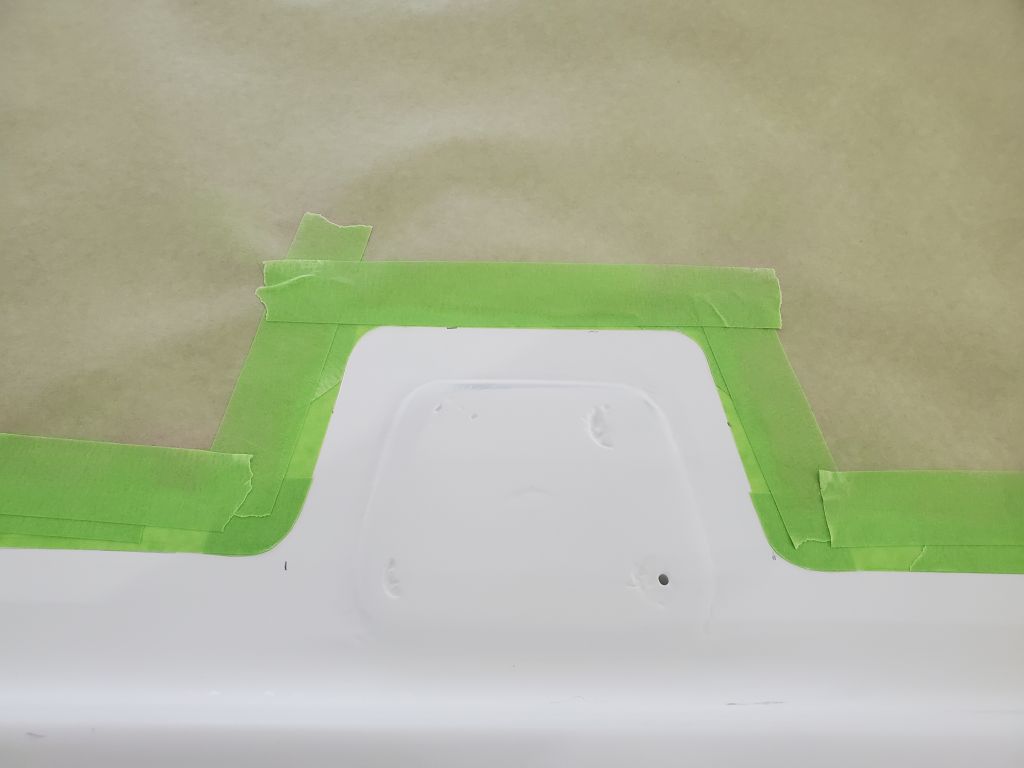
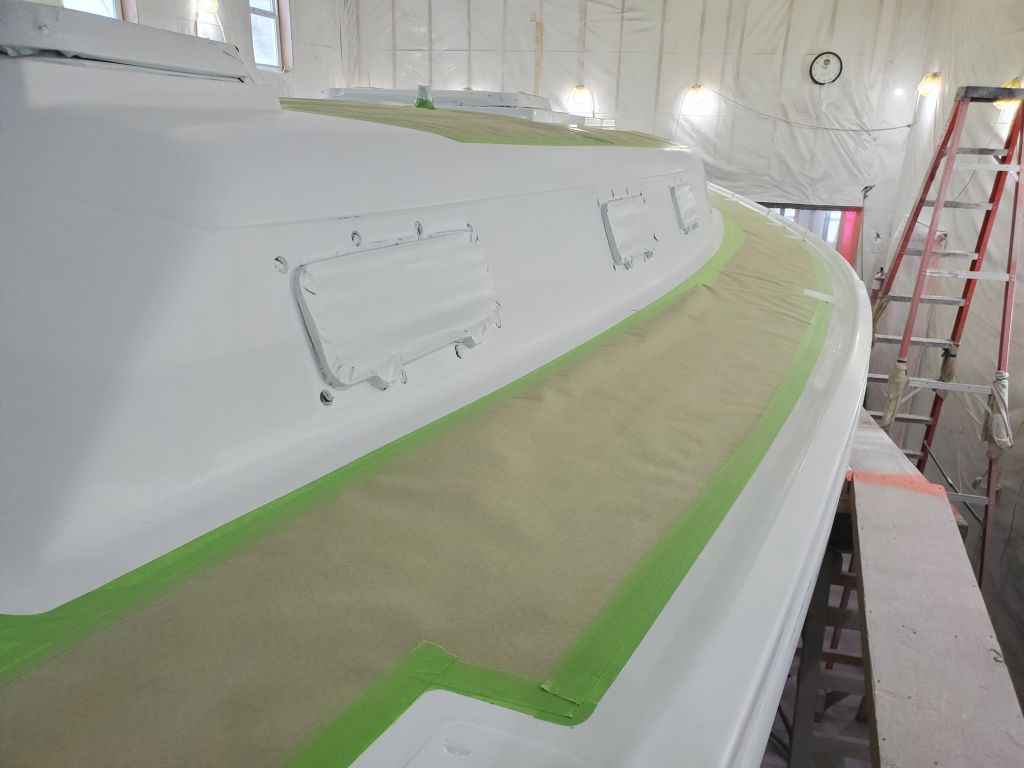
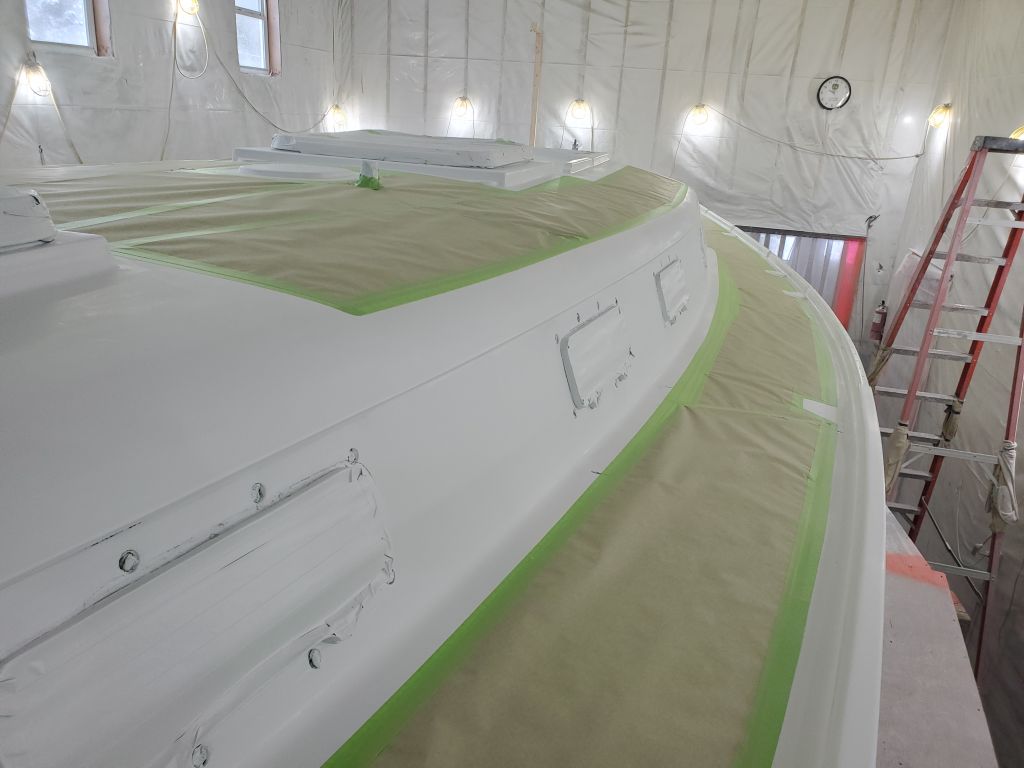
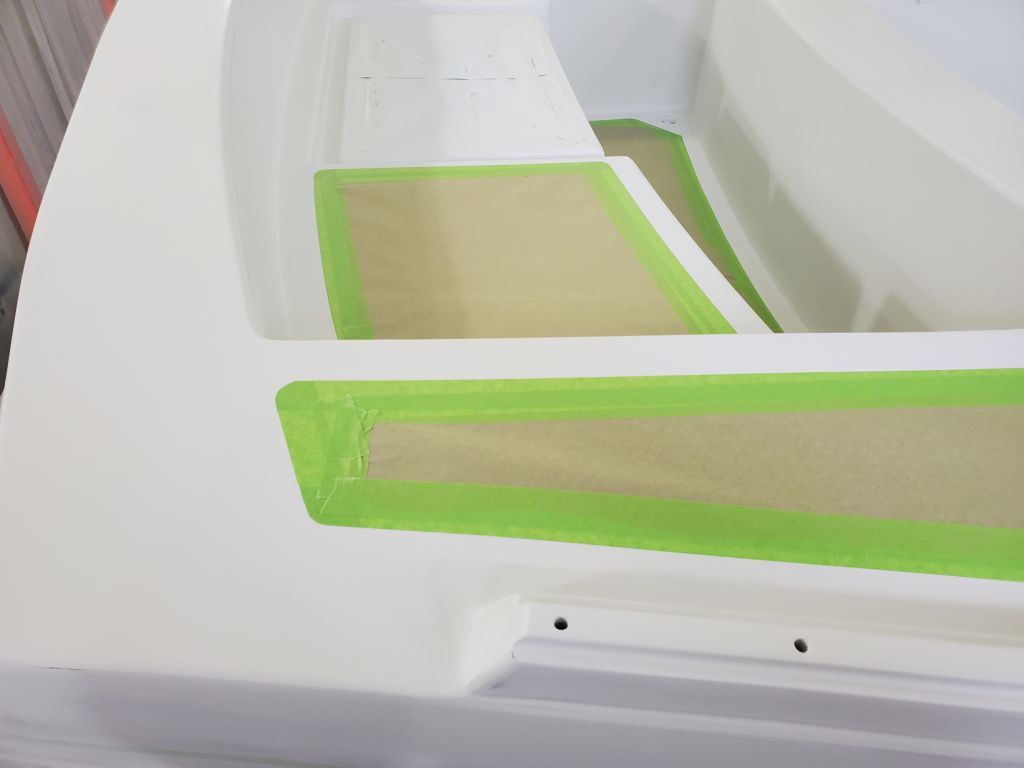
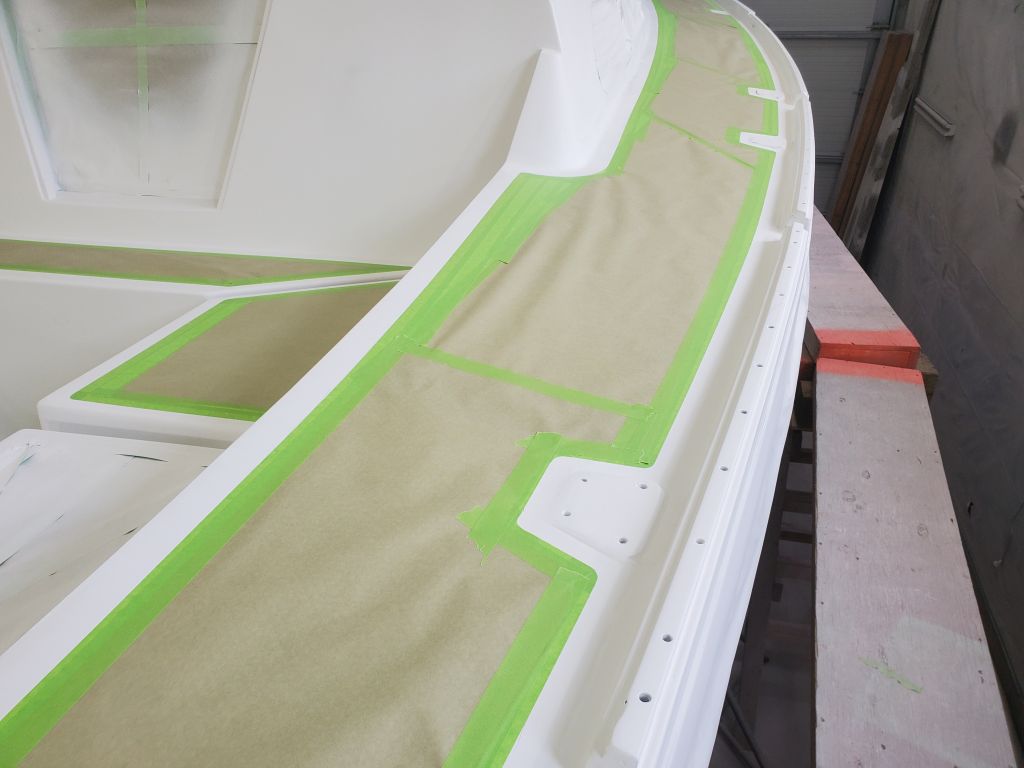
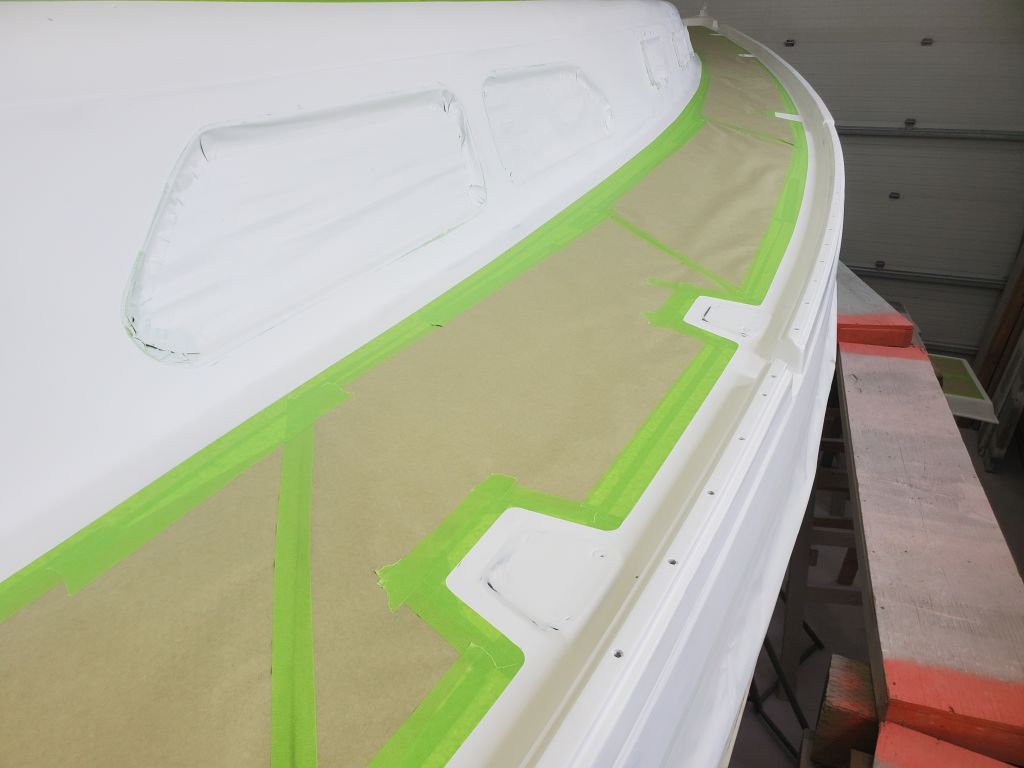
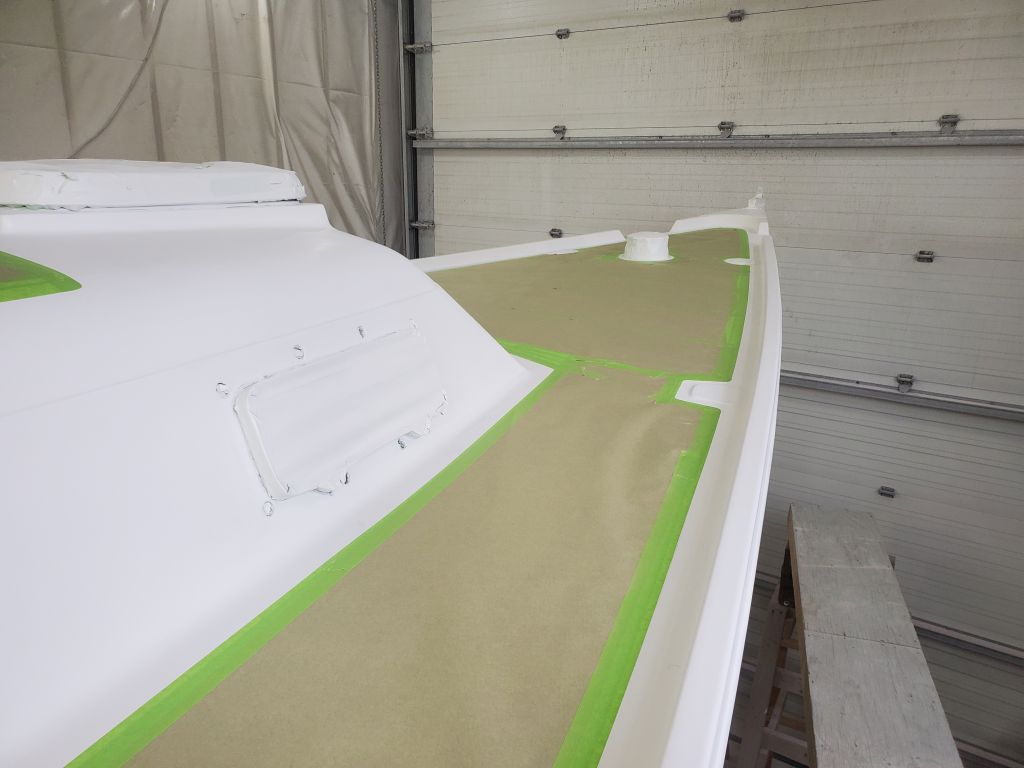
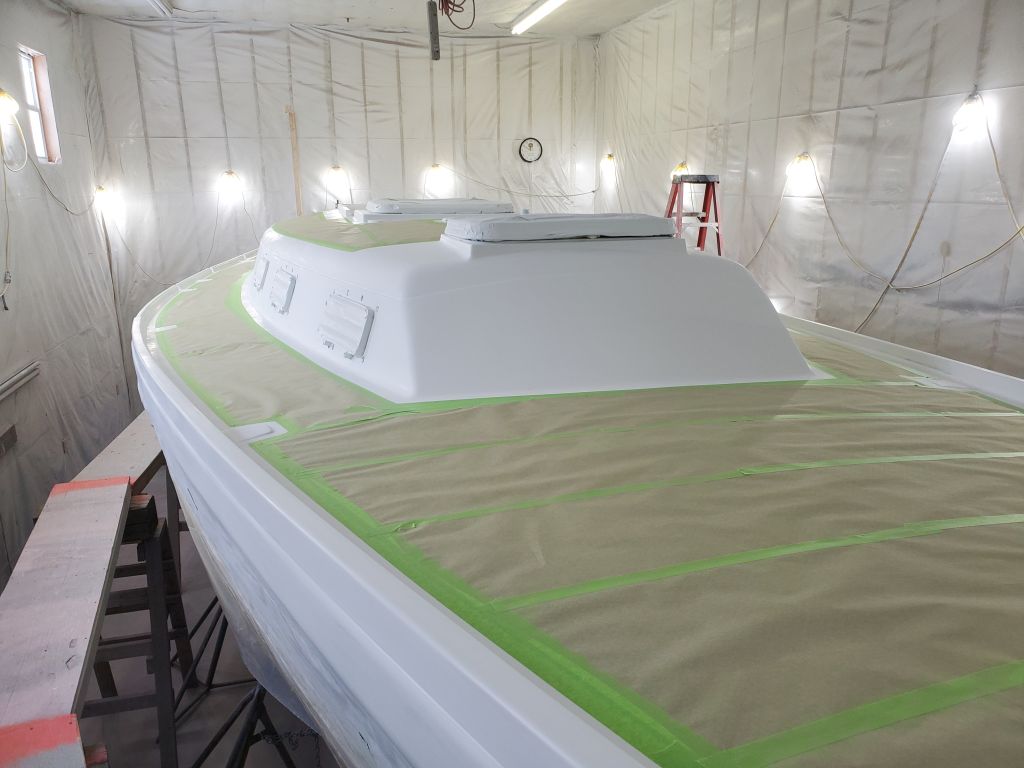
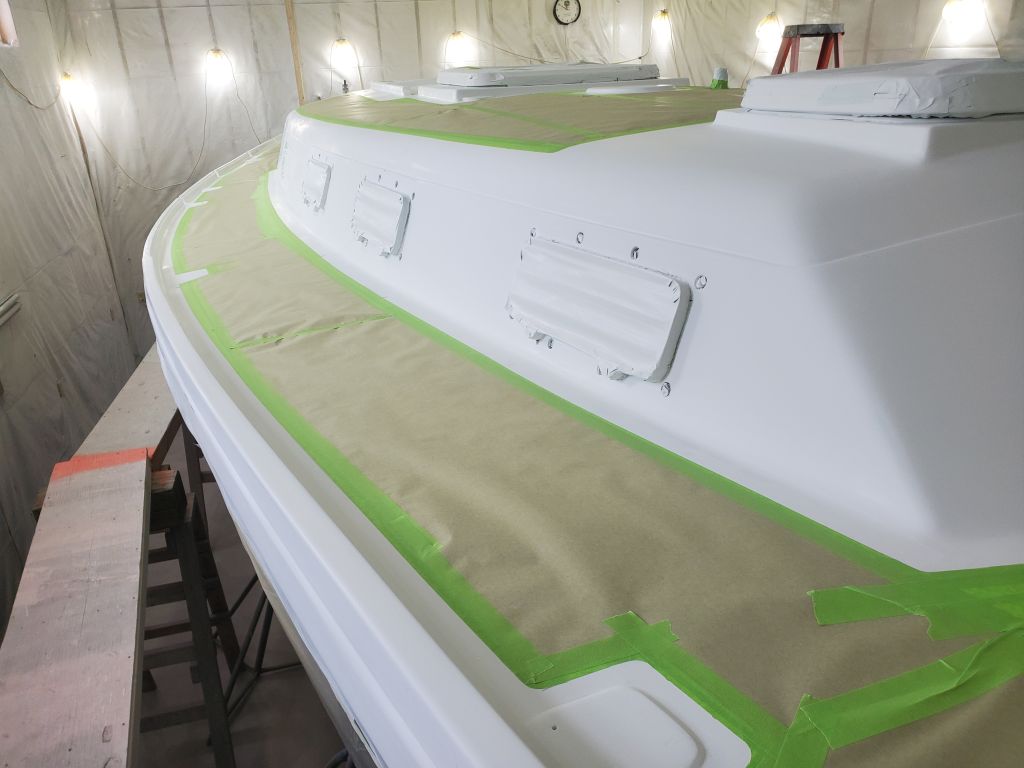
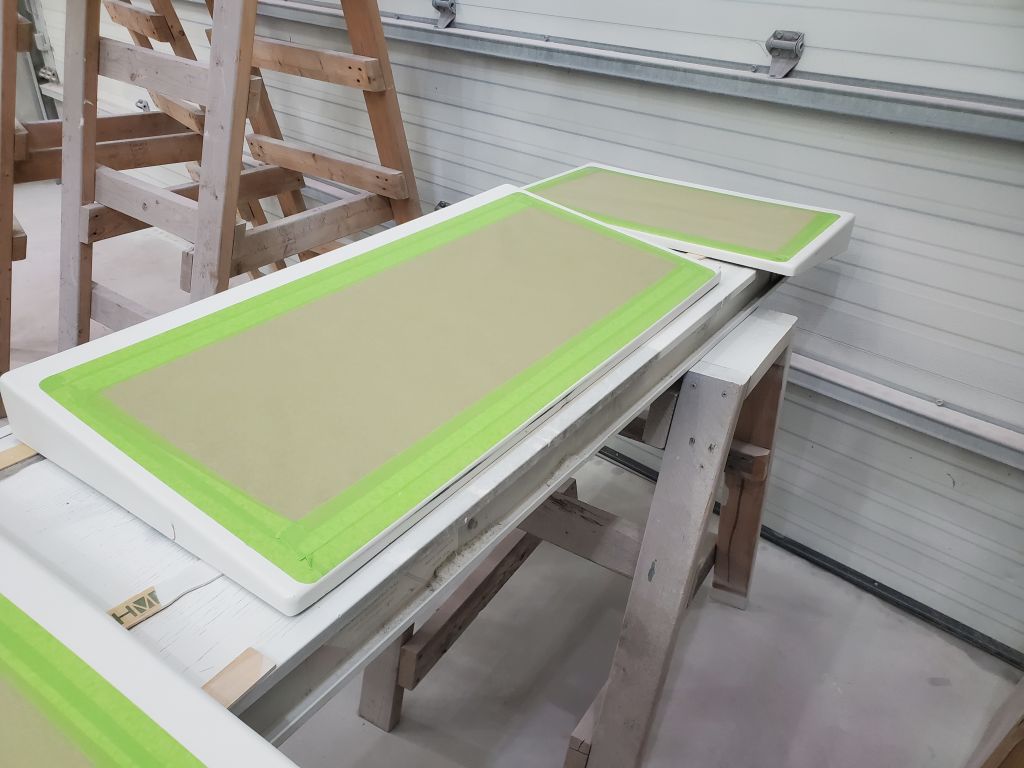
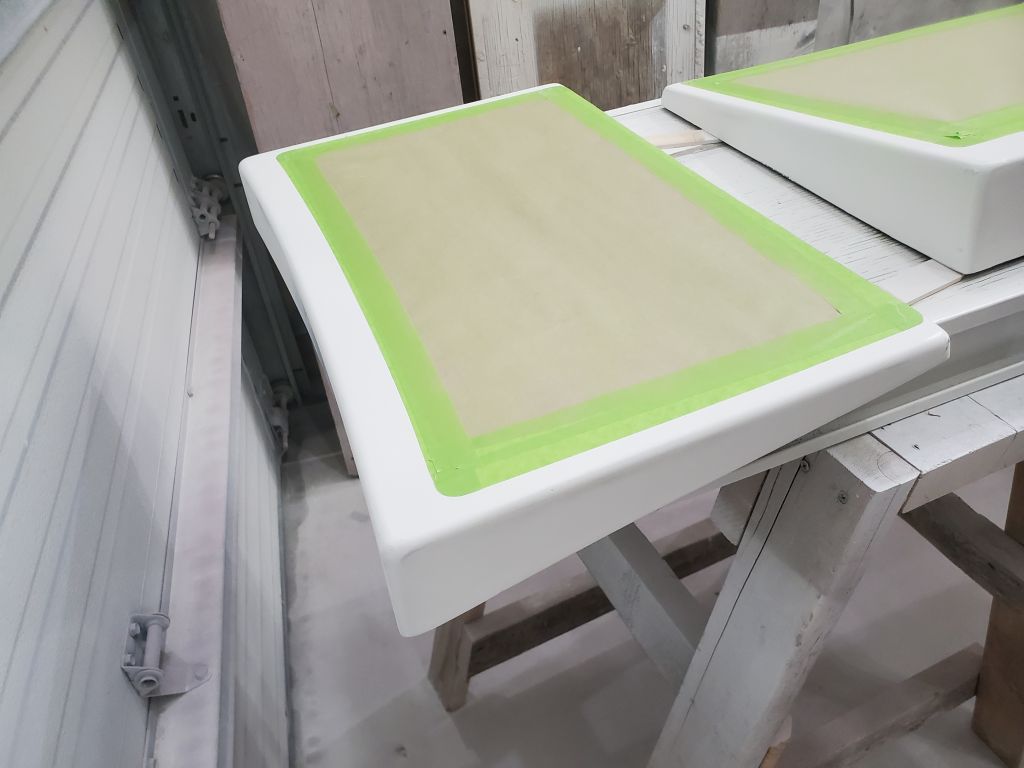
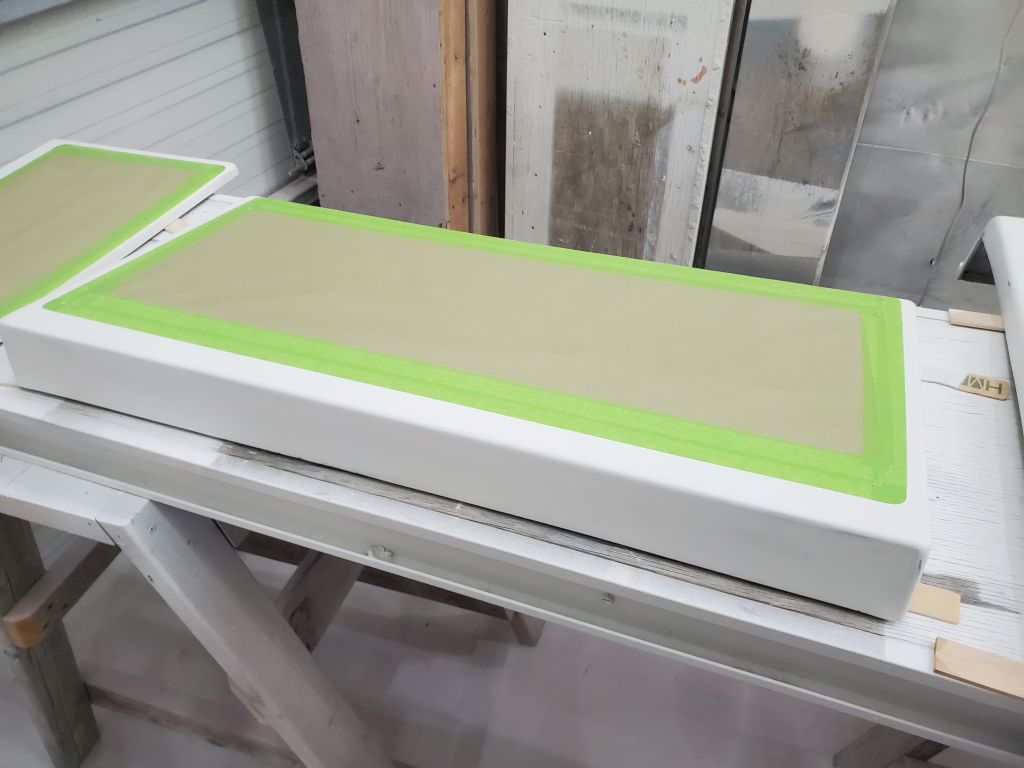
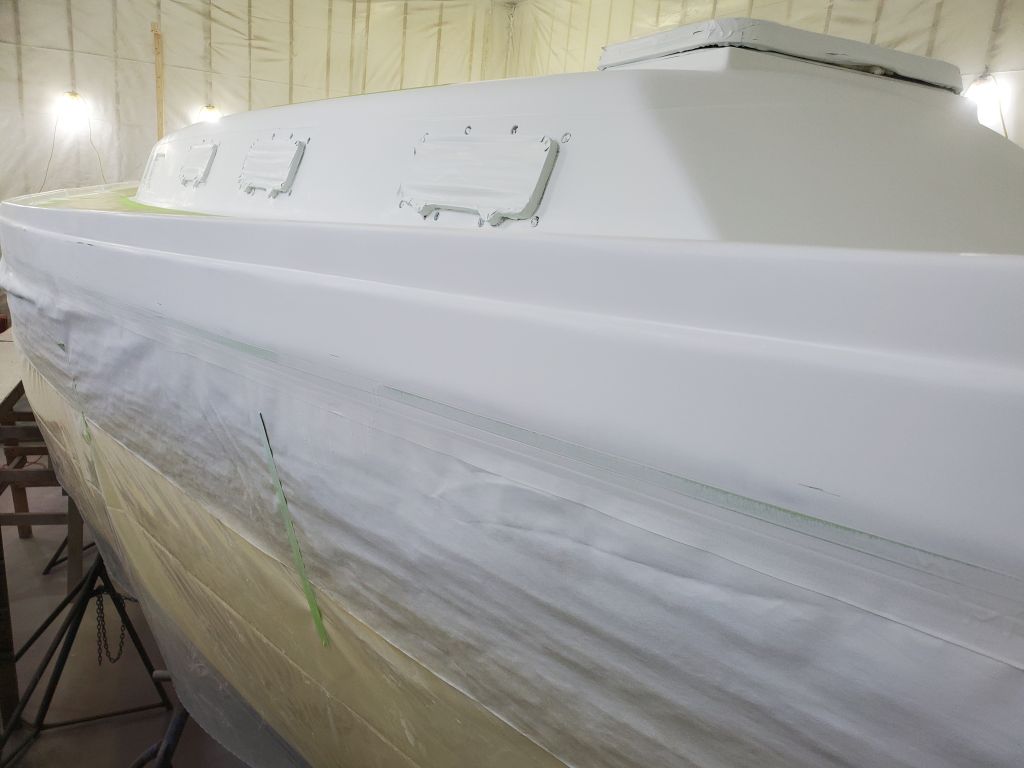
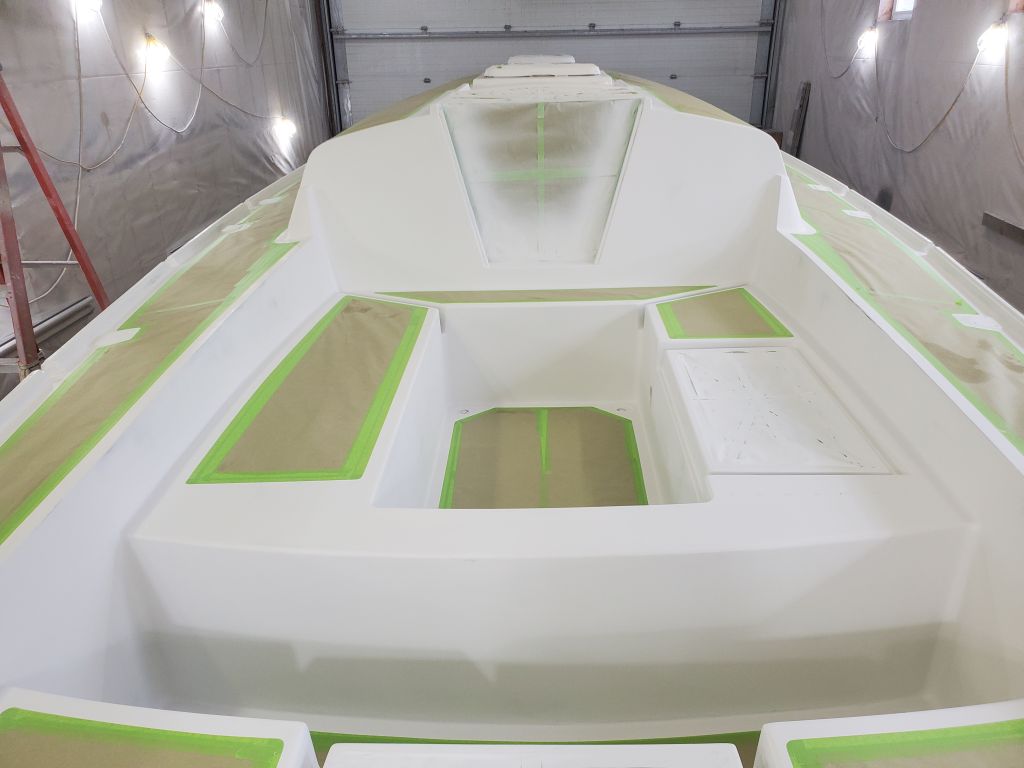
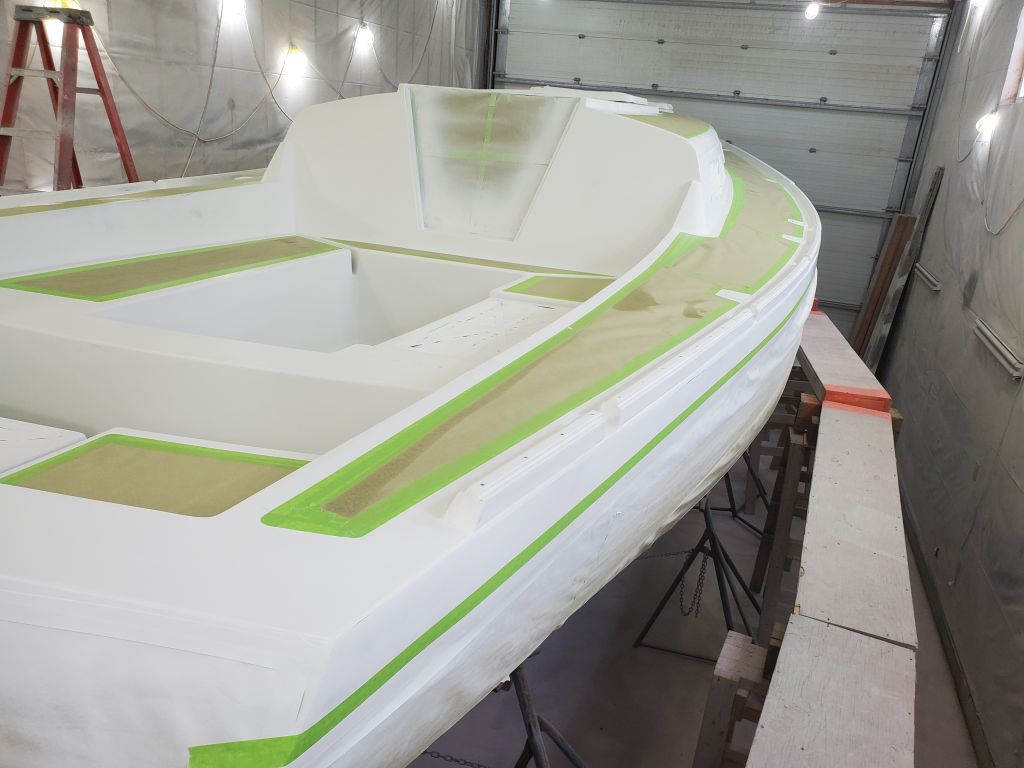
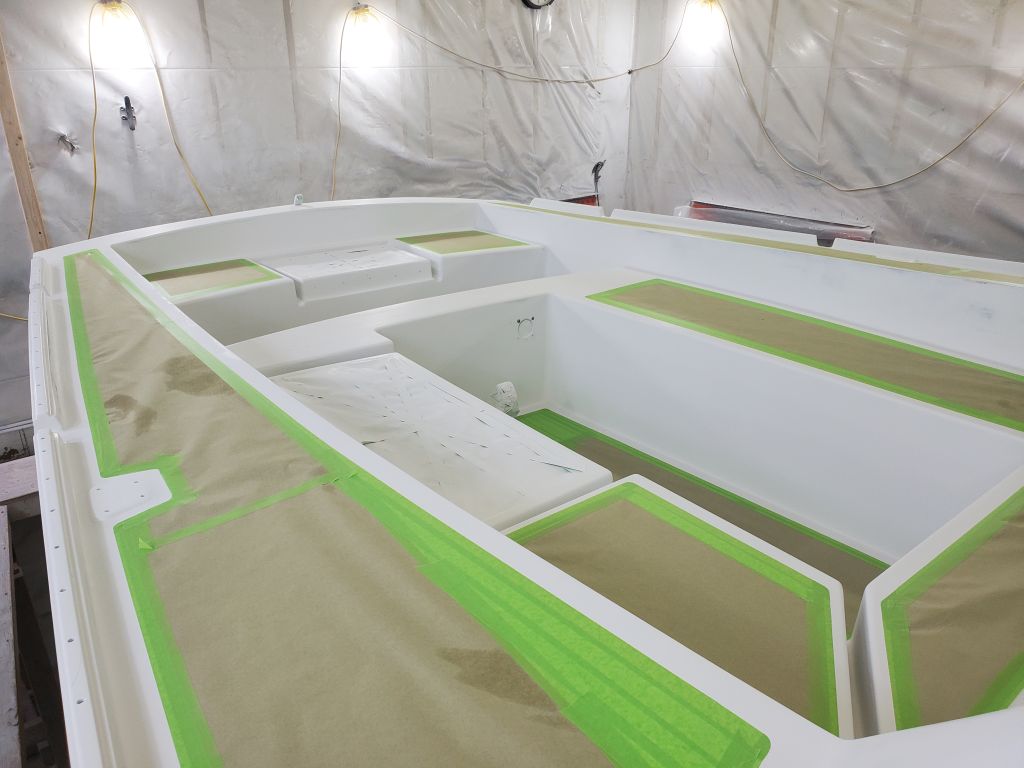
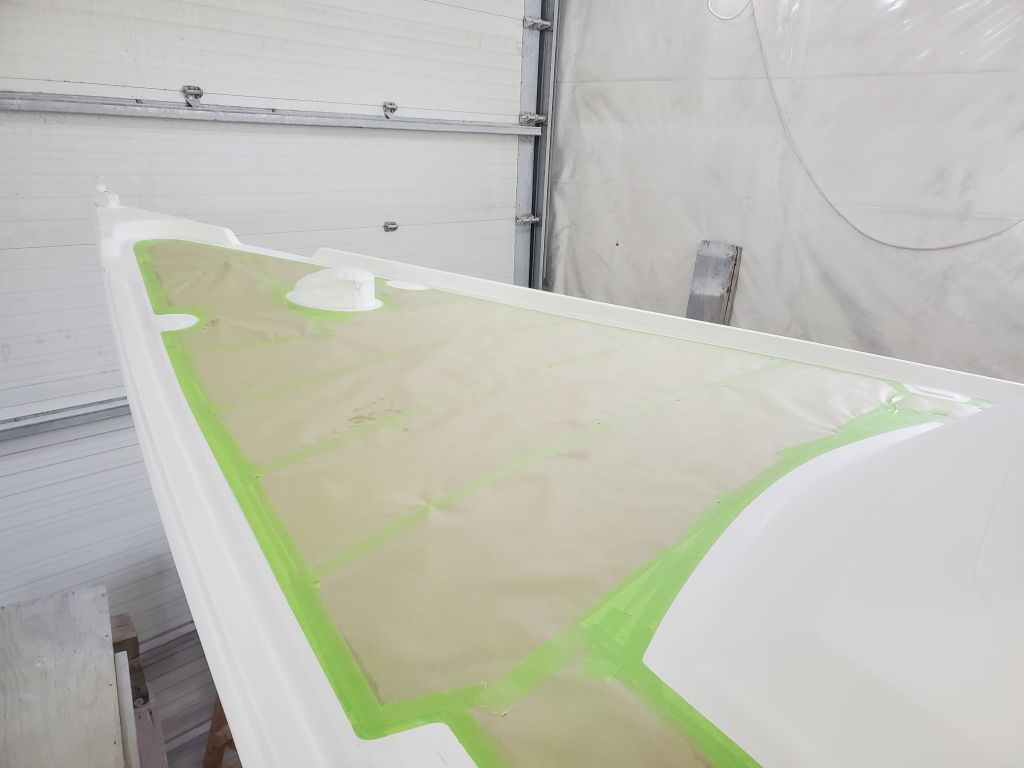
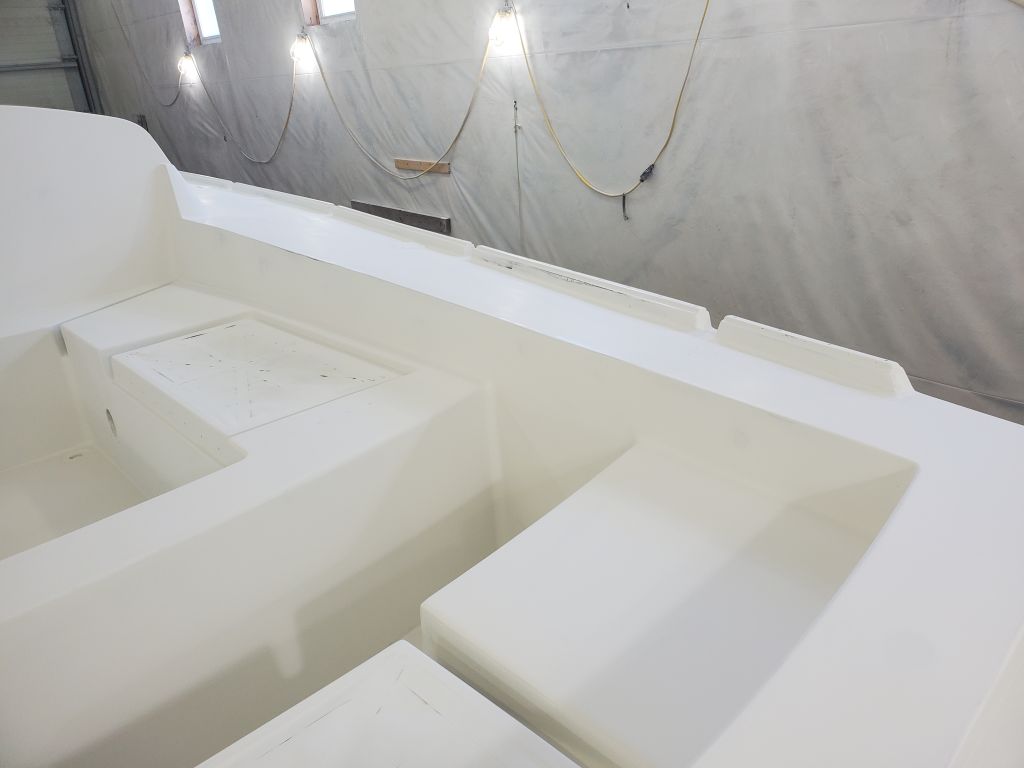
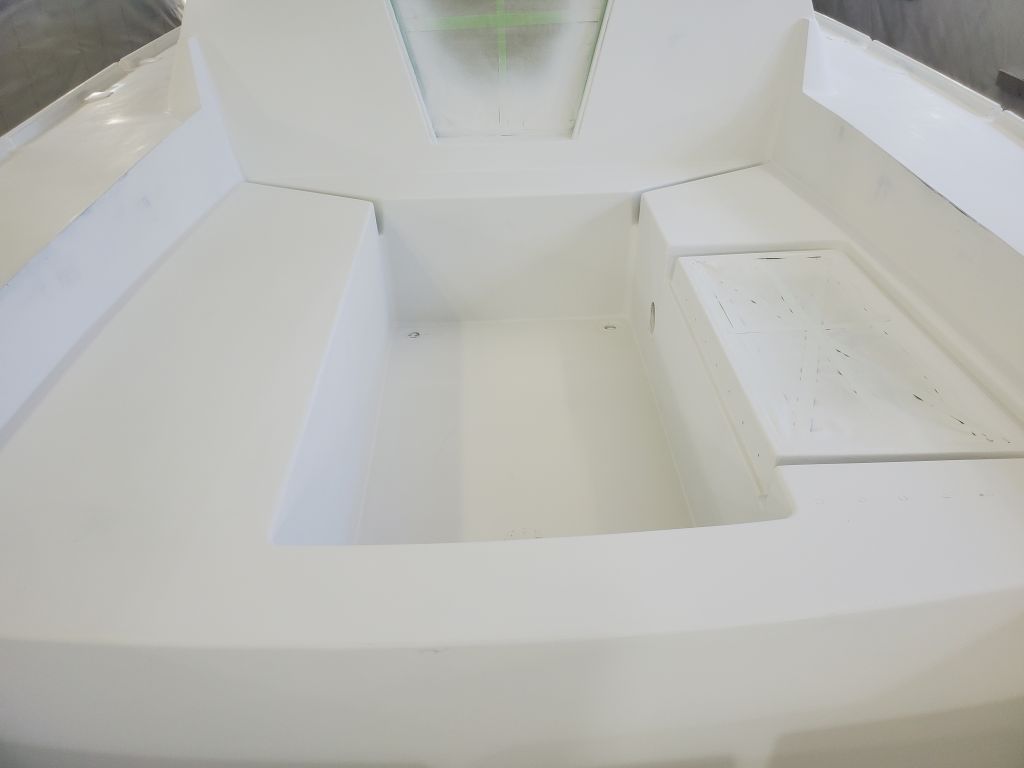
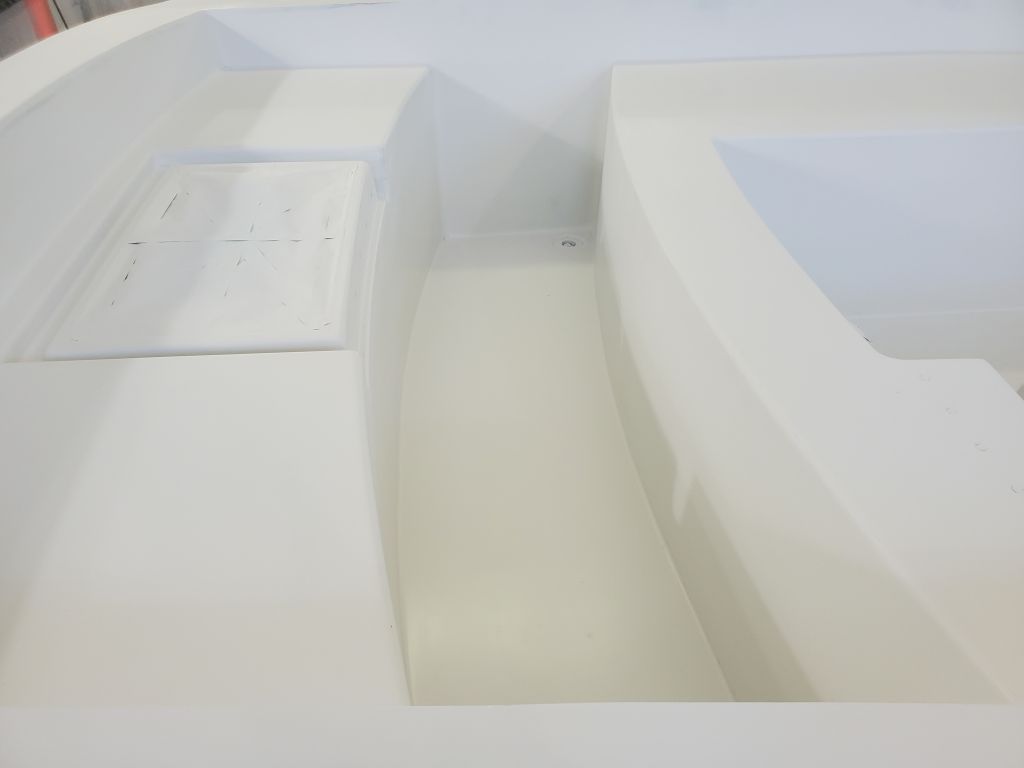
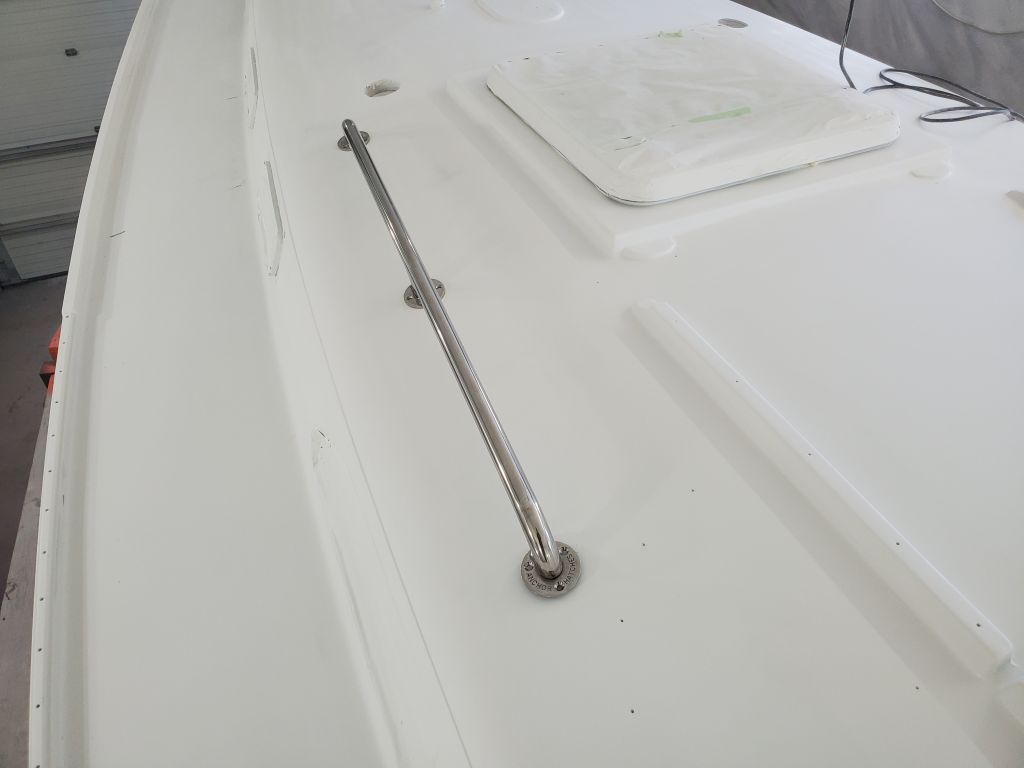
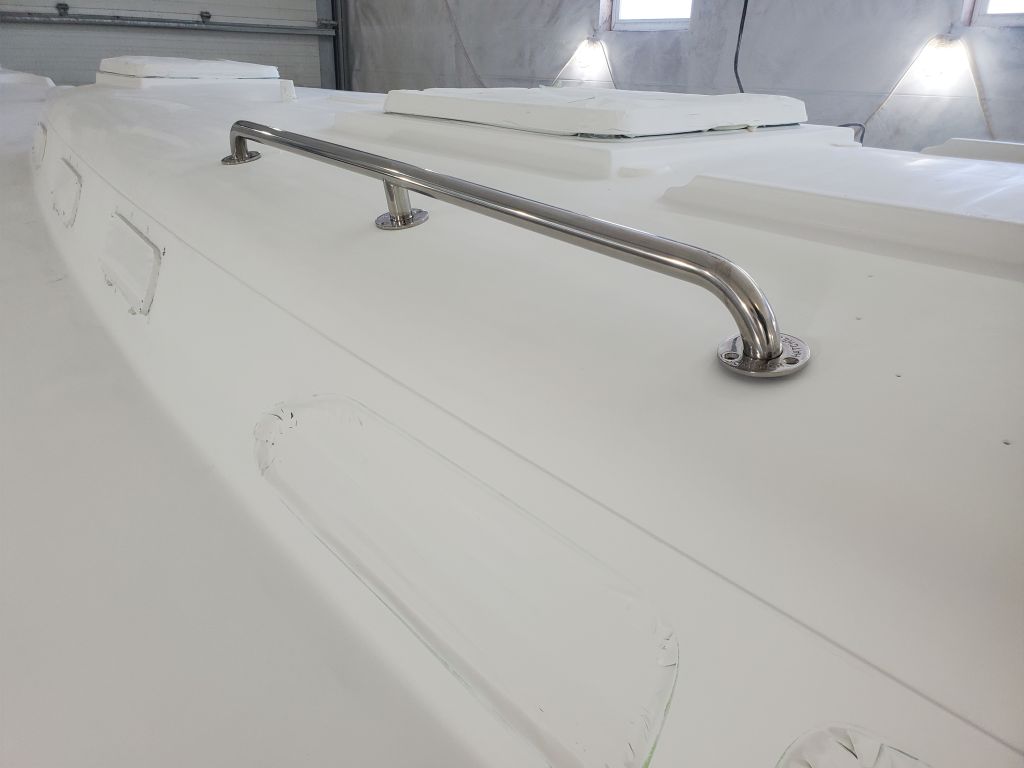
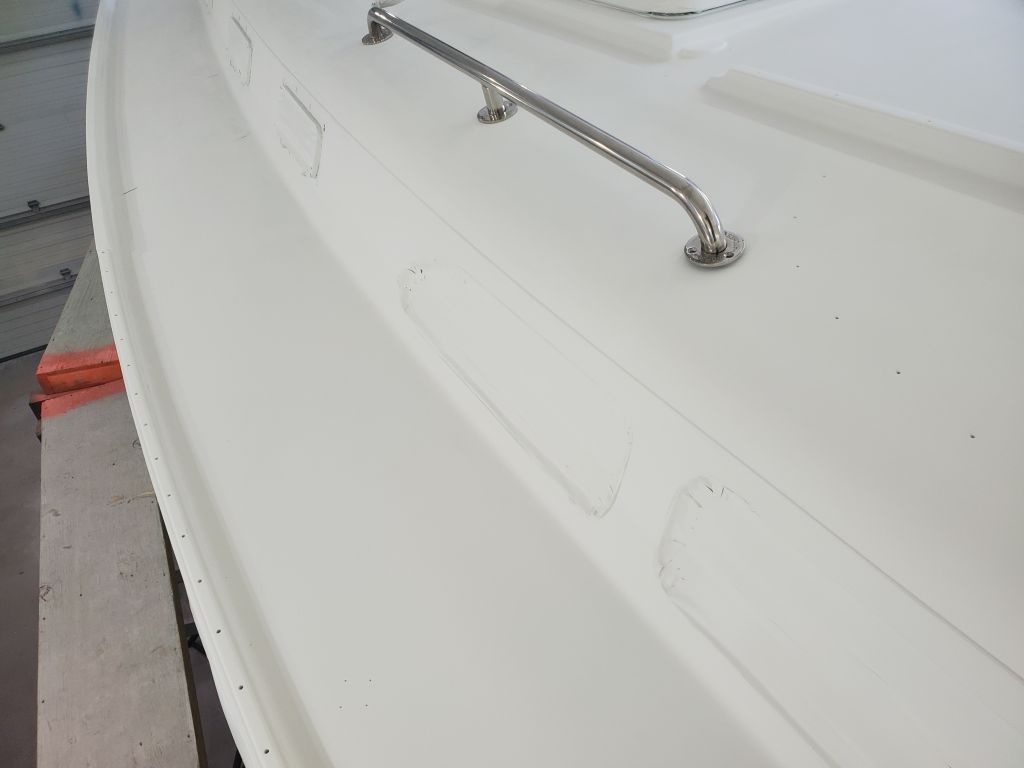
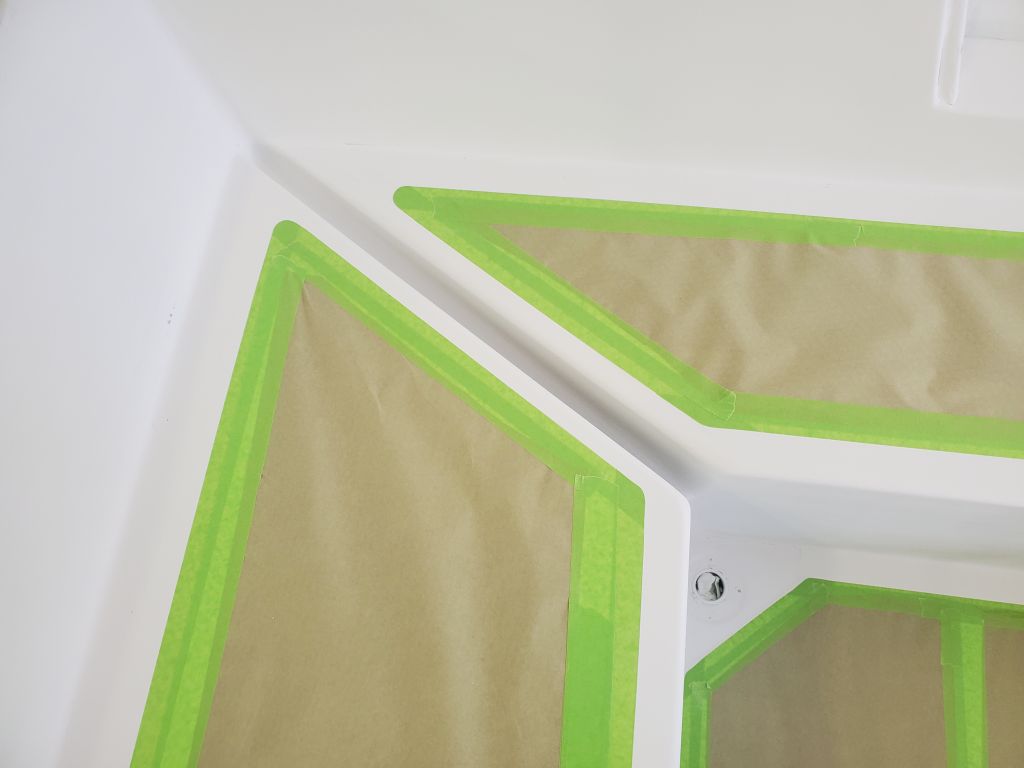
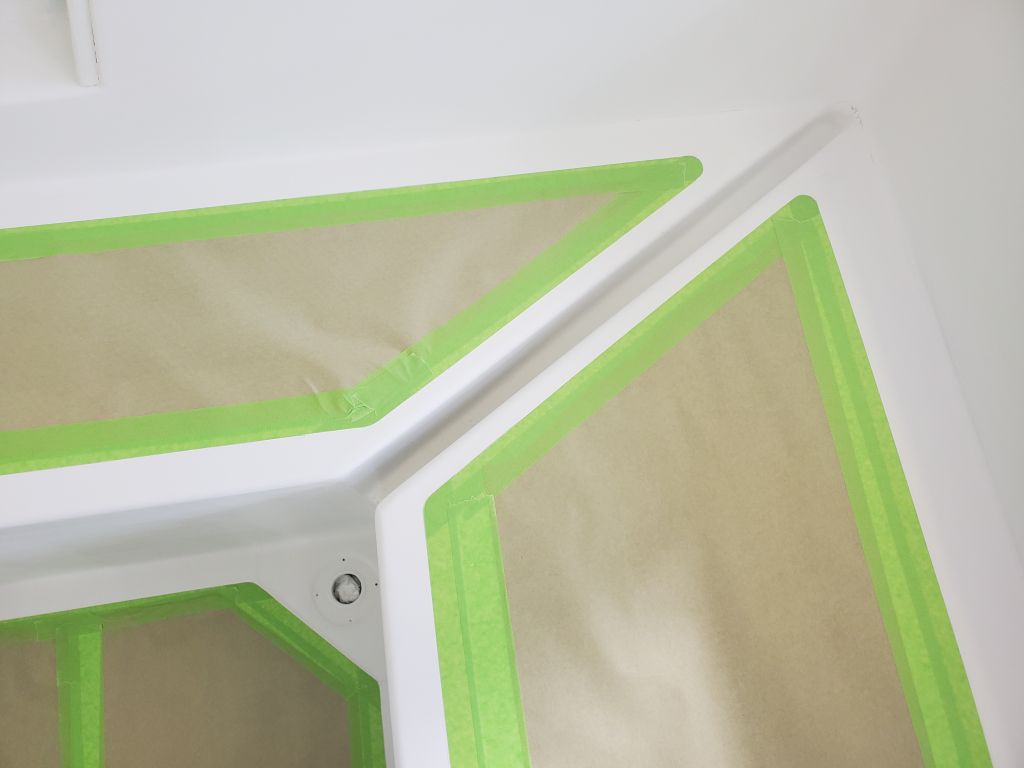
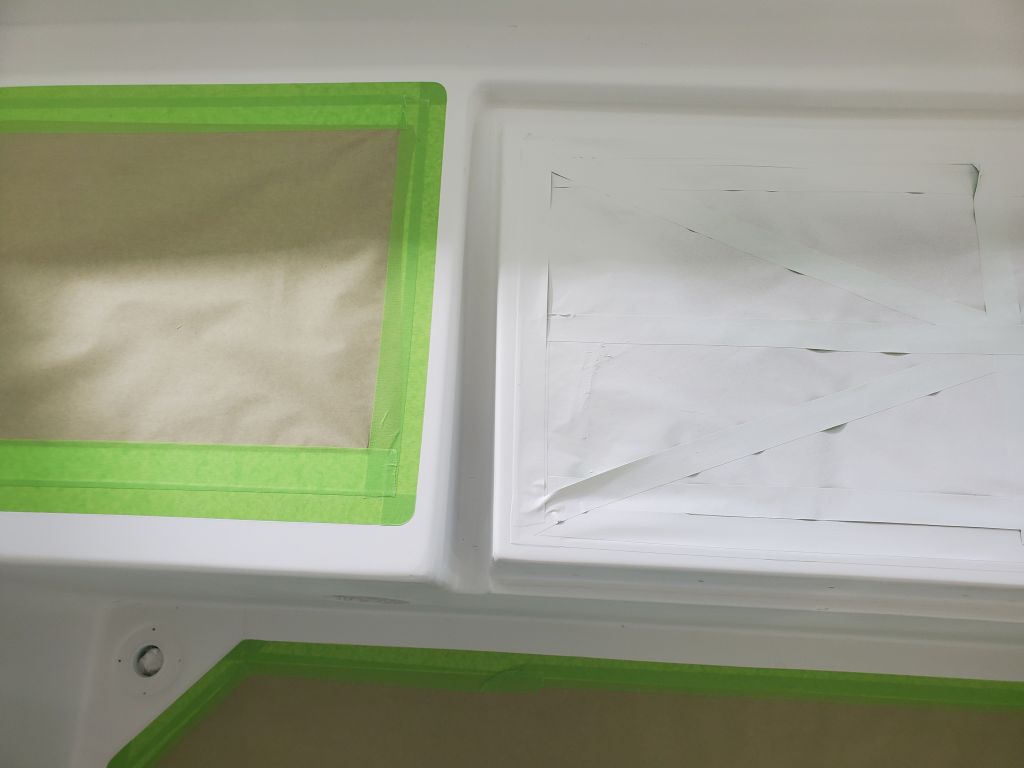
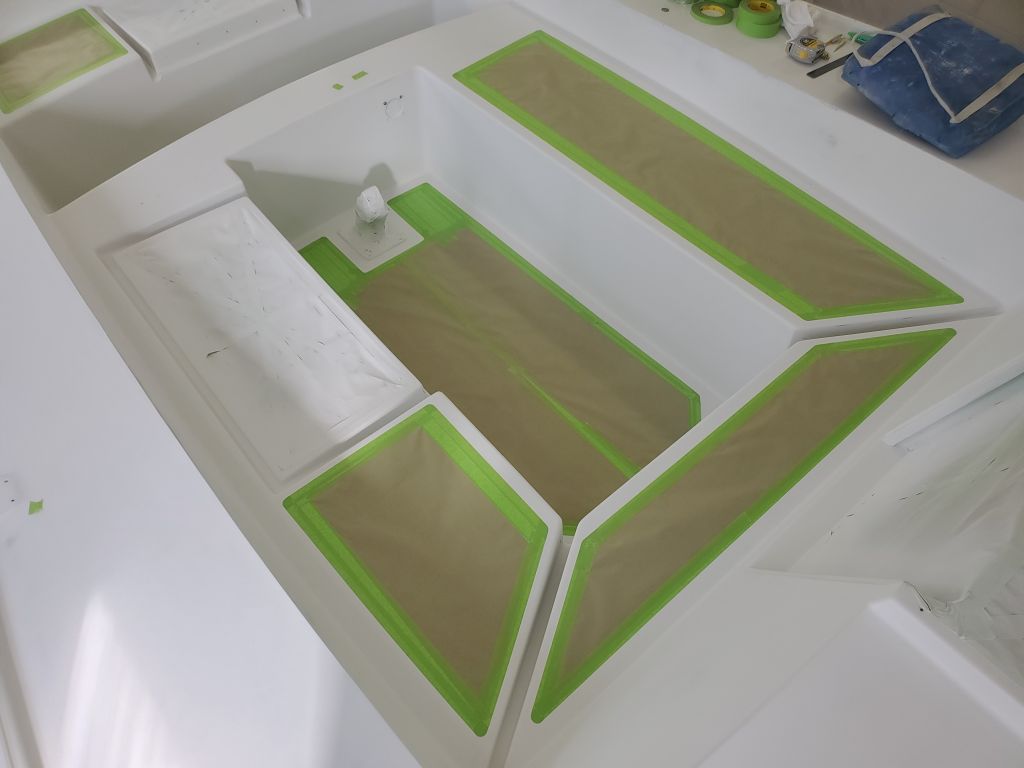
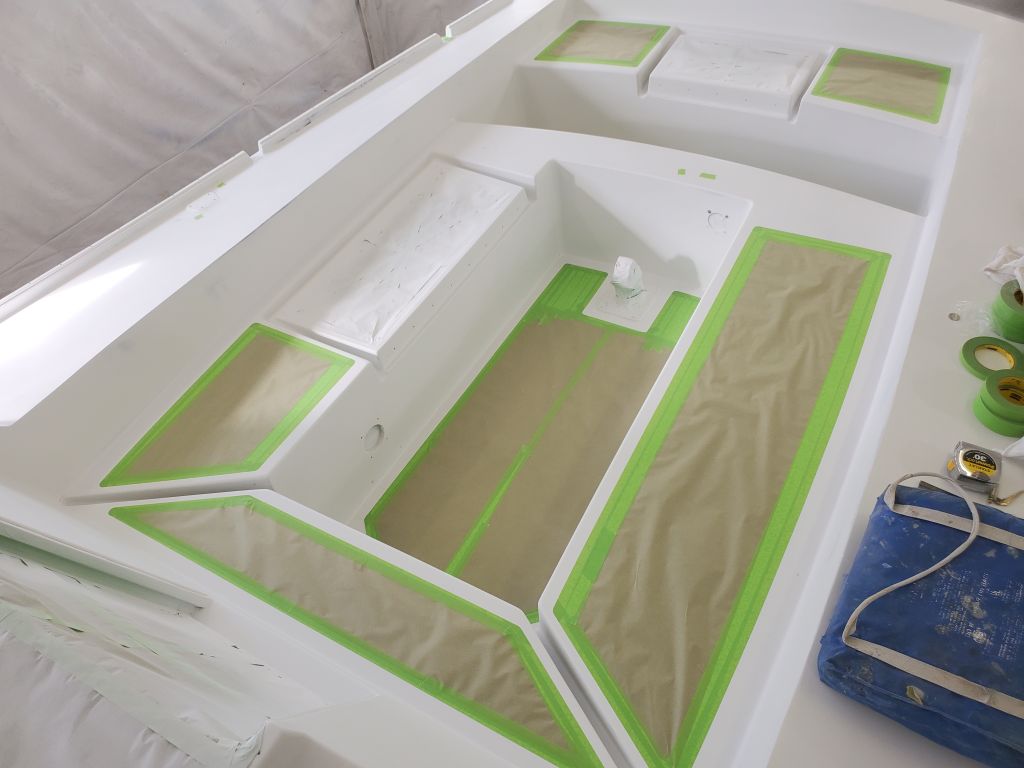
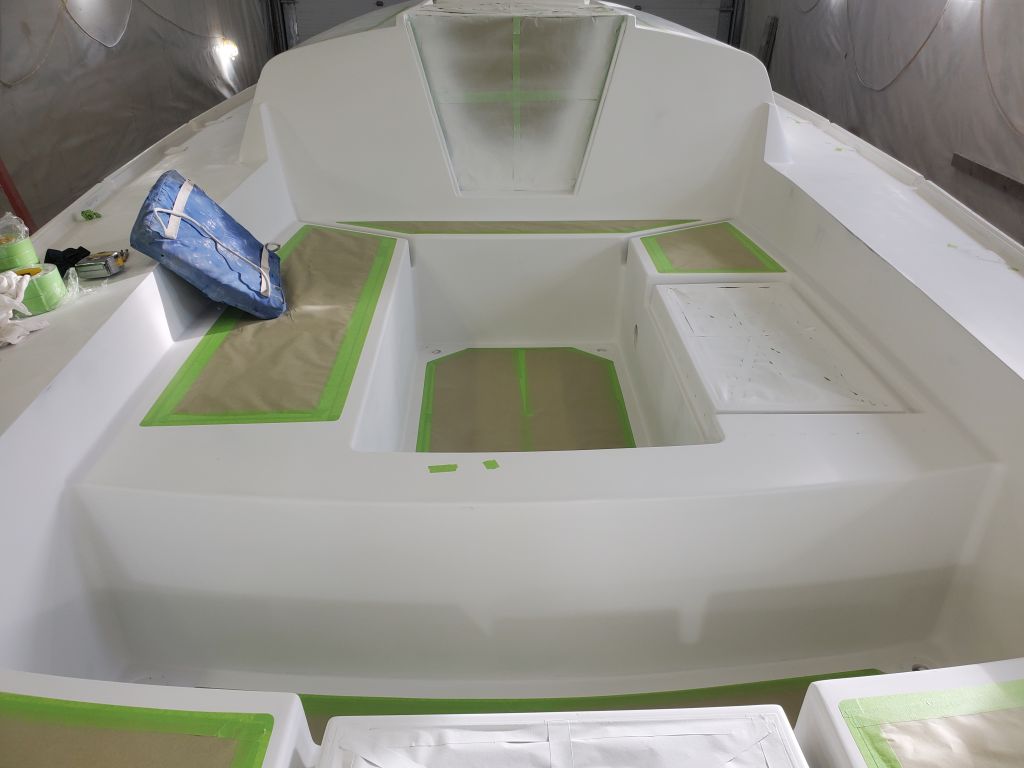
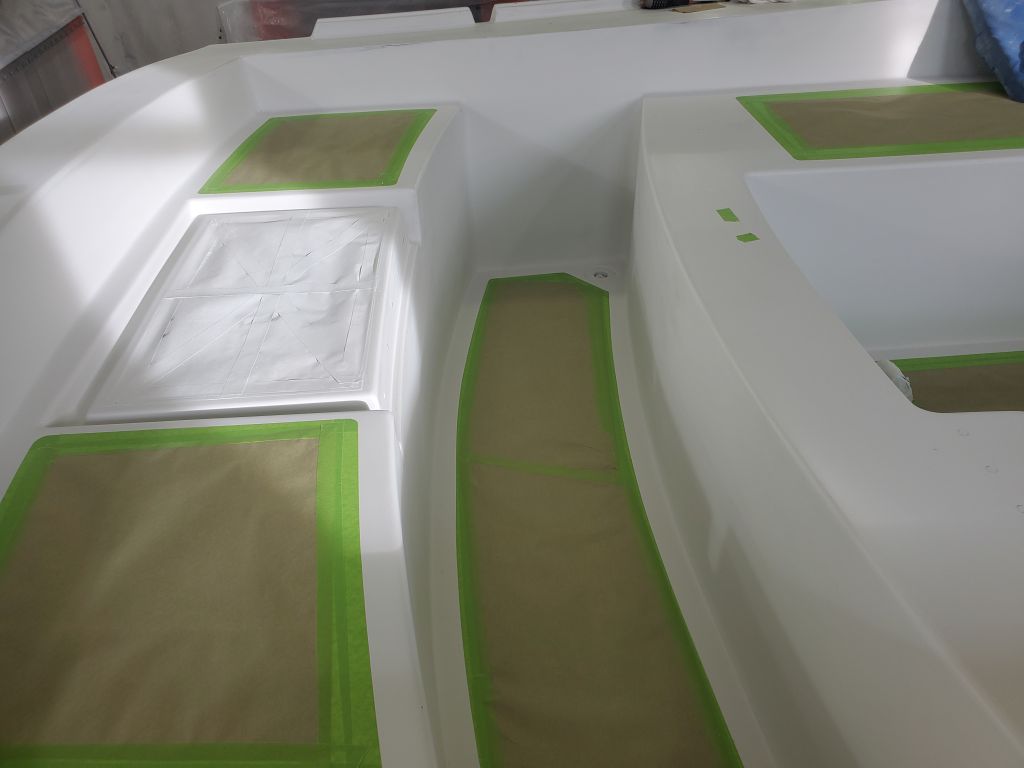
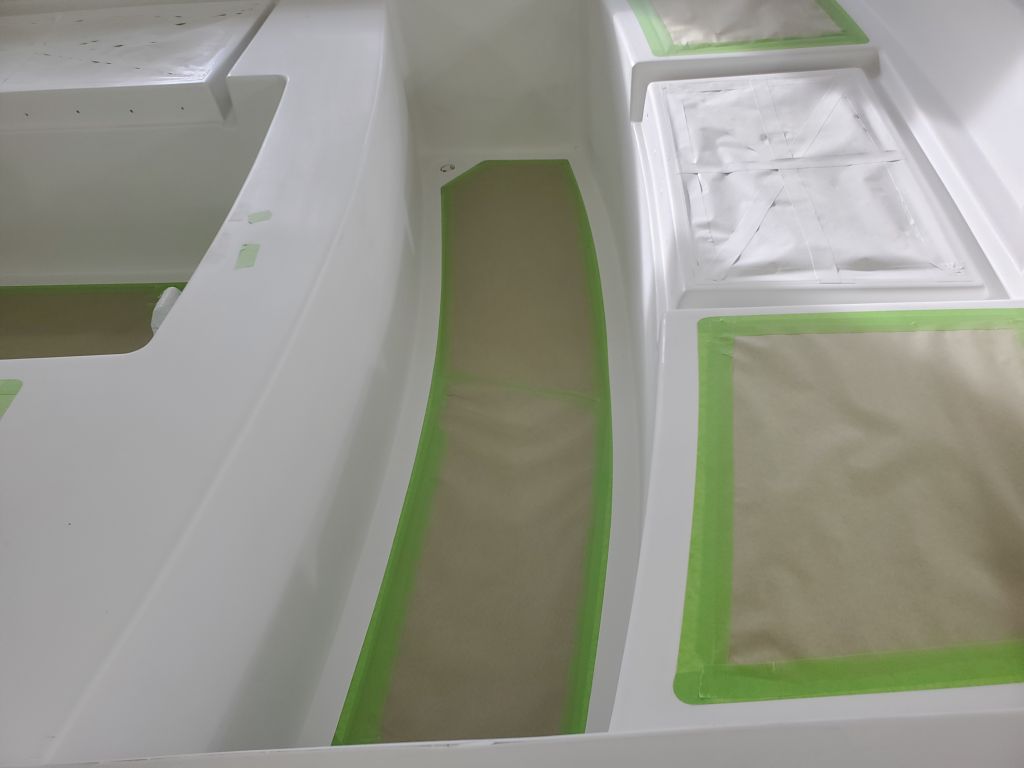
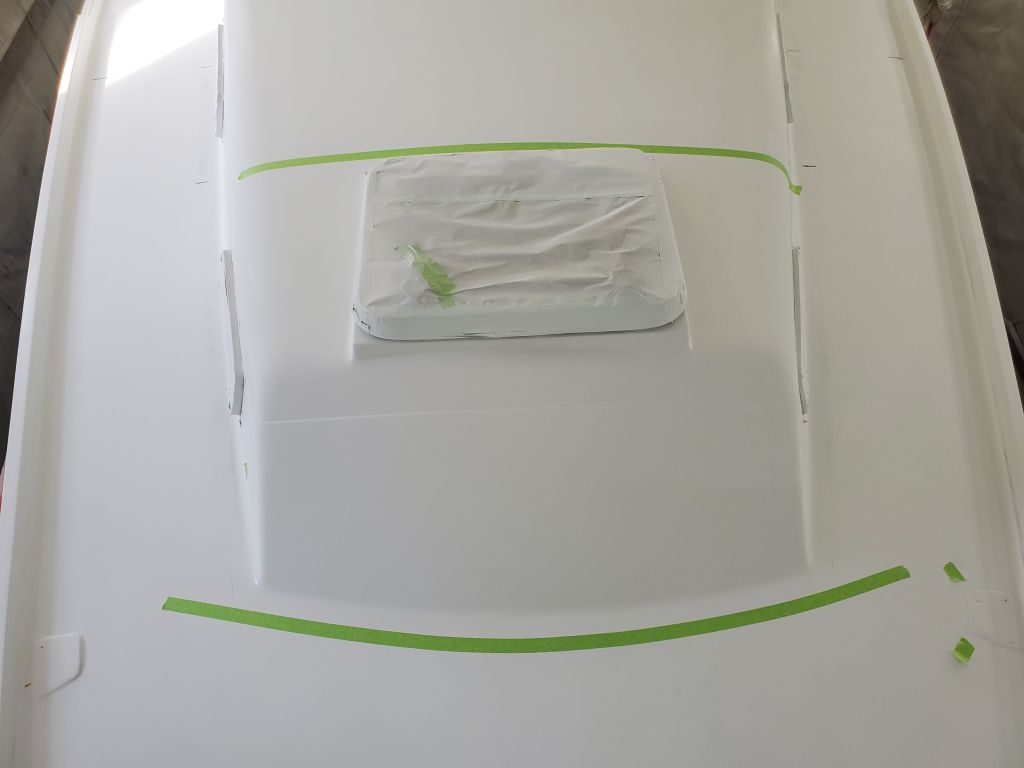
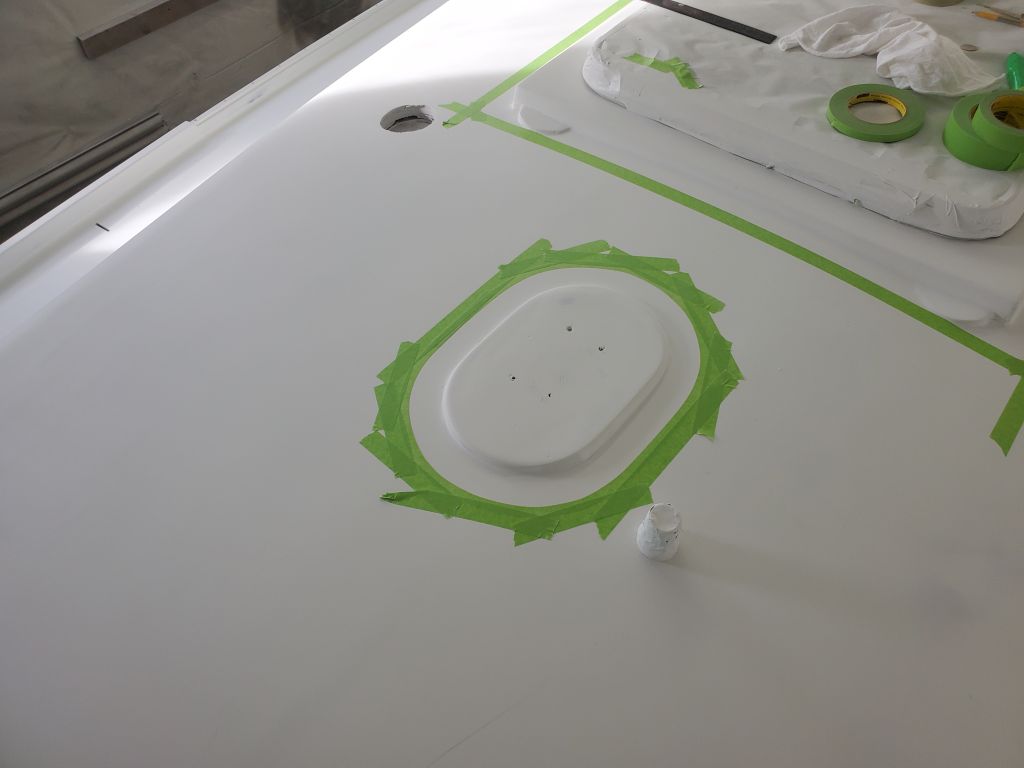
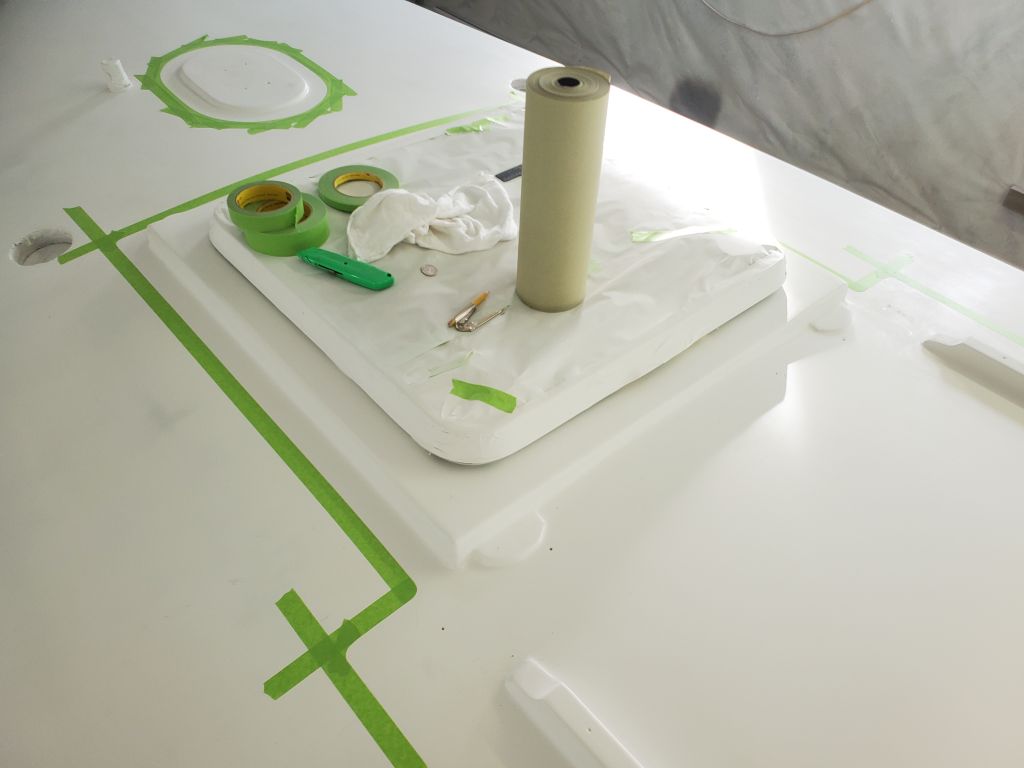
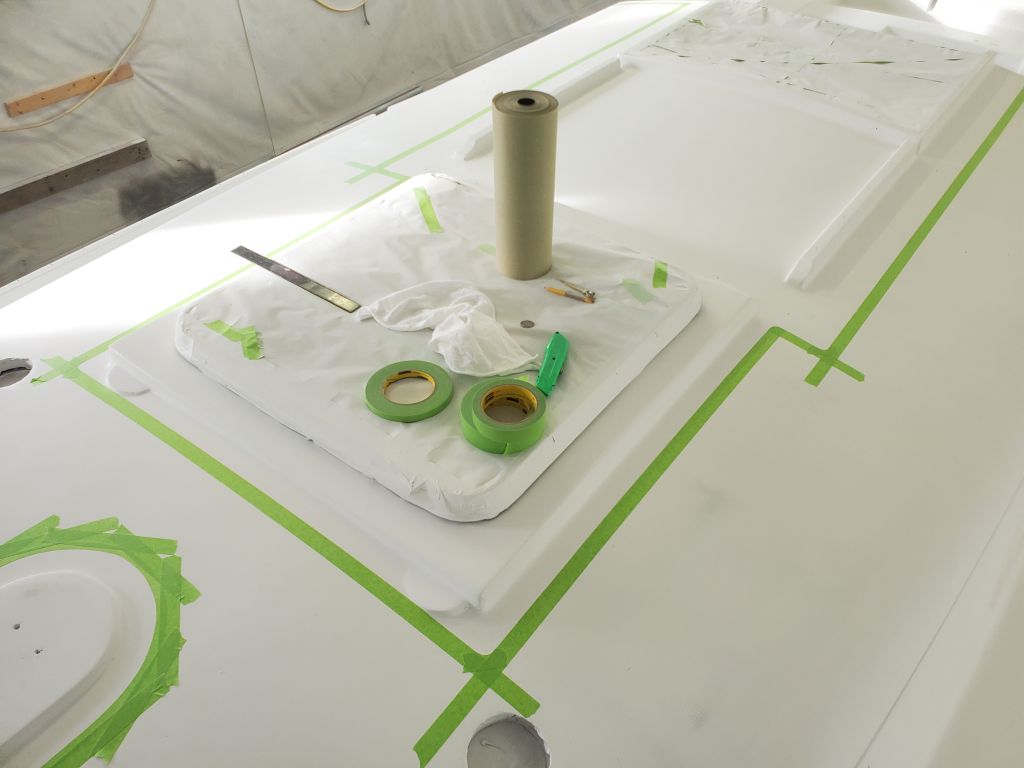
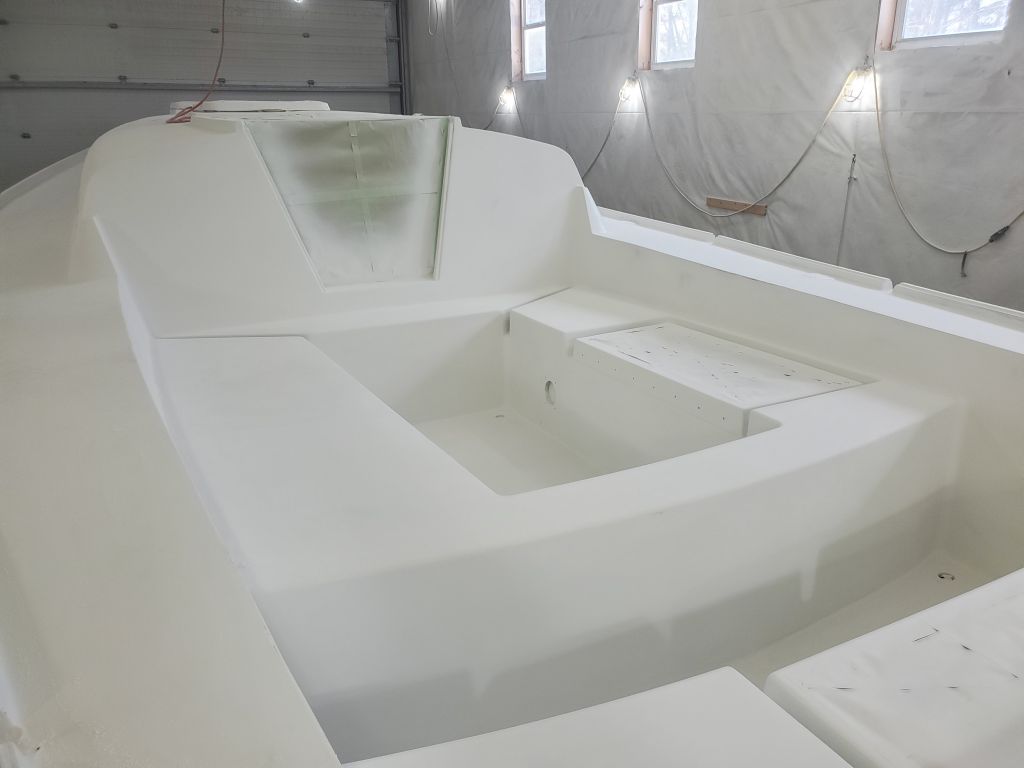
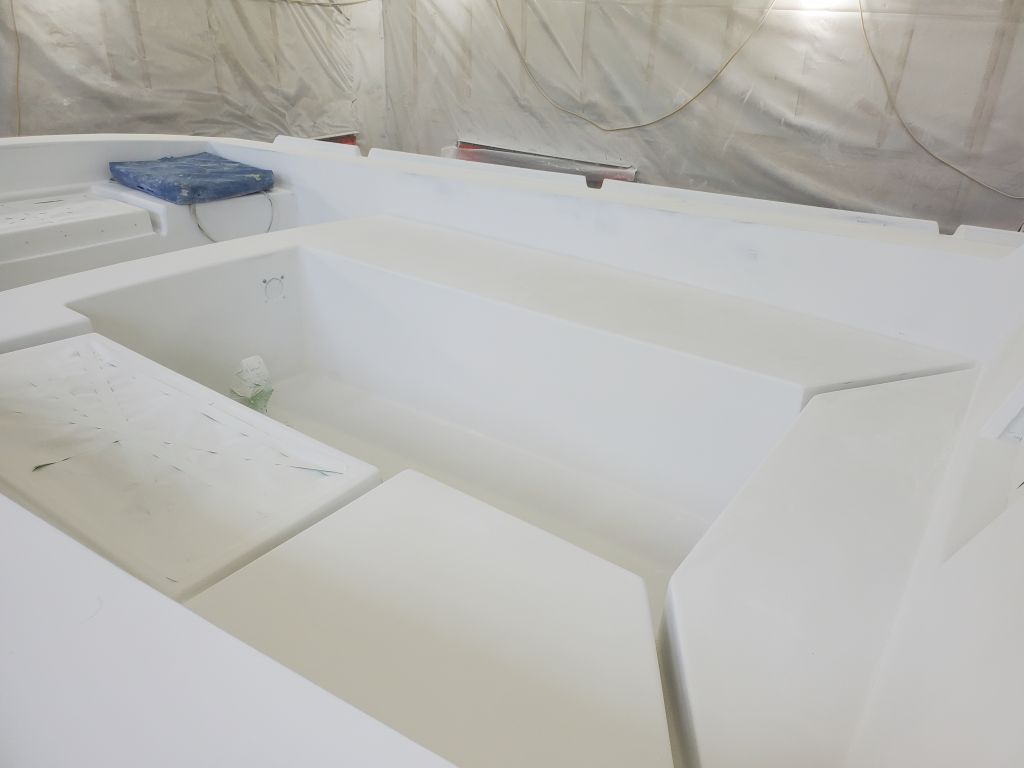
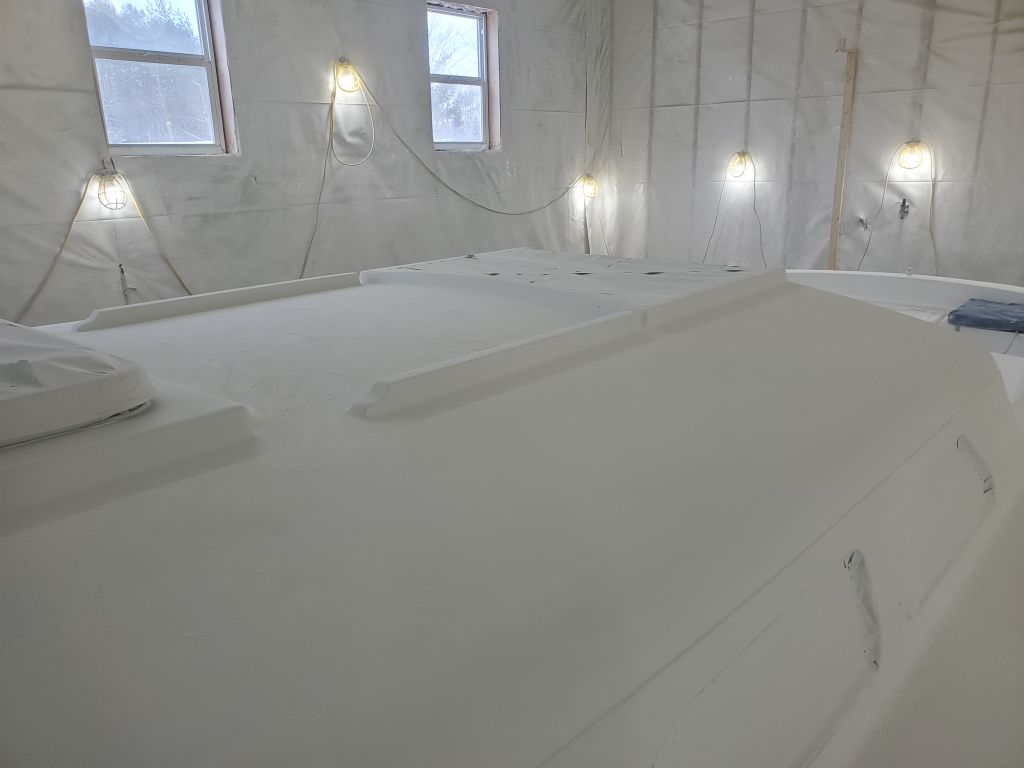
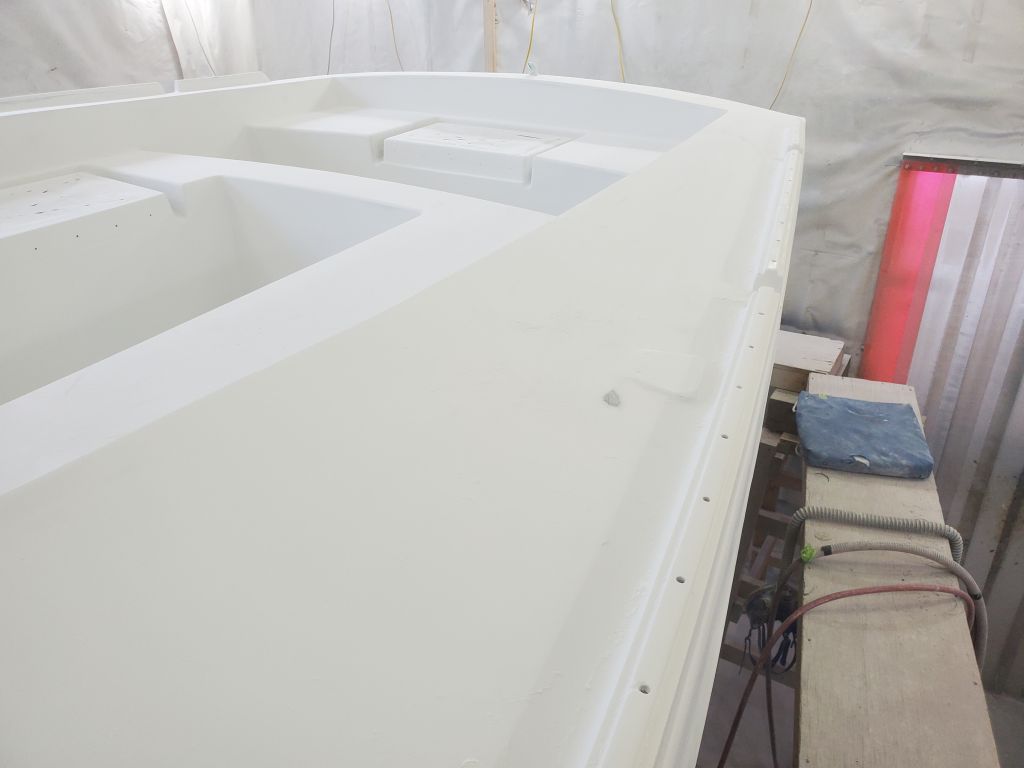
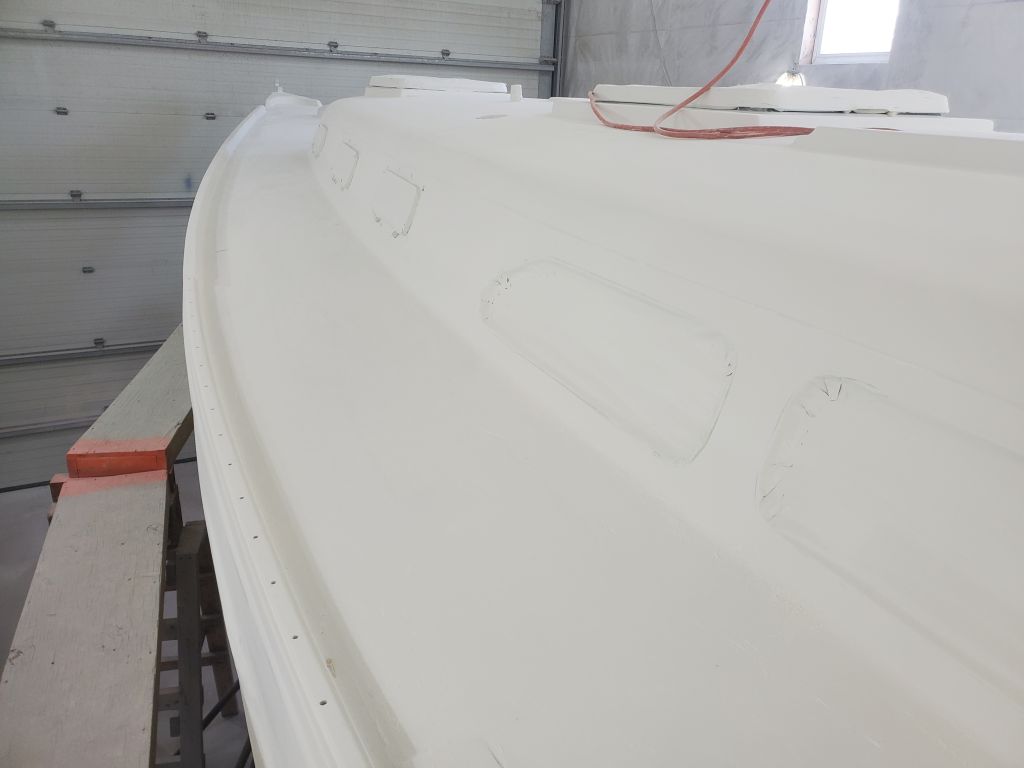
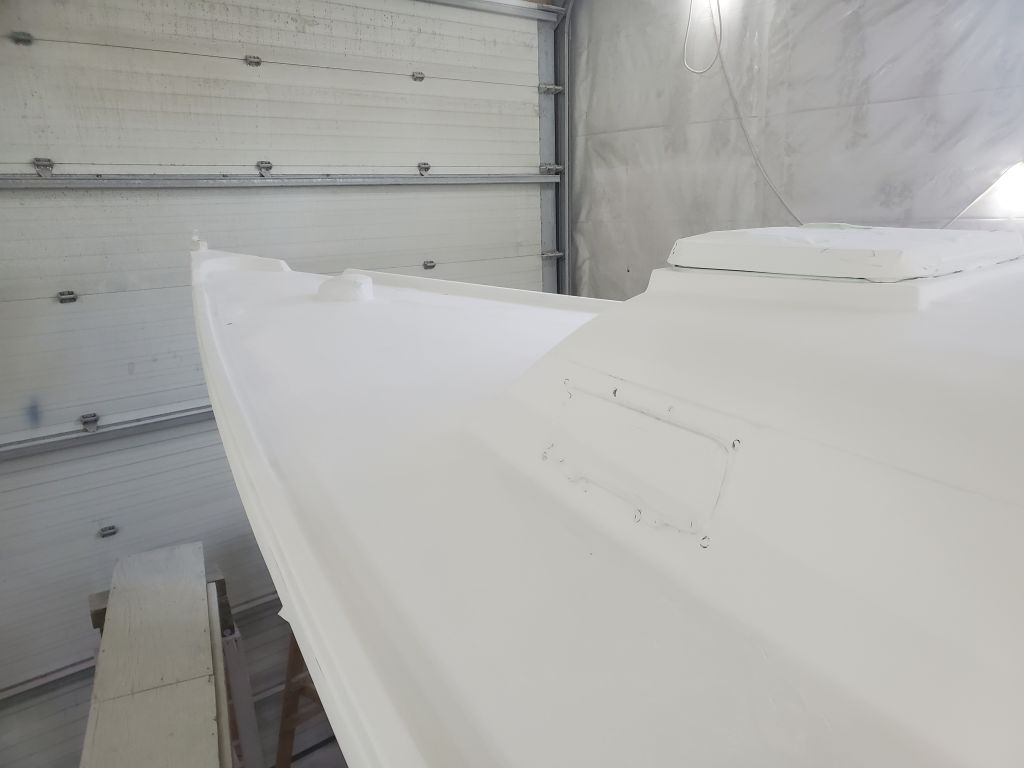
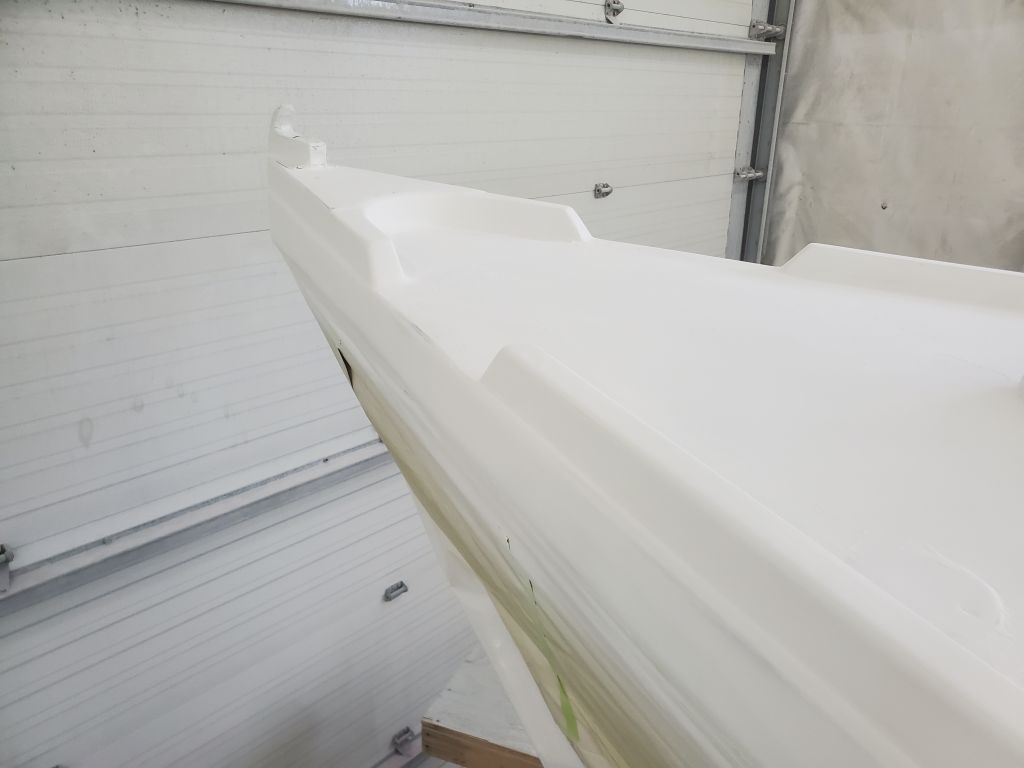
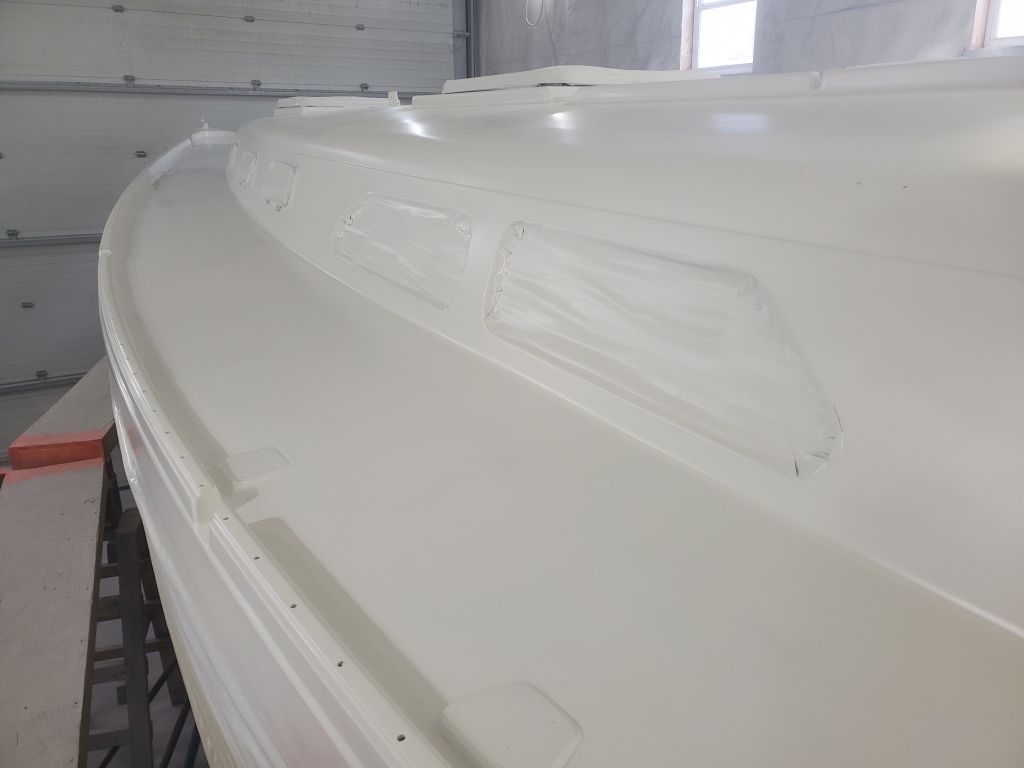
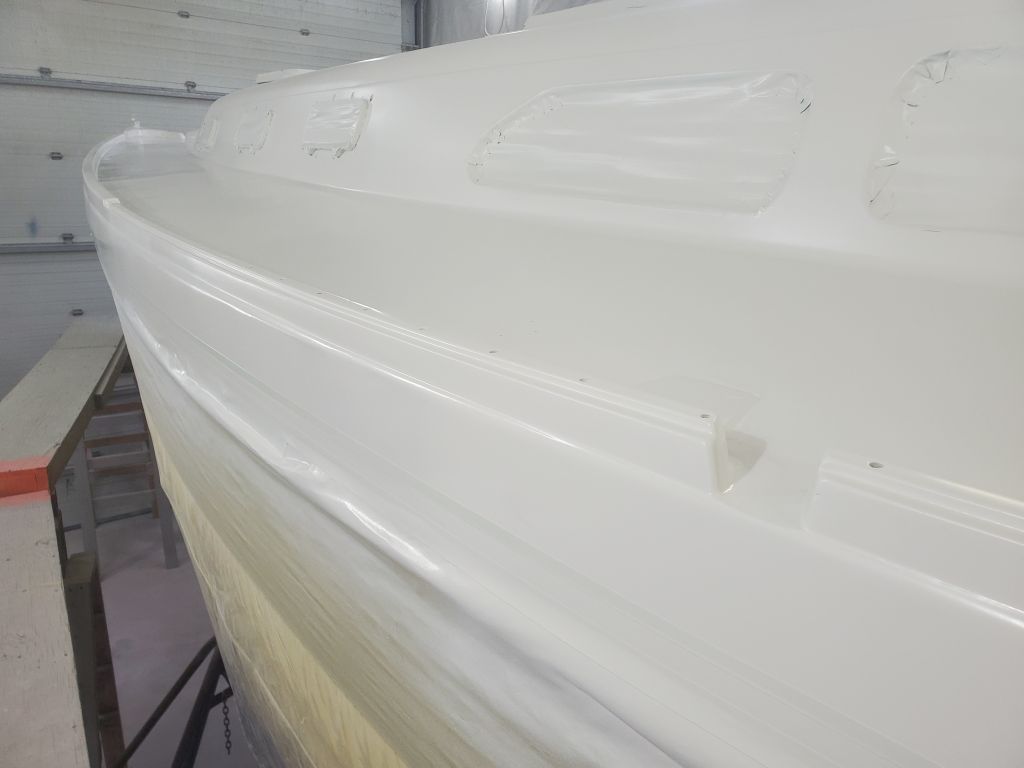
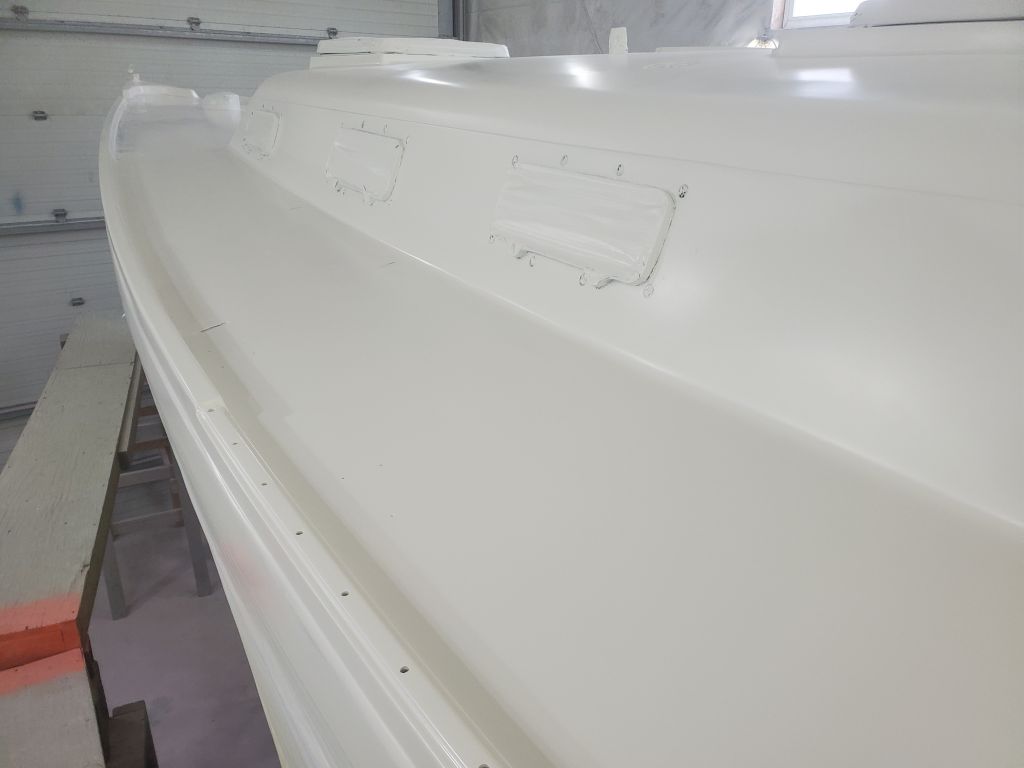
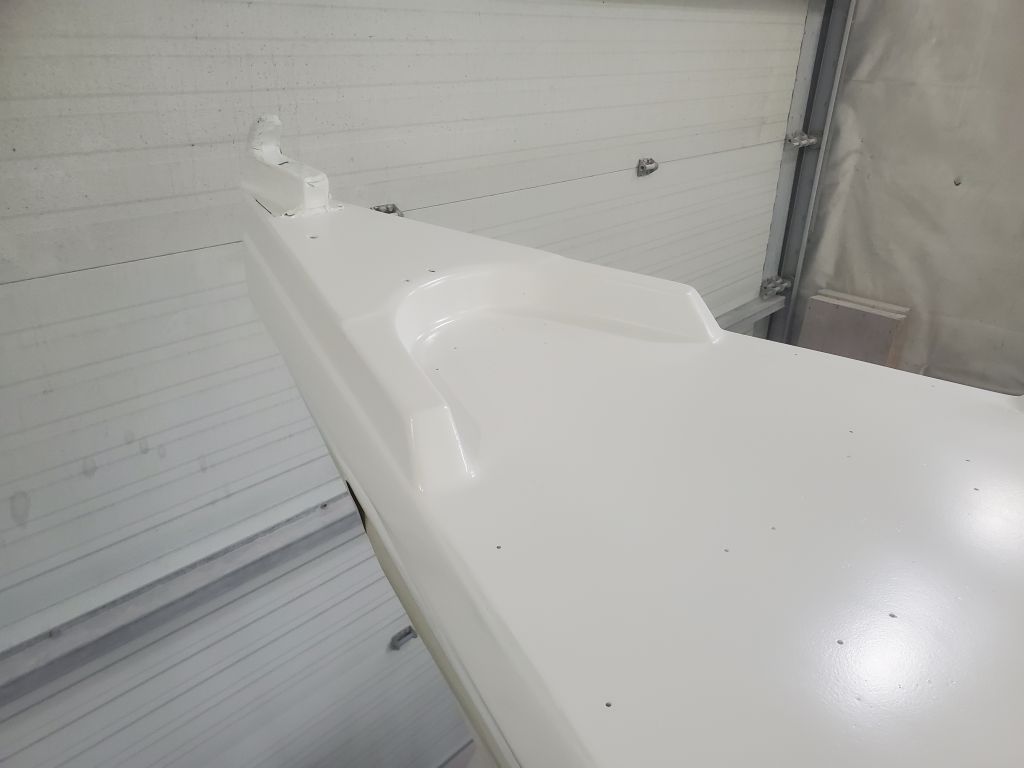
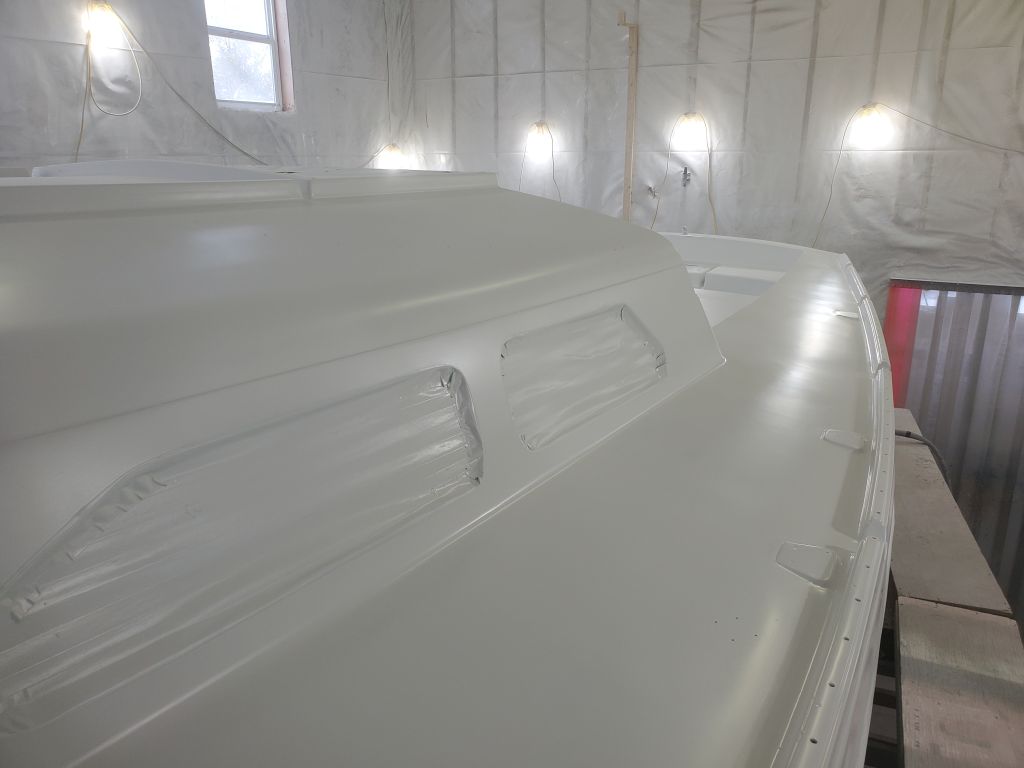
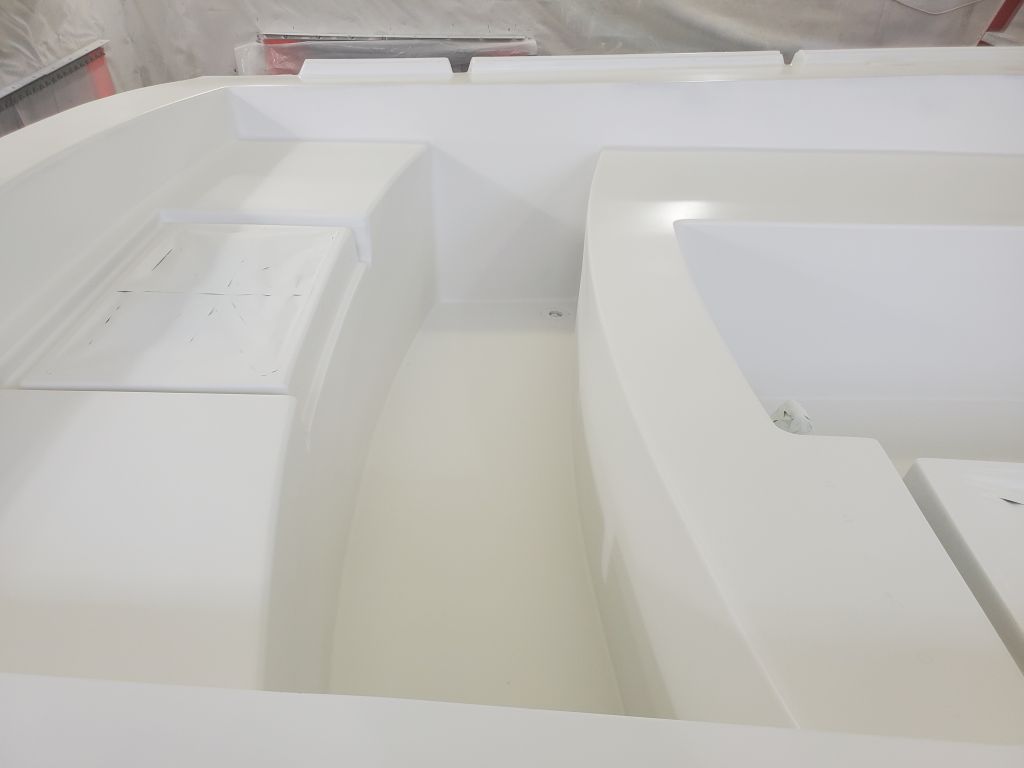
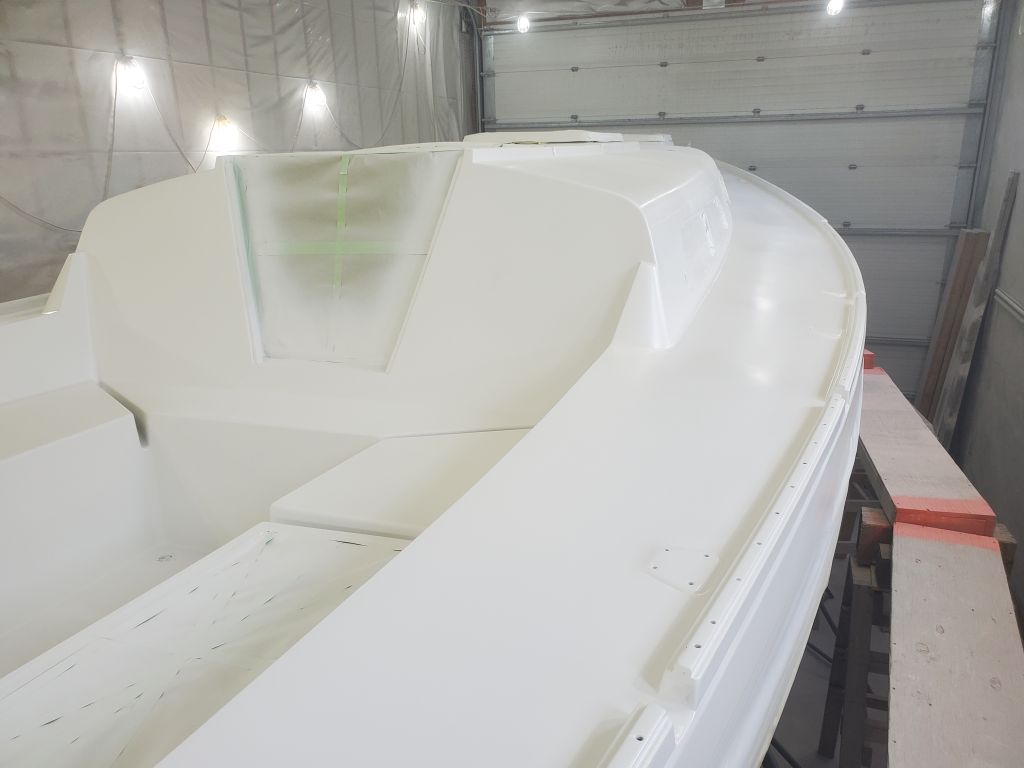
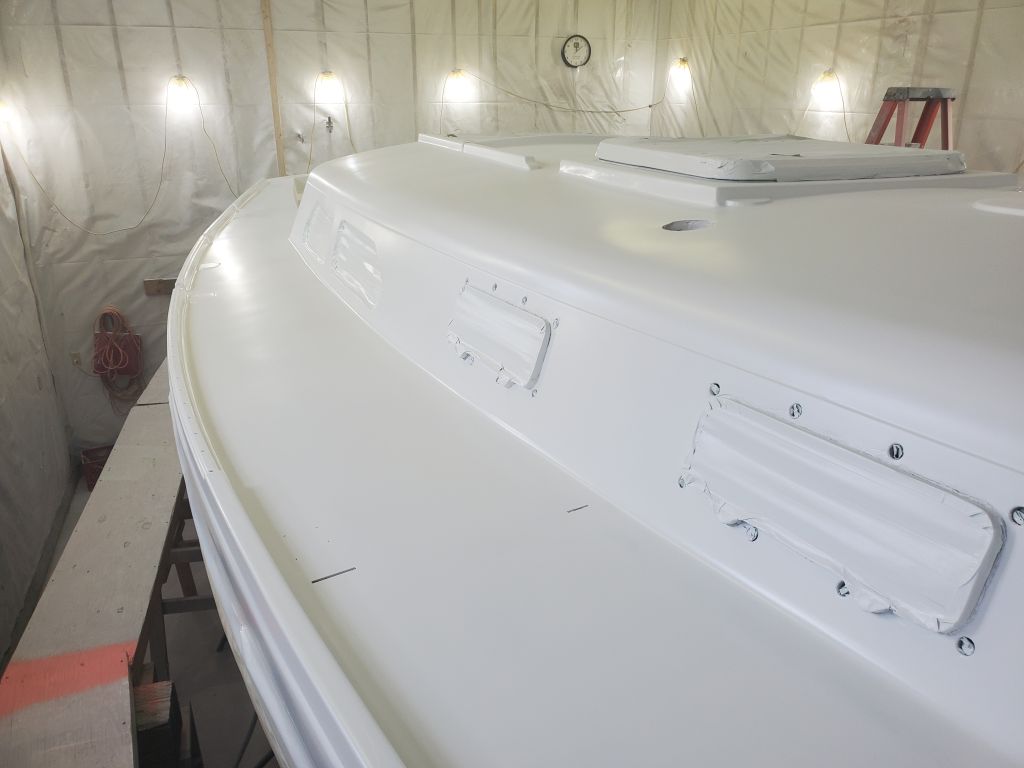
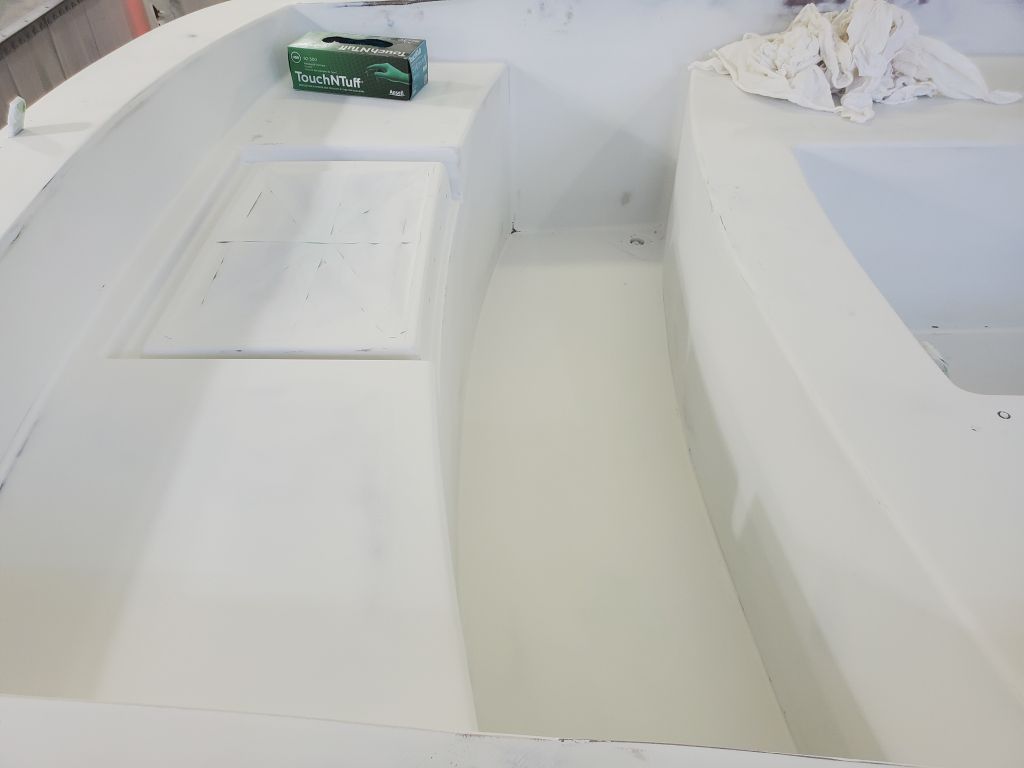
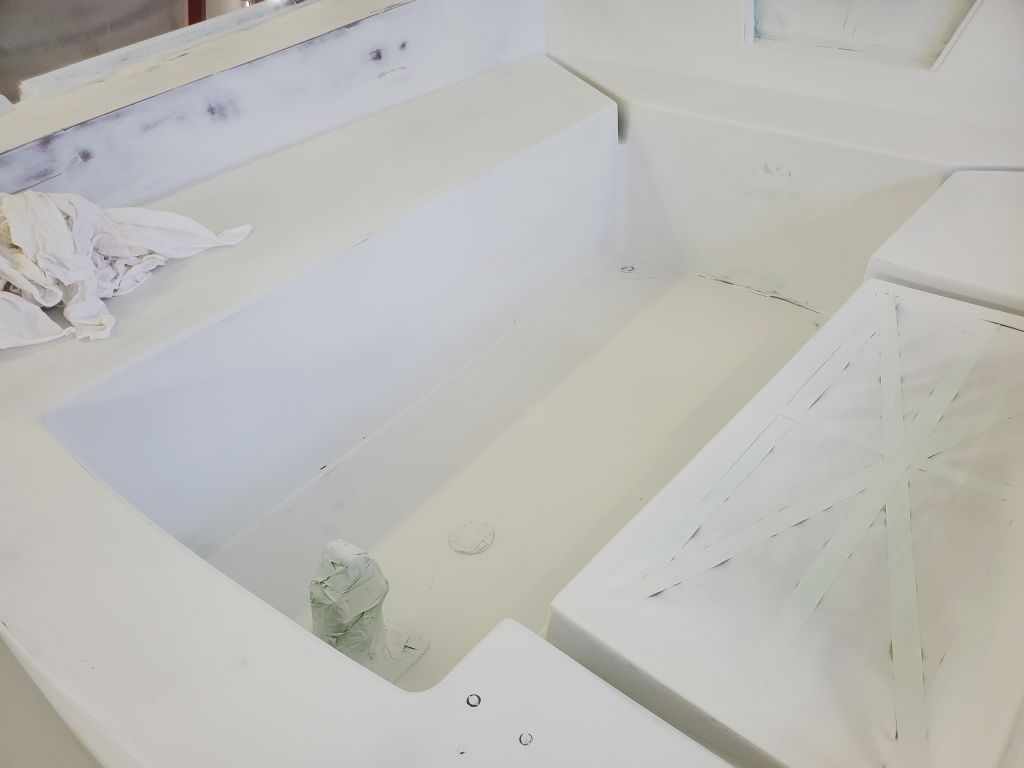
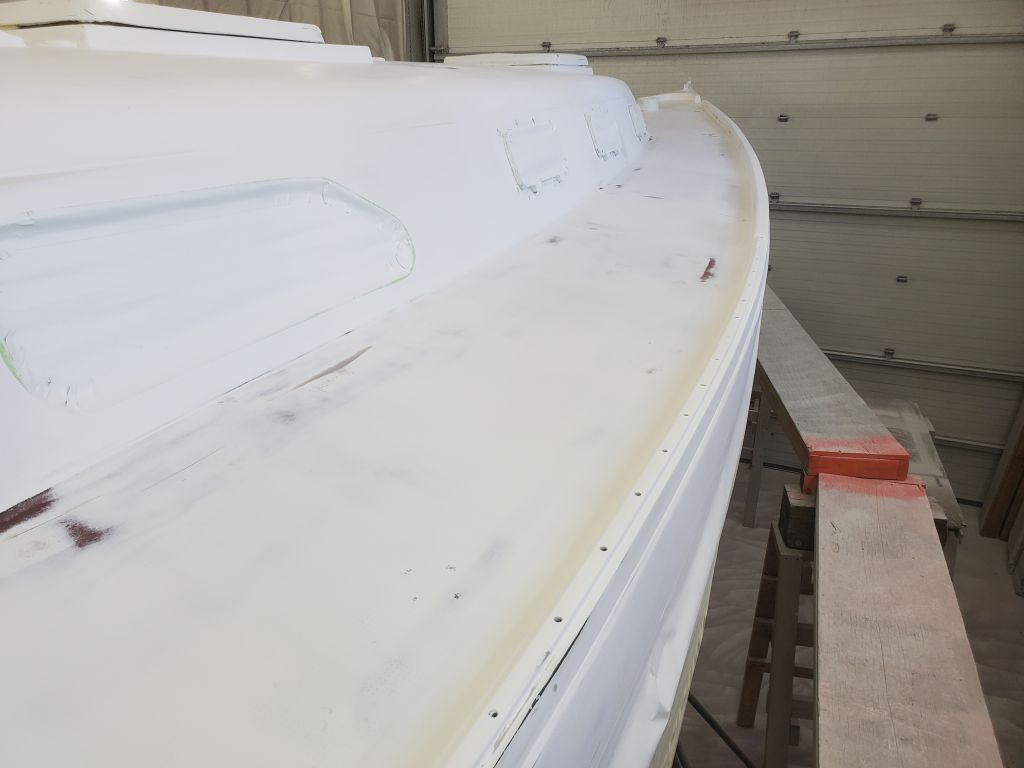
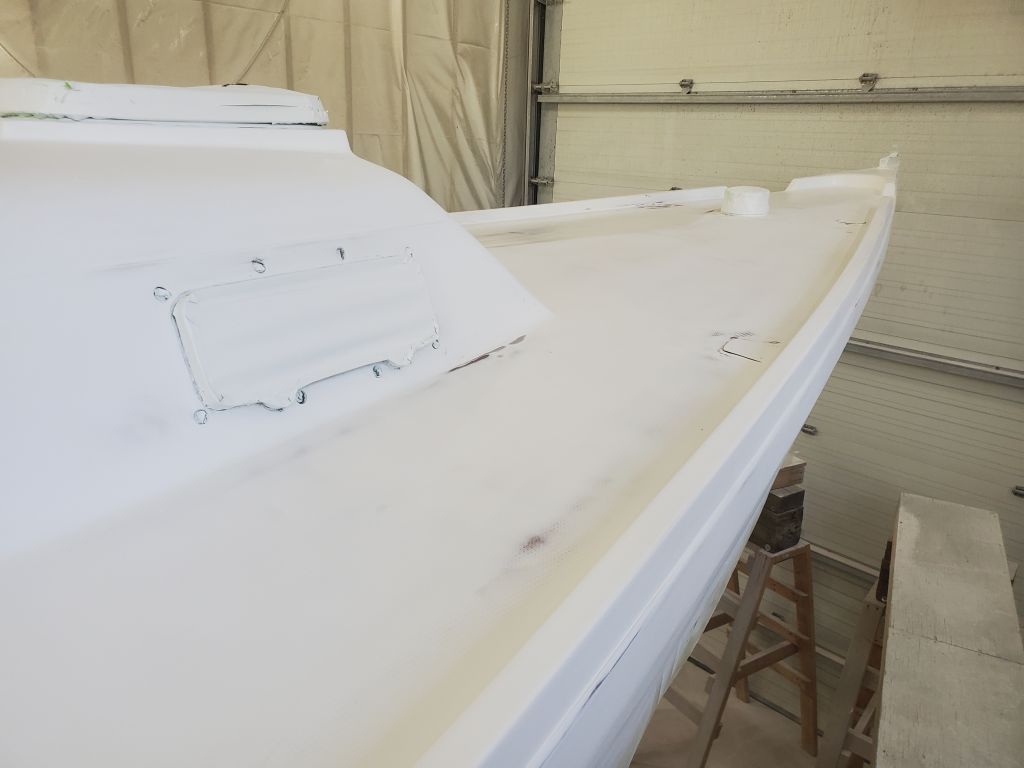
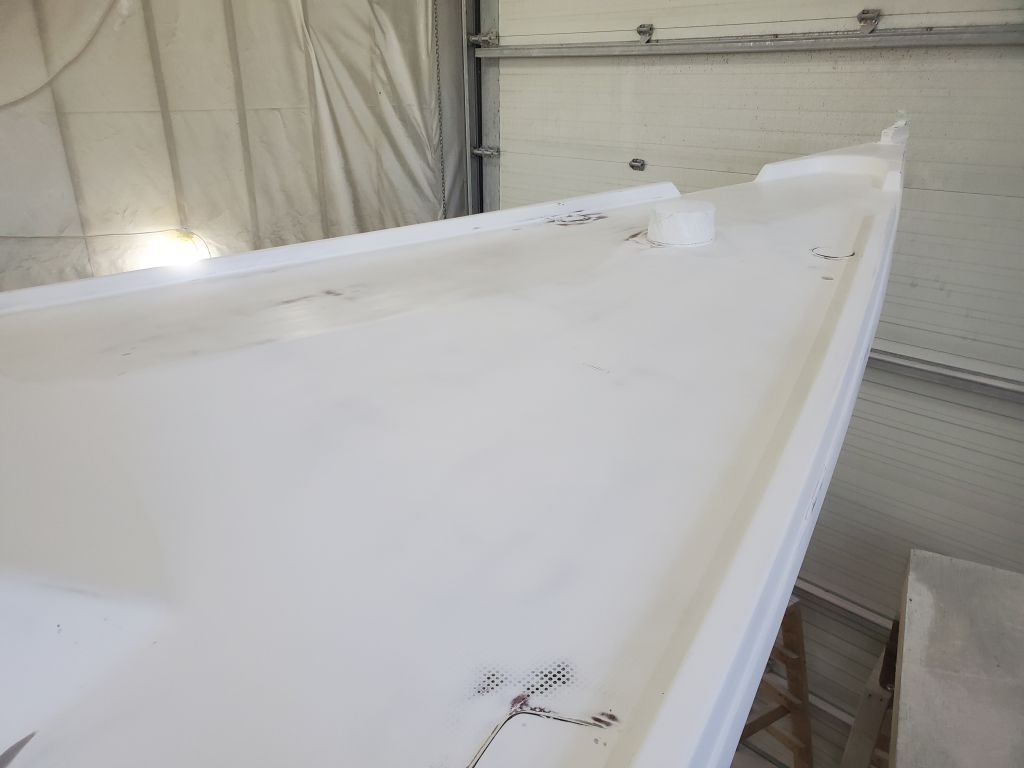
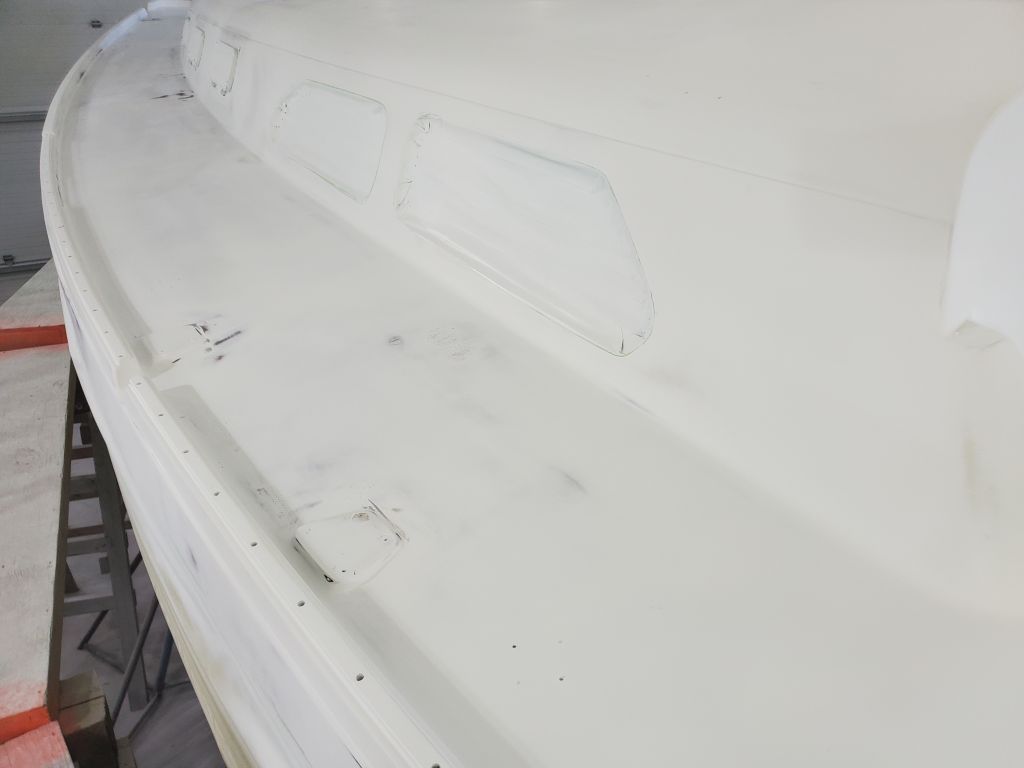
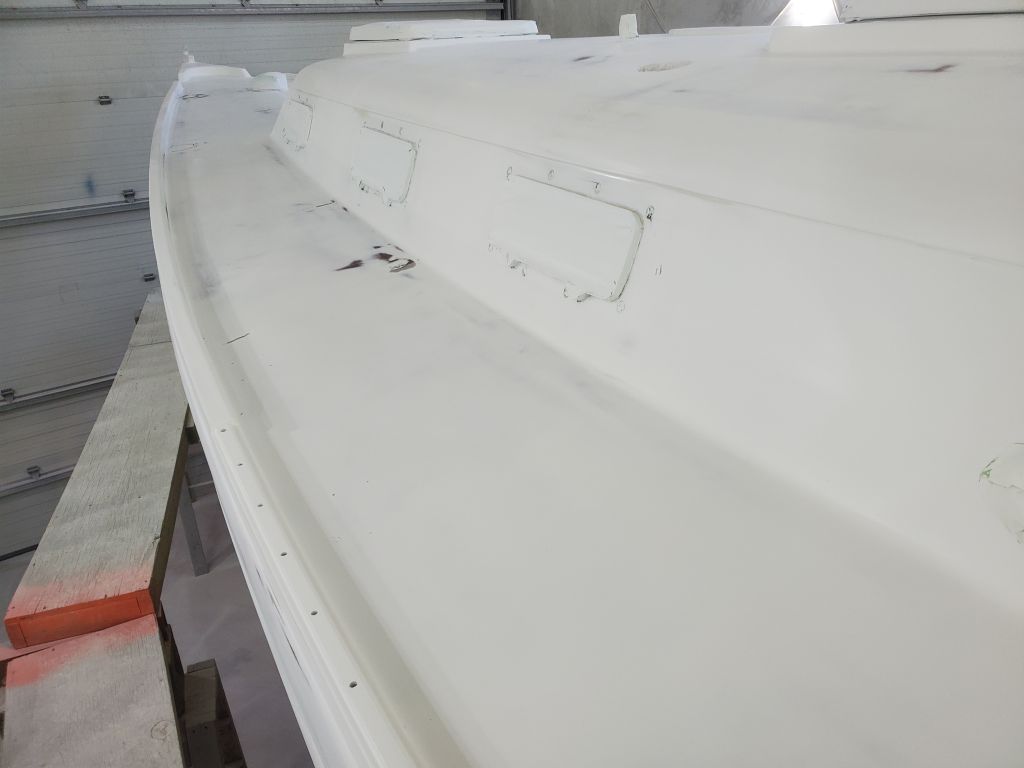
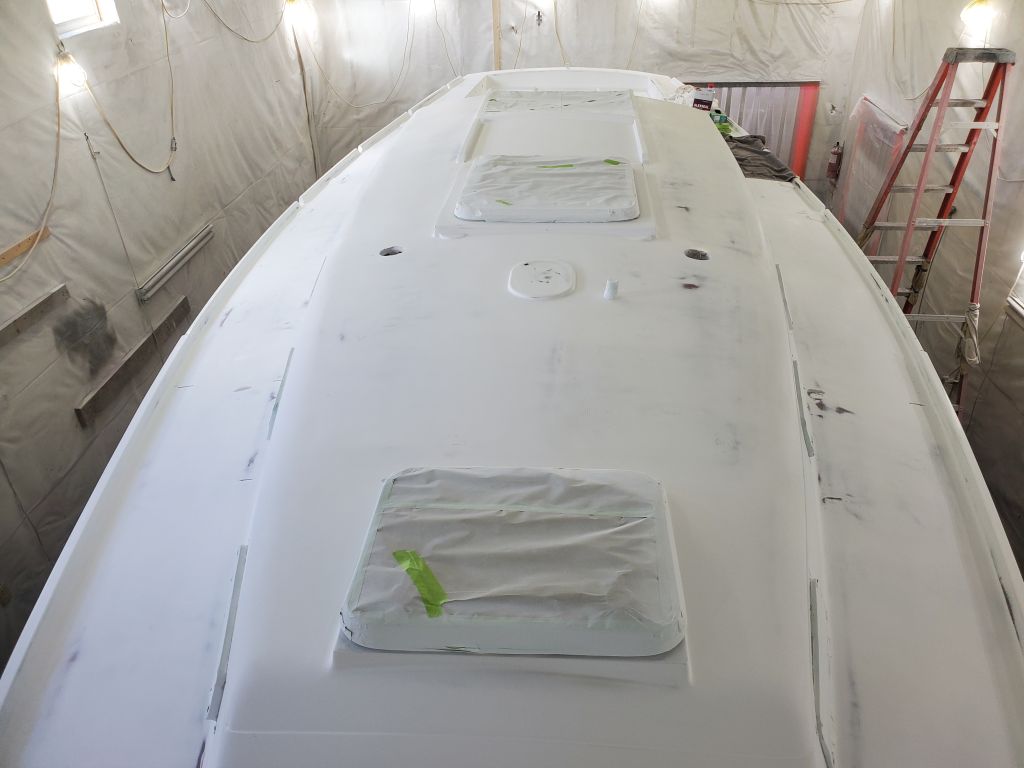
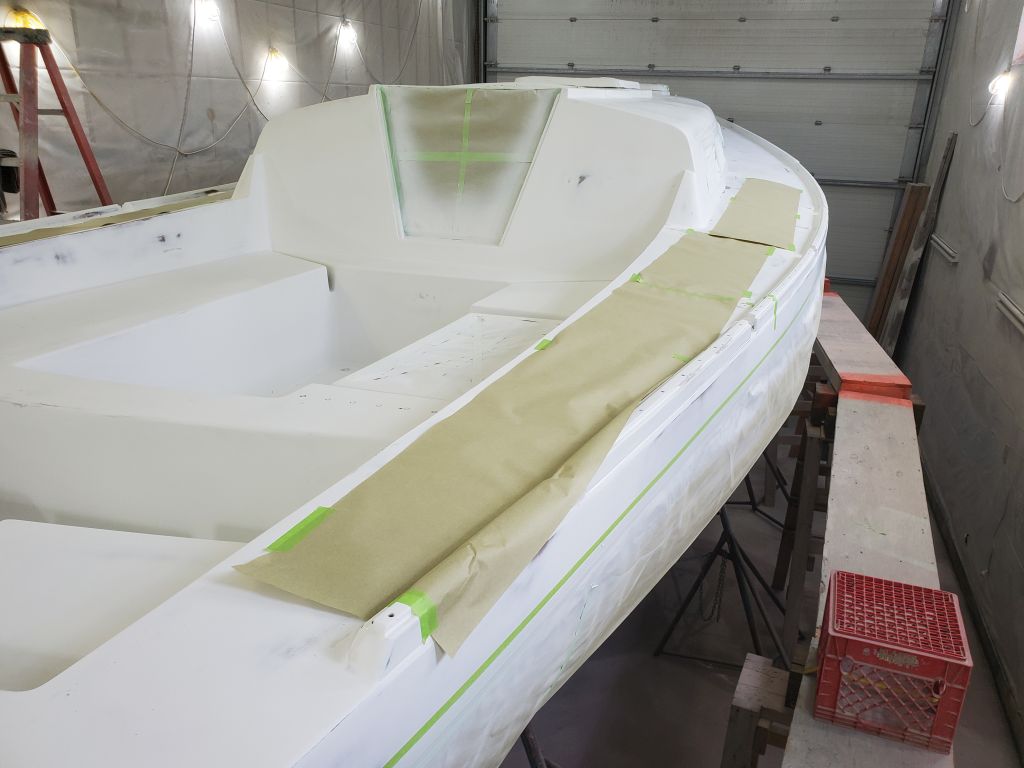
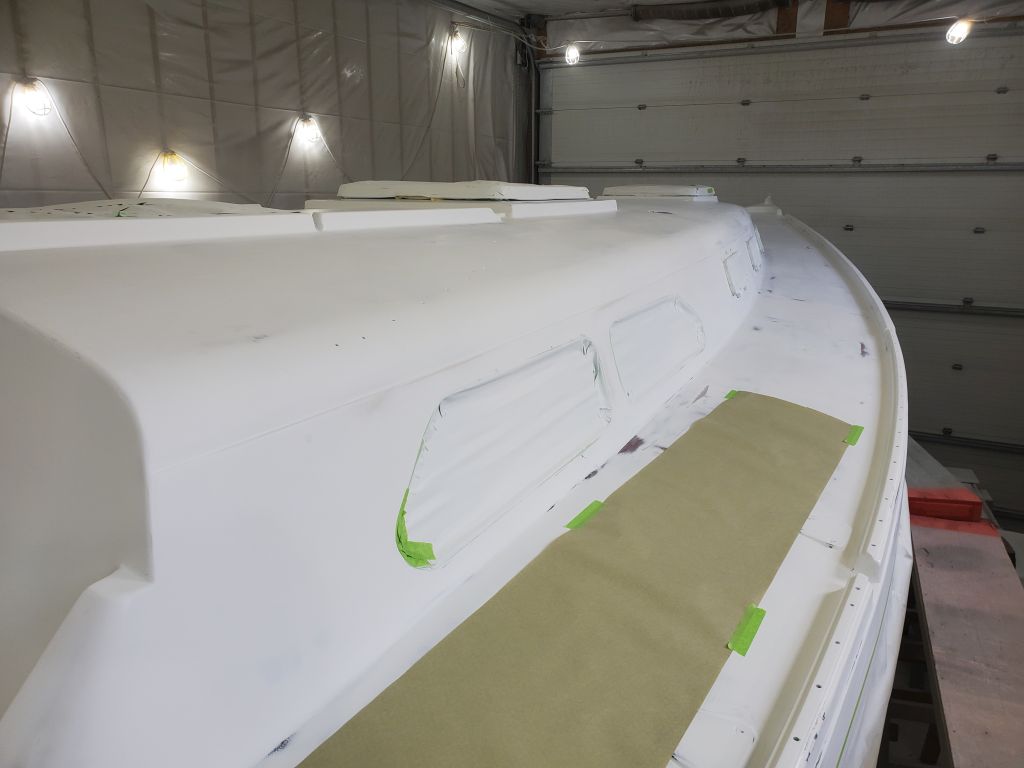
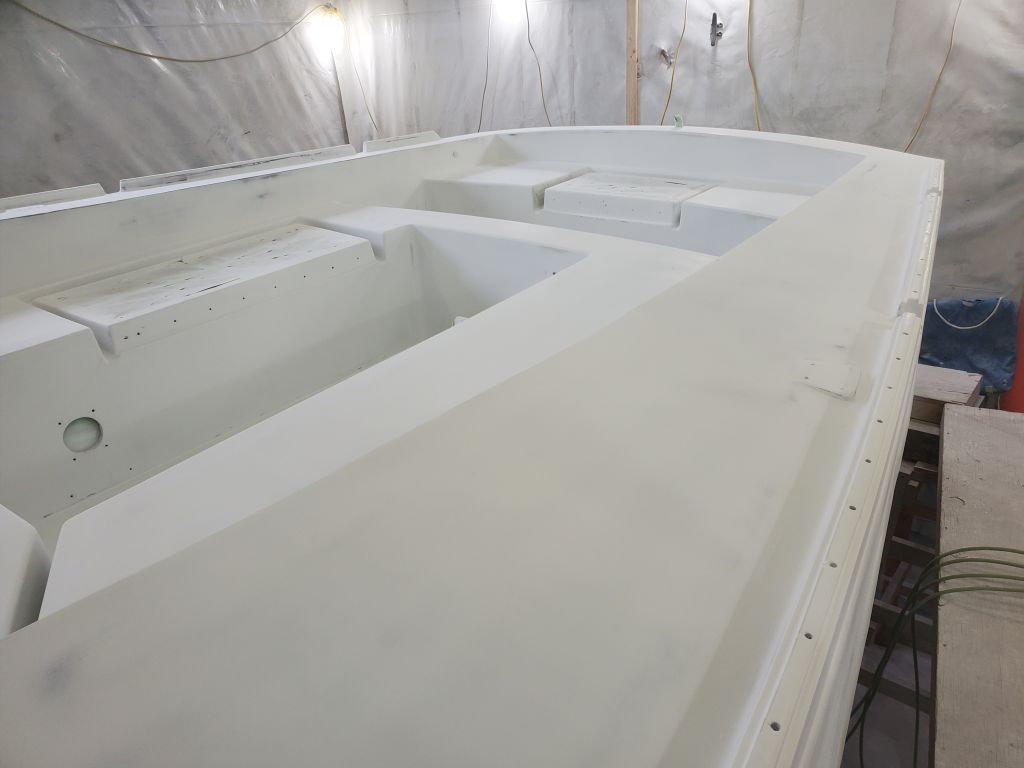
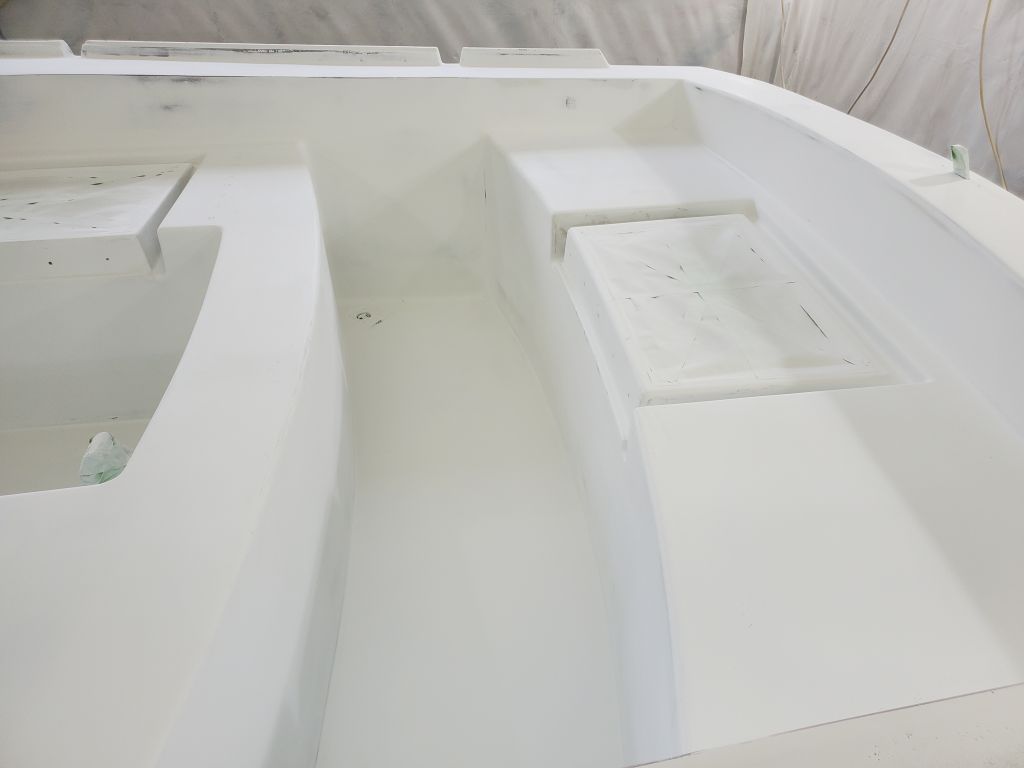
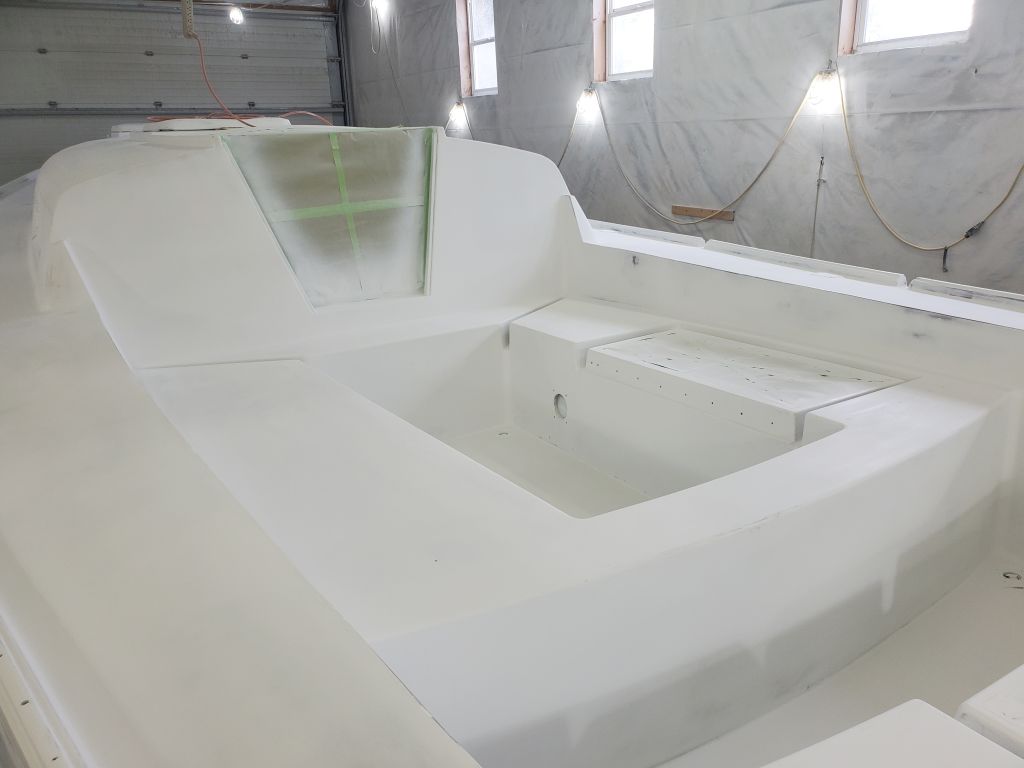
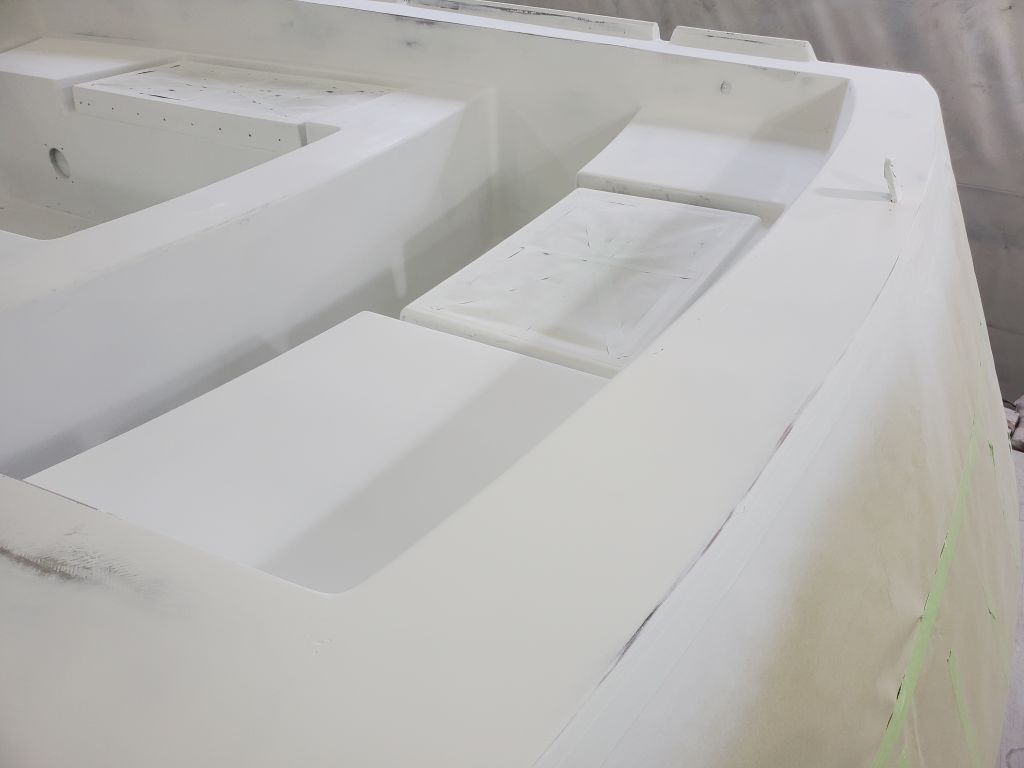
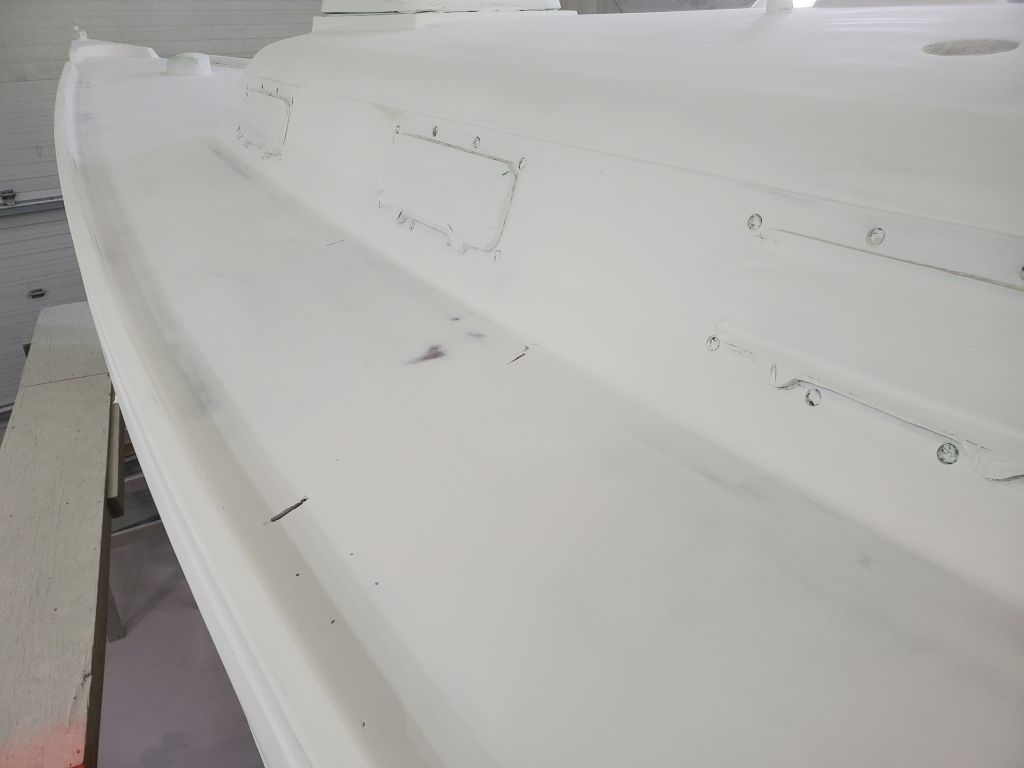
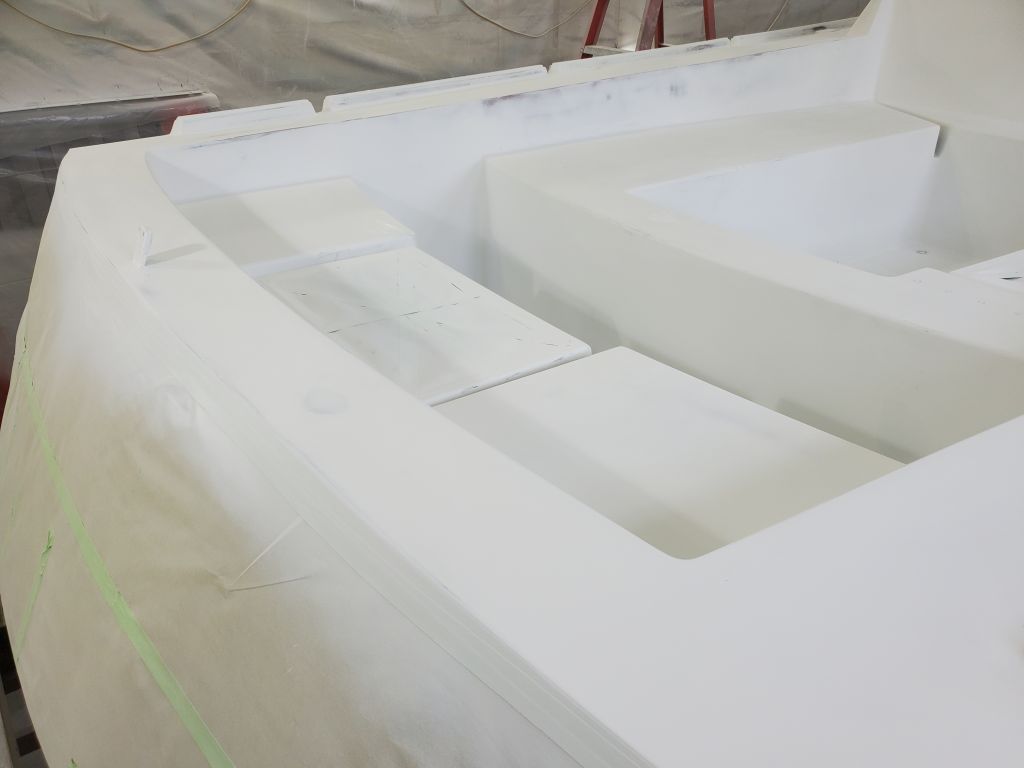
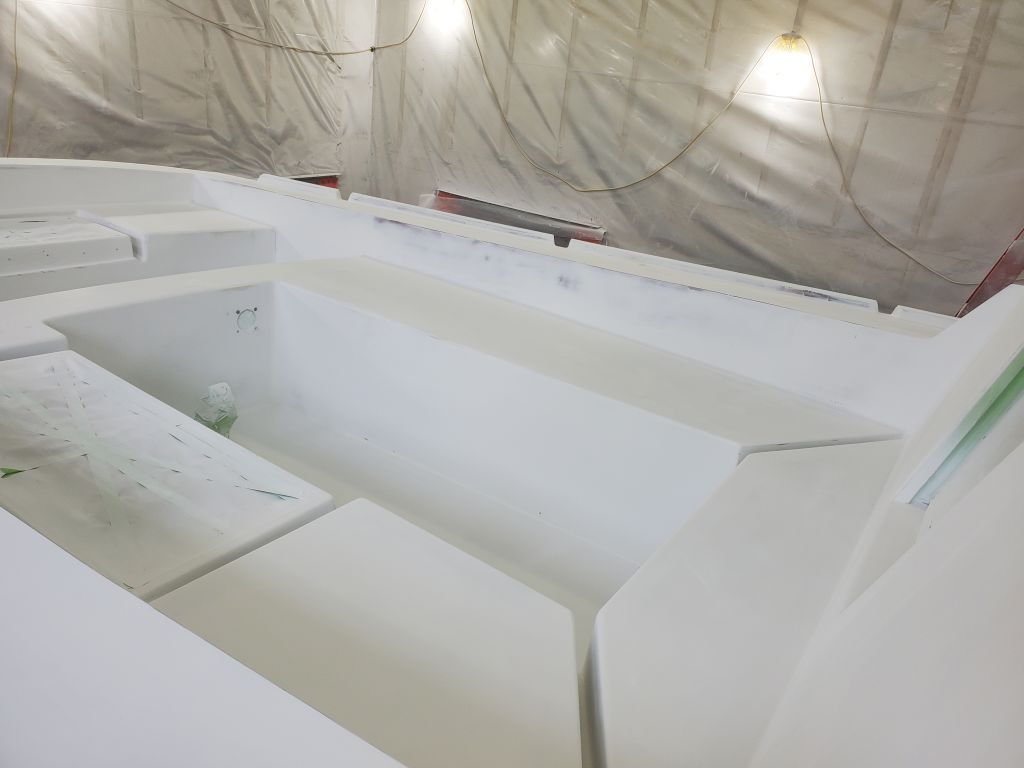
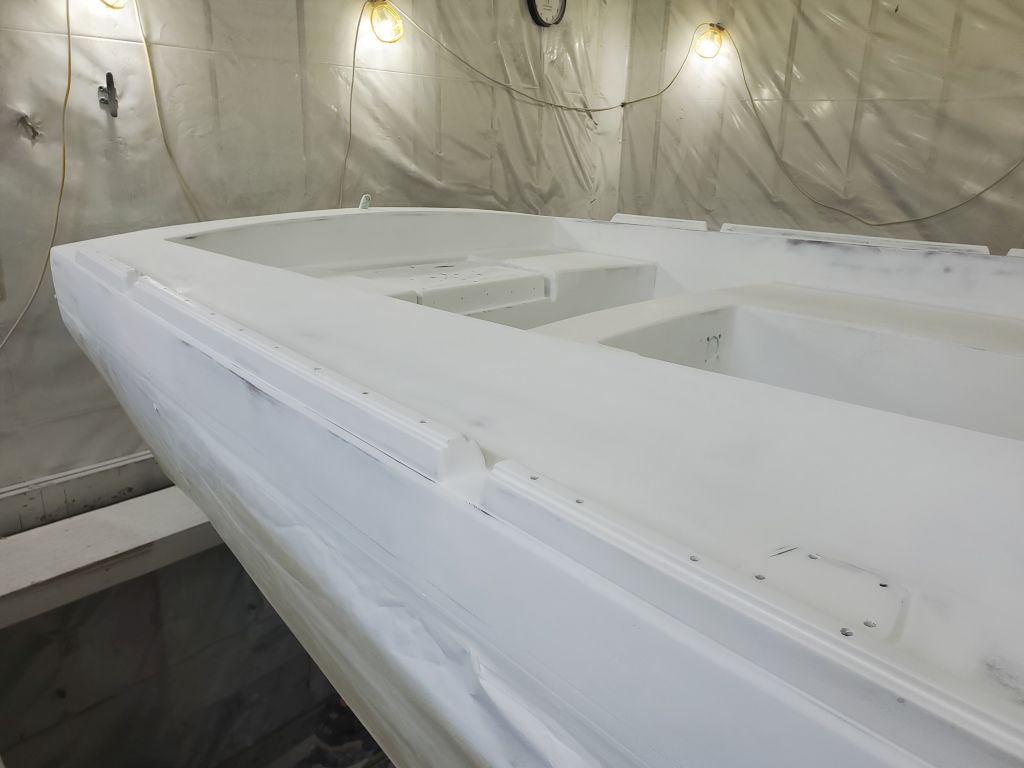
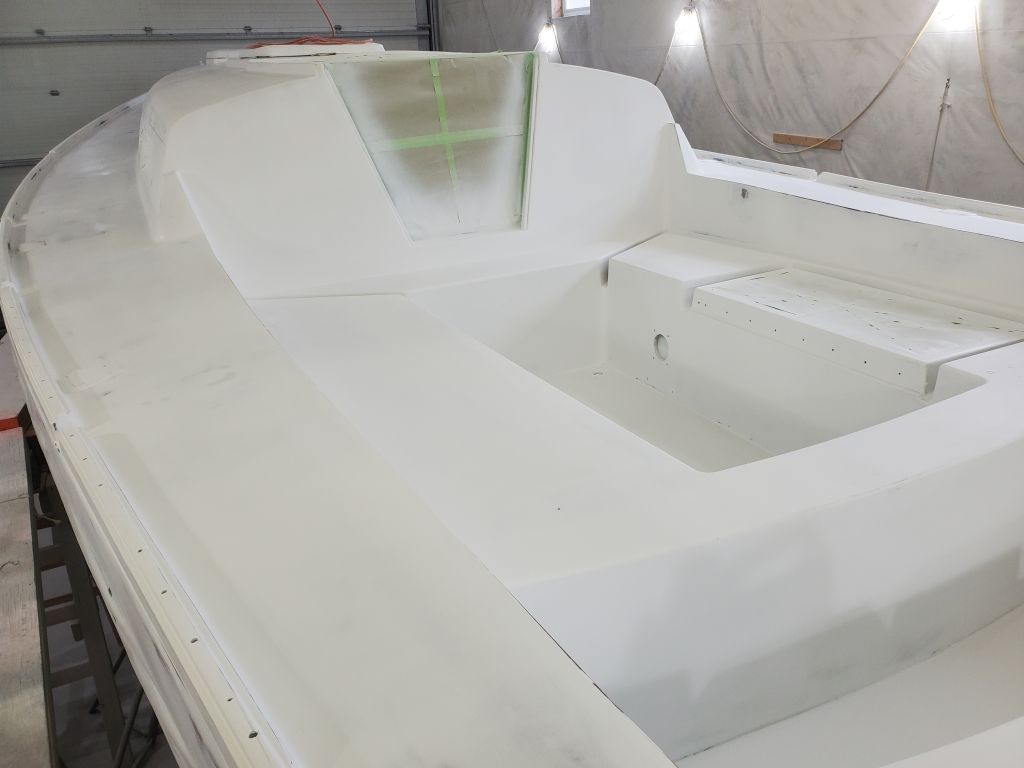
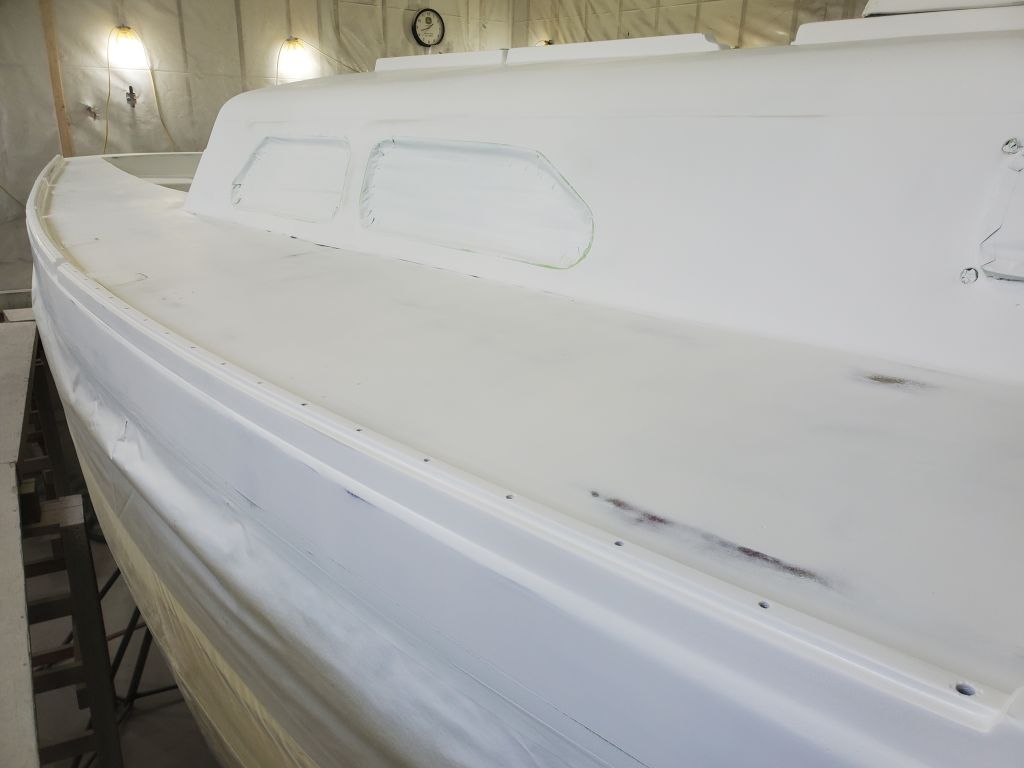
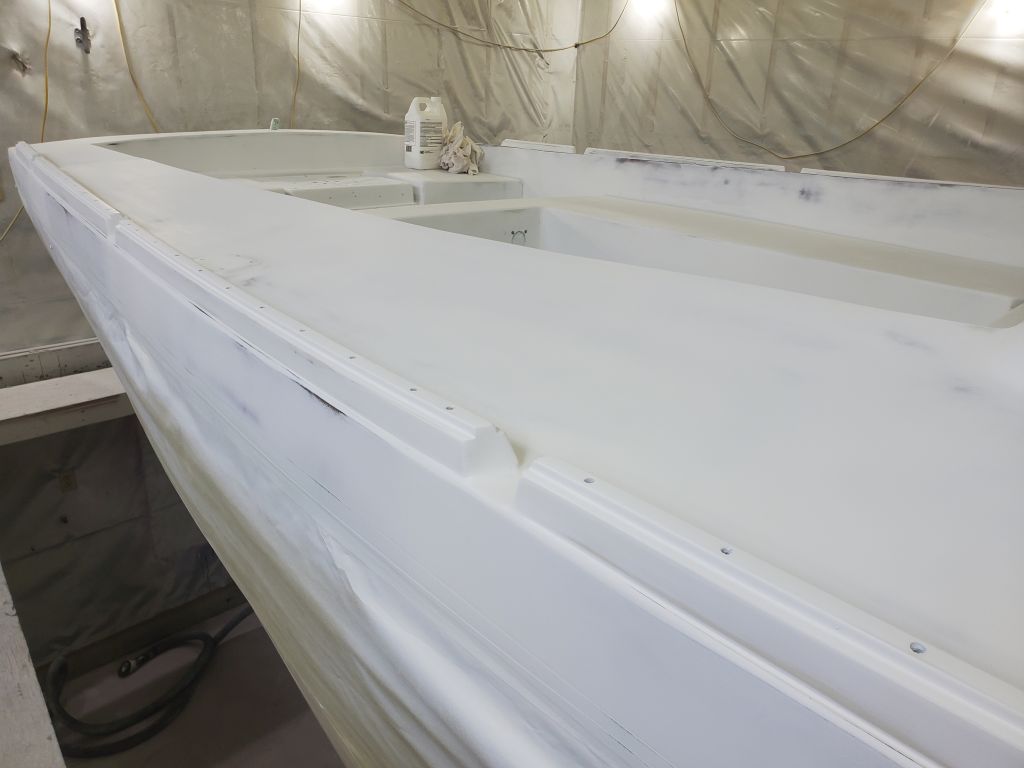
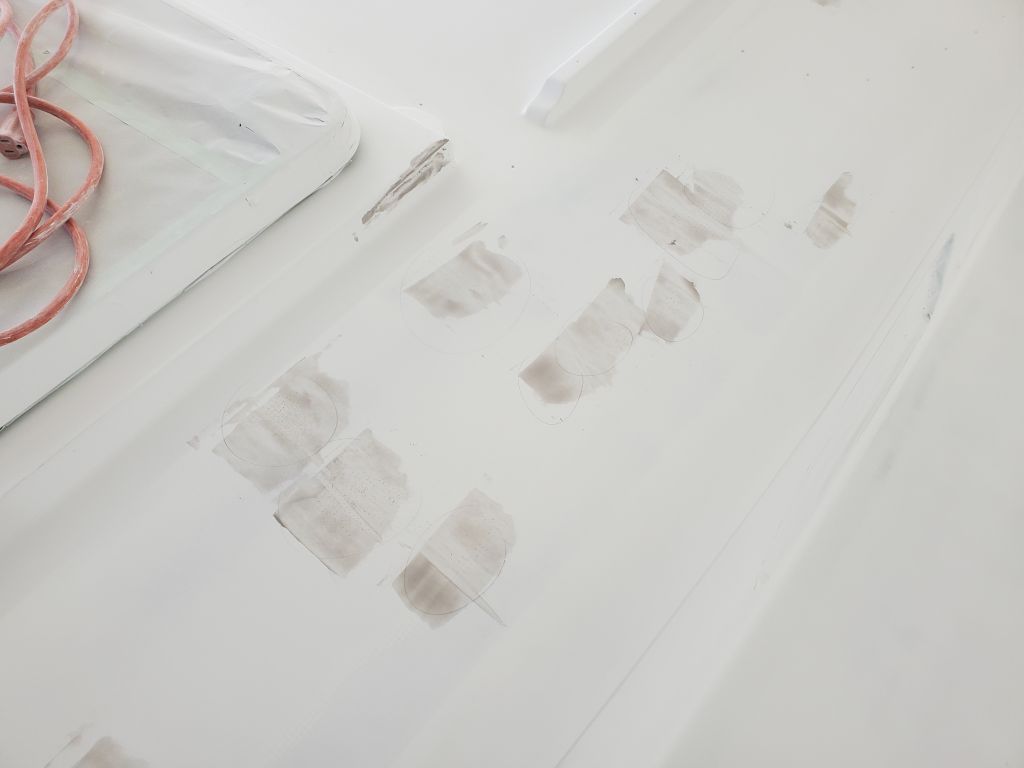
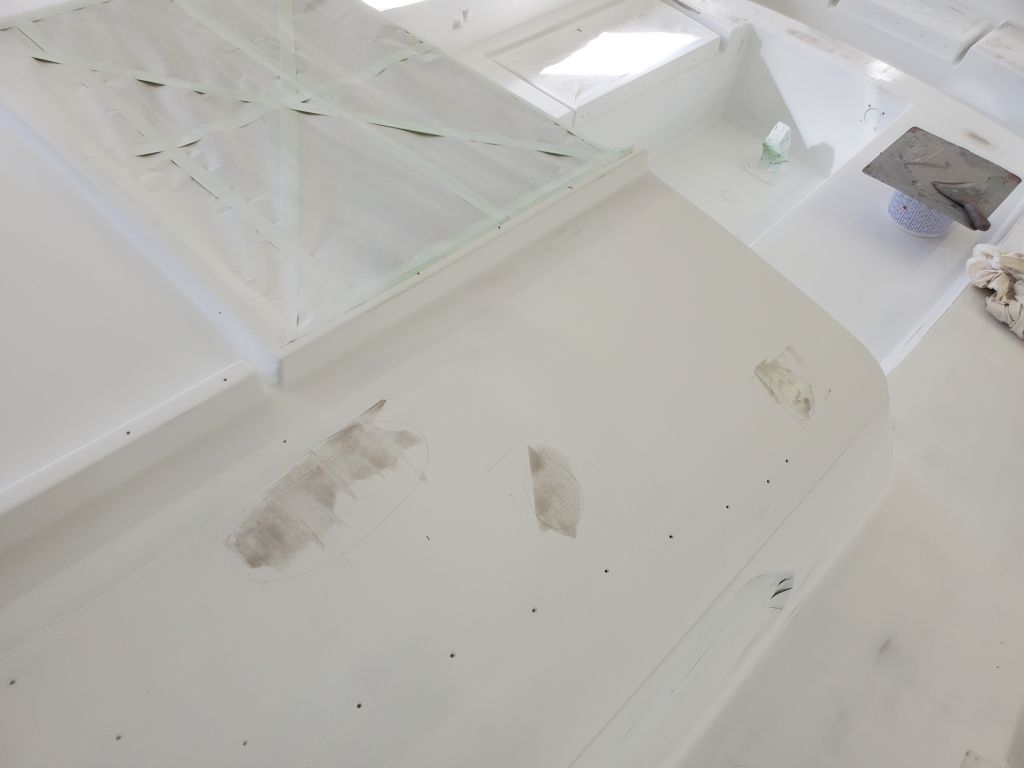
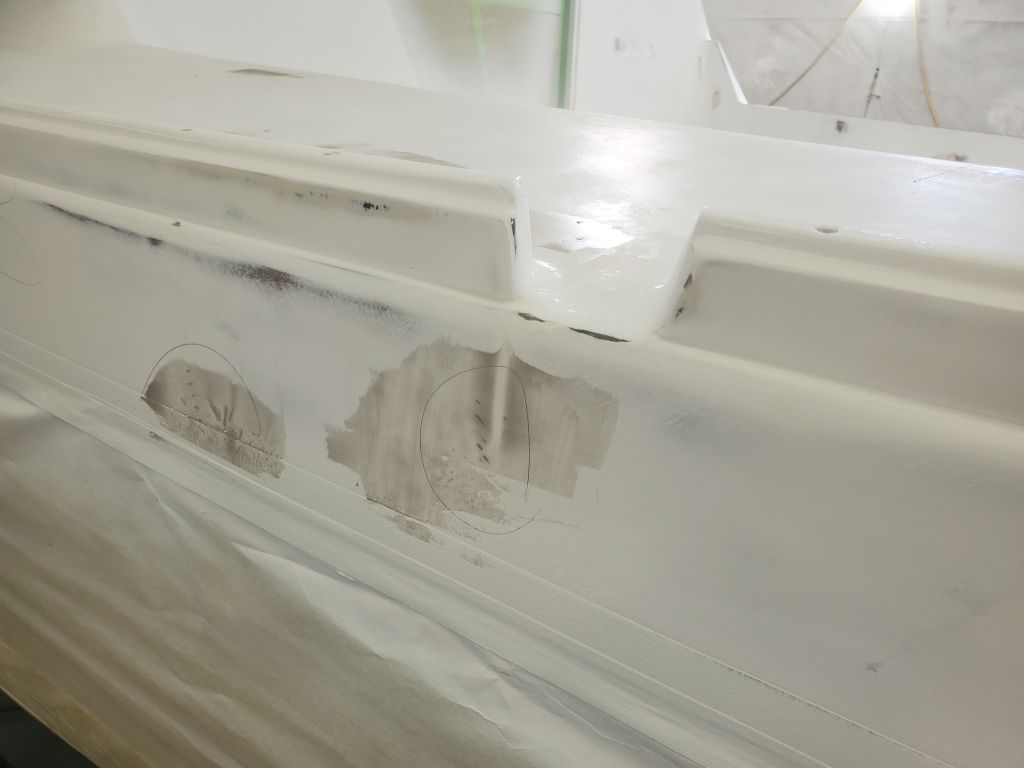
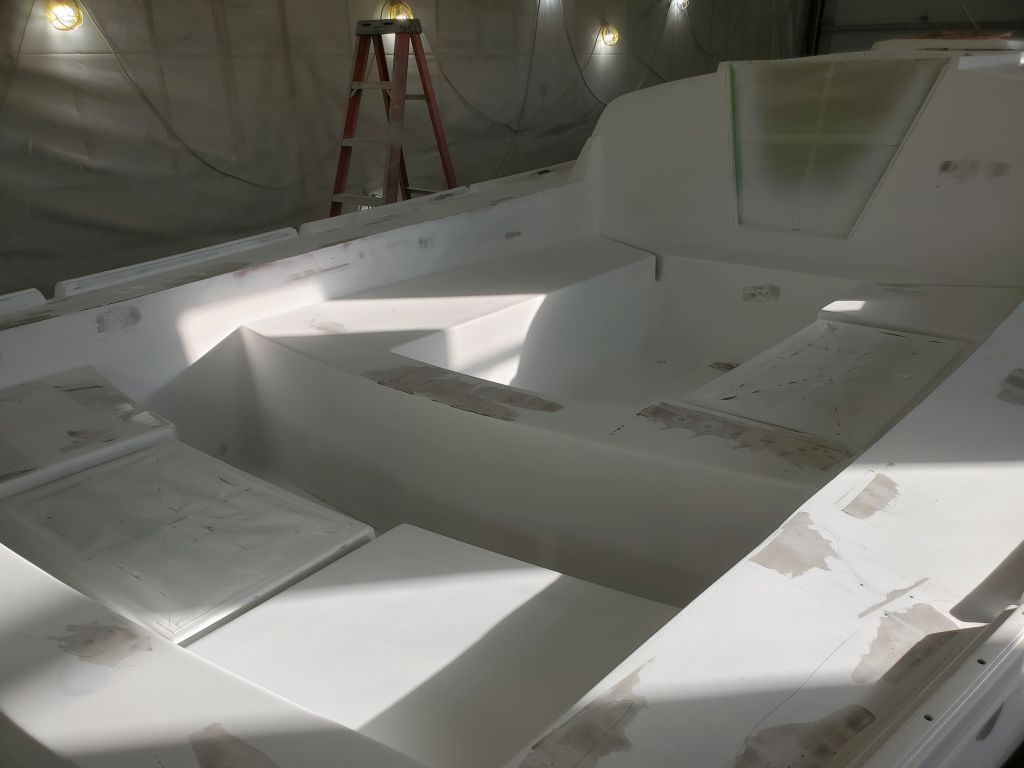
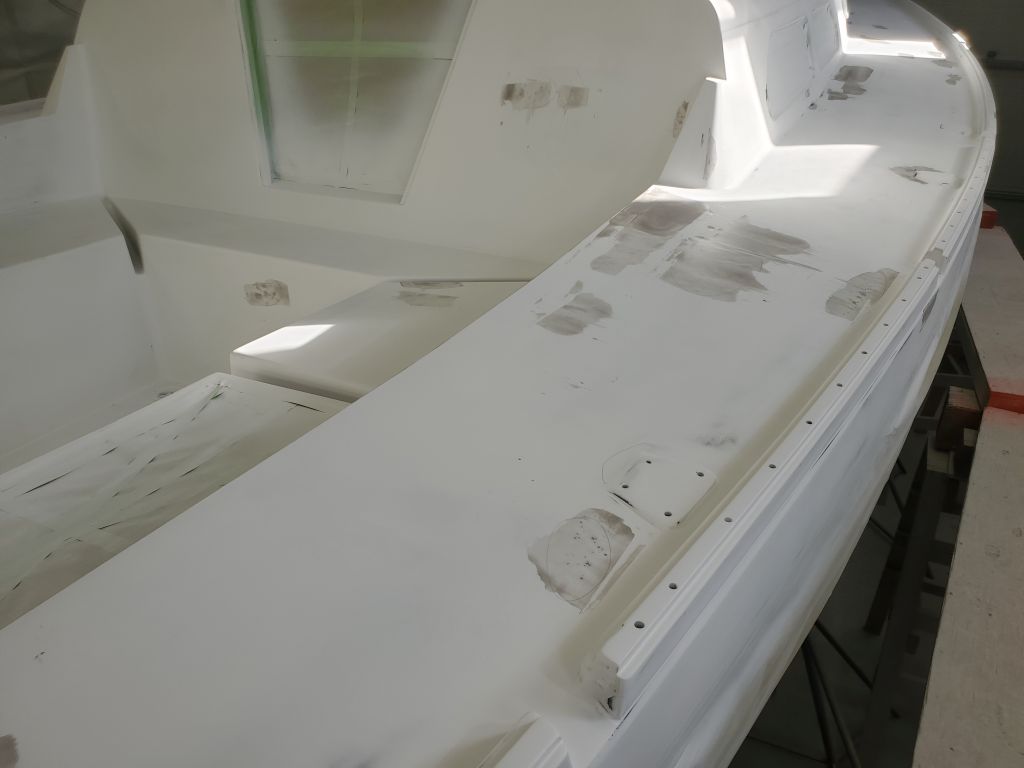
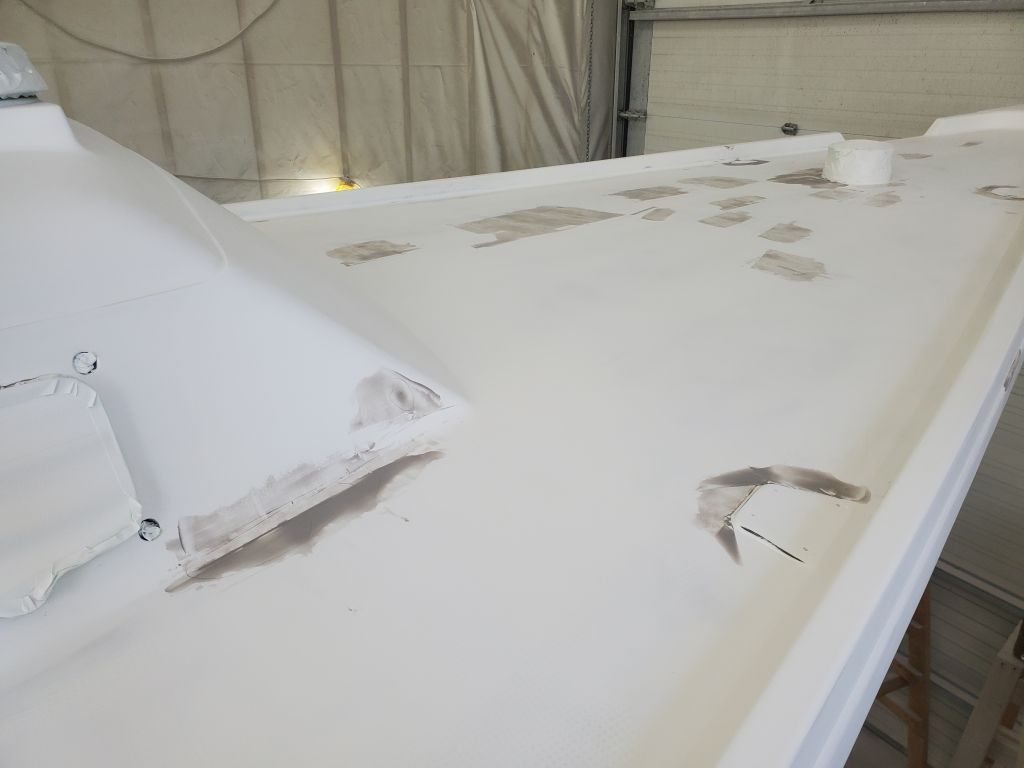
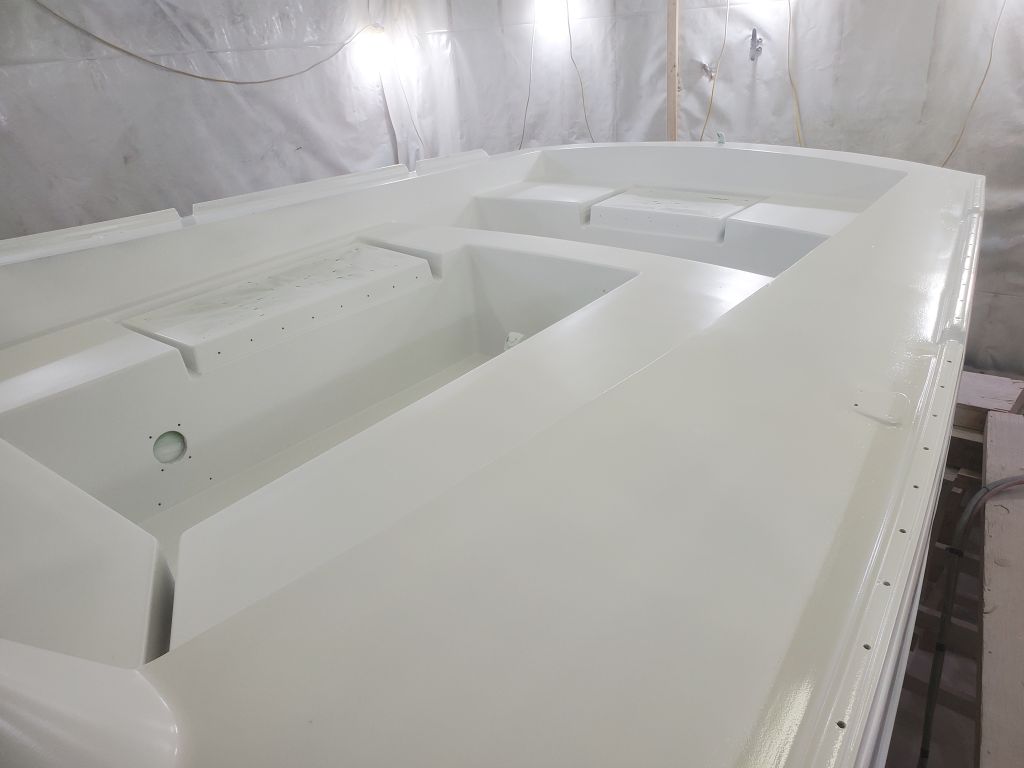
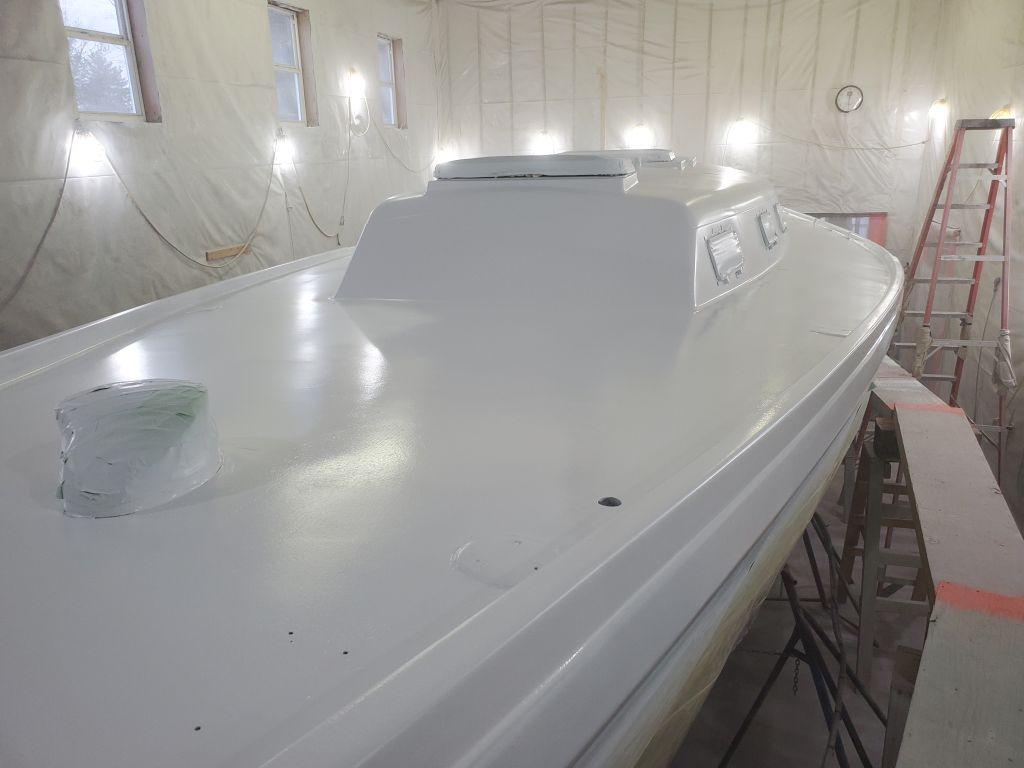
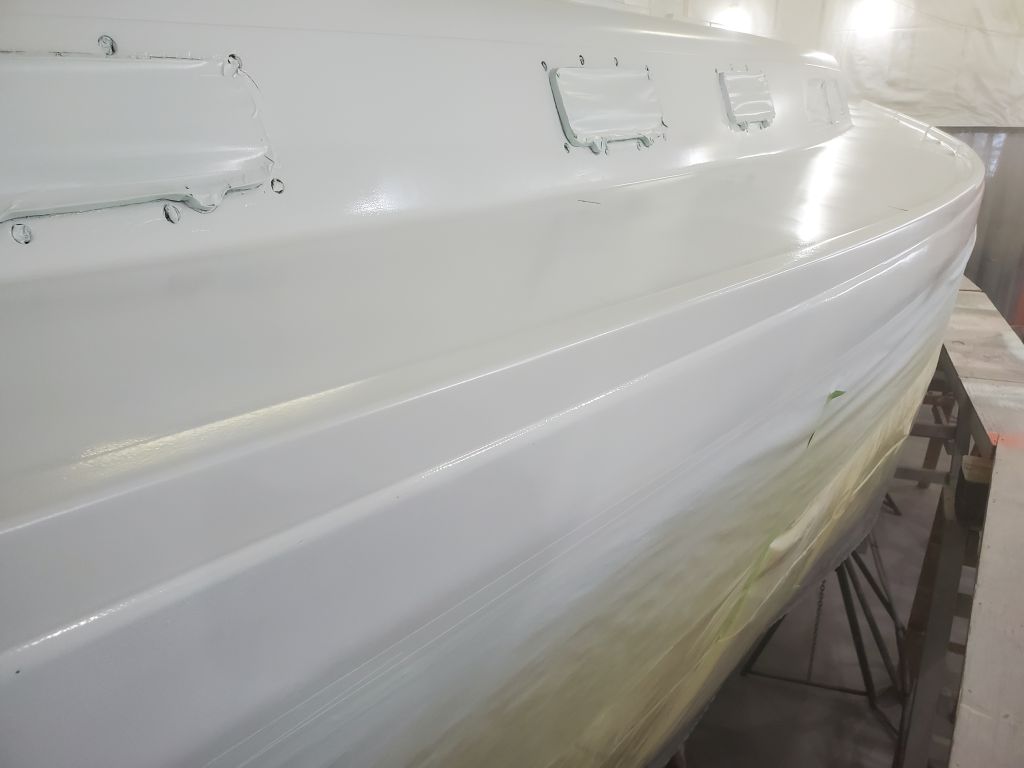
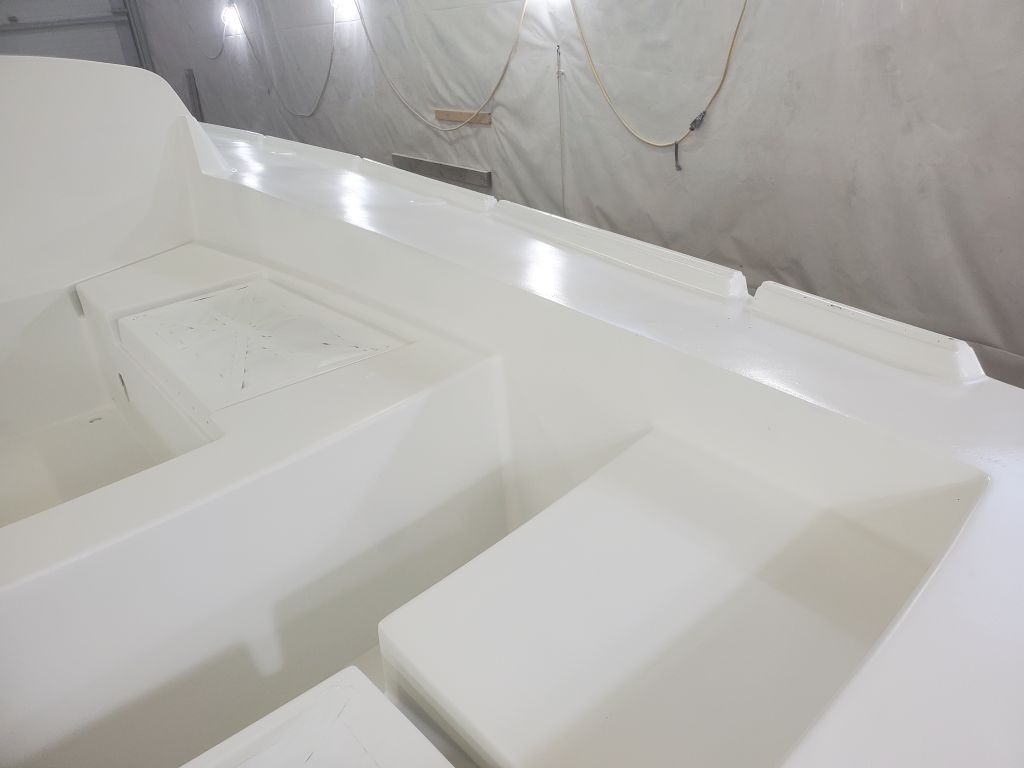
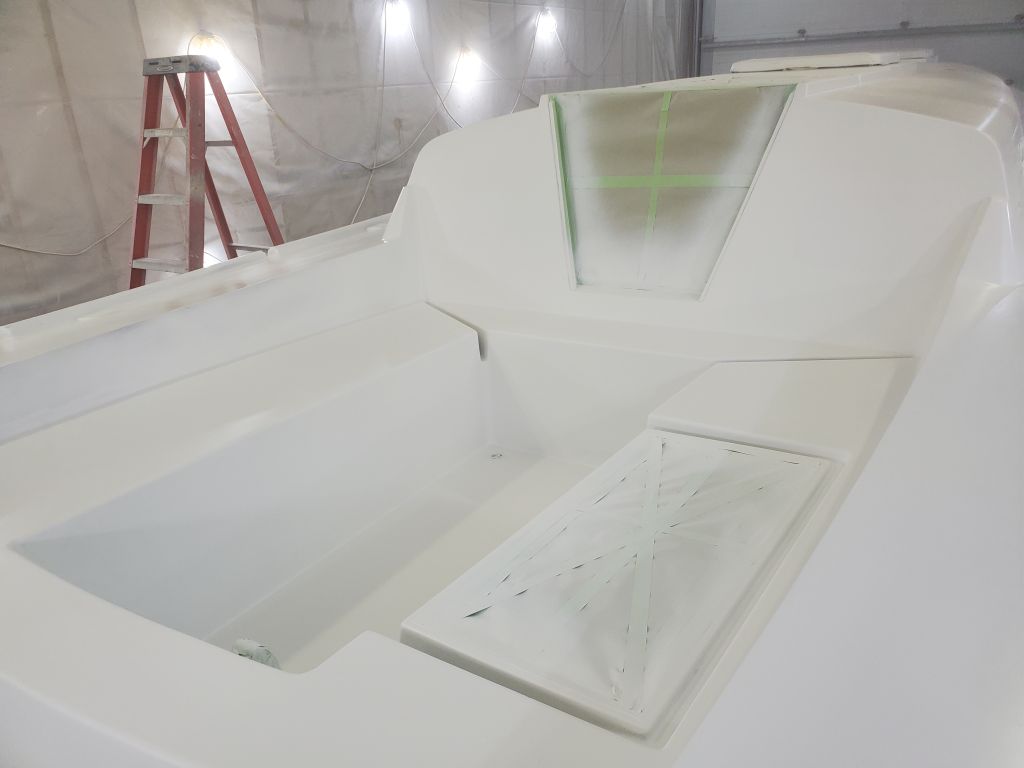
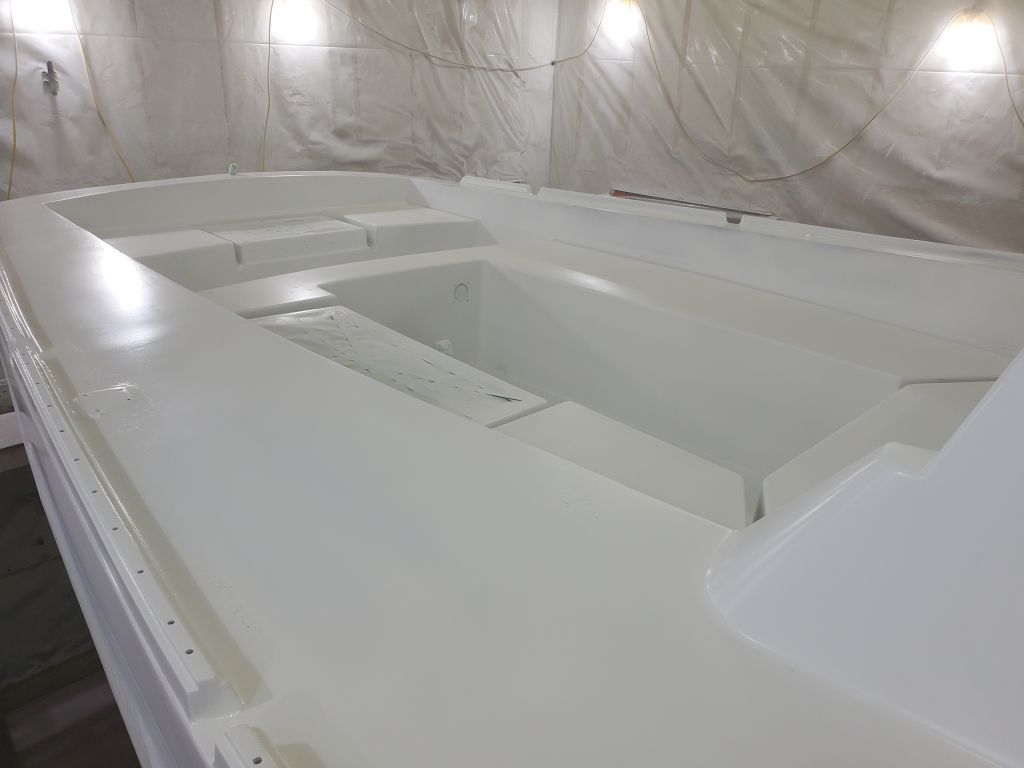
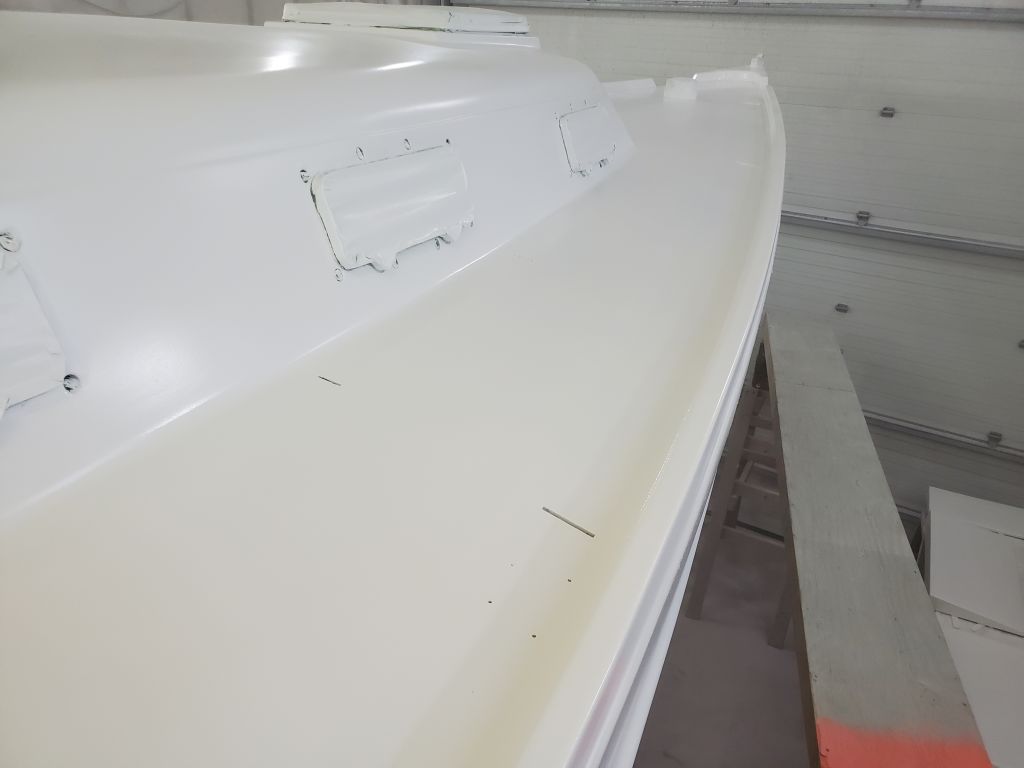
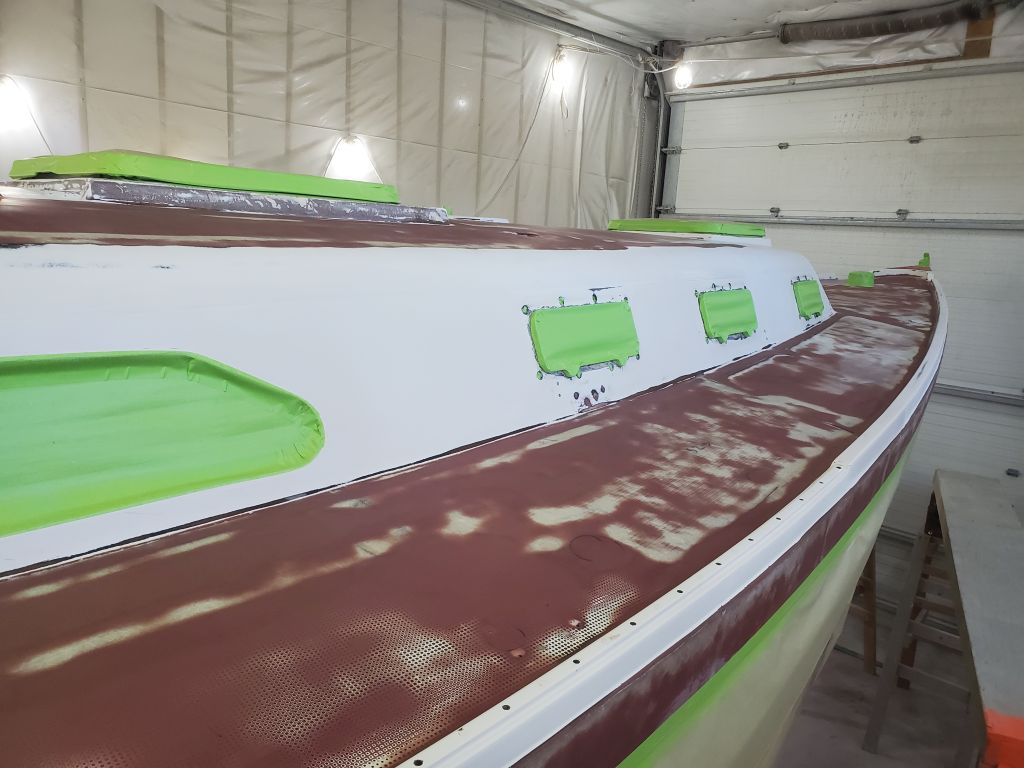
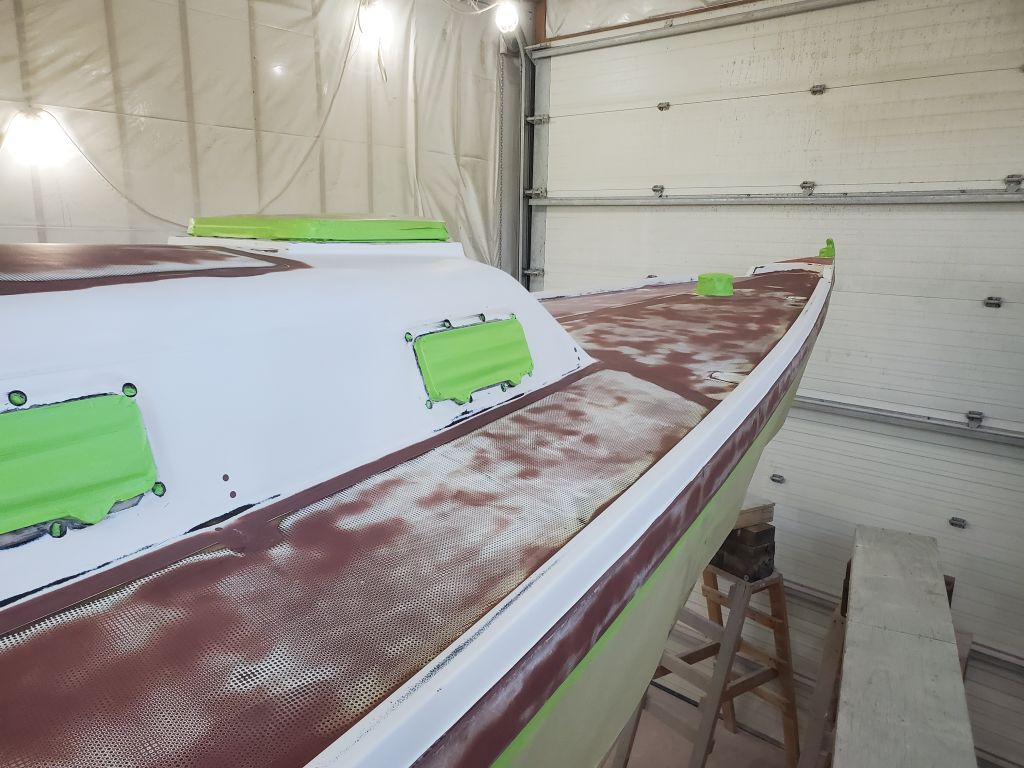
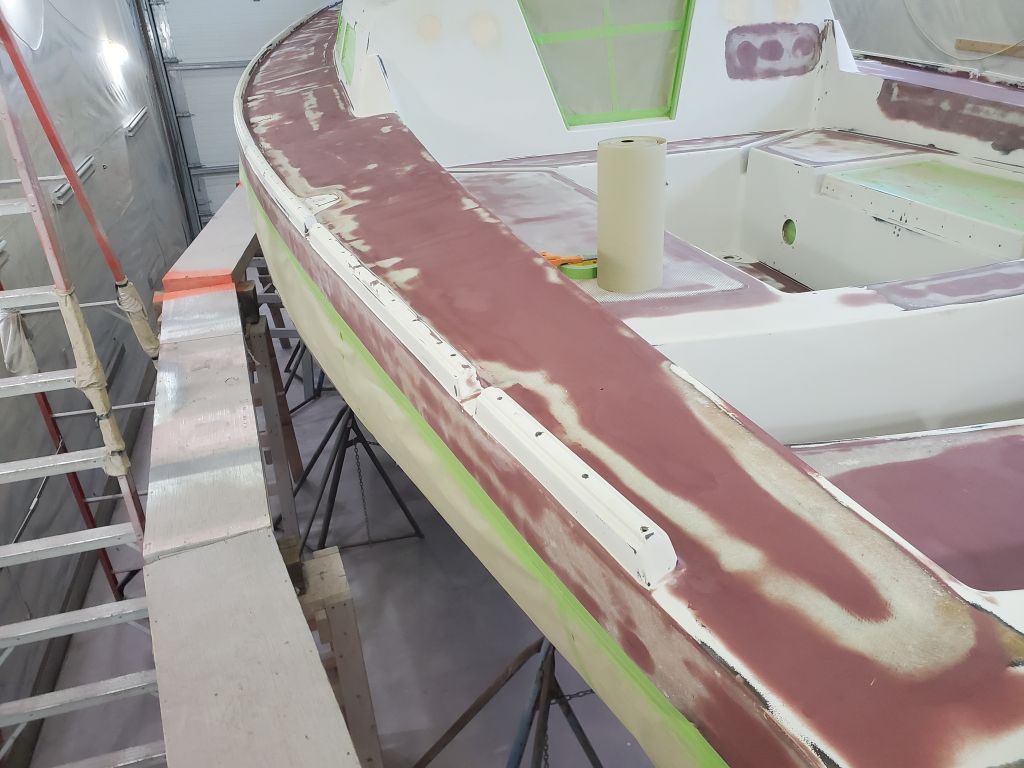
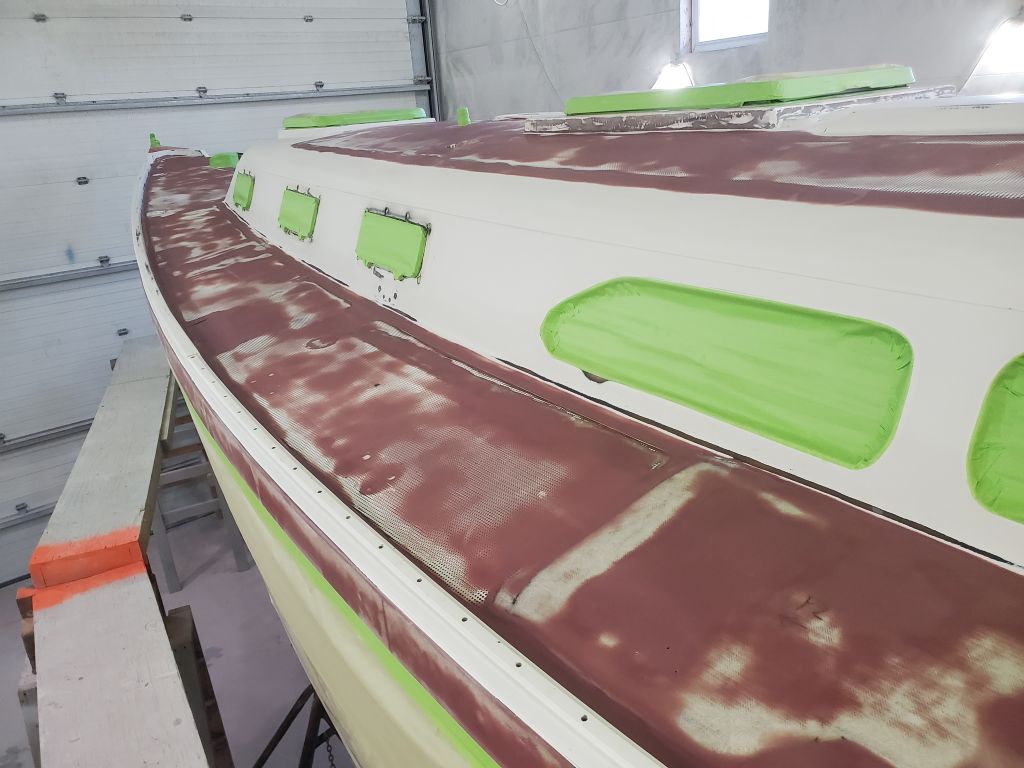
Next, I moved to the sidedecks and remainder of the boat. I chose a 3/4″ border around the raised stanchion and pulpit base pads, as well as around the windlass on the foredeck, and 1-1/2″ borders along the toerails and cabin sides (and elsewhere as needed). At the aft end of the sidedecks, I struck a line following the curvature of the inside of the cockpit coaming to mark the end of the nonskid there. I rounded all corners with a 1/2″ radius, and covered the field areas with masking paper to protect against overspray.
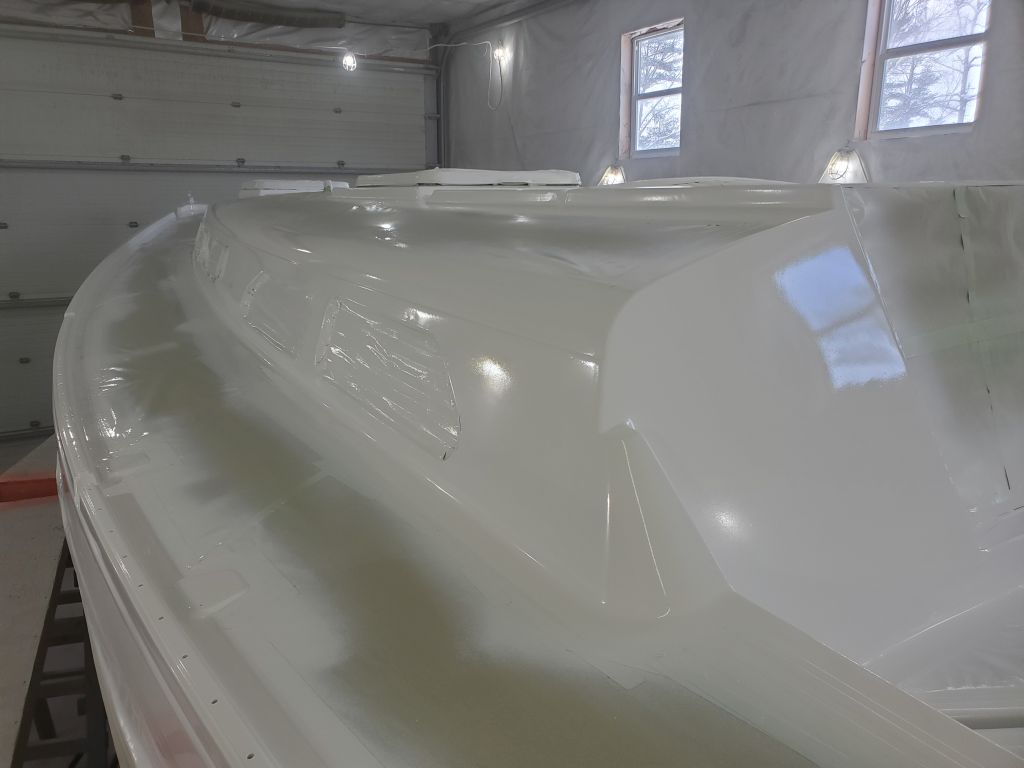
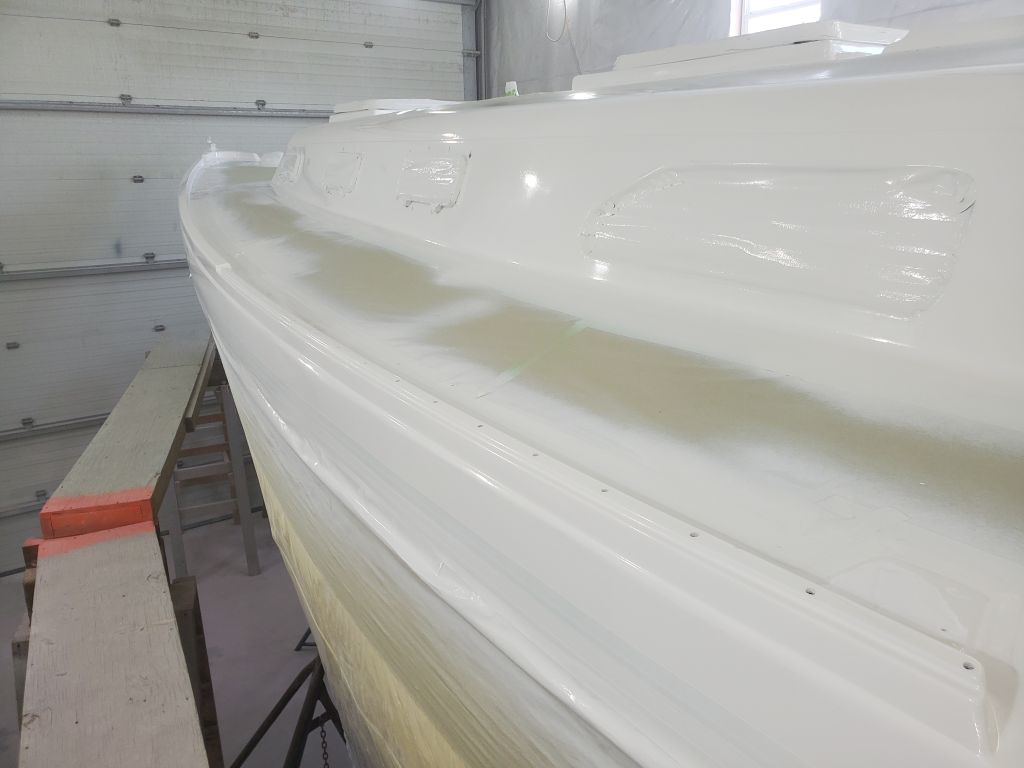
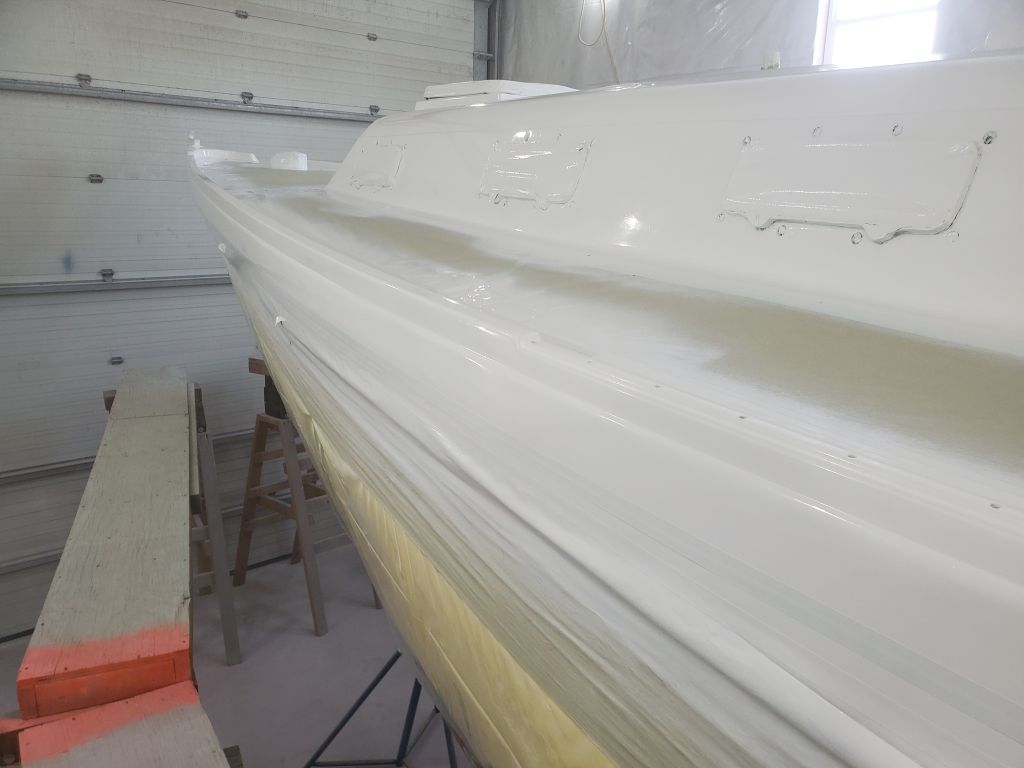
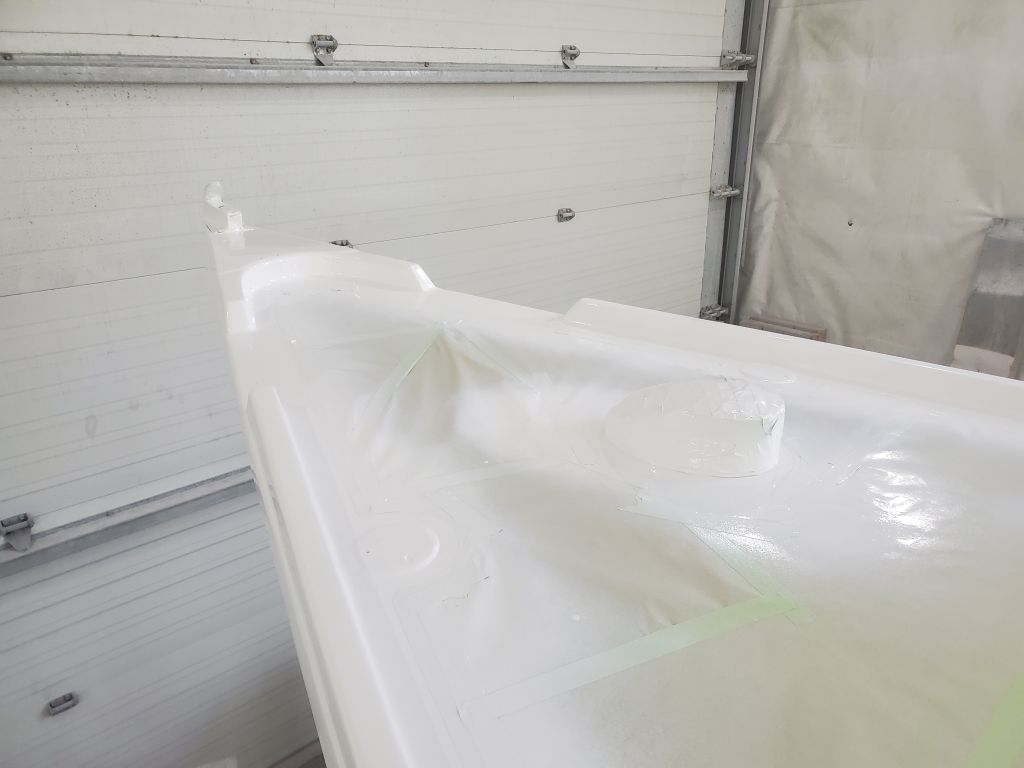
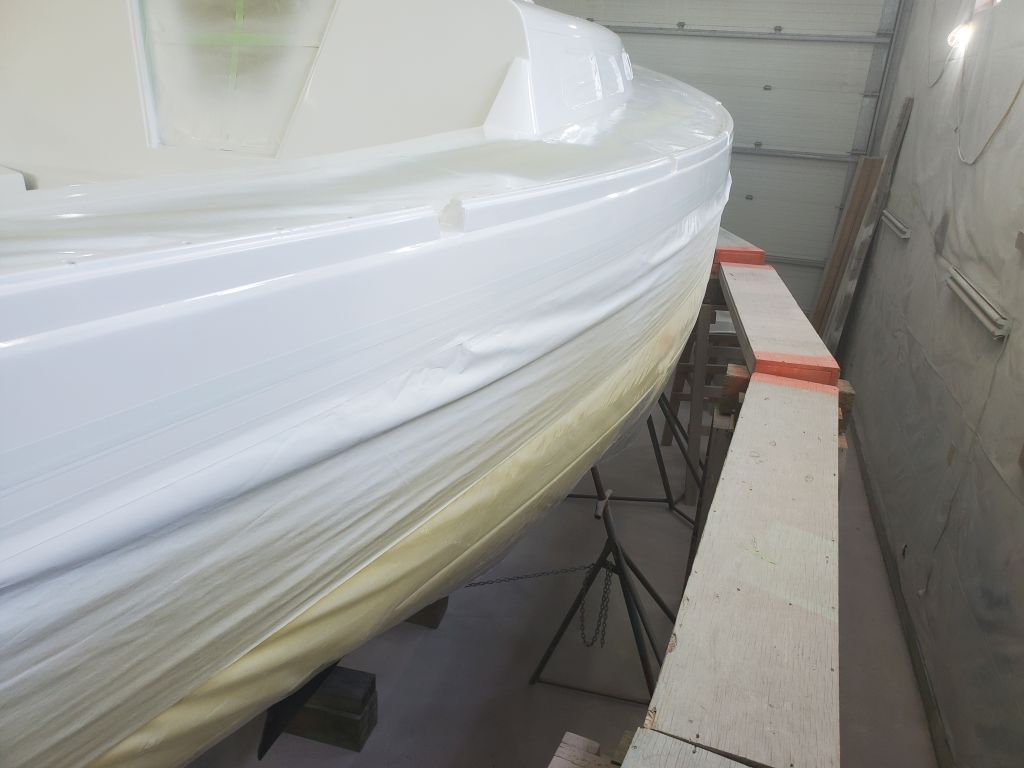
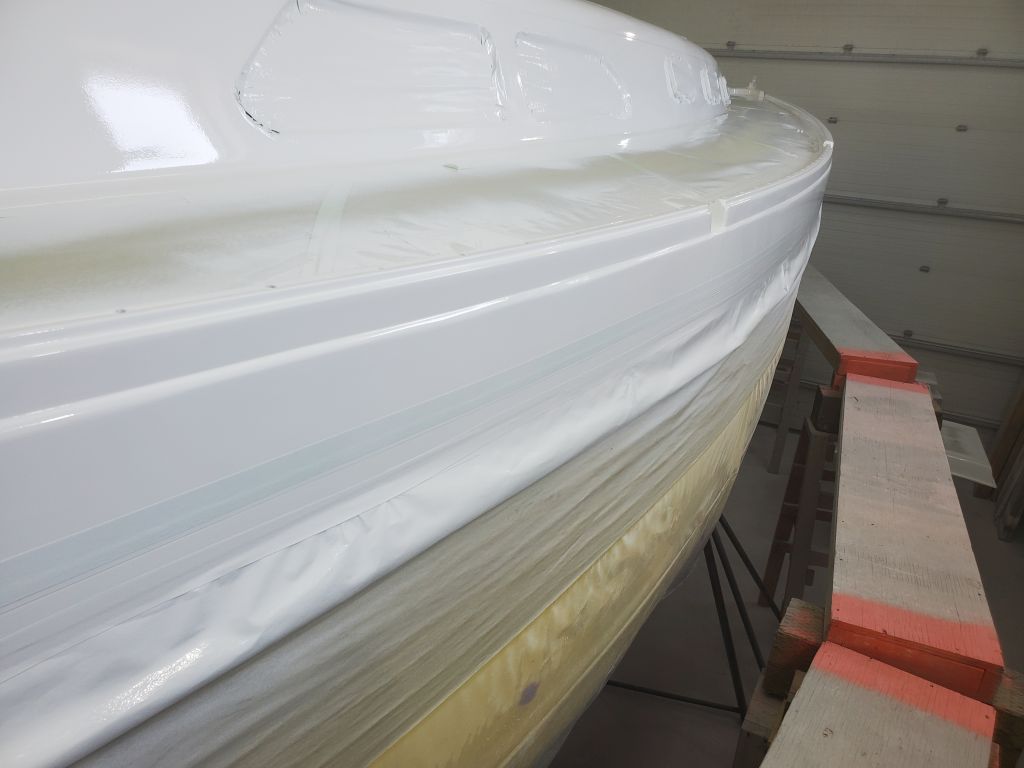
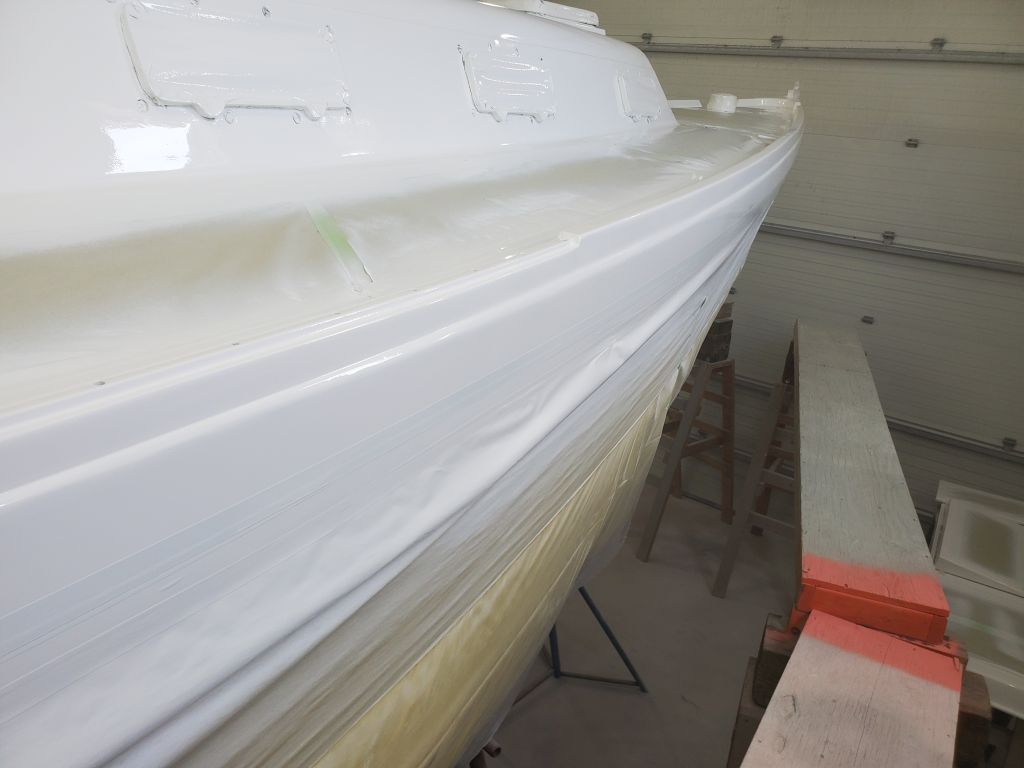
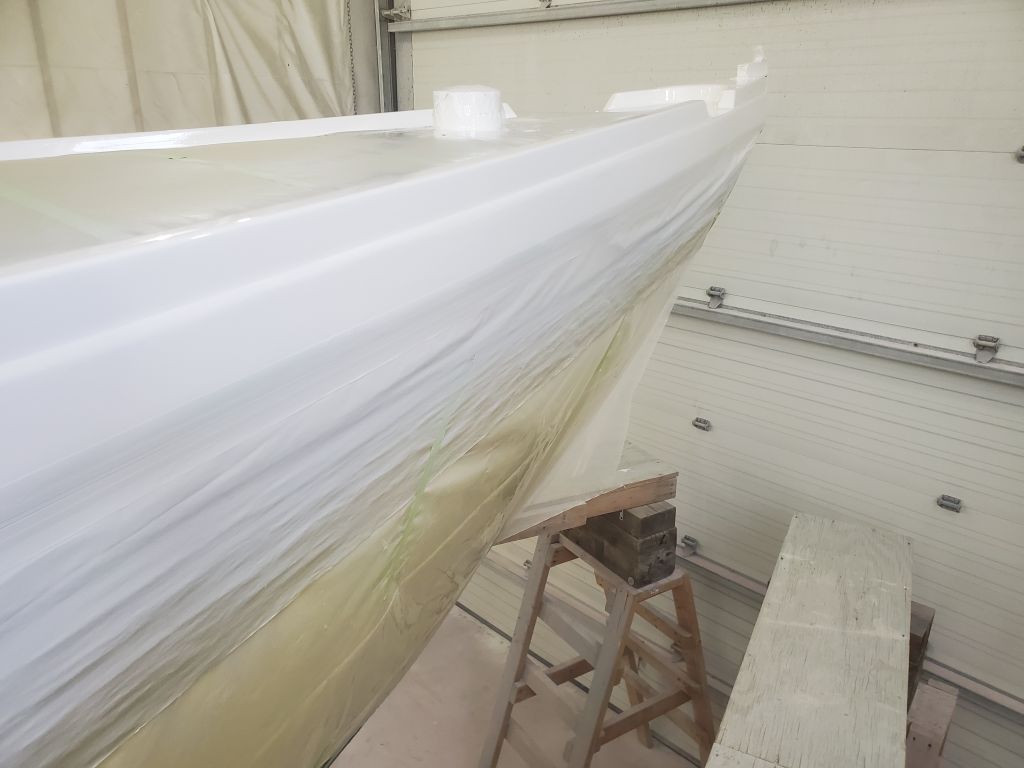
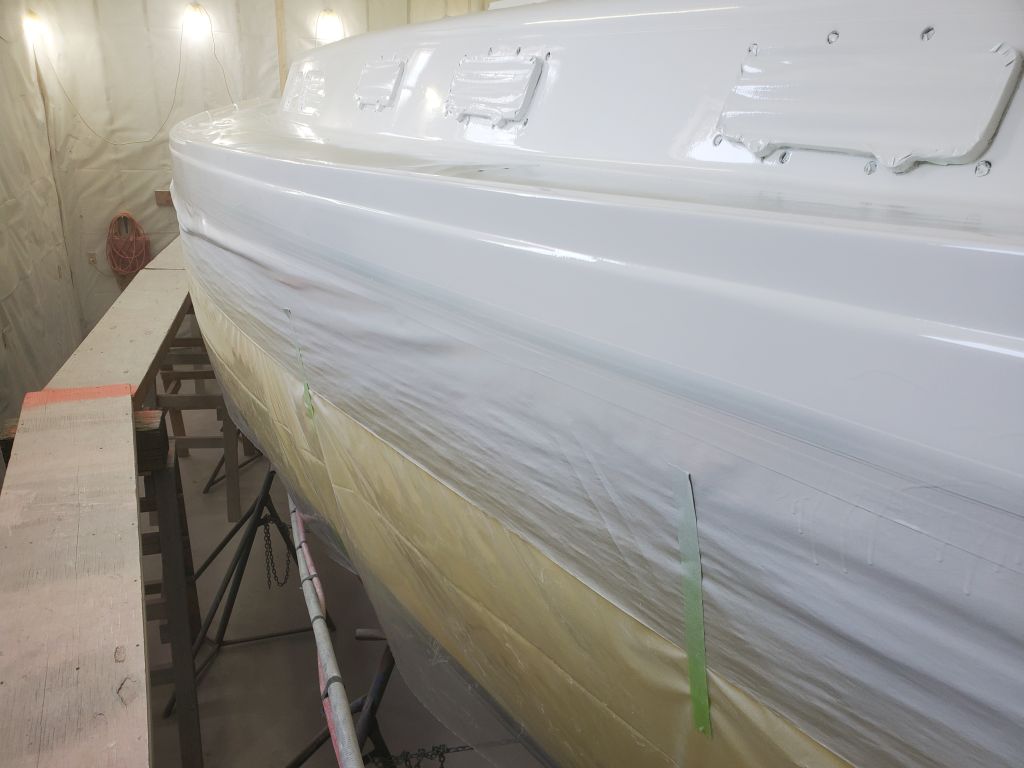
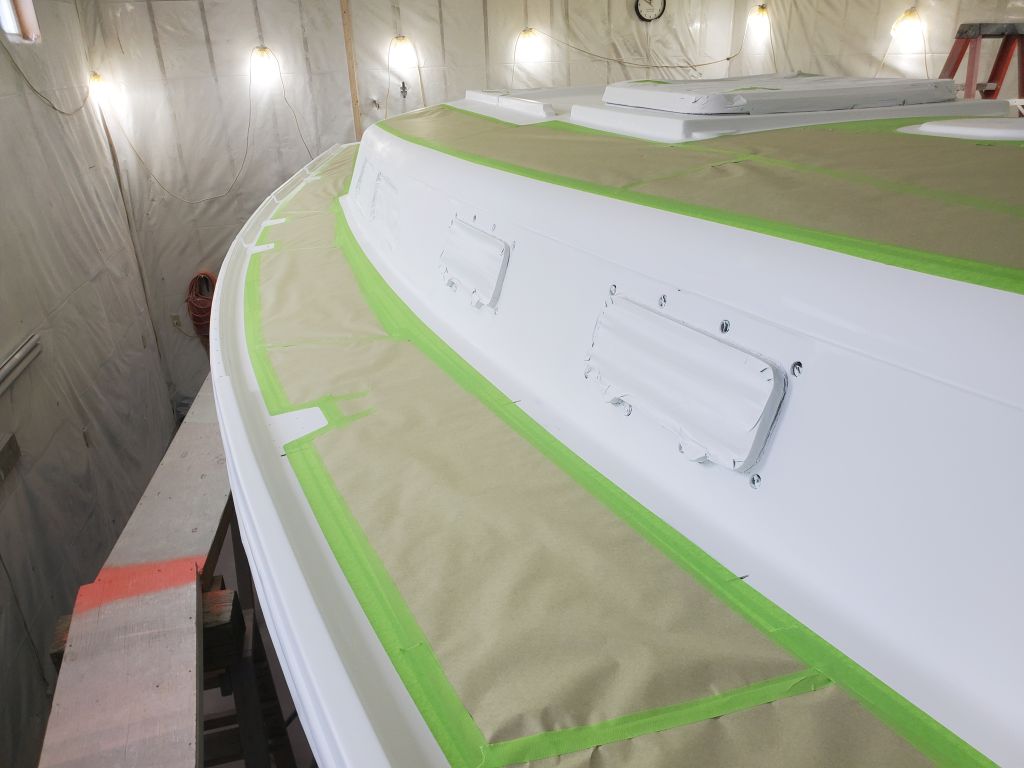
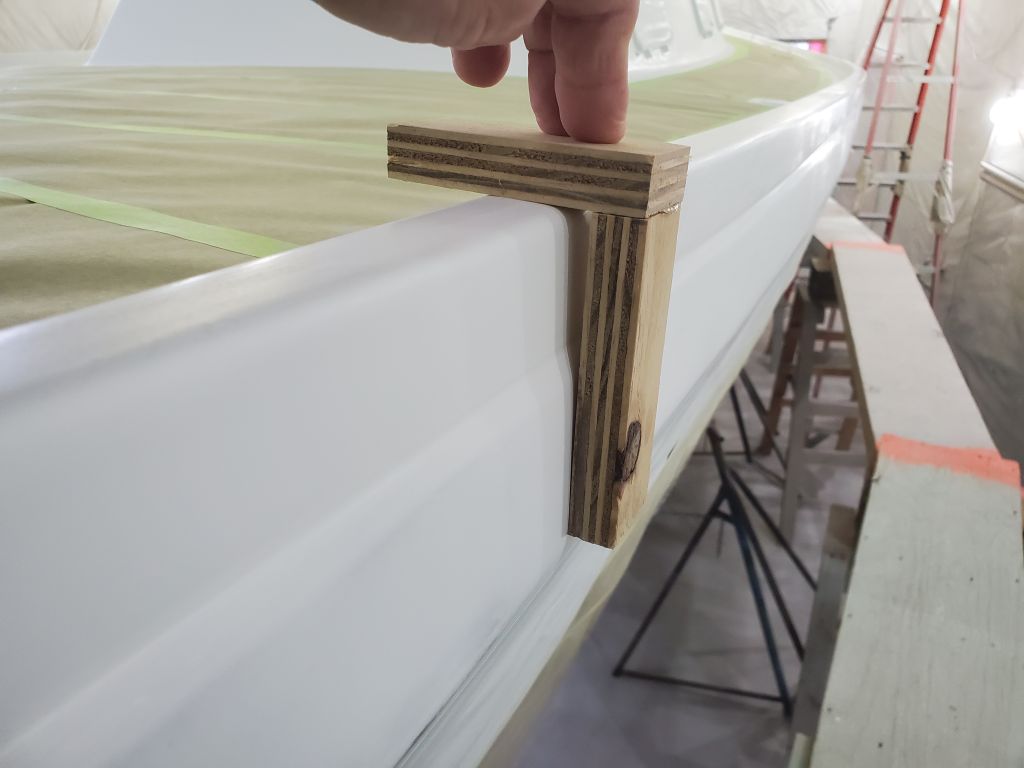
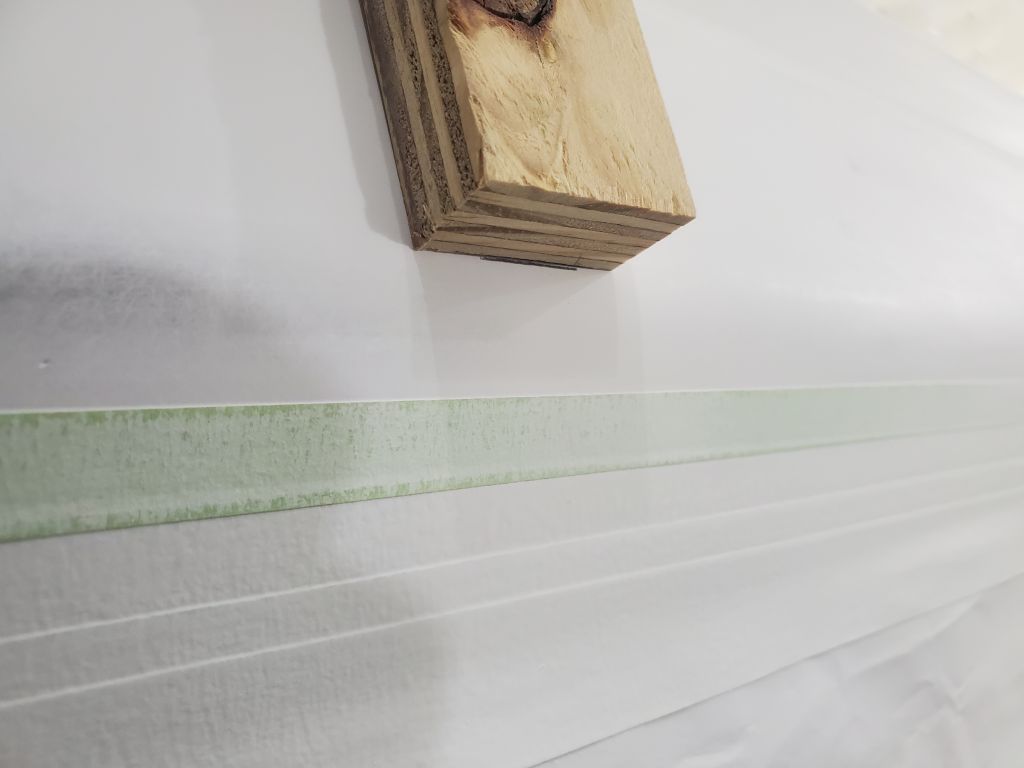
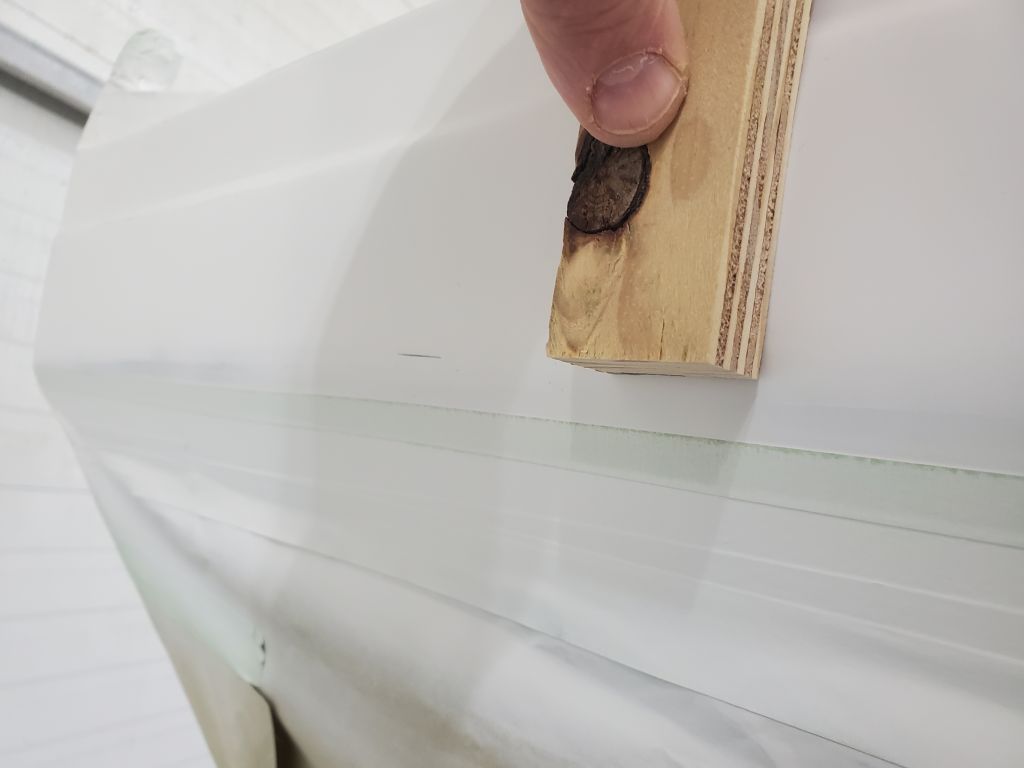
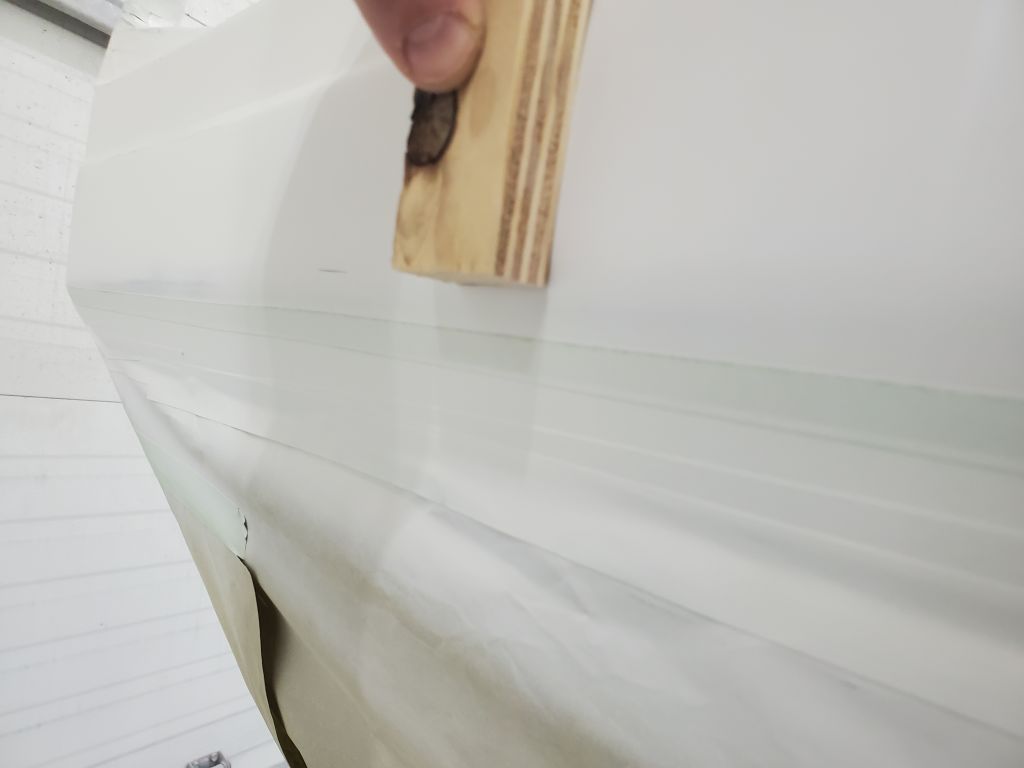
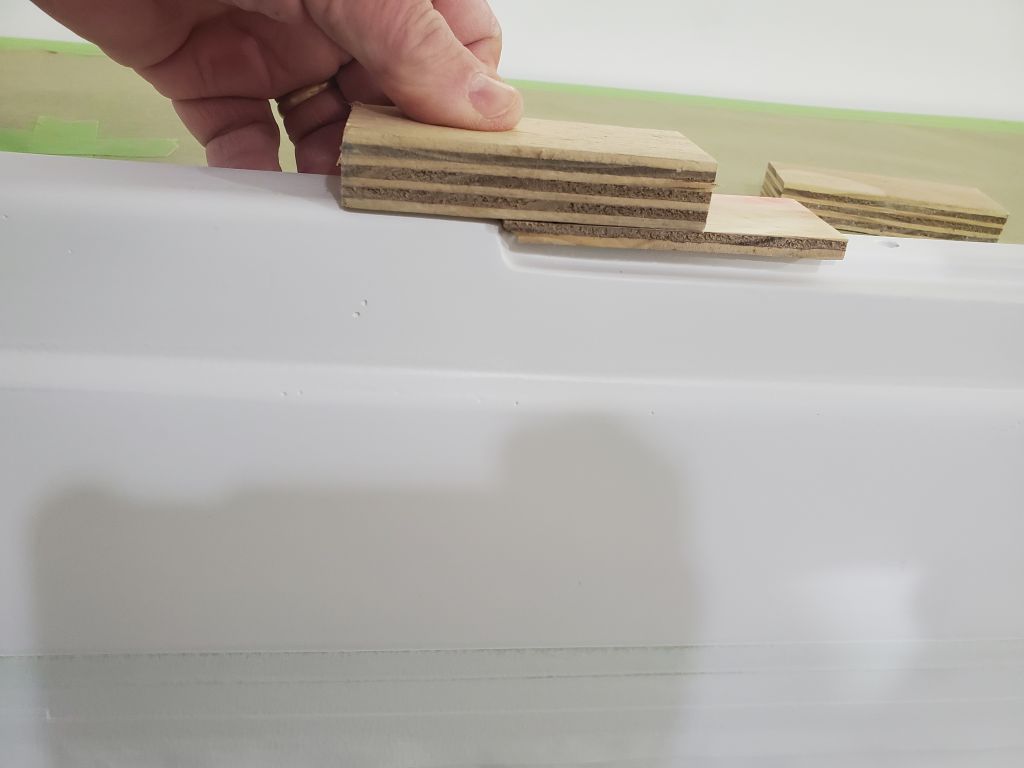
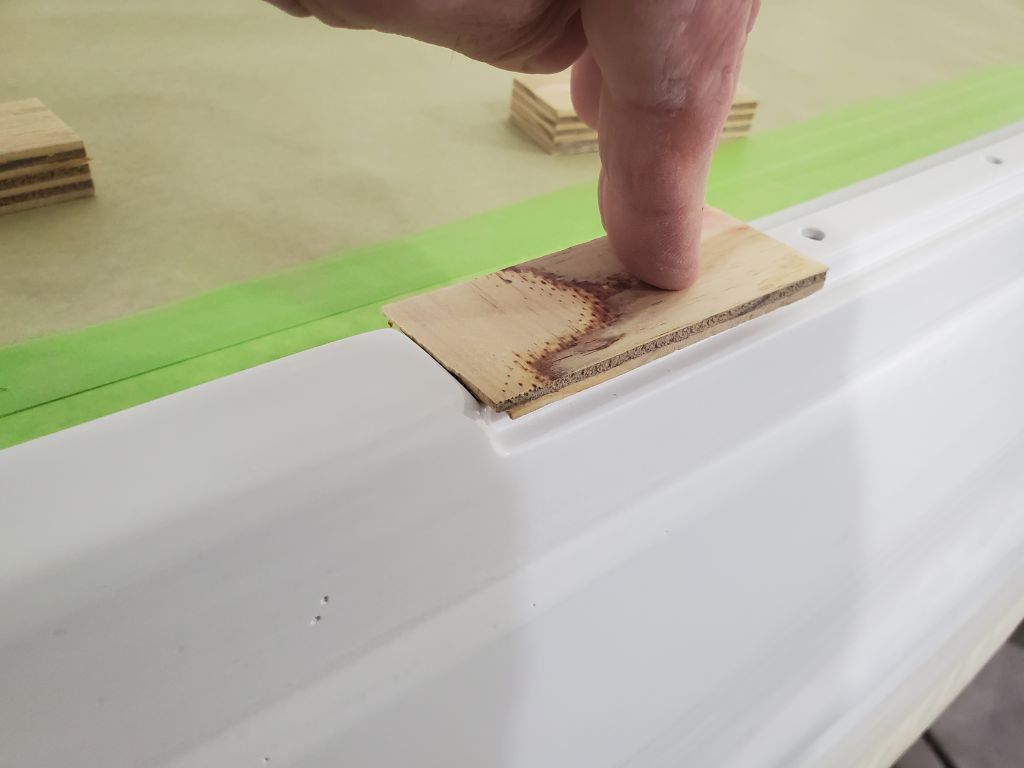
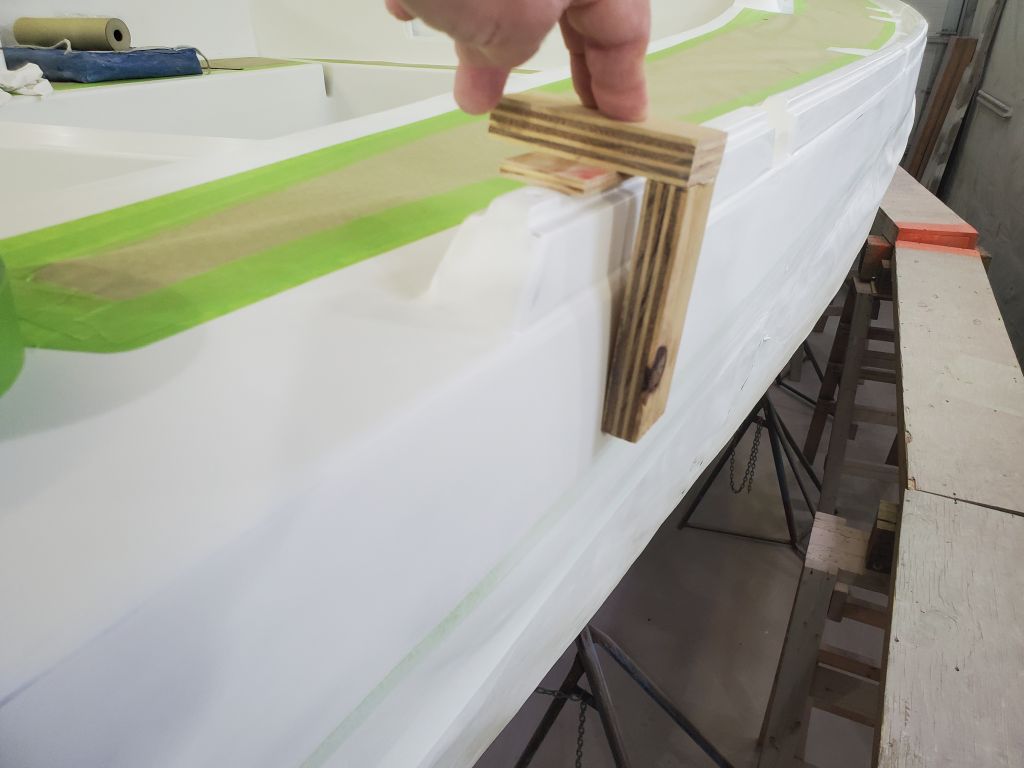
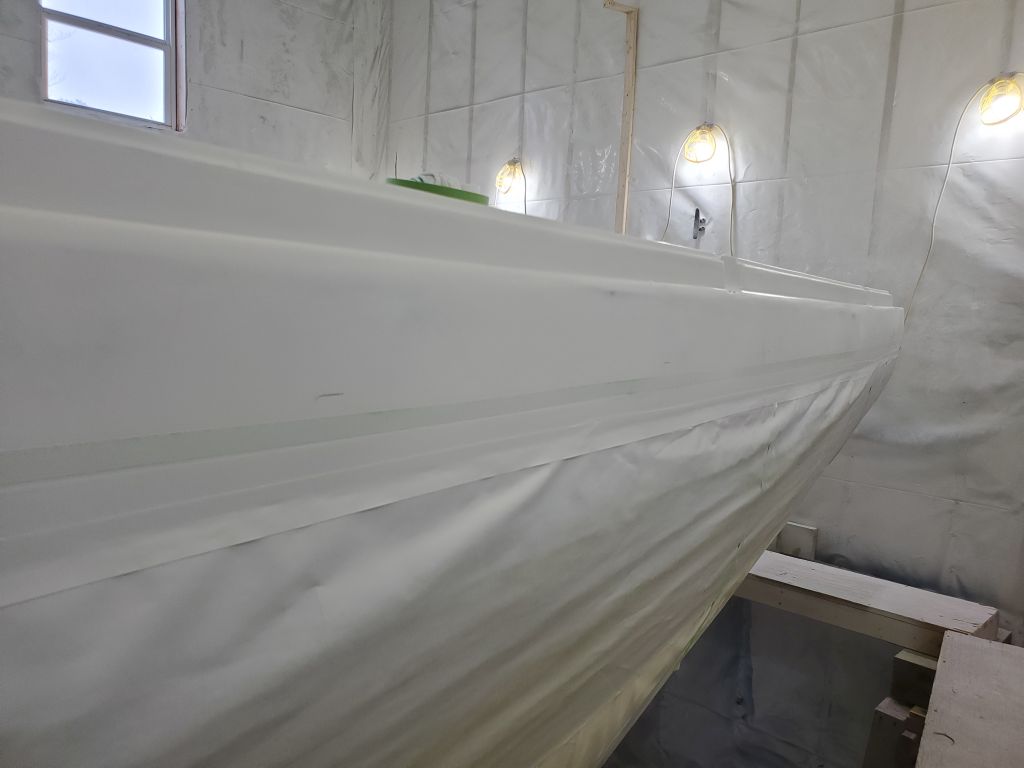
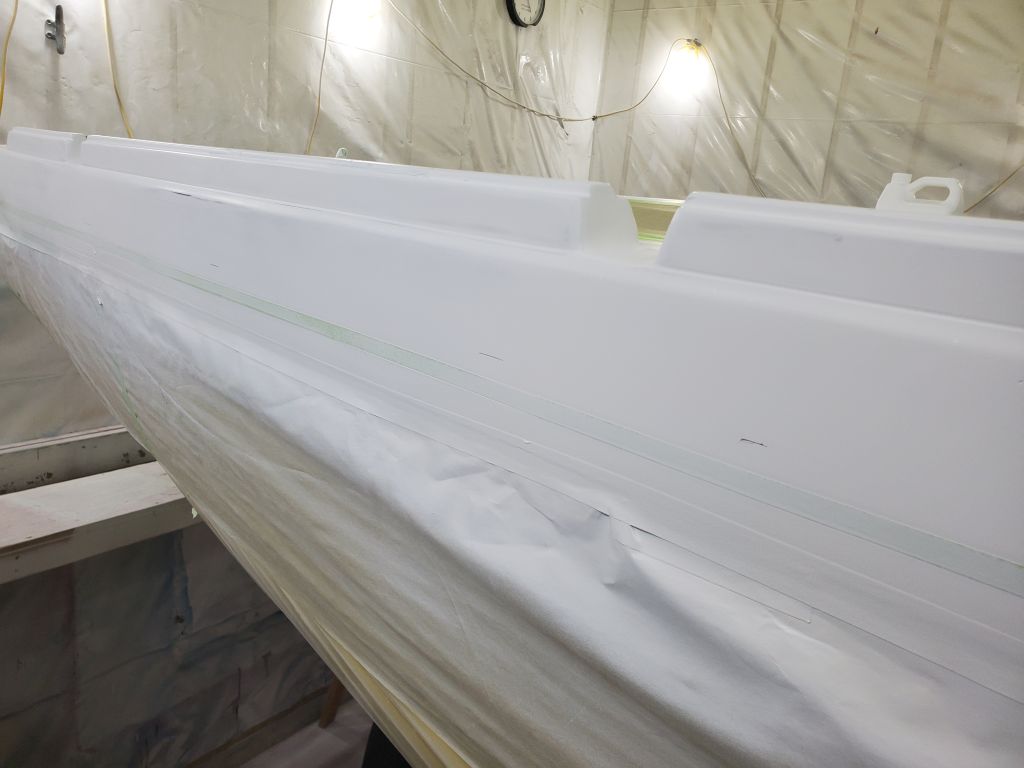
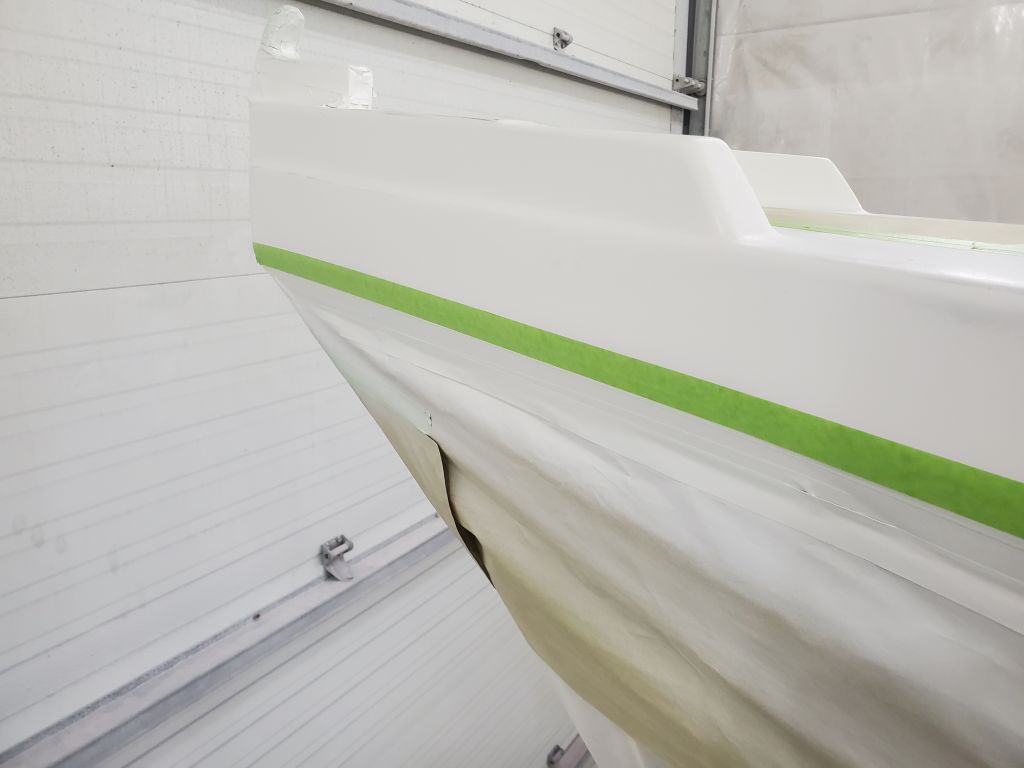
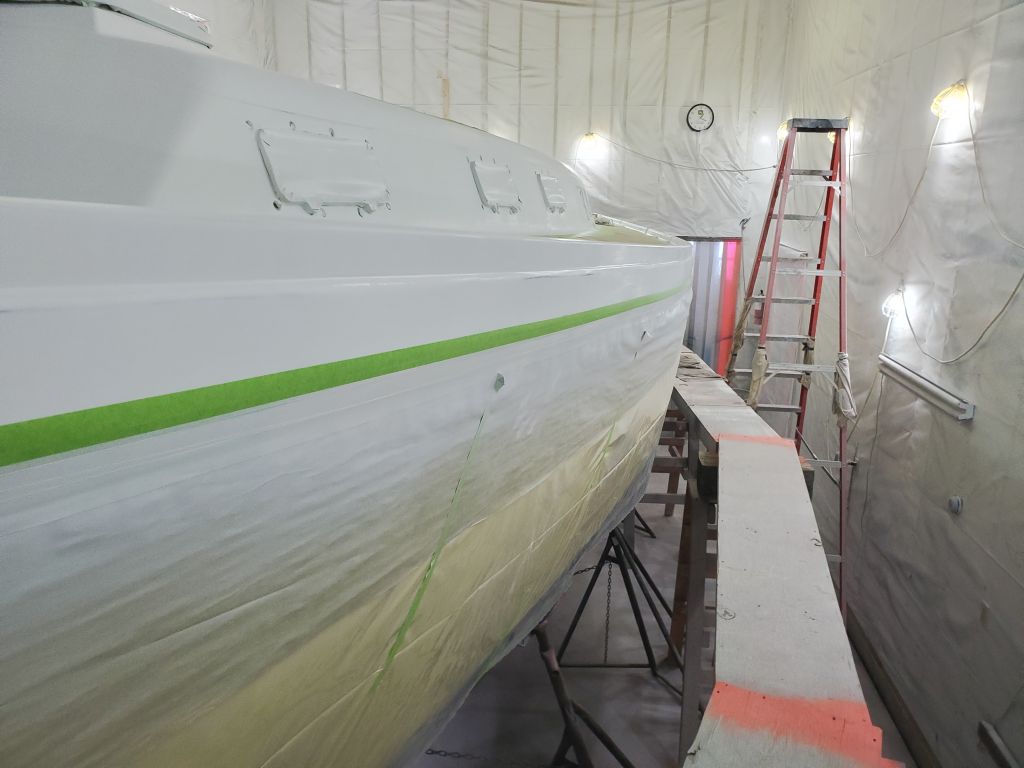
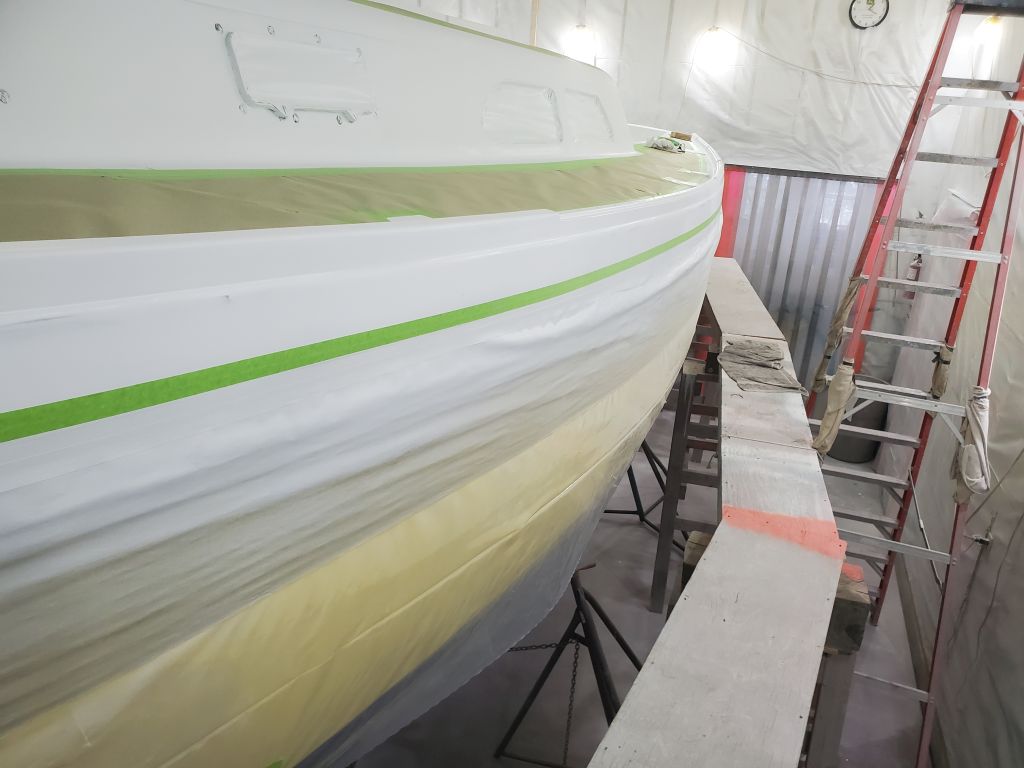
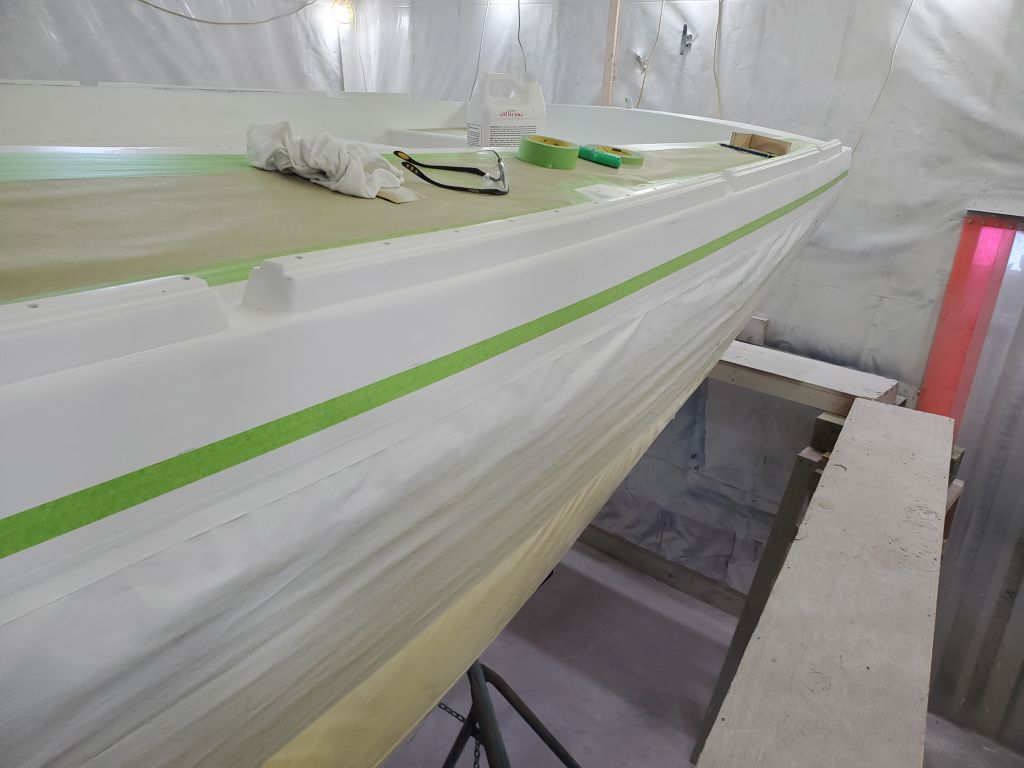
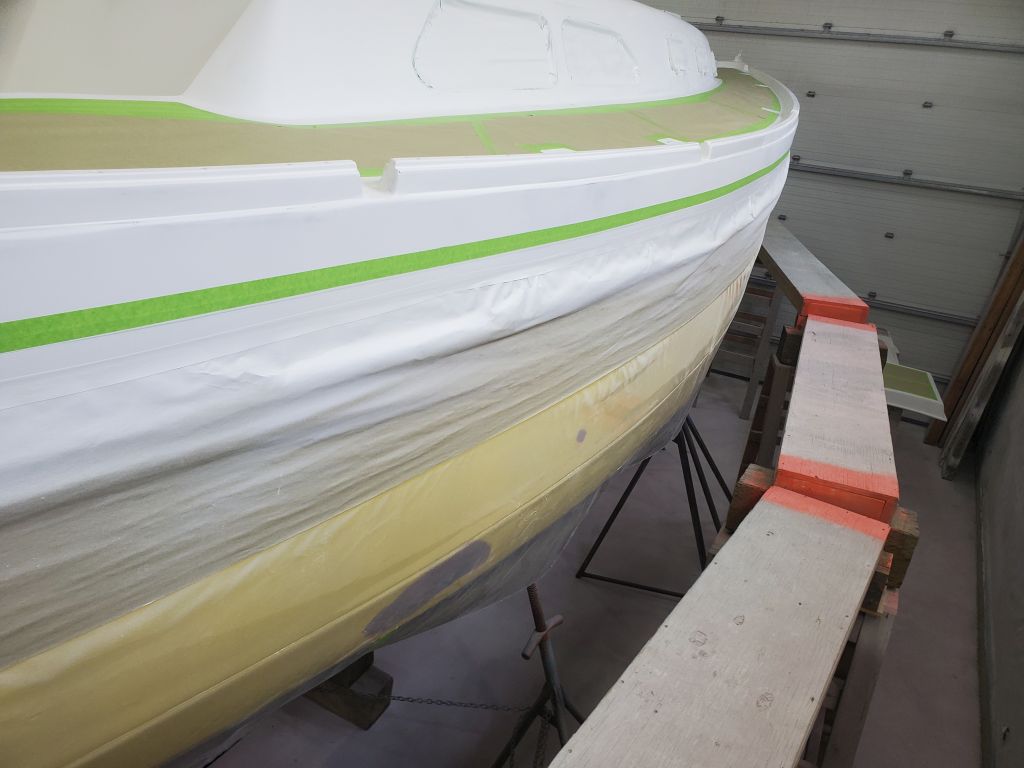
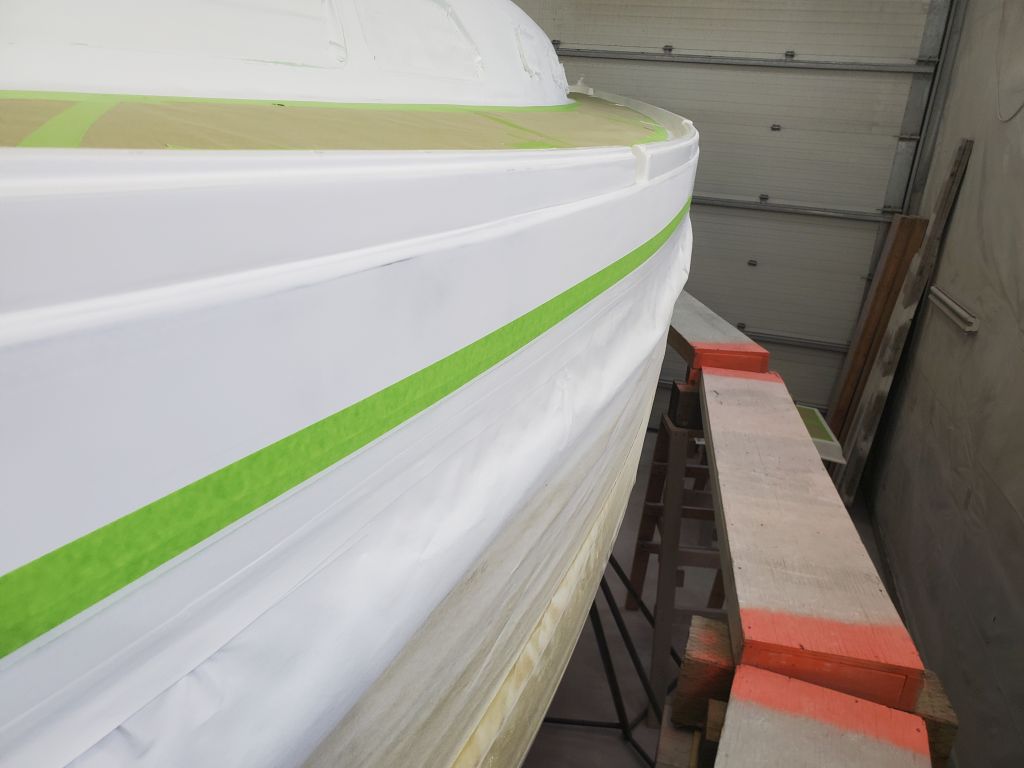
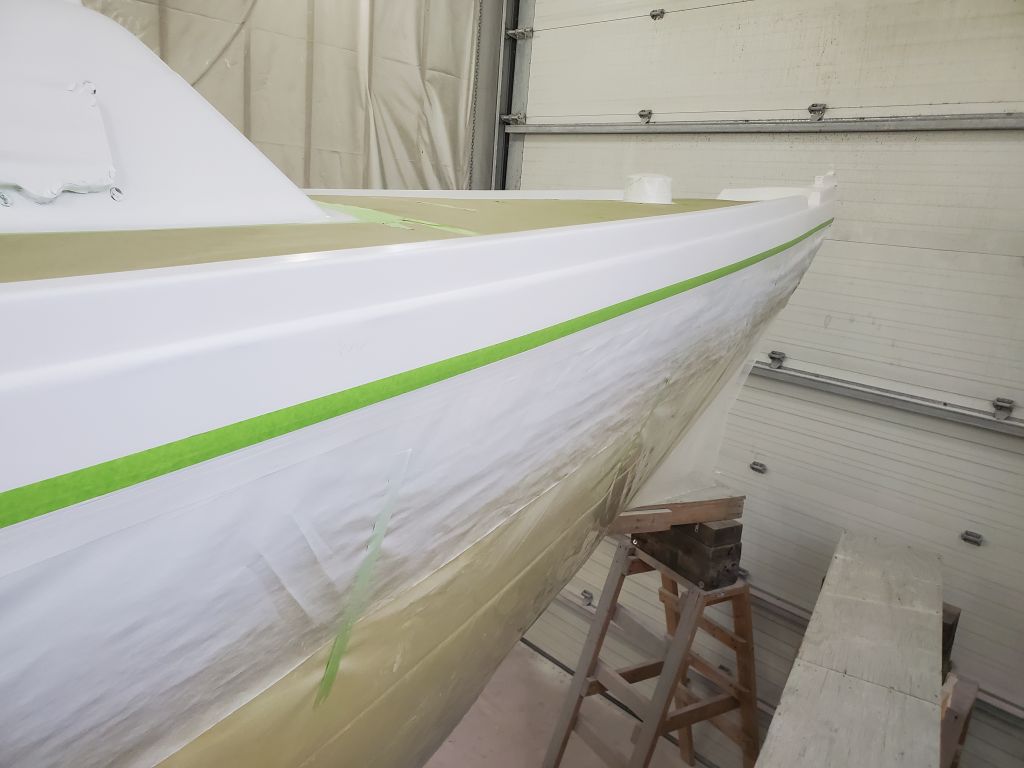
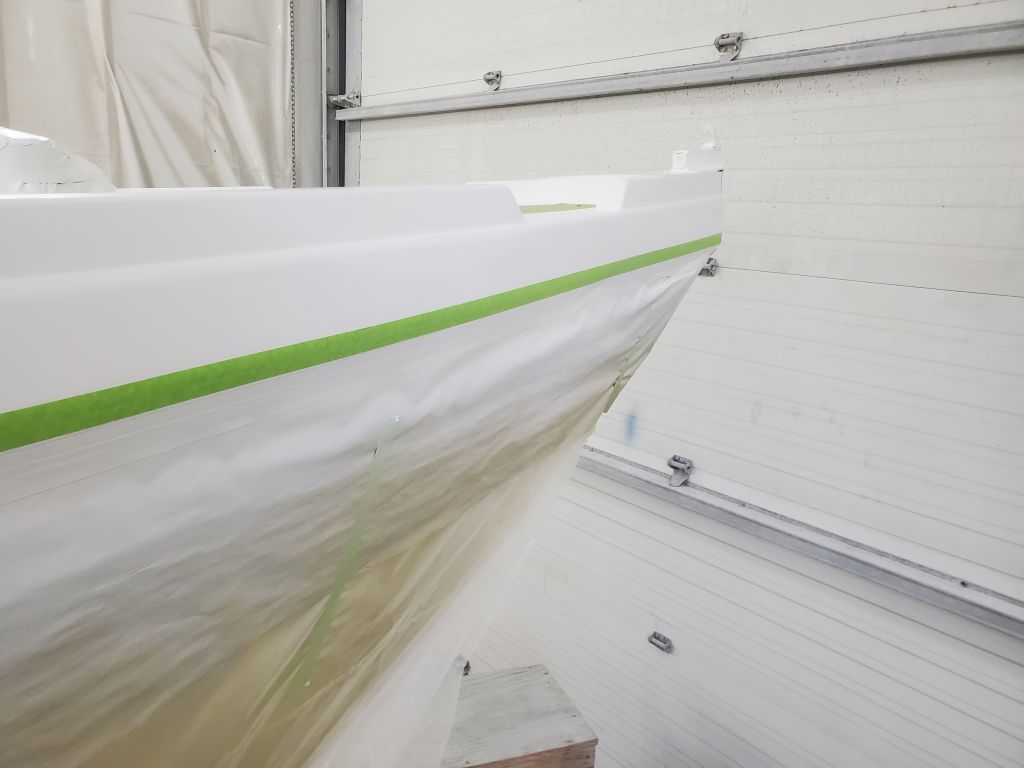
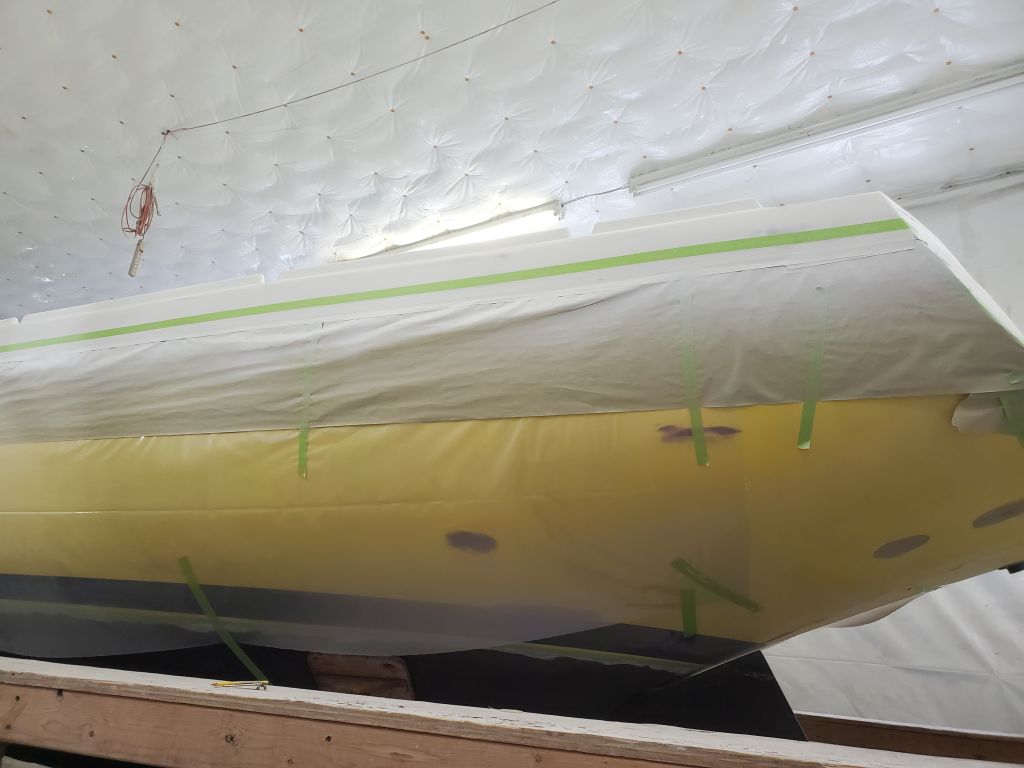
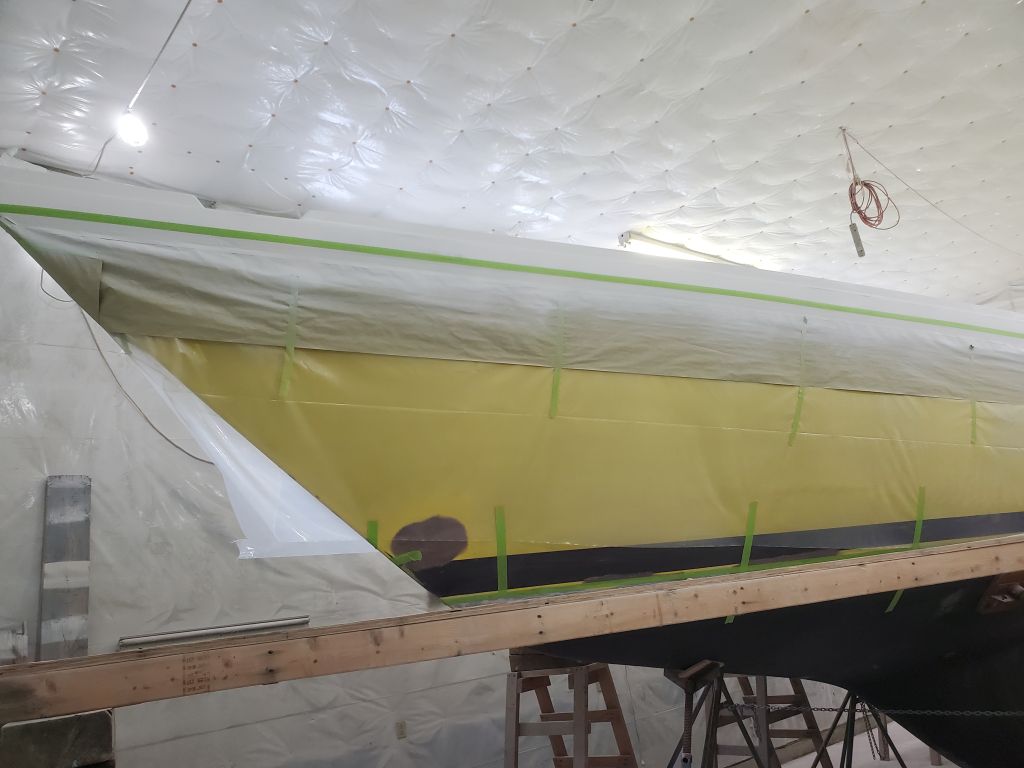
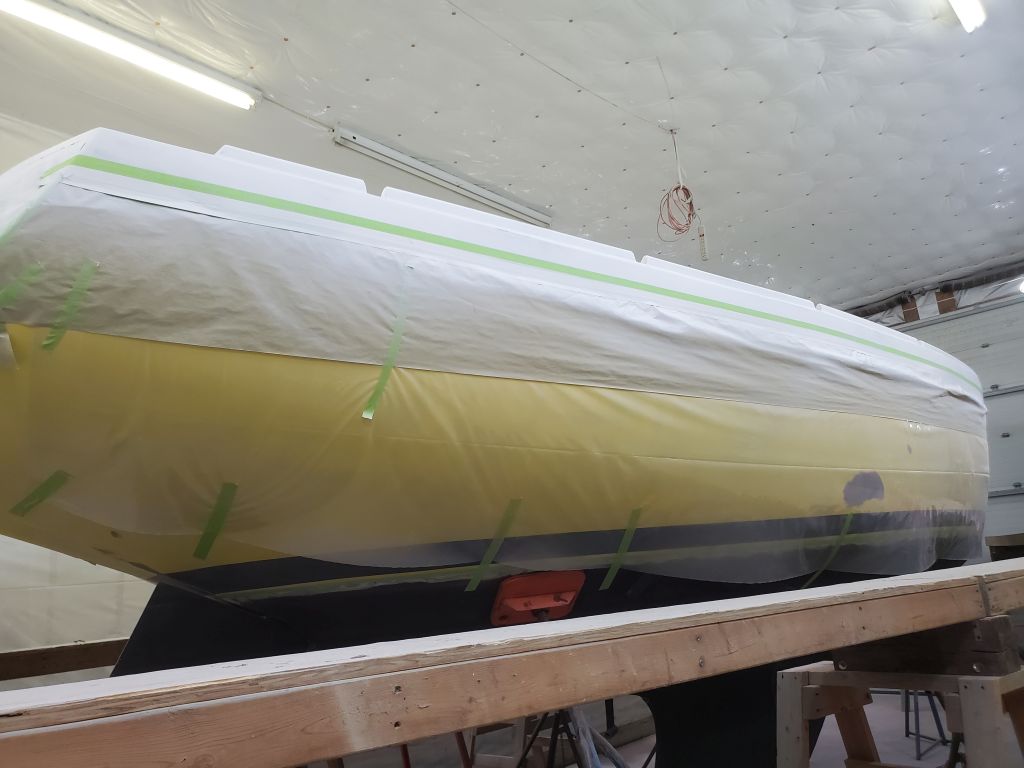
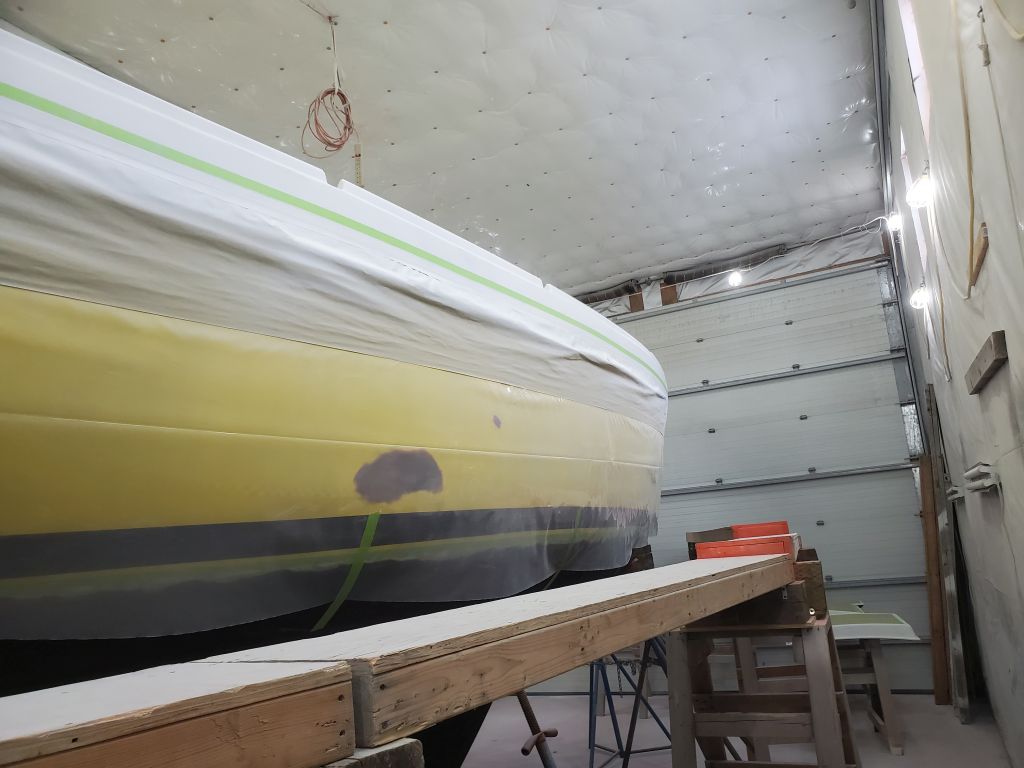
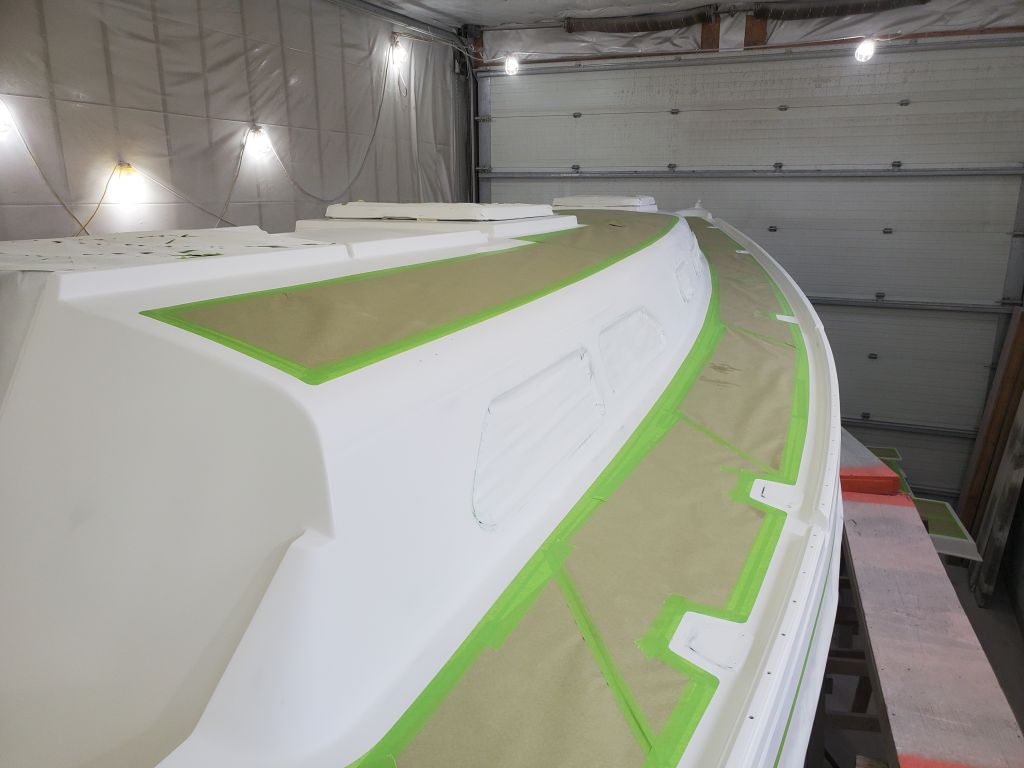
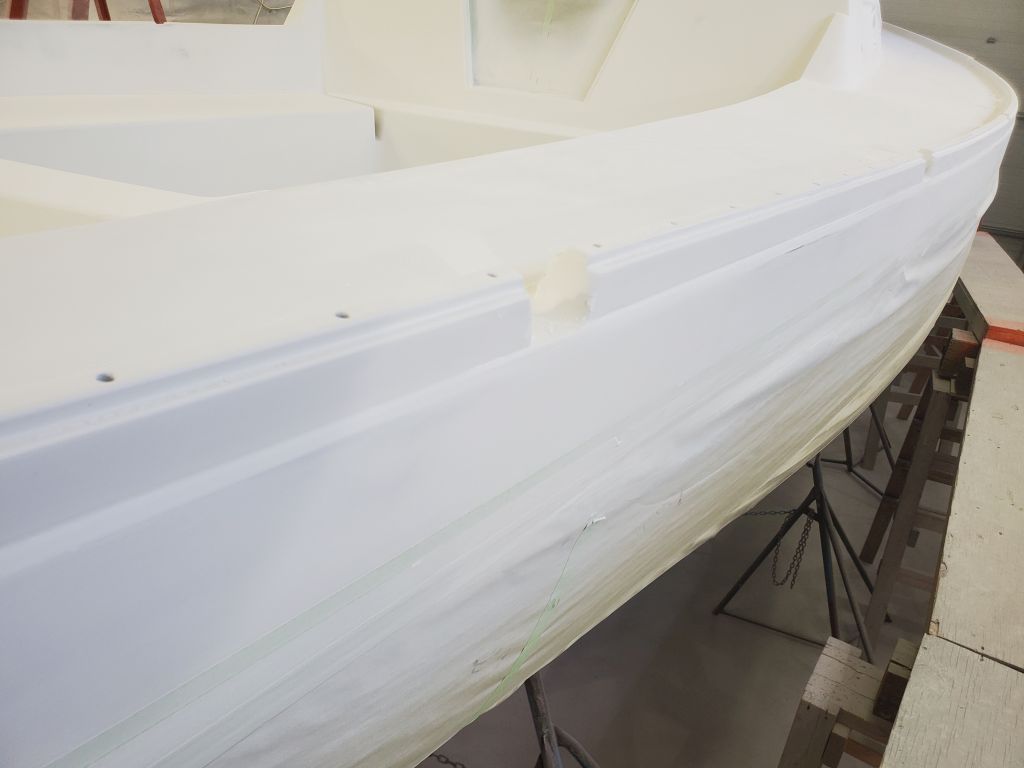
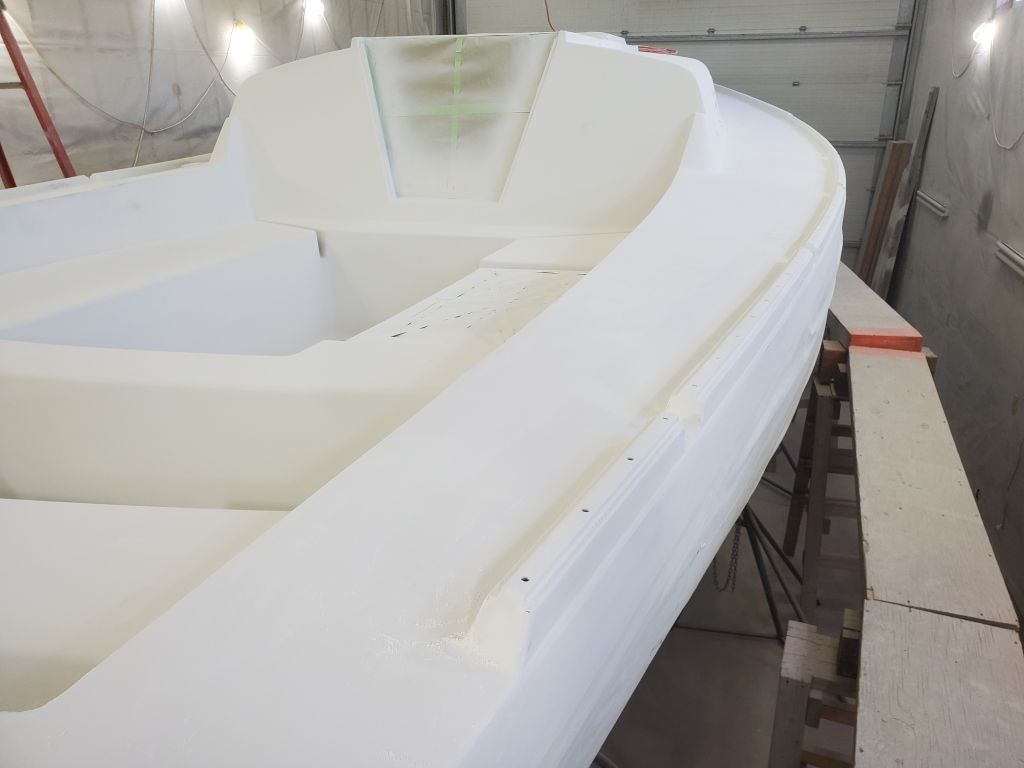
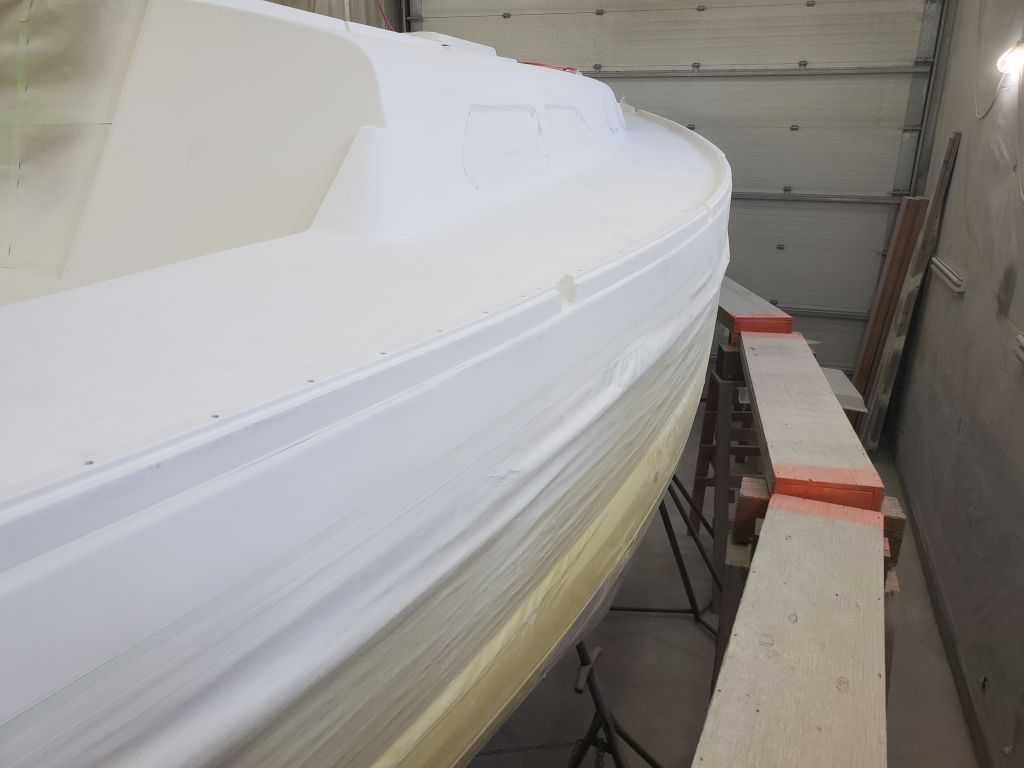
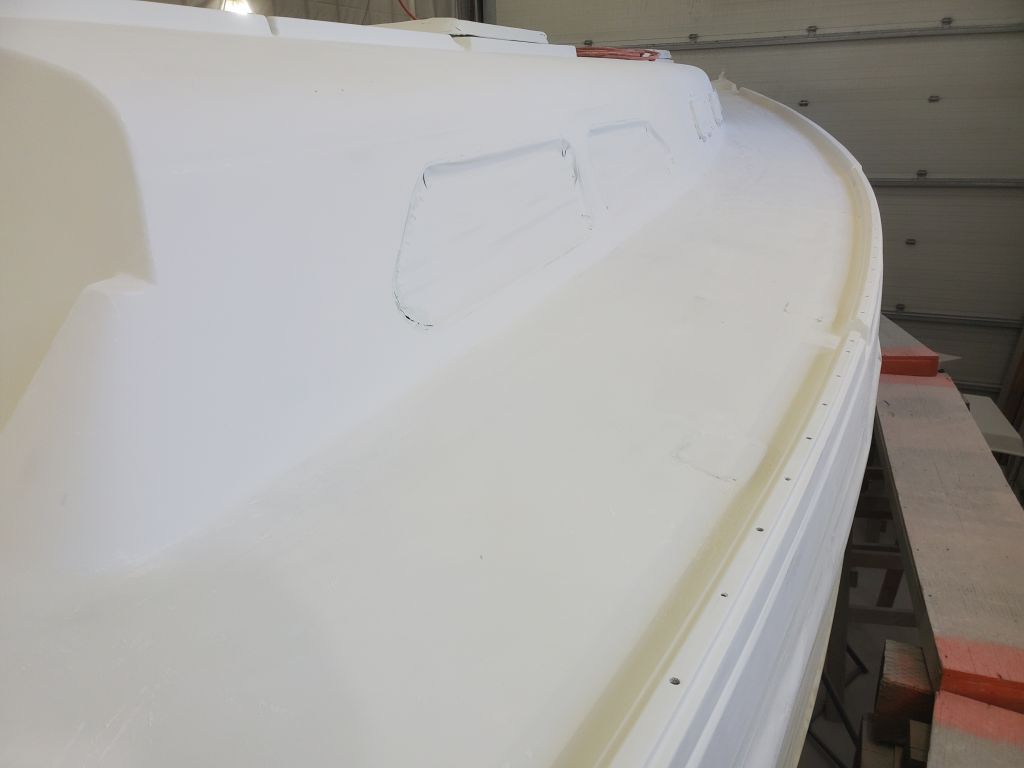
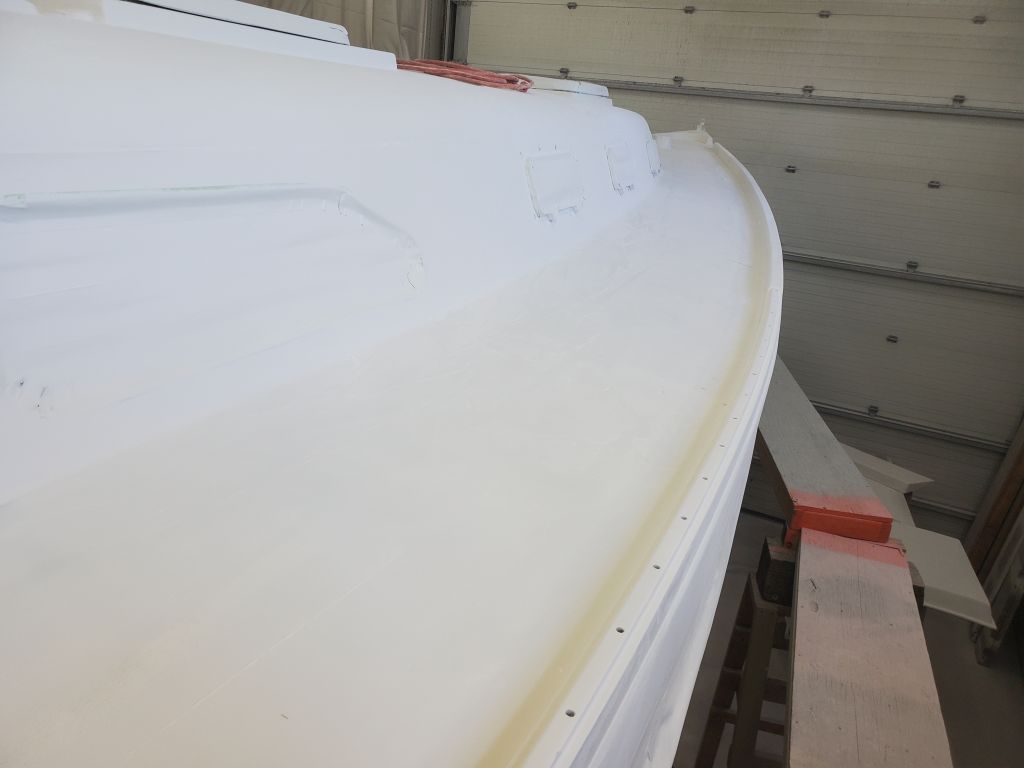
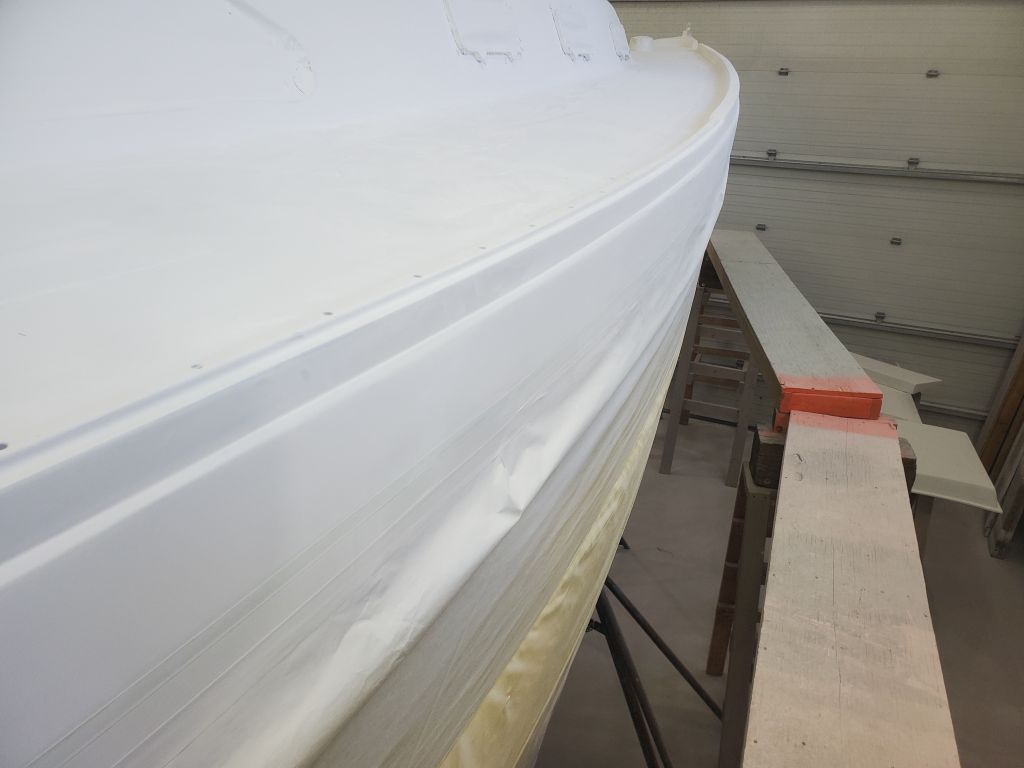
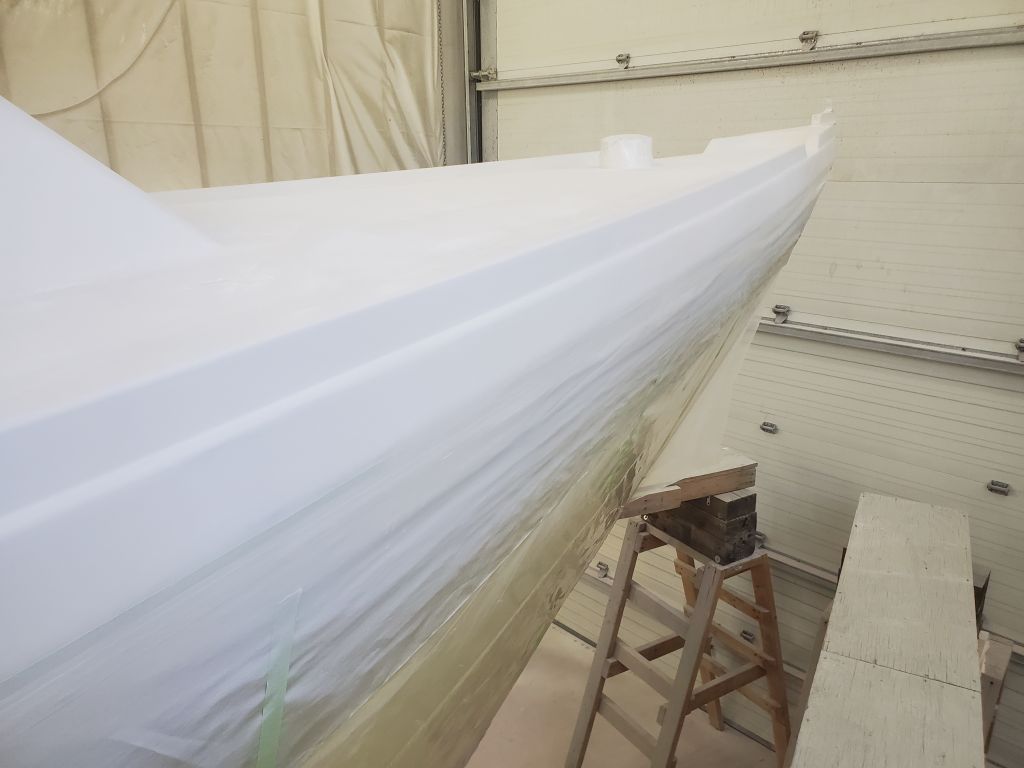
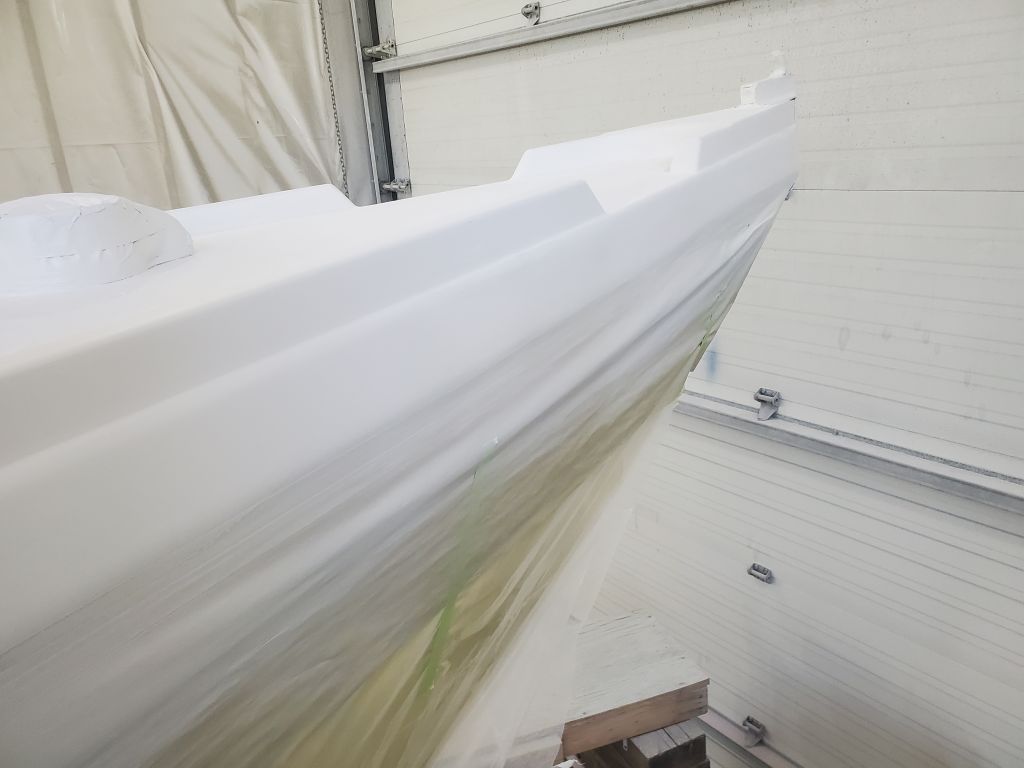
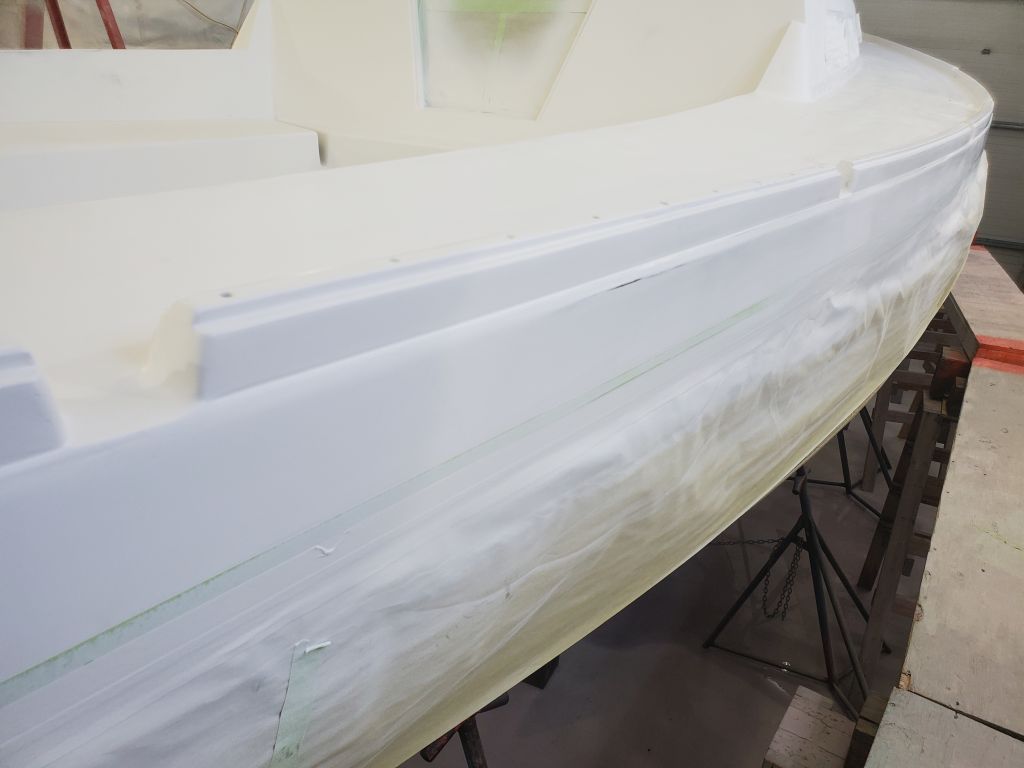
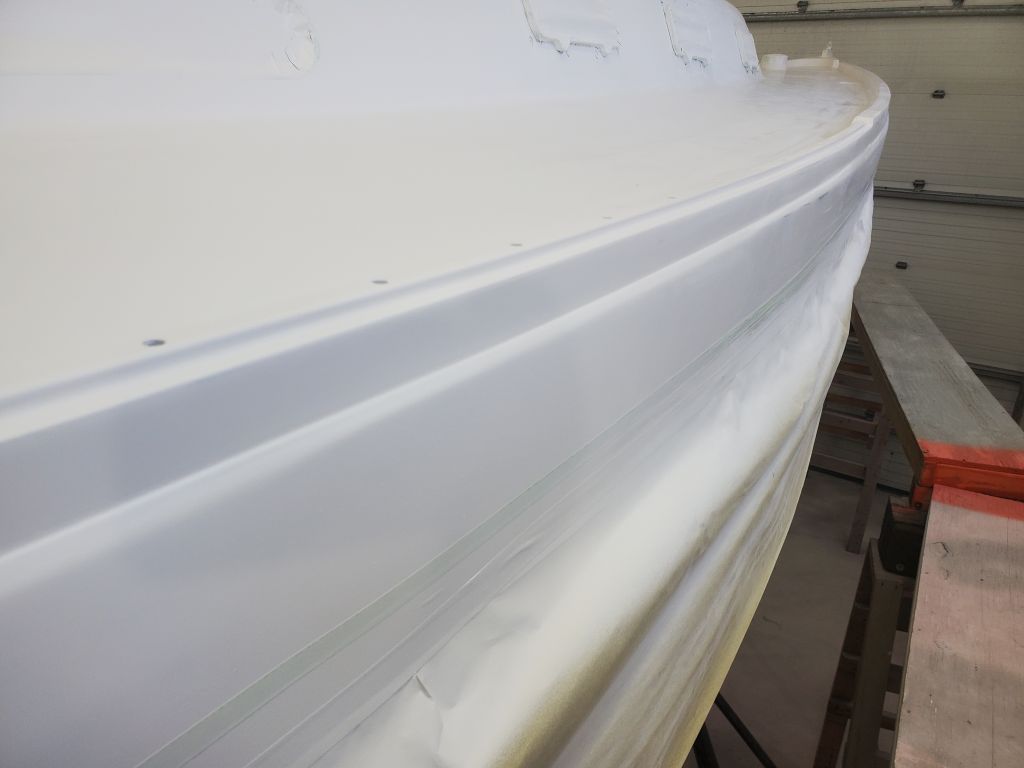
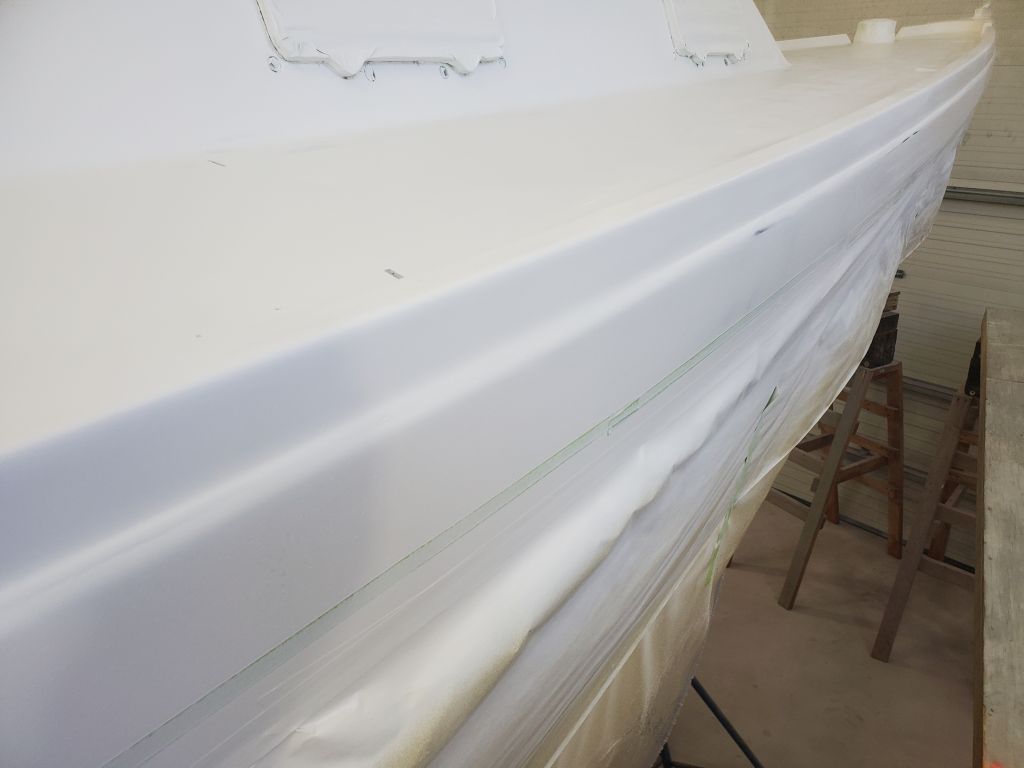
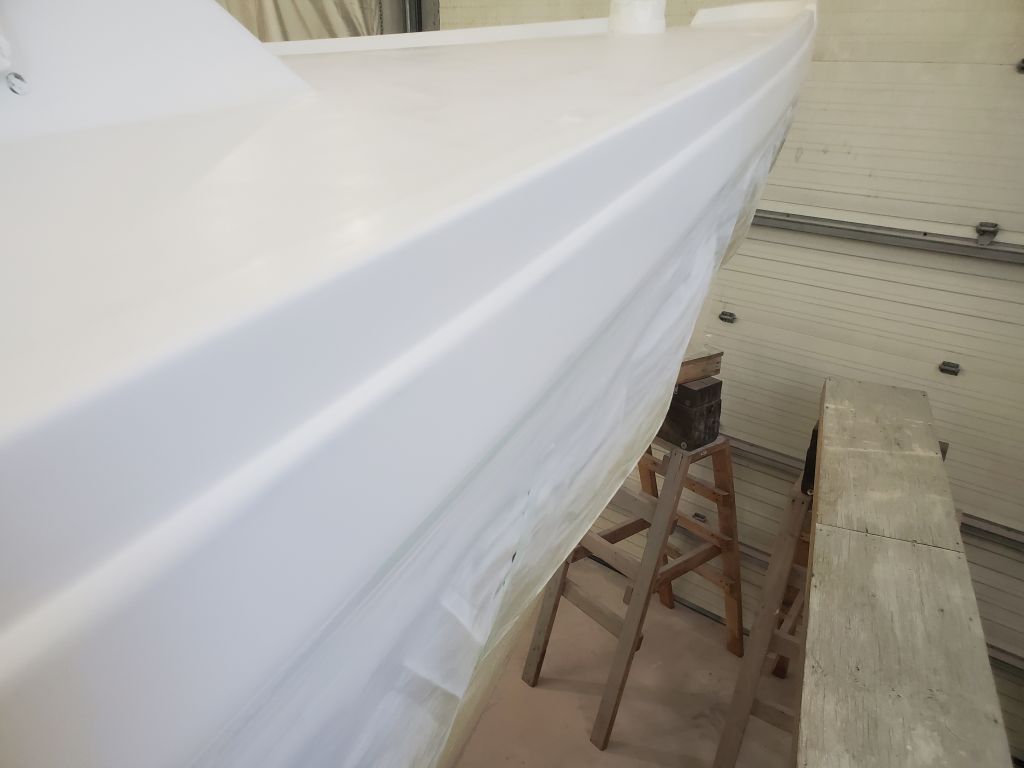
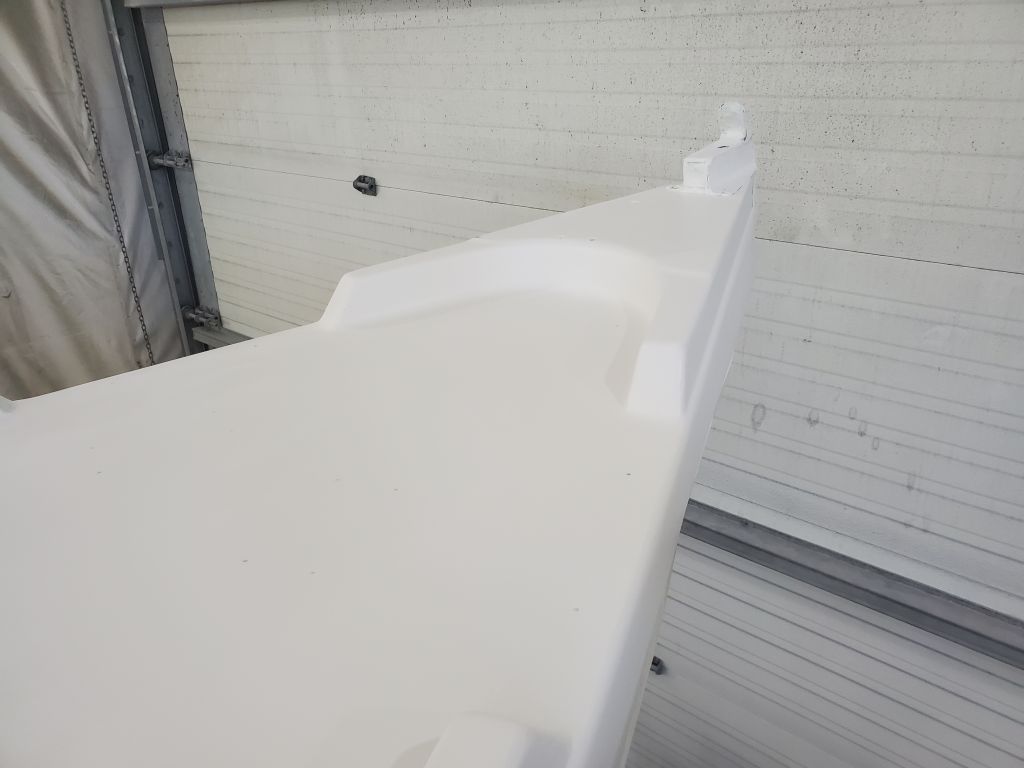
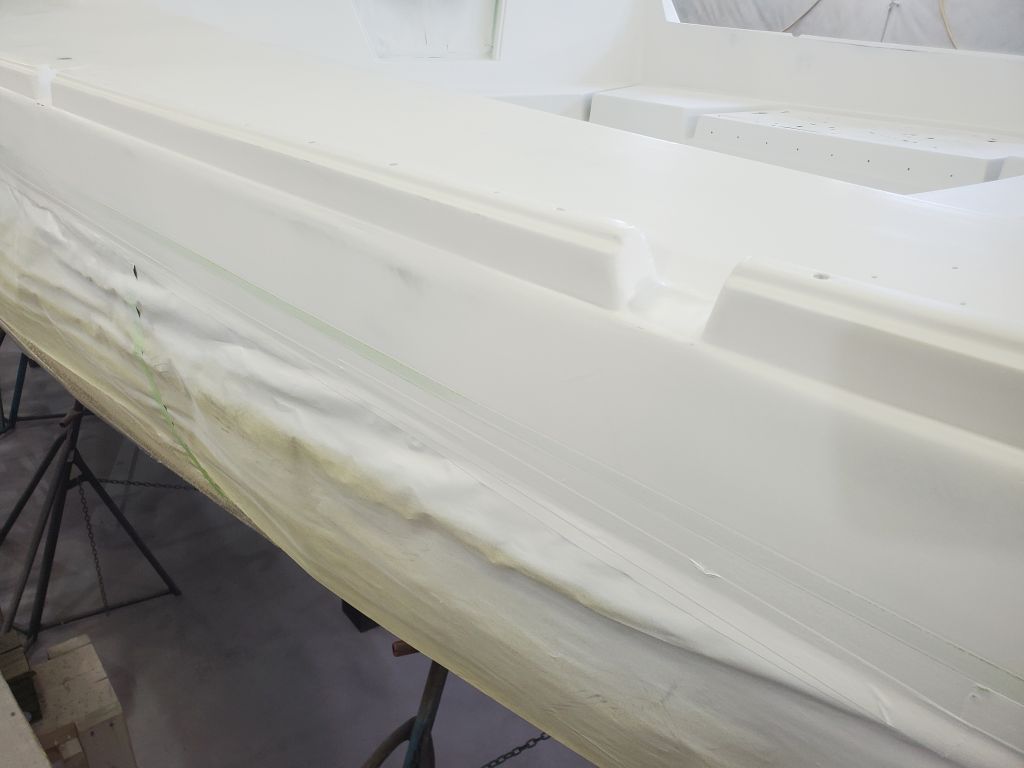
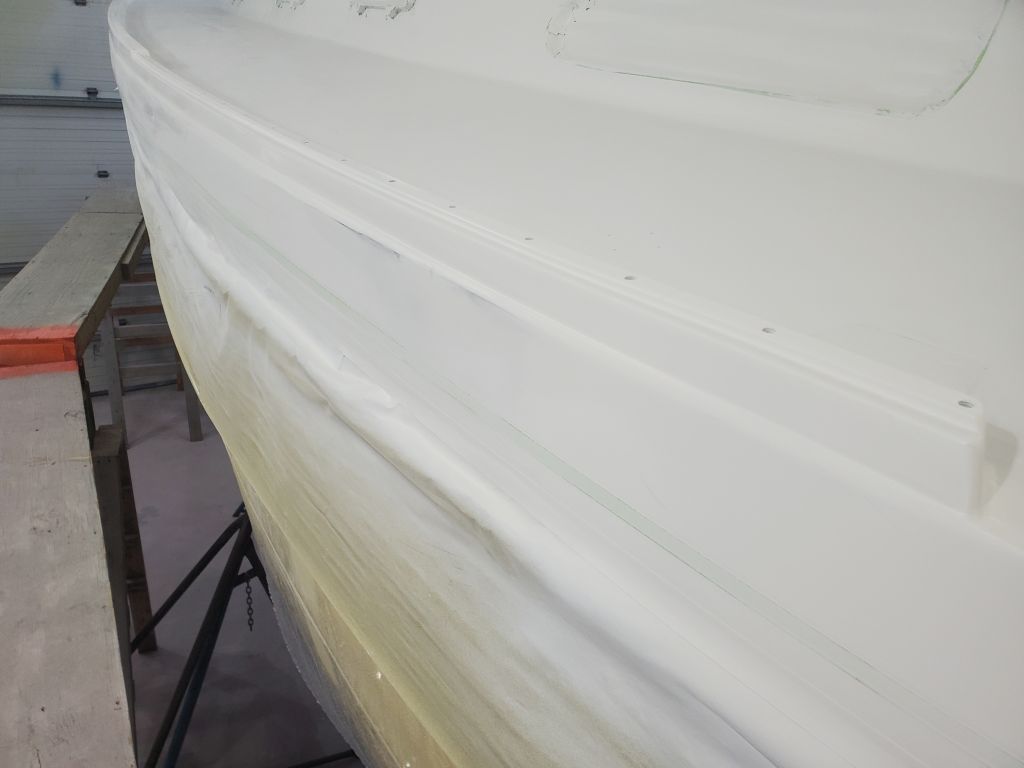
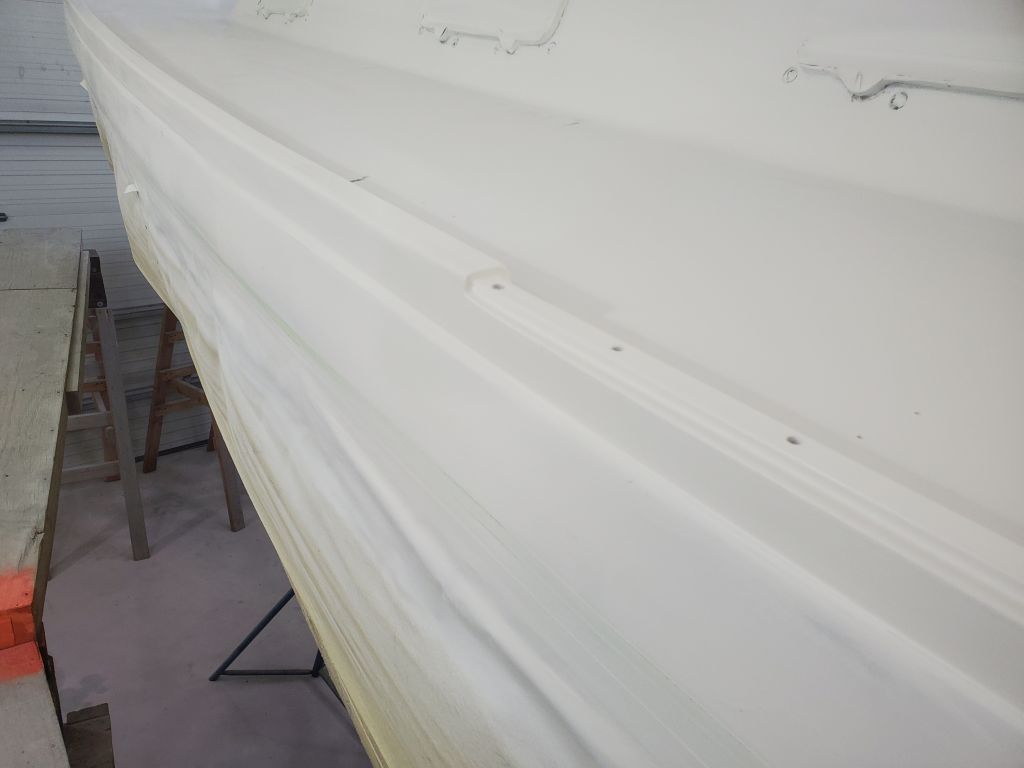
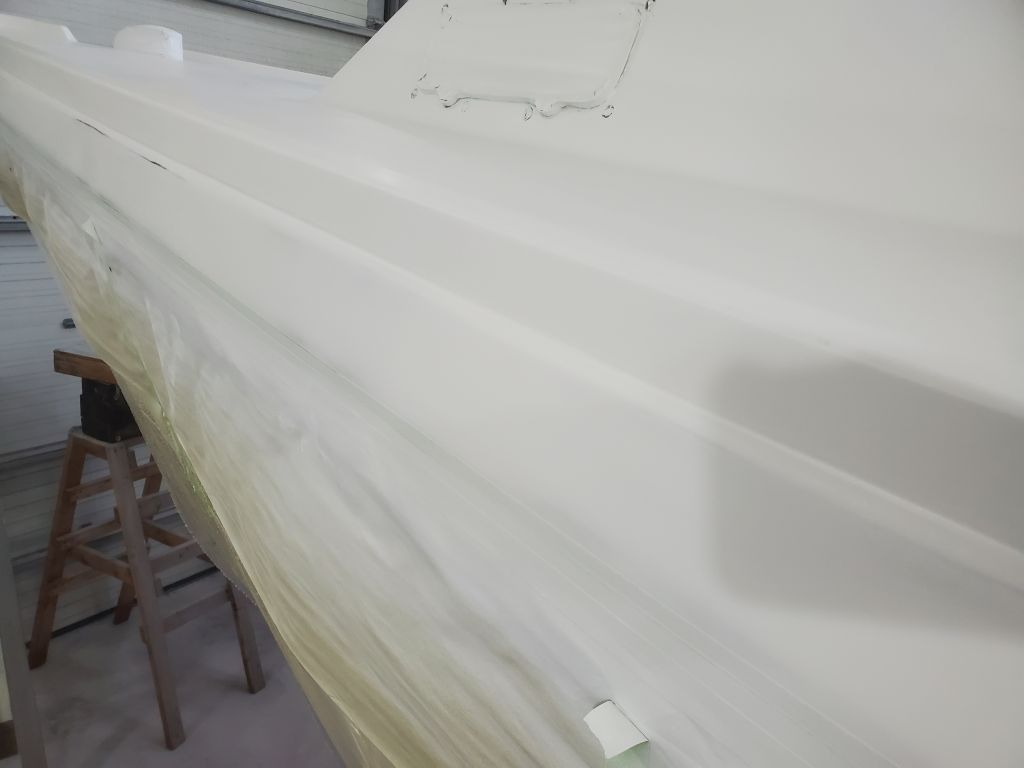
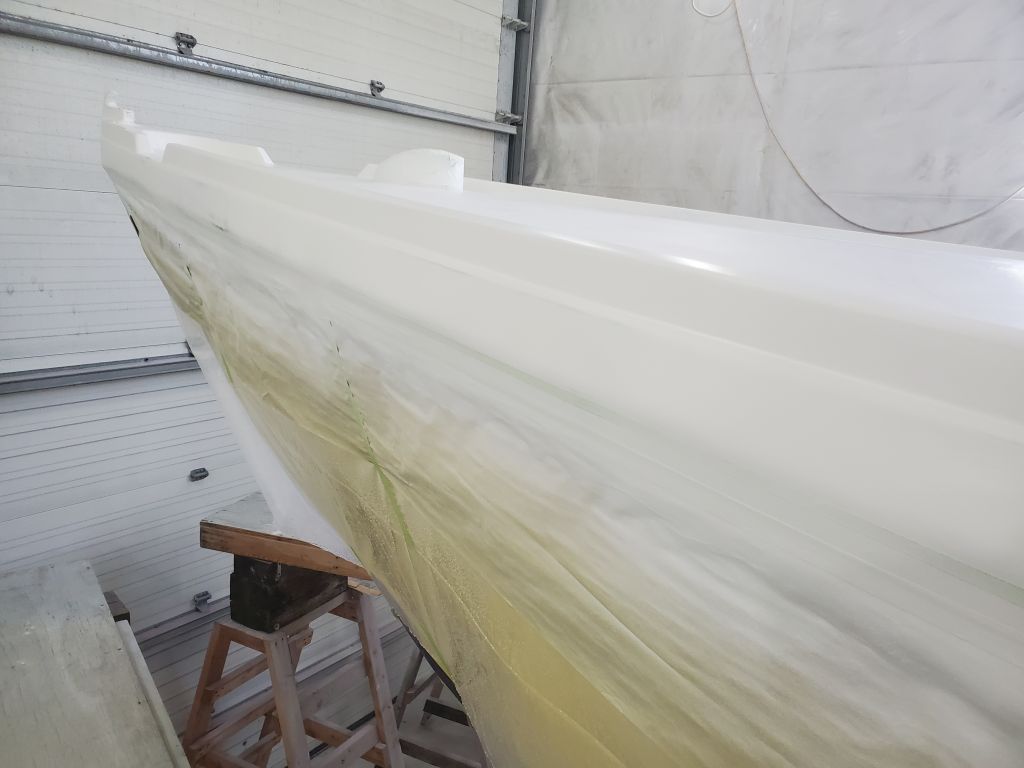
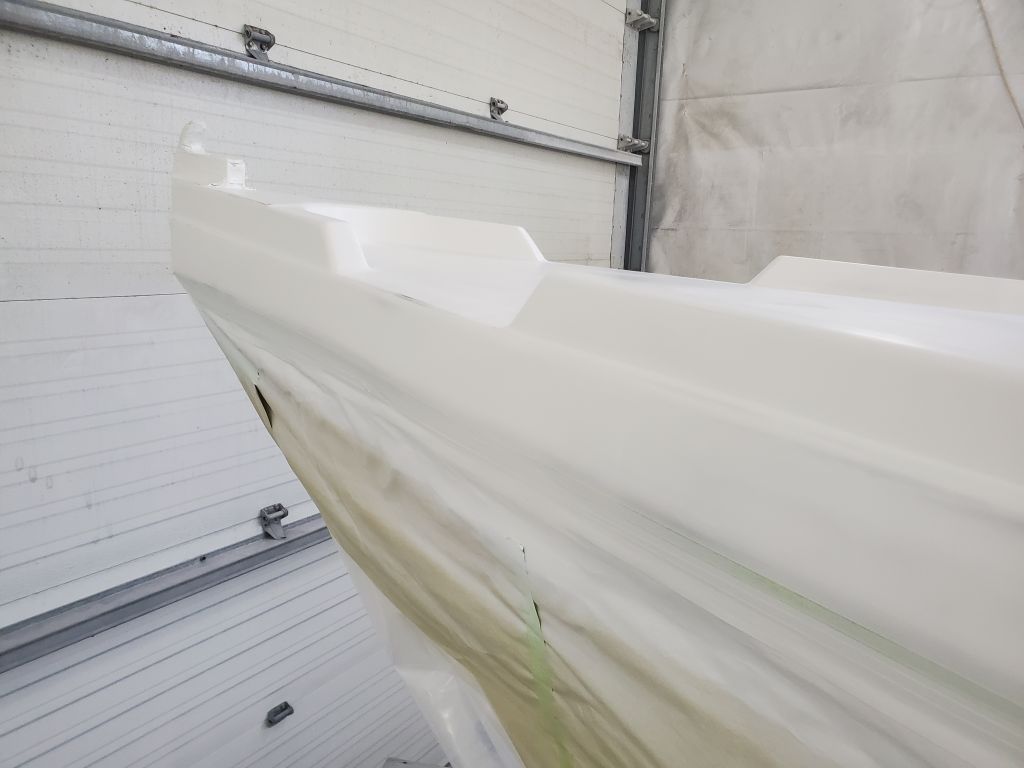
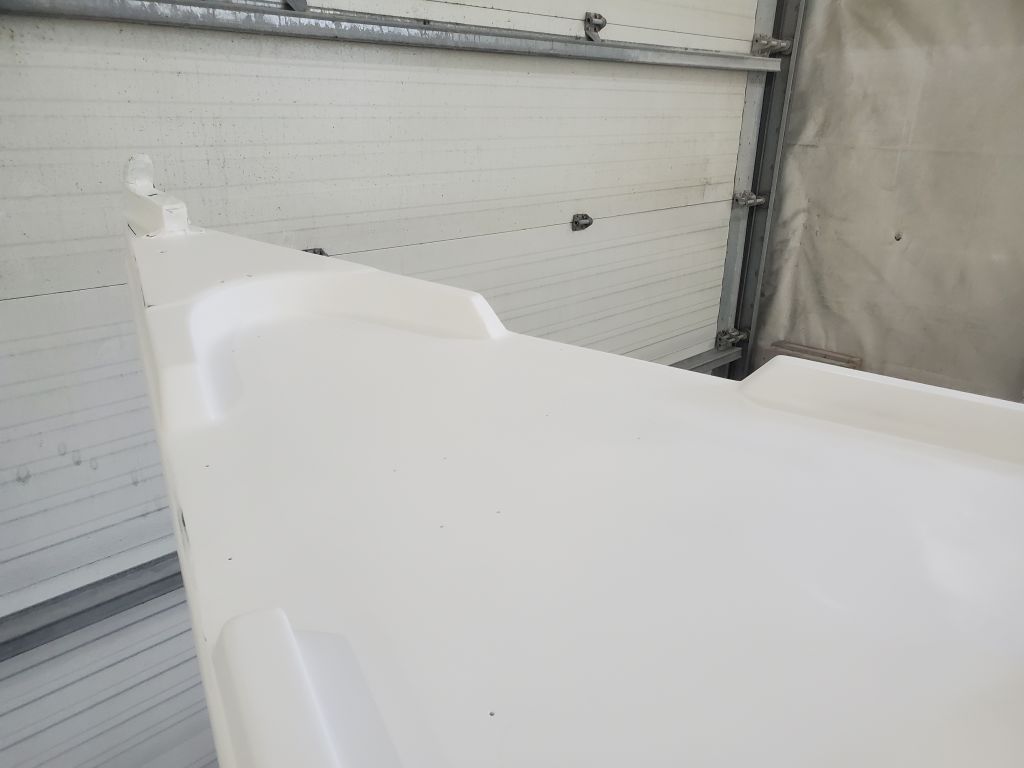
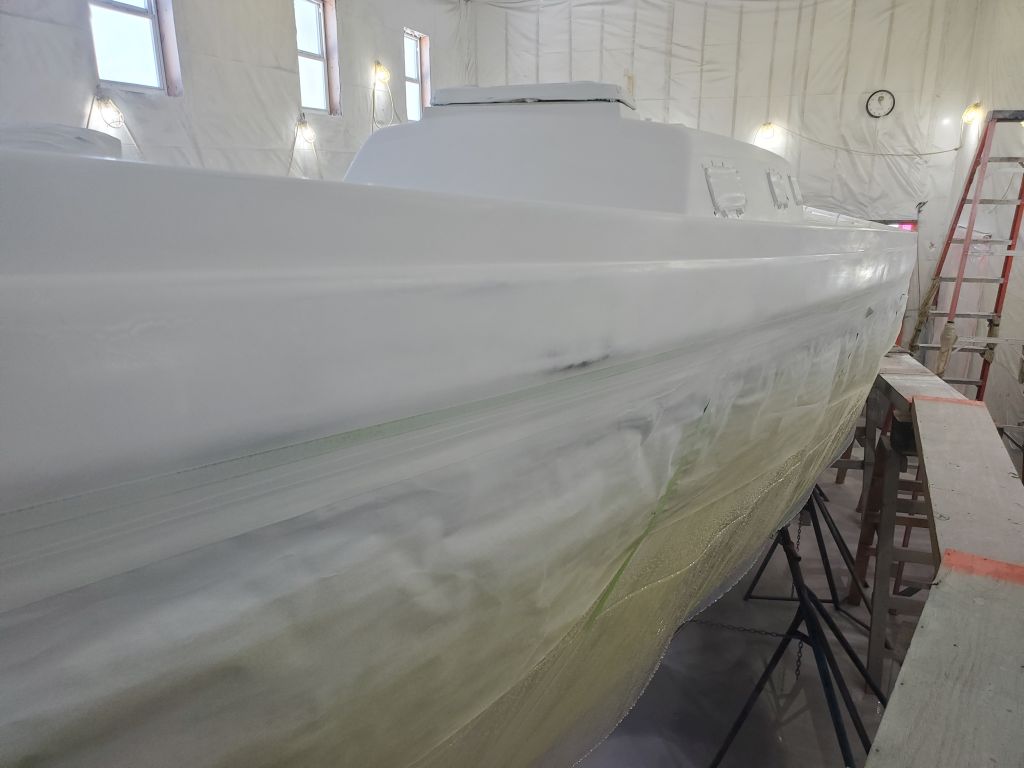
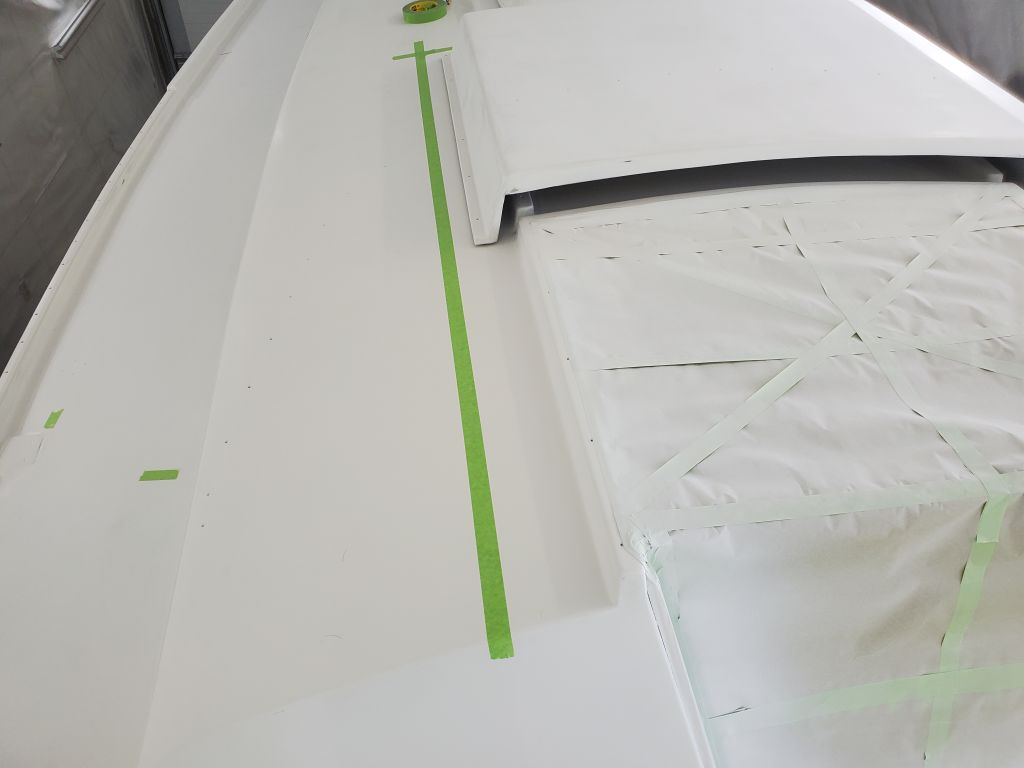
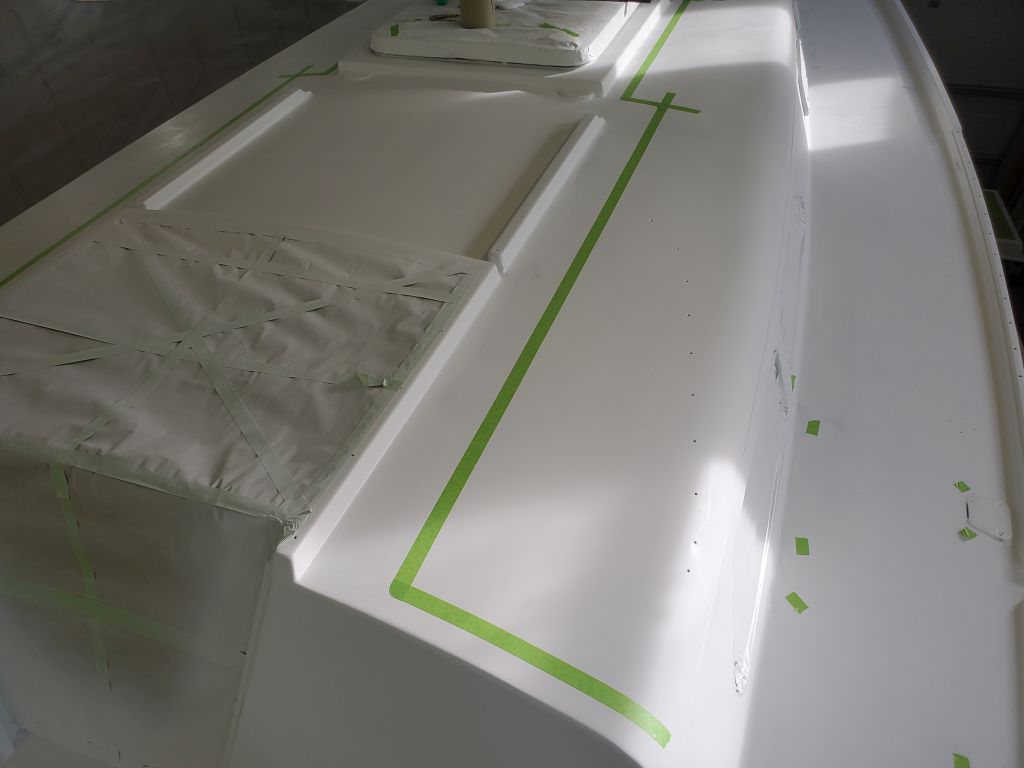
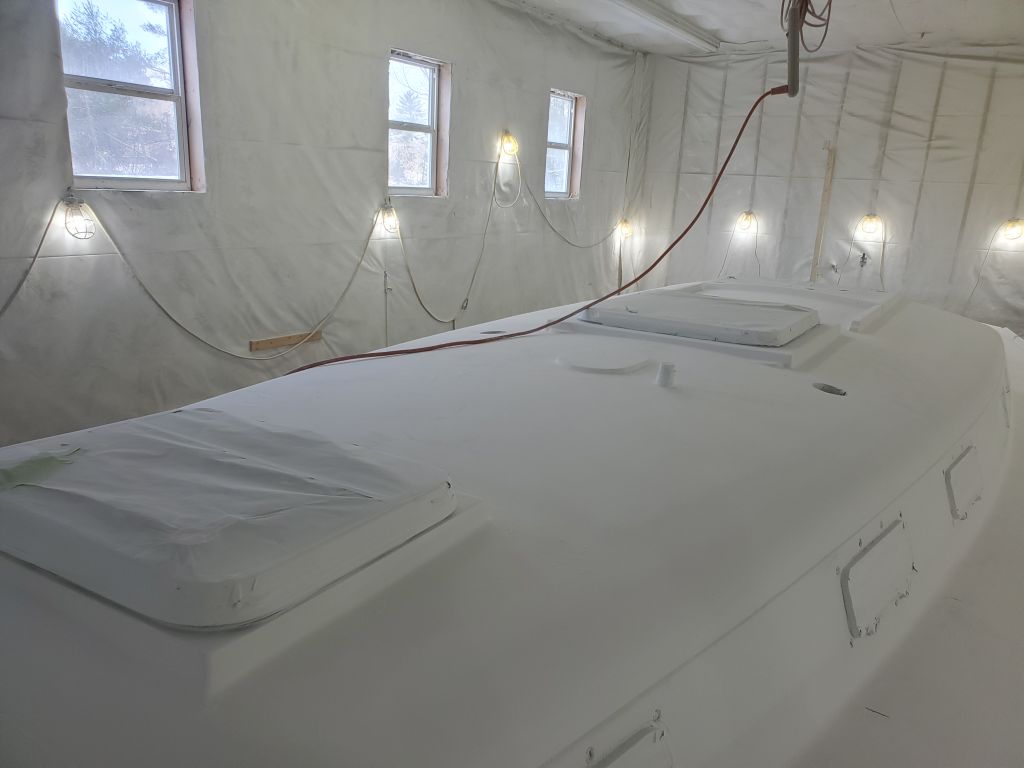
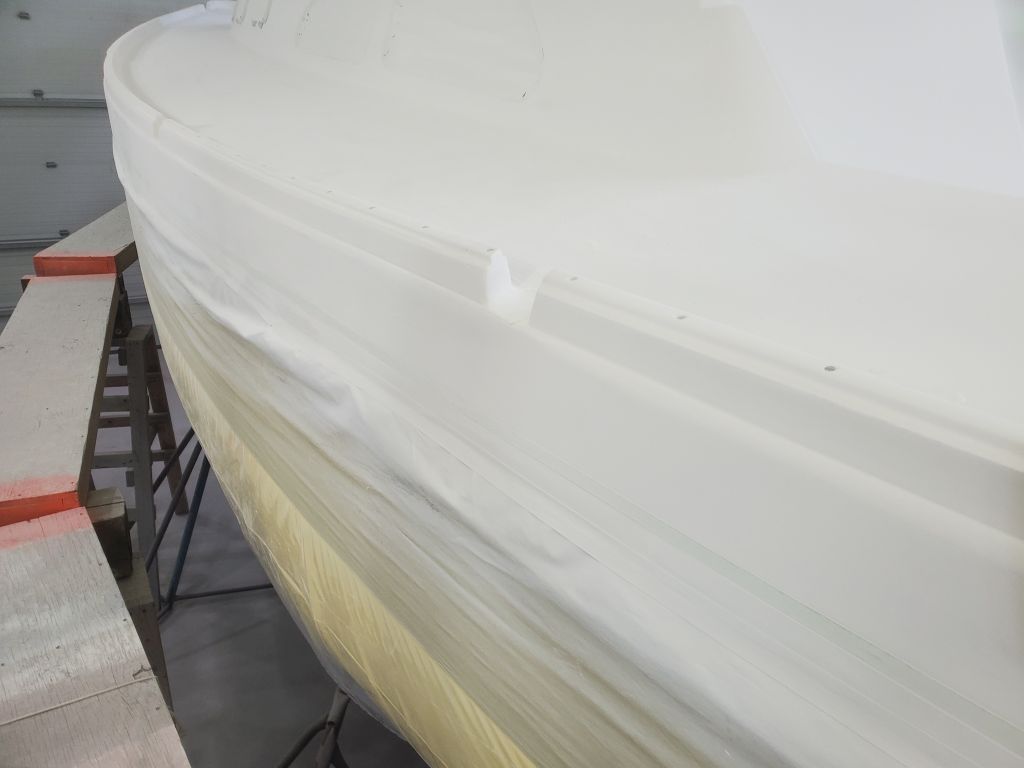
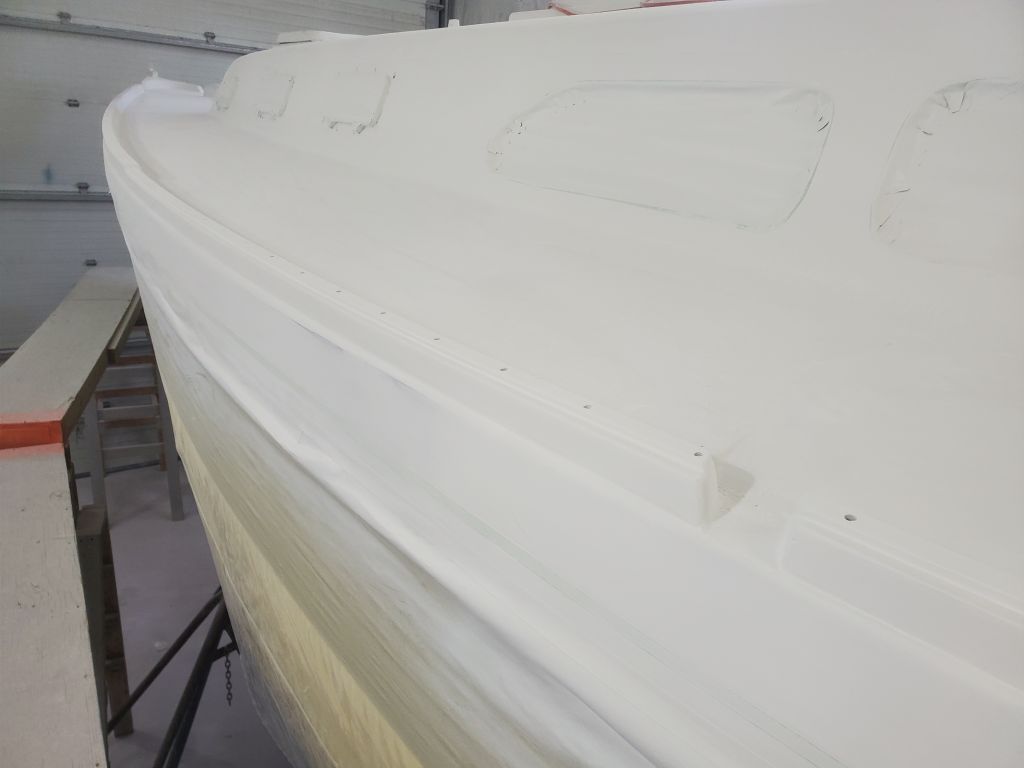
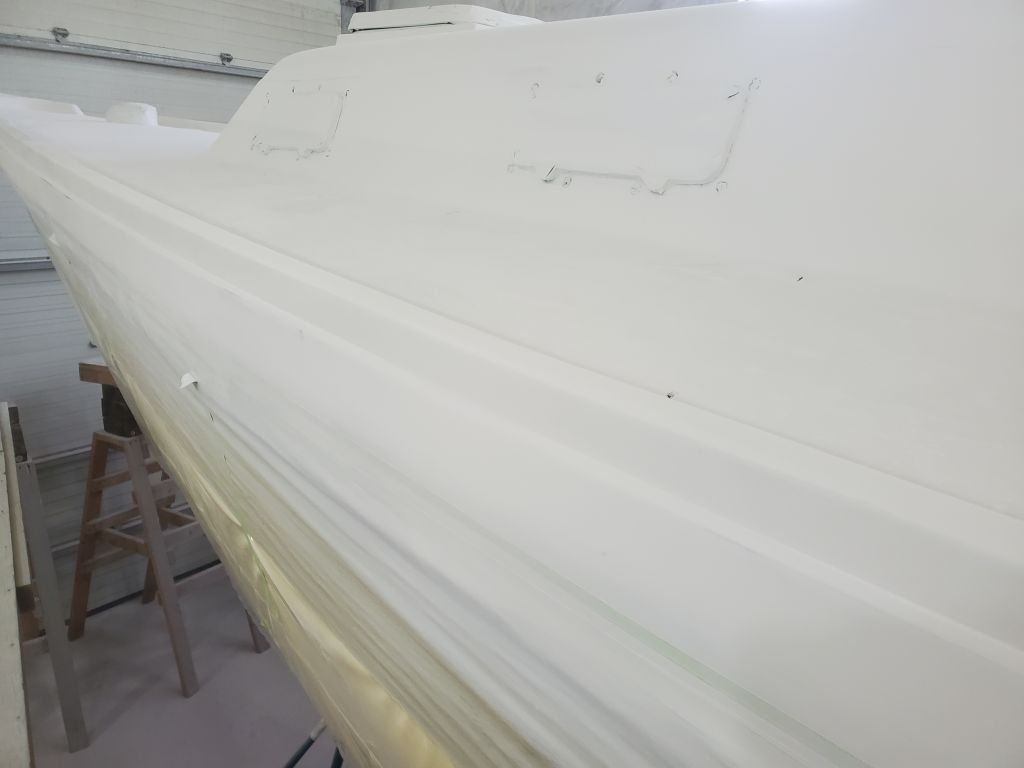
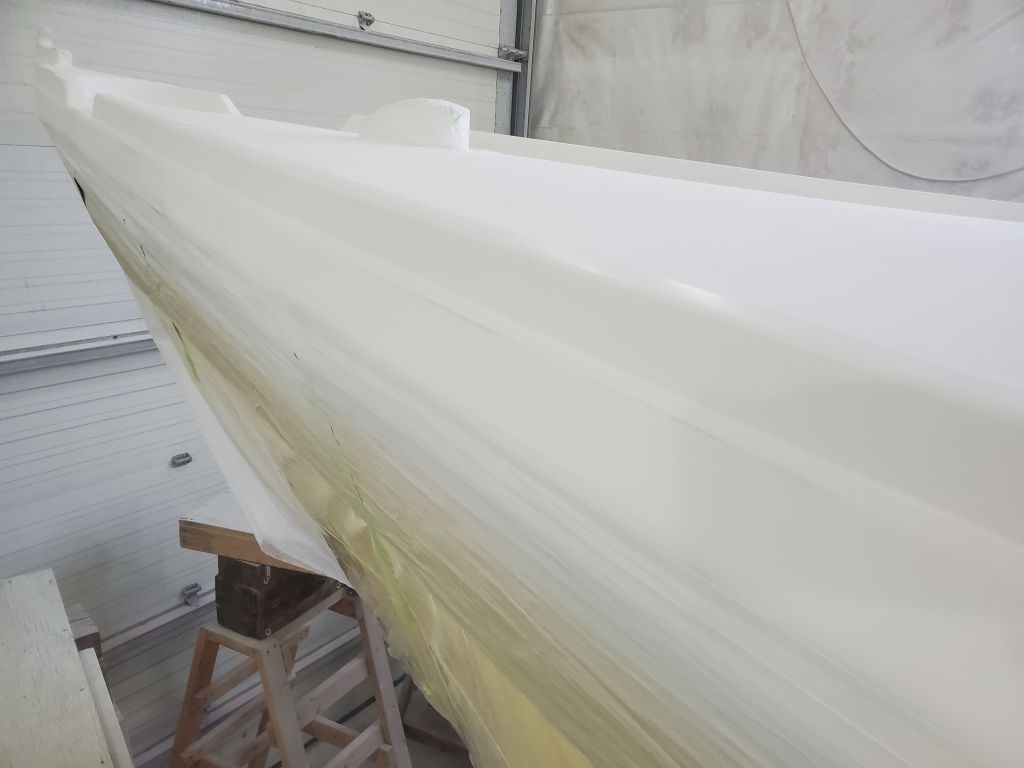
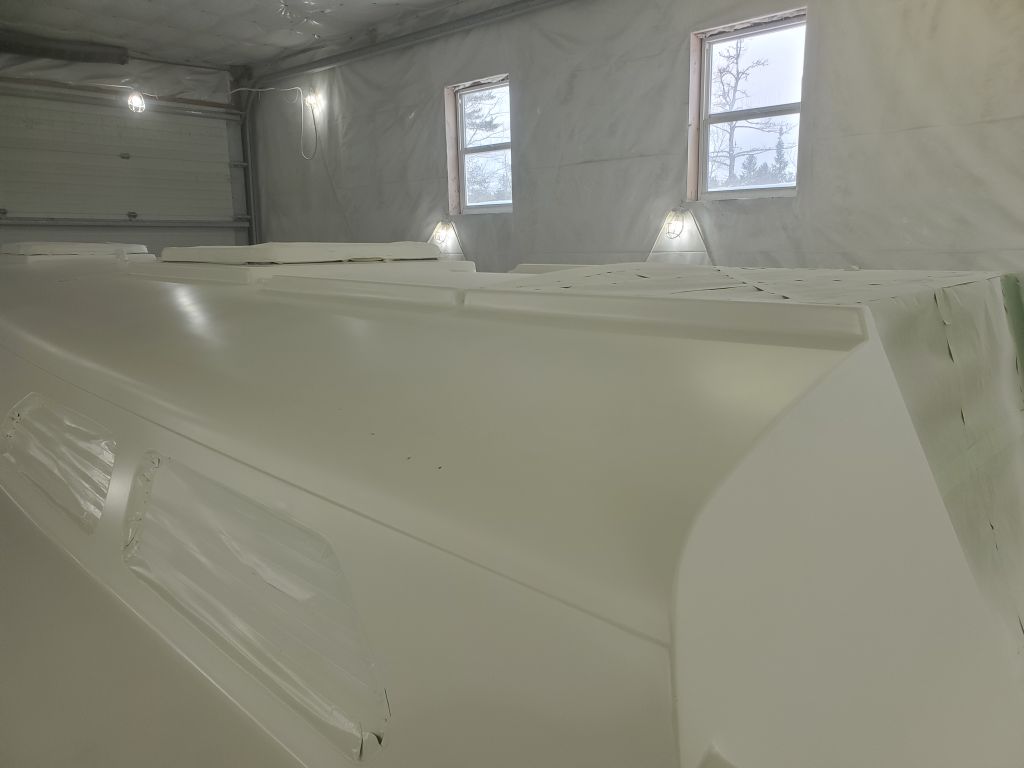
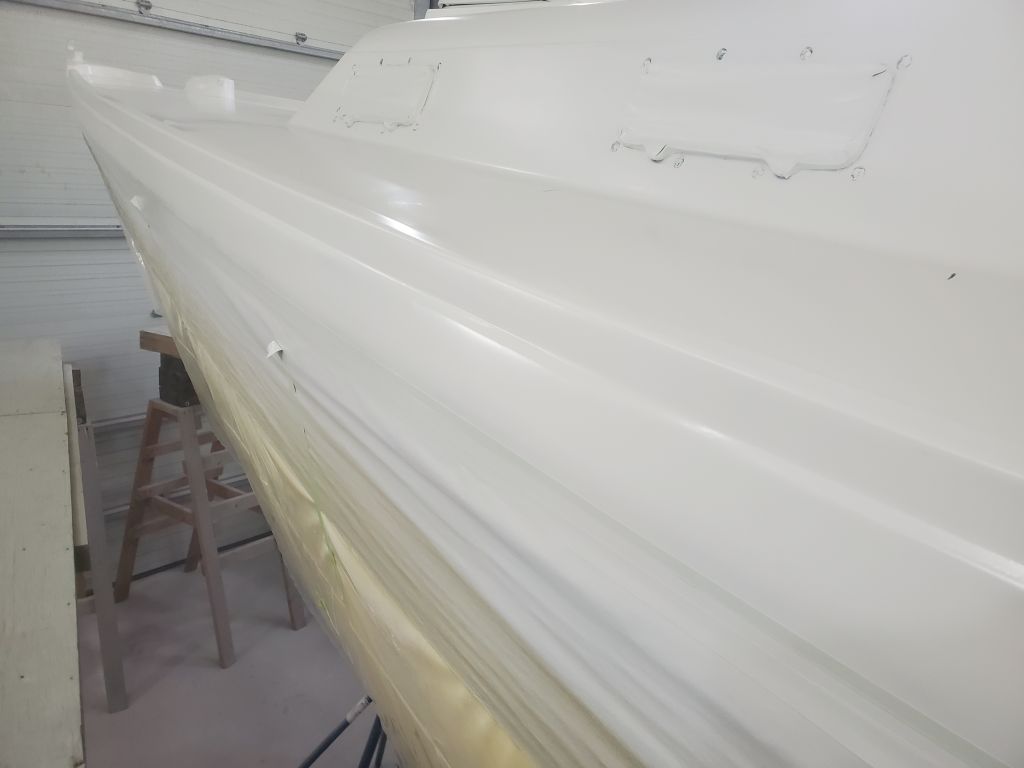
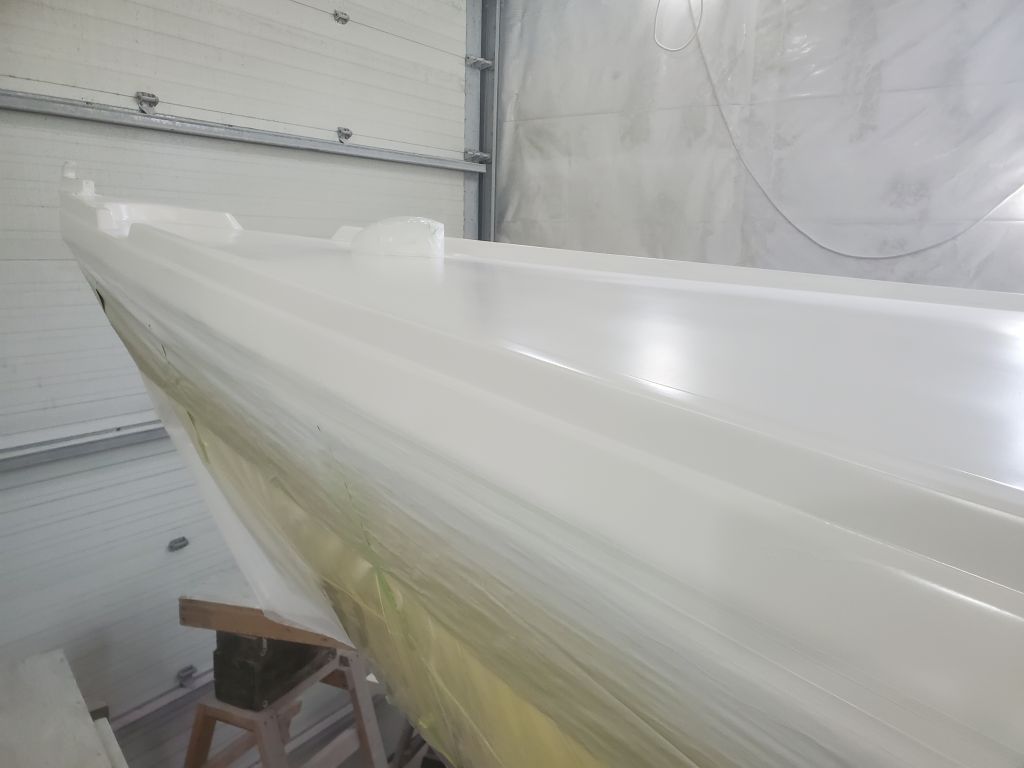
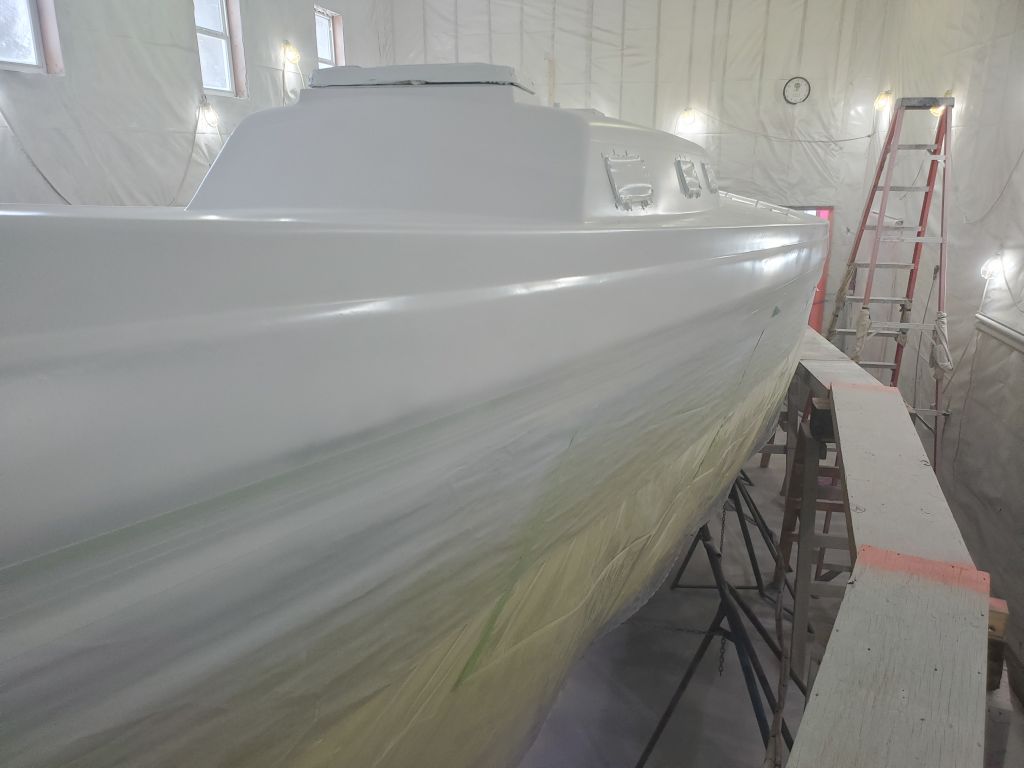
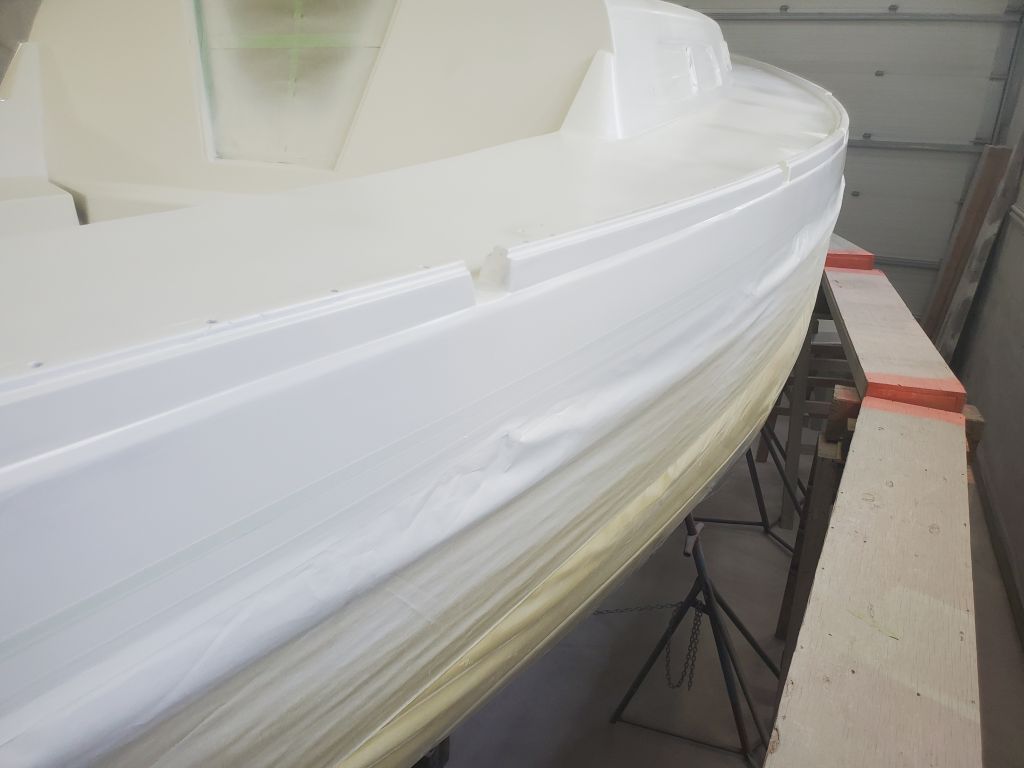
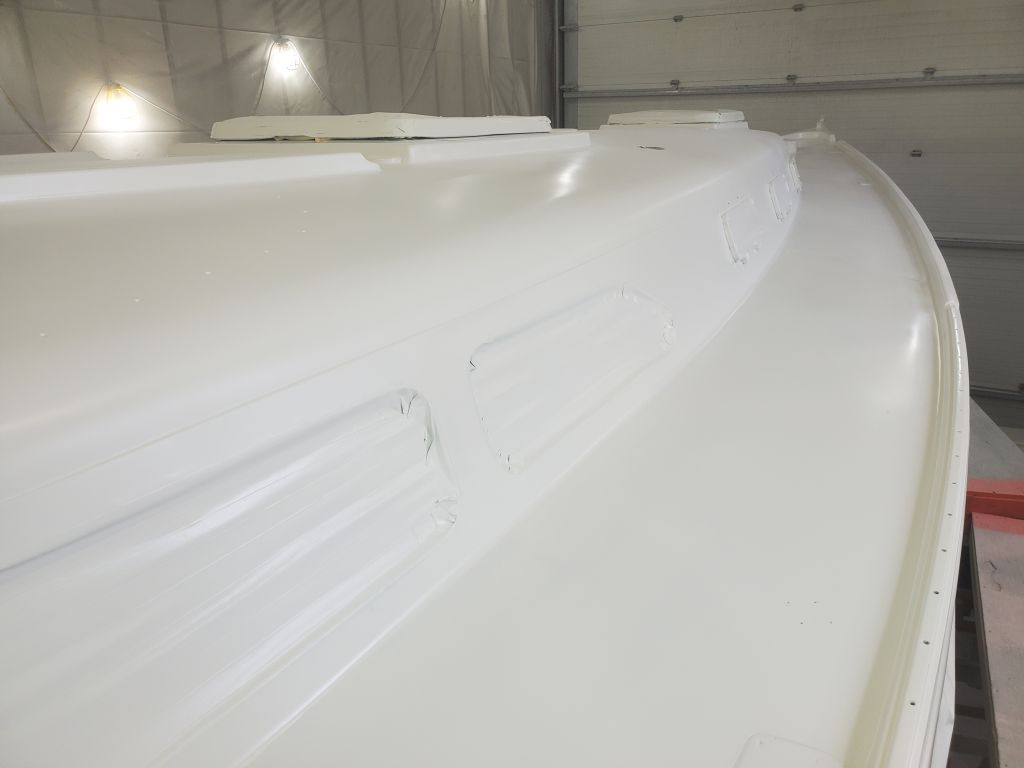
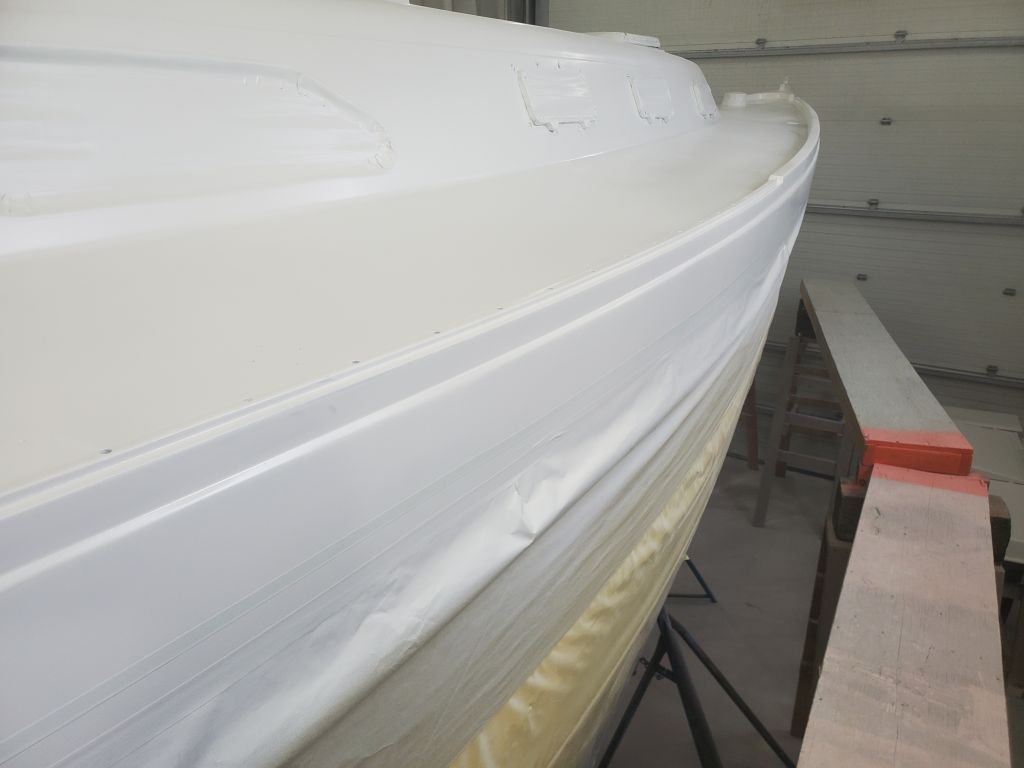
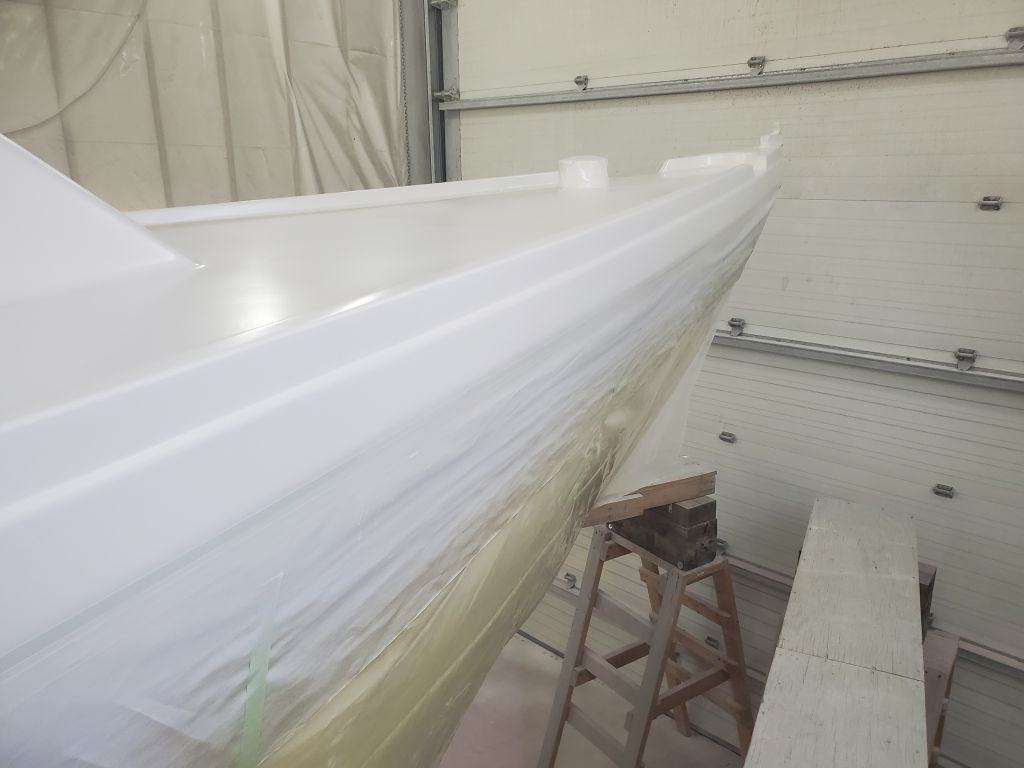
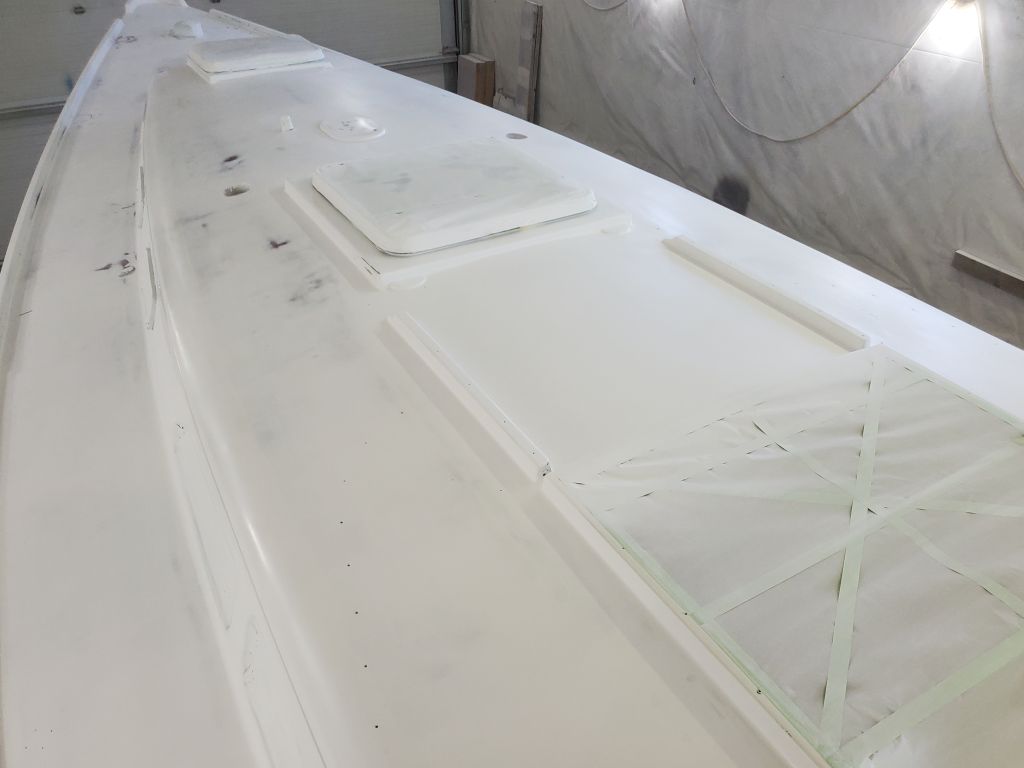
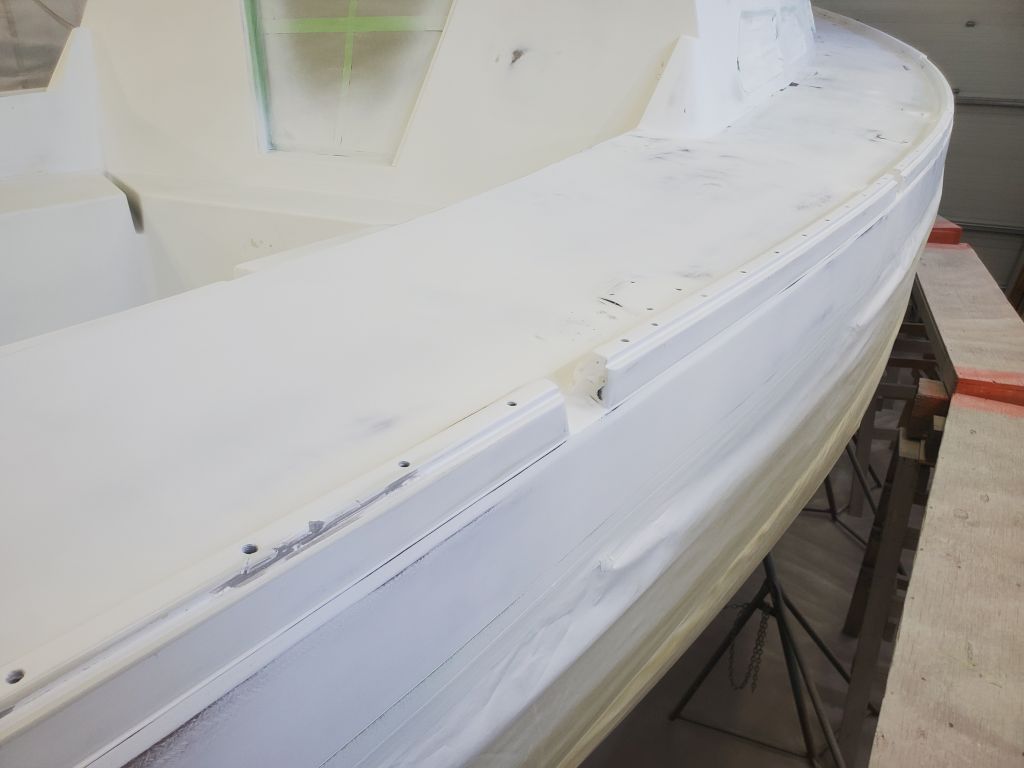
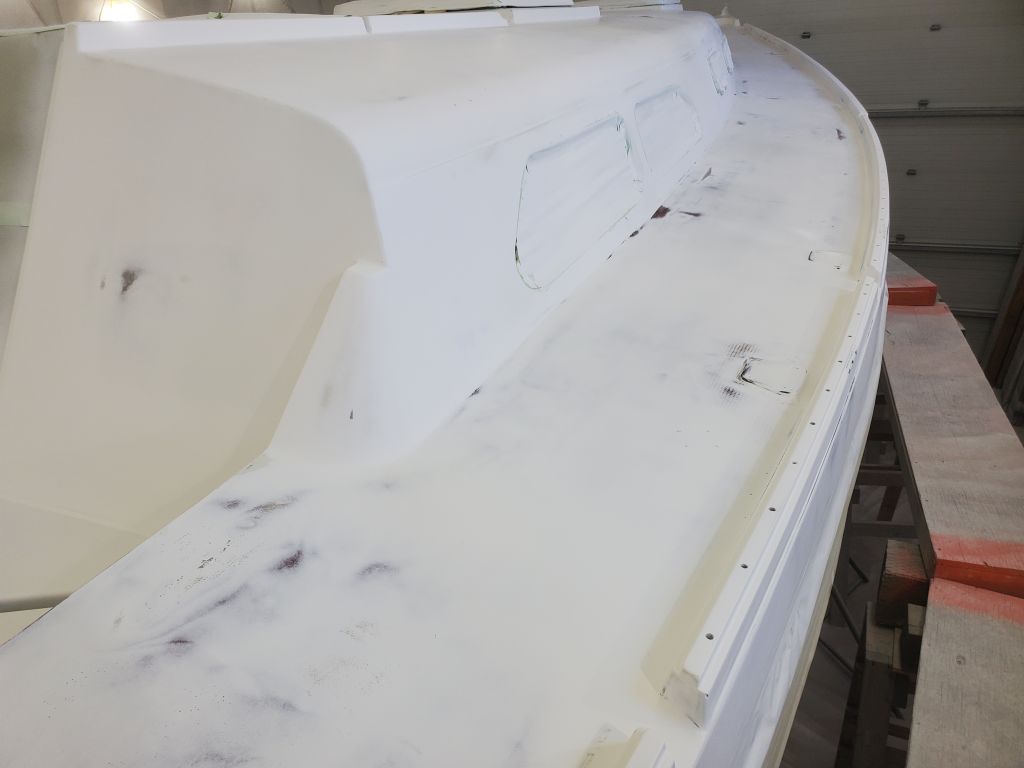
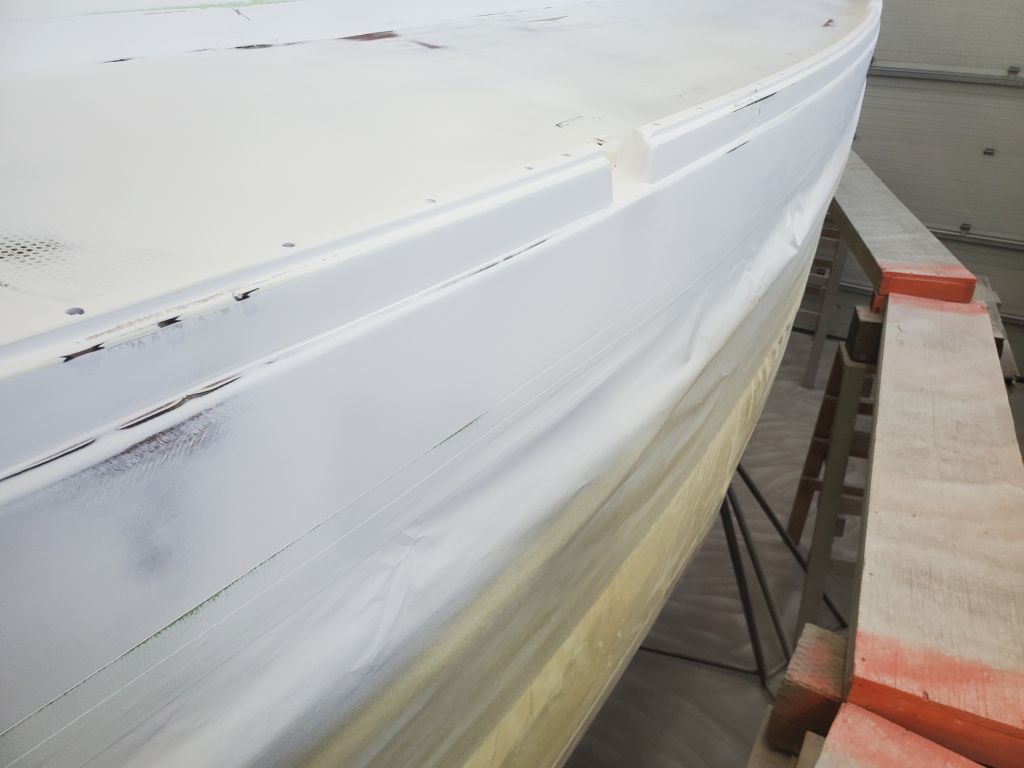
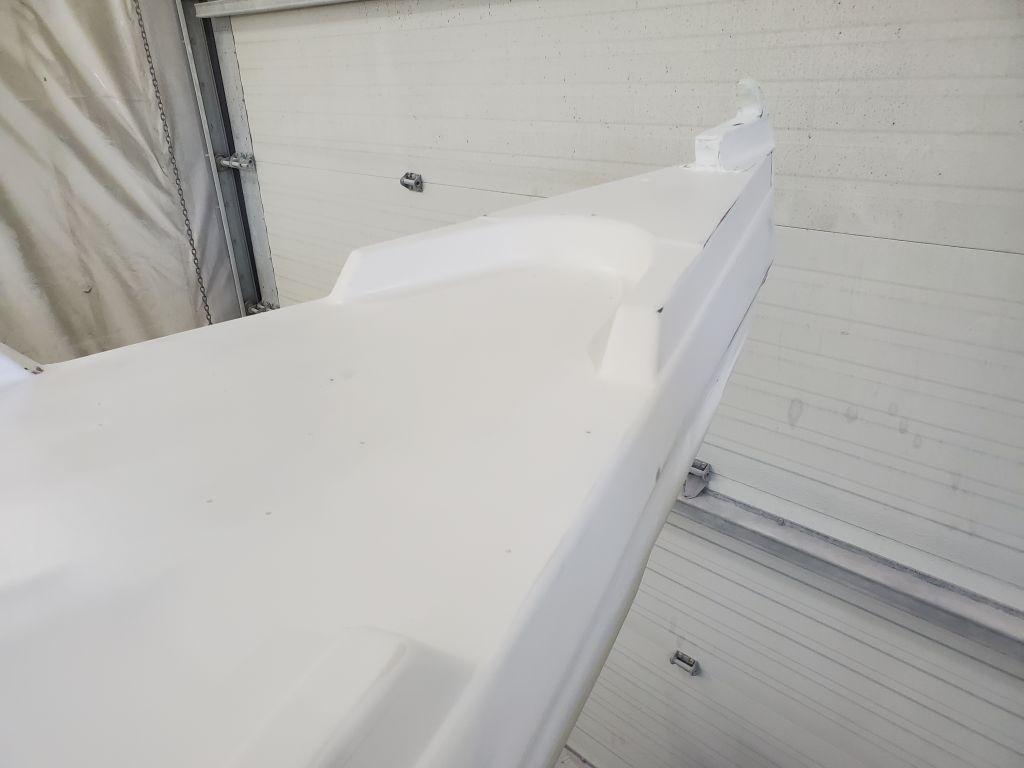
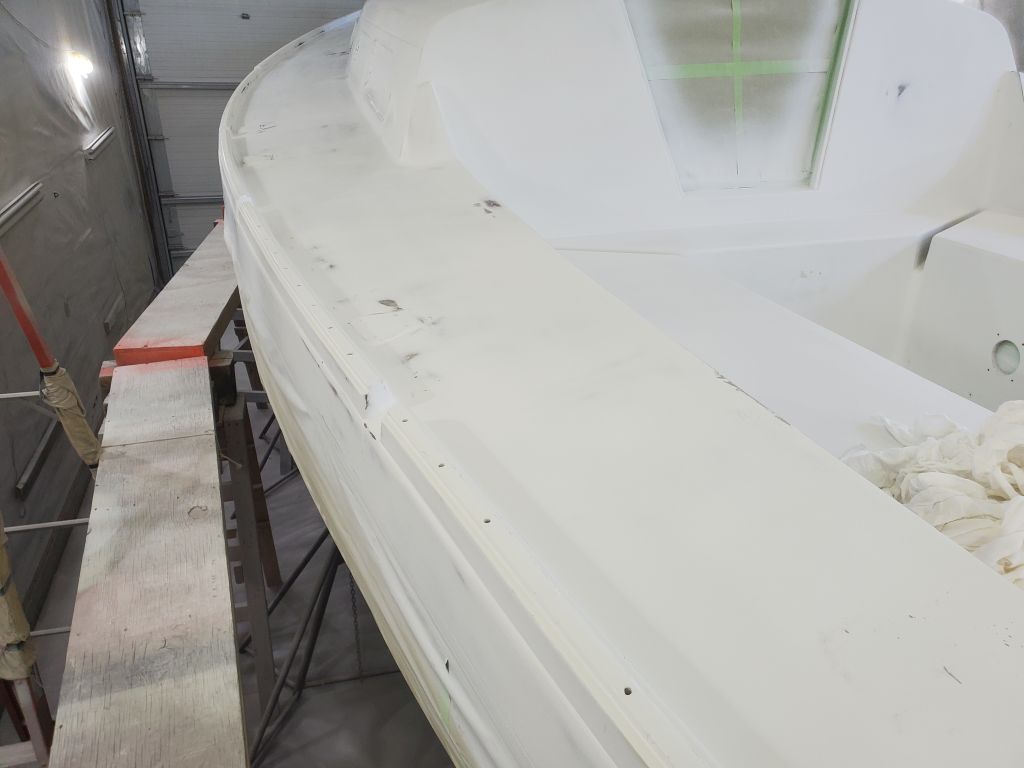
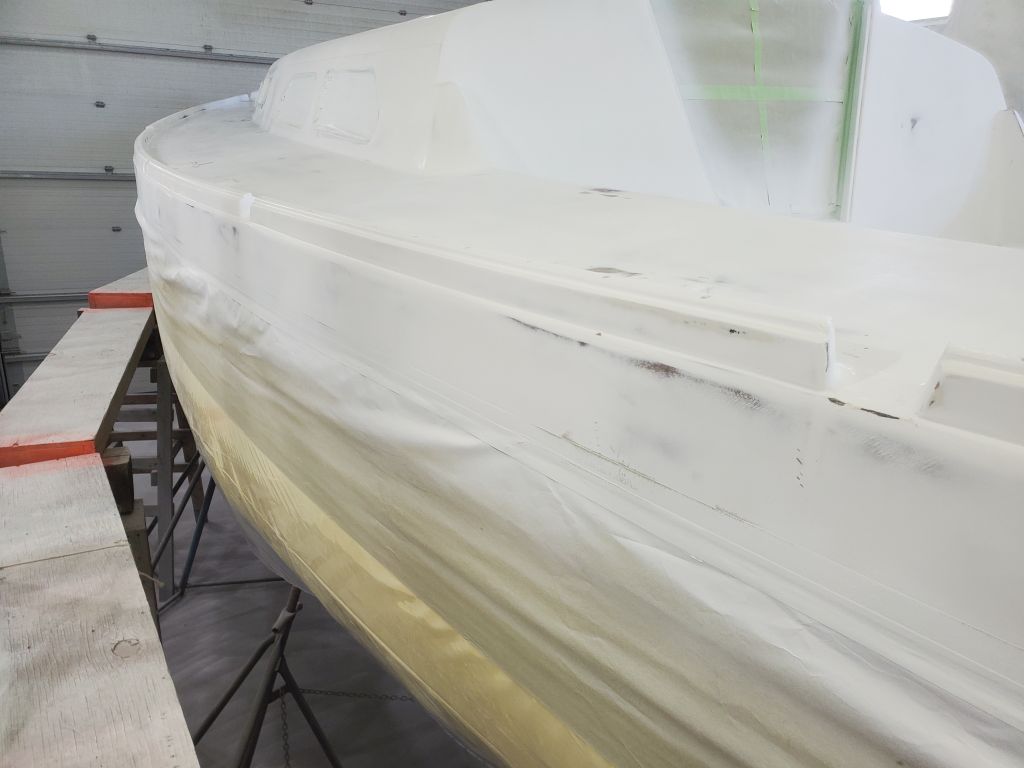
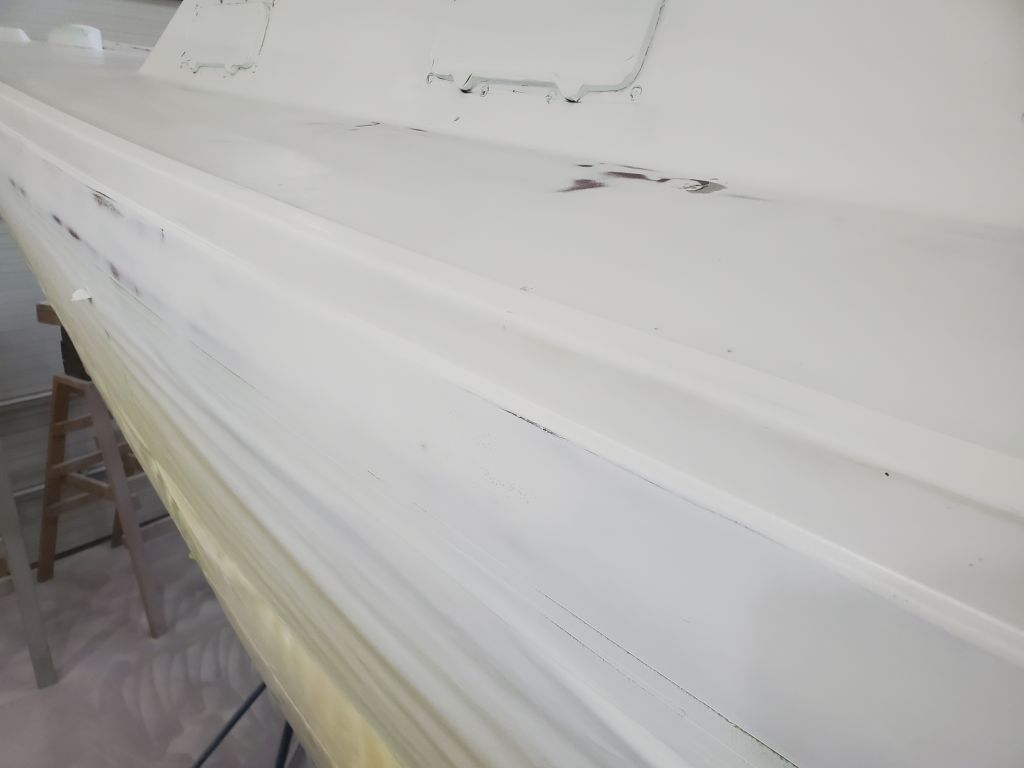
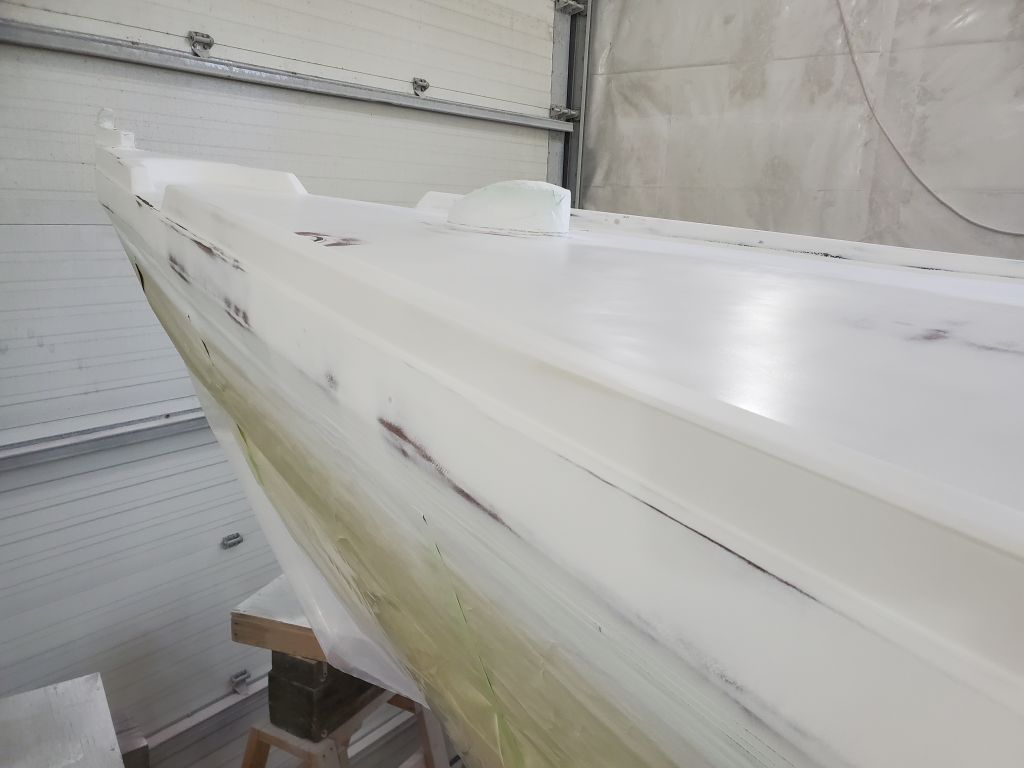
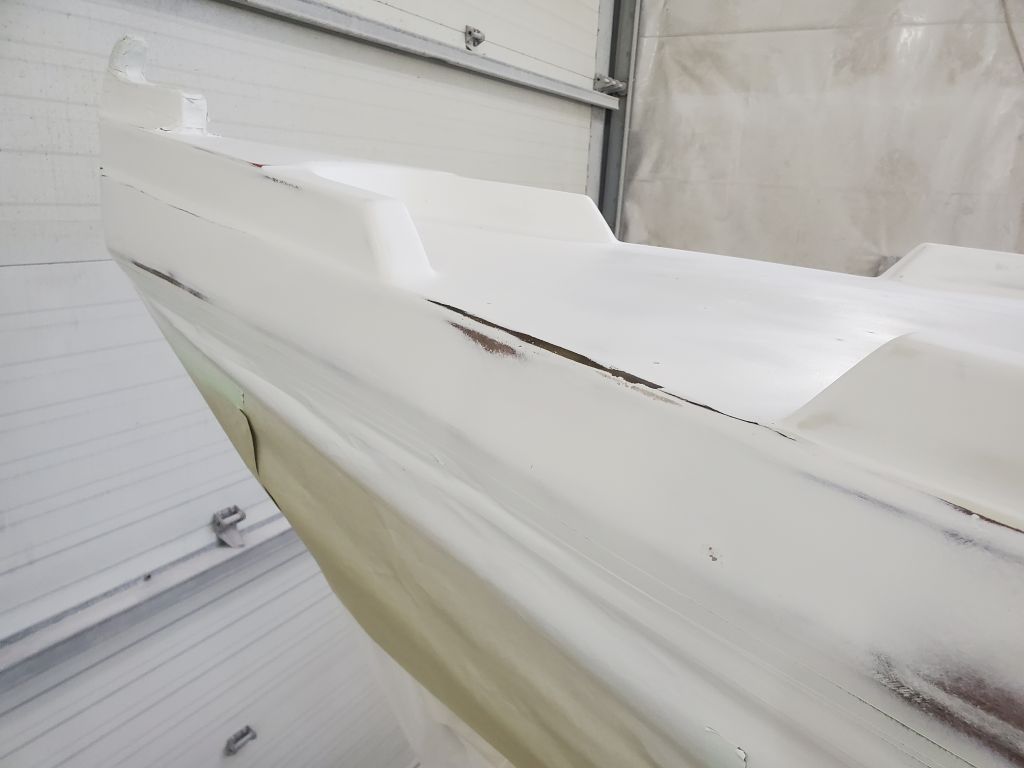
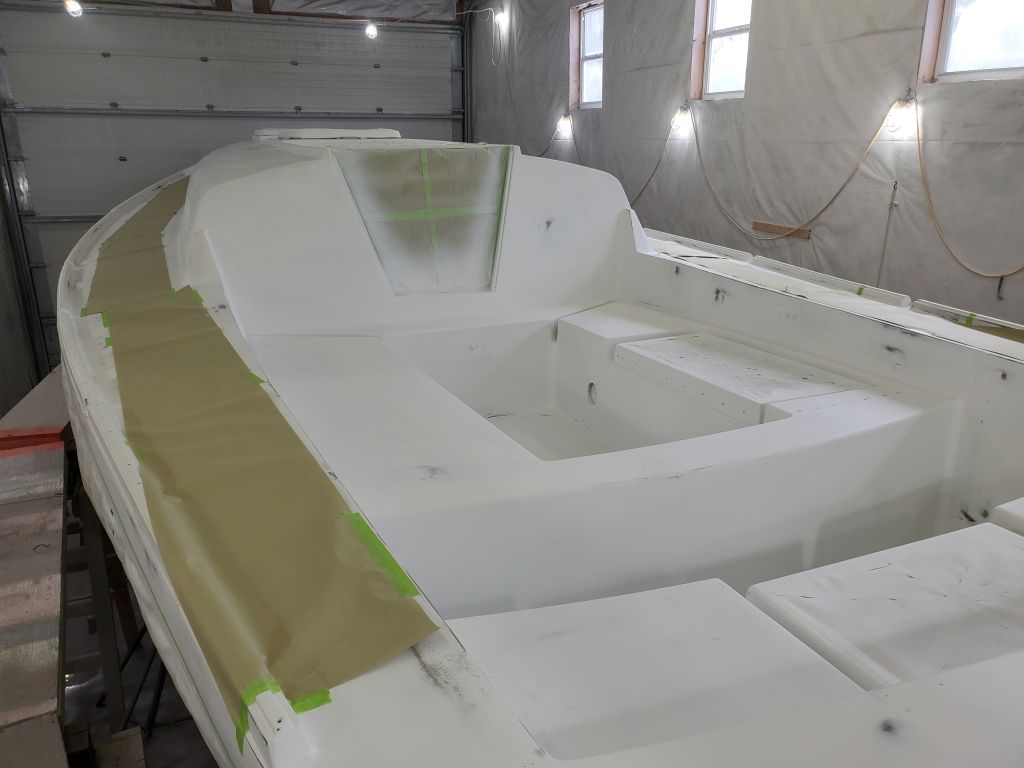
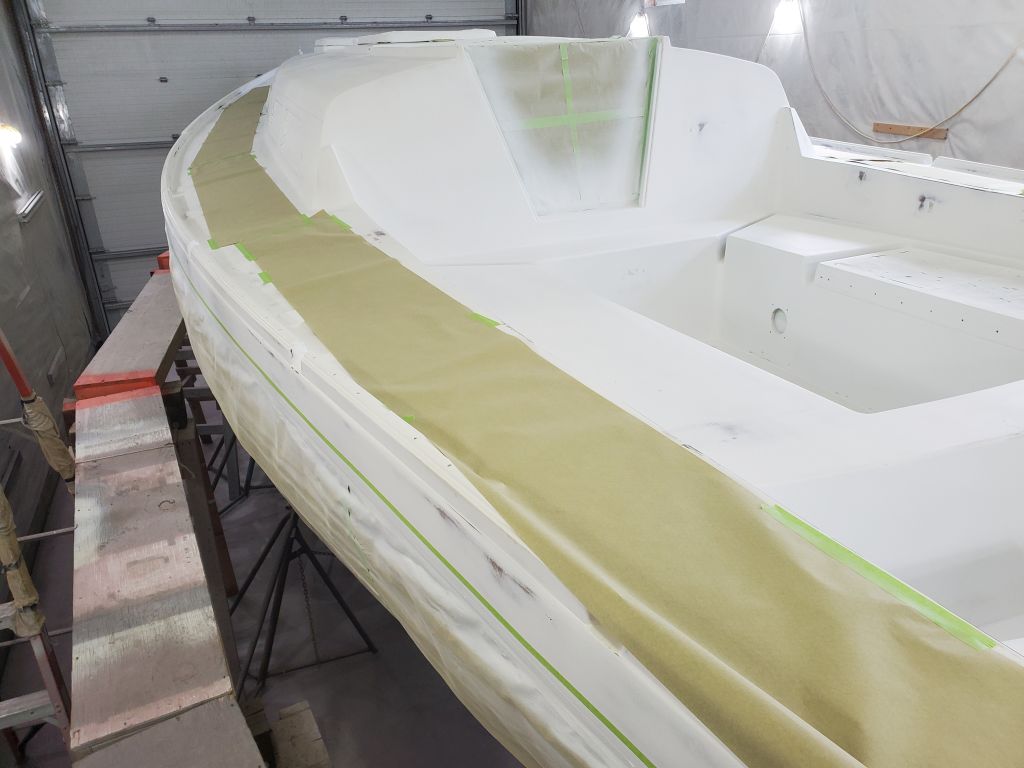
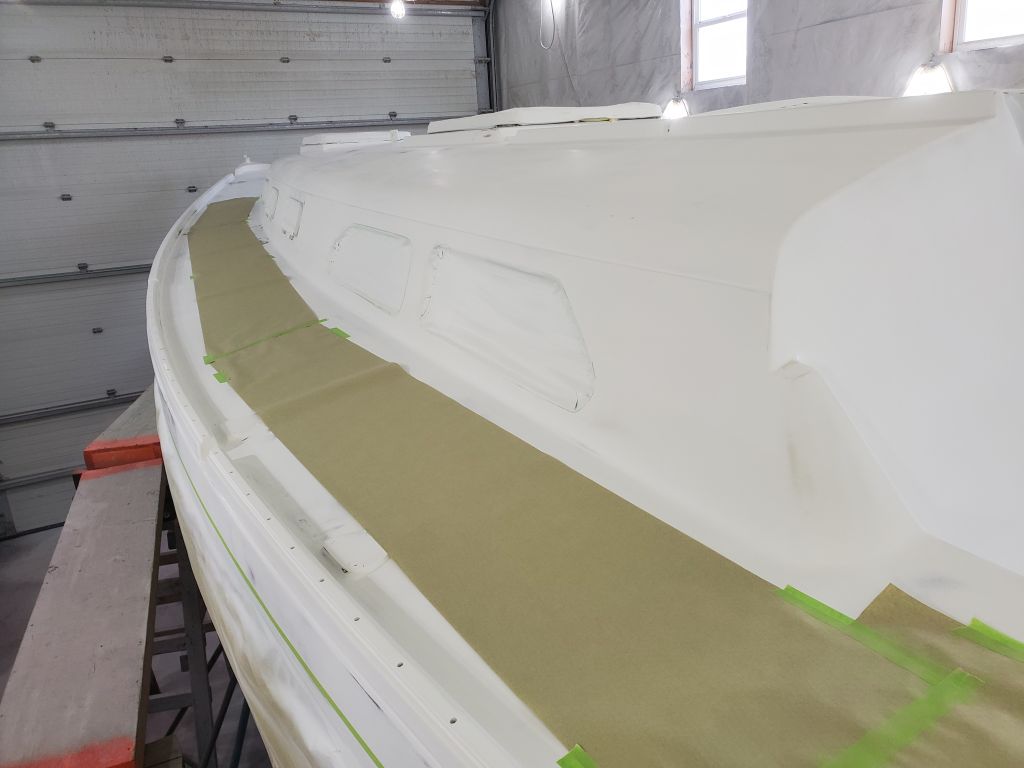
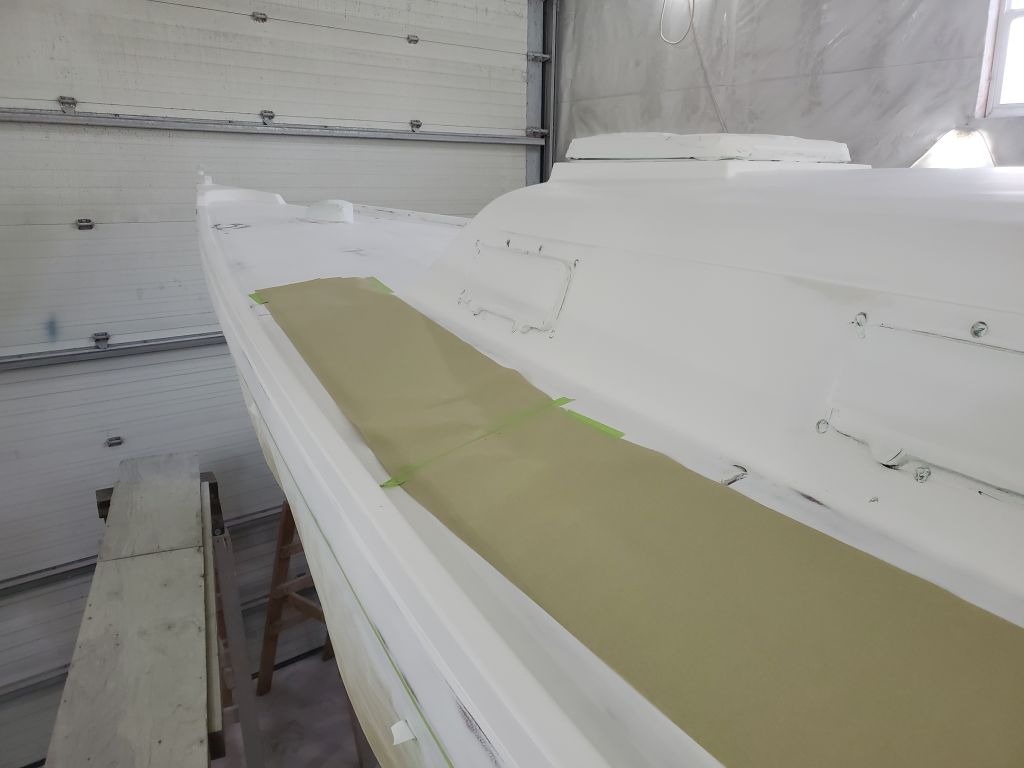
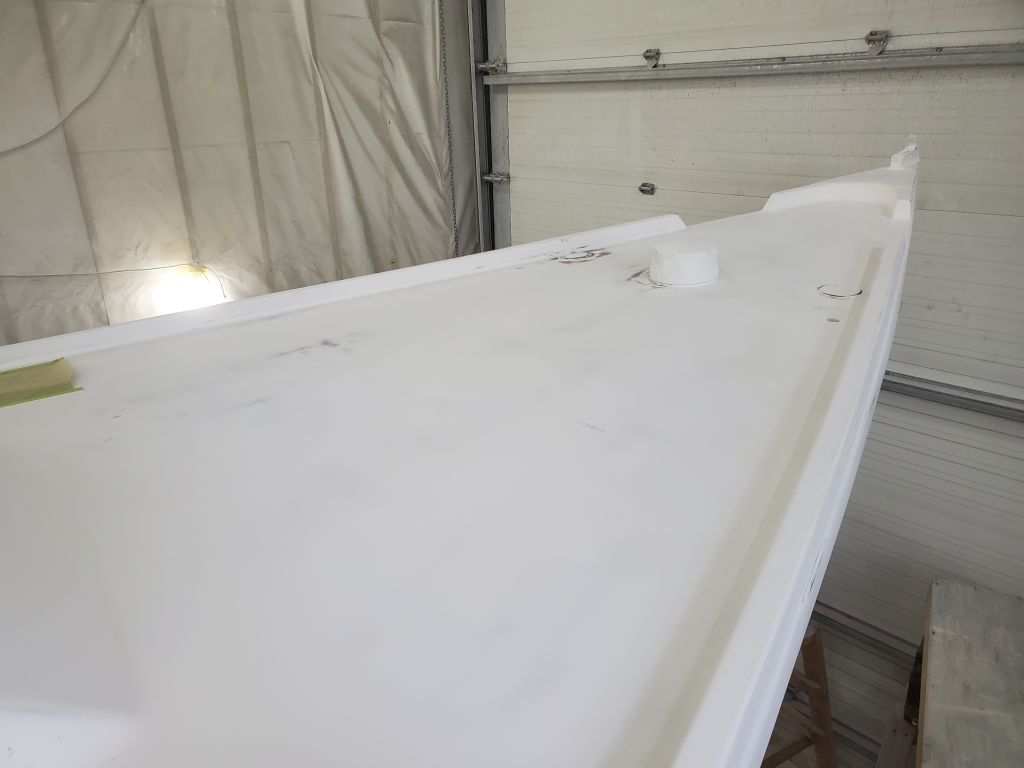
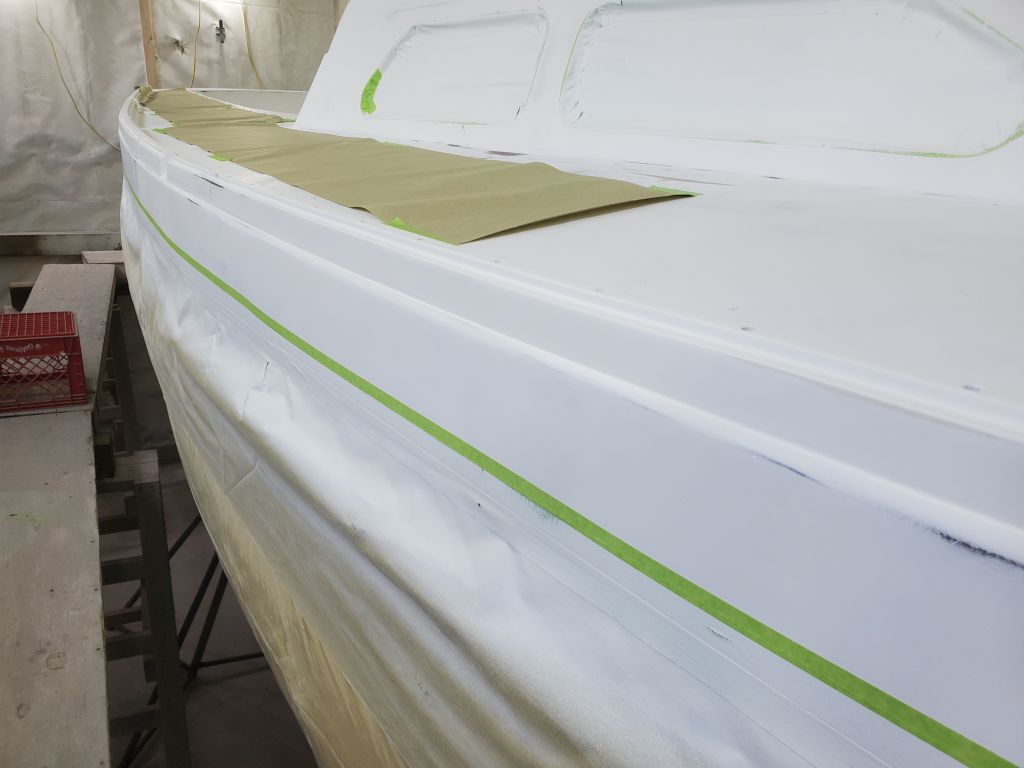
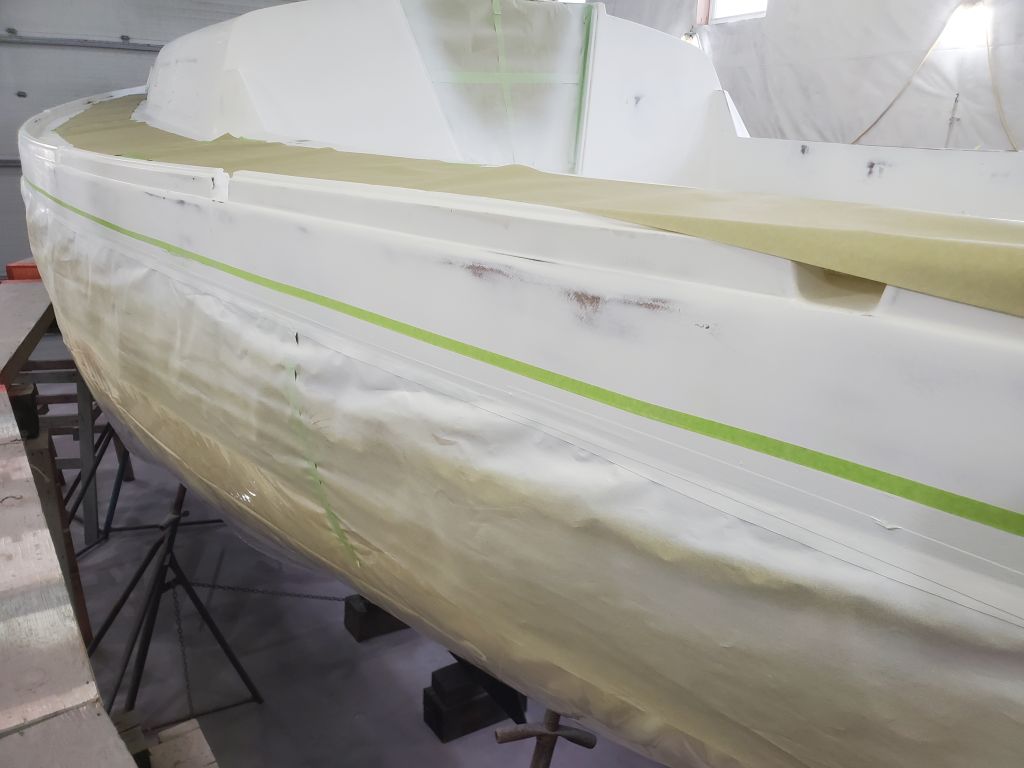
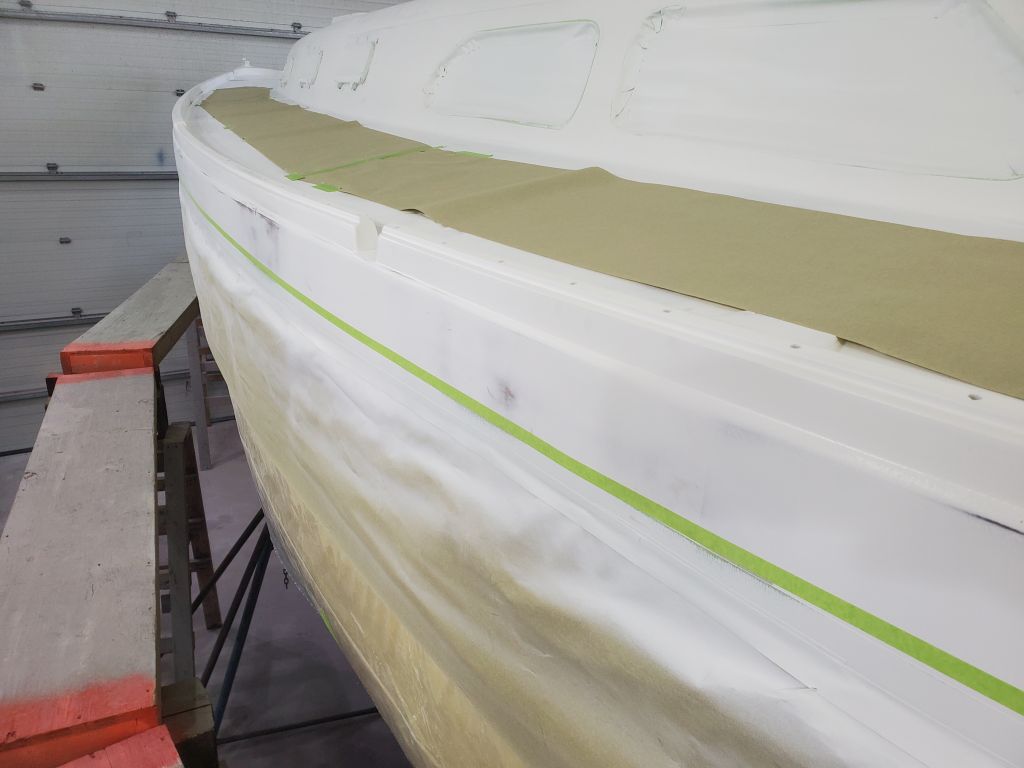
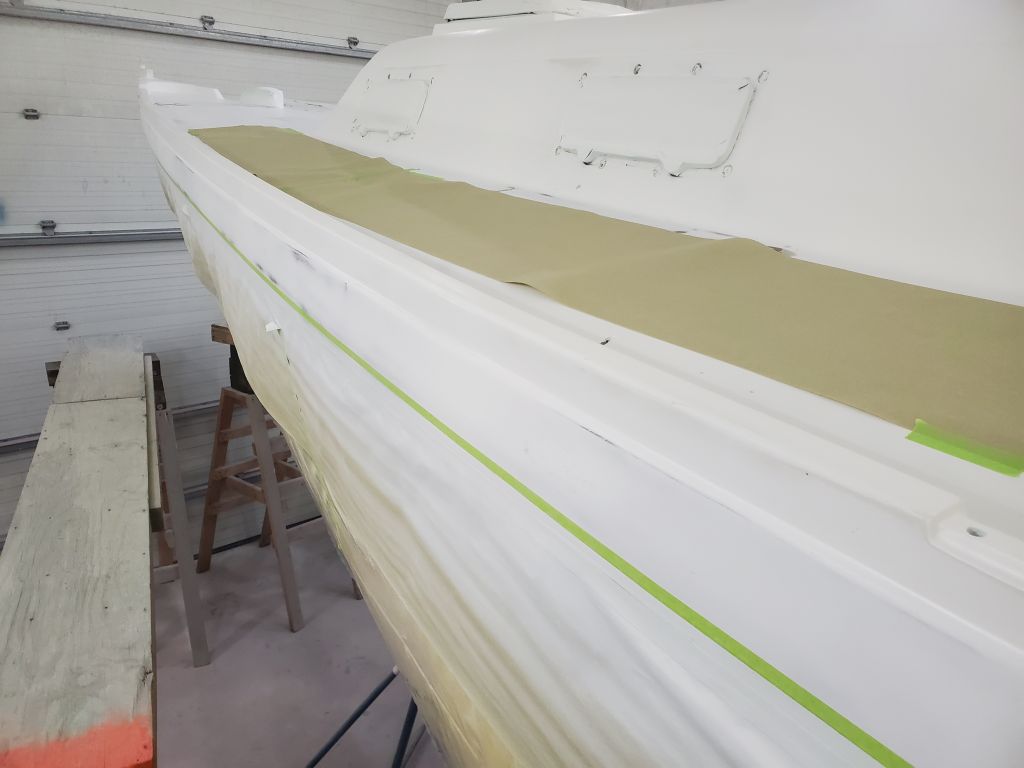
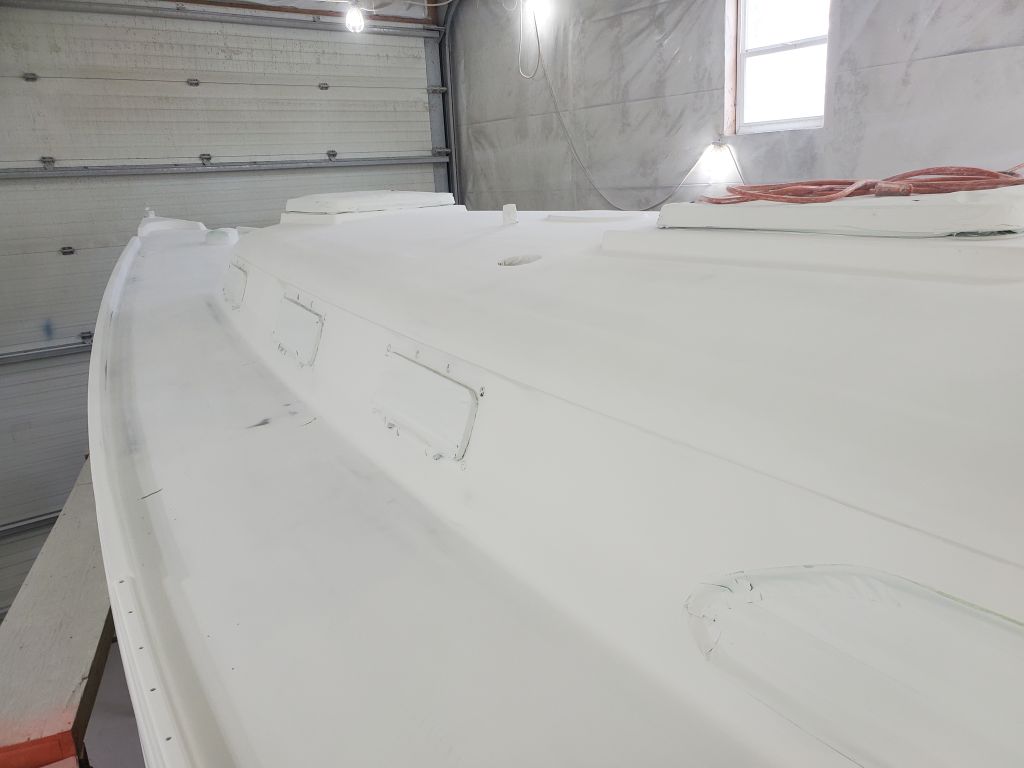
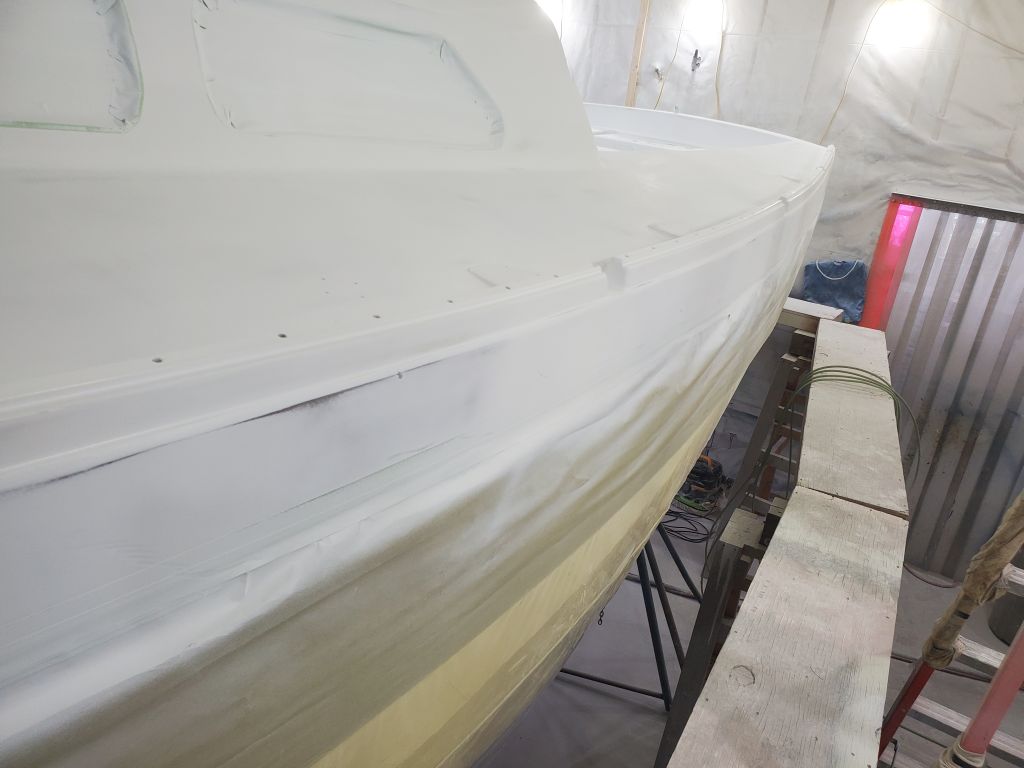
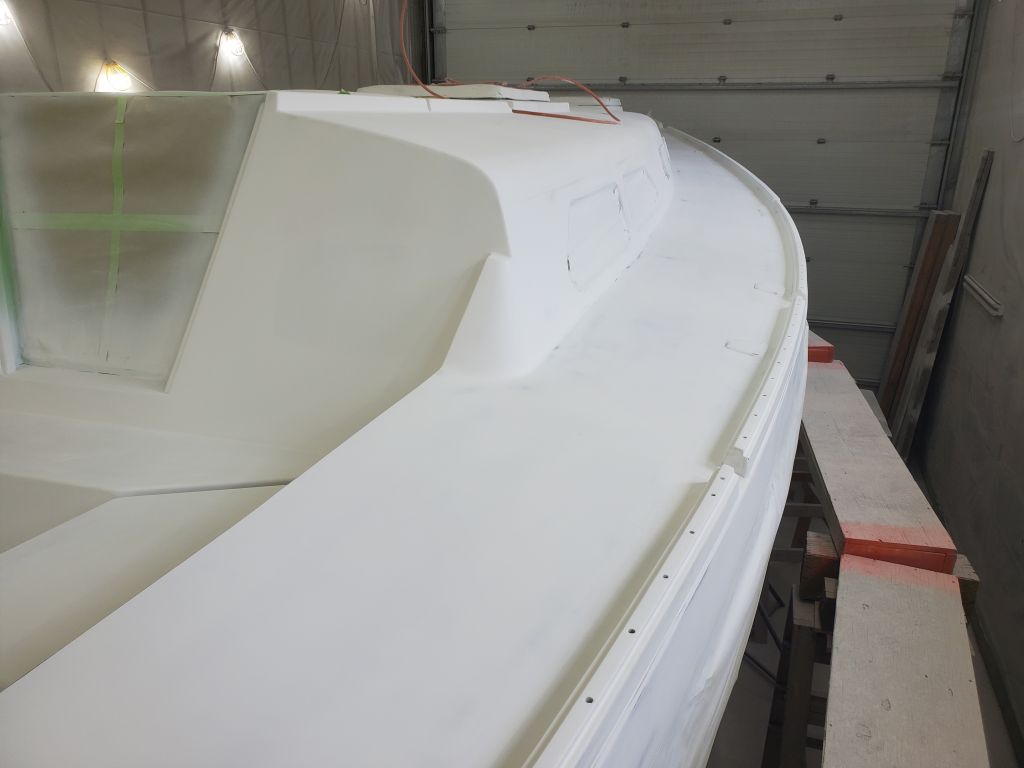
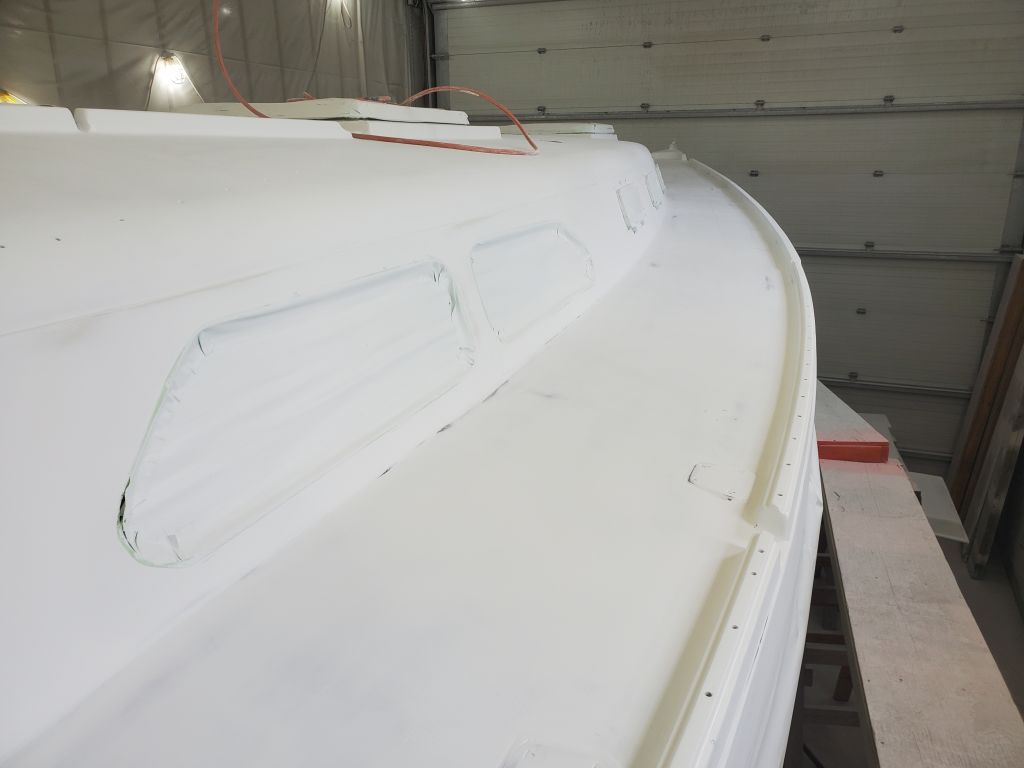
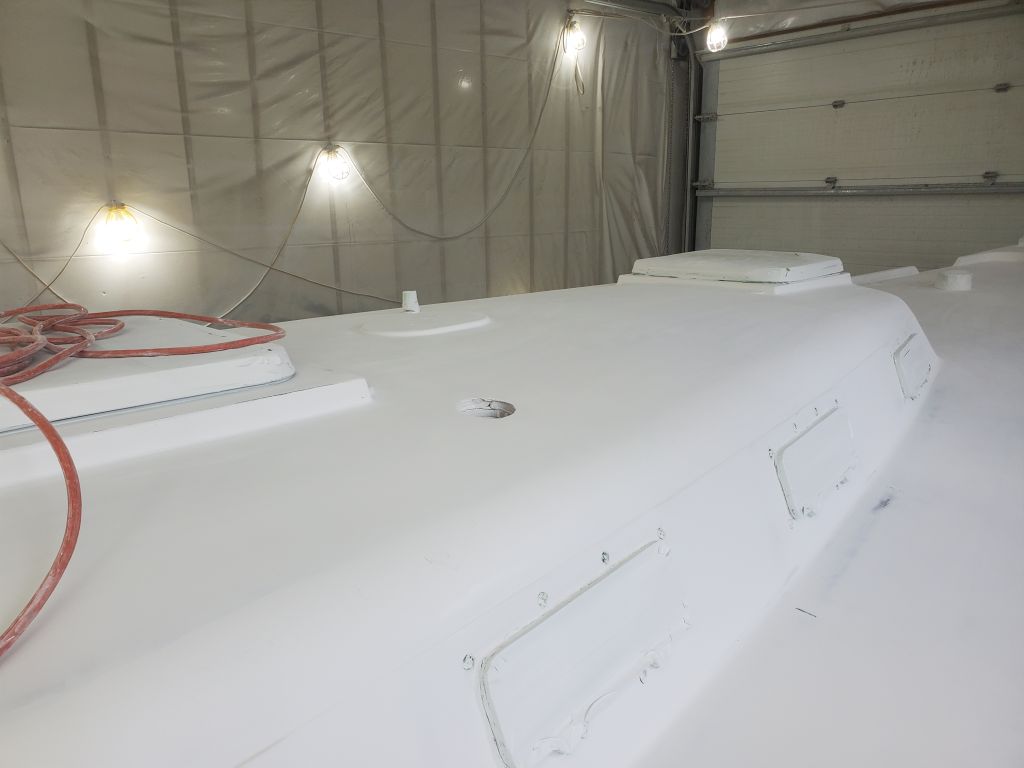
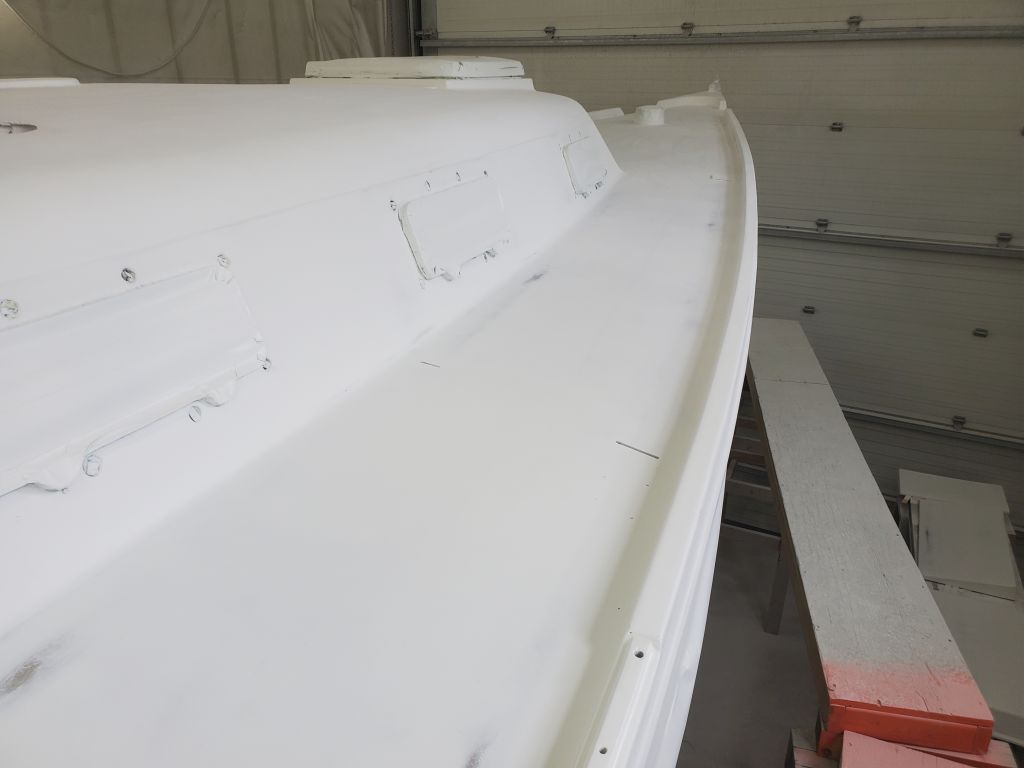
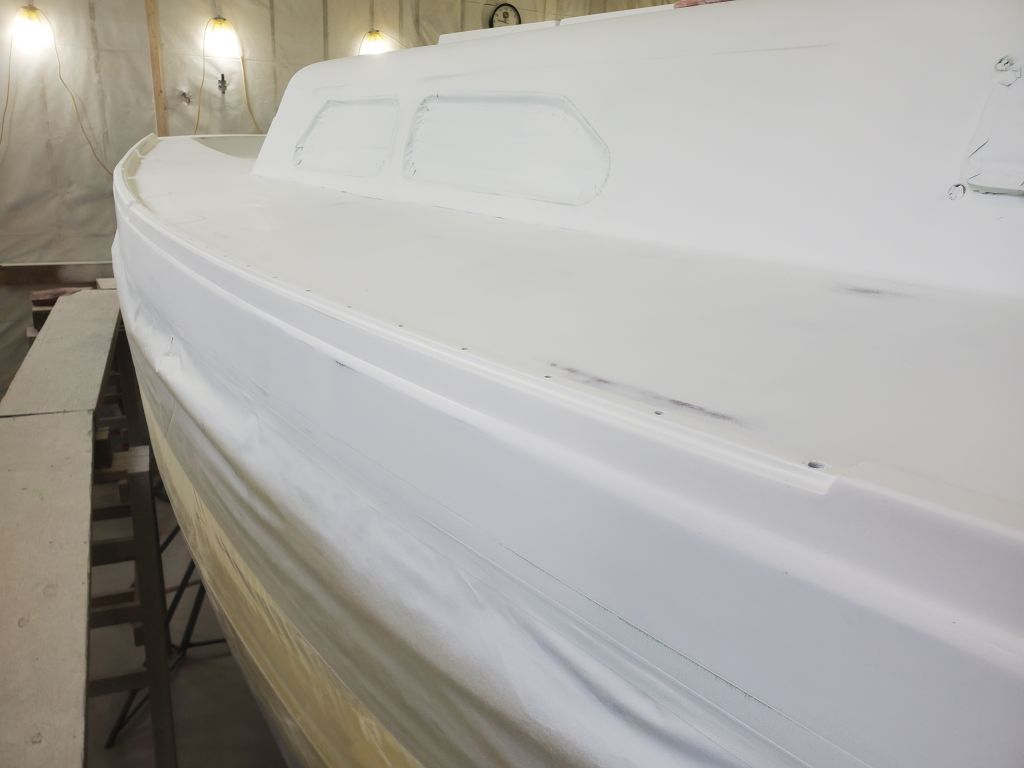
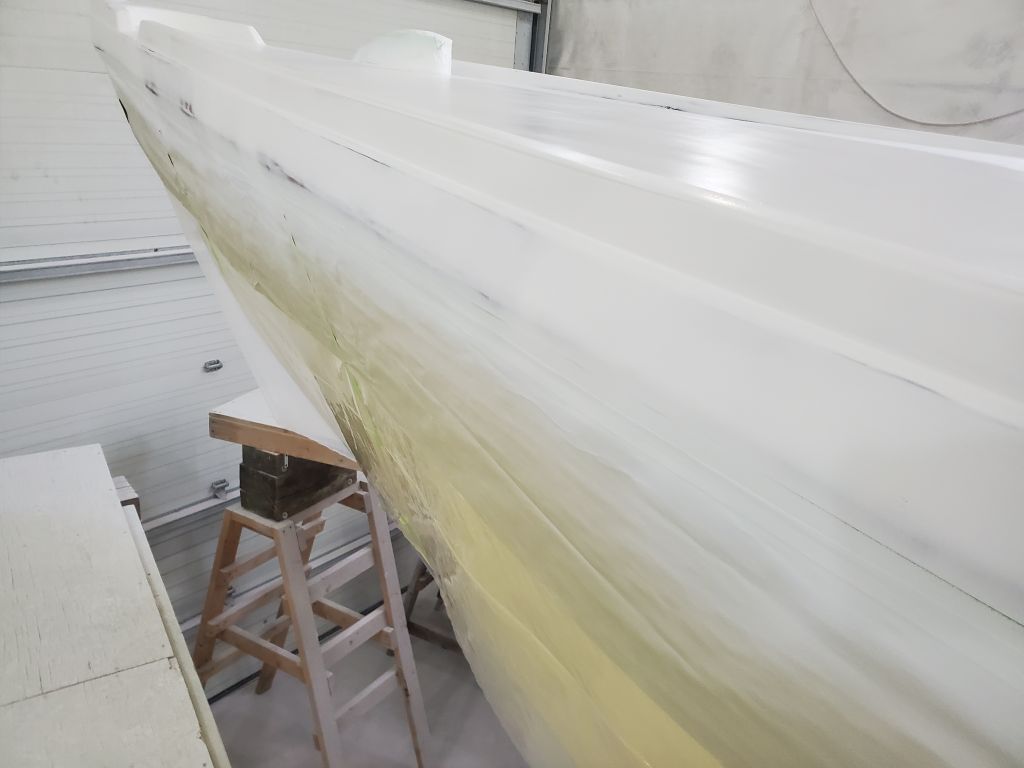
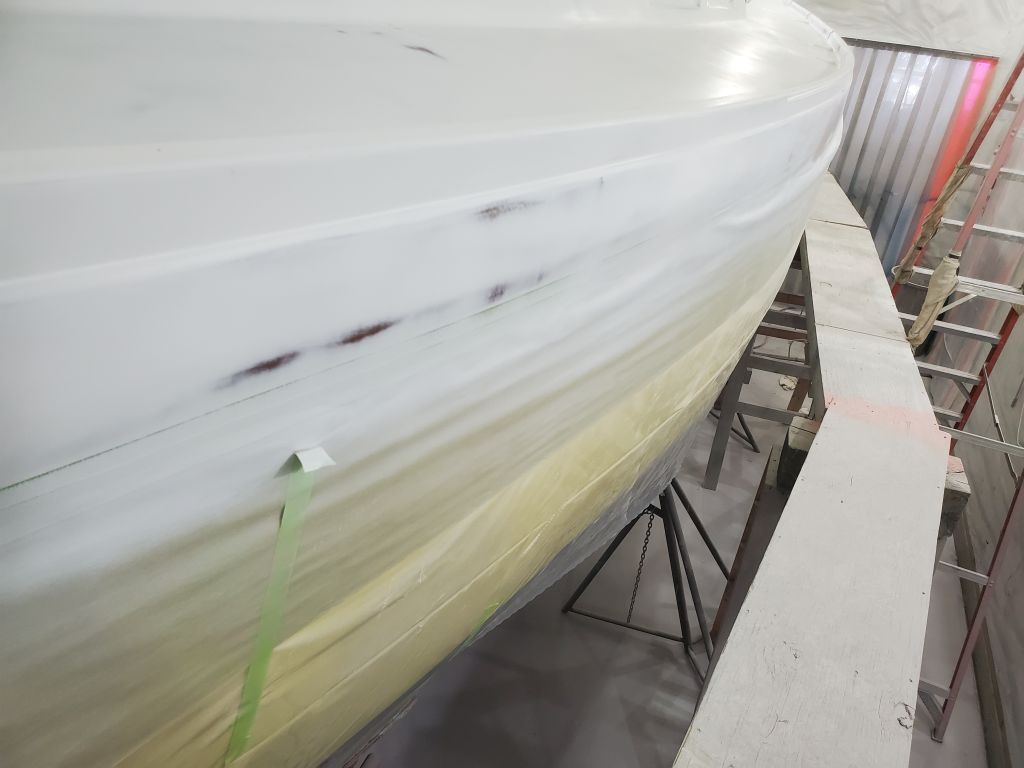
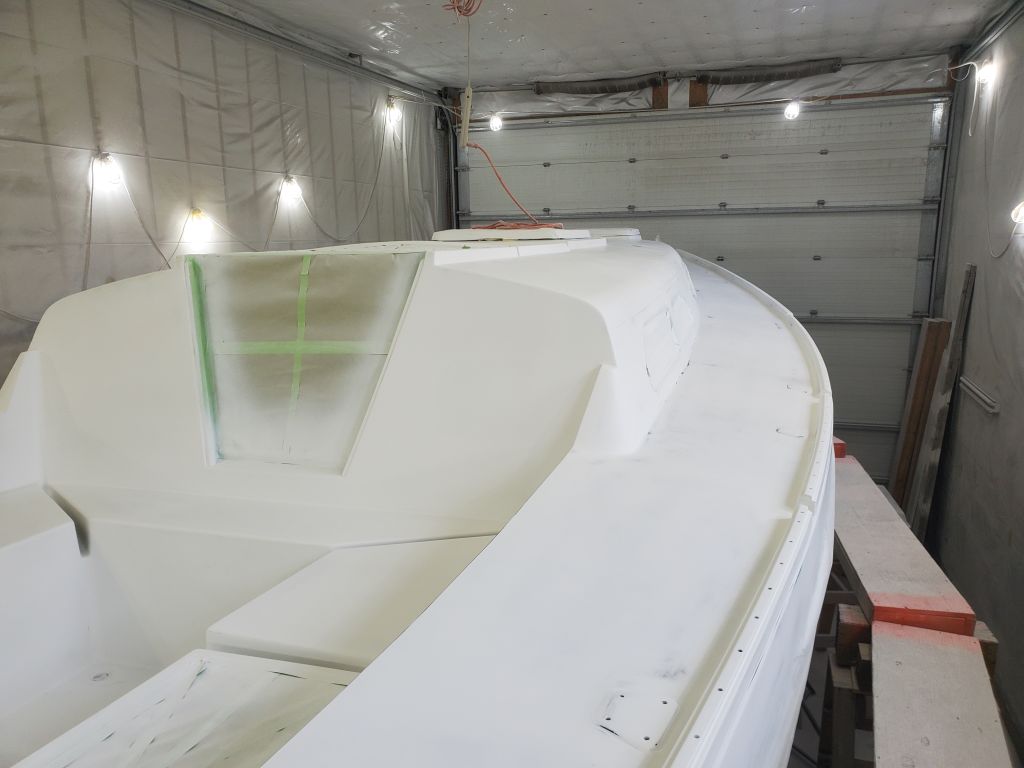
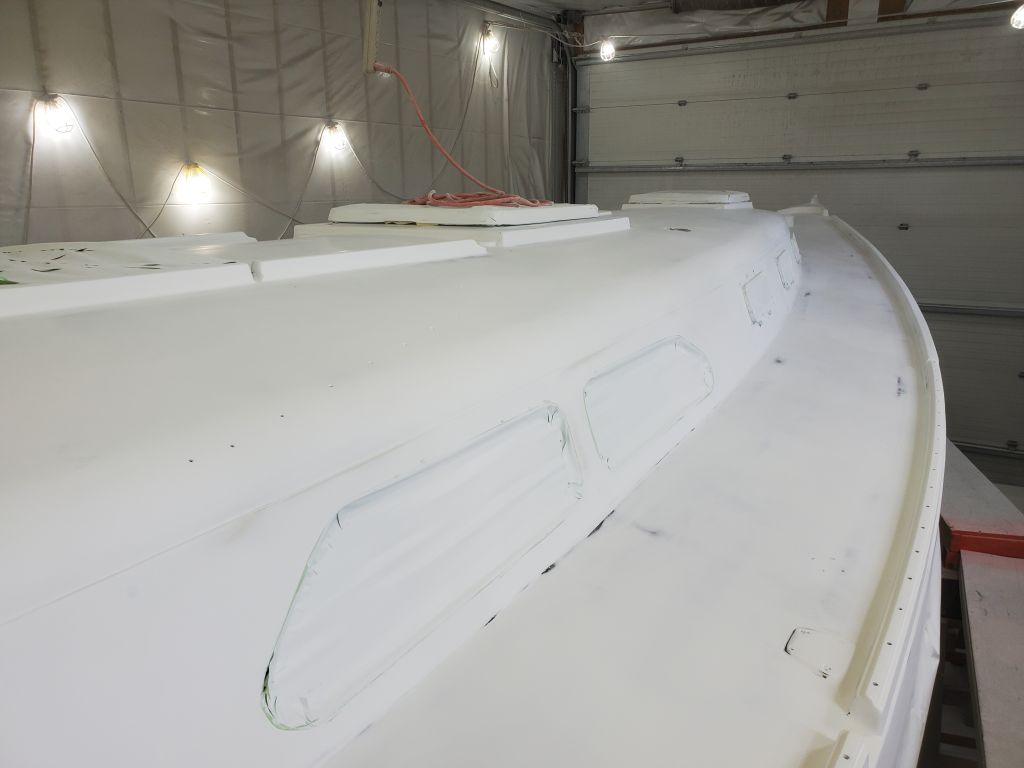
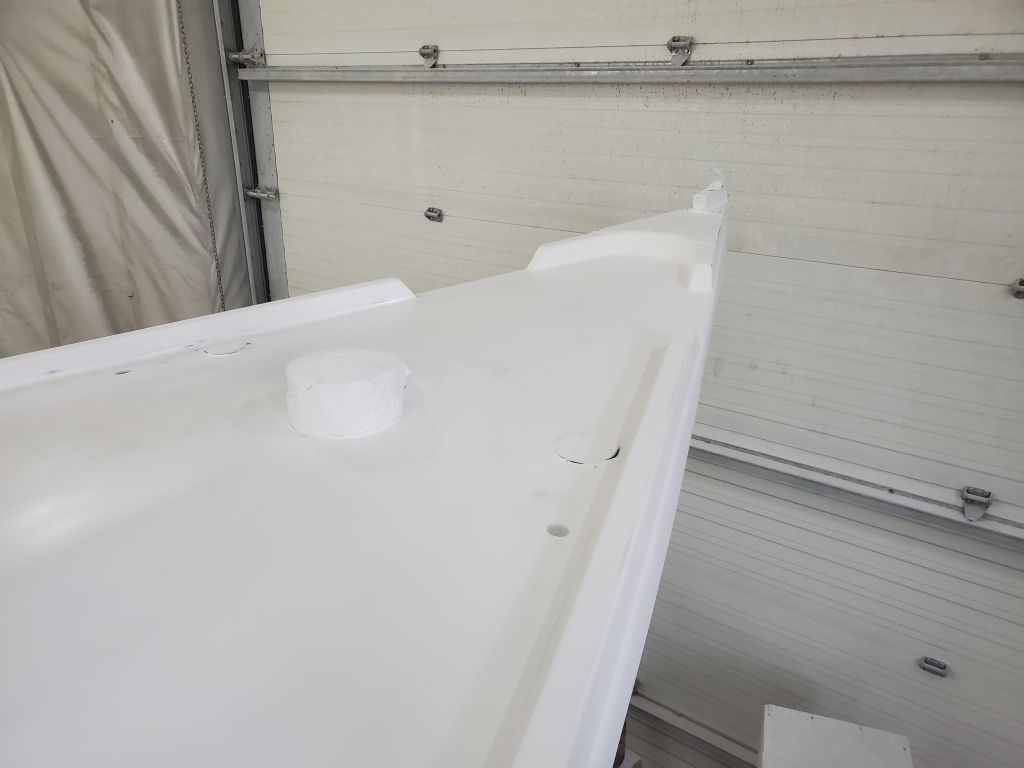
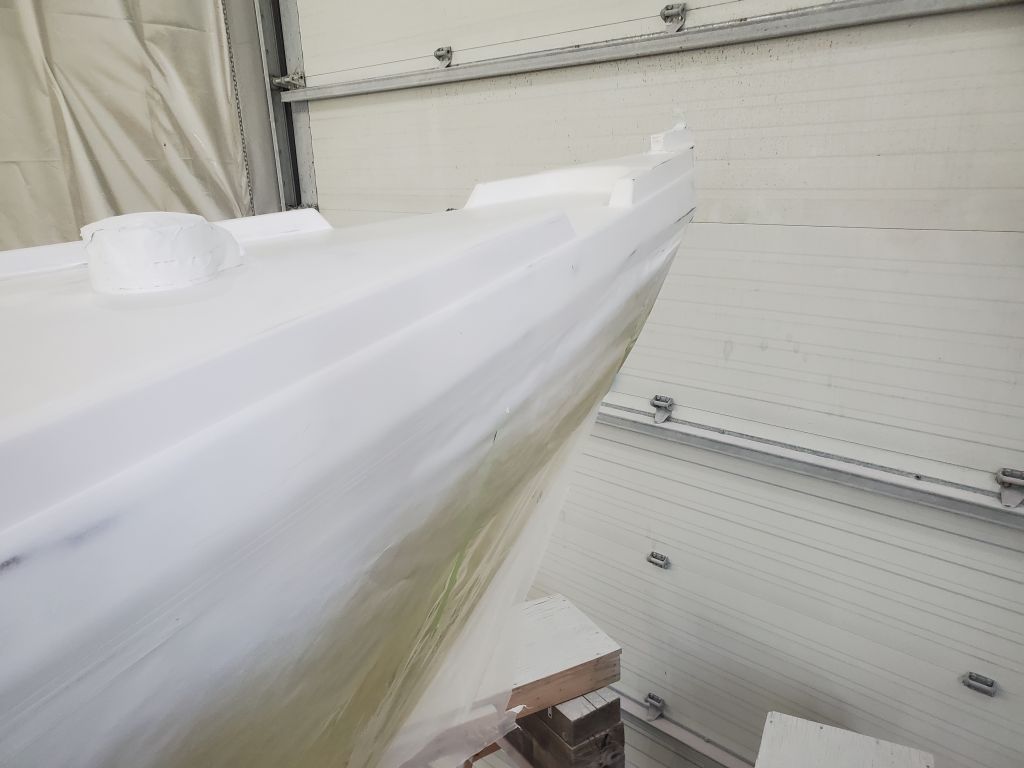
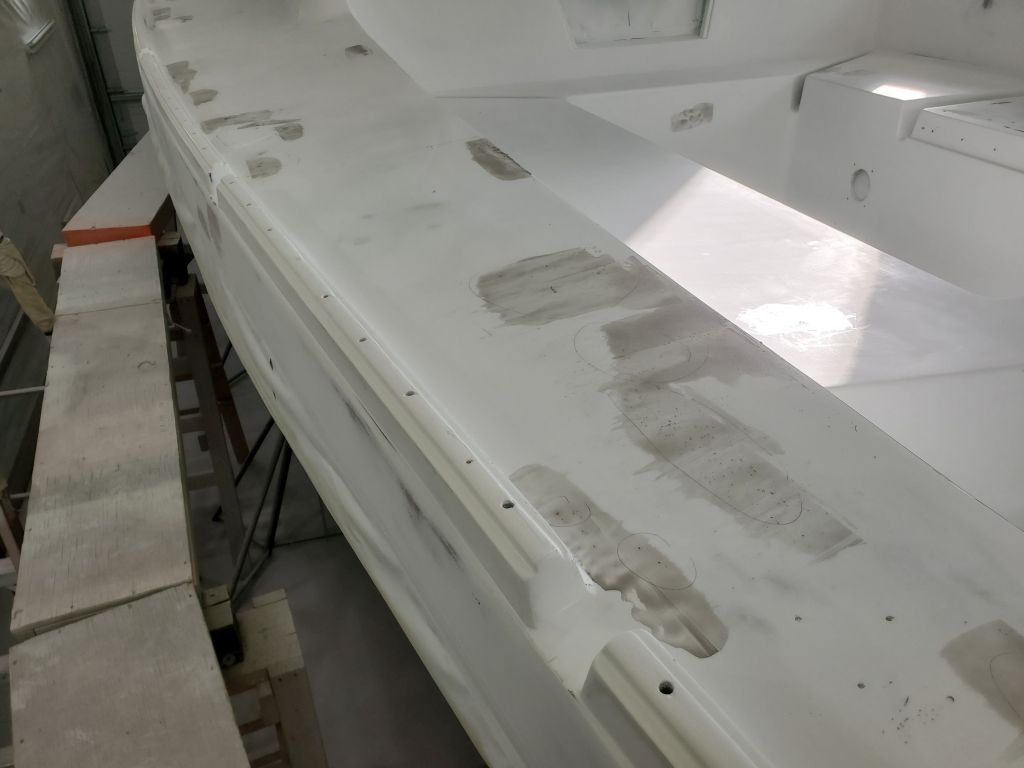
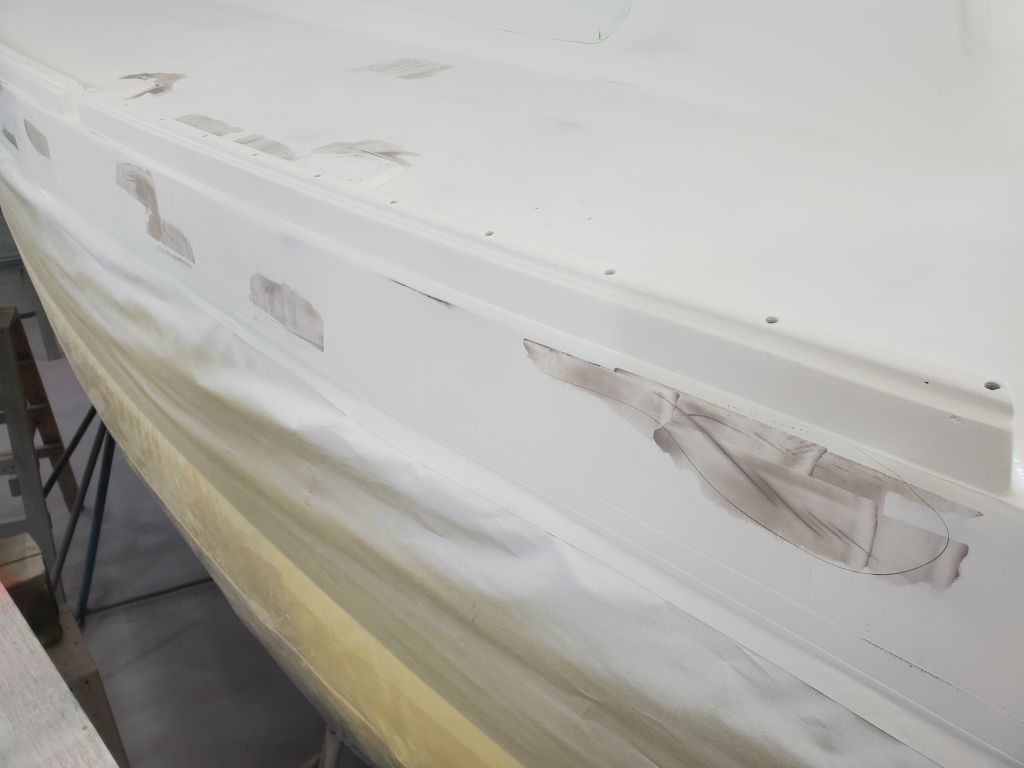
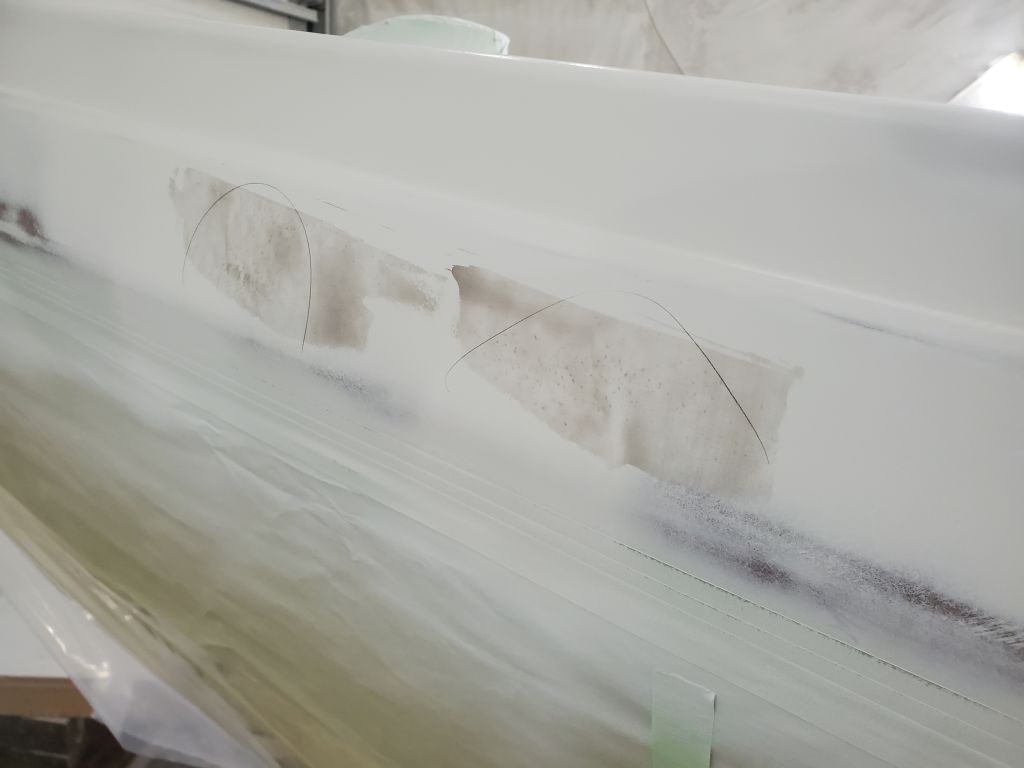
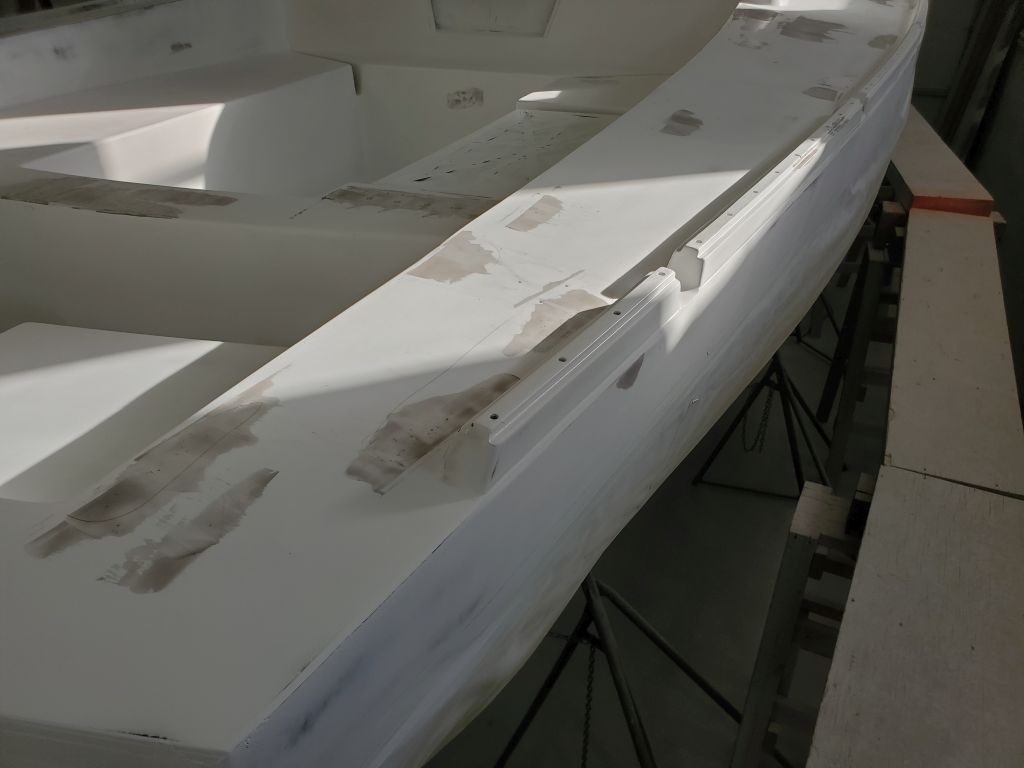
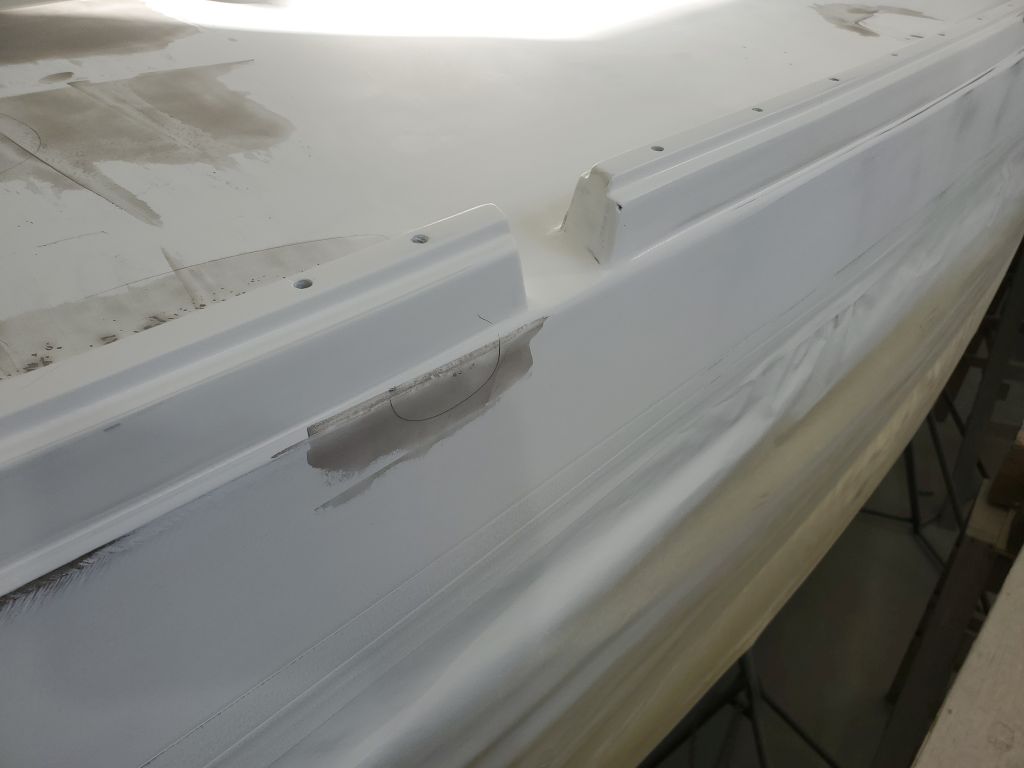
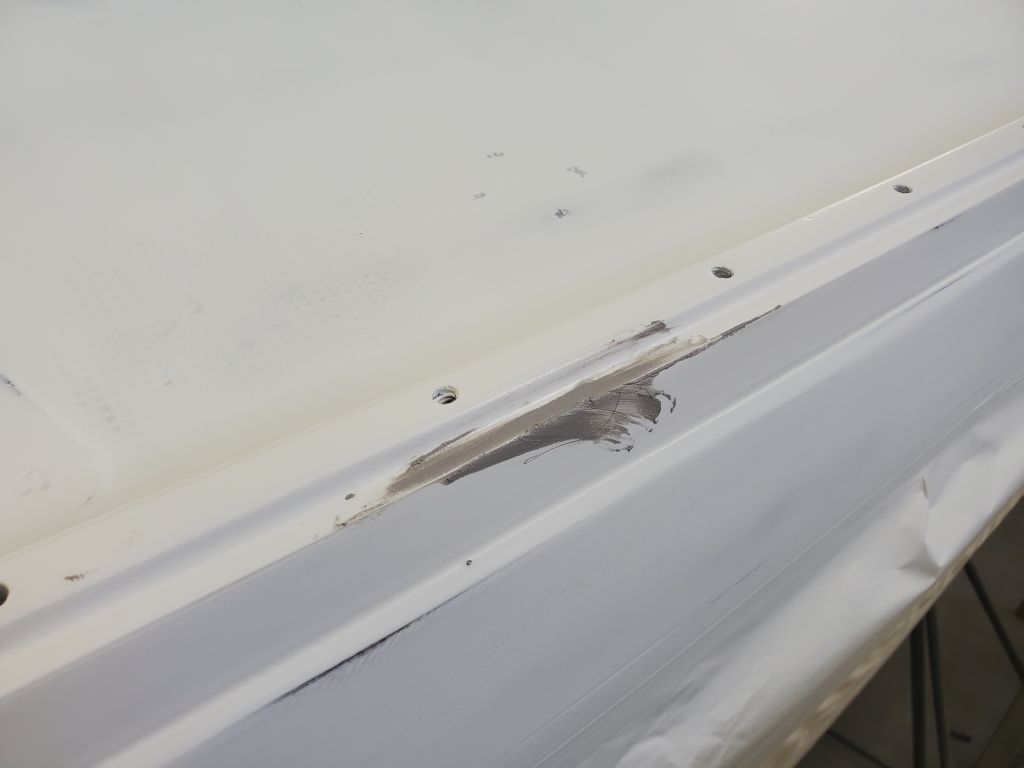
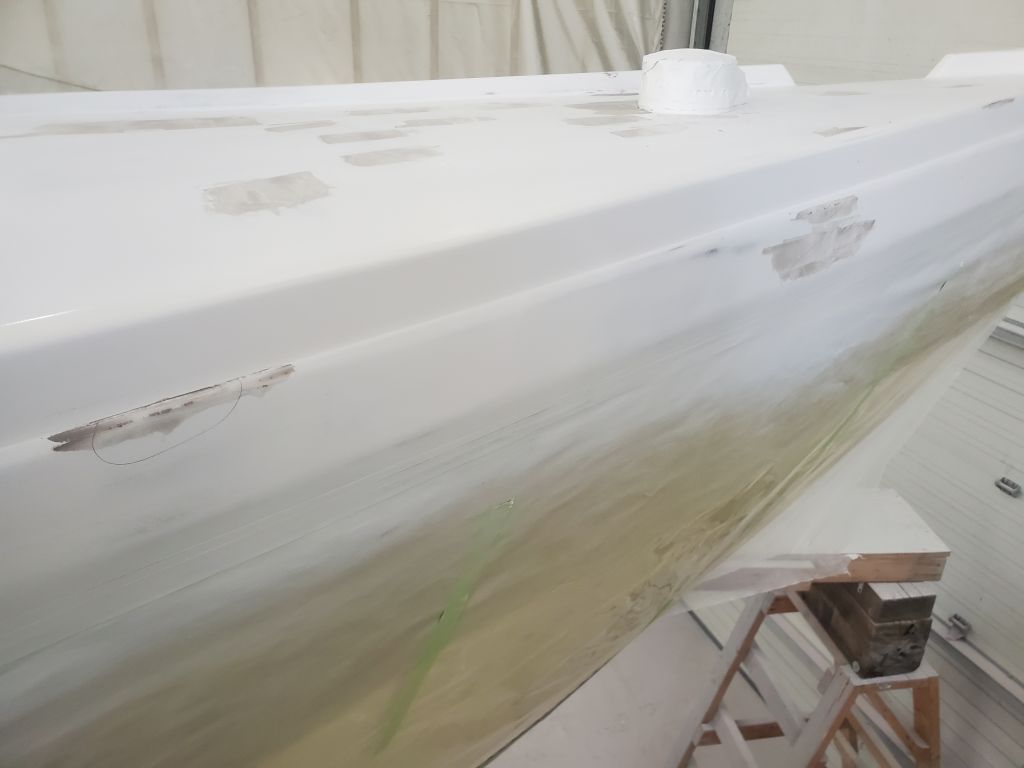
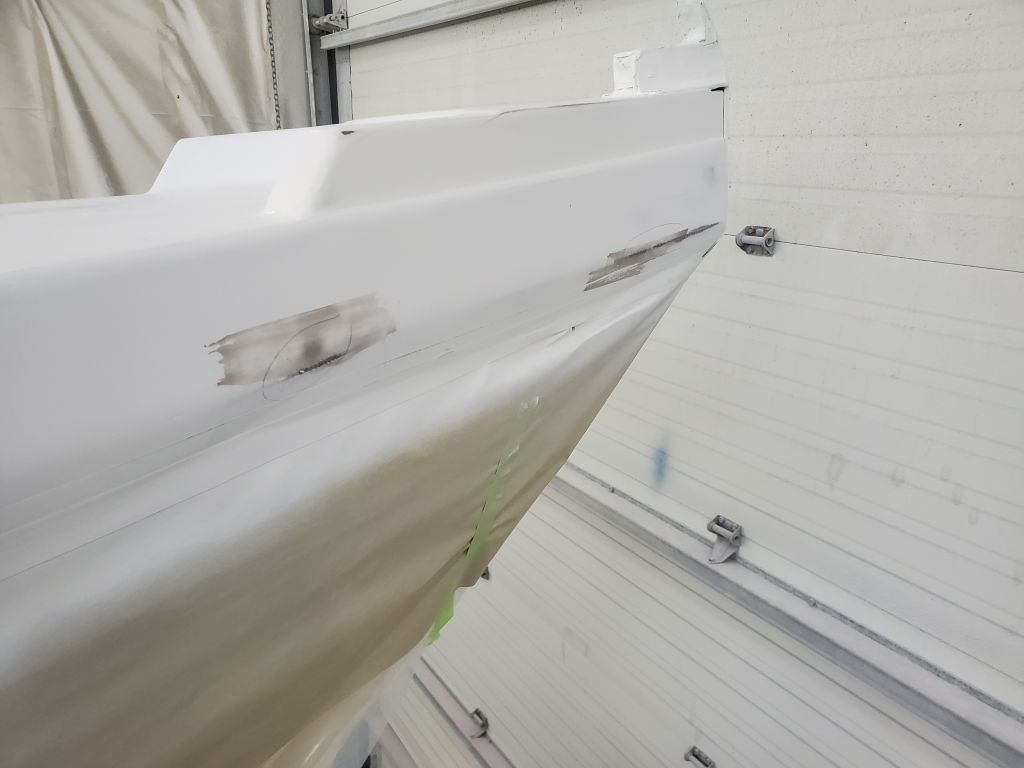
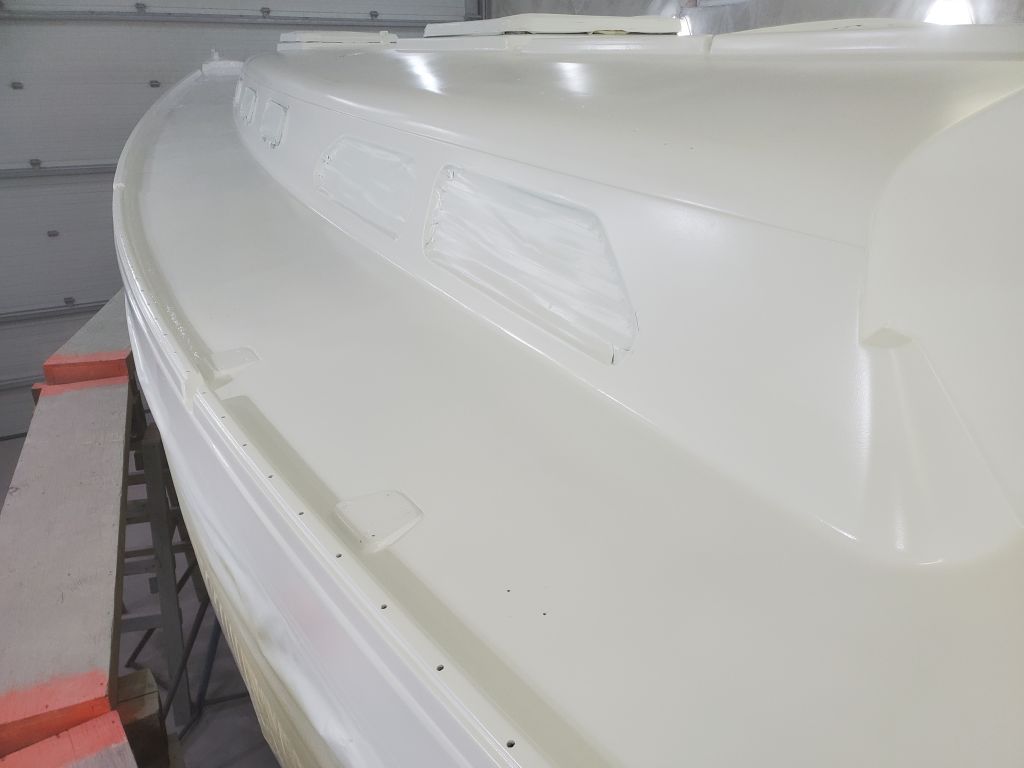
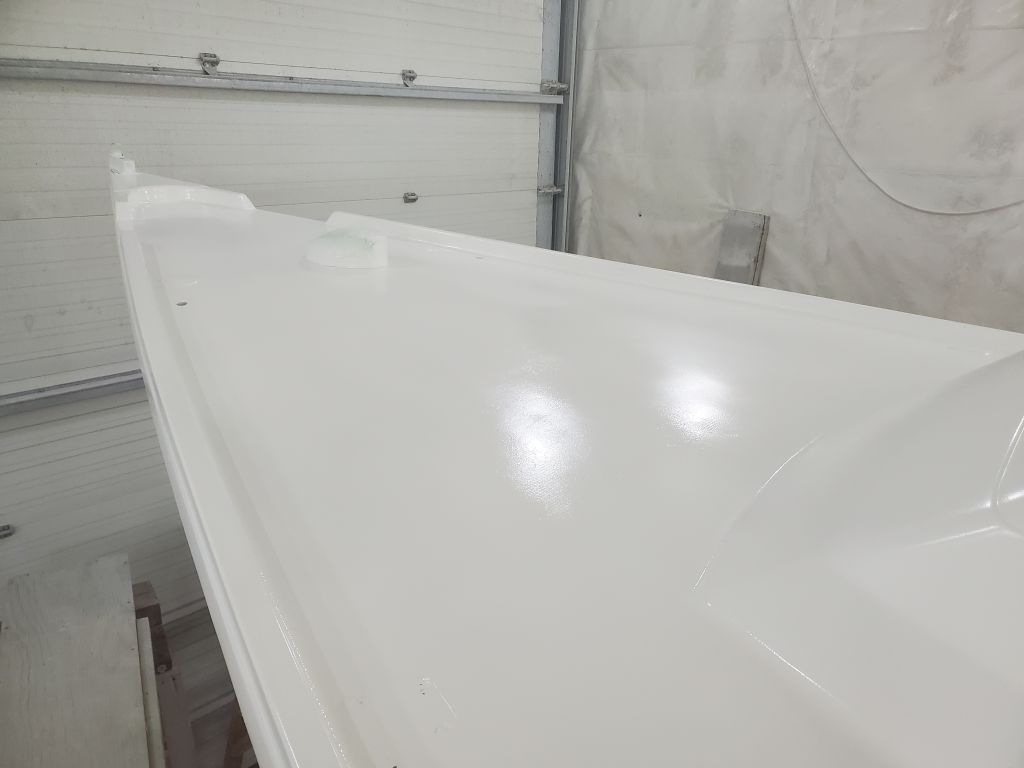
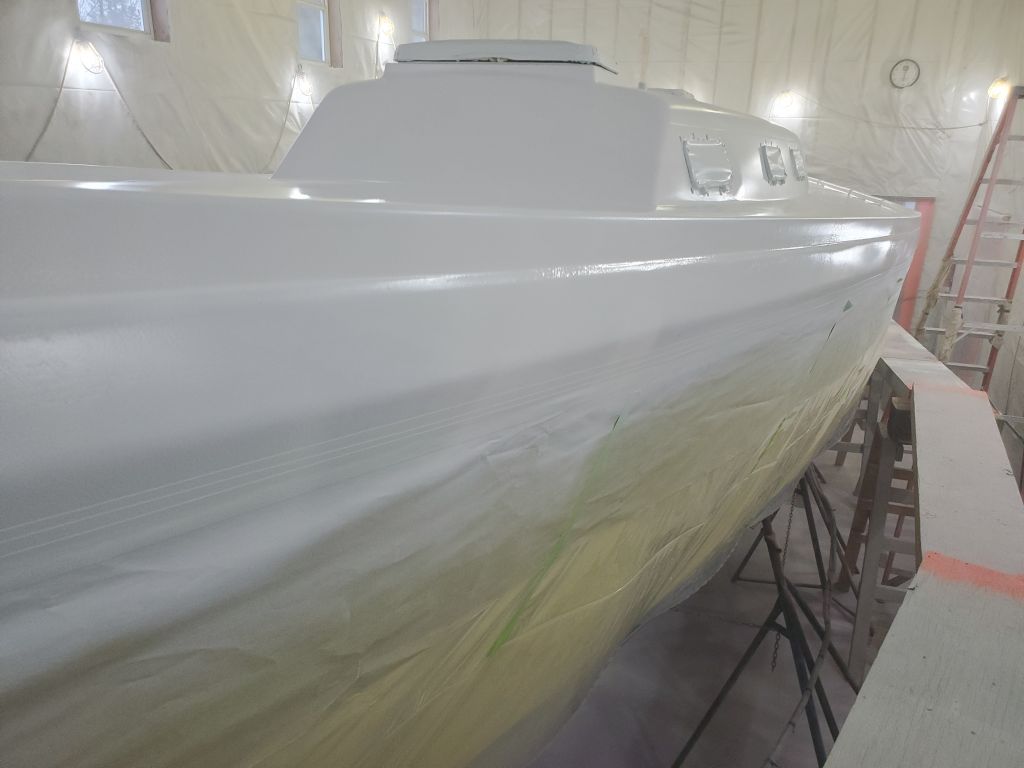
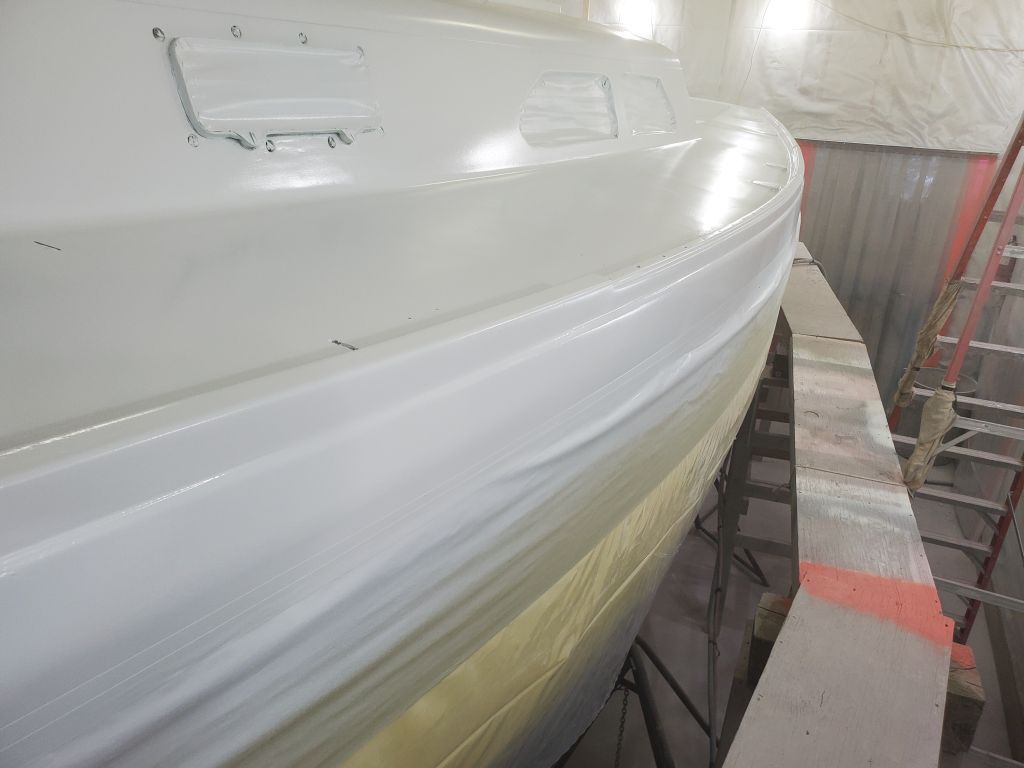
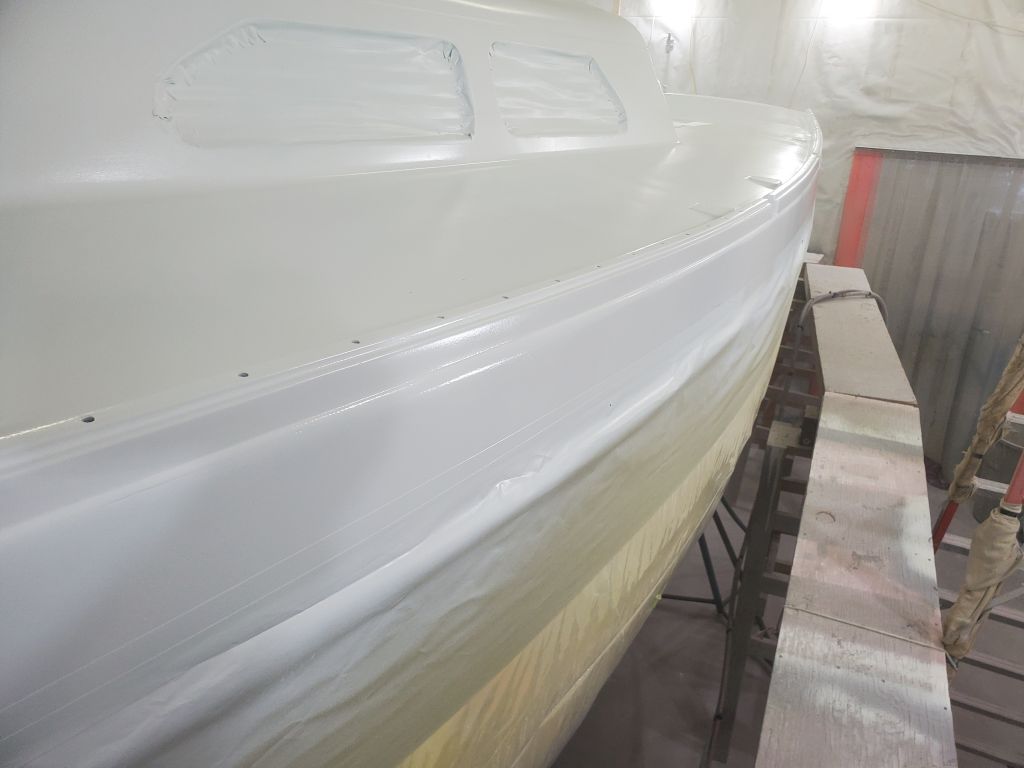
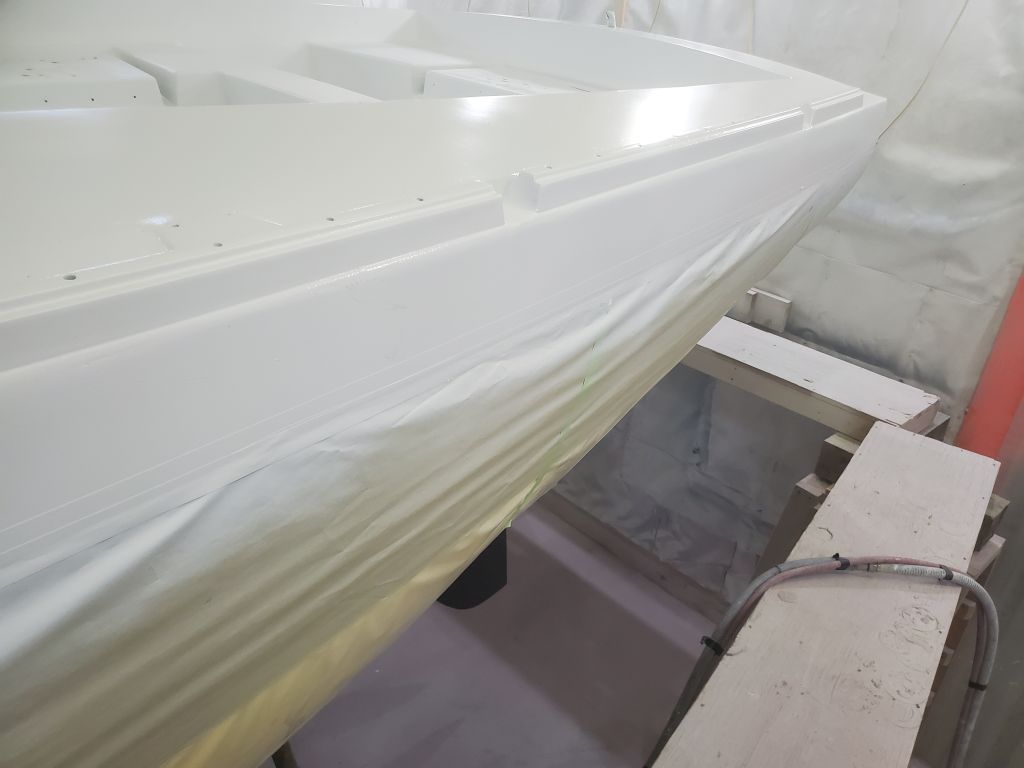
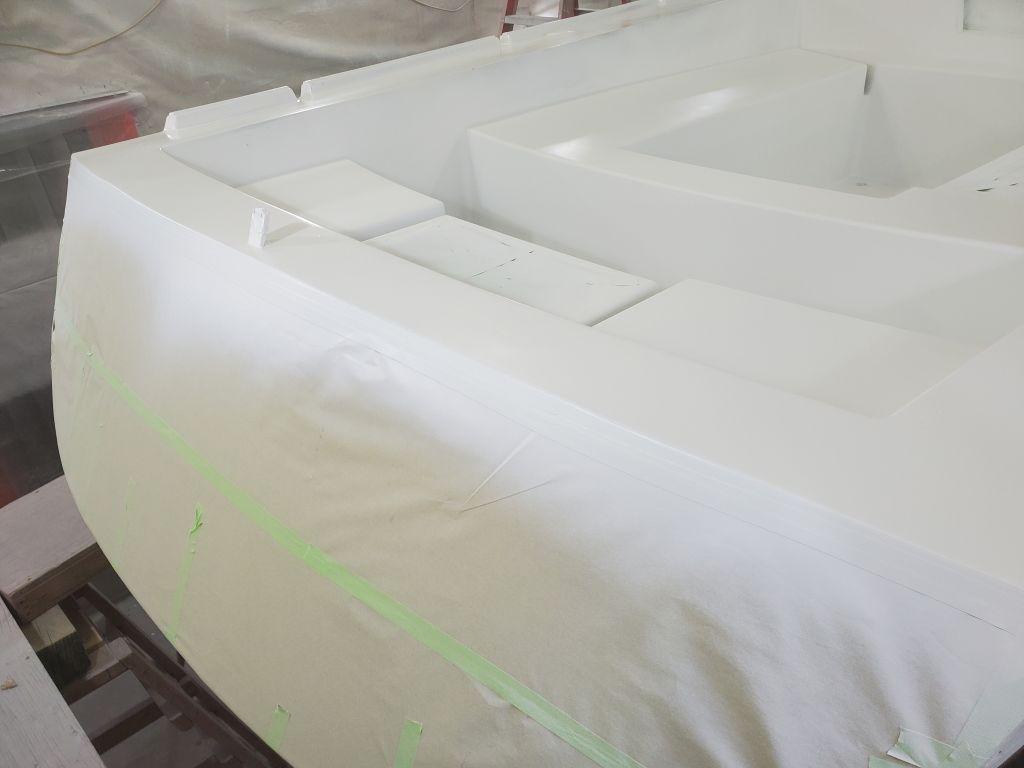
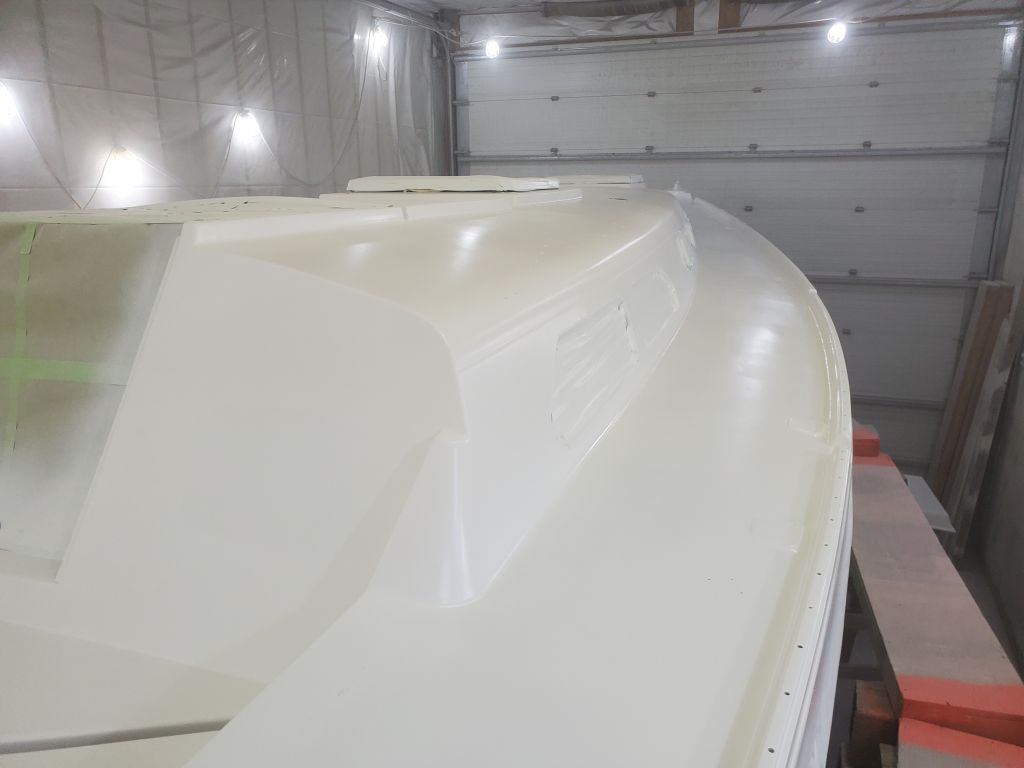
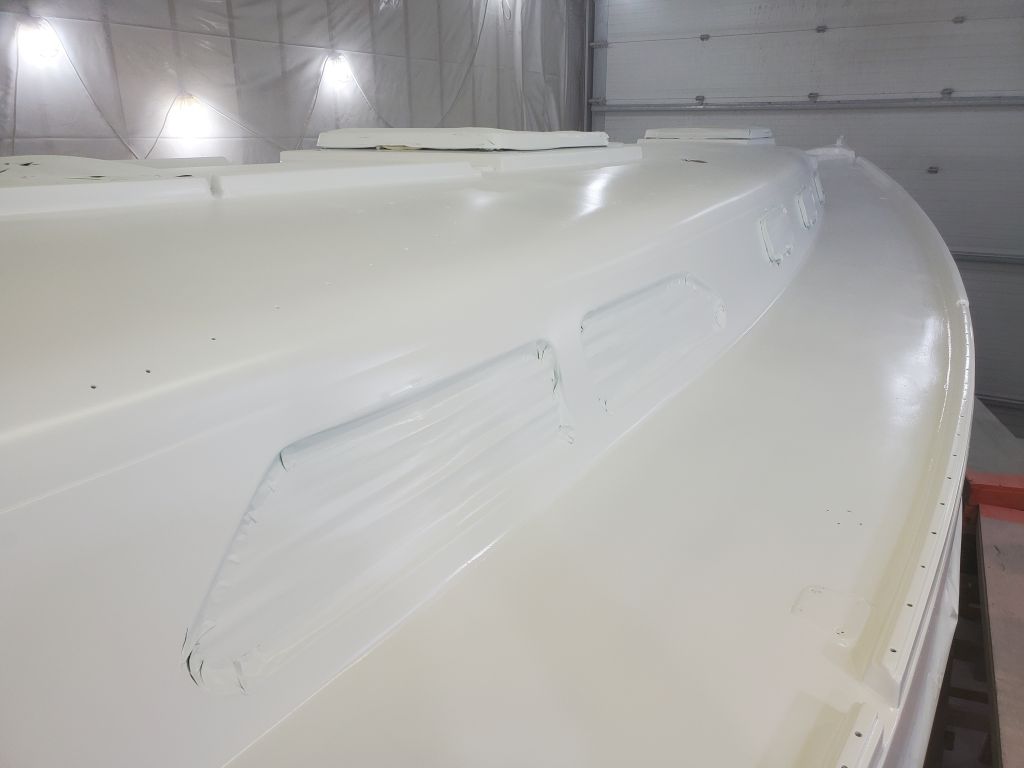
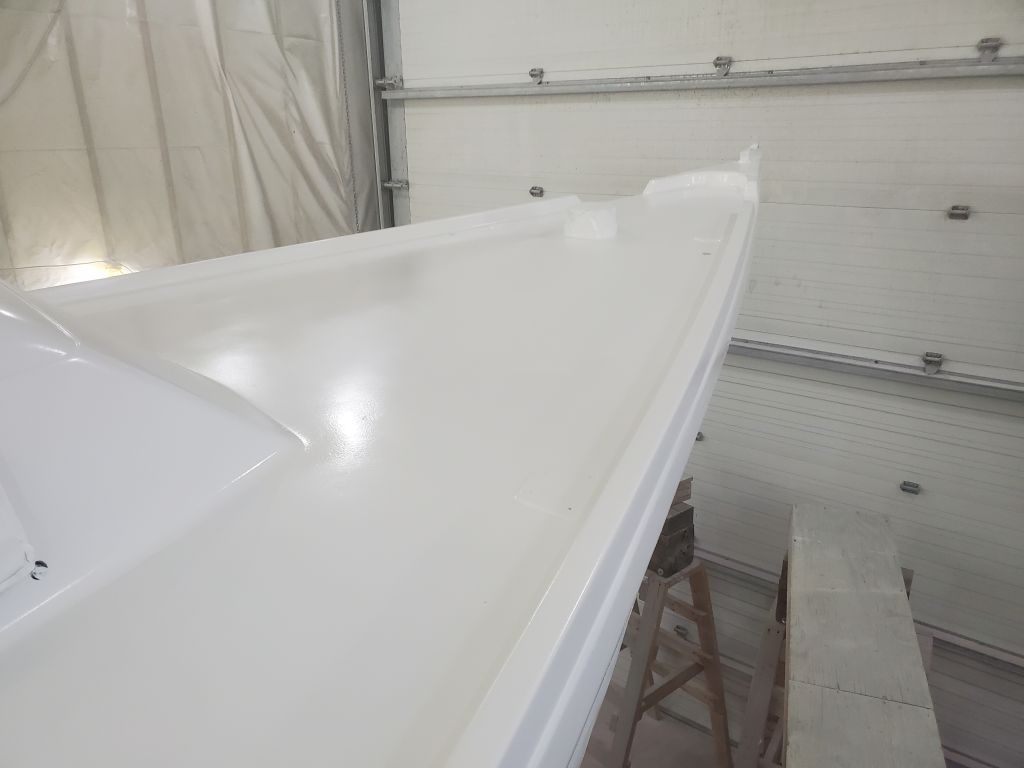
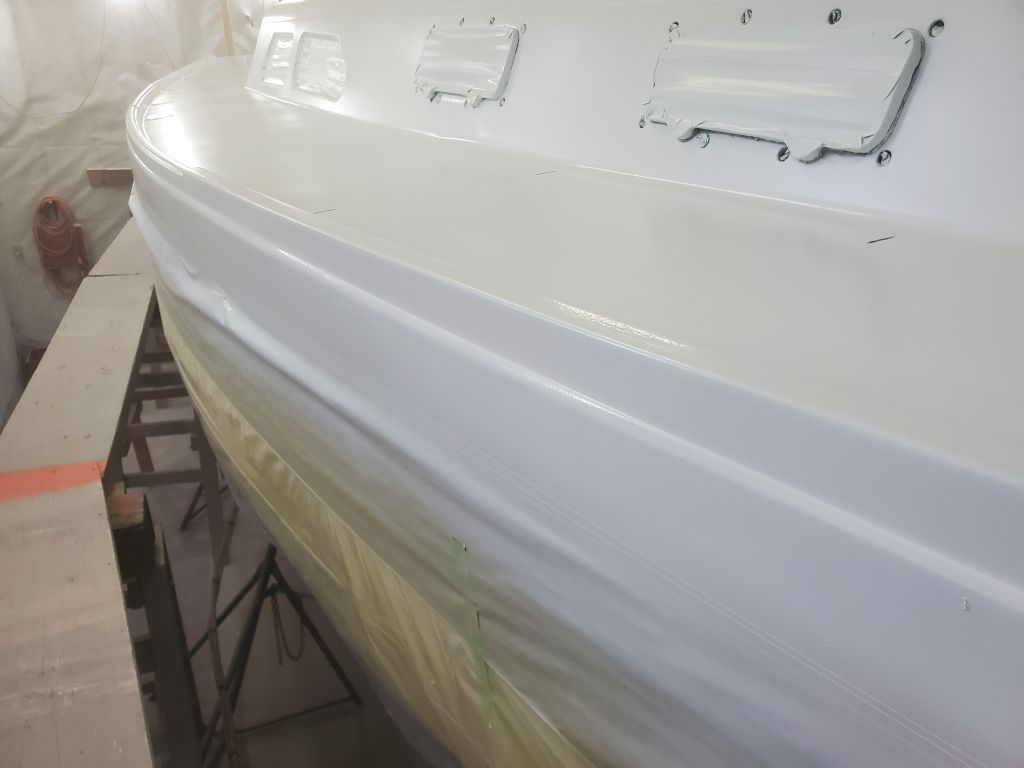
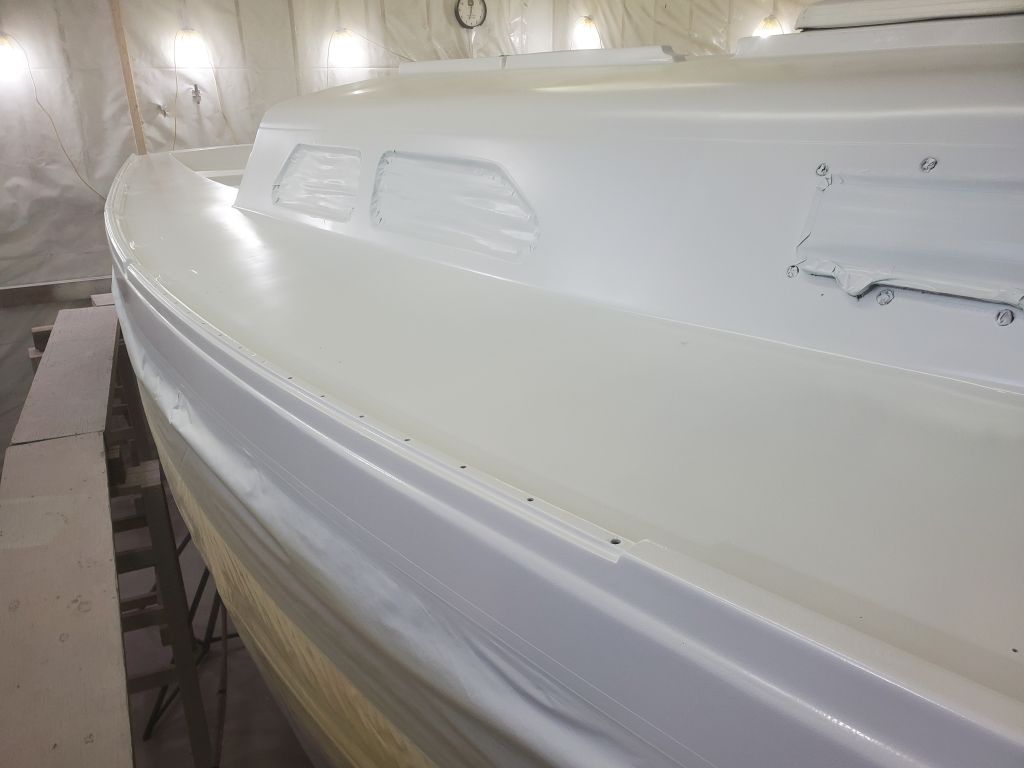
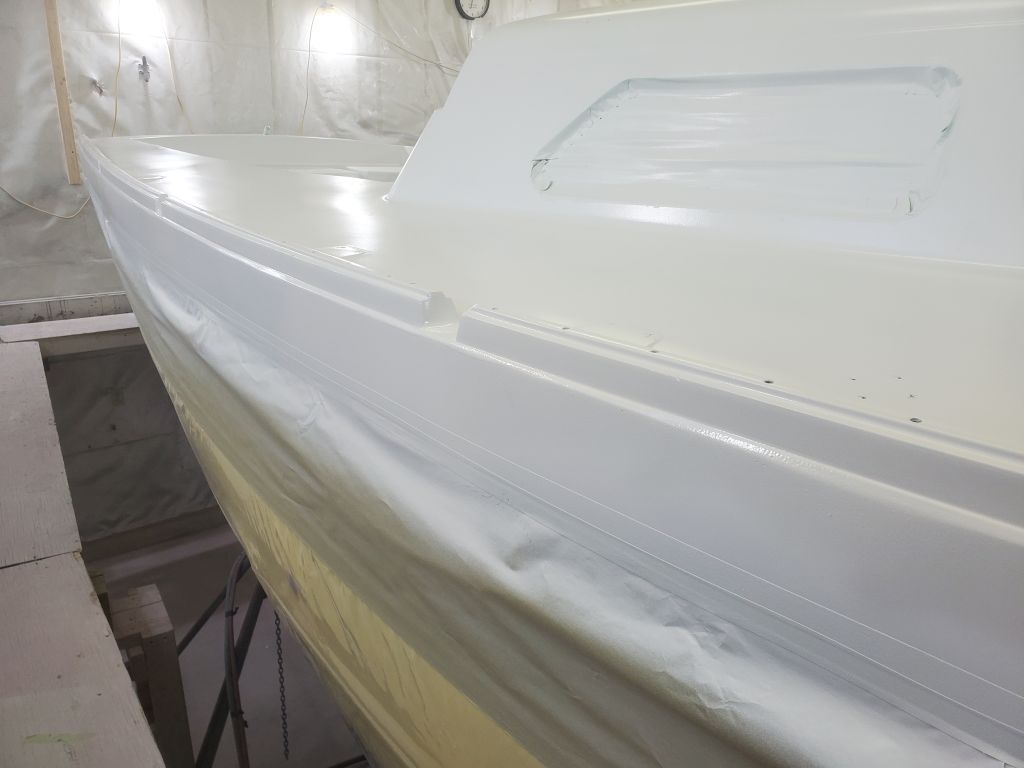
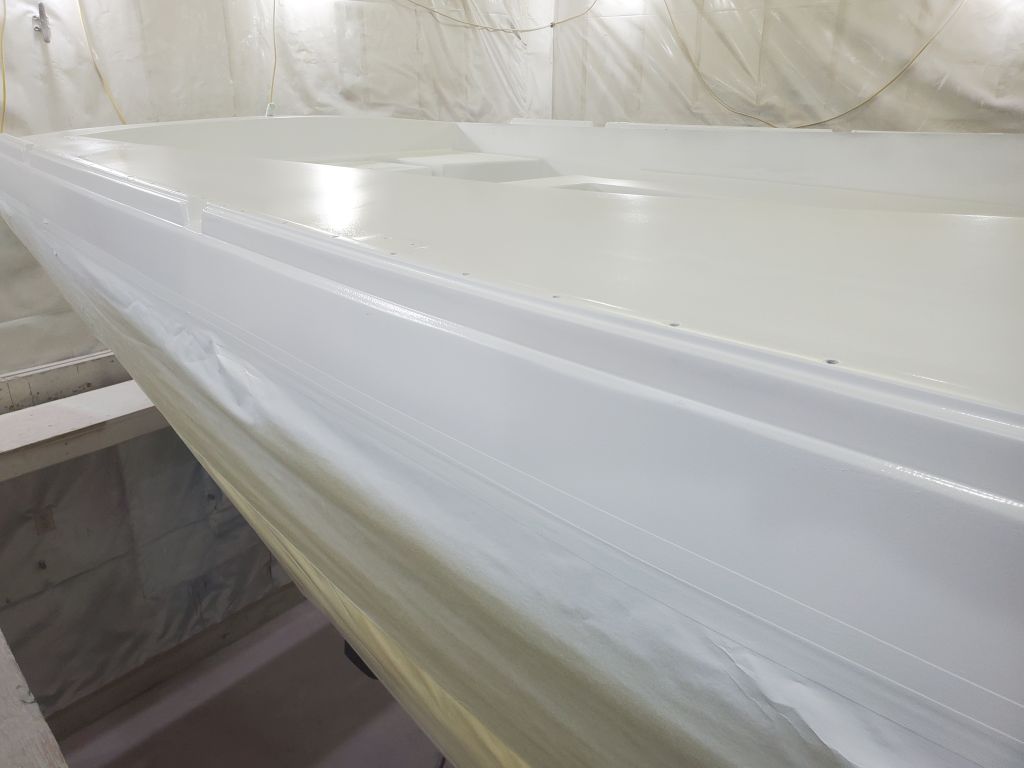
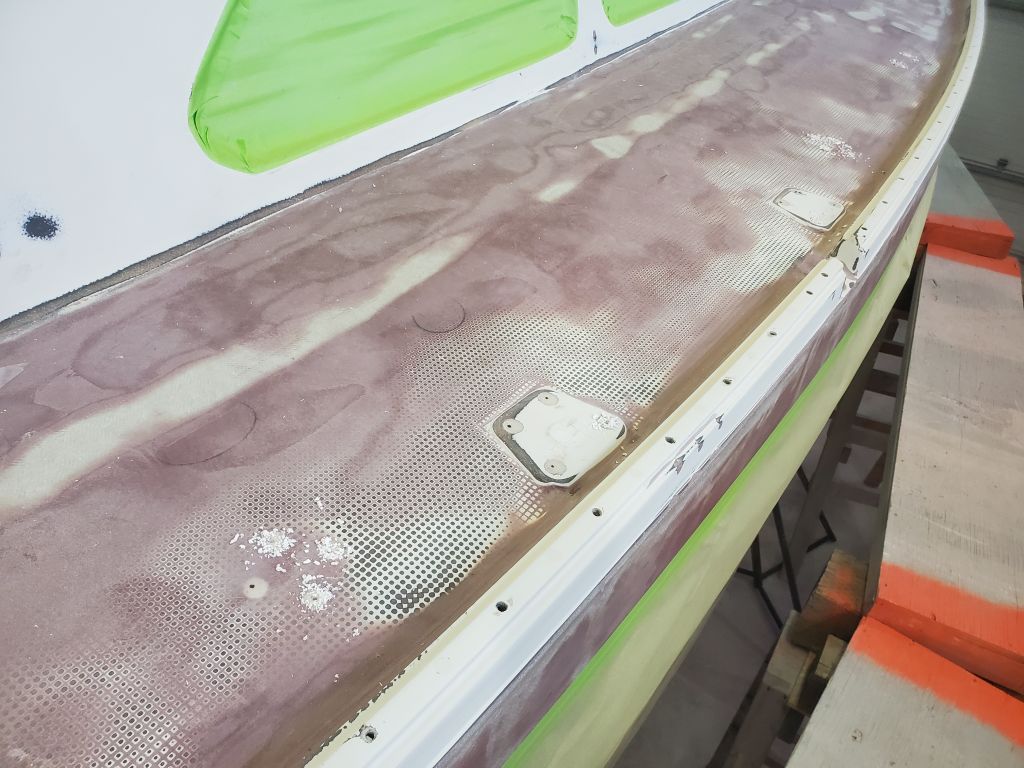
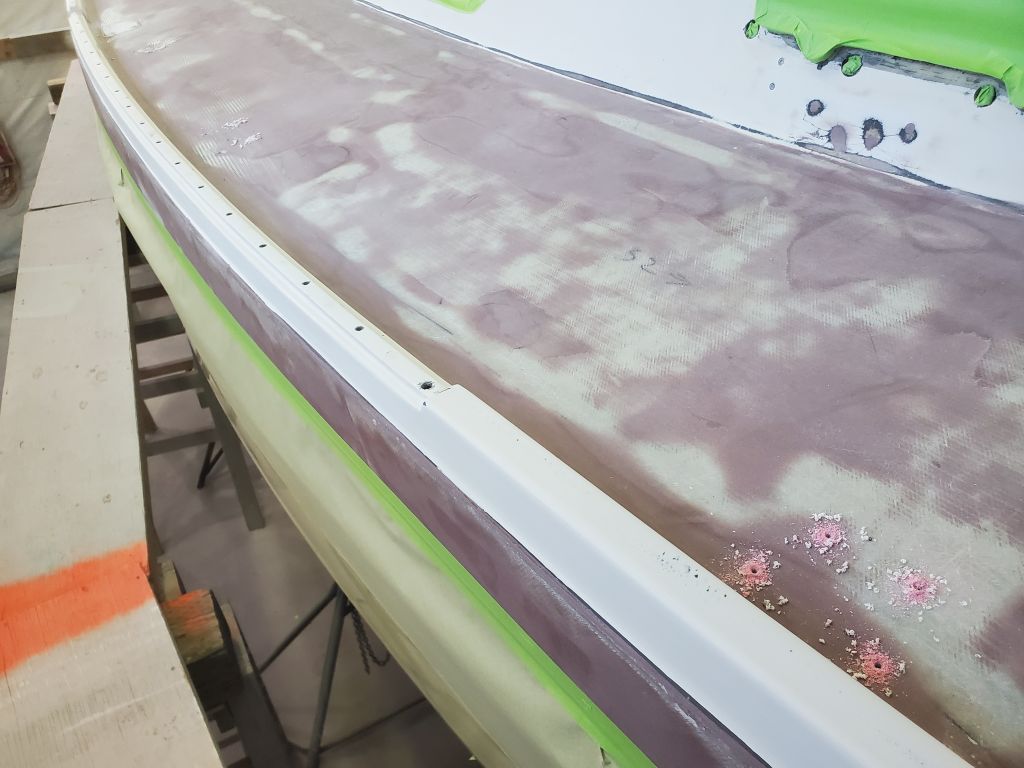
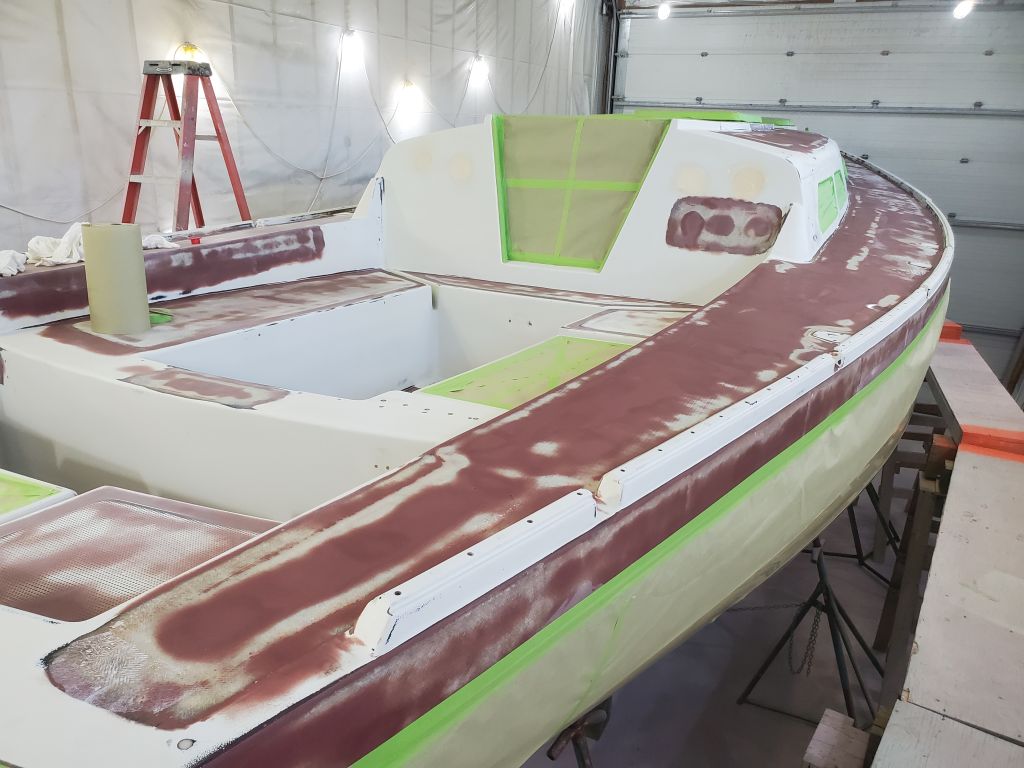
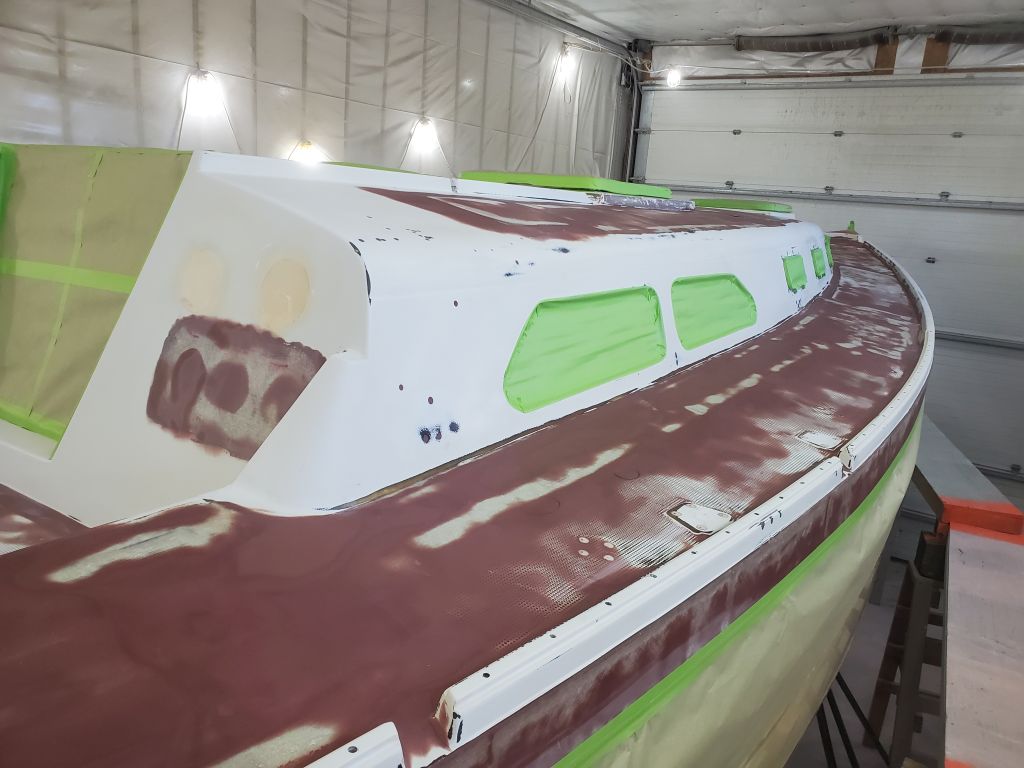
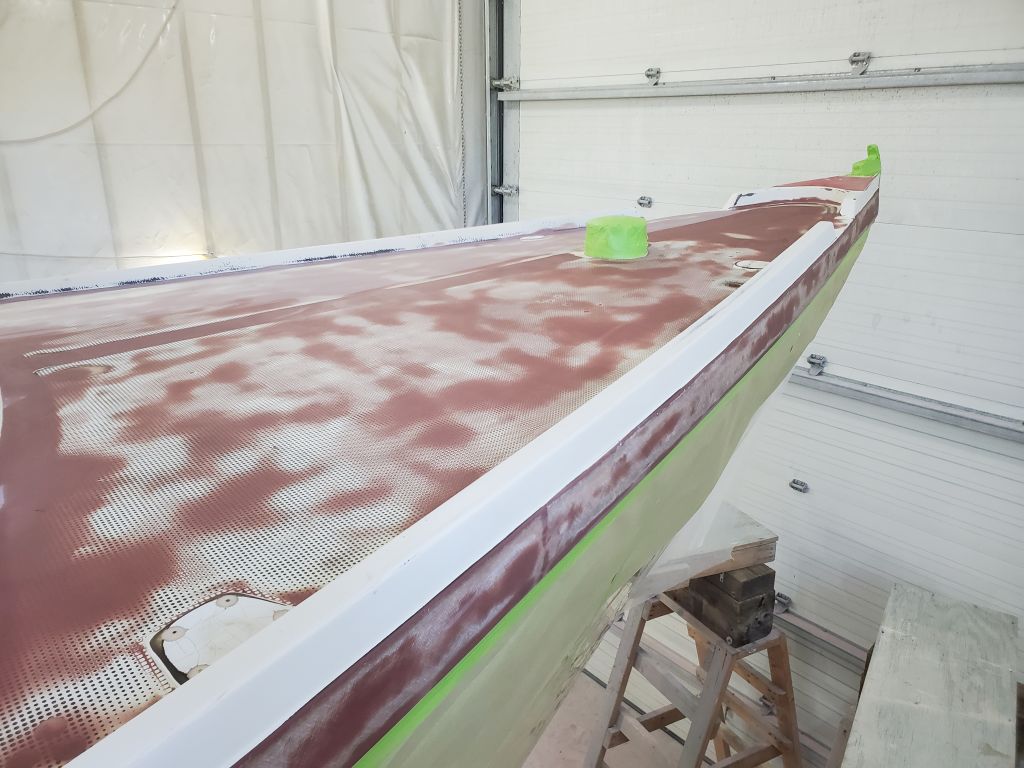
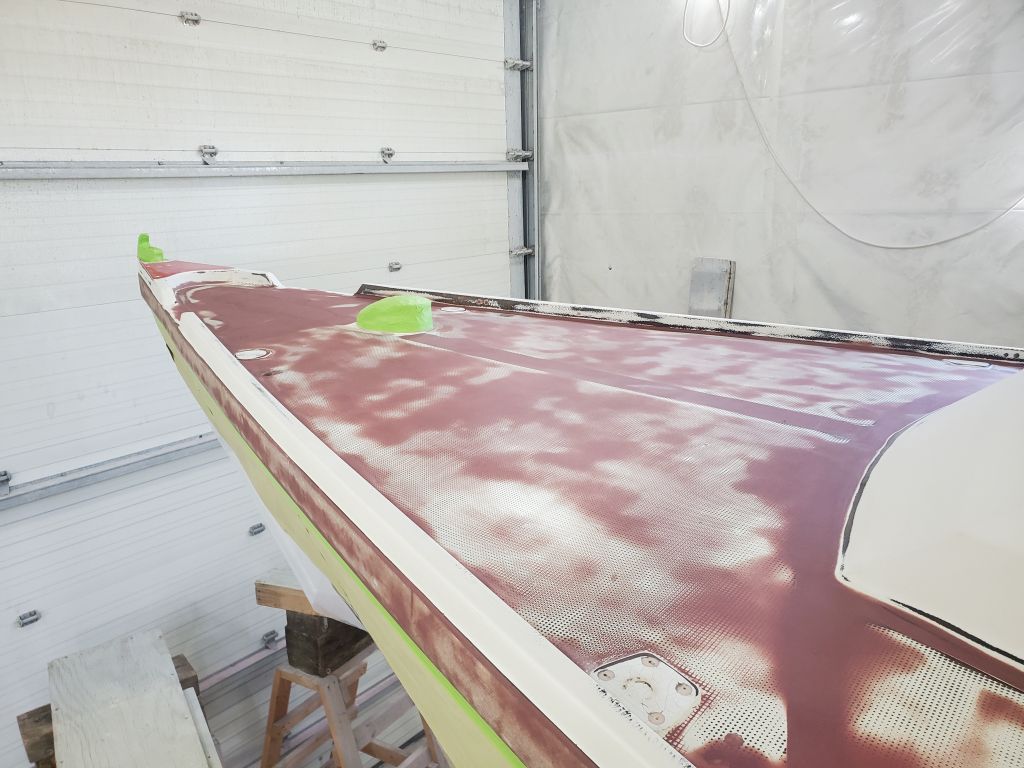
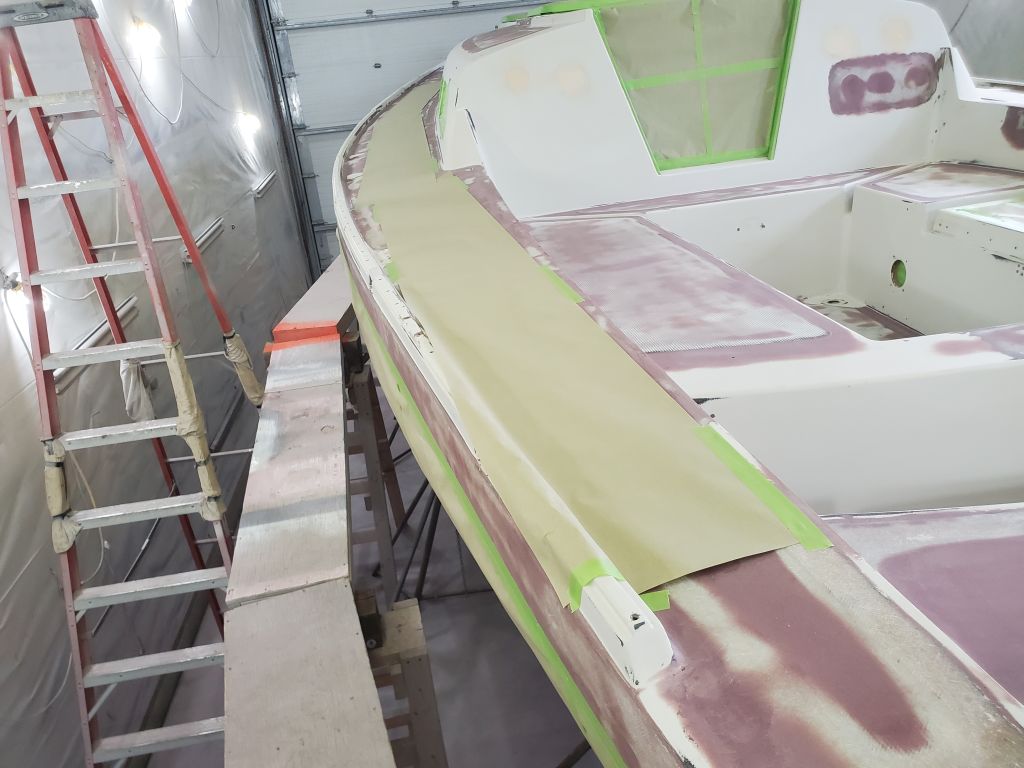
The final masking task was to strike and mask the final paint line on the outside of the toerails, which would reestablish the visual demarcation of the hull-deck joint. I made up a simple marking jig from 3/4″ plywood that I could rest flat on the top of the toerail, and use the bottom edge for the mark. I determined the height at the bow, where there was a clear knuckle in the profile between hull and deck, and marked just above the knuckle itself.
Because about half the toerails were a slightly different (lower) height, where the long sail tracks would be installed, I had to make up a little spacer from plywood to keep the jig at the same height along the entire length of the boat.
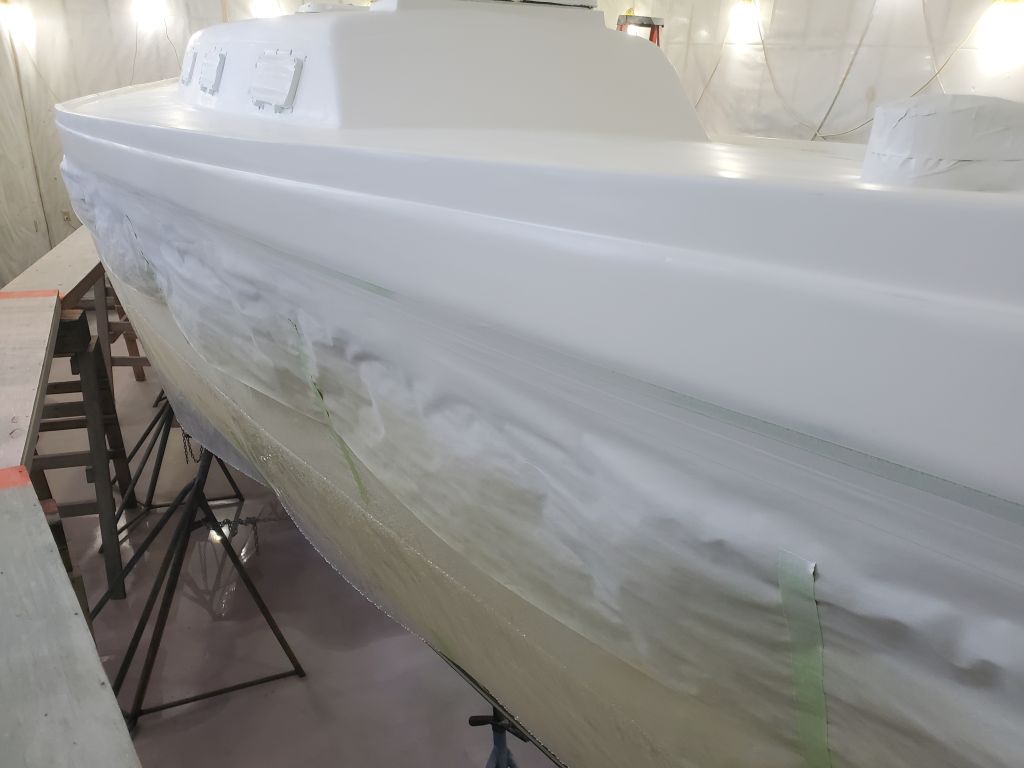
In this way, I made a series of marks along both sides of the boat, about 12″ or so apart, then masked up to this line from below, fairing by eye as needed.
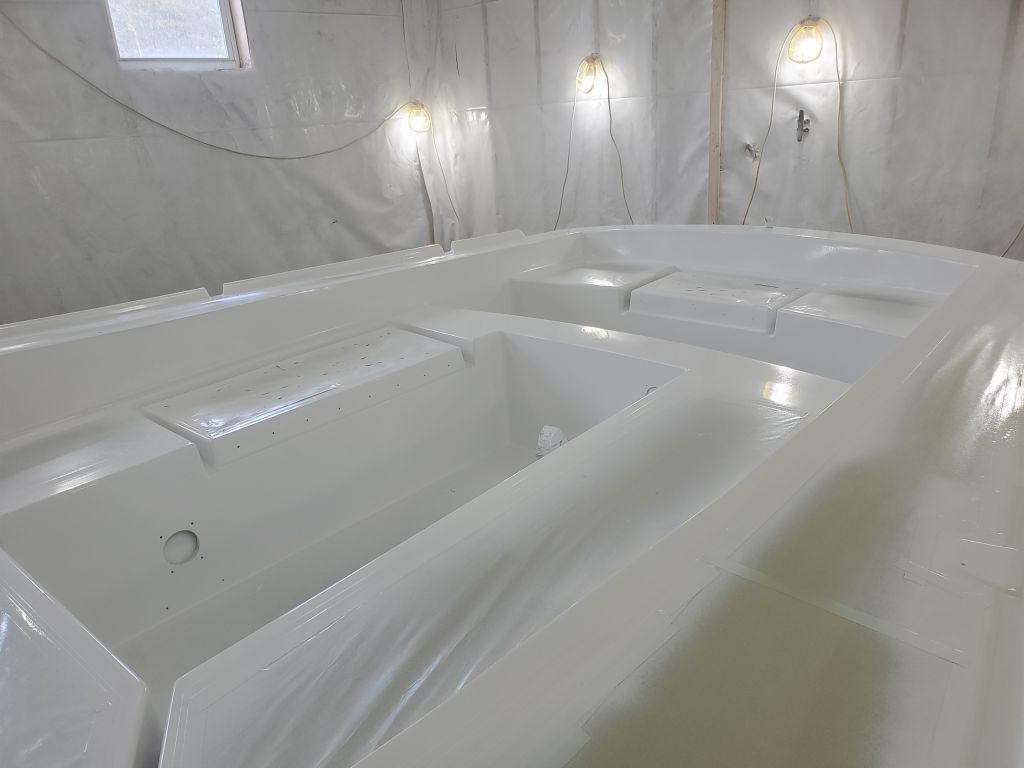
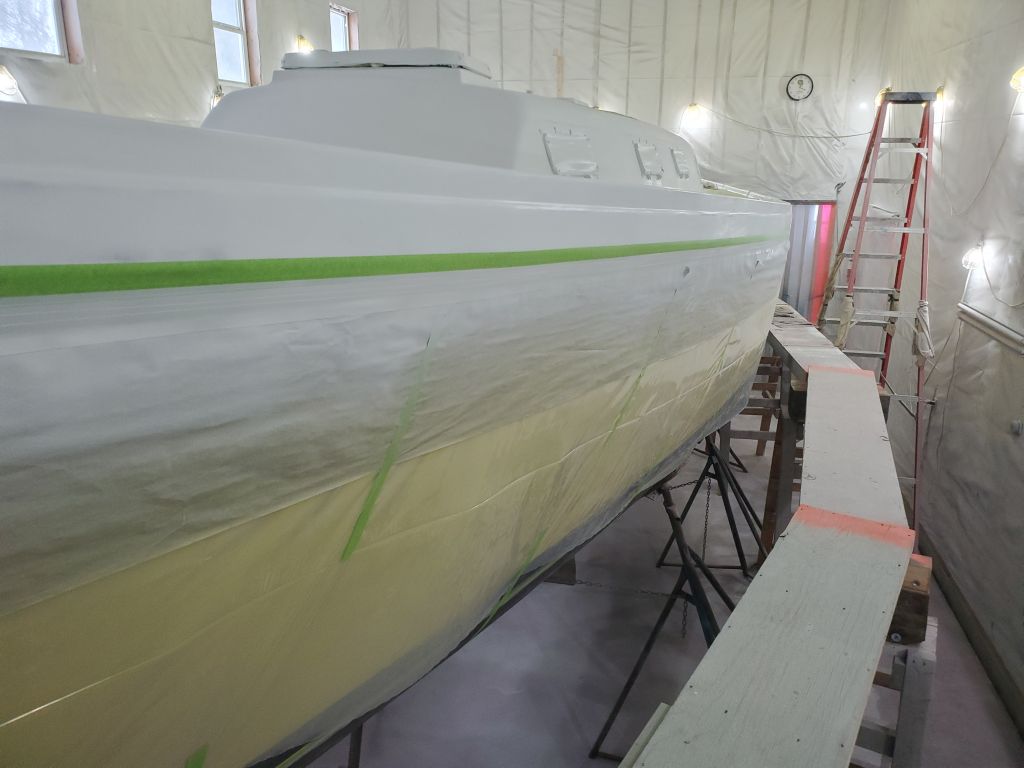
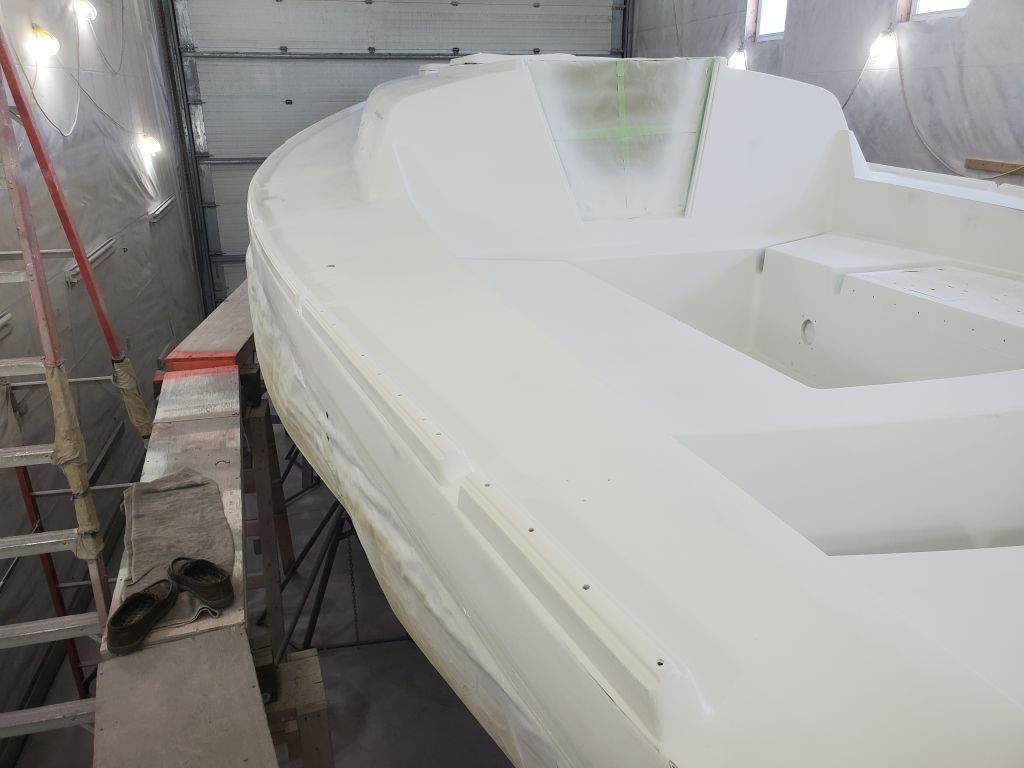
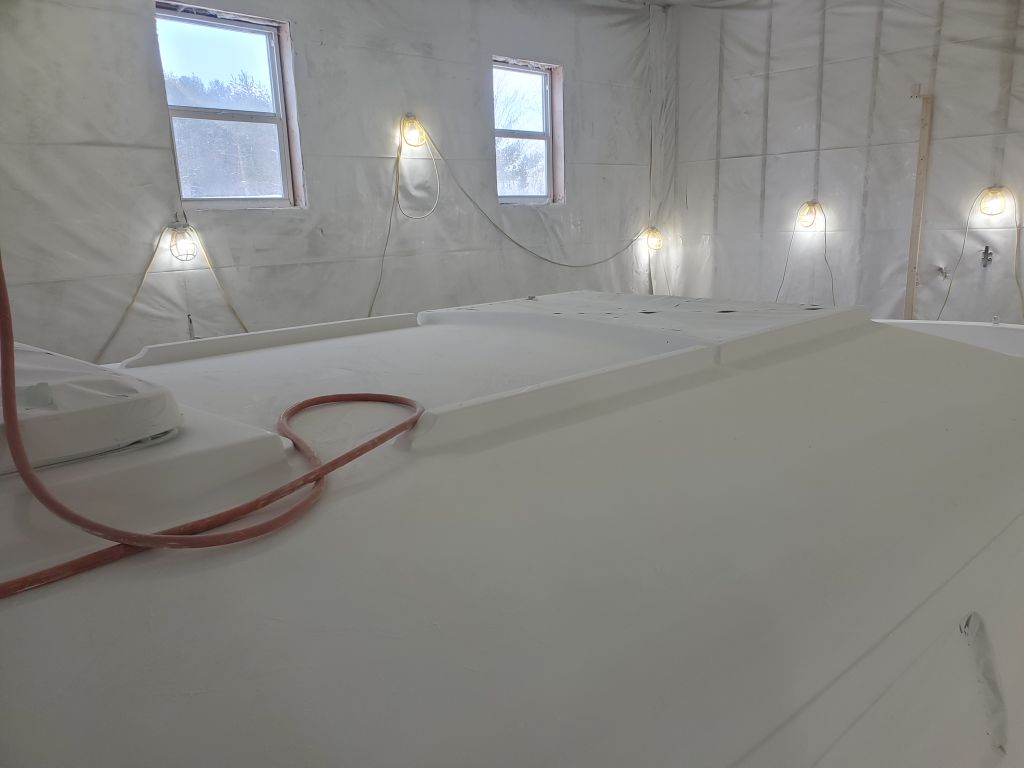
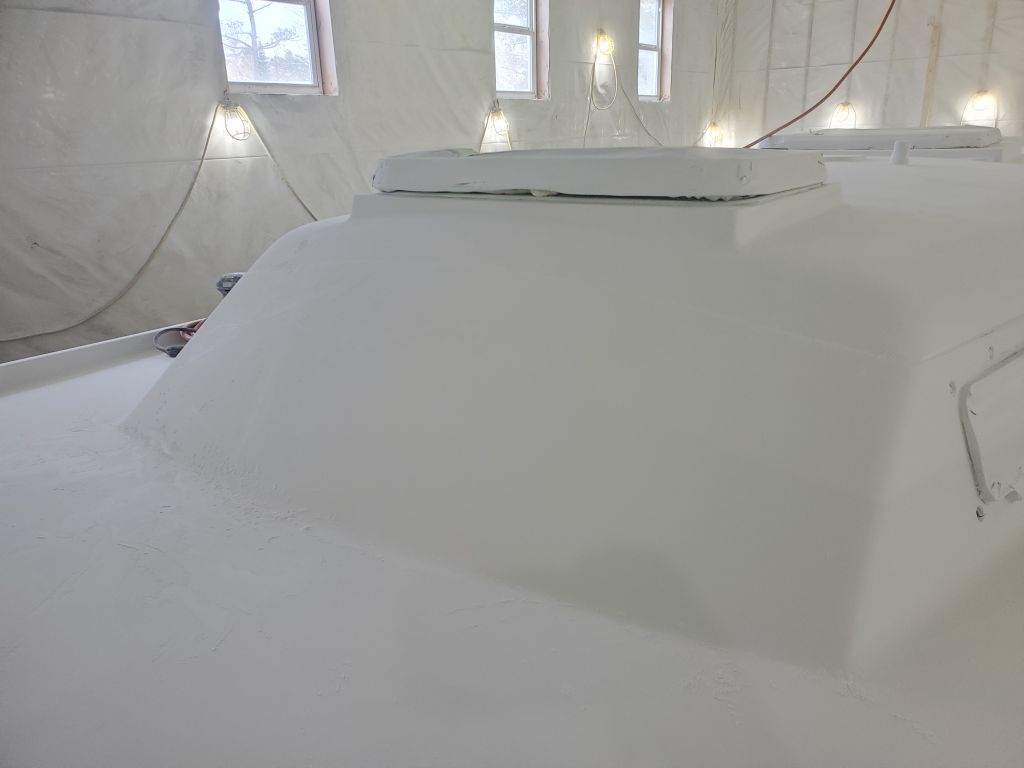
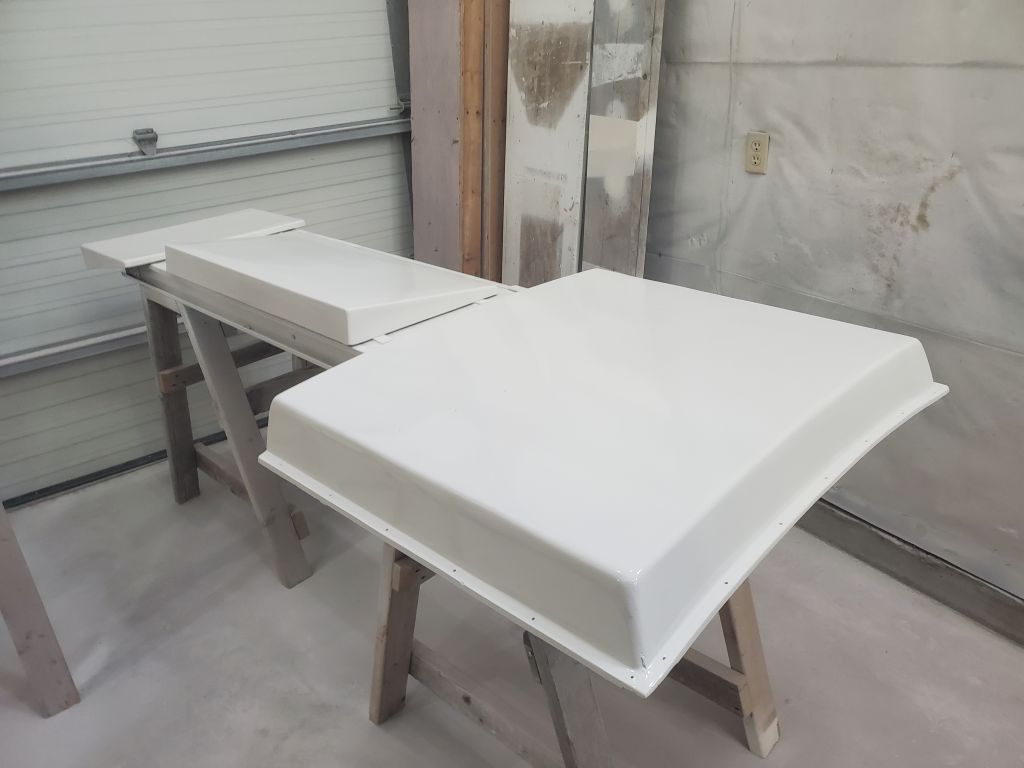
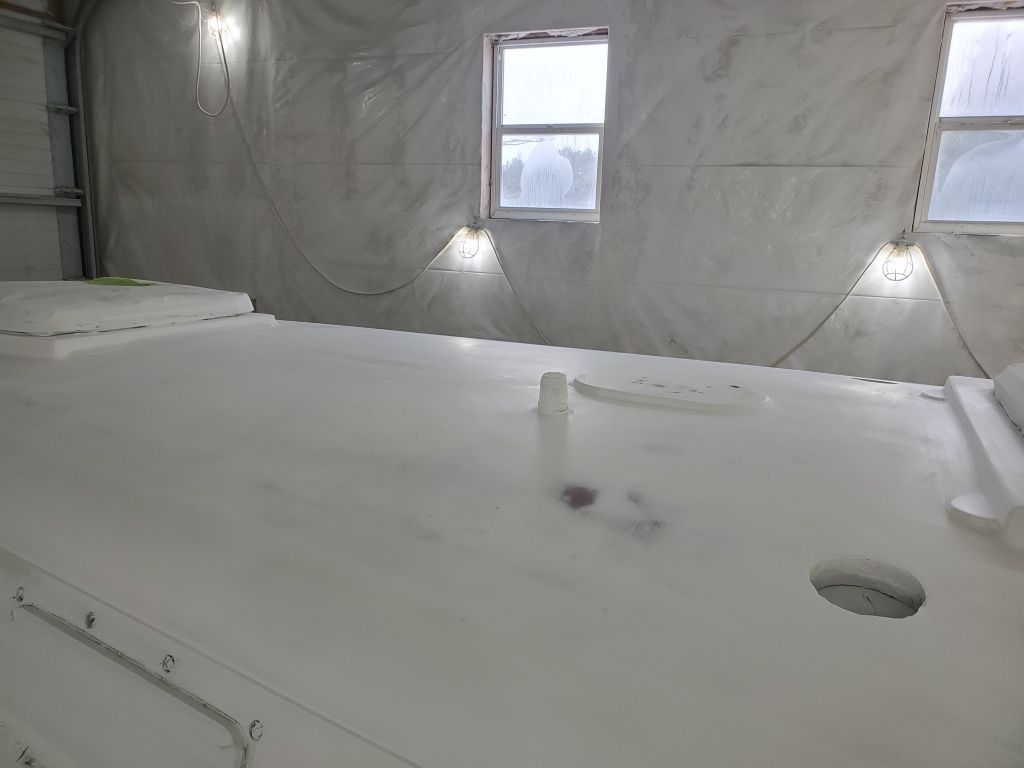
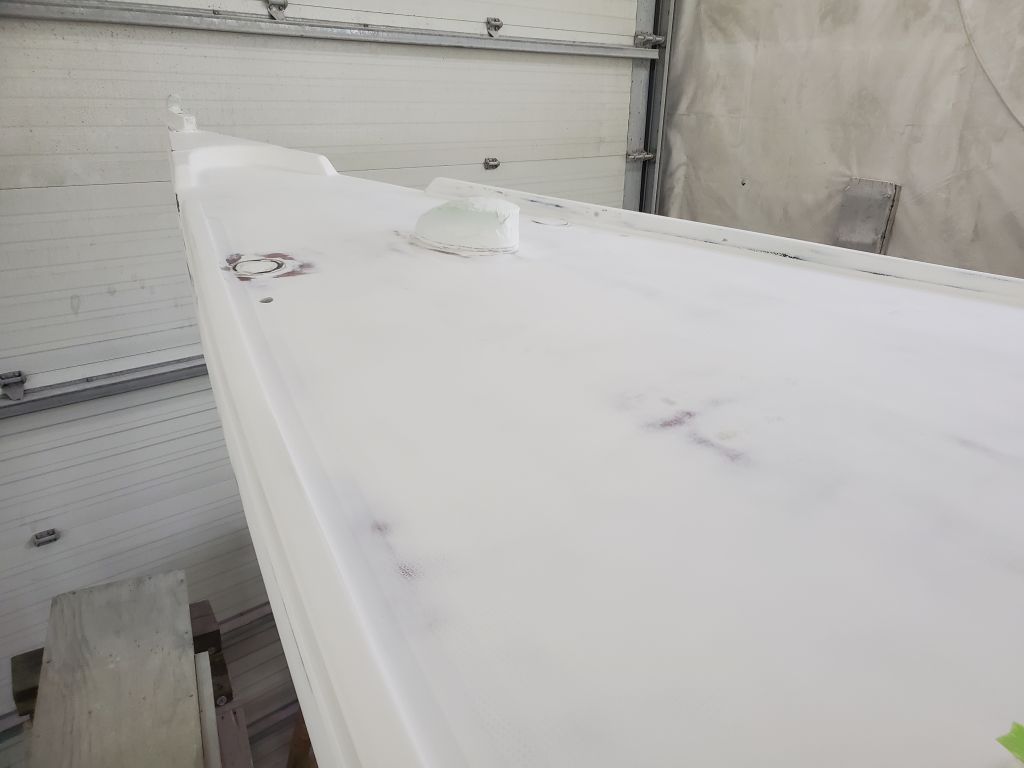
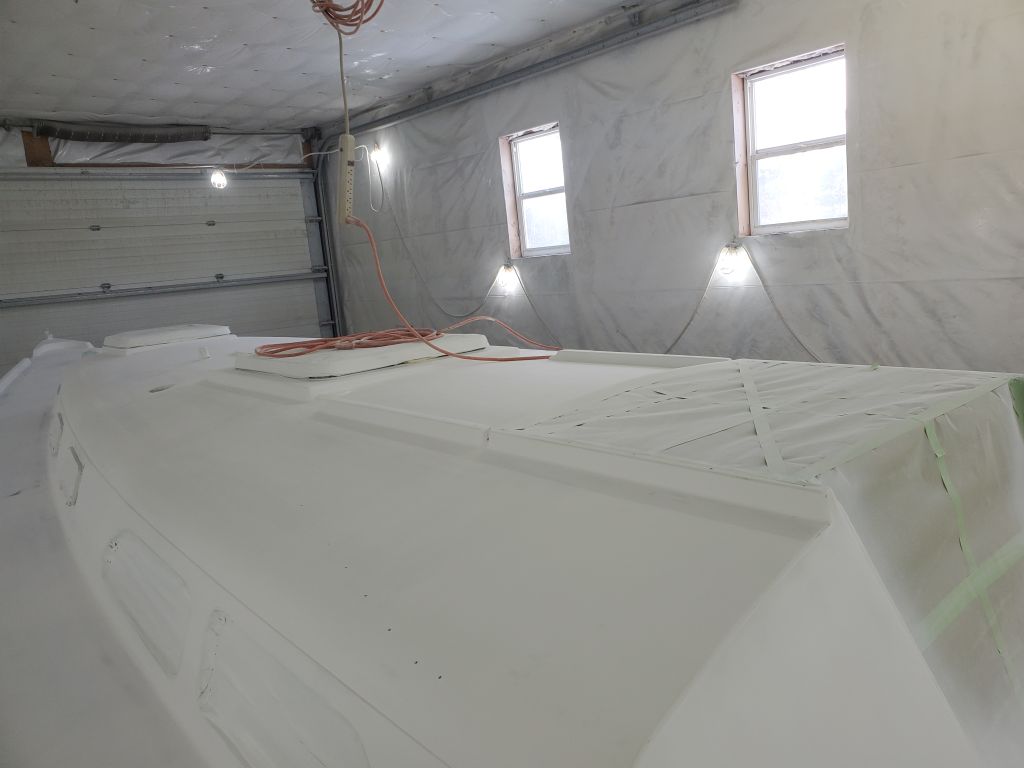
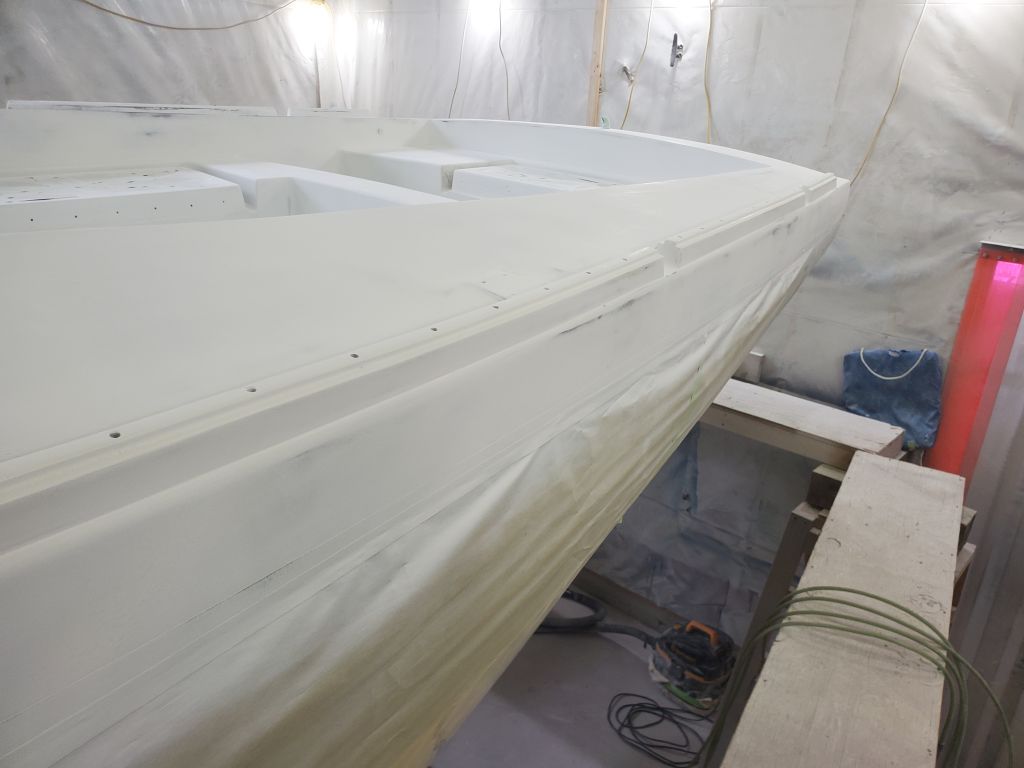
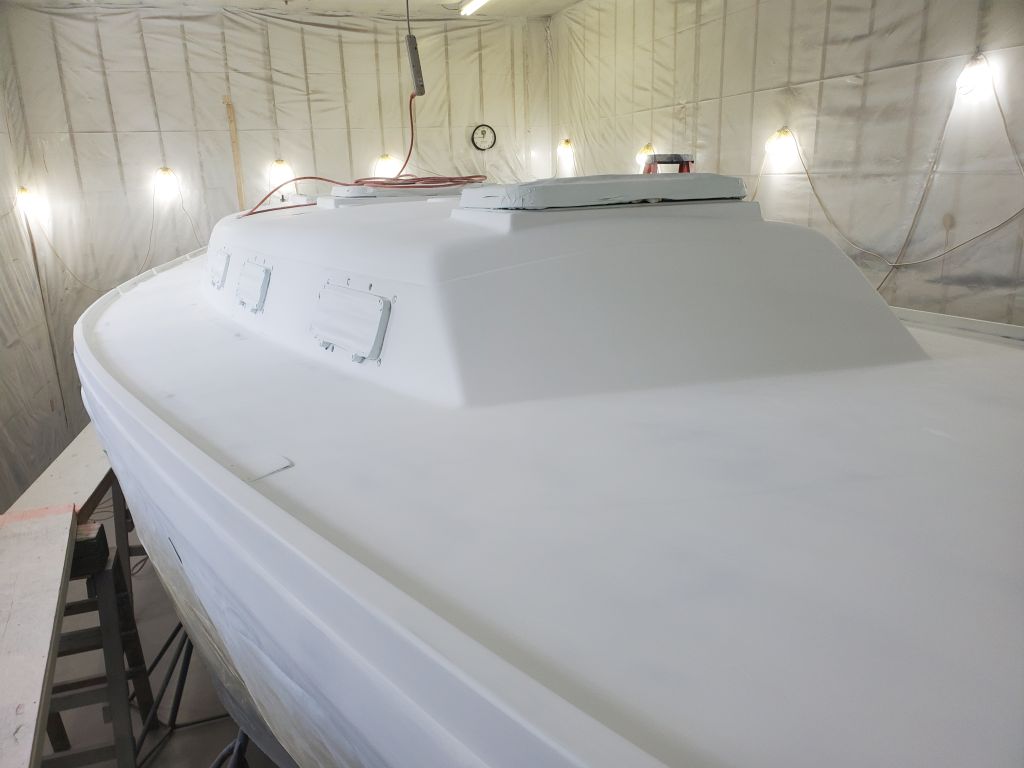
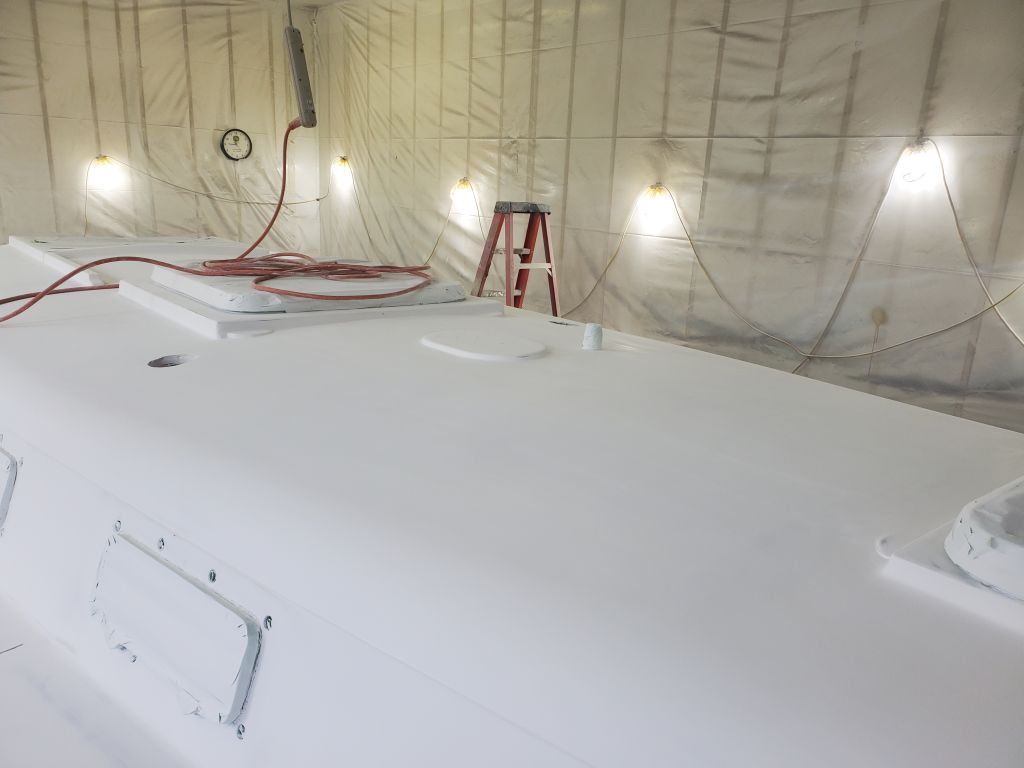
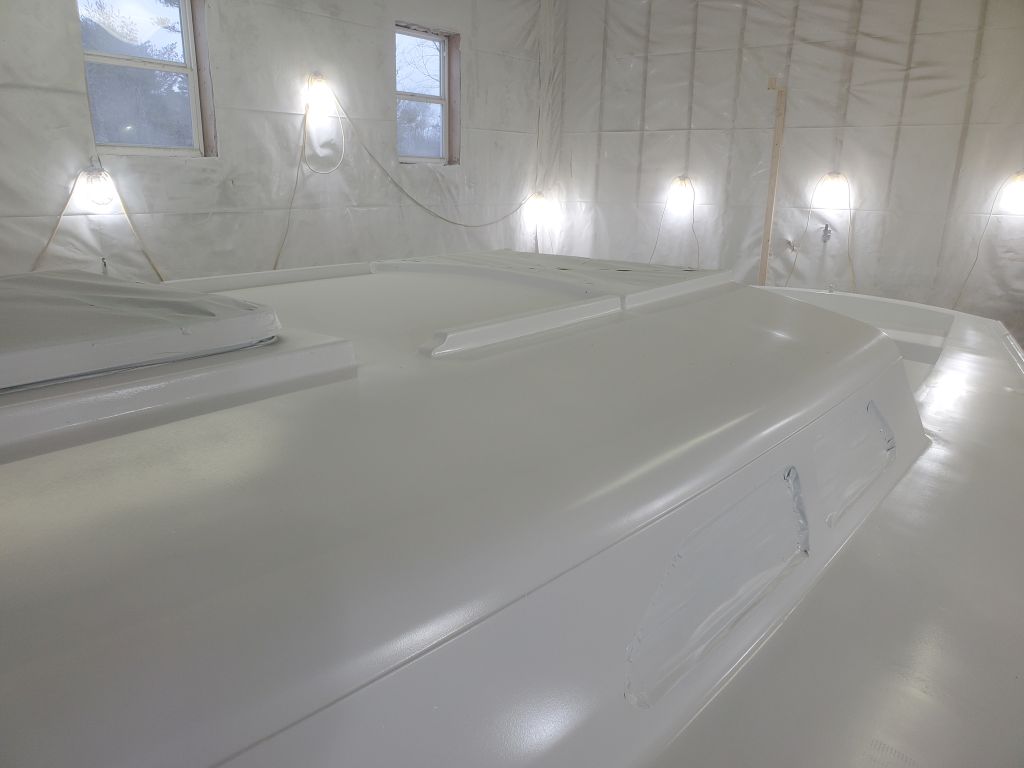
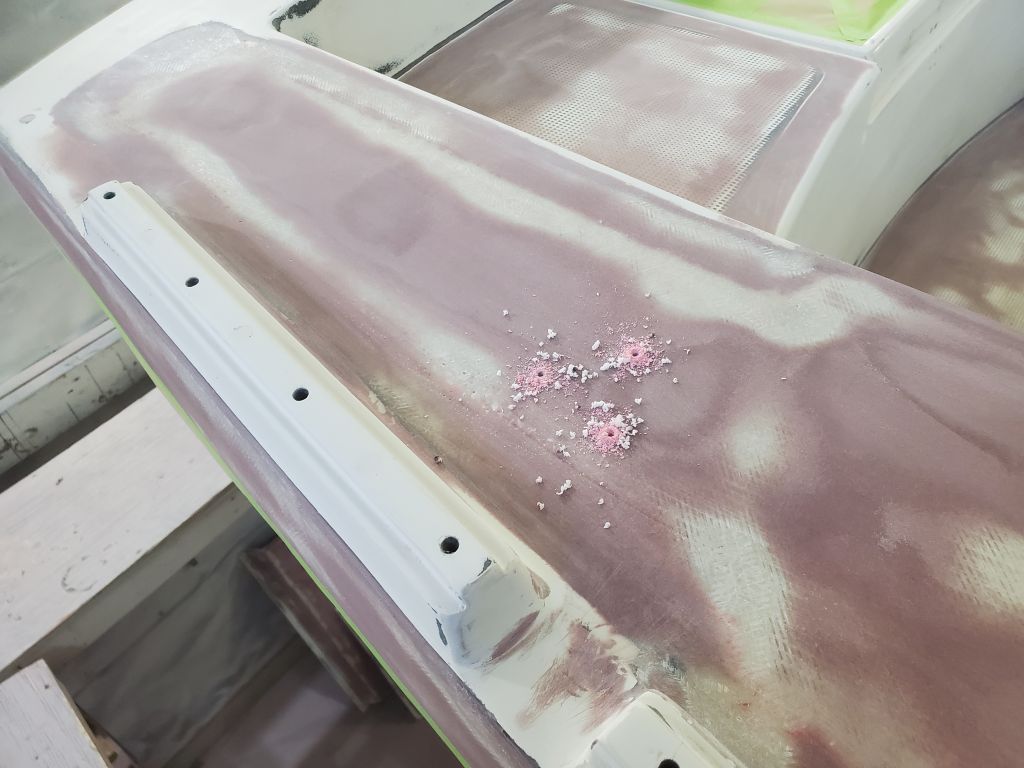
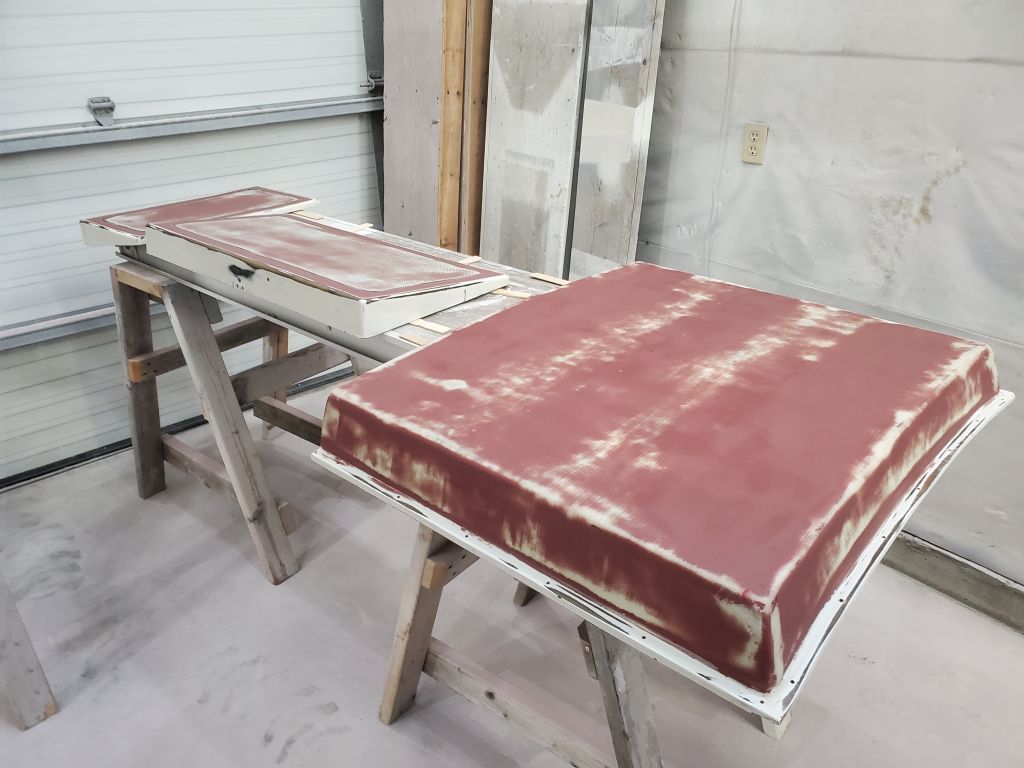
With the masking complete, I used up the rest of the day on final preparations for topcoat, including setting up paint and spray equipment, a final solvent wash of the deck areas, and other related tasks.