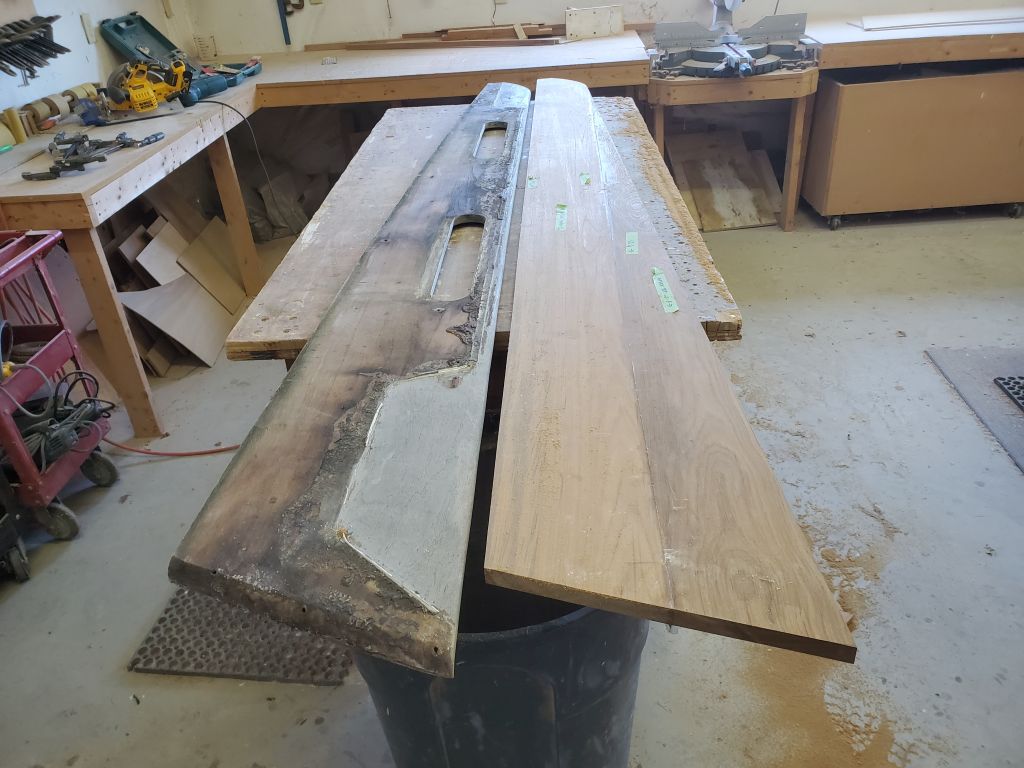
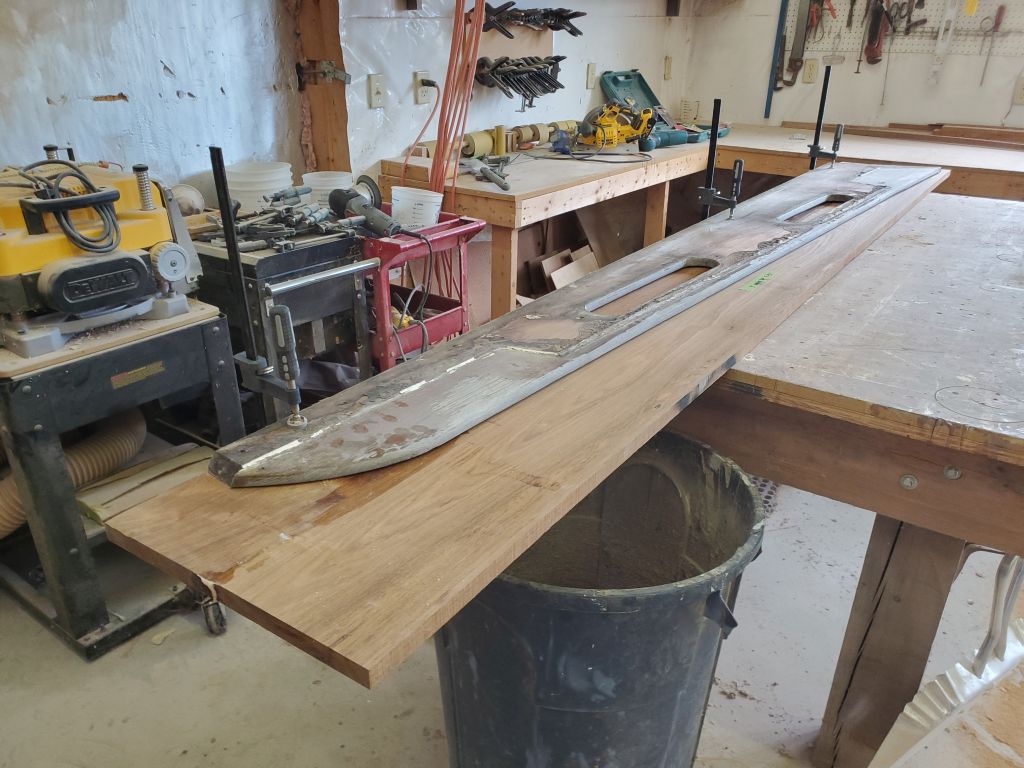
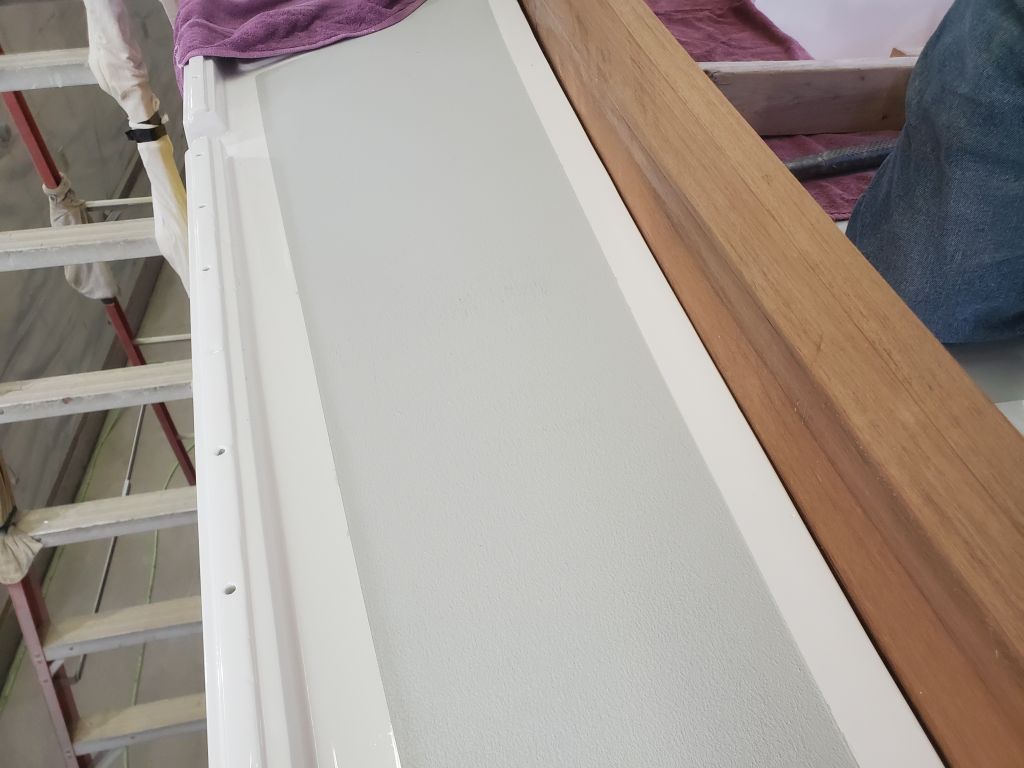
Earlier, I’d prepared the stock and glued up the blanks for the new coamings; these blanks had been waiting in the shop ever since. Now, it was time to cut and fit the blanks and finish up the new coamings. Before getting started, I used the old coamings to double-check the fit in the boat, to make sure the old boards would be effective templates for the new ones. The fit was as I’d anticipated, so I moved forward on that basis.
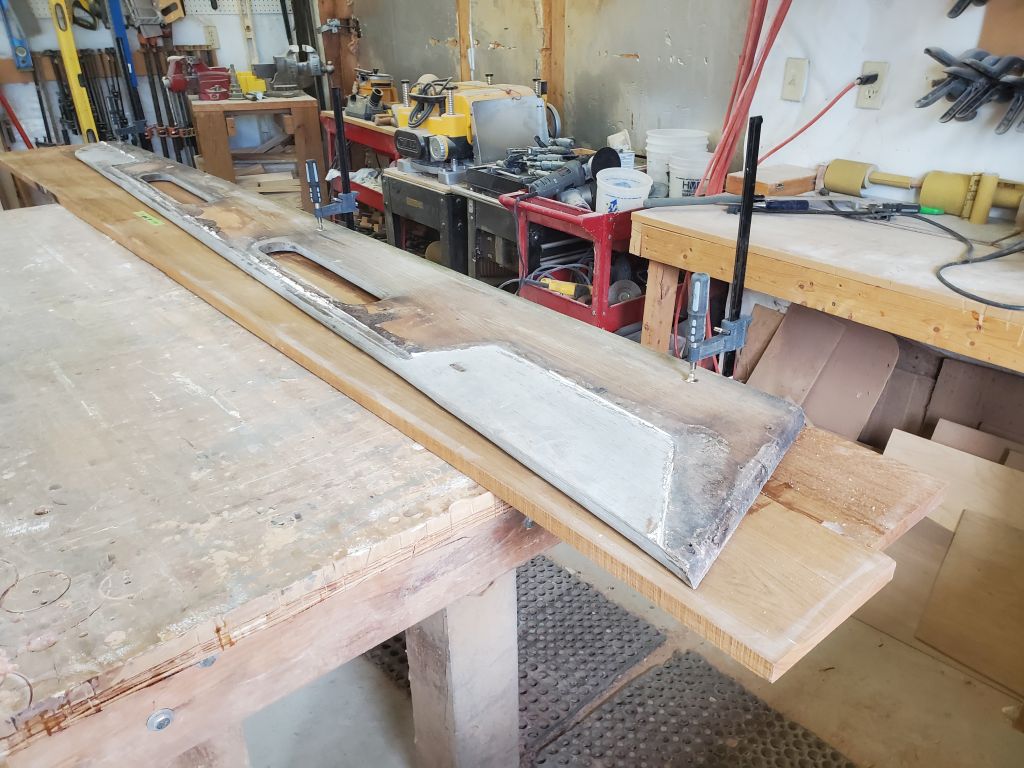
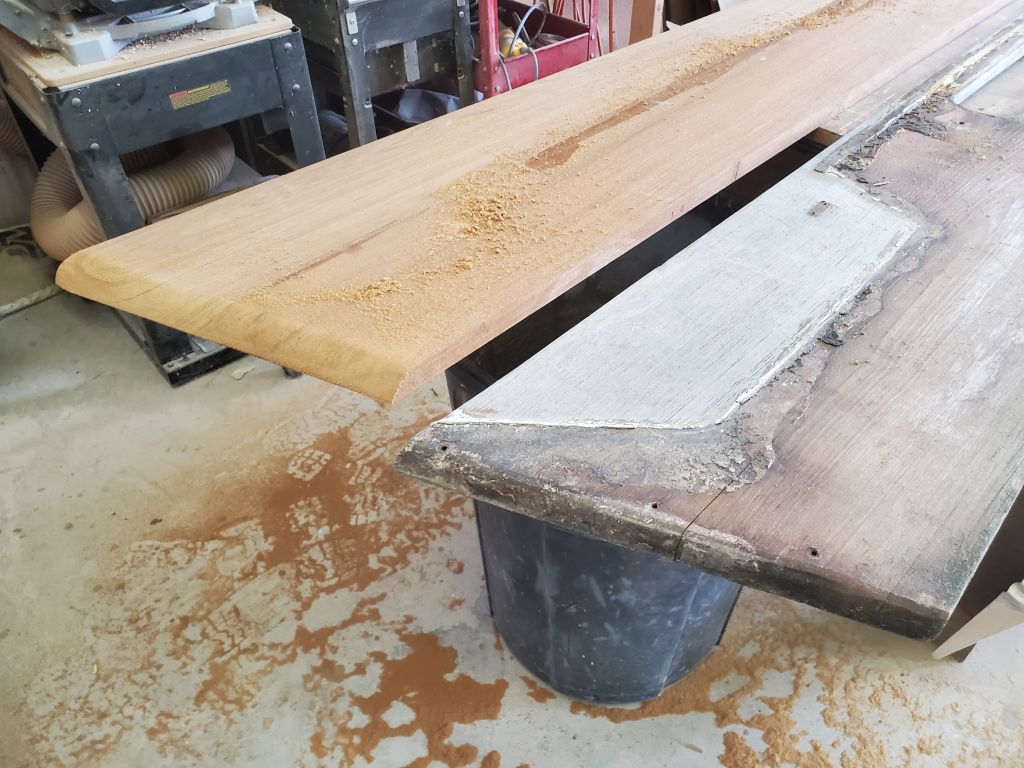
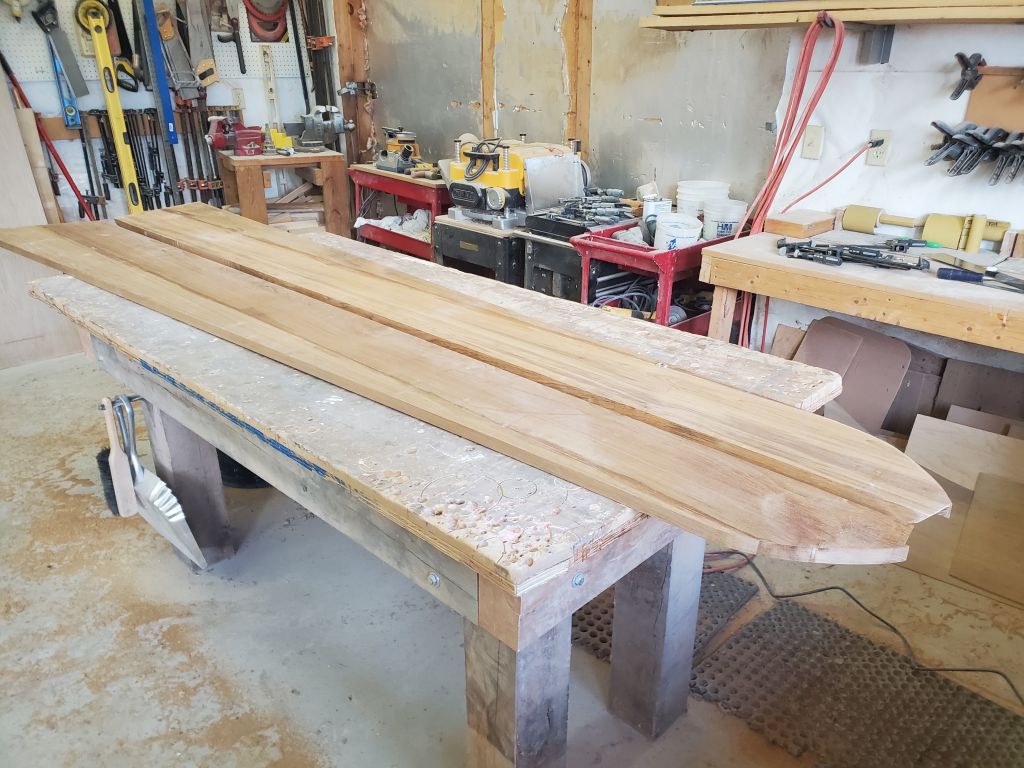
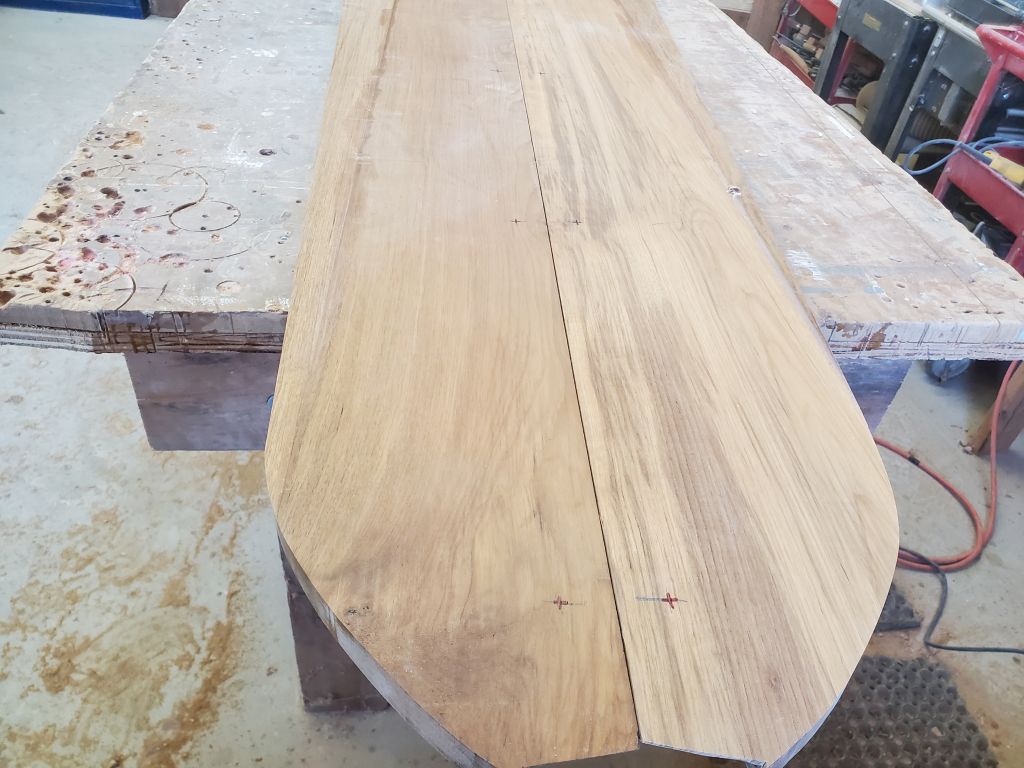
Starting randomly with the starboard coaming, I laid out the old piece on top, oriented the correct way, and after clamping it securely (mainly to remove the slight curve in the old coaming) I marked along the edges with a pencil. The upper and lower edges of the coaming were essentially straight, and since the bottom edge of the new blank was also straight, I could align at that edge, and only have to make the top cut and the ends. After making the marks, I used a straightedge and circular saw to cut the forward end and the long top cut, and finished off the curved after portion with a jigsaw.

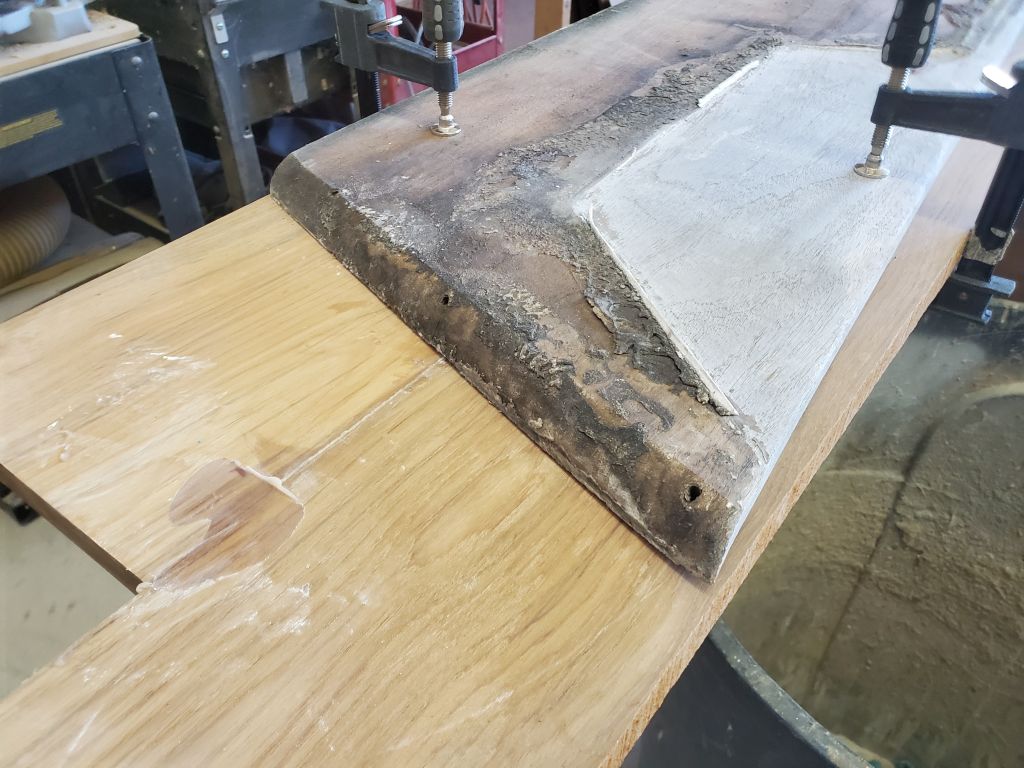
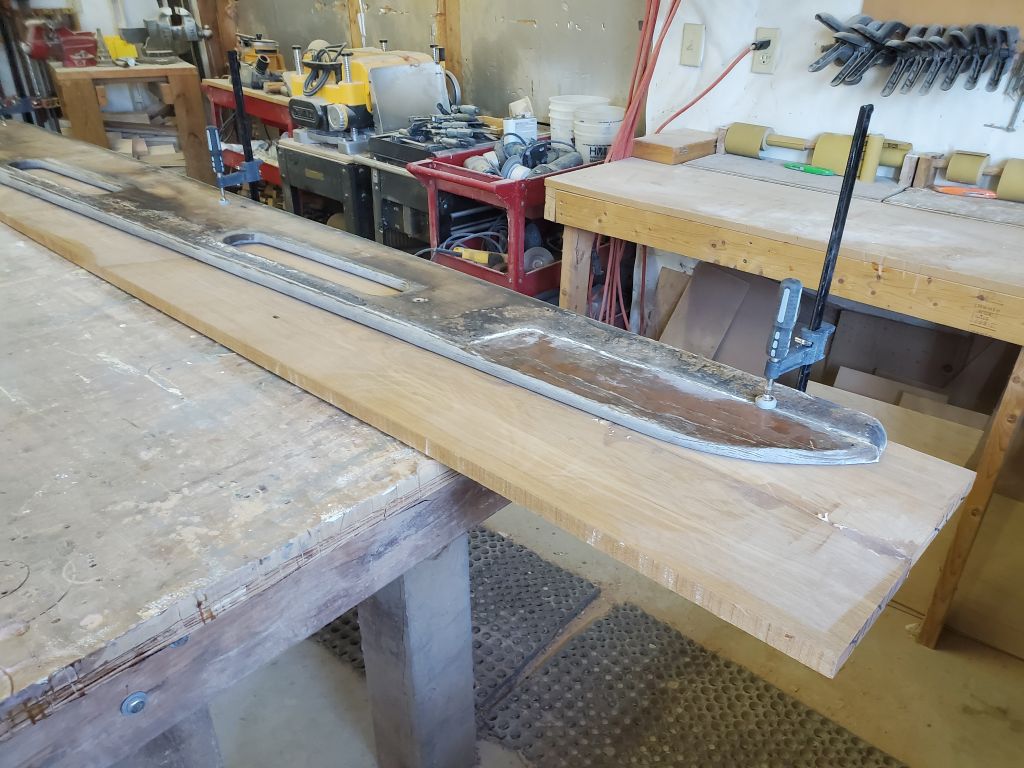


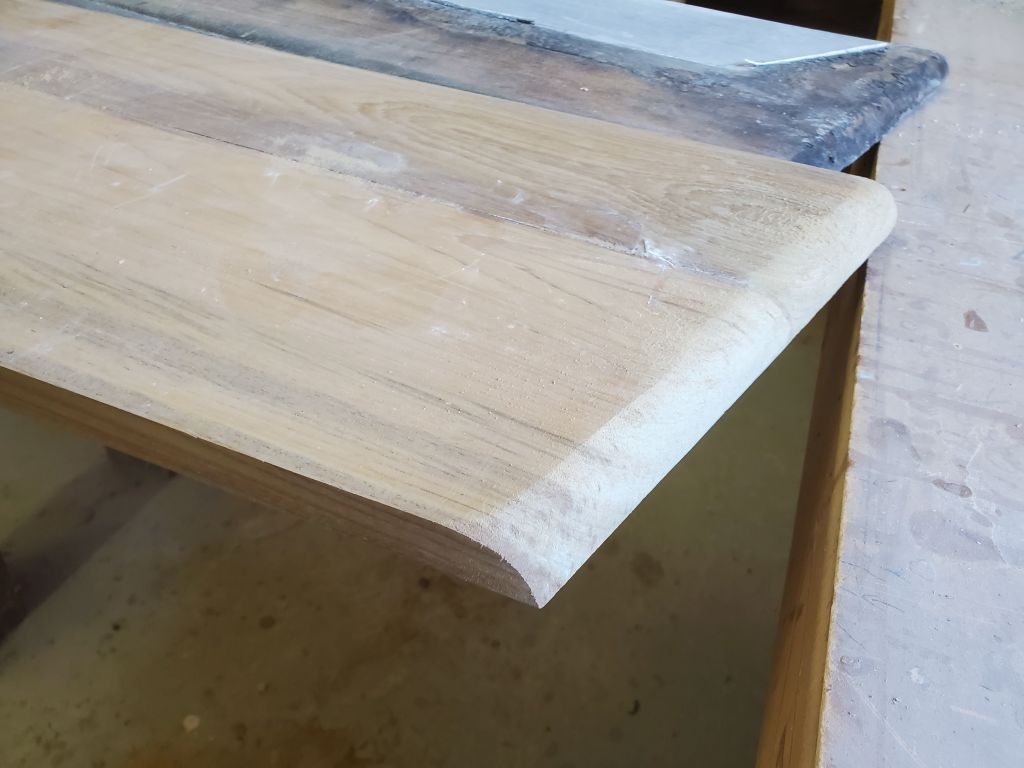
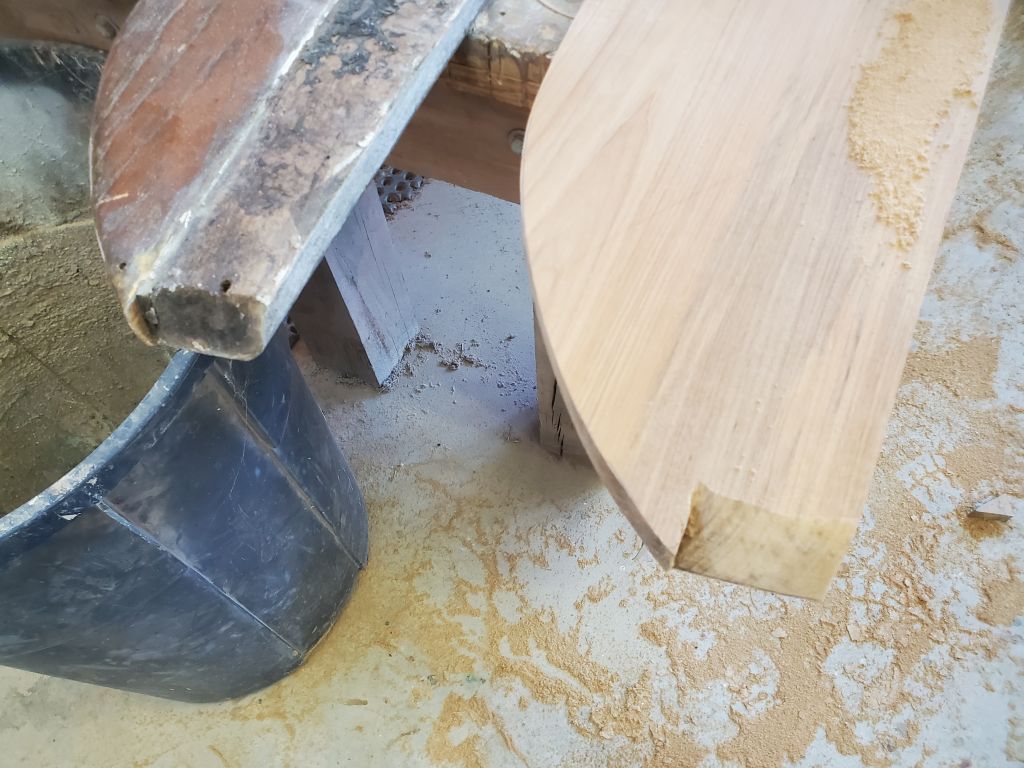
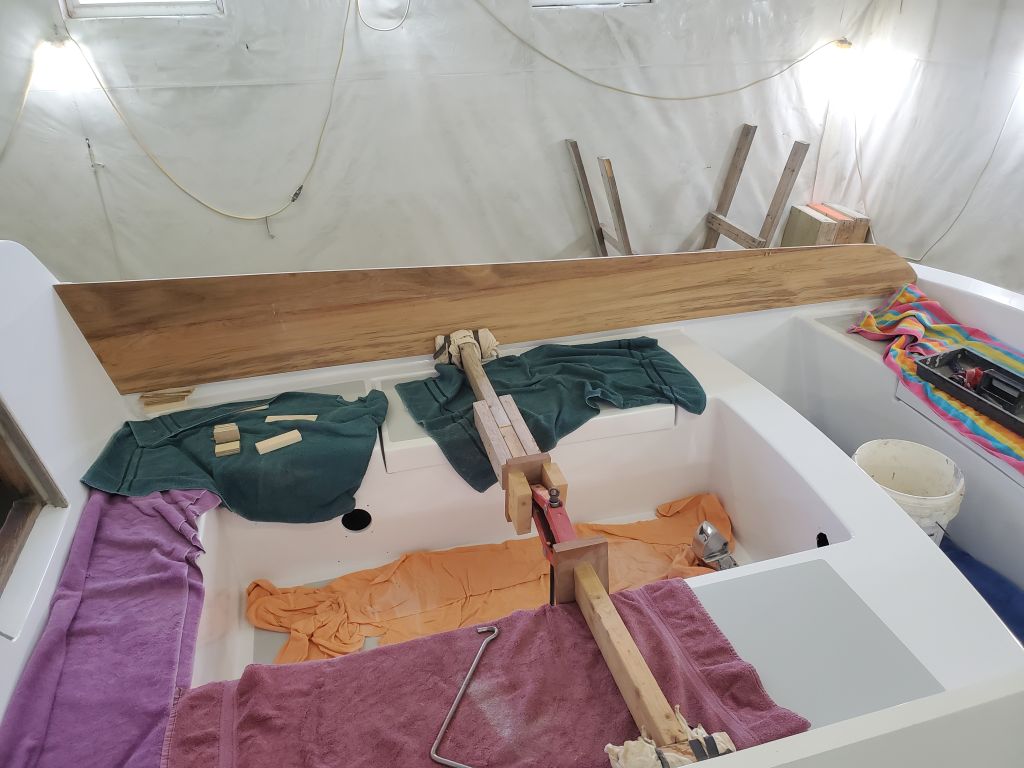
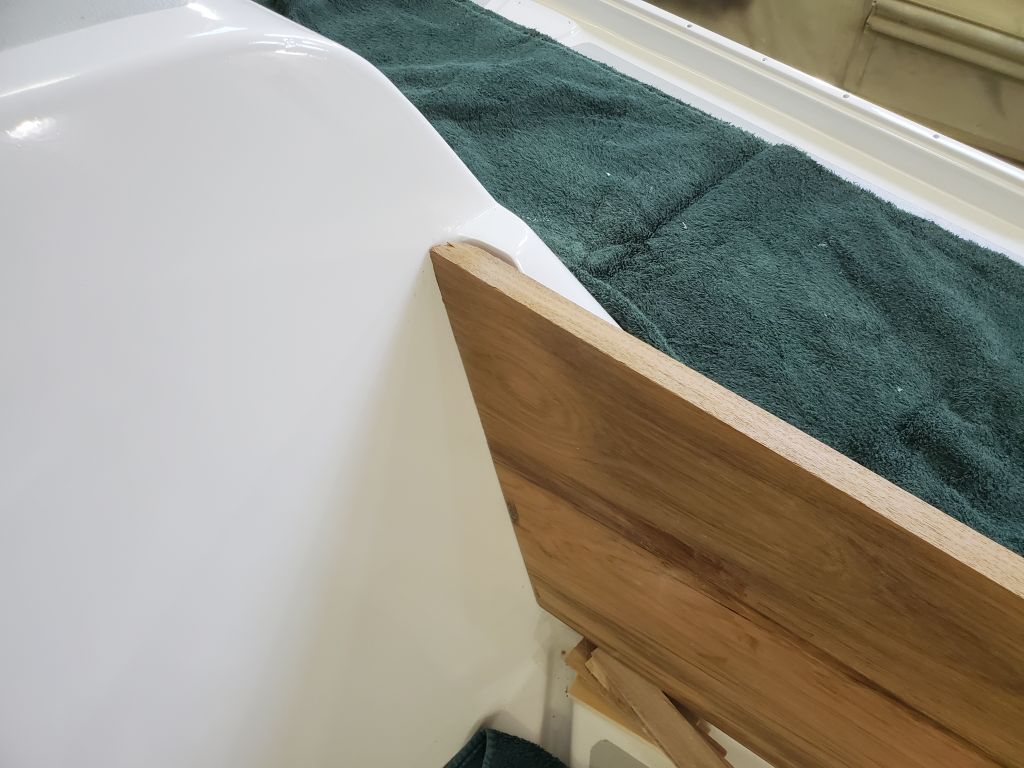
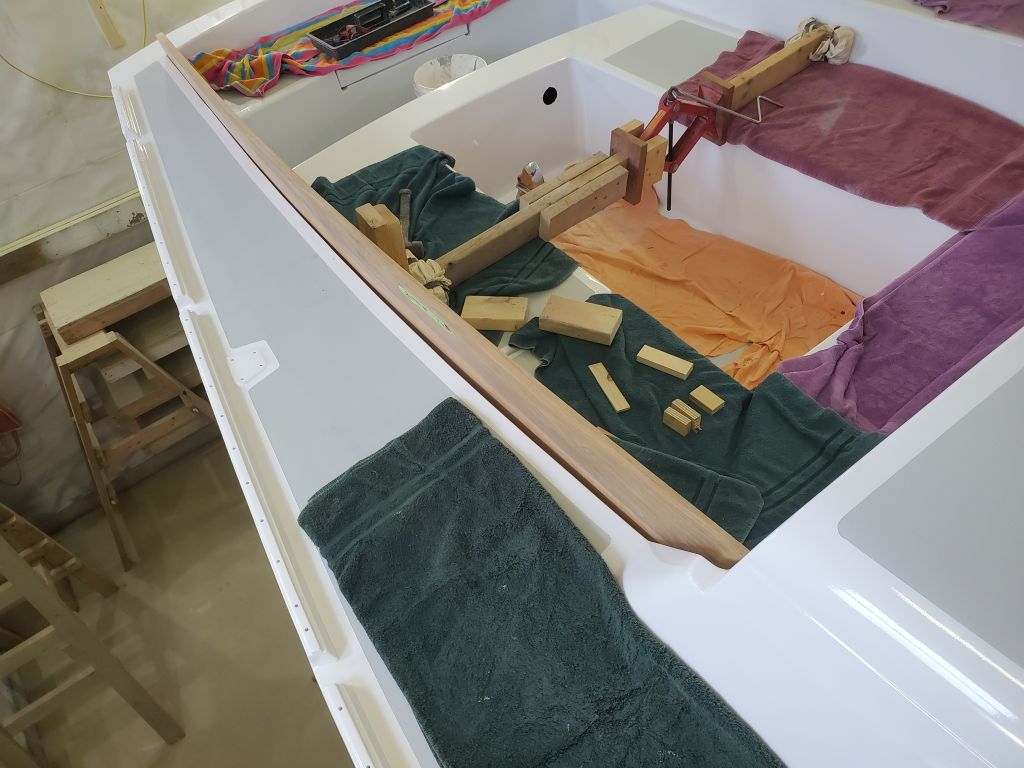
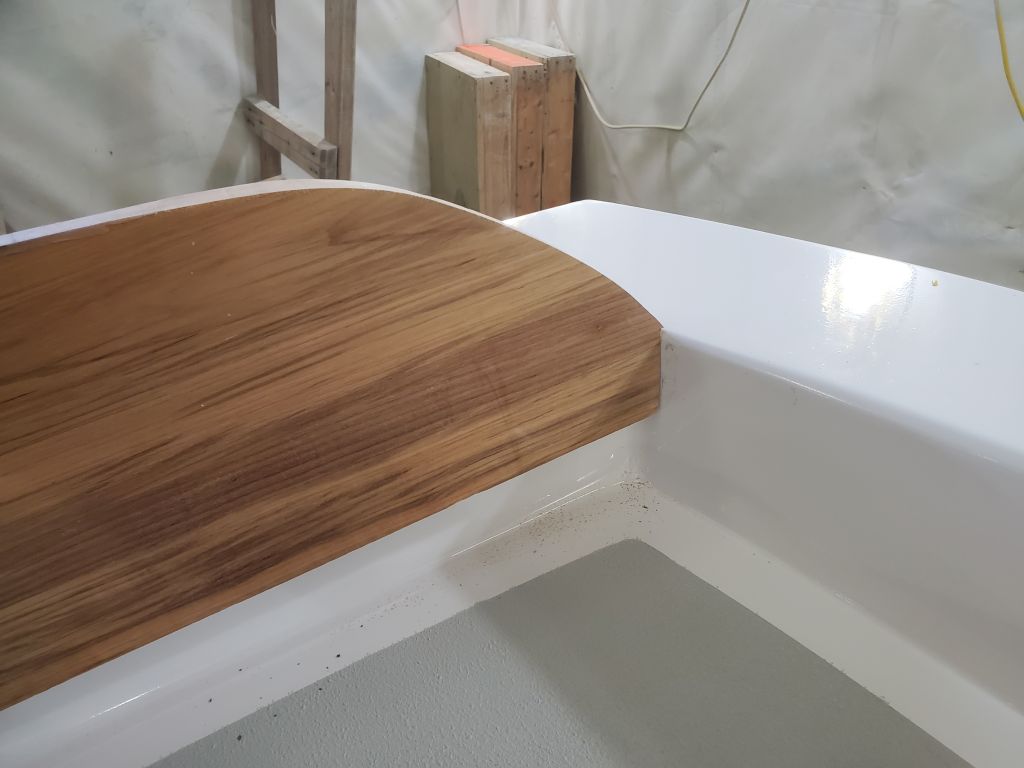
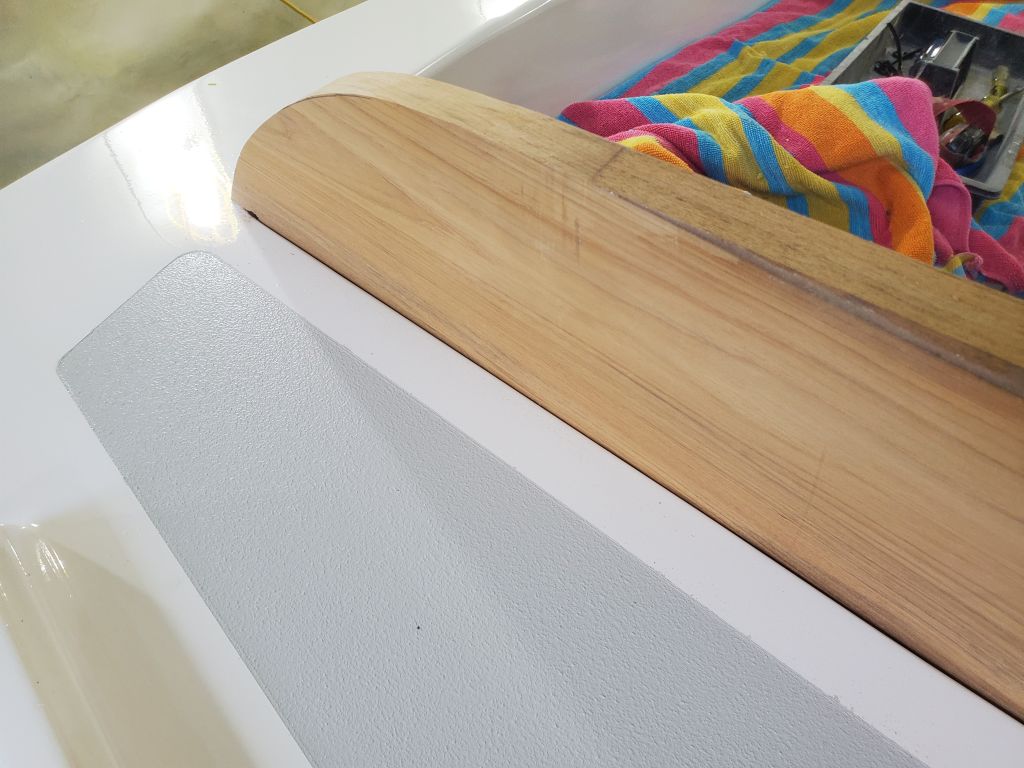
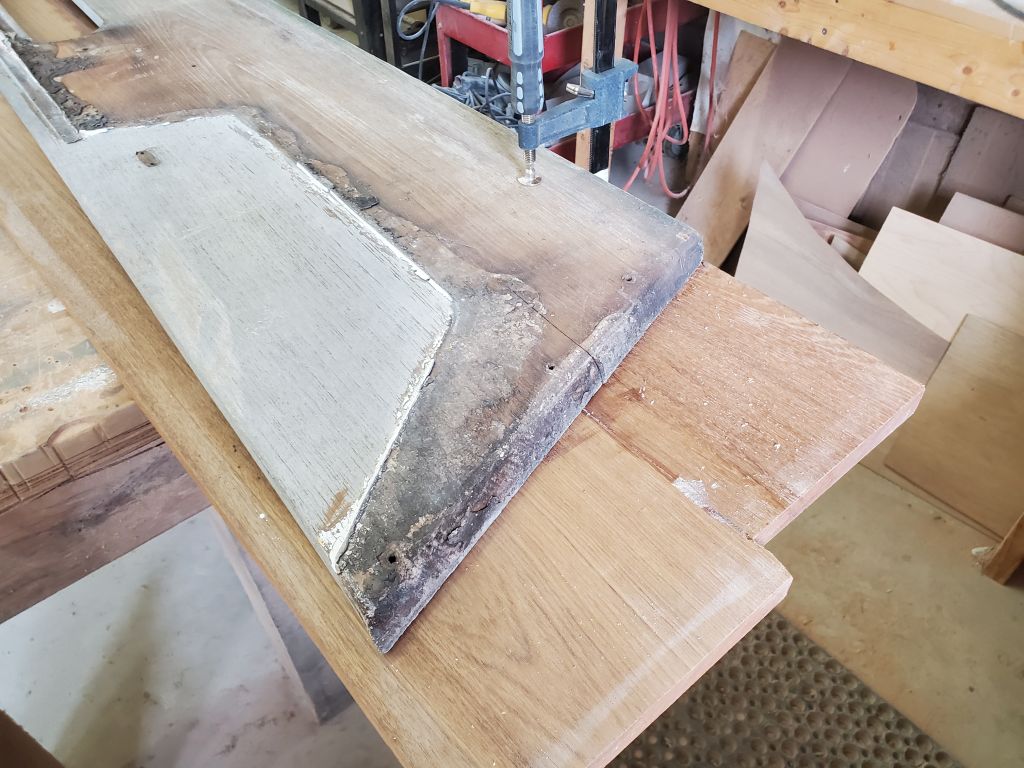
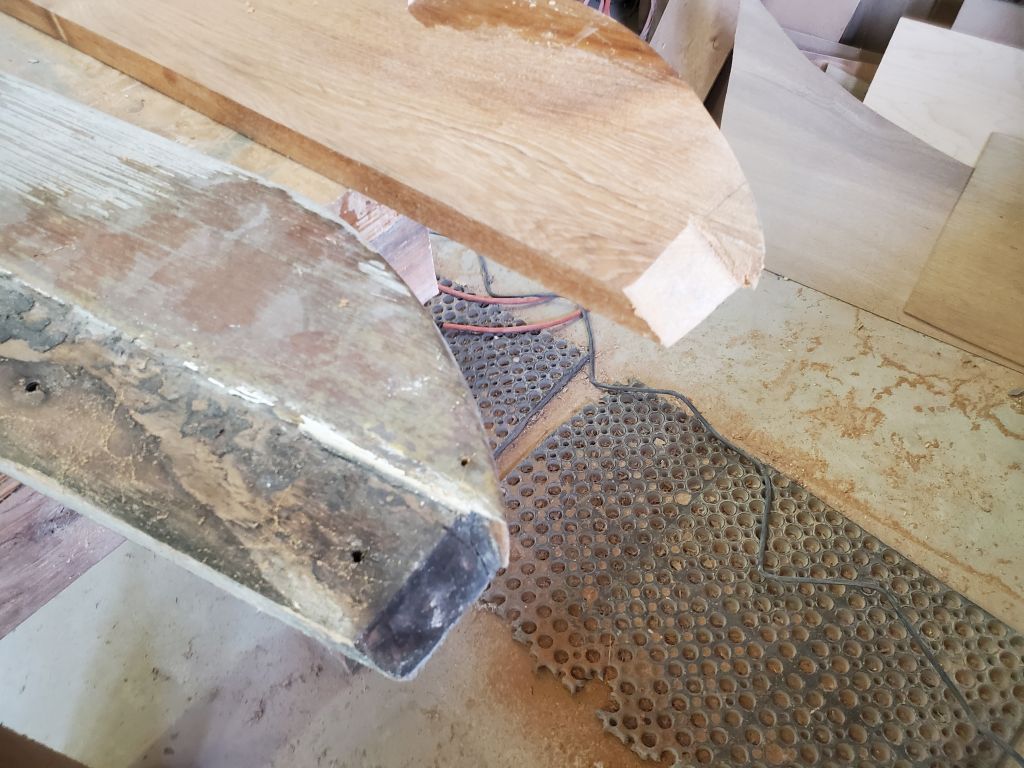
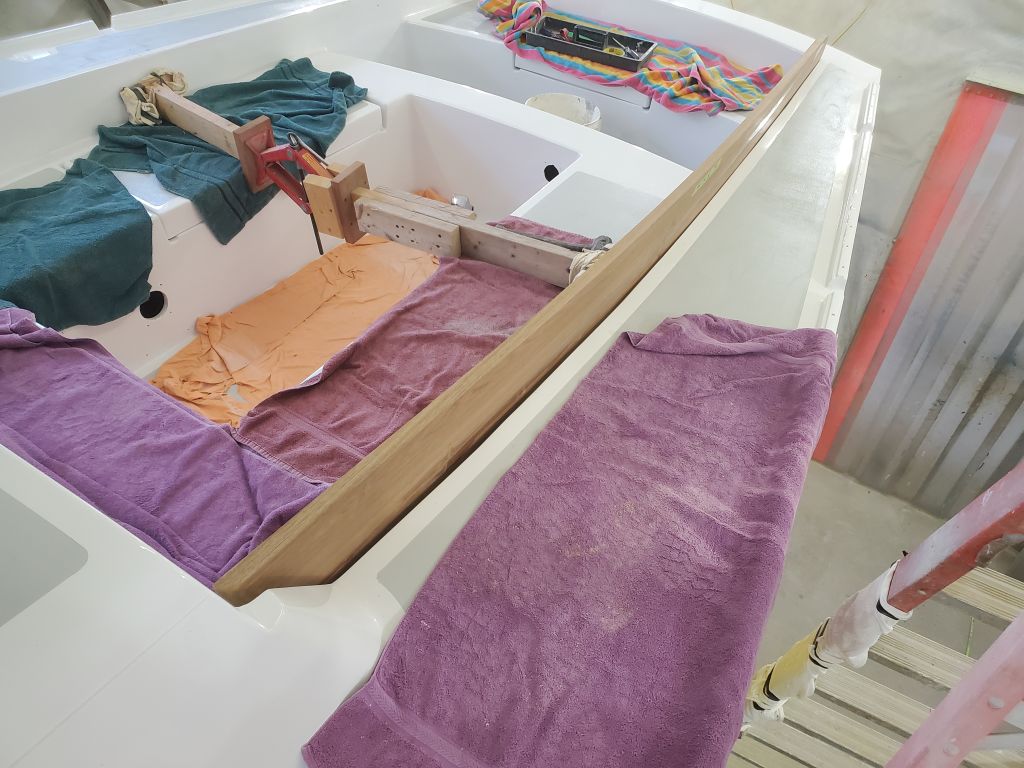
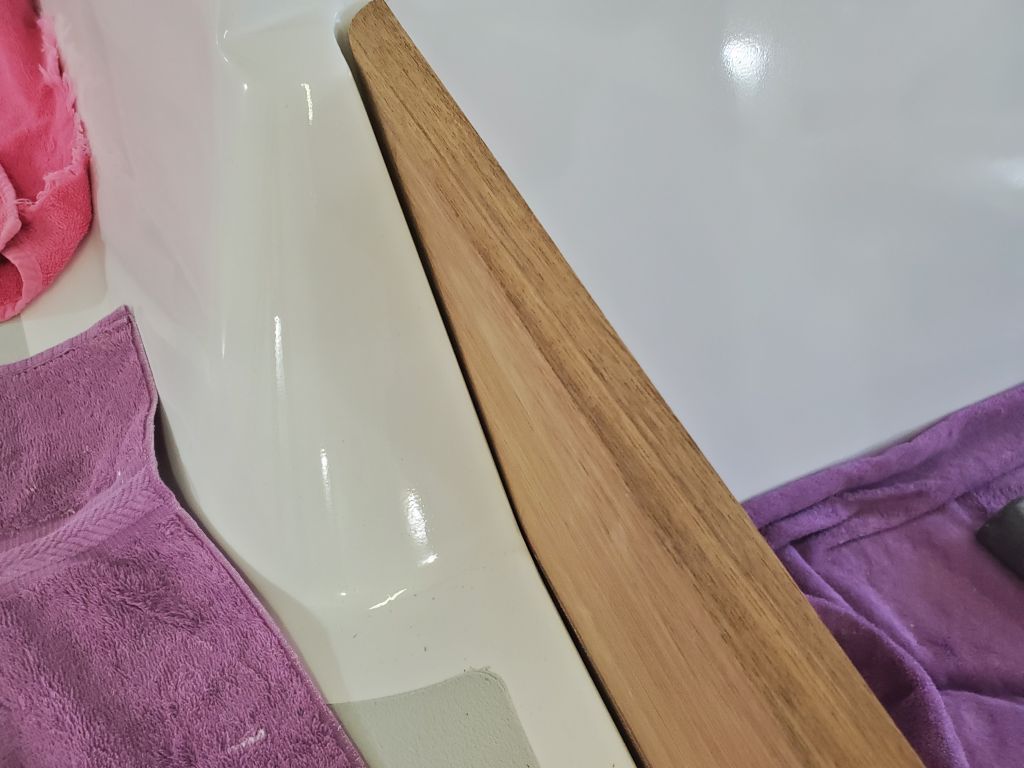
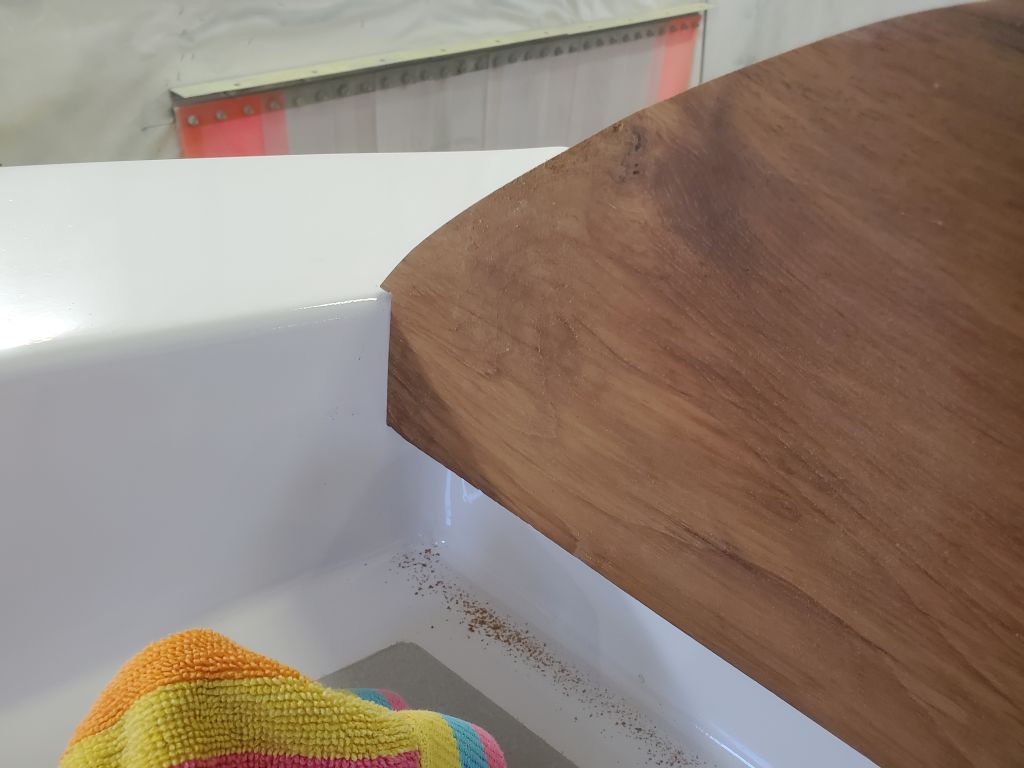
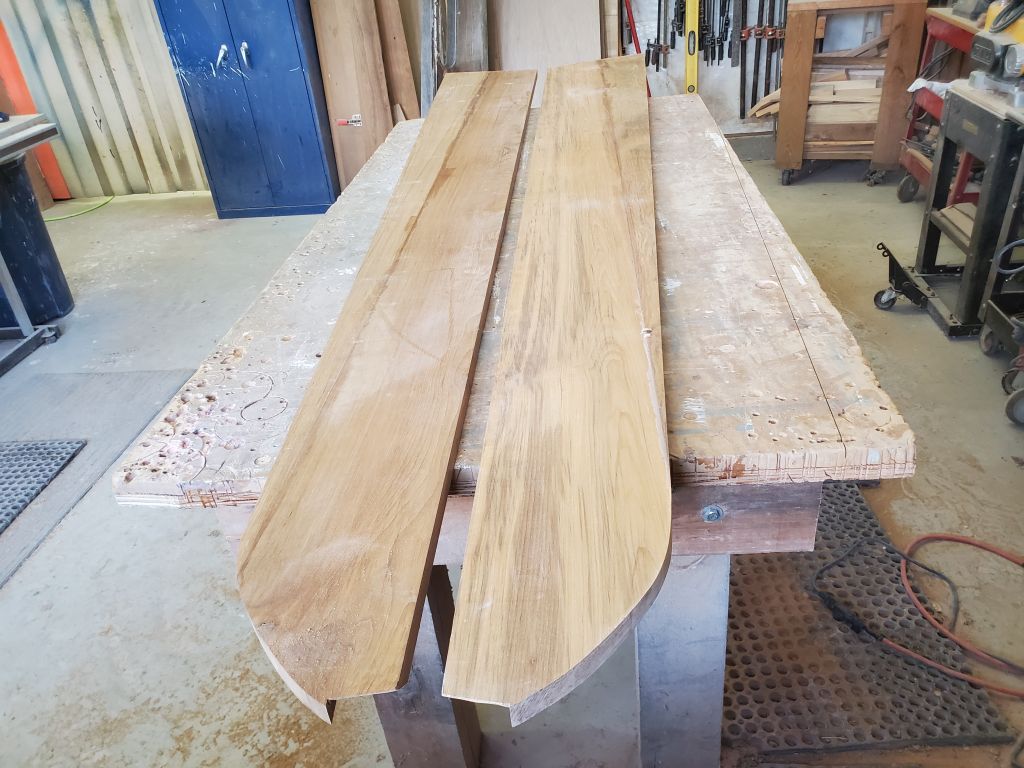
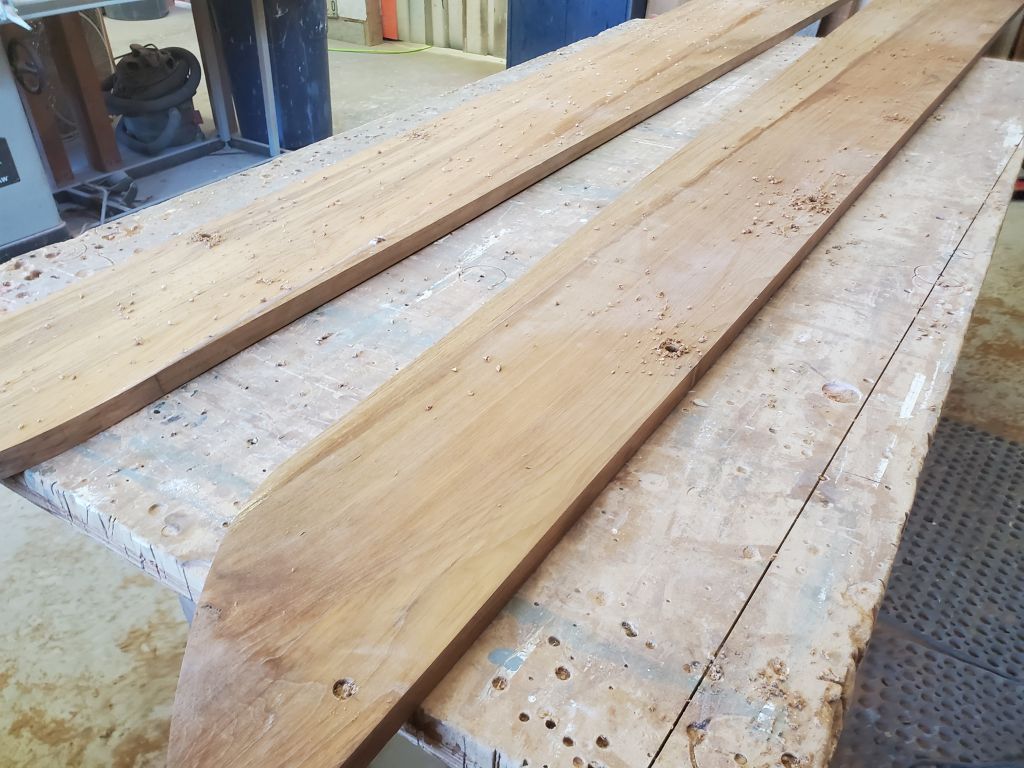
Next, prepared the ends of the new blank as needed to fit: a large rounded back edge at the forward side, to fit into the corner at the molded coaming block; and an angled inset area at the after end, which would fit the molded corner in the boat and, as with the original, provide just a slight overhang at the aftermost end. With these reliefs made according to the old coaming, I test-fit the new coaming in the boat, using my rickety but venerable coaming-pusher to press the center into the curve as needed–closely enough for now to determine that the fit was appropriate in all areas. Later, the final fasteners would pull the coaming in along its length and at the forward end.

I repeated the construction and fitting process with the port coaming.


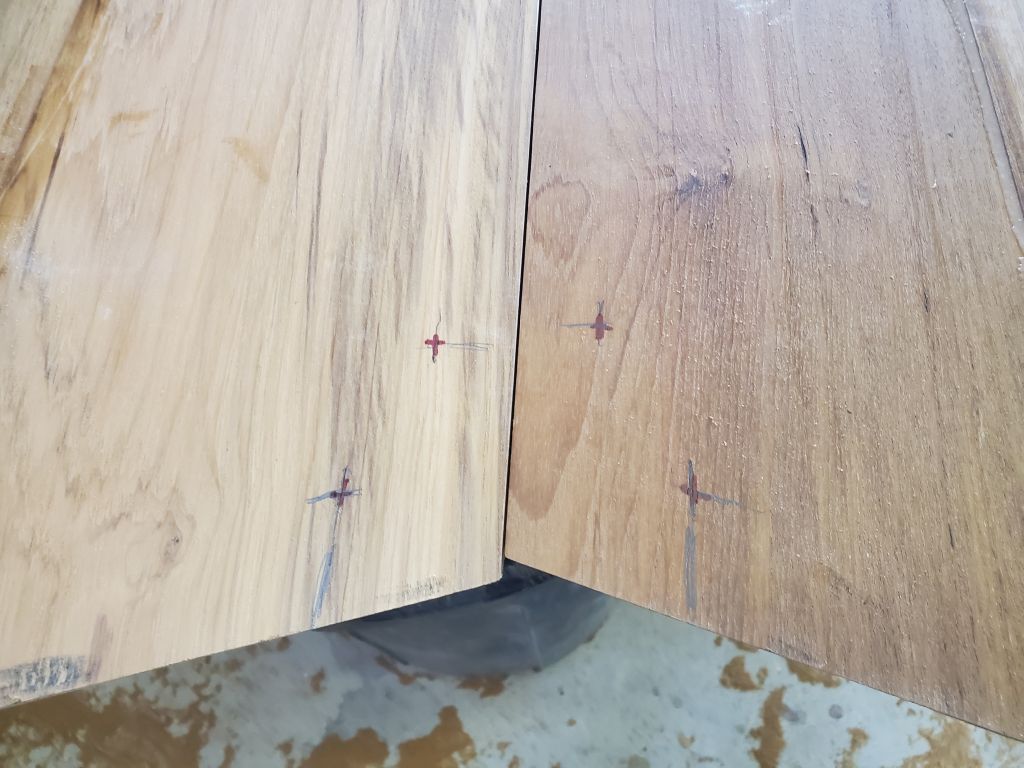
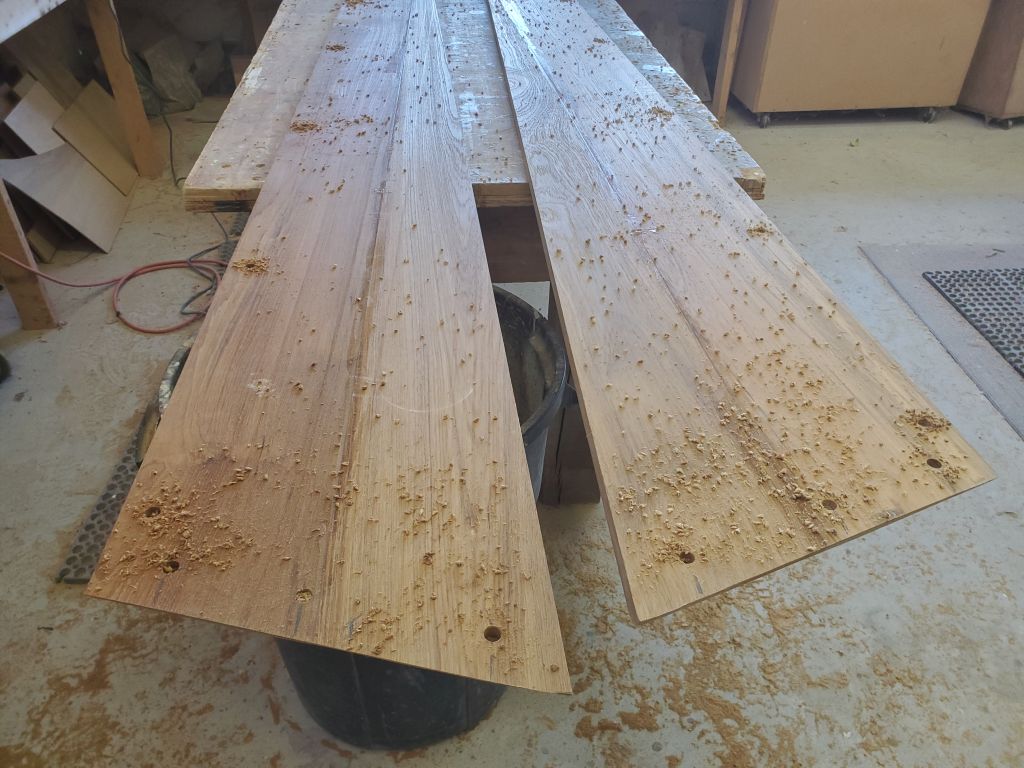
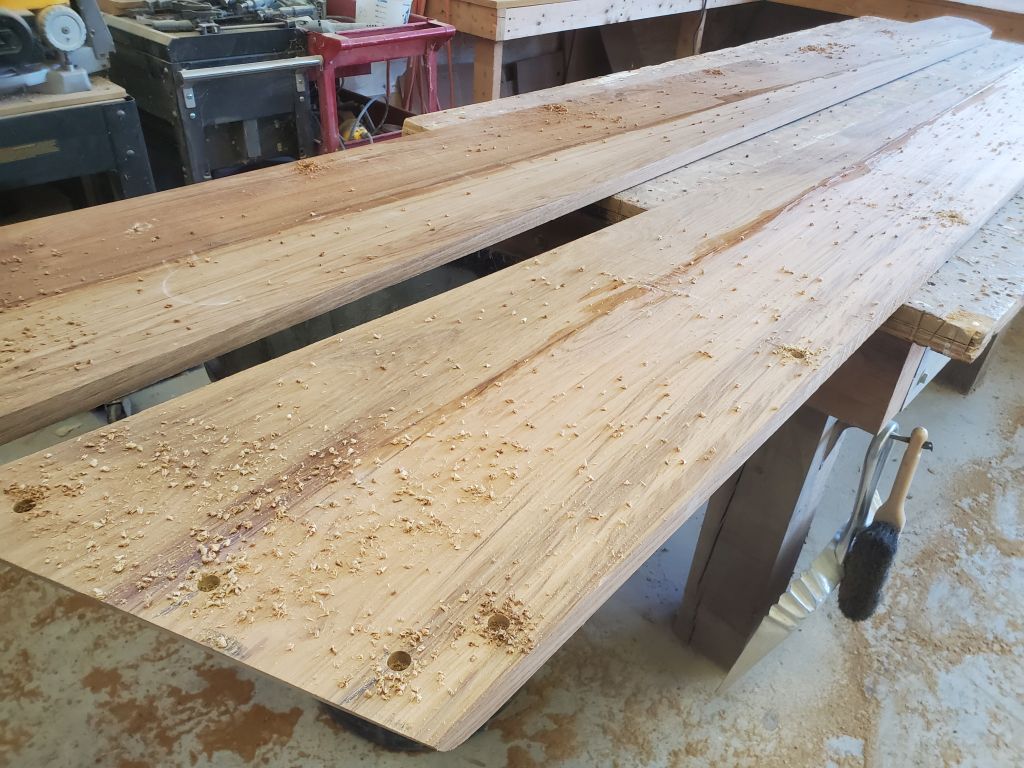
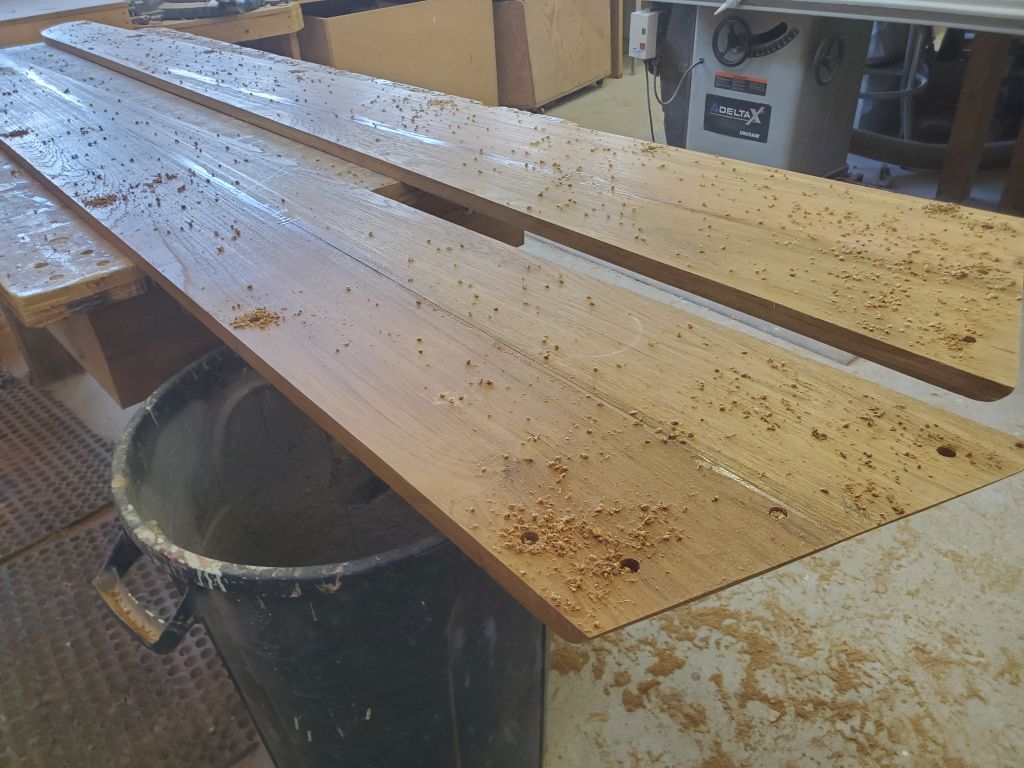
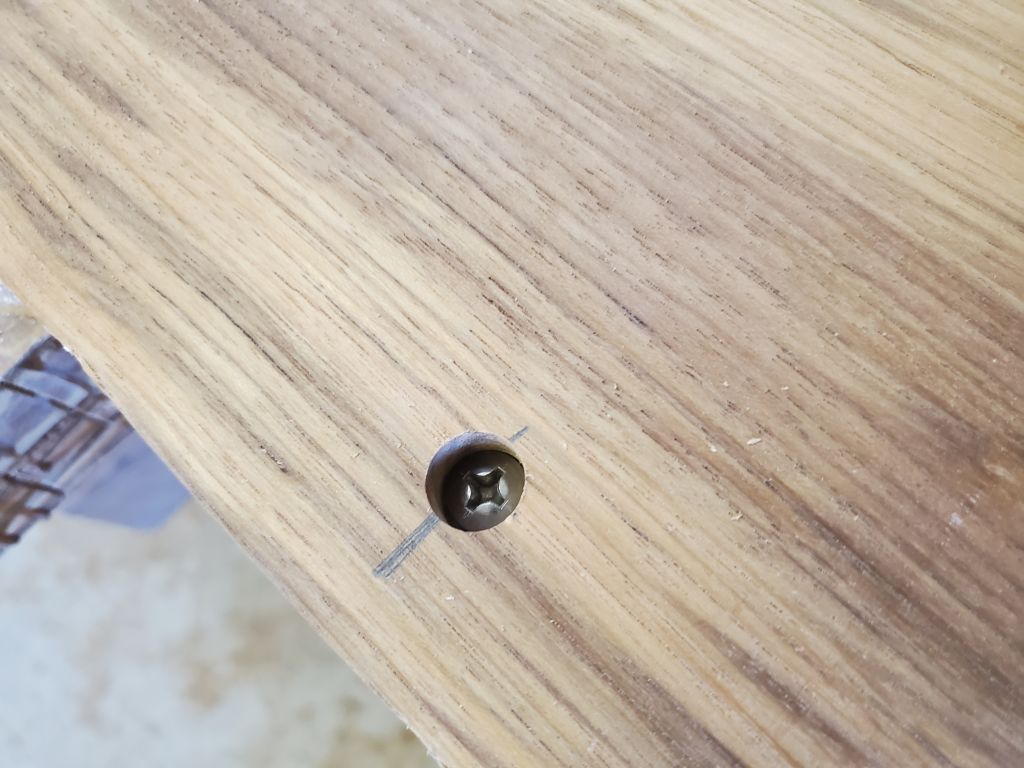
With both new coamings test-fitted, and with only a short time left before I had to leave for the remainder of the day on unrelated business, I spent the rest of the morning laying out and preparing the fastener holes for the coamings. The original coamings had relied on the defunct molded winch islands for much of their bolting support, so with these now gone I planned a more regular series of fastener holes along the lower length of the coaming, plus additional fasteners into the molded coaming blocks at the forward end. I spaced the lower fasteners about 16″ on center, which, since the coamings weren’t aggressively curved, seemed a good compromise between proper fastening and avoiding too many fasteners. The fasteners would be bunged, so at each location I drilled a flat-bottomed counterbore with a 1/2″ Forstner bit, then drilled 1/4″ pilot holes through the rest of the way for the screw shanks.


I left things here for now, but next time I’d dry-fit the coamings with all the fasteners, then remove them a final time to finish shaping and smoothing the blanks before starting the varnish buildup.