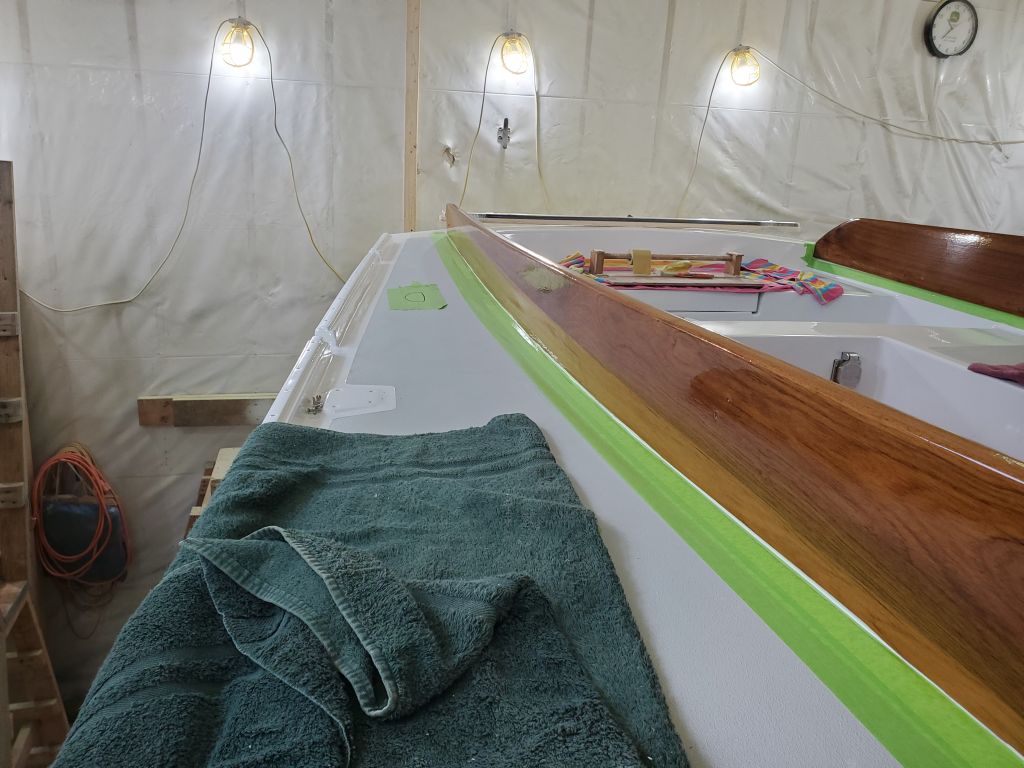
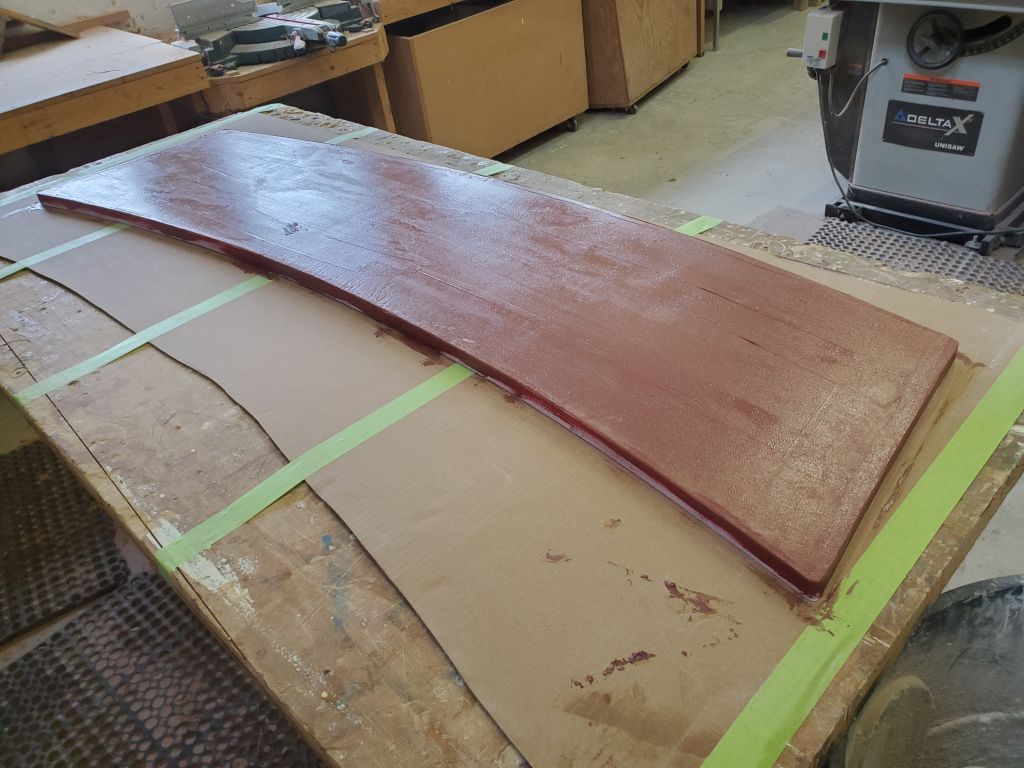
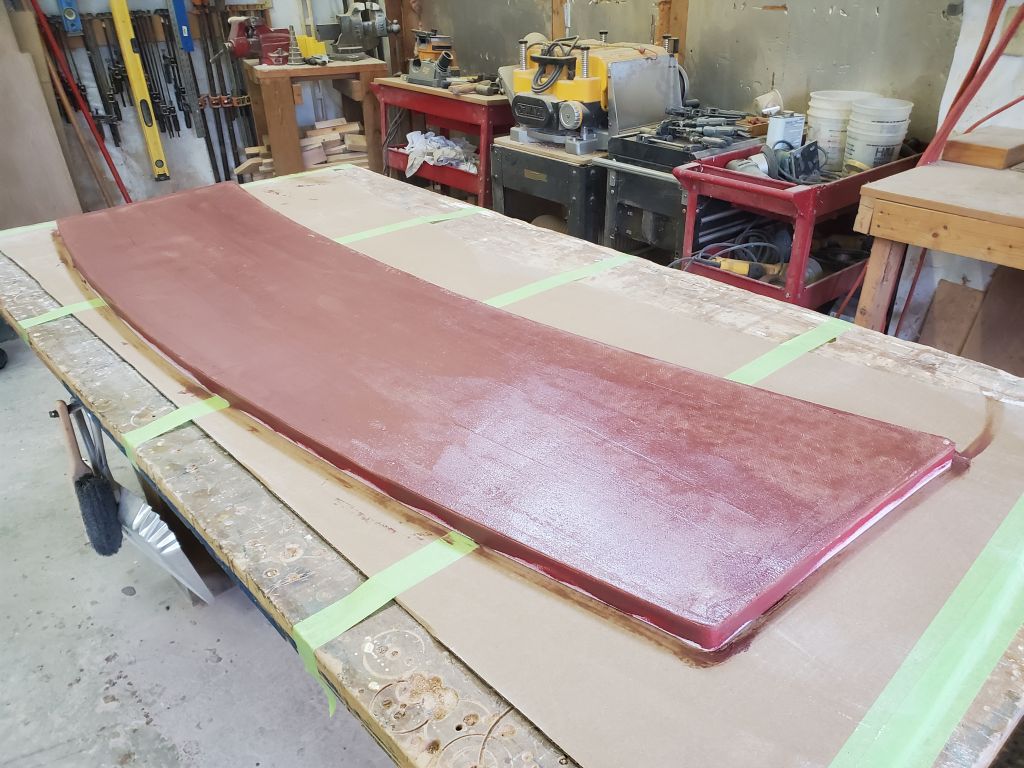
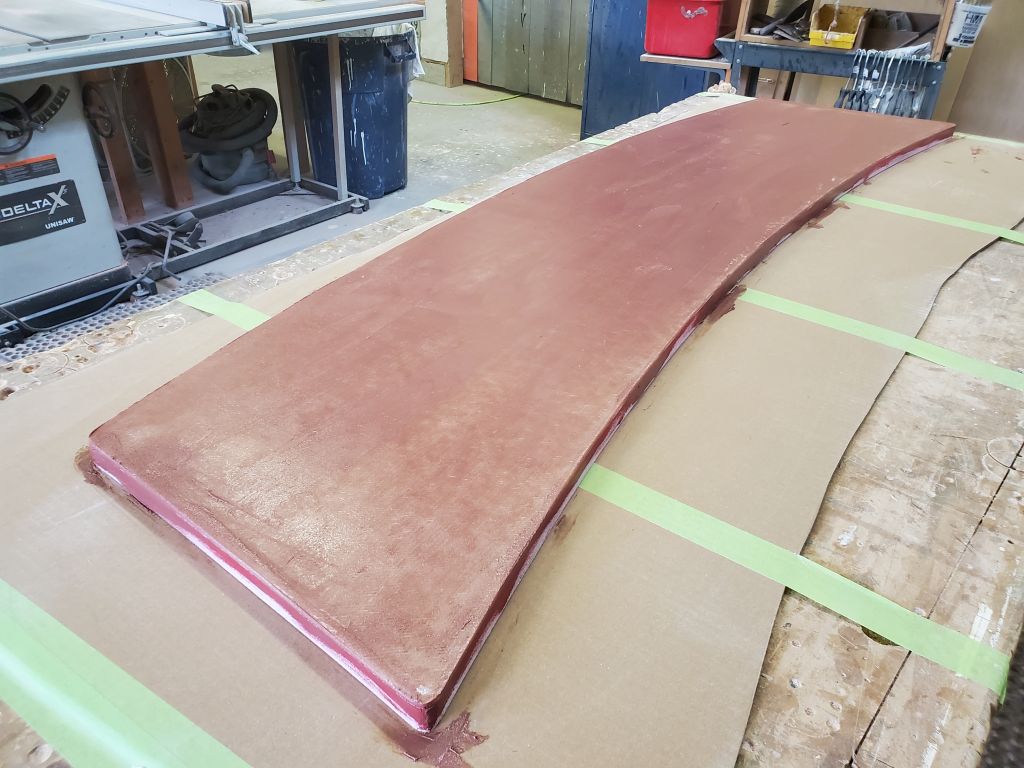
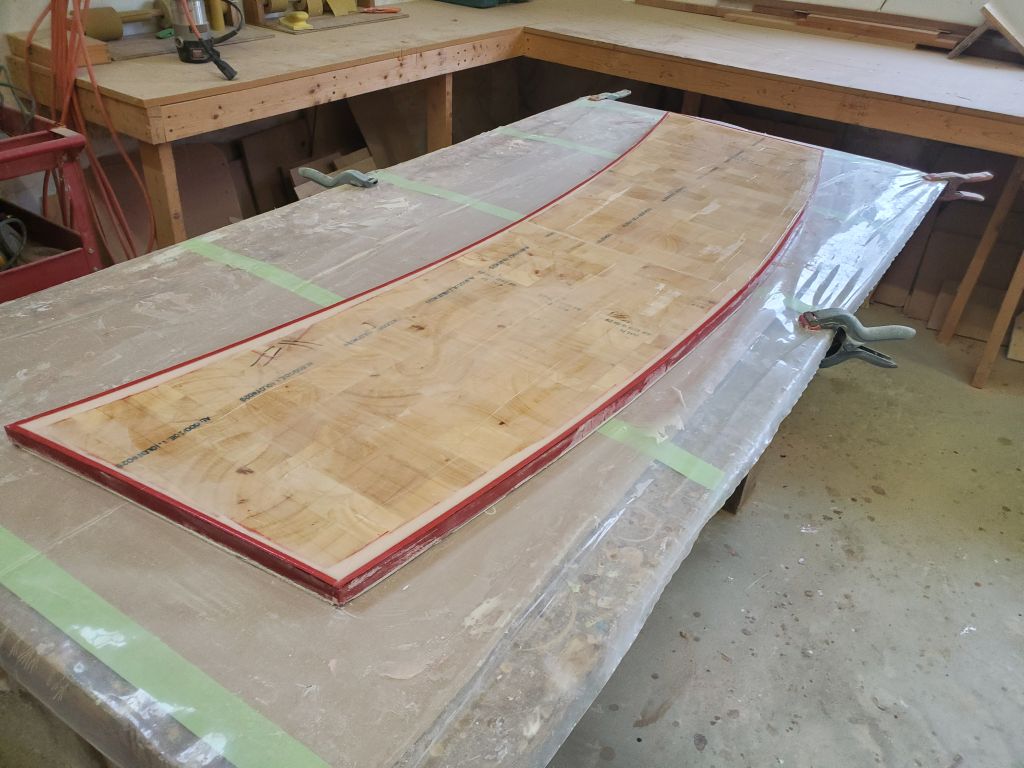
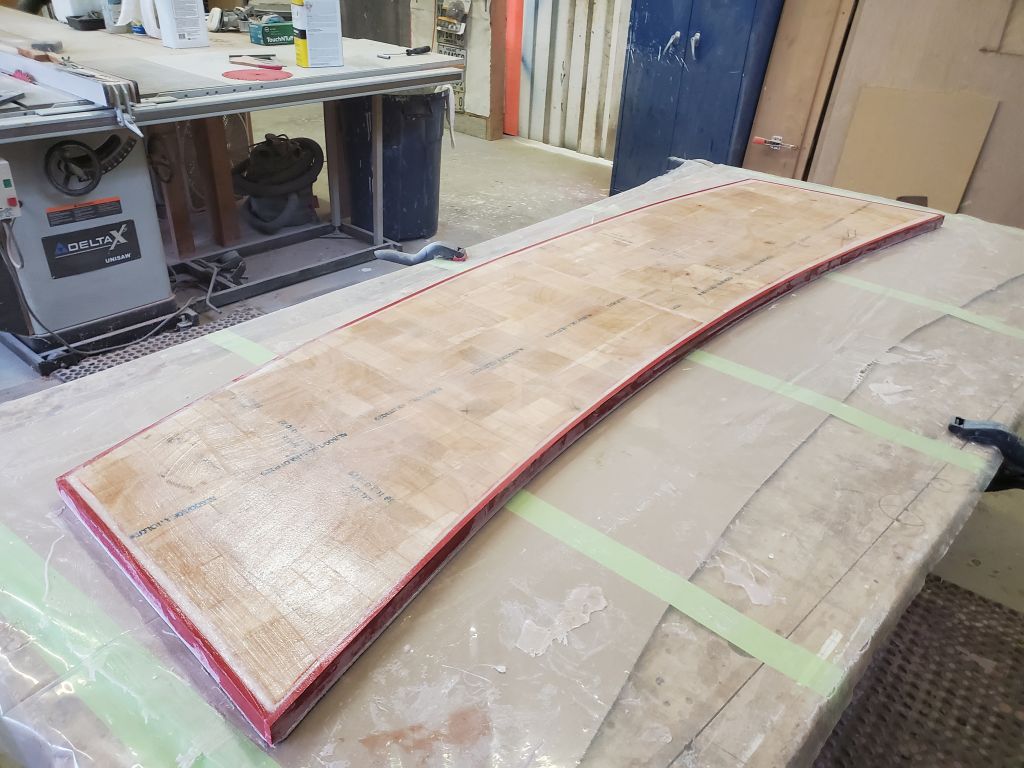
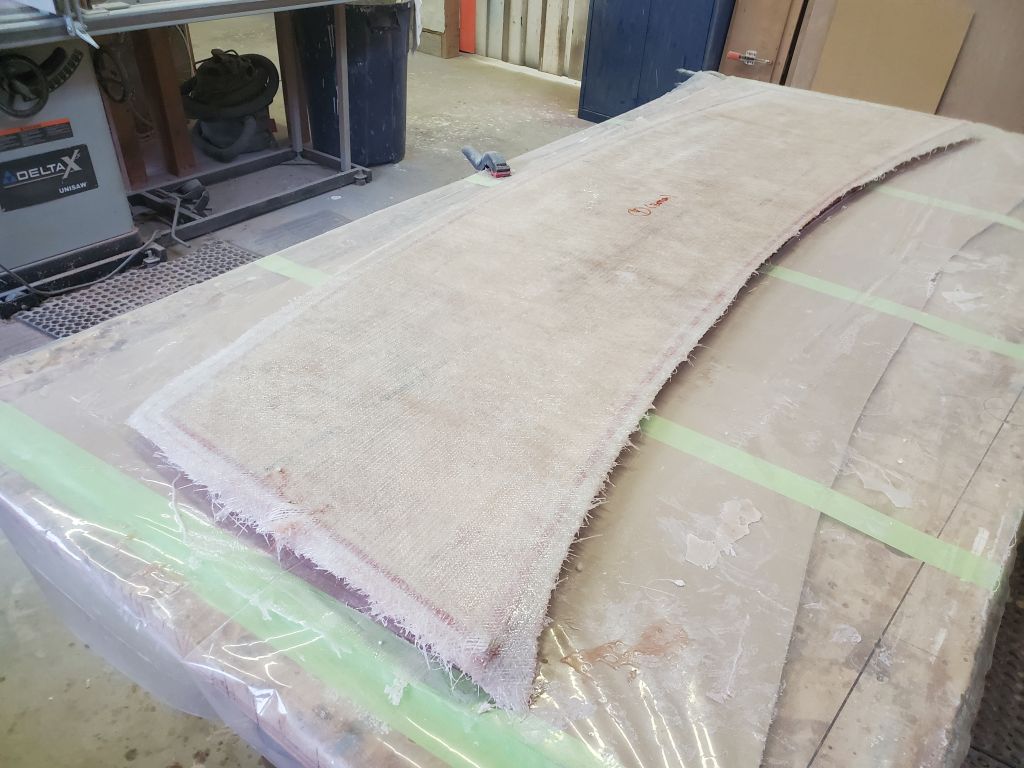
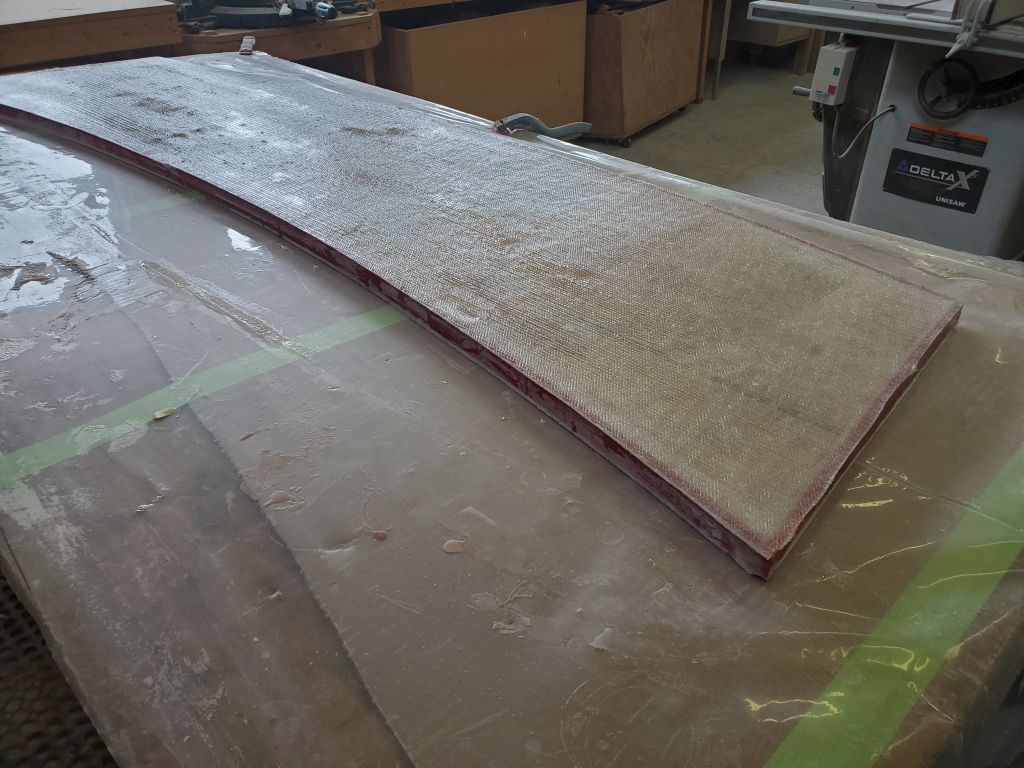
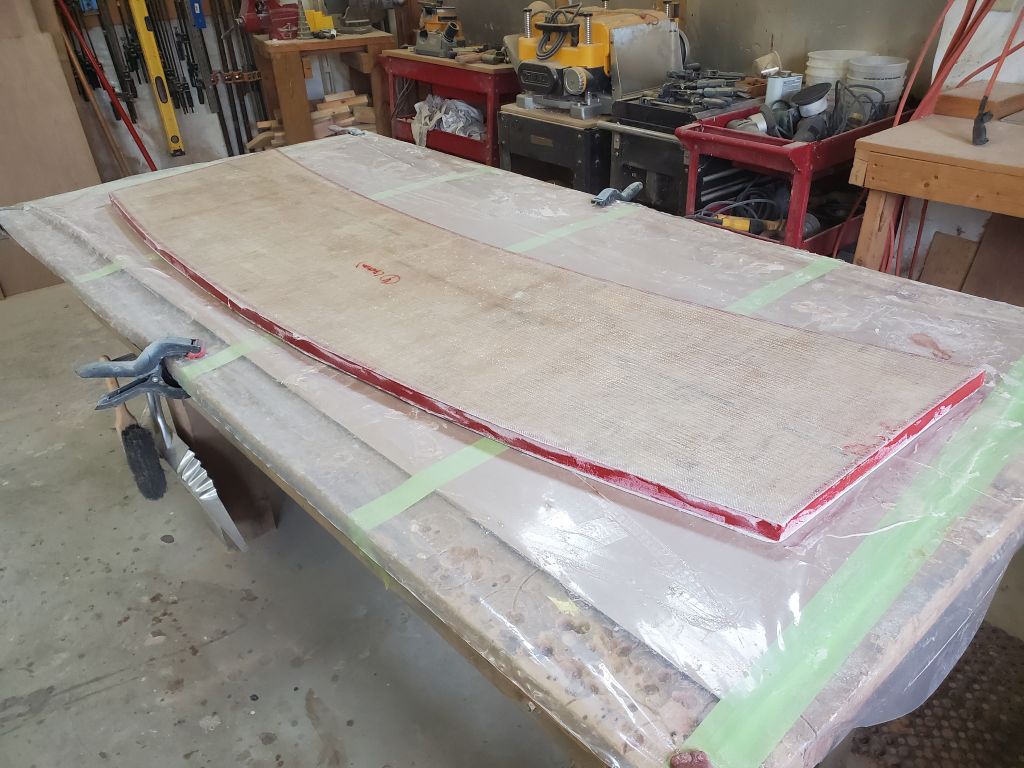
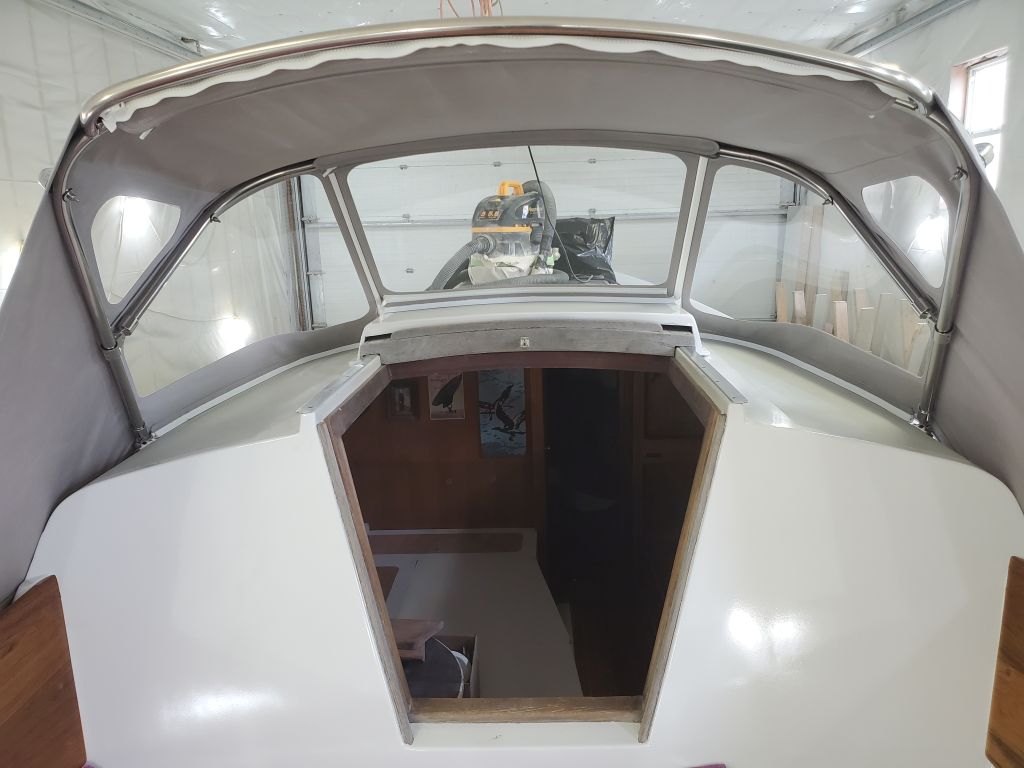
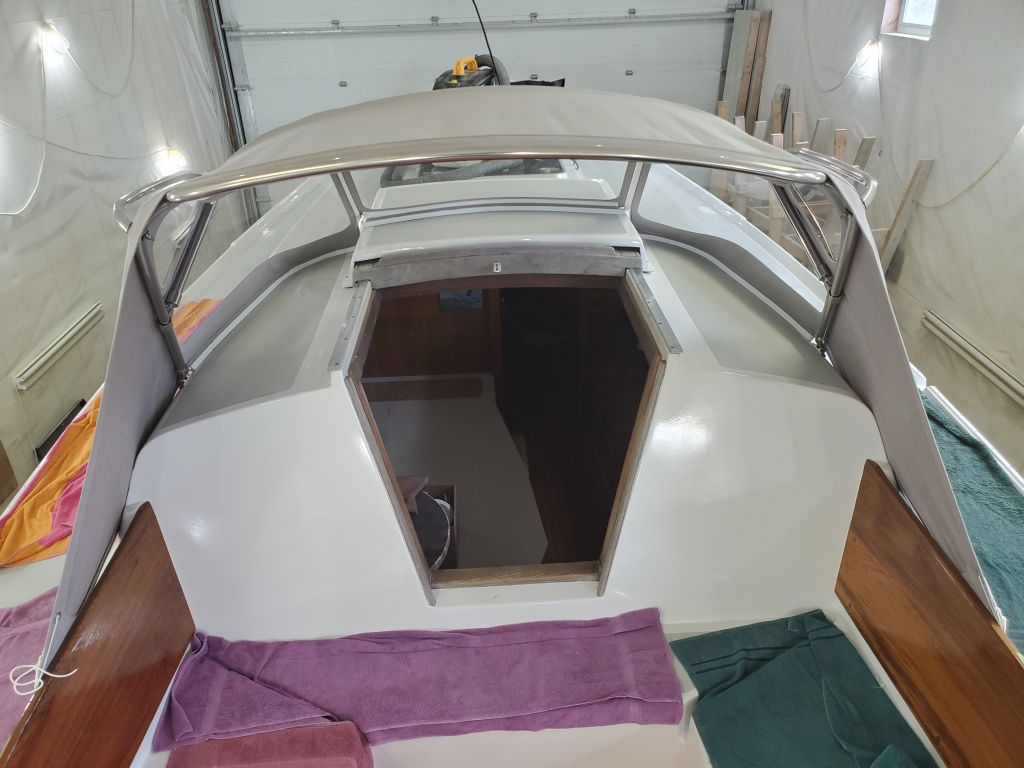
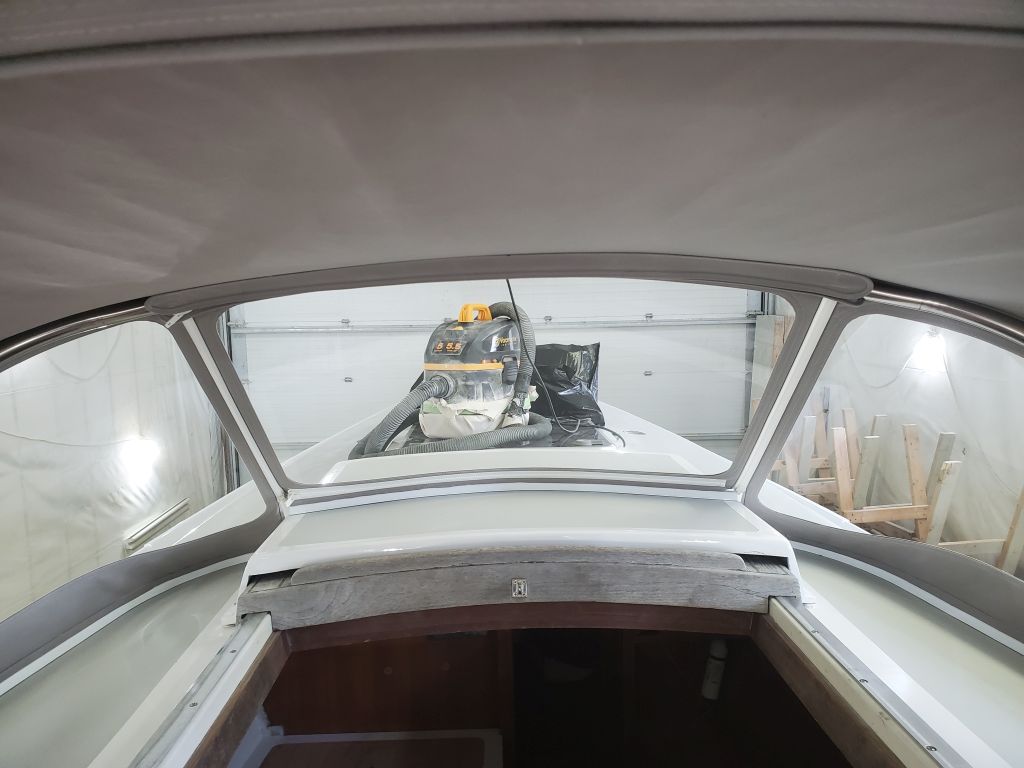
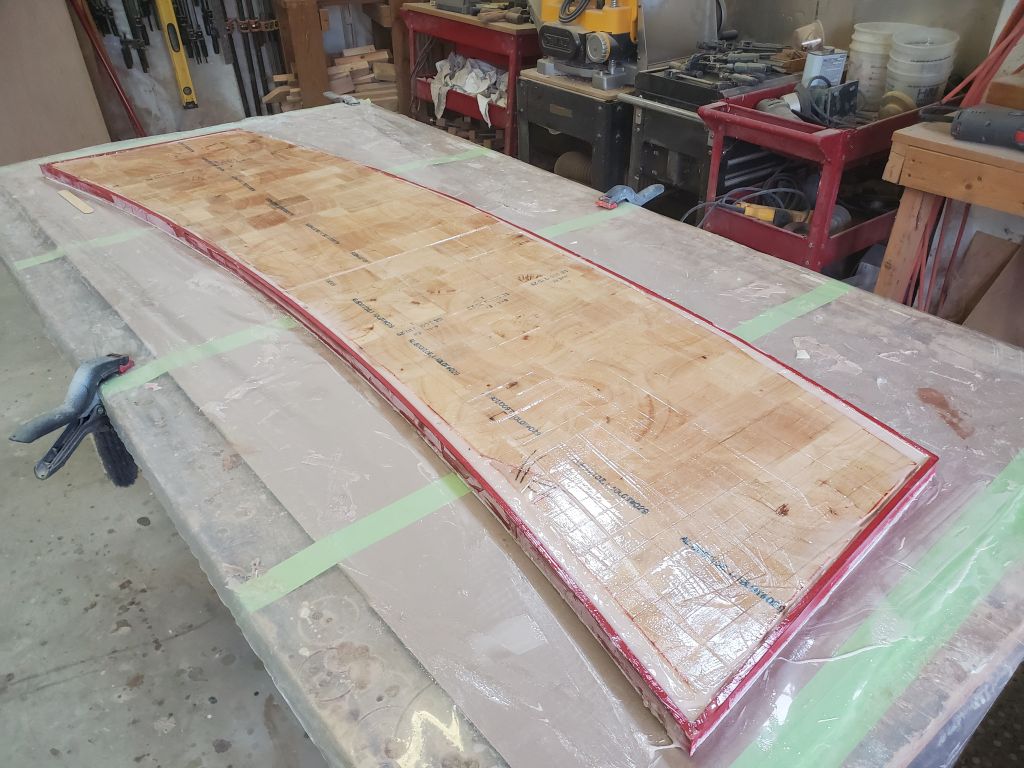
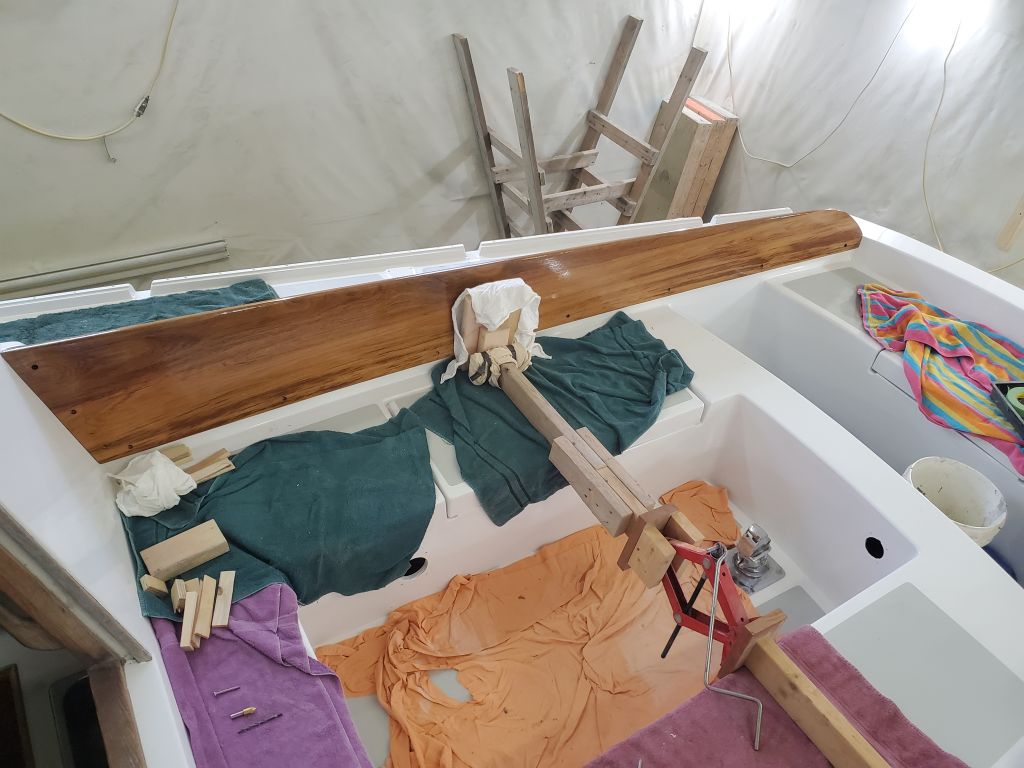
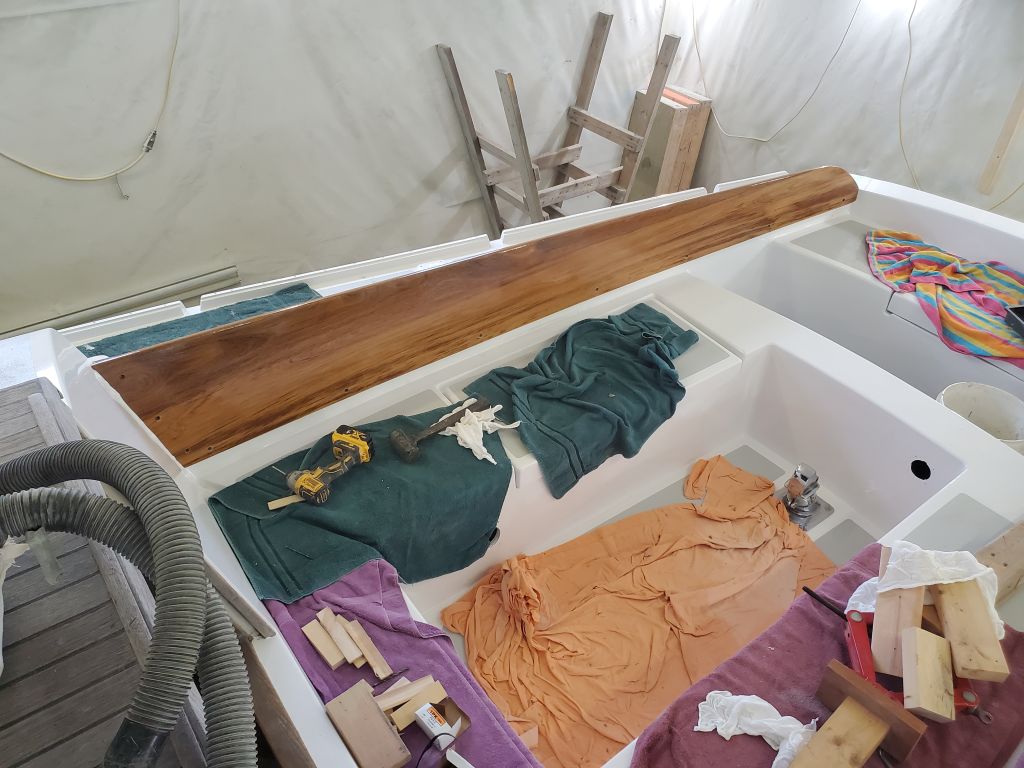
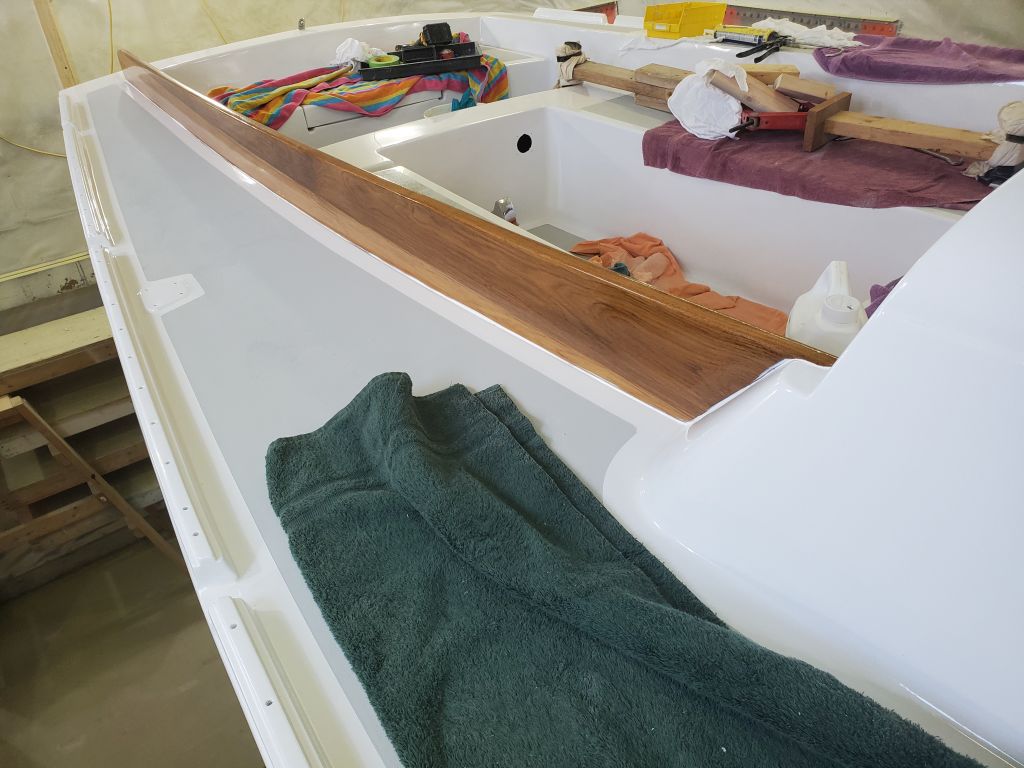
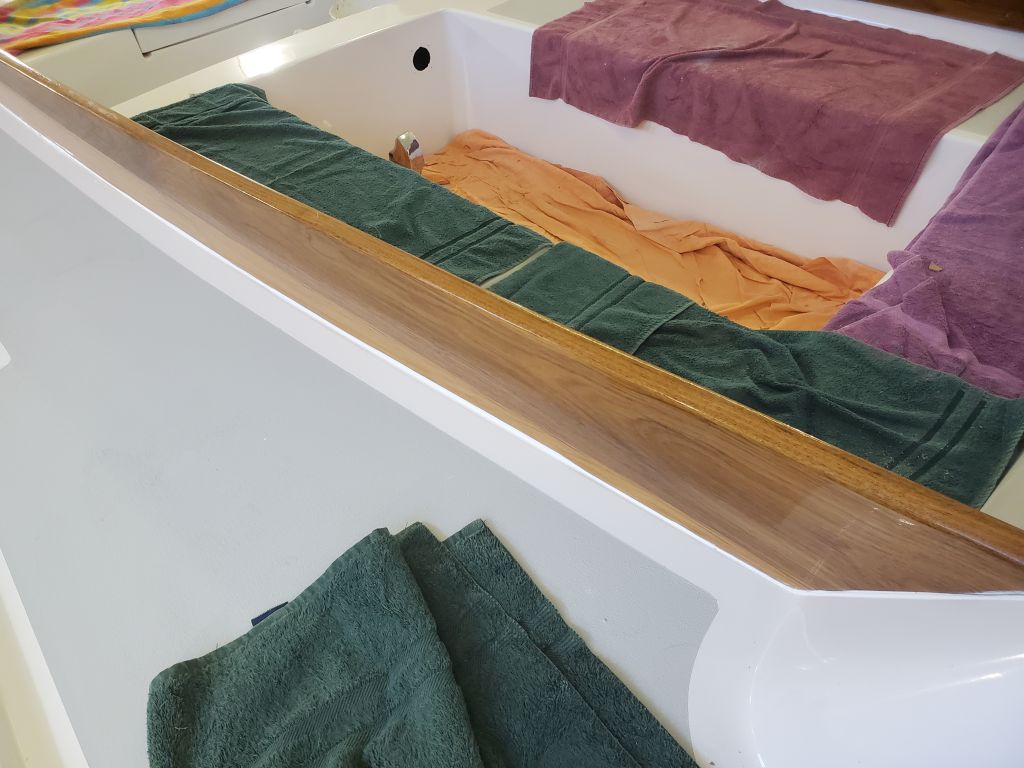
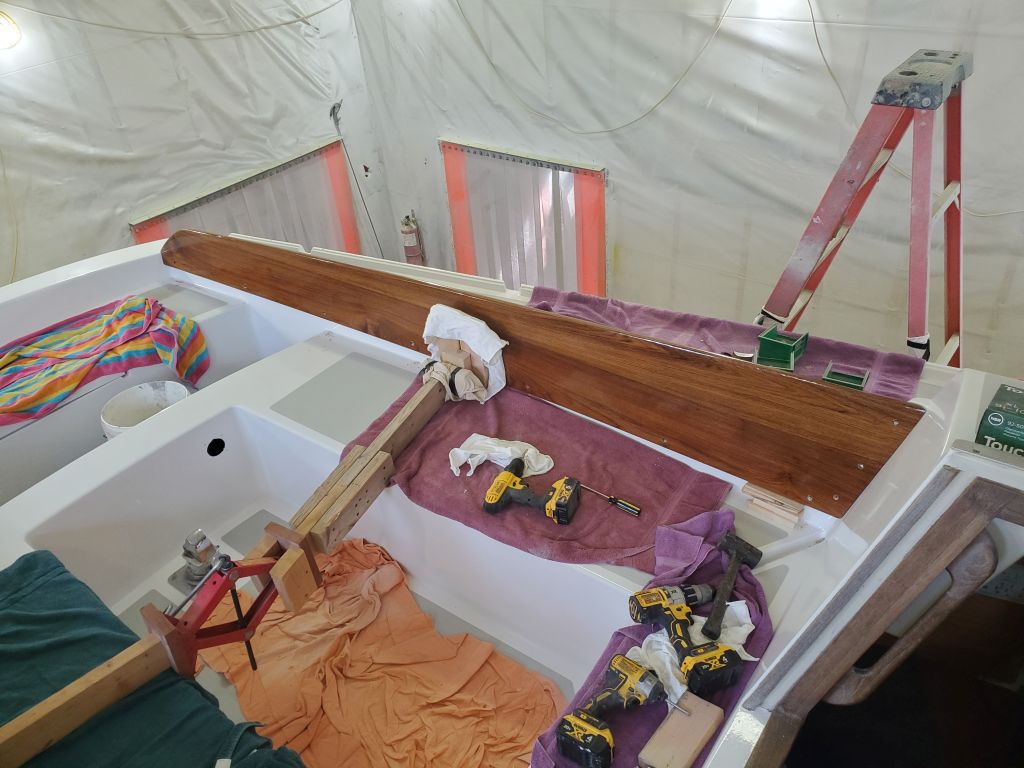
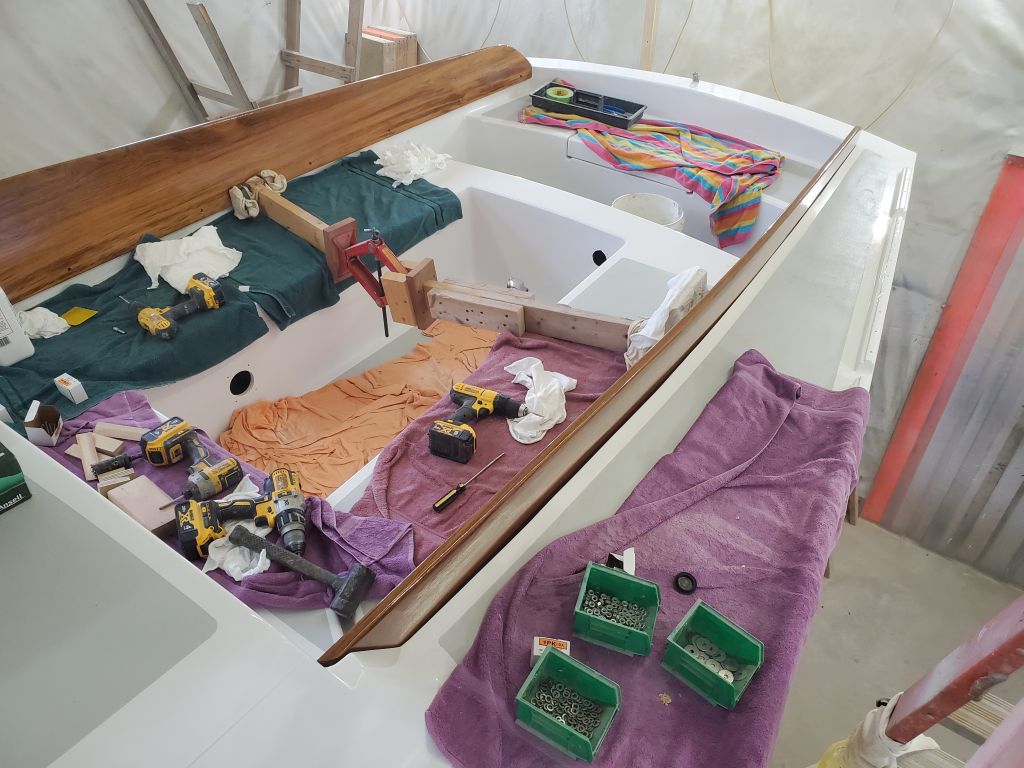
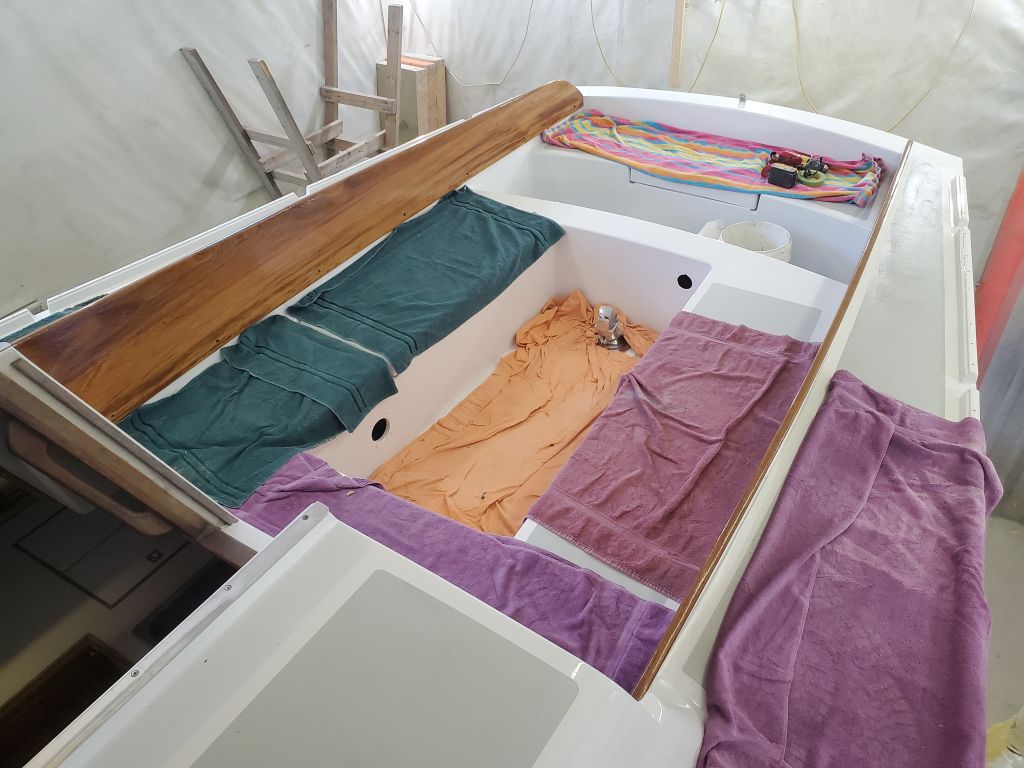
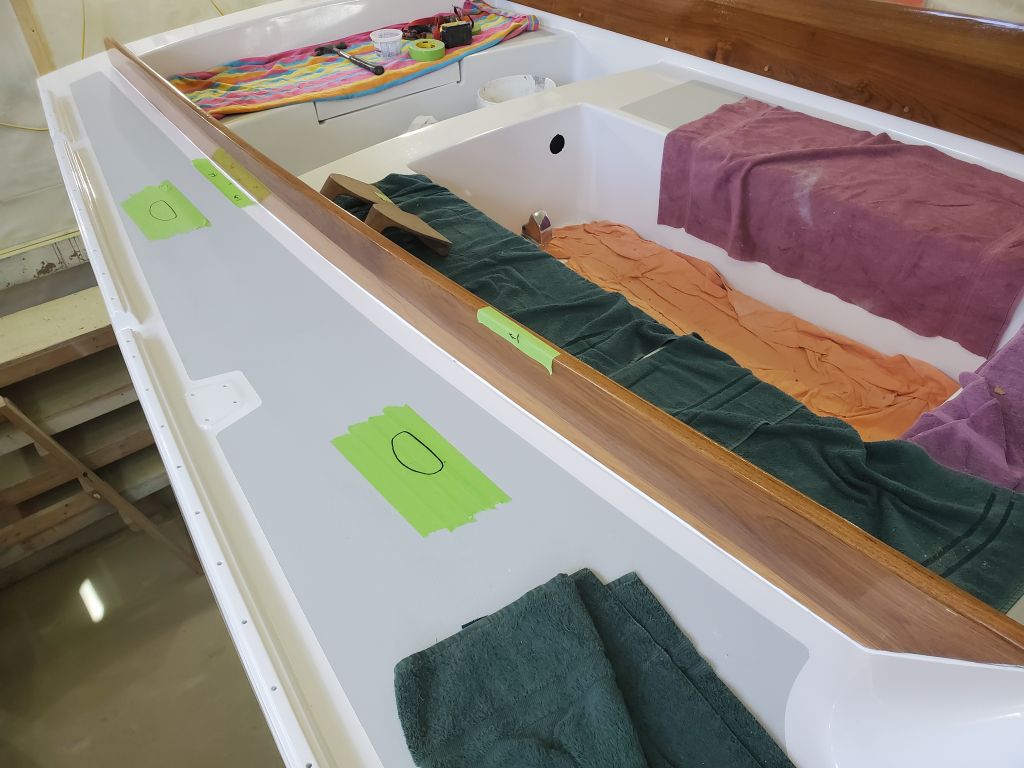
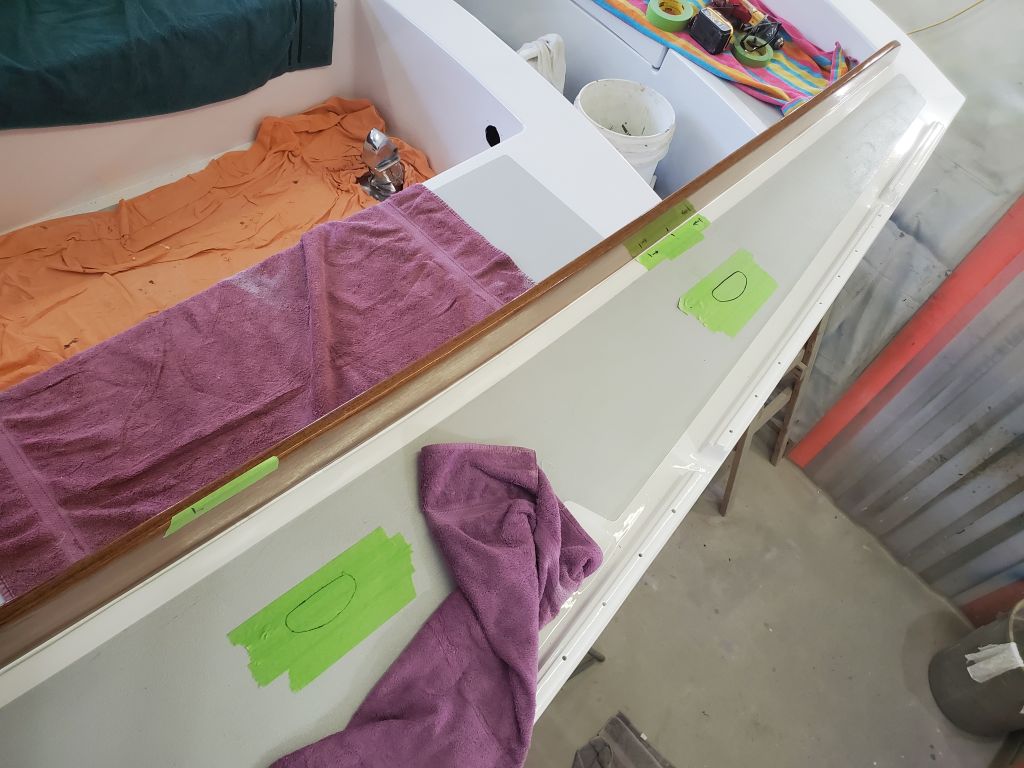
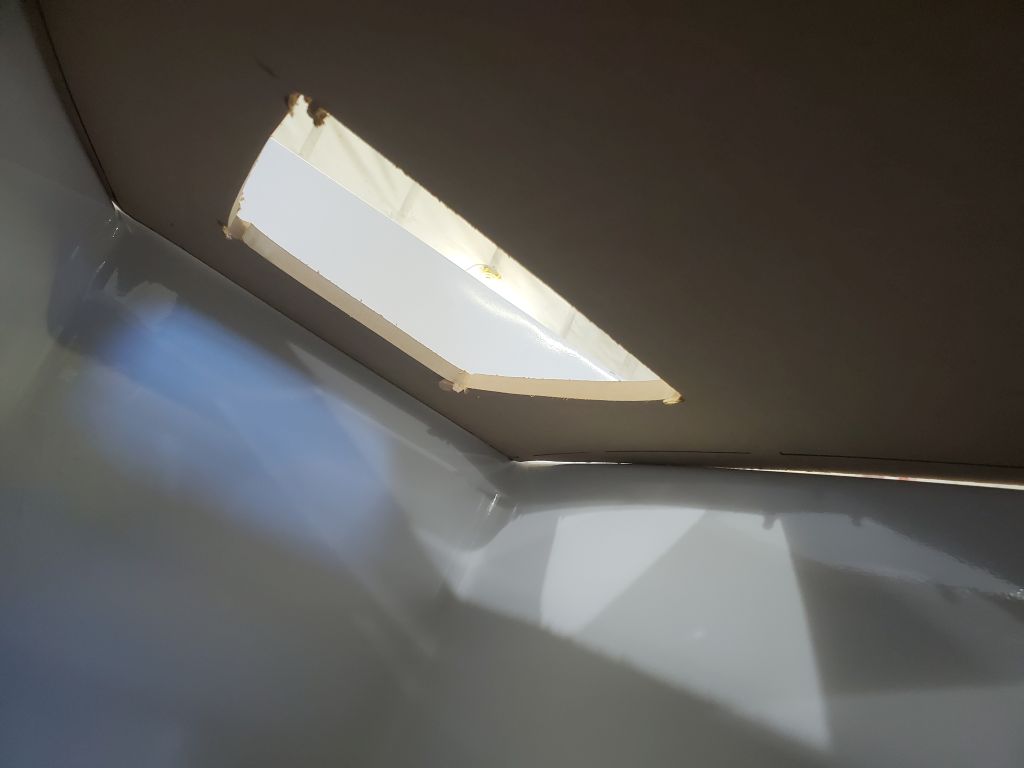
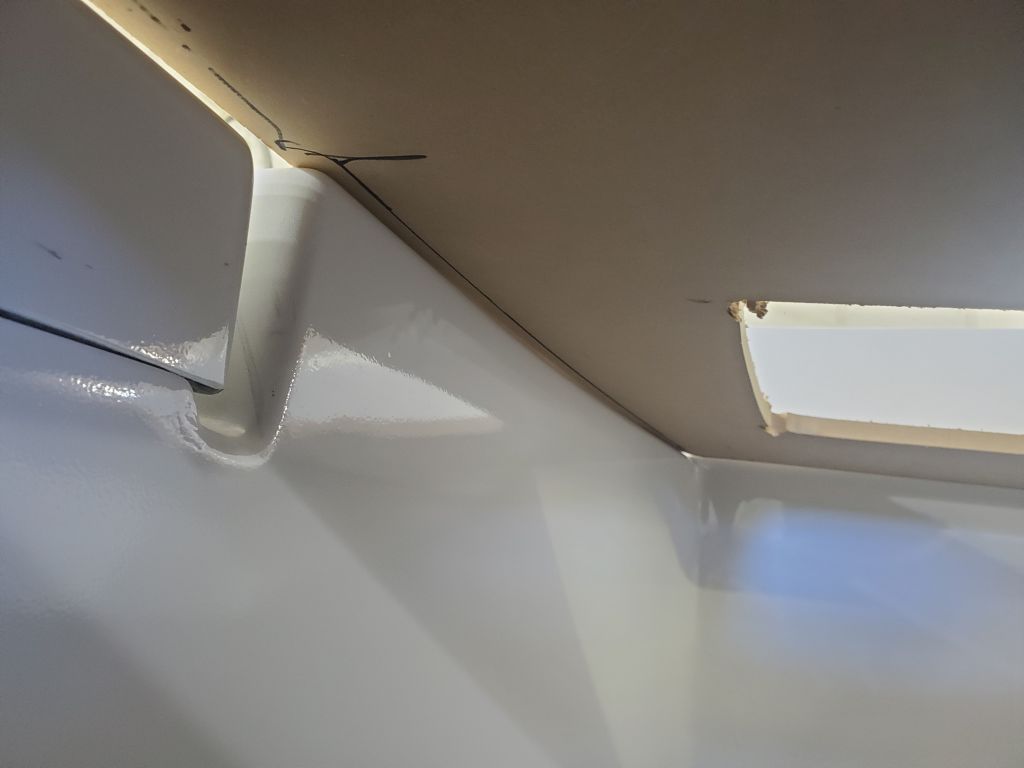
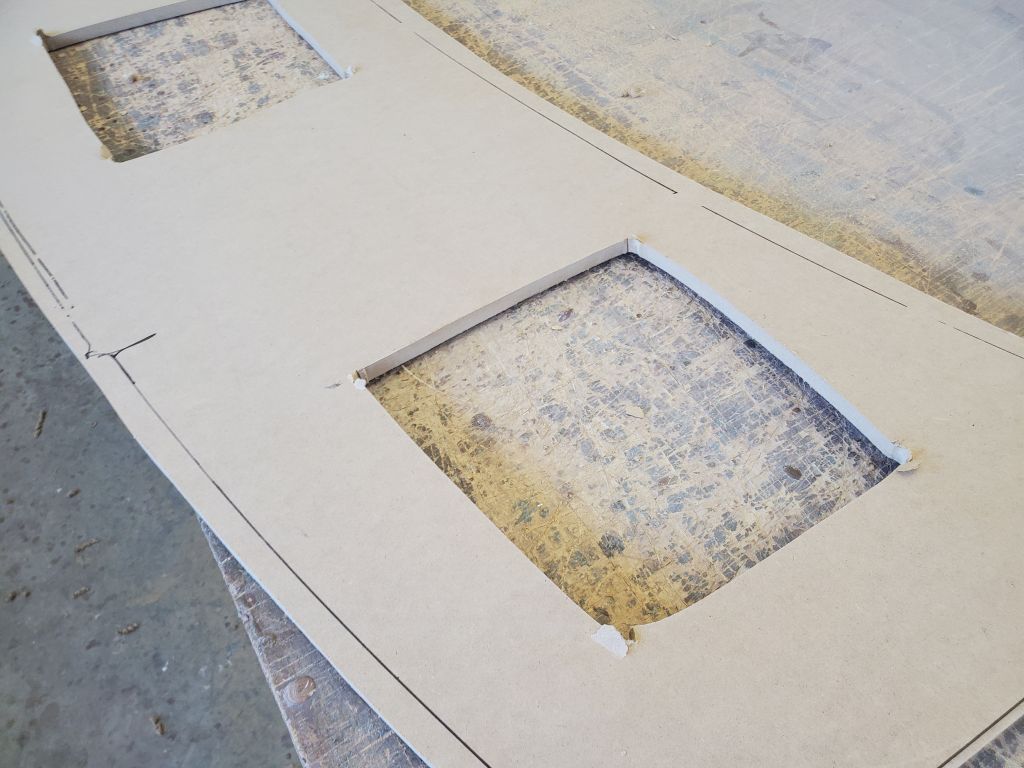
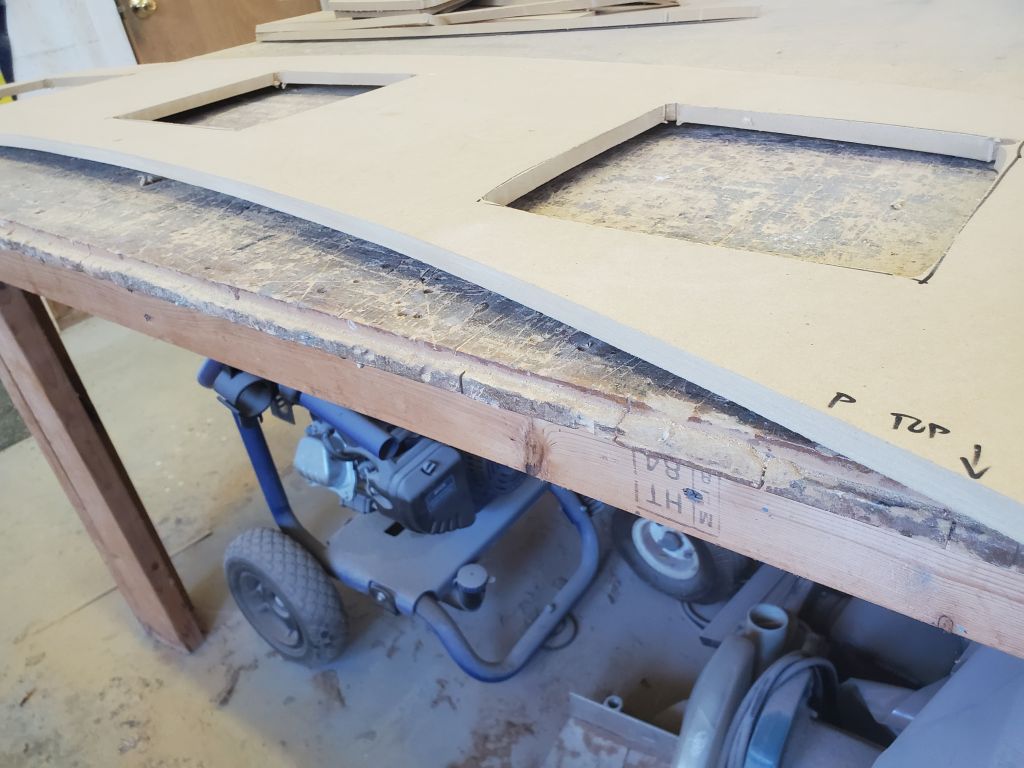
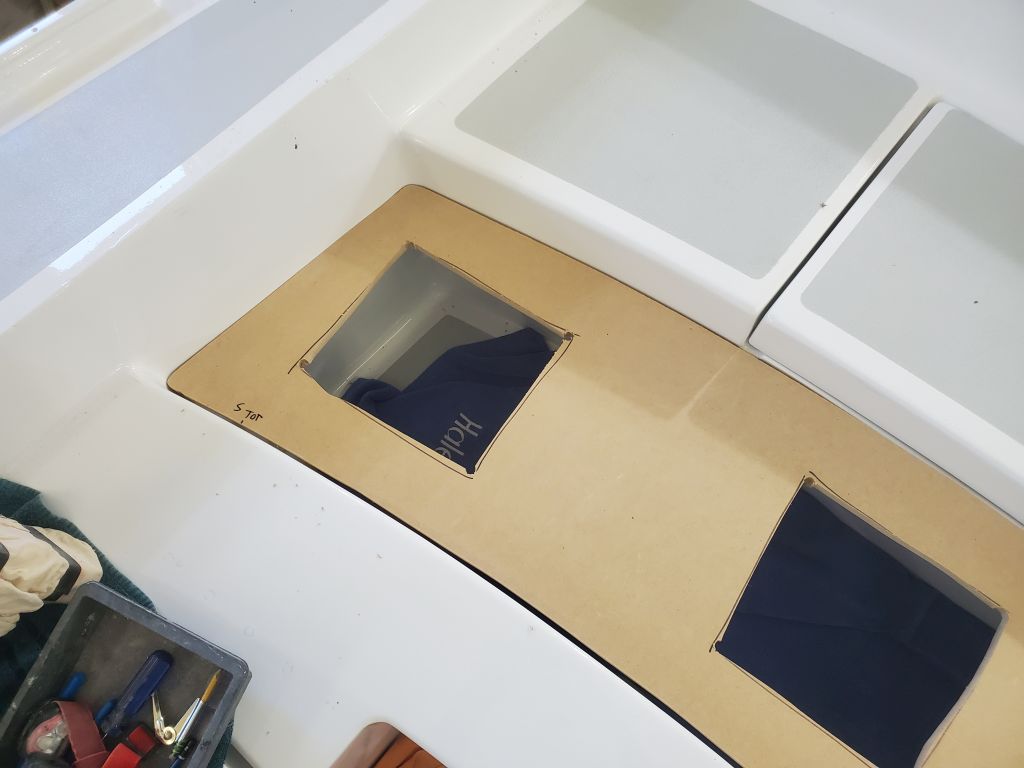
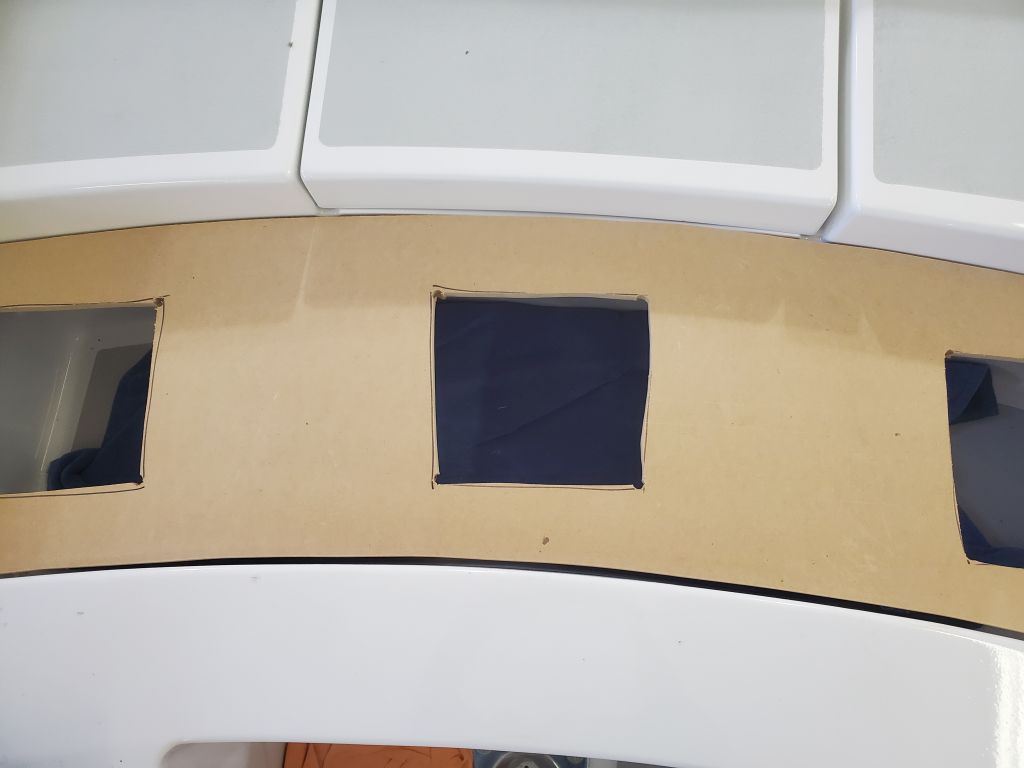
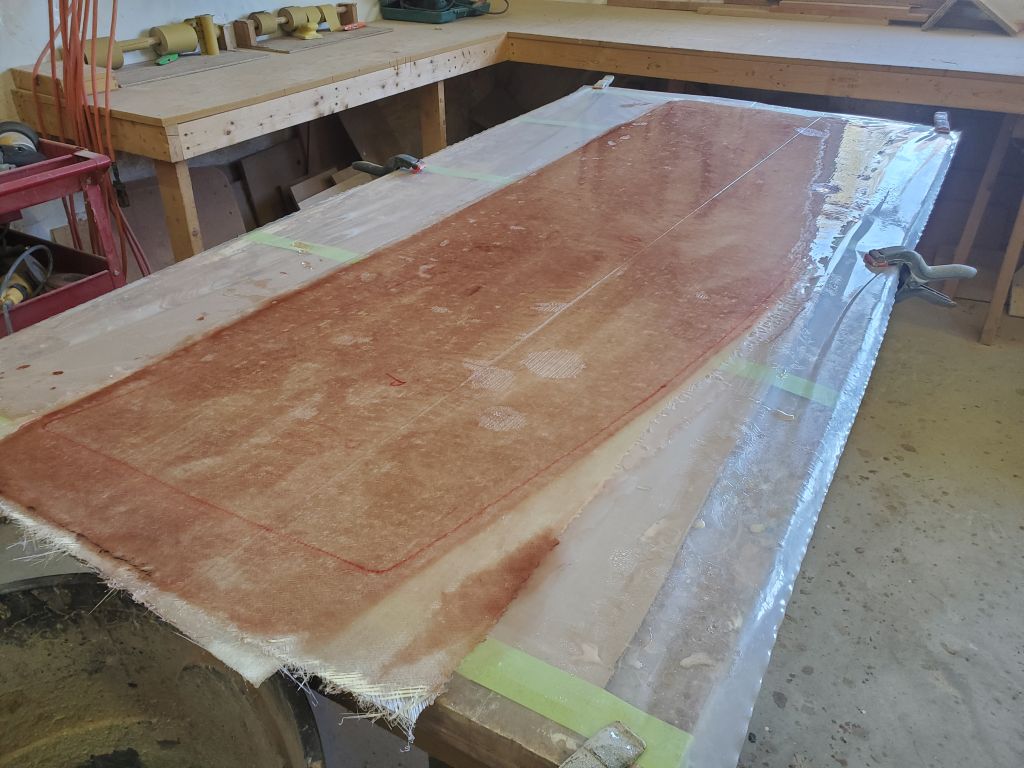
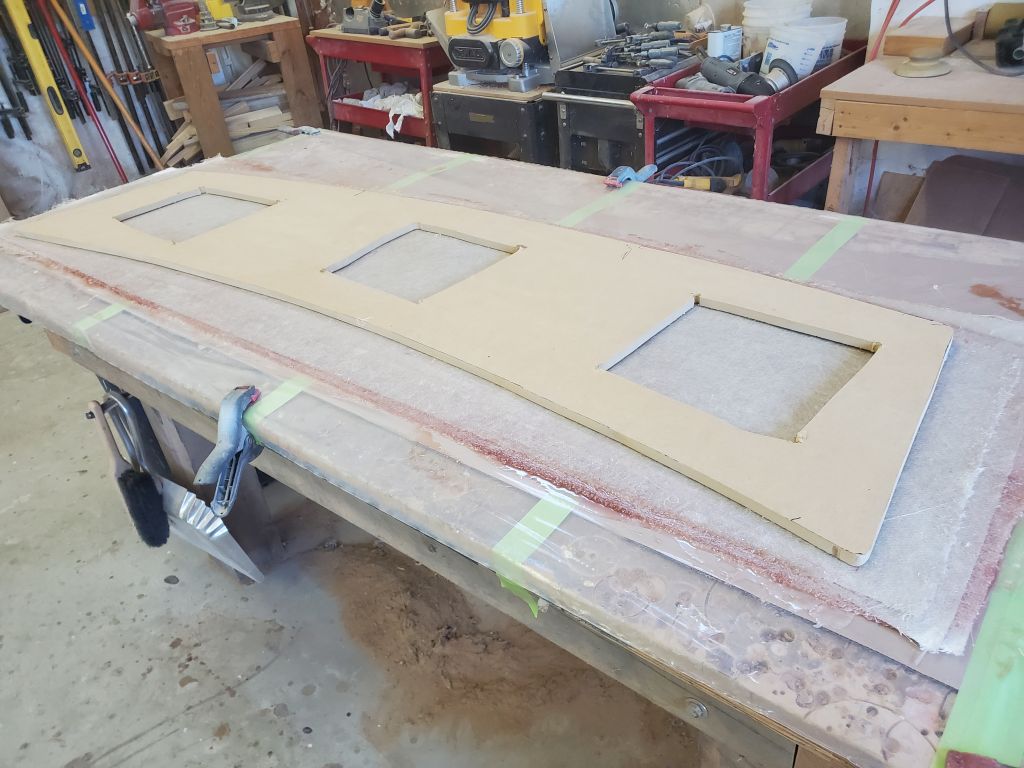
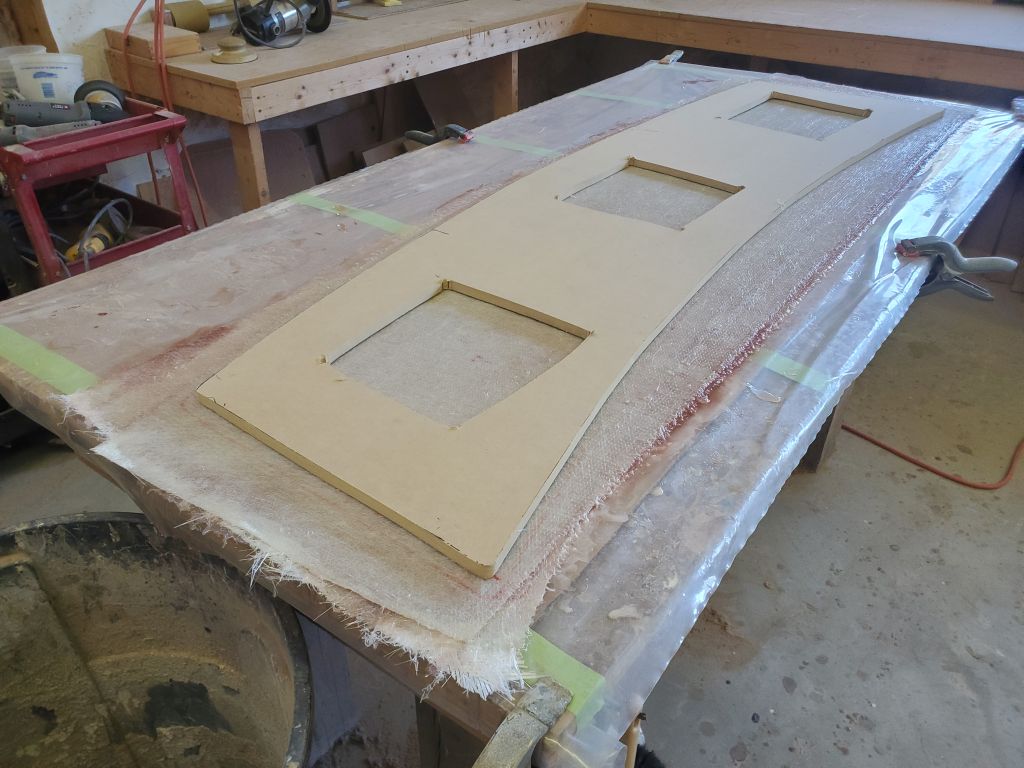
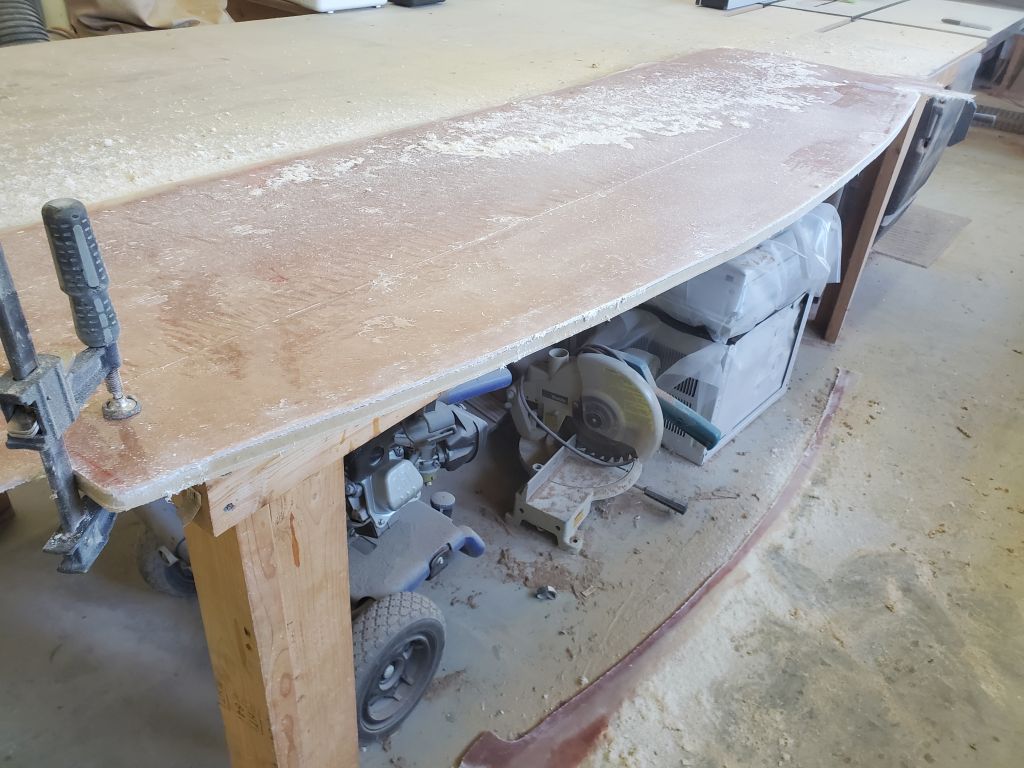
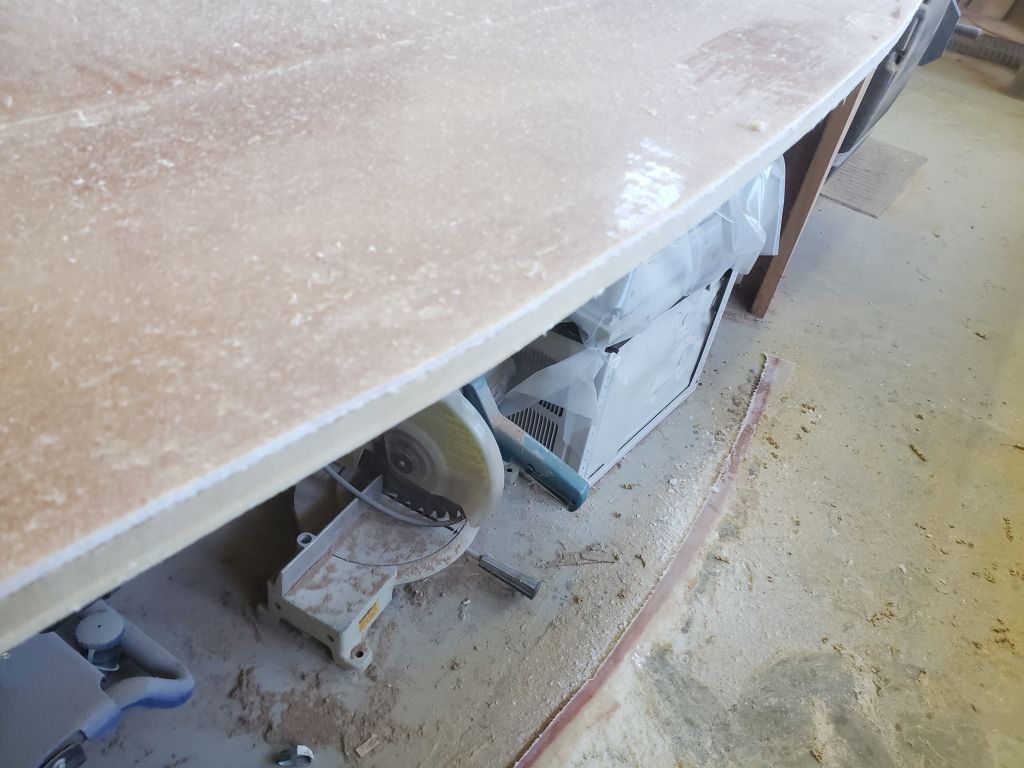
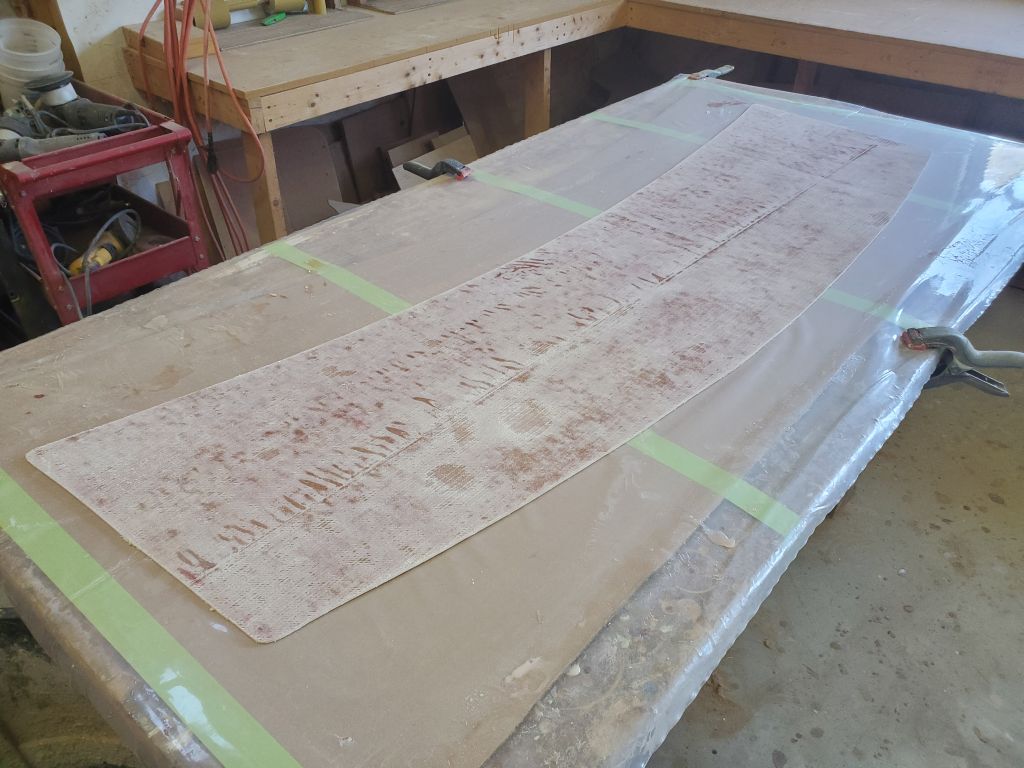
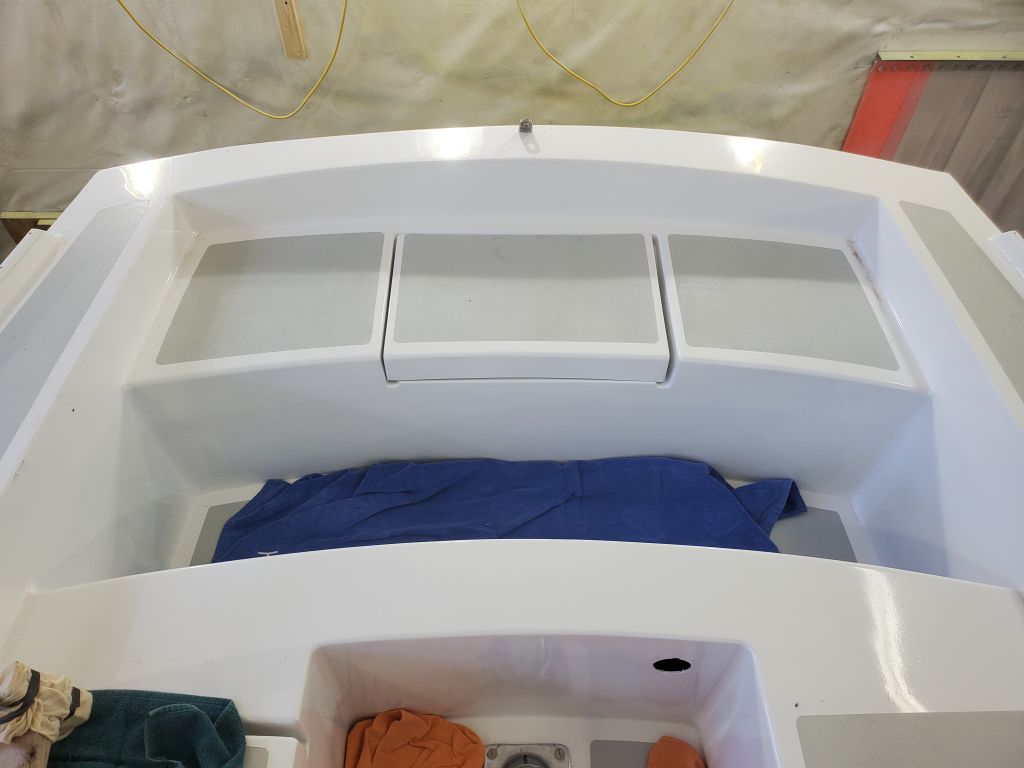
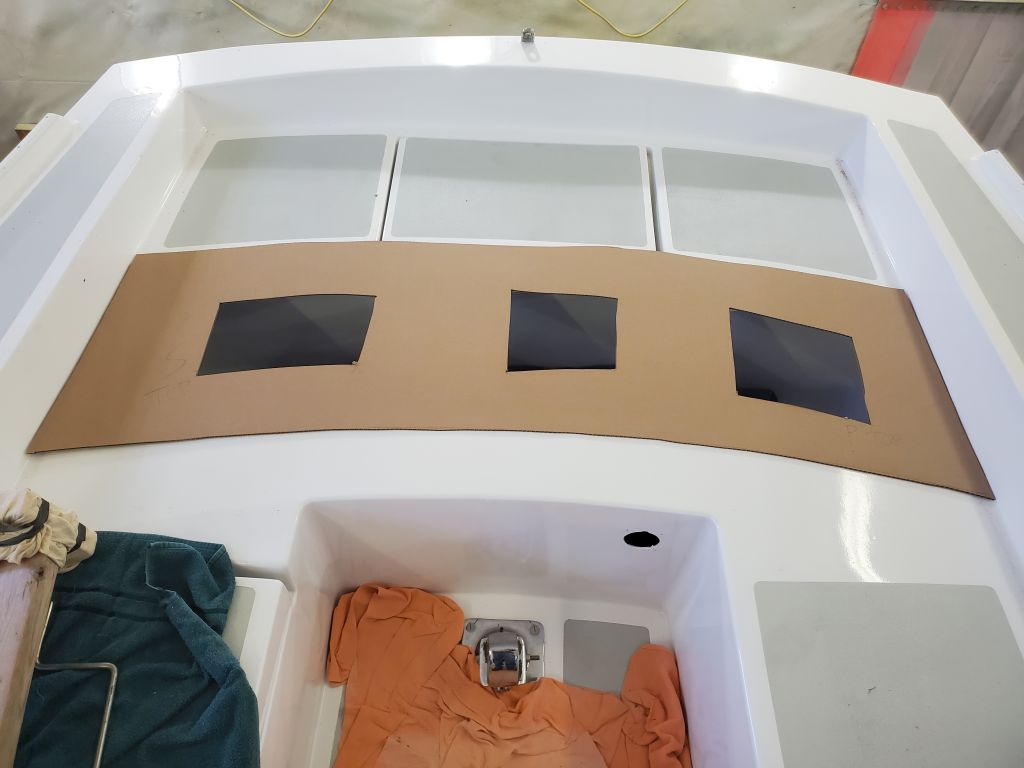
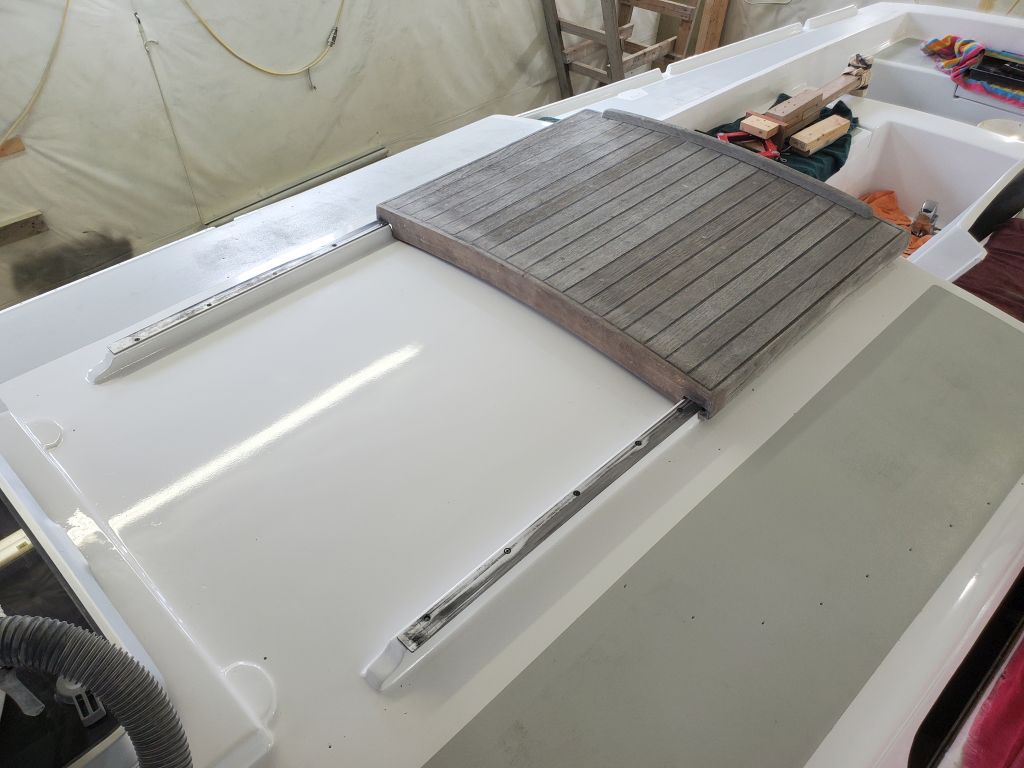
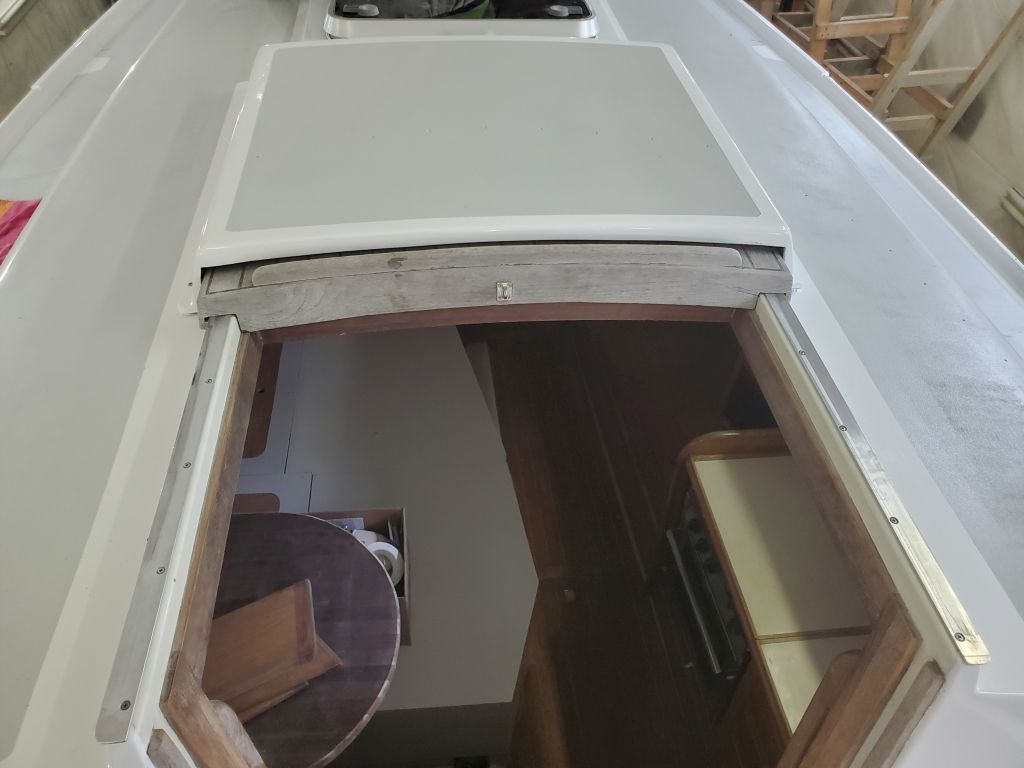
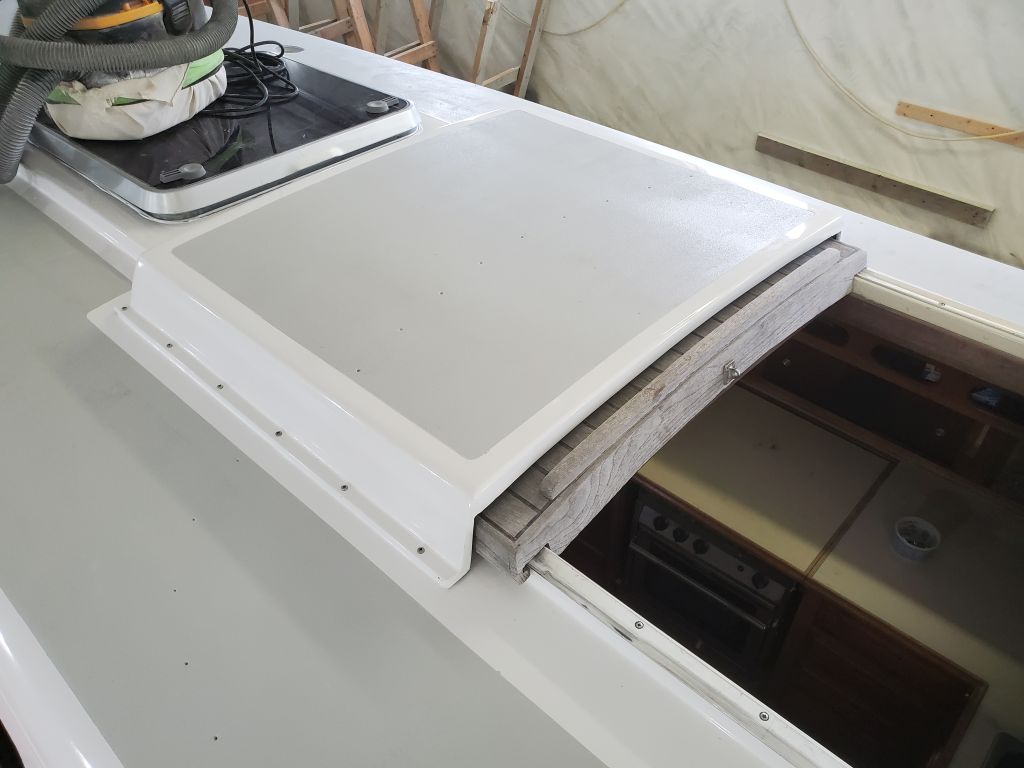
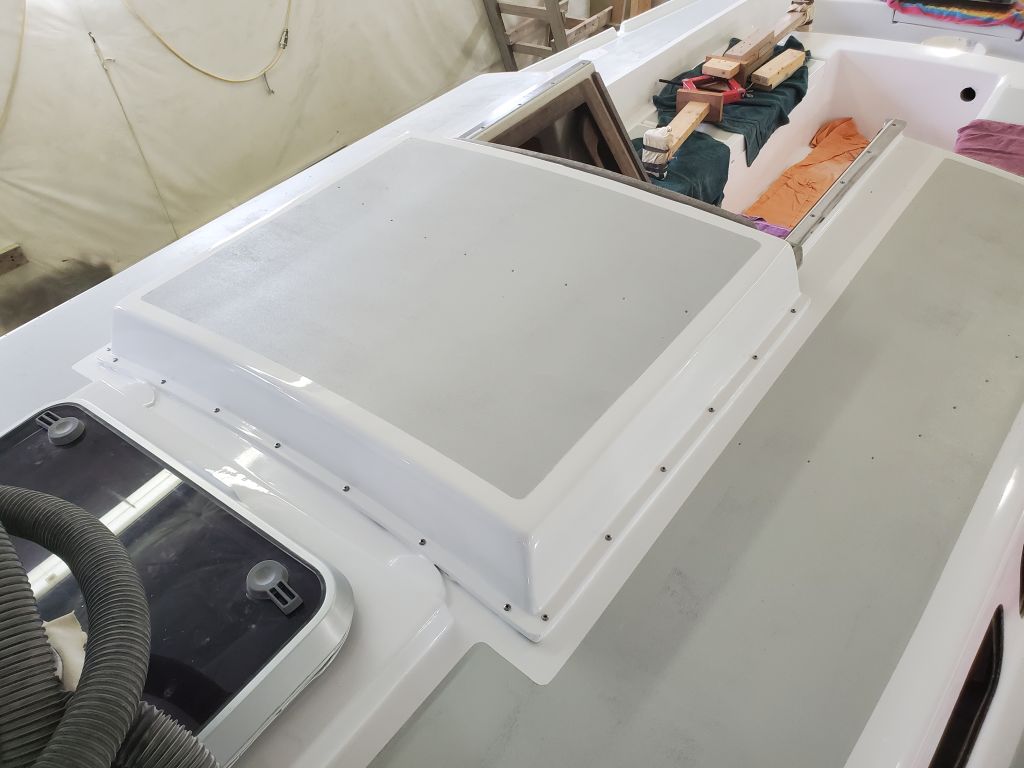
I lightly sanded the top of the cockpit hatch as needed to smooth the fairing compound and bring the part close to its final appearance. Once the sanding was done, I temporarily hot-glued a couple scrap wood handles to the top so I could check the fit in the opening a final time. I couldn’t hold the part at the proper height and take photos, but I rested it on a trash pail in the well for these photos to show the general fit. When complete, and supported by cleats beneath, the top of the hatch was to be flush with the decks on either side.

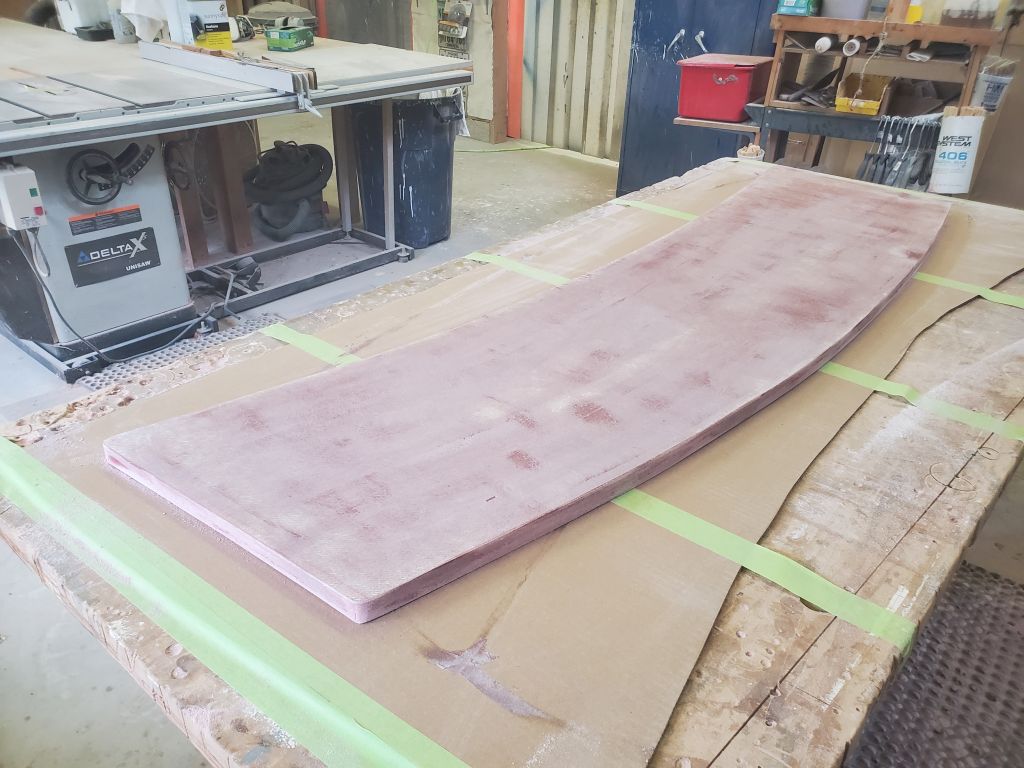
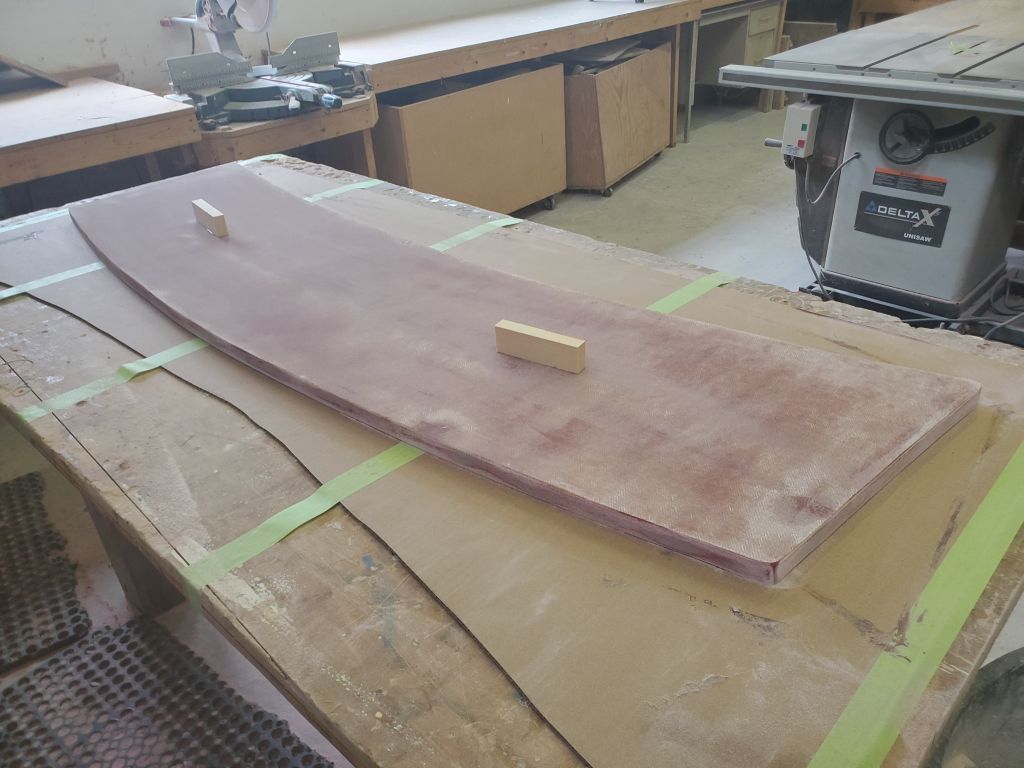
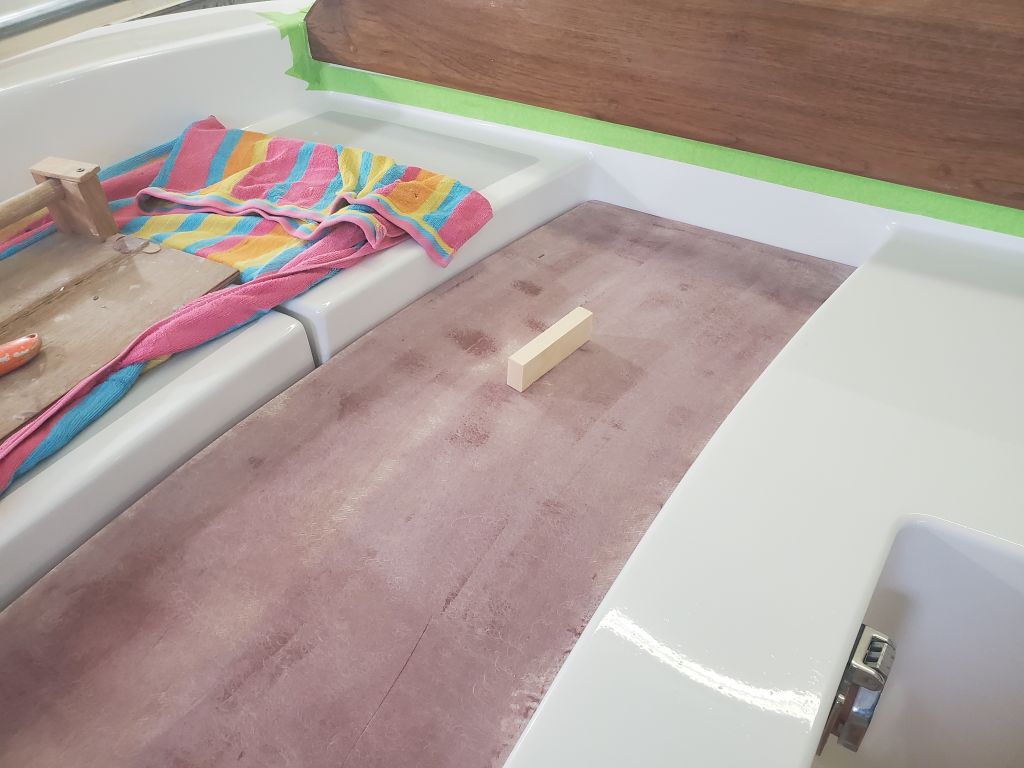
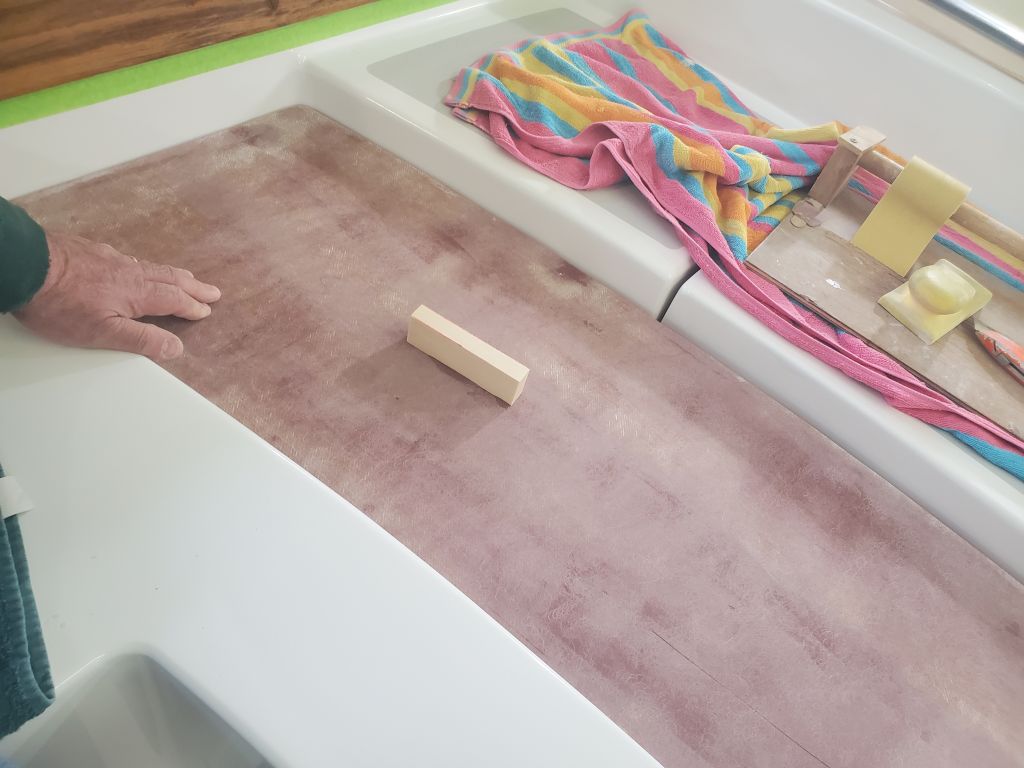


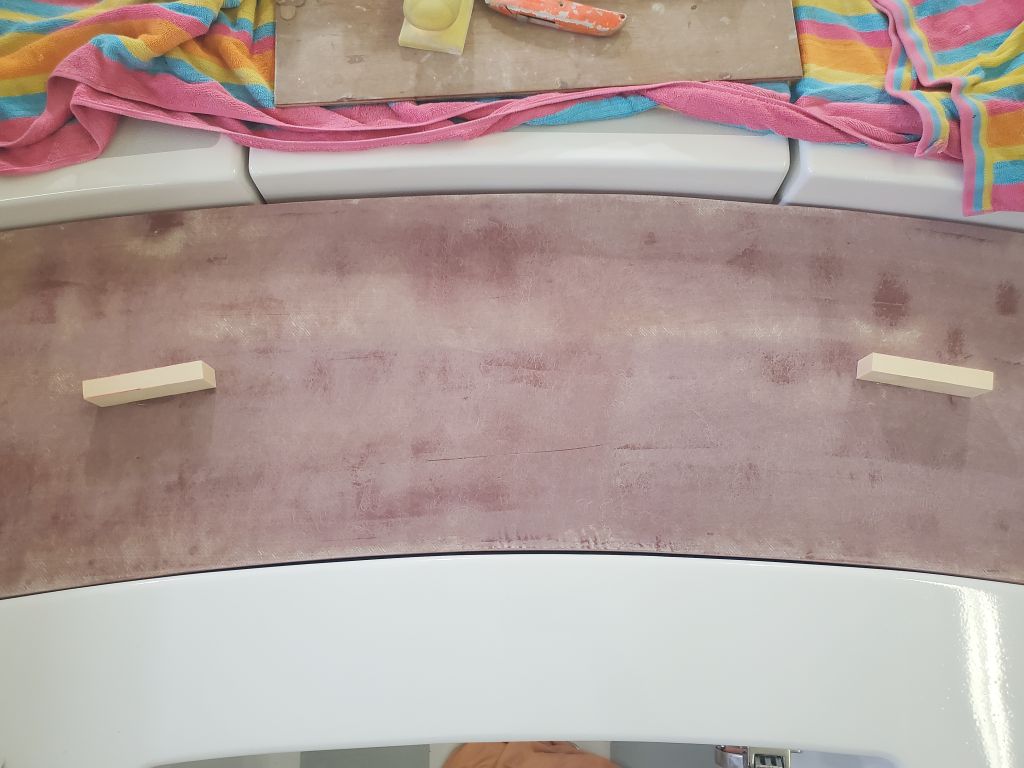
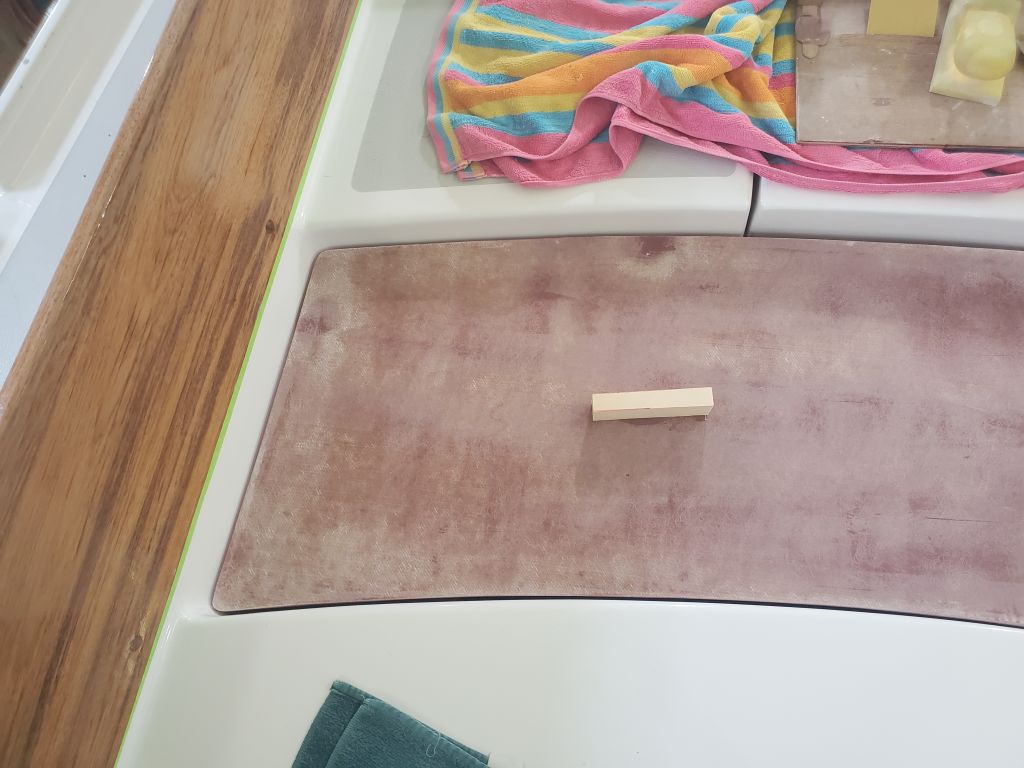
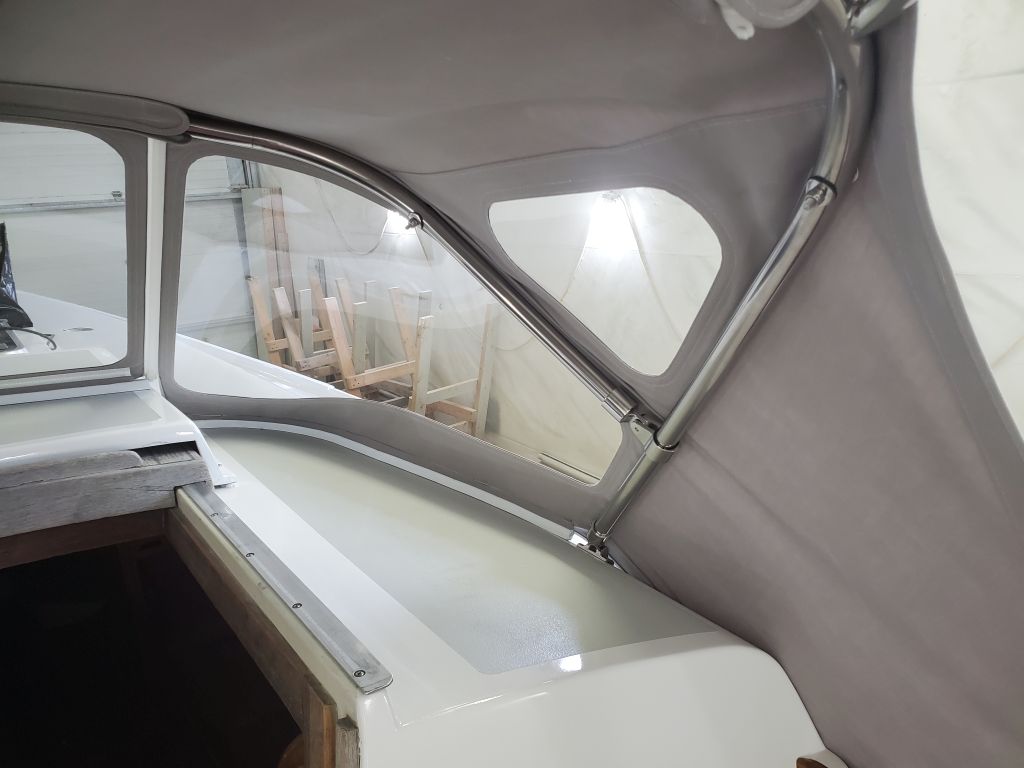
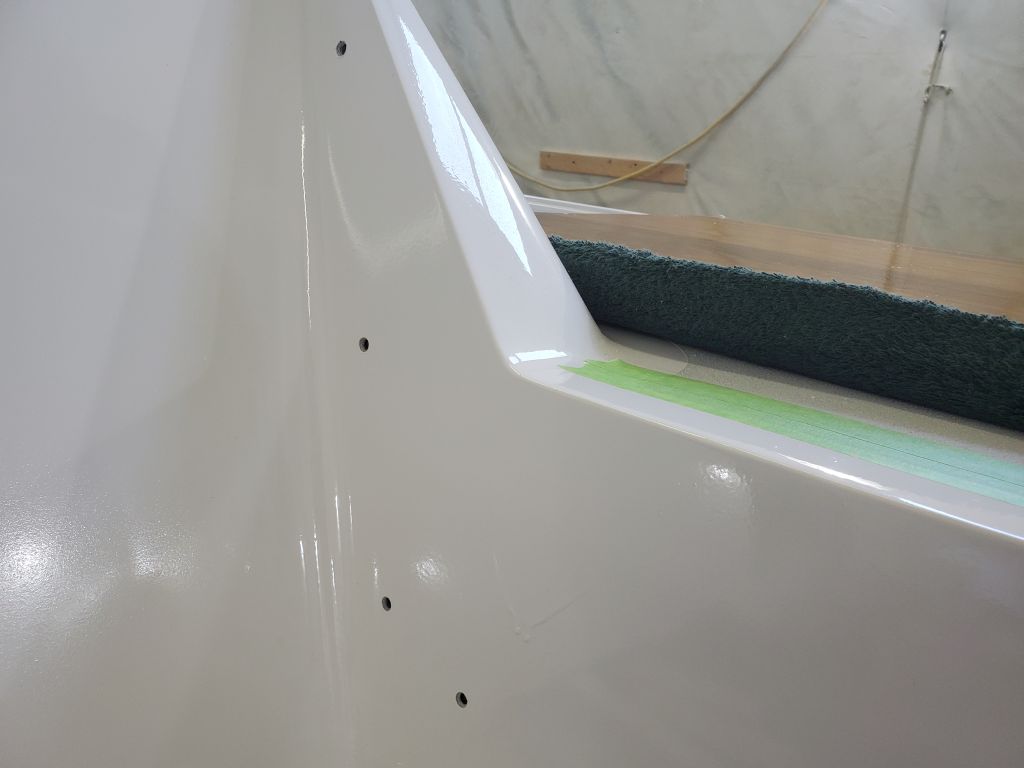
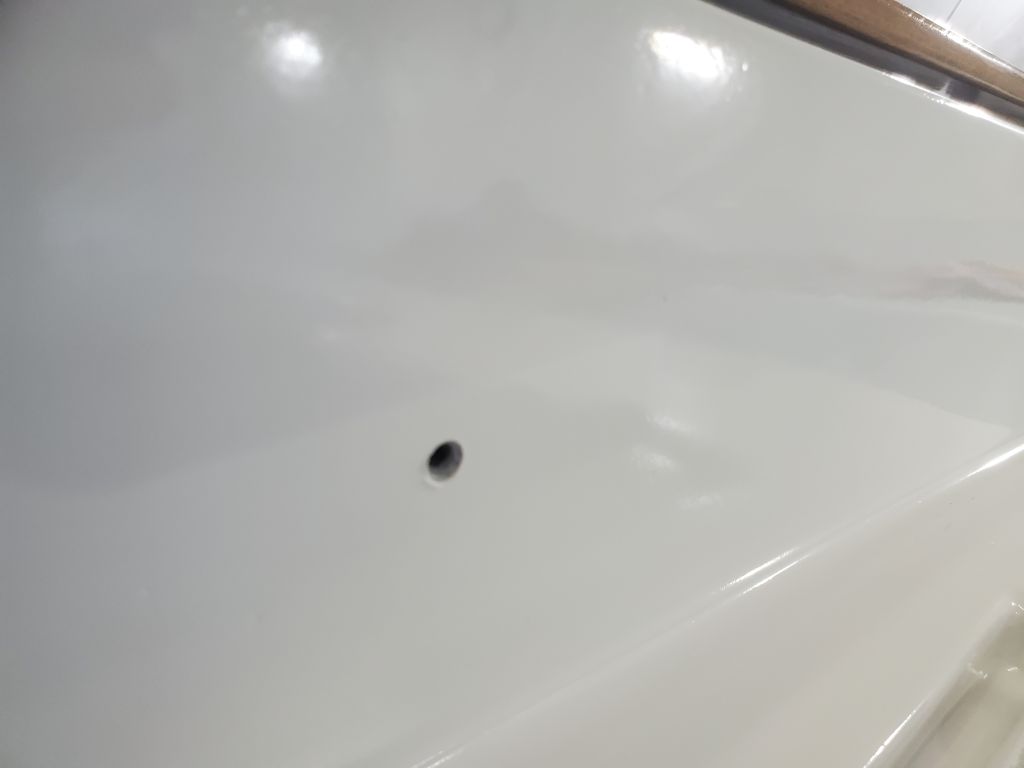
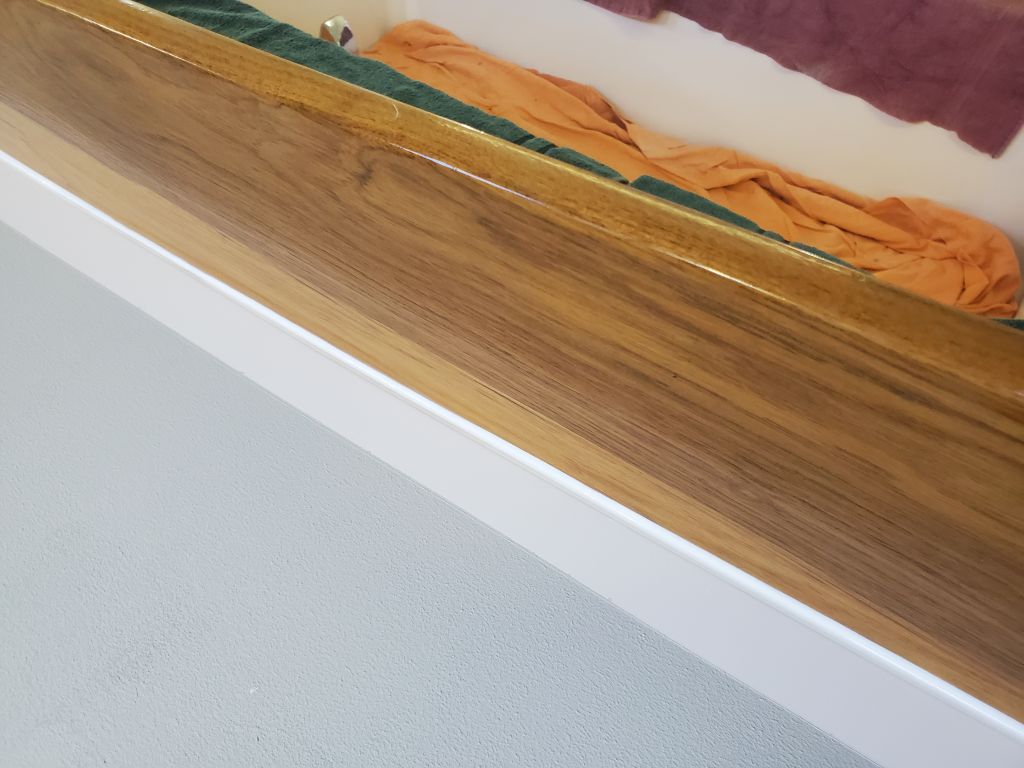
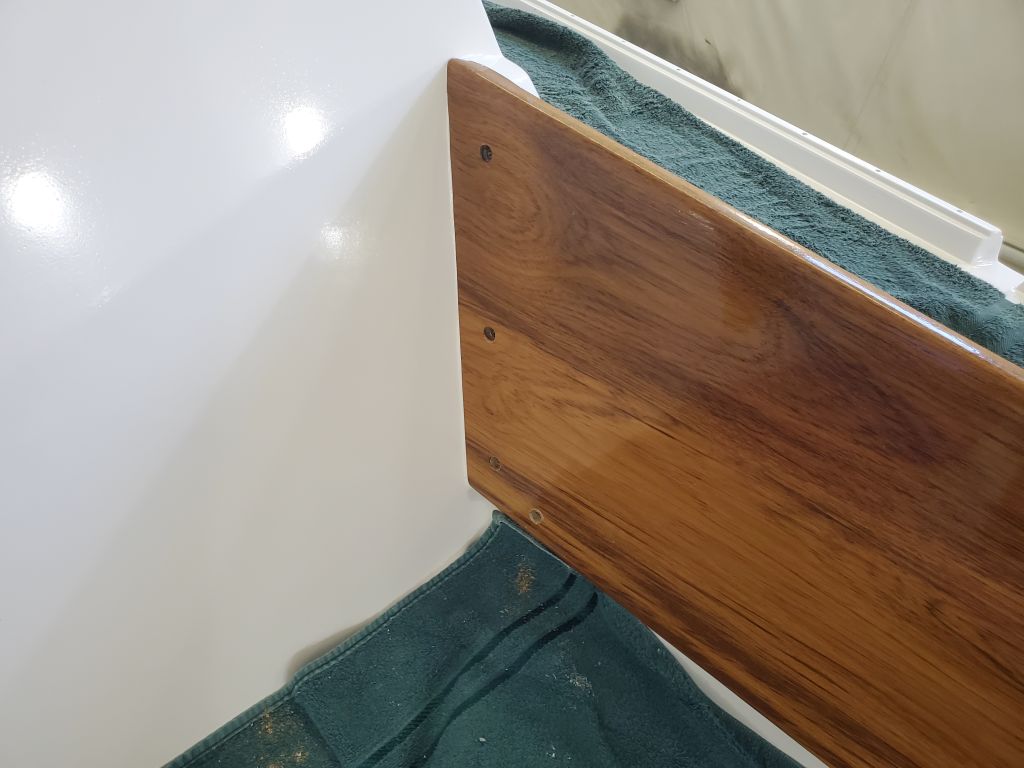
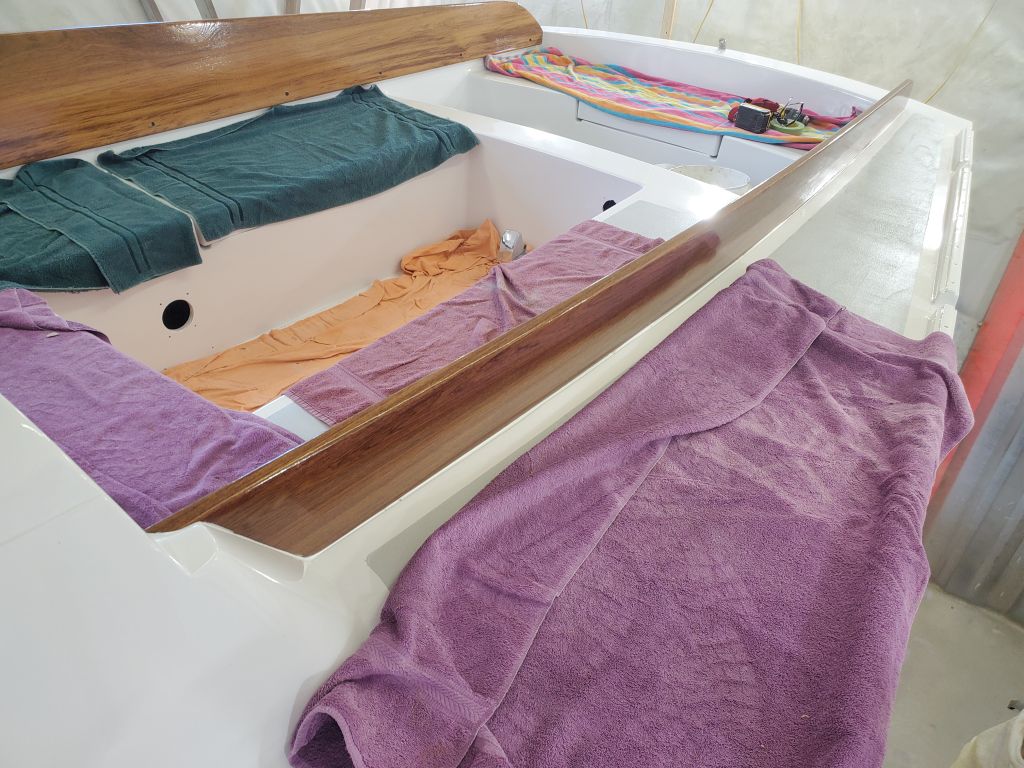
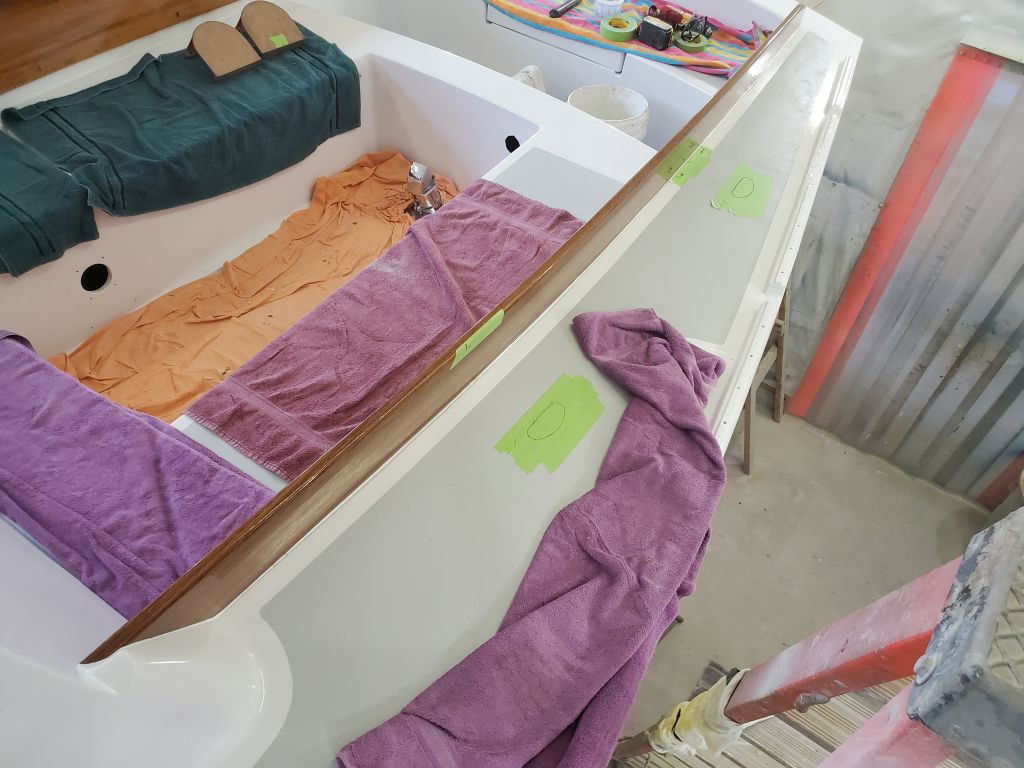
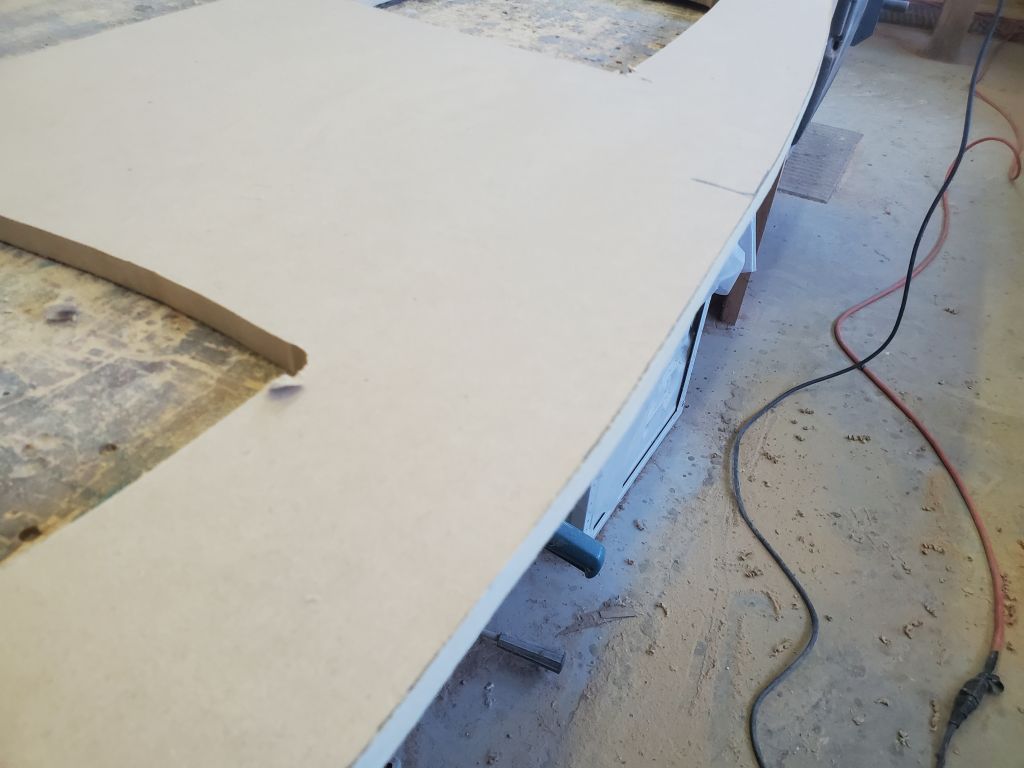
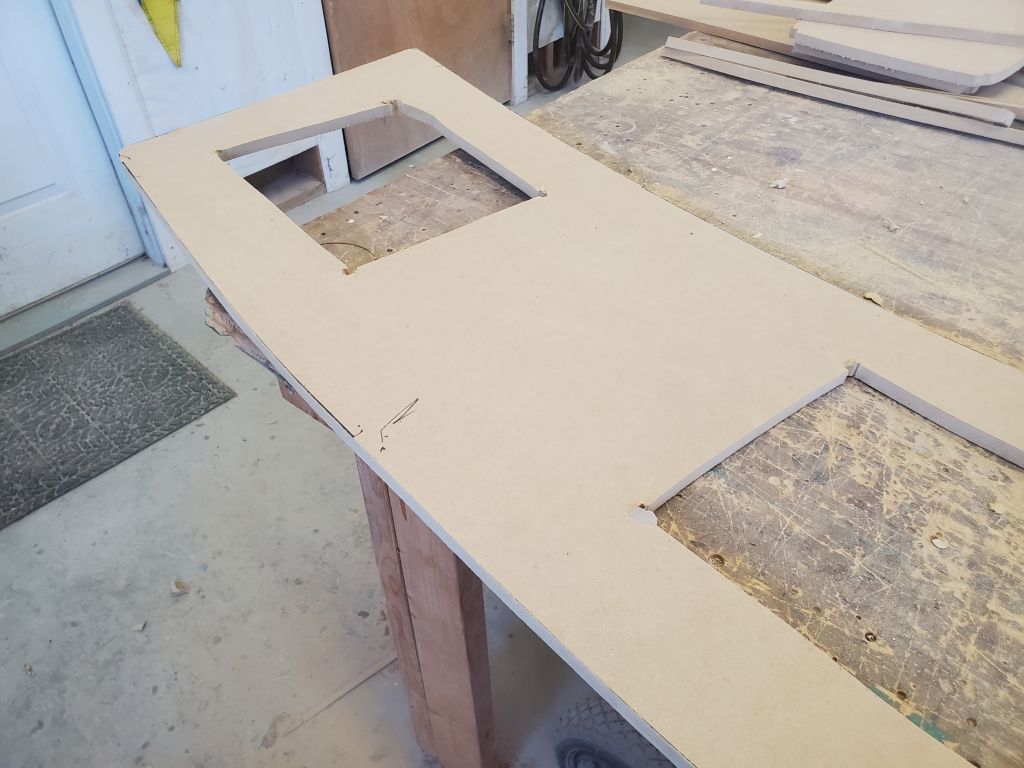
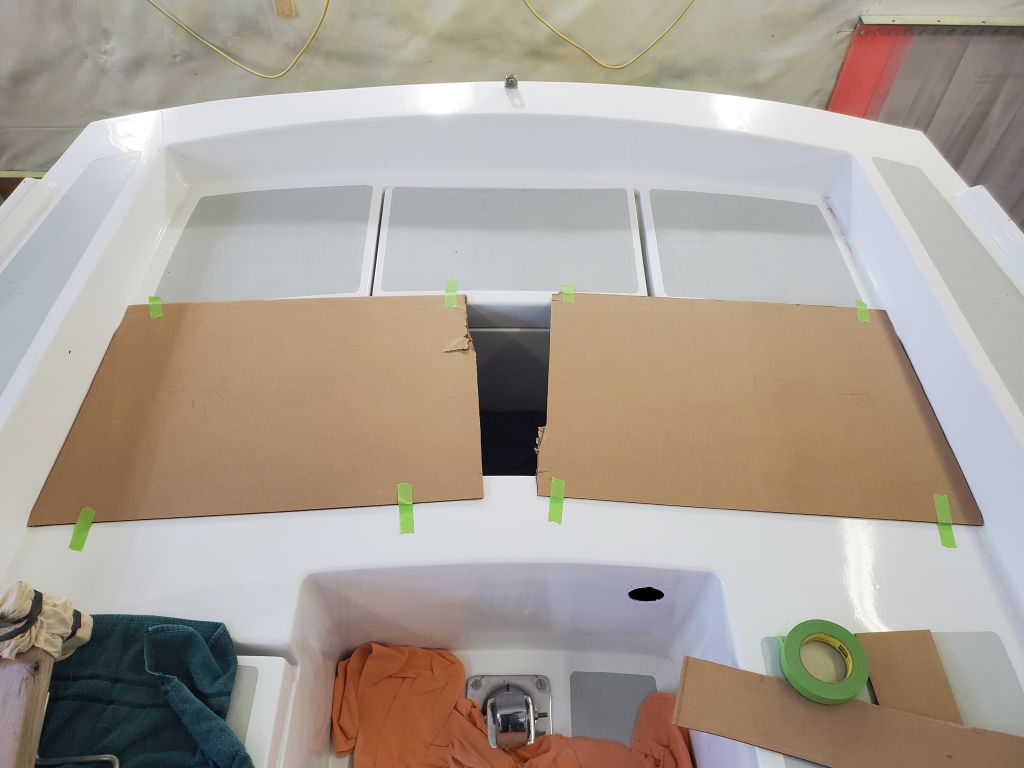
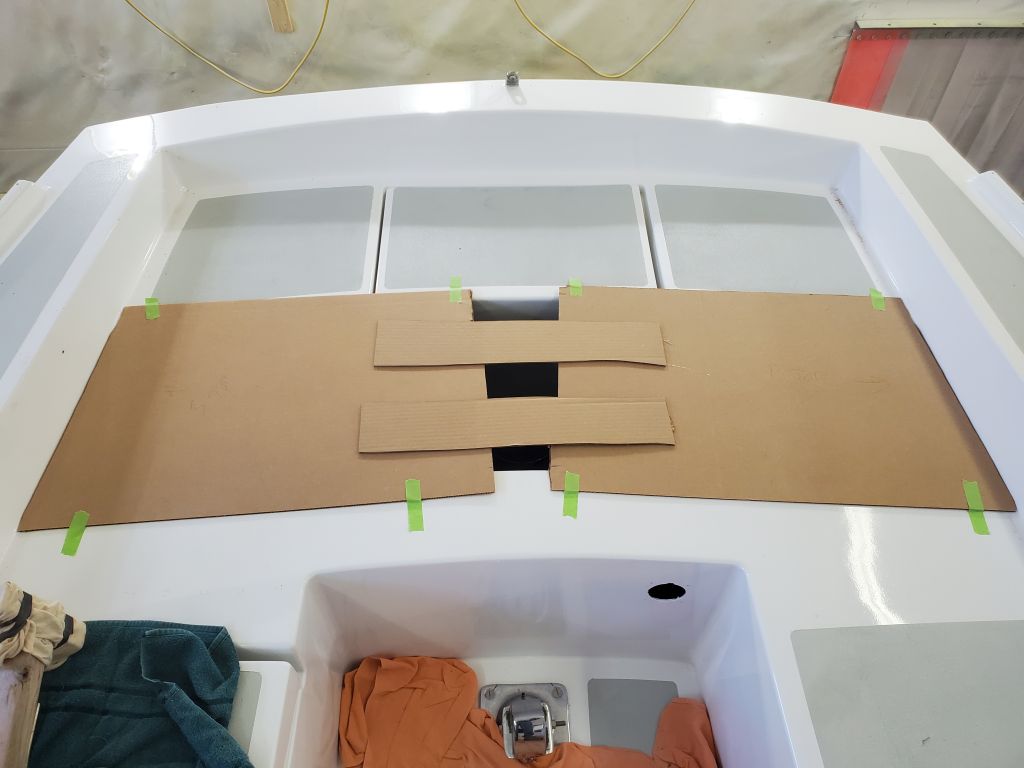
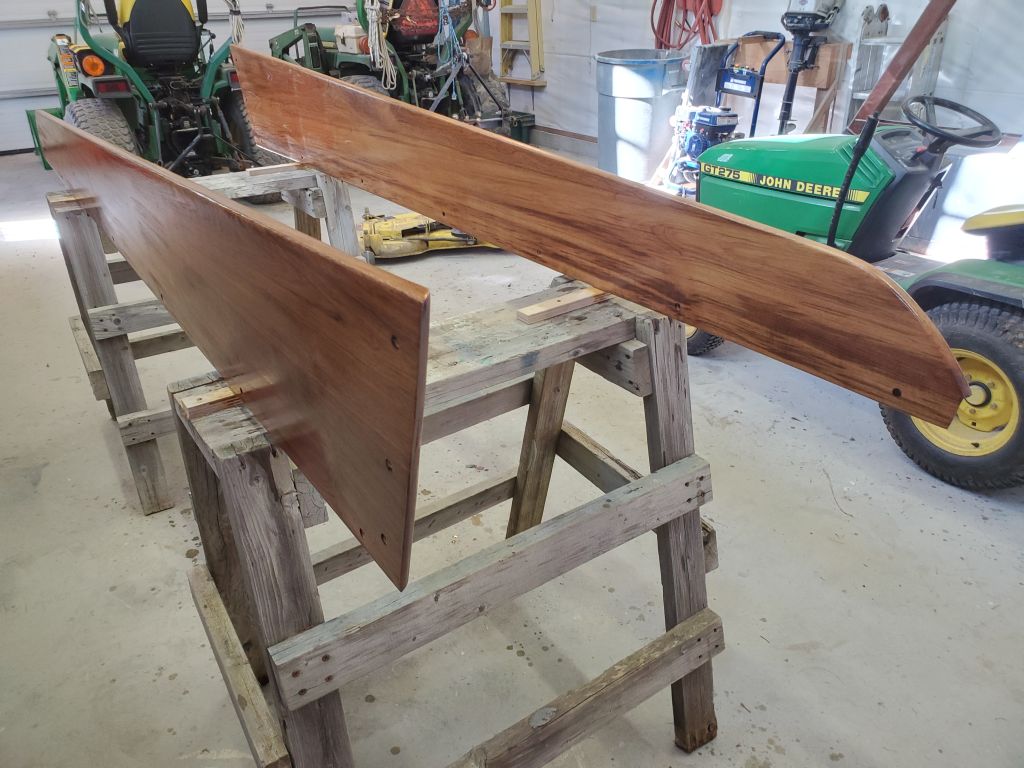
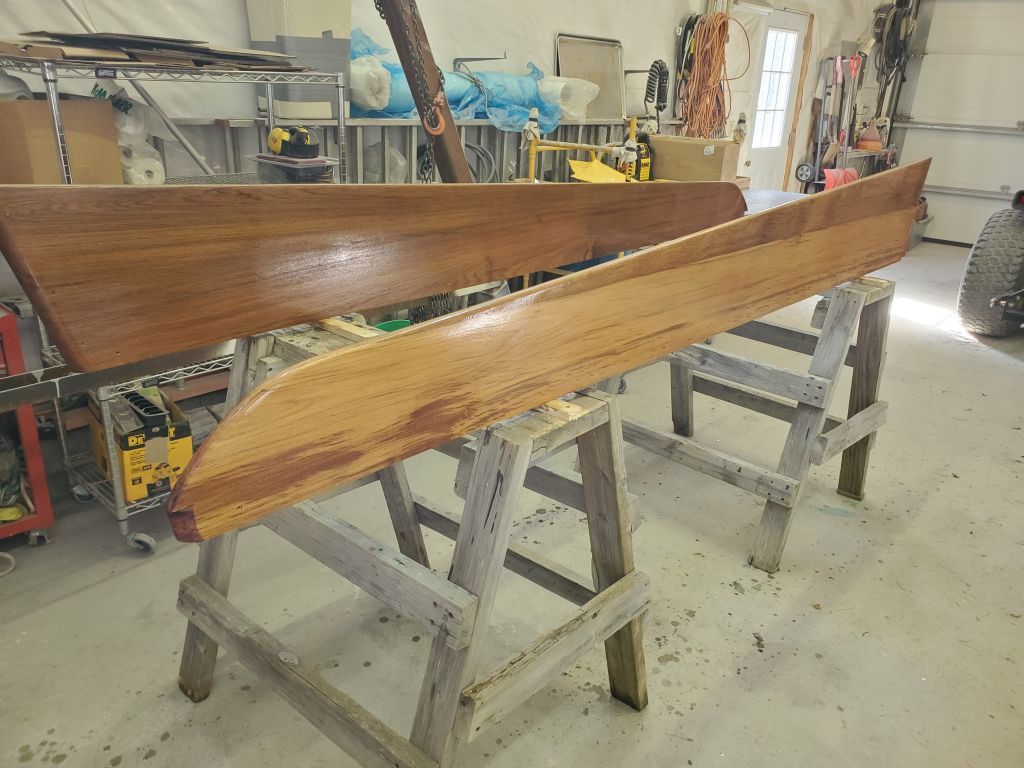
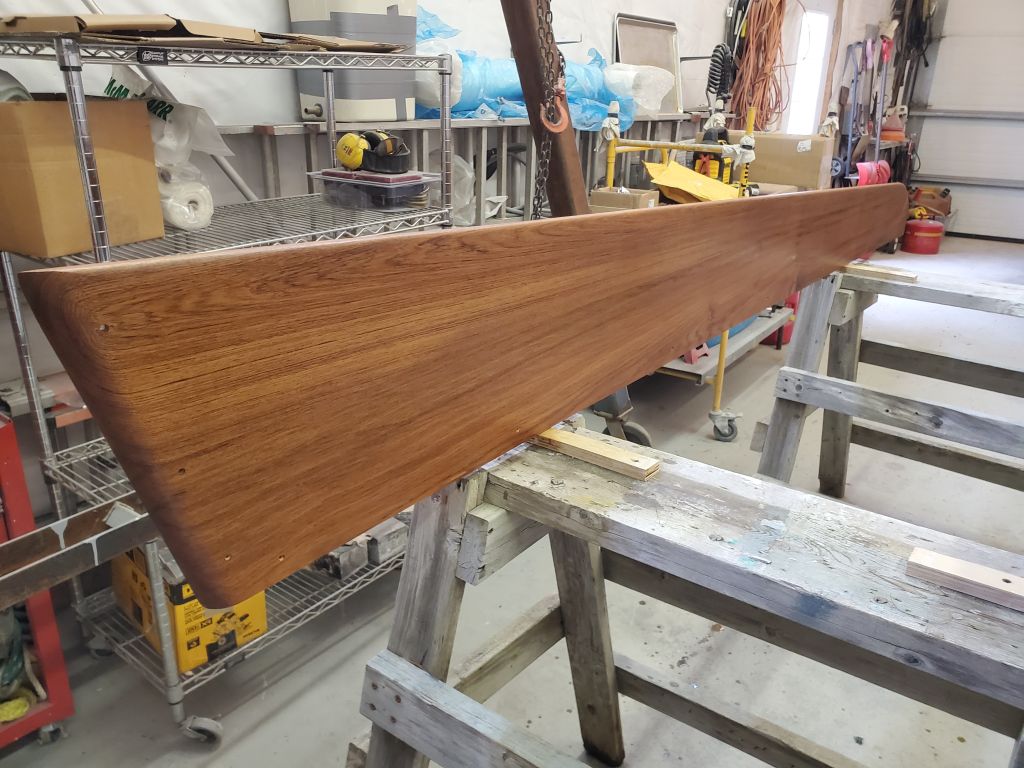
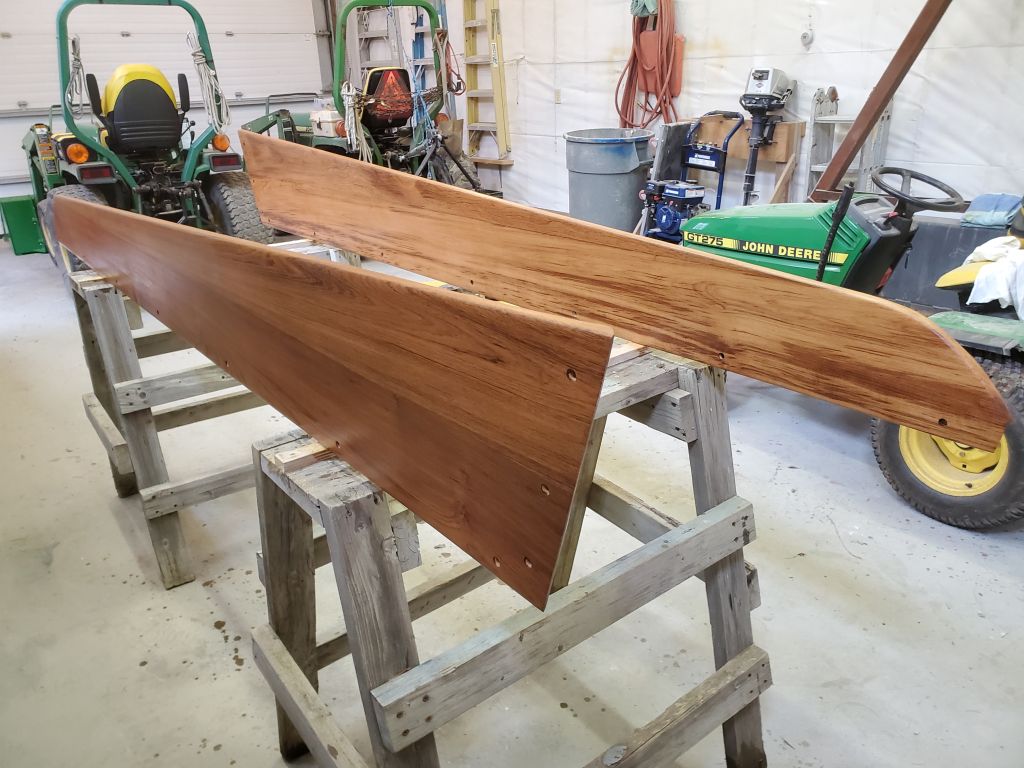
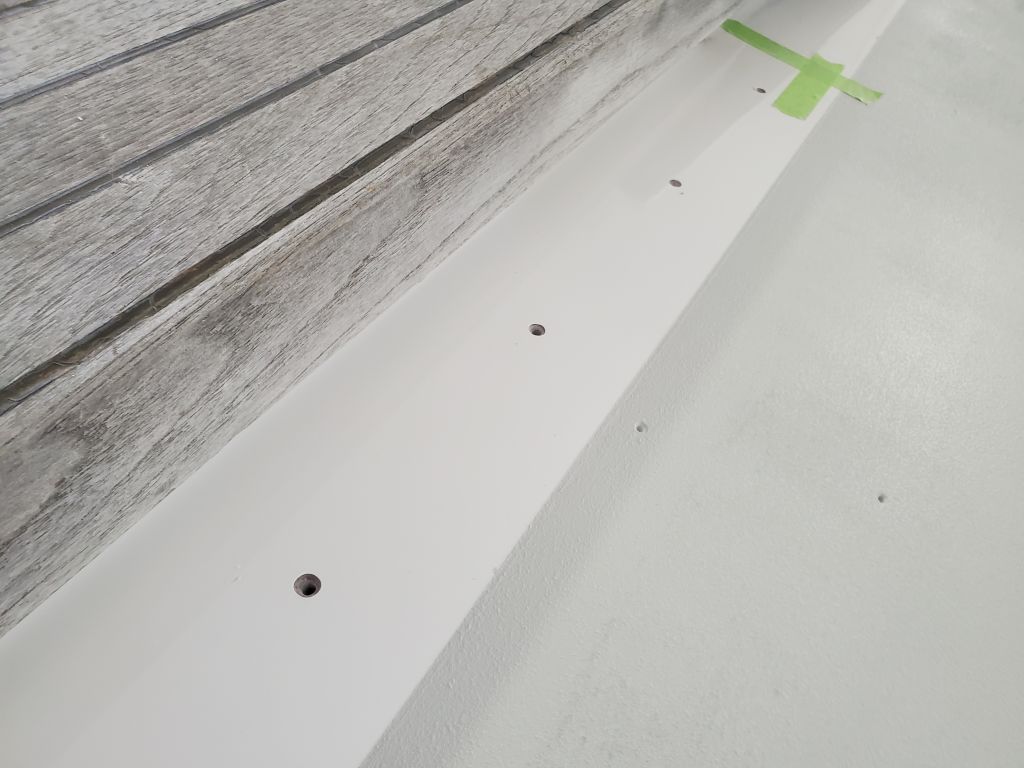
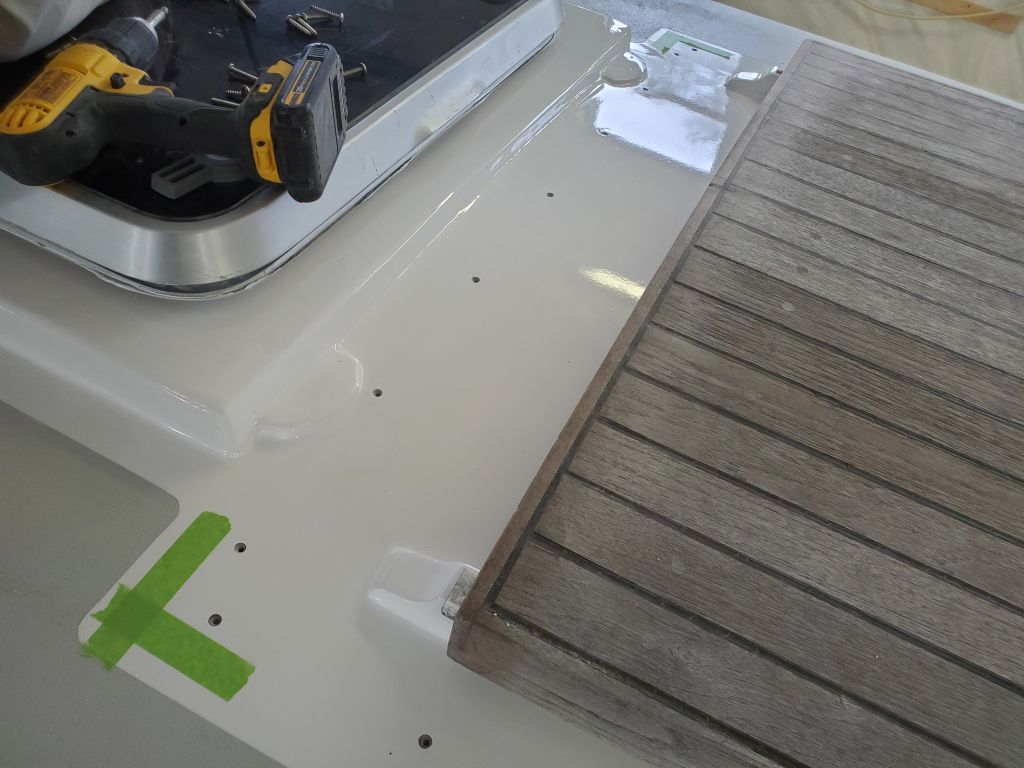
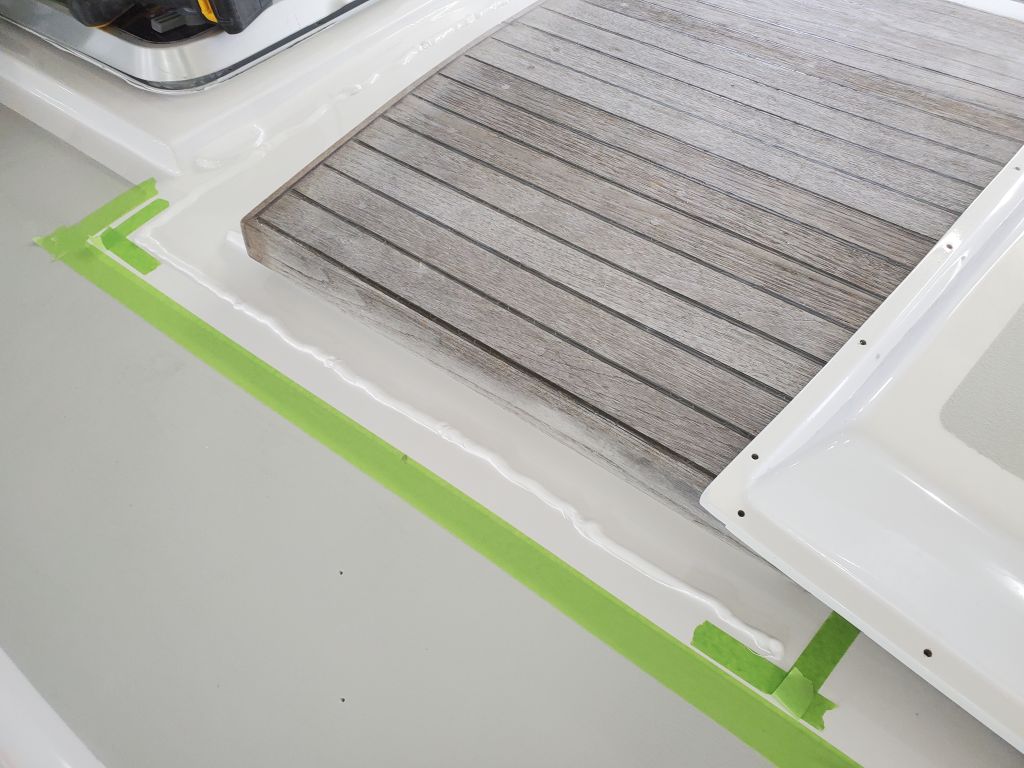
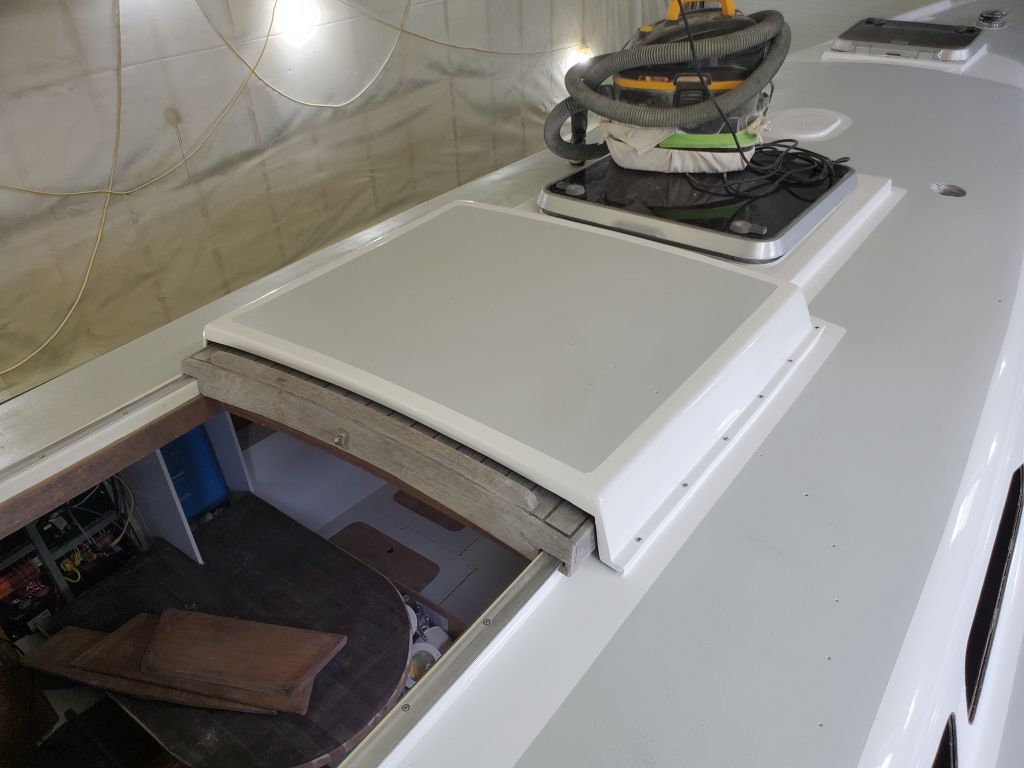
The coamings overhung the opening by roughly an inch on each side, with perhaps two inches’ clearance between the top of the hatch and the coaming, and the hatch was wider at the forward end than at then at the aft, so pulling the entire hatch straight up and out would be complicated by the coamings, shape of the hatch, and other obstructions like the mainsheet traveler, which would be installed somewhere a few inches forward of the new hatch. To remove the hatch, I found that one needed to slide it up and forward a few inches, to the points shown in the photos below, before the leading edge could be tipped up to clear the coamings, after which the hatch could be maneuvered with relative impunity.
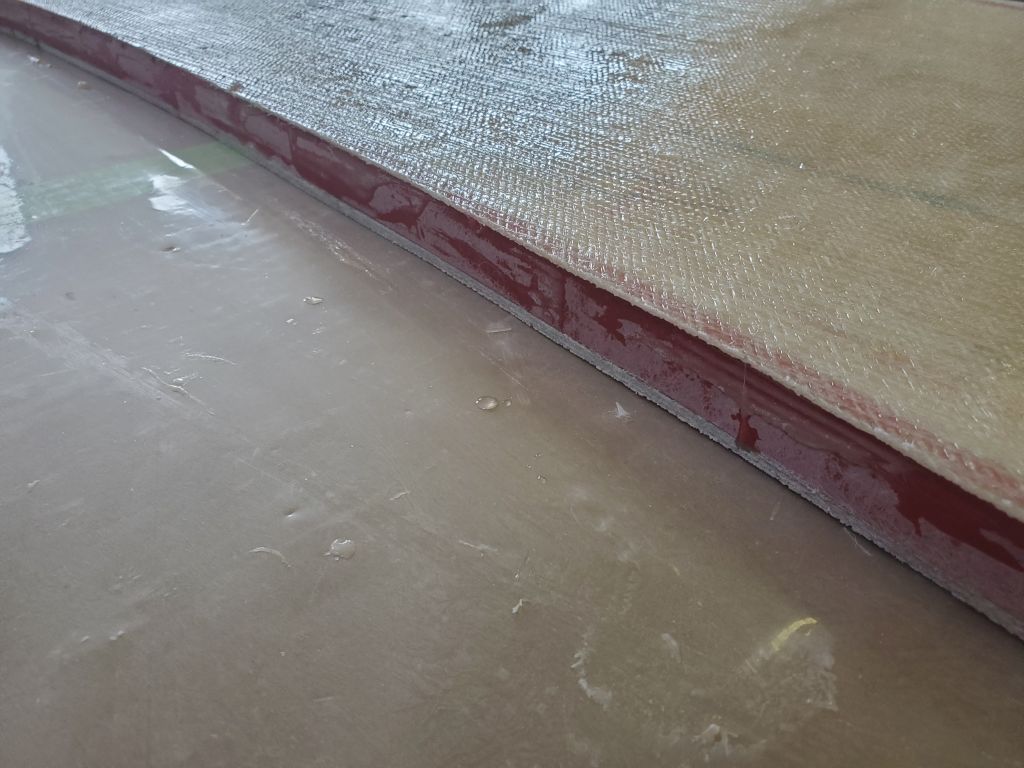
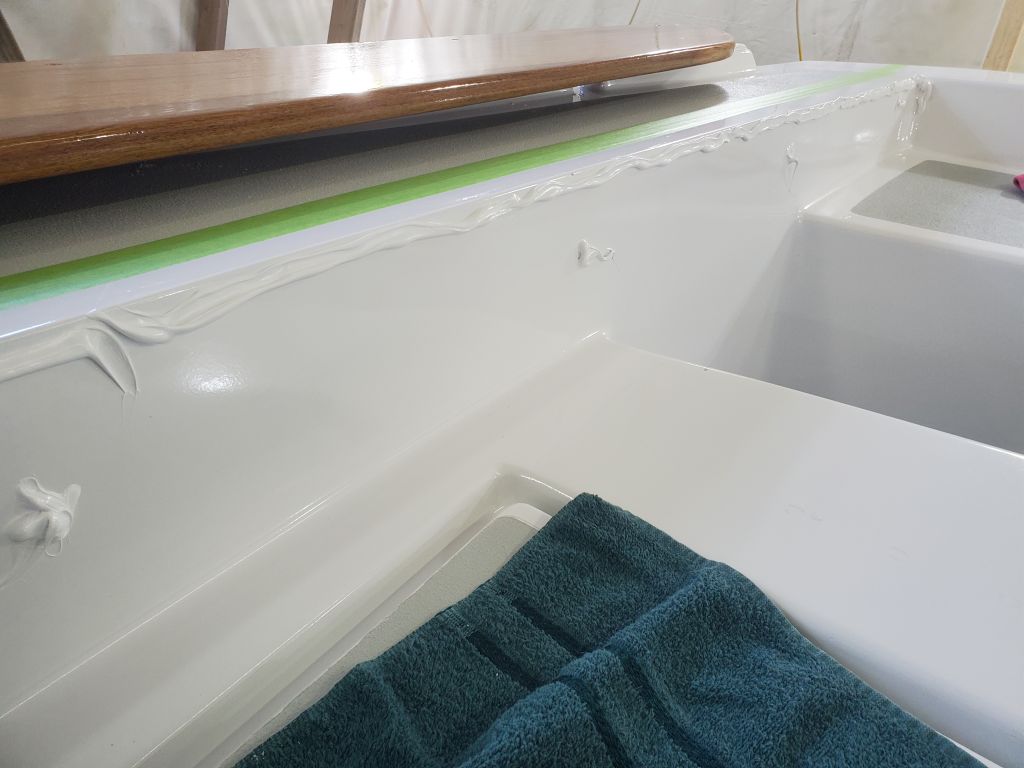
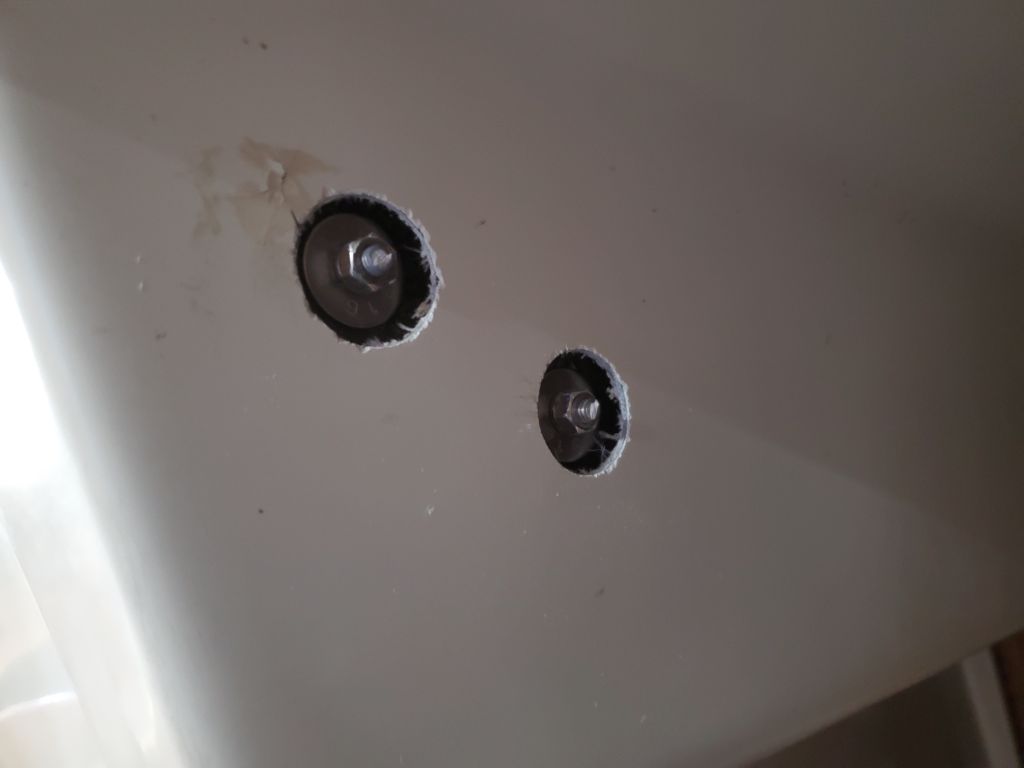
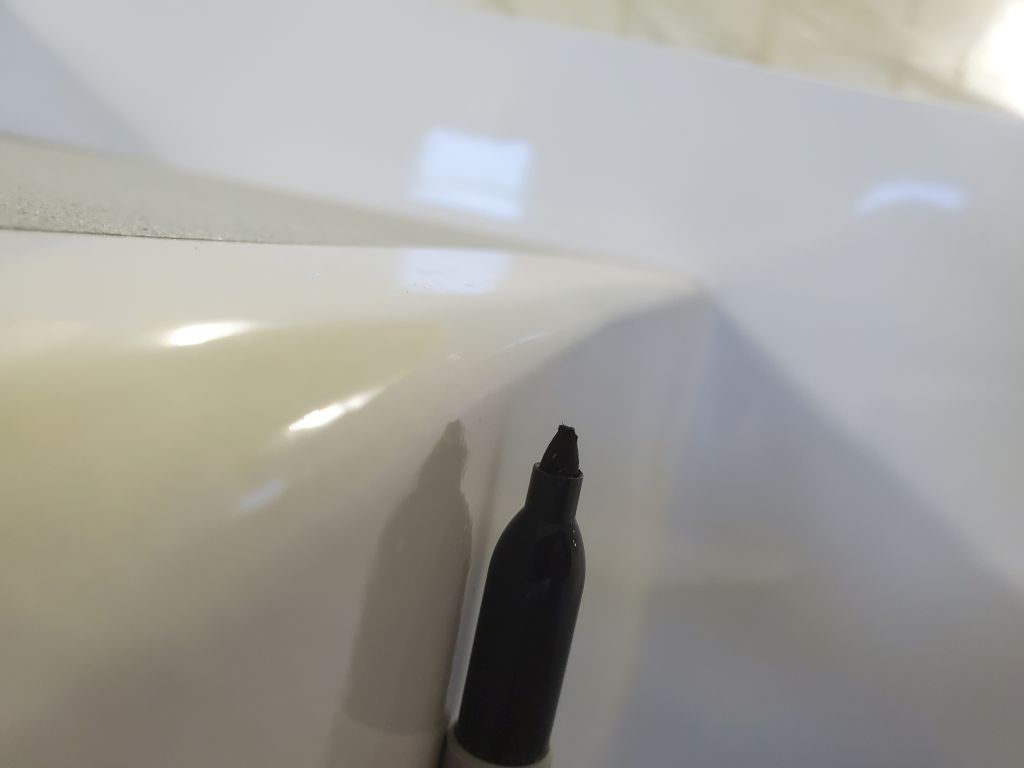
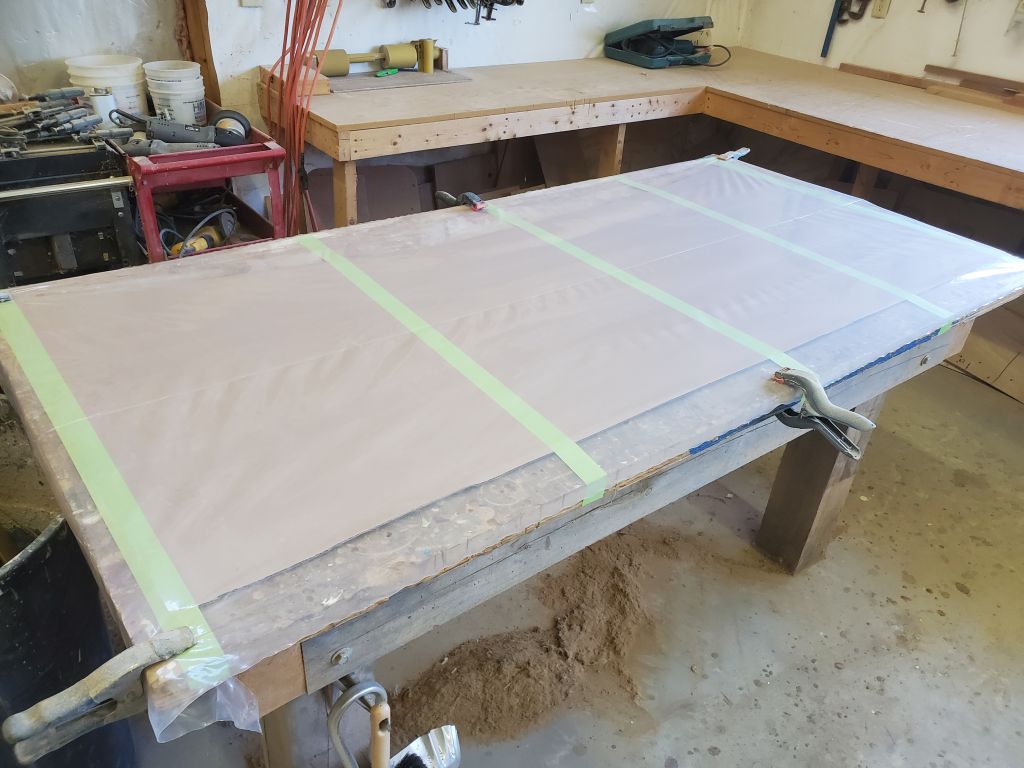
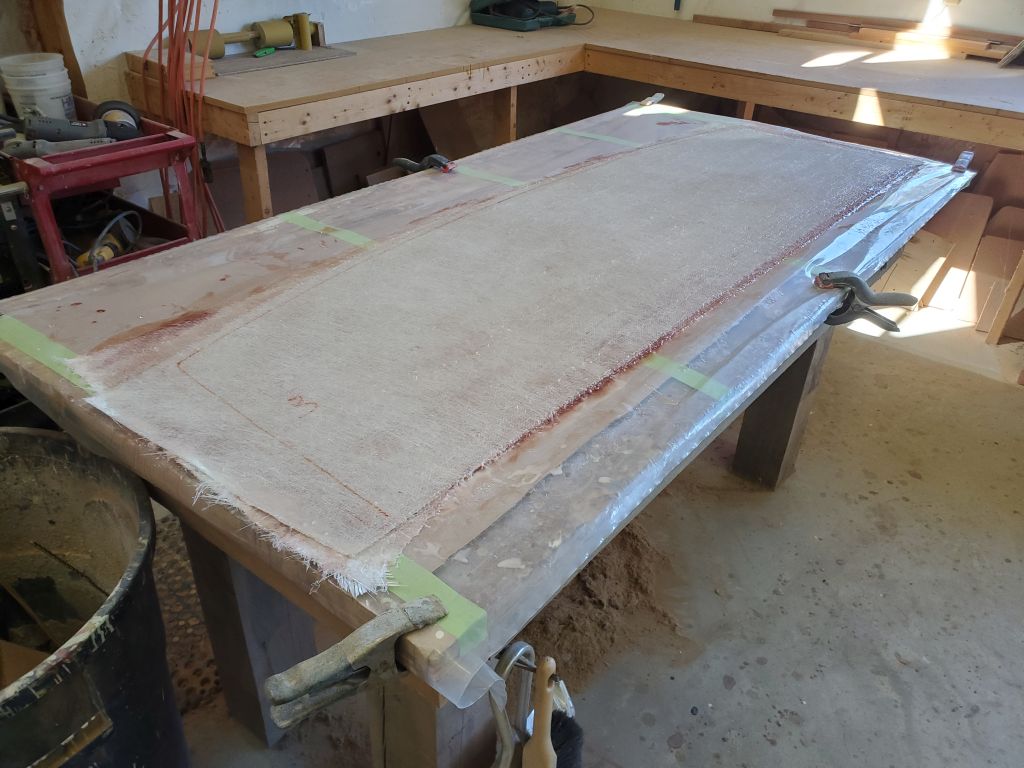
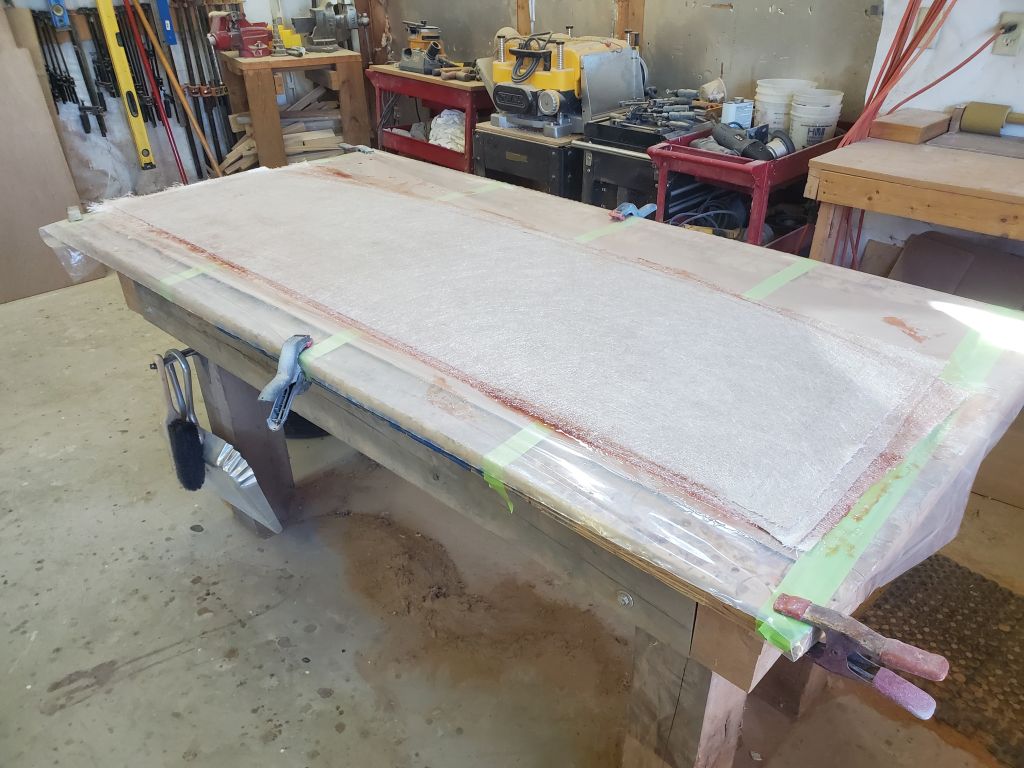
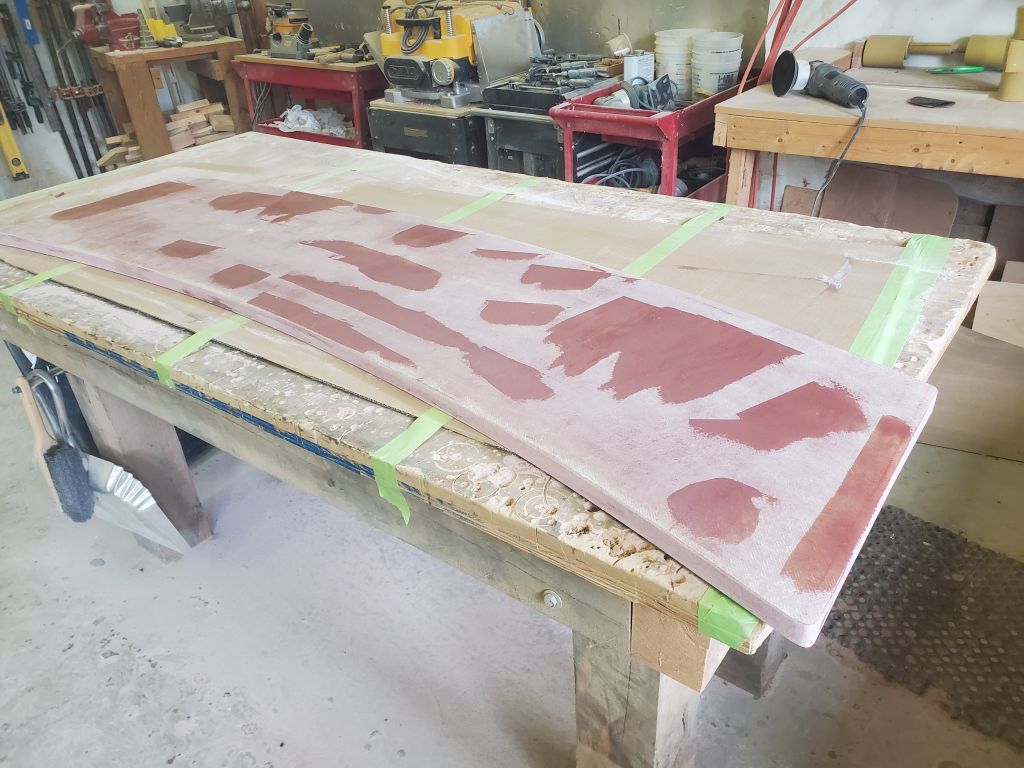
With the owners’ input and approval, I planned to support the hatch with cleats installed within the opening, along with some gasket material (the hatch wouldn’t be completely watertight, but the gasket would help and would also prevent vibration or rattling), and secured (hopefully) with a pair of compression latches, one at each side. These materials were on the way. For now, with the test-fitting complete, I applied additional fairing compound to a few areas on the hatch top where required.


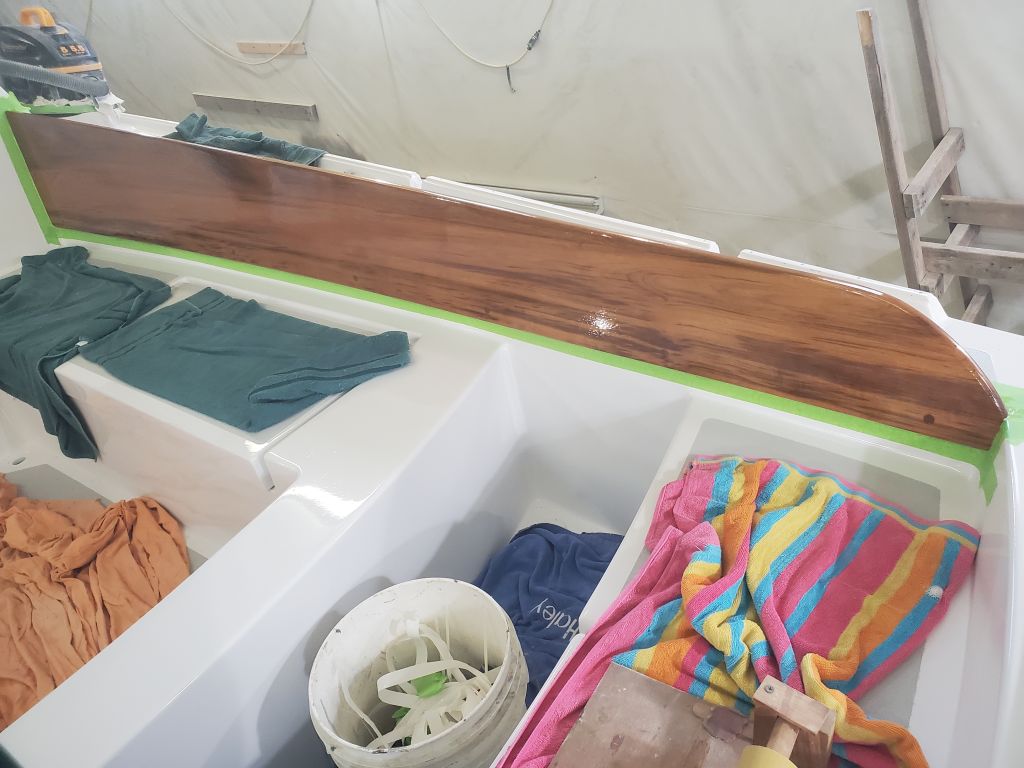
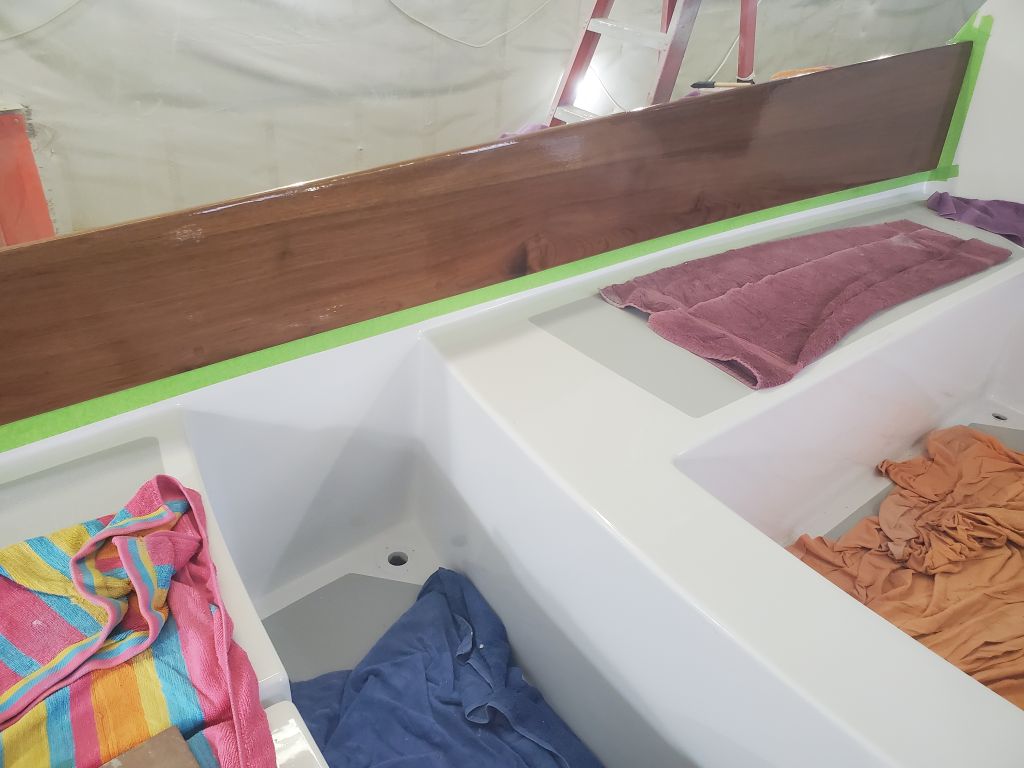
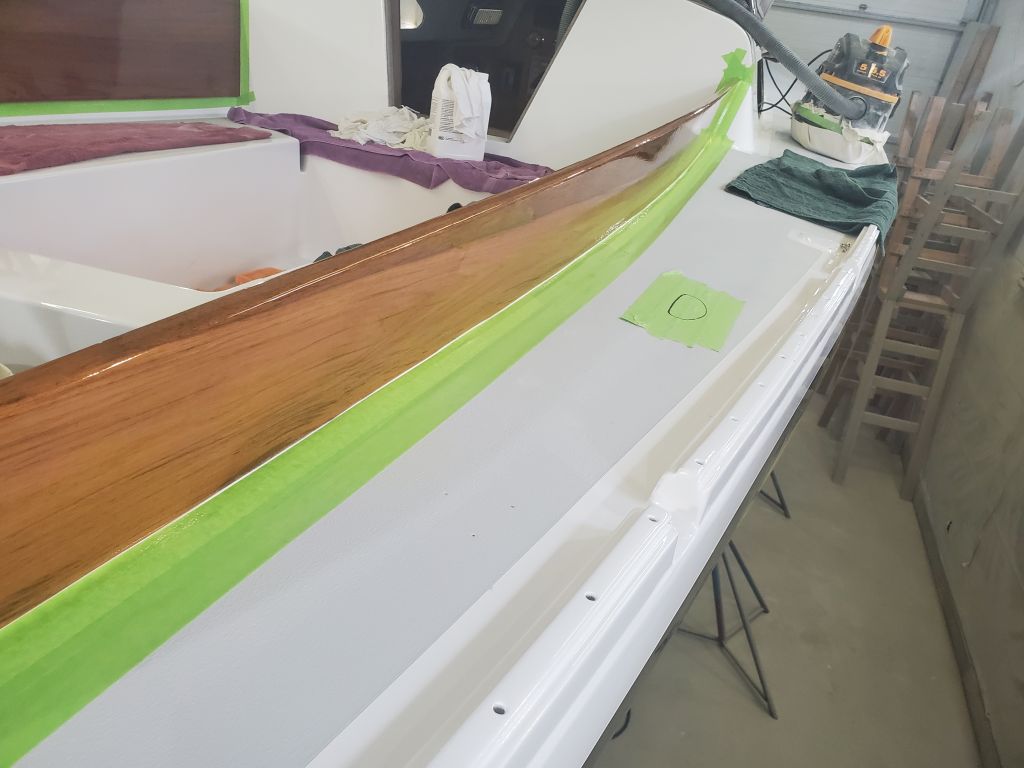
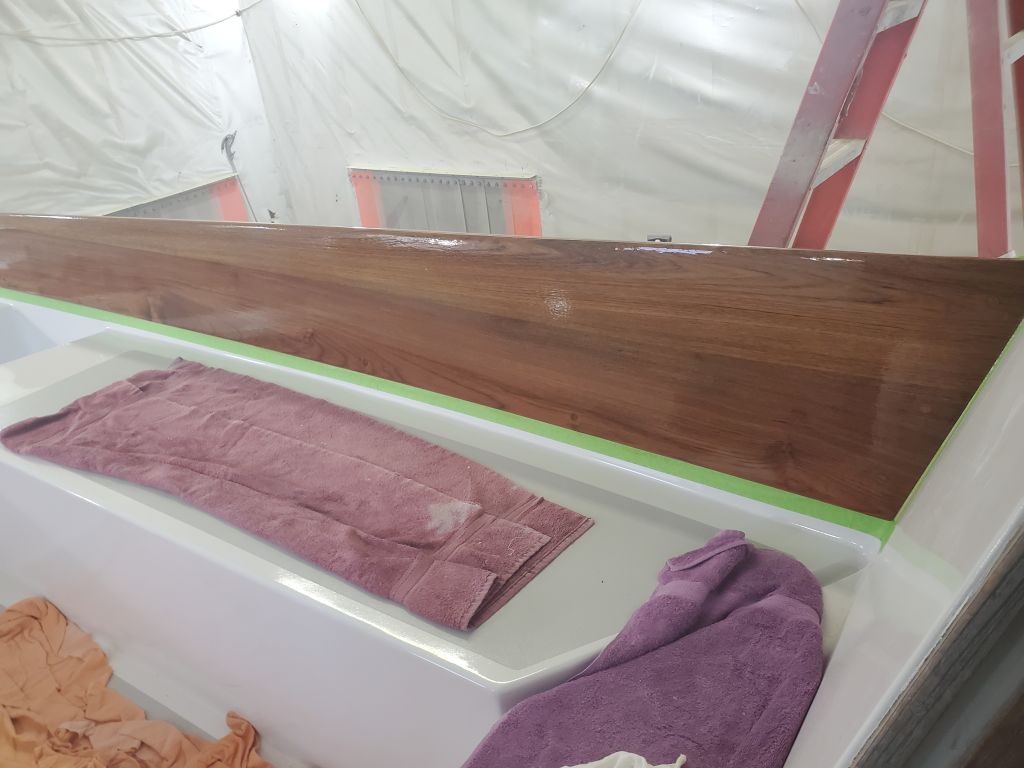
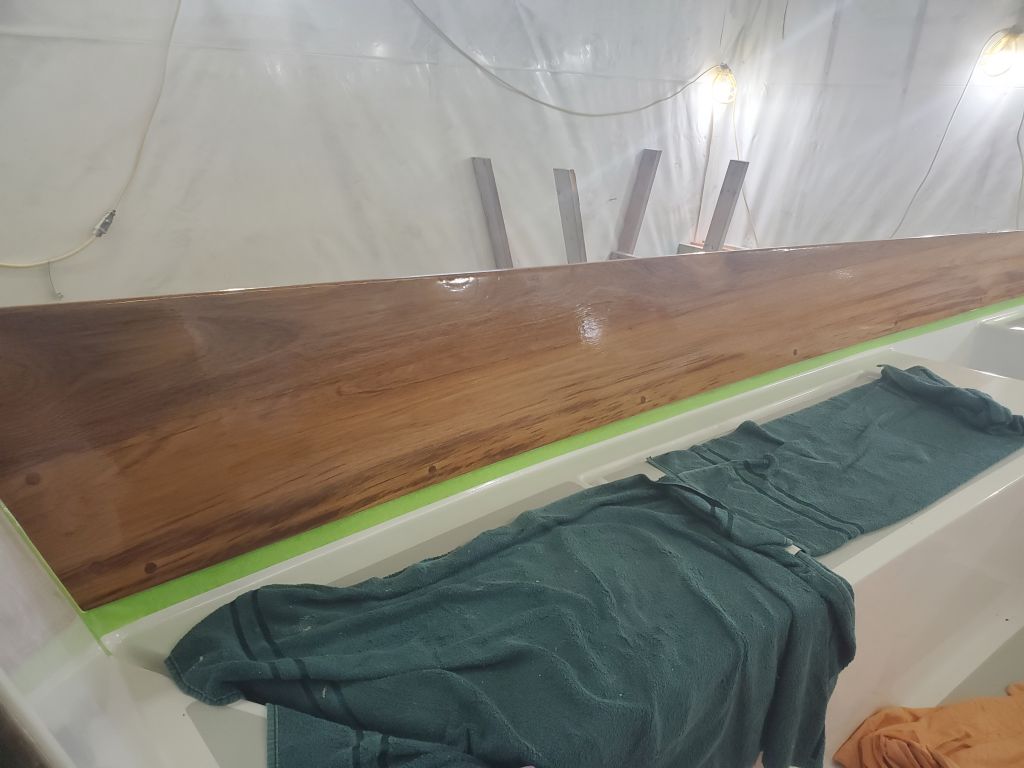
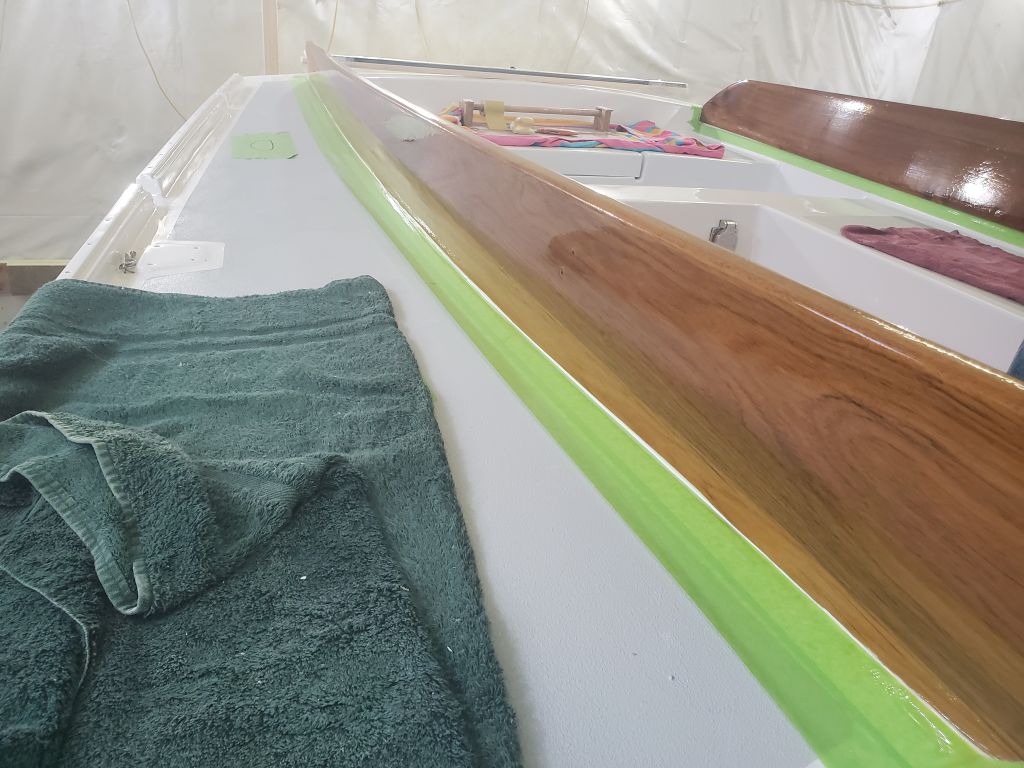
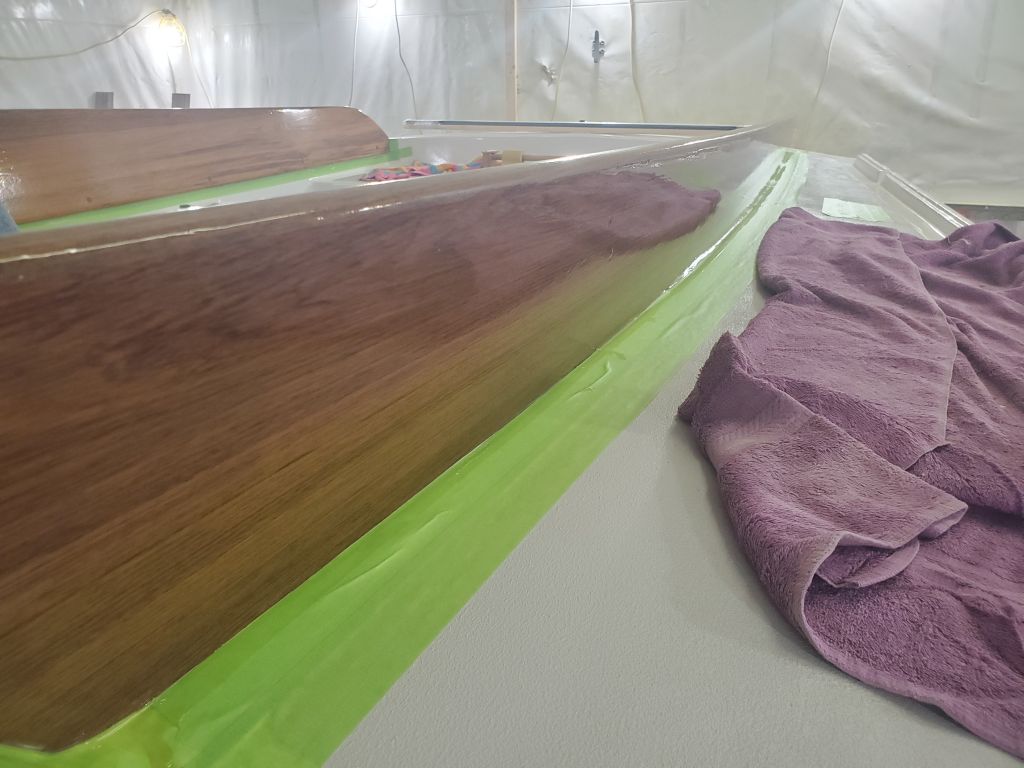
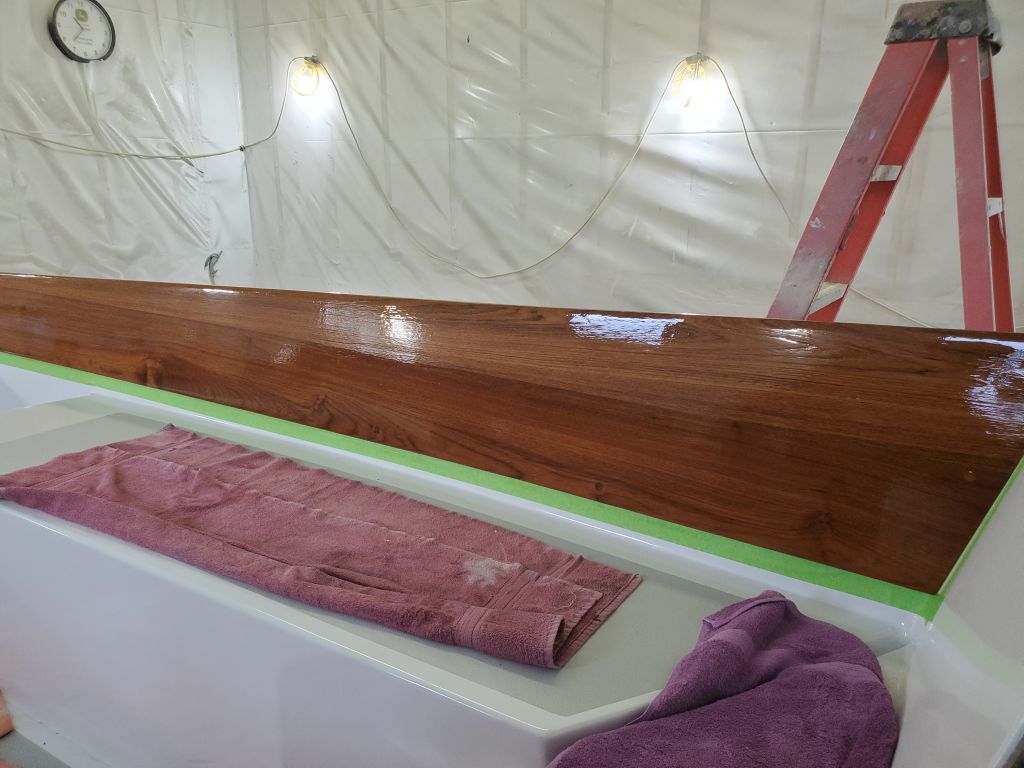
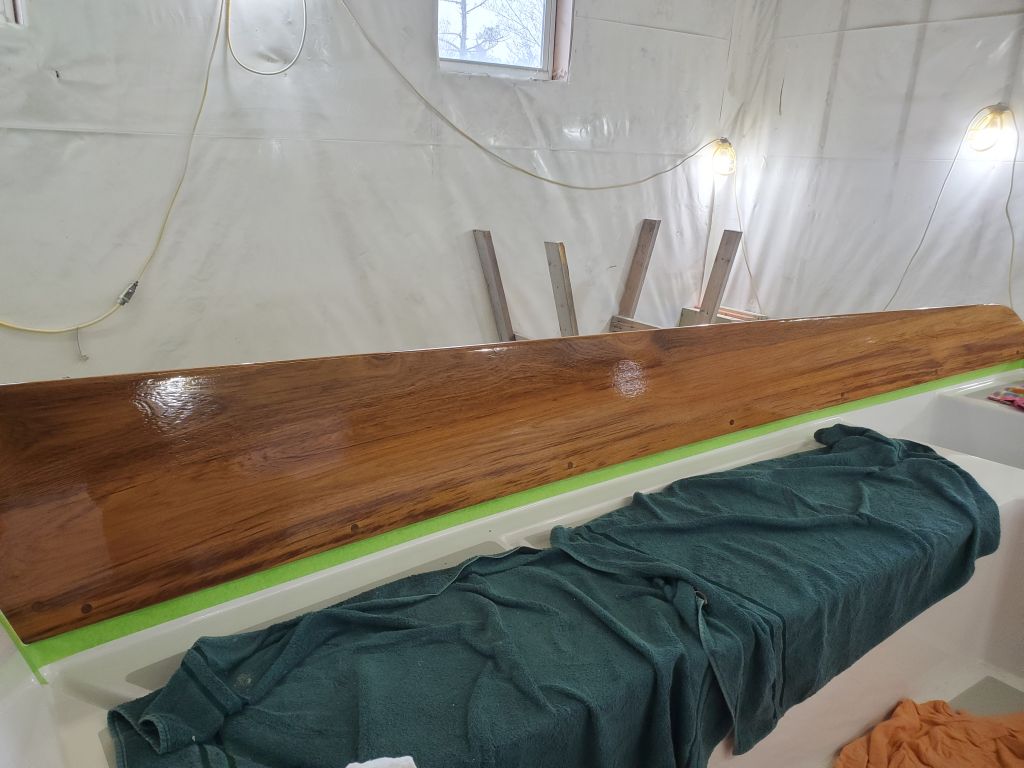
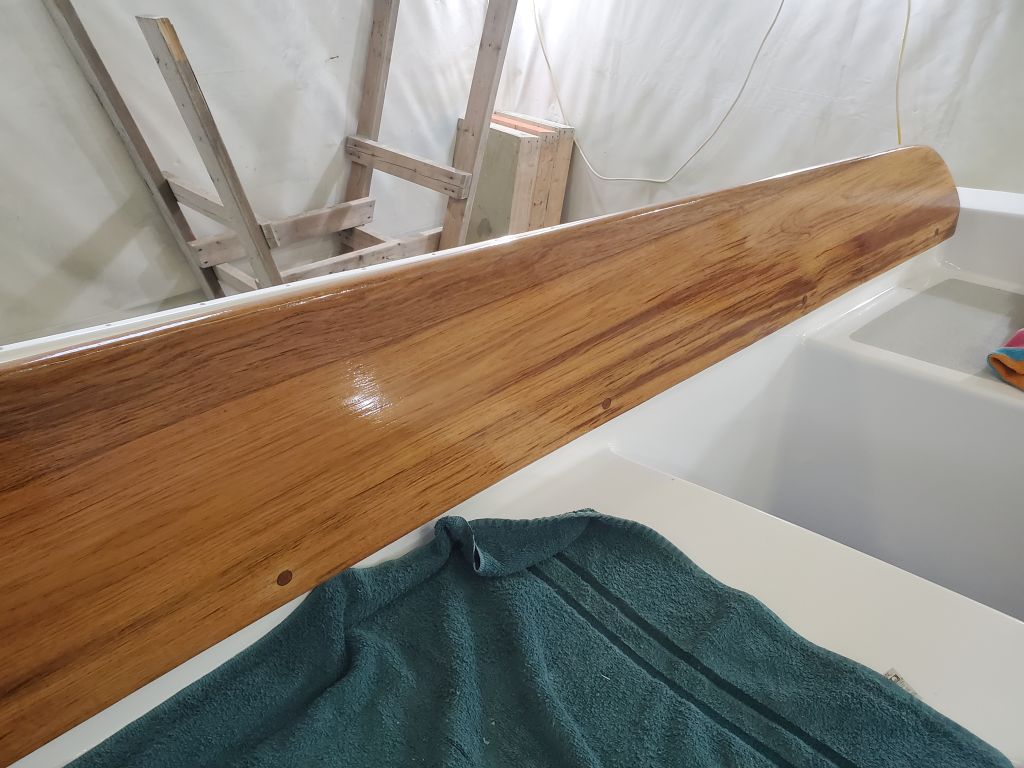
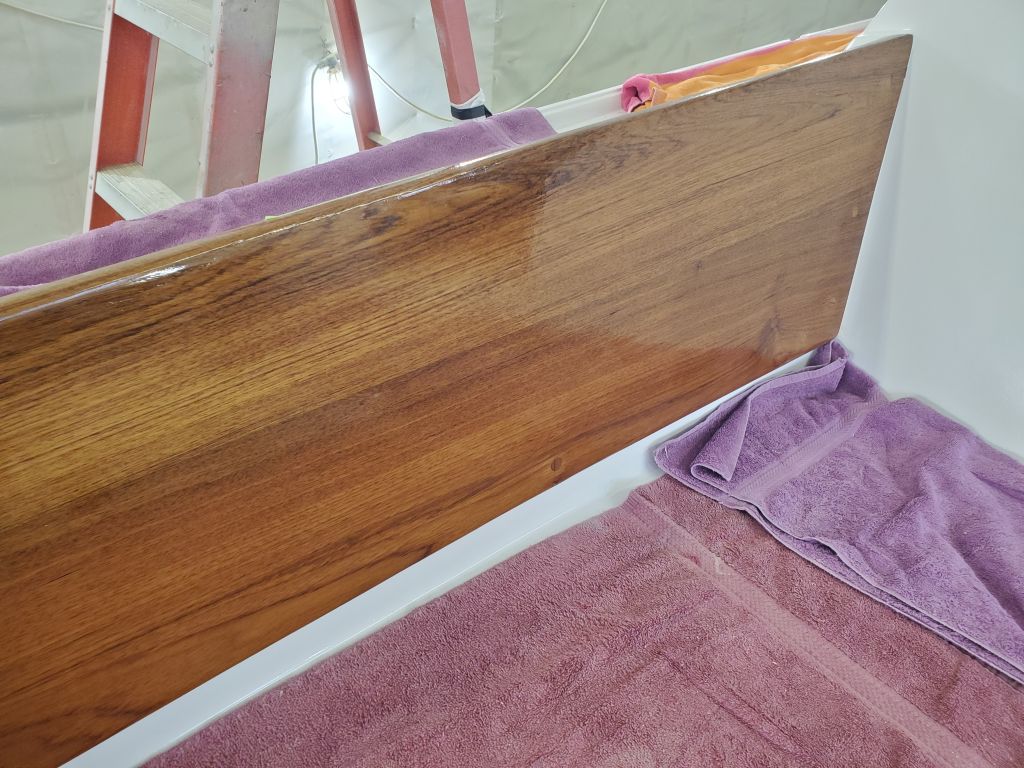
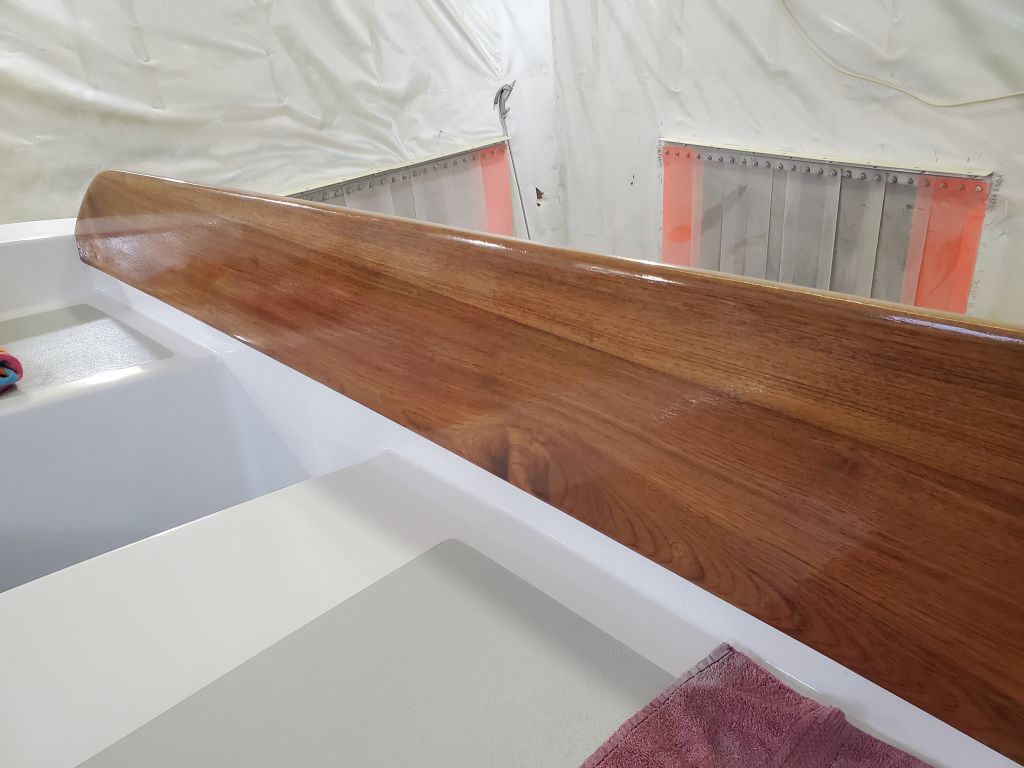
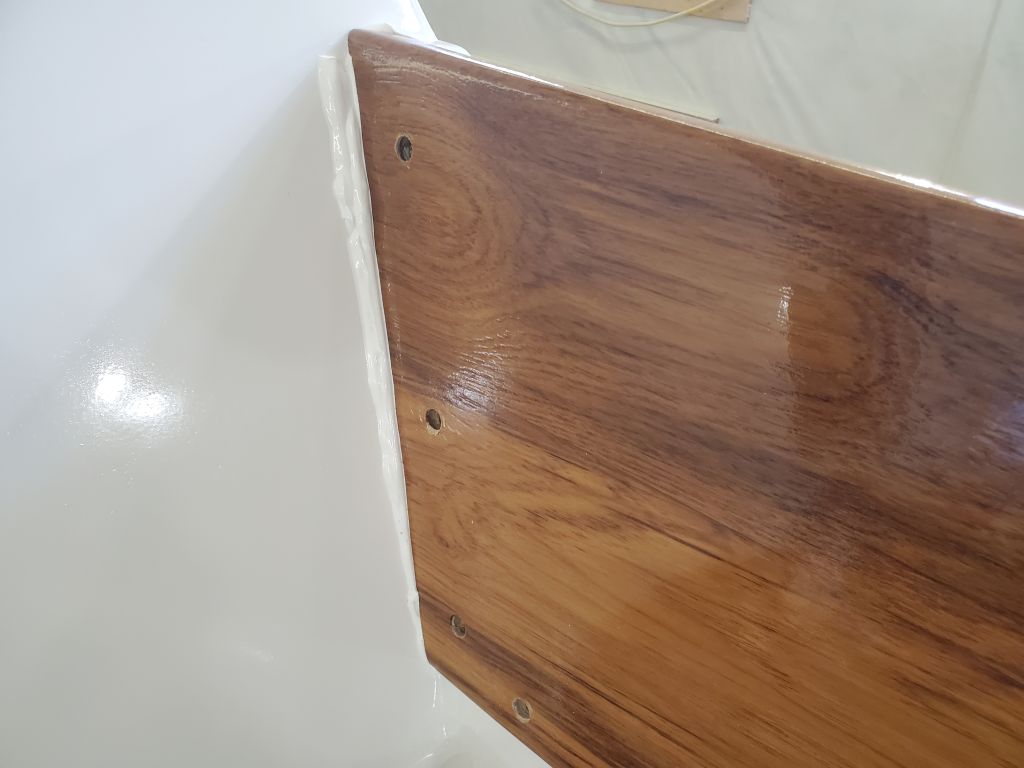
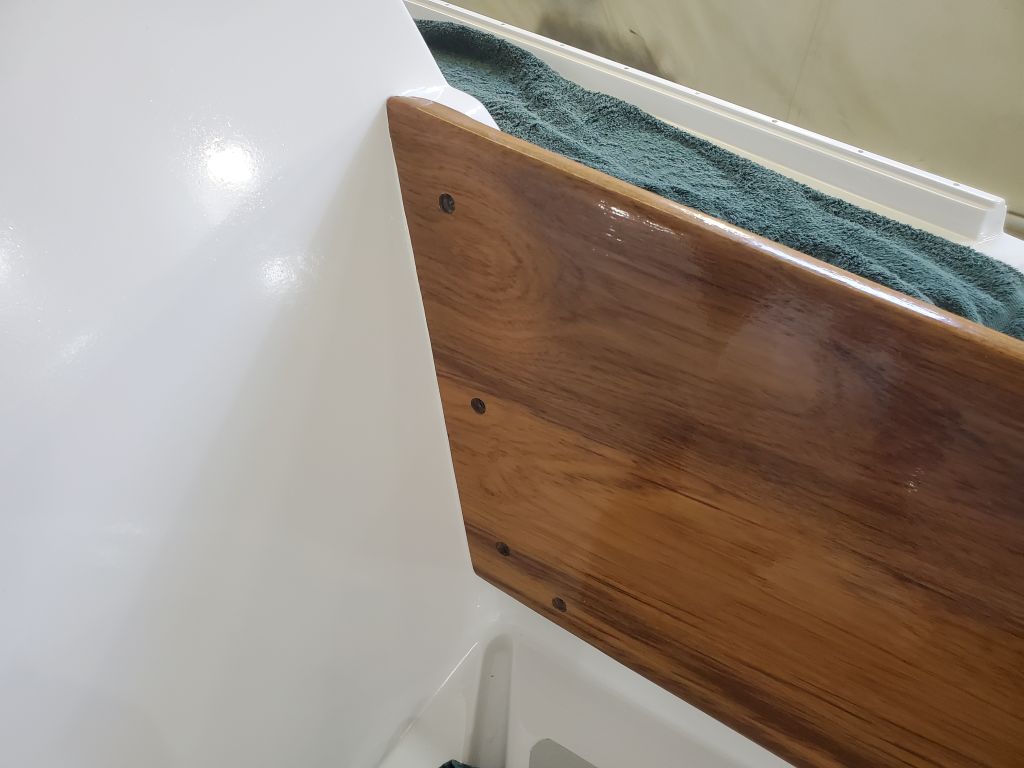
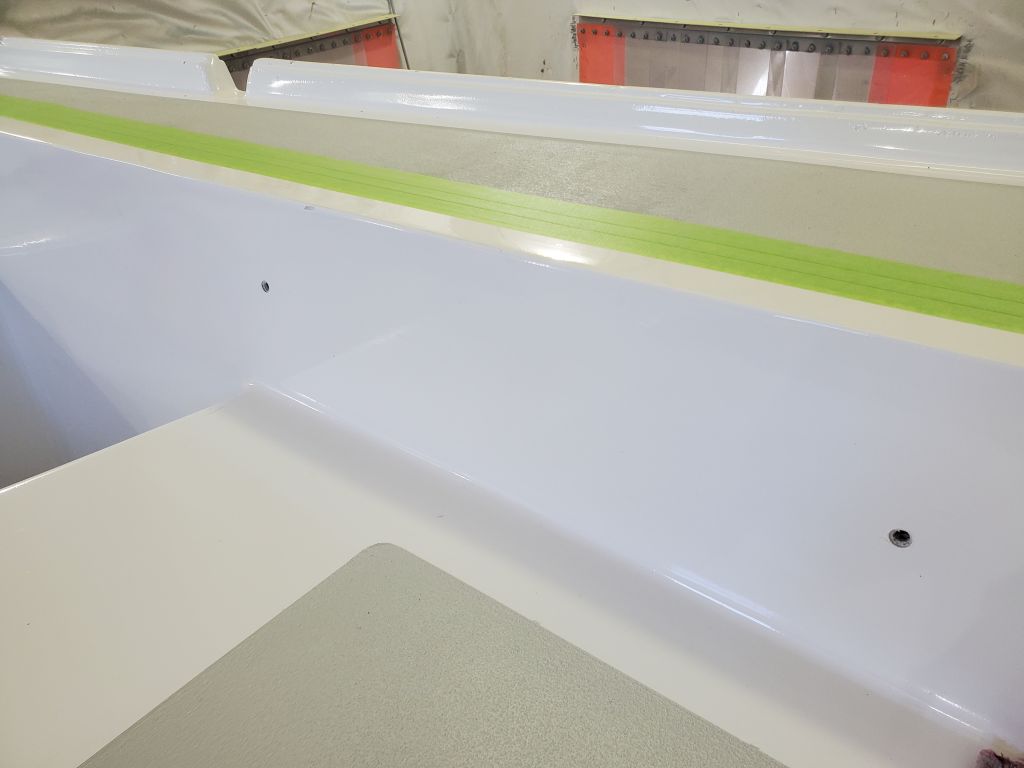
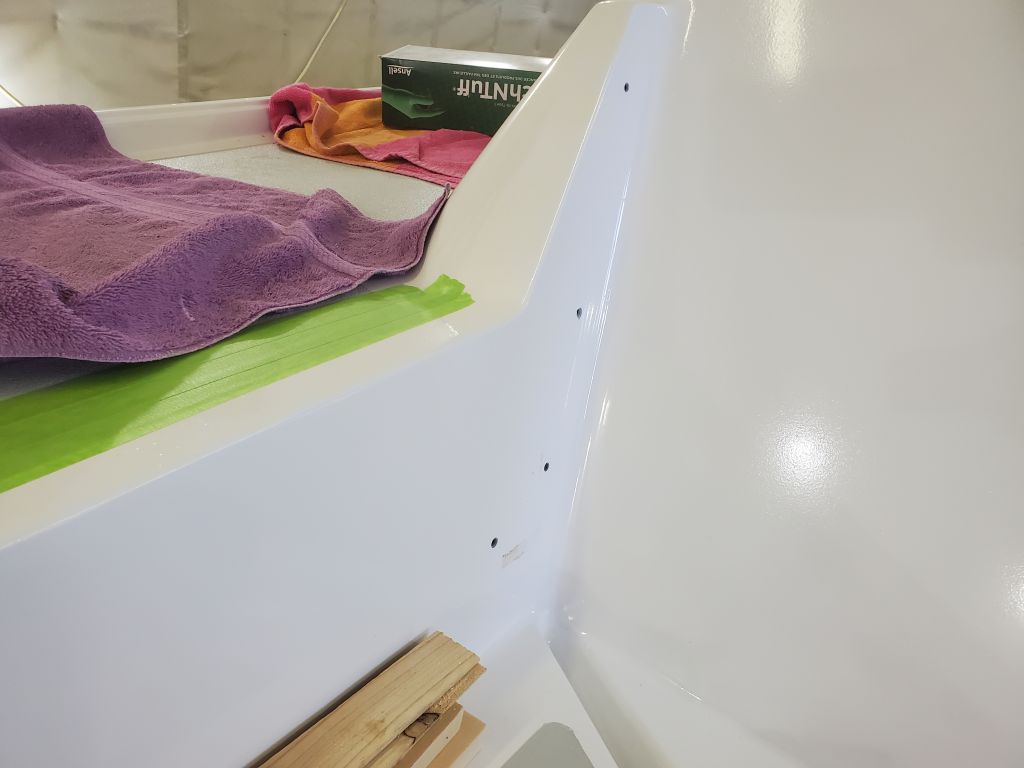
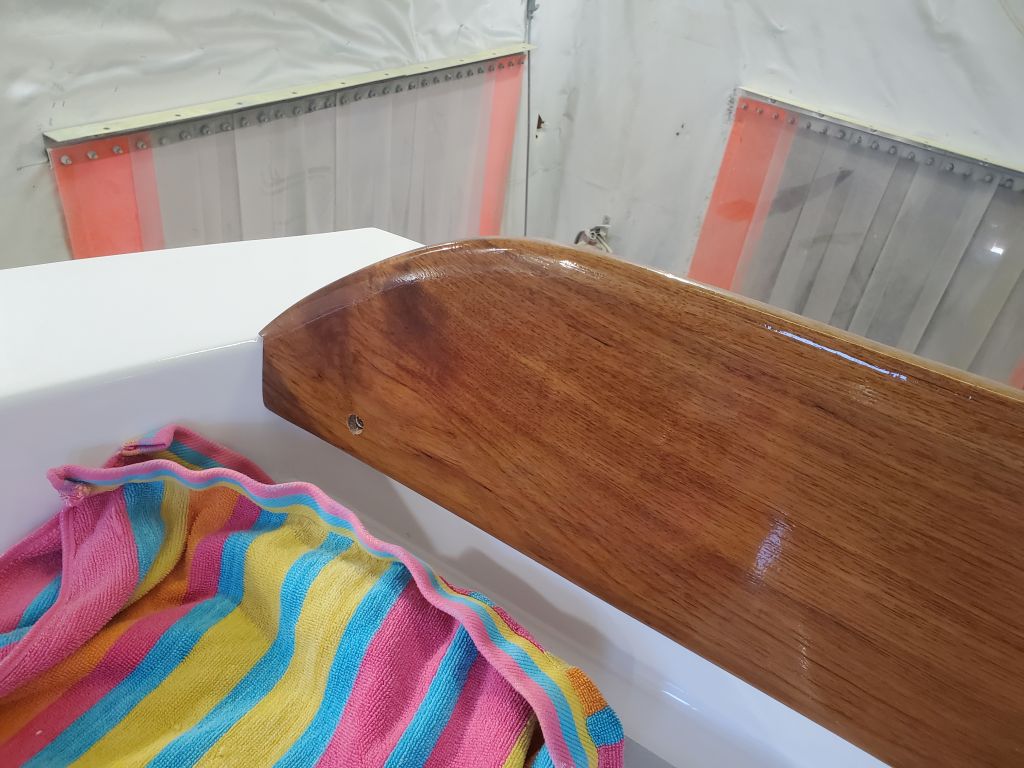
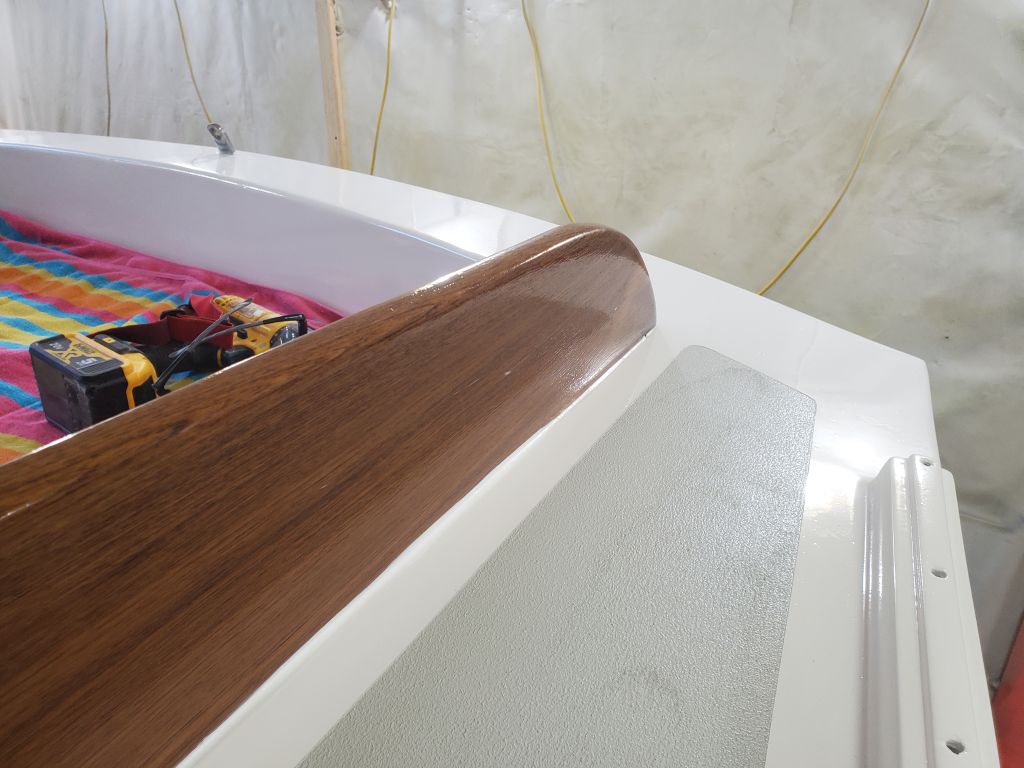
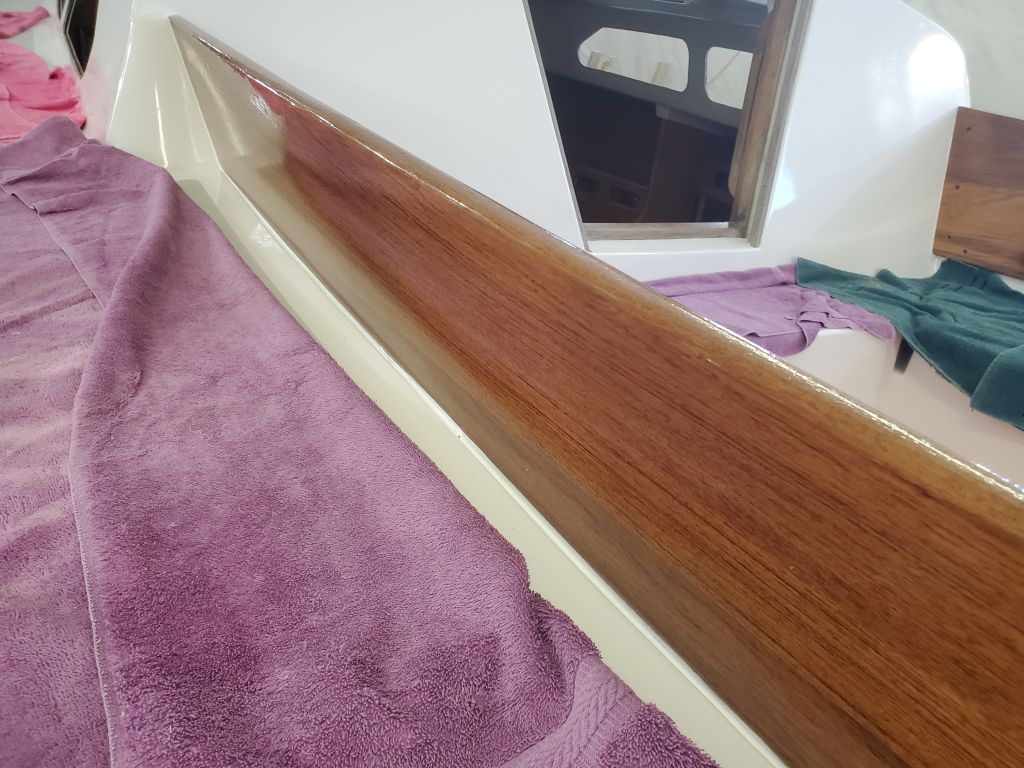
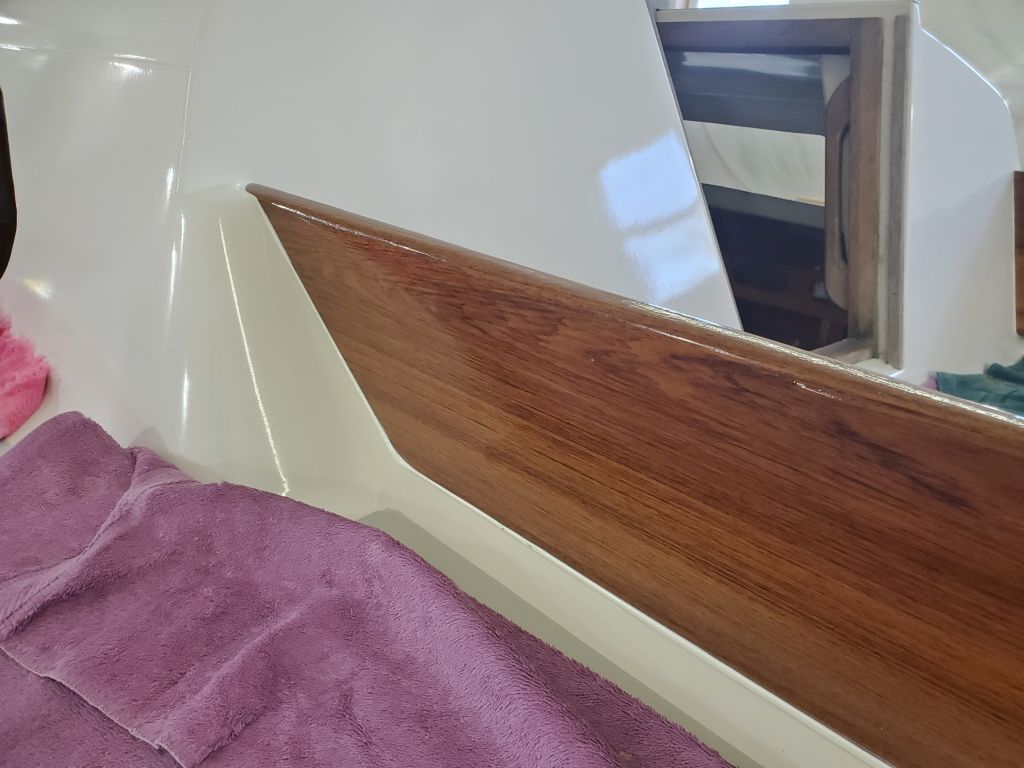
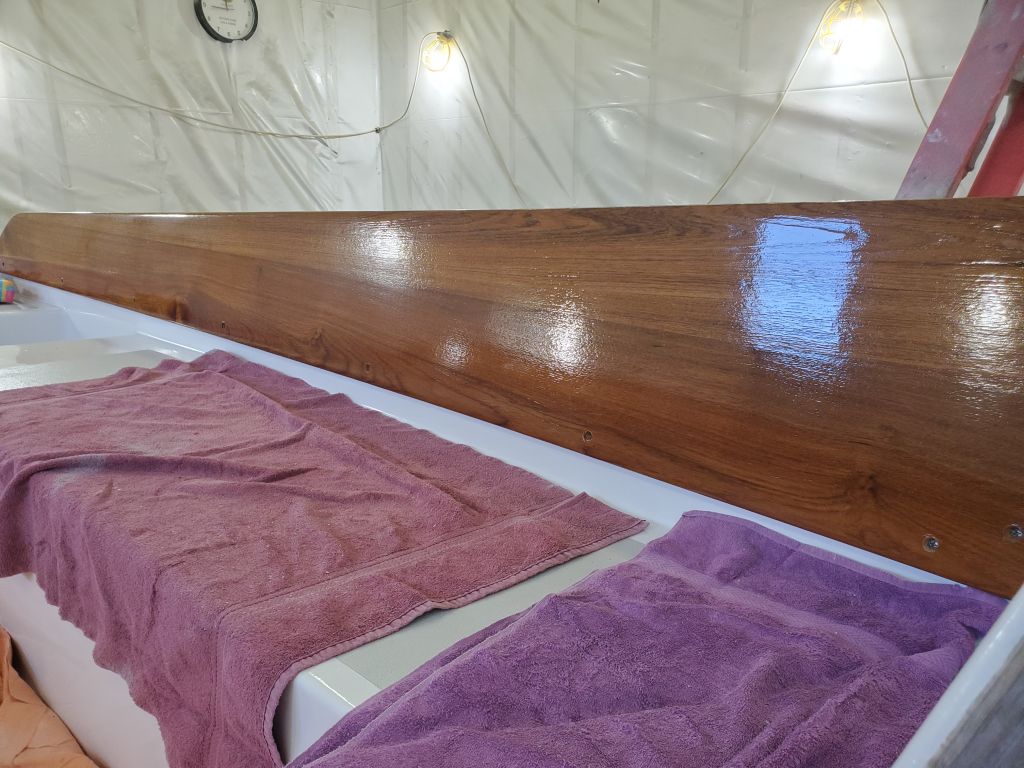
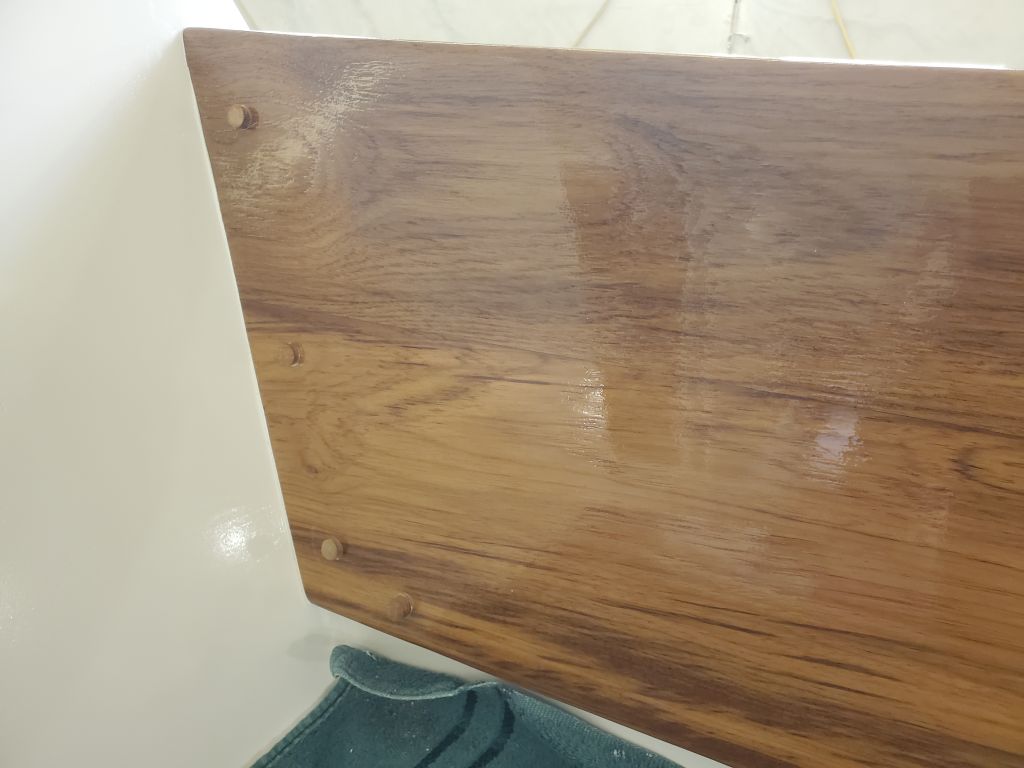
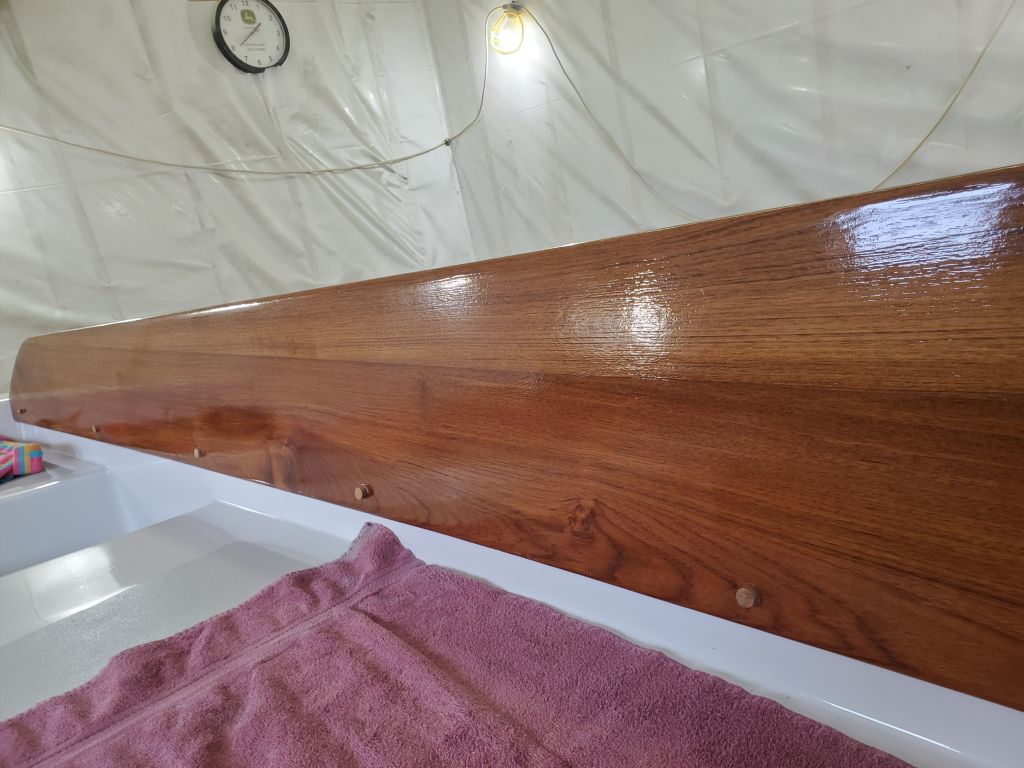
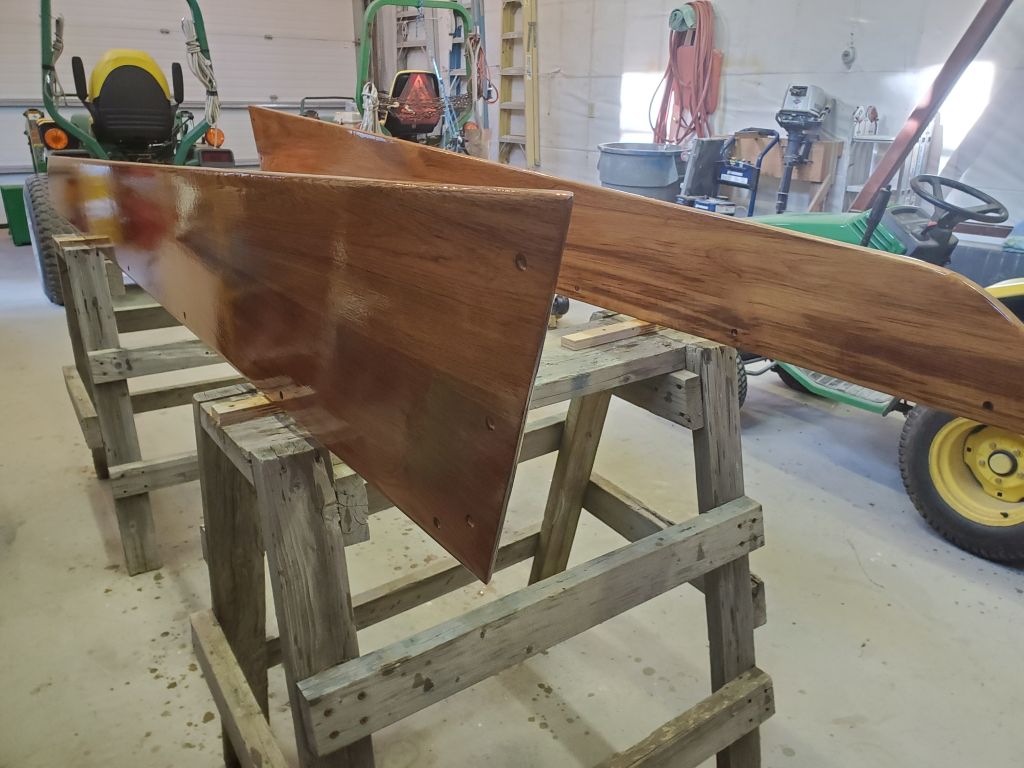
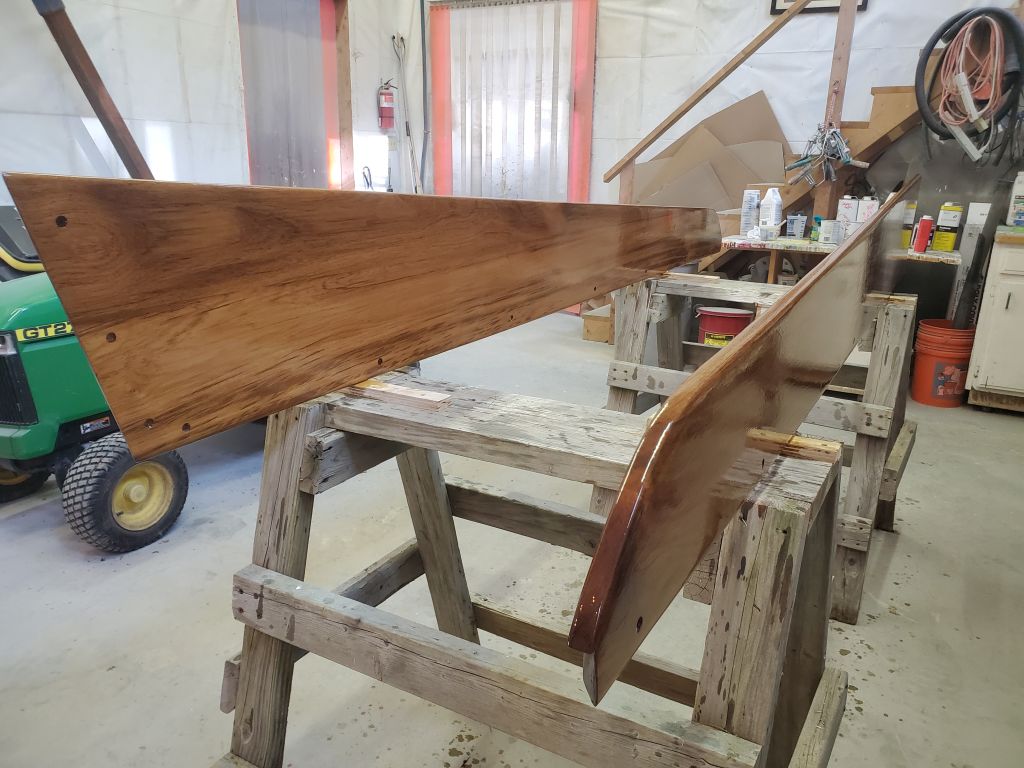
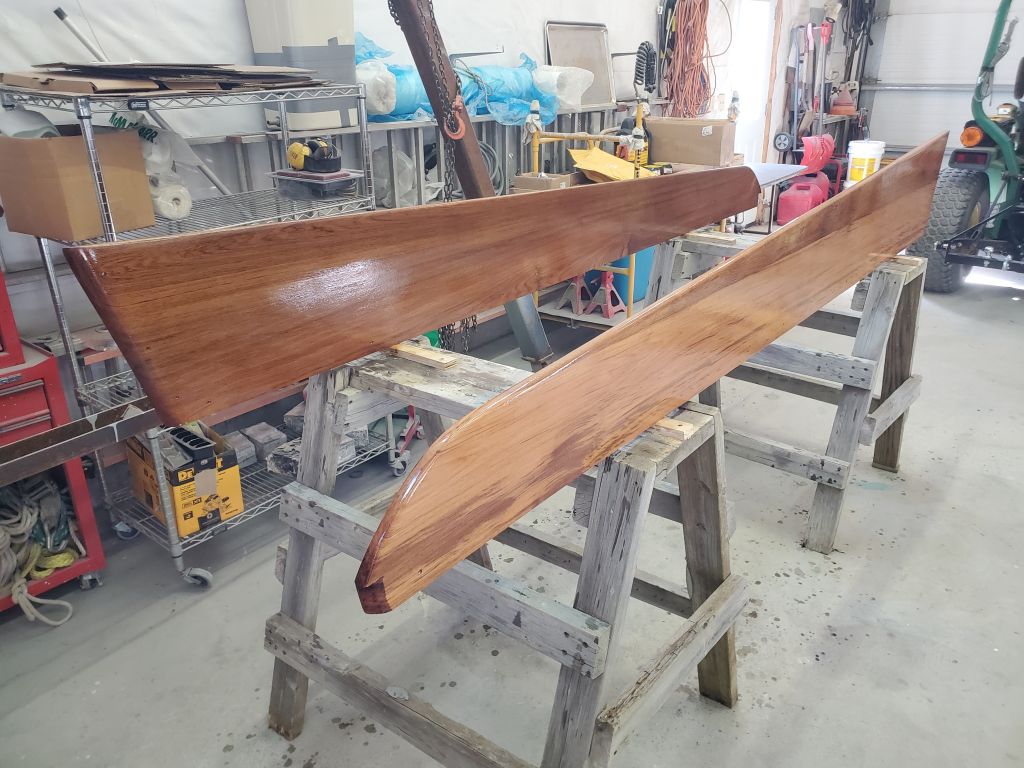
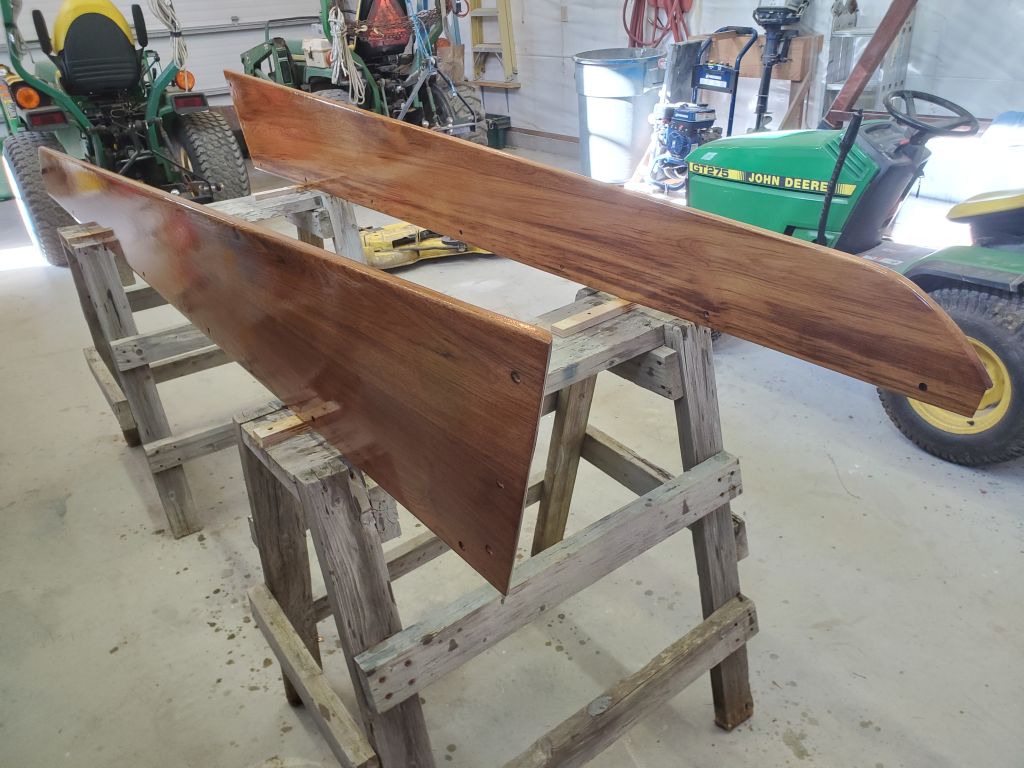
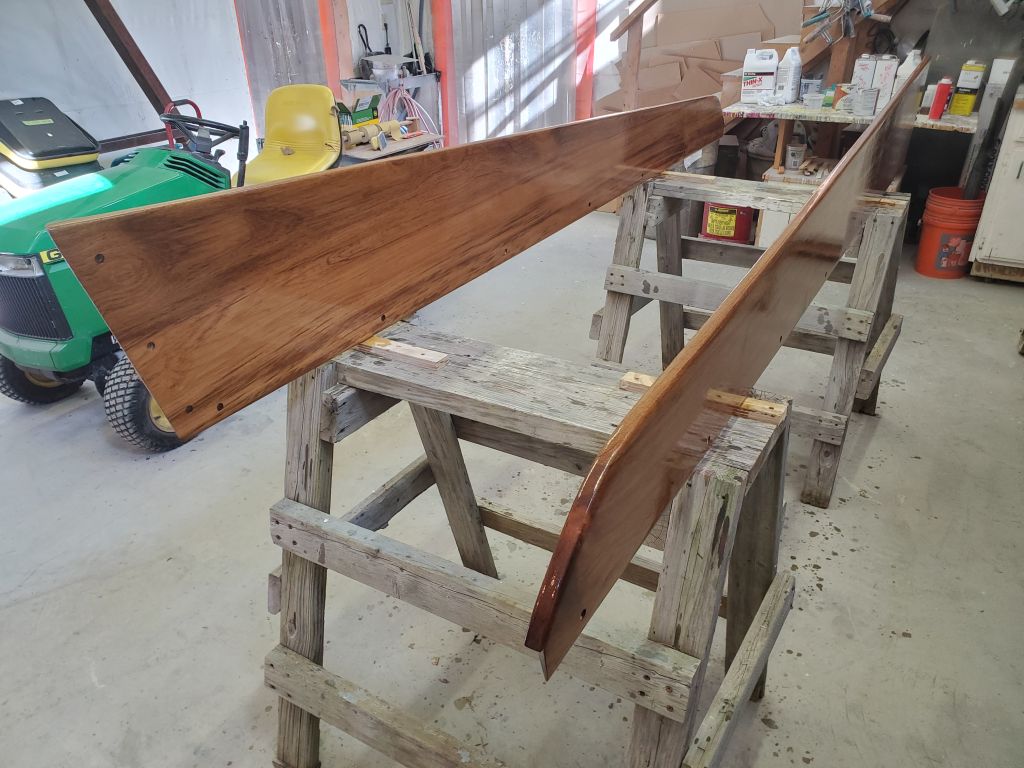
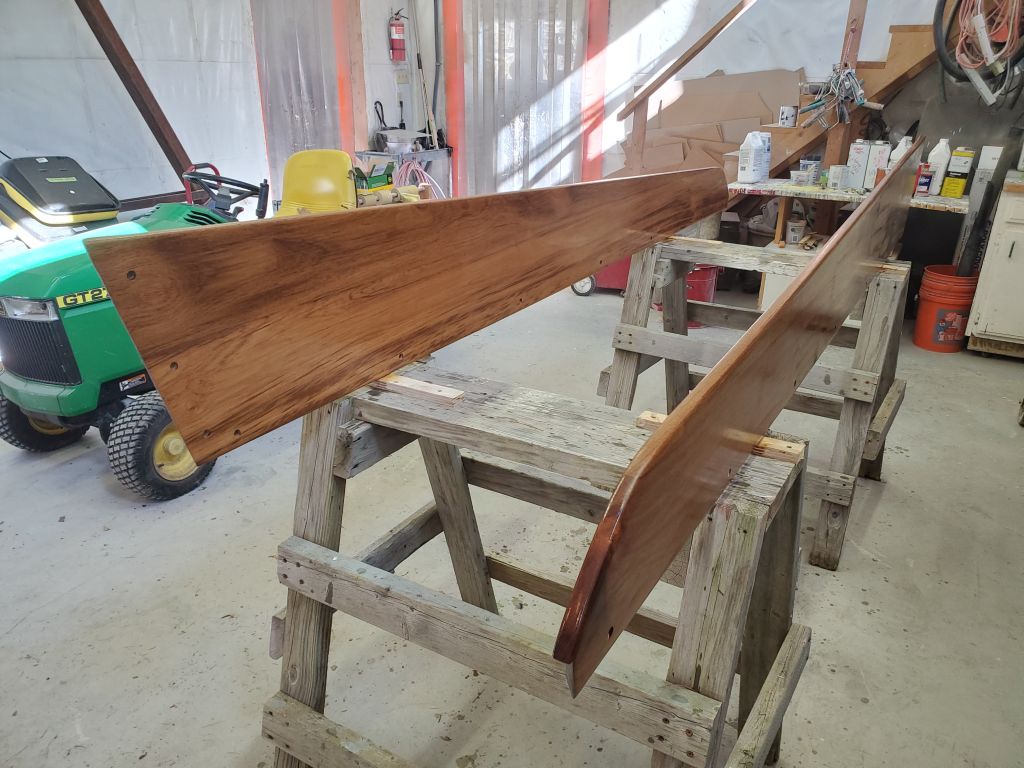
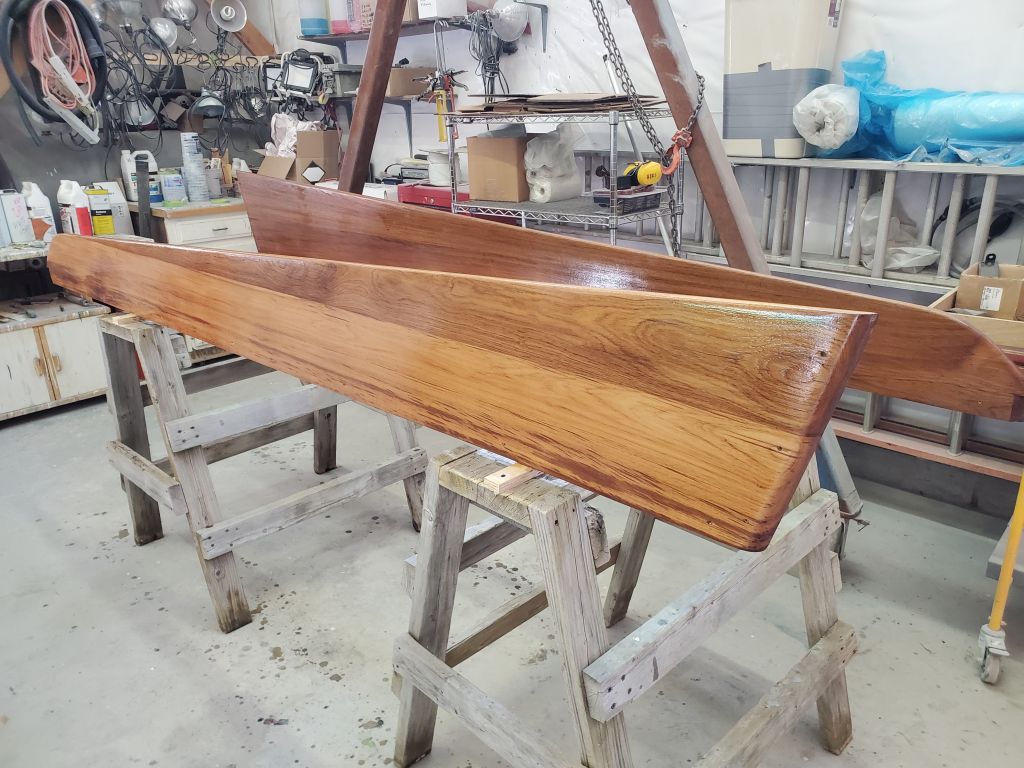
Afterwards, I sanded and prepared the coamings for the sixth coat of varnish on all areas.