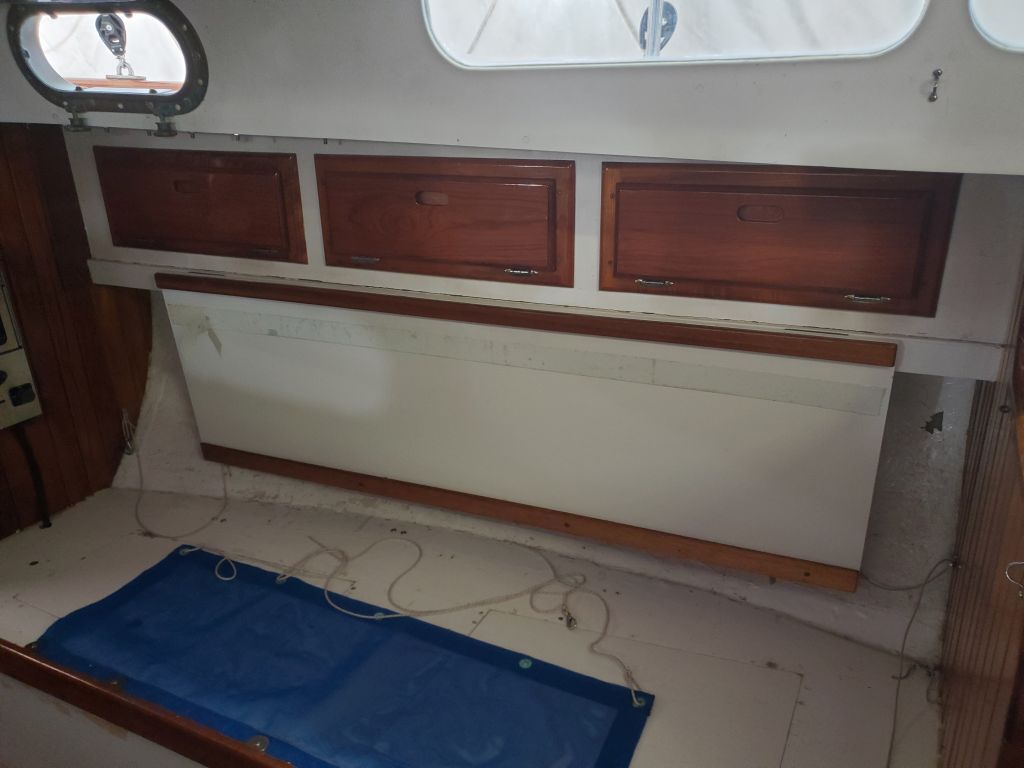
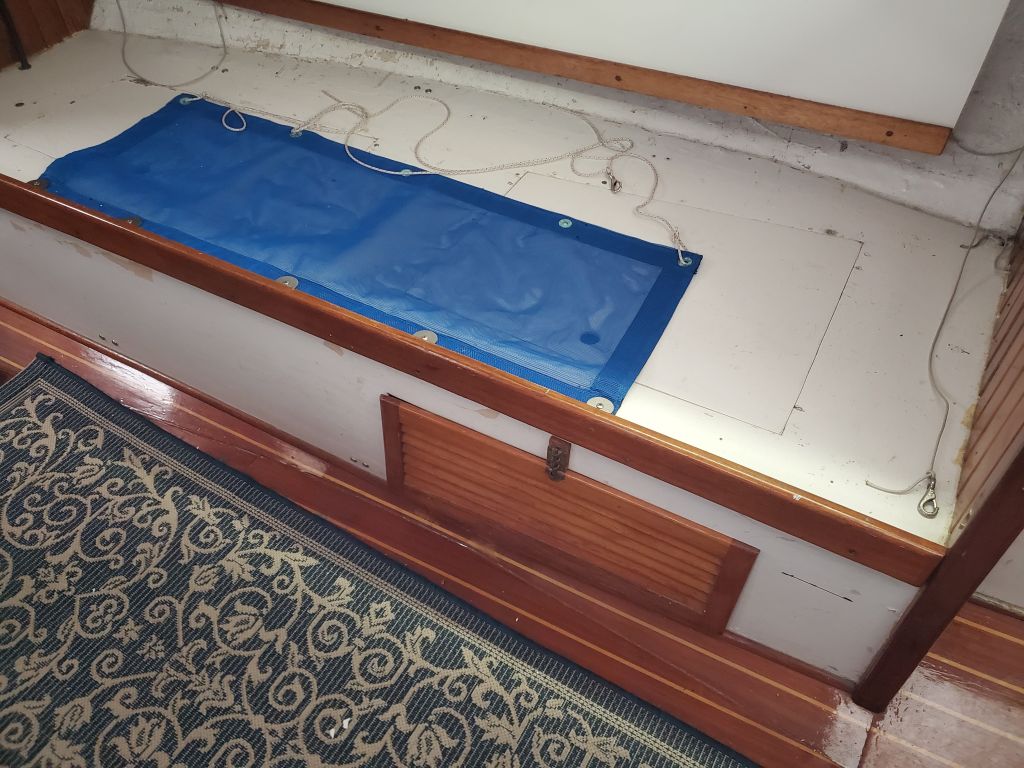
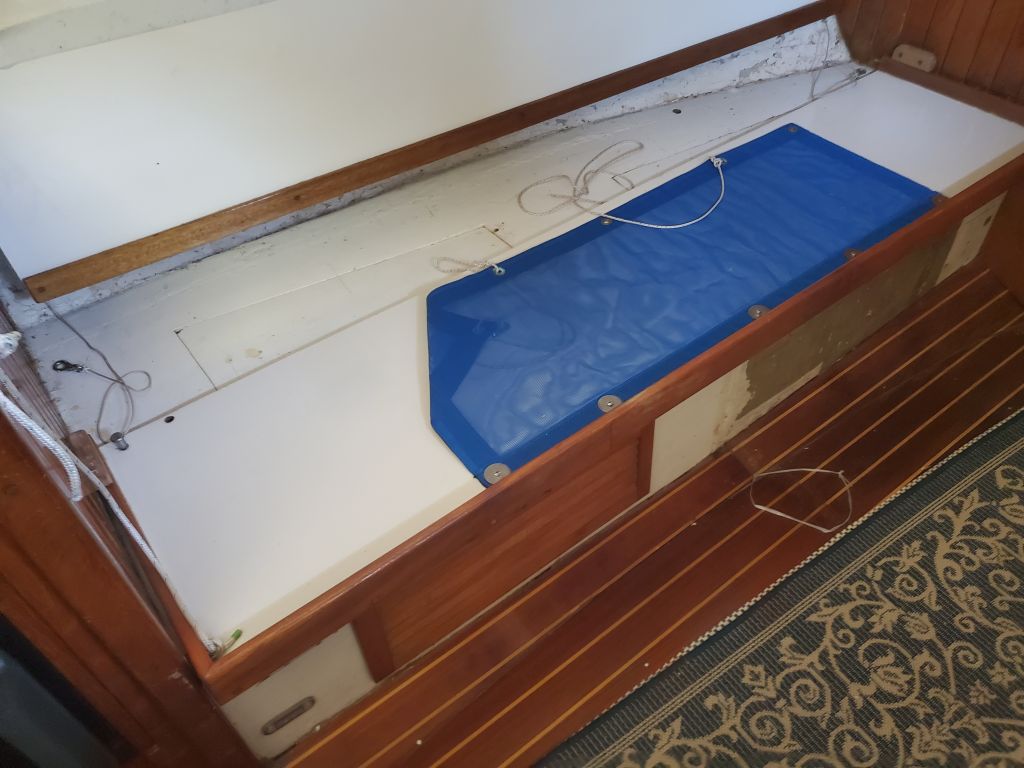
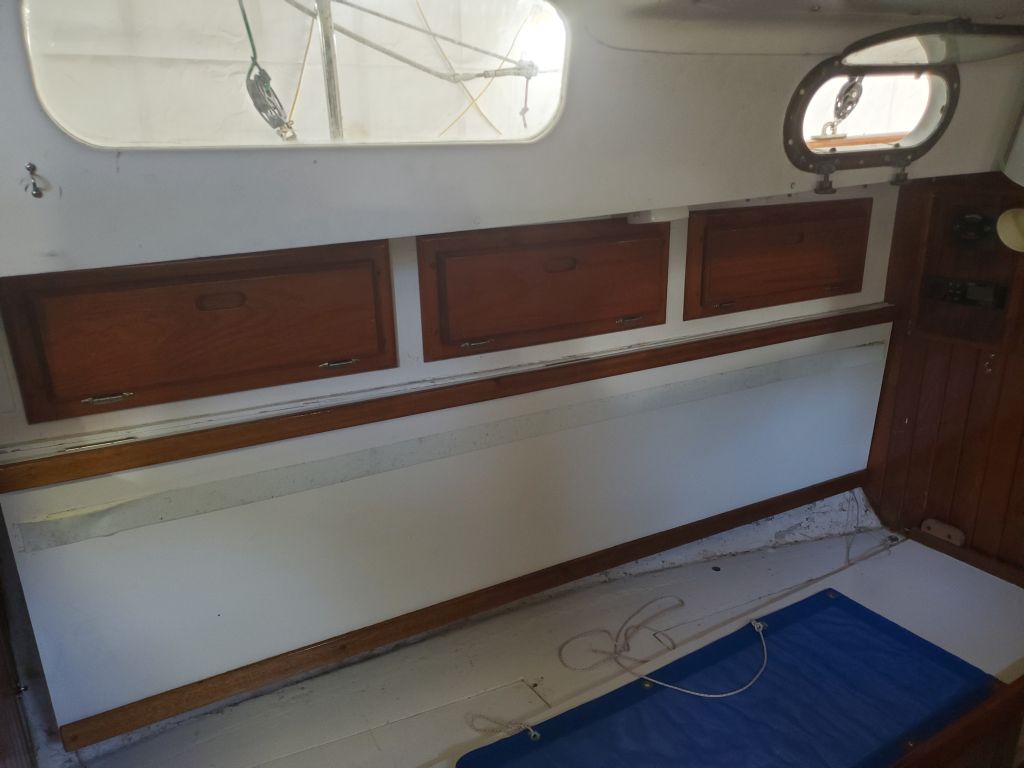
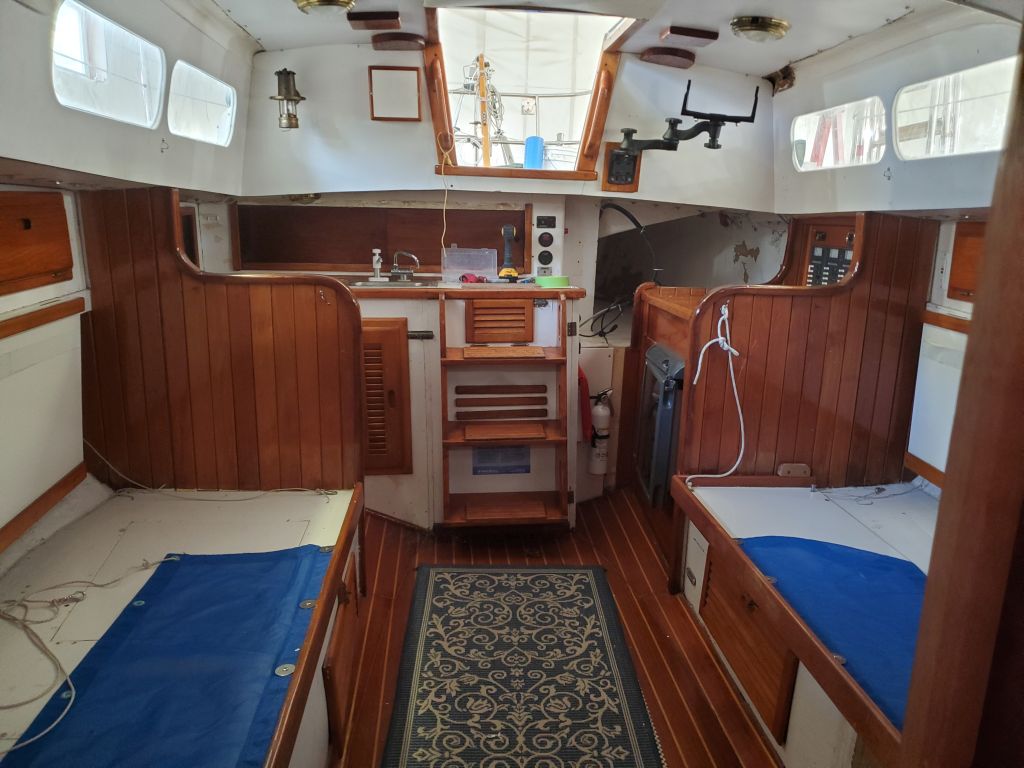
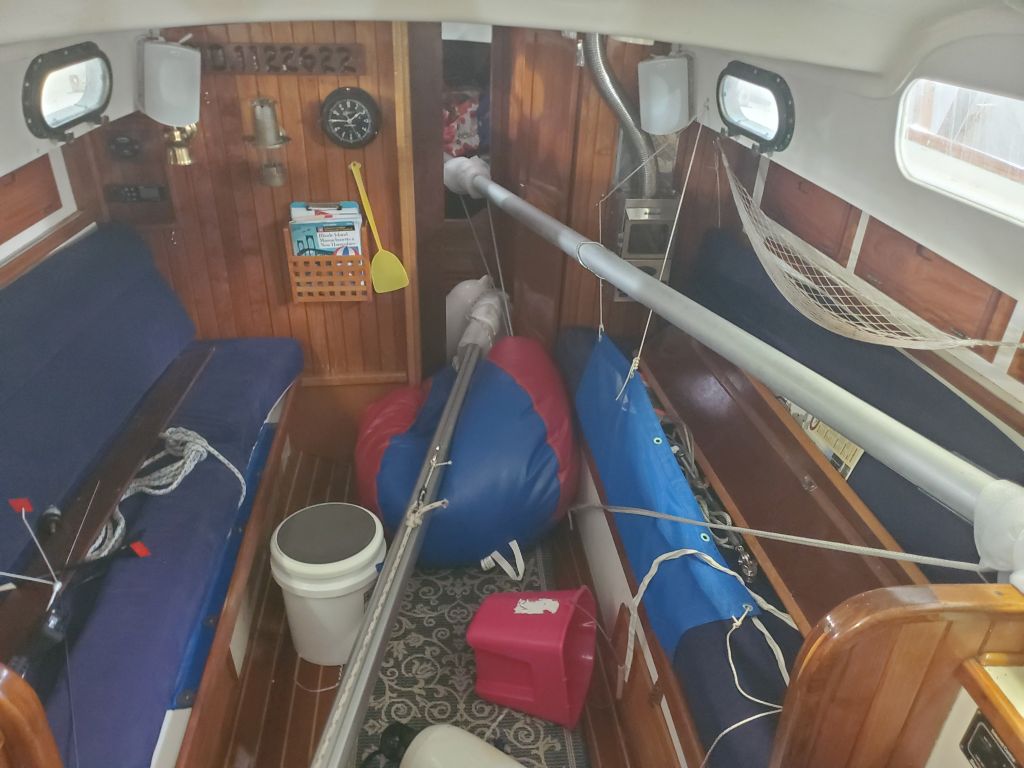
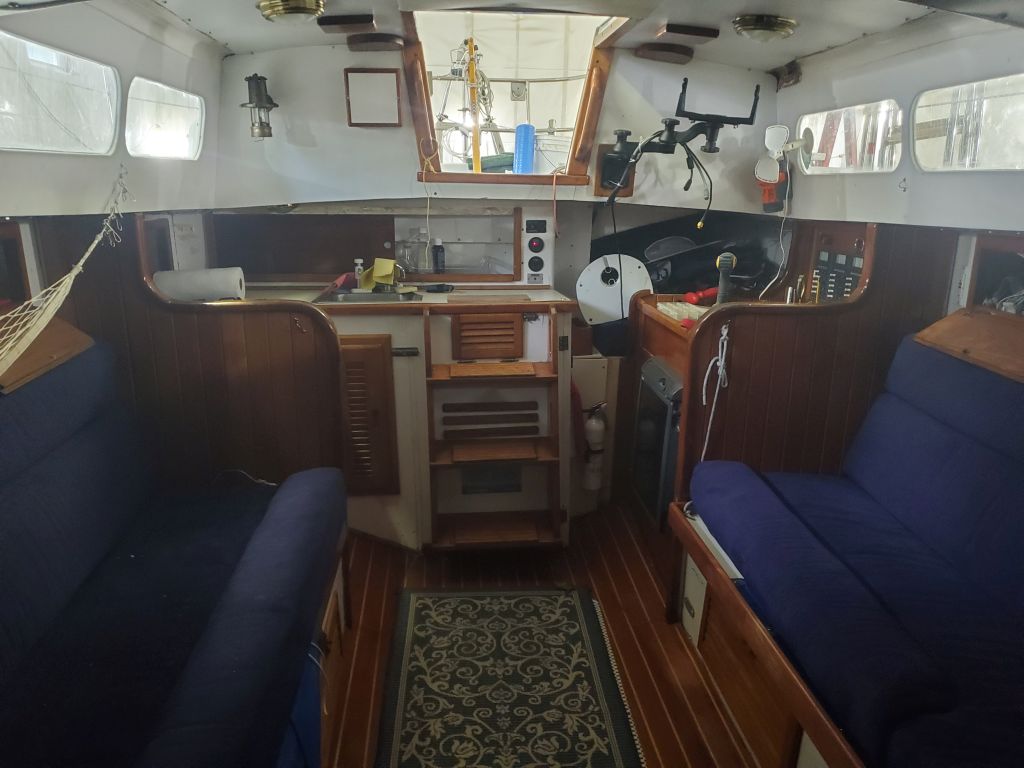
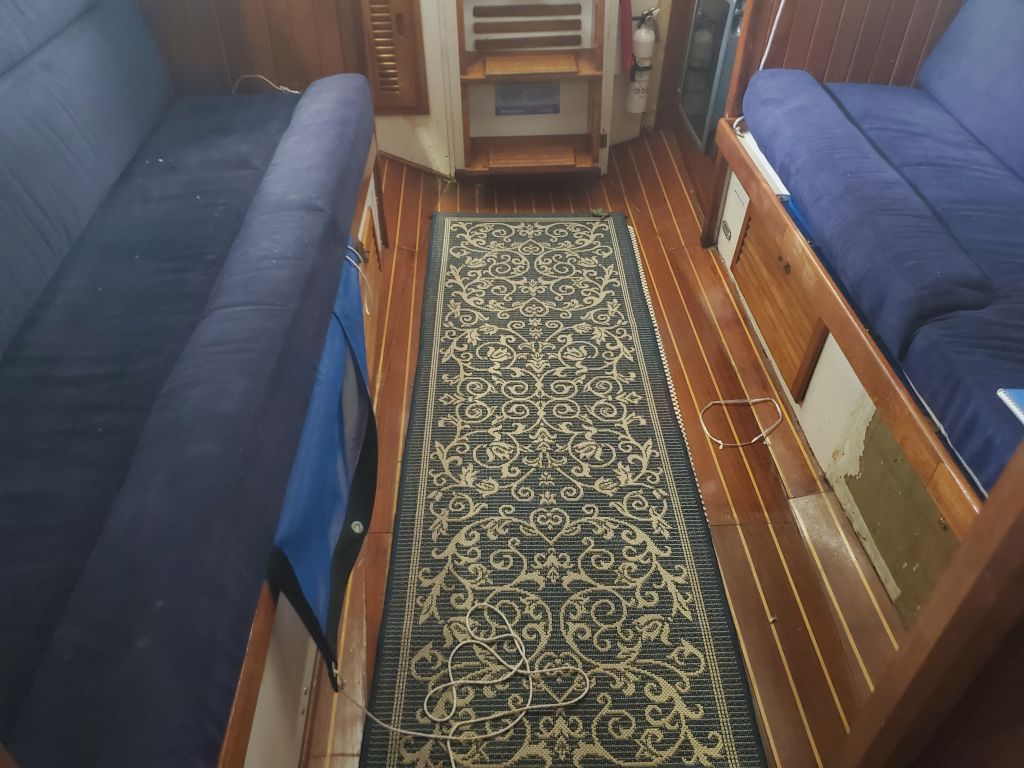
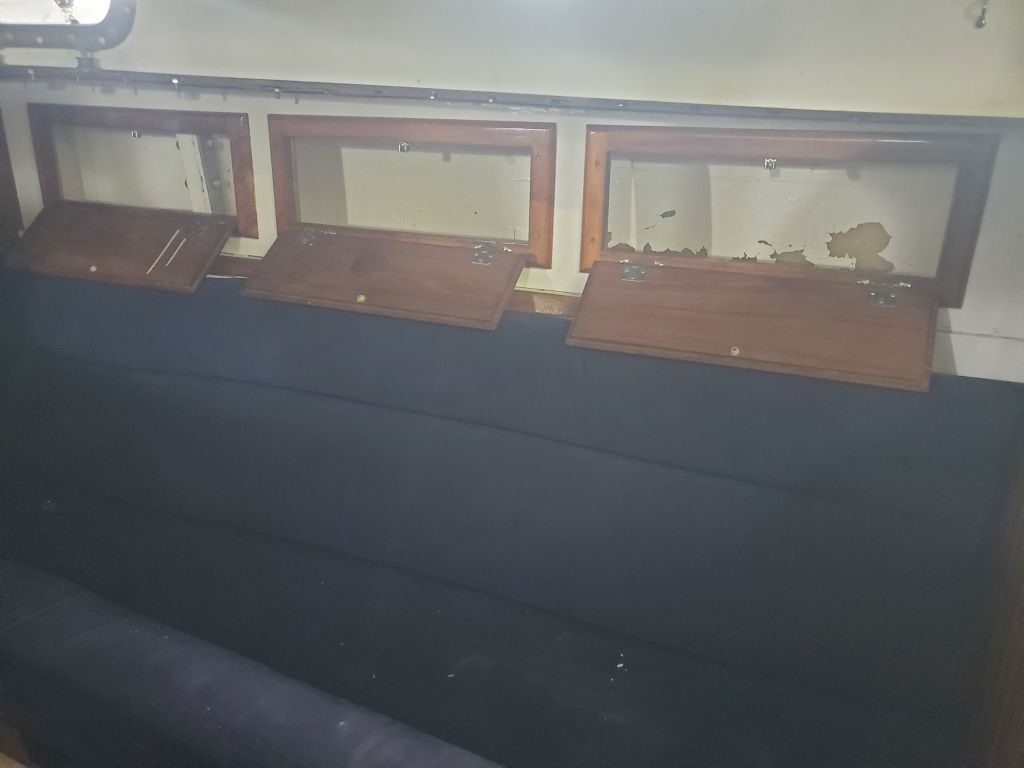
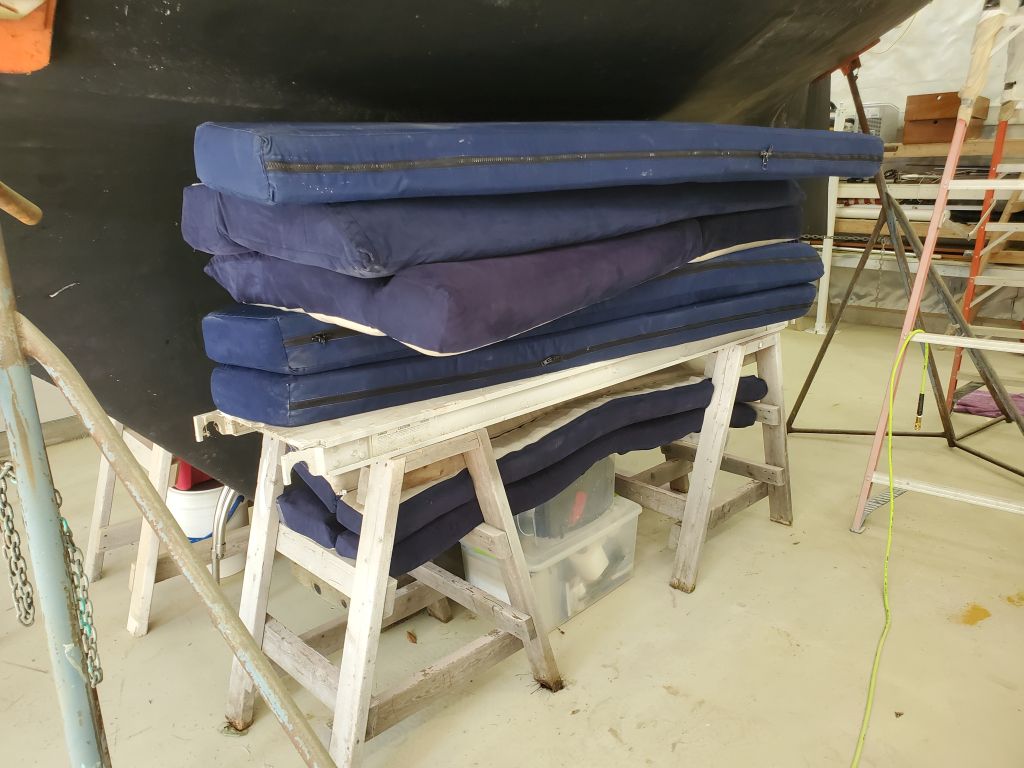
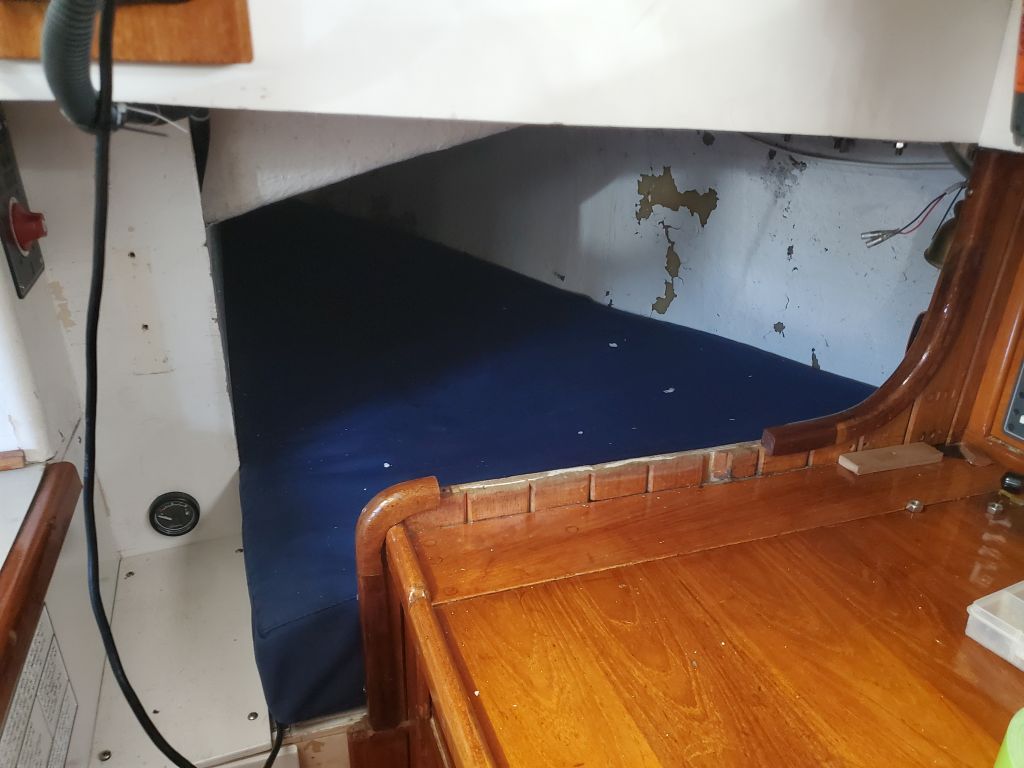
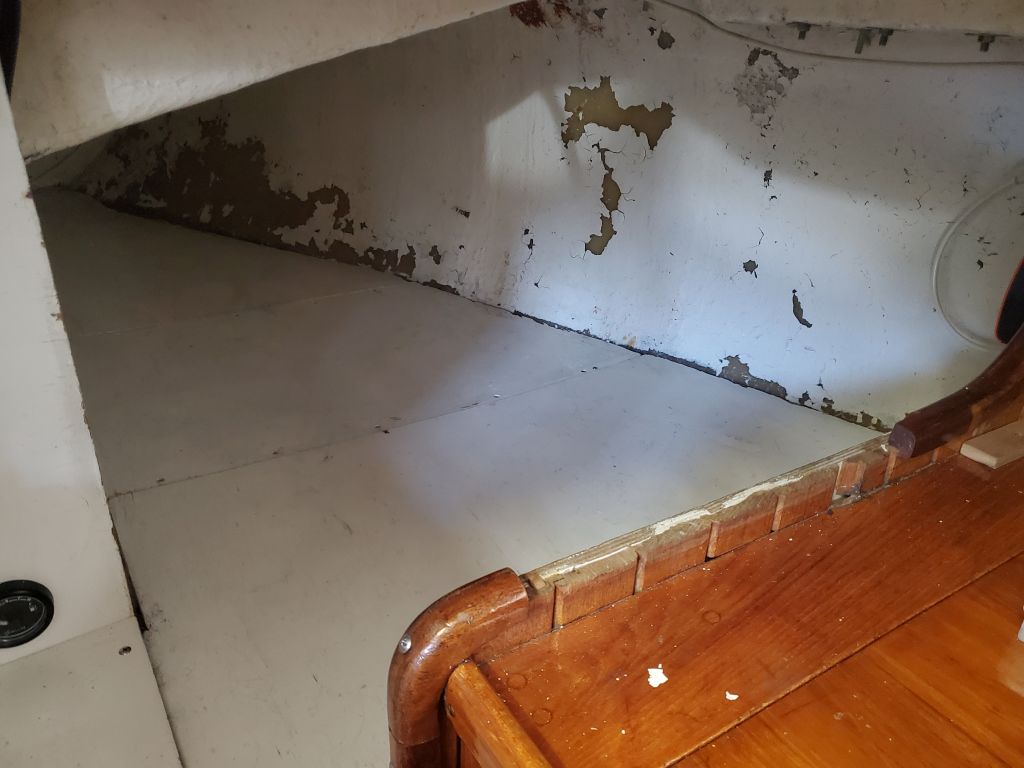
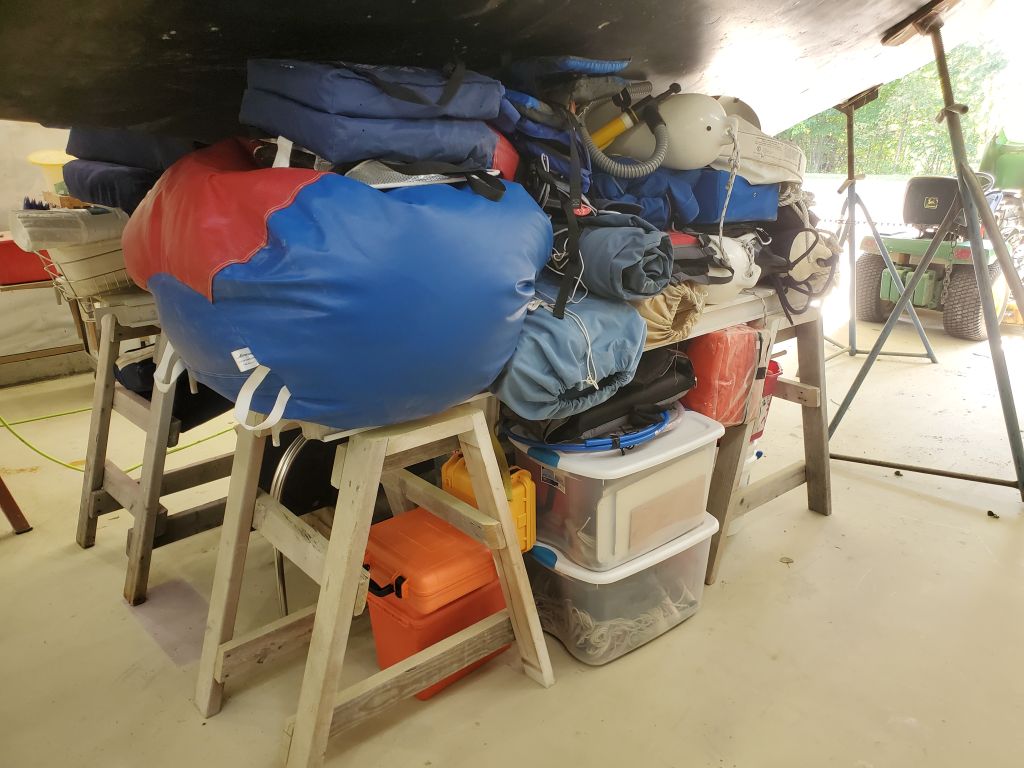
I continued the work to empty out the boat, beginning now with the interior cushions from all areas, which I stored beneath the port side of the boat for now.

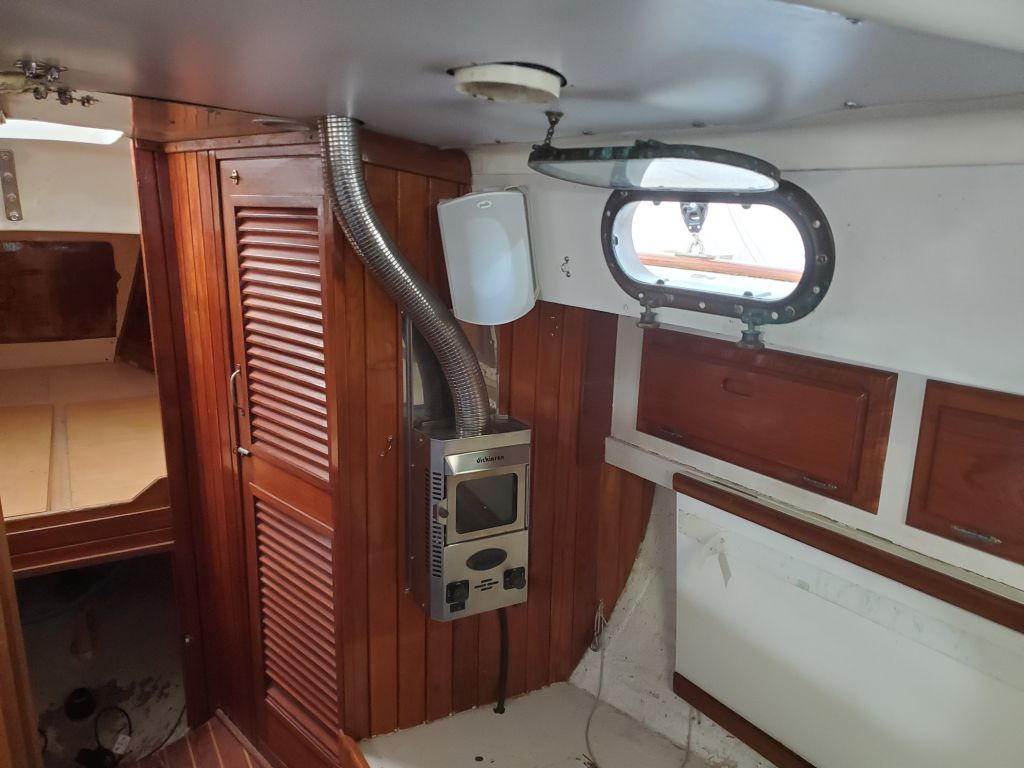
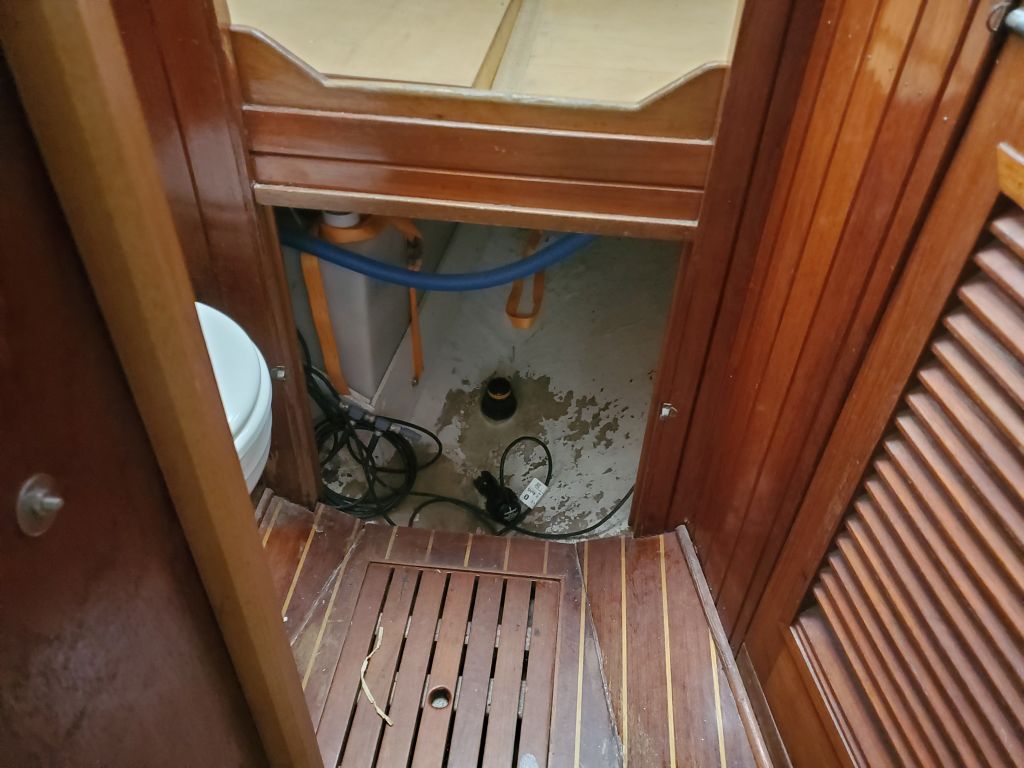
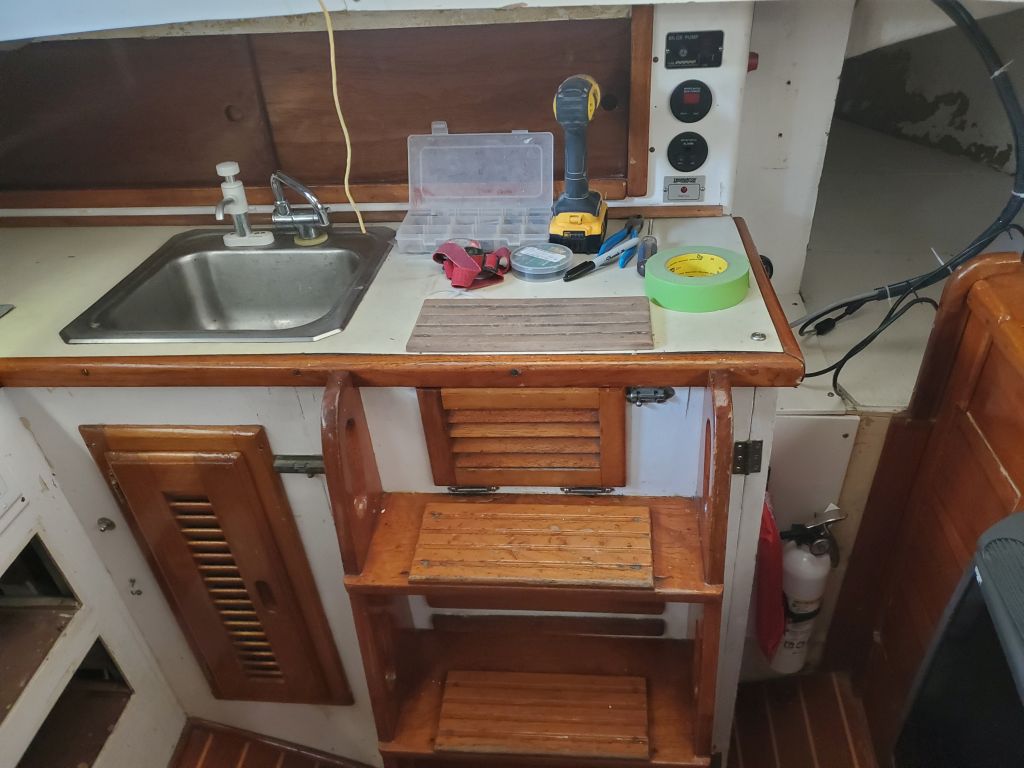
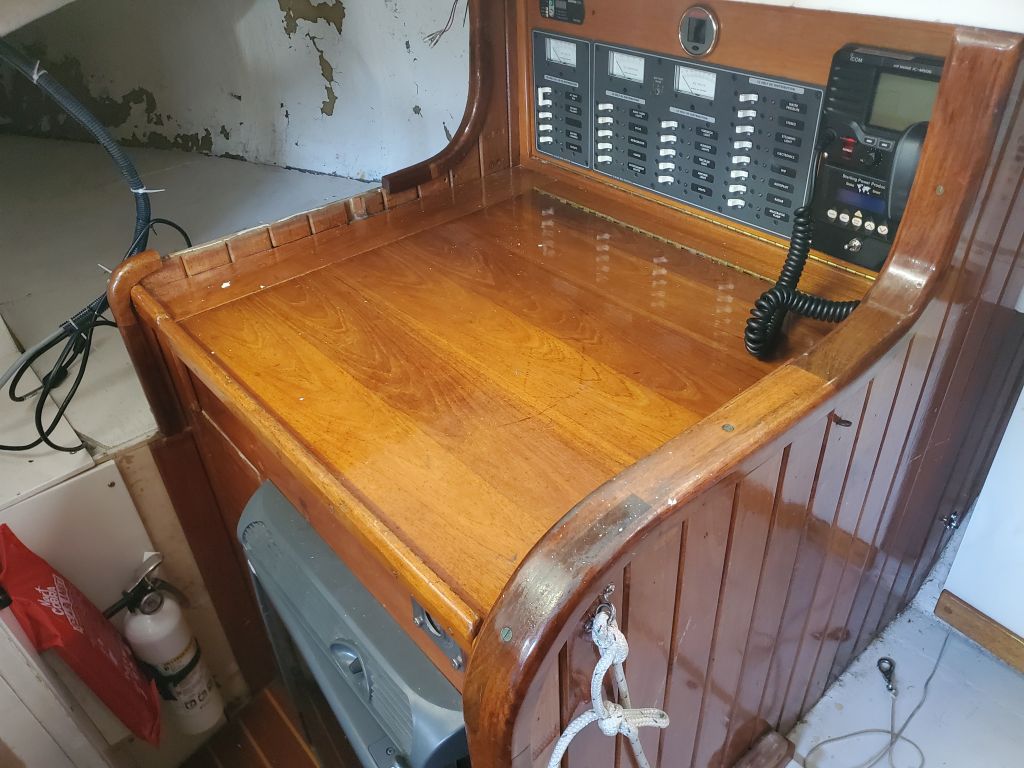
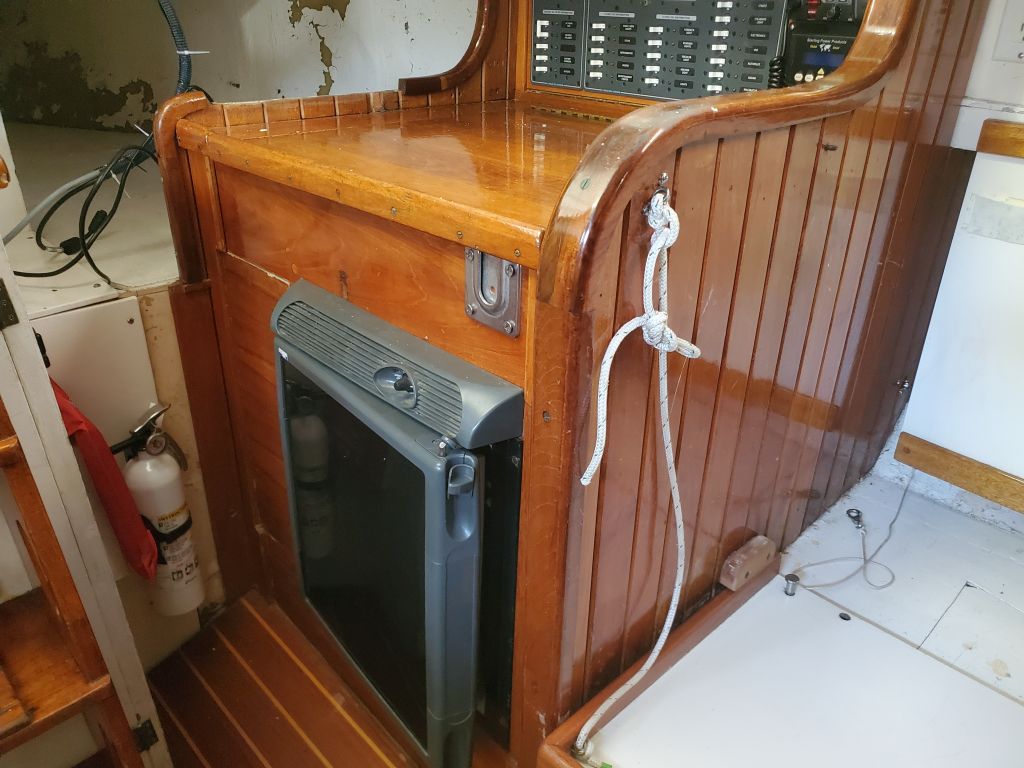
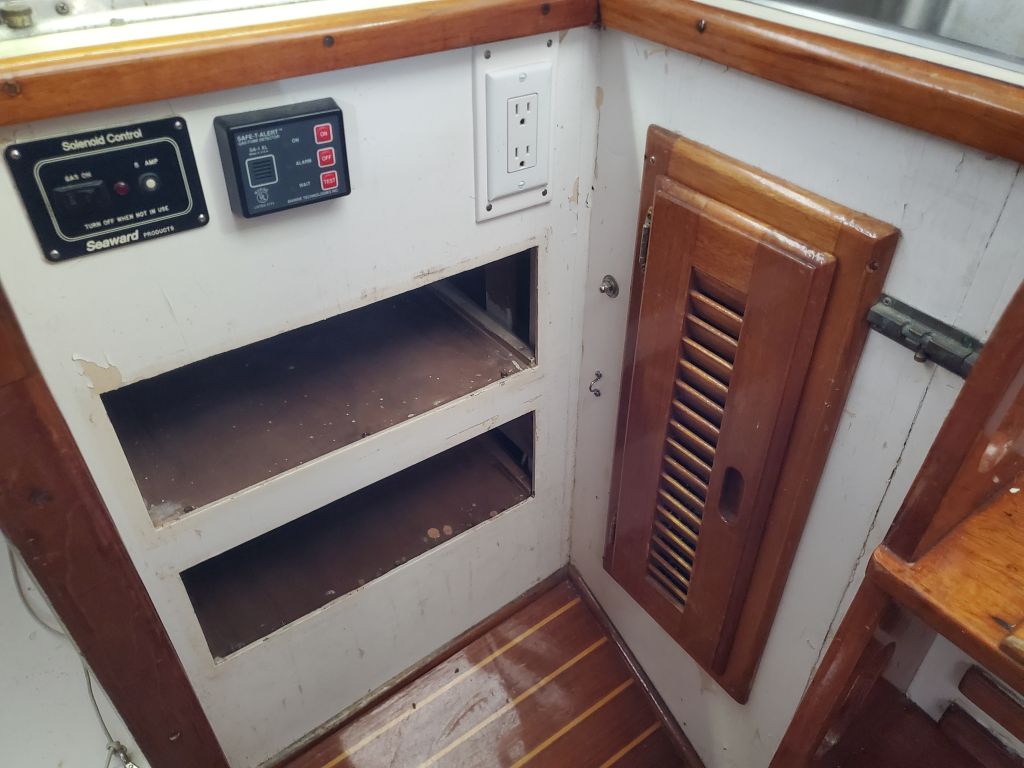
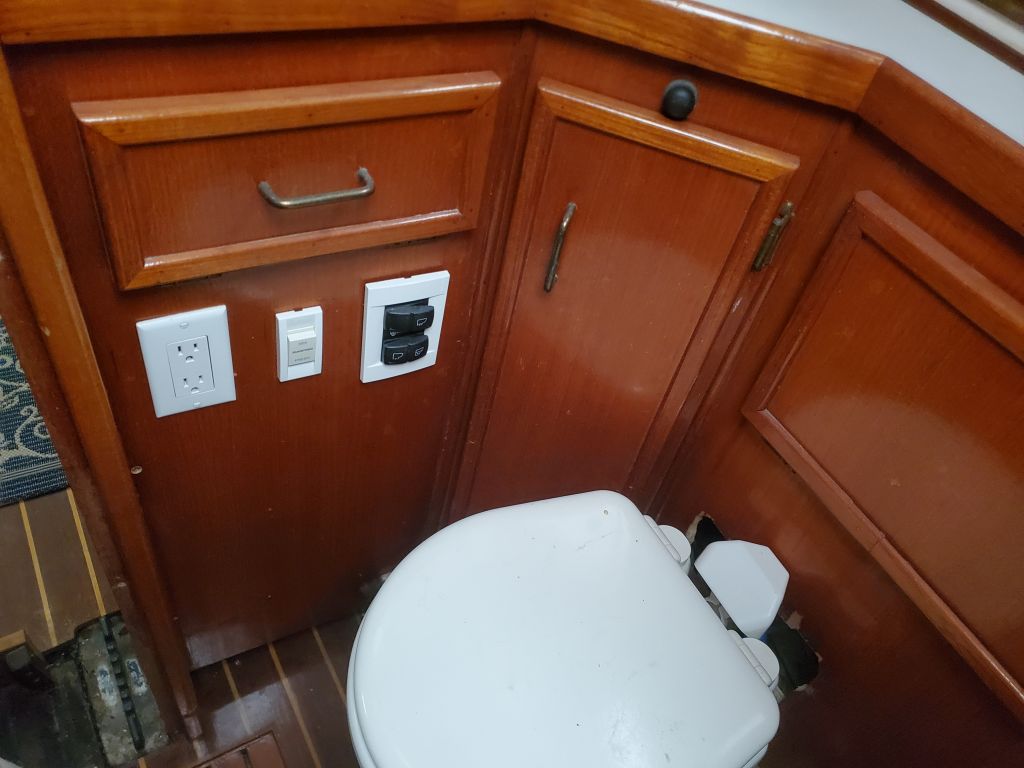
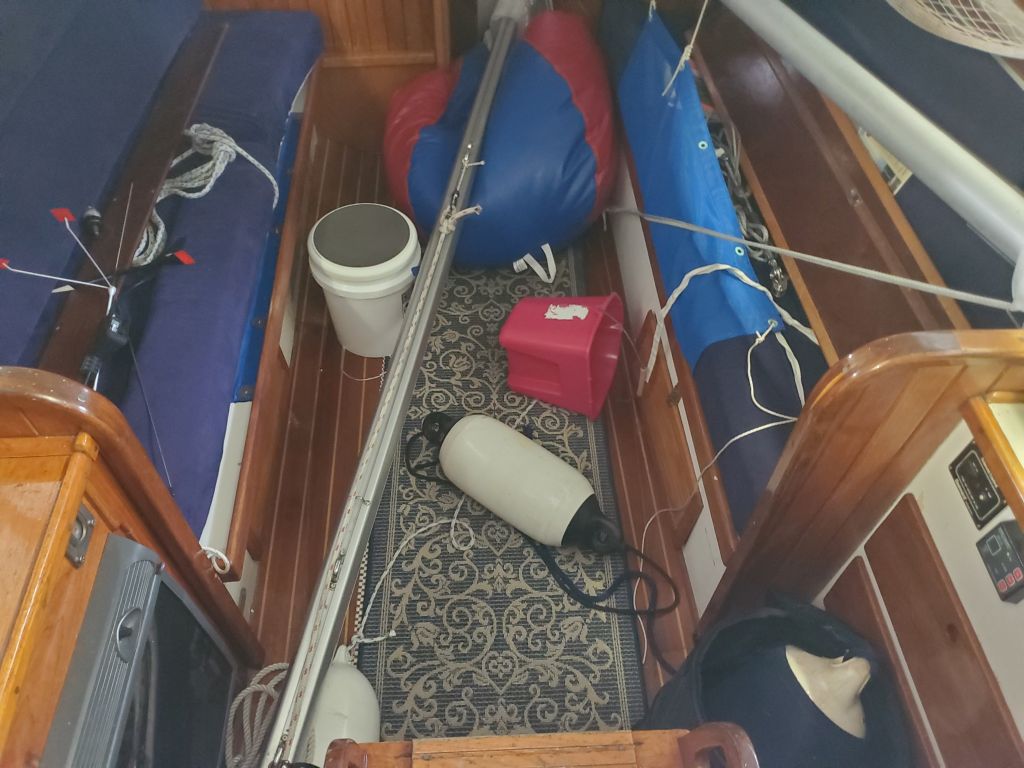
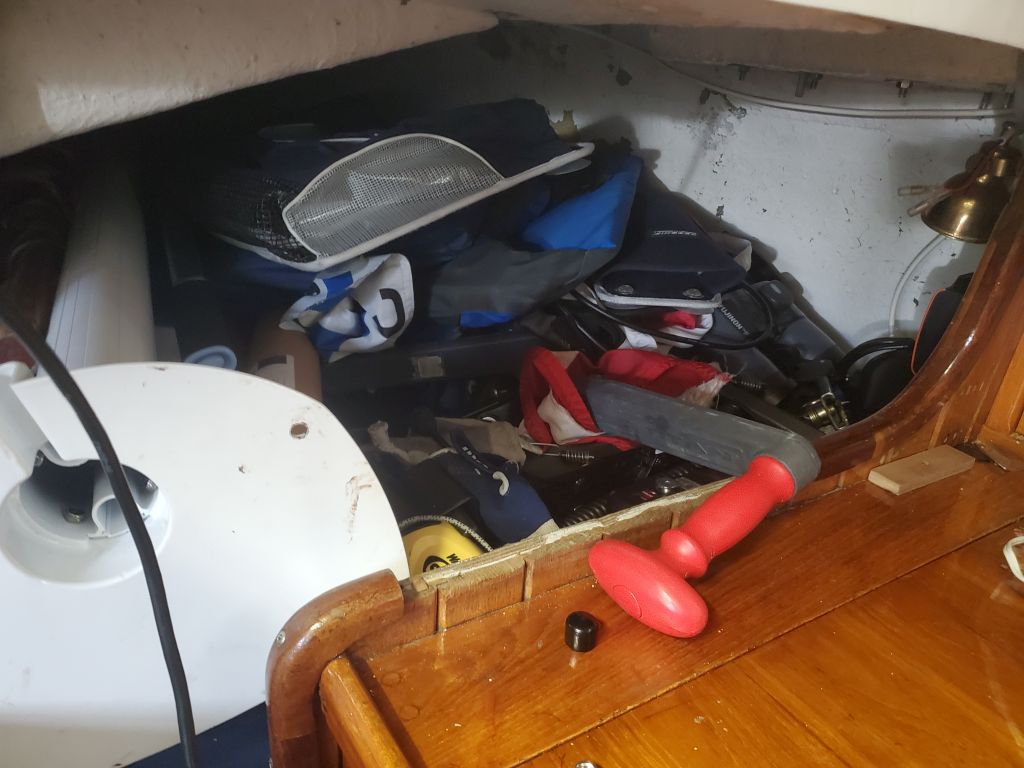
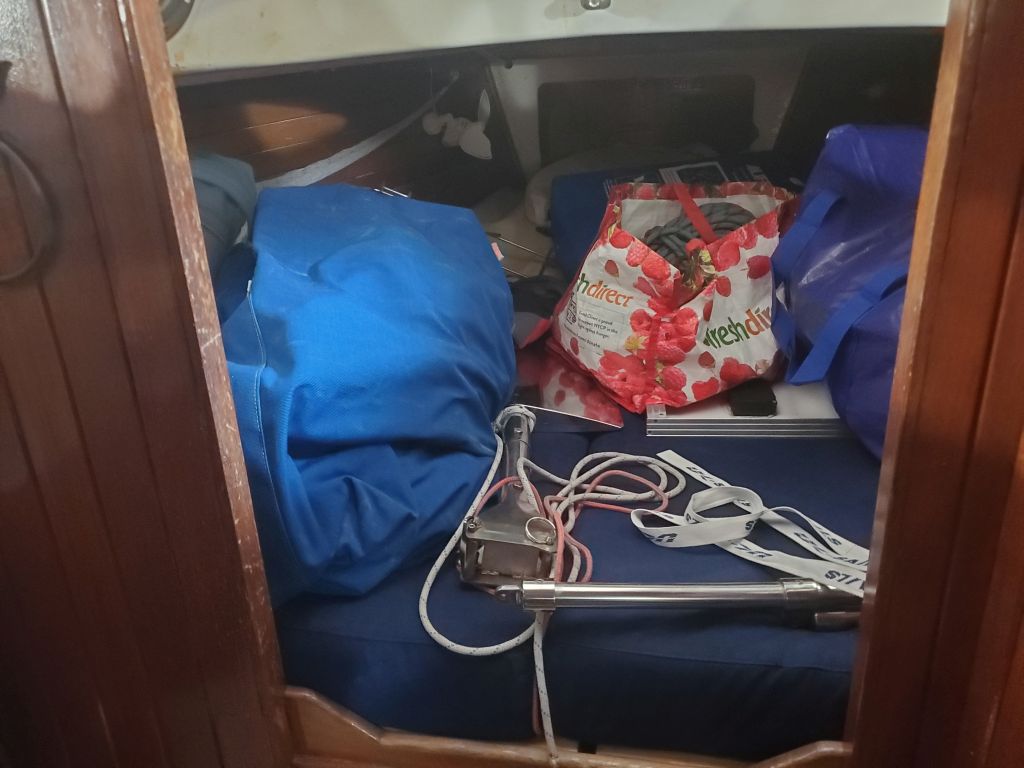
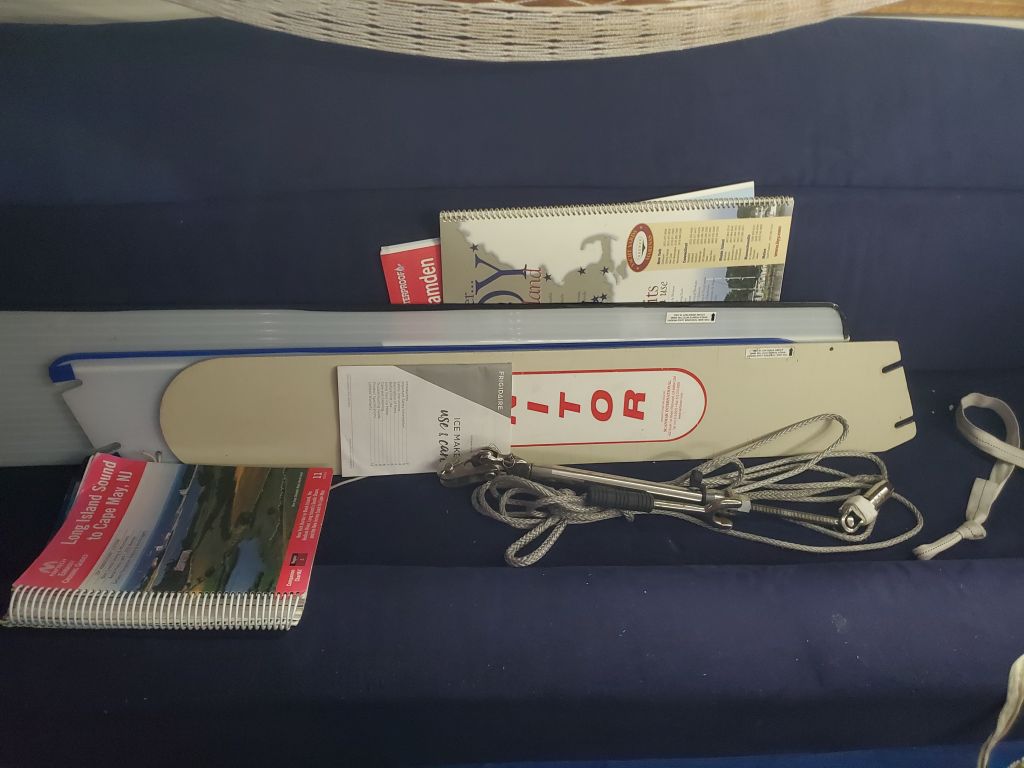
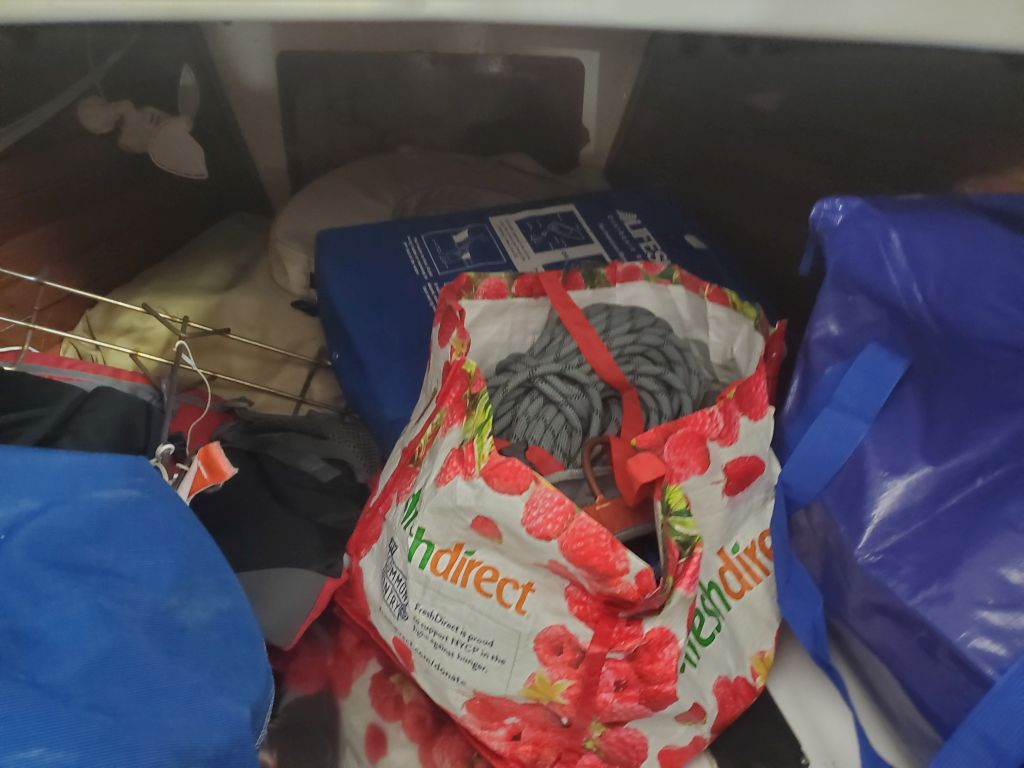
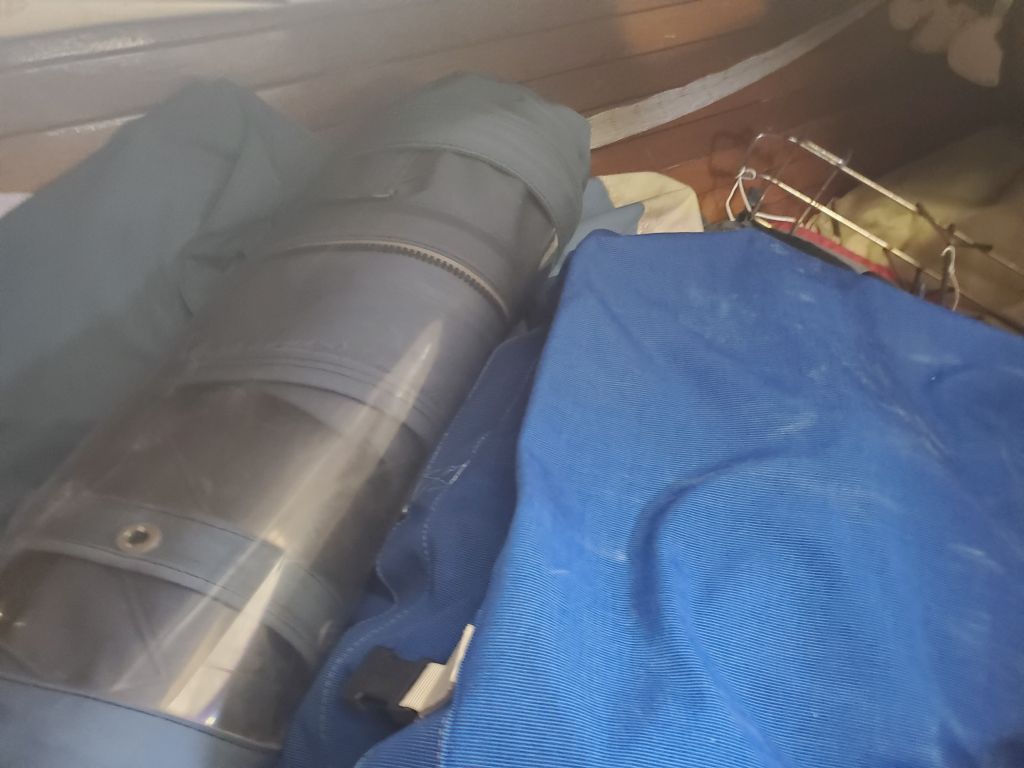
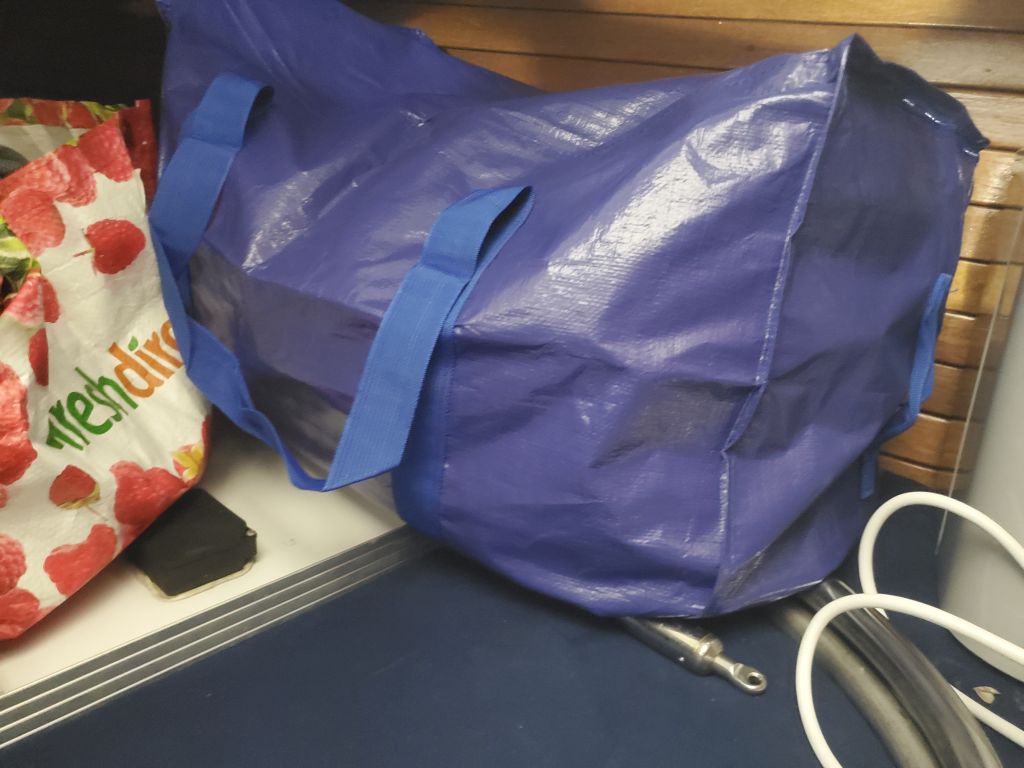
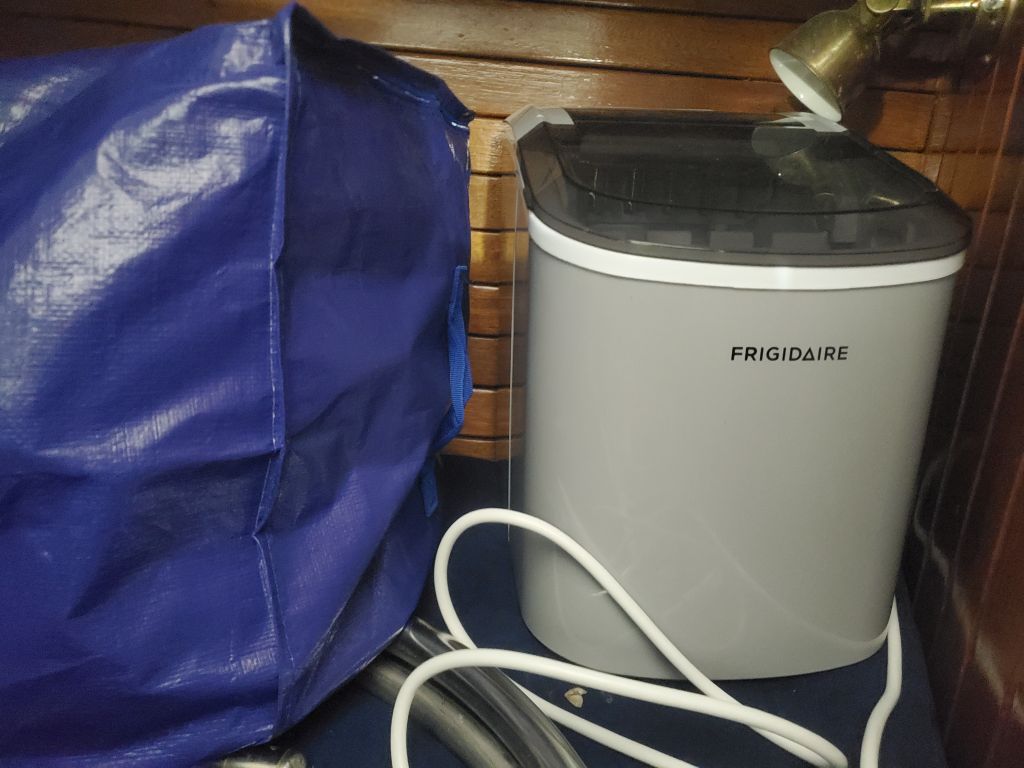
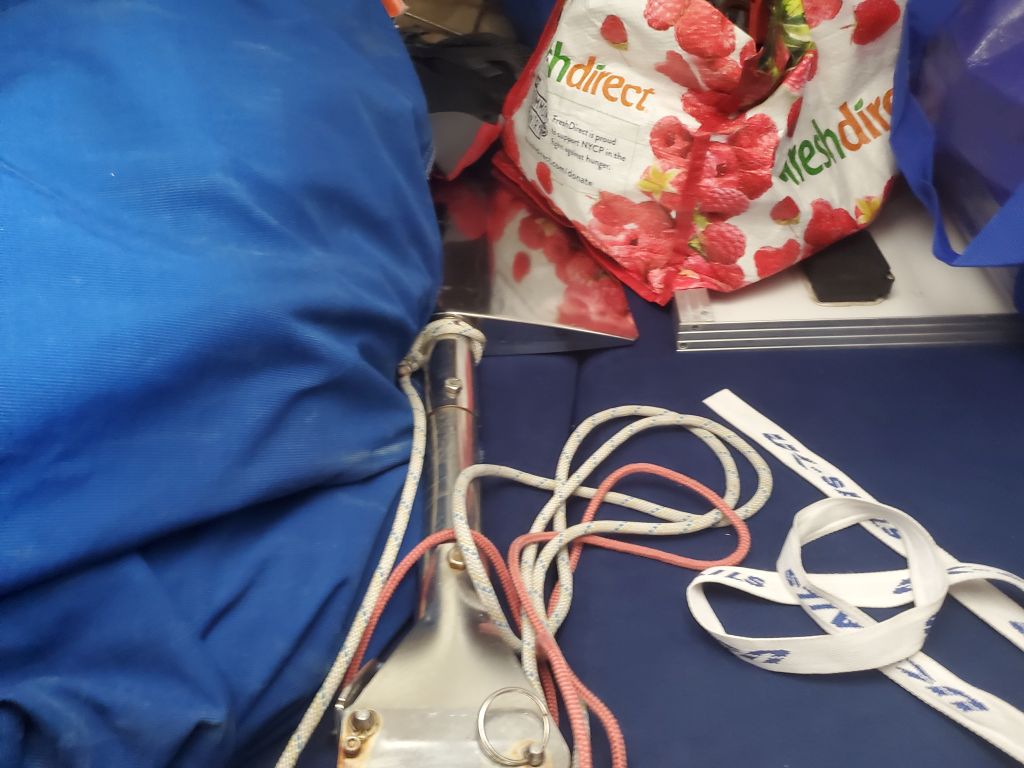
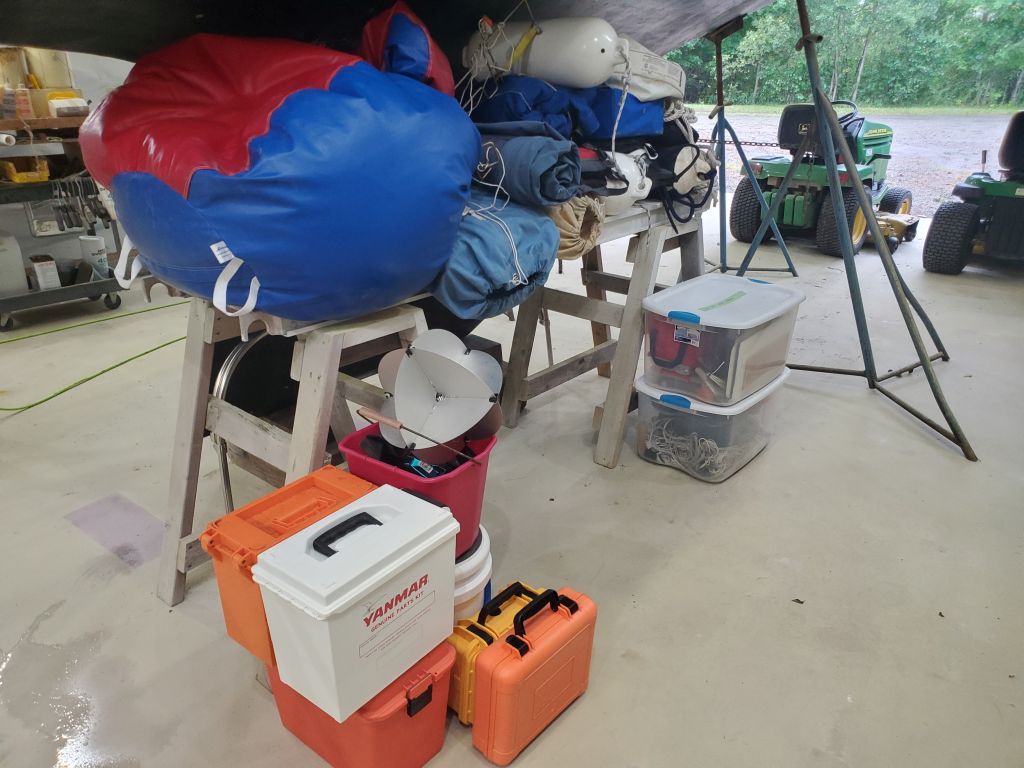
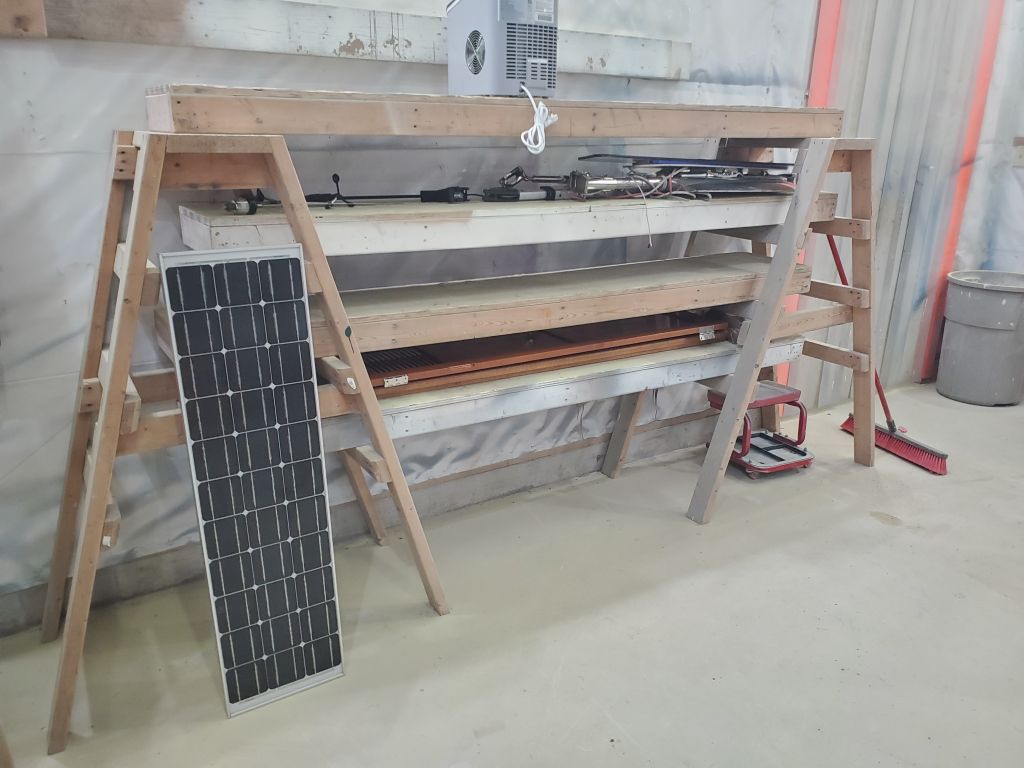
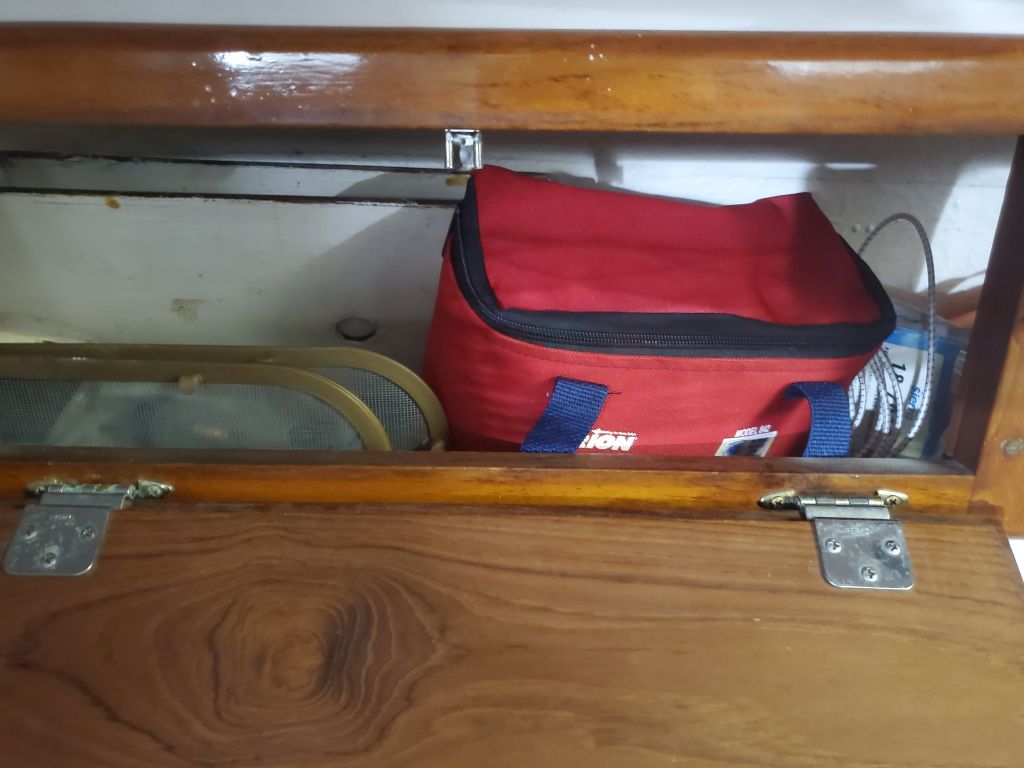
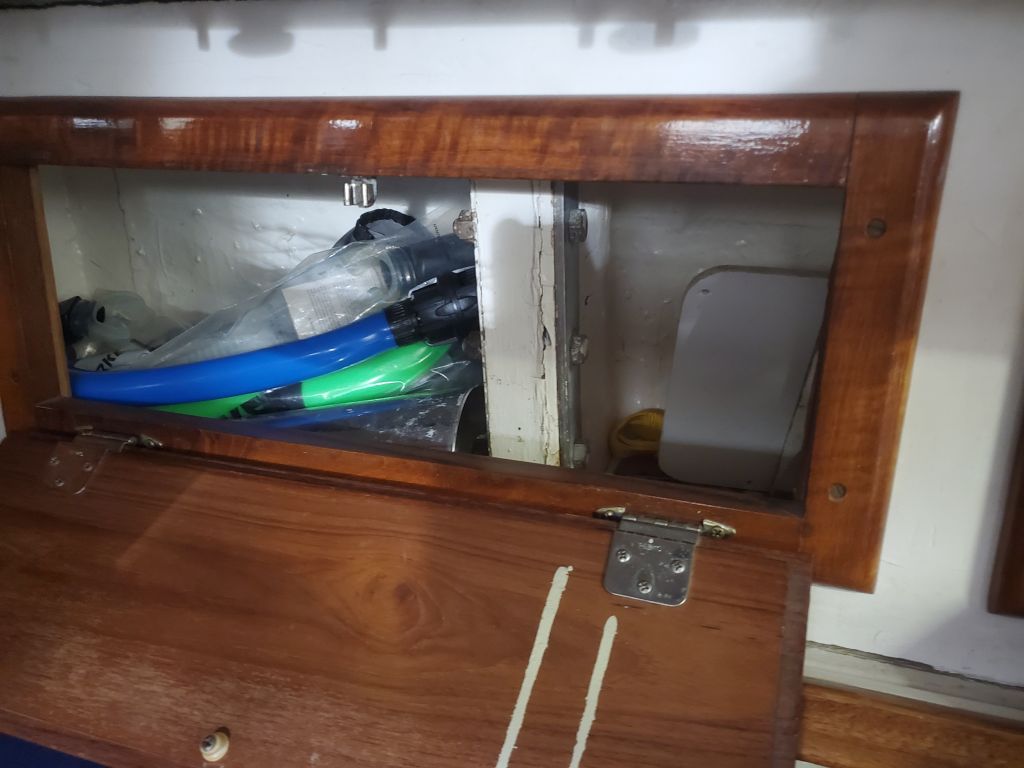
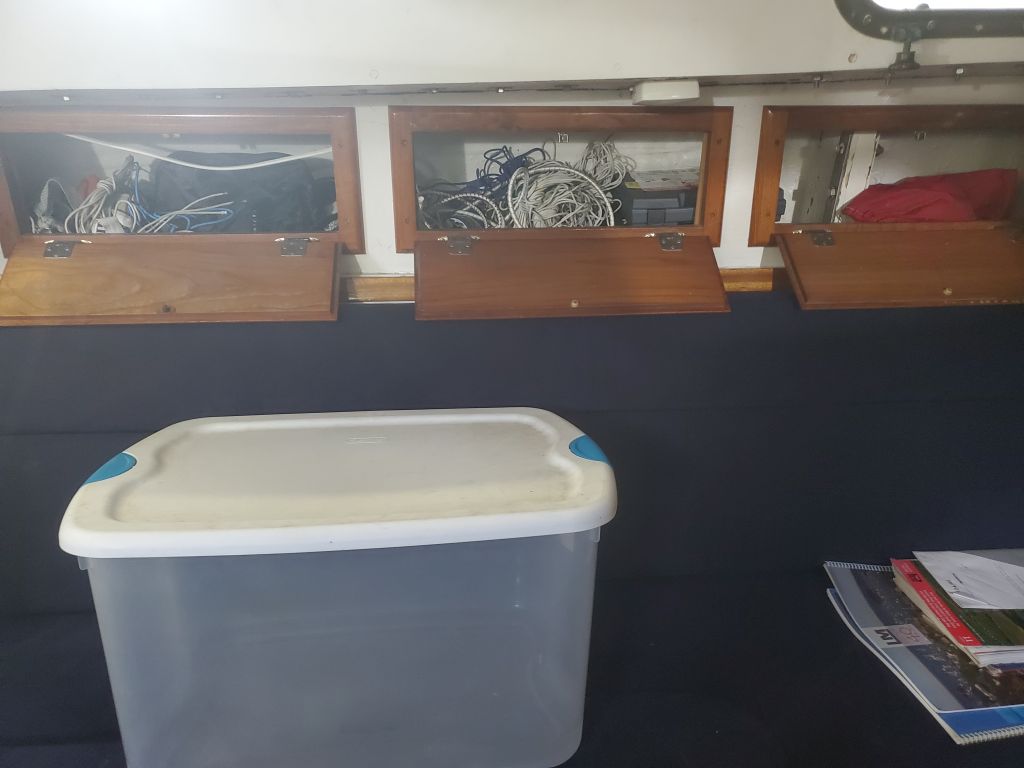
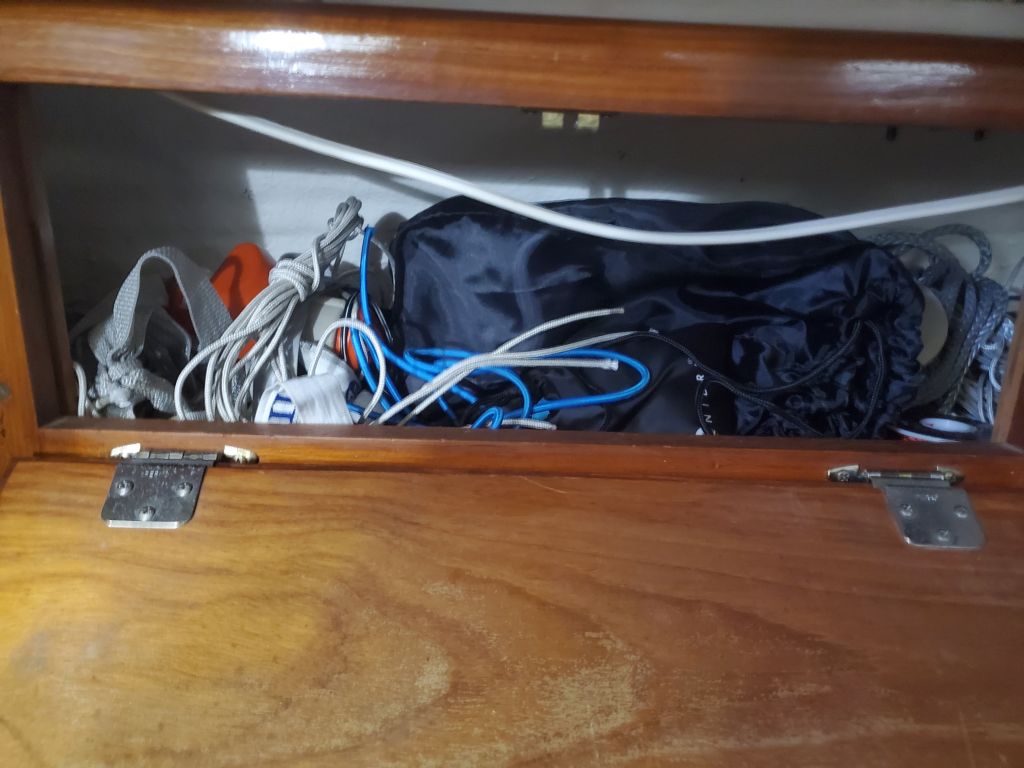
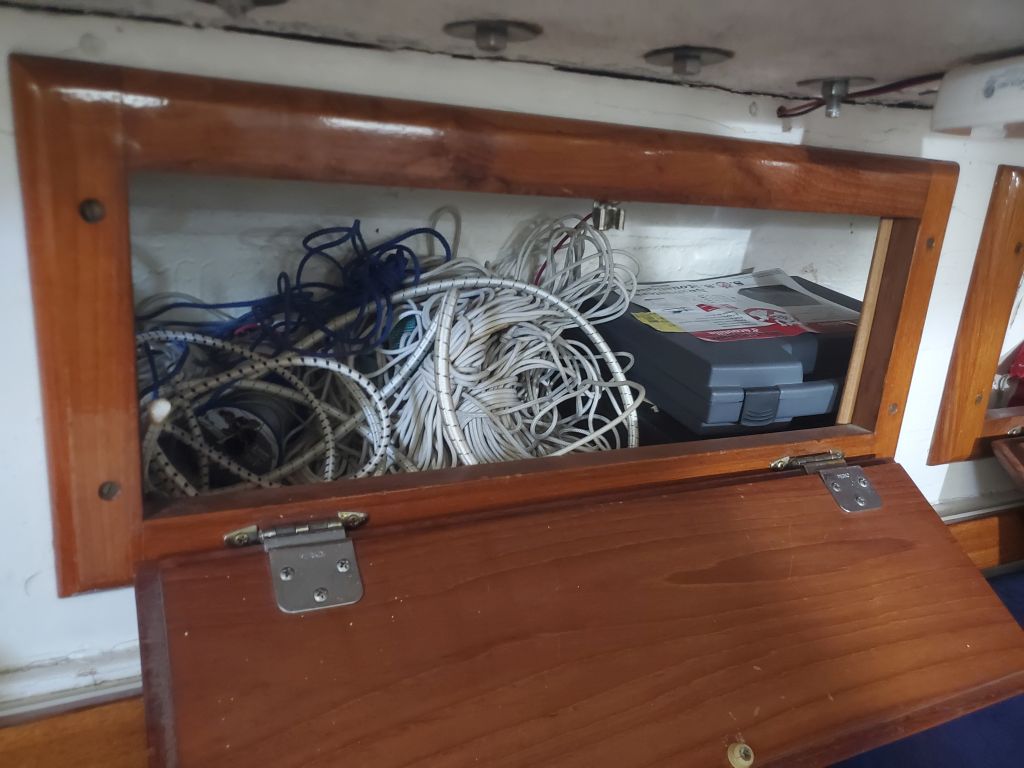
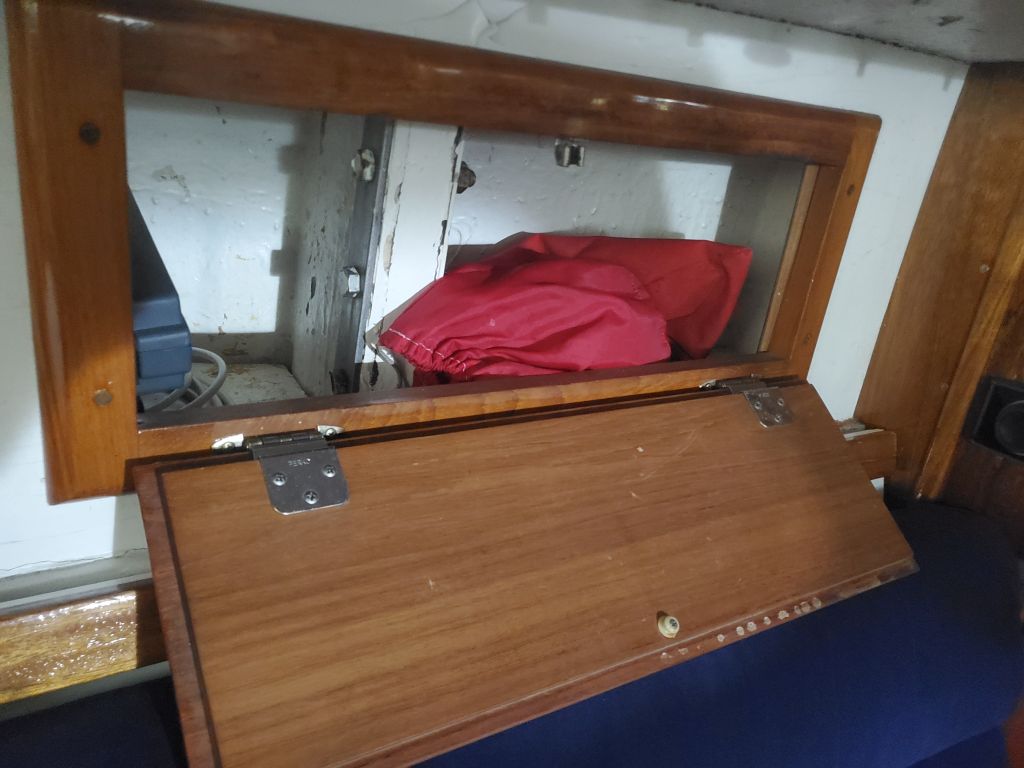
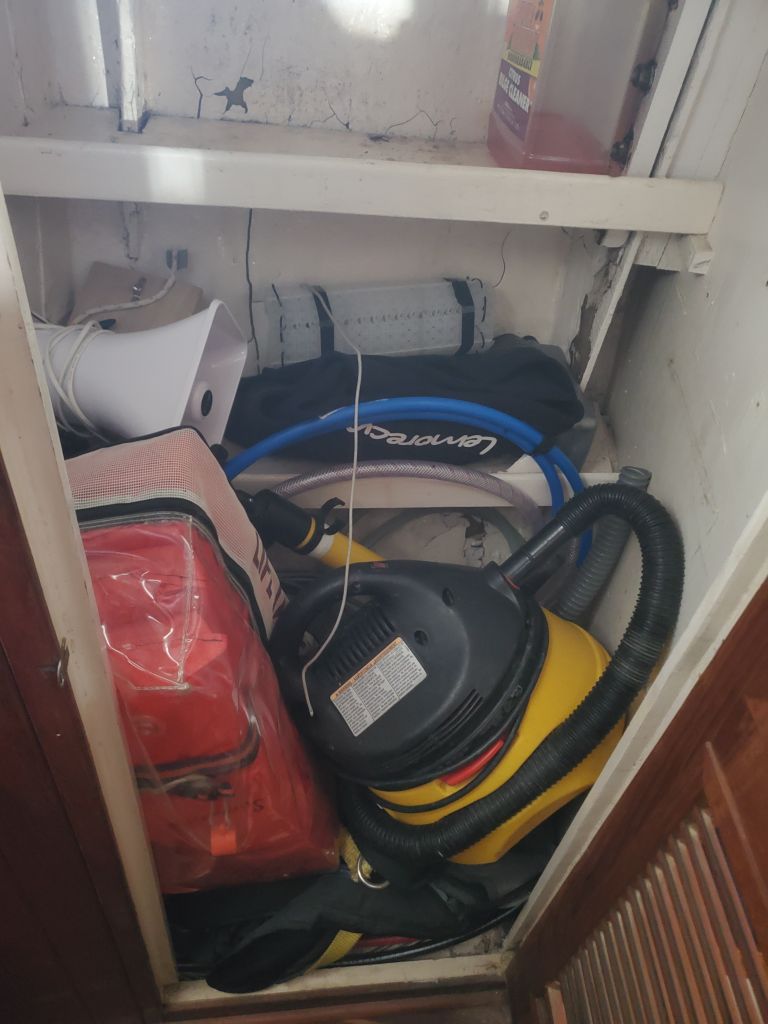
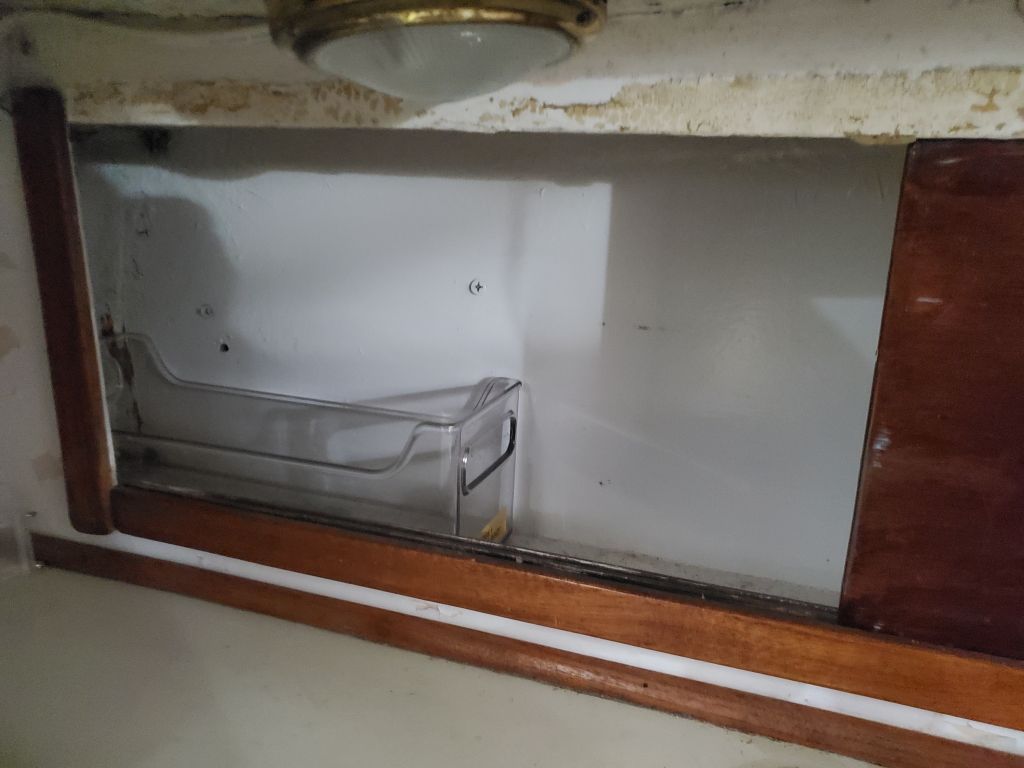
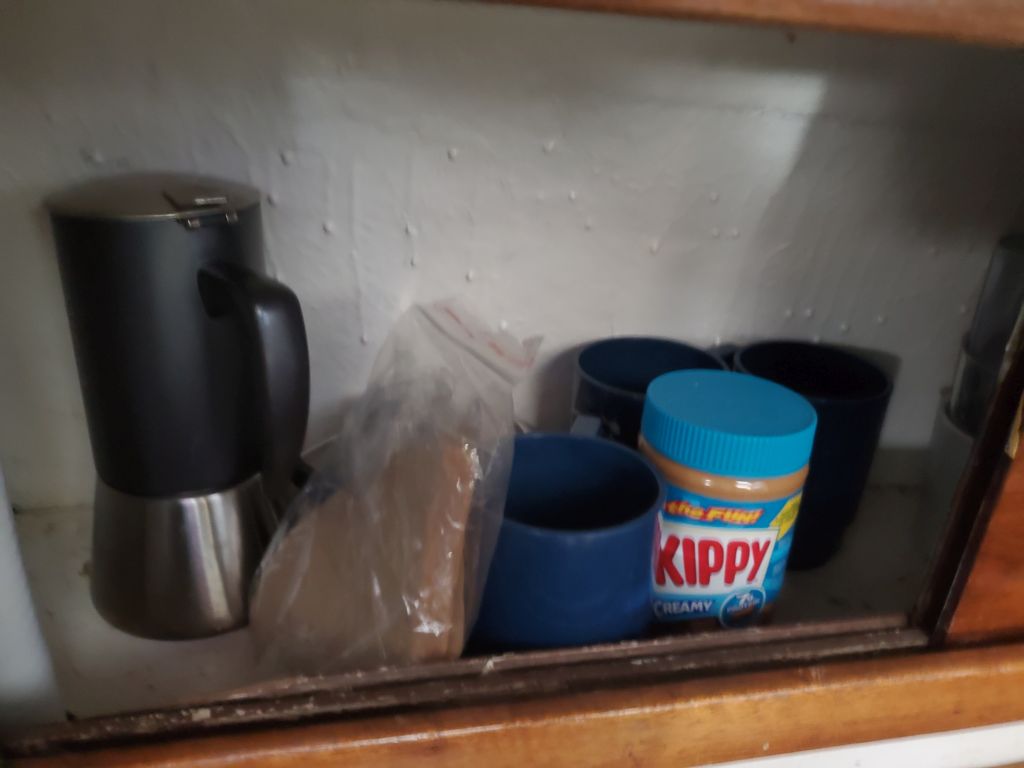
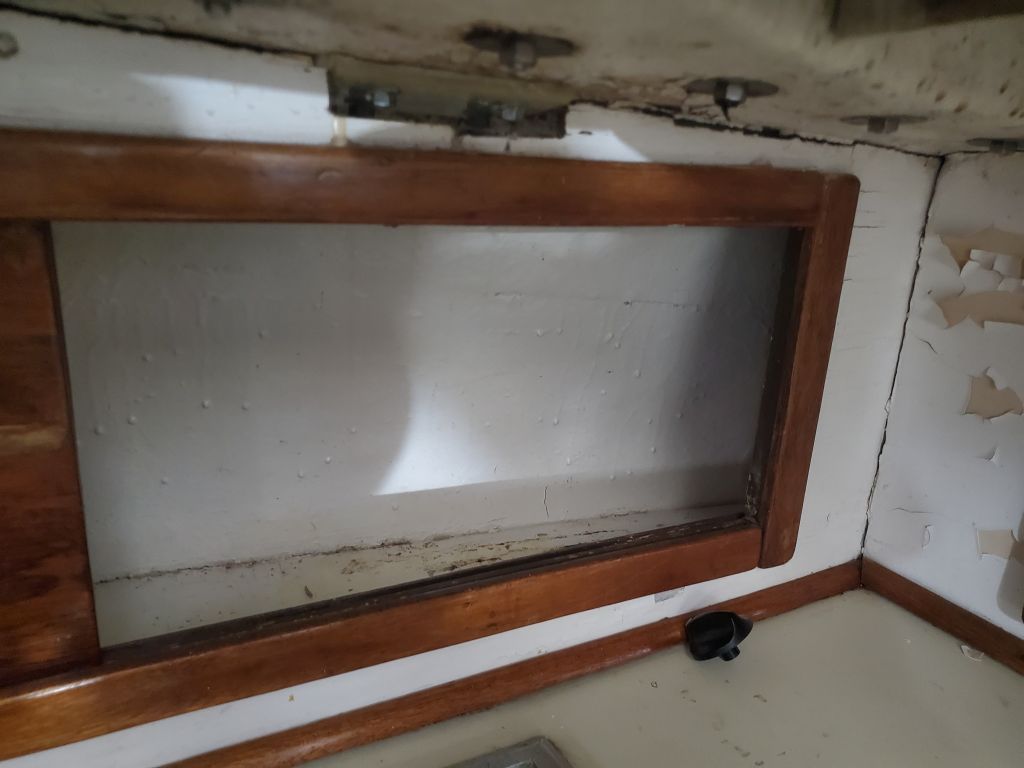
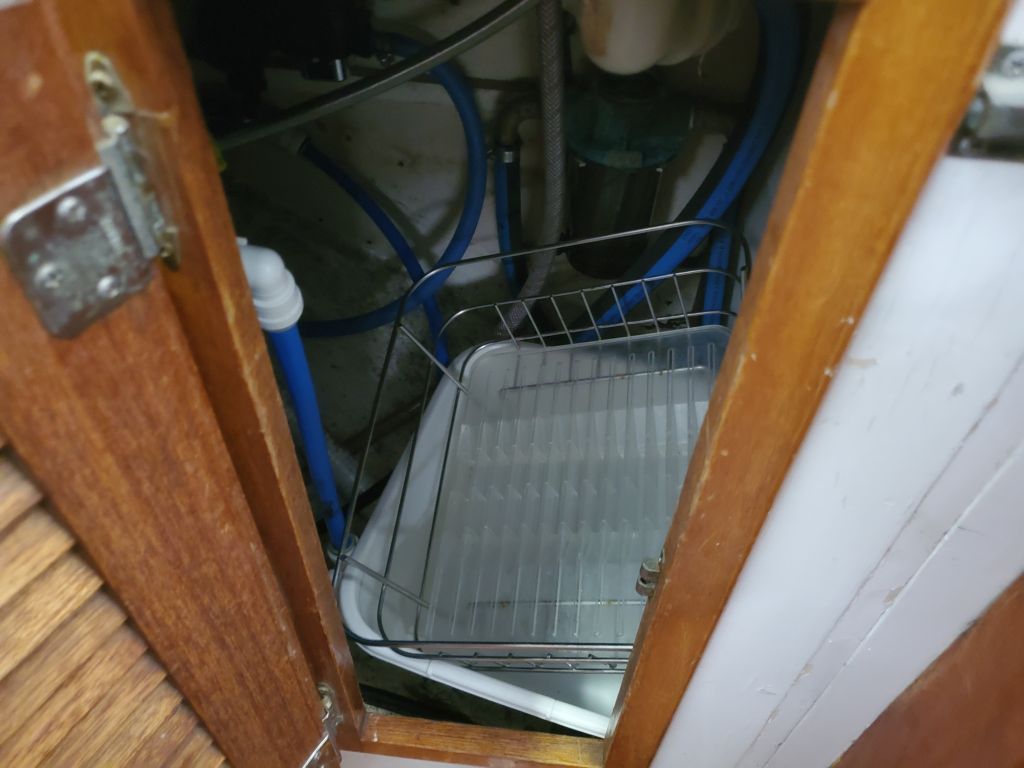
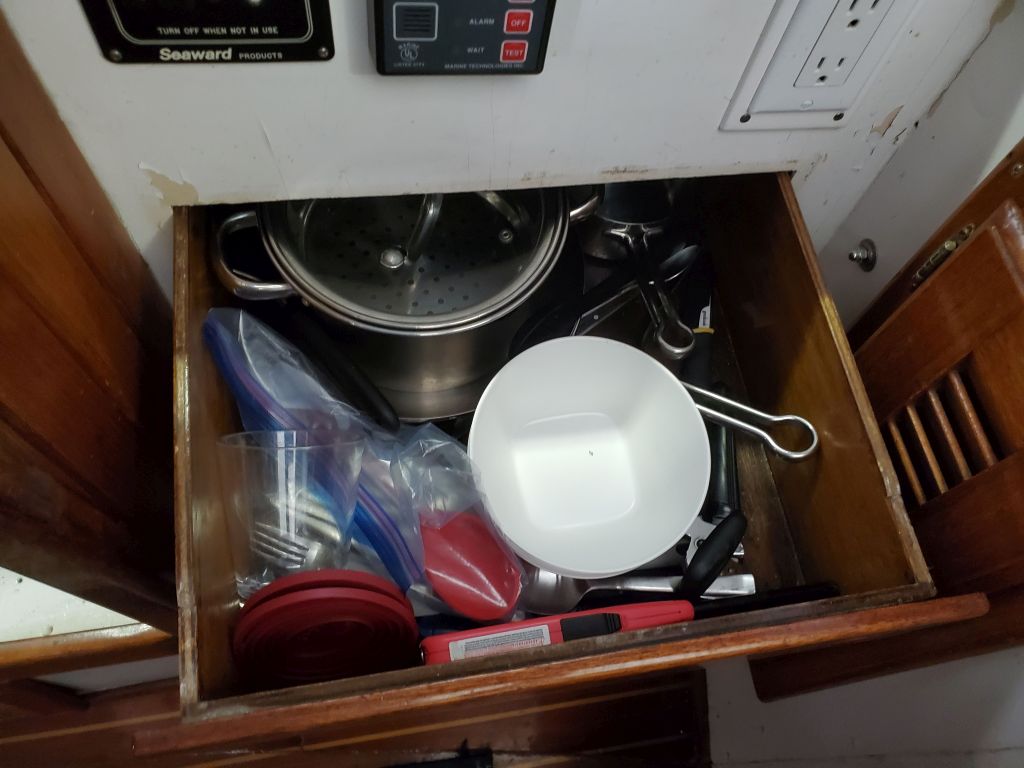
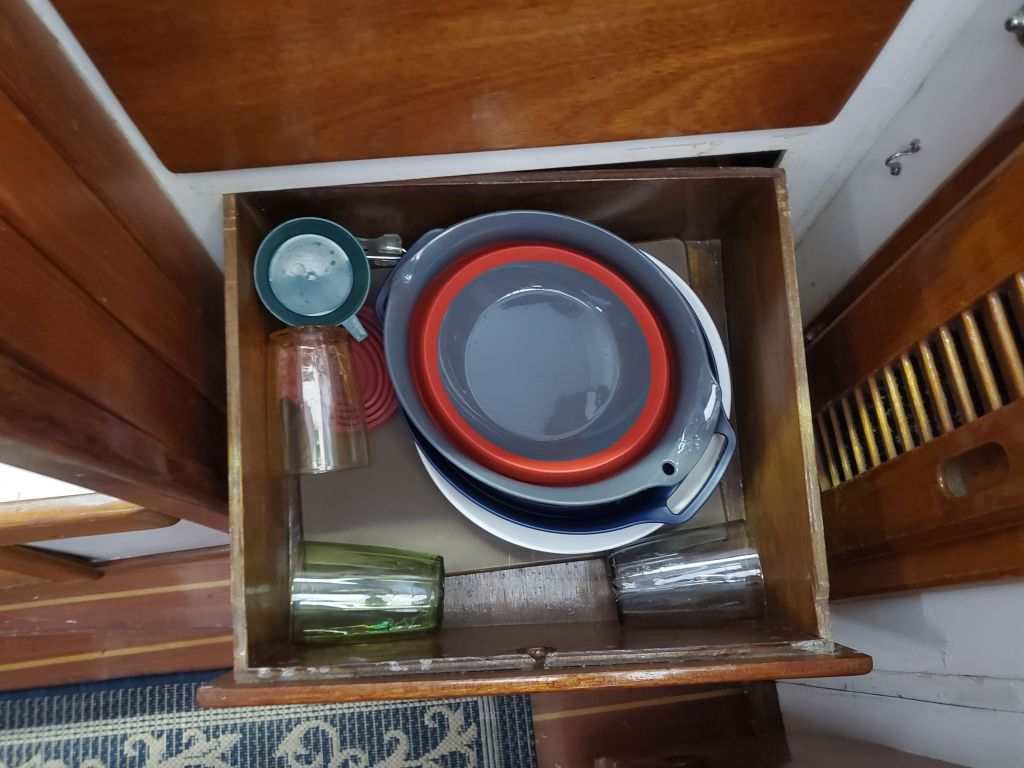
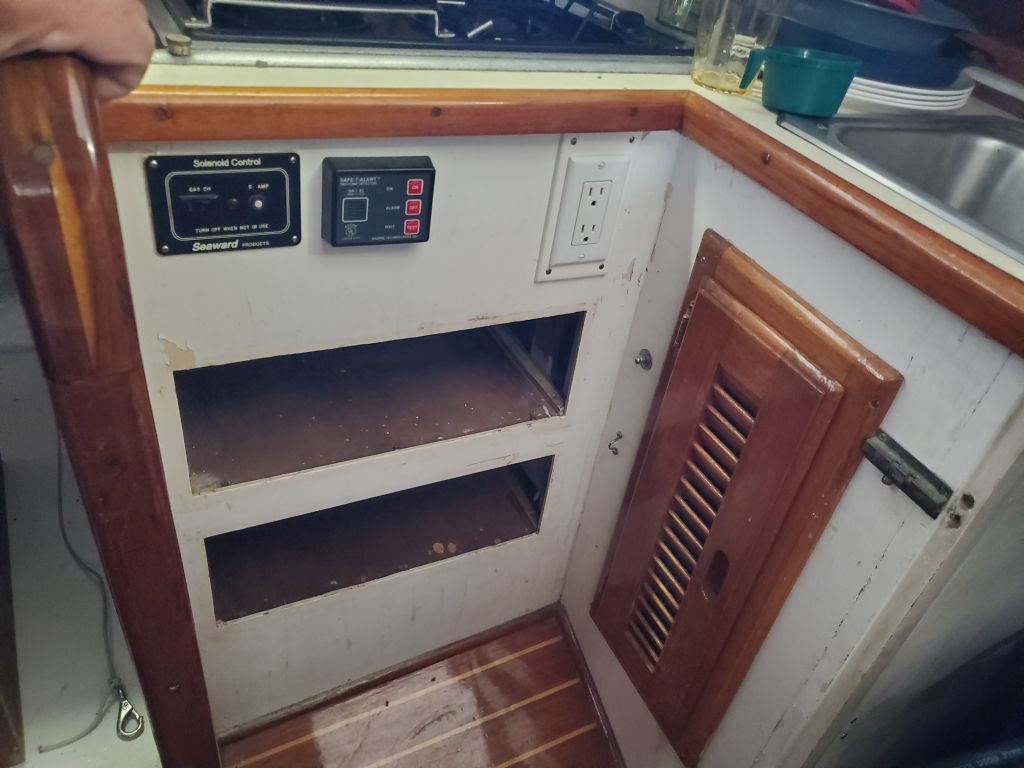
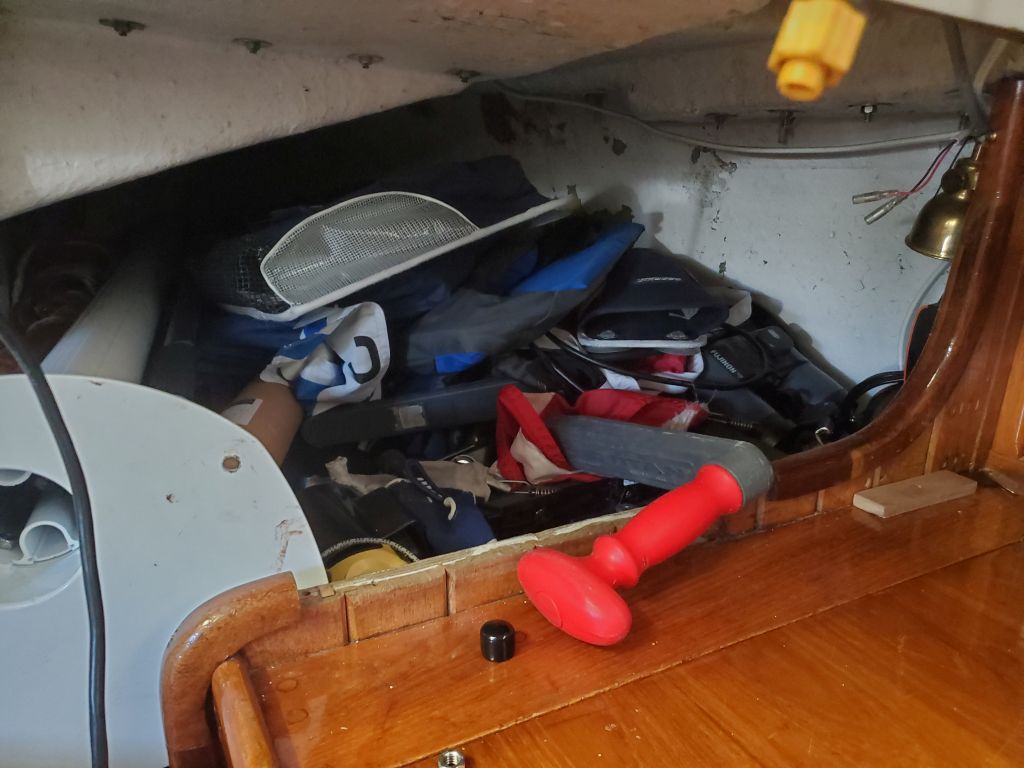
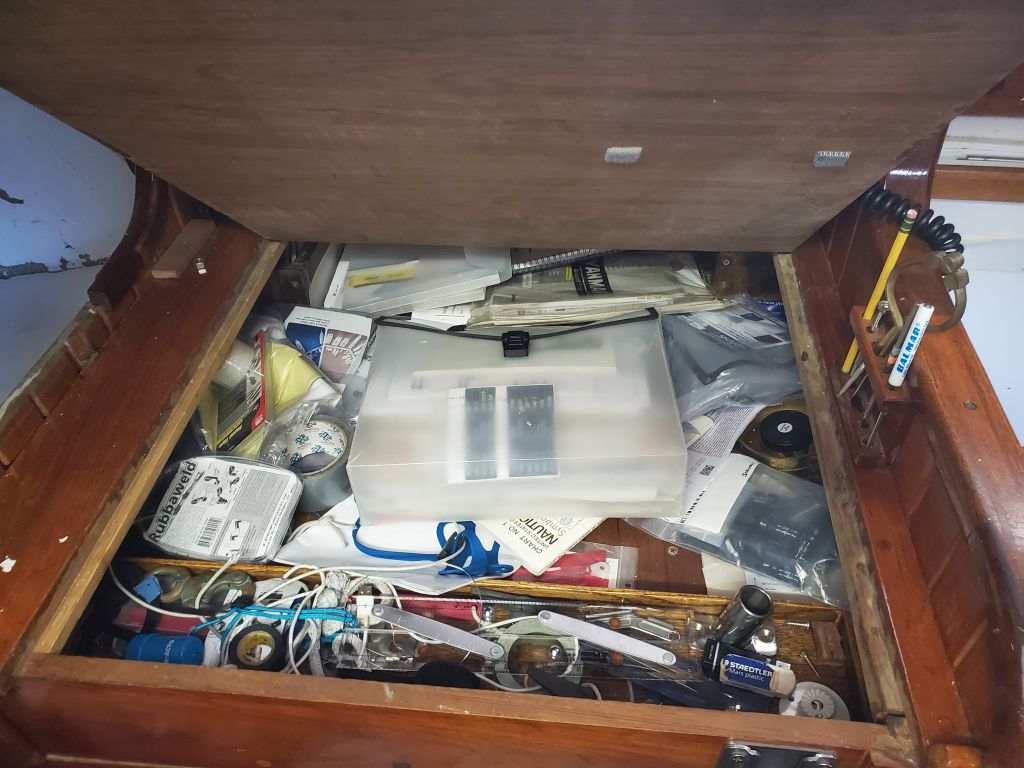
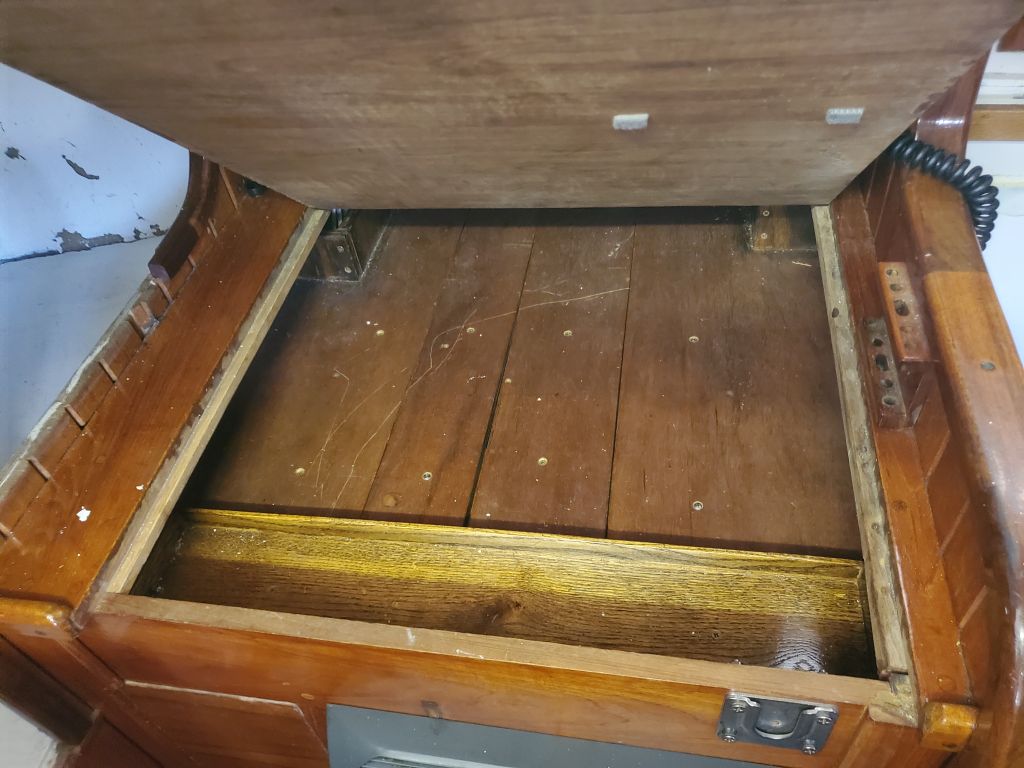
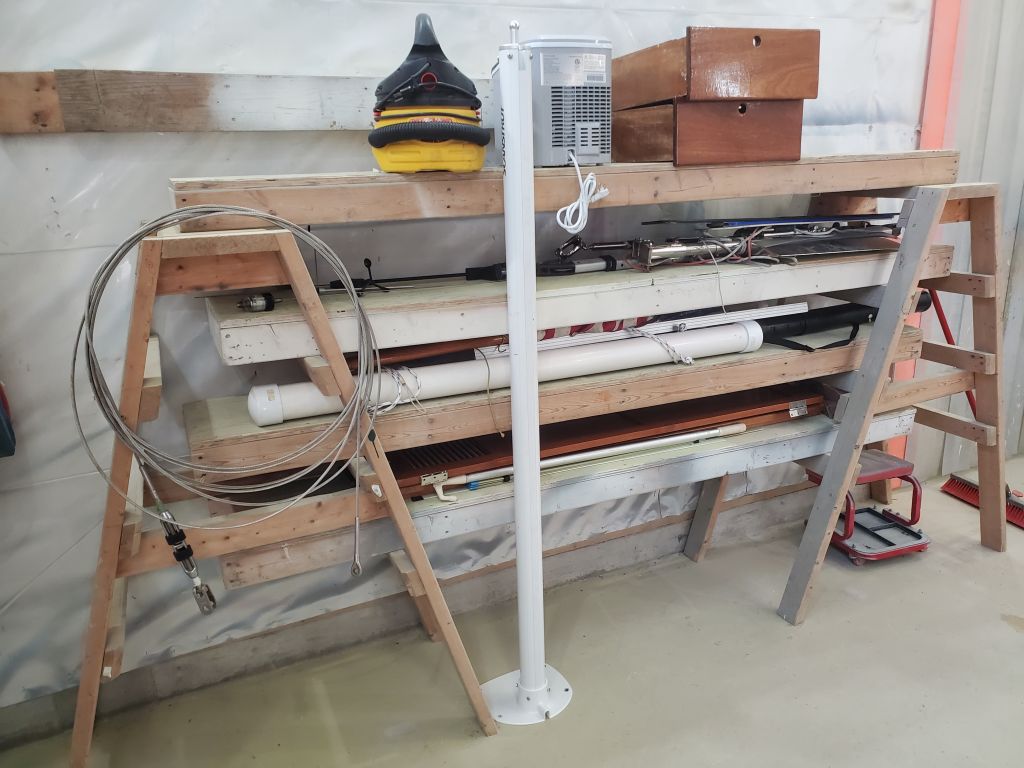
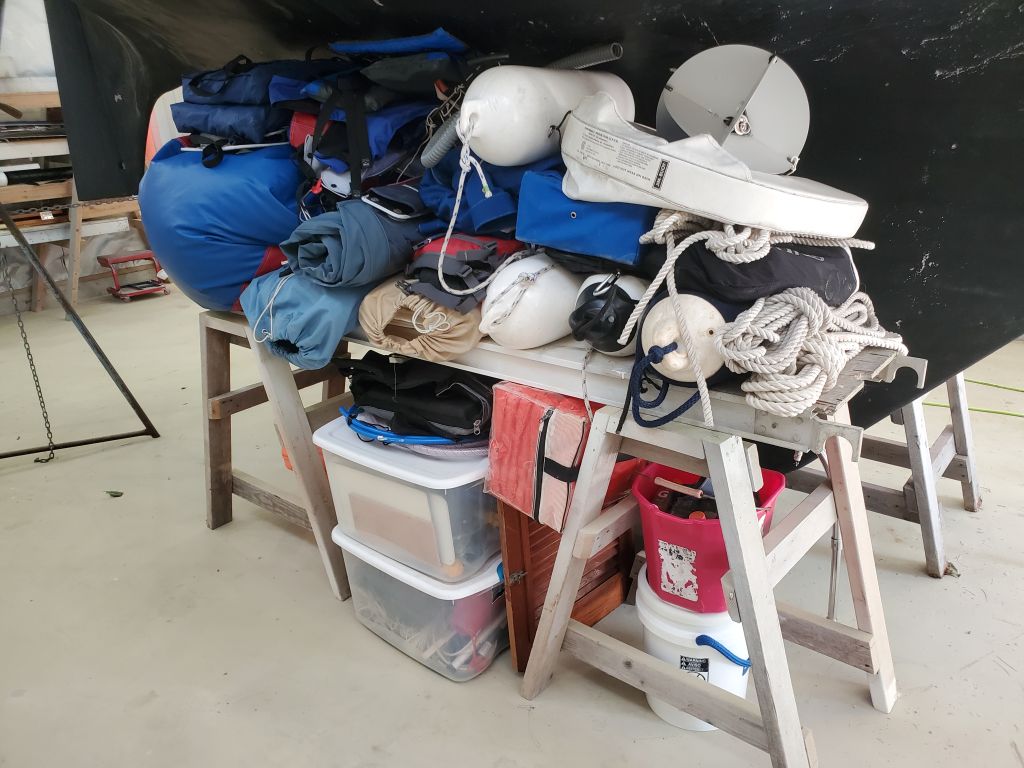
Meanwhile, I emptied out the galley lockers and drawers, storing the items temporarily in bins, and worked my way through the rest of the boat, including the navigation station, quarter berth (which was chock full of gear), hanging locker, and head areas. I loaded everything into bins, where applicable, or stored things loosely in the large pile beneath the starboard side of the boat, or on some additional shelves behind the boat.
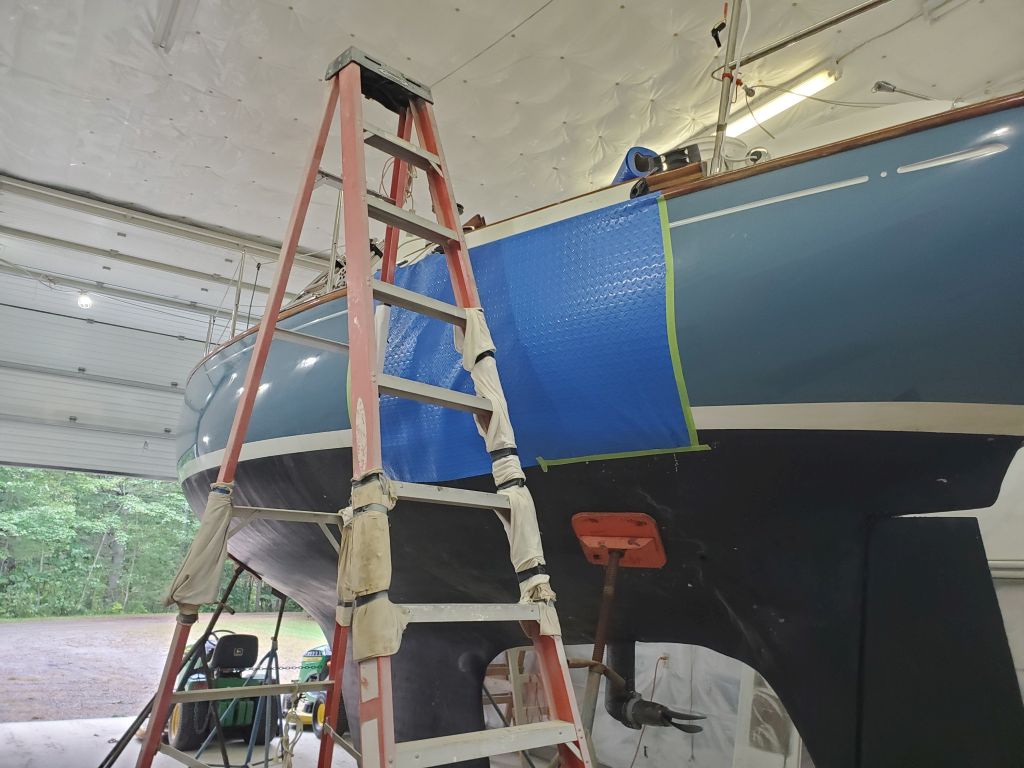
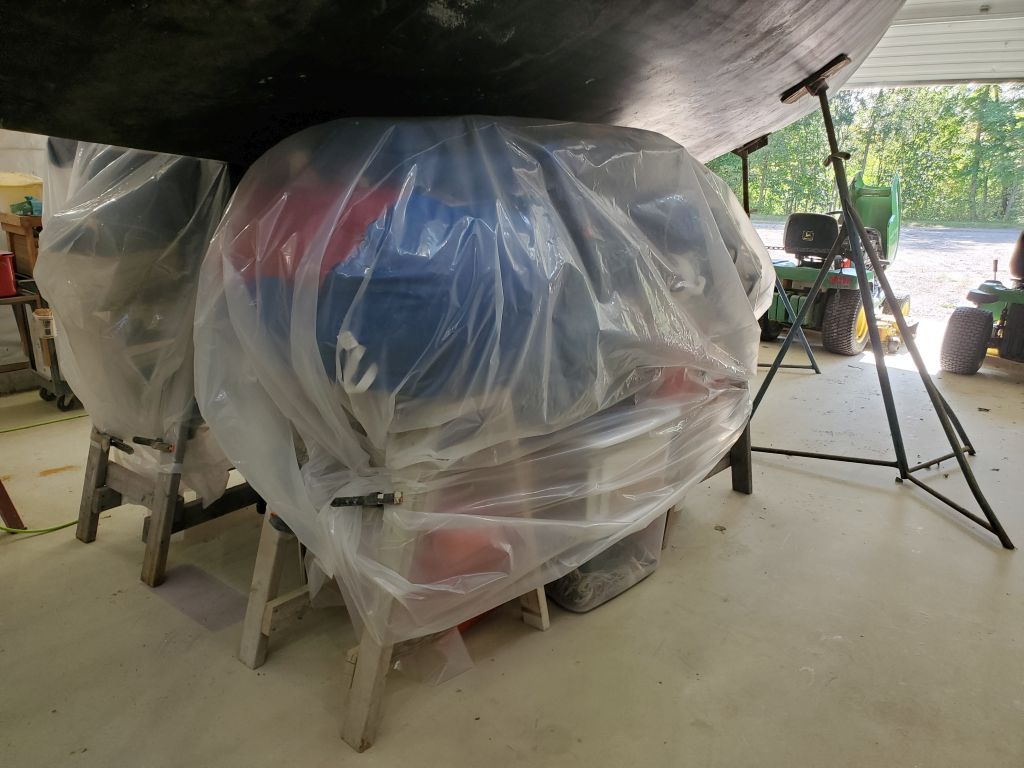
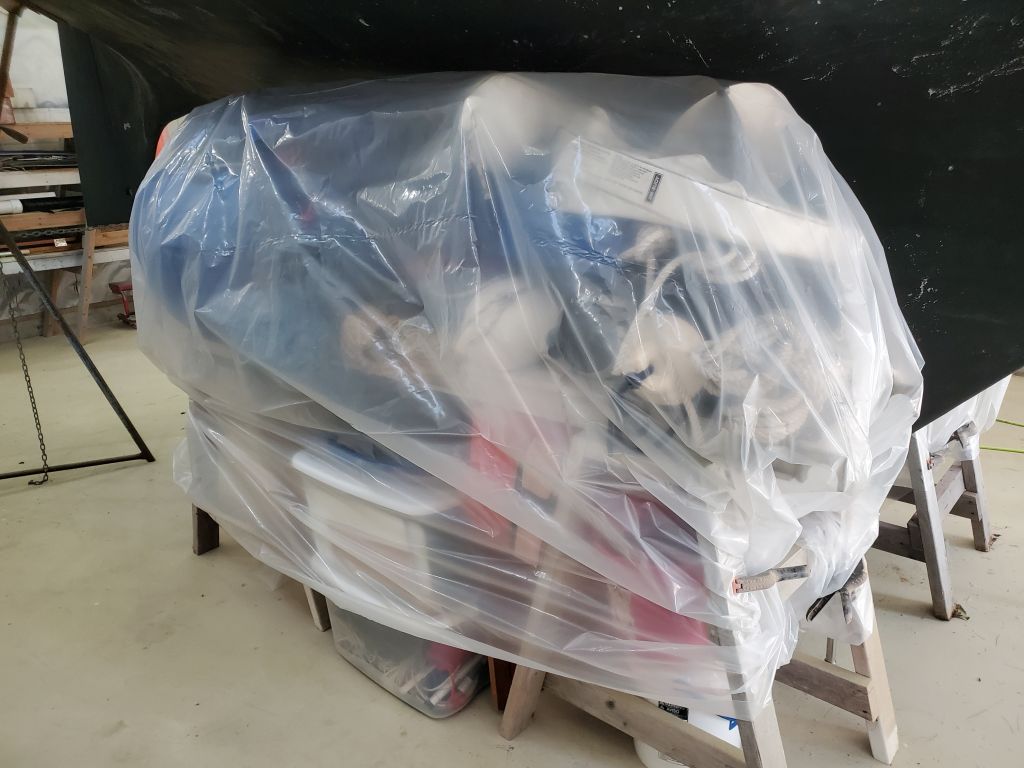
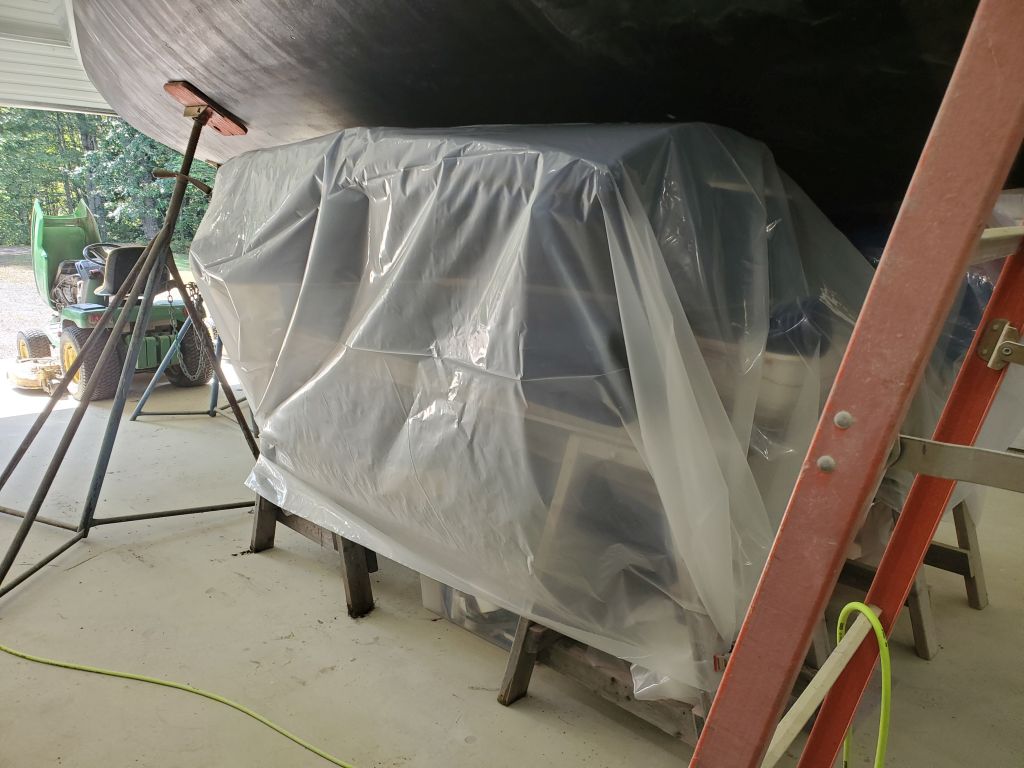
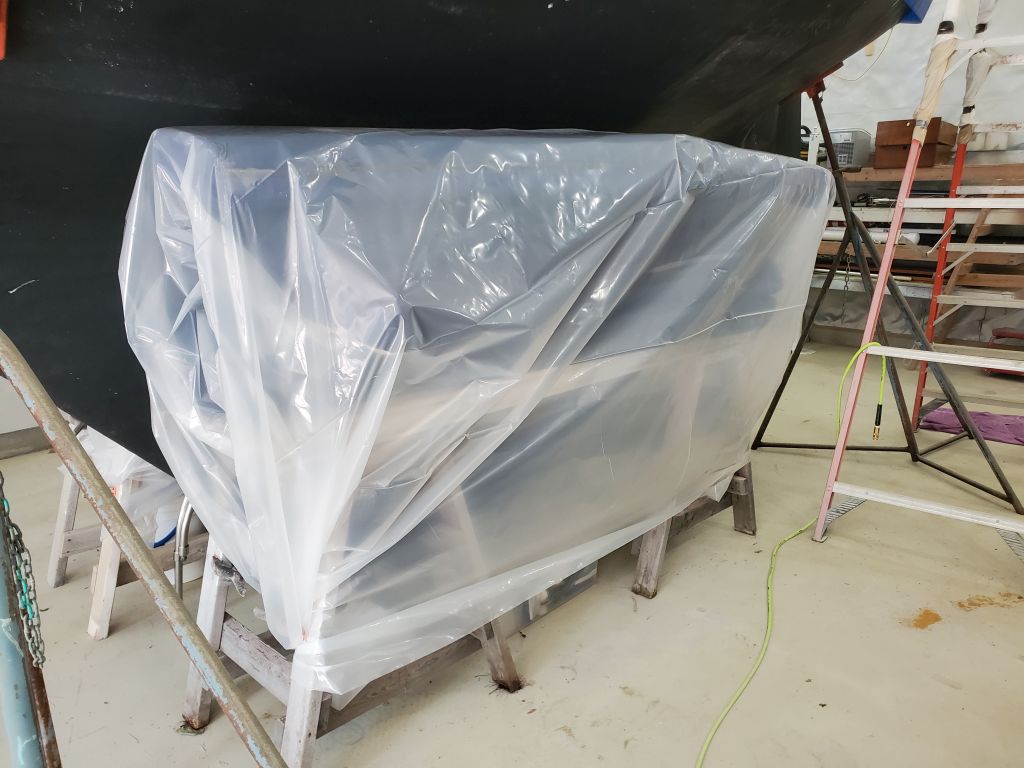
Storing the large amount of gear from the boat in the shop itself would work this time around since all the projects were inside the cabin, but even so, dust would be a problem, so for protection I wrapped both storage piles with plastic.
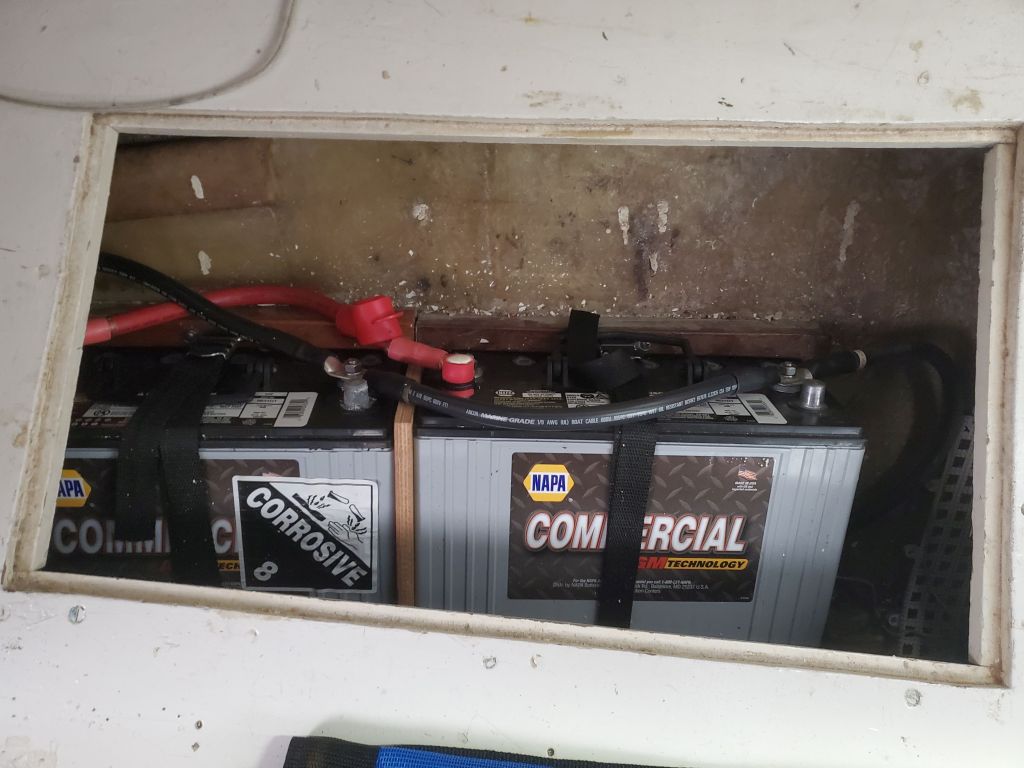
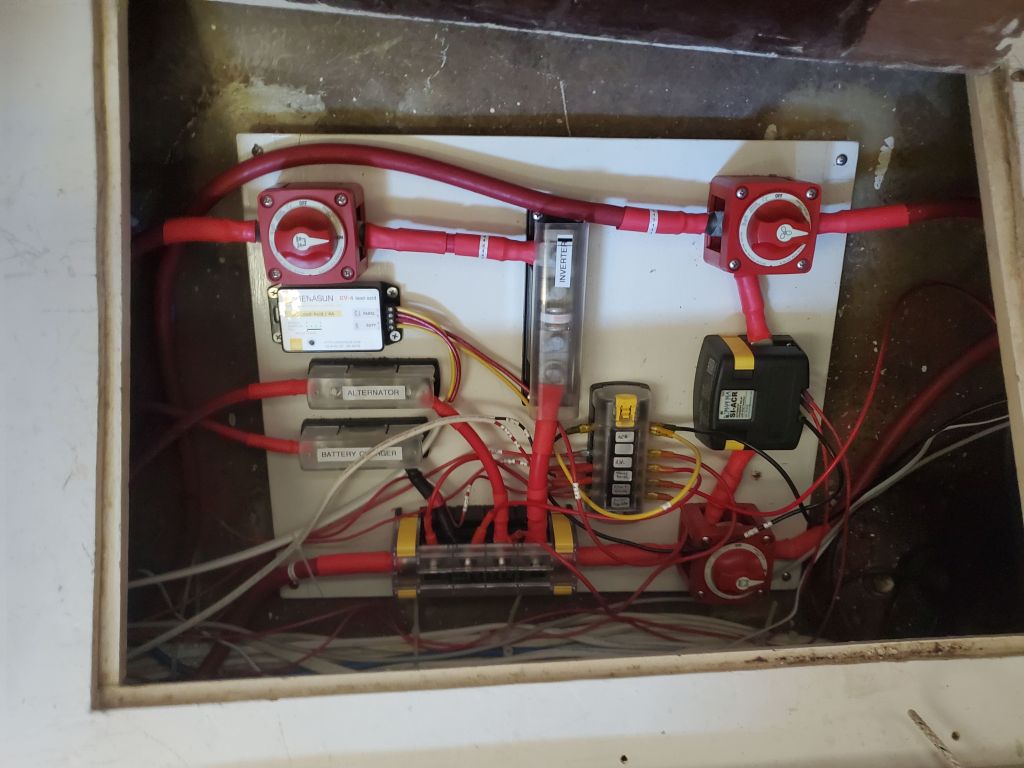
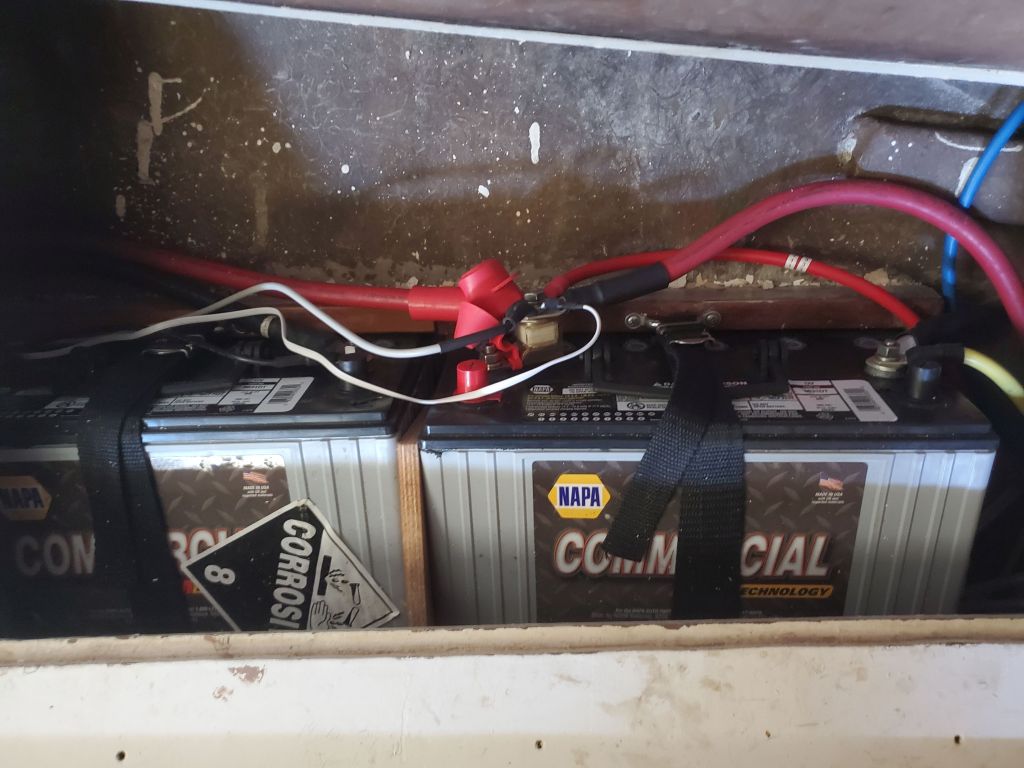
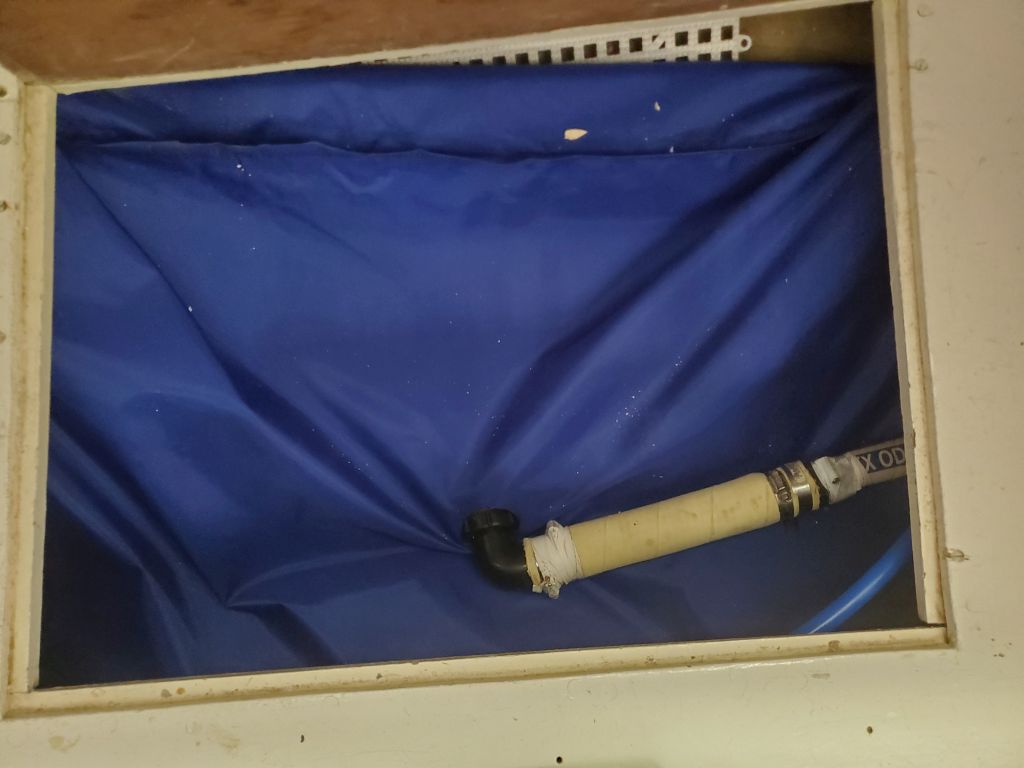
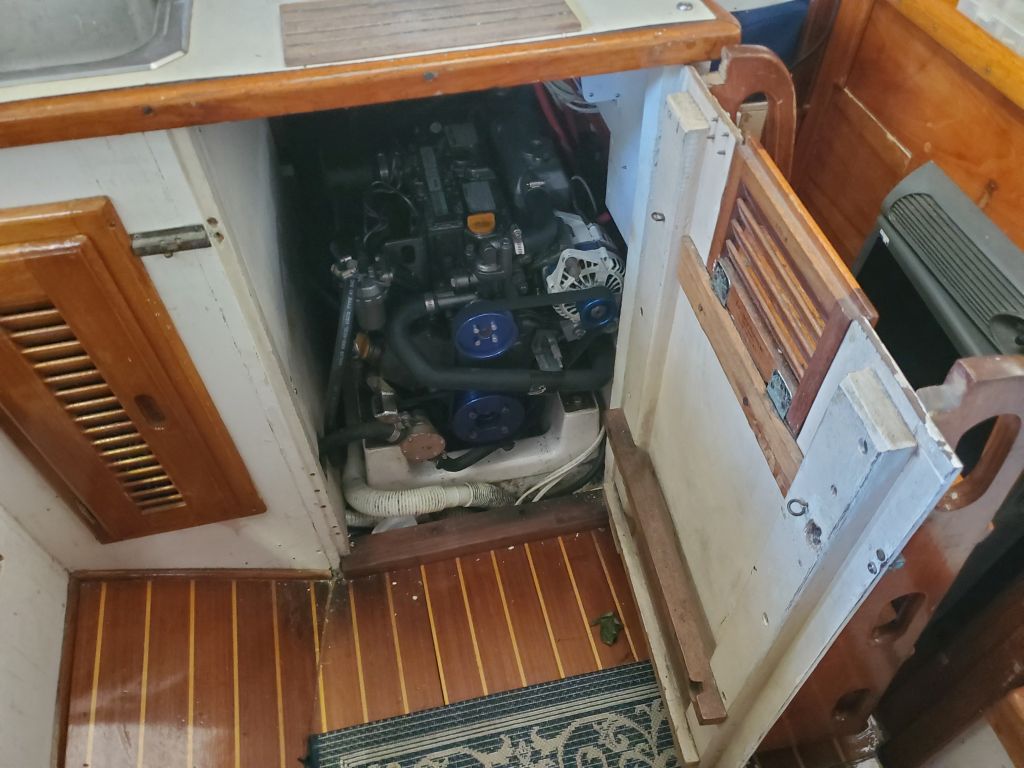
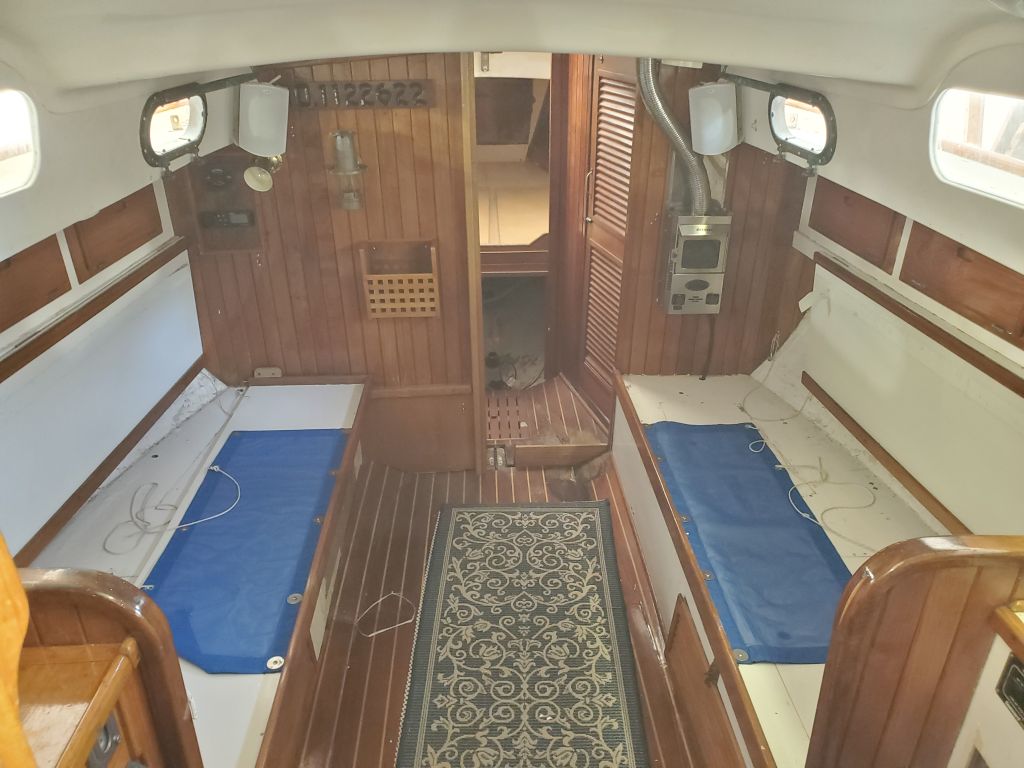
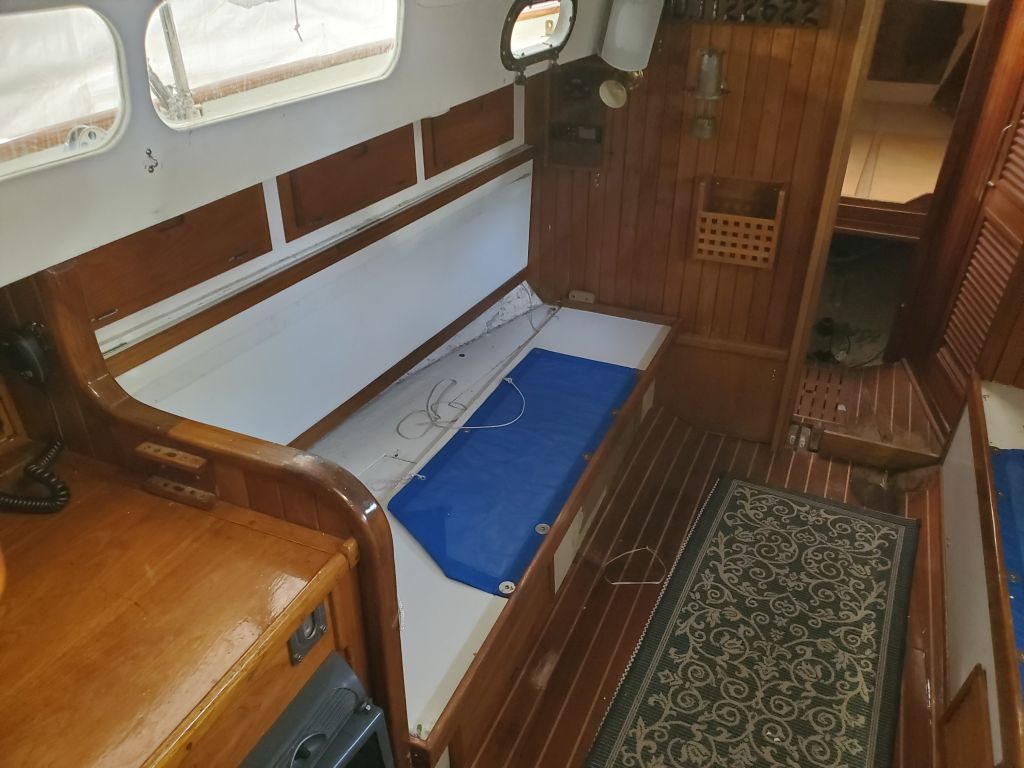
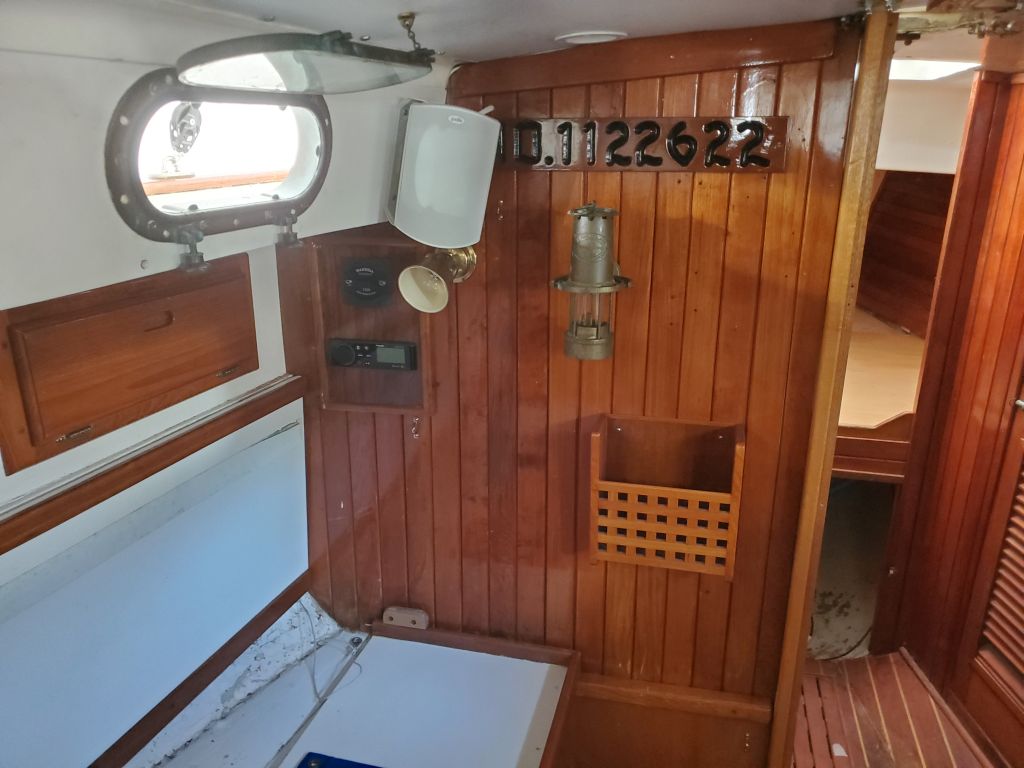
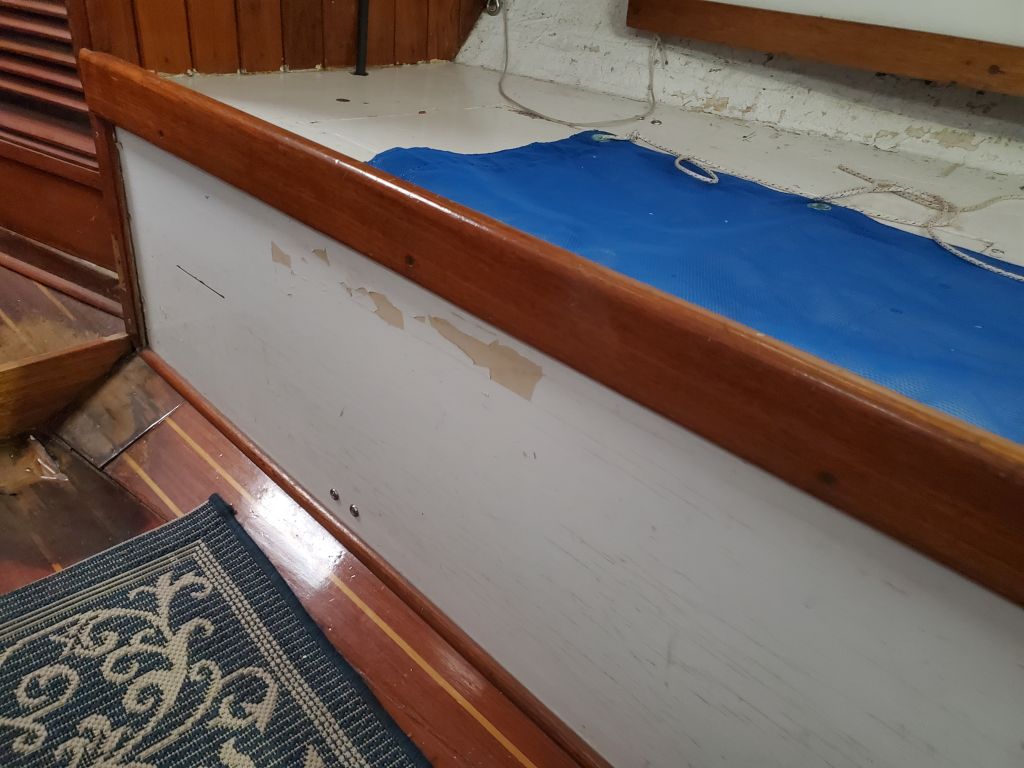
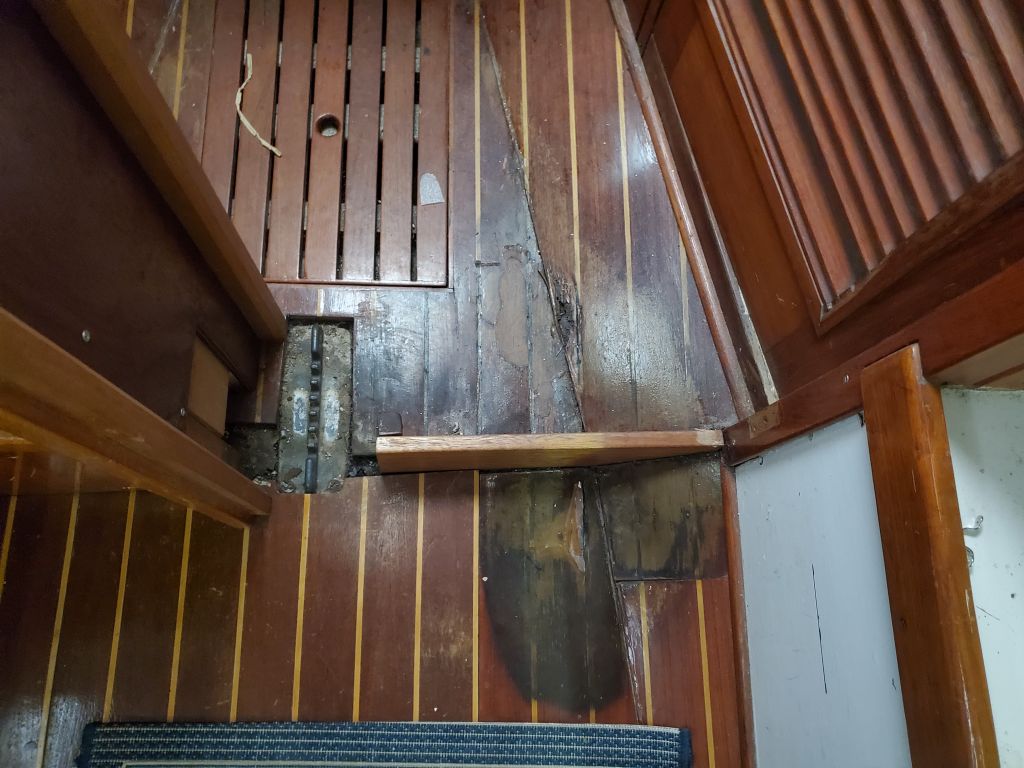
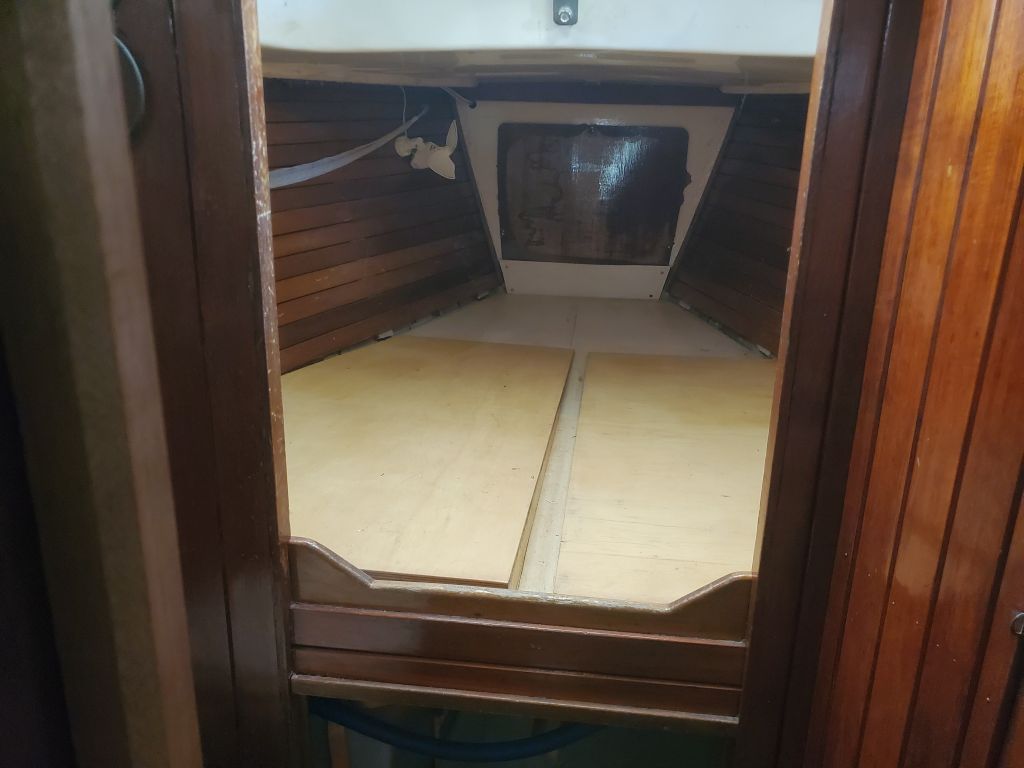
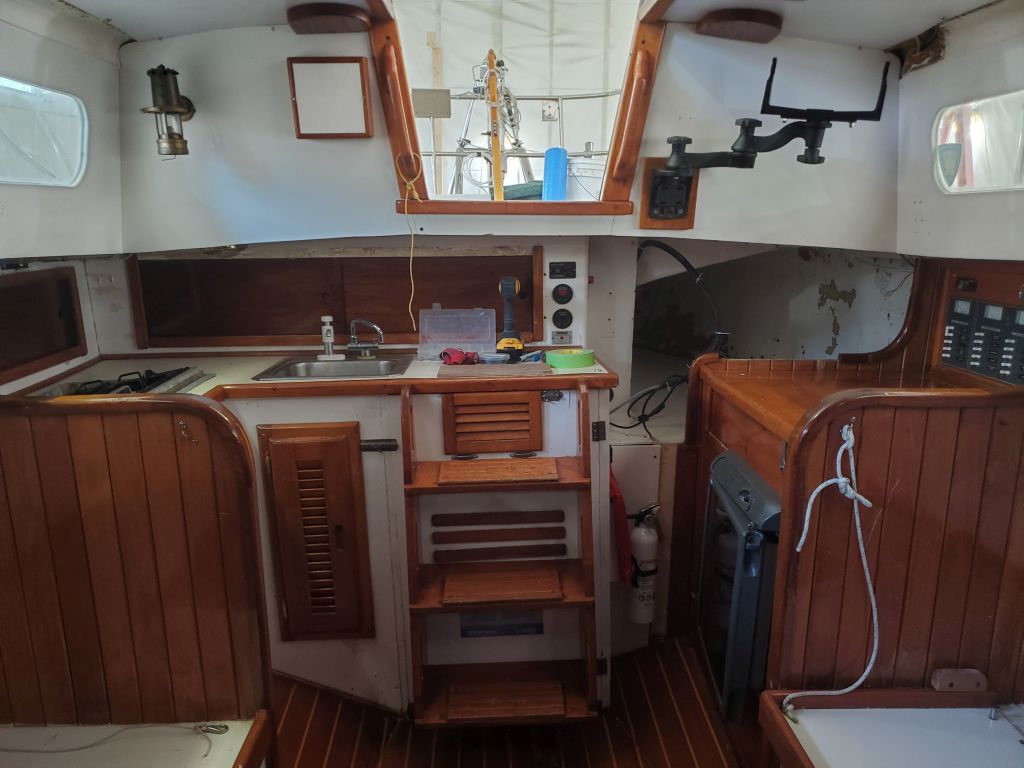
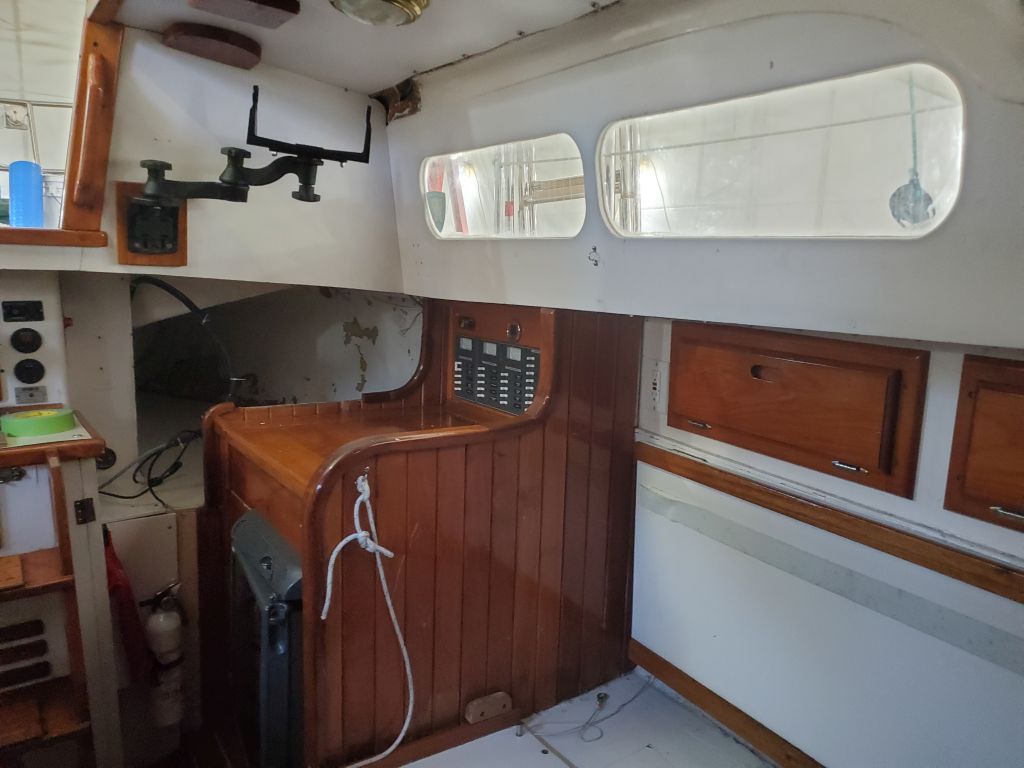
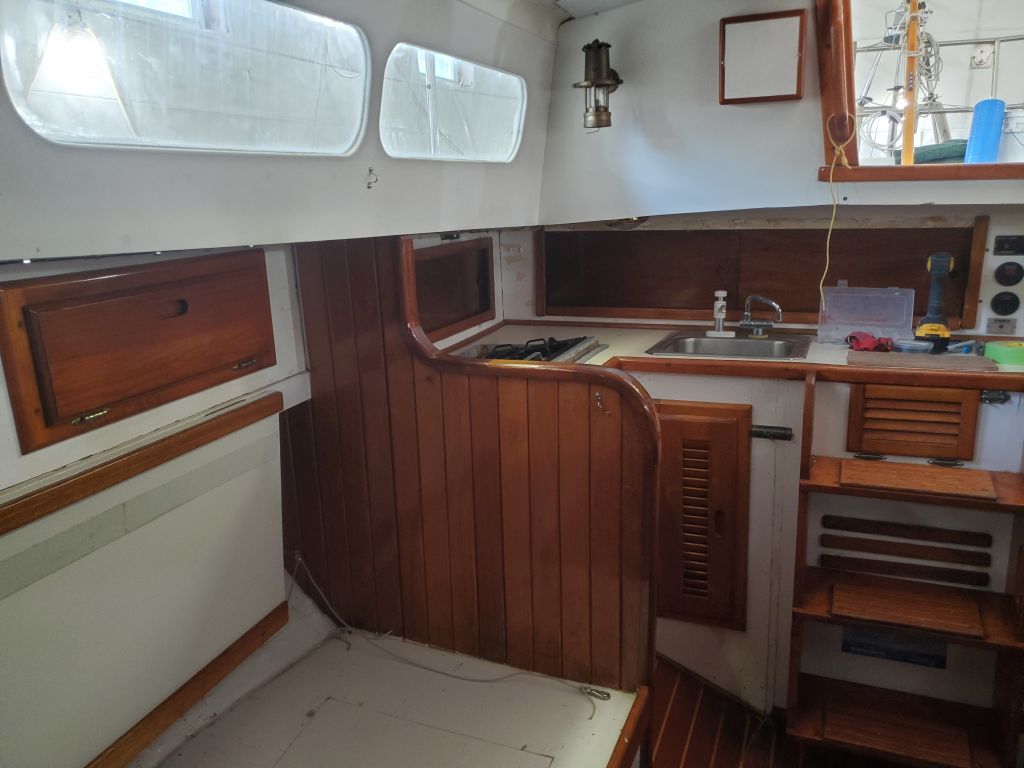
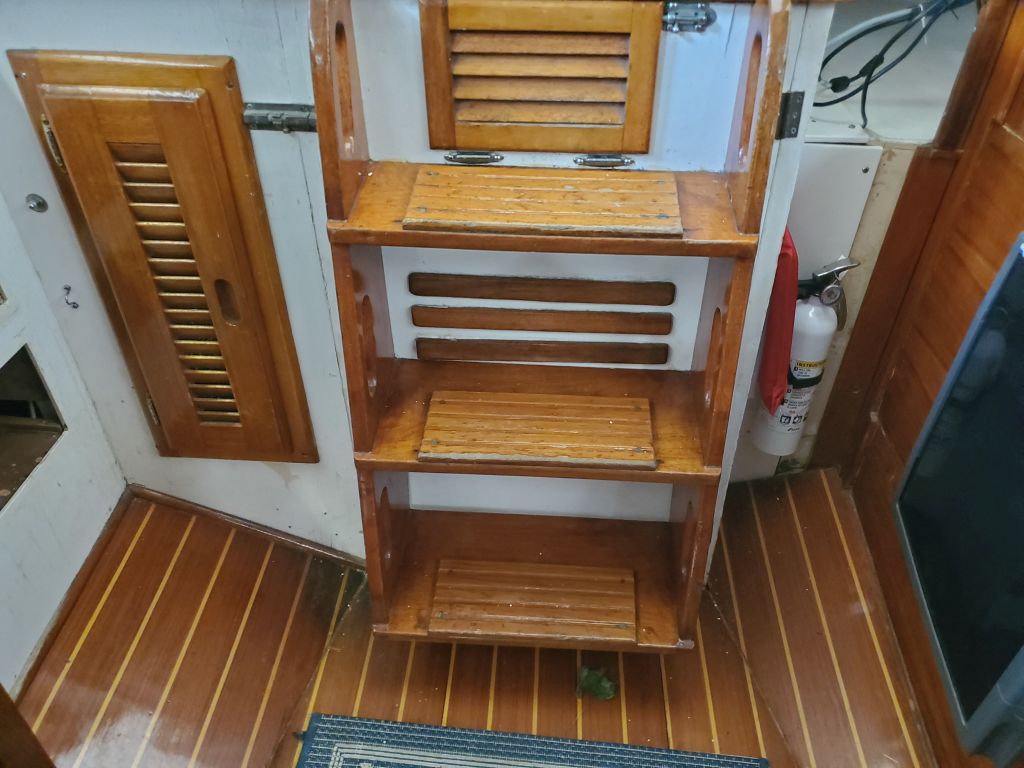
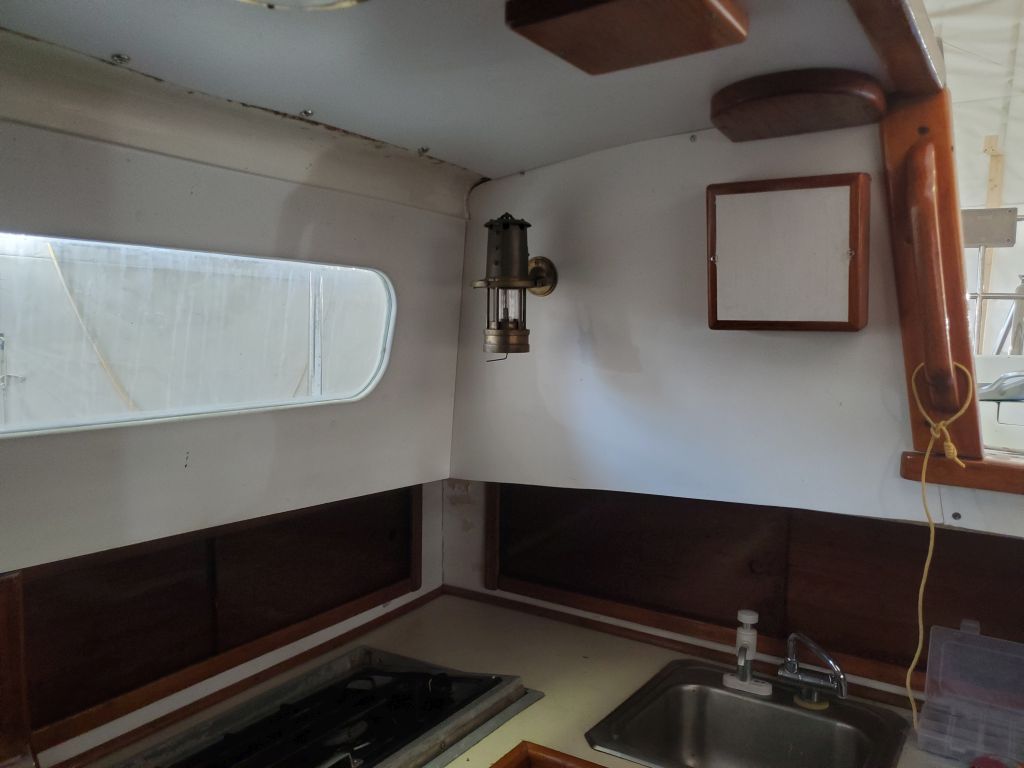
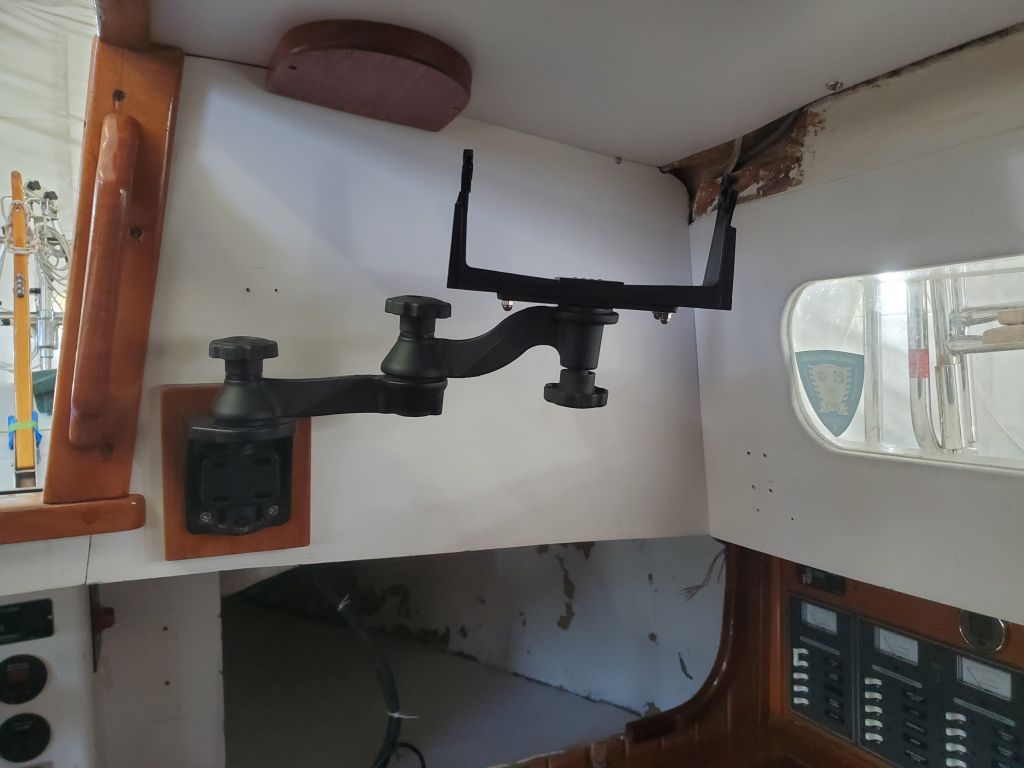
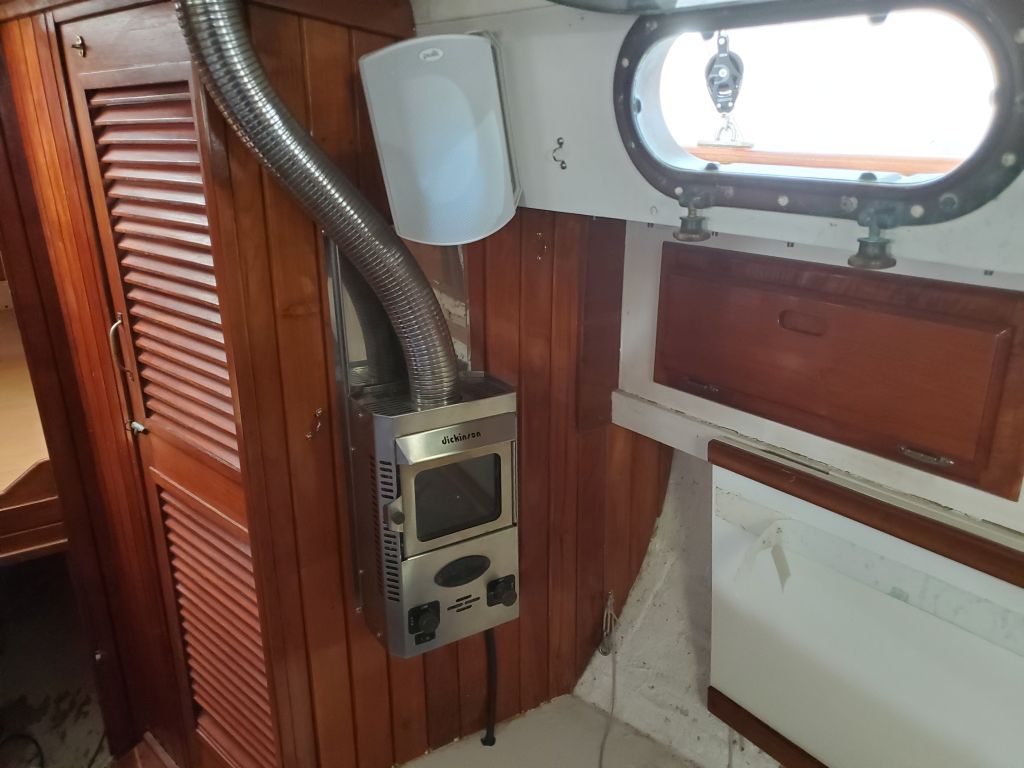
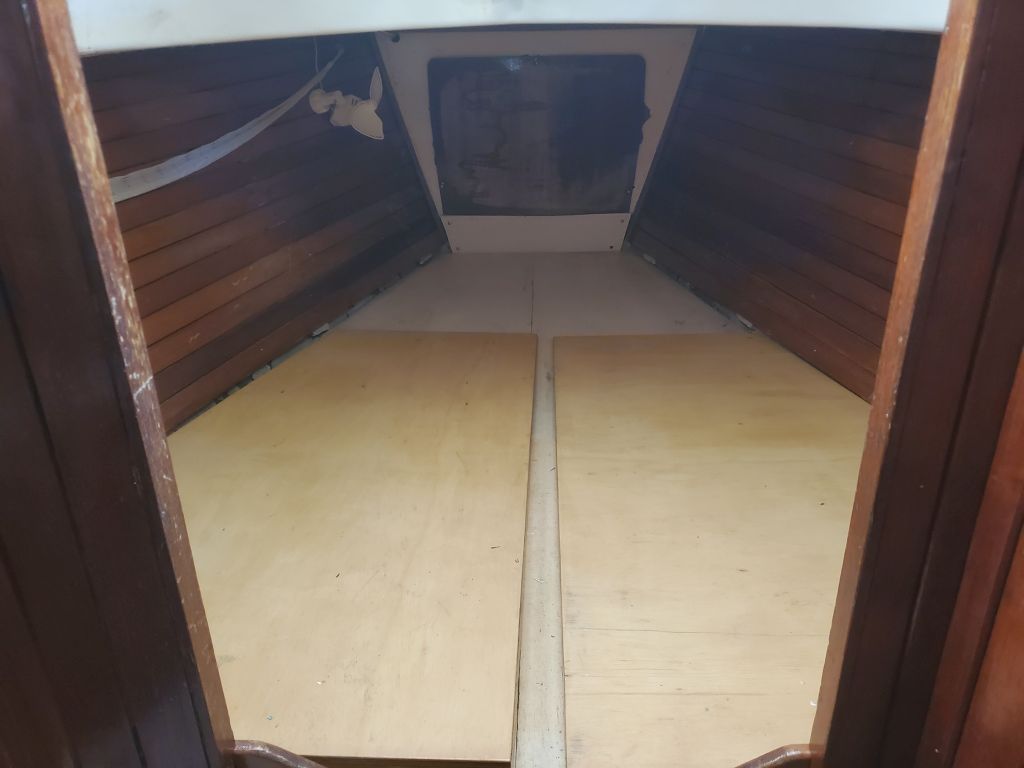
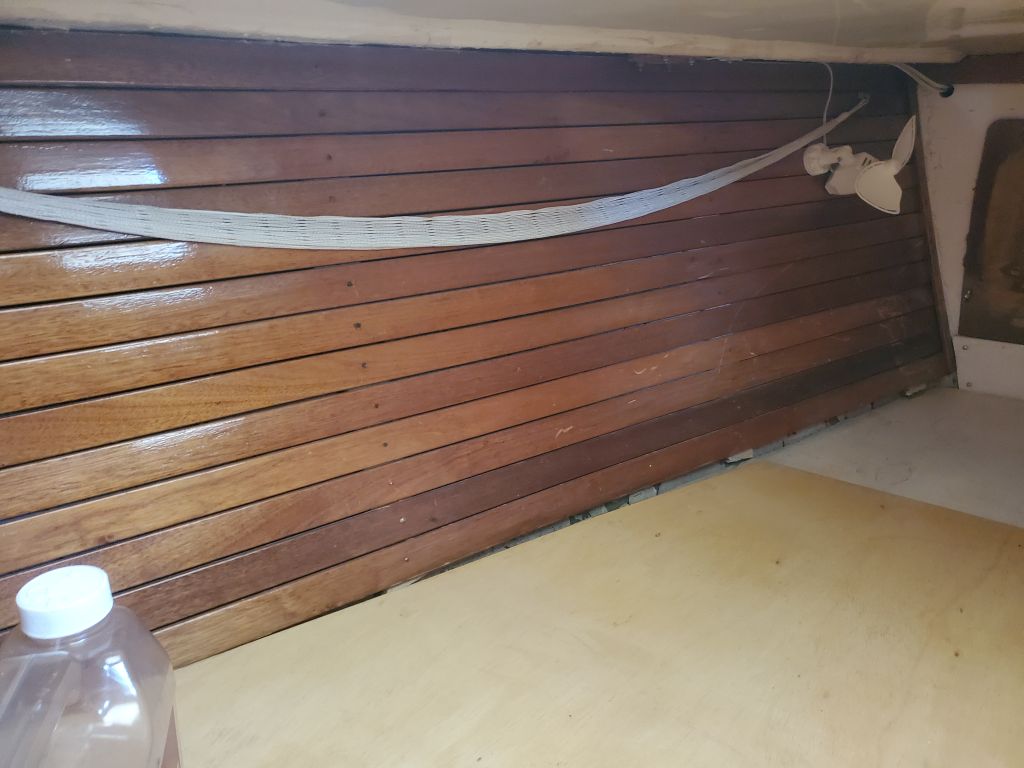
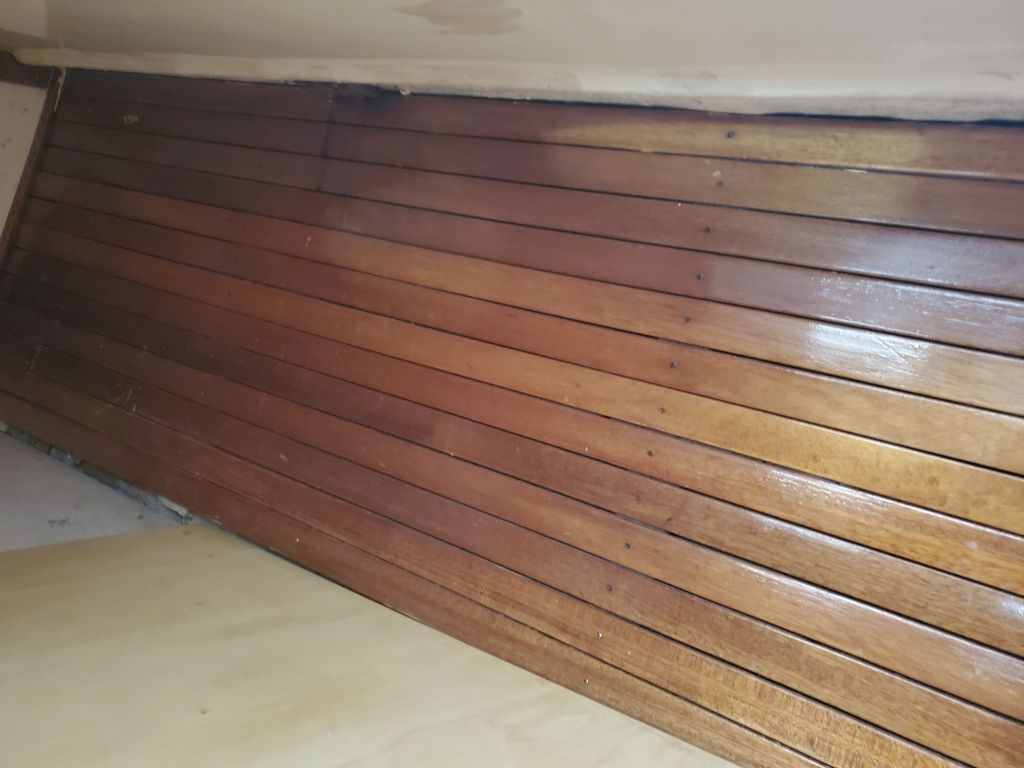
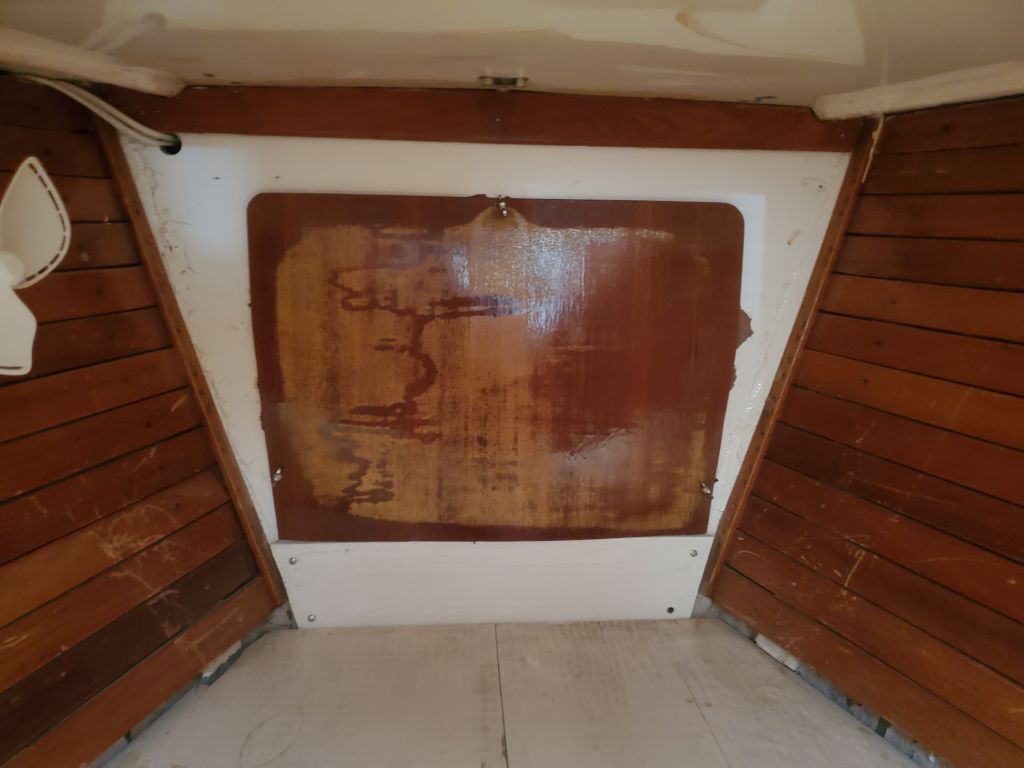
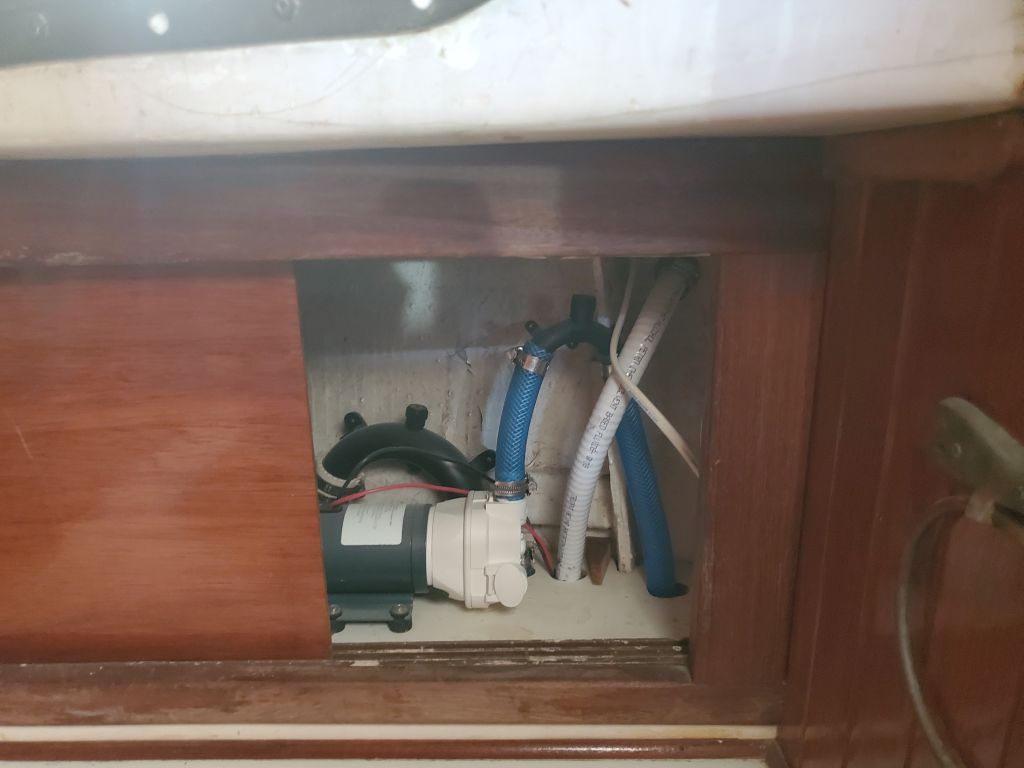
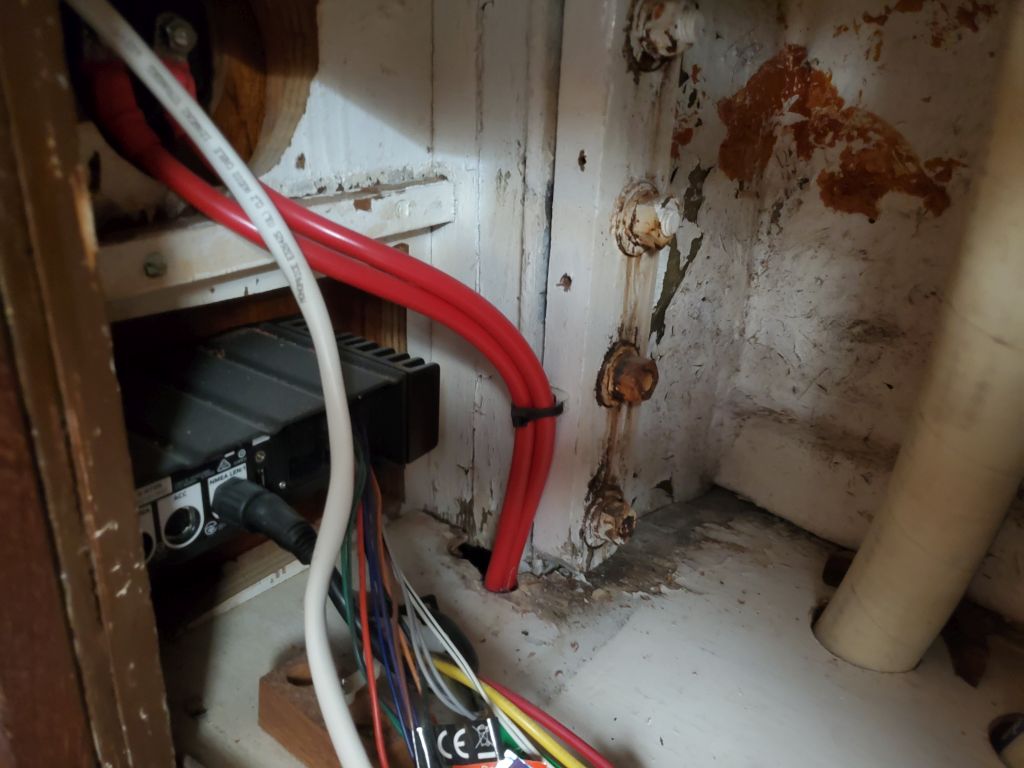
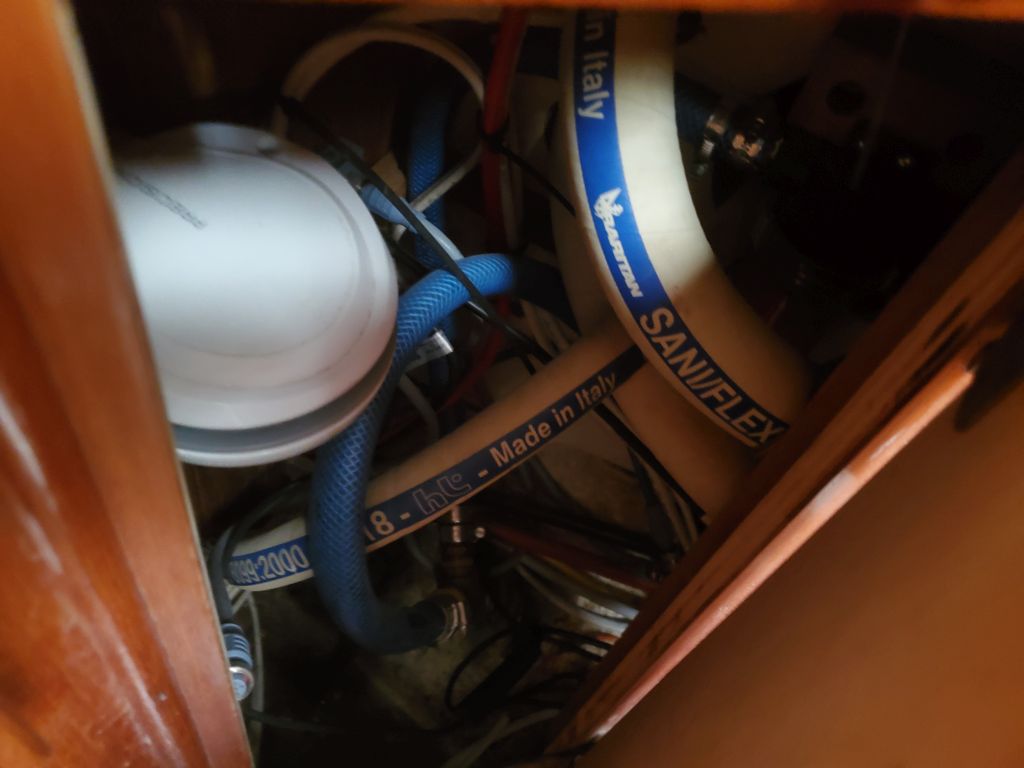
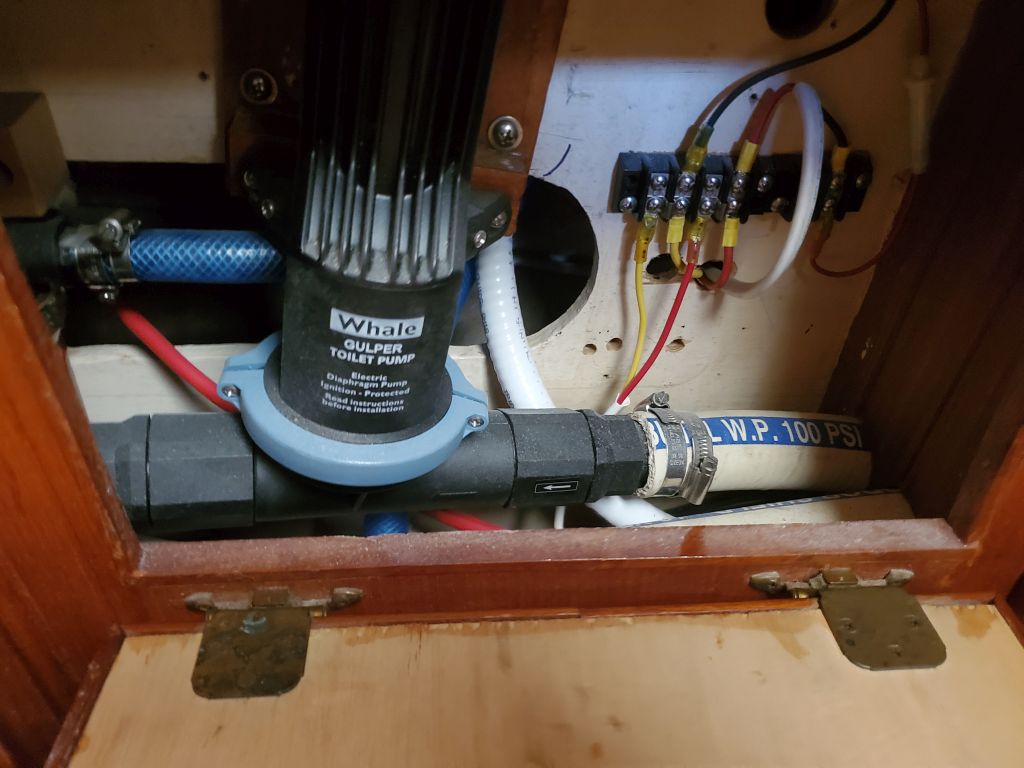
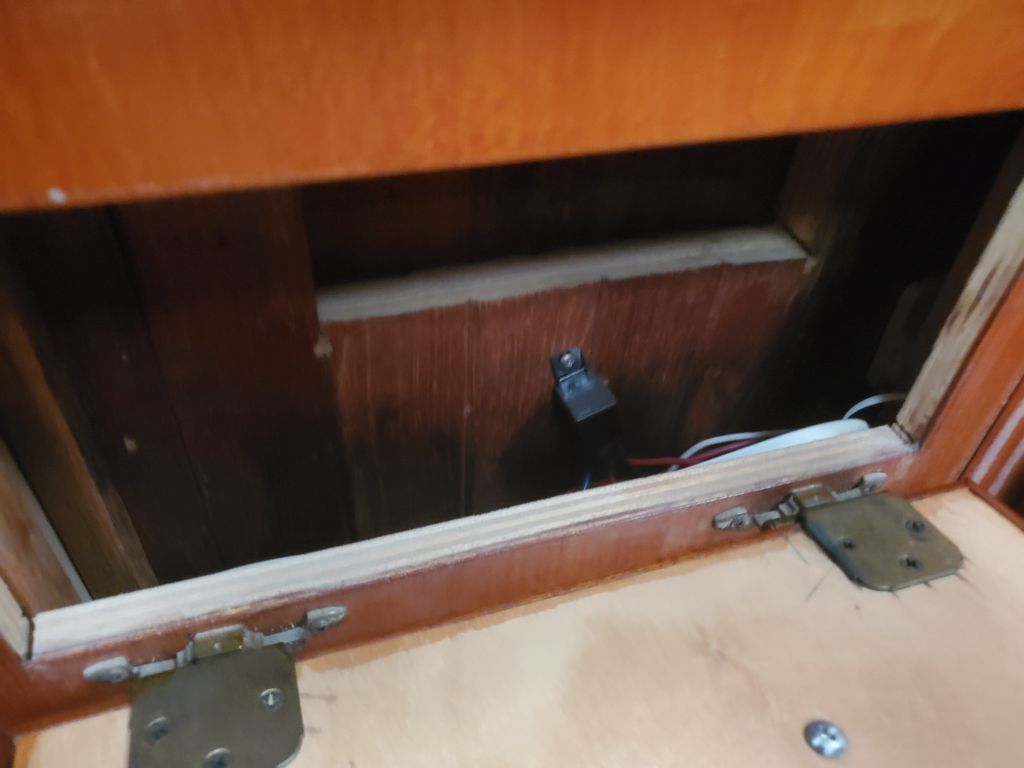
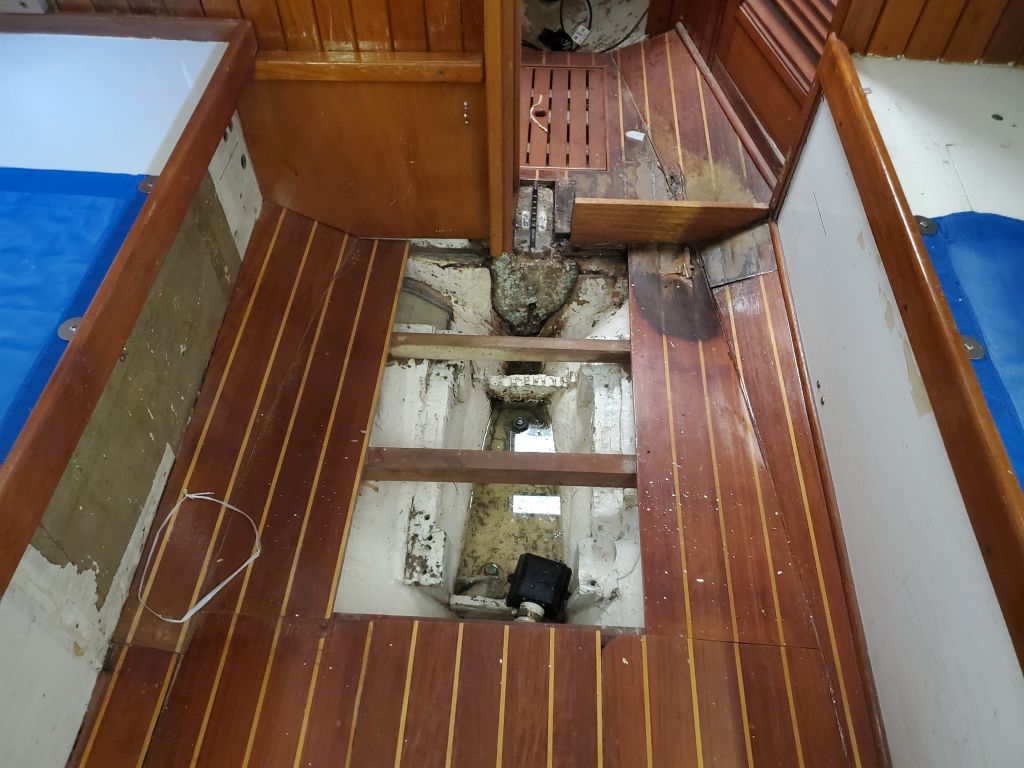
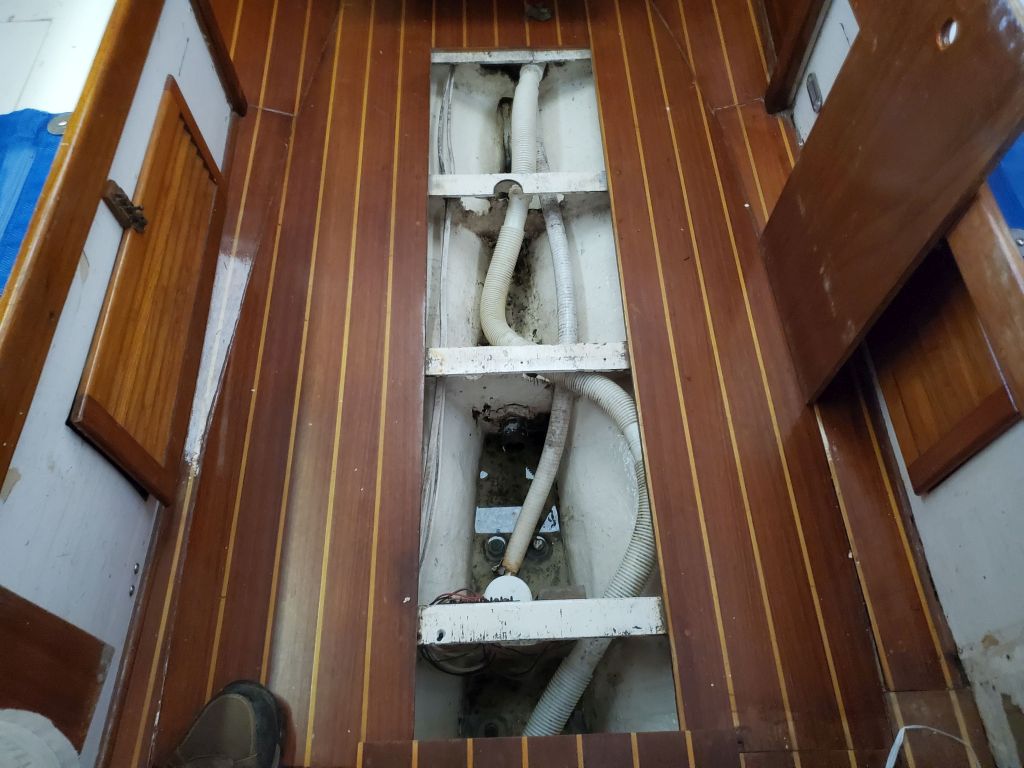
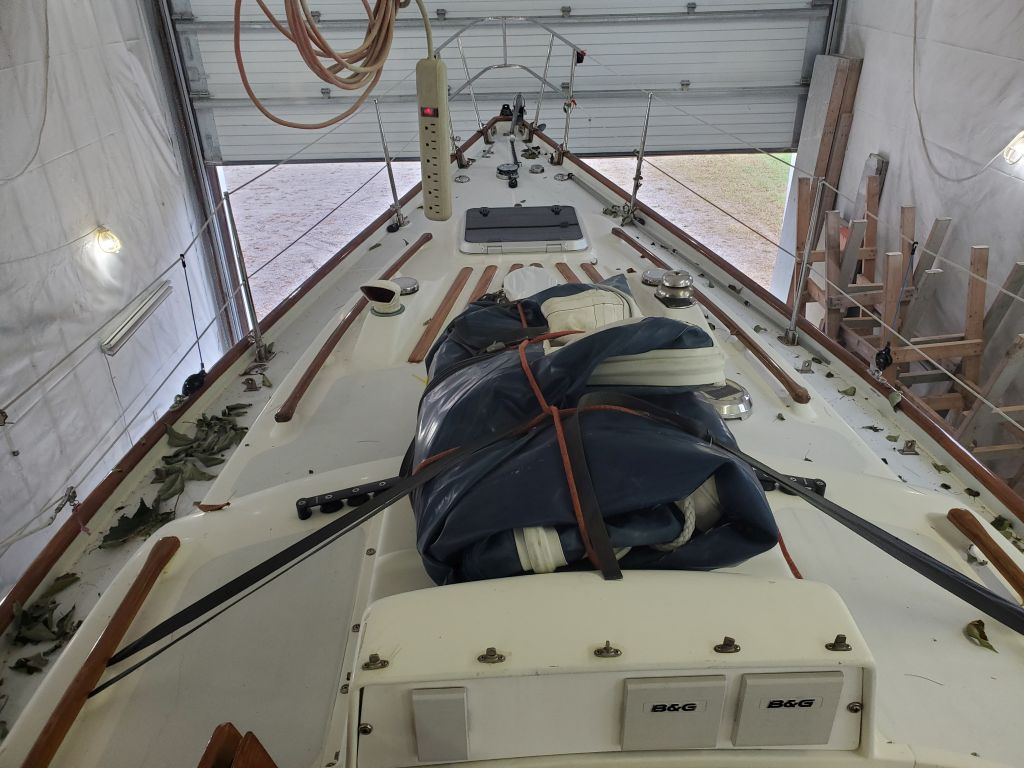
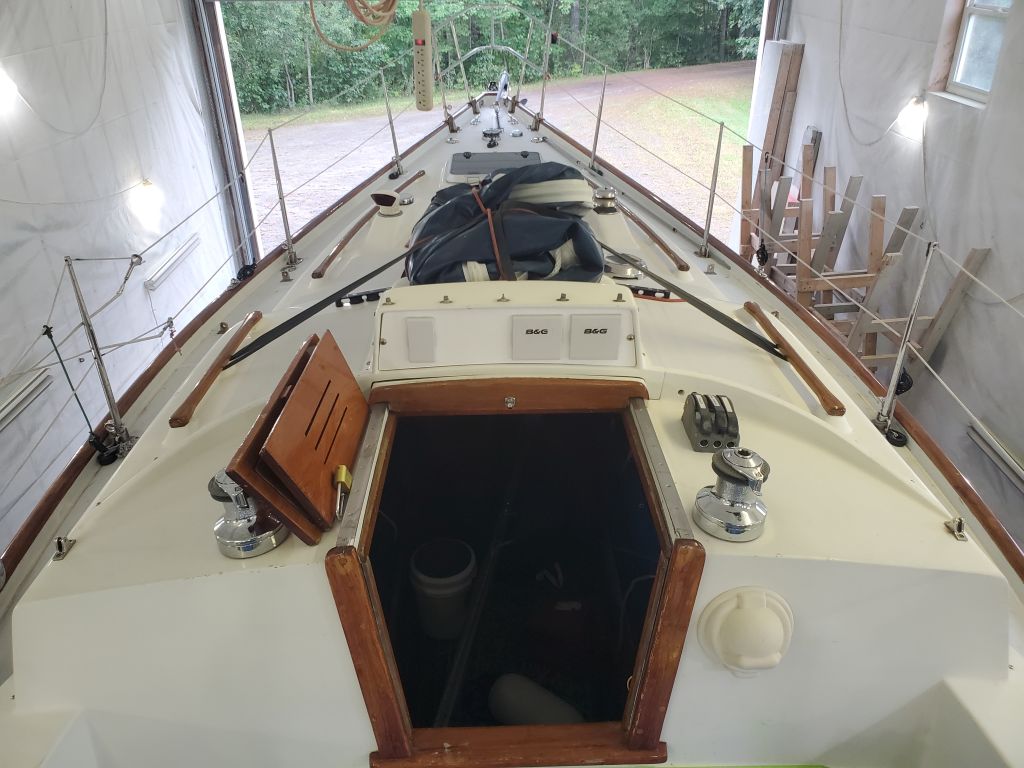
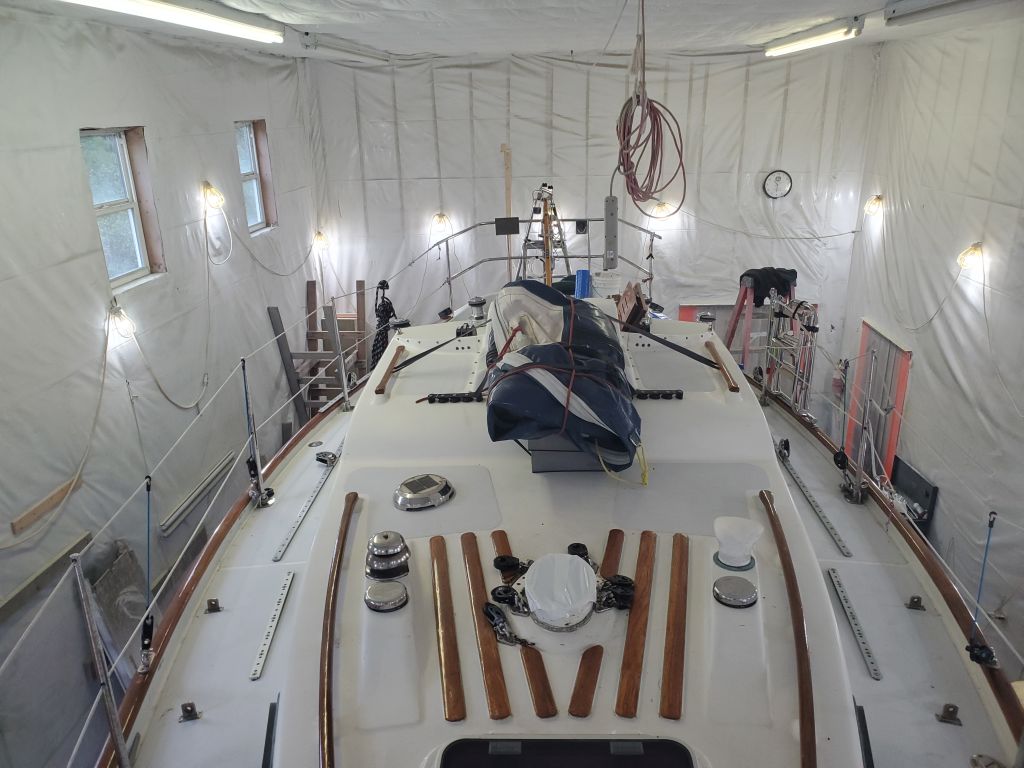
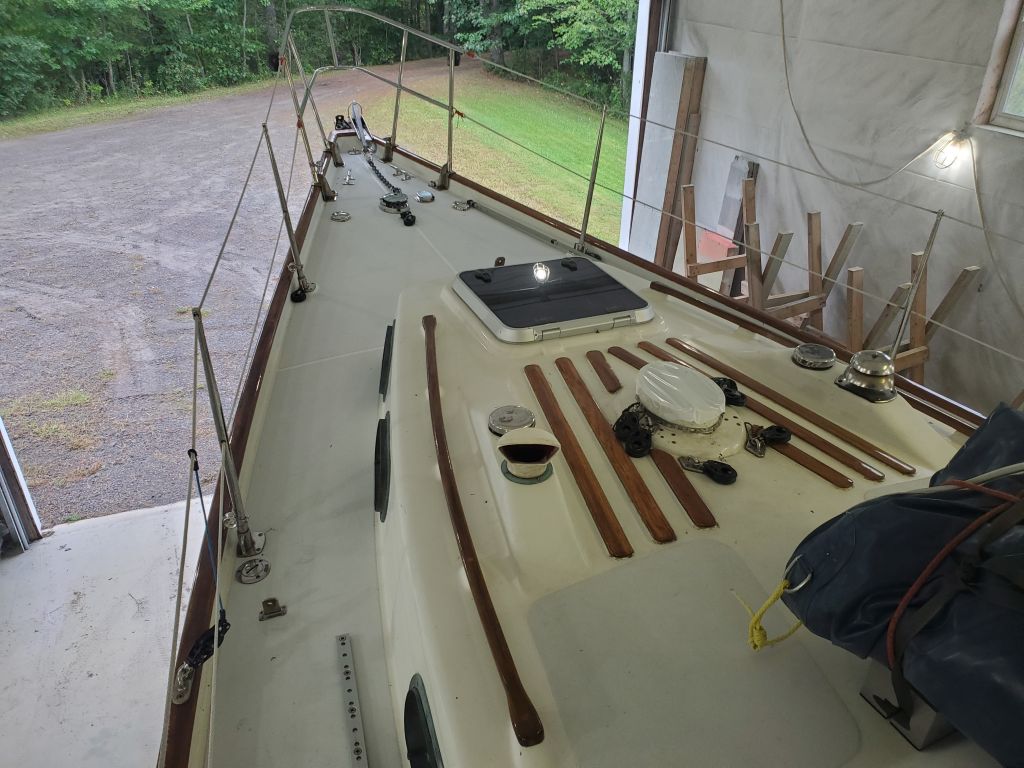
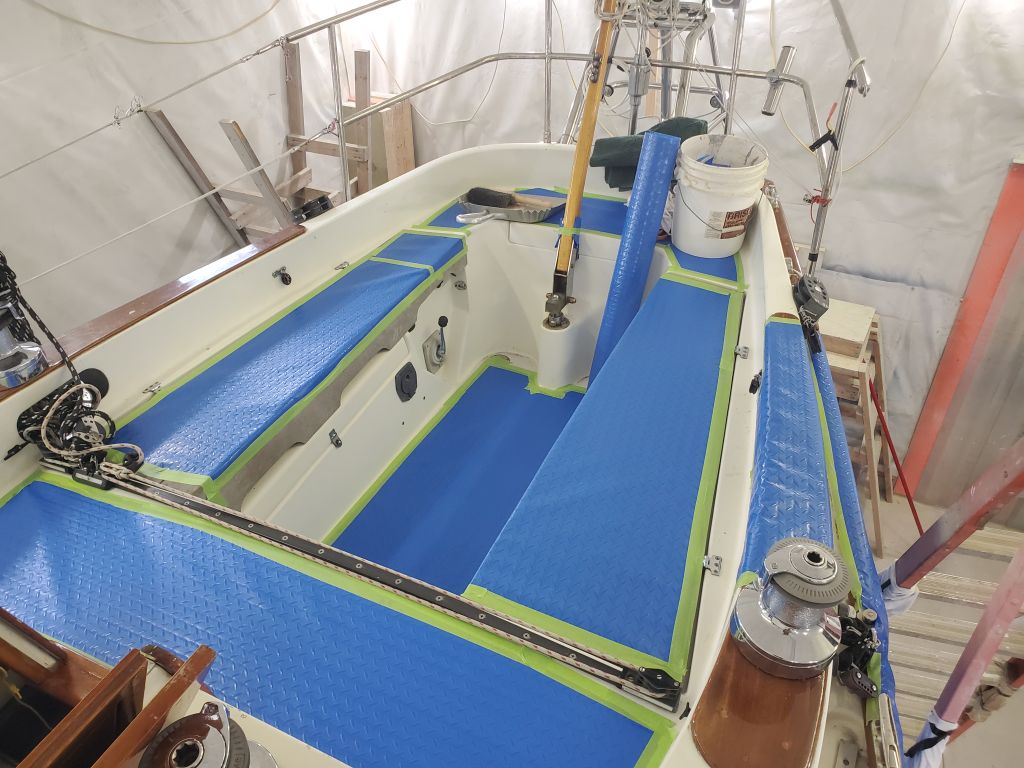
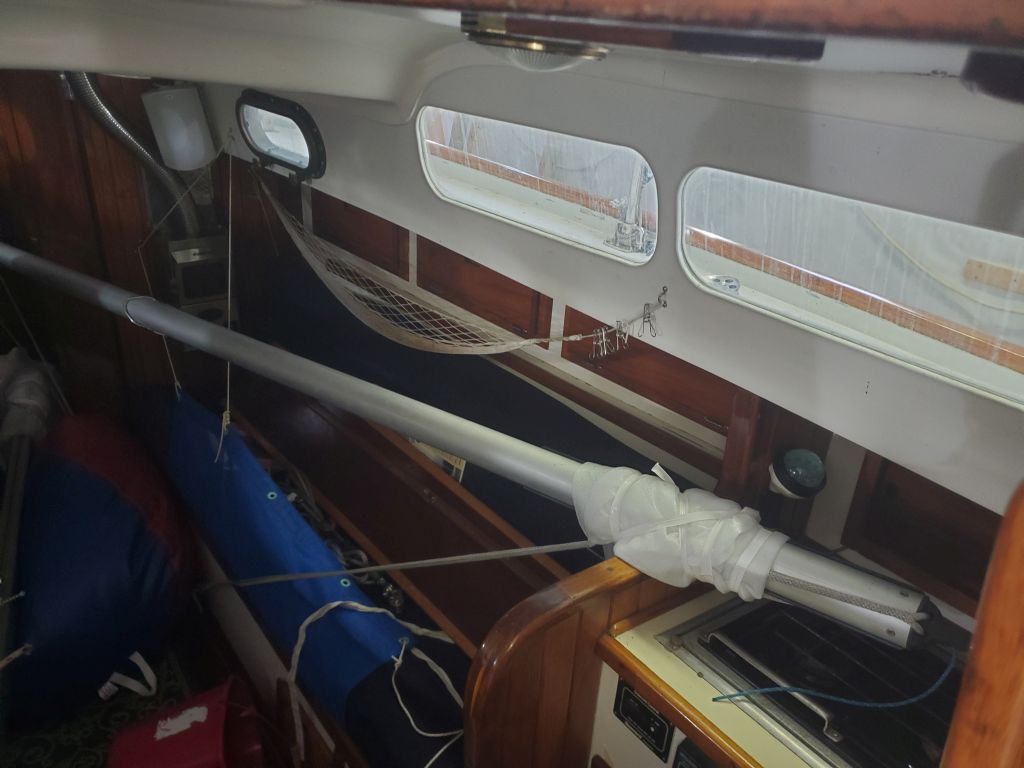
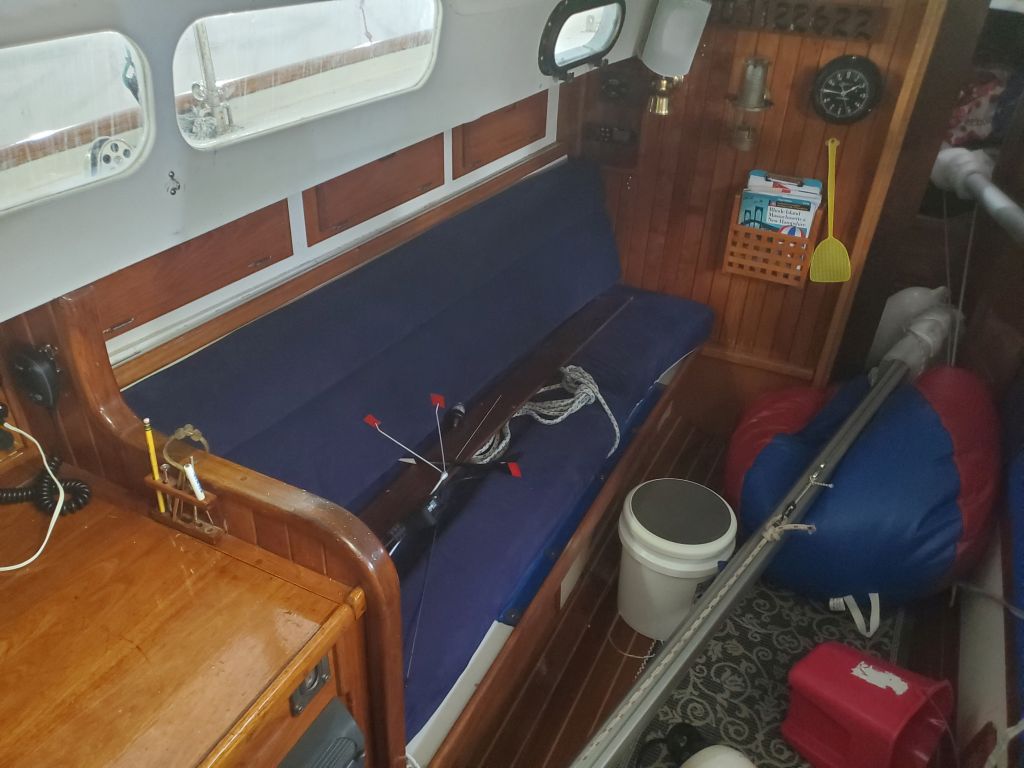
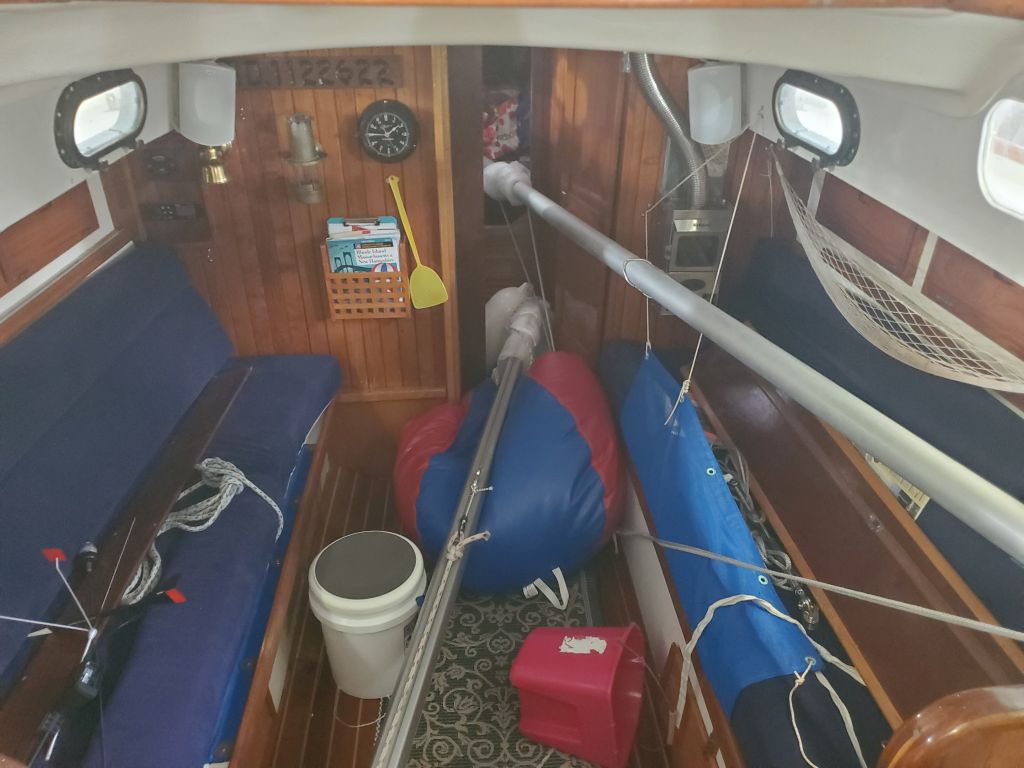
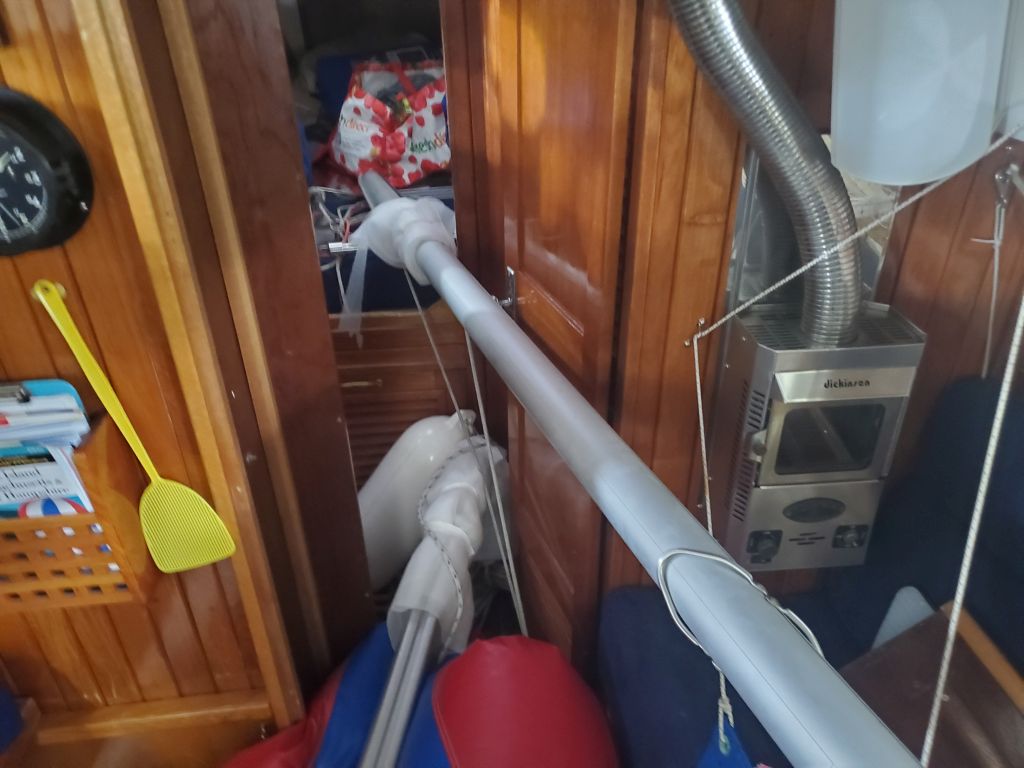
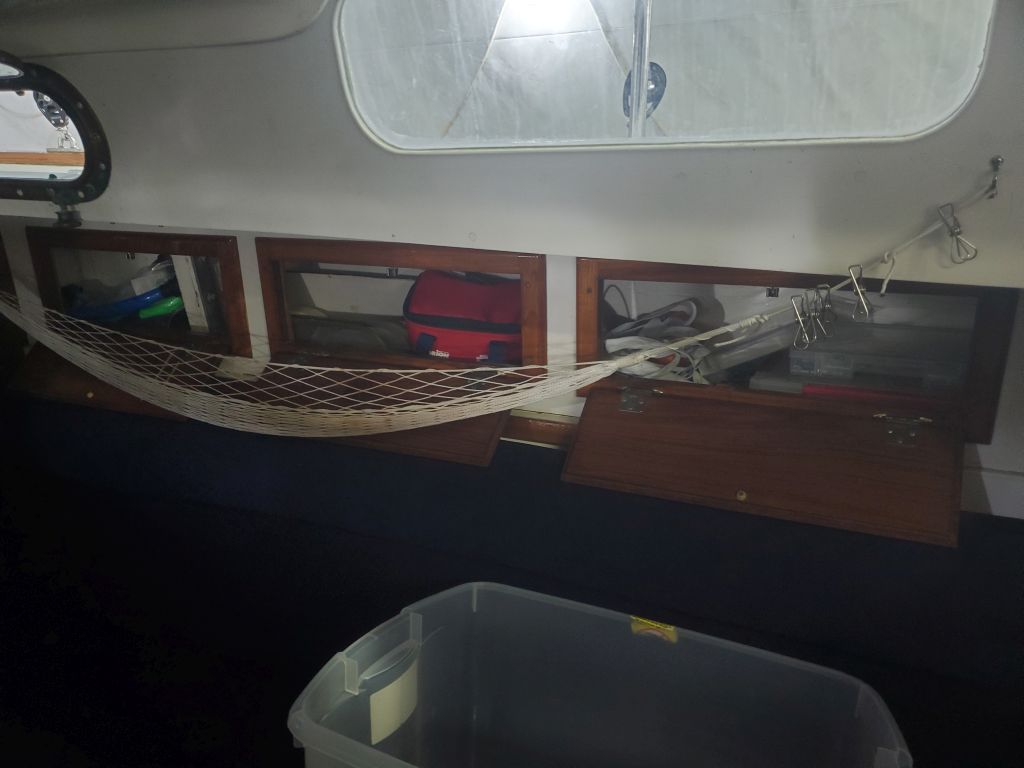
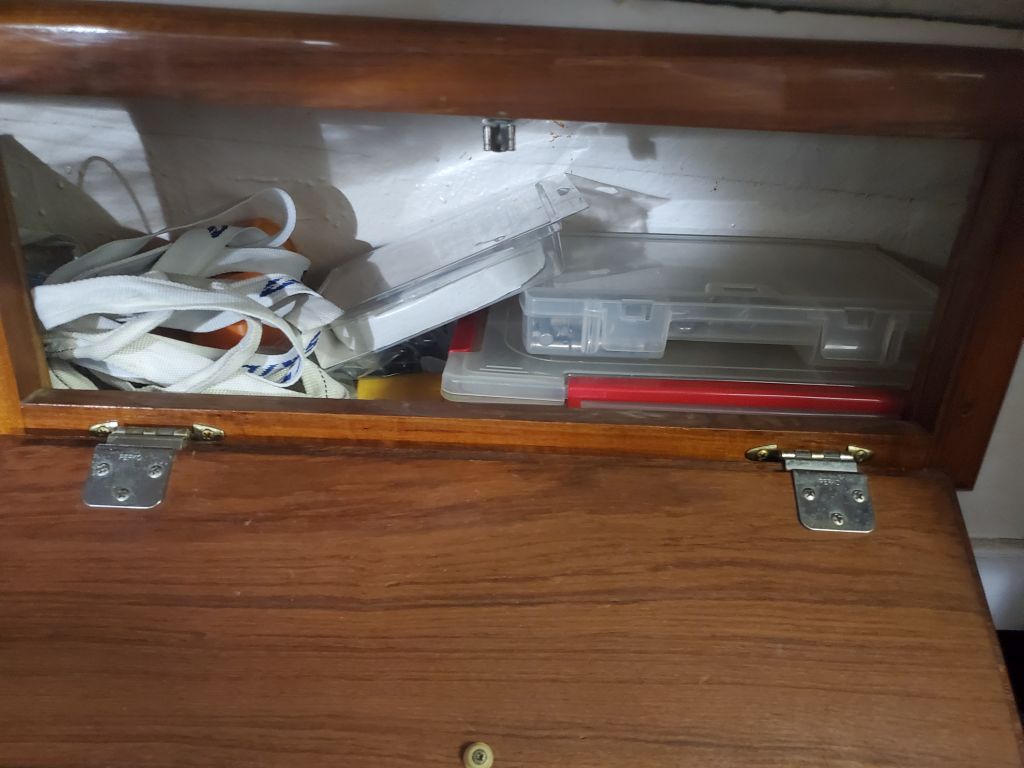
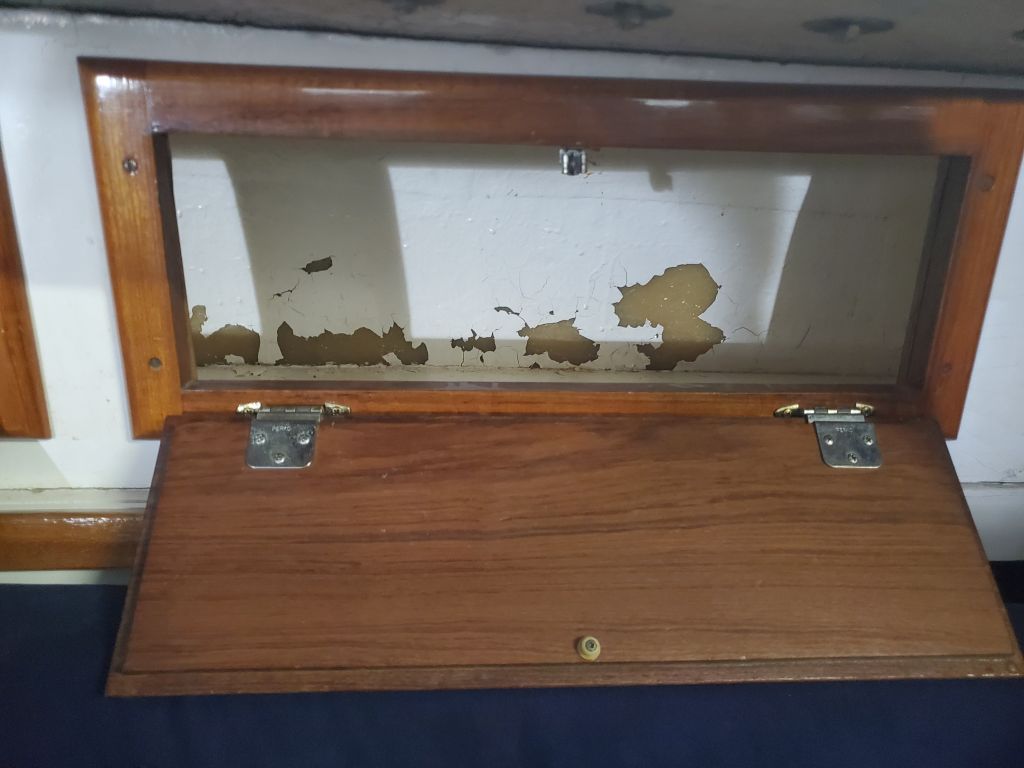
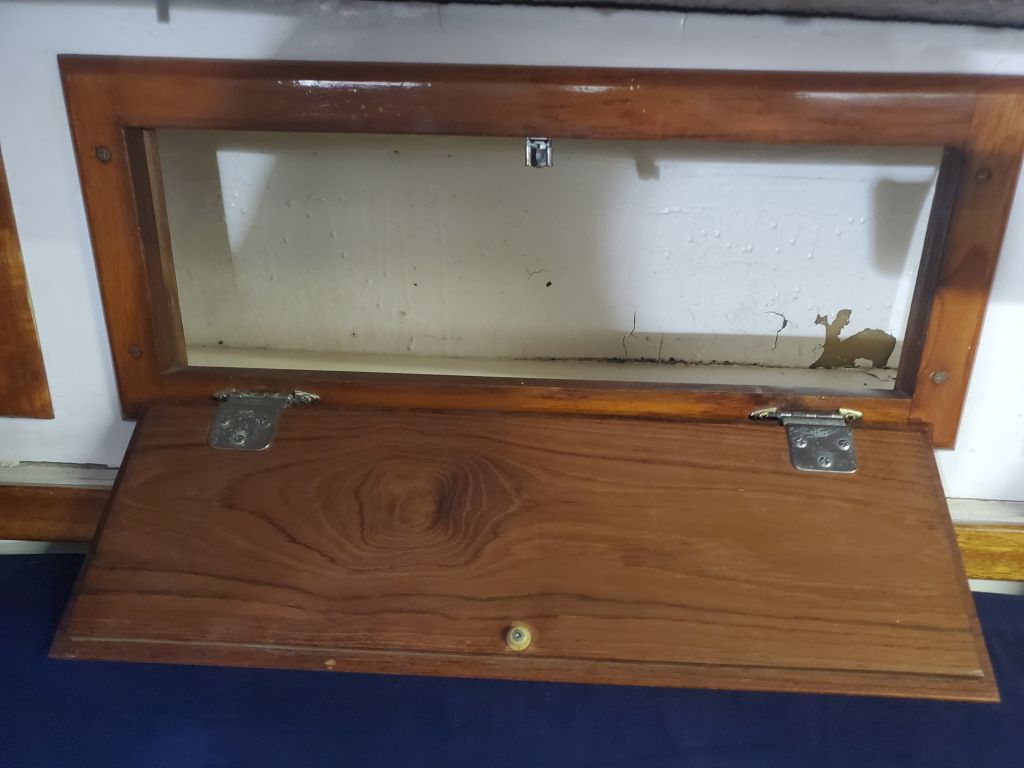
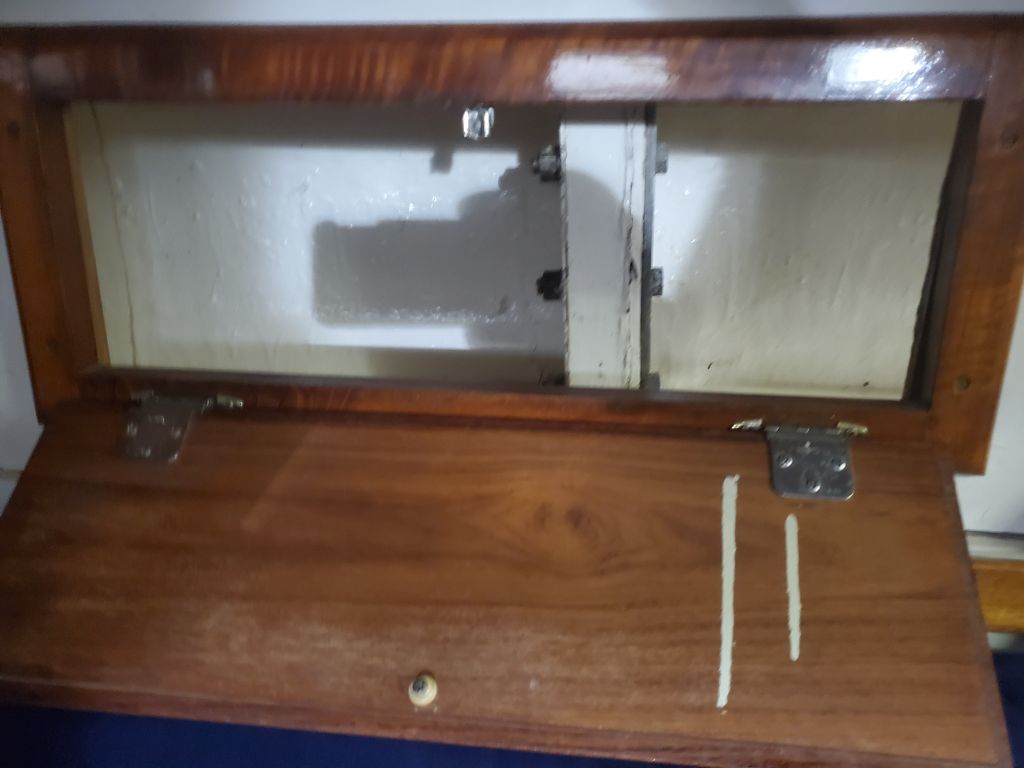
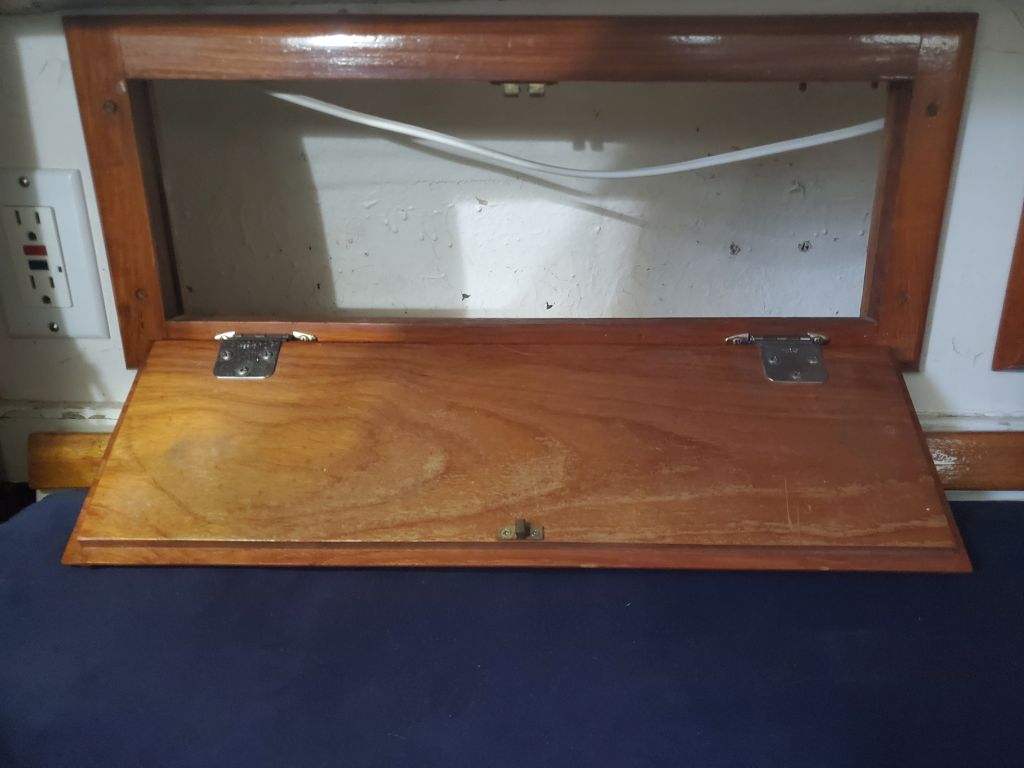
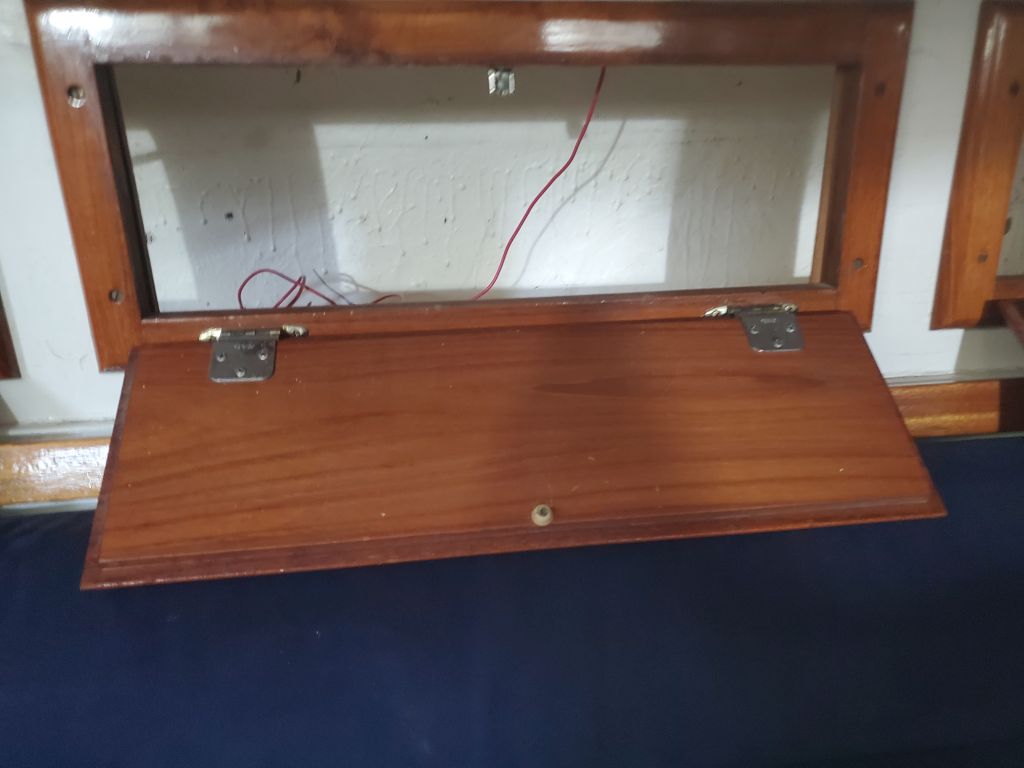
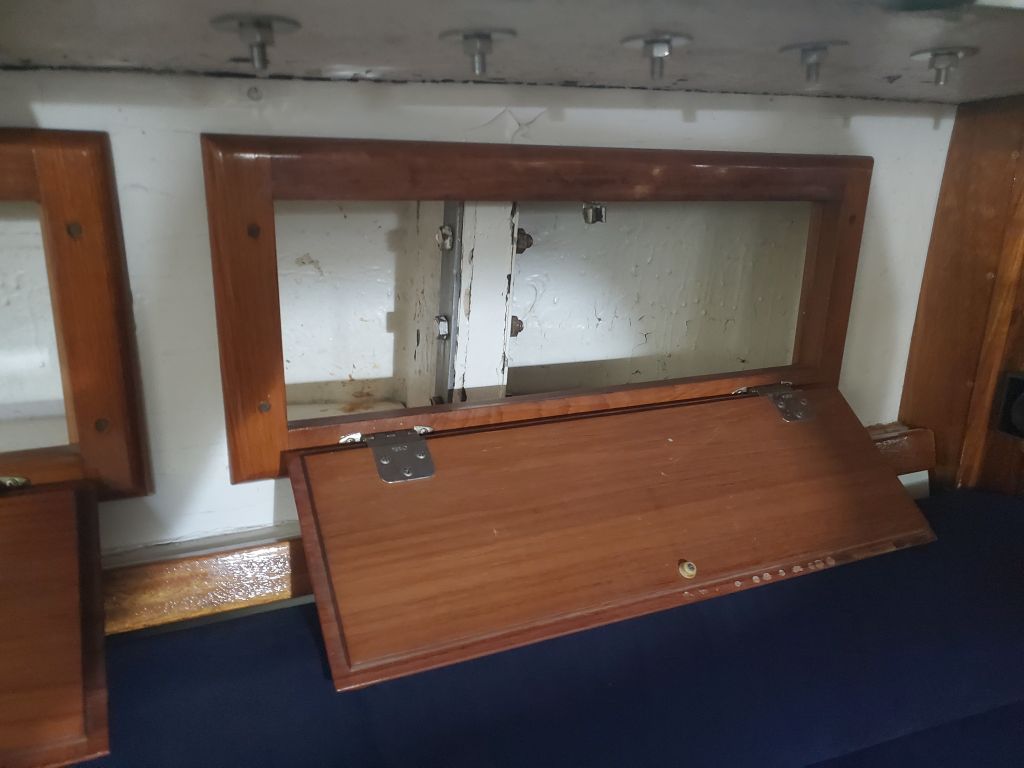
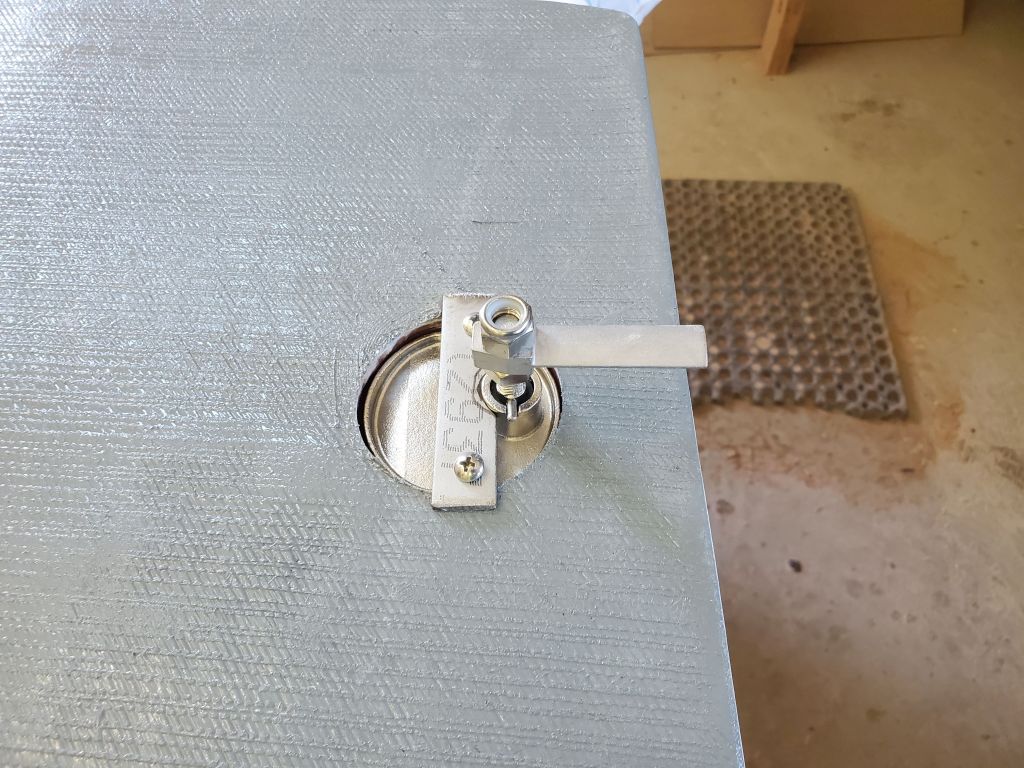
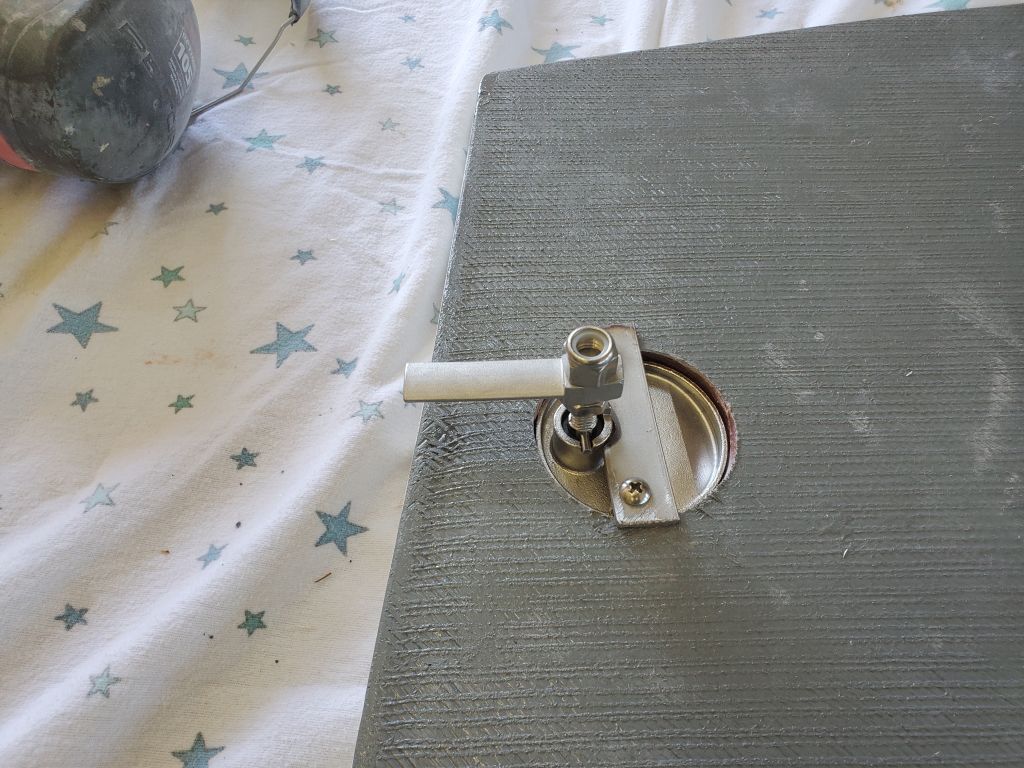
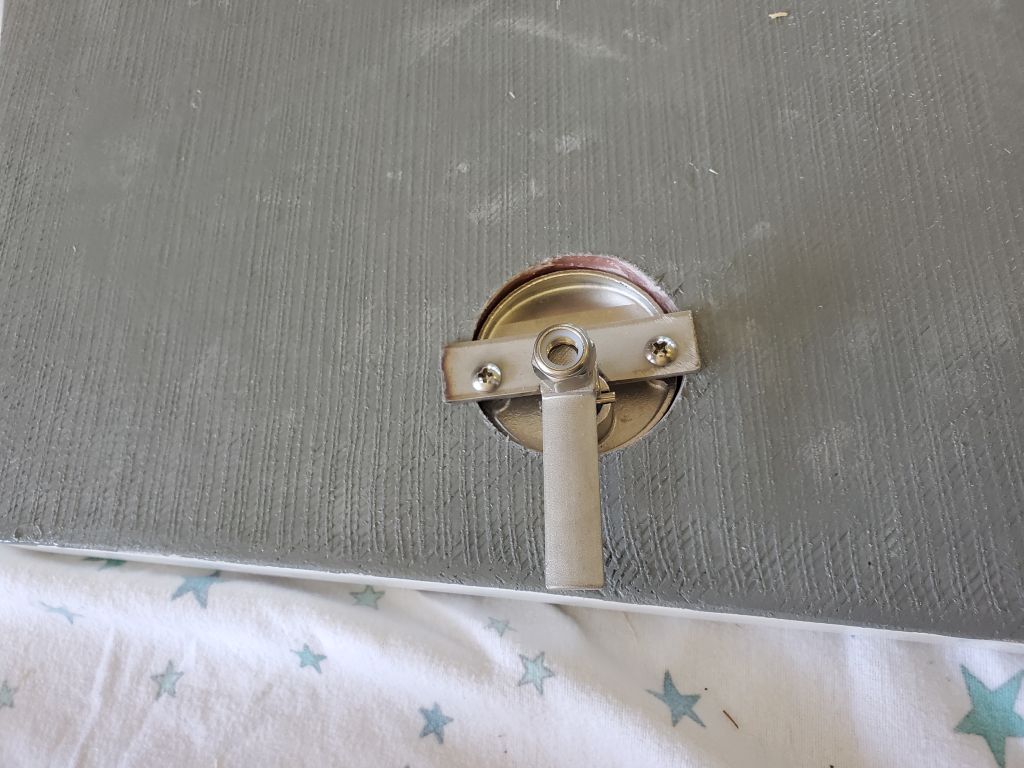
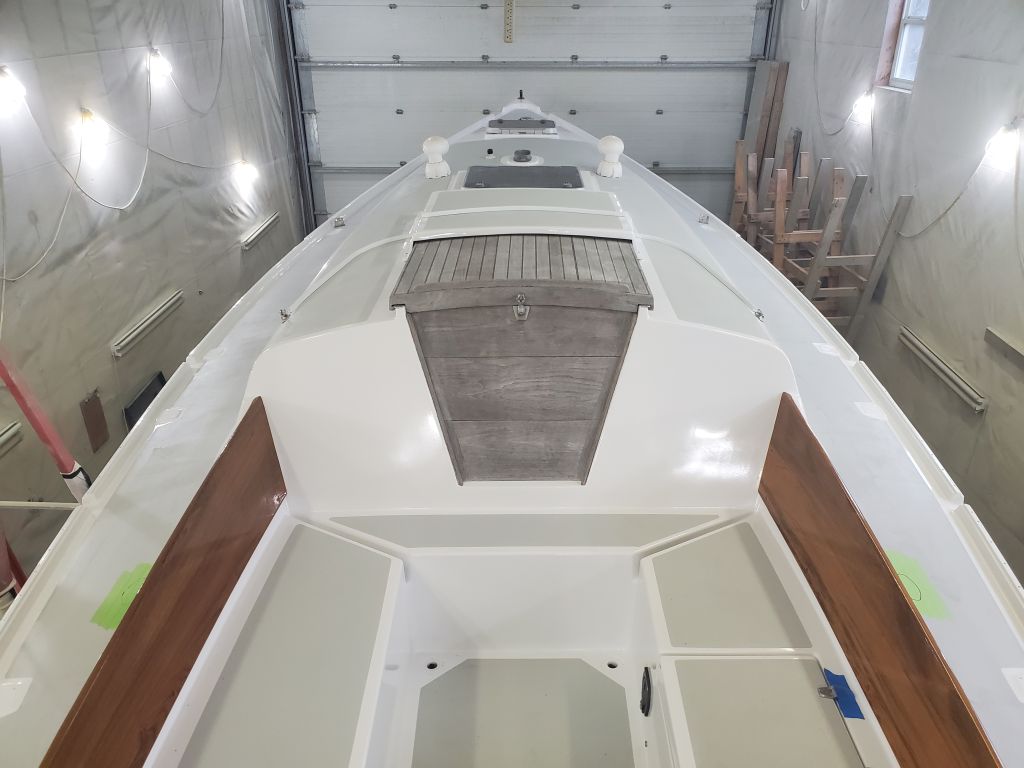
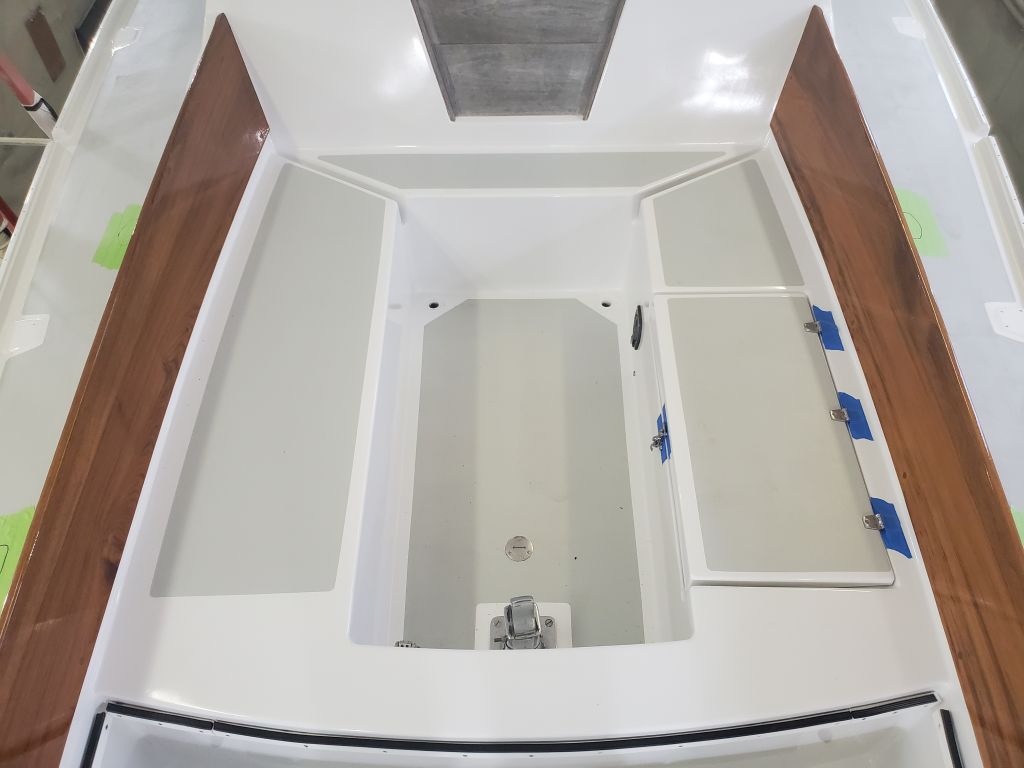
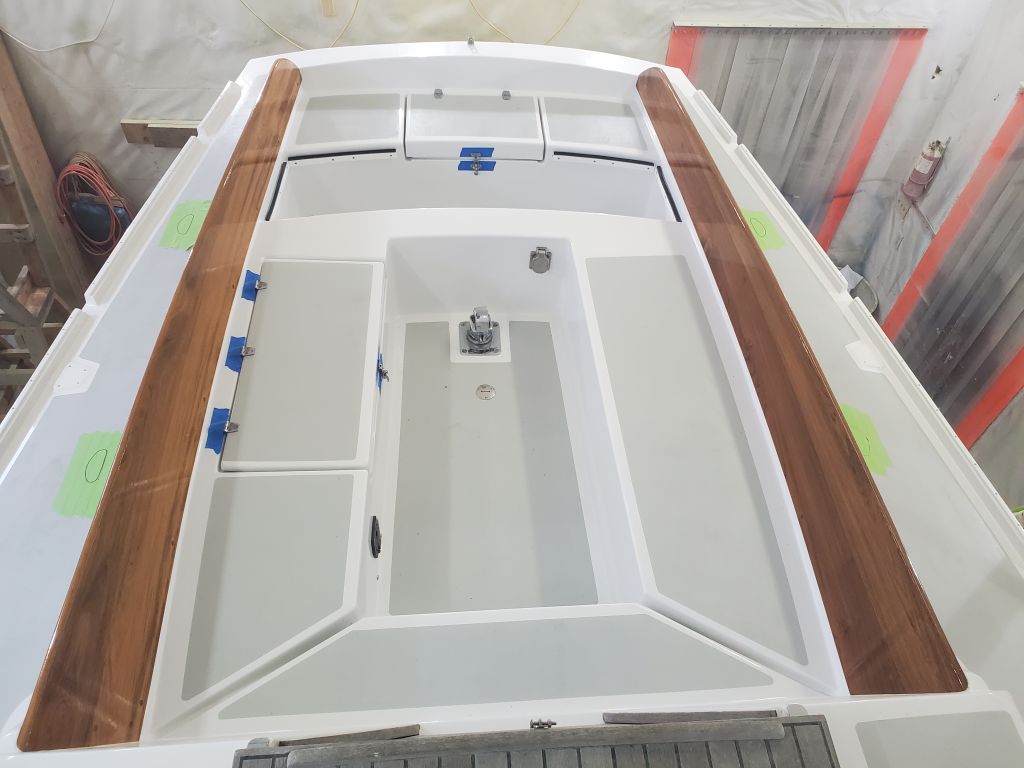
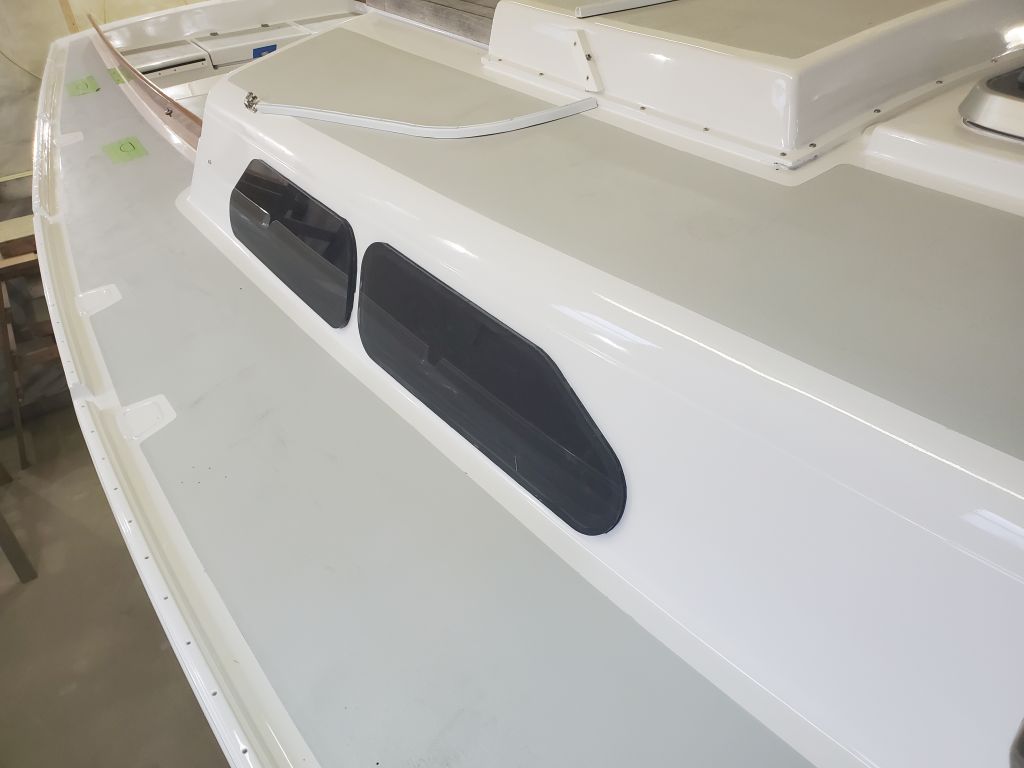
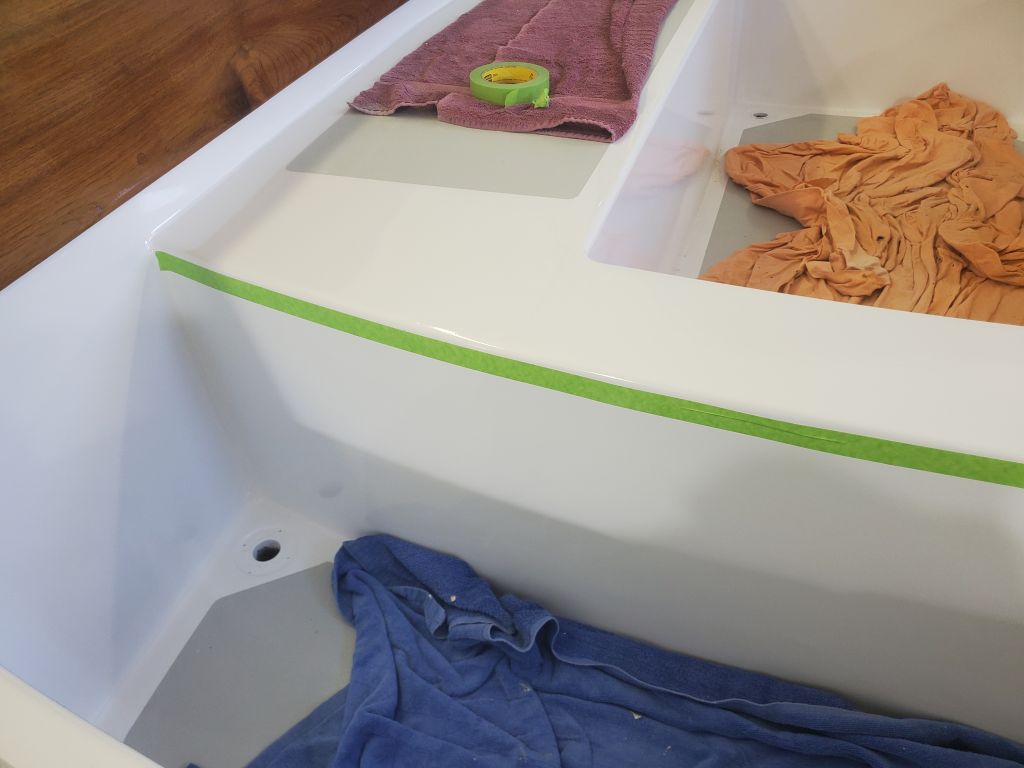
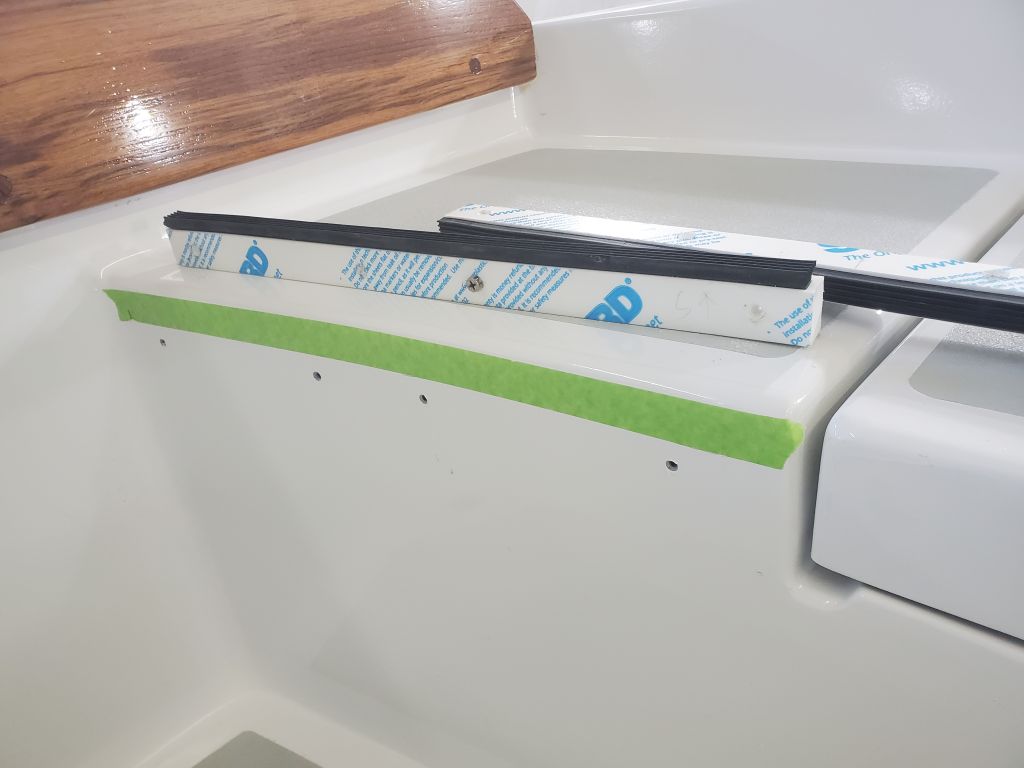
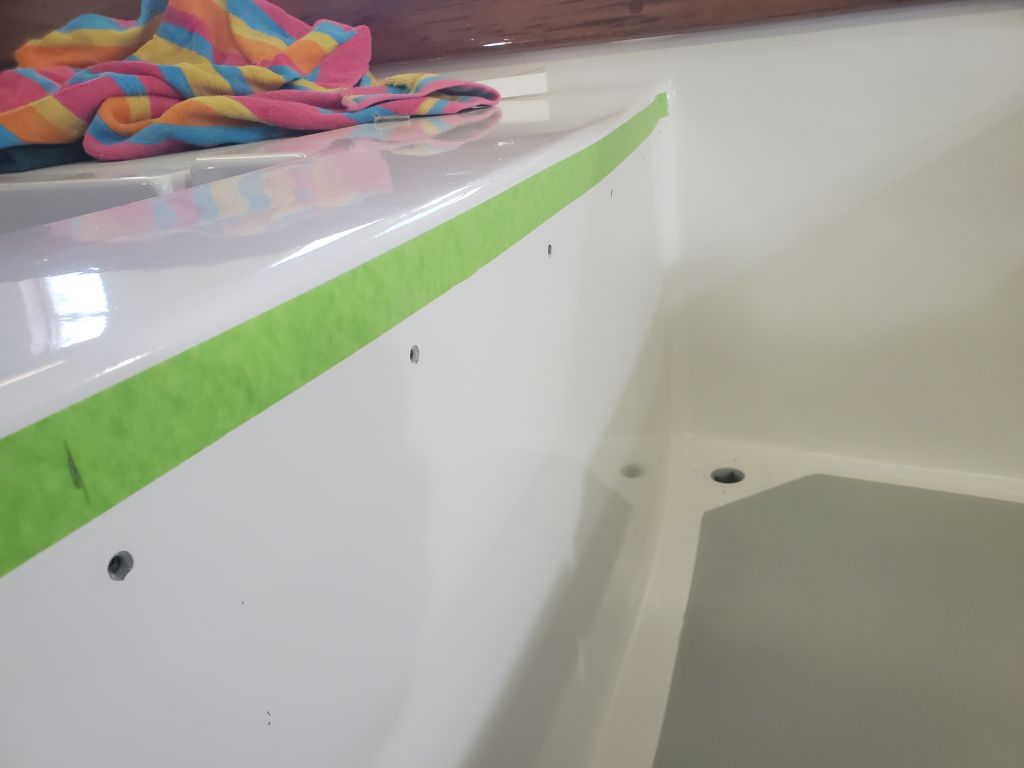
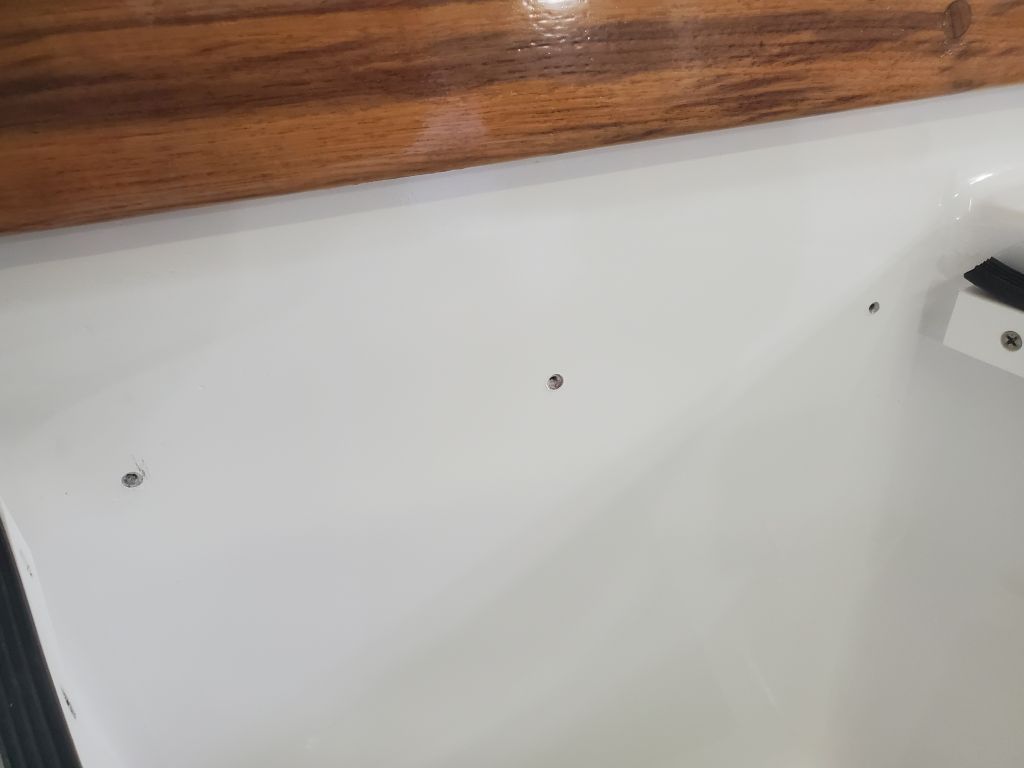
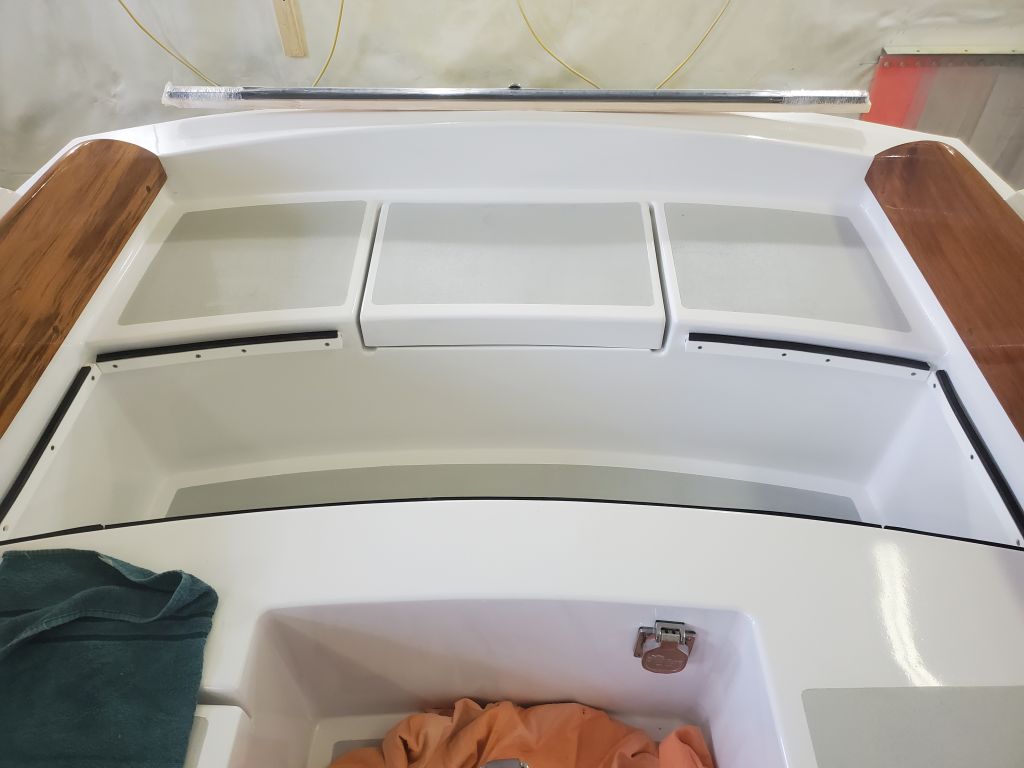
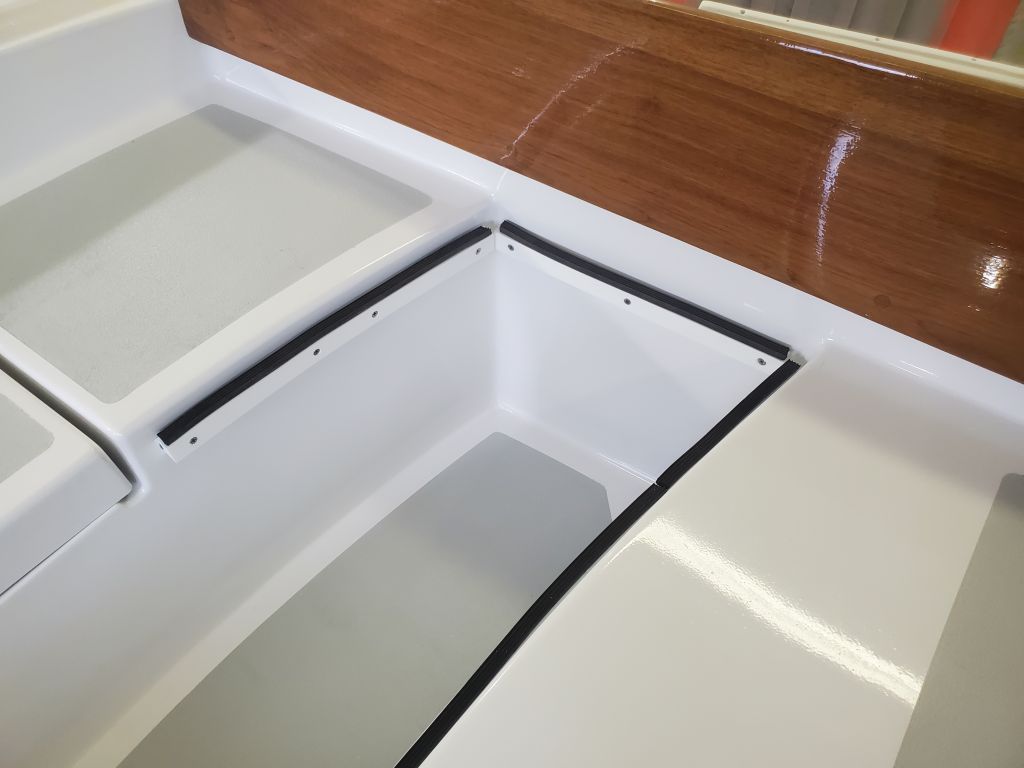
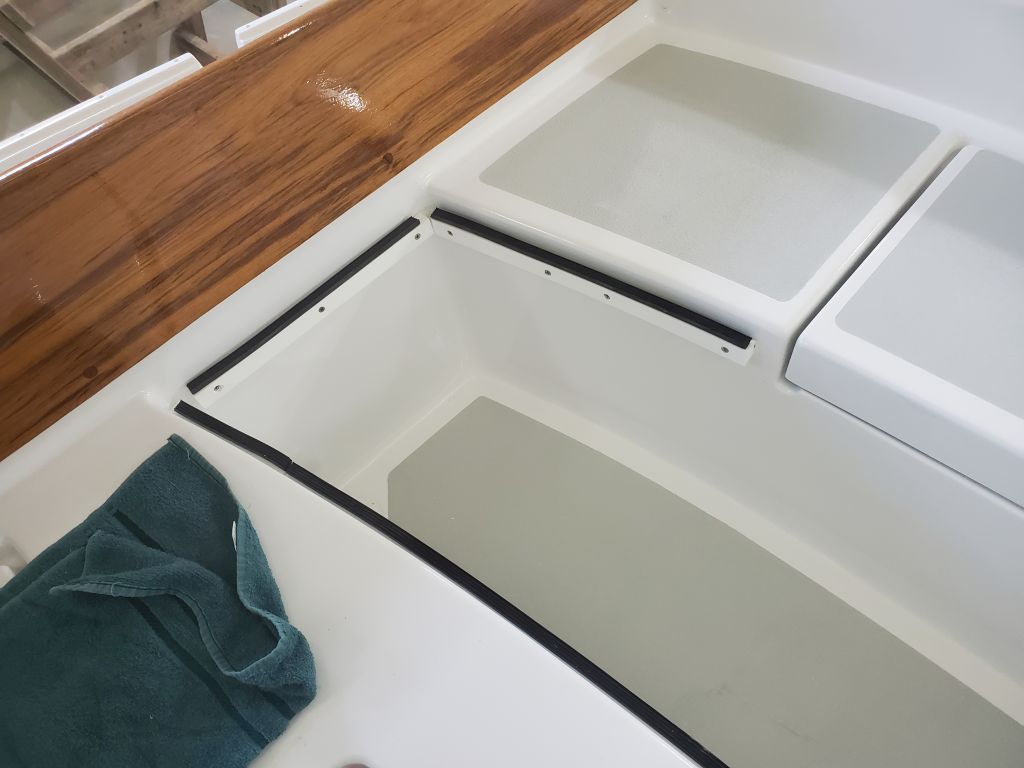
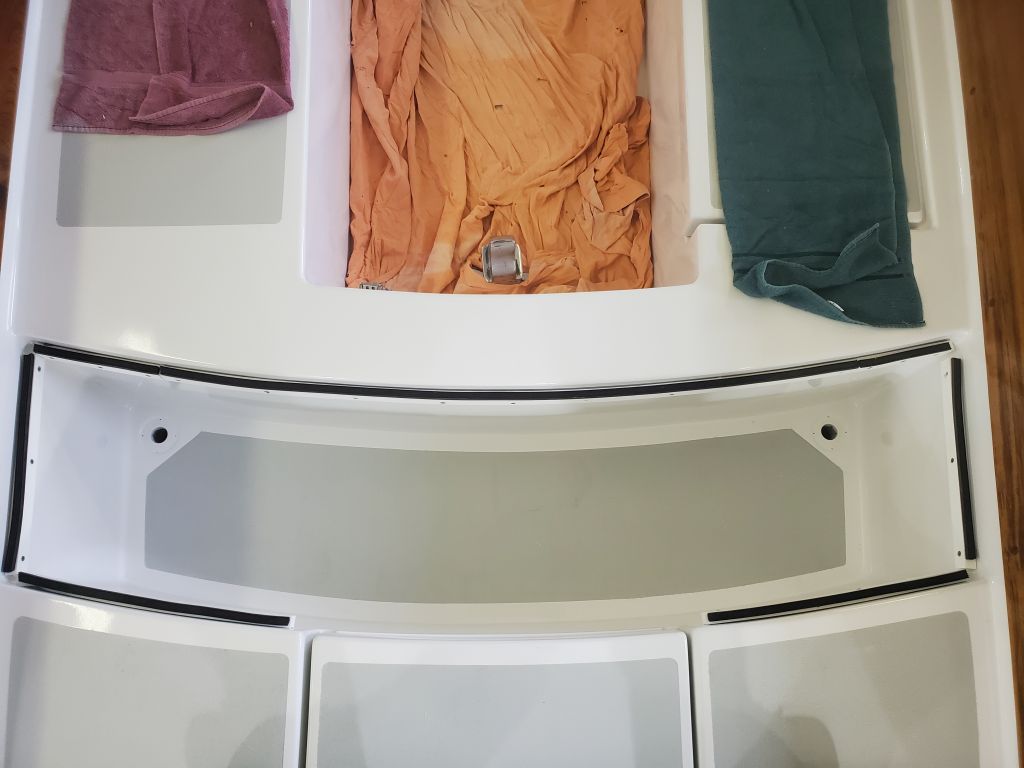
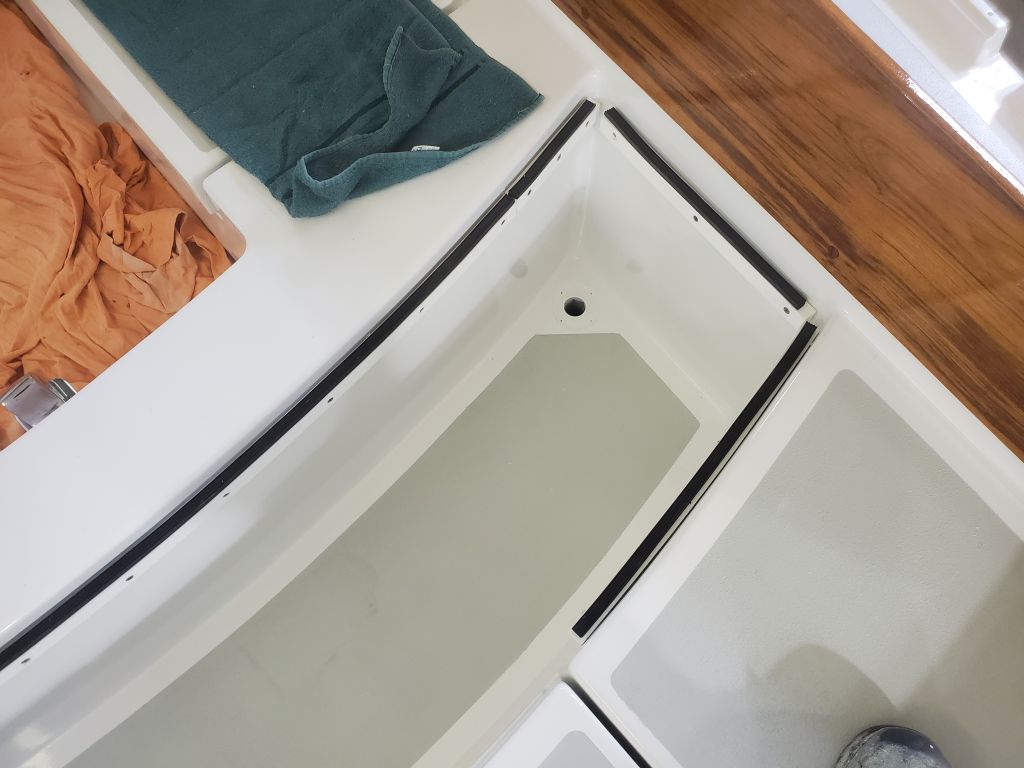
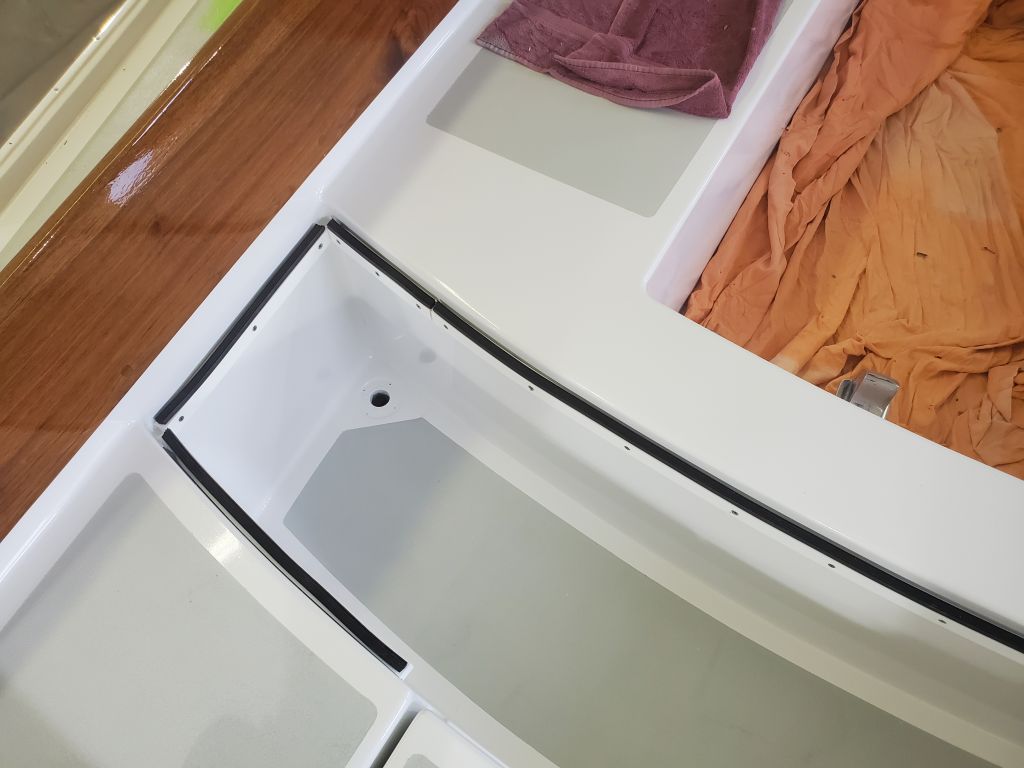
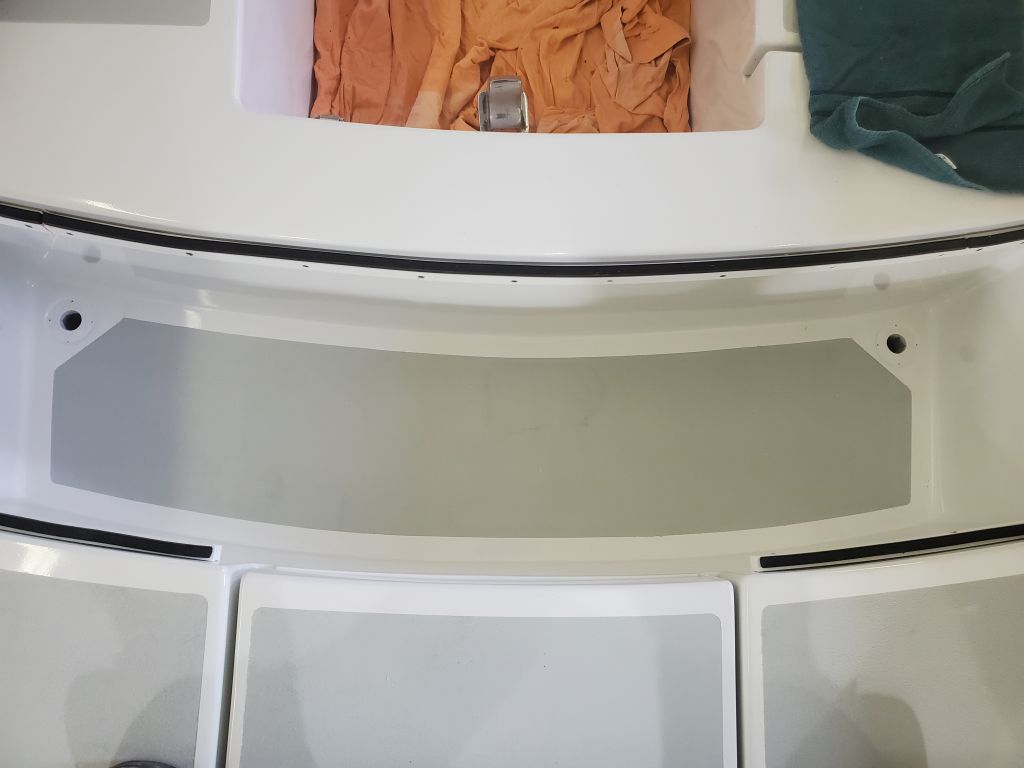
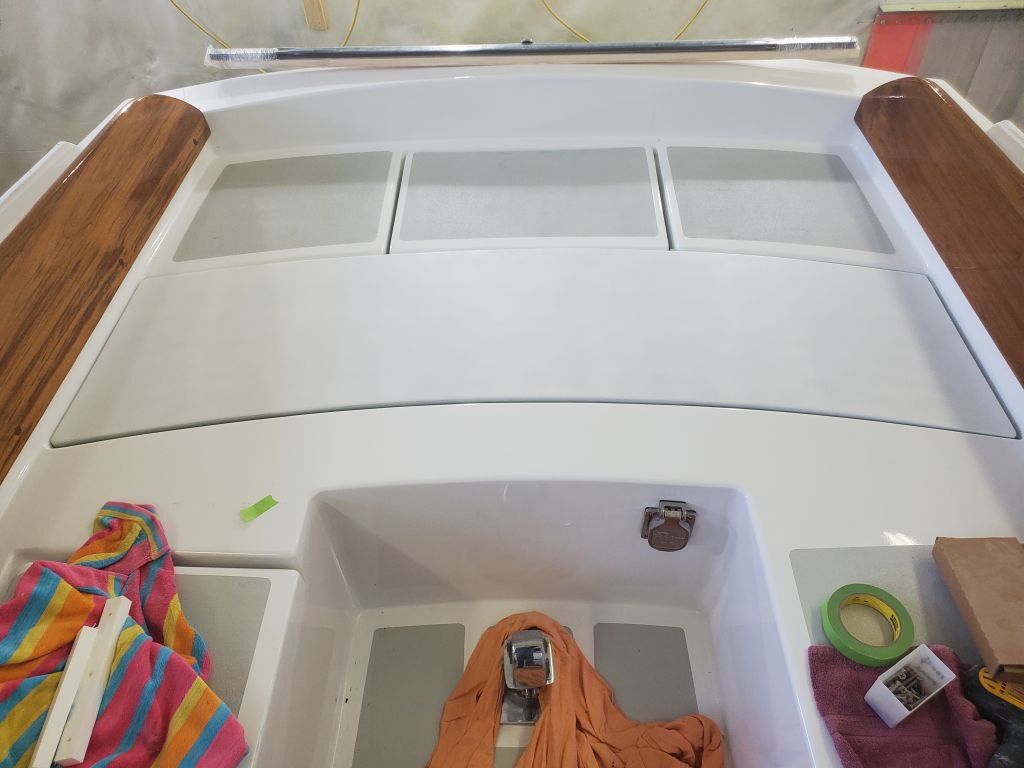
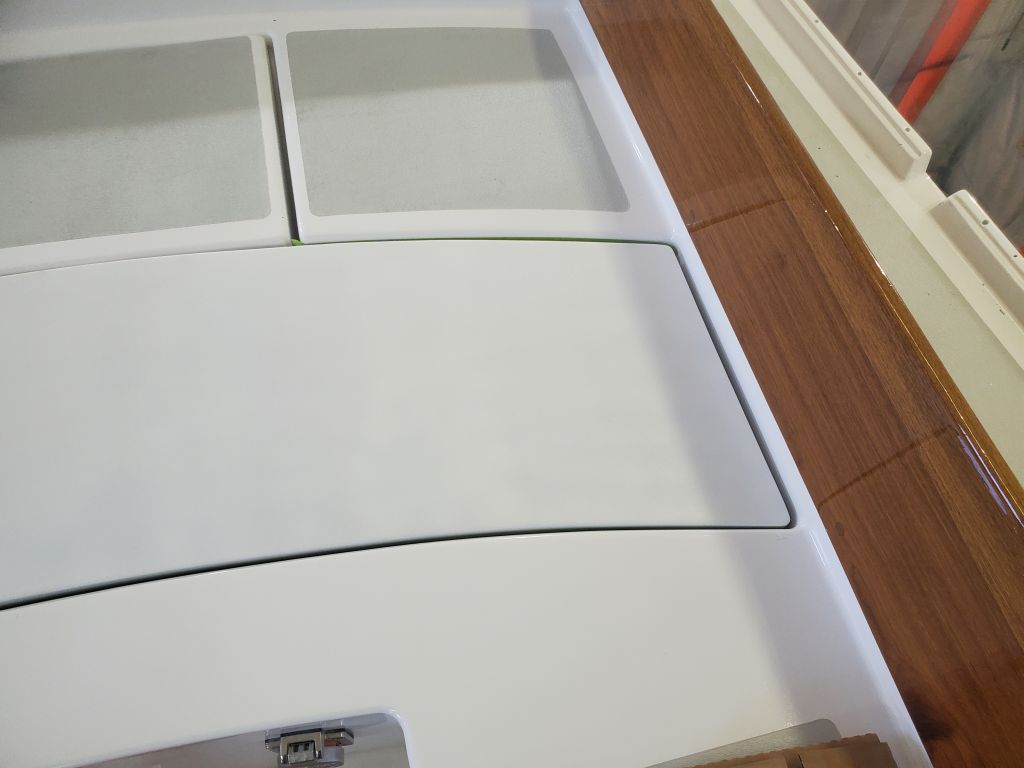
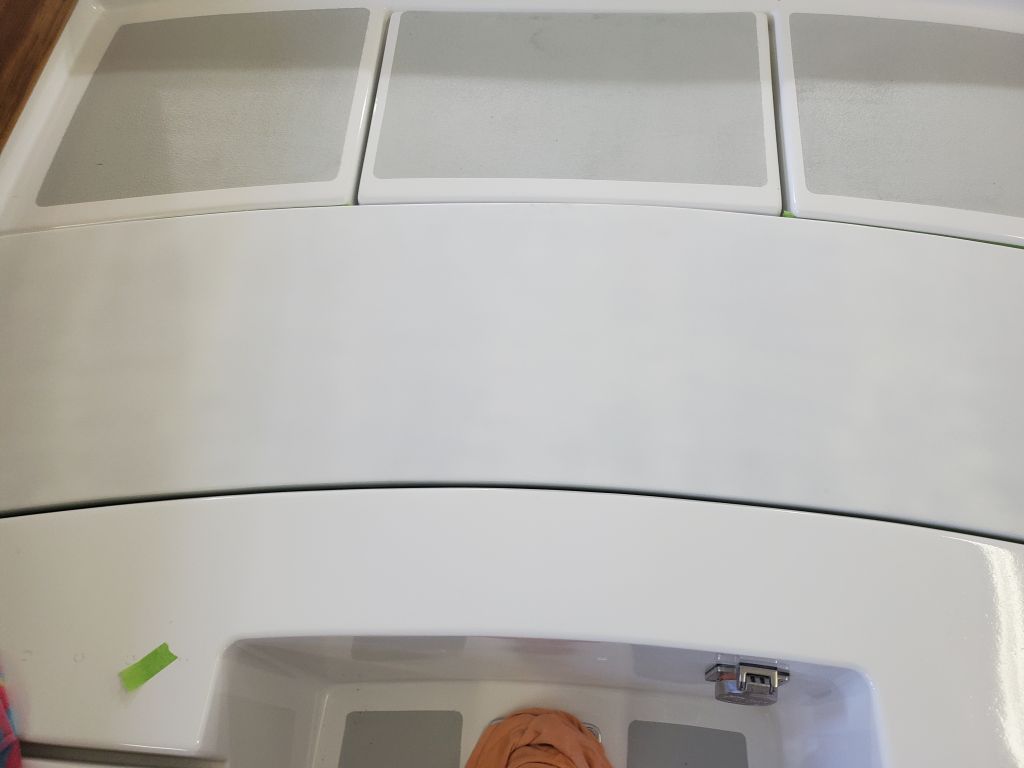
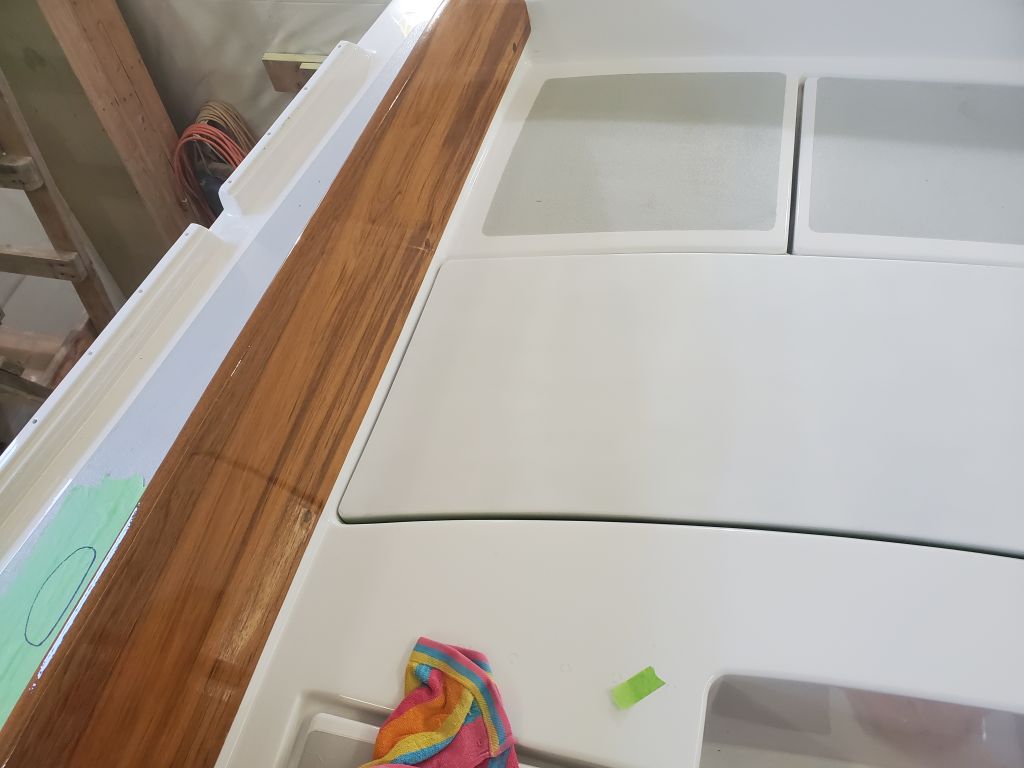
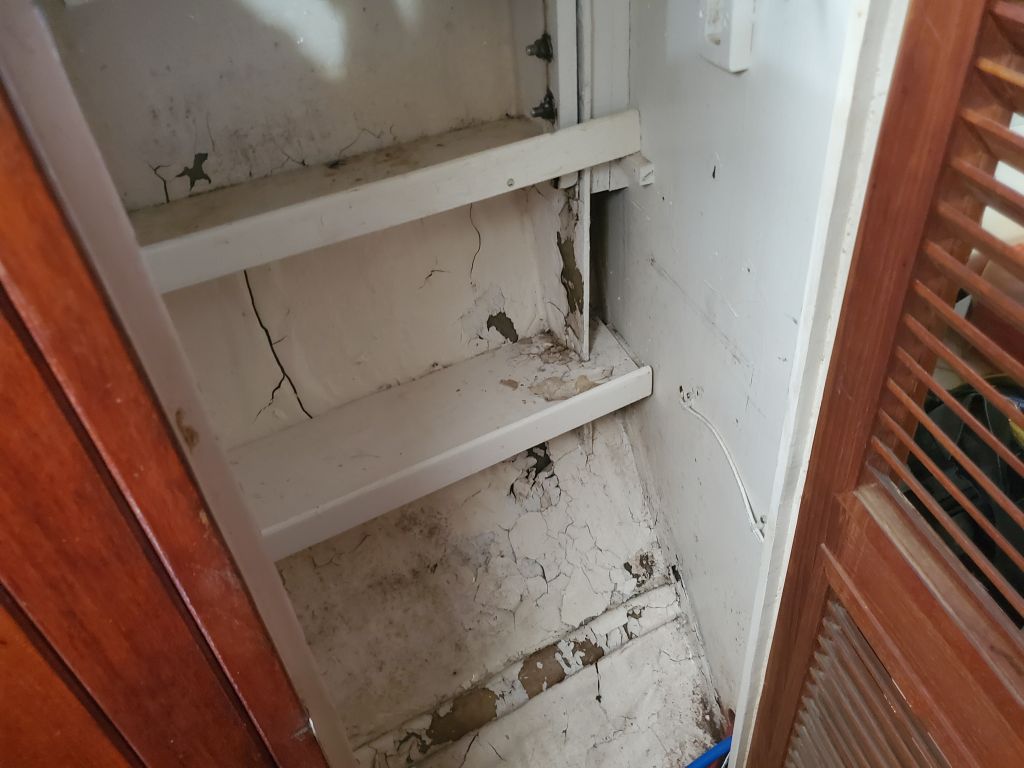
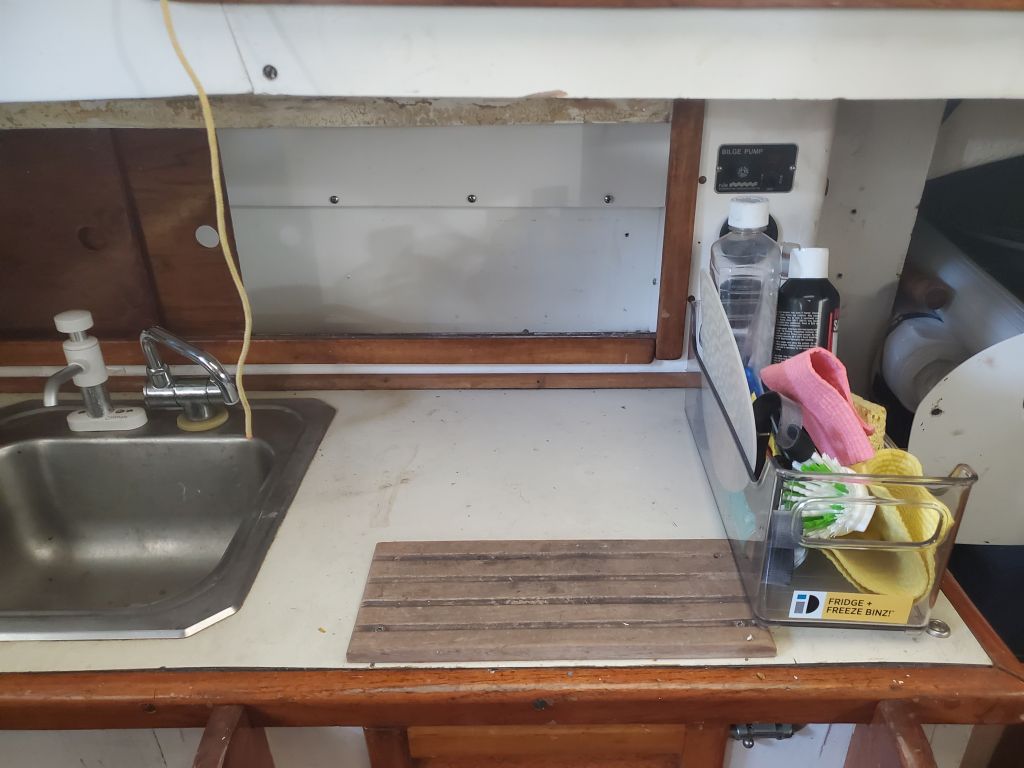
With all storage areas emptied out, I documented the existing condition of the interior and lockers before diving into the project.