Tuesday
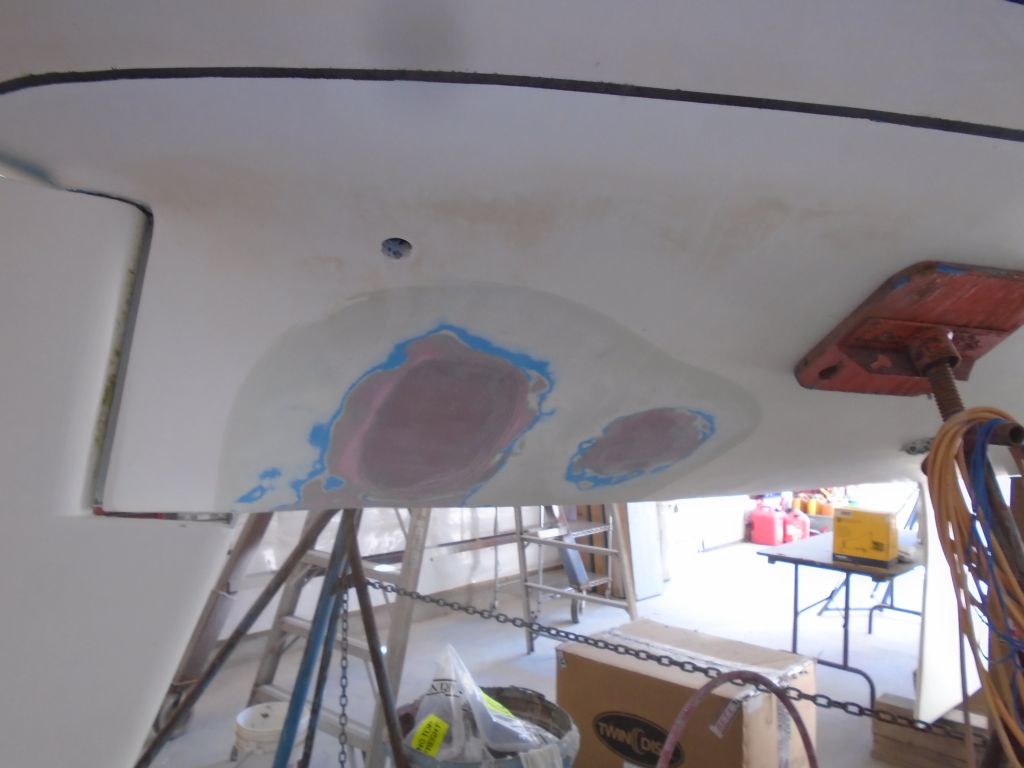
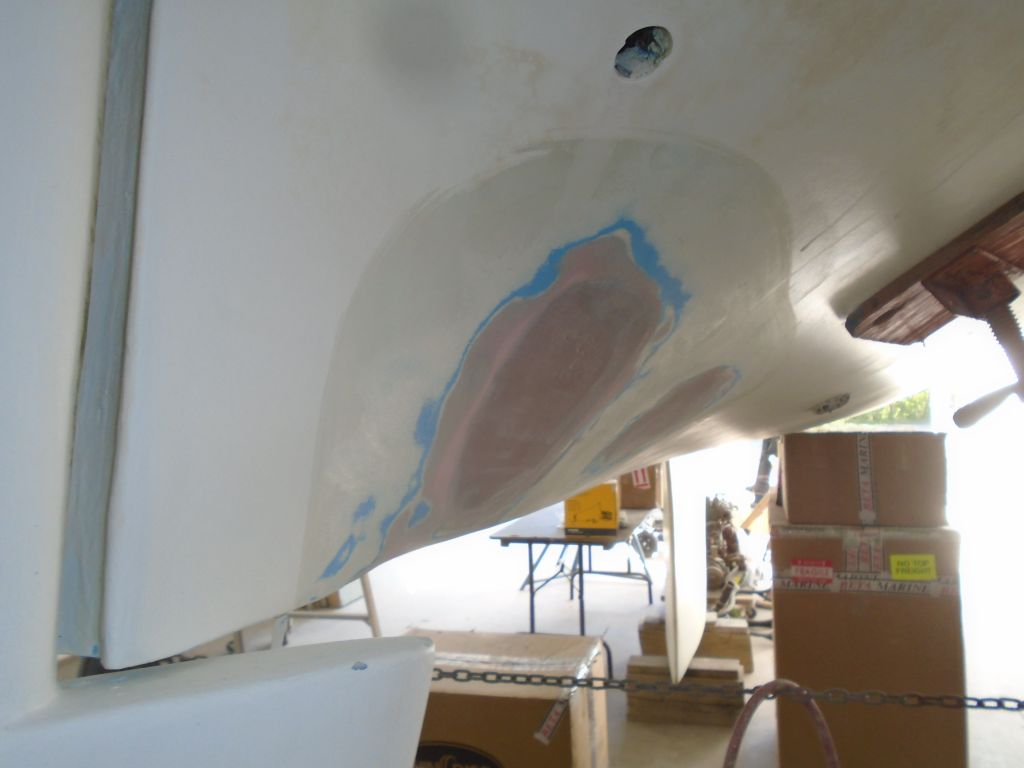
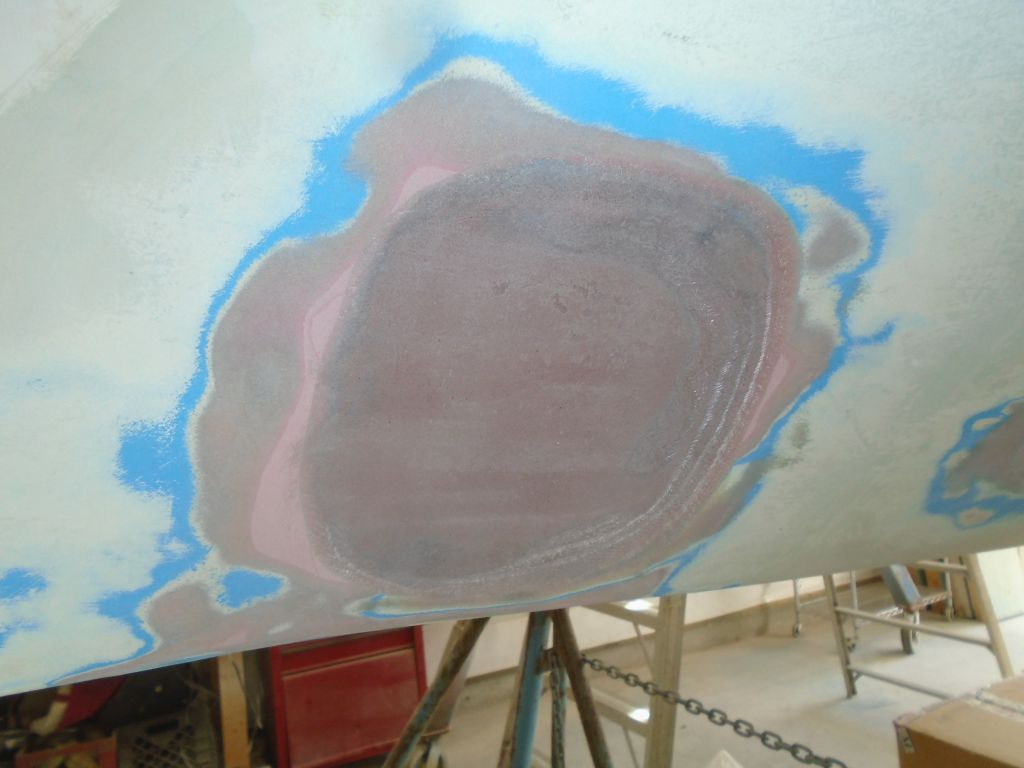
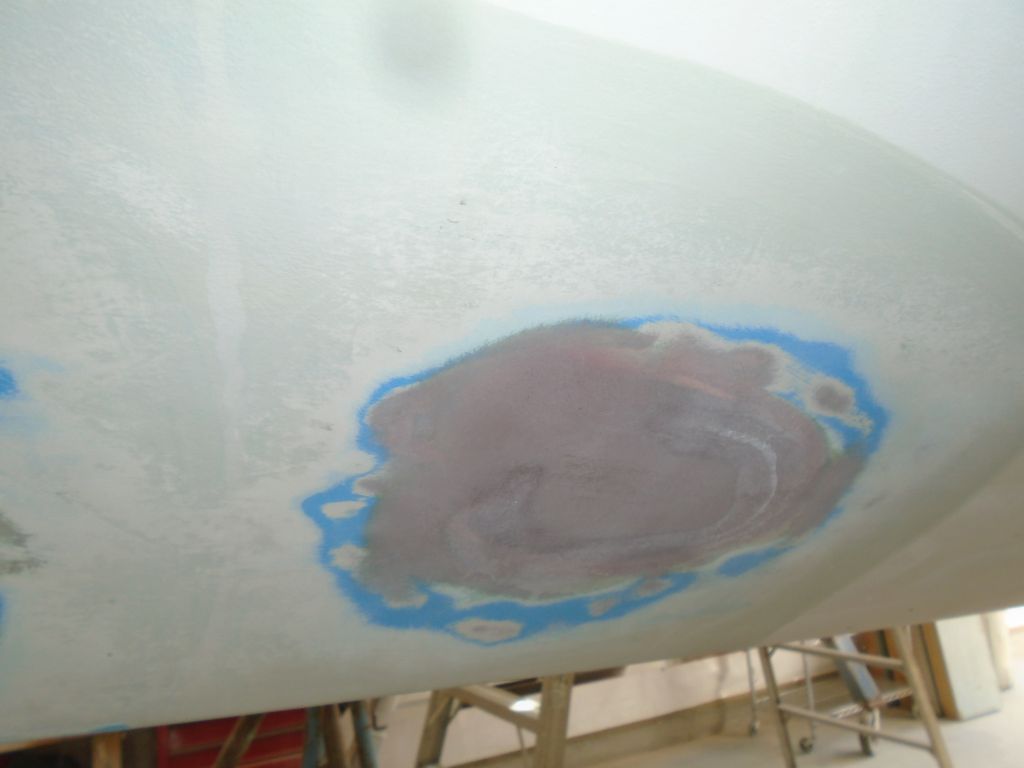
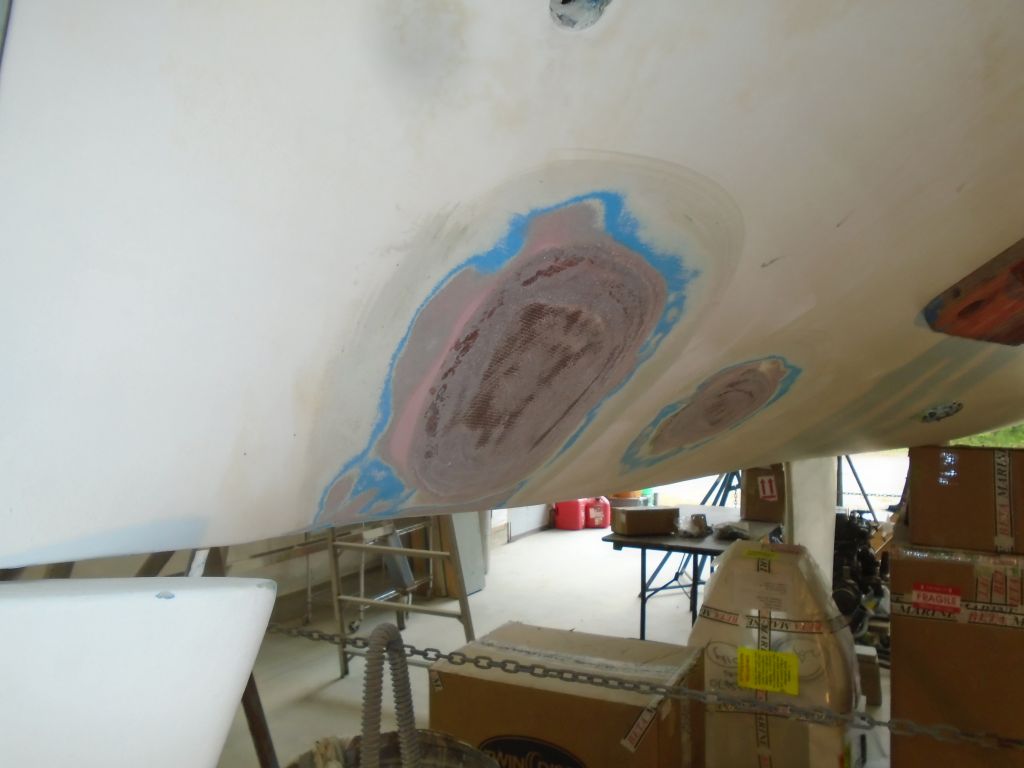
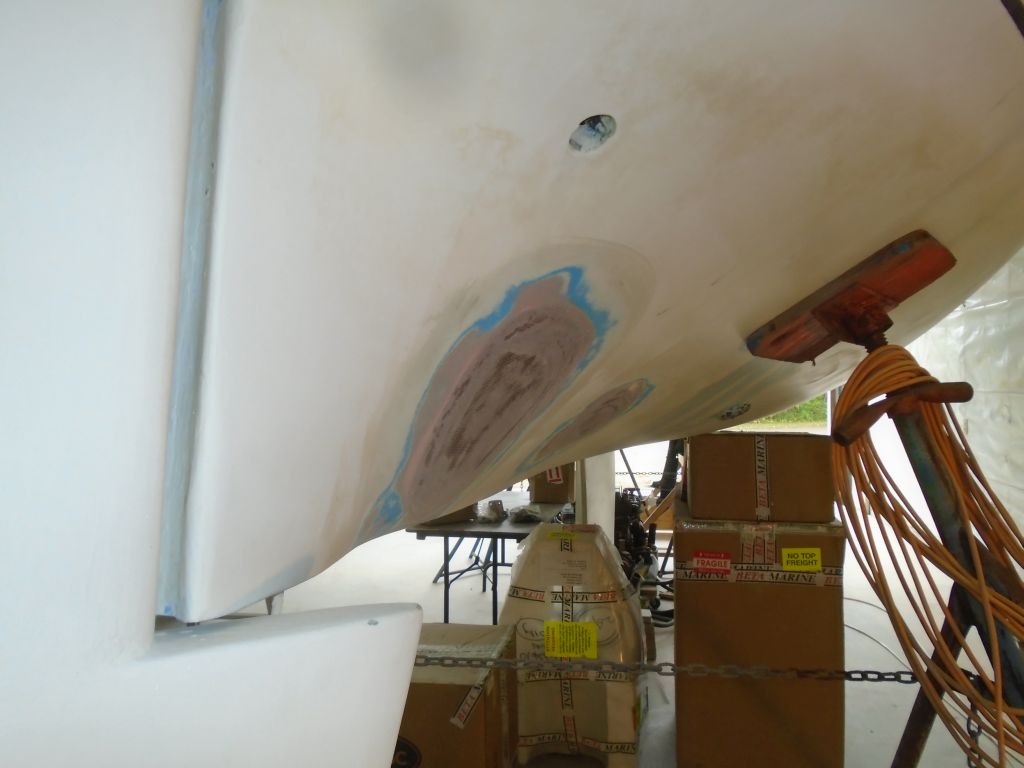
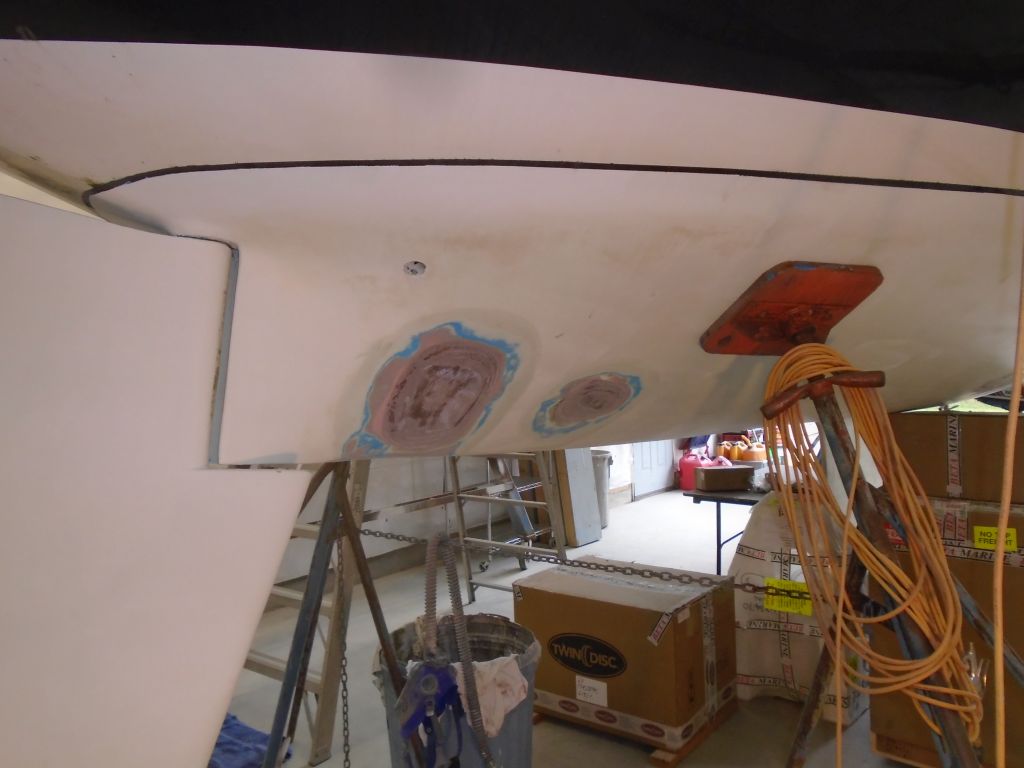
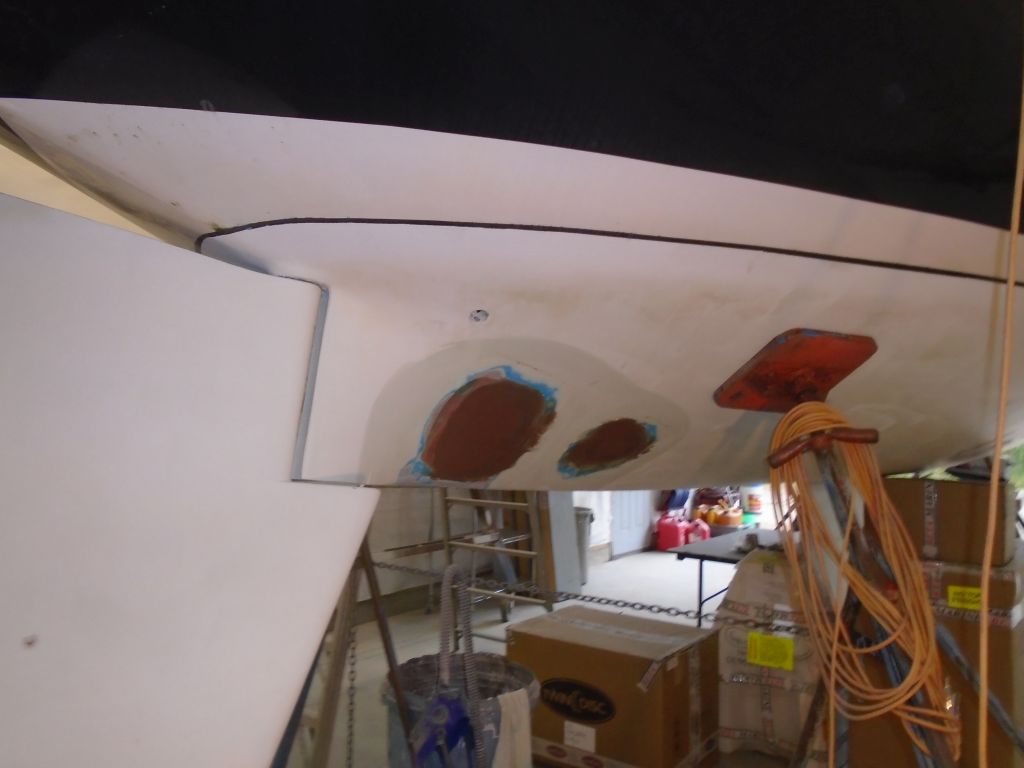
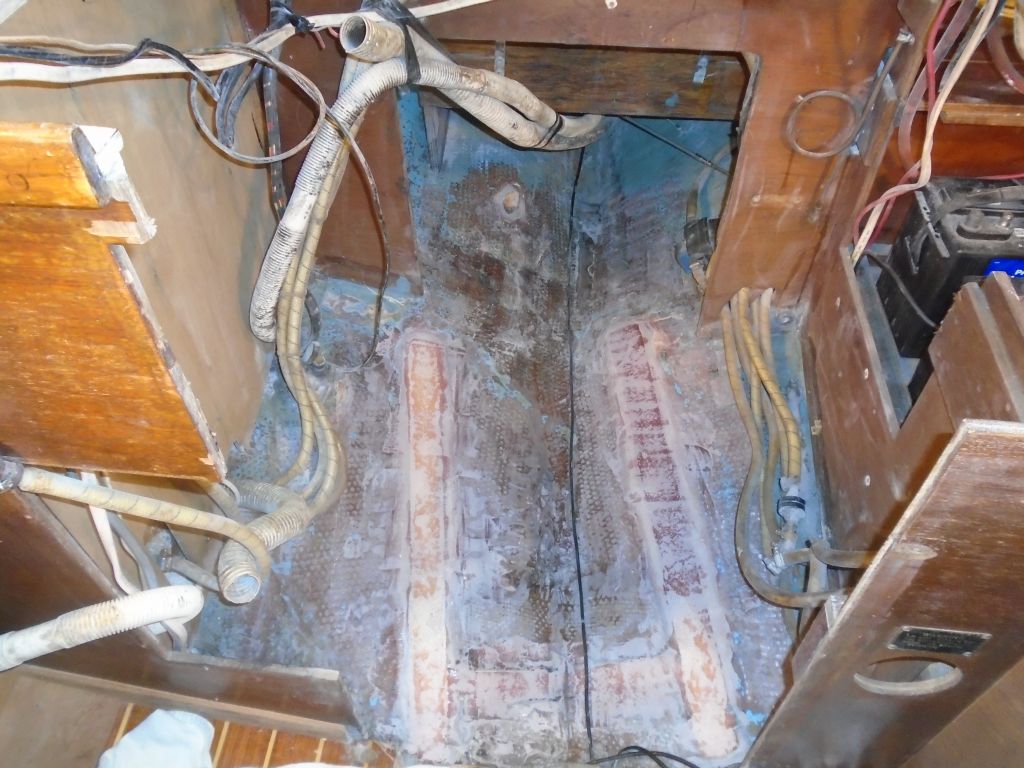
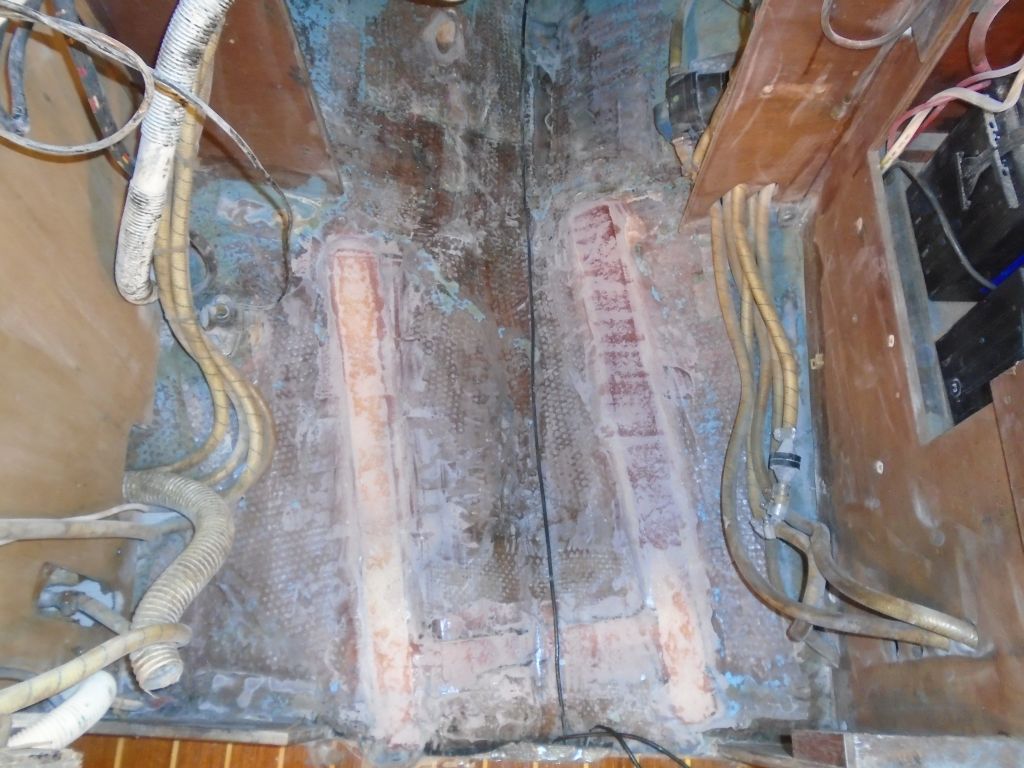
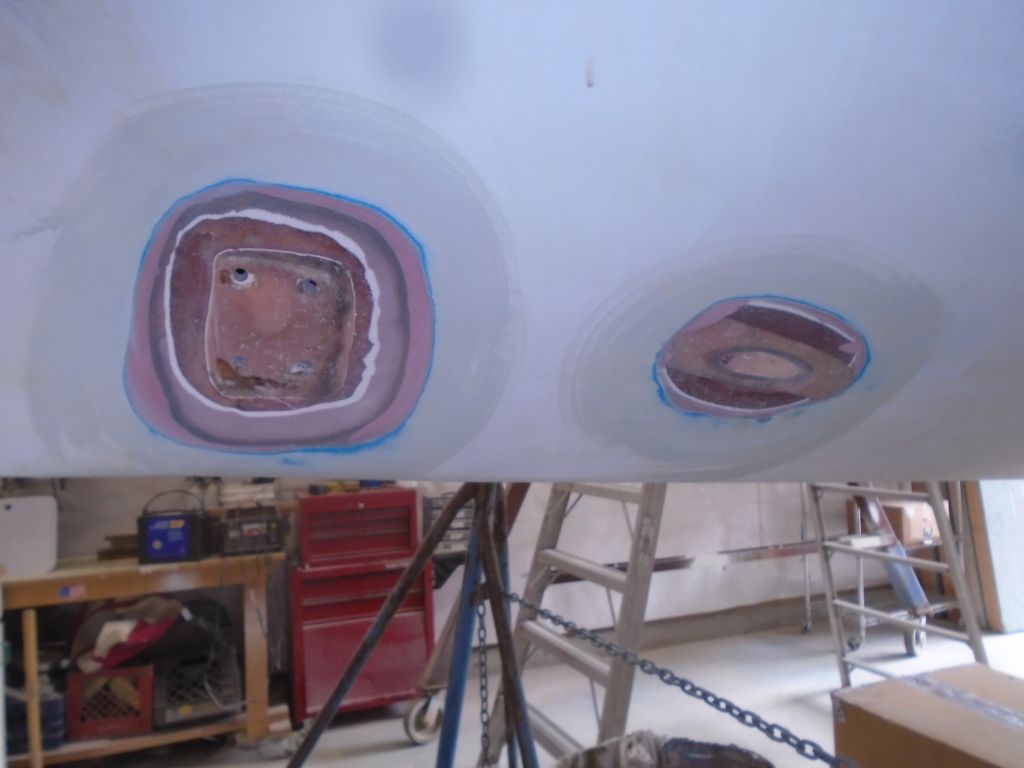
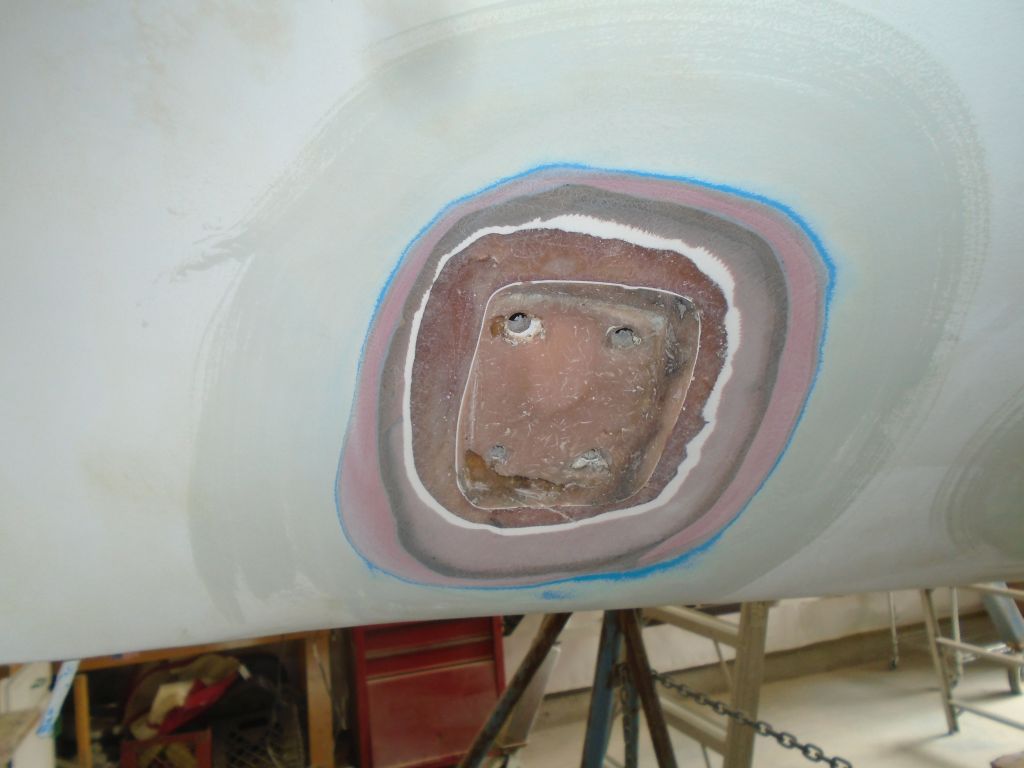
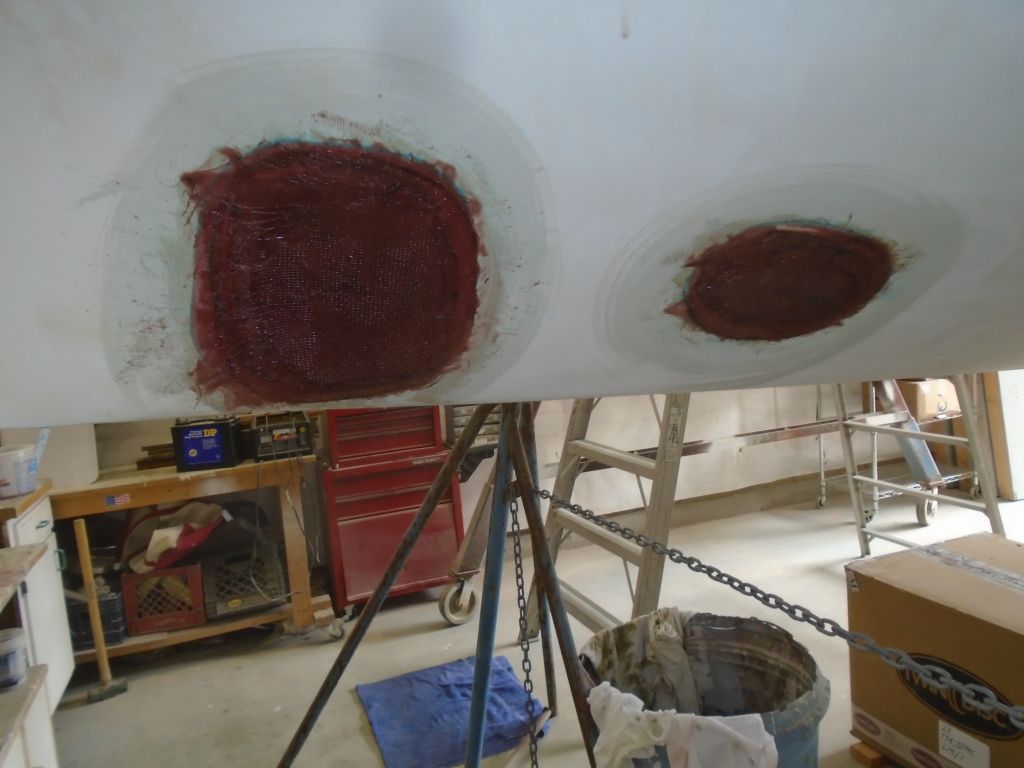
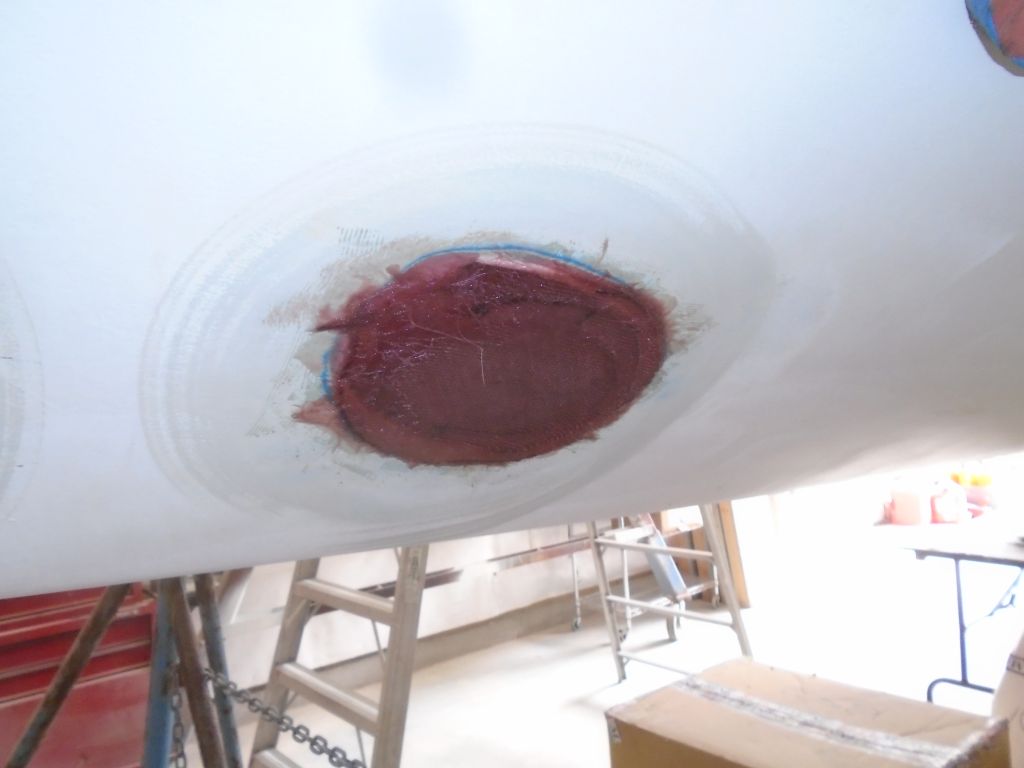
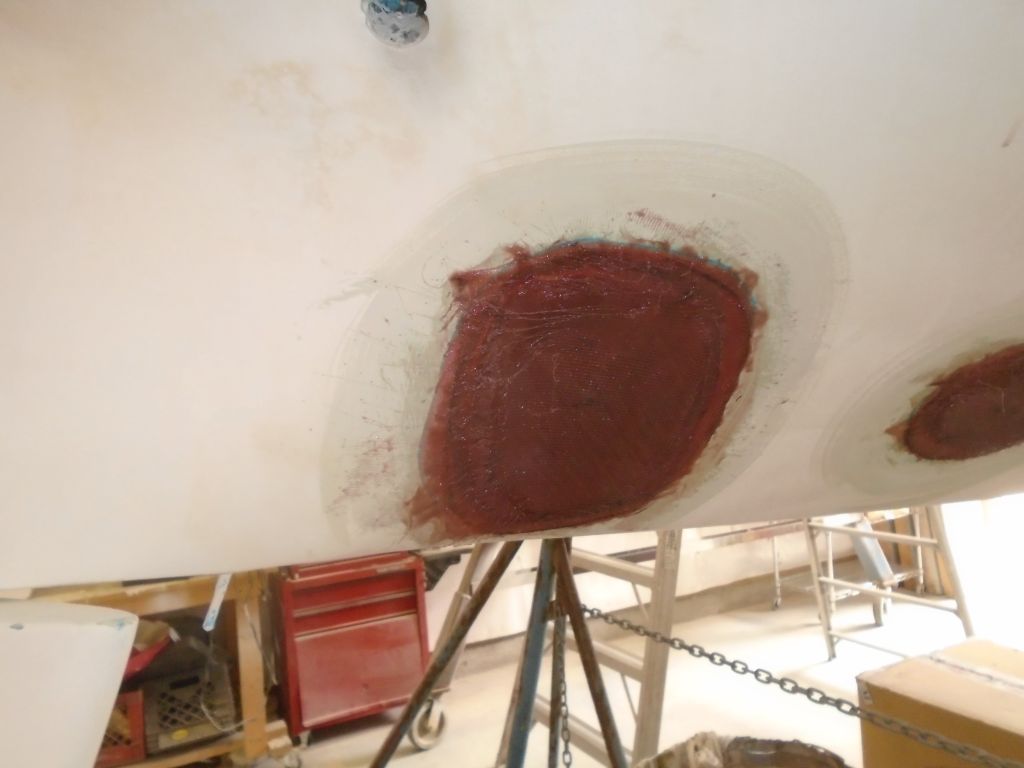
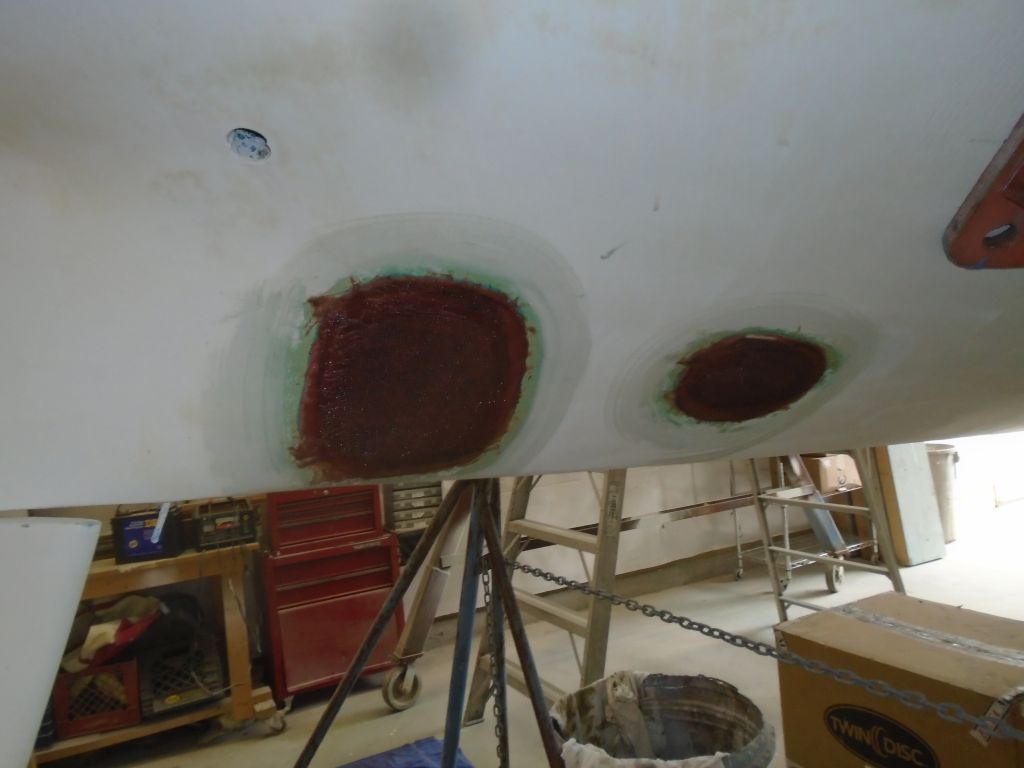
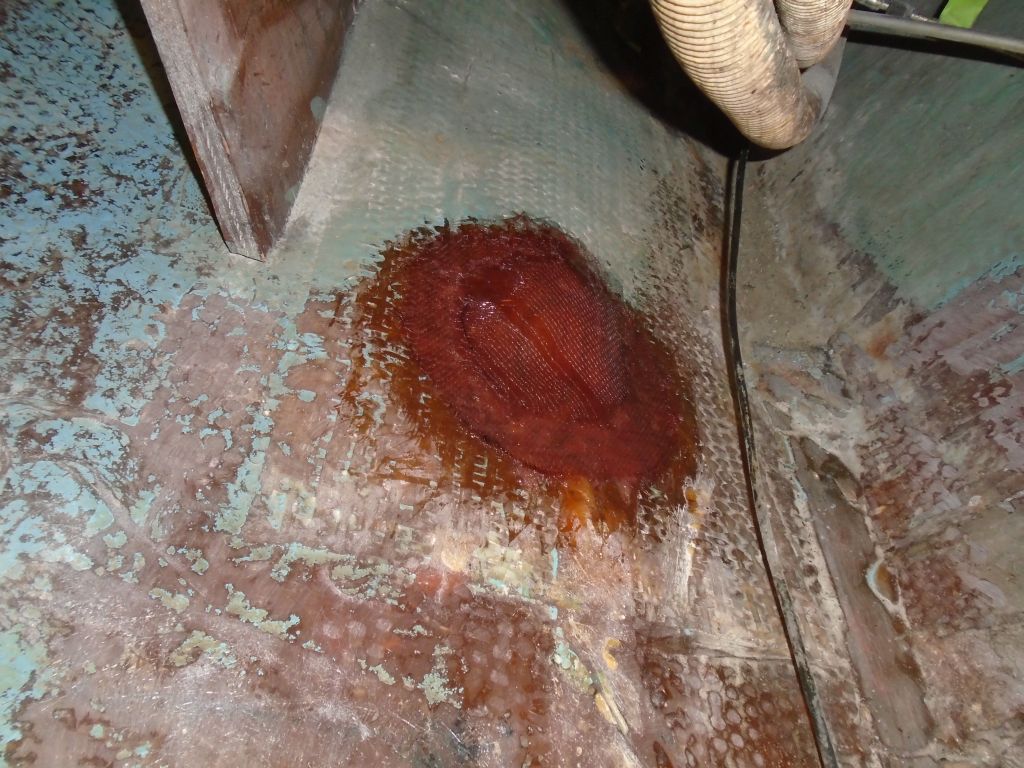
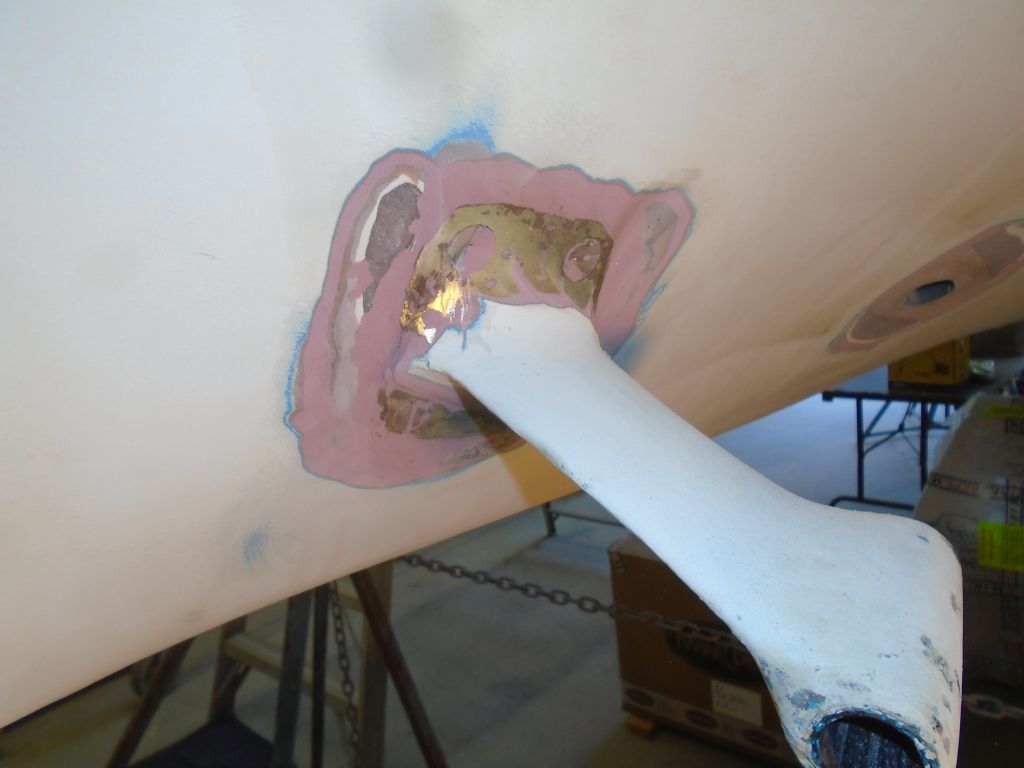
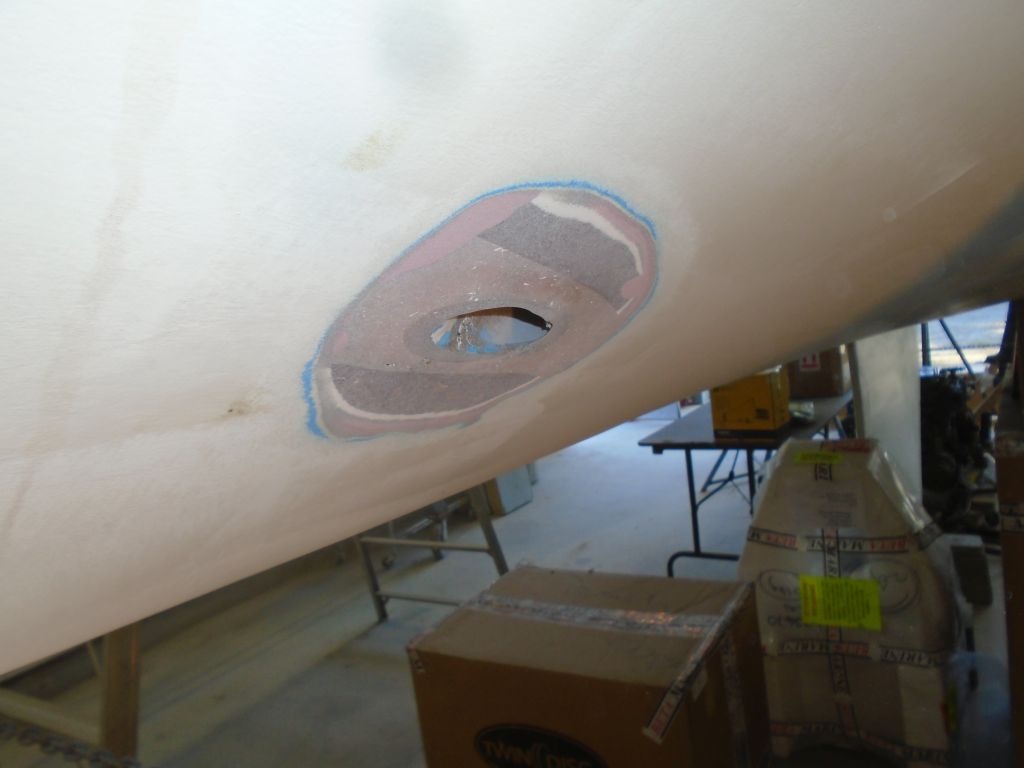
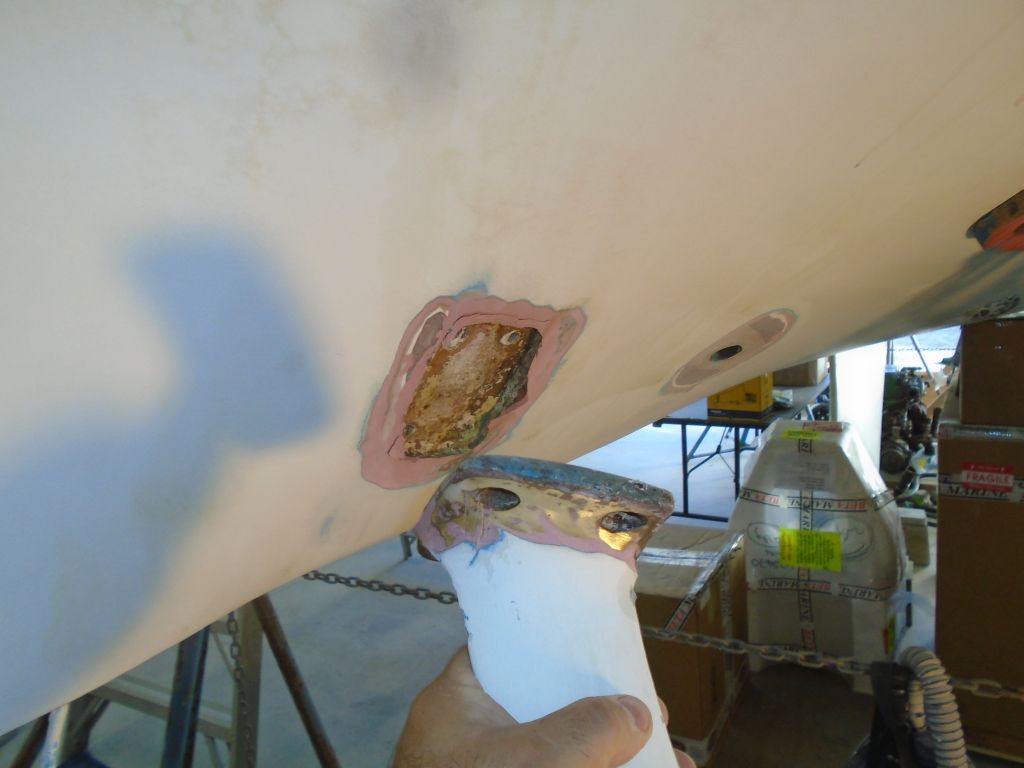
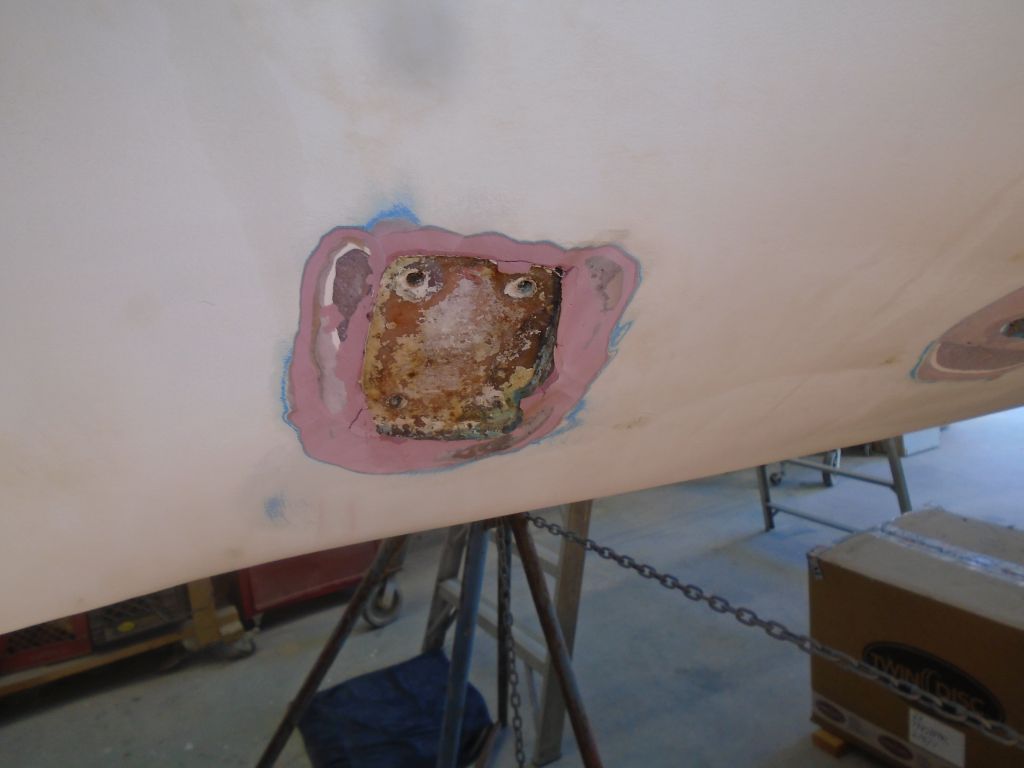
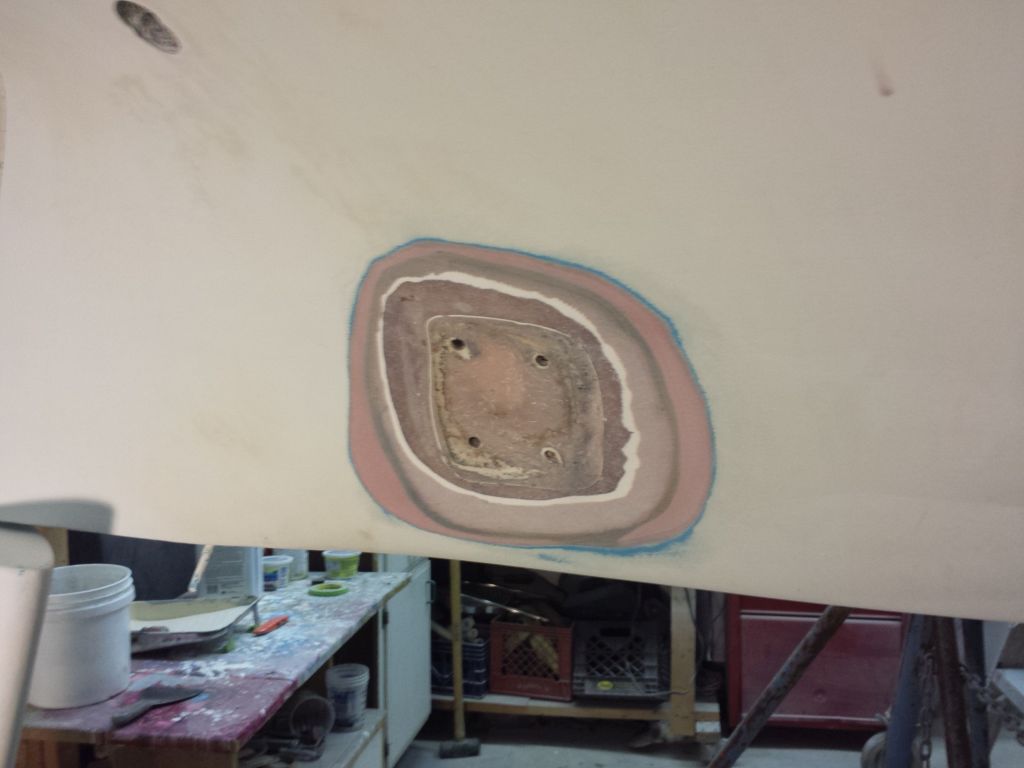
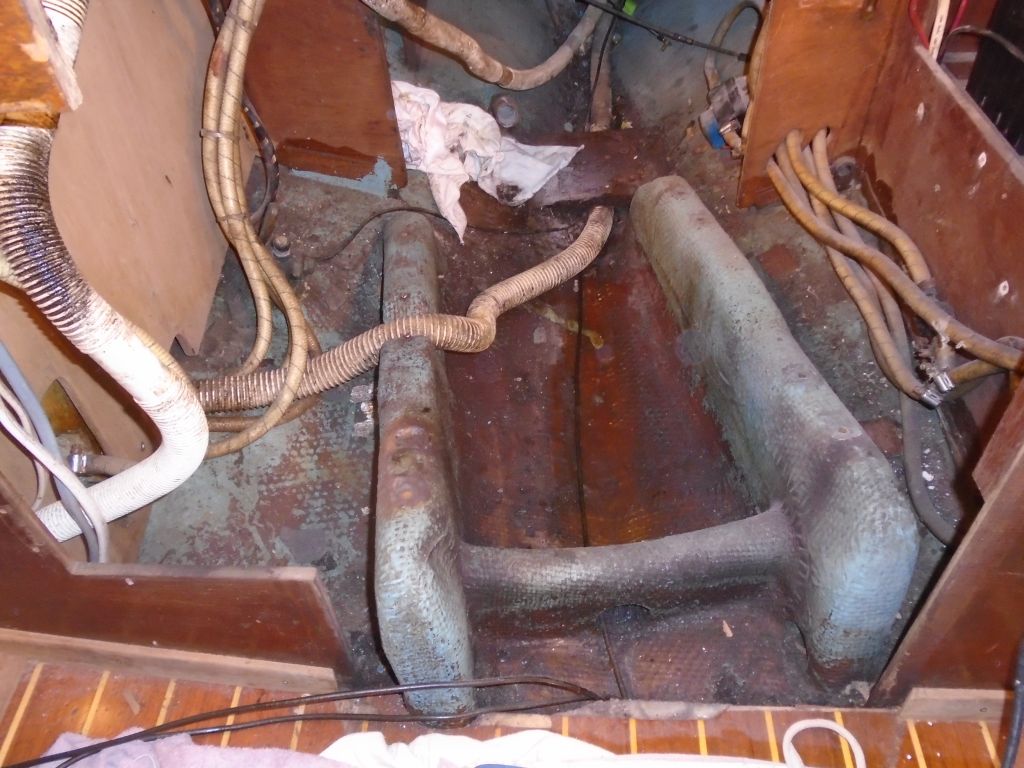
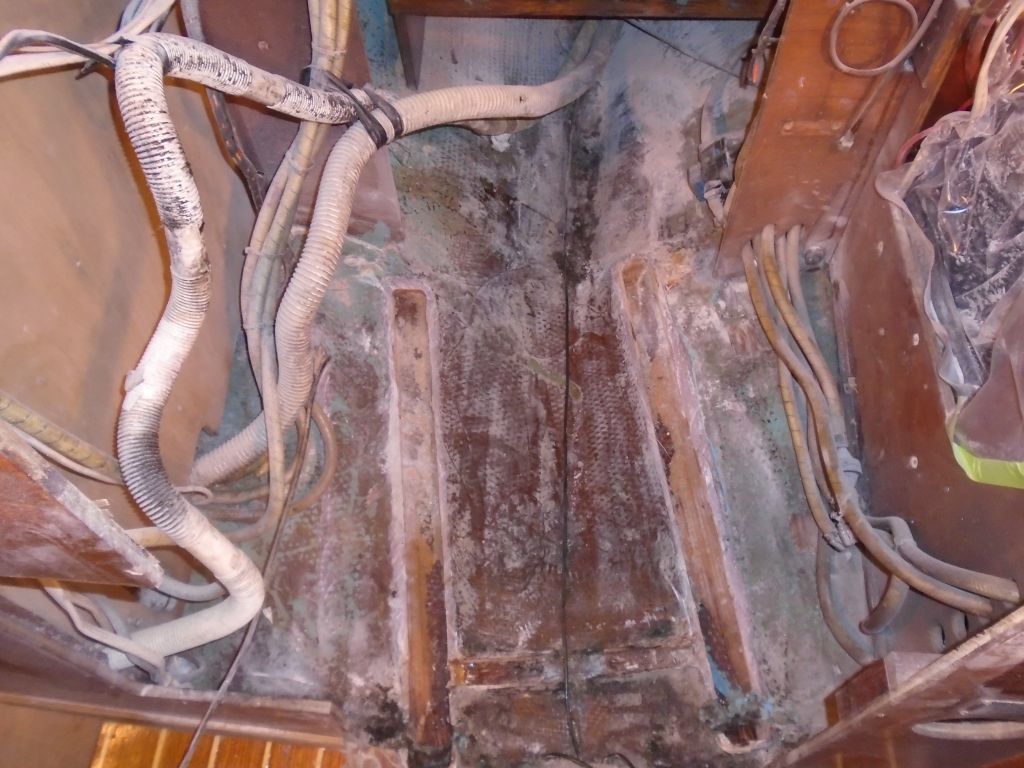
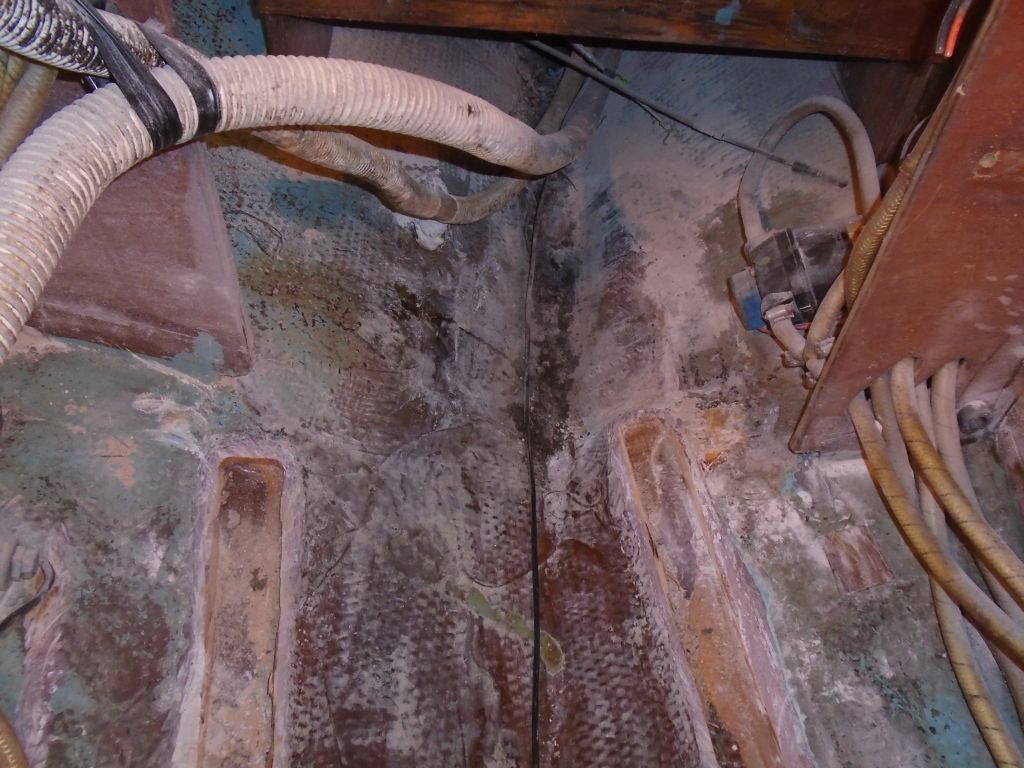
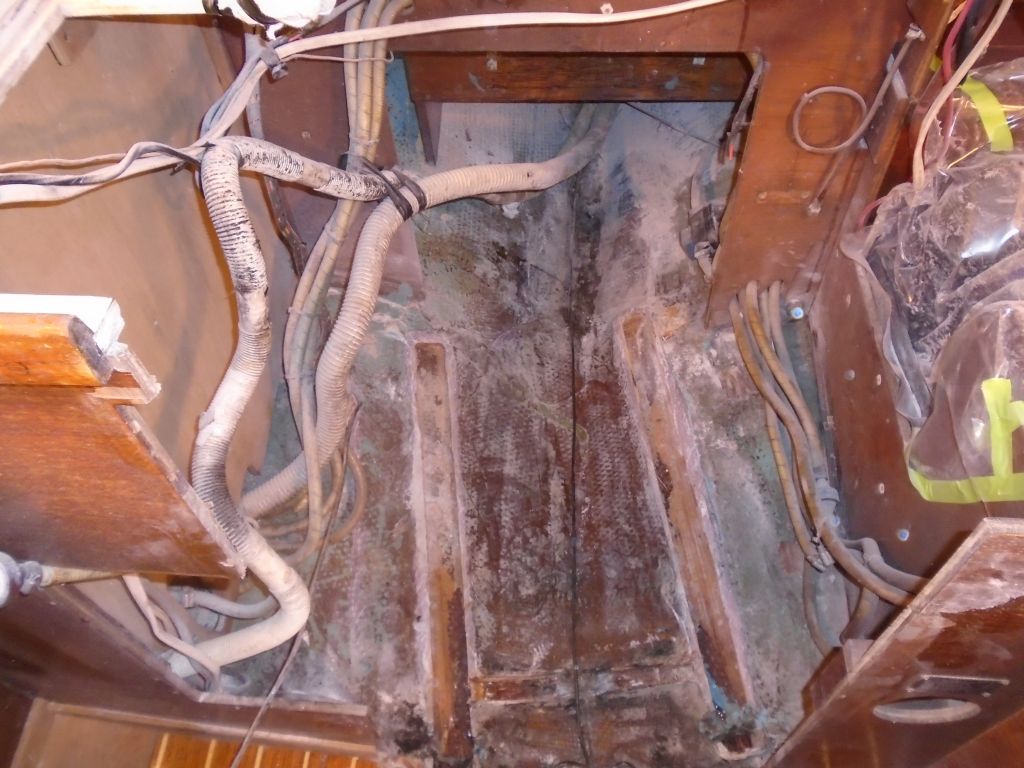
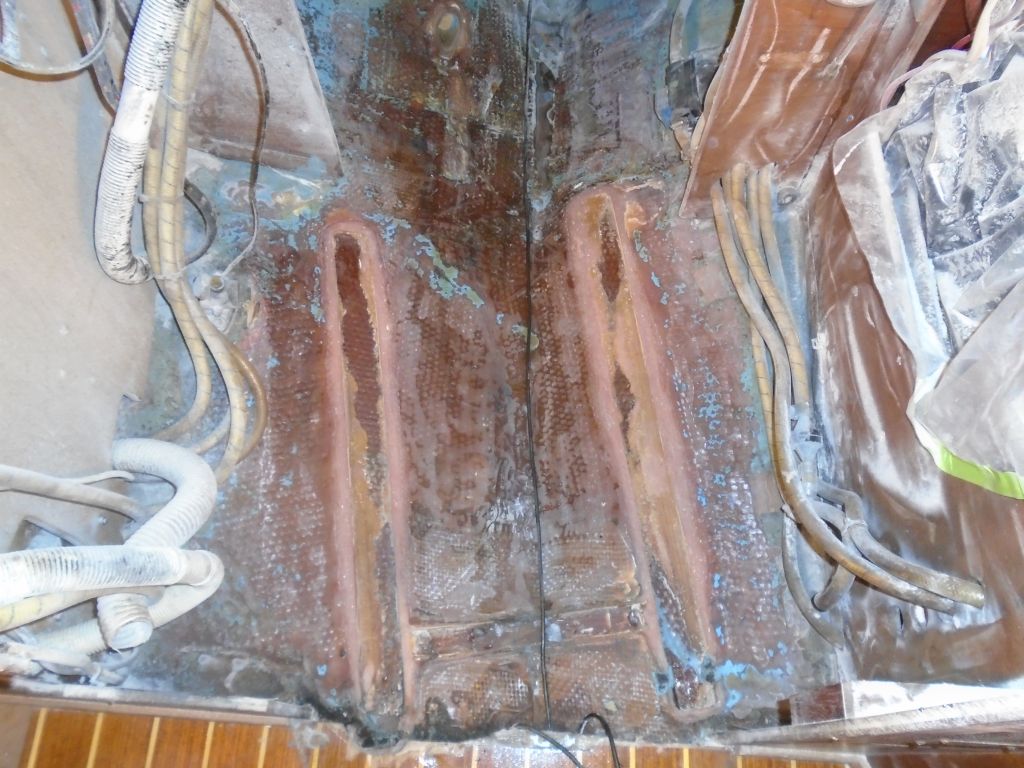
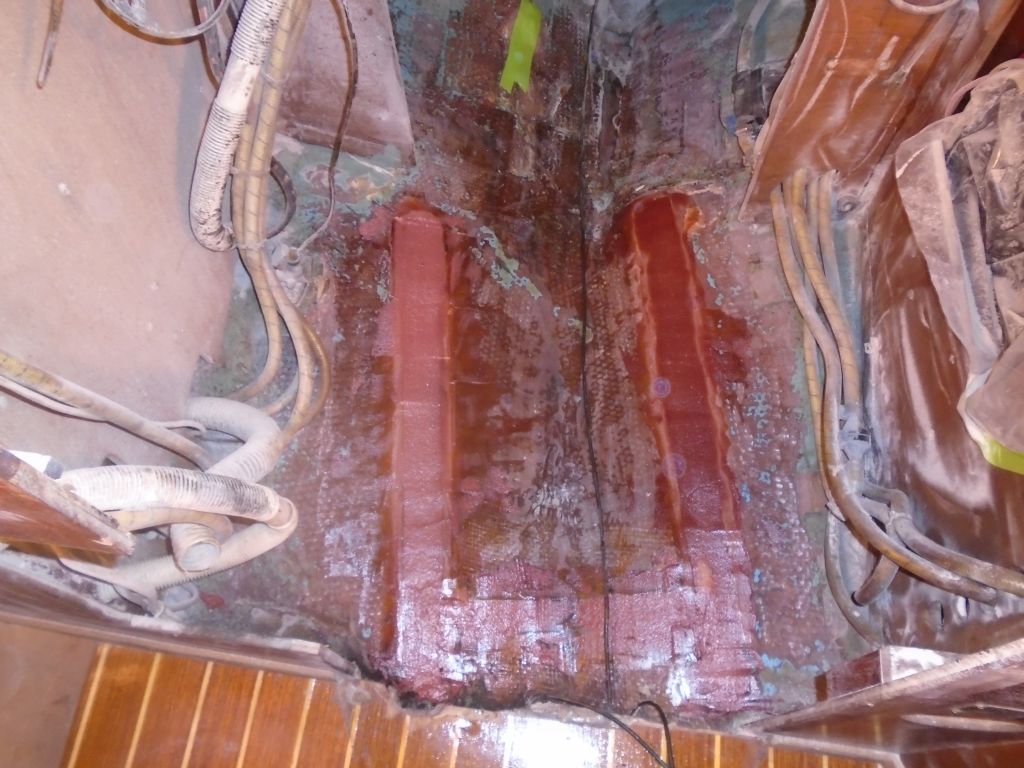
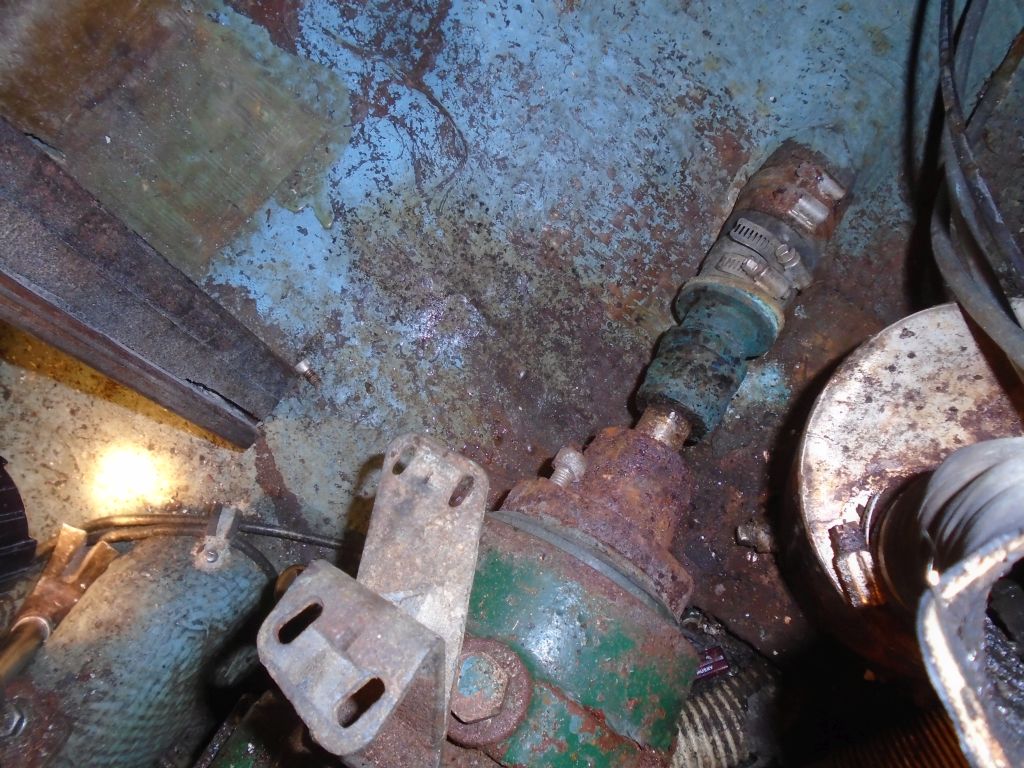
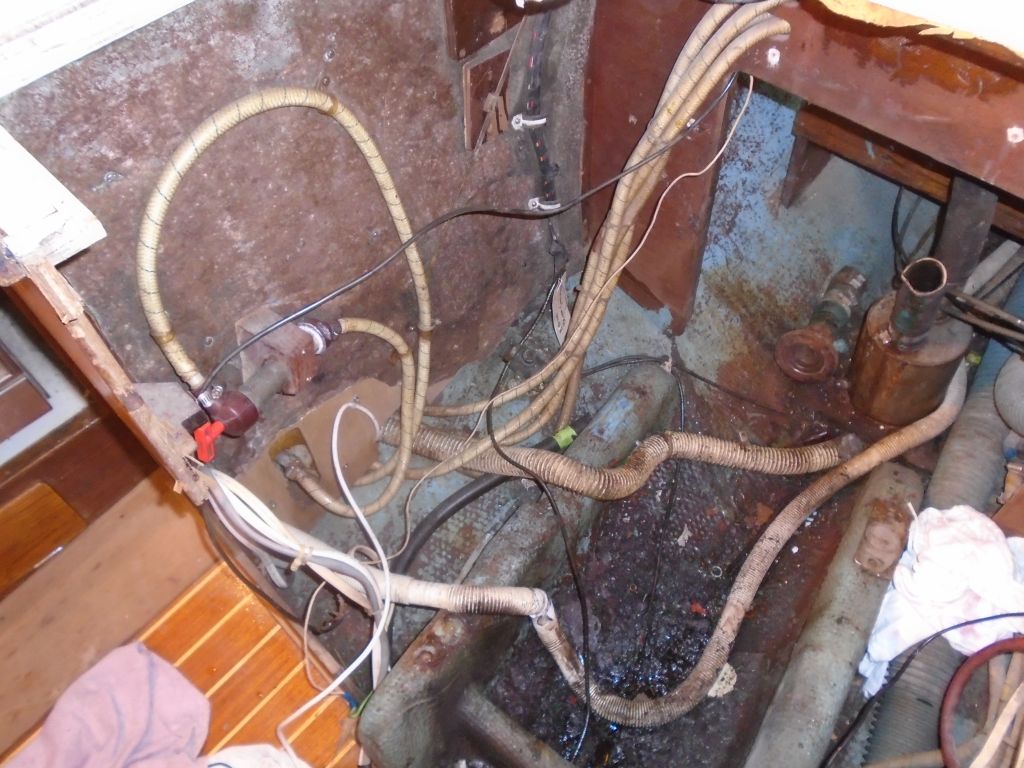
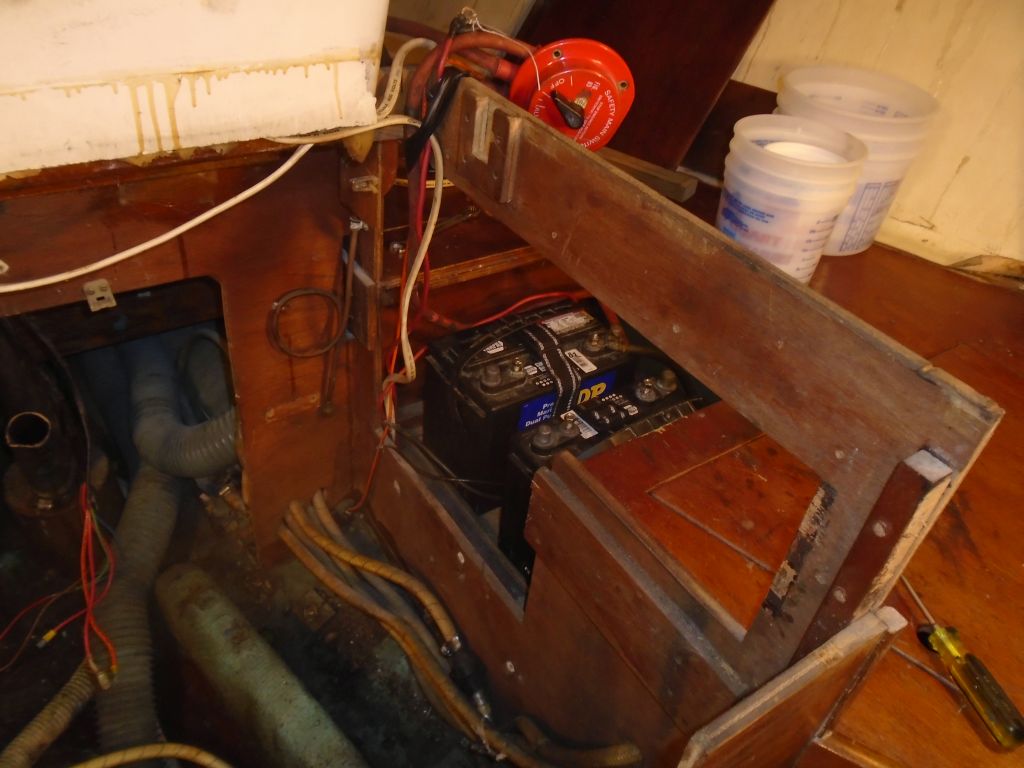
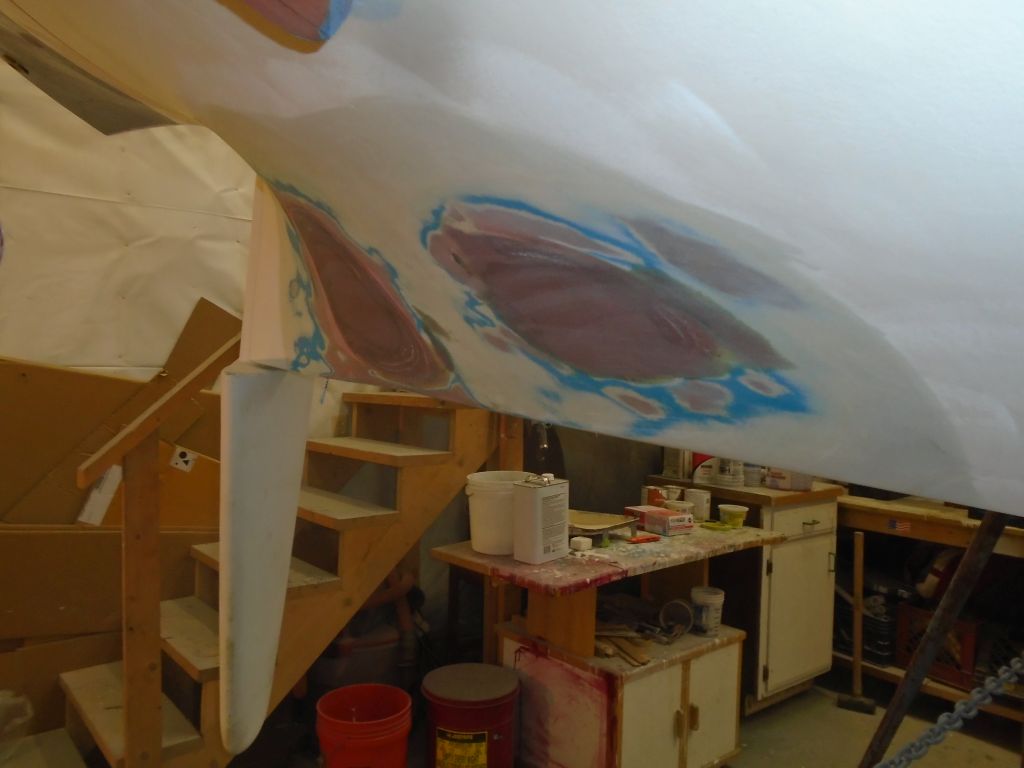
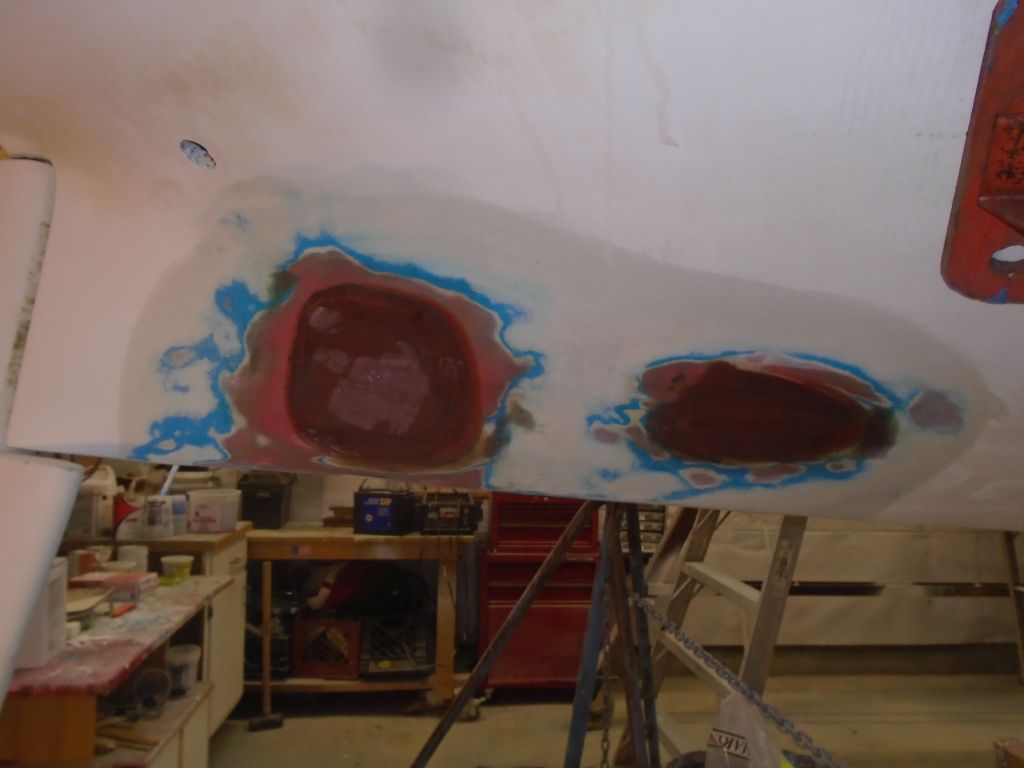
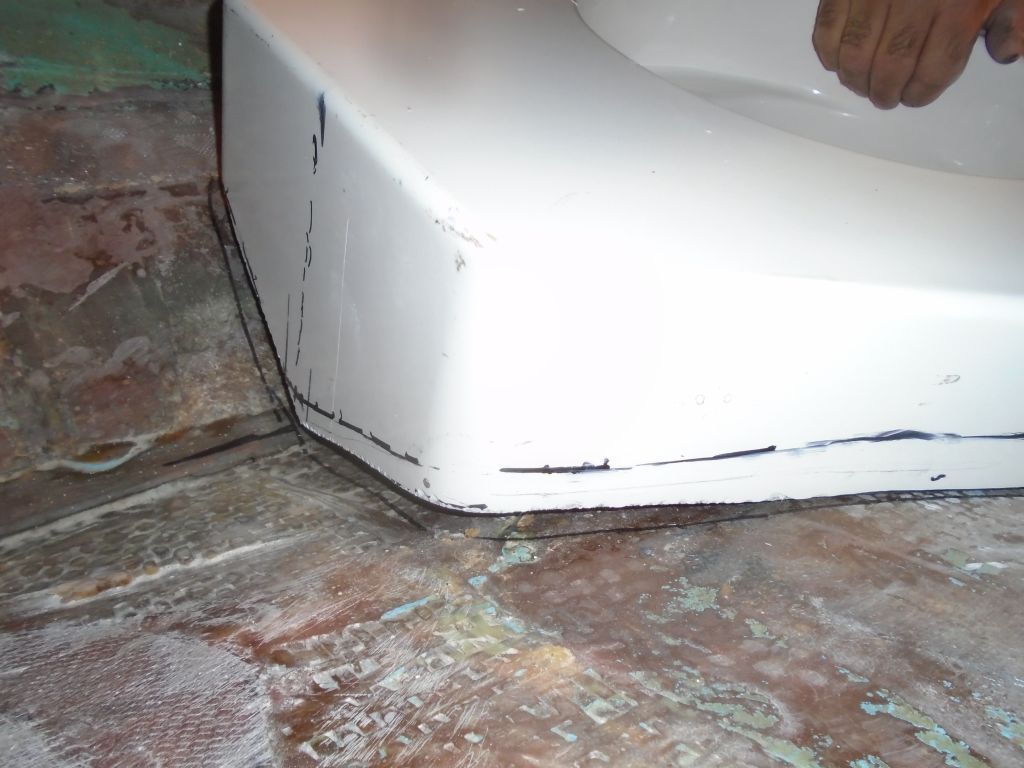
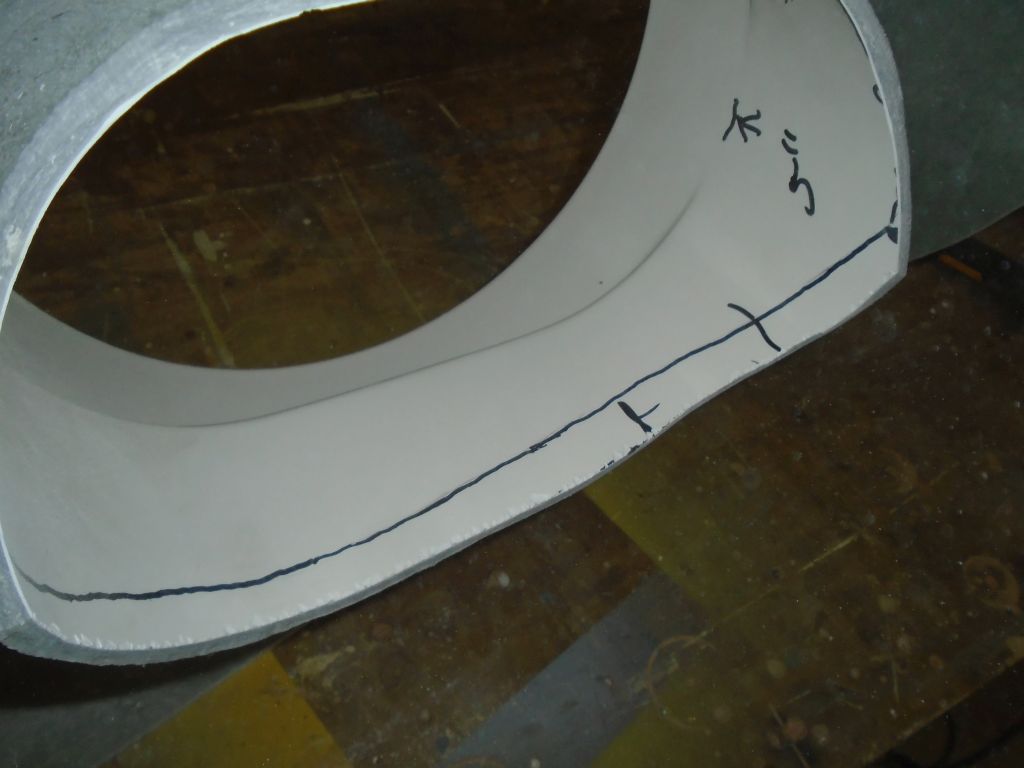
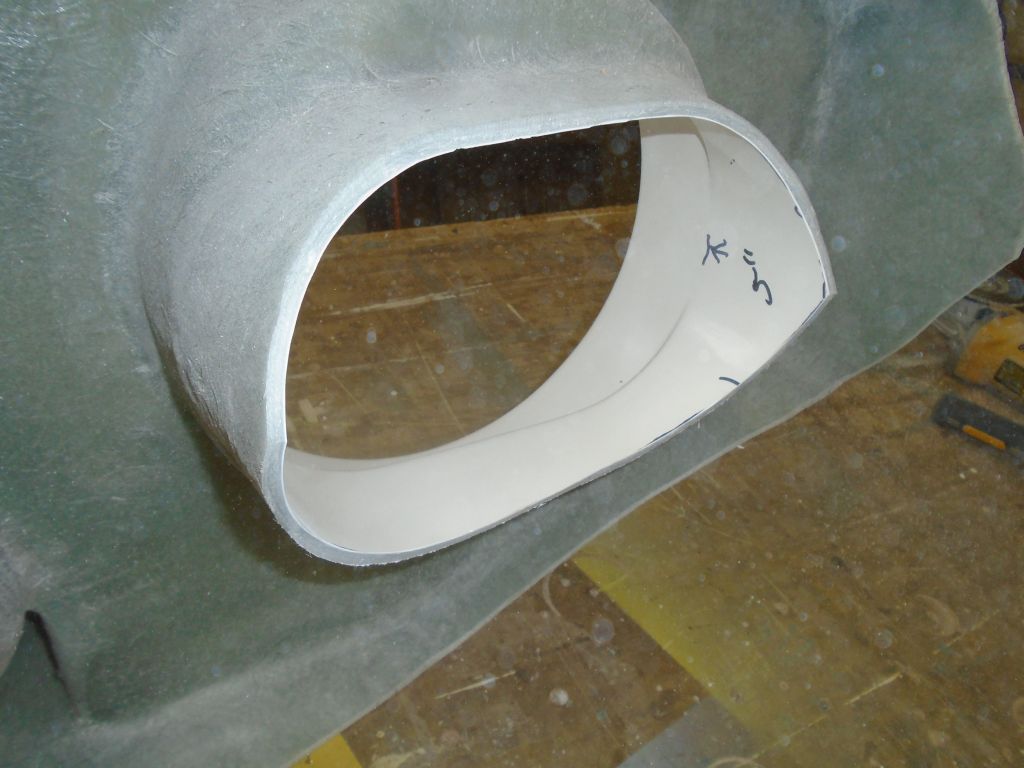
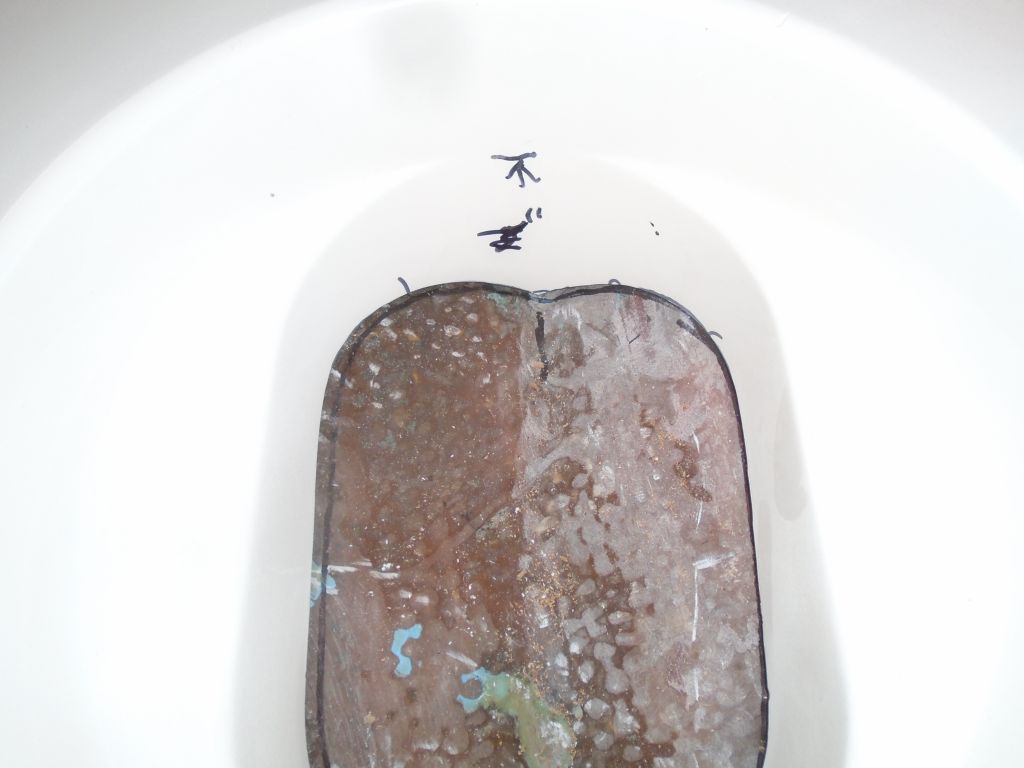
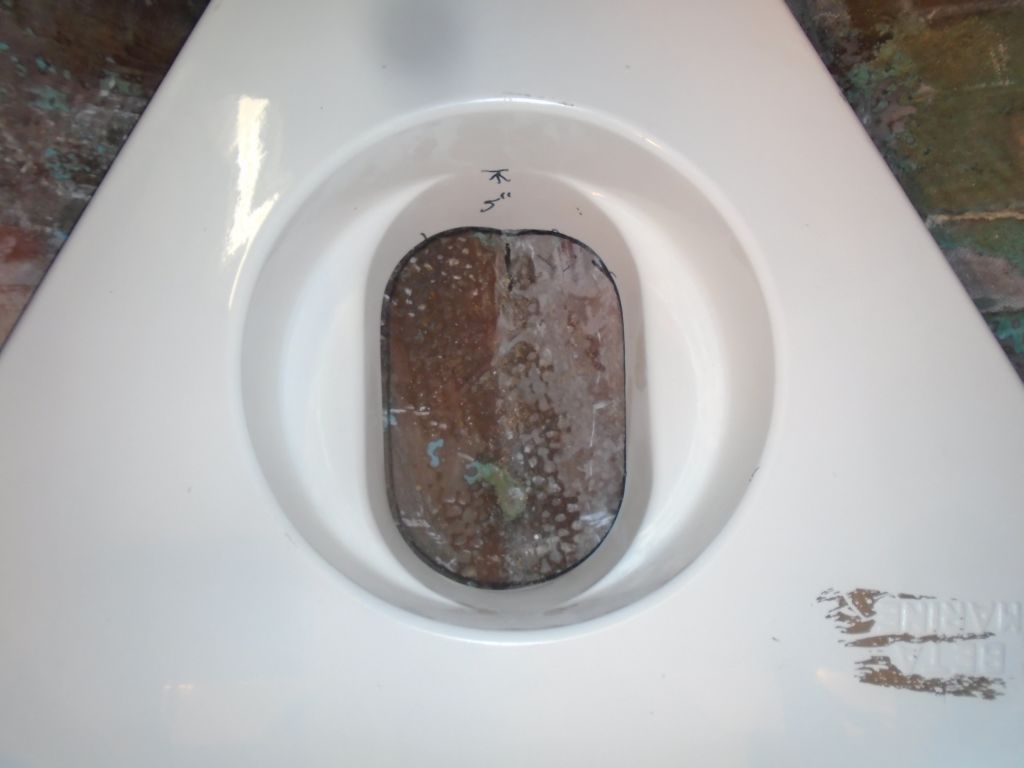
The hull patches at the strut and stern tube location were in good shape, and required only a light sanding at this point. I filled some small pinholes in the cured compound with a quick-drying acrylic putty, then, after a final hand-sanding, applied a coat of unthickened epoxy resin over both patches to seal the fairing compounds.


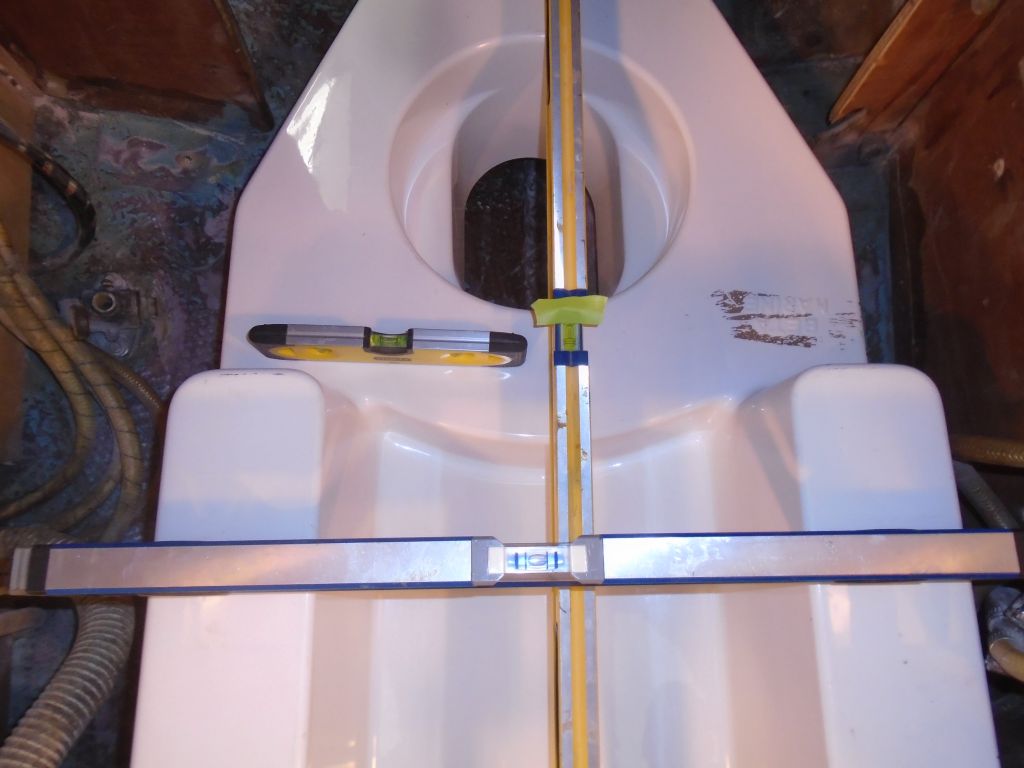
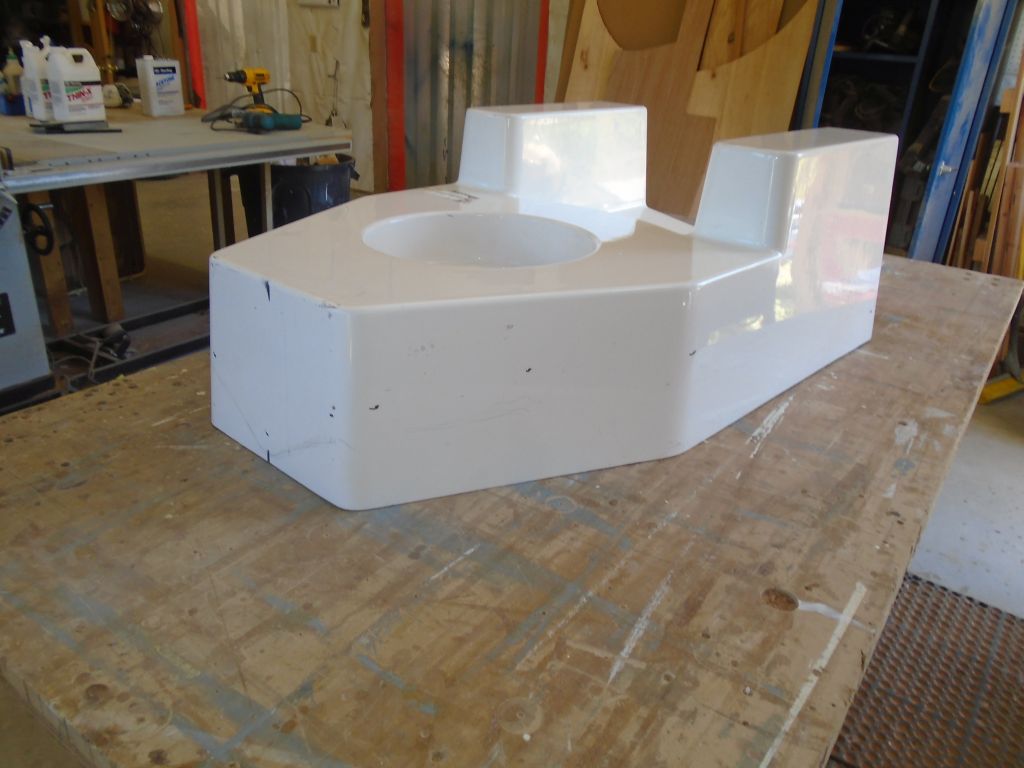
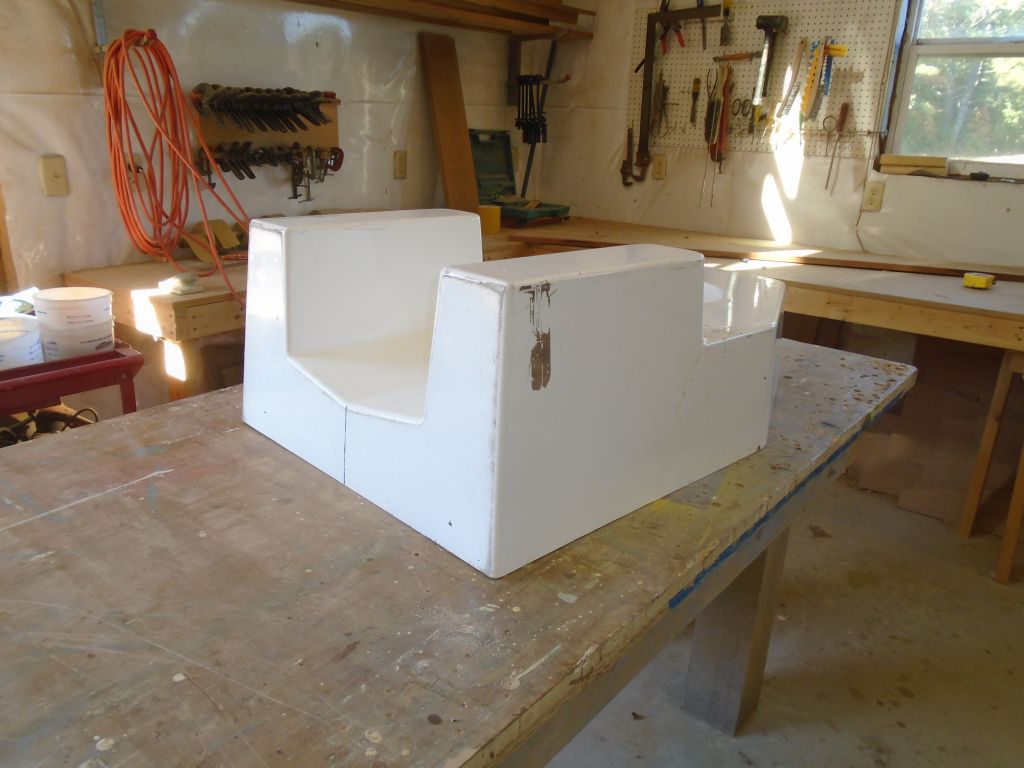
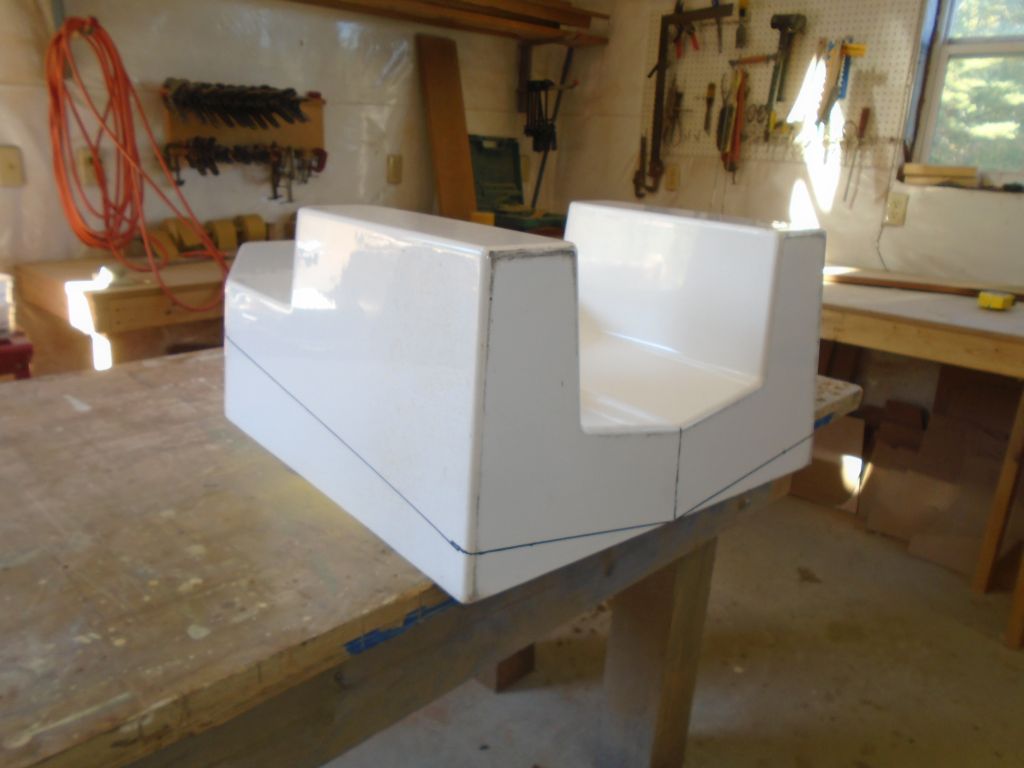
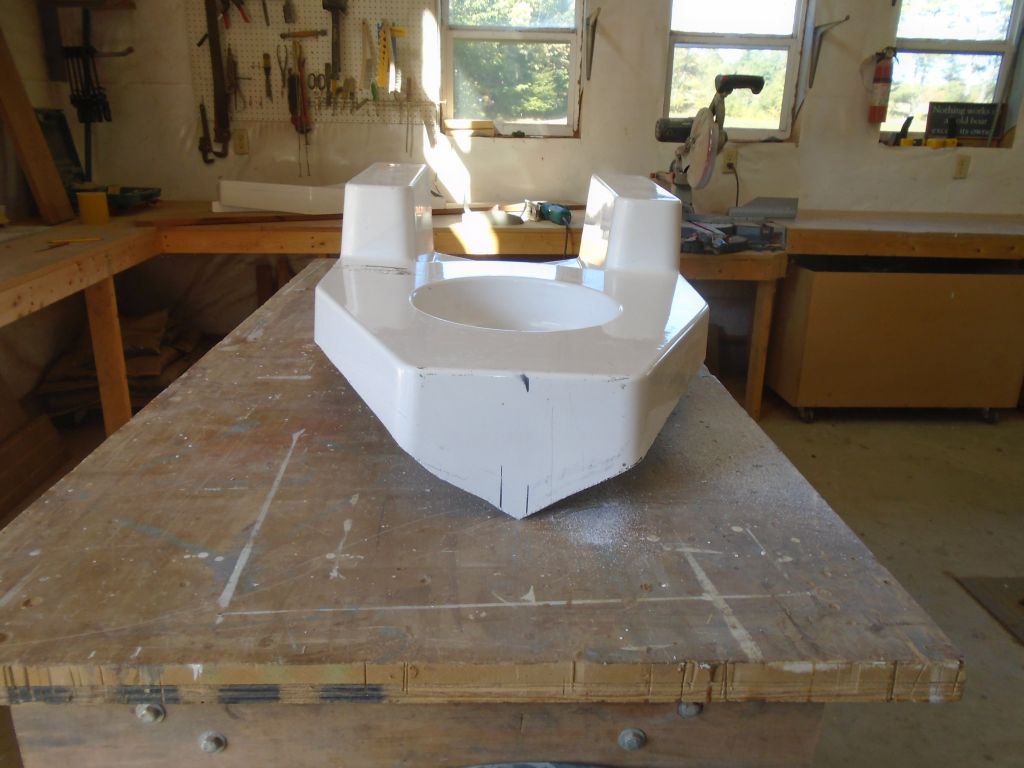
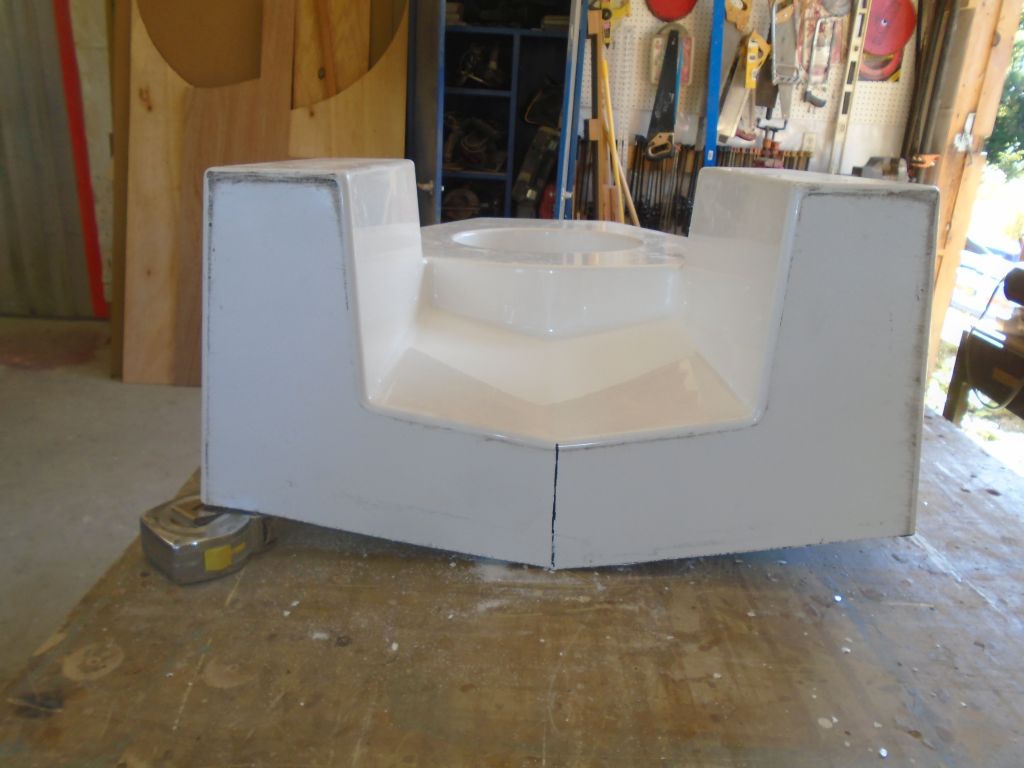
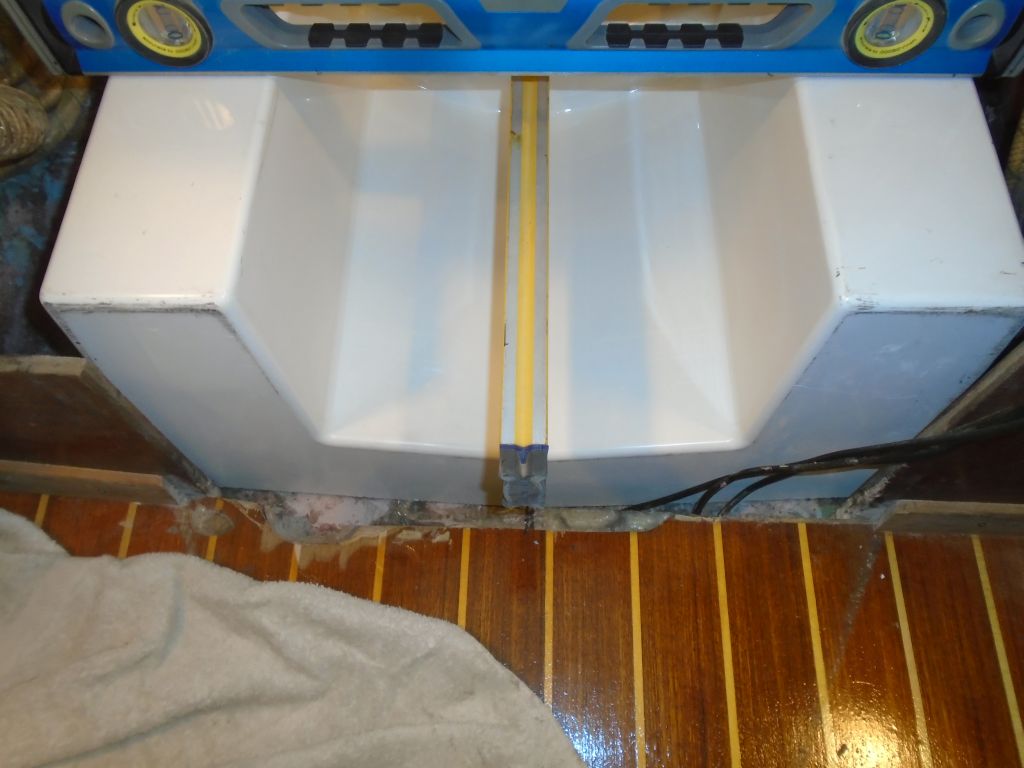
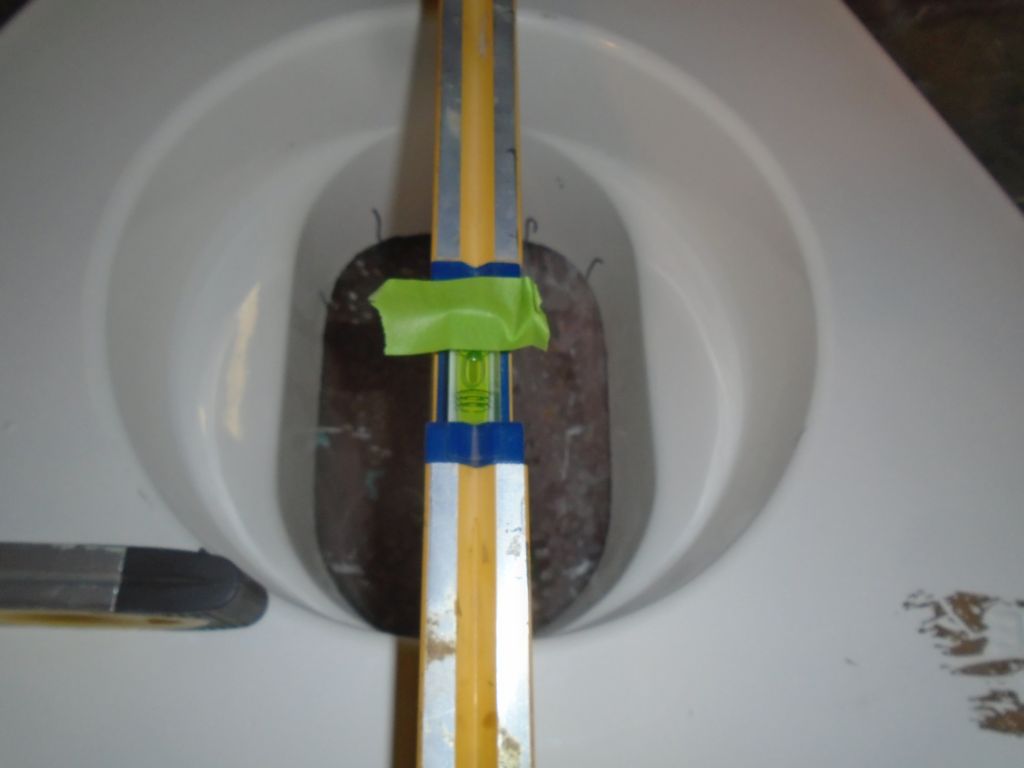
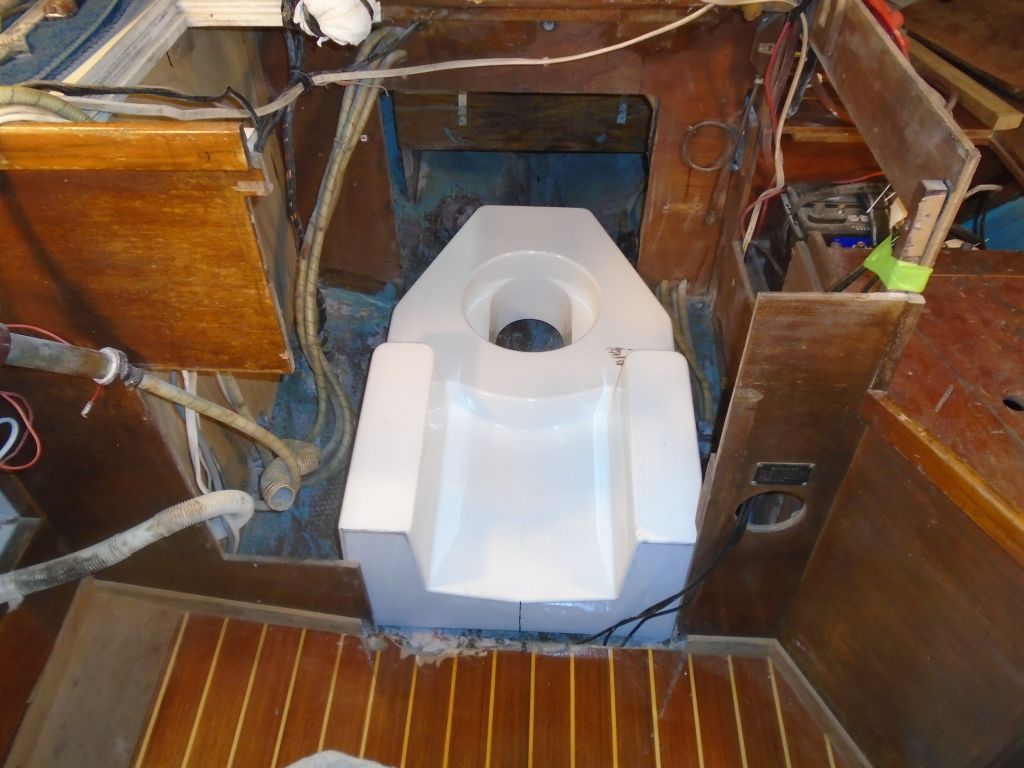
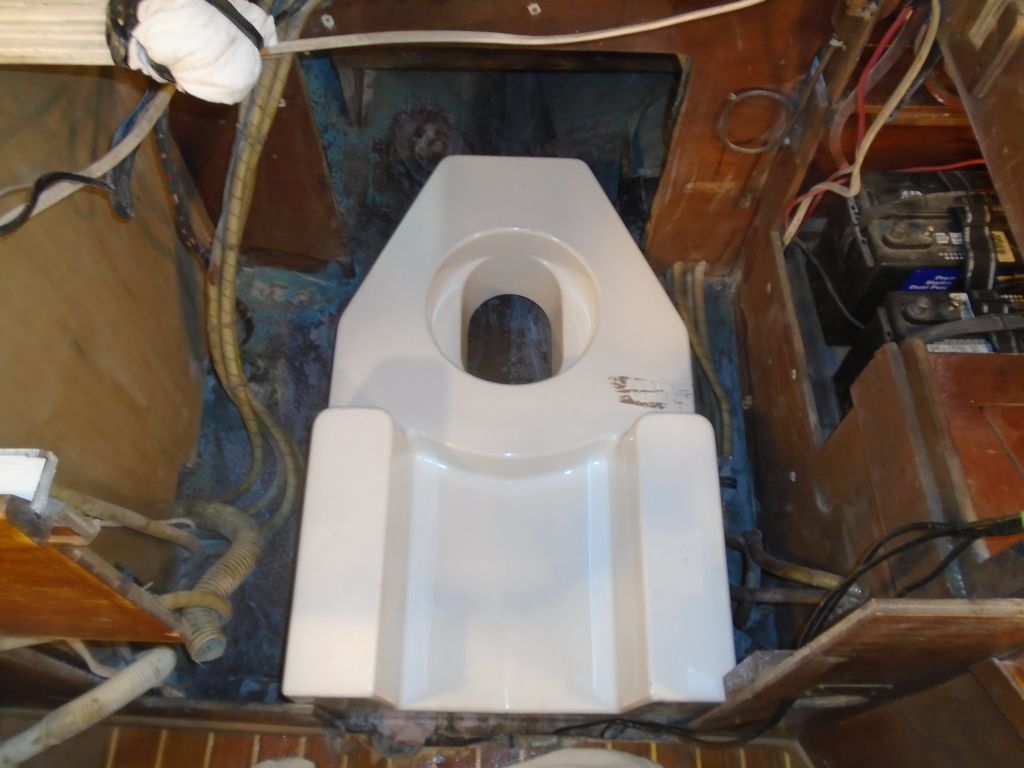
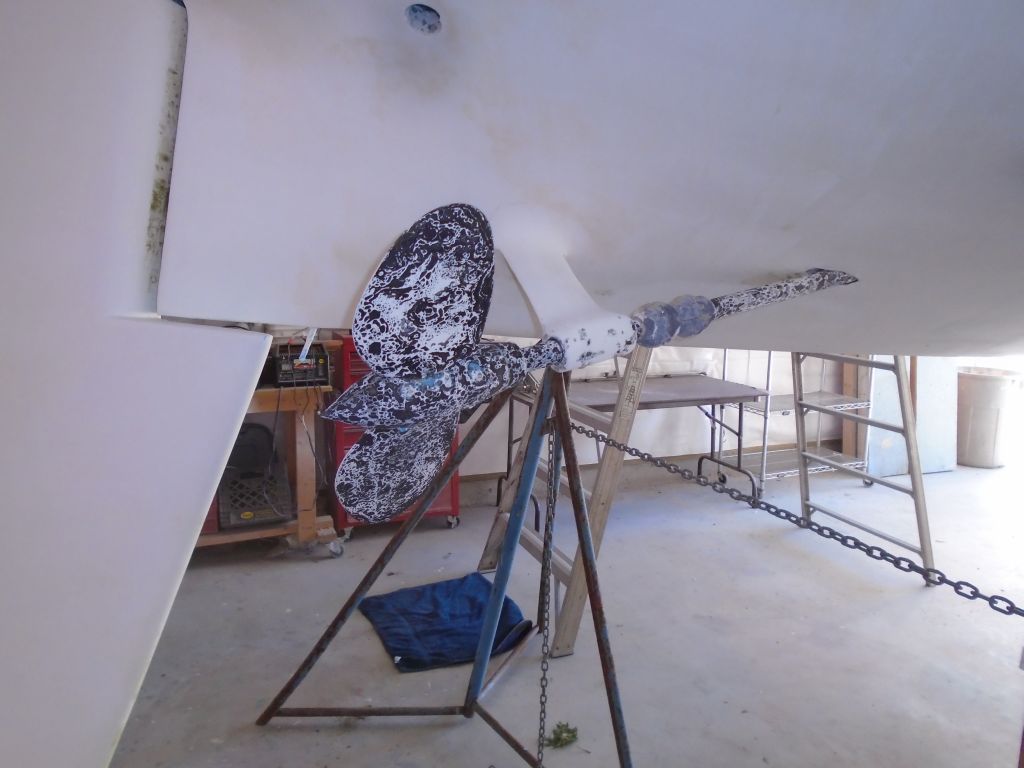
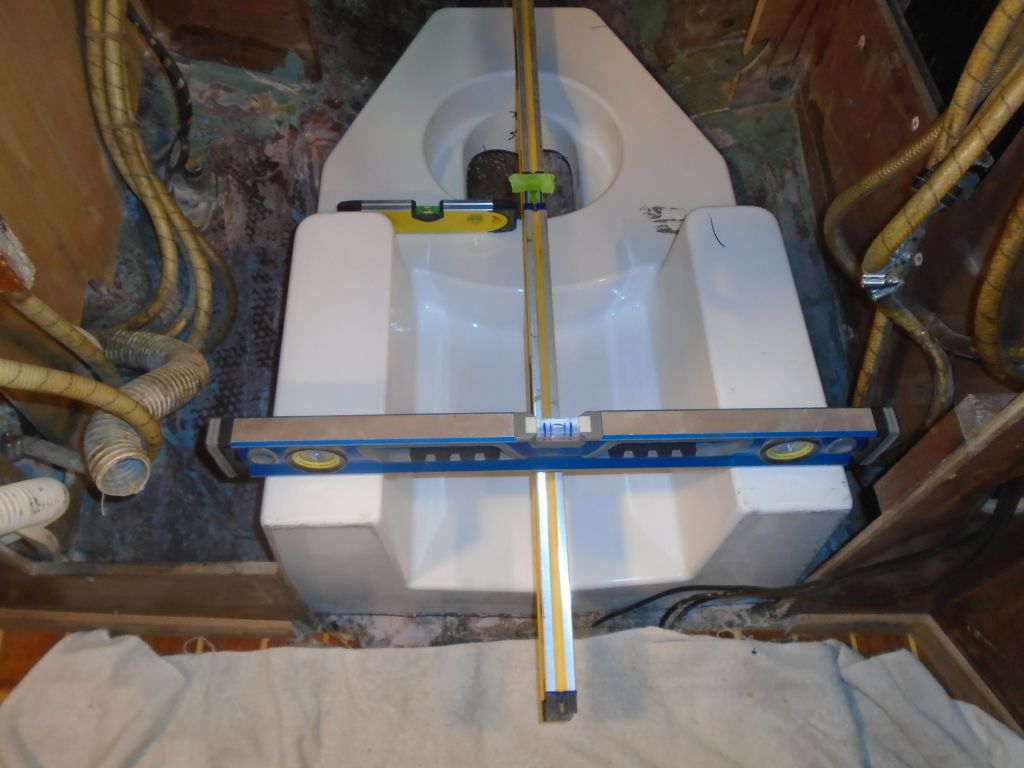
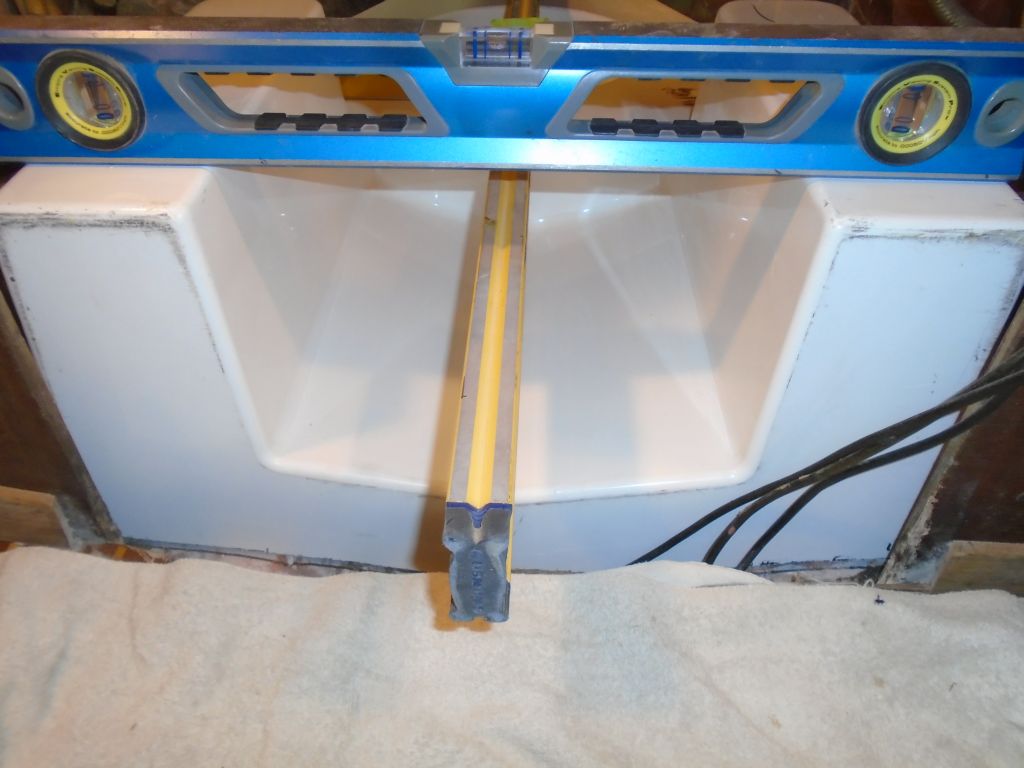
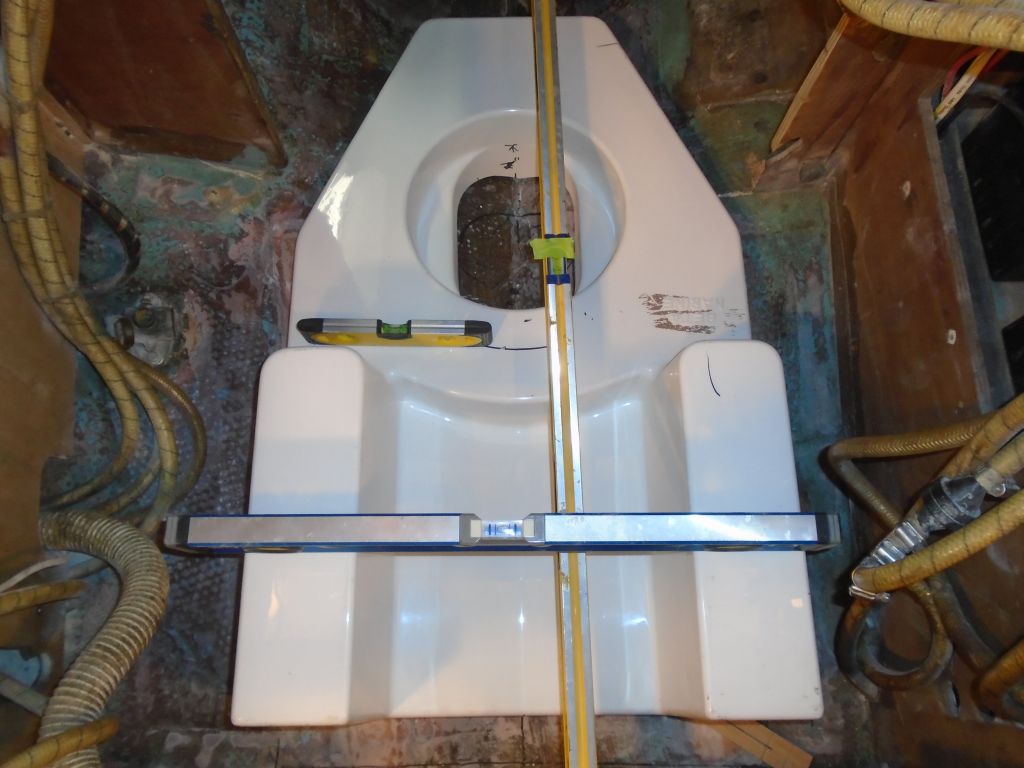
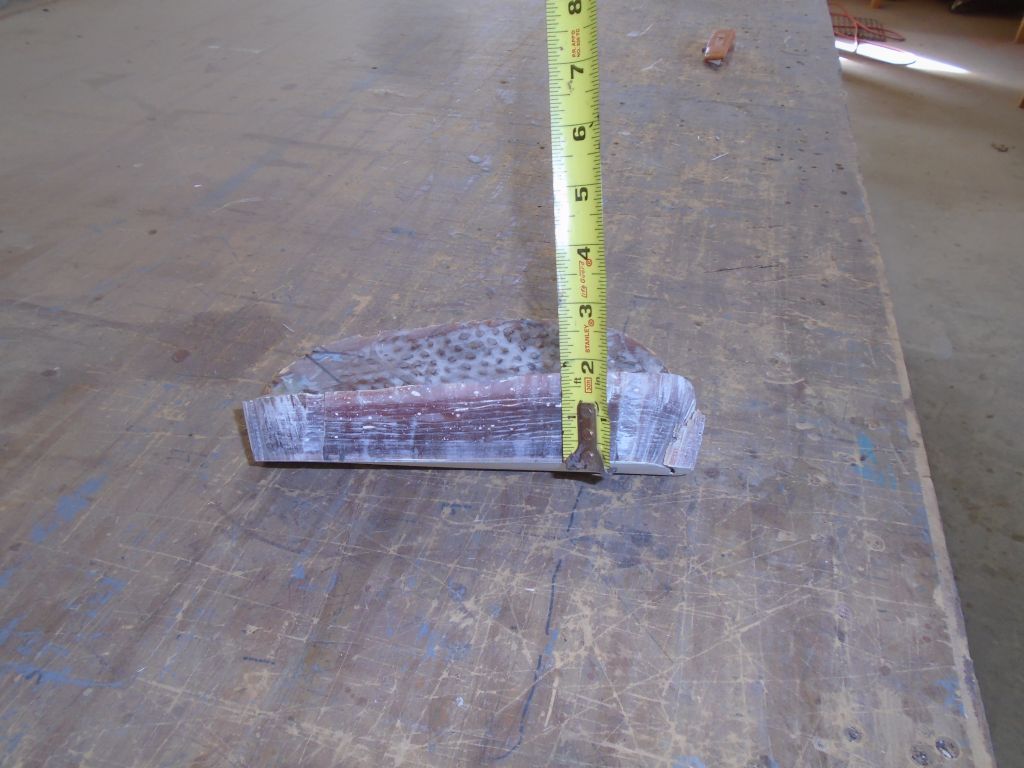
To bring down the engine foundation and increase the depth of the drive leg–and clearance for the propeller–I used a 1″ block and marker to scribe all the way around the base in its existing position.

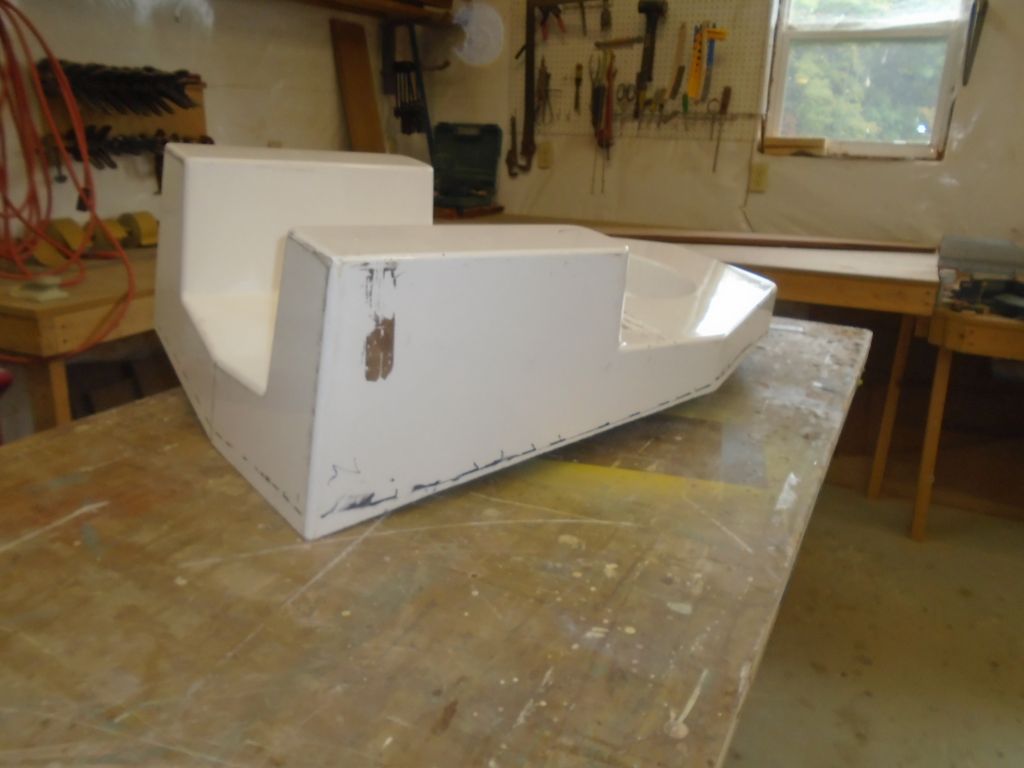
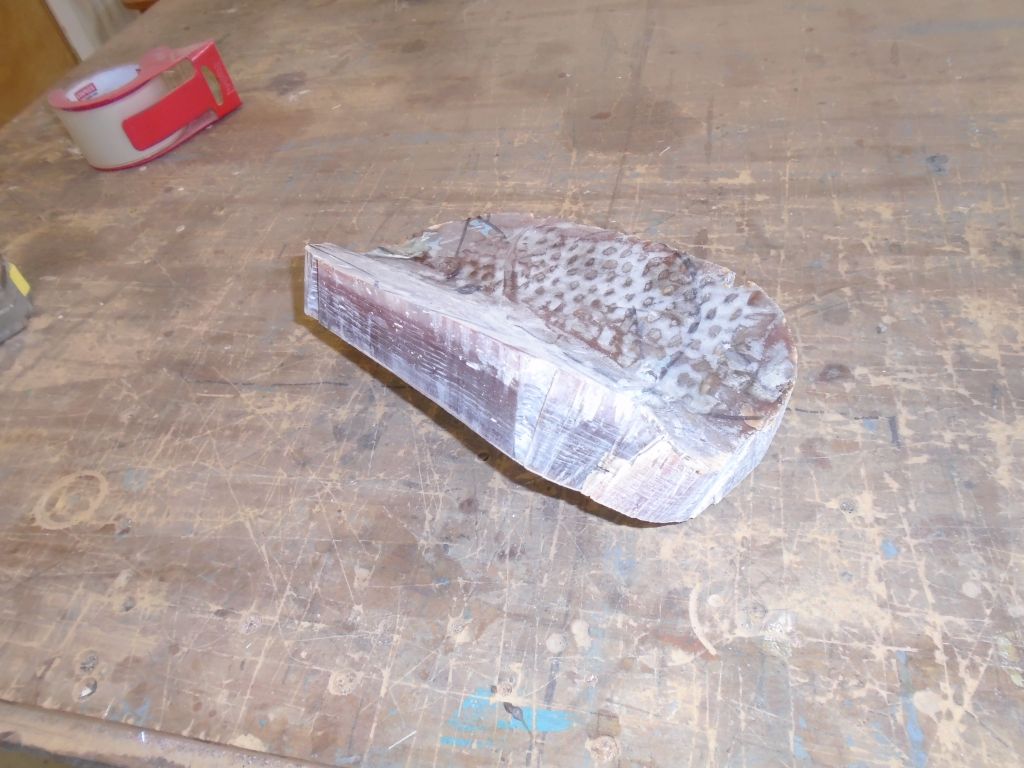
With the foundation down on the bench, I cut to the new lines with a saw and angle grinder equipped with a cutoff wheel, which worked well to cut the lines inside the leg opening.
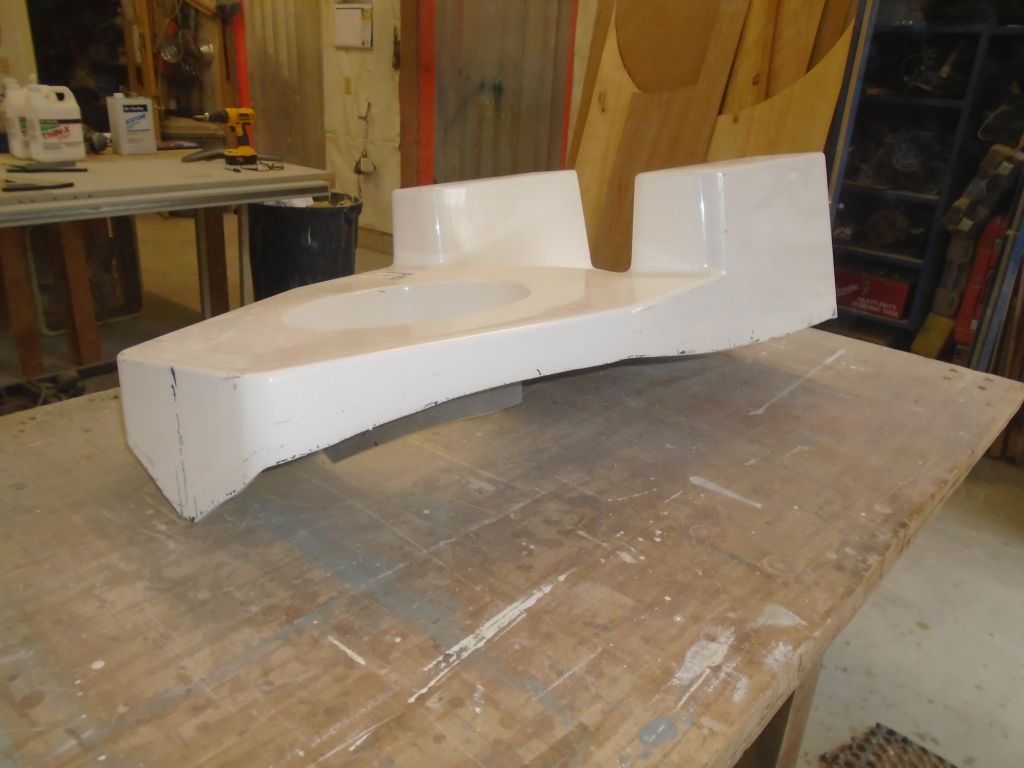
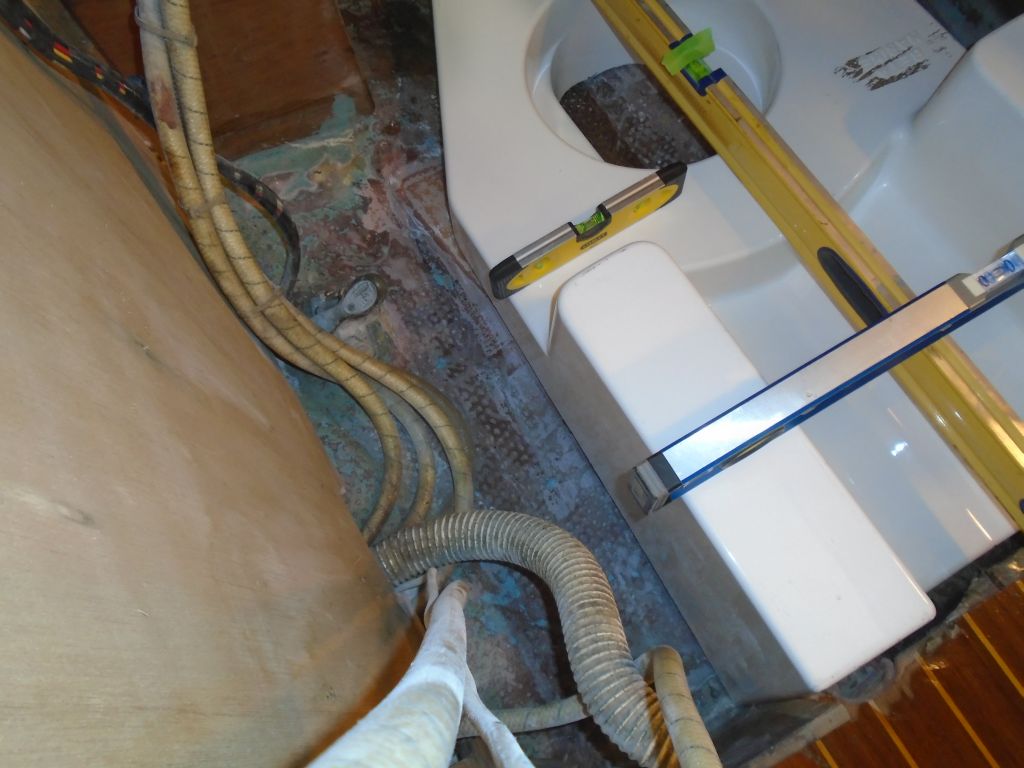
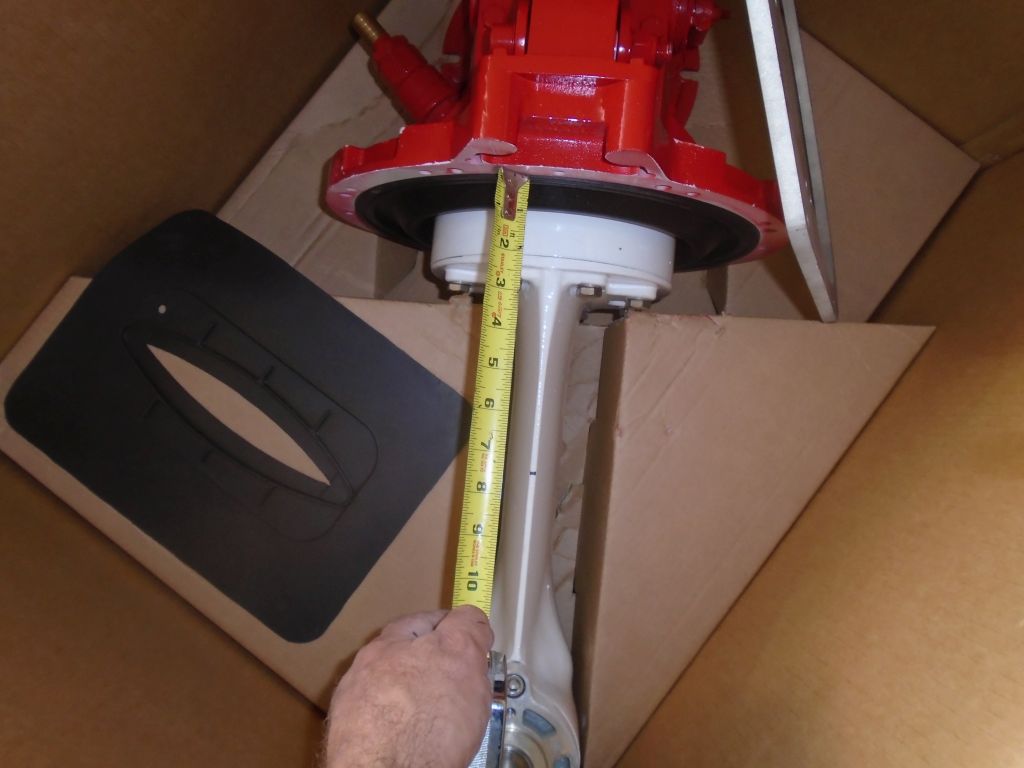
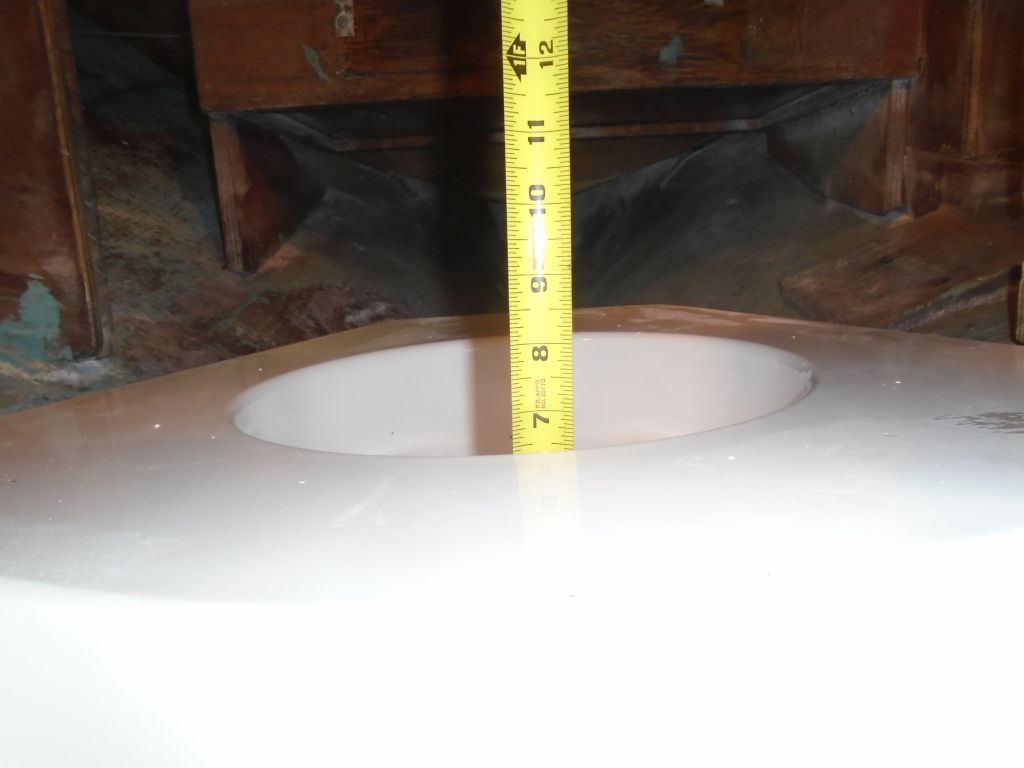
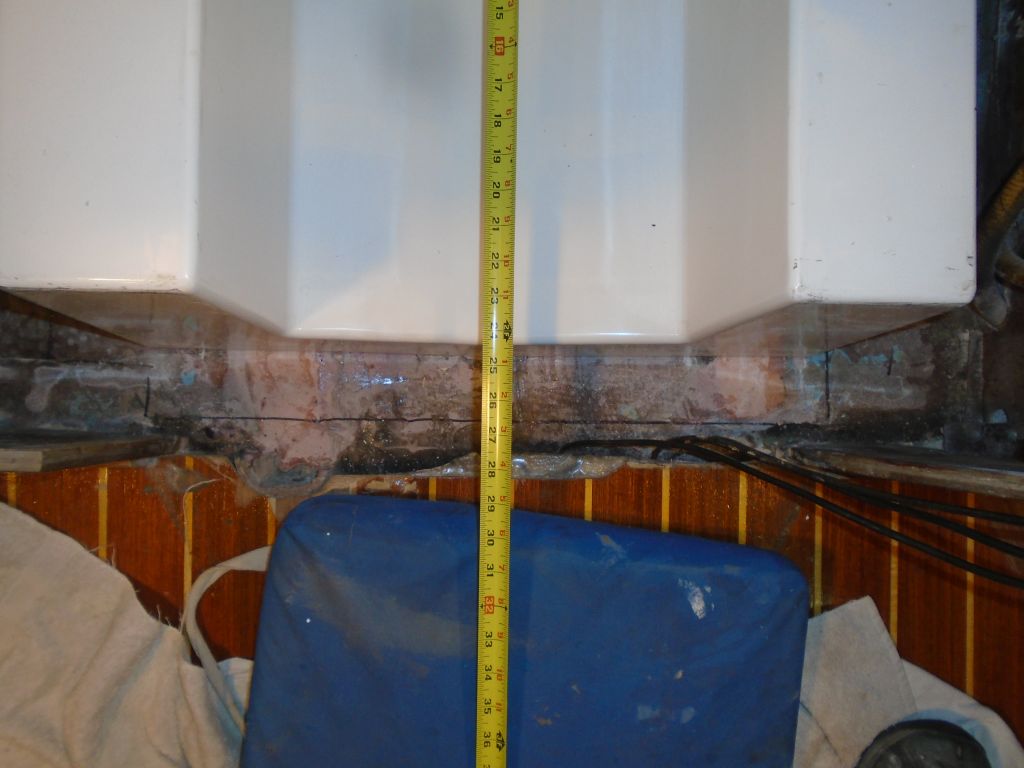
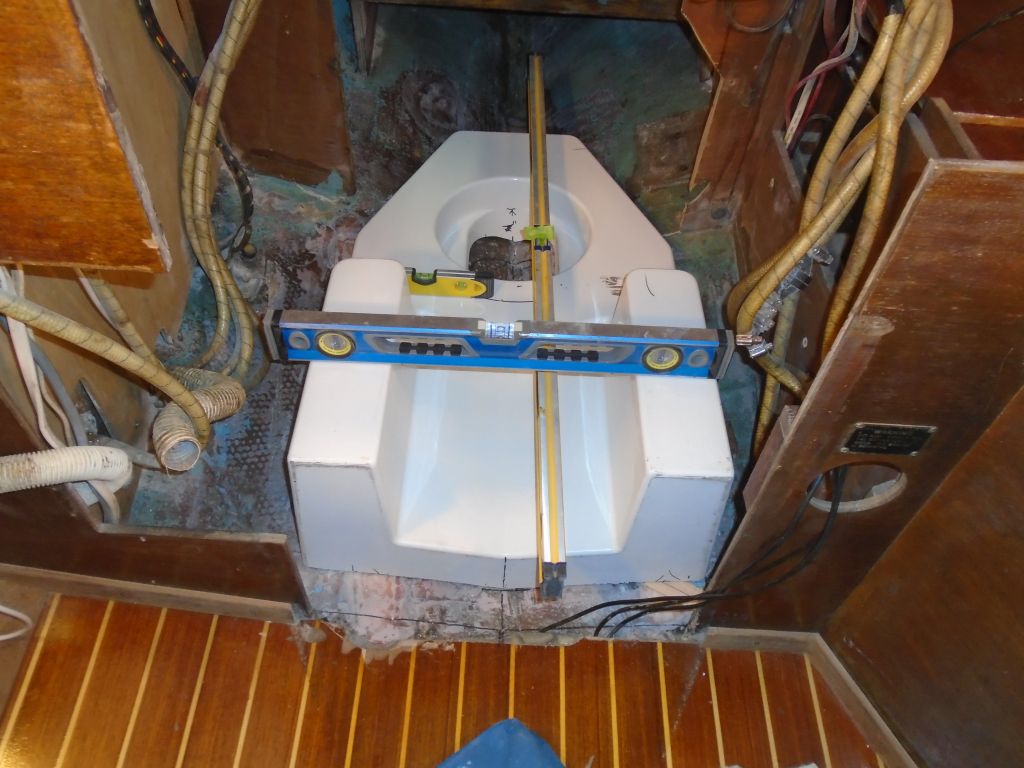
Now the foundation fit more closely to the hull all around, and the new cut had also lowered the base accordingly. This effectively increased the distance between the inside of the hull and the top of the propeller blades to about 2-1/2″, which, allowing for a 1″ thick hull, gave 1-1/2″ tip clearance, a good amount. Nonetheless, I planned to later dry-fit the leg to ensure that the clearance in the real world was where it should be.


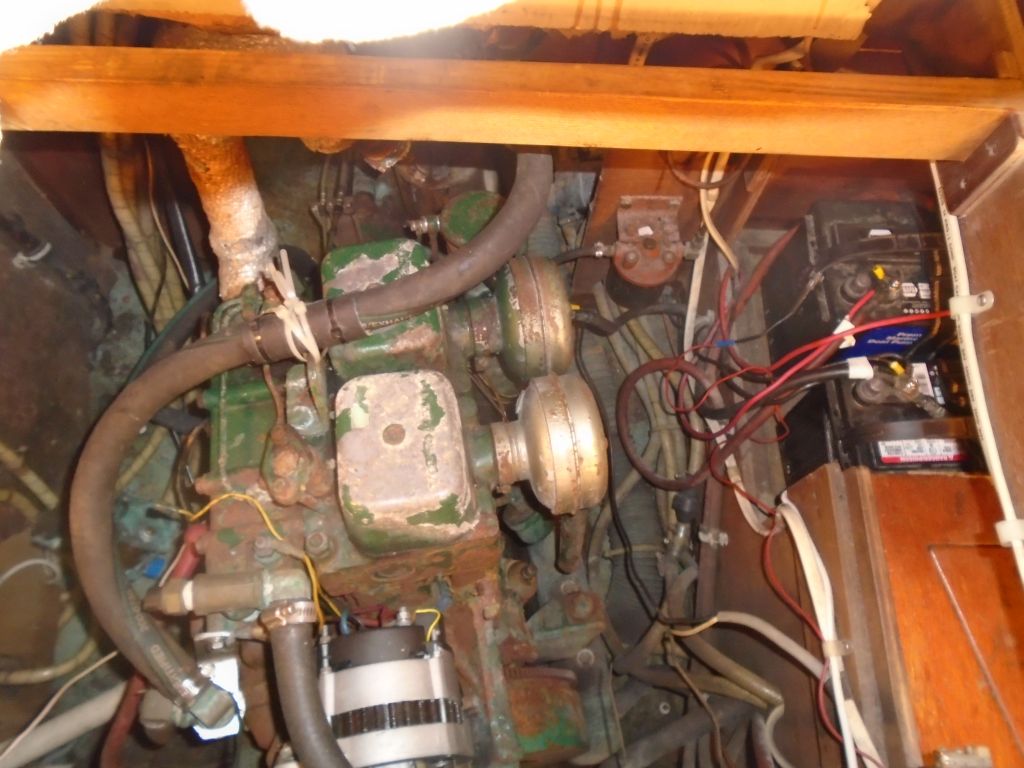
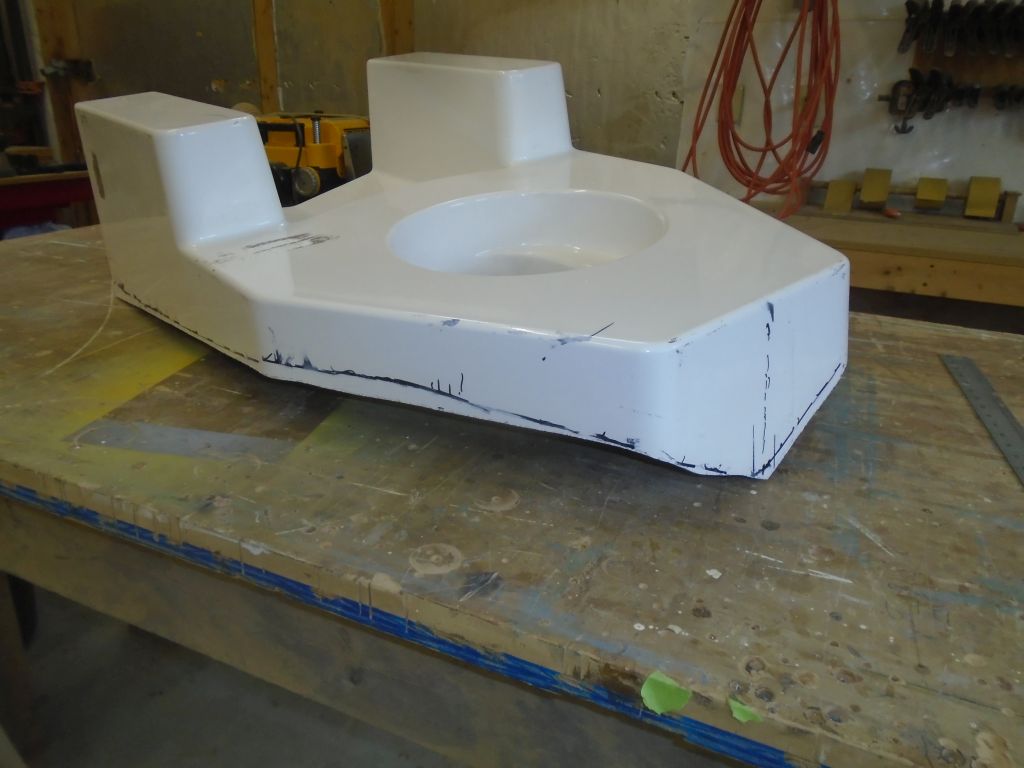
Meanwhile, the owner paid a visit, and while we were looking over the engine foundation the issue of the foundation’s proximity to the forward end of engine room arose. He wanted to be sure the engine didn’t protrude further than the leading edge of the foundation, and while my memory of the engine drawing and engine size suggested that it did not, frankly I’d not considered that it would, given the massive size of the molded foundation base, the logical thought that no way the engine would extend beyond the front in a practical world, and the diminutive size of the engine itself. However, it was an excellent point, and I’d not specifically checked this during the layout.
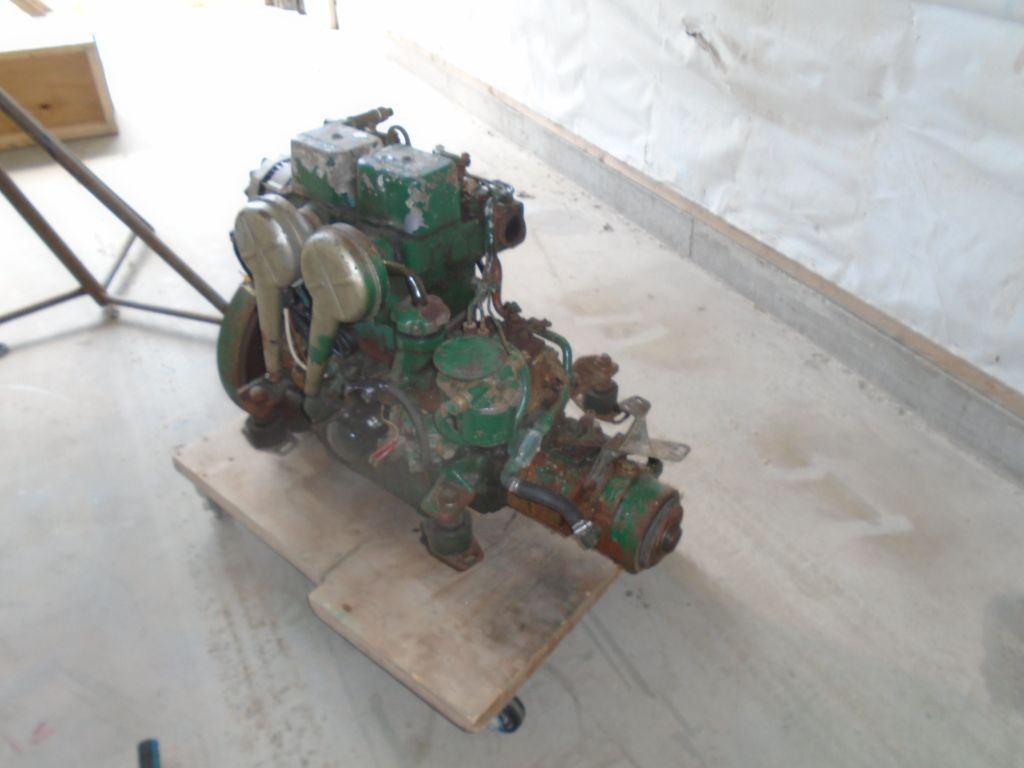
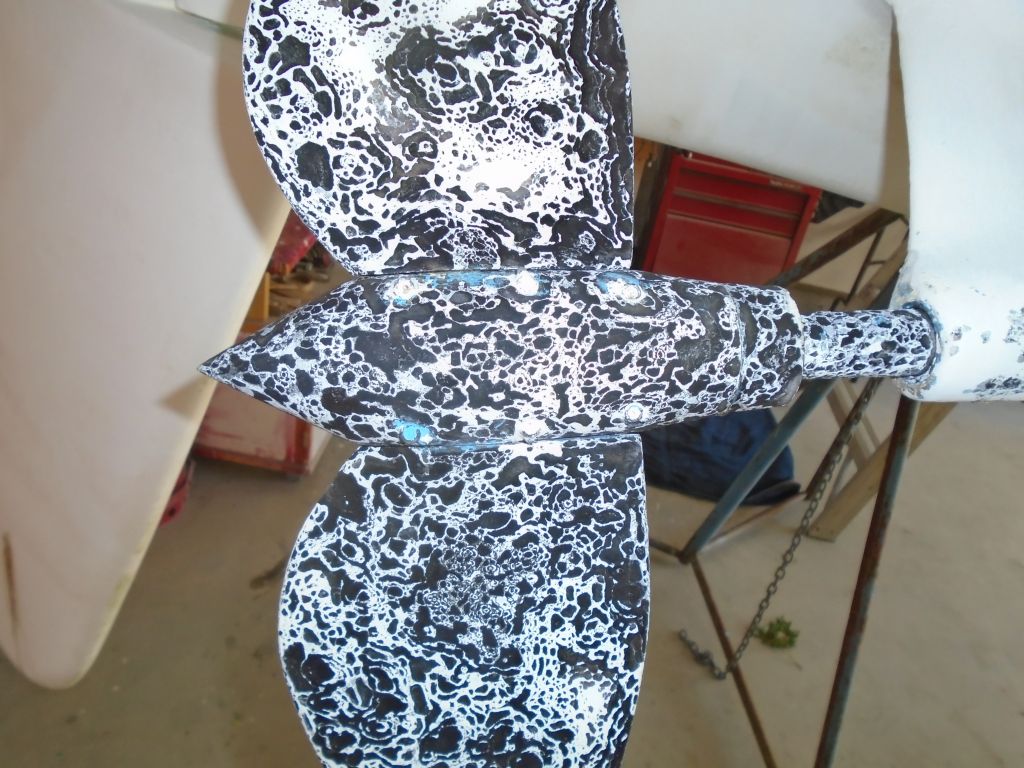
beta-25-902-he-sea-prop-60-100-08623
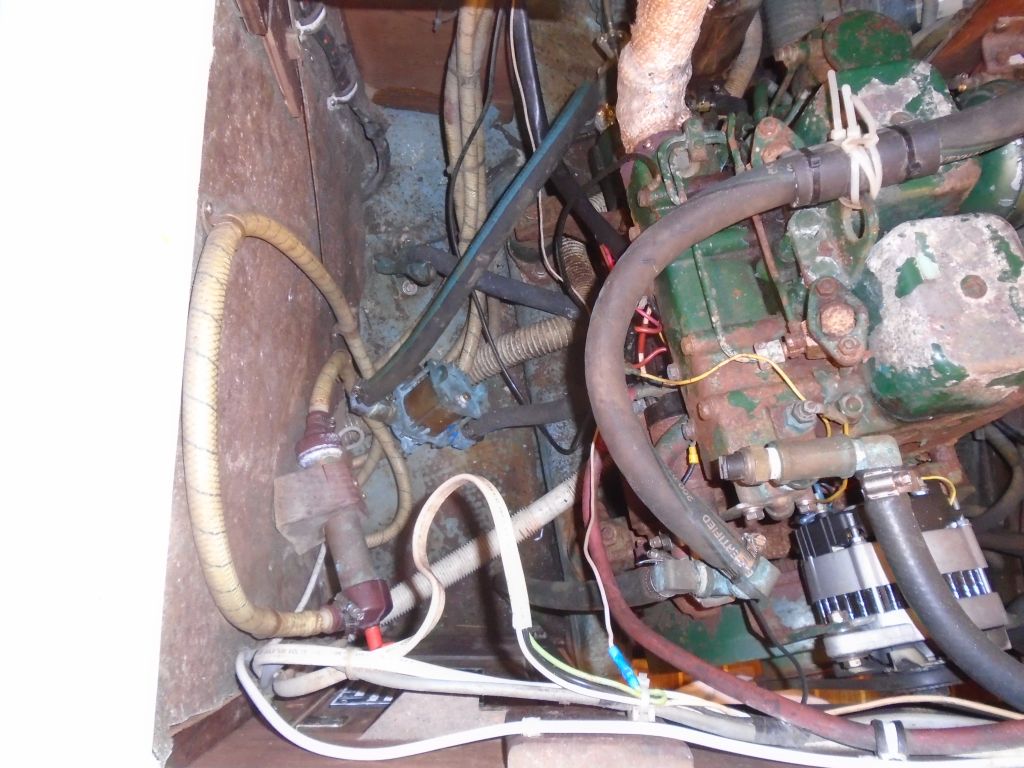
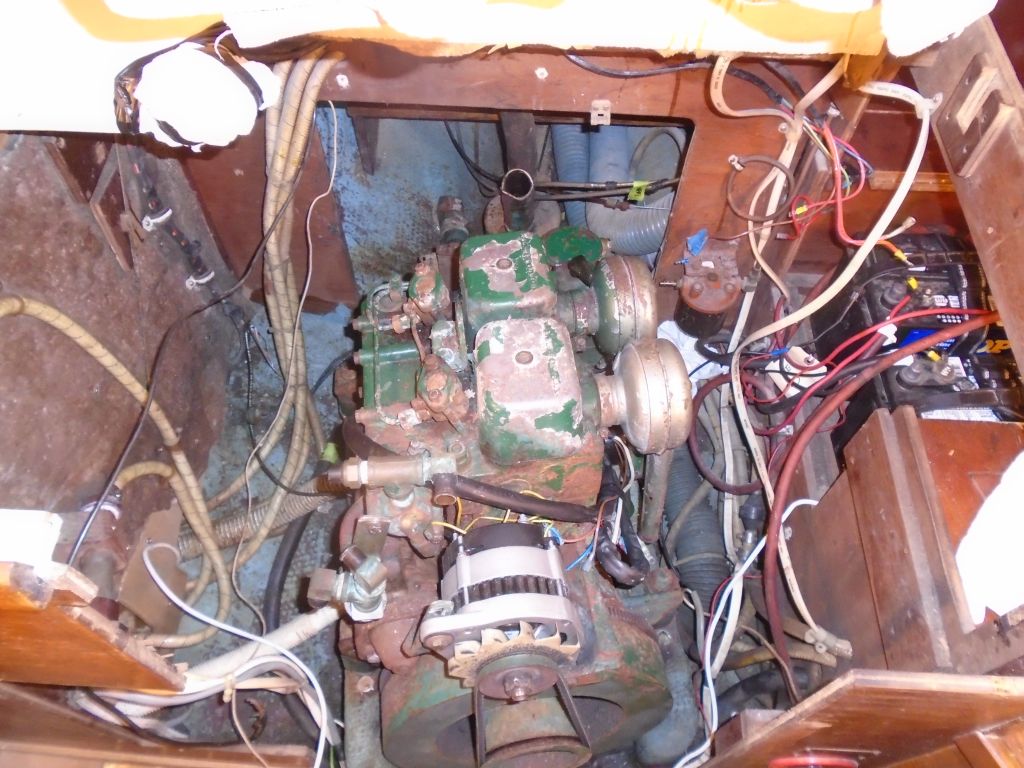
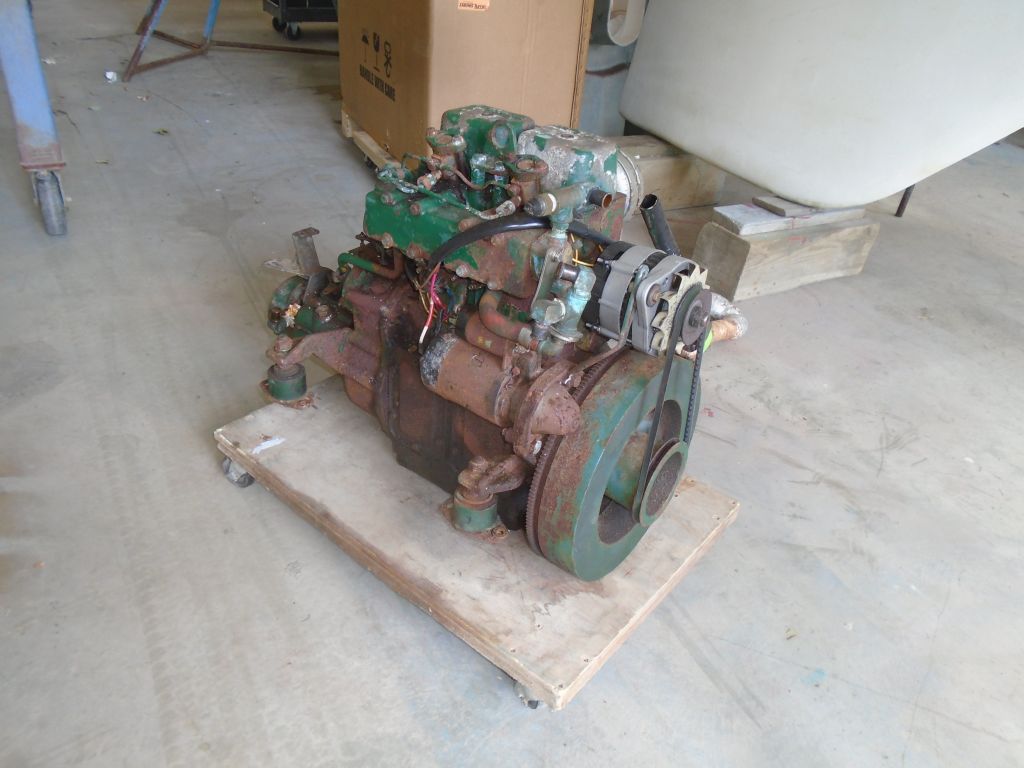
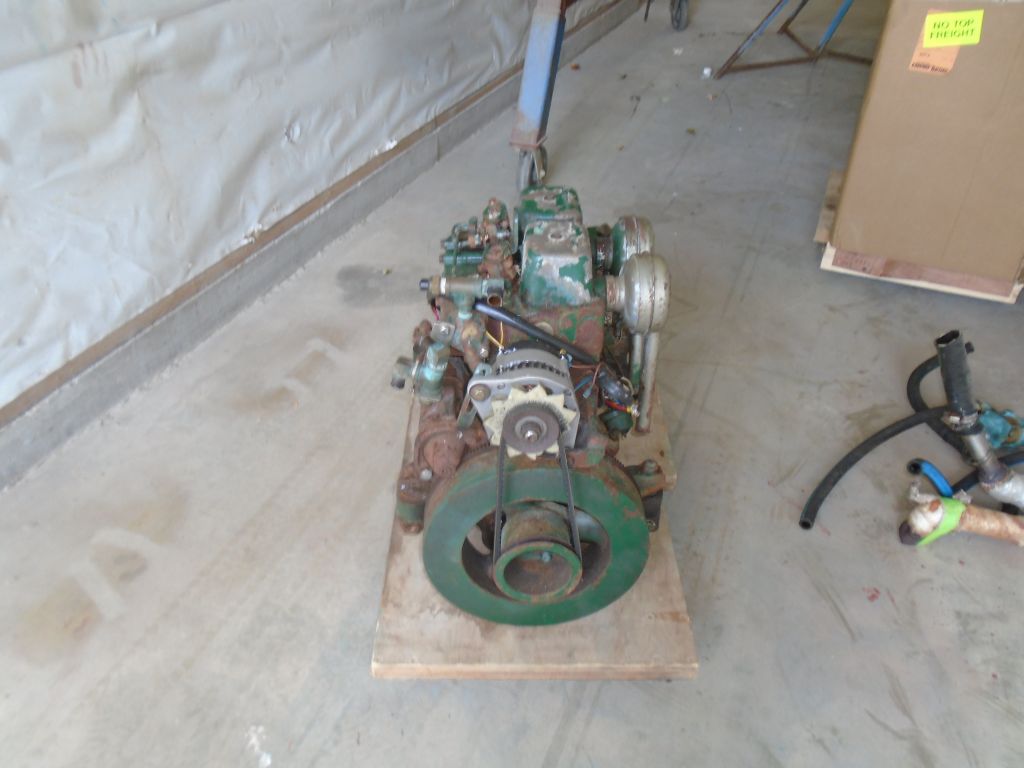
As it happened, the engine did appear, from the rough measurements we took during the discussion, to protrude beyond the foundation. What an annoyance: as if the foundation itself wasn’t large and bulky enough for this installation, now the engine needed even more room on the forward side. I didn’t have a measured drawing of the Beta 25 and drive leg on hand, as there wasn’t this specific configuration shown in the supplied manual, but later I downloaded the fully-dimensioned drawing and found, to my minor private vindication, that at initial glance it did not appear that the engine extended a significant amount forward of the foundation–but closer examination revealed that portions of the engine, mainly the fuel filter and raw water pump, did indeed hang out, likely necessitating more room than I’d originally expected.
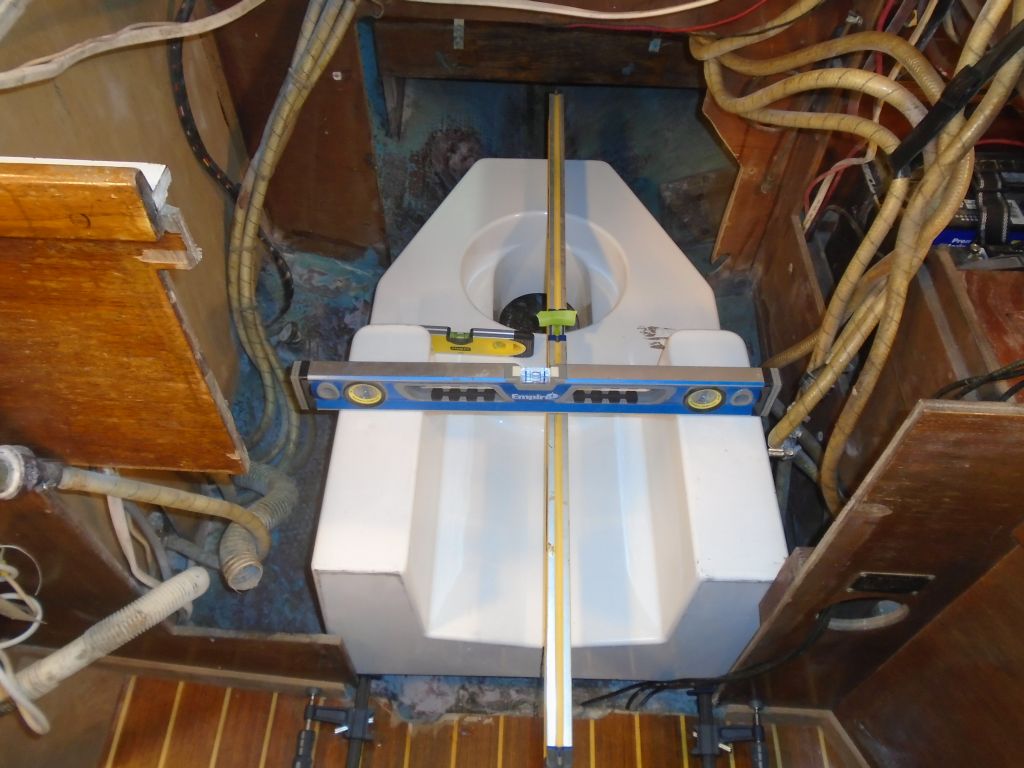
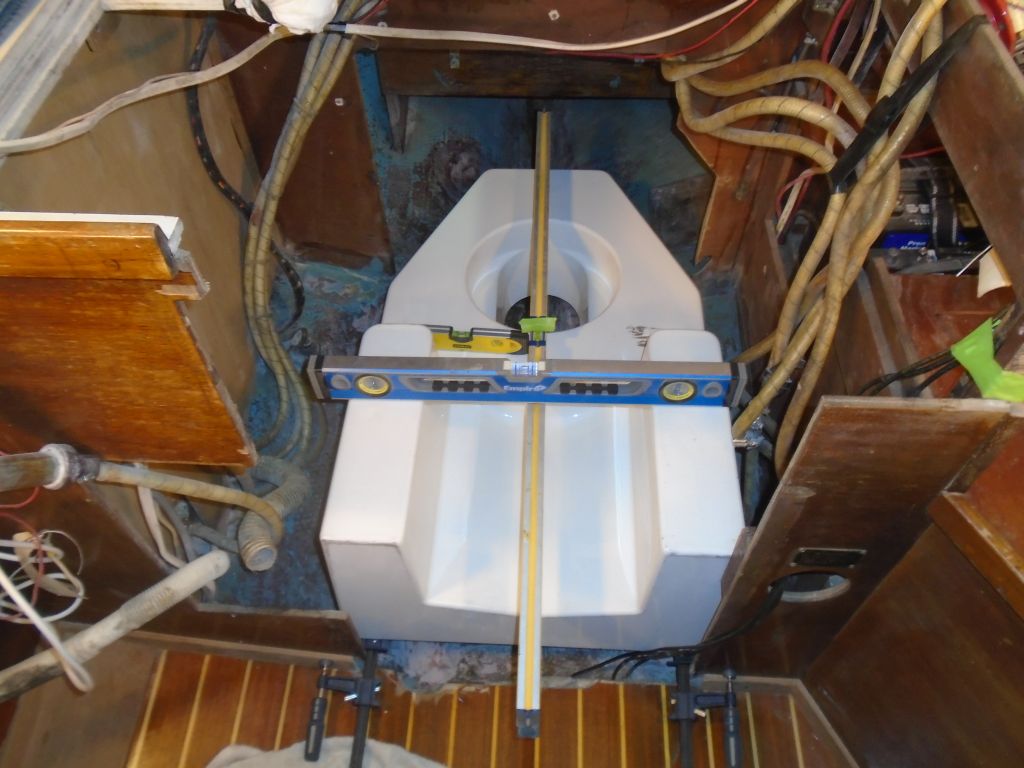
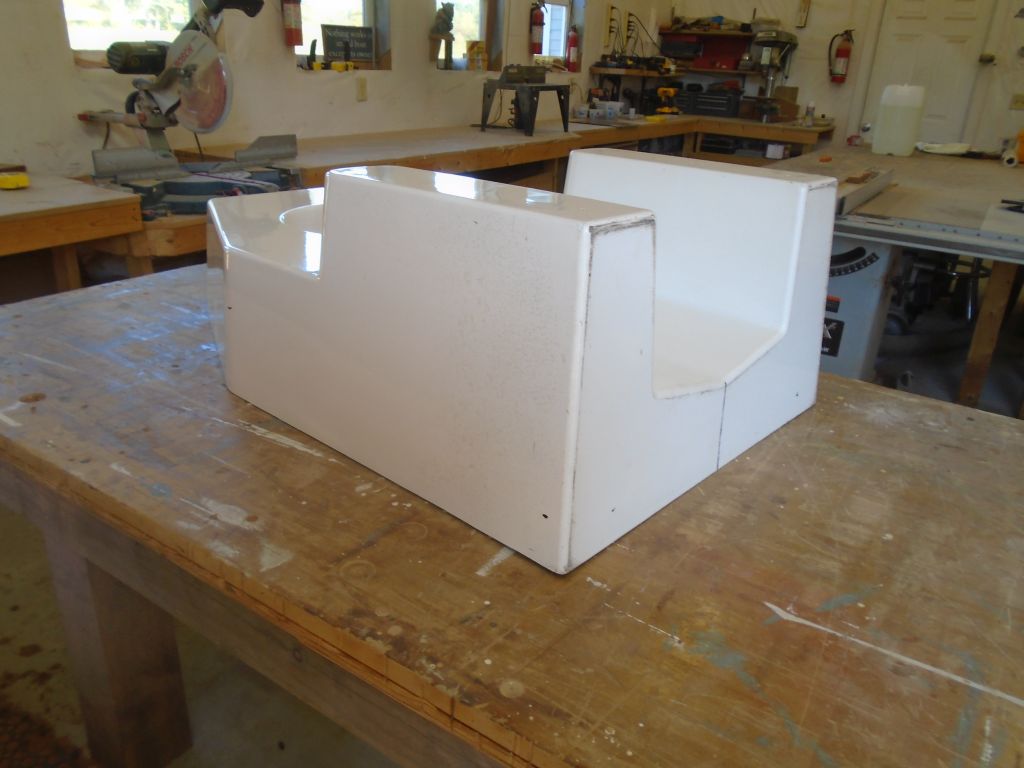
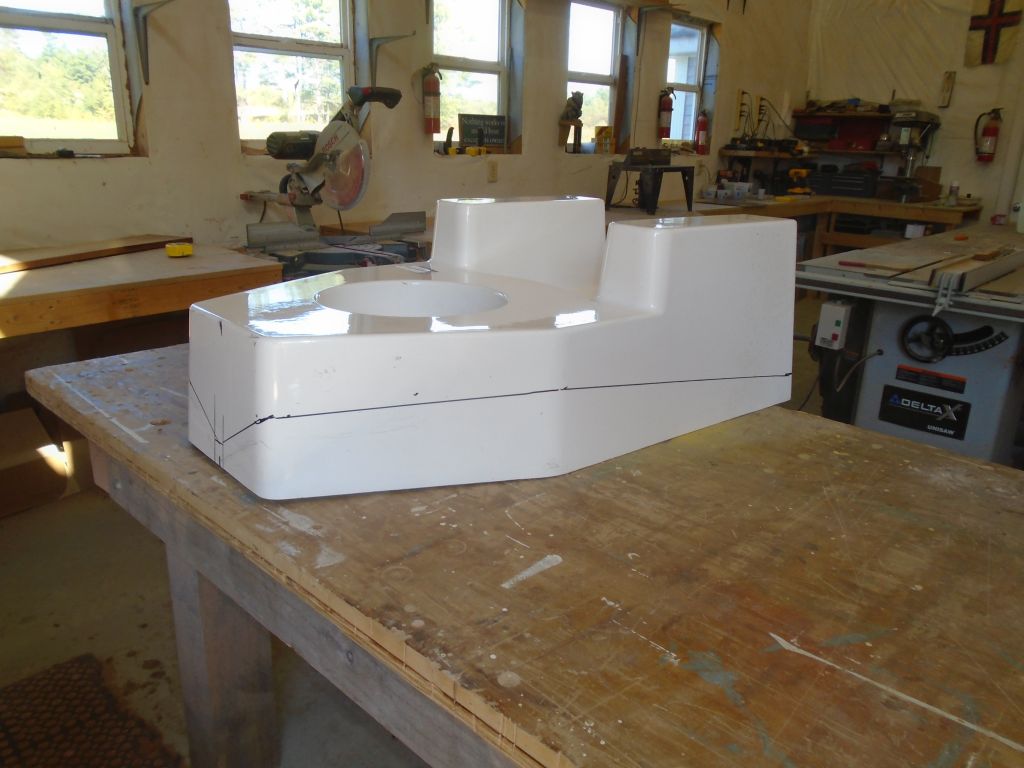
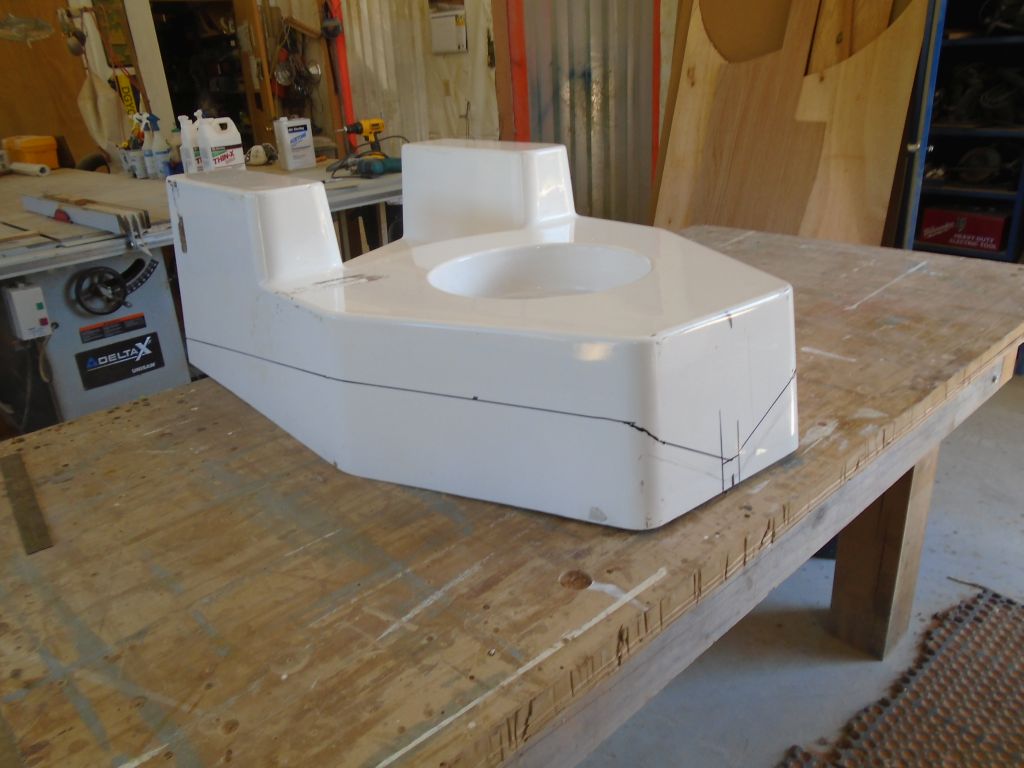
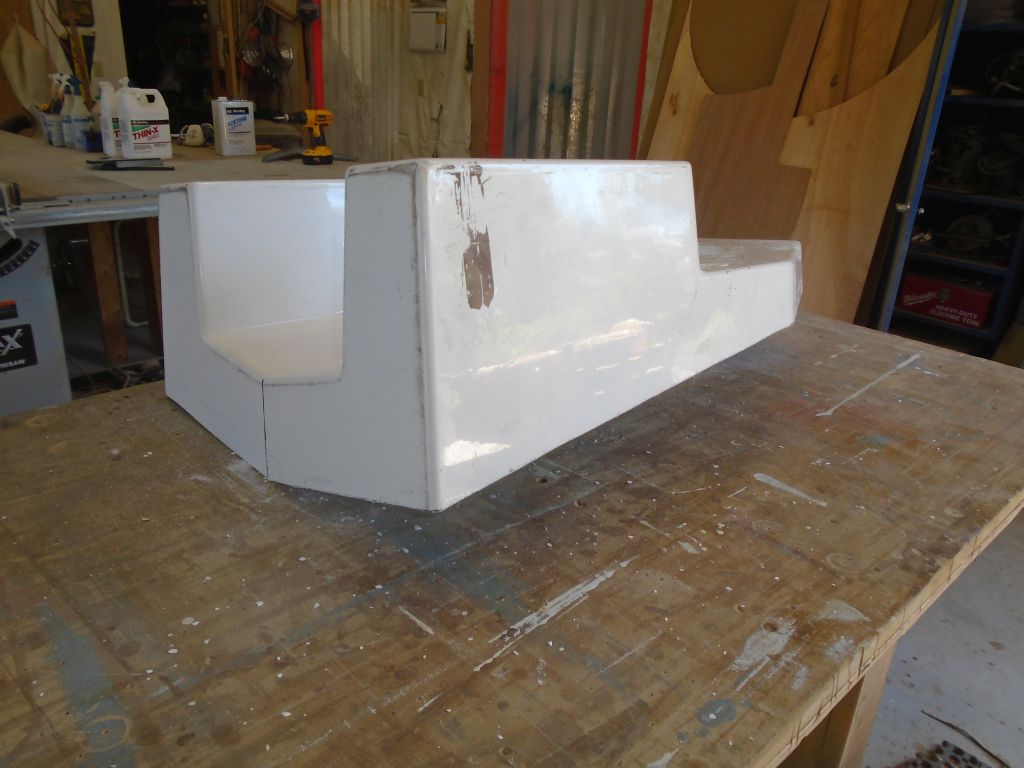
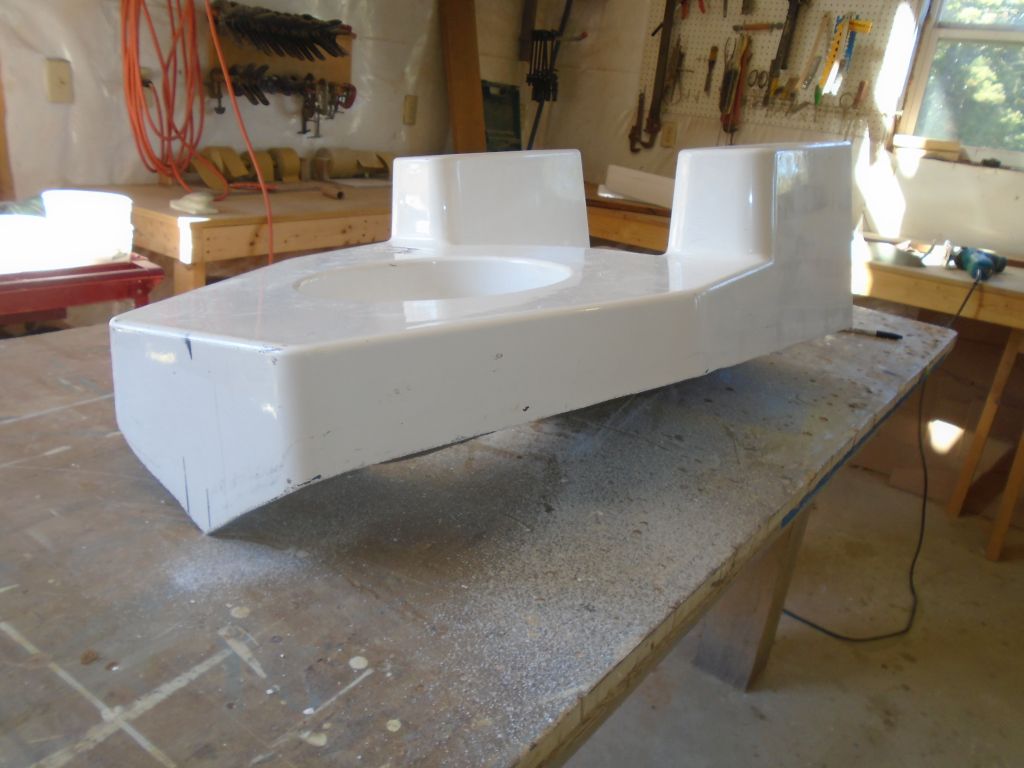
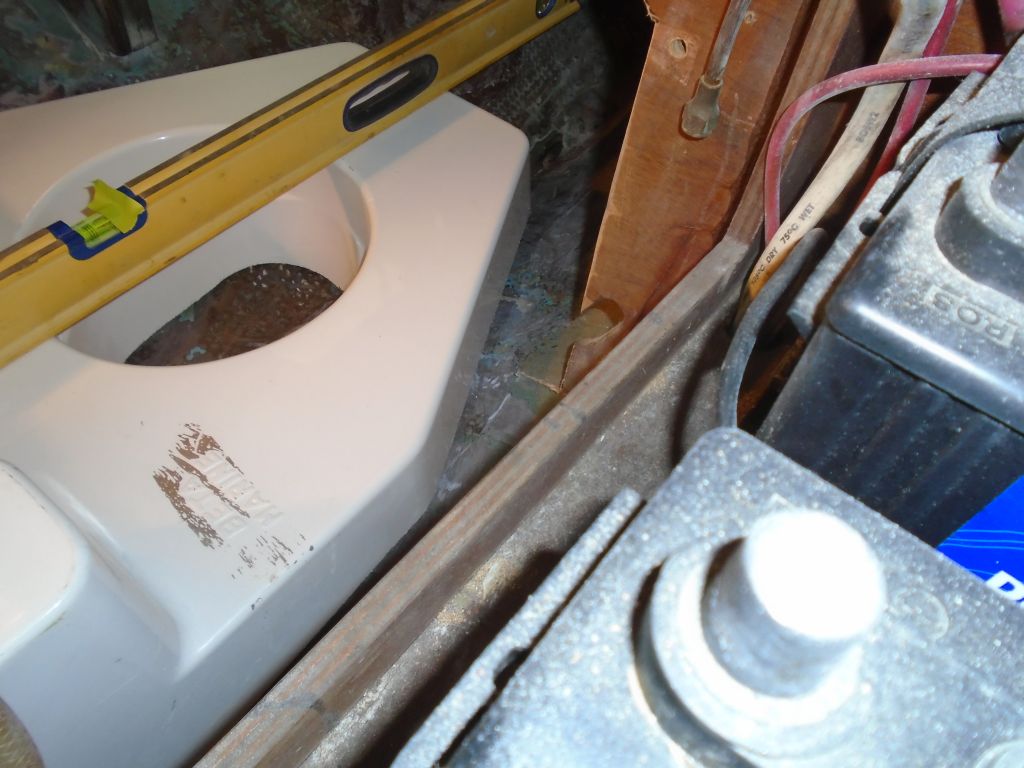
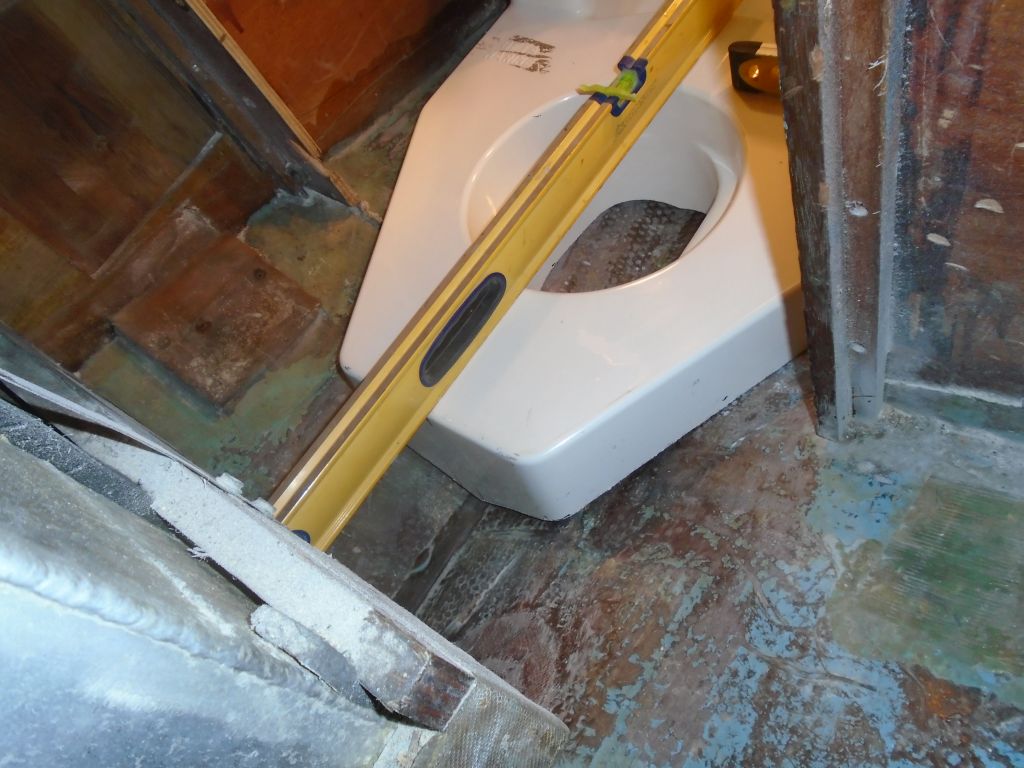
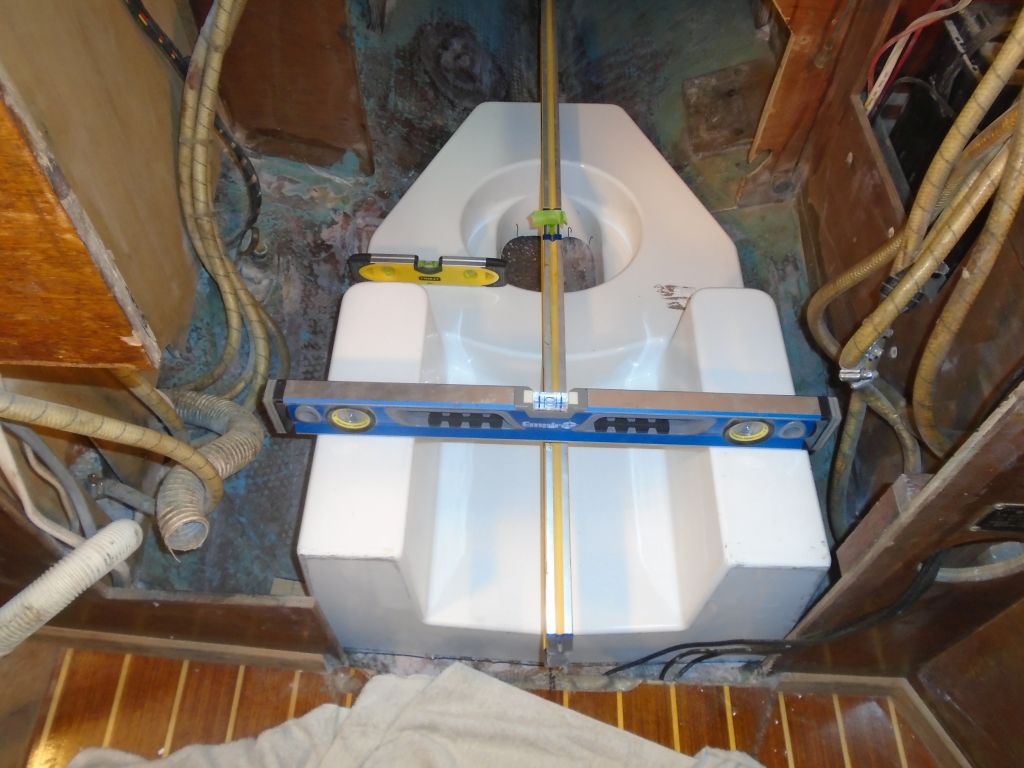
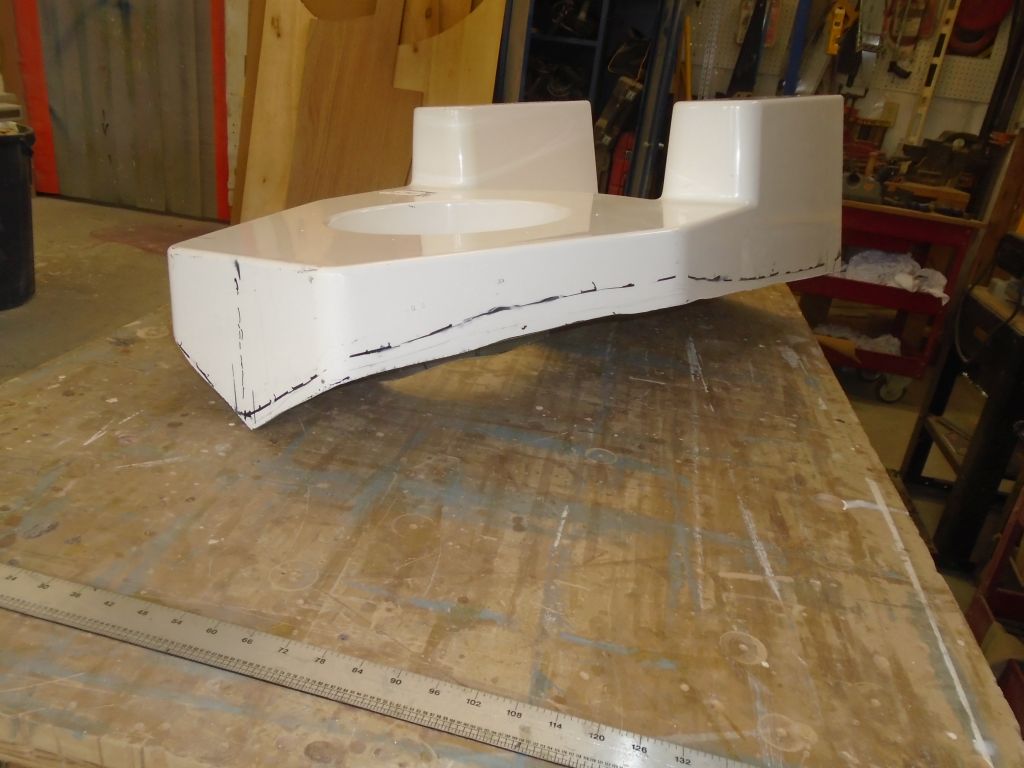
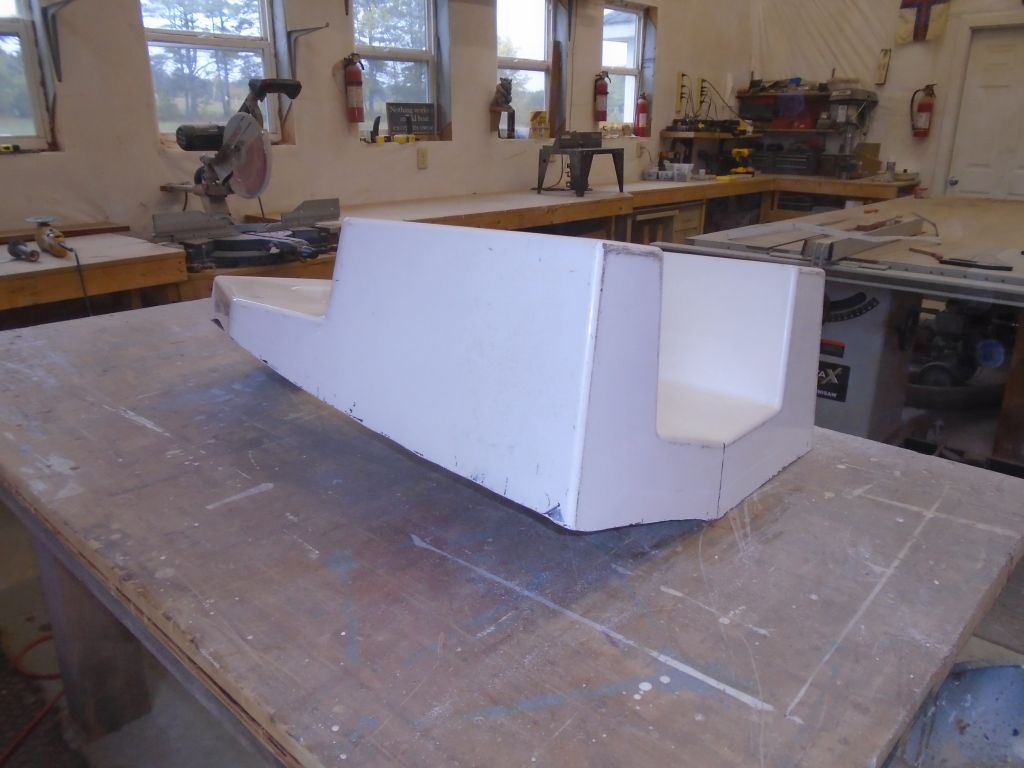
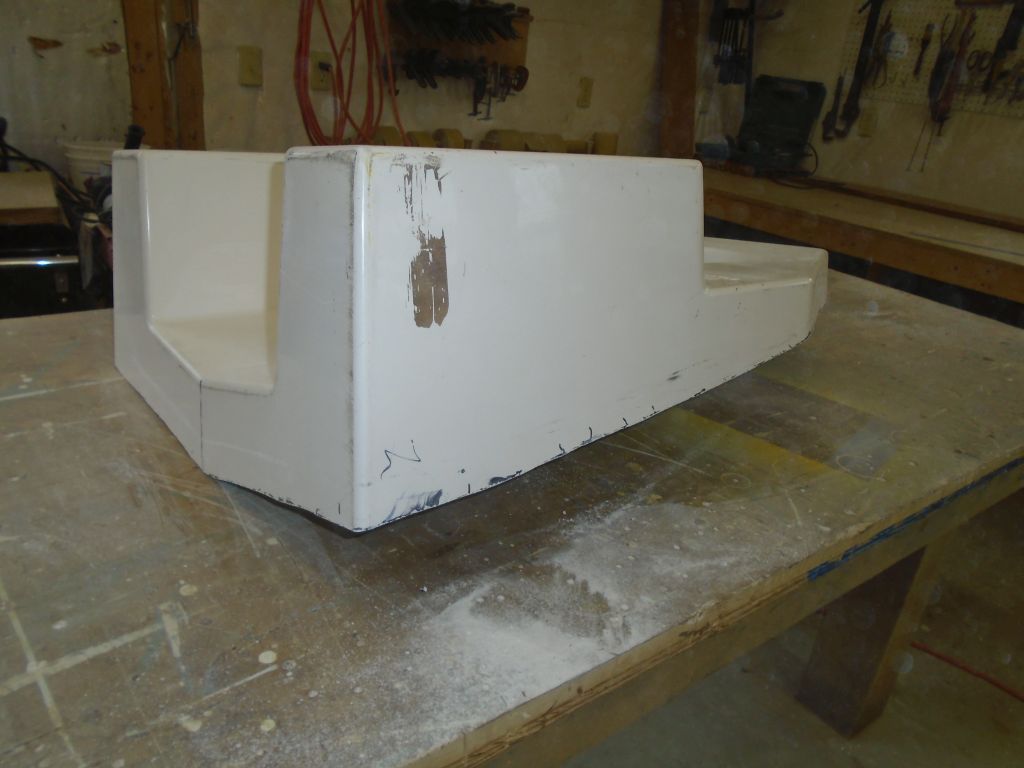
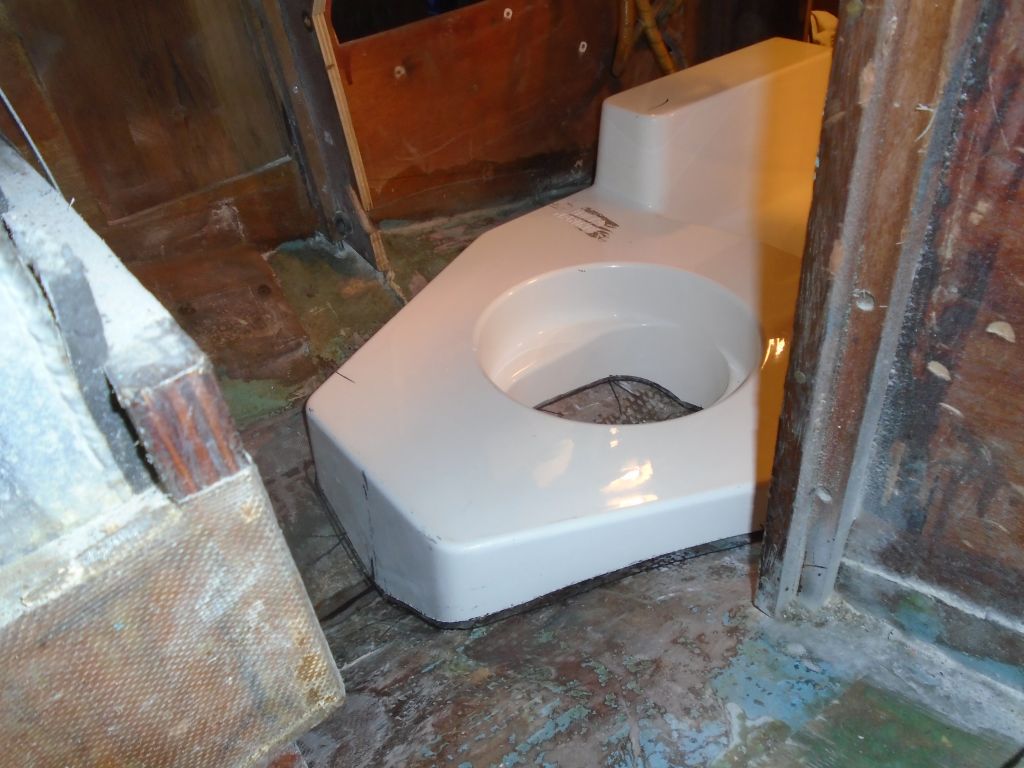
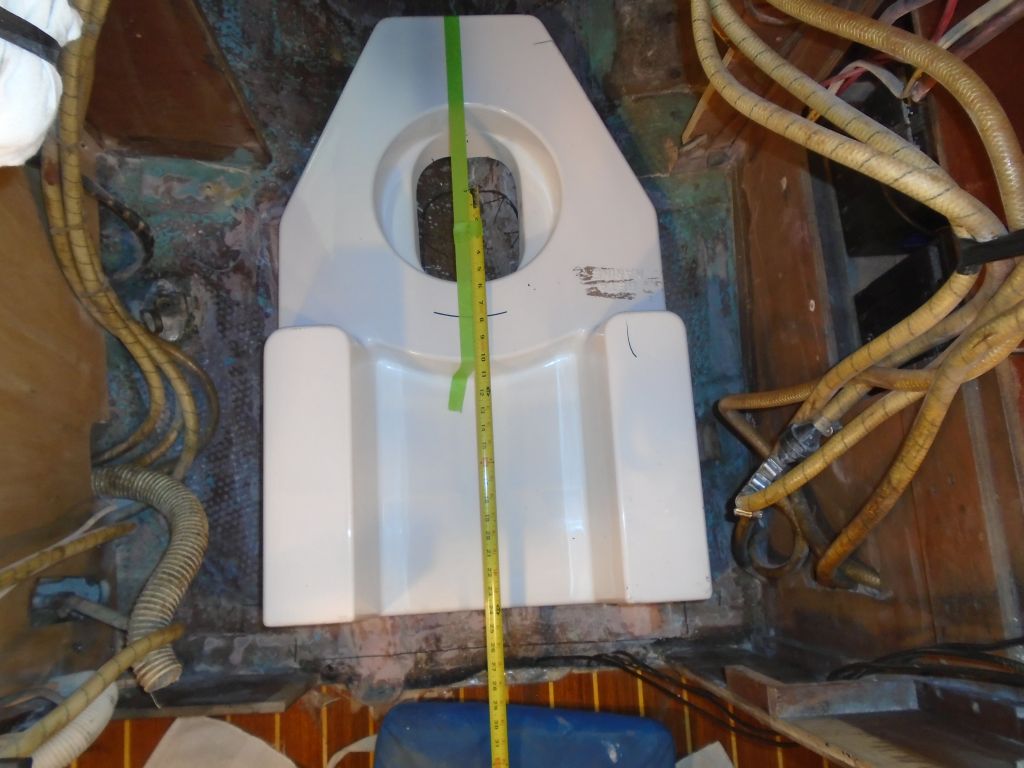
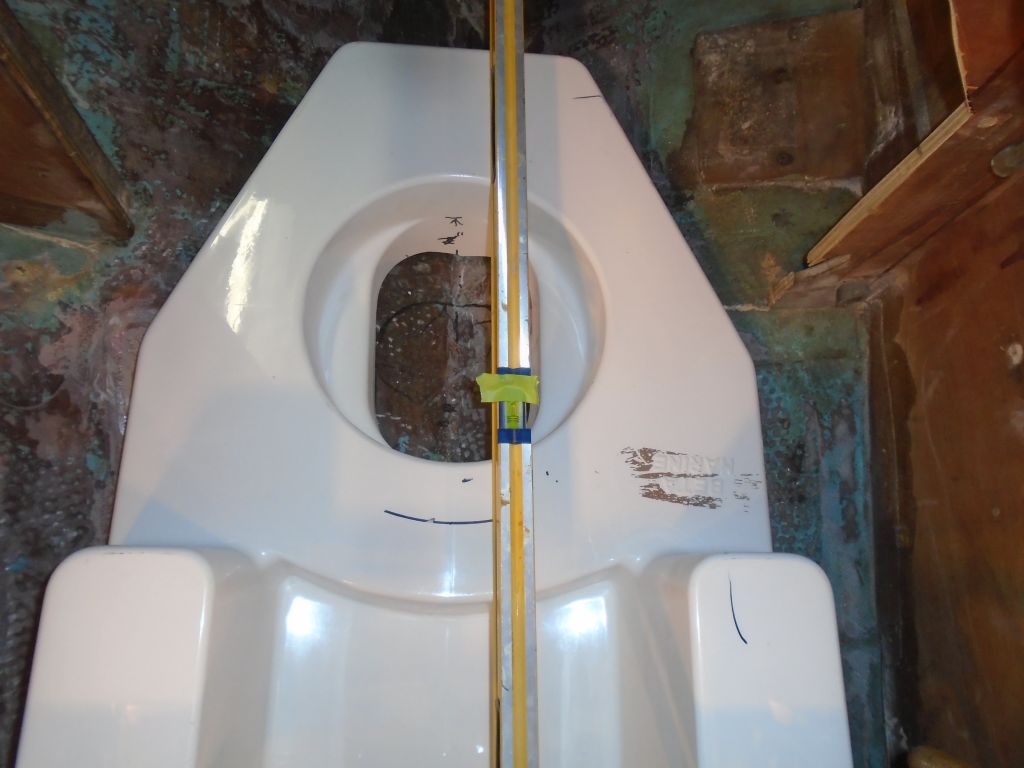
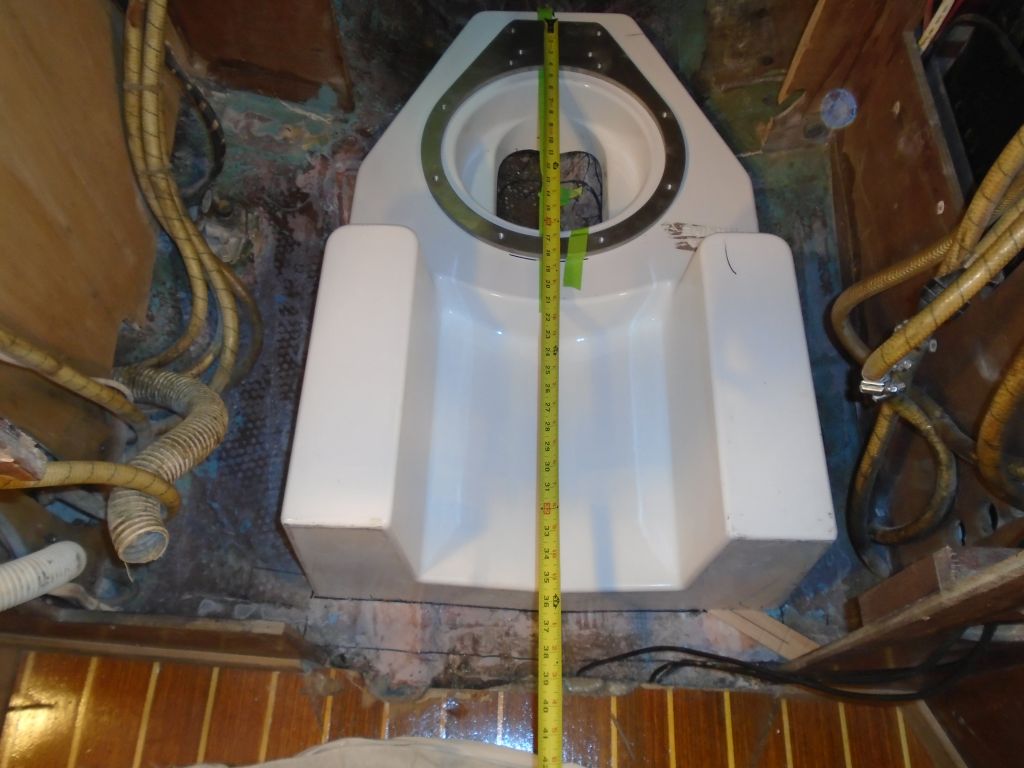
In the event, this was a fortuitous awakening, and, humbled, we decided to move the foundation back by a couple inches. Happily, this was not only possible, but didn’t require a lot of modification. With the base moved back to a point designed to provide ample room ahead, and leveled as I’d done throughout the process, I rescribed the base as needed and trimmed it to the new lines, before repositioning it in the boat a final time so I could check all the measurements. From the center of the drive leg hole in the foundation (i.e. the center of the drive leg as shown on the drawing), I required 26″ of clearance to the forward end of the engine room, and now in the new position there was plenty of clearance.
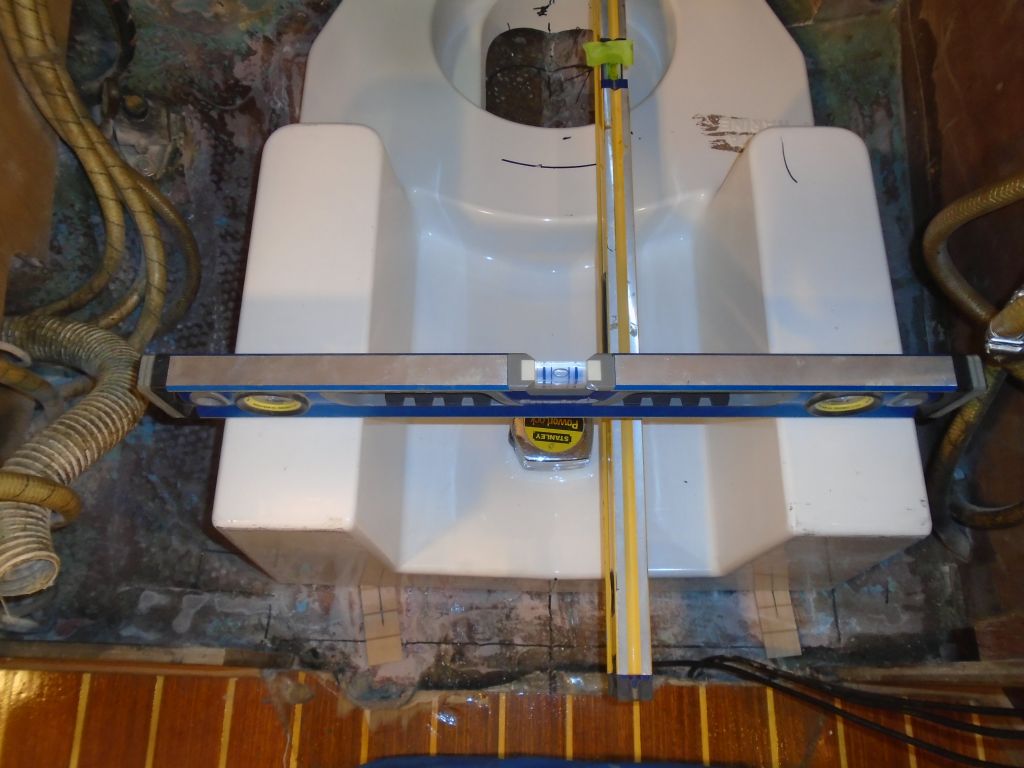

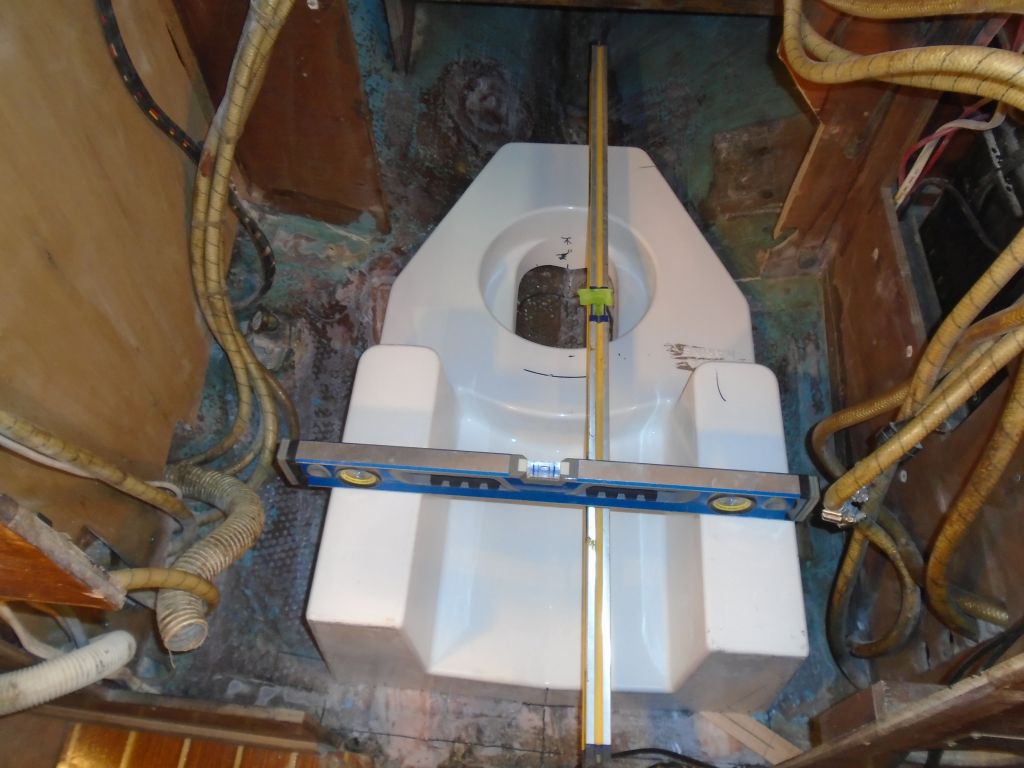
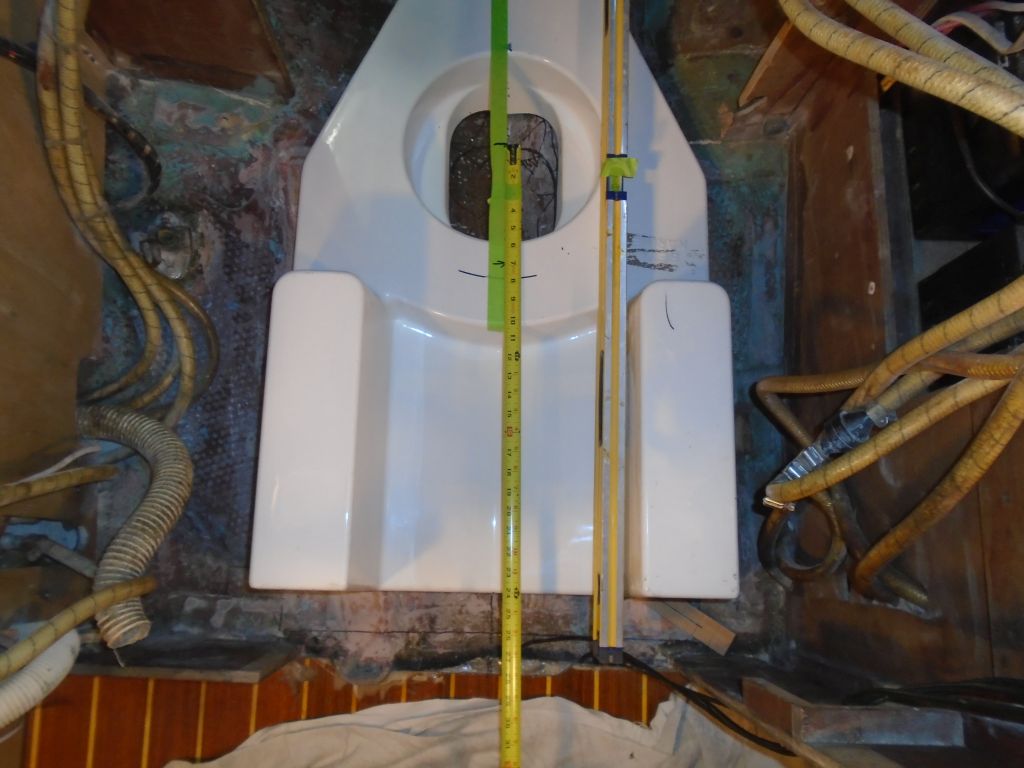
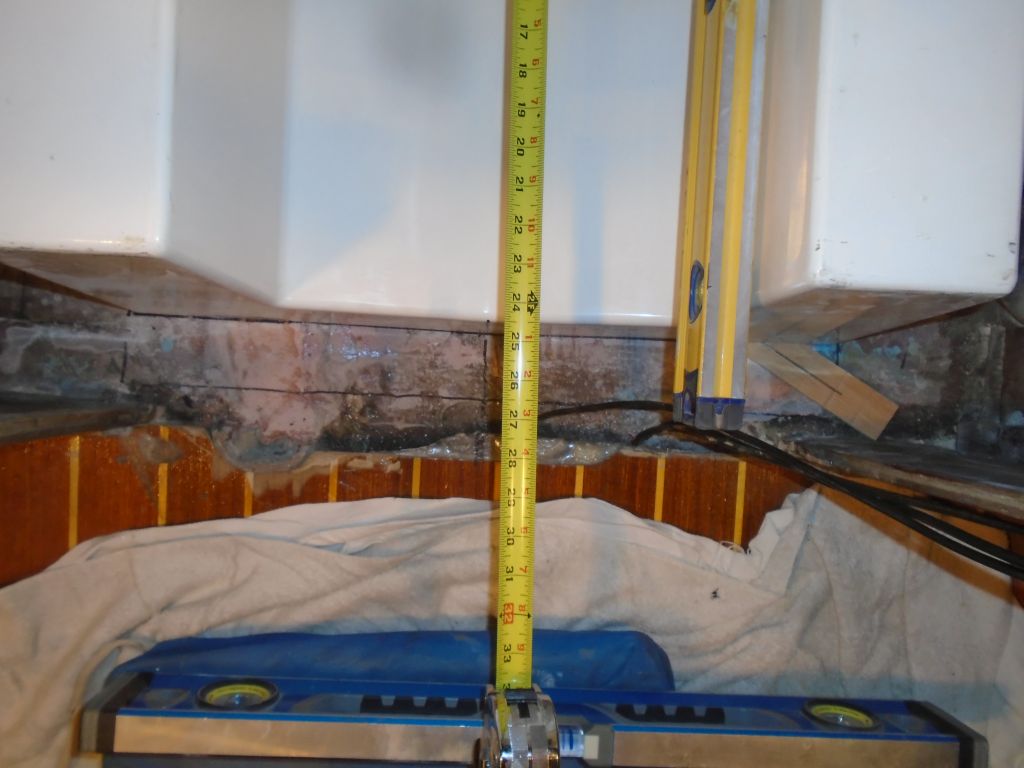
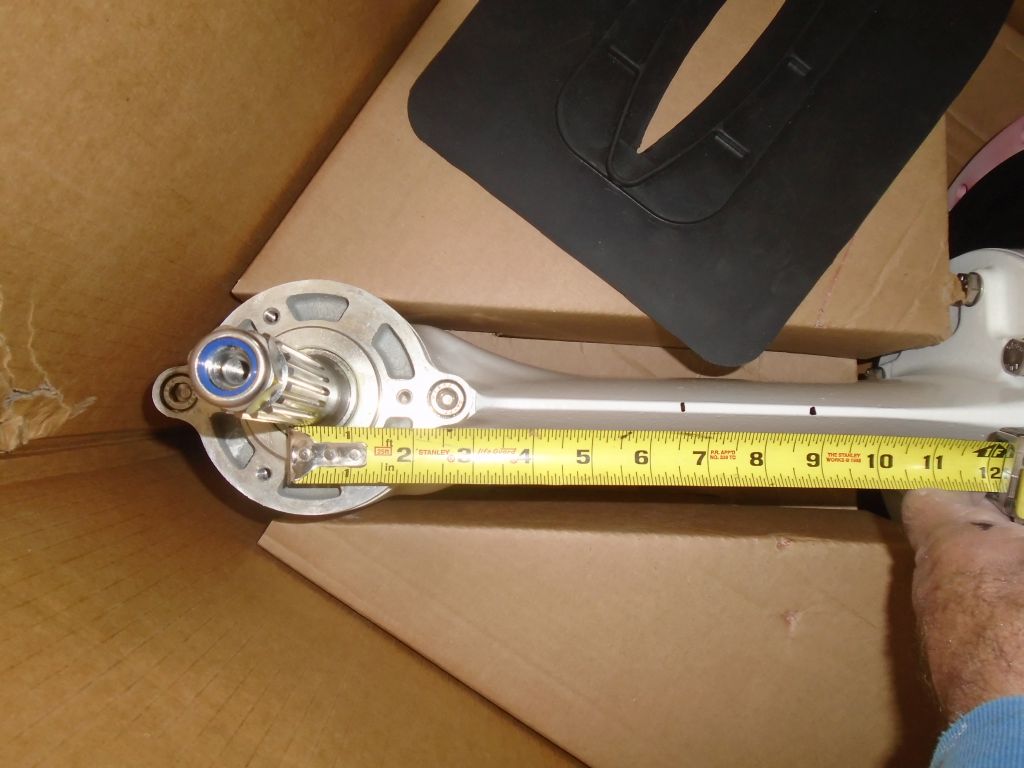
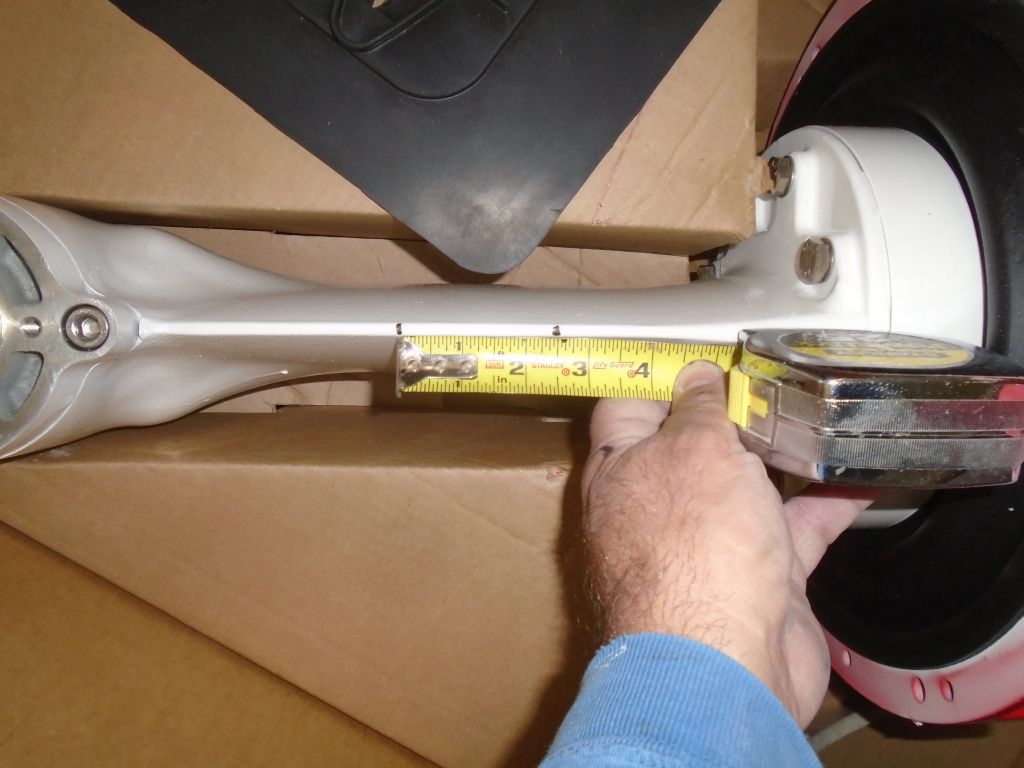
As a further reality check, I temporarily placed as a template the aluminum backing ring that would eventually secure the transmission in place, and measured from its back edge–which was standing in for the back edge of the transmission per the drawing–to the front of the engine space. This measurement was required to be at least 36″, and again there was ample clearance.
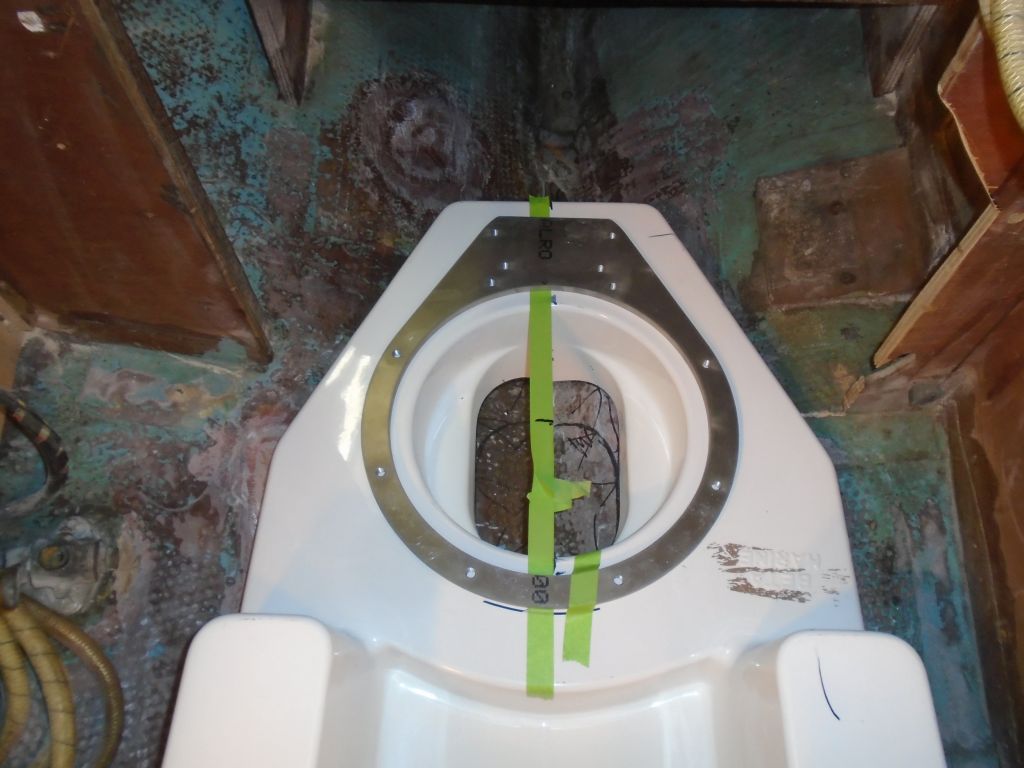
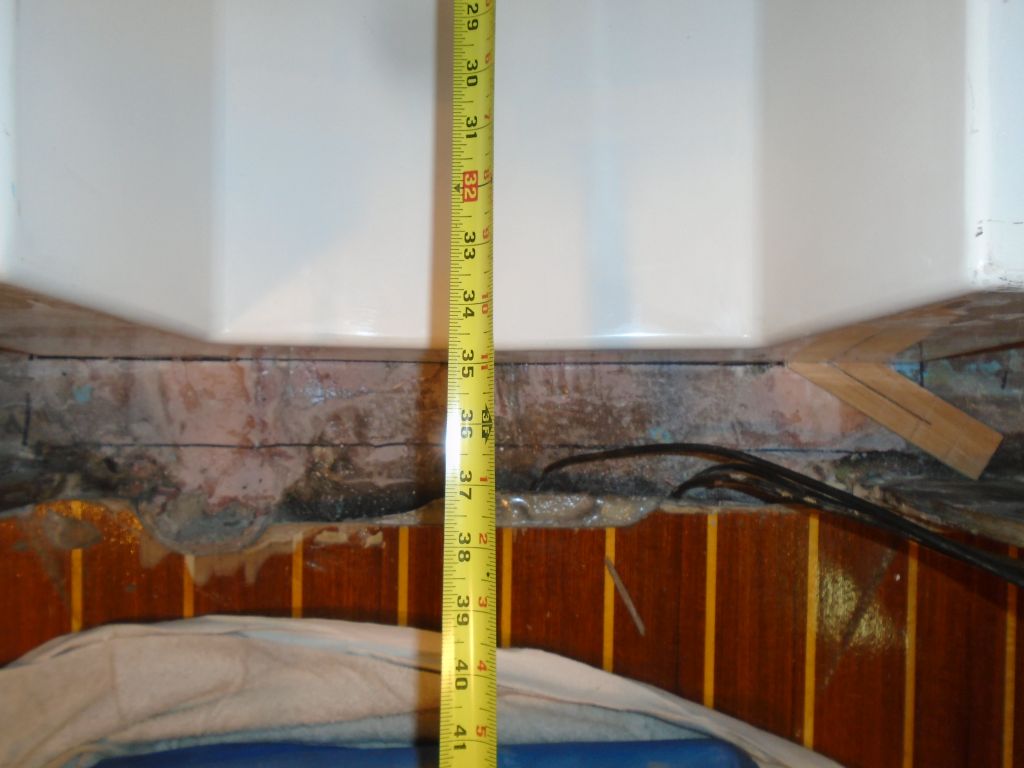
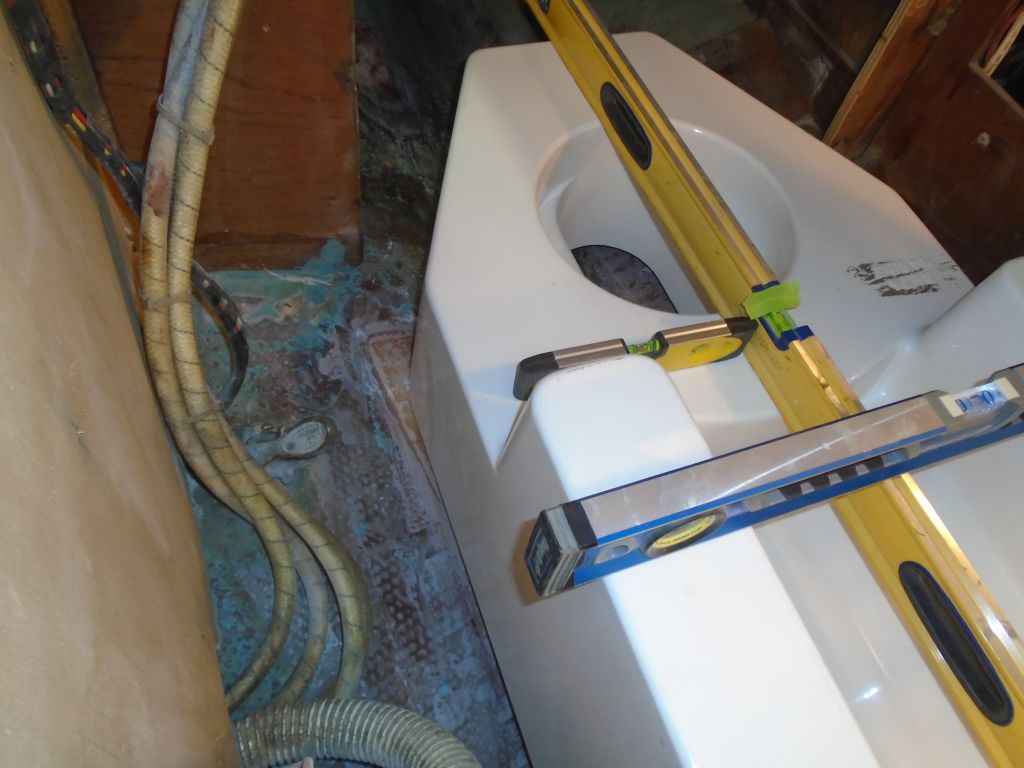
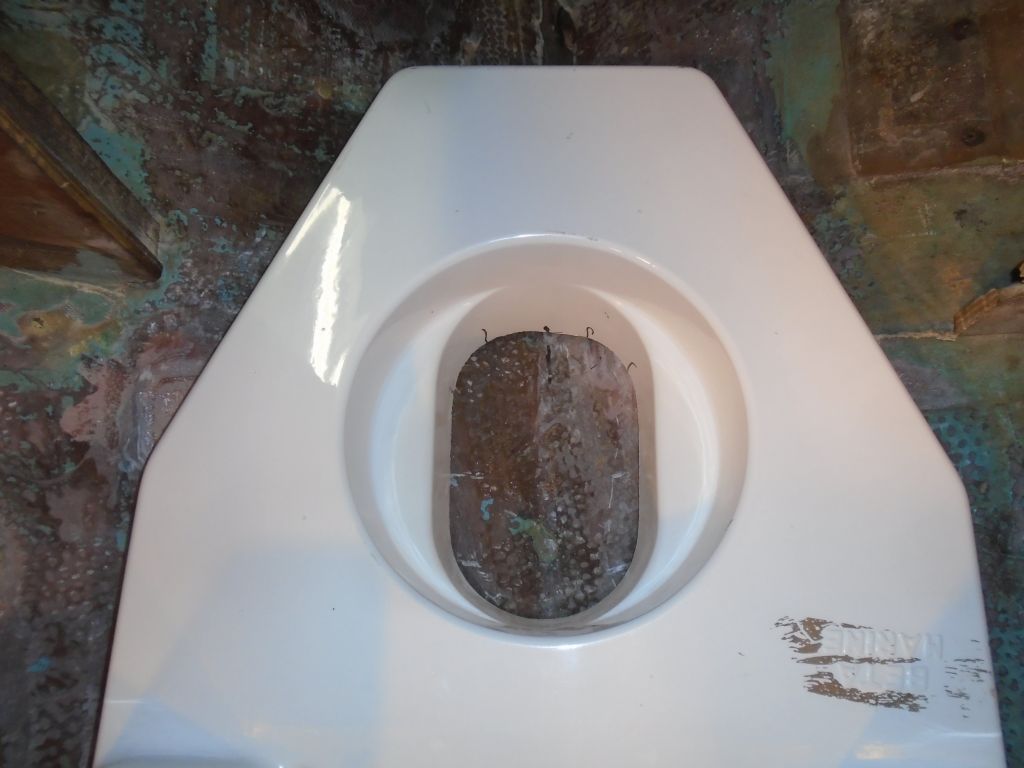
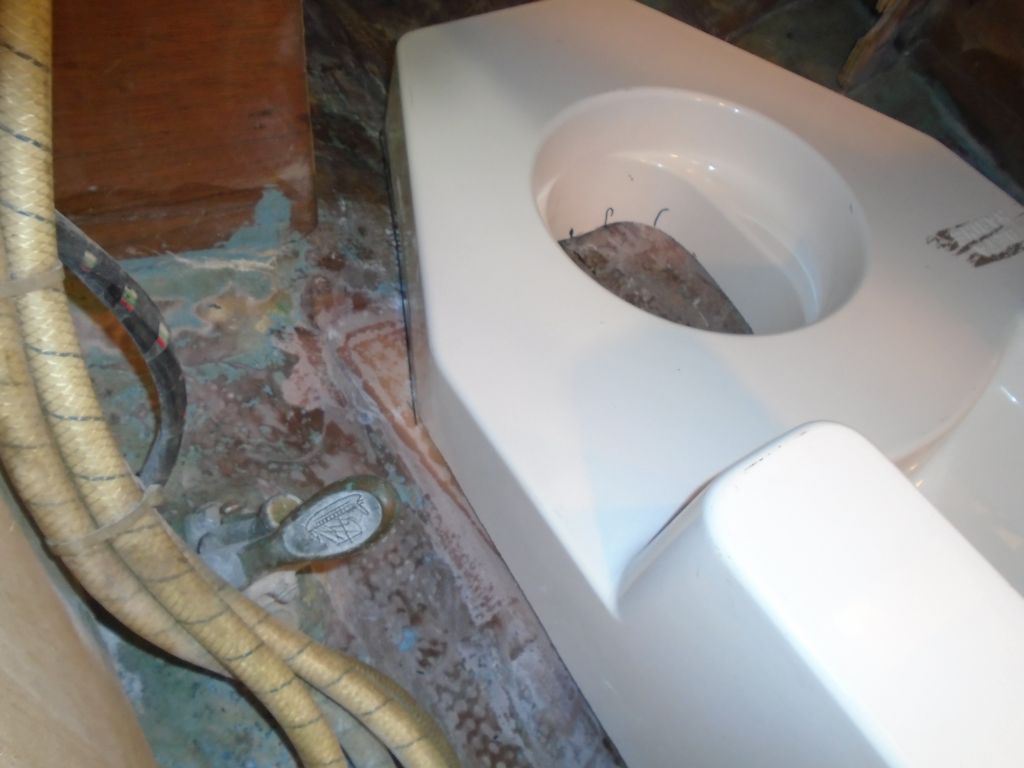
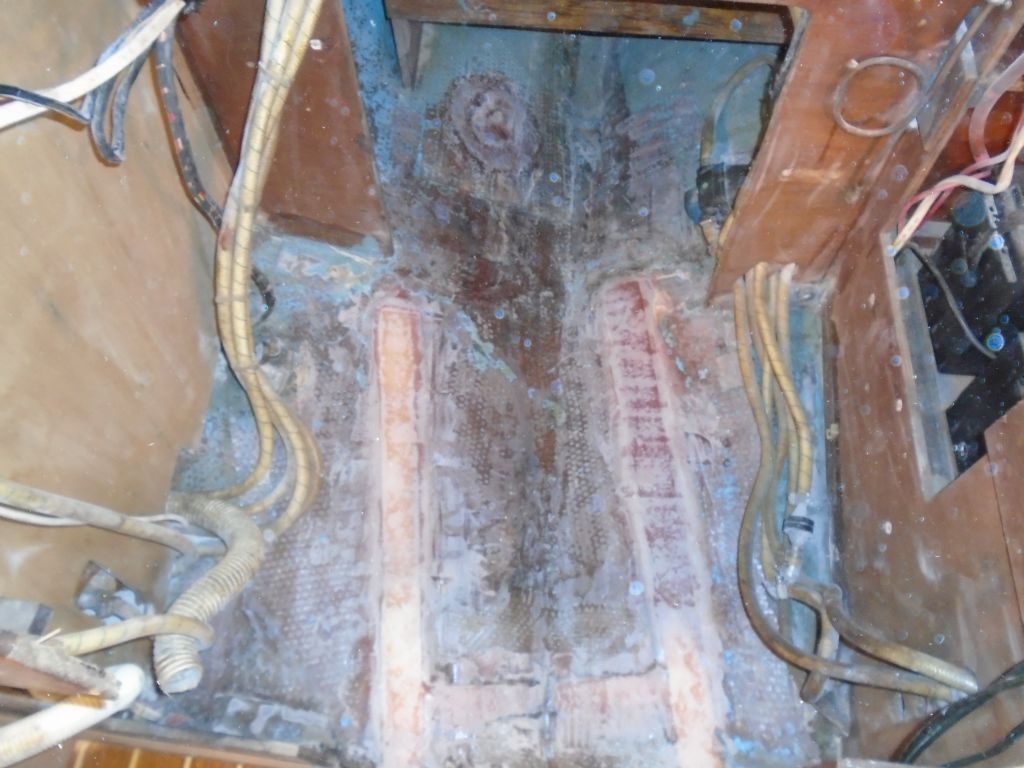
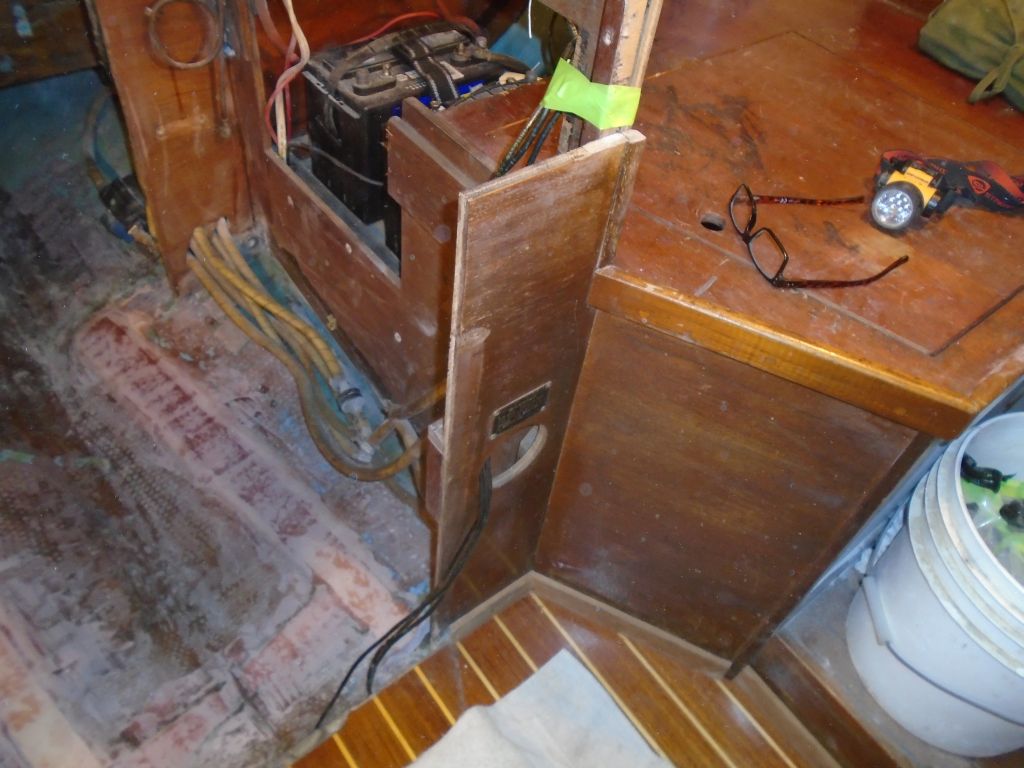
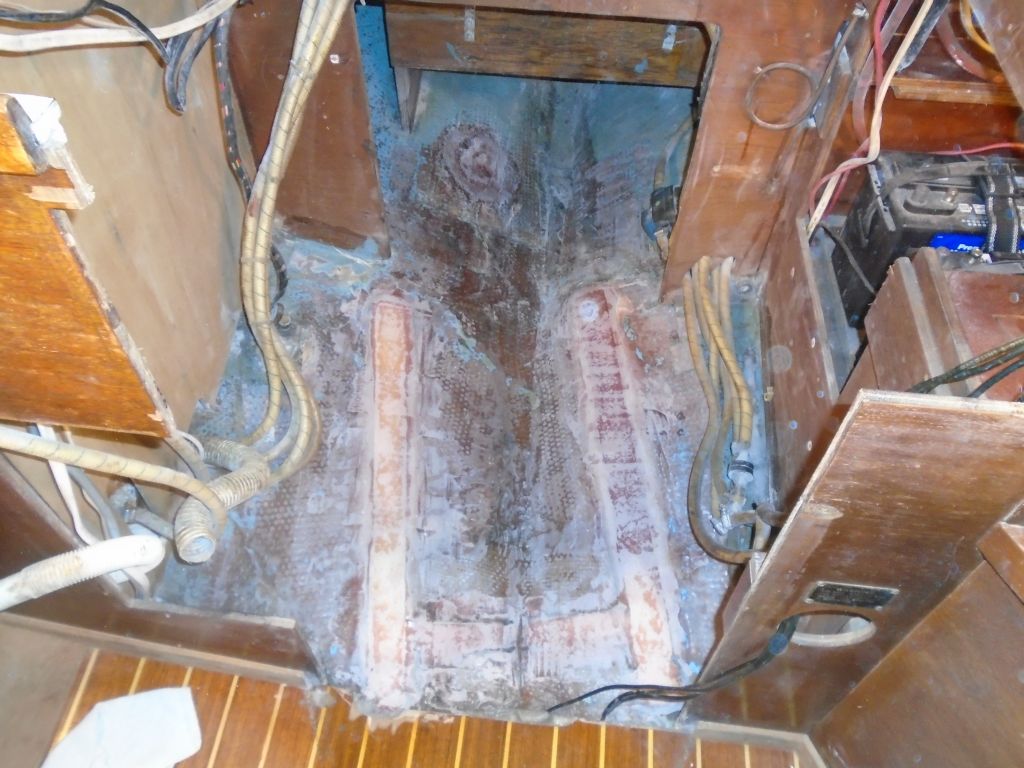
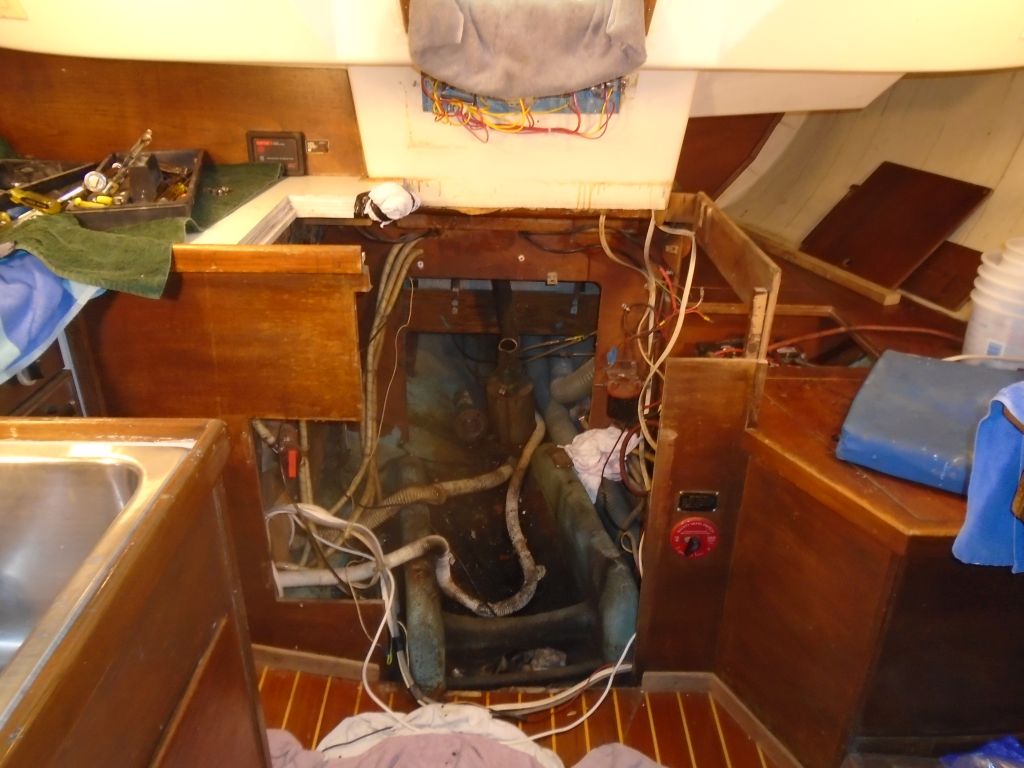
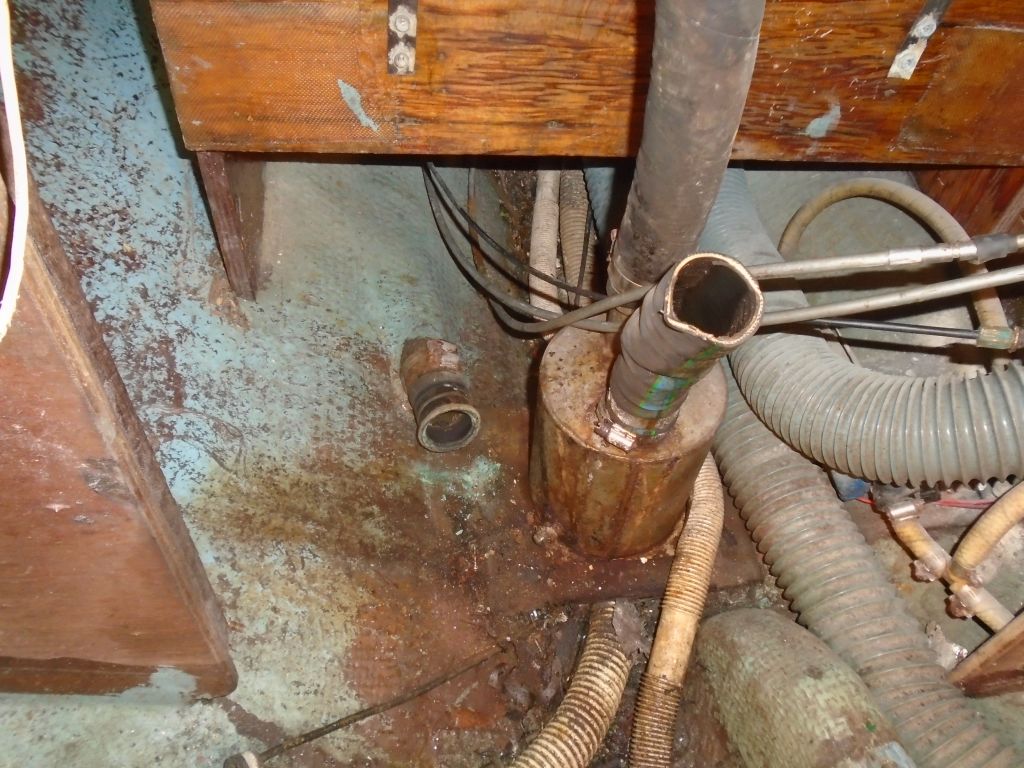
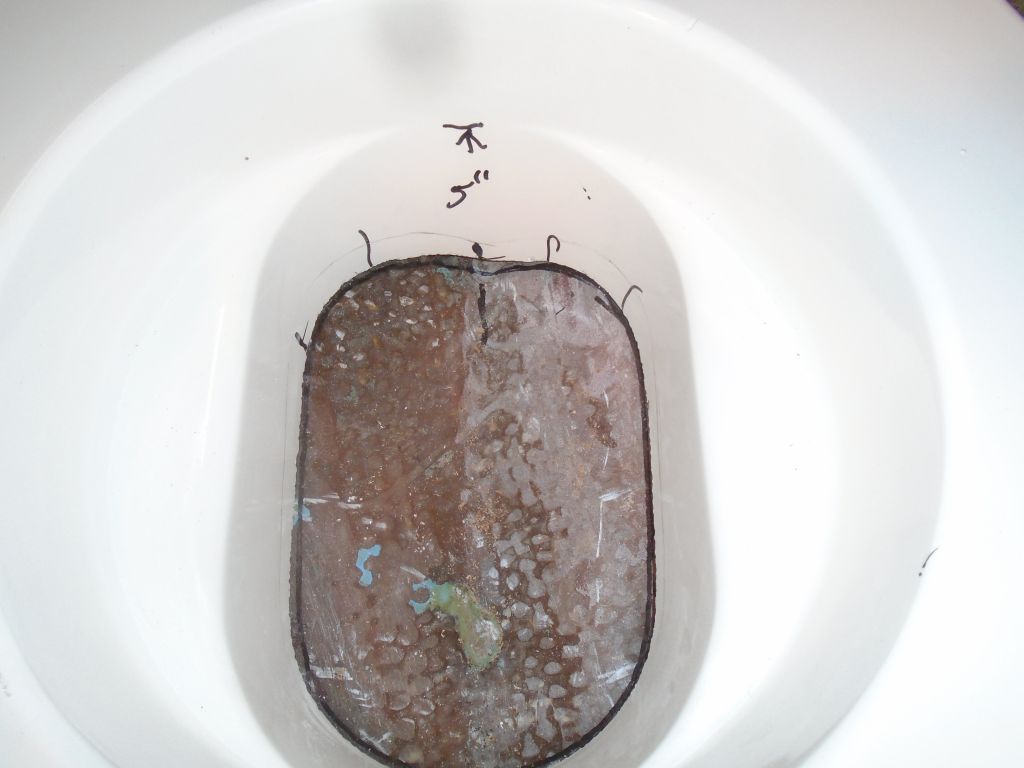
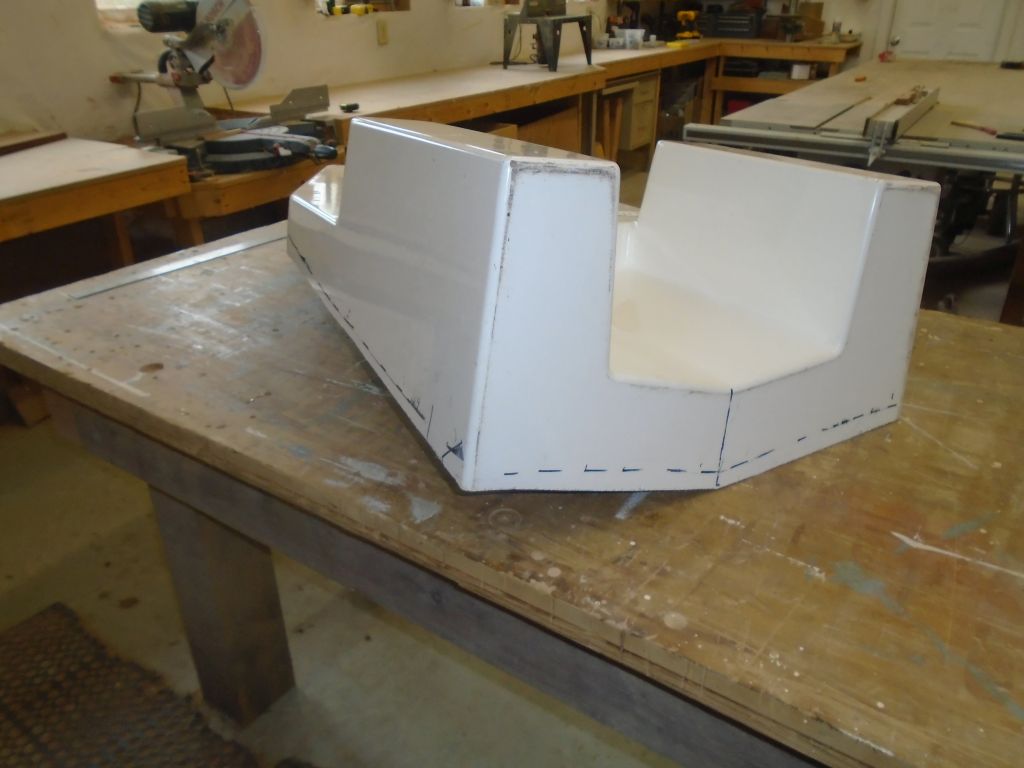
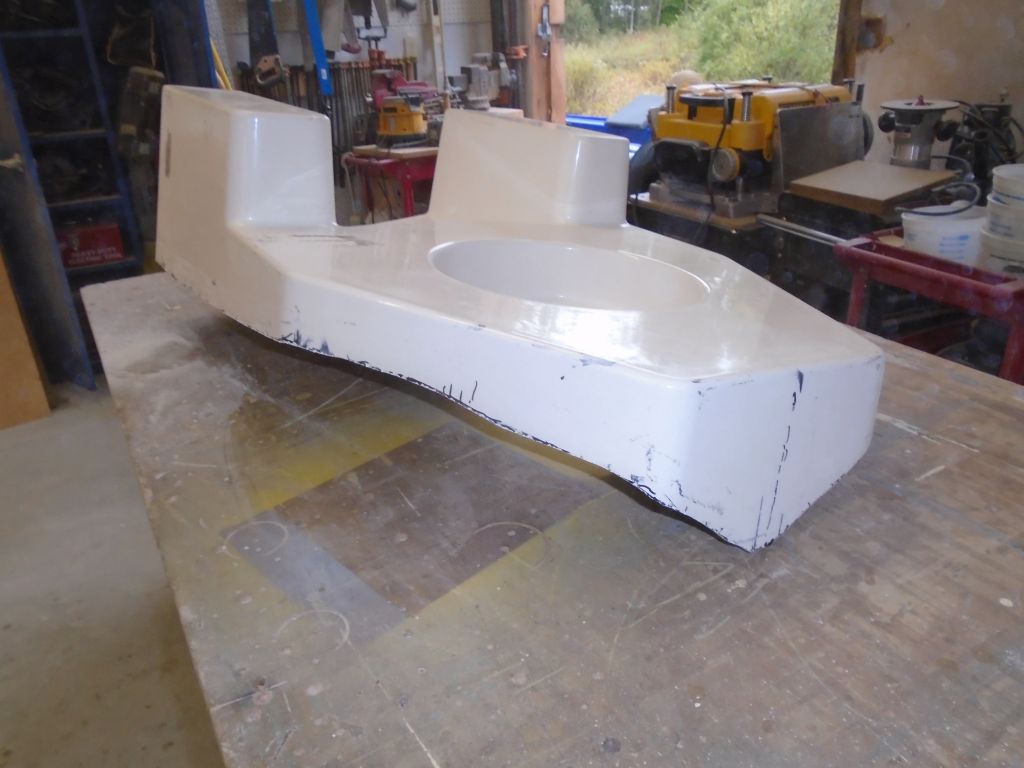
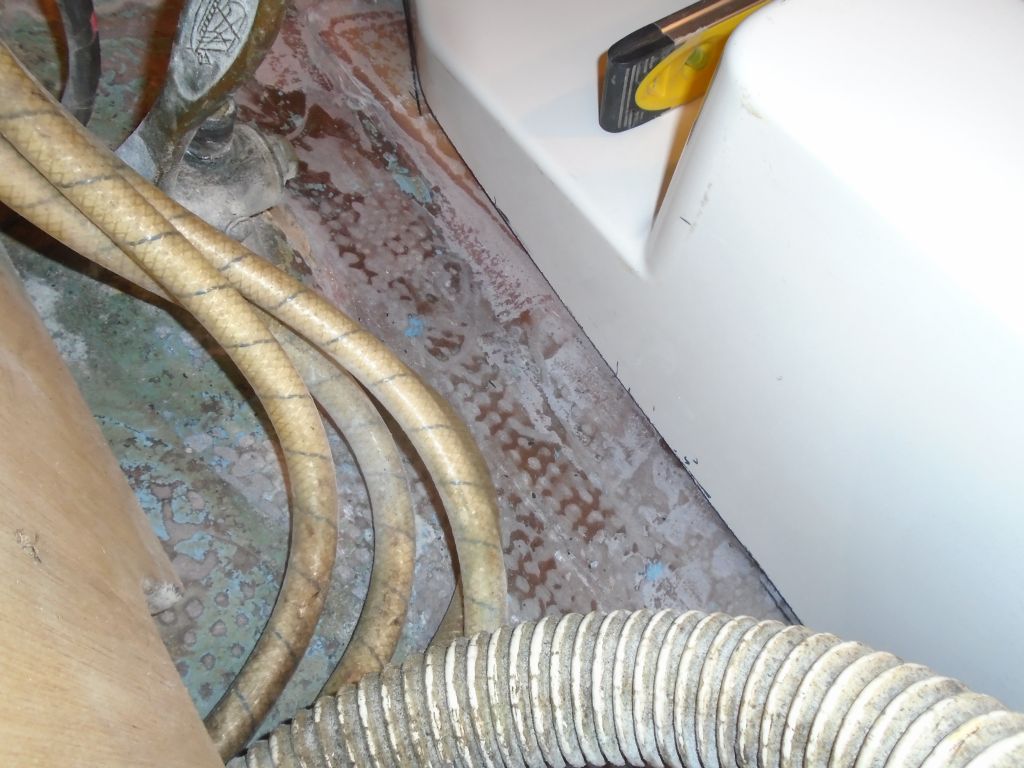
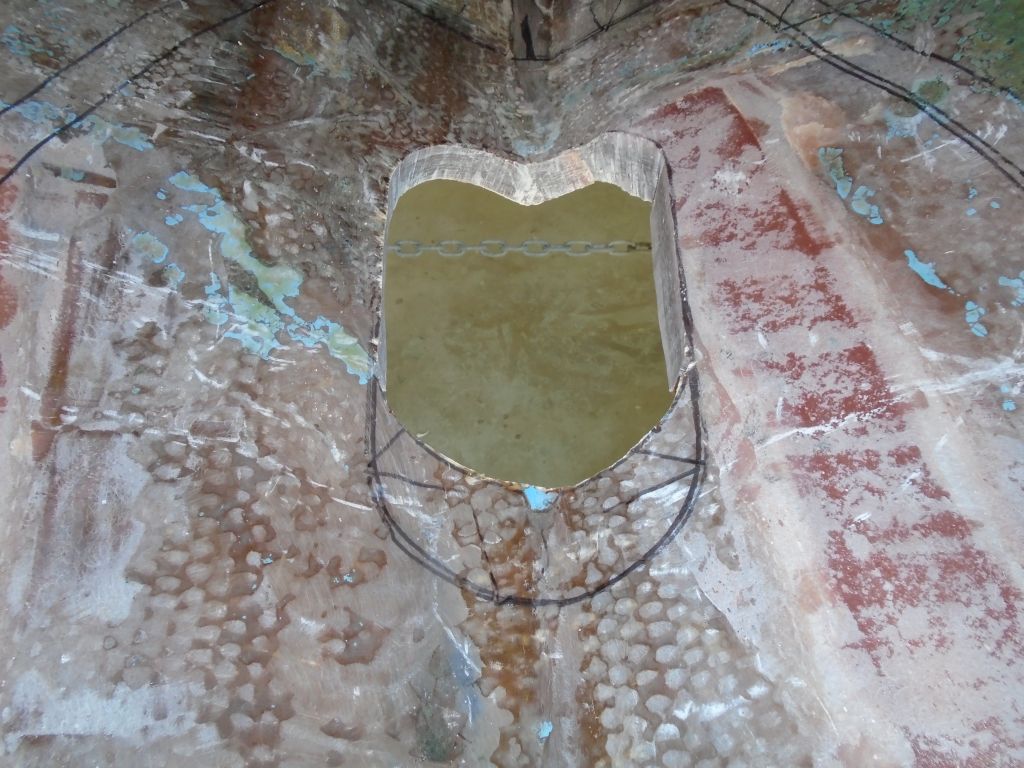
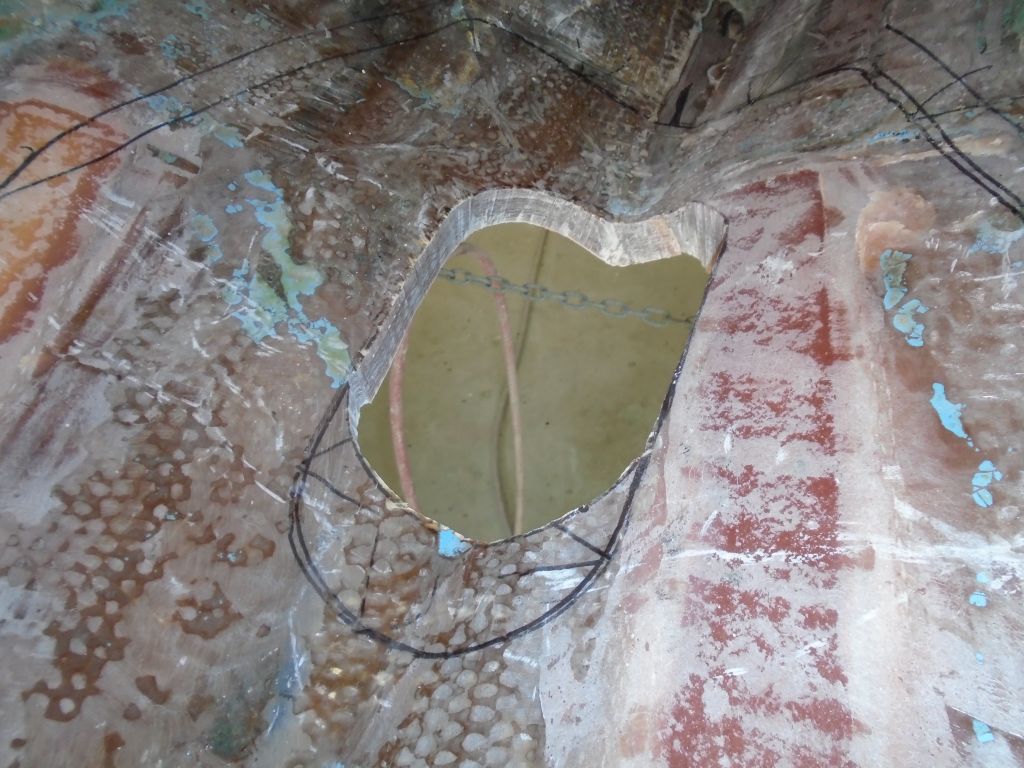
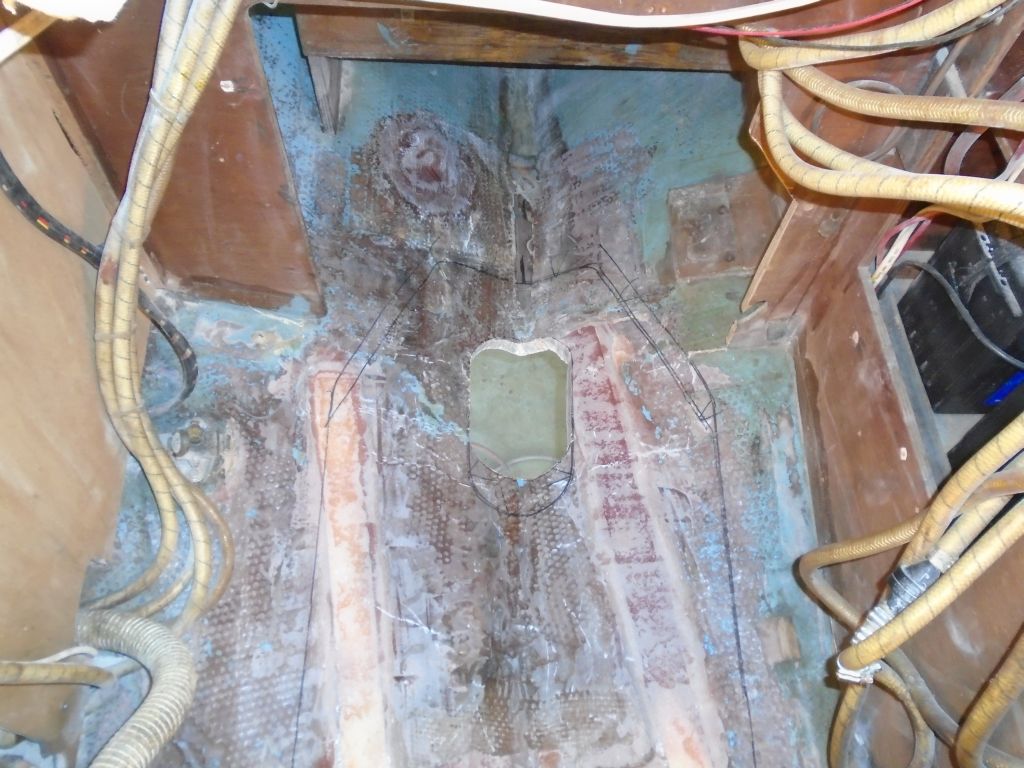
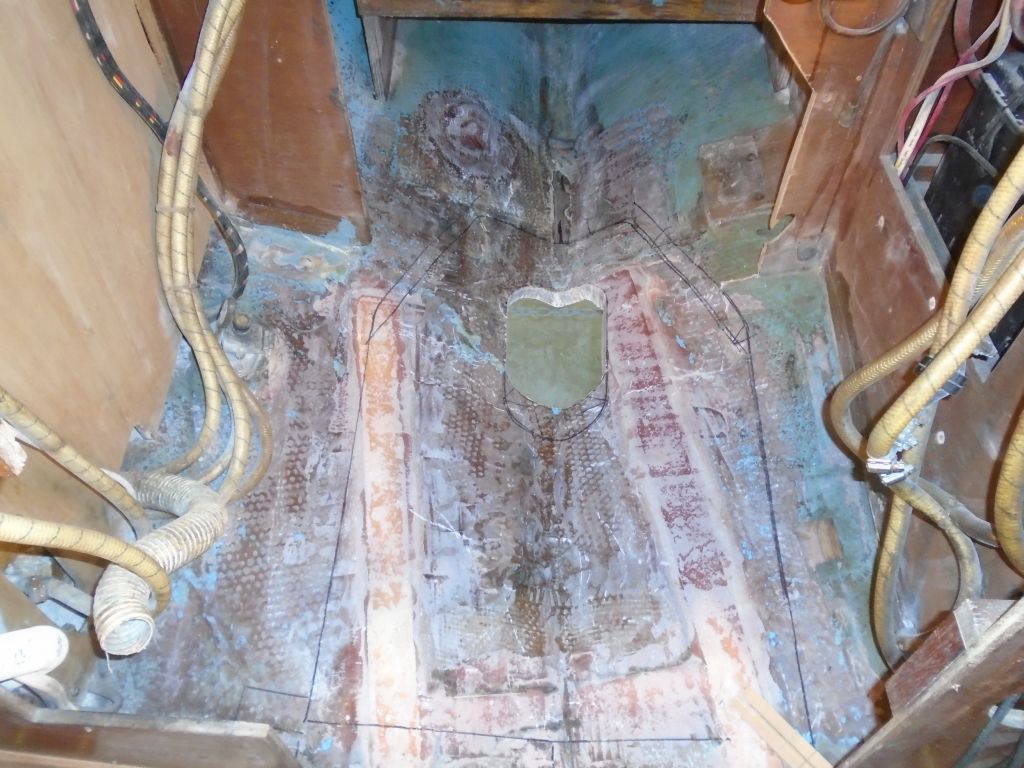
Checking the foundation’s position again in all possible ways, I remarked the hole required through the bottom of the boat and then, with little further ado, cut out the opening, keeping the saw a bit inside the line to allow for later trimming and fine-tuning. The hull in this area was quite thick, partly because this section also included all the old, heavy tabbing that had encapsulated and secured the original engine mounts, plus centerline reinforcement. I’d clean up the opening a bit later on in the process.
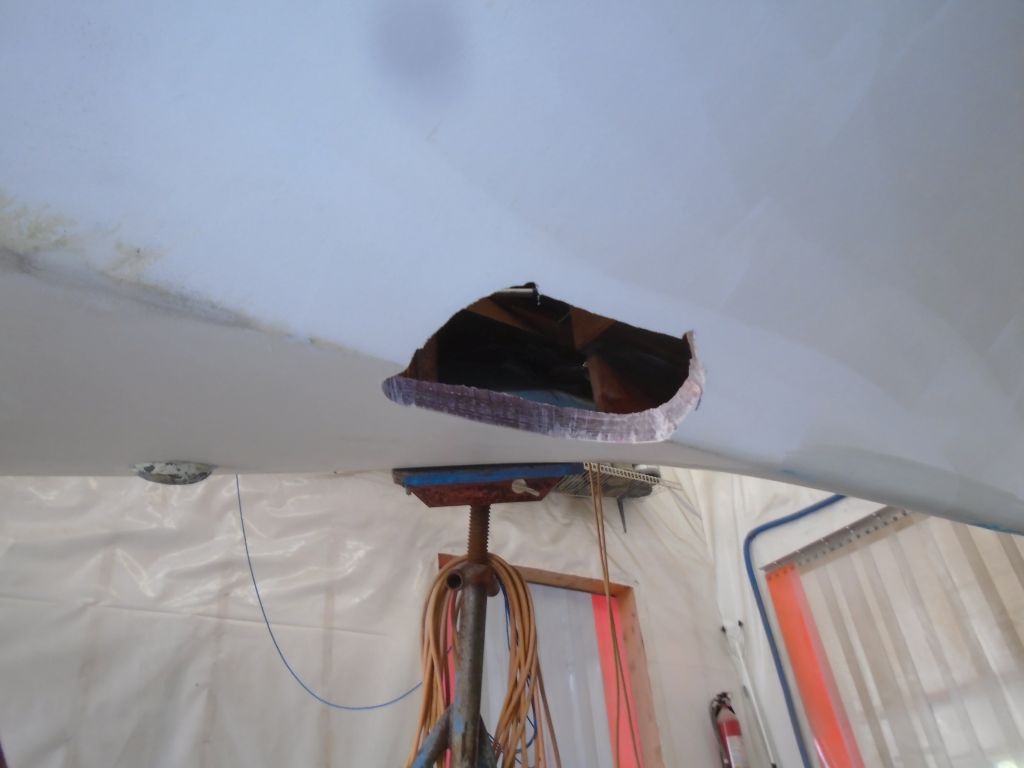
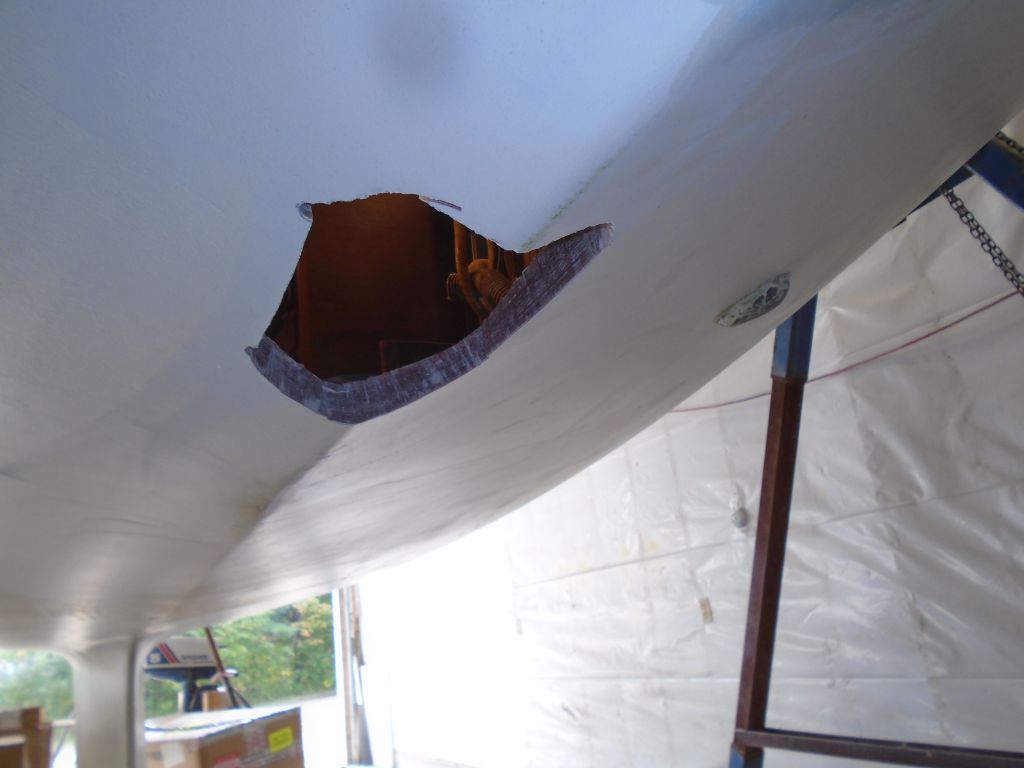
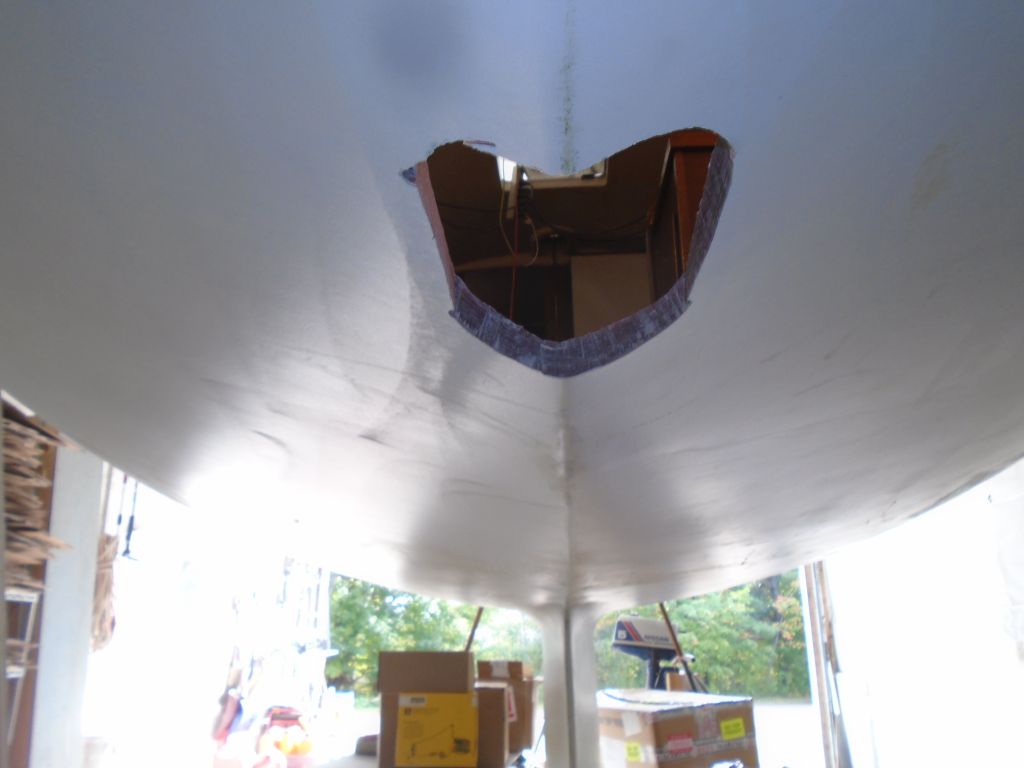

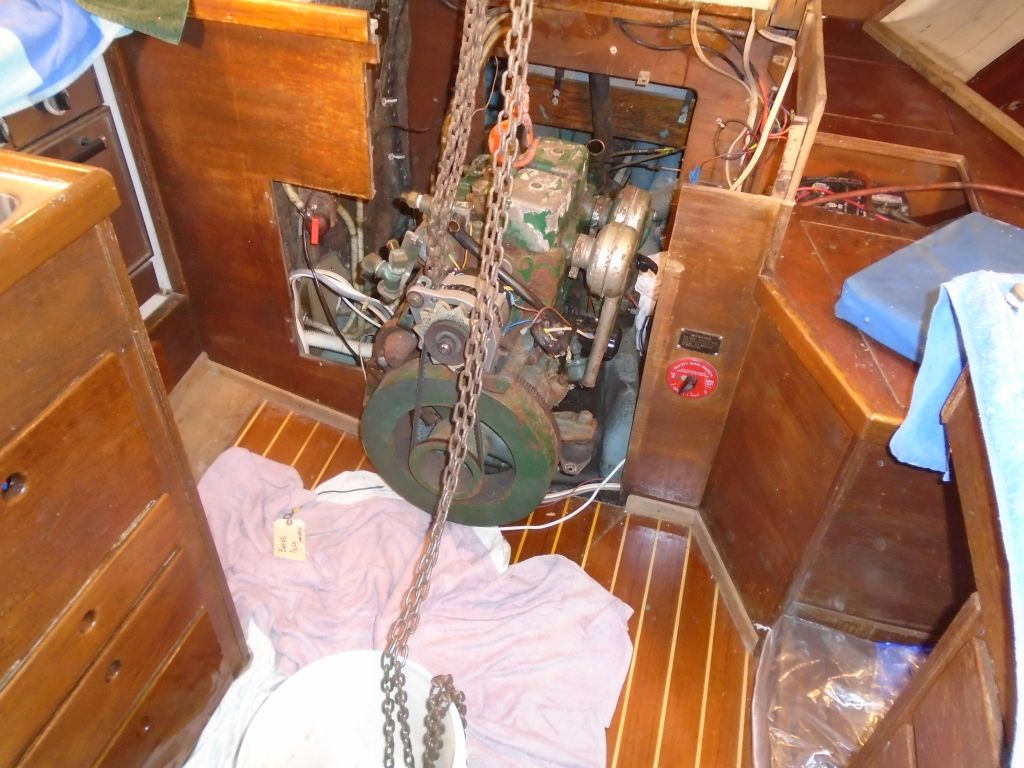
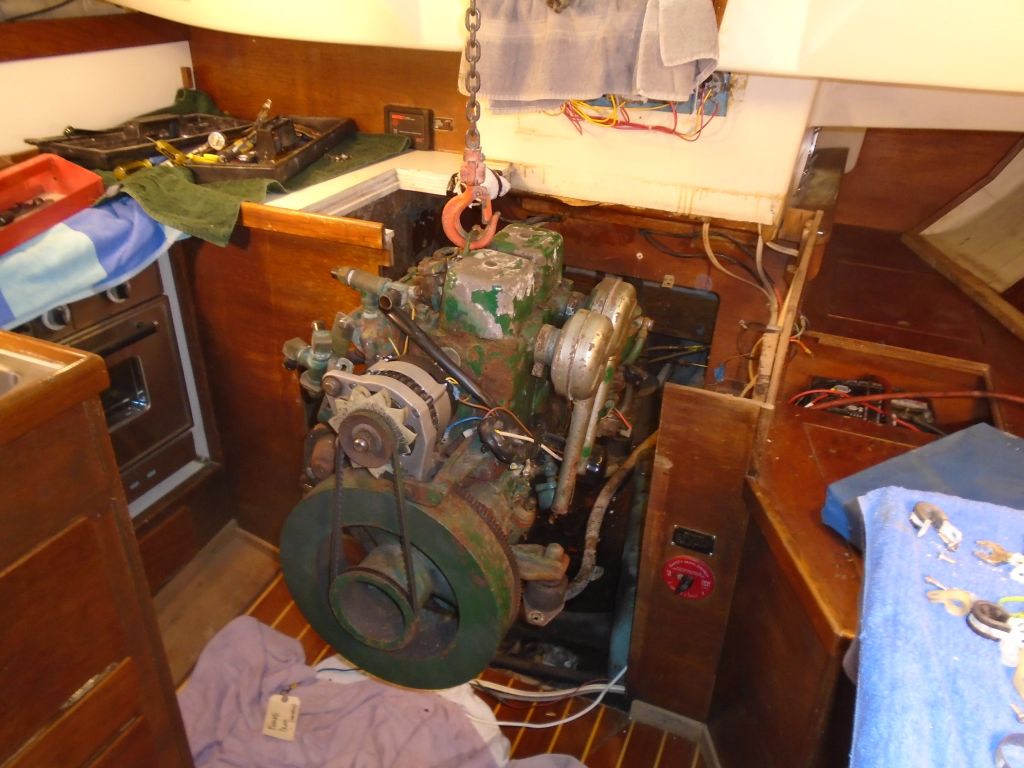
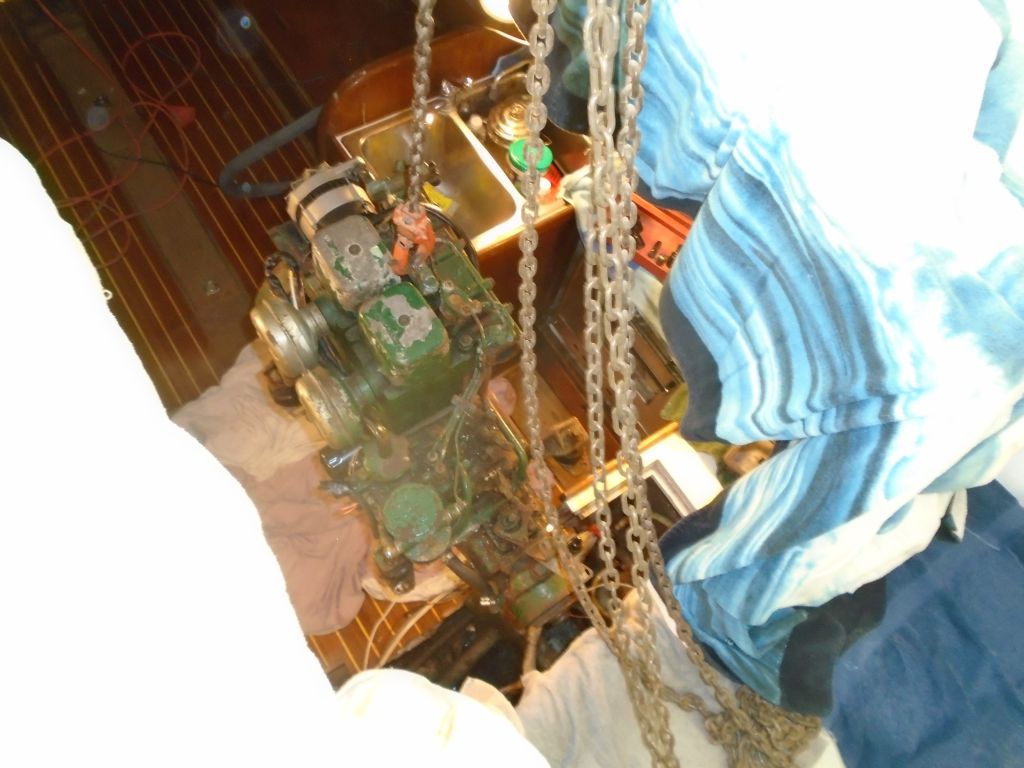
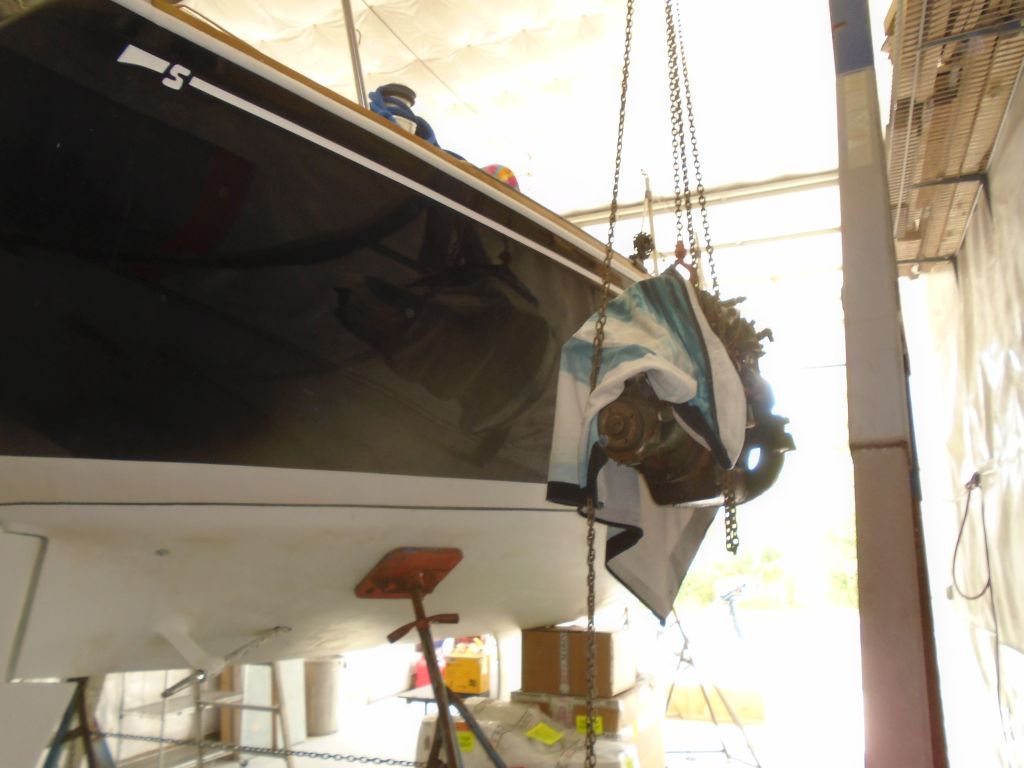
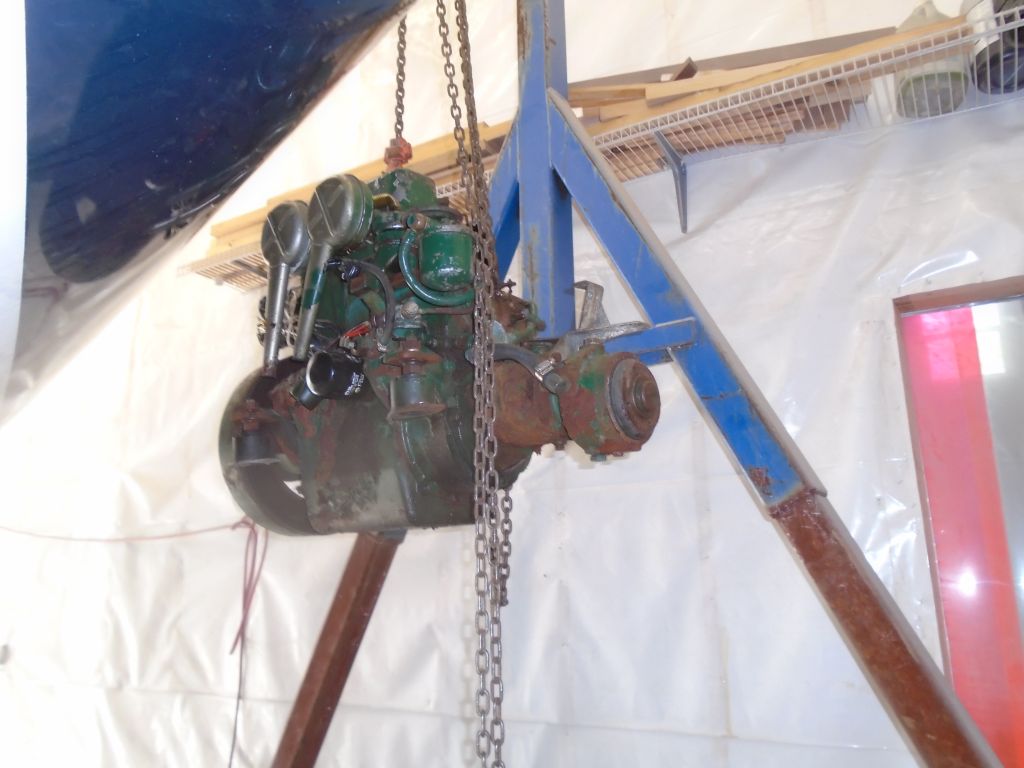
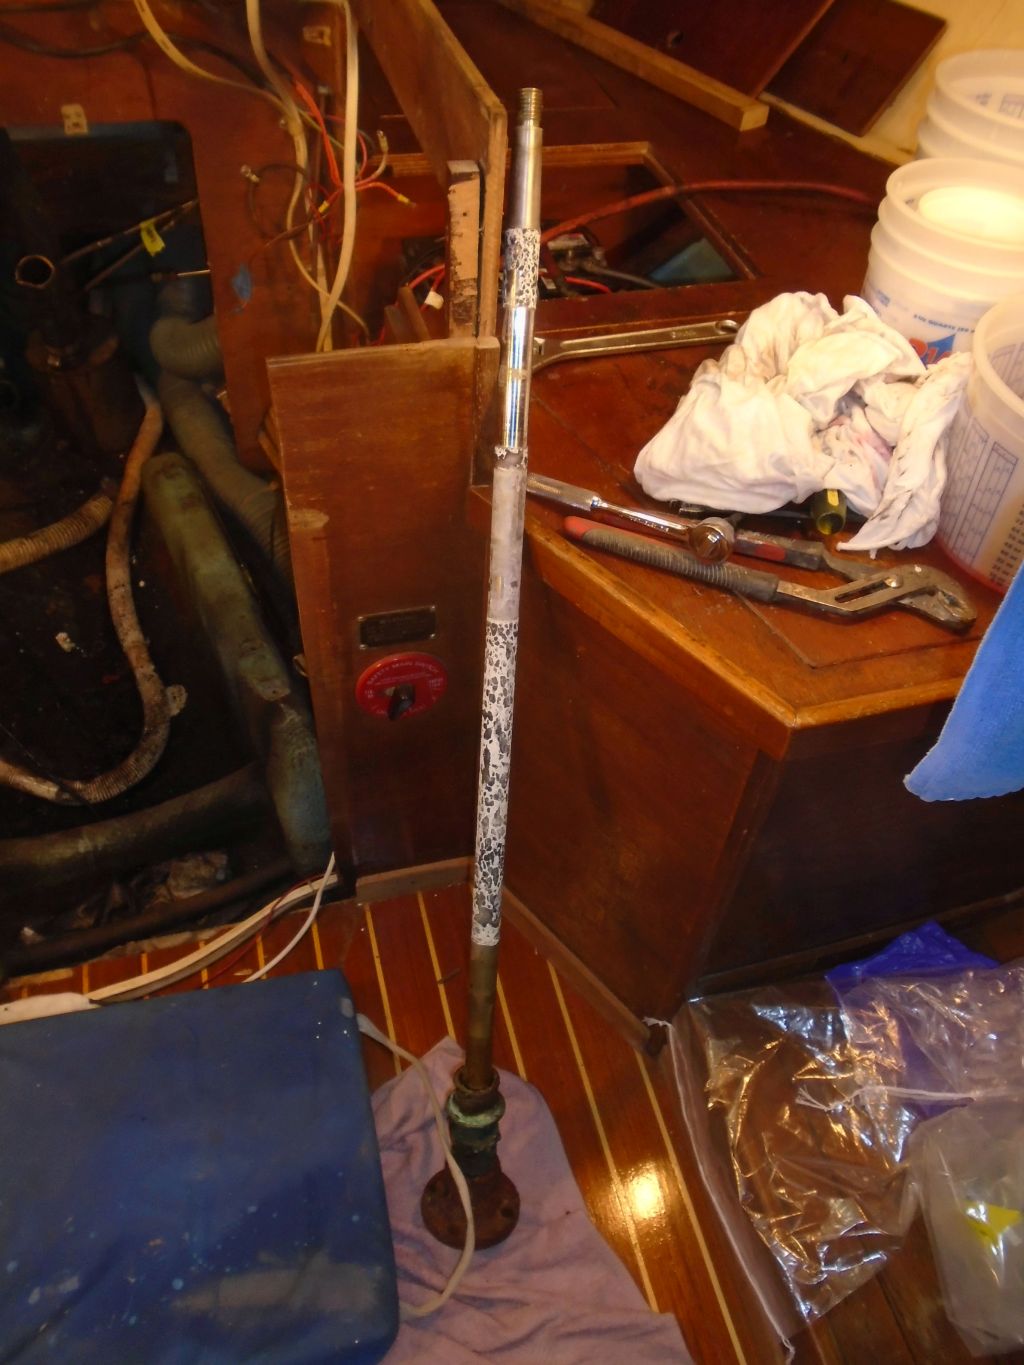
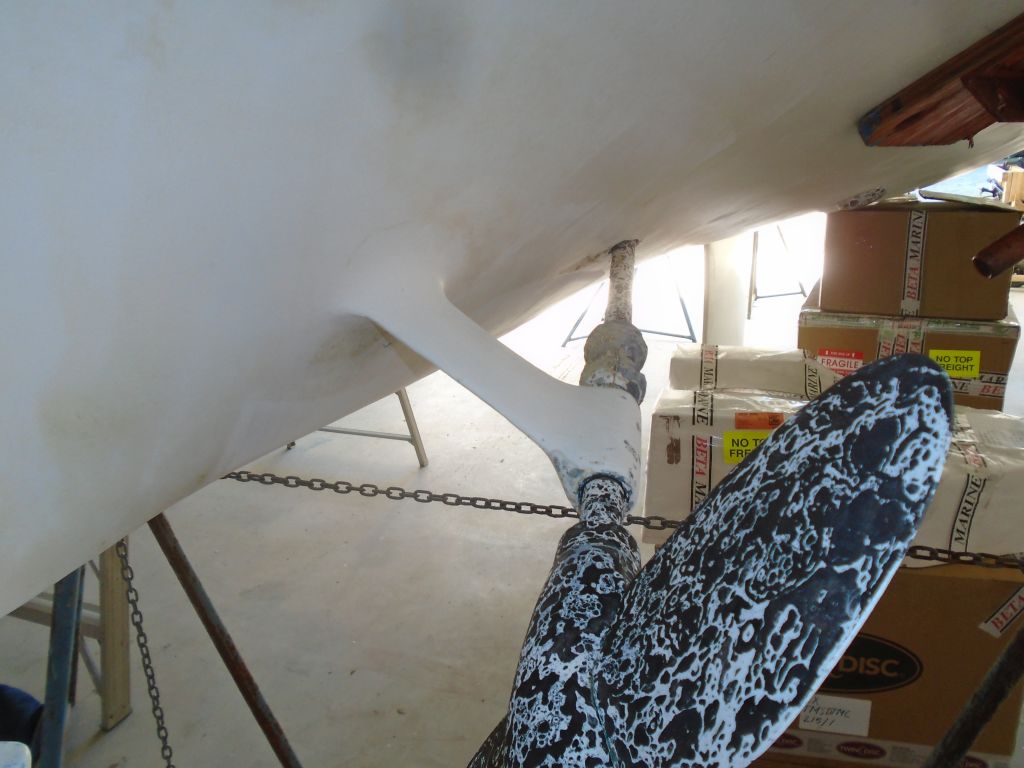
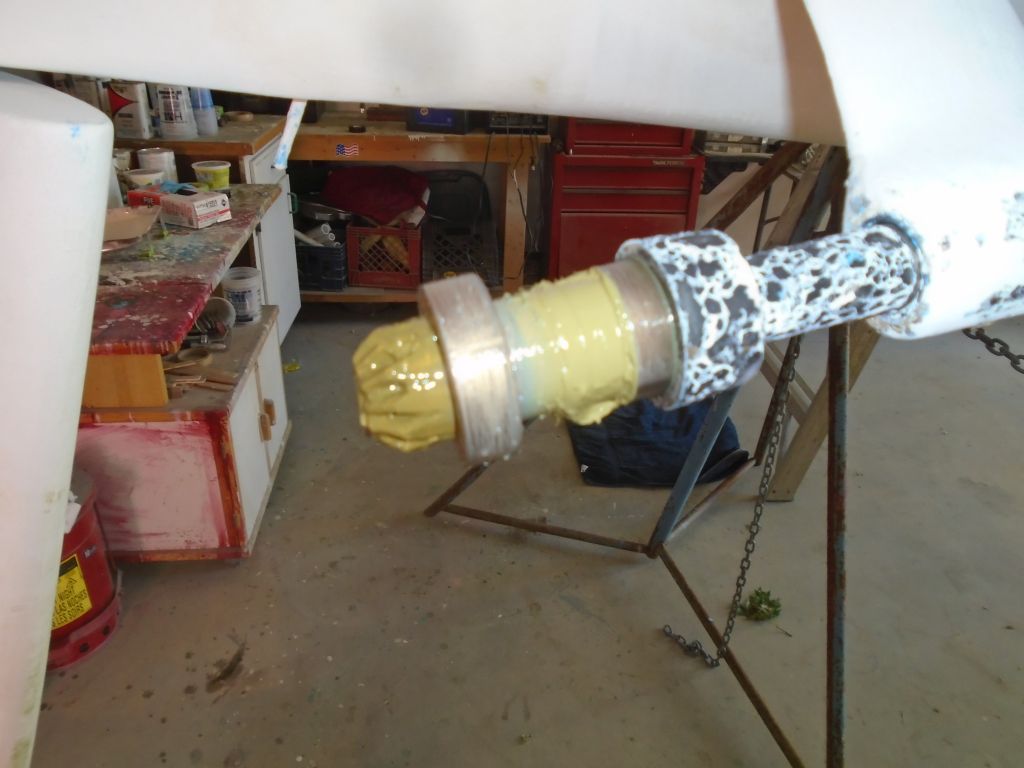
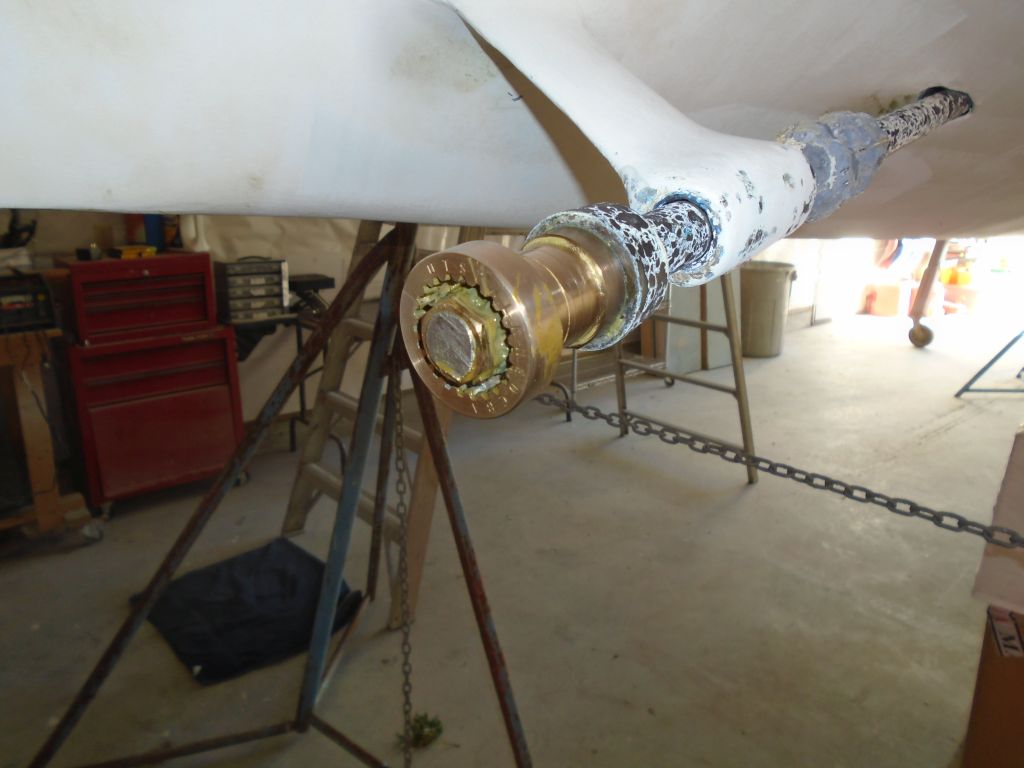
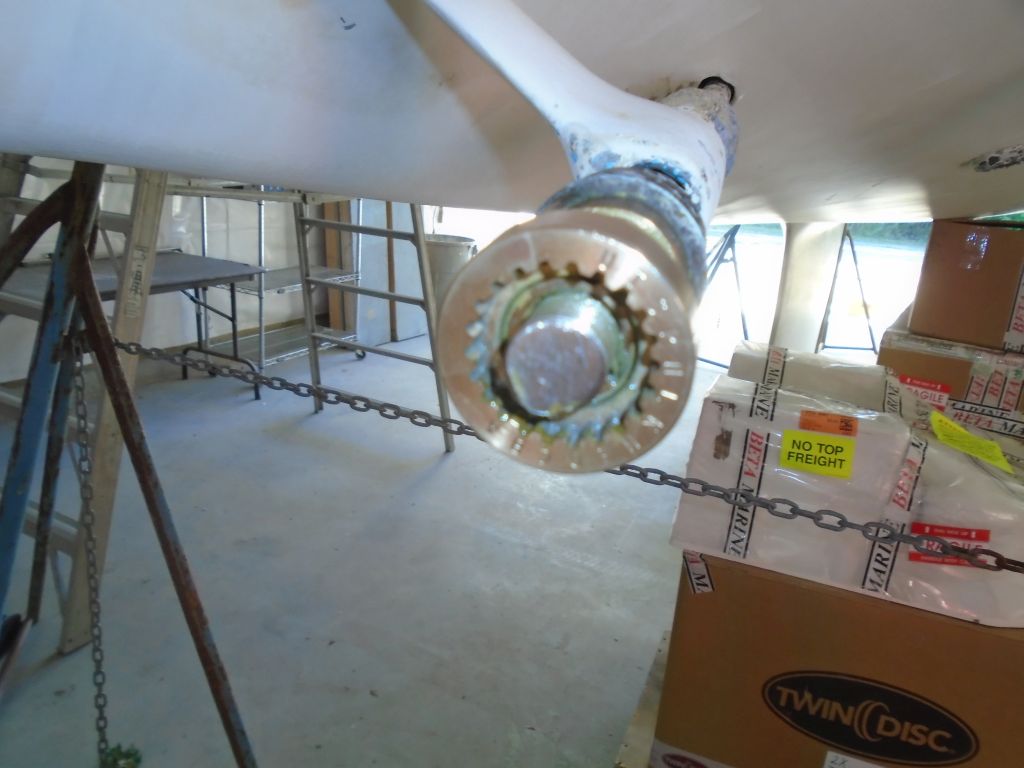
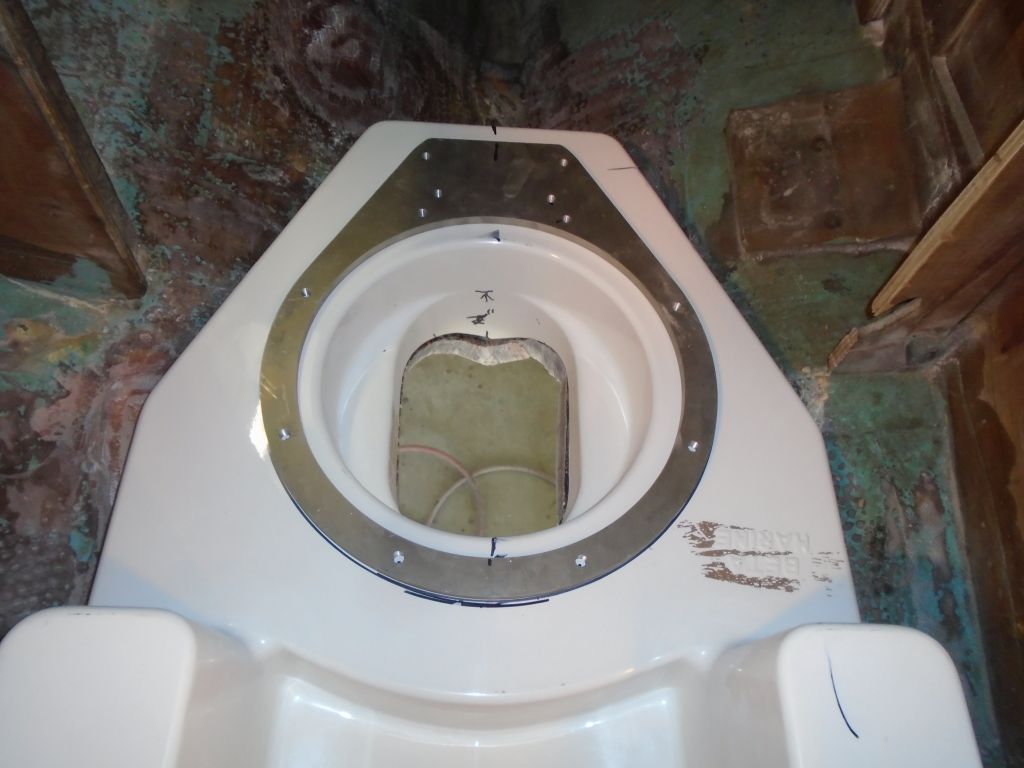
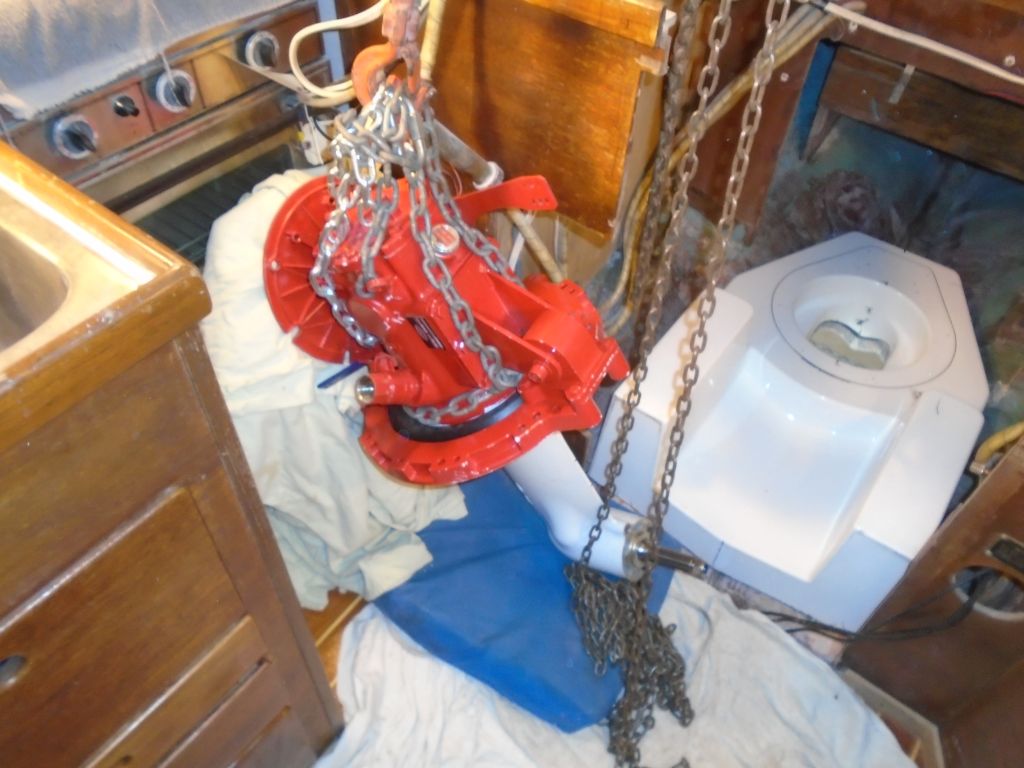
For now, my next move, I hoped, was to dry-fit the drive leg and ensure it extended deeply enough, and also to ensure its proper position before I glassed in the aluminum backing plate, which would register the entire engine position forevermore. So with the foundation back in place over the new hole in the hull, I used the trim ring again to make some reference marks that I hoped would help me position the leg from above. The leg was awkward and heavy enough that I chose to lift it into the boat with the overhead crane, though I could shuffle it around by hand as needed.


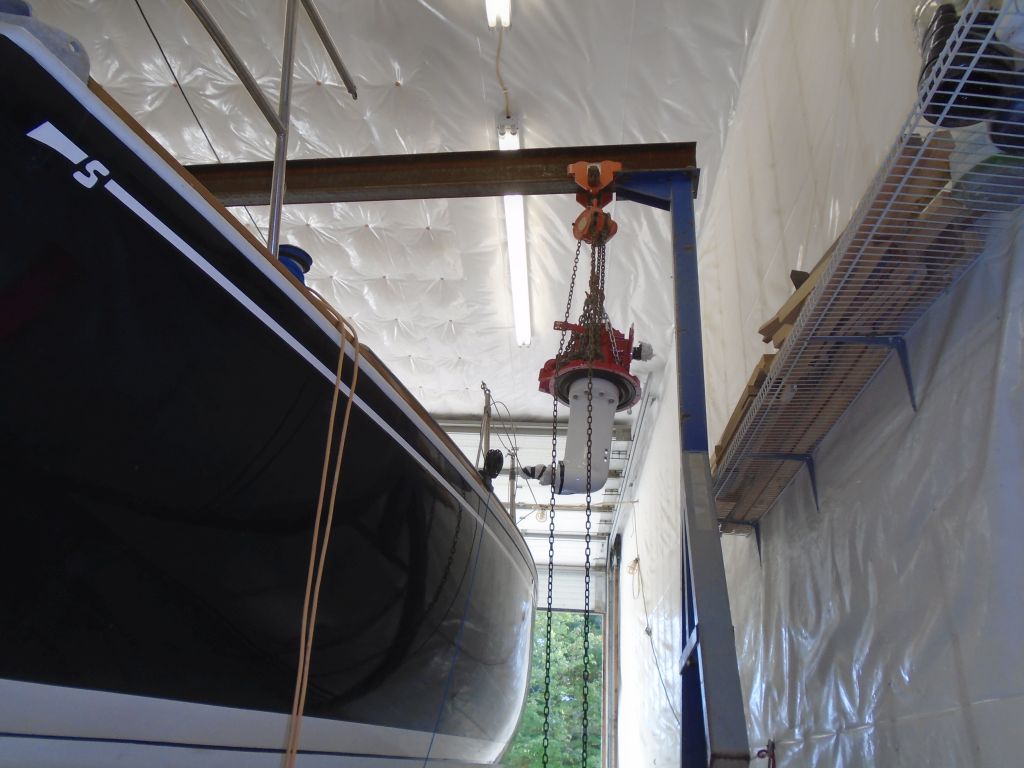

The minimal installation instructions for the sea prop cheerily showed cartoonish versions of the drive leg being tilted into position, and I soon found that even with my pessimistic expectations, inserting the leg through the hole was going to be a chore. The prop shaft extended too far to allow the leg to drop straight through the hole in any position–which is how I’d initially tried, and how I’d set up the chains and crane for lifting–so the whole transmission and leg would need to be angled through at quite a steep angle, which might work well in a new boat production shop when they install these things in an empty hull before the decks are in place, but in the real world such easy overhead clearance did not exist. So with the day evaporating, so too did my hopes of quickly placing the leg in position for my dry-fit check, so I left it–well-supported and -cushioned–for a new day.
Total time billed on this job today: 7.75 hours
0600 Weather Observation:
55°, light rain. Forecast for the day: light rain, brief partial clearing later, high in the upper 60s