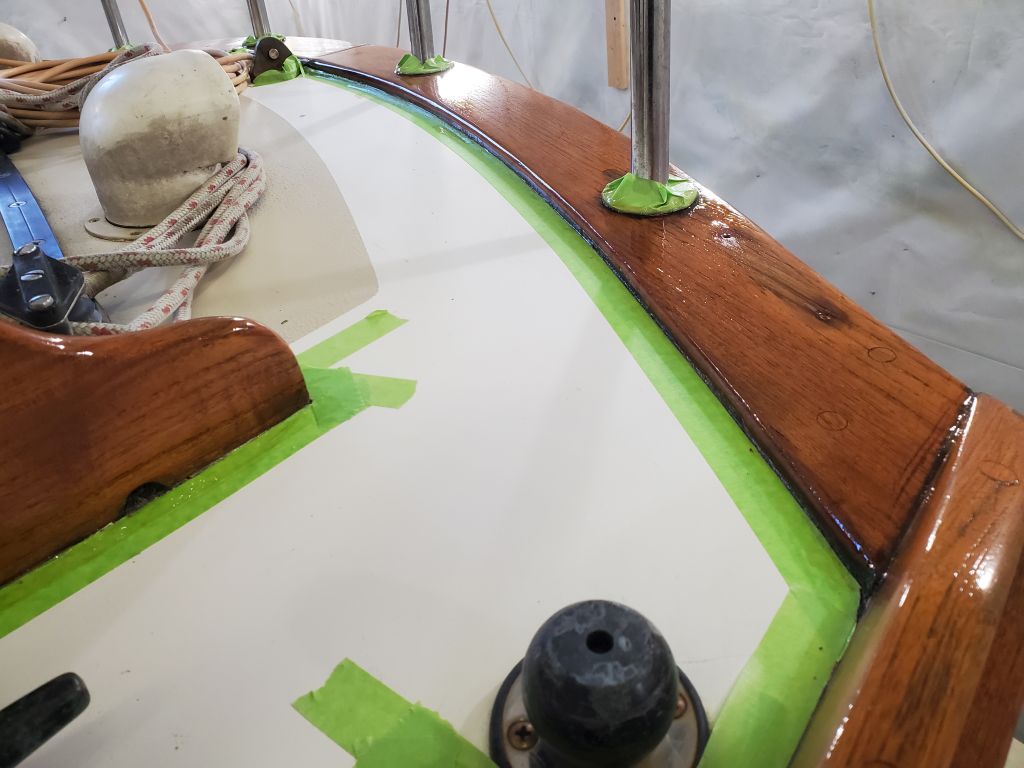
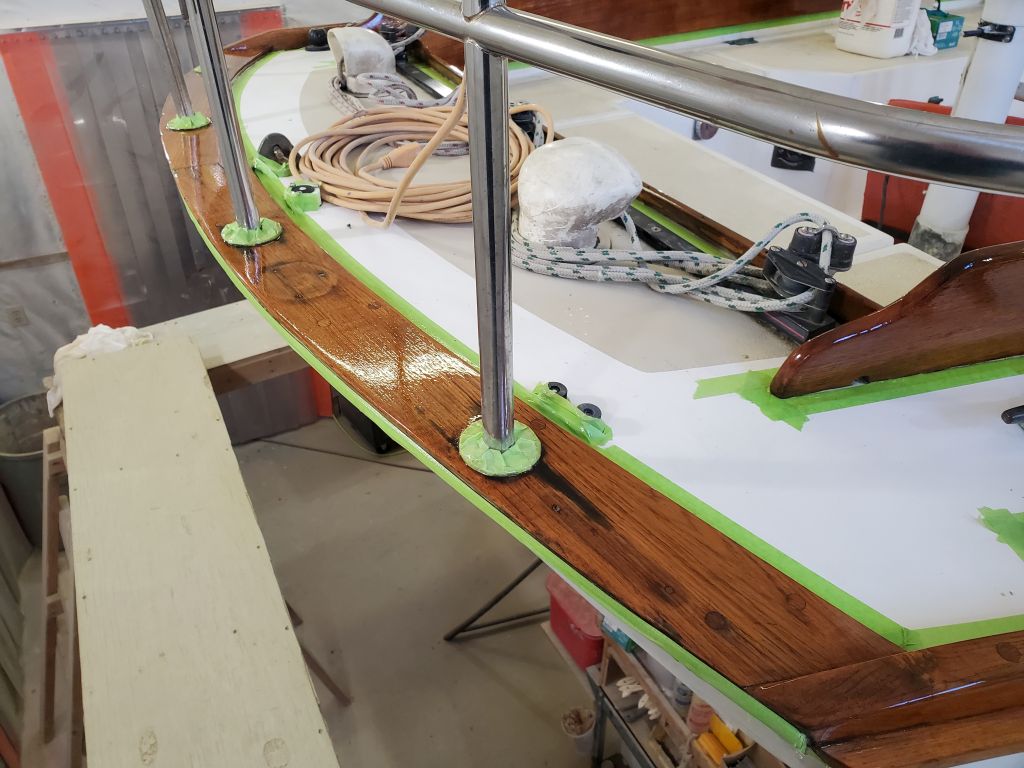
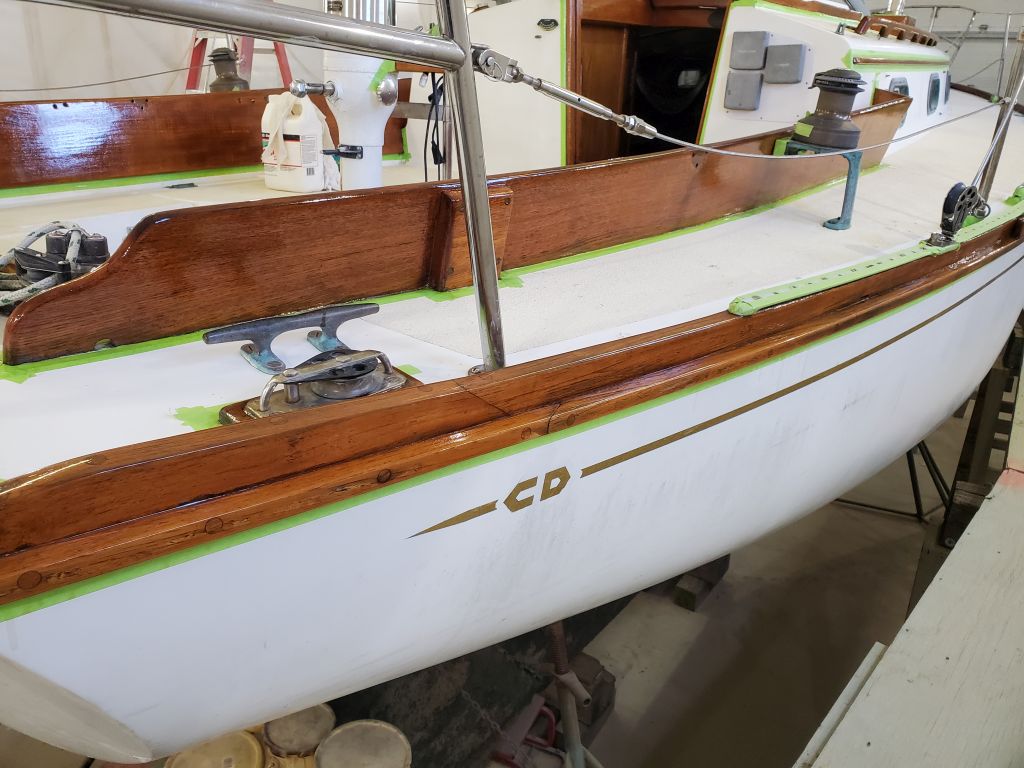
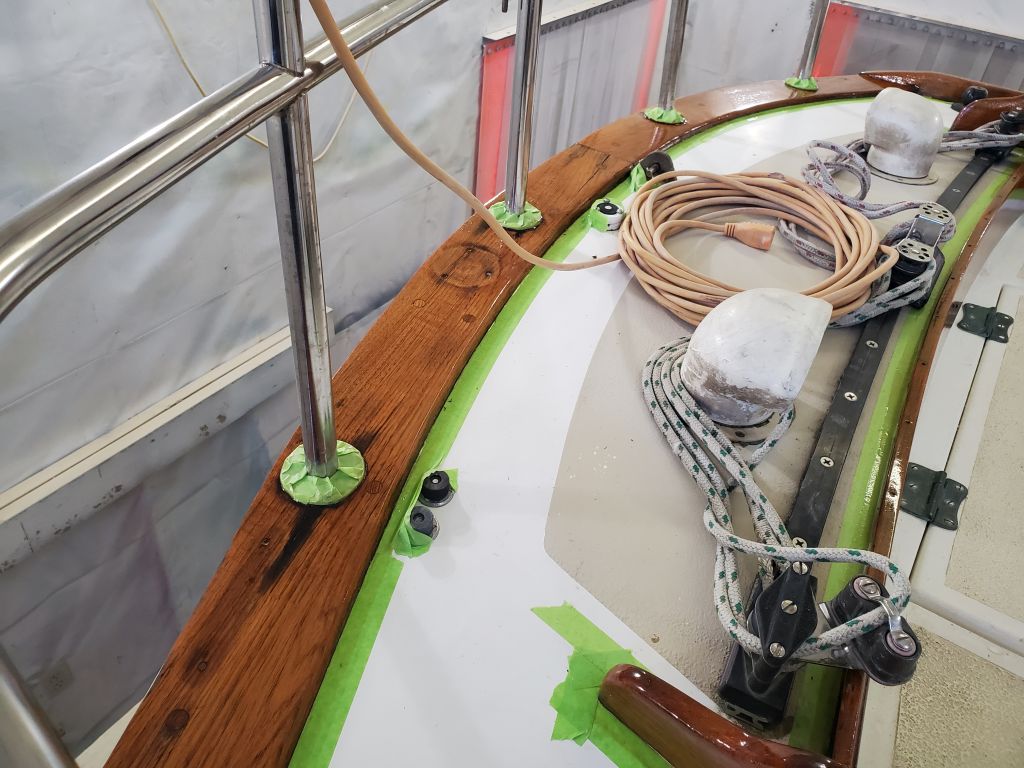
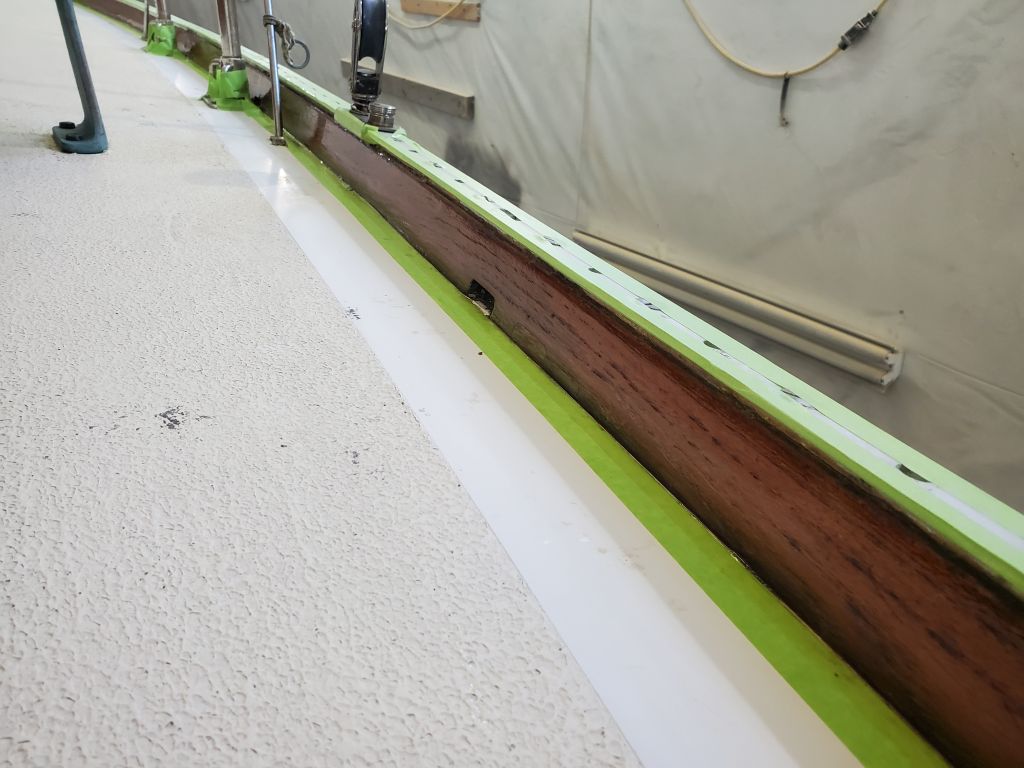
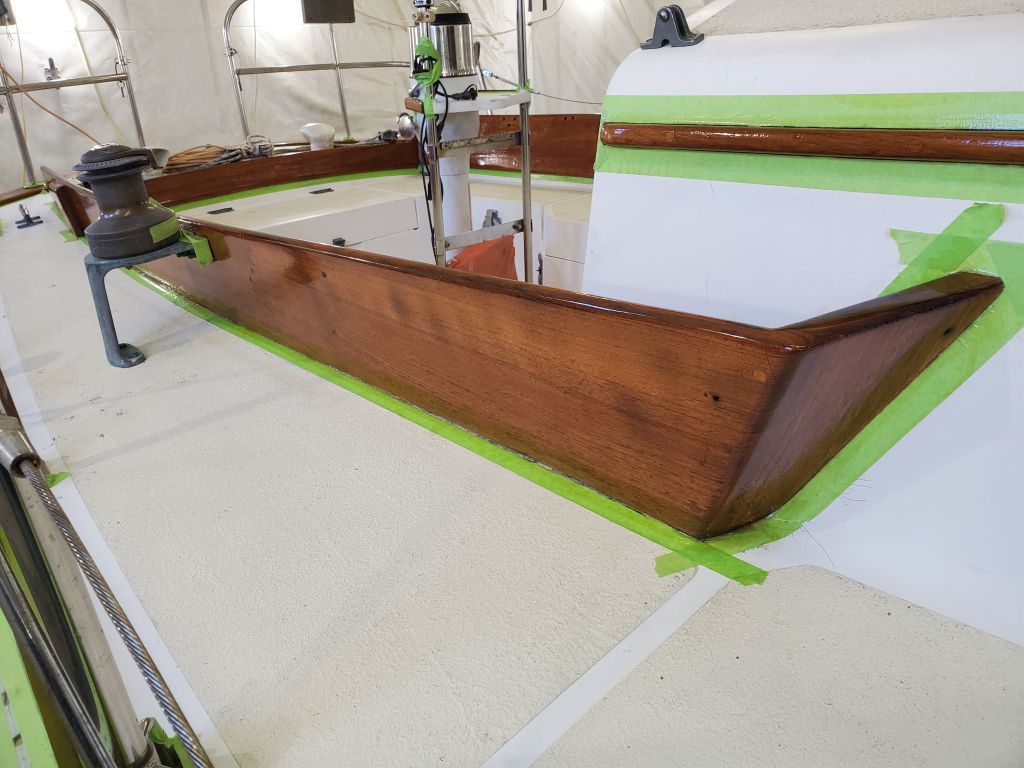
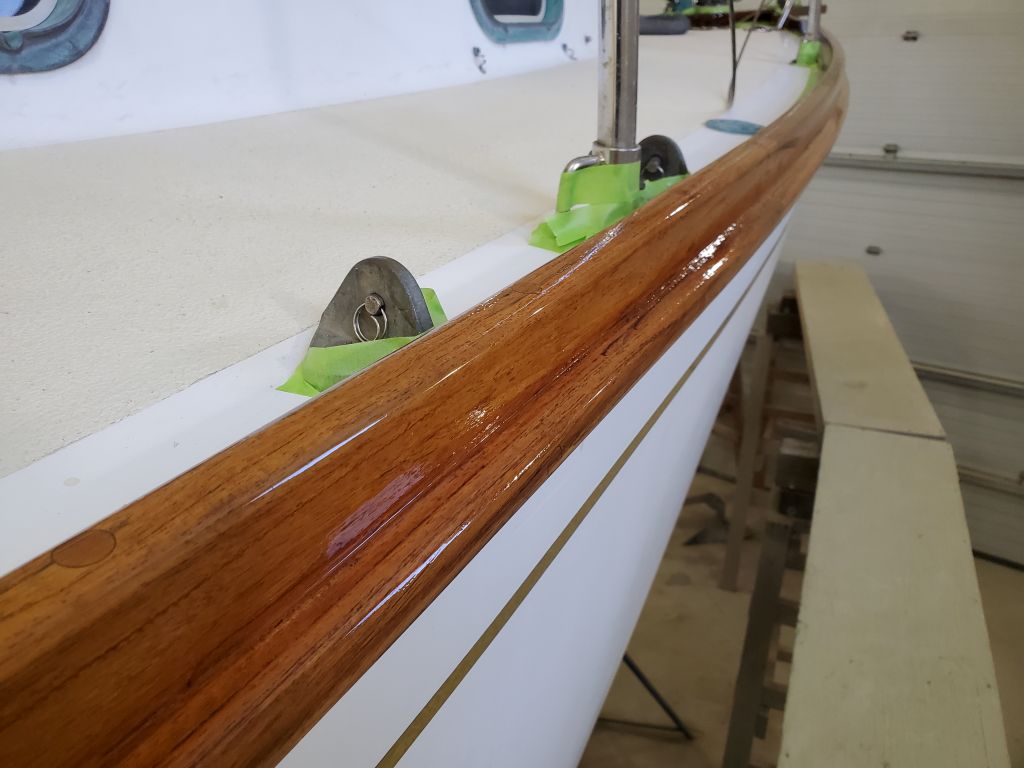
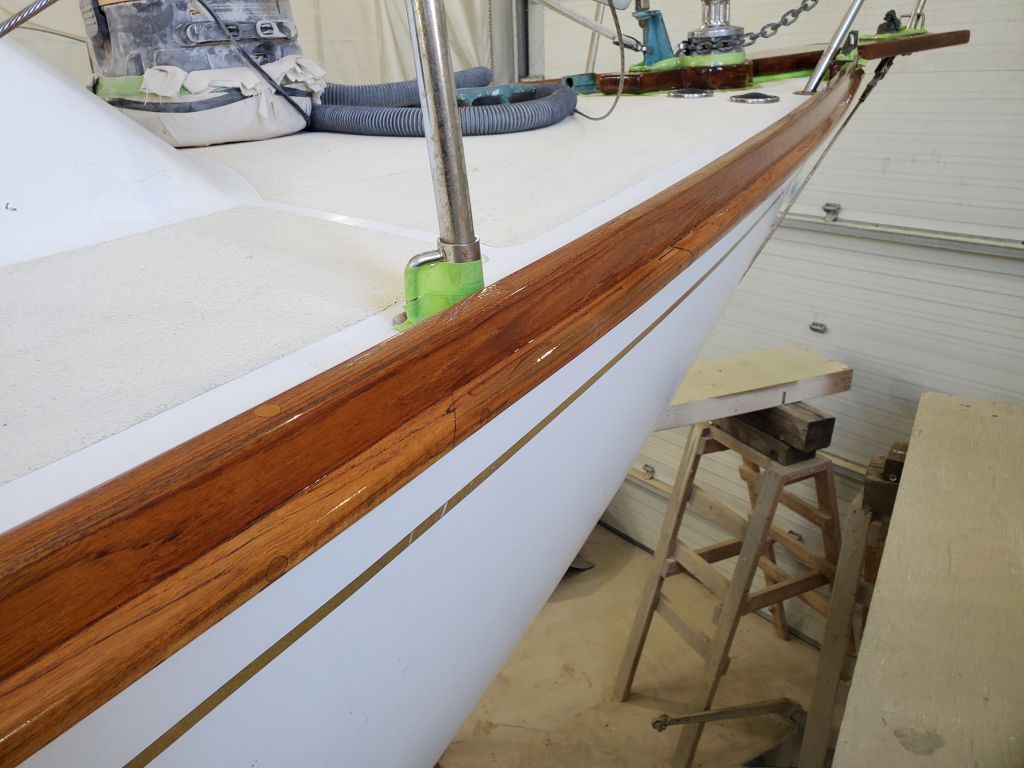
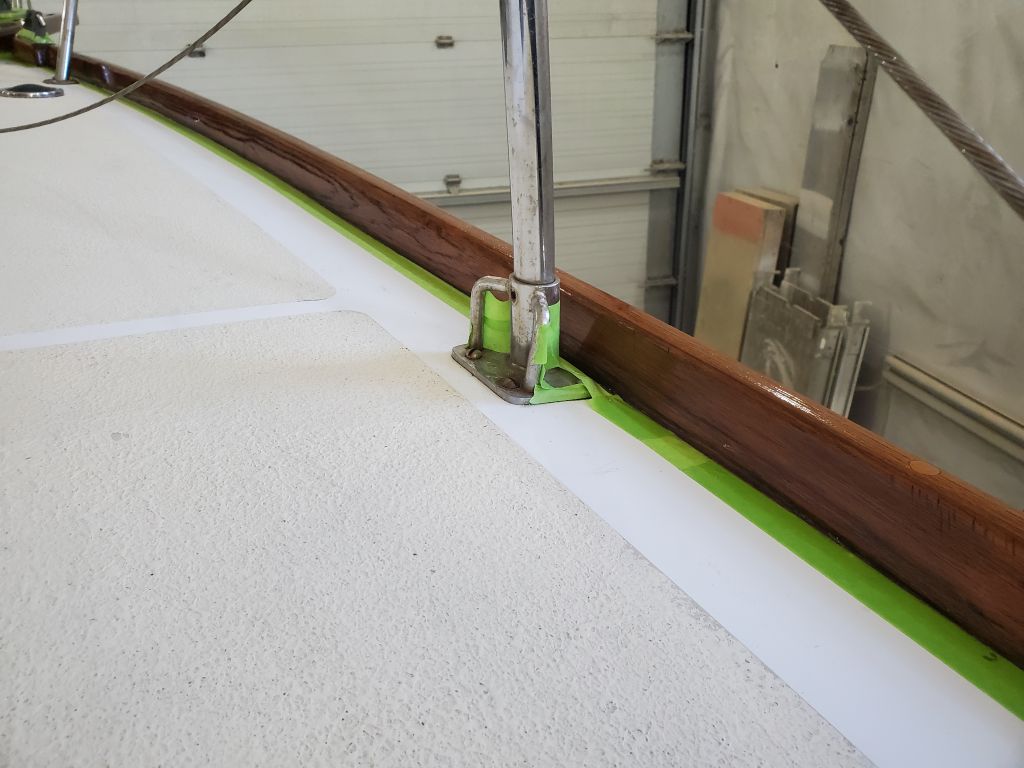
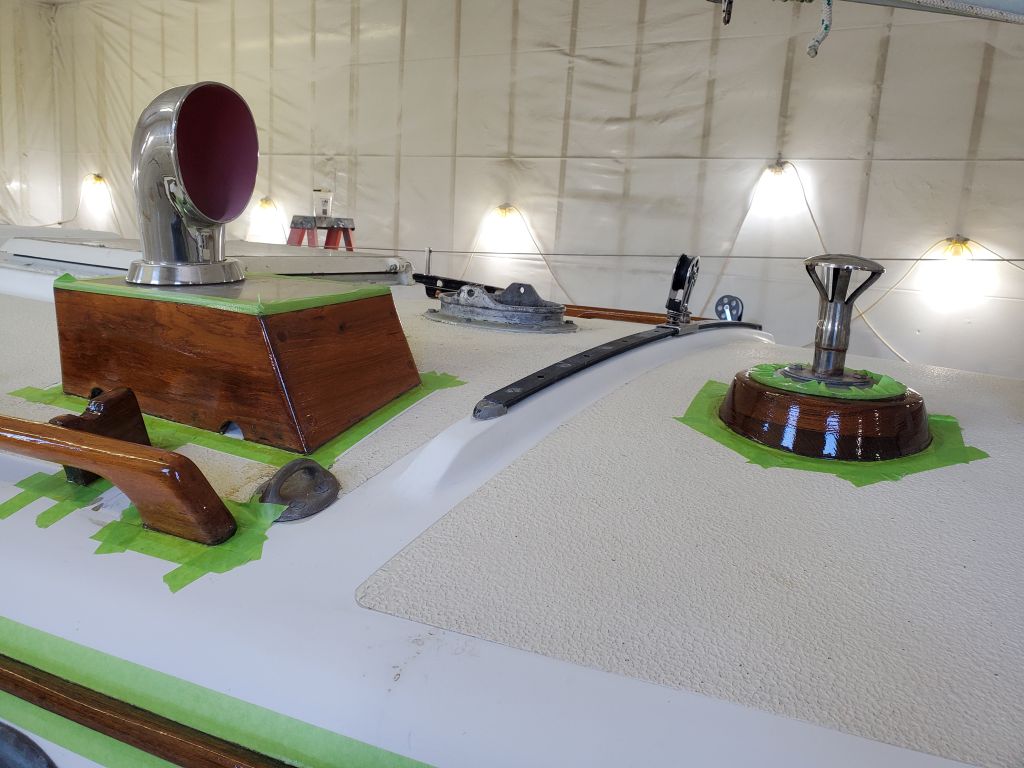
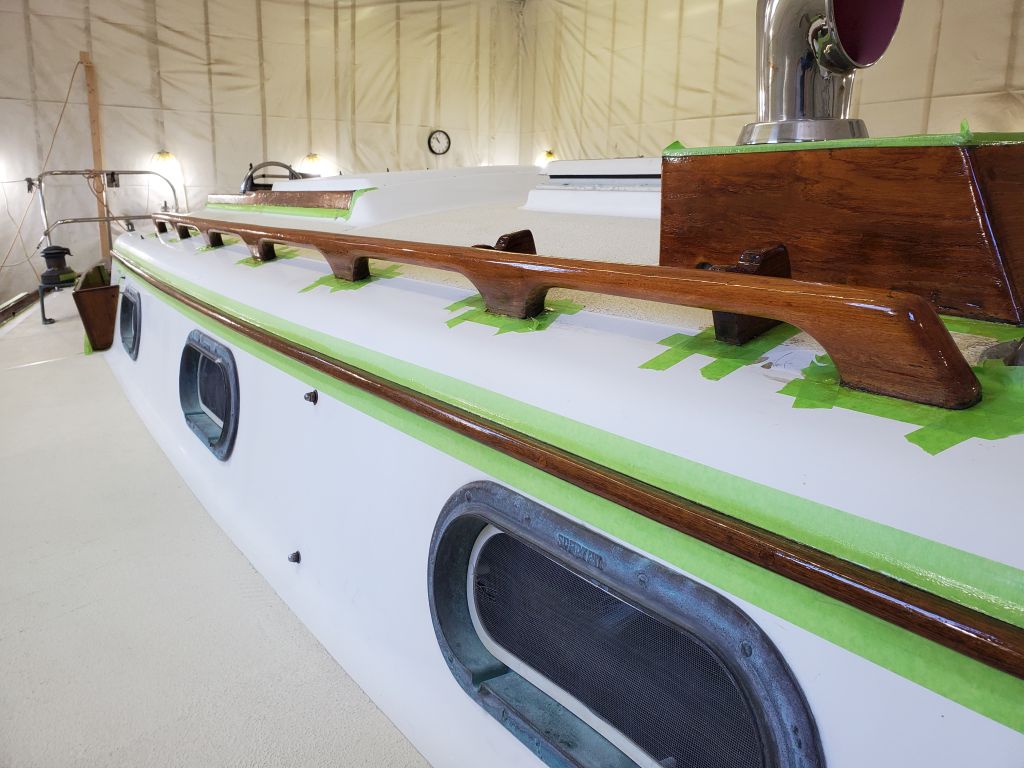
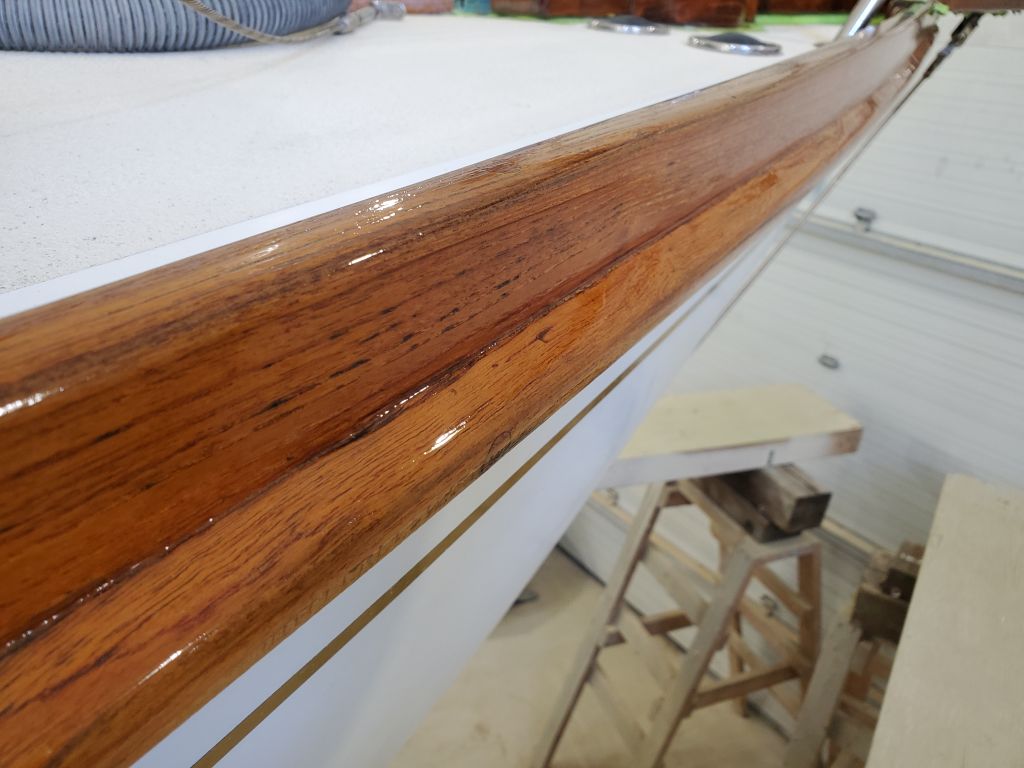
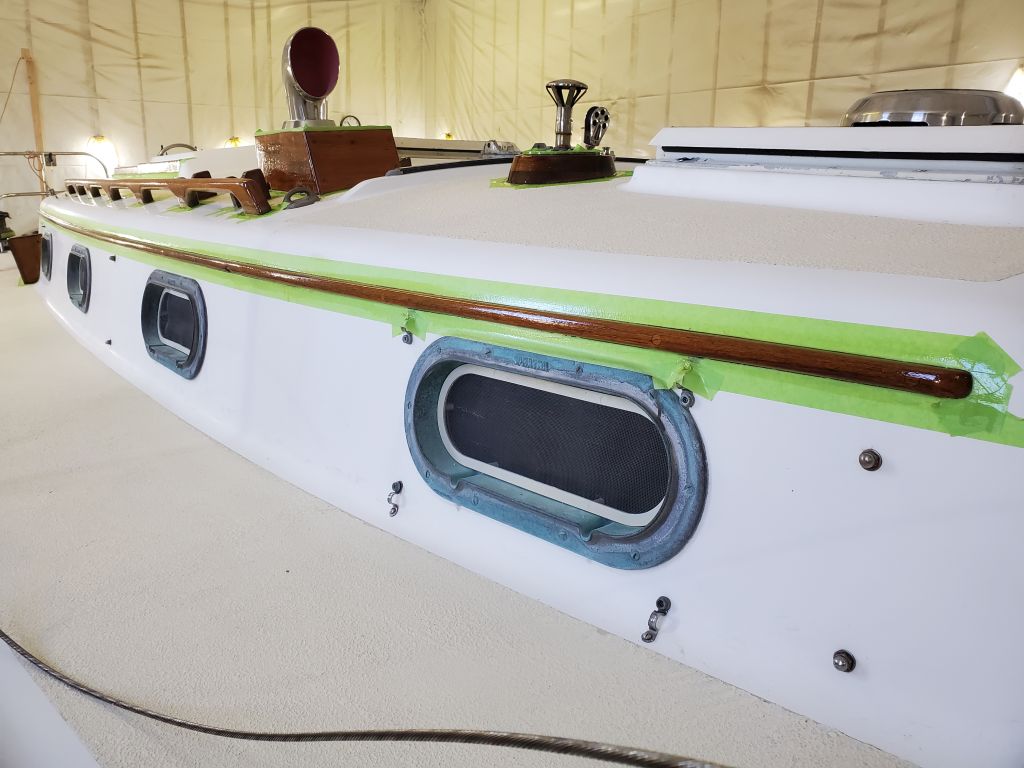
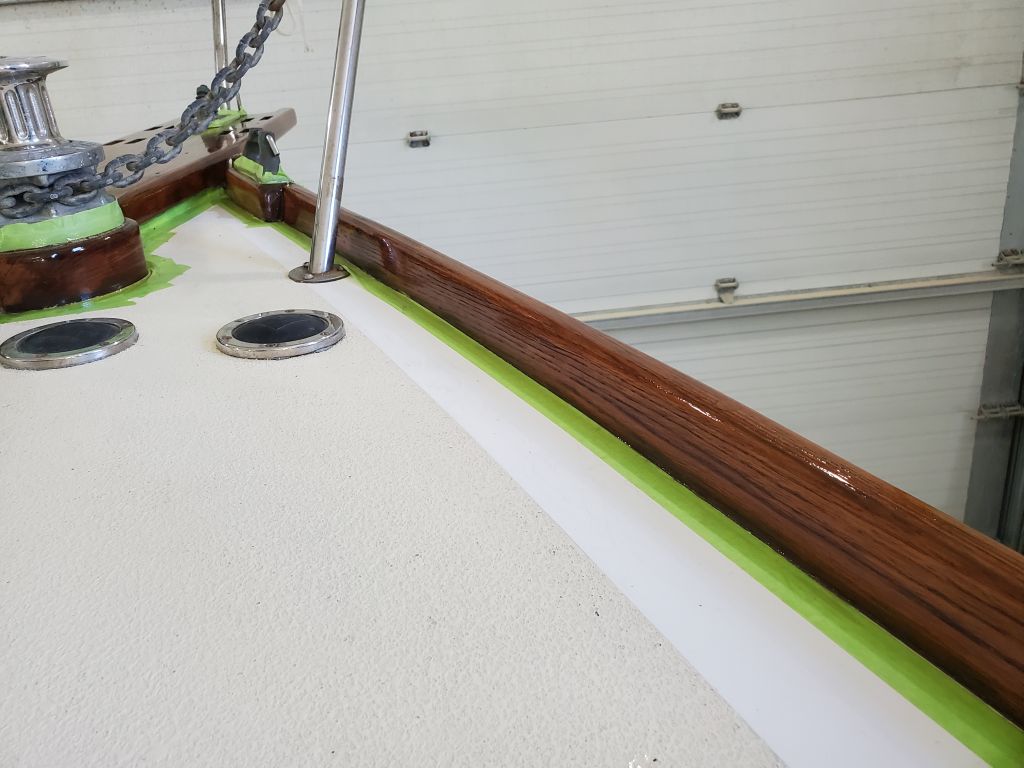
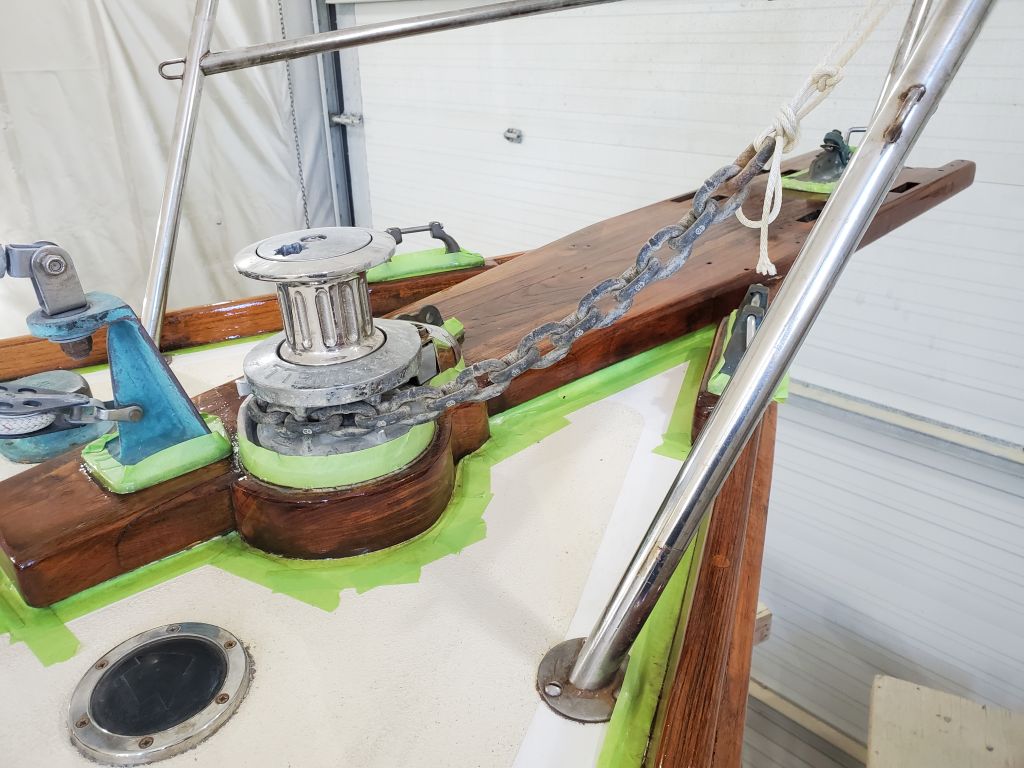
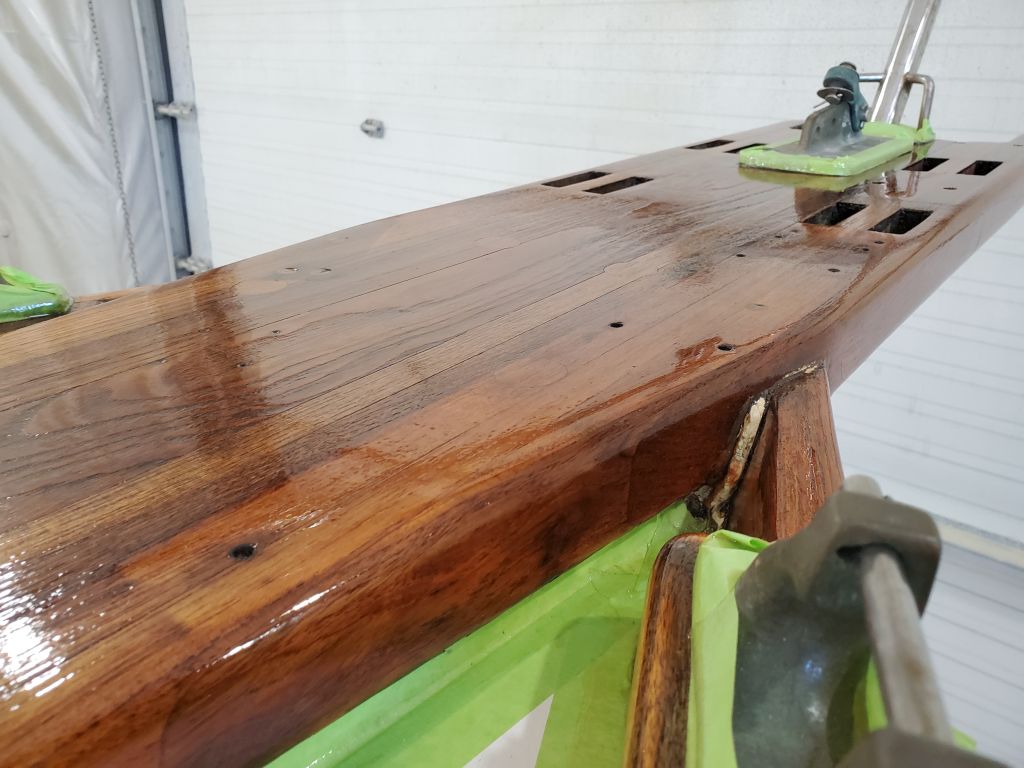
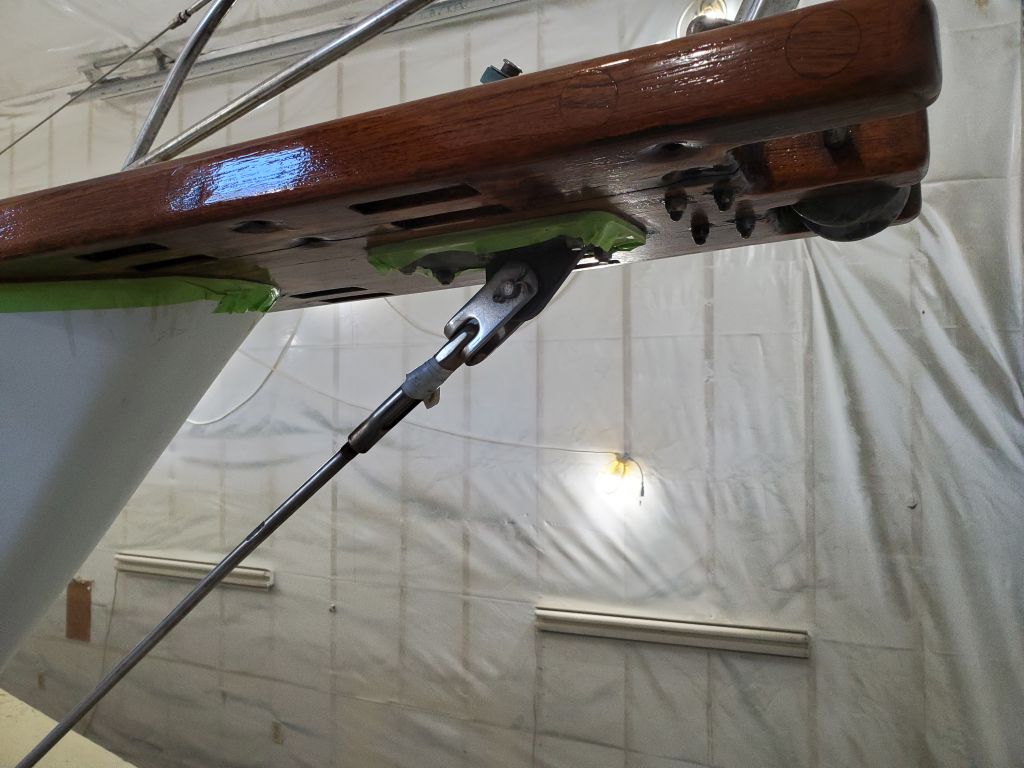
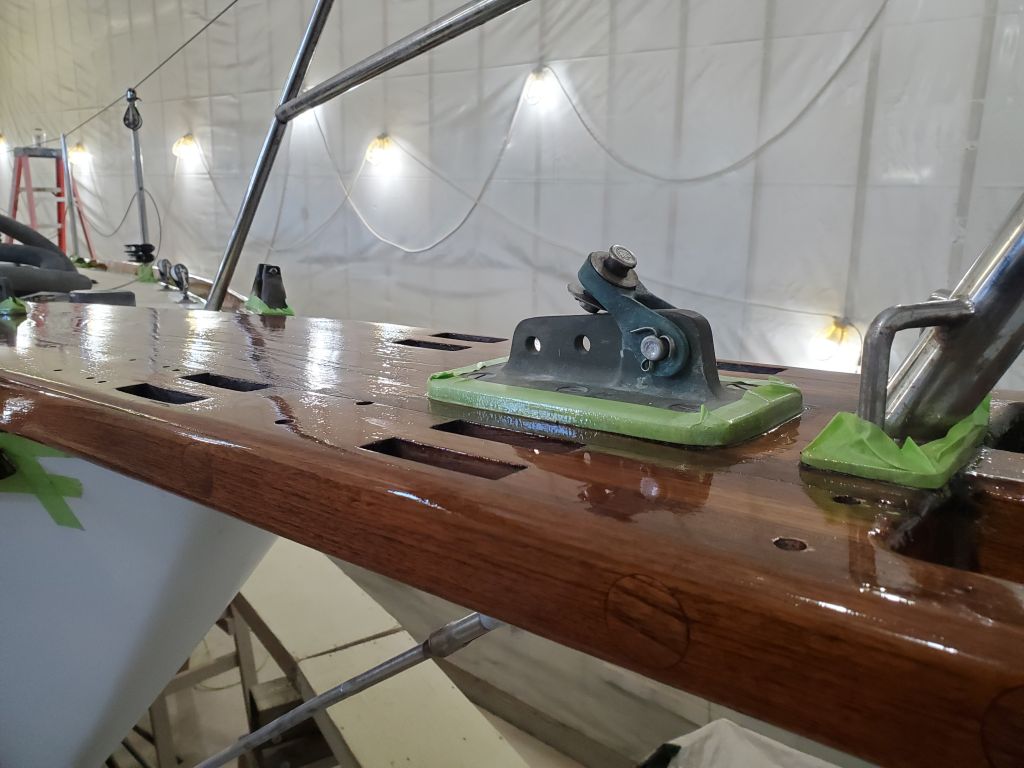
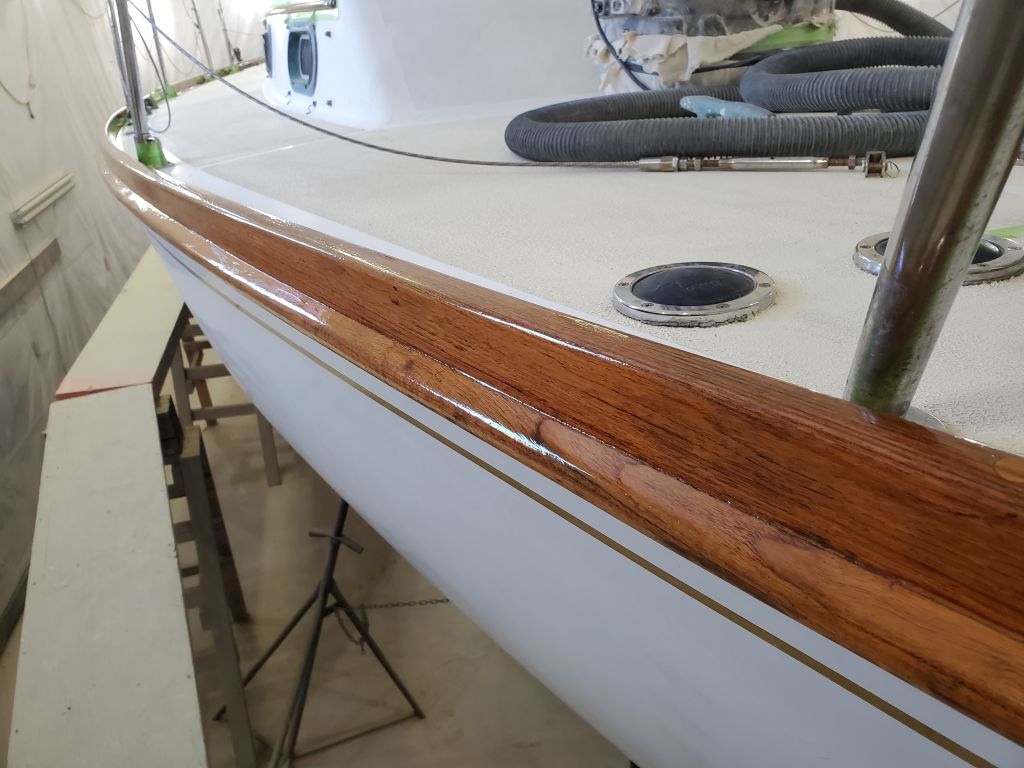
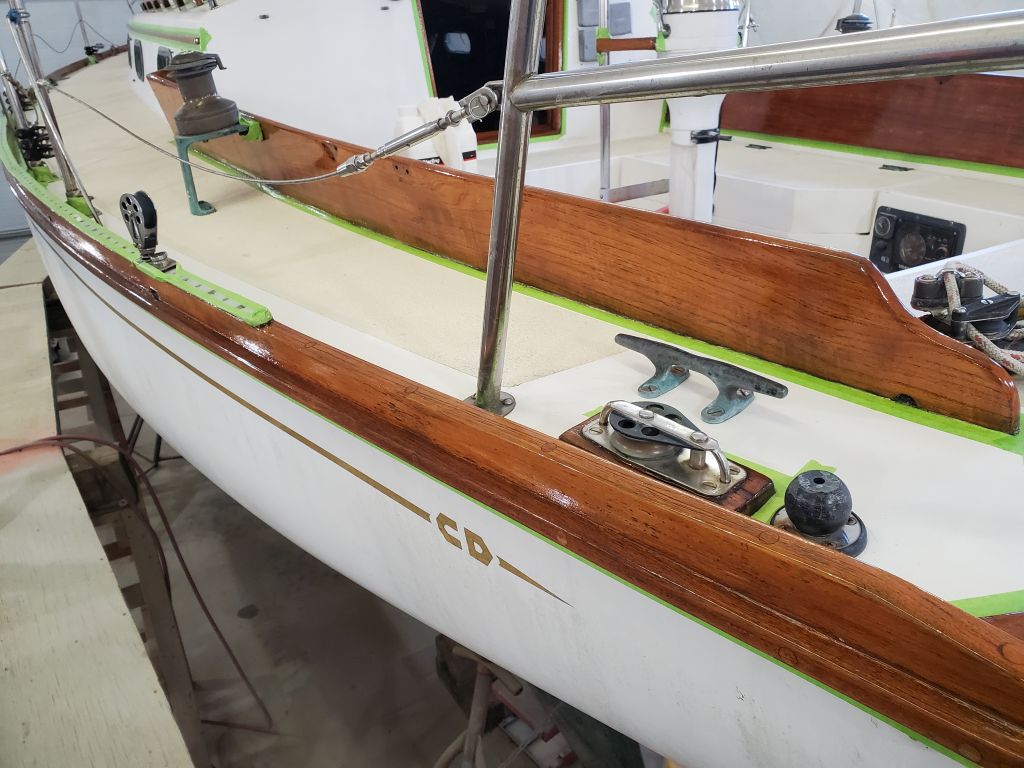
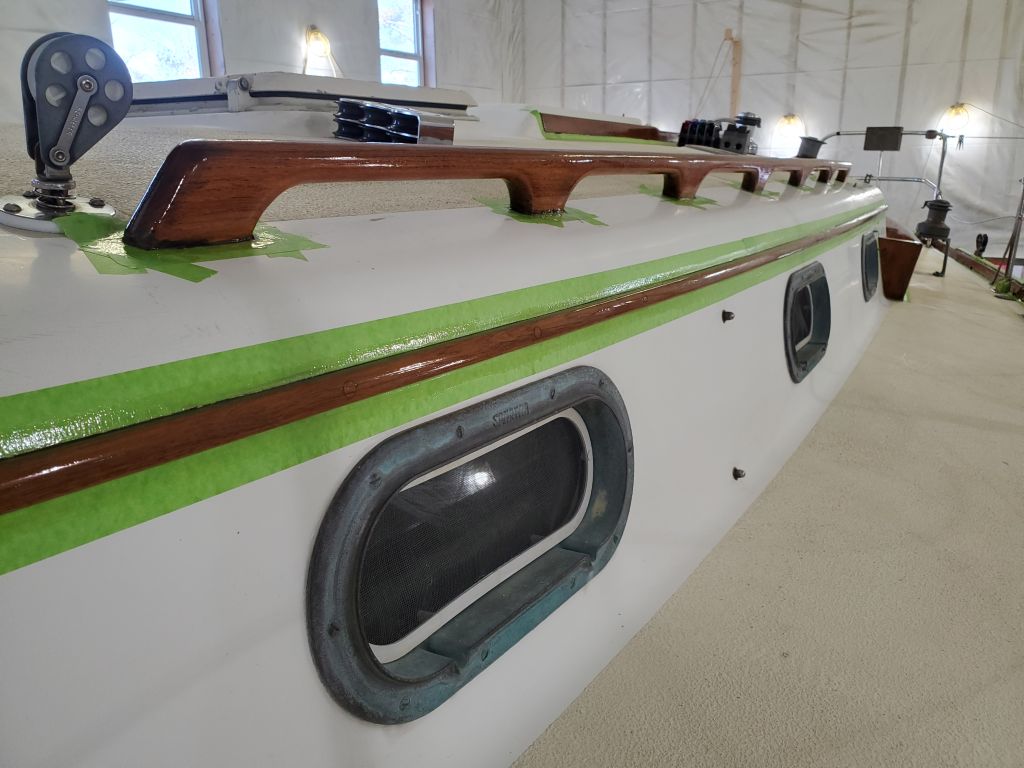
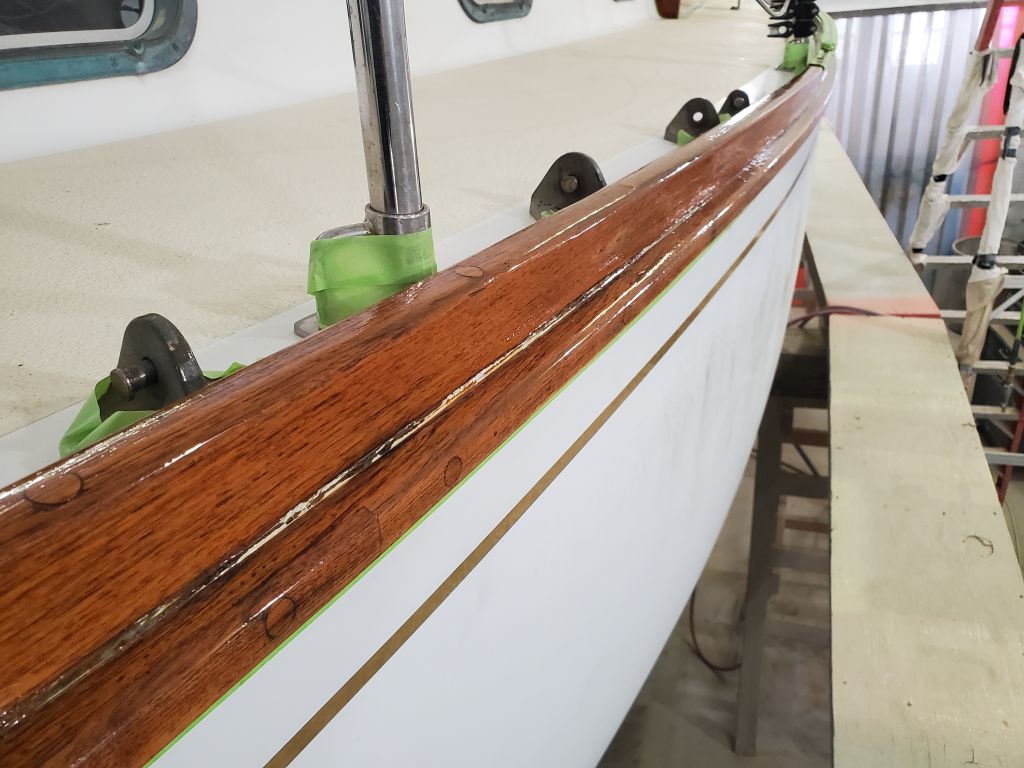
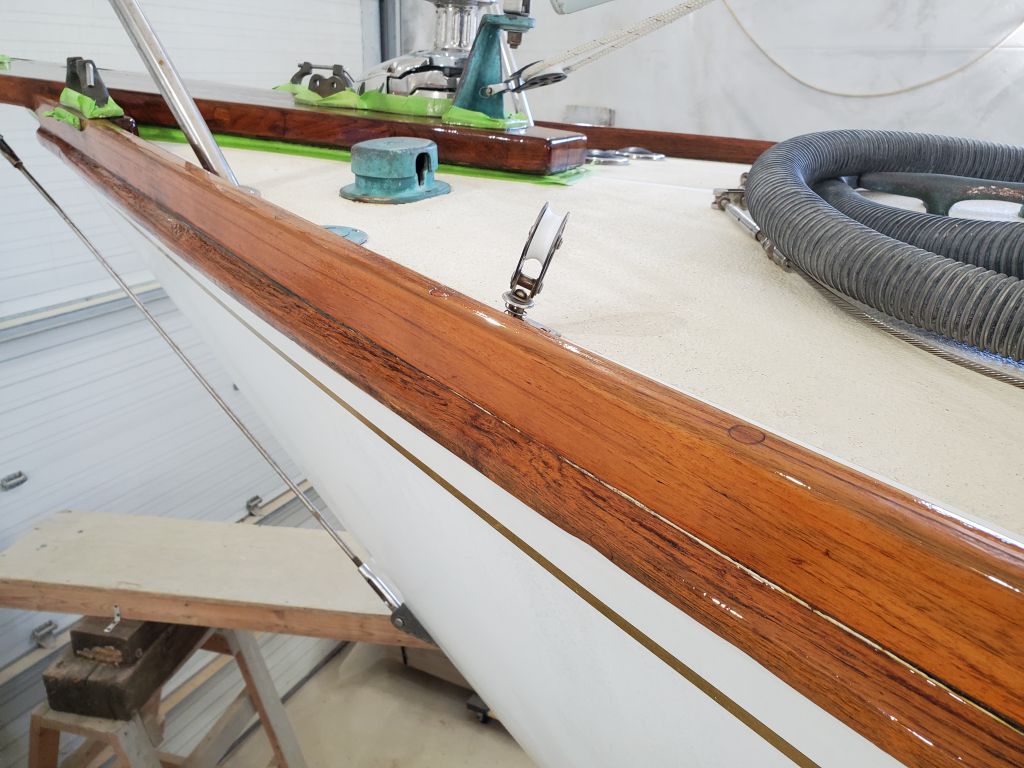
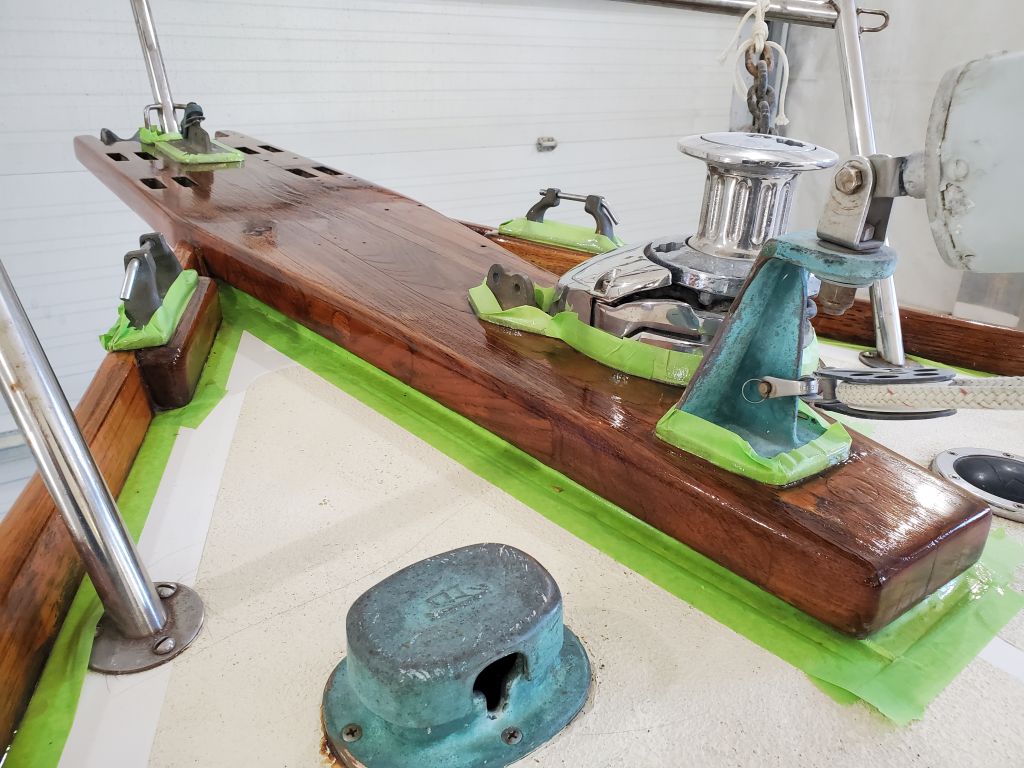
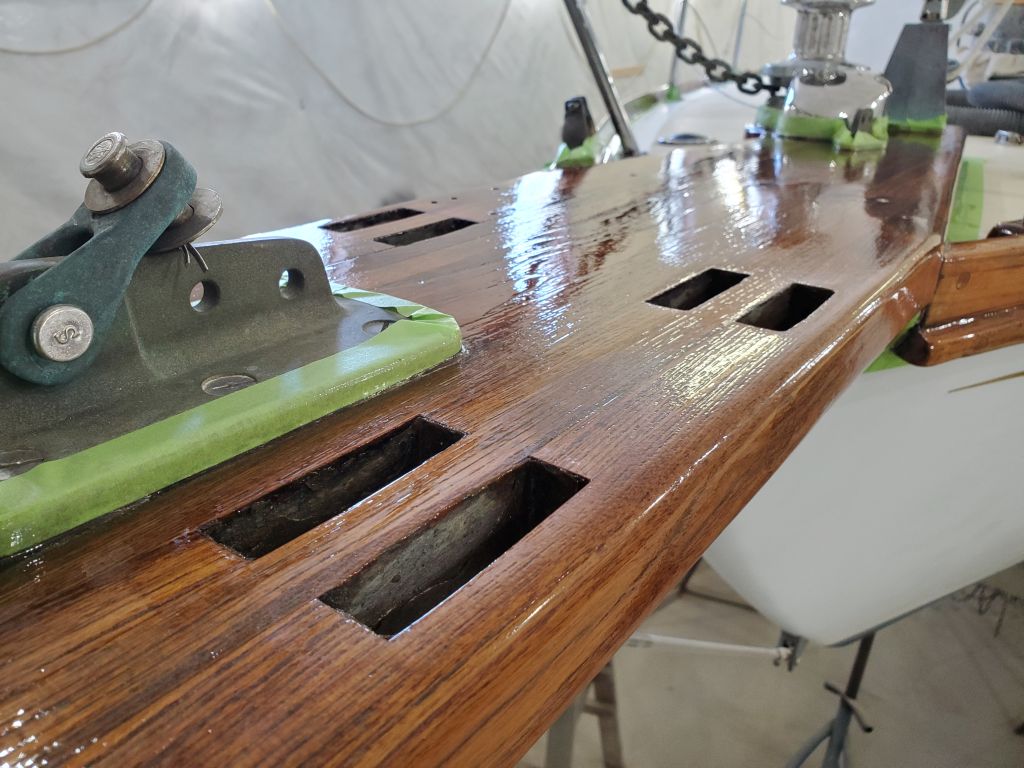
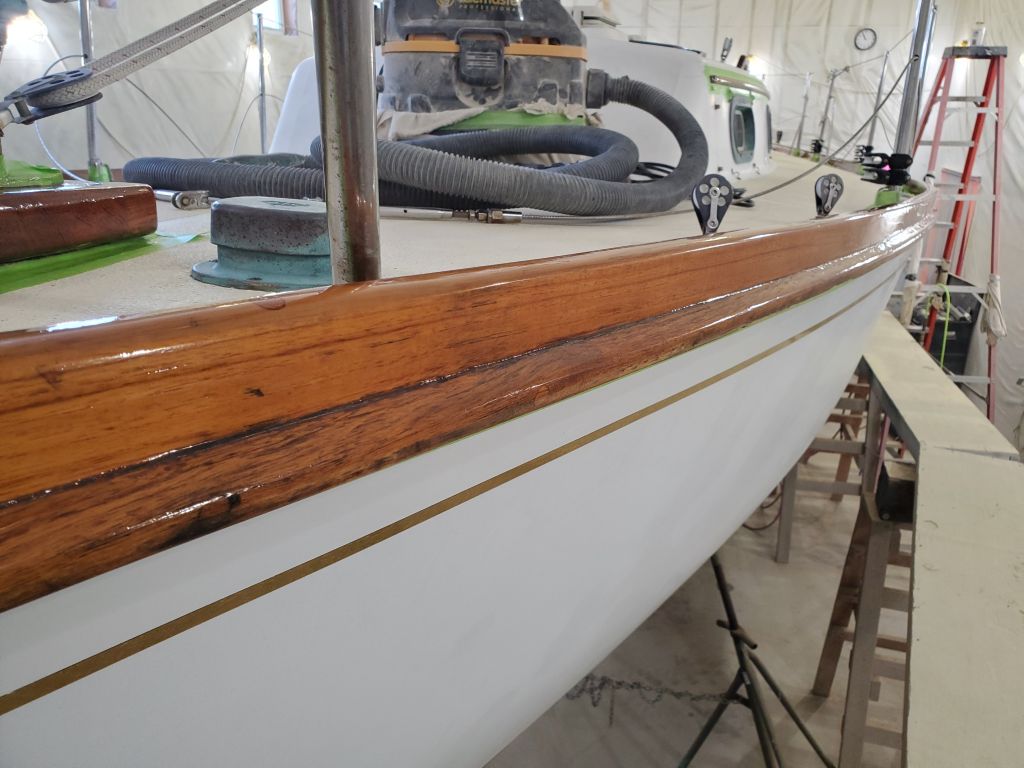
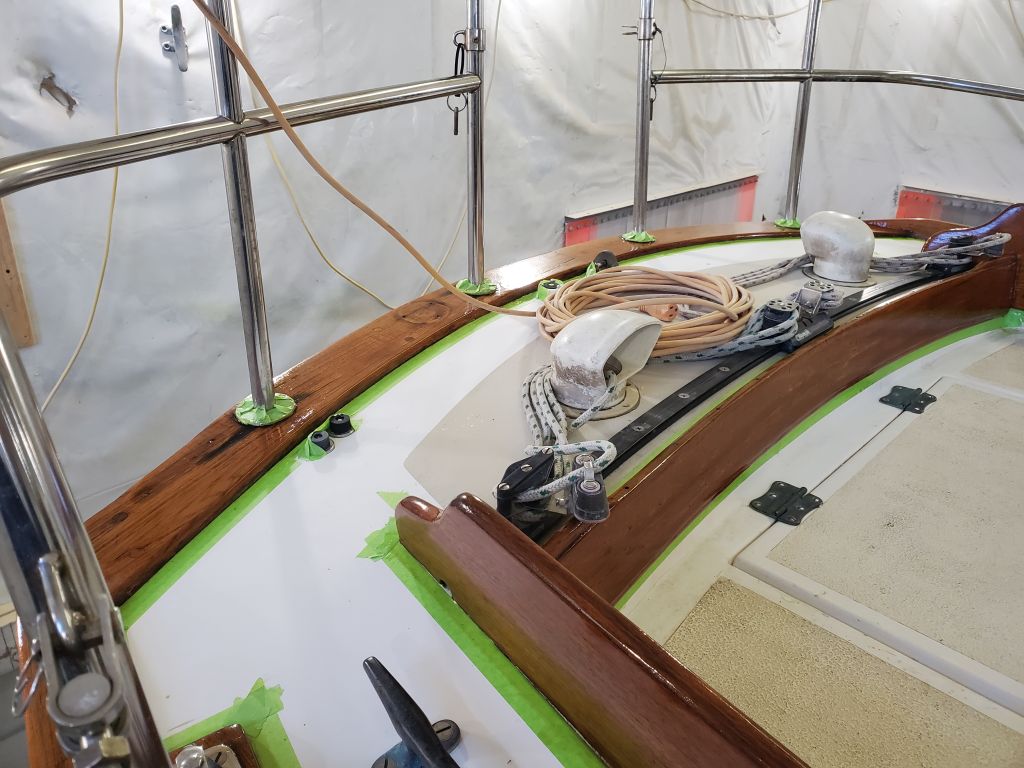
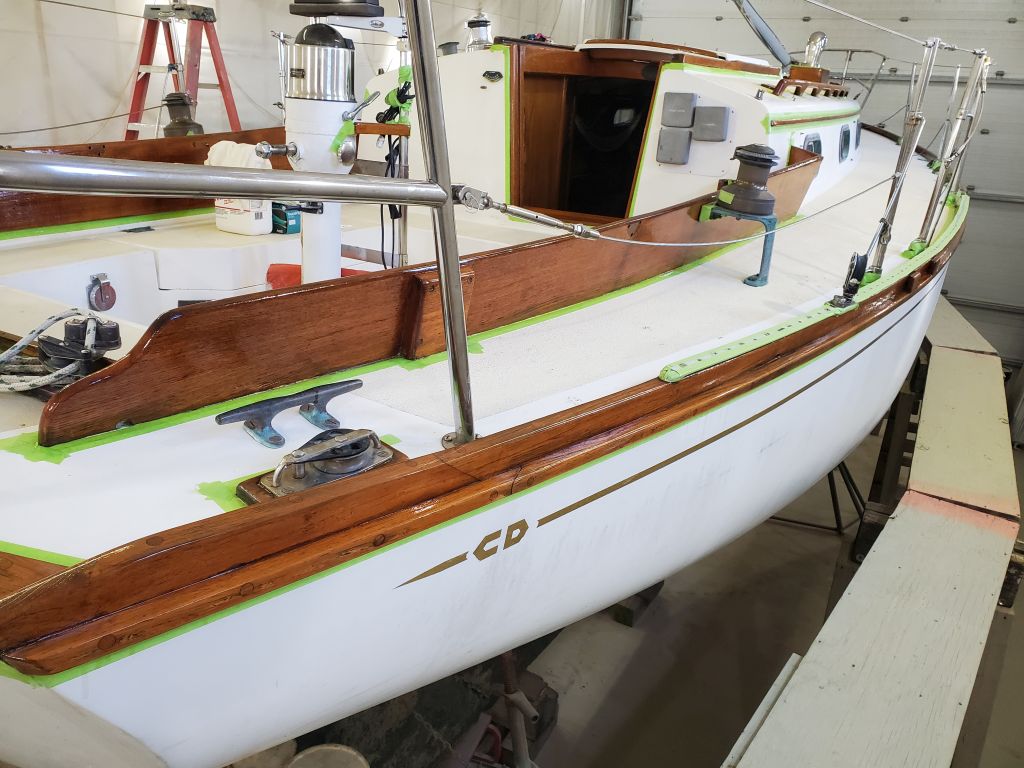
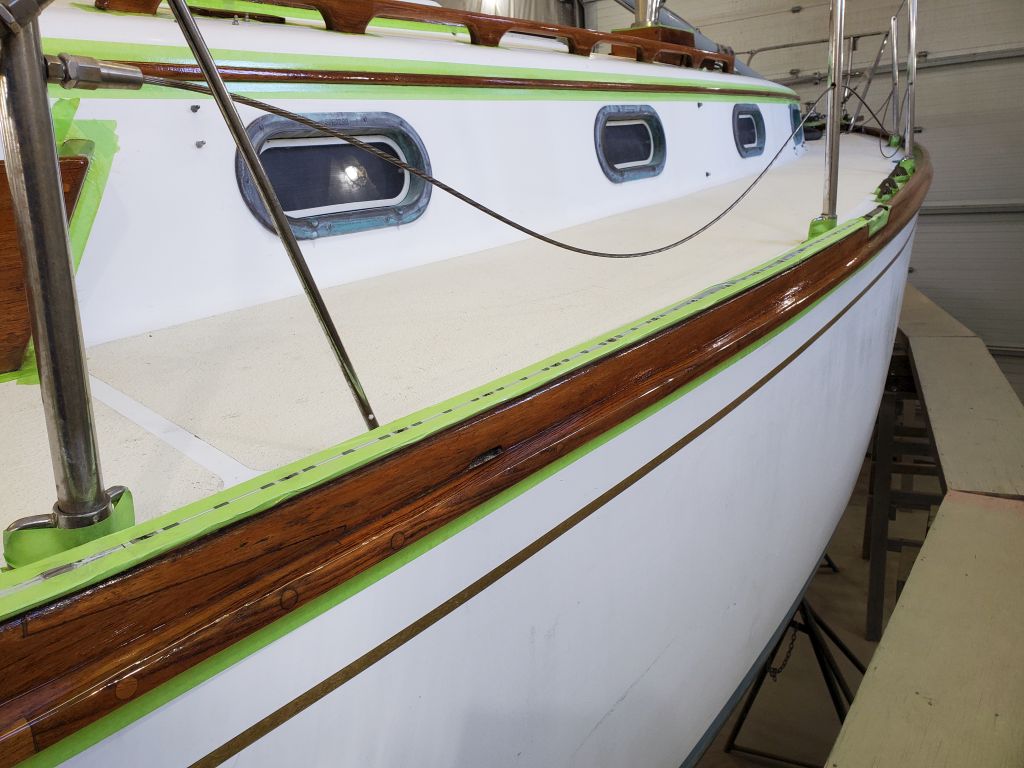
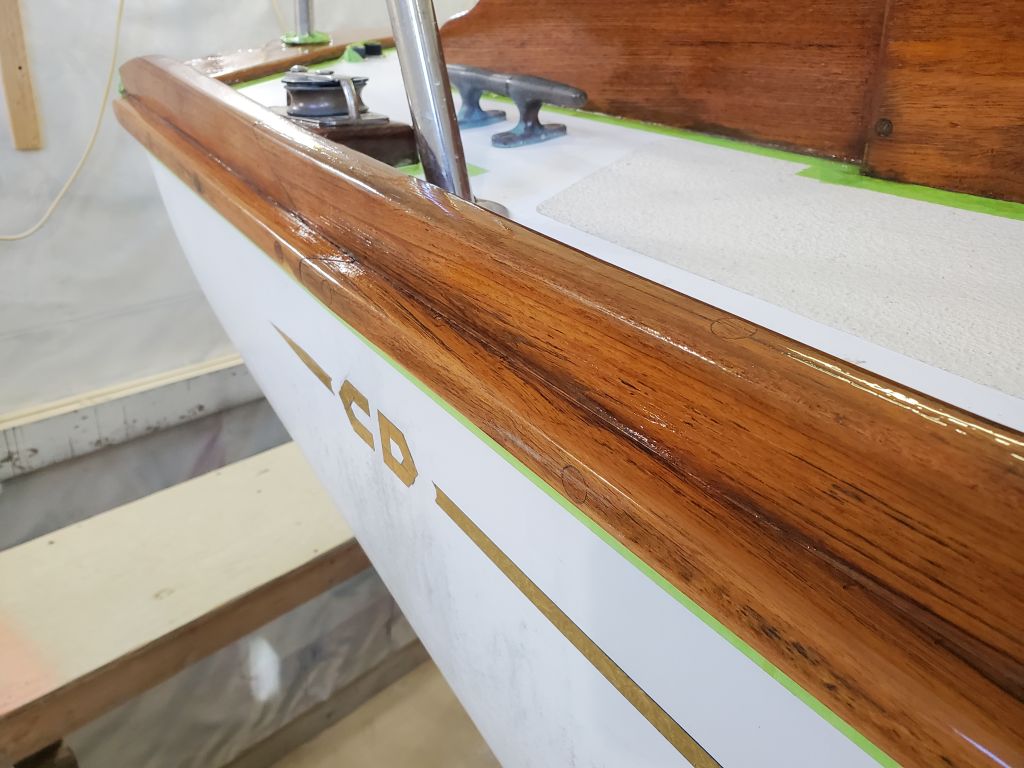
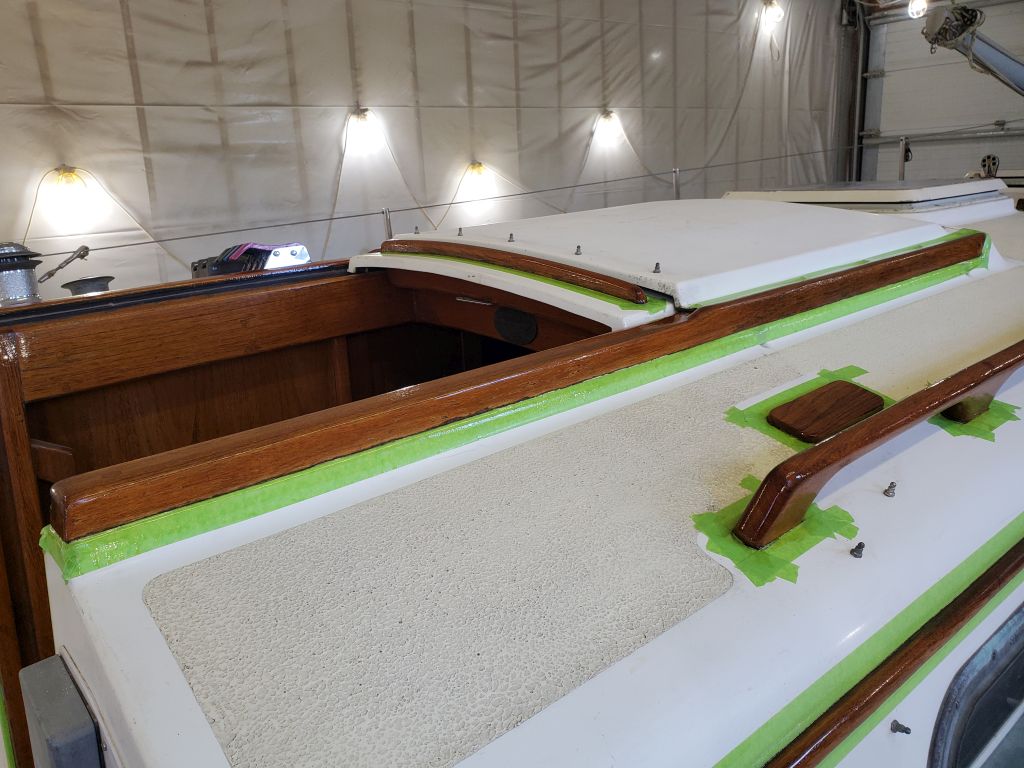
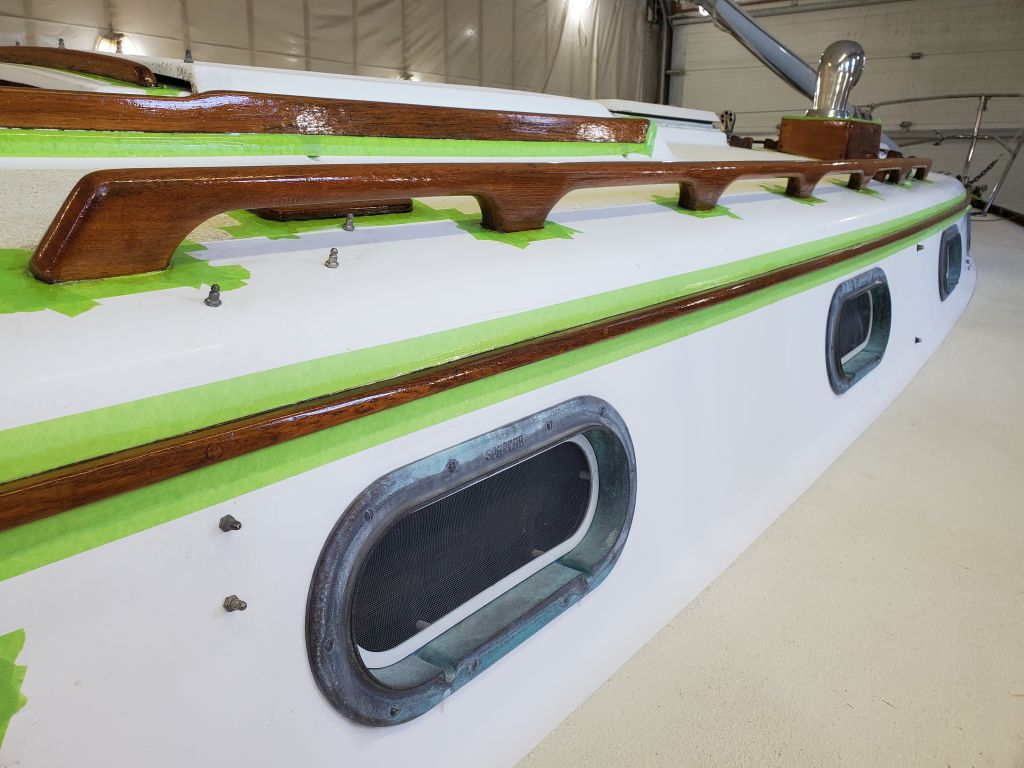
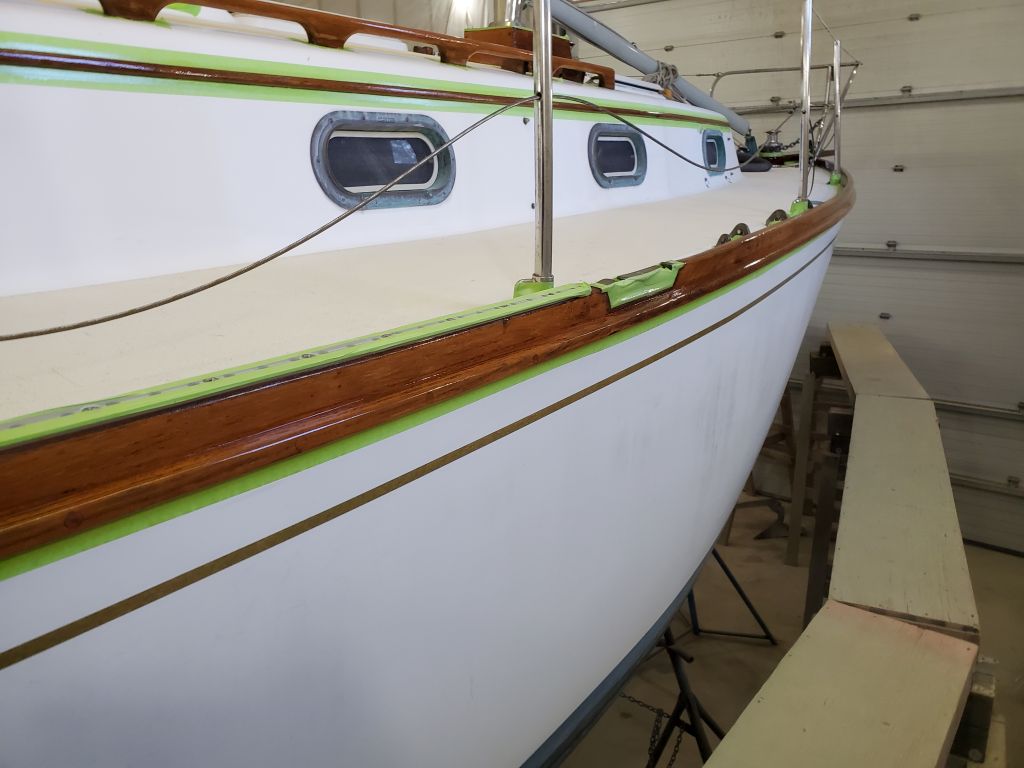
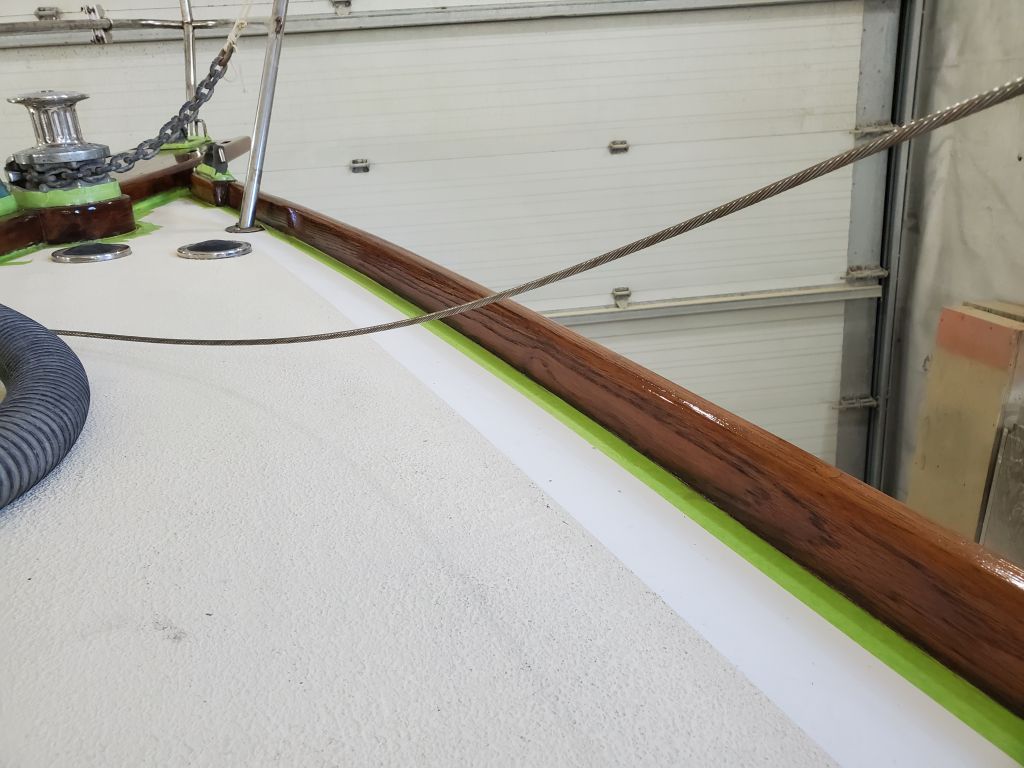
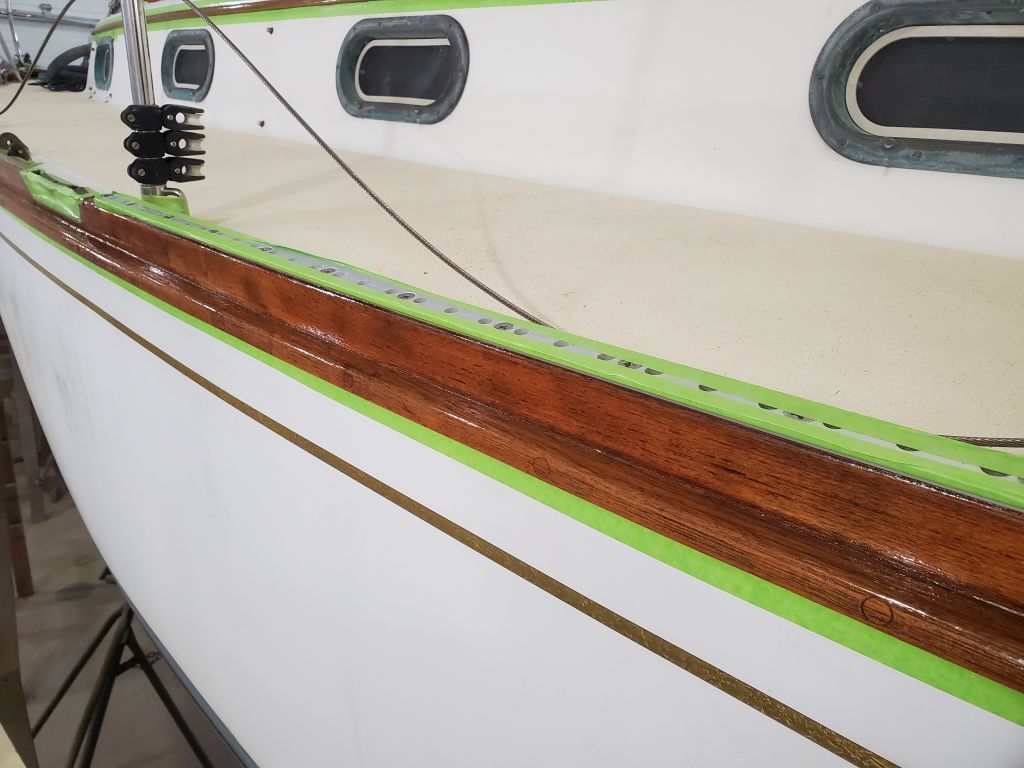
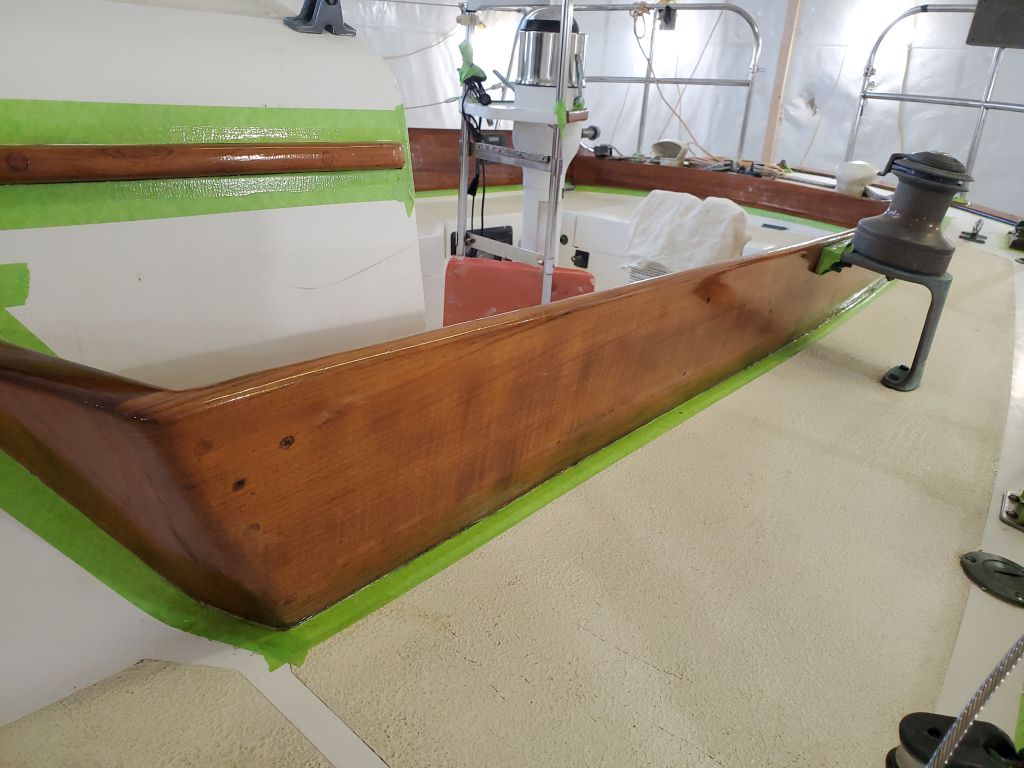
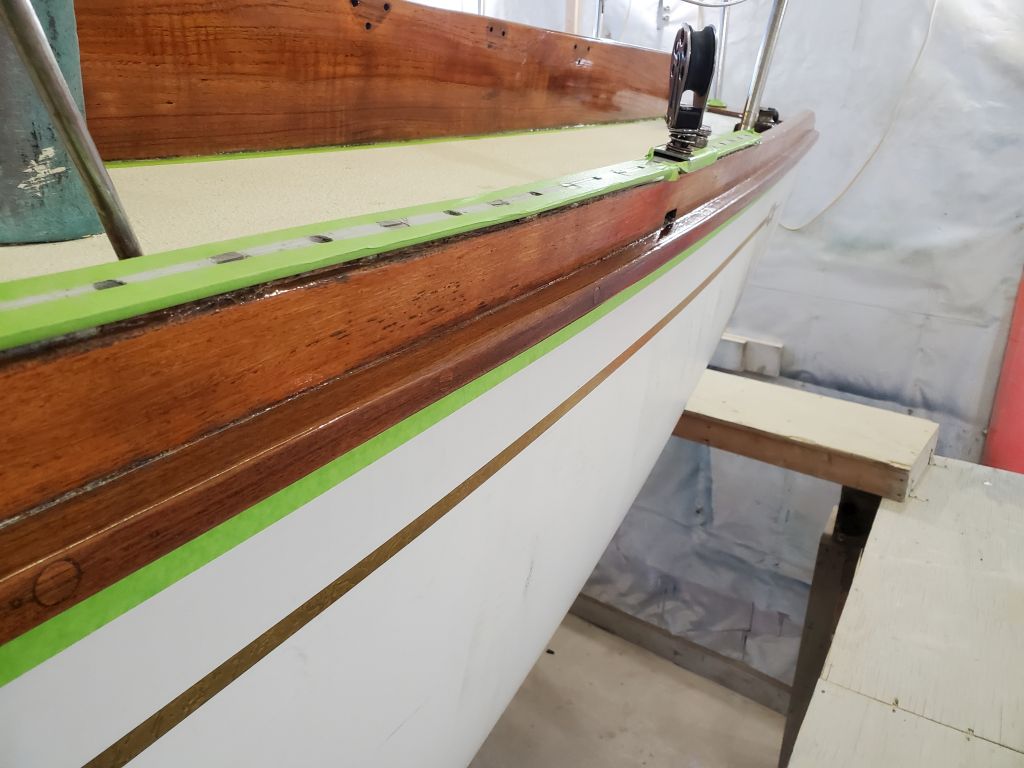
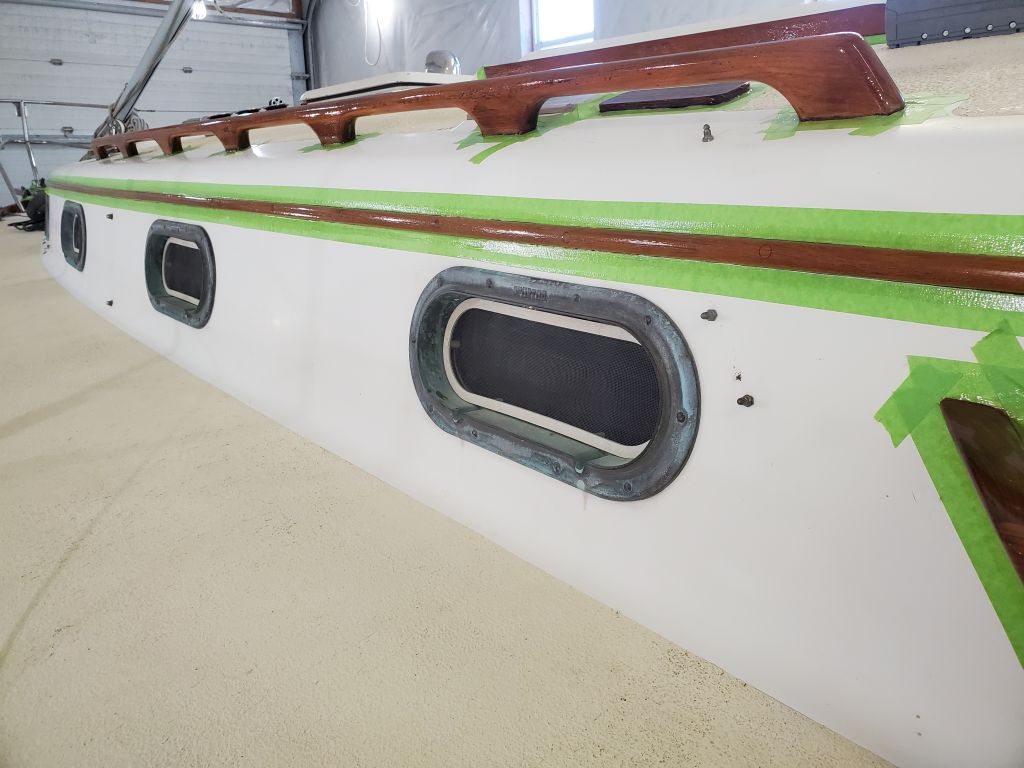
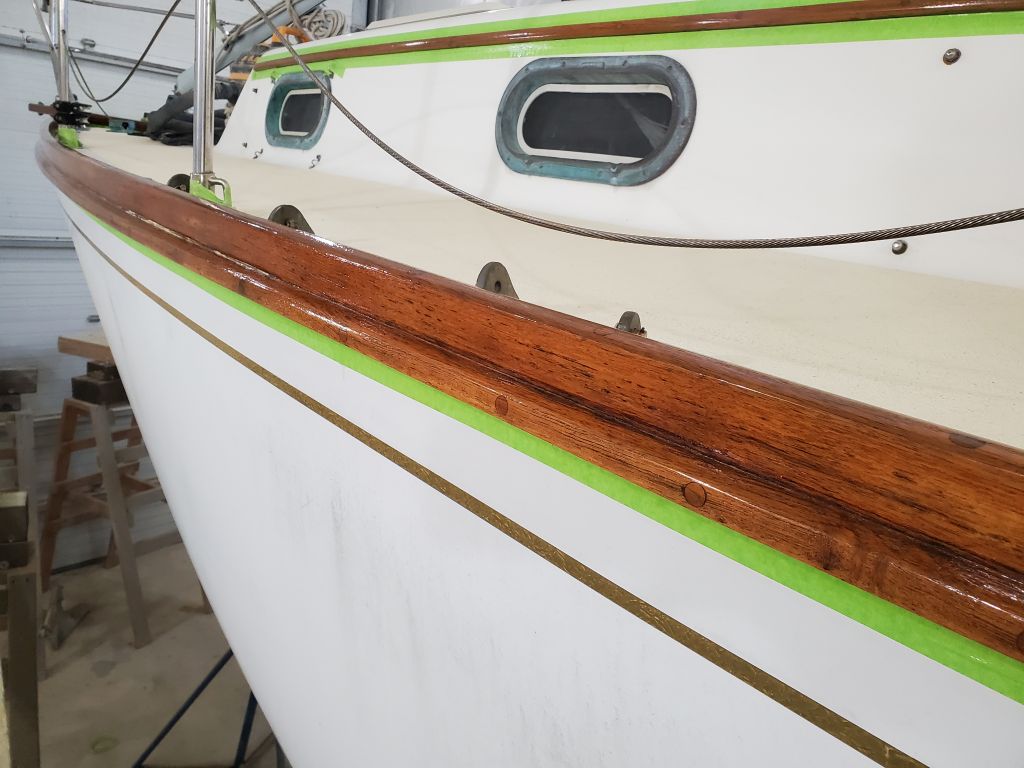
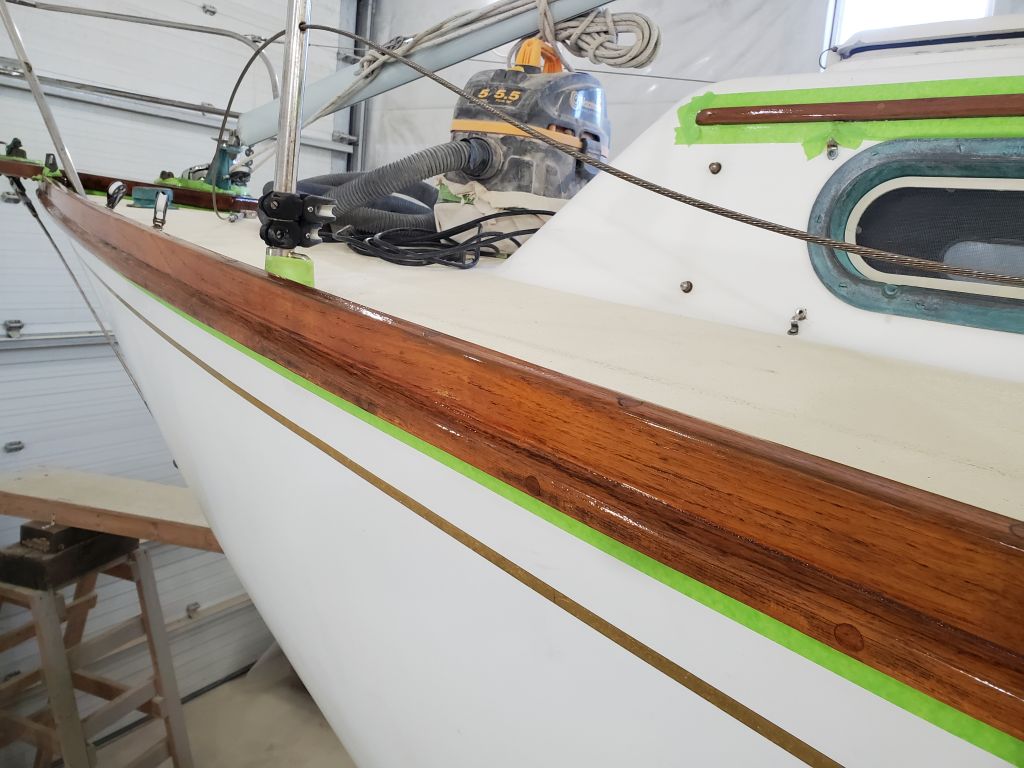
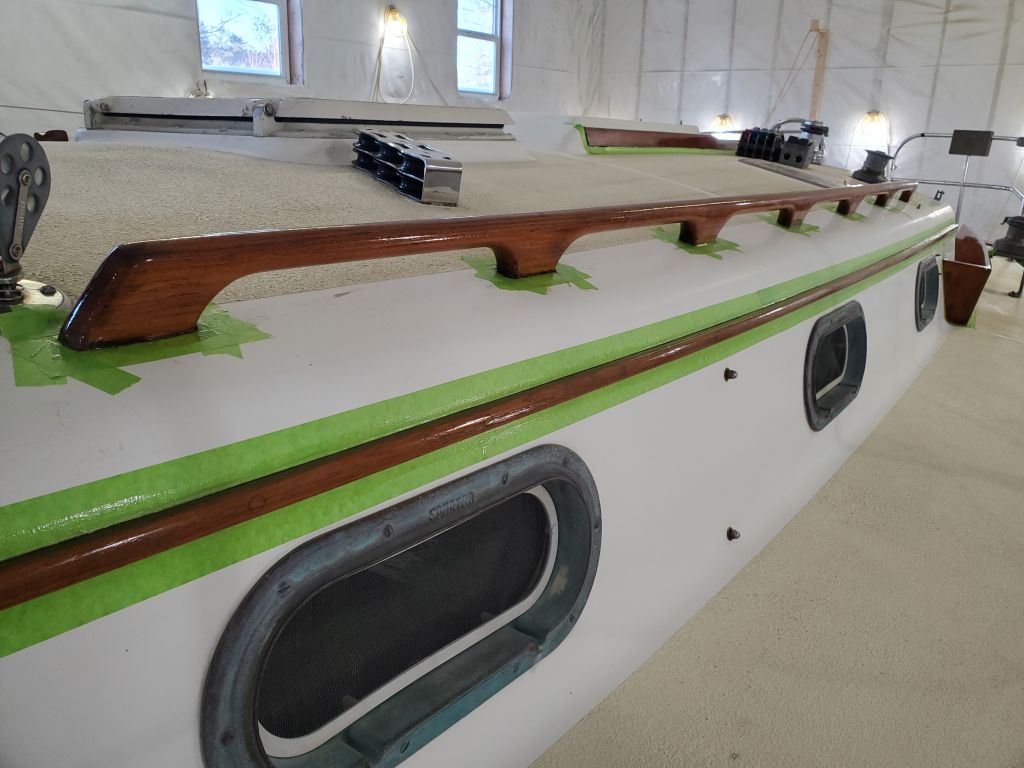
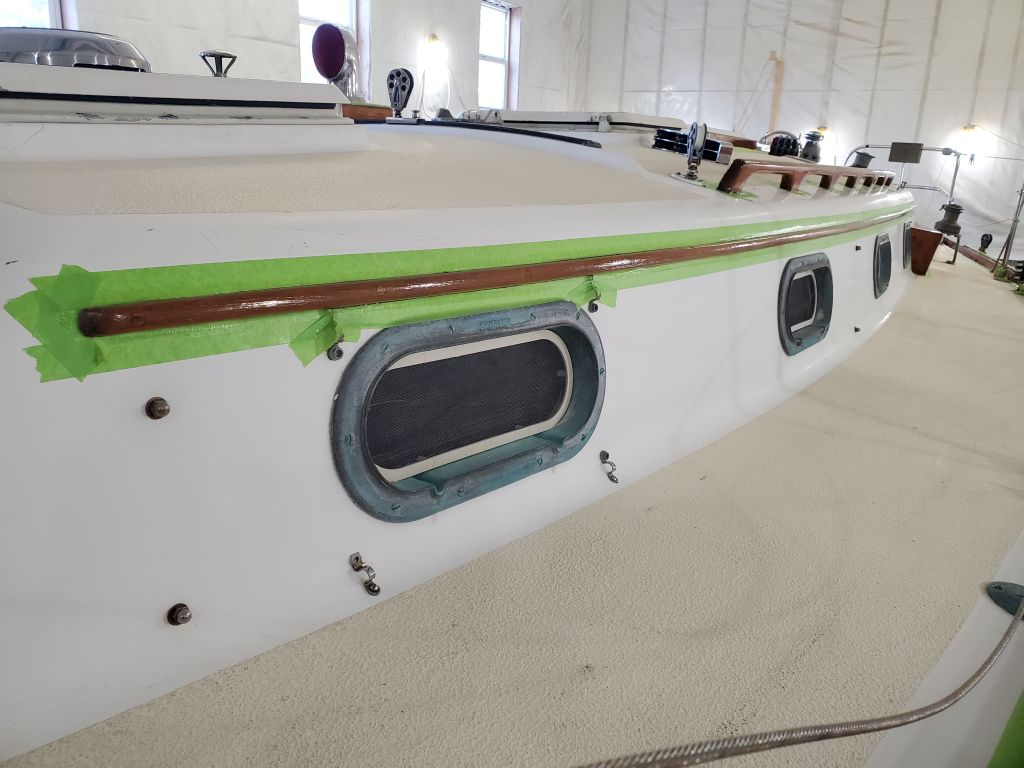
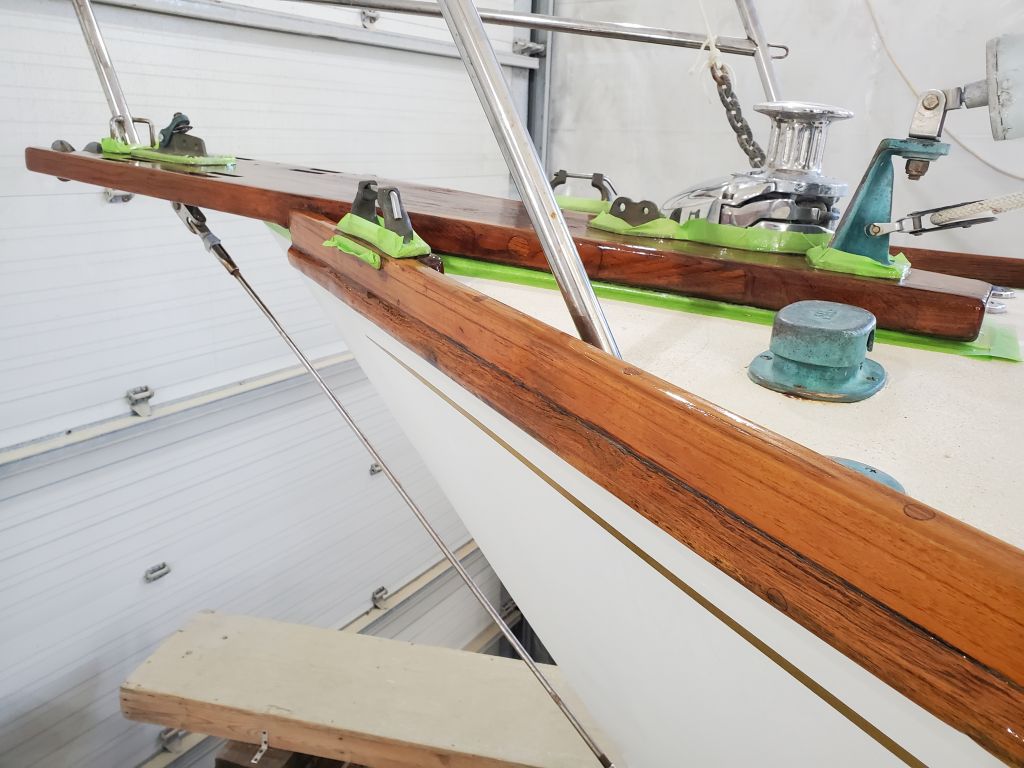
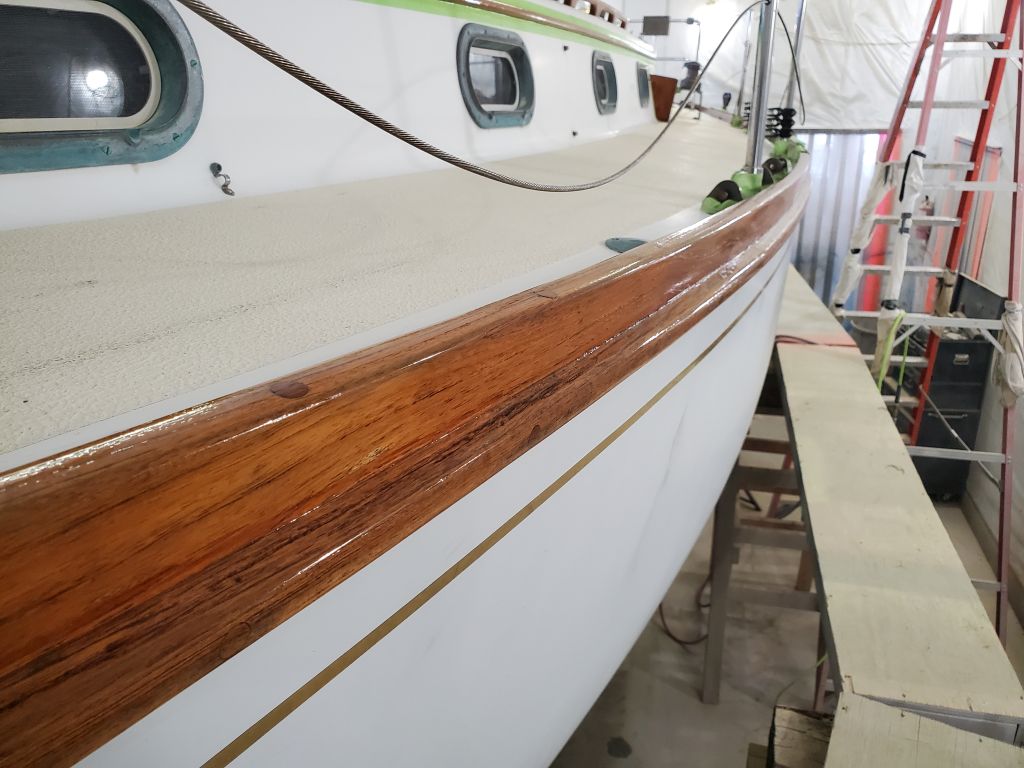
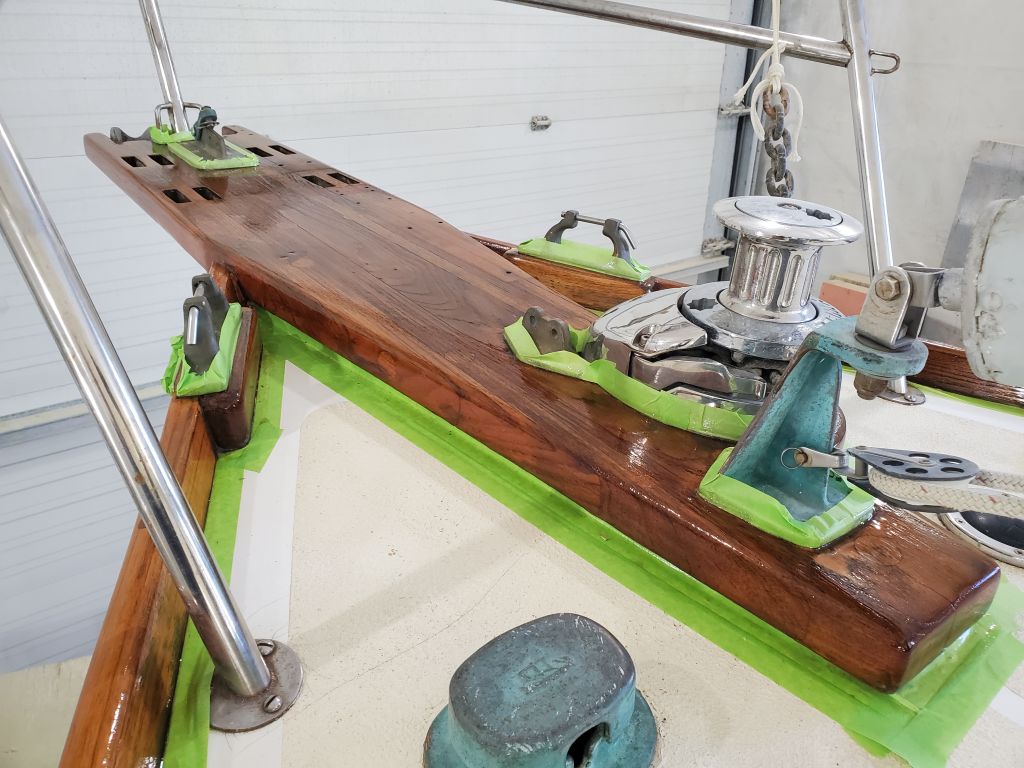
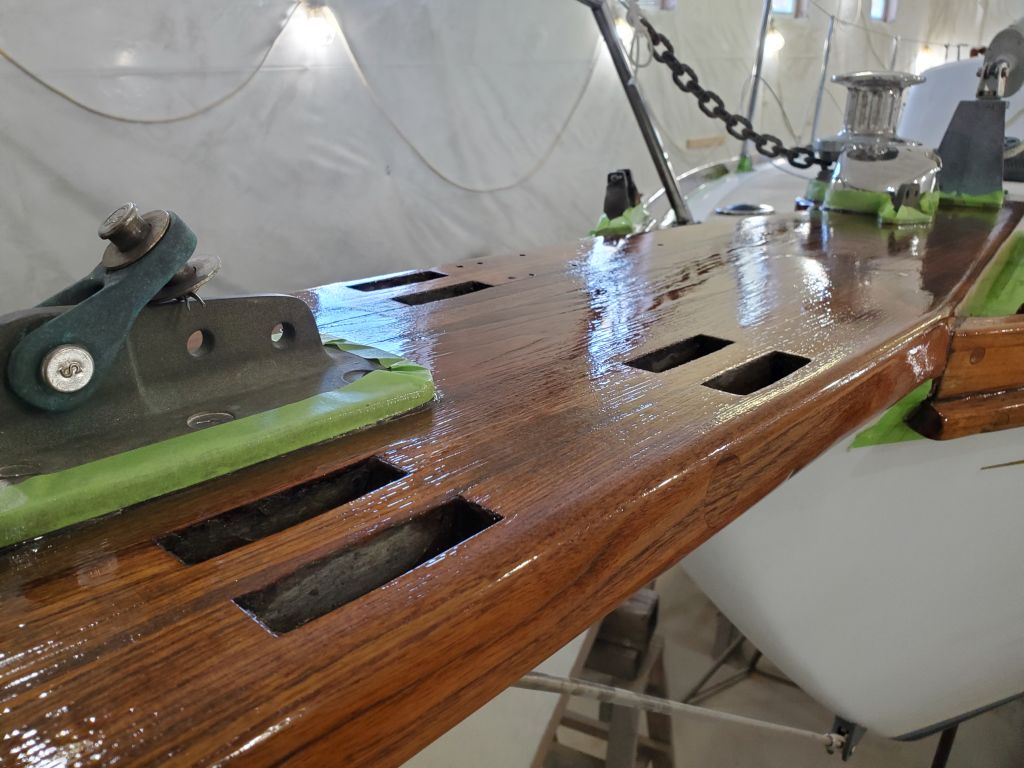
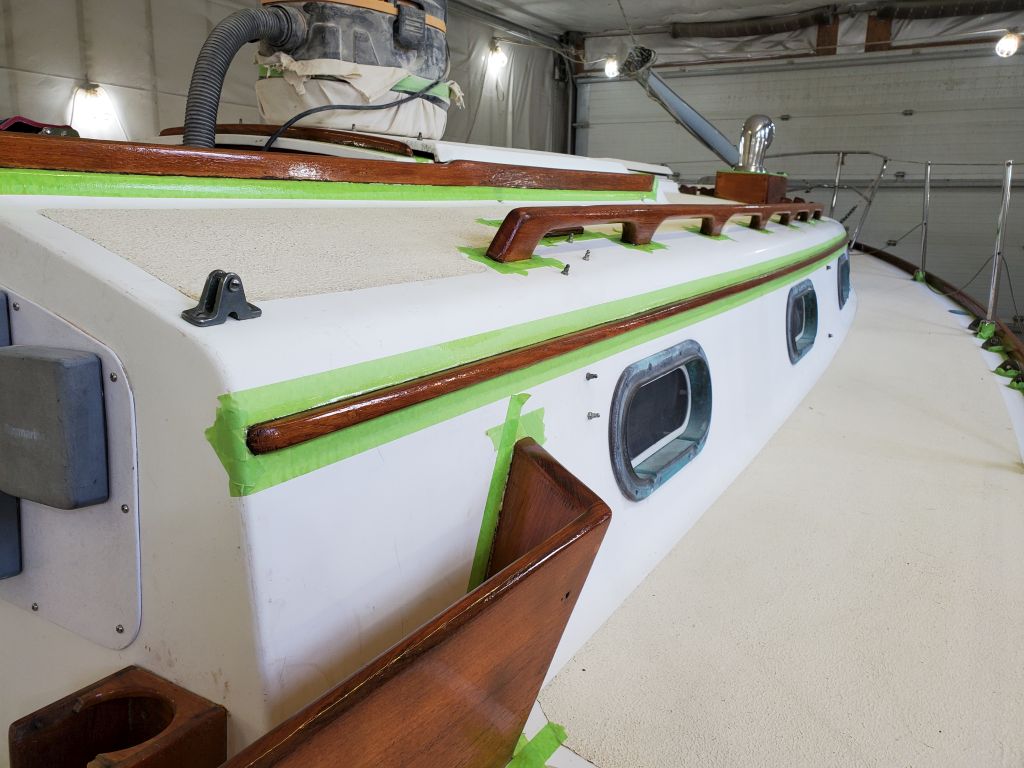
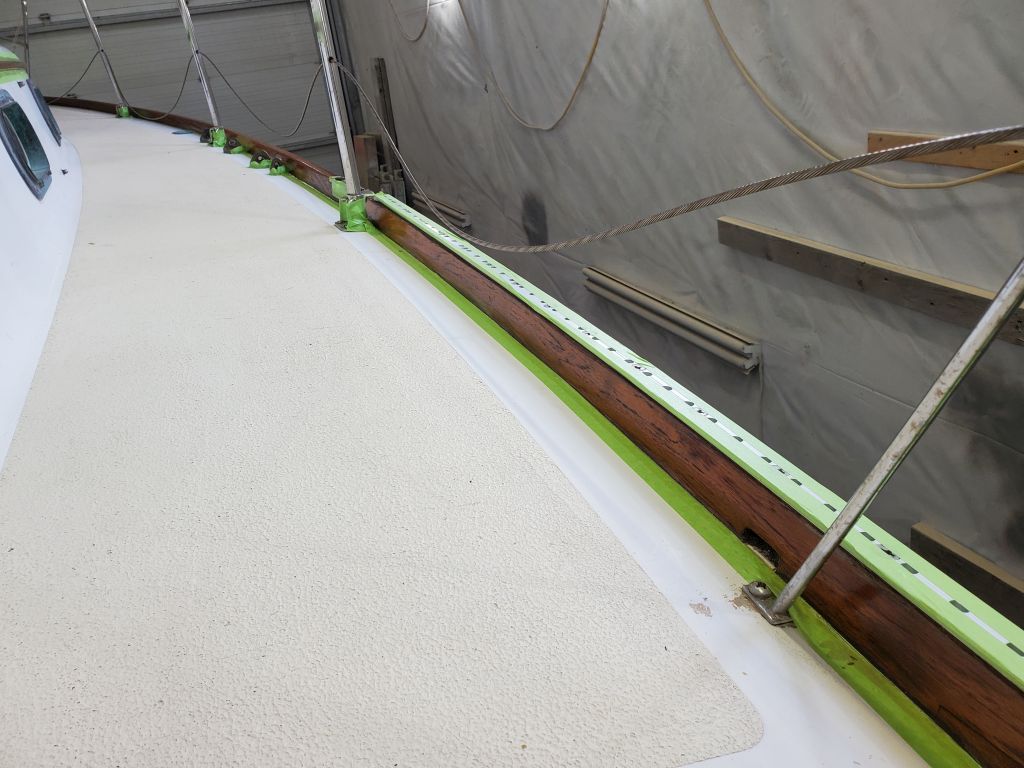
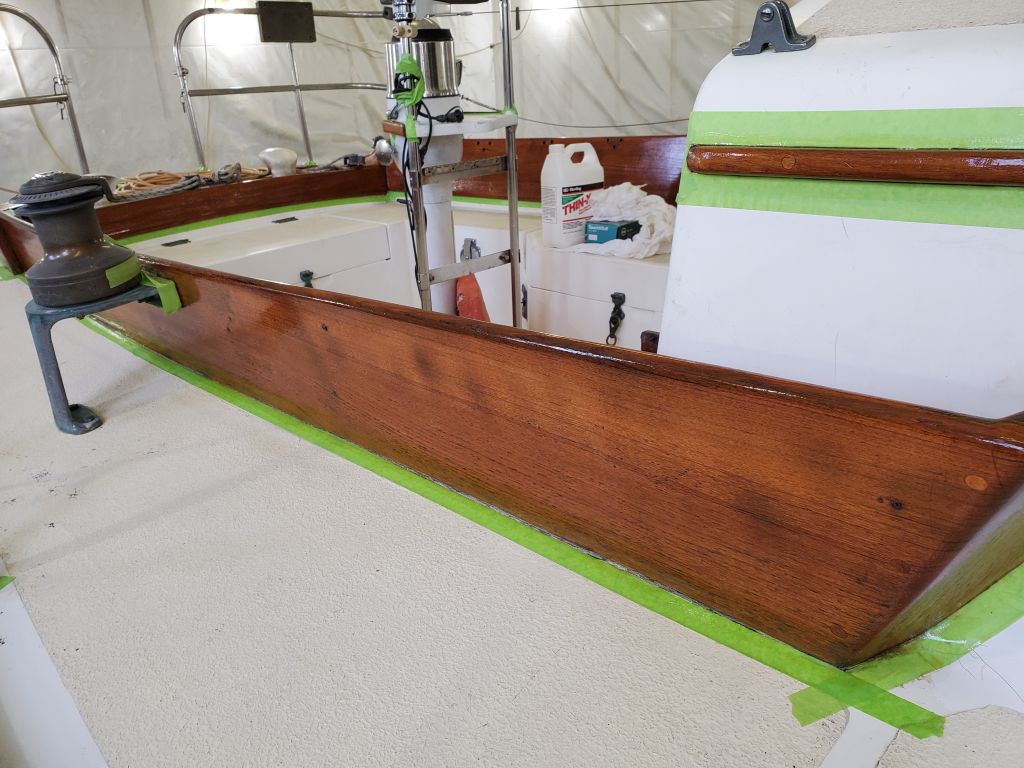
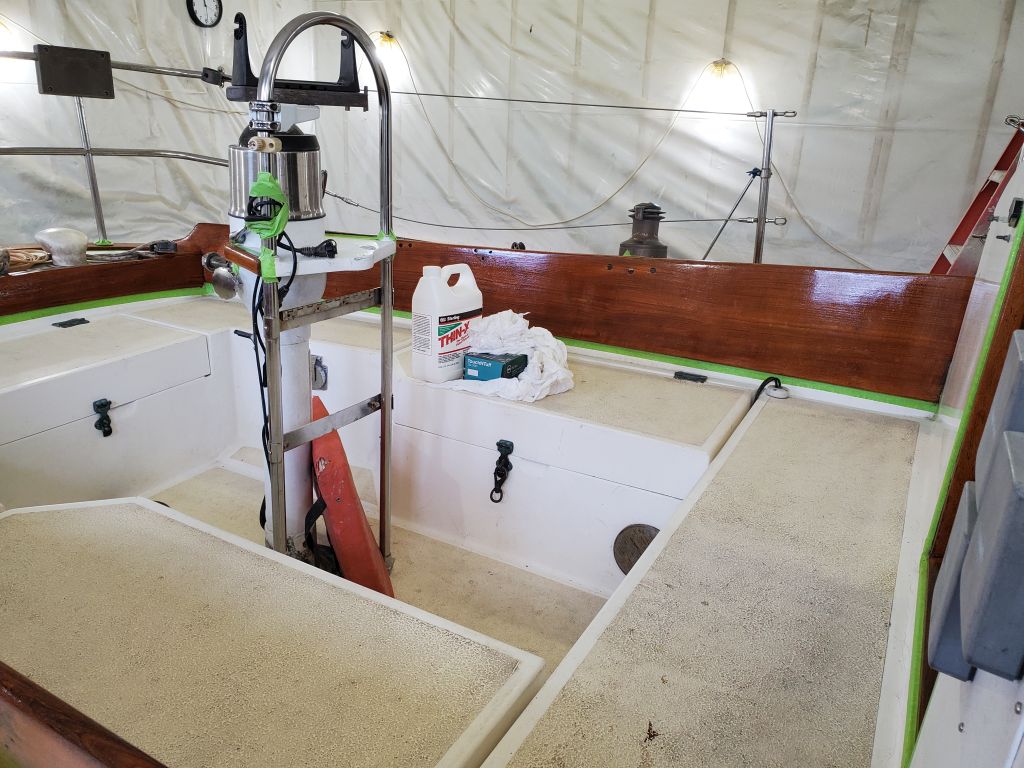
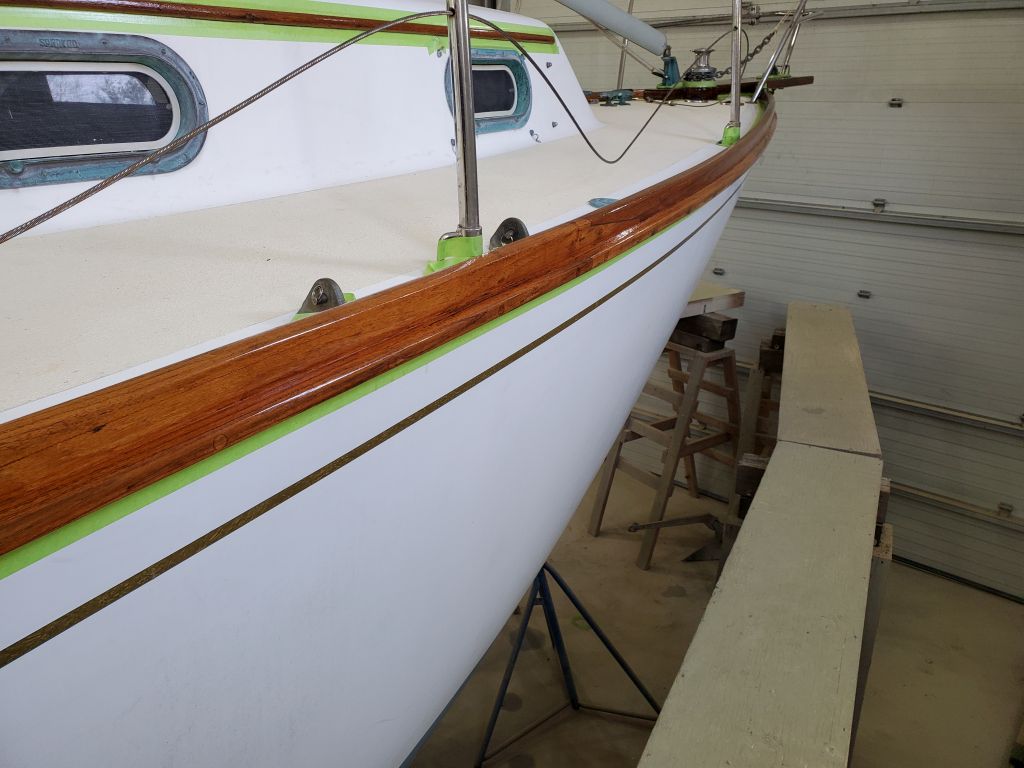
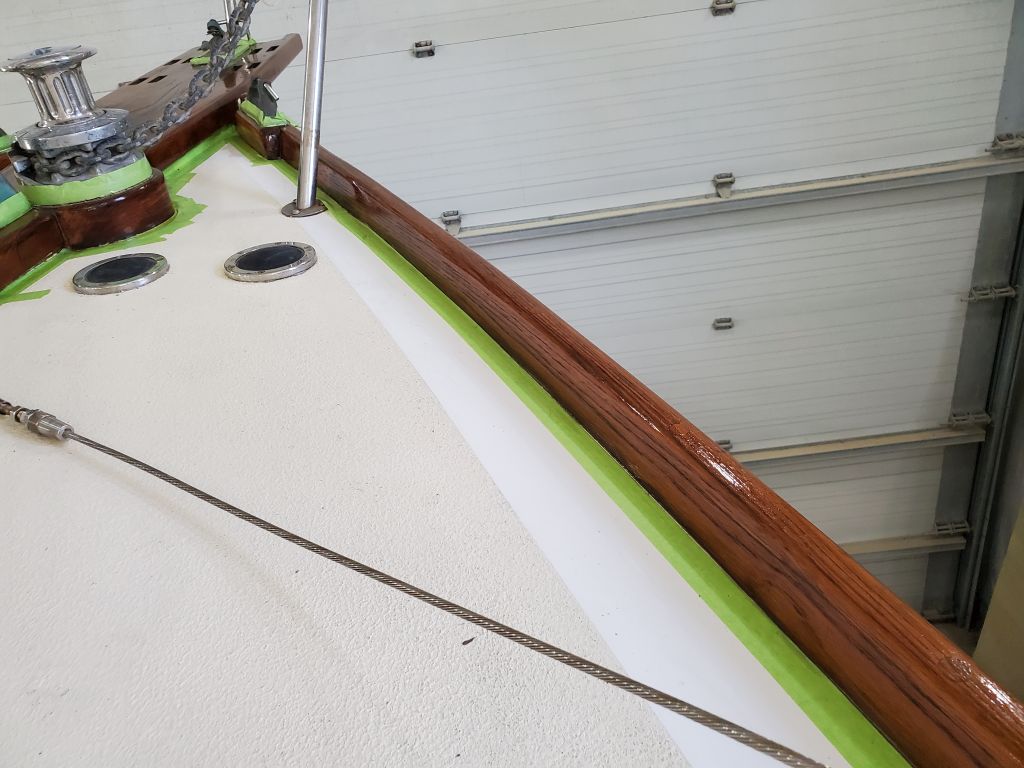
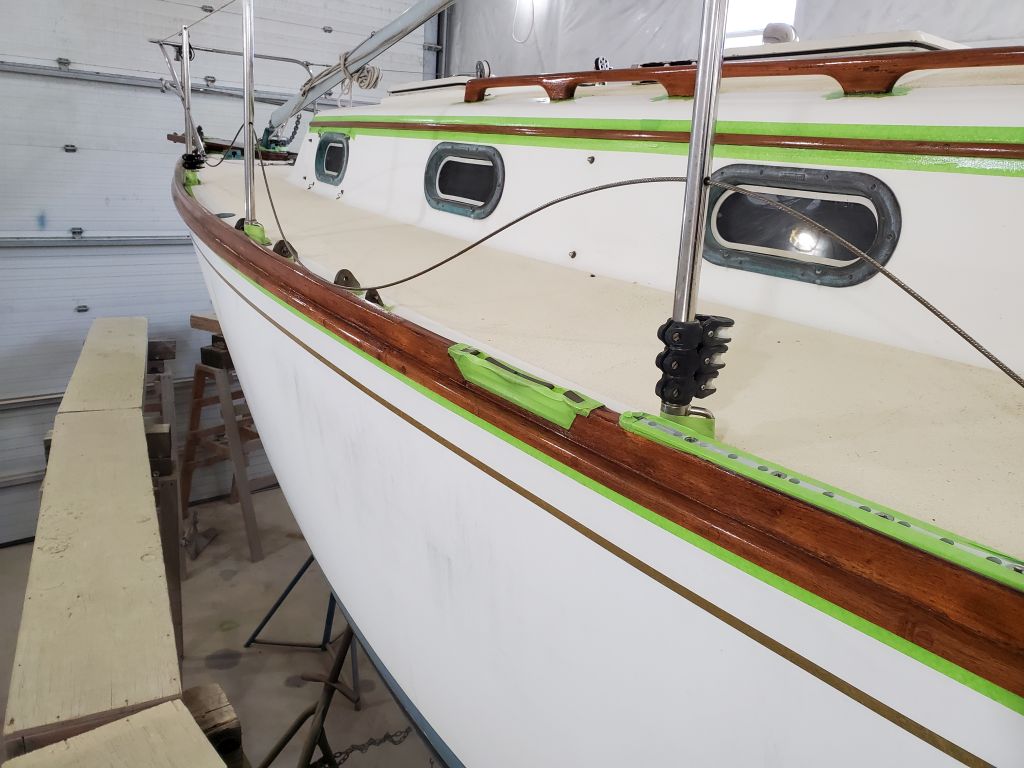
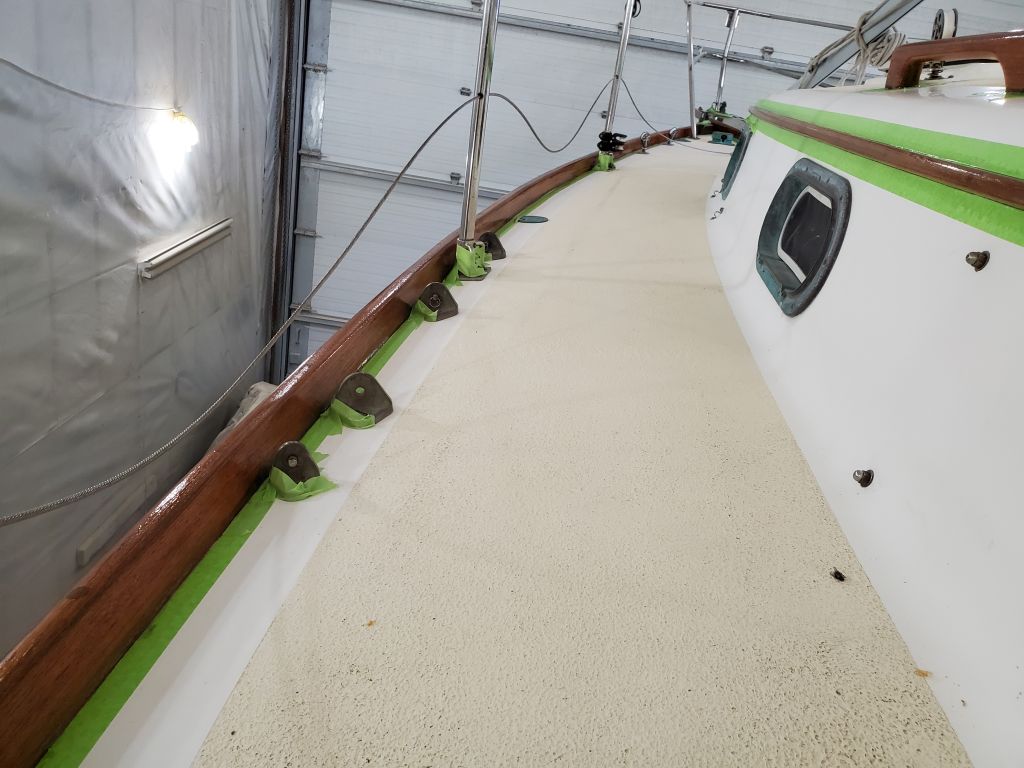
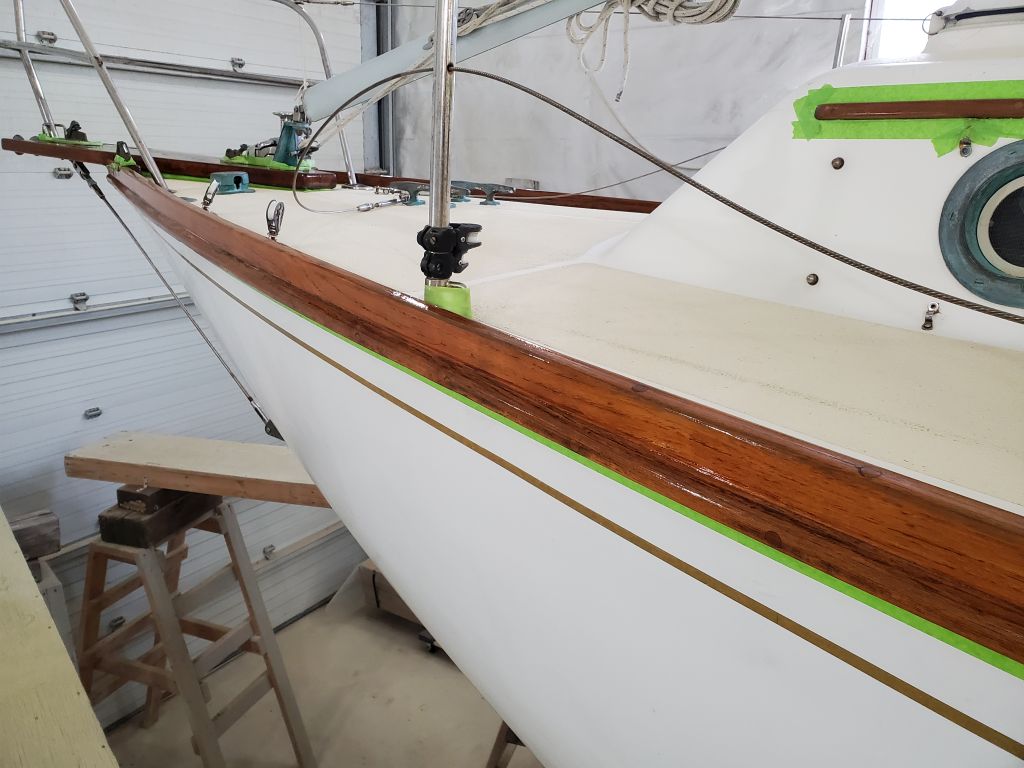
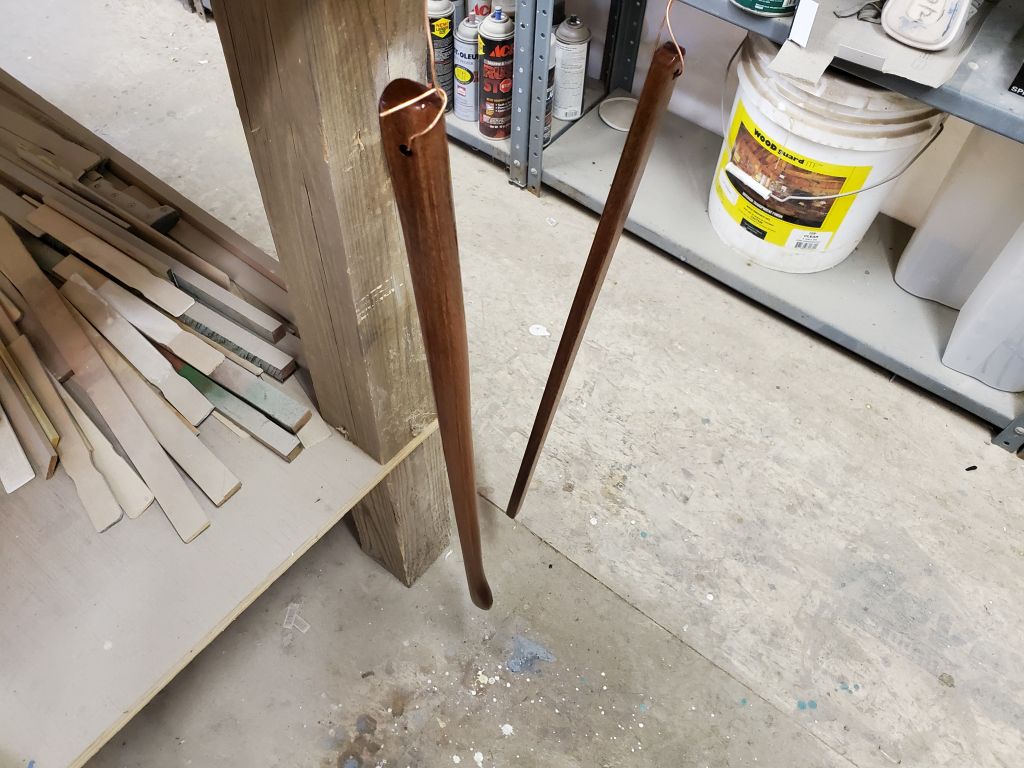
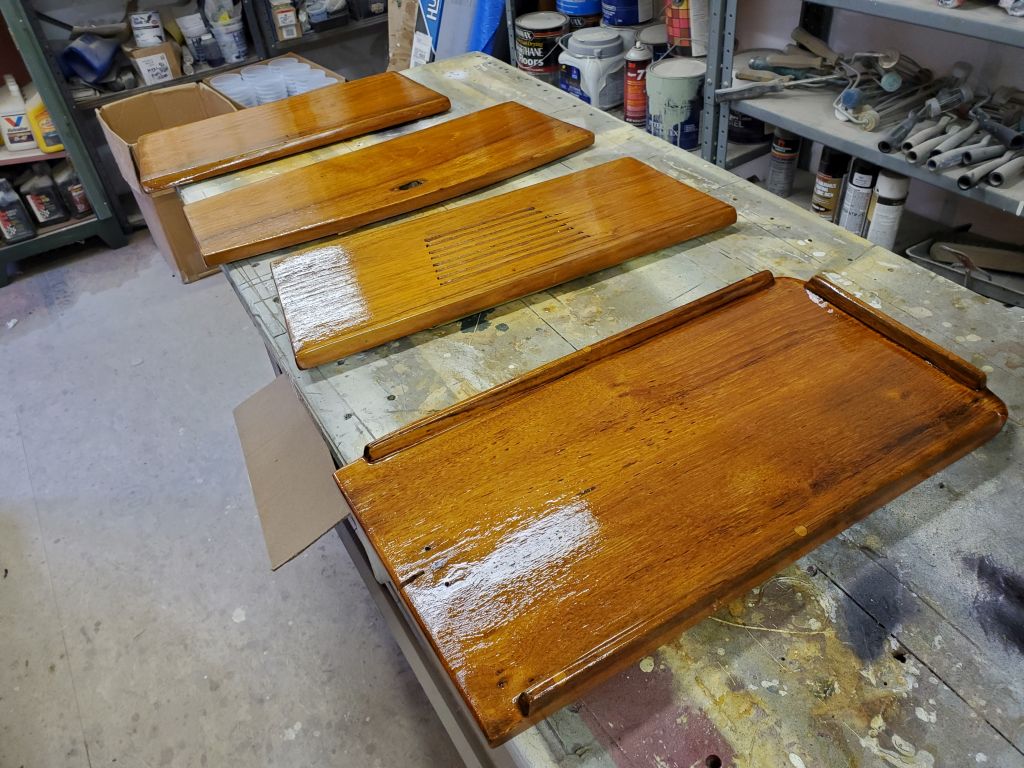
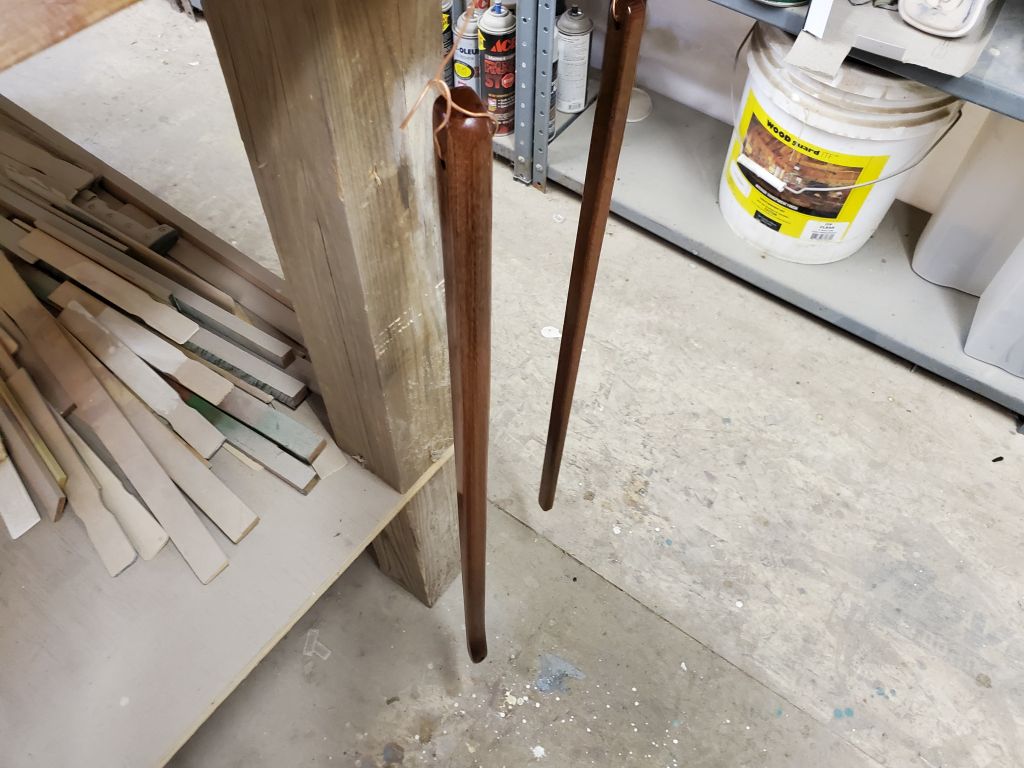
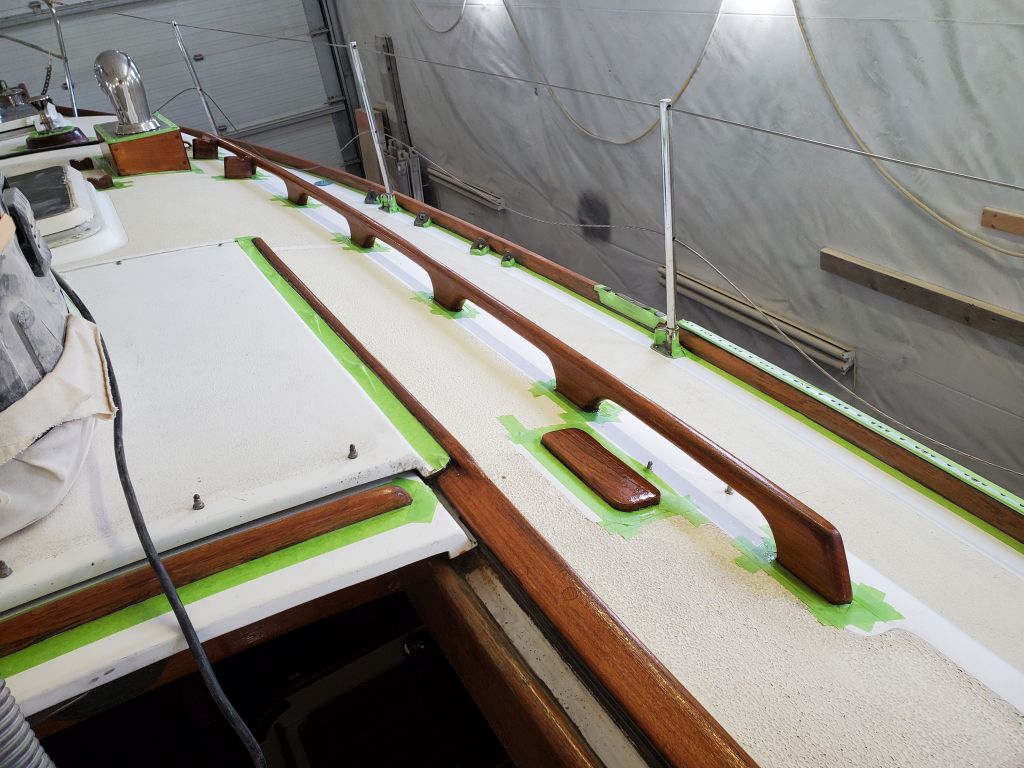
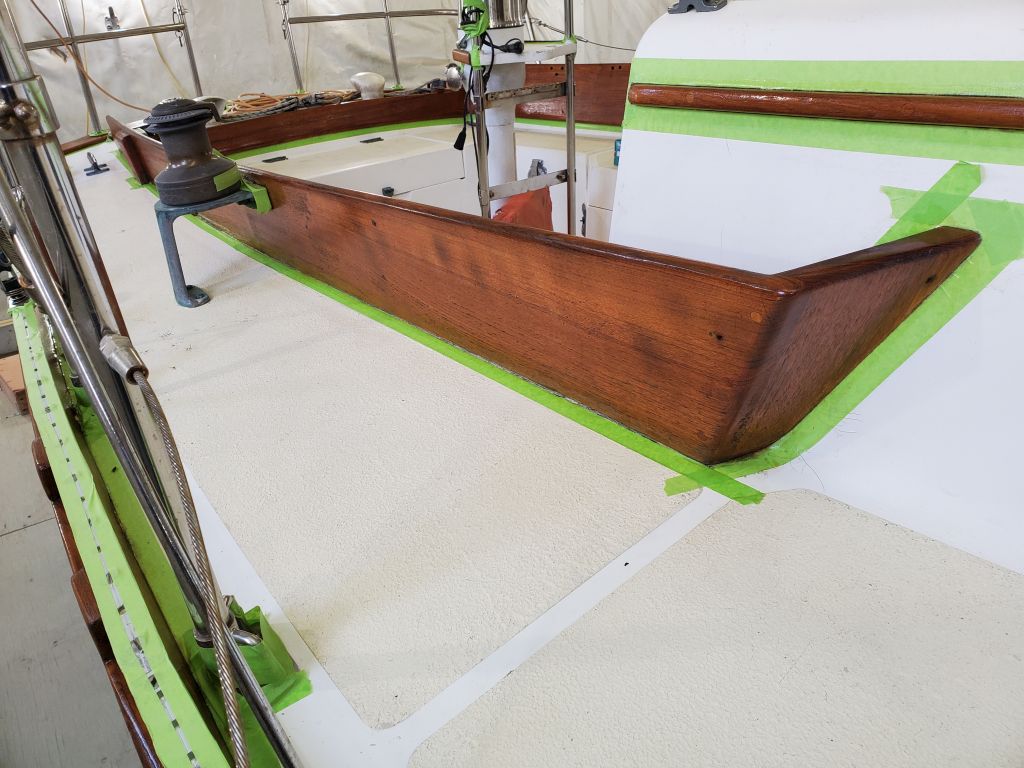
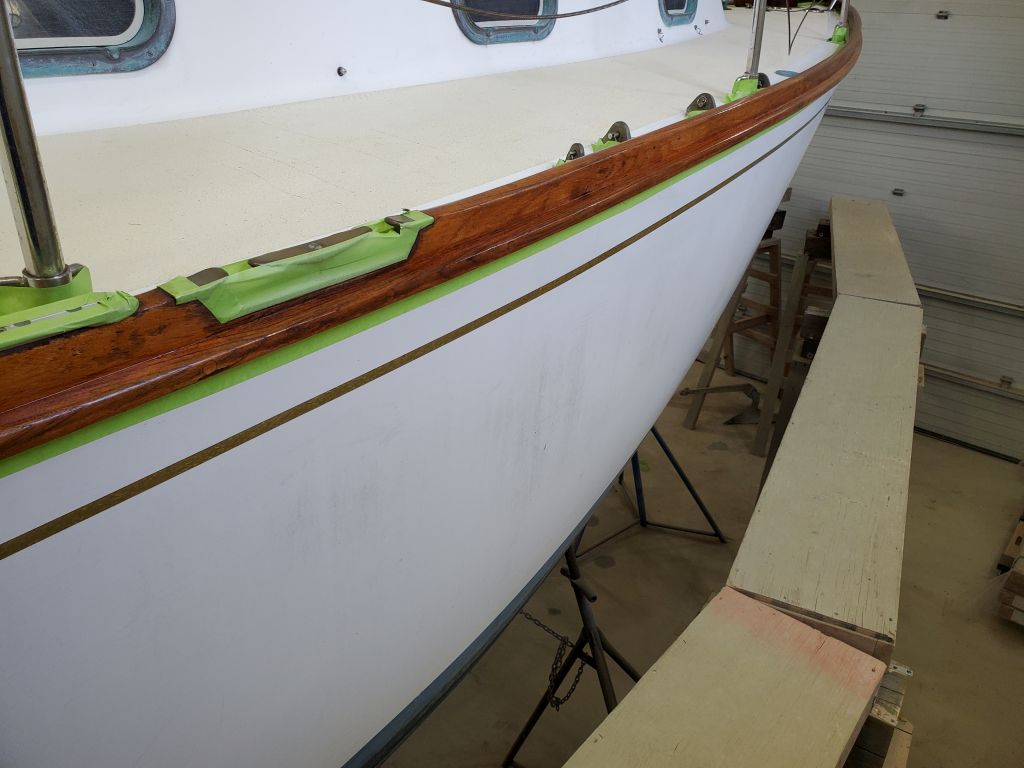
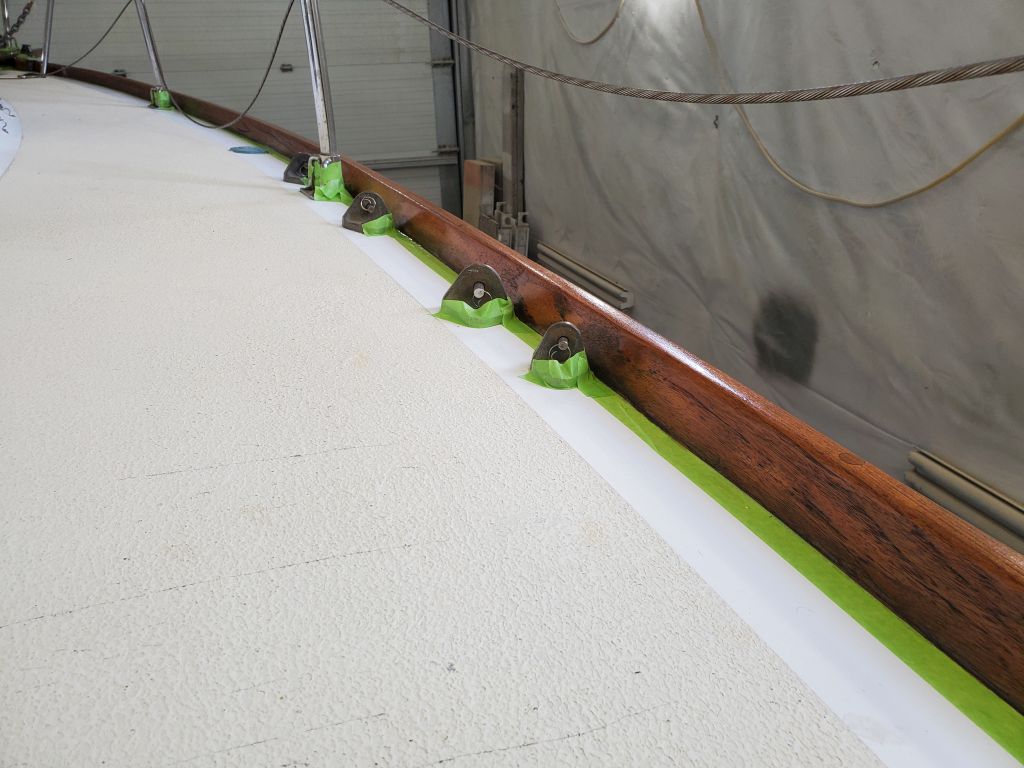
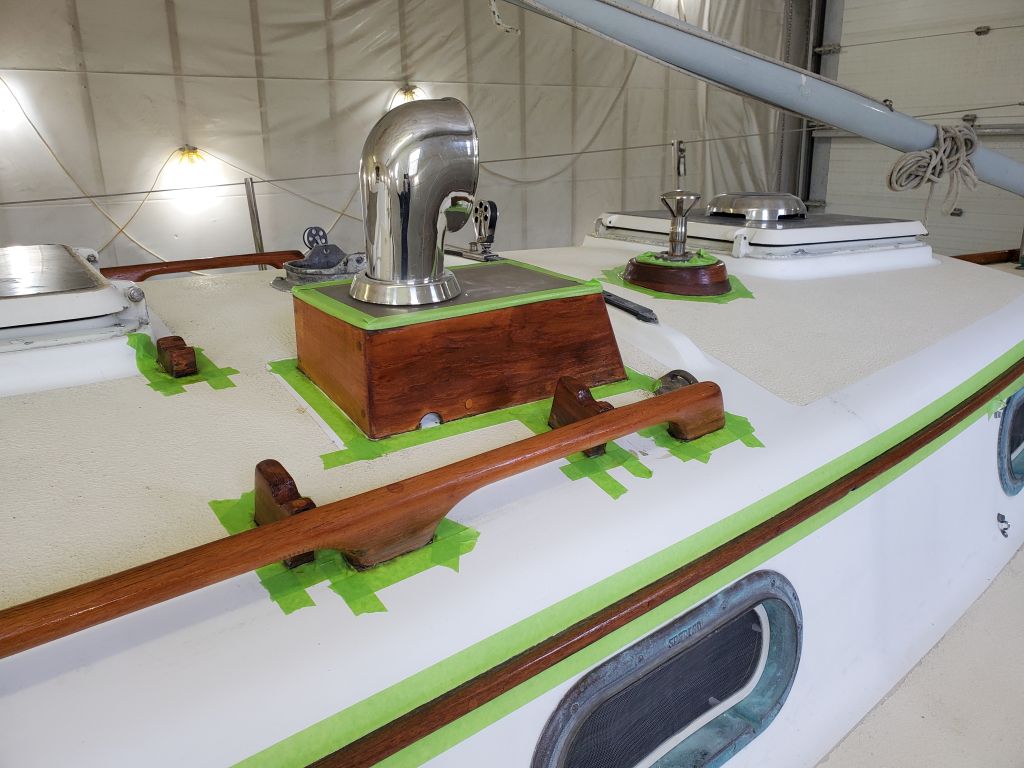
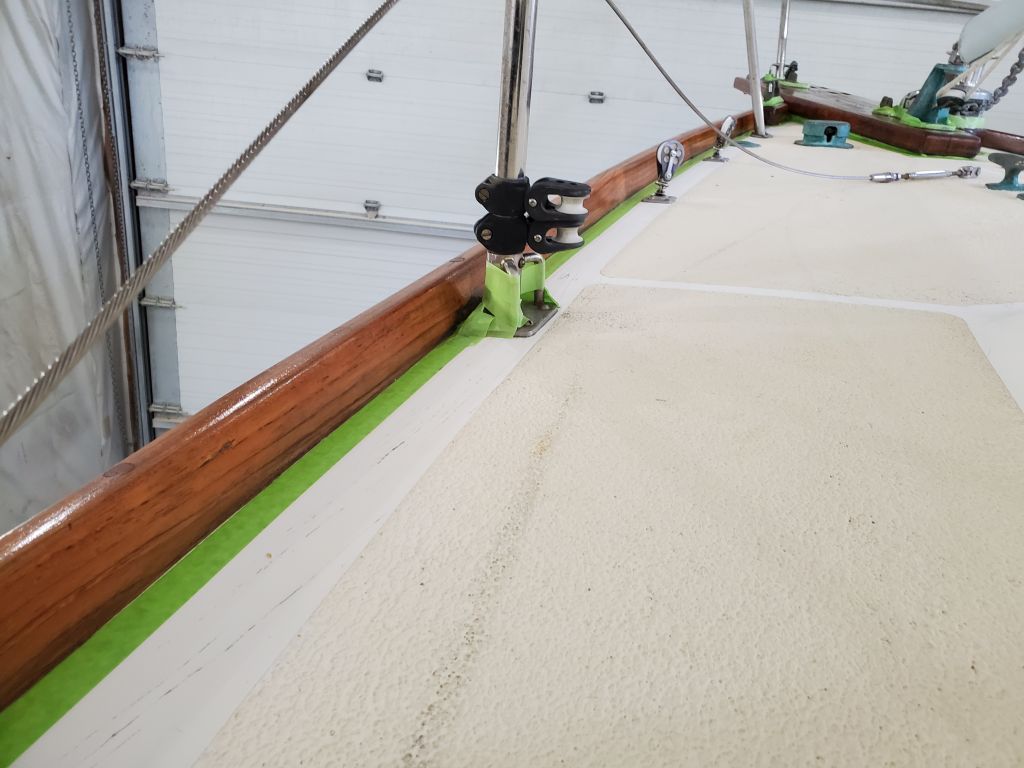
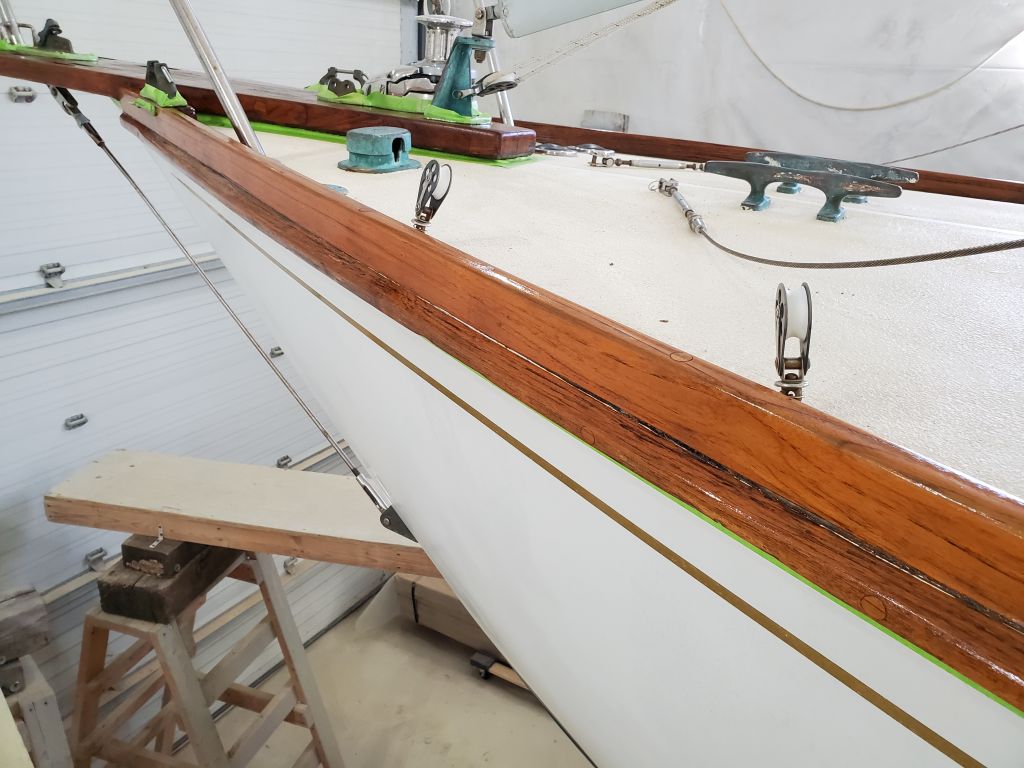
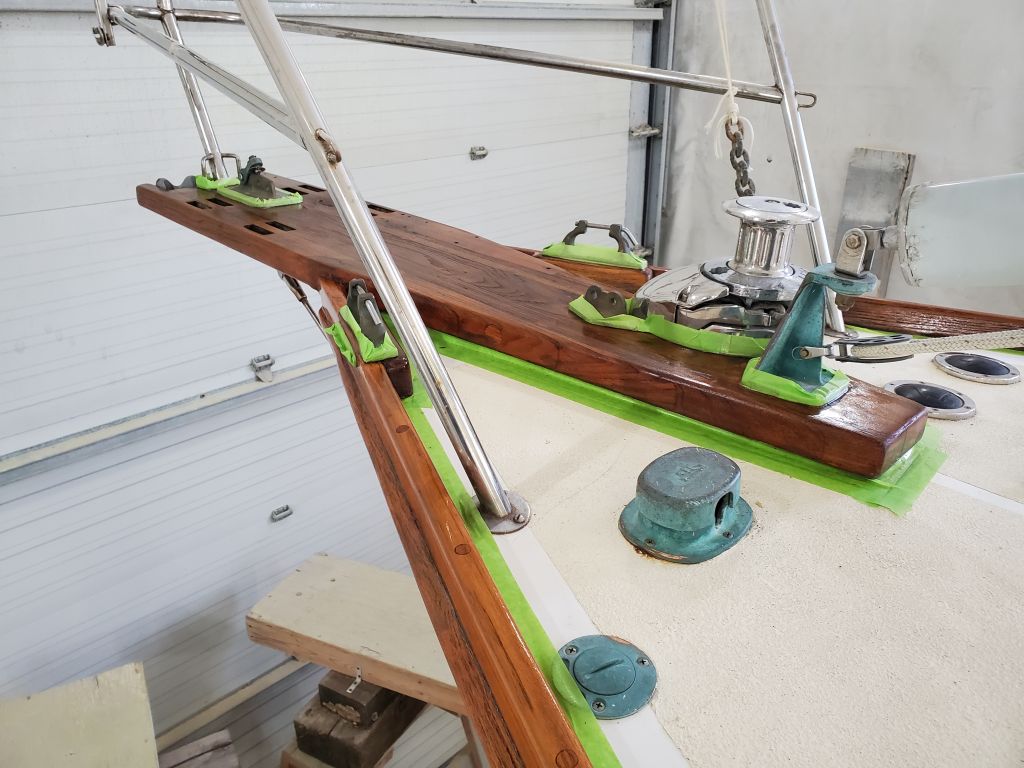
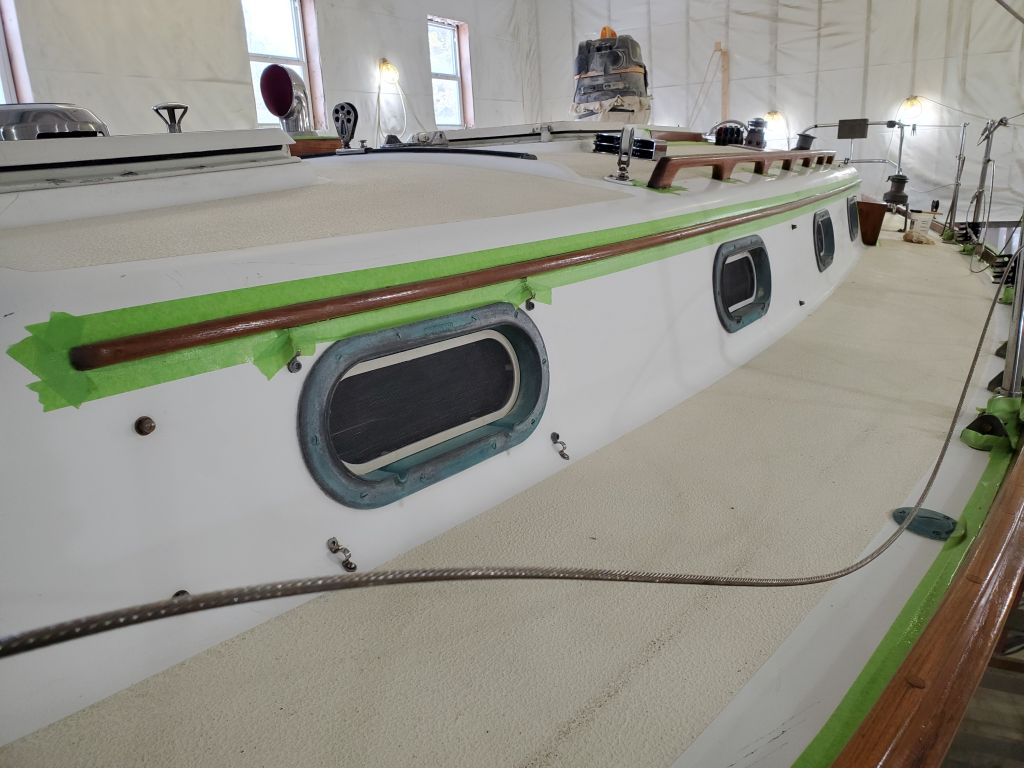
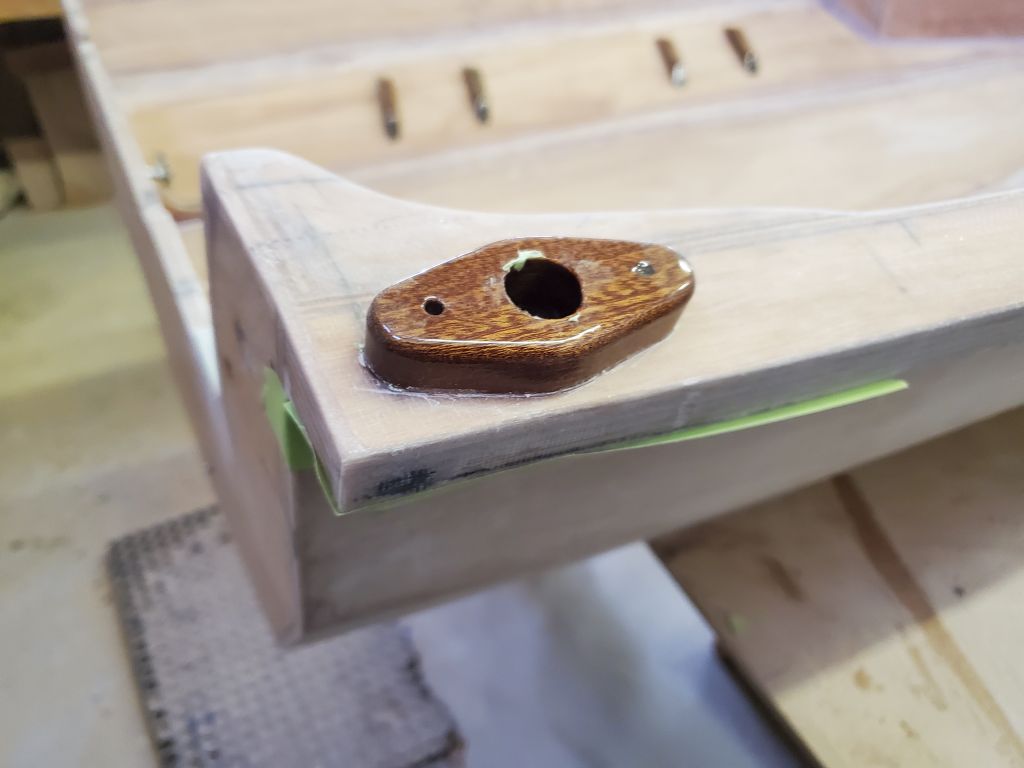
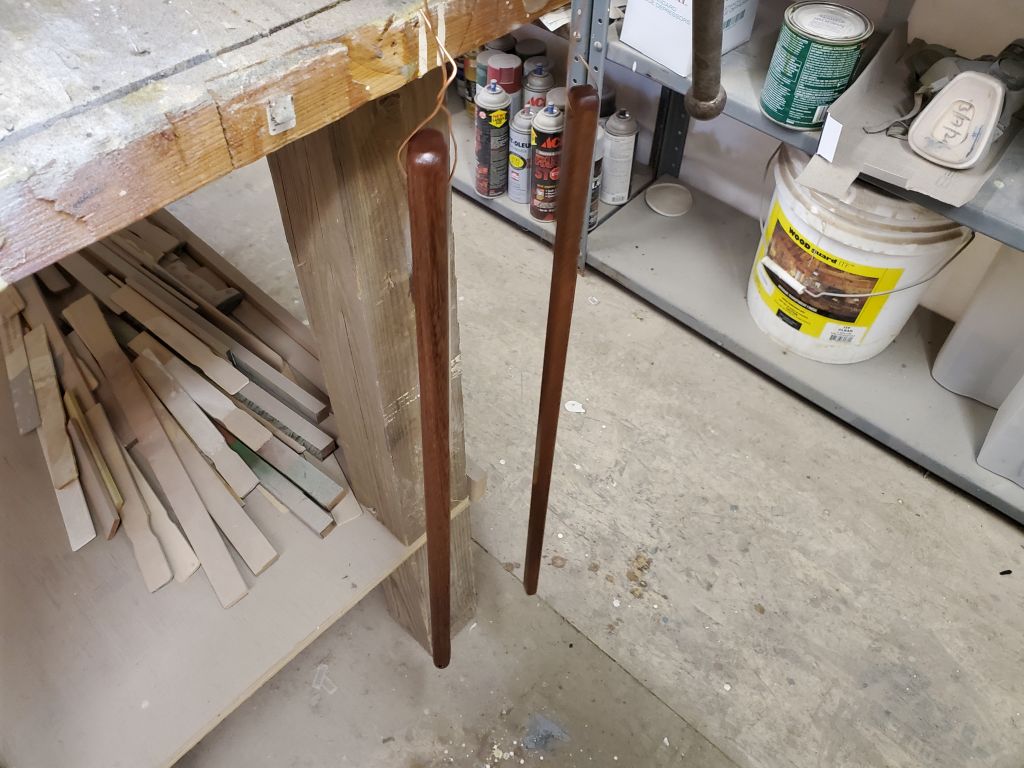
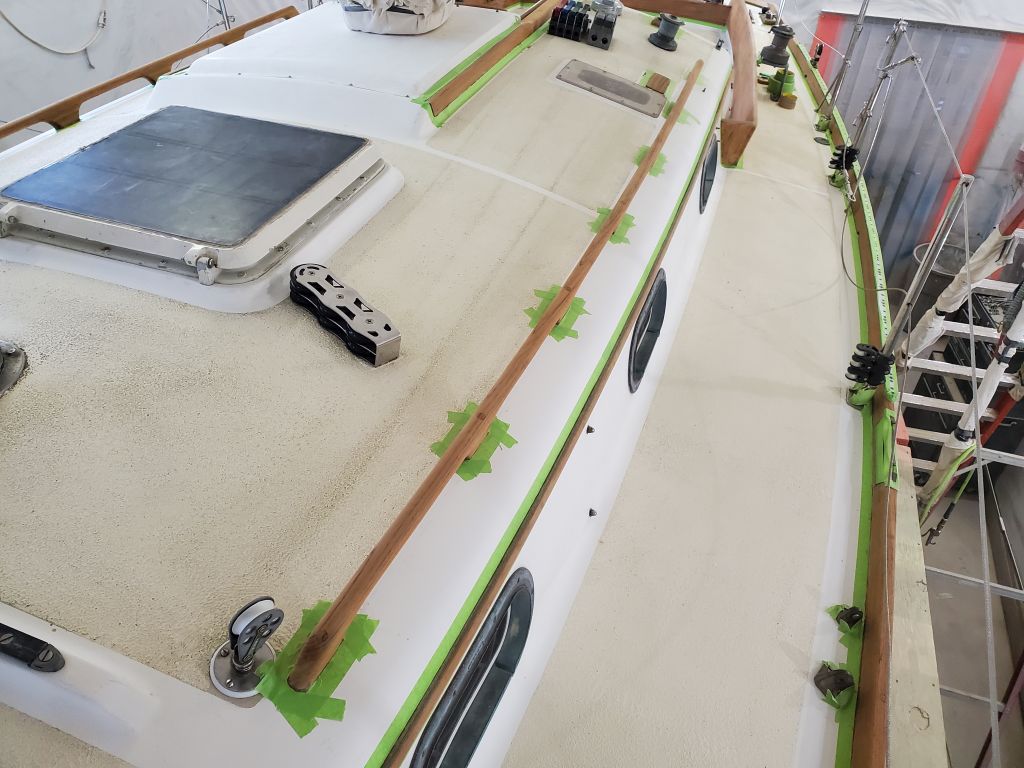
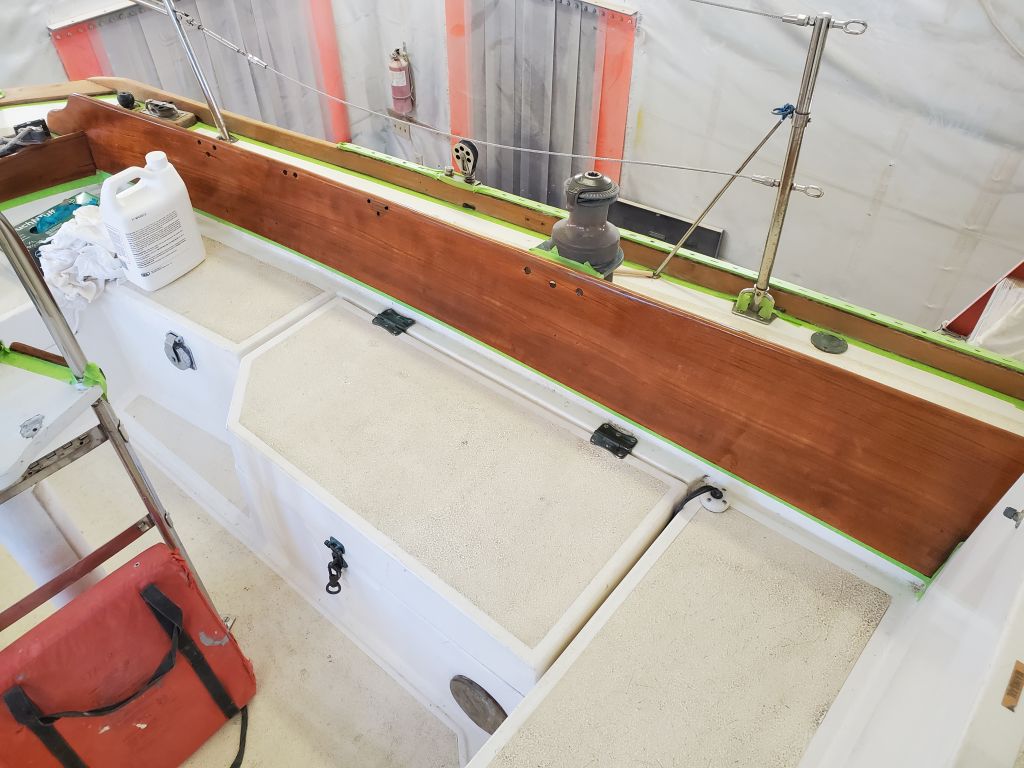
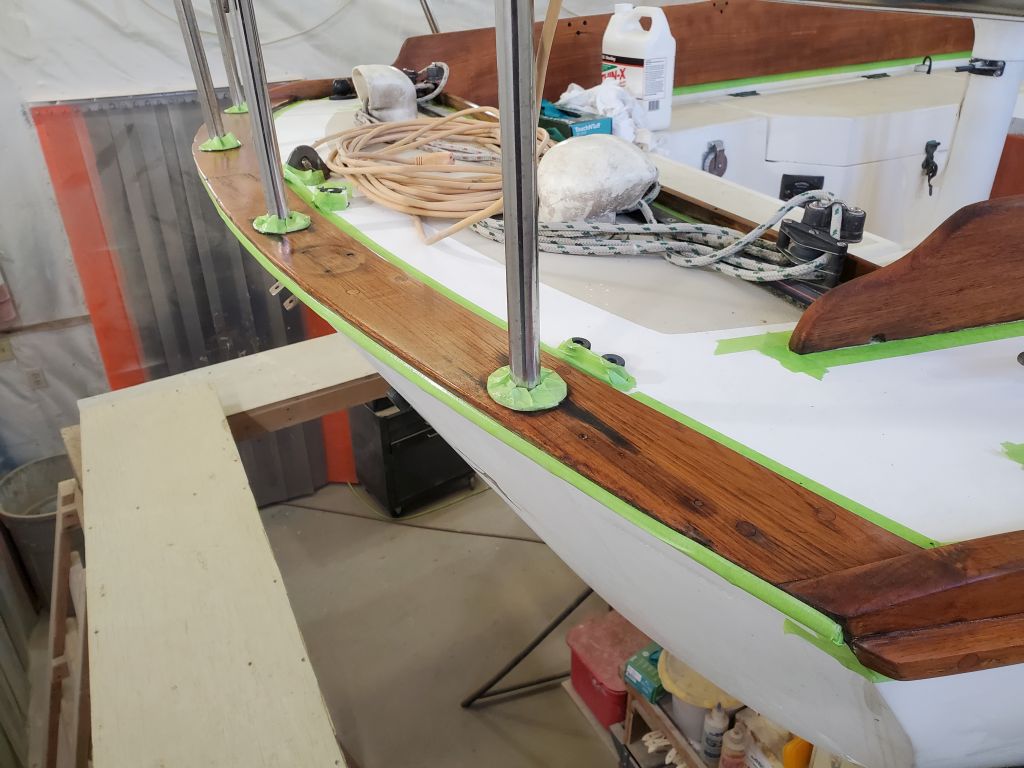
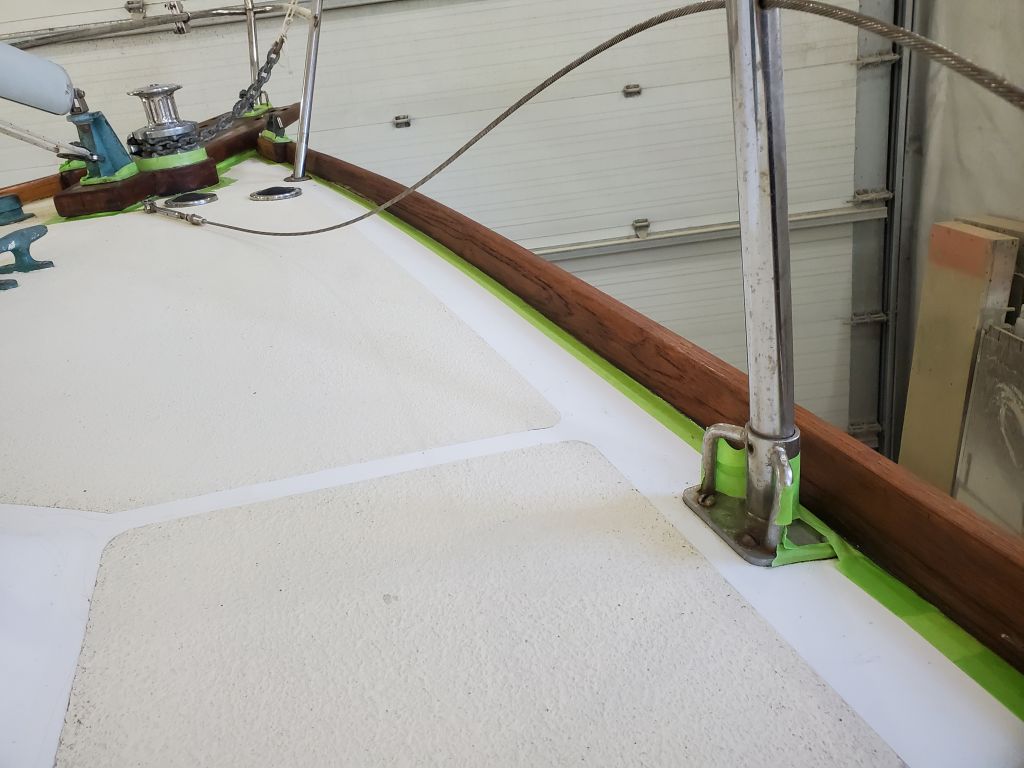
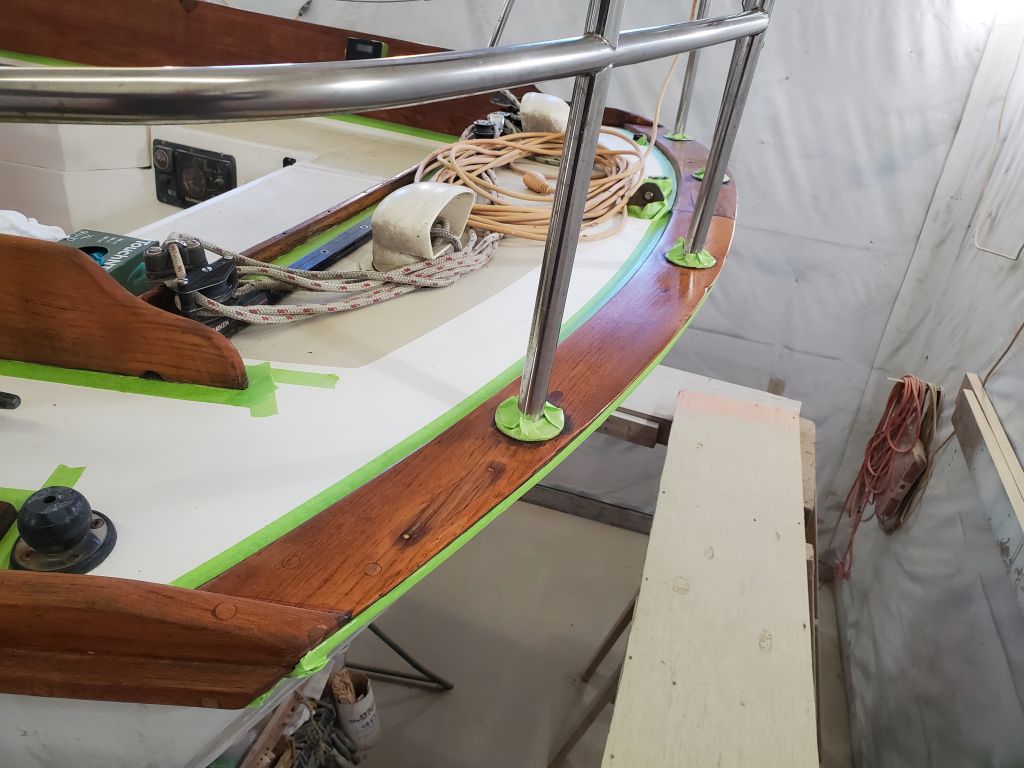
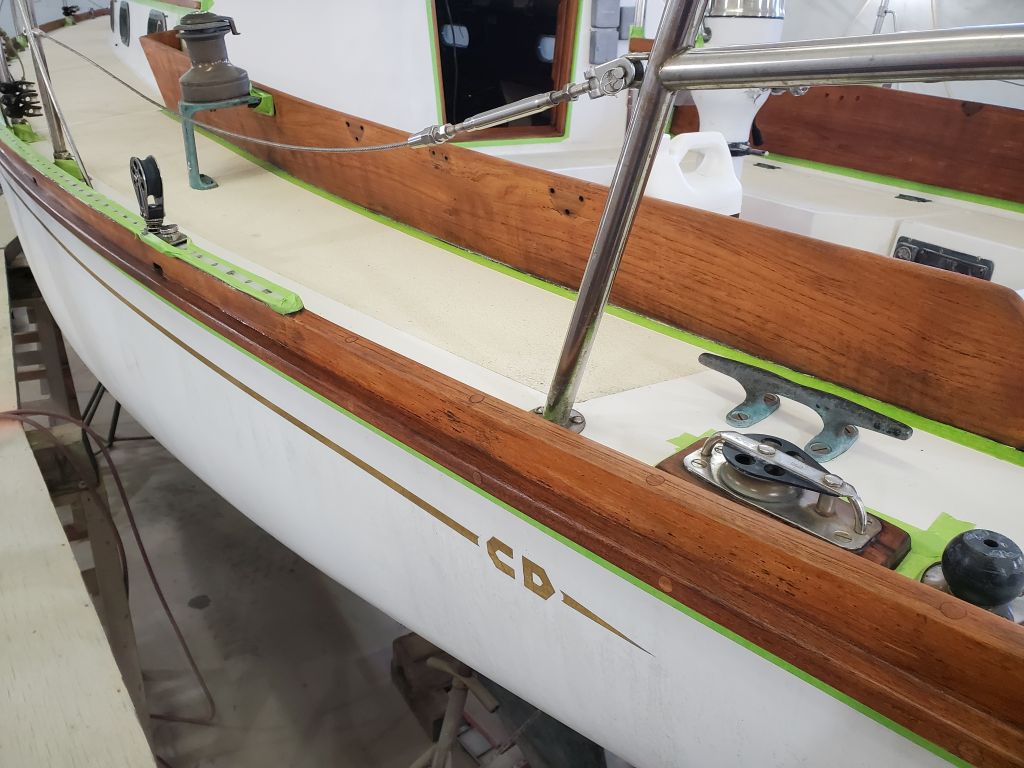
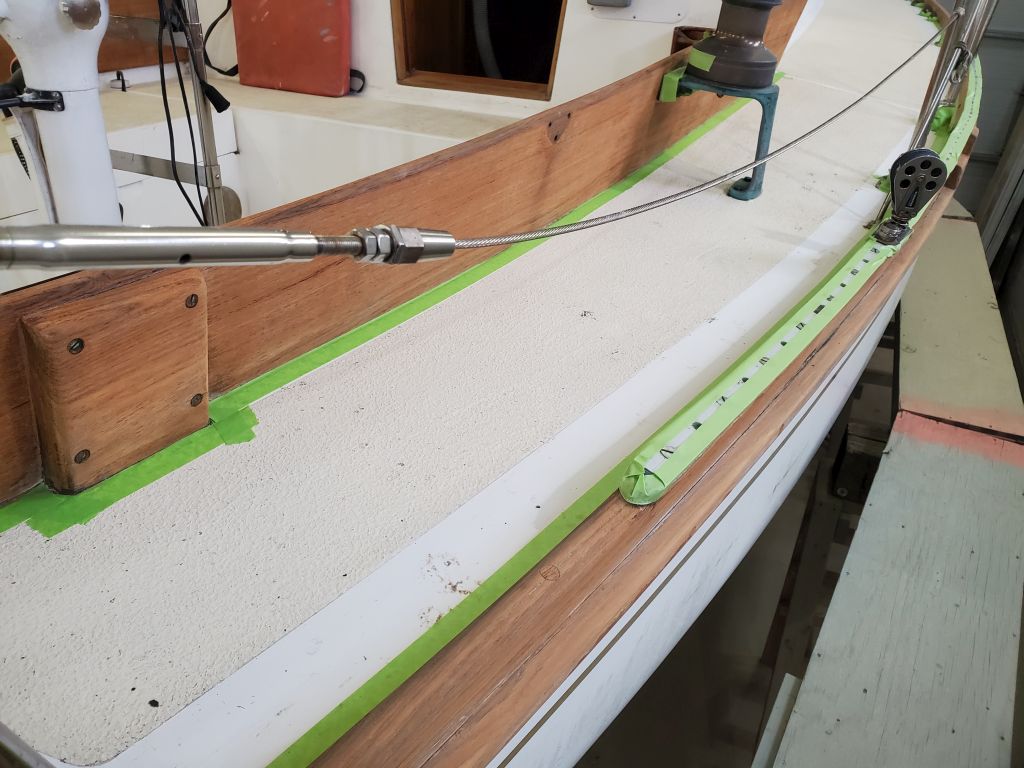
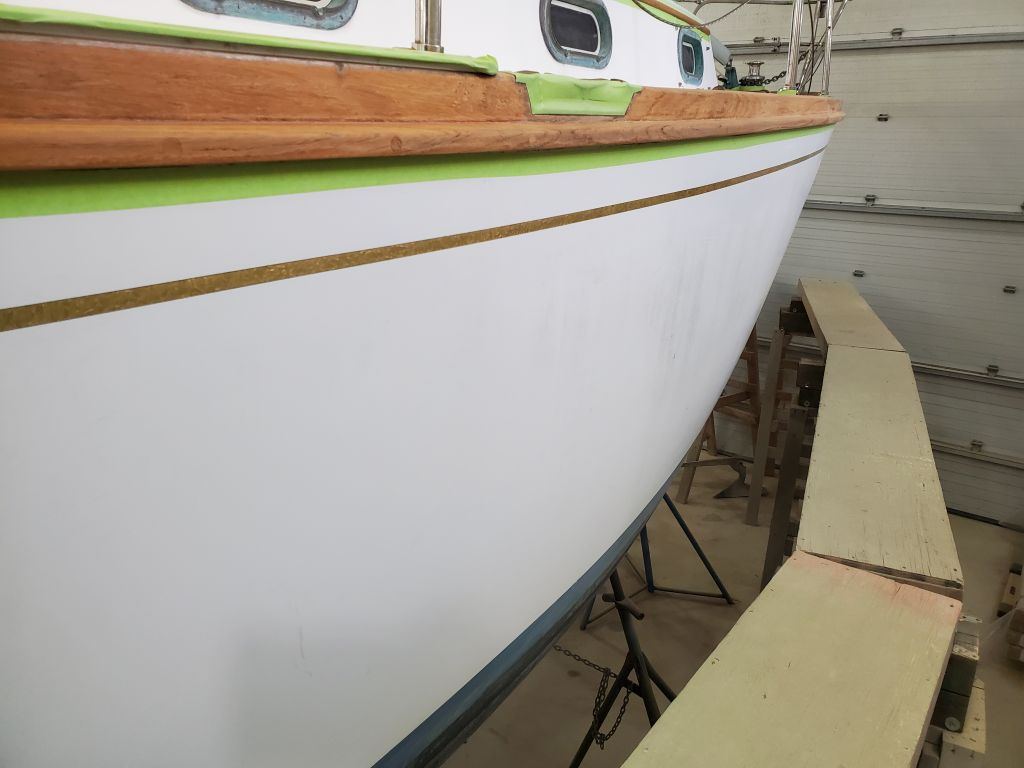
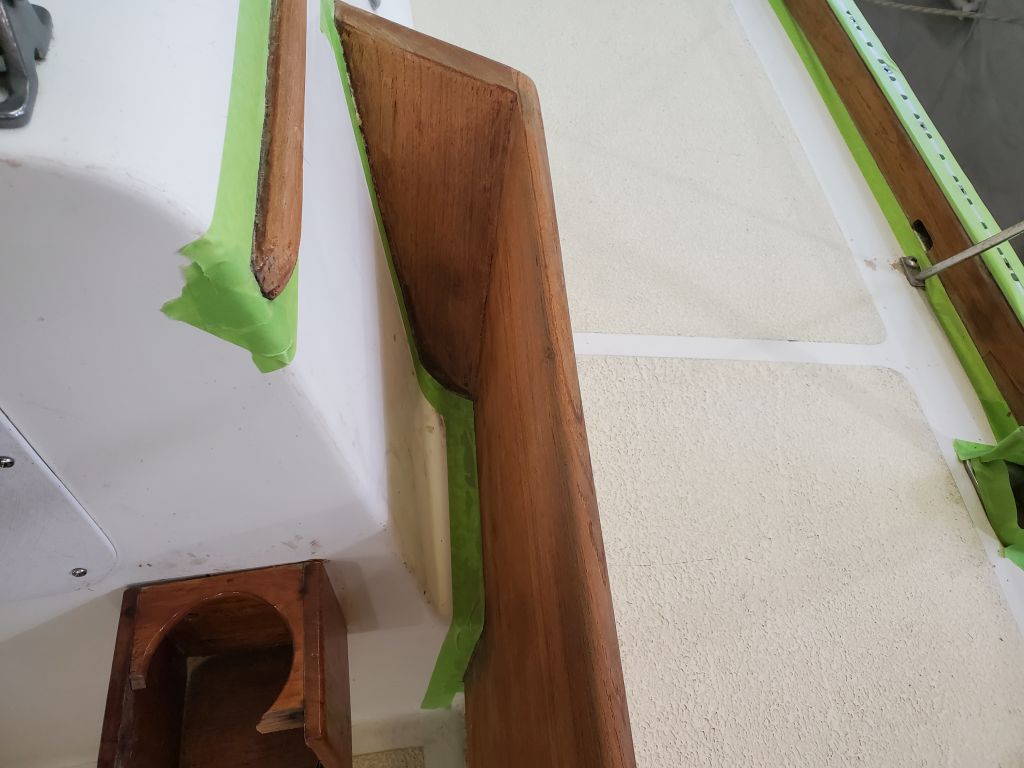
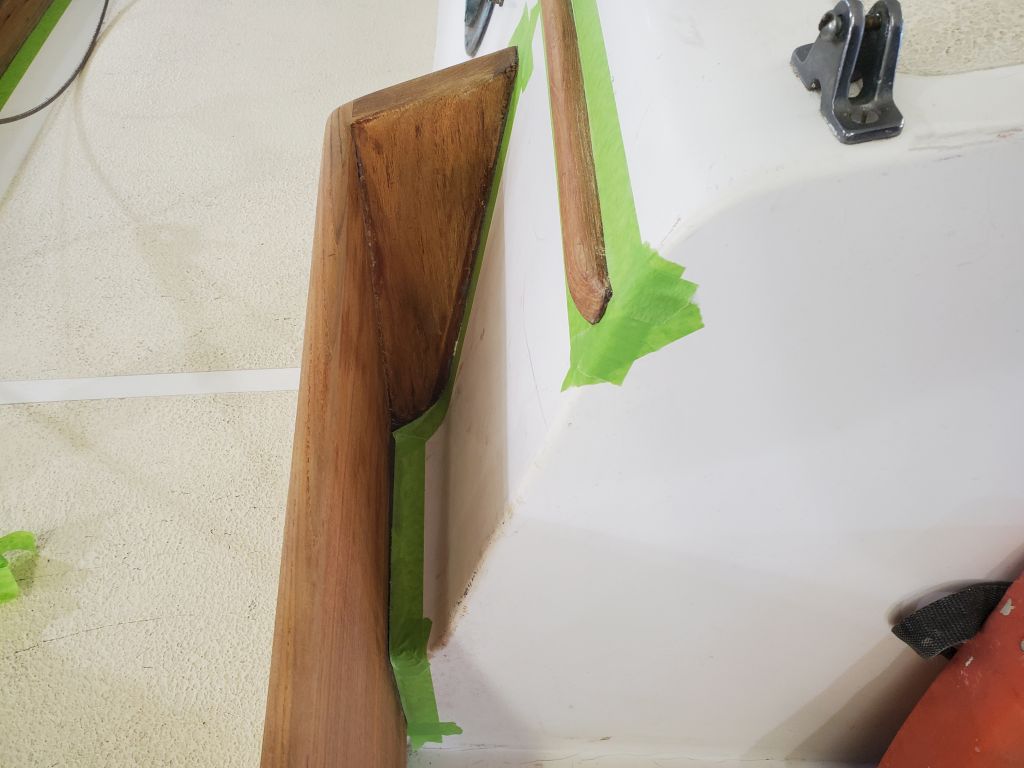
I continued the varnish buildup on the tiller and extension with coat #2, an offshoot of my varnish work on another project.
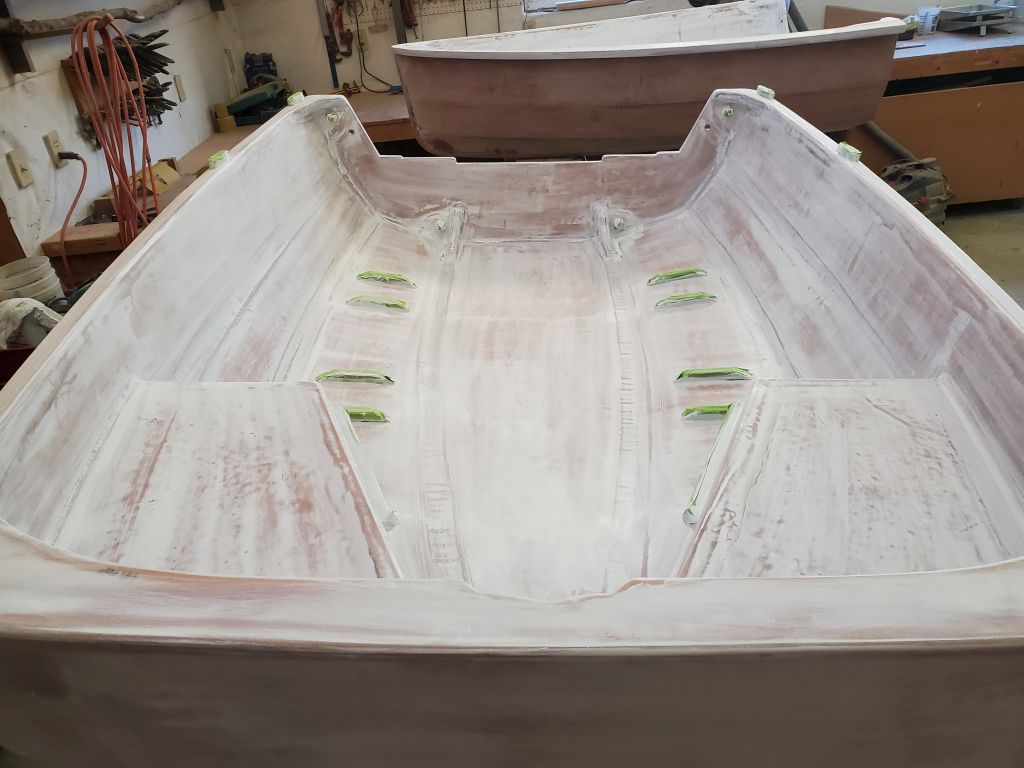
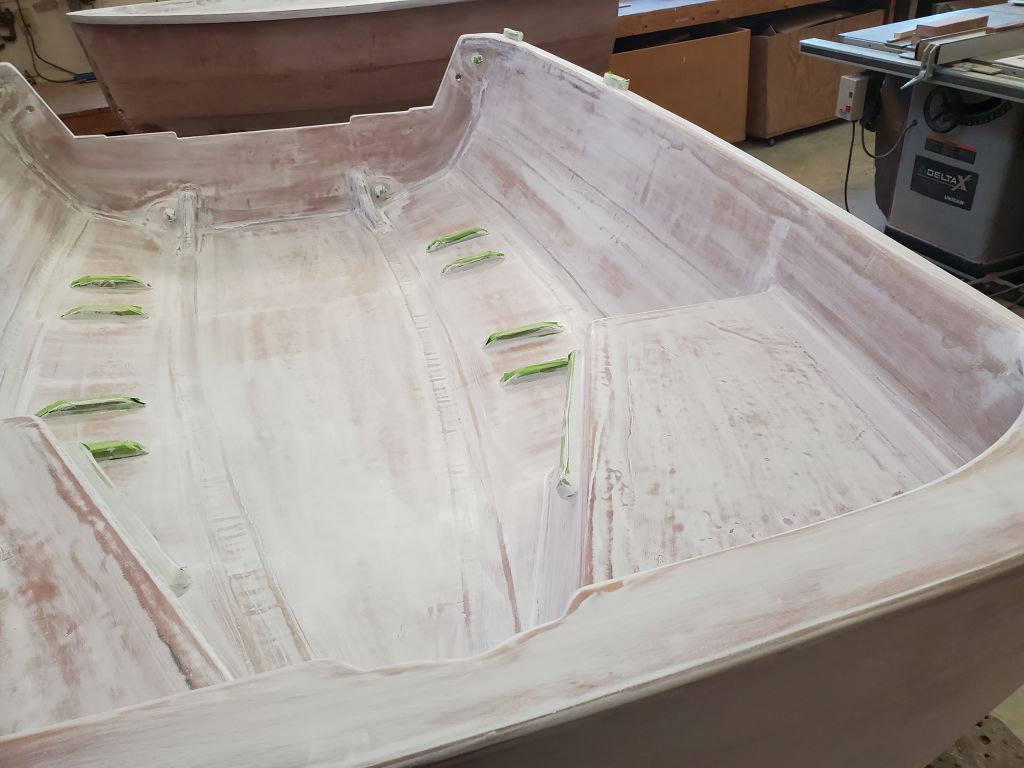
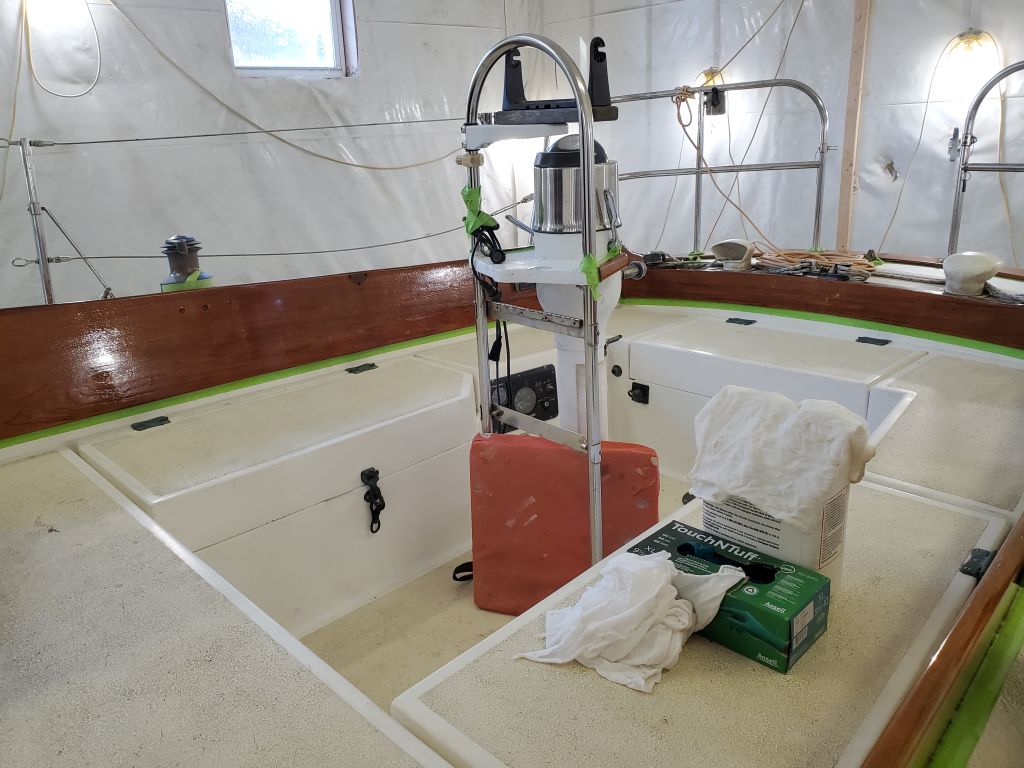
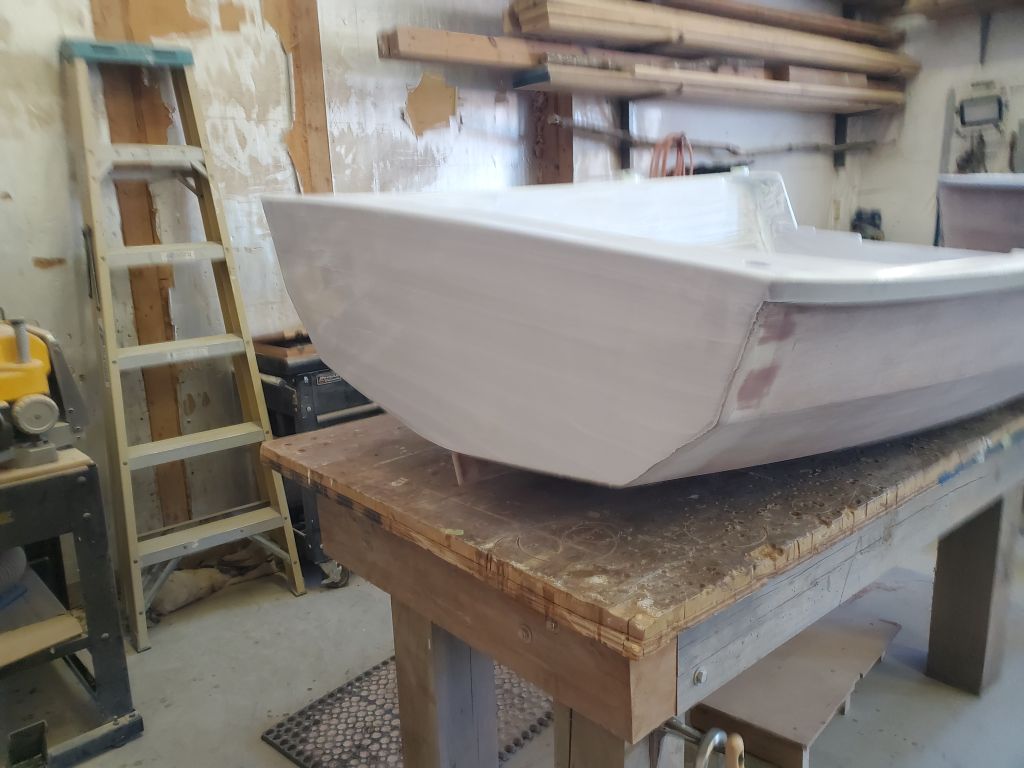
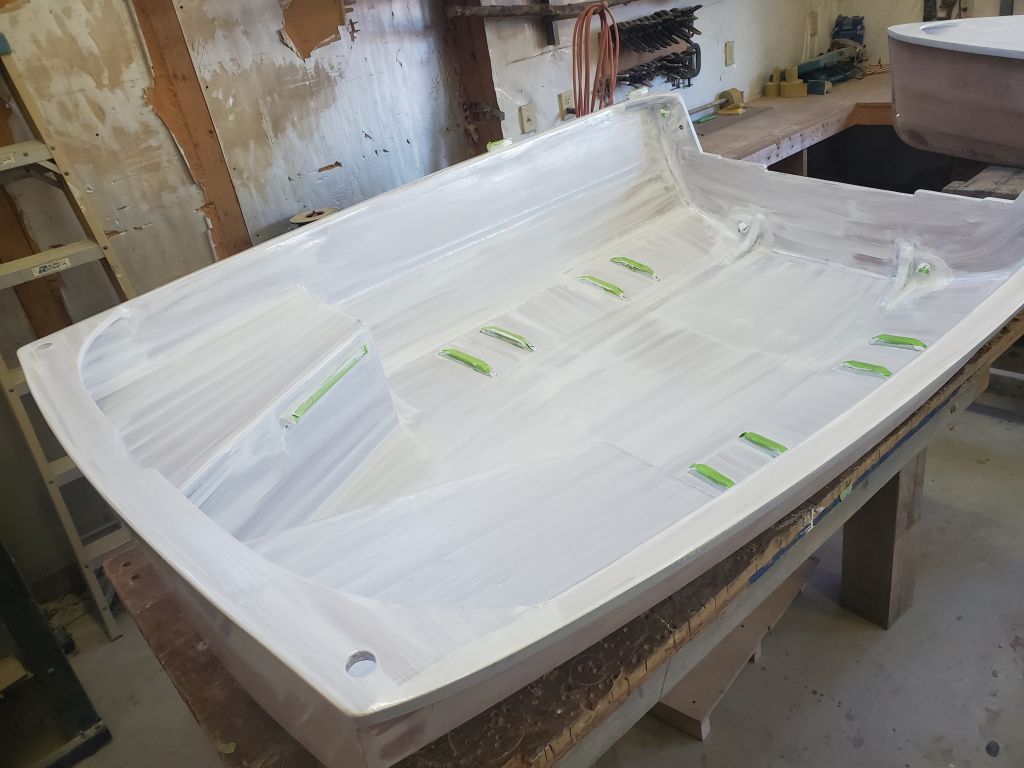
In the afternoon, I saw a good opportunity to apply primer to the interiors of the boat halves. For this job, I chose Epifanes 2-part polyurethane and appropriate primer for both inside the hull (white) and the outside of the hull (a custom mix to match the owner’s sailboat). While I’d used, and liked, other Epifanes coatings over the years, I’d not ever used the 2-part specifically.
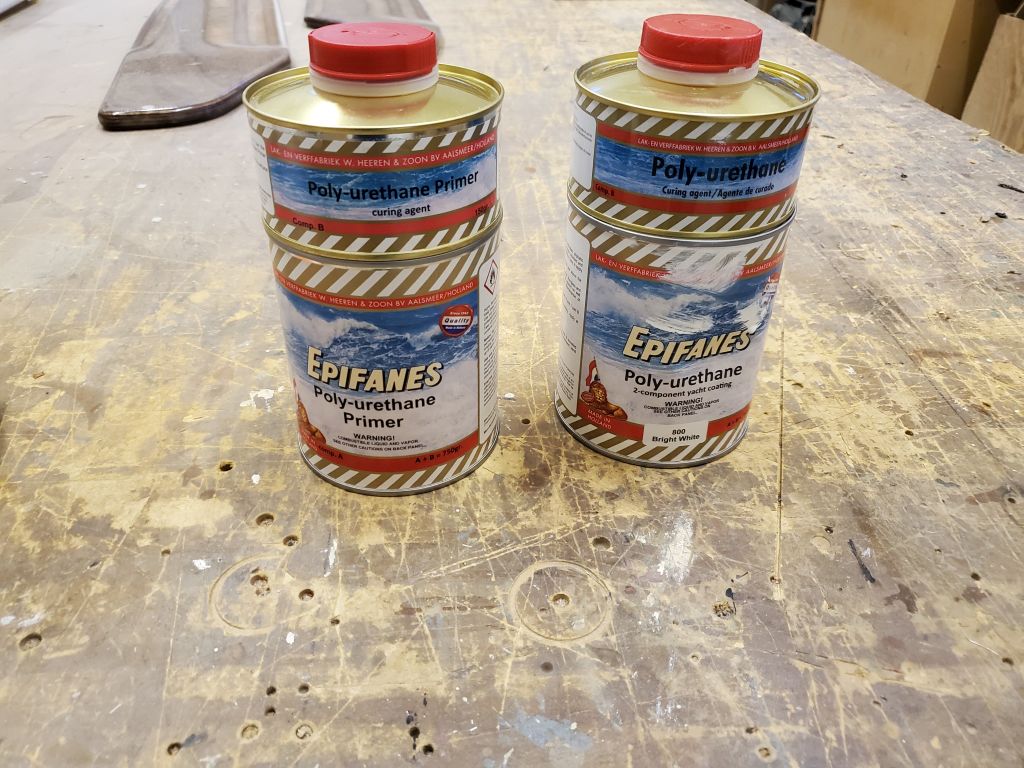
Earlier in the day, I’d pulled a package containing the paint for the job from a storage area where I’d been keeping it warm, and after confirming the label through the packaging (because I’d ordered both primer and topcoat), pulled out one of the two cans of primer inside the plastic wrapping and set it aside to use now.
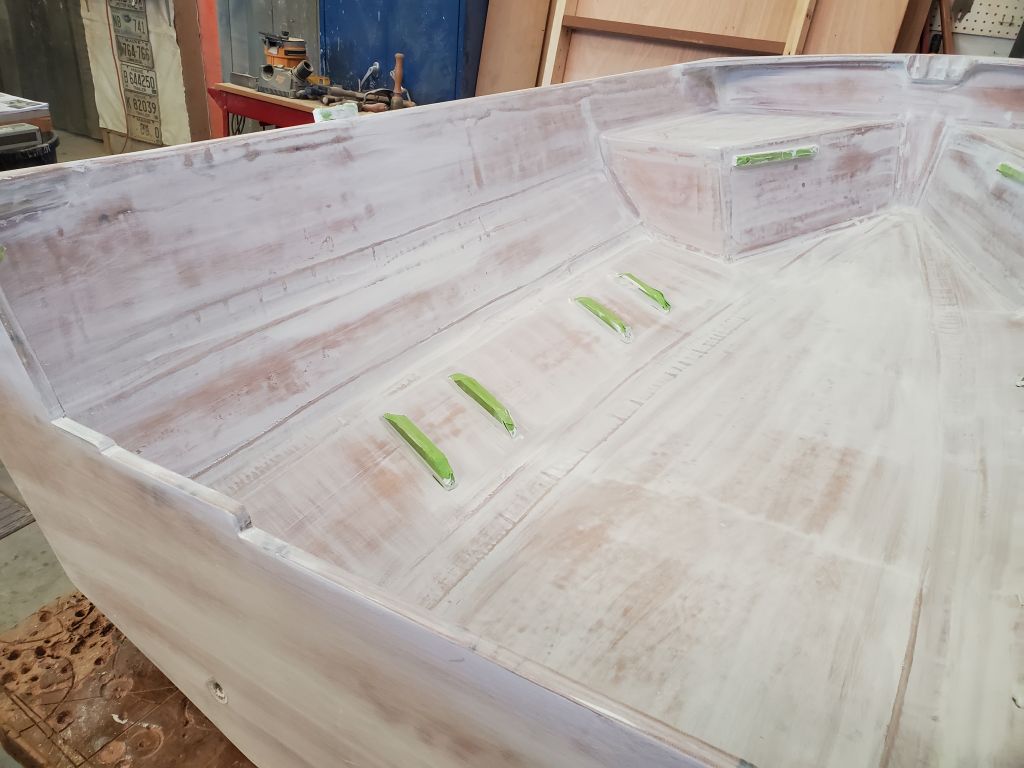
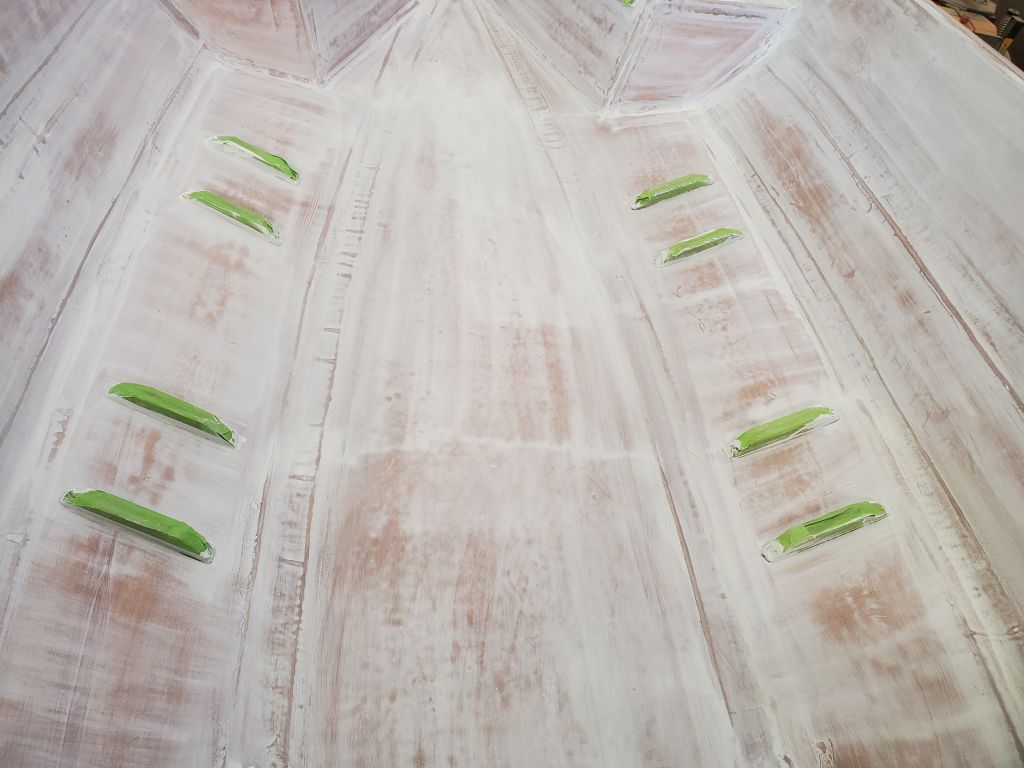
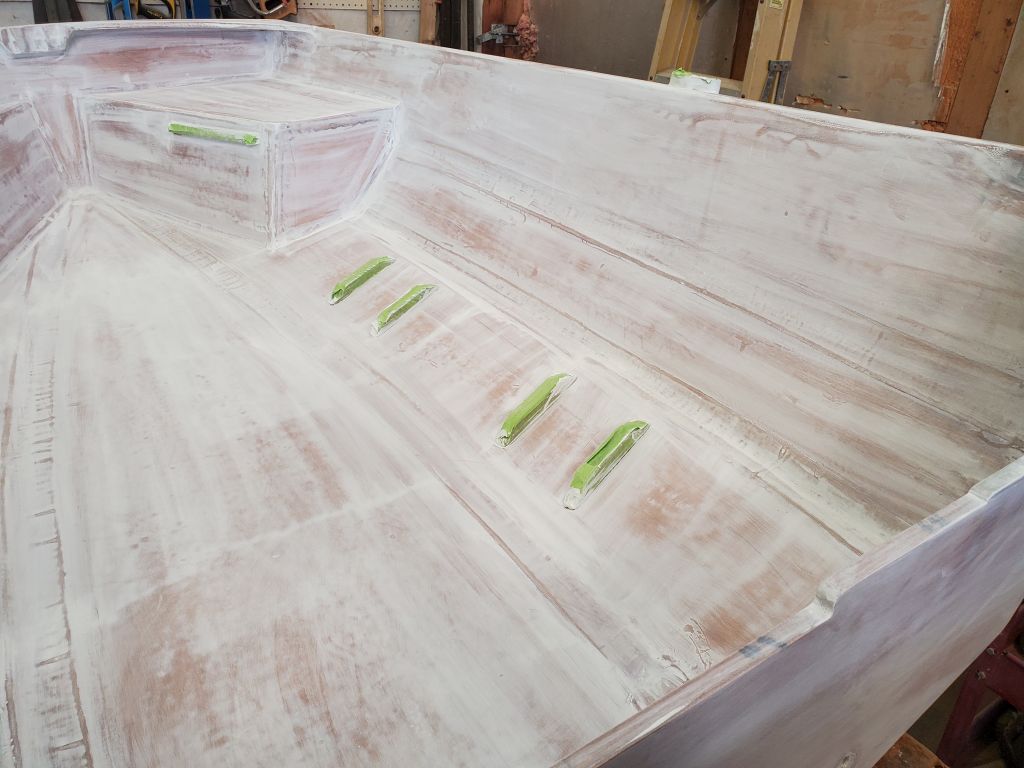
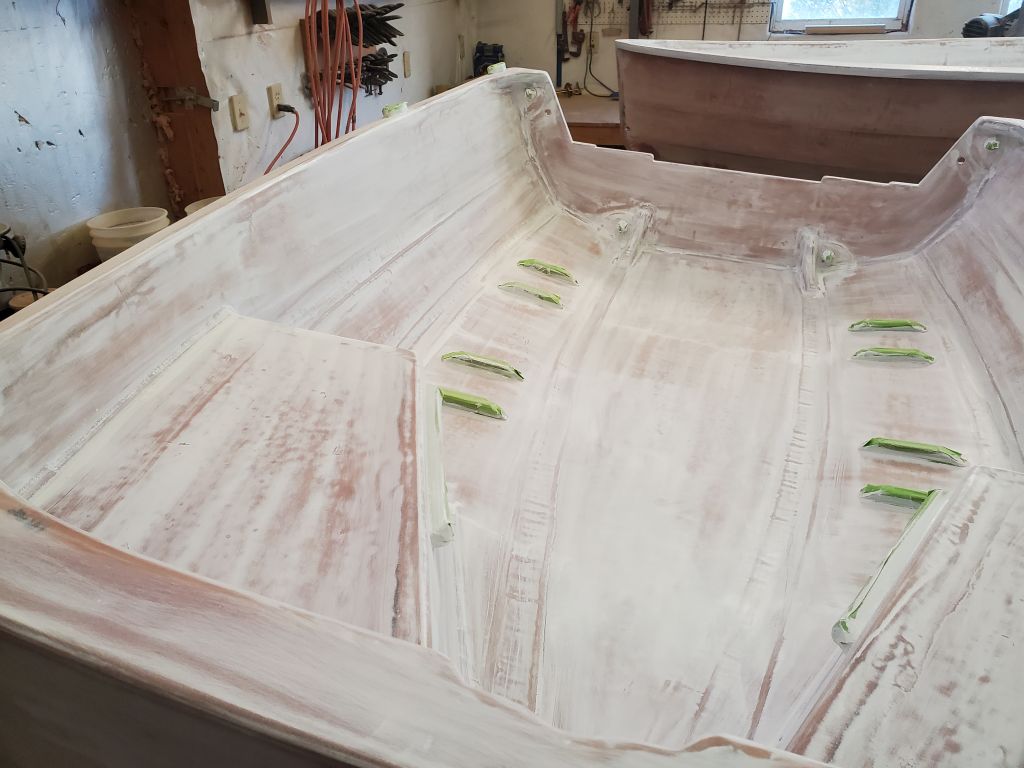
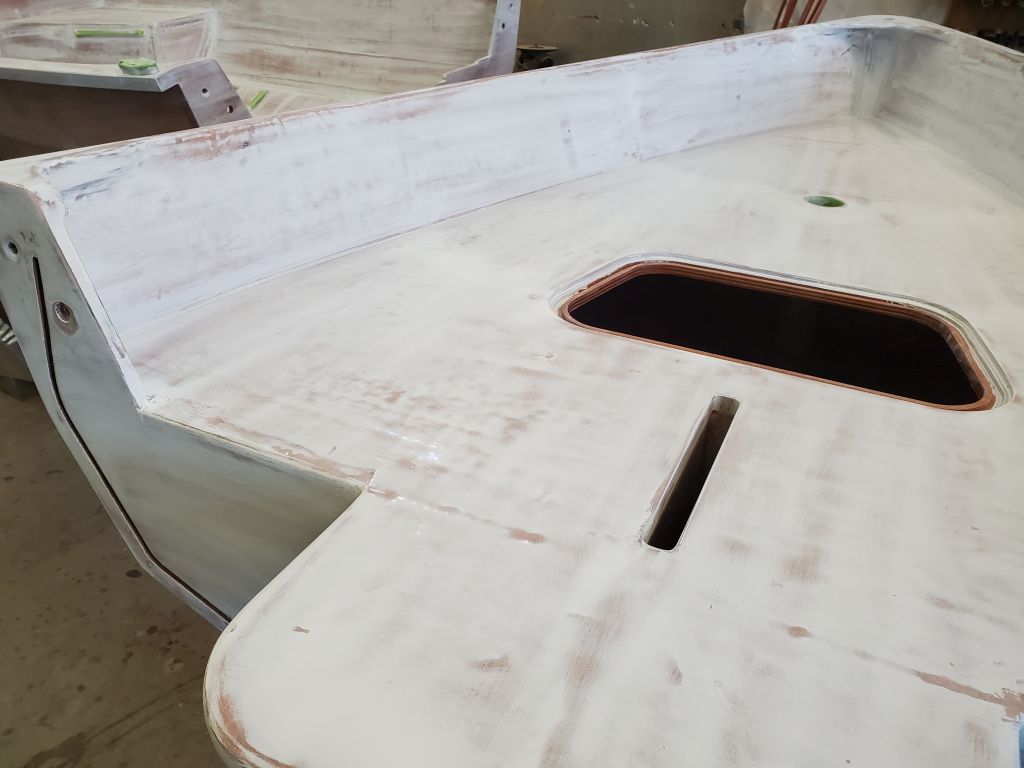
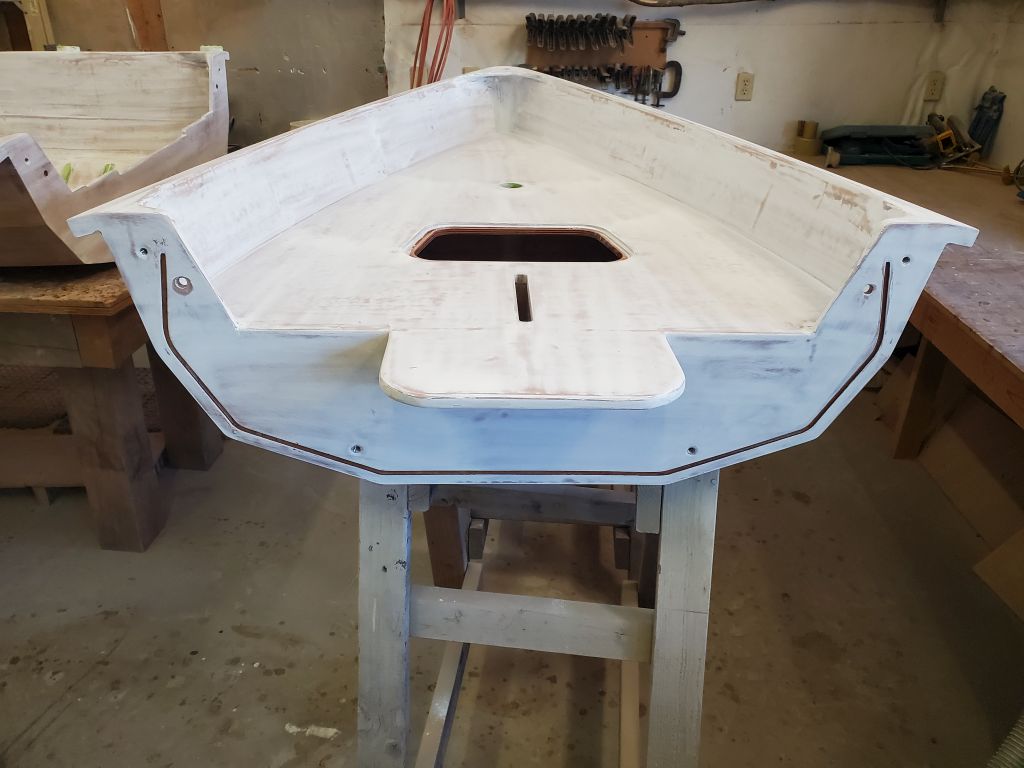
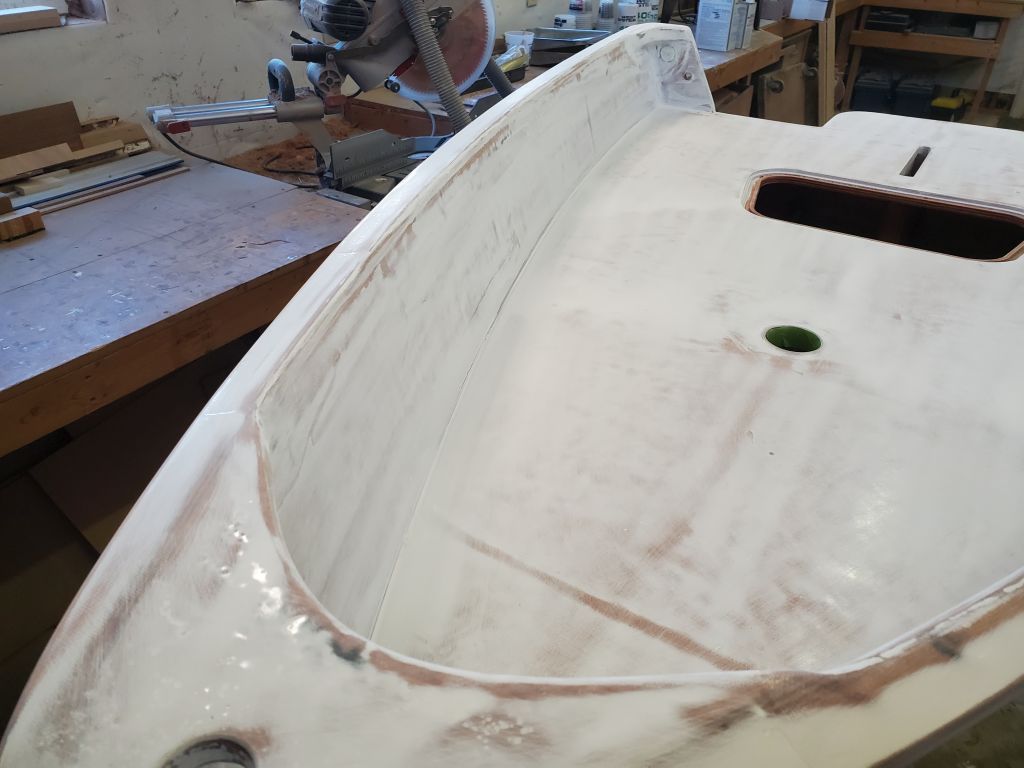
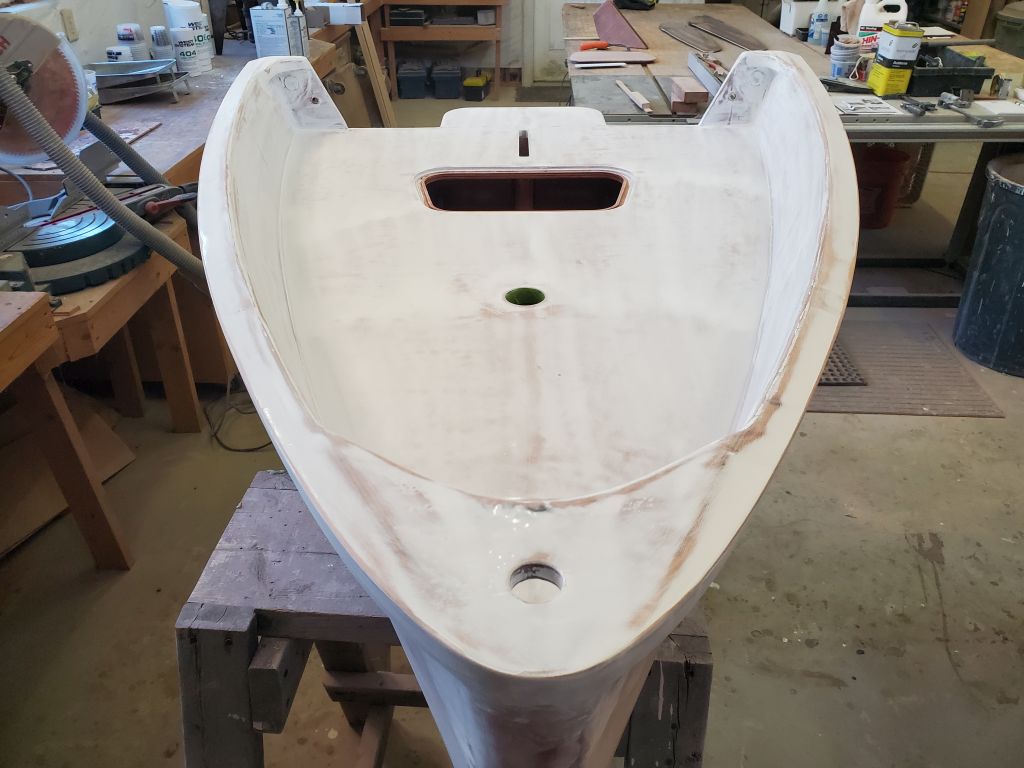
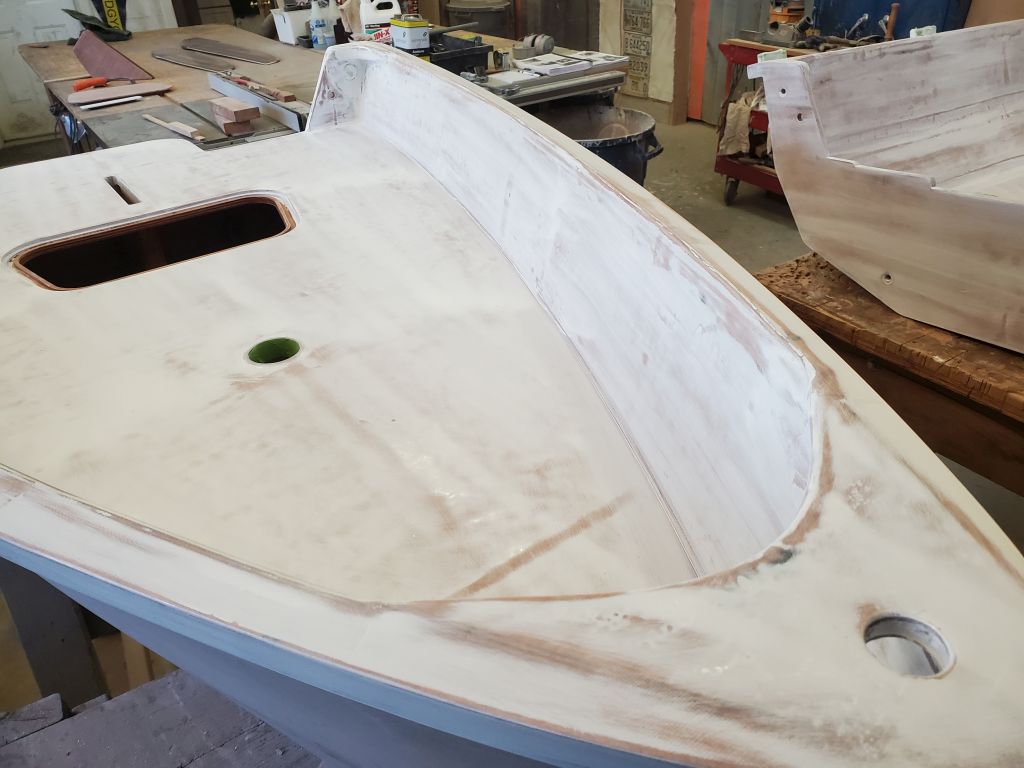
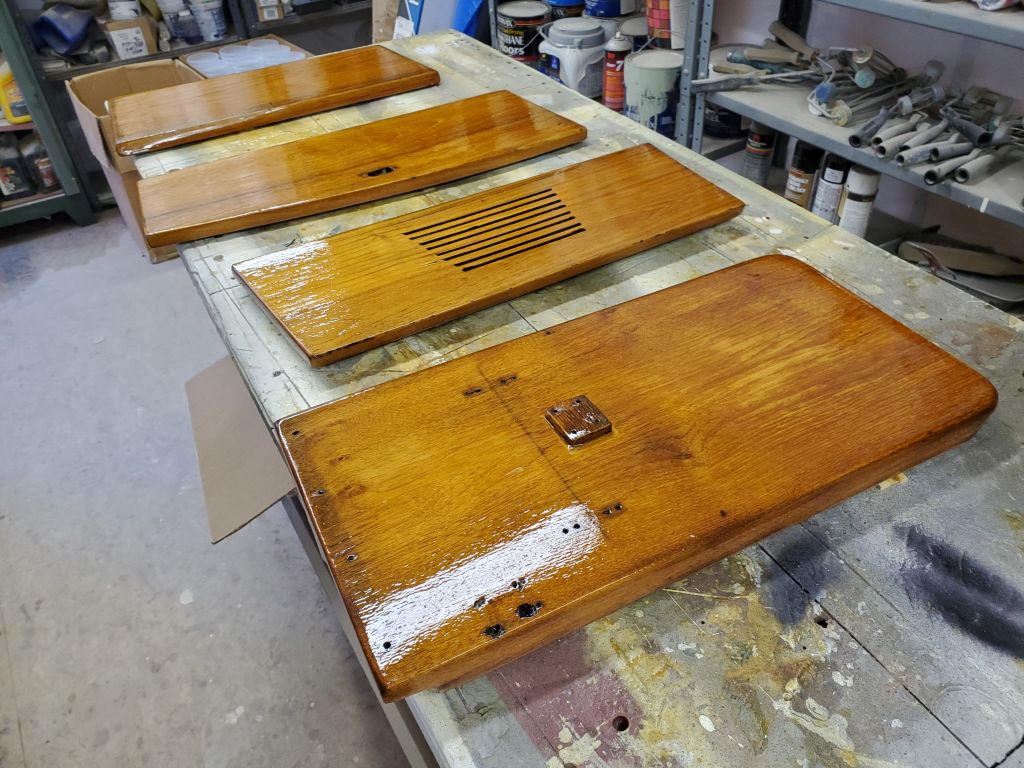
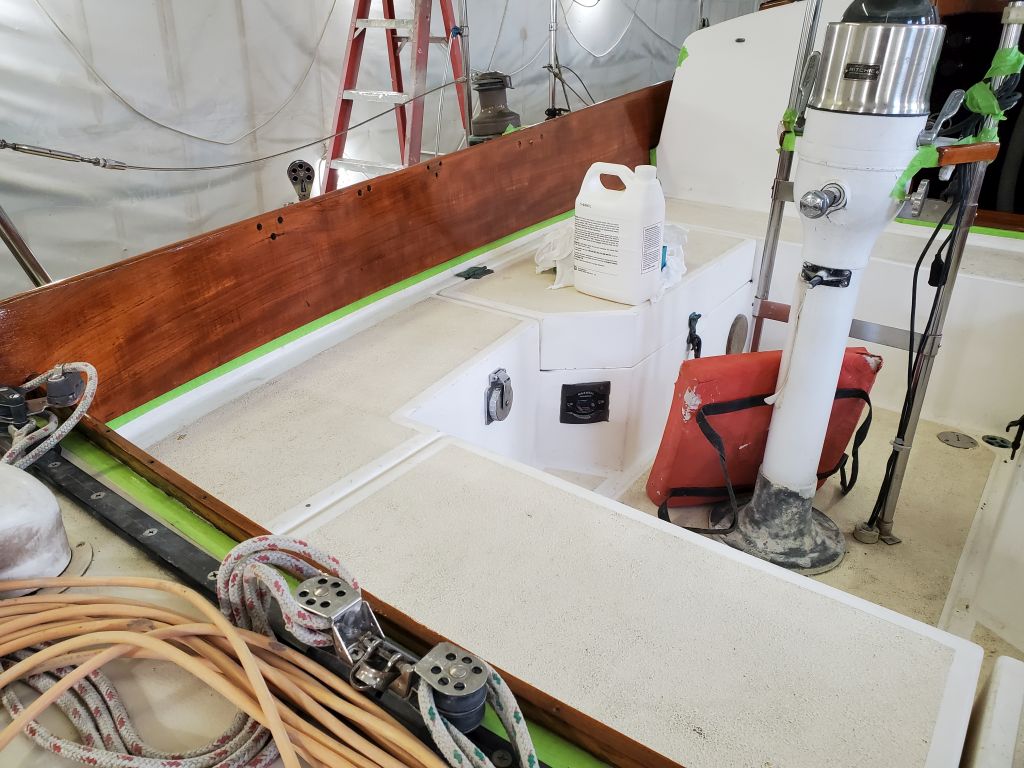
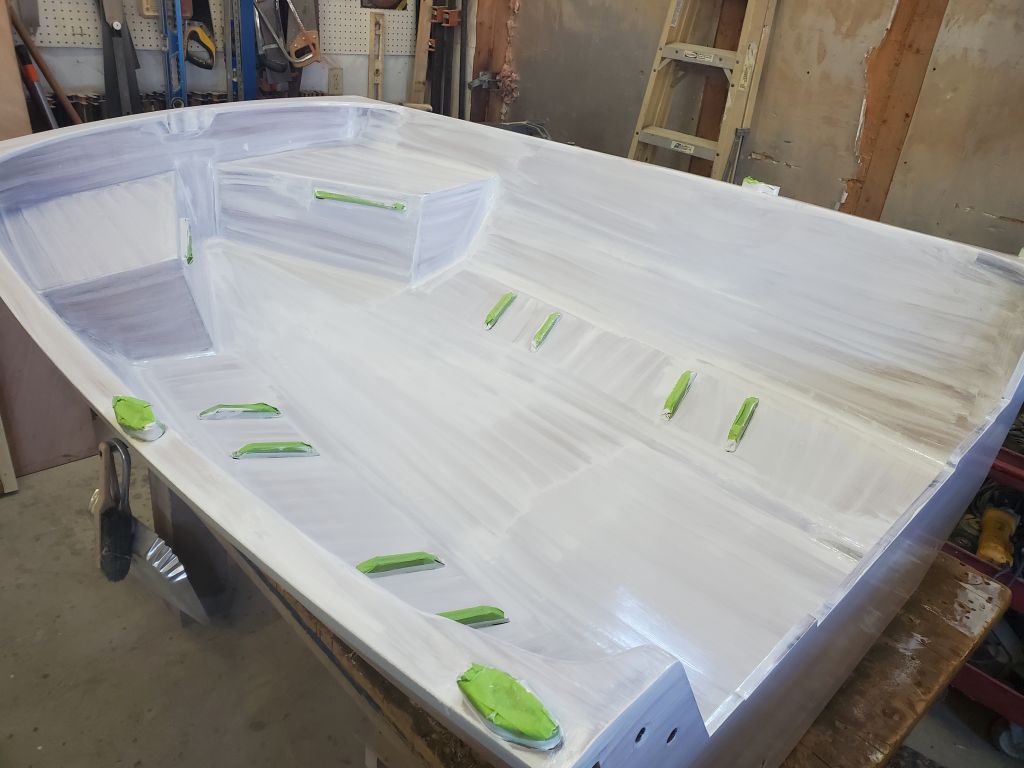
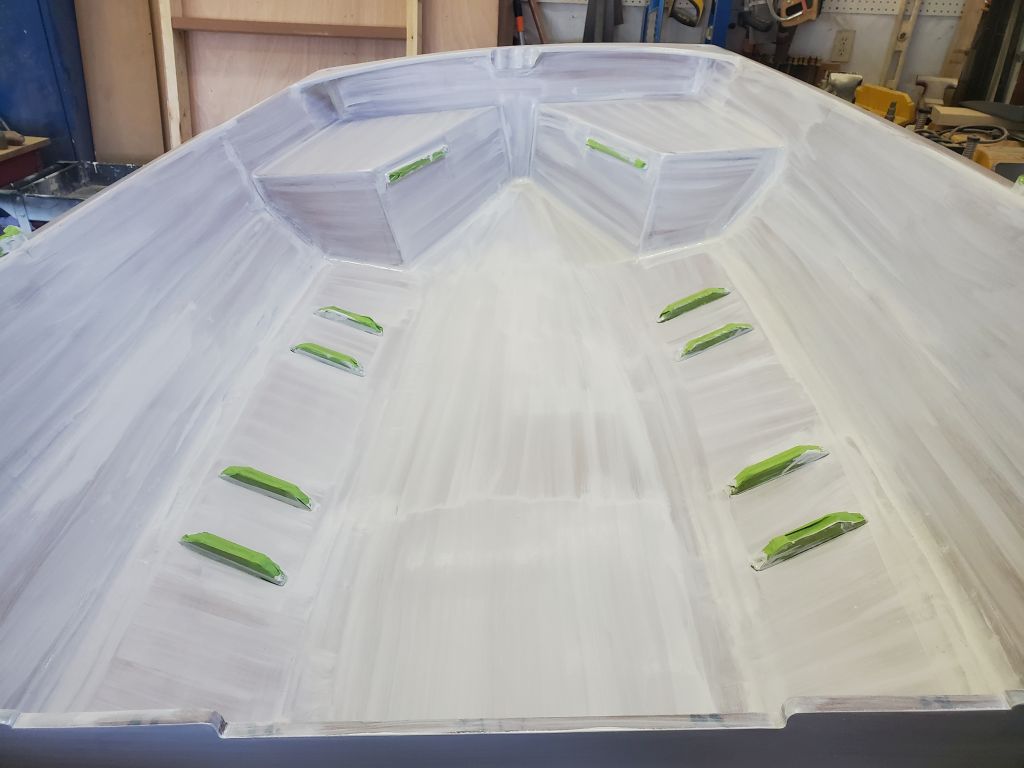
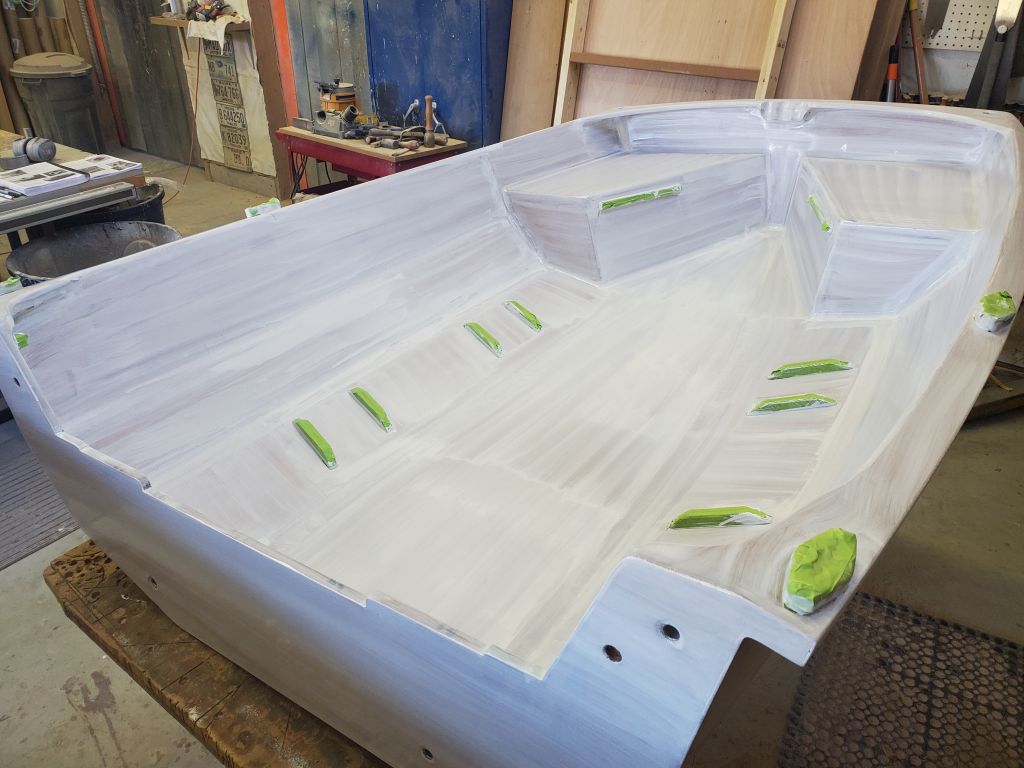
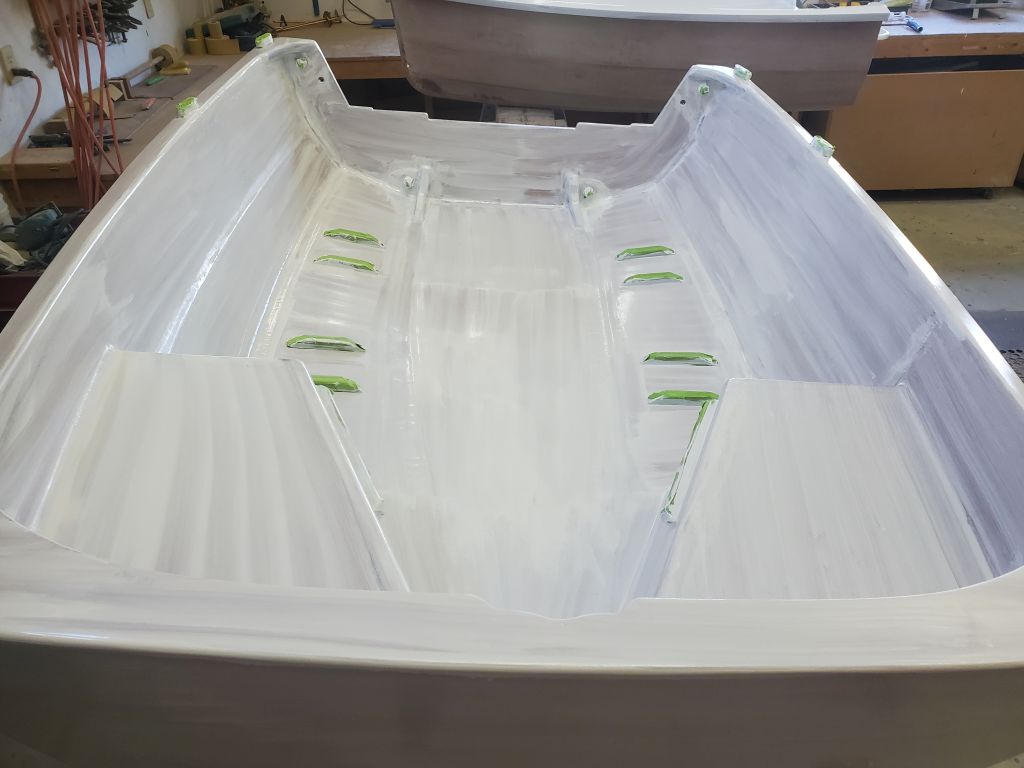
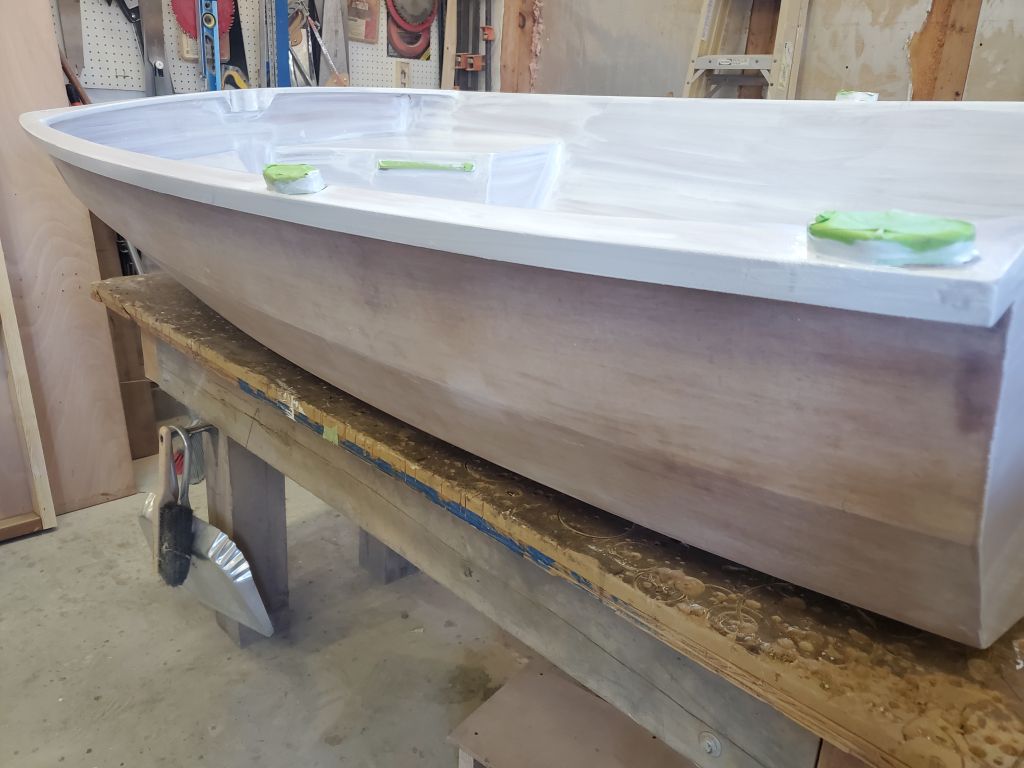
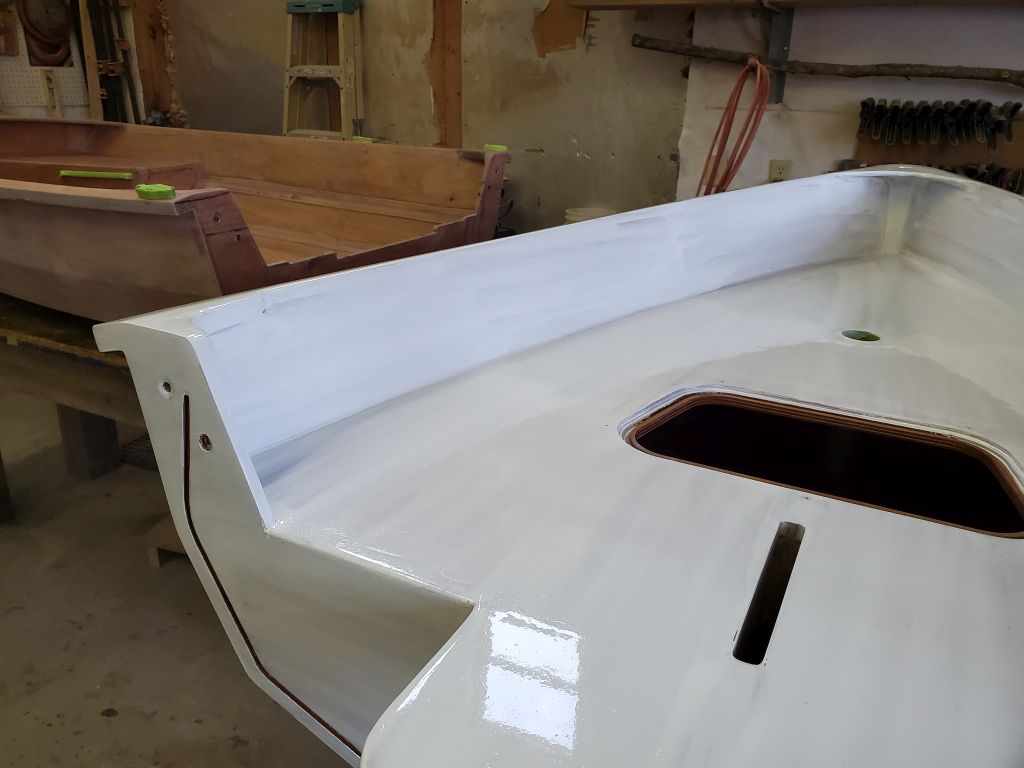
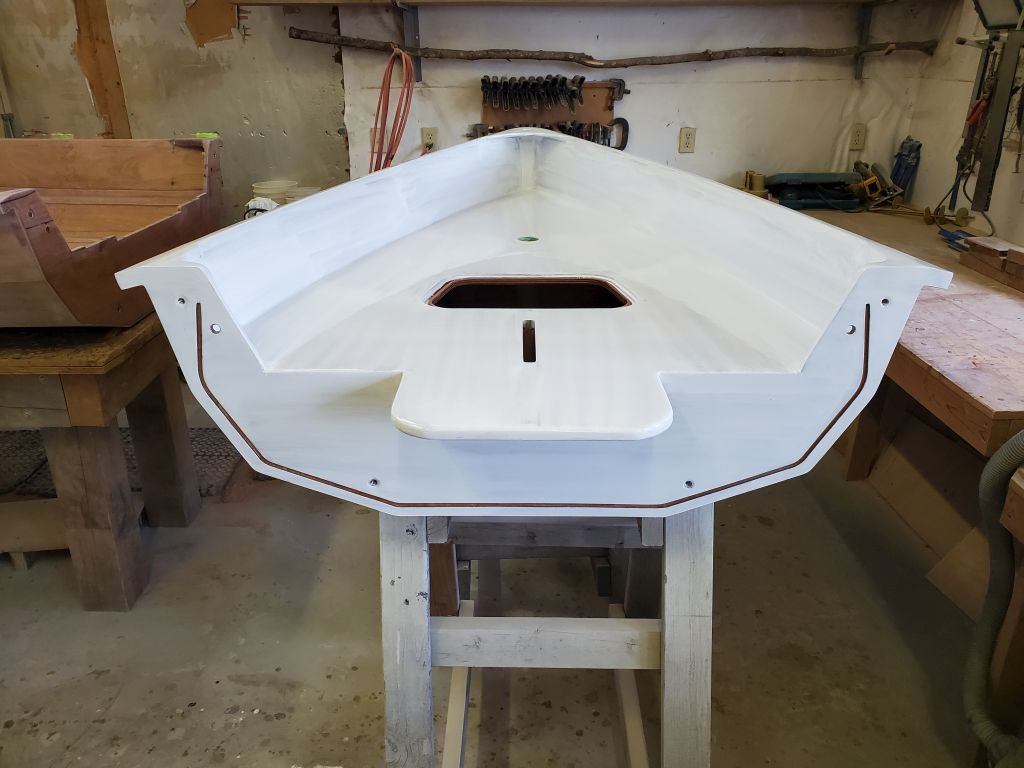
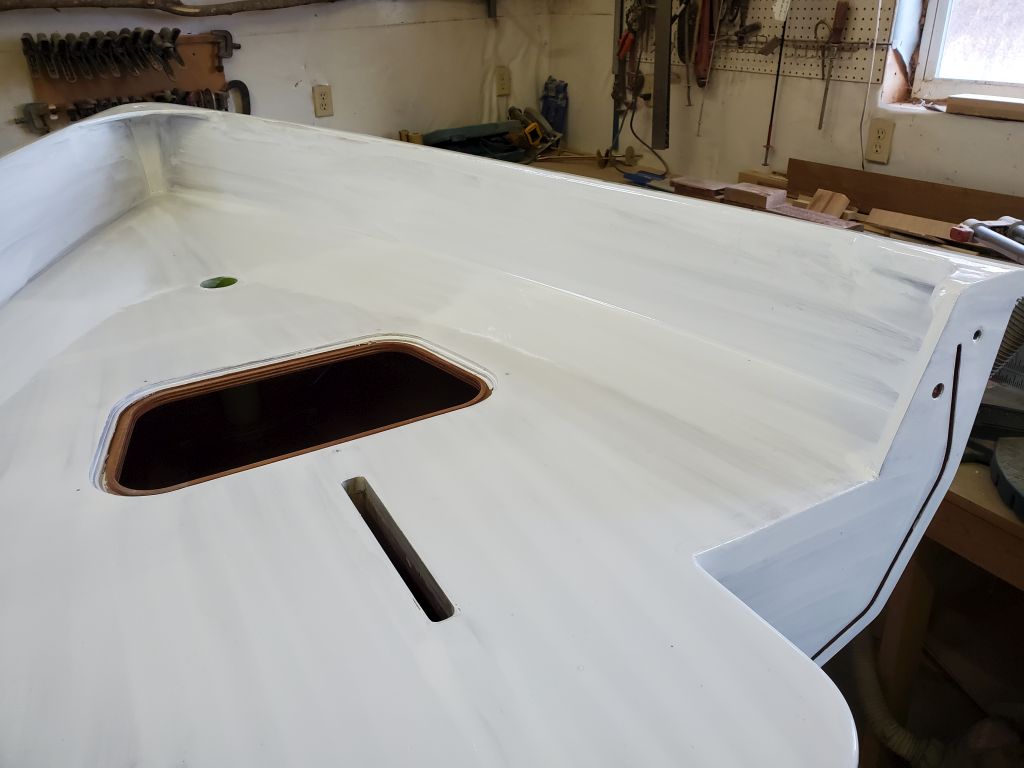
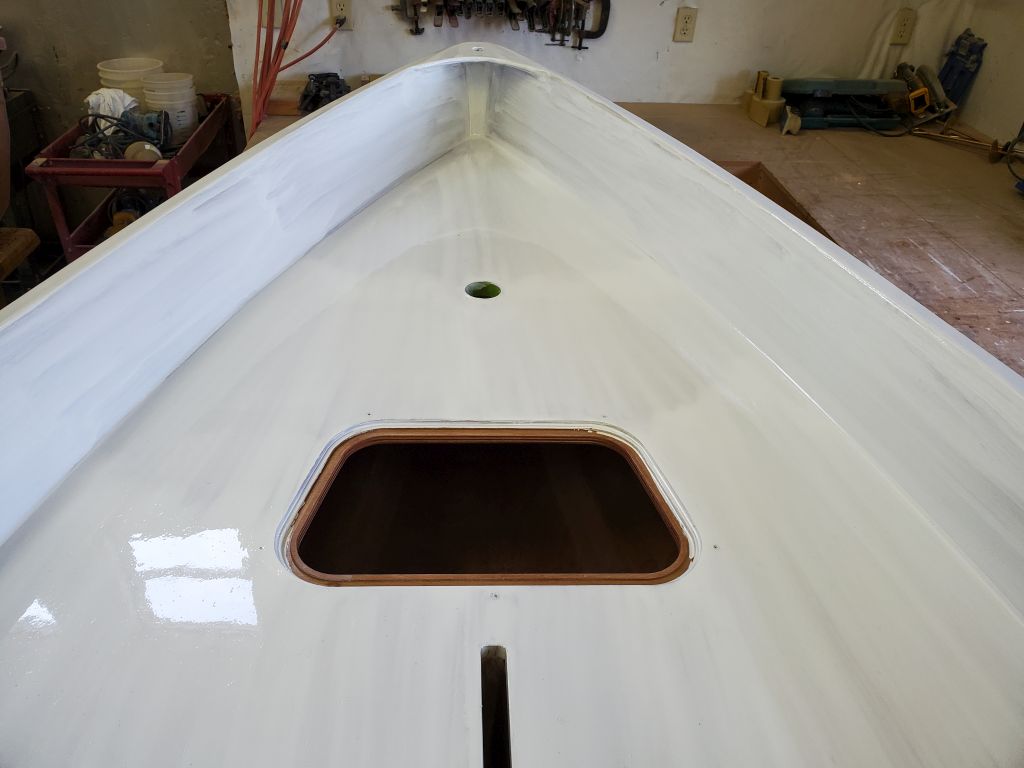
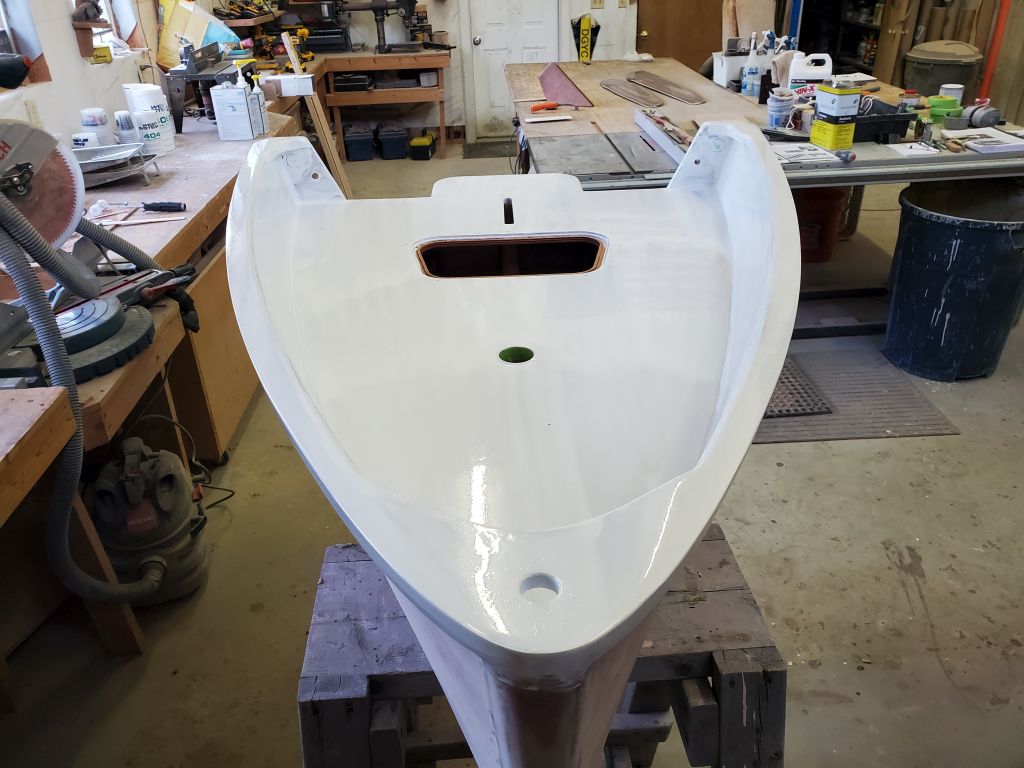
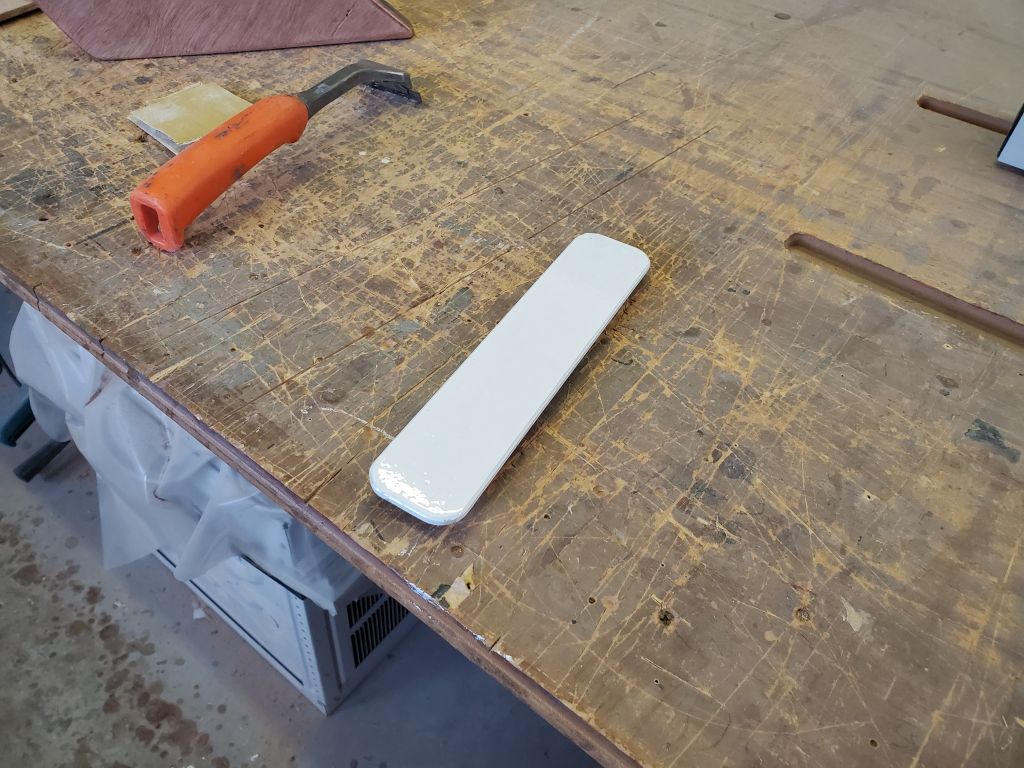
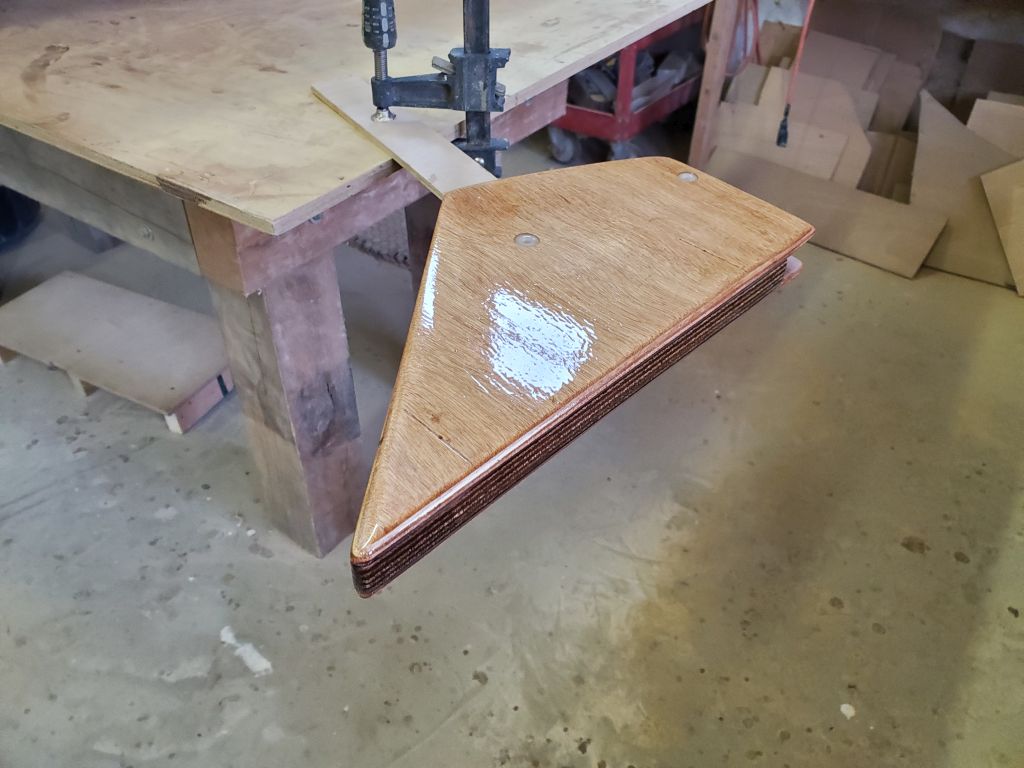
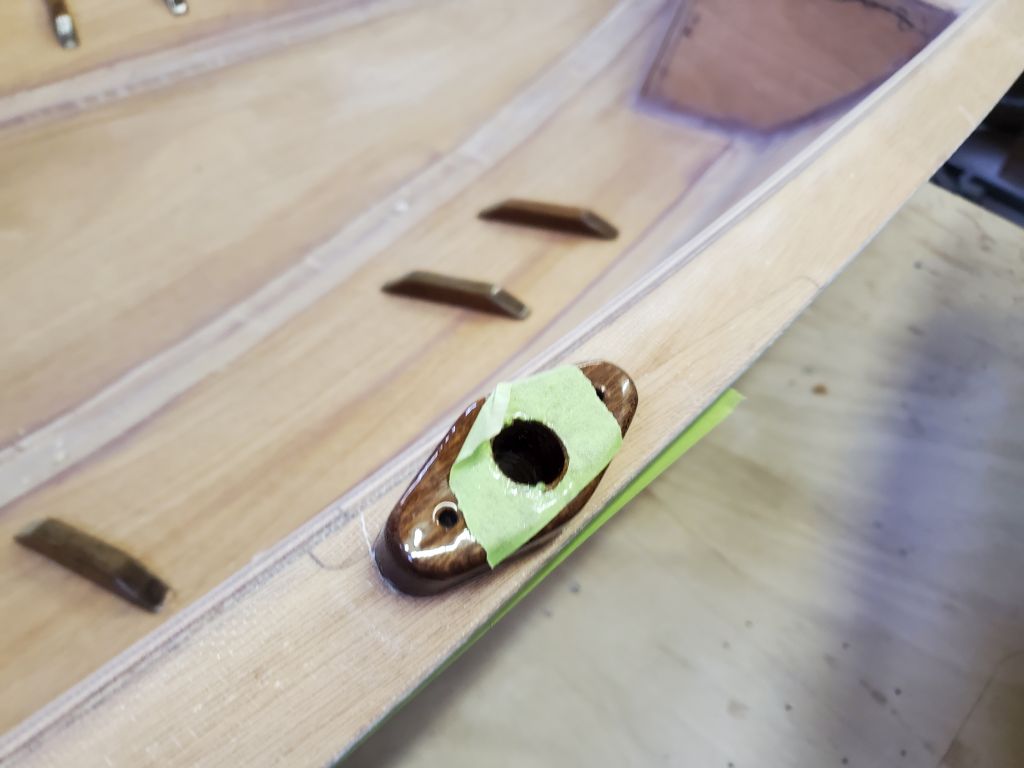
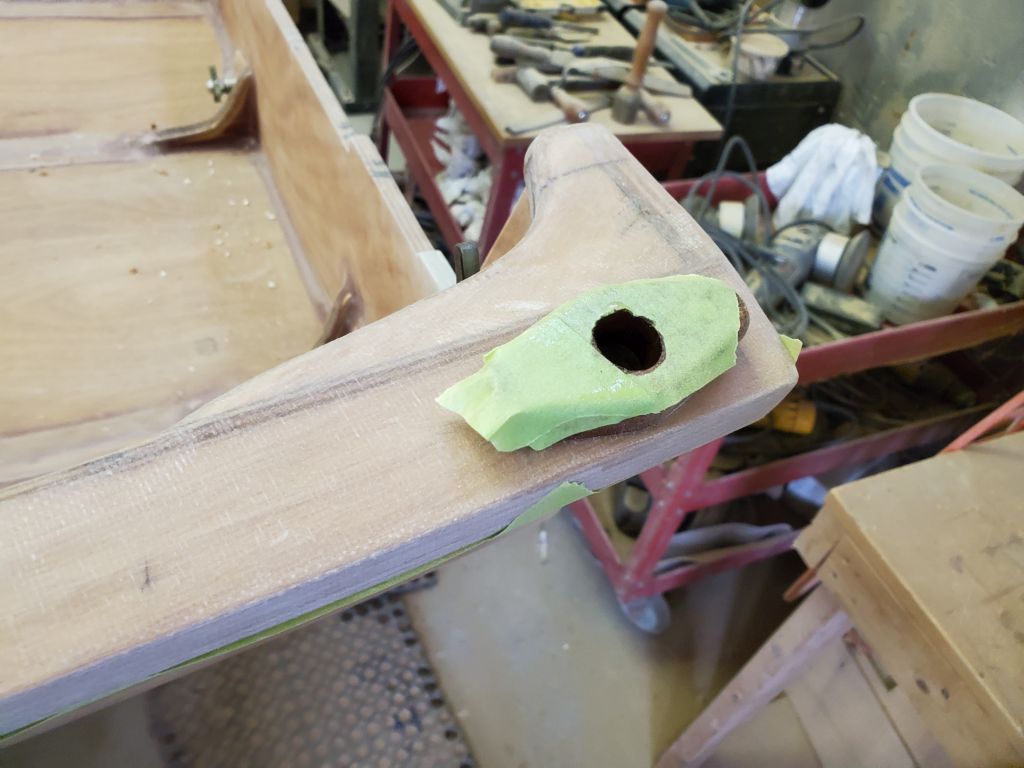
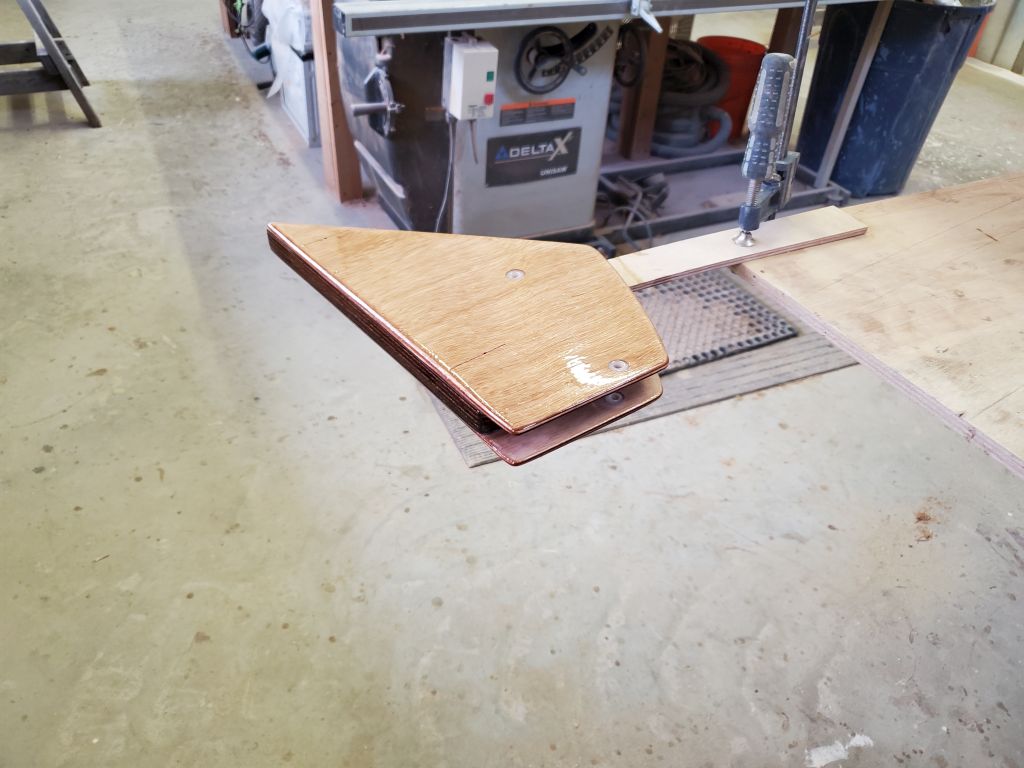
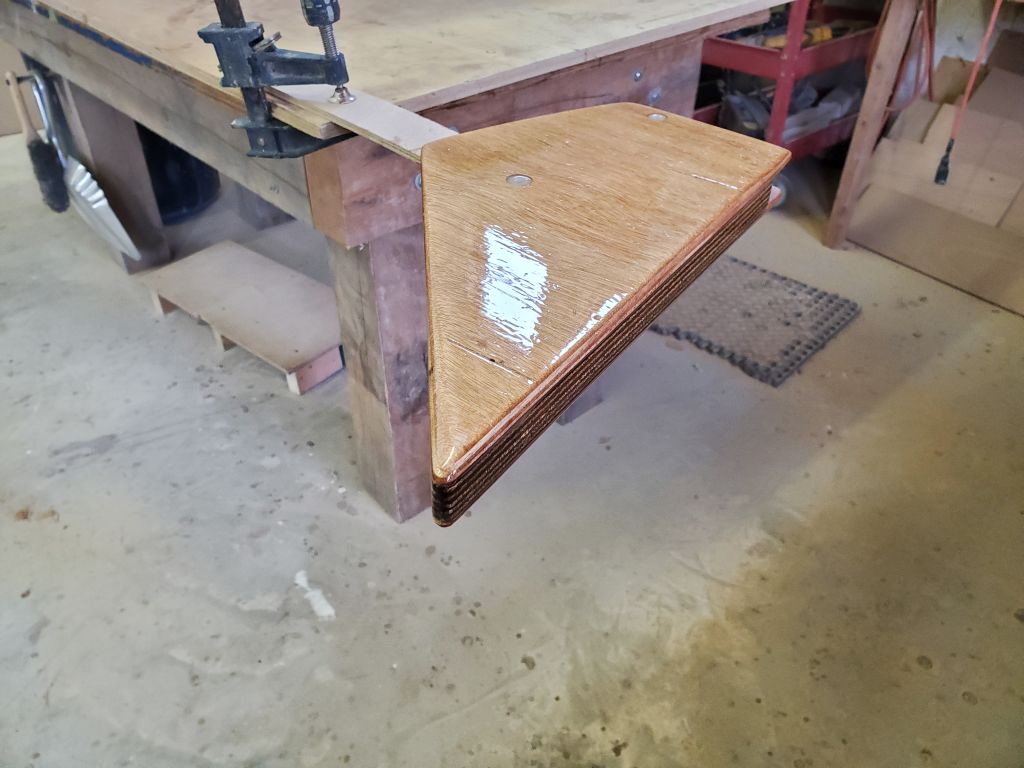
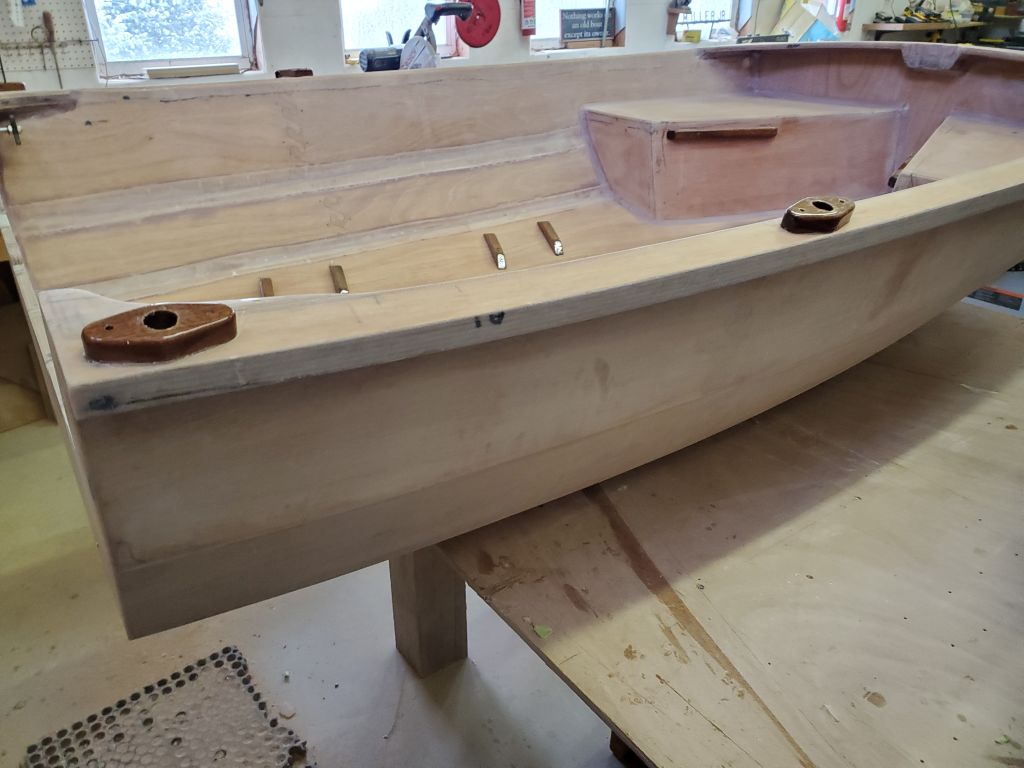
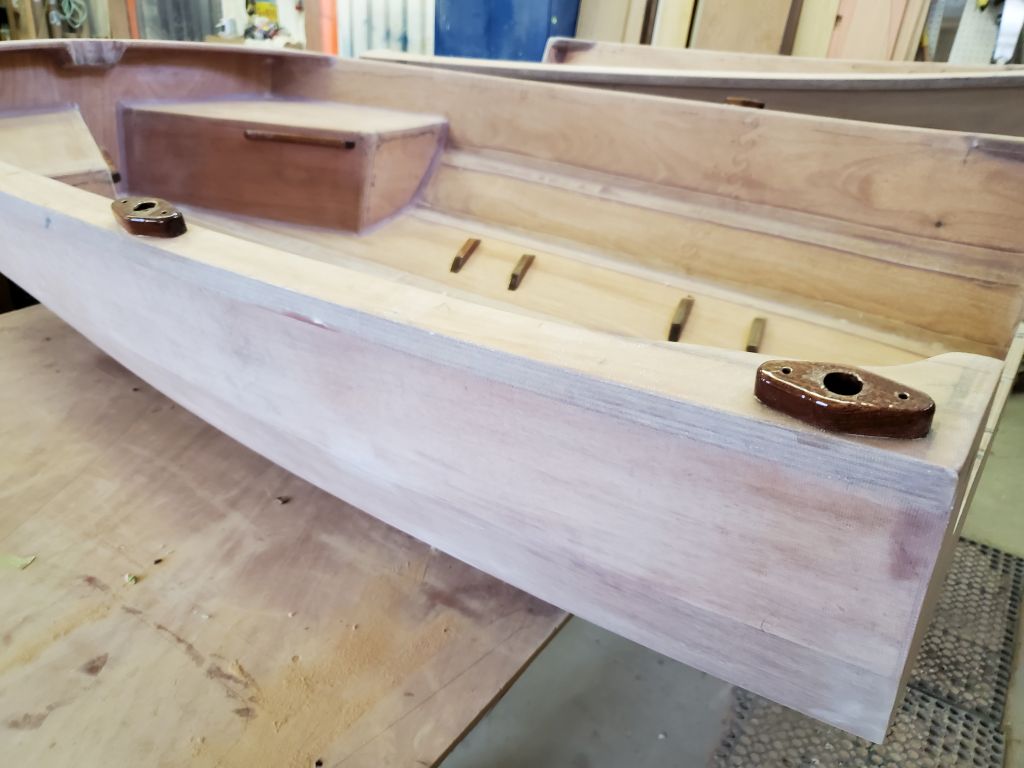
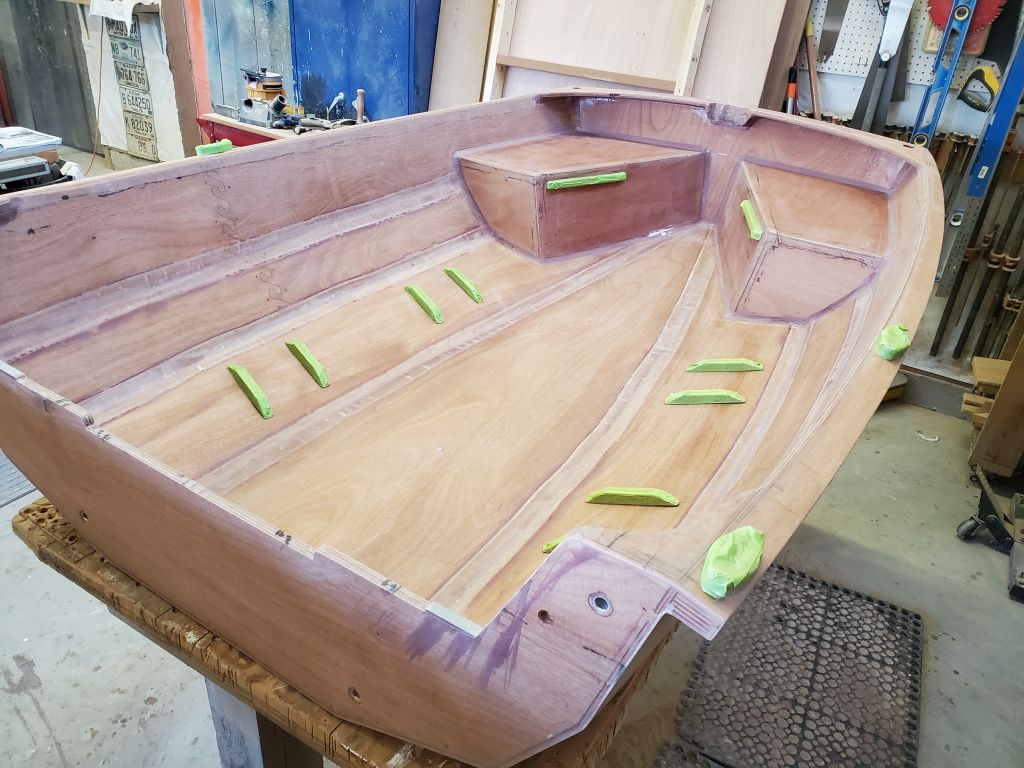
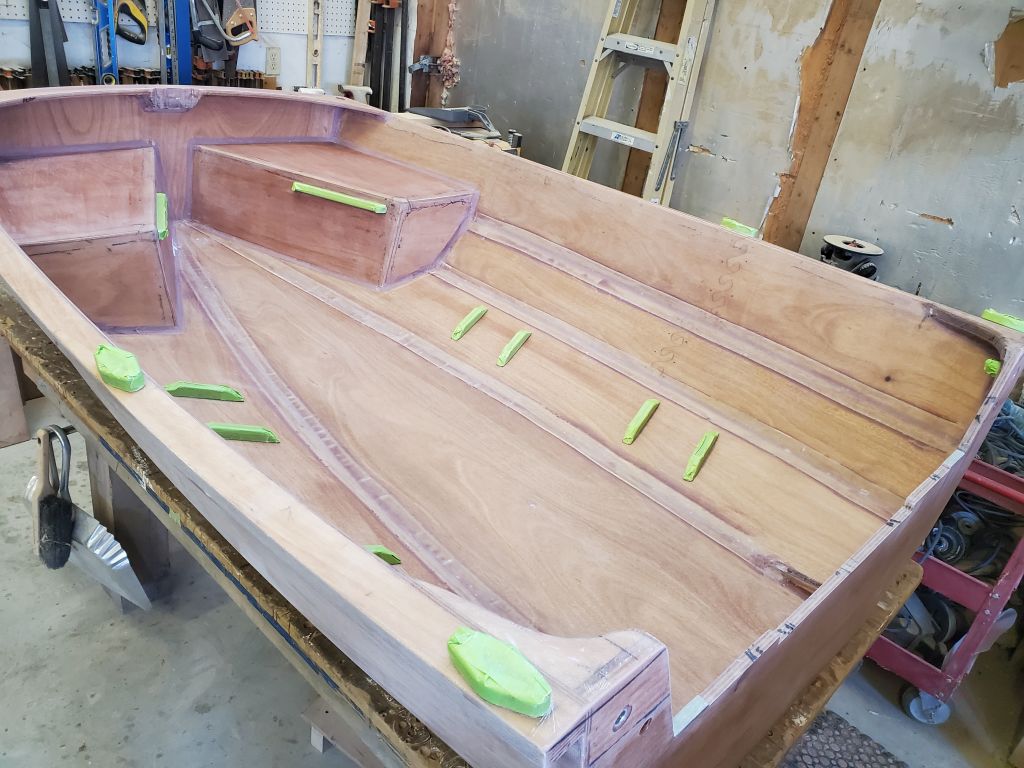
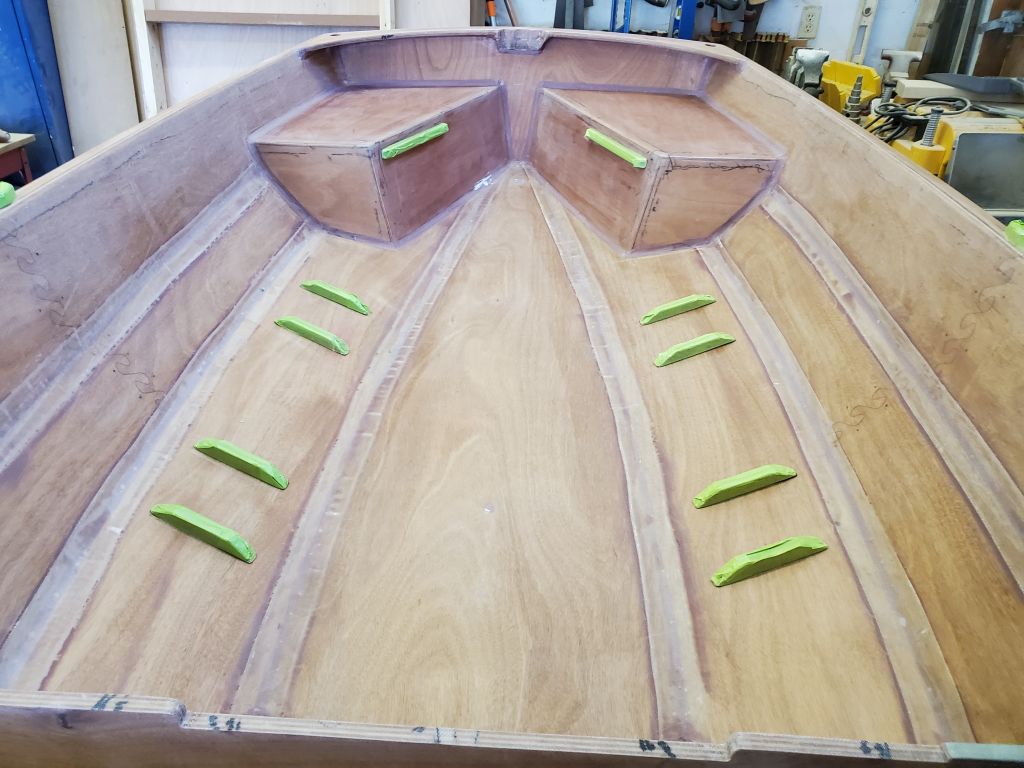
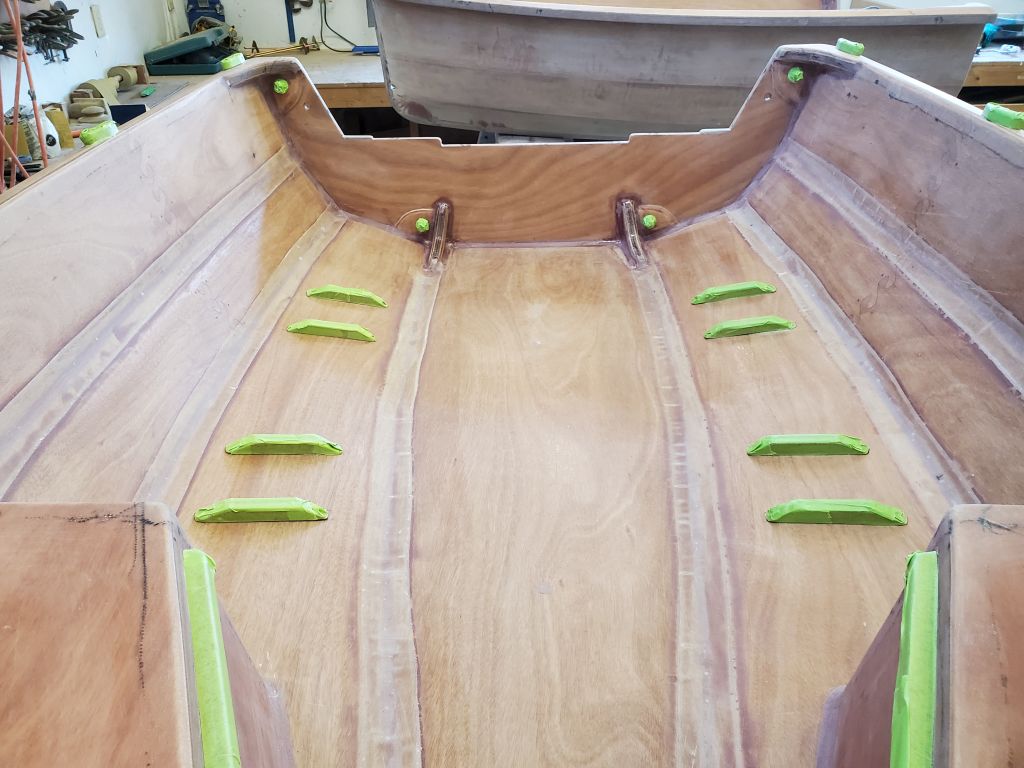
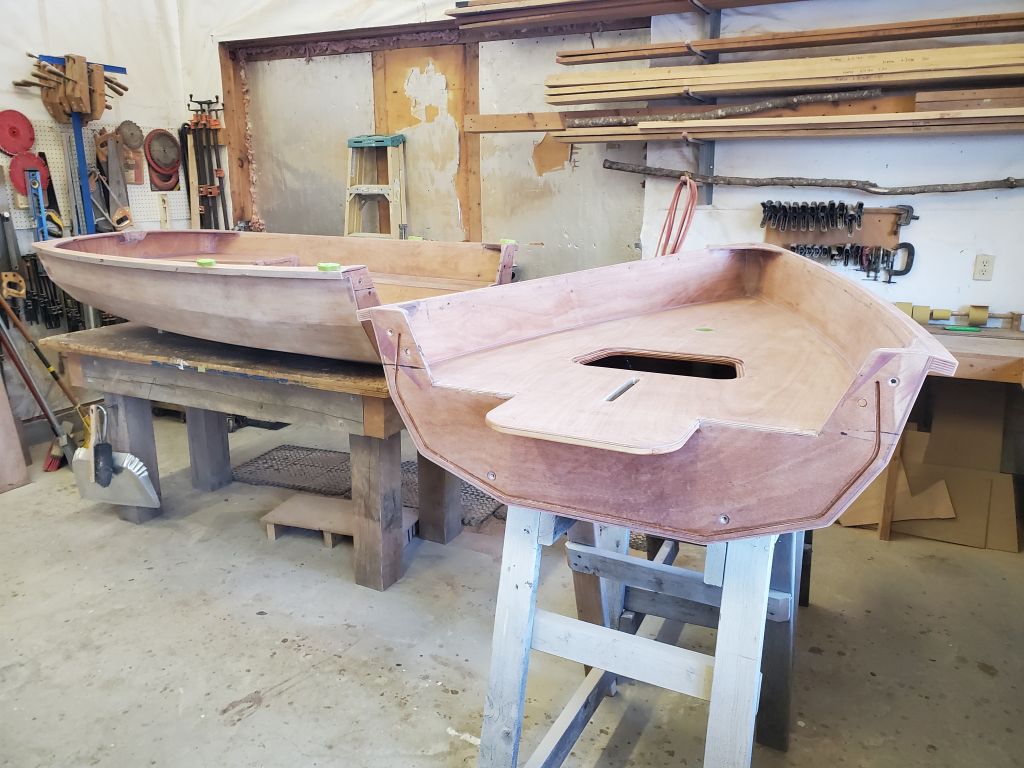
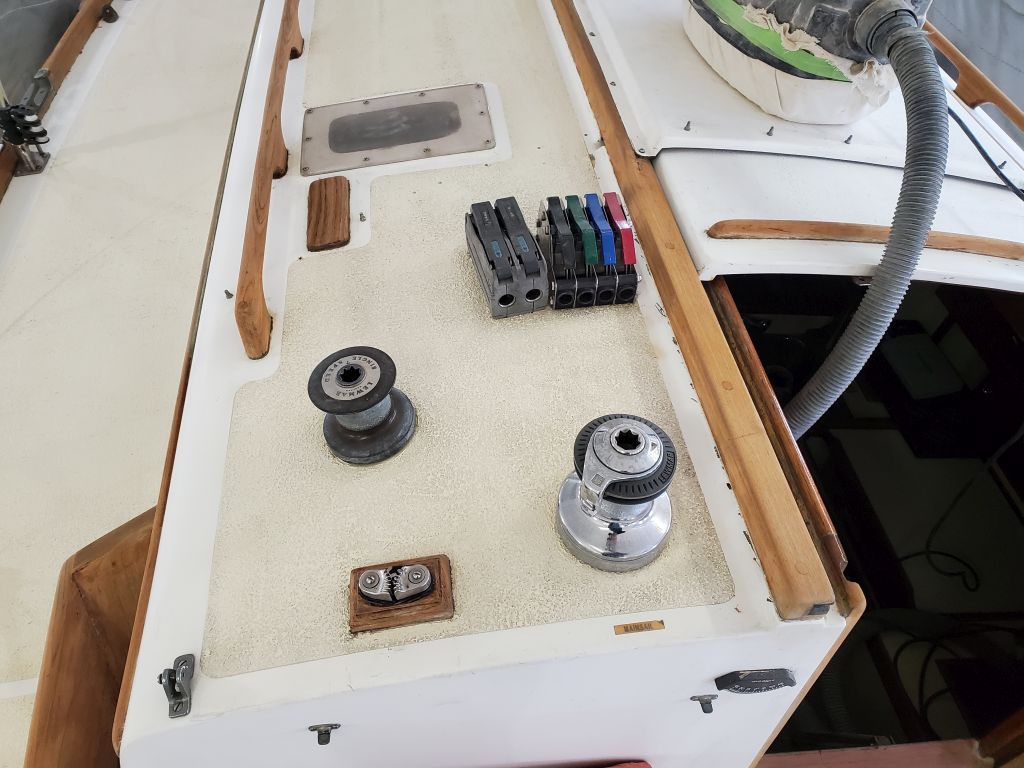
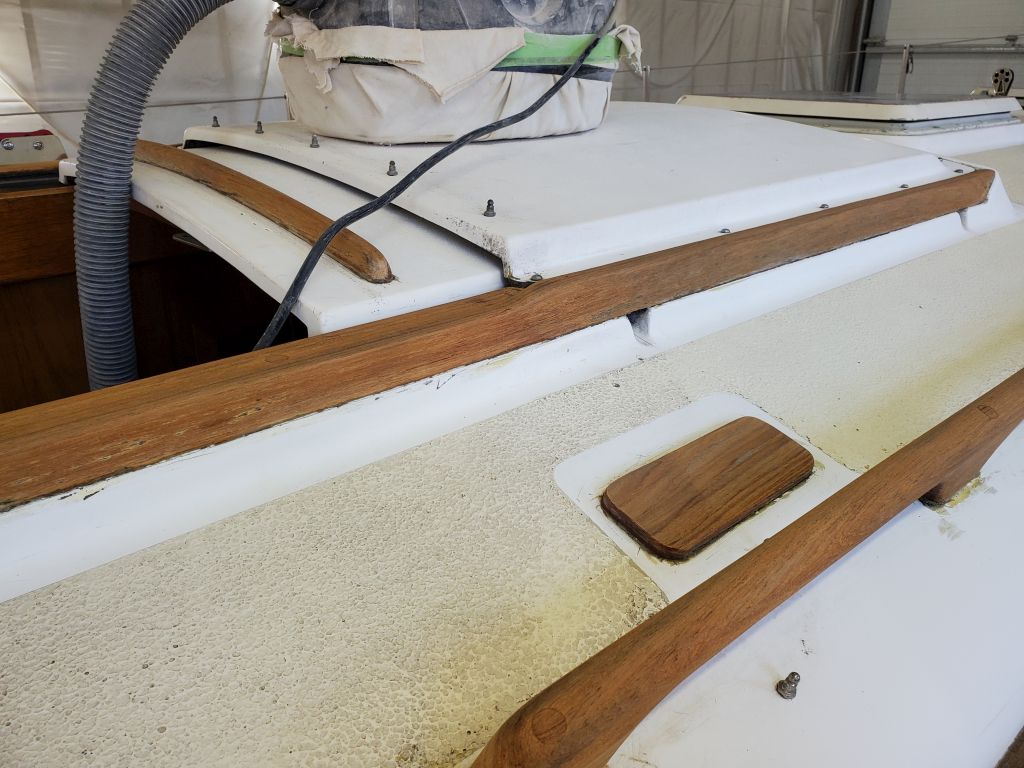
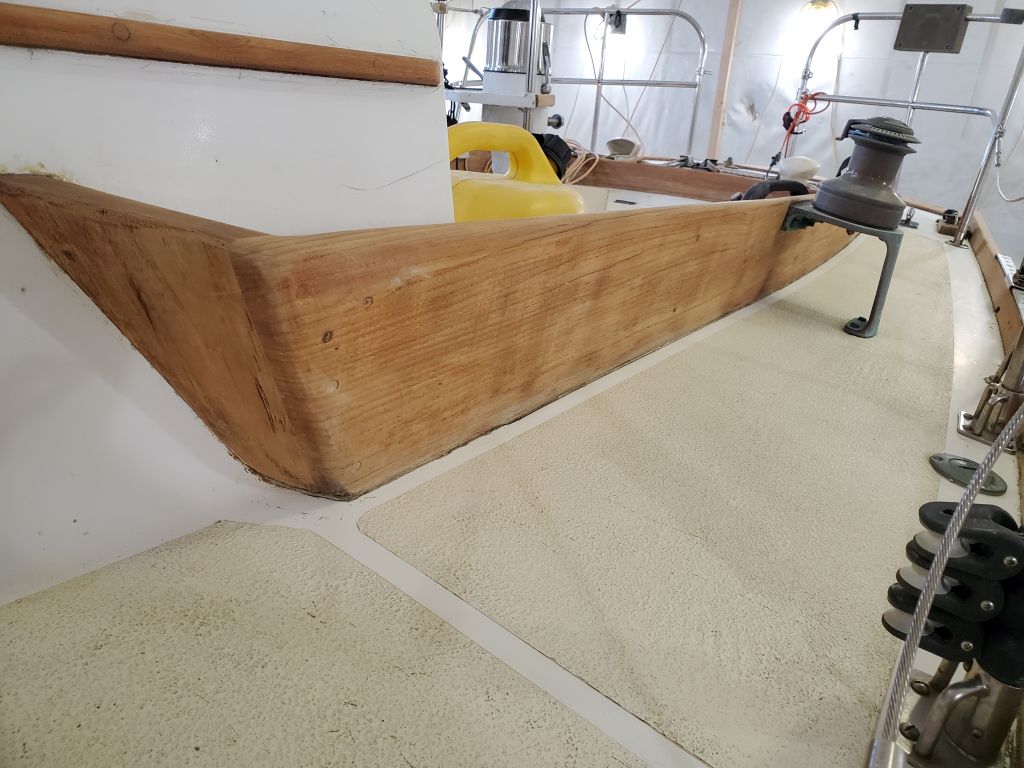
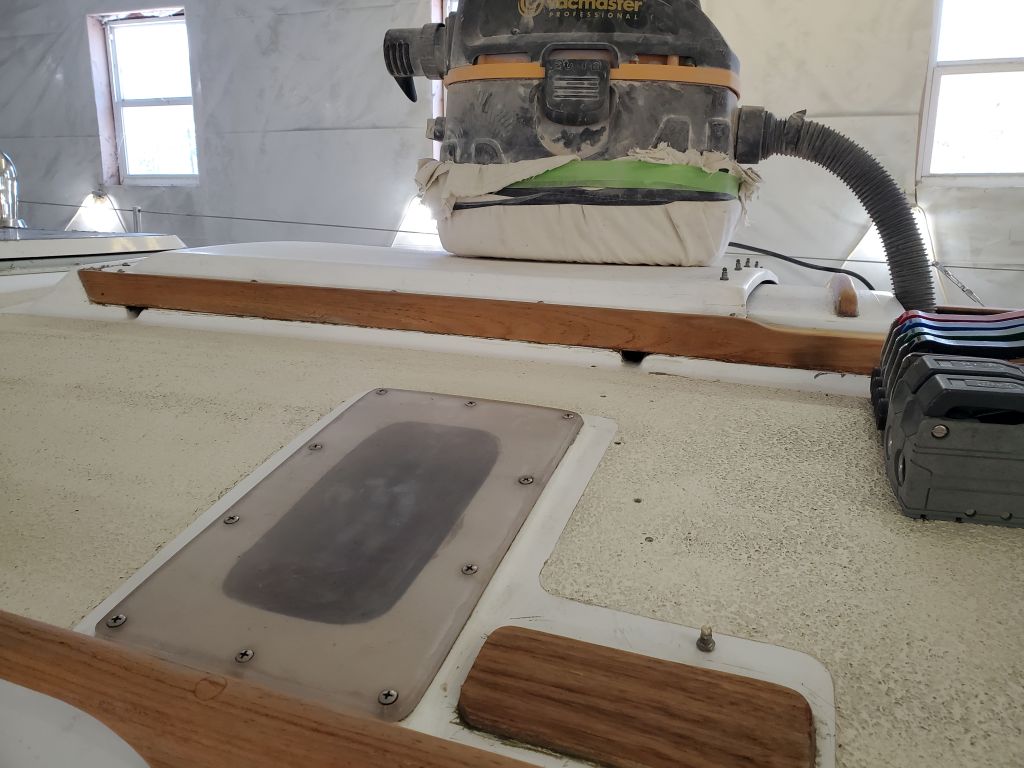
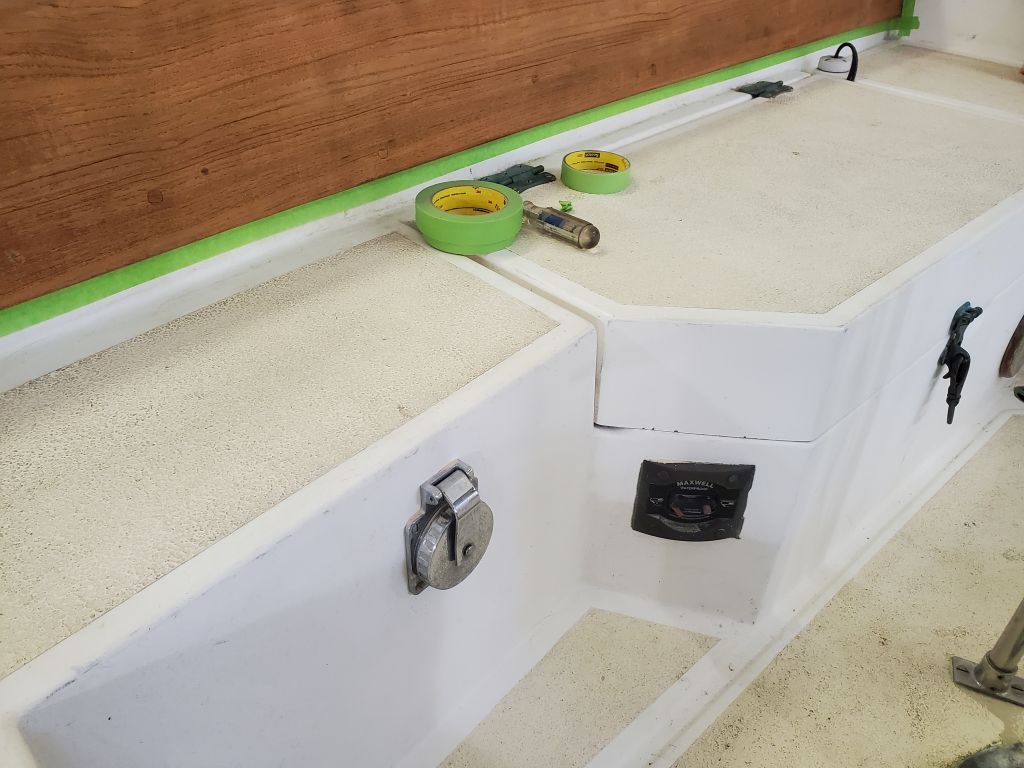
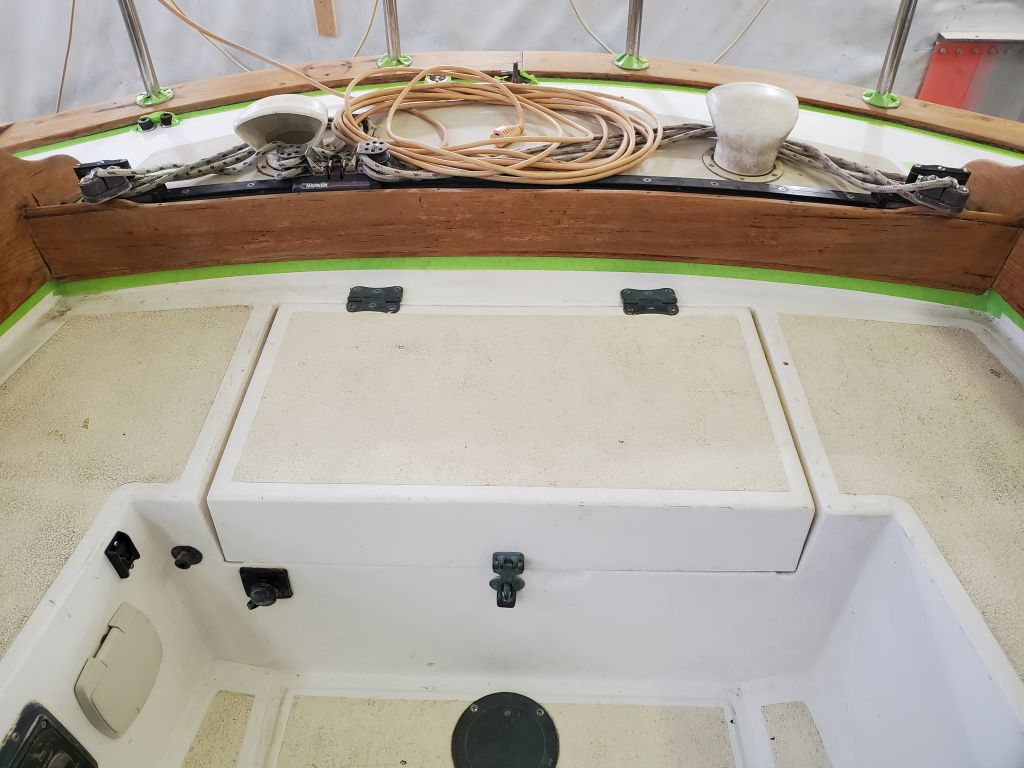
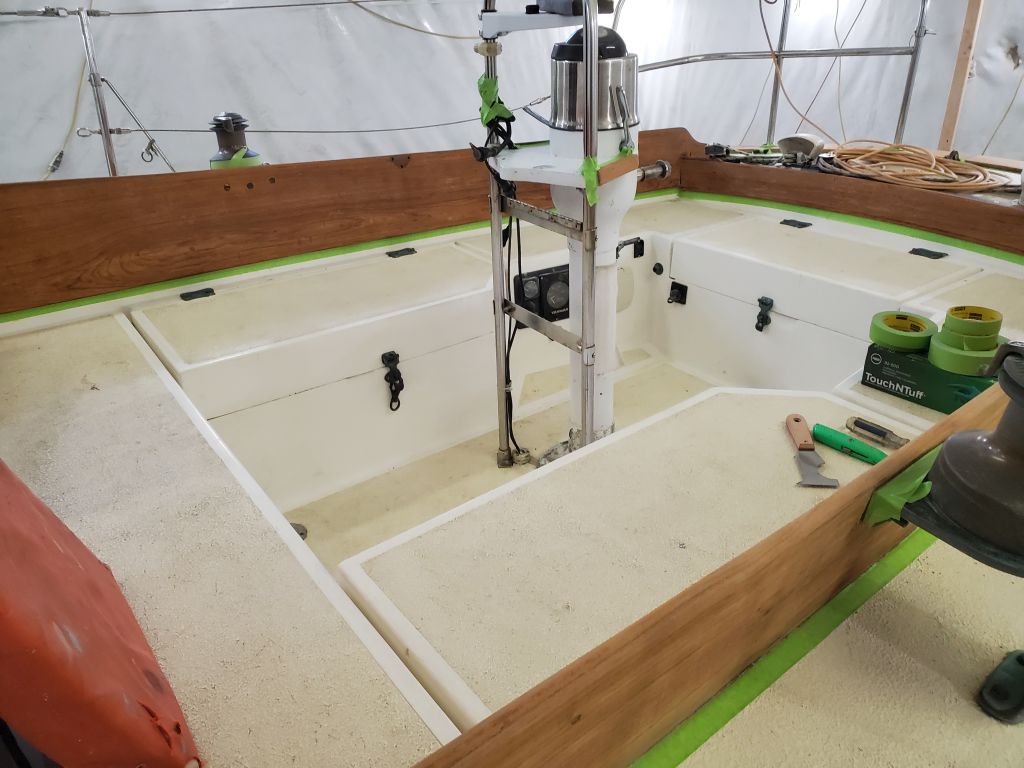
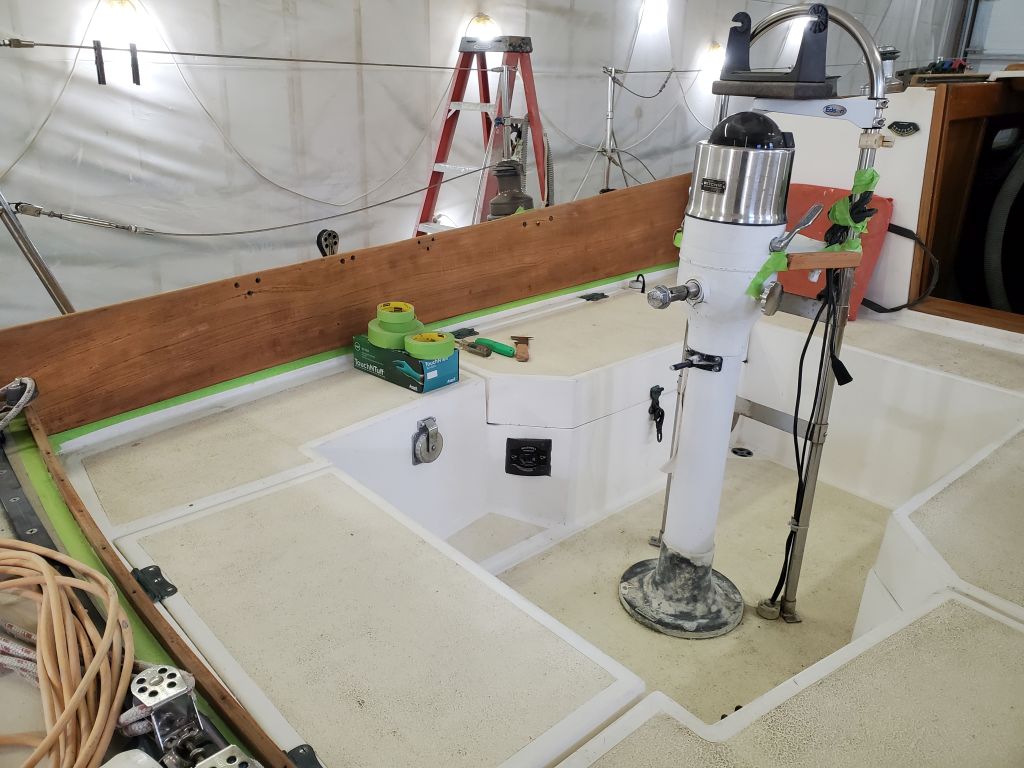
I mixed the paint as required and set to work on the forward half, which was the “easier” of the two parts. For primer, I figured I could cut in and tip with foam brushes, since at the moment I didn’t have any good brushes on hand other than the ones I used for one-part paints, but I didn’t want to start with a used brush. Immediately, I was surprised at the nature of the primer and, since I chose to start with cutting in the difficult parts of the boat–the underside of the breasthook, and the corners at the aft end beneath the bulkhead gussets and such–I was quickly lamenting the lack of a good brush, but the product was covering fairly well (not as easily as I’d expected), and eventually I coated the whole section satisfactorily. I was thinking the primer was surprisingly glossy and more finicky to work with than I expected, but overall the coating came out pretty well, and after all, it was just primer. The small rectangular piece shown is the daggerboard slot cover.
I’d started with a fairly small batch, and while it had been more than enough for the forward half, I could see I’d need more for the second half. Somewhere around here–I don’t know how exactly it came into my conscious, it just did all of a sudden–I got a bad feeling, and felt the pangs of Captain Obvious, sometimes abbreviated as “DUH”; I rushed to check my paint can.
Did you see it coming? It turned out that I’d mixed and used the topcoat for “primer” instead of the primer. It seems I’d ordered one can of each (I ordered it a while back), and both cans, which looked similar enough to be roughly identical at a glance, had been wrapped in the same overwrap for shipping. While I’d confirmed the primer label earlier in the day, the can I actually took out was the topcoat. I was focused on the back of the can, where the mixing instructions were printed, and, being new to the paint, it never was obvious during mixing that I was using the gloss topcoat, especially when I knew I’d read the label through the packaging earlier in the day. The cans happen to be identical except for the specific product labeling, which one might have thought was enough, but for the specific circumstances and a certain level of brain-deadness.
Doth I protest too much? Maybe, because I’m embarrassed, but it was also easy to do even in hindsight, particularly when I thought I’d ordered two cans of primer which, naturally, would be packaged together. Sigh.
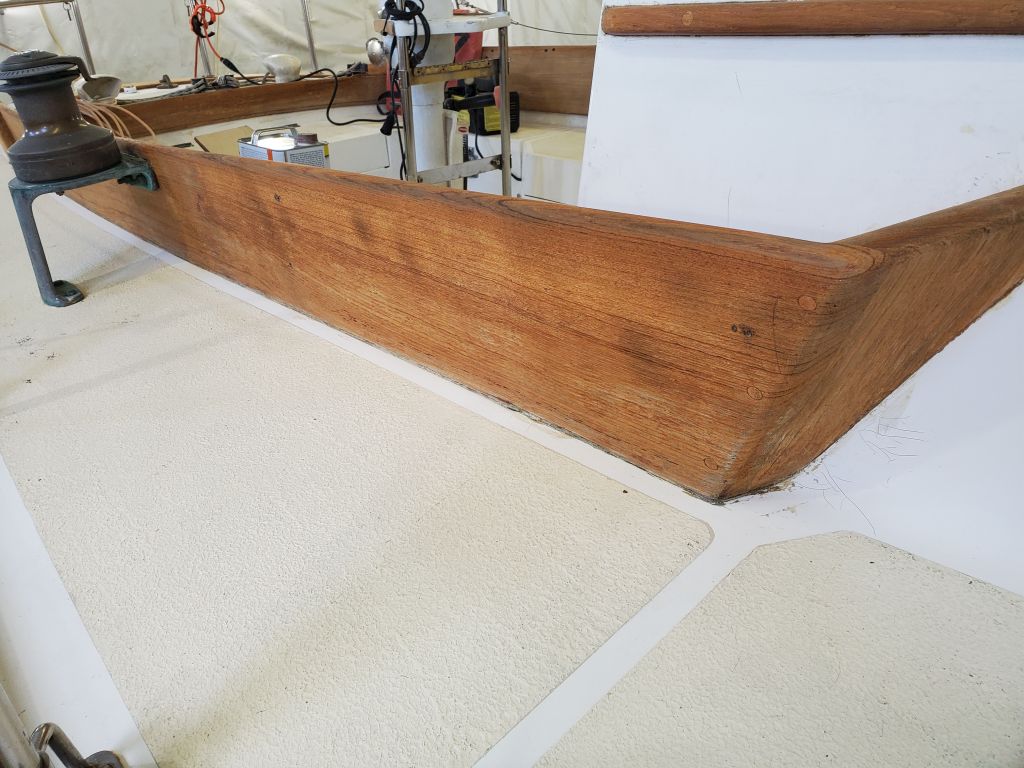
Quick: Which is which?
There’s no shame in mistakes, only in pretending they don’t ever happen. I share this because it happened, and I could have easily chosen not to share it.
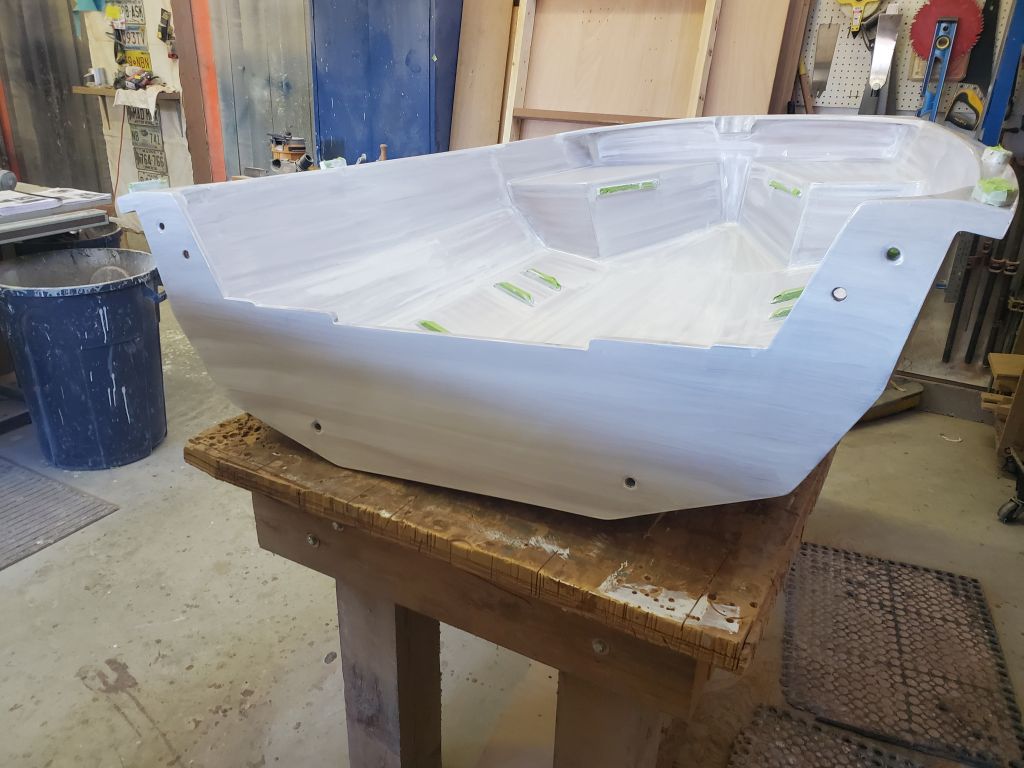
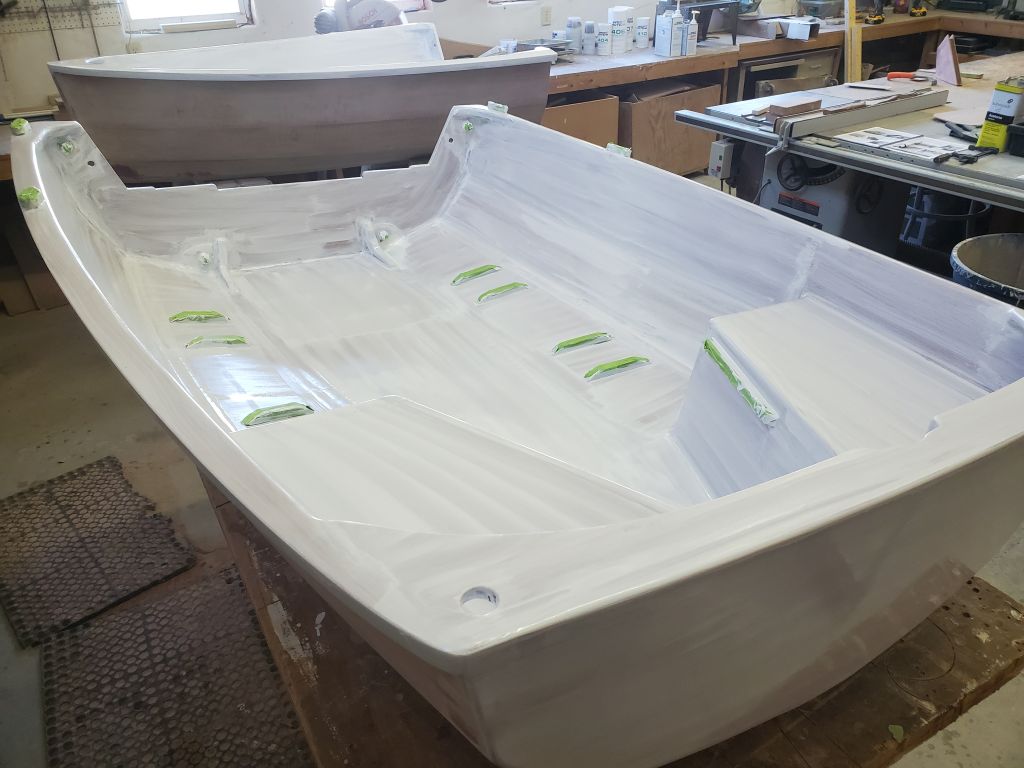
At this point, I cut my losses and left the aft half for another day. This was a stupid, but not unrecoverable, error, and I planned to treat the first coat of gloss on the forward half just as I would if it was primer. The good news in all this was that I learned some valuable things about the topcoat application, which would serve me well when I started to actually use the product intentionally later on.
If I’d had enough of the first mix left to complete the aft half, I might have just gone ahead with it despite the error, but since I didn’t have enough already mixed, I saw no reason to push forward. That said, it’s notable that the designers of the boat write in the manual that “they don’t believe in primer” and the instructions don’t call for priming the boat before painting, even though I chose to stick with my own process and experiences and intended to use primer all along, and which I still think is the correct practice for any coating.
I might have mixed primer and done the aft half correctly, but the primer mix required a mix ratio based on weight, not volume (how annoying, by the way), and I had no means of weighing it at the moment. It seemed better in all ways to stop and regroup, and turn to the aft half on another day.
No hours were harmed during the making of this mistake.