

Page 3: The Next 10 Days
21-Tuesday, August 6, 2024
First thing, I called the countertop place to let them know that the cabinets were in and we were ready to schedule the templating appointment. They called back later in the afternoon with the news that our appointment was scheduled for Friday morning, which sounded great.
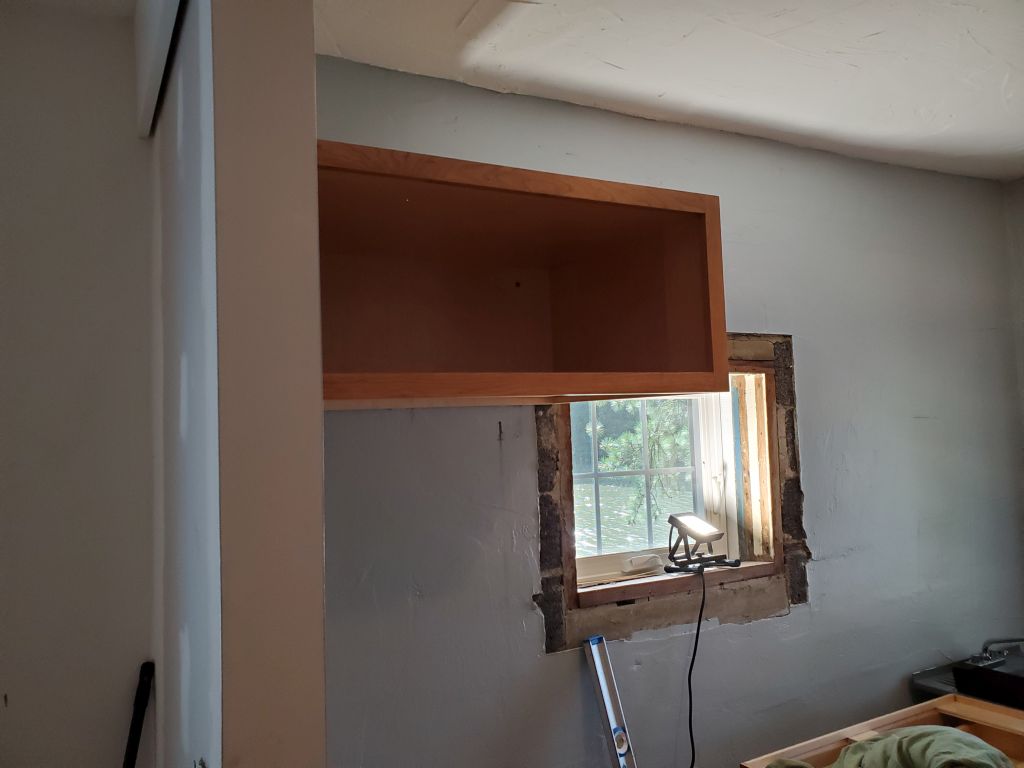
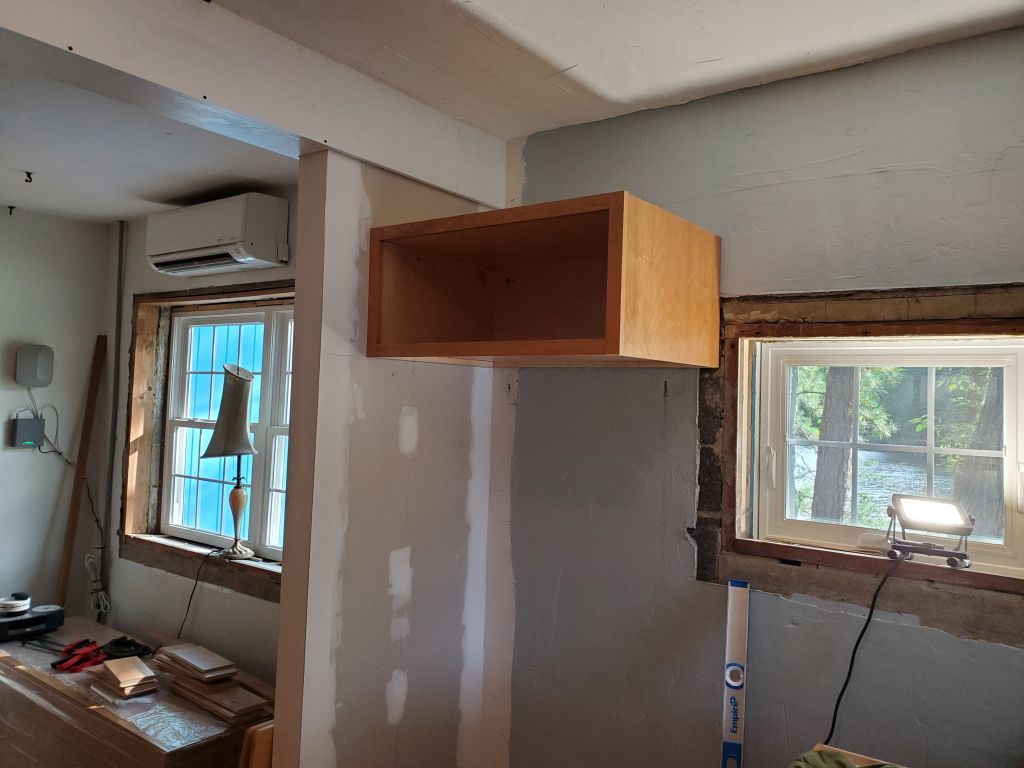
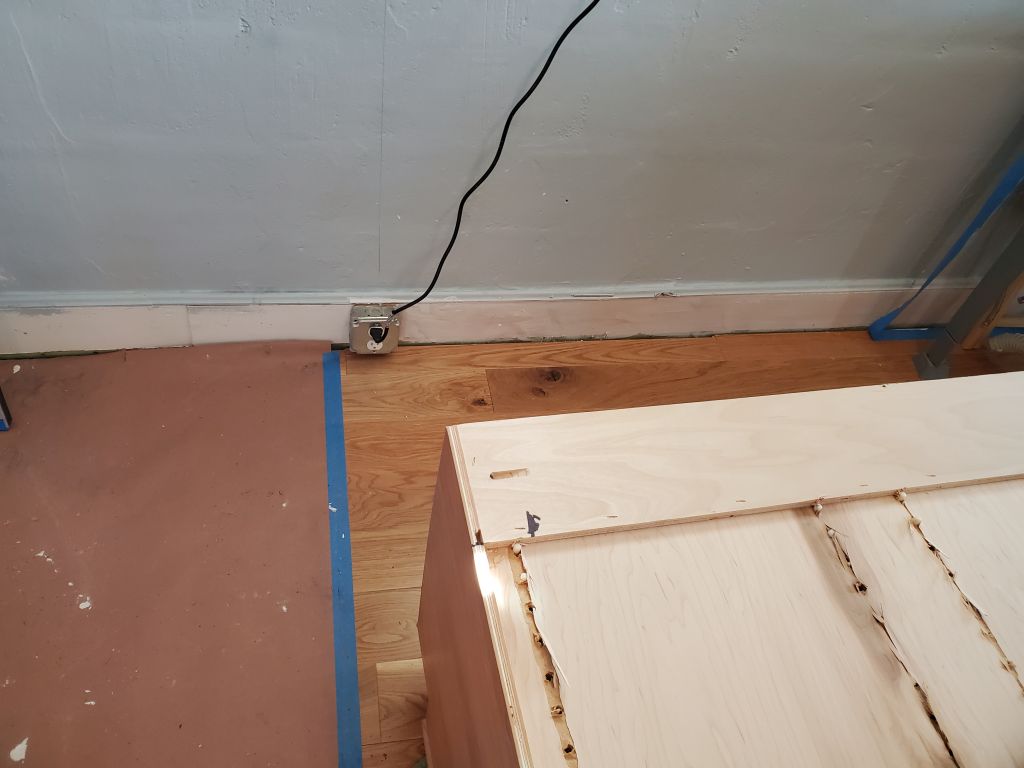
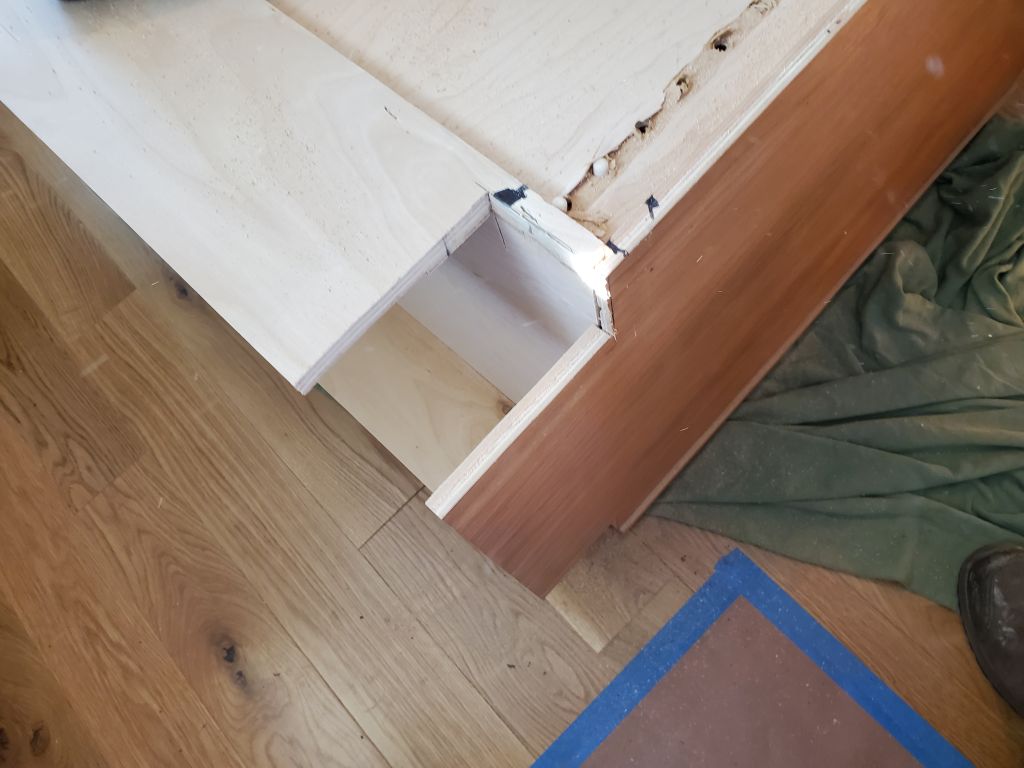
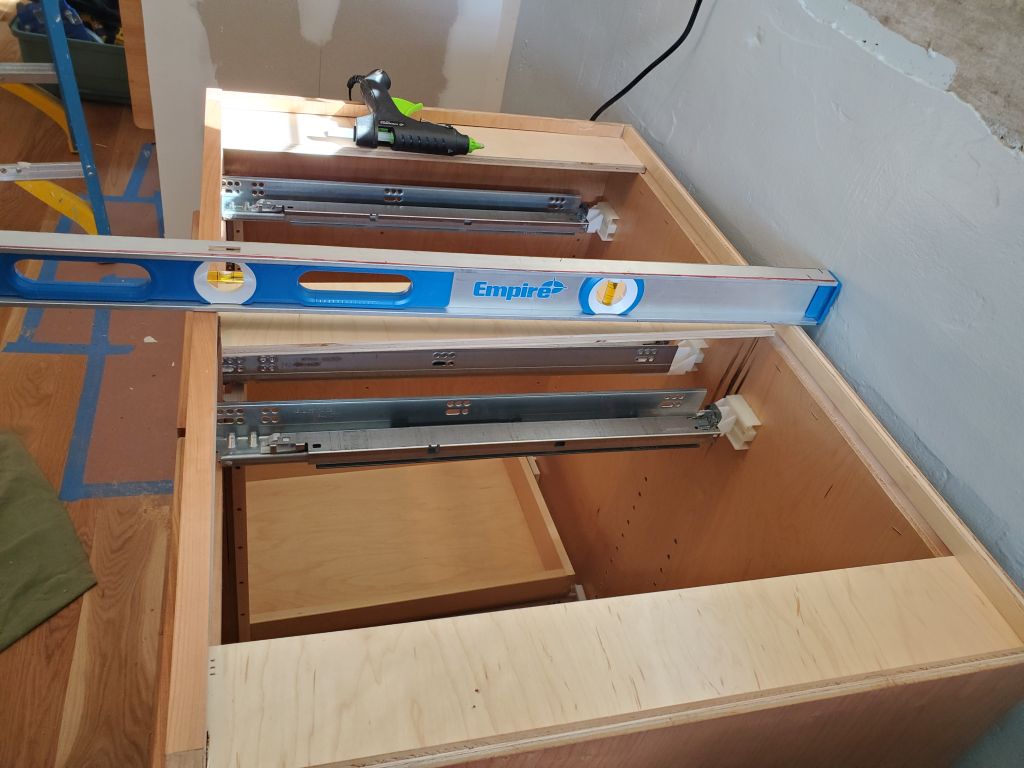
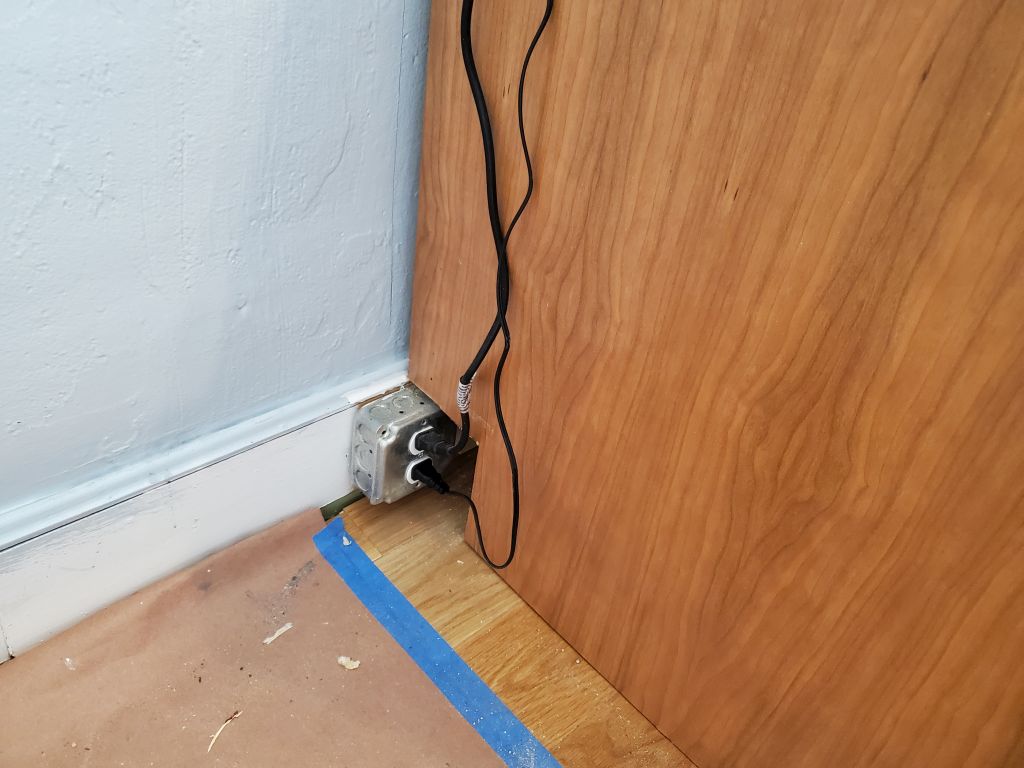
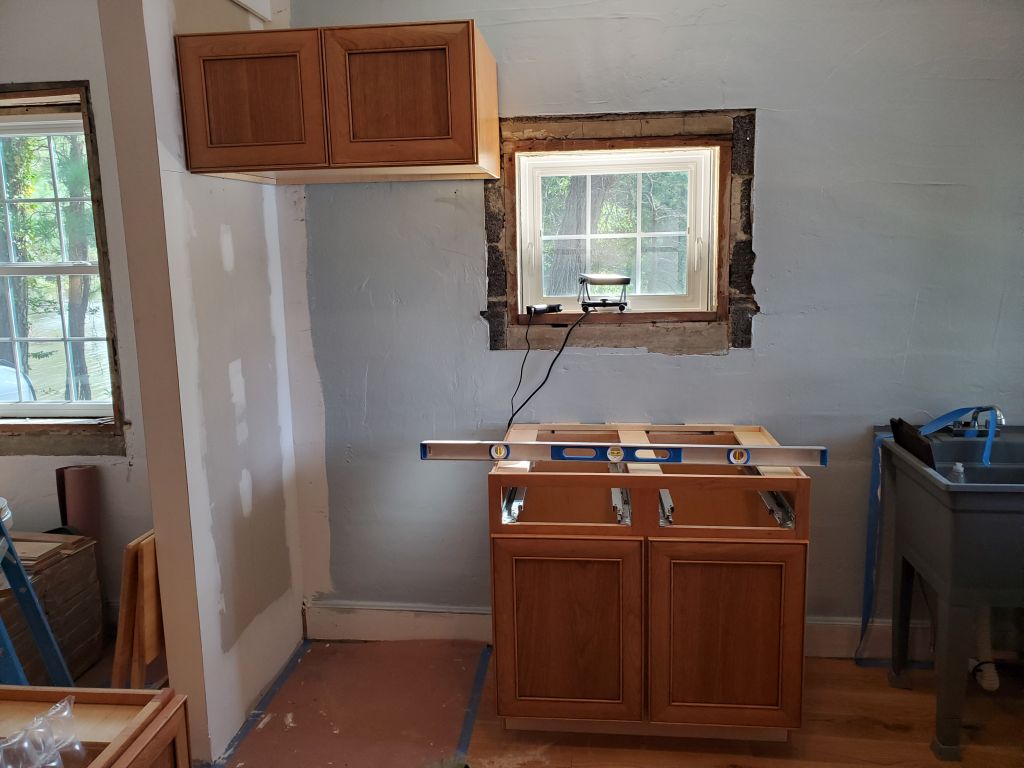
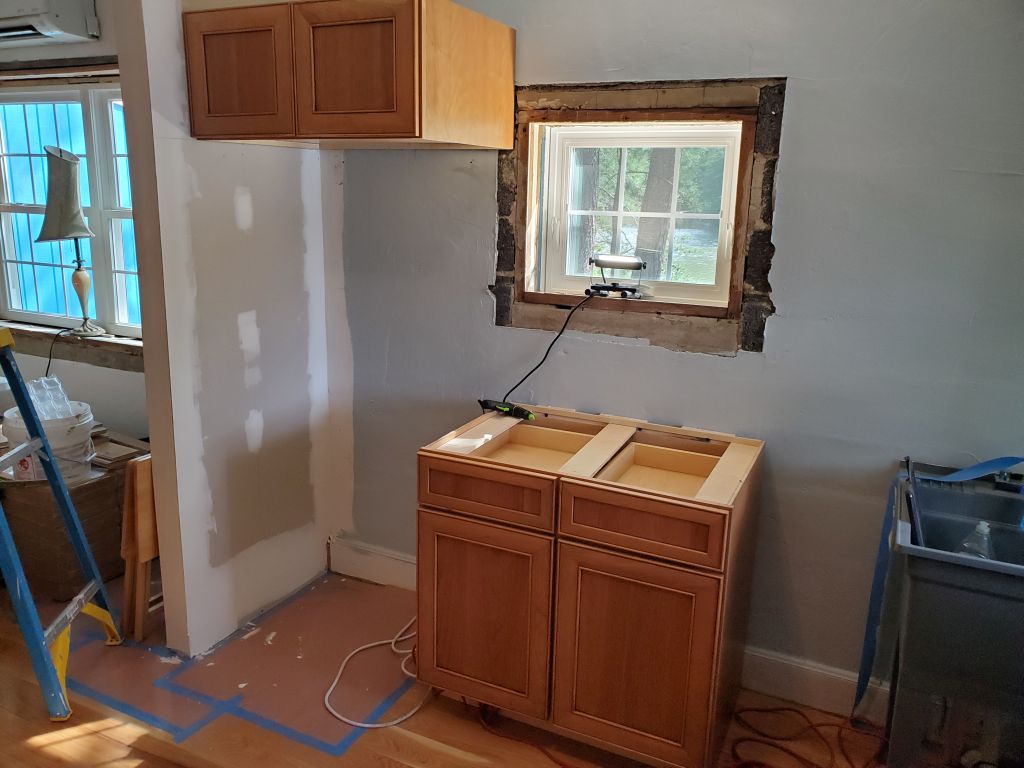
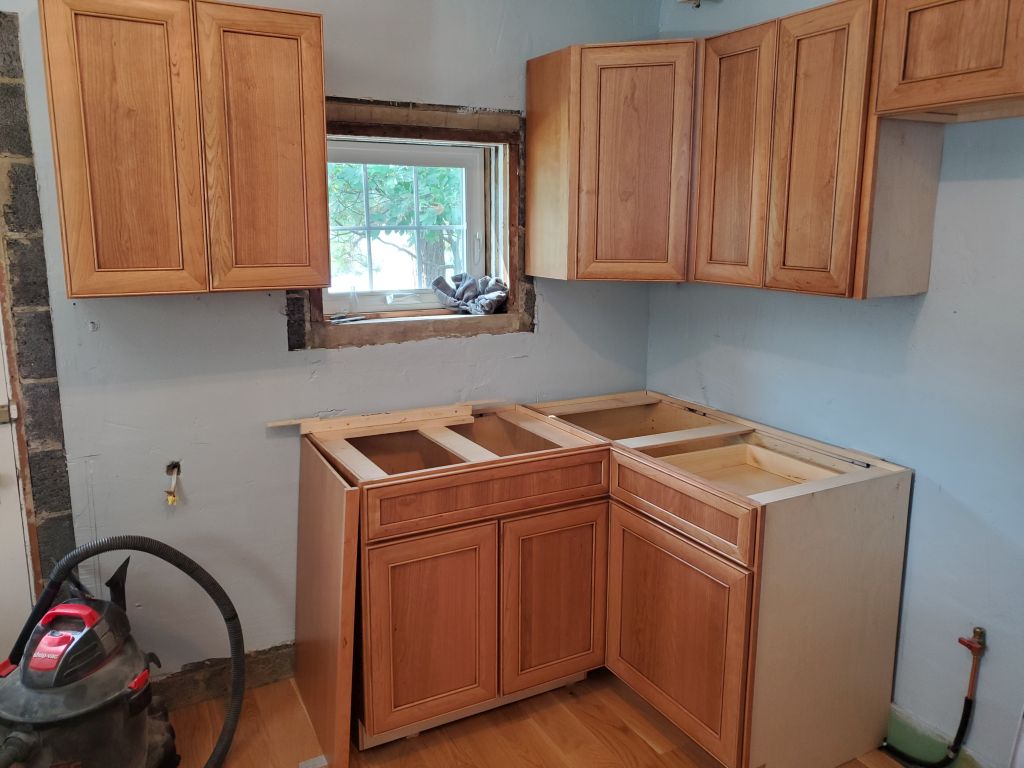
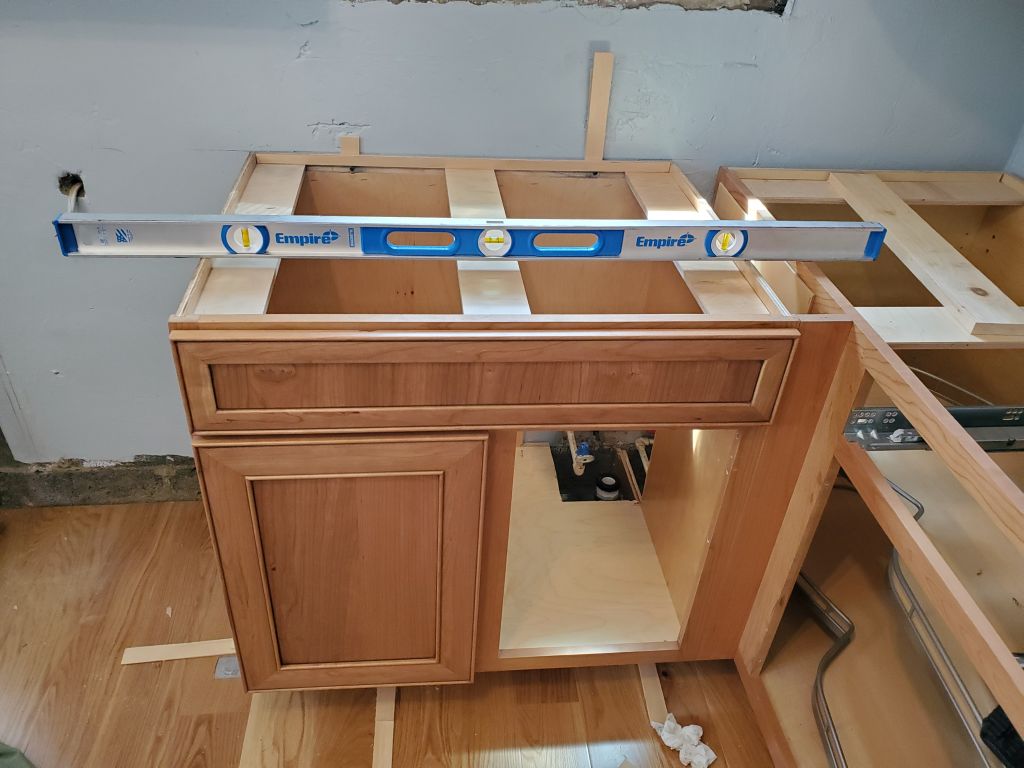
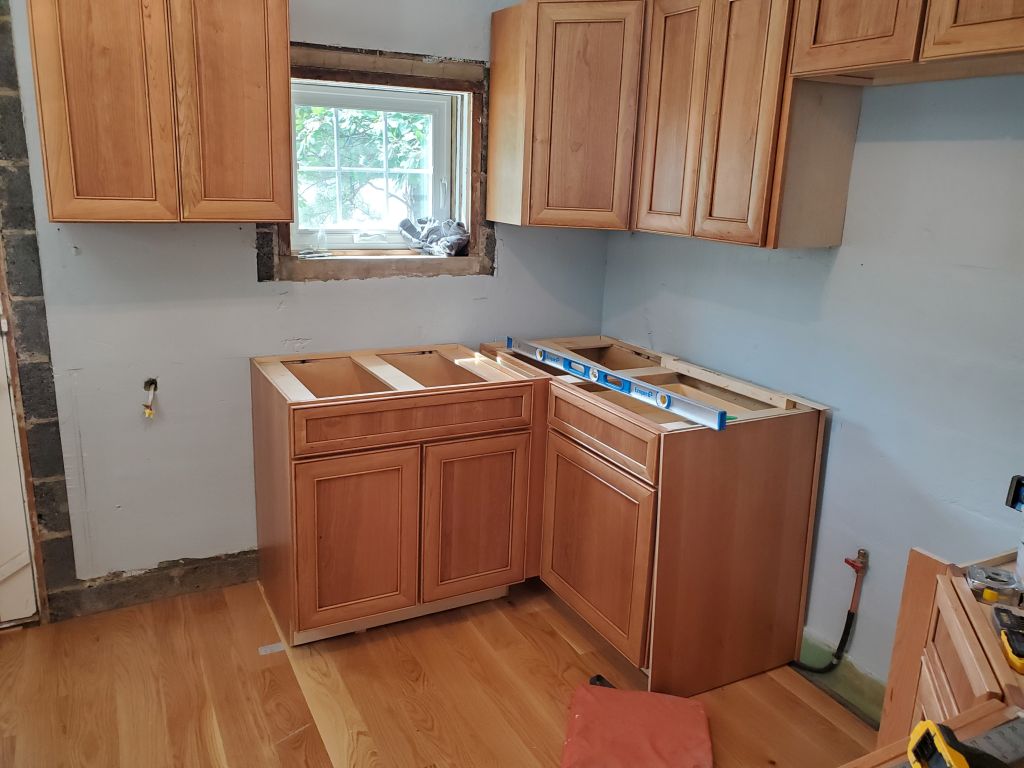
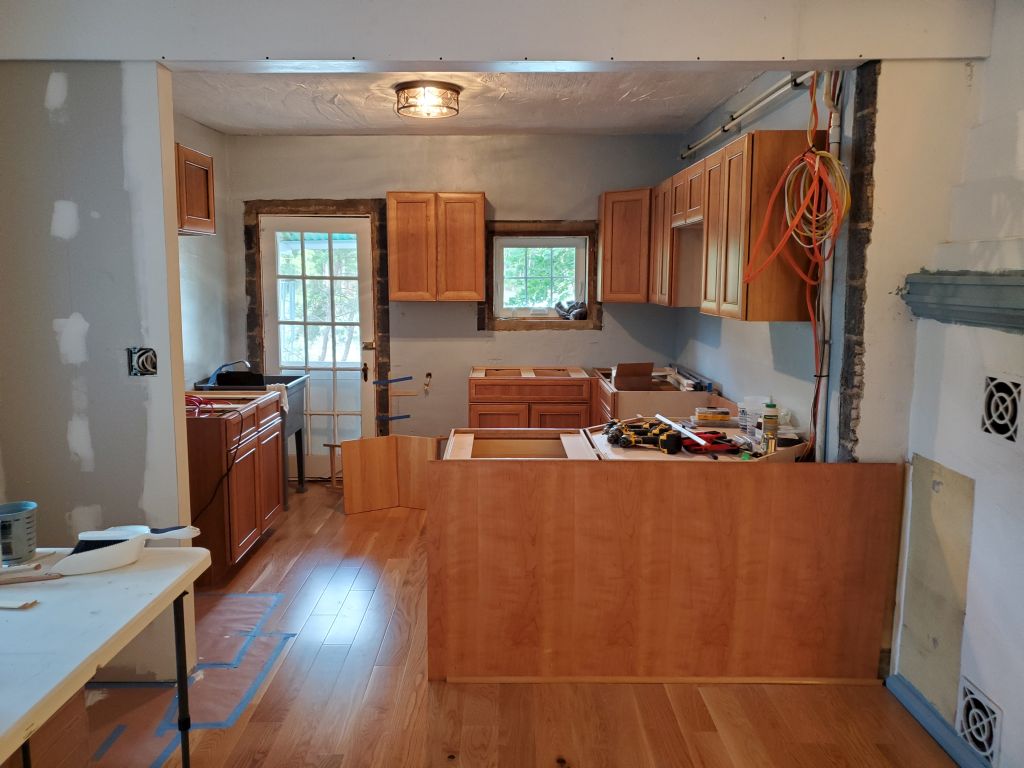
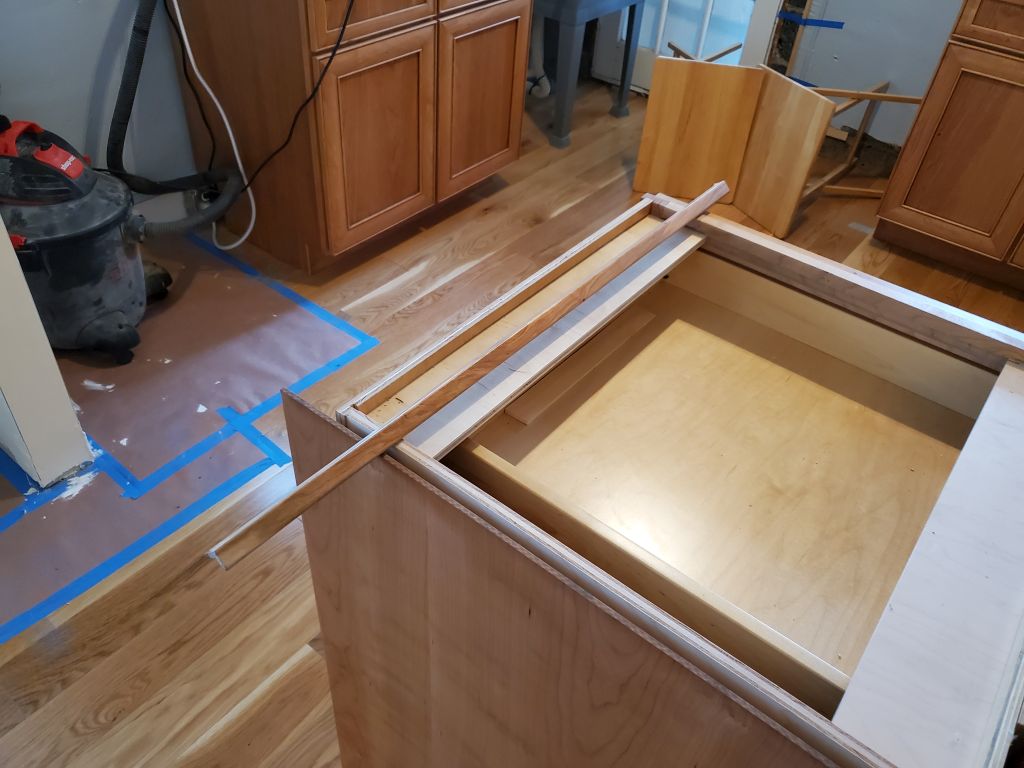
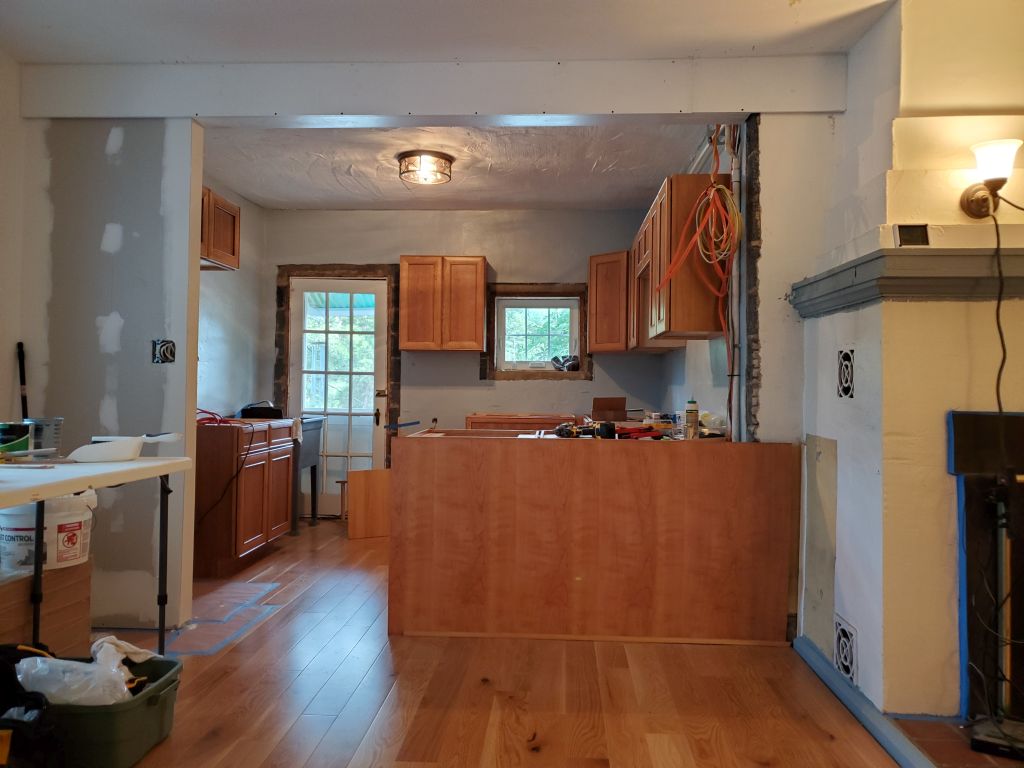
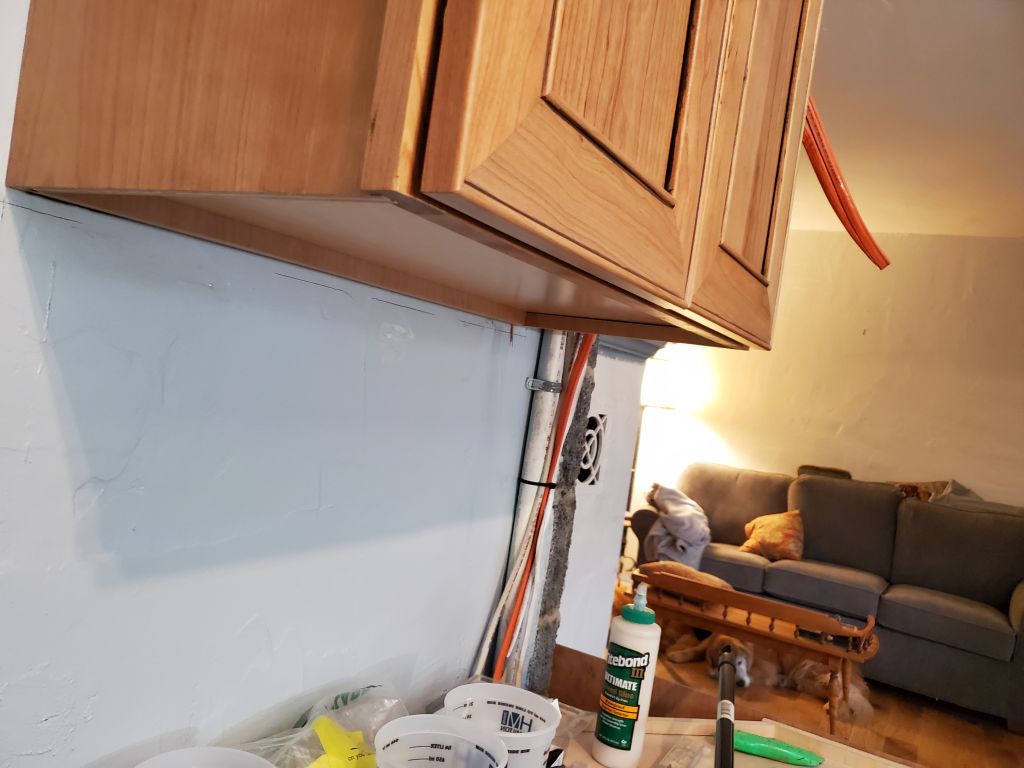
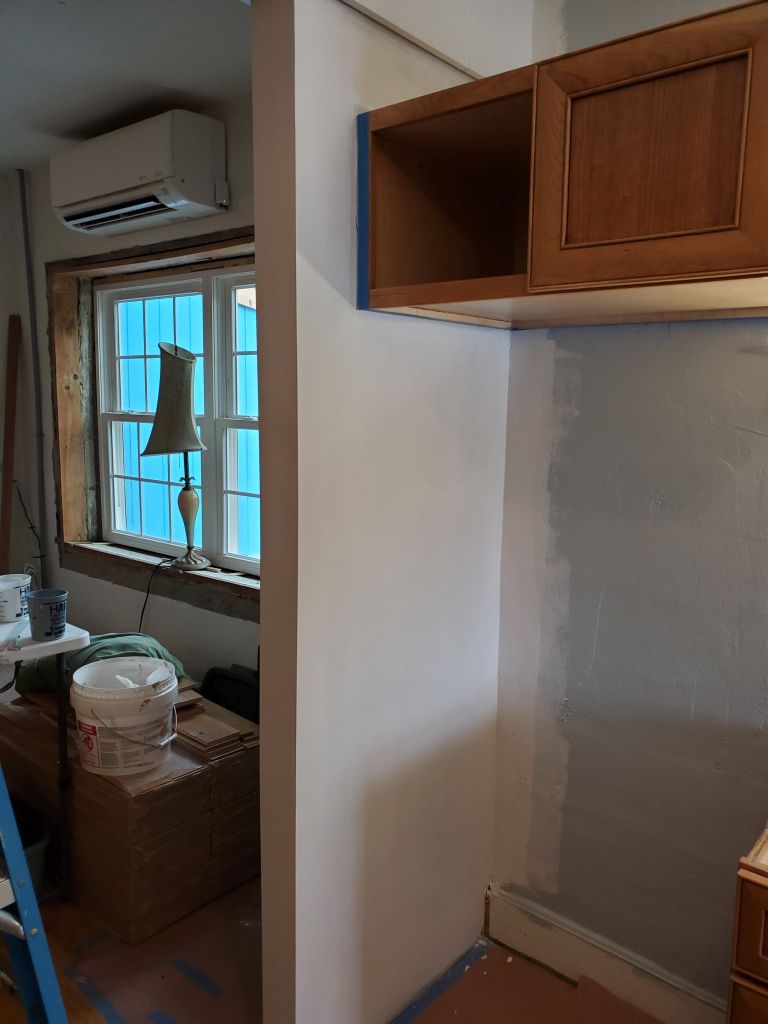
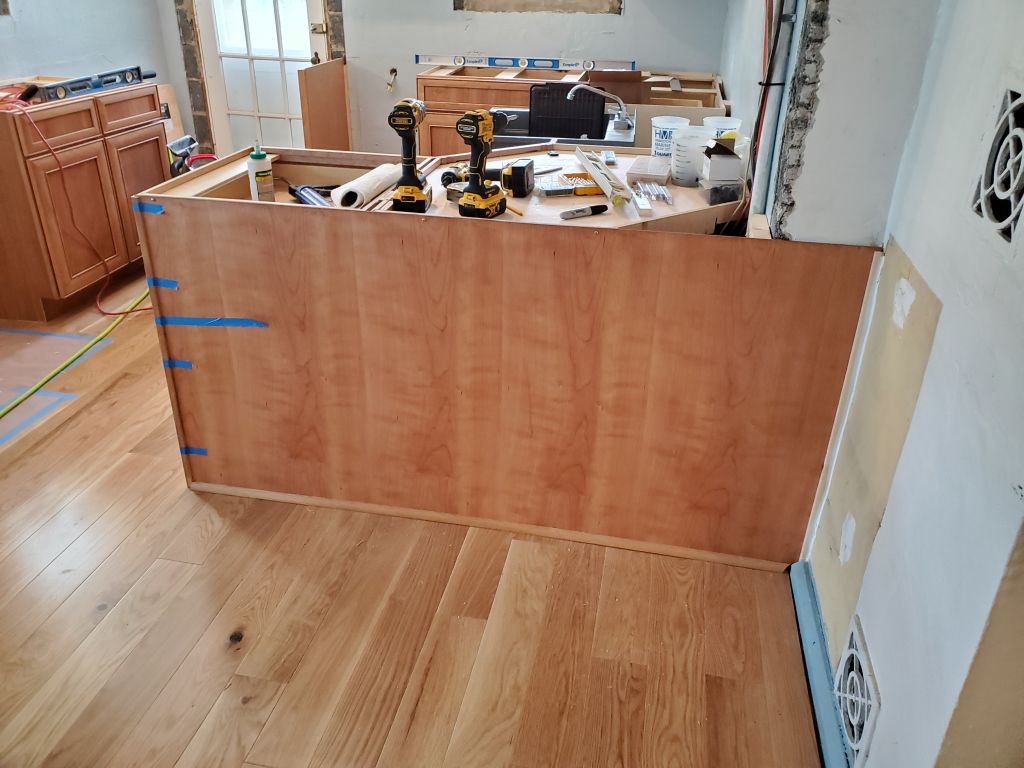
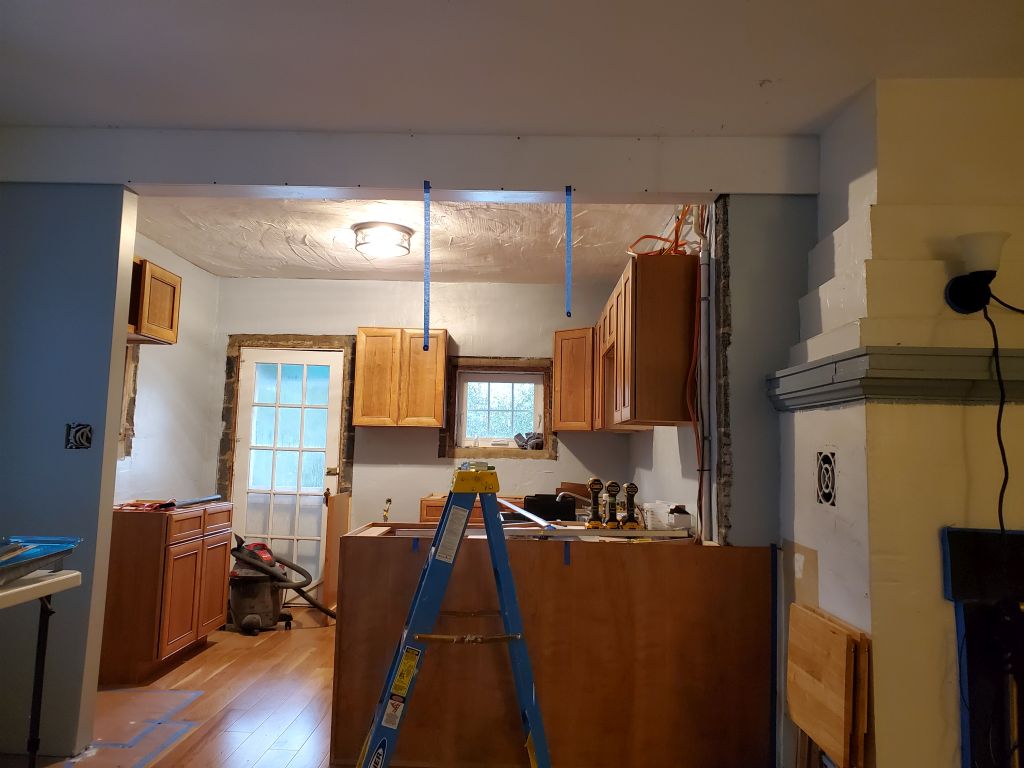
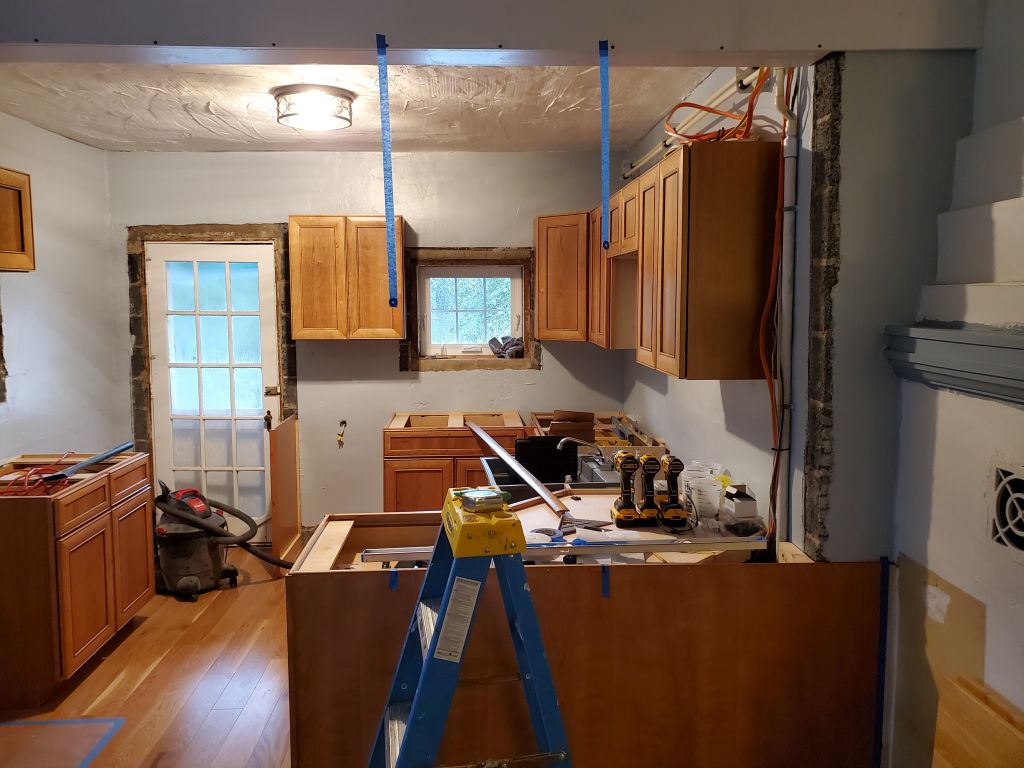
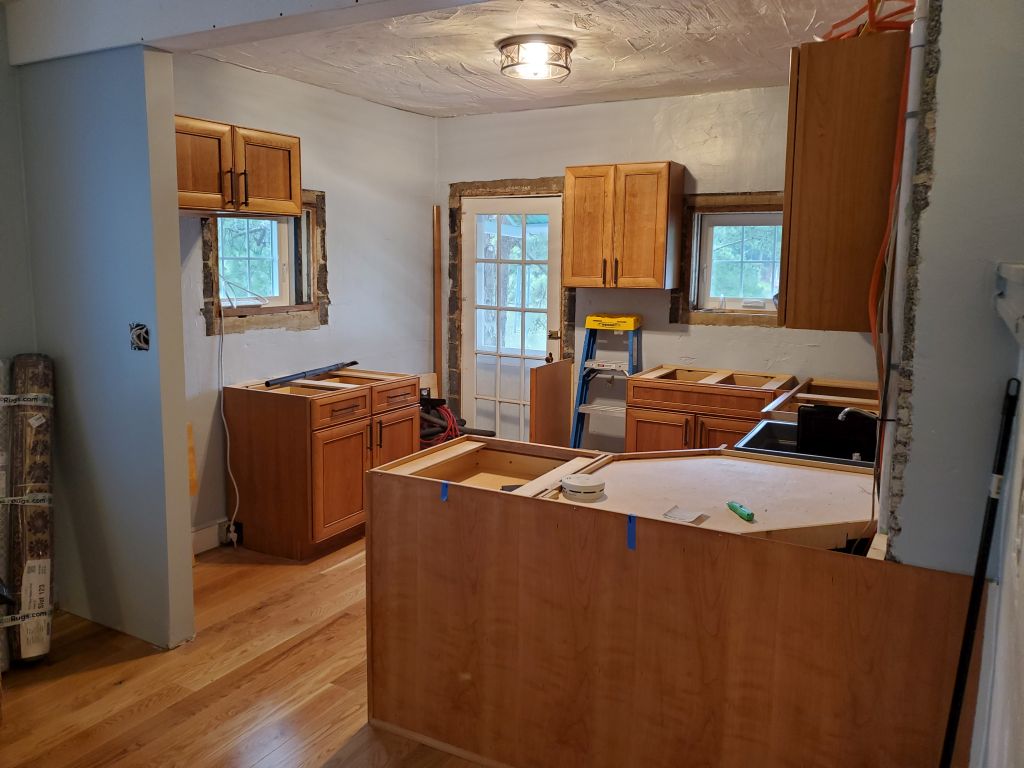
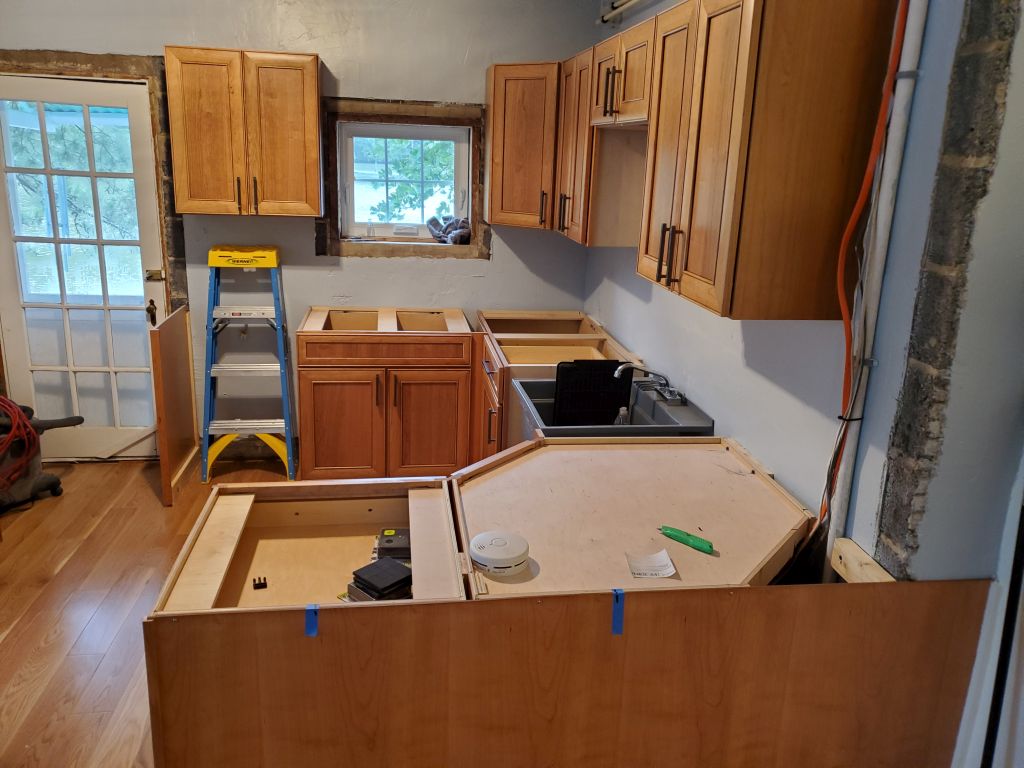
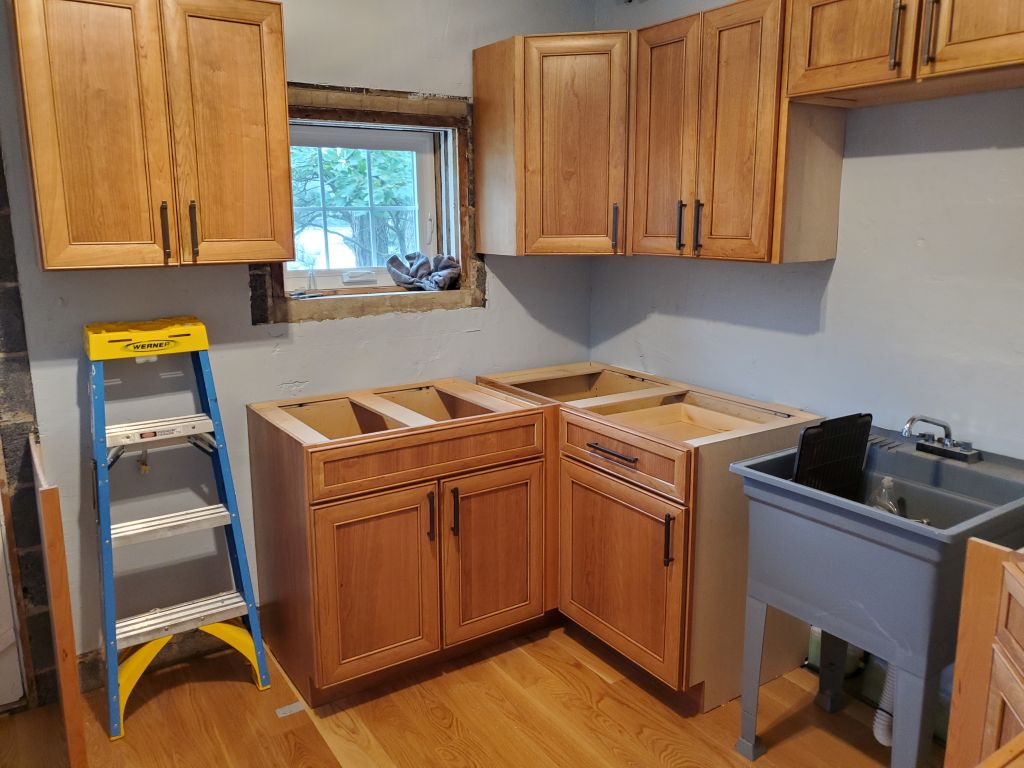
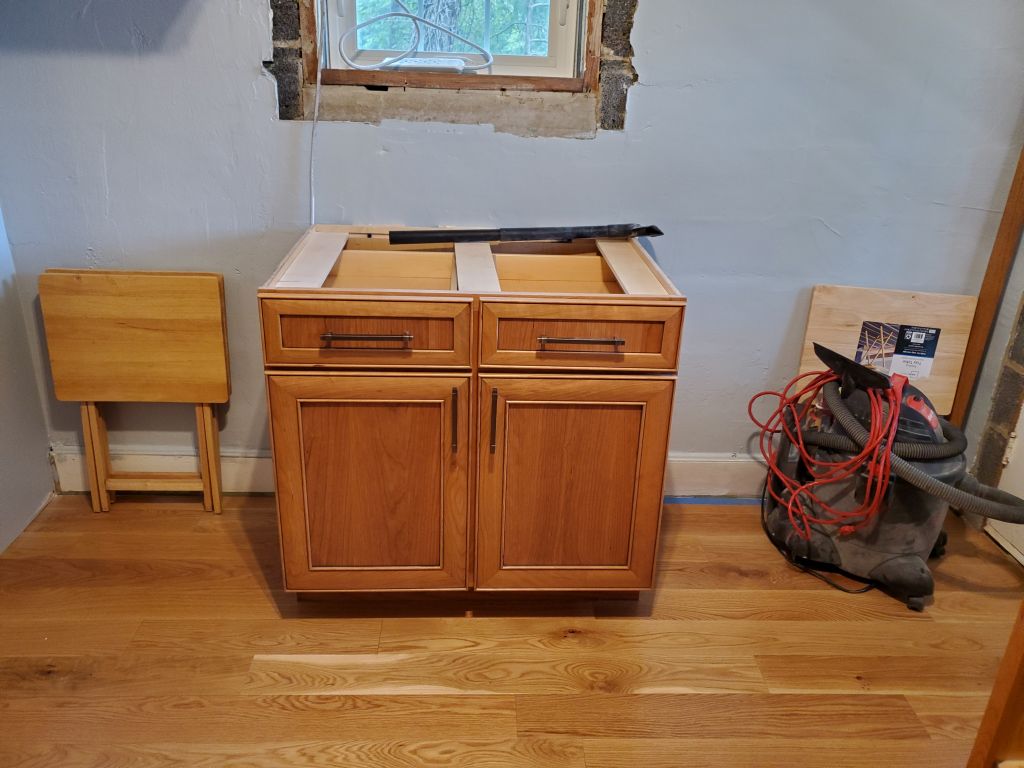
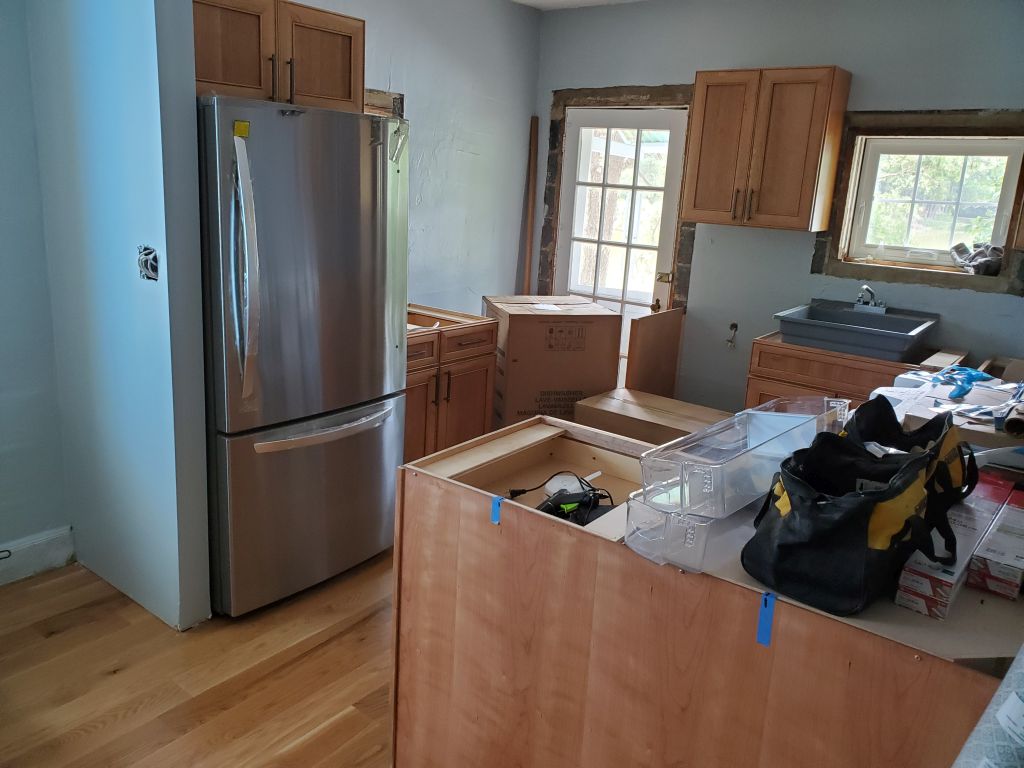
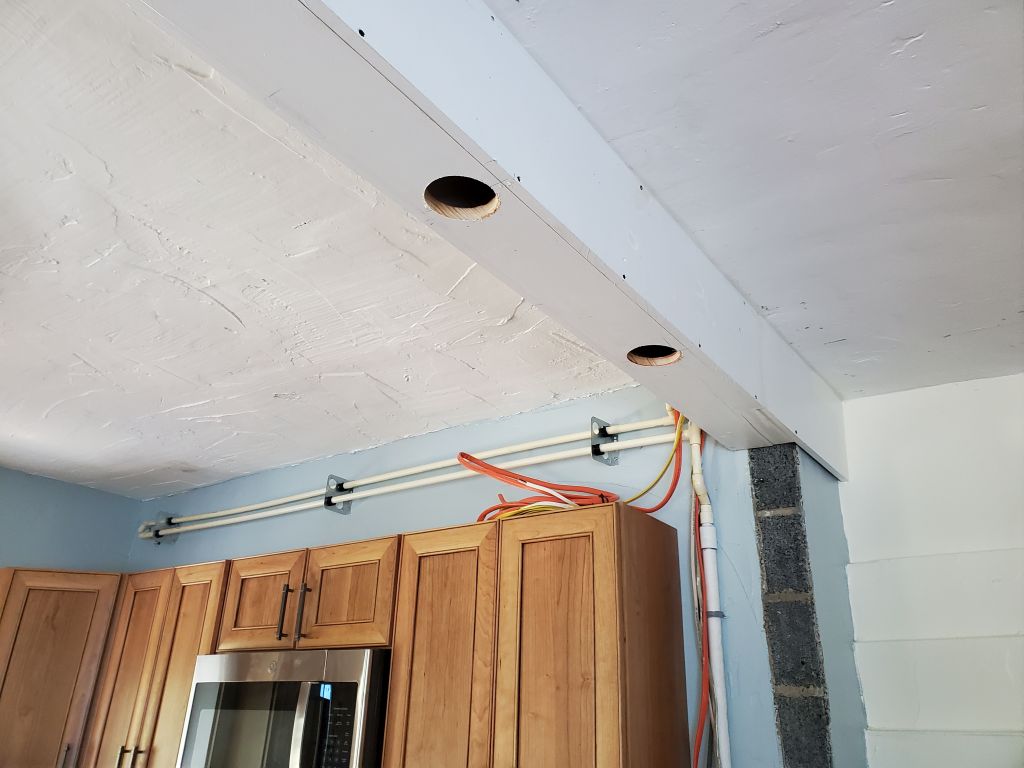
Meanwhile, I worked to install the final two cabinets: the deep cabinet above the fridge, and the 36″ base cabinet next to the fridge. I had the specifications of the fridge, and it looked like keeping the top of the cabinet at the same height as those across the room would provide enough clearance for the fridge below, so I installed it using that guidance. The base cabinet required a bit of modification at the back corner to accommodate a protruding electrical box there. This work took me till 0945.

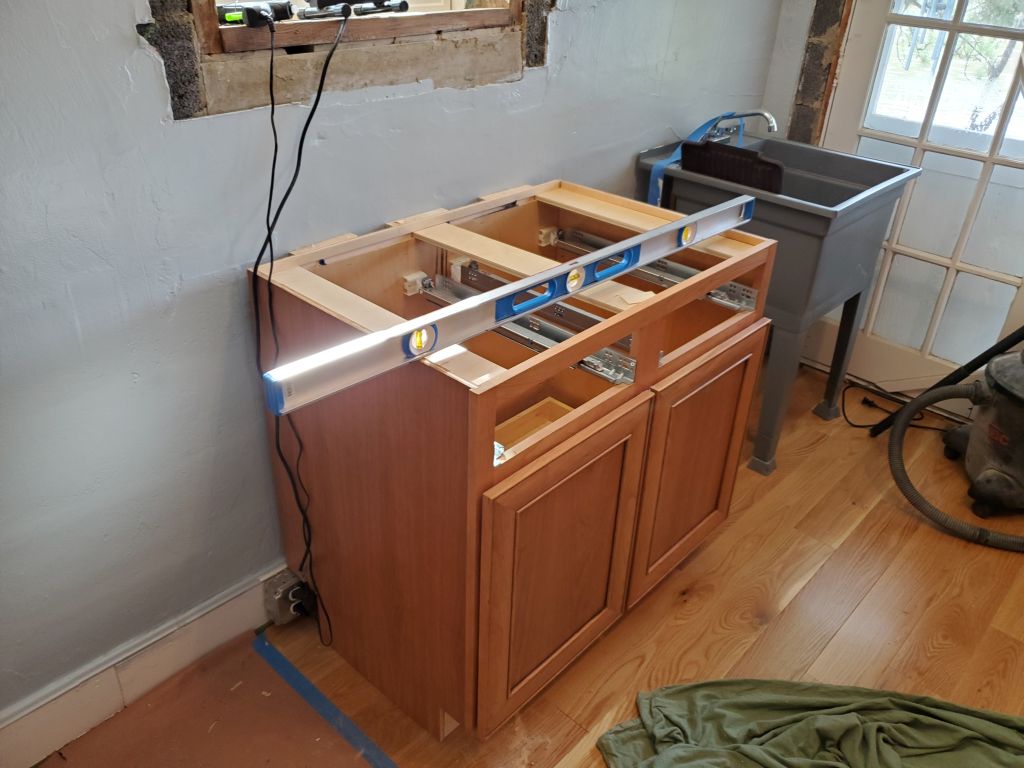
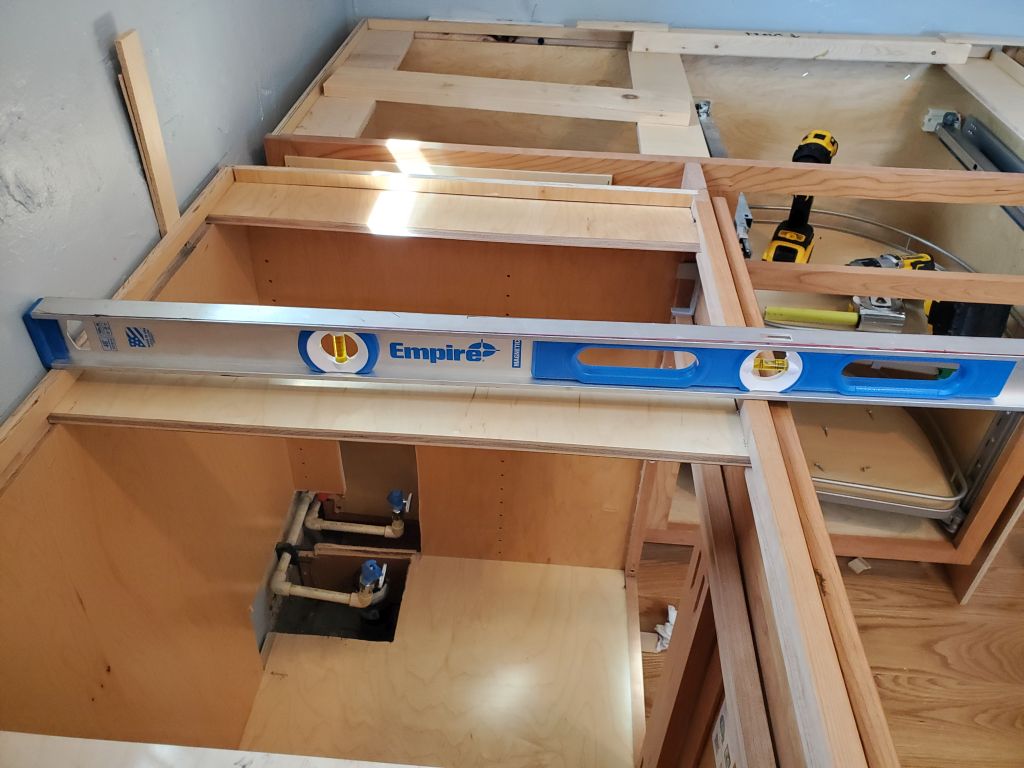
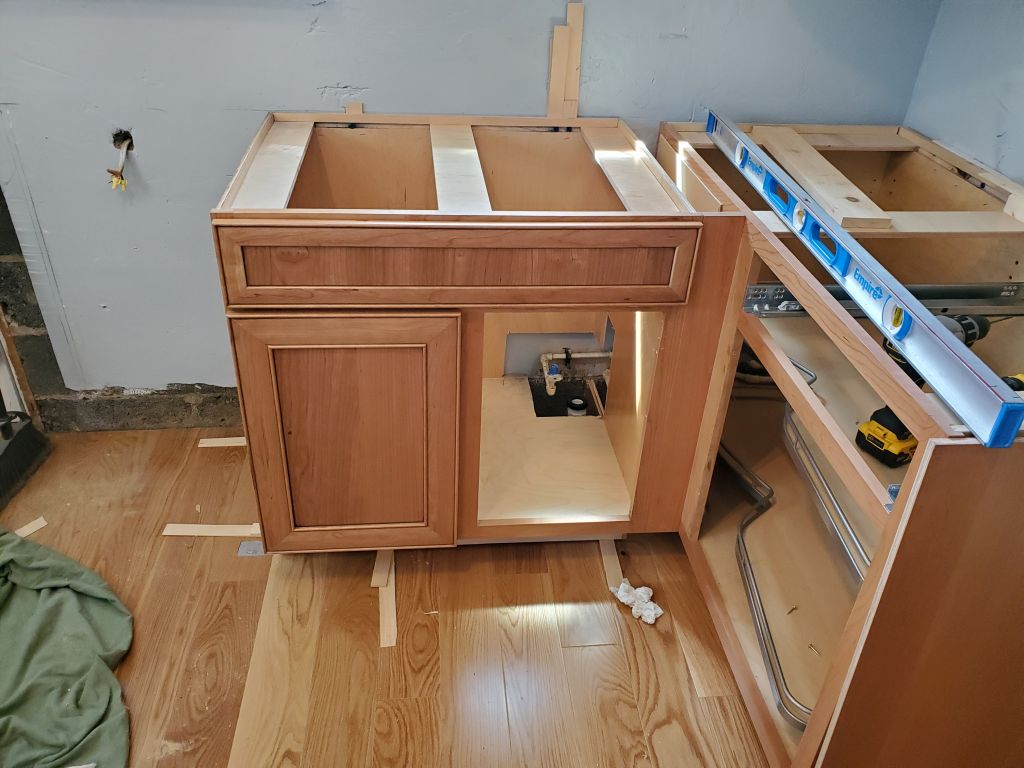
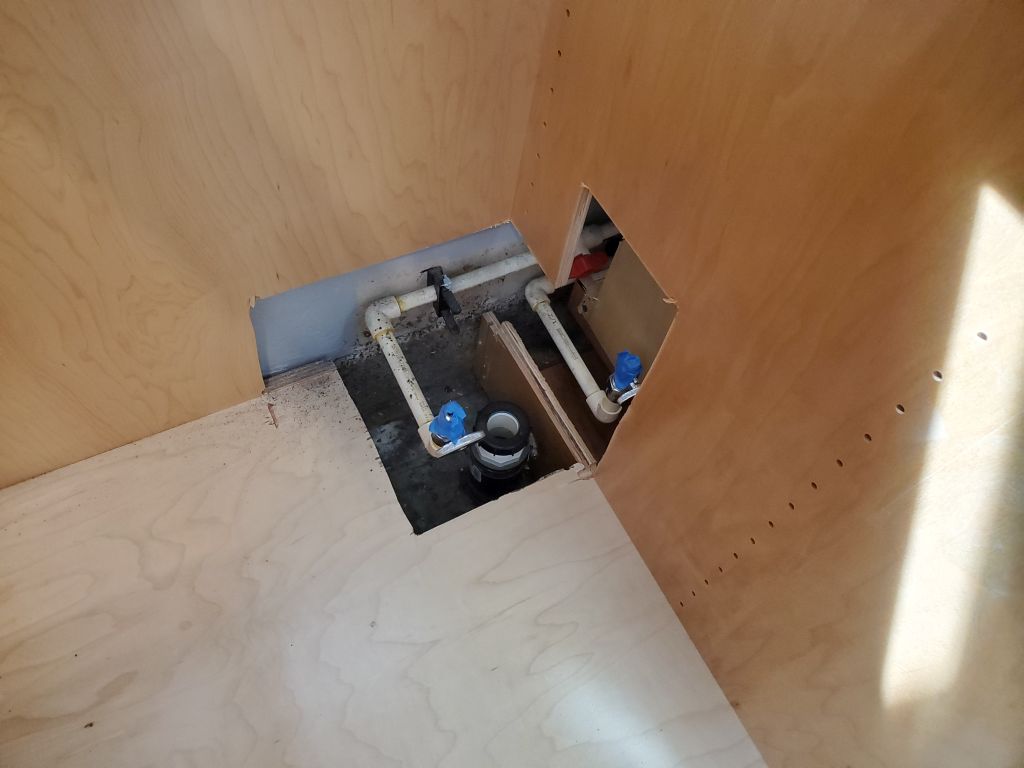
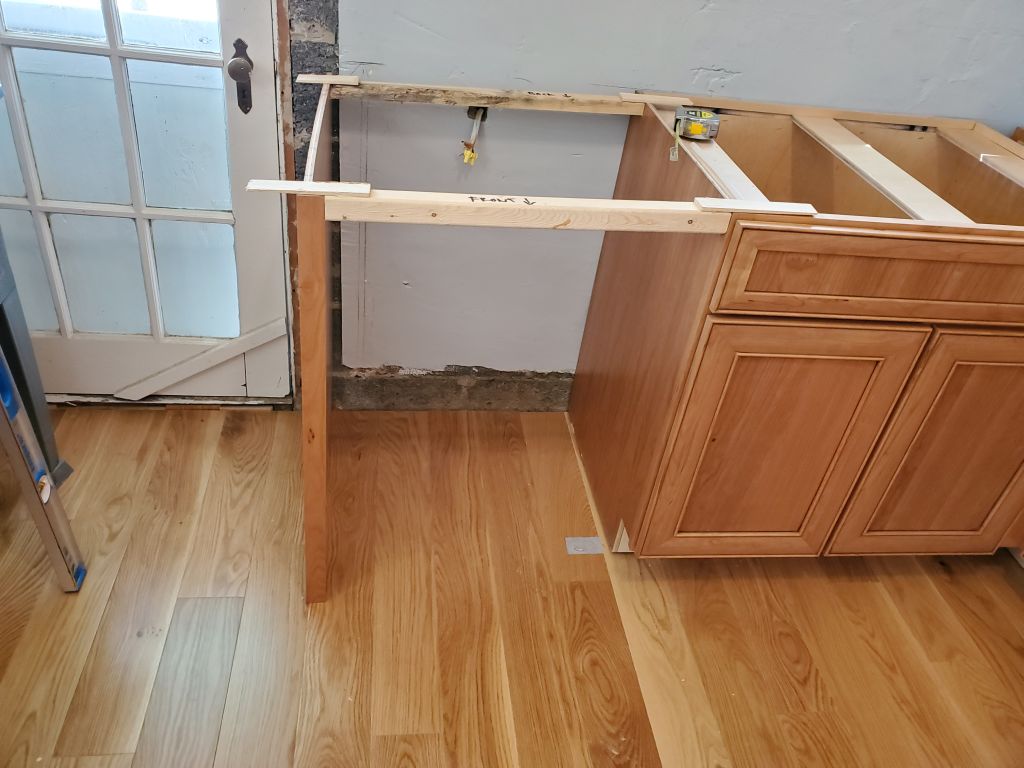
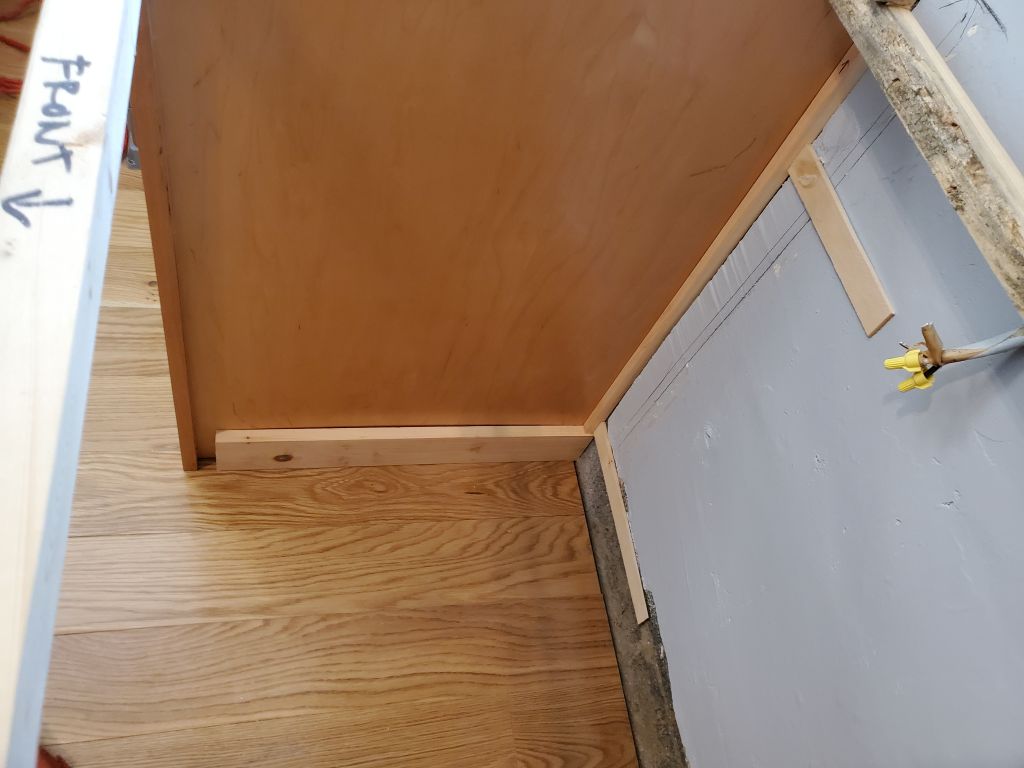
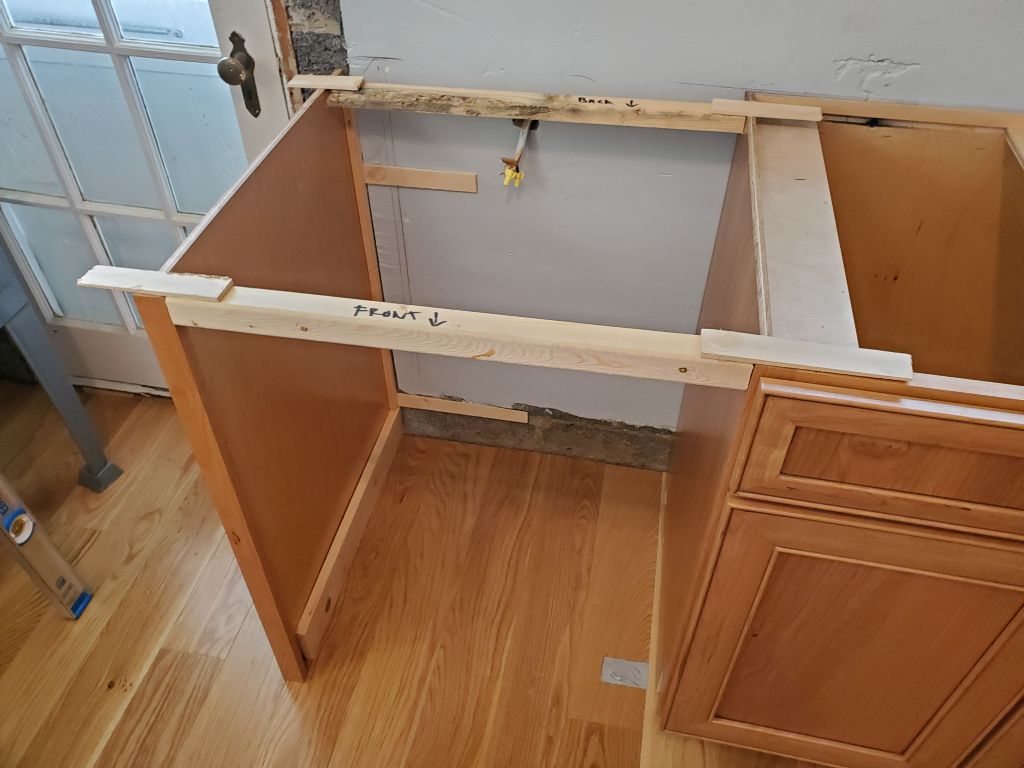
From there, I worked to remove the sink base, install a 3″ wide cherry spacer, then reinstall the base. This required a bit more cutting to accommodate the plumbing and allow me to reach the valves with the cabinet moved further to the left. Once the sink base was back in its new location, I laid out again for the dishwasher end panel, and installed cleats on the wall and floor to support the panel when installed, leaving the cleats and their glue to cure for the day before final panel installation.
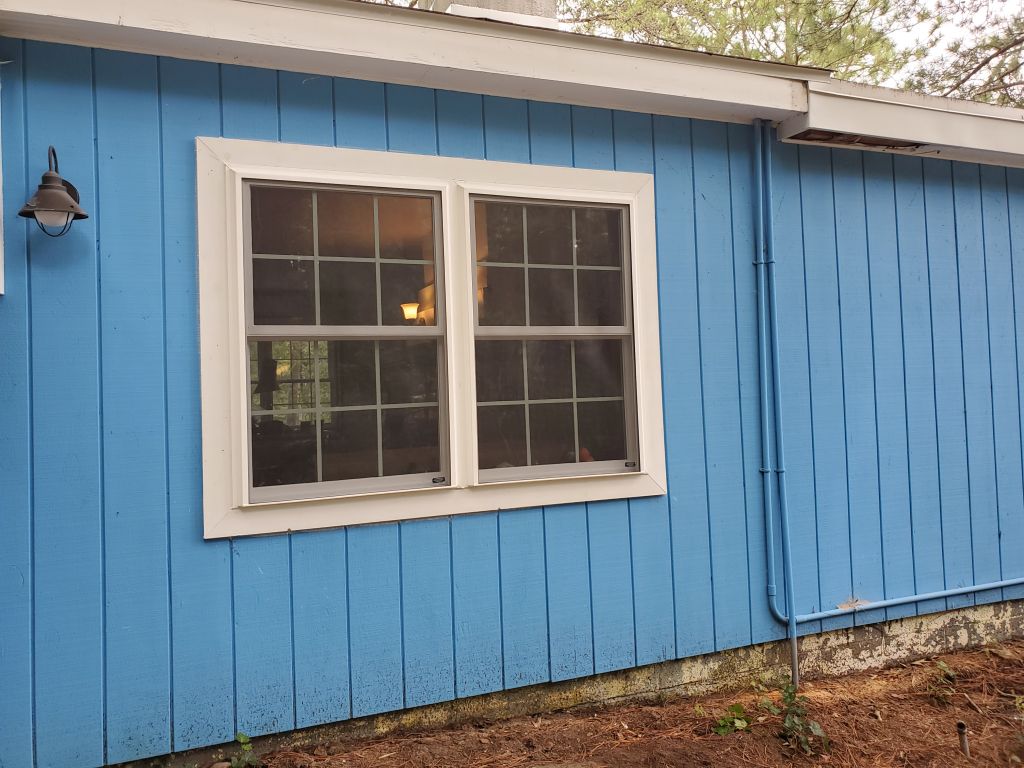
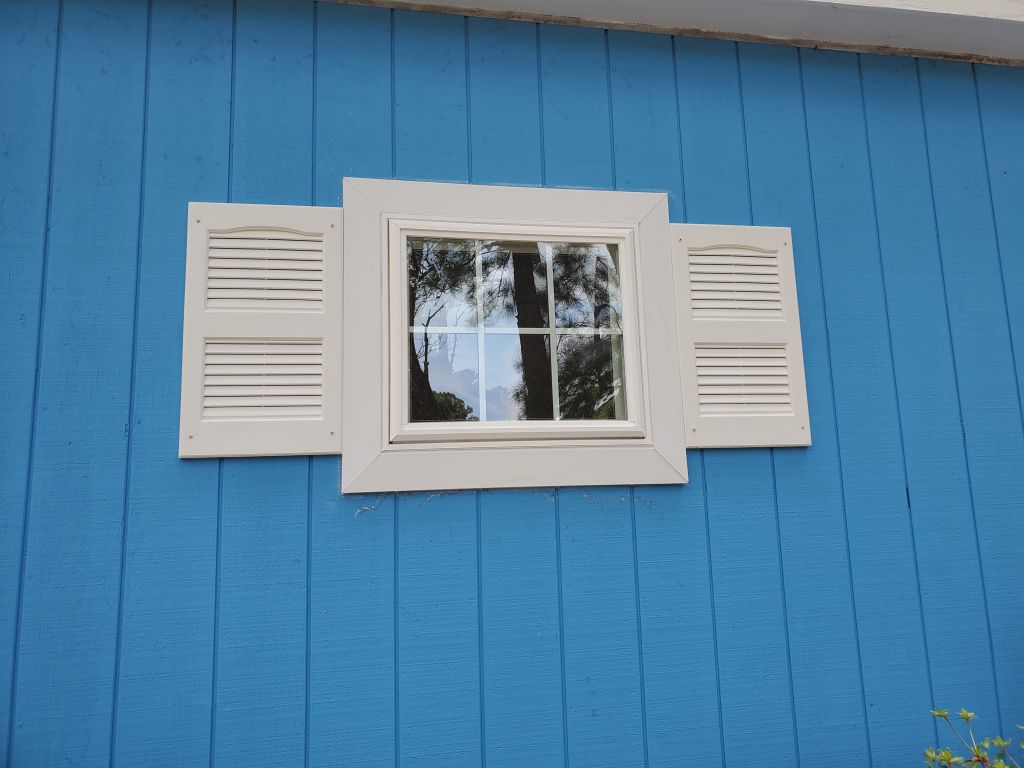
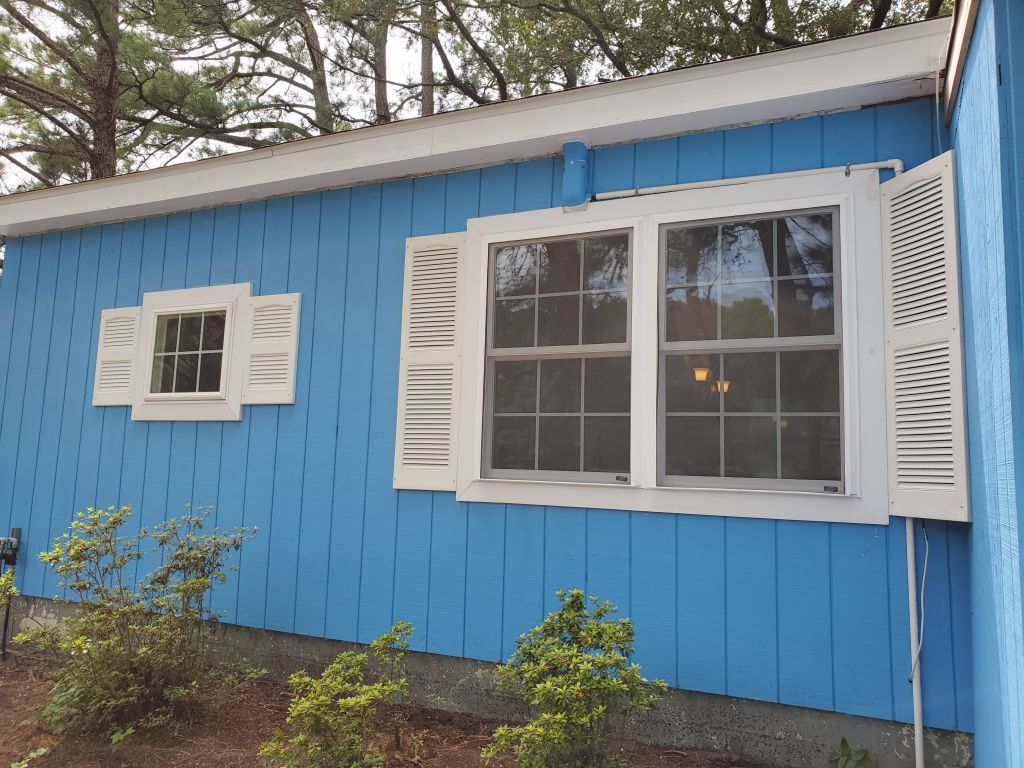
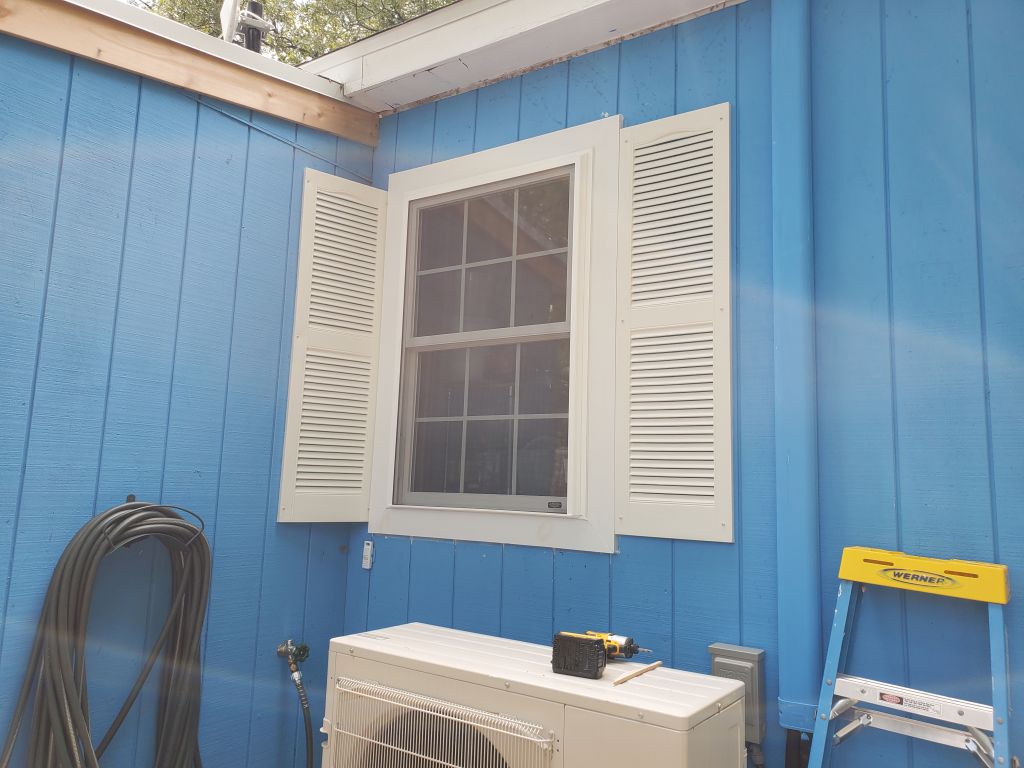
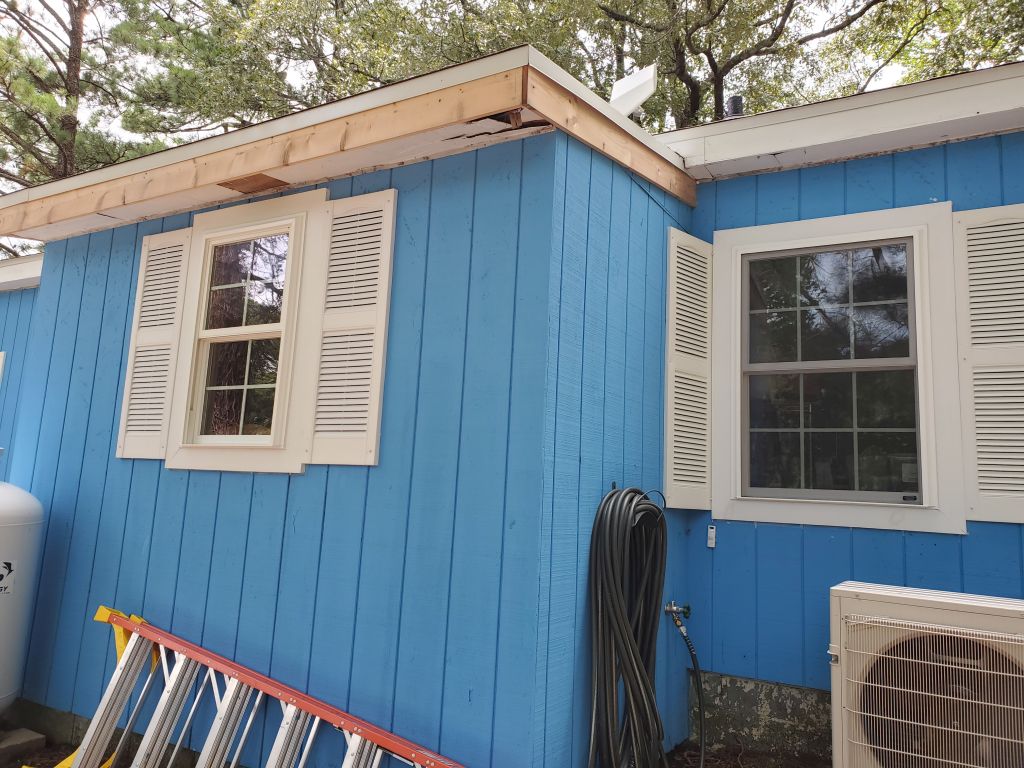
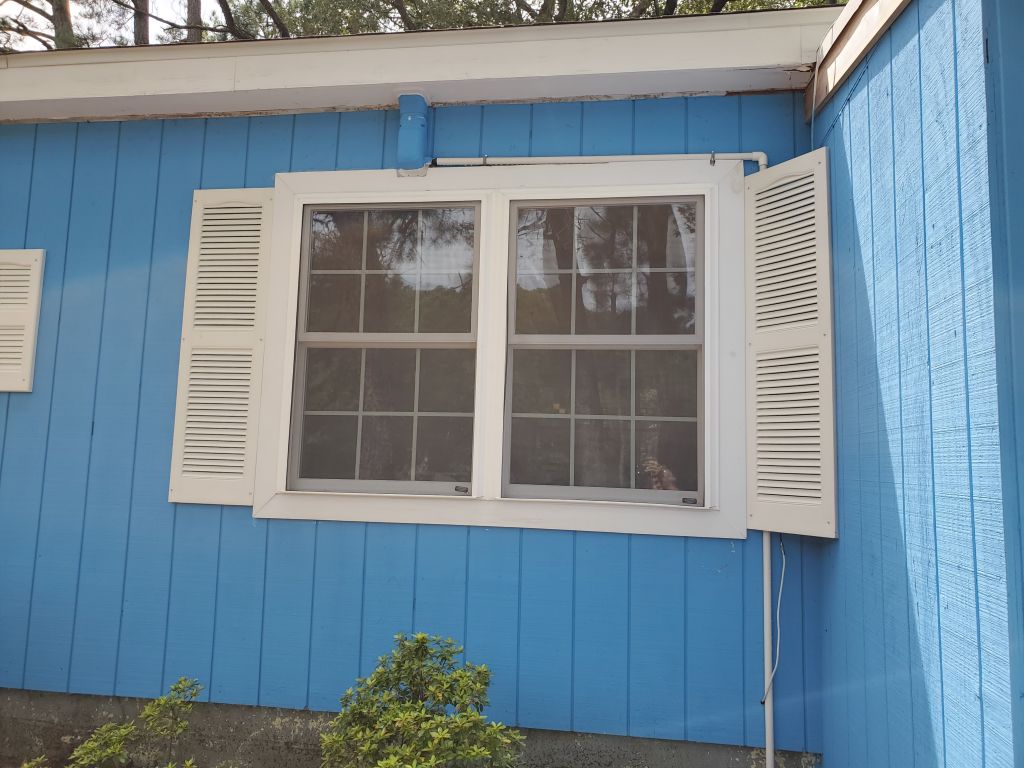
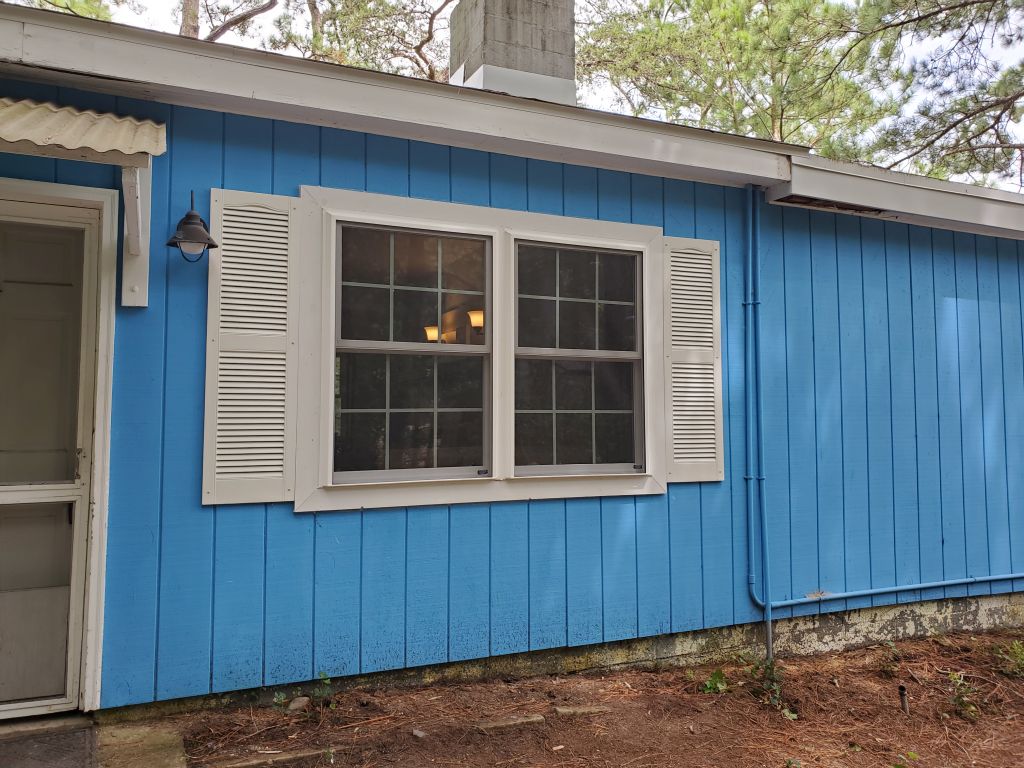
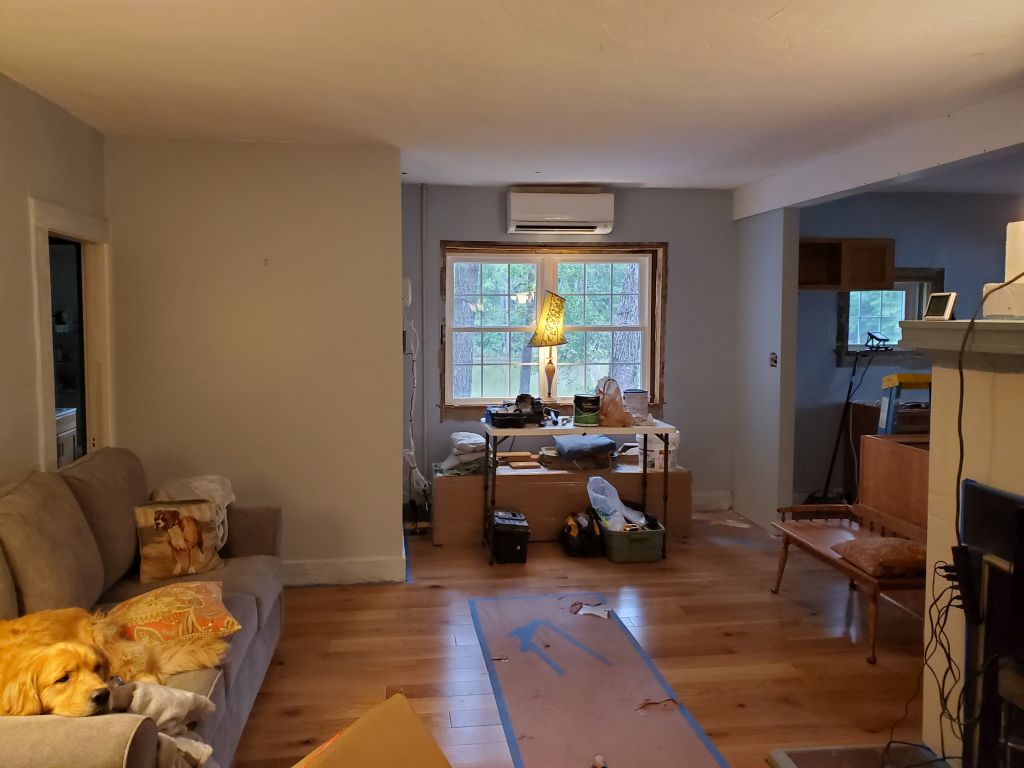
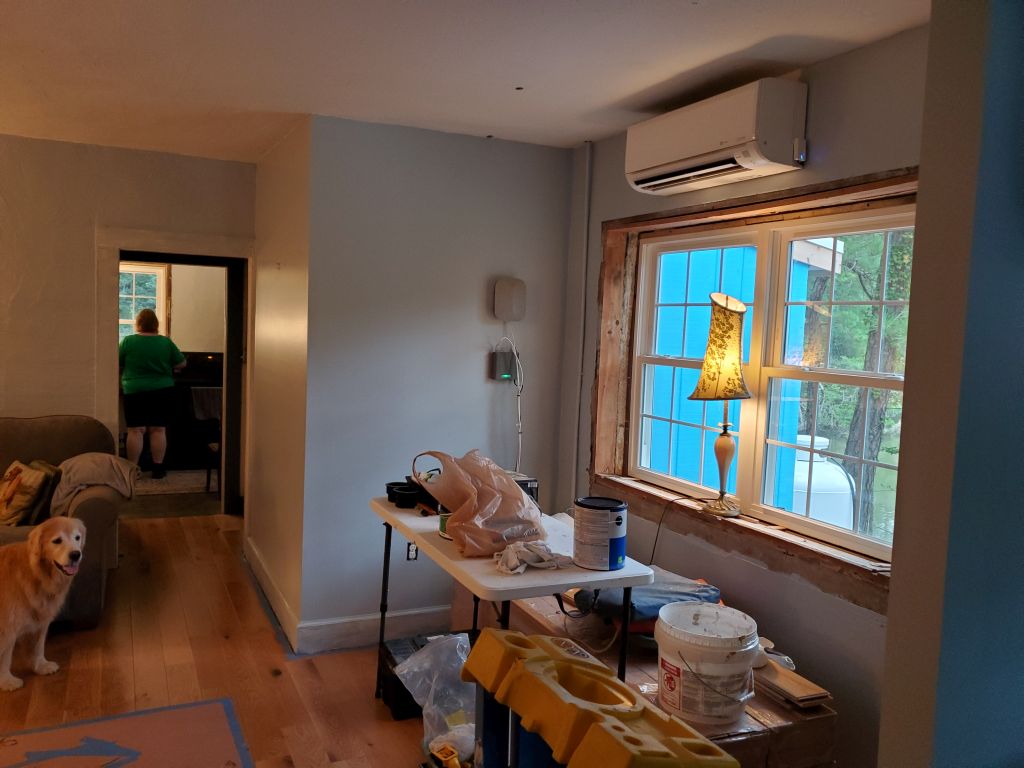
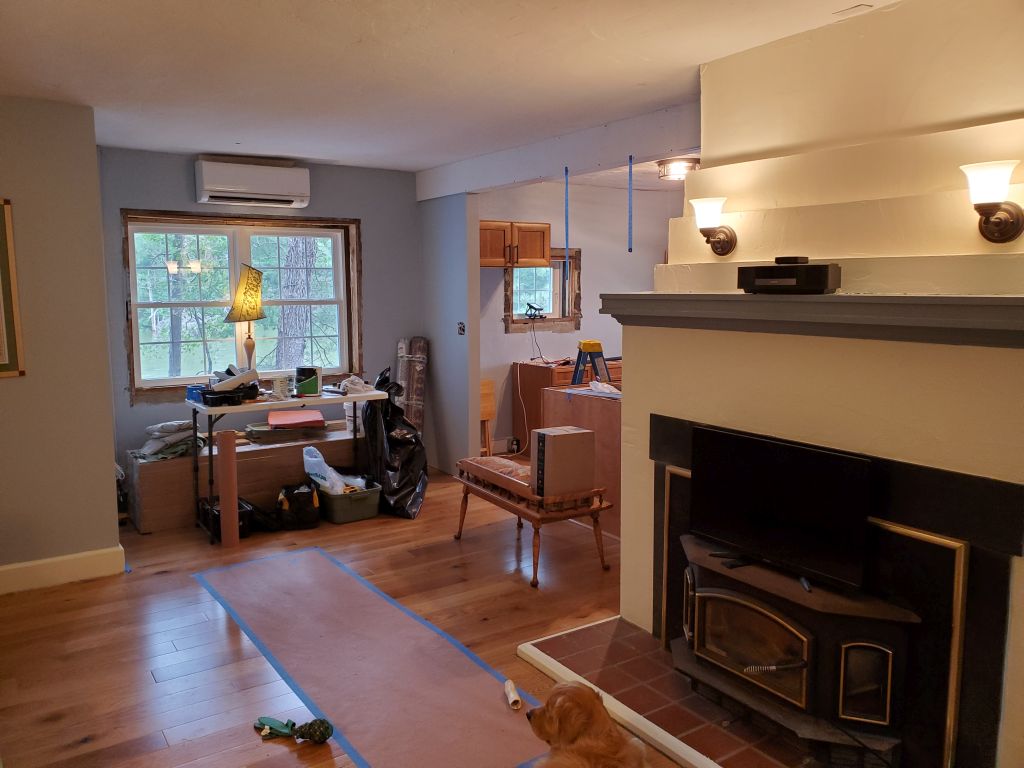
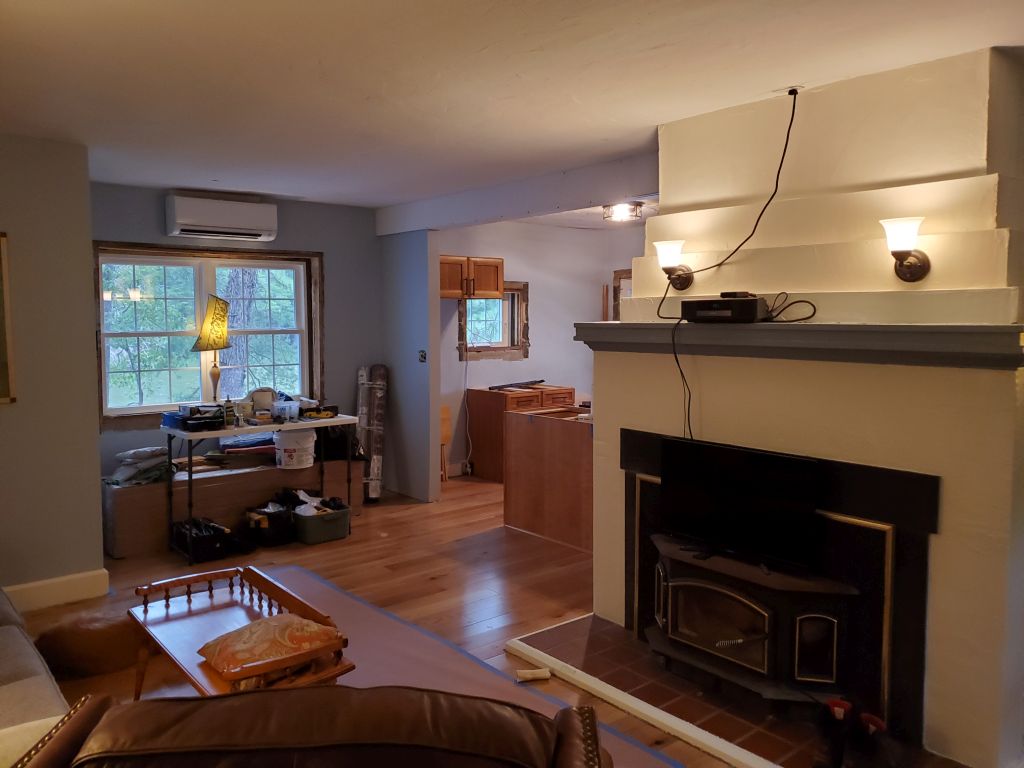
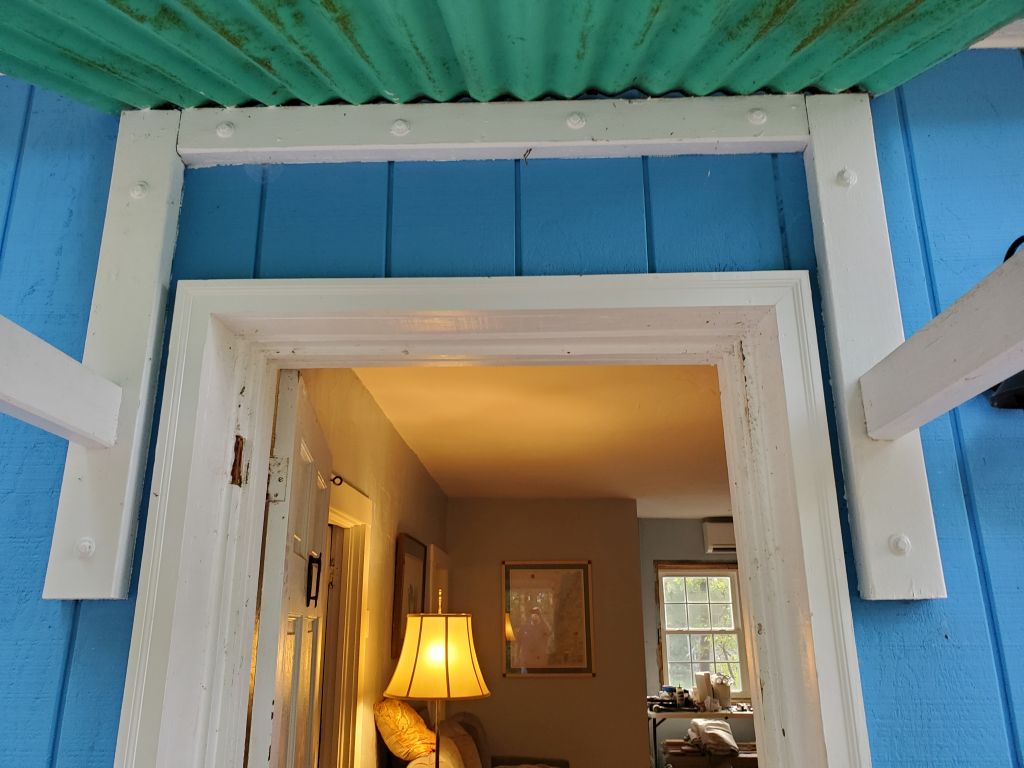
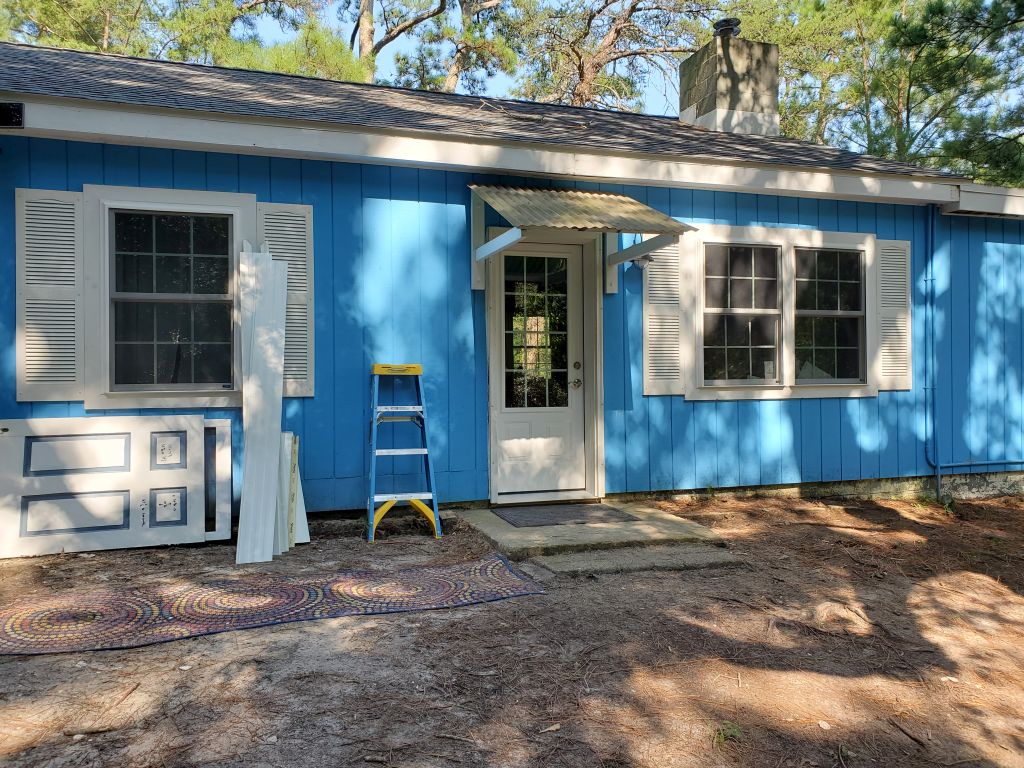
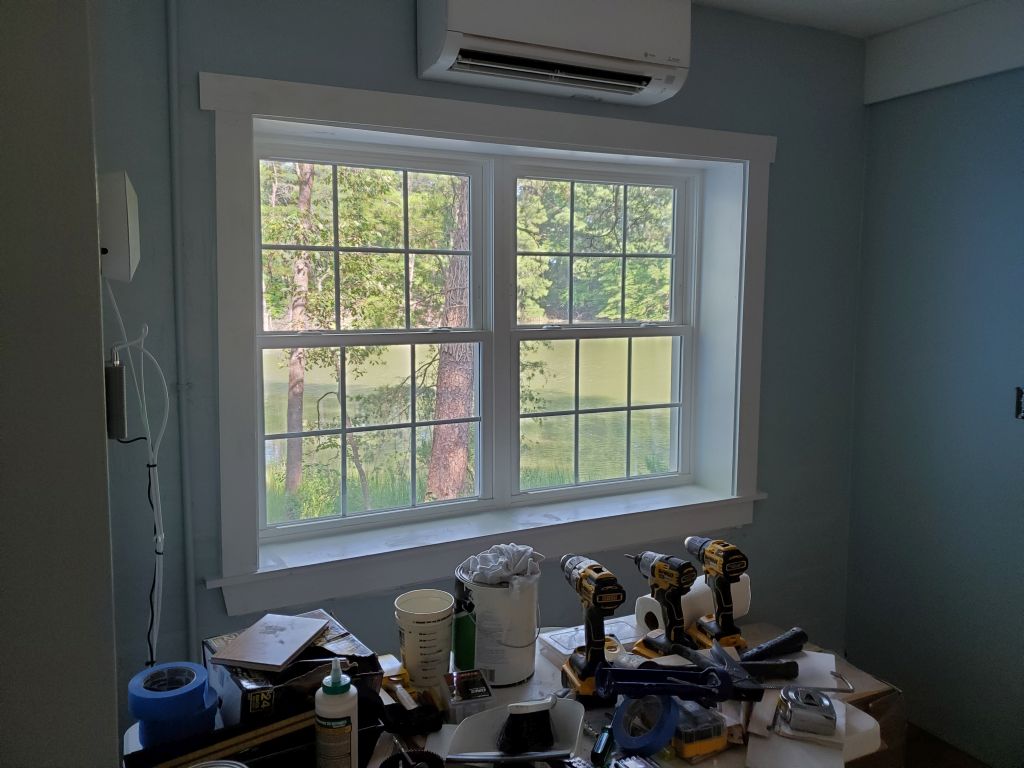
In the afternoon, I installed the new living room window exterior trim, then the final five sets of the shutters, including the living room, bringing the exterior back to some semblance of normalcy; I planned to repaint the trim and siding later in the fall.
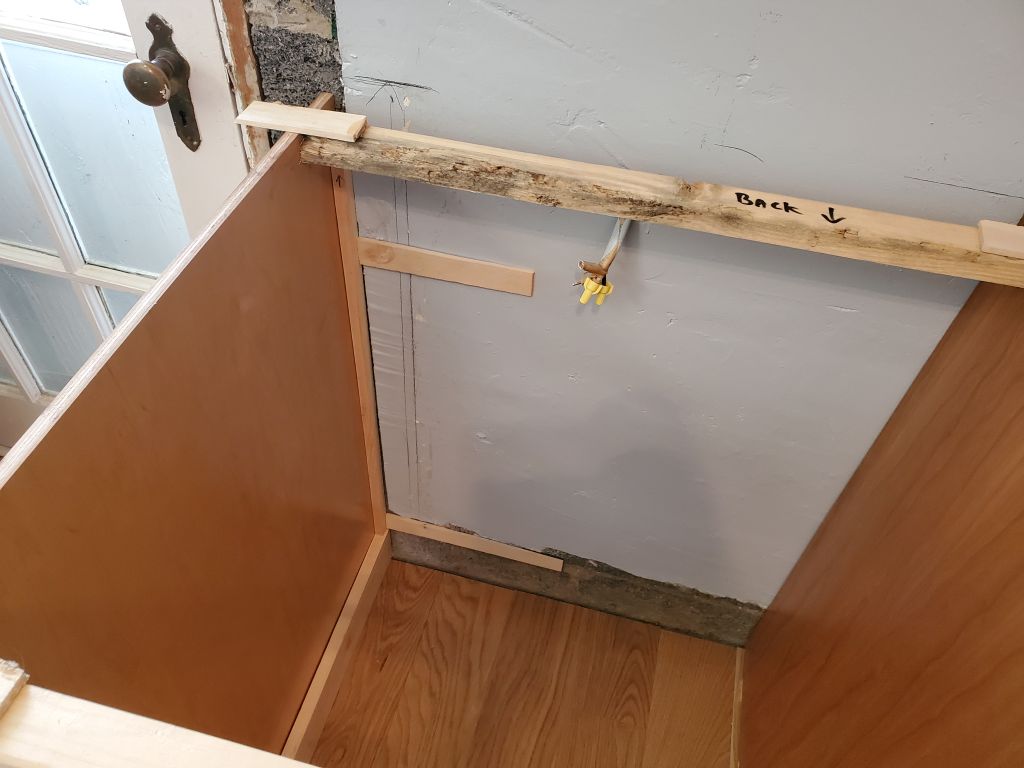
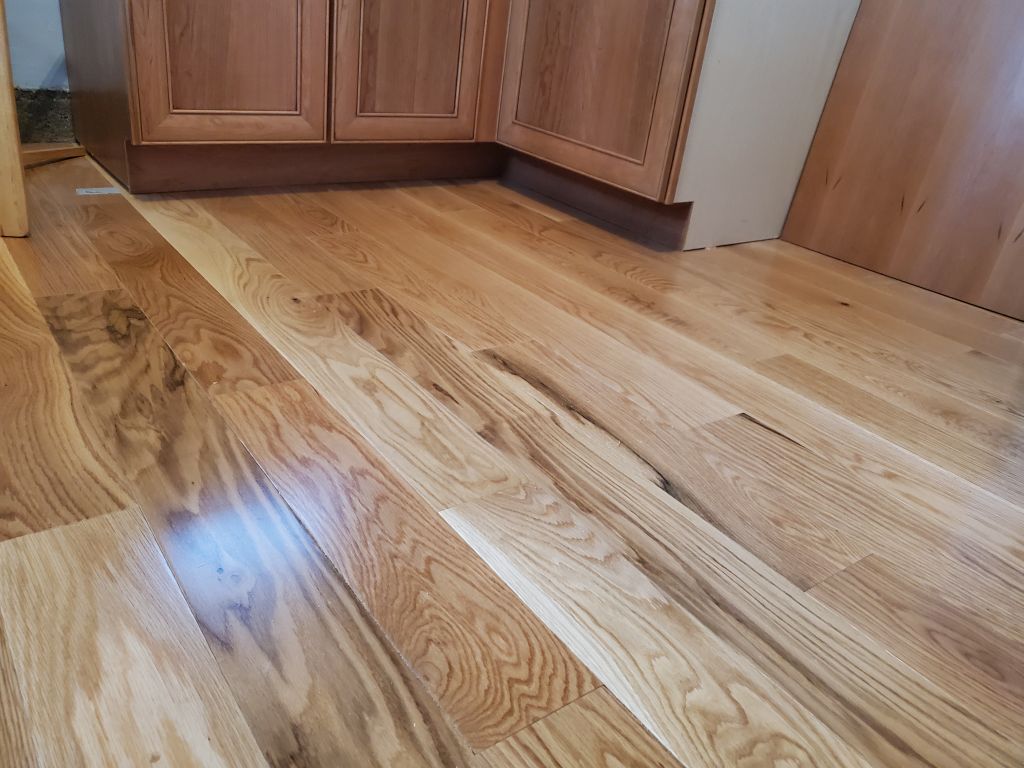
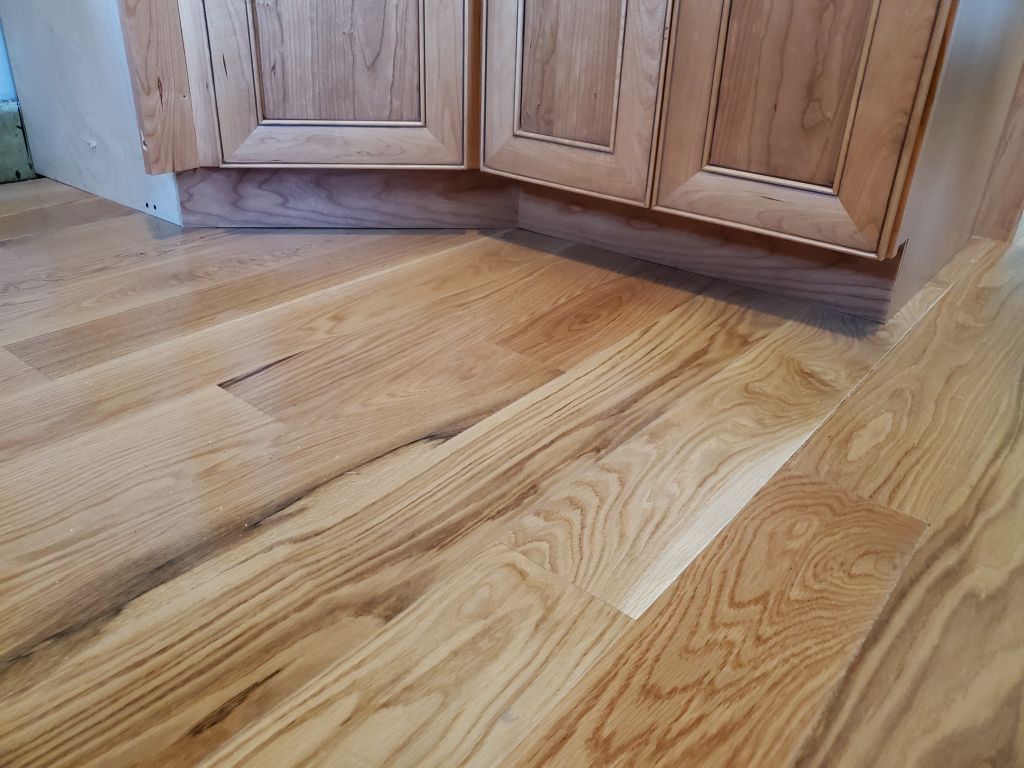
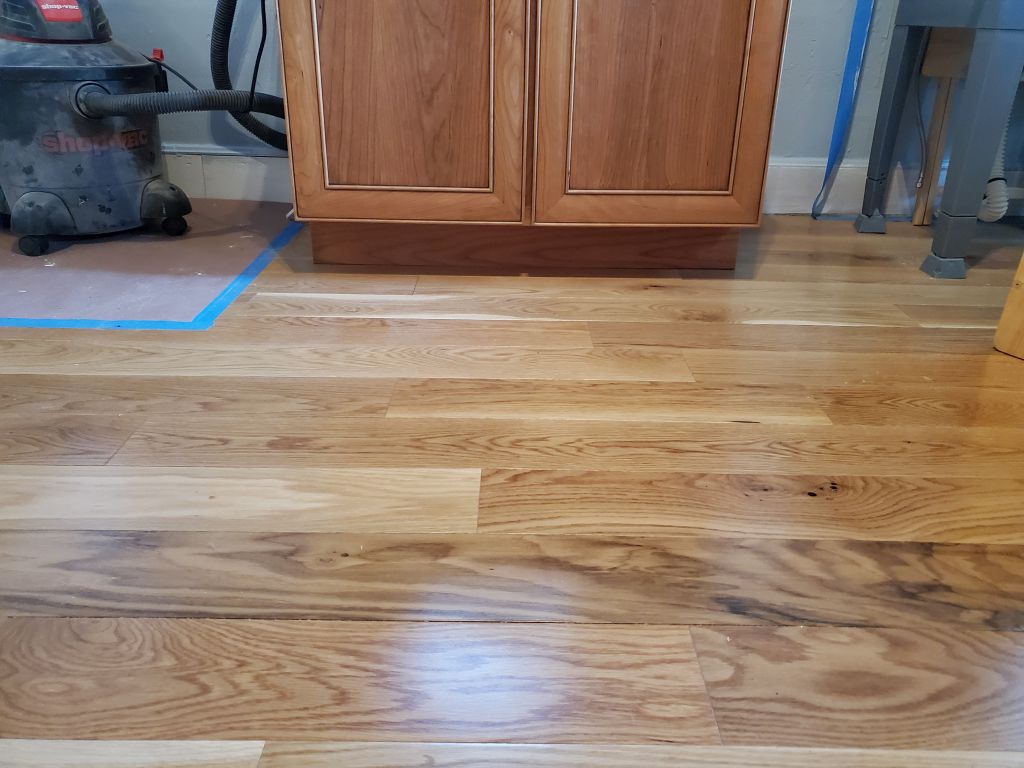
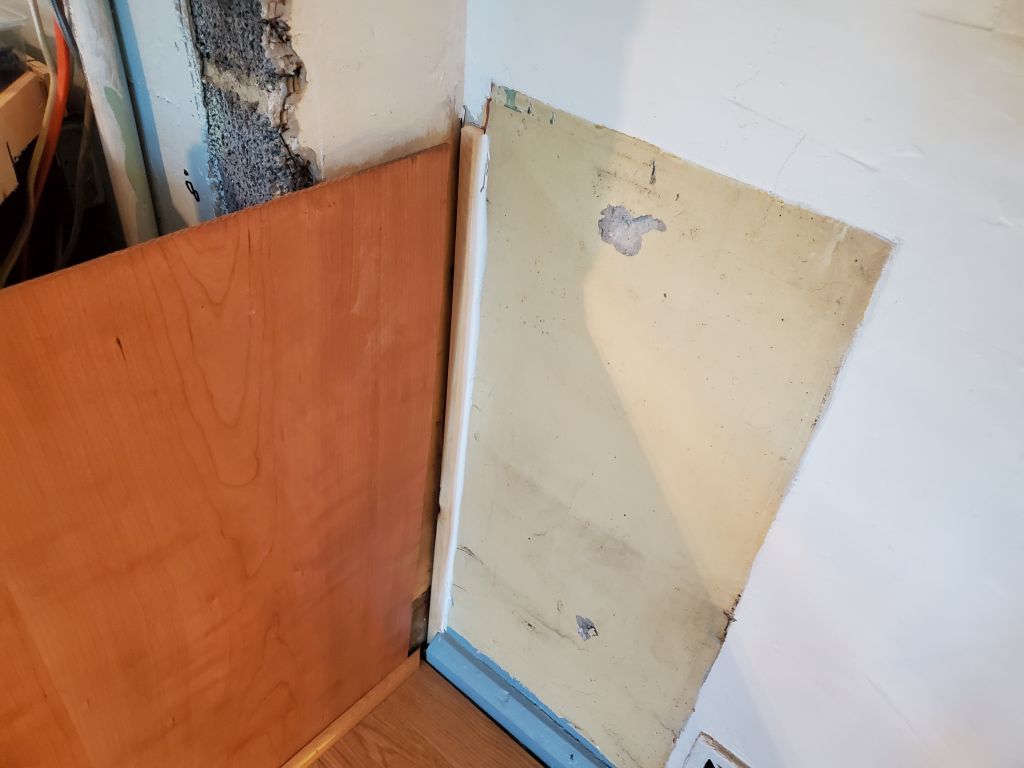
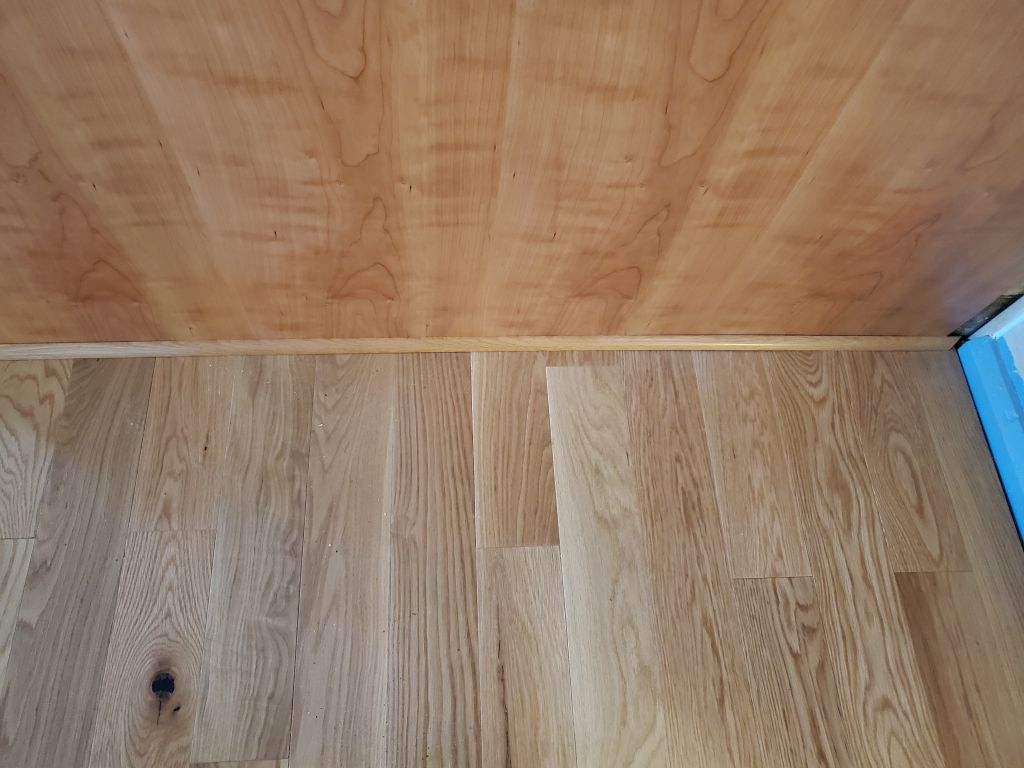
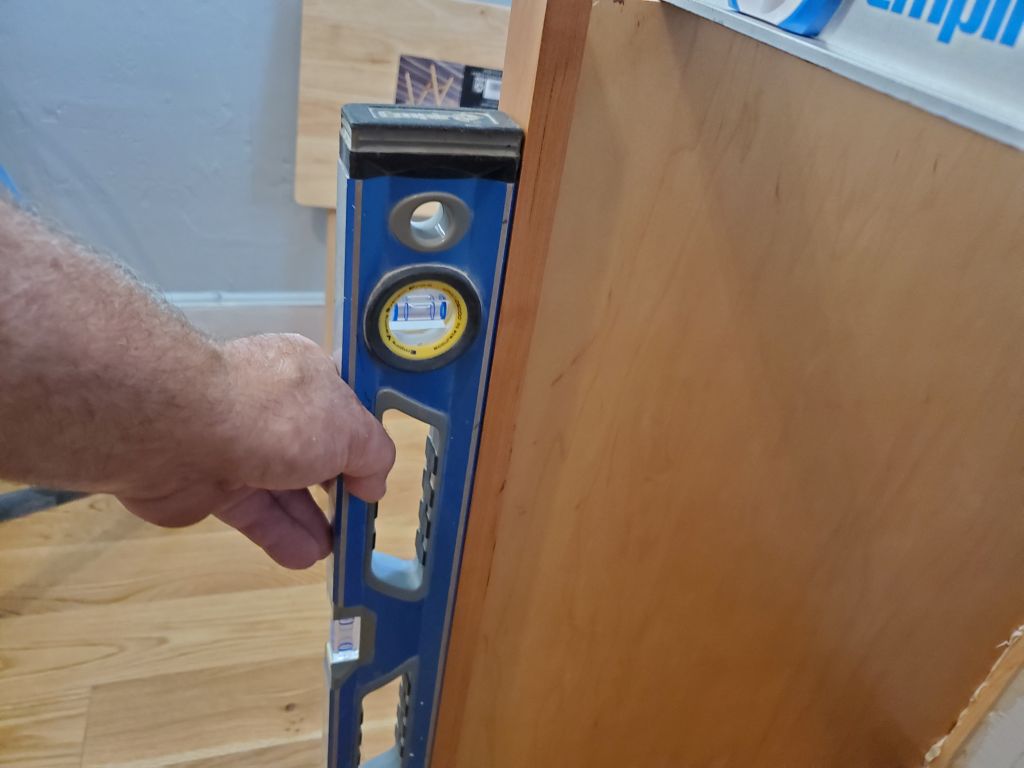
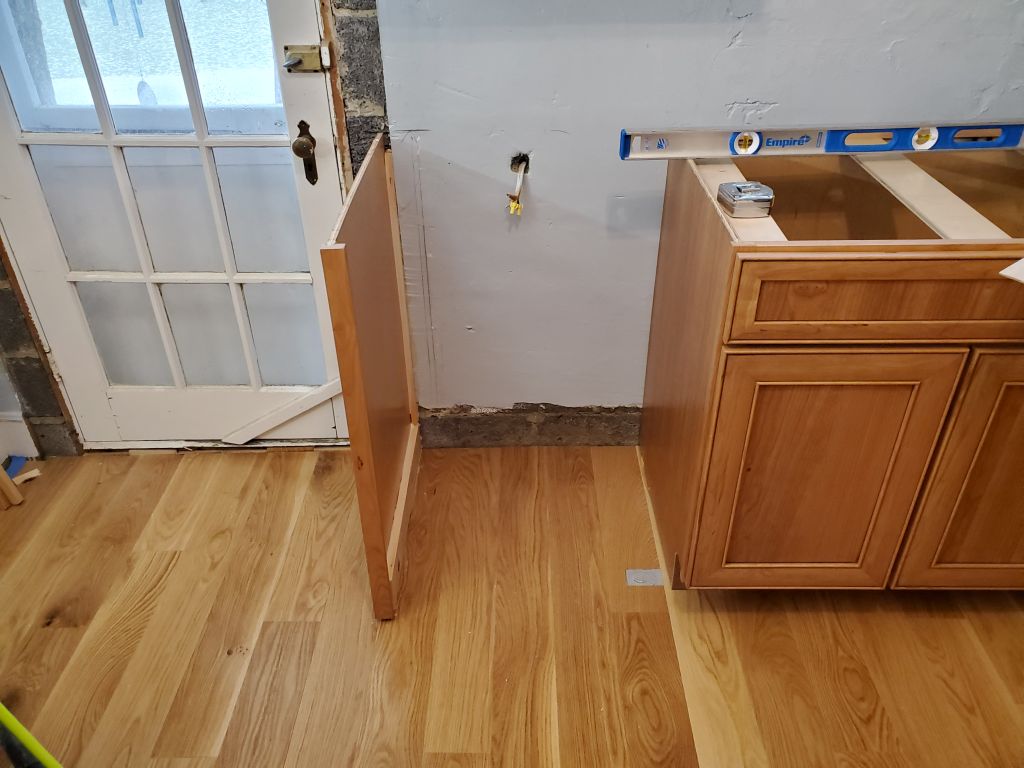
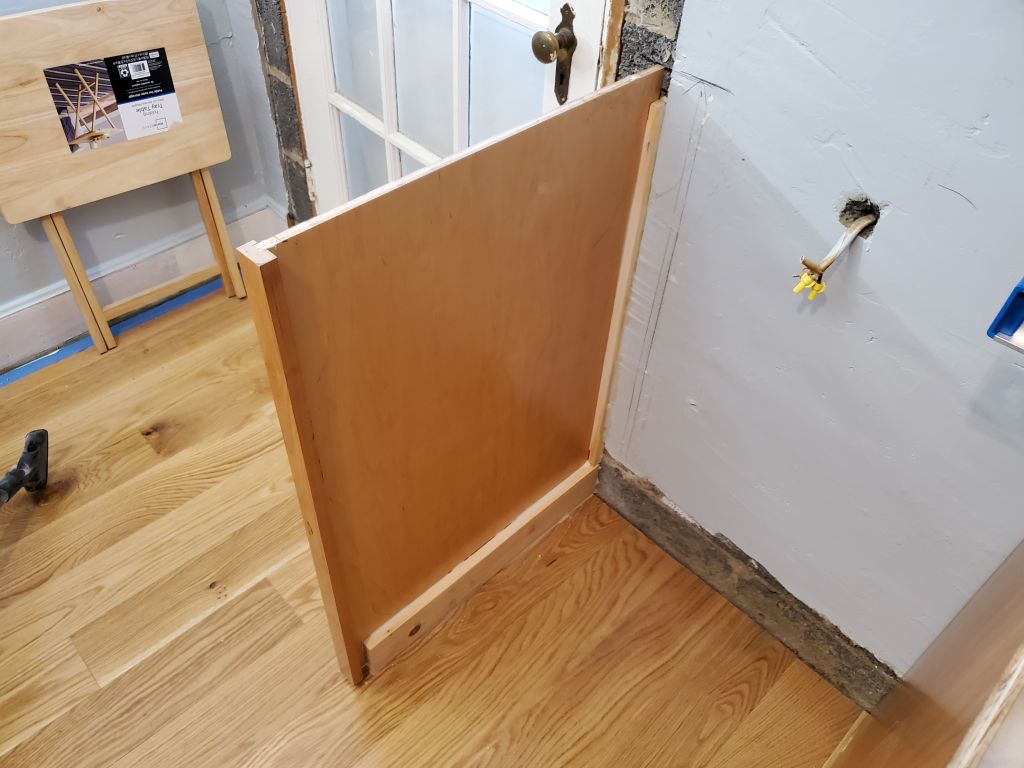
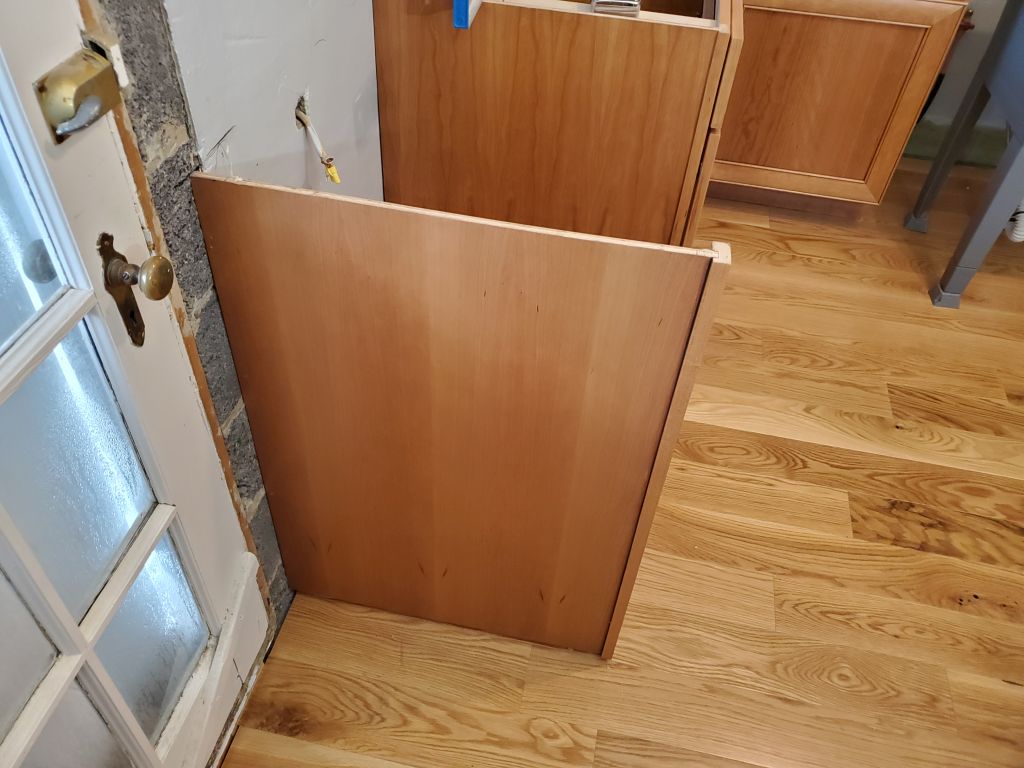
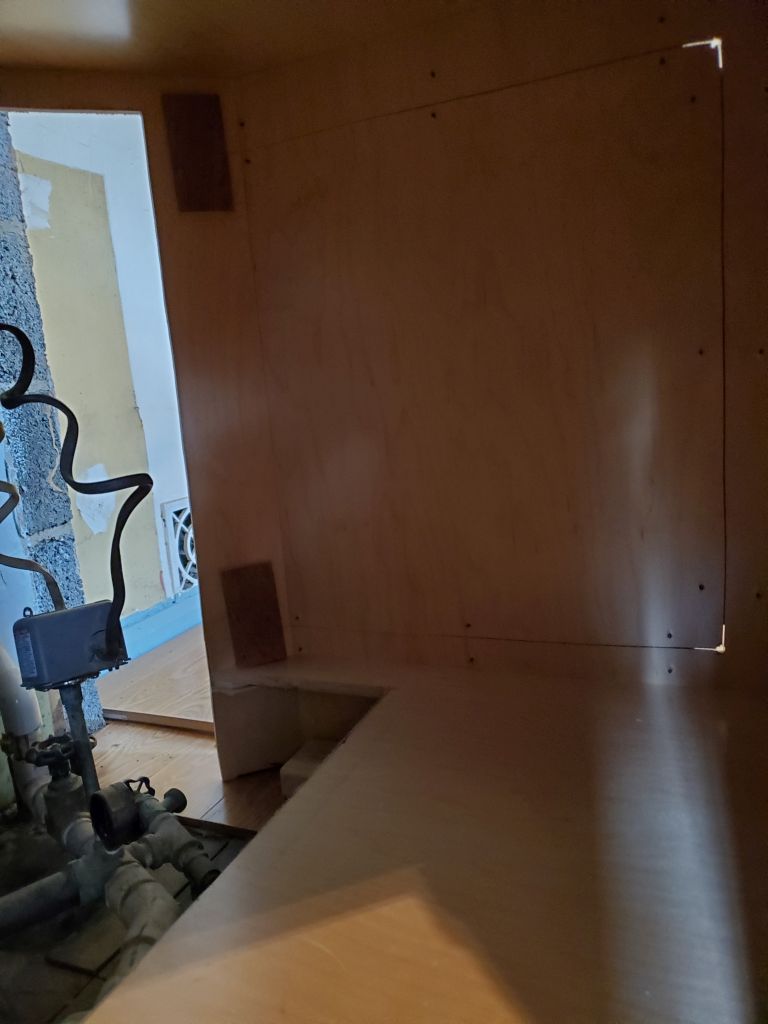
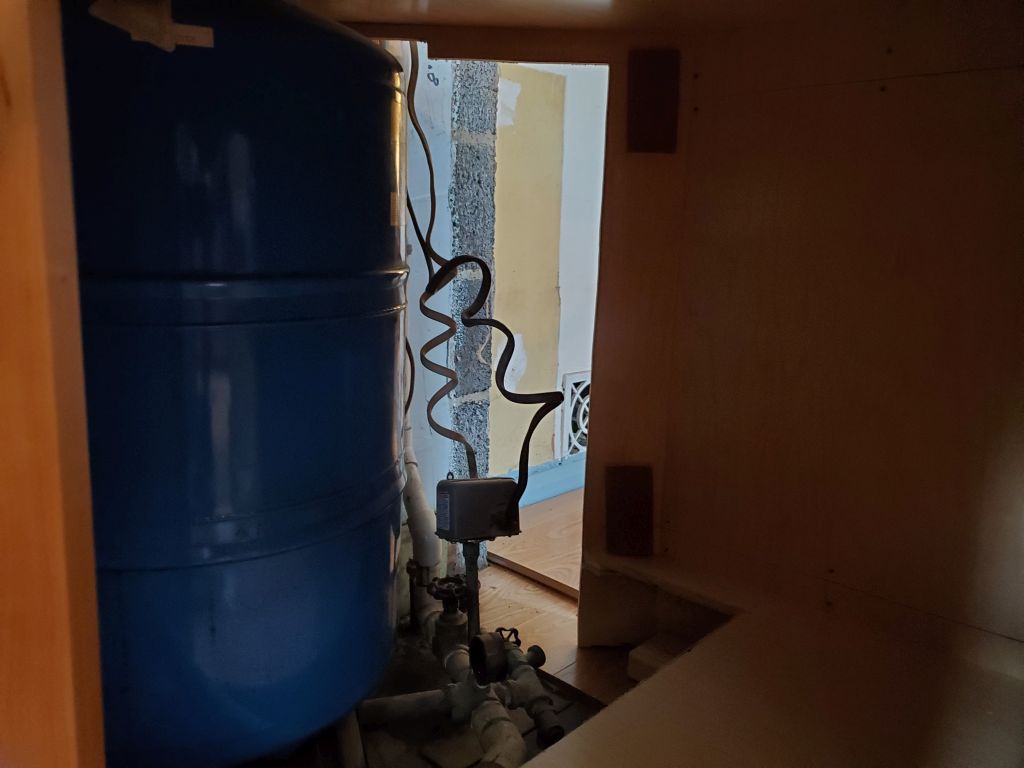
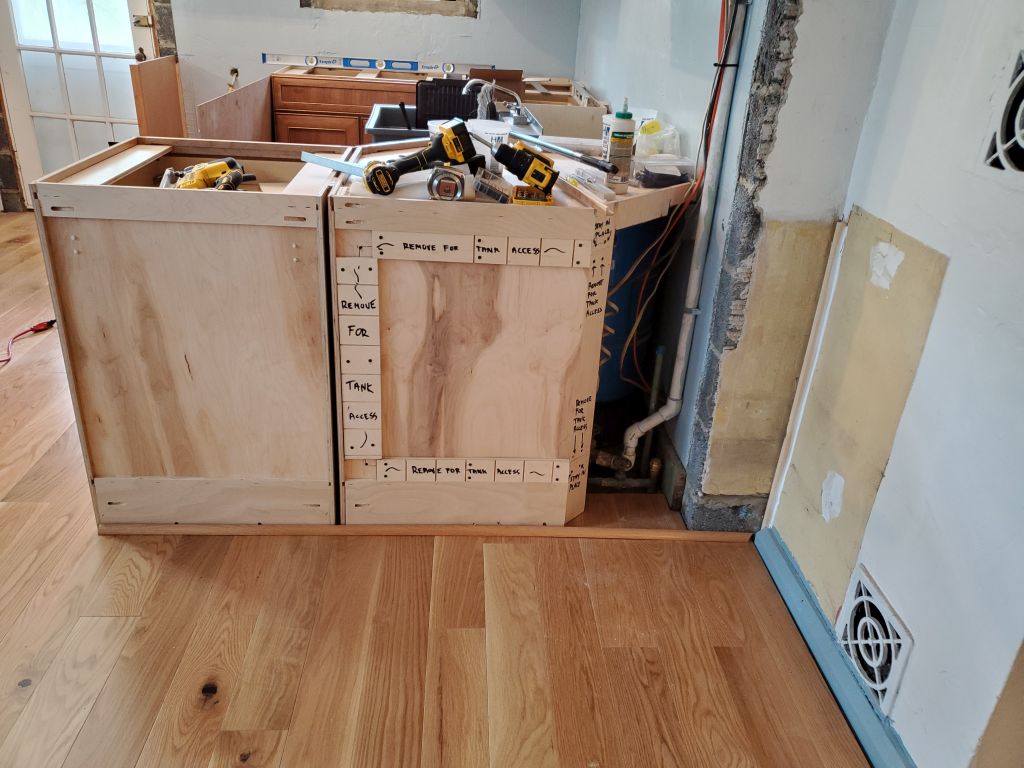
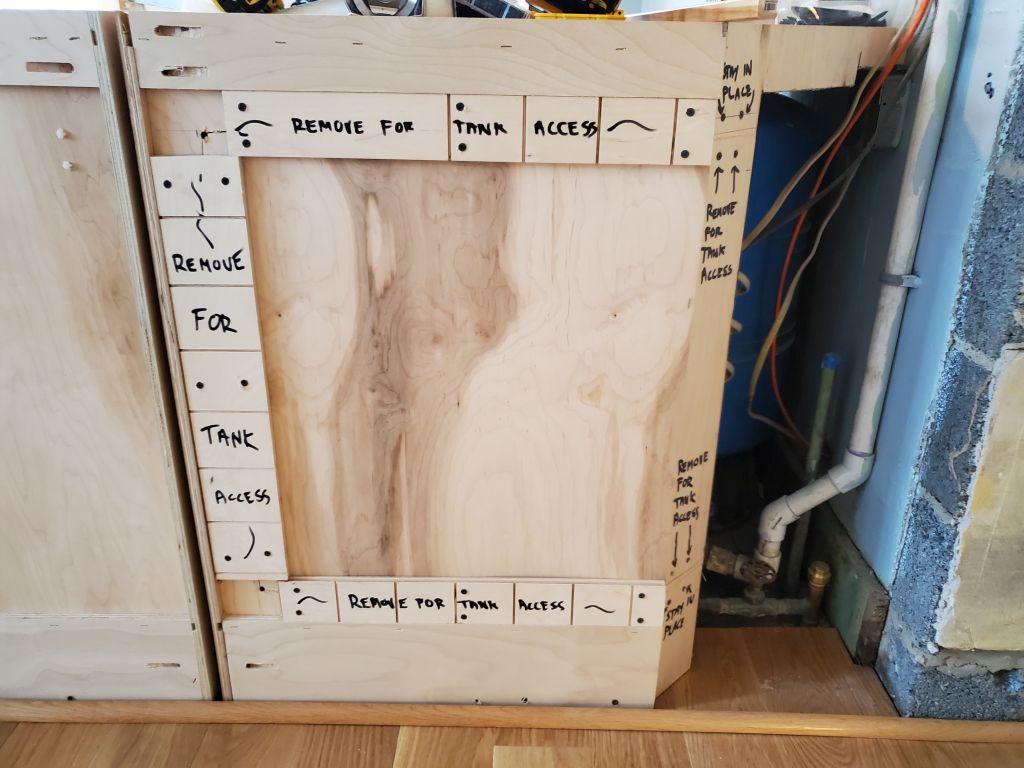
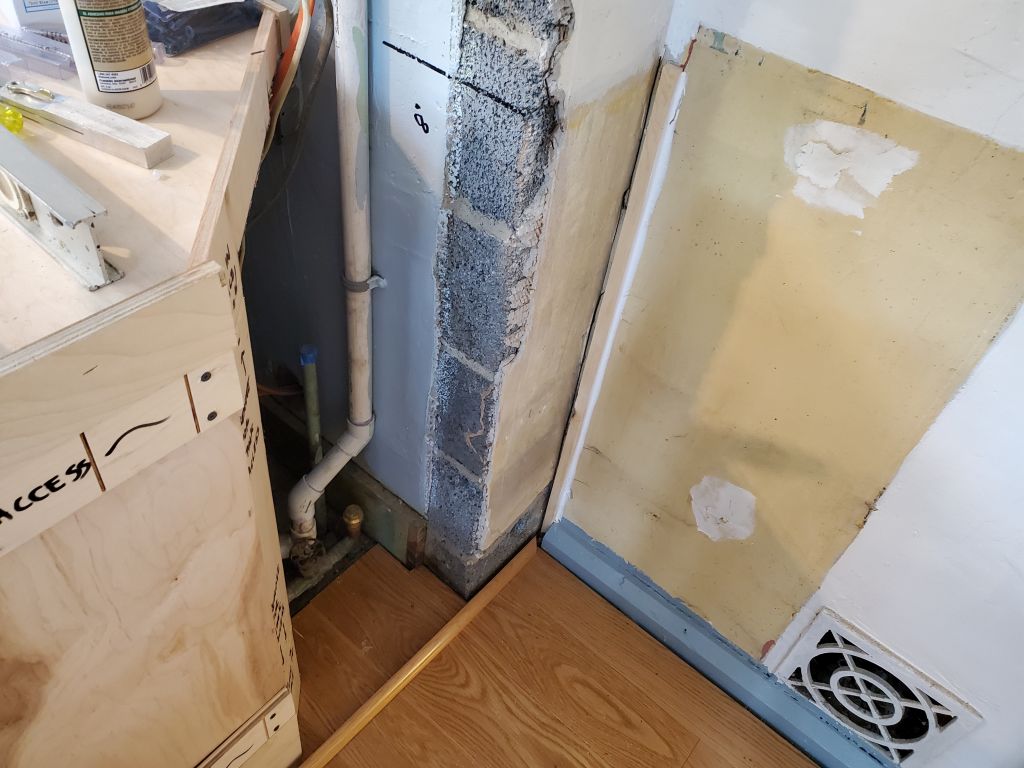
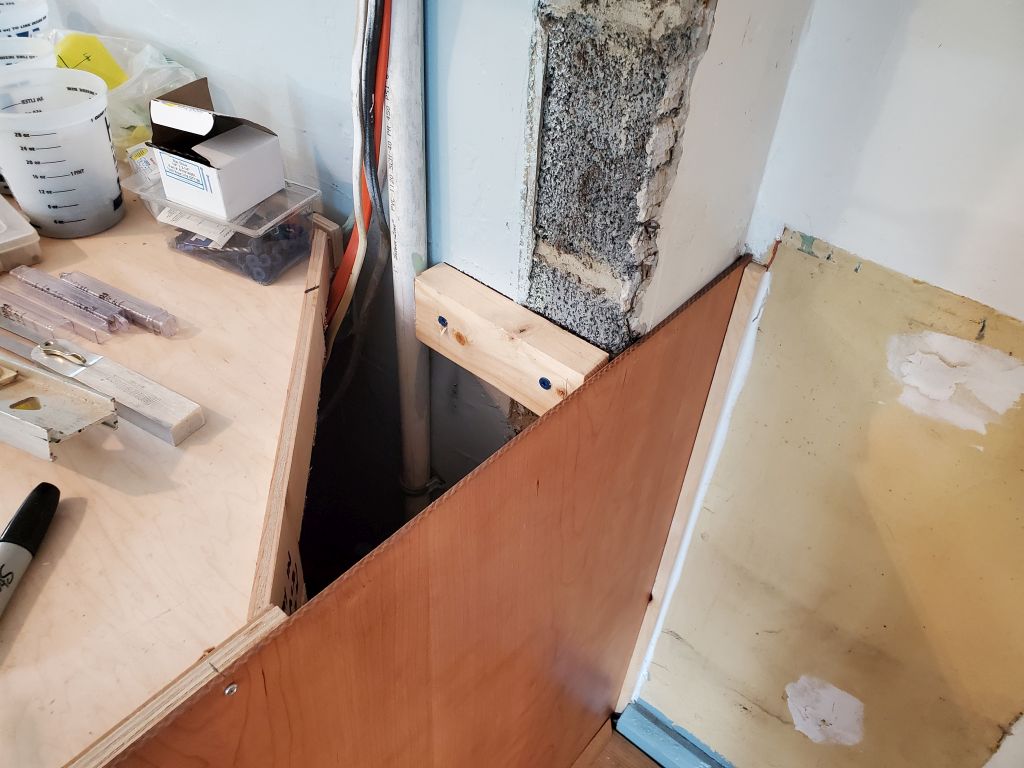
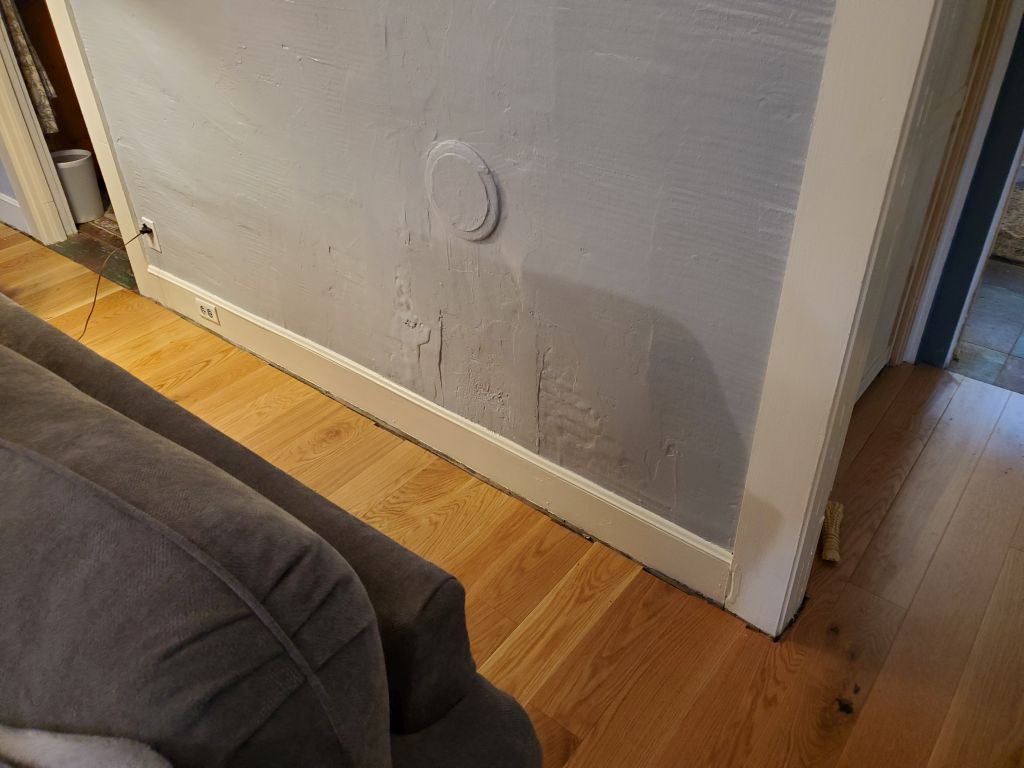
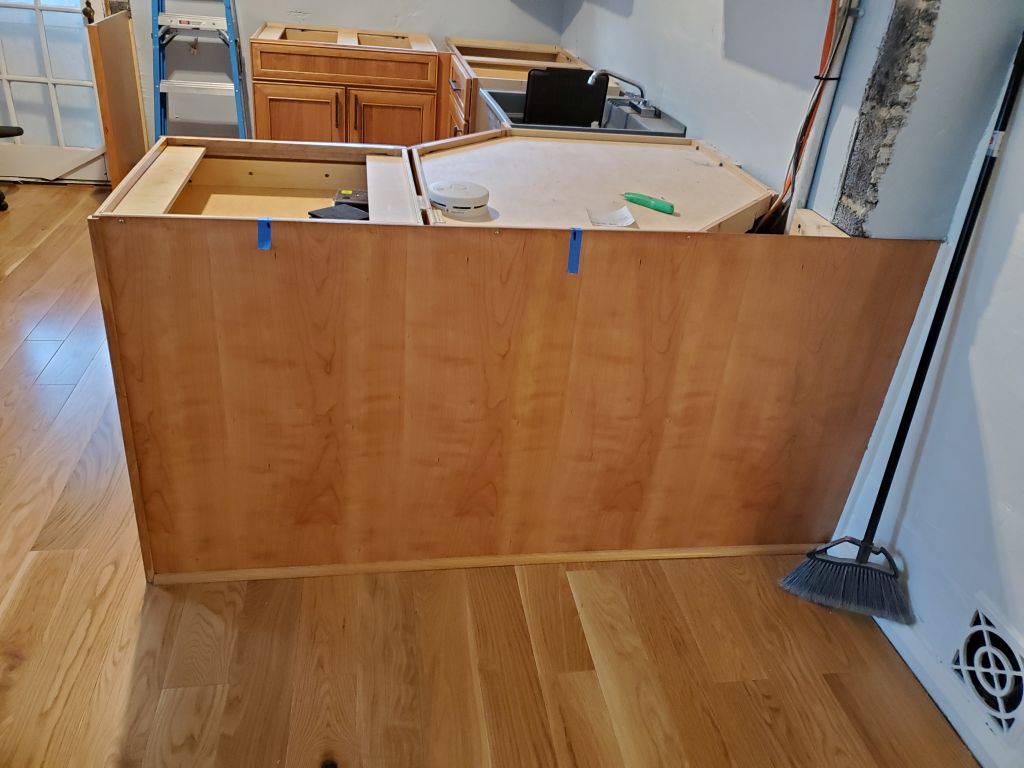
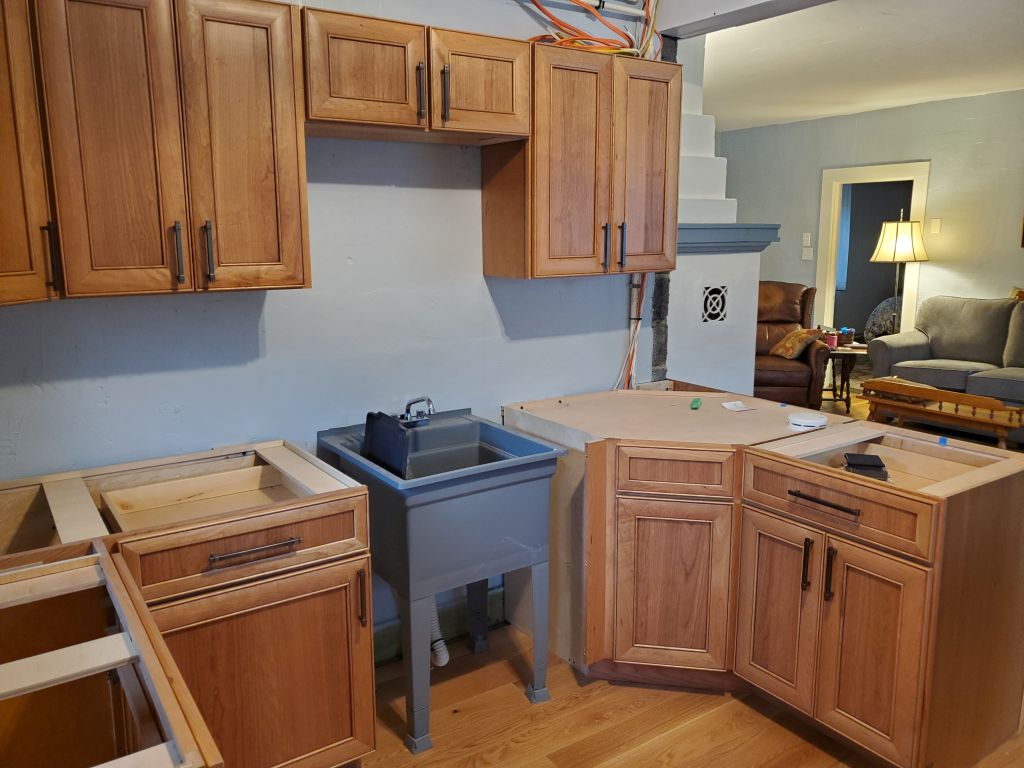
Then, I cut and installed the cherry toekick, and the back cosmetic panel to cover the exposed side of the peninsula cabinets. I made this panel intentionally removable, relying on some quarter round molding at the floor and a cleat along the wall (plus a few screws at the top edge) to secure it. This way, there’d be future access to the expansion tank in the corner, for such time as it required replacement or other significant work. There was also good access through the front side of the cabinet for more routine inspection.
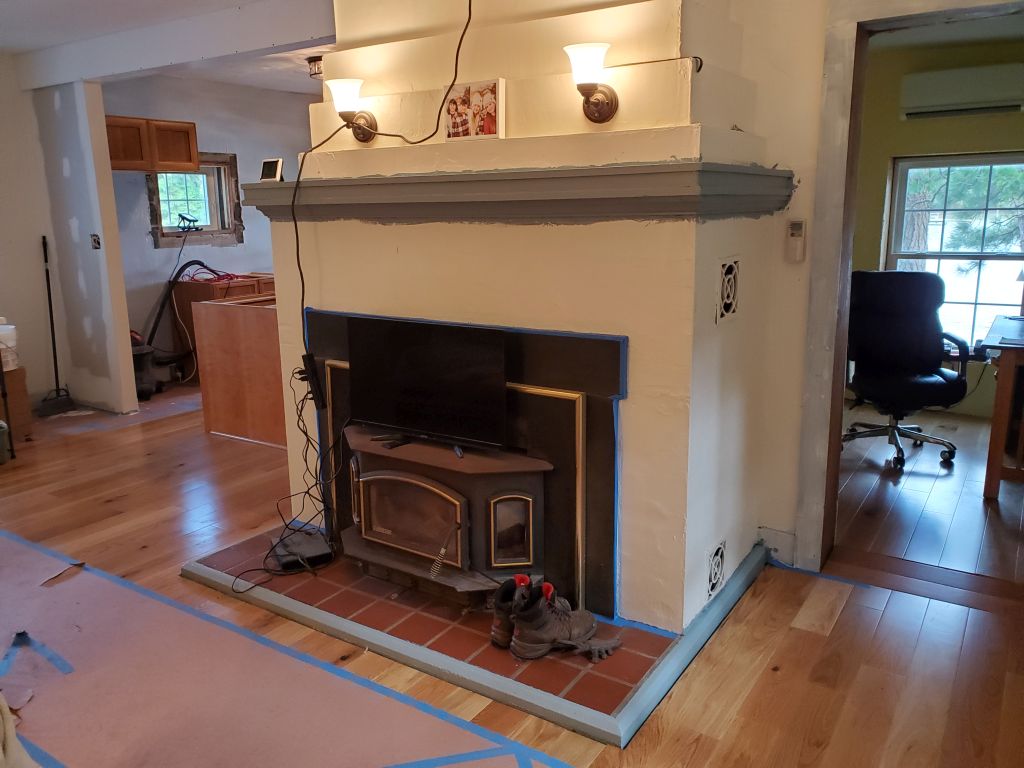
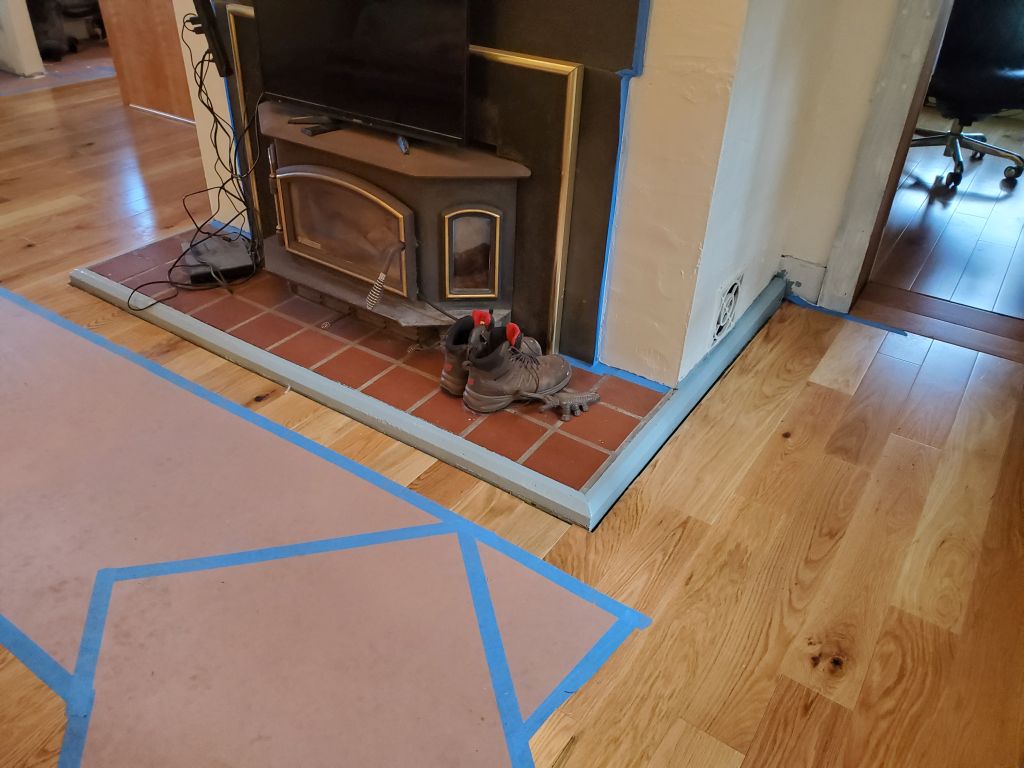
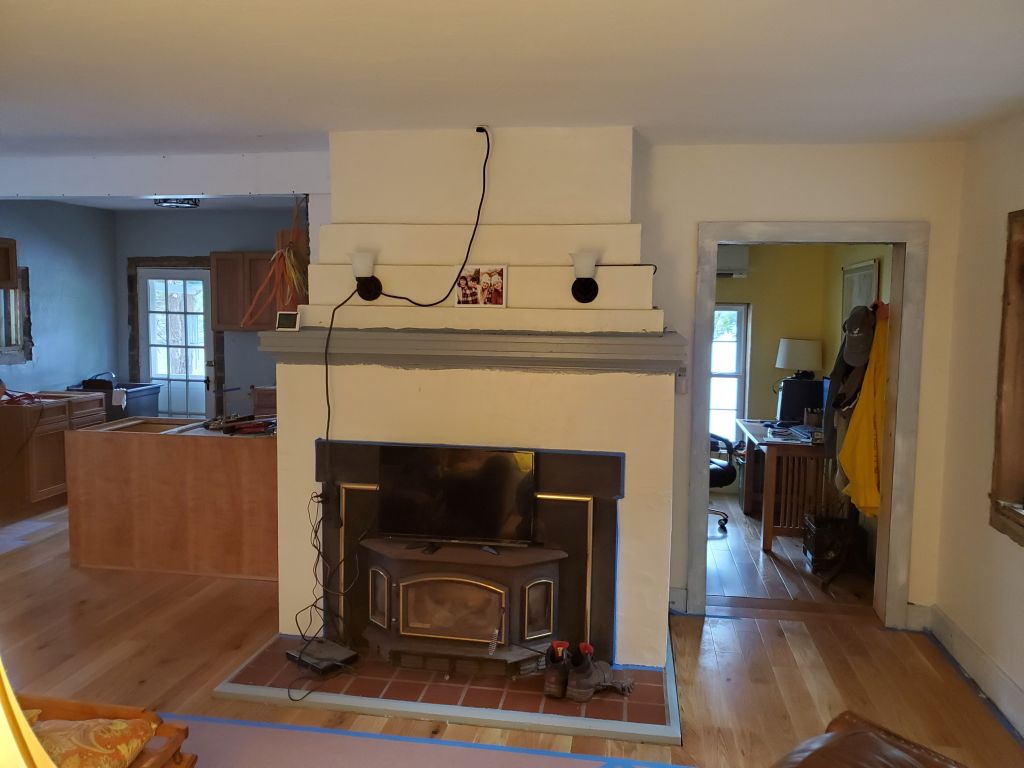
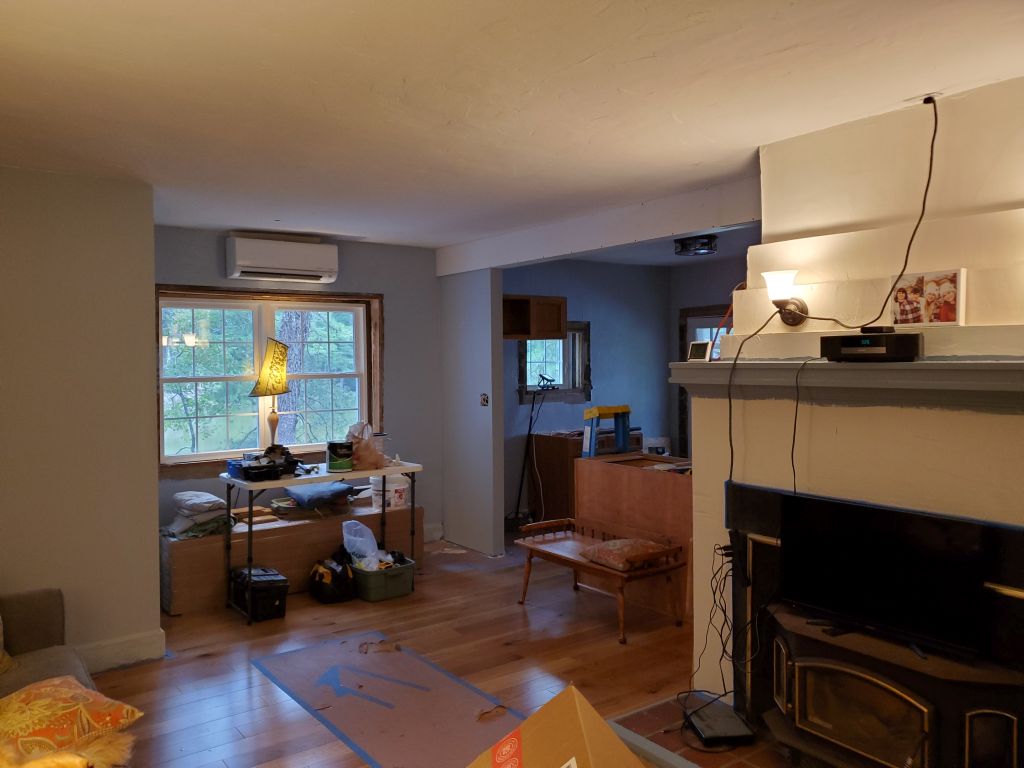
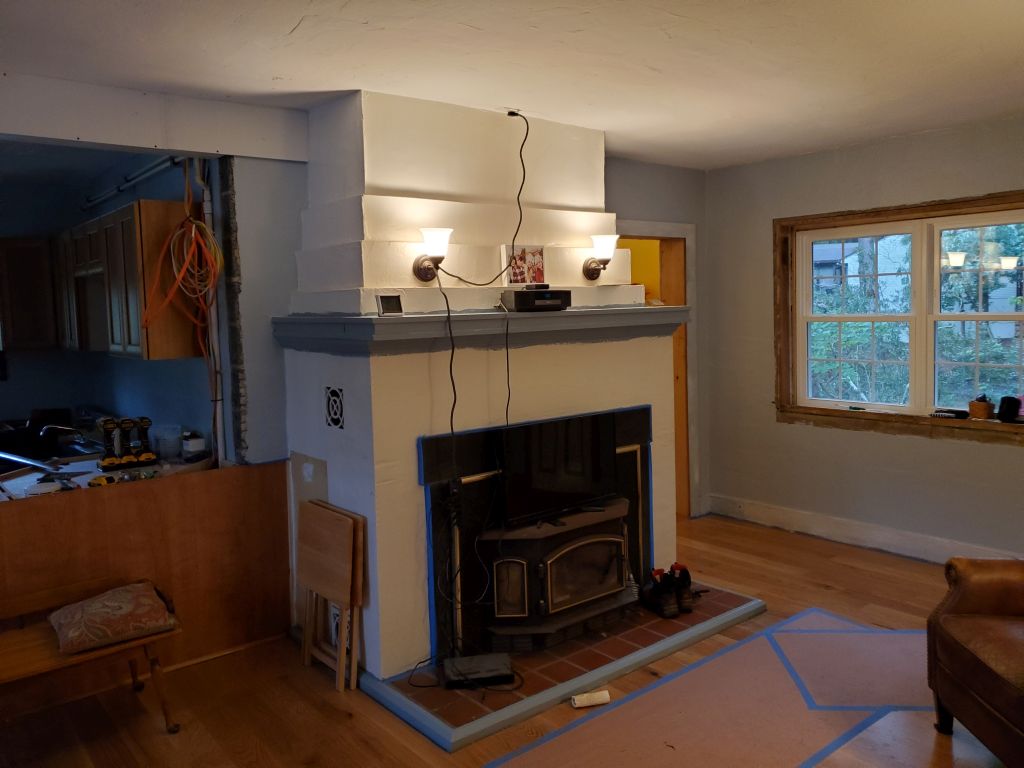
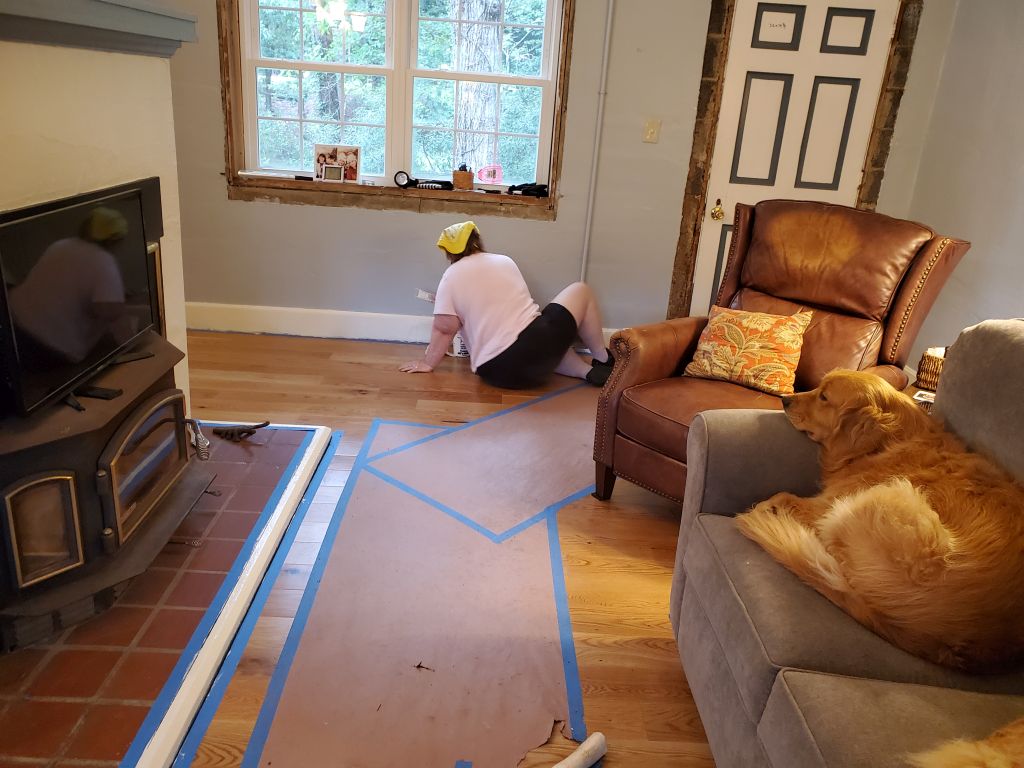
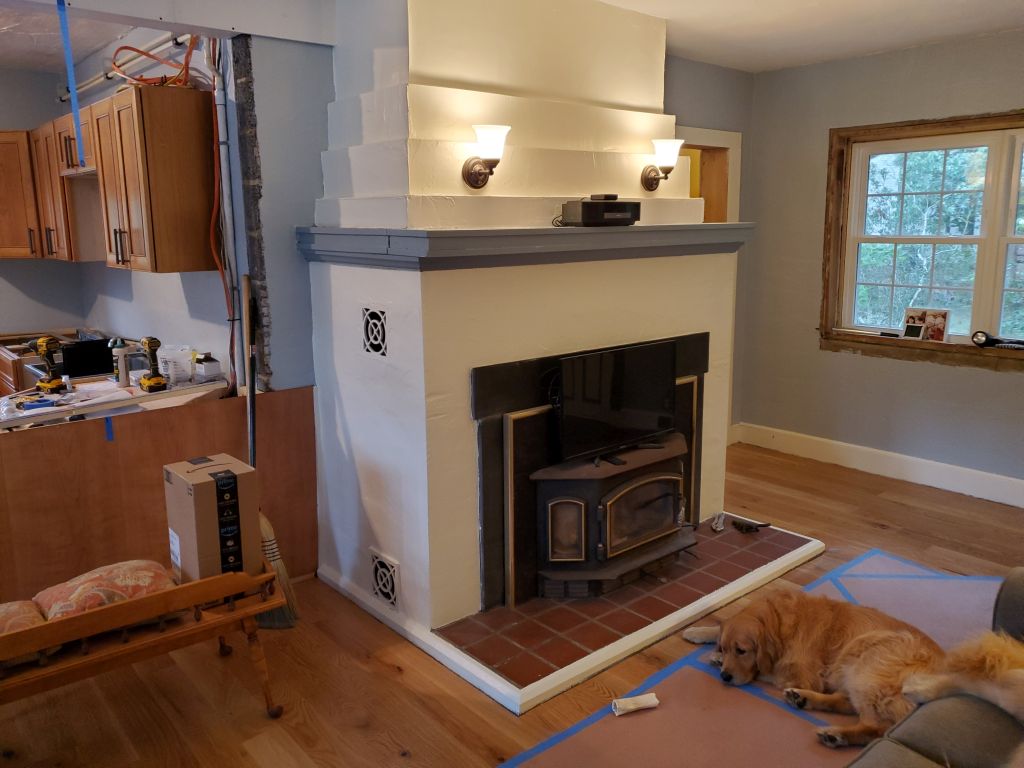
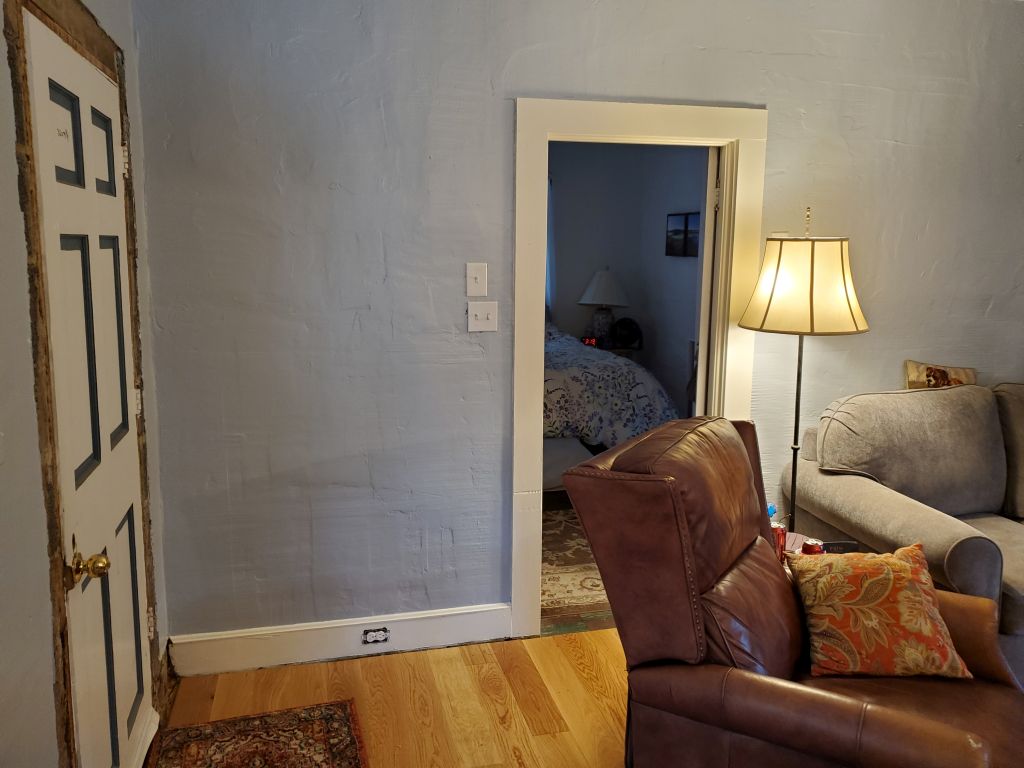
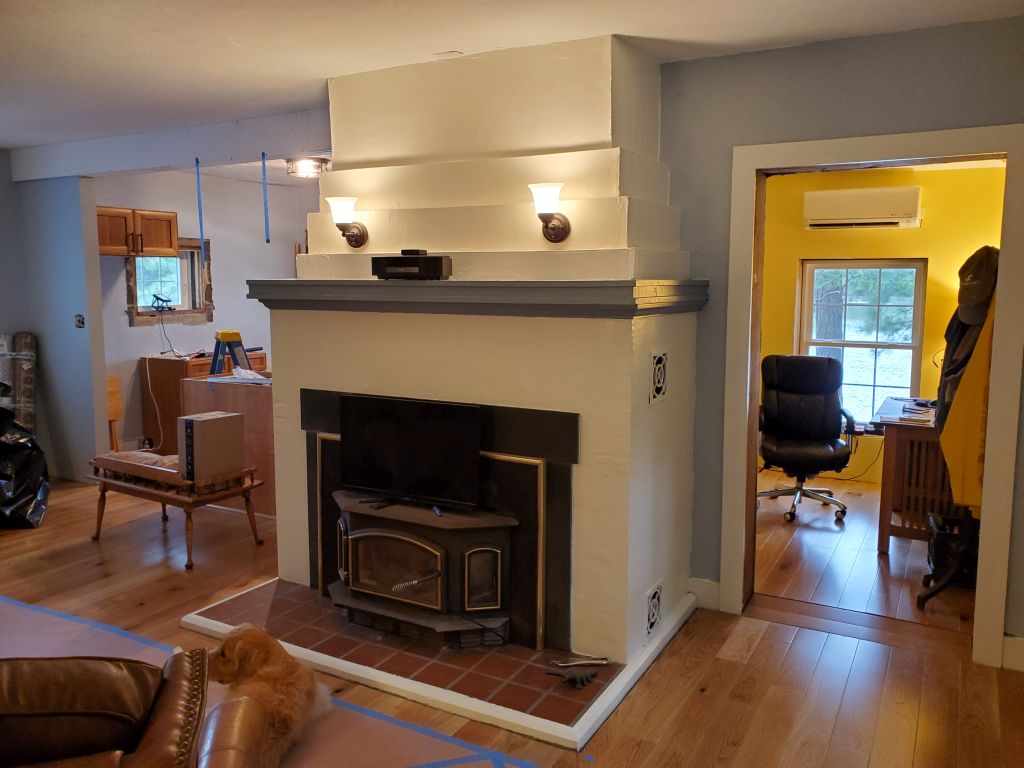
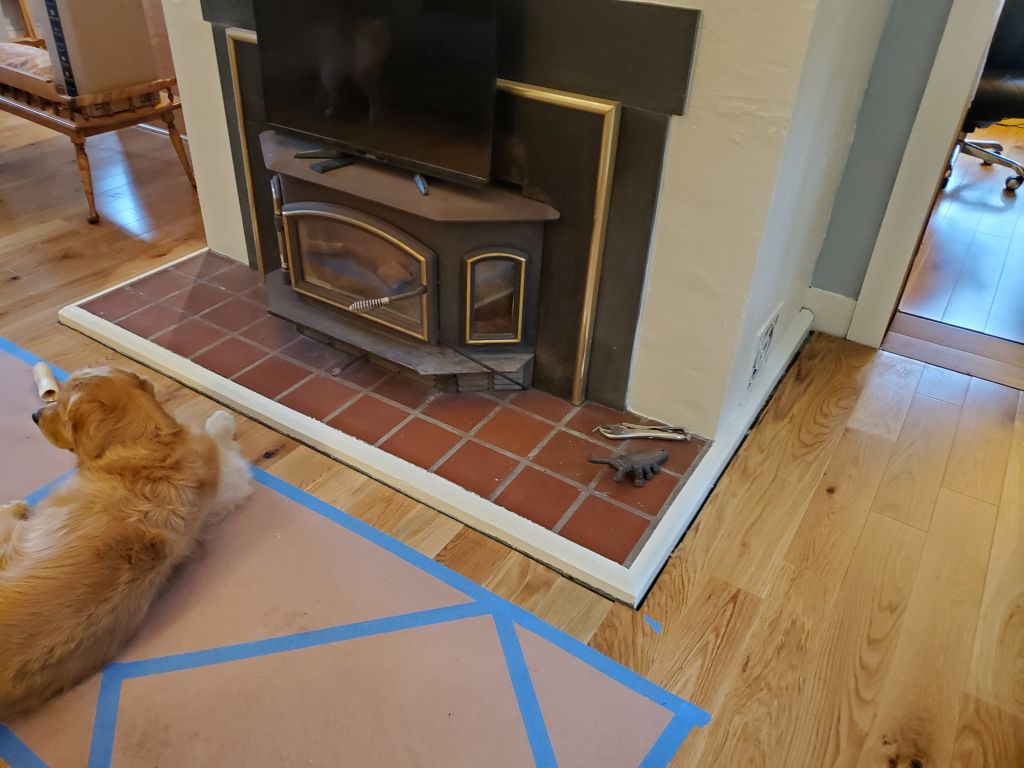
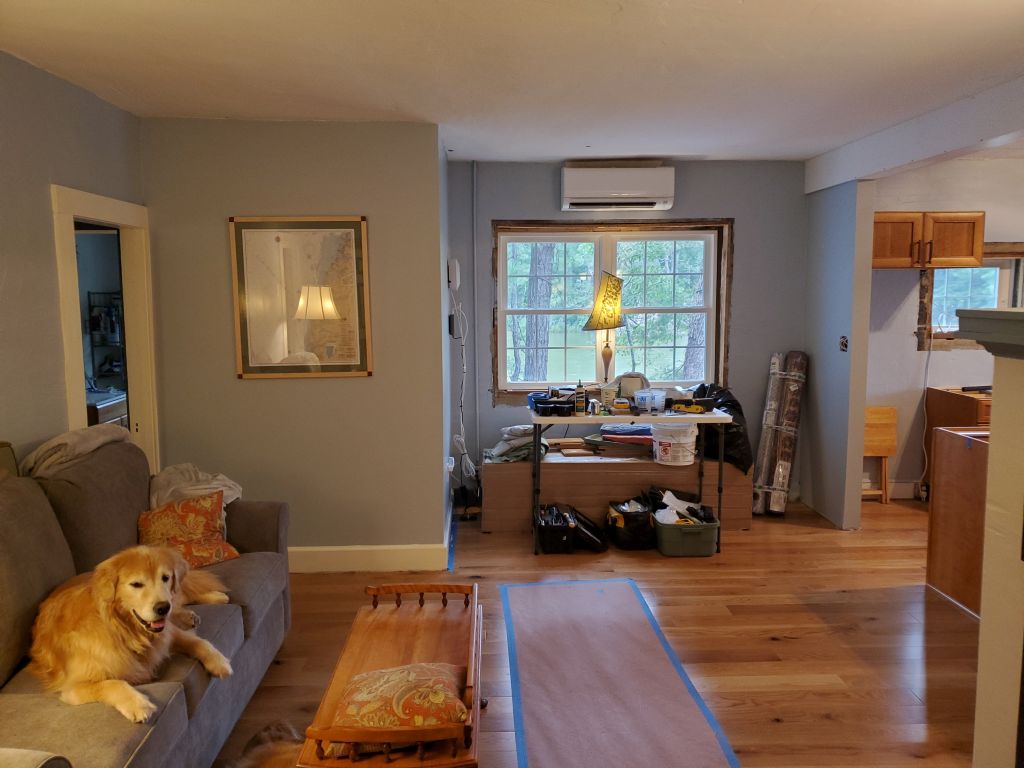
Meanwhile, Heidi painted the mantle and hearth trim, using a blue two shades darker than that which we chose for the walls. She didn’t care for the color on the hearth trim at floor level, but liked it on the hearth.
22-Wednesday, August 7, 2024
I permanently installed the dishwasher end panel to the new cleats, using glue and brads to secure it.
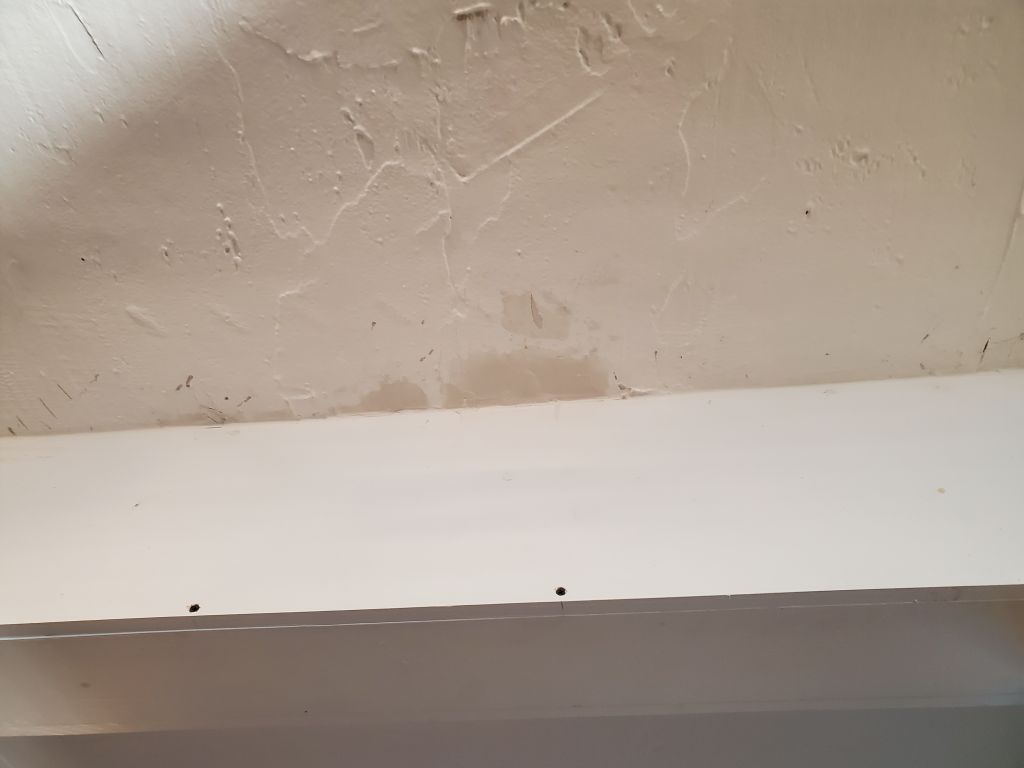
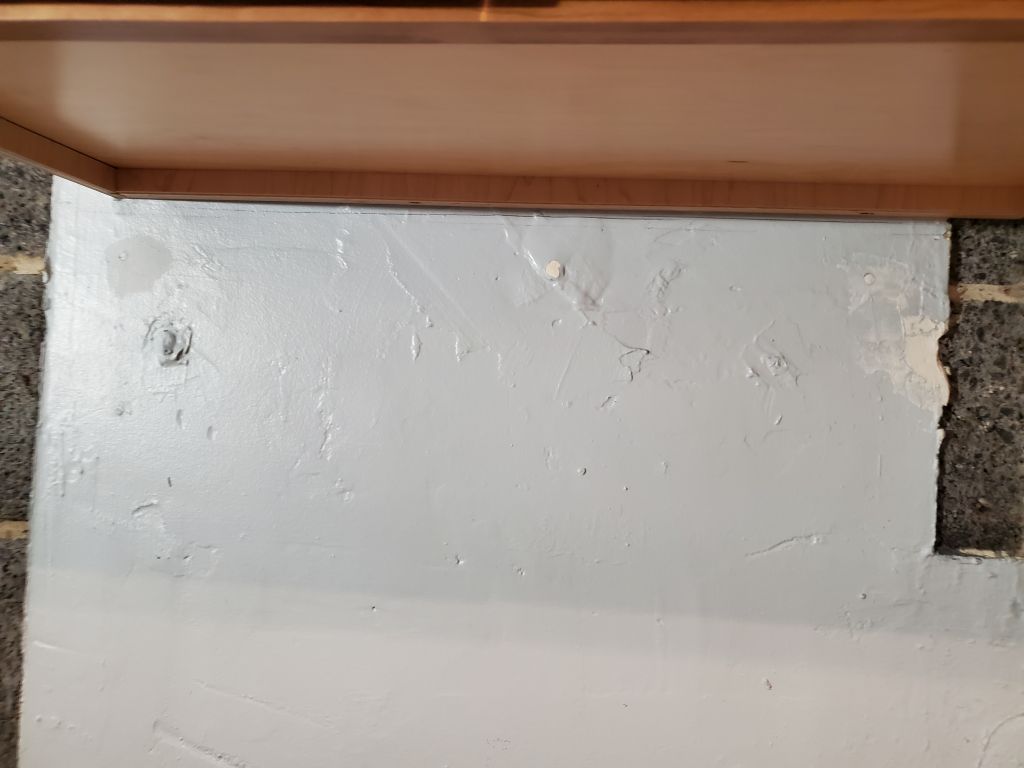
Then, I sanded the new sheetrock wall and, after cleaning up, primed the new material. I filled some ceiling voids and spots where the original plaster had been damaged, and also filled the holes leftover from the cabinet installation support cleats.


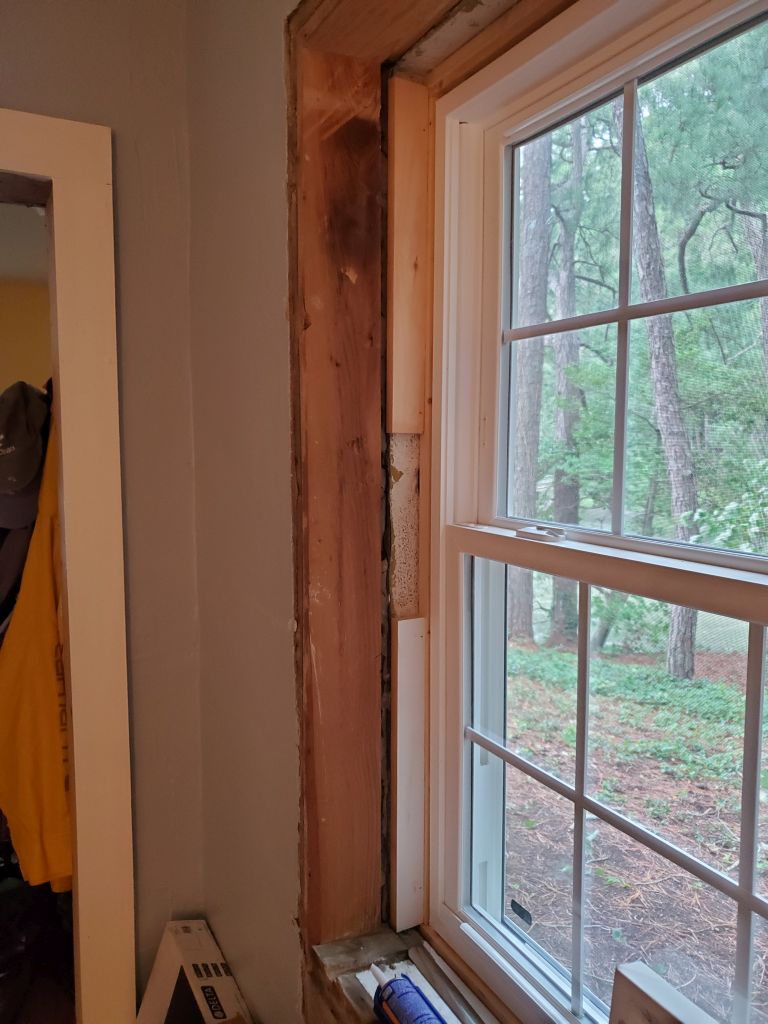
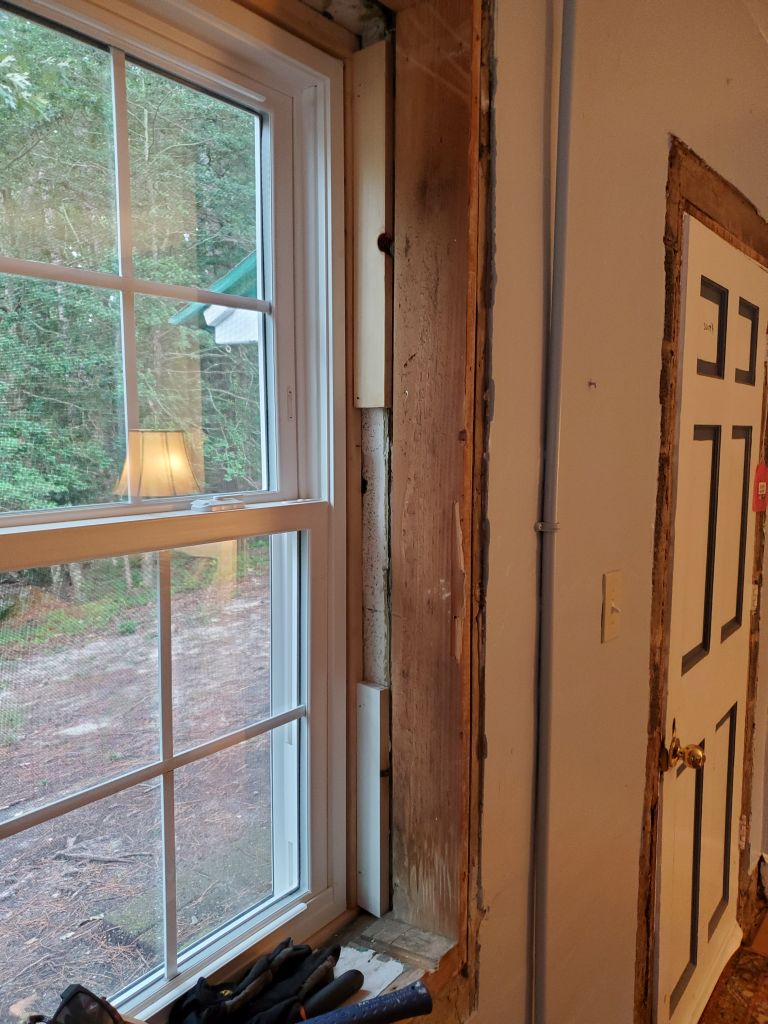
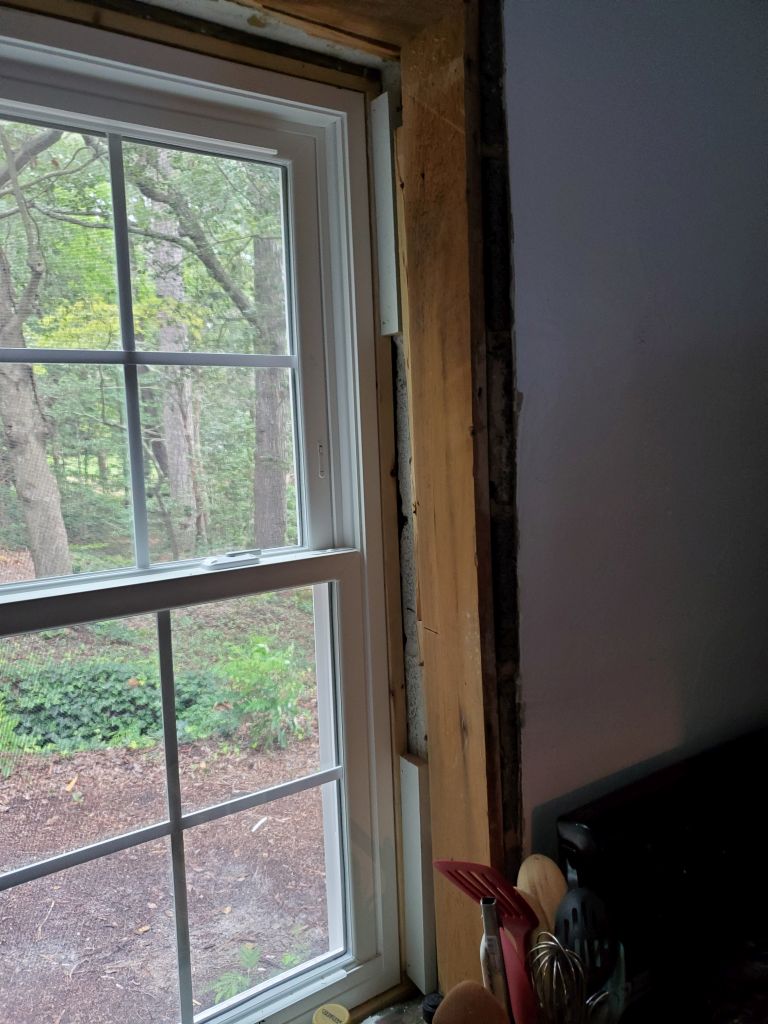
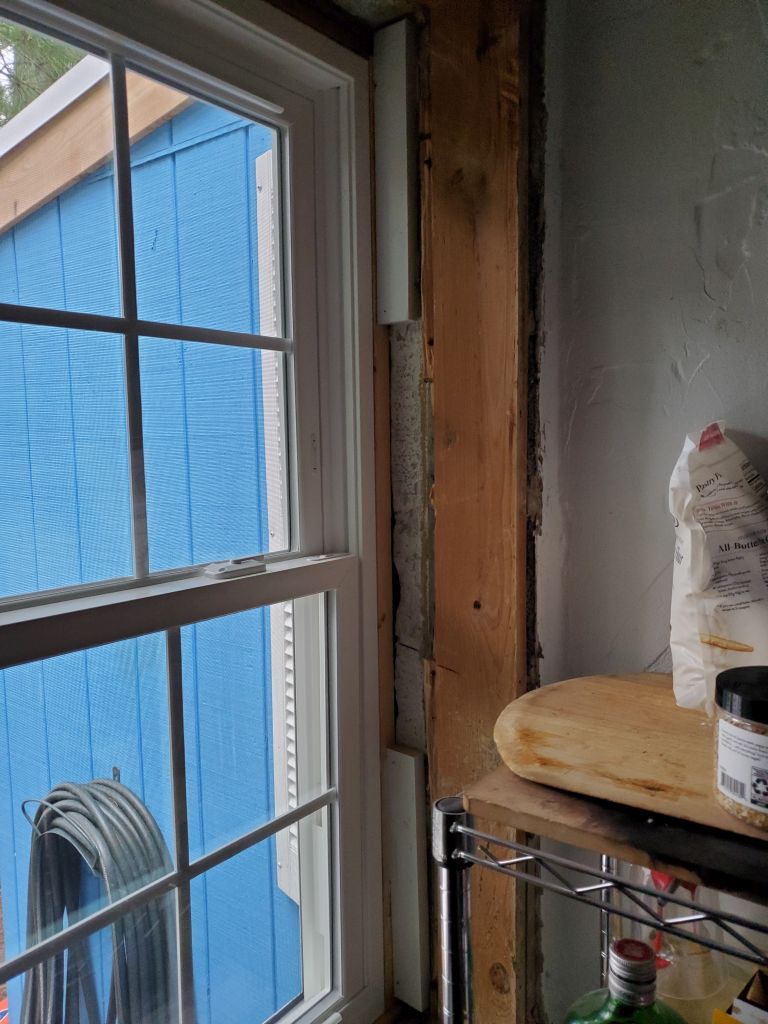
In between some light rain showers that persisted though the morning, I ripped some scrap trim lumber into 2″ strips to use in the window openings as backers for the jamb extension trim; since the window bucks on the inside didn’t extend through the full width of the wall, like I’d originally expected, I needed these backers to provide support and a nailing surface for the jamb extensions when the time came. For now, I just set these aside for later installation.
There was no better time than now to work out some tank-sized access through the back of the peninsula cabinet for the day when that expansion tank had to be removed. After some thought, I made some careful cuts in the cabinet carcase and, reusing the cut pieces, reinstalled them with screws and support cleats, making the whole area easily removable. This would be hidden behind the cherry panel but also maintained the integrity and utility of the cabinet for use the rest of the time. I wrapped up all this work by 1100.


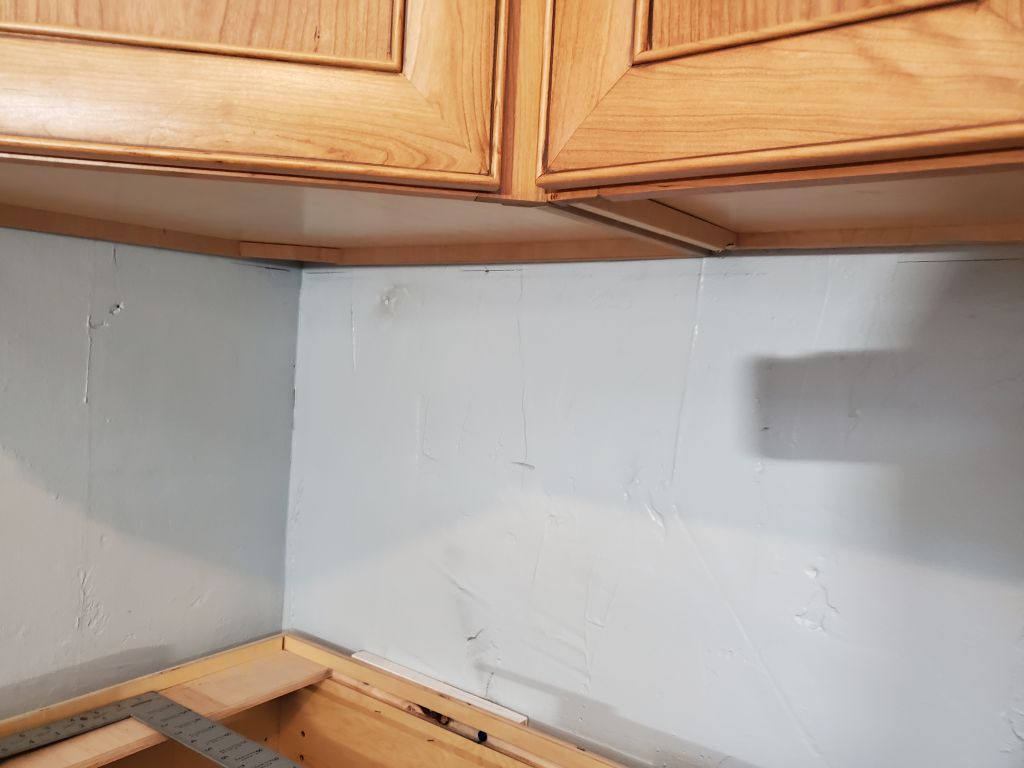
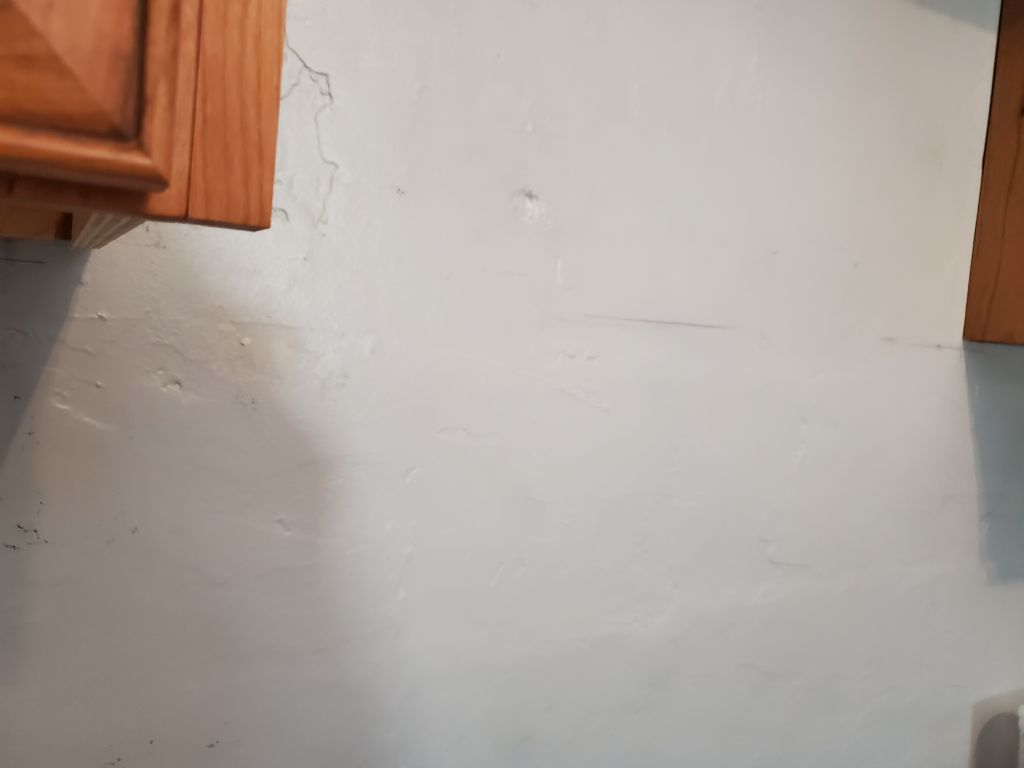
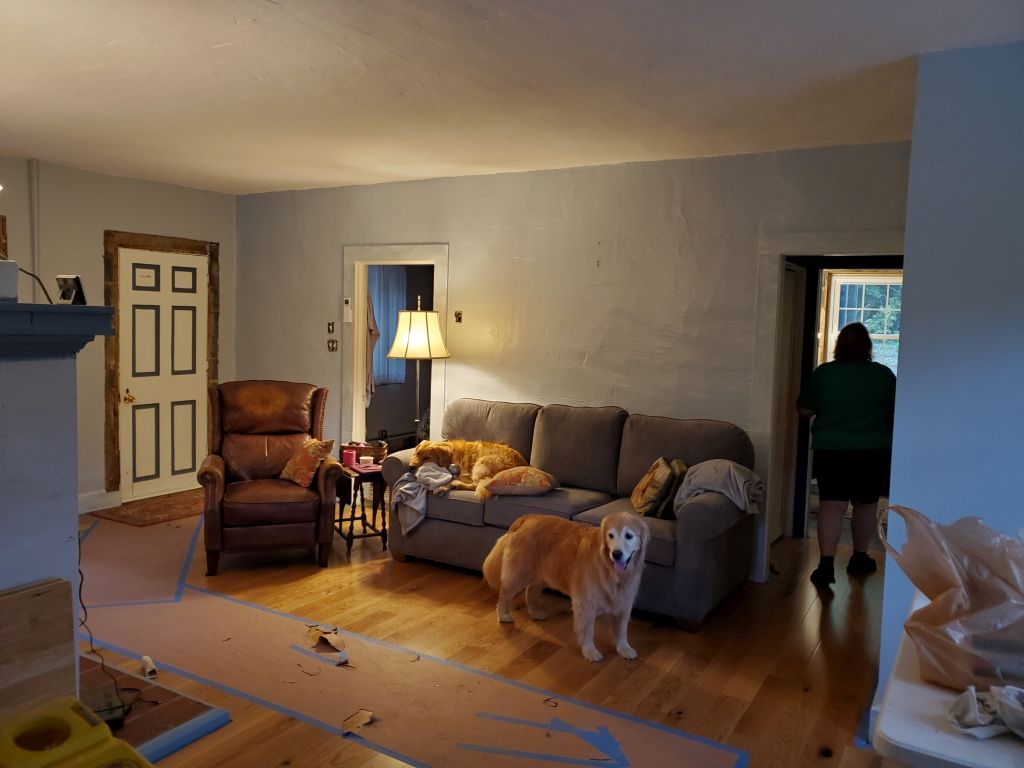
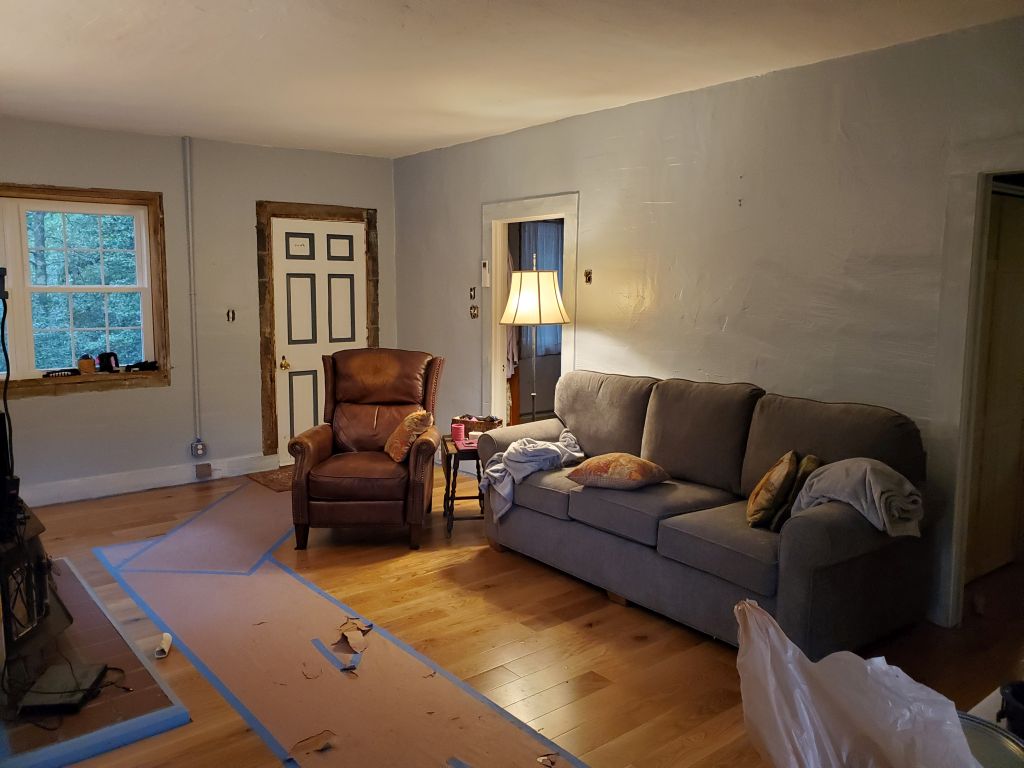
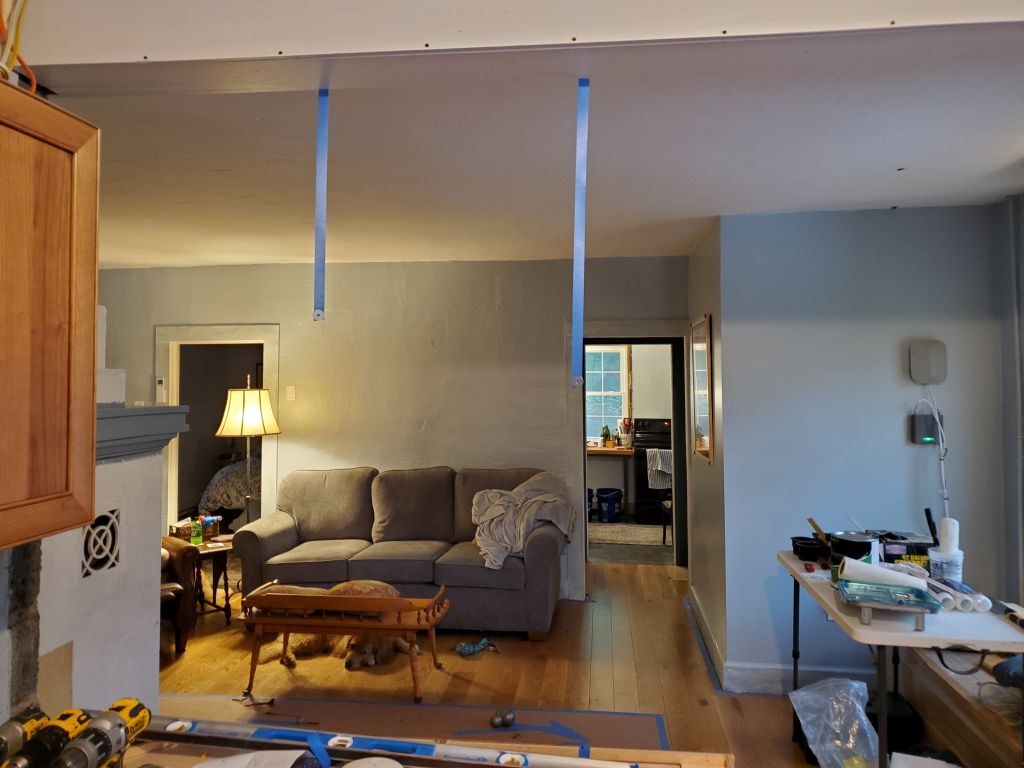
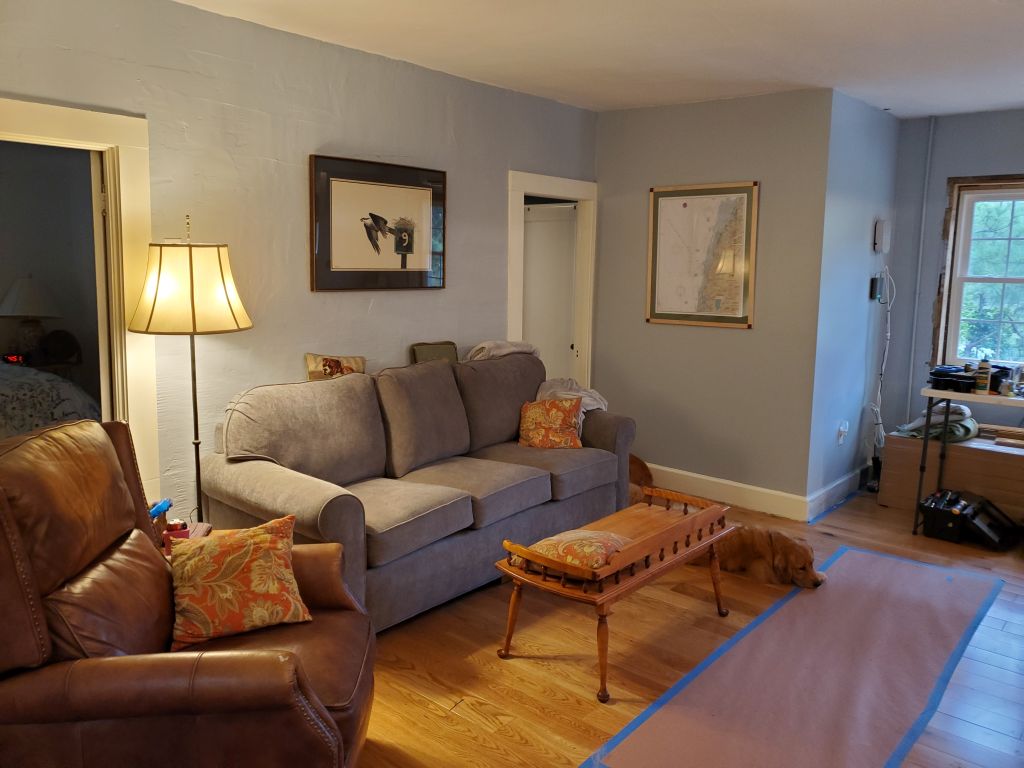
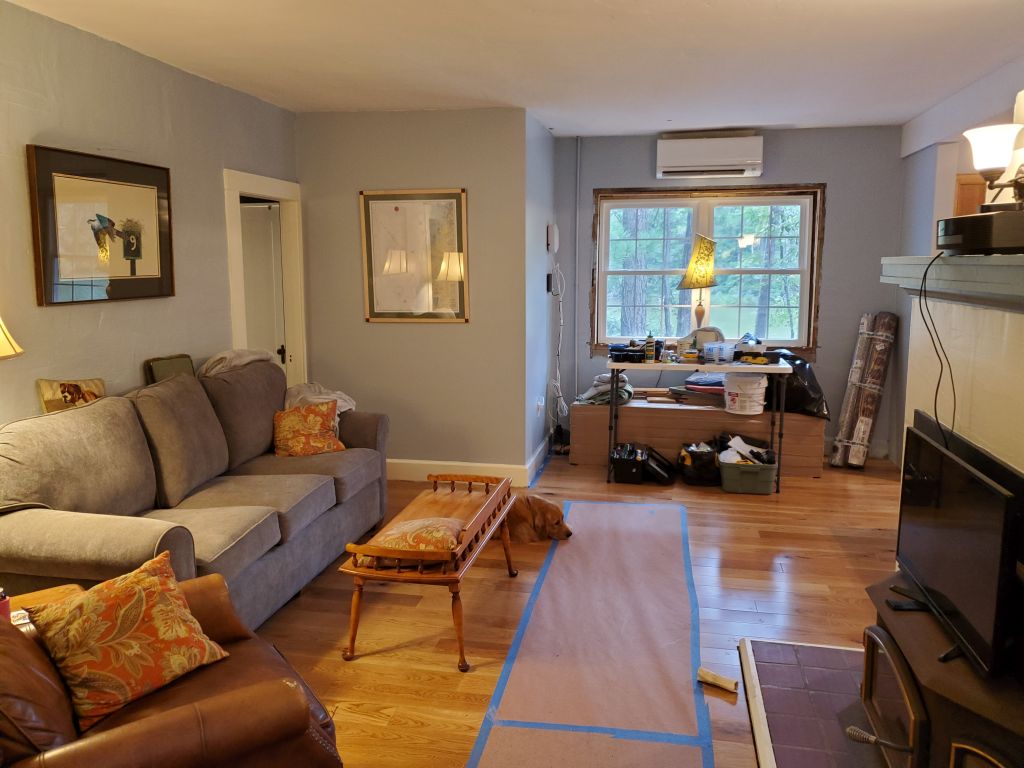
For the remainder of the day, I painted the dining and living rooms with two coats of the Yarmouth Blue, which looked great everywhere. When I finished, we went to the paint store to buy some off-white trim paint for the fireplace hearth and all the interior trim, as we’d decided that pure white, like the initial coats of paint that Heidi had applied, was colder and starker than we wanted. We also wanted to paint the chimney/fireplace with an off-white rather than the blue. We chose a nice creamy color called vanilla ice cream, and ended up using this for trim in every room.


23-Thursday, August 8, 2024
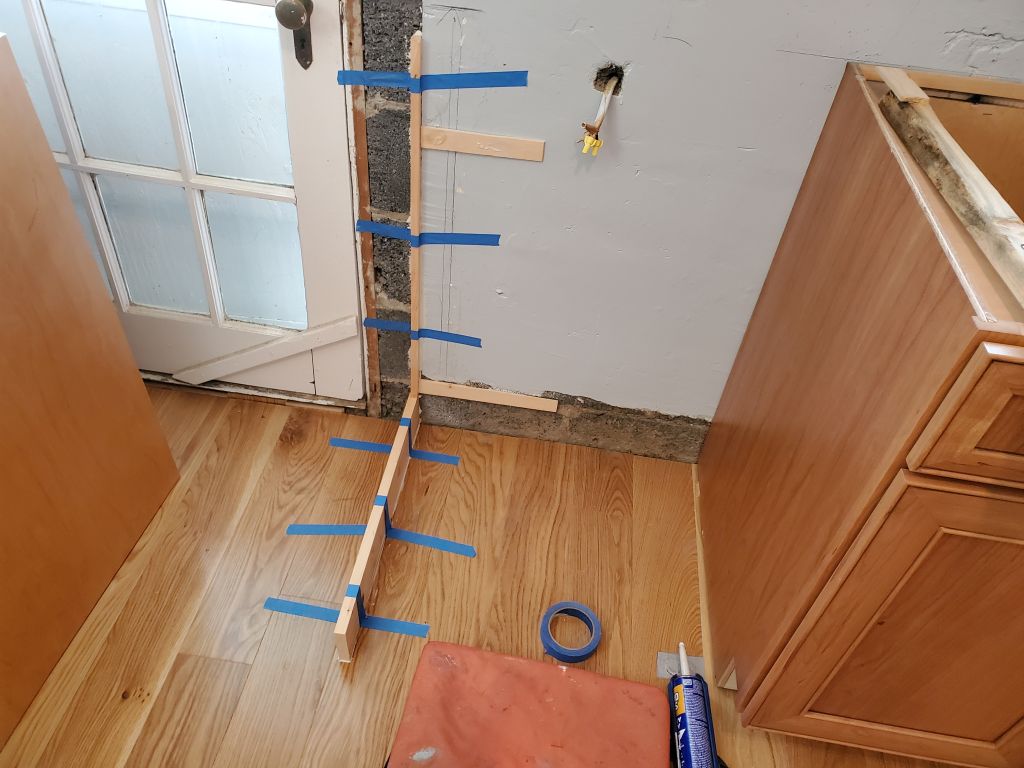
To begin, I finished up work on the dishwasher and back panels, then mocked up the length of our peninsula pendants, using some tape cut to the overall length. The pendants allowed variable length using several 6″ and 12″ rods included. With the 9″ header, plus the height of the pendant base and shade, we settled on 18″ rod length.
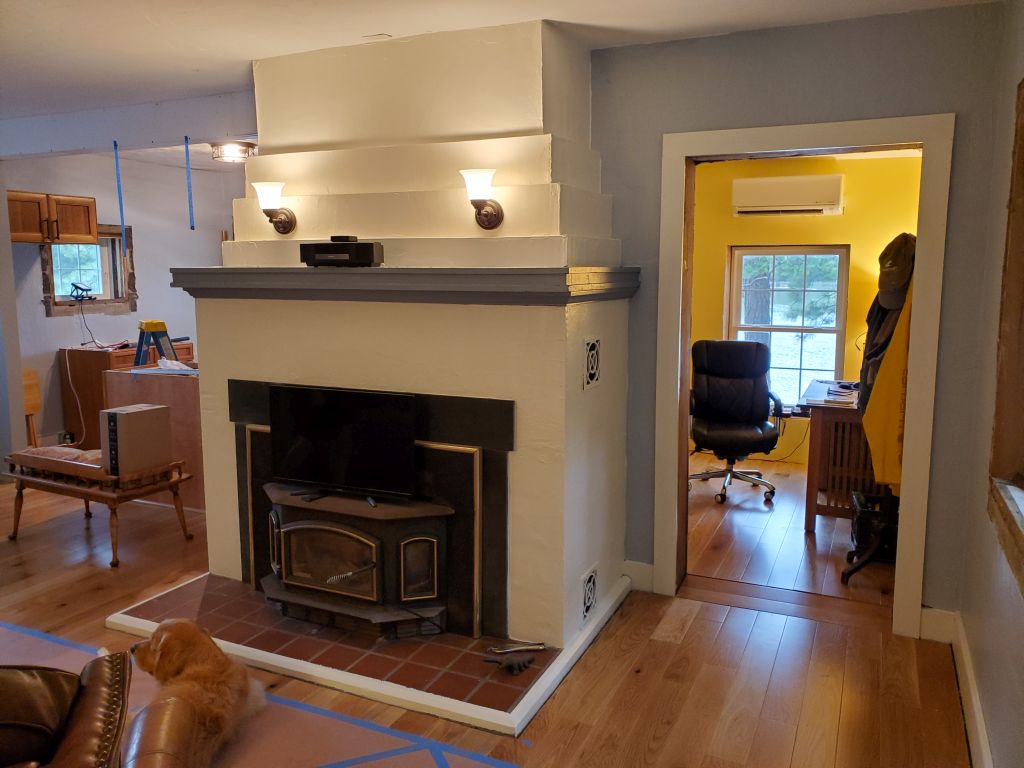
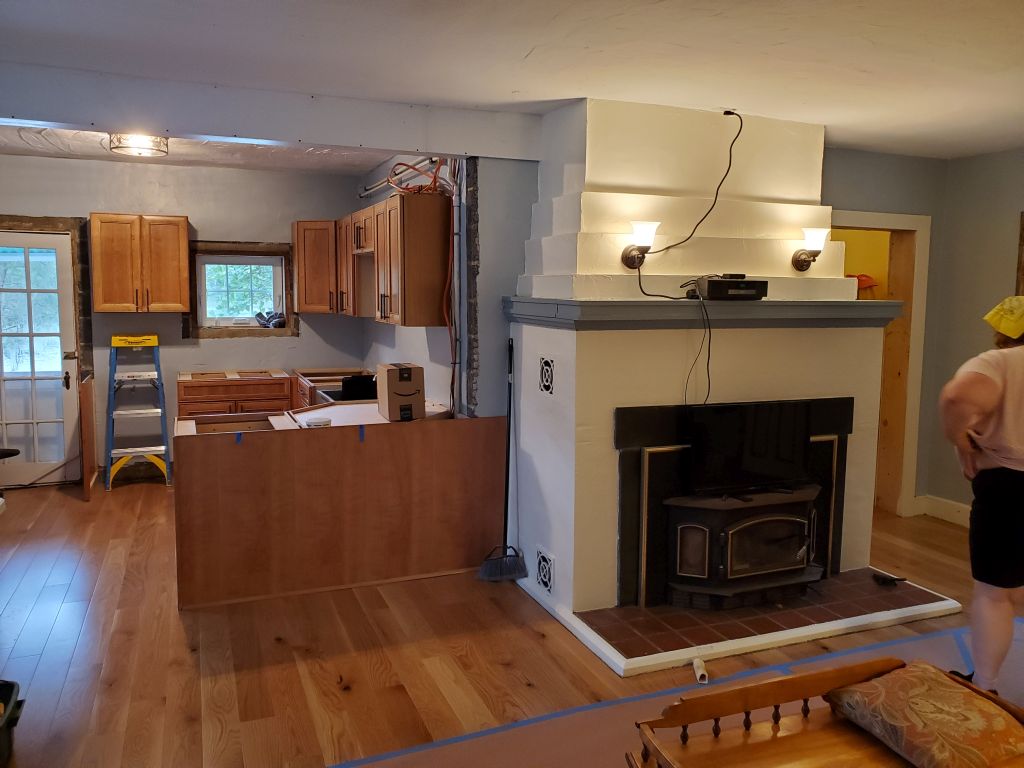
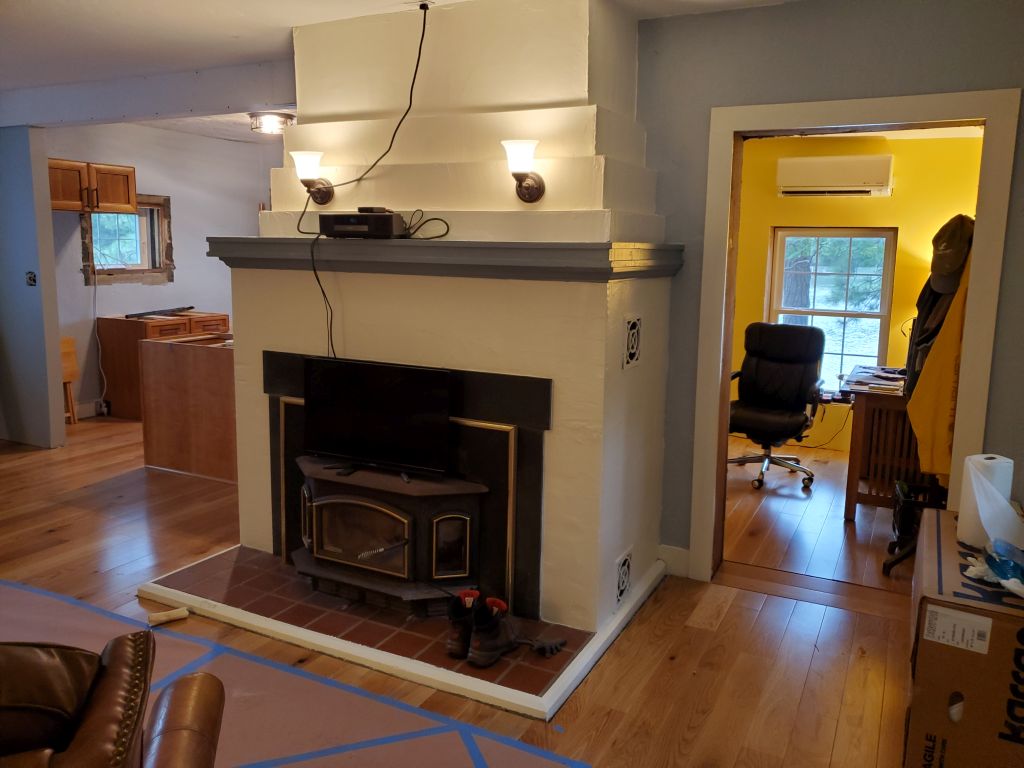
Next, I painted the fireplace with two coats of the off-white paint, which looked great. Then I moved on to the interior door trim throughout the room. Meanwhile, Heidi painted the baseboards, and I painted the door trim and other areas with the off-white.


Later, I installed the cabinet hardware. We chose some bold, rectangular pulls in a large size, and I used a simple jig to install them on each cabinet door and drawer front. It turned out I was short one pull for some reason. But I also had bought some drawer pulls for the “false drawers” on the sink base and corner base cabinet, but on the sink base this would have interfered with the operation of the adjacent drawer; ergo, it didn’t make sense to install one on the other false front. So I made plans to return these, and get the new regular pull I needed (plus a small one to use on the hall closet door).
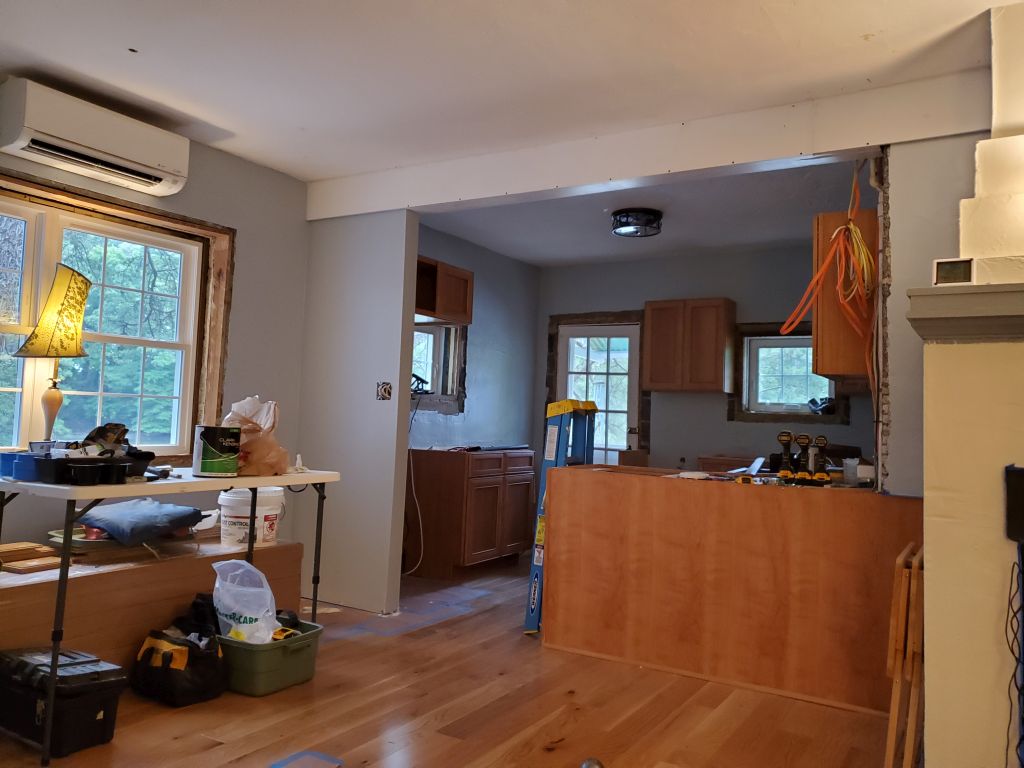
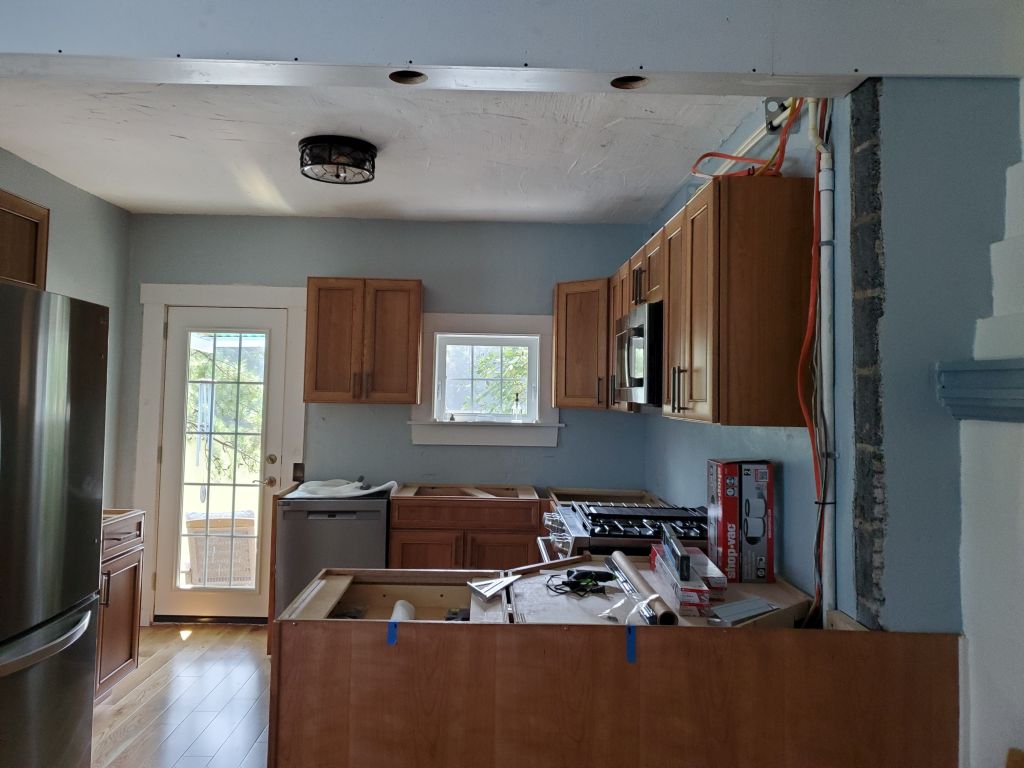
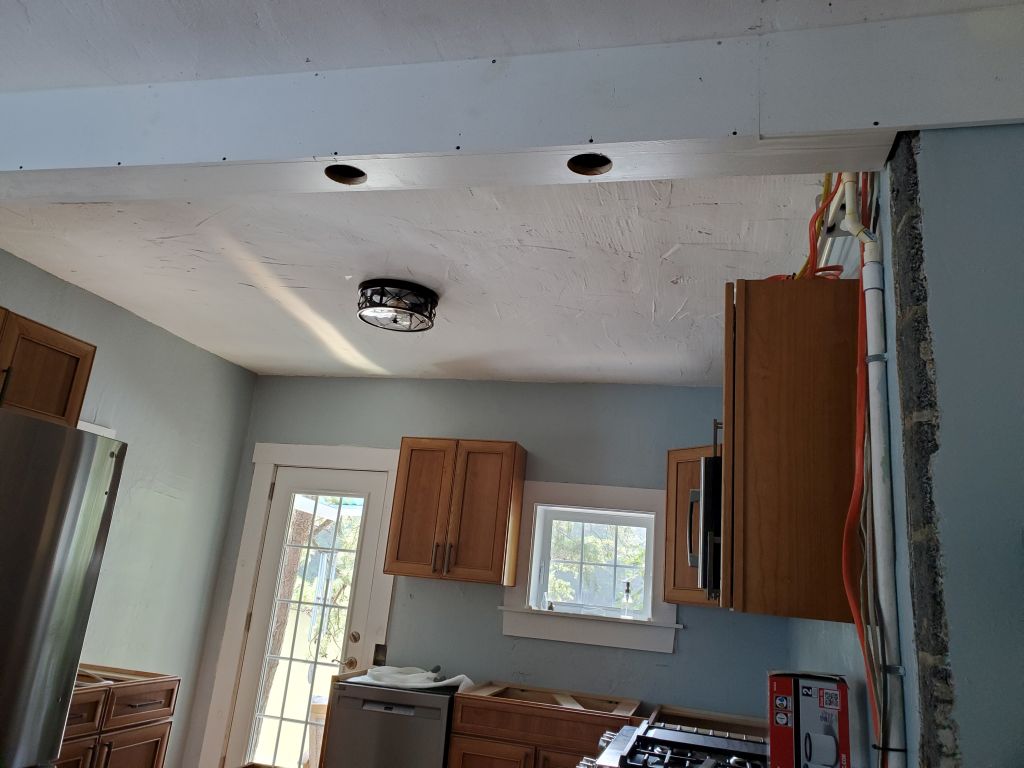
Afterwards, I installed brighter bulbs in our kitchen overhead light. The fixture had safety labels admonishing that the maximum wattage for each bulb was 40W, but this was far too dim, and I couldn’t see how higher-wattage LED bulbs would be a problem, since LEDs don’t produce heat the way incandescents do. I replaced the bulbs with 100W LED, which made a significant improvement.
With the countertop template happening tomorrow, I cleaned up the kitchen to prepare, removing all my tools and other debris that had so quickly accumulated on the flat surfaces available on the open cabinets. I also got the sink and faucet from storage so they’d be available for the template person.
24-Friday, August 9, 2024
It was windy in the morning, the remnants of Debby (I can’t remember if it was ever a hurricane, or just a TS). More or less killing time till the template guy arrived, I worked to install the 3/4″ blocking in the window jambs where needed, using construction adhesive to bond to the concrete block, with a nail or two into some of the framing wood to tack it while the adhesive cured.

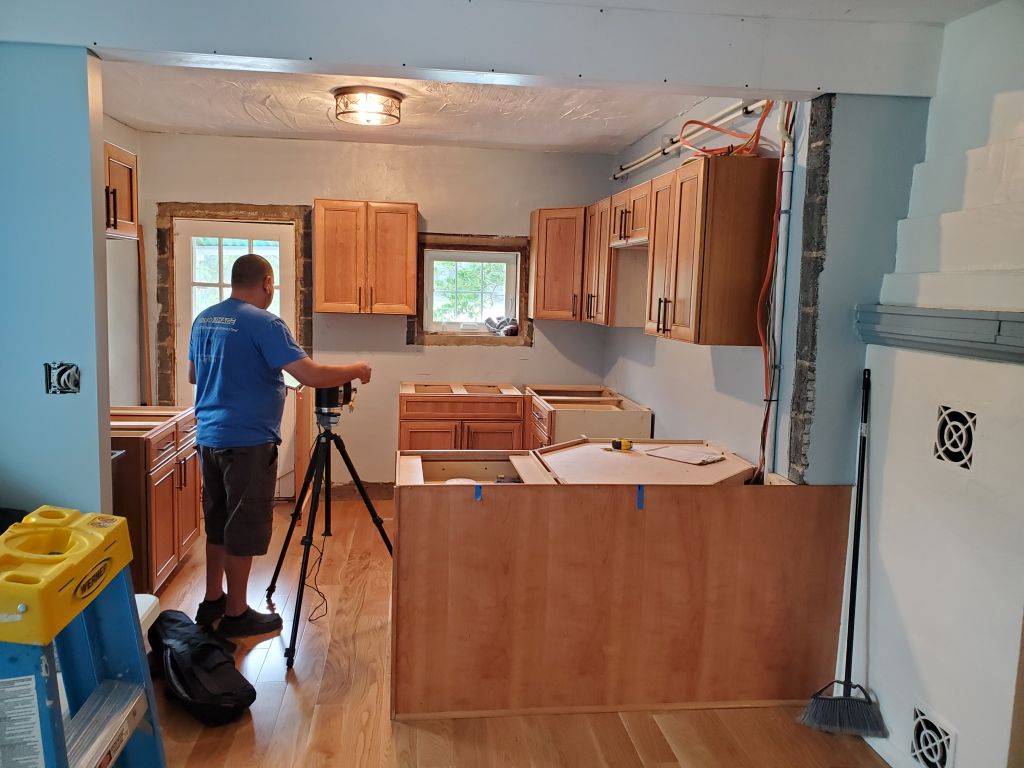
When the countertop guy arrived, I was expecting him to be laden with hot glue gun and plywood strips, but I guess it’s been a while since I saw this, because he set up a laser and, with a tablet, had the whole template done electronically in about 20 minutes total. Distrustful as I am about high-tech, I hoped it worked…I figured it must, right? We were told that by Monday we should have an email with the final details and seeking our final approval for the countertop.
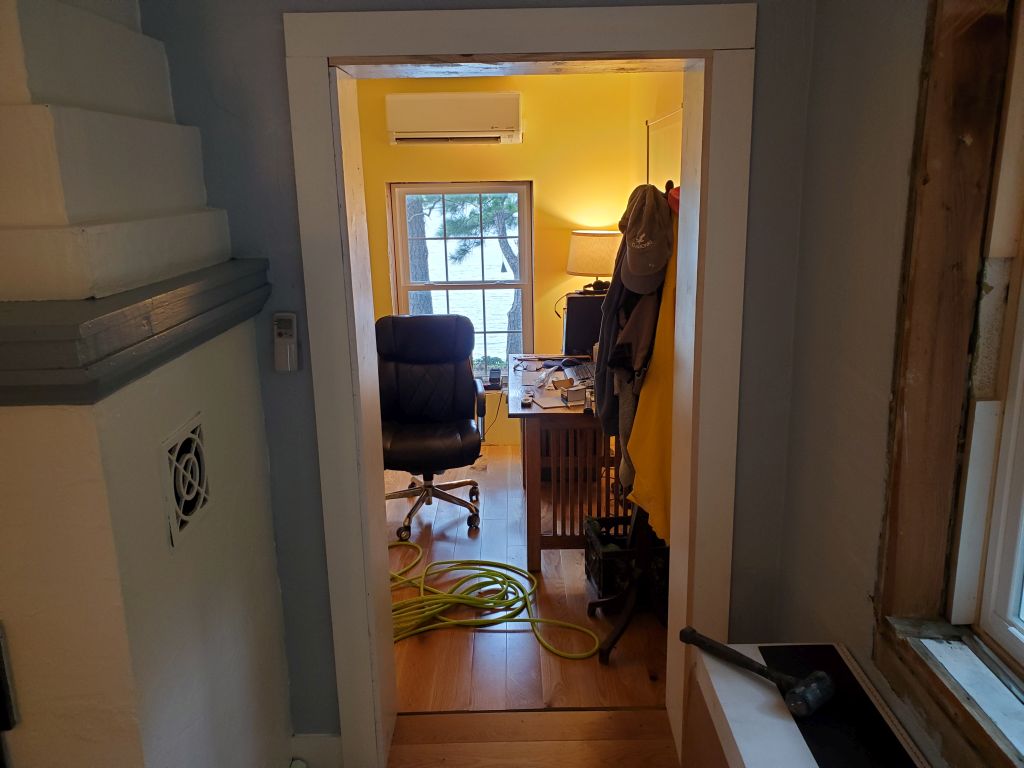
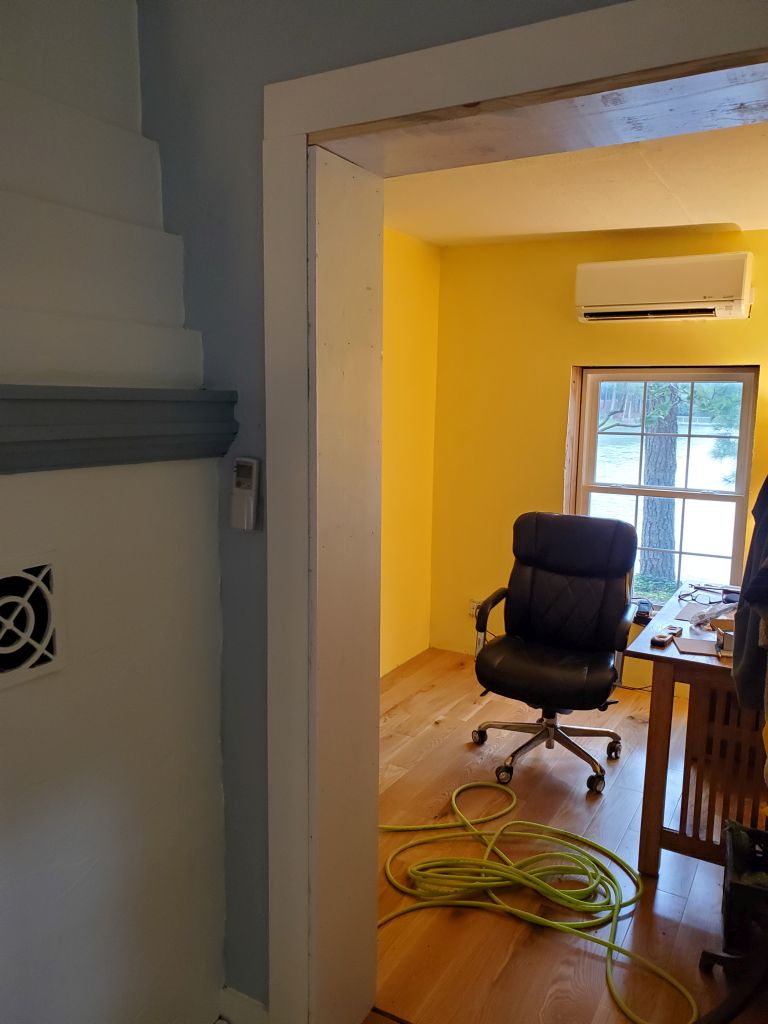
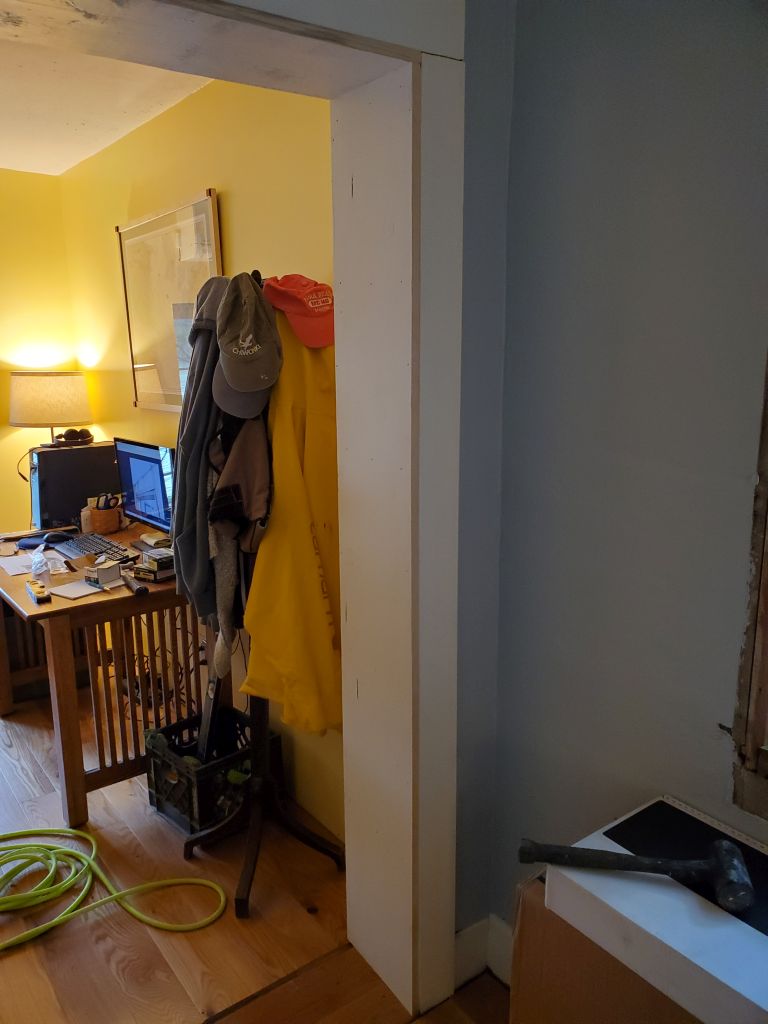
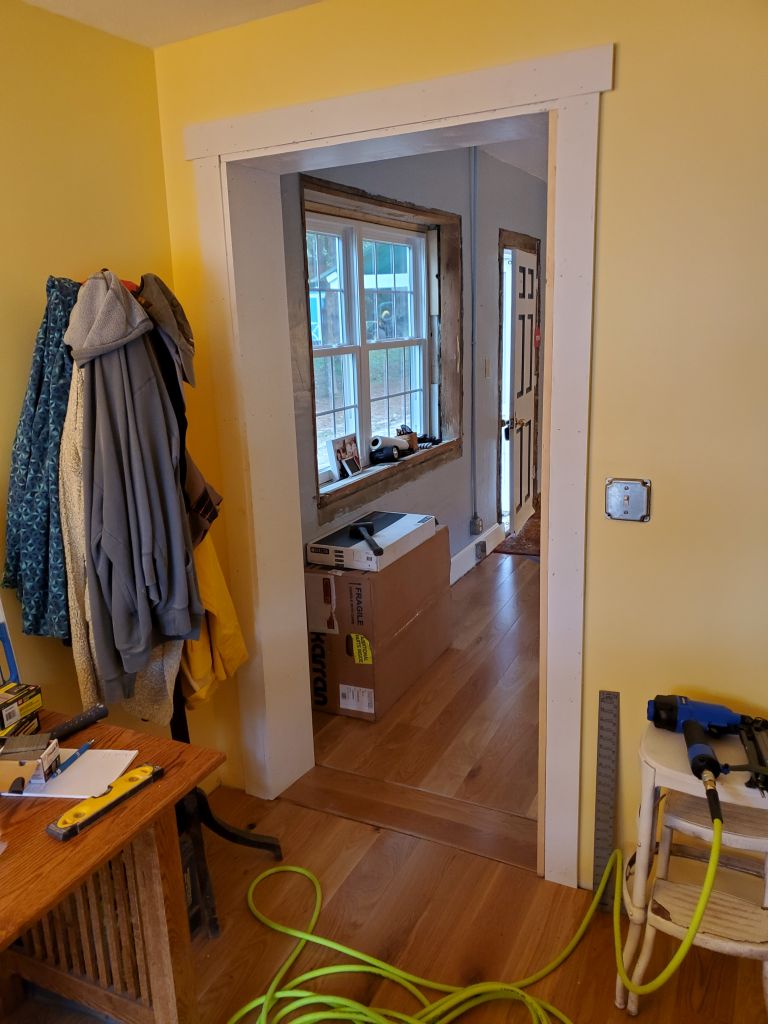
Matt electric stopped by to talk about the final kitchen work and so he could figure out materials needed. We like Matt, one of the good guys. Then, I installed trim in the office door opening. This wide opening needed 1x12s, and the quality of the ones we had was pretty poor. It would look better when painted.
In the afternoon, we drove up to Lowe’s to pick up some things we’d ordered, and had lunch on the way, along with a stop at a farm stand for peaches and sweet corn. Back home around 1530, I dilly-dallied on some odds and ends for the remainder of the day.
25-Saturday, August 10, 2024
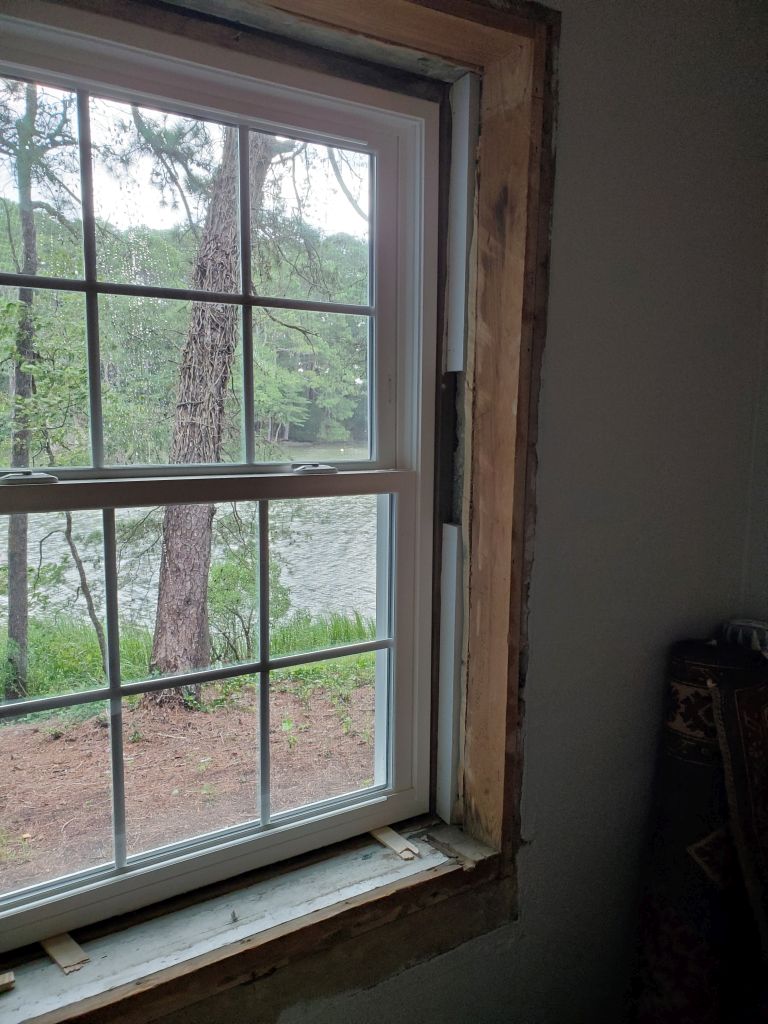
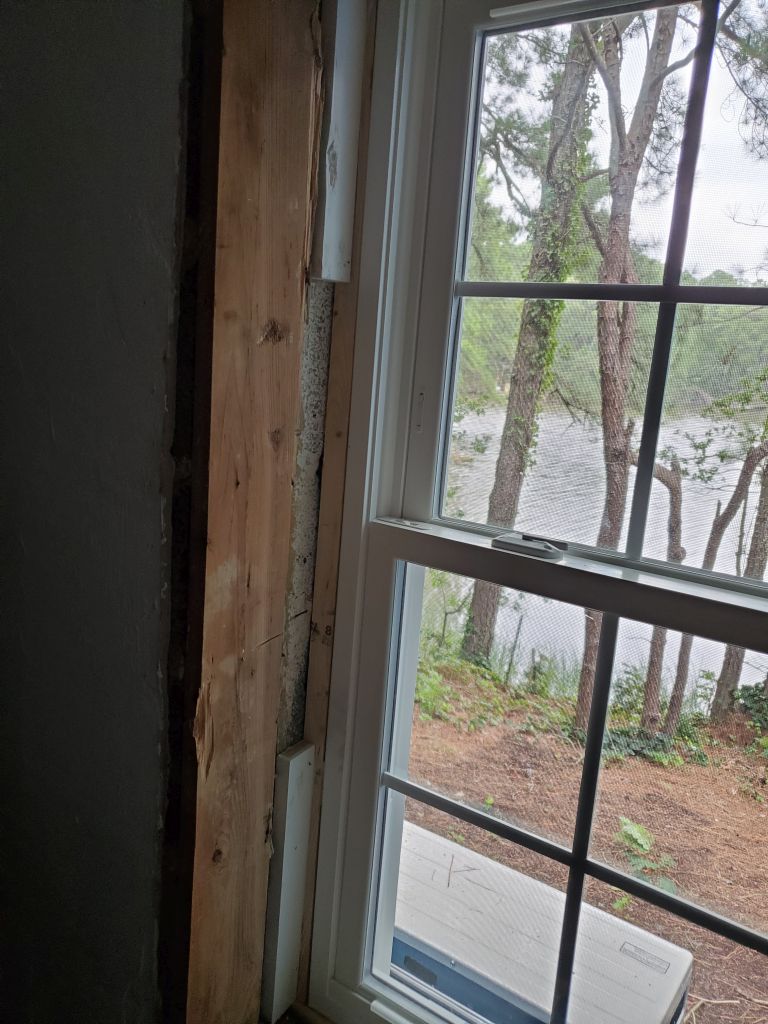
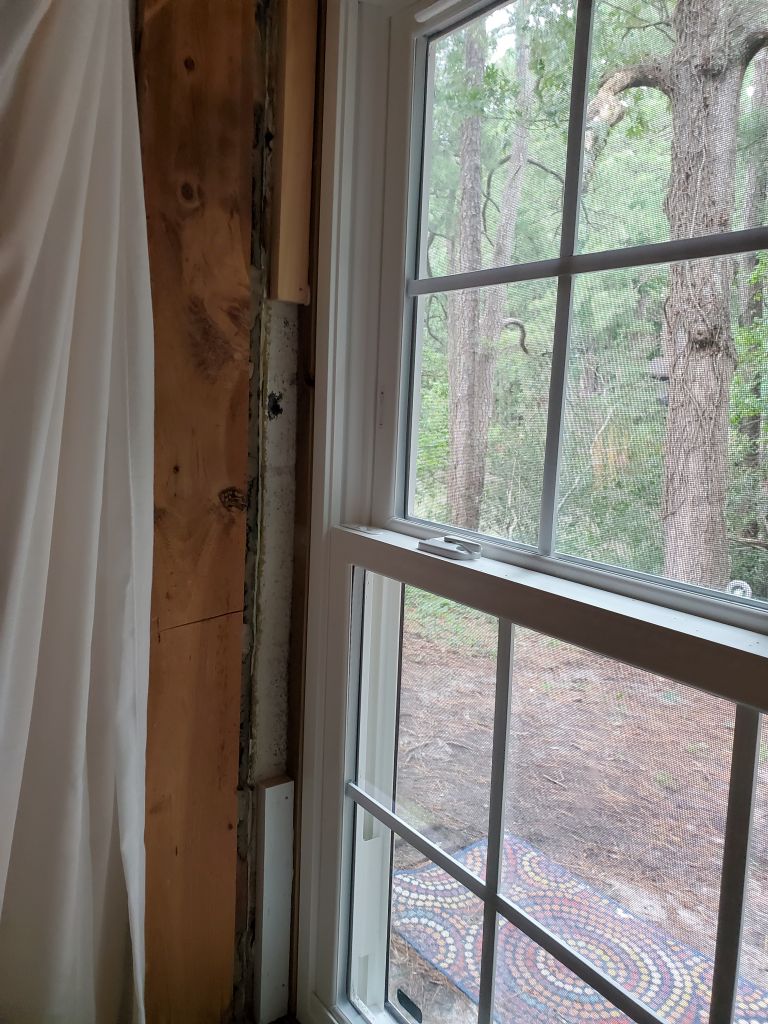
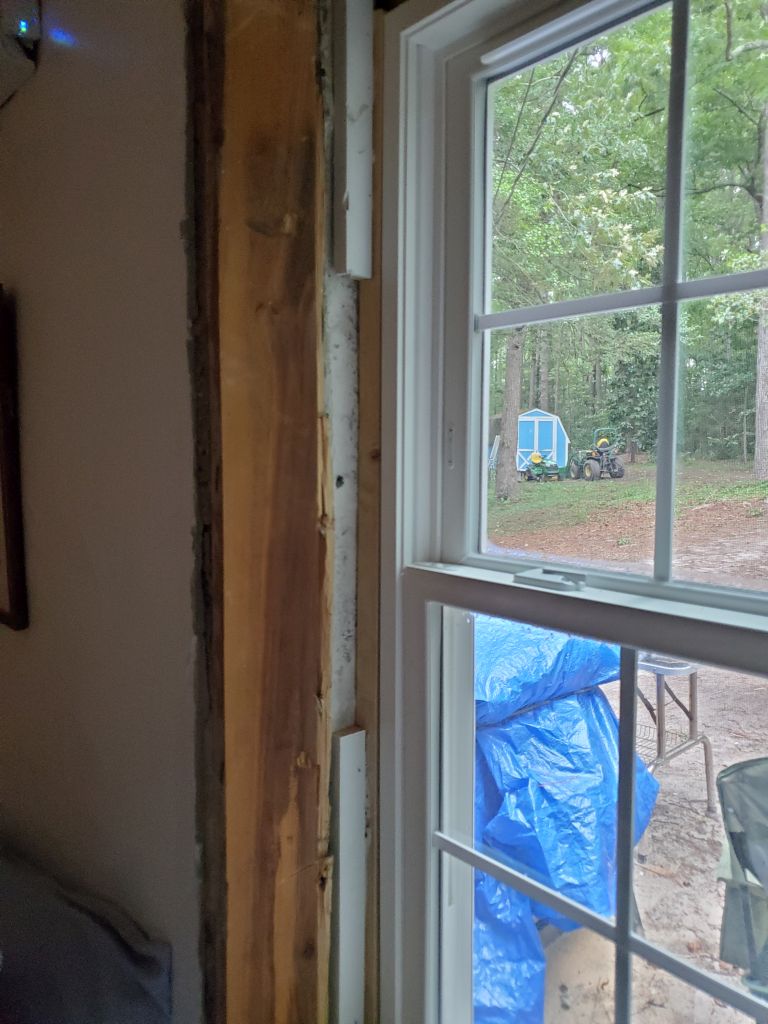
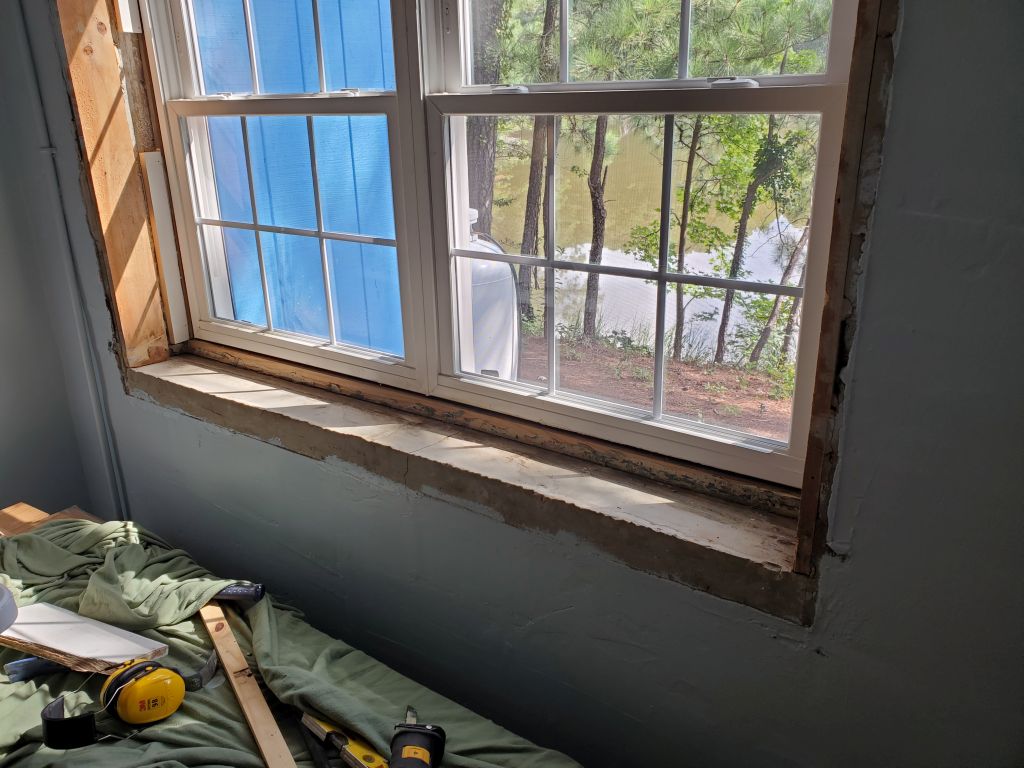
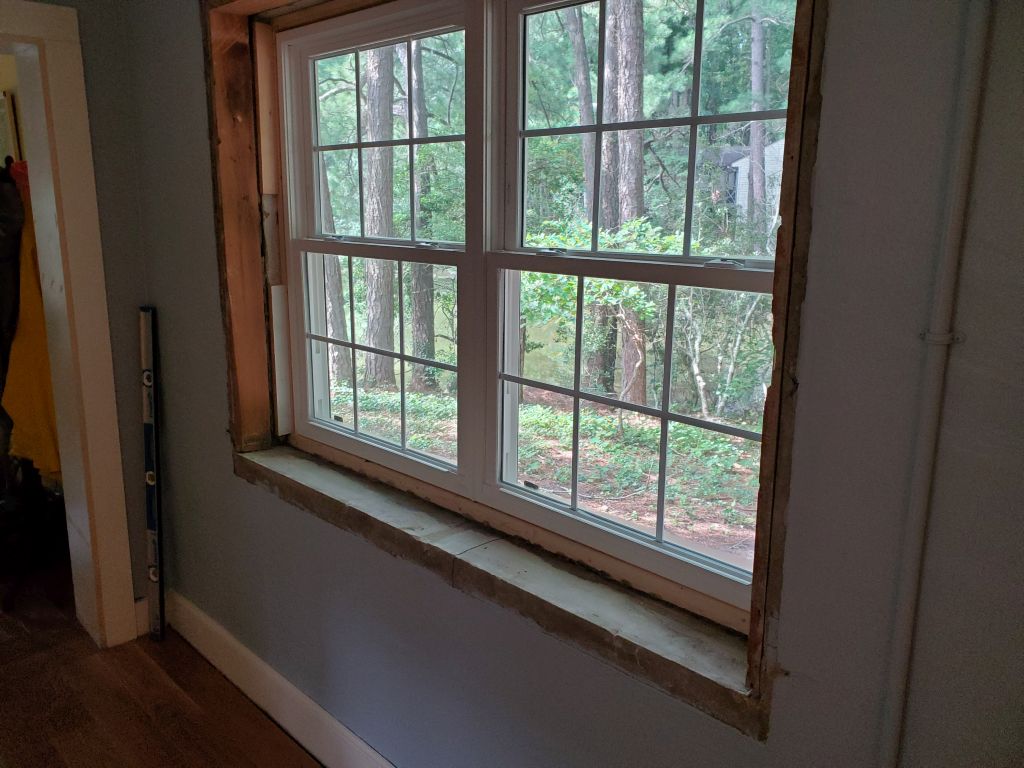
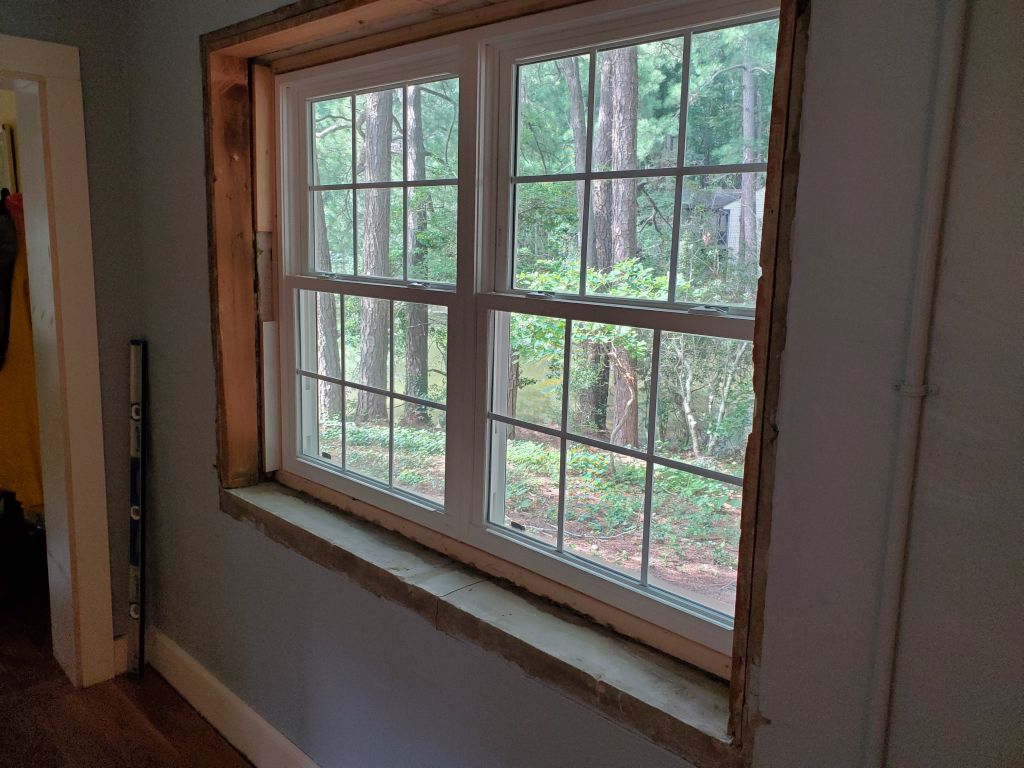
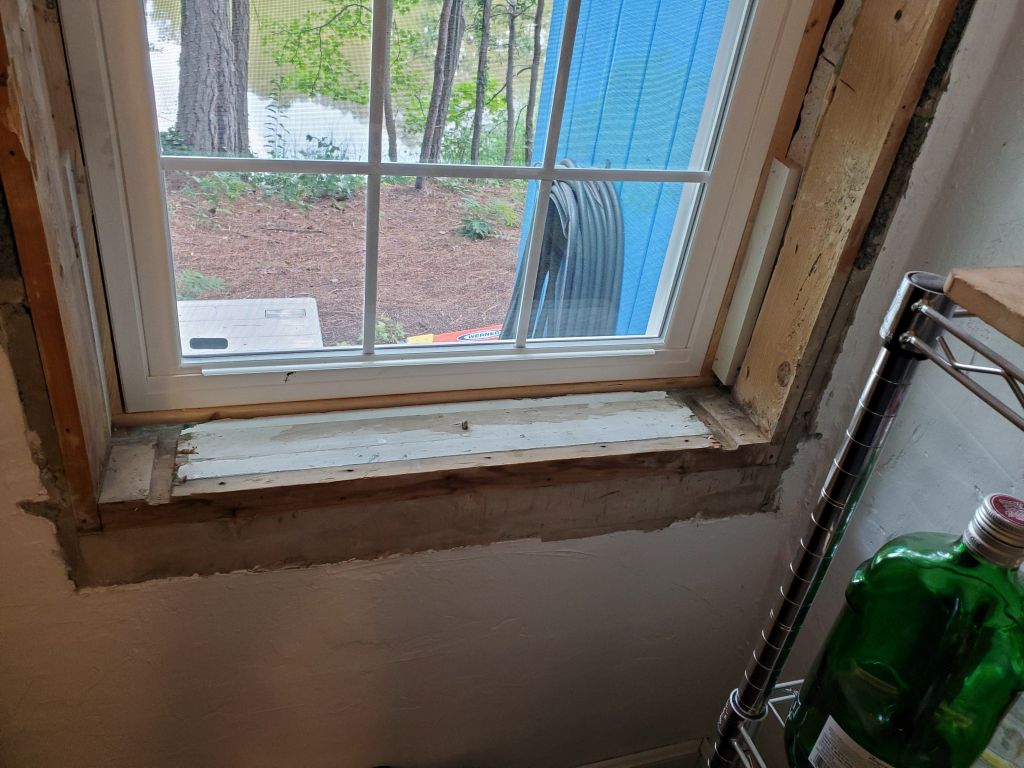
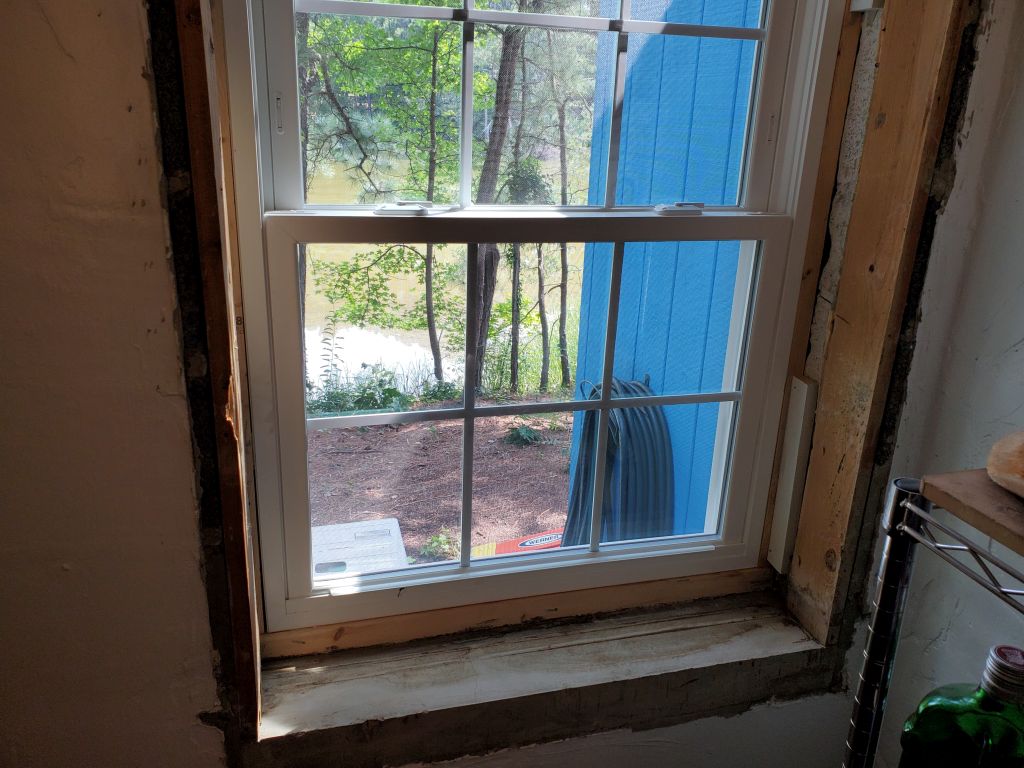
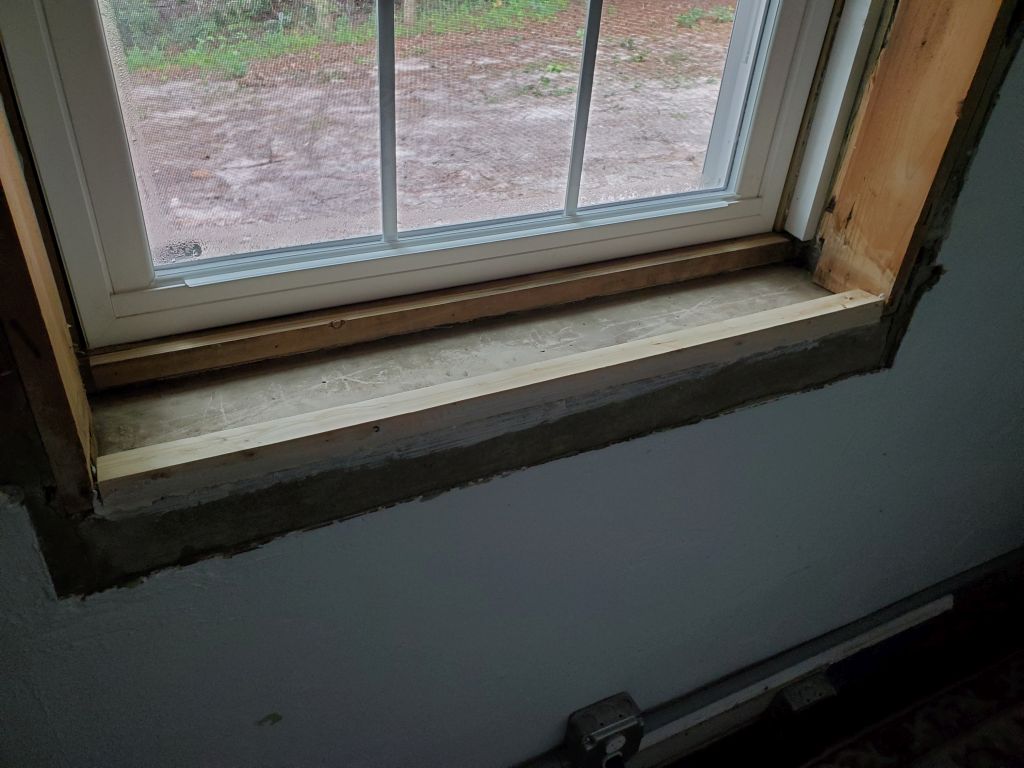
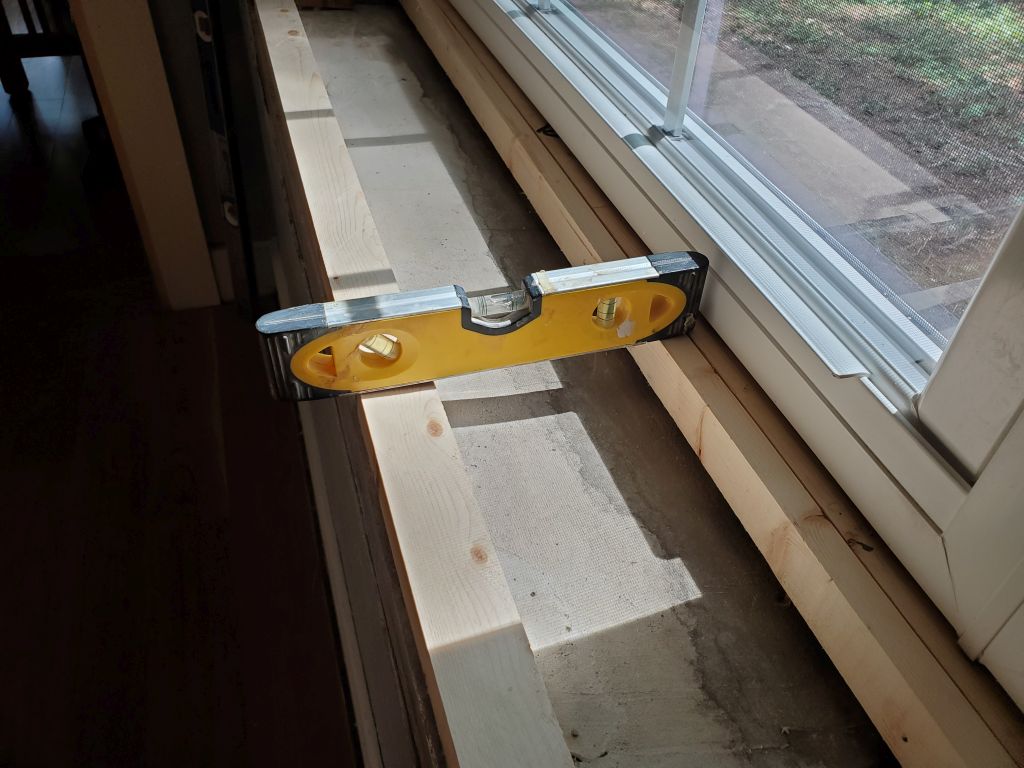
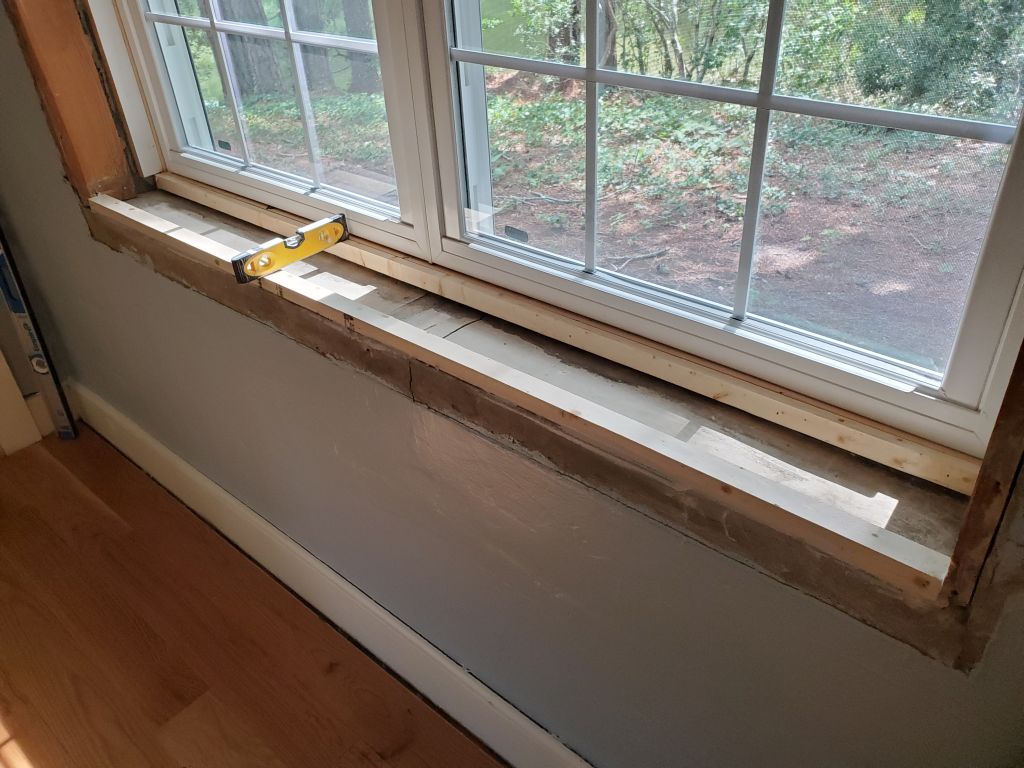
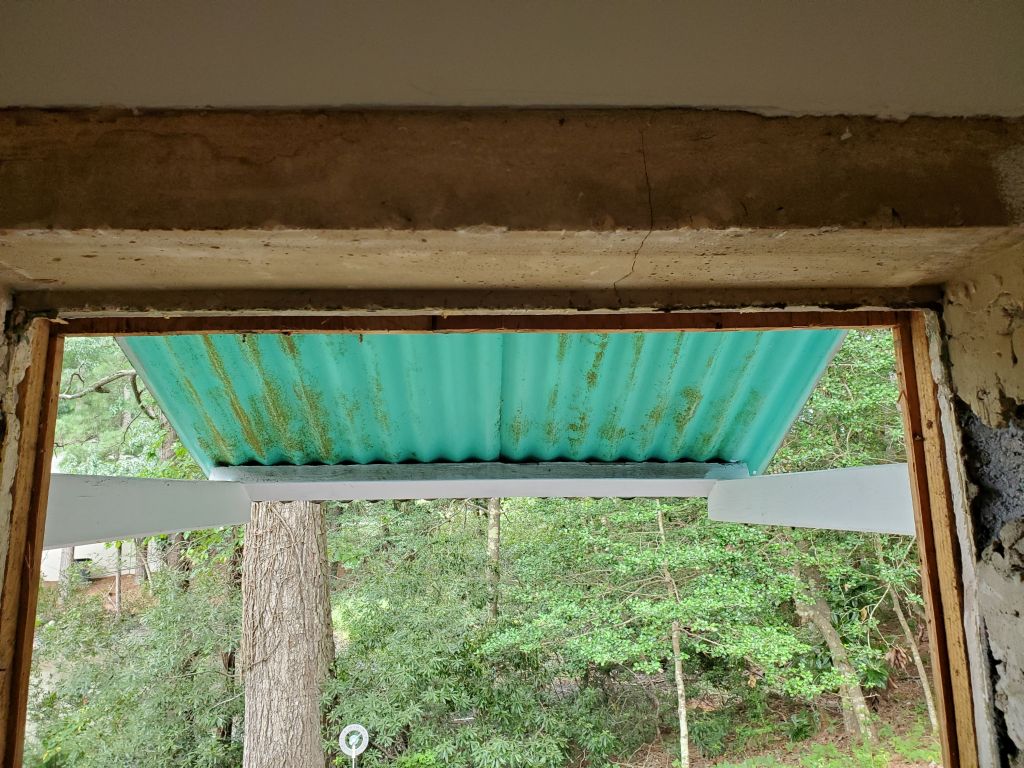
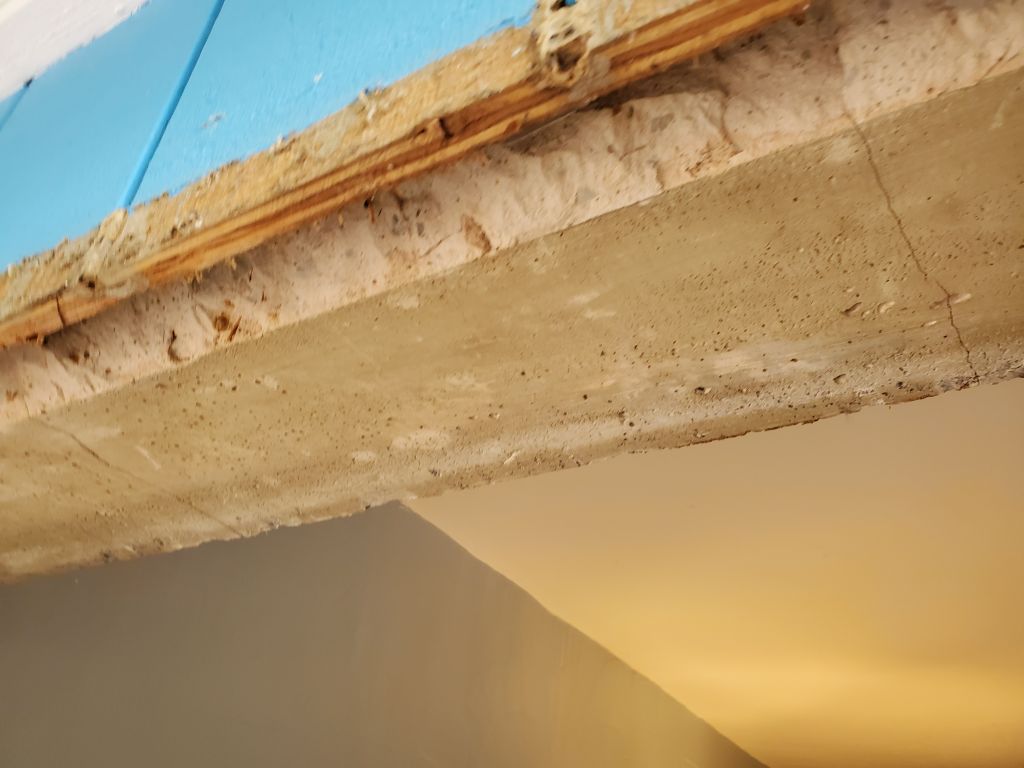
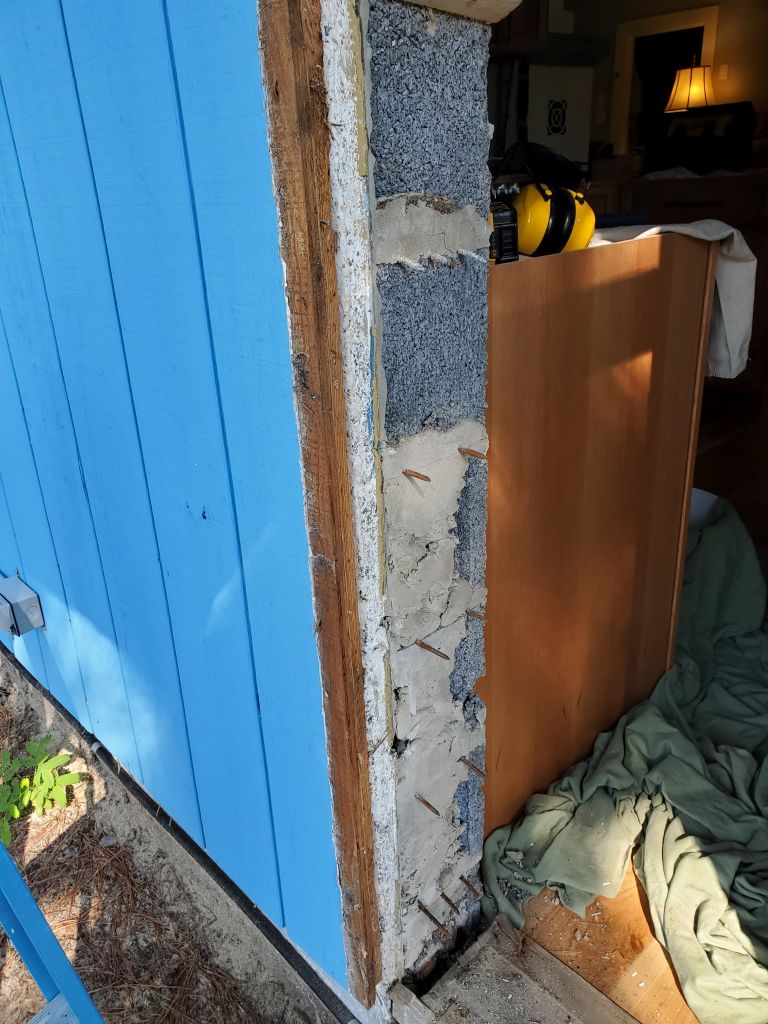
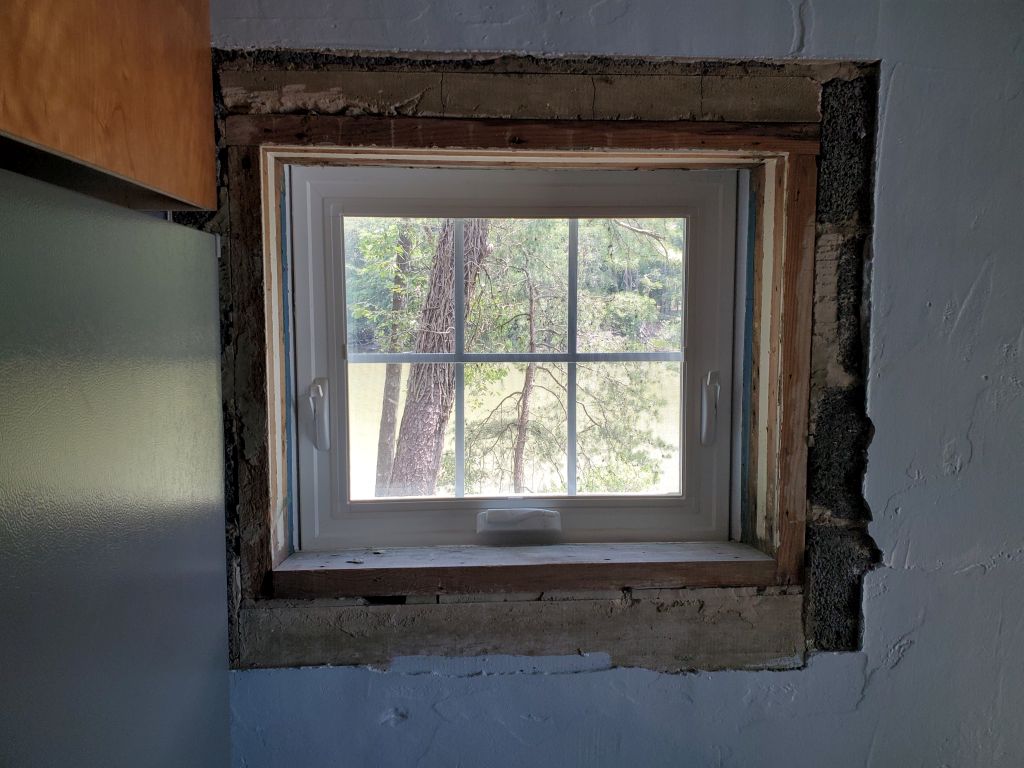
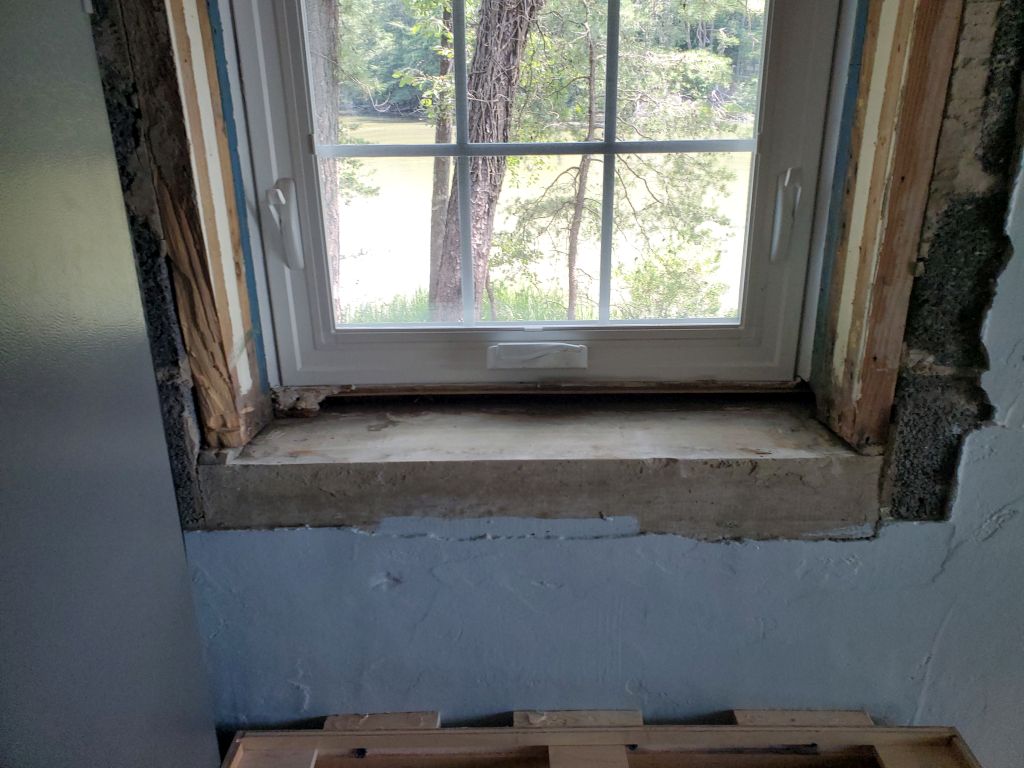
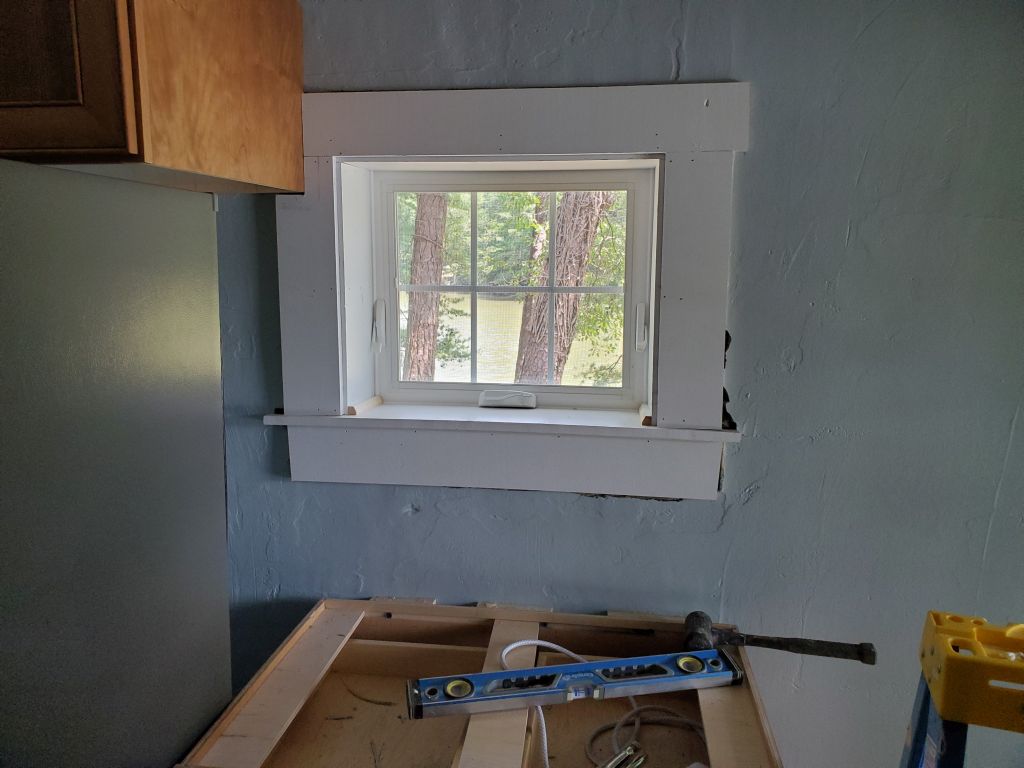
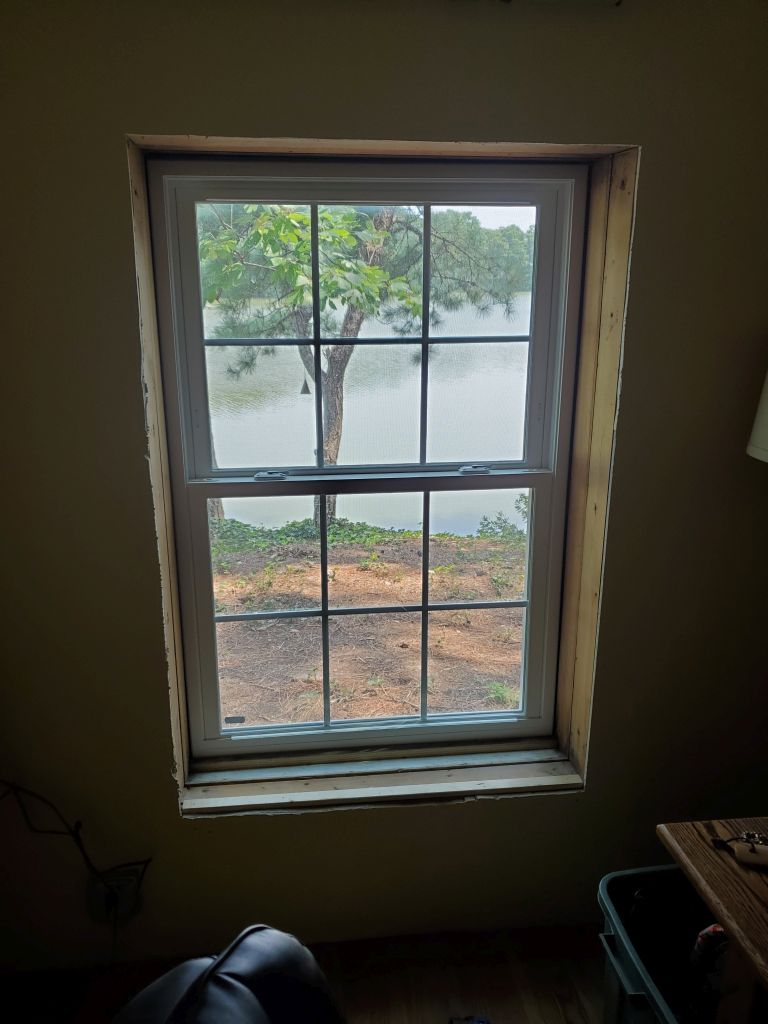
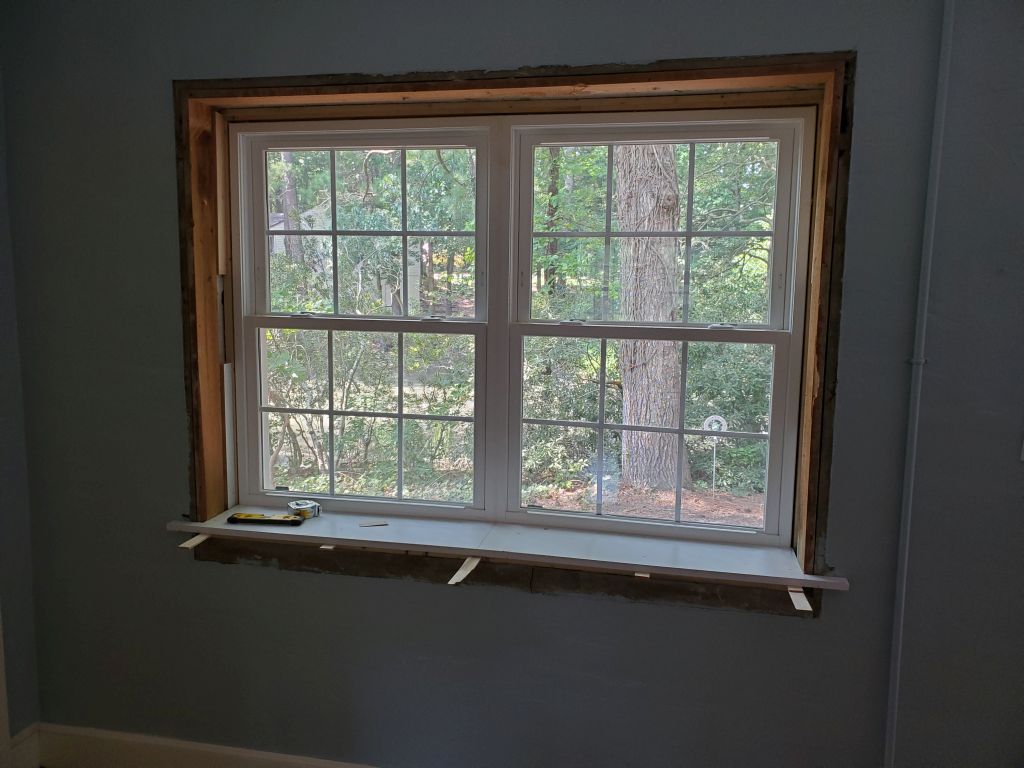
Mocking up a piece of trim for the new window sills, I found that the old inner portion of the sills, which I’d left in place, would be too high as is, forcing the new sill up too close to the opening part of the window sash. The old windows were a bit funky because they’d originally been built into the concrete block house; when my uncle bought the house in 1979, they’d installed firring strips, insulation, and wooden siding on the outside, which increase the depth of the windows and required additional trim. I knew this from anecdotal and photographic evidence, but I didn’t know the details of the window installation till I started removing them. These thick, angled sills were part of the original construction, and didn’t extend past the original concrete block; as a result, they weren’t in the way of the new framing work I did to accommodate the new windows, now mounted from the outside with a nailing flange, so I didn’t remove them when I stripped the old windows. I should have, obviously, but something somewhere had led me to believe they were spiked into the concrete below (much like the old window jambs were set with spikes into wet concrete along the edges of the opening), so I thought removal would be fraught with challenges.
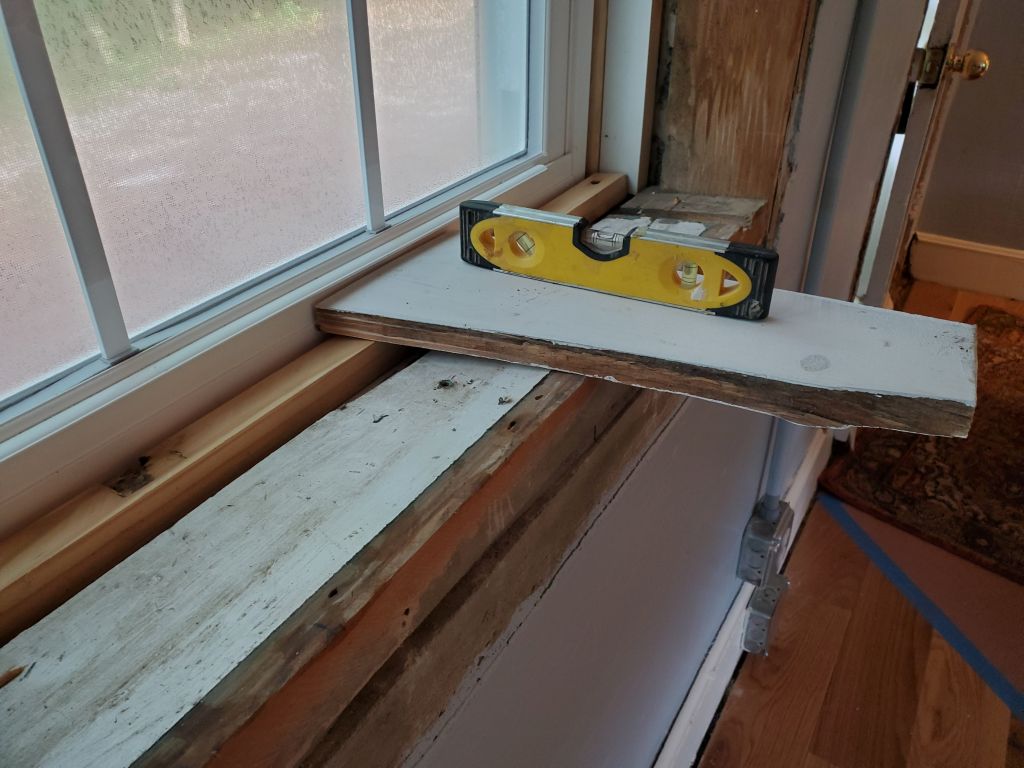
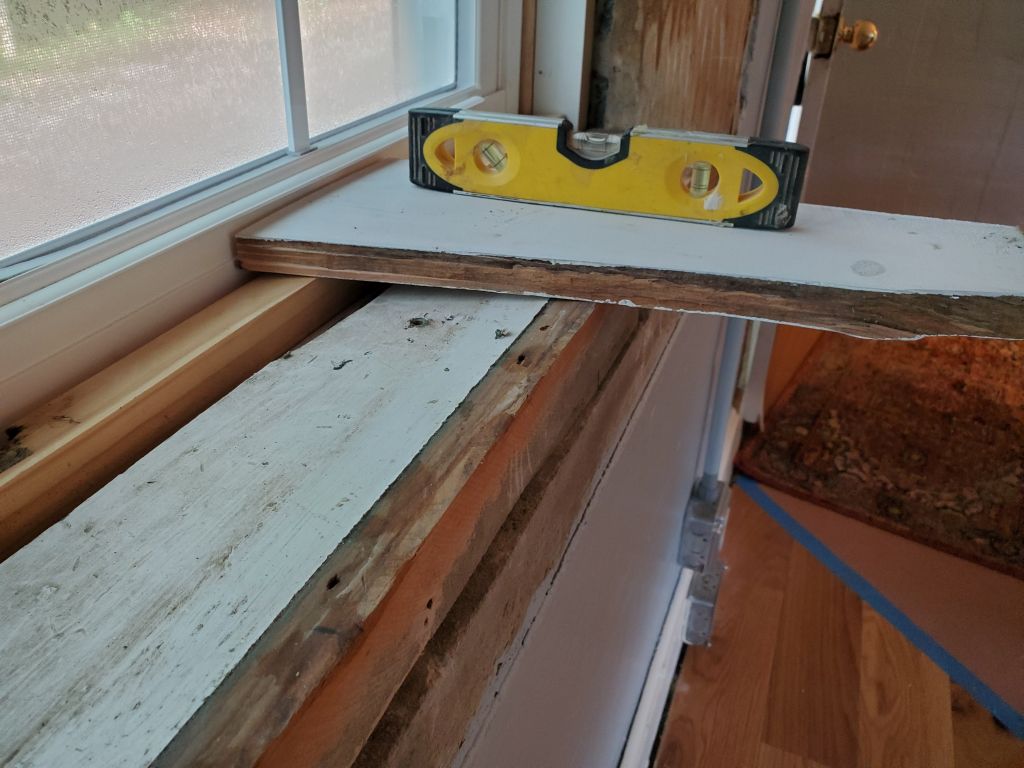
Now, I was faced with removal regardless, or at least modification. Still thinking these old sills were somehow indelibly installed, my first thought was to use a circular saw to cut them lengthwise, reducing the height. This would be messy and noisy, and when I tried it, the saw had trouble making the blind cut required. Frustrating and slow. I had to step back and regroup, since clearly this approach wasn’t going to work.

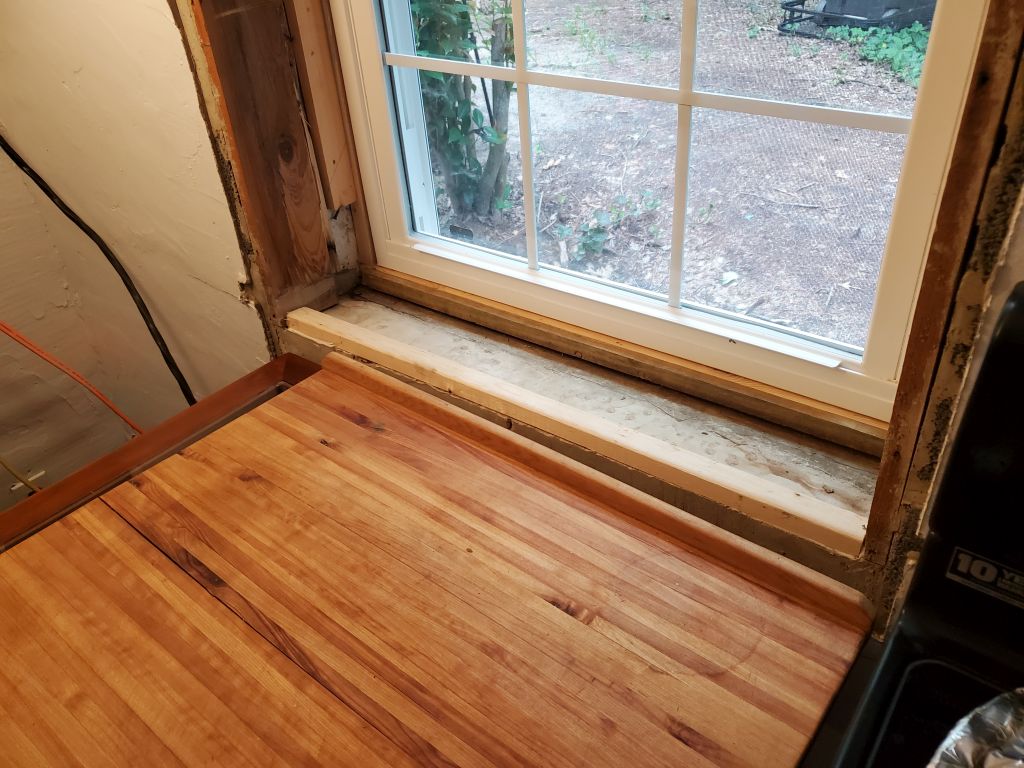
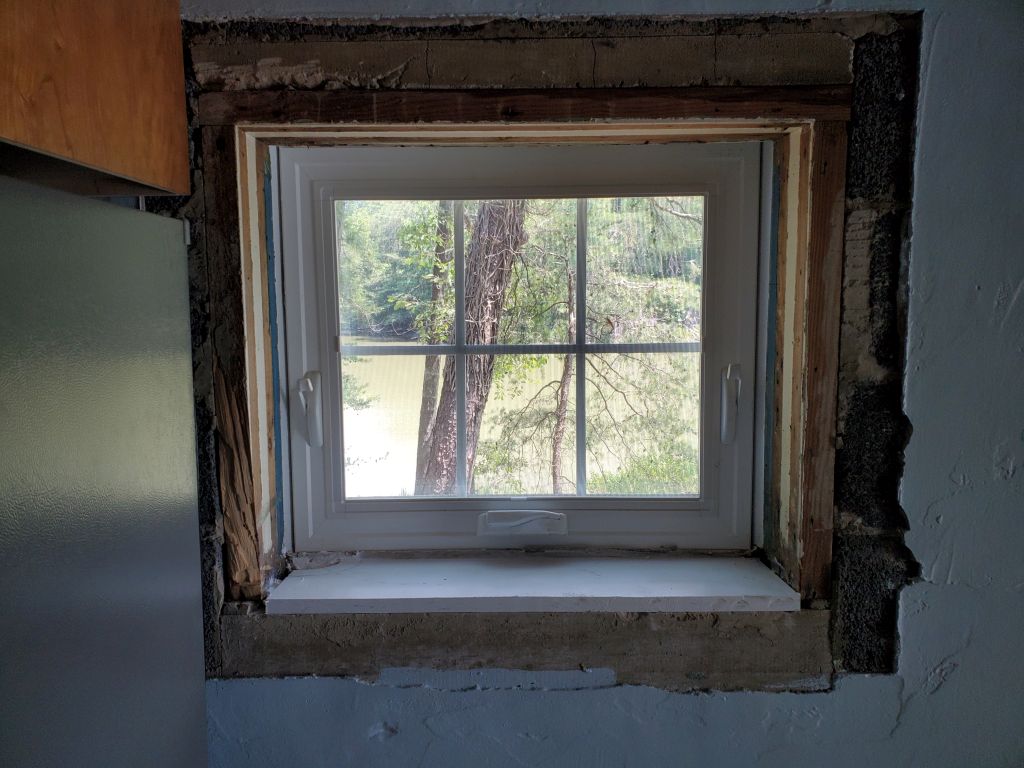
What it did accomplish, however, was to sort of jar things loose, and before long my inspection revealed that the sills weren’t spiked in after all–just nailed through the vertical bucks from the sides. Now I could attack the problem, and before long I had the first one–the long living room window–out. I’d learned from the removal, and from here I could go through the remaining 5 windows with similar construction and more easily remove these sills with minimal fuss.
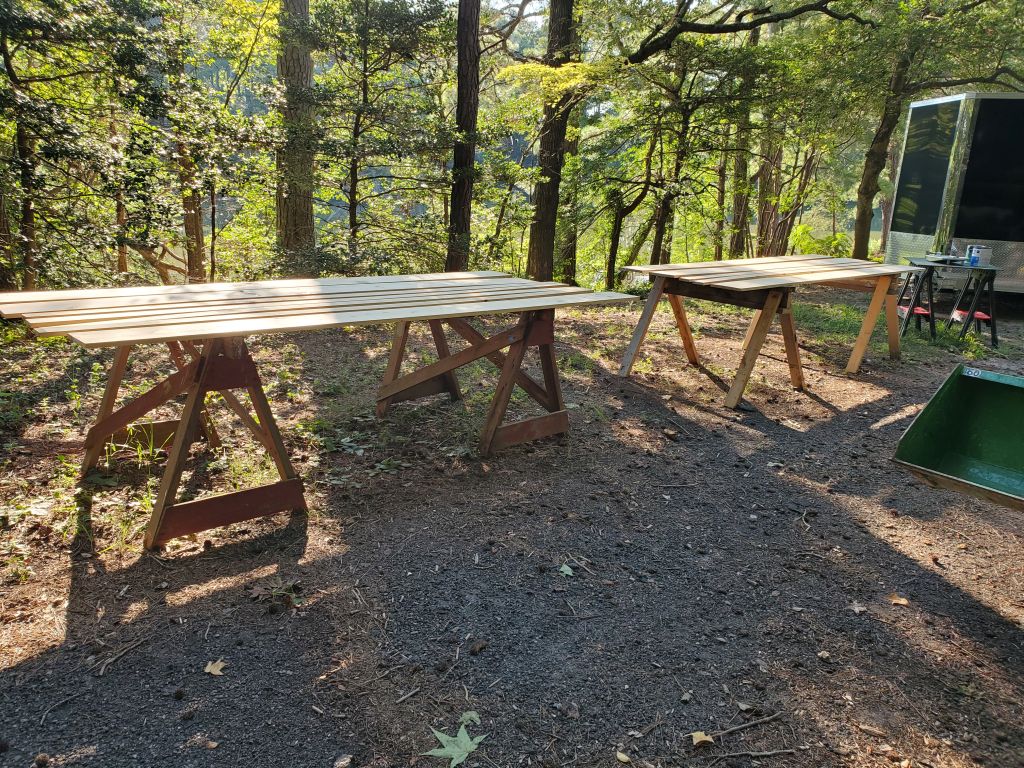
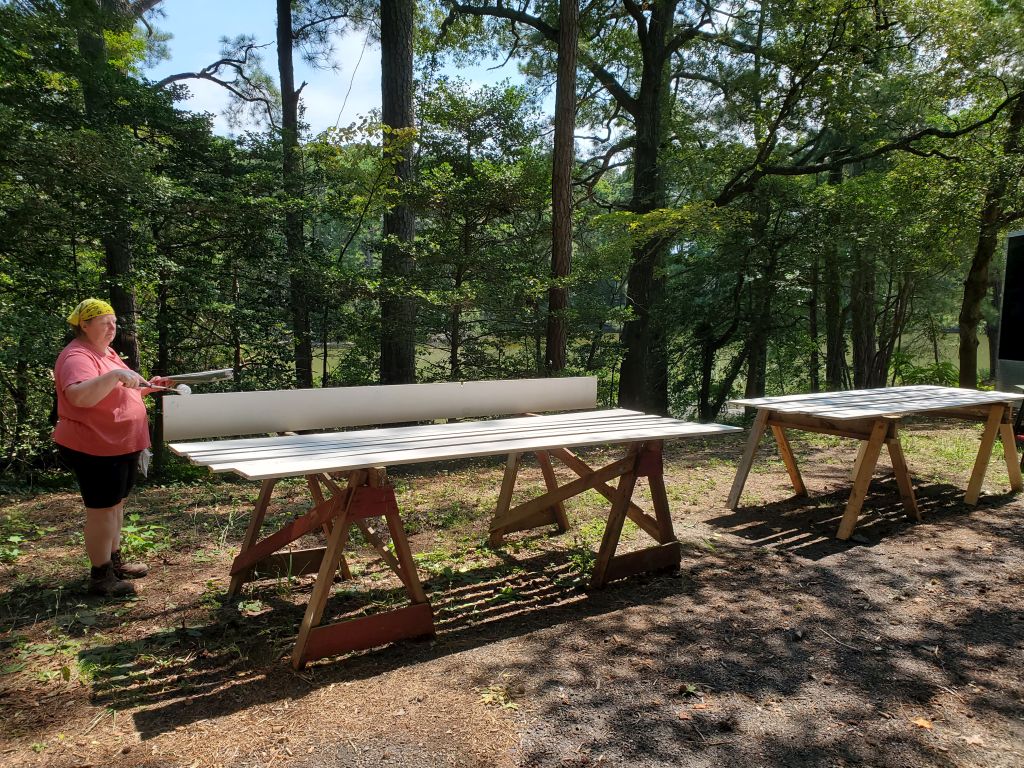
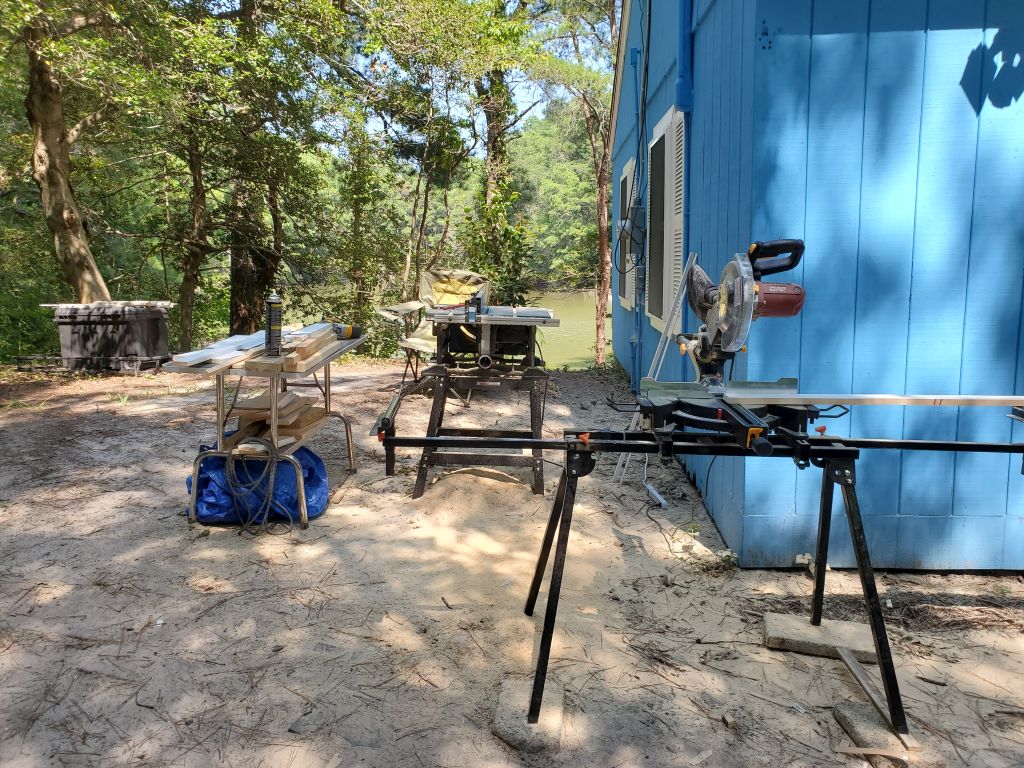
While I was working on this, Heidi was outside in the muggy day priming and painting the day’s quota (this was a tongue-in-cheek name we came up with for the constant stream of raw pine boards to be painted).
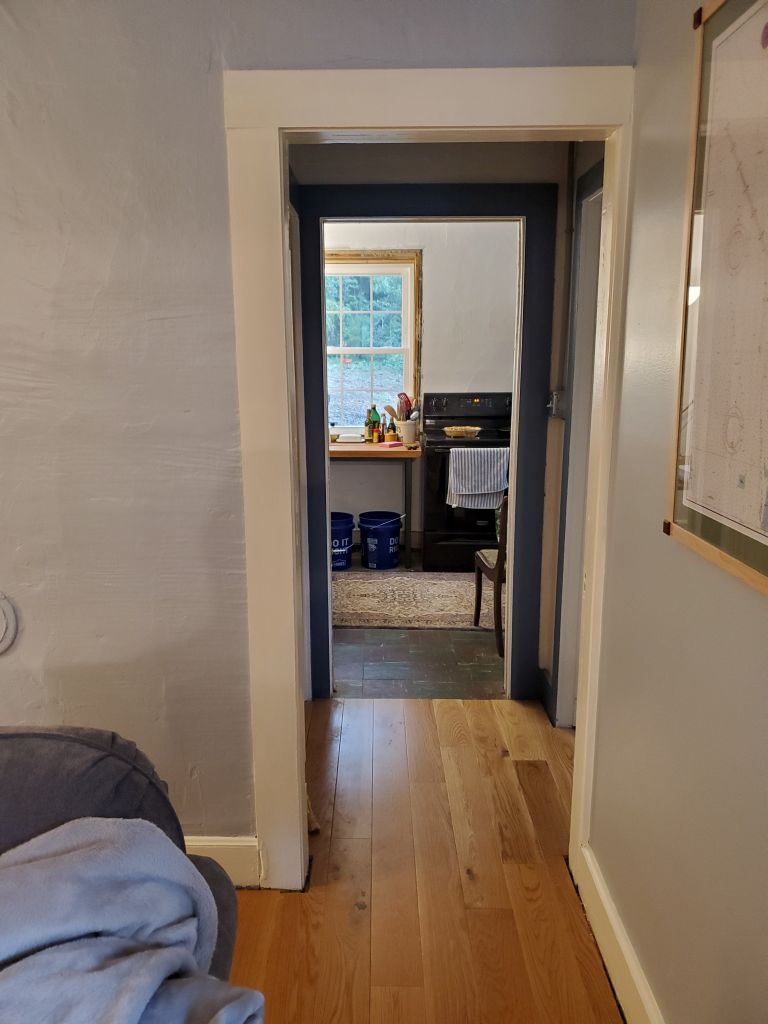
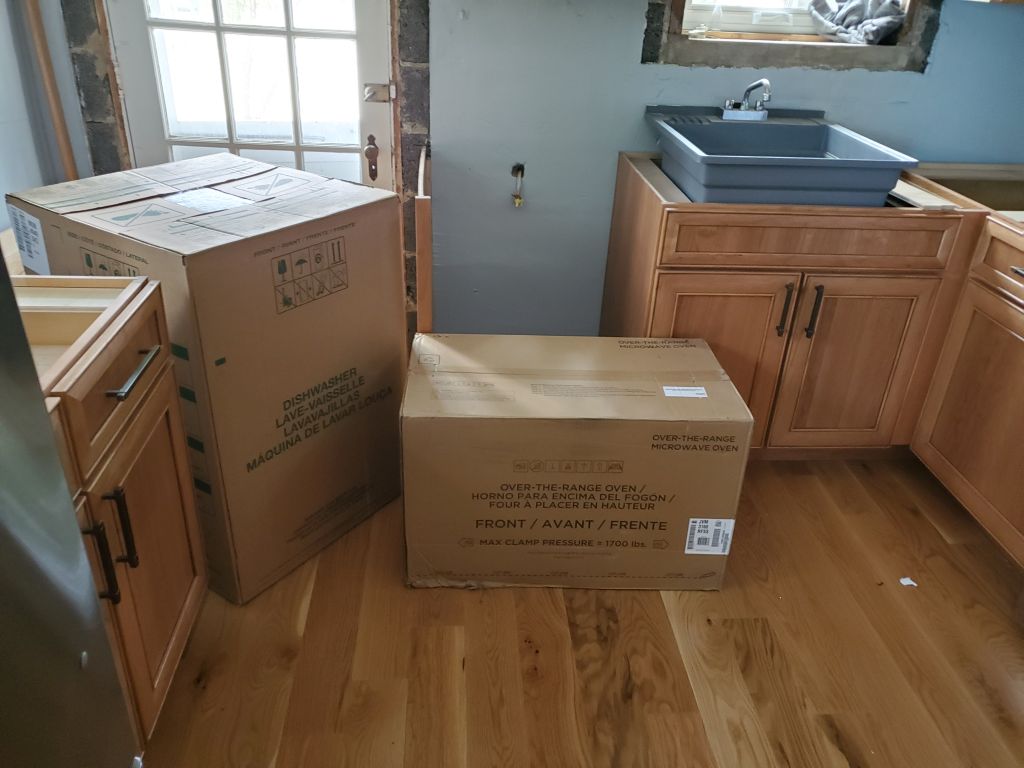
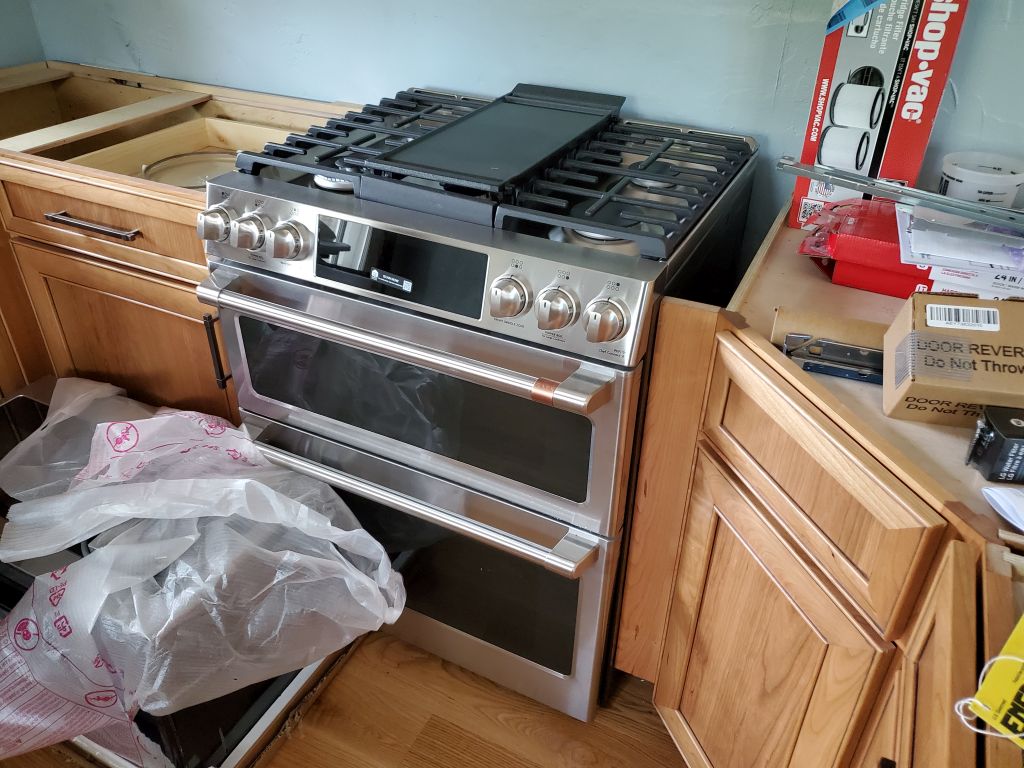
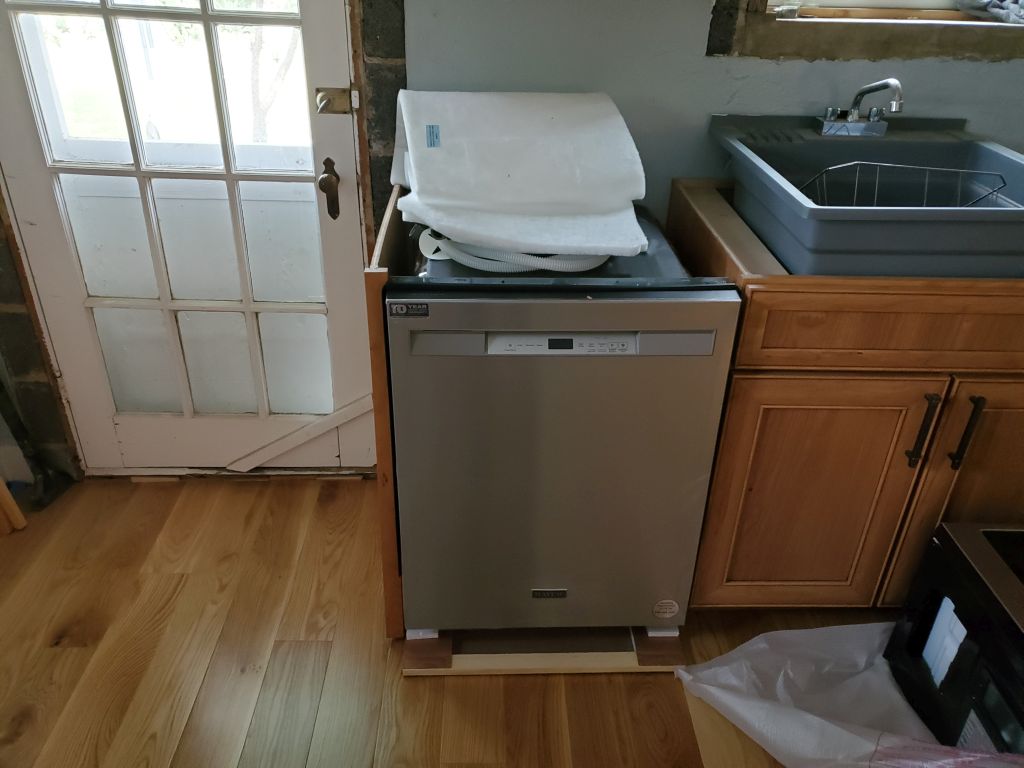
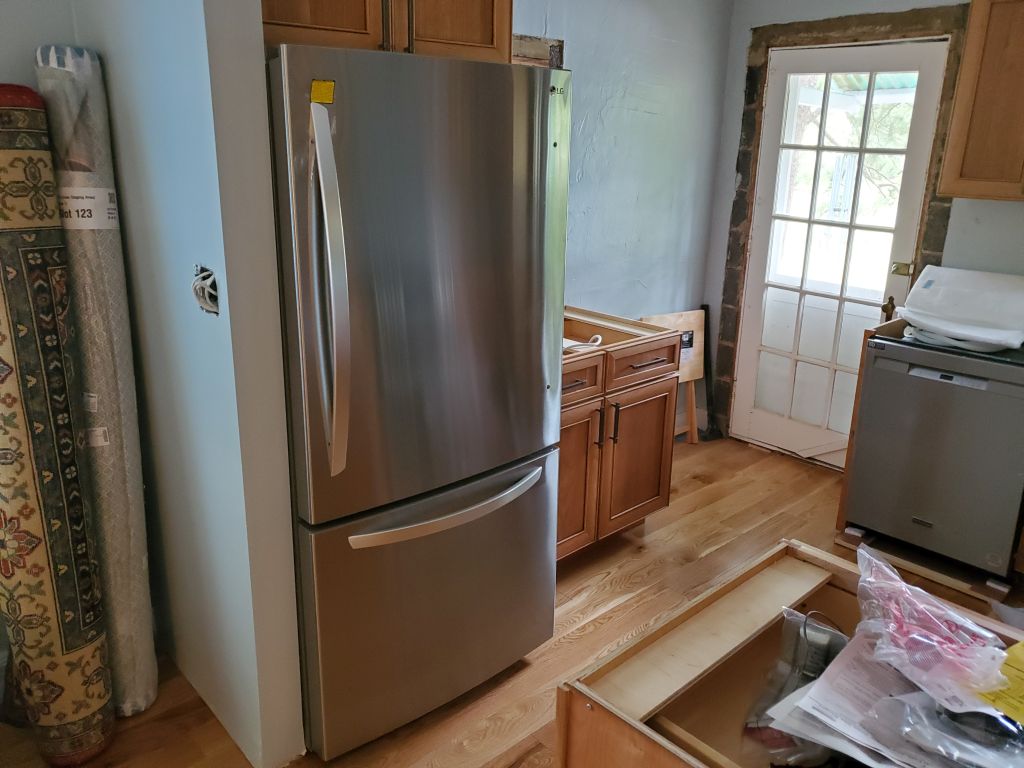
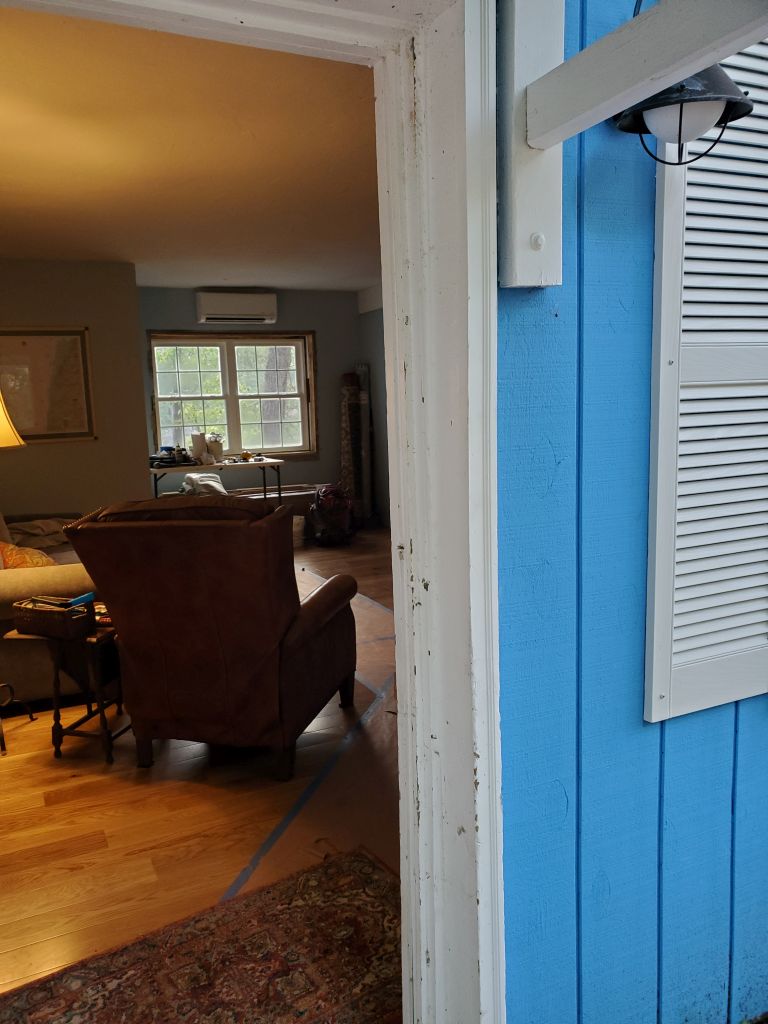
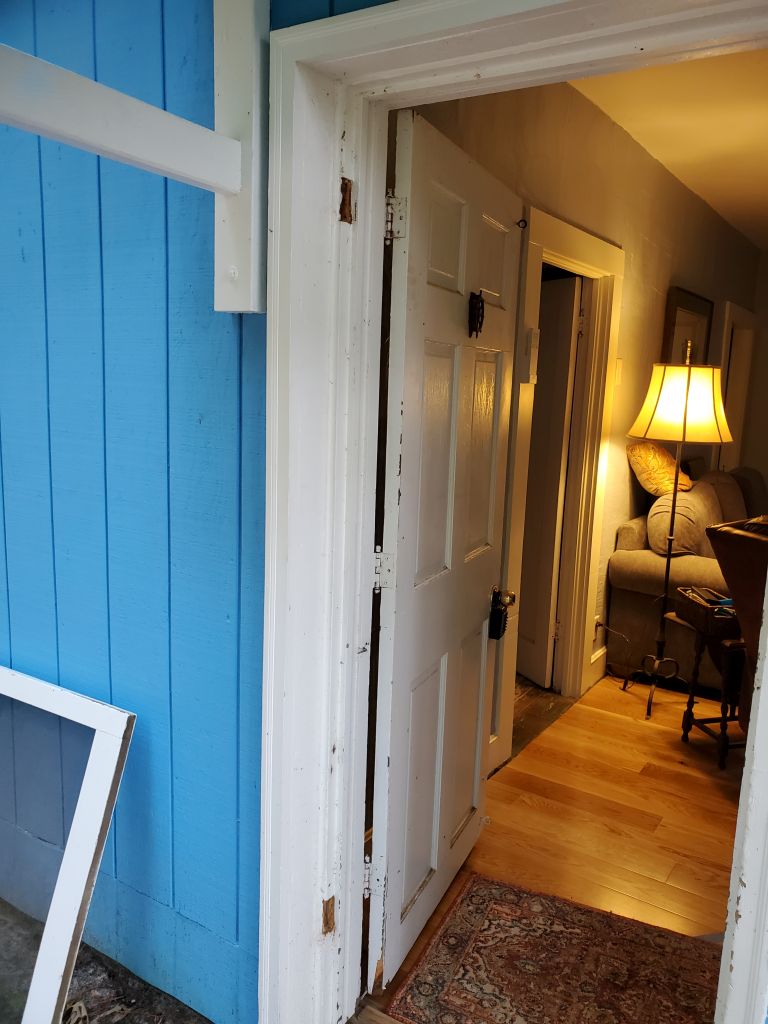
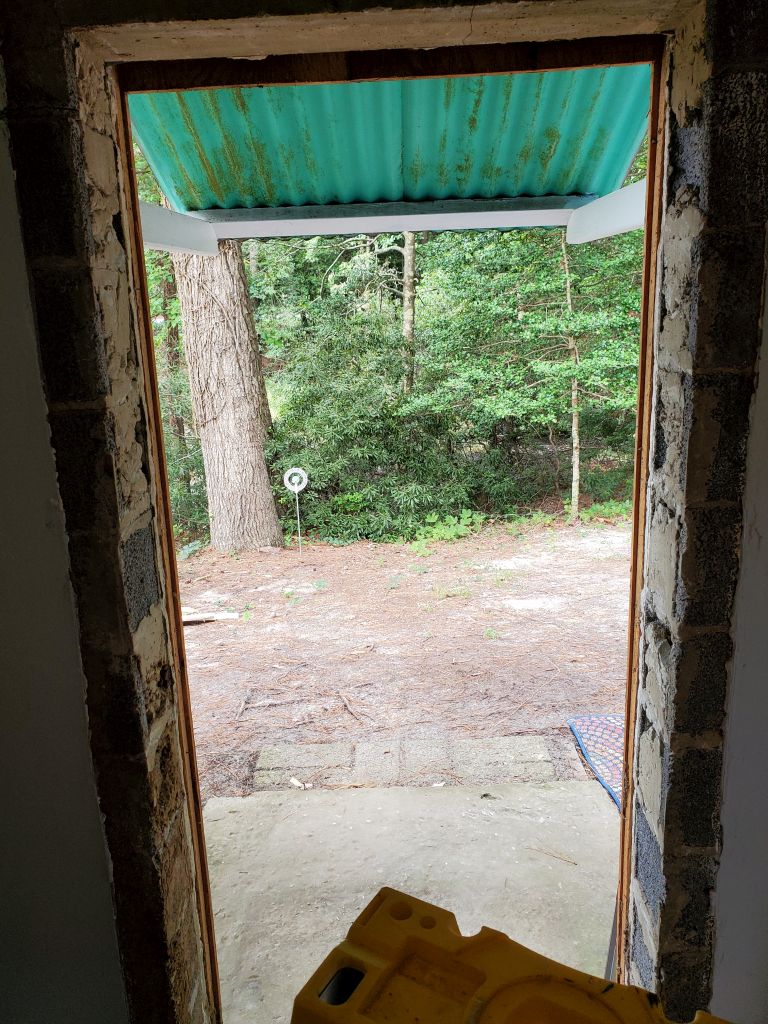
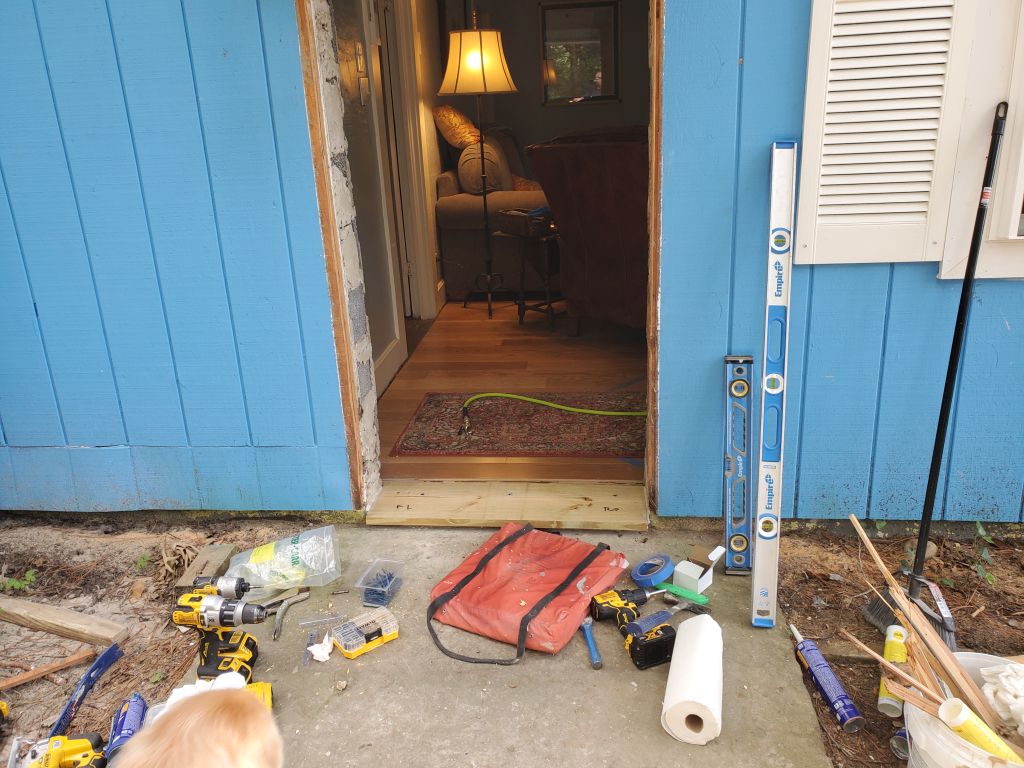
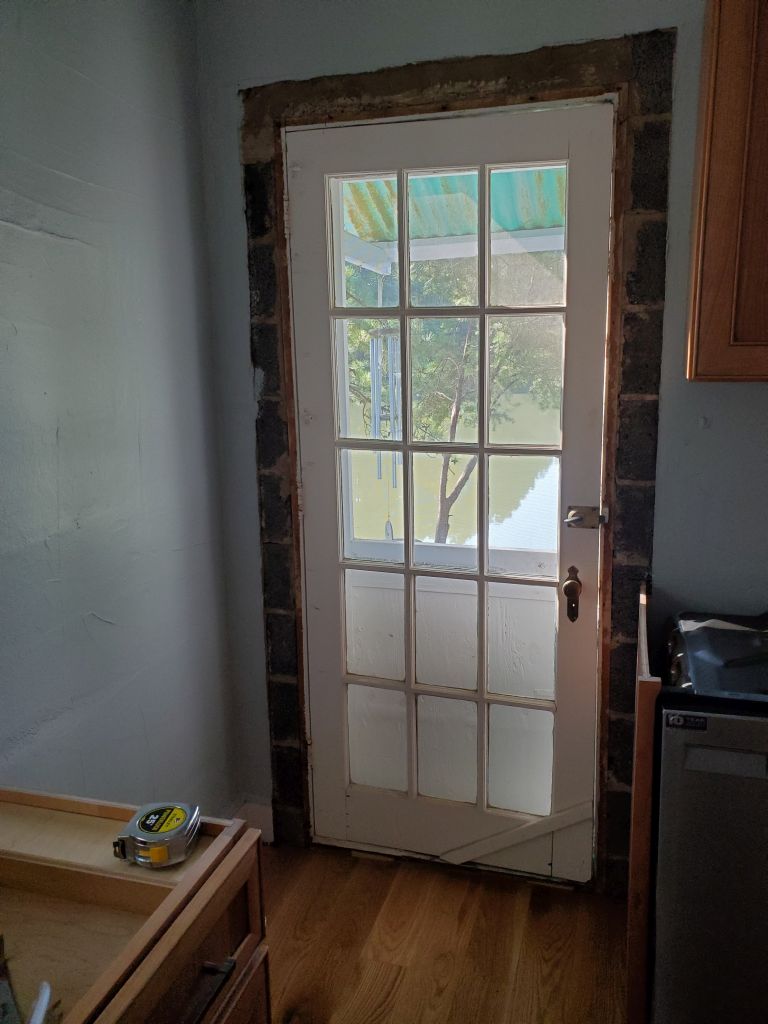
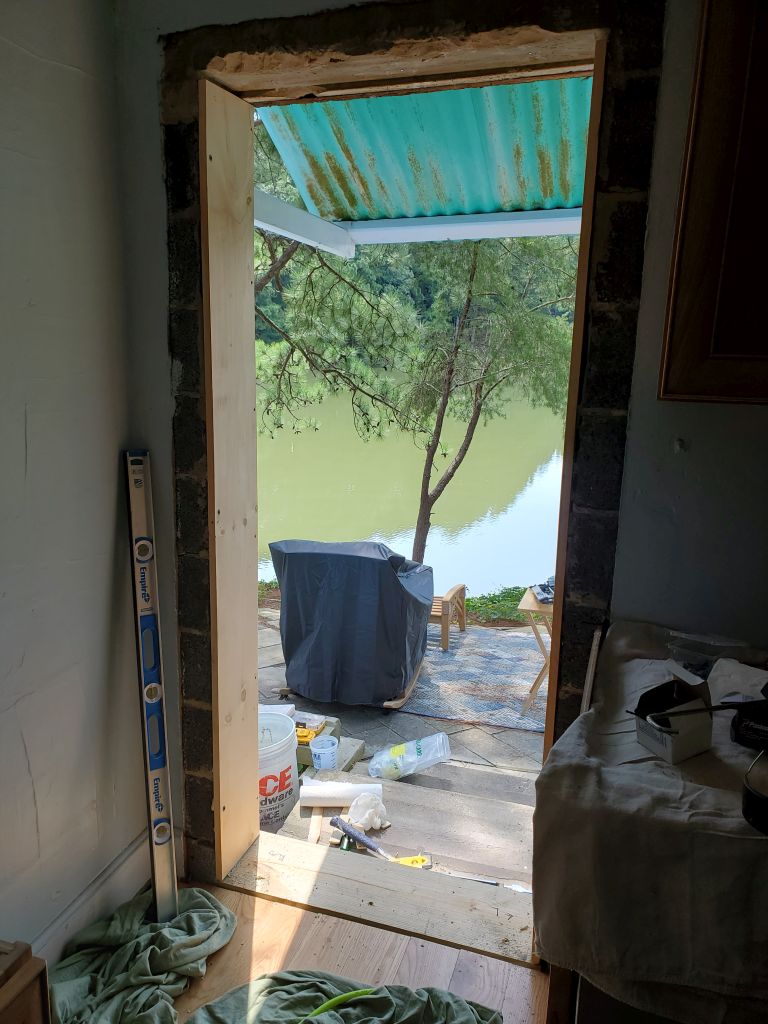
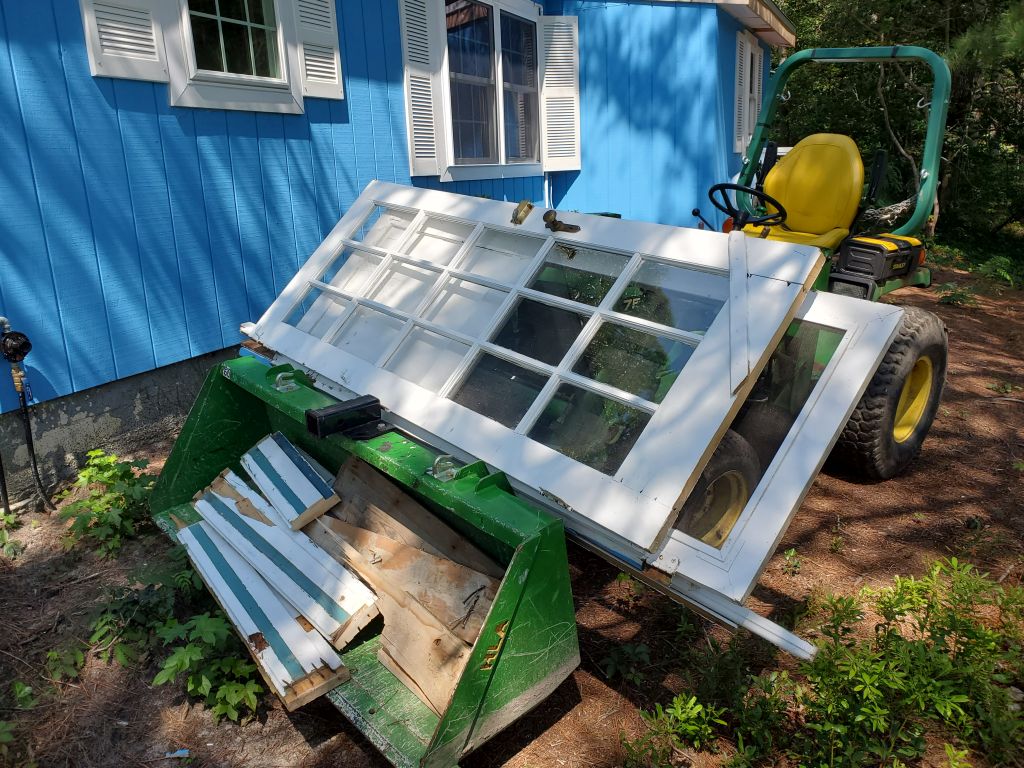
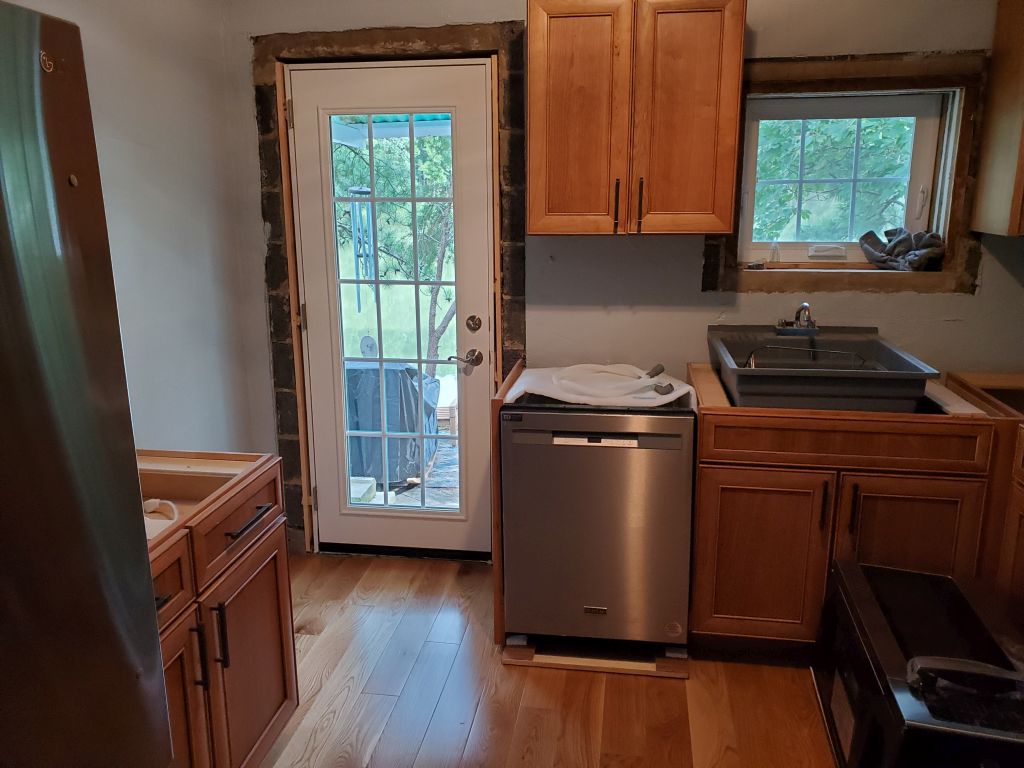
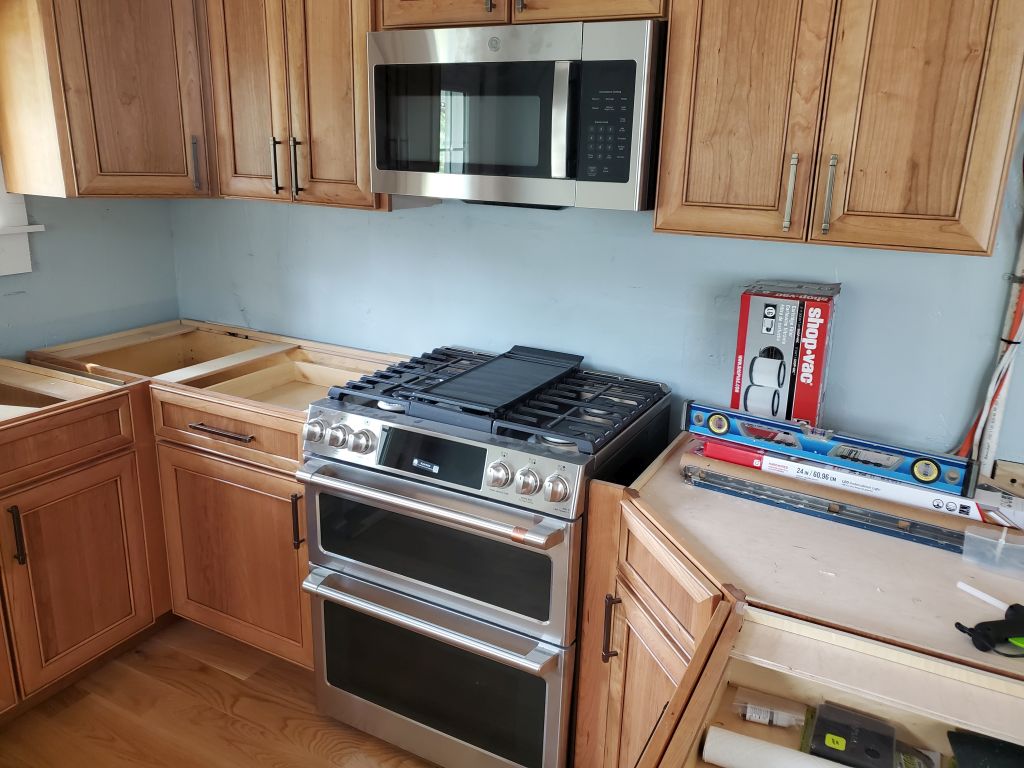
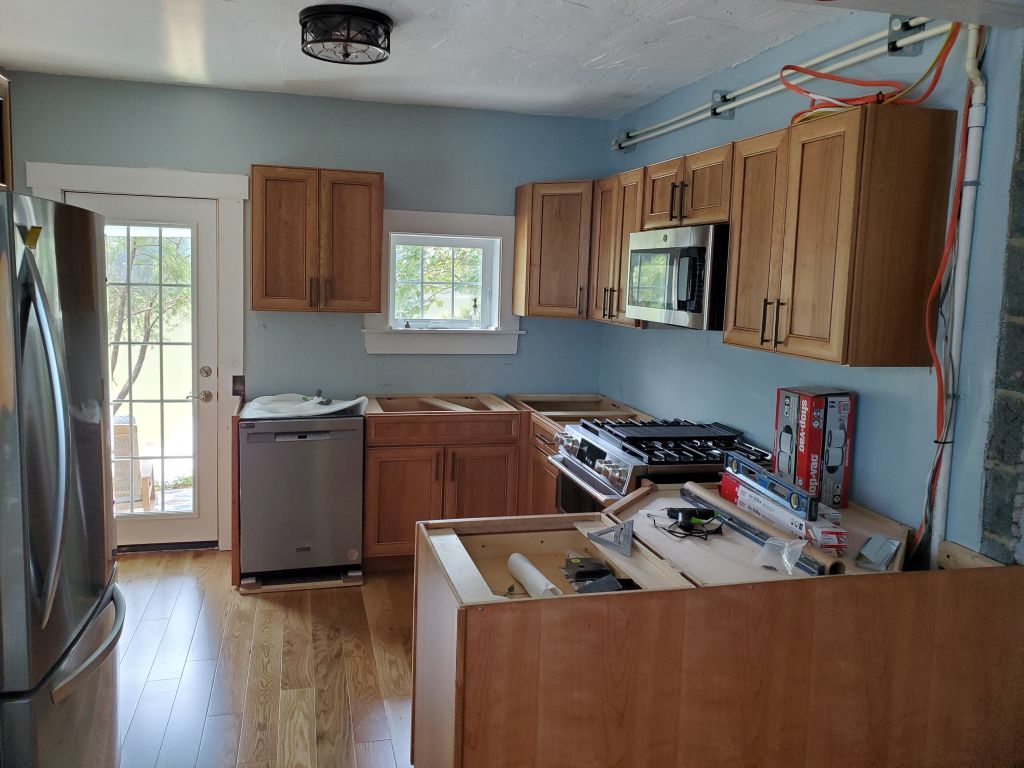
We’d ordered our new kitchen appliances to be delivered today (actually, they were originally scheduled for delivery on the 20th, but we were able to move it up once the kitchen was complete), and they arrived at 1150. This driver got the truck all the way in, then the two guys labored to carry the heavy appliances with shoulder/neck straps a pretty long distance from the truck to the house. I had to remove the front door to provide enough clearance for the stove and fridge, and the fridge required its doors be removed in order to fit–things I’d known and double-checked beforehand. Our front door was only 32″ nominal width.
It was exciting to have the appliances on hand–the kitchen was really coming together.
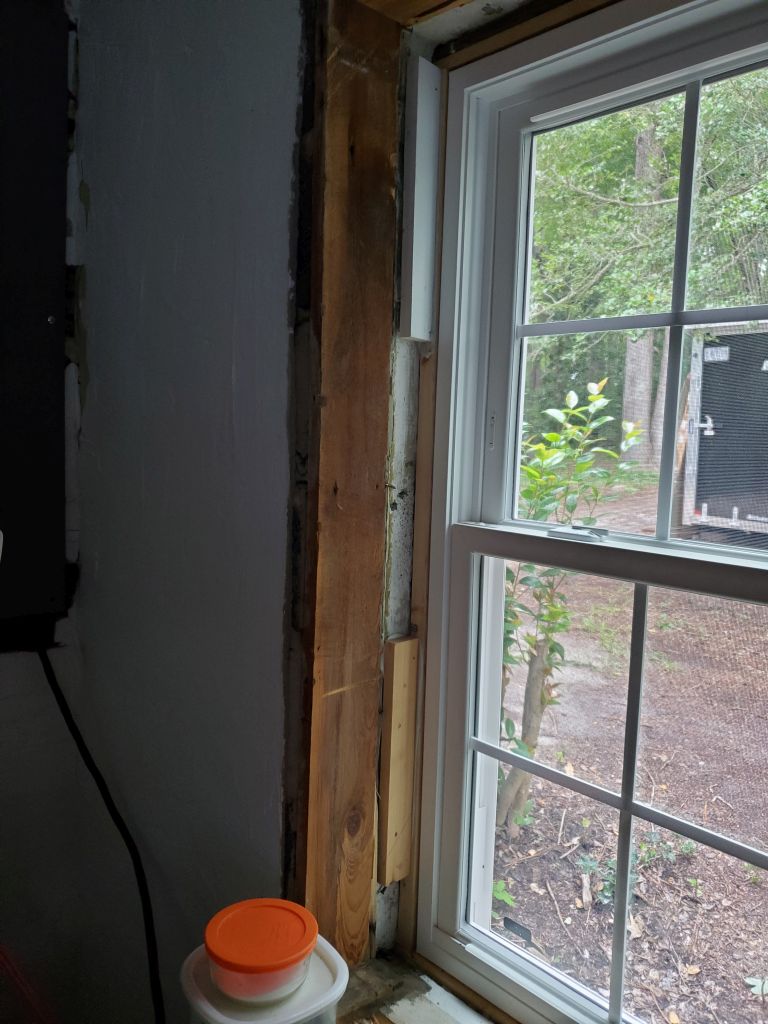
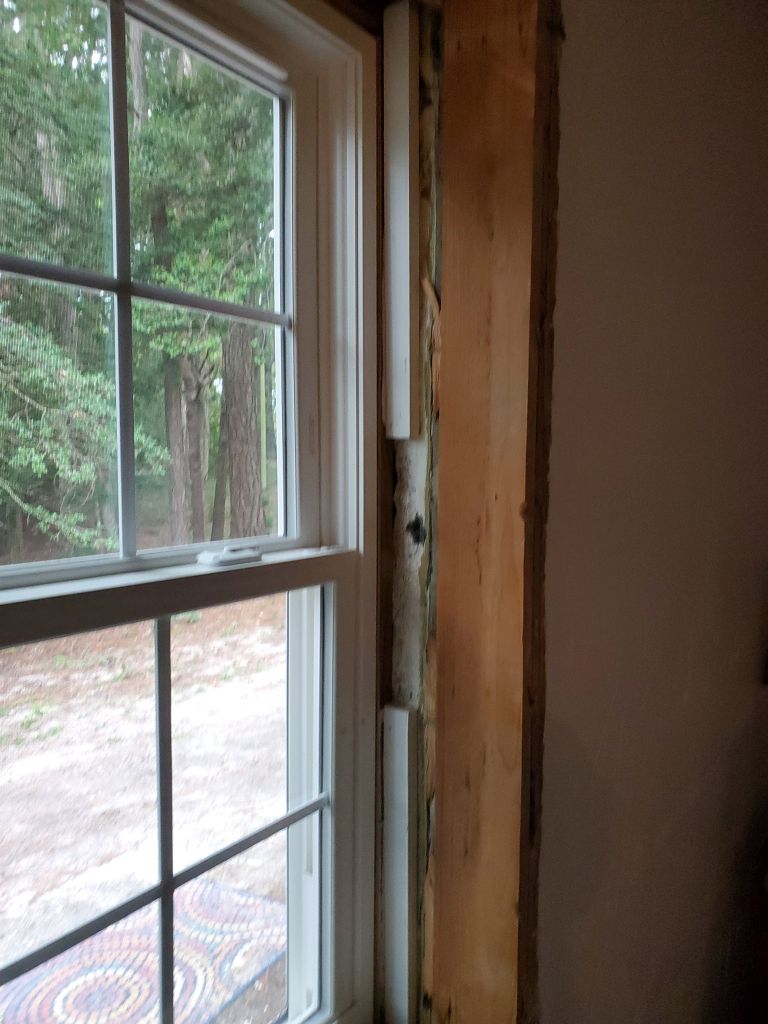
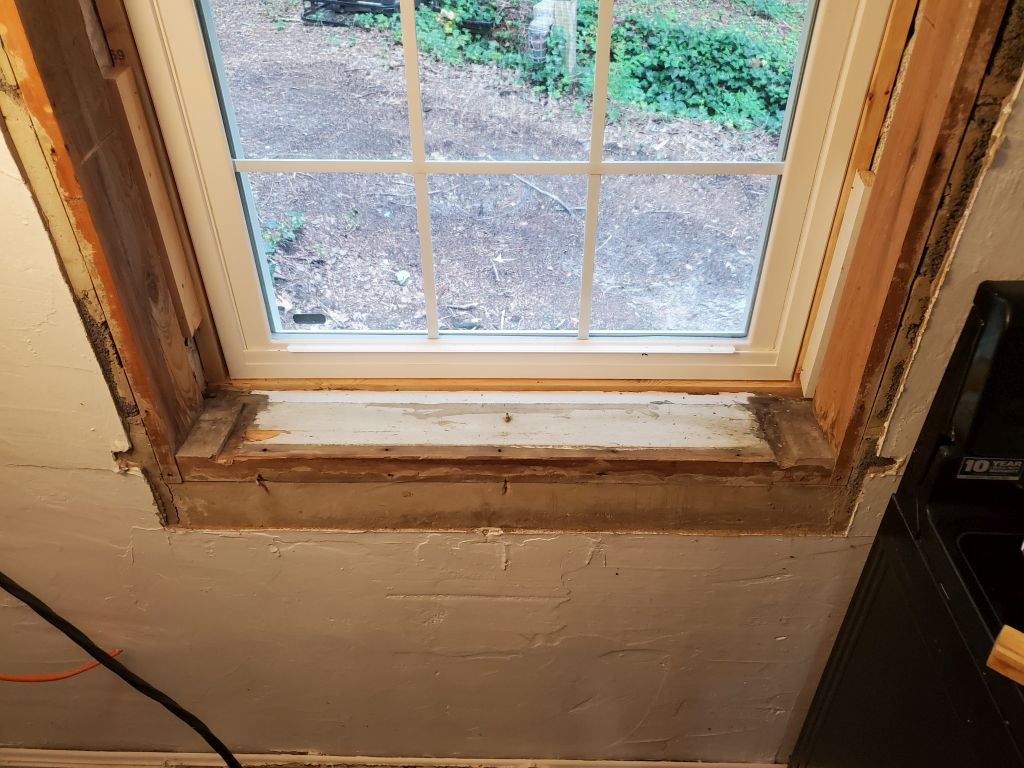
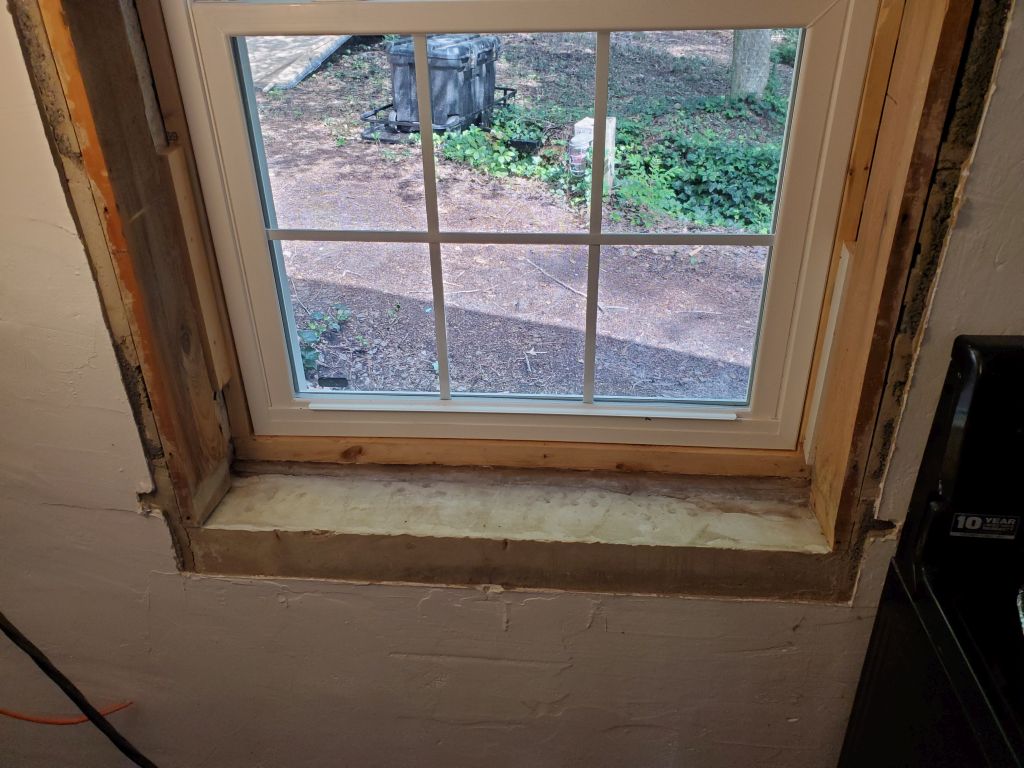
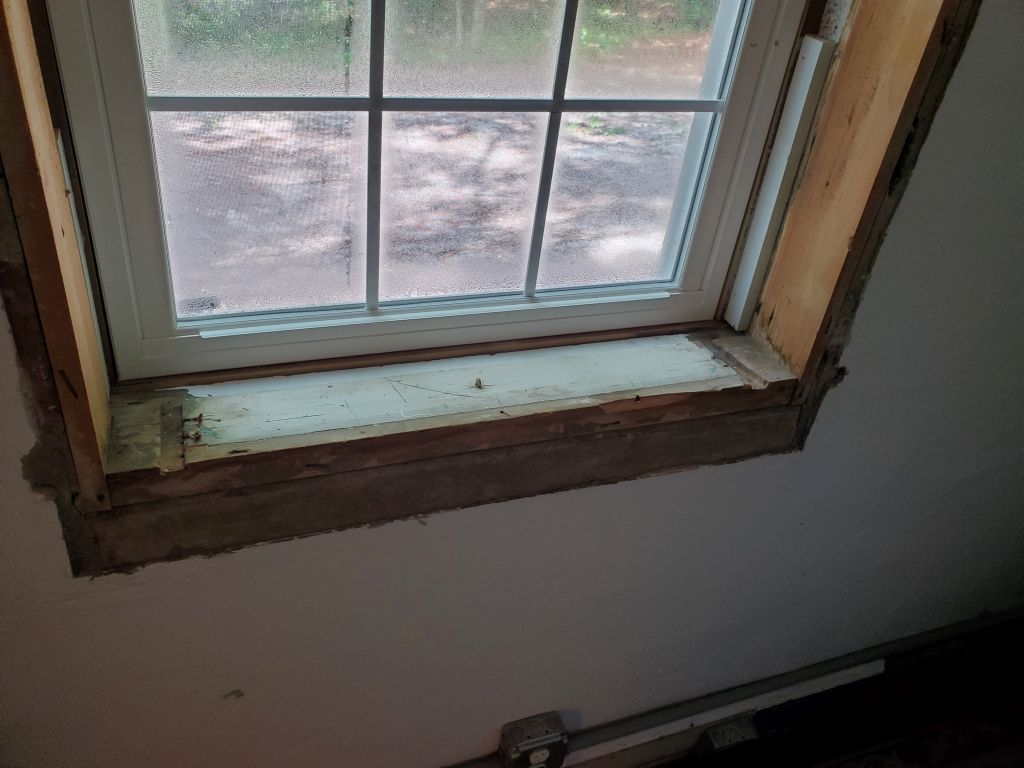
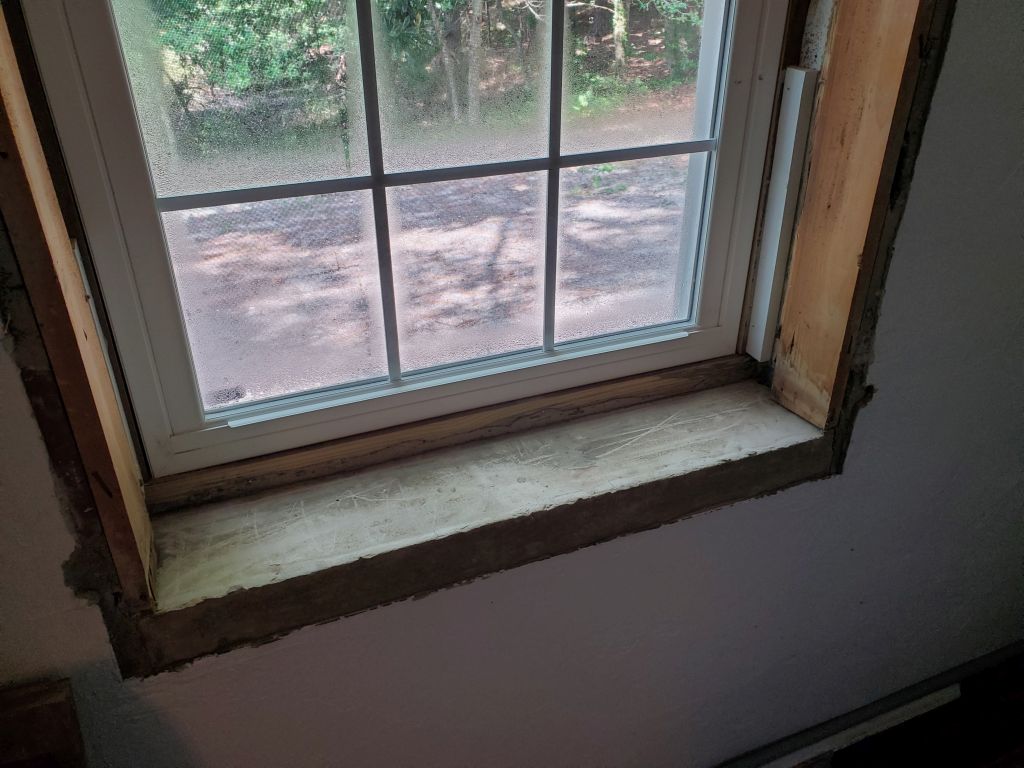
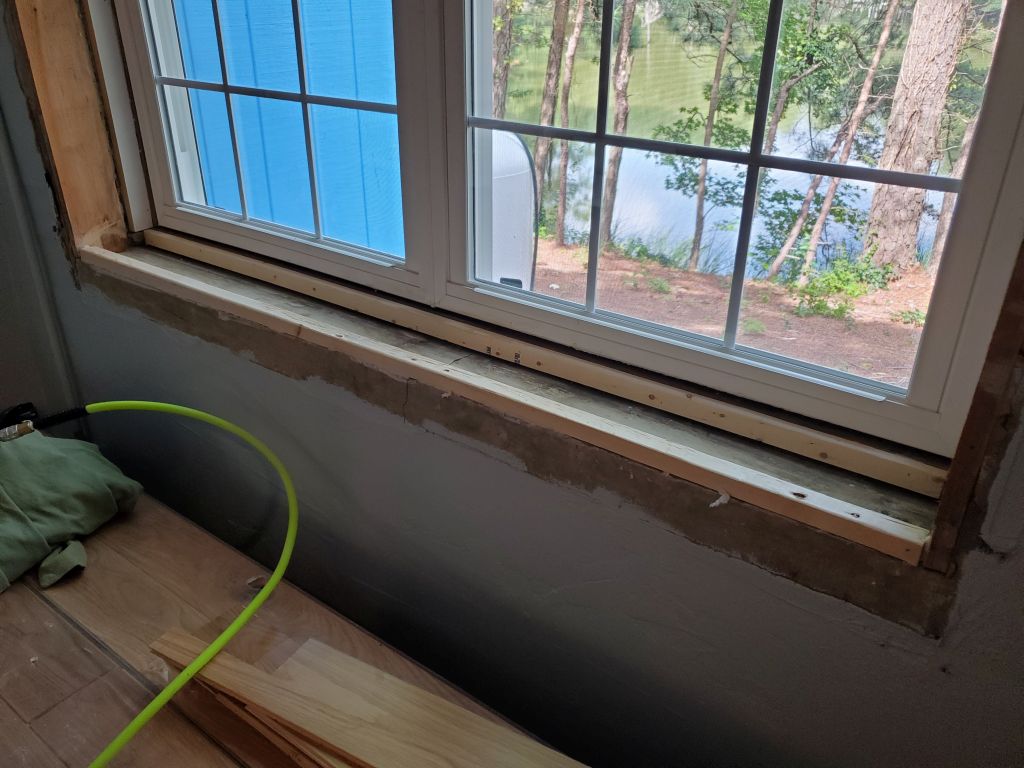
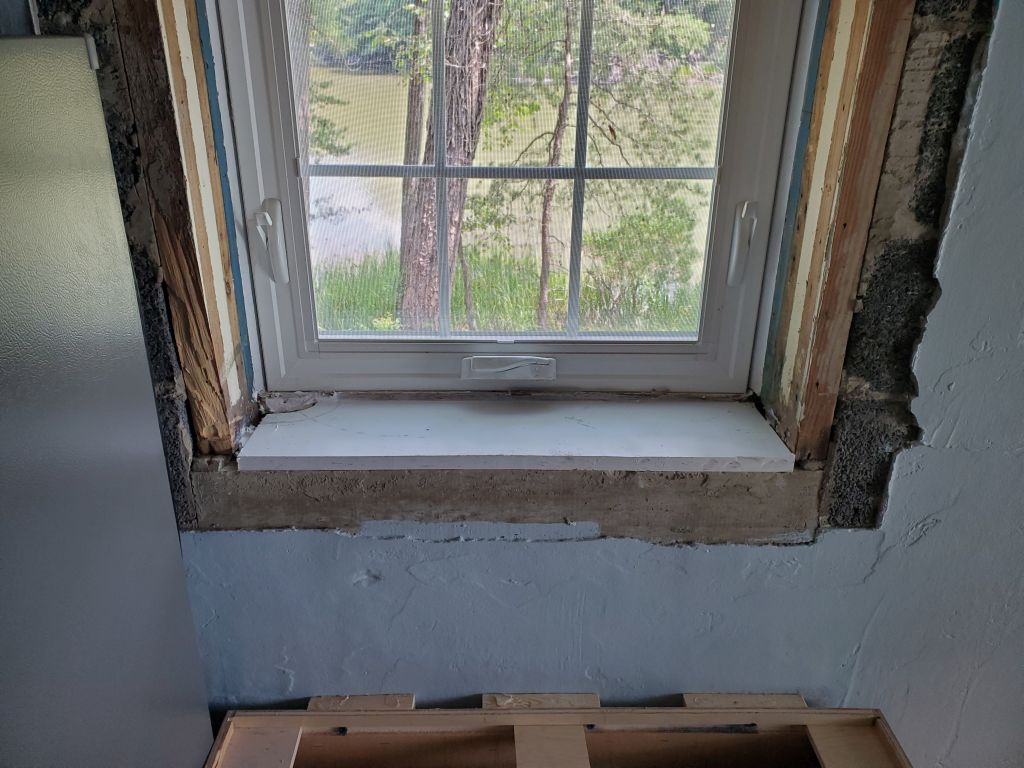
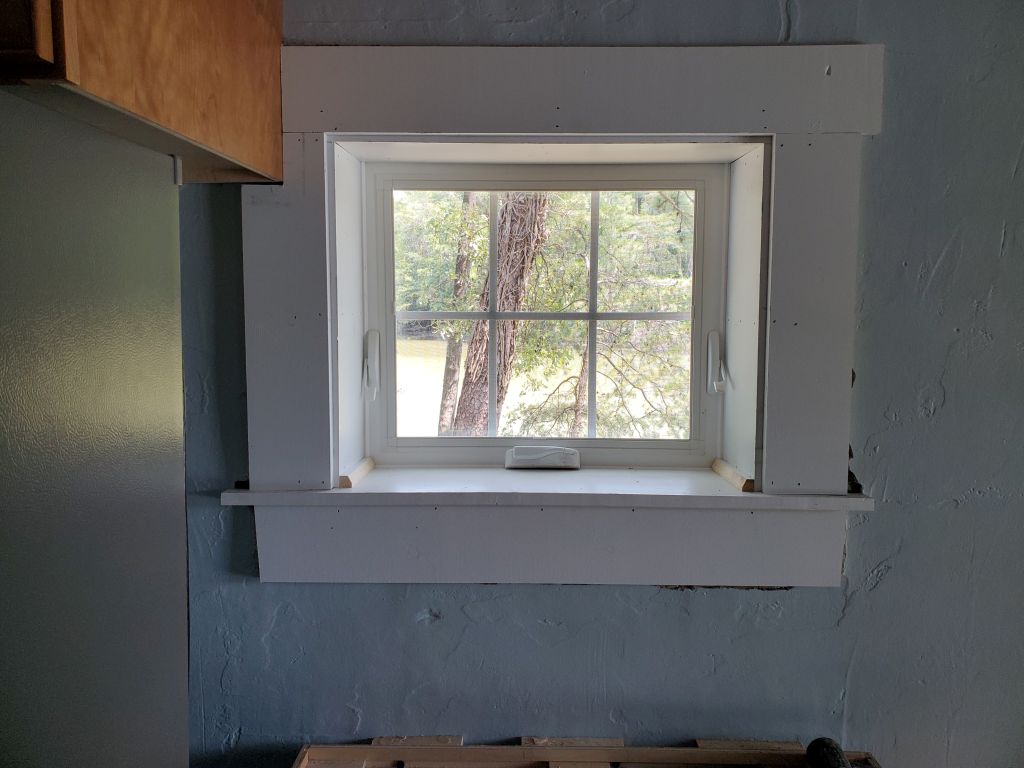
Now that I’d removed the old window sills, I needed to cut and install more spacers/nailers to the raw concrete, so I worked on this next, installing them in construction adhesive and with nails to tack things in place as needed. I finished all the windows through the afternoon, with a brief break for some errands in the middle–dump, liquor store, sub shop. It threatened showers all afternoon, but we had none.

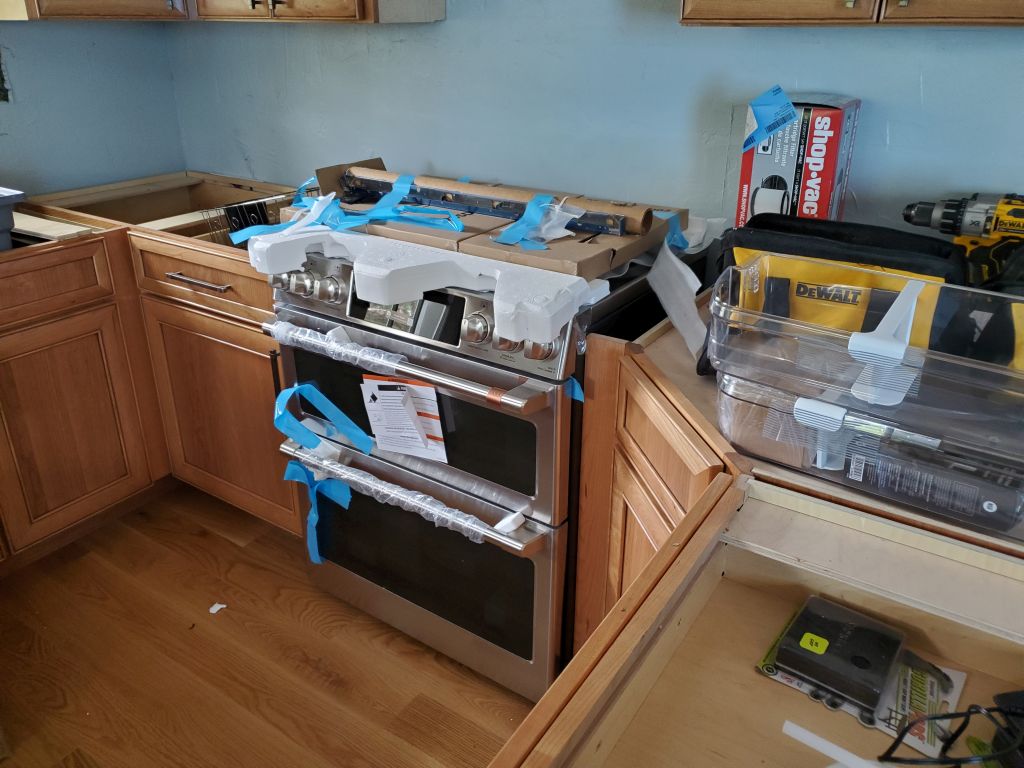
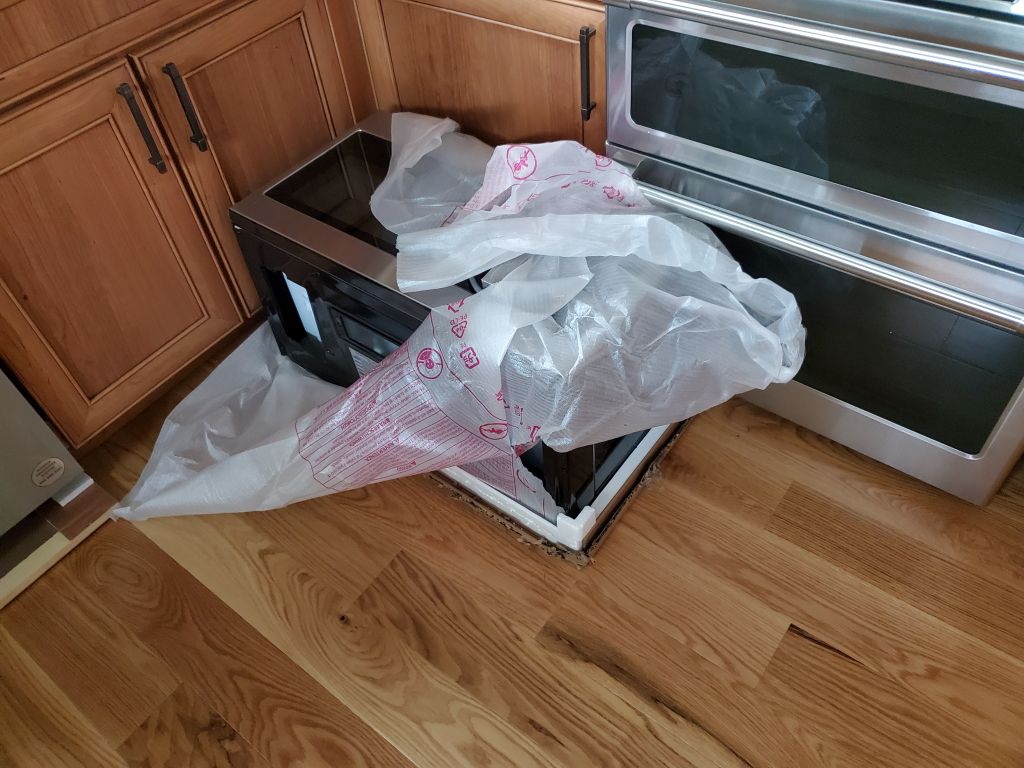
While I finished installing spacers, Heidi worked to remove excess packaging from the stove, microwave, and so forth.
26-Sunday, August 11, 2024
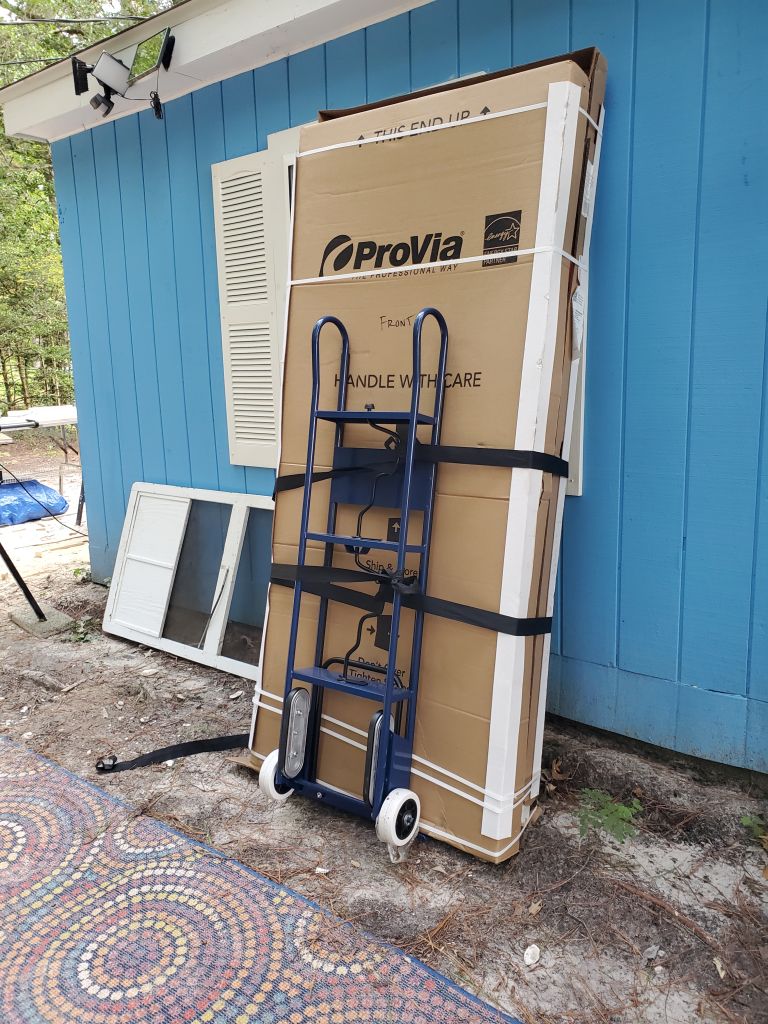
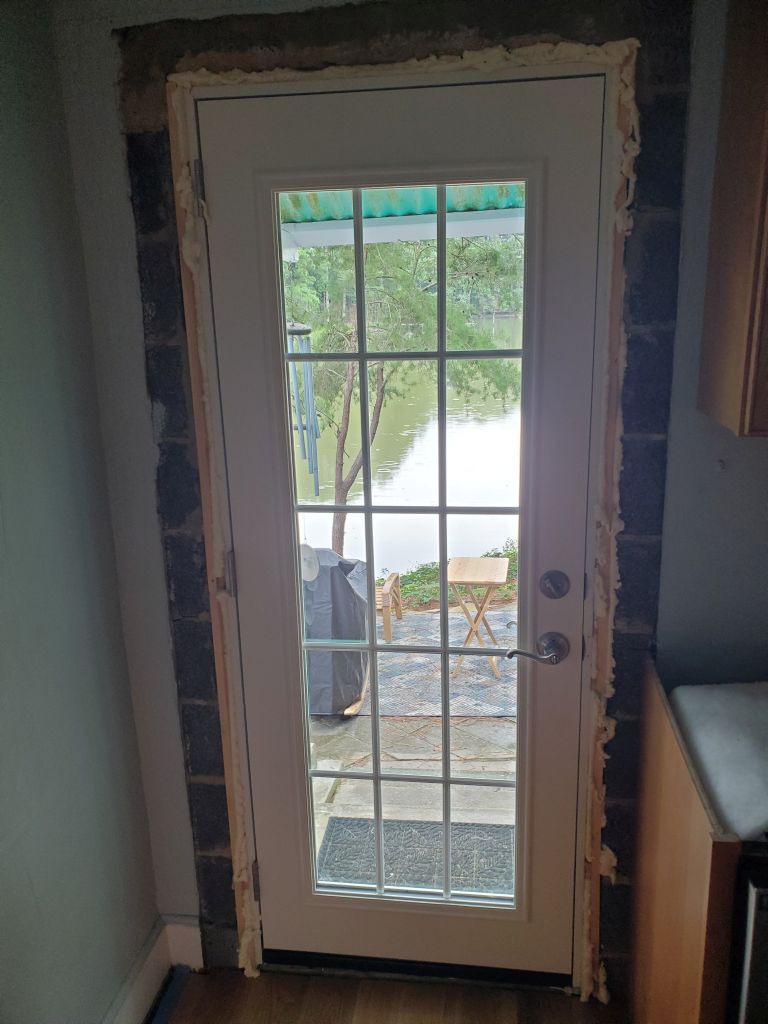
I’d been quite nervous about installing the new doors, partly because I didn’t know for sure what I’d be getting into, partly because I hoped they’d fit, and partly because door installations can get fussy and time-consuming trying to get everything plumb and level, and the door properly aligned. But for all this, we’d decided that today was the day. I spent an hour or so getting set up, prepping for the work, measuring the new door to get accurate “real” size measurements, and moving the door closer to its final location from its storage place.
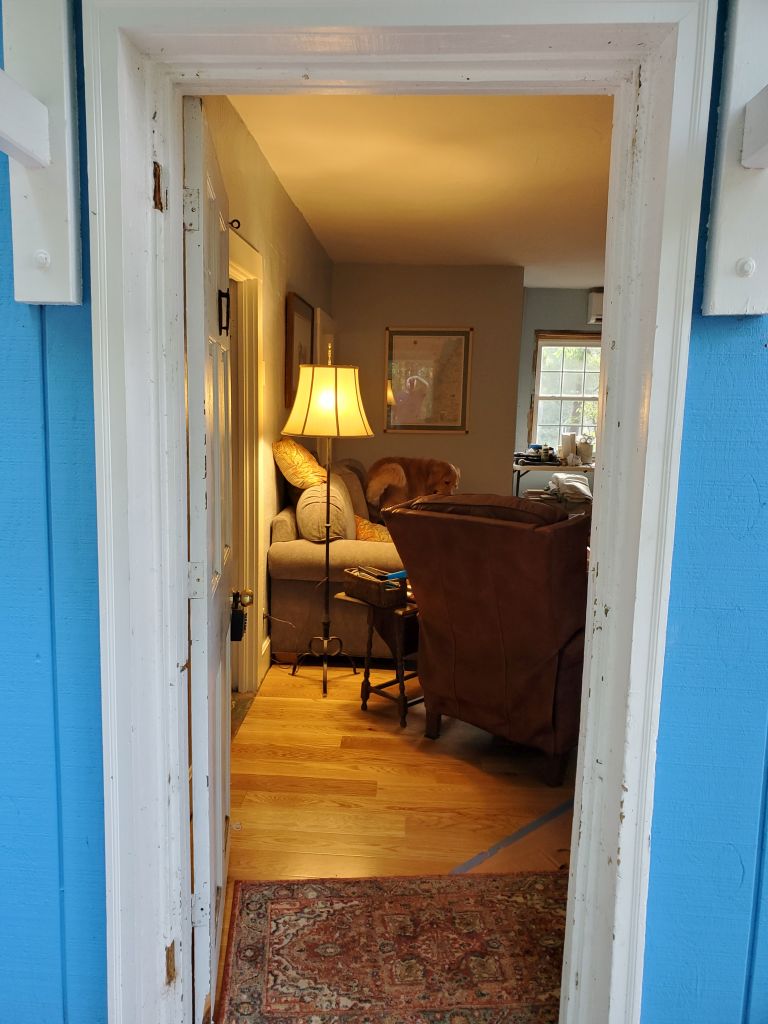
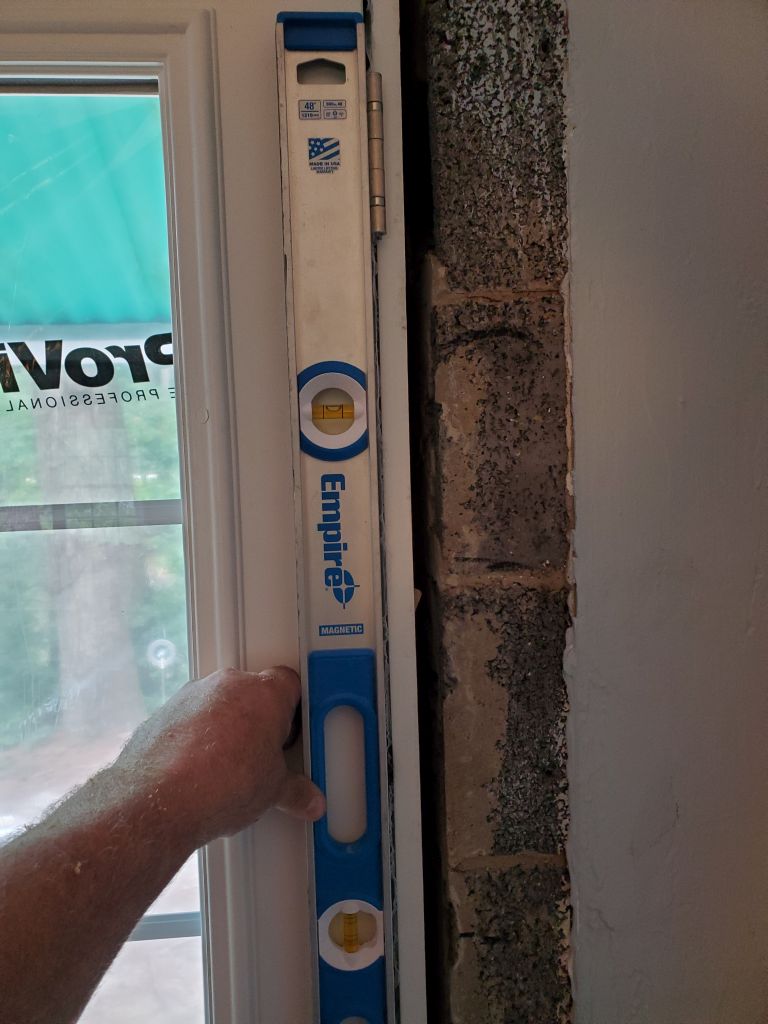
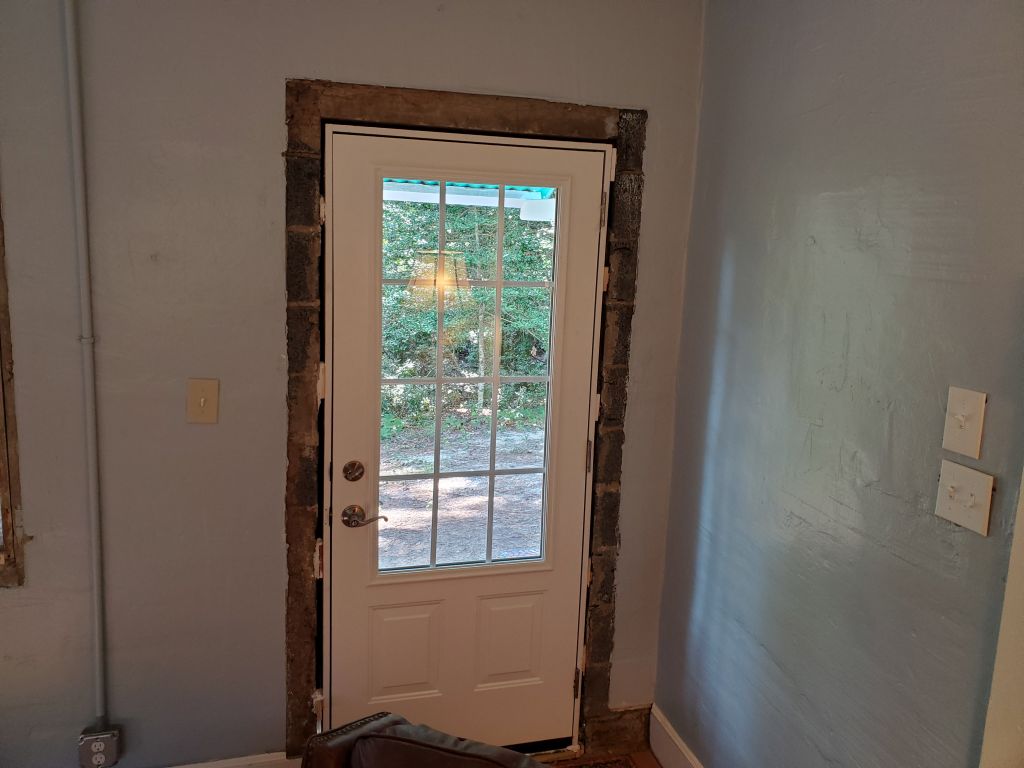
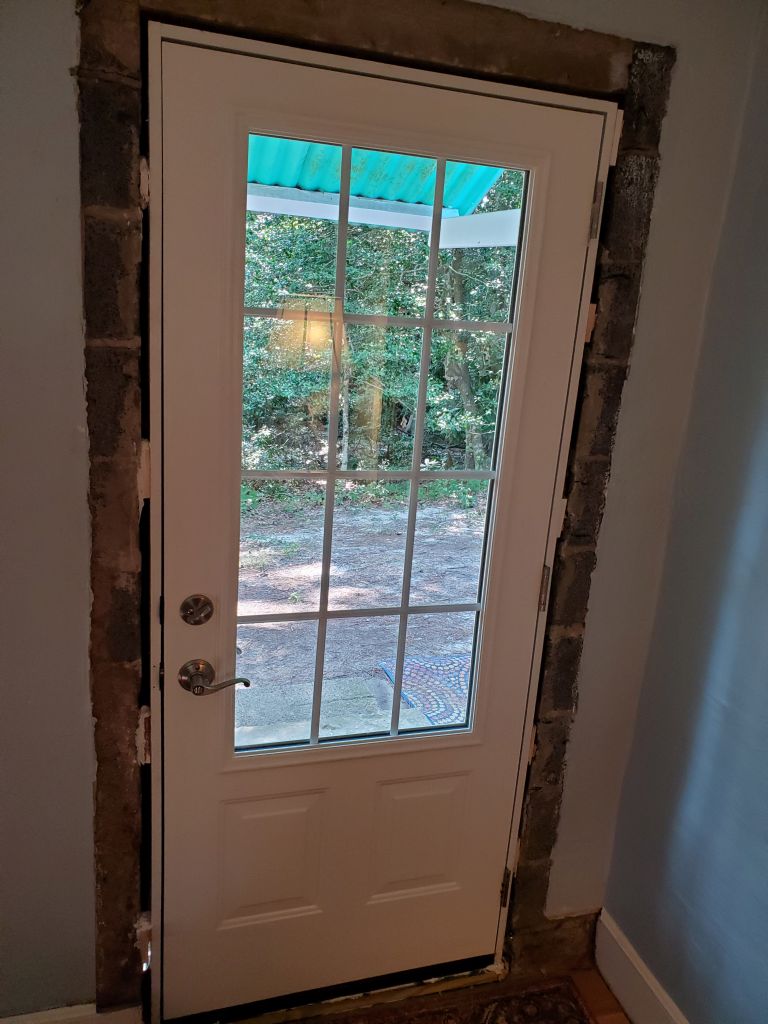
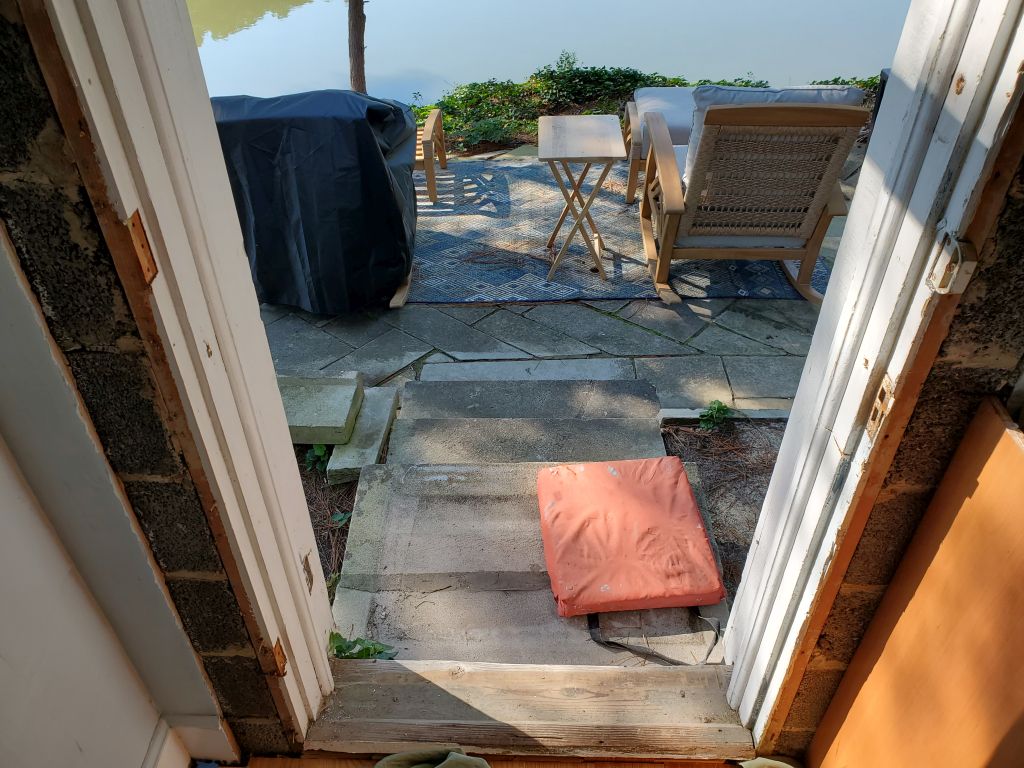
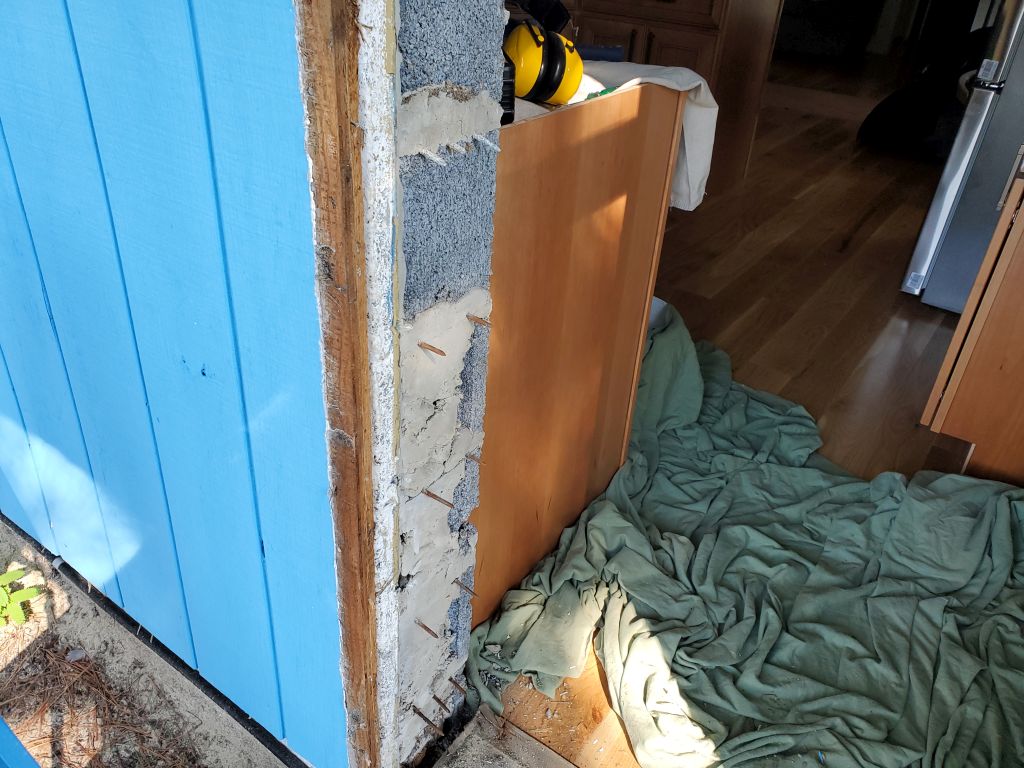
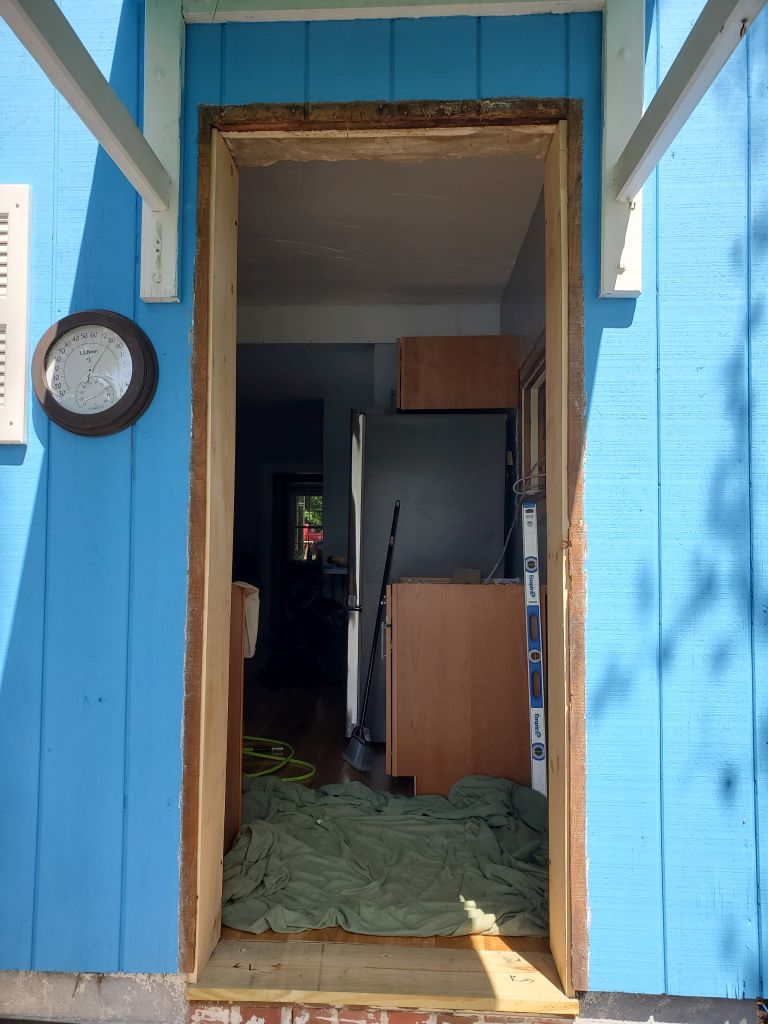
Then, from 0900-1430, I installed the door, with Heidi’s help for the heavier work of moving the door itself. I began by removing the old door and all its framing. The new door frame was sized according to the opening in the concrete, so there was no room for any wooden bucks or supports. This was also nerve-wracking since I’d have to secure the expensive new door directly to the concrete, certainly not as easy as into a wood-framed opening. There was lots of exterior trim and jamb extensions to remove first, then the door frame itself. The old frame was held in place with spikes that had been driven into the jambs, then set in wet concrete in the open edges of the block on each side of the opening. Once the wood was out of the way, I cut off all the nails flush.
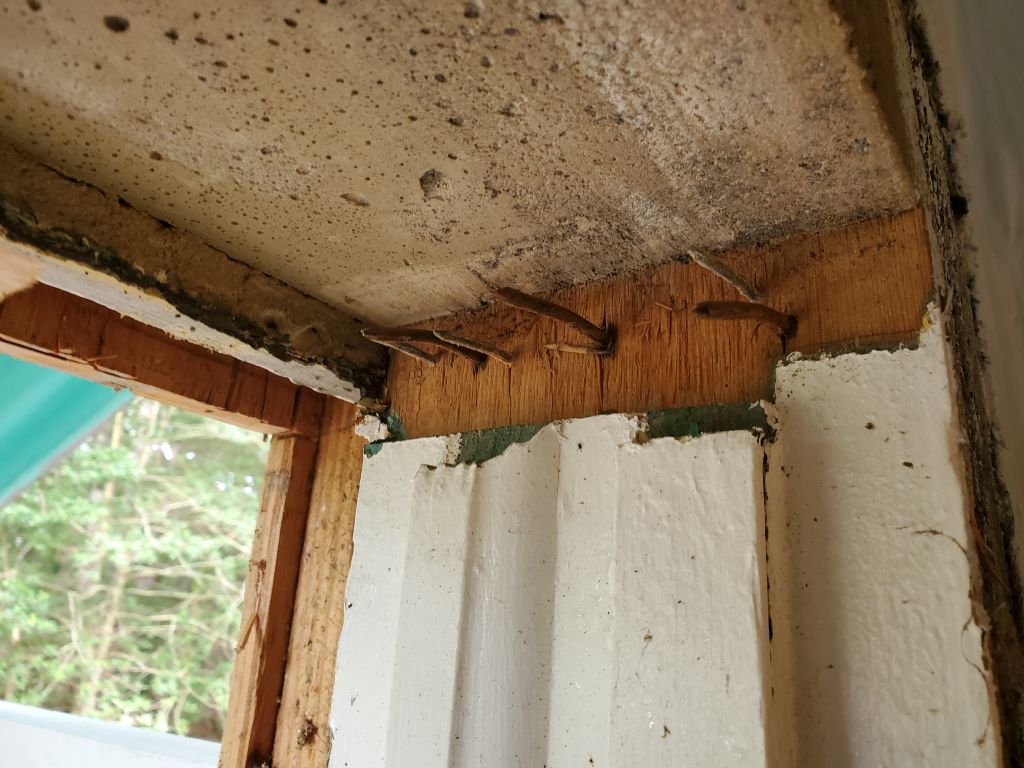
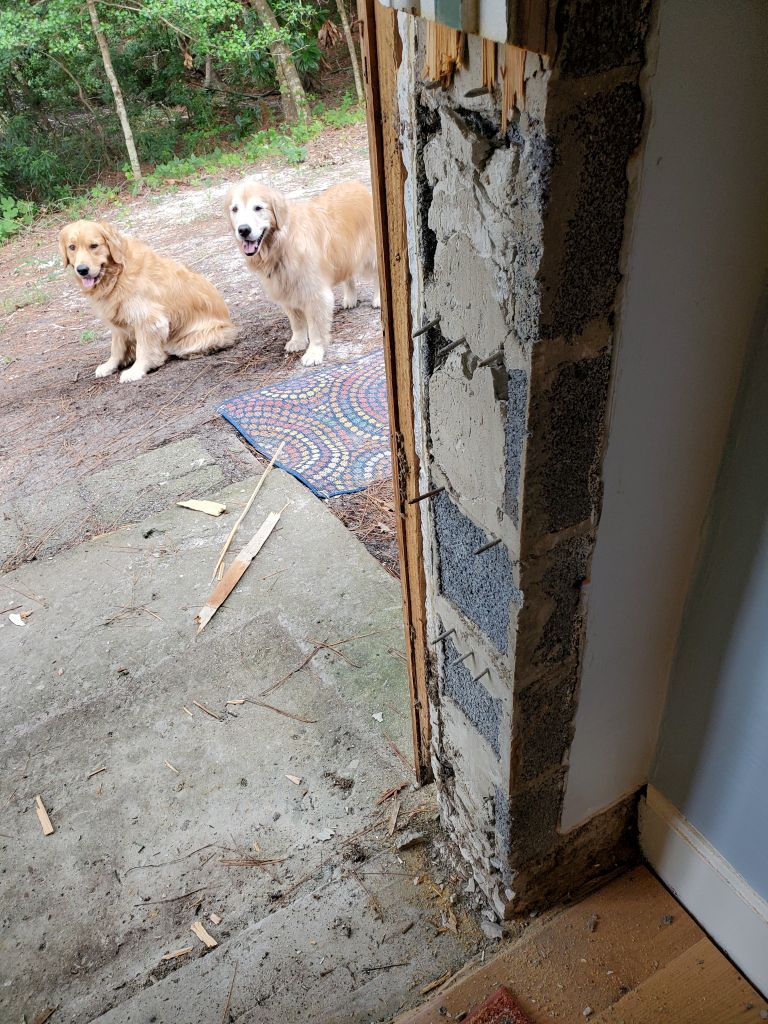
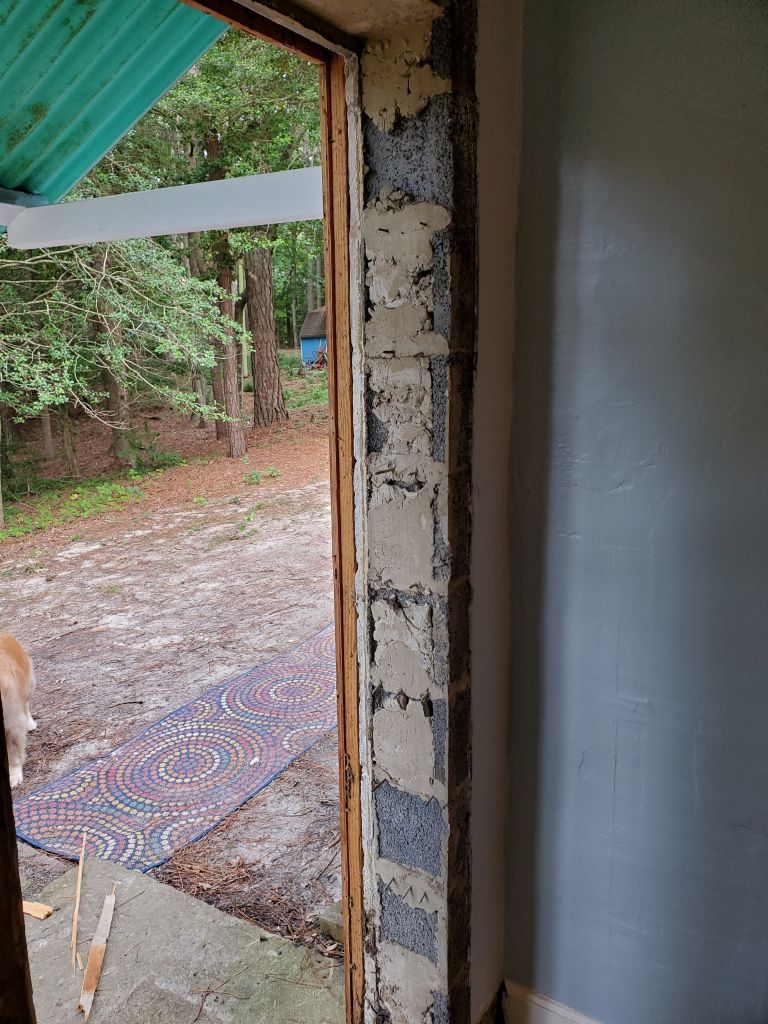


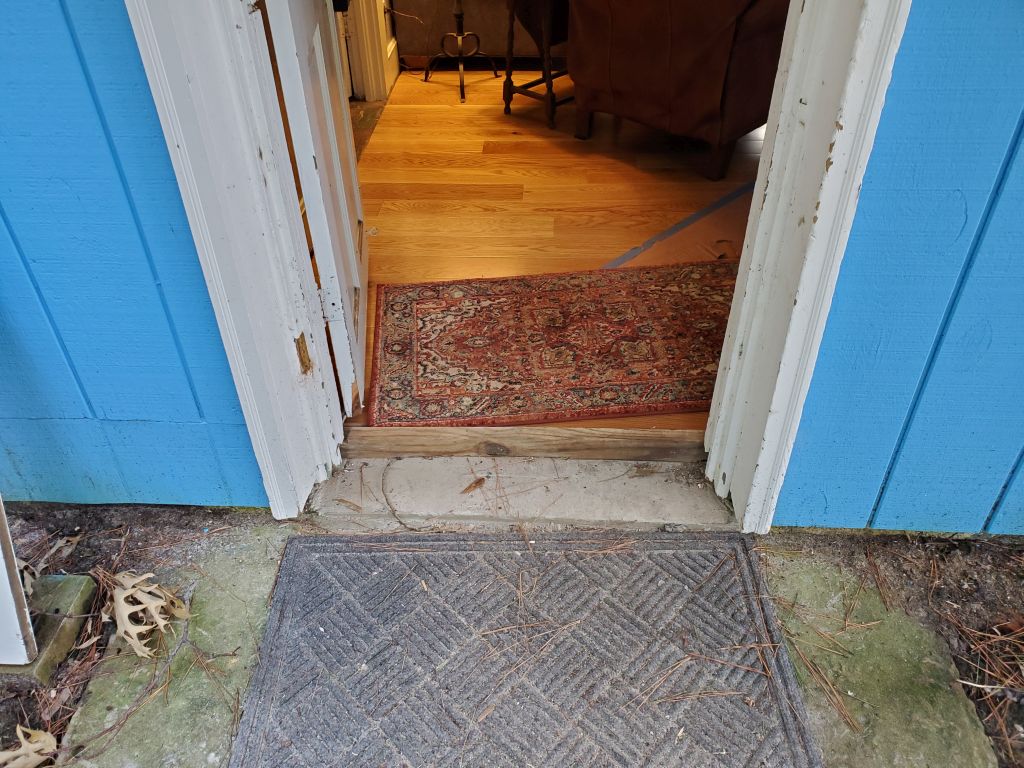
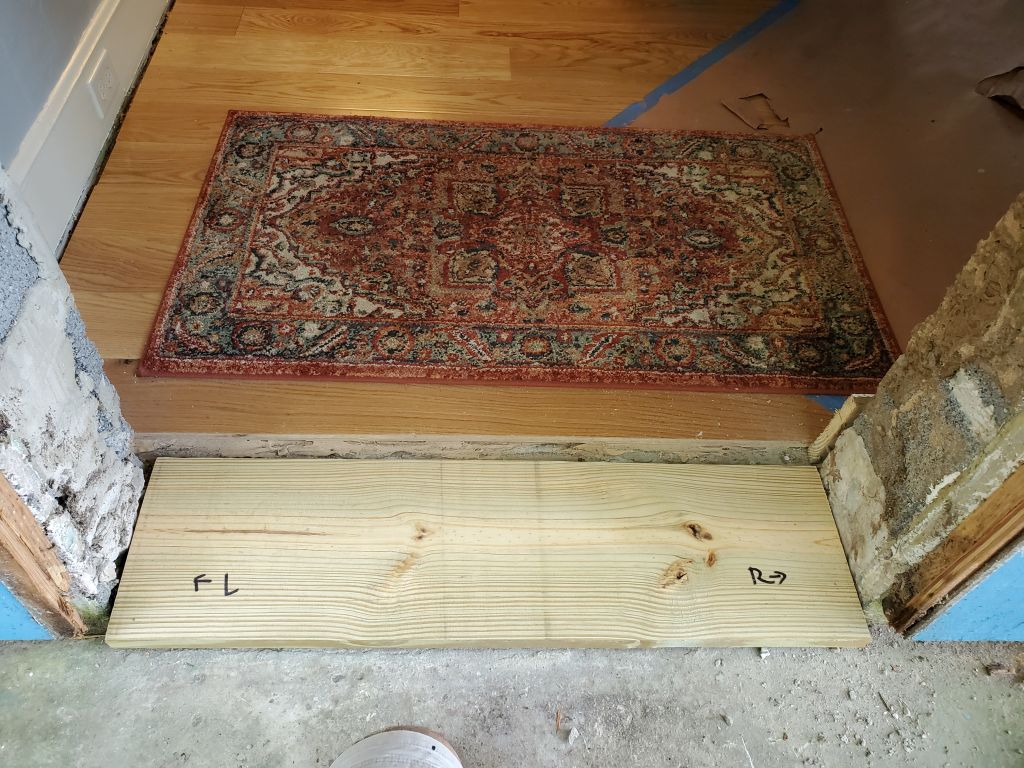
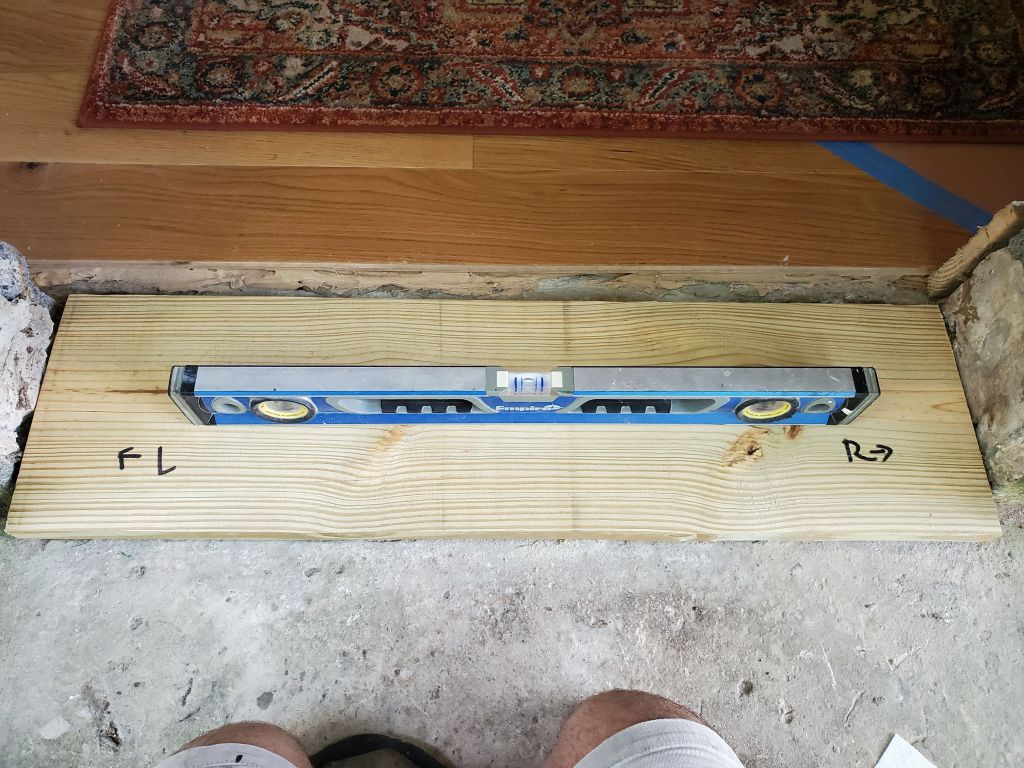
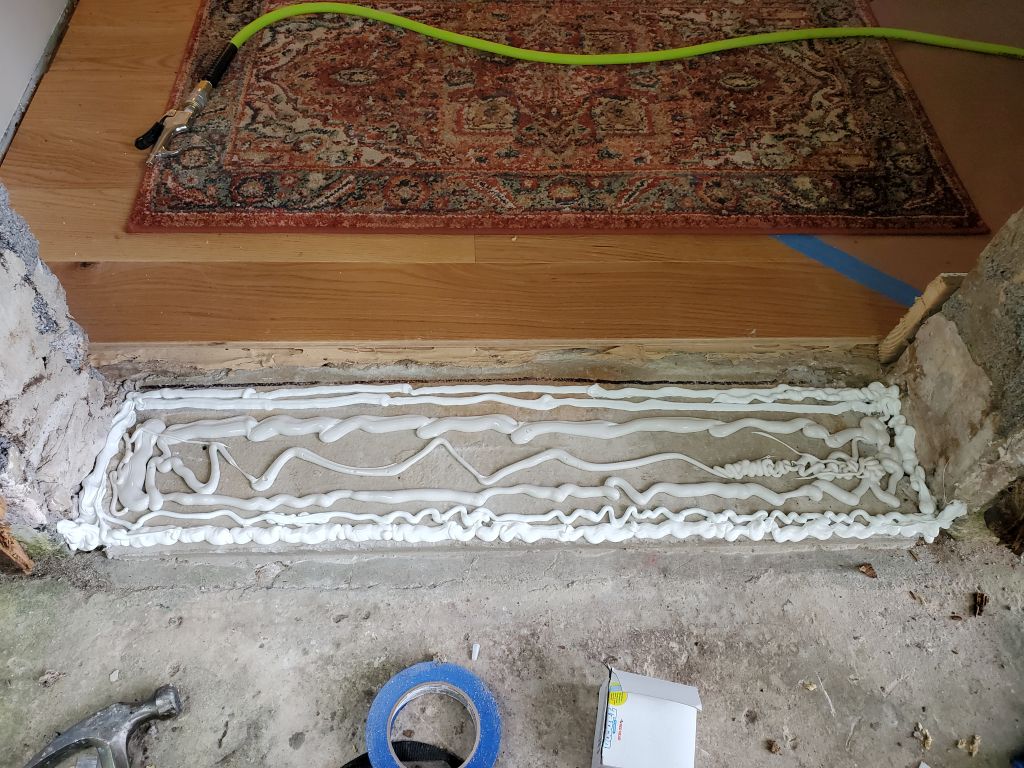
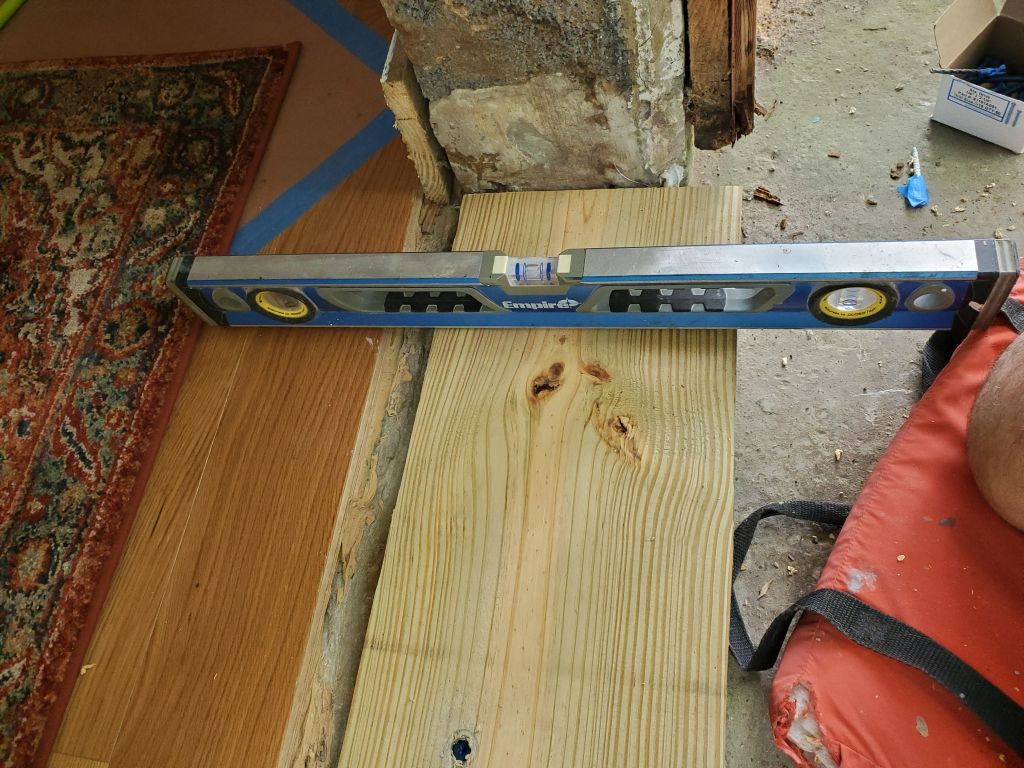
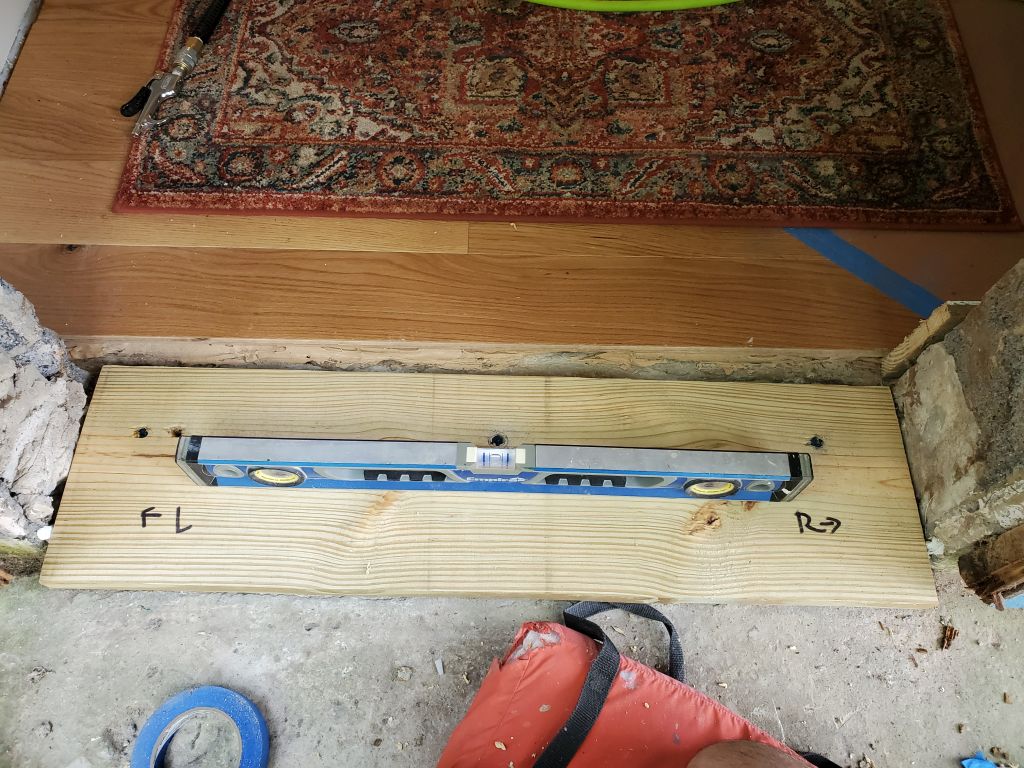
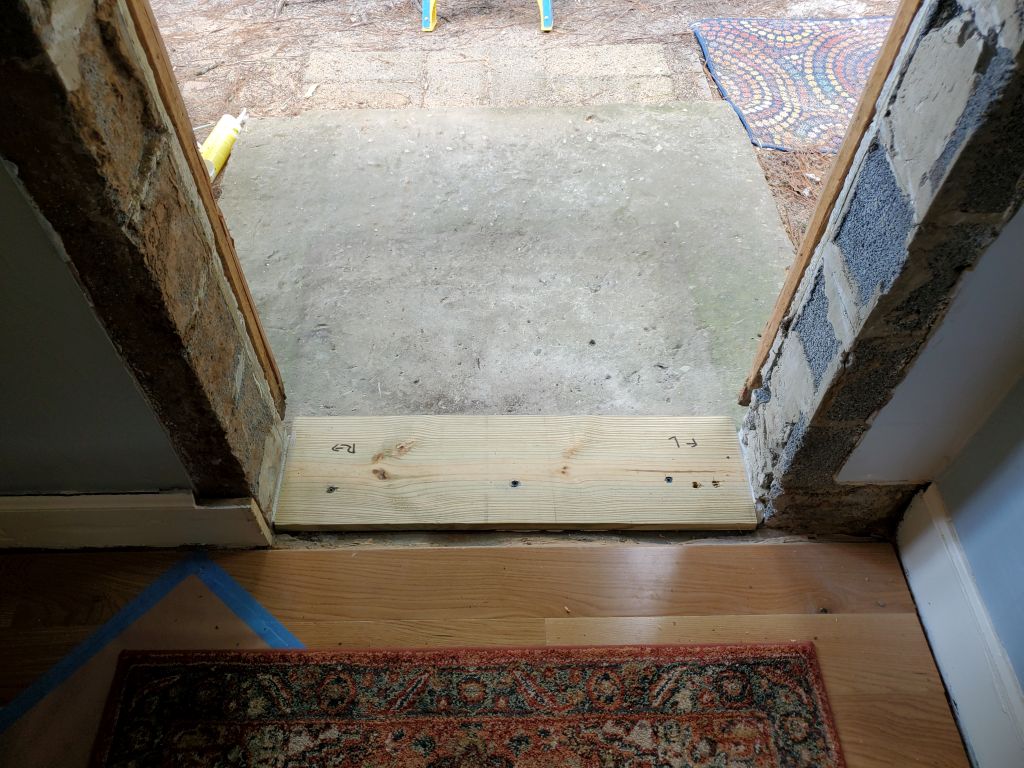
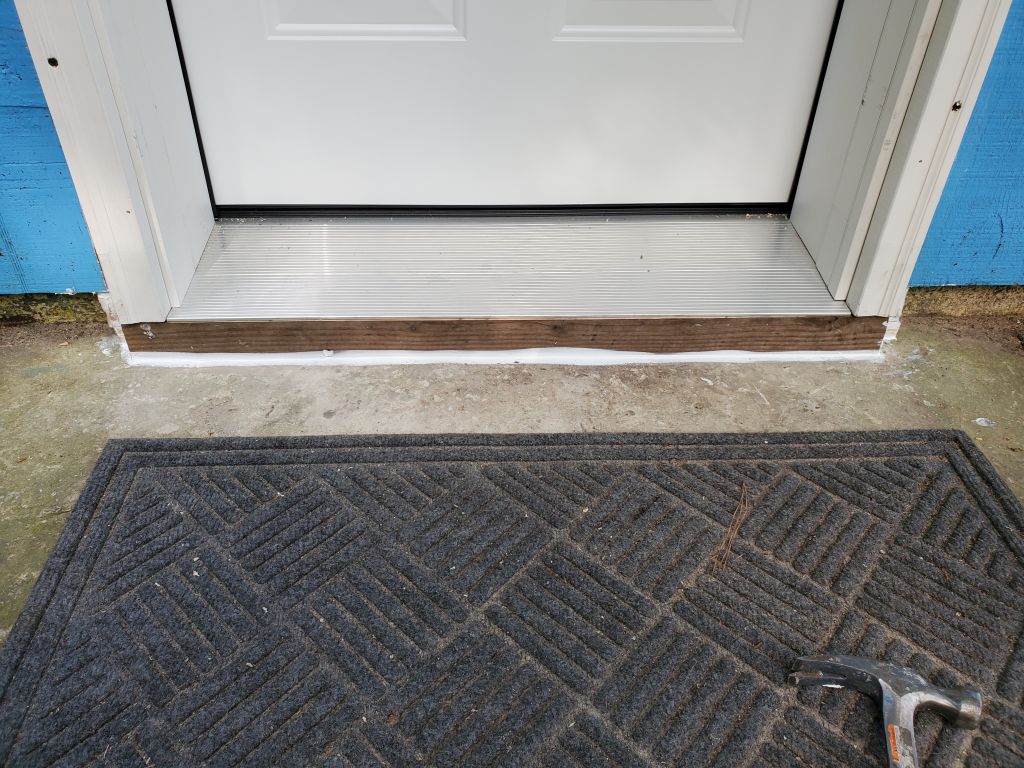
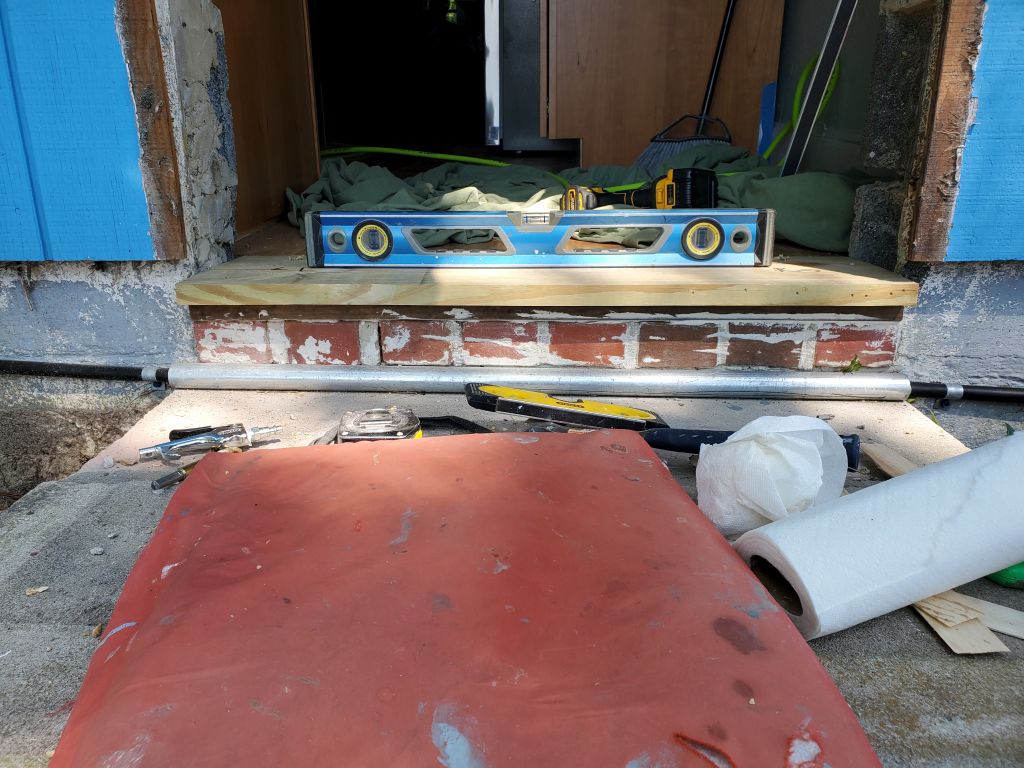
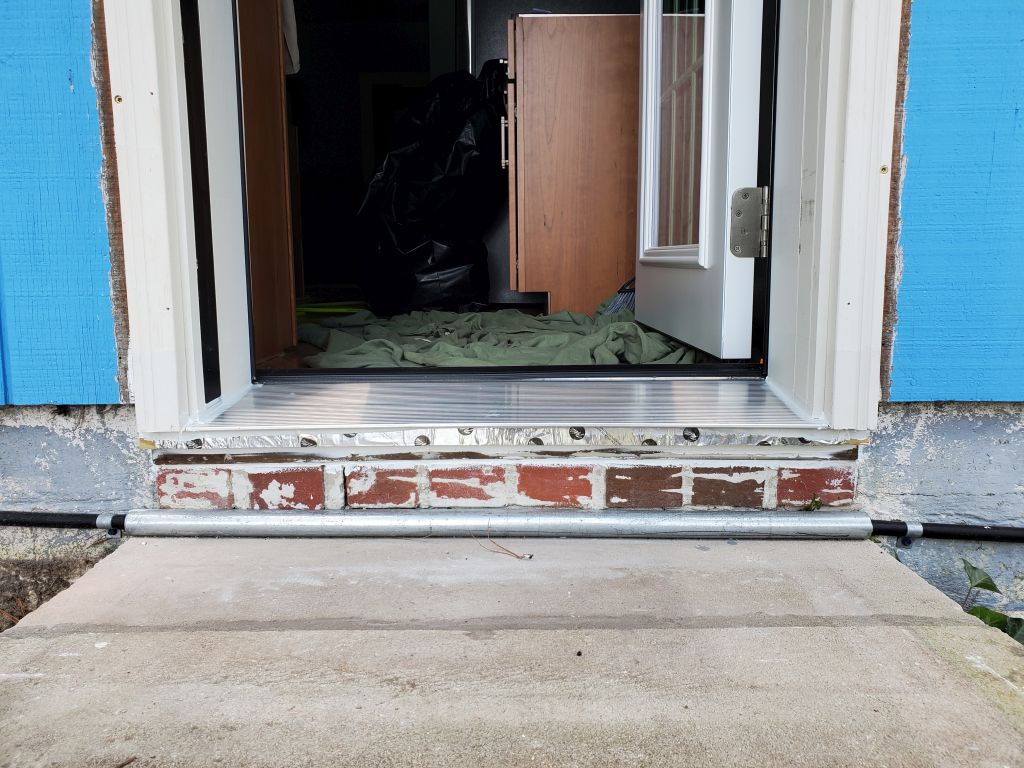
Now it was time to install my custom-planed 1″ thick pressure treated sill, since I could confirm there was enough height for the sill along with the door itself. After cutting to length and dry-fitting, I permanently installed the sill level in a heavy bed of polyurethane window installation caulking, with several tapcons into the new concrete threshold I’d poured a few weeks before. I found that getting the tapcons to work properly in the new concrete was challenging–I was once again thankful for how easily the porous, rough concrete blocks in the kitchen had accepted the screws. In the event, I succeeded in getting three screws to hold. I made sure the new threshold was level to make installing the door easier.
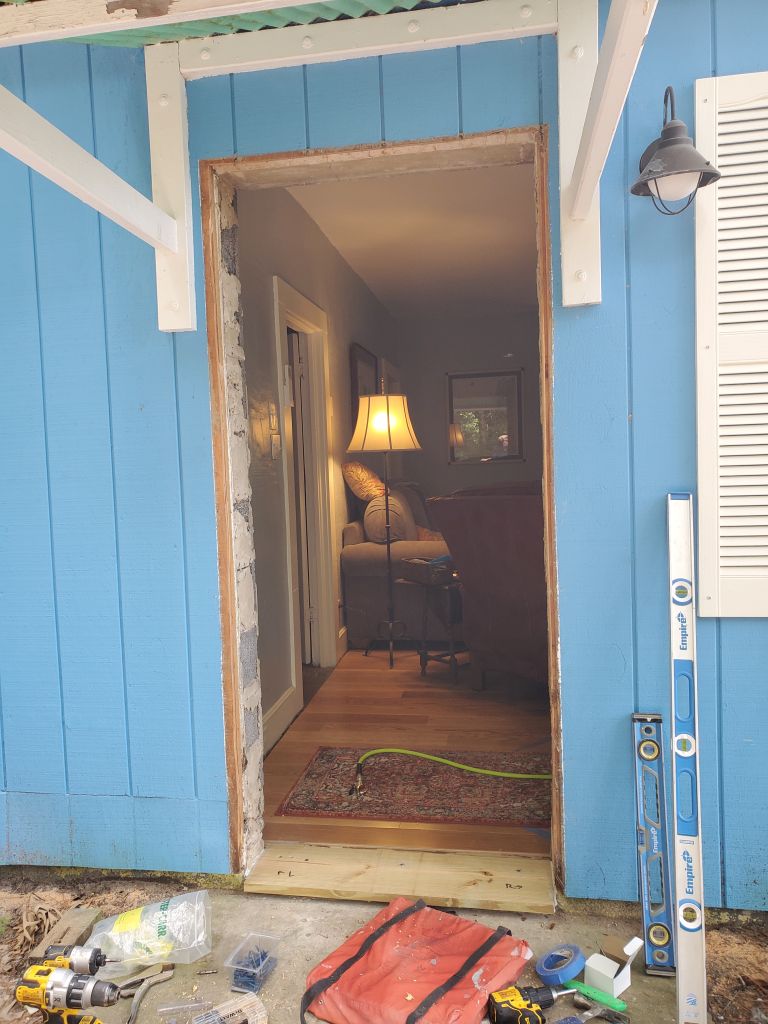
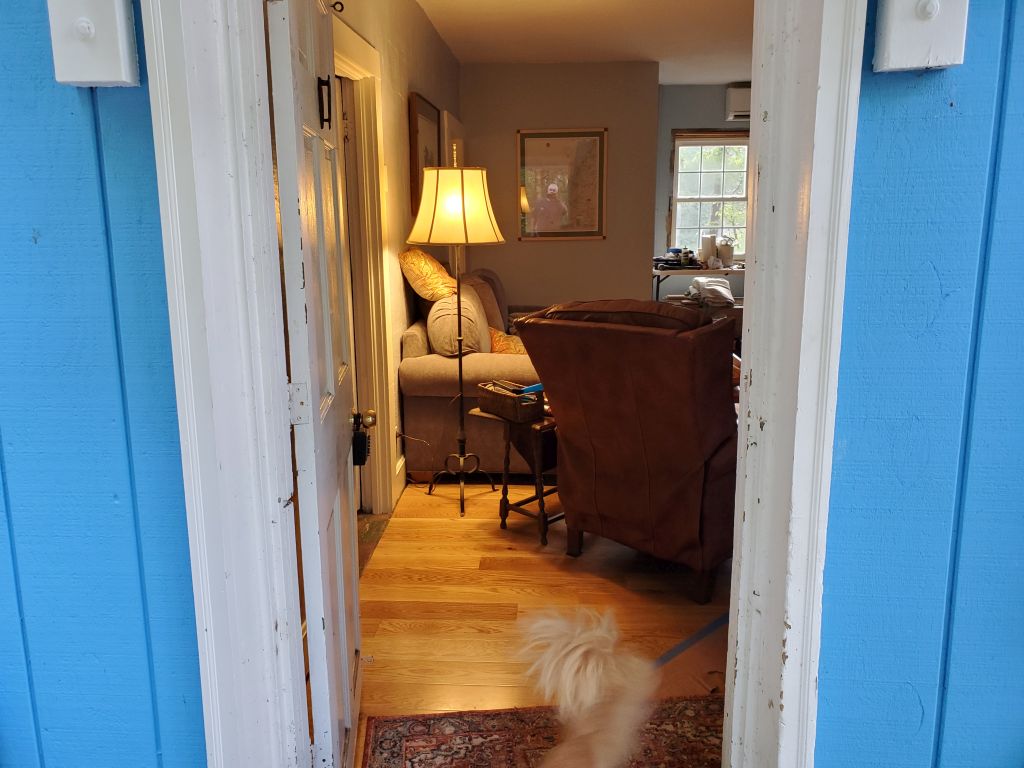
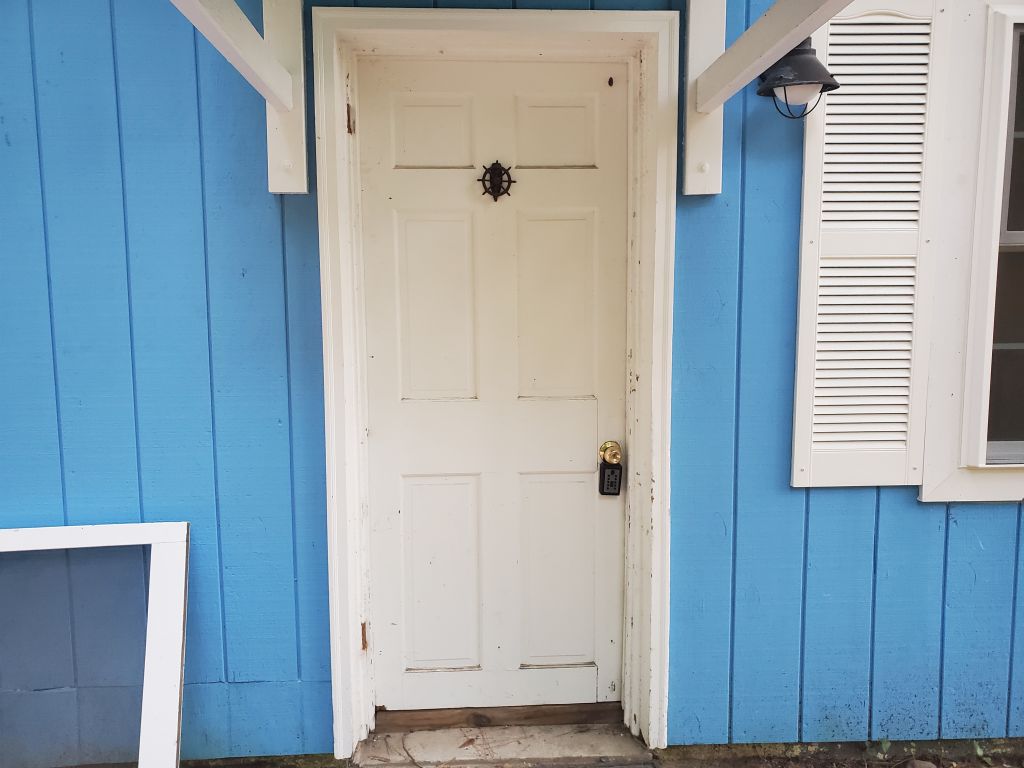
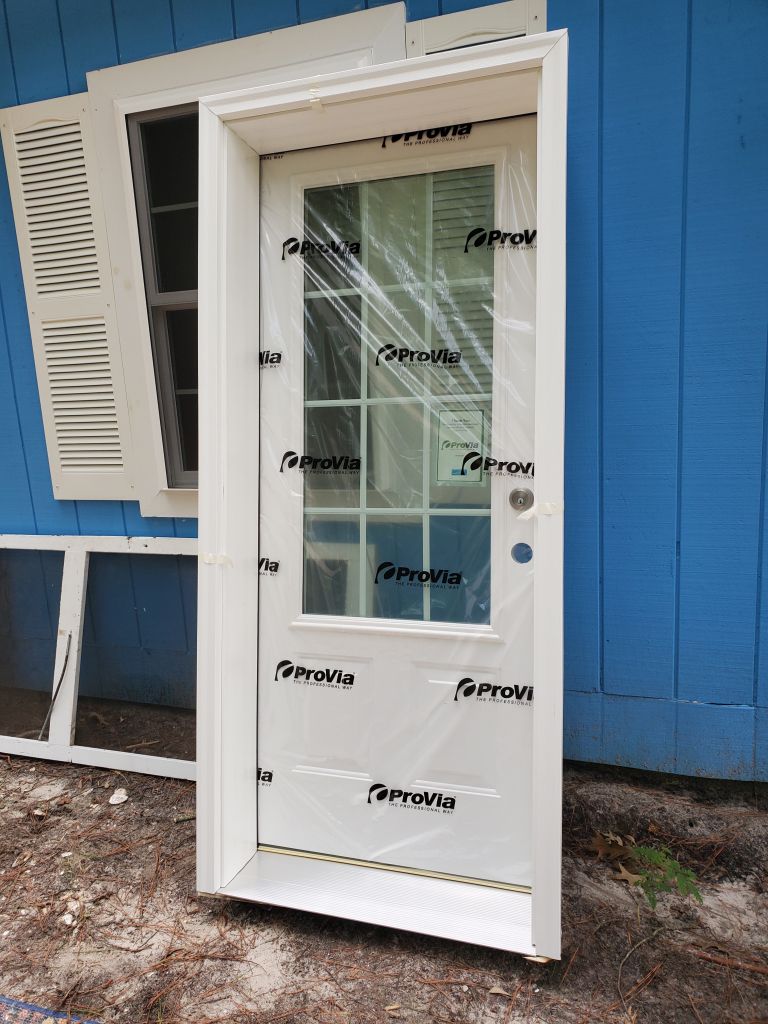
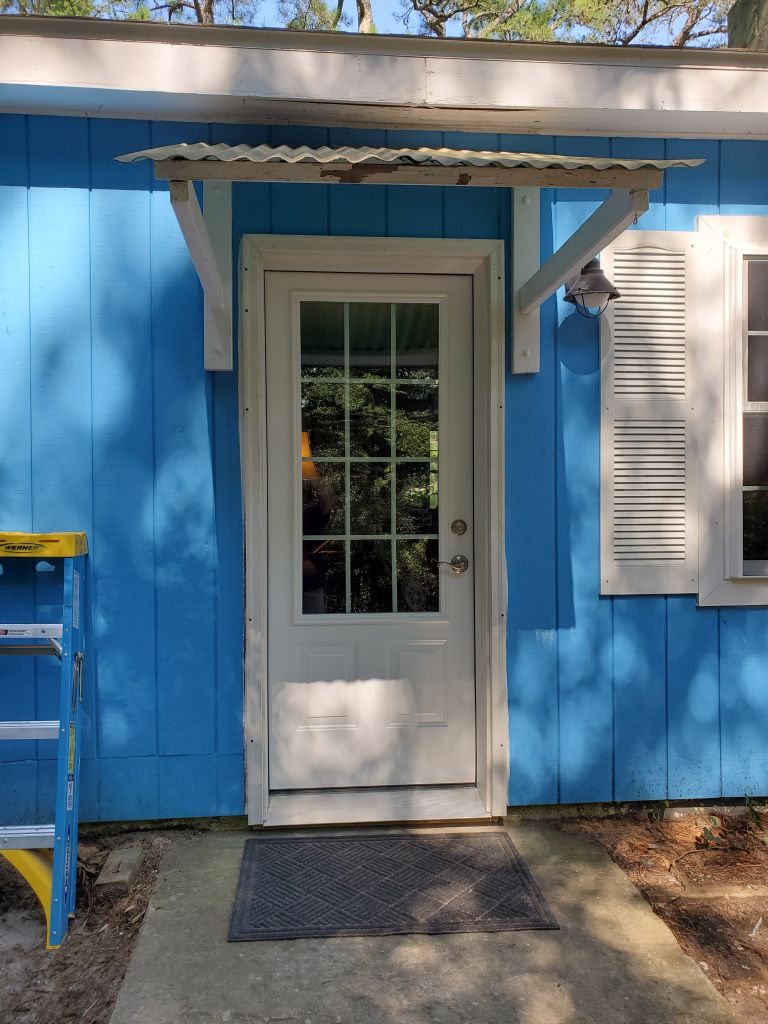
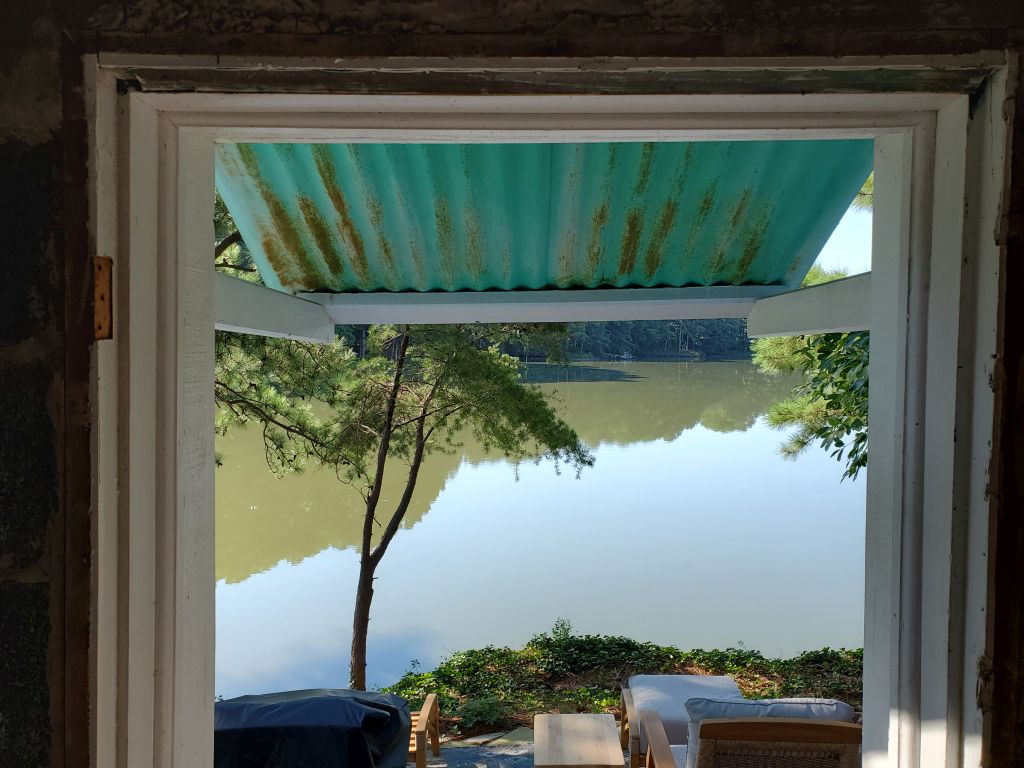
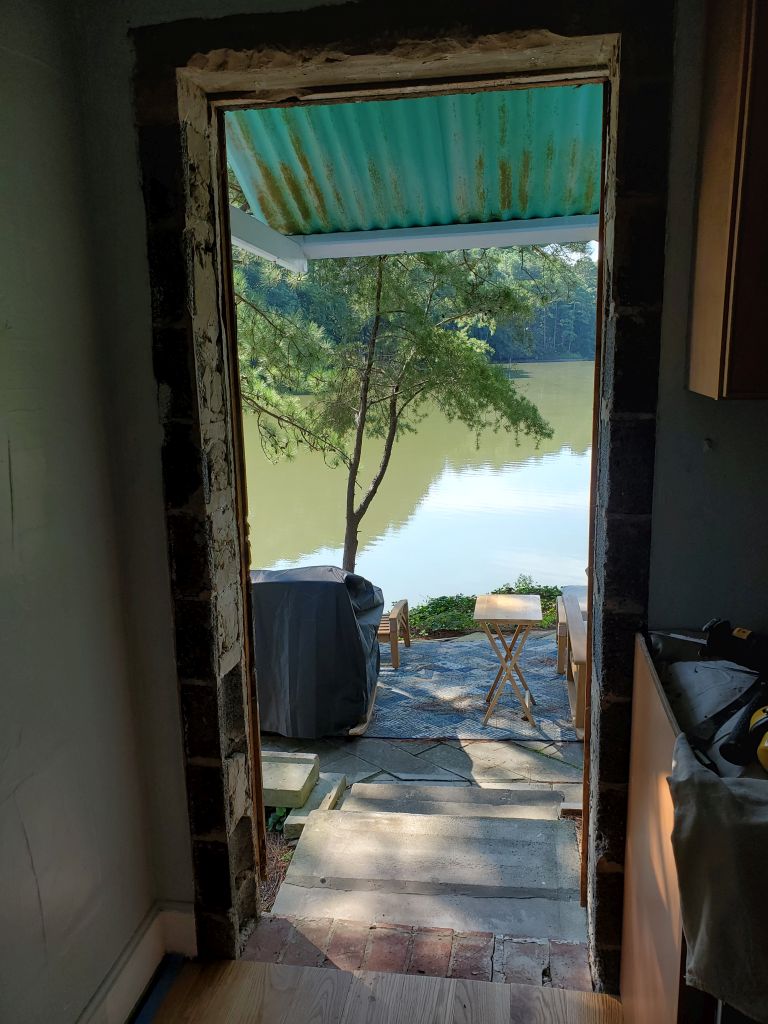
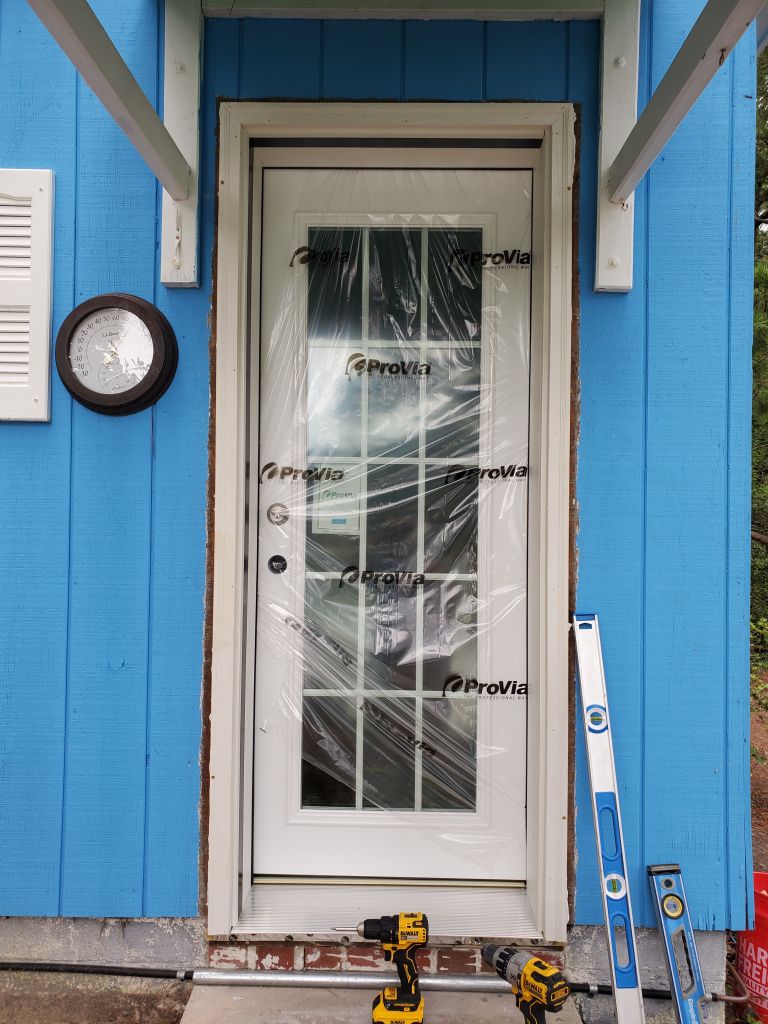
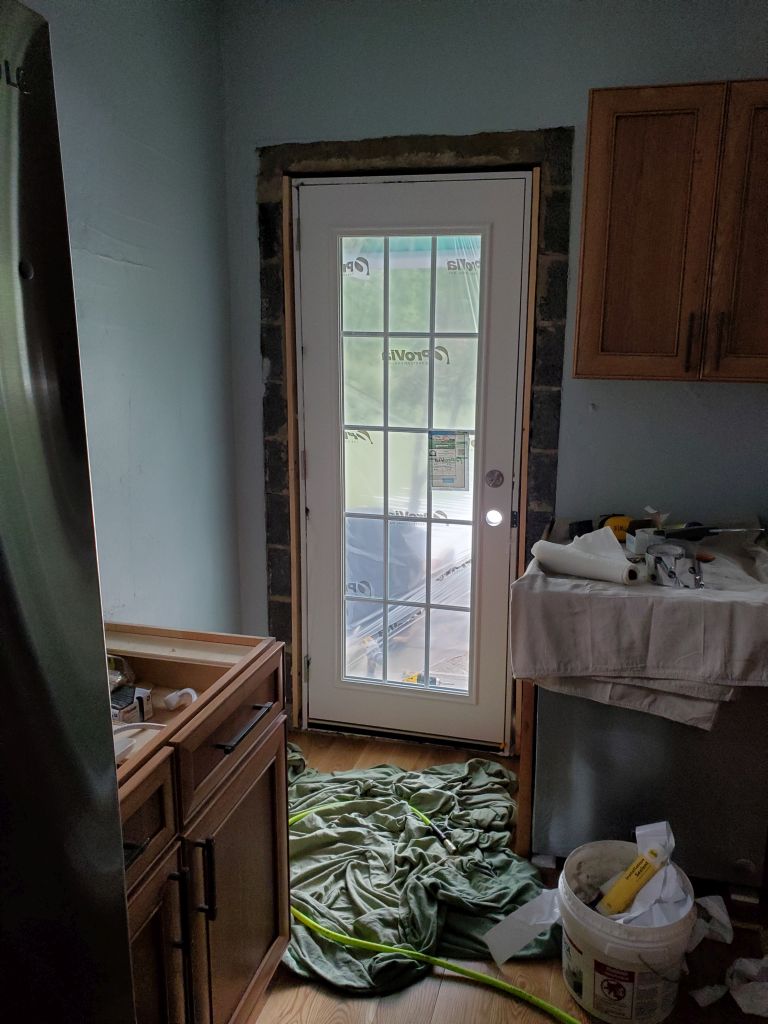
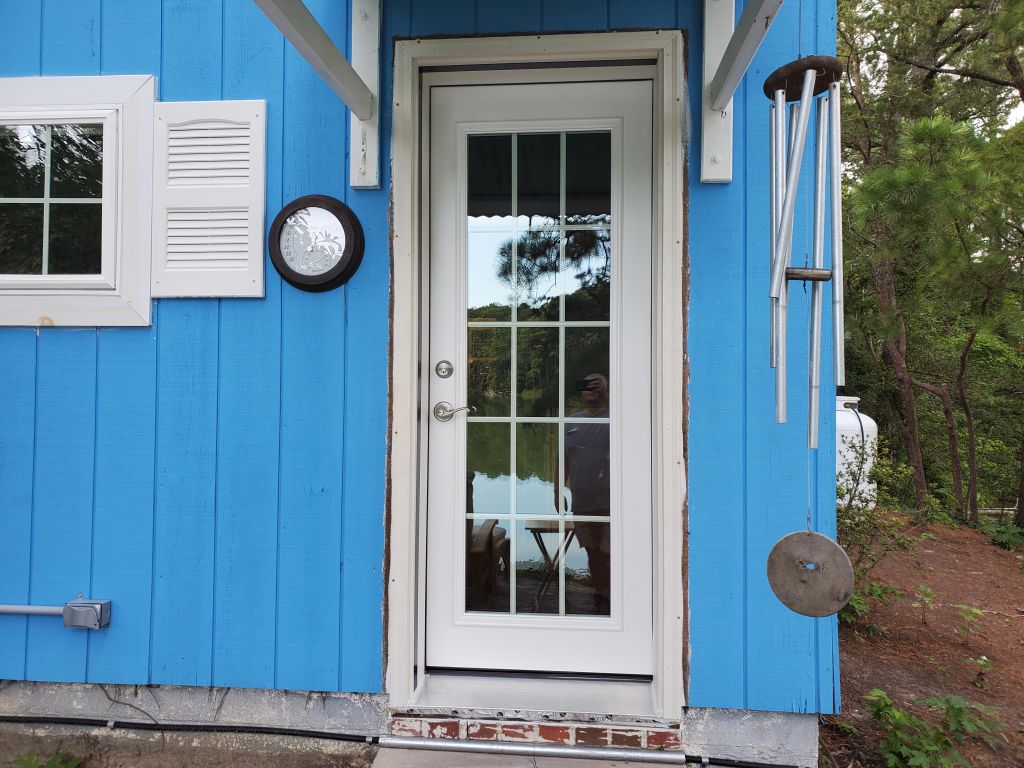
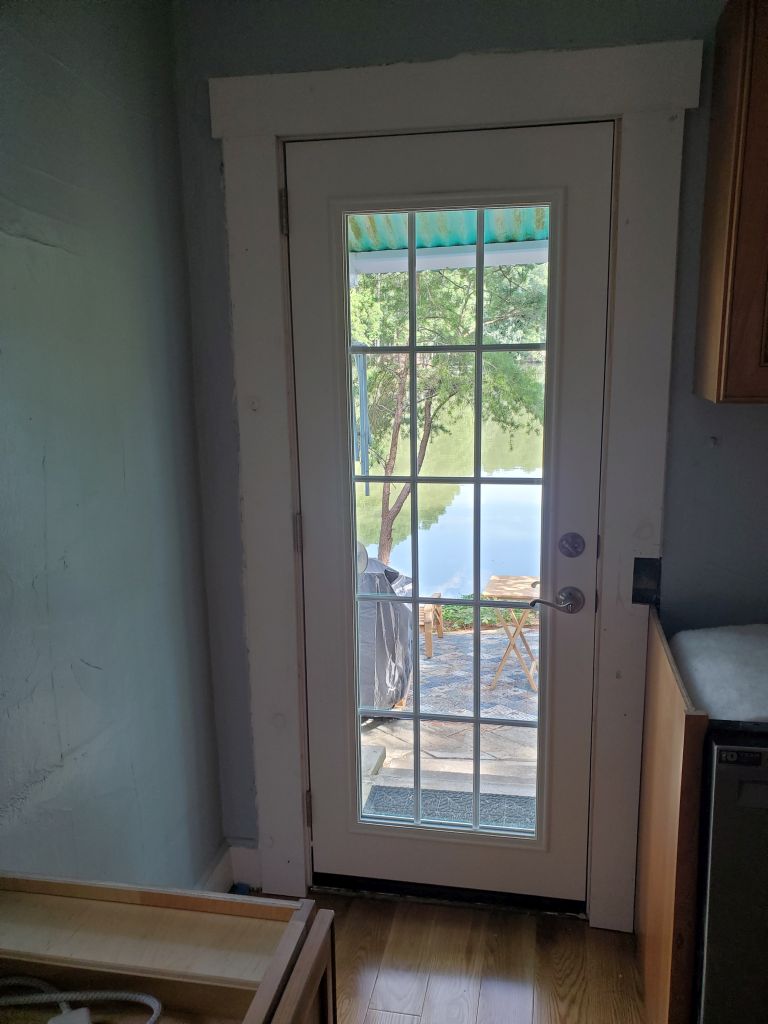
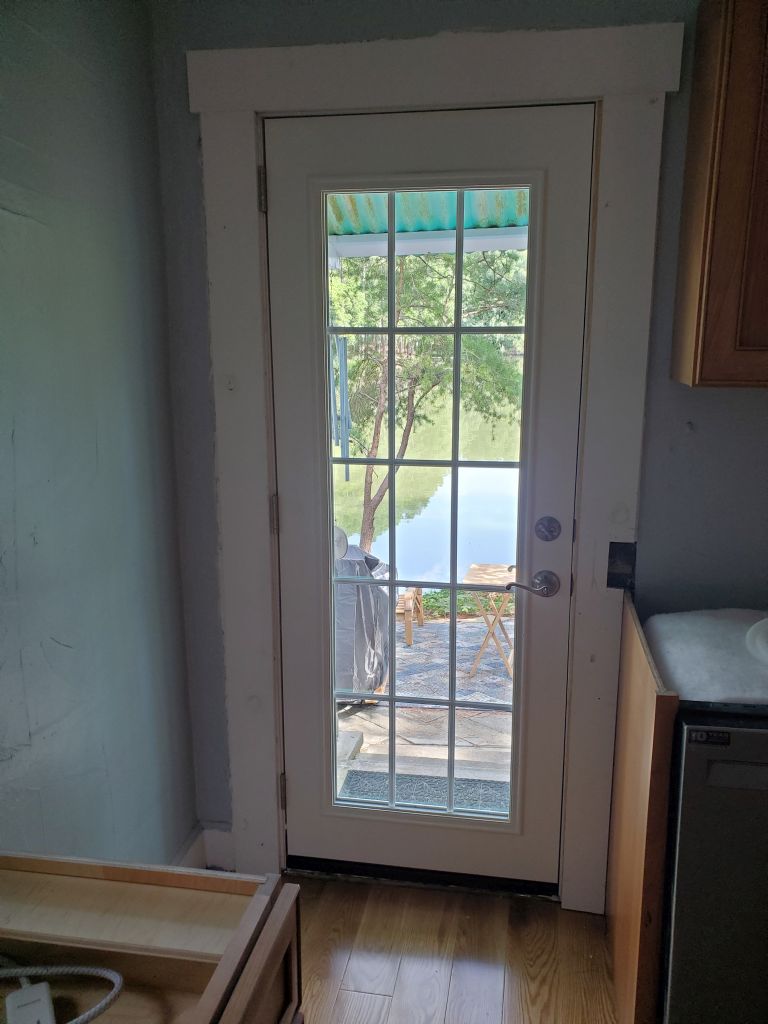
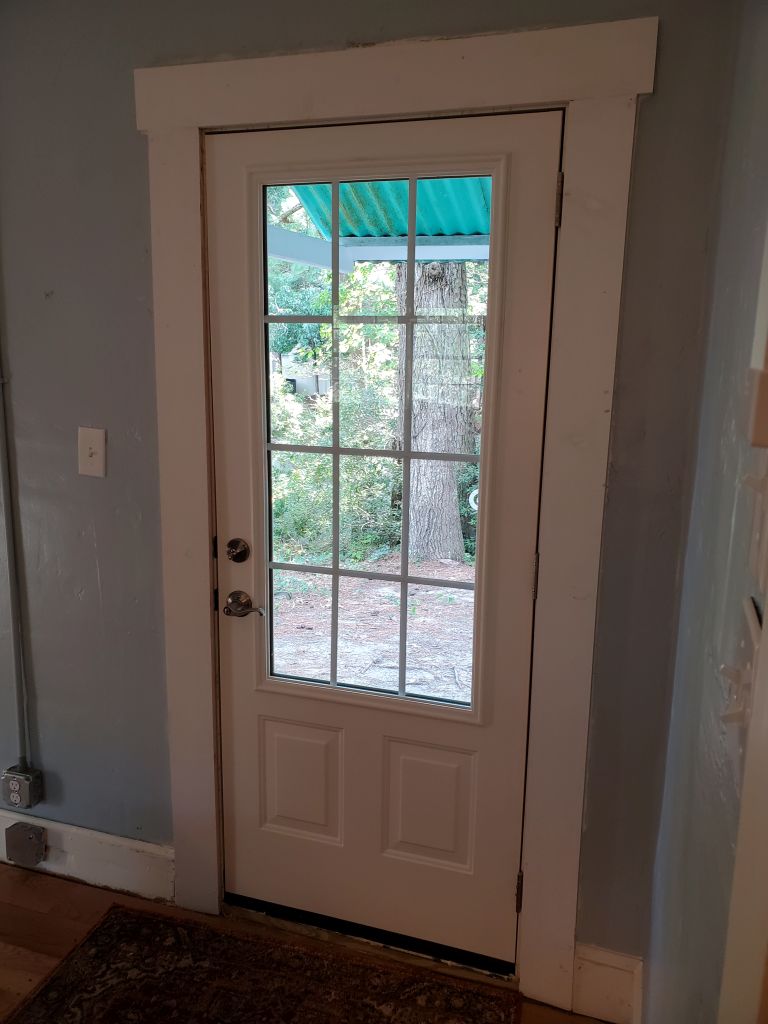
With the threshold in place, and all the old wood removed, it was time to dry-fit the new door unit to check its fit. The door was heavy: it had a large glass panel. Increasing light and views into the house was one of the main reasons for replacing the original front door, along with the fact that the old door was poorly-fitted, didn’t really seal, and was about as secure as a plastic sheet would have been (not that security was a big concern per se, but one wants their door to latch and feel solid when closed). Fortunately, the new door fit in the opening without issue, so we could remove it and continue with the final installation.
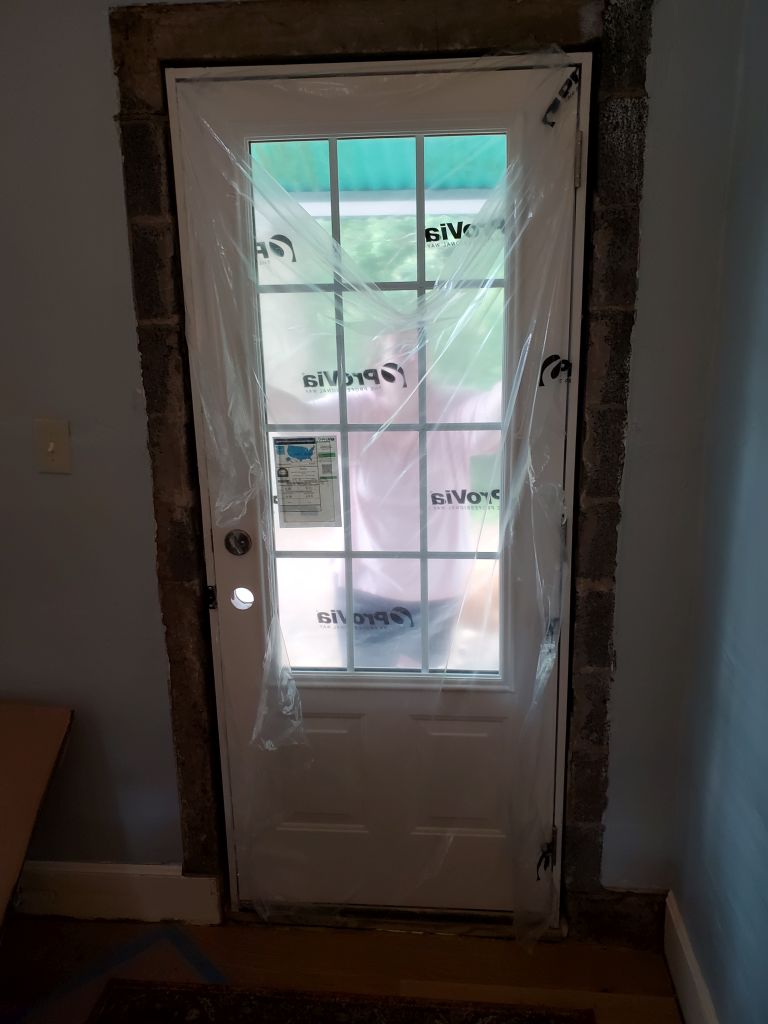
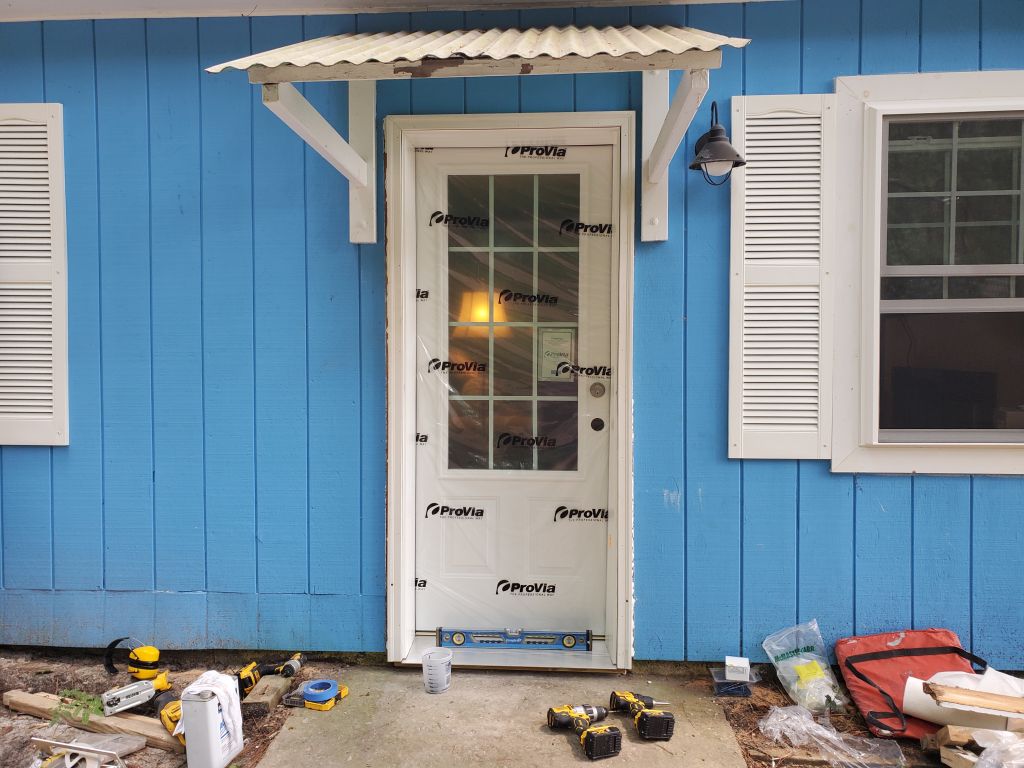
The door was prehung with a deep jamb and trim already installed on the outside. The trim and jambs were covered in metal sheathing from the factory, but I had to remove this for installation–and in the end we decided the metal was cheesy-looking and we chose not to replace it. It had that 70s trailer mottled Jiffy-Pop pie plate look to it. Not impressed. I caulked the siding where the trim would fall, and heavily caulked the threshold, then we set the door in place and, after leveling, installed a couple screws through the trim to hold it. All I had at the moment were long drywall screws, but sometime later I pulled these out and replaced them with exterior screws.
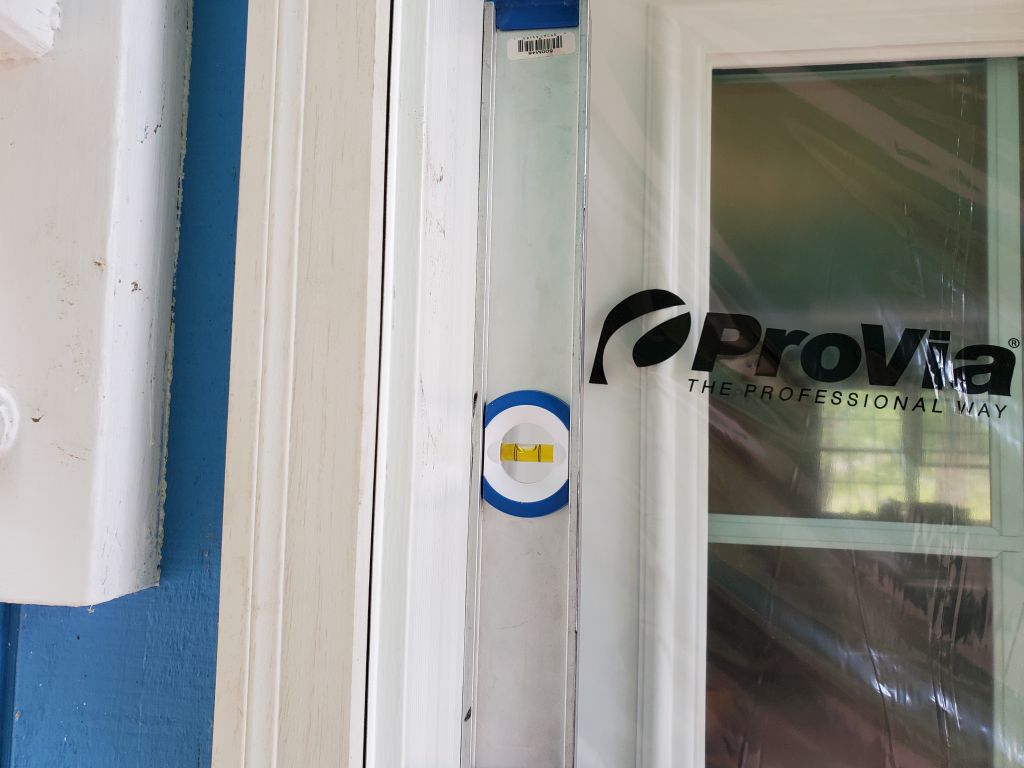
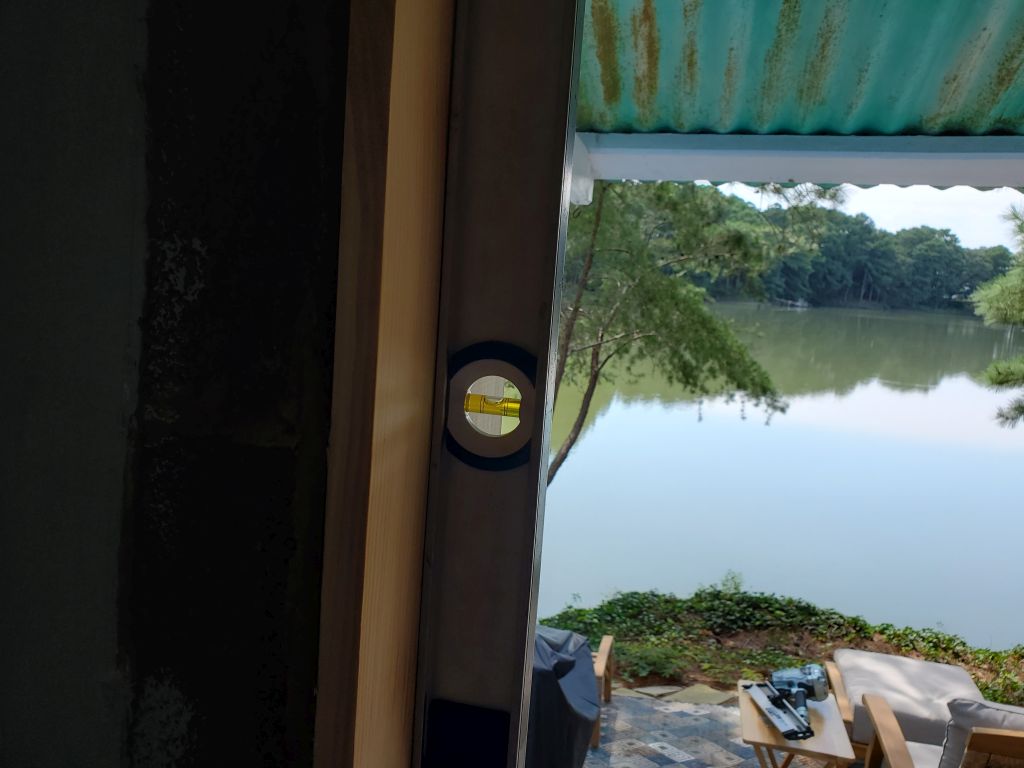
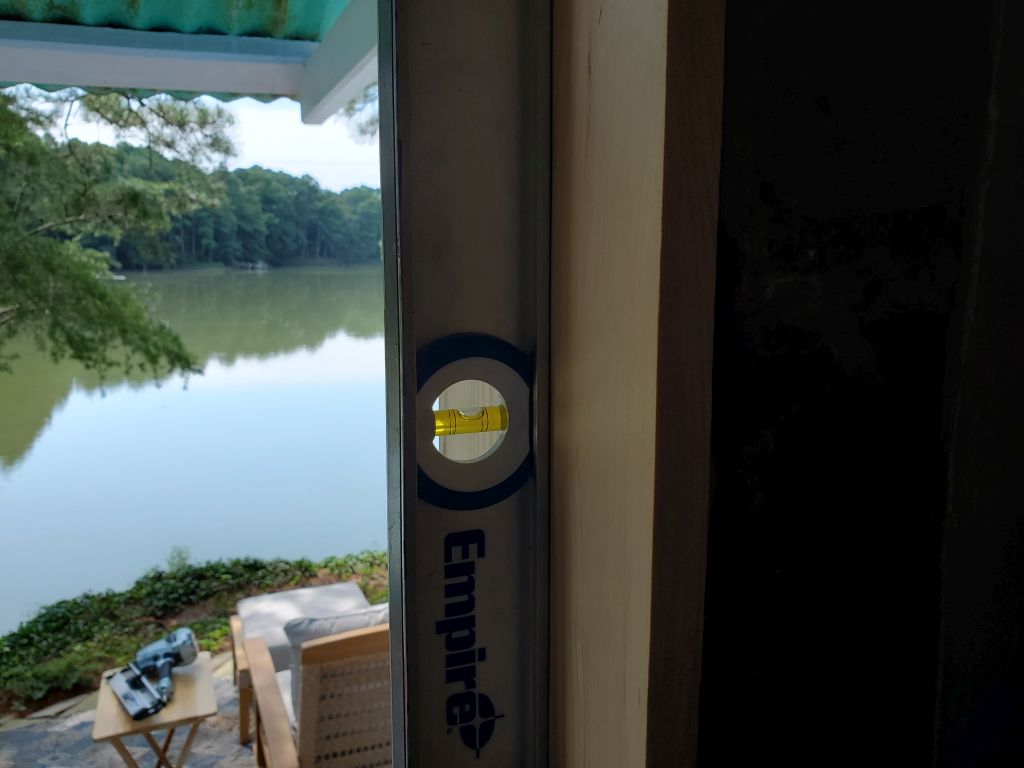
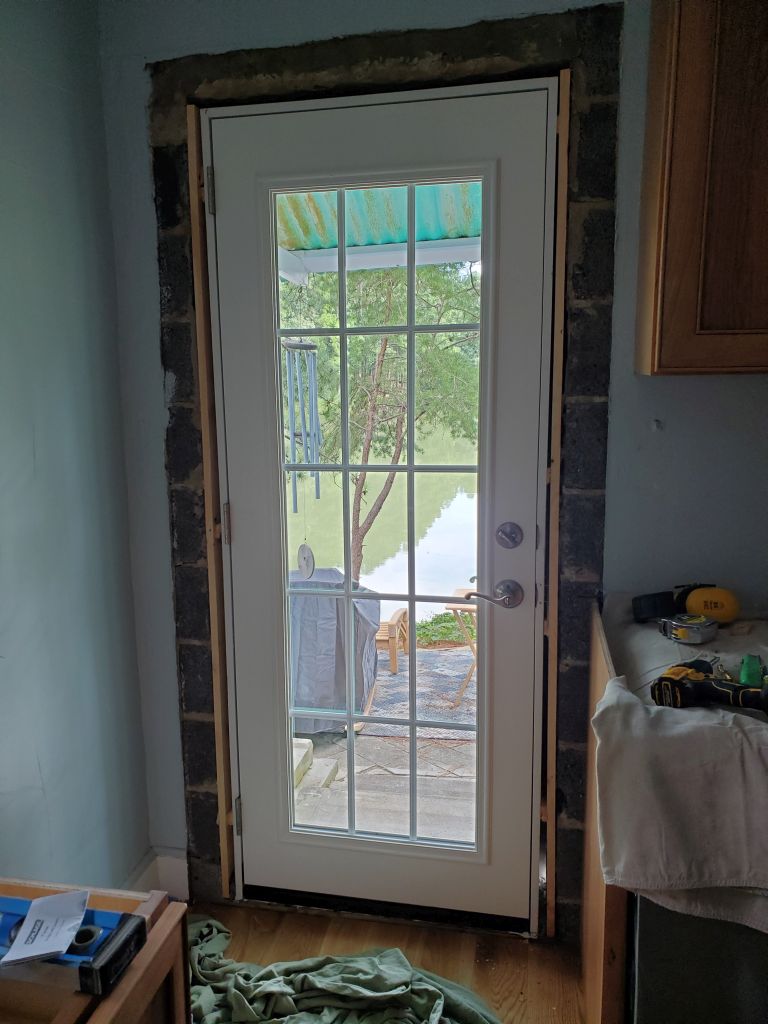
After checking margins all around, I shimmed the door as needed from inside and installed the door with tapcons through the jambs and directly into the concrete, first along the hinge side, then, straightening as needed, along the strike side. This took some fussing, since once you remove the plastic lock that holds the door tightly and properly-aligned in the frame, things start to get wonky. Because I had to secure the door into the narrow ends of the concrete block, I had only an inch or two to work with, which meant the beefy tapcons had to be exposed in the jambs, not neatly hidden beneath the weatherstripping as might be ideal. That was a small problem to be dealt with later–and I could. Needs must, in any event.
Once I had the jambs secured through shims on both sides, I added more screws through the trim on the outside to complete the installation. Then, I installed the door hardware.
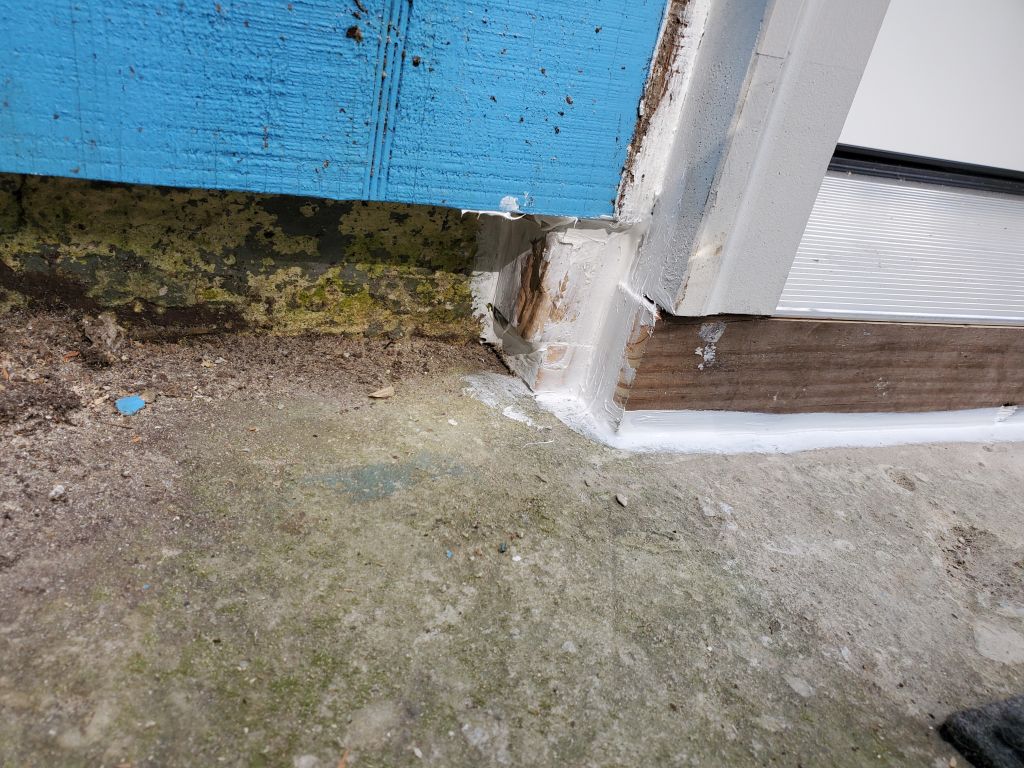
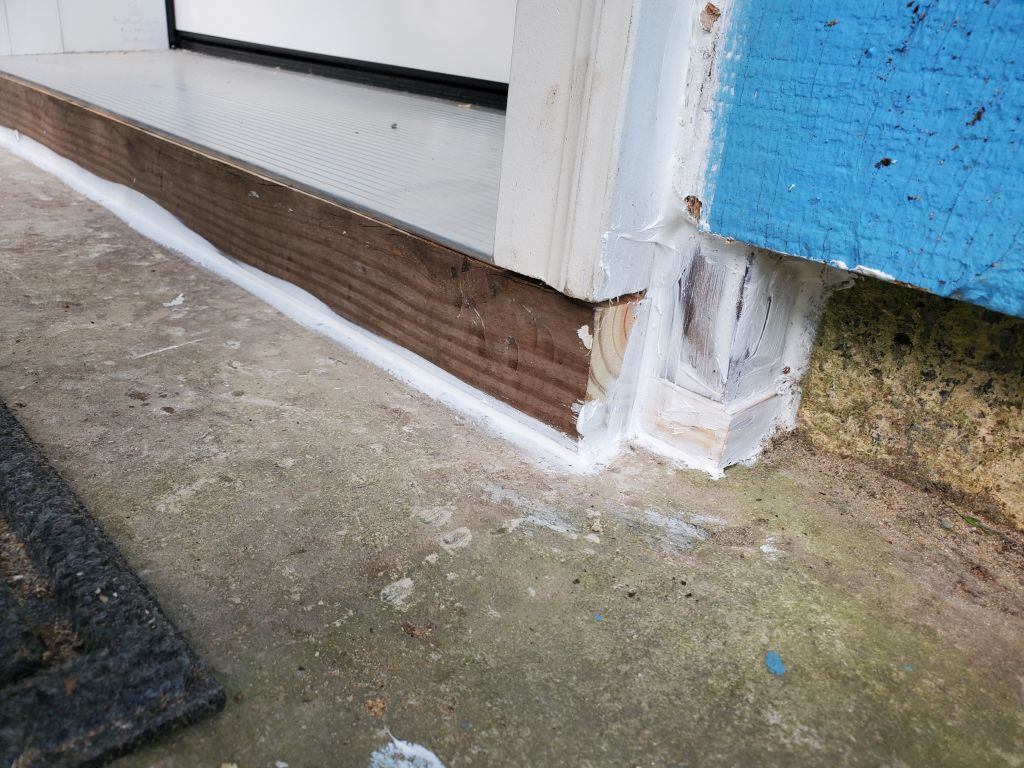
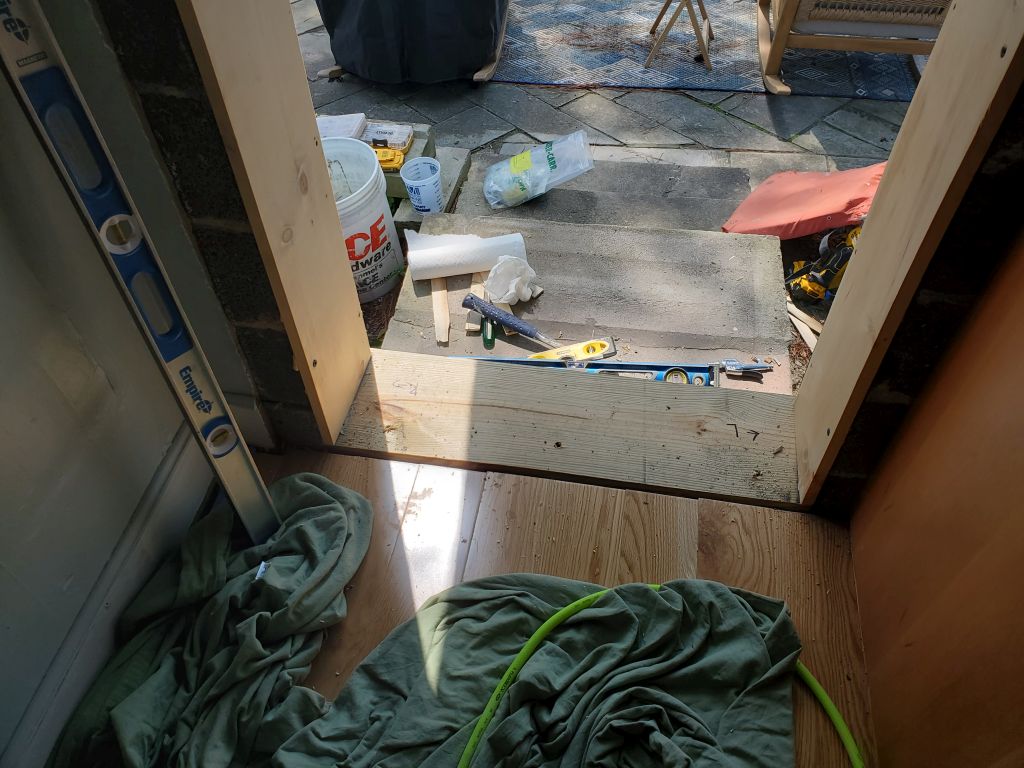
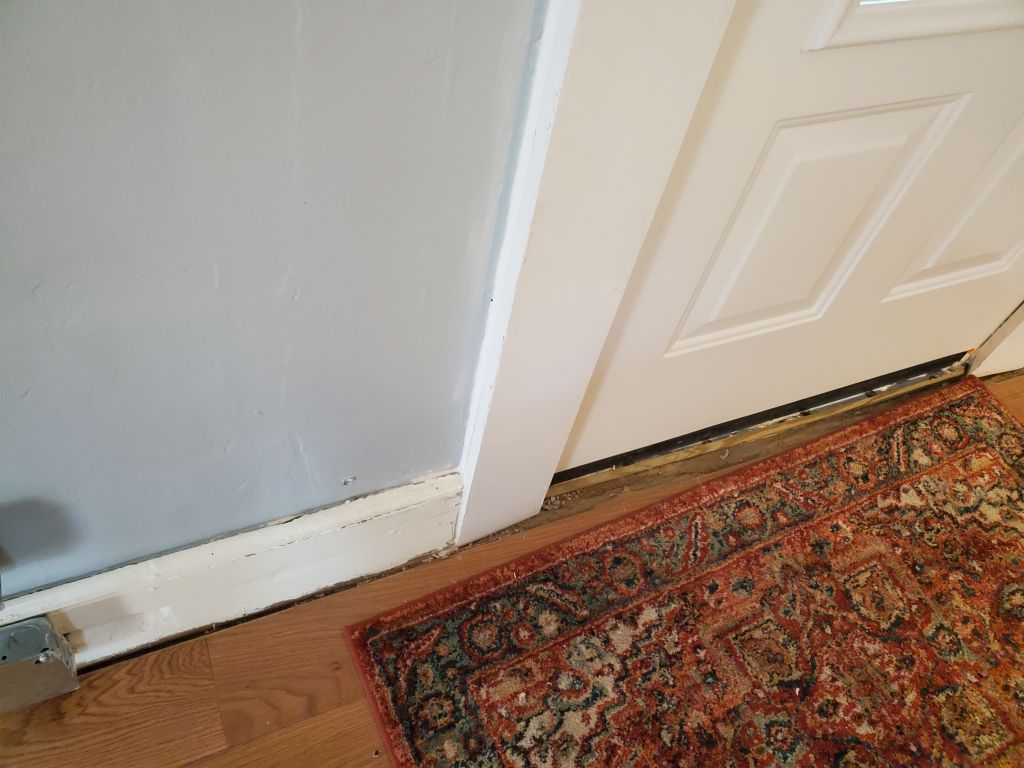
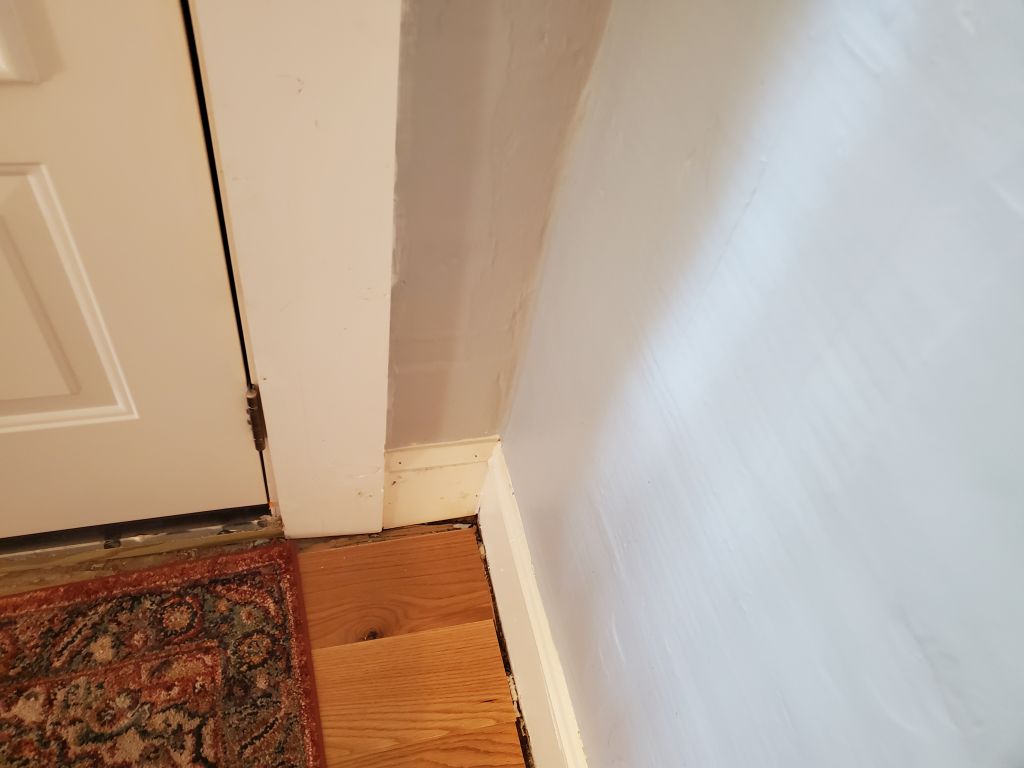
There were still gaps beneath the door threshold and at the sides of the opening, so to finish off the installation I milled and installed–heavily caulked and, as needed, construction adhesive-d–pressure treated lumber beneath to support the overhanging metal threshold and seal off the opening all around. This was a piece-by-piece, figure-it-out-as-you-go proposition, like so much on this old oddball house. On the inside, I planned to fill the voids around the door with spray foam.
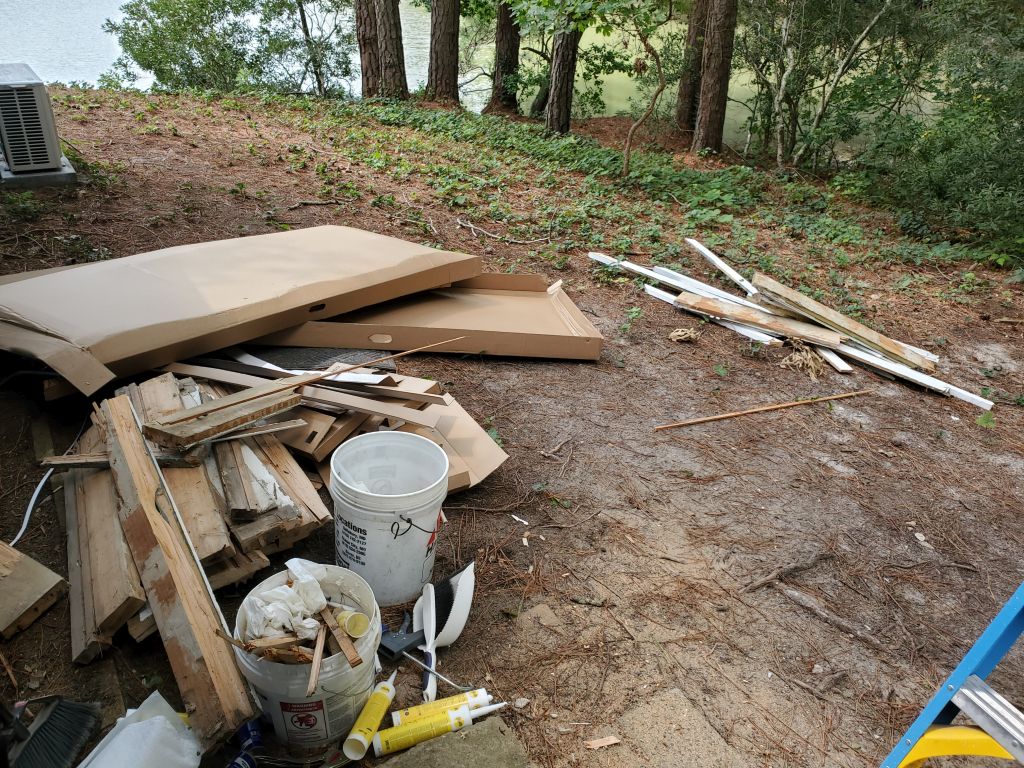
Afterwards, we went on a dump run and I put away the most recent round of freshly-painted pine trim, finishing up around 1630.
27-Monday, August 12, 2024
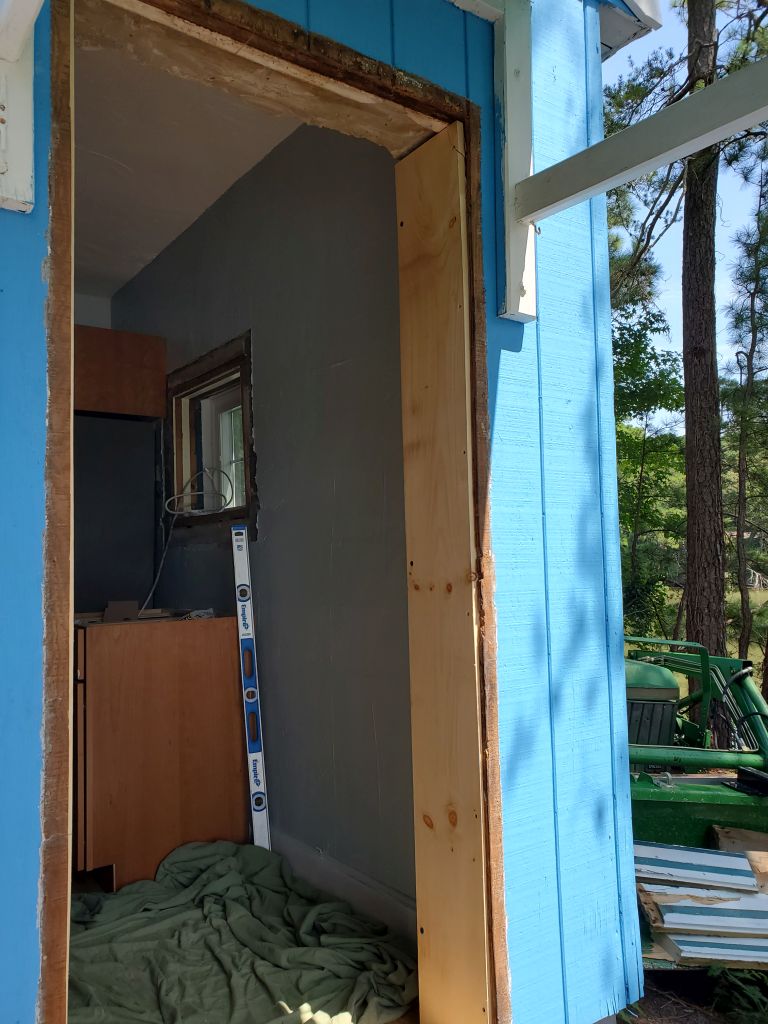
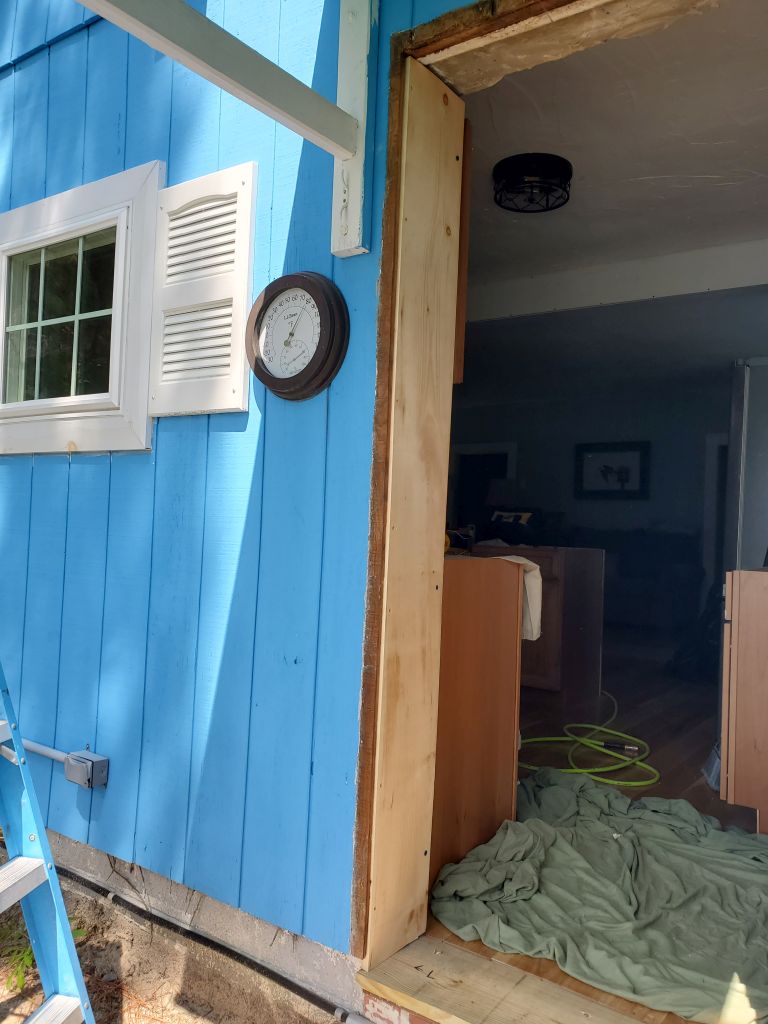
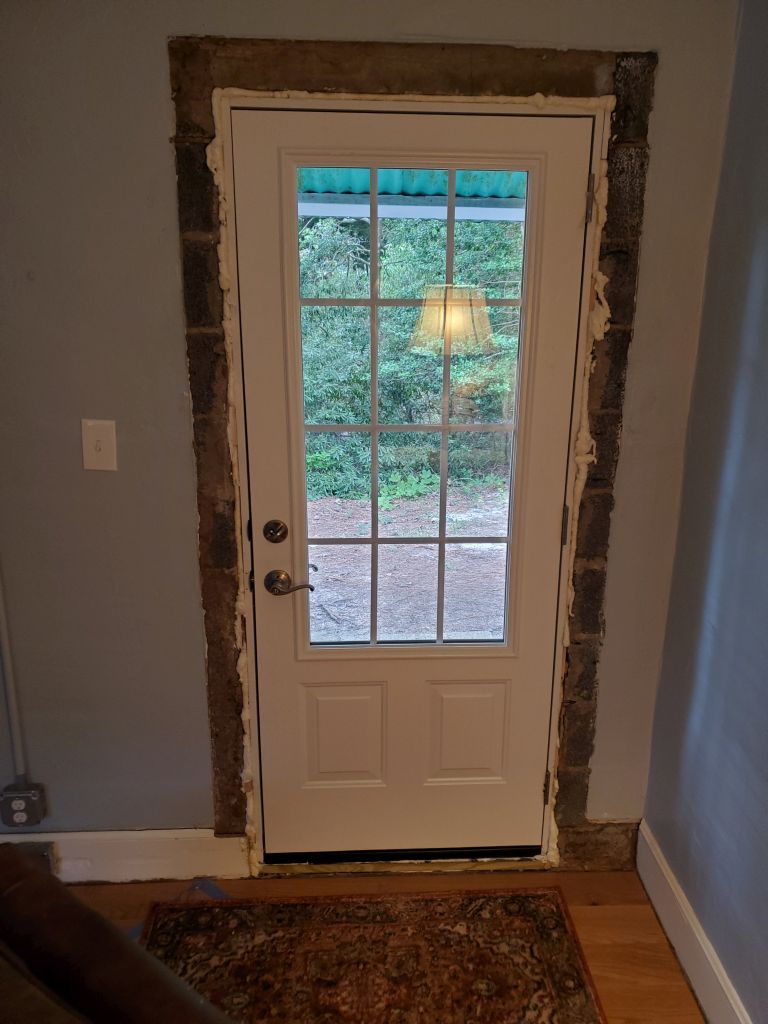
There was one more exterior door to replace, and since I was all set up and sort of on a roll, there was no better time than now to replace it. I got my tools and supplies together, laid out a new batch of paint quota for Heidi, the got to work on the old door removal, starting with the old screen. At the start, having measured the opening and compared it to the new door frame size, I thought that I would keep the existing wood jambs, as the new door would fit between them. Therefore, I had to unscrew the old hinges and hardware, rather than just cutting and breaking things out. Of course I found that all the hinge screws were heavily painted over, so this took some exasperating time. I had to drill one of the screws out since I couldn’t get it to turn.
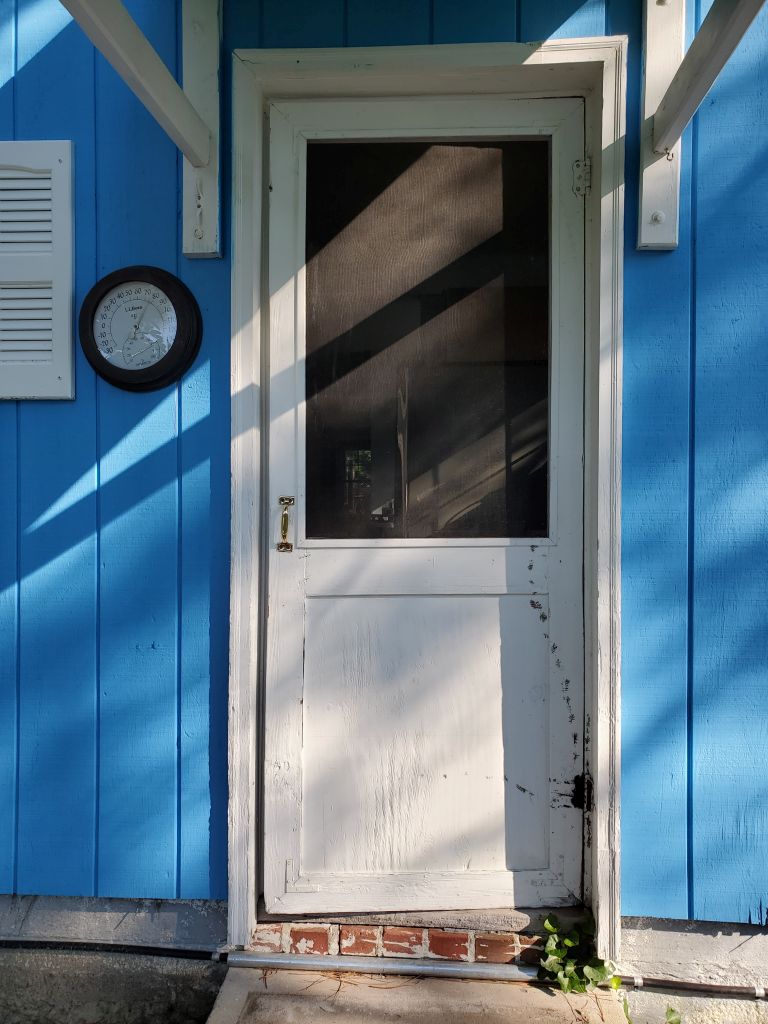
Once I had the old screen and door removed, I assessed the old frame. It would have been nice to keep it, but as it turned out the profile, which included the usual door stop through its center, was actually milled into the lumber, not built from separate pieces. The door stop made the opening too narrow, and there was no logical way to remove it, so I had to cut out all the old framing, as I’d done on the front door. Again there were “boo koo” huge nails holding it all together and into the concrete on the sides.

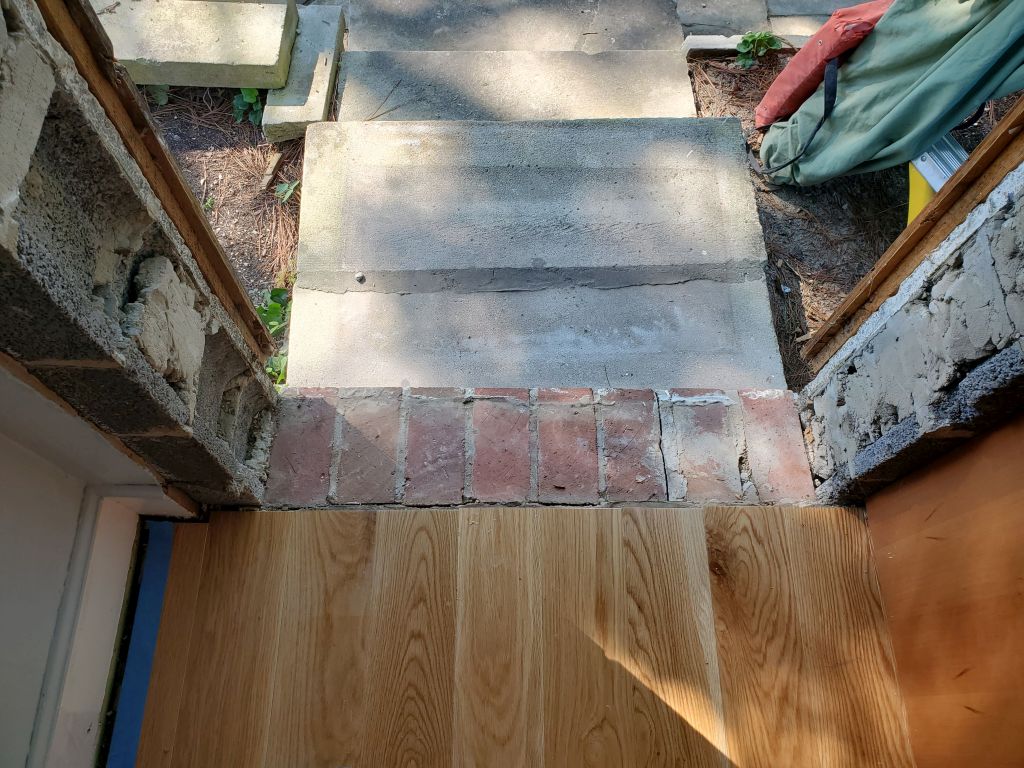
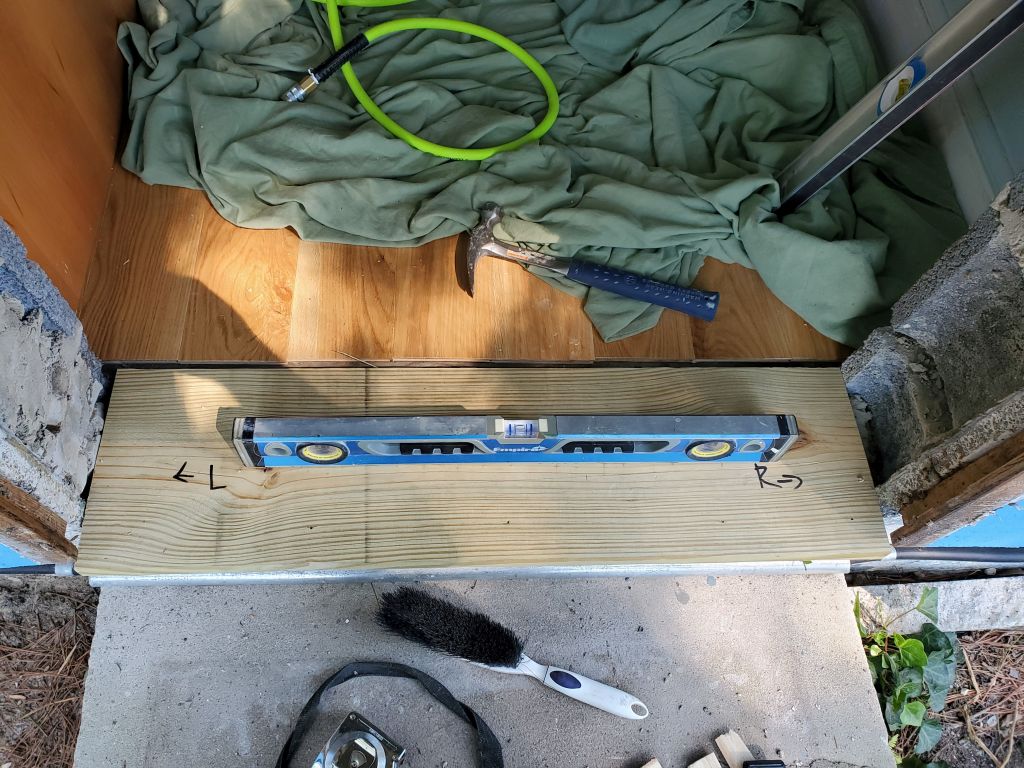
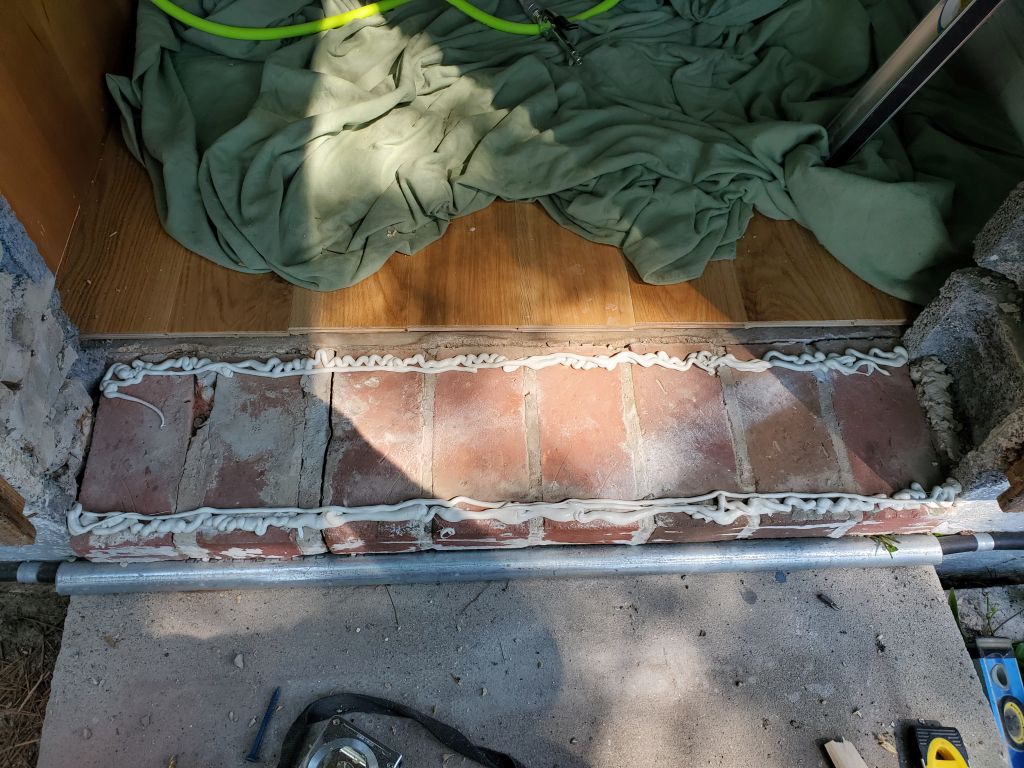
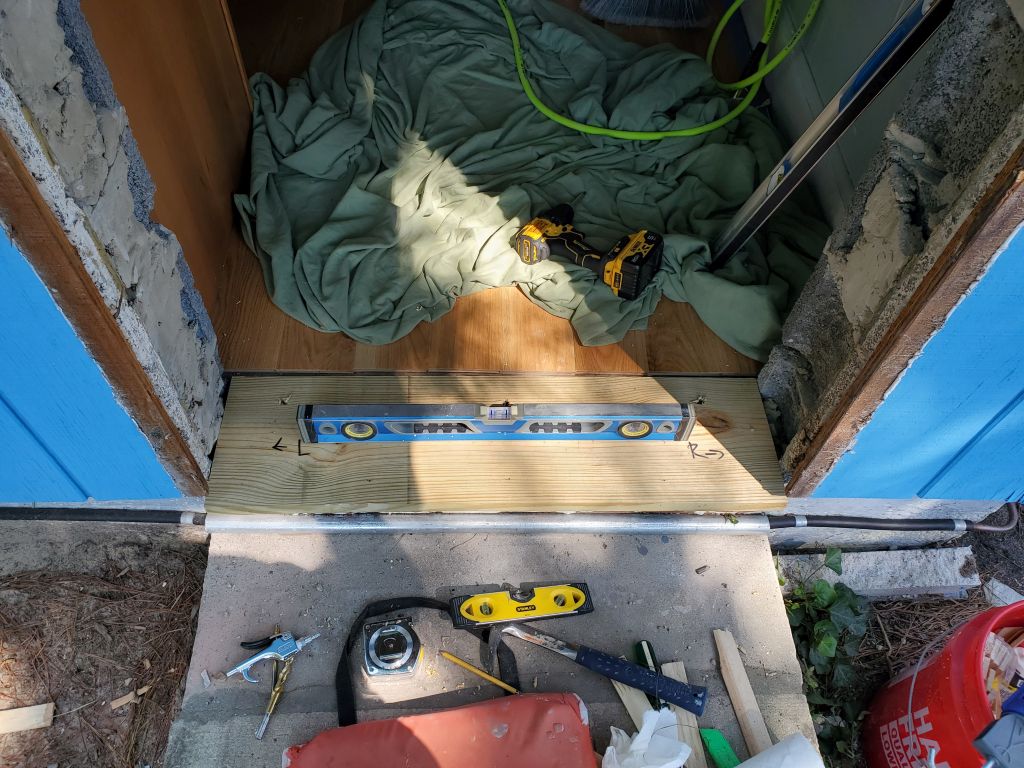
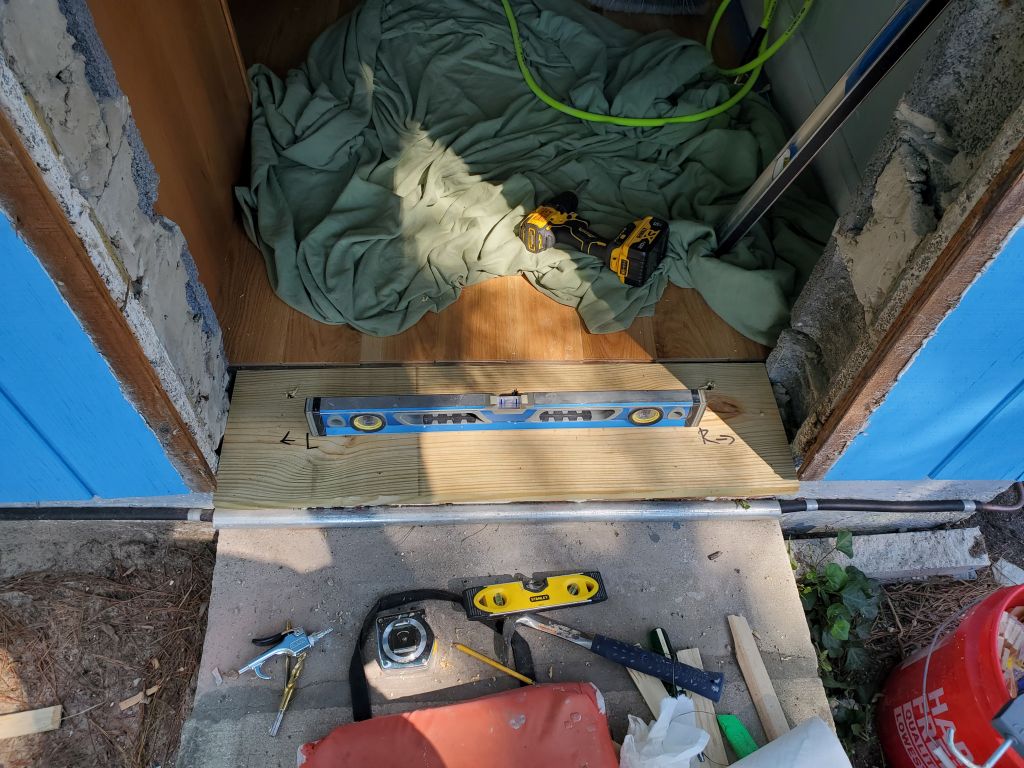
With the opening stripped, I turned to building a new frame. I suppose had I known this would be how it turned out, it would have been nice for the door to be a couple inches wider, and installed it directly to the concrete as with the front door, but that’s not how this one got measured–we did the best we could with the information available at the time. With the new door just 30″ wide, I had to build something into the opening to fill the space, which actually would work in my benefit for the final door installation. I started again with the 1″ thick pressure-treated sill that I’d prepared back home, and set this into place on the odd brick threshold with more construction adhesive and tapcons. Because the brick base was sloped, I had to install a cleat beneath the outboard edge of the new threshold to level it.
From here, I installed new 3/4″ bucks on each side of the opening, securing them to the concrete block with adhesive and tapcons. I didn’t need any framing at the top of the opening since the door didn’t have to be secured there, other than with the exterior trim, which would fasten to the siding and framing beneath.
With the framing complete and ready for the door, we took a little break for a dump run (we left the old doors and screens in the “give it away” pile), more construction adhesive and spray foam, and a trip to the tack truck for lunch. Back at 1330, we started with the dry fit, then the final door installation, basically the same as the front door except in this case I could use wood screws to secure the door to the new bucks, which greatly streamlined the process. I installed hardware and caulked around the outside trim as needed, finishing up around 1600. Eventually I’d need to build something beneath the outer edge of the threshold, but for now it was sealed and secure enough, so that could wait.
Heidi had been working on quota throughout the day, and I’d also been anxiously awaiting our email from Lowe’s or the countertop place regarding our final countertop approval. Since this didn’t arrive, I’d have to follow up by phone in the morning.
28-Tuesday, August 13, 2024
Passing through the luxurious new door, I enjoyed coffee on the patio.
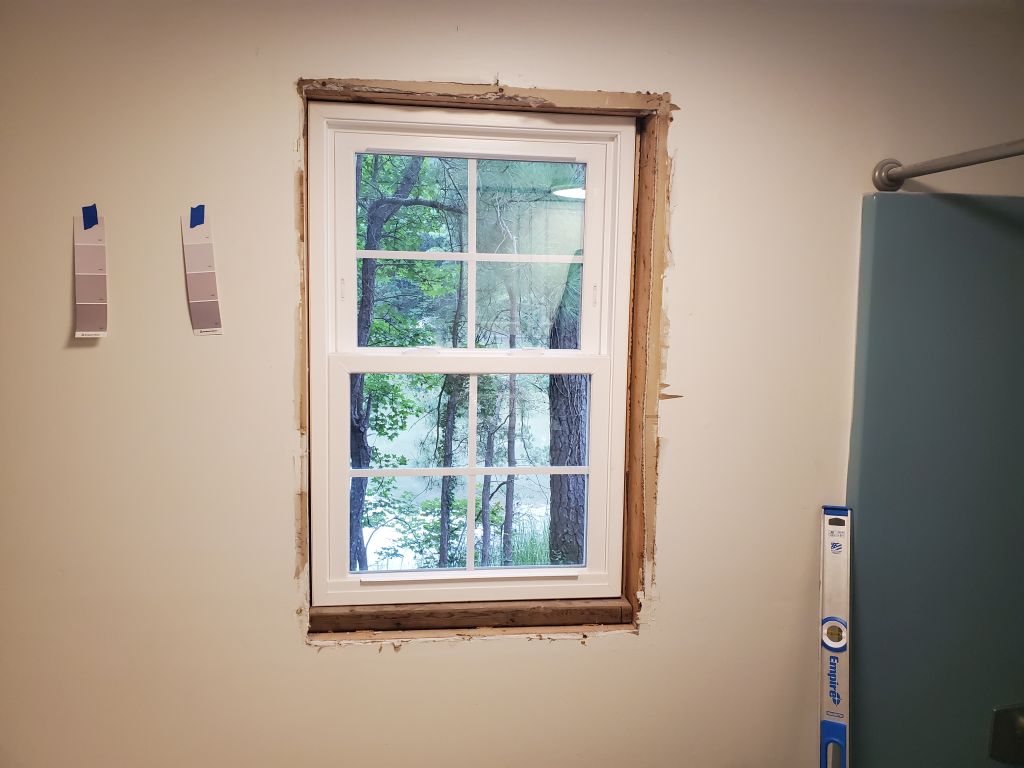
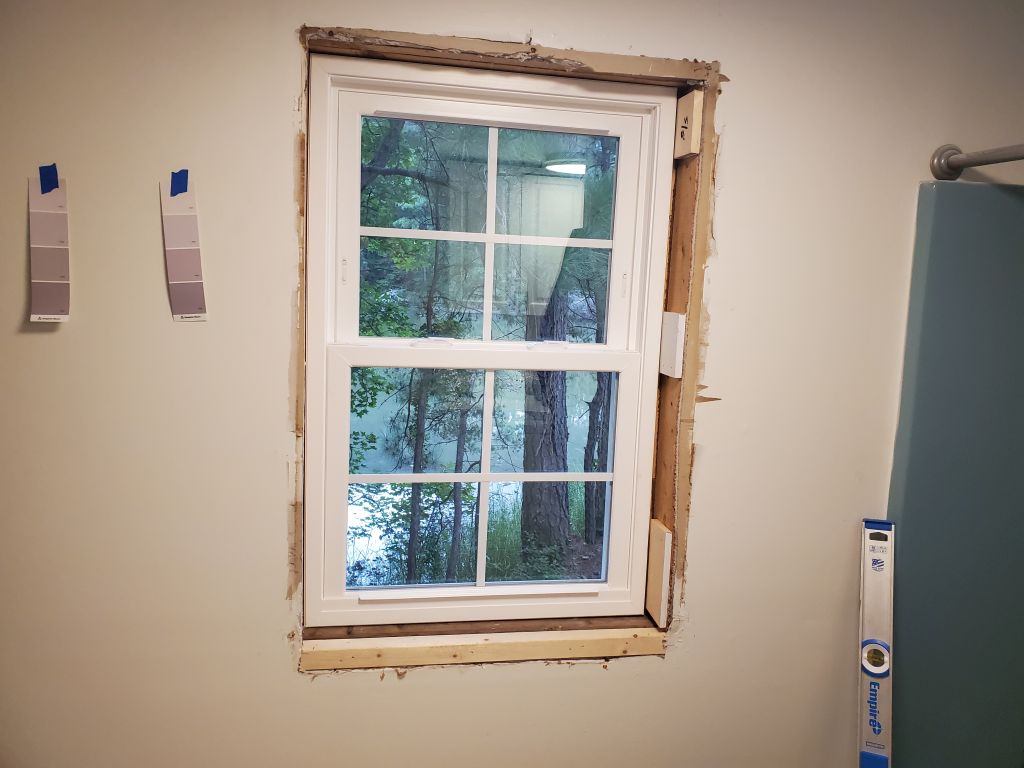
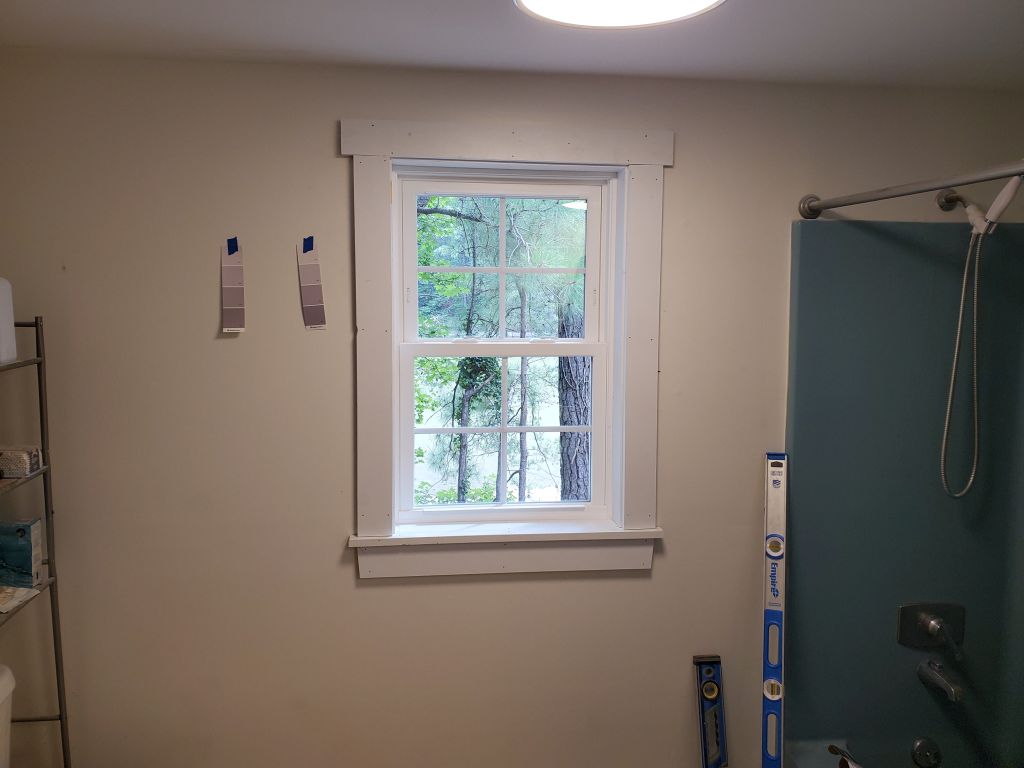
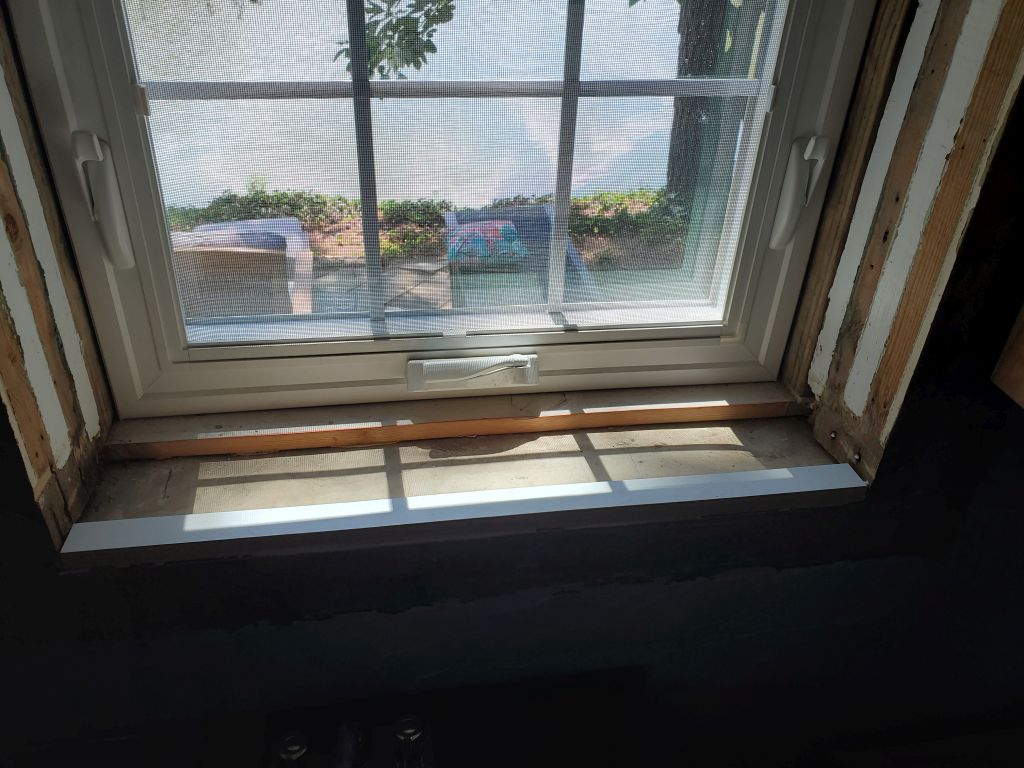
Later, I set up the day’s trim quota, then focused on some outdoor work, trimming around trees and afterwards with Heidi picking up blowdowns and sticks. While she was still doing that, I got started on the interior trim on the bathroom window, a sort of get-my-feet-wet job with the first (and smallest and simplest) window. We had some unexpected (light) rain showers, however, and I had to cover up the tools outside, so while I was waiting I installed spray foam around the doors, filling all the gaps as needed.
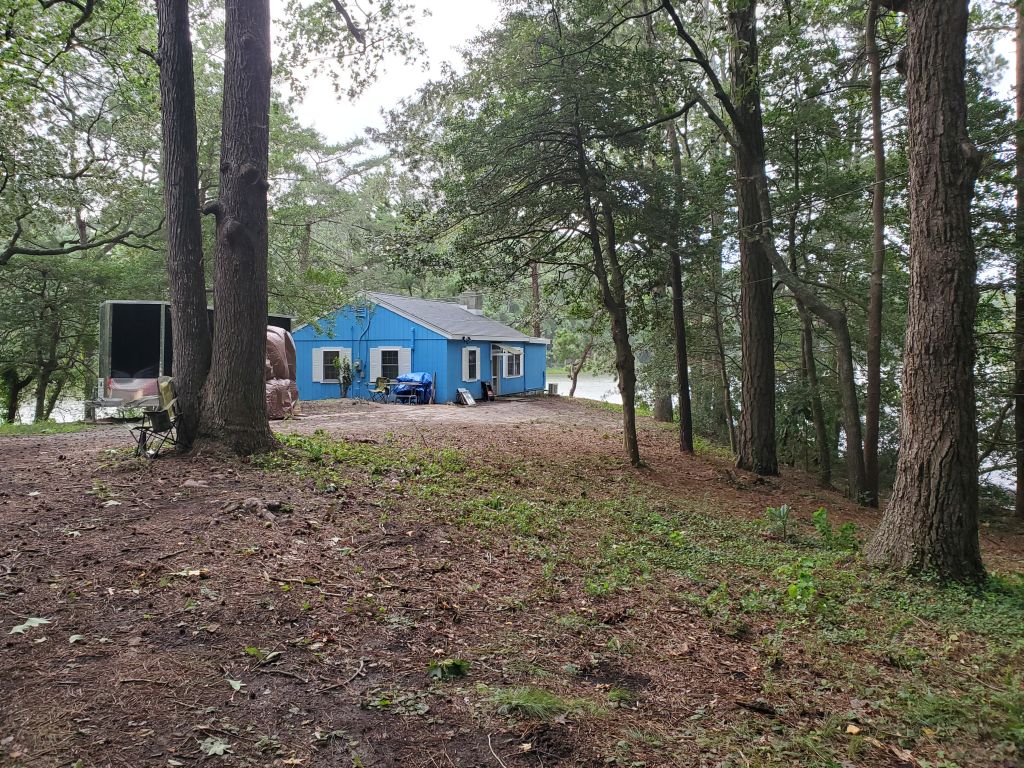
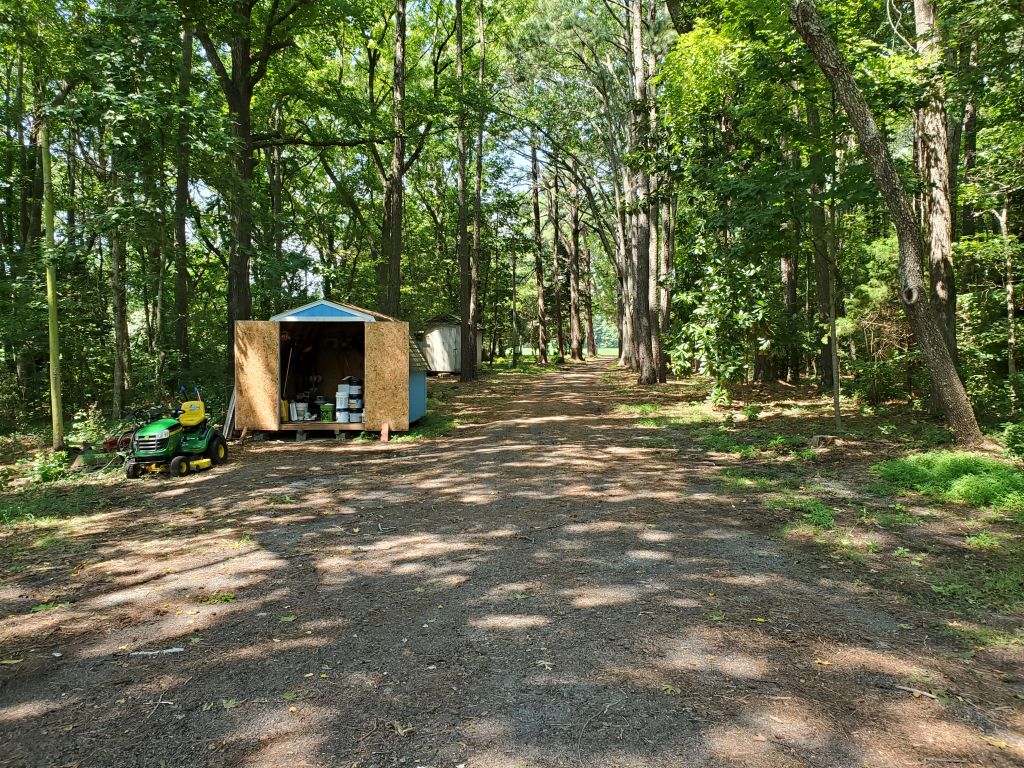
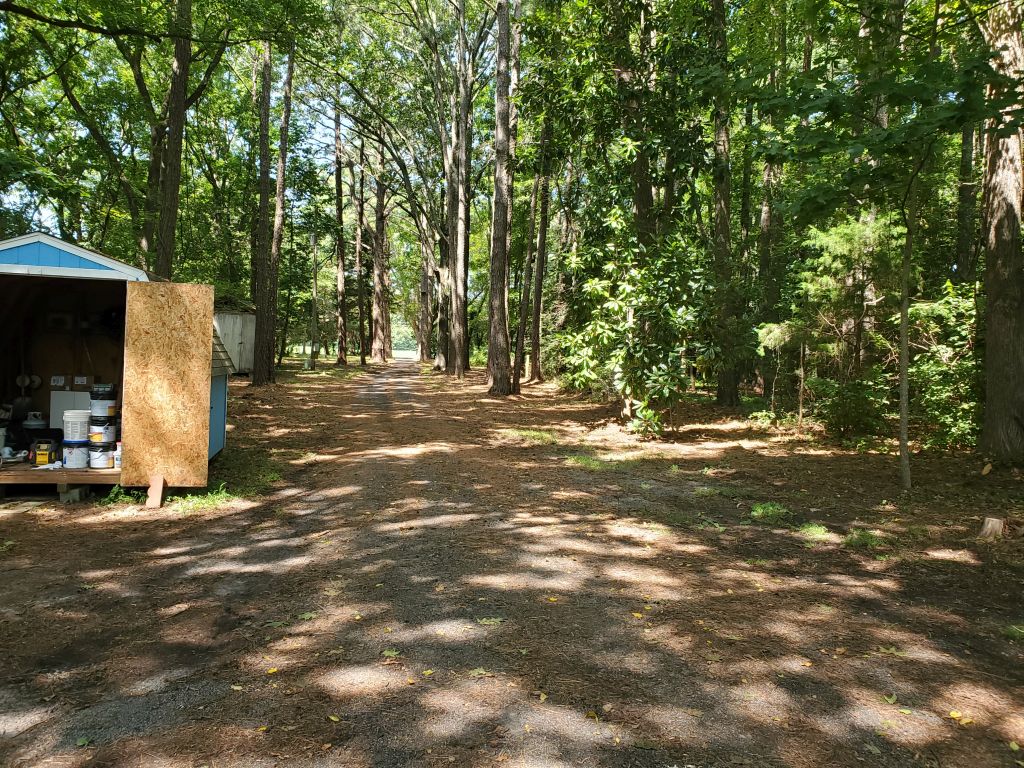
When the weather improved, I got back to the window trim, finishing that by 1100. Then, I mowed our “lawn”, as it were–I’ve started mowing the land we cleared down the driveway to keep the ivy and saplings at bay. It improves the appearance, but it isn’t a lawn. For now, it’s straightforward enough to do, if rough on the mower, and helps ensure we don’t lose any of the hard-won ground we cleared. Eventually, we’ll improve the landscape with topsoil, plantings and grass, but that seems like a project for next year.
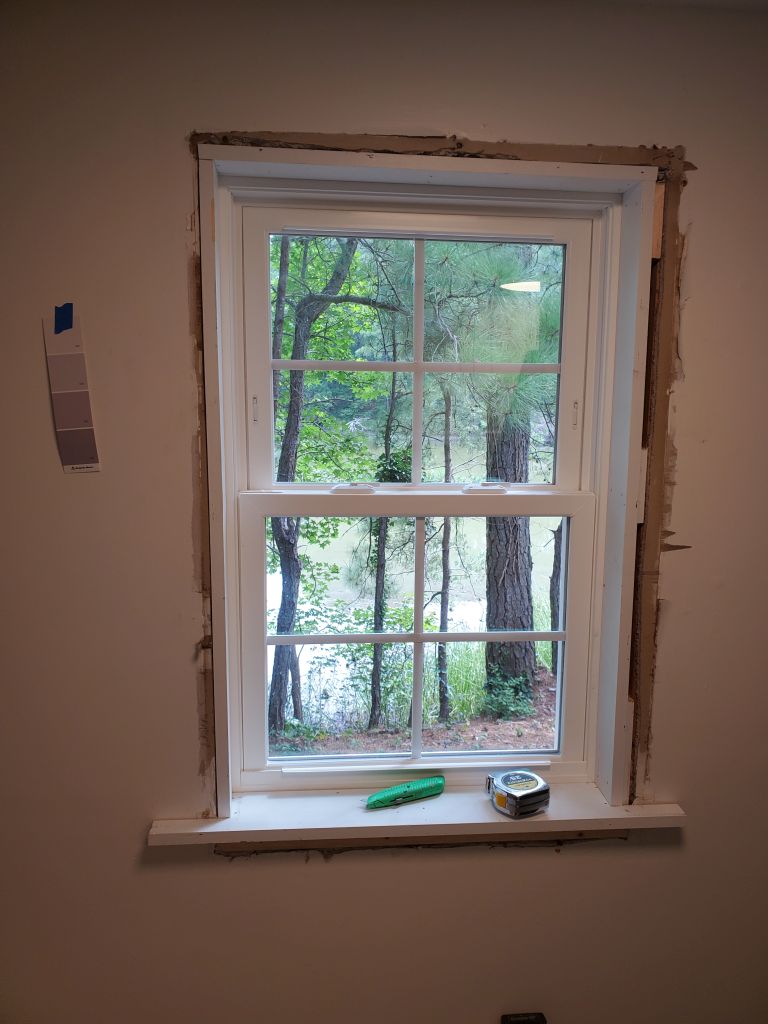
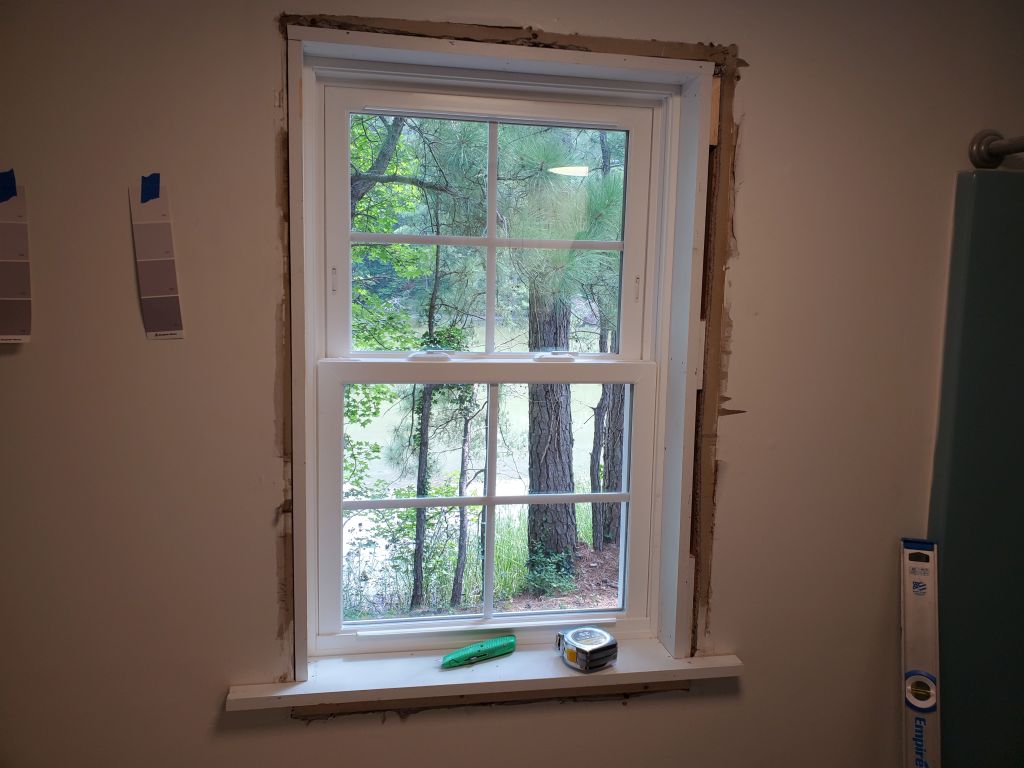
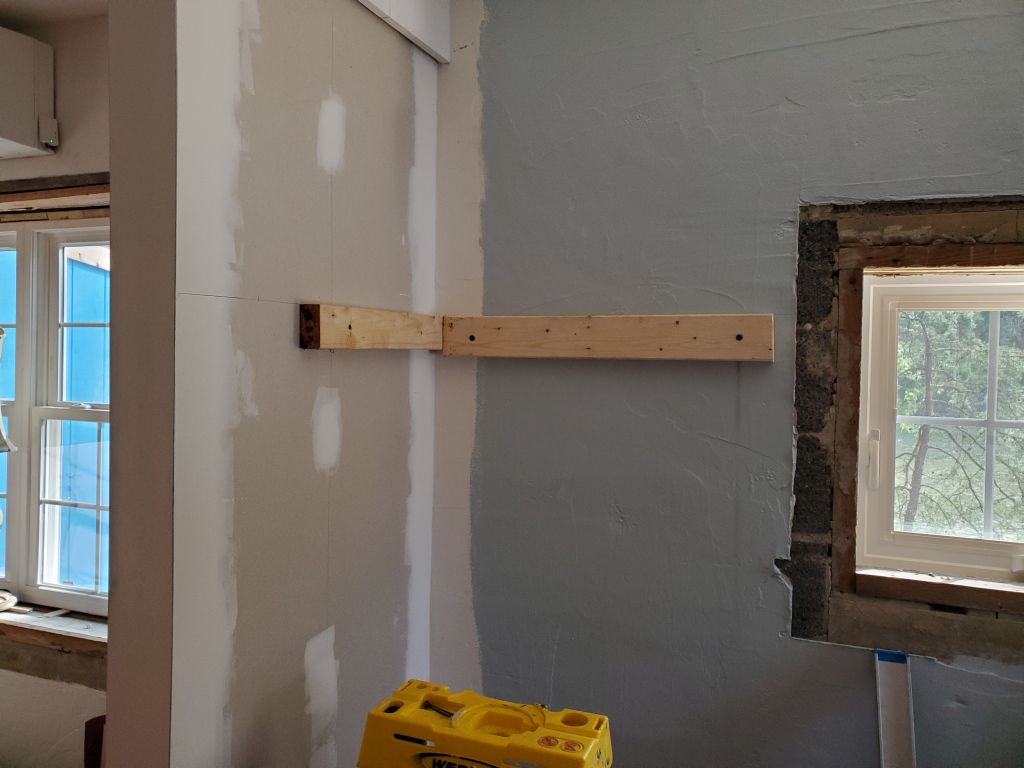
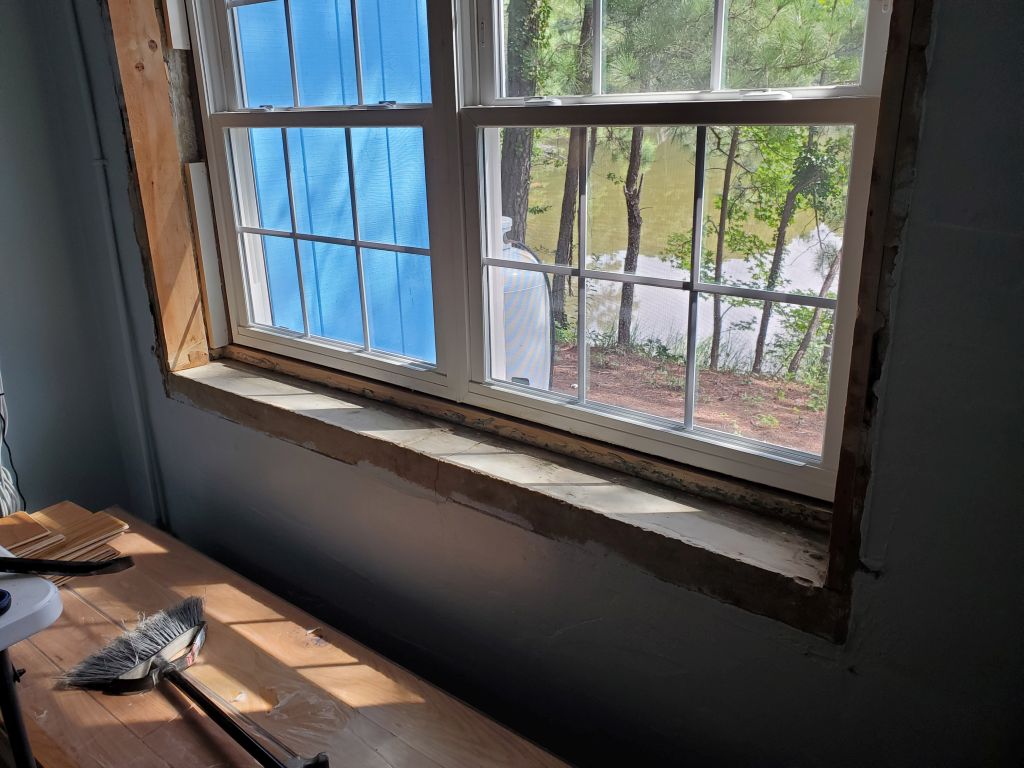
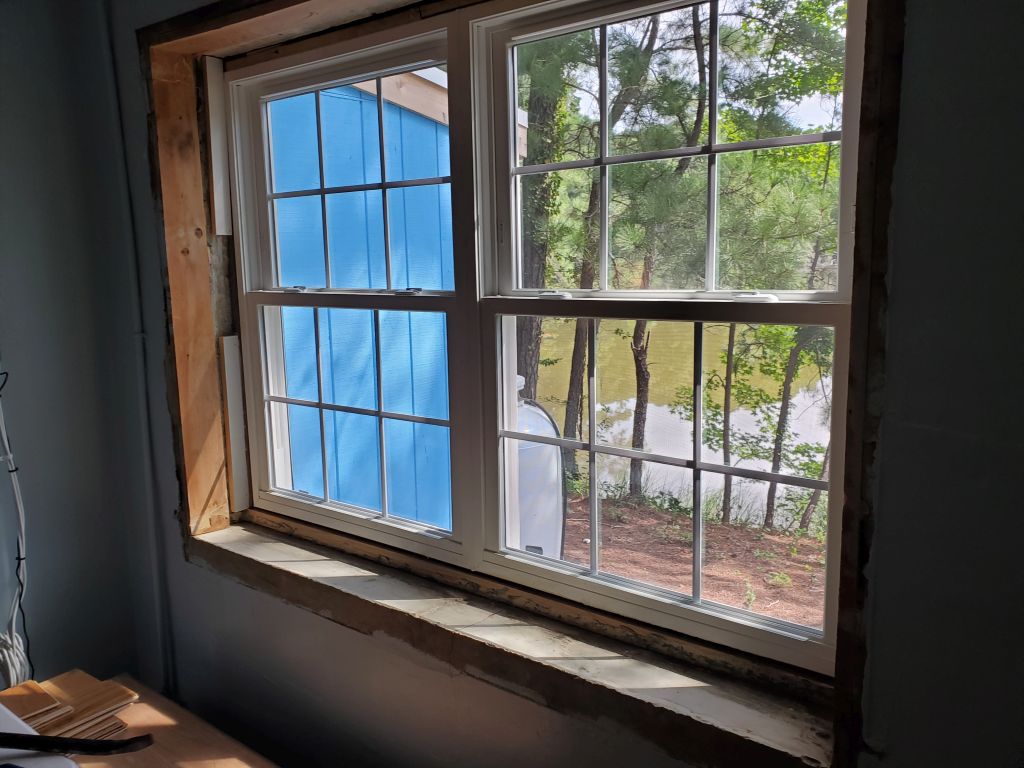
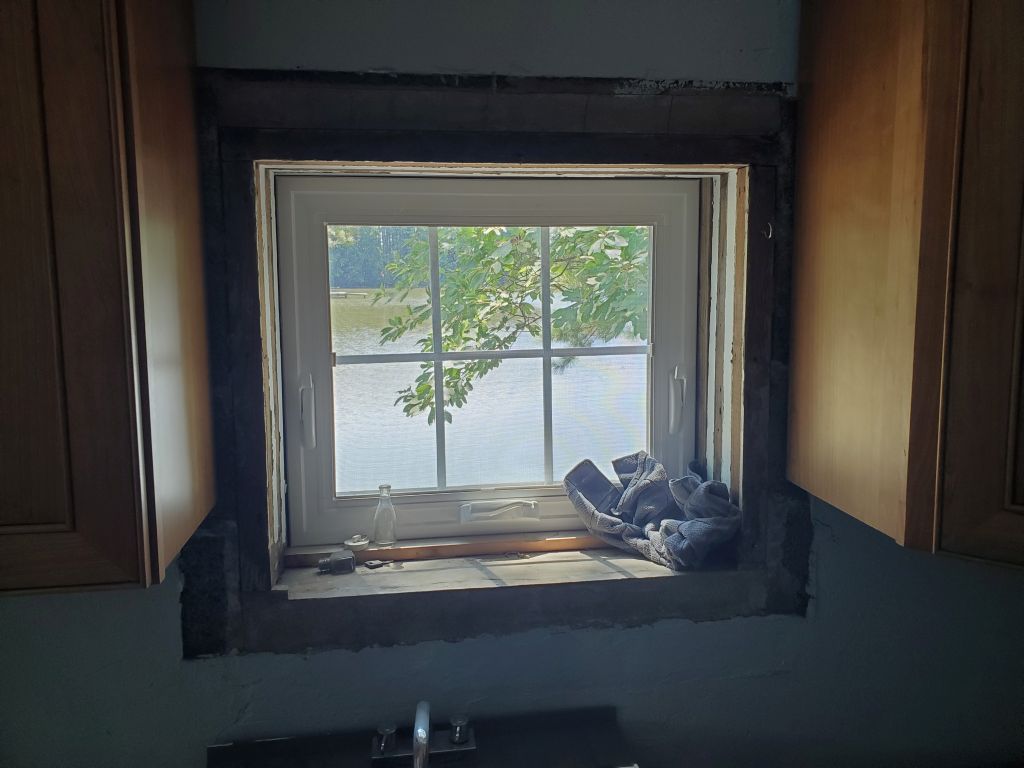
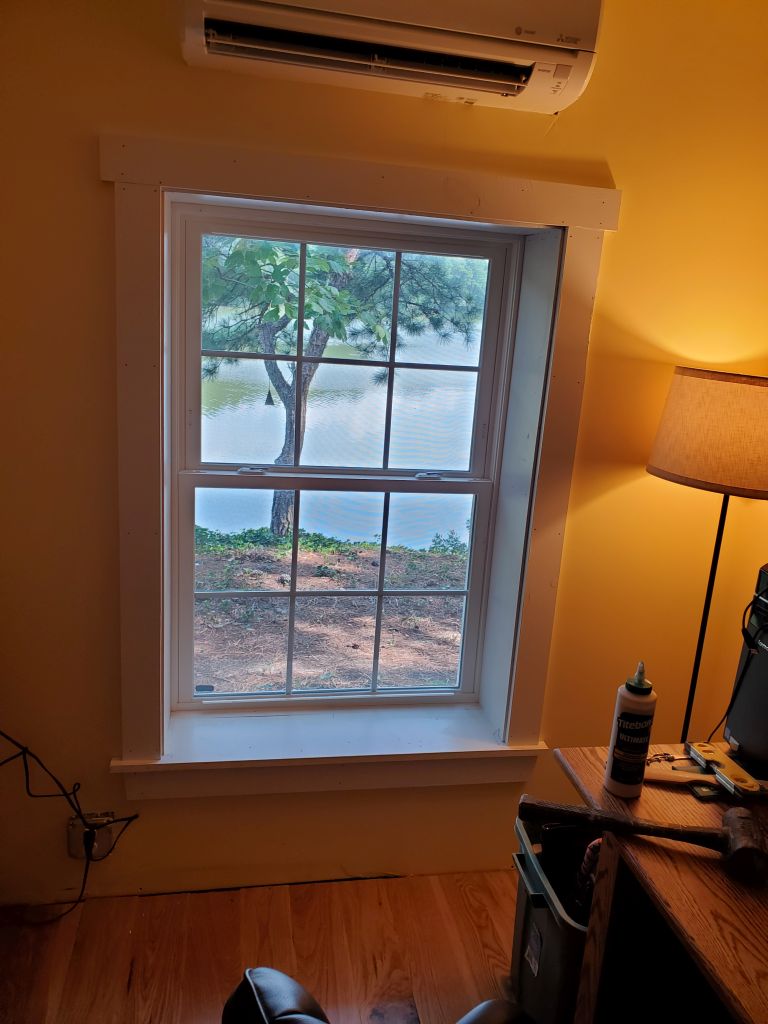
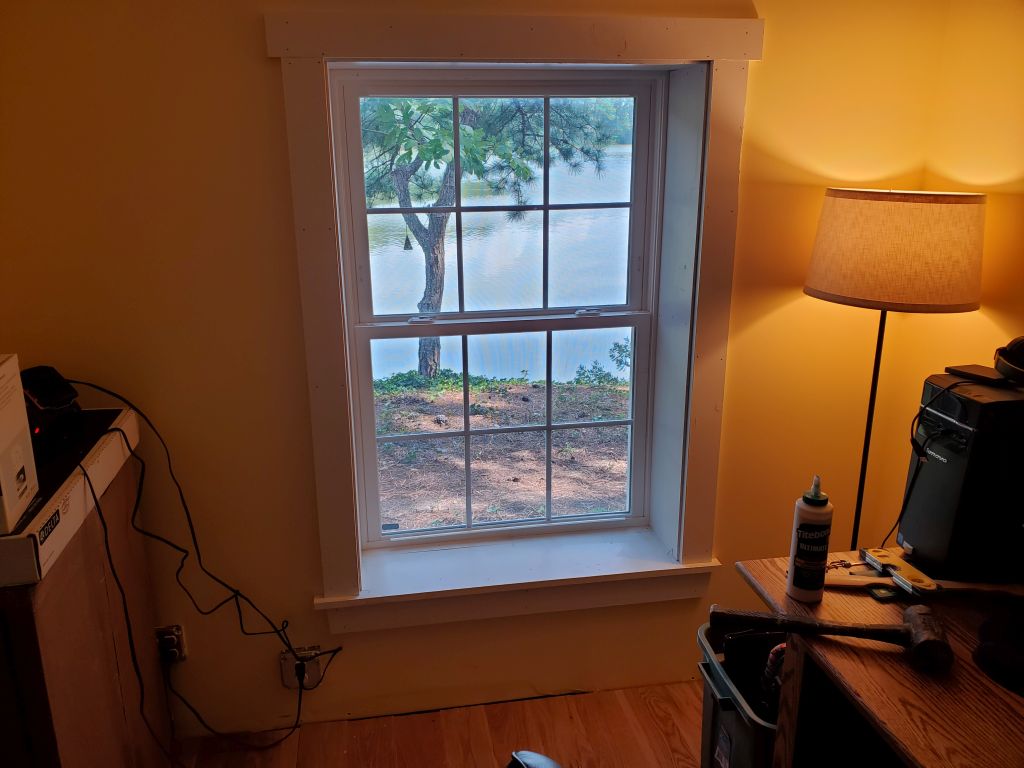
In the kitchen, I removed the old sill from one of the two windows; I’d removed the first one when we installed that window in June, because the original was rotted. Then, I added blocking as needed, with glue and nails to tack where possible, so that the new sills, when it was time to install them, would be at the right height.

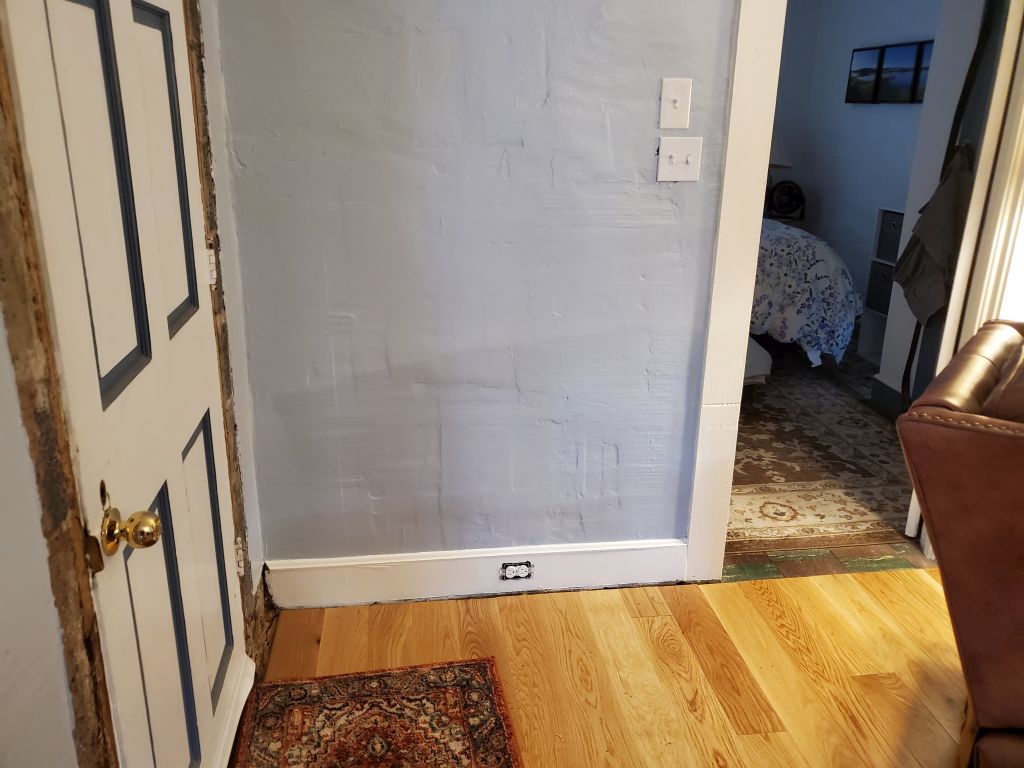
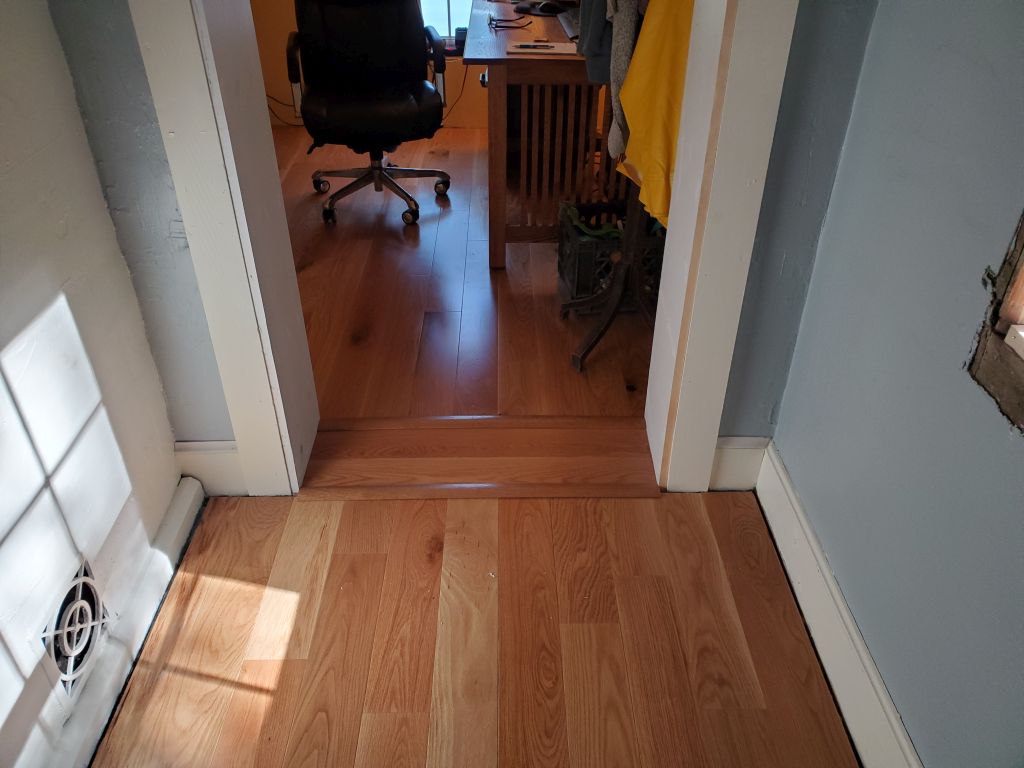
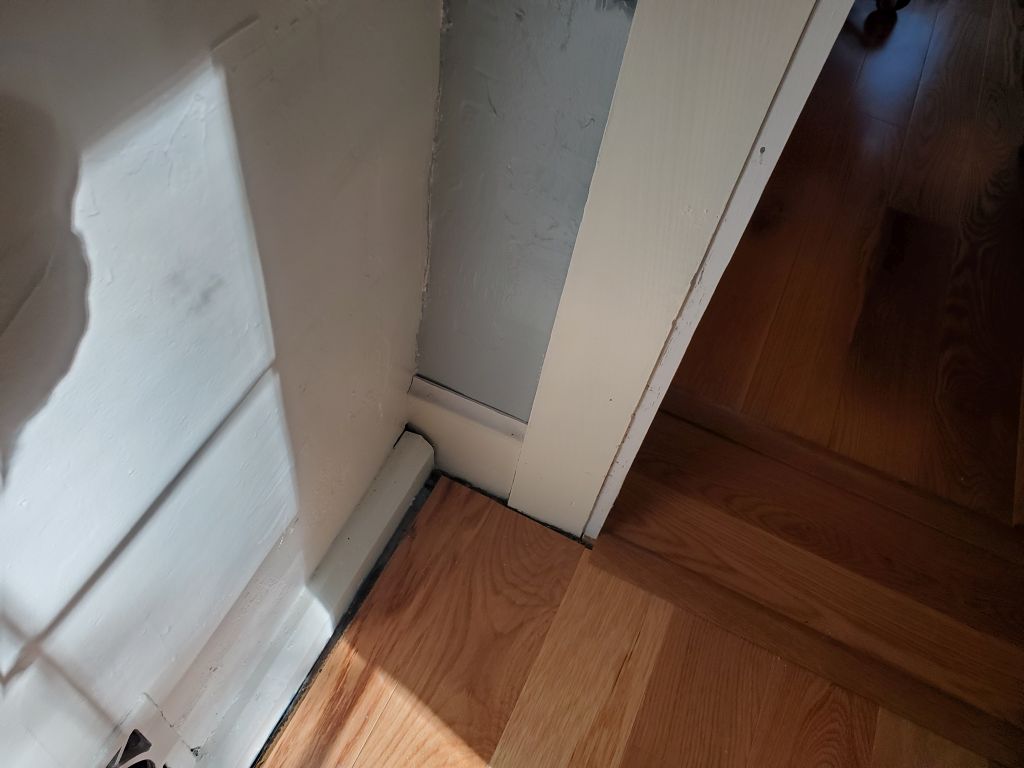
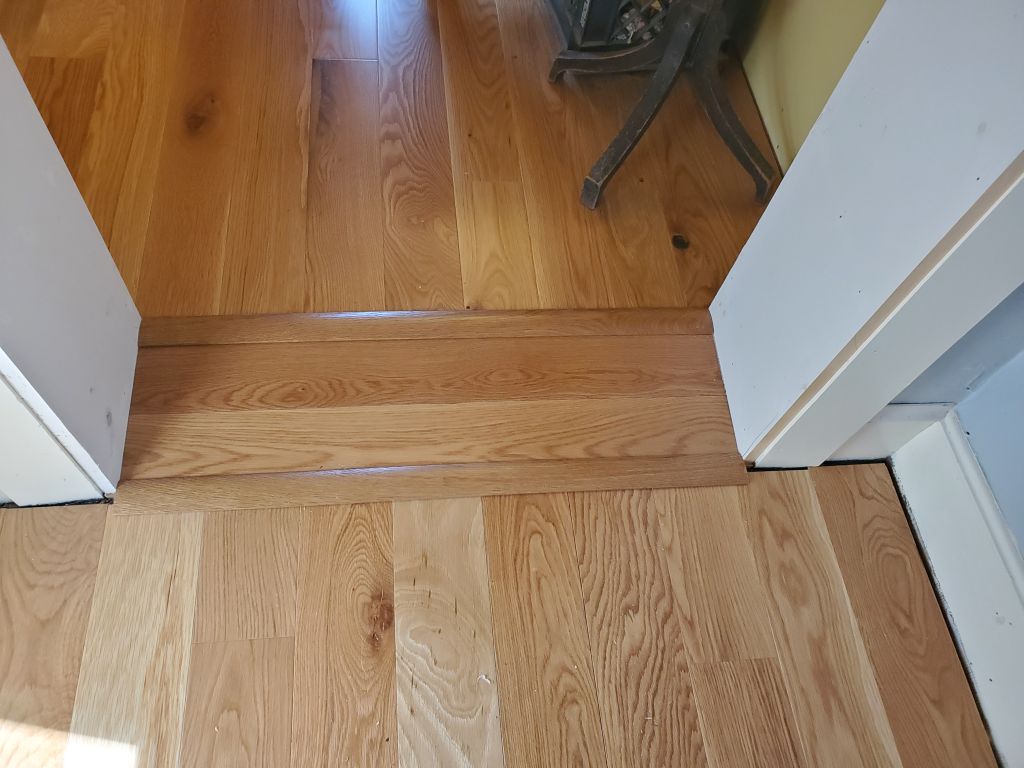
While Heidi painted quota, I cut the now-cured excess foam from around the doors–a much more hateful job than it first seemed–then installed trim on both doors, taking most of the afternoon. Because of the shadow of the old trim (in the original house, the trim was installed first, then the plaster around it), I had to use wider lumber for this trim just to cover the old footprint, but that was OK. I caulked the seam where the trim met the walls as needed–there was some unevenness there, and gaps because of lumpy plaster. I also patched in baseboard and baseboard molding in the corner next to the front door, and a couple other places, and since I had the brad nailer out, I cut and installed the floor molding to fill the gaps at the doorway to the office.

I’d called the countertop place in the morning, and the said they had some staff out with covid, but were working on it and would have something for me later in the day. But at the end of the day I’d not heard back, so I’d have to call again in the morning.
29-Wednesday, August 14, 2024
Out early for breakfast and a grocery run. When we got home, I called the countertop company again, and was promised something later in the day. I told them that’s what they said yesterday too. I don’t think this was appreciated.
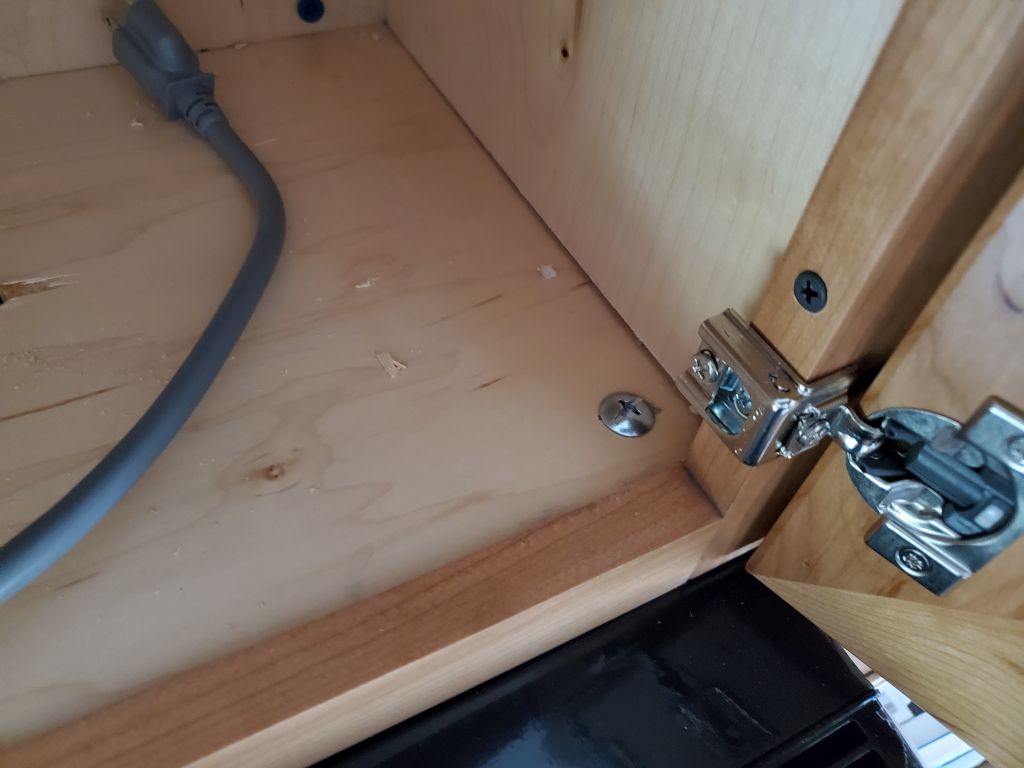
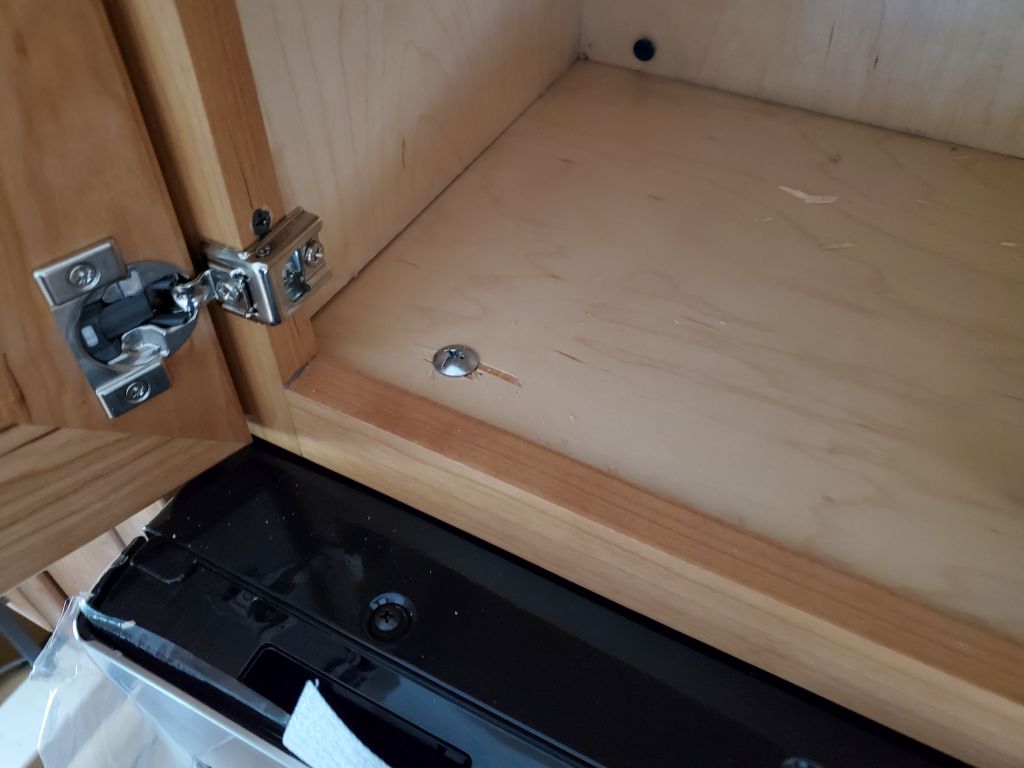
When I installed the cabinet doors over the fridge, I found that there was a clearance issue with the top of the fridge–not the fridge itself, but the bulky protrusion that contained the hinges and, in the center, the little control panel that’s visible when you open the door. I was prepared to remove and relocate the whole cabinet a bit higher, but found I could adjust the cabinet door hinges to raise them enough for clearance. A bit more might have been nice, ideally, but now they opened and given how little we would ever use this inconvenient cabinet, it seemed not worth the trouble to do any more.
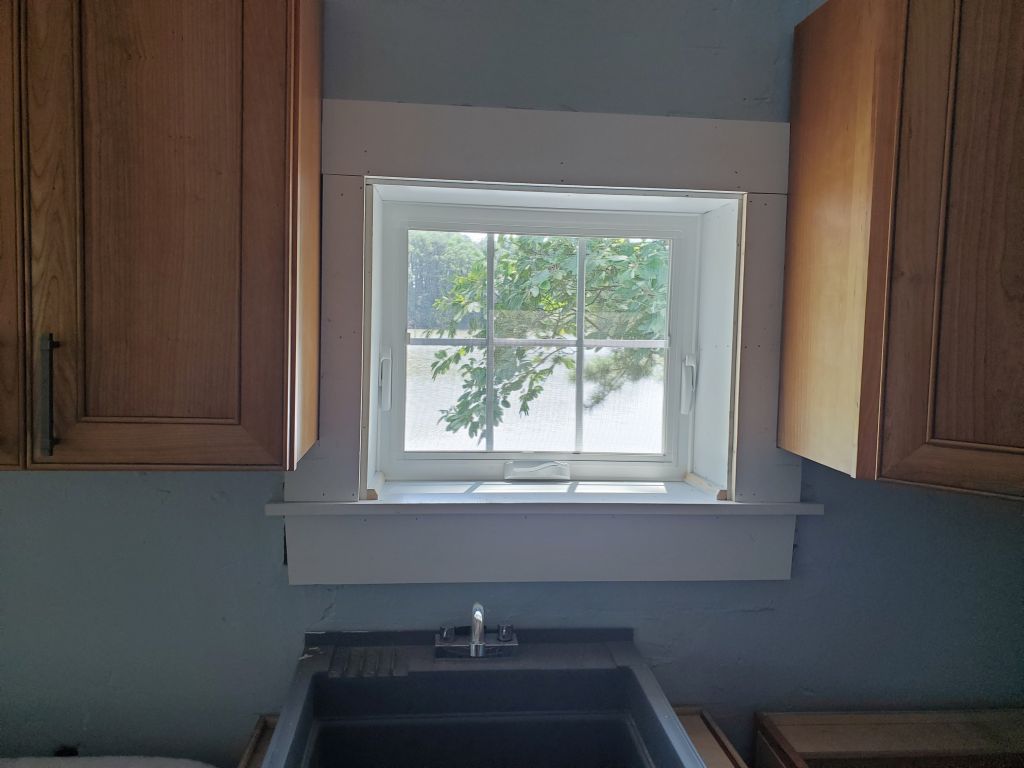
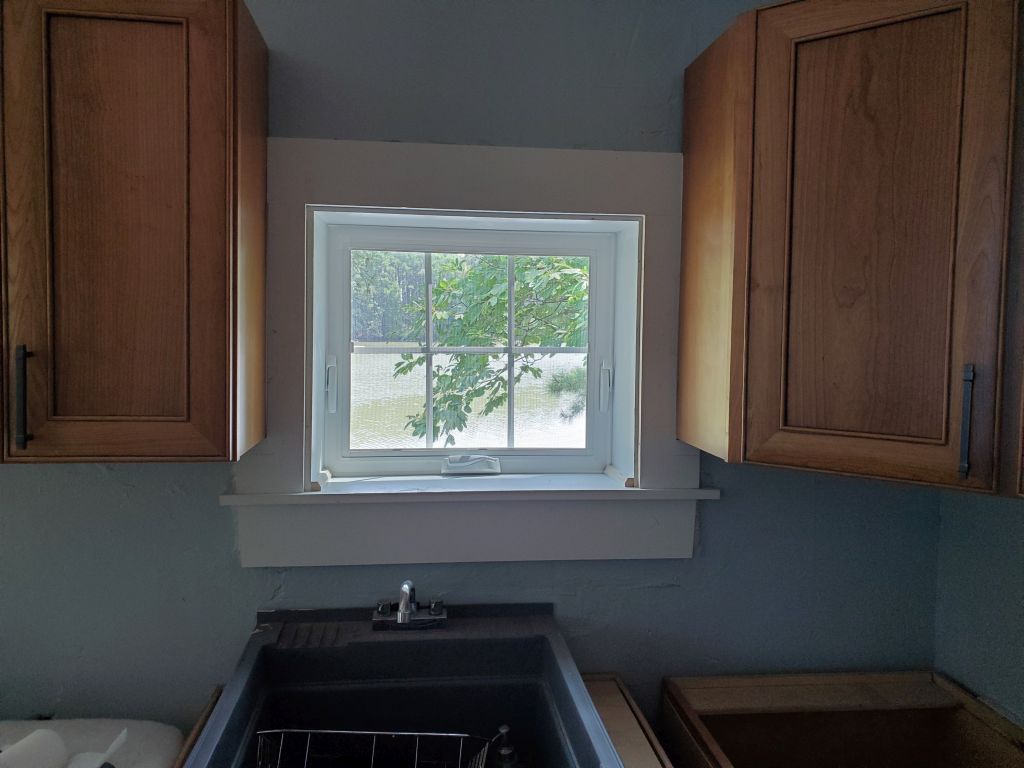
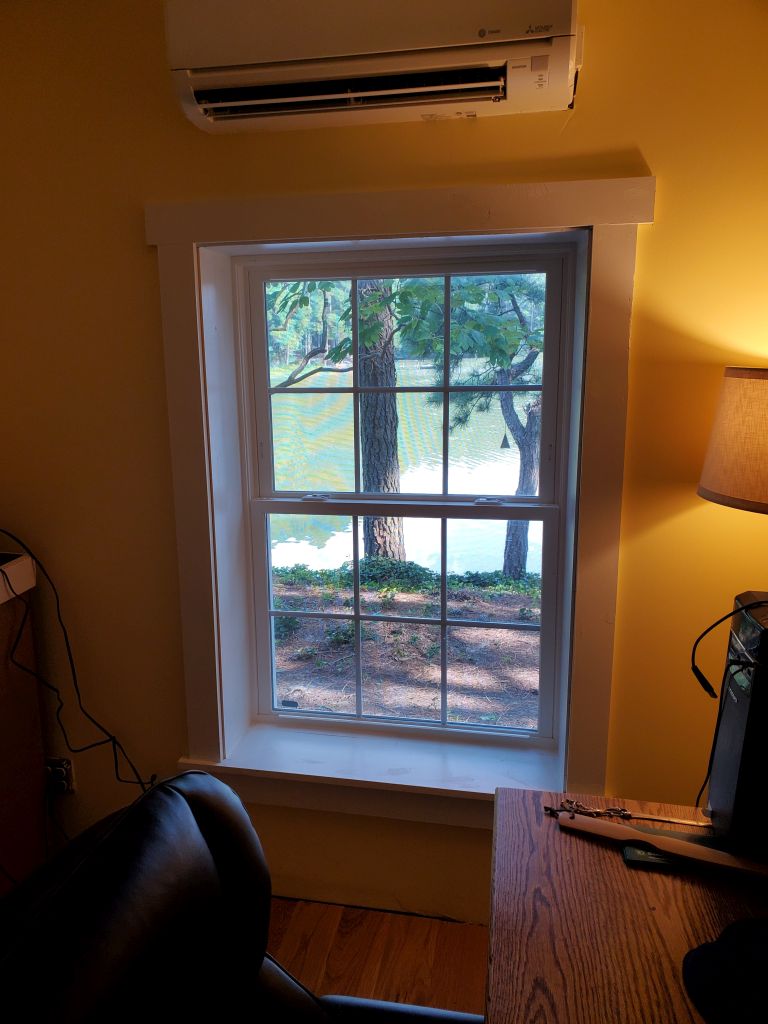
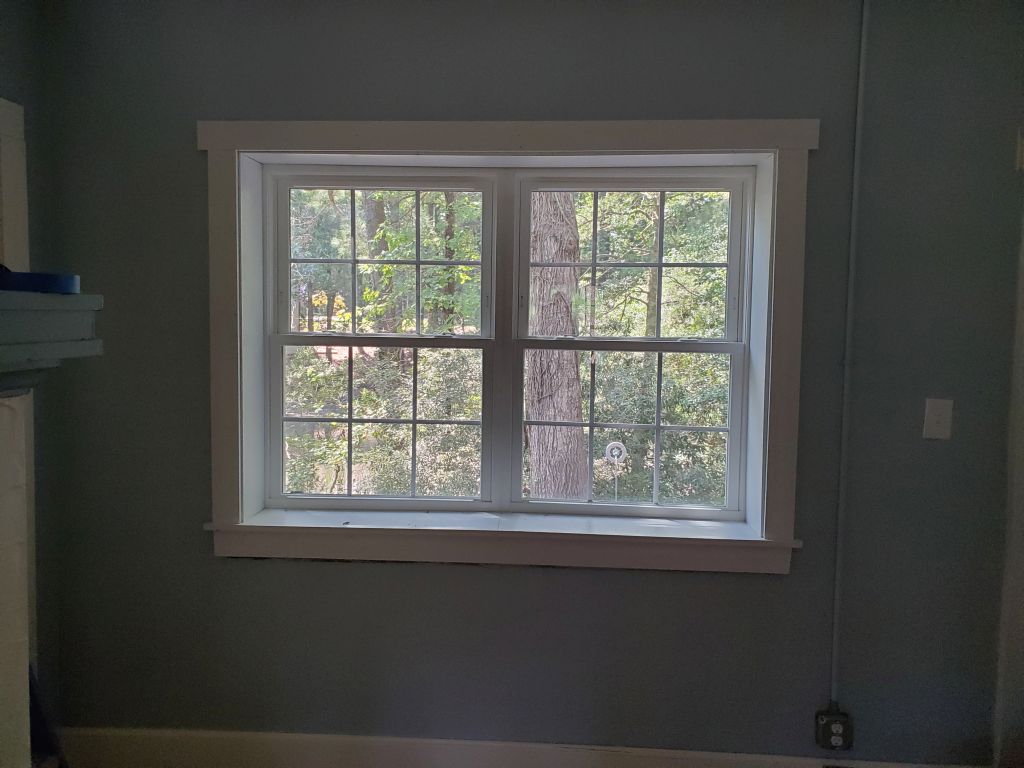
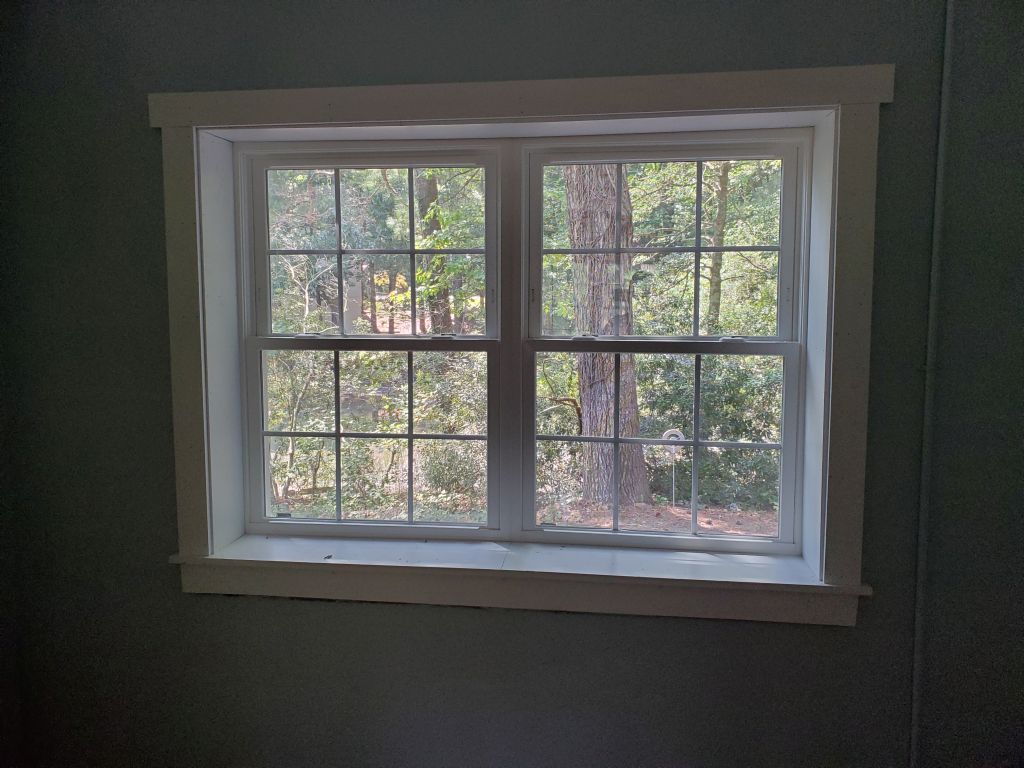
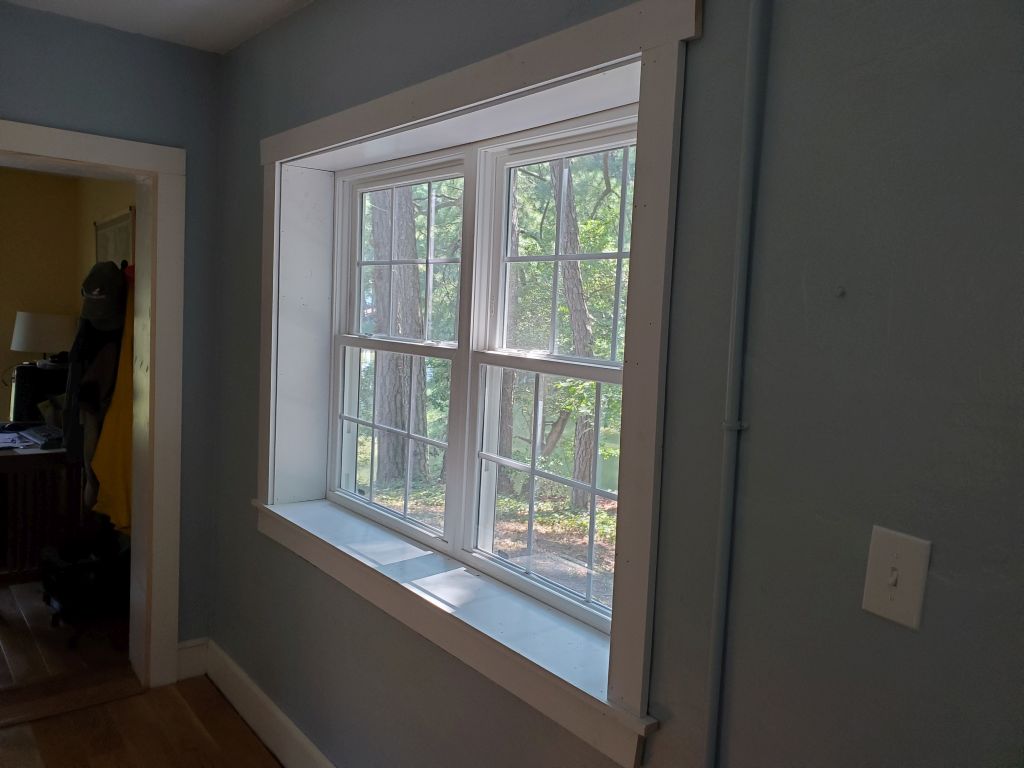
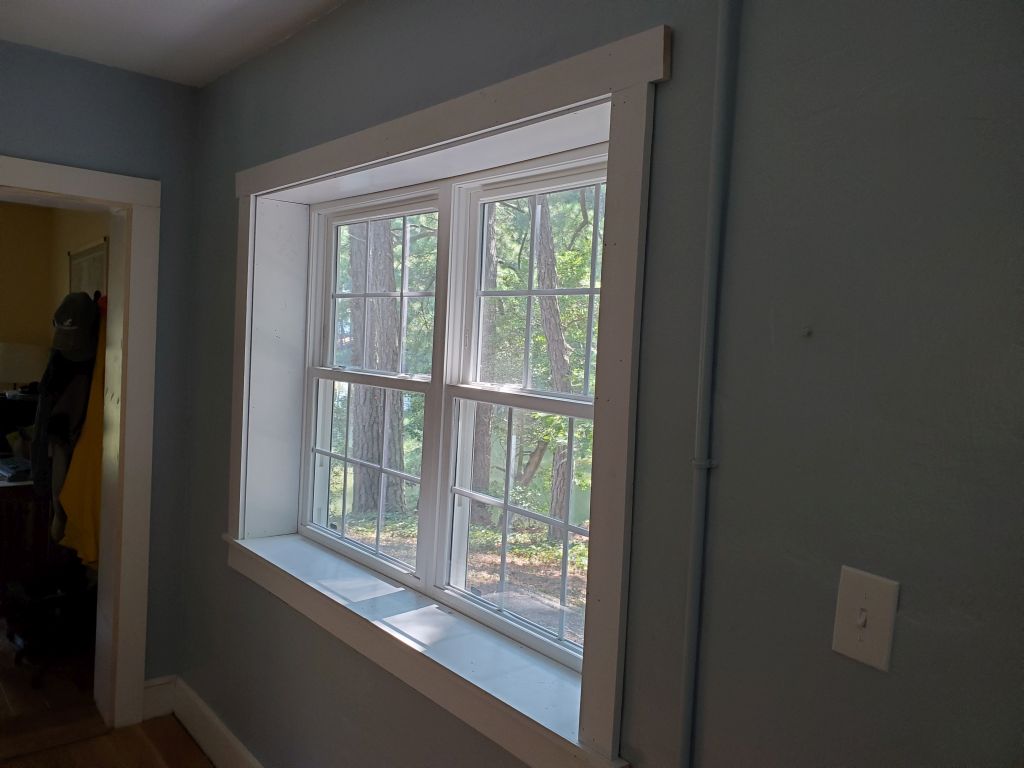
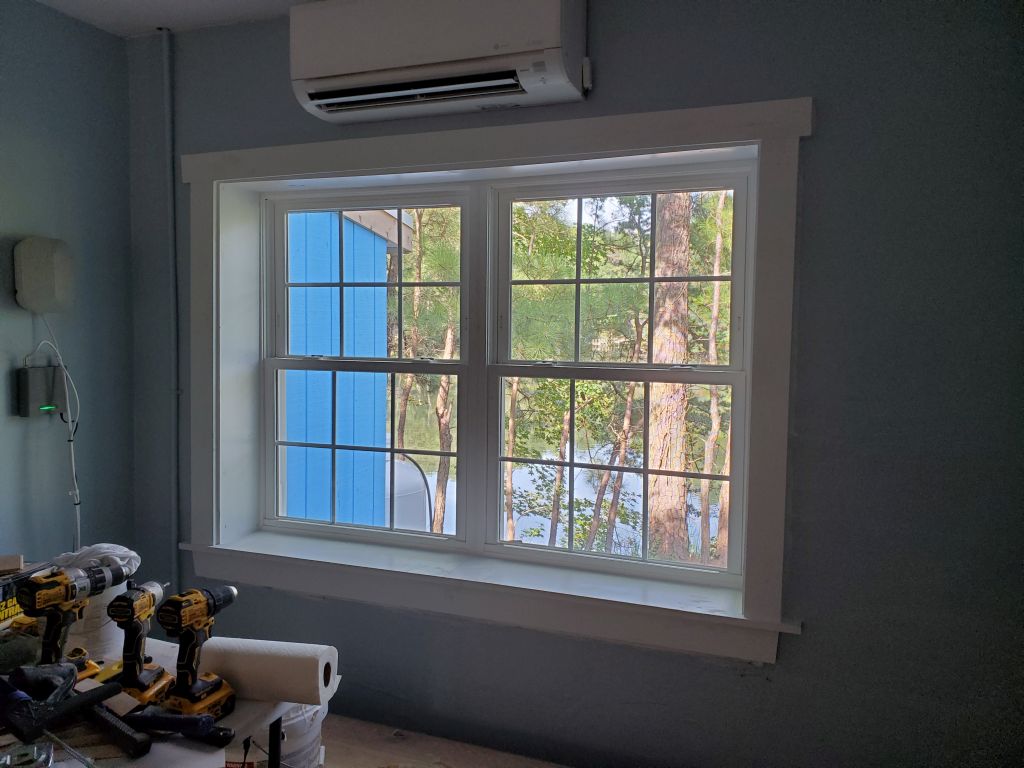
Next, I trimmed out the kitchen windows, again using wider trim than I’d planned so I could cover the old ghosts. Afterwards, I caulked seams and filled nail holes as needed. I replaced the drywall screws in the front door trim, then caulked all the screw locations on both doors. I finished up by installing the trim on the window in the office, wrapping up for the day around 1630.


I heard back from the countertop place in the afternoon, telling me my proposal was all set and I should get an email almost immediately. Lowe’s has this online countertop system, but ours actually hadn’t been ordered that way–David at the store helped us and did it from there. So when we didn’t get an email, I figured this was the reason, and tried to reach him–of course he was off this day, so I’d have to wait till tomorrow to try to get it squared away. I was anxious about the timing because we expected it to take two weeks or so for the countertop to be ready, and wanted to get it approved so they could build it as soon as possible. Our planned visit here was coming to an end fairly soon, but we were considering extending our stay depending on what happened with the counters, and also to continue to make more progress with the work.
30-Thursday, August 15, 2024
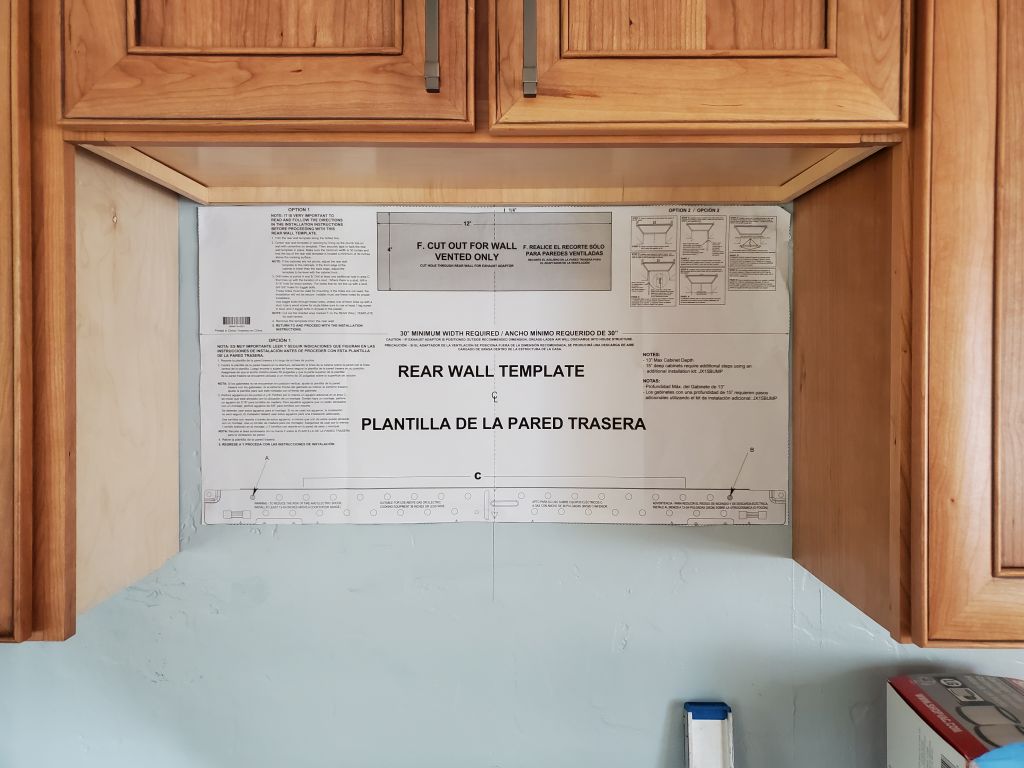
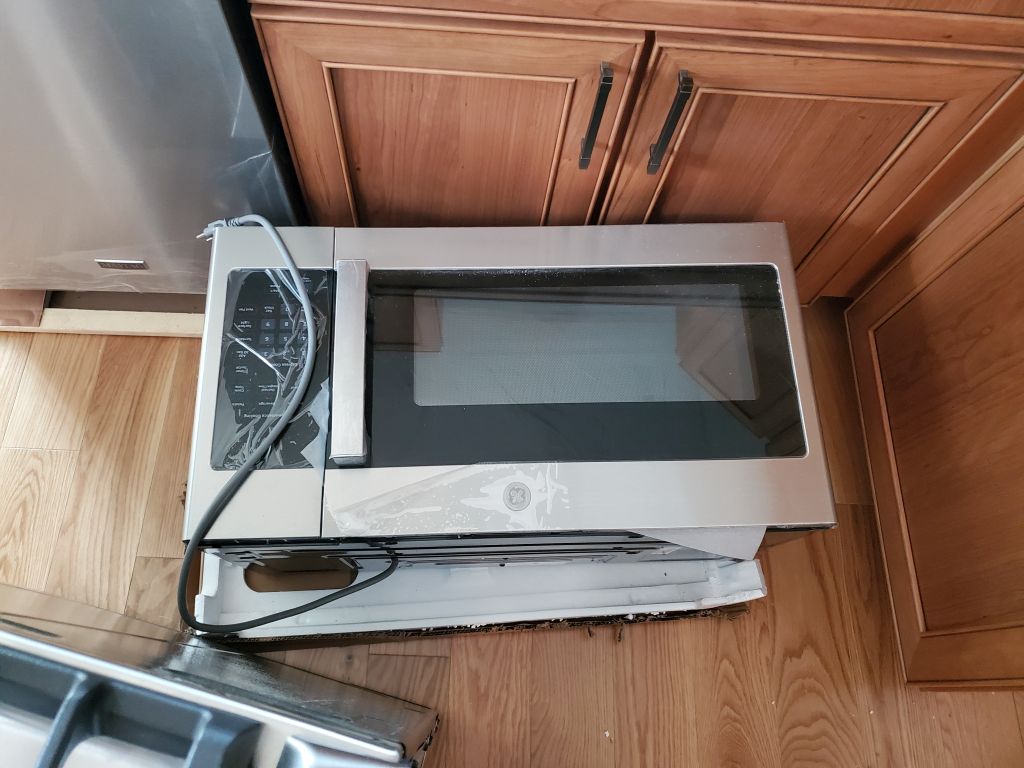
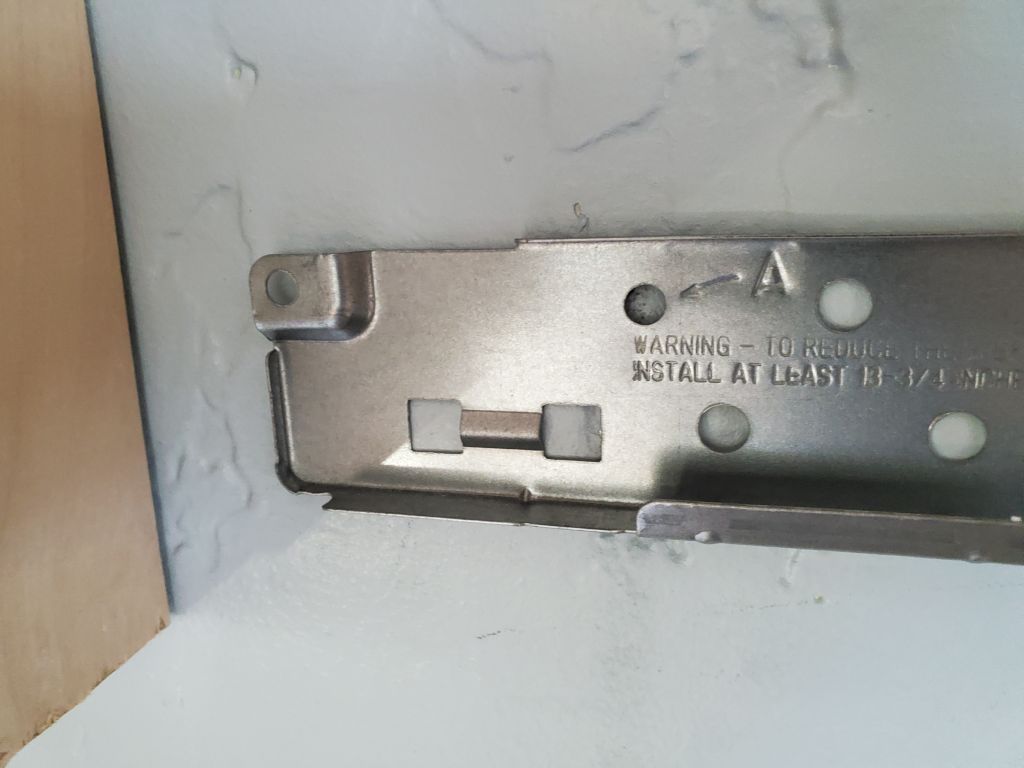
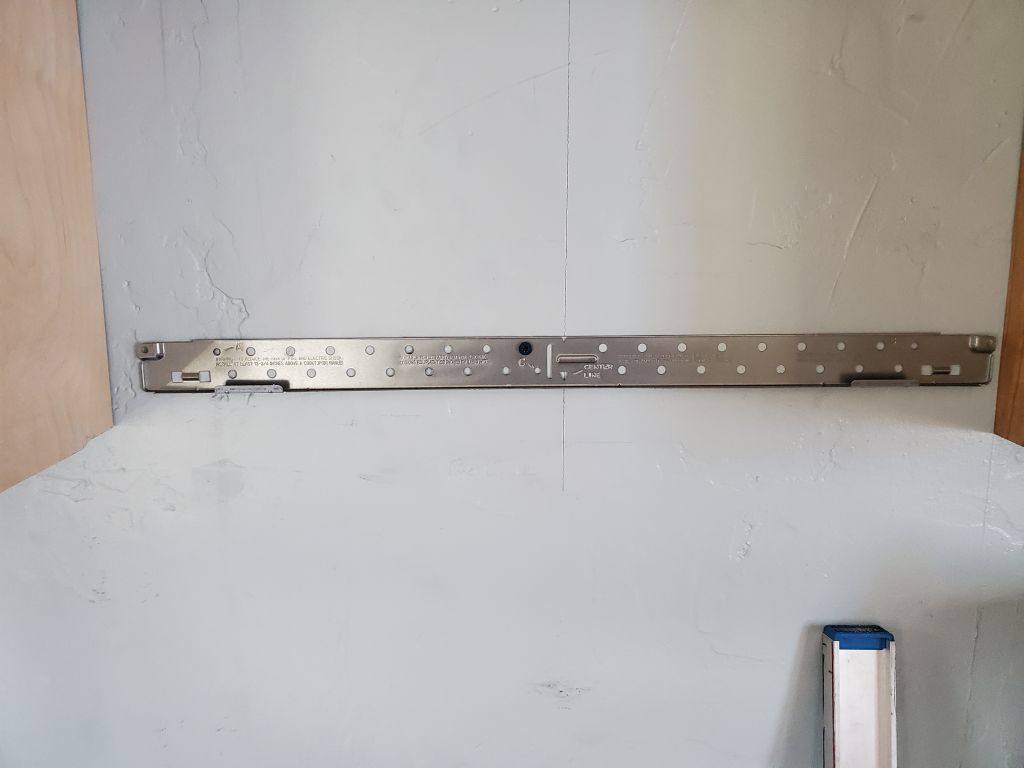
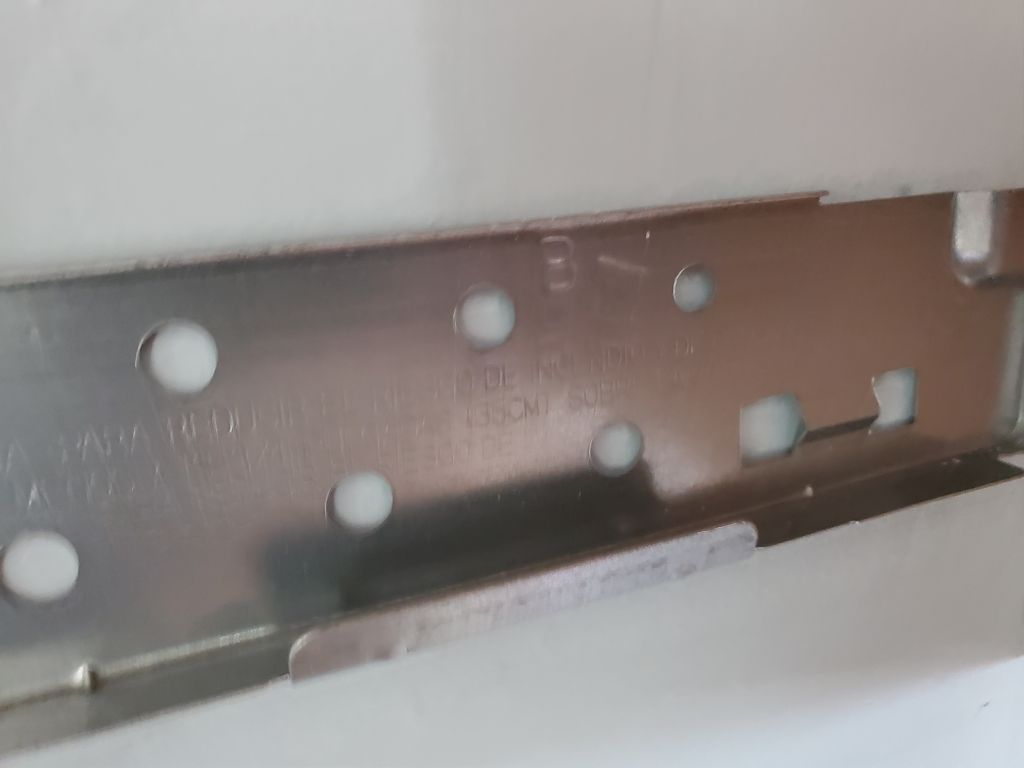
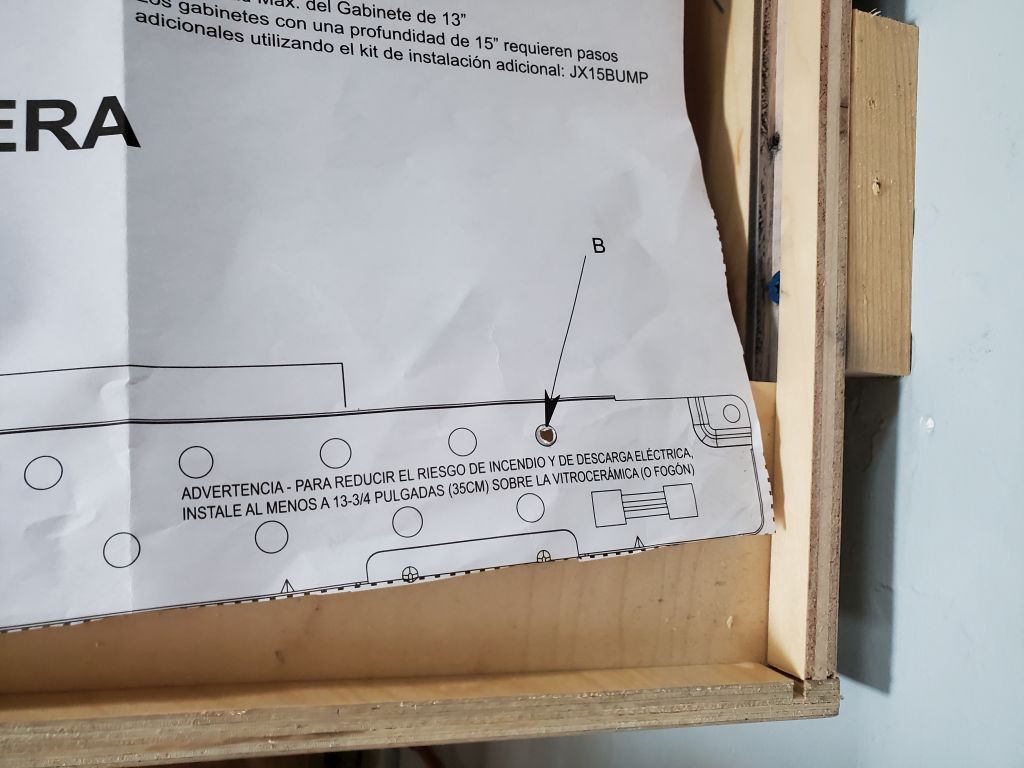
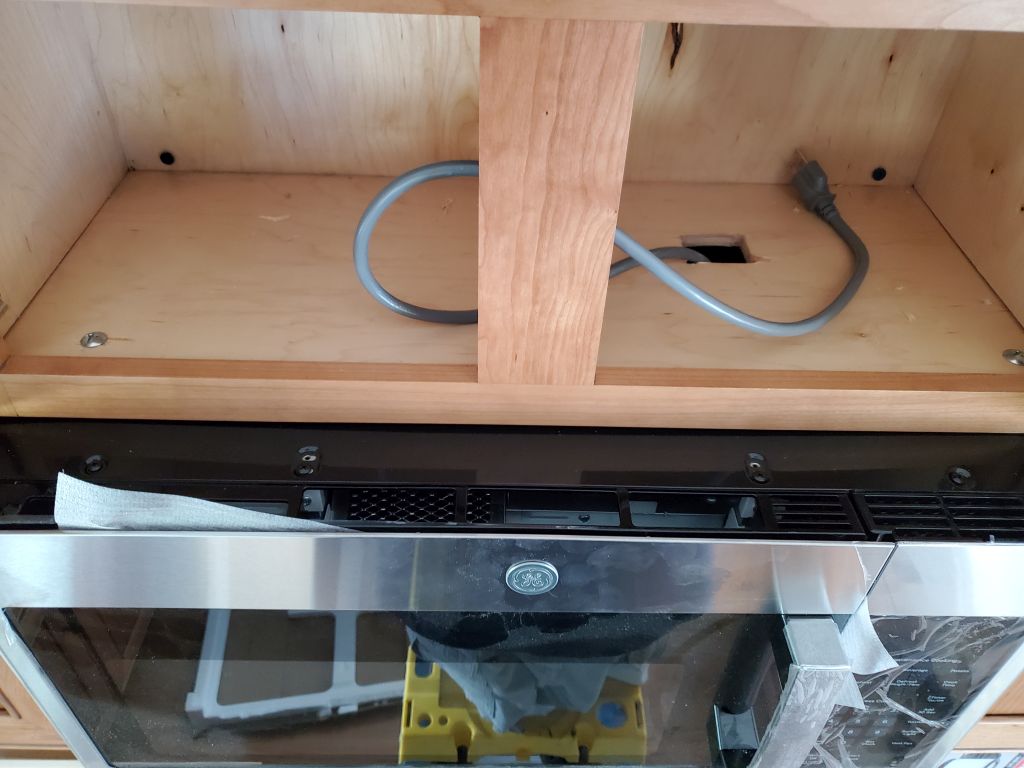
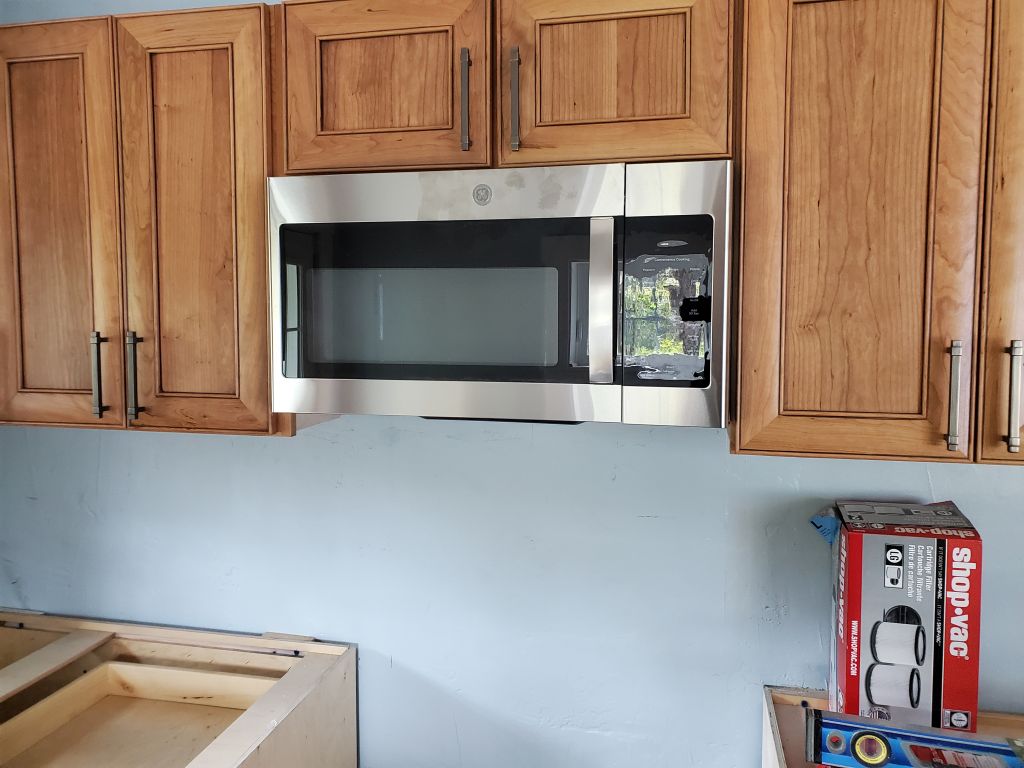
Preparing for the final electrical work next week, I installed the microwave/vent over the stove. I used the included template to mark the wall for the lower support, which had to be screwed to the wall, but when I put up the metal brace I found that the hole placement was completely different than the template–stupid. I had to mark and drill two new holes, since the ones I’d drilled didn’t line up with any of the bolts (despite being clear on the template). Why even bother? Otherwise the installation was straightforward enough, though the templates for the top mounts–beneath the countertop–were frustrating to use as well. I persevered, but I get inordinately frustrated by bad information/directions like this.

Afterwards, I laid out and then drilled 4″ holes for the boxes for the peninsula pendants, so these would be ready when Matt came next week too. I also installed the stove’s anti-tip bracket, and cleaned up the kitchen a bit.
Next, I installed the trim on the large dining and living room windows. I ran out of caulk before I could finish up the living room, so ordered more, expecting it to arrive in a day or two.


With David at Lowe’s help, we got the countertop squared away. It was as I expected–he had the order in his system, and he told me later the approval was held up over a $4 difference between the quoted price and the price as measured. In any event, things were rolling again, and later, Heidi called the countertop people to see about an installation date, which was set for Monday the 26th. Exciting news!
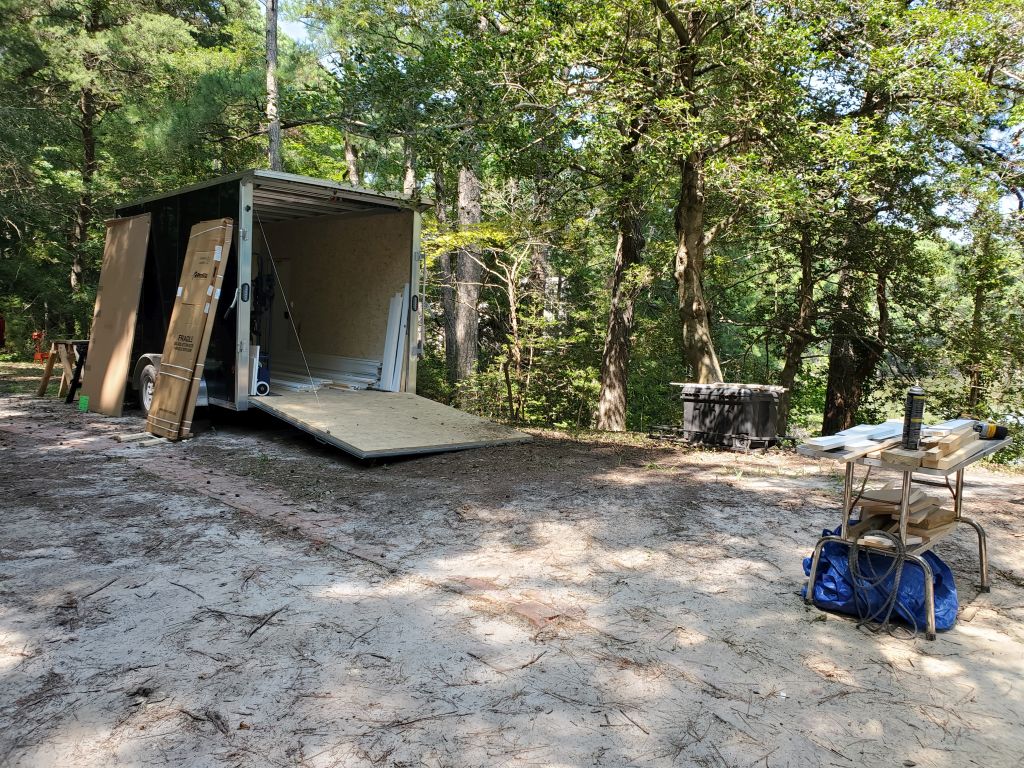
We received a final delivery from the cabinet company, though I didn’t know what it was for. It turned out to be a full sheet of 3/4″ cherry plywood, which matched the cabinets, but I had no idea why this was part of the order. But apparently it was, and I accepted it without knowing what I might use it for. The panel, in a large cardboard enclosure, was extremely heavy, but I got it into the trailer for now. I did some more dusty mowing around the house and turnaround area, which I’d held off from earlier because of Heidi’s painting.