110 Cookson Lane | Whitefield, ME 04353 | 207-232-7600 | tim@lackeysailing.com
Westsail 667 | Monday, November 11, 2013
I embarked on a special project this week, traveling to Florida to help a boatowner get started on his project boat. He had purchased the boat, a 1977 Westsail 32 kit boat (which in all those years had never progressed further than an empty hull with a few bulkheads tacked within) a year or two earlier, and he was anxious to start fresh with new bulkheads and a firm basis for the substantial interior work ahead. He asked me whether I'd be able to assist with the installation of the main bulkheads and cabin sole, and I agreed to do so, thinking it would be a fun change of pace.
The owner maintains his own blog on the boat project here, where you can see various pictures of the boat in her "before" state, as well as the owner's progress to date and his own updates on this part of the project.
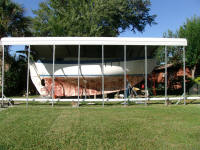
When I arrived, the boat was essentially ready to go, stored beneath a nice metal-roofed structure in the owner's backyard.
Our first order of business was to check the existing layout and ensure that the boat was level, whether or not the current structures were themselves. The owner had done a good job getting the boat set up when it was delivered to the property, and I checked several areas to get a sense of the transverse and longitudinal levels--rather an arbitrary notion when all was said and done, but we both agreed that the current positioning would be a good starting point, as all reference points on deck indicated level within acceptable tolerances, and the boat looked nice and level in profile, and the existing bulkheads--none of which were actually plumb or straight--sort of averaged out to back up the visual notion that the boat was level fore and aft. In the end, what is truly level on a vessel that would be in constant motion once launched? The key was to lay out and install the interior in a consistent way, with various surfaces level, plumb, and perpendicular to each other as needed.
With the basic setup complete, we began with some templates of the existing bulkheads. Since these were essentially in the correct position, it made sense to create paper templates of their shapes to use to pattern the new bulkheads.
I walked the owner through one template, illustrating my usual way of creating such things. Cutting construction paper to size and piecing it in as needed, I taped the sections to the bulkhead, leaving them a little shy of the edges (within 1 or so inches). Then, with a combination of metal rulers and a compass, I scribed the shape of the hull and deck on new patterns, using a known and consistent offset. Then, I turned the owner loose on the other bulkhead.
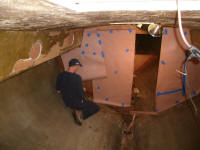
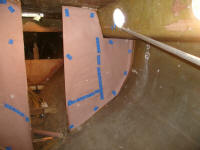
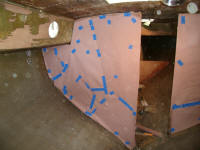
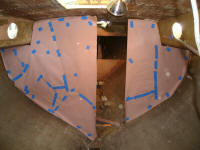
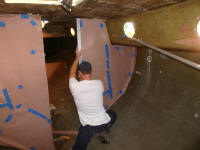
Since the original bulkheads displayed a few inconsistencies with the Westsail build manual--which we were using at least as a general guideline for these most critical support bulkheads, which provided the basis for the mast step and rigging loads--I made various notations on the patterns so we could adjust the initial dimensions of the new material. Then, I carefully removed the two patterns and set them aside.
In addition to the main bulkhead, we'd also be removing a partial after bulkhead, which defined the aft end of the accommodation space and forward end of the engine room beyond, plus a small bulkhead in the forward cabin.
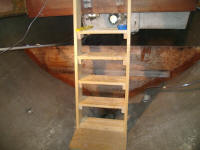
It was time to get down to business. After preparing various electrical cords and other equipment, I set the owner to work cutting out the old structures. He started forward, with the small bulkhead beneath what might have once become a V-berth, and moved aft to a small structural floor near the imagined head compartment before continuing with the main bulkheads beyond. We found plenty of tabbing that, once leverage was obtained, could be pulled intact away from the hull. Once there was room to work, I got in there with a grinder and removed the remaining tabbing, and otherwise prepared the surfaces for the new work ahead, working my way from forward to aft as the owner continued work with the actual bulkhead removal.
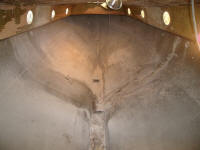
In this way we worked through the day. With no internal structures, and a voluminous hull, gaining grinding access to some areas--particularly the overhead and outboard sides of the hull in way of the main bulkheads--was a challenge. The original main bulkheads had not been tabbed to the underside of the decks or cabin trunk, so at least there was no heavy-duty grinding there, but I had to prepare a well-sanded band along the entire perimeter of this location to provide a clean, mechanical surface for the new tabbing, as we planned to tab the bulkheads on all edges.
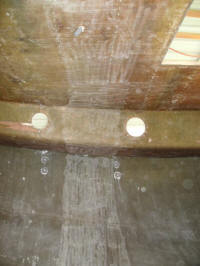
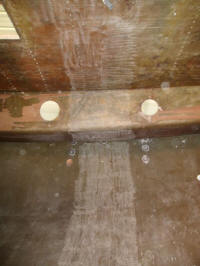
In the after quarters, the owner removed the partial engine room bulkhead, then started work on some old shelves in the area beneath the starboard cockpit, as well as the old engine foundations. These foundations--fiberglass-encapsulated solid wood--were solidly installed, and incorporated lots of thick polyester putty that resisted sawing efforts. We each ended up tackling a side, cutting, chiseling, and prying away the old material as best as possible--an exhausting process late in the day, and with contorted access. At least on my side (the port side), I found that the wood within the structure was punky, despite the overall solidity of the structure.

Not wanting to grind away all the thick gunk remaining, and without the proper chipping tools on hand, we chose to leave the remaining material alone for the moment, instead concentrating on cleaning up the boat--which was now stripped of structure and ready for the new bulkheads--and preparing for the work ahead. I went through and swept up the bulk of the dust, collecting it in a bucket, and the owner followed with a vacuum to clean the entire inside of the boat and return it to an environment in which humans could work and survive.
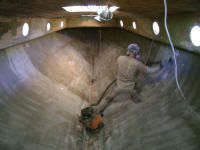
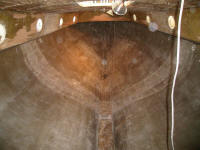

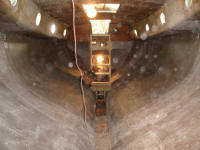
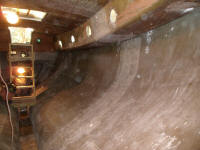
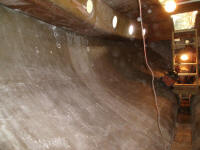
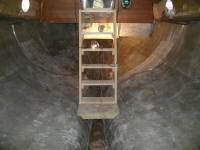
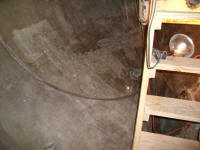
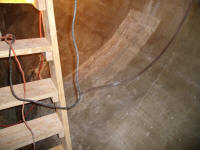
While the owner vacuumed the boat, I busied myself with cleaning up the debris and preparing materials for the next day's work.
Total Time on This Job Today: 9 hours (times two)
