
110 Cookson Lane | Whitefield, ME 04353 | 207-232-7600 | tim@lackeysailing.com
To begin, I confirmed the position of the engine template and flex mounts as I'd left them yesterday, made minor adjustments as needed, and marked the locations of the mounts on the top of the foundation. Removing the template and mounts, I continued by drilling and tapping holes for the mounting bolts.
The engine foundation, installed at the factory, was molded fiberglass with a steel reinforcement inside, into which the mount fasteners could be tapped securely. It was a relatively slow process to tap the six new holes by hand (I was able to re-use the two holes for the starboard forward mount, and needed only to clean them up). In each case, once the tapping was complete I ran a new bolt all the way into the hole to ensure that the threads were clean all the way through, with no binding.
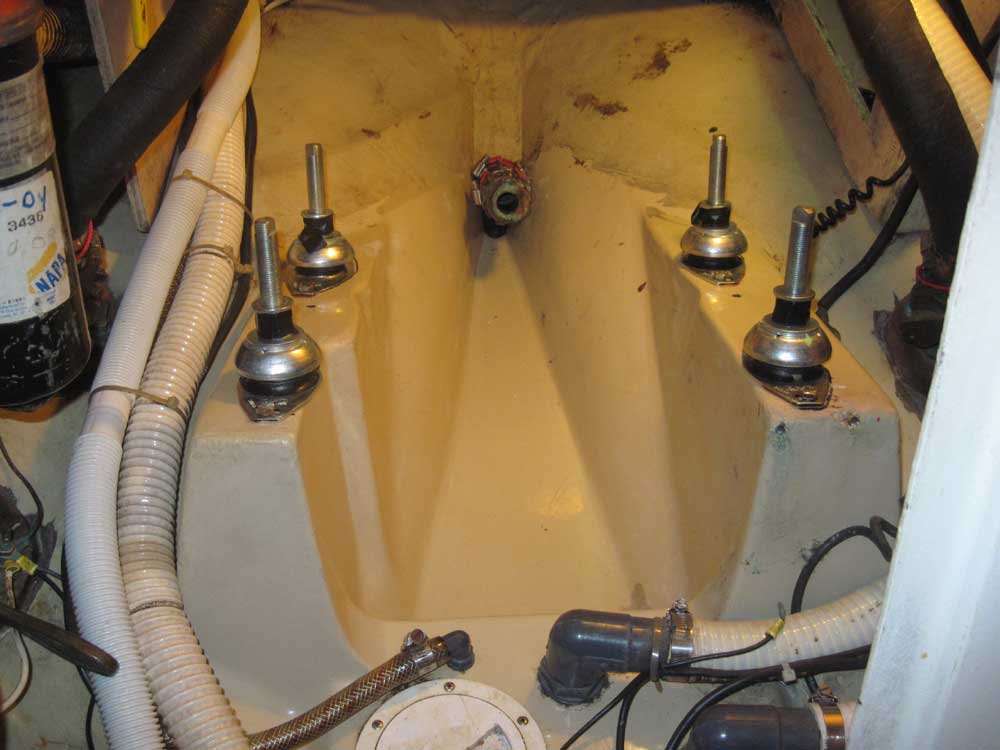
Afterwards, I reinstalled the mounts in their specific locations and set the template back in place, along with the centerline string, to check the arrangement one final time.
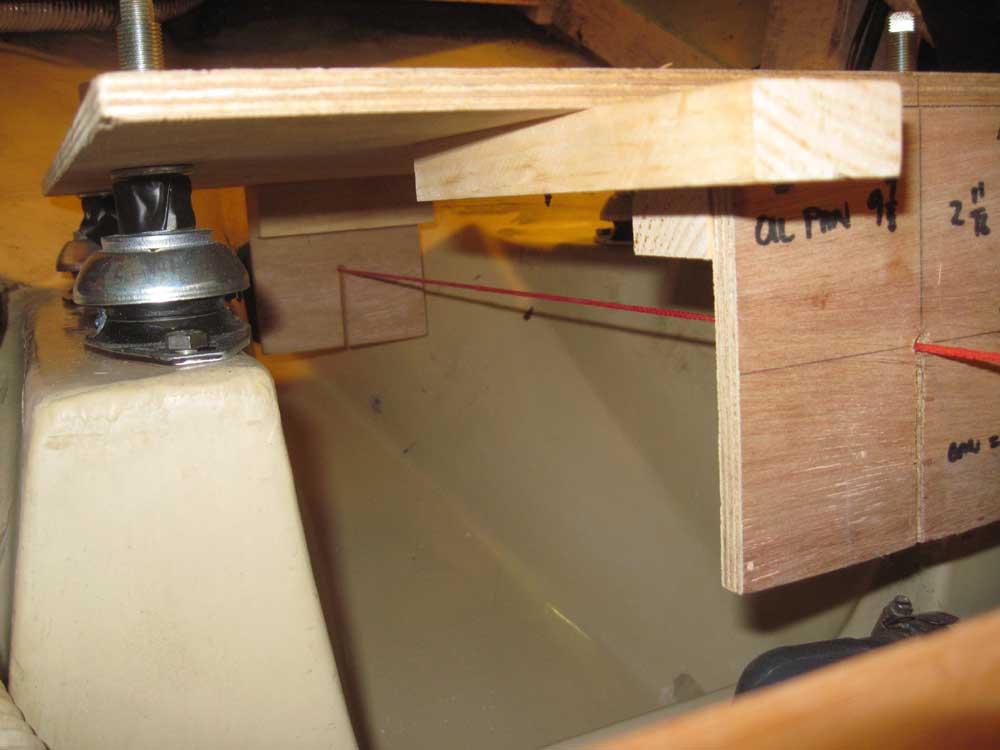
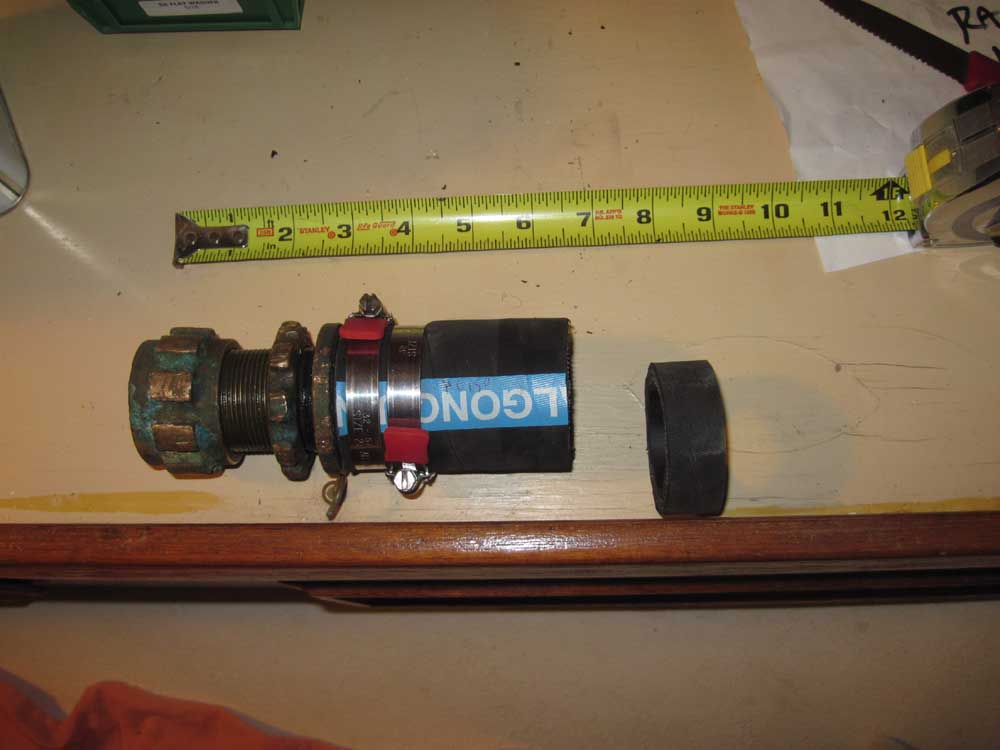
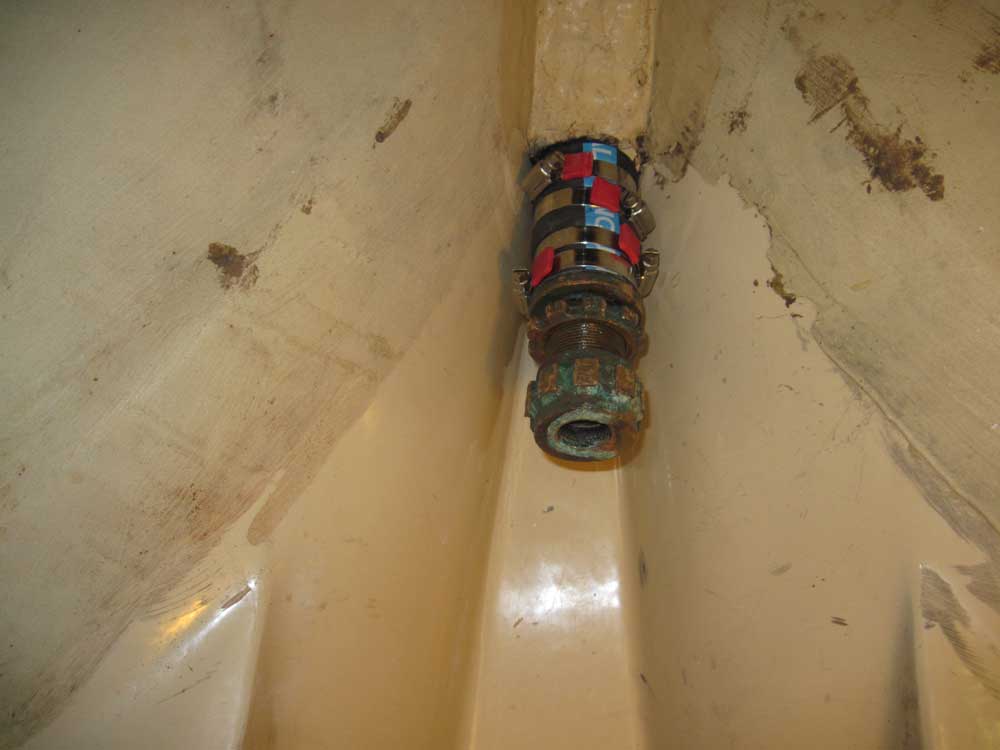
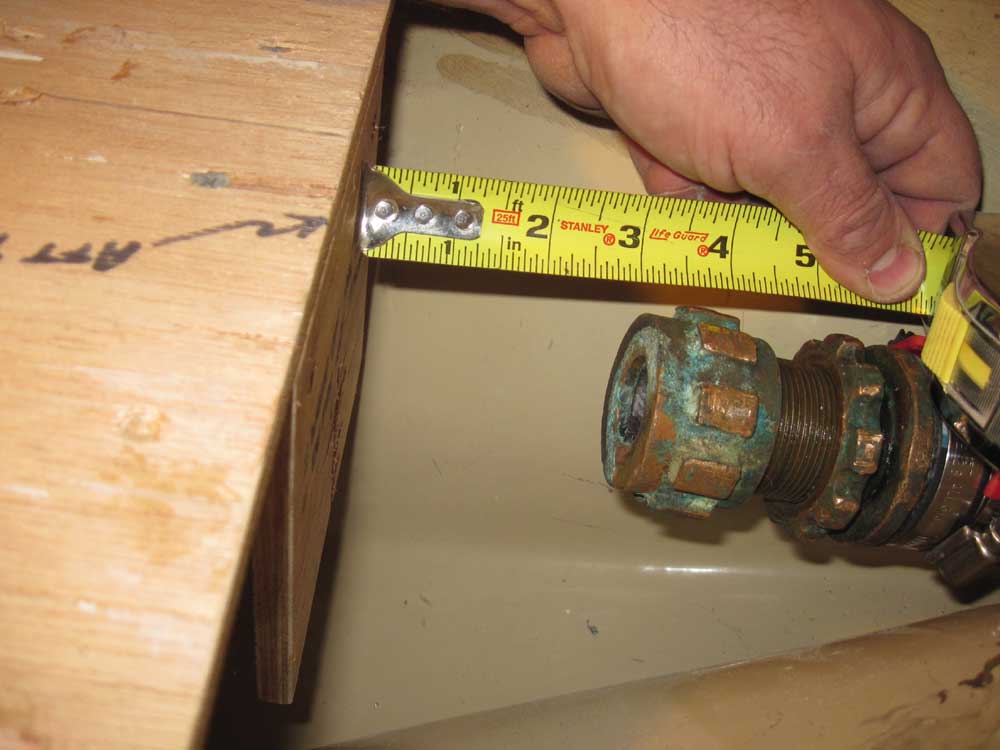
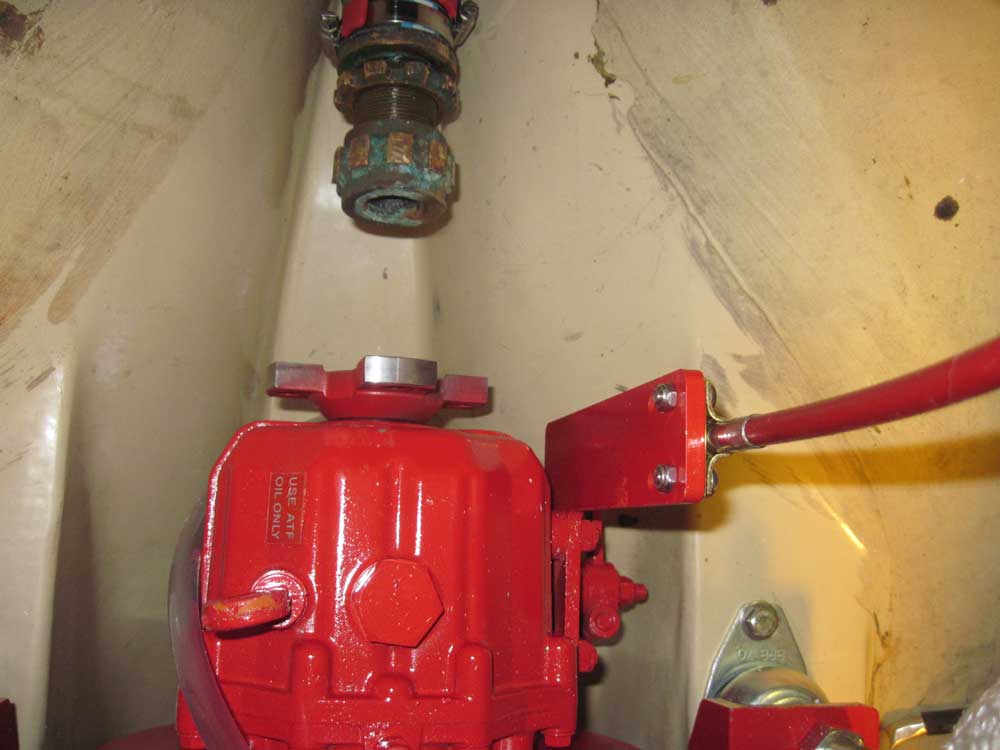
Removing the template temporarily, I got rid of the centerline string, then installed the stuffing box after cutting off 3/4" or so from one end to shorten the whole arrangement for additional clearance. Then, with the template back in place, I could get a true look at the clearance remaining for a shaft coupling: about 3".
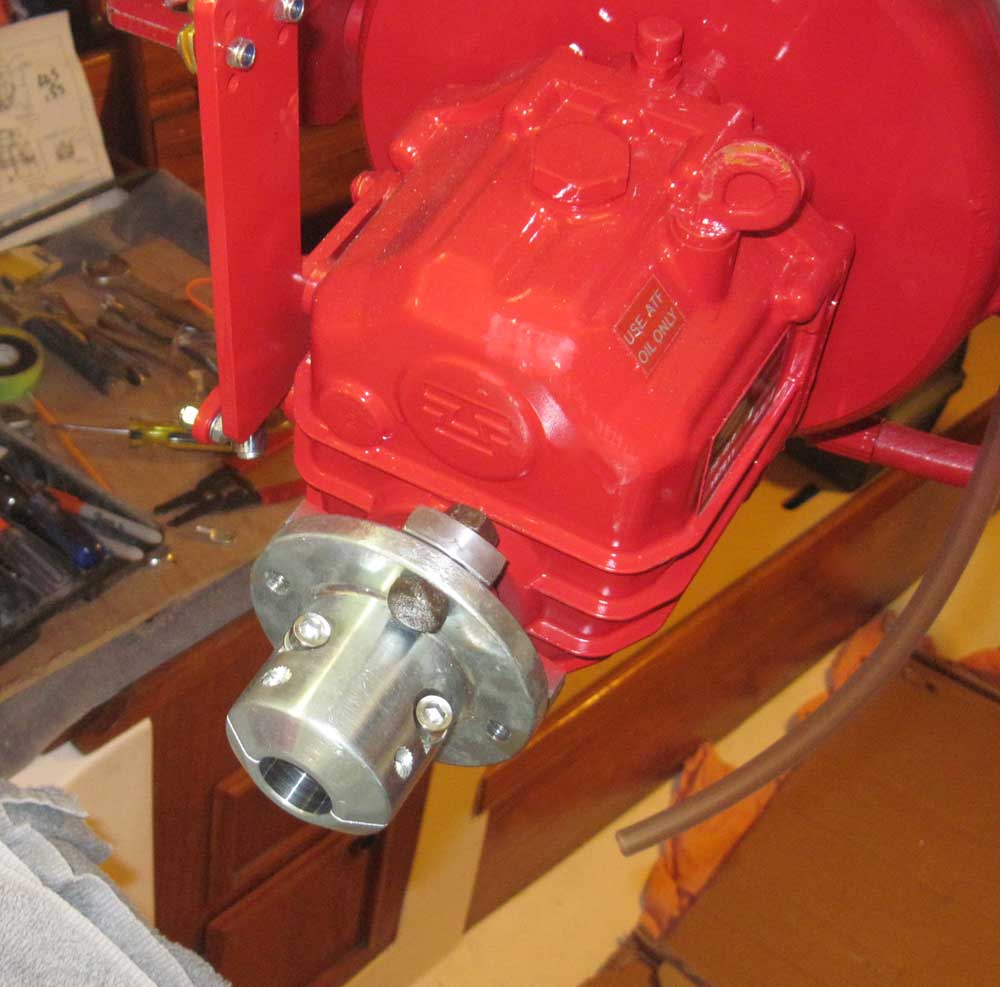
After one final cleanup of the engine room, and after making various other preparations, I hoisted the engine on board and into the cabin. I loosely secured the supplied shaft coupling to the transmission with two bolts so that I could see if it physically fit, though I thought it likely that I'd swap out the coupling for a shorter, fixed version regardless.
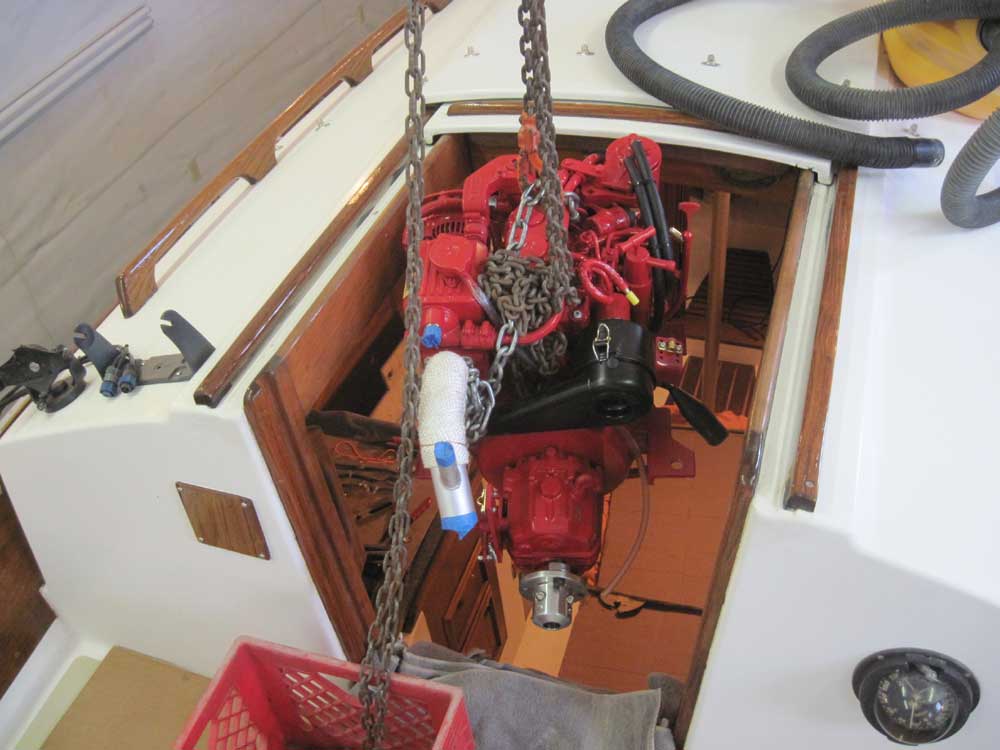
Getting the engine through the small opening into the engine room was rather like fitting a square peg in a round hole. I left the flex mounts off for the moment, as they'd only complicate things, and I eased the engine back into the space as far as I could to see what obstructions might arise.
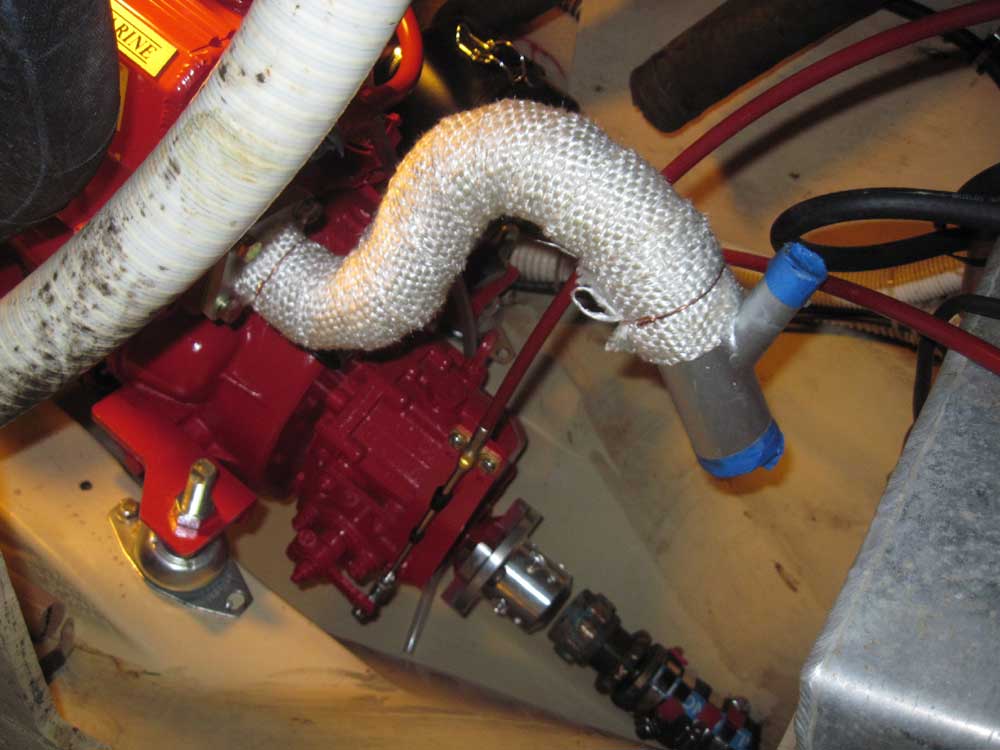
By twisting the engine, I could get the after mounting flanges into the space, but then the starboard one started to interfere with the nearby fuel filter, so I loosened the filter's mountings so I could swing it partially out of the way. I could also see that the forward mounting flanges would cause clearance problems, so I removed them. Then, I could mark the engine room opening on the port side, where a hose and hose fitting off the side of the heat exchanger contacted the opening.
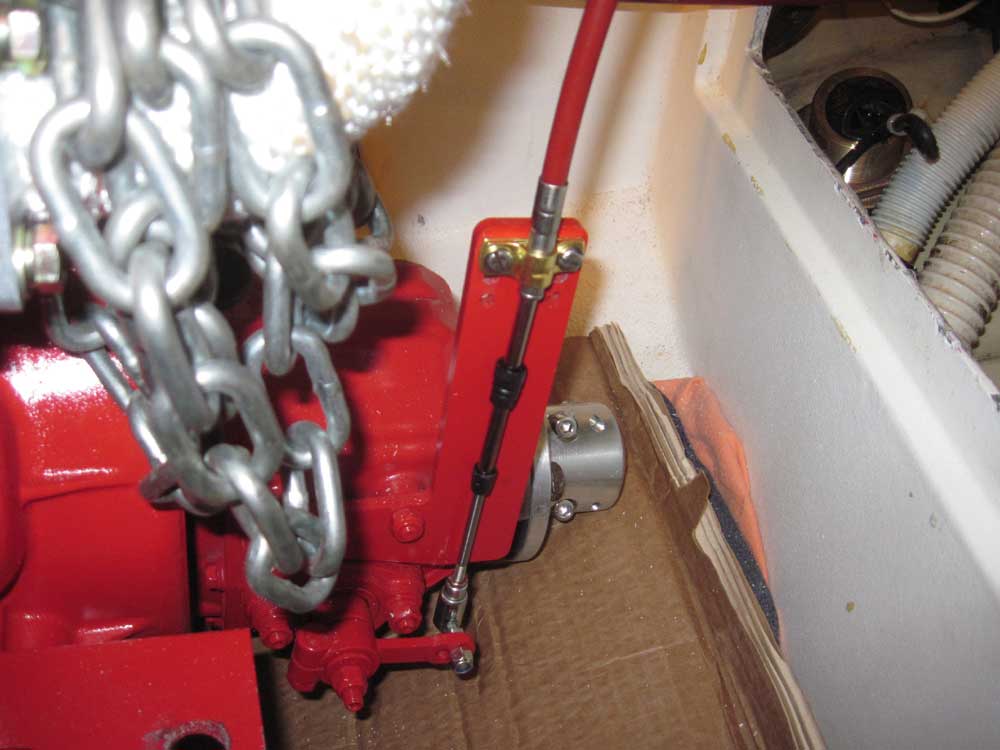
With the engine pulled back into the cabin, I cut the small area with a saw, then began the process again. First, however, I connected the gear and throttle control cables to avoid the need to deal with the tiny clamping fasteners when the engine became non-accessible within the compartment.

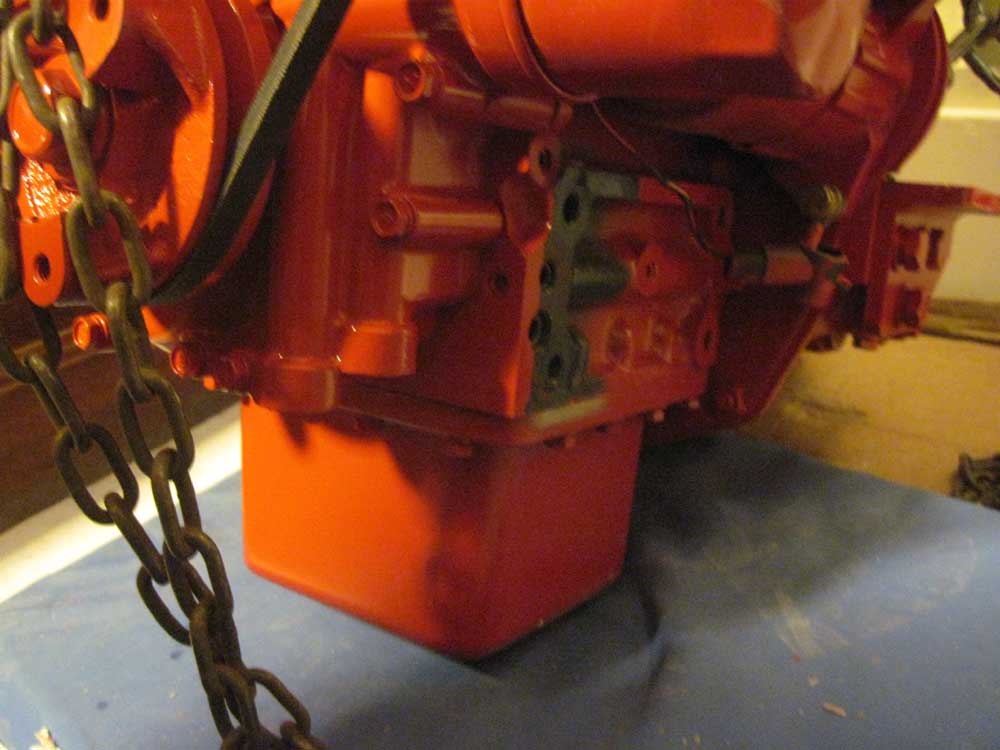
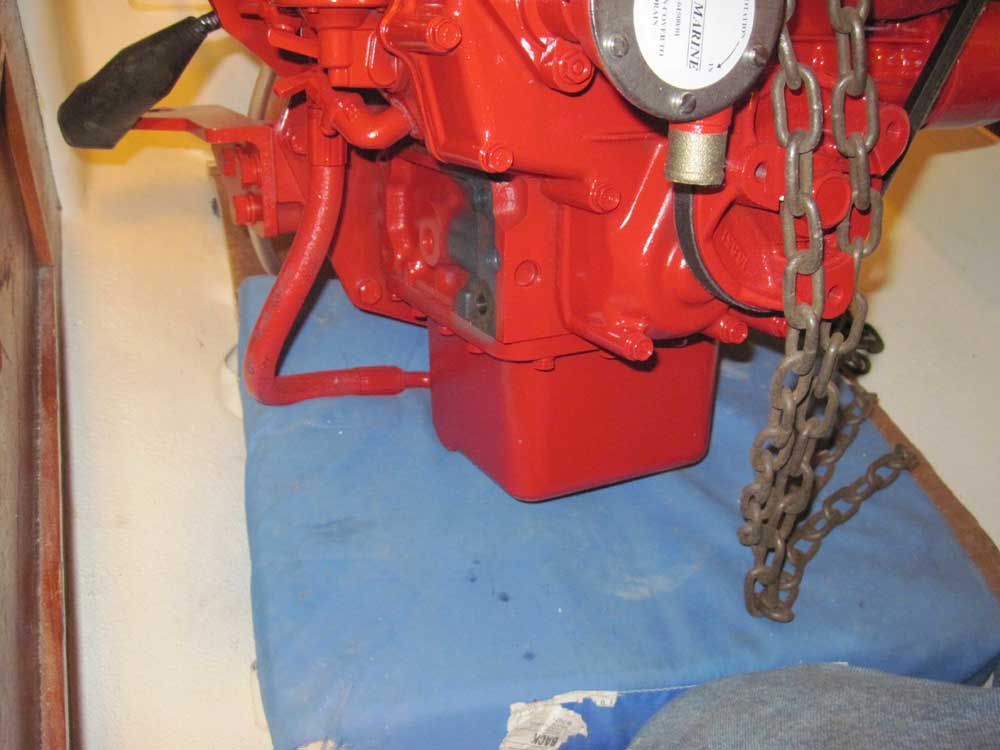
Complicating the engine insertion procedure, halfway through I had to set the engine down so I could move the hoist through the top opening of the engine room; I supported the engine on a block beneath the oil pan, and used a strap from overhead to secure the aft end while I moved the hoist.
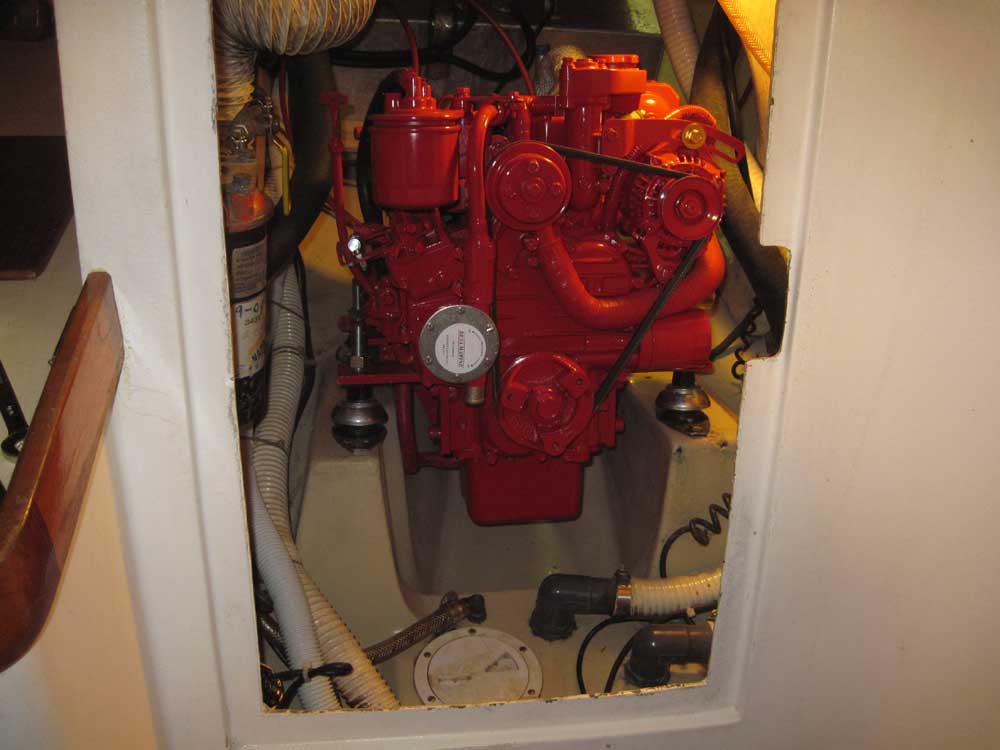
From there, it was a matter of twisting and turning the engine as necessary to get the front end through the opening; the engine was wider than the opening, but at various angles could be squeezed through without a need for additional cutting, fortunately. Once the engine was clear inside the engine room, I could reinstall the forward mounting flanges, and then install all four flex mounts so that I could slide the engine aft onto the foundations, where I positioned it and secured it with several bolts to hold it.
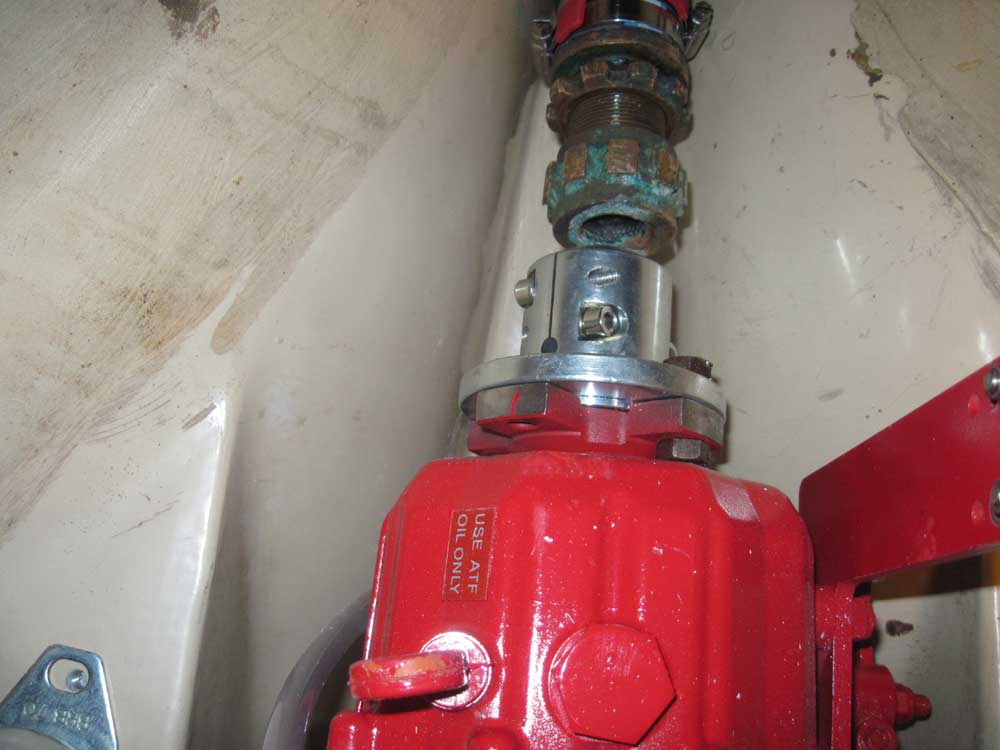
Eventually, I cleared out the hoisting gear and positioned the engine more accurately, though final alignment couldn't occur till I had a new shaft. Holding a camera into the inaccessible area behind the engine, I could see that the shaft coupling fit in the space, with about 1/2" clearance, as suspected. With difficulty, I undid the two loose bolts holding it in place and removed the coupling.

There was much work ahead to make up the final connections, even the simplest of which would be complicated by the tight quarters, but it was nice to see the engine firmly in place on its mountings. I adjusted the mounts as needed so that I could turn in all eight mounting bolts hand-tight.
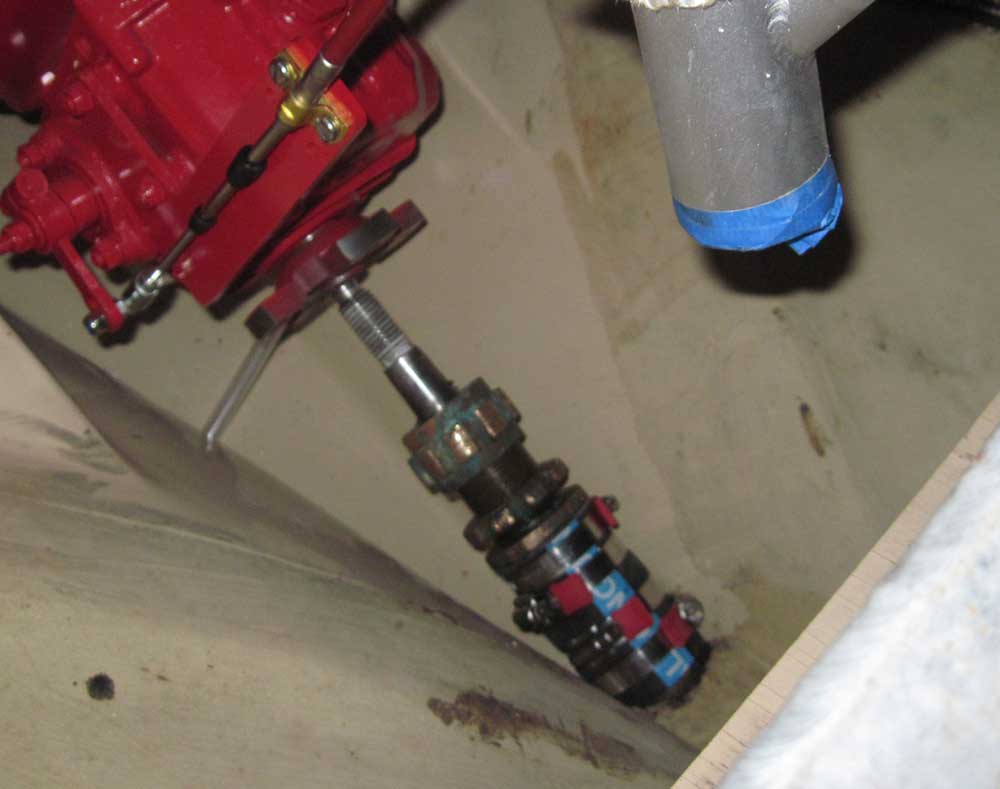
I slid the old shaft in from outside the boat (backwards, since the coupling was still attached) to see how the general alignment was, and also to provide an accurate measurement of the new shaft's required length.
Total Time on This Job Today: 7.75 hours
